


Topics Last Week
Showing topics, images, events and files posted in for the last 7 days.
- Past hour
-
 Couple comments to hopefully help the process... So I don't know exactly how you are handling the choke lever, but the typical process is to give it a good pull, crank the motor, and then as soon as it starts, push the choke lever forward "some, but not all the way off". It's not unusual to need partial choke for several minutes to keep the engine running smooth when cold. If you're pushing the choke all the way off immediately as soon as the engine starts, you are probably moving too fast. Give it some time to warm up with partial choke before you try to get the engine to run with no choke at all. Engines don't like to run cold. and engines that have sit for decades are usually grumpy about being woke up from their sleep. It'll probably get better as you get more time running, but first bunch of minutes on an engine that hasn't run in a long time? Don't expect perfection. Next is there's no way you should need to be running five turns down on a stock motor. If you're thinking you need five turns down, there's something wrong somewhere. I'm hoping that it's as simple as you need to leave the choke on partially for five minutes, but if the engine is warm and you need five turns.... There's something wrong. And that "lifter" on the bottom of the carb does not make things richer on that carb, and in fact, it does the opposite. When you lift the piston like that, it completely disables the carb by making it super lean.
 - Today
-
 I haven't posted in a while.....hope life is treating everybody with kindness The single best thing I have done to my braking system was to install a larger 8" brake booster. Best of my memory 69-72's had a small 7" booster. Nissan updated the 240 brake boosters to a 8.5" in '73. They knew the boosters were to too small and corrected the braking problem. You also may want to inspect/replace your brake booster check valve. I did go a larger caliper but never got that great breaking feel until I completed this upgrade several years ago.......This made a HUGE DIFFERENCE in my braking power. JDM-Car-Parts use to have an upgrade for 69-72 that had the correct bolt pattern to accept into the firewall. That made the transition from a 7 to 8" a breeze for me with no extra drilling. https://jdm-car-parts.com/products/datsun-240z-1969-1972-8-inch-brake-booster-upgrade-kit?variant=31778739748973
 -
 Thanks for the imput, I am going back and forth between the options. I know i'll have to do fabriation work to get the Z depot floors to fit, but I dont mind fab work. I just dont know if theres more of a pain getting seat rails mounted or other obstacles that will creat a conflict. I just got a 1977 280z as a project and the previous owner decided the best way to make his car look dfferent was to add about 200 pounds of bando so i feel you on that. gotta love a good project.
 - Yesterday
-

-
 Become a subscriber and the pop-ups will go away. The advertising is what keeps this site alive. By no means is the site making any money.
 -
 You might find some things here: https://junkyardjenny.com/
 -
 Need a lot more info to help with this . Ignition set up ? Timing at WOT ? Still running vacuum advance ? What year head ? Was the camshaft degree’ed? Camshaft specs ? Engine compression ratio ?
 -
 They run up to the ignition module. The module uses the signal from those wires to know when to create spark. Looks like this. Has many wires connected to it, including those green and red ones.
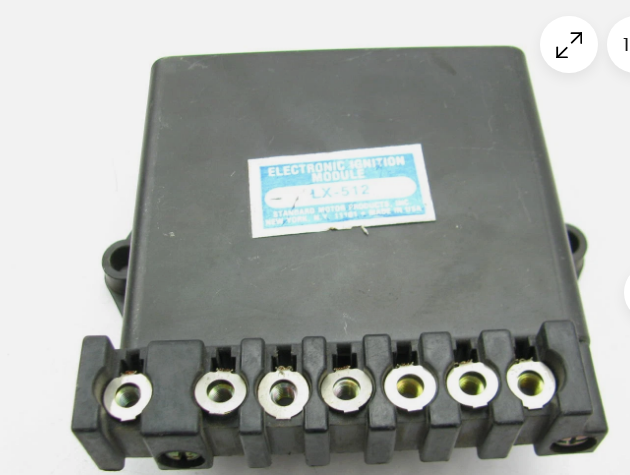
- Last week
-
 Posed the question on the interweb and got this "AI generated" answer but it lines up with the automatic transmission info in the 1976 280Z FSM: "The inhibitor switch on a 1973 Datsun 240Z automatic transmission is located on the transmission itself. It is typically found on the right side of the transmission, where it controls the circuit for the reverse lights and the starter interlock system. The switch is responsible for ensuring the car can only be started when the transmission is in Park or Neutral, and it provides a closed circuit for reverse when the transmission is in reverse. For a 1973 model, the switch is specifically designed for automatic transmissions and is not present on factory manual transmissions." (We've had A/T Z cars in the shop and swapped out auto transmissions for manual transmissions, but I honestly don't remember the wiring at all.) The electrical schematic has it wired with 4 wires: B/Y, B/Y, RB, R. (B/Y for the start circuit and R & R/B for the reverse lights) The other relay in question is called "Seat Belt Relay" on page BE-2 of the FSM. Refer to "Fig. BE-1" item 17 "SEAT BELT RELAY (A/T MODEL ONLY)". The FSM shows that with 6 wires (as does the schematic - but the schematic does not label it "seat belt relay"): B/Y, B/Y, B/Y, B, G, G. (B is shown on the schematic as the GND symbol). BE-2 of the FSM shows the seat belt relay mounted on the firewall. Others, in other forums, do describe it as the "K-18". Those are the only ones I see related to the start circuit - I don't think the black box under the glove box should be involved. (Is it the ACC Relay?) And there's a post on ZCAR.COM: https://www.zcar.com/threads/not-the-inhibitor-relay-topic-again-1973-240z.424554/
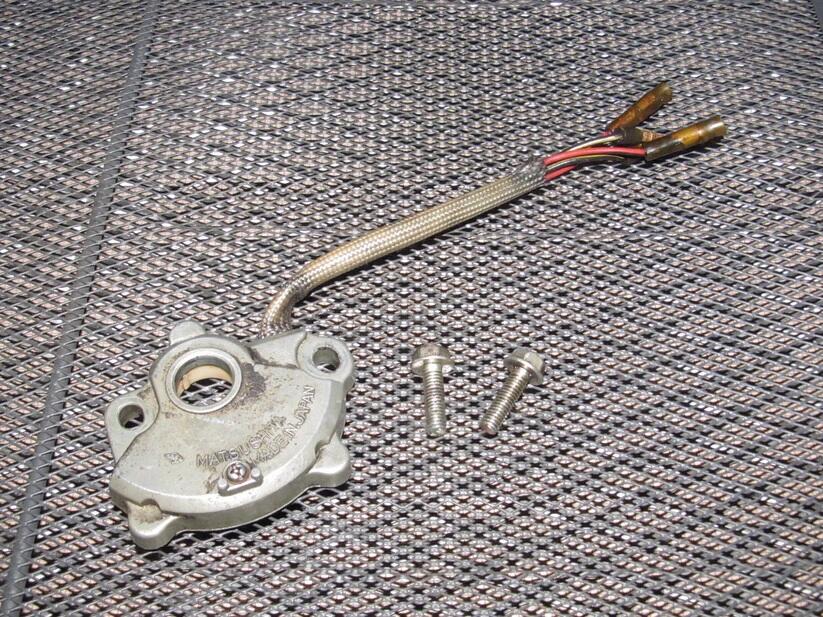
-
-
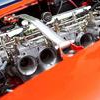
 This is the Jet Hot cast finish. Please excuse the slightly green cast which is the result of either lighting or camera user error. I like the color but more importantly it's extremely robust. After more than 25 years the exhaust manifold on my 280 still looks like it was just done. Hope this helps. Not a job one wants to do twice. PS This is the exhaust manifold from the Z used as the model for the Franklin Mint Z car
.thumb.JPG.976bac4323f6d9ea32a3d93c2c1d2dfe.JPG)
-

-
 I probably wouldn't coat a stainless header. Jet coat could probably be used though. I bought a Z story exhaust and really like it...
 -
Pre-Fleetwood Mac Fleetwood Mac.
-
I got back in the shop today. Rear bumper is on. I don't like the fit but it's on for now... License plate light and hatch badges and I think the rear end is done Also worked on installing the leather pieces over the wheel arches I trimmed one of the last pieces and hemmed it with glue


-
If I remember right, the Webers have an accelerator pump. So you can pump them a couple of times and omit the choke...provided they have fuel in the float bowls
-
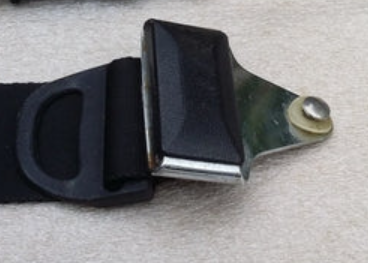
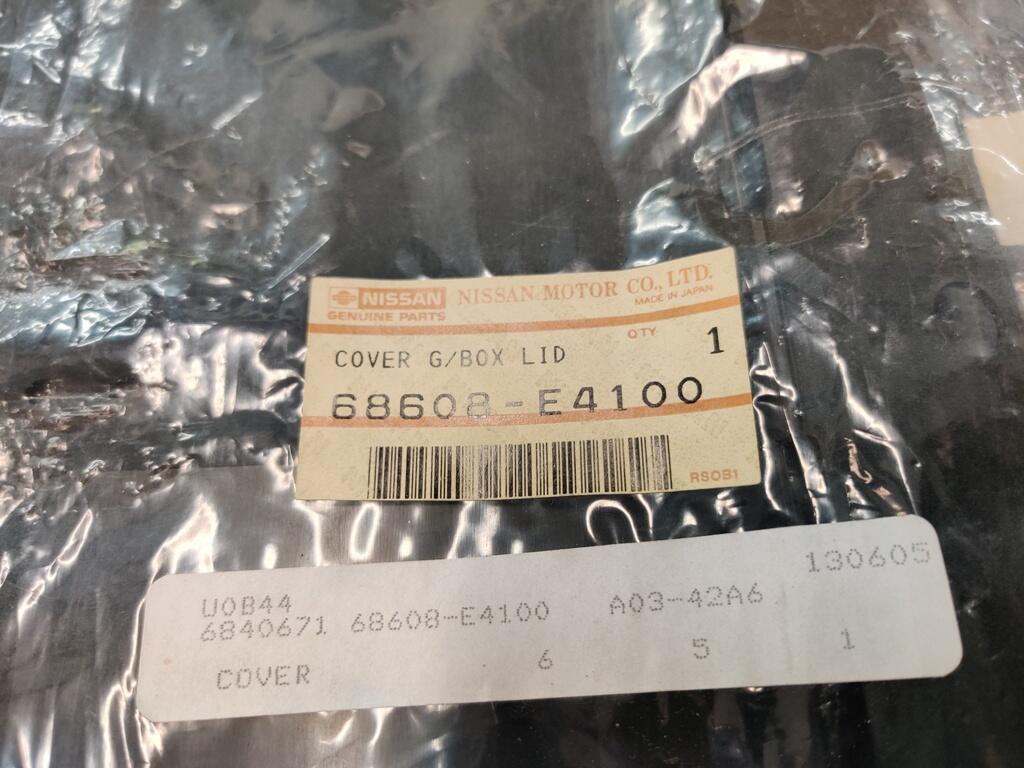
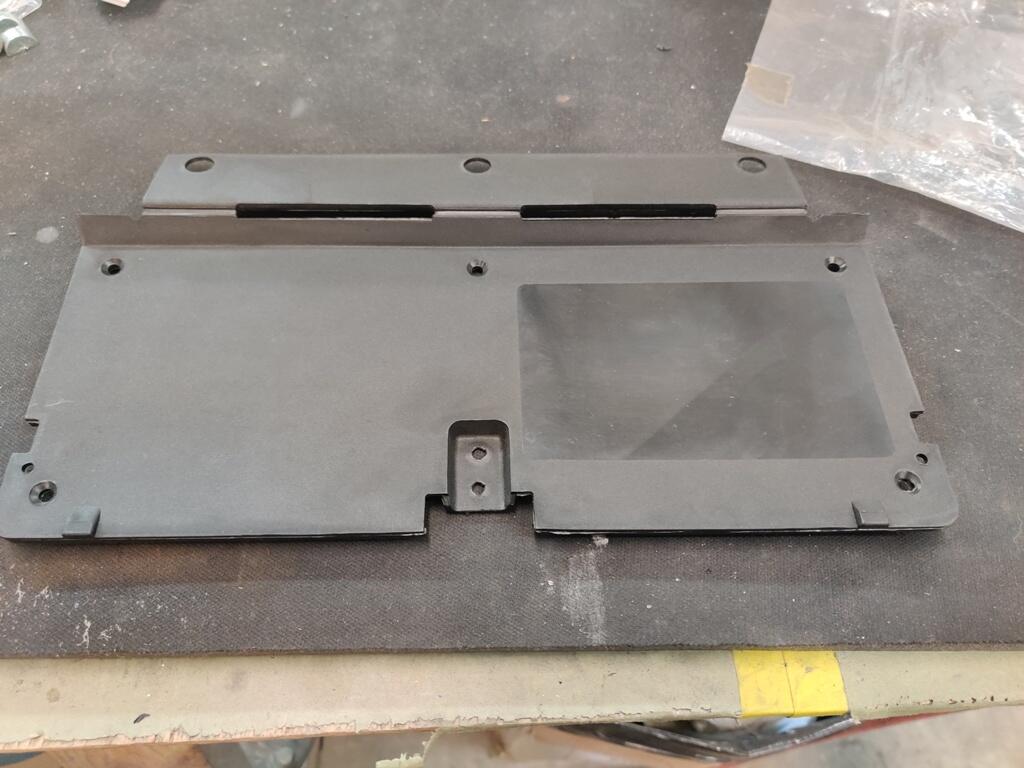
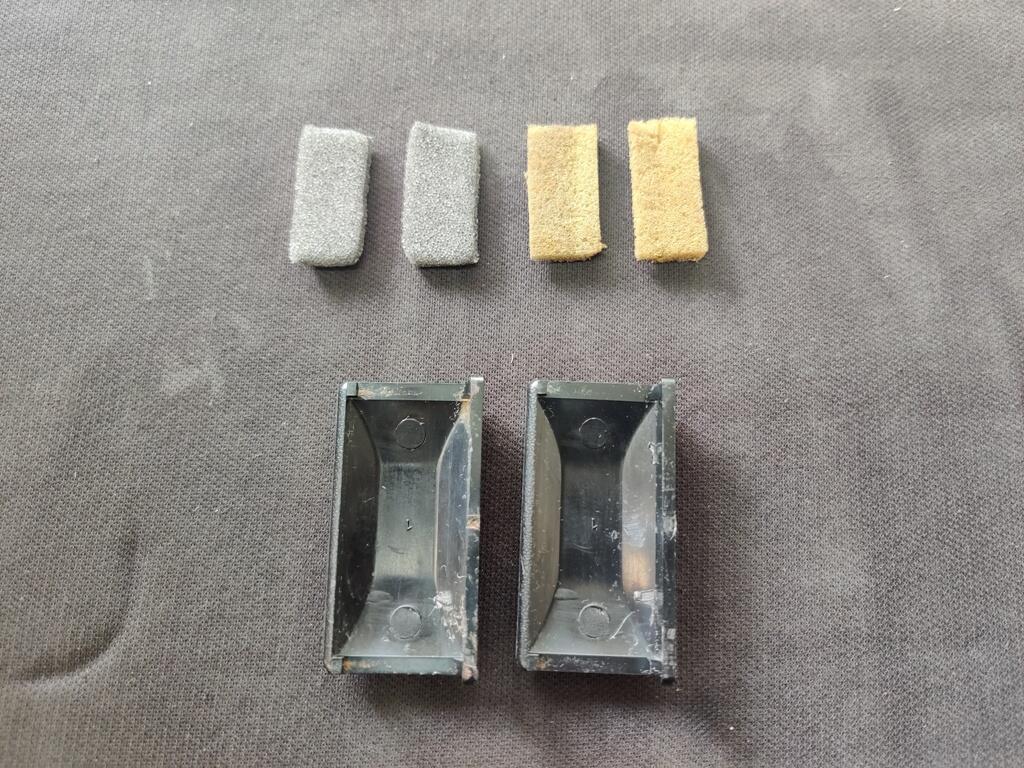
 While I have turned much of my attention to my other 240Z recently, there are still quite a few things on the to do list for this car. One of them was replacing the glove box hinge/panel. My old one had broken at one of the three hinge areas. I was lucky enough to find a NOS one. Having recently replaced the decal on the original one with a new decal, I had to procure another new decal, and put in on this new panel. I still have some alignment issues to work out before the glove box will shut properly. The Vintage dash that is the car requires a bit of trimming of foam and vinyl on the lower edge of the glove box opening to allow the hinge to operate properly. Another small item on my list was to install these plastic seat belt buckle trim plates (old foam on the right, new on the left, which I glued to the center backside of the trim: These go here on the 1971 belts: I used a heat gun to warm them up quite a bit before snapping them into place, which went without issue thankfully. I still have a bunch of details like this that need to be completed. I would like to swap out the headlights bulbs for some other Koito H1 type ones that I found which look more like the originals. There are various other markings I'd like put in place to replicate factory ones (paint markings). I also would like to get the original wheels refinished and get some stock sized tires mounted on them. The original hub caps that I have are very nice, but if I can get better results with the paint color experimentation, matching the original much better than my efforts thus far, I will refinish them. I still haven't done anything to address the lean condition that I am experiencing. So, that is still on my list. After about 4 rounds of pulling the valve cover off to adjust the valves (the valve noise was much more than I can recall with my other L series engines), I figured out part of my problem. I have generally been adjusting valves with the engine cold, but sometimes when it was kind of warm as well. I was sure it would tighten up as the engine got warm. What I have found instead is the the lash clearance actually grows a bit when the engine warms up. The specification for my camshaft is .006" on the intake and .008" on the exhaust. I started off with setting the clearance at that spec with the engine completely cold. I then found that the lash was a bit larger with the engine lukewarm and a bit larger still with the engine hot. Seeing this, and after resetting lash a couple of times prior with no improvement, I decided to use .005" and .007" while the engine is cold instead. With that I achieve notable improvement.


-
Edit - the author apparently didn't know that the history was documented and easily verified. @Carl Beck From his web site - 1975 - Sold to Kenneth E. Logan D.D.S. - L.A., Calif.. Driven for a couple years then stored away. 1998 - Sold to Michael W. Pretzer. Michael decides to continue his education and sells to Carl Beck. 1999 - Purchased by Carl Beck - who will restore it to original "BRE Racing Trim" 2007 - Restoration to "As Raced" condition completed
-
BOT.... btw.. Matt have you finished your car?
-

 I agree, that's what I used on all the vinyl and firewall pads. I don't know why I didn't use it on the weatherstrip......I was amazed after 50 years, it just peeled right up and didn't harm the vinyl in any way, still pliable.
Good looking bird!
I agree, that's what I used on all the vinyl and firewall pads. I don't know why I didn't use it on the weatherstrip......I was amazed after 50 years, it just peeled right up and didn't harm the vinyl in any way, still pliable.
Good looking bird! Known to challenge The Hackenthorpe Book Of Lies for top dog status.
 I'm taking a year off from life. 99% of the bad ones are from pushing to fast to get back to work. Not me, I enjoy being at home.


.JPG.4b07a84c858d04a667bb62f7bdec0dea.JPG)


Important Information
By using this site, you agree to our Privacy Policy and Guidelines. We have placed cookies on your device to help make this website better. You can adjust your cookie settings, otherwise we'll assume you're okay to continue.