Search the Community
Showing results for tags '240z'.
Found 336 results
-
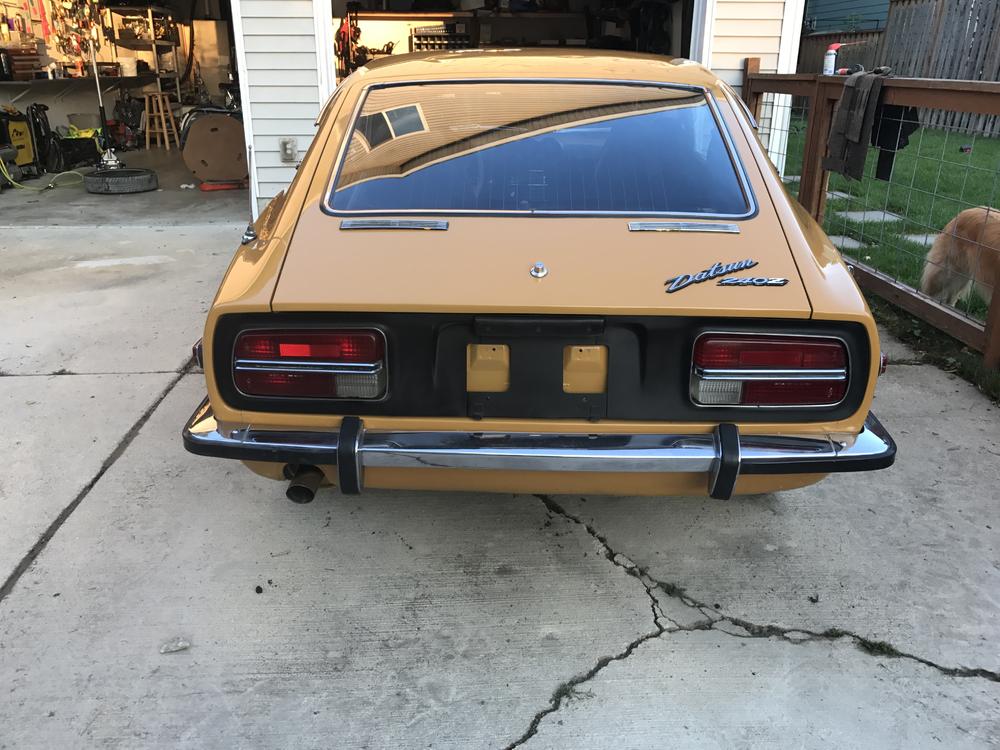
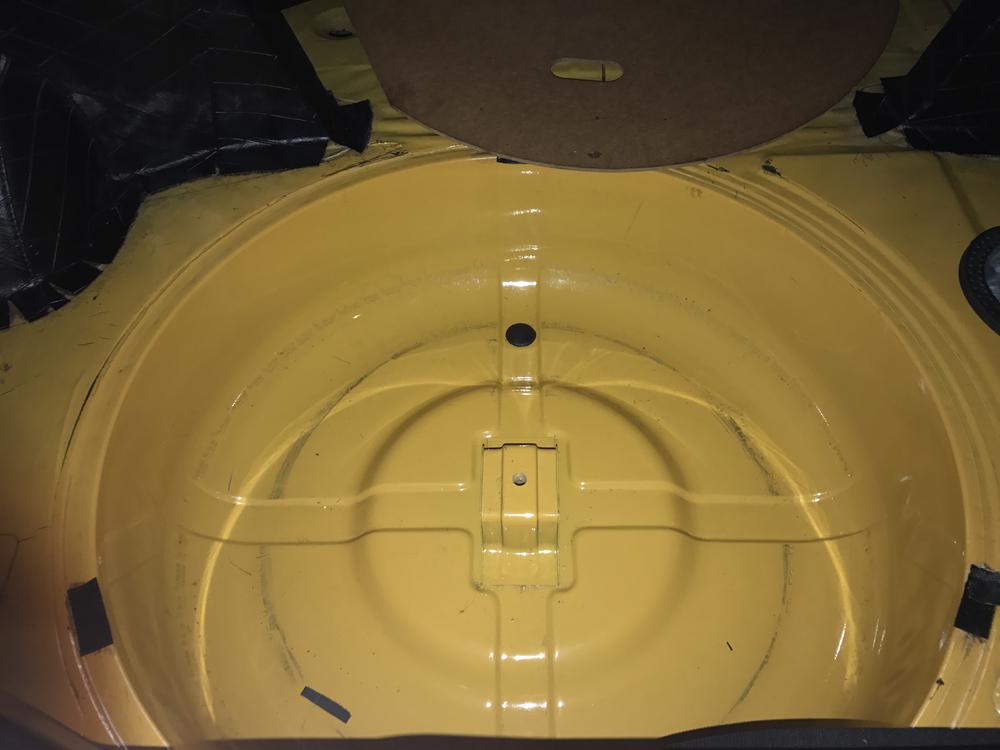
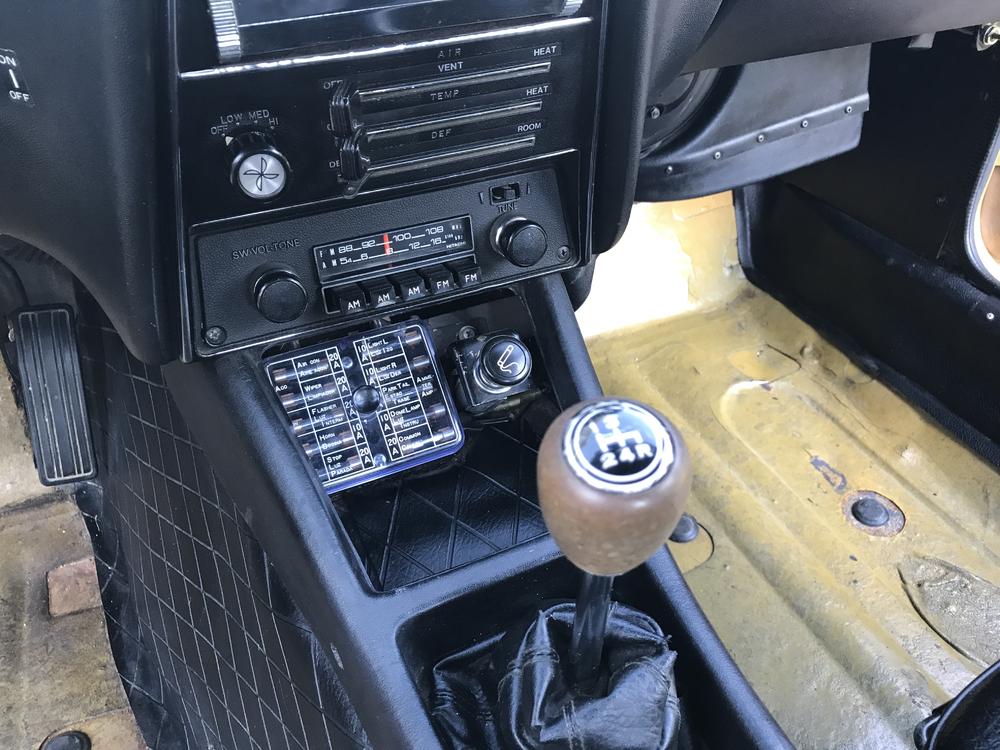
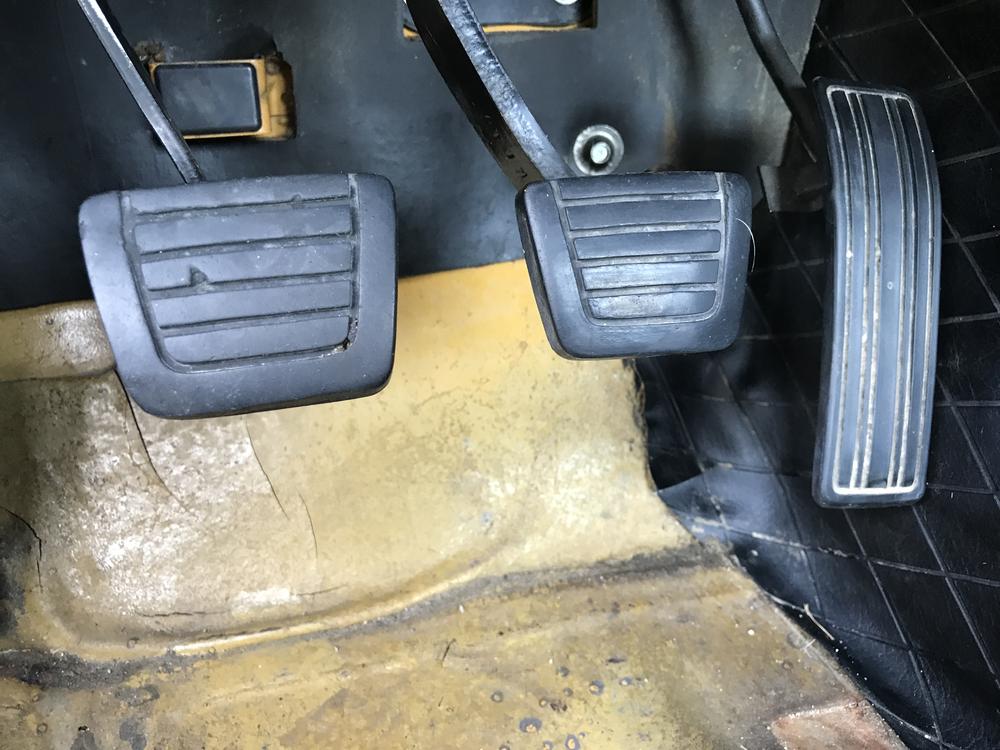
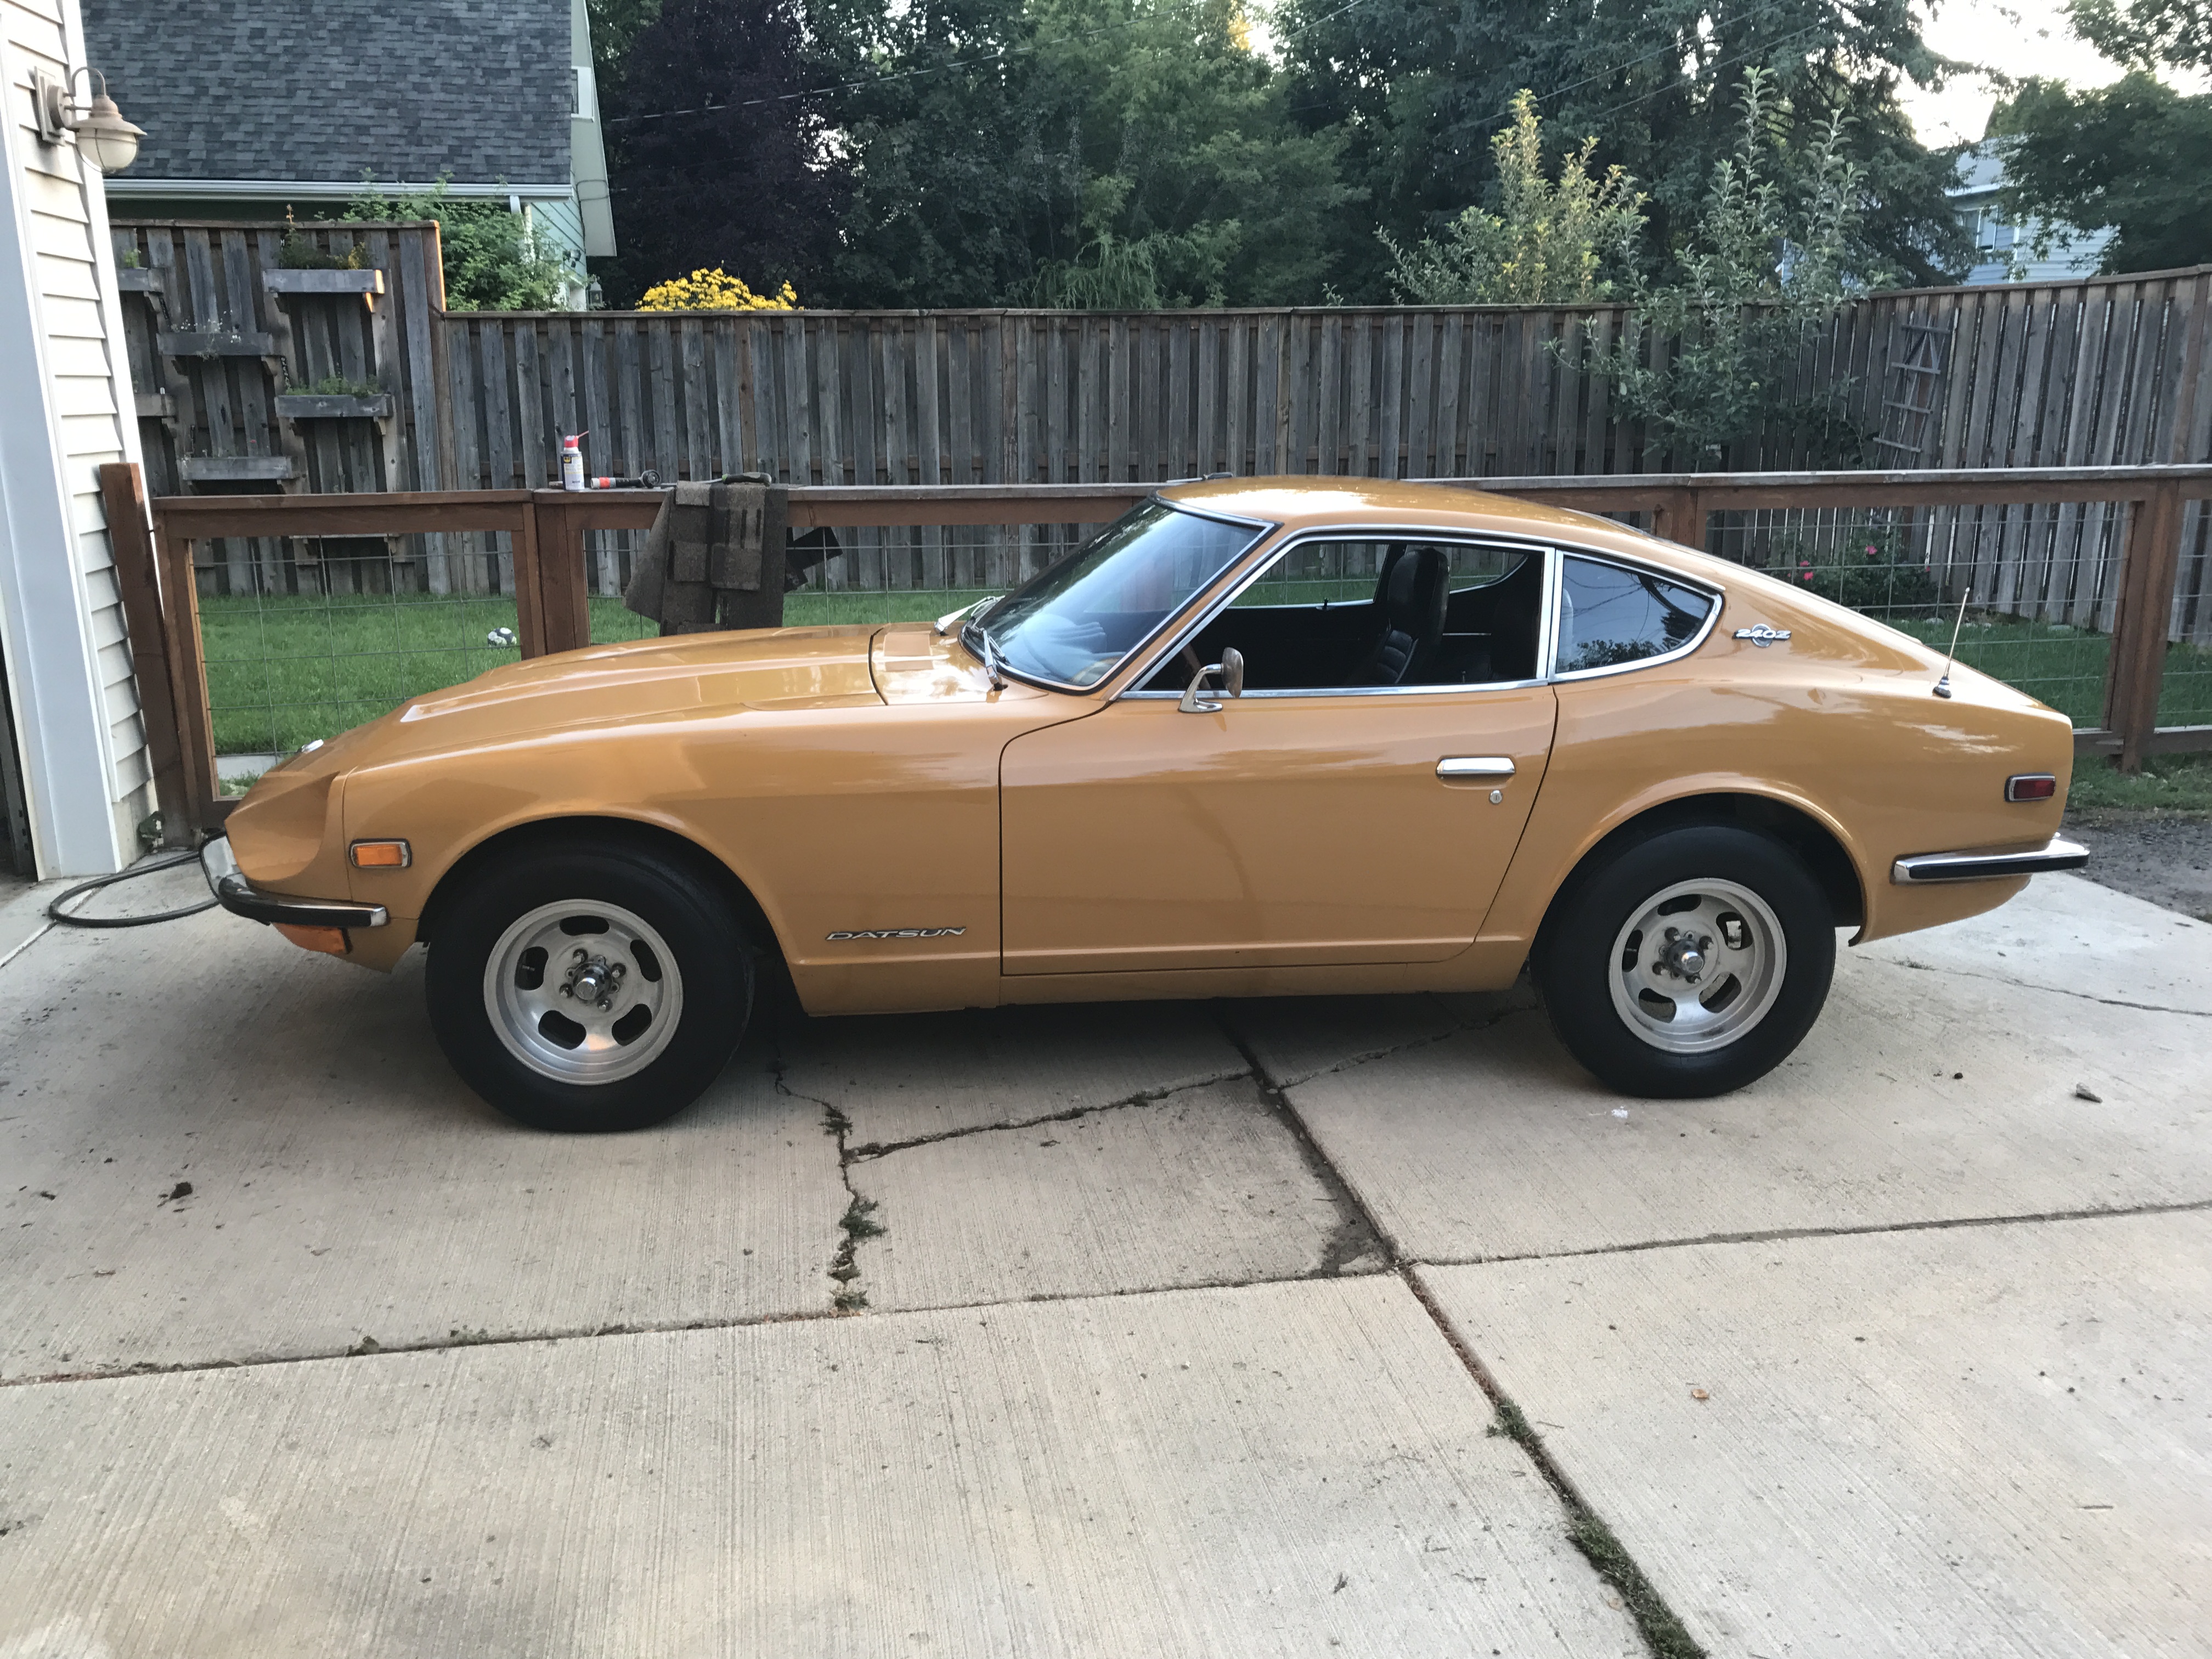
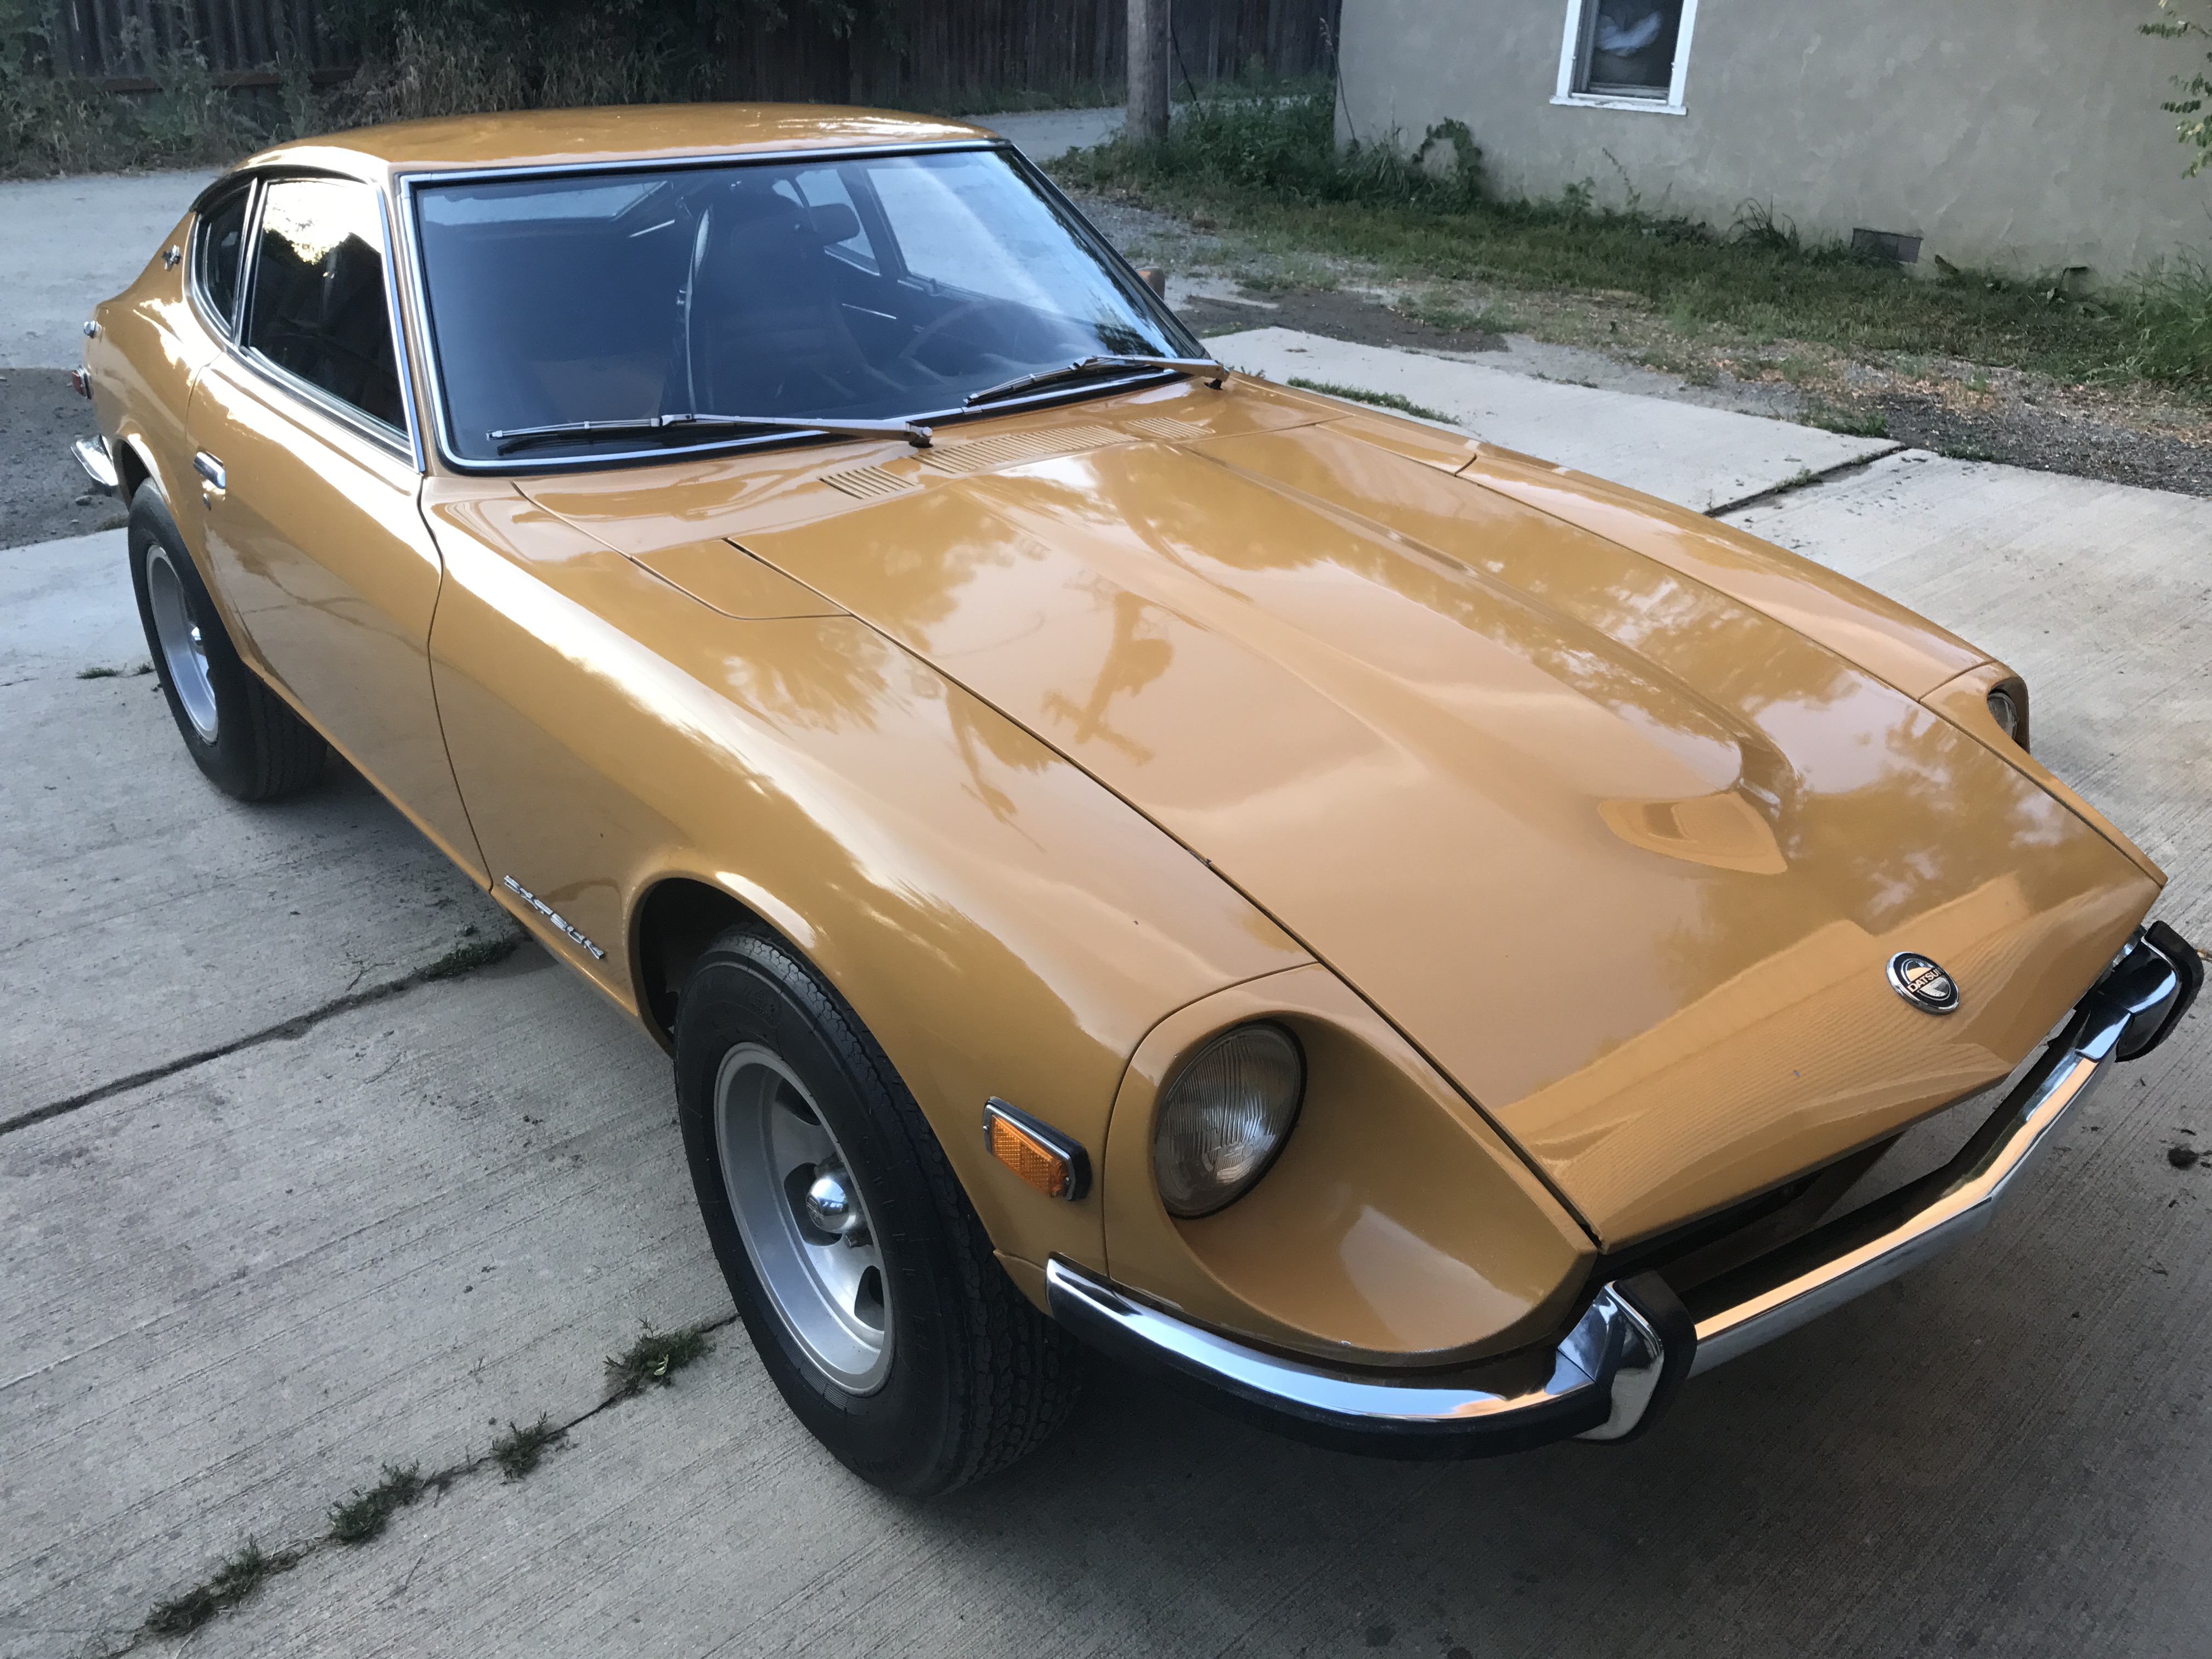
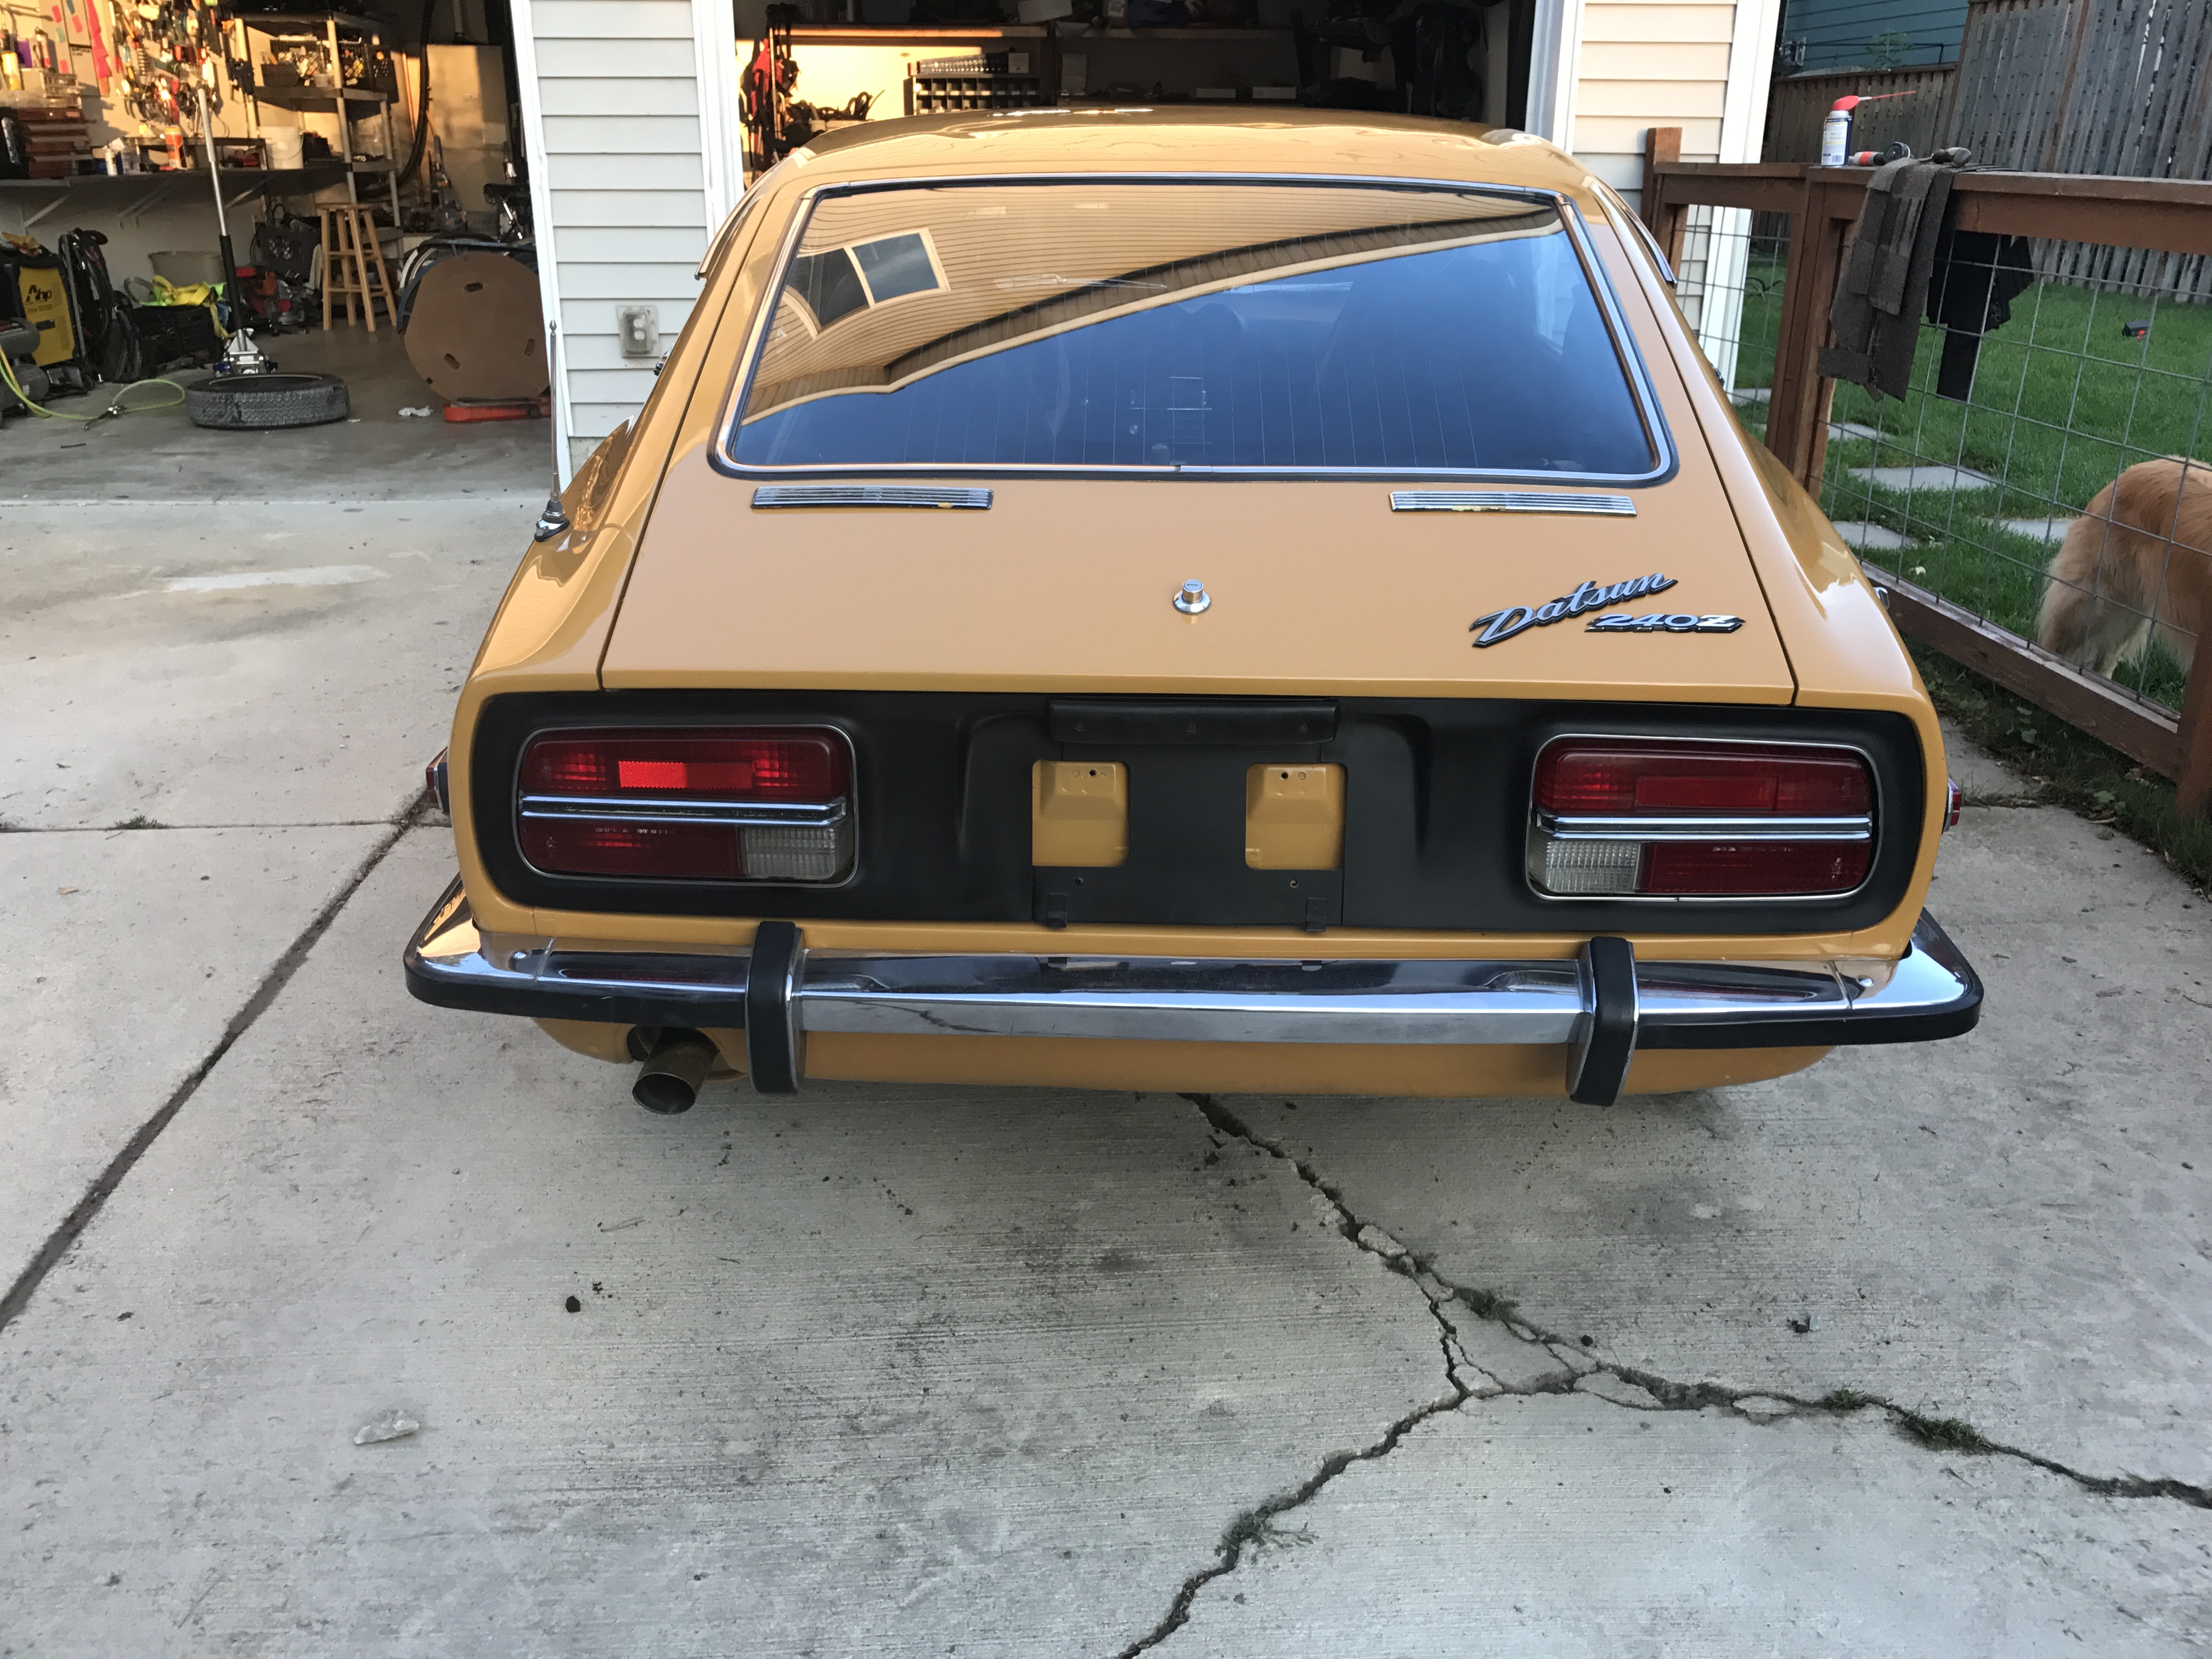
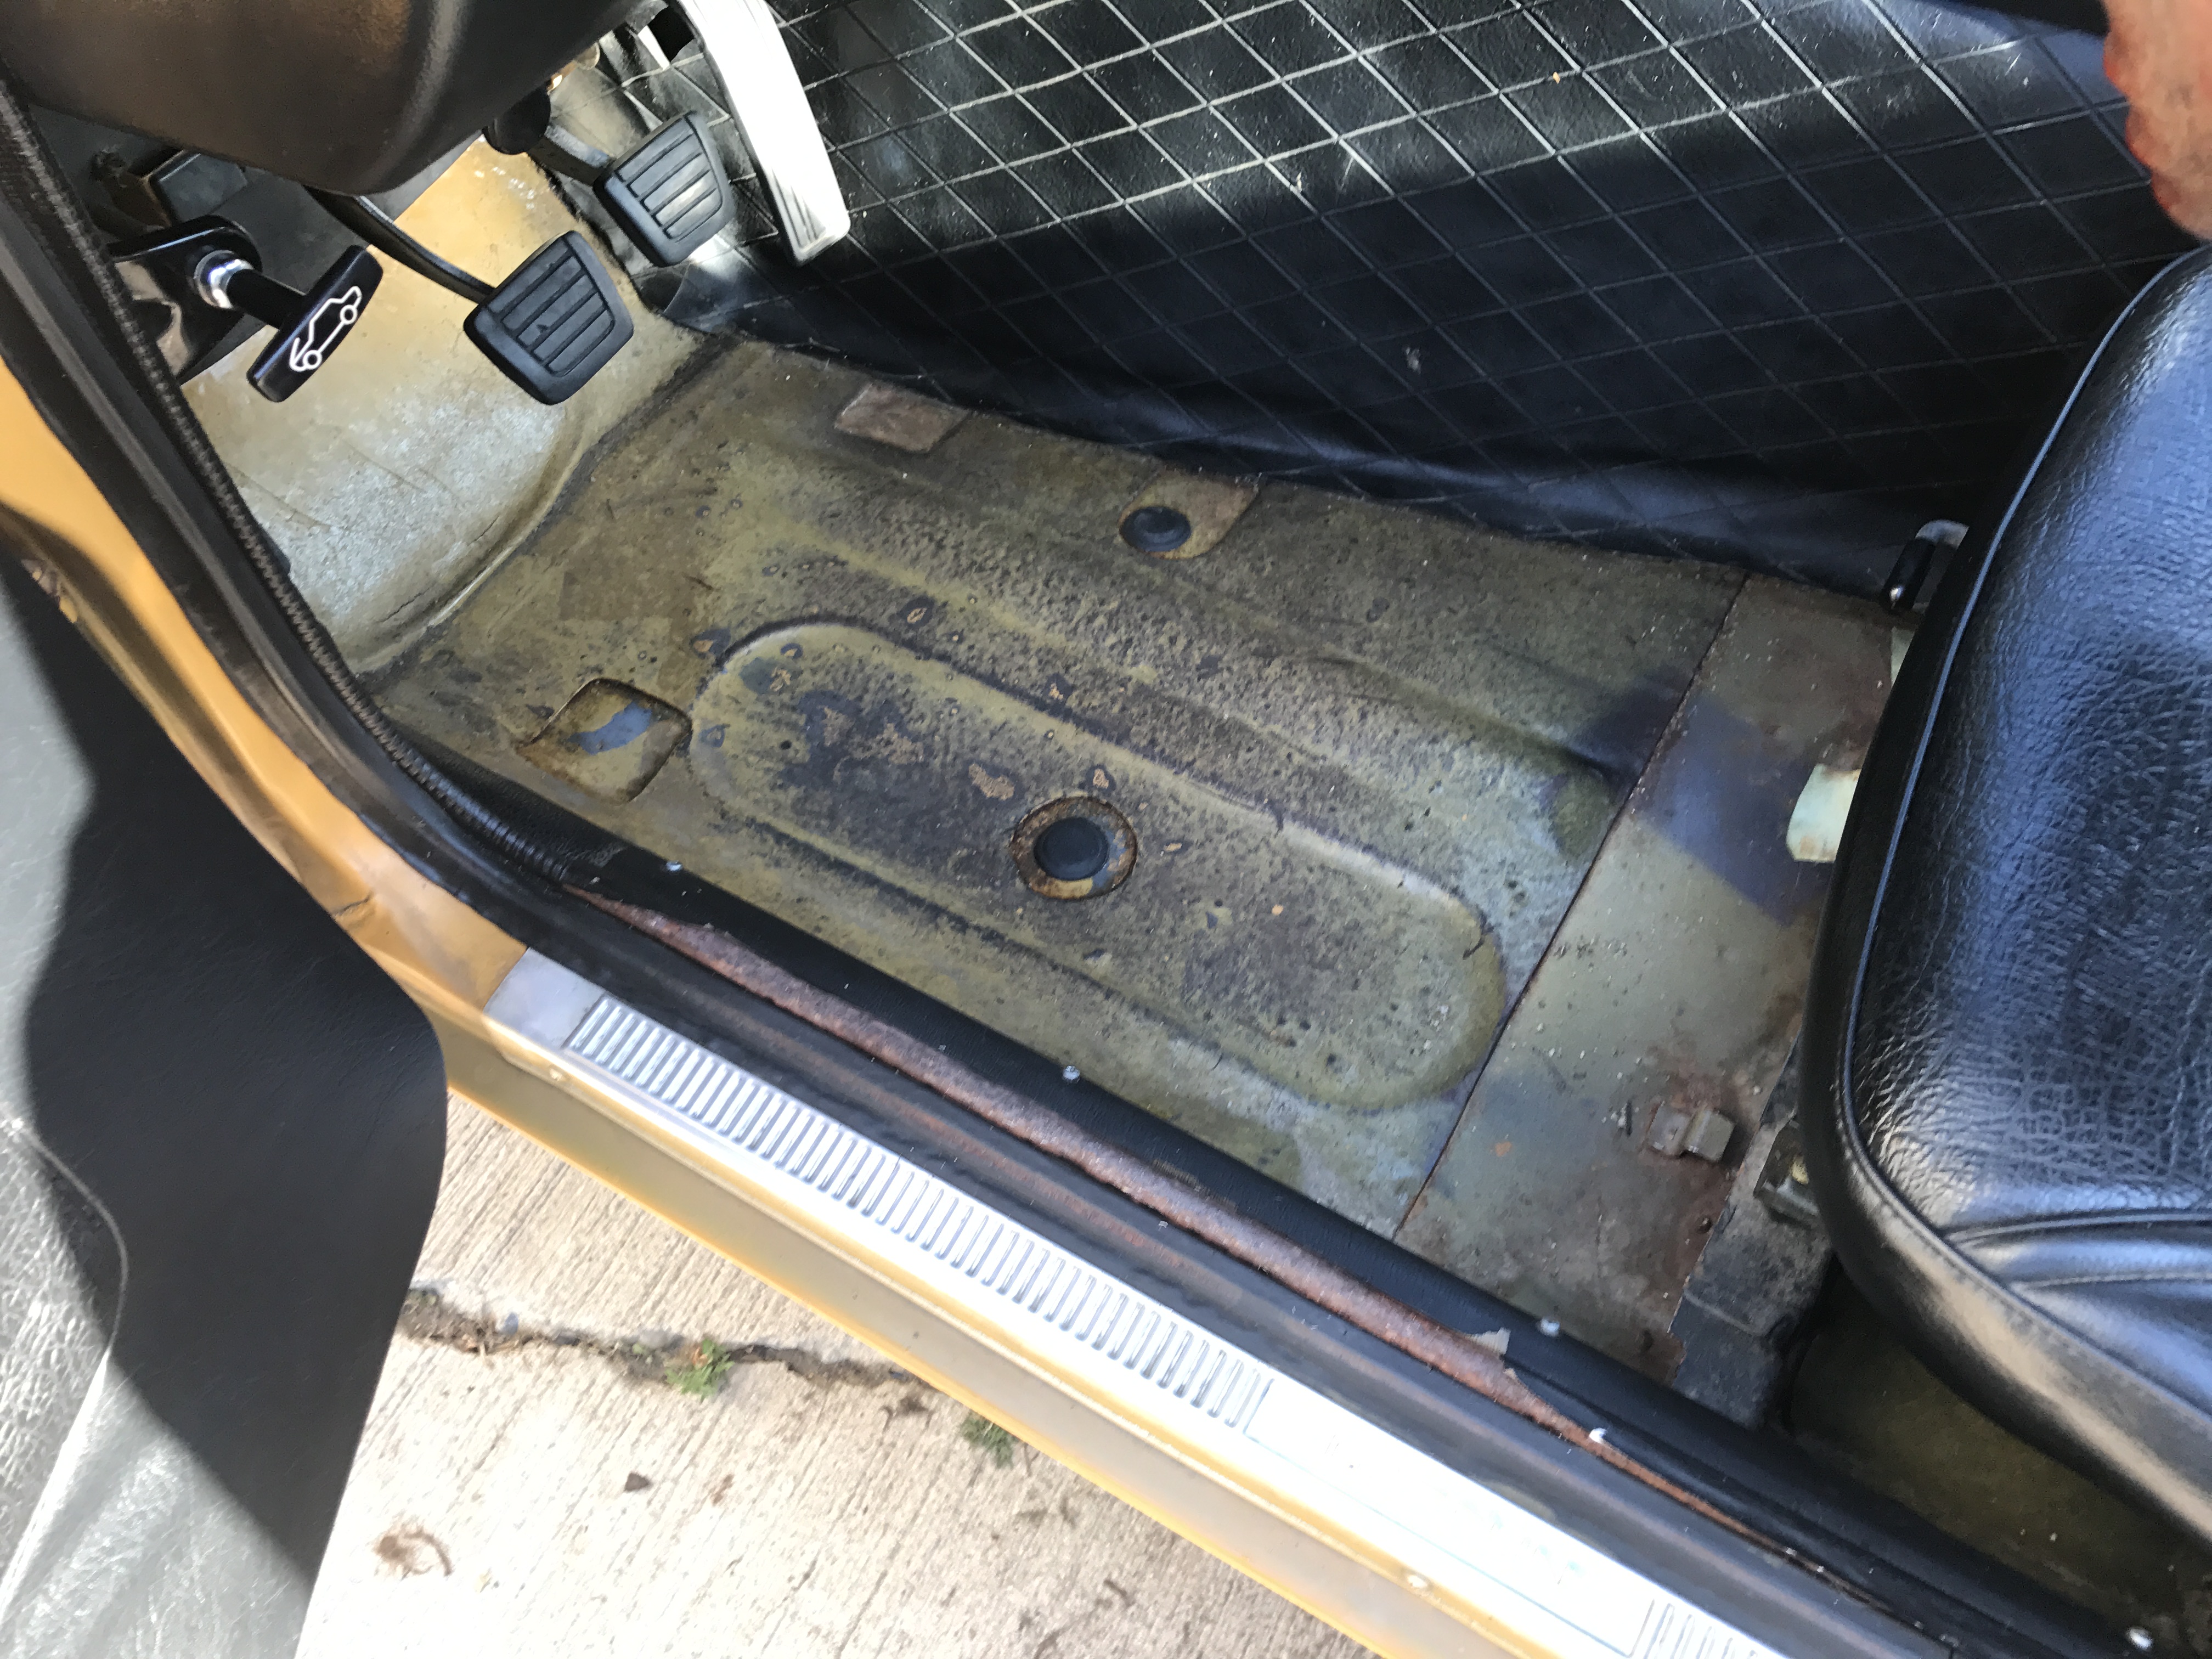
 Hello all, I am going to document my build. Basically I have a garage kept series 1 240z. That hasn't driven since 1986, it needed brakes which she couldn't afford so it has sat since. It was resprayed in the 80s as well. Some bad overspray but overall it's a very rust free car. I actually found it in my neighbors garage. My goal is to drive it and enjoy it, but it needs some TLC. First and foremost I got it running, and that is when I made the decision to keep it and I have fallen in love. I will keep it mostly original, minus some brakes upgrades, wheels and BC coilovers. Maybe someday have a built motor for it, but not for now. Everything I take off will be either professionally painted, re - zinc coated or powder coated when it goes back on. I am going to try and stay away from painting it. Everything I do will be reversible and I am keeping all parts I pull off/ upgrade. First thing I did was get it cleaned. Which took a long long time. I started this on Hybriz but I don't think it's the correct build for their site. So I am going to move it over here. I am new to Z's but have been building cars since high school. This is my 2nd major build.


-

-
 Hey guys. Here's some pictures of the build-up of my car. I bought it in 2010, in November. It's a Datsun 240Z built in 1972, first bought in 1973. The car had it's engine shot and the floor was mostly rust covered with silicon kind of ish. Interior was also in bad shape. The car was originally white with dark red interior so I decided to keep that combo - with a twist. It took me half a year to get where I am now working day by day on the car. Here's what was done so far: Engine: 2.8 liter block bored 0,2mm and fully rebuilt with dished pistons, cleaned round top Hitachi carburators with fresh 20W oil, new gaskets, K&N oil filter, fresh paint on block and engine cover, custom exhaust with CherryBomb Turbo muffler, R200 limited slip differential with 280Z mounts and mustache, 5 speed manual gearbox, Centerforce clutch. Body: New floor, and some body panels, every other body part repaired, removed antenna and emblem holes, front and rear bumpers modified and painted, FairladyZ emblems, BRE duck tail, Xenon front air dam with cooling duct holes, ZG fender flares, clear headlight covers, H4 headlights, clear front indicators modified to work as positioning lights, clear front side markers, new mirrors on door. Color is Spectrum White Pearl. Interior: Fresh roof liner, repaired trims and new gaskets, screws, pins, dash cracks repaired and dash half cover installed, OMP Brands Hatch seats, roll bar, Nardi Torino Classic steering wheel and hub, Nardi Classico gear knob, Nardi handbrake lever with custom leather boot, Sparco Reflex pedal set, new floor carpet and Z logo carpets, new speedometer line and all bulbs. Some stereo system on it's way too including Nakamichi player and speaker box as taillight cover. Suspension and wheels: Hayashi Racing 501 meshies with rotors powder coated gold, custom aluminum caps, front 15x8 ET 0 with 35mm spacer, rear 15x9,5 ET -38, no spacer, tires BF Goodrich G-Force Sport 225/55/15 front and rear, Tokico adjustable struts, unknown coils, fully adjustable hight, front suspension spacers, pillow mounts with adjustable camber f+r, adjustable camber aluminum bushings f+r, polyurethane bushings everywhere else, Cusco rear stabilizer bar, front brakes swapped with bigger diameter brake rotors and 4-pot calipers, Goodridge steel brake lines, suspension parts powder coated gold and black, front and rear strut bars. There's some more things that I can't remember now. I'll update it eventually. Pics: After I bought the car - it looked OK but boy what a mess of a car it was: The rebuild process:
 -
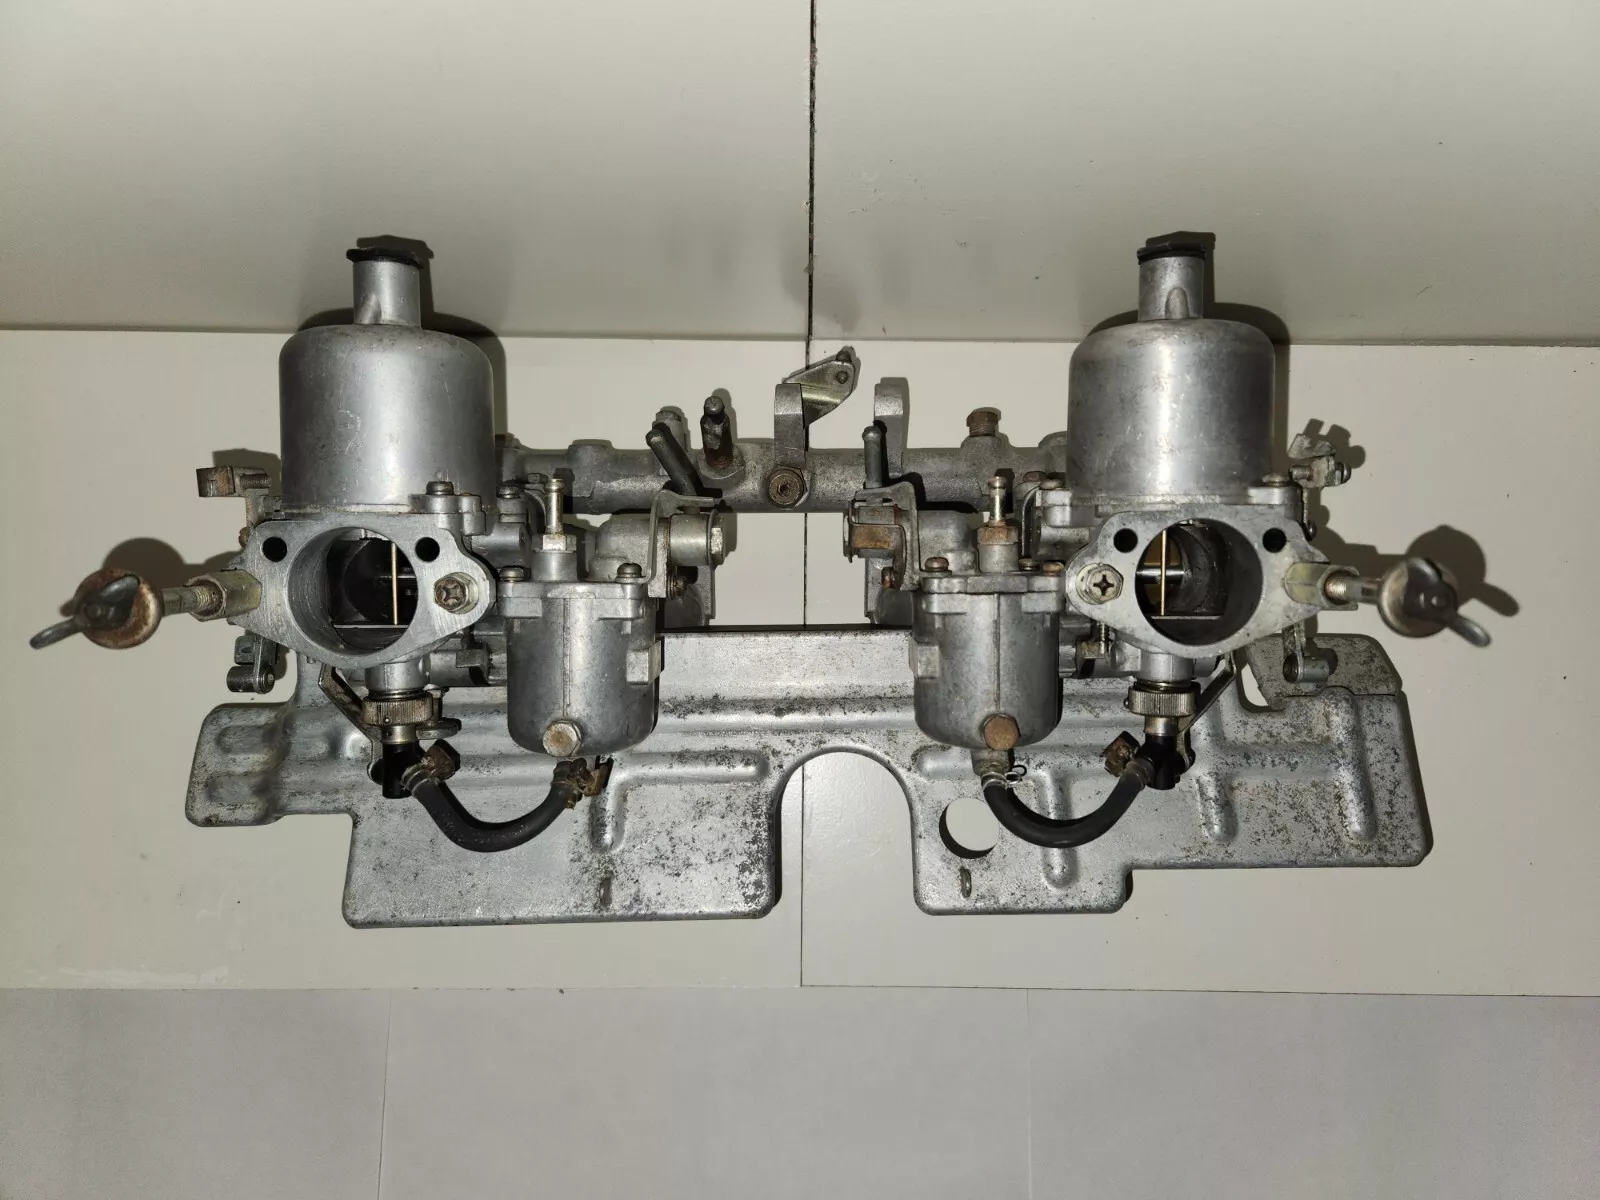
 Re-listed Hitachi SU carburetors About $590 USD or $850 CAD https://www.ebay.ca/itm/375833935475
-
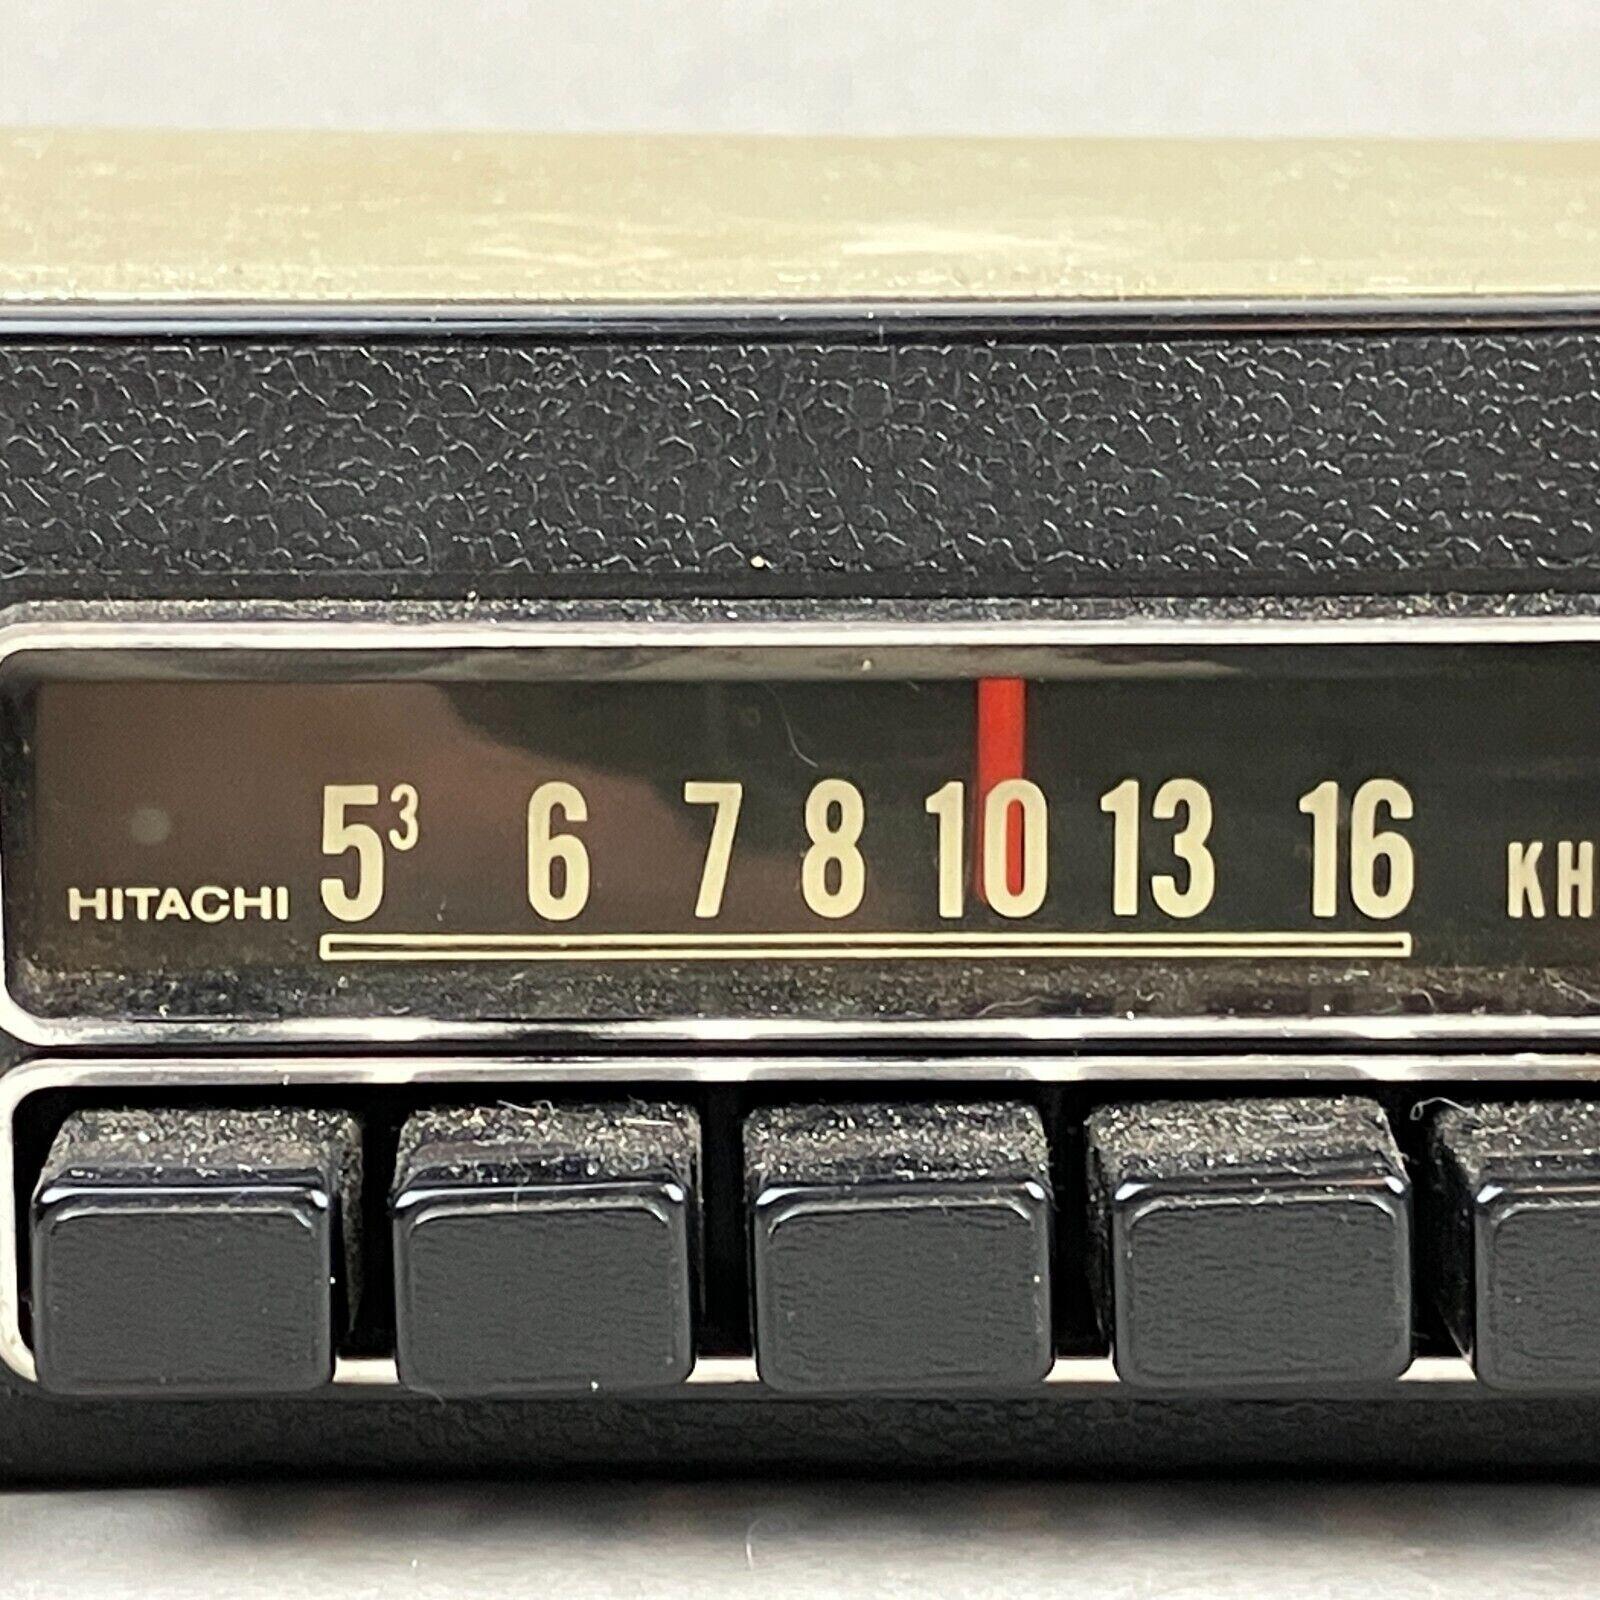
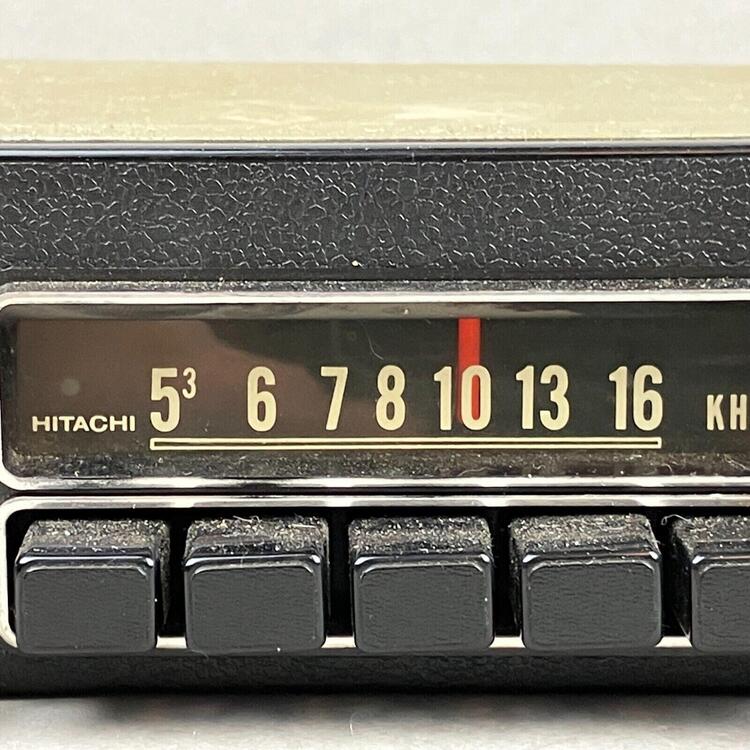
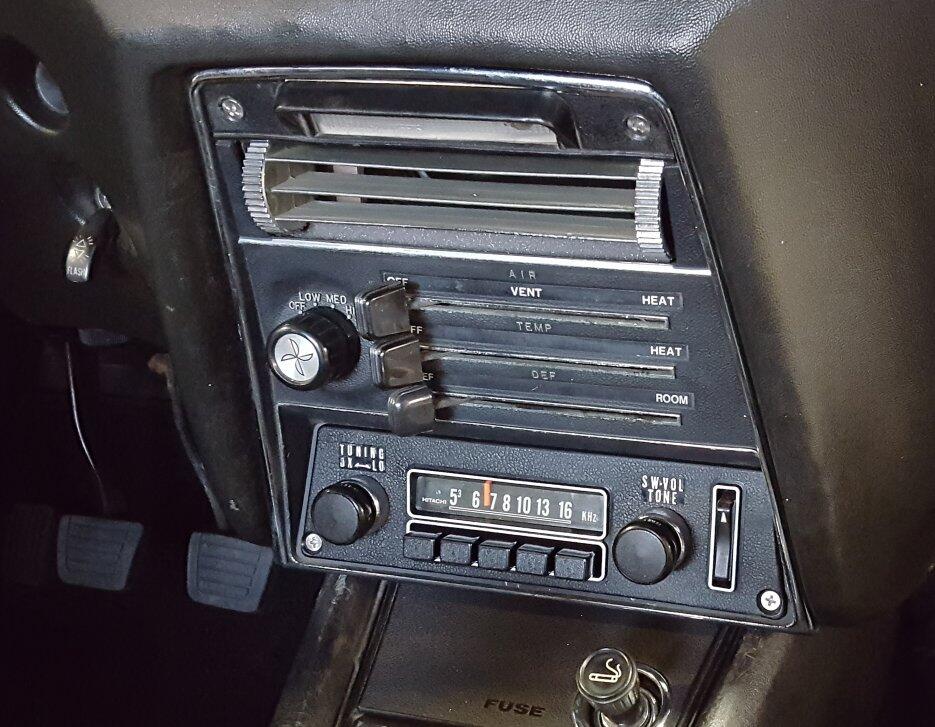
 Hi all, Does anyone have any insight on the different fonts used on the Series 1 AM radio faceplate for the numbers? I can see two styles: A more rounded sans serif font, as seen here, here and here (on the $310k BaT sale) A stenciled, almost "military" style block font, as seen here and here I'm unsure if it's factory differences, a different model (I've seen references of a Hitachi TM-1081 with different Z and B codes), or simply restoration work. Any information would be appreciated as I'm trying to acquire an original, correct radio for my 10/71 Series 1. Attaching images here also incase the links go dead in the future.
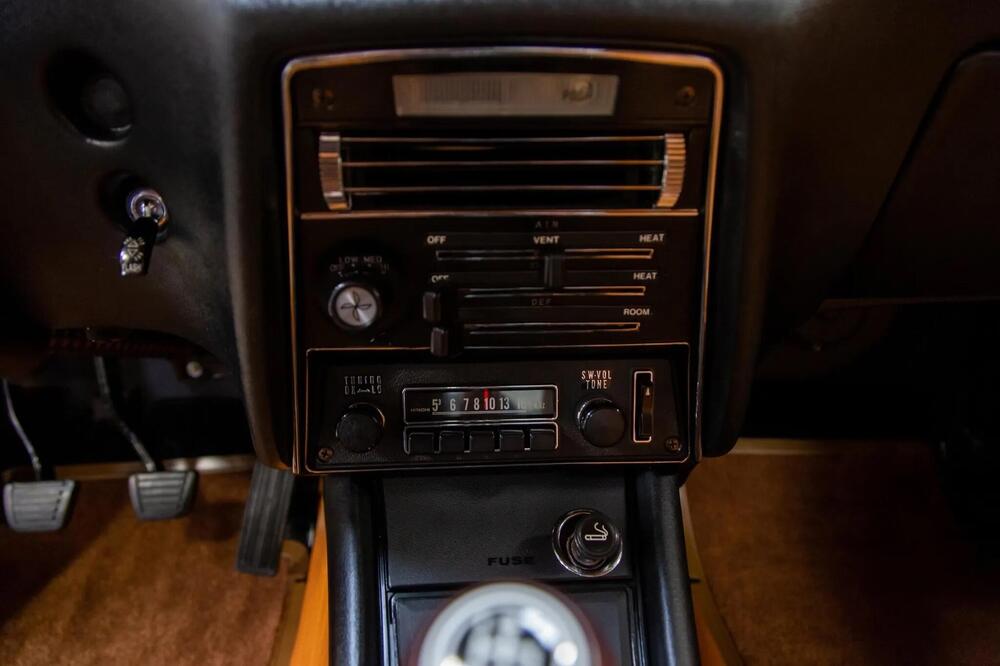
.thumb.jpg.2999a48a118b60eebc97994554dcb3bb.jpg)
.thumb.jpg.ce6ae95214ecbe383fa616a4eb92d9fa.jpg)
-
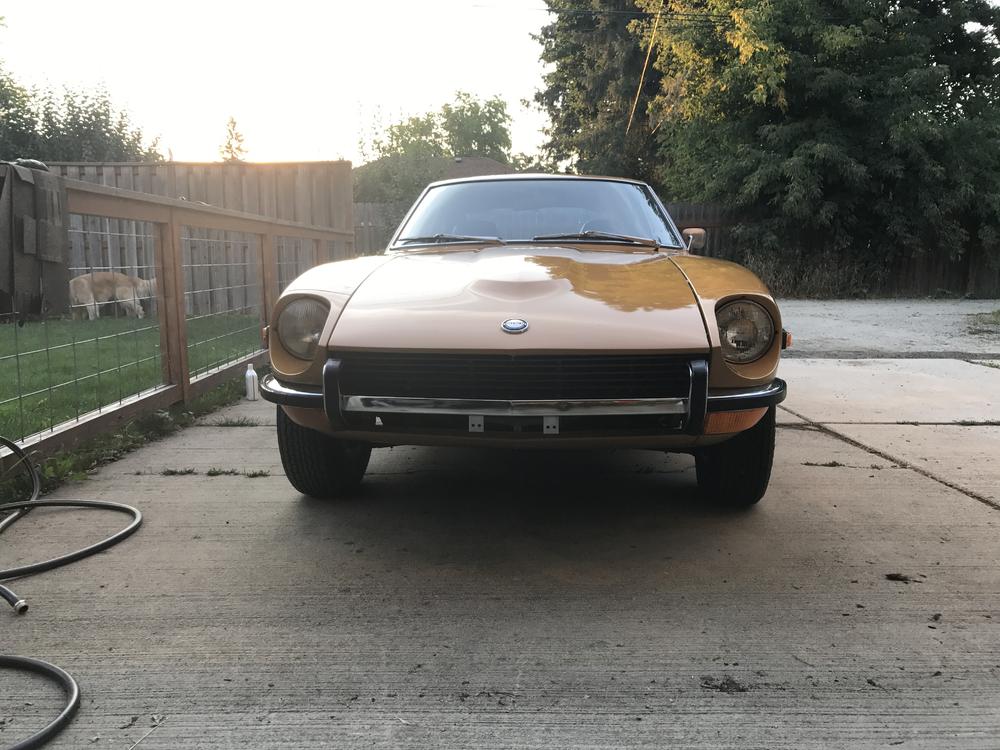
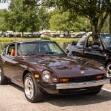
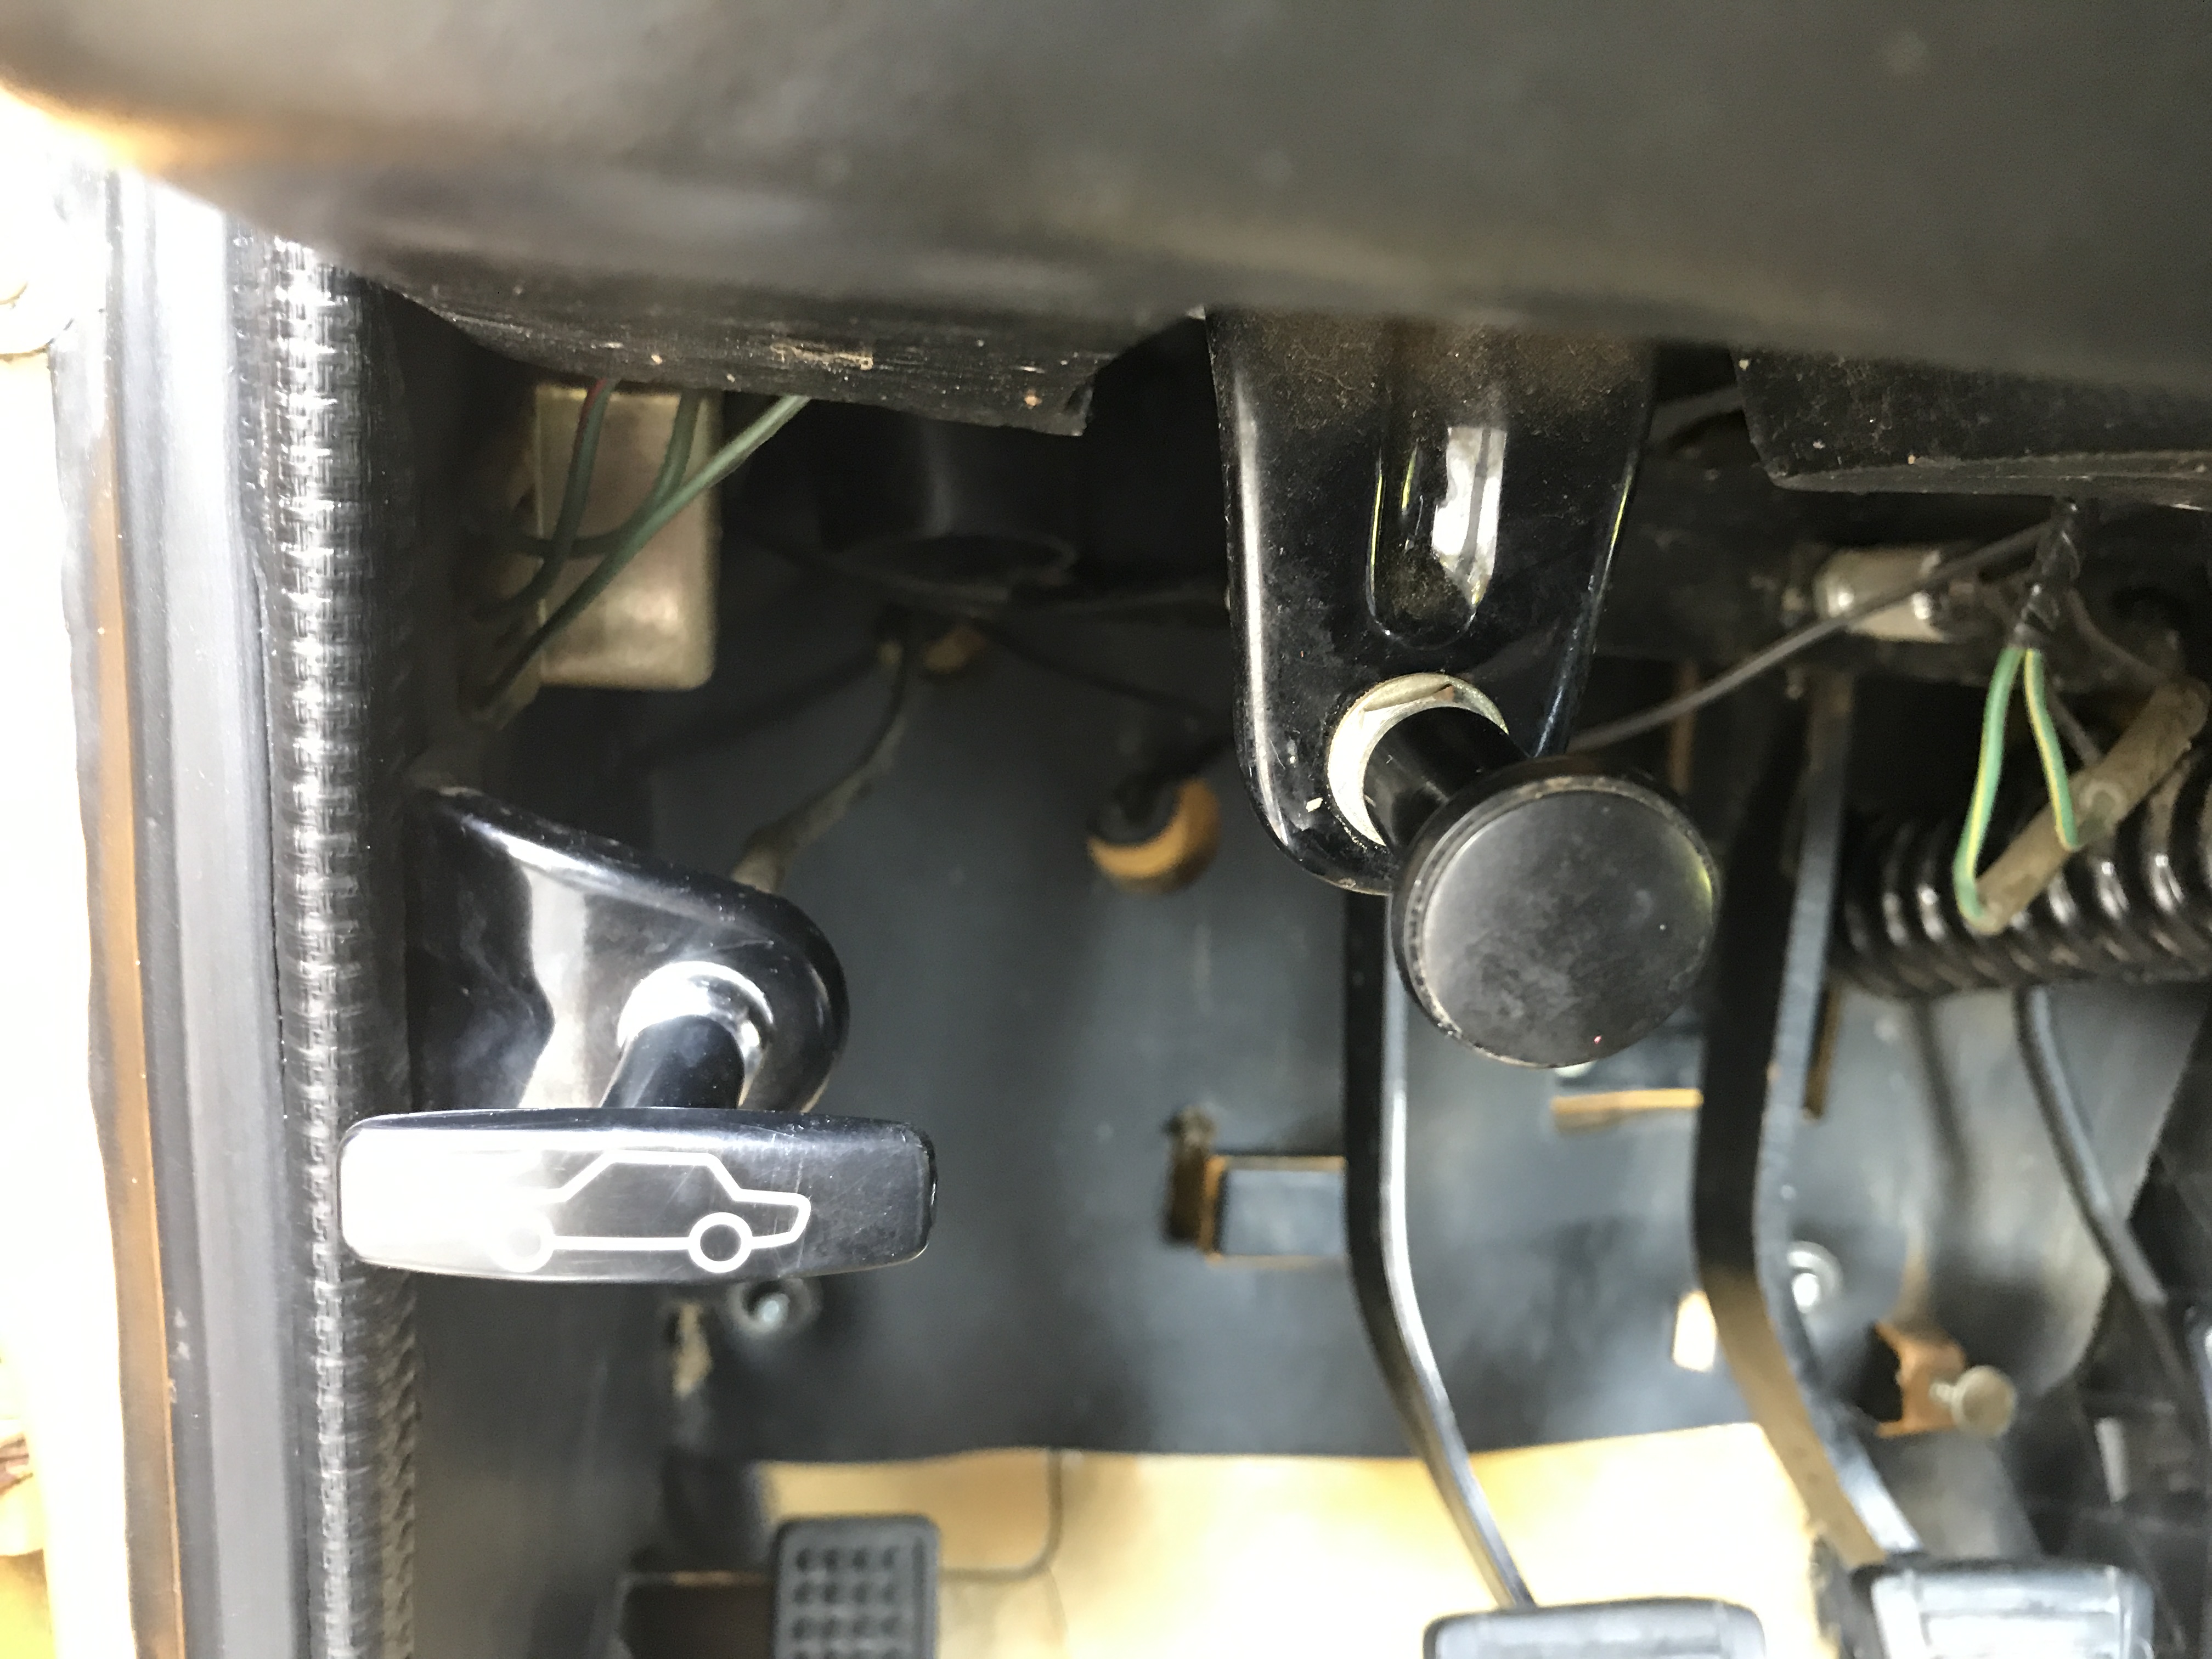
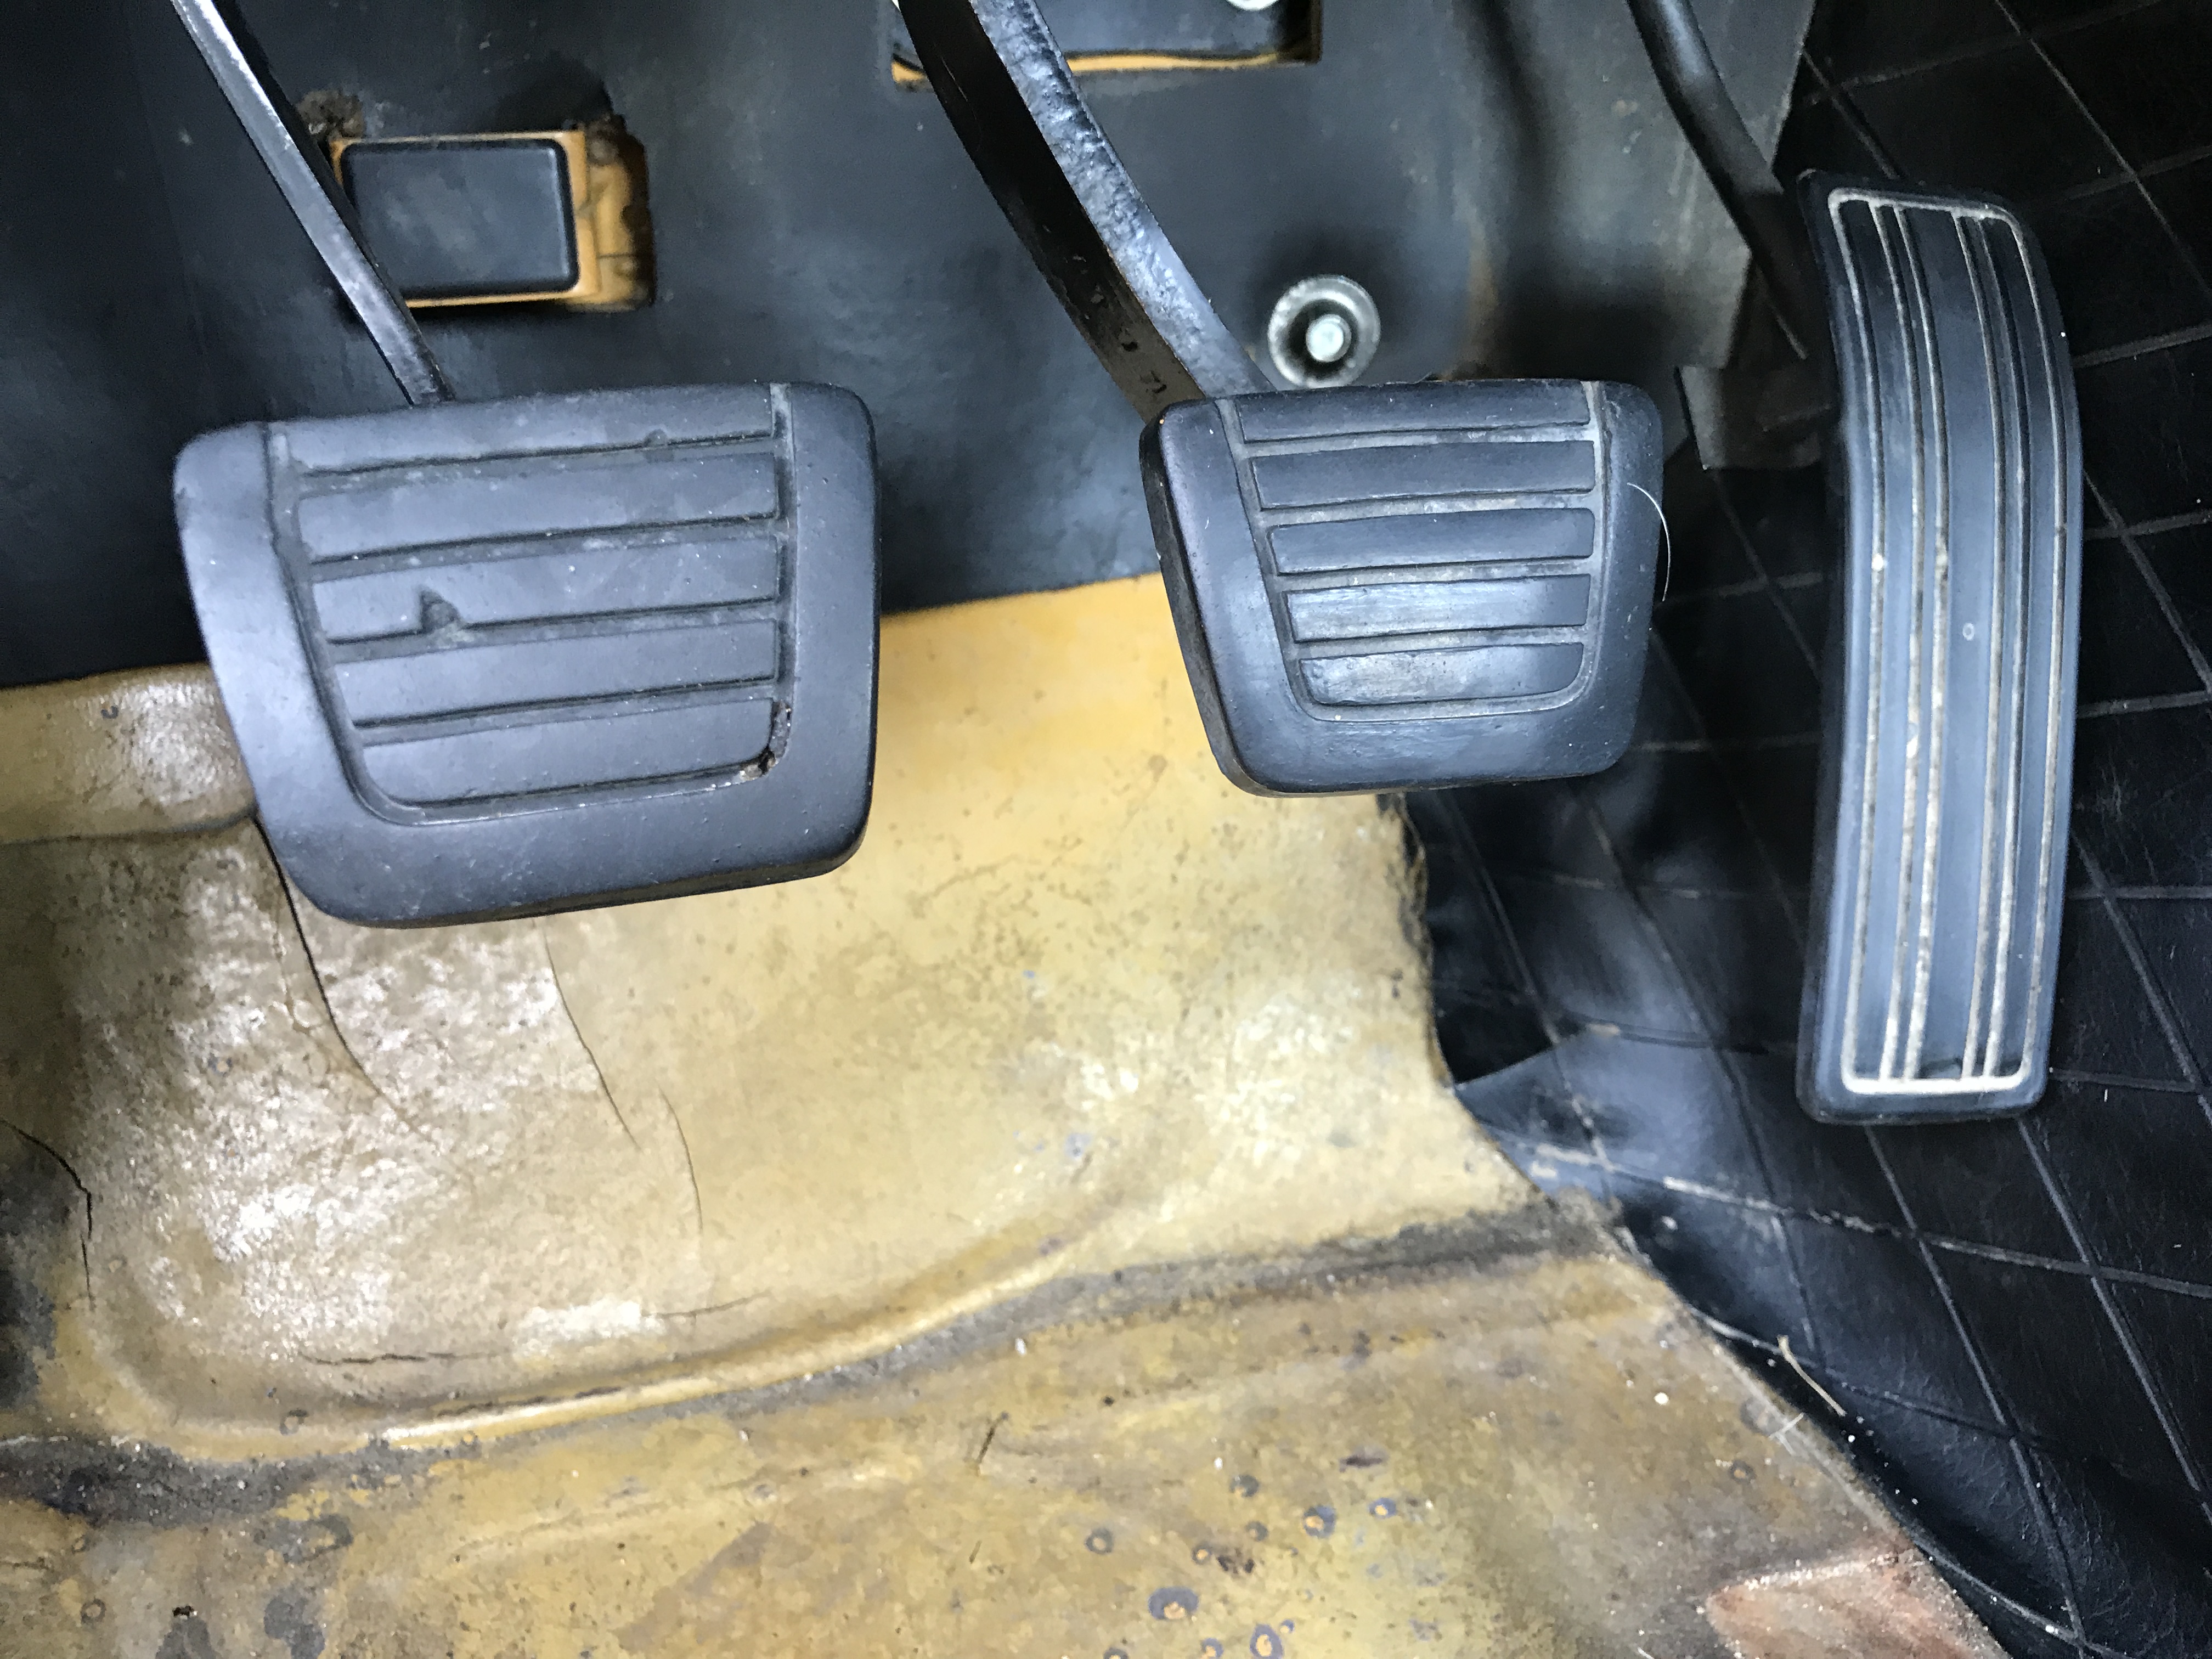
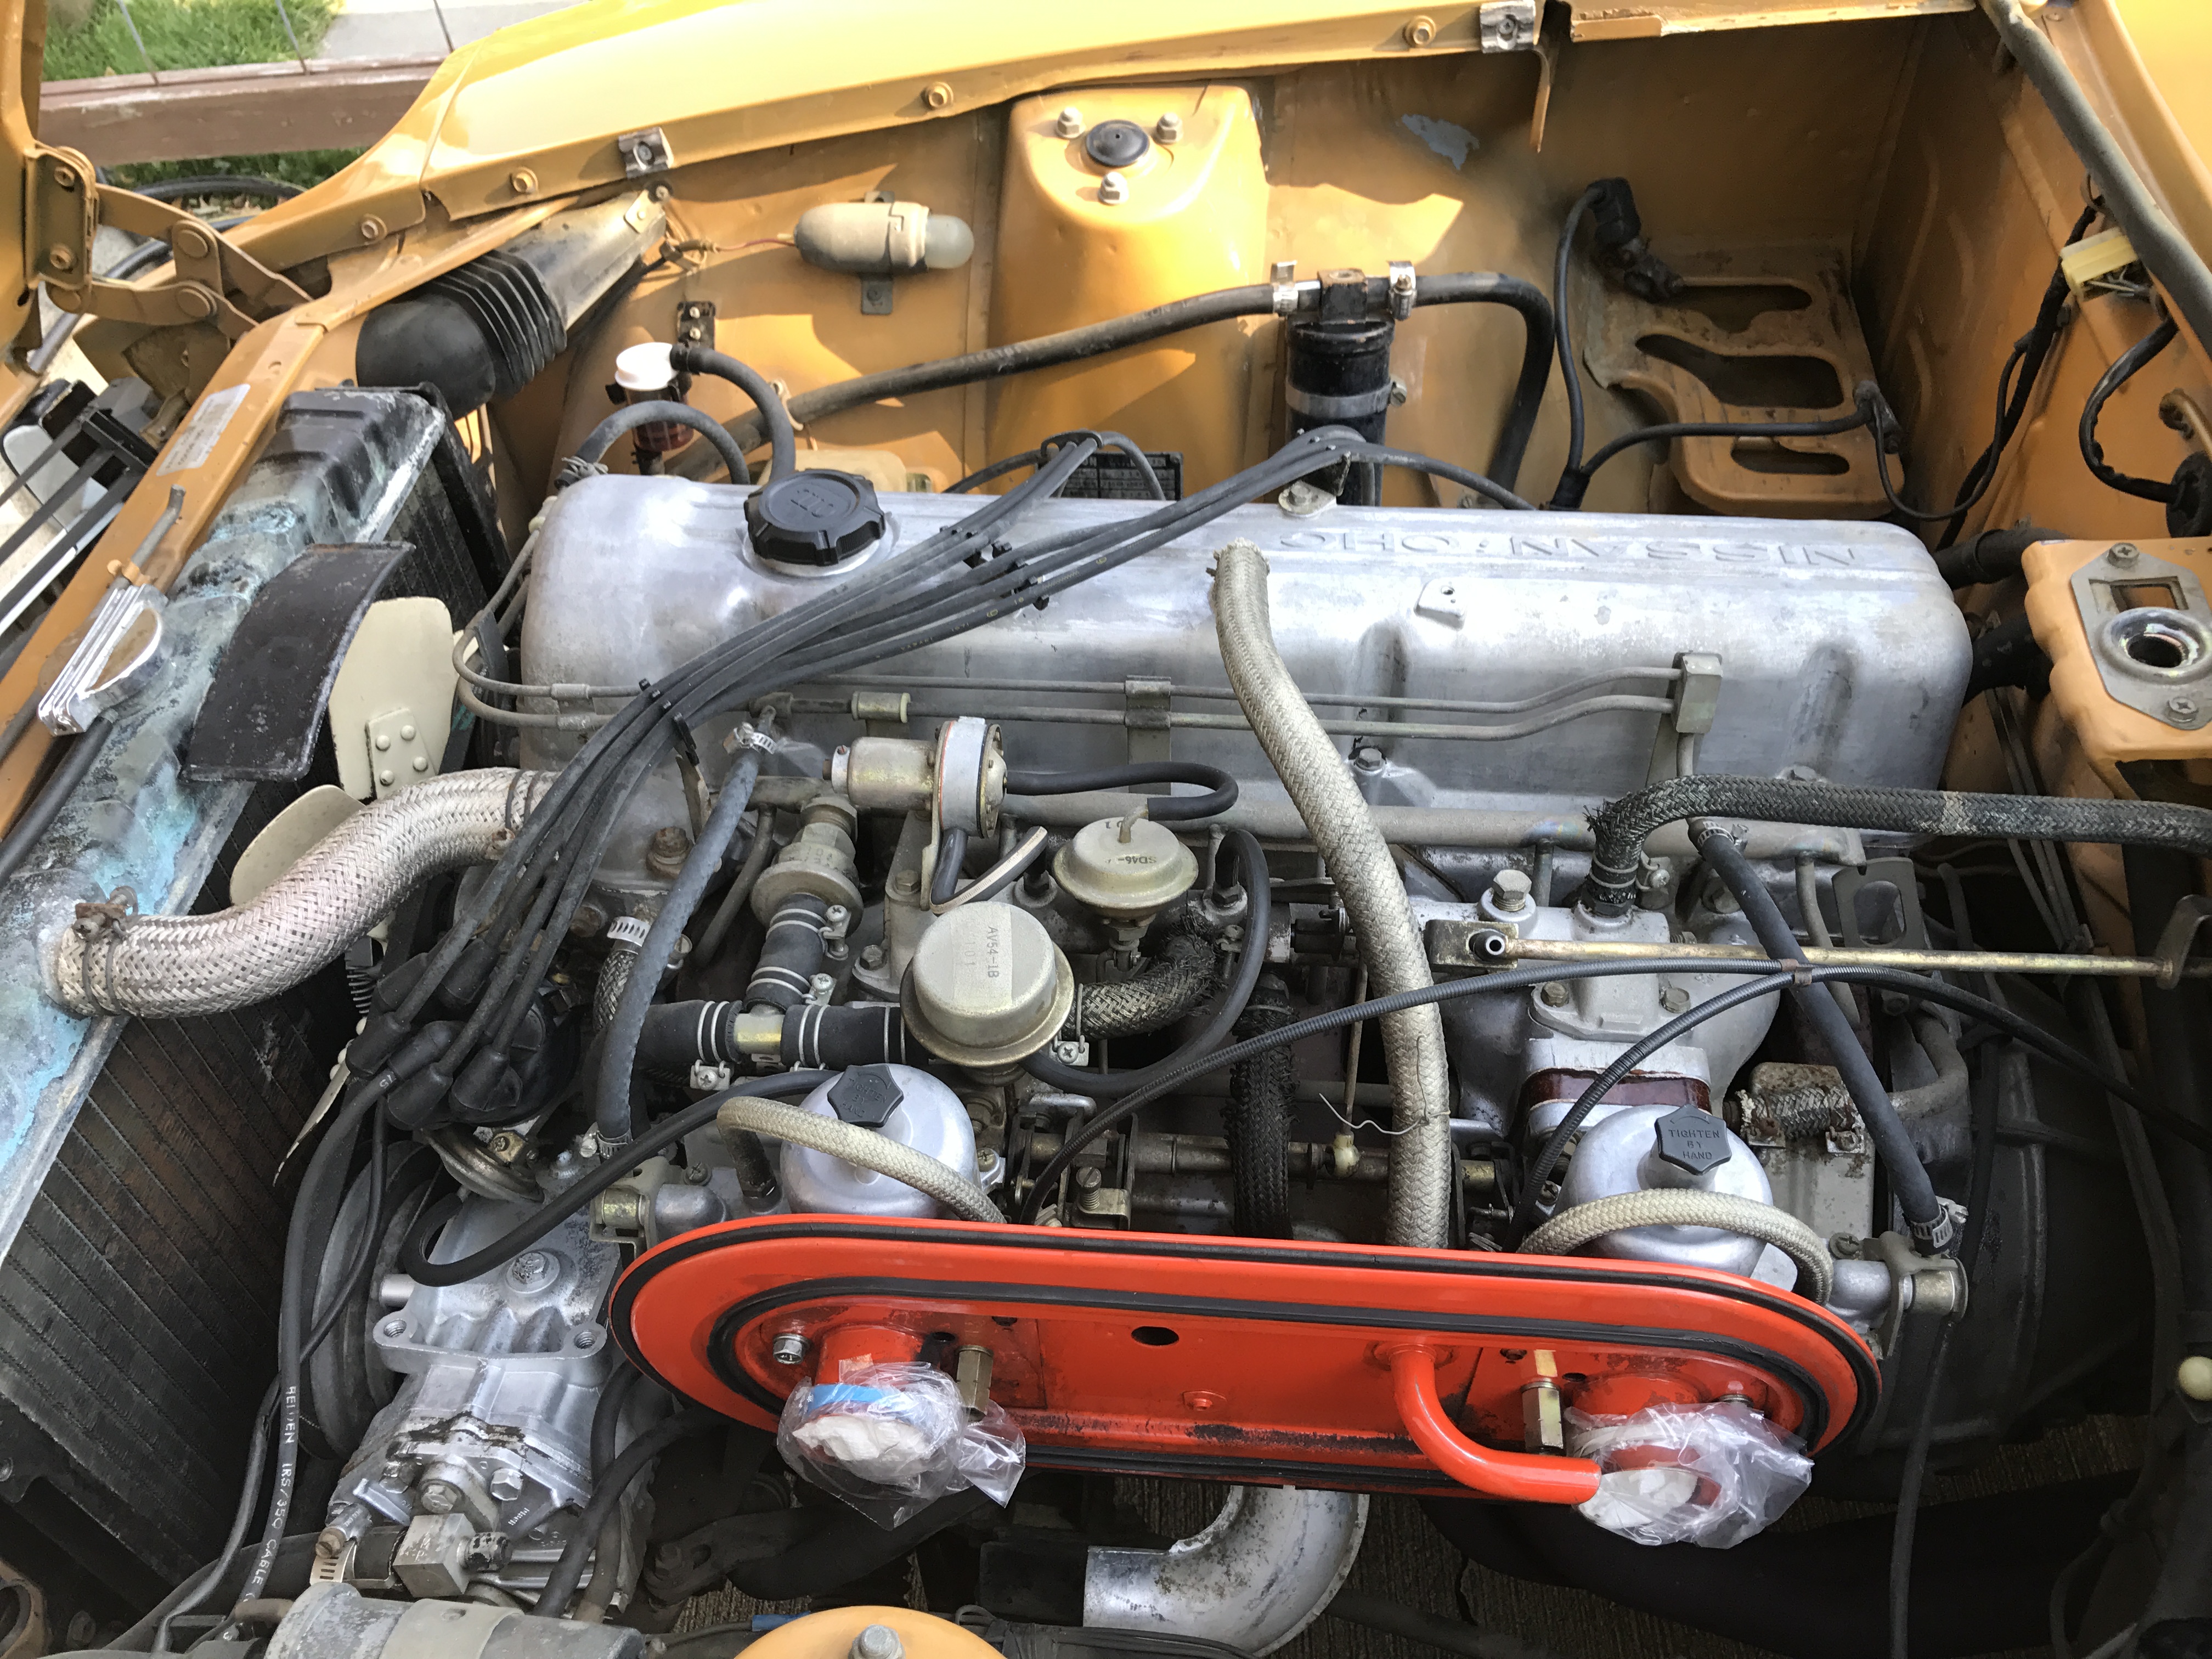
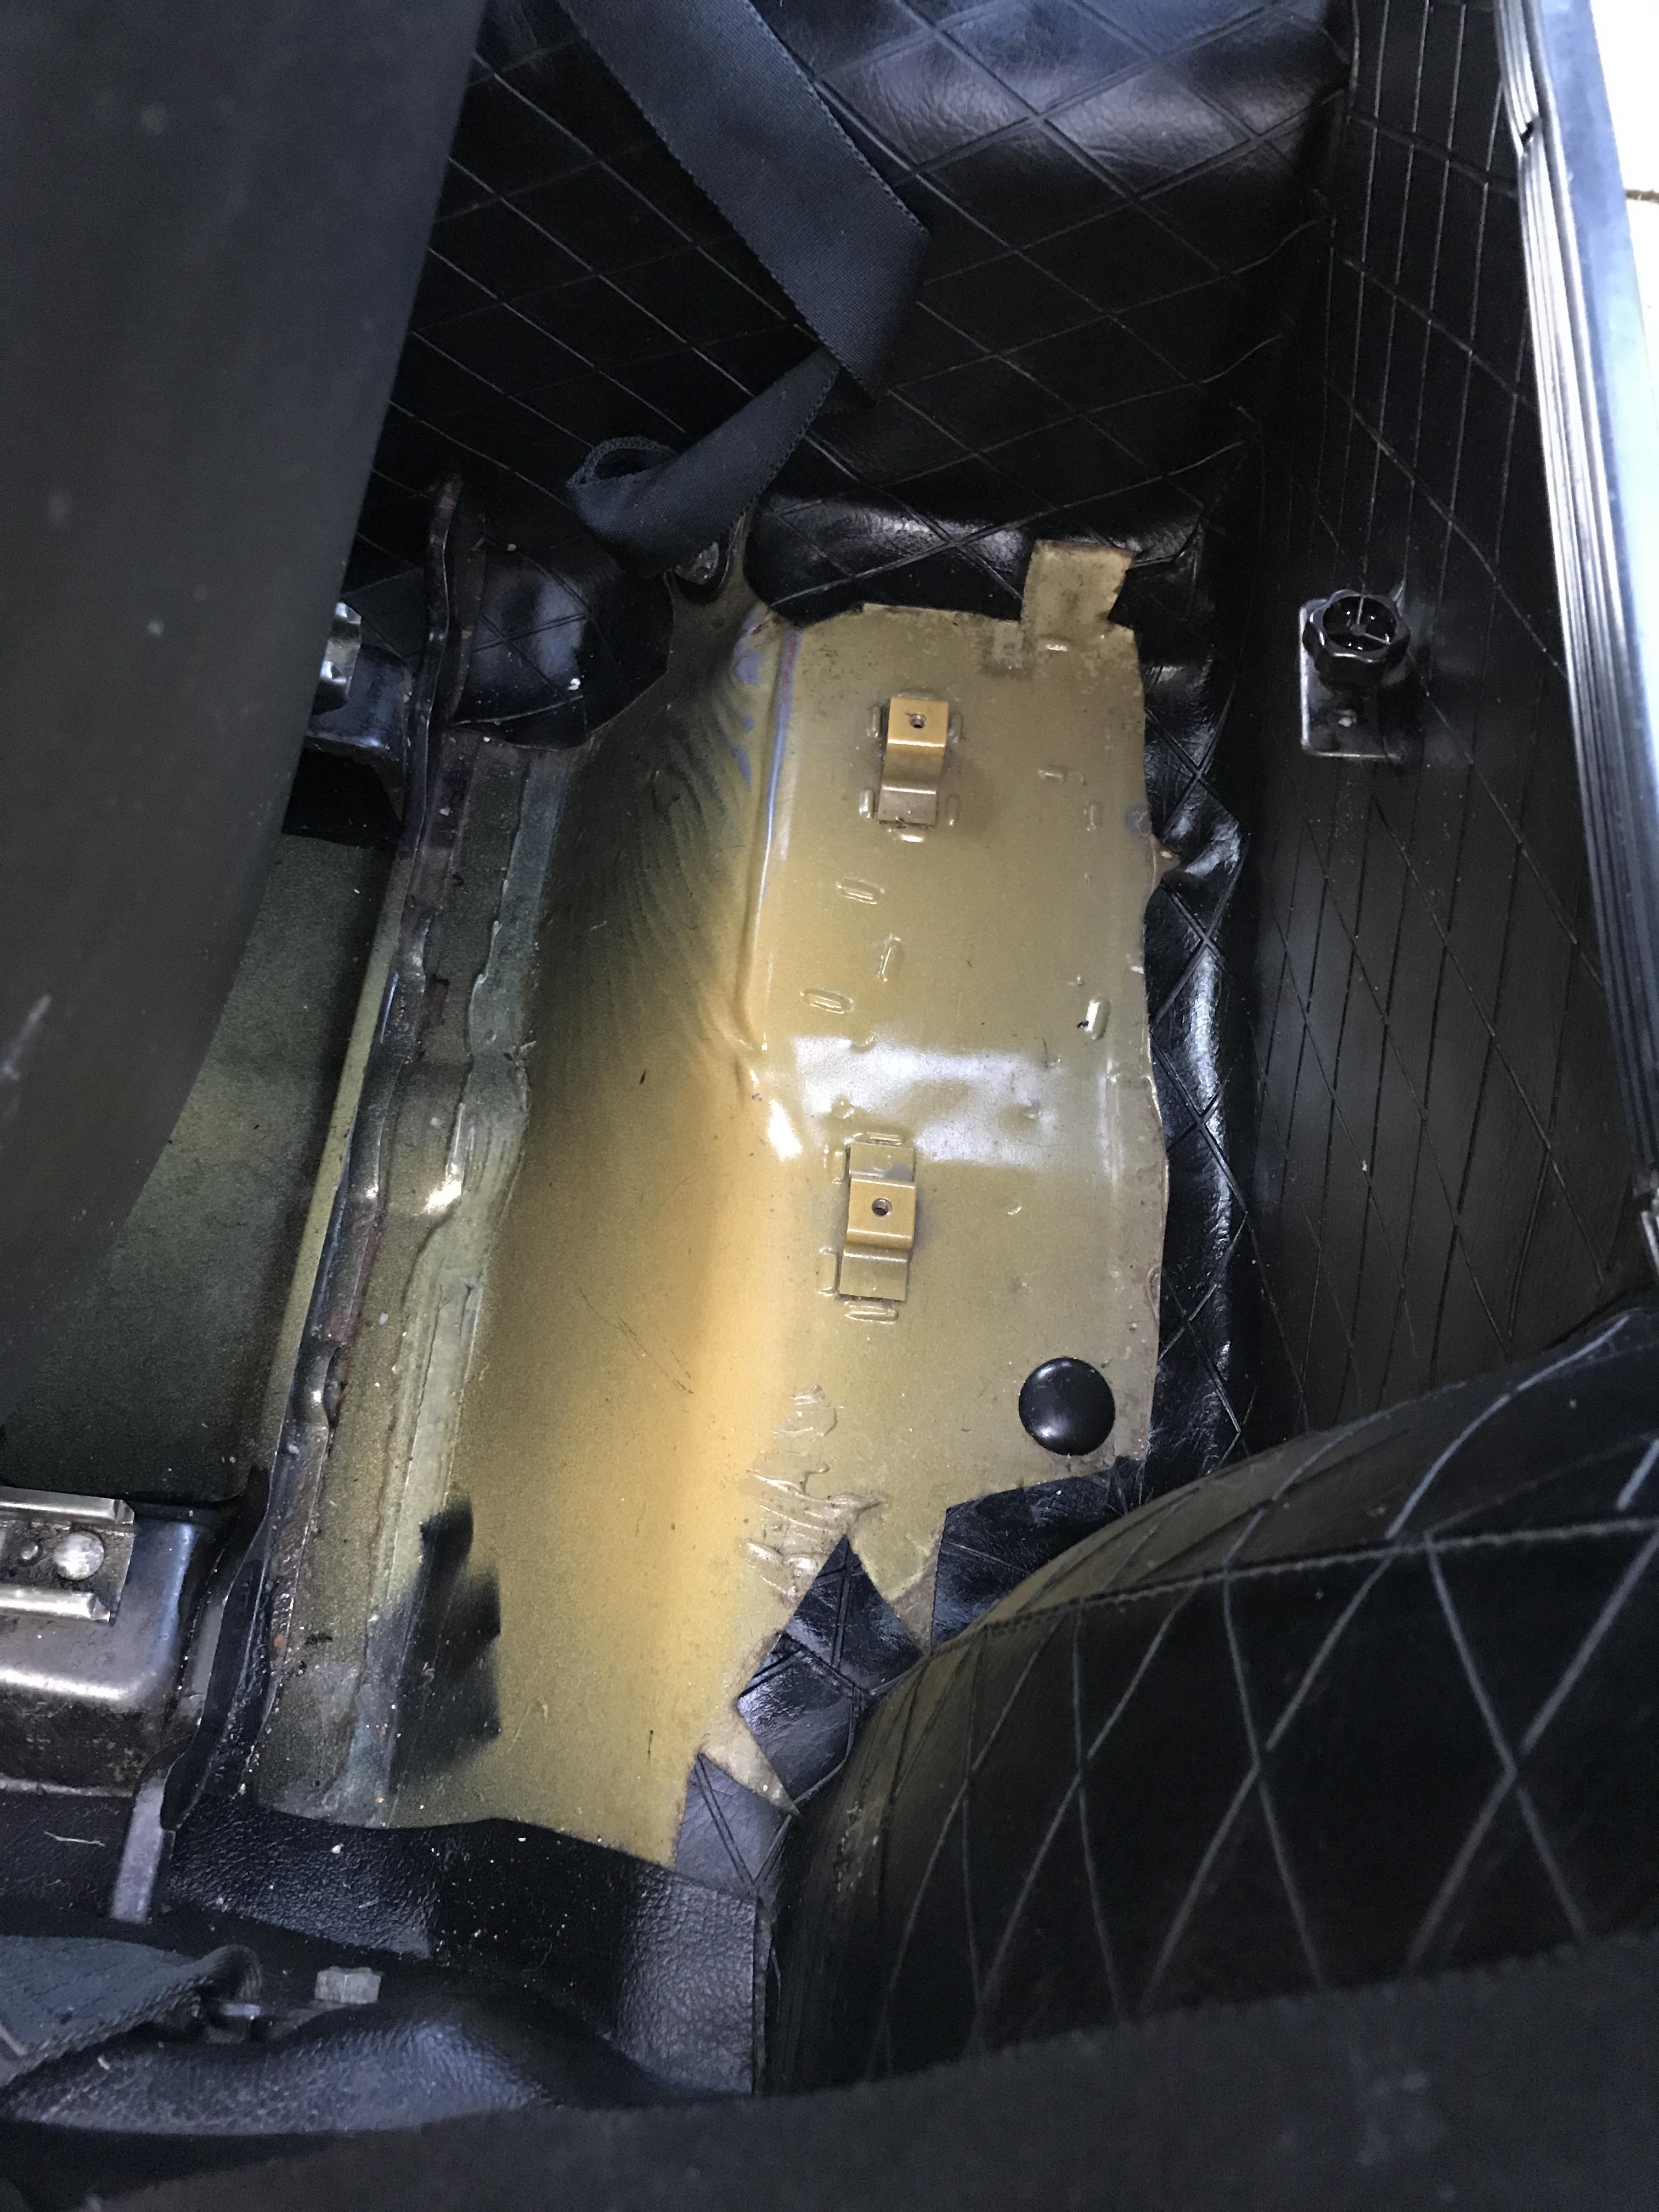
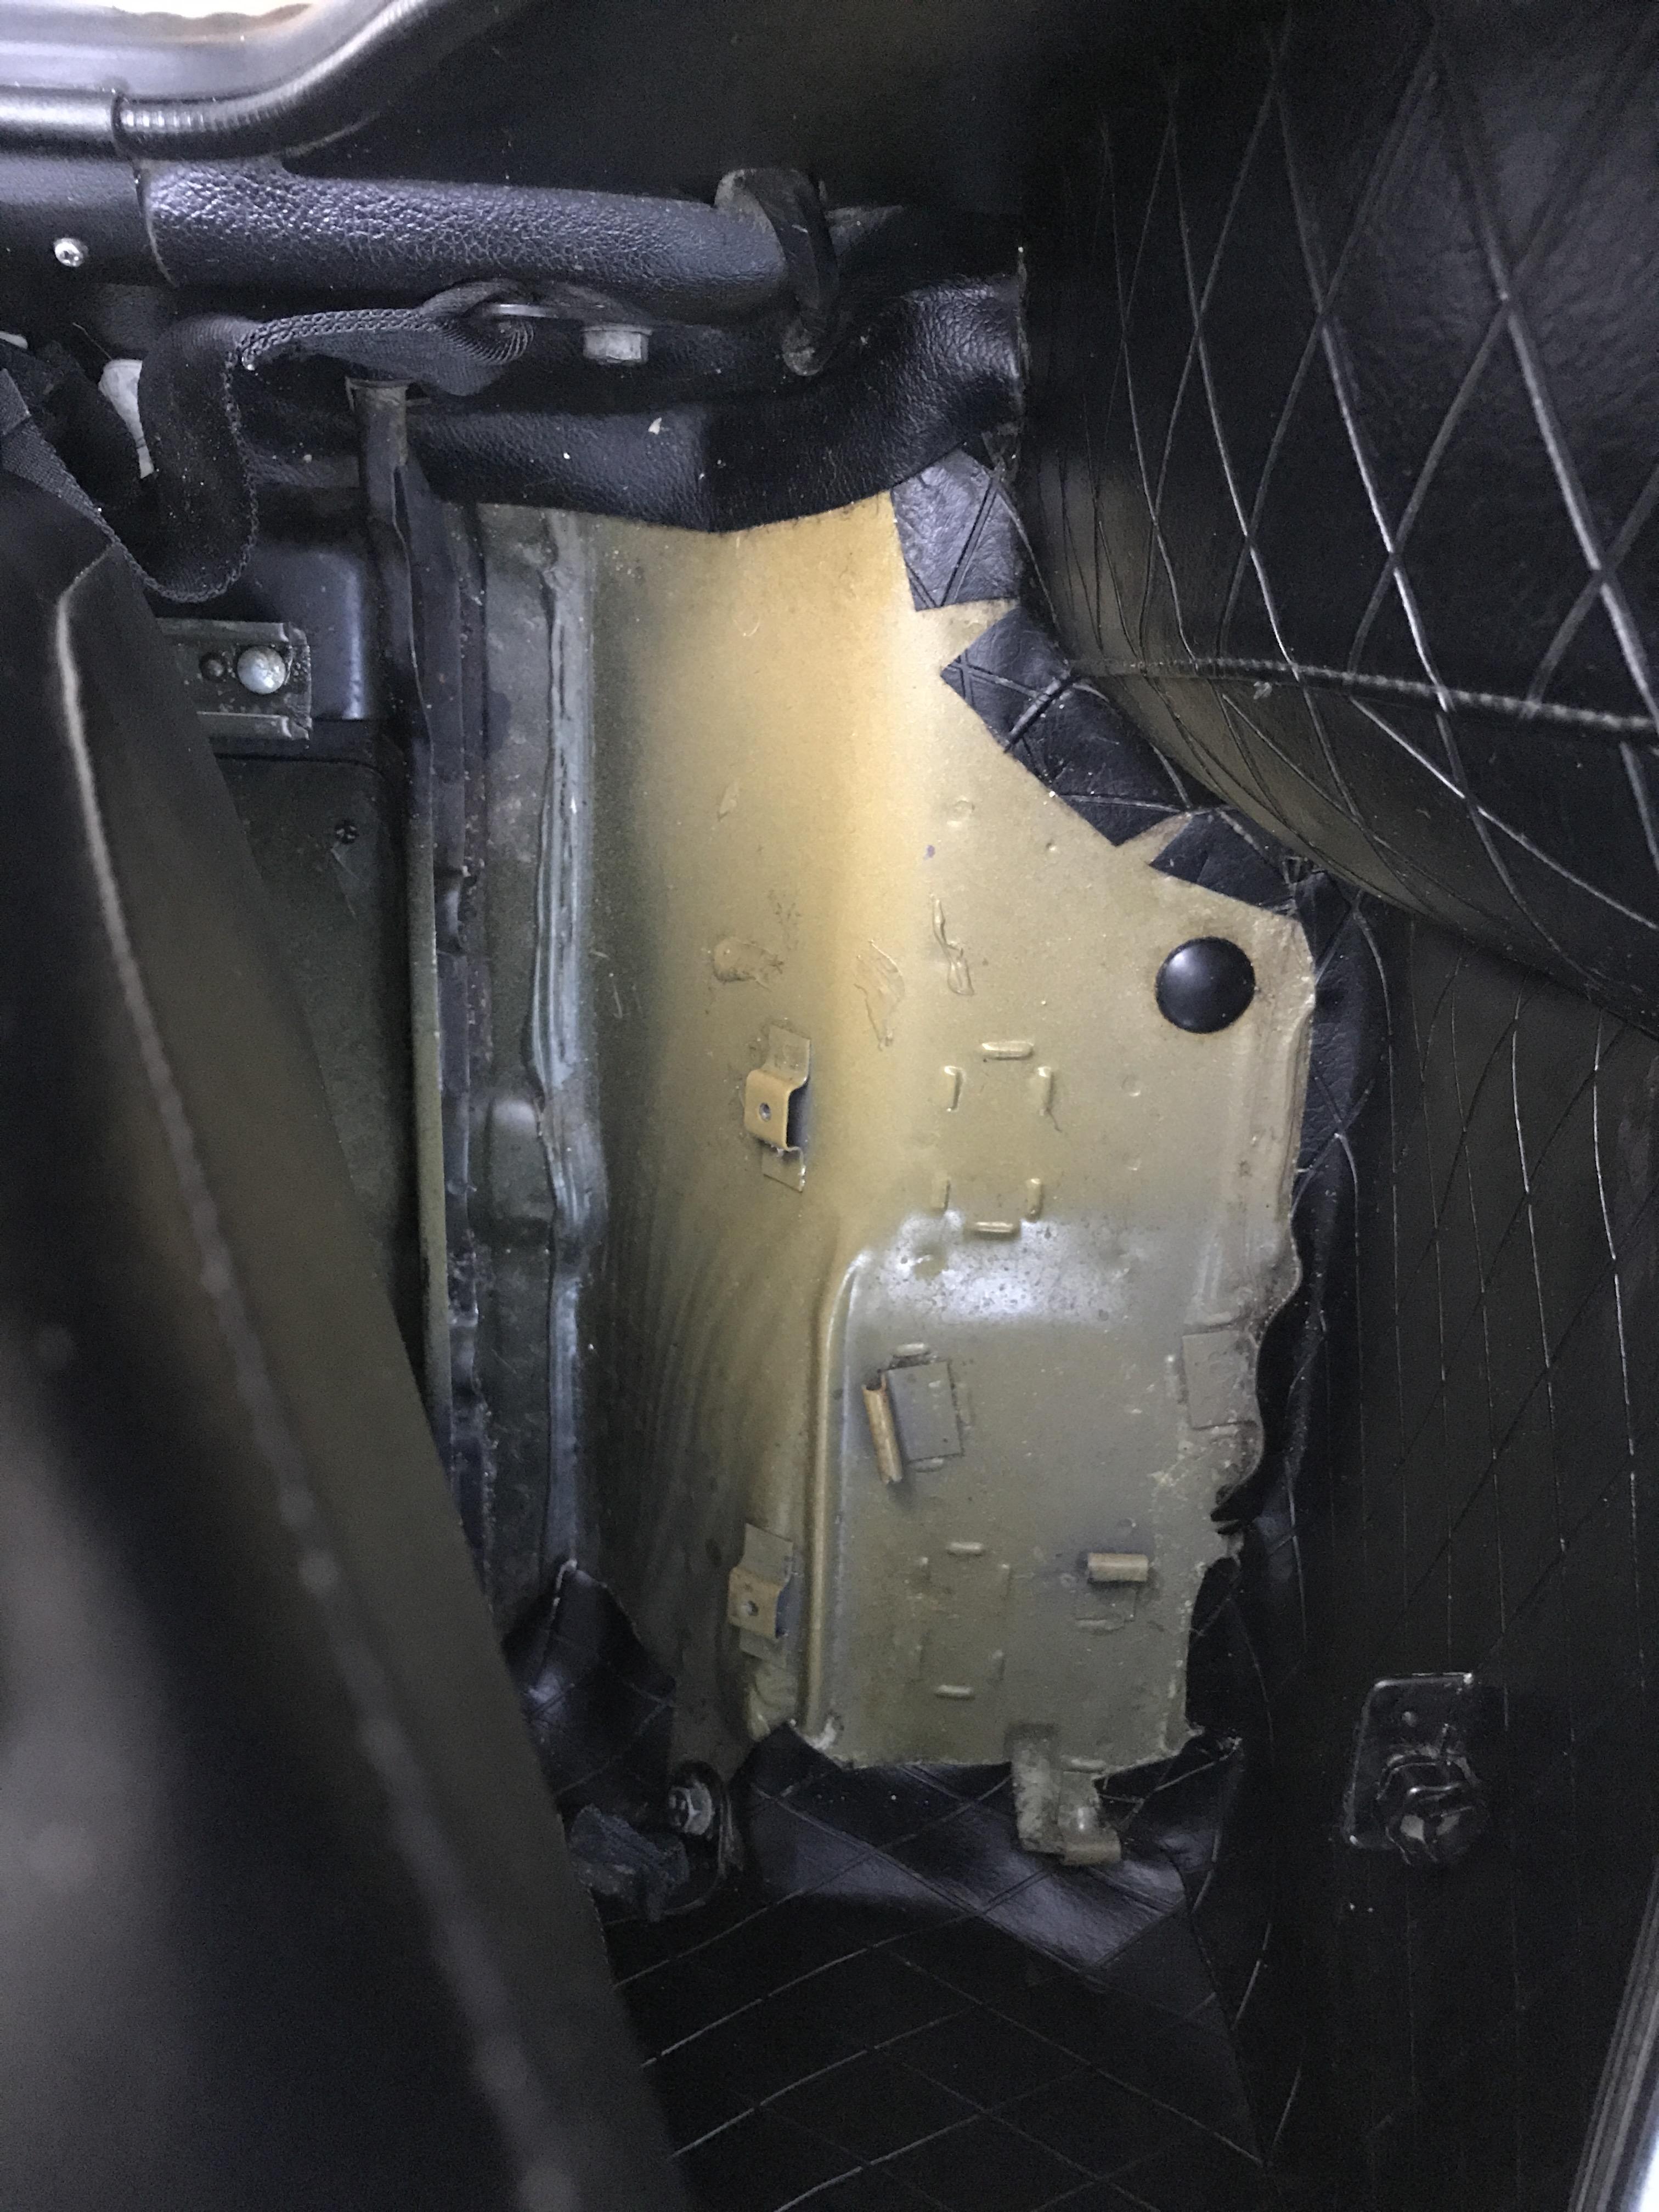
 Hi all Really looking forward to starting this project and getting all of your input and advice along the way! Im new to this forum, Ive spent lots of time lurking though! I have been posting on the australian forum but traffic is quite low on there so hoping to get quicker input on here. I did also consider hybridz but I think my resto will be more in line with classiczcars as Im not transplanting a V10 into mine... Names Ryan, I am the long time owner of a 1971 240z here in Perth Western Australia. Vin is HS30-001063 I have owned the car for 10 years. When I bought the car it was in rough condition, tried to get it running to enjoy for a while but the previous owner had neglected it too much. So I decided not to waste money or time and wait for a ground up resto. Then it took me 8 years to find a decent space to start the resto (my dads new shed). I started the tear down in late 2018 but then had my son so it went on the back burner for another 1.5 years. Now I am almost finished the tear down and excited to get some real work done. Unfortunately I have another baby due in November! Damn! Lol I have also started a YouTube channel to document the restoration. At the moment they’re pretty boring dismantle videos but I plan to make them better quality and more exciting in the future. http://www.youtube.com/channel/UCHZhre0vm7sL2Kl7hUQFVkg About the car: History unknown, bought it from a very energetic guy who pretty much ran it into the ground, was completely neglected and unmaintained. I knew I wanted to do a full restomod however, so this was not an issue for me. Car has a L20 engine and may be an originally automatic gearbox, hence the L20 swap and that the gear lever barely lines up with the hole in the trans tunnel. L20 will be thrown in the bin. Car is green originally and has had a terrible quality respray. Car had a relatively minor front end collsion, bent sugar scoop/front bumper support and some light repairs to radiator support Basically everything on the car needs replacing/restoration, nothing is reusable in a sense I can just rebolt it on the restored car. Plans for the car: Due to the car not having the original engine I see no point in going back to stock original. may as well create the car I want, so many things will not be stock - Color change, unsure as to color just yet, was leaning toward white but recently I have been liking safari gold - L28 stroked out - Triple Weber set up but thinking of keeping SU's initially to save some $$$ - BC Coilovers, techno toy tuning 3 point strut brace in front and 3 point apex engineering strut brace in rear - Initially all suspension components will be restored and reused to save $$$ (however I havent ruled out installing some pretty techno toy tuning/ apex engineering components at a later date) - Brake upgrade to front and disc upgrade to rear. not going big brakes as I dont like big rims on the 240z - Custom interior - I am an upholsterer by trade and am going to be doing the interior myself and upgrading some it. Think Alcantara and leather - wheels are undecided but something of the period, watanabes/rotas etc - Fender Mirrors for that classic japanese sports car look - Majority of the chrome will be painted in a satin black, I am not a chrome fan unfortunately.... (I know this will upset many of you) - Exterior besides the lack of chrome will be very stock, no flares etc, thinking about maybe doing a BRE style lower lip air dam thingy Here are some photos just before I started stripping it

-
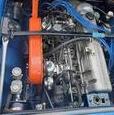
 Hi. Lance here. I finally got around to rewire my 1971 240z. It had a L28 and a faulty wiring and I'm very confused. So, I found a small metal box on the back of my speedo. It have a Yellow and a Yellow/black wire coming out and a red wire that hooks up with the speedo. I teared apart the old wiring and found the yellow one is connected to the IGN Black/White wire using some sketchy electrical tape, and the Y/B one is routed all the way to 4 big 2x5 connector that connects to the engine bay harness. I'm guessing this is a mix matched setup? Voltage regulator is not wired either. Since I'm rewiring the whole thing I just need to know what the heck is this small box. It outputs red about 11.6 volt when battery is connected via Y, and nothing at Y/B. I searched online and found this image of a 260z gauge that appears to have the identical box. It seems those green wires are the Y and Y/B on mine. I did some research online and found out nothing. Have anyone got a idea of what it does? I'm testing the gauges and the speedo and fuel gauge is not working.
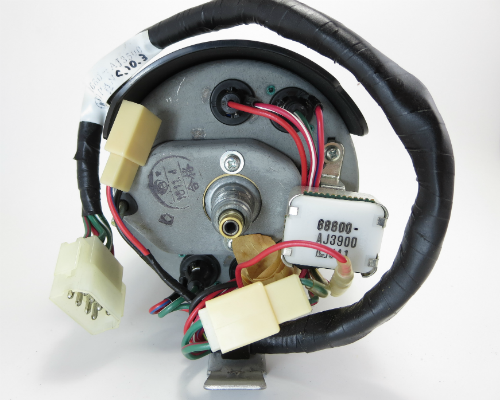
-
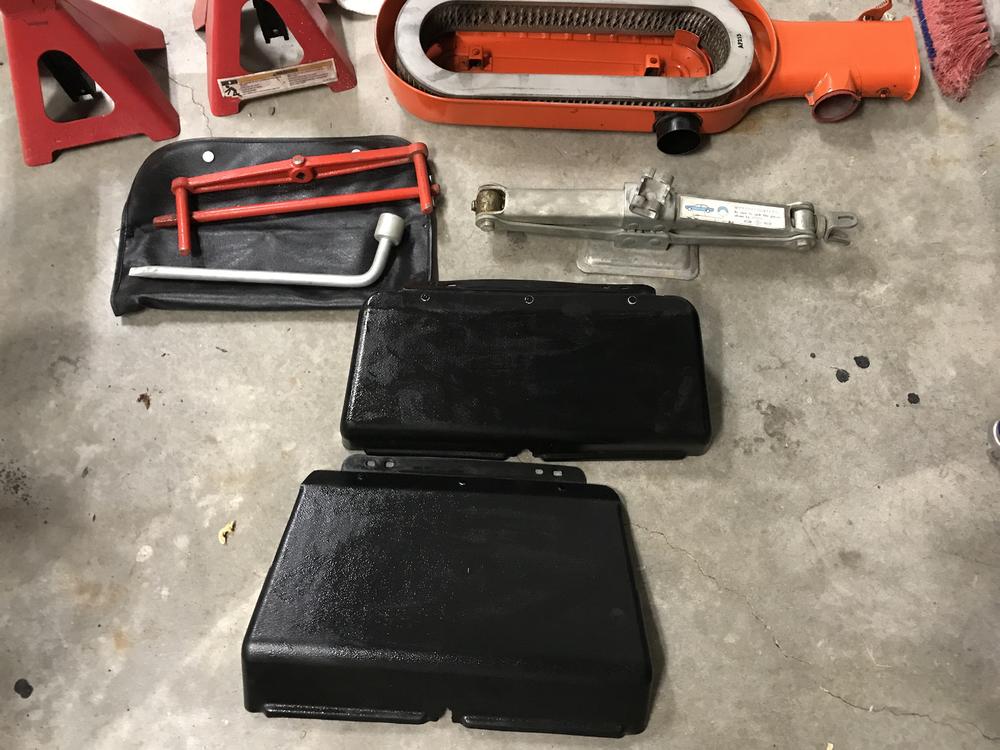
 Hi everybody, i'm currently restoring a total wreck of a 240Z and i'm slowing down and it's getting me down. So something I can do now is replace the seat covers and foam which have had rats living on them for over 20years! I looked on the other threads but could find a discussion specific to the quality of the companies now supplying these kind of reproductions. So advice is gladly accepted hahaha. Thanks for your time everyone and hopefully i won't be the only person to gain from the answers! Matt
 -

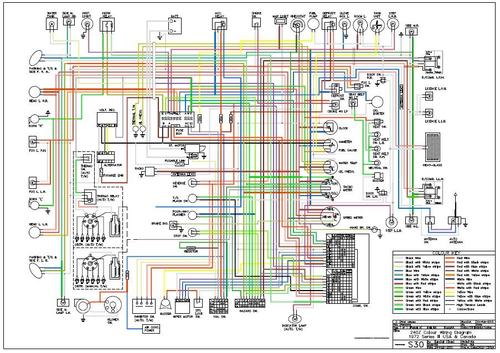 This is a color copy of the 1972 Service manual wiring diagram, Section BE Electrical. (For Manual transmissions)Free
 -
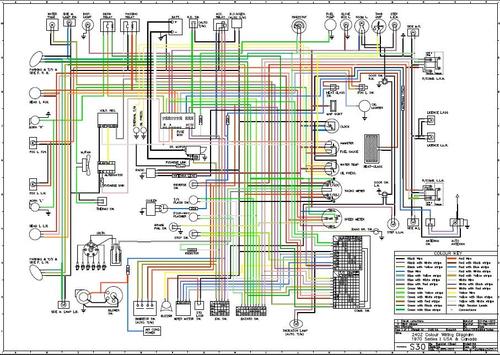 This is a color copy of the early 1971 wiring diagram. Includes "Passing Relay" circuit.Free
 -
 I am in the process of developing a game right now, and i want to use the S-chassis as the main vehicle, the problem is i need either very precise and detailed measurements to make a 3d model, or i need a CAD model, would anyone know where i could get such things, for free that is, i would spend money on this, but as this is purely a passion project im not ready to spend 100 bucks on a model that is not accurate. If anyone is wondering i plan to fill the game with tons of different parts,(engine swaps and individual pieces, suspension parts, body parts, some interior bits.) When finished i will post the download link on this thread for anyone that wishes to try it out. Game is not currently licensed so things will be named differently to avoid any legal problems.
 -
 Im looking for a 3 pieces ducktail and fender flares made with fiberglass with great fitment for my 240z. I made some research and i didn't found much except for the chinese one that i am not warm to buy. I seen many images with the ducktail like I'm looking for and 50% of them have bad fitment, bad alinement, not straight hatchback or simply wrong installation. So my questions are: Can you advise me with your own experiences for the ducktail and fender flares? Where got those products? Let me see your artwork with some pictures for those who made the job. Picture linked for reference.
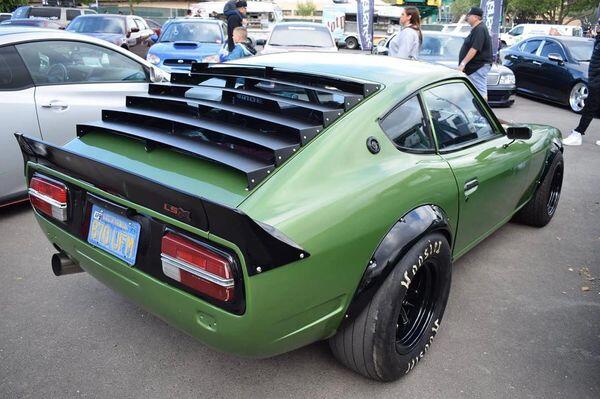
-
 Hi there, this is my first post on here. Thinking about putting side stripe kit on my 77' 280z. Curious of anyone who has done this, where you purchased them, placement, and any tips. Any help is greatly appreciated! Thanks, Ryan
 -
-
 View Advert 240Z Headlight Case with Trim Headlight case with wiring harness and chrome trim piece. Removed from a ‘71 California car. Advertiser Dennis123 Date 10/24/2021 Price $40 Category Parts for Sale
 -

-

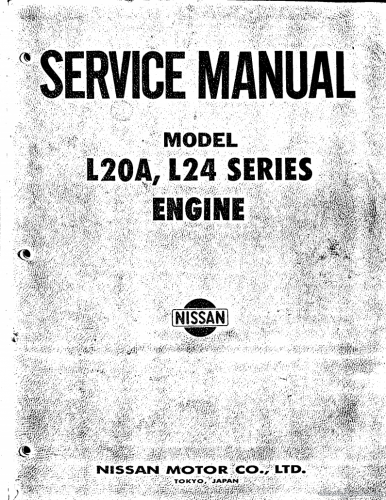 Collection of manuals for the 1970-71 models. Click download to see the individual files you can download.Free
 -
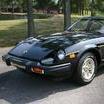
 View Advert 1972 Datsun 240Z For Sale I am selling my 1972 Datsun 240Z as I have not had the chance to use it in the past several years and my wife is demanding the garage back. I bought the car in 2009 with 67k original miles and it currently has just over 70k original miles on it. I paid $5,900 for the car and am looking to sell it for $3,900, primarily because there will be some work needed to get it back on the road (possibly battery, tires) and I would like to be able to ship it to you before winter. The attached photos show the car in 2007 and today. (The Indianapolis Colts decals have been removed)... The car is in good condition and drives well. Both the previous (original) owner and i did not drive the car in the rain, nor did we put the car on the road between November and April... In addition, you will get a car cover, the original steering wheel (which was replaced), and the original Owner's Manual... I have not done this before so if you are interested and there are specific questions you want answered, please email me at avlevin@gmail.com and I will provide you a response. Andy Levin (Belmont, MA) Advertiser avlevin Date 09/26/2019 Price $3,900.00 Category Cars for Sale Year 1972 Model 240Z Vehicle Identification Number (VIN) HLS3082152
 -
 Hello, I have a 1973 Datsun 240z, I had the turn signal assembly refurbished and when reinstalling it the horn will no longer work. I noticed the copper arm on front of the assembly so when I press that on the back of the steering wheel the horn works. If I rest it on the back of the steering wheel the horn blares constantly, if I press the center of the steering wheel or not. I assume it is something simple and I am just a noob but I don't know. Any suggestions?
 -
 View Advert GC110 YONMERI SKYLINE 2000GT tail light panel Hello folks, here I have one of 3 rear tail light panel for sale. It's originally for a Skyline Yonmeri GC110 or 240k Skyline, I bought theses panels because I'm going to do a Tailigth swap on my 240z. I'm keeping 2 of them and this one is a leftover from the bunch, all 3 where source from japan 🇯🇵 , Im asking $1000.00 OBO I can ship it, but at the buyer pays for shipping. Thank for reading and have a good day, stay safe. Advertiser L.Flores Date 02/21/2021 Price $1,000.00 Category For Sale
 -
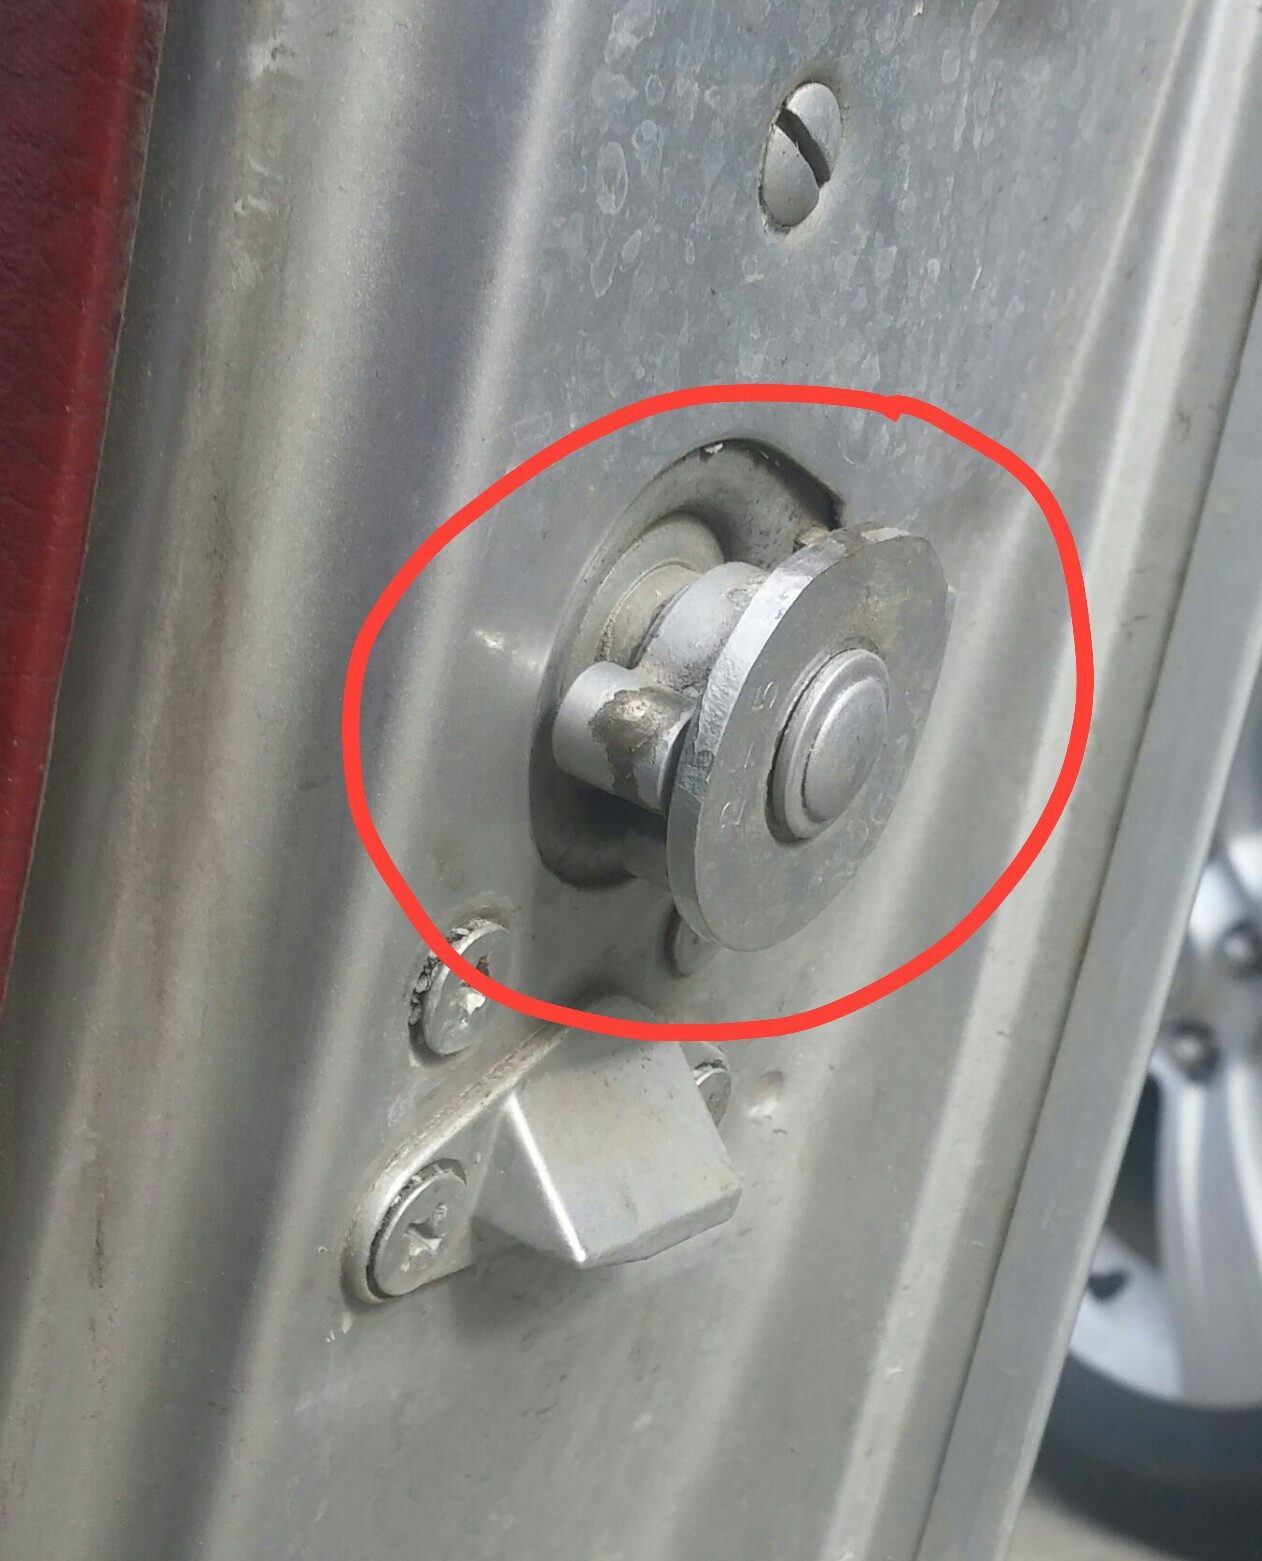
 Hey, I’ve searched all over this forum and can’t seem to find out how to remove the taillight black panel, I have a 72’ 240z and the forums I find include some black rivets, in my case I have some metal rivets and I don’t know how to remove them, could someone help me?
 -

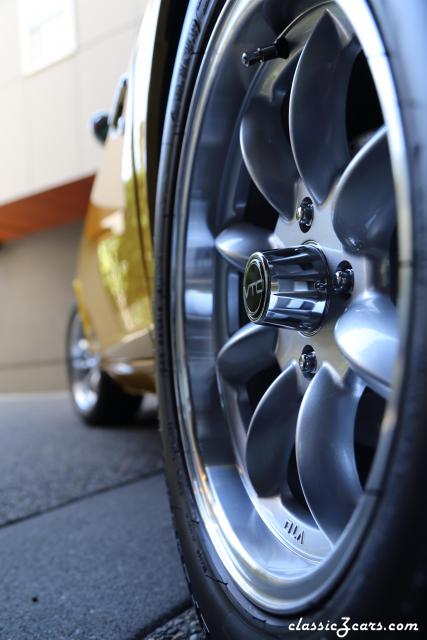
From the album: VTO Wheel Photo Shoot
© Mike Gholson
-
 View Advert 240Z hubcaps Set of four hubcaps. Advertiser Tzellar Date 02/04/2021 Price $600.00 Category Parts for Sale
 -

-

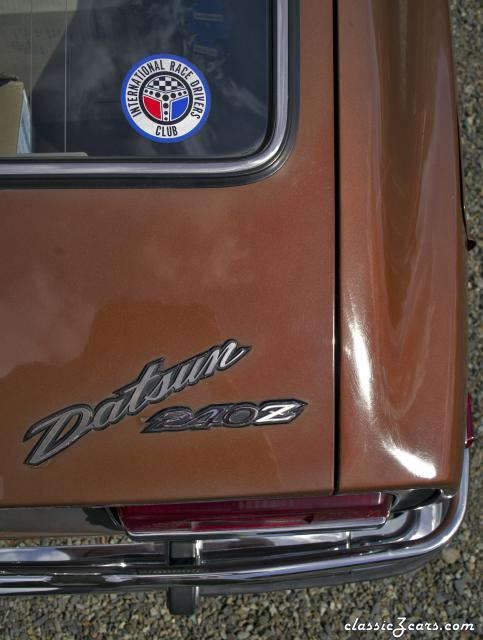
From the album: Z Garage
© Racer 2020


.jpg.9cfce07874b97a78f3d330744dc19852.jpg)
.jpg.7e699fe4e6f33ff38a281d5672f79a04.jpg)