


Leaderboard
-
conedodger
Community Member1246Points13875Posts -
Patcon
Supporting Member390Points11538Posts -
Zed Head
Community Member342Points19985Posts -
Yarb
Supporting Member288Points2458Posts



Popular Content
Showing content with the highest reputation since 10/09/25 in all areas
-
15 pointsHI GUYS!!!!!!!!! Thanks to you all for the care. Just 24 hours ago the surgion took i guess a few 100 cc bloodclod away and even 12 hours later yesterday evening i could walk again!! It's a fabulous unbelievable feeling to walk again after a lot of brain to muscles disconnection due to unbelievable pressure to the brain.. SO HAPPY to be home and walk again!! It's the simple things we have to appreciate more! Martzedcars@outlook.com thedutchzcarguy15 points
-
10 pointsAs you all saw, the auction result for Safari Gold HLS30-11699 is now in the books. The current global climate likely played a role, but auctions always reflect a specific moment in time. When you invest this much time, research, and craftsmanship into a car, you naturally hope the result reflects that. Still, what matters most to me is what we achieved. We were able to show the world what we believe is an exceptionally beautiful early Z restored with deep respect for how these cars originally left the factory and once again learned a lot in the process. Even though I have always had a deep love for the design of the S30 and for the way we approach our restorations, seeing the car through Adam’s presentation made me fall in love with it all over again. This is only a first step for us. We will keep refining, learning, and pushing ourselves further. We’re also working on many new things beyond the Masterpieces project, which makes me genuinely excited about what lies ahead. Thank you for your feedback and please don’t hesitate to reach out if you feel you can contribute to our shared passion for the Z. (chris@s30.world)10 points
-
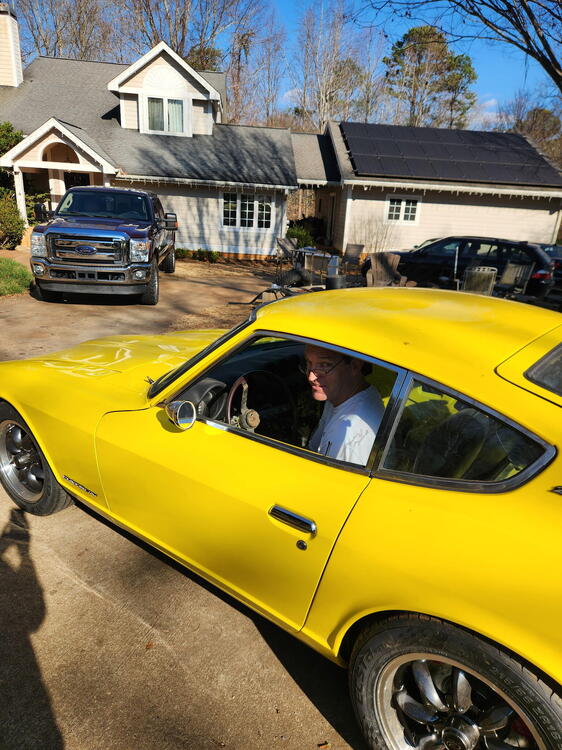
10 pointsOn a different note, I drove my car today for the first time!!! It has never run since I've owned it. 16 years... I don't know if this will play IMG_4909.3gp So a very nice Christmas :)
_resized.thumb.jpg.81e7d5f631fc448f2bc3edc4835abc52.jpg)
_resized.thumb.jpg.54002800d6e3711a84e31f650d37c1a0.jpg)
.thumb.jpg.66539defa8939395502202ceb88fab24.jpg)
_resized.thumb.jpg.45ce10c90a91e8196cf7a6c6dda2bf56.jpg)
.thumb.jpg.aed0a091d0d60ae206043919a16dfdb2.jpg)
 10 points
 -
9 pointsA update.. One month later i'm feeling good, a bit tired offcourse but that's how i felt for over 15 years now, as the doctors don't know what is wrong with me after i had 6 times cancer that went away every time! it came and went after a few month's ... strange.. There were 3 hospitals involved and not the average ones. The Radboud hospital Nijmegen (Netherlands) have a lot of knowledge in this field and can't understand what is wrong. Back to the operation i had last month, everything is healing well! The last year i had a LOT of help from my Ukranians friends i made and one of them did my gardening work and another painted my pool that i had not used for over 12 years! I installed a pool water heatpump, these things are amazing.. you put in 1800 watt and at 25C surrounding temp. it gives 16000! Watt of heating energie to the pool water! With my pool it heats up half a degree Celsius every hour! I also have a sun heating system that is restored yesterday of 500 meters of 5/8" Matt black tubing on the roof!) And guess what? Last saterday i swam for the first time in my own pool again! AND.. 2 Weeks ago i drove my 300zxtt on the German highway and at some point i had no traffic and got it to 159 miles per hour (256km/H. it was)! Because of trafffic i had to back off .. (Top speed so far known is 265kph) Just WOW! My car is now 34 years old and running if it's a year old! So.. i can say i'm doing well so far.. just have to live with small steps at the time. THANK YOU Guys for all the Likes!9 points
-
Long time followers might have realized that the project lost a bit of its original momentum. As much as I loved to take everything apart and attempt to fix it myself - at one point I had to realize that with life evolving and me becoming more involved my job, I simply don't have the time and energy left to spend every evening in my Garage. The Project was always meant to be a "learning-by-doing" project, but from that crappy rust bucket it once was, it has meanwhile evolved in an expensive quality build, and I also simply lack the knowledge to give the car love it deserves to become the good-looking, mechanically flawless, but also safe-to-drive car I look to own one day. I had several setbacks over the years and I have definitely learned my lessons, but you've mainly seen me do small tasks here-and-there, rather than attacking the big chunks of work which are still to do. So I've been thinking of how I can solve this in the best possible way. Luckily I can count myself being a part of the S30.world team, and they happen to have the best S30 mechanics and restoration team in the world, in my opinion. The work they do is truly outstanding. Chris finally agreed to put the car on his project backlog, and recently he came to Switzerland to assess the car. We made a first rough sketch of what needs to be done. Then this week, I flew to Budapest in Hungary to discuss a few other S30.world related things, but since it's also where they do the bodywork, paint, and mechanical stuff, it was great to see the team again and refine the plan with them. We discussed many options and I still wanted to do a few things myself, but we agreed on the fact that they should do everything that is impossible for an untrained person like me to do properly in a first attempt. So we agreed on the following: - Put the car on the measurement bench and make sure it's straight. - Fix some body issues that the previous body shops didn't get right, or messed up. - Paint the chassis in factory 904 white, including cavity sealing, seam sealer, undercoating, blacked areas, charcoal panels, engine block blue, etc. - Restore the engine (with a little twist) including the Mikunis - Restore the original and competition adjustable suspension - Restore the MK63 brakes install them with new brake lines, fuel lines, etc. - Restore the 5-speed A-type Gearbox, differential, drive shafts and propeller shaft - Install the roof liner, and difficult-to install a-pillar parts, etc. - etc. So the plan is that I get back a Car with an excellent body, restored drivetrain, sitting on the suspension and wheels. They calculated roughly about 11–12 months of work and I will go and check it out regularly. Starting point is expected to be in August / September 2026. After that, my work will be to install electrical wiring (my specialty), finalize the interior and all the missing bits and pieces from the body, exhaust, etc. That still will give me 1–2 years of work, I guess. Until then have plenty of work to do to prepare the car. I'll remove temporary installed stuff, attach other stuff correctly, find a few missing parts and prepare all individual items of the above list for shipping. While it will be a lot of work, it will also be a lot of fun, I hope, and I'm really, really, really excited to see Gustav, Tom, Lesly and co work on the car.9 points
-
Dear forum members, Some of you know me and also know that I became somewhat obsessed with the idea of building first-year cars to the same level as when they left the factory. Throughout my search for cars, parts, and information, I traveled to the USA many times and learned so much and met so many amazing people. I then traveled Japan numerous times to continue my search for the roots of the Z car. In the end this car became a very important part of my live and it has given me so many friends all over the world! Next week, our Datsun 240Z will finally go live. At first, we had a problem with the registration certificate, which had gone missing but was eventually found again. Adam Eisenhaure, from Garage 44 in Pennsylvania, took his time to create the most beautiful presentation he has ever made and spent again a few days at our museum in Buren, the Netherlands, last week. I am really very happy with the way he approach things. He used to own a 240Z himself and his father worked at a Datsun dealer in the early 1970s. Among other things, by the way he is a specialist in flat top Hitachis. We are working on a 1973 model year 240Z with 26,000 miles, for which we still have the original flat tops and for which we want to use his knowledge. Several weeks ago there was a discussion here about the 100% factory correct description used by a journalist. Also some of you reached out to me and helped with sugestions, which I really appreciate. For sure 100% is not possible. But our team, Gustav and I, have given all the love we had and spared no time, money, or effort to achieve this result. A result that would not have been possible without the help of many friends from all over the world. So a big thank you to everybody who contributed! For me I only can see that all I do whit those cars is passion! Nevertheless, you will certainly encounter various things where we still have missed the mark. But please also look at the details that we have done very well. Ultimately, our goal is to raise the popularity and appreciation of S30s to a higher level, and besides of getting back our investment we hope this auction will help us to achieve that. I myself will not comment on the auction till Adam asks me to do so, Enjoy the auction! Chris Visscher PS Please if you see something and want to help please reach out to ap.eisenhauer@gm.com (Adam from Garage44) or at chris@s30.world9 points
-
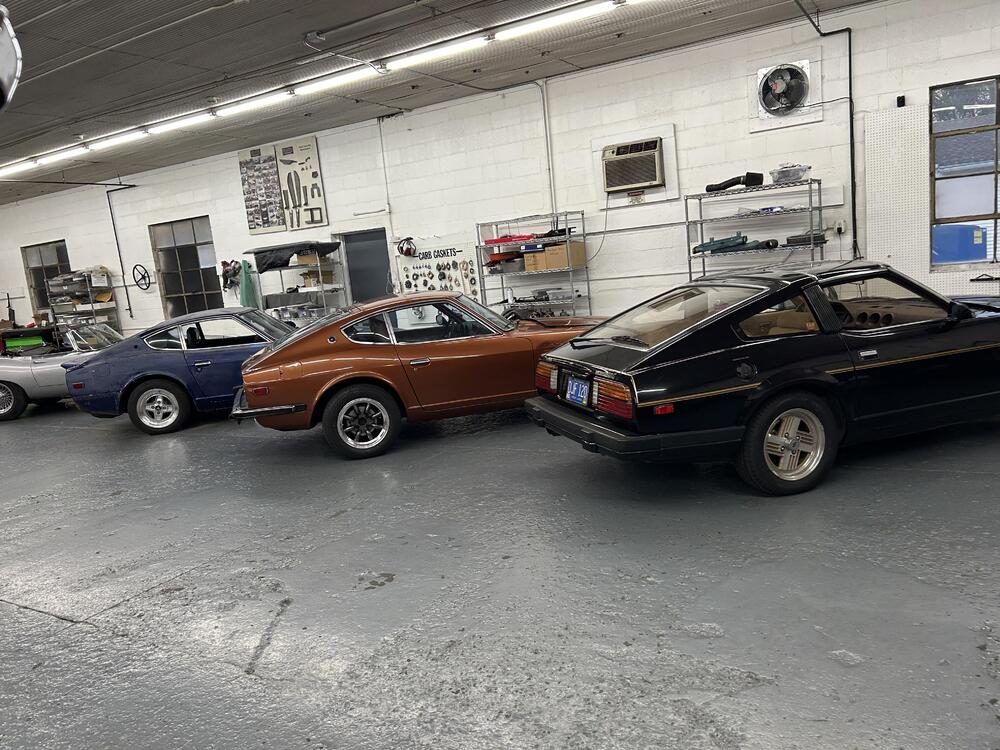
8 pointsHi everyone. I own a classic car service/restoration shop in Michigan called Eclectic Motorworks. As the name implies, we see quite a variety of classic cars. Our business has traditionally been about 60% British, 15% German, 15% Italian, and the remaining 10% American and Japanese (mainly NA/NB Miatas). But in the past few years, we're seeing more Z cars. We currently have a one-family owned 260z, a 280z, and an original owner 280zx Turbo in the shop. All have been parked for many years and are in to be put back on the road (our most common service for many cars). I've attached a couple of pictures of the cars lined up in our service bays. We have an in-house chassis dyno (Dynojet) and we will dyno tune each car when the time comes (we've already had the 260 and 280zx on for some preliminary rough tunes). Anyway, we have been having a little trouble getting some parts and information for each of these cars, so I joined the forum so that I can get some of the detailed knowledge about the cars as we're making them roadworthy again. We really strive to fix everything properly and usually to the way the factory did it so that the next person who works on it can understand it. Thanks in advance!
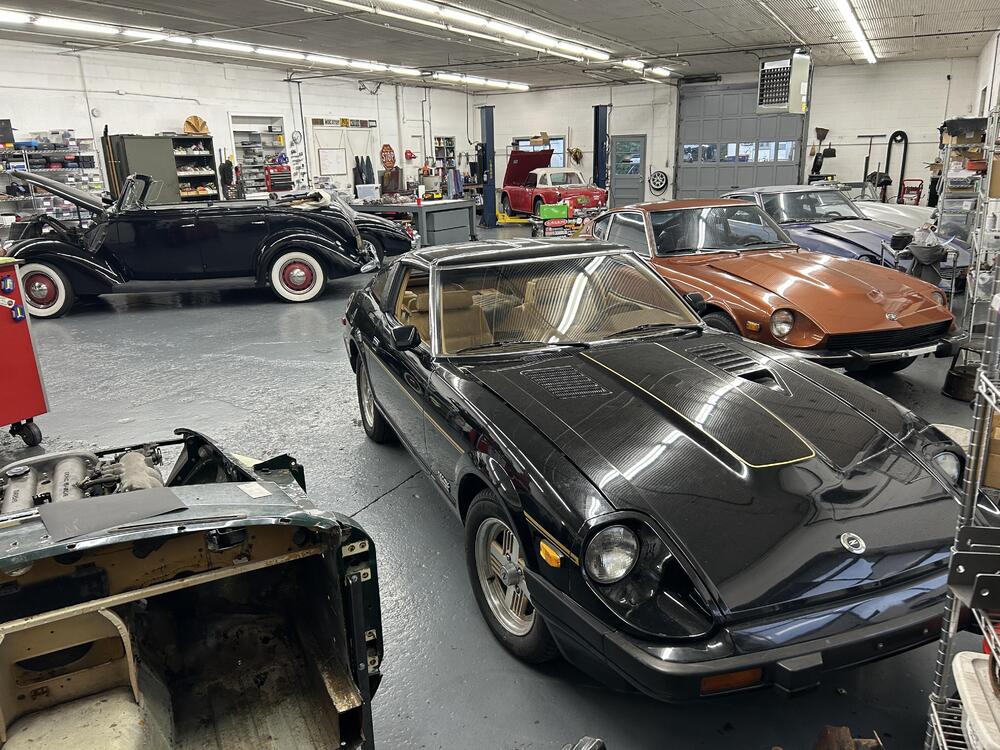 8 points
 -
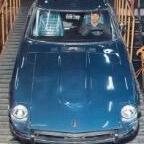
Hi, when that blue Z432 was in Japan, it had been taken care of by a racing shop near my house. I am going to tell this auction to the shop owner! He will be happy to see it. The car has an air conditioner, Z432 wasn’t planned for it originally. But he told me that car got in-dash air conditioner components to be operated just like genuine system like Fairlady ZL,240ZL,240ZG. About the color blue 115, I have collected almost all the registered Z432’s data and my friend Mr.Watanabe has been working on gathering information for existing Z432 since late 1990. Then I would say genuine blue 115 Z432 would be one or two. I have never seen one other than that car. Also the roll bar set up, it looks genuine sports option which is ultra rare to come by. The differential is an R180 LSD, correct for the car. R192 LSD was replaced by R180 from October 1971 (That car was registered in June 1972). The S20 was rebuilt with aftermarket pistons to increase 2.5 litter, it runs great. Let’s thank Nissan and Prince, they gave us wonderful engines. L-6 series and S20, both are capable of tuning for more power. Carl mentioned about a tuned L20A (L24 with Solex 175hp listed on the very first brochure needs to be clarified, because Mr.Uemura didn’t know that engine when I asked him about) in a prototype, at that time engineers also tested S20 180ps and 230ps, they achieved those numbers just replacing with sporty carburetors and camshafts, and exhaust pipes. I am not going to say which engine is superior than the other. But I must say S20 has so many things which make me excited. The fact is, S20 was a limited production model. Carefully assembled with experienced workers. Needs a lot of bolts, no bolt is shared with L series, they are different. Also crank shaft bearing caps, they have side bolts to secure. Each gap between the side of crank shaft cap and the engine block was individually measured to have a spacer which was specifically made for the gap. The crank shaft bearing caps and front timing chain covers were all bored at the same time, and also the crank shaft and the fly wheel had dynamic balancing at the factory. Wet liner type cylinders, a side water jacket is unique to my eye. About DOHC 4-valve, I should avoid too much comments here. It is awesome. People really don’t know about S20 was developed for Z432 and GTR at the same time. GTR people in Japan even never imagined the truth. “S20 was for GTR, later we gave it to Z432” but it’s not true. We can tell it from many details of S20. In October 1967, executives thought racing engine (G8B; engine of Prince R380, predecessor of S20) going to install on GT car prior to sports car didn’t make sense. They wanted G8B on Fairlady too. Mr.Uemura didn’t wrote about this but Mr. Hara wrote it in his book, “Executives were all delighted with the new model “Maru- Zed” carrying a G8B, however we needed a lot of time to start its production(New Skyline was almost ready in November 1967 so didn’t need much effort than Z). Not releasing G8B Skyline until Z was ready for production didn’t seem right, so G8B Skyline (GTR:PGC10) was approved and released earlier than Z432.” Like Alan said, Z432 is not just about the engine. It’s about the whole package. I am sure people will love it when they actually see it and drive it. Kats8 points
-
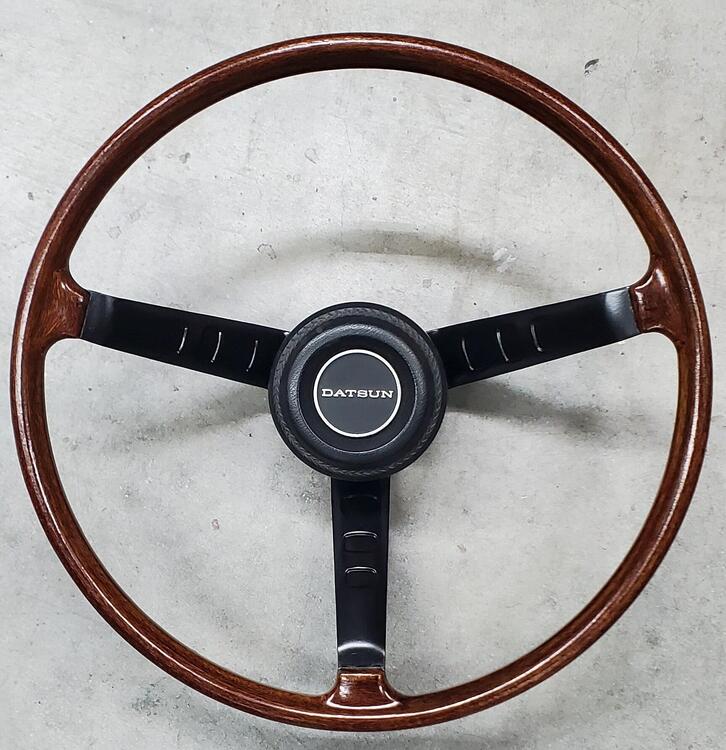
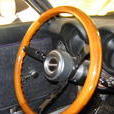
8 pointsBeen busy at work so just a little time in the evenings. I have been working on the steering wheel and am pleased with the results. I stripped the spokes to metal and painted with 2 light coats of VHT engine primer followed by 3 coats of VHT engine GM satin black enamel. I then sanded the rim smooth and finished it with 600 grit and 00 steel wool. The spokes were prepped with acetone before painting and the rim with isopropyl alcohol. I coated the rim with 3 coats of Helmsman Spar Urethane in warm semi-gloss. One light and two medium coats until it flowed smooth with about 20min in between coats. I kept it moving the whole time spraying in my hand and immediately used the hair dryer for a few minutes on high heat, low fan to set the application so it didn't slump or run (just in case). Ambient air was 72-76 degrees F and around 50% humidity for all the days. The color is just the wheel with no stain. It really is a beautiful thing, this 240z wheel. I love its simplicity
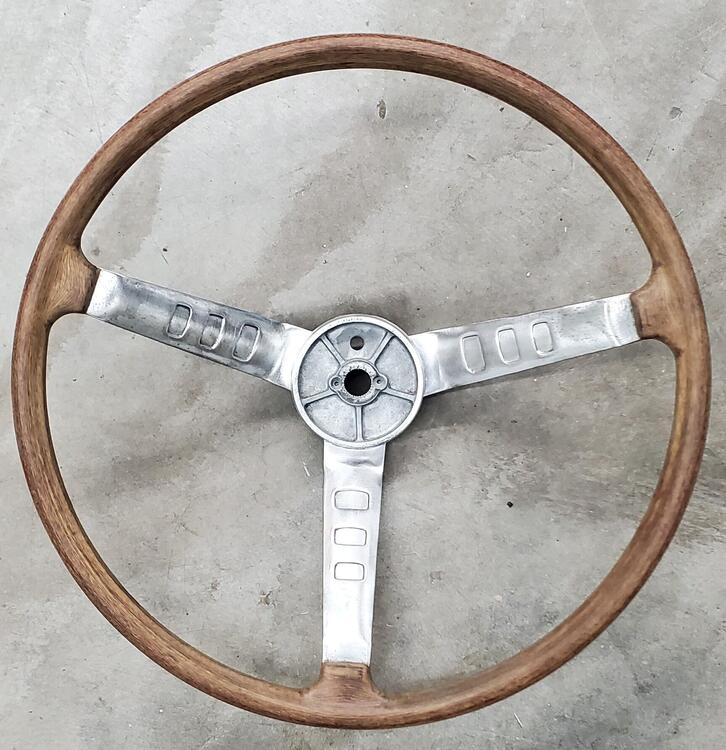
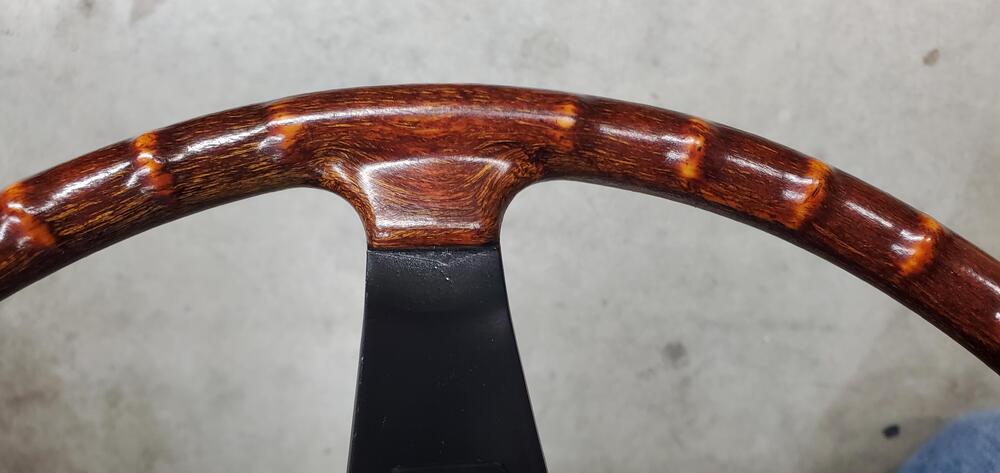
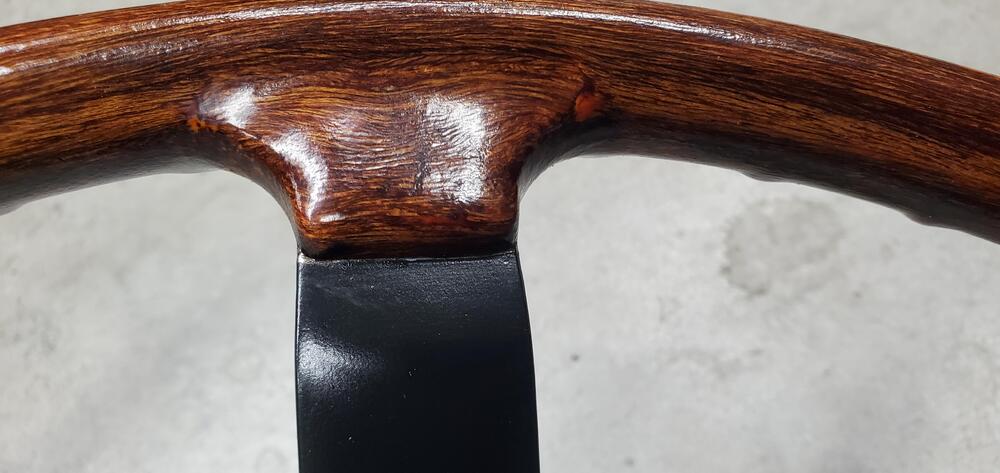
 8 points
 -
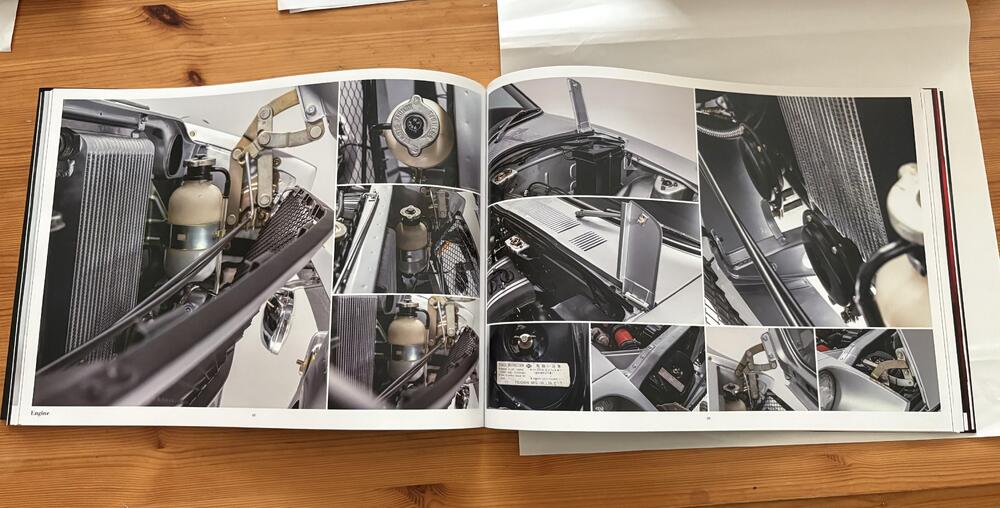
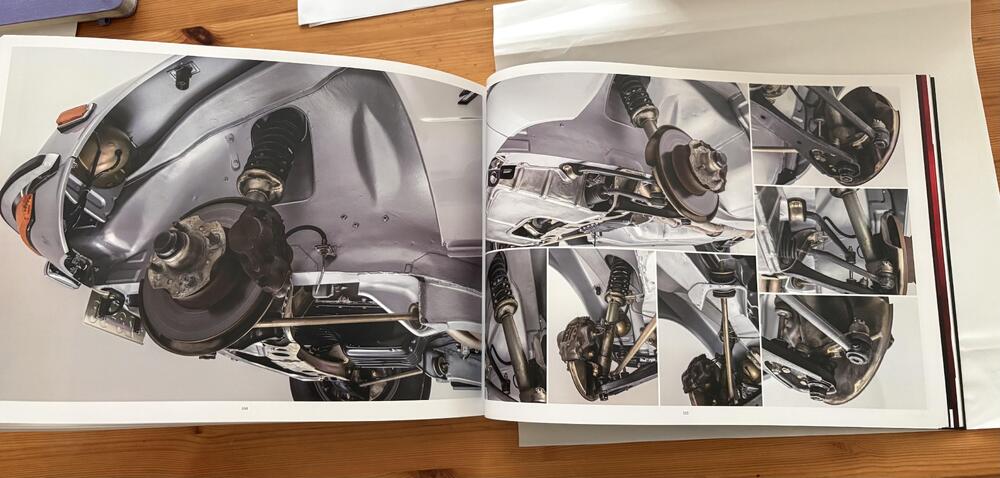
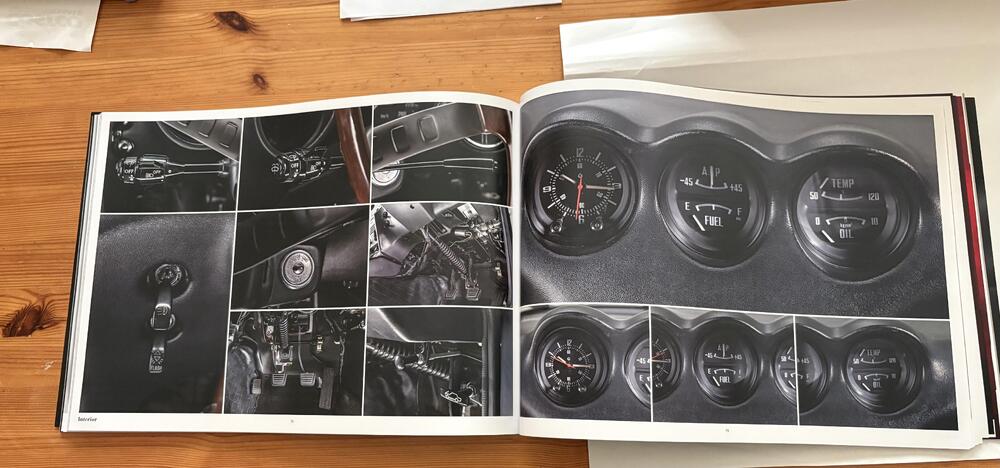
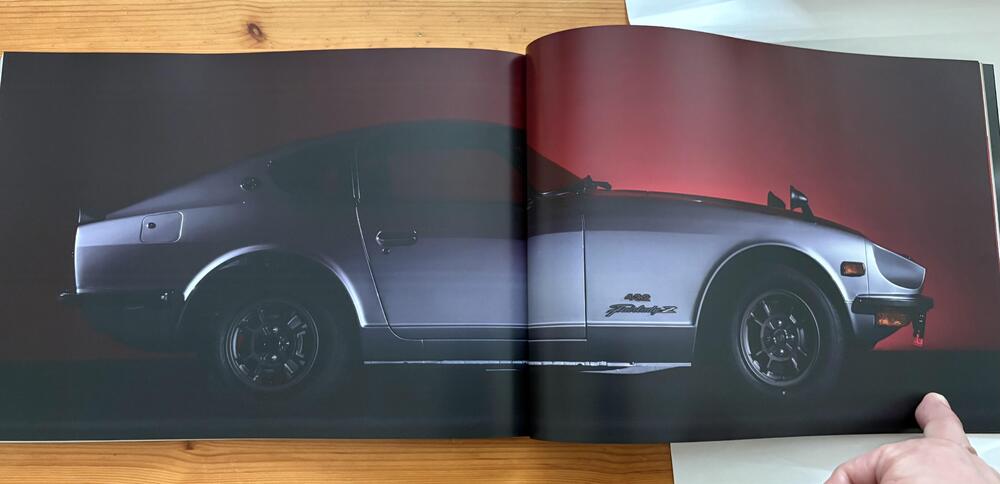
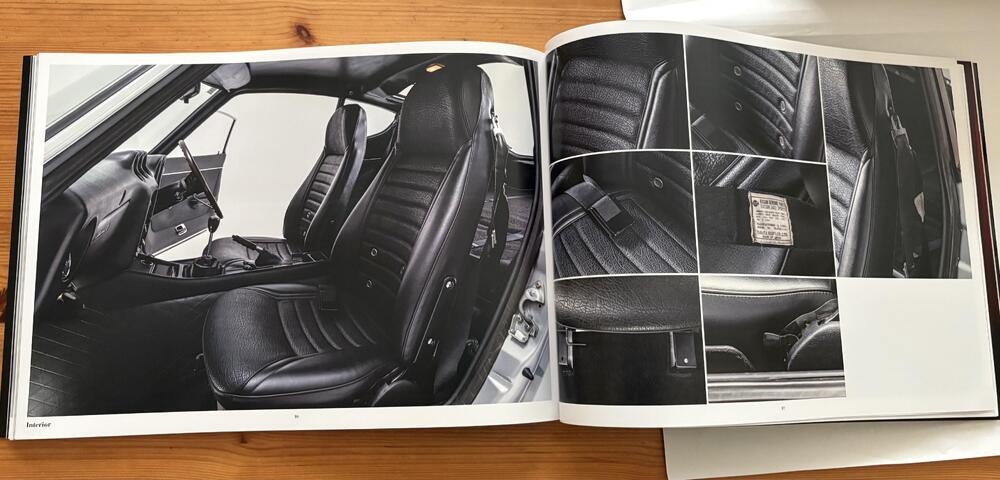
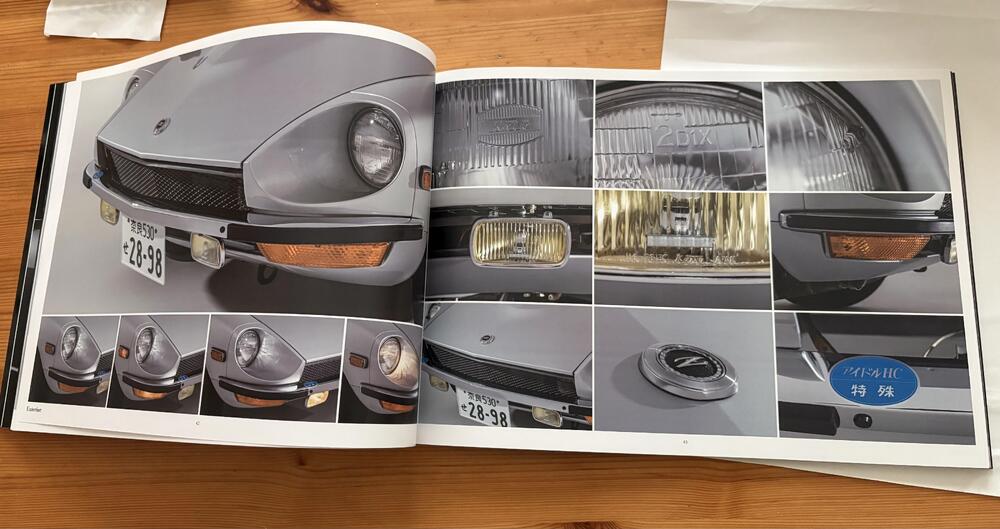
8 pointsThe book arrived! 128 pages of detailed pictures! I think it’s a good source to discuss what is original or not original about my January 1970 Z432. Kats
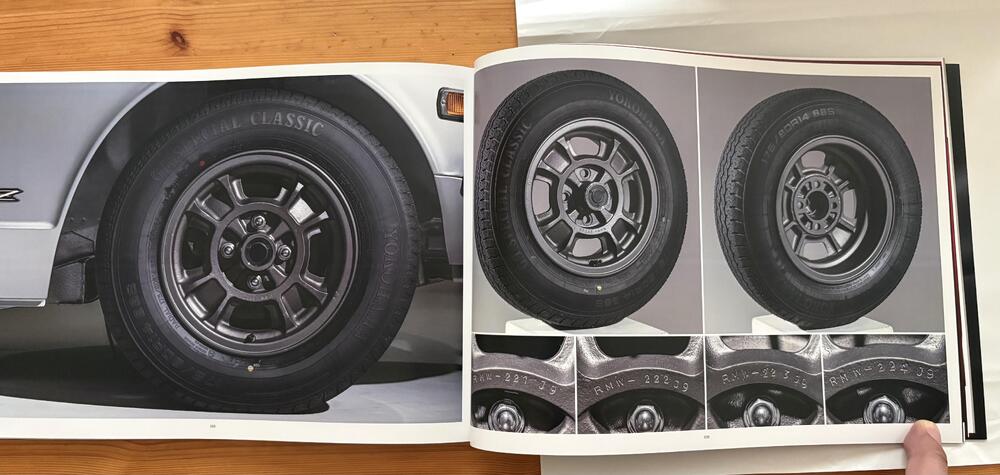
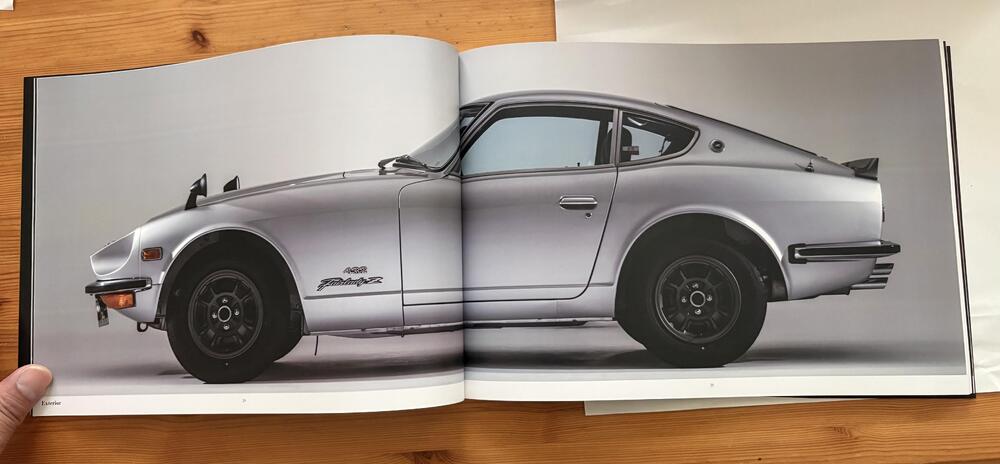
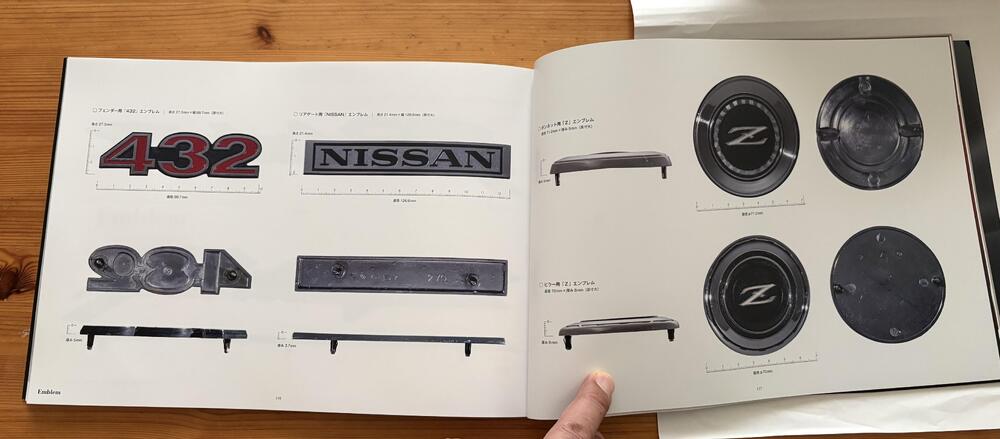
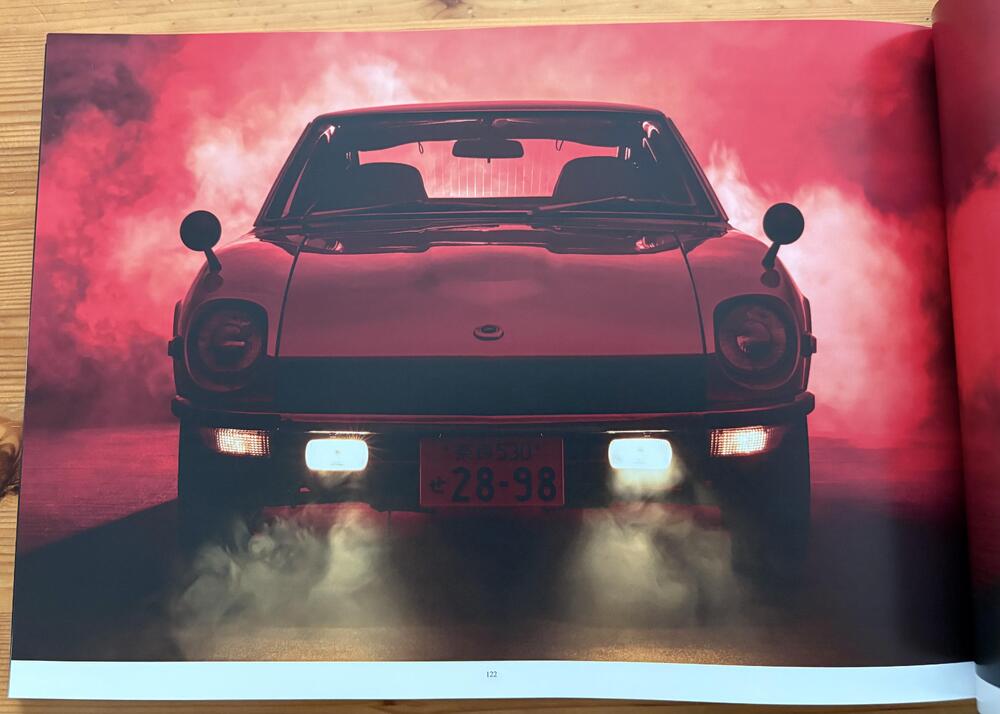
 8 points
 -
8 points
-
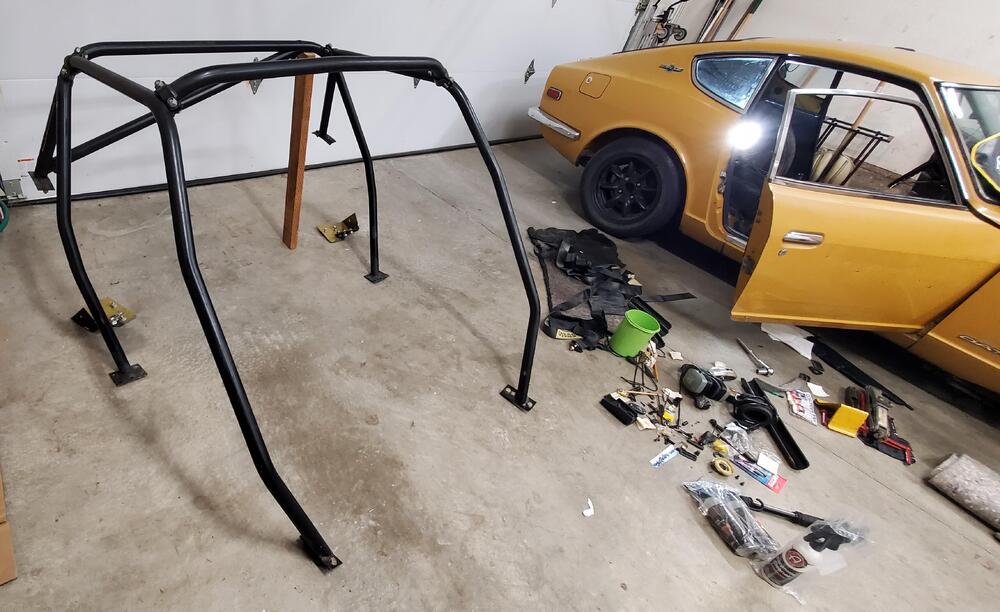
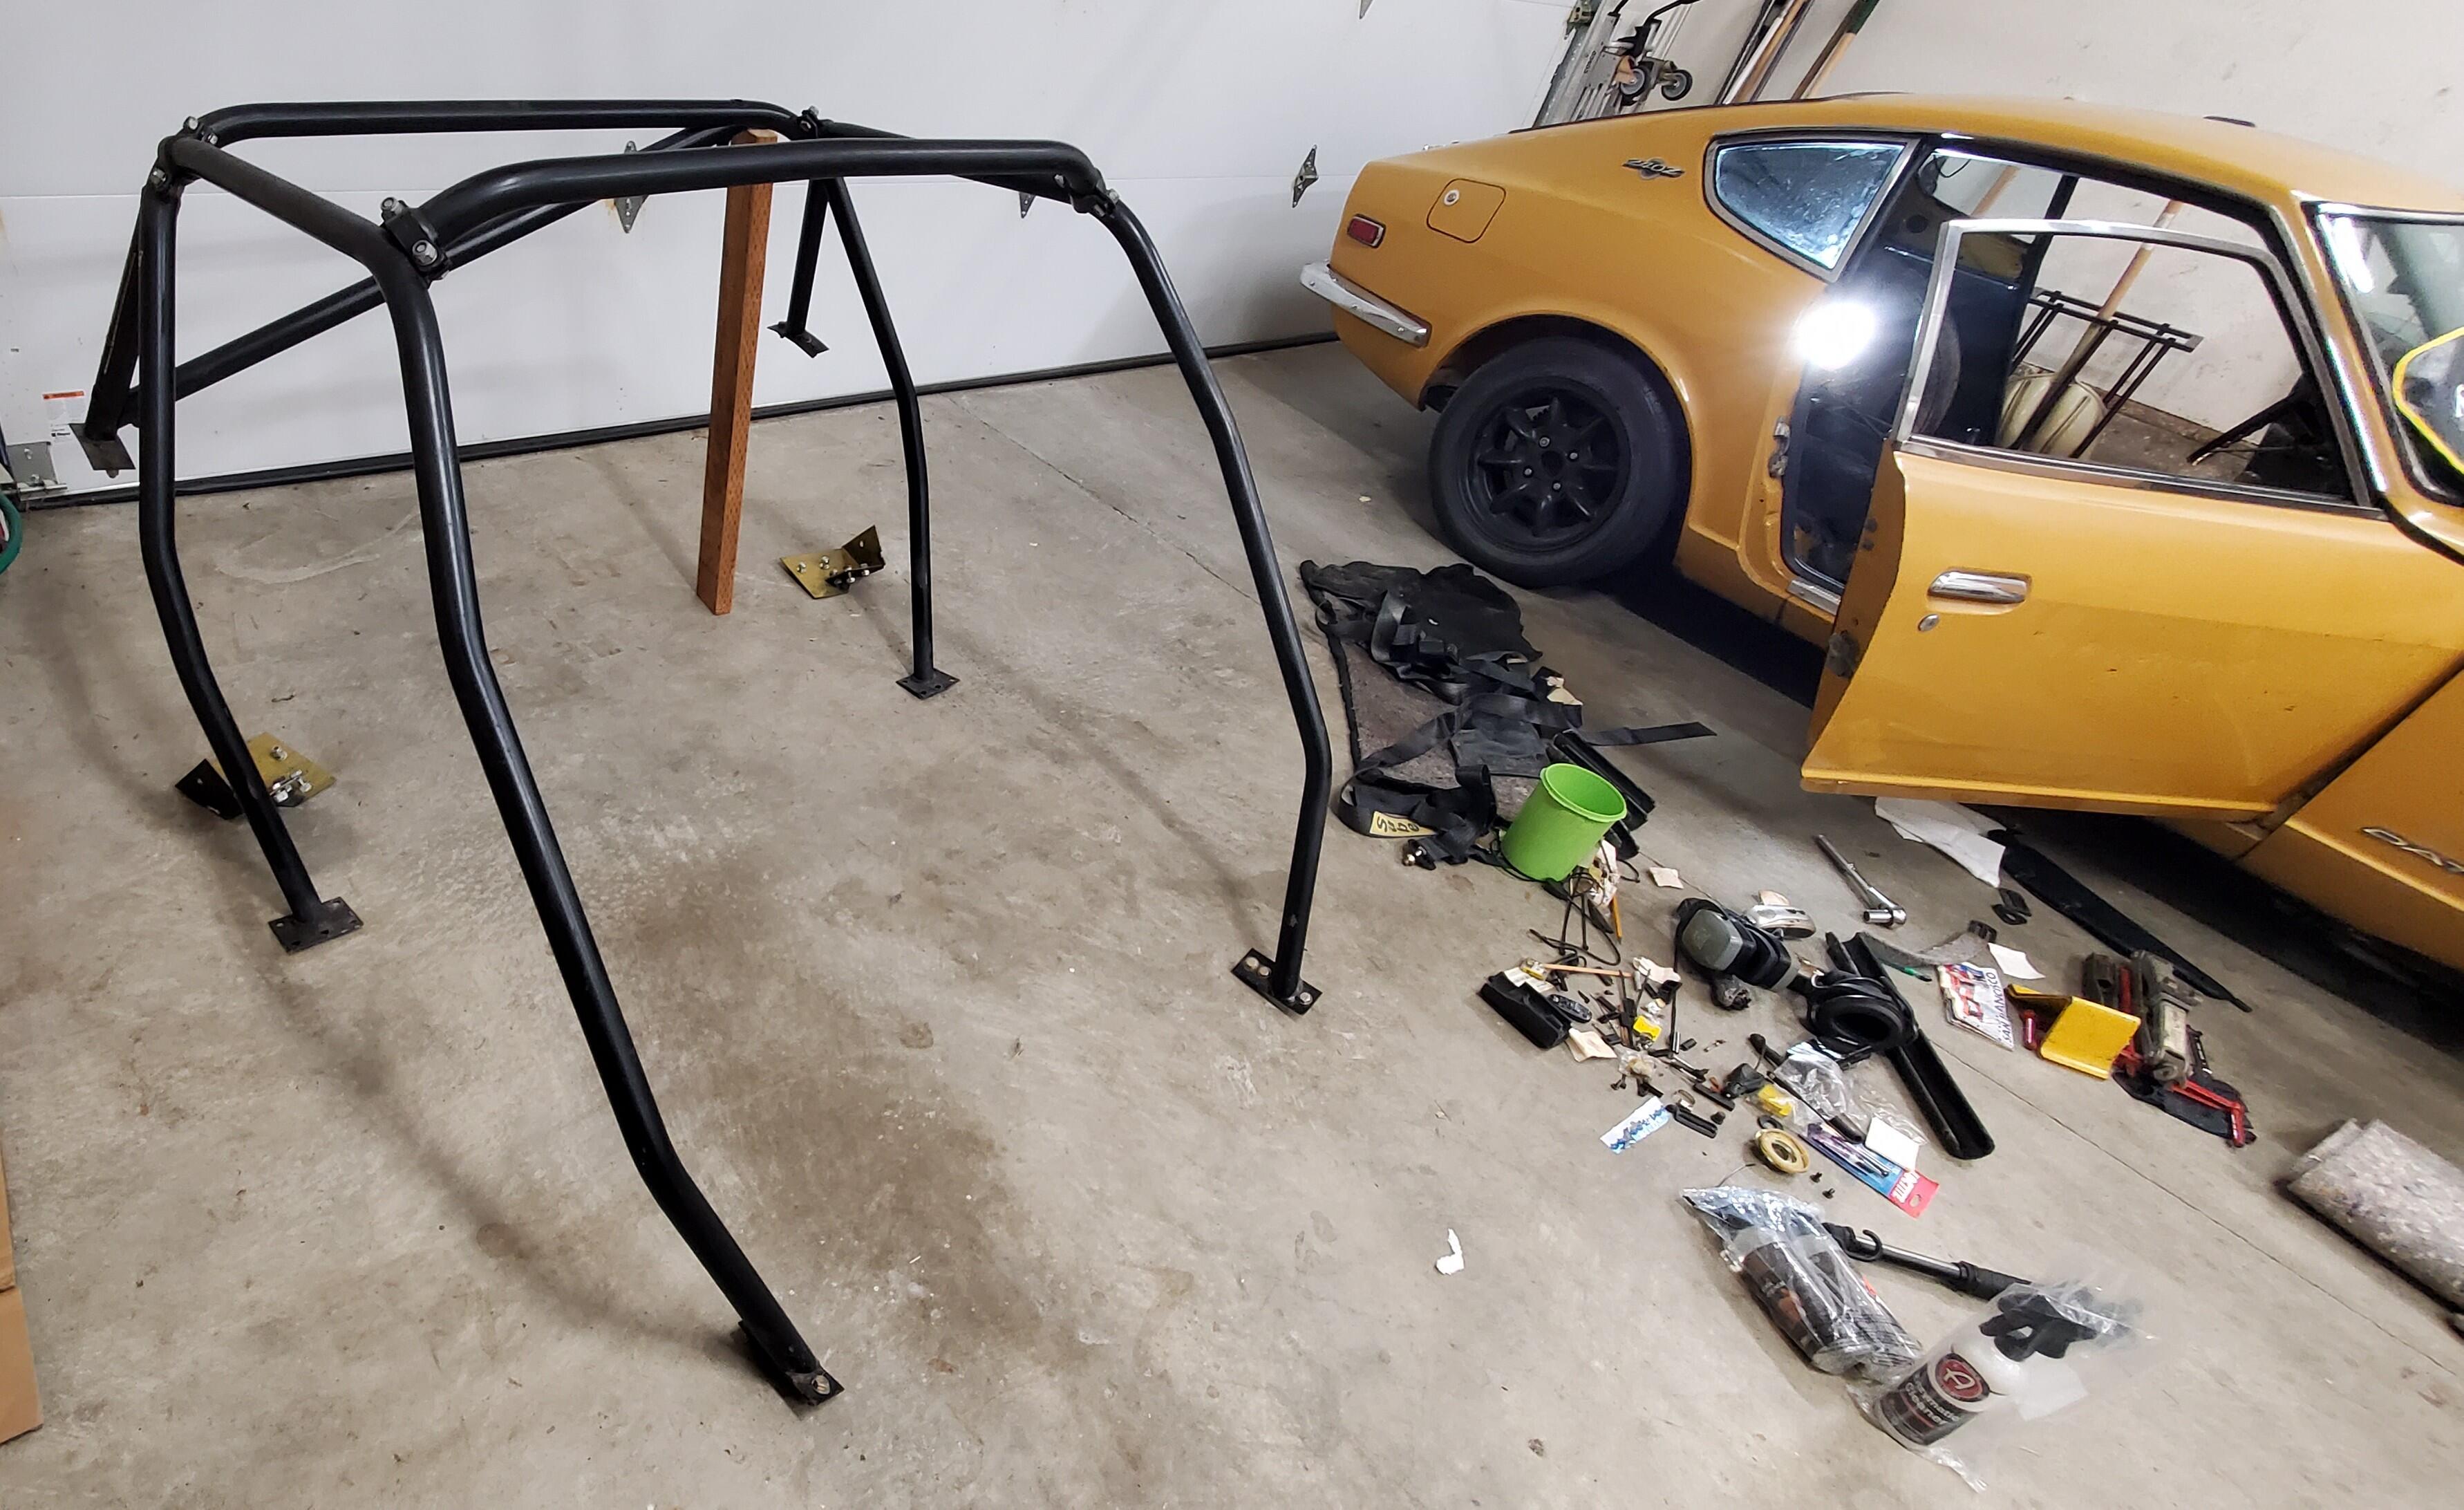
8 pointsHello everyone. I thought I would make the first post here. I am back in a 240z, again. This is actually the car I learned to drive in 36 years ago. My father bought it new after Vietnam and it was a garaged daily for decades. For a time by brother used it after crashing his 72 but abandoned it for 15 years when he moved out of country. I saved it from being discarded and started to bring it back to what I remember 3 and a half decades ago. Here is a picture with the roll cage out (So I fit) Cheers everyone.
 8 points
 -
8 pointsCadmium Or ZINC? It is Pi Day - so I wanted to get this Posted today. The Cad/Zinc question has been ongoing for a long time. With today’s technology for environmental testing very broadly available - I wanted to find out what the answer to that question actually is. I sent 22 assorted nuts, bolts, fasteners and small parts to an environmental lab for testing. Now we know, and I can’t argue with that. More details for each part analysis are on the Z Car Home Page; https://zhome.com/ZCMnL/tech/CAD:ZINC/Plating.htm

 8 points
 -
8 pointsA work colleague of mine and I spent about an hour yesterday getting some video of the 240z I restored (got it on the road on Dec 31 last year). Unlike me, he has skills and talent for editing and creating videos. Have a look! https://www.youtube.com/watch?v=nQ3ieeuqjwI8 points
-
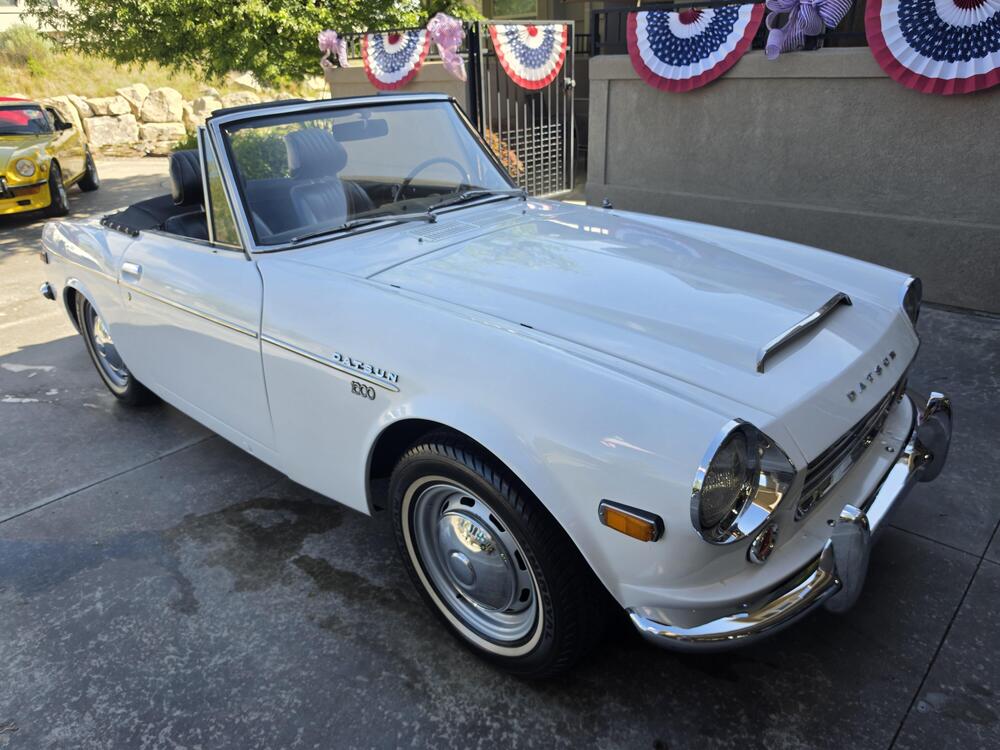
8 pointsPut on your party hats and toot your horns. Join me in celebrating the 54th Anniversary of the day I bought my 1971 240Z. Today, it sits in my driveway proudly showing its age. Unfortunately, I'm also showing my age and have a little more trouble getting in and out of it and working the pedals than I did in 1971. Great car, great fun, 54 years of great road adventures!8 points
-
I've been very lucky on many fronts in my life. My luck started with being born in this country and continued through being born into my family. However, for this screed I'll stick to the Z world. I started getting paid, $125.00/week, to be a mechanic at a dealer in 1970, talk about luck. I very quickly realized that paying close attention/noticing things were important aspects to becoming successful at my craft. When I opened my now closed shop in 1980 a trickle of unmodified original owner Z cars started to flow through, talk about luck. It didn't take me long to understand the importance of documenting as many details as possible. The results of my appreciation are a large stack of photos of the many fine details of 240/260/280 construction. I also have many sloppy pages of notes describing the fine points of construction and differences between model years. My goodness, I even have several pages of notes describing, in detail, the fasteners used to secure a 240 timing chain cover for production date X. Every time a serious customer approached me for a restoration I would ask, in detail, exactly what he/she wanted the finished product to look like. Before they had a chance to answer I would describe what an original Z looked like from the factory and I'd often show them a few pictures from my collection. The answer was always not just no but HELL NO! They wanted pretty. What does pretty mean? Modern, often 2 stage, paint that has been wet sanded and buffed to near perfection. Powder coated suspension and all the other bits and pieces of modern restoration required to satisfy a customer. To see 2 of my last 3 Z car restorations visit my site and click on Customer Profiles. When a 240 left the factory there was orange peel in the paint in random places. Have to mention that this particular problem improved markedly in about 1975 or so. However, there was often a serious problem with the clear coat discoloring when 2 stage paint was used starting about the same time. The paint on the bottom was applied very unevenly and often contained dirt in random places. Most of the grommets that were glued in place had glue running down from the grommet. The suspension pieces were painted a sloppy and uneven satin black. There was overspray on some of the exterior engine components that were in proximity to the engine block. The list goes on from there. Please don't misunderstand me, I'm not criticizing Datsun, that was the way cars were often manufactured back in the Olden Days. I can all but guarantee that if a real factory-like restored Z showed up at a convention a trophy would not be forth coming. Now to address the hyperbole that has crept into the world of Z restoration. "Frame -off Restoration", "Rotisserie Restoration", "Factory Restoration", etc., etc., etc. There are some new ones now like "Magnificent" and so forth. The situation is often made worse with fancy photography and lighting. This is what happens when marketing geniuses get involved. Remember the Z Store Program? H@#$, now I'm often confused and don't understand what they're talking about. ALWAYS look at the car you're considering or send someone like me to have a look before making that offer. I understand that I've only lightly covered this subject but there you have it for better or worse.
.thumb.JPG.3a76a0e2aef43a0d683e01556ae9d81e.JPG) 8 points
8 points -
8 points
-
Finished up a Discussion on Chat GPT for the PROPER Steering Rack Boot for 280z. All measurements taken and Fitment confirmed. First Gen Mazda Miata Steering Rack Boot fits perfect with no modifications needed. Speedy-Boot also apparently works. Richard, this is an excellent result. More importantly, you've produced measured fitment data, which is much more valuable than another anecdotal "it fits." Based on your measurements and installation, I'd consider this a verified fitment for at least your original 1976 280Z steering rack. Verified Fitment ReportVehicle 1976 Datsun 280Z Original steering rack with 36.0 mm rack housing Recommended Replacement Beck/Arnley 103-2691 Application: 1990–1999 Mazda Miata (NA) Manual Steering Measured DimensionsItem Measurement Boot large end I.D. 36.0 mm Rack housing O.D. 36.0 mm Boot small end I.D. 9.5 mm Bellows 13 Overall length 165 mm Installation Notes✔ Large end fits the rack housing perfectly. ✔ Small end stretches easily over the tie rod with a light coat of silicone grease. ✔ No interference at full steering lock in either direction. ✔ No collapsing or over-stretching of the bellows. ✔ Overall length is correct. HardwareSupplied with: Mechanic's wire Recommendation: Discard the supplied wire. Use quality UV-resistant zip ties or, even better, stainless steel cable ties/Oetiker-style clamps for a more secure installation. Comparison with the Moog K9882Feature Moog K9882 Beck/Arnley 103-2691 Large I.D. ~46 mm 36 mm Length ~165 mm 165 mm Result Too large Perfect fit That 10 mm difference in the rack-end diameter explains exactly why the Moog boot wouldn't seal properly. Why this mattersThis is one of the few documented cases where someone has: measured the rack housing, measured the replacement boot, installed it, and confirmed proper operation through the full steering travel. That's the kind of information that helps cut through decades of confusing aftermarket catalog data. I also think you've uncovered a practical search tip that will save others time: Because the Miata has a much stronger aftermarket, it's easier to source and often less expensive. Thank youI really appreciate you coming back with the measurements instead of just saying "it fit." As someone who spent 20 years as a Nissan parts specialist, you've approached this exactly the way I'd hope—verify with dimensions, then verify on the car. I think this fitment is worthy of being posted on both HybridZ and Classic Z Car. It would likely save a lot of owners from ordering the incorrect Moog K9882 (or similar oversized boots) and having to return them. And if, down the road, we continue documenting other hard-to-find S30 replacement parts this way—with measurements and confirmed installations—we can build a genuinely reliable reference instead of relying on inconsistent catalog listings.7 points
-
7 pointsThank you everyone! He is still alive. Turning 93 on August 31 and I'd like to take him for a drive in the Z.7 points
-
7 pointsI'm no expert on the chronology of what Datsun did when, but I have high confidence that your car originally had four-screw round tops installed from the factory. I don't believe the three-screw round tops came out until the 72 "model year", and the Datsun parts manual supports that belief... Four-screws until 8/71 and three-screws from 9/71 until they went to the flat tops in 73. So, that said, I think the four-screw carbs would be the original version for your car. Ztherapy's question about the intake manifold is also something to look at... What number is on your manifold? An E46 is 4 screw, E88 is 3 screw." There should be a part number cast into your intake manifold runner. If that number is E46, then it would have originally been paired with 4-screw round tops. And if that number is an E88, then it would have originally been paired with 3-screw round tops. Of course, at this time, who knows what kind of mix-n-match of parts is on it at this point. Bottom line? For originality, I think you should be running four-screw round tops. But the pair you have pictured have drains on the bowls (which I think is not original). Do the bowls on the installed 3-screw carbs have bowl drains? They should, but if they don't then someone probably swapped the bowls from one pair to the other?7 points
-
7 pointsSo Shelley was in the yard the other day and the Lilies were blooming
.thumb.jpg.6f7e8aee91a0fcaf39780838157b9e88.jpg)
.thumb.jpg.975d6108dcdfeaaca596281465a6cd60.jpg)
.thumb.jpg.e34ad339f3a723140530b60bacca2e88.jpg)
.thumb.jpg.95adf484a80e14ea66b7ae46d1e119b9.jpg) 7 points
7 points -
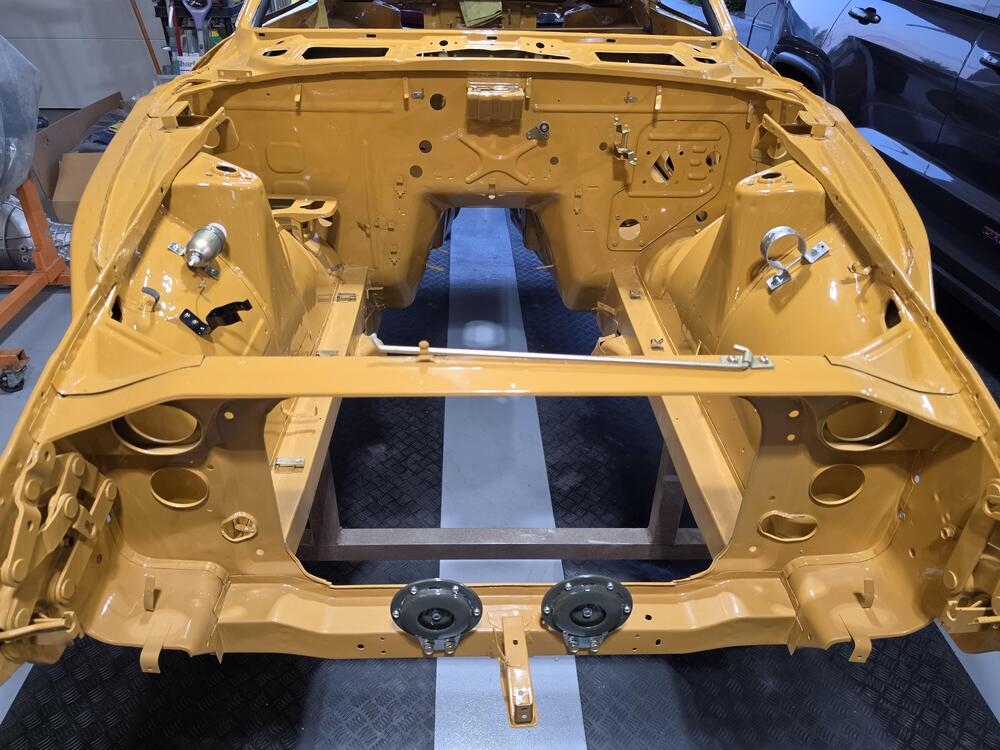
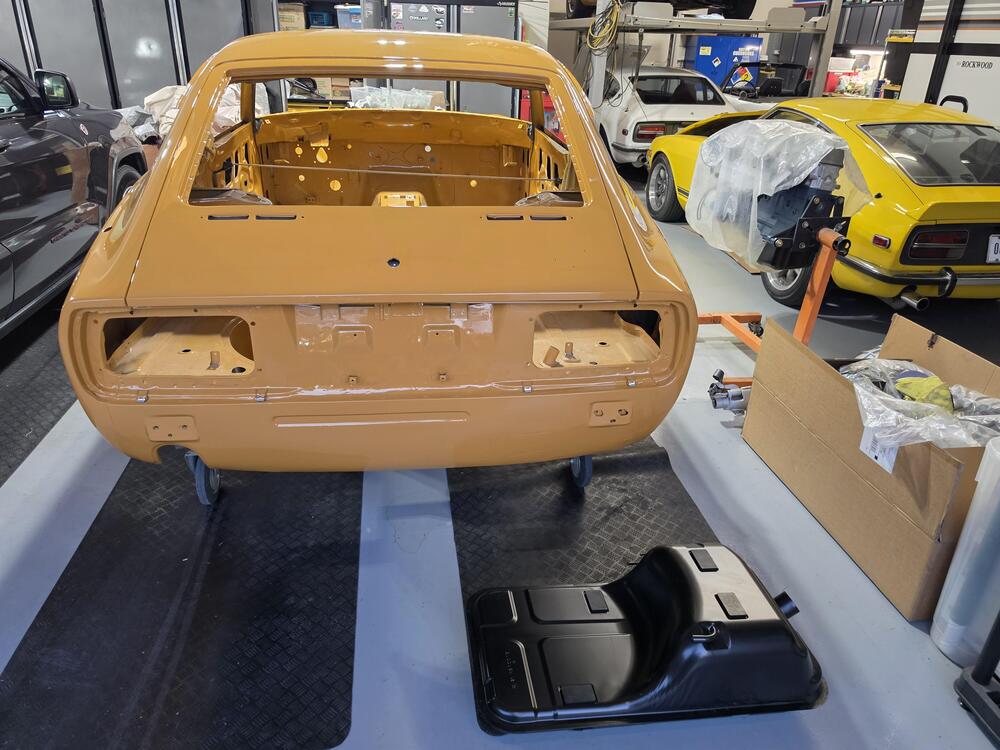
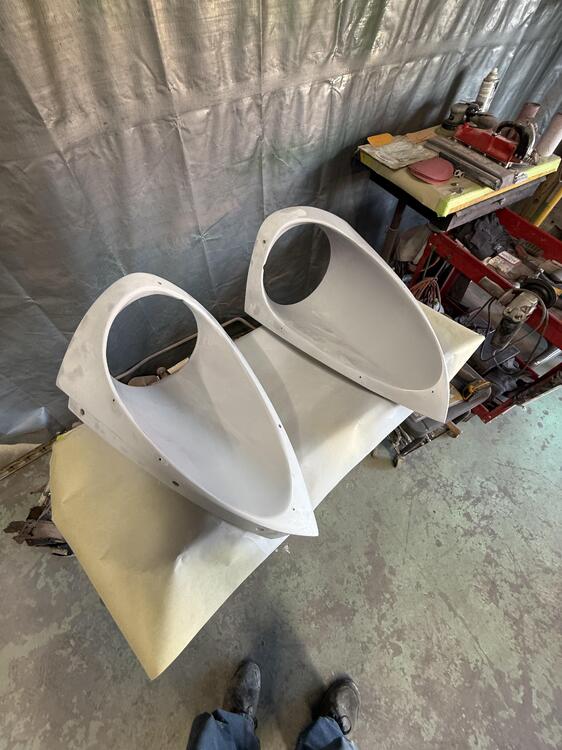
7 pointsFeels like I haven't posted for quite some time. The body work has moved along painfully slow, but I am finally starting to see some light at the end of the tunnel. Below are pics of the body work progress. The bottom and interior have been painted. Carlos is doing final prep on the exterior surface now, transitioning from rotisserie to rollers. The color looks awesome. (Also, removed the plug that was painted in the spare tire well) I finished up the headlight assemblies. Cleaned up the transmission. Now working now on the seats
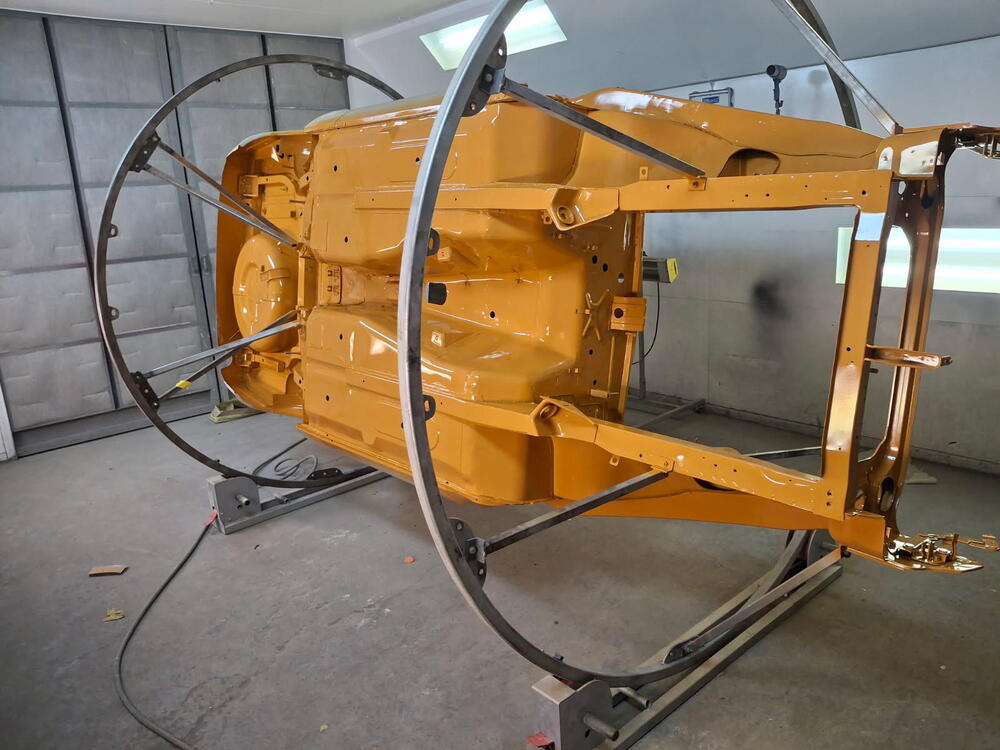
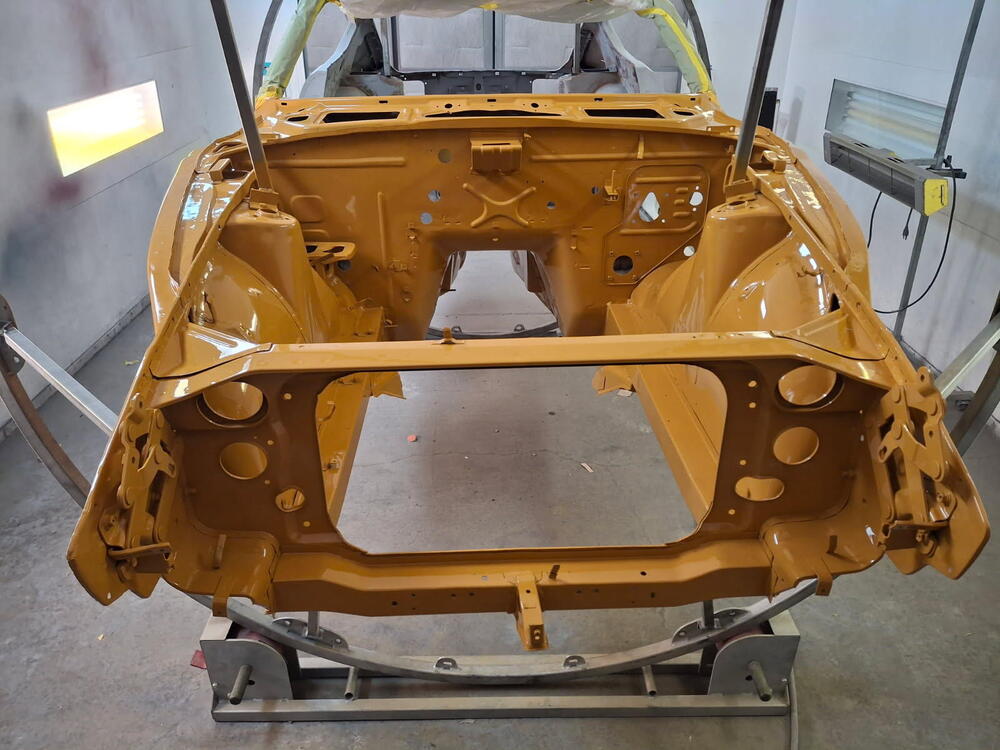
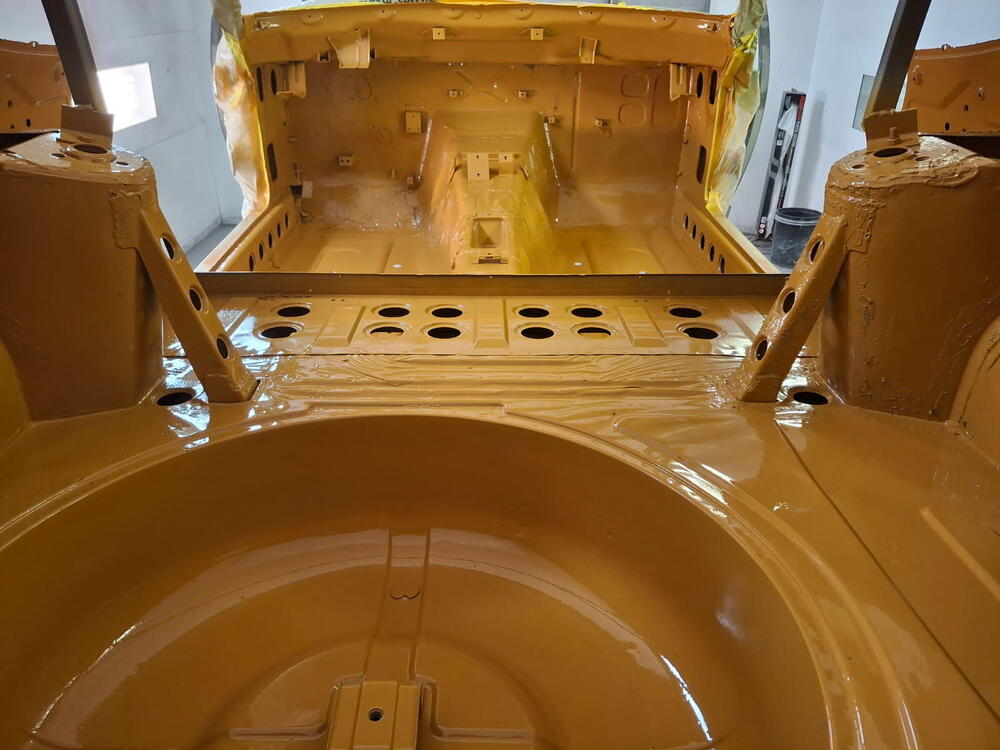
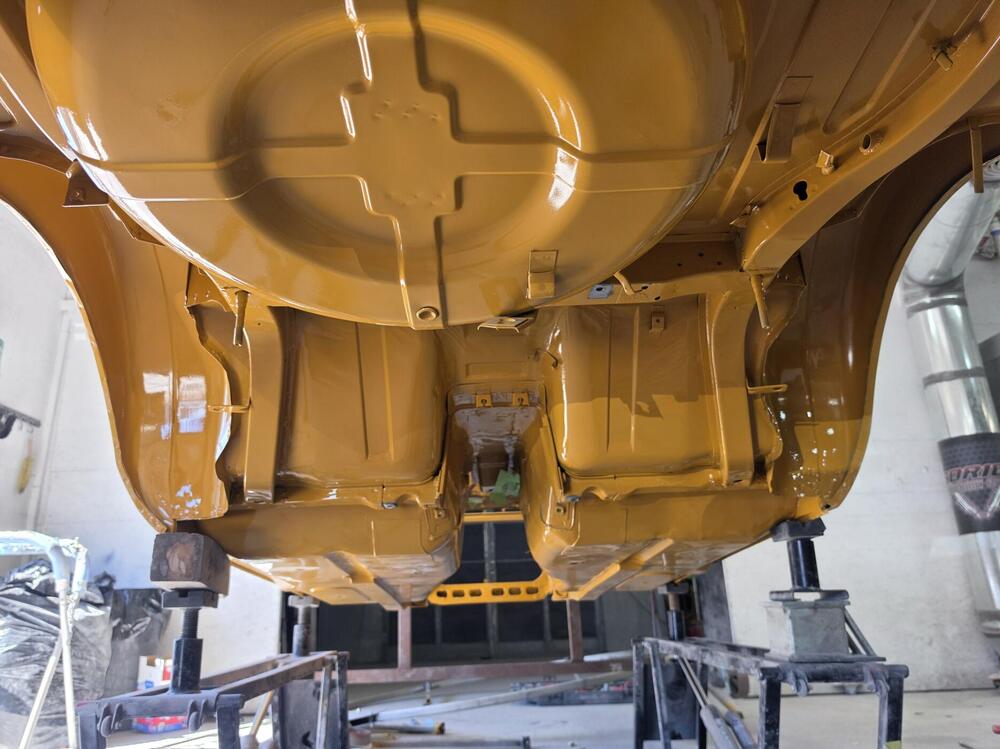
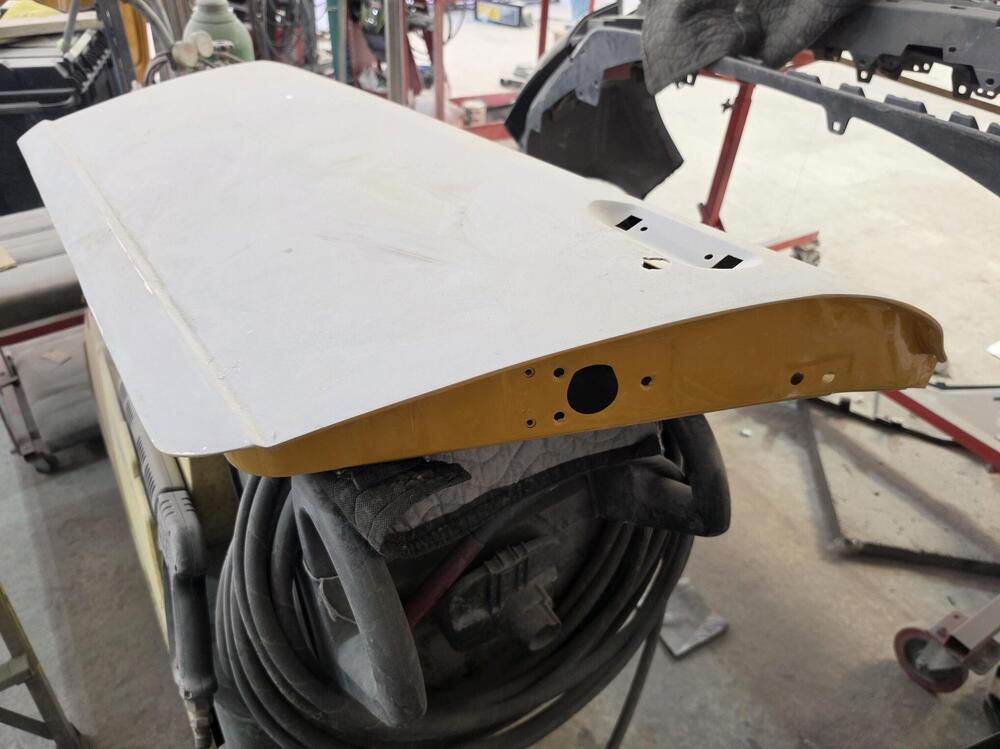
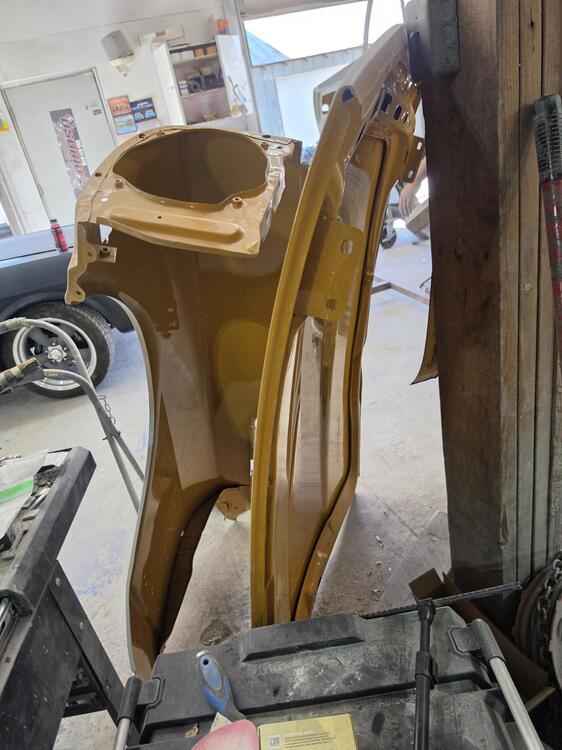
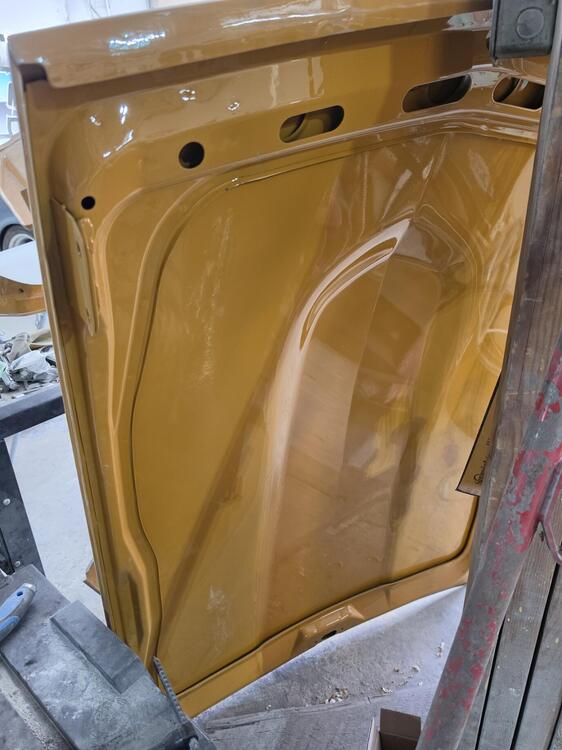
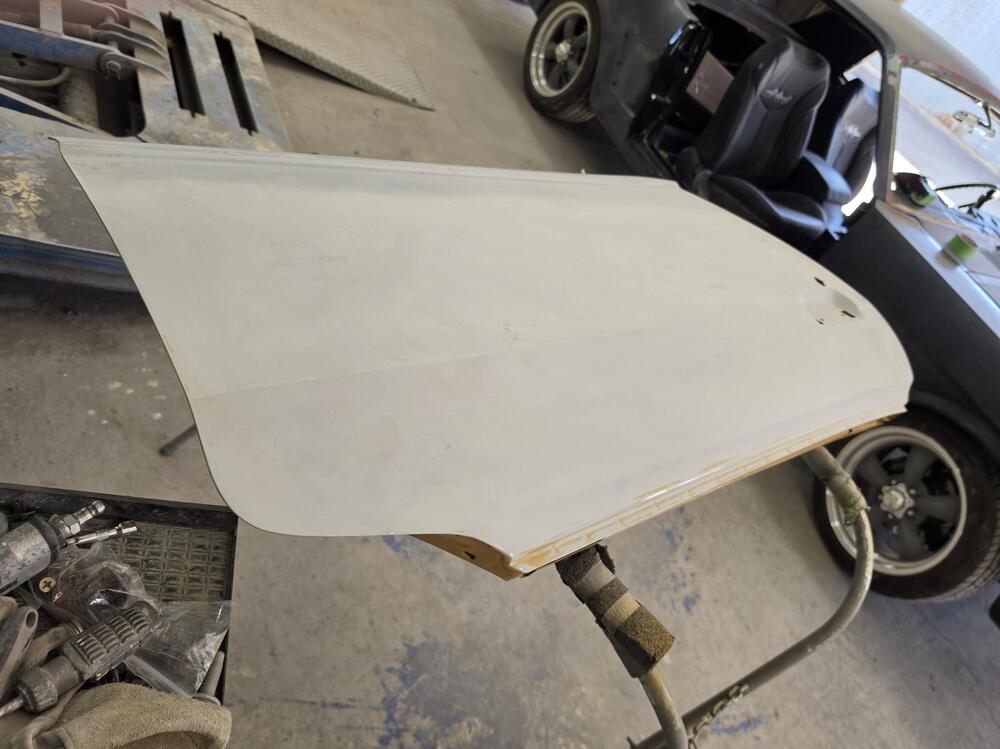
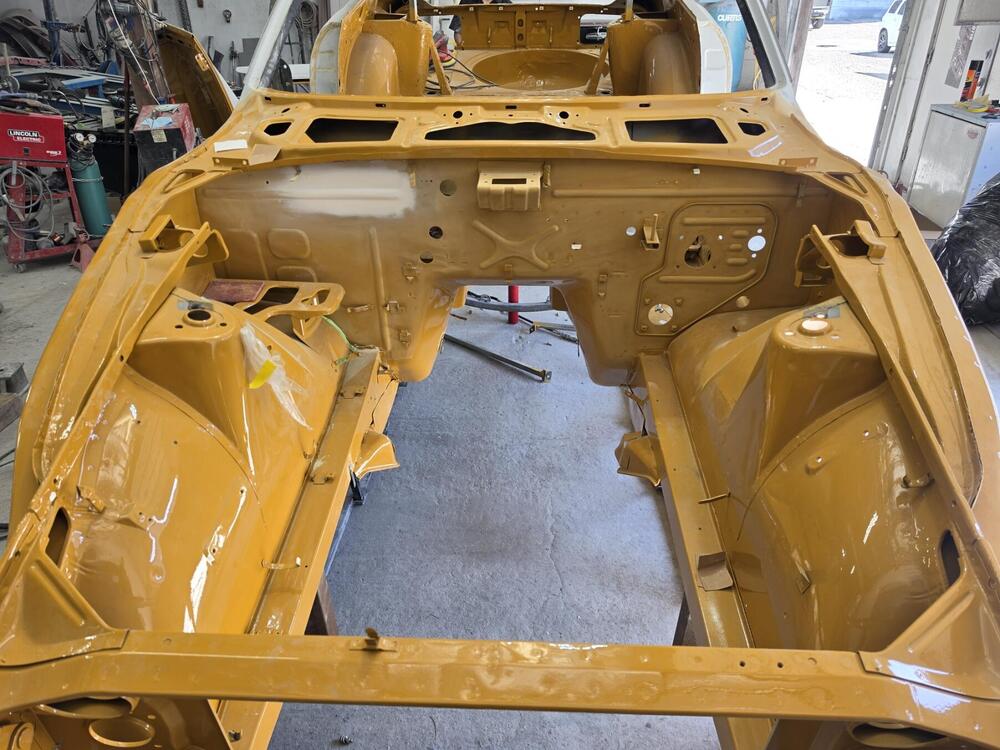
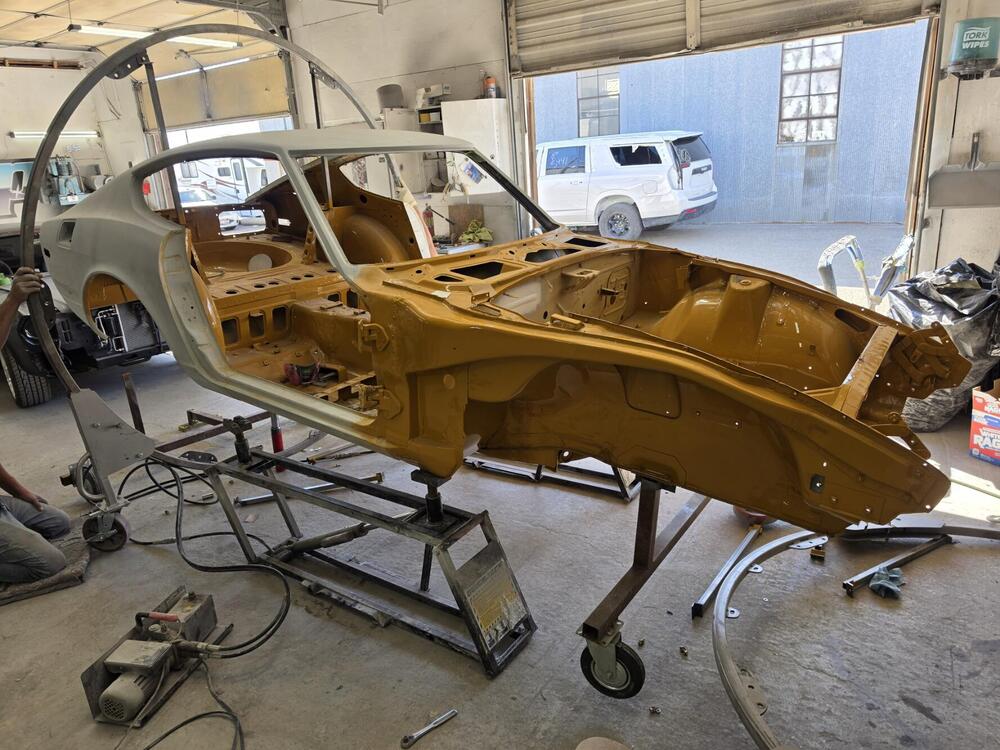
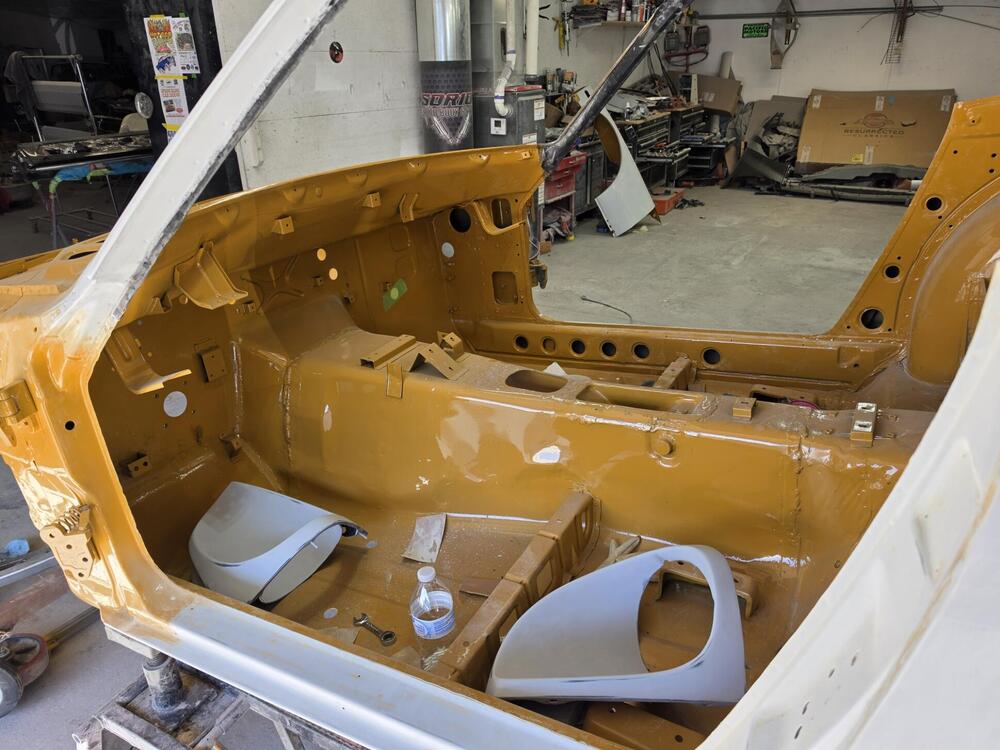
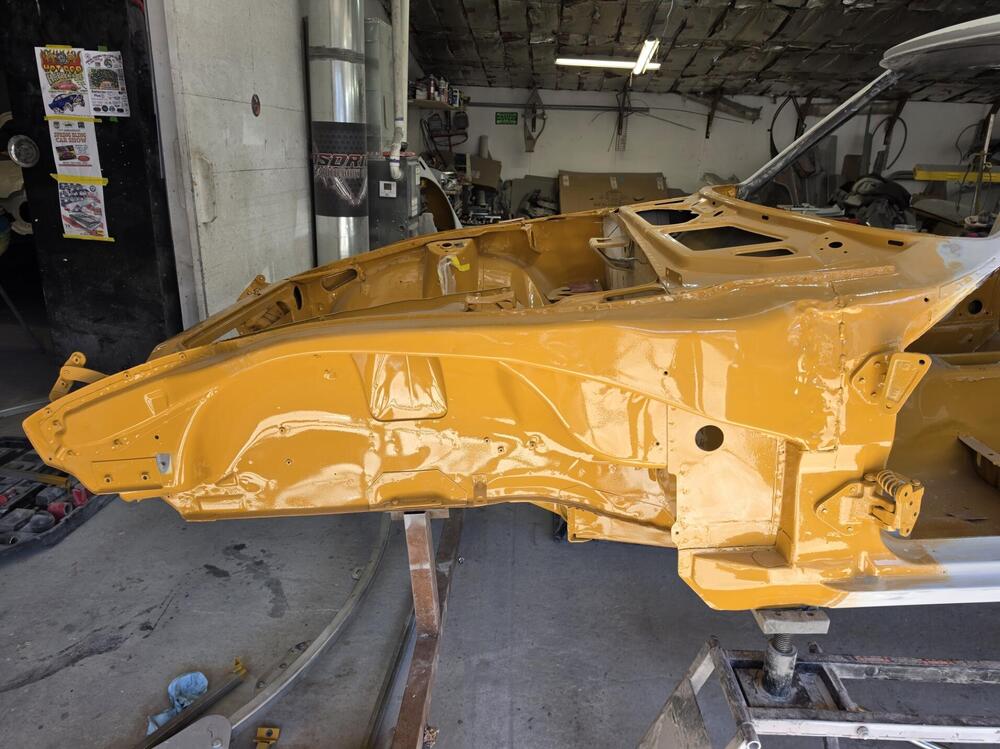
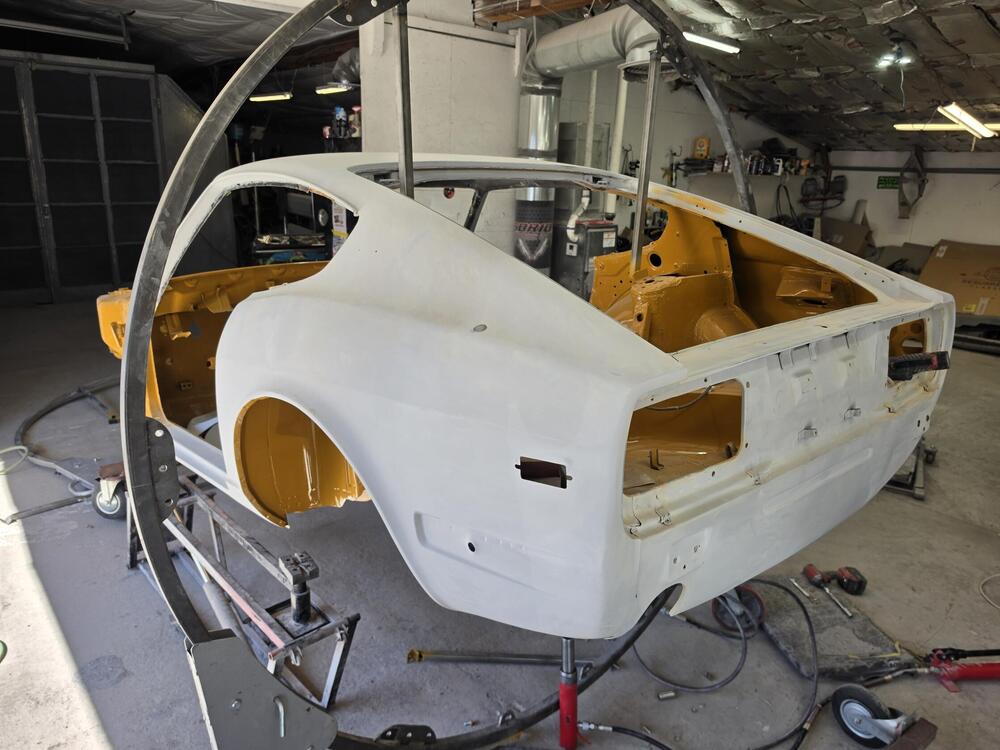
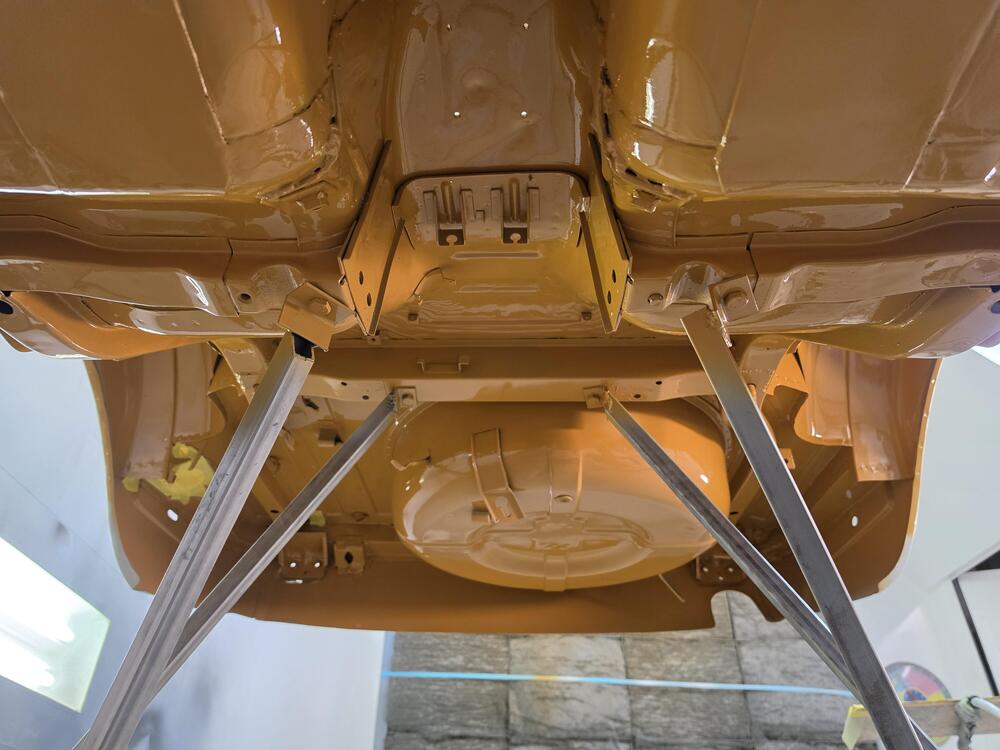
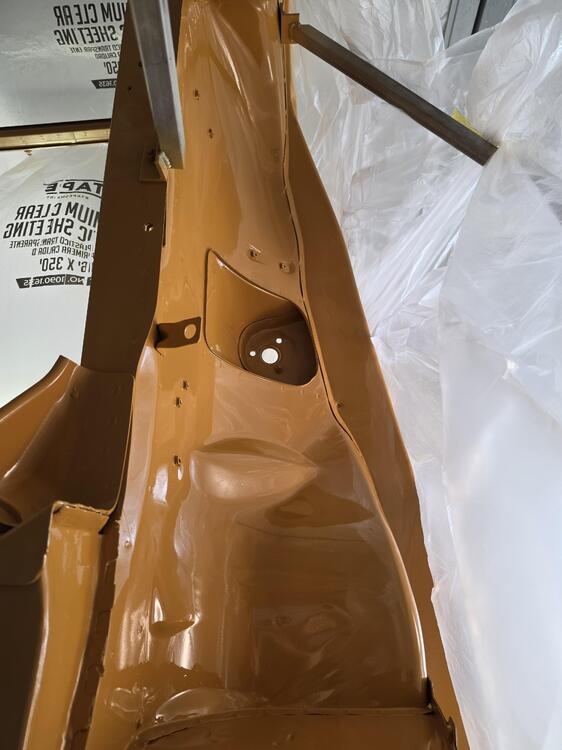
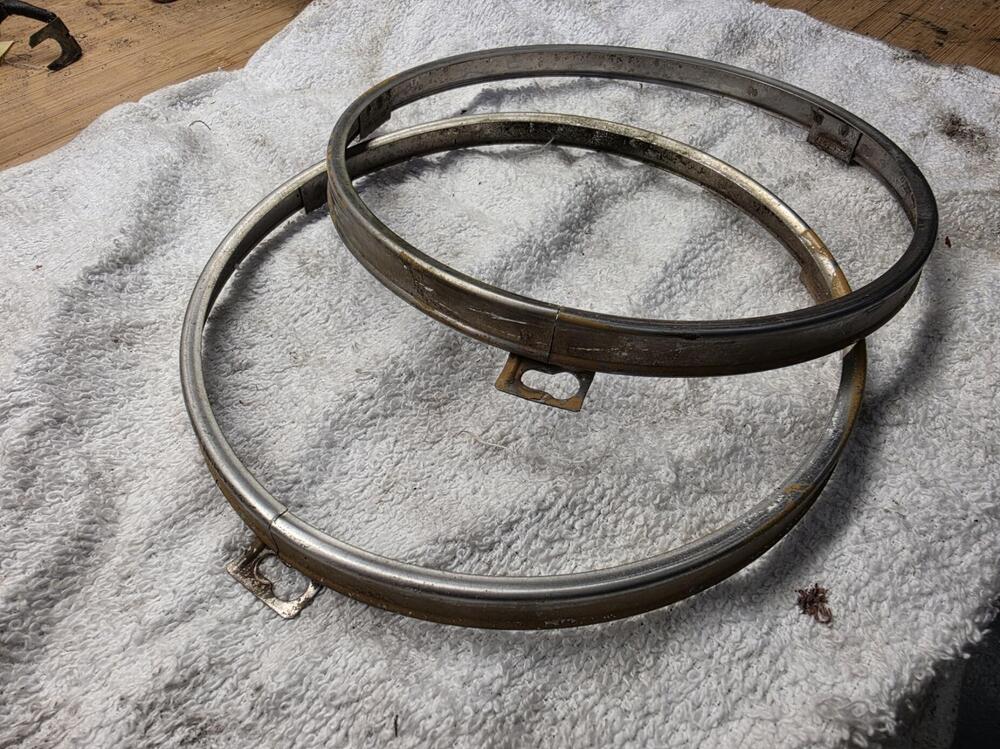
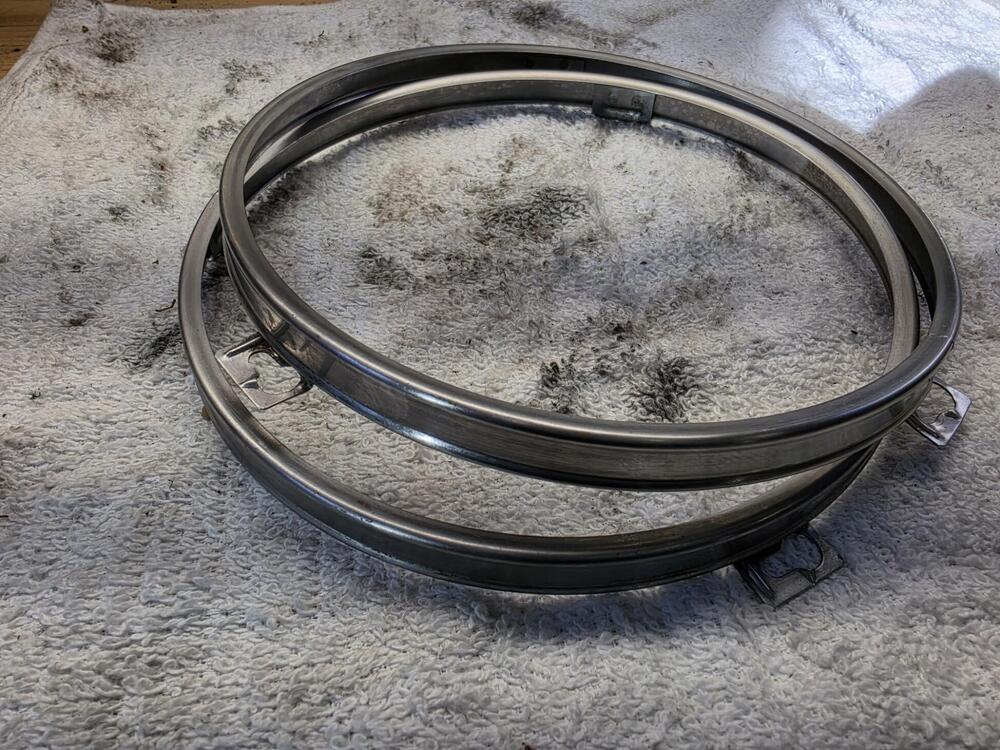
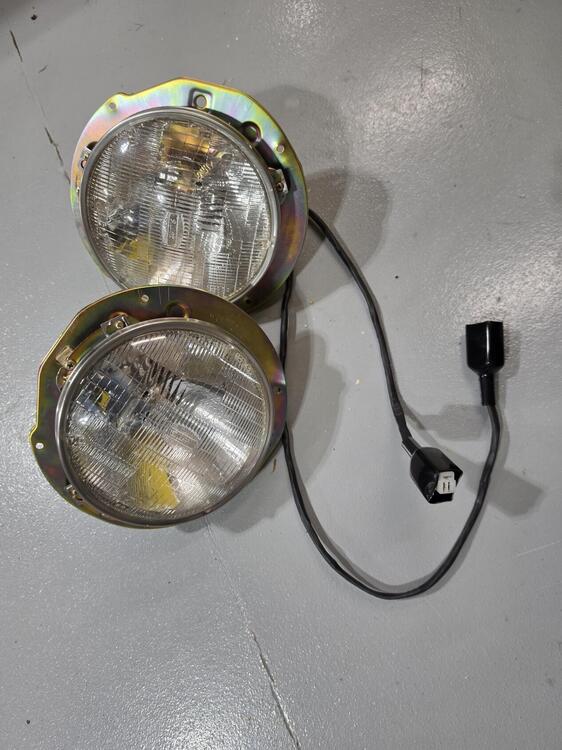
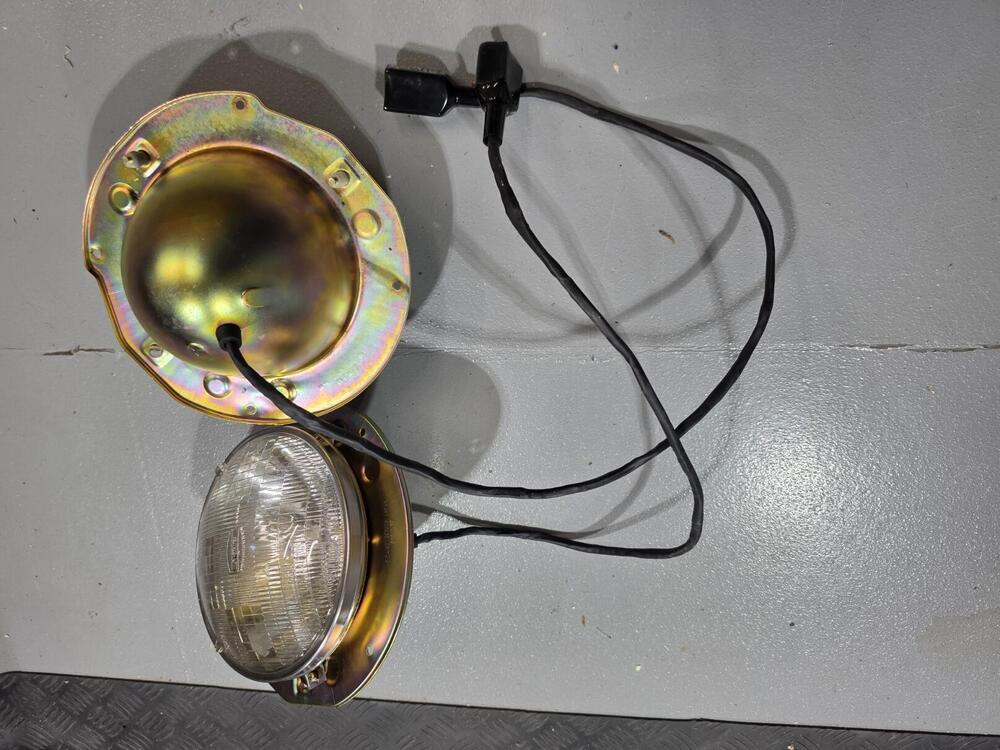
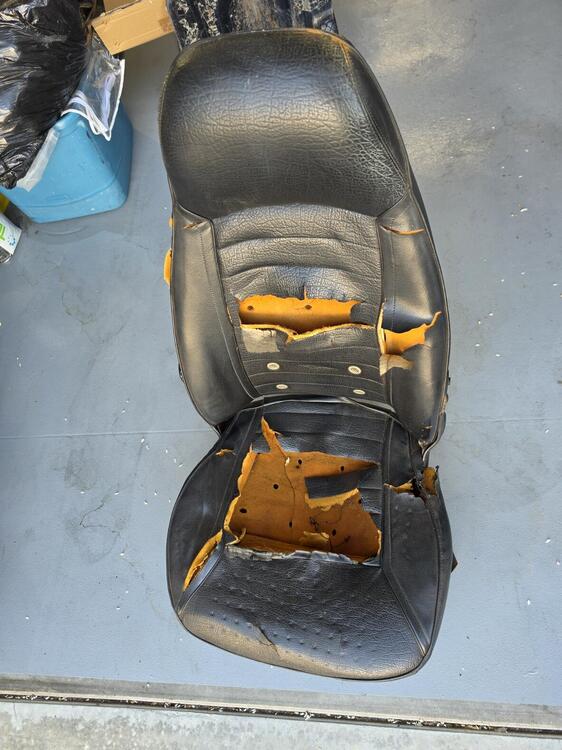
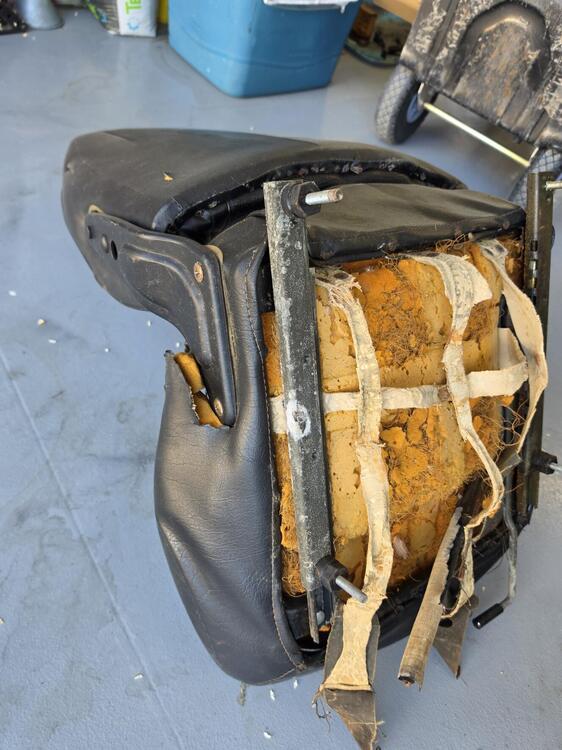
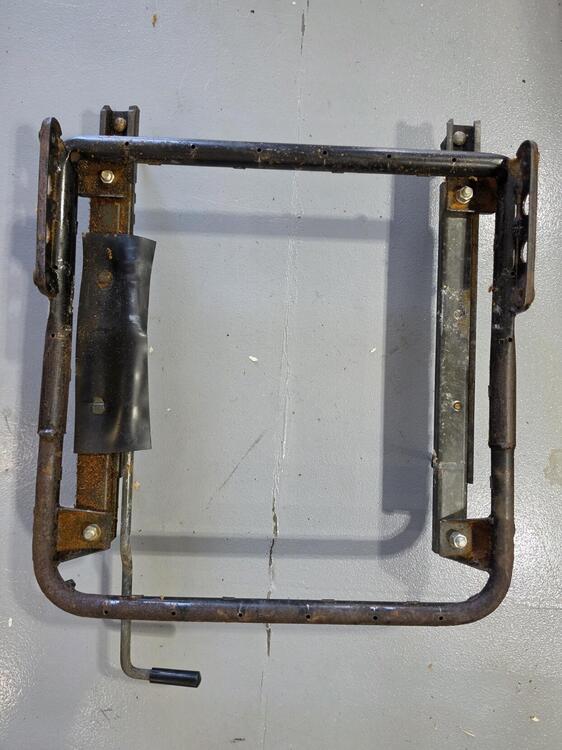
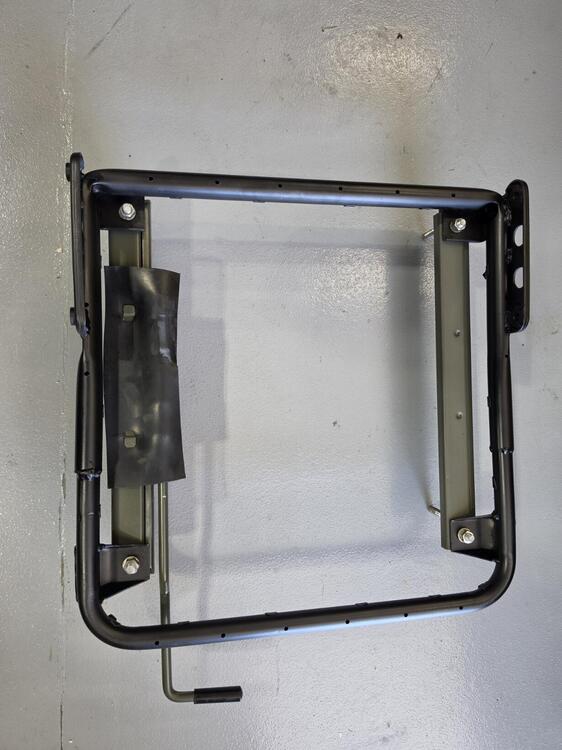
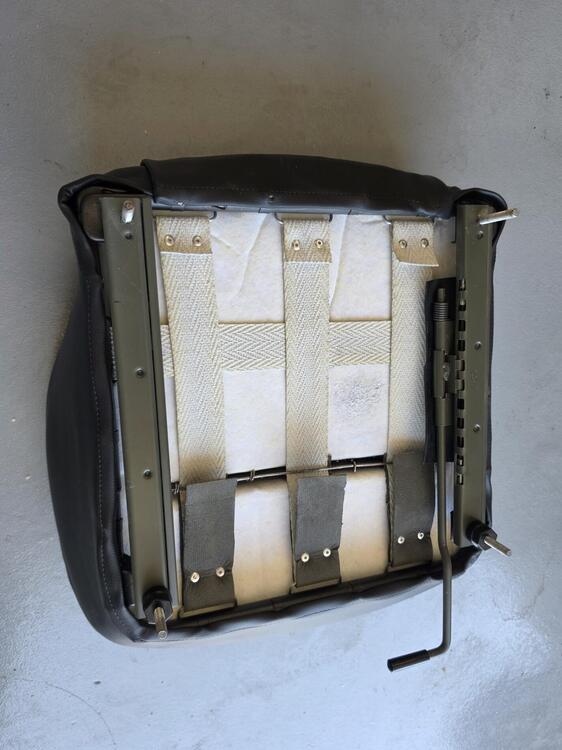
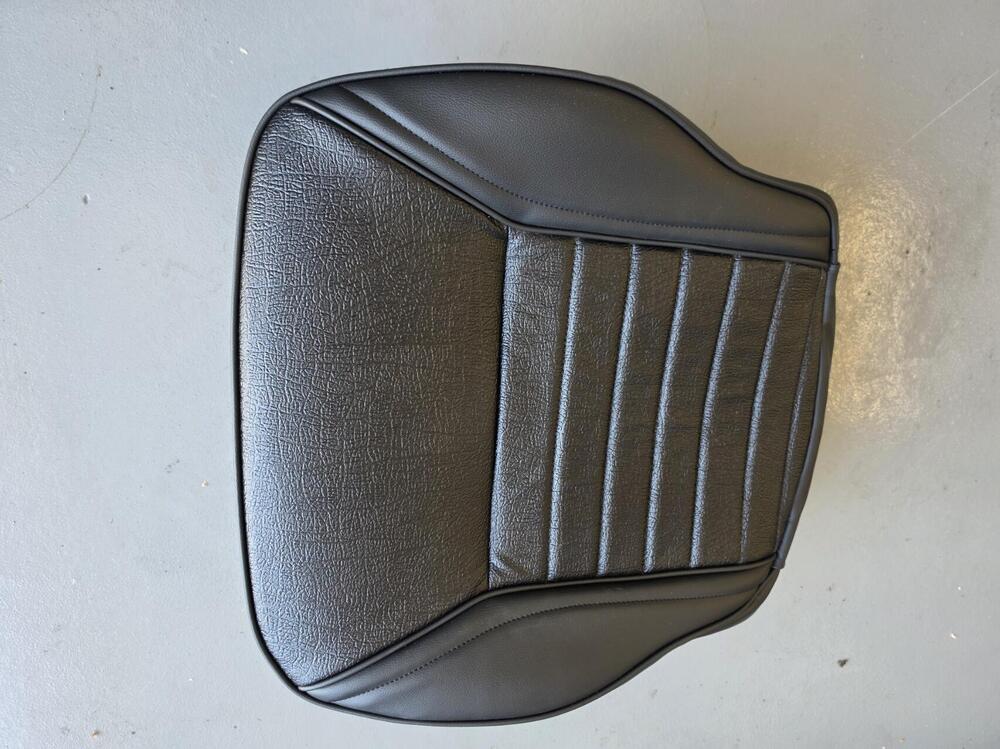
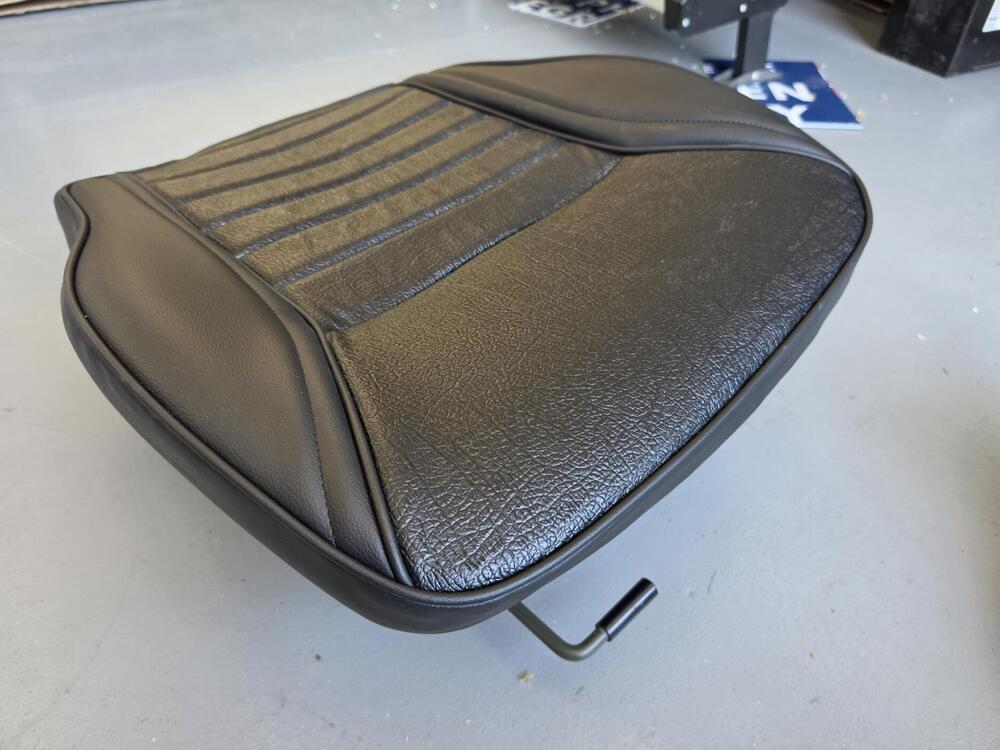
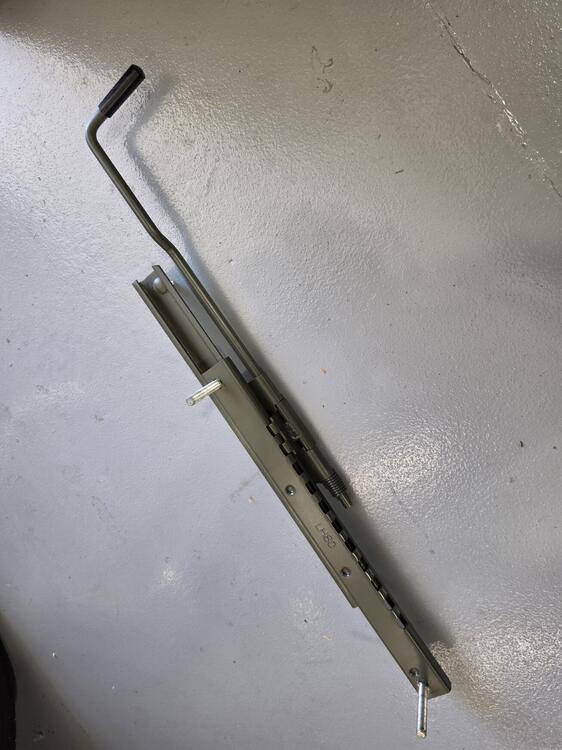
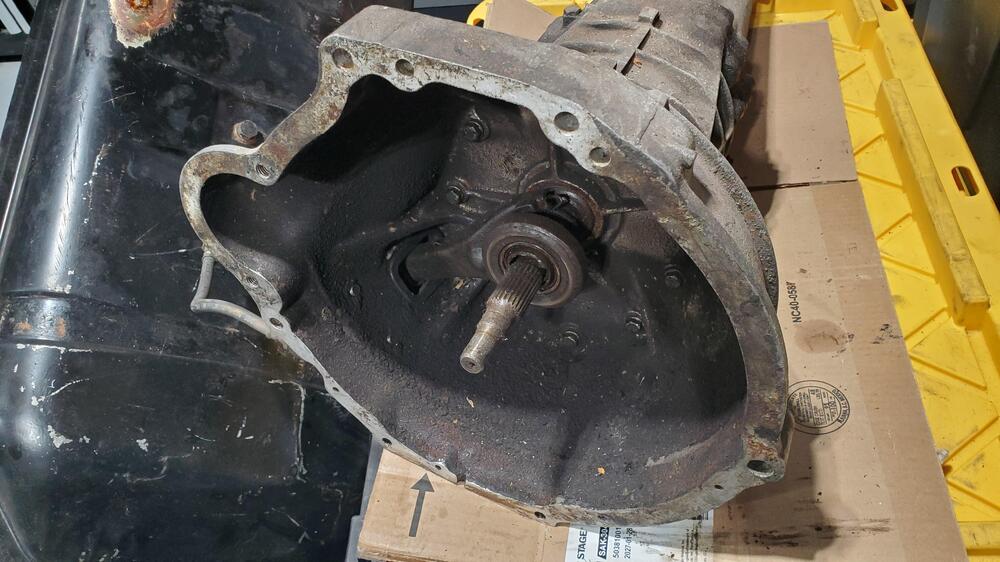
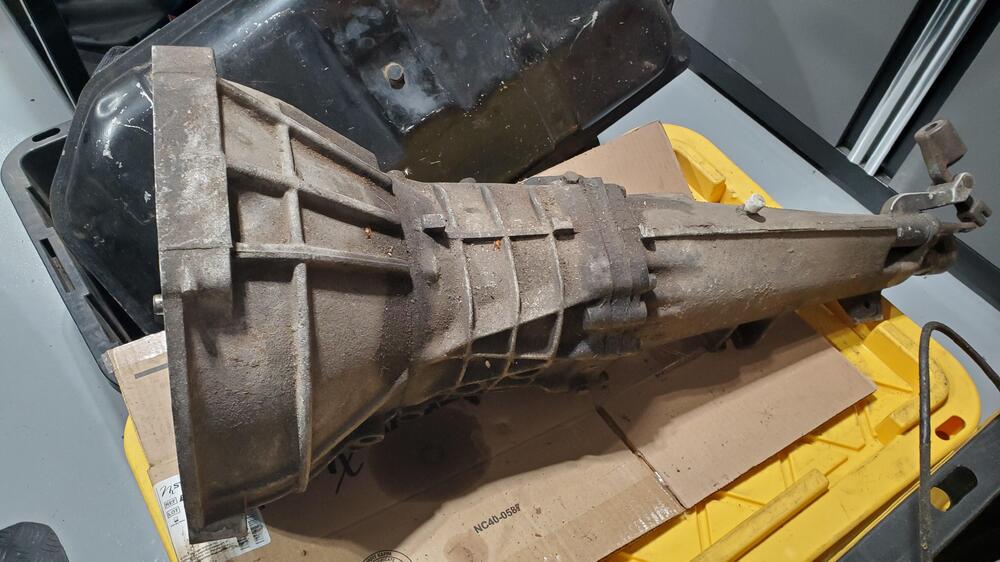
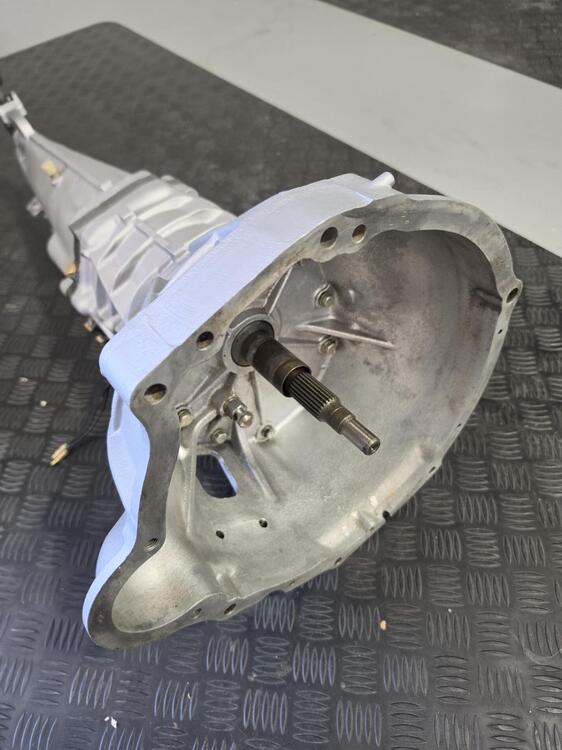
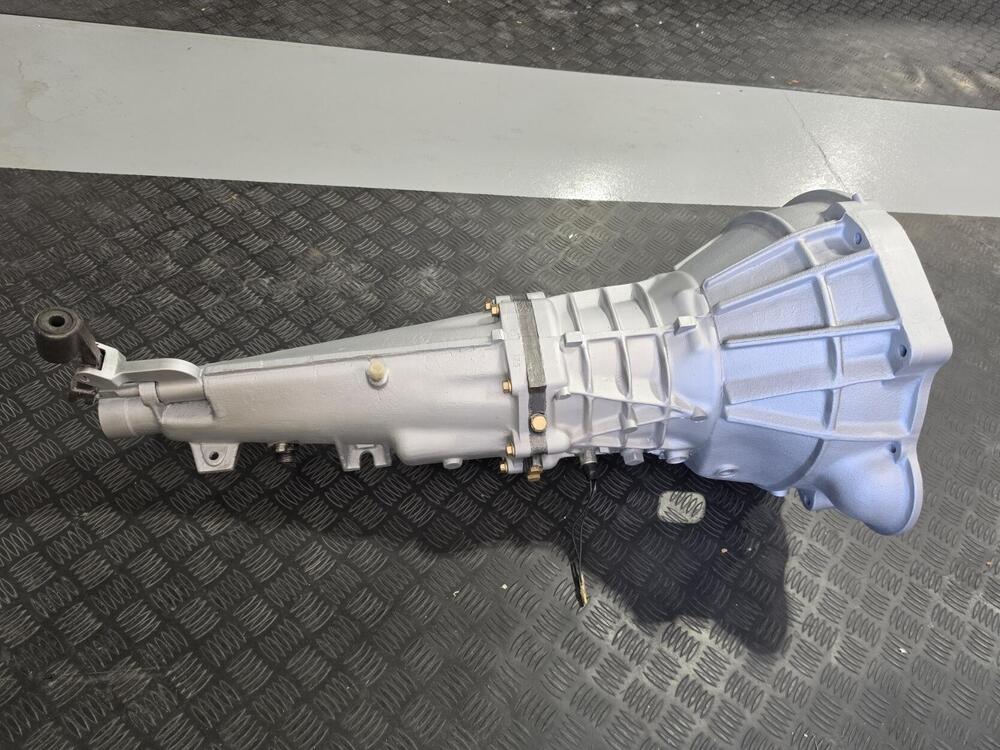
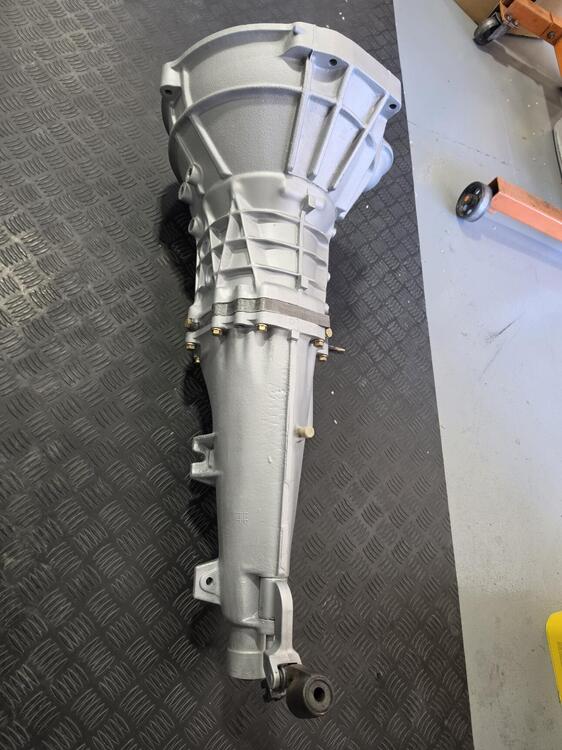
 7 points
 -
7 pointsUmmmm..... Yeah. You have a car hobby, so good luck with that. Hahaha!!!7 points
-
7 pointsThrew a piece of carpet I had in the hatch and some floor mat pieces Toe kick panels in place Hatch panel waiting on pins Drip rail trim on. I had to use a rubber mallet. It chipped some of the paint off going on but no chips are visible. Excessive paint build up there is not your friend!
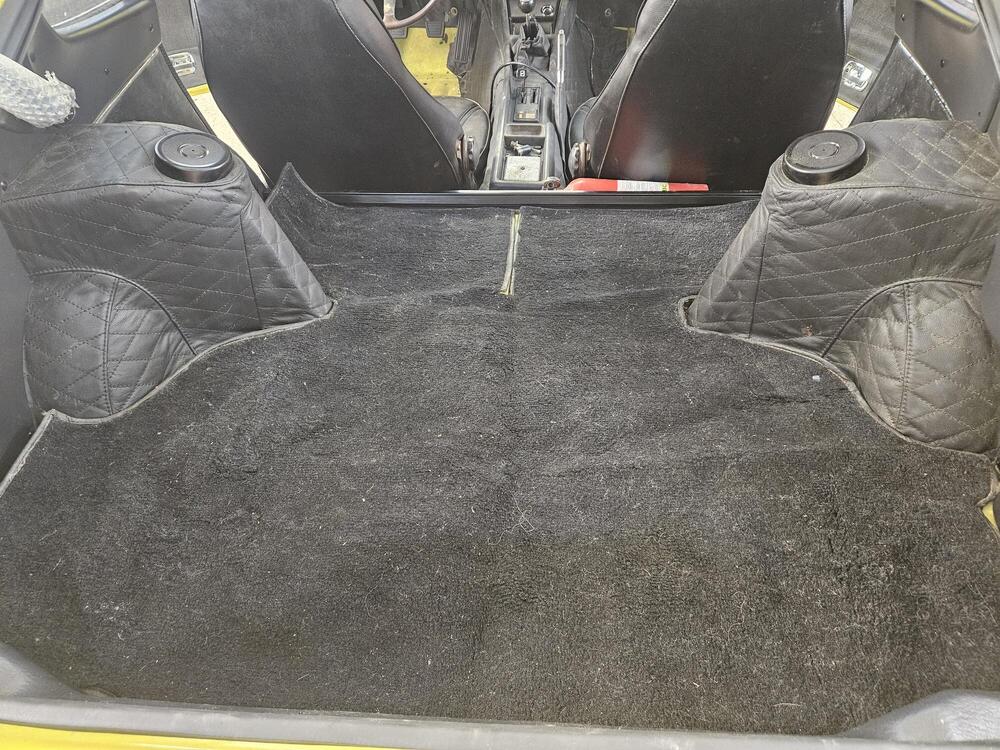
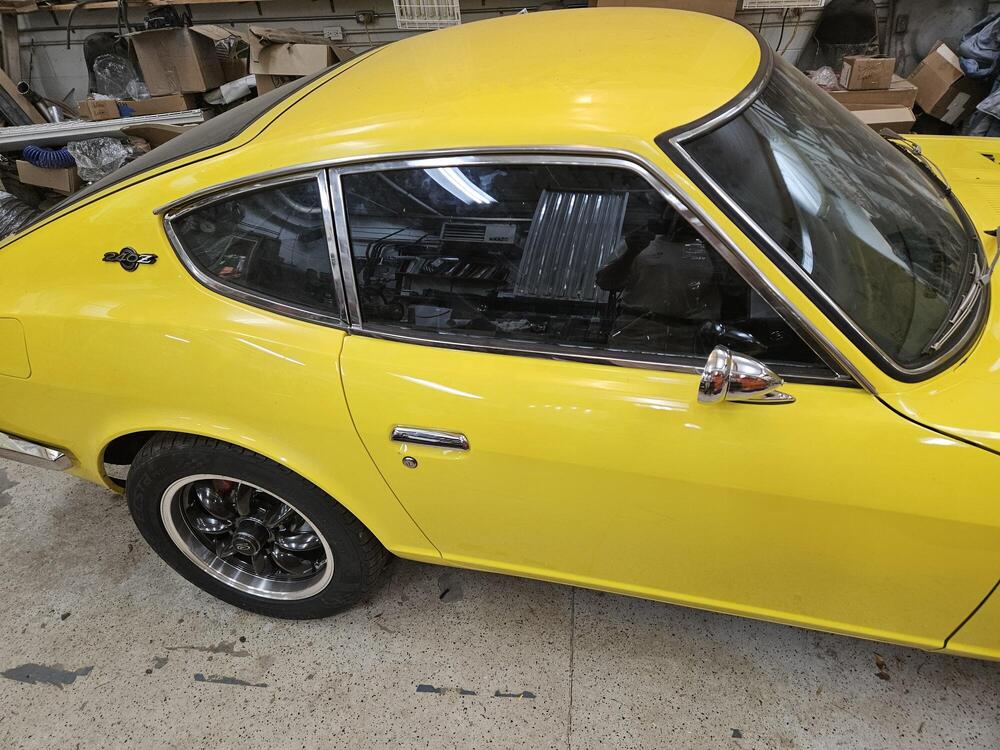
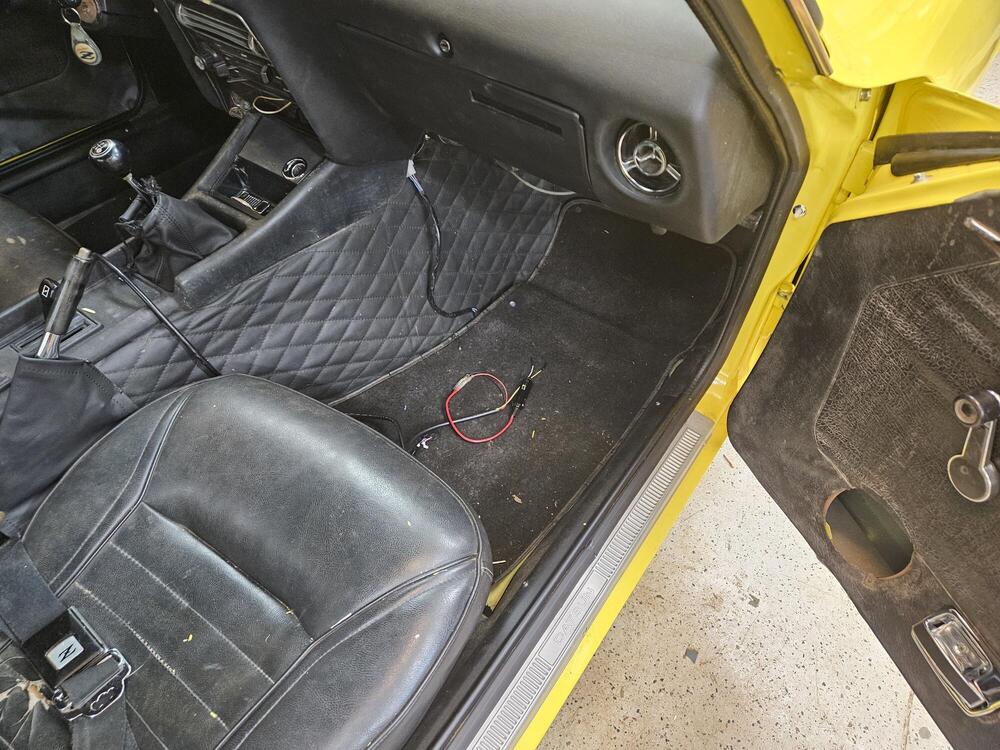
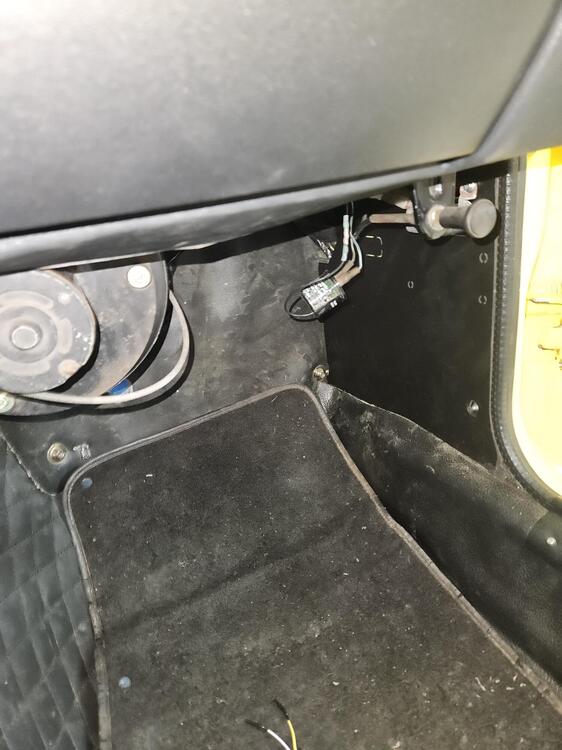
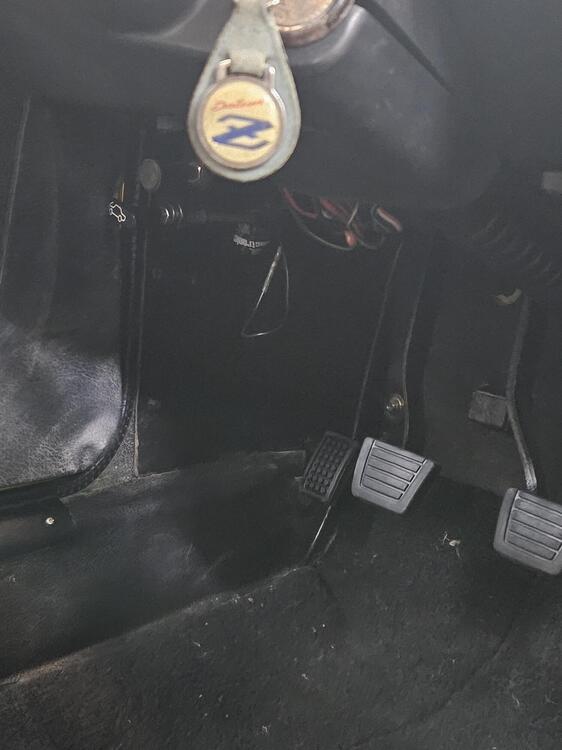
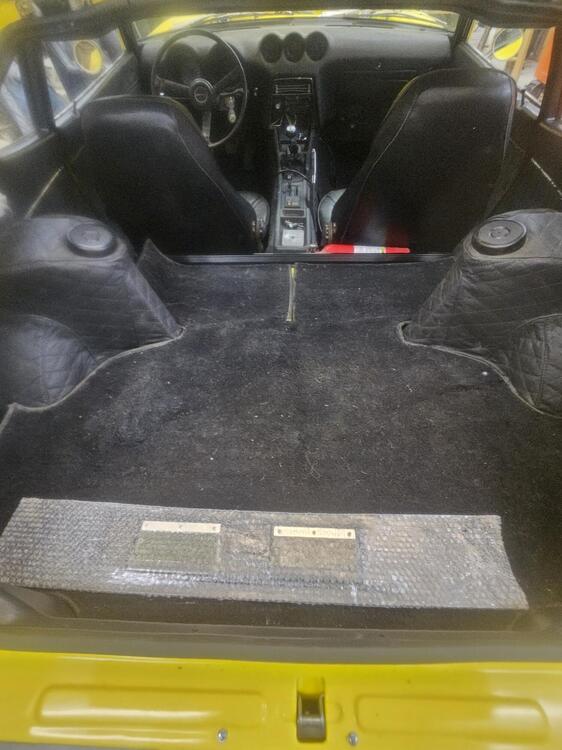 7 points
 -
7 pointsThis club has been a fun ride over the past few decades. We started around 1996 so this means we will be 30 years old this coming year.7 points
-
7 pointsI'm taking a year off from life. 99% of the bad ones are from pushing to fast to get back to work. Not me, I enjoy being at home.7 points
-
A friend called me saying his brake lights would not turn off. Long-time members of this board are probably thinking that it's the the brake light pad at the pedal. That's what I guessed, too. And all of you would be right. Since he's an older gentleman, he asked if I could fix it for him, but he couldn't bring me his car for a couple of days. With that delay, I decided I could do an experiment. I bought a Dorman 74025, brake pedal stop pad kit from Amazon because it's designed for Nissans. I wasn't too worried about Amazon saying it wouldn't fit. My friend drove up to see me this morning, and I had the clear pad in my hand. As soon as he got out of the car, I leaned under the steering wheel to press the brake pedal and pushed the clear pad into the hole. I picked up the remnants of the old pad off the floor mat and handed it to him to show him that it basically rotted and fell apart. The nice thing about the Dorman 74025 is that I verified that it's frequently in stock at O'Reilly's, Auto Zone, and Advance Auto Parts. Napa has the part number 74025, but I don't know if they use the Dorman packaging. If you have Amazon Prime, you can probably get it overnight or the day after if you can't make it out to the parts store.
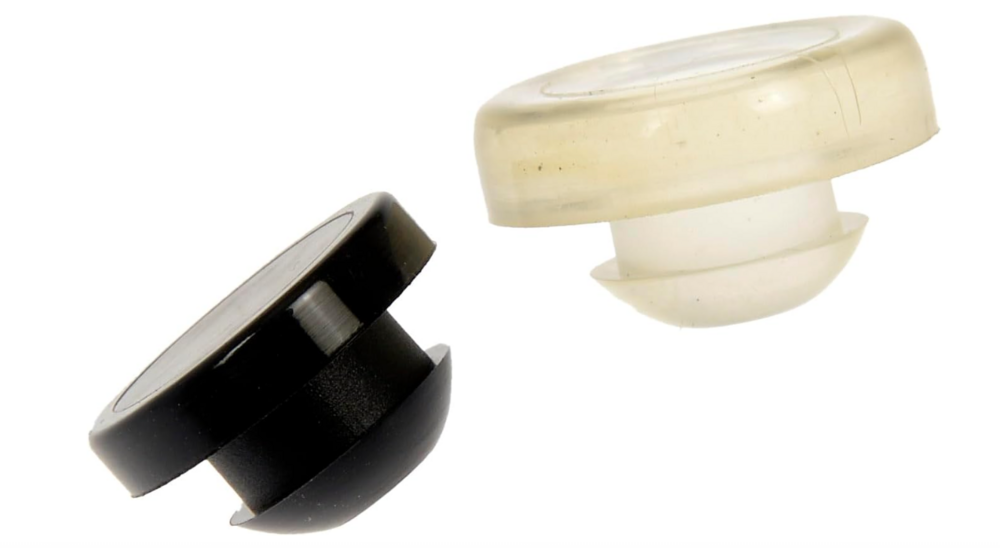 6 points
 -
6 pointsJust to clarify something about our subscription system: I have not put our files behind a paywall. Instead, certain files are now available only to verified community members. New members can become verified in one of two ways: Participate in the forums by making a few legitimate posts and joining the conversation, or Use the subscription system, which also verifies the account and helps support the club. Both methods have proven to be very effective at separating real enthusiasts from automated accounts and spammers. You may have already noticed that the amount of spam appearing on Classic Z Car Club has dropped significantly. Once a new member is verified, the system automatically moves them into the regular Community Member group and the restricted files become available. There has also been quite a bit happening behind the scenes. We were seeing a major increase in automated and invalid traffic coming into the site, which was creating unnecessary load and affecting other parts of the system. I've spent many hours cleaning up the backend, tightening traffic controls, and improving how the site handles this activity. The good news is that those changes are already helping. Spam has decreased, unnecessary traffic has been reduced, and if you do see advertising on the site, you may have noticed that the quality and relevance of the ads has improved as well. That matters because advertising and member subscriptions both help offset the cost of hosting, software, storage, backups, and keeping ClassicZCars.com online. My goal isn't to lock information away — it's to protect the resources we've accumulated over the years, reduce abuse, and keep the community sustainable for the people who actually use it. Thanks to everyone who participates, contributes, subscribes, and helps keep the Classic Z Car Club going.6 points
-
6 pointsFrom my profile: Second Z for me. Had a '75 for a short while. Blew the head gasket and didn't have the skills or $$ repair it. I lucked out and swapped for a '75 620 pick-up that was a blast. In 2024, I bought this lovely early '74. I bought it using money from a portion of my father's estate. I think of him when working on the car (which is a frequent event). My wrenching skills somewhat improved after getting back into motorcycles. I currently own an '07 Honda VFR800 in Candy Glory Red that I love to ride. P.O. had anE31 head put on in '02 along with removing all emissions and installing a pair of Hitachi SU carbs. I had the steering and suspension professionally done using Hiro coil overs (Shout out to Bryan Miner in Hillsboro OR) and had the door lock mechanisms refurbished by Norm Murphy at Zedssaver (Couldn't recommend him more). Soon after buying the car I was diagnosed with Parkinson's. On meds now and doing well. I did struggle and kind of shunned working on the car, but an attitude change has motivated me to bring her back to her former glory. This is what I've accomplished so far: 8/2025 New fan clutch, water pump, belts. 5/5/26 New (pair) door opening mechanisms $760 5/8/26 new window drives, window seal rubber, glass track felt, both door and windows disassembled, cleaned, lubricated, aligned. 7/11/26 Valve adjustment (first since 2002!) 7/16/26 replaced outside window trim, replaced 7/18/26 Replaced choke cable grommet. Replaced Choke cable bracket. 7/20/26 Replaced clutch throw out dust boot 7/22/26 new plugs, replaced rubber fuel line, added inline fuel filter 7/25/26 replaced gearbox and rear differential oil 7/27/26 replaced pvc hose, replaced front and back fuel hose plus inline fuel filter, fuel line insulation 7/28/28 Replaced rear hatch seal 8/15/28 New Alternator 8/24/26 New voltage regulator In the batter's box: R&R: transmission bearings, power brake booster, oil pan gasket, rear main seal, exhaust manifold studs, intake/exhaust manifold gasket, Cerakote the header (after what will be an epoch battle between sandpaper and rust/pitting) and the intake manifold. Look forward to mining the brain trust of this group!
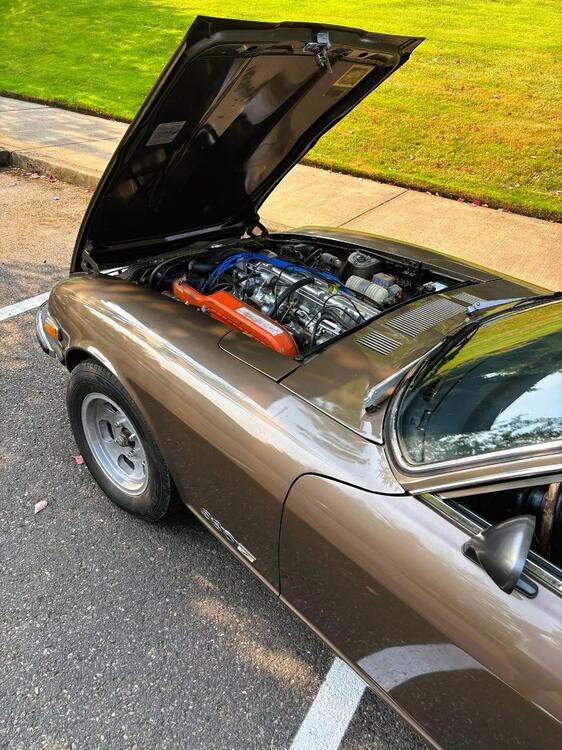
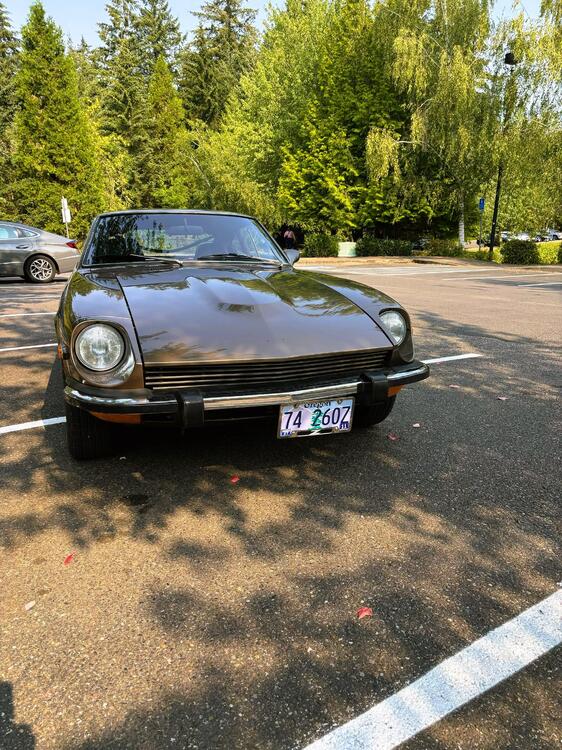
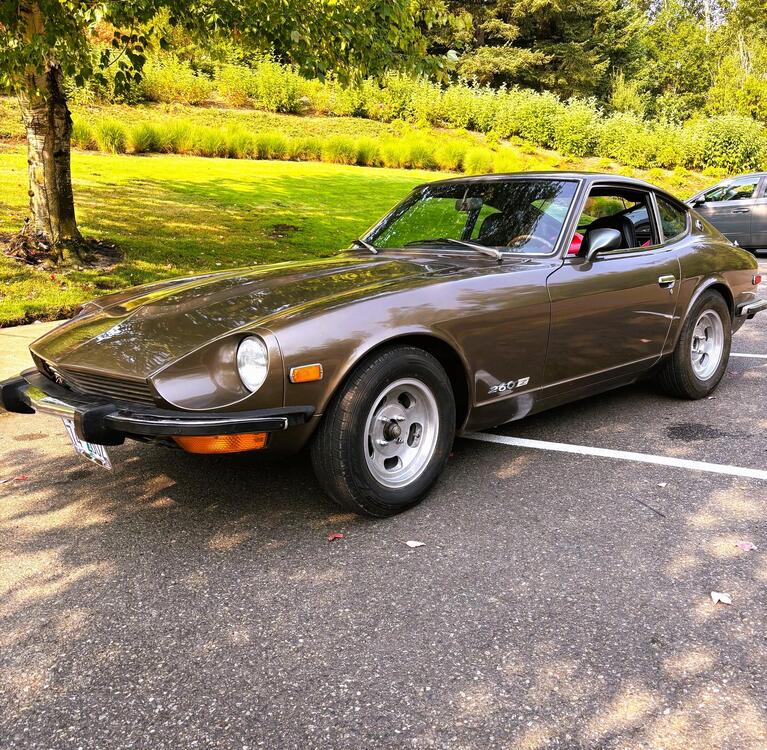 6 points
 -
6 pointsStarting to put a few parts on. Will put in fuel tank, then fuel and brake lines in on Monday. Big car show tomorrow in Emmett, Idaho. Bringing the roadster.
 6 points
 -
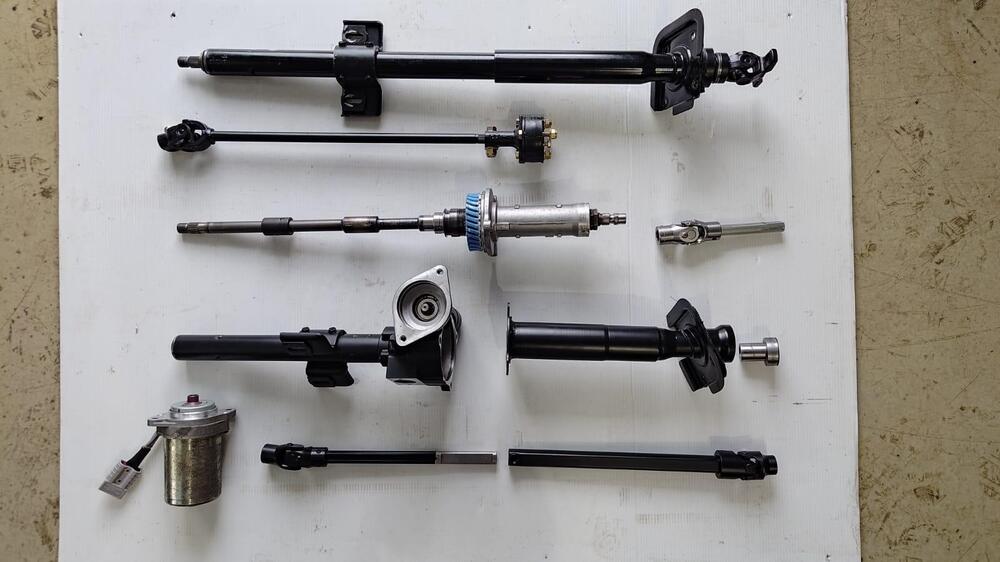
I have fitted GPS controlled EPAs to my right hand drive '76 260Z - It has variable assistance using GPS and I am very happy with it. I made the system using an EPAS from a local GM car (Holden Barina) that used the same unit as in the European (GM) Opel Corsa C. I bought the GPS controller from Servtronic who sell direct and also on eBay. The Silvermine EPAS looks like an Opel Corsa B unit, so it is likely that they are using the Servtronic GPS system also. There are good photos and a description on the Servtronic website. The GPS controller has eleven different settings that allow adjustment of the amount of assistance (versus speed). You have full assistance at low speed up to none at the speed you set. I have mine set to taper from full (literally one finger operation) to zero assistance at about 30mph. This makes parking and city driving very pleasant but has no effect at higher speeds. The transition from full assist to no assist is seamless. The photo shows an original steering column and my EPAs column together for comparison. Regards WM
 6 points
 -
After getting my 1977 280z past it’s last inspection ever and back on the road, for the first time since owning it, I took it to work to see how she drives. And man the engine feels great and incredibly healthy. Unfortunately the alignment was incredibly bad. I had her aligned during the inspection and the guy said het put everything to zero as a baseline but the car was all over the place and was very hard to turn to the right. I took it to a tire shop very close to work since I know they also do custom suspension and alignments for high performance racecars. And my god the previous guy messed up bad. The alignment wasn’t even close. Below I’ll add the alignment sheet with the terms translated to English, please note that a -0.67 degree toe means a toe out of 0.286 inches which is massive for the front wheels. The car drives a lot better now even though the rear is still off. The front office didn’t quite get what kind of car I was bringing in and just how custom the suspension (full Apex Engineered control arms and front crossmember) was and thus only scheduled a standard half hour alignment. I’ll be adjusting the rear trackwidth myself so I’ll unlock more rear toe adjustment and then pop back into the shop for a final alignment. After that I’ll be saving up to refurbish the shock absorbers as the rear once are totally gone. Eather that or a set of Intrax or KW coilovers. But the most important thing is that I can finally enjoy this beauty!
.thumb.jpeg.58f1dfe30f48940e50eec13c90fa90b3.jpeg)
.thumb.jpeg.cffa68d83c970cebc84a014968728be8.jpeg) 6 points
6 points -
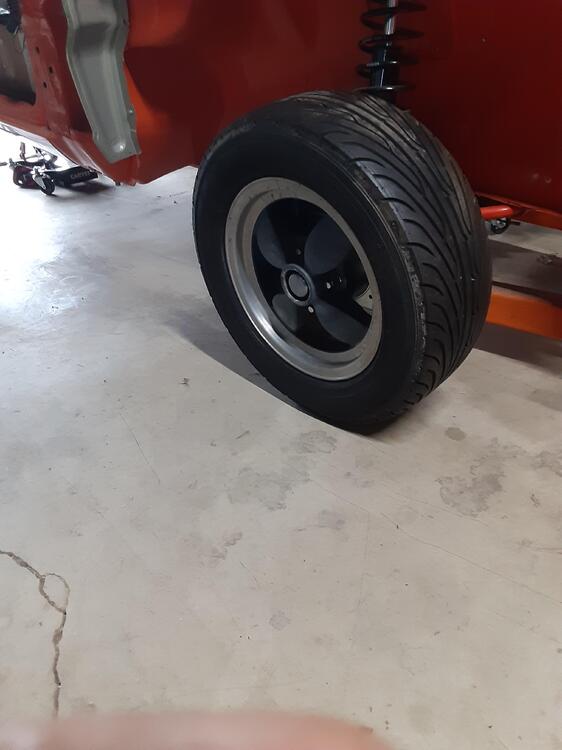
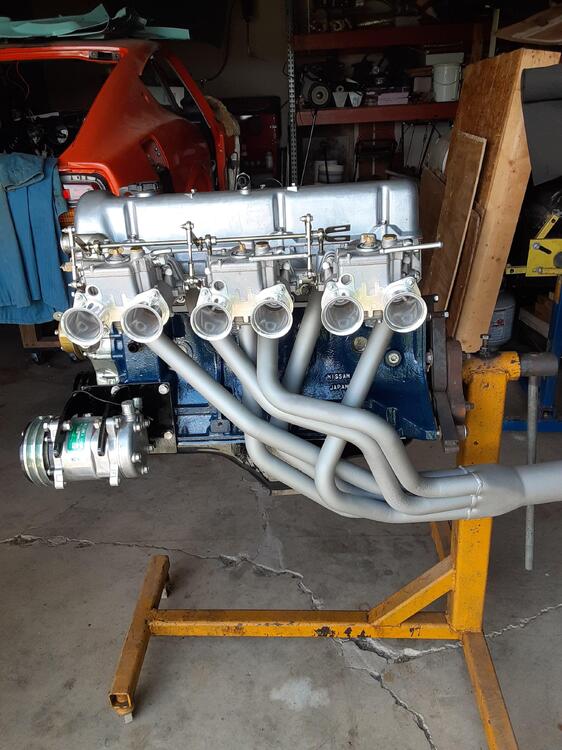
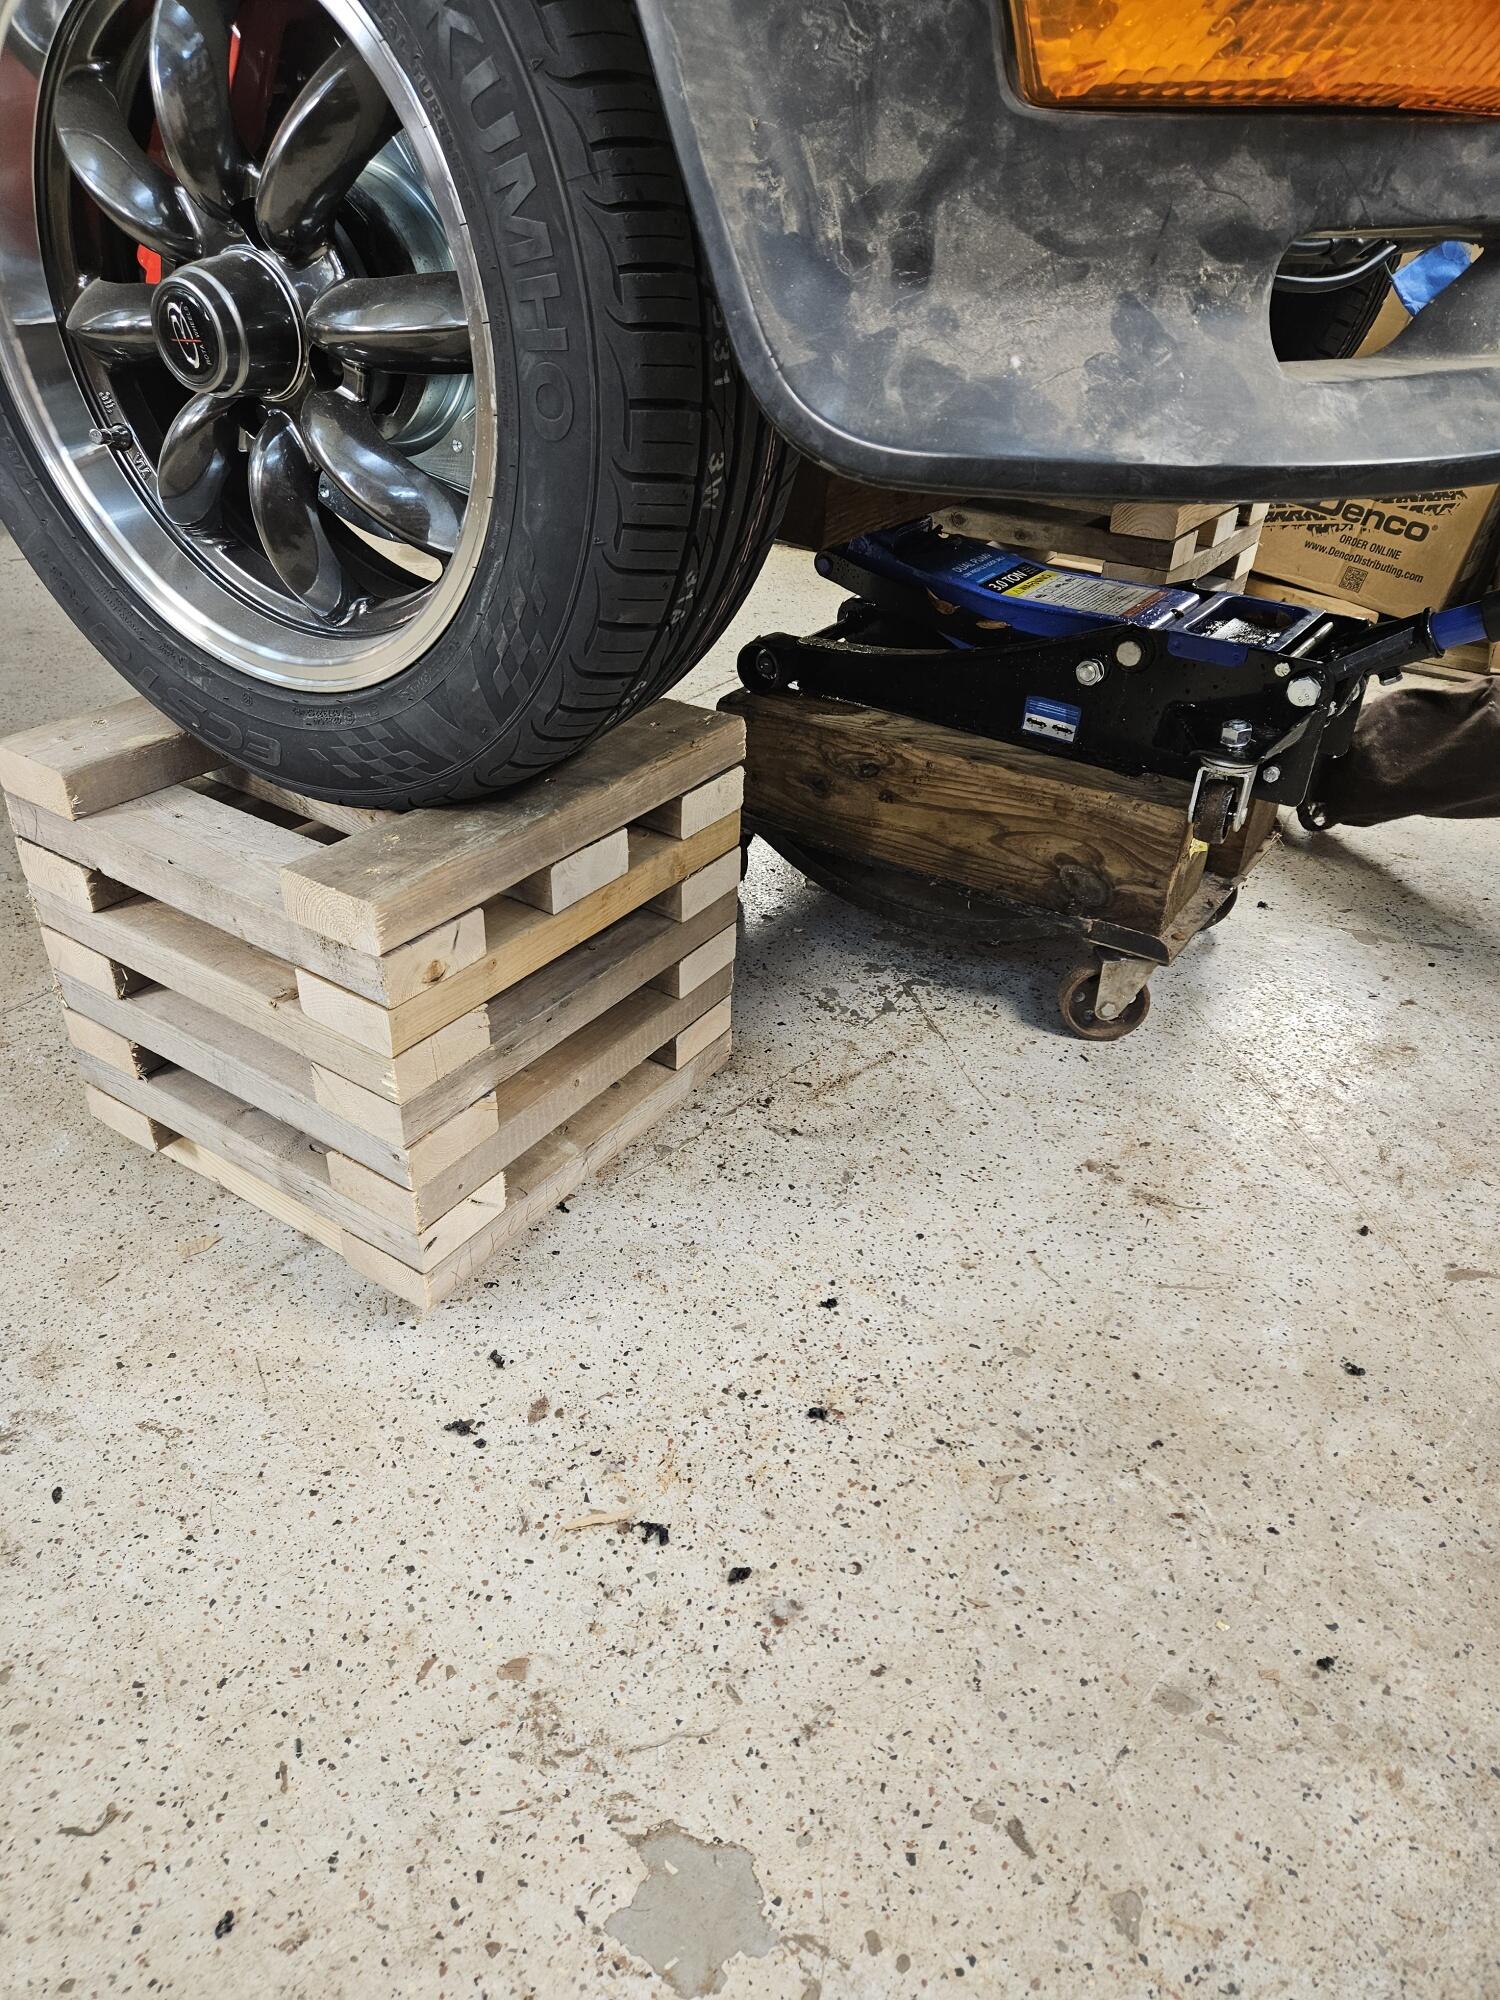
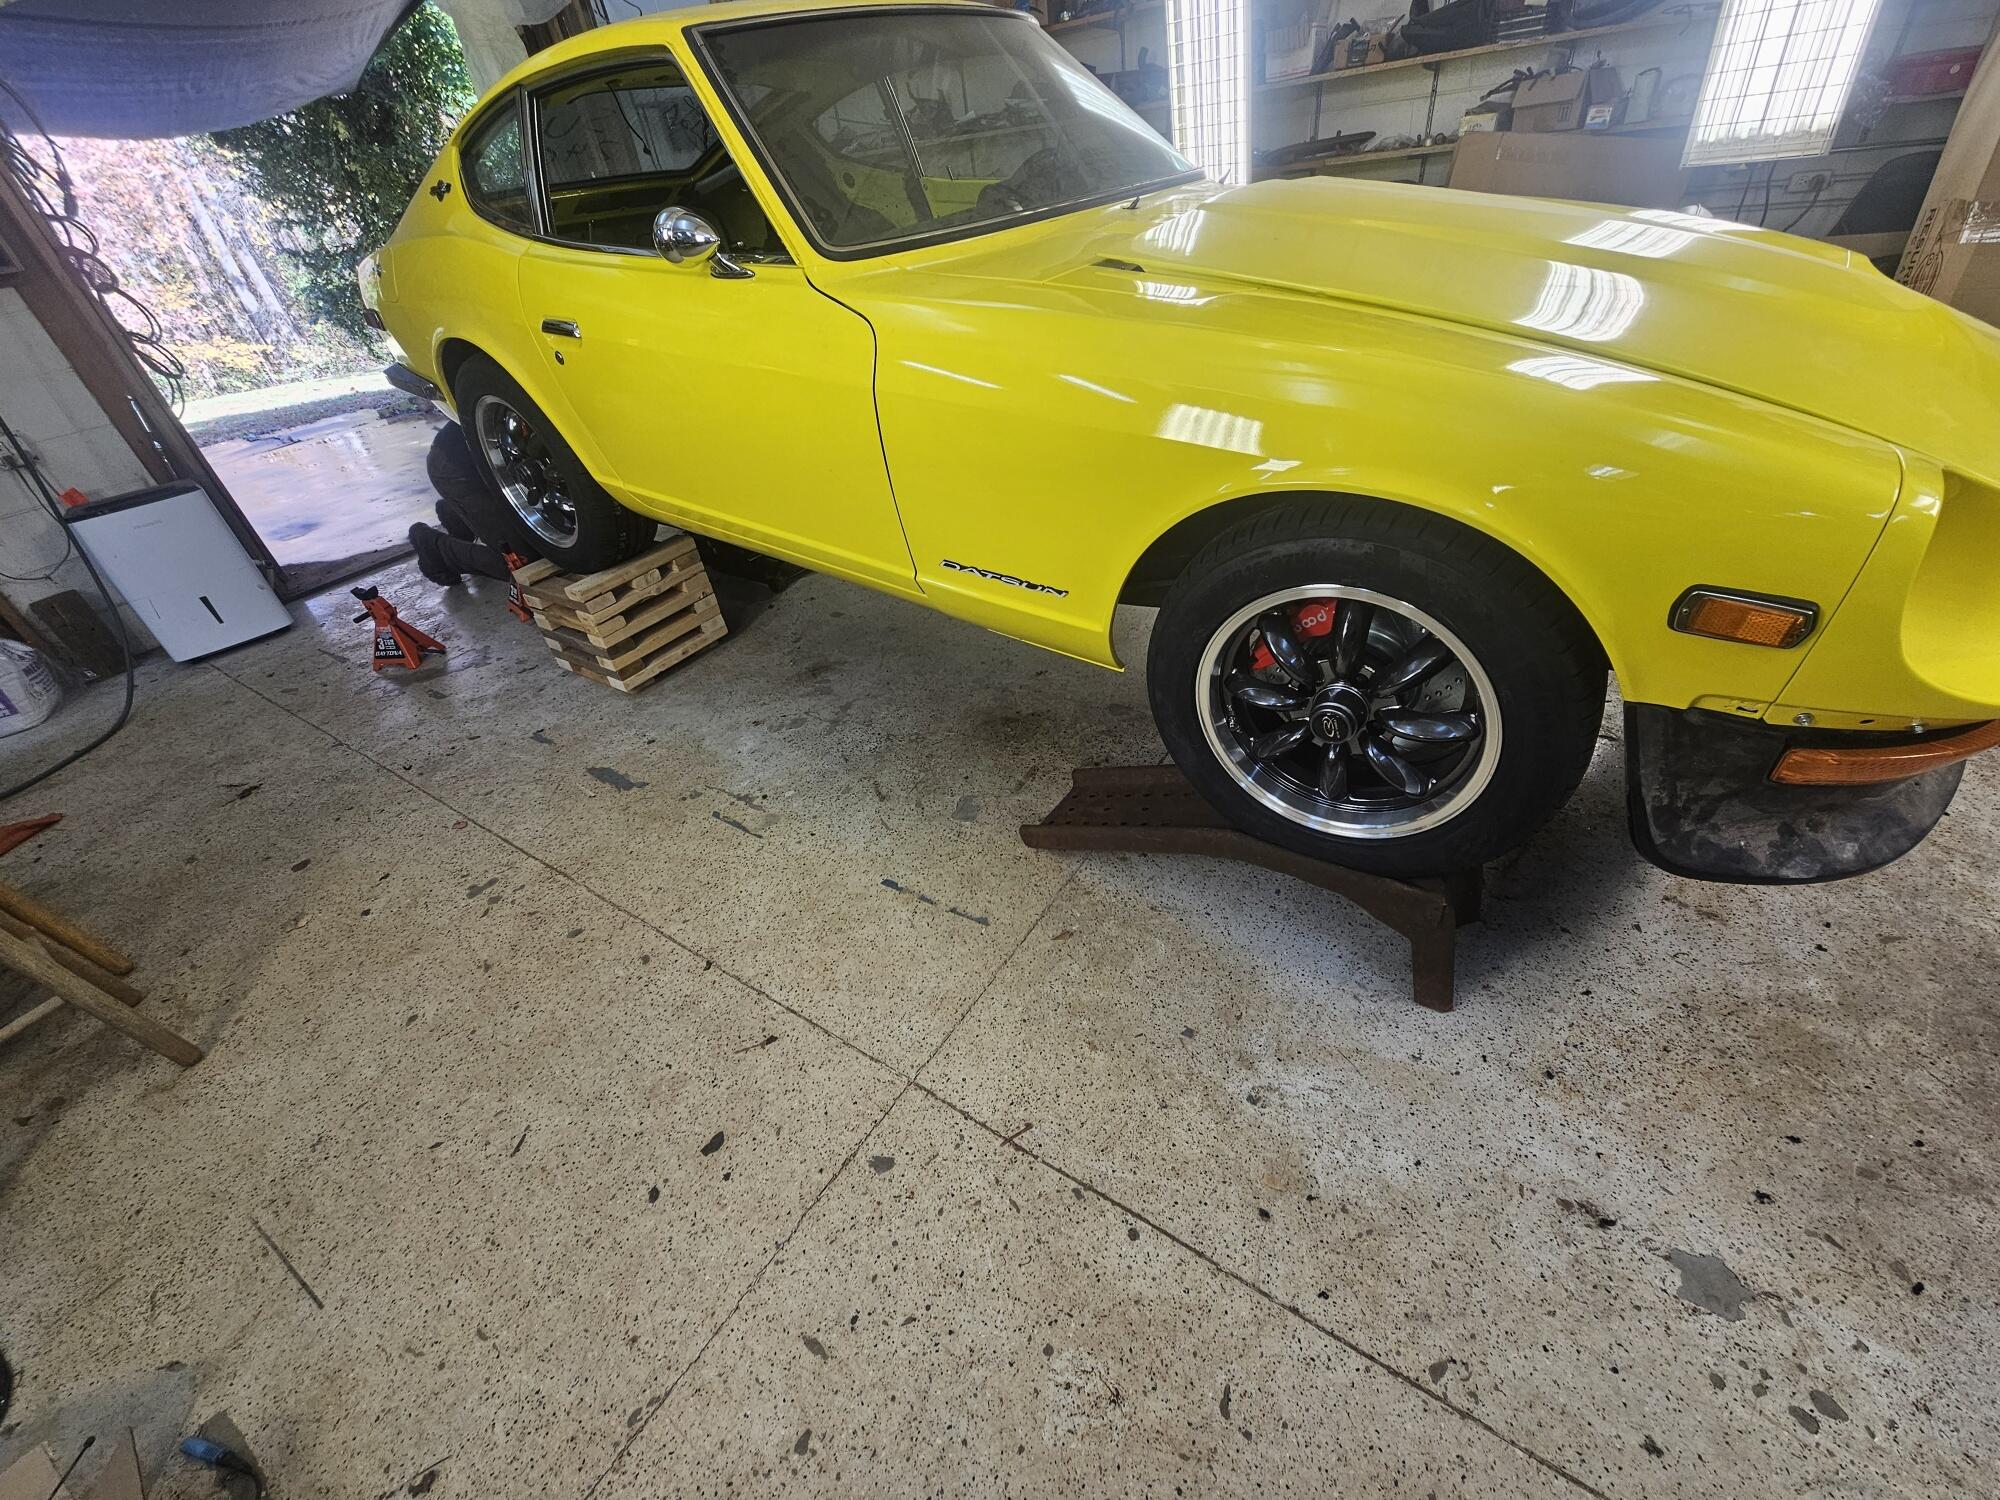
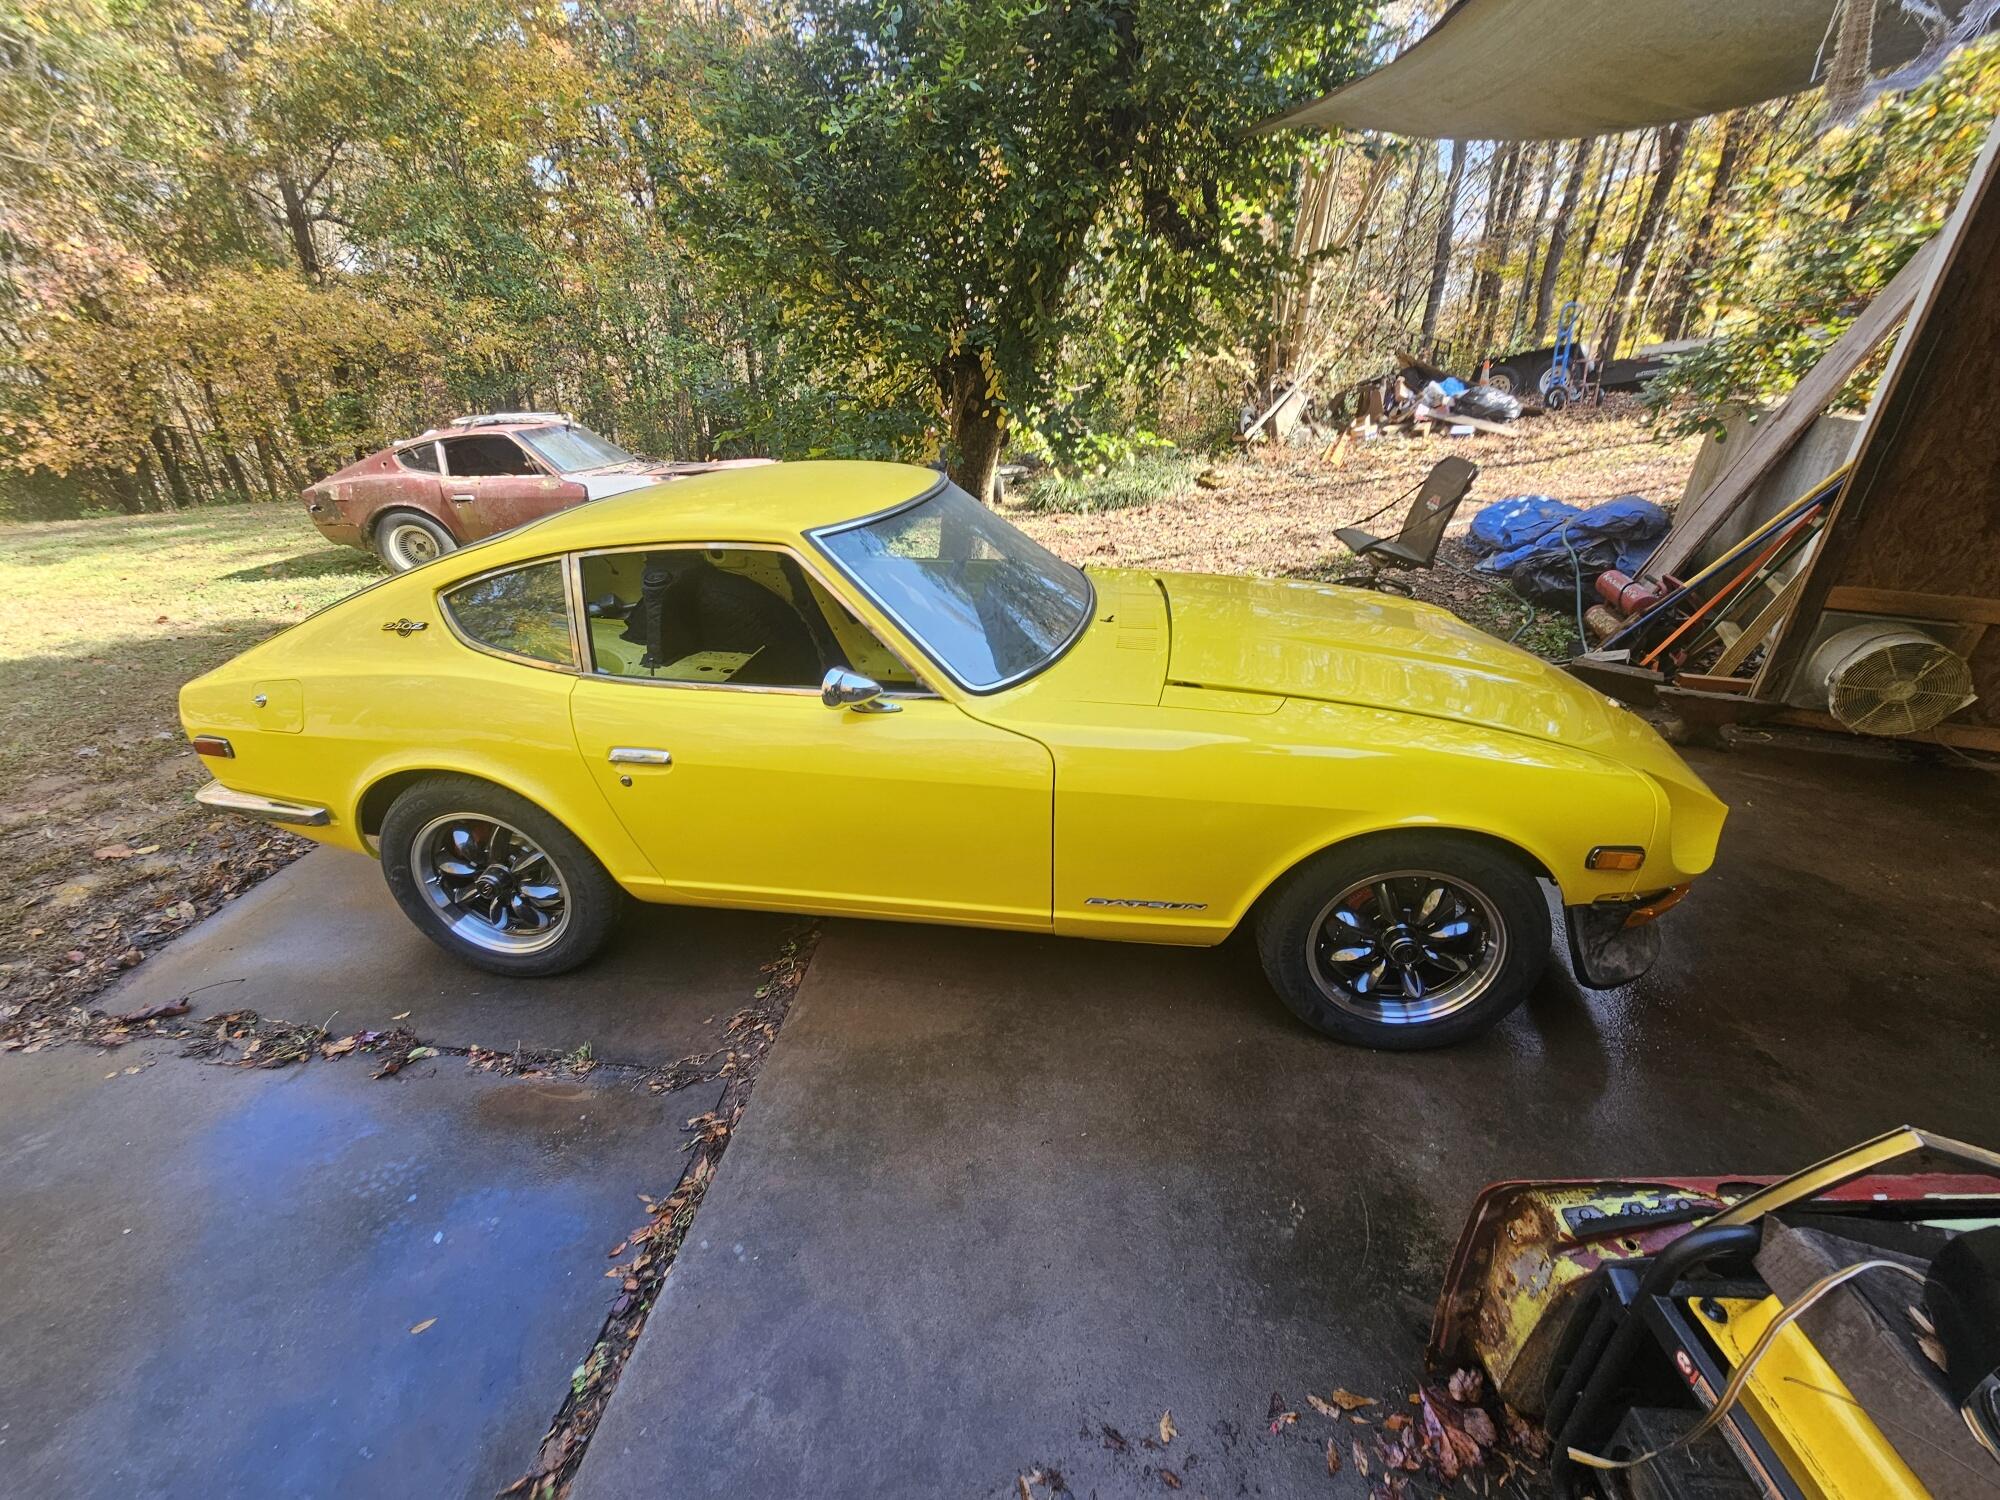
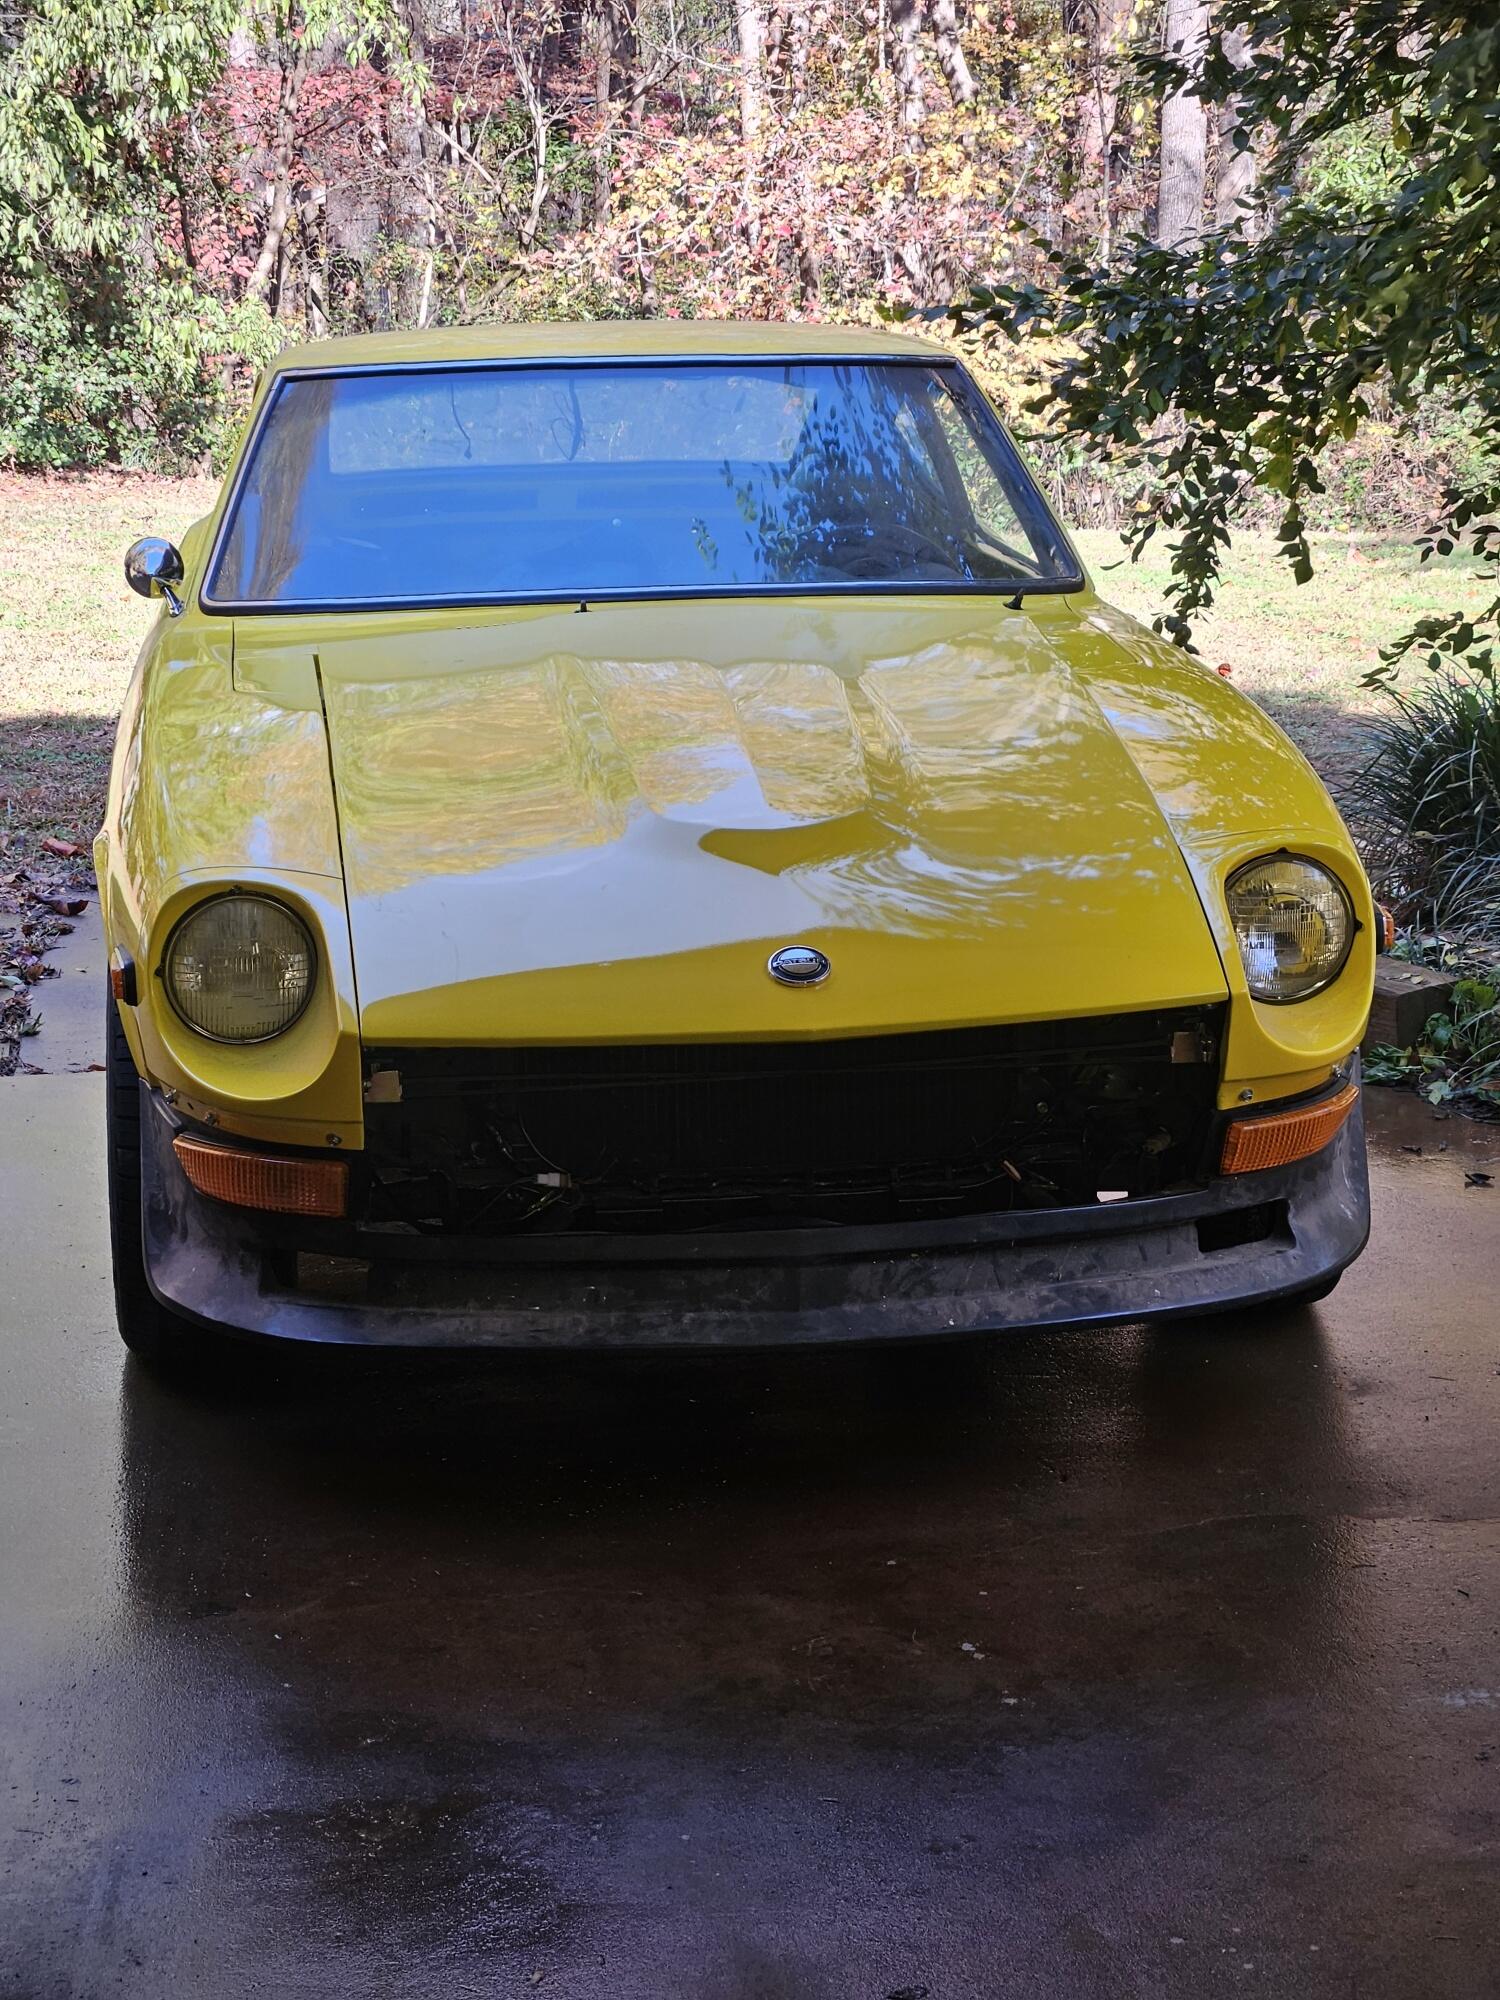
The wheels of my original-owner 1972 240Z (HLS30-46372) touched the ground yesterday evening at 6:30 p.m. EDT for the first time since the restomod was started in July, 2008. In honor of the occasion, the American Racing Libre 14x6 wheels that I bought for the car in 1973 were outfitted with new 205/50 tires. Next on the agenda: installing the 3.1 L stroker motor.
 6 points
 -
Small follow up. The “new” thermostat housing arrived last week and after a quick paint job I installed it with the sensor that broke my previous housing. This time nothing bad happened and my gauge finally worked!
.thumb.jpeg.2c01e38517029a41ea959816dc25f456.jpeg)
.thumb.jpeg.d7a4038b513799a7a101b60d93d174a3.jpeg)
.thumb.jpeg.f59d127094a521e9bd464e59d4b63140.jpeg) 6 points
6 points -
6 pointsYes, I've broken one of those plastic handles. I now ALWAYS pull the choke from where the choke handle connects to the metal lever.6 points
-
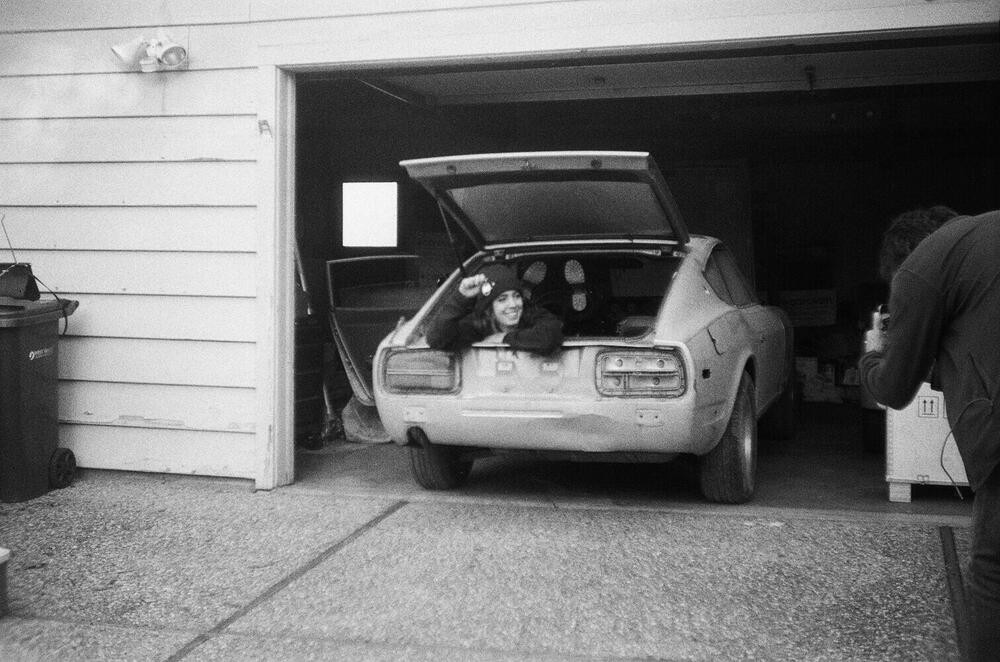
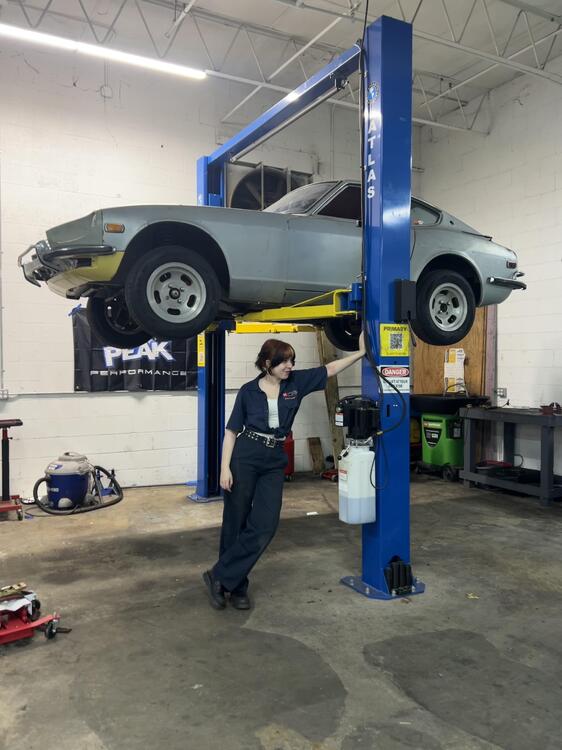
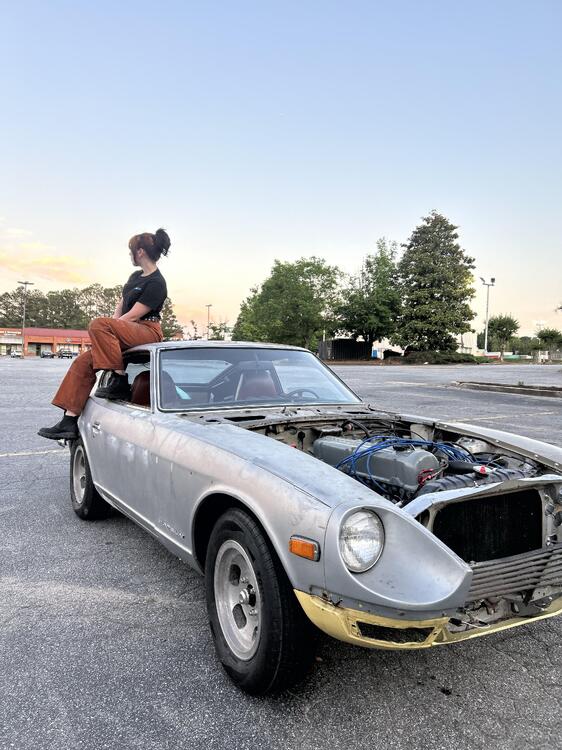
Hi all! My name is Jo and I’m a 21 year old recent McPherson College Grad with a degree in automotive restoration! This car has been a crazy 5 month crunch, having been engineless and undriven since the 80s. Like Steve said, I’ve been hard at work! The full list of completed items includes an ignition system overhaul, brake overhaul, 5 speed and L28 swap, 3-point belts, new RLCA, new tie rods, SU rebuild, all new suspension bushings, bodywork, and much more I am forgetting. The Georgia Z Club has been essential to the project and kind folks like SteveJ are a reason it’s happening! The car departs on June 16th from Atlanta GA where this wild adventure will take me to IL and all through Route 66 competing to win in the manufacturer’s class of The Great Race! My driver, the rad Riley from Riley’s Rebuilds will take the wheel for the race while I navigate, calculate, diagnose, and repair. The support of the Z community means the world and we’d love to even just say hi at the stops along the way! I’ve included a few photos from this crazy build. You can follow along on instagram @a_car_gal or stay tuned as Riley’s Rebuilds posts YouTube videos of each day. Can’t wait to see you all! RPReplay_Final1768448343.mov
 6 points
 -
6 pointsHi, Some of you already know about this event, it was held in November 2025. 16 cars displayed in the Keihanna hotel event hall on Sunday 2nd, then town driving from Kyoto to Nara, and Mie on Monday 3rd. All the owners are my very best friends, I have kept in touch since I have got my first car. So I asked each owner to get together to show our cars for S30.world team members. I thank you Chris the founder of S30.world. If without him, It would never have happened. And I thank all the Japanese owners. They drove several hours just to show them for this event. Takeuchi san drove 7 hours in his Z432R from Chiba, Ise san took a ferry boat 600miles from Hokkaido with his LY280 engined ZG. I was so happy that I was able to collect 16 cars, the best of the best in Japan. And every time I see everyone’s smile in this video, it rewards me a lot. Maybe some people have no idea what cars they are, please ask me here, also Alan and other S30.world members would love to answer for your questions. Kats https://m.youtube.com/watch?v=FWV-wu_A40Q&pp=ygUIUzMwd29ybGQ%3D6 points
-
6 pointsSome of you may know a long time Z car enthusiasts from the Netherlands here on this forum by the username of dutchzcarguy. In one of the recent forum posts he revealed that he was attacked by some kid and got thrown with his head onto the asphalt. As a result he had fluid buildup between his brain and skull and that he was being admitted to the hospital. After this disturbing message from him I kept in touch with him true email. There he made clear that things weren’t looking good for him and that he knew that. Despite that he kept being positive and kept things light. The last message I got from him was yesterday at 3pm telling me that they were about to drill holes into his head (to relieve the pressure). Since then I haven’t heard from him. I try and keep my hopes up that he is oké but I can’t deny that I’m fearful of the worst. I keep checking my mail and the forums for a reply for him, even though I know that is far from the first thing he will think about once he has recovered from his surgery. He did tell me to tell you guys a funny story but unfortunately nothing comes to mind except for how I ruined the doors of my 280z because I tried to do a spot repair on my own. Unfortunately I’m not a body work guy and really screwed up the paint. Anyway I did feel kind of obligated to keep everybody here informed seeing as how involved, this 65 year old man with to much free time on his hands, was with this forum.6 points
-
6 pointsI’ve received a few reports about issues with our downloads section, so I took some time this morning to investigate. It turns out there was a permissions problem affecting access. The good news: this has now been fixed, and access to the downloads area has been fully restored. To avoid any confusion, here’s a quick reminder of how download access works: Guest Members – No access New Members – Up to 2 downloads per day Community Members – Full access Subscribing Members – Full access Moving from New Member to Community Member happens automatically—just participate in the club (posts, discussions, etc.). If you prefer not to participate but still want full access, you can always subscribe. Thanks for your patience, and enjoy the downloads! — Mike6 points
-
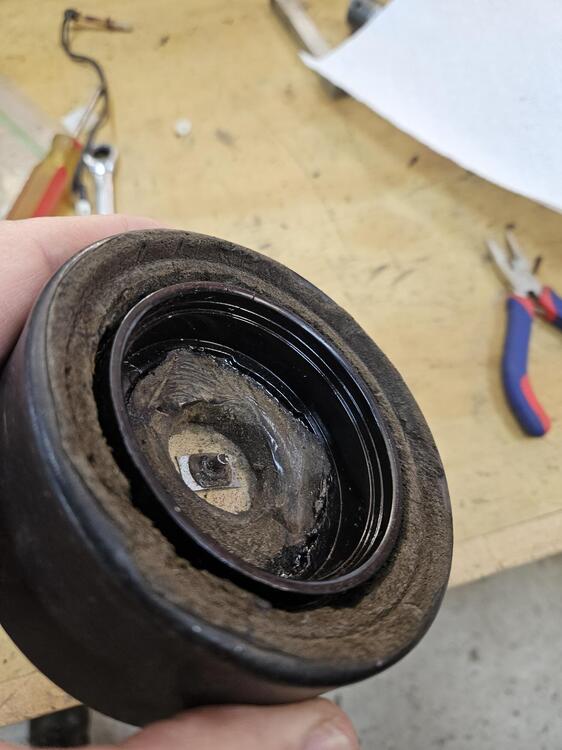
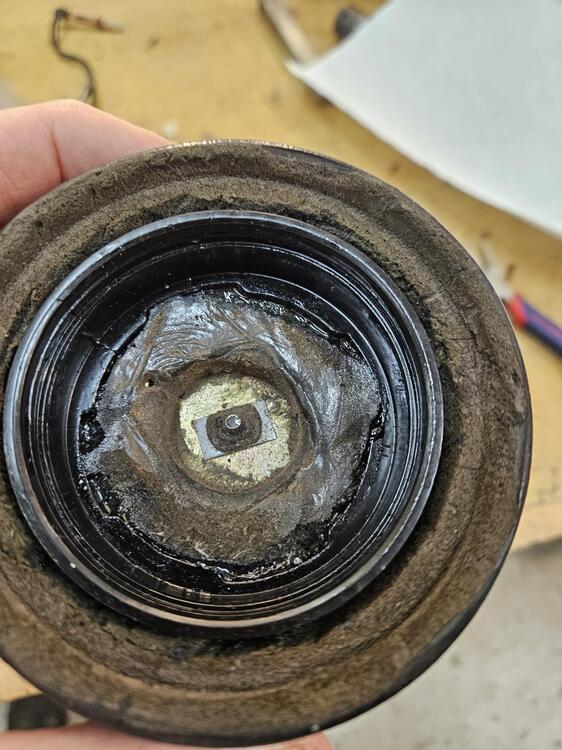
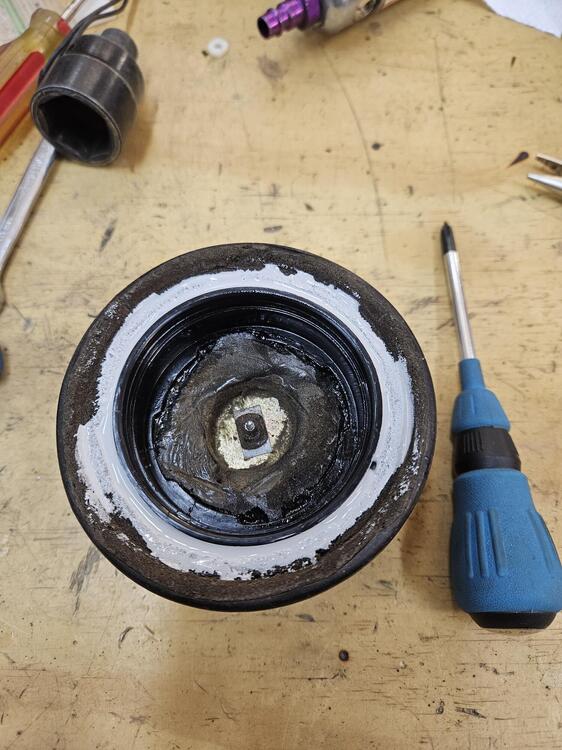
6 pointsSince Cody finished getting my horns working, I wanted to get a horn pad fixed. I had one that had a cracked inner ring. I had made a metal band to go around it but I didn't really like how it worked. Steve Nixon at 240zrubberparts molds a replacement inner ring part. I cleaned out the horn and epoxied the new ring into the horn. I really only used epoxy on the bottom portion. This left a gap around the outside of the new ring to the foam of the horn pad. I ordered some SIKA self leveling joint sealant. It's available at Home Depot or you can get it from Amazon I set the horn pad down on a level surface and filled the joint. It's best to put some in and let it rest for 15 minutes or so. Then add some more. It will keep settling until the joint is fully filled. I wiped off the excess and let it cure. This is the finished product. Very solid!!
 6 points
 -
6 points
-
6 pointsGrande is the name of the game…… of course these always remind me of Mad Magazine Spy versus Spy episodes…😄😄
 6 points
 -
6 pointsWe hit the big 100k miles yesterday. I was able to get before and after pics but I was on a busy tollway headed to a club meet-up at the time of the rollover so I could not capture the all 9's or all 0's. I know, poor planning on my part! One more month and we celebrate our 55th anniversary together.
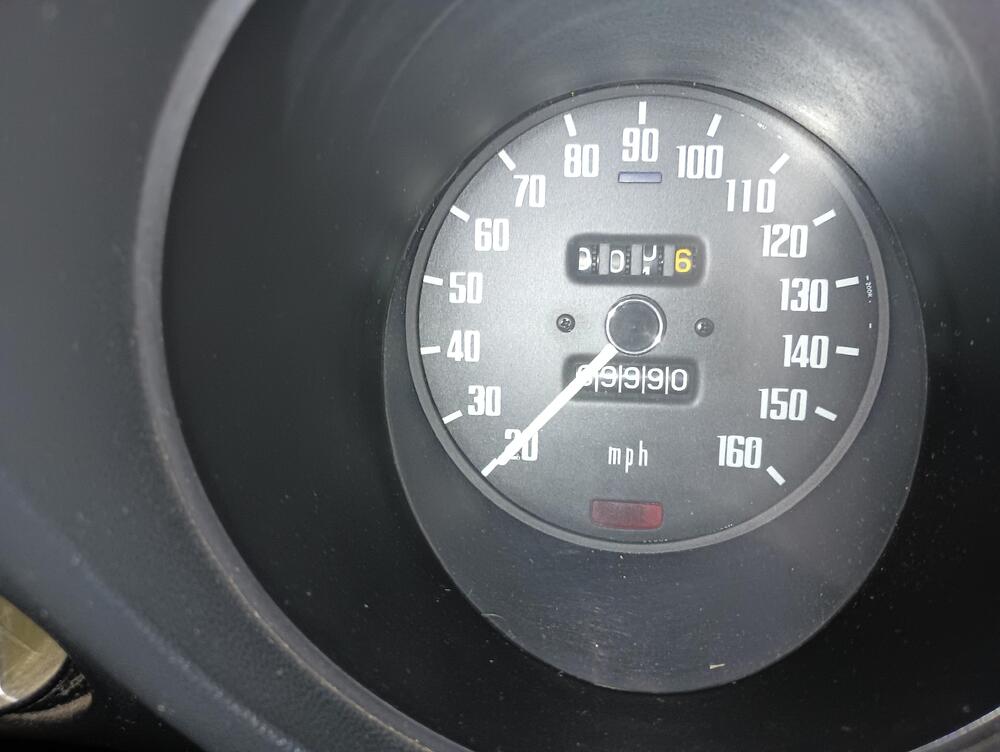
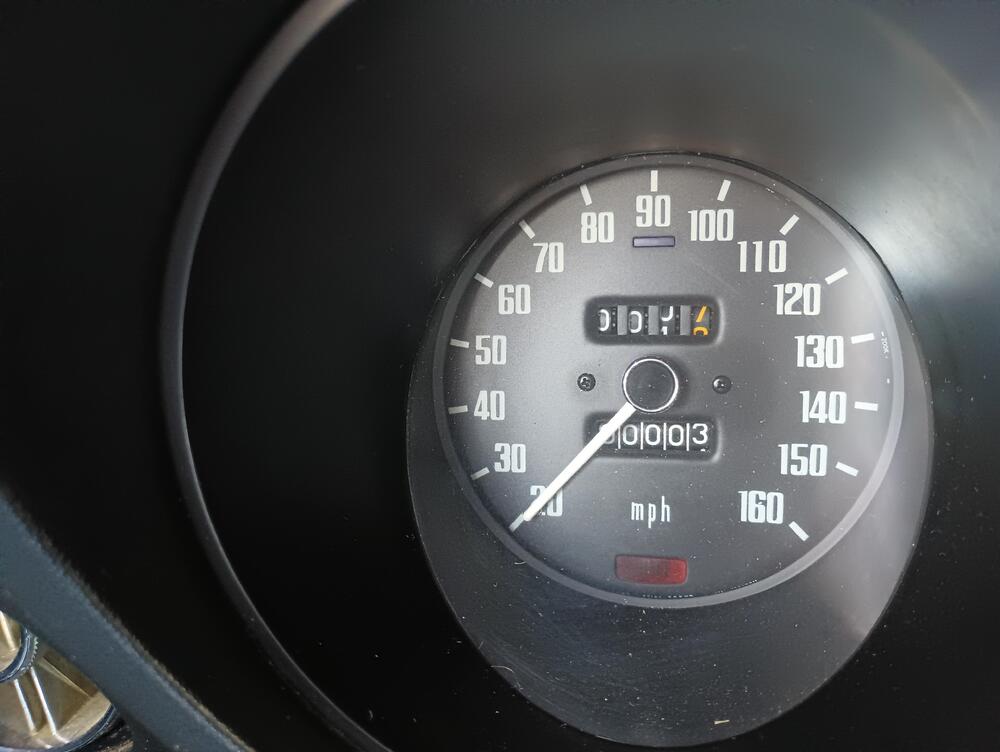 6 points
 -
I have done three of these conversions, one was with the F4W71B and helped two others do theirs. To convert an FS5W71B or F4W71B to an FS5W71C, you need the following: Parts Required: Front transmission case from an FS5W71B or F4W71B Front cover from an FS5W71C Gaskets and seals (optional full bearing kit) Two M14×1.5 oil drain plugs with seals. Used to replace the neutral and 5th-gear switches in the rear extension housing. Optional aftermarket shifter. Required Modifications: Front Transmission Case Enlarge the front countershaft bearing bore from 56 mm to 62 mm. There is an option of fitting the 71B countershaft bearing to a 71C countershaft, but this is not recommended. Enlarge the 1st/2nd gear fork rod bore from 14 mm to 16 mm Remove 3 mm from the inner surface around the countershaft bearing. This provides clearance for the larger front countershaft gear. Speedo adapter F4W71B / early FS5W71B. These use a locking plate above the speedo adapter. Add an additional flat section opposite the original one. This allows the locking plate to sit under the speedo adapter instead of above it Rear Transmission Crossmember Move the center section 30 mm rearward. Requires cutting and welding No-weld option: Cut a slot in the anchor bushes 28 mm from the rear using a thin cutting disc The body tab slides into this slot Use a 30 mm spacer tube and longer bolts Driveshaft: Shorten the propeller shaft by 50 mm Alternatively, on a late 240Z you can use an early 240Z driveshaft (the version with the forward-mounted differential) Reverse Switch (F4W71A case only) Extend the notch in the selector rod for the reverse switch Probably missing a couple small things like console rubber boot mod, but this is the basics.6 points
-
6 pointsI also started on the IZCC mailing list. It was a great place to get info and make friends. You are right and we don't say it often enough, ... We owe a HUGE thanks you to Mike for making this great community available to Z Car nuts everywhere.6 points
-
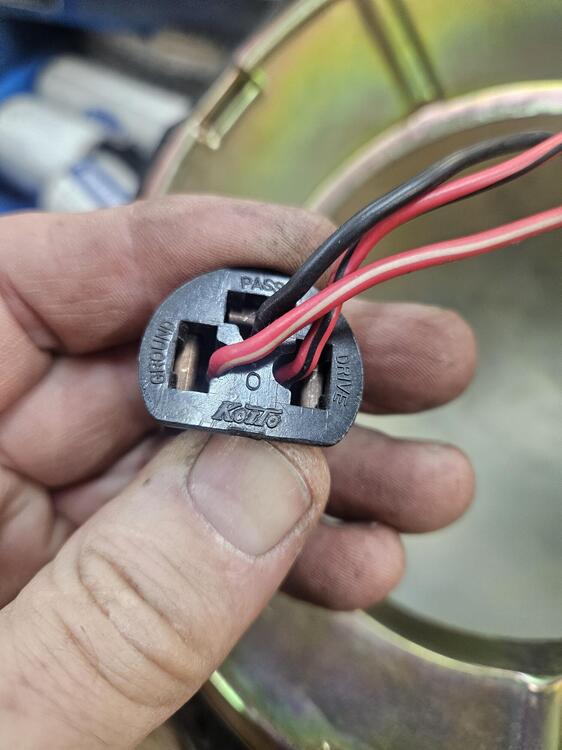
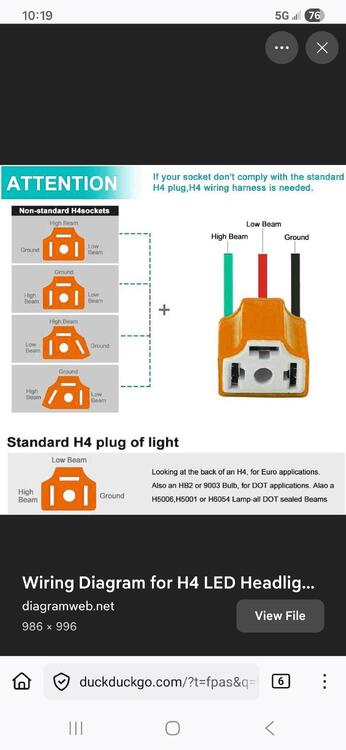
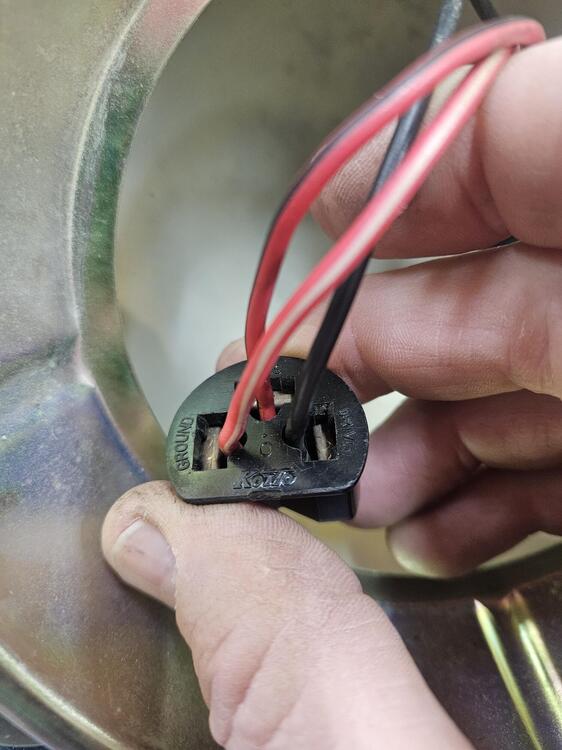
6 pointsOn another note, I figured out my headlight issues. So the H4 LED's I have are interesting. This is the typical H4 pin locations So when I attached power to the ground location on the LED and tested the other pins the Hi's and Lo's work fine. But they also work fine no matter where I attached the power into the bulb. Very strange So the Phenolic at the bulb has these labels I decided I would wire it this way. Power in on the right side and high beam (red w white) on the left hand side. I then took the other headlight out and made it match. Now everything works as it should. The indicator is on in high beam and completely off in low beam. Another thing off the list
 6 points
 -
6 pointsHere are the thread rules. Again. For any hardware you are likely to encounter. 4 x 0.7 5 x 0.8 6 x 1.0 8 x 1.25 10 x 1.5 - bolts that thread into the engine block. Trans, head, brackets, 10 x 1.25 - All other M10 bolts, ie suspension and body are 1.25 12 x 1.25 - wheel studs, front spindle to steering arm, trans mount (later), TC rod ends, Flywheel , spindle pins 14 x 1.5 - diff strap bolts, front control arm pins 16 x 1.5 - Crank bolt 20 x 1.5 - Rear Stub Axles Threaded pipe fittings are all BSPT, A/C and EGR excluded. There is a 1/4x28 SAE thread somewhere for you to find as a test. There are 7/16-20 SAE too. Another test. And what the heck is up with those short fat rear control arm bushing bolts? And why do I have 2 or 3 dozen of them? The first 7 on the list are the ones you should have taps and dies for on hand at all times. Better yet the thread restoring kind, not the thread making kind. Print this out and post it on the shop wall.6 points
-
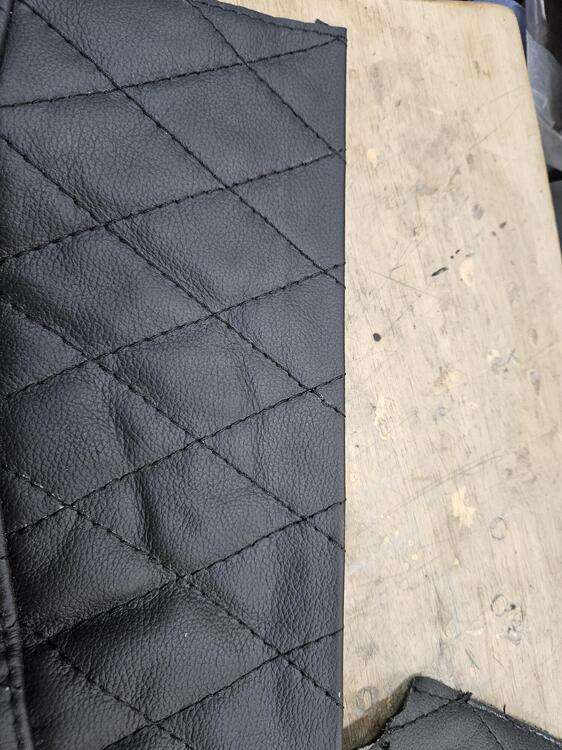
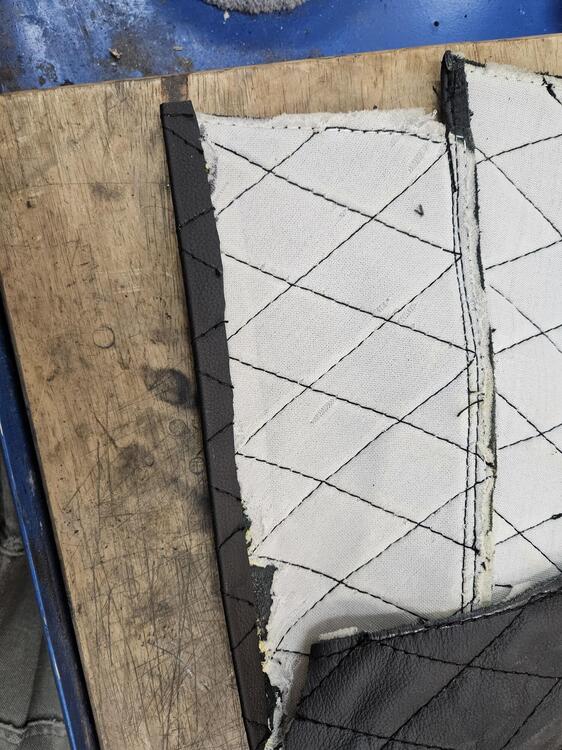
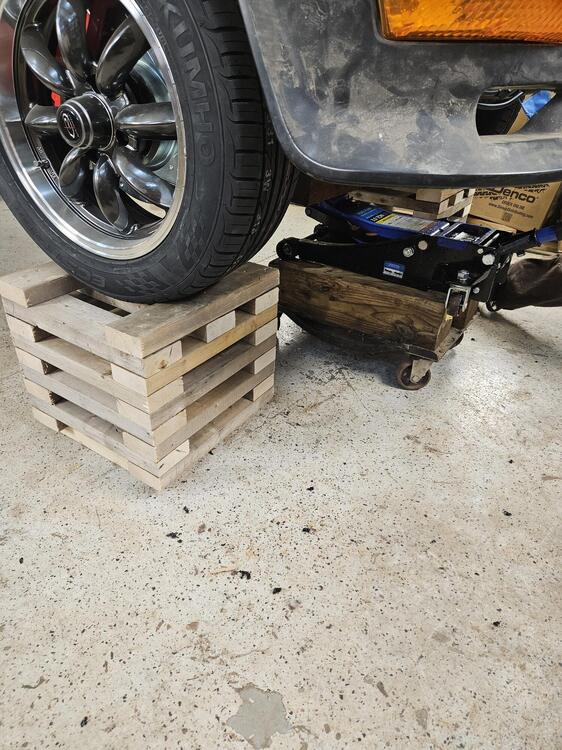
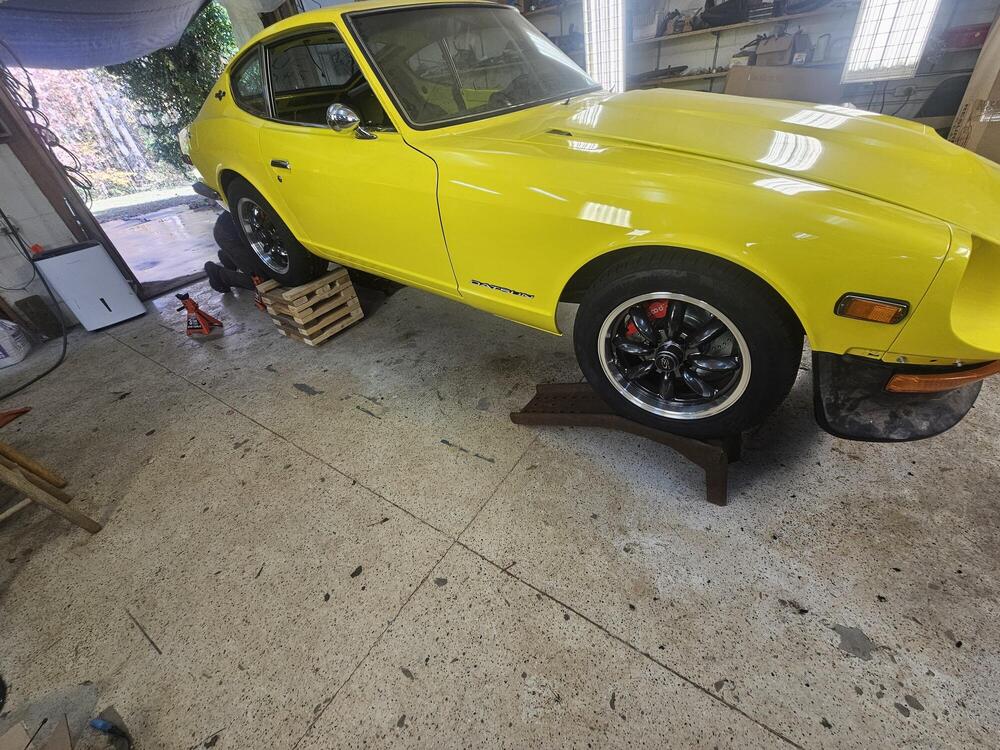
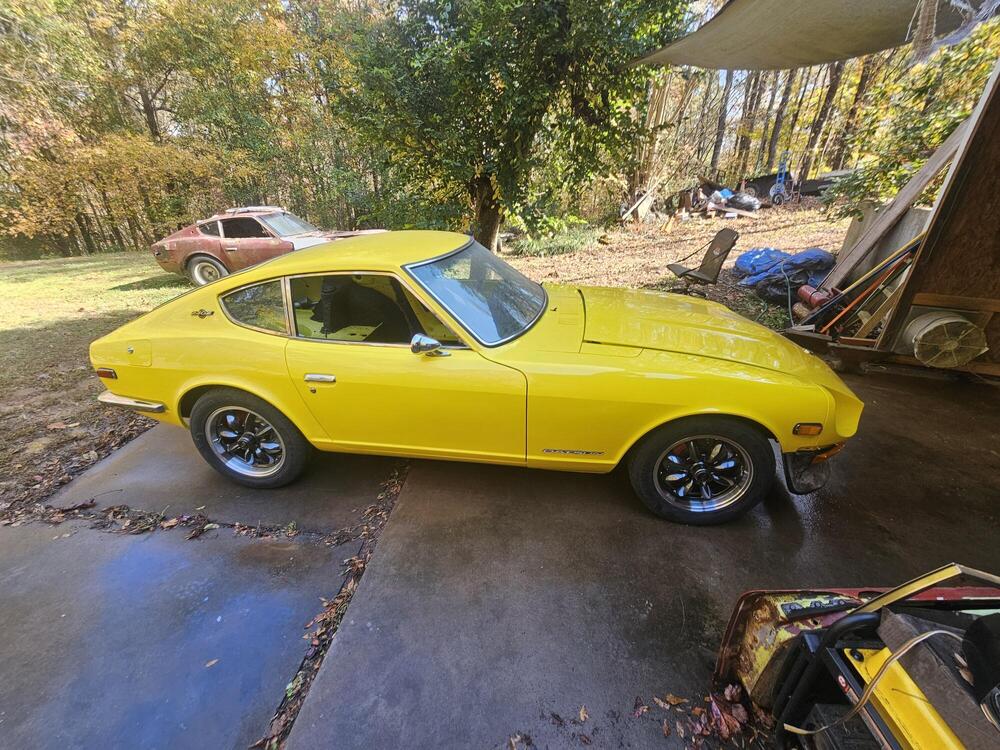
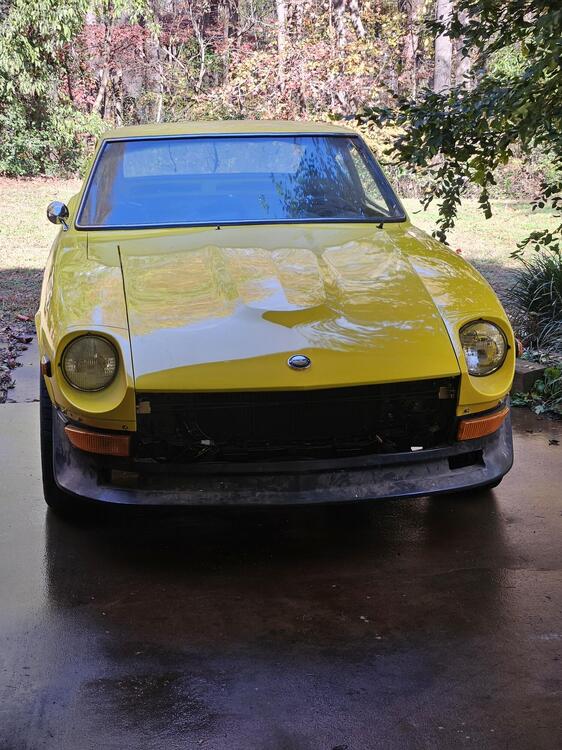
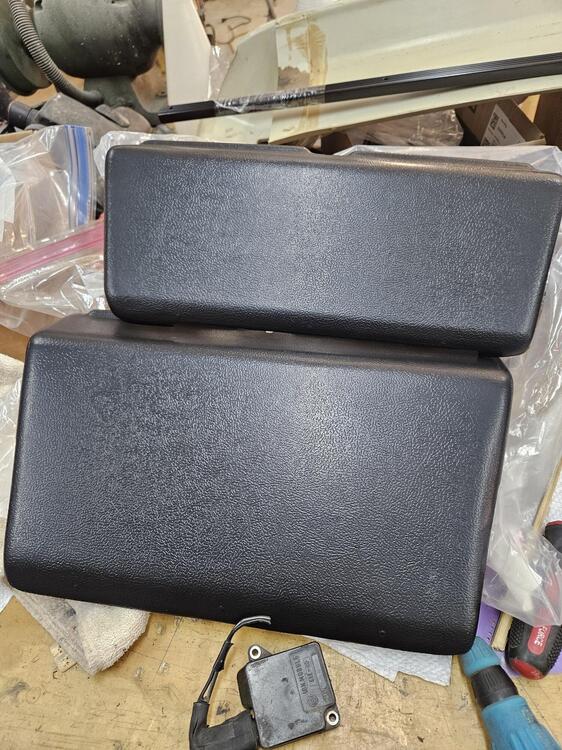
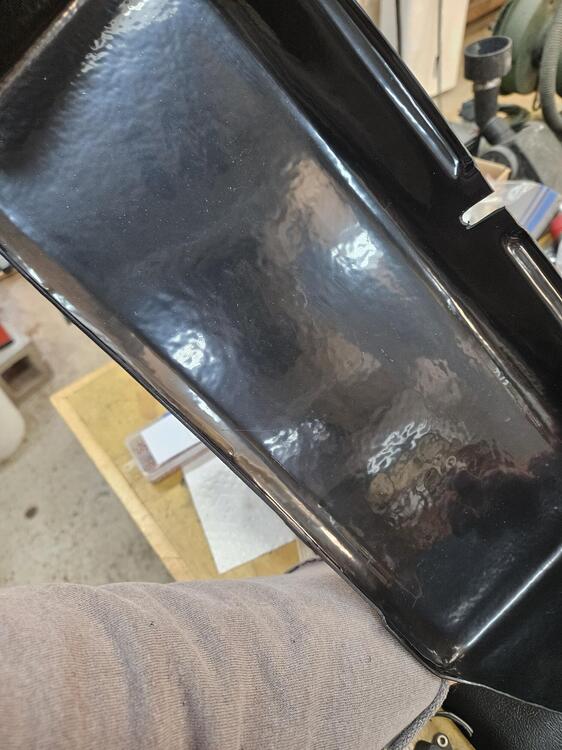
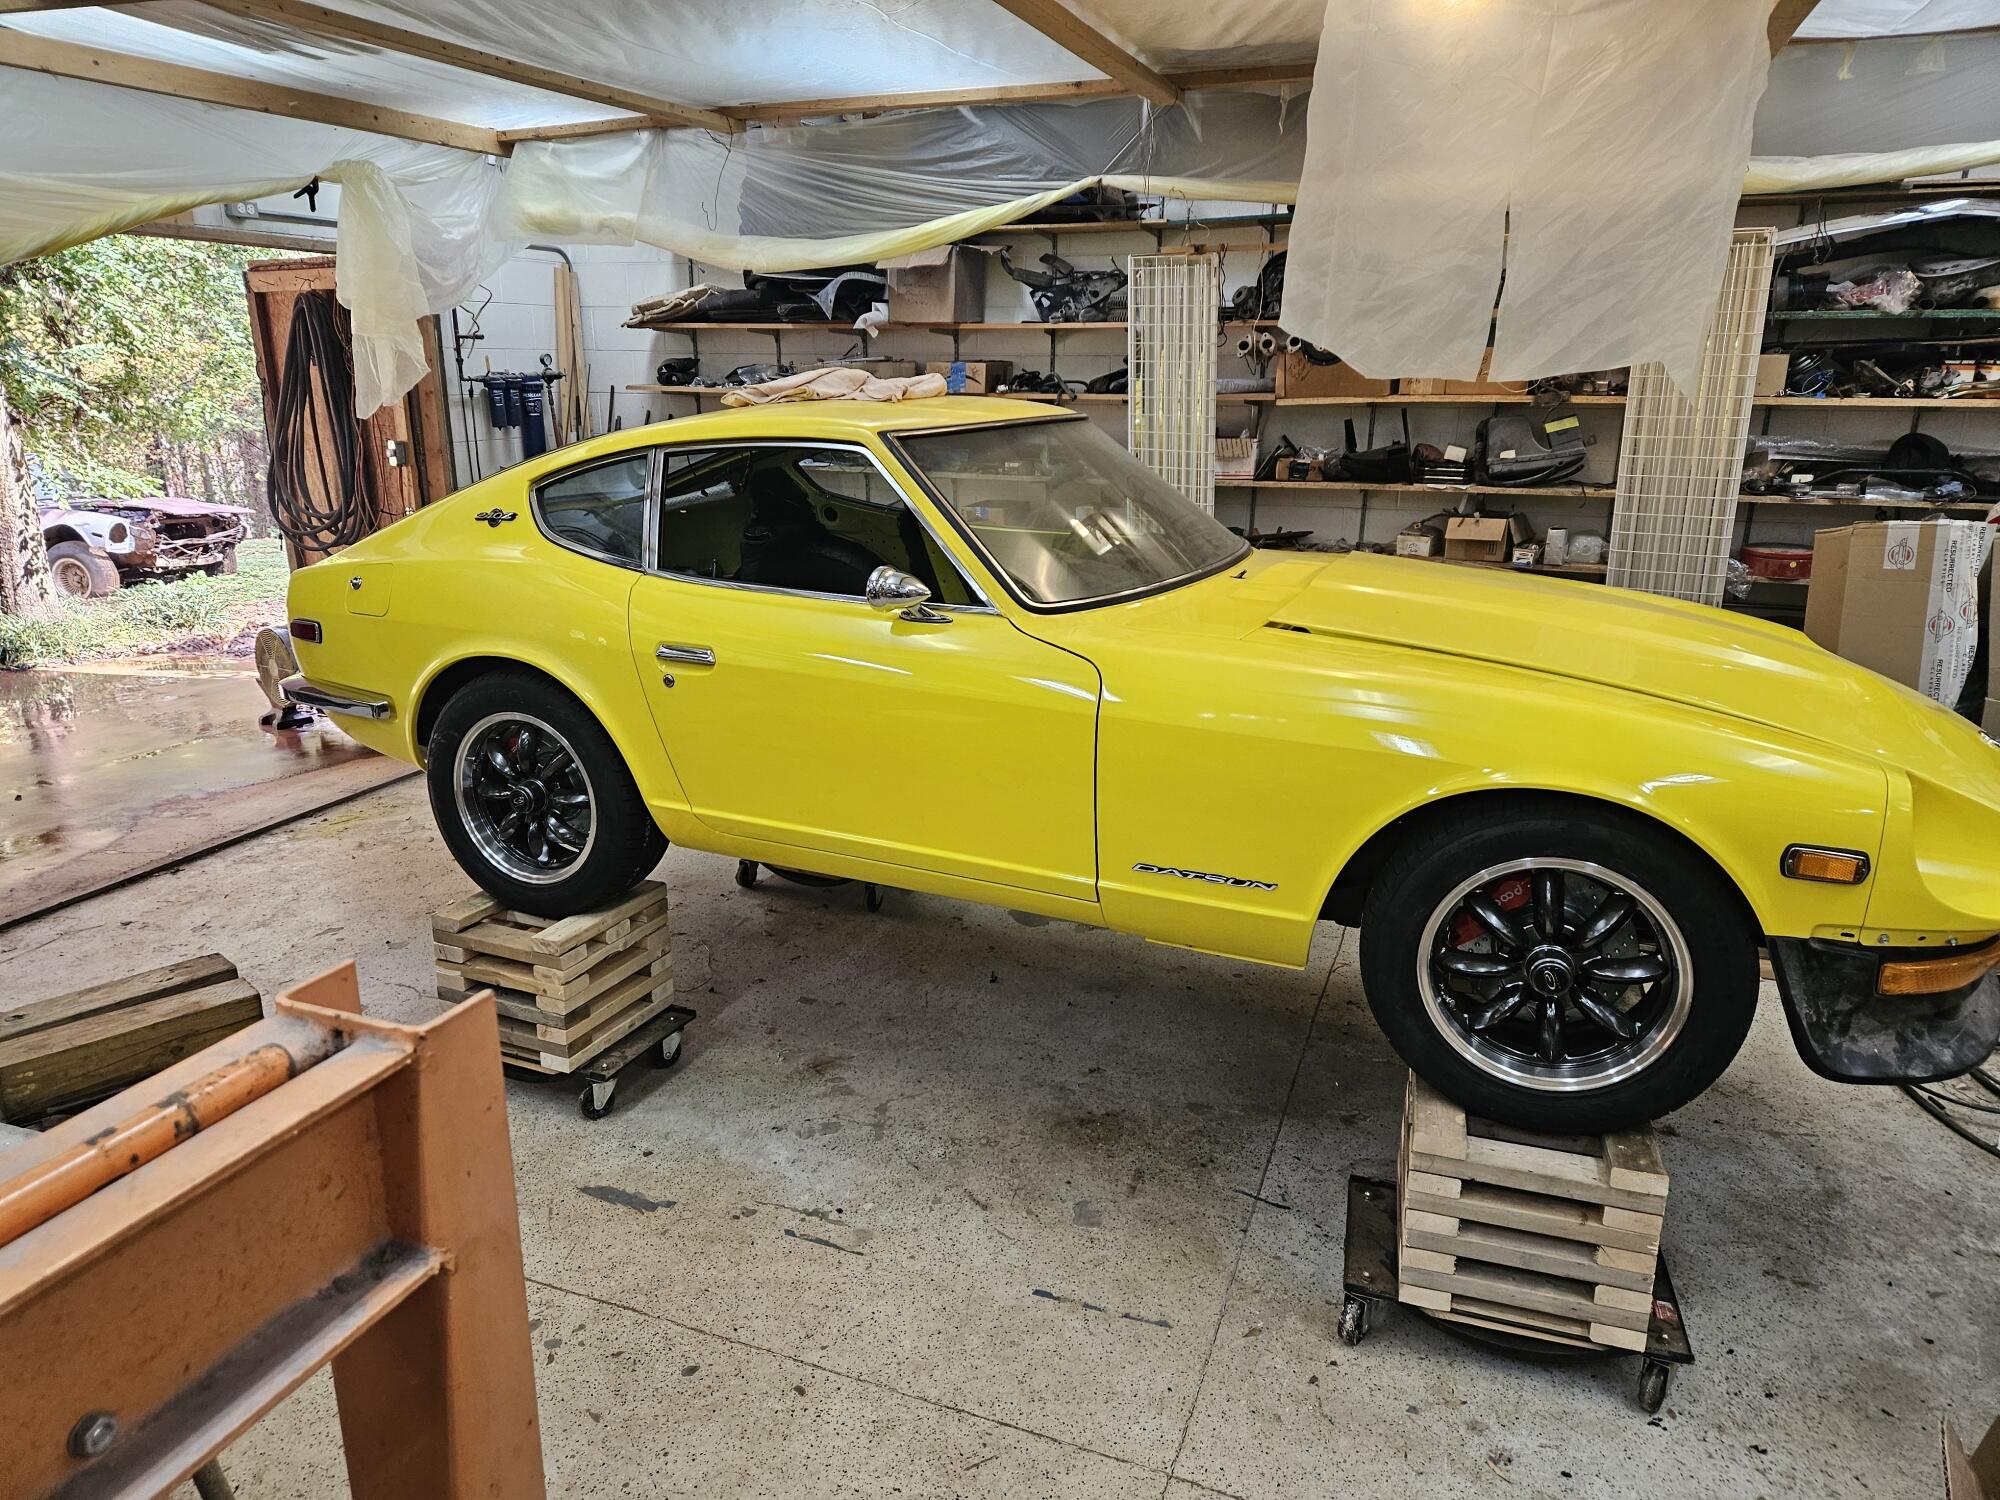
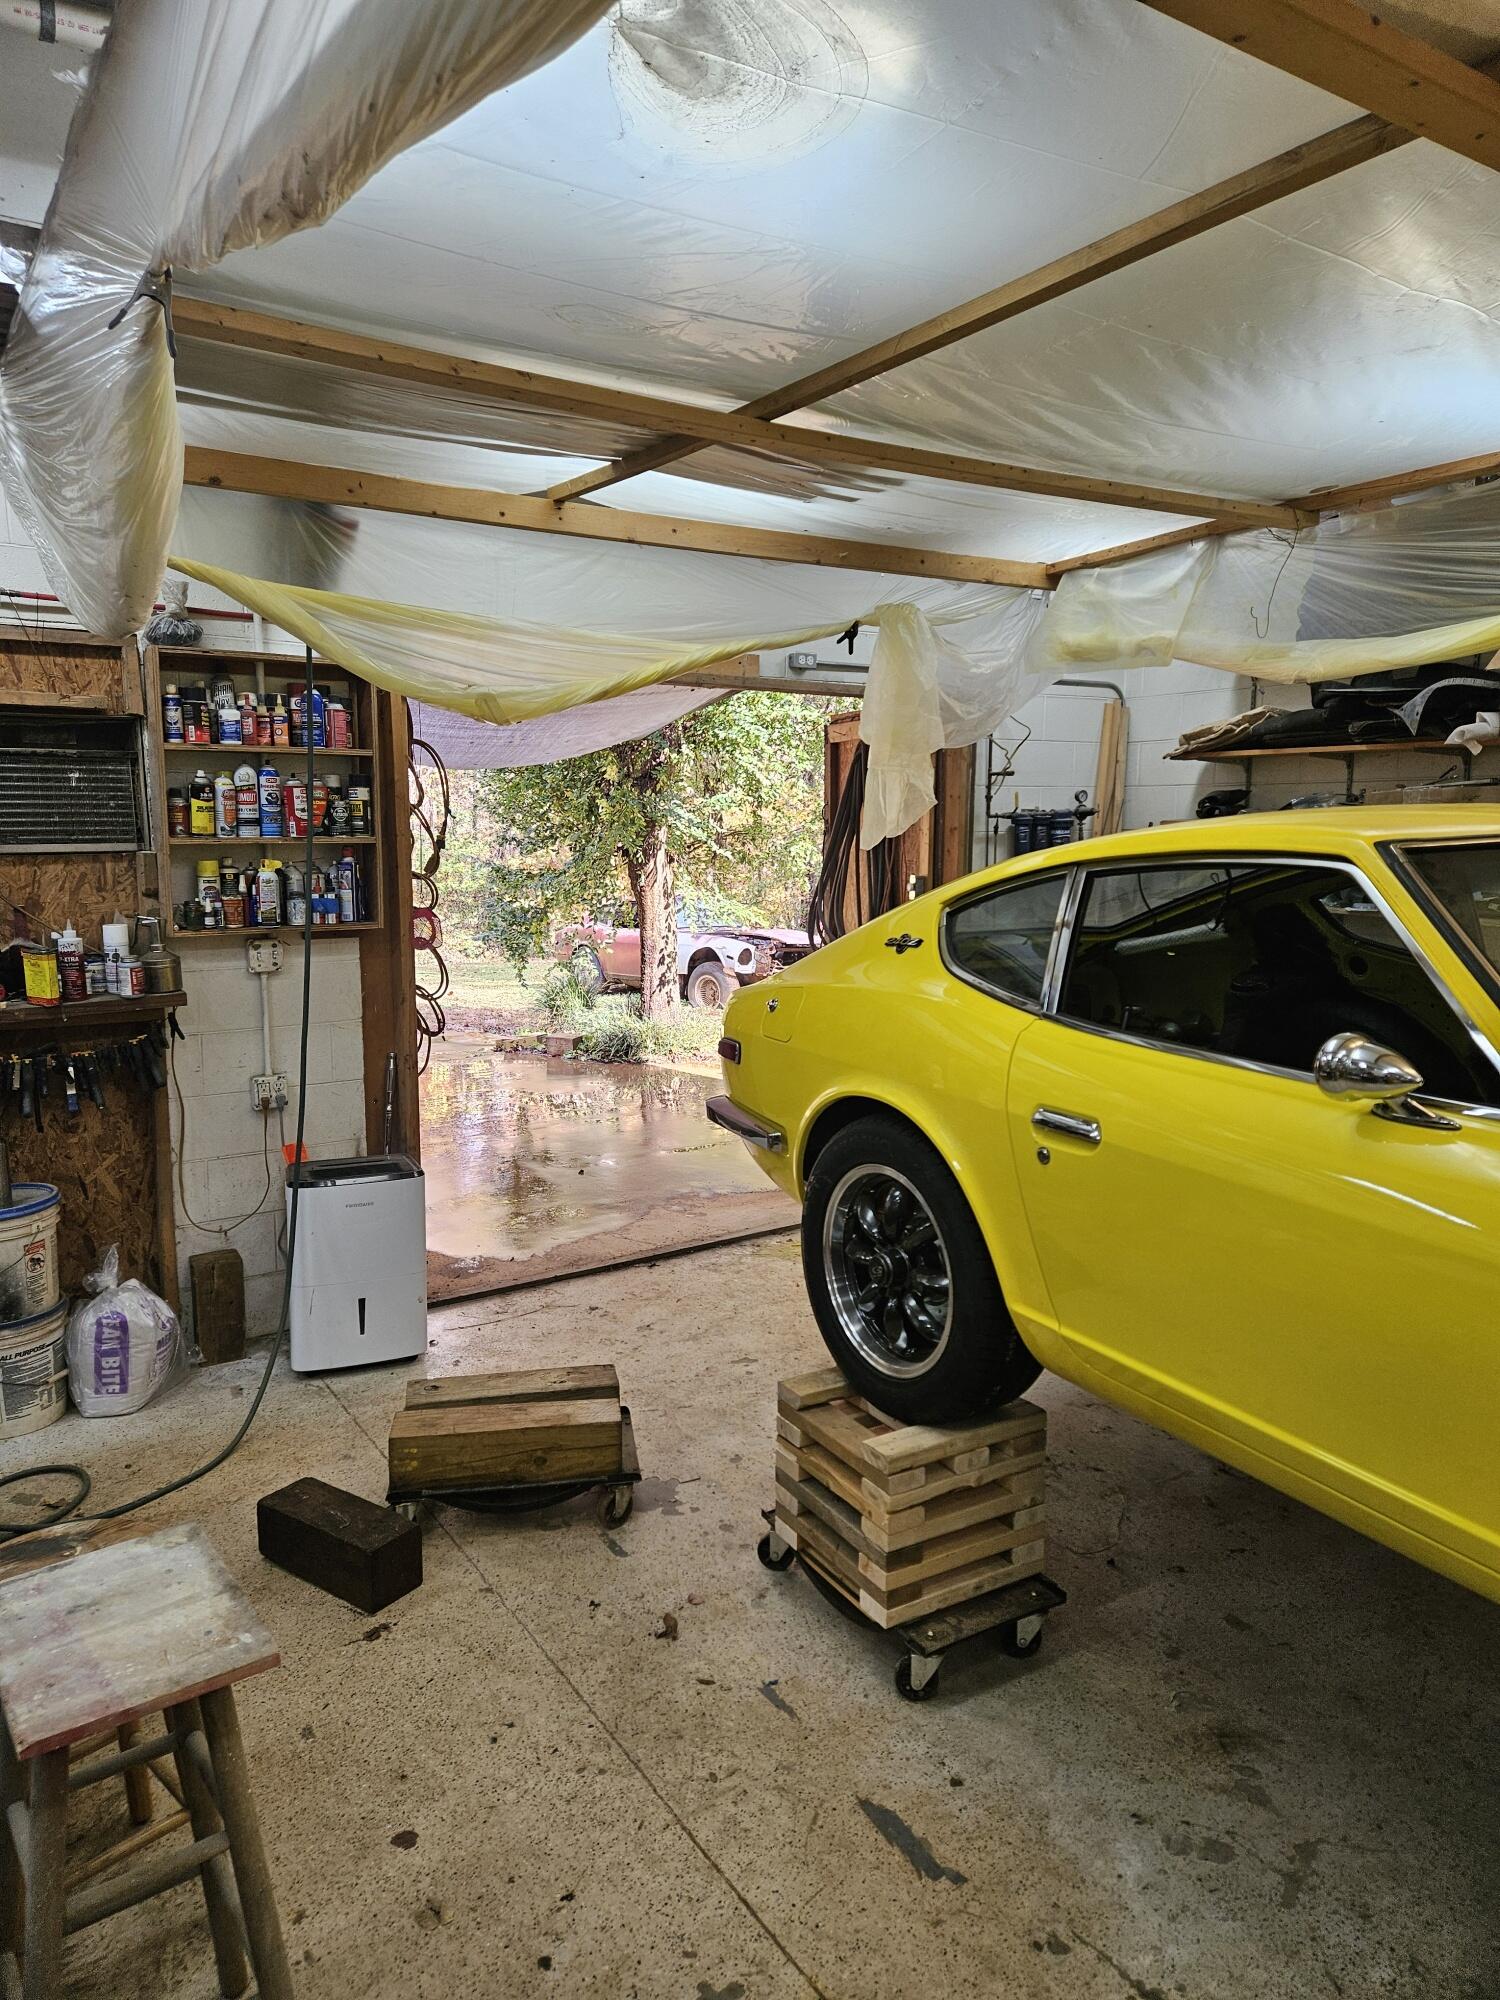
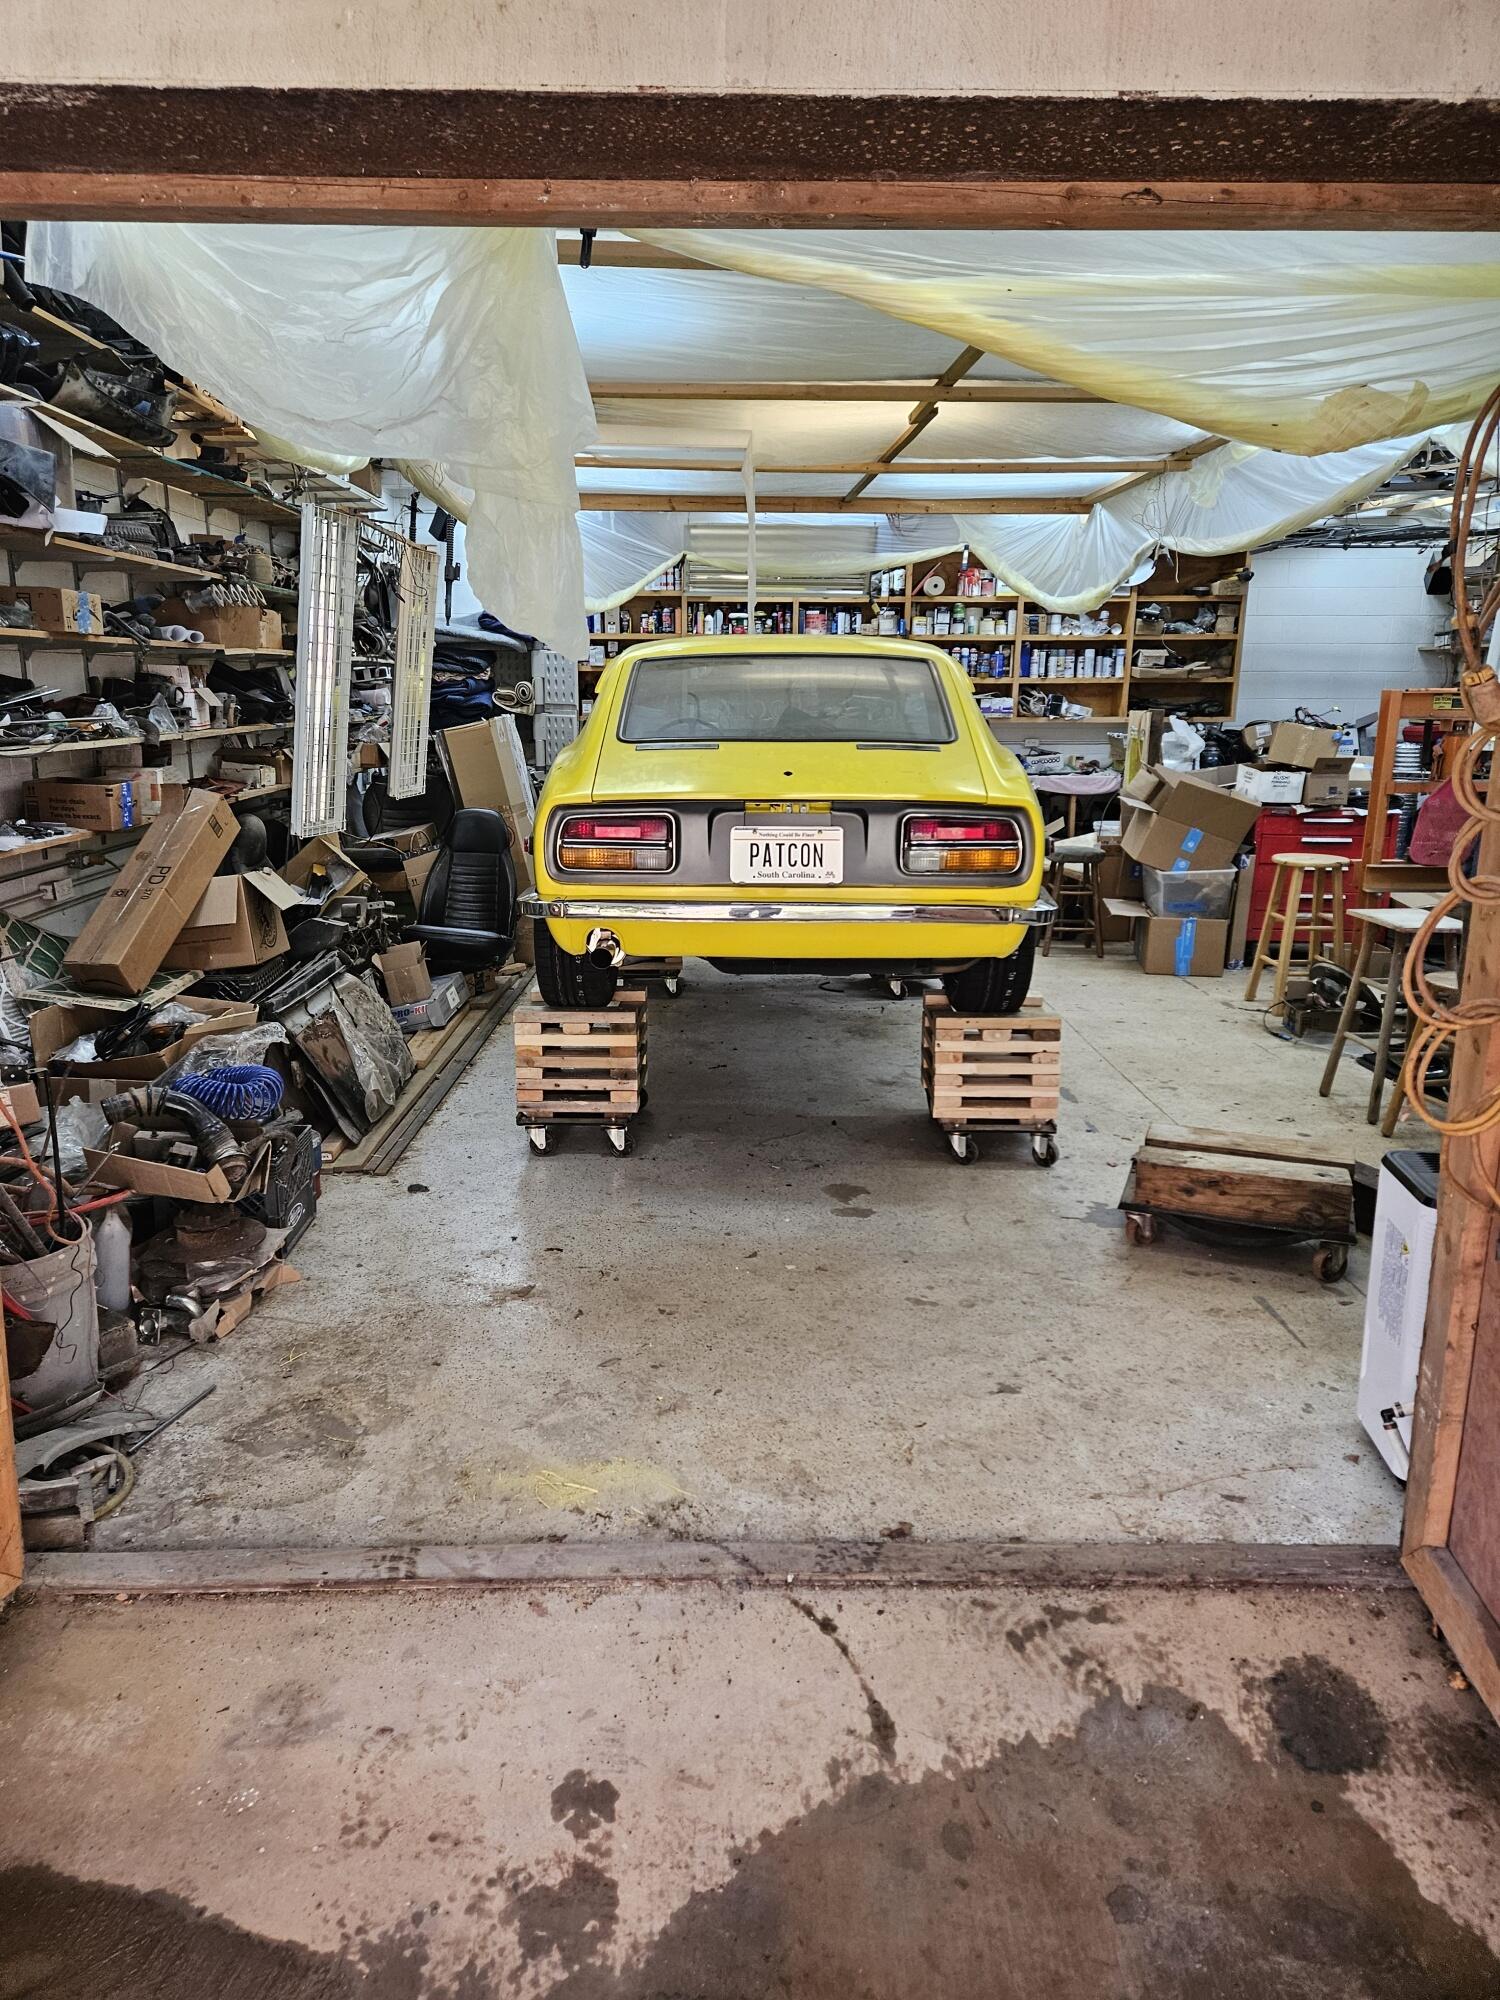
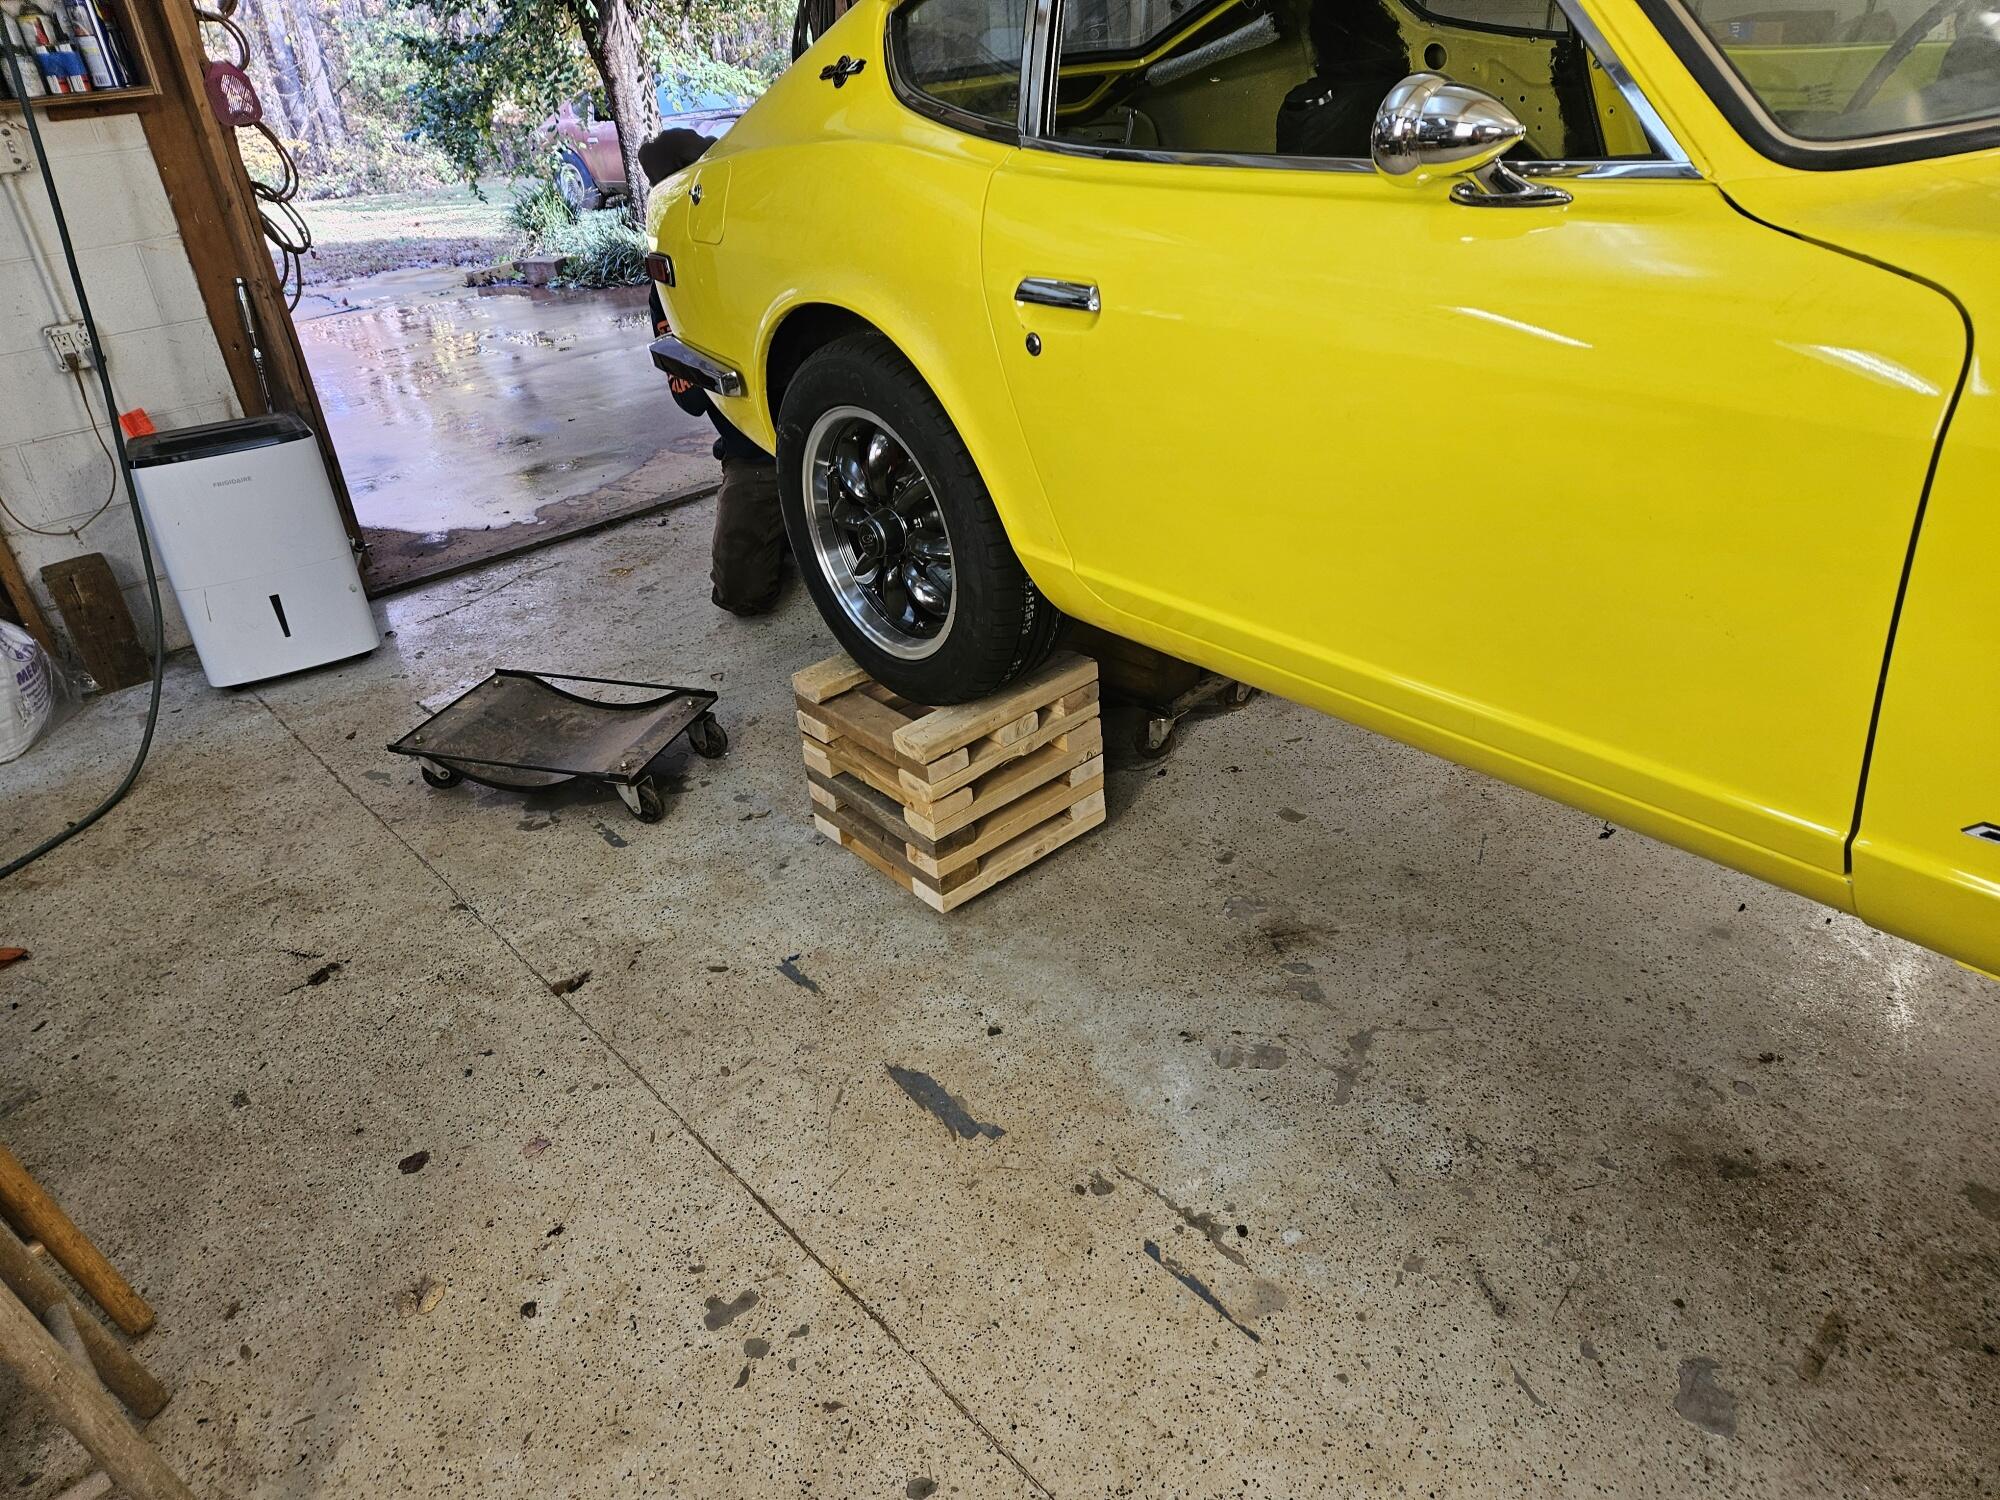
6 points6 pointsLast weekend we worked in the shop some Here is a seam in the leather fender covers. I made this with contact adhesive and clamps. I picked the padding out in the seam area so it was just leather to leather. We took Lily down off the cubes. A lot less sketchy than the way I put her up there. Still had to have a 6x6 on the jack saddle at this point Rolled her outside and it promptly rained... My windshield leaks and I will add some sealant under the weatherstripping soon. I also ordered tool covers for behind the seats from Zcardepot. They don't have the hinges. So they may not work for me... Since I don't have the old covers
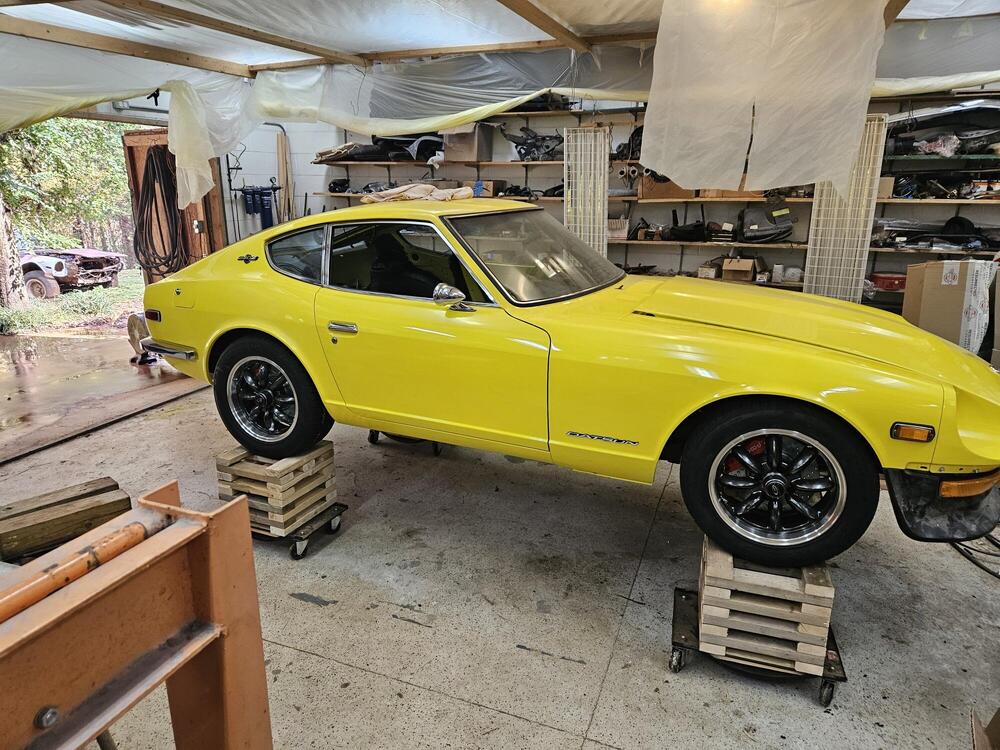
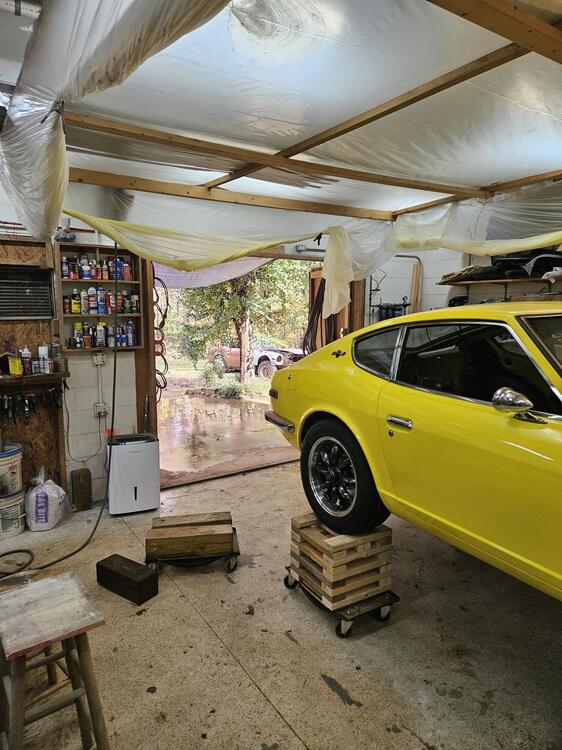
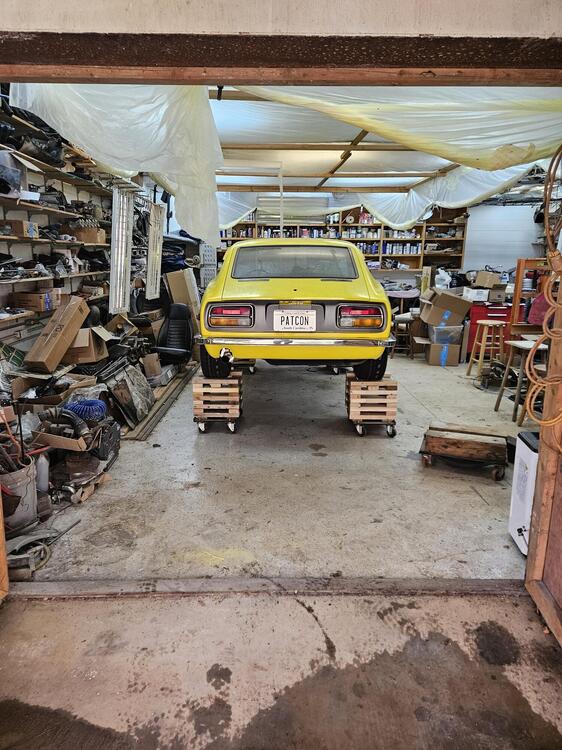
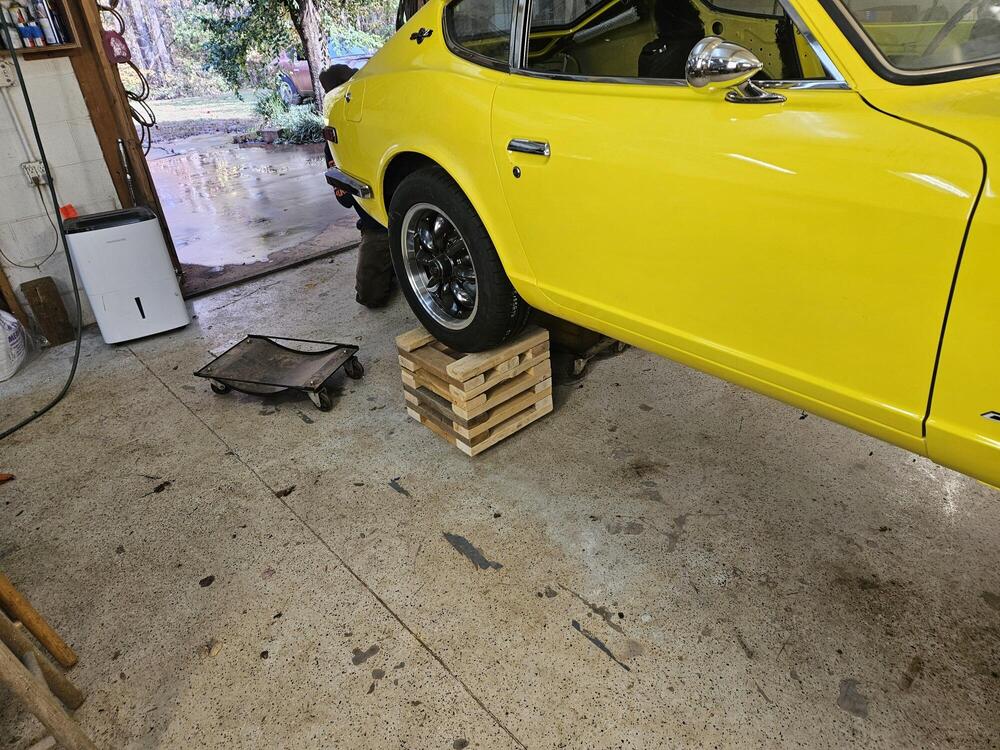
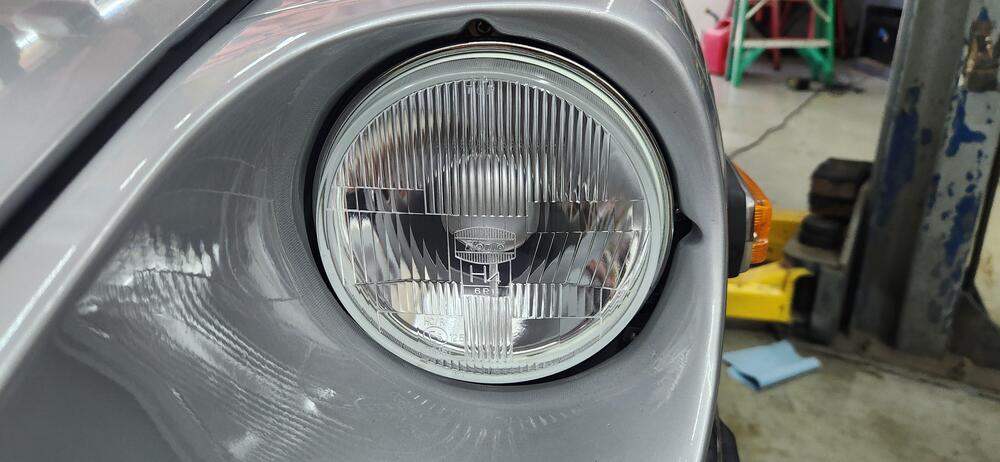
 6 points5 points@SteveJ , thanks again. I installed these tonight. Very impressed with the lights. I was a bit nervous how the flat face would look on the z, as I my brain always thinks convex lens for the car. I like the look. Amp gauge doesnt bug when I turn them on and fuses are nice and cool. Huge improvement from stock!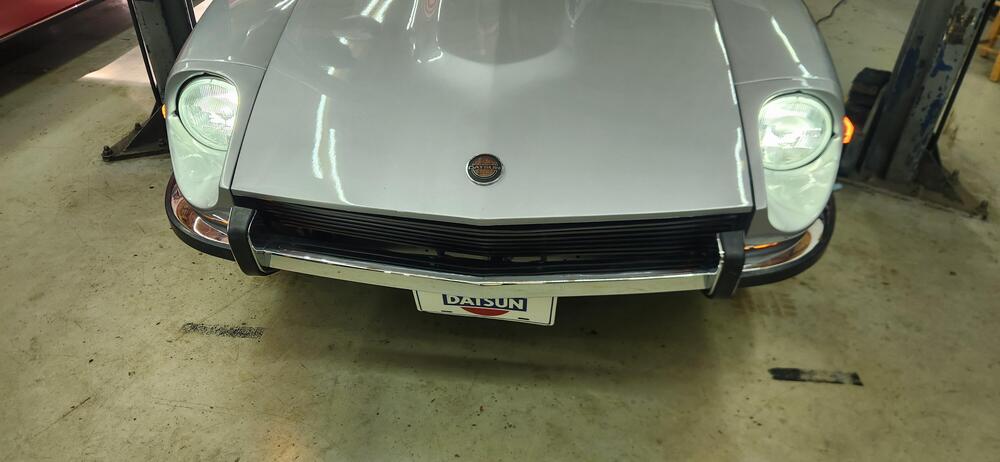
 5 points
_resized.jpg.ab85dd8dd898c3d4f2ada22d5be48eee.jpg)
_resized.jpg.9d4c5ea8d0d26a90c8bcd52b20fba996.jpg)
.jpg.986293d69e313fbf3275b68c7b837dbc.jpg)
_resized.jpg.ddedeb33d3b36b25eed6888754d2f0d1.jpg)
.jpg.9a58744da4ec3c9ed724888ae9deb31b.jpg)












.JPG.fde440b23421fddf2ca272ac4fb4fd36.JPG)


.jpg.da978b7e40790de2759e76c452e3218d.jpg)
.jpg.6001b08d7ec00954a386fde5bba64376.jpg)
.jpg.cc85a43d85fa1800d8a7e13581e6527a.jpg)
.jpg.8d29301b4997654fcce75a9de7389967.jpg)






.jpeg.c03e7bcbb165fb49553ca91f5ef532c7.jpeg)
.jpeg.6012ed97e11d8bc96ec37498e6cb7148.jpeg)


.jpeg.2b5a3bc70783465f4dc7c6d5019f9d86.jpeg)
.jpeg.008b784c05ec74805b560cf8feabce7a.jpeg)
.jpeg.1be23fa62497f4984c978dcf61a1499b.jpeg)












Important Information
By using this site, you agree to our Privacy Policy and Guidelines. We have placed cookies on your device to help make this website better. You can adjust your cookie settings, otherwise we'll assume you're okay to continue.