Topics Last Week
Showing topics, images, events and files posted in for the last 7 days.
- Past hour
-
 That makes sense, but the problem is really just cosmetic (once I've confirmed that the exhaust problem has been corrected), so I don't think I want to go as far as adding a second strut to correct it. I don't think all cars with the single strut have raised driver side hatches, though, so I'm thinking that there are other ways to address this. If the hinges are worn, that might be a place to start, or maybe the two hinges just need to be adjusted relative to each other to lower the driver's side? At this point I haven't glued the seals back in or attempted to adjust the hinges or latch, so I think I'll move ahead with those steps and see how close I can get things to flush. The upper portion of the new inner seal is almost vertical when installed. When the hatch is closed the vertical portion slides outward against the underside of the hatch to create the seal, so I expect it to compress a little over time as well. As an aside, I was happy to see that, with a couple of careful initial closings where I manipulated the seal at the hinges, the seal is sliding over them properly. Both my original seal and the replacement were mangled by the hinges. I've been procrastinating on the next steps because I know I'm not going to enjoy removing the adhesive from the car before gluing the new seal in, but I'll report back when I've made progress.
 - Today
-
 At the risk of flogging a dead horse. The fact that Japan banned cad plating and the fact that Nissan documentation doesn't mention CAD are two pretty compelling indicators of what was in use. Not to mention that when you find an old plated part that hasn't been exposed to the elements such as the AM radios chassis and you re-plate in yellow zinc, the finish looks pretty identical to original to me.
 -

-
 If you do one at the time you have a (mirrored) example there to see how it sits/comes together again.. and... ALWAYS make pictures BEFORE taking apart.. it's so easy to miss that sequence of the little rings/parts on there! RULE NUMBER ONE: MAKE PICTURES OF EVERYTHING YOUR GONNA RESTORE!
 -
 The first versions were (as far as i know) never sold officially, but only delivered for testing as prototypes. Some ended up in private ownership. but i guess those were very few. The upgraded suspension, front and rear spoilers, 5-speed transmission and the different front turn signals, etc were standard equipment on all european cars. Even though the parts catalogue lists things as optional, as far as i know, most (all?) european Datsun importers didn't sell any dealership options and most cars were sold as standard european final spec cars. Aside from Portugal, of course, which had their own specifications.
 -
 Doesnt look too bad at all. Im guessing by the posters name that it is going to be listed on Hagerty Marketplace; yet to be listed at time of my posting.
 -
 I think it can be unbolted with the fenders on. just enough room with a swivel, a bent wrench, some friends and a 6 pack. lol The backing plates can be retrieved if they fall, use a stick magnet, you might have to remove the ECU, Holding them in place while starting the bolts is another circus act. get some friends back over and a 12 pack. haha!!
 - Yesterday
-
 @MH77280Z has done this on a 280 if I remember correctly. May be of some help to you. After seeing what you did to your older garage, I'm a little claustrophobic and it made me cringe, I am so happy for you and your new space. 🙂
 -
 IRON CROSS WHEELS SOLD.
 -
280ZX TURBO engine SOLD.
-
Over the last few days, I was busy in my workshop, getting some small tasks completed on my Z project. Time for a little update. After installing the partial gearbox to test fit the brackets and stuff, I realized that the gear lever is too much in the front of the hole: A quick look into the manual made it clear: I had mounted the lever the wrong way. So, gear box rear-end out, gear lever corrected: And back in, this time, correctly: Then I spent a lot of time at the rear end of the car. I had to clean the holes for the three taillight panels, so that the plastic rivets would lock properly. After that i re-installed the taillights, and ensured the sealing rubbers were set correctly, using my "string-trick": Next i have to finish the slightly worn chrome / metal trim around the taillight panels and get them back on: While working at the rear, i decided to install all those fasteners, stoppers, alignment pieces, guides, etc. Like those rubber spacers: And trunk dampers. I have a NOS set of everything, so the installed ones are only temporary, to not mess up the new ones: And the last bit at the rear end was to align the trunk / hatch. The body shop had installed some spacers to get it straight, but after all the parts got installed, I had to remove them again and massage a few areas lightly to have it all aligned: Next? Seat rails. I had those Bride seat rails from my Histrix lying around for a while and wanted to test-fit them. I'm most probably going to use something different setup in the end, but I wanted to ensure that the distance and position of the seat mounting brackets was right after all the bodywork. I thought the best way was to use the original seat rail mounting studs and spacers. Since I had several highly-damaged OEM seats, I hammered out the fasteners and used the plastic spacers after grinding away the factory spot-welds on the bolts. This worked unexpectedly well, so now I can do some trials with different seats, rails and setups - to figure out what will go into the car in the end. Next: I realized that I didn't have any upper rear number plate light in my part collection. Luckily, Florian from Datsun-Autowerk was kind enough to send me one of his broken ones including some other parts (more on that in a following post), for trials. After puzzling and glueing all the parts together... I could mock it up all together and drill the required holes. Fun-fact: I always thought that slight "dent" in the gray metal piece was a production fault of the reproduction panel, but it's actually there to make space for the number plate lighting bolt. After the holes were done and cleaned, I got the upper plastic part installed. And then the whole thing with the lens. Note all bolts and the light itself are temporary units for the mock-up only, final parts will be correct and fresh. Looks good if you ask me! Special thanks to the person who gave me the hint with the holes (I wasn't able to find the mail anymore, but you know who you are!) And then? Spoiler-Alert. Again. After i realized that the currently installed spoiler is beyond repair, I remembered that I had another one lying around. But it was bent in all directions and super wobbly: But all the brackets were still in good shape, so I gave them a little wire wheel brush and corrosion protection: I placed them on our terrace, which tends to get quite hot now in summer And let it take the heat every day. My thought was that the Polyurethane gets weak and goes either back in its natural shape by itself, or can be massaged. At the end, some areas turned out to be pretty stiff, even with heat and required some proper bending over my special bending bench :-) It didn't really work out. It's way better than in the beginning, but still super wobbly. I thought if i'd install it on the car, it might straighten itself a bit. Let's see. I have my doubts. The good thing is, there seems to be another spoiler on the horizon :-) I've seen worse ones, but yeah. Not good enough for me: I also went through my plated fasteners and sorted them a bit. I got various boxes over the years from various collectors and Z-specialists, so it was about time to ensure I find what I'm looking for :-) The to-do list gets smaller by the week. And there's not much left from my side, but some tricky bits. I guess I've earned my favorite Japanese "Hitachino Nest" beer for today.
-
 Nice ad. If they did it thoughtfully, there might also be promotional value in highlighting two other successful Datsun models from the early 1970's: the 510 sedan (contrast with Rogue), and the 520 pickup (contrast with Titan). Not too many buyers in 2025 realize that the pecking order for Japanese imports back then was Datsun-Honda-Toyota, rather than today's Toyota-Honda-Mazda/Subaru. The decision to re-brand from 'Datsun' to 'Nissan' (1977?) was such an unnecessary a disaster. The bland-mobile 1980's models didn't help either.
 -
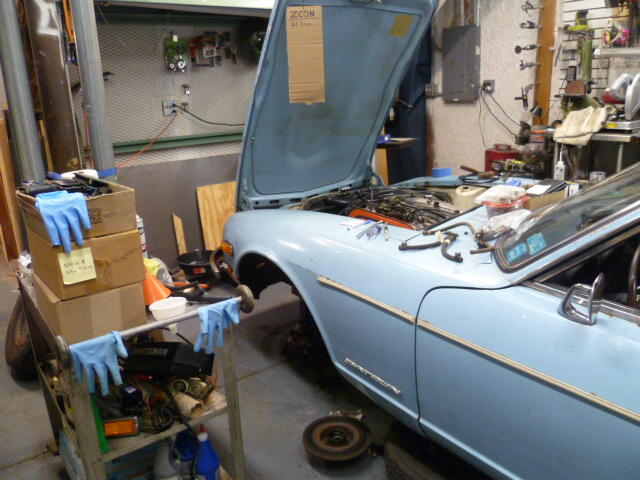
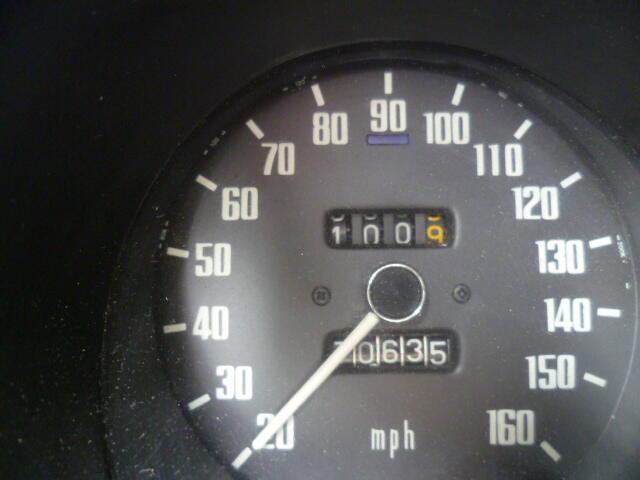
 Countdown!! I got 100 miles on it: And those 100 test miles made it clear that I need front struts:
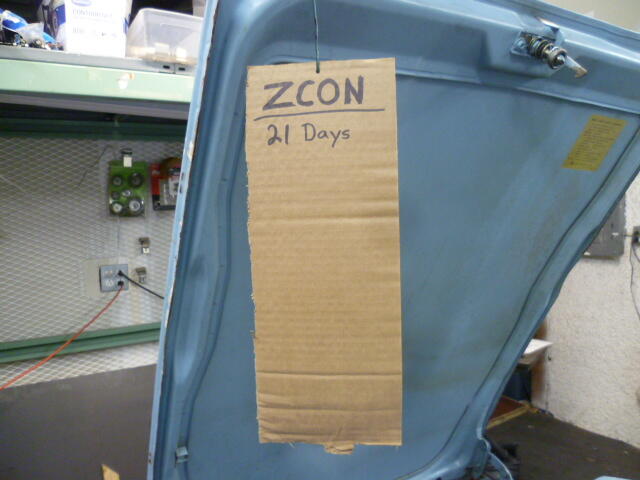
- Last week
-
 I like to use a wooden shim. Find one that is the right thickness and mark it with a sharpy. Works really well...
 -
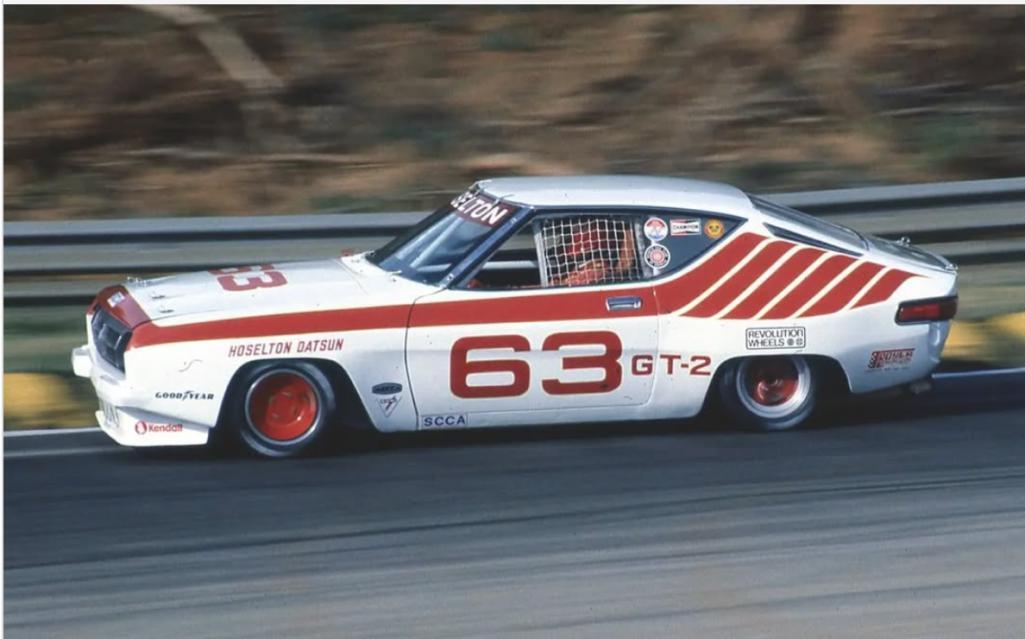
 Sedan racing
-
 Hi cgsheen1! Thanks for the recommendations. I am running the latest version of Microsquirt, 440cc Bosch injectors, Spartan 3 v2, crank 36-1 wheel with HALL sensor, LM7 truck coils with batch firing, AZC oil pan. I will try making Microsquirt work with the turbo (no sequential ignition). I have only one output left (relay) which I can use for an electric fan, for ex. I was aiming for 8-10 lbs of boost to play it safe and keeping my stock rear diff/half-shafts alive. I looked up some parts from rockauto and here is a list if it works? EXEDY 06030 clutch kit, 1975 2+2 Flywheel: AMS AUTOMOTIVE / RHINOPAC 167304, for 2+2 model Throwout bearing, WJB / INMOTION PARTS WRDNE01576C (any manufacturer preference?) Hopefully, if the car parts are for 2+2 model, I am not going to run into any issues with the fitment/clutch fork throw. I just installed a brand new master and slave clutch cylinders (for my 280z 1976 model). Will this create a problem? (I checked the part numbers, they are the same for 76 and 75, I think I should be good here). I started a thread here on hybridz dealing with my project: https://forums.hybridz.org/topic/136053-76-280z-microsquirt-project/ Thanks! Den
 -
 I have no idea if I did or not, but feel free to copy it over there, or maybe @Mike can duplicate the post there.
 -
Actually, because of safety, some organizing bodies forbid chest straps without something to hold the shoulder belts from slipping out.
-
 I appreciate the explanation and truly feel your pain doing this in the vehicle.
 -
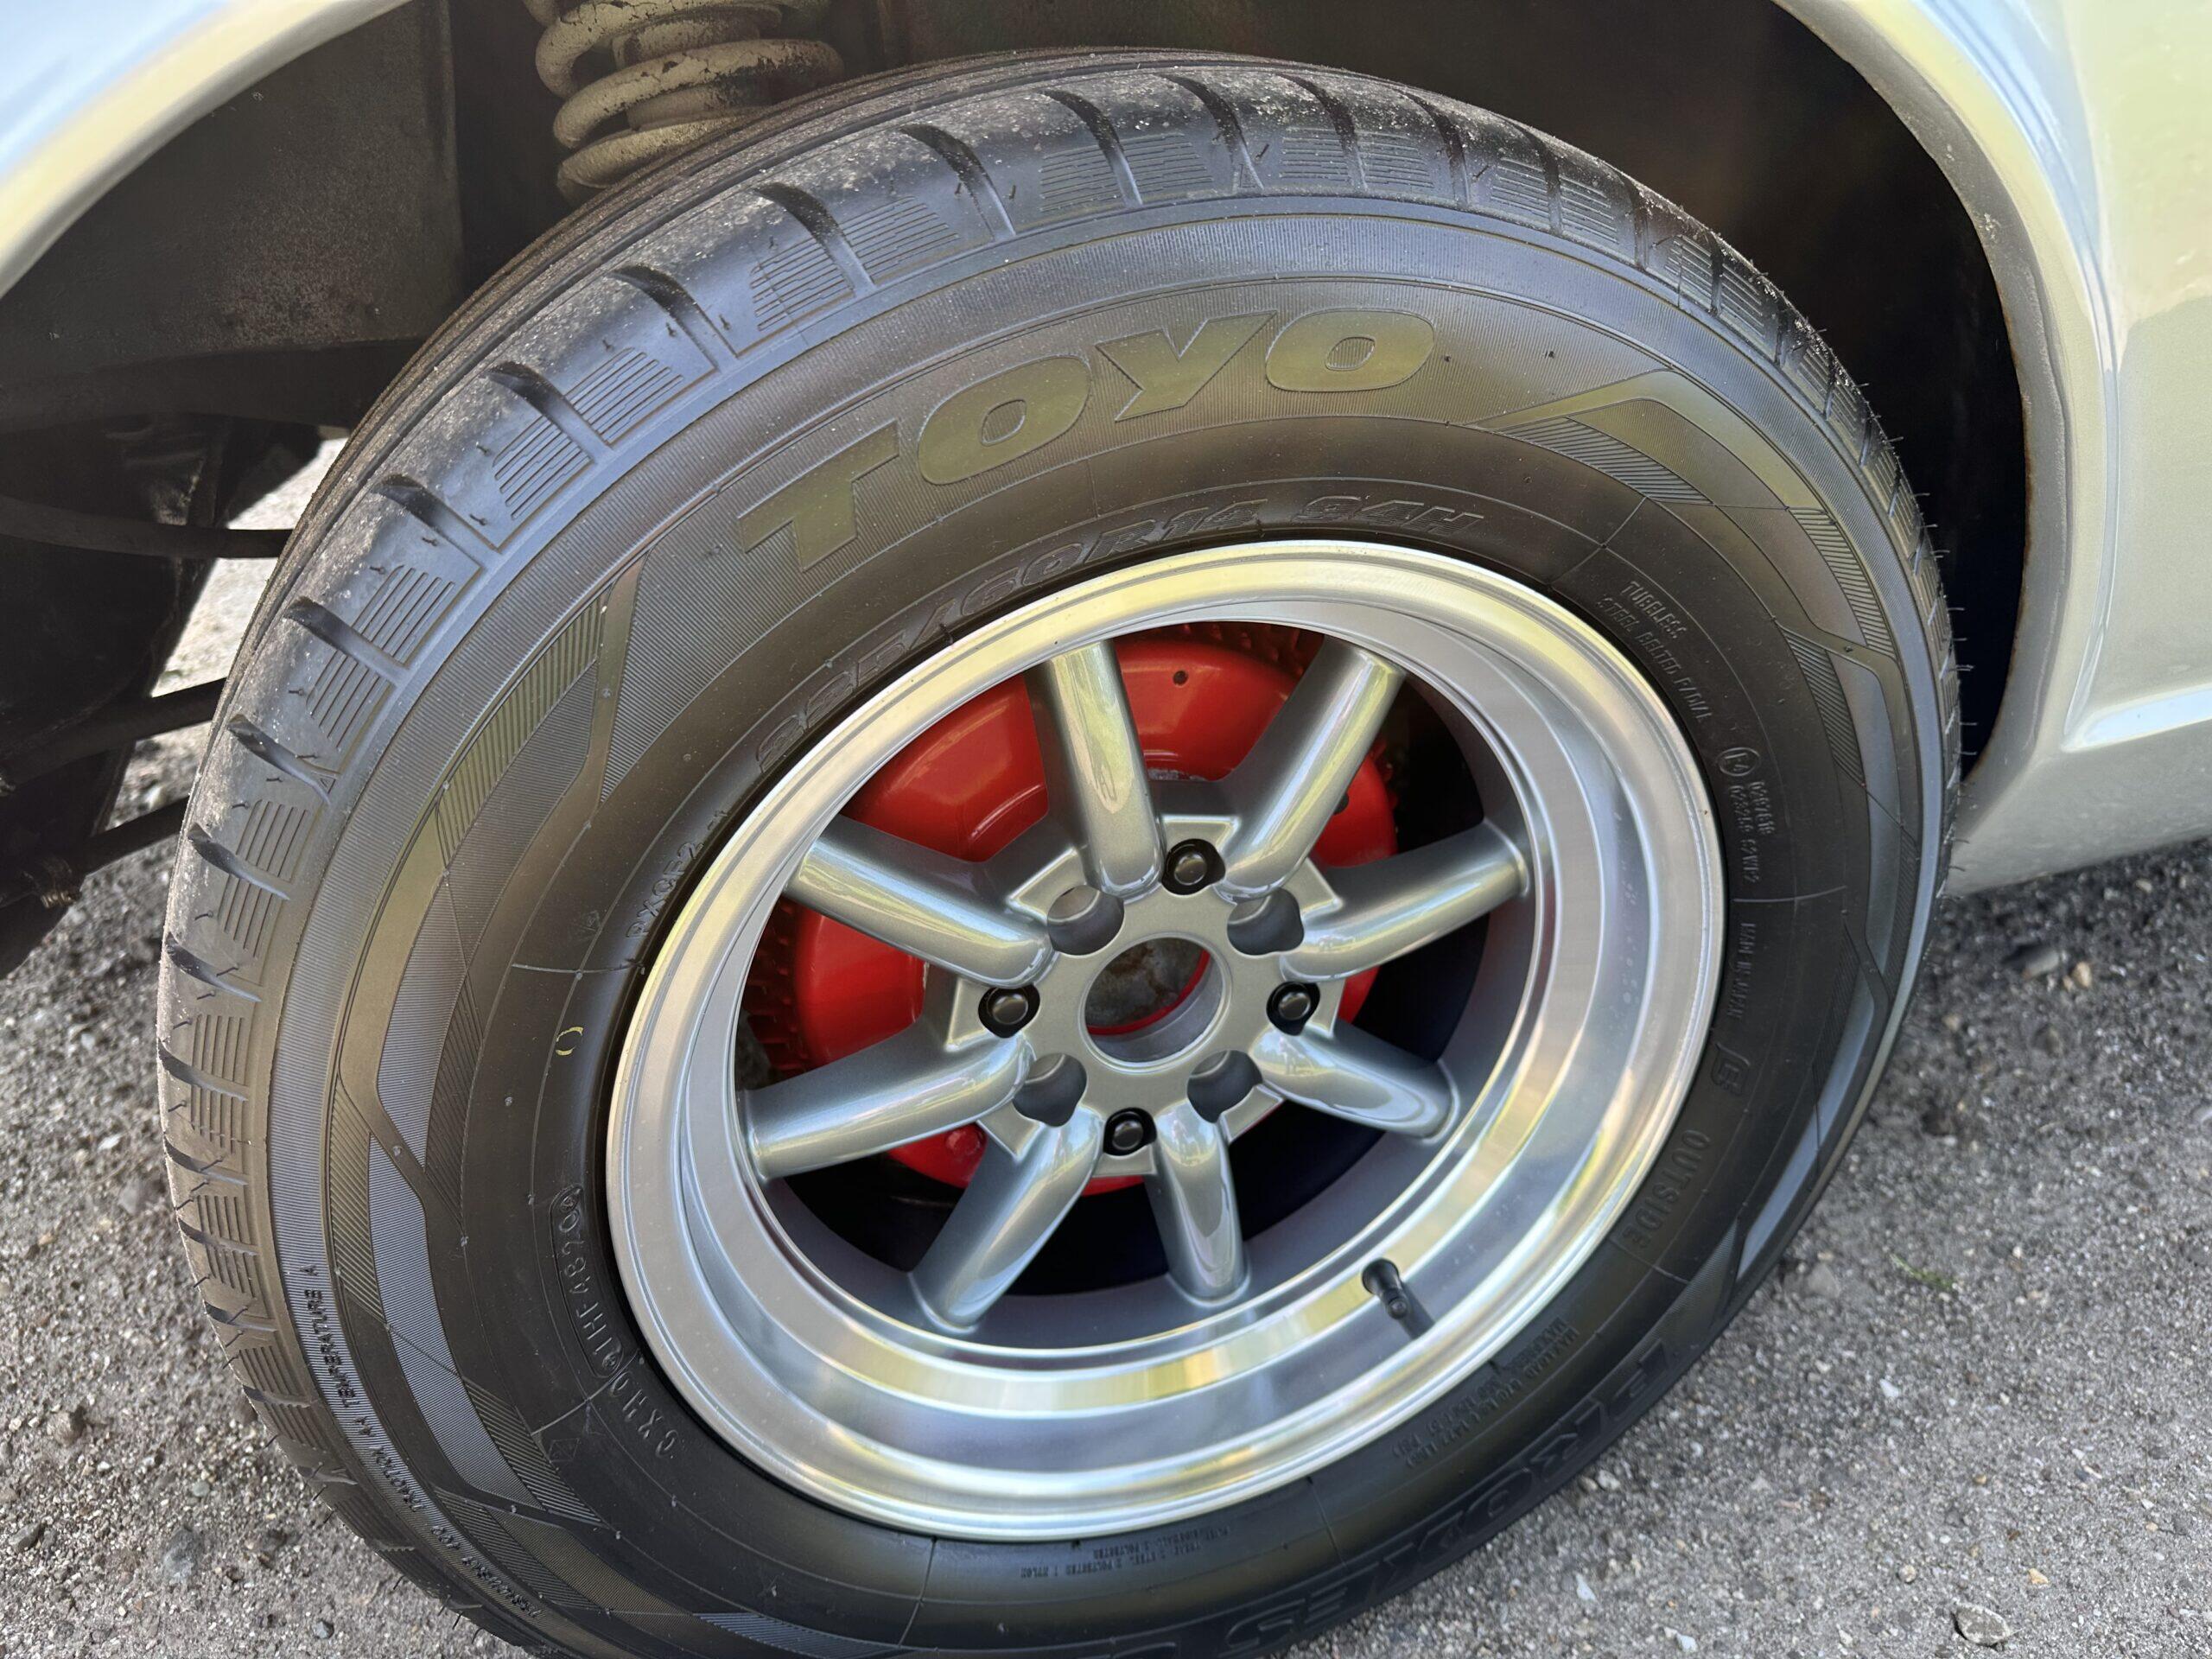
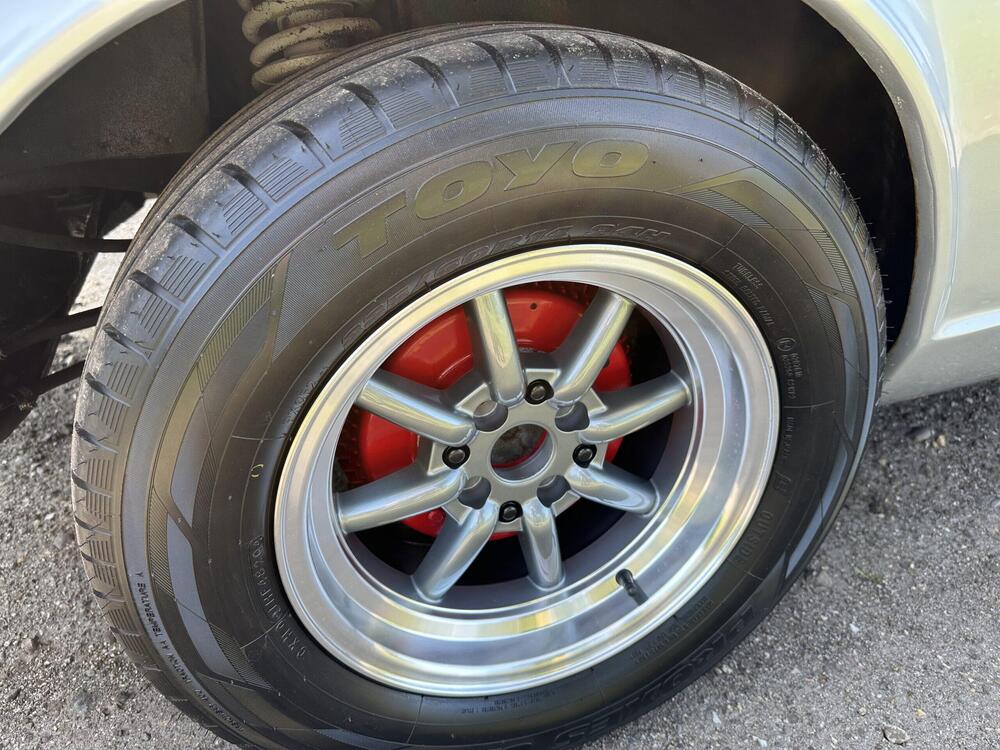
Bit late to the party but I believe my 280z came with the same or allmost the same wheels. Don’t know if they are modified as I haven’t taken the wheels off yet but I must say they look pretty good under my silver Z. Attached is one of the pictures from the auction I bought the car from. The seller also included the original set of wheels but I prefer these. Tire size is 225/60R14 in the rear and 195/70R14 in the front.
-

-
 Well done Ken. Perseverance par excellence! Dashboards are not fund to work on.
 -
 Understood Darom! If you decide you don’t need them and want to get rid of them, just shoot me a message. Thanks!
 -
Hi, I don't think he will respond, but you can get your parts from: Z-Services.eu | Shop for Datsun 240Z, 260Z & 280Z I also have a lot of parts for Z's not specific for the 280z as this was never a euro car.. Oh and yes as my name says i'm from the Netherlands too.
-
 Horror House on Highway Five (1985)