


Leaderboard
-

siteunseen
Free Member66Points15,175Posts -

Zed Head
Free Member58Points19,328Posts -
conedodger
Free Member56Points12,645Posts -
Patcon
 Subscriber
 36Points11,185Posts


Popular Content
Showing content with the highest reputation since 11/18/2025 in all areas
-
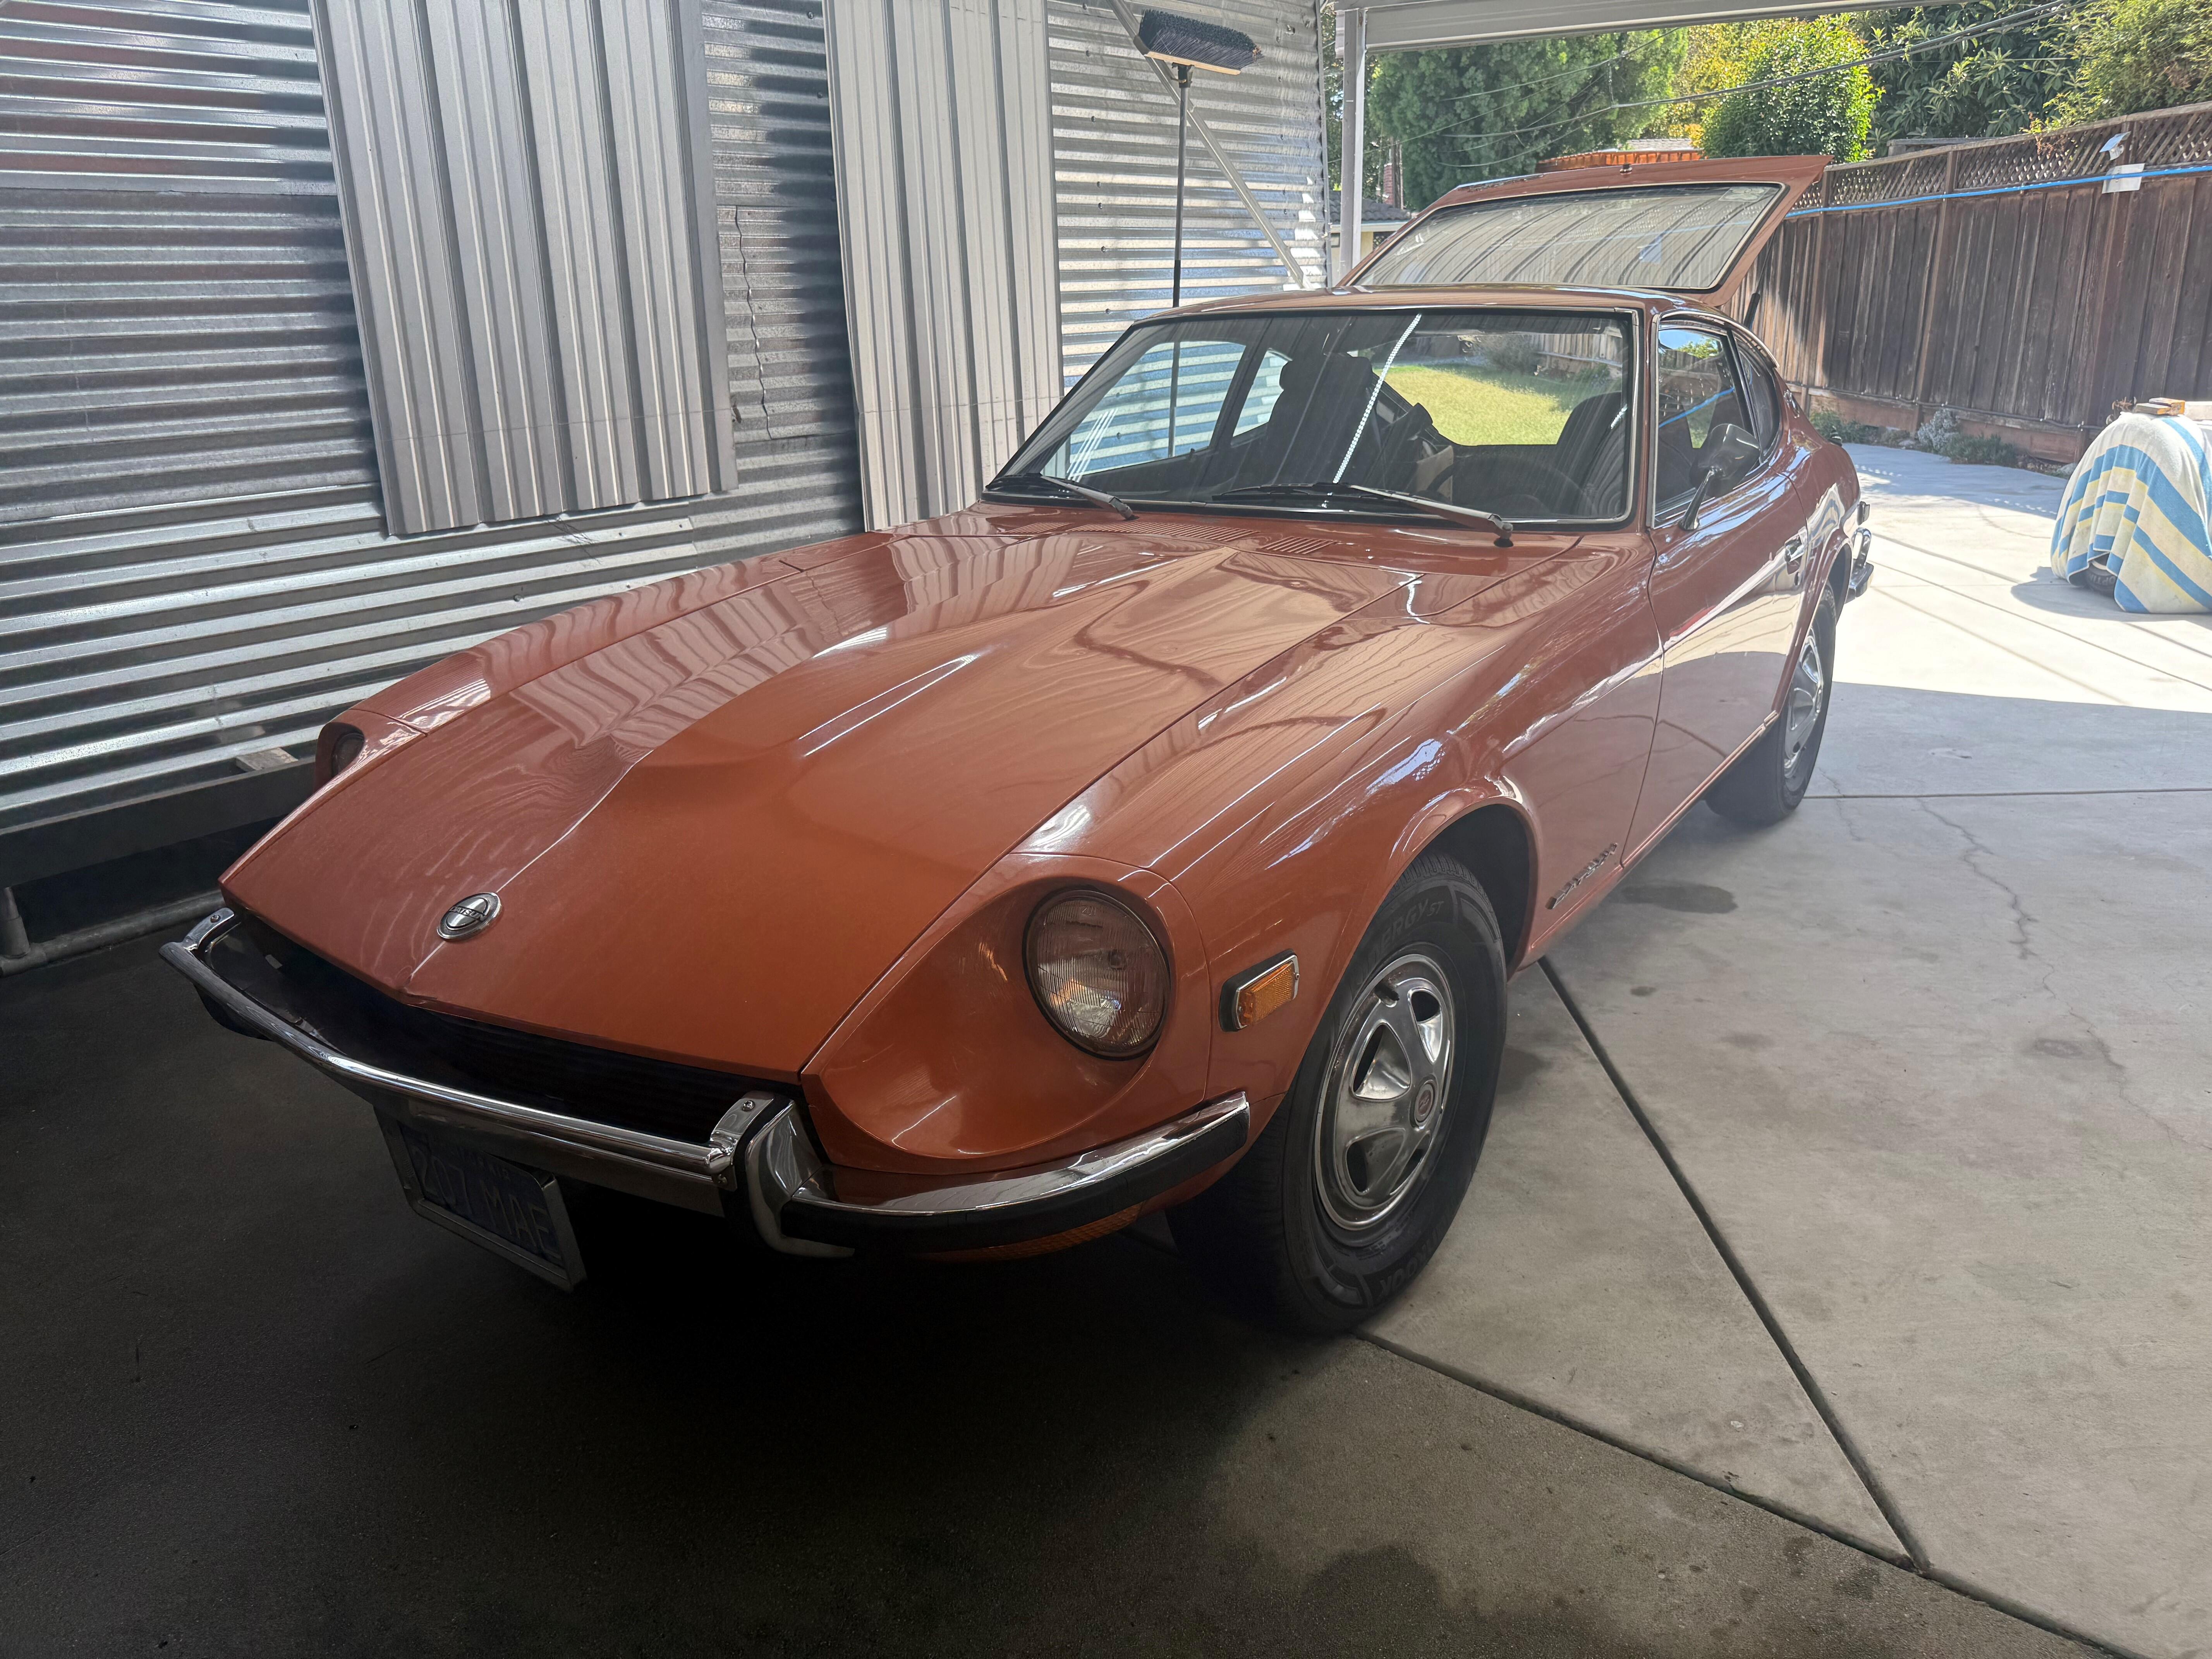
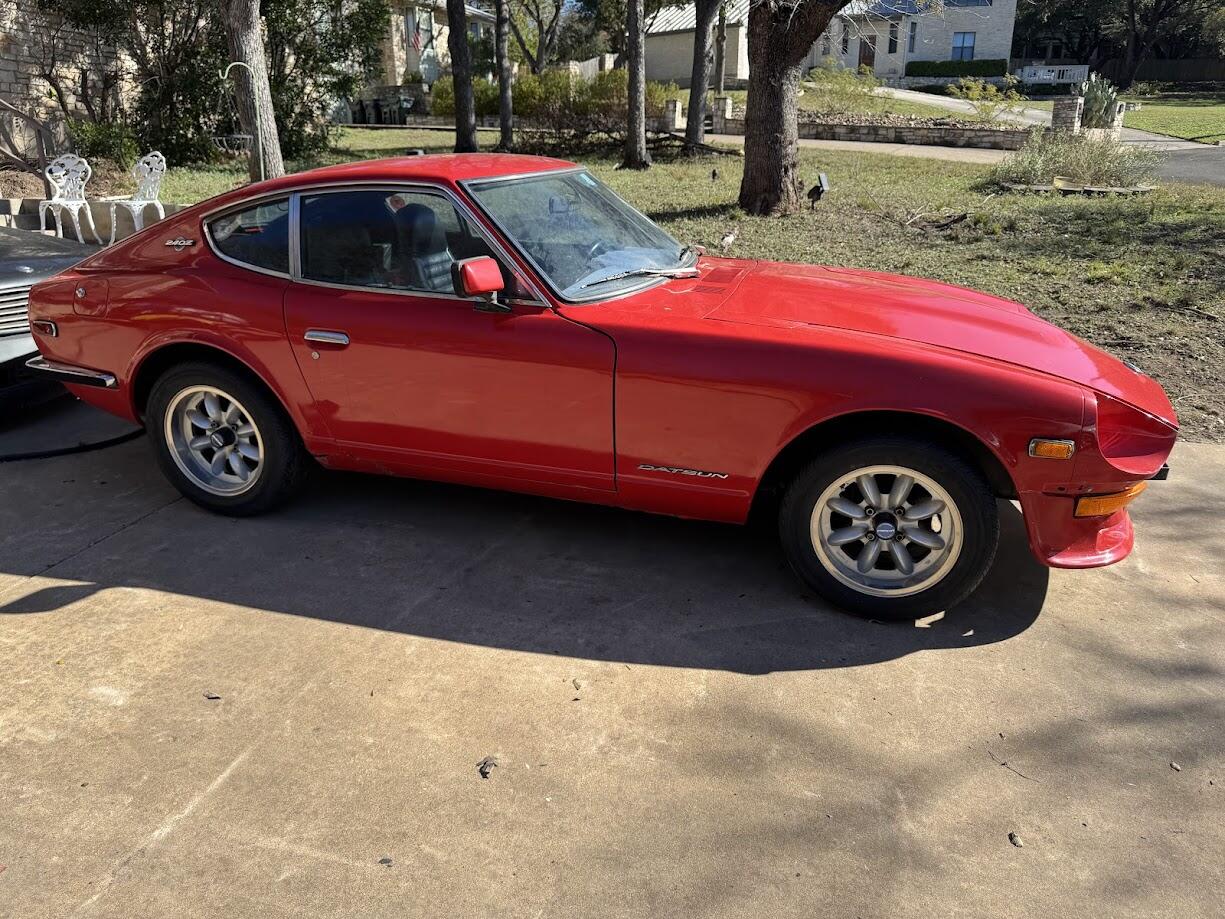
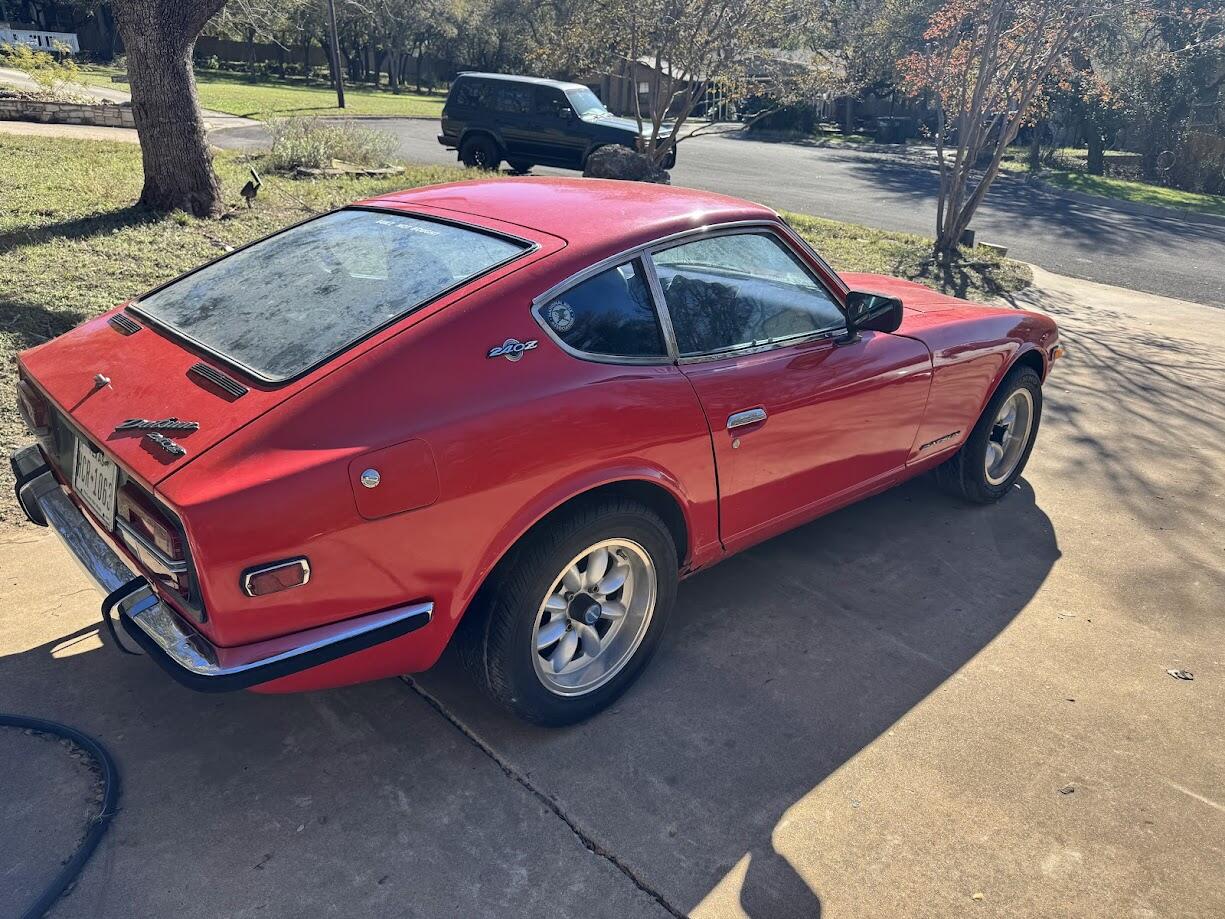
8 pointsPut on your party hats and toot your horns. Join me in celebrating the 54th Anniversary of the day I bought my 1971 240Z. Today, it sits in my driveway proudly showing its age. Unfortunately, I'm also showing my age and have a little more trouble getting in and out of it and working the pedals than I did in 1971. Great car, great fun, 54 years of great road adventures!8 points
-
7 pointsA work colleague of mine and I spent about an hour yesterday getting some video of the 240z I restored (got it on the road on Dec 31 last year). Unlike me, he has skills and talent for editing and creating videos. Have a look! https://www.youtube.com/watch?v=nQ3ieeuqjwI7 points
-
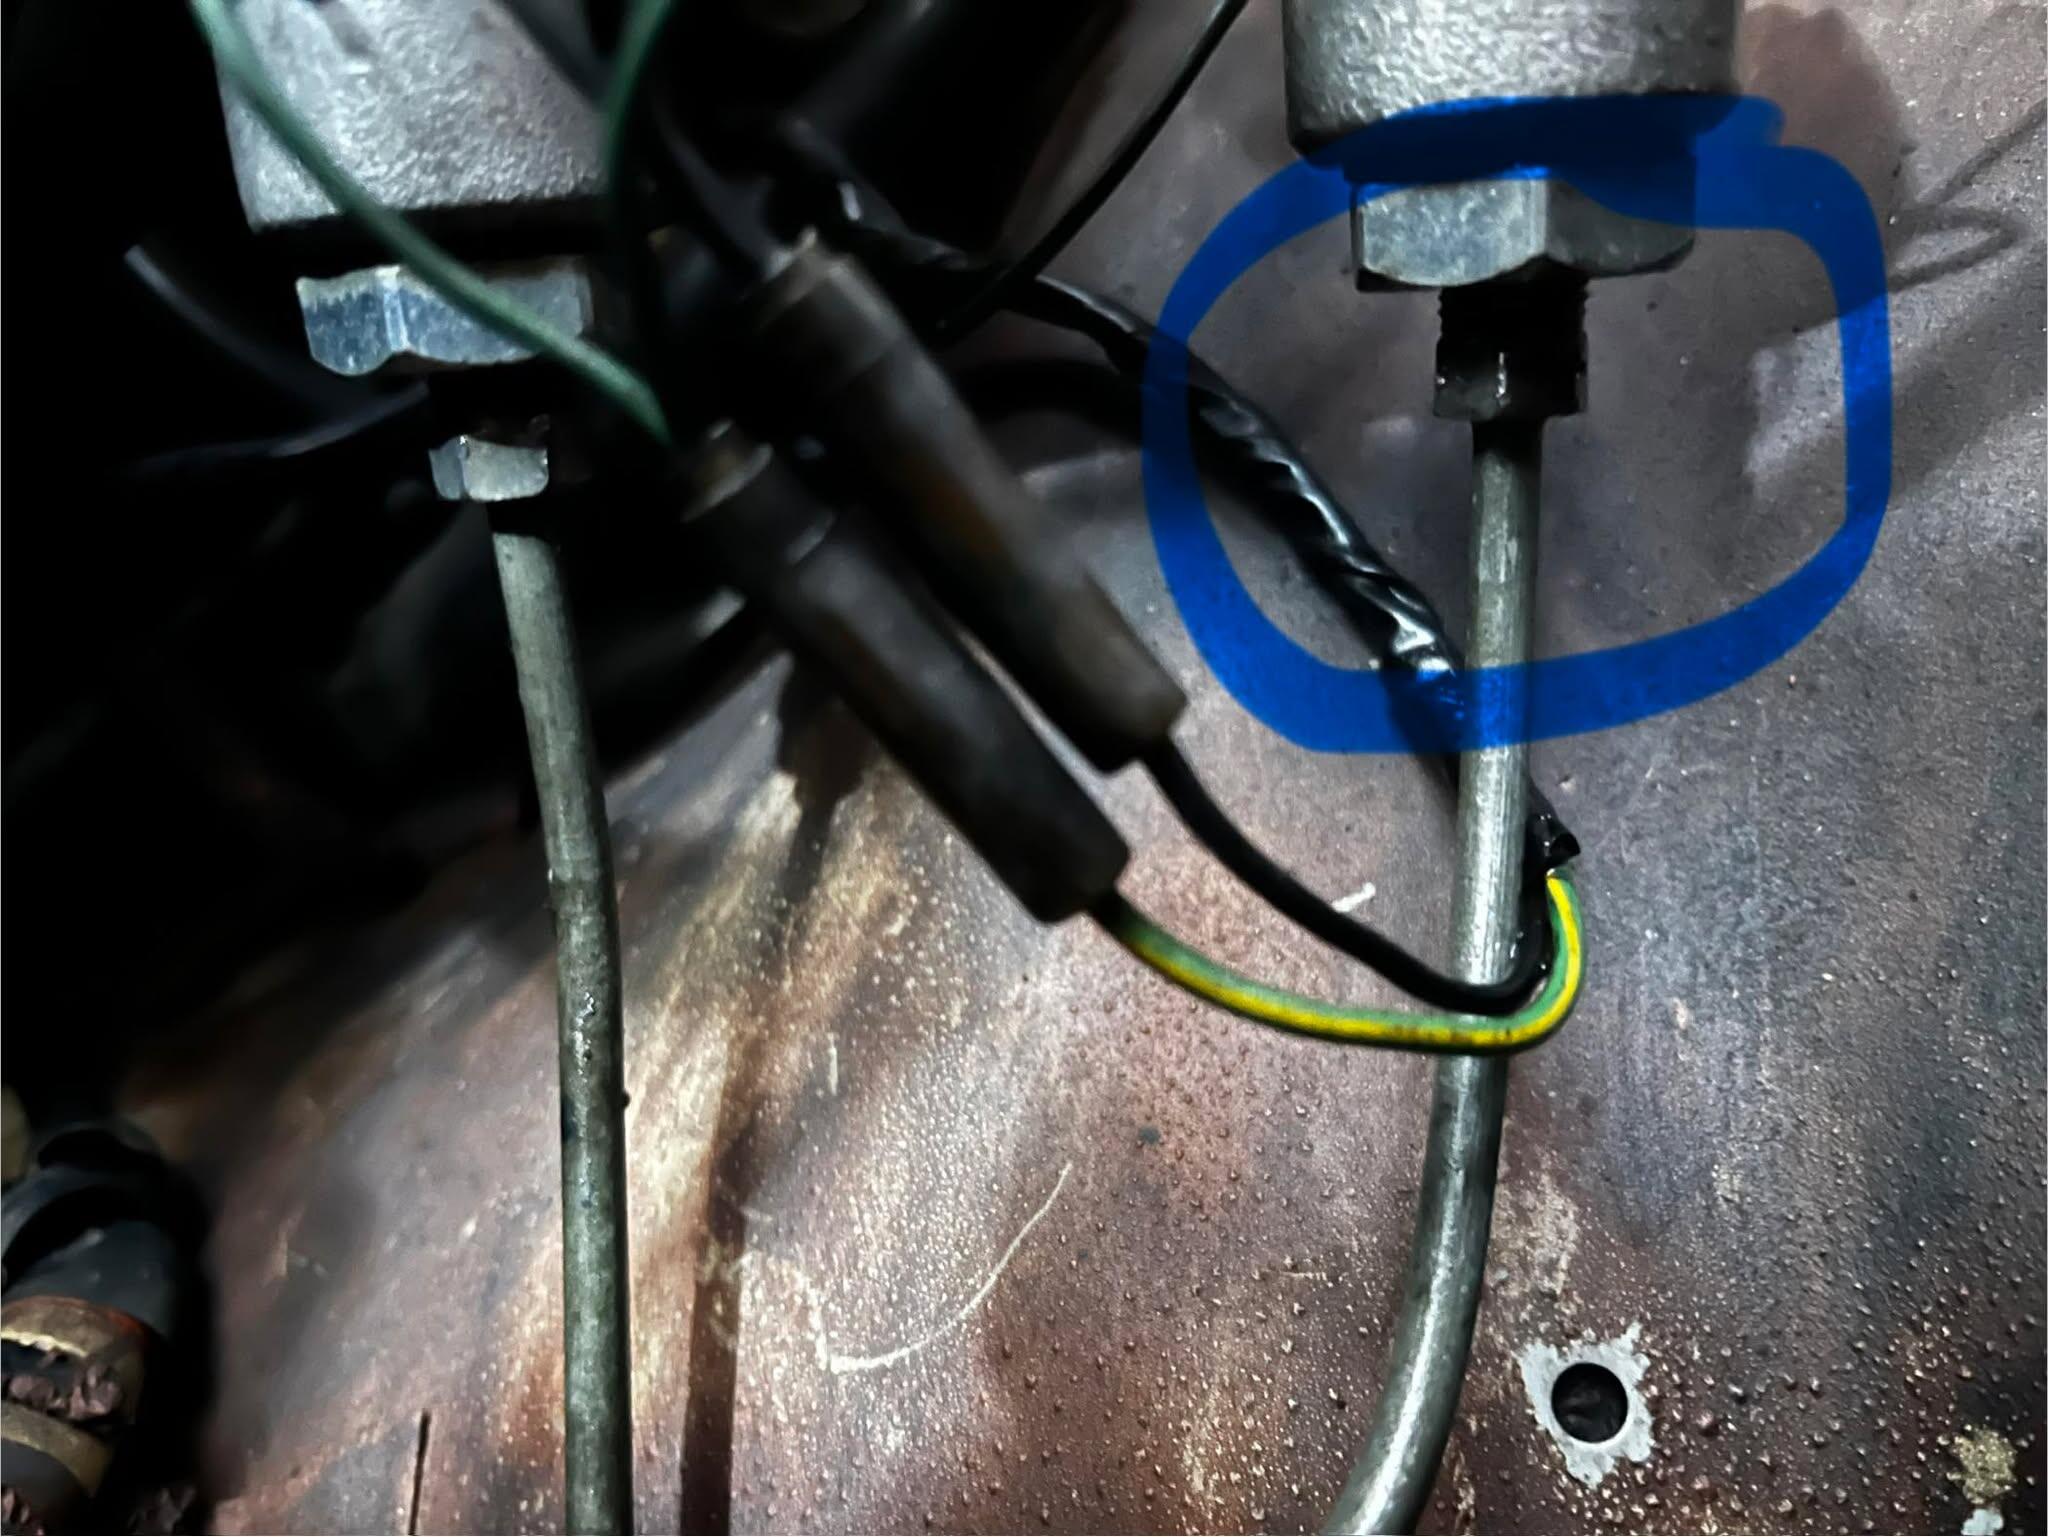
6 pointsHere are the thread rules. Again. For any hardware you are likely to encounter. 4 x 0.7 5 x 0.8 6 x 1.0 8 x 1.25 10 x 1.5 - bolts that thread into the engine block. Trans, head, brackets, 10 x 1.25 - All other M10 bolts, ie suspension and body are 1.25 12 x 1.25 - wheel studs, front spindle to steering arm, trans mount (later), TC rod ends, Flywheel , spindle pins 14 x 1.5 - diff strap bolts, front control arm pins 16 x 1.5 - Crank bolt 20 x 1.5 - Rear Stub Axles Threaded pipe fittings are all BSPT, A/C and EGR excluded. There is a 1/4x28 SAE thread somewhere for you to find as a test. There are 7/16-20 SAE too. Another test. And what the heck is up with those short fat rear control arm bushing bolts? And why do I have 2 or 3 dozen of them? The first 7 on the list are the ones you should have taps and dies for on hand at all times. Better yet the thread restoring kind, not the thread making kind. Print this out and post it on the shop wall.6 points
-
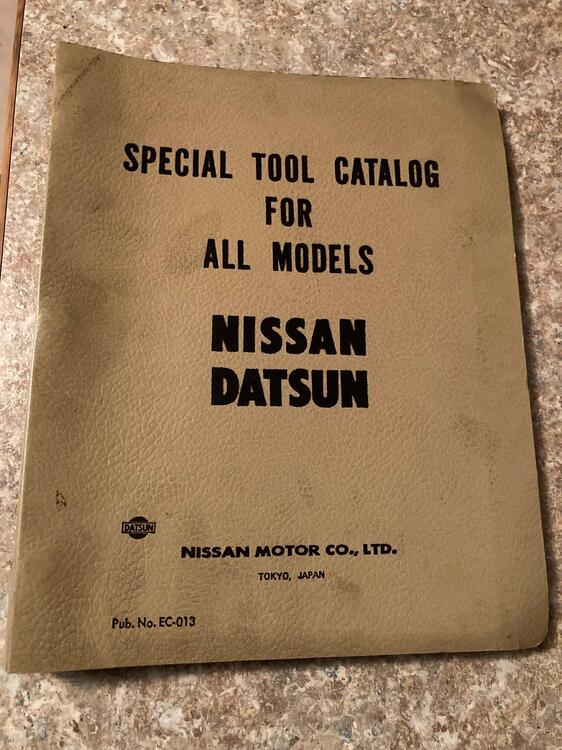
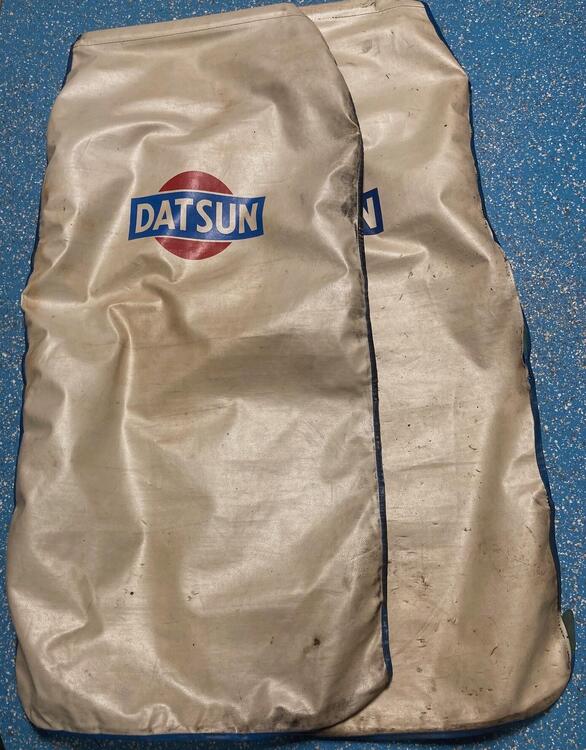
6 points5 pointsRecently a guy on FB posted he had bought a bunch of Datsun tools and tool boards. He has them all cleaned up and mounted on the garage wall. Makes a nice display. I have the Special tools manual from 9/69 and a couple of mechanic seat covers that I really have never seen before. Do any of you have any info on the seat covers?
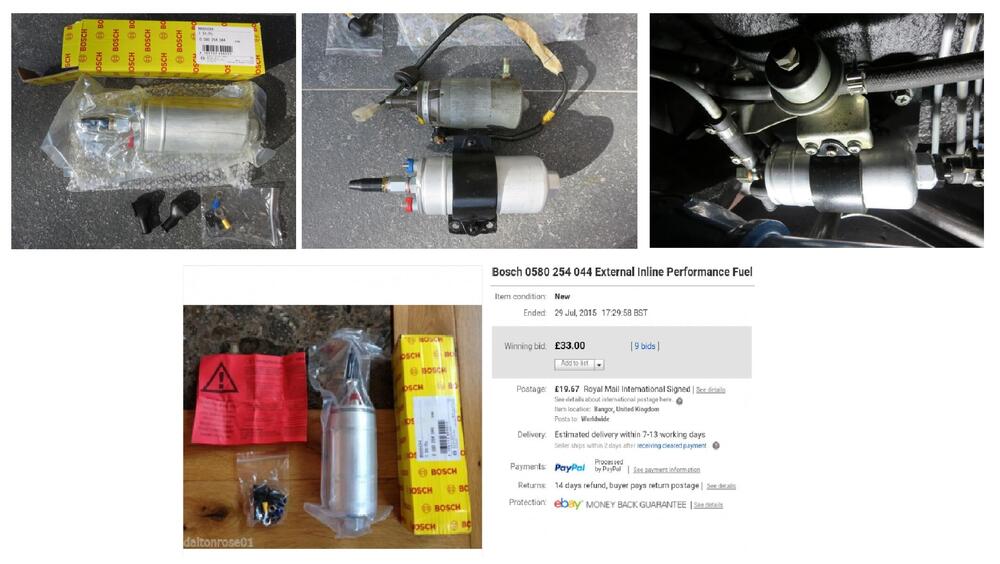
 5 points4 points4 points4 points4 pointsThe original pump includes an inlet strainer, but I don’t think the O’Reilly’s E16078 has one. In principle it’s the same style as the Bosch 0580 254 044 that replaced the factory unit. If you want to add a pre-filter, you can install two 5/16" filters in parallel to avoid fuel starvation and prevent cavitation in the pump. Their only purpose is to protect the pump, the filter up front will protect the injectors. 280 Series Fuel pump Alternatives Rev 1.pdf
 4 points4 pointsMy new neighbors are smoking turkey legs today. I'm about to go introduce myself.4 points4 pointsMine were more crud from leaving old gas in them for too long. The tanks were good and solid after I pressure washed the outside of them. That muriatic acid made the inside like new but after sloshing around for 5 minutes I had to pour in about 3 gallons of mixed ahead of time baking soda and water to neutralize the acid then emptied that into an empty 5 and killed a lot of ant beds around my property. Then the acetone to remove the water, quick hit with the leaf blower and then the Red-Kote. Sloshed that around completely covering the tank and let that drain out into another 5 then direct sunlight for 30 minutes, then another round with the leaf blower. Then I put that bitch on a shelf and got drunk. It was very nerve wracking for this 'ol boy, but when all was said and done I was and still am proud of what I did. You see, I hate following directions.4 pointsBut the price of obesity drugs are much cheaper.4 points4 pointsI offer two different versions of my conversion bell housings to do the reverse tilt. One for the CD009 and one for the TL70. Most of the people that buy my head end up tilting them so I offer the bell housings to assist in that.4 points3 pointsYup, 7/16-20 for the seat belts. M12 is a valid spec as well from some DOT document I found 15 years ago when I was researching aftermarket replacement belts. No idea what manufacturers adopted world wide. Also curious what seat belt threads were used on the various early 60’s datsuns (411, roadsters etc). The 1/4-28 are on the two Z hood bumper . Craziest thing I’ve ever seen. Must have been supplier determined at the time.3 points3 pointsI posted a recent issue with my Mallory ignition. The Uni-lite ignition module would test bad when the car would stop working but after it sat for awhile it would test fine and the car would run again. After changing the ignition module a couple of times, and with some input from this forum, it turns out that a PO installed a second shunt resistor in series with the first one. I removed the second resistor and so far the car has been working. I think the issue with the shunt was that on removing it, I observed the exposed coil of wire in the shunt was damaged and likely was not giving a constant resistance, possibly no continuity at times. Even if you have just the single shunt resistor, if it fails like this one did, it might cause the same issue.3 pointsYesterday, the postman delivered a big package from Japan again. This time with a load of cool documents. The first one (Bottom right) is the Race and Rally preparation manual. I bought this one for a friend, since I already own one. But it's always cool to see those. The second one is a combined S30S(A) / GS30S(A) brochure for the standard Fairlady Z / Z-L and the 2by2 versions. See also Color samples at the bottom right: For whatever reason, one of the Japanese lots included a US-Market 240Z Brochure. Not something I would usually buy, but since I didn't have it in printed form yet it's cool to have it anyway. From the Japanese market again, I got this Fairaldy Z / 240 Operation manual, which also includes the Z432 versions. These are particularly useful to find some details of the interior for my knowledge posts. This is the later version that also covers the ZG and other HS30 variants (the early versions only covered the Z / Z-L and Z432): Then I got two of the Japanese marked fold-out Fairlady Z sales brochures. It's basically a brochure on one side and a ZG Poster on the other side. I was buying one, when a second one was included in a Lot of documents. Once I got them, i realized that i already had one, So now i end up with three. But, I intend to frame one as a Poster and I realized that there are different versions. Both the Material (paper-weight) and print is different: For me no doubt the coolest item is this Nissan Racing school brochure: With the Checkman Sponsored GTS-II Works car on the back. Especially this version of the car with the "Batmobile" rear aero. I just love everything about it. The sponsoring, the aero, the livery. Another Magazine was the "Nissan Graph" Customer magazine from April 1985. Which also included some racing school details. I'm working on a knowledge post about this, that's why I started to collect some information about it. One general 1971 Japanese Nissan brochures also included the ZG: And the general lineup on the inside. I guess this magazine was issued at a Car show in 1971 or at the dealerships? It also included some cool drawings of the 216X Concept car: Another similar brochure (without date) from Nissan Tokyo, which again shows the ZG and some other nice cars: On the inside you find the lineup from that time, but with a regular Fairlady Z and Z-L shown. Another cool book is the J's Tipo Fairlady Z Archives (002). J's Tipo is a Japanese car magazine, and this book is basically a collection of all their Fairlady Z related stories from various years, compiled in one book. After I met Morita san, the Author of the Fairlady Z Story and History books, in Japan recently, I had to get "Volume 2" of the book. I've owned Vol 1 for a long time, but never the second one, since it wasn't so relevant for the S30. But now I had to get it :-) Then i also got this Jack and tool stowage reproduction Sticker from Germany. I had this Genuine Datsun Parts sticker for a long while and always wondered how I can present it. When I found this piece of Aluminum sheet, I got the idea to make a sign out of it. So I cut the aluminum. And then put the sticker on it. So I ended up with this cool sign. And found a good little Spot for it: I also found a nice place for the NISMO sign, but it looks a bit small on this big wall, next to the huge Datsun sign. I have some projects planned for the next week and hope I can get back working on the car itself, so stay tuned for some updates, soon.3 points3 pointsPoppin' back in for a bit, although @conedodger and @Yarb see me quite a bit in The Rusted Zed Pub section. 😎 🍻 It's been a few years since I've spoken with Gary Moisant but I'm pretty sure he's still around up in Oregon. Can't get him away from the race cars! The last time I spoke with Keith @2ManyZs (many, many years ago) he was having some health issues. I reached out once by email a few years ago but never heard back. Edit: I reached out again to Keith yesterday and he is still around, still has his Z but it is still unfinished. So, I popped back in here because I ran across something the other day that made me think of this thread. I saw my old Z for sale on Marketplace!!! She's about an hour's drive away and actually less than a mile from my mother-in-law's place! Paint still looks good (which I'm pretty proud of!) but that four-letter "R" word has started coming back with a vengeance! The guy who is currently selling, bought her not too long ago from the guy I sold her to. I stopped by yesterday on my way home from Austin, TX to see her, talk to her, and wish her well in the next part of her life. Still has good bones, but the level of repair is far more than I'm willing to tackle at this age and stage of my life. It was cool to see her again and I can't say I didn't shed a tear or two... We did go down the roadster route for a few years but not anything from Datsun. We did the Miata thing. Cool, fun little car that was a blast to drive. Helped that it was already set up for autocross which made street driving an absolute blast! Top down every single drive, even if we got caught in the rain (as long as you stay moving...)! But alas, as the wife and I both start looking toward retirement all of the toys have been traded up for a large center console boat for fishing down on the TX Coast! Grandkids are on the way and life's focus has just changed. The Z will always be a part of my life and I will die loving the sleek lines of the S30s, but I don't think there will ever be another one in our garage. Add it to the list of cars that "We should have never sold!" 😉 Y'all keep the rubber down and the RPMs up!


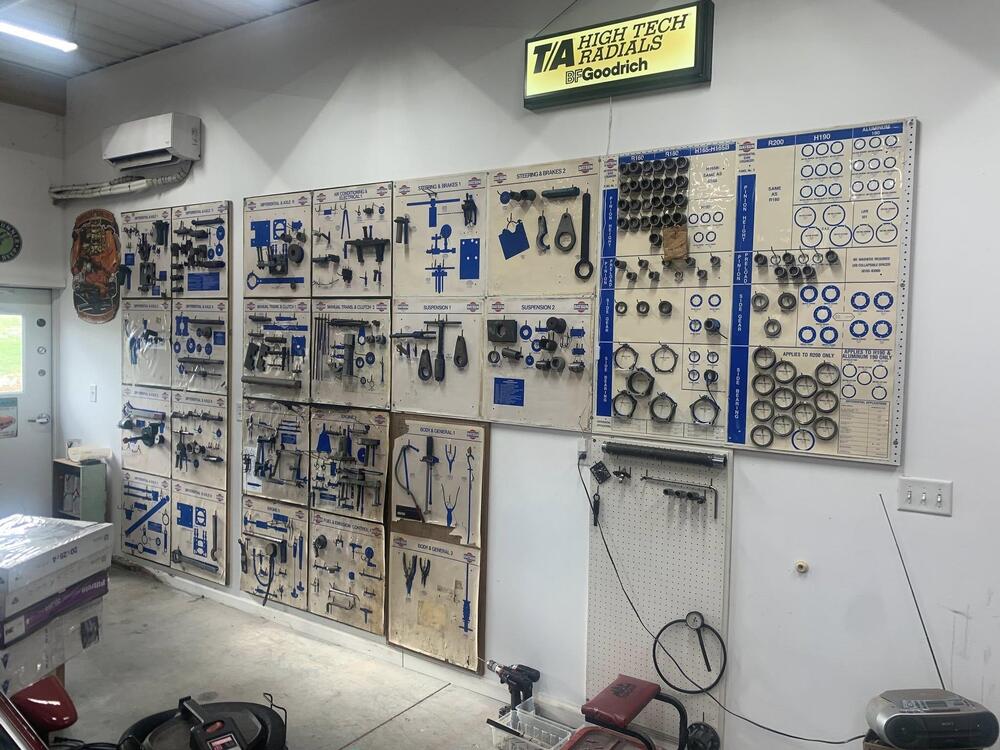
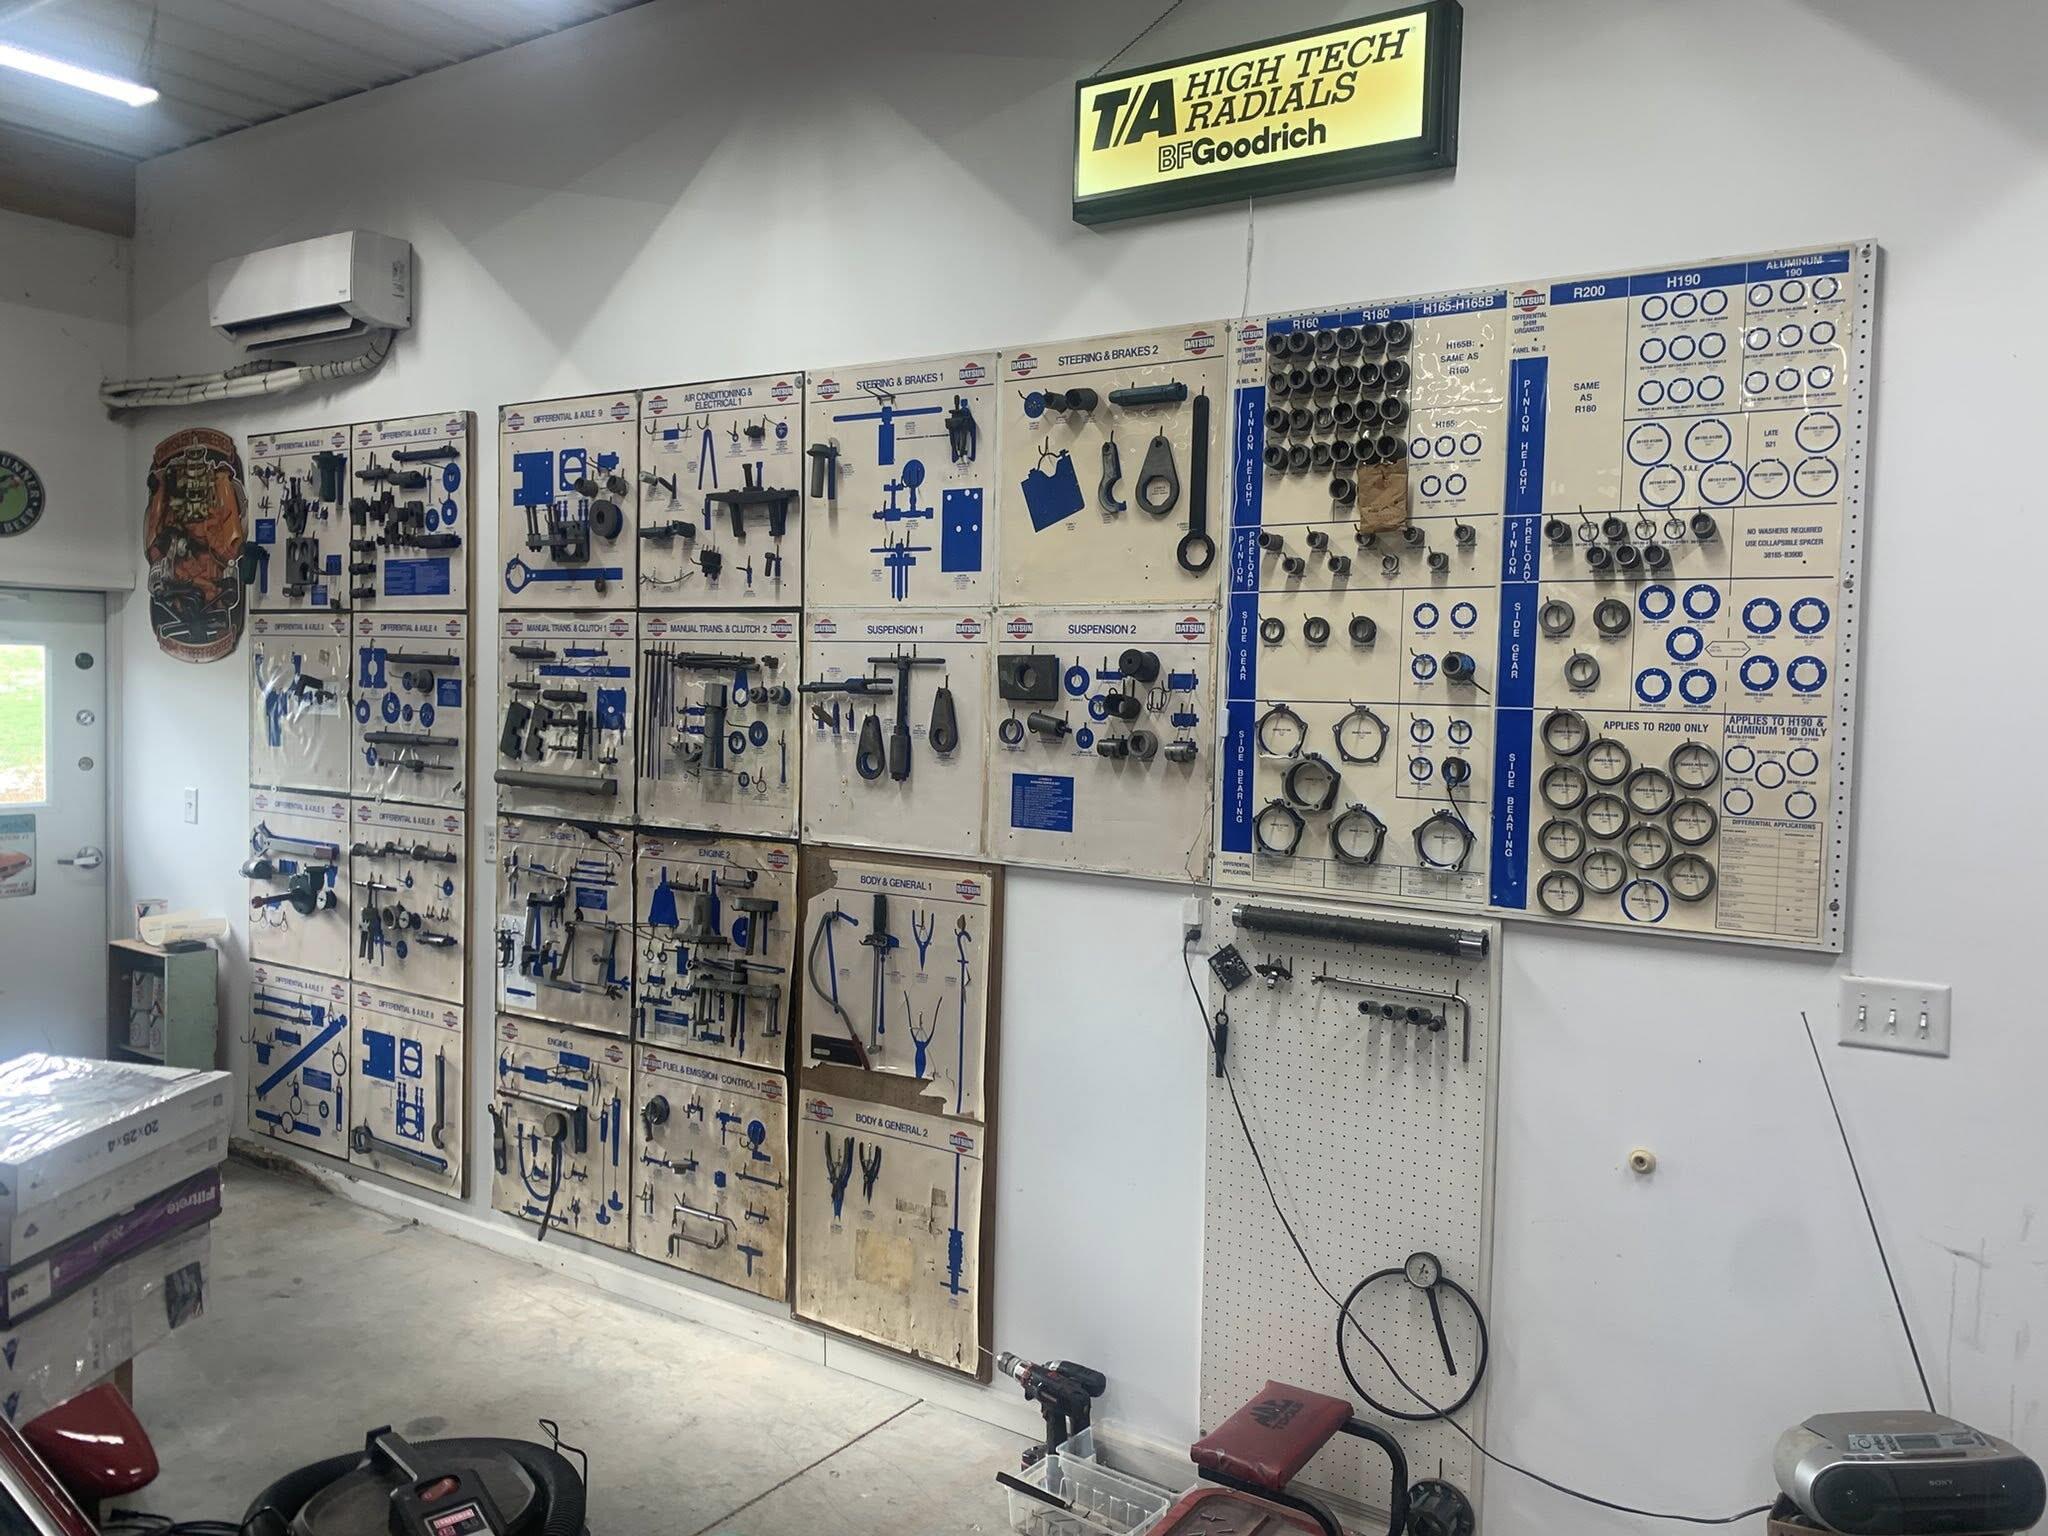
 3 pointsI've been traveling a lot recently, and been dealing with life, but I still managed to collect some cool stuff: I got hands on this cool vintage NISMO enamel sign from Japan: And this cool Poster, which shows a works GTS-II race car. The seller says he got it from a racing shop called Iwashita racing in Shizuoka, many years ago. According to Alan, it shows SCCN works car from the first round of 1972 Fuji Grand champion series on the 20th of March, with driver Kazuyoshi Hoshino. I also found this Dutch 1971 Datsun Advertising magazine. Usually I don't collect documents from other countries (there's just too many), but this one is special, because it shows an EU-spec prototype car. If you look closely, you will see the Fender-top mounted blinker / turn signals and the Rob Janssen homemade front spoiler, which led to the development of the OEM front spoiler for European cars by Nissan. Then I got a reproduction of the MK-1520 ZC car radio manual and a correct Swiss 1972 service / Warranty booklet for my car. After a bit of a search, I also managed to get this cool Nissan Oil Can: With the Elephant oil logo from the 240Z oil filler cap: I also got gifted a Center cap from a friend. Not the correct one for my car, but who am I to turn down freebies? I also found a set of NOS OEM FS5C71A transmission "monkey motion" shifter bushings. The original ones of mine were worn out, and I had them replaced with some red aftermarket ones, but these will definitely look better. Then I'm constantly on the hunt for the missing tools of the Datsun / Nissan tool boards, which I acquired recently. Luckily they pop up sometimes, and recently I got a bunch of missing ones: There are still quite a few missing, but 2/5 tool boards are complete now, and the remaining ones are filling up quickly. I'm currently awaiting more deliveries, so expect another update soon. Oh, You may have noticed that I've also reorganized my workshop and garage a bit for better usage of space.3 pointsWell... it started life at Pierre's Z... saw it in 2001 at the Motorsports Auto Show. The best looking Z Convt. conversion I had seen. The body lines were beautiful..
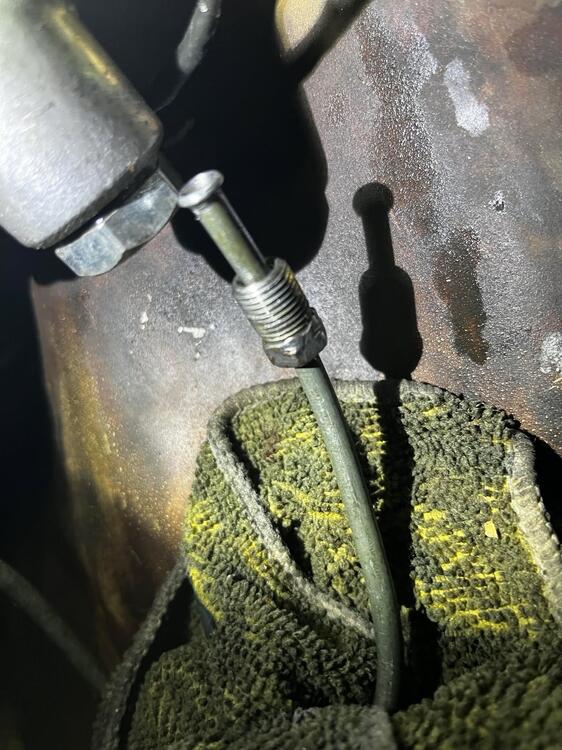
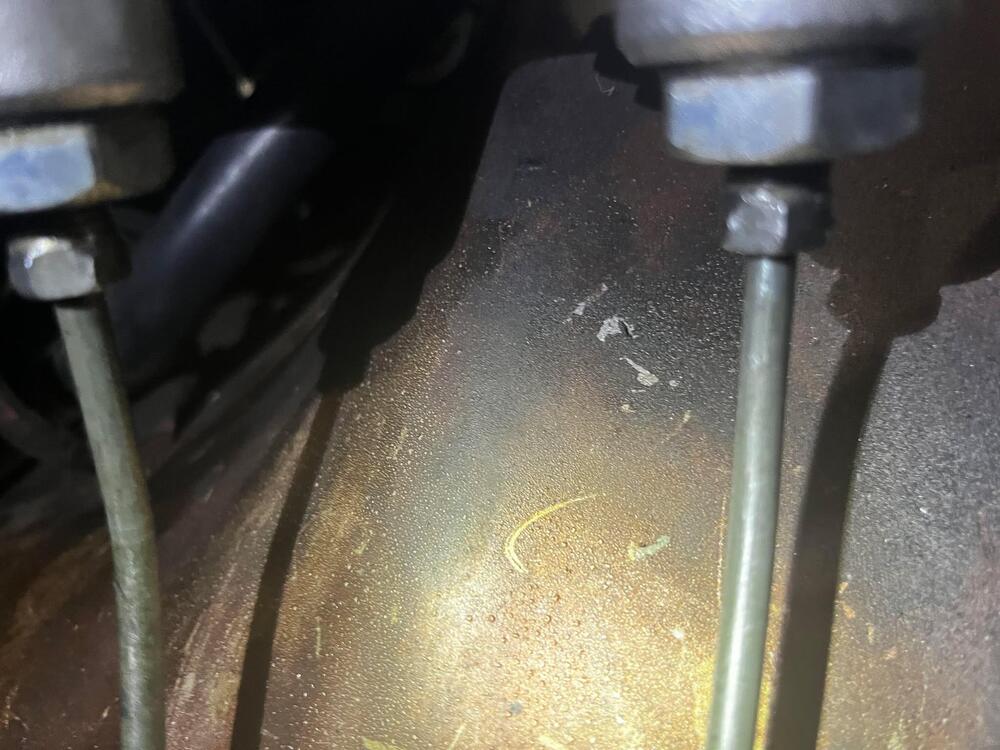
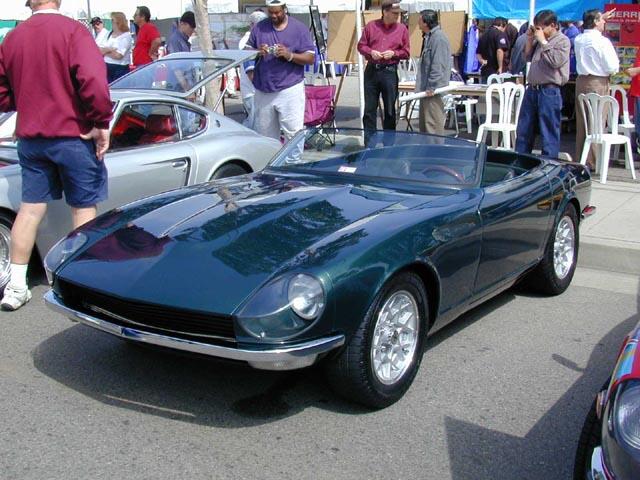 3 points3 points3 points3 pointsUpdate for all of you. We very may be in business here and you were all right - the hydraulic line was crooked/not fully seated and once I took it out and reseated it, the leak was gone. Again, I still don't understand how it didn't leak over the course of 6 years and thousands of miles, but I guess that was a good thing. I am going to bleed the brakes tomorrow just to be safe but I did bleed the master after all of this and the pedal feels good. Here are pictures of the line screwed in before, the flange/nut's condition when I took it out this evening, and how the cylinder looks now with the line in straight.
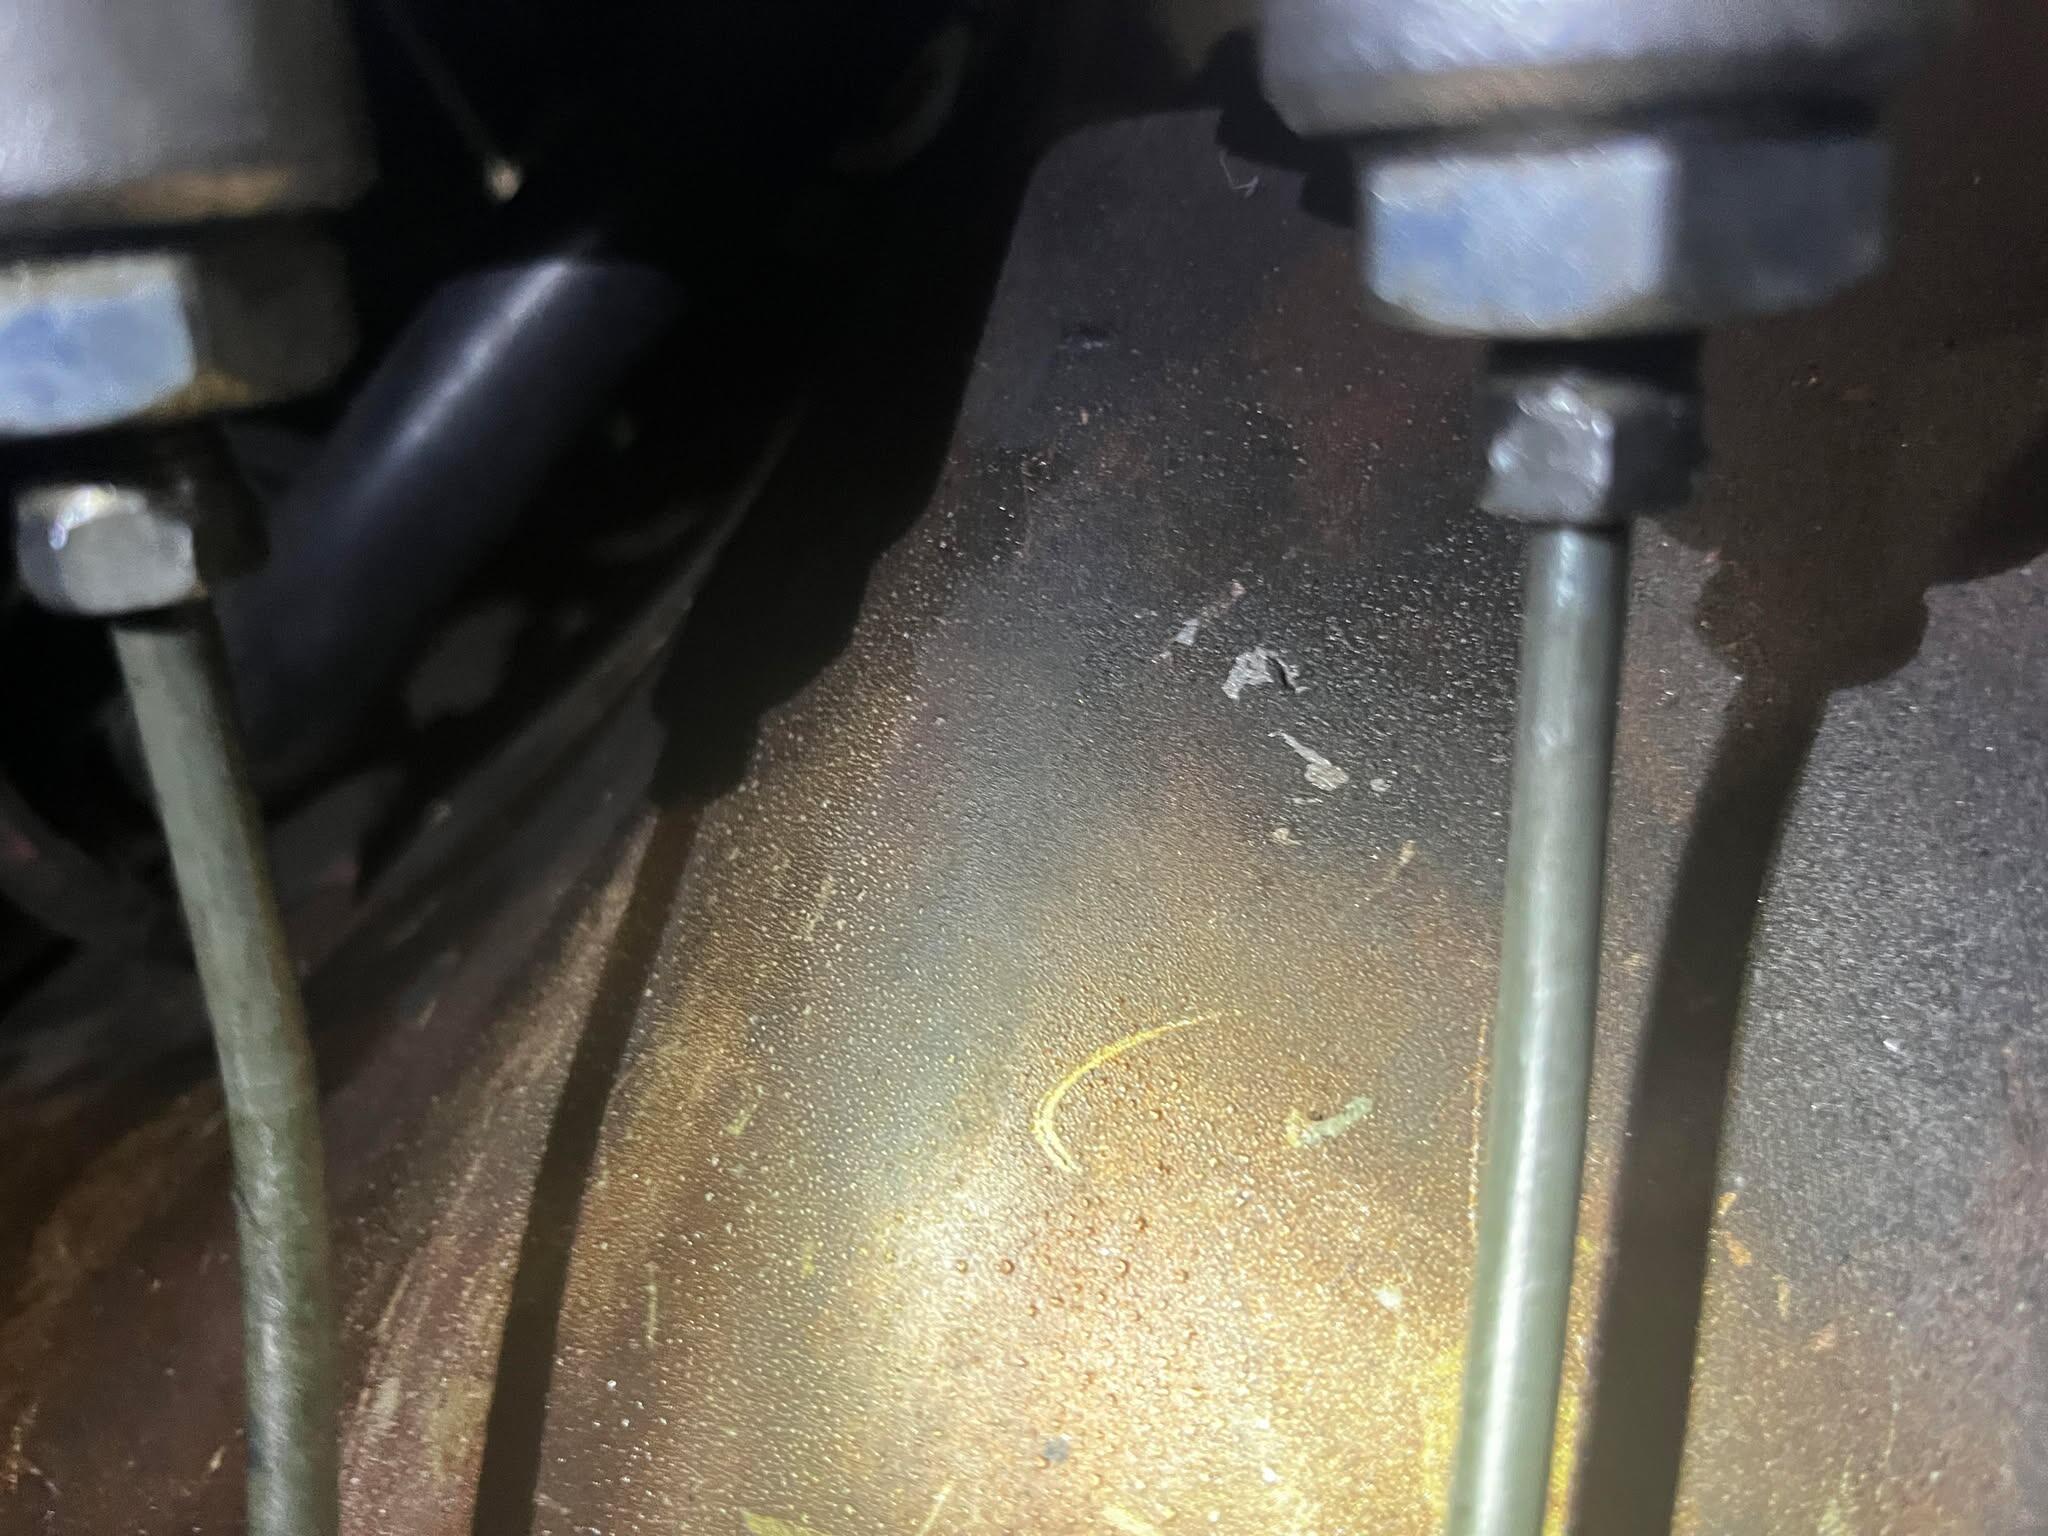
 3 points3 pointsI also got the tool covers from resurrected classics and got them installed A little nerve racking to bend the plastic hinges to mount them
 3 points3 pointsS30 parts are rare and expensive. Not enough competition or volume of sales to keep the price down.3 points3 points3 pointsUse the wheel to get close and the brake lever for final adjustment. Tighten the wheel until the drum barely goes on, then pump the brake lever a few times. If the self-adjustment is working the lever will only come up about half-way. As you drive the car occasionally you'll notice that parking brake lever got tighter as the wheel moves a notch.3 points3 points🤣 OMG... I used to do that... Thank goodness I haven't seen a phone cord in decades!3 pointsJust got the harmonic balancer Back. Looks really good. Namerow asked for pictures.
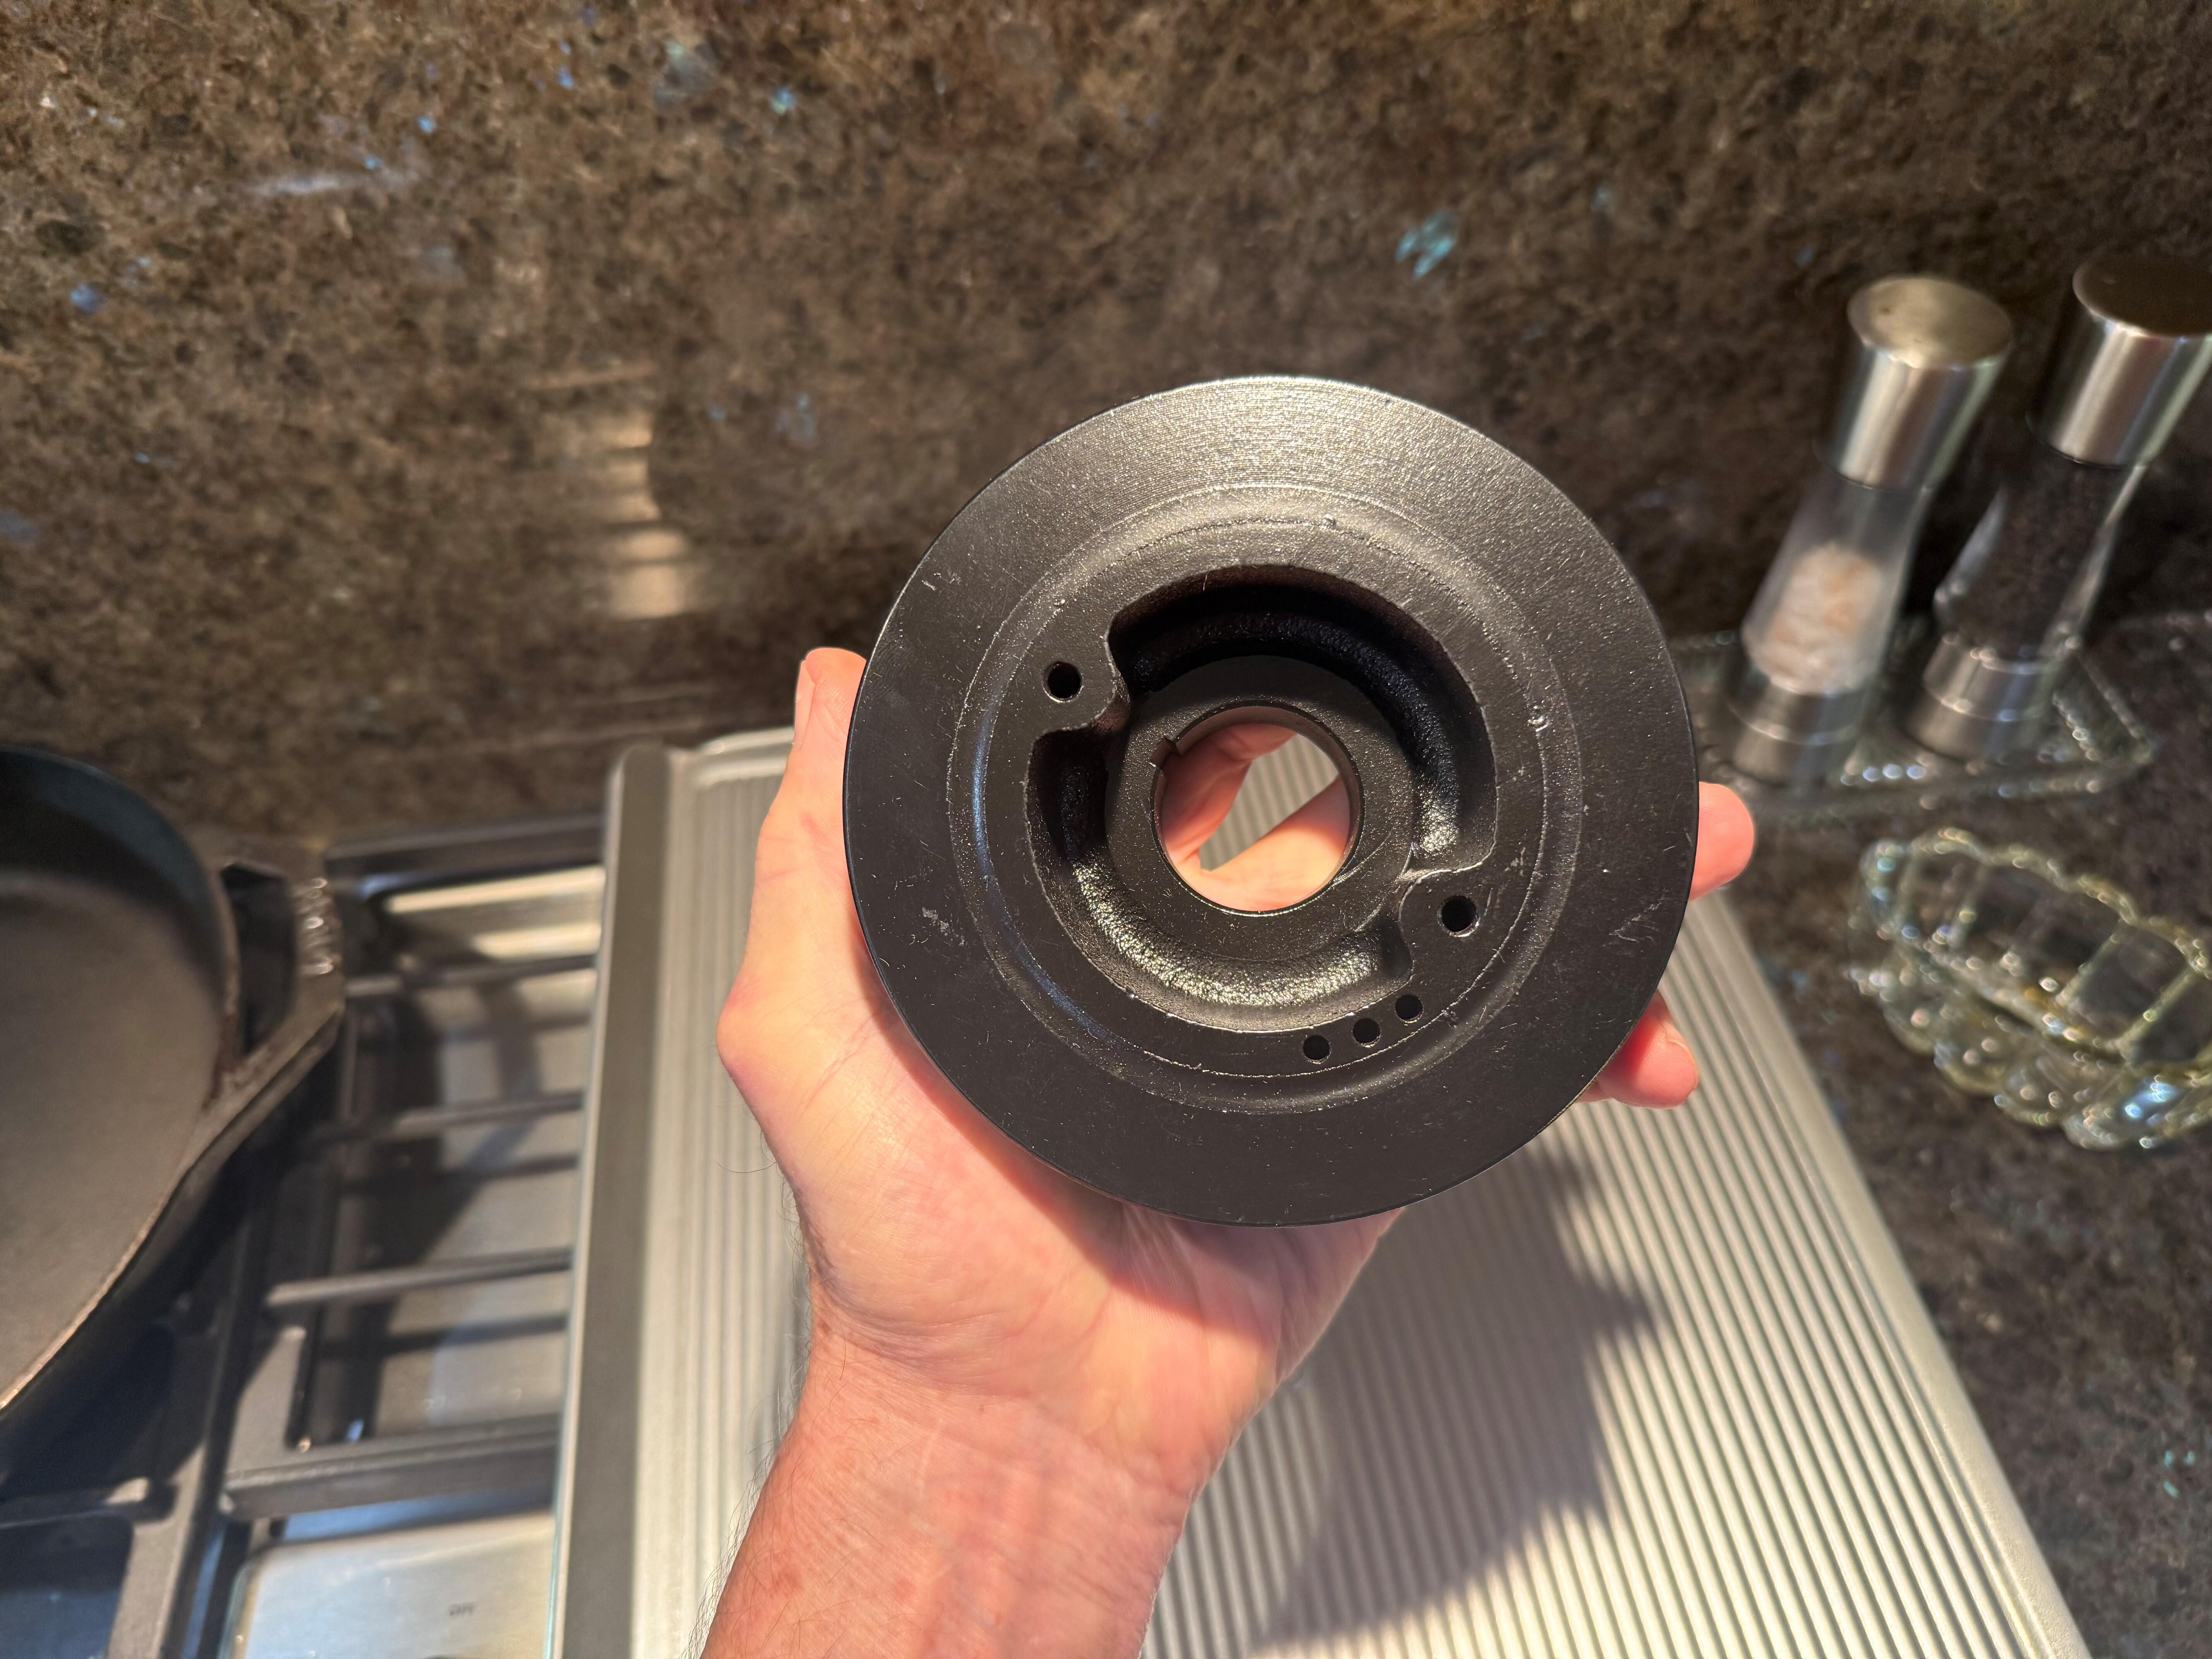
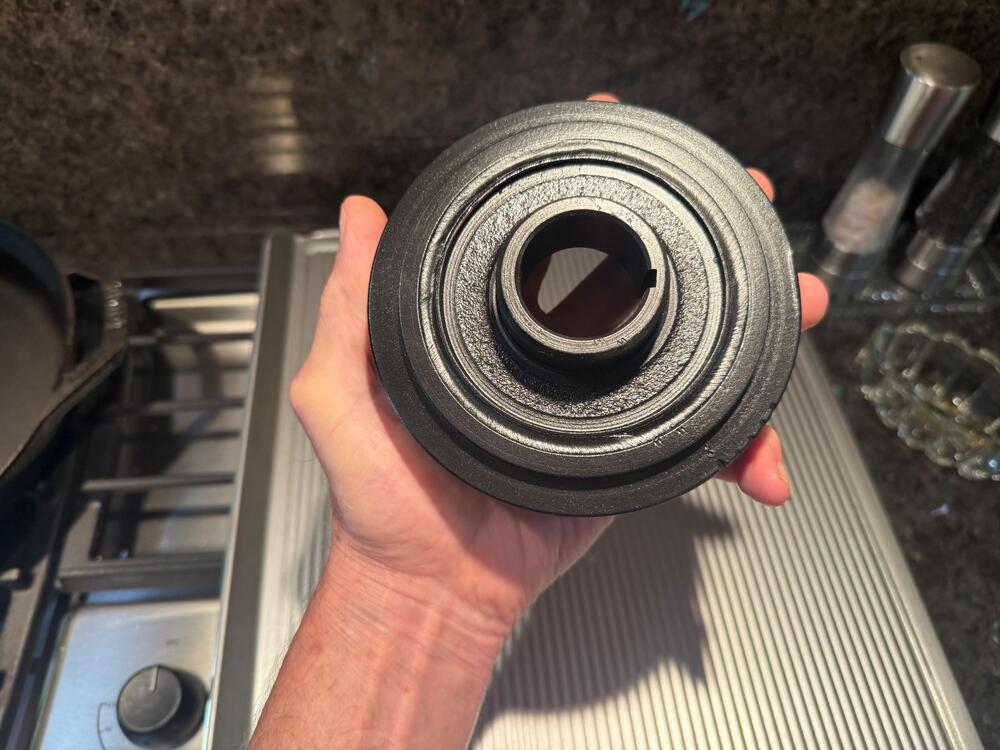
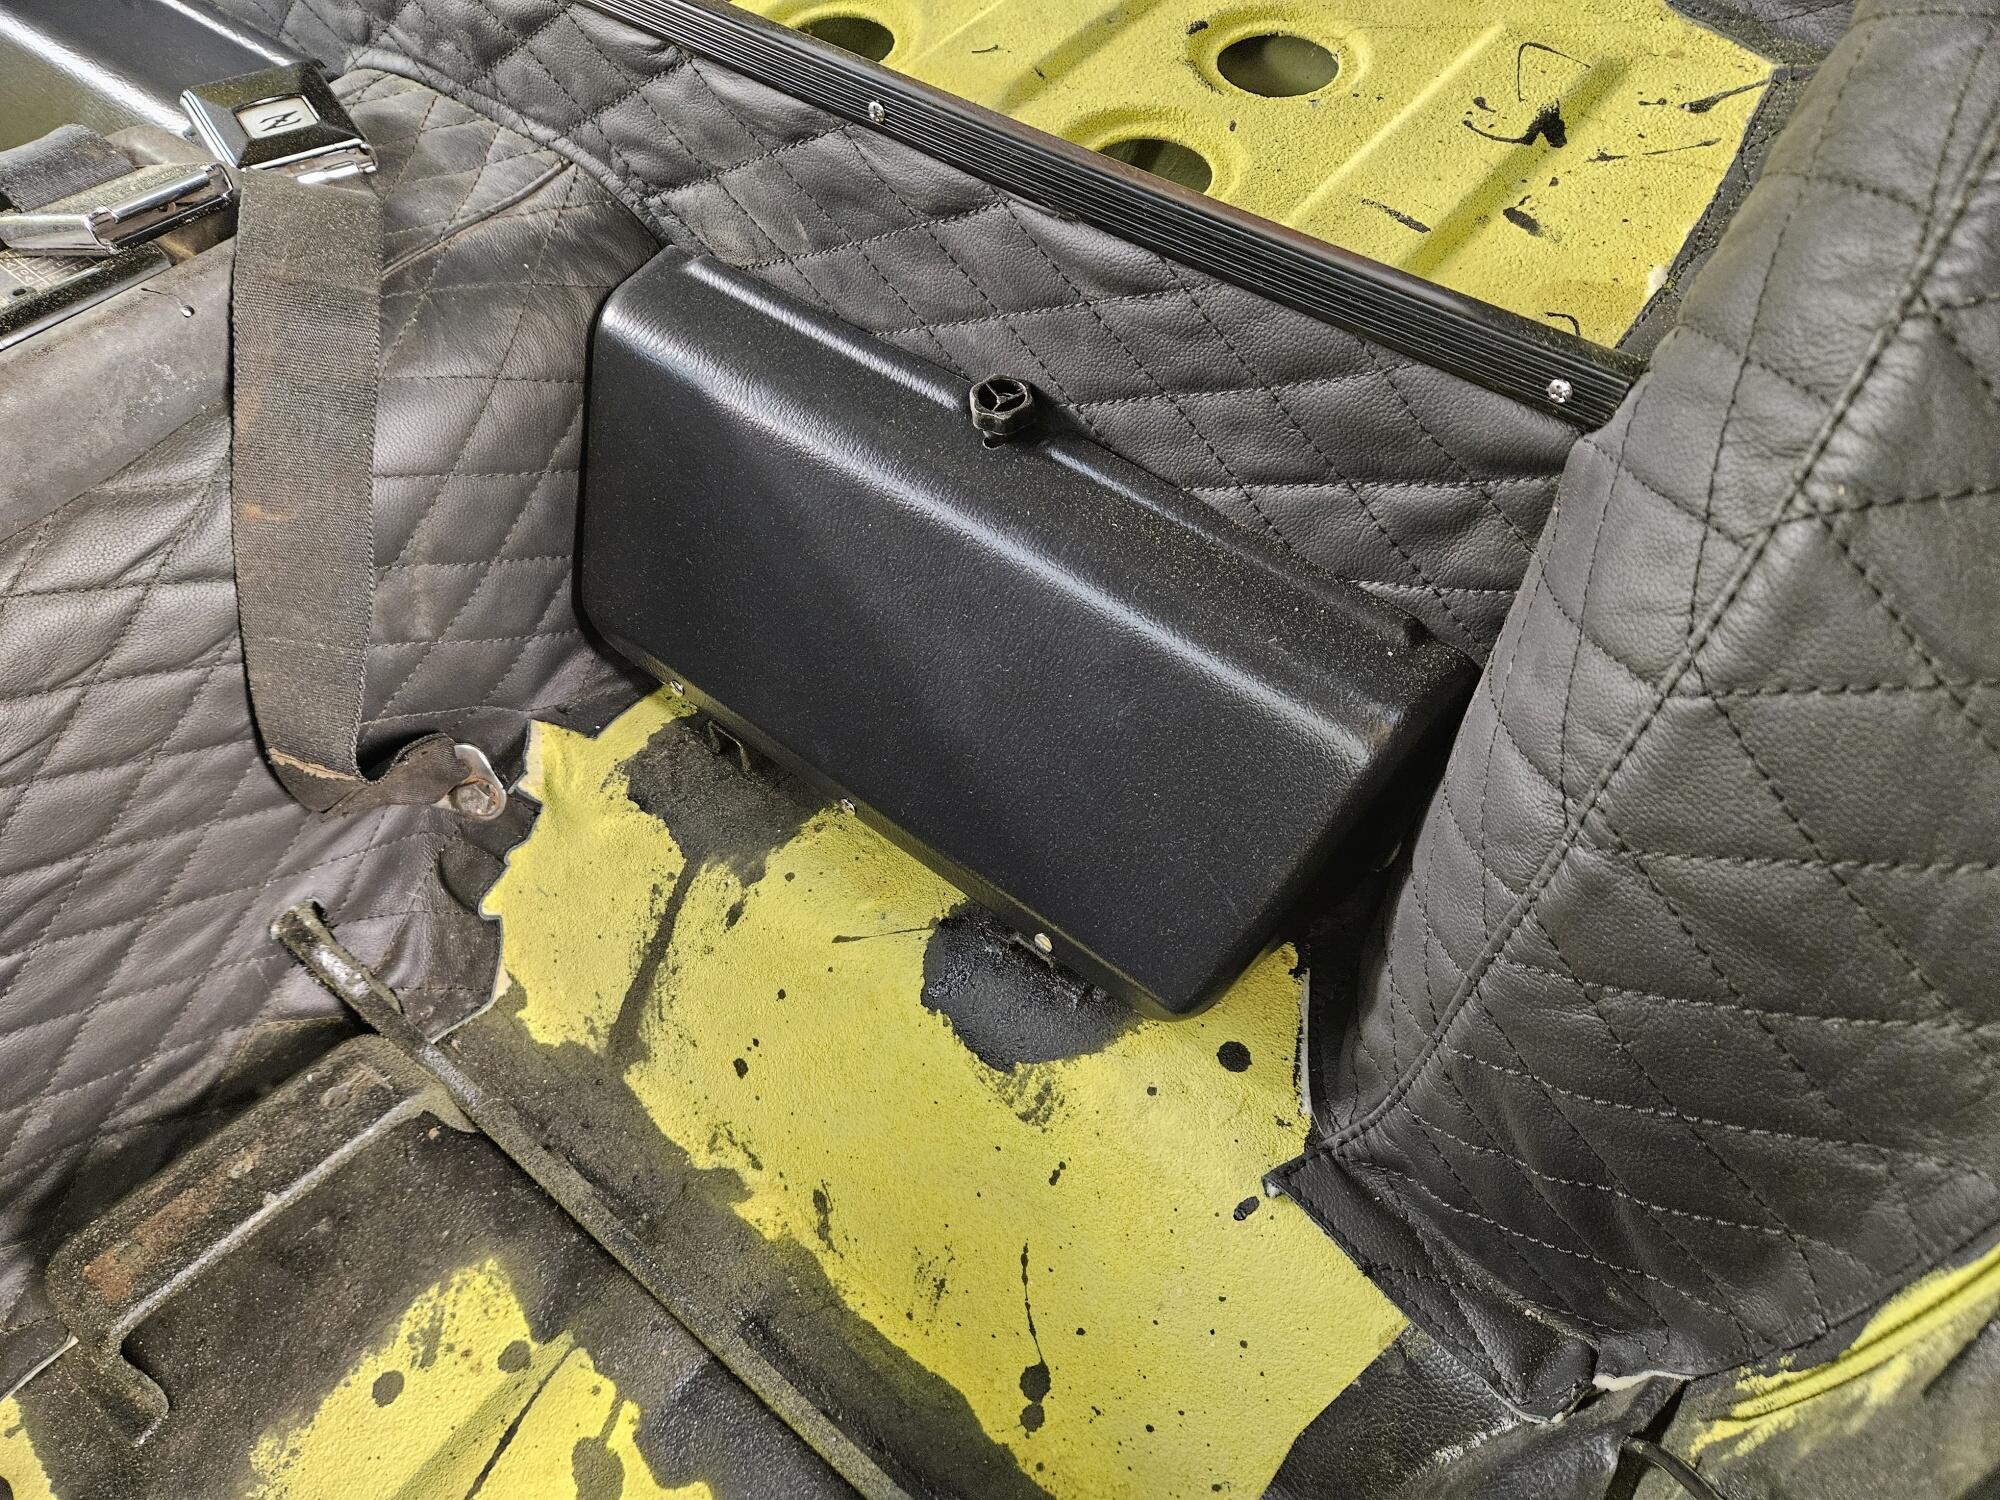
 3 points3 pointsHave you seen this? Inside a stranger's house with my parents and I was unwinding their phone cords.😇3 points3 pointsAlso check the vent hose seals from the fuel tank where they come through the floor. The grommet at the license plate light where the wires pass through the rear pan. The seal around the filler neck and the grommet at the drain for the radio antennae3 points3 pointsThe aftermarket hardware kit at O'Reilly's has 8 of those retainer washers rather than 4 retainers and 4 cup washers. One on each side of the spring to keep it centered and in place - would work.3 points3 pointsHappy Thanksgiving!!! Fire up those ovens... I'm smoking some turkey this year... ;)
 3 points3 pointsSubmerge the sending unit in CLR (calcium, lime, and rust) for 24 - 48 hrs. It will come out clean and usable.3 pointsGood thread! I get to pick my DD based on need... 2000 Lexus LX470 (Landcruiser) But mostly drive this daily: 2014 BMW Z4 (E89) Manual
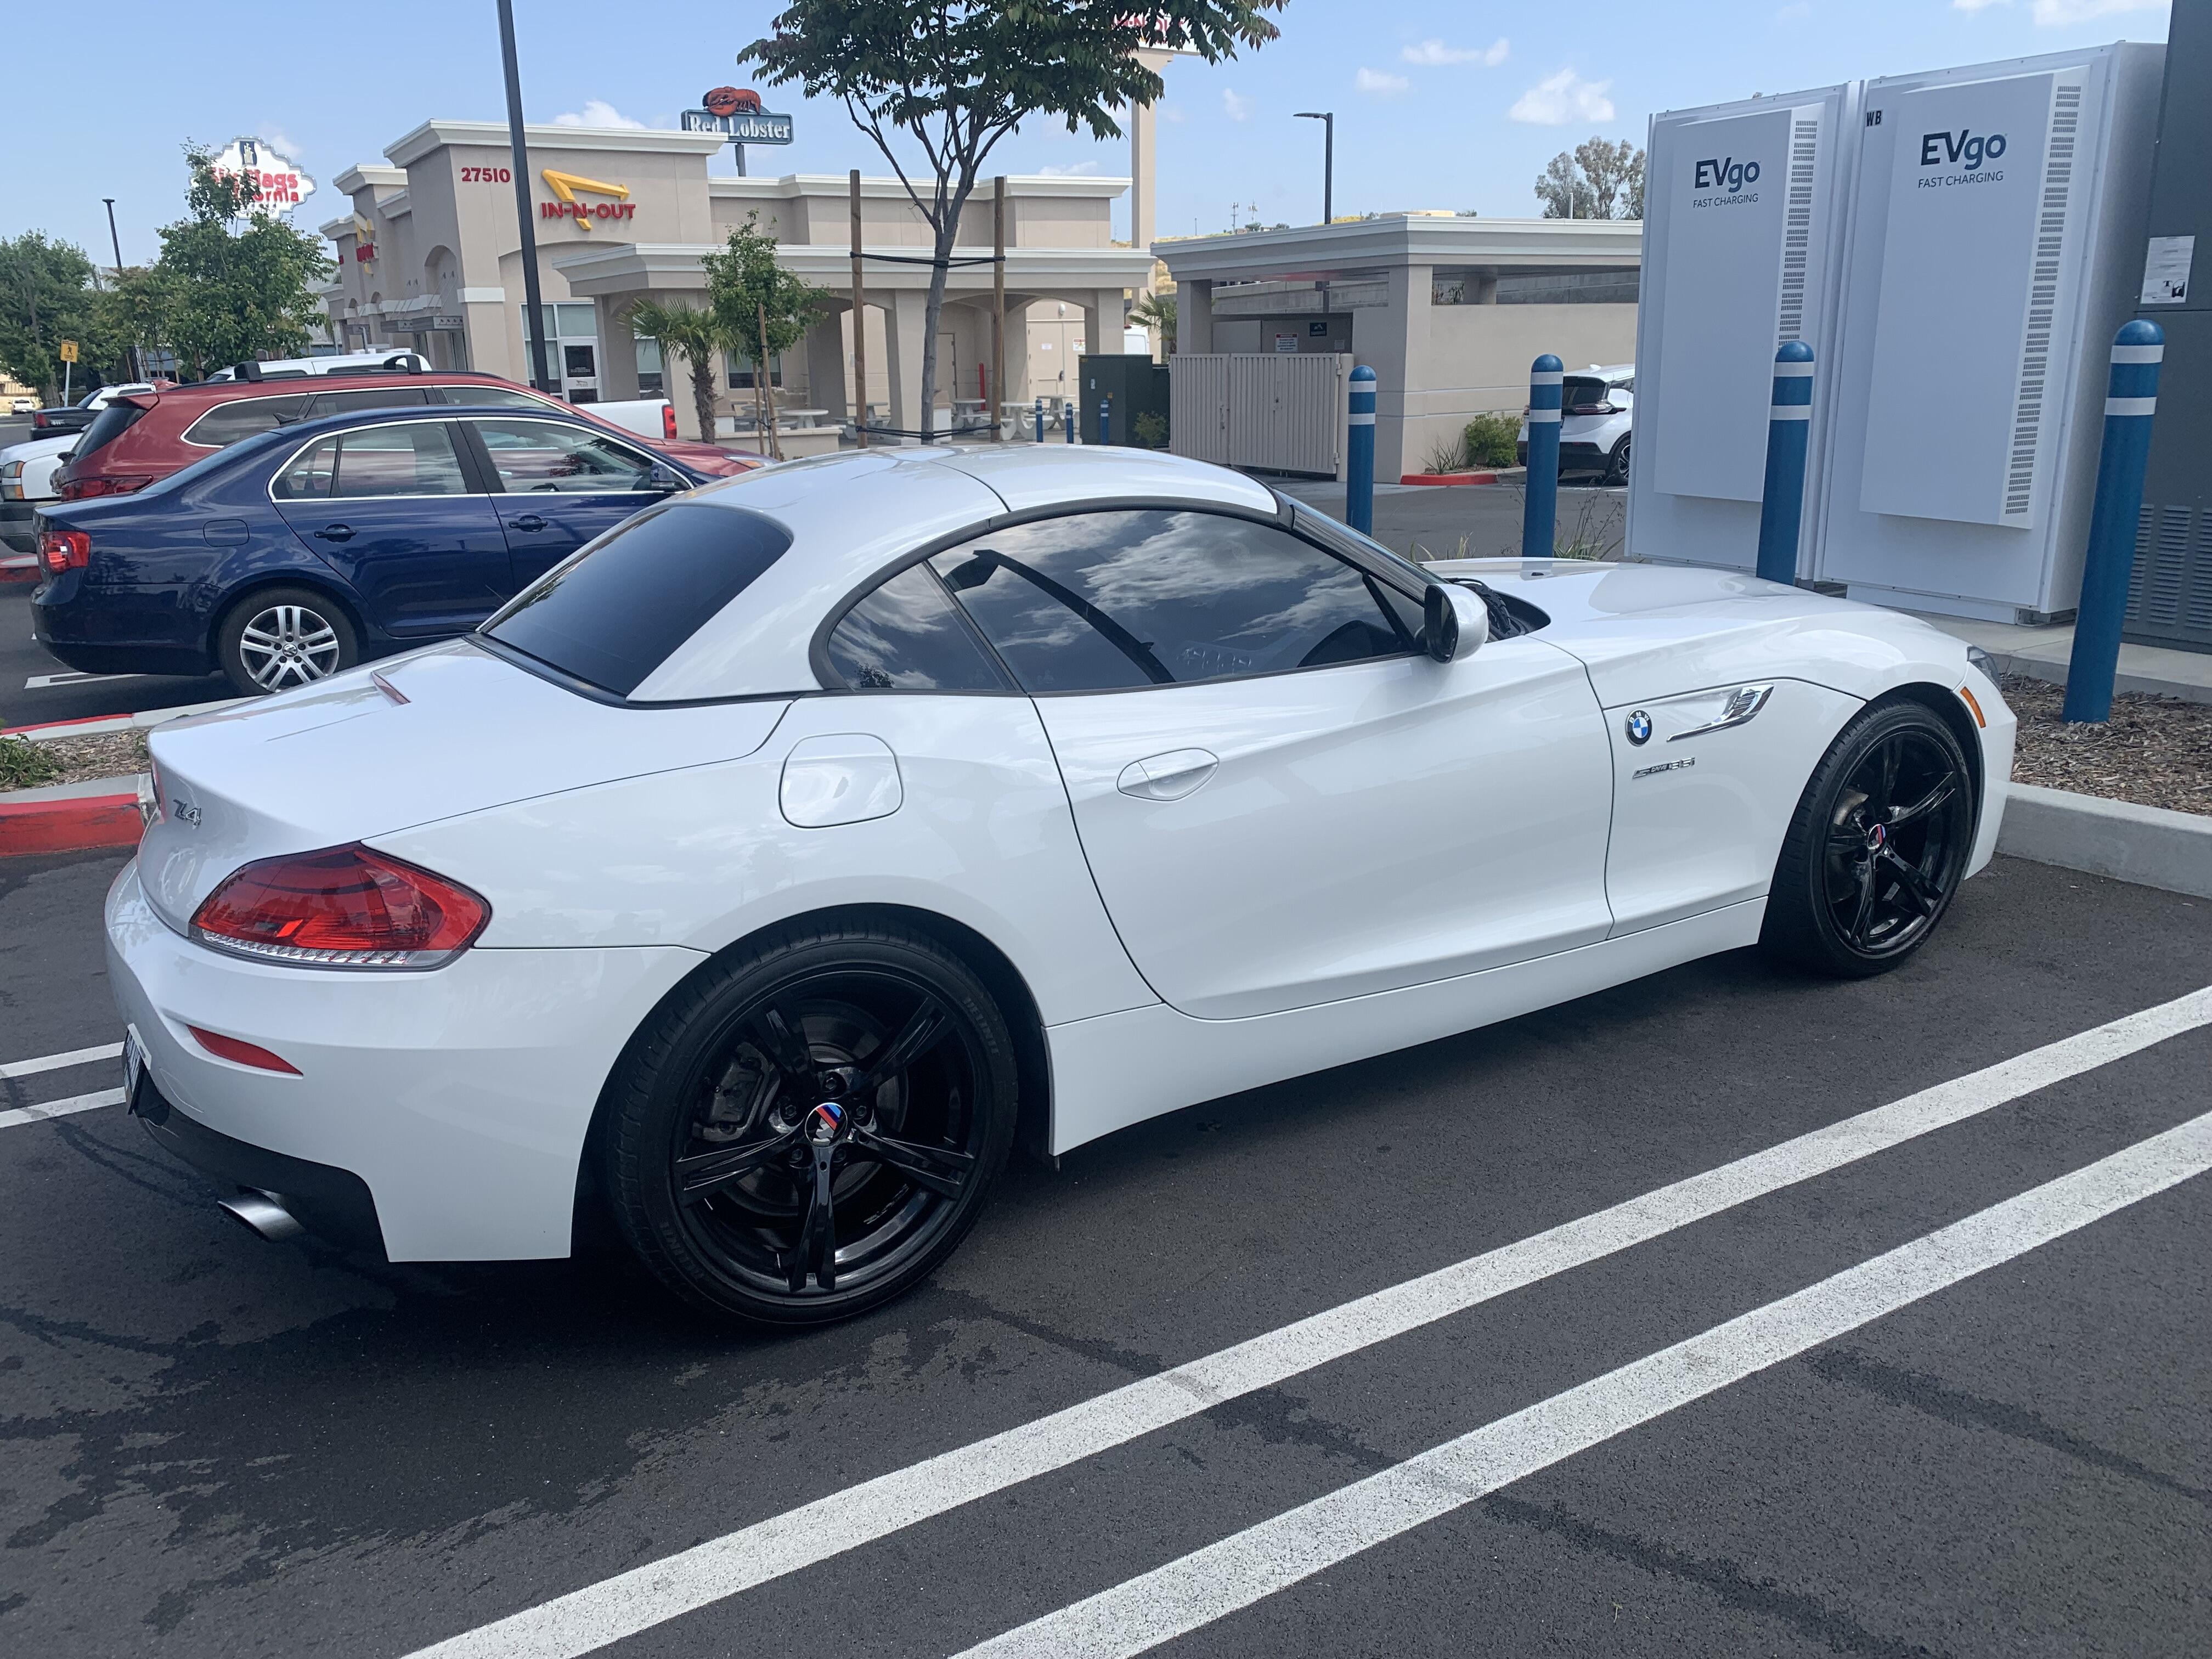
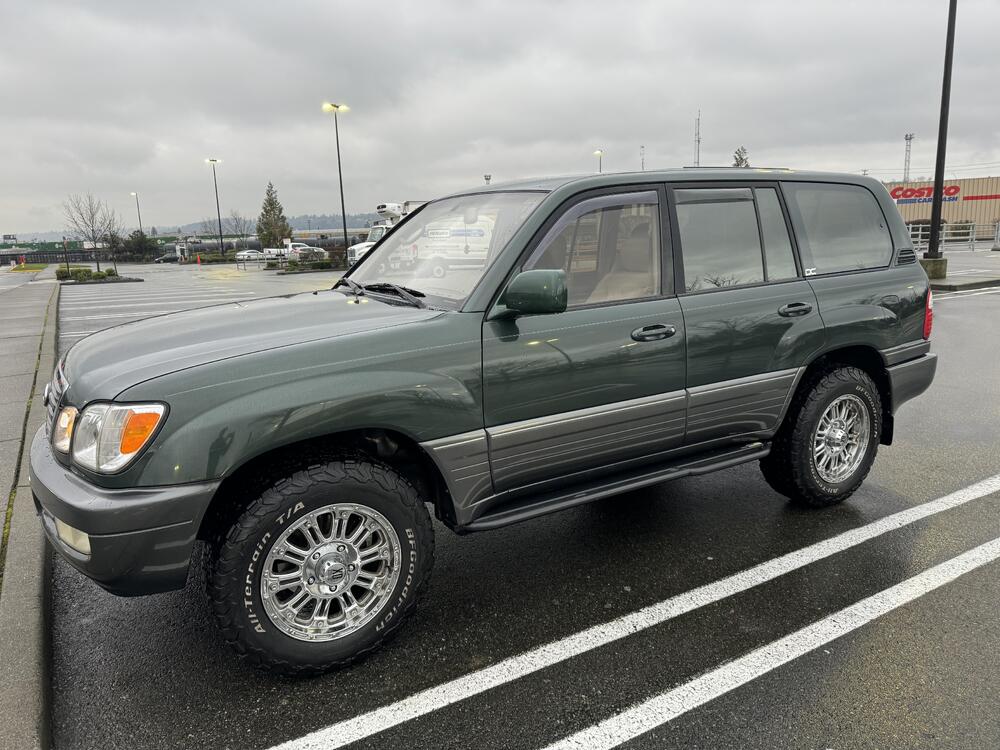
 3 points3 pointsYears ago I sacrificed this Craftsman screwdriver to make a Z brake adjustment tool, it has worked very well.
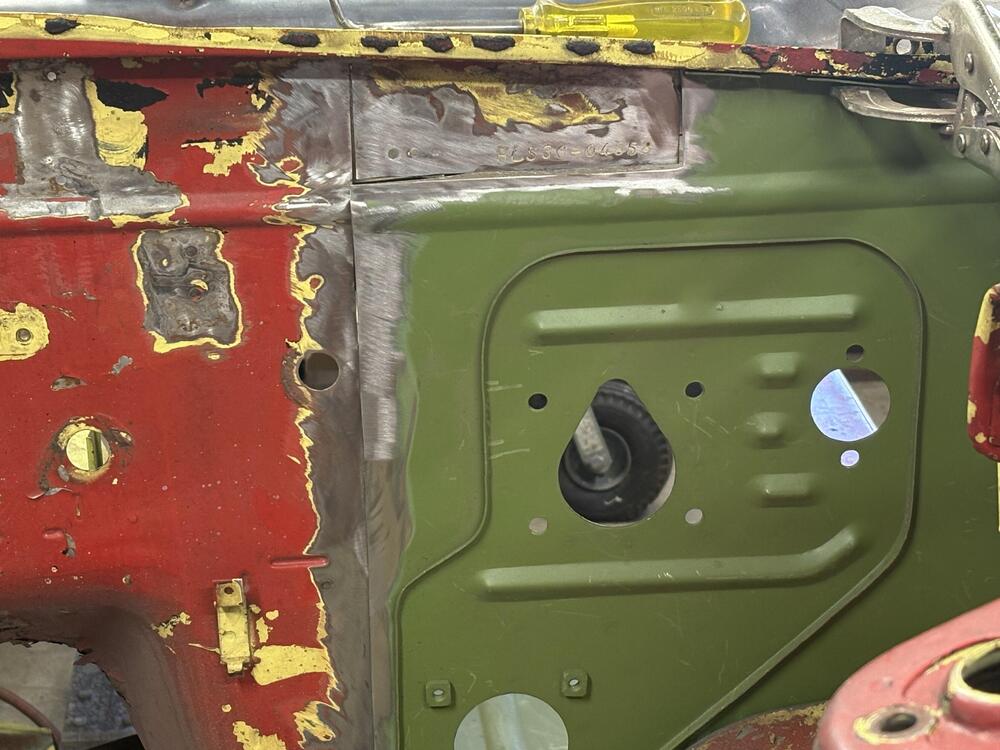
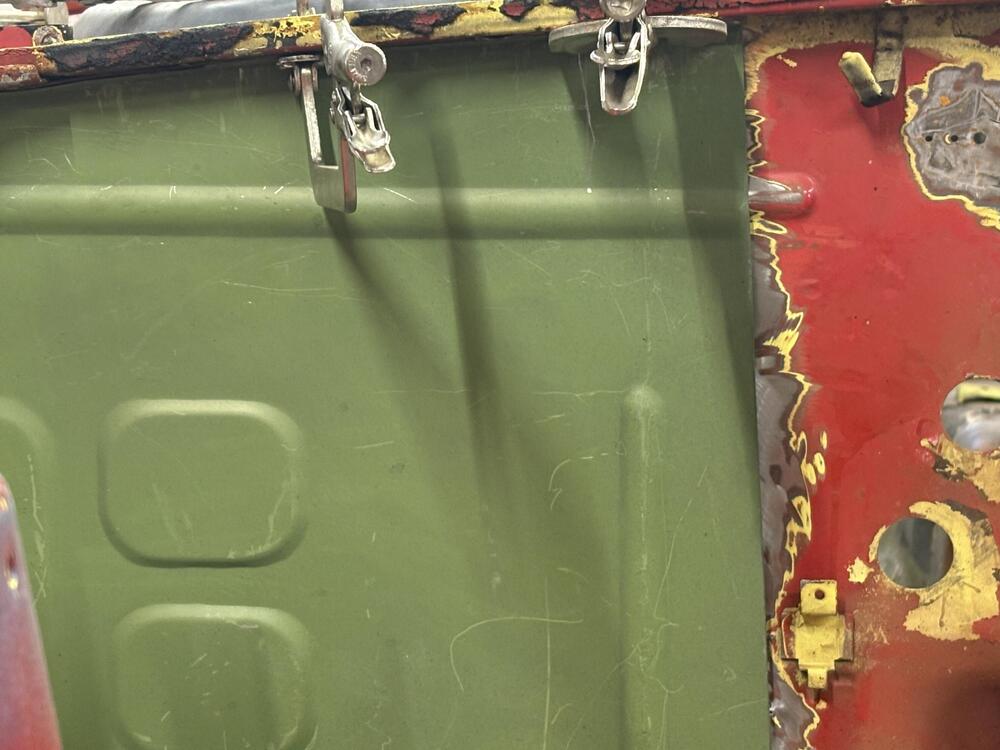
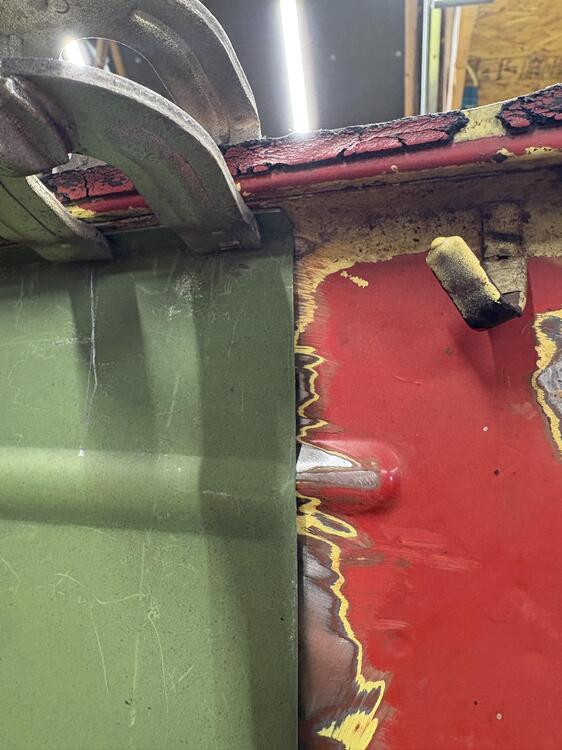
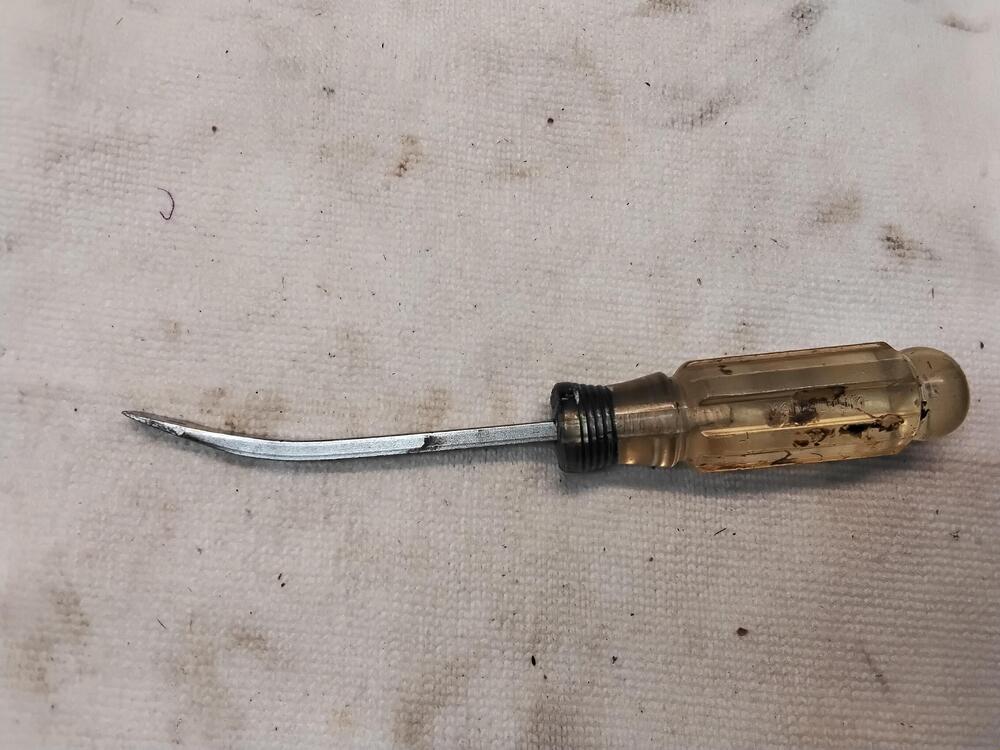 3 points3 pointsWell, I gave up trying to find it and just yanked it off with a puller lol3 points3 pointsThe next thing to attack is the firewalls . I can’t finish the passenger upper frame because I need access to spot weld the firewall panel . The firewall is sandwiched between the inner fender wall and outer . I also have an issue with the passenger side firewall panel from KF . The drivers side worked out pretty sweet and I should be able to do a decent job welding it in . The biggest obstacle is that I wanted to preserve the vin# that’s stamped on the wall so I had to cut around it . The passenger side doesn’t line up right as you can see but the pics . They said they will send me a new one . I think the panel wasn’t square on their stamping machine . KF has been really good supporting their products . I’ll also add that their drivers firewall panel does not include the doubler for the inside
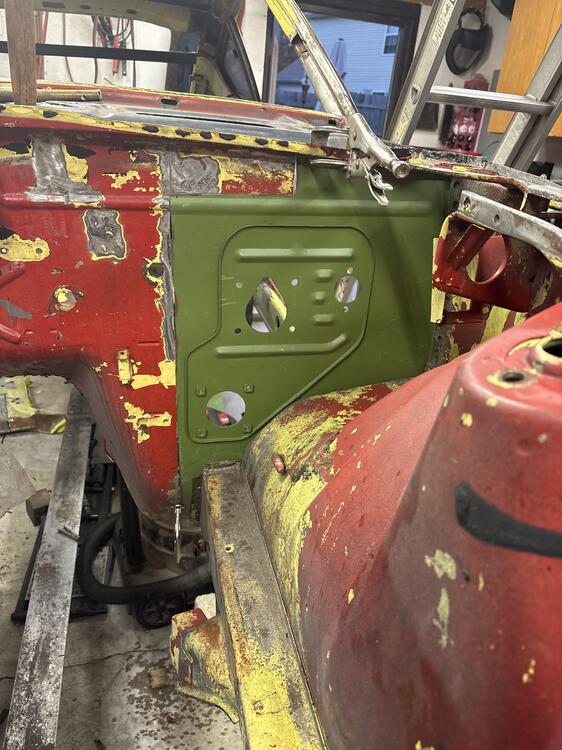
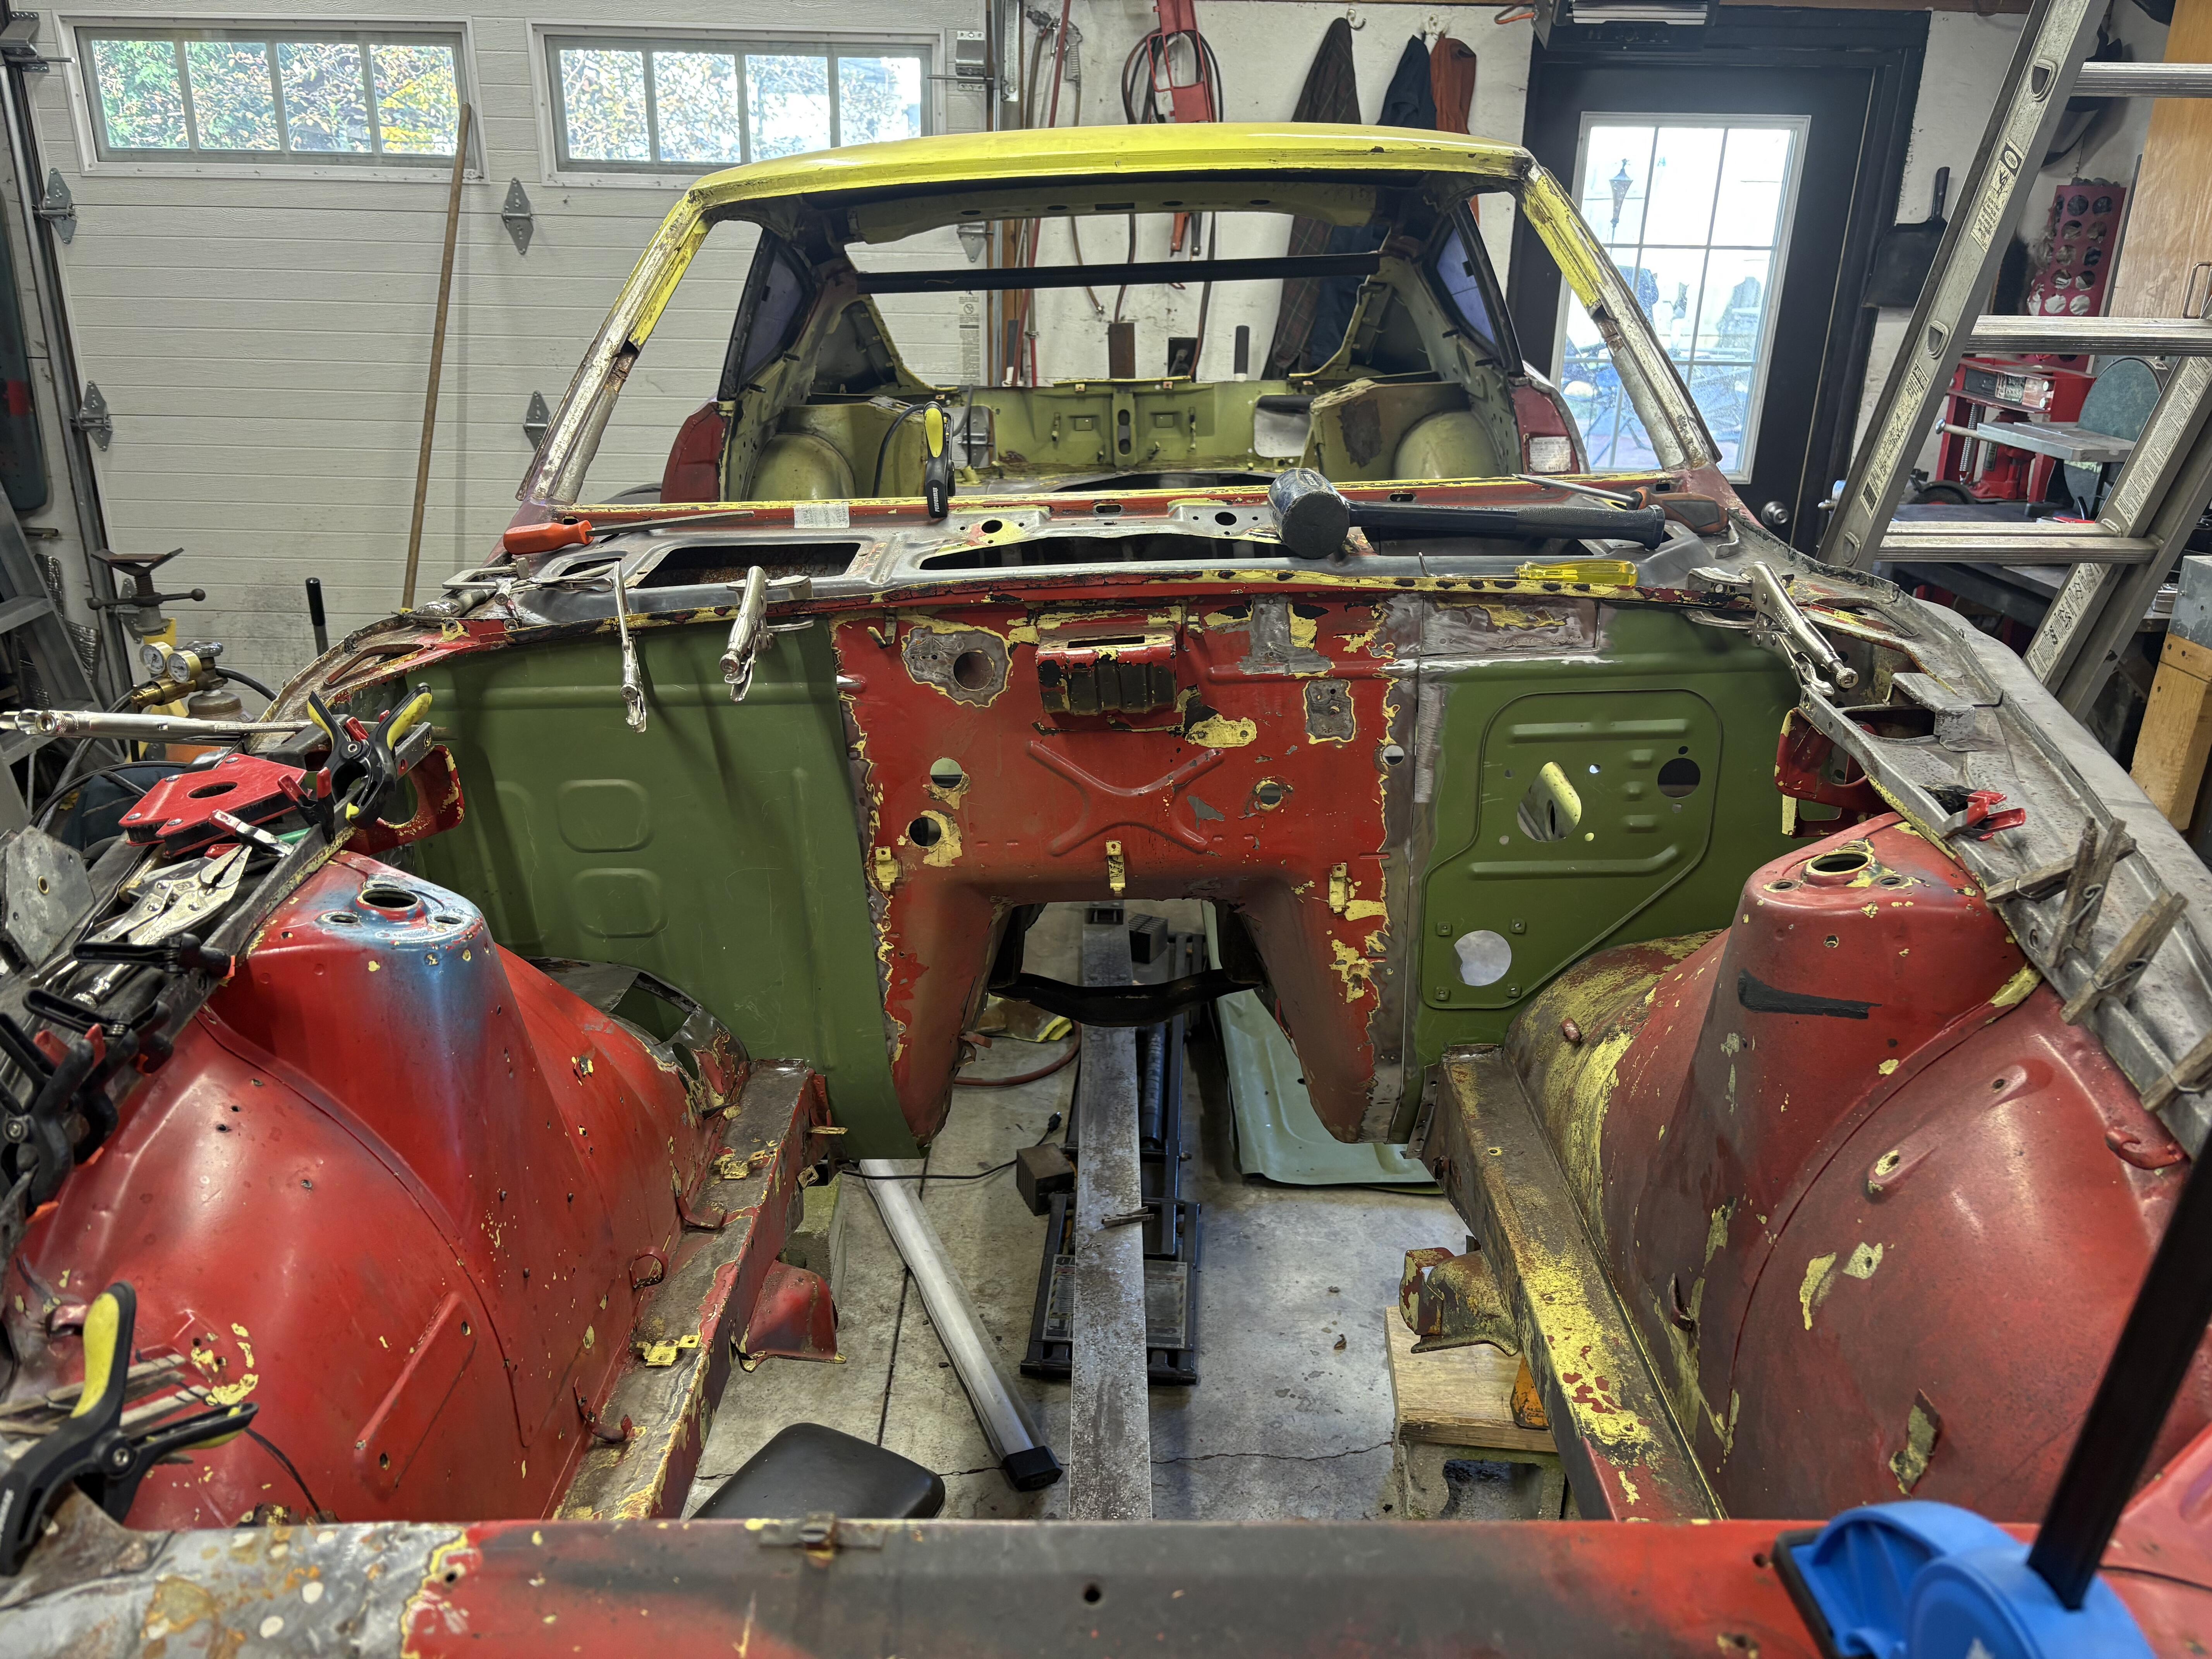
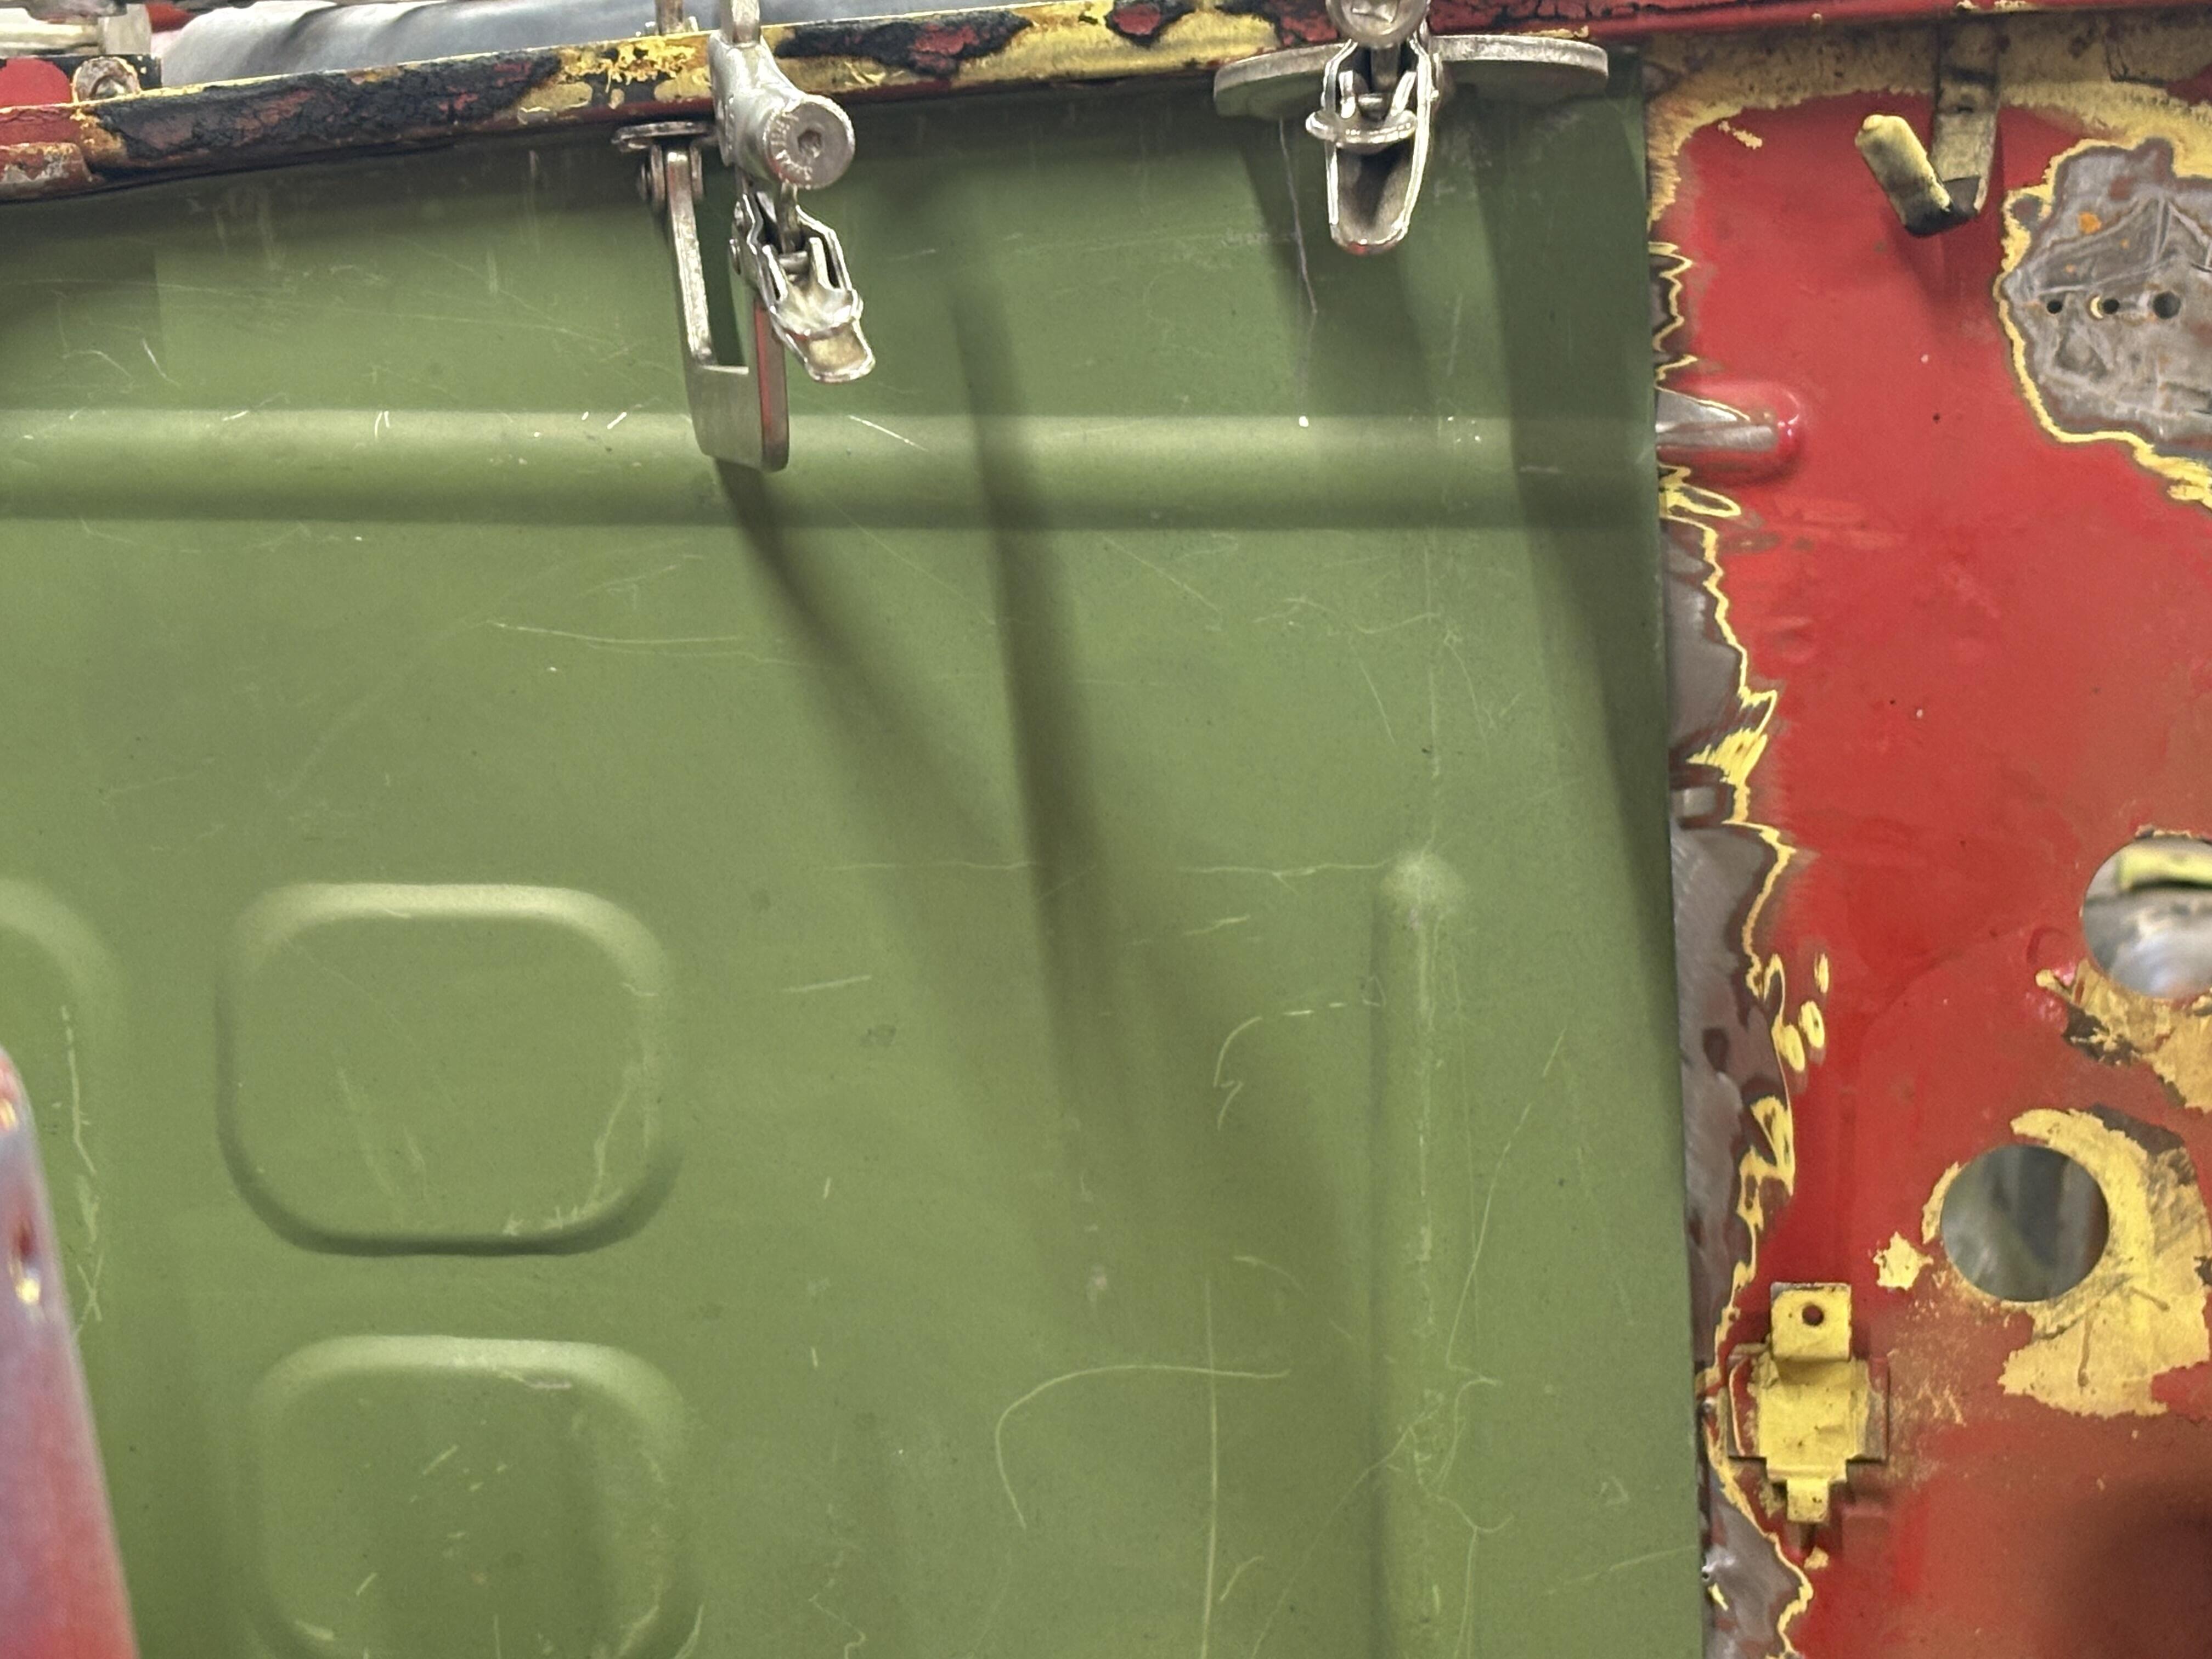
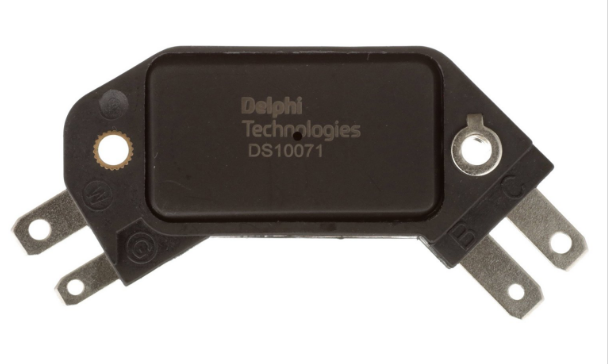
 3 points3 pointsIt's been a whole year since the surgery! Can hardly believe it, time flies when you're on the better end of healing. Thanks for all the prayers and well wishes, they worked. Next is a mid-foot fusion that I'm dreading but the docs said after a year with the knee replacement they could do it. I had planned a day of relaxing in the driver's seat of the 240 but it has rained like a cow pissing on a flat rock. Maybe tomorrow?3 points3 pointsThere was a post around that had someone replacing the guts of the old module with the new HEI but I cant find it. I might do that, but mount the box on the firewall or something. I like that it would appear more period correct. @EuroDat did that to his '773 pointsAs I've been saying for some time now; the upper middle class collector car market has been depressed for at least the past 10 months. Yes, should have taken the 90K.3 points3 pointsToo many projects are IMG_2691.movIMG_2691.movdelaying this RHD hs30… Heading to the wetblasting area to determine if anything is left to work with……
 3 points2 pointsWinner winner chicken dinner, we have spark Now im gonna look into some heat sink and stew on where i want to mount it. Time to move on to the fuel system. I know the fuel is toast and the tank will need to be cleaned. I’ll probably start on removing that and see what condition the lines are in. I’m excited!2 points2 pointsYeah, hopefully it should be easy to tell. In any event, it's got to be better than this!!! Hahaha!2 points2 pointsI would add some details of how, exactly, you are evaluating "spark". With a spark plug at the end of a plug wire, through the coil center terminal, with a spark tester...? Are you cranking the engine when you do this? Have you disconnected the original module by the fuse box or did you resintall it? And, or, but, I have noticed that you do not have any battery power going to the coil in your picture. You only have the coil connected to the module and no pwer to the module either. You need power to the coil positive terminal. Also, use your meter and make sure that the mounting screw of the module has a good ground. And make sure that it's the correct screw. Only one of the screws completes the ground through the module, it has a thicker ferrule. Looks like you have the correct screw but you might not have good contact through that screw head or where it seats on the TB. The TB is not the best place to mount it. That's where all of the coil current flows when the module is doing its thing. And, it you plan to run it for long you need a proper heat sink under the flat part of the module. It gets hot and heat will cause them to fail.
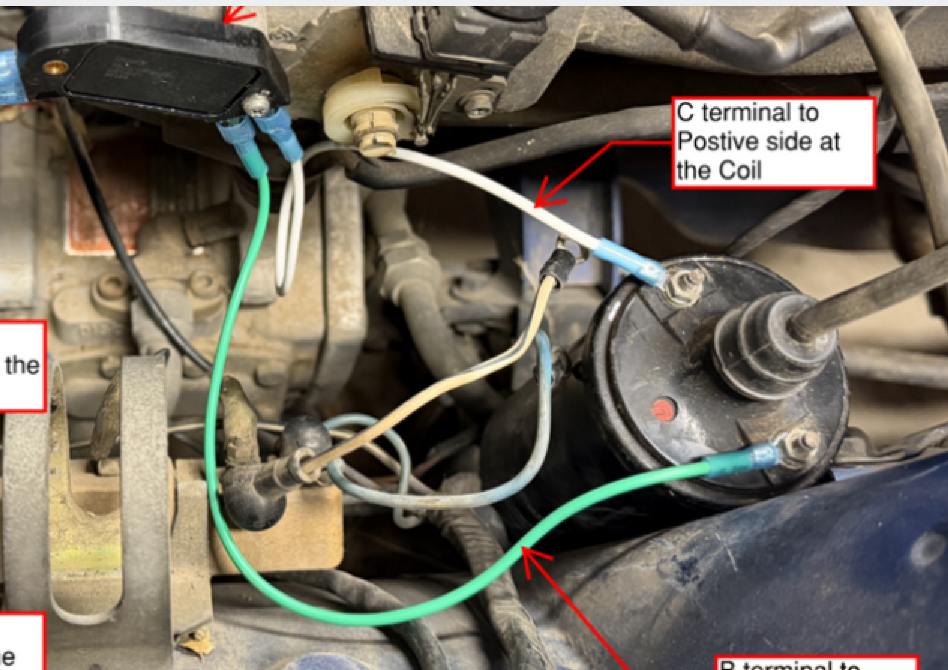

 2 points2 pointsWhen I spoke with Sean @ ZStory, he recommended the Street-sport or Race-sport for my build. I'm leaning towards the street-sport, but as my build increases in cost, I may just re-use the MSA header I have for now and get the ZStory later, especially with the tariffs and all...2 pointsI'm installing new KYB's I like the idea of a light coating of lube on the inner walls.2 pointsSold for $101K on BAT in 2019... Adjusted for inflation, to break even it needed to sell for $129K in todays money. Nonetheless in todays market - $90K was a pretty strong offer.2 points2 pointsTo get my plug out I used a small pipe wrench and a bottle jack to loosen mine. Situated the wrench so I could get the jack under the handle then pumped the jack a few times and it loosened up.2 points2 pointsYes you're correct. However, will a customer accept an exhaust manifold that will start to show corrosion almost the minute he leaves my shop after spending X amount of $ for a Y operation? Asking rhetorically as the answer is obvious. Everyone and I mean EVERYONE was very happy with the Jet-Hot cast look including, but not limited to, the Franklin Mint car.2 points2 pointsI had her up on jack stands and stood about a 12" piece of 6x6 up on the jack and lifted her up. But the block and jack wanted to slide out once she was up high enough. I had to hold the jack in place while someone put the cubes under the tires2 points


Important Information
By using this site, you agree to our Privacy Policy and Guidelines. We have placed cookies on your device to help make this website better. You can adjust your cookie settings, otherwise we'll assume you're okay to continue.