Leaderboard
-
Richard McDonel
Supporting Member10Points388Posts -

siteunseen
Community Member7Points15,183Posts -

Av8ferg
Community Member5Points1,538Posts -

heyitsrama
Community Member5Points1,185Posts


Popular Content
Showing content with the highest reputation on 08/10/2021 in all areas
-
10 pointsGood evening All, All these years of working to turn three dilapidated 240s into one good cruiser has come with a lot of expense I'm sure that everyone on this forum knows what I'm talking about. But this evening I'm delighted to share with you that I have taken the first step towards recovering my investment. I had in my garage two trash-grade seats. The idea was to take them apart so the seat cushions and backrests would fit into my garbage bin. On two of them, I made a profit. Jammed between the seat cushion and the metal arm linking it to the backrest, I found money! A 1974 nickel and a 1981 dime are now safely in my possession! Finally, a return on my investment! I shared this news with Momma, but for whatever reason she did not share my jubilation. Cheers,10 points
-
5 pointsI was cleaning out my Corolla a couple years after I got it and found a fat joint in the rear seat where the belt buckle clip comes out. Shame it was all dried up, found it too late!5 points
-
4 pointsEverything in life is a about balance. When we allow things in life to get out of balance negative stuff starts to happen. Whether it’s our diet, drinking, spending or any litany of things we suffer with imbalance . Sure the hobby takes away time from relationships but we all need an outlet, we all need white space from the people in our close circles. I generally don’t work on my car when my kids or wife are home. I find time when they’re doing their things. School or work or their hobbies....the key is to know when it’s time and not time.4 points
-
4 pointsThere’s always one more thing… I took the time to rethink the push button start system this week. As it was designed for the stock electrical system, the ignition needed to be activated by pushing on the brake to start the car. But this was a pain in that it was clumsy and if you stalled in an intersection while rolling, you needed to stop the car with the brake to start it. So I had an idea to replace the rubber bumper on the clutch pedal with another brake pedal switch. Normally open, closed when the brake is pushed. I drilled out the rubber bumper nut in the pedal box for the bigger diameter brake switch, and wired it to accessory power and the push button ignition switch. Voila! I now start the car by pushing in the clutch instead of the brake! Much safer and easier to do! Rubber bumper for attention. Forgot to get a picture of the brake switch.
 4 points
 -
3 pointsWhen I was 14-16 yrs old in 74-76 I worked at the Automat car wash in Burnaby B.C. The customers would drive up to the vacuums and then go to the waiting room for their car to come through the wash. There was an unwritten rule that stated any coins you found on the carpet or tucked into the seats were free for the taking, now at $3.17 per hour it wasn't hard to double you hourly pay on a busy Saturday. If you were lucky enough to be the one who got the job of emptying vacuum canister on a Sunday there was another $10 in there for sure.3 points
-
3 pointsThat looks good to me. Your tensioner has full contact with the chain. I used the outer hole and it's been good but different kits work differently. I put a ZX kit on my 2.4. It was super tight but like I said the car runs great, revs up to the moon. Your call. Whatever you like is what you should go with. We're looking at pictures, you are with the actual motor. I don't doubt you'll be fine using either hole. Like Zed said it is the slack side. I like the full contact of the tensioner too. Sleep good tonight with whichever hole you use. It's all good!3 points
-
2 pointsDitto. Honda upgrade hiding inside, Dave Irwin's relay in the wiring.
 2 points
 -
2 points
-
2 points[quote]Wait until she finds out it doesn’t even have cup holders. [/quote] Every car I own has a cup holder. Right here:
 2 points
 -
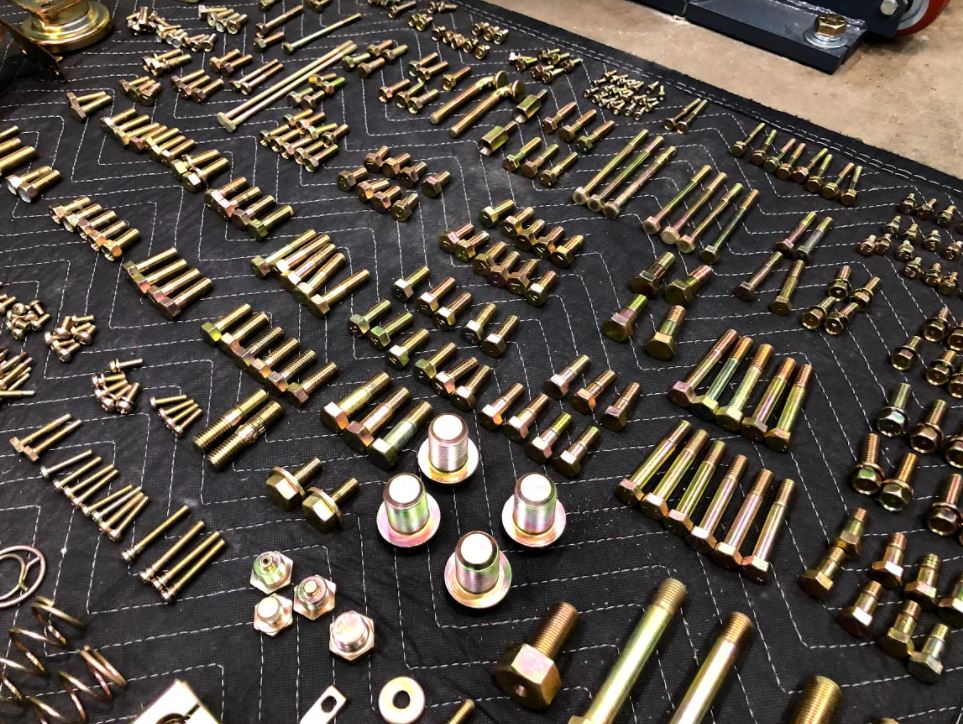
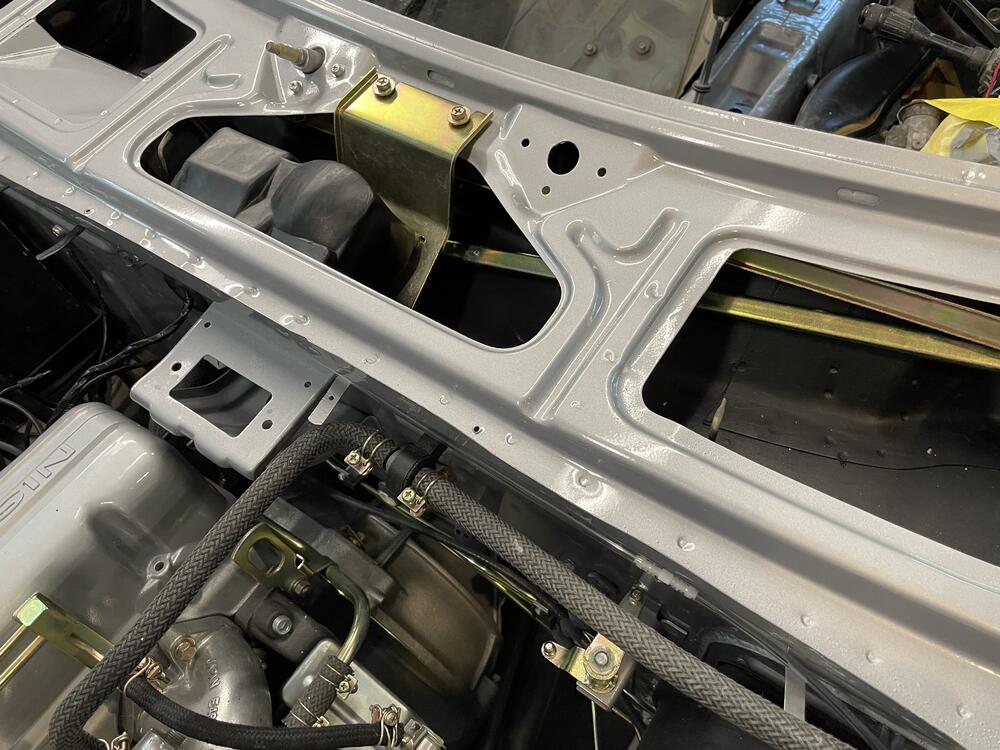
Evapo-Rust or CLR do wonders for removing rust when prepping hardware. I tried the media blasting but its very difficult with the smaller parts. I soaked everything in CLR overnight, and wire-wheeled every part. Doing so gives the metal a nice luster that shines through the plating. Don't bother with itemizing everything in zip locks, as you'll get everything back in one big box. I wrote every fastener down by size/length/thread pitch/qty and transferred that over to an Excel sheet for easy tracking.

 2 points
 -
2 pointsA pair of Blizzard of Oz tickets from 1981 Showbox Seattle. Edit: Paramount Theatre2 points
-
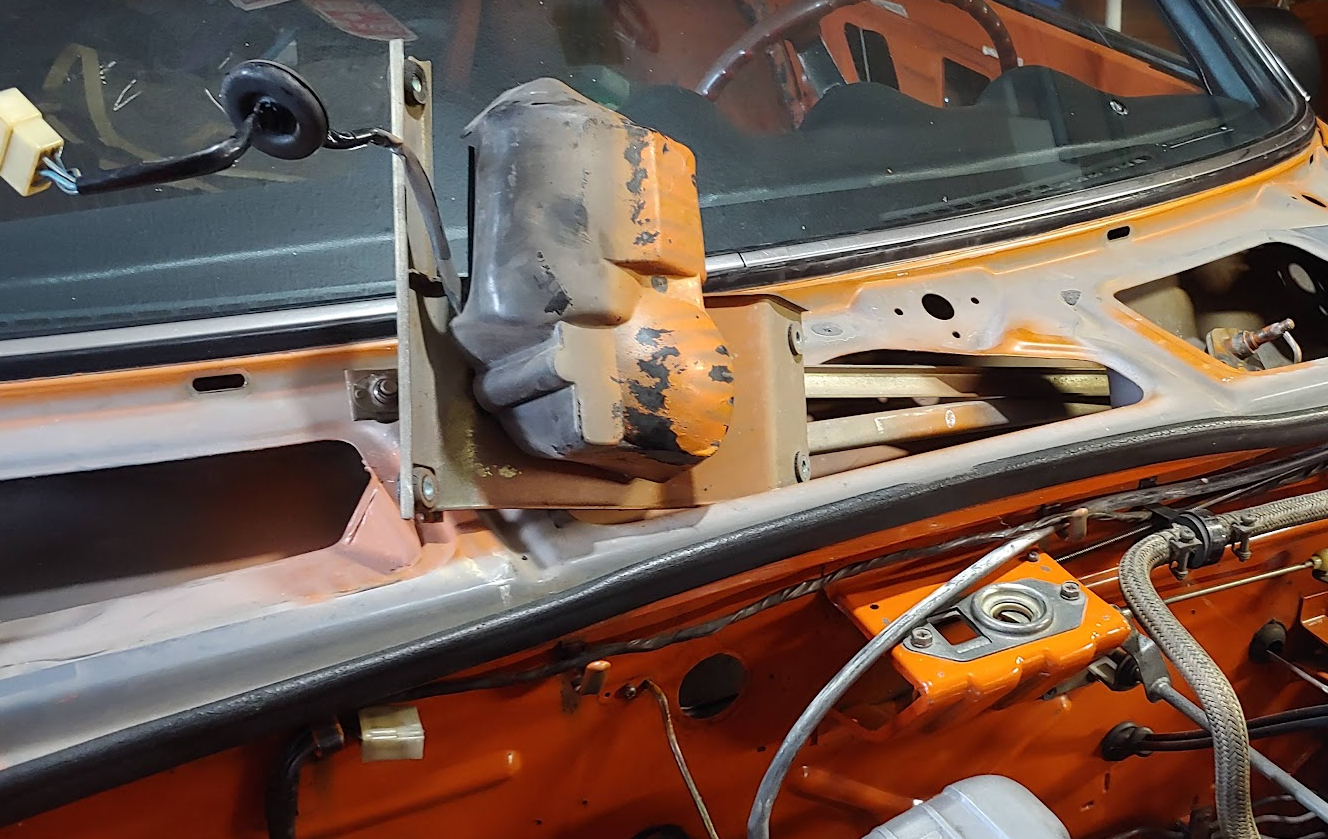
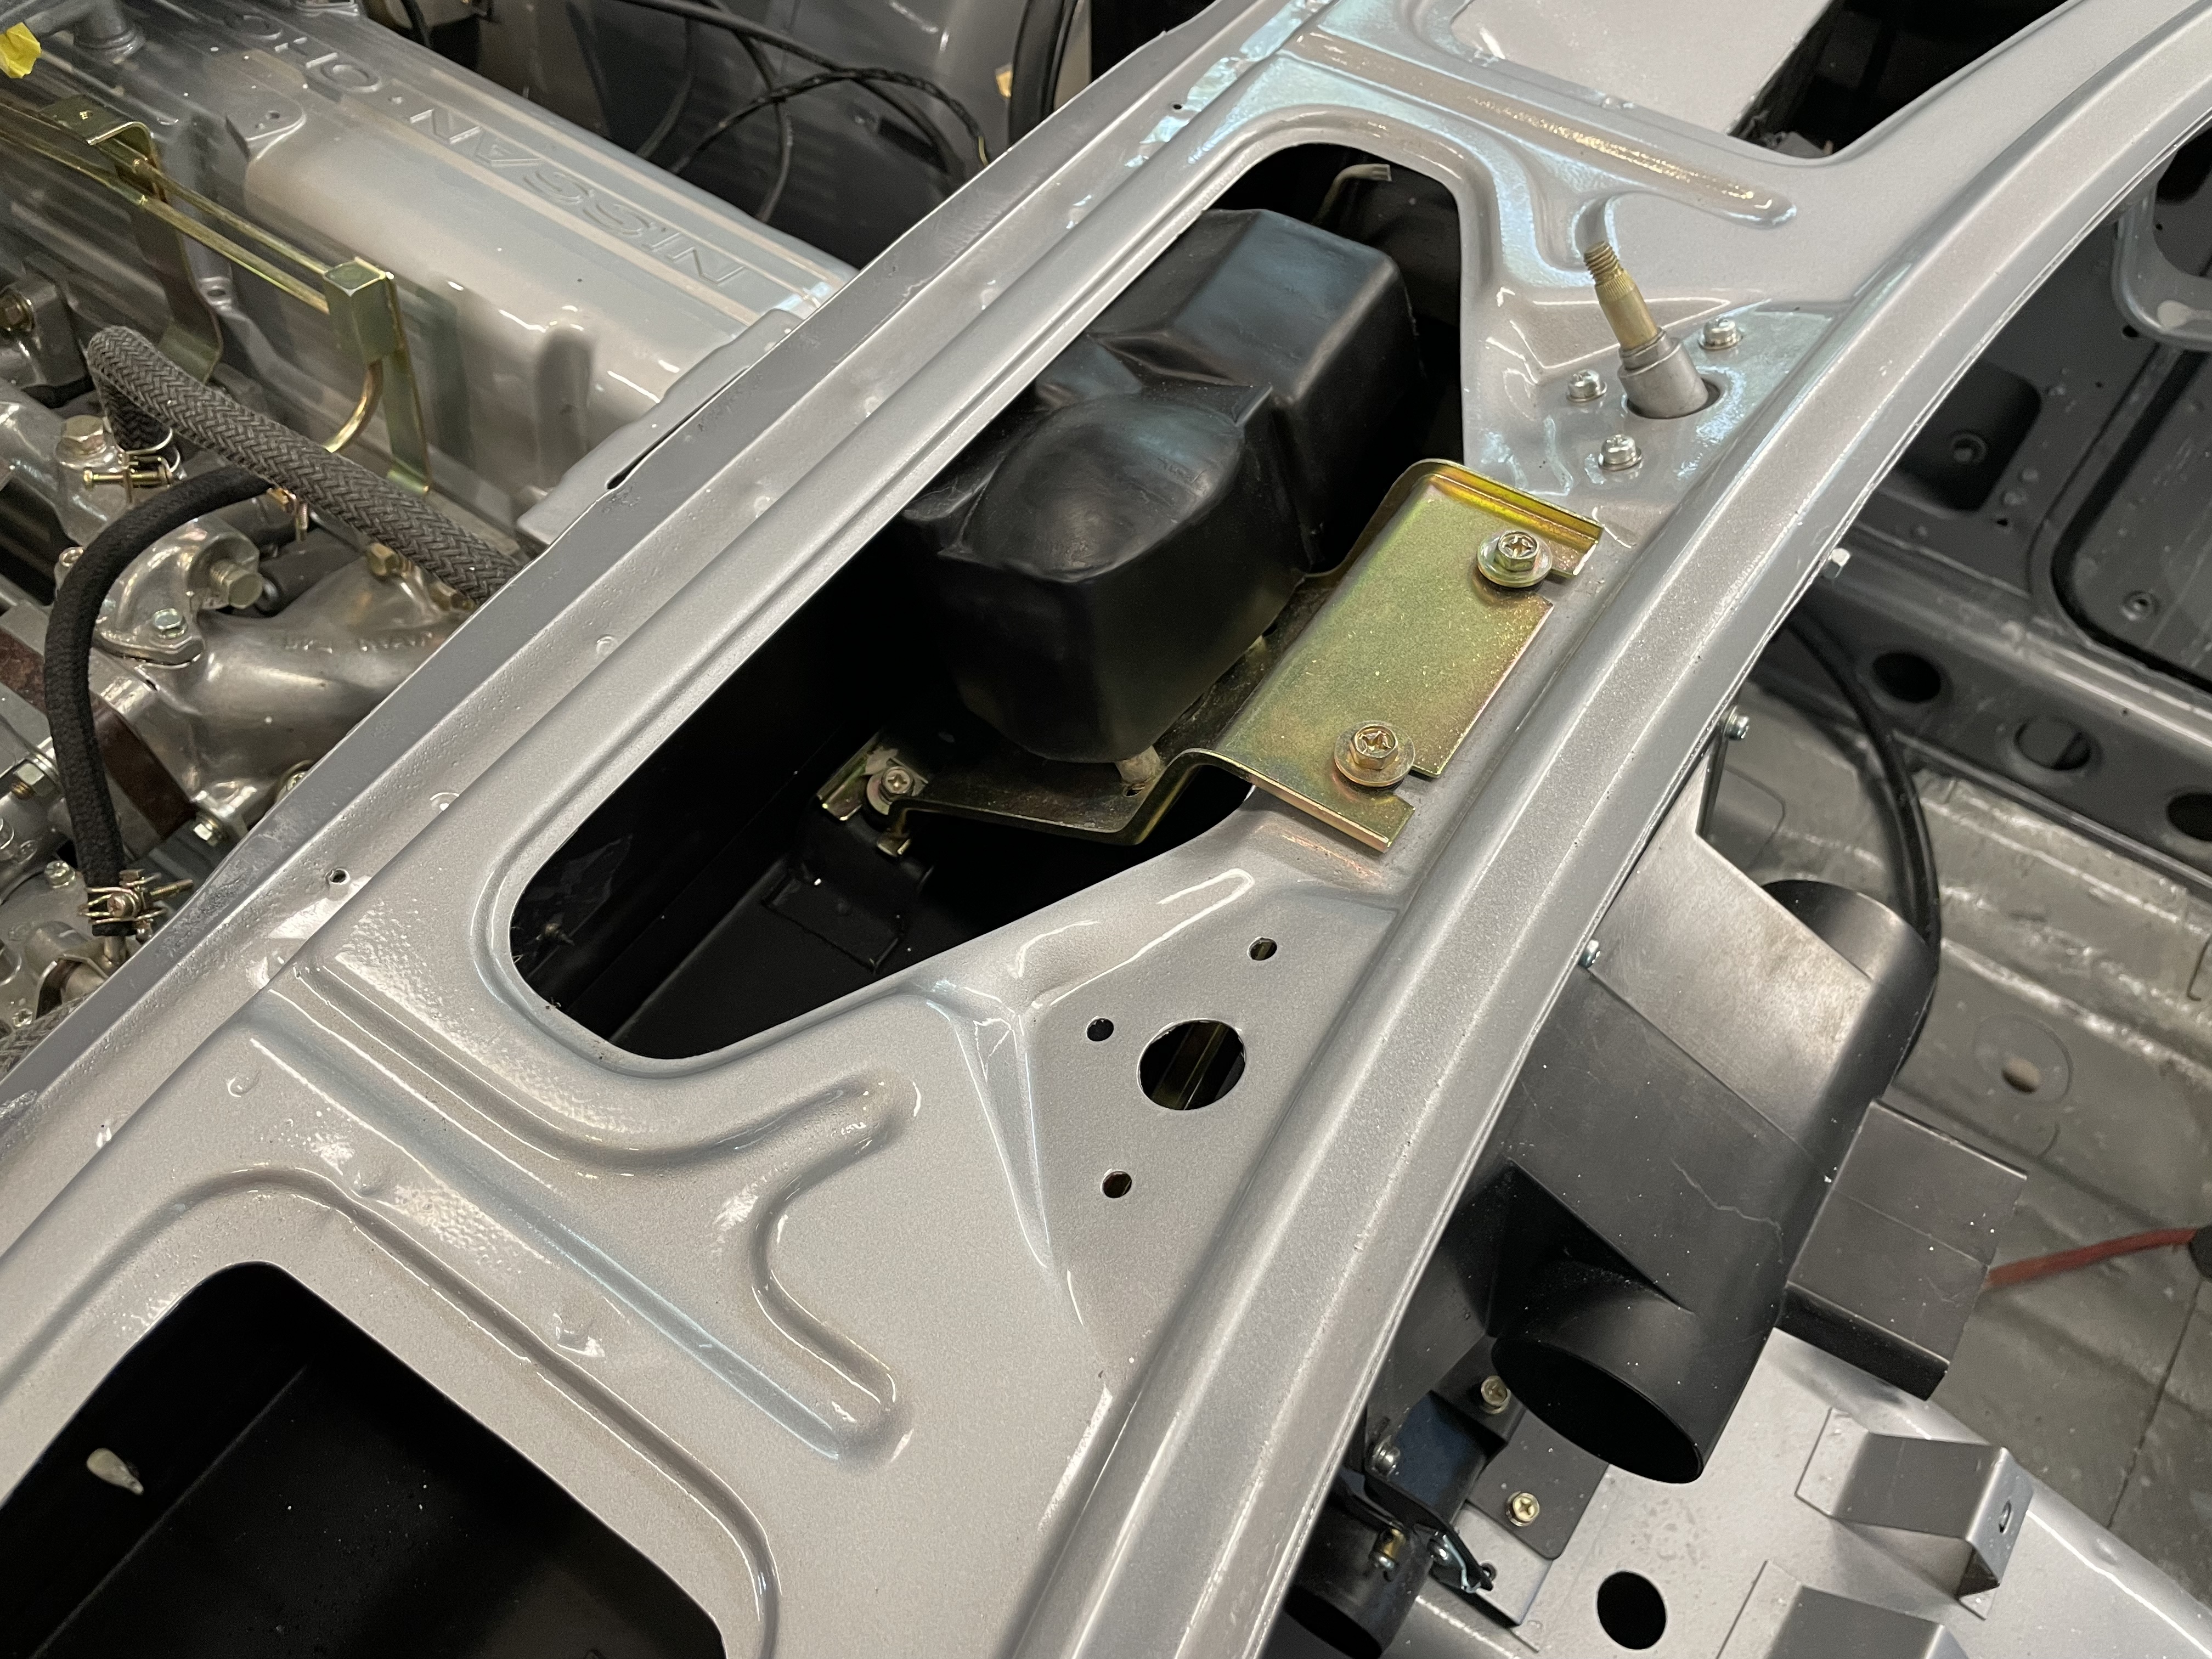
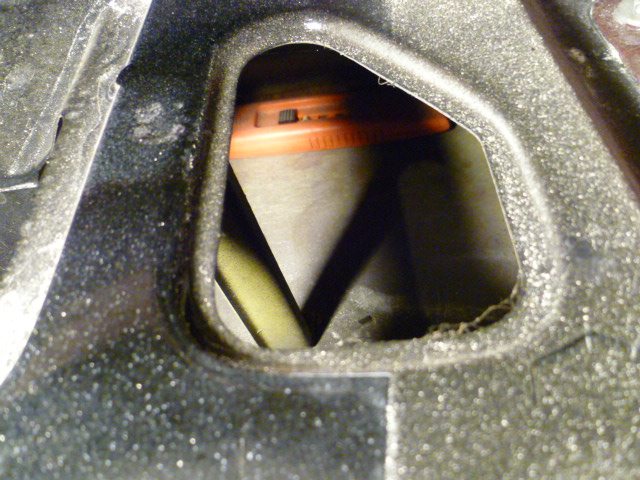
2 pointsI found a razor knife in the cavity down under my windshield cowl panel. WOOOOO!!!!! $$$$$$$$
 2 points
 -
2 pointsI once found a pair of pliers under a seat of my new car, it was of a expensive brand! still use it! And a calculator under a seat of a used car.. it was in my latest 280zx, next year i'm gonna visit the last owner (Who drove the car before the subdealer that sold me this zx) and ask if he recognizes the calculator haha!2 points
-
2 pointsThe engine tilts 12 degrees. I verified this many times during the development of the KN20.2 points
-
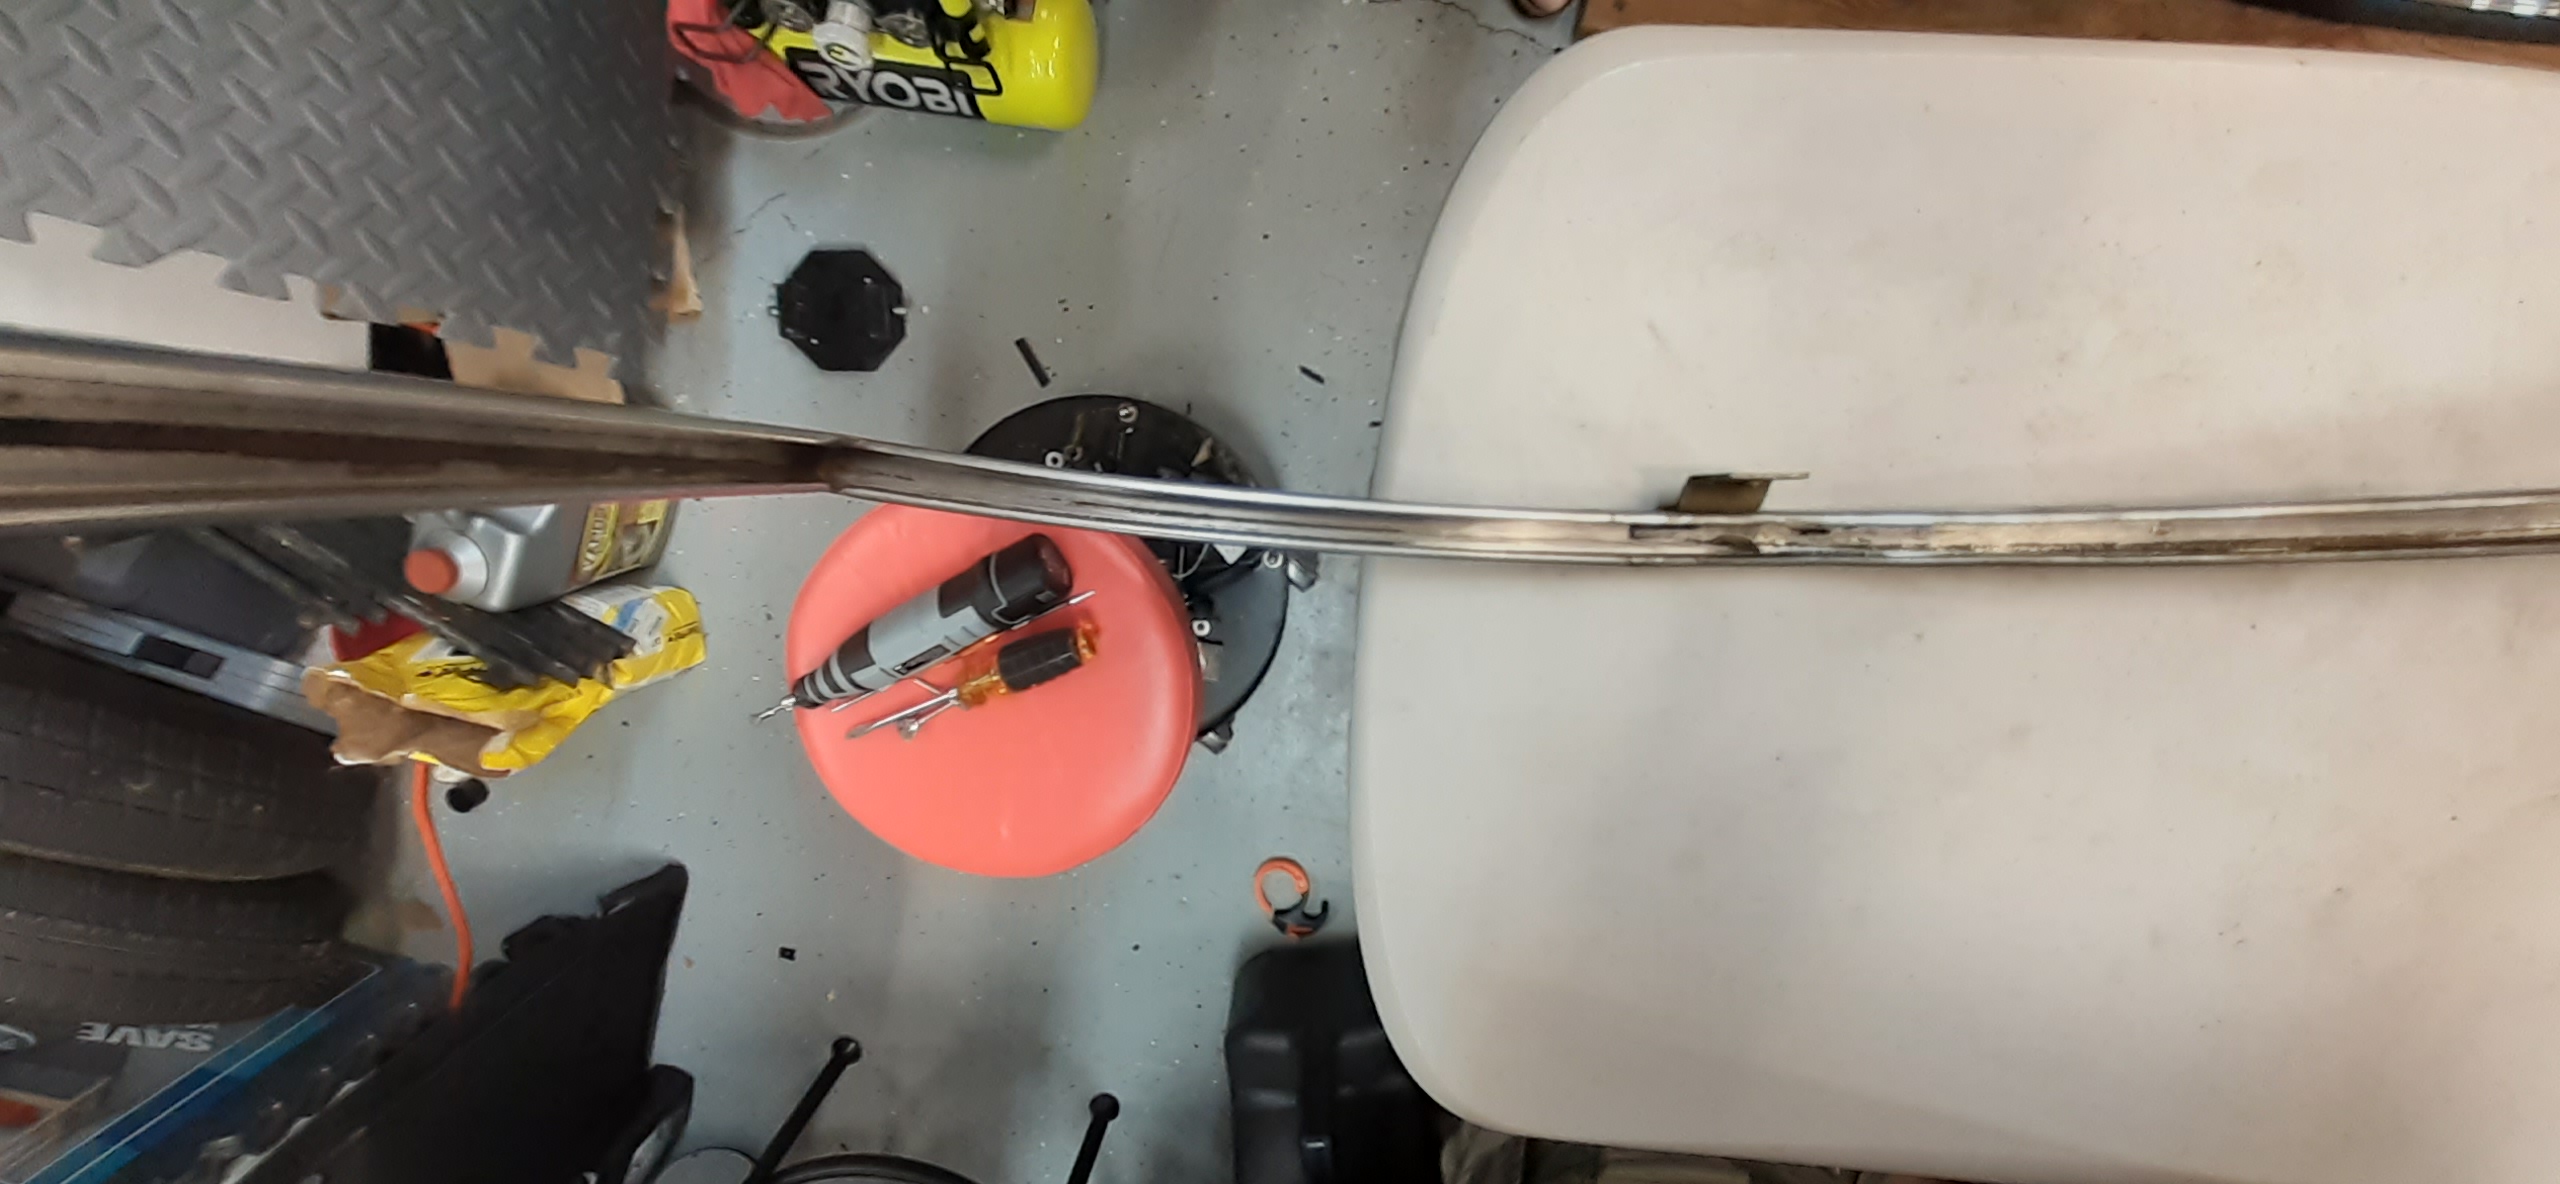
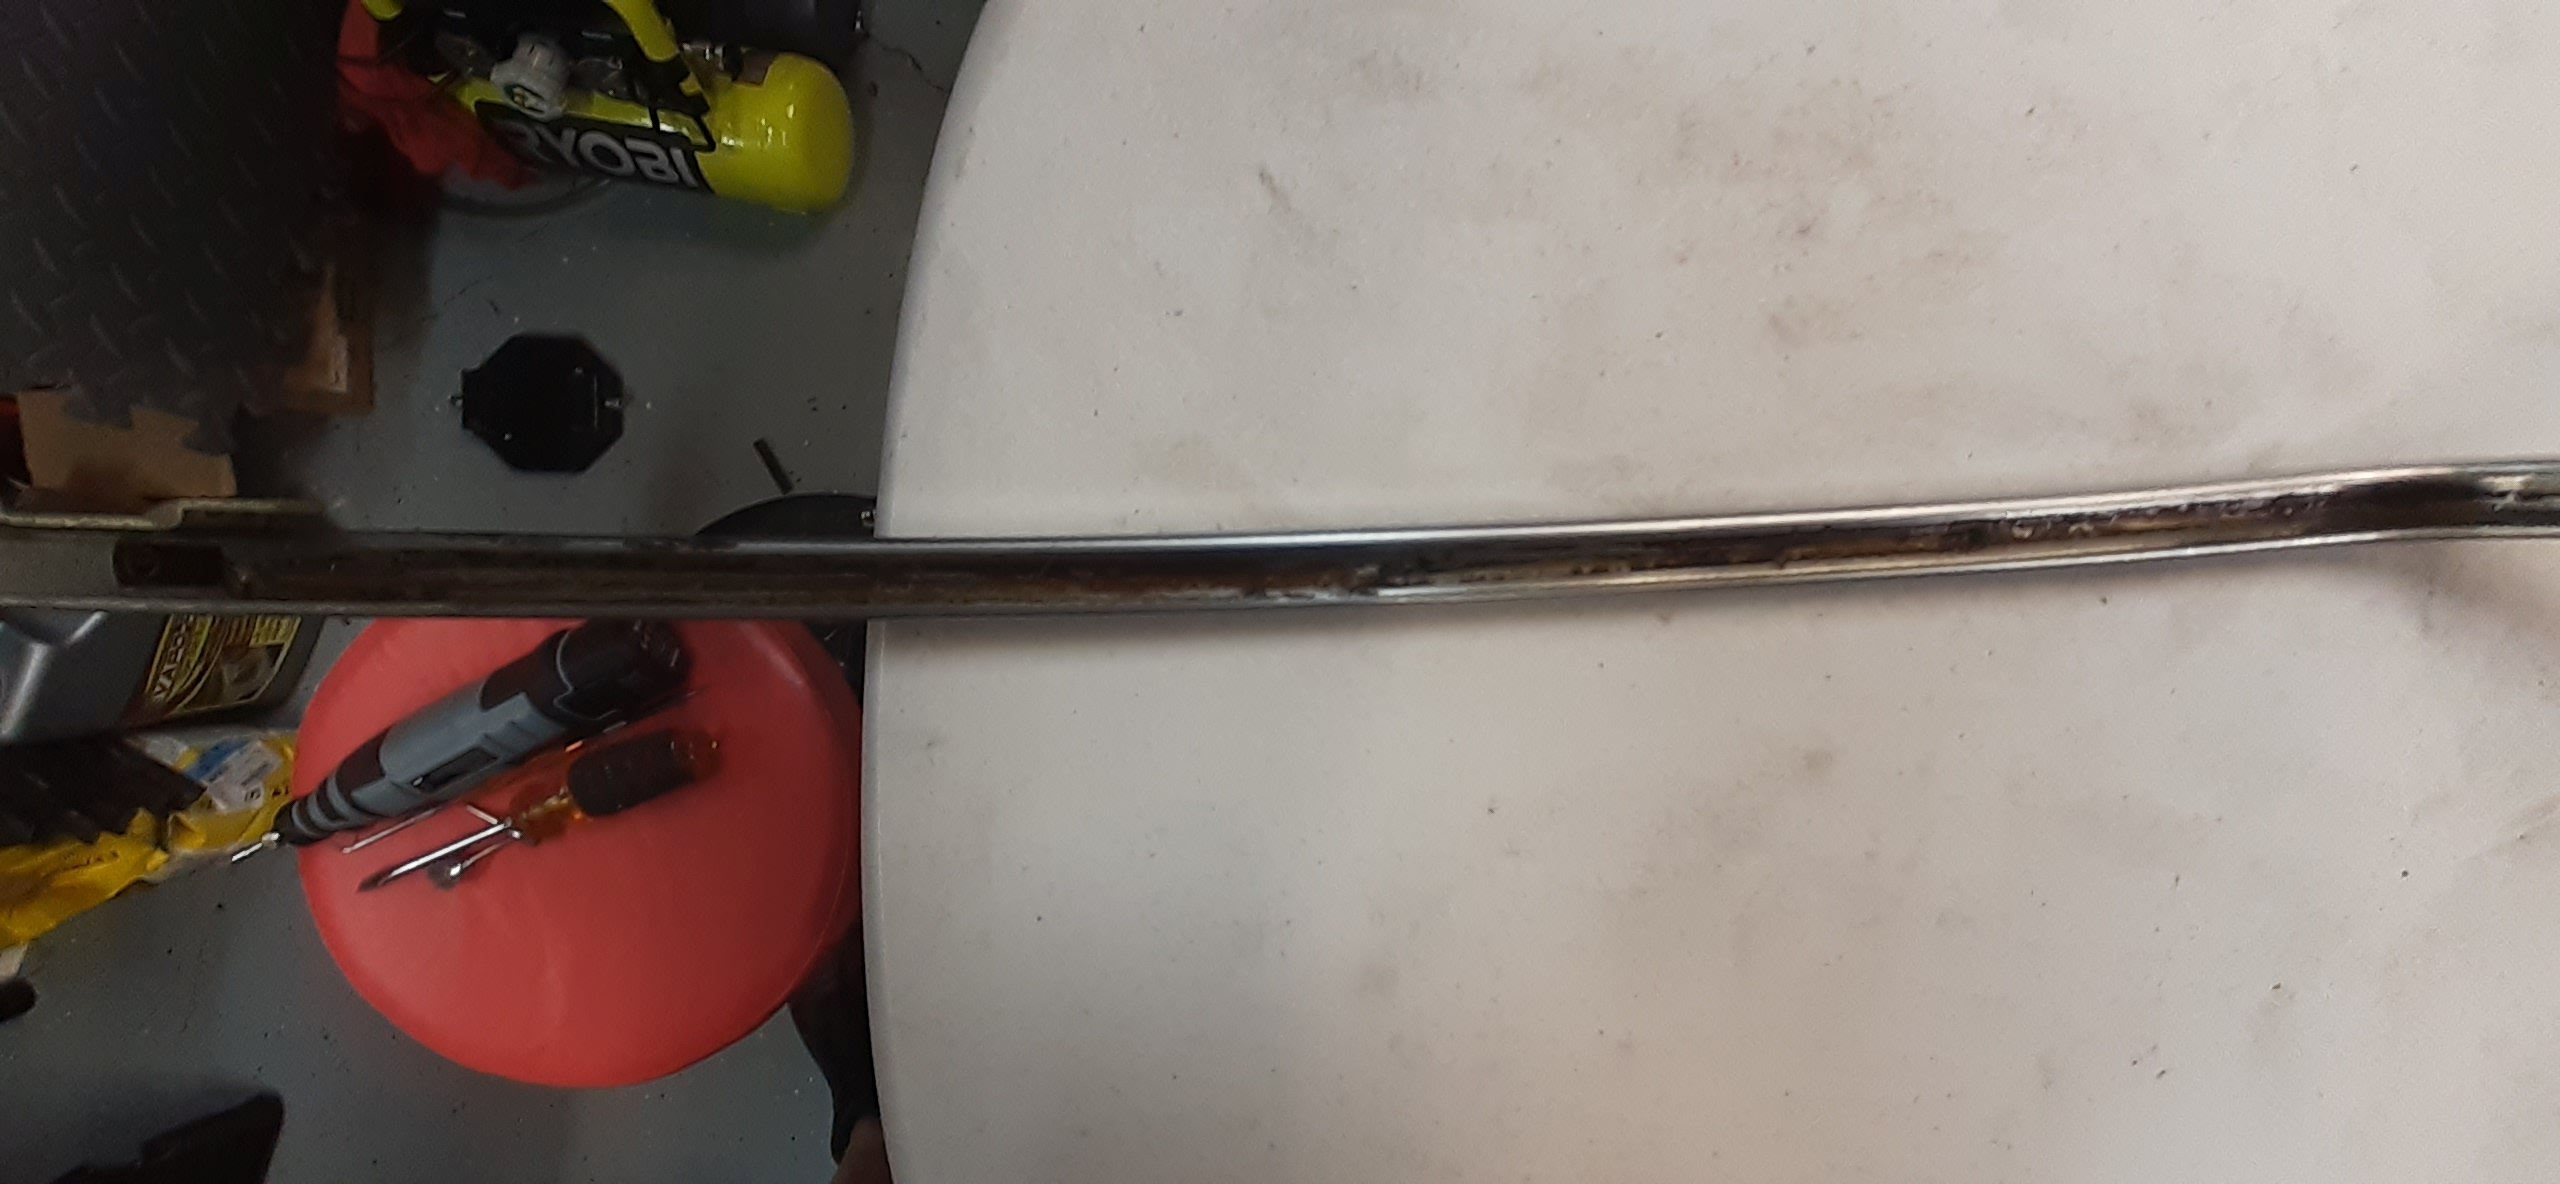
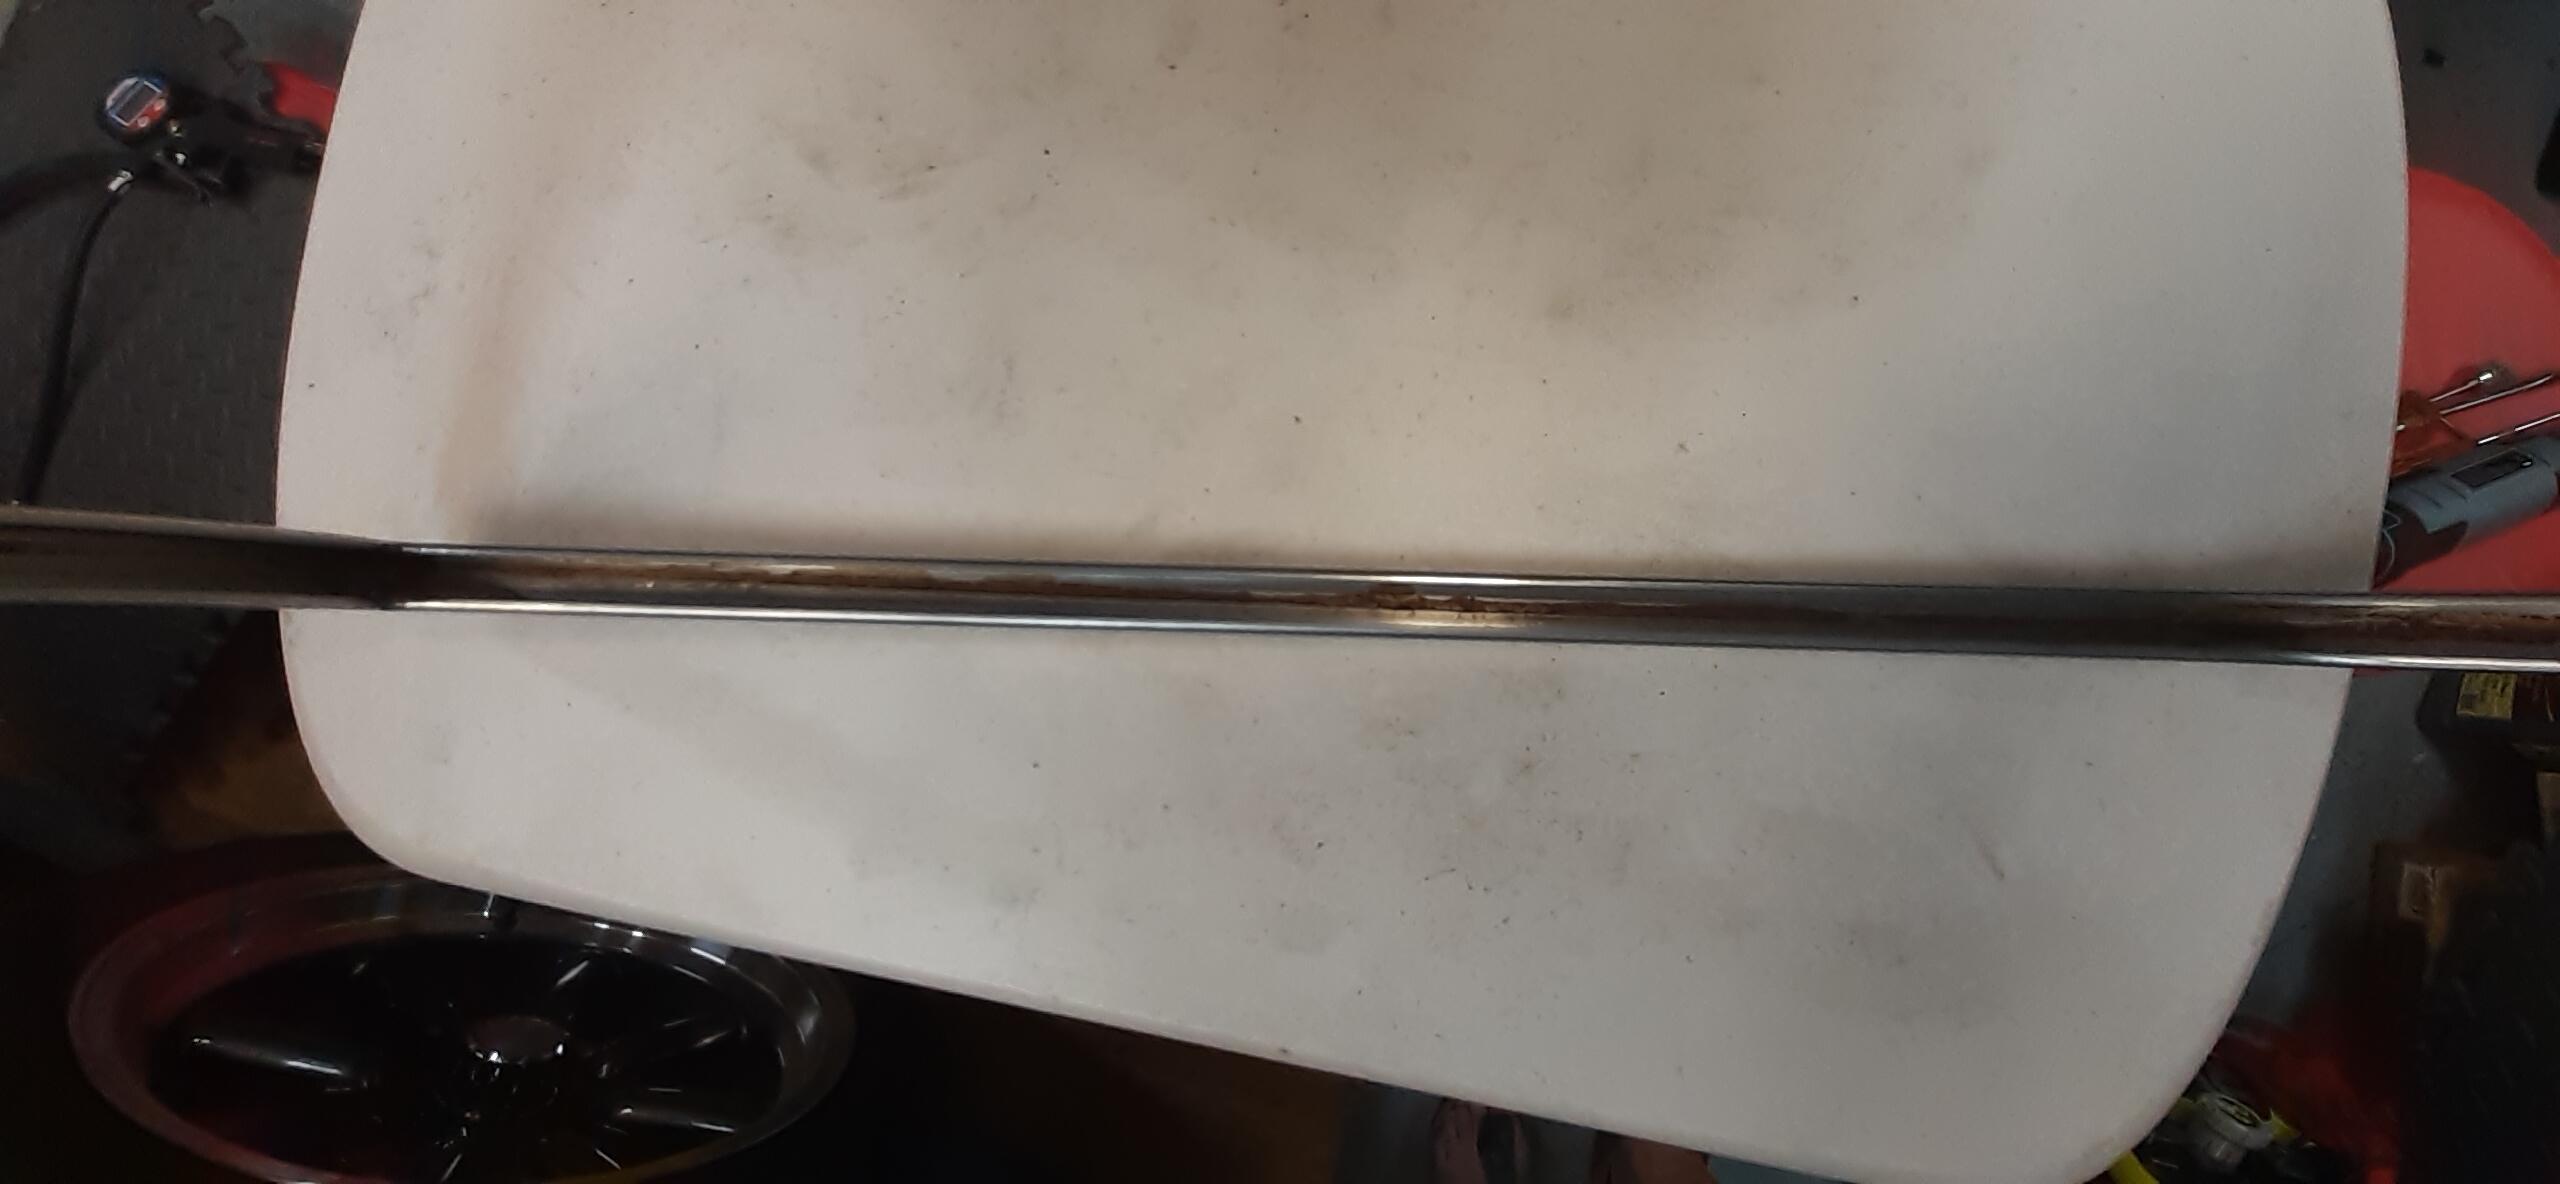
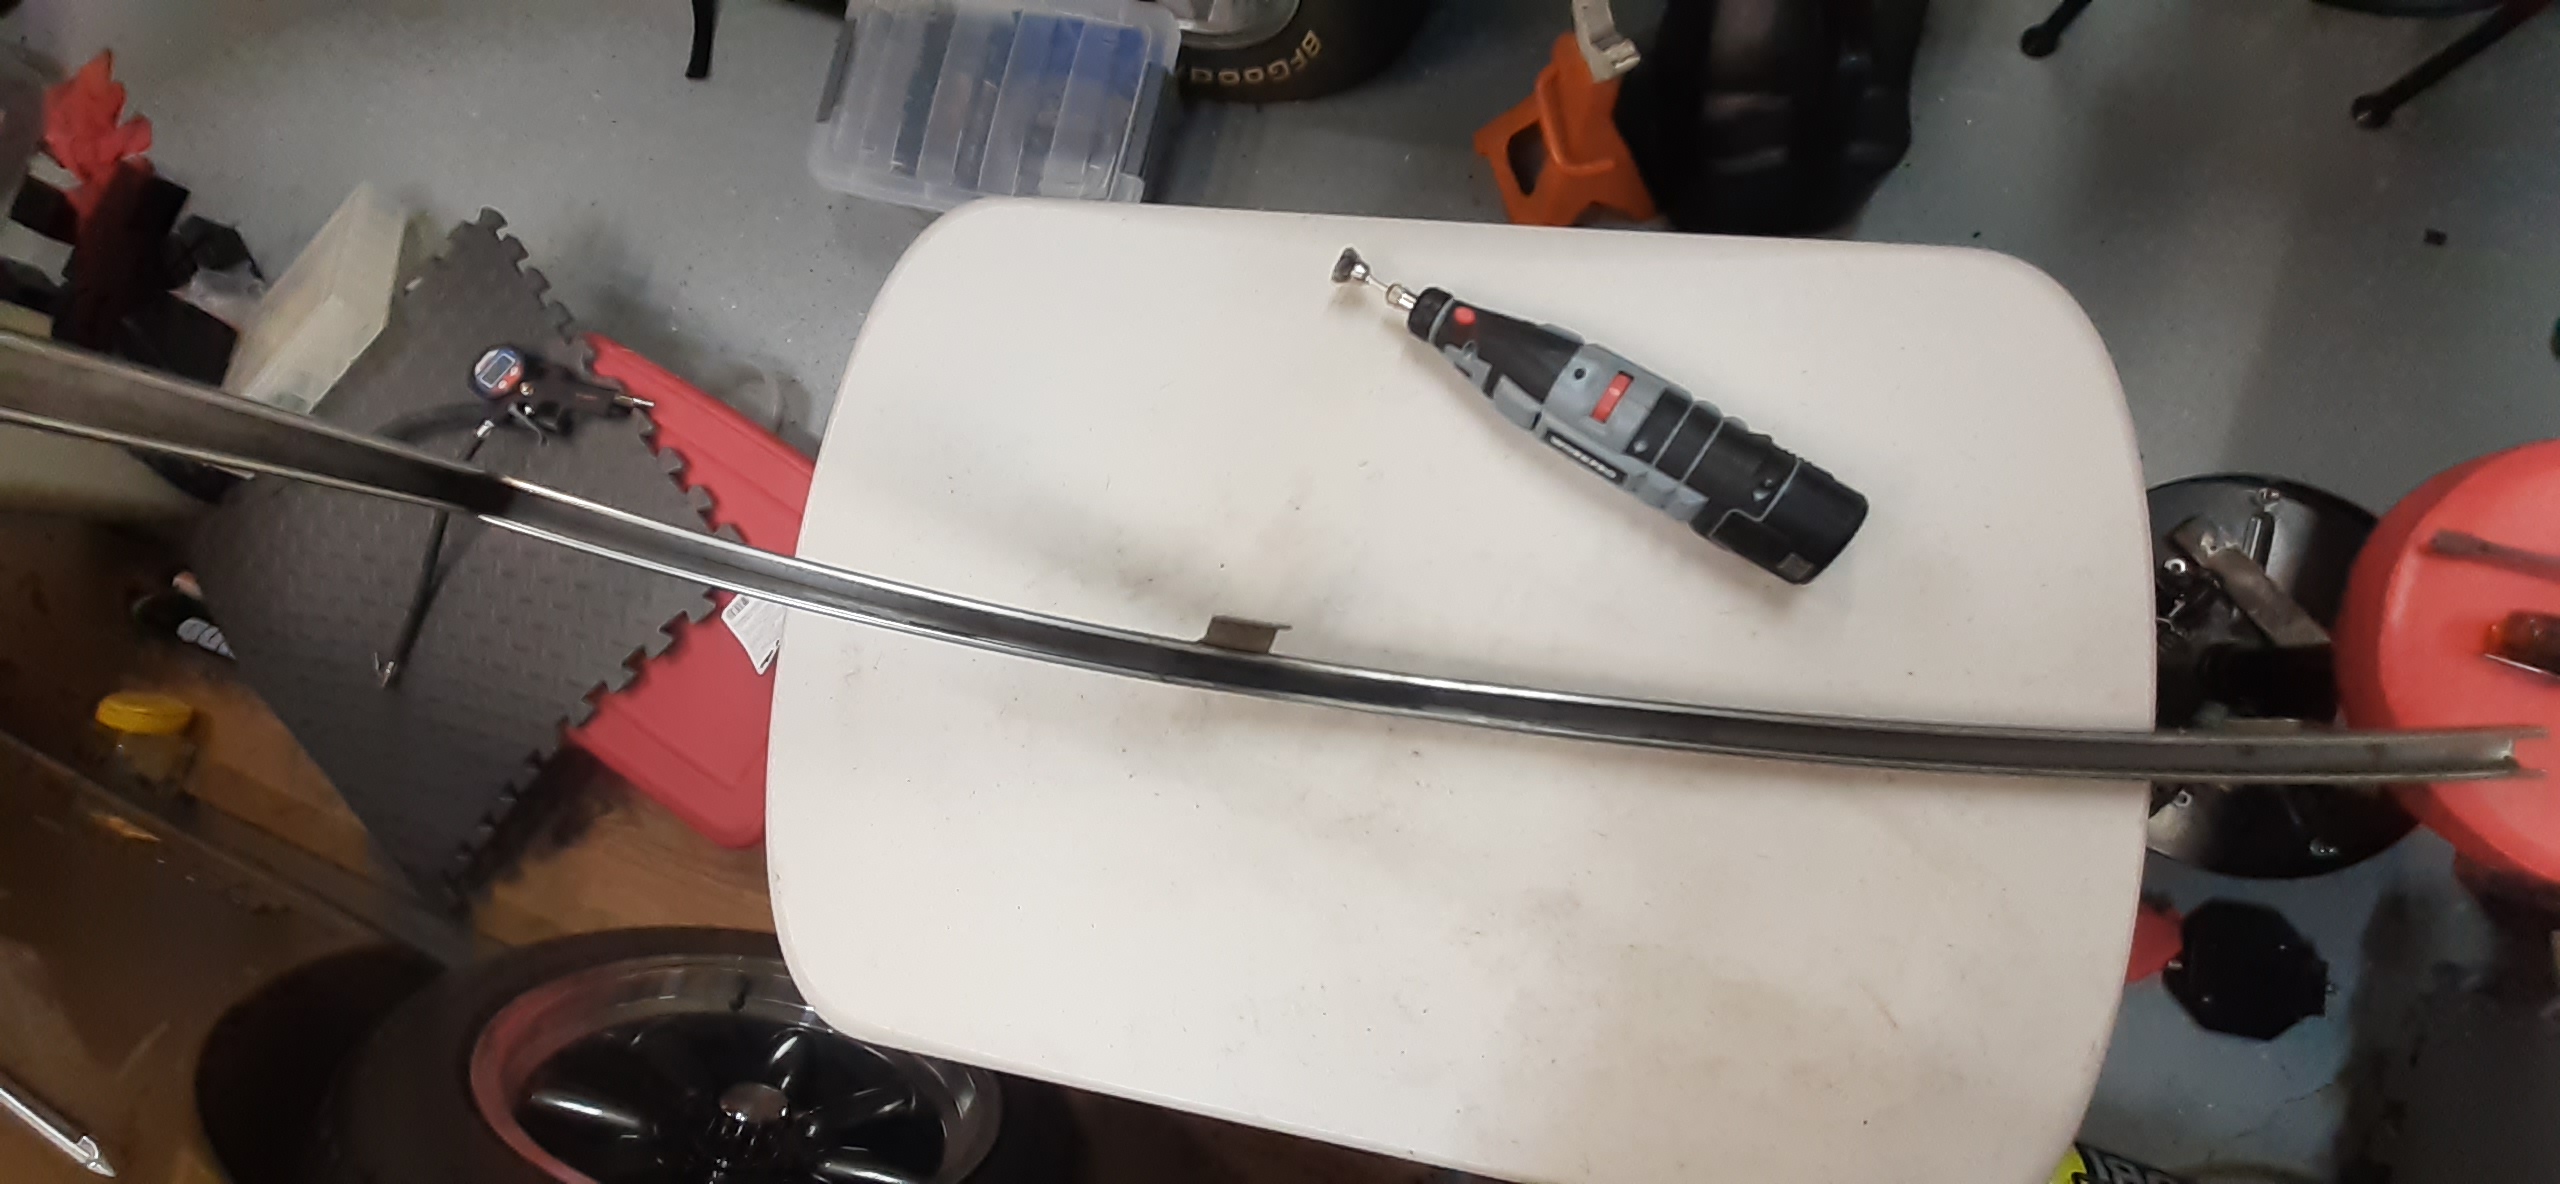
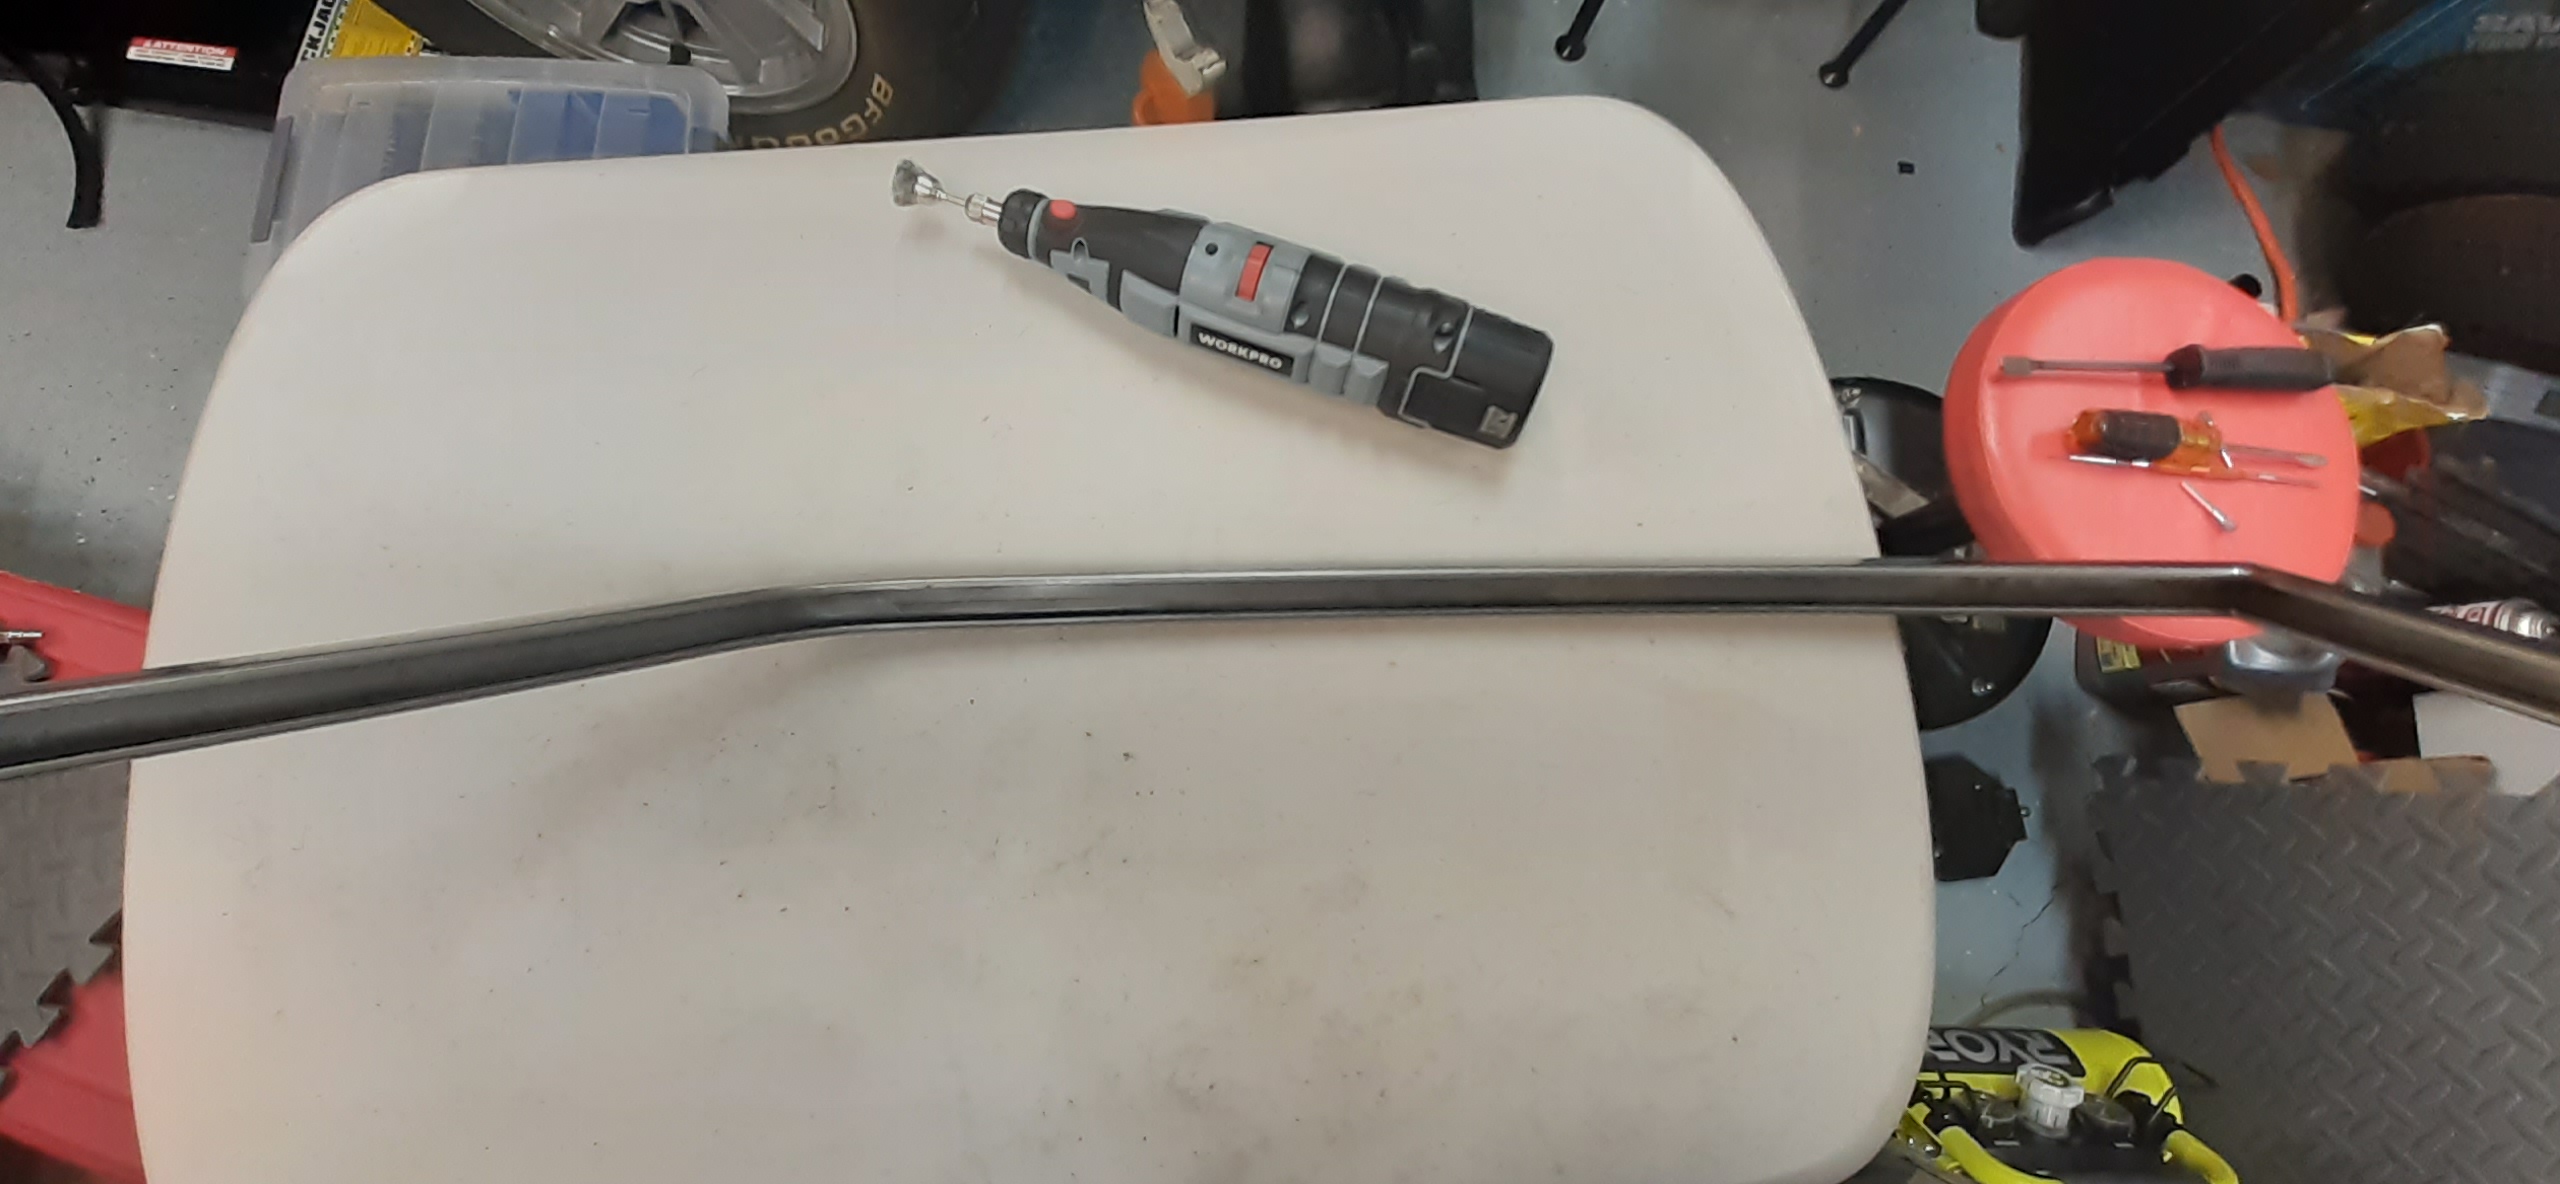
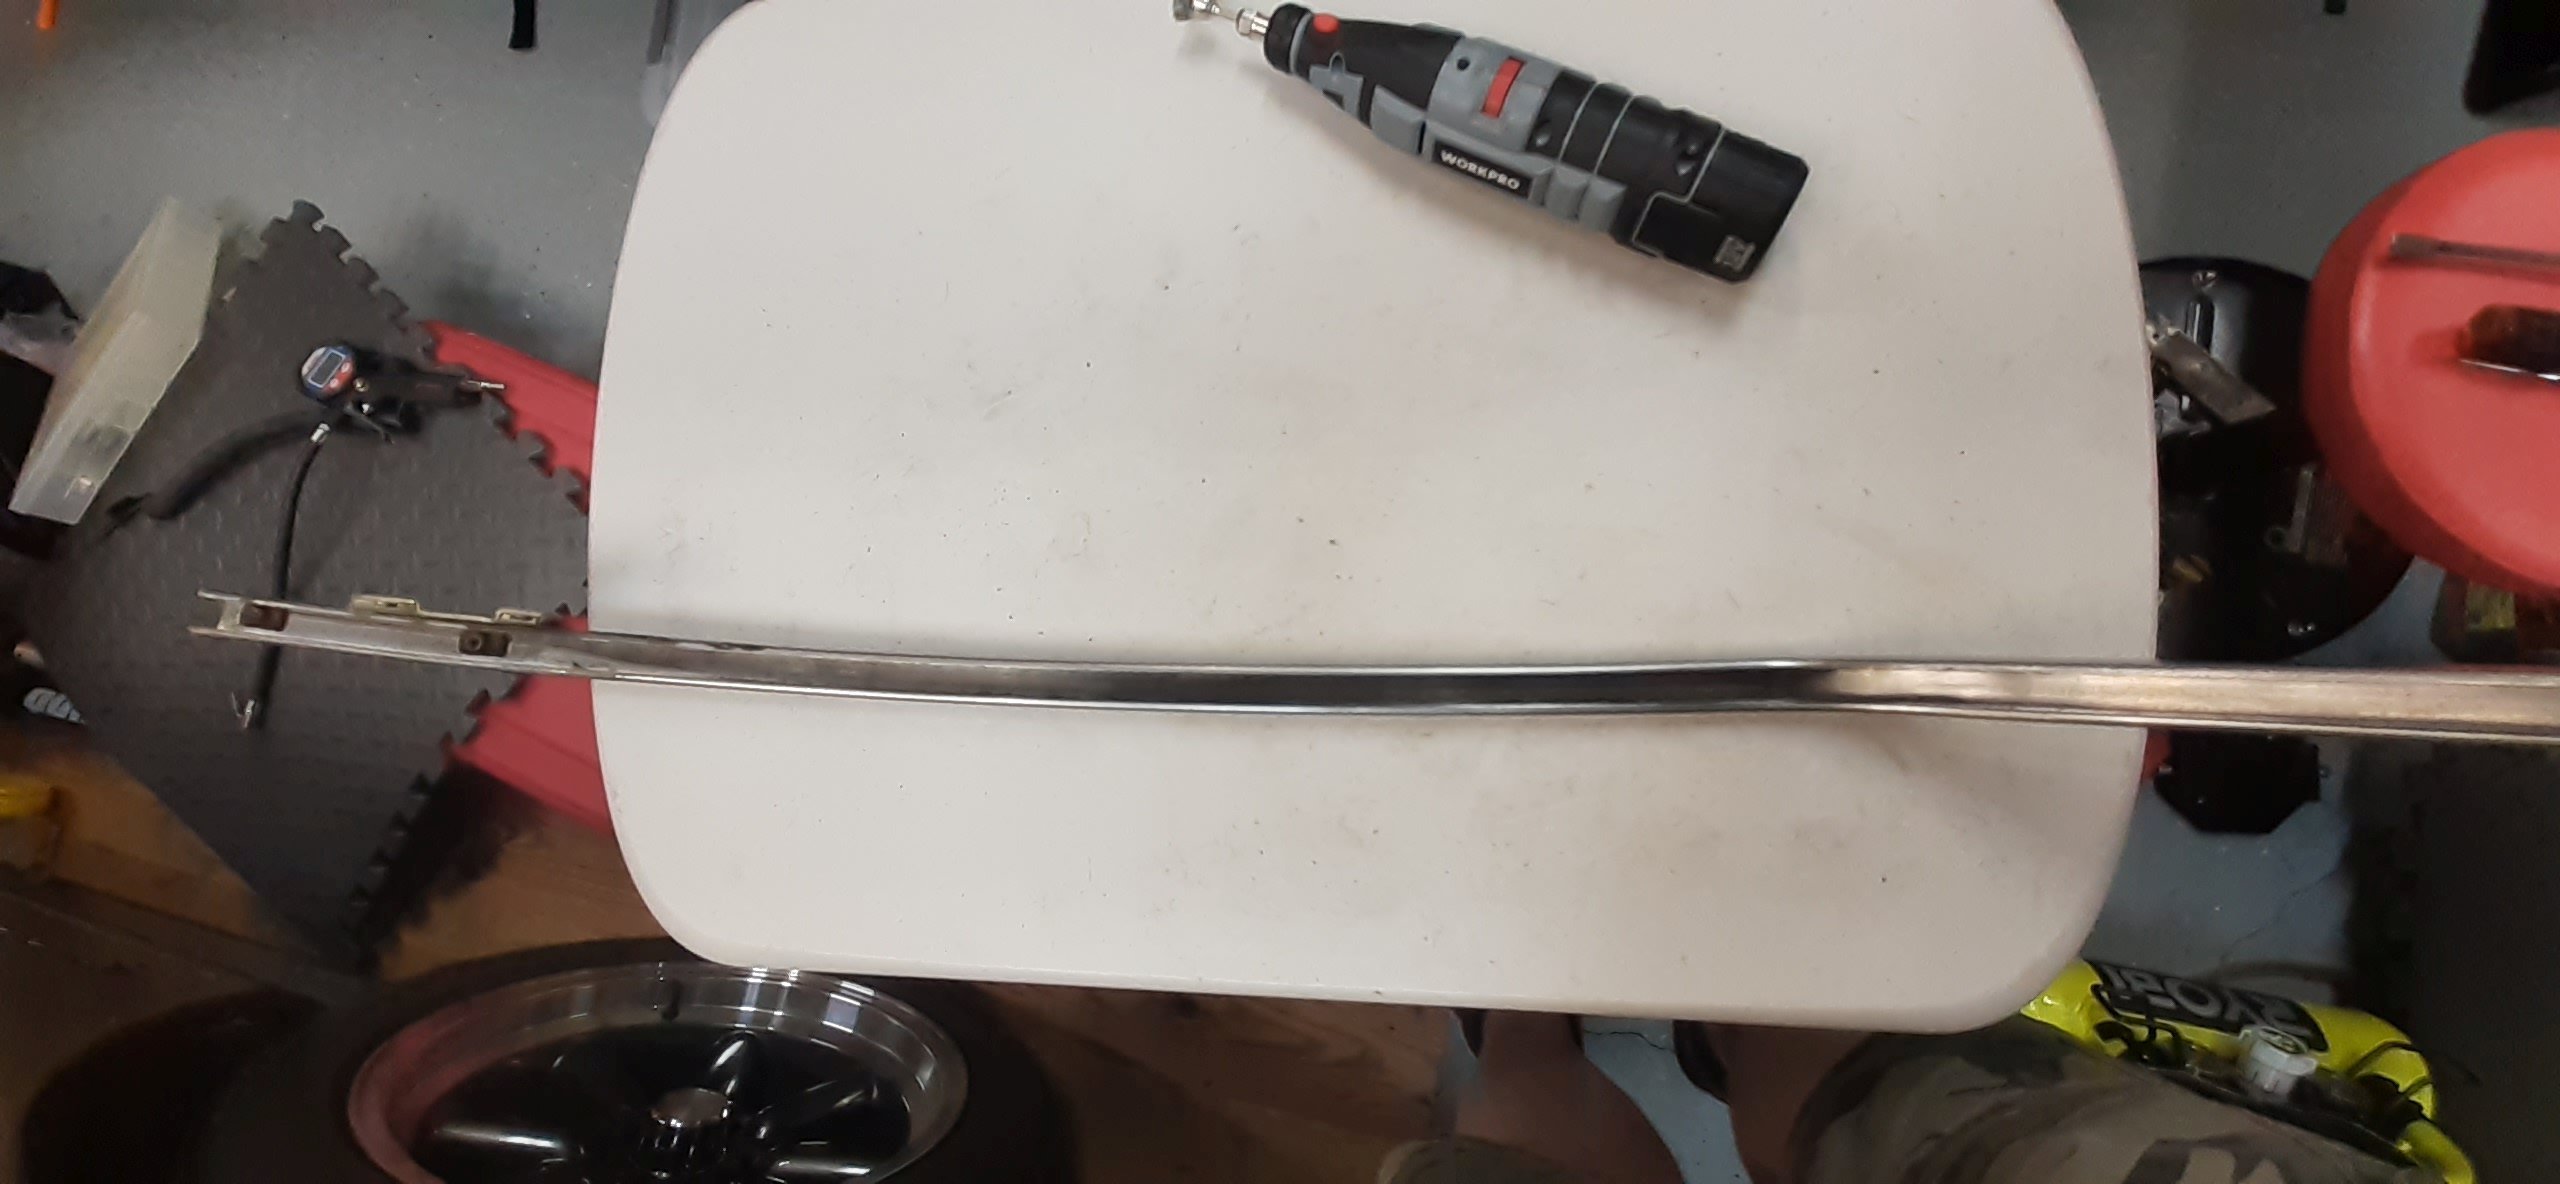
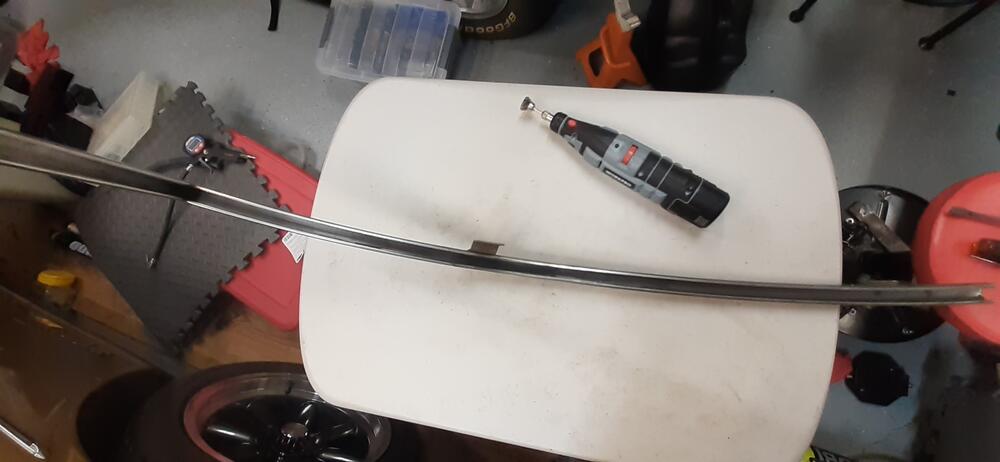
2 pointsSpeaking of comfort, it's good to reduce wind noise. The window channel rubber/felt was in two conditions: missing and rotten. I pulled the window frames out and worked on prepping them for new channel rubber/felt that I purchased from ebay. In case anybody is curious, here is the listing: https://www.ebay.com/itm/272740934276. Even though the seller is in Thailand, it only took just over 2 weeks to arrive. I can't complain about that. I dug out the rotten channel rubber from the driver side and used a dremel with a wire brush to remove the remaining adhesive. There was more of the rotten channel rubber in the passenger side frame plus some of the thick felt at the bottom of the back part of the channel. There was also more adhesive residue. For that I started with a narrow gasket scraper, and I finished up with the dremel and wire brush. I took measurements of the frame to prep the window channel length and finished up by cleaning out the inside of the frames with denatured alcohol. Tomorrow I will cut the window channel to length, apply a thin coat of adhesive to the frame and work the window channel into place. Here are some before and after photos of cleaning out the old adhesive from the passenger side frame. Before: After:


 2 points
 -
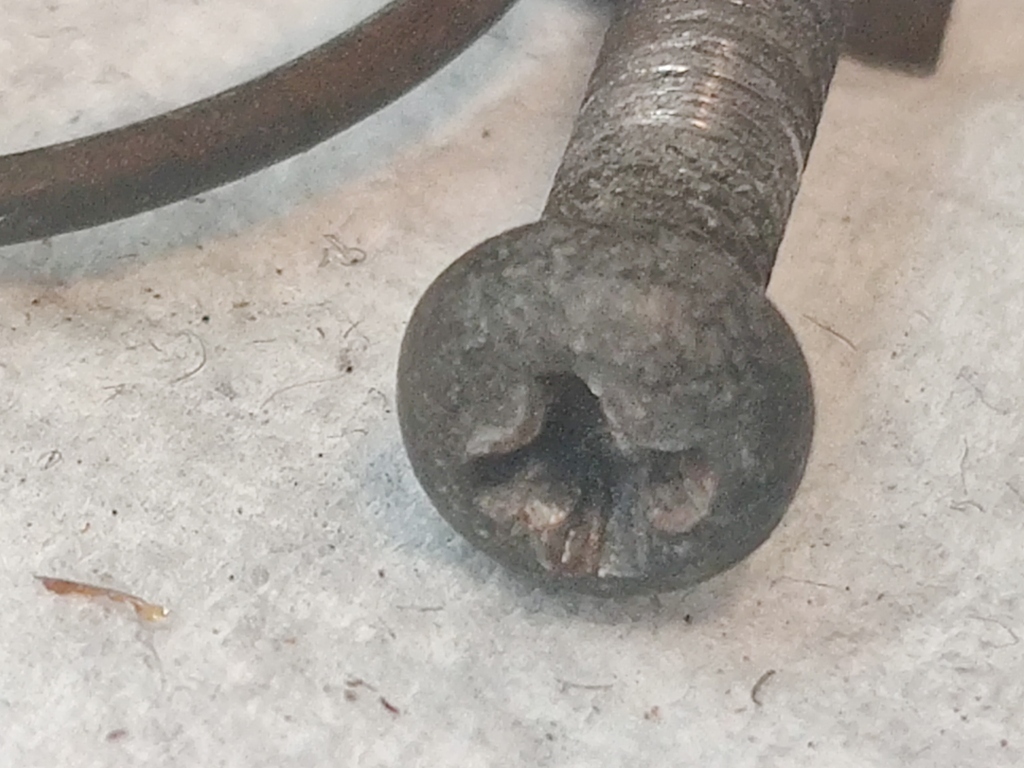
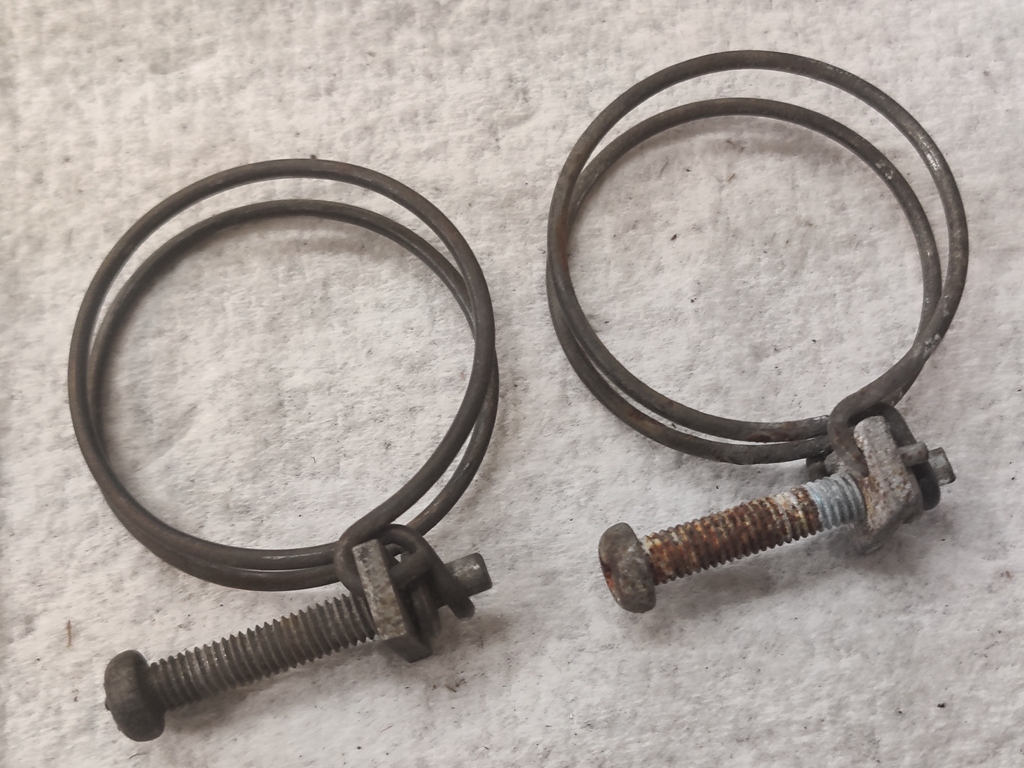
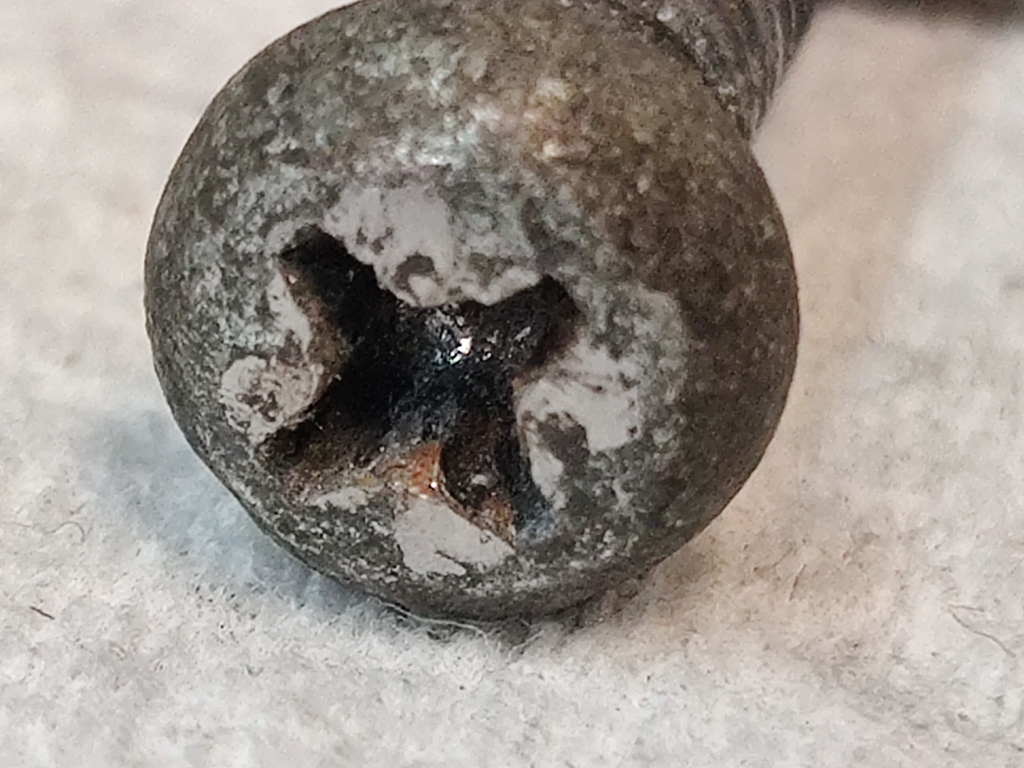
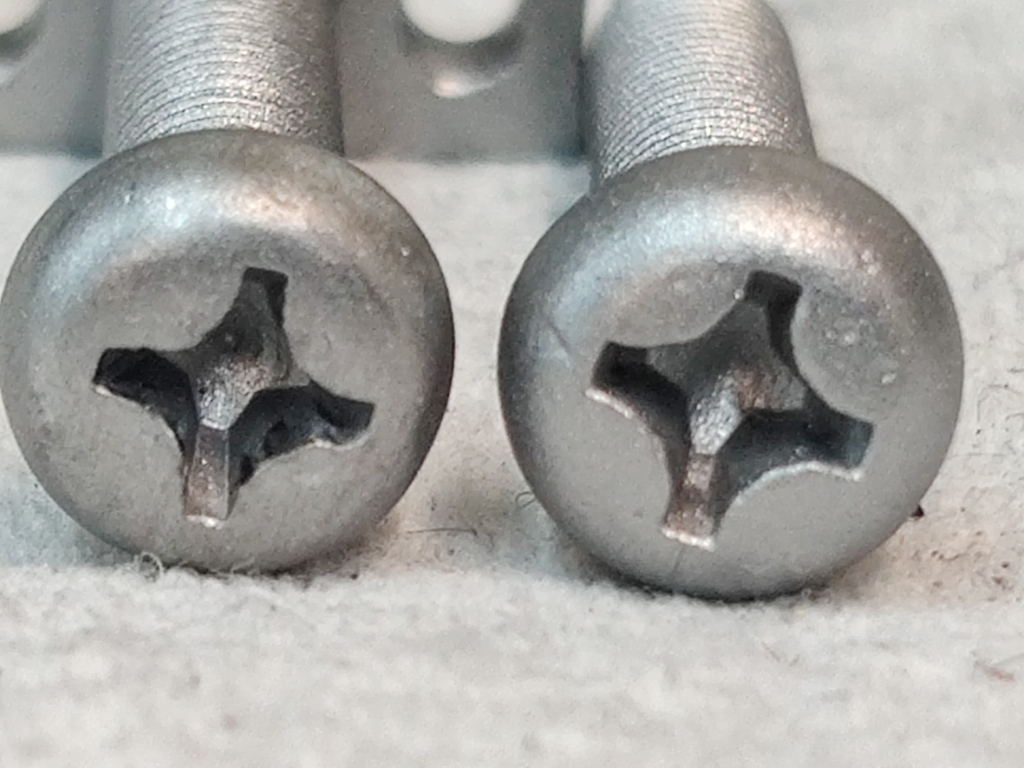
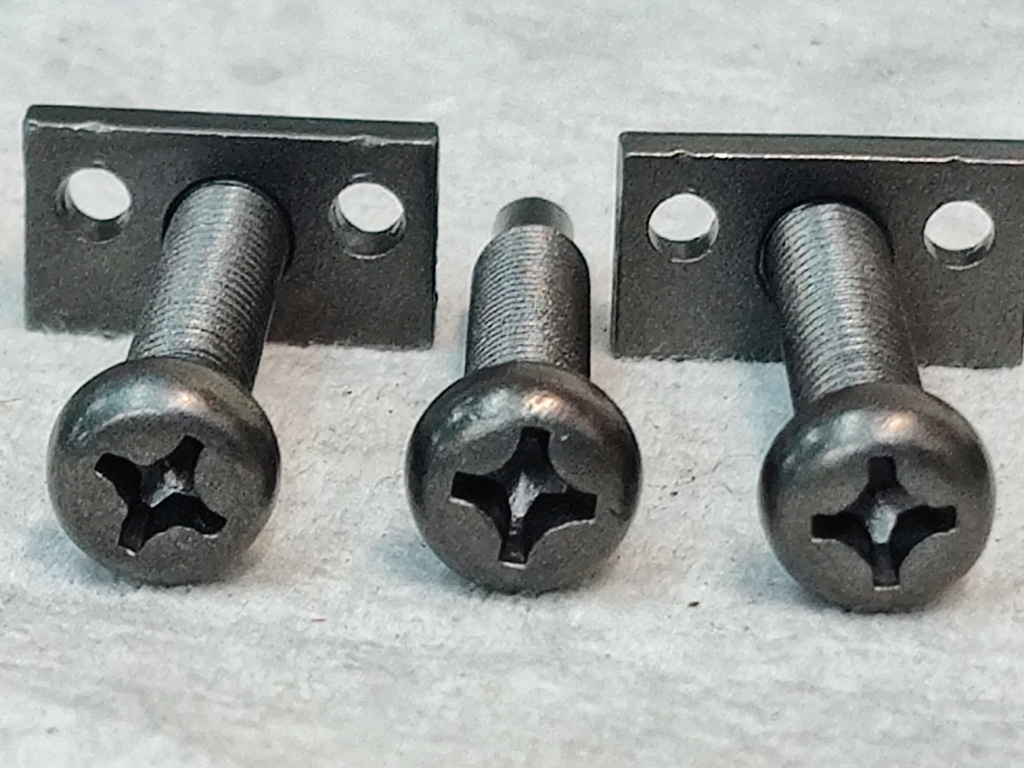
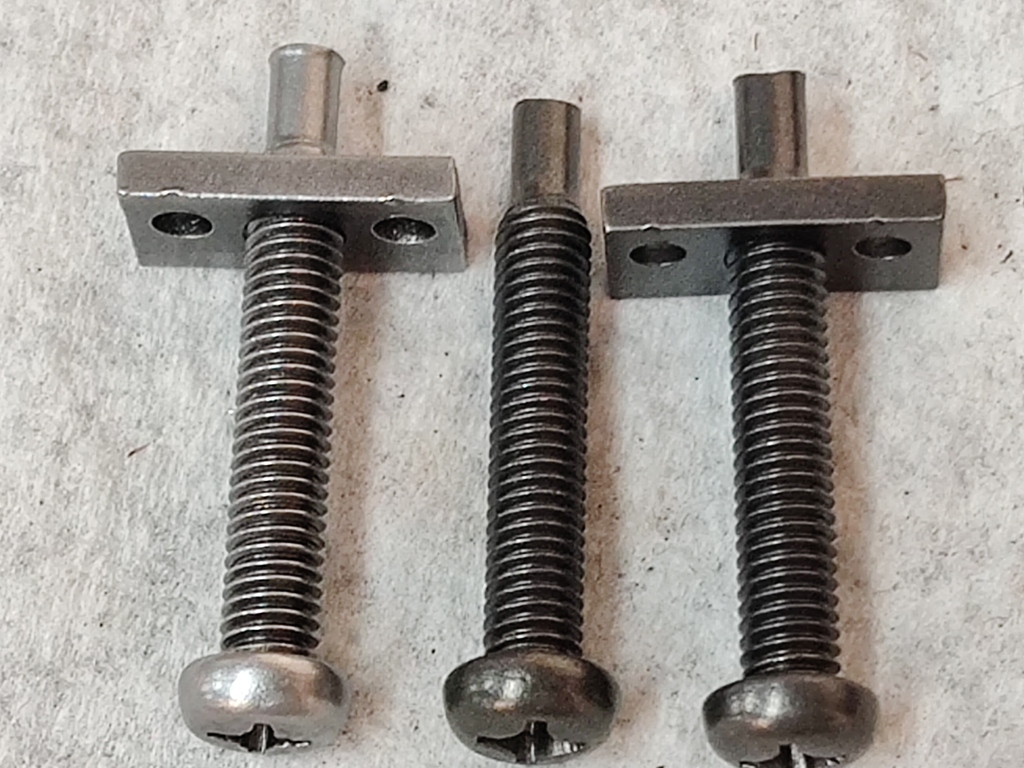
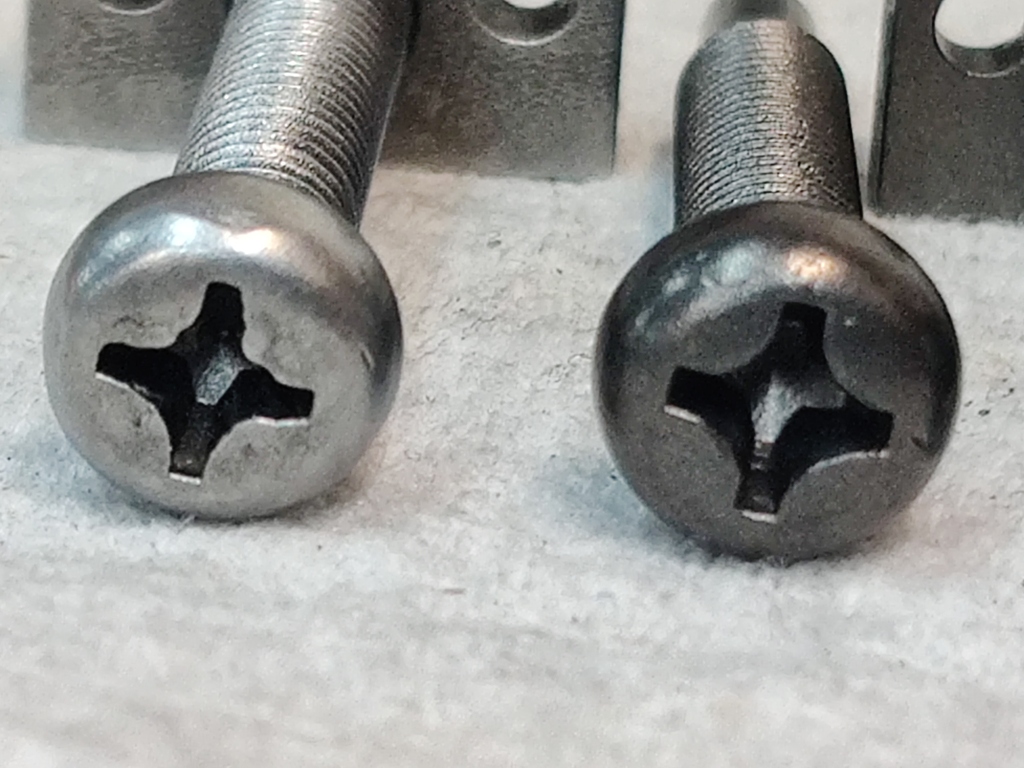
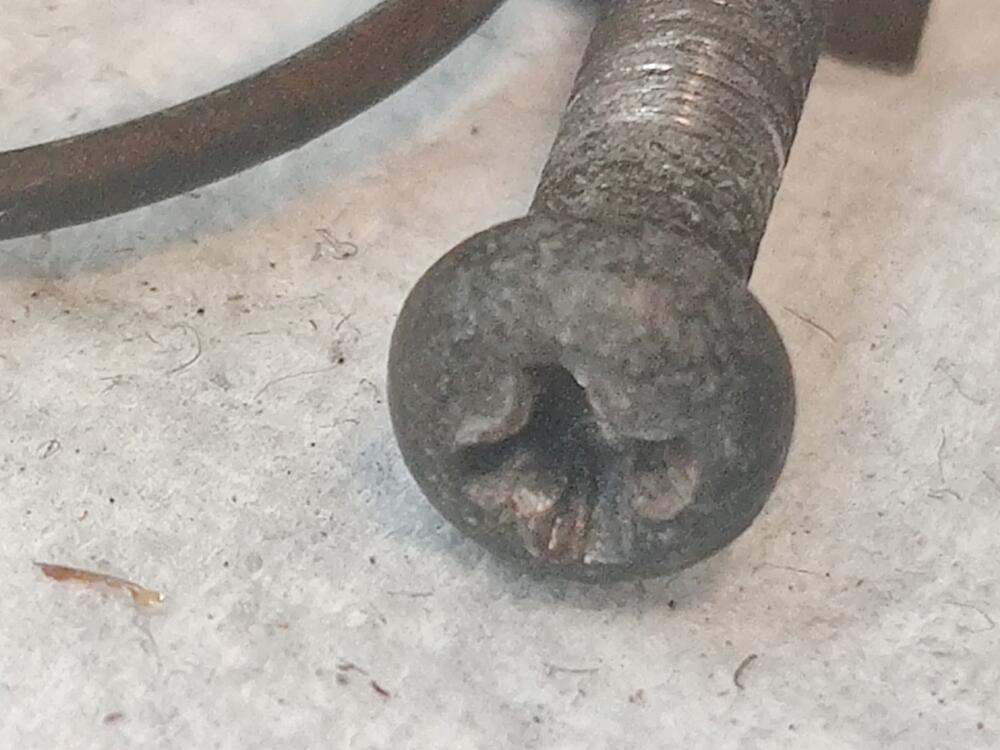
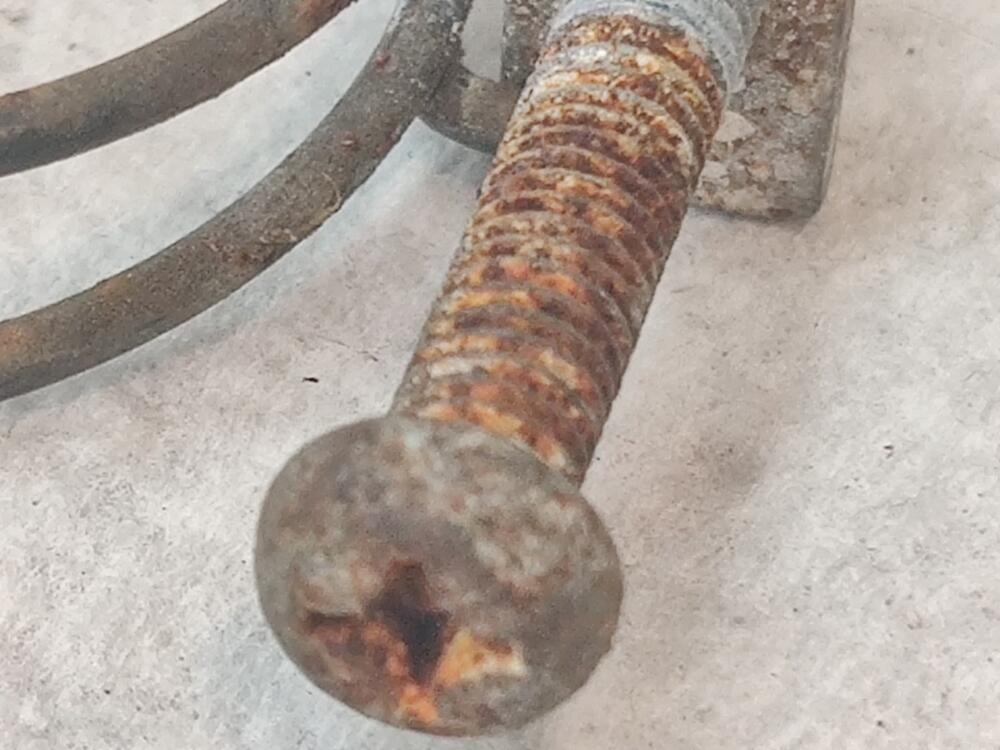
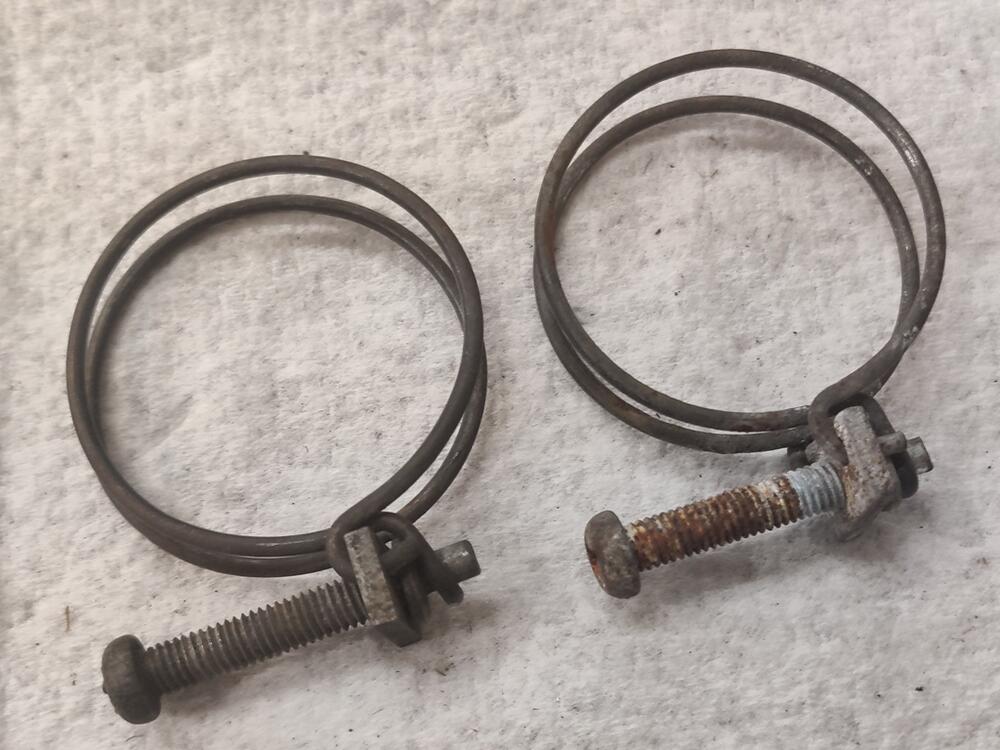
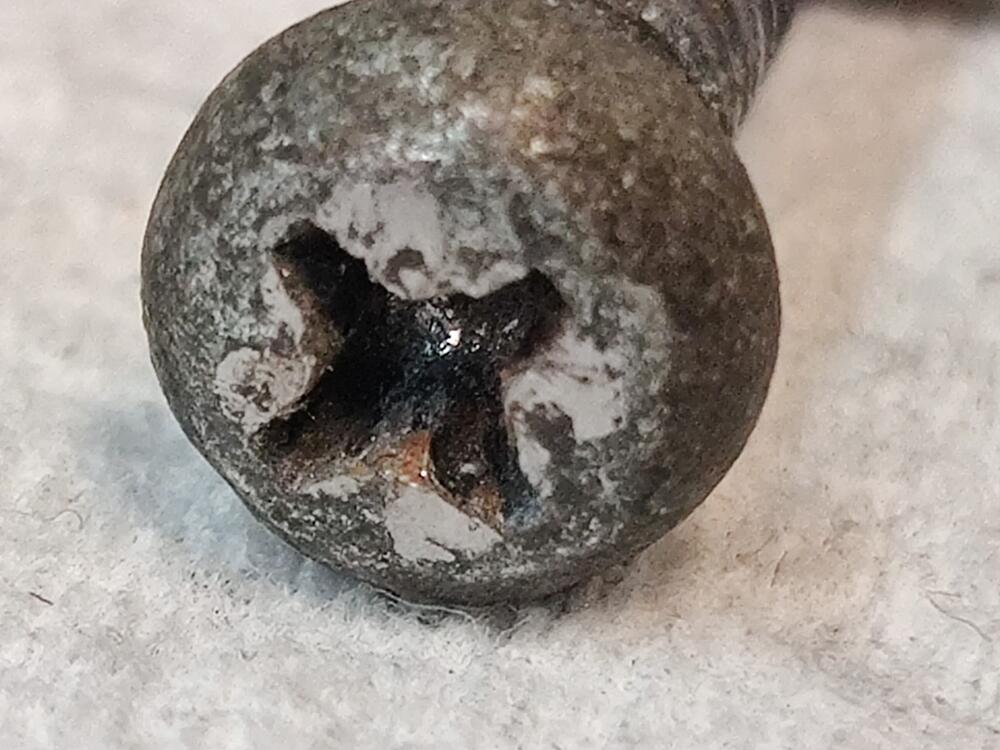
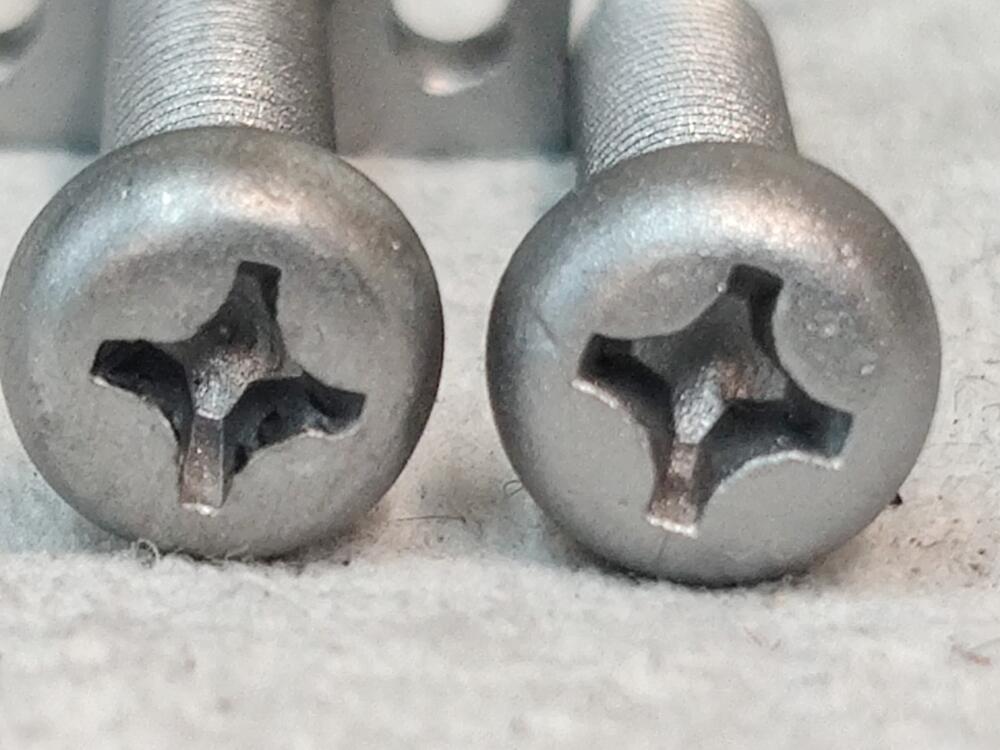
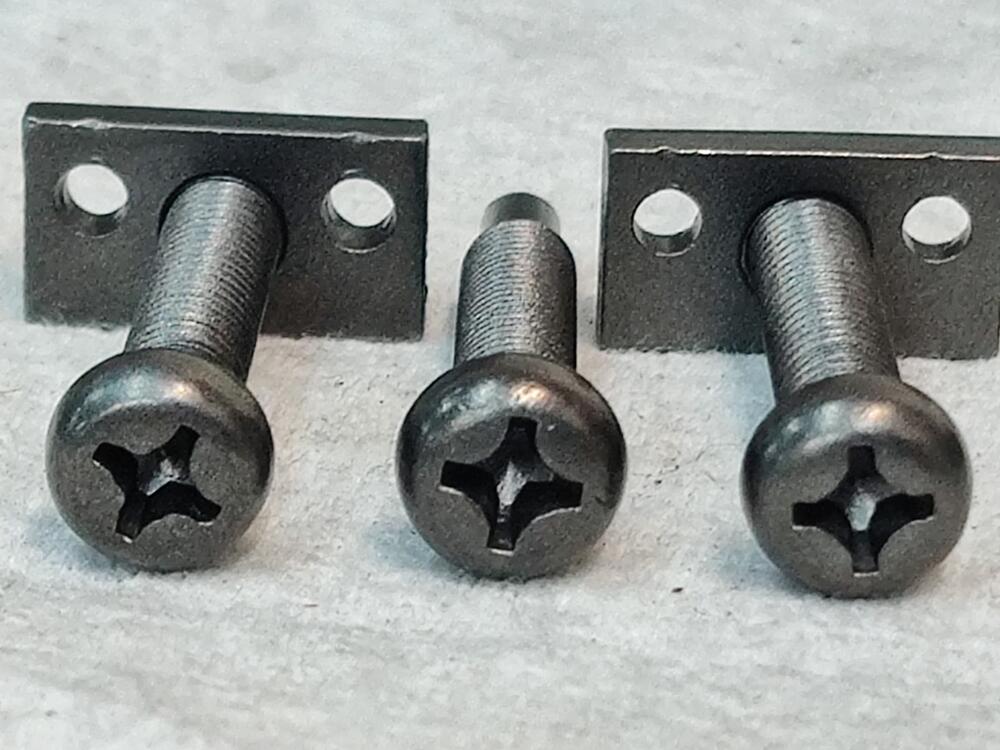
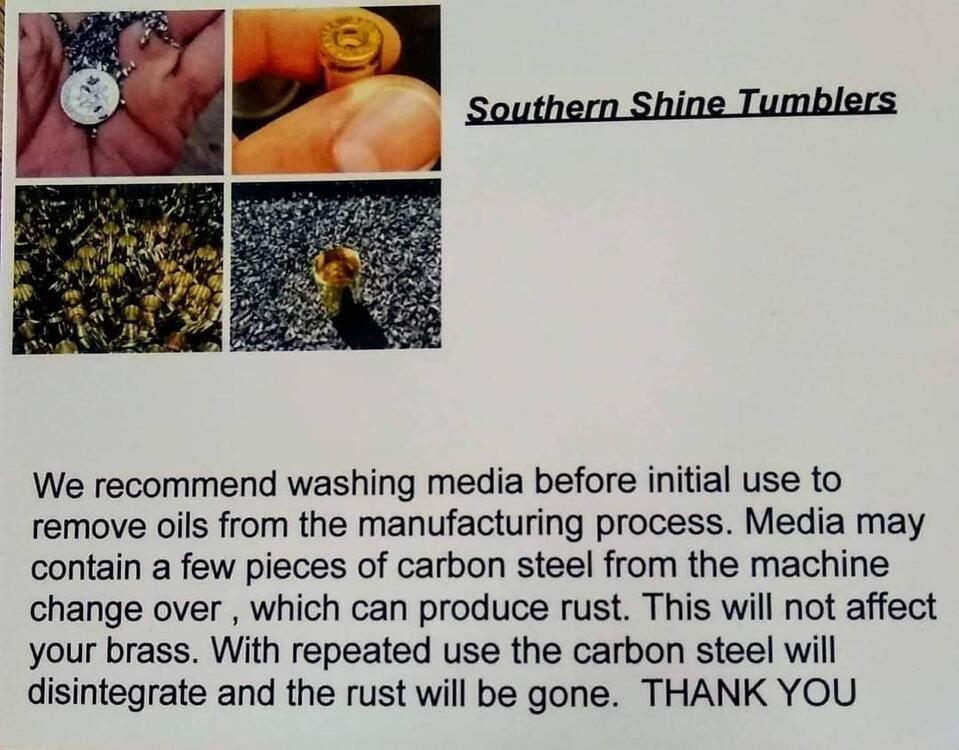
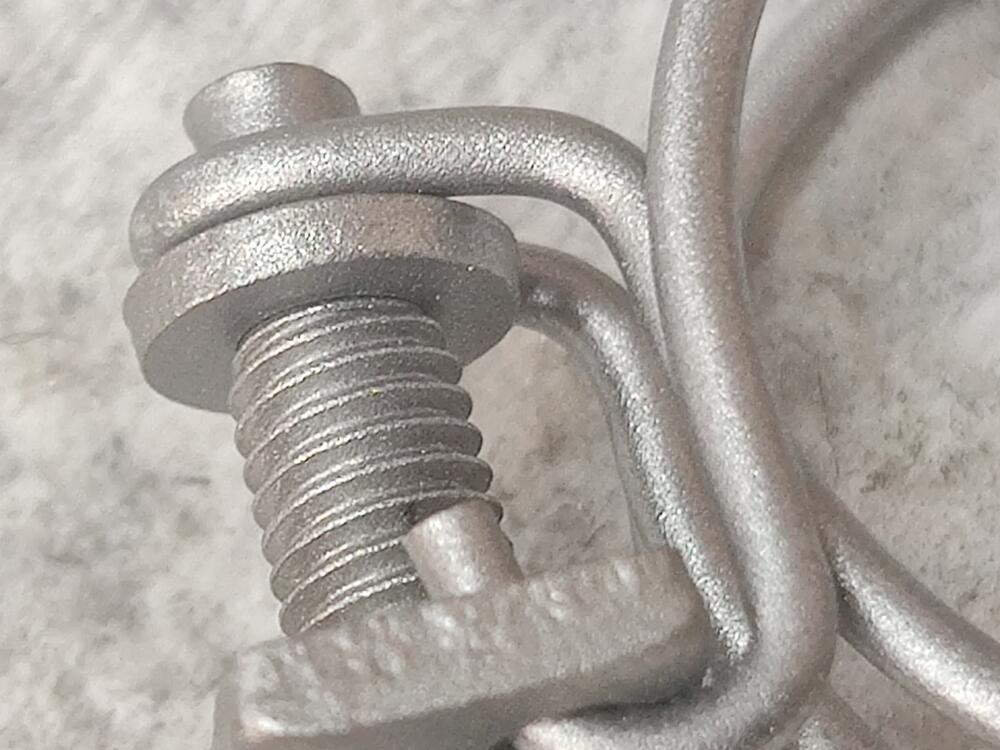
I thought I would take content from a post in my "build thread" and share it more broadly here. I've been working to prepare almost all of the hardware for my 6/1971 240z for re-plating, and have learned some, improving my process along the way. Here is some example hardware I ran through the process this week: These hose clamps are in pretty average condition after 50 years. Note that the less rusty one has some common damage on the phillips head. It has been mangled a bit. Something I have learned is that you can restore most philips screws with this type of damage by tapping the area with a hammer. I place the bottom end of the screw on the flat surface of my vise, and then use a hammer with a smooth face to tap on the top of the screw, working the metal back down where it belongs. I chose this one as an example to show that even when mangled this badly, decent results can be achieved (more pics below). So, here is a description of the process. Use these glass beads from Northern Tool and Equipment, important for size of grain, and bead blasting at 90 psi with a 1/8th inch nozzle to remove all rust, and to establish a consistent finish. I use one of these baskets and find that putting a variety of hardware (big and small) is great for trapping the parts in place so I can blast them without them flying around too much. For large parts, you don't need to use the basket, and you can then go back over them with the pressure at 50 psi to put a smoother finish on them. This smoother finish allows "second stage prep" by hand with less work. After glass bead blasting, all hardware (bolts, washers, nuts, screws and odd small bits) then goes straight to tumbling in one of these vibratory tumblers. I now use a stainless steel media (bought from Southern Shine Tumblers on Facebook). See pic below. It consists of tiny little bits of stainless steel that are good at getting into tight spaces, like between threads, phillips head recesses, etc. And I now use it dry. I was using water and a bit of citric acid, but I think that is best for doing brass shell casings. I was fighting keeping the parts from starting to oxidize/rust, and have found that the media works better and faster dry... to put a nice finish on the hardware. Minumum time in the tumbler is about 2-3 hours. You can add 2 to 3 times that and get an even nicer finish. For large parts that I can't tumble, I use a Dremel tool and the little wire wheel brush attachments after the glass bead blasting (first) step. For final, more consistent finish, I follow that wire brushing by hand rubbing the large parts with #0000 fine steel wool. It doesn't take a lot of work at that point by hand, but the combination of using the Dremel followed by fine steel wool by hand does end up taking some time. After hammer and top of vice on the screw head, then after glass bead blasting - with comparison to head that was not damaged, and lastly, close up of bead blasted texture: After tumbling, the hardware has a dark grey look to it. After wiping with lacquer thinner, the repaired screw in the second and third picture here is notably lighter in color. Sanding the top of the screw briefly with 320 grit or 240 grit would have been a good idea before tumbling, as I see some surface imperfections, but the screw looks pretty good compared to its initial state. Most of the screws I have done this to were not in as bad a starting point as this one. If you want to get the same media, send an email to Southern Shine Tumblers first to inquire on pricing and availability: southernshinemedia1@gmail.com They accept PayPal.


 1 point
 -
1 point
-
When I hover over the icon, "jeffsnook recently joined" pops up.1 point
-
Totally off topic, you all know me! What does this little high five mean? I've seen it lately and have to know everything so what says @Mike? I'm thinking "High I'm a new member"? But it could be some deeper Illuminati BS.
 1 point
 -
1 pointWiper motor and linkage installed for good. Was happy to see that the original wiper motor cover fit on the Honda unit nicely for a very “original” look.

 1 point
 -
1 point
-
1 pointyes. IIRC about 30$ shipping so about 100$ total. the casting was a bit rougher overall but it functionally I am sure it would be fine. I have video of it somewhere.1 point
-
I'll check the next time I'm looking at a set of round tops. The amount of throttle increase is "adjustable"* but I thought the throttle increase is about the last thing that happens. Memory says (take that for what it's worth ) the nozzle has already started to drop before the idle increase kicks in. * By bending the linkage1 point
-
1 point
-
1 pointHa! I've got you beat by a country mile. Before I reinstalled the seats in the 73, I lifted up a mat under the passenger seat and found a 1972 quarter and a 1960 penny. Both were likely there before I bought the car in 1993.1 point
-
1 point
-
1 point
-
1 pointYou could have leveled the bottom of the oil pan and used your angle gauge on the top of the head or block. Or leveled the top of the head and put your angle gauge on the bottom of the oil pan. Actually, you can still do that. Anyway. Why do you need the angle?1 point
-
1 point
-
1 pointHaHa Zed! You must first equalize the air pressure in each tire and hope your concrete floor was done correctly.1 point
-
1 pointJust realized that you can get the angle from the oil pan also. The bottom ends up parallel with the floor of the ground. Assuming a perfect world.1 point
-
1 point
-
1 pointMight as well do headers! Also, you might as well delete all that emissions stuff, or just cap off the ports and leave them off since it's already apart. I could clean mine up better, but I haven't. The car runs fine without all that. I have aftermarket EFi that controls cold idle and startup, but even before that with stock EFi after cold start injector /circuit delete you could mimic it by applying a little gas with the accelerator pedal. Unless of course you want to keep it as original as possible, which is perfectly fine too..
 1 point
 -
1 pointthats too far in, should sit flush with the outside face of the timing cover. I think thats in danger of falling in!1 point
-
1 pointResist...that’s what I had to do. My wife hates my Z too. Says “what a piece of crap”. She only appreciates something with headed seats, SiriusXM radio, adaptive cruise control and CarPlay. I don’t need that crap. Wait until she finds out it doesn’t even have cup holders. I had to tell my wife, why do you want to stop me from enjoying my hobbies...that’s not what your do to someone you care about. You can also say, you can’t get much money for it the way it is but with some work it has some value and working on cars is better than drinking booze and gambling. It’s a harmless hobby. Resist! Sent from my iPhone using Tapatalk1 point
-
0 pointsHave you bought one from them, or know anyone who has? Sorry to sidetrack your thread @Wally.0 points