Jump to content
Remove Ads

Leaderboard

Popular Content

Showing content with the highest reputation since 06/08/2025 in all areas

  1. Went on my first road trip of the year with my BC Z club friends. About a dozen of us left from the Vancouver area, I joined from Chilliwack and we made our way to the BC Okanagan. Our original plan was to take the Coquihalla Highway to Kelowna, but a large sinkhole closed that route. We ended up taking the more scenic Hope-Princton Highway. For me it was a 436 mile (700km) return trip. My1970 Zed performed flawlessly, even in high mountain terrain and temperatures in the mid 30's C, (93 F), Our first stop was in Princton, for fuel, and to meet up with a few more Z club members. Here's a pic of a few of us in Princton. Our end destination was Kelowna, where Kelowna Nissan generously us hosted for a welcome event. They put on a great BBQ and offered up some Nissan swag. With other club members that met up with us along the way, there was close to twenty Zeds. The Zed to the left of me is fellow forum member @Chickenman, with his 1976 280Z. Thanks Richard, for the "way home" route ideas. The next morning, quite a few had decided to stay an extra day and enjoy the awesome wineries in the surrounding area. I and others, make the trek back, with most taking the faster, more direct Coquihalla route, as sink hole repairs had been made. I like to take the road less travelled, so I did a solo drive on a longer but more scenic route. This route included highway 5A from Merritt to Princton, that runs beside a seemingly endless series of beautiful lakes. Another bonus was that I was almost the only car on the road, with that route. 🙂 All in all, it was a great weekend. I'm looking forward to the next road trip.😎
  2. Gang - I'm also in a classic British car restoration forum and they had a really cool thread idea that I wanted to bring here: Did you buy your Datsun brand new and you still own it to this day? If so, please post the oldest photo of you & your car in this thread, and maybe write a little story about what prompted you to buy it at the time! * Also welcome in this thread are stories & photos from Z owners where another family member (parent, grandparent, etc) bought the car new and it has stayed in the family until present day Looking forward to reading your story! I know @jfa.series1 has one!
  3. Looks like I never finished this thread. I replaced the front yoke and took the propeller shaft to a local shop for balancing. It was there opinion that the shop that did the shortening of the prop shaft did not balance it. When I went to install the shaft into the transmission, the "slop" (the amount I could push the yoke radially) was a lot. As an estimate from looking, I'd say I could move the yoke in any direction about .020". So, that is about a mm of movement radially. It might have been a bit more than that. So, I decided to replace the bushing that is in the tail shaft of the transmission. Looking back on it, I think the bushing developed wear because of the driveshaft being out of balance for the first 500 or so miles I put on the car. I think that the bushing was sacrificial - meaning made of softer material than the yoke. Anyway, after putting the new bushing in (removal and reinstallation of the transmission was required), the new yoke was tight (no discernable movement at all radially). With everything back together, the vibration that caused me to start this thread is gone!
  4. You've got to be kidding!!! Five minutes after wearing that, my wrist would look like this:
  5. What a fantastic shot! That could be a poster.
  6. Here's the latest wiring diagram. I changed the ground distribution scheme to add the dedicated ground strap directly from the battery terminal to the firewall, and also labeled the ground connections that are through the engine metal. Hope this helps depict how the car is actually wired. I also changed one of the wire colors leading to the fog light switch. Might only matter to people in other parts of the world who have fog lights. <V8.0> _obvious 240Z Wiring Diagram 8.0.pdf
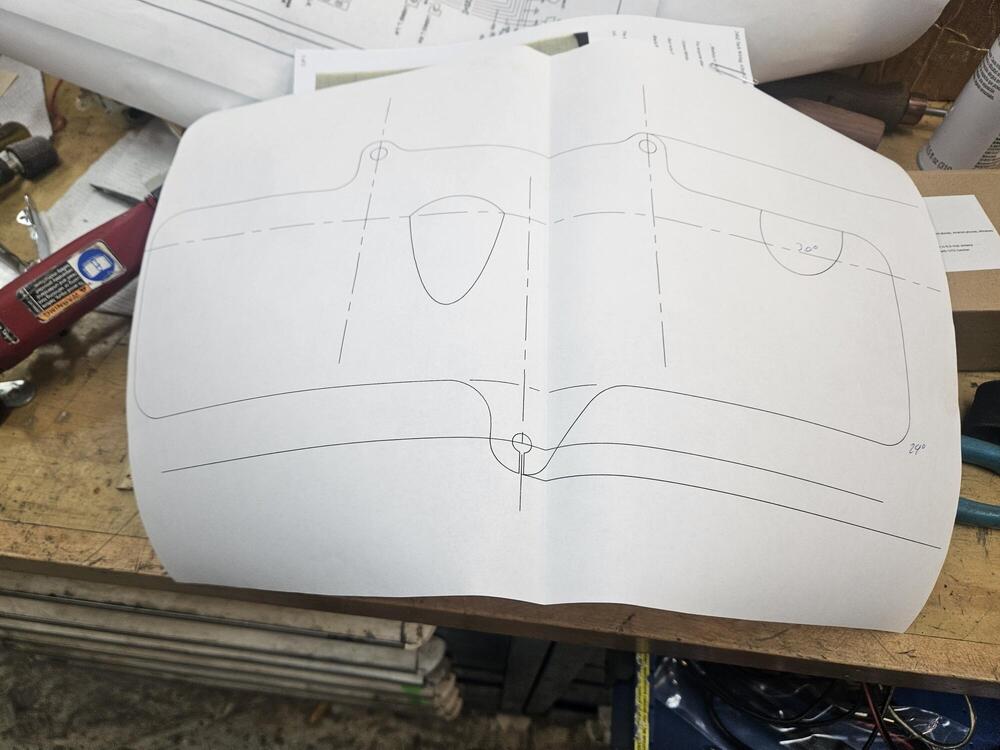
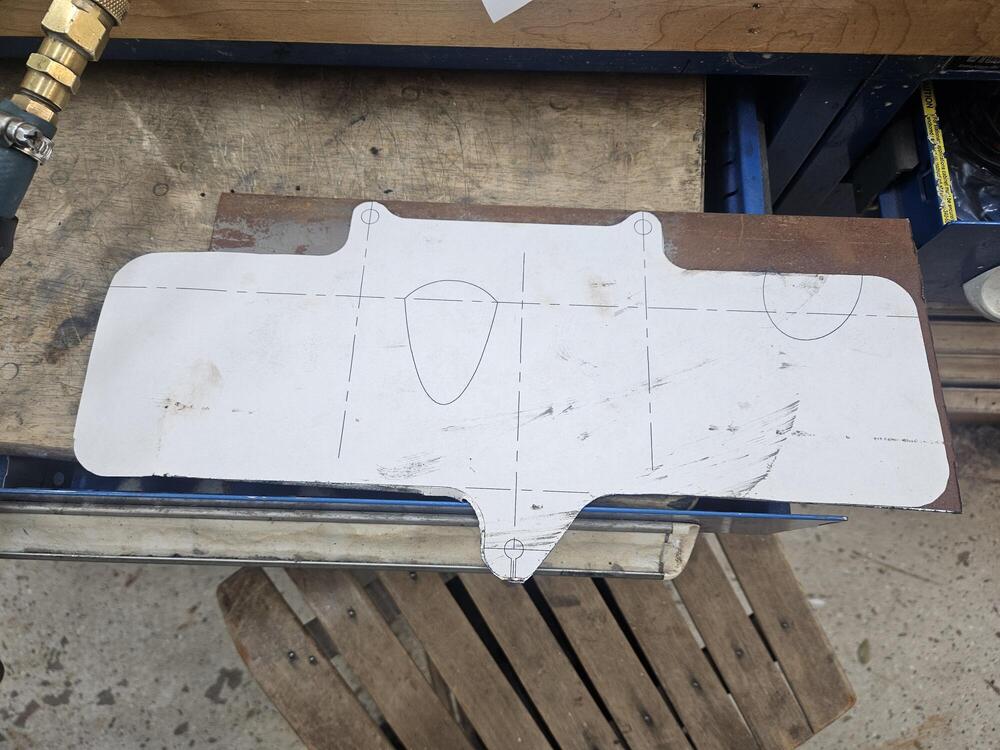
  7. I didn't trust my ability to hermetically weld the tank. So I assisted a friend while he tacked it together. He then took it to a mutual friend with a TIG welder and finished it up. At this point, I poured more Red Kote into the tank and allowed it to flow over all of the seam. I let this sit for about a month to cure. Then, I sealed off all of the openings and blasted off the remainder of the external paint. Interestingly, there were dozens of small hidden rust spots beneath the paint. You couldn't see them through the paint. But when the media hit it, the paint would flake off, revealing a brown rusted spot. After blasting, ready for paint. I primed and painted it with Rust-oleum automotive paint in rattle cans. It turned out decent. No one will be looking at it. Note I didn't remove the original rubber blocks. They were stuck on really well, and not damaged. I did remove the original foam rubber piece near the sender hole because it was falling apart. I replaced it with a similarly-sized piece of 1/8" (3mm) thick EPDM rubber, just to make sure nothing would rattle. You can also see where I masked off the factory marking, just in case anyone might ever care if the tank was original. Lastly, I leak tested it by putting a few gallons of gasoline in it and allowing it to sit on each edge for 30 minutes. The sun was out, so the tank heated up and pressurized, which was a good sign. I'm happy to report that I've reinstalled the tank in the car, and it works fine. No leaks. And no more plastic gas can bugeed to the rear shelf.
  8. Huge thanks to Charles for coming over and helping me get the tank back in. It feels indescribably good for her to run under her own power with a complete fuel system. I'll circle back to my fuel tank restoration thread with an update. But in brief: cut tank open, bead blast clean, drill spot welds for screen canister, cut suction pipe to access screen, remove screen, Red Kote everything, reassemble, slosh more Red Kote around seam, bead blast outside, paint. Easy, lol. Tank restoration thread: https://www.classiczcars.com/forums/topic/68742-efi-fuel-tank-restoration/?&_rid=30865
  9. So we worked on the 280z some more yesterday. Put the restored tank back in it and added some fuel. Fuel pressure came up after cranking but wouldn't come up in the "On" position. Cranked up first time. Bolted some wheels on and went for a quick spin!! 20250613_194943.mp4Don't know how to add a video...??
  10. I think both those GMBs are aftermarket and agree that an Aisin with the cast iron impeller will be as close to OE that you'll find today unless you can find one using the part number on this box.
  11. If someone is looking for an original Bosch version of the 280Z auxilary air valve here is one in NOS condition. Its for a 1976 Porsche 924, but it's a very similar system. Marktplaats≥ Lucht by-pass regelaar Porsche 924 ('76-'88) — Motor en...Lucht by-pass regelaar Porsche 924 ('76-'88)Lucht by-pass regelaar Porsche 924-Porsche 924, 2.0liter-Voor koude start regeling (lucht)-Bosch-Getest en
  12. Thanks John! It is nice to start thinking about plates and car insurance after all this time! Sixteen years... 😮
  13. I have lights. No one is going to not see this thing. These LEDs are significantly brighter than the lights on my Subaru. Unfortunately, somewhere between testing it on the bench and installing the dash, the speedo and tach illumination stopped working. I think the main branch of wiring coming out of the dimmer is messed up. I also don’t have any blinkers for some reason. That one is going to be harder to figure out. Worst case scenario is that I made a mistake in the engine harness.
  14. Exactly....Still have both of the original pairs of keys...sentimental, I guess
  15. Take a picture of the ASAHI stamp on the window, and post it here. The dots tell the dates.
  16. Got it, I'll give it a look. Thanks!
  17. I used the two prong electronic flashers for a while after converting to LEDs. I found that some of them had spotty performance. After that I switched to 3 prong flashers and grounded the third prong. That has provided reliable performance for years.
  18. They definitely were. Did that cause the brakes pads to tighten on the rotors? There was some brake dust everywhere. I ended up doing 3 things at once, flushing the brake fluid. Disassembled the calipers, and repack and set the wheel bearings correctly. The wheel bearings heating up may have caused air in the brake fluid to expand and tighten the brakes, I don't know. I just finished it off by adjusting the pedal to the floorboard distance, it was 7", now it's 8". Same with the clutch pedal, it was an inch off. Then set the master-vac push rod length to 3.5mm below the flange surface. I had backed everything off while 15 miles away trying to get home, not knowing what was going on. Things are looking good now.
  19. So I just did these seals on a manual transmission. The large Oring seal seals the drive body to the transmission case. I'm not sure the little top hat seal would seal anything out. The small square sided seal goes inside the speedometer gear drive body. It seals the speedometer cog shaft. If this seal gets hard or goes bad, liquid leaks up into the cable housing until it finds a way out. Usually a crack in the speedo cable housing. I replaced mine and the floor under the car has stayed dry. I will have to check the fluid levels again soon to make sure it's still full but I believe those two seals are the solution
  20. Going to do that tomorrow. Hope that will pin point the leak.
  21. Yes I did just add. I think the AT holds 6 qts. I am having it checked out this week. Thanks for the suggestion
  22. This has the same part number. #51 in the microfiche. Datsun Z Transmission Case & Fit...Datsun Z Transmission Case & Fitting (Automatic-3N71B) (F...
  23. I drove it about 15 miles to the car show, never touched the brakes, just used the E-brake. Front wheels were heated up some. Got home and they were both about 170-180°. I took apart the calipers, they seemed okay. Very hard to remove a couple of the pistons. Oiled them up and reassembled. Checked the wheel bearing rotation starting torque with my fish de-liar. They were both way too tight. Replaced the grease in the wheel bearings with fresh grease and torqued them correctly this time. Went for a drive, problem solved. Wow, fun car!
  24. Darn it, you locked in my grammar error. One the. It has the same mileage now as when it had dual filters. That's good, for the engine.
  25. I am about to start on the task of adjusting the profile of my Hitachi SU needles (I have SM needles installed). I read this thread in preparation: https://www.classiczcars.com/forums/topic/59153-modified-su-carb-needles-for-l28/ @240260280 has detailed knowledge on the subject which is impressive! I wish I had the tools and knowledge to do what he knows should be done. Instead of measuring vacuum, etc. as referenced there, I am thinking about rigging up a camera to record a video of the piston movement under certain real world scenarios. For that recording, I am thinking of putting black marker lines on the piston that equate to the station positions on the needle. For the real world scenarios, I would like to record a series of various part throttle applications. I am hopeful that I can locate a specific range of the needle that will need to be modified. Very generally, I believe I have good AFRs at idle, and cruise (at 50 mph for example), and at wide open throttle. On the other hand, I have lean or very lean conditions at part throttle and during closed throttle deceleration (accompanied by popping in the exhaust). I will be making some more AFR reference runs before I attempt to modify the needles to confirm. But then, I am hoping to record the videos, and remove a miniscule amount of material from the "pick up" needle stations. The segment of the needle I need to modify should be confirmed by reviewing the video. Anyone have additional recommendations or thoughts?
  26. Well apparently bypassing the filter and sucking dirty air into the clean side of the air filter is a thing. Wonder how long THAT engine has been breathing dirty air. Also a whole bunch of hokey-ness going on here. ☺️ Hahaha!! :
  27. And BAT doesn't seem to mind the jail time issue!!
  28. Talk about incestuous marketing!
  29. One the "The 240Z Guild" cars is up on BaT again. It was sold on BaT in 2017 by The Guild then "reacquired" by The Guild in early 2019 then sold on BaT again in 2019. Now it's up on BaT again. https://bringatrailer.com/listing/1972-datsun-240z-29/ $26,500 https://bringatrailer.com/2018/01/13/bat-auction-success-story-regrets-reconciled-with-purchase-of-1972-datsun-240z/ Success story https://bringatrailer.com/listing/1972-datsun-240z-108/ $50,000 https://bringatrailer.com/listing/1972-datsun-240z-362/
  30. Yes I know. I started tearing mine apart in in 2016 and finally started reassembly about a year ago. I still have a lot to do though. John
  31. Great-looking car, picture-postcard weather, beautiful country. Thanks for posting.
  32. All work and no play makes Matthew a dull boy.
  33. Car looks fabulous, Charles. For those of us who remember your paint disaster, this has to be very rewarding. Re the problem seal, here's a photo from an unmolested early 71 Z (VIN 019769) that came up for sale on BAT a few years ago. Hope it helps...
  34. I have a couple of photos from when i dissembled mine. They are not the best but may help.
  35. Looking great Charles! I cant claim this is correct as I struggled getting that rubber installed too. I am pretty sure the inner flaps go under the door card. Outer one I installed under the trim. Love to know if I was correct!
  36. Back in the shop this weekend I need some help with this seal. How is it supposed to fit to the door?? I got the door locks in the doors,. Although I damaged the paint on the passenger door. Window frames are in and all the internal mechanism is in. I got the window regulators in yesterday. Freshly plated fuel door latch I got the door glass in today after church I will work on door sweeps next weekend, hopefully. Maybe mirrors too
  37. Nice work, Captain Obvious. Thanks for your persistence in moving this forward. A few questions and comments specific to the Combination Switch: I see the Horn Relay, but I don't see the Horn Switch (talking about the 'switch' that operates when the driver pushes on the horn pad) Letters appear in some of the rows in Column 2 of the 'grid' for the Combination Switch (the letters are: A, B, D, E, F, M and P). Can you refresh my memory as to what they stand for? As currently depicted, the Wipers show only 'OFF' and 'ON' modes, with the logic within the 'ON' mode apparently trying to do double-duty for both 'HI' and 'LO'. I think that the switch's operation might be more clear if 'ON' is replaced with discrete 'HI' and 'LO' modes. See attached schematic, per my original post in this thread back in July 2024. As I also pointed out back in 2024, it's worth keeping in mind that the colours of the wires coming off the Combo Switch don't always match the colours of the wires to which they connect on the Vehicle harness. See below (bold-face letters are Vehicle-side, regular-face letters are Switch-side)...
  38. I don't think either of those water pumps you pictured are "original", but as for "correctness", here's a couple pics from a 9/70 car. Note that this car has A/C and I don't know if that makes any difference, but it's what I got:
  39. I bought a new Aisin water pump off Amazon recently
  40. Nissan were caught out by changes to motor vehicle 'Construction & Use' regulations with regard to lighting for 1971-up in several European markets. Height from road level was particularly difficult to solve. The regulations even required changes to the illumination of the rear license plate. Of course such regulations applied to NEW cars and many private owners took the opportunity to move these aesthetically unpleasant front turn signals to a position UNDER the front bumper, or - even better - to revert to the configuration that the gods originally intended... A legacy of precedence. You may have heard of Mr James Watt? He found it necessary to use a unit of measurement in order to compare the power of steam engines to that of working horses. Of course he used the IMPERIAL system as METRIC horsepower didn't exist at that point, the Industrial Revolution not being a Continental phenomenon... You may also have heard of Sir Isaac NEWTON? That's him in your Nm measurement. (Posted from The United Kingdom of Great Britain and Northern Ireland, a small place off the coast of mainland Europe which used to rule much of the world for a while... LOL)
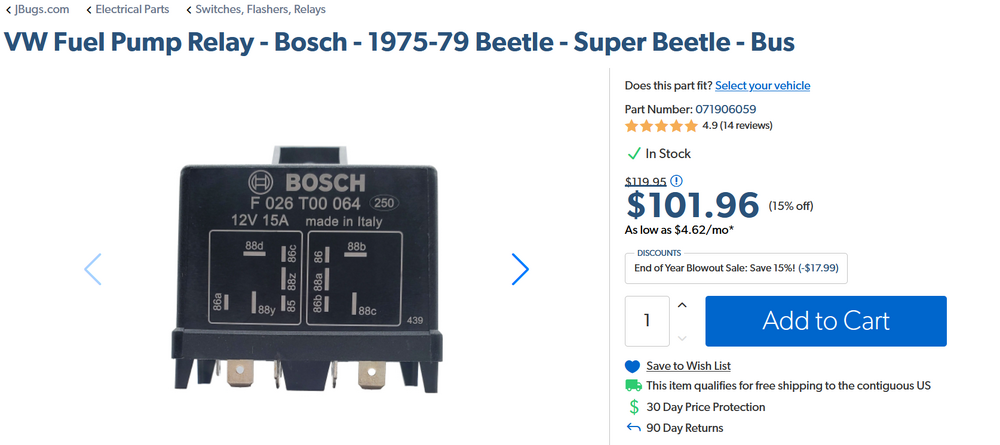
  41. You could do an inertia switch in the jumper loop on that plug. Duralast Fuel Pump Inertia Switch SW1771
  42. Thanks Paul and Mike.... BTW.... I have been on this site for 18yrs since owning my 1973 240z, and it's been so helpful in allowing me to bring it up to reliable standards while preserving the authentic look. This is an awesome website!!
  43. Okay, all of my dashboard wiring is finished. The AILD-1 is being controlled by the OEM rheostat and dimming the lights. I’m a little disappointed that the LEDs don’t seem to come to full brightness. I ran into this issue with another PWM, but the guy who made this one said it can be trained, so I’m hoping he can help me figure out how to fix that. After messing around with a few different methods, I decided to secure it to the inside of the dash with adhesive Velcro. I made a separate harness for it that taps into one of the ground wires for the instruments and the fiber optic light module. The rheostat is completely isolated on the blue and green wires and it’s only function is controlling the PWM. The wires that used to go to the rheostat now go to a connector for that harness. Here are the instruments turned down to zero and the fiber optic light (and all the other lights) still at 100%.
  44. While I'm at it, here's my edit of the mini-schematic for the Combination Switch, corrected to reflect what I found in the actual layout of the wiring and contacts in the Combination Switch installed in my 4/70 car. I started with the mini-schematic that was part of large wiring diagram included with my car's Owners Manual ("20-Mar-1970 - 030300 - OM0E-0S30U2") and then made corrections... Note on the left side of the diagram that I have two columns of wiring colours: The left column indicates the colour of the wiring on the vehicle side of the Combo Switch connector. The right column indicates the colour of the wiring on the Switch side of the connector. 'SPD' = spade-type wiring connector 'BLT' = bullet-style wiring connector
  45. Several years ago, I worked with your #2 schematic ("Datsun Factory Parts are fully warranted to give utmost satisfaction") and then added editing comments, using the wiring, connections, and devices in my car (unmolested 4/70 240Z) as my primary guide. See attachment #1. Back in 2015, CZCC member @EuroDat (Chas) did a beautiful job of creating a full-colour wiring schematic based on the specs for MY-1970 USA-Cda cars (see attachment #2). It addresses most of the issues that I identified in my own review. S30 Wiring Schematic - 70 240Z - B&W - 70 Owners Manual - Comments added for errors 7.pdf S30 Wiring Schematic - 70 240Z - Colour - Eurodat.pdf
    • 339 downloads
    • Version 1.0.2
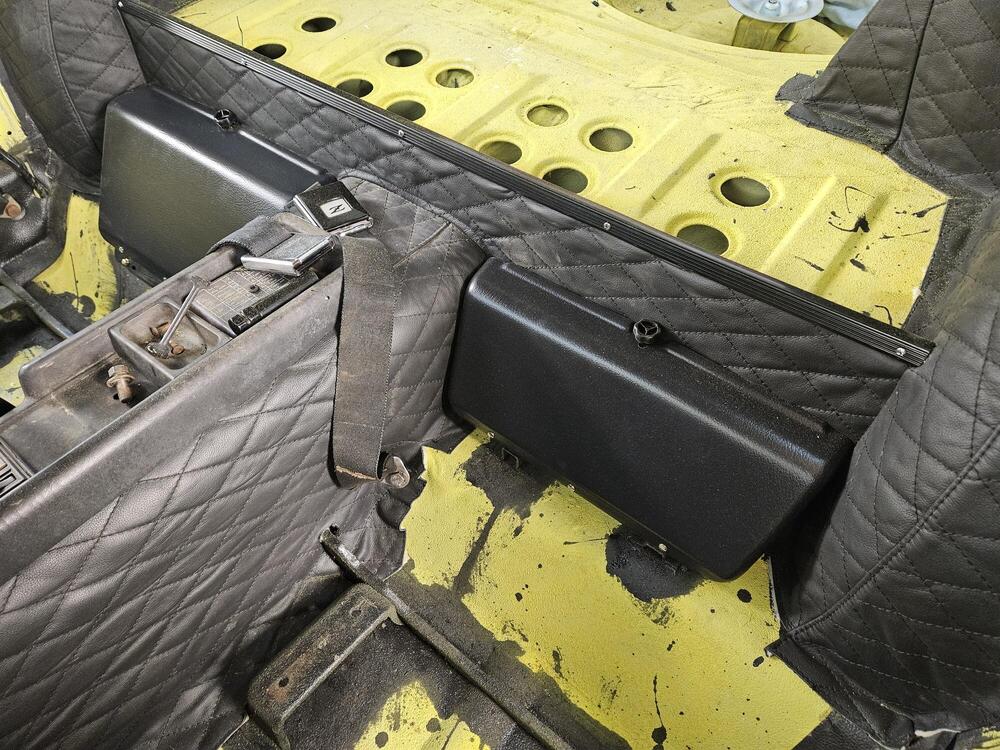
    Templates for the tar mats (floor insulators) for the front floor and under seat areas of a 1970 240Z in PDF and DWG formats. The dimensions were taken from my July '70 car. I measured these as accurately as I could and printed verification templates on a wide format printer to check fit. Transmission tunnel and rear deck templates have now been added, this now a complete set.
    Free
    • 133 downloads
    • Version 1.0.0
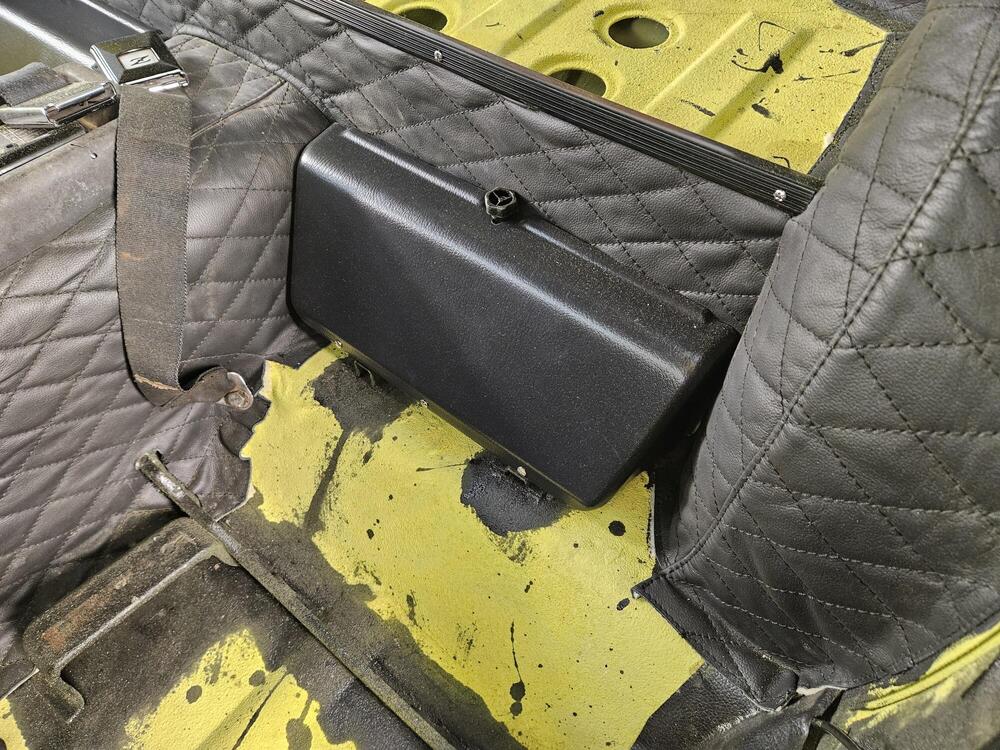
    Templates and a 3D model (.stp format) for a 240Z glove box. the main formed body and flat sides were checked against disassembled and flattened original parts and are quite accurate. The smaller formed corner parts are not as accurate. Also included is a 1:1 scan of a tracing for the two formed corner parts, these parts were only roughly modelled and did not flatten exactly the same as the actual parts.
    Free
Remove Ads

Important Information

By using this site, you agree to our Privacy Policy and Guidelines. We have placed cookies on your device to help make this website better. You can adjust your cookie settings, otherwise we'll assume you're okay to continue.