Leaderboard
-

wheee!
Free Member7Points4,607Posts -
grannyknot
Free Member7Points5,158Posts -
240ZBUILTBYME
Free Member6Points237Posts -
Jeff G 78
Free Member4Points3,007Posts


Popular Content
Showing content with the highest reputation on 05/11/2021 in all areas
-
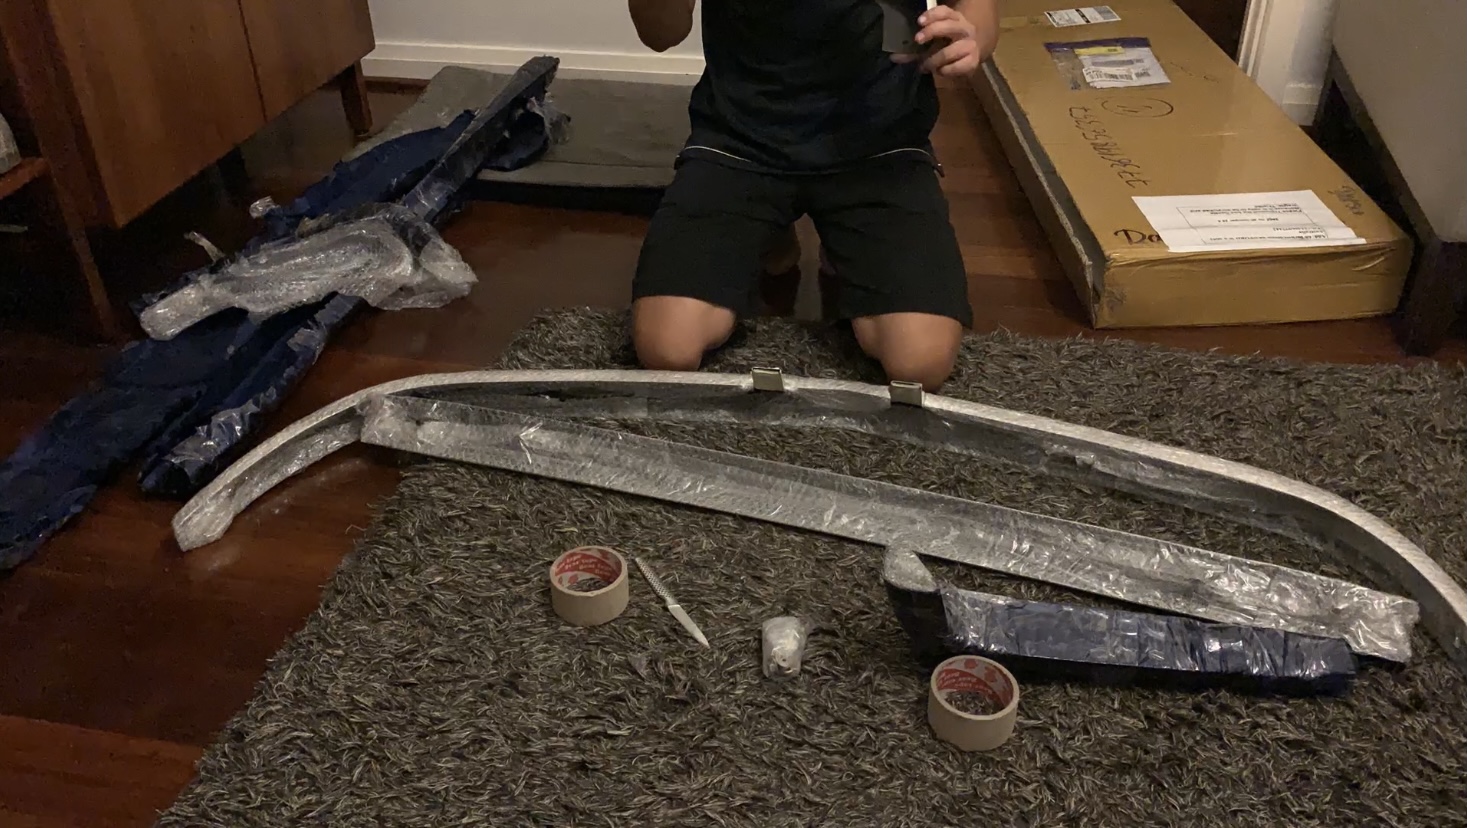
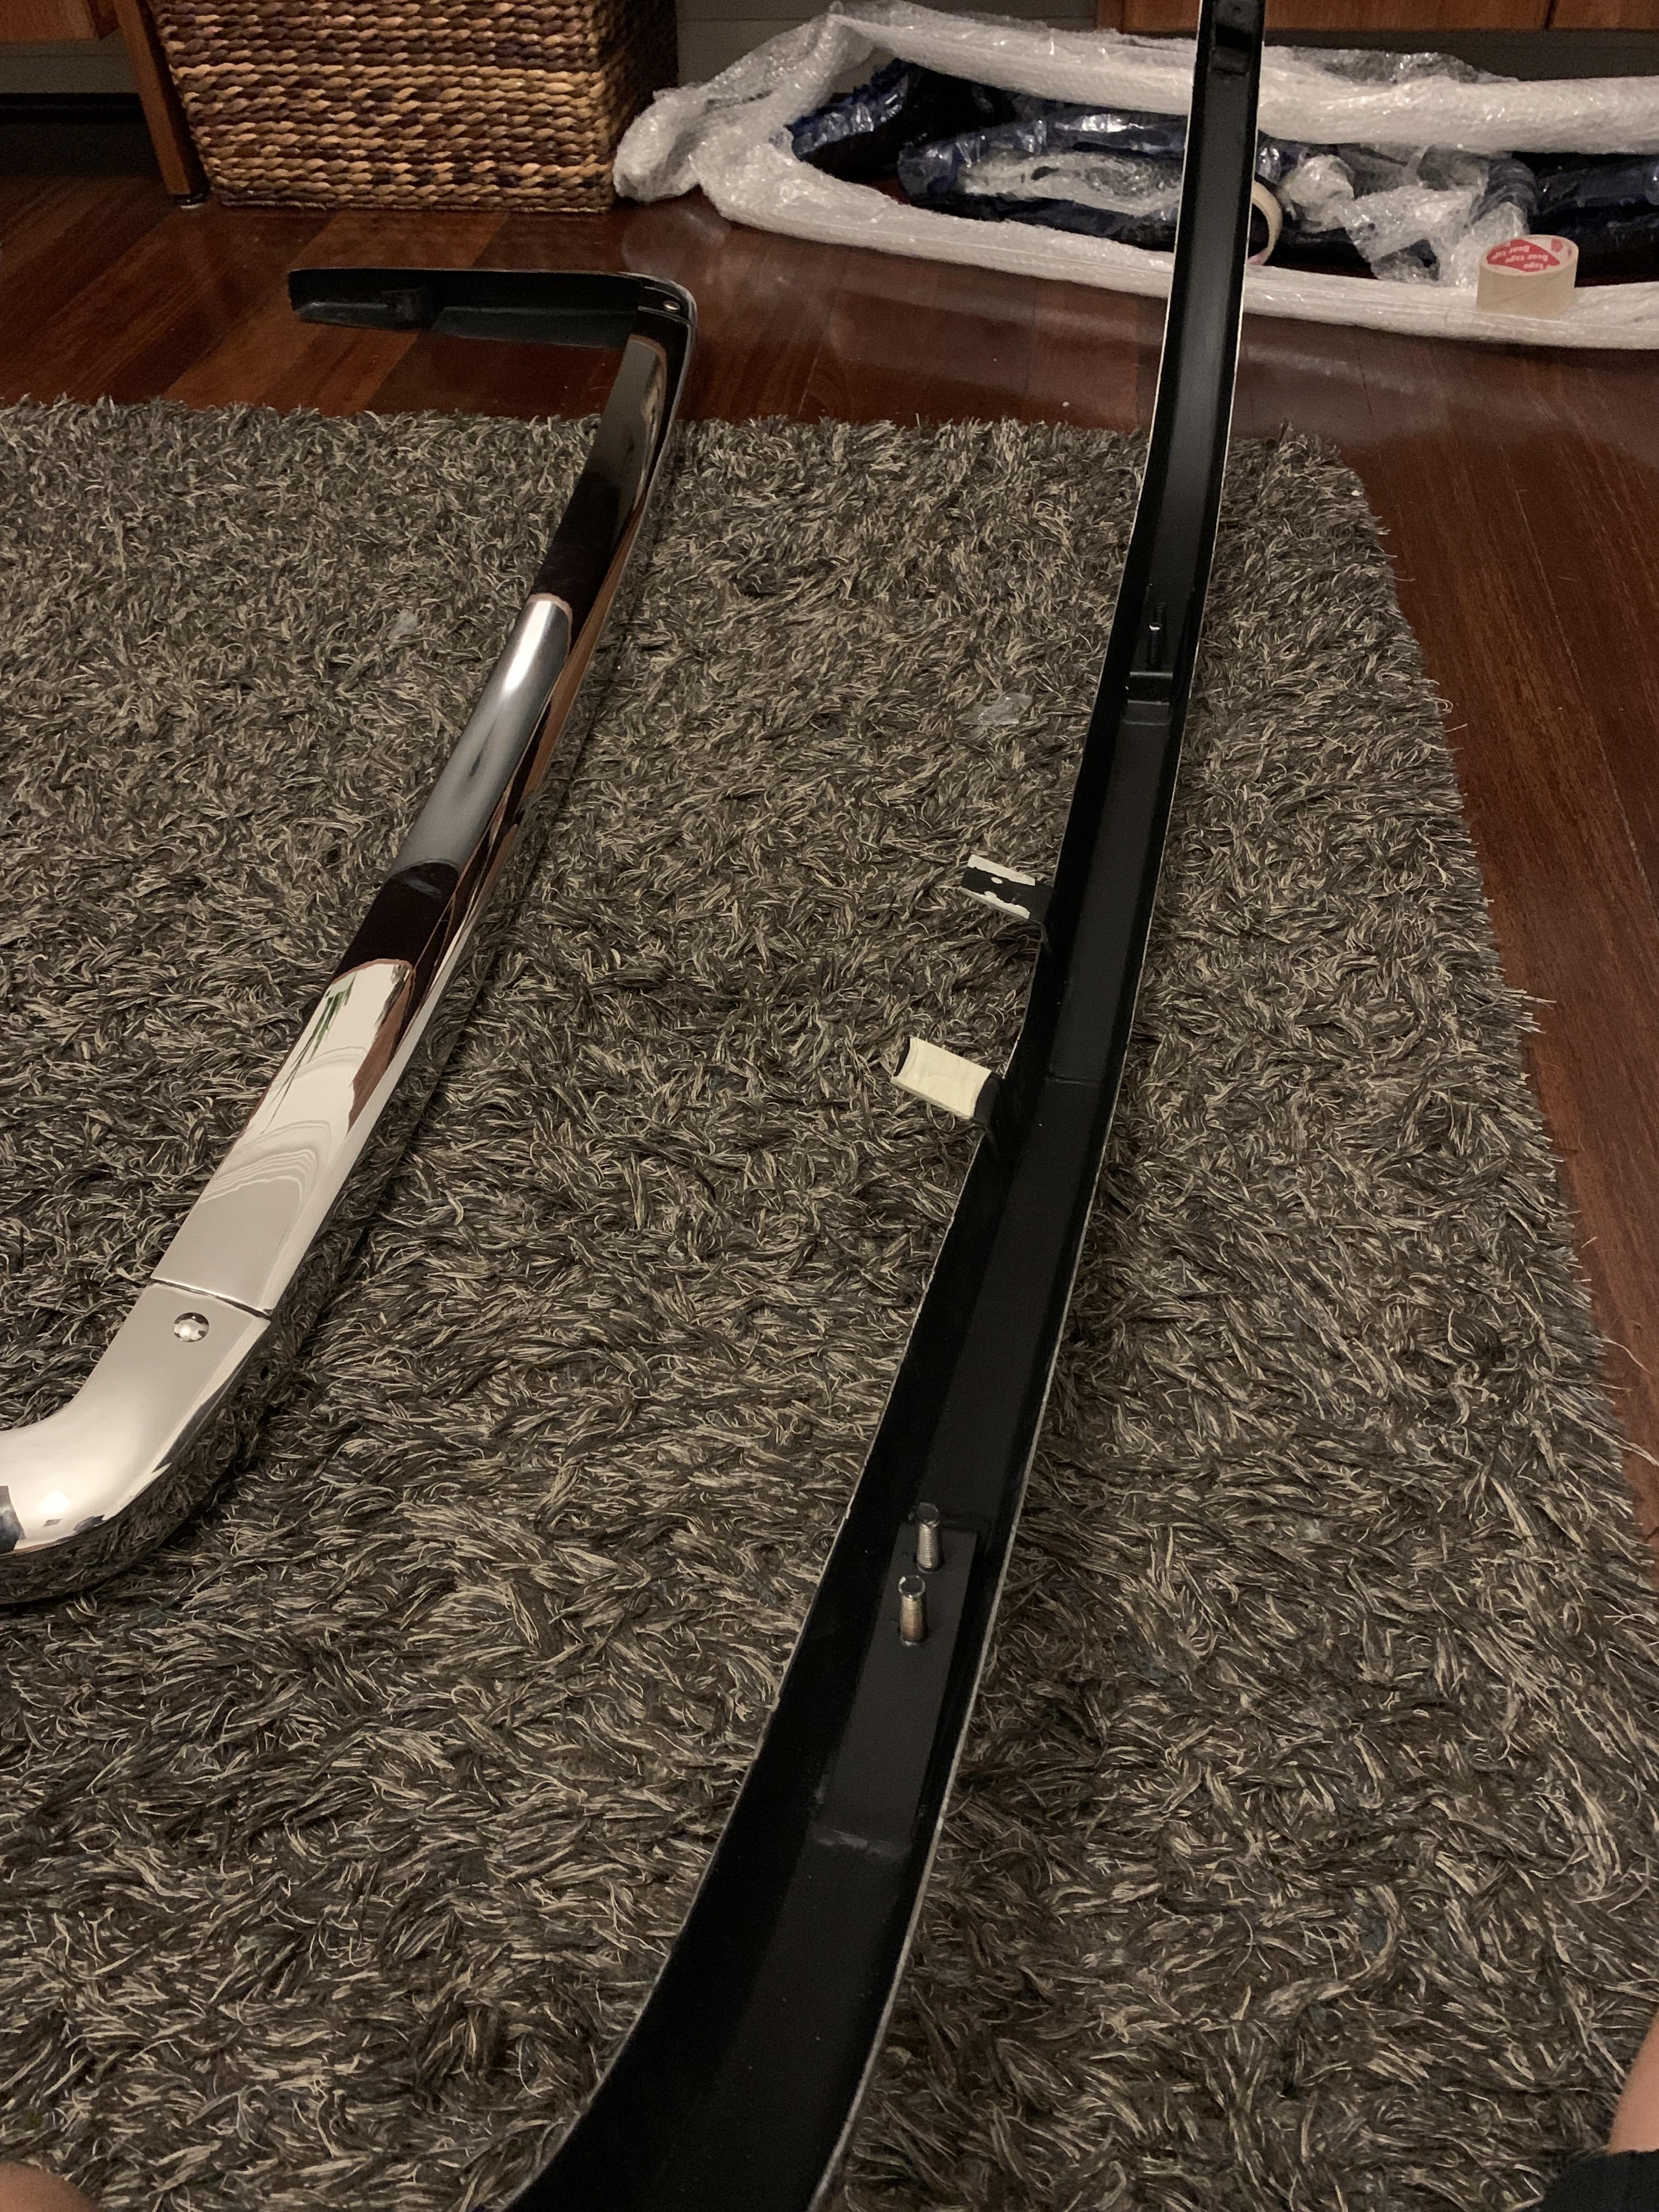
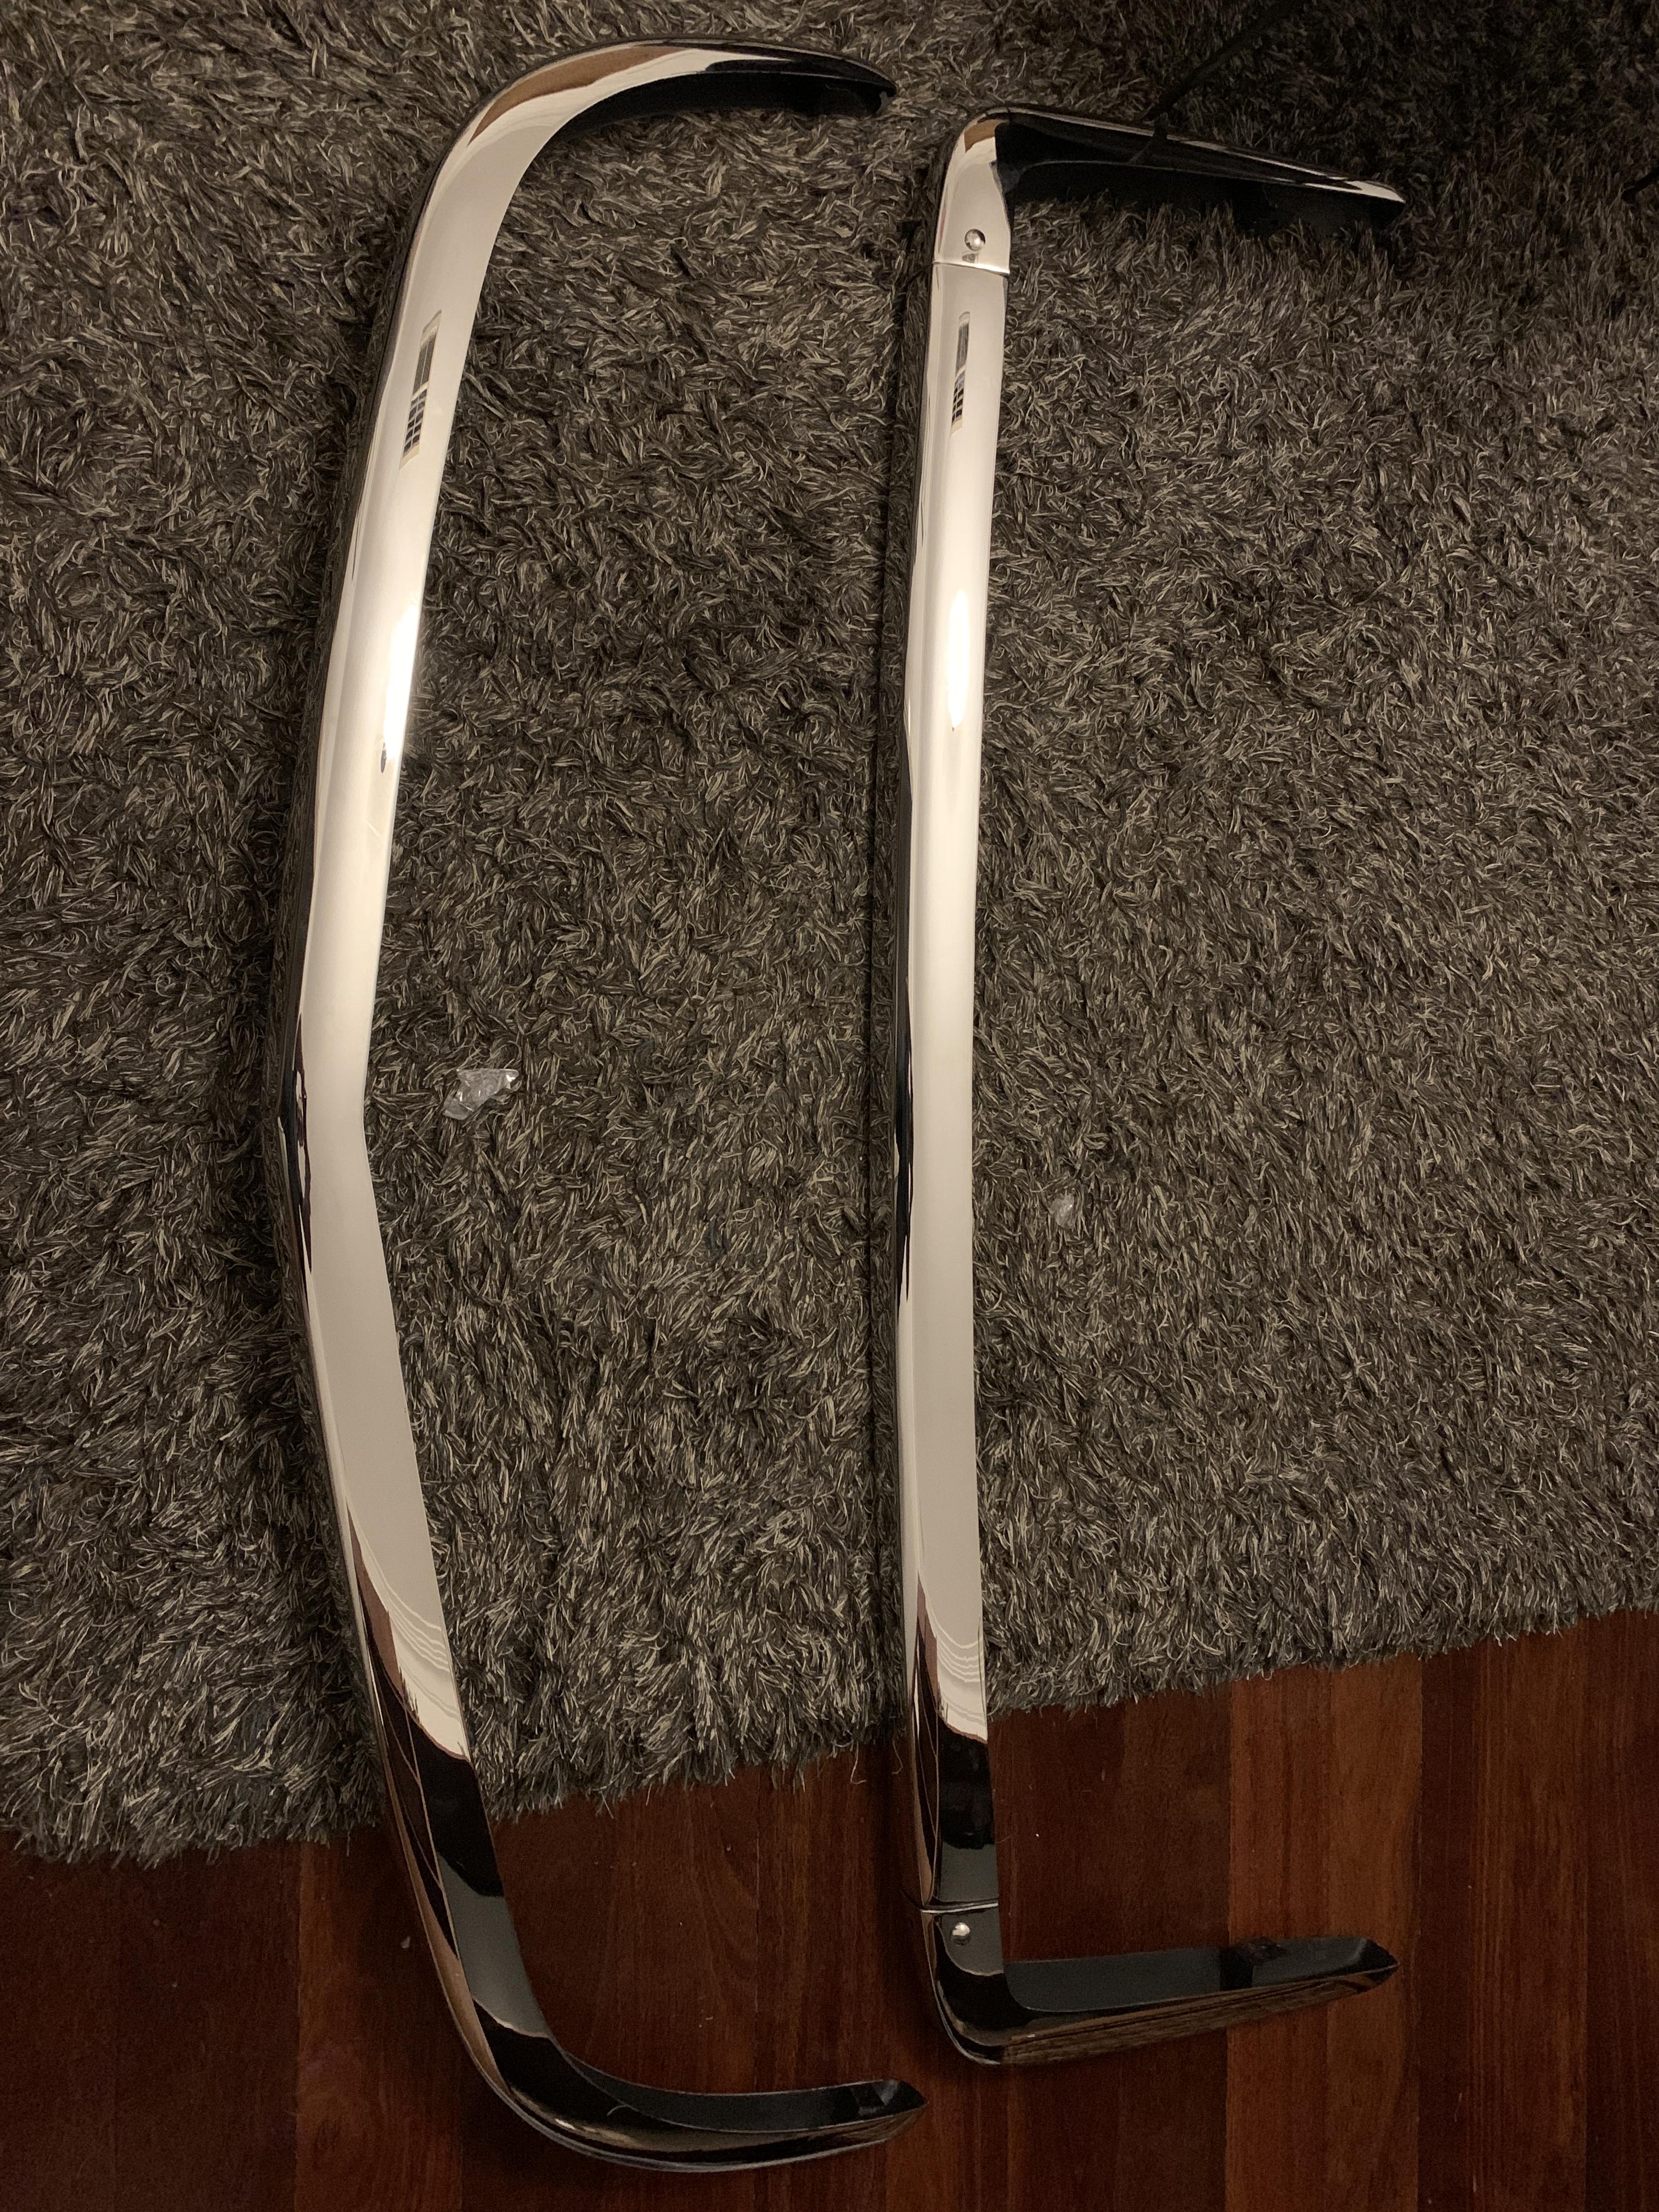
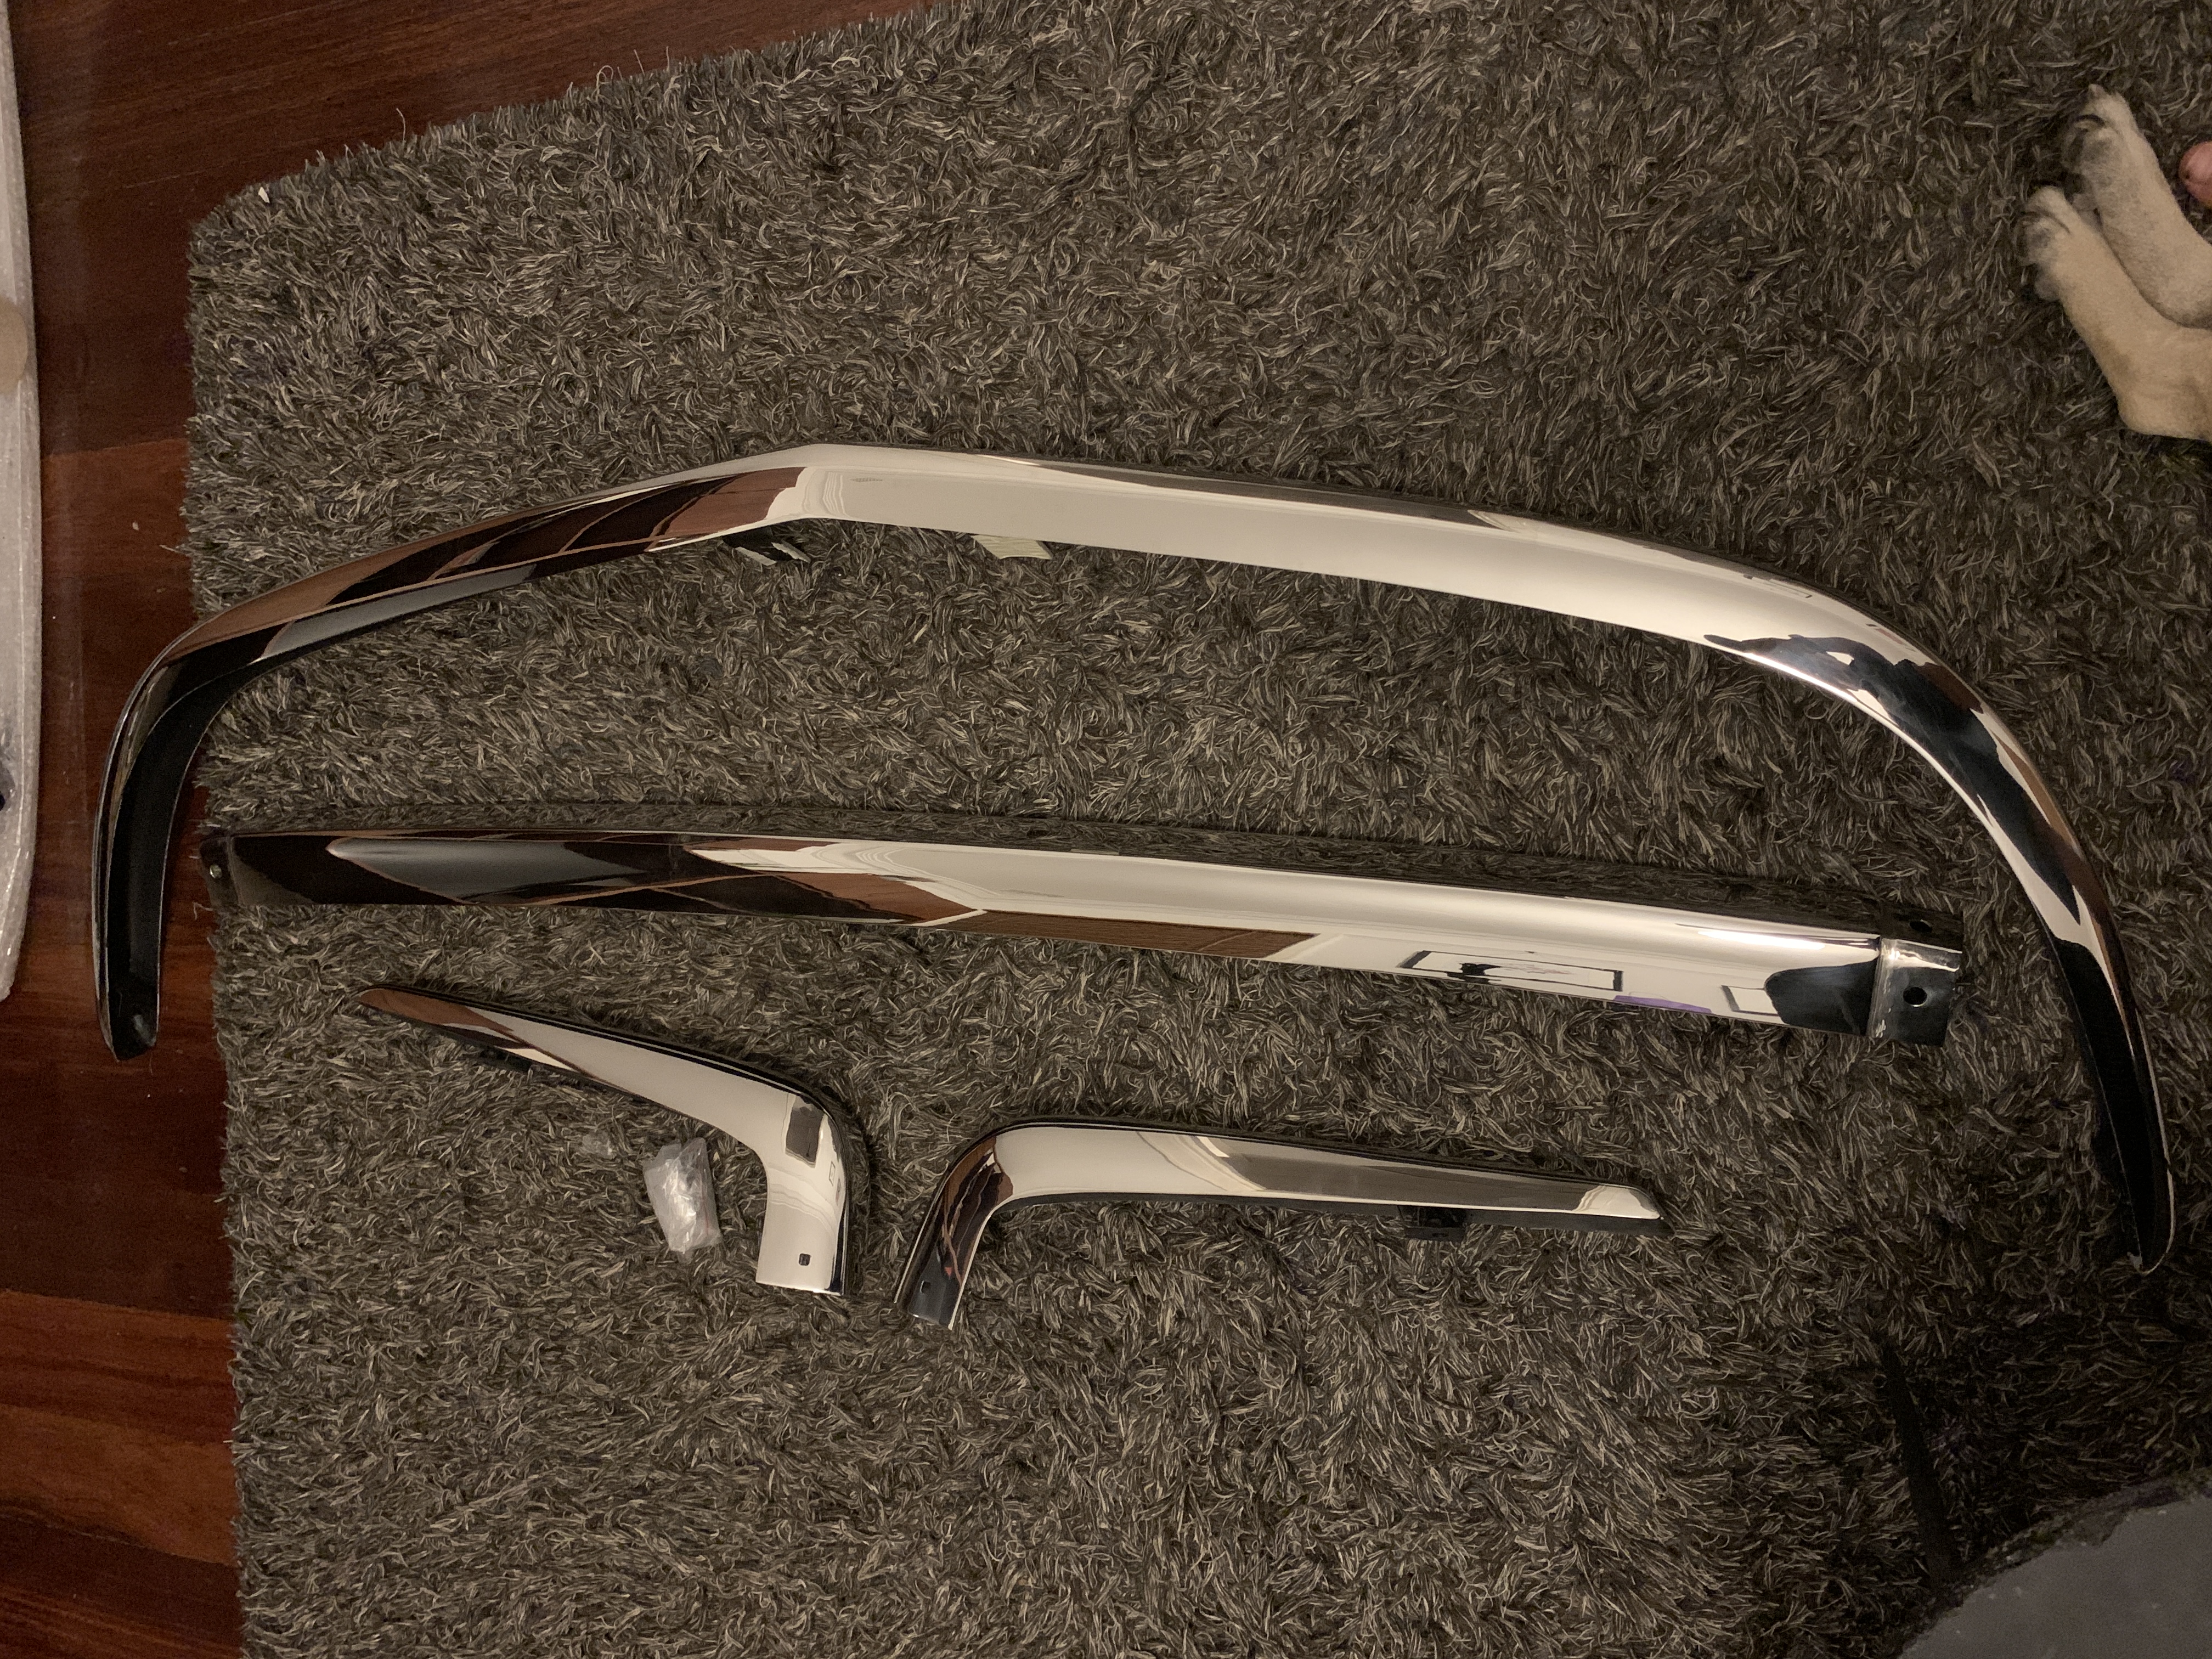
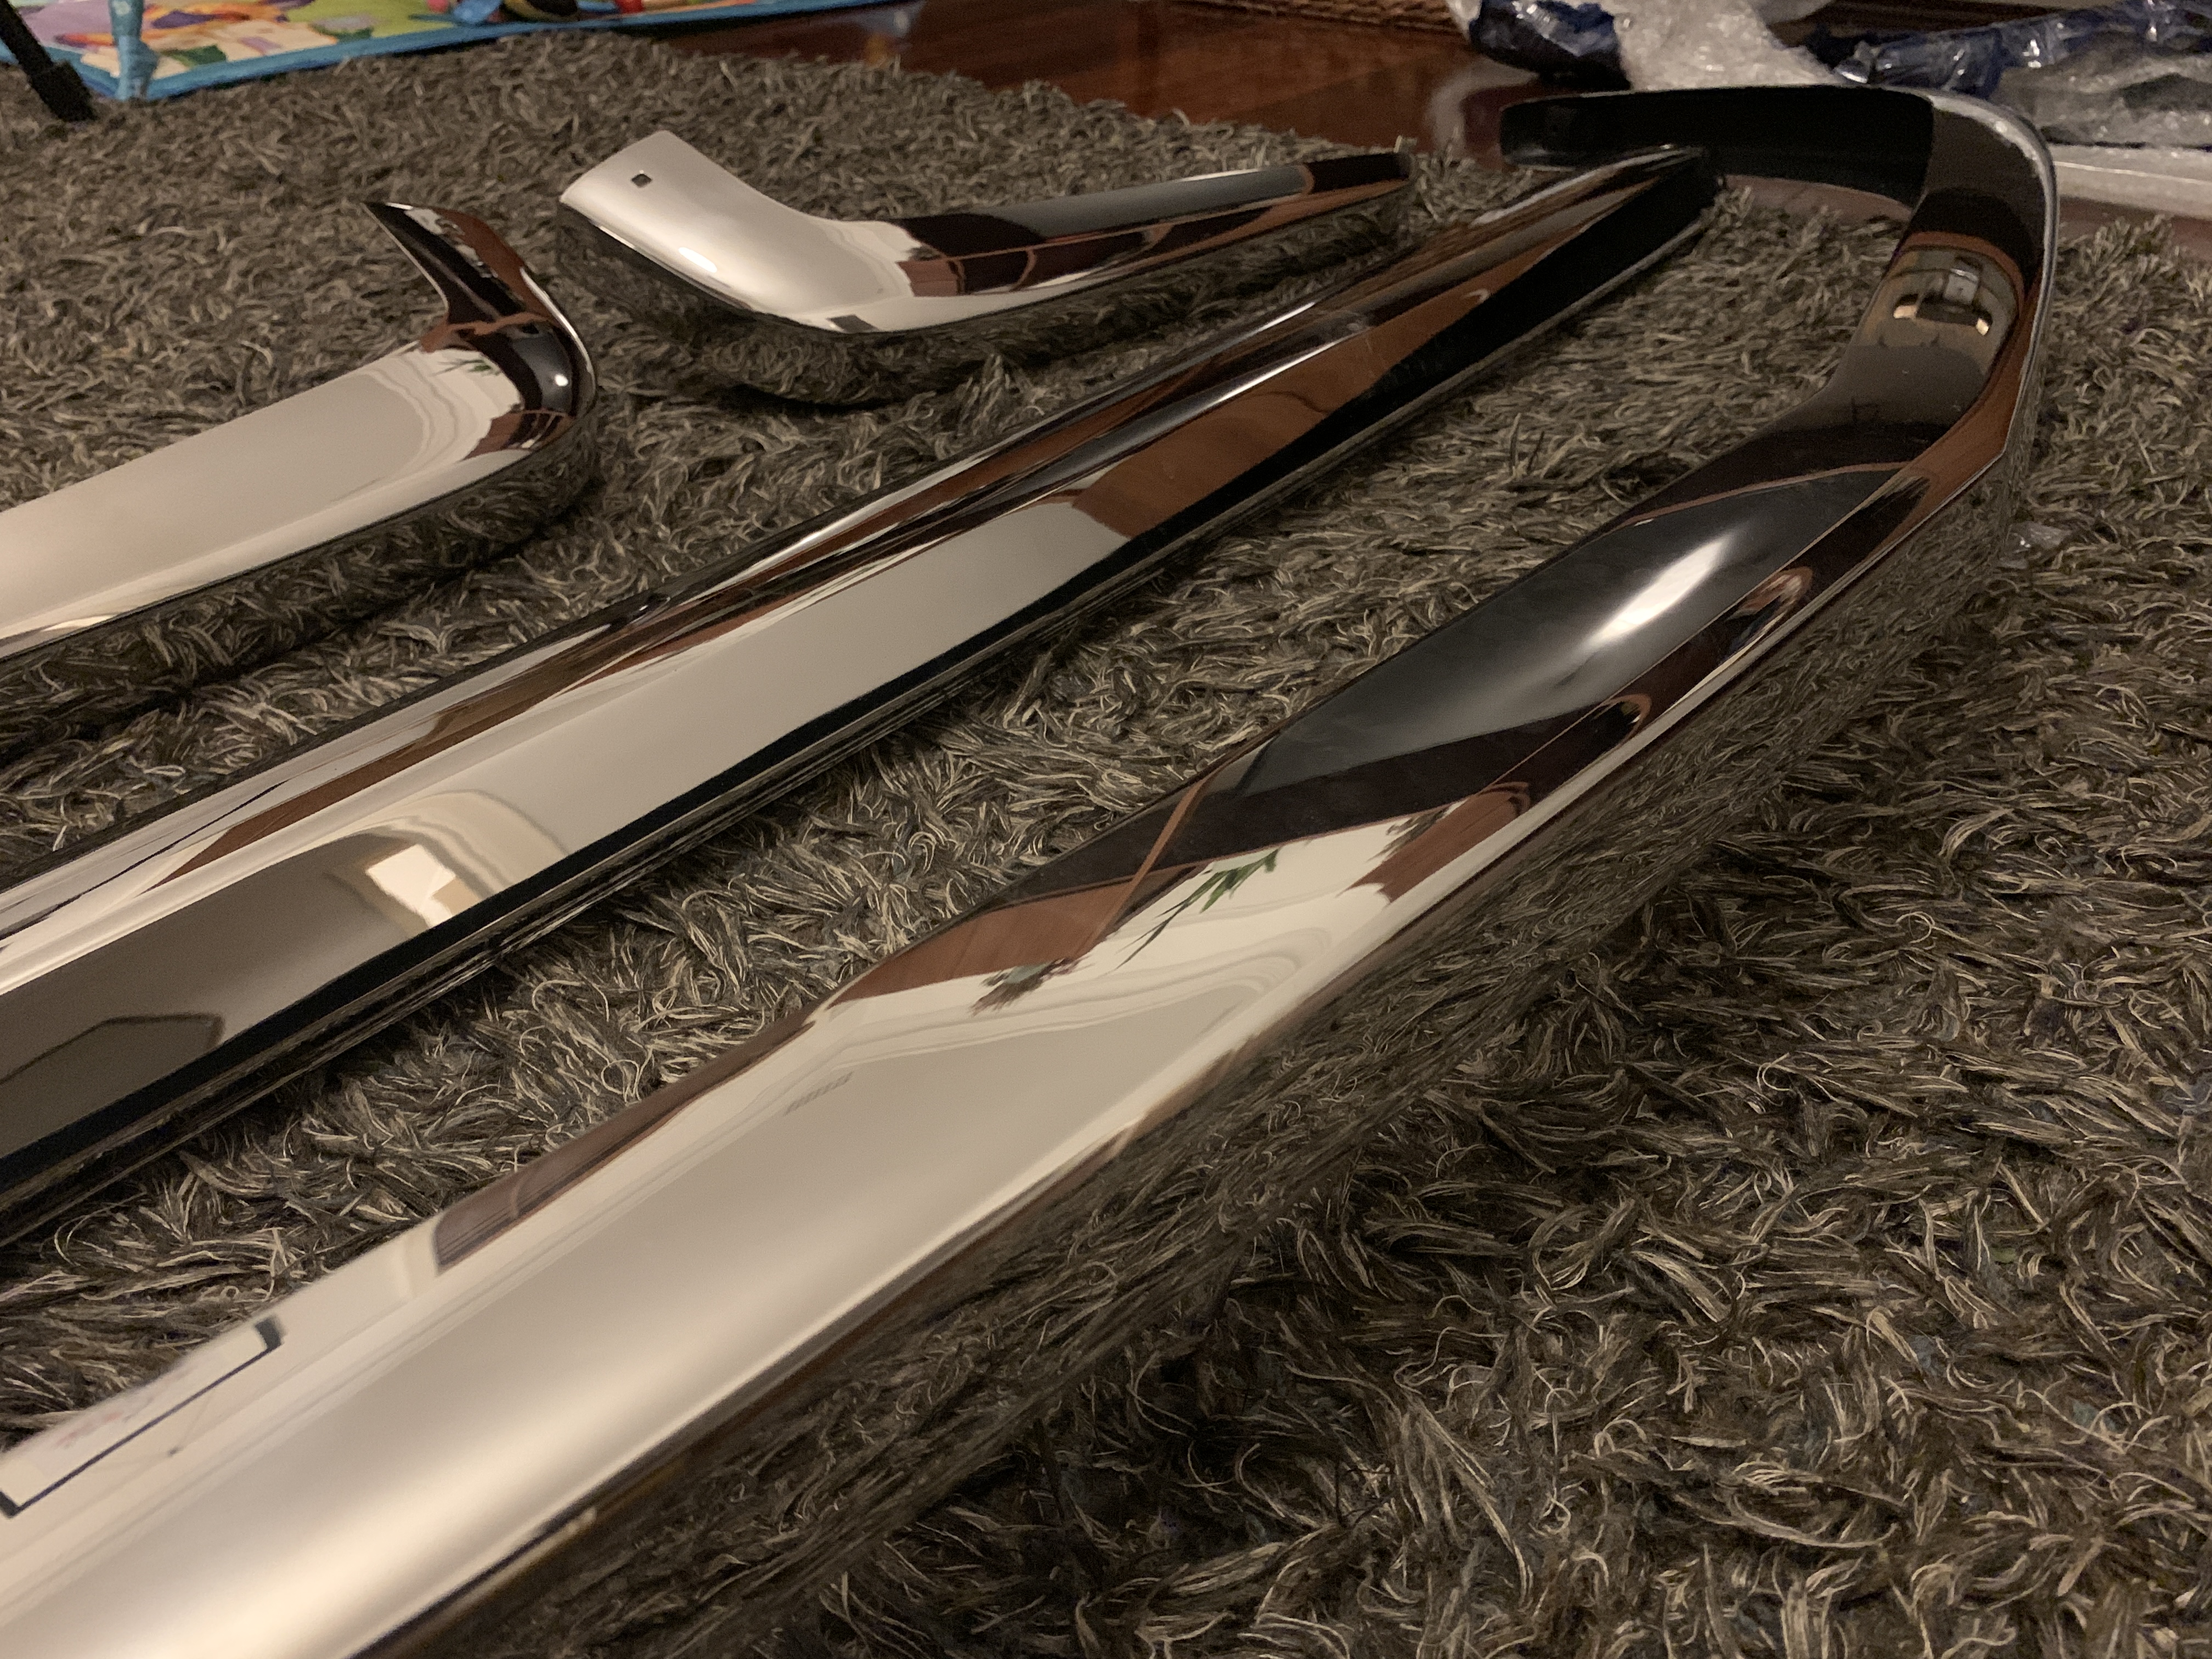
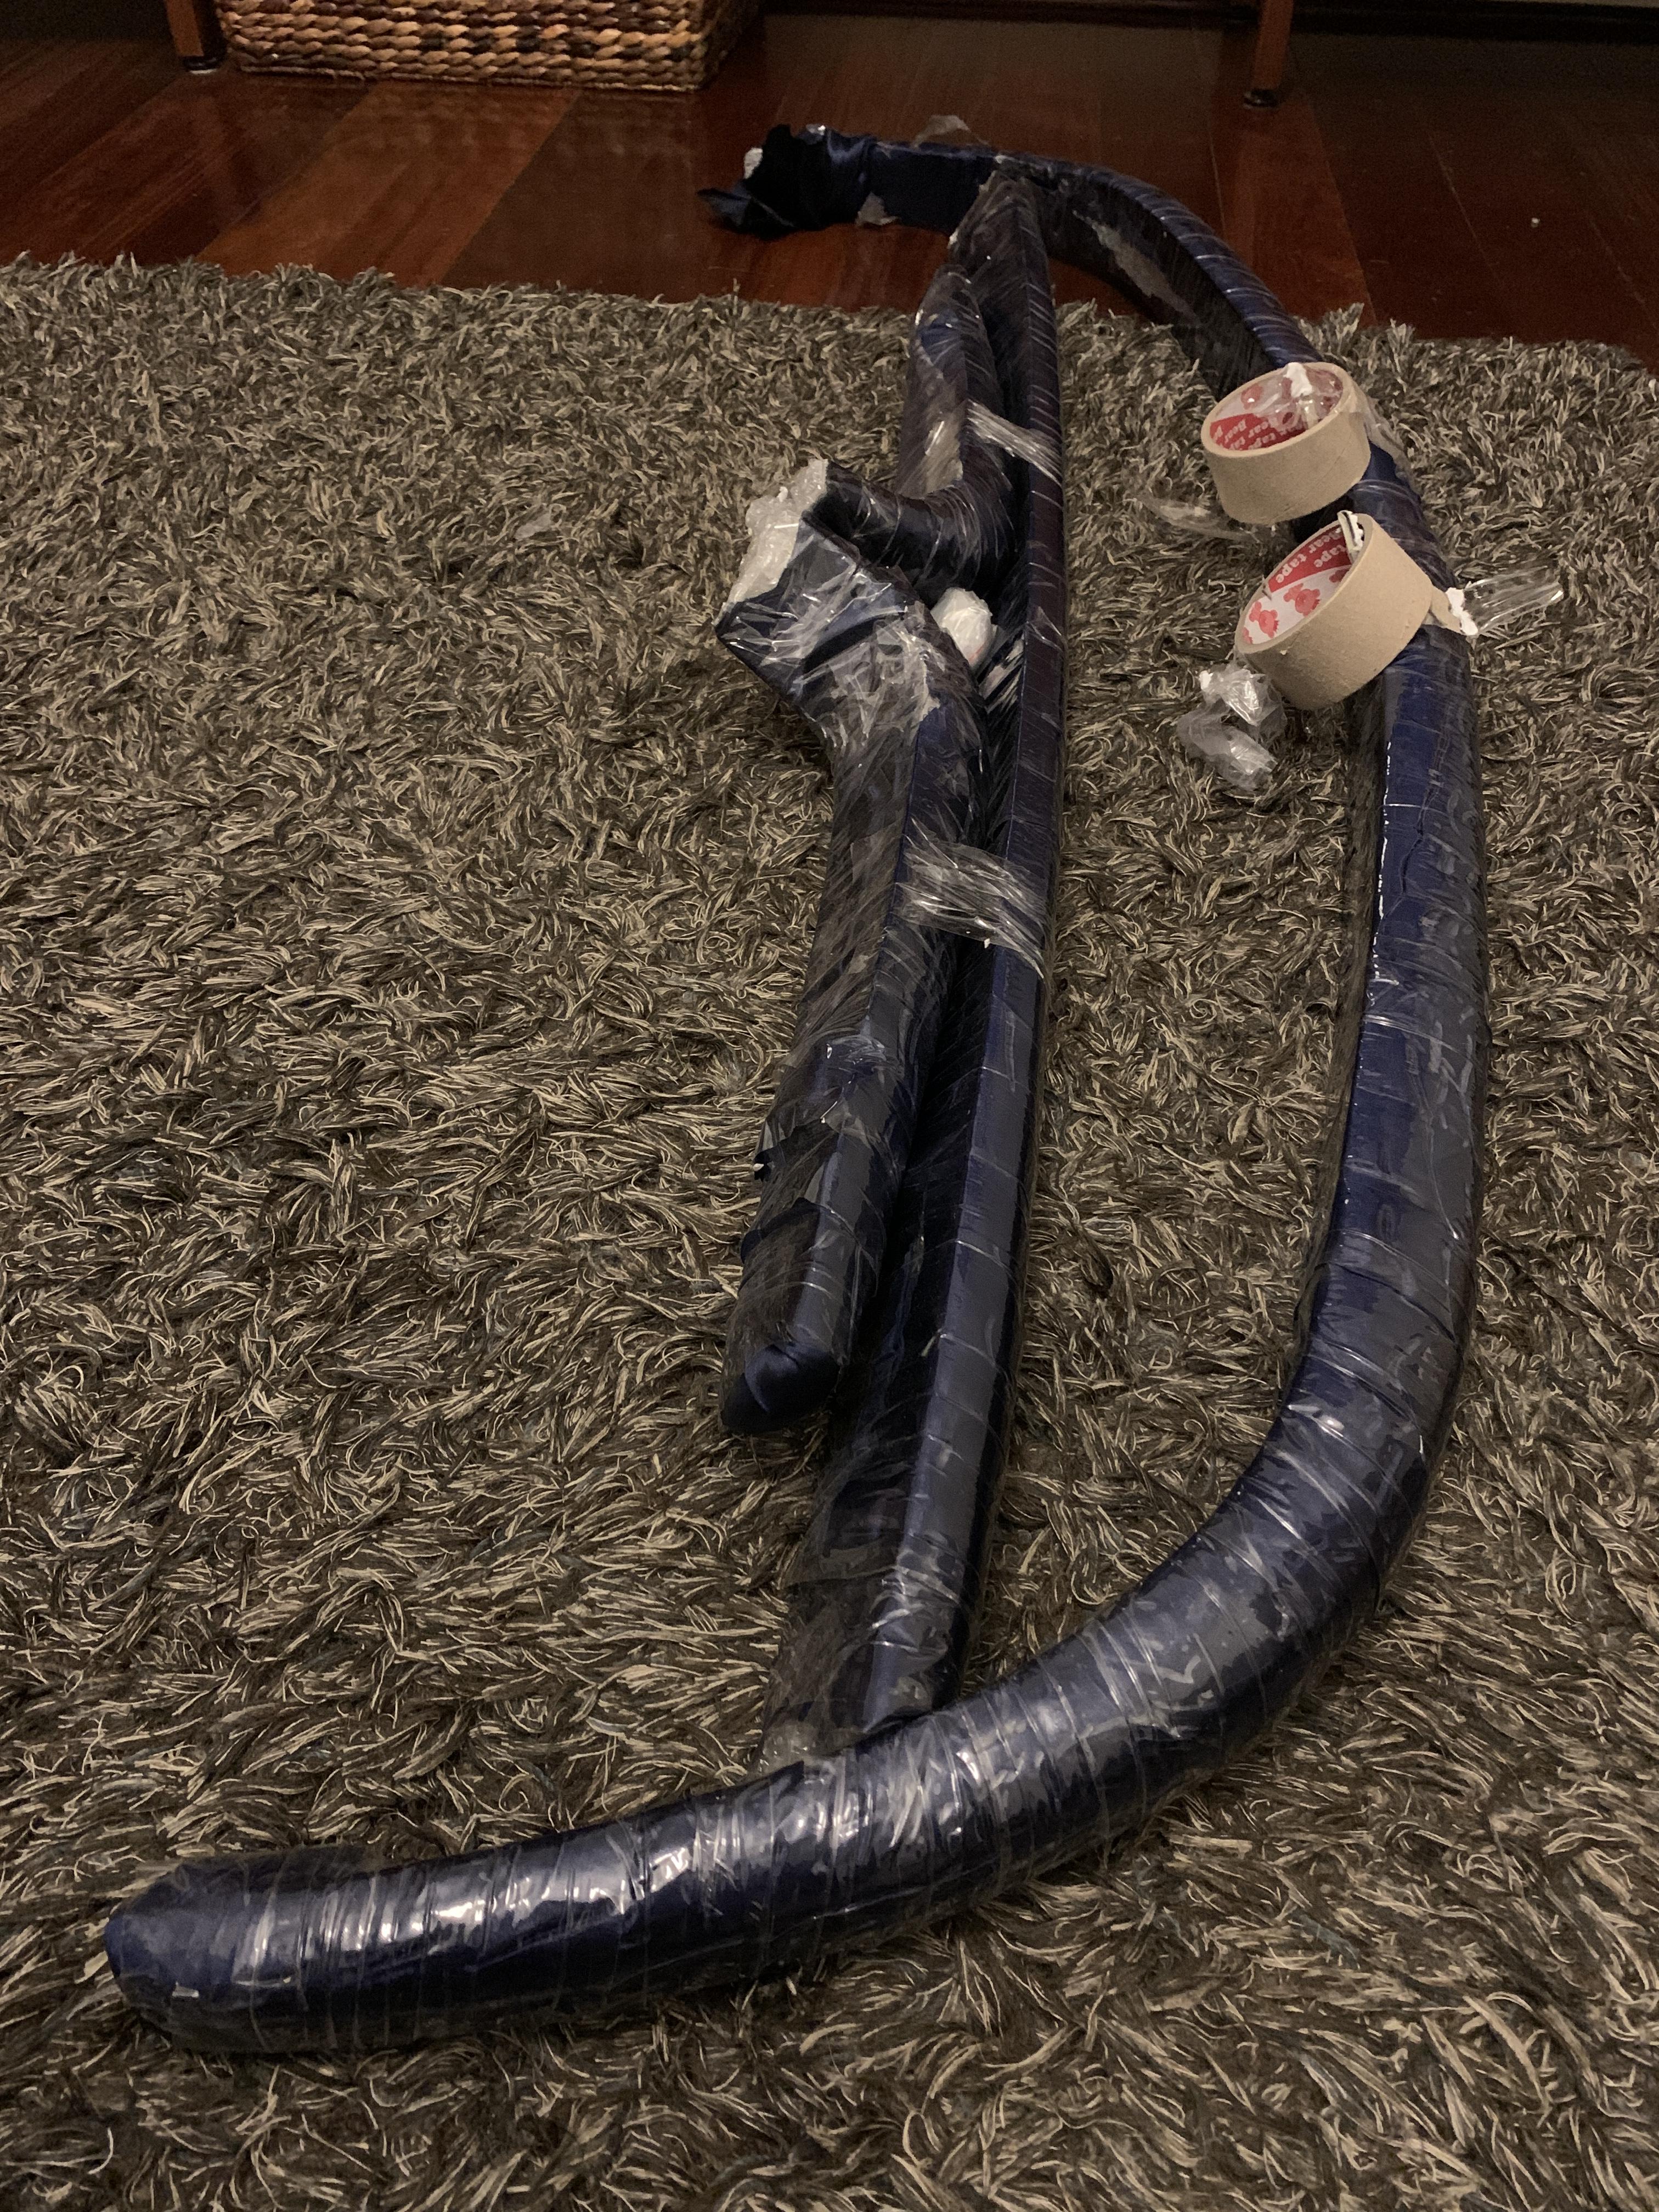
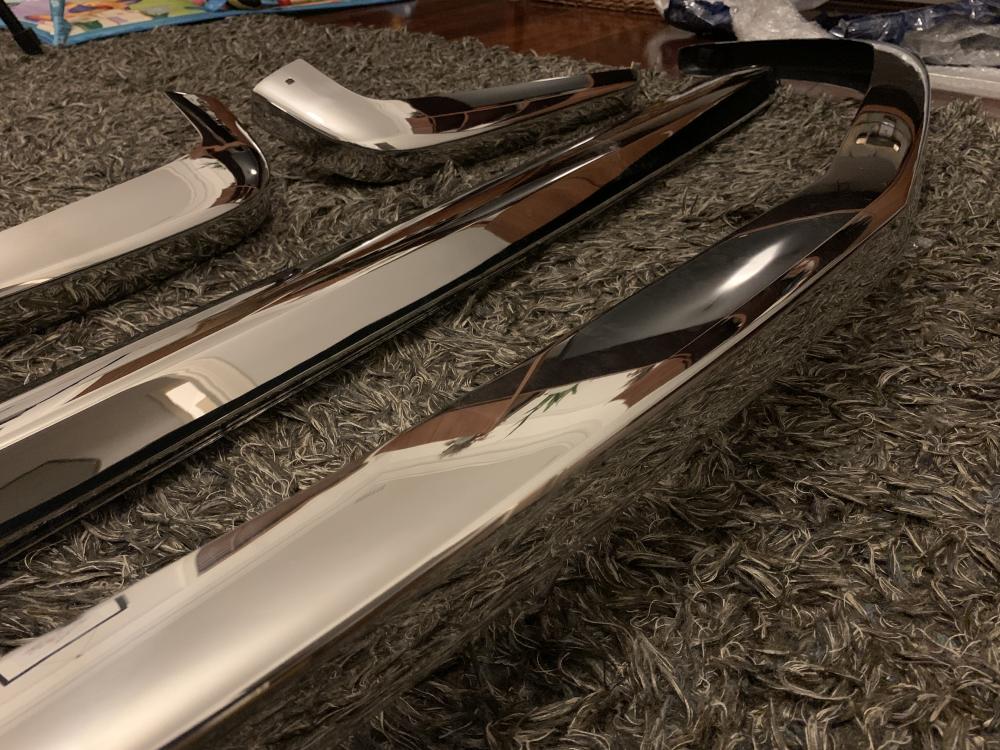
6 pointsSo my bumpers from bumper automobile arrived today 11th May via fedex. and I have to say the finish is quite stunning! So shiny! I had heard good reviews about these from some local z guys but I wasn’t expecting them to be this good. Packaging was excellent, very well protected. Wrapped in bubble wrap, taped, wrapped in fabric, taped, then there is polystyrene sheets in the box as well. so ordered 24th April and received 11th May. So just over two weeks from ordering to my door. communication has been very good, always received a response. for the cost, these are exceptional value! I will trial fit these and update at some point (probably not for a little while)


 6 points
 -
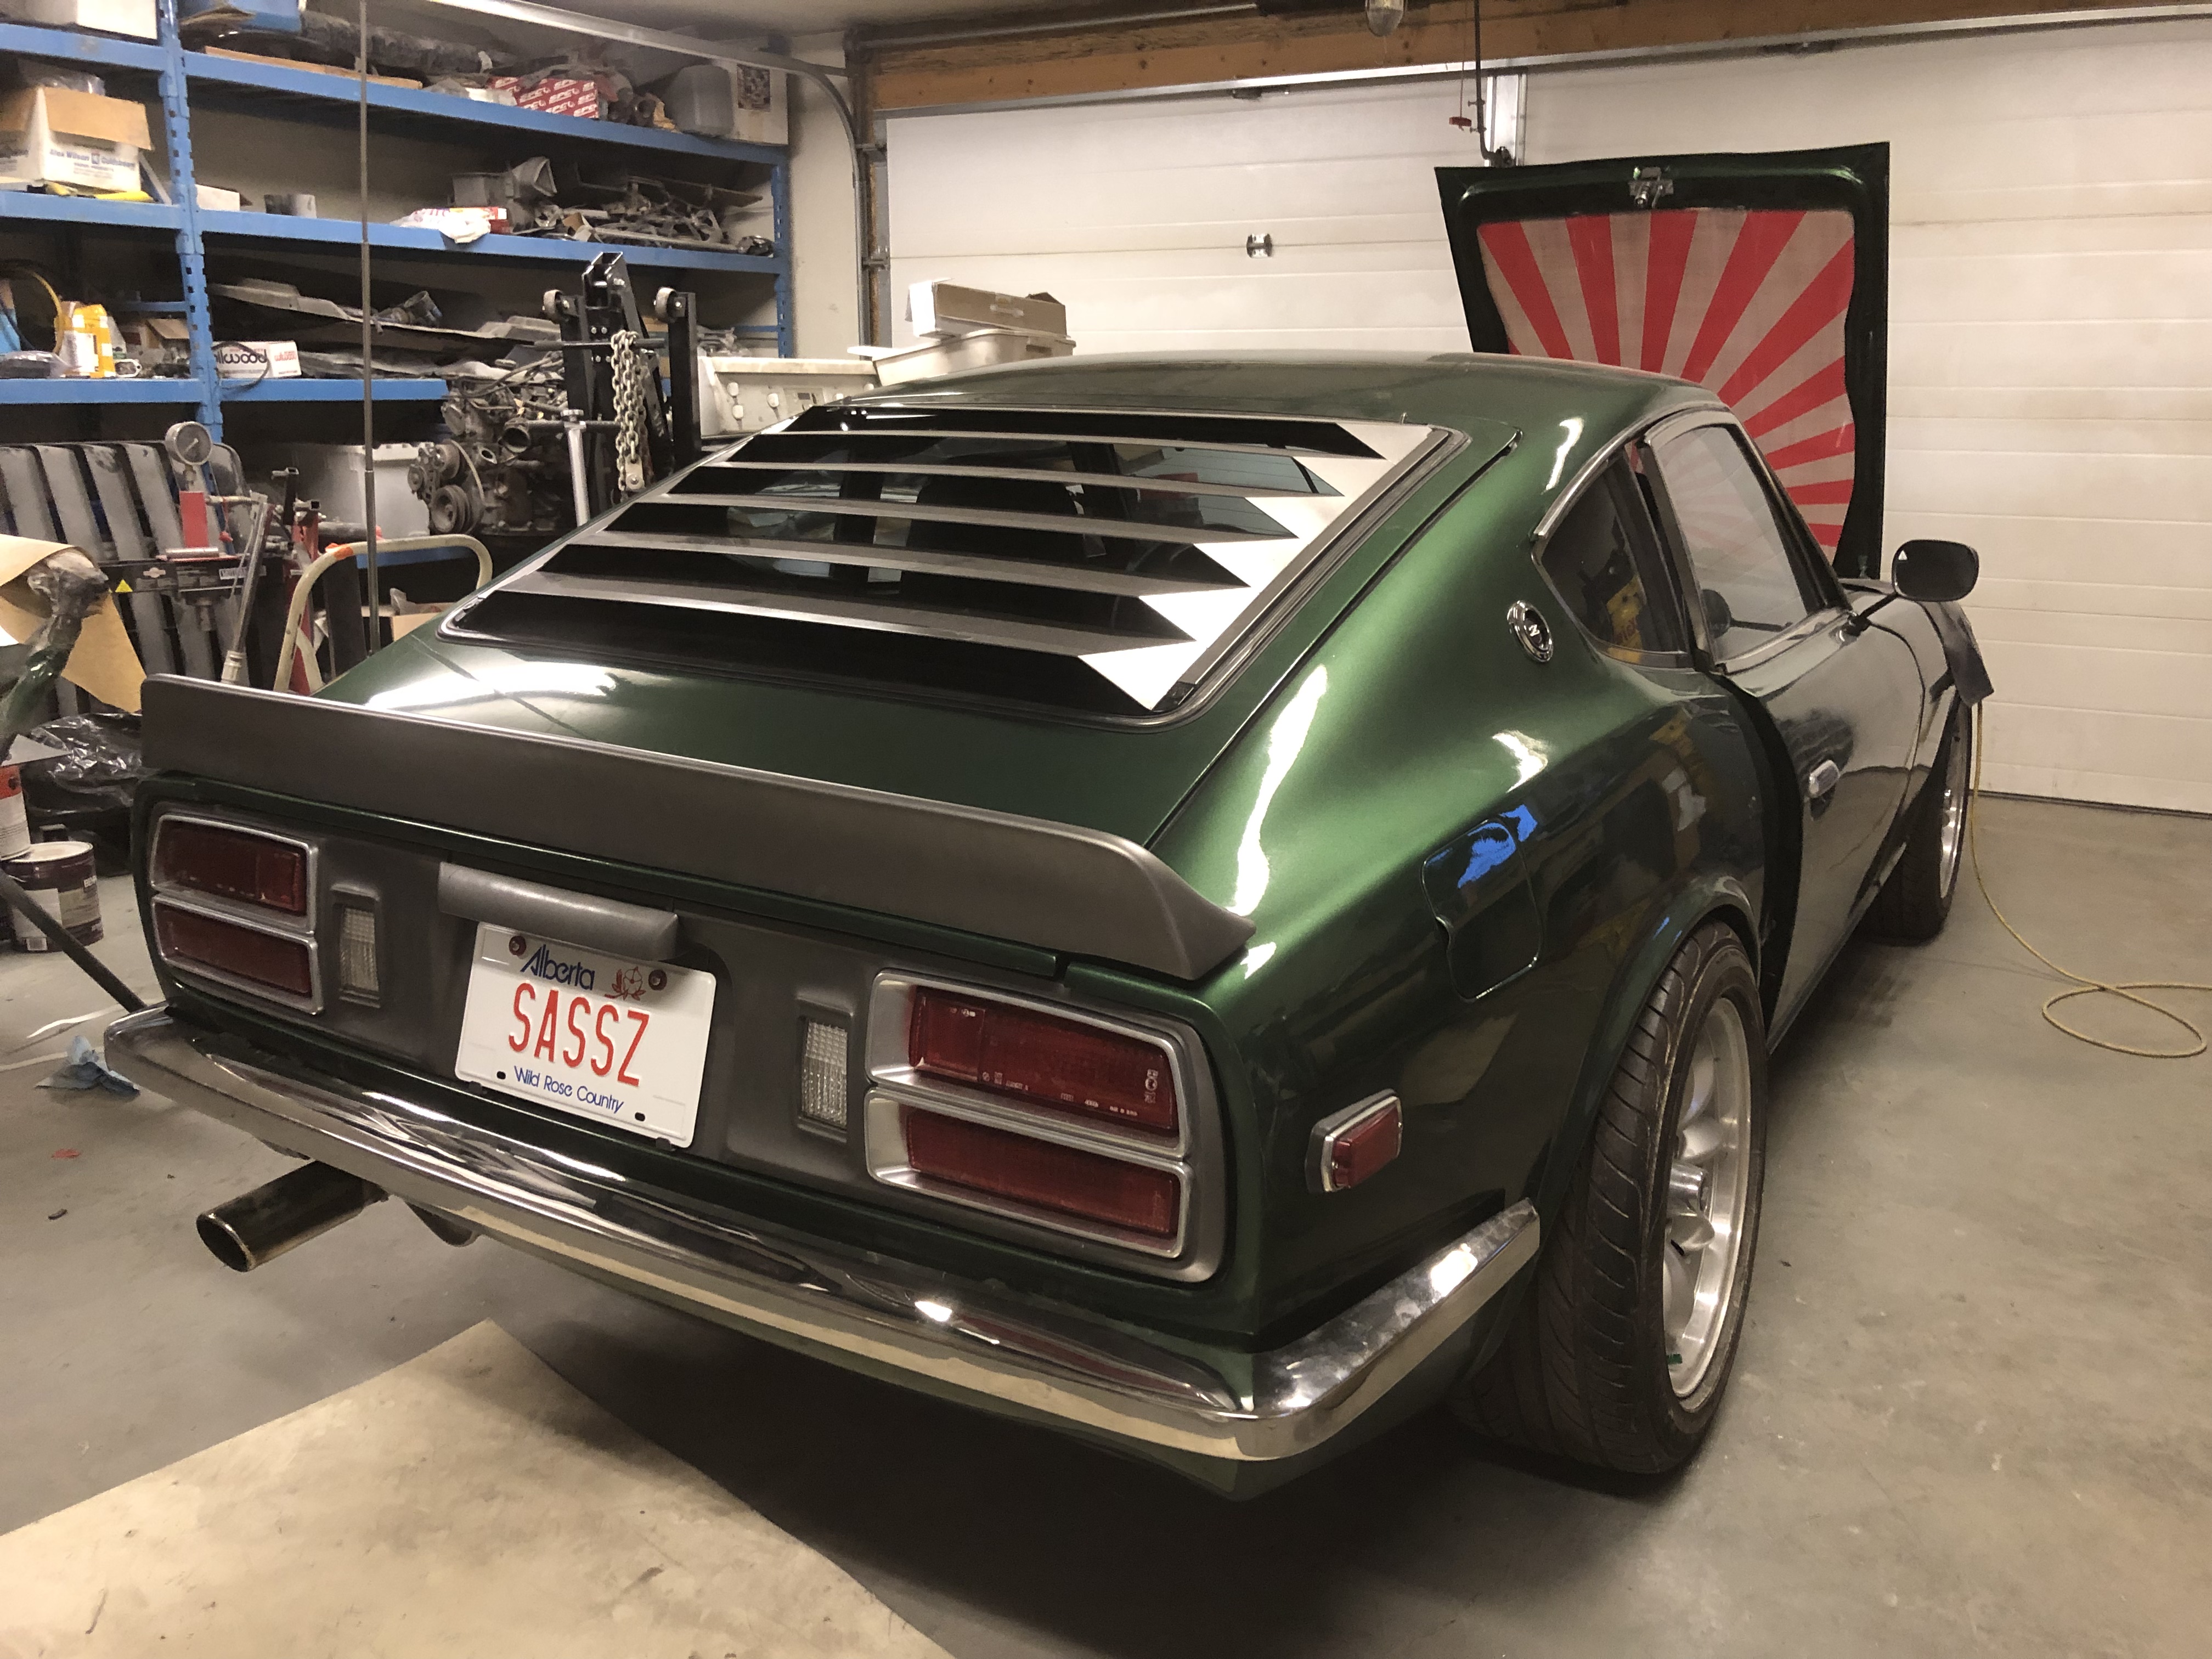
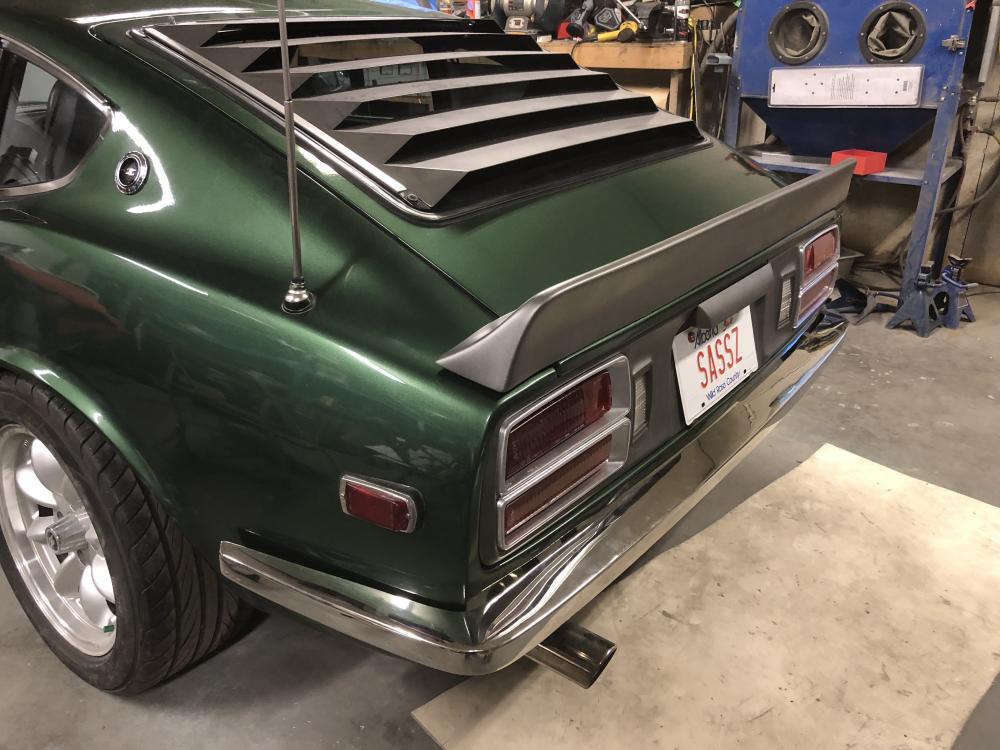
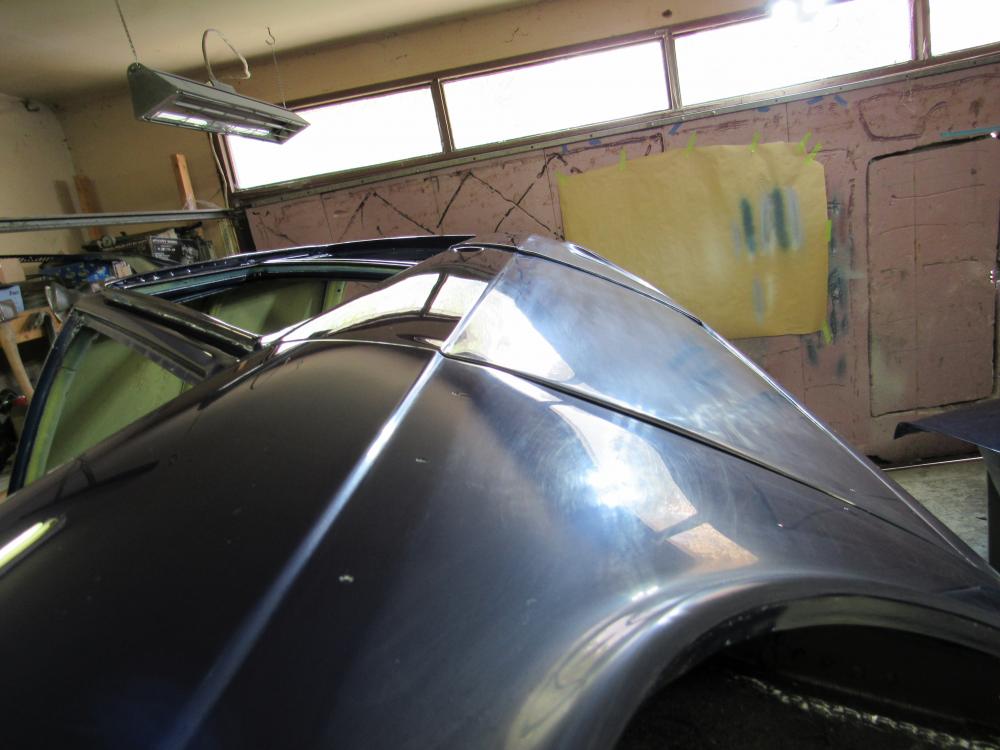
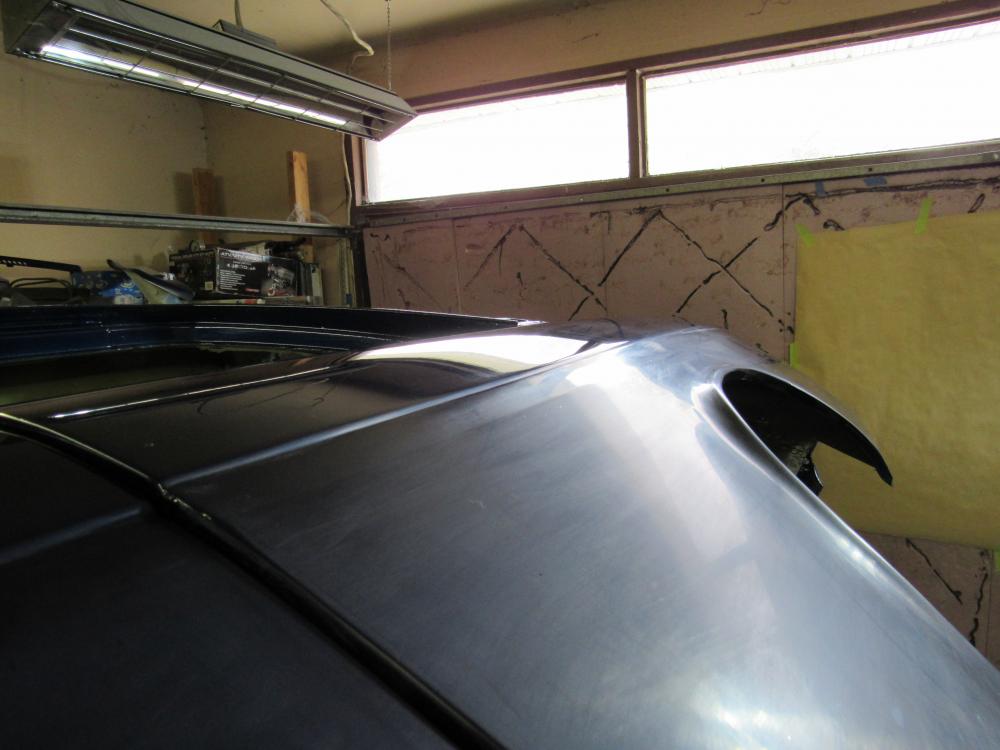
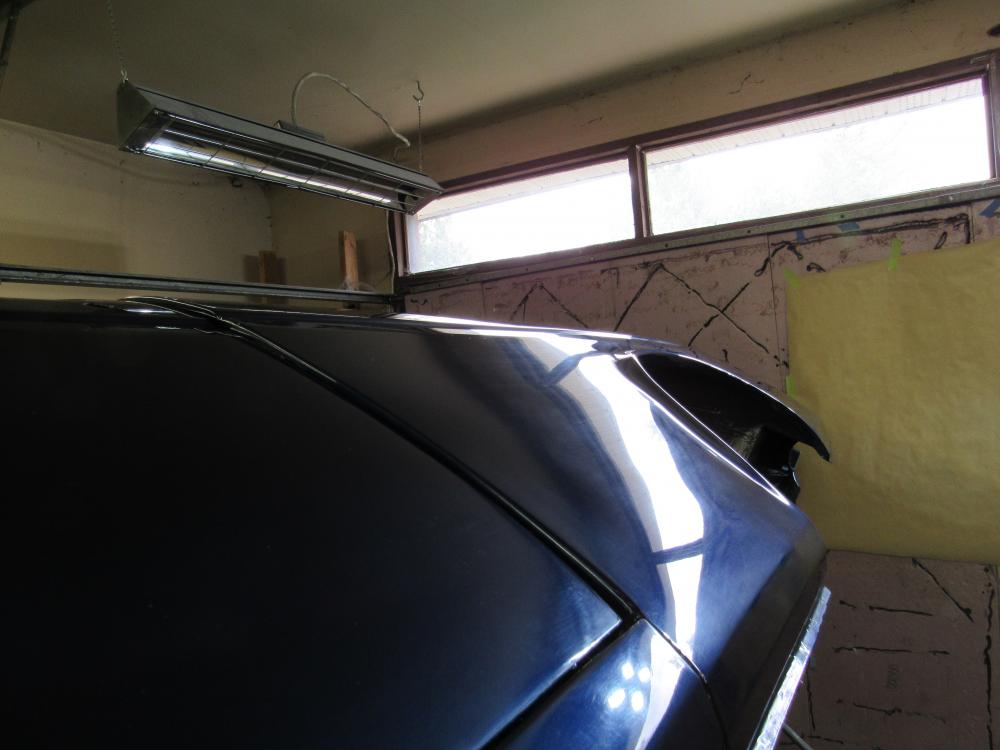
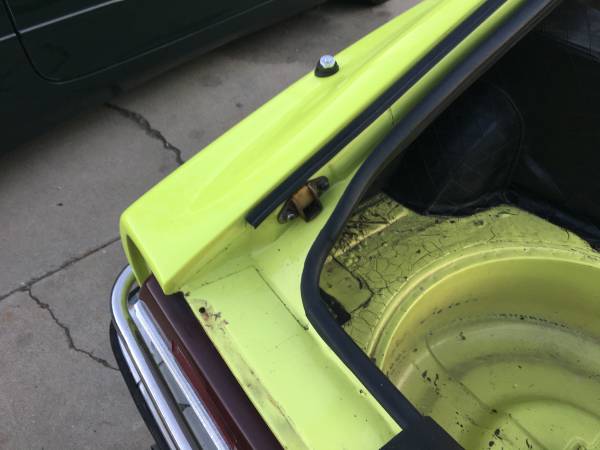
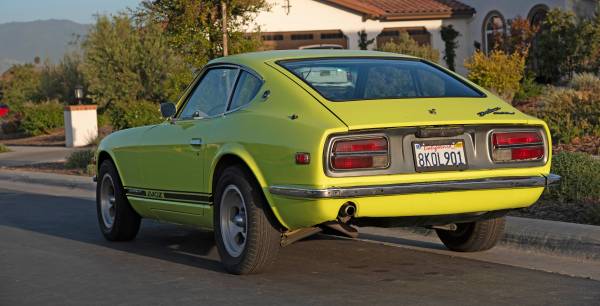
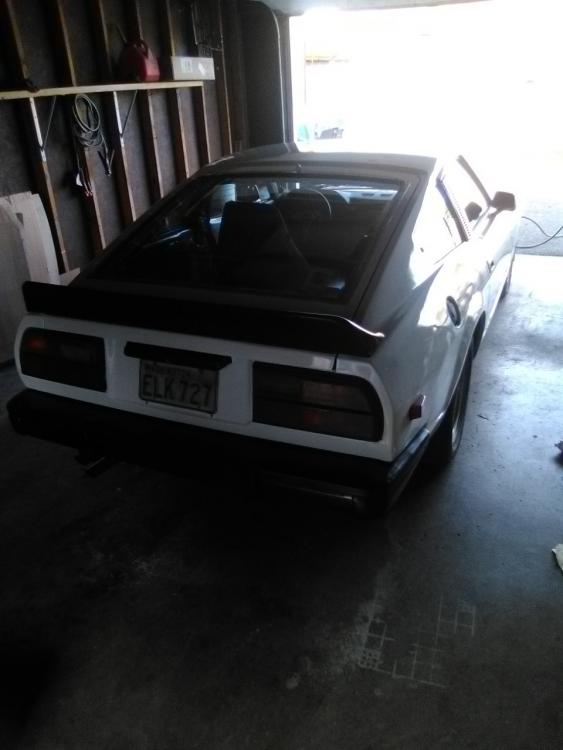
4 pointsA bit of a milestone last night. Got the rear bumper mounted and the hatch spoiler finished. I did the spoiler same as the taillight panels, matte graphite. I’m pretty happy with the look! The tall hatch seals spoil the overall finish but I hope they will settle in.

 4 points
 -
2 pointsHere is a picture of mine. The gap is smaller than it looks. The mount has about 20 race hours on it.
 2 points
 -
2 pointsWe have a Series One in the shop so after I saw this thread I looked at it's console. Never noticed the "park light(s)" embossment in the choke panel before now. The cutout for the switches is blanked off but the lamp icons are there molded into the plastic.2 points
-
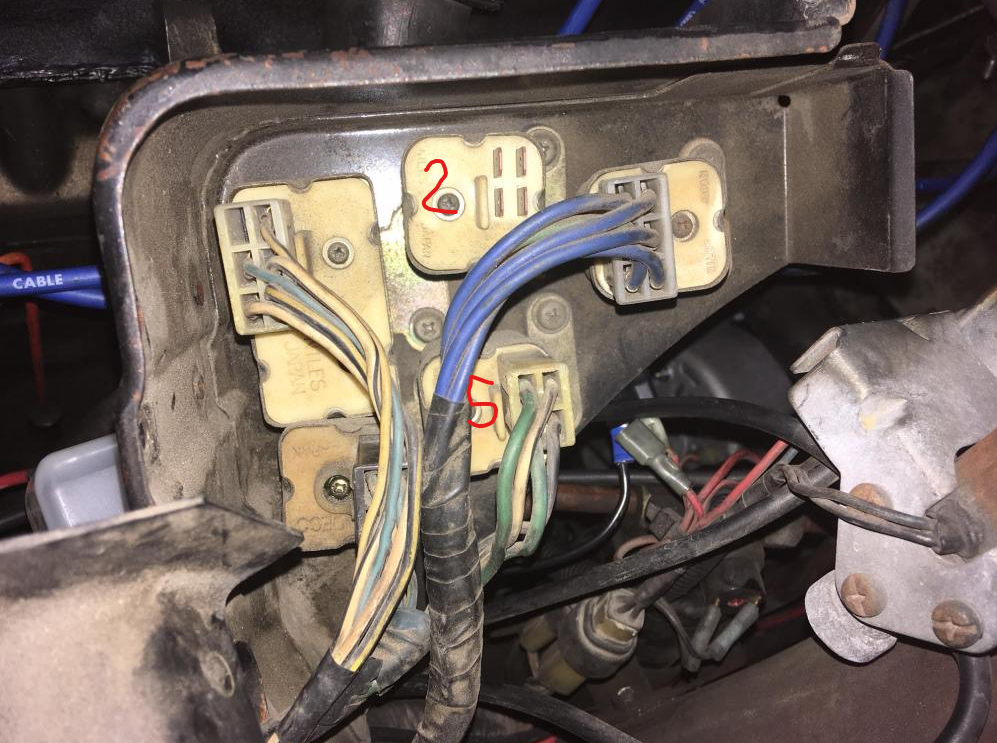
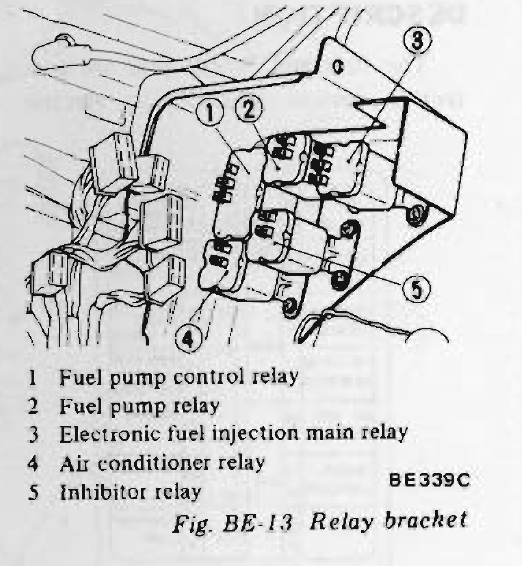
The connector for the fuel pump relay is plugged into the inhibitor relay. I am guessing you have a manual transmission. The inhibitor relay is used in cars with automatic transmissions. I haven't checked, but I wouldn't be surprised if the part number for those relays are the same. It could be the case that the fuel pump relay failed so someone moved the connector over to the inhibitor relay.
 2 points
 -
2 pointsOf course you do. What's not to like? From https://www.spaghettimonster.org/about/ "Religious texts tell us that humans evolved from Pirates. Consider that so-called “science experts” would have us believe humans evolved from primates, pointing towards the shared 99% shared DNA between humans and primates. But humans and Pirates share upwards of 99.9% of DNA. We believe that Pirates were the original Pastafarians and that they were peaceful explorers. It was only due to Christian misinformation that they have an image of outcast criminals today. No one knows what the afterlife really holds, but we are told FSM Heaven has a Beer Volcano and Stripper Factory." A beer volcano and stripper factory? Sign me up!! Can I get a "Ramen?"2 points
-
2 points
-
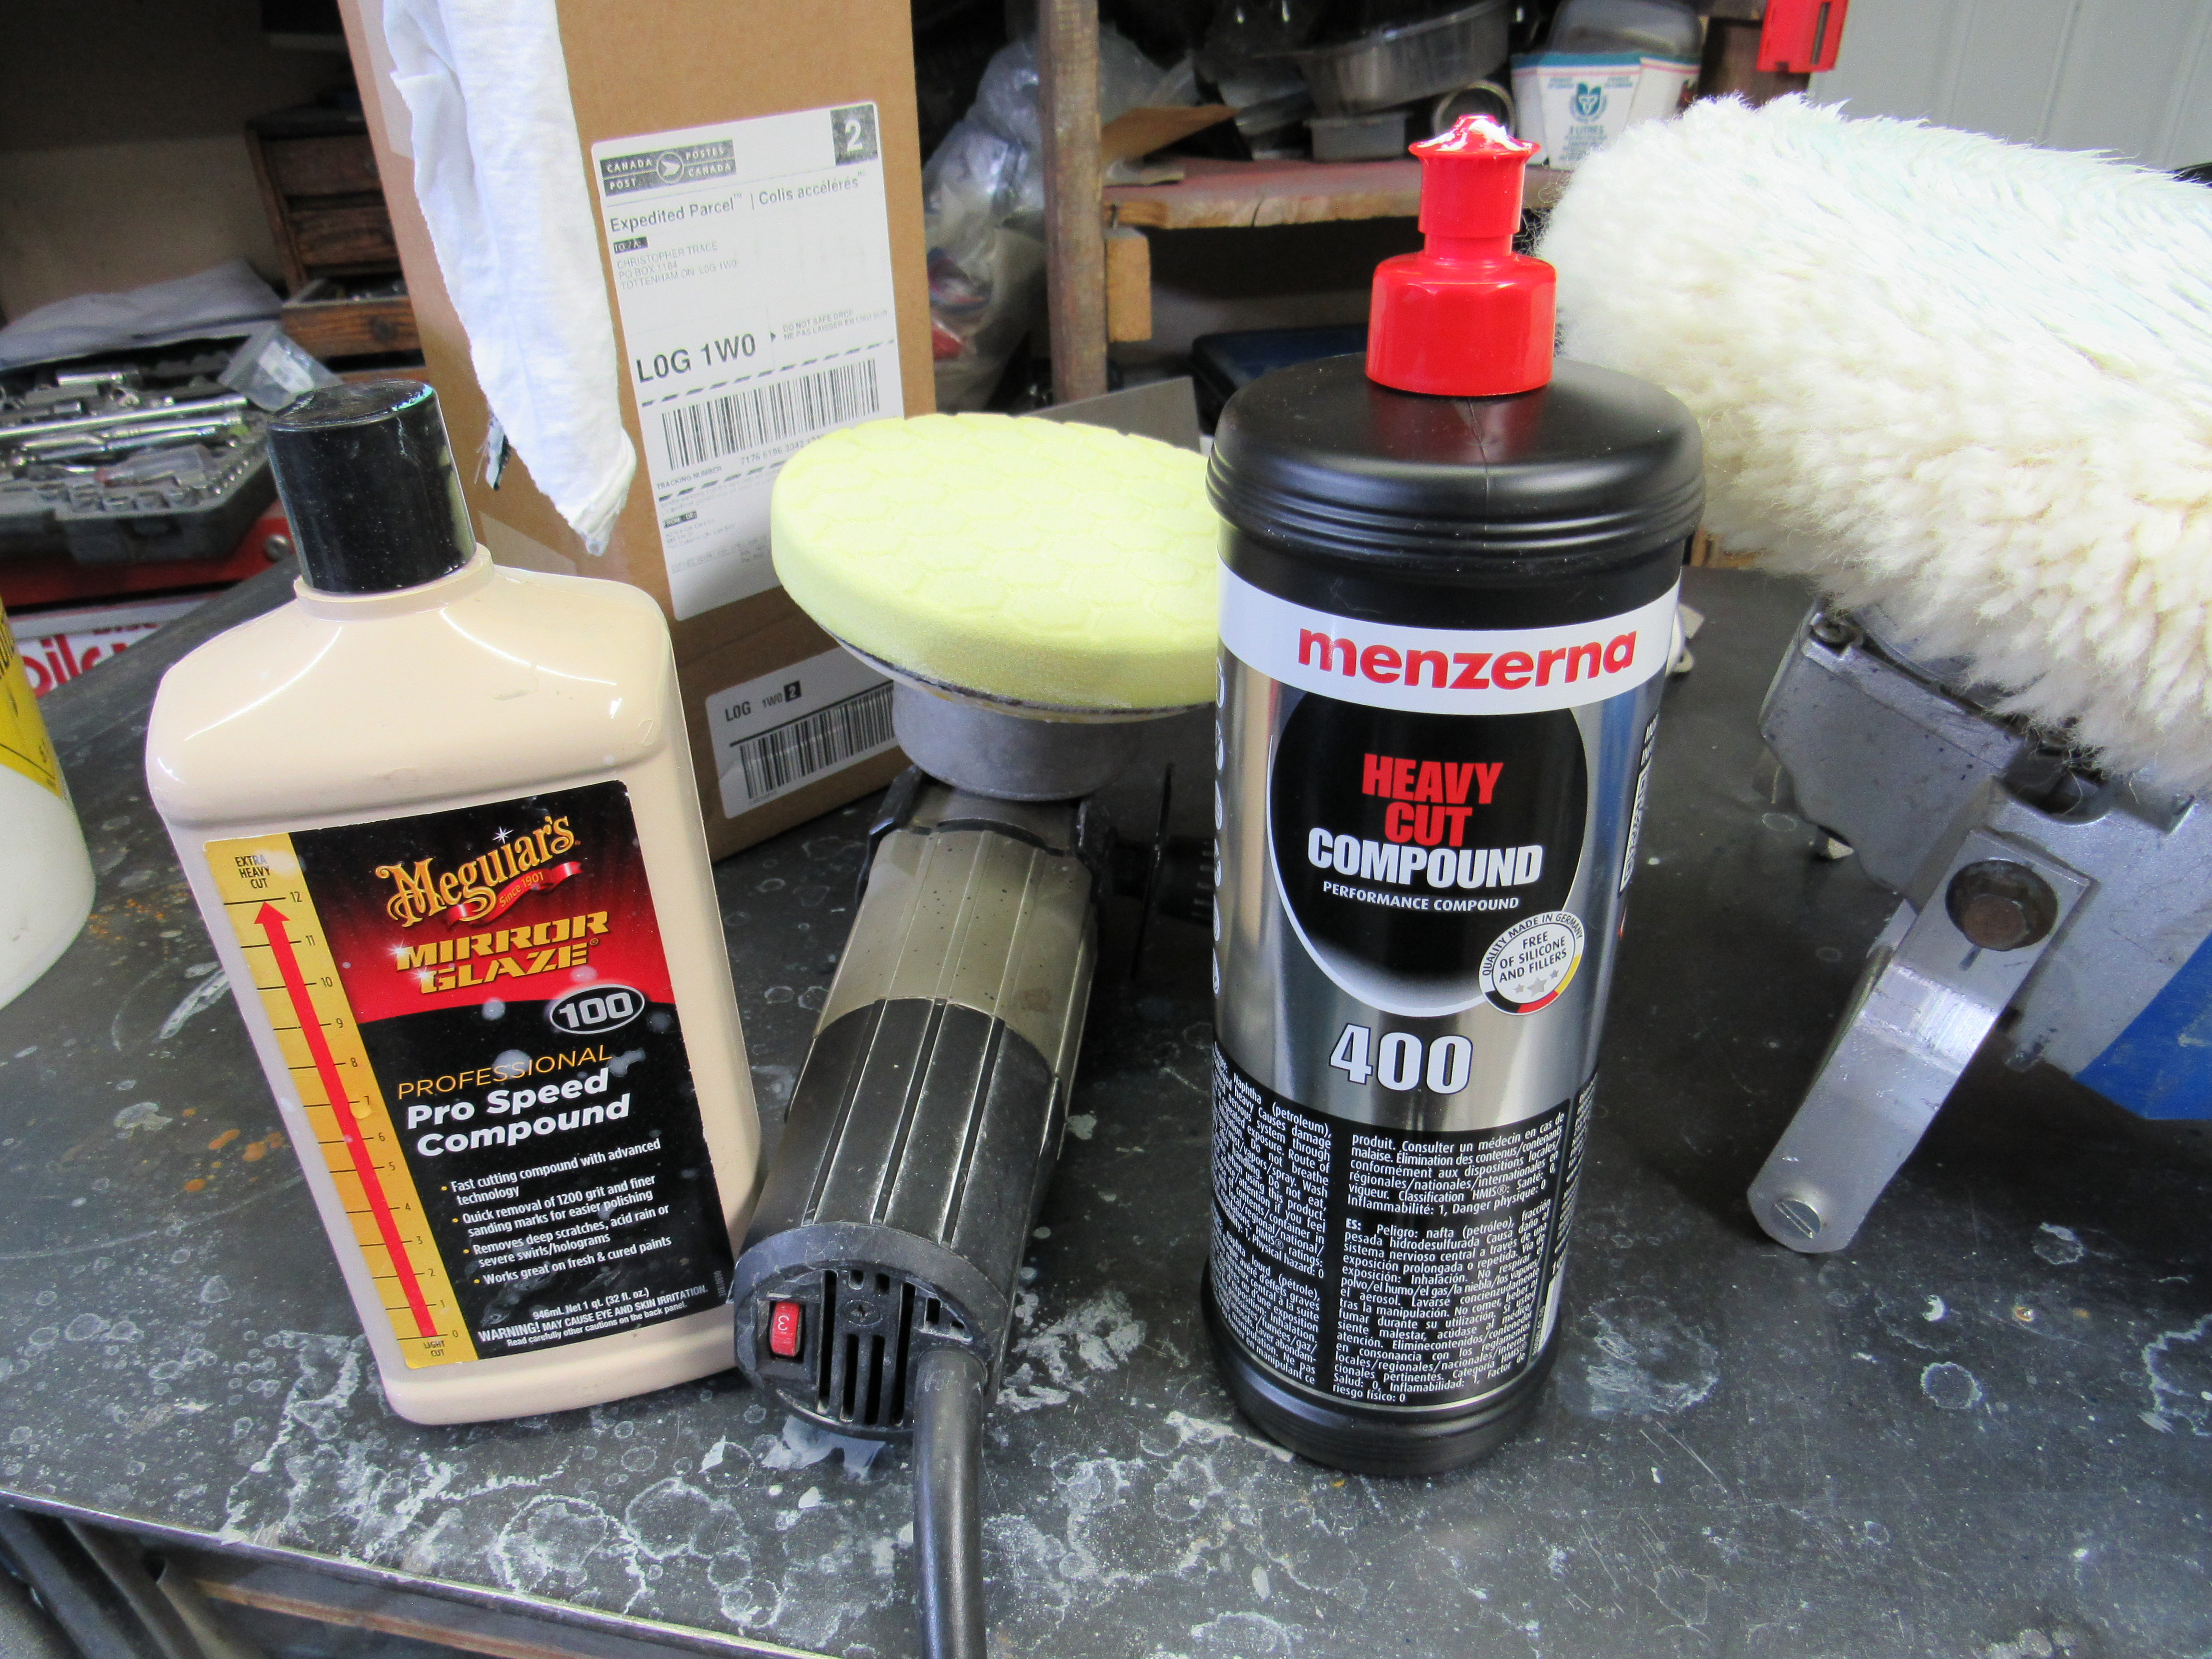
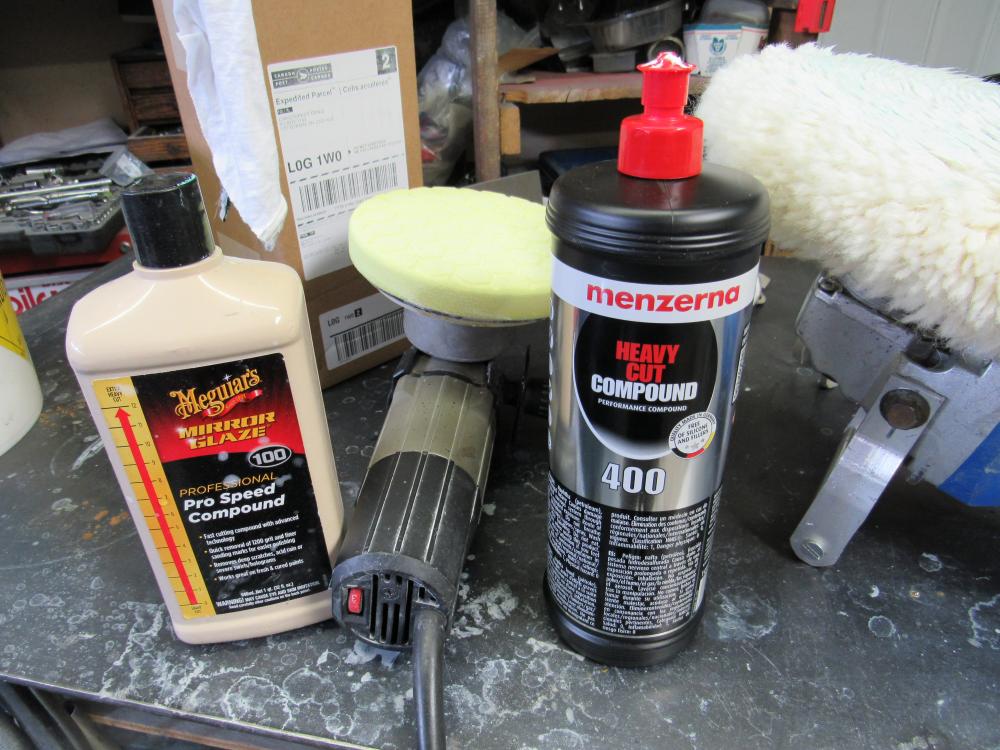
2 pointsI decided to start with 1500 grit just to see if I could save some effort and fortunately it worked, the 1500 removed the dust particles and orange peel, then down to 2000. I've used Meguiars Pro Speed Compound in the past and had good results but I heard about Menzerna's Heavy Cut Compound so thought I would give it a try. Well it's the cats arse, it cut through the 2000 scratches easily and some of the 1500 scratches that I missed, it cuts very quickly, I have one side of the car done, about 90% polished out and I think I will leave it there until most of the car is reassembled, without a doubt there will be bumps, chips and scratches to repair by the time it's all back together. In the first pic the panel to the left has been polished out with the Menzena's, the rest of the panel to the right still has the 2000 grit surface.
 2 points
 -
2 pointsI would run the new line in the tunnel and ziptie it to the others lines until you pull the tranny2 points
-
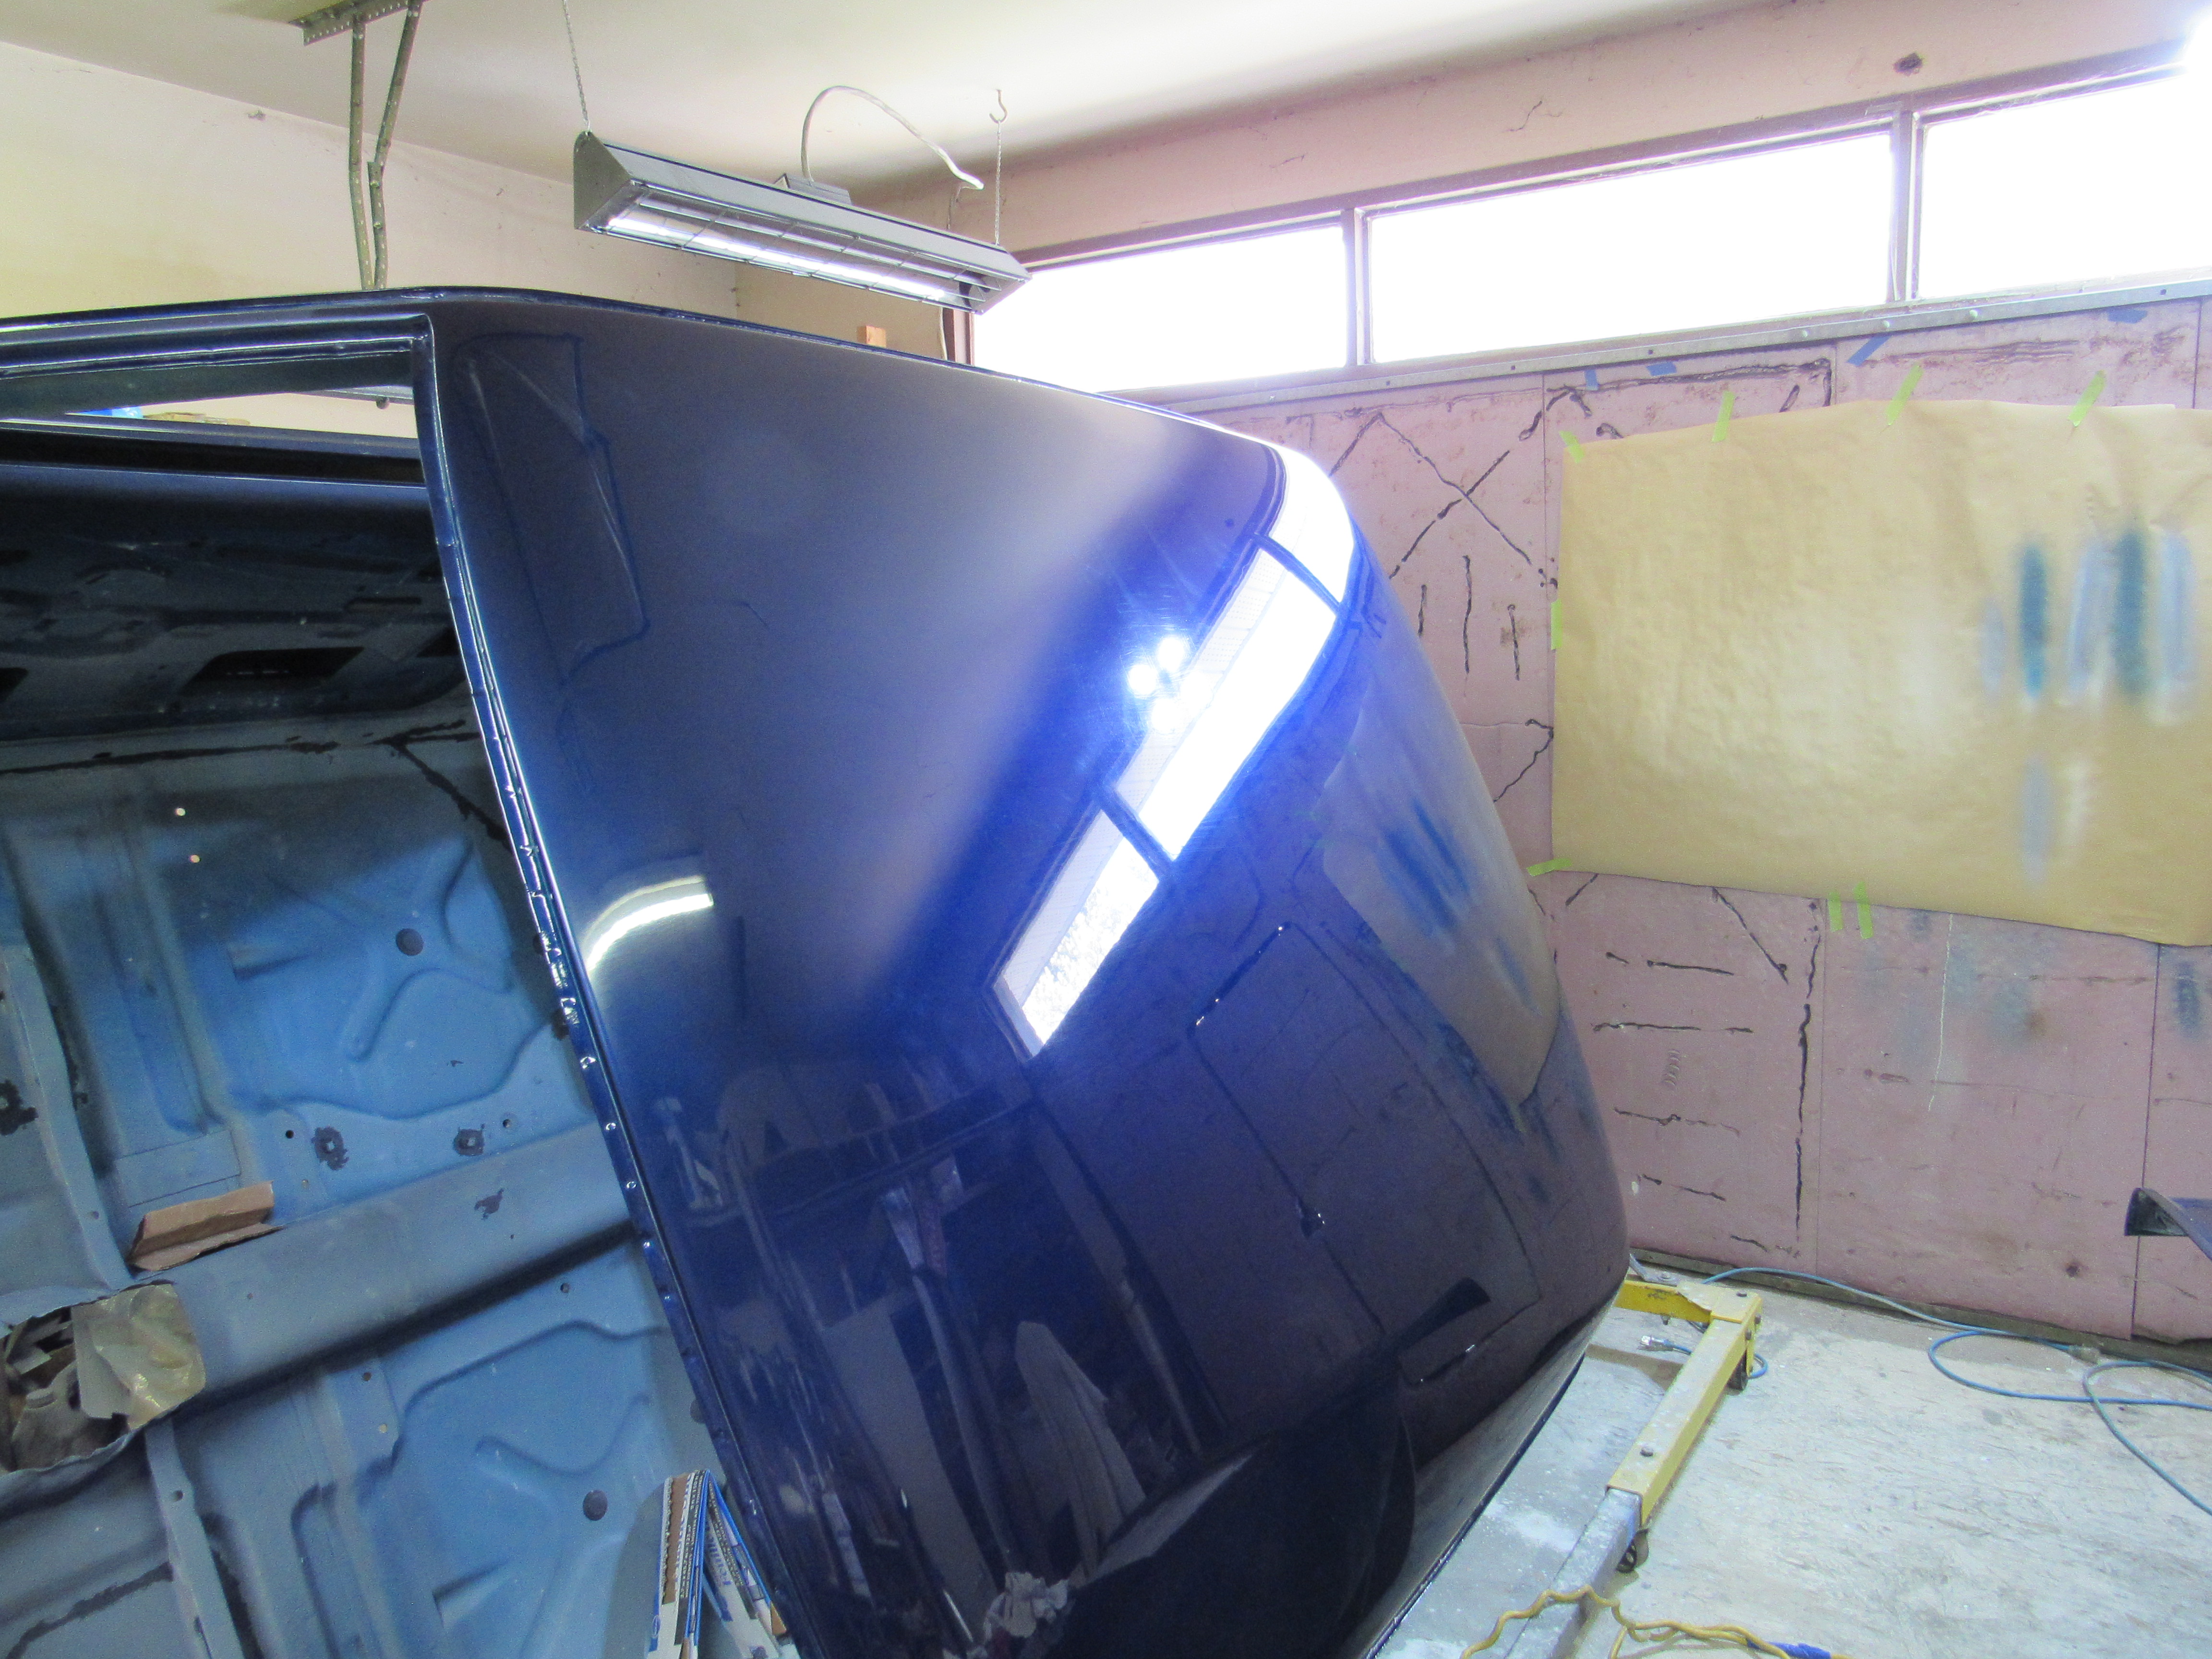
1 pointGot a bit more done this afternoon, roof, hood and trunk lid done just the P/S to polish out now and I can get rid of the rotisserie.

 1 point
 -
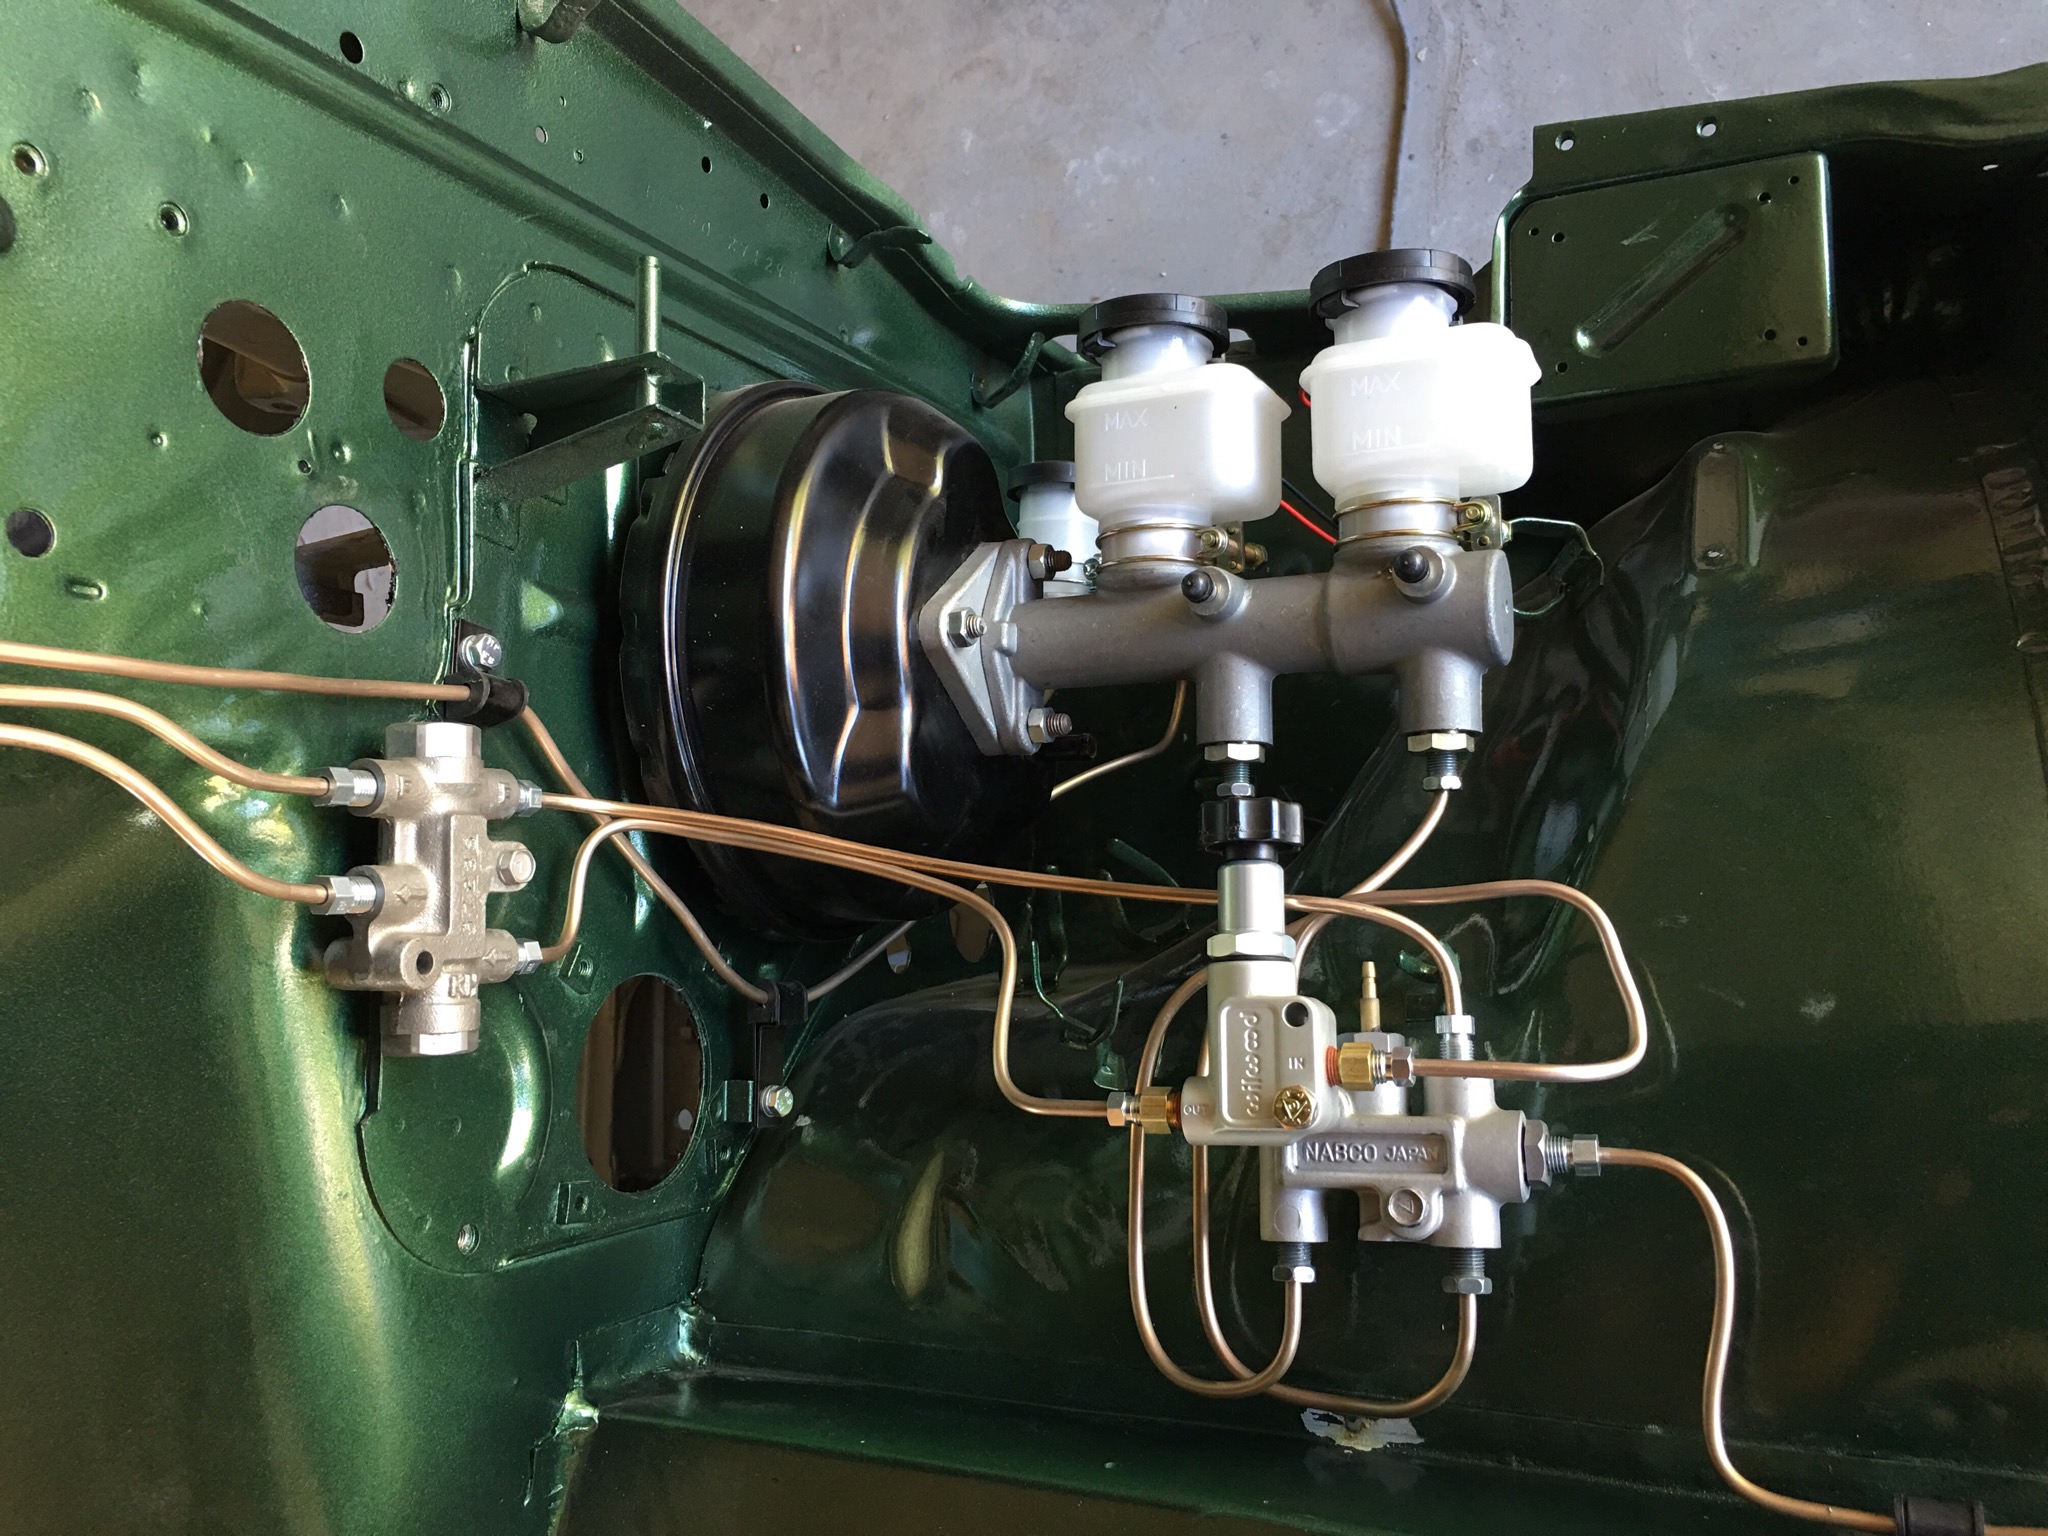
1 pointJust so you know 25ft is just enough to replace all the brake lines in the car if you decide to go that route.1 point
-
1 pointYep, I bought the 25ft copper/nickel 3/16 line. I do have a flaring kit but its the other type...https://econosuperstore.com/itm/sae-metric-double-flaring-brake-line-tool-kit-with-mini-pipe-cutter-car-truck/ May have to invest in the other one.1 point
-
We just did this in the shop on Saturday - stock 280Z. It's a mite easier when you have the car on a lift but it IS doable without and without lifting the engine. "Patience is the key to joy." (Fortune Cookie circa 2015) Just make sure the number one piston is UP (so the crank shaft isn't in the way at the front of the pan) and you have the car as far off the ground as you can manage. Dropping the oil pickup is pretty easy, and there's actually a bit more room than you think there would be to get the bolts back in once you're ready to reassemble - refer to Fortune Cookie quote above. My fingers are fat and beat up in my old age and I could do it.1 point
-
1 pointThanks guys. Yeah, I think my statement of “kind of pain” is an understatement. Will have to grab one or two. I end up doing brake lines more often than I like and am always reluctant because of that tool. Sent from my iPhone using Tapatalk1 point
-
1 pointOh also, I used a copper based hard line, ordered like 25ft of it so I can make other subsections. I would not use stainless It’s a complete pain to try to bend it let alone flare it. You’ll have to invest in more tooling if you want to mess with stainless lines.1 point
-
1 pointIt's so much better, there's hardly even a comparison. It's an almost foolproof way to flare lines, and the best thing short of a $100-200+ flaring tool. Only downside is, you need one for each size brake line. Pretty sure the 240 only uses 3/16 though, so it doesn't matter if that's all you're gonna work on. Guarantee you'd never use one of those finnicky kits again!1 point
-
1 point@mailnome I can vouch for that tool, it’s so much faster to use, and it’s perfect every time.1 point
-
1 pointAssuming you'll be flaring the brake line yourself, consider buying this tool: https://www.summitracing.com/parts/ttn-51535 It's super quick and easy, and it makes near perfect flares every time. A bit pricier than the regular flaring tool kits, but I think it justifies its cost. I originally tried using one of the regular tool kits when I replaced a line, but it was super finnicky and hard to use (was a bit on the cheaper side though). Got the Titan and accomplished more in five minutes than I did after an hour or so of mucking about with the kit. Plus, you can use the Titan to flare the line while under the car if you need to make some last minute adjustments - particularly useful in your case since you're probably going to have to figure out your own custom lines.1 point
-
1 pointLooks like your's came with the bolts for the rear 3 piece. I ended up buying stainless locally and buffing them to a nice shine. futofab.com didn't include the bolts when I bought mine. Maybe they do now?1 point
-
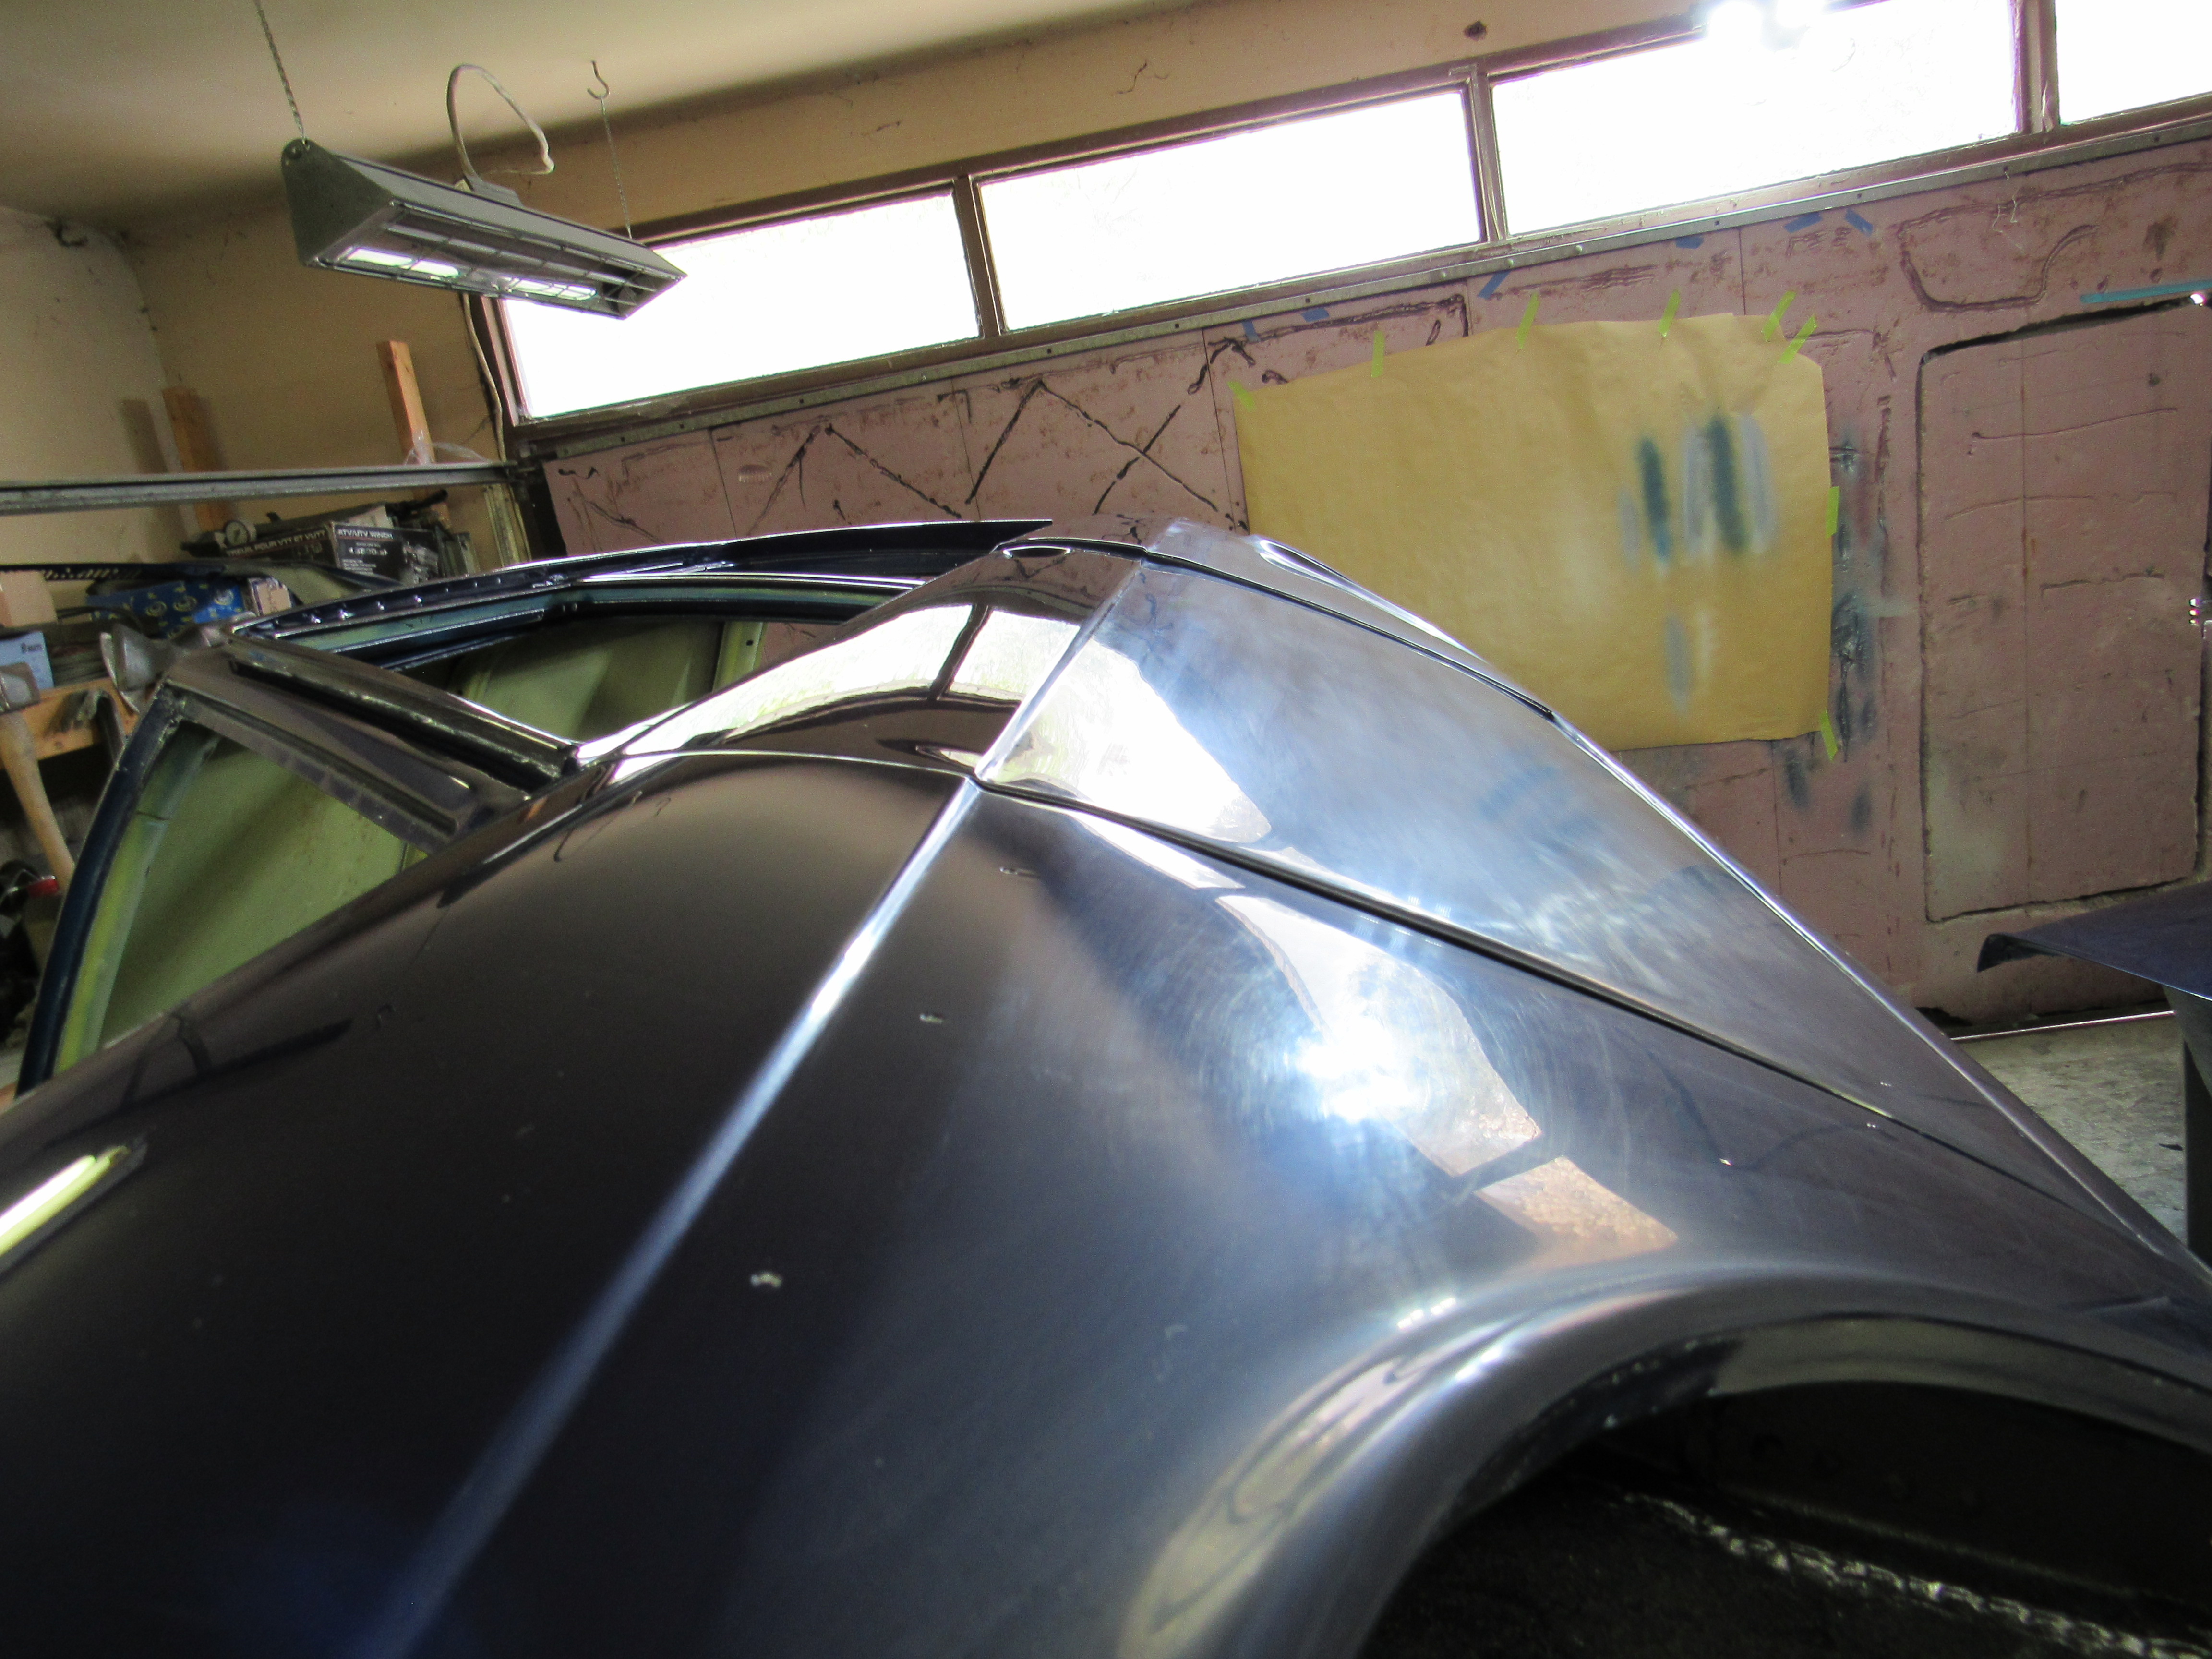
1 pointNow do yourself a favour - cover them up again with protective film during the install! I managed to put a scratch on mine, that while not very visible to most people’s eyes, I see it every time ;)1 point
-
1 pointI'm really on the fence whether to go this route or to do the Futofab powdercoated ones and then re-powdercoat them in a dark gray. The idea would be to do a BRE spoiler, the taillight panel, bumpers and maybe the door handles in a color that matches my Panasport spokes. The SS bumpers look really good though... Luckily, I'm not ready for them yet, so I have time to decide.1 point
-
I have a 1/8" air gap in mine and while it's a race car with lots of noises, gear whine isn't one of them.1 point
-
Well, you could always move the connector from relay 5 to relay 2 and see if it works. If it does, you know you have a spare EFI relay.1 point
-
1 pointThe Menzerna for both steps, apparently the abrasive particles breakdown in a very uniform way so by the time you're finished an application the particles are polishing. The final step I'll use a dedicated small wool pad and swirl remover/polish before the wax.1 point
-
1 pointFor some, a tin foil hat may not be enough. They may be better protected by a jacket with extra long sleeves.1 point
-
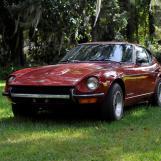
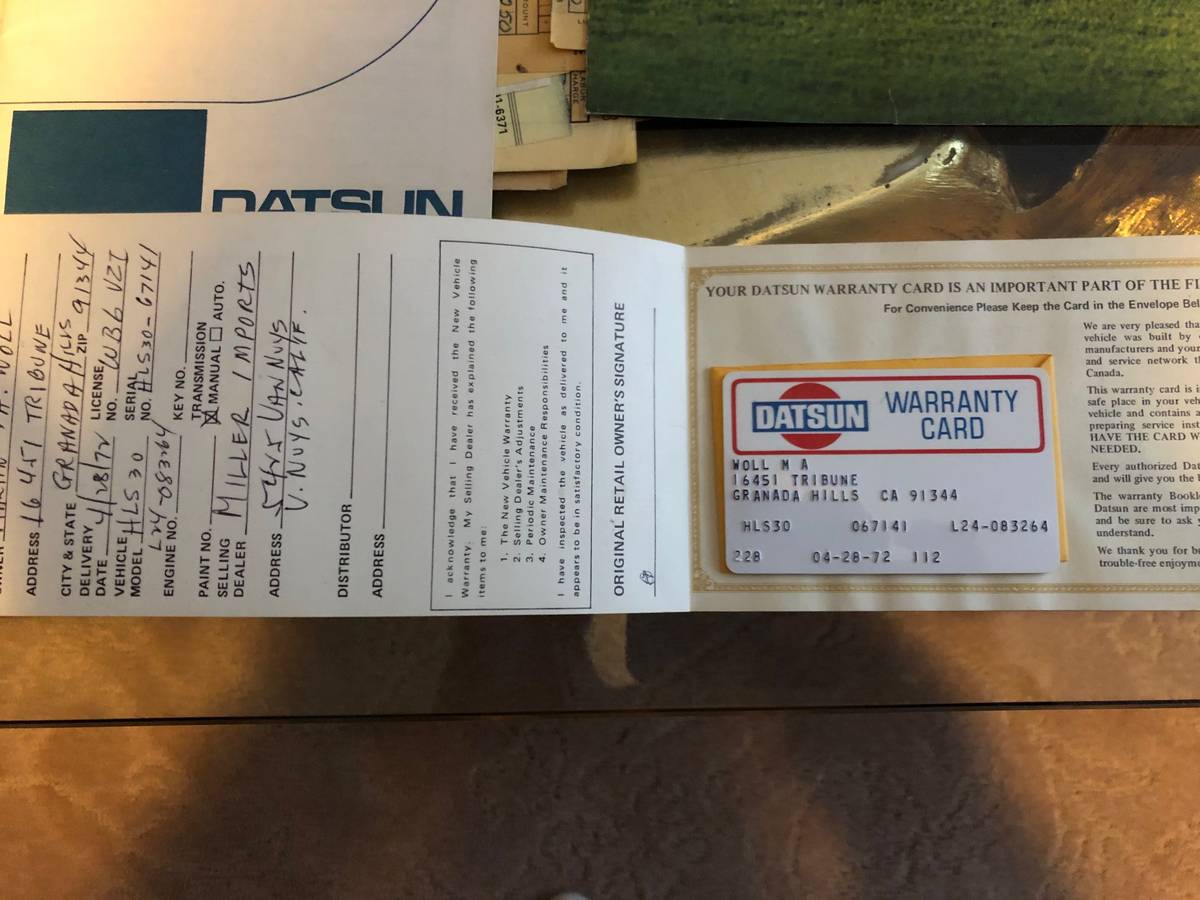
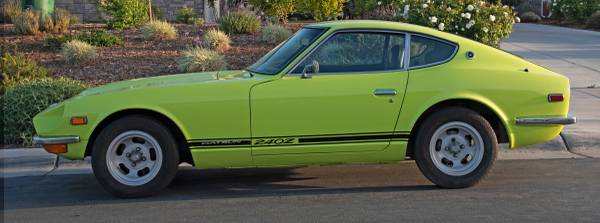
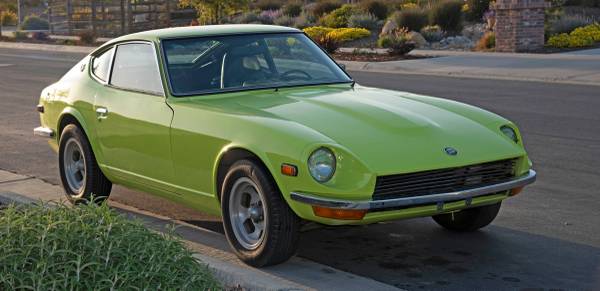
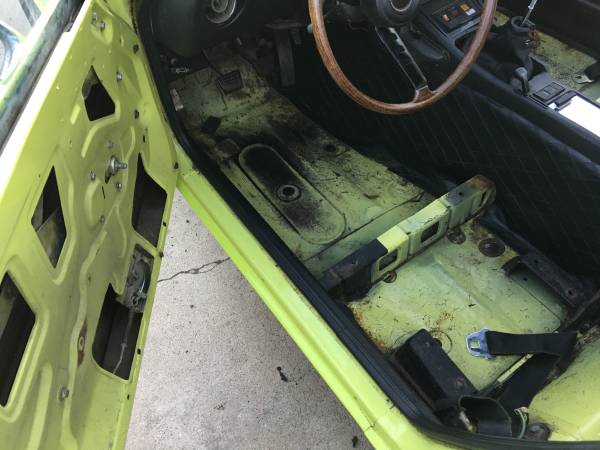
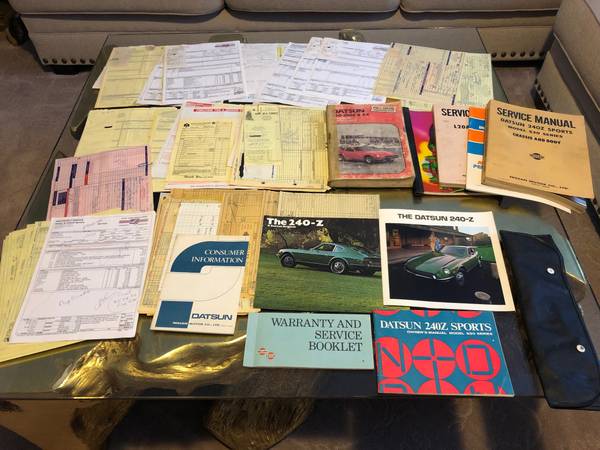
Here's another '72 that looks to be a very solid, 2-owner car with all of its original documentation and receipts that I saw on the on the Santa Barbara, CA Craigslist: https://santabarbara.craigslist.org/cto/d/buellton-1972-datsun-240z-owner-runs/7319522658.html 1972 Datsun 240Z 2 owner runs drives great! - $28,888 (Buellton) Steve (805) 331-2184 This is a two owner 1972 240Z that was sold new at Miller Datsun on Van Nuys Blvd , it has had just two owners and has full history from new . The car is completely rust and accident free all sheet metal is original to the car . Car has had a full repaint with the windows out and now looks and runs great . Pictures are to show the condition of the floors the carpets and seats are installed and the car is useable but it does need some minor finishing which we can do or discount and let the buyer finish . sensibly priced at $28, 888 we are California dealer so must charge tax and license fees if sold in Ca .... VIN: HLS3067141
 1 point
 -
1 pointGetting things back together now. I'll put some more pictures whenever I get it out of the garage.
 1 point
 -
1 pointI have agree with @dutchzcarguy some. I recently was helping a local owner he drove my car then said wish mine ran this well. I drove his it just seem sluggish. I had him do a valve adjustment and he discovered that he had low compression on two cylinders. So he pulled the head and found the head had a crack and bent valves. They were not closing all the way. So if you haven’t, test compression, adjust the valves, test compression again if needed, check distributor ignition system, check timing, check for plugged filter, check for vacuum leaks, check fuel pressure, unhook all of the throttle linkage. Make sure is opening al the way. No binding or stops. Once you are at this point I would mail those carbs to Ztherapy. I know it frustrating, but you will find the problem. Them you will love that car.1 point
-
1 pointThat is your prop valve. The safety valve is under the MC on the driver side.1 point
-
1 point
-
1 pointThat one of your brake line circuits has a leak and now you are using the other circuit to do all the braking.1 point
-
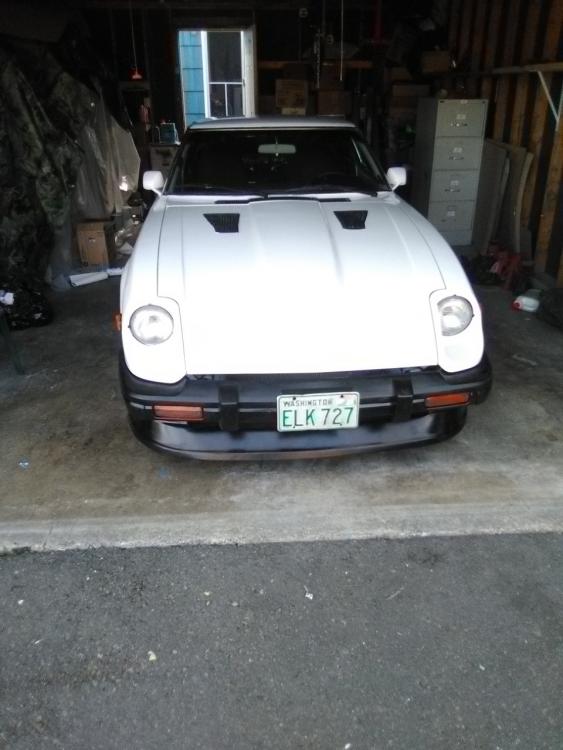
Two Z's sold today. The white one looks like a clean start for somebody. https://bringatrailer.com/listing/1972-datsun-240z-173/ https://bringatrailer.com/listing/1977-datsun-280z-56/1 point
-
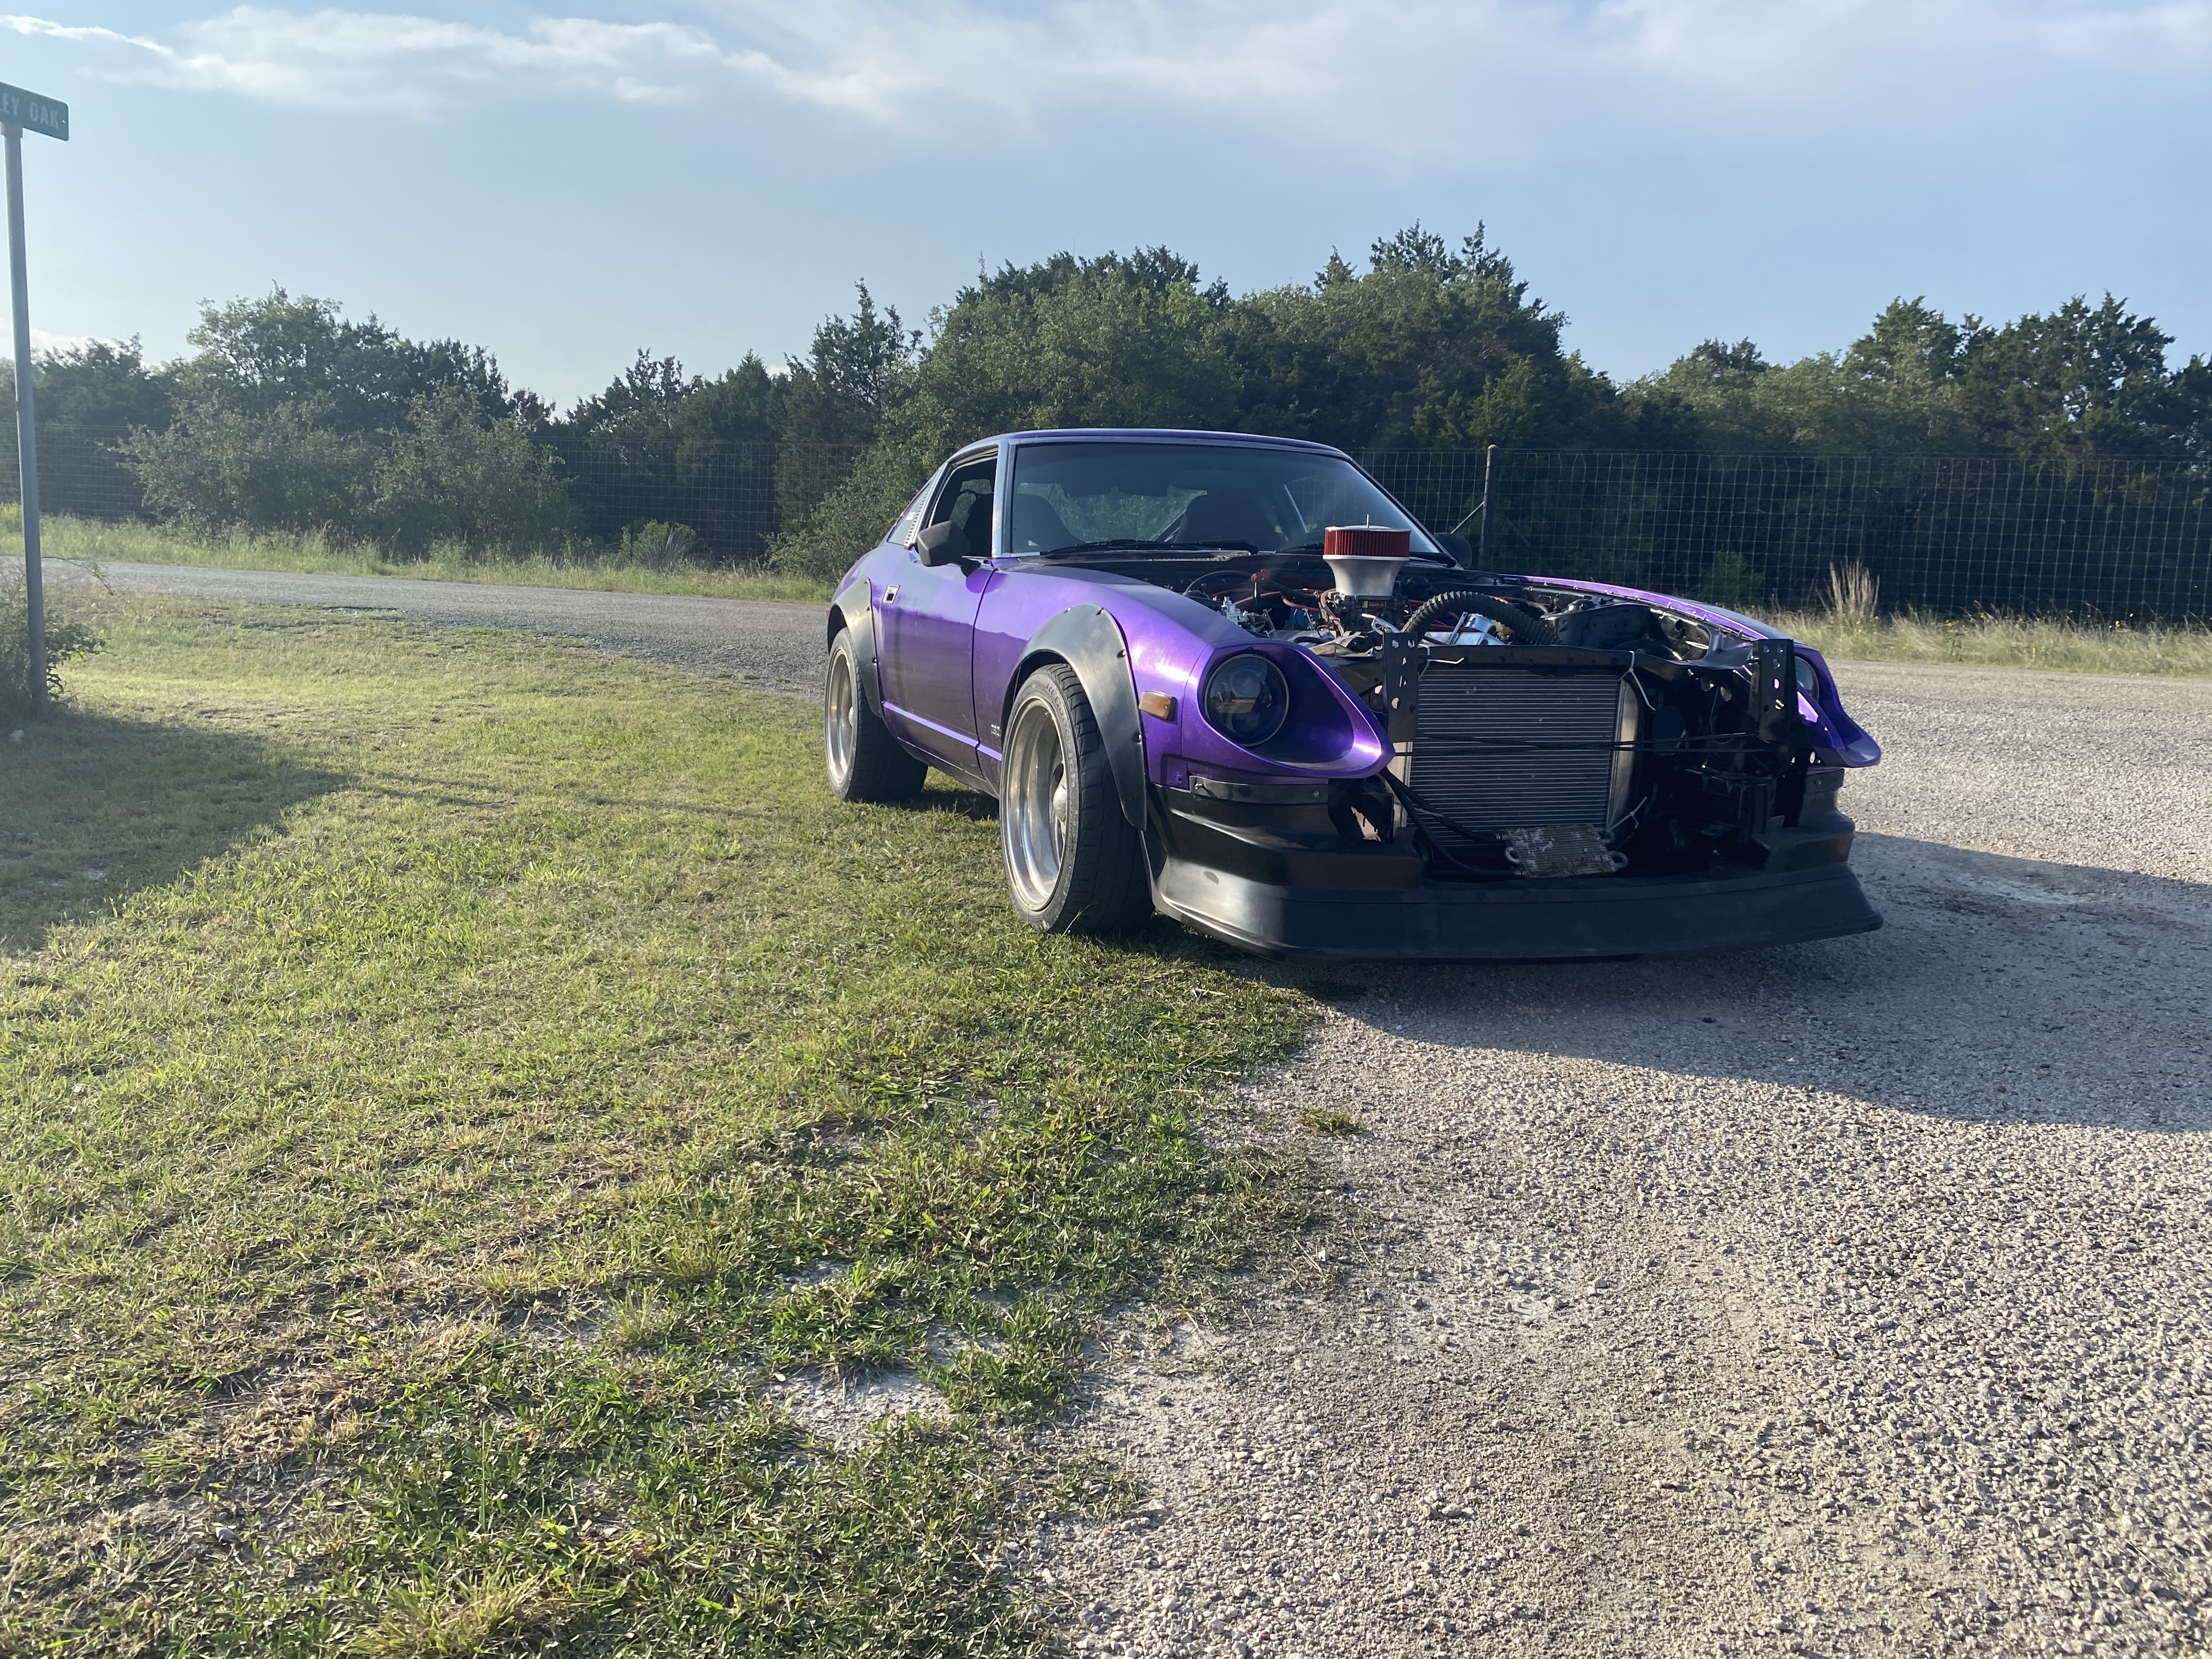
1 pointfinally got the car to run, and i drove it today, my what a blast that was until the trans died and i had to tow it home, and ****ed up my truck in the process. i had slack in the throttle cable so i could only get about half pull, but it would still break the tires loose in 3rd at 50mph, so time for better rubber, im getting some nitto nt05s installed tomorrow in a 235/40R17 front and a 275/40r17 rear so hopefully they will grip better. also note to future self if i need to replace the dizzy again i need to advance it more than i think. i did eventually get the lt1 longtube headers to fit my car, but its very far from just a bolt in and go kinda deal, definitely wouldn't advise unless you have more patience than a saint times 1000. if anyone wants a full writeup on what i did to make them fit i can post one, but itd really be so much better just to get a custom one made. also the car now leaks oil worse than it did before and its pissing me off, but its simples fixes, the first leaks are the fittings on my remote oil filter, i had to relocate to clear headers, but i was able to put the oil filter right behind the hole where the i6 airbox would've gone, allowing me to get somewhat of a cooling effect on the filter. the second issue is my valvecovers, the stamped steel dented around the bolt holes and lost any sealing capabilities so it leaks a fair bit onto the header, making a constant massive smokeshow and coating my windshield in oil. i ordered new valvecovers that are a cast aluminum so that they have a much thicker gasket surface that i can make seal better. after these areas are addressed it should seal, everything except those two has been sealing fine without issue my brother and i went to go look at an 82 for him, still with the original i6, it is in much better shape than mine was at first, so hopefully it works out for him, i think itll be cool both having Z's. he rode with me today as we were breaking it in and it was a lot of fun, hes been helping me these past few nights waking up at 7am and going to bed at 3am just trying to get the car done, and ive been appreciative of that i lost a trans cooler line while i was out and drained the transmission while i was driving, i think how much i abuse this trans is really proof that they arent as bad as people say they are if you do the necessary mods to them(bascially just a shift kit and up the line pressure some). ill replace the line with something better, change filter and inspect trans for damage and call it a day. in the process i had to trailer it home, and my dad forgot to lock the hitch to the ball, so when i drove onto the trailer it jumped up and slammed into my tailgate, it made me shed a manly tear, but it still opens and closes so im just gonna pretend the dent and hole in the tailgate doesn't exist, besides would it really be a toyota if i didn't constantly beat the stuffing out of it? ill upload some pics of the car and some videos of driving it, the videos are definitely a volume on deal with how nice the open headers sound, carb still needs some tuning but the engine only has 27miles on it, lots of mid throttle acceleration then letting the car engine brake to establish a good ring wear pattern, basically just running from 2000-4000 rpm with no more than half throttle, and a bunch of in between stuff, feel free to leave comments or ask questions cm-chat-media-video-TAQMBPnXfUwQnJBIj7xk2.mov cm-chat-media-video-9rCc9naPlQiGuZmTbwZO4.mov
 1 point
 -
Welcome to the forum, an original owner that's wonderful! I'll just comment on the arrester belt, no it was never snug over the top of the nose of the diff so your new belt is working as designed however that doesn't mean it is a good design in the first place. Many owners have gone to the R/T mount to help eliminate some of the thumps and clunks that happen back there, I have some old rubber conveyor belt that is about a 1/4" thick, in the past I have cut 2 pieces of that belt 2"x 4" and slipped them between the top of the nose of the diff and the bottom of the arrestor strap so that the strap is snug, I've found it to be quieter when I'm driving the car hard.1 point
-
1 point
-
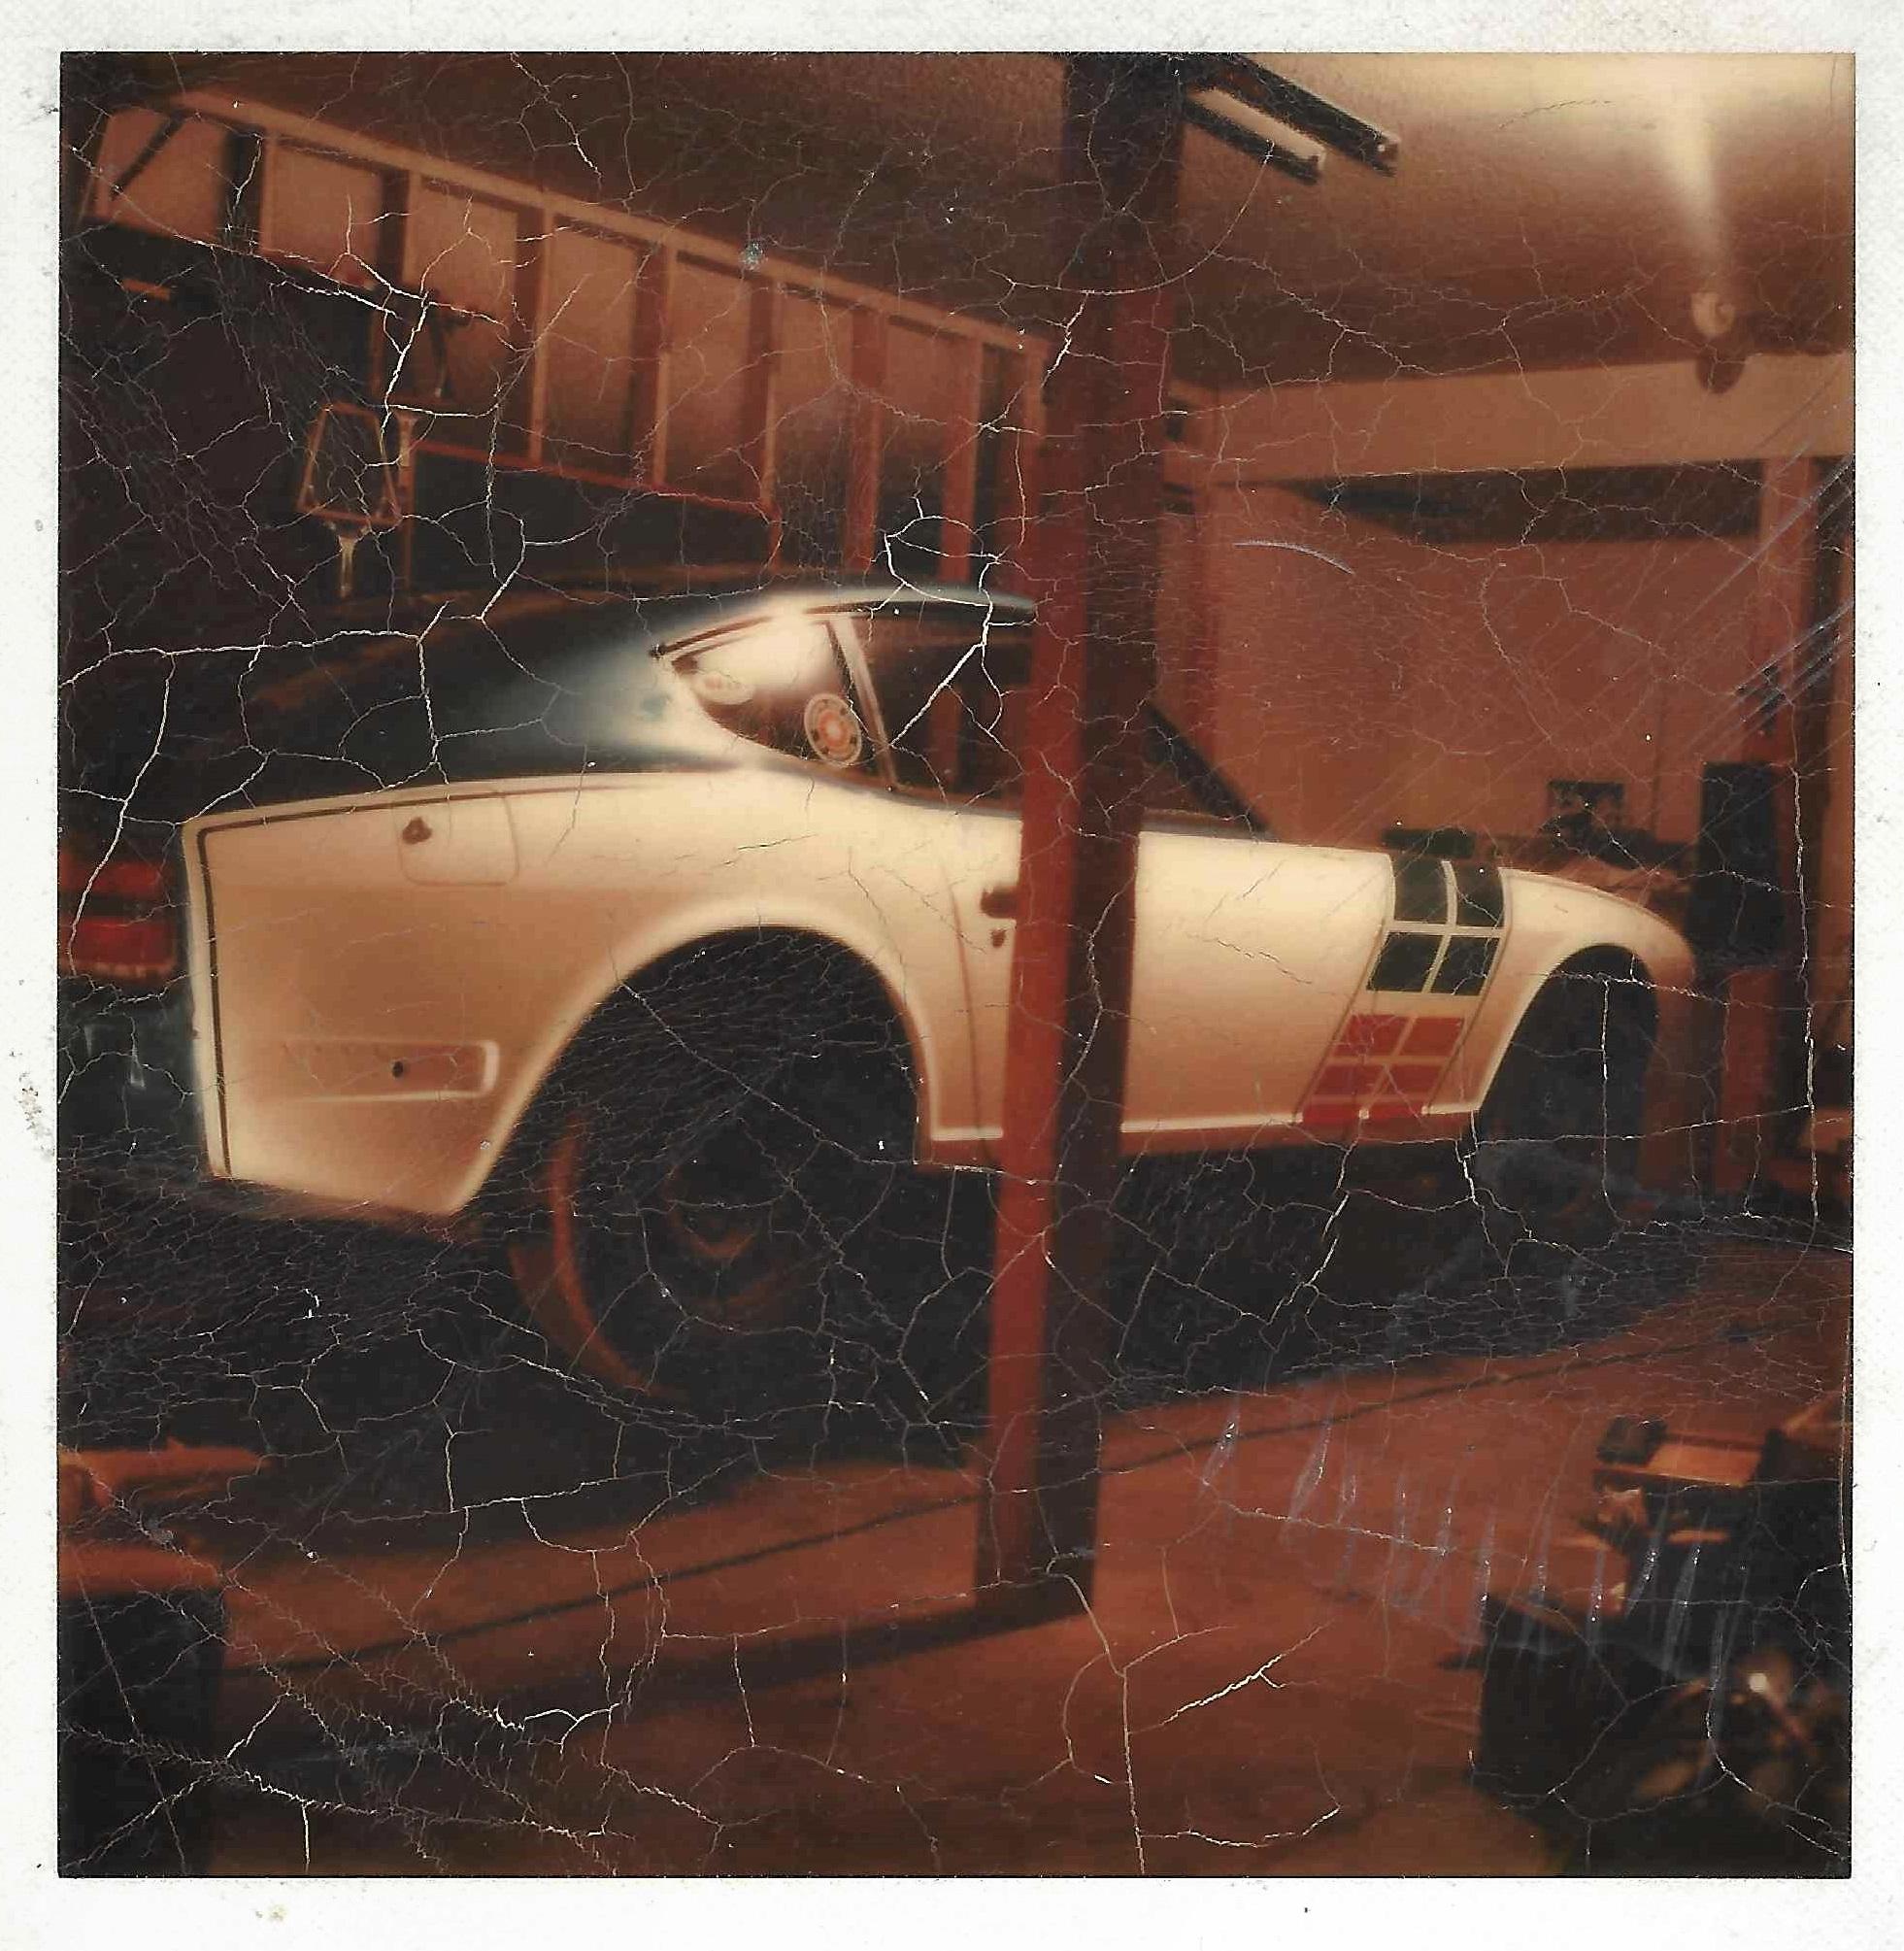
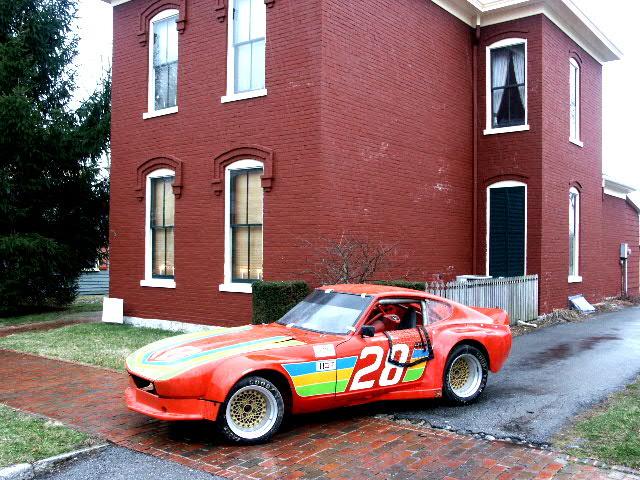
1 pointI was the third owner, looking at this ad. I thought I purchased it from the first owner, but I purchased it our to New Mexico from Jim Campbell in the mid-70's from an ad in Auto Week. He had raced it and it had been in the run offs it was painted in the BRE Livery when I purchased it (the only picture of it in this livery is below). Les still has the car and is managing the upgrades. I will be picking it up in March if all goes as planned. As I the car is getting another start on life as a race car and there will be more information on this in the near future. PROJECT 29
 1 point
 -
1 pointYou will be hearing more about the next phase of the 00029's life in the near future. Below is the new power plant, it is exciting! l 123_1 (6).mp41 point
-
1 pointHere is HLS30-00029 and a past owner is on our site. He will certainly enjoy your find! @JLPurcell
 1 point
 -
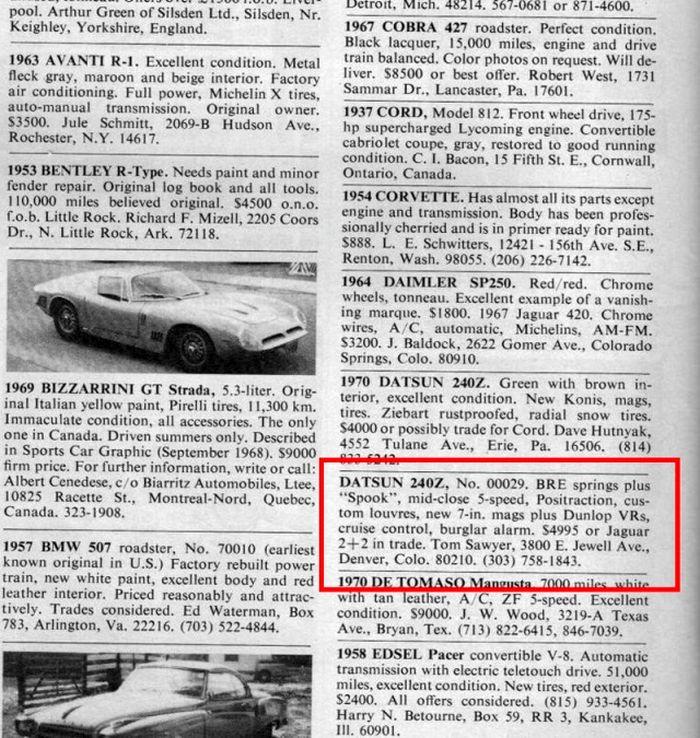
1 pointLook at the company being kept by Z #000029 on this R&T classified page! Bizzarrini GT Strada De Thomaso Mangusta BMW 507 Cord 812 Cobra 427 (the real one) It would have been easy to skip over the two Datsun listings back in the day. And $4995 wasn't small change back in 1971 (esp. in comparison with the MSRP for a brand-new 1972 Z with all the 2nd-generation upgrades). And just exactly what does 'Positraction' mean here? Was that a Datsun Competition Parts offering?1 point