


Leaderboard
-

siteunseen
Free Member5Points15,115Posts -
grannyknot
Free Member5Points5,158Posts -
Captain Obvious
Free Member4Points10,081Posts -

kats
Free Member4Points2,215Posts


Popular Content
Showing content with the highest reputation on 12/05/2018 in all areas
-
4 points
-
2 pointsSarah, You will be missed, but I hope that you come back and visit once in a while. Ya gotta watch out with Charles... he might be a stalker.... oh wait that's ME.... (gotta sing it like Train does) I digress.... Sarah, if you ever need to turn wrenches and don't have the space, you might wanna check out what's on this side of the water... https://americandiyg.com/adiyg/ And to all those that are not in this neck of the woods, they ARE looking to franchise... Let me know if you need anything - I know a few Miata peeps... Wayne2 points
-
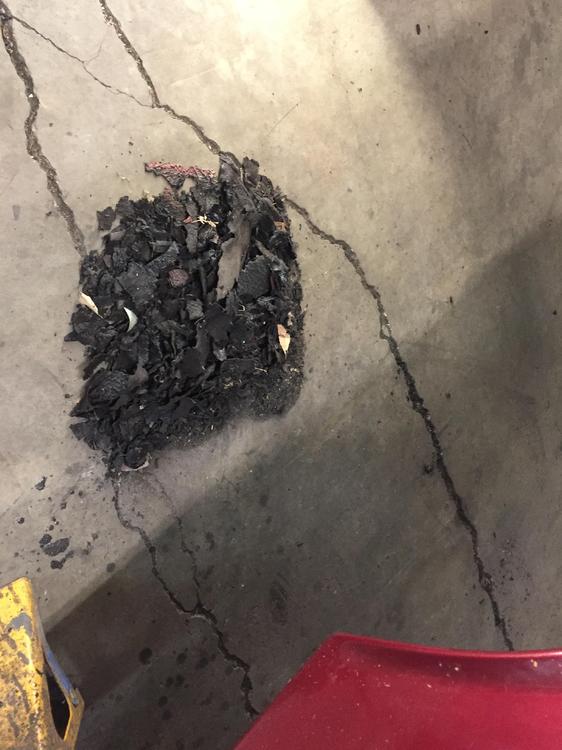
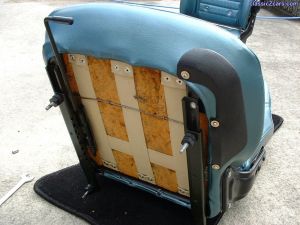
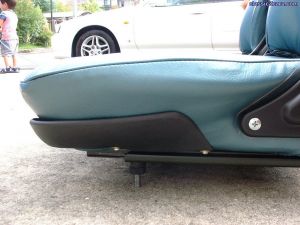
You people will buy anything apparently. I wonder what I could get for a large pile if freshly removed undercoating? Just re-heat in a big pot on the stove and trowel it on. Now that's recycling. Remove, Reheat and Re-apply!
 2 points
 -
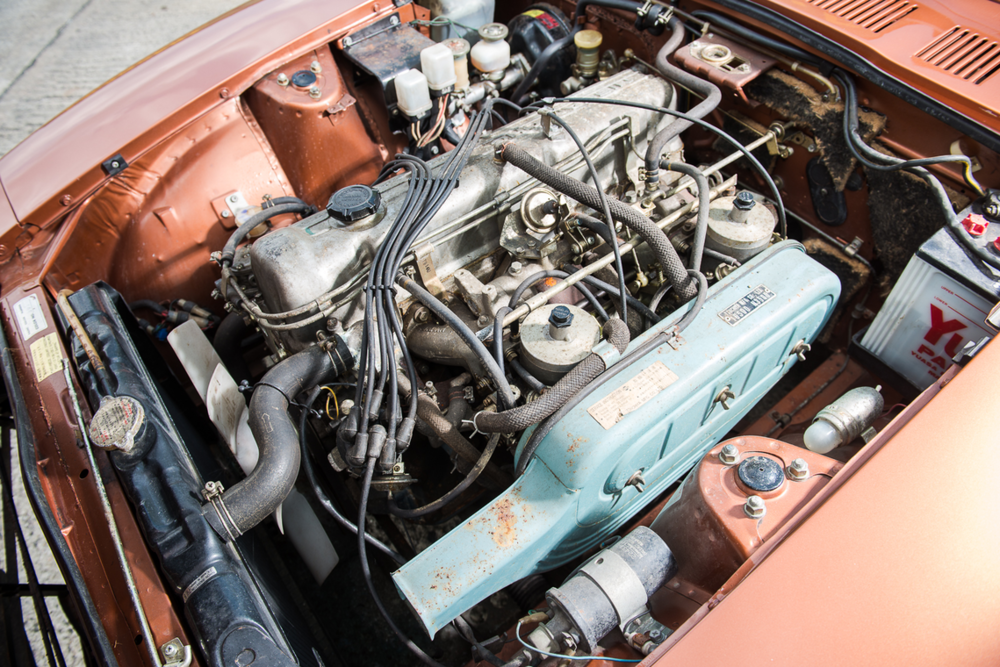
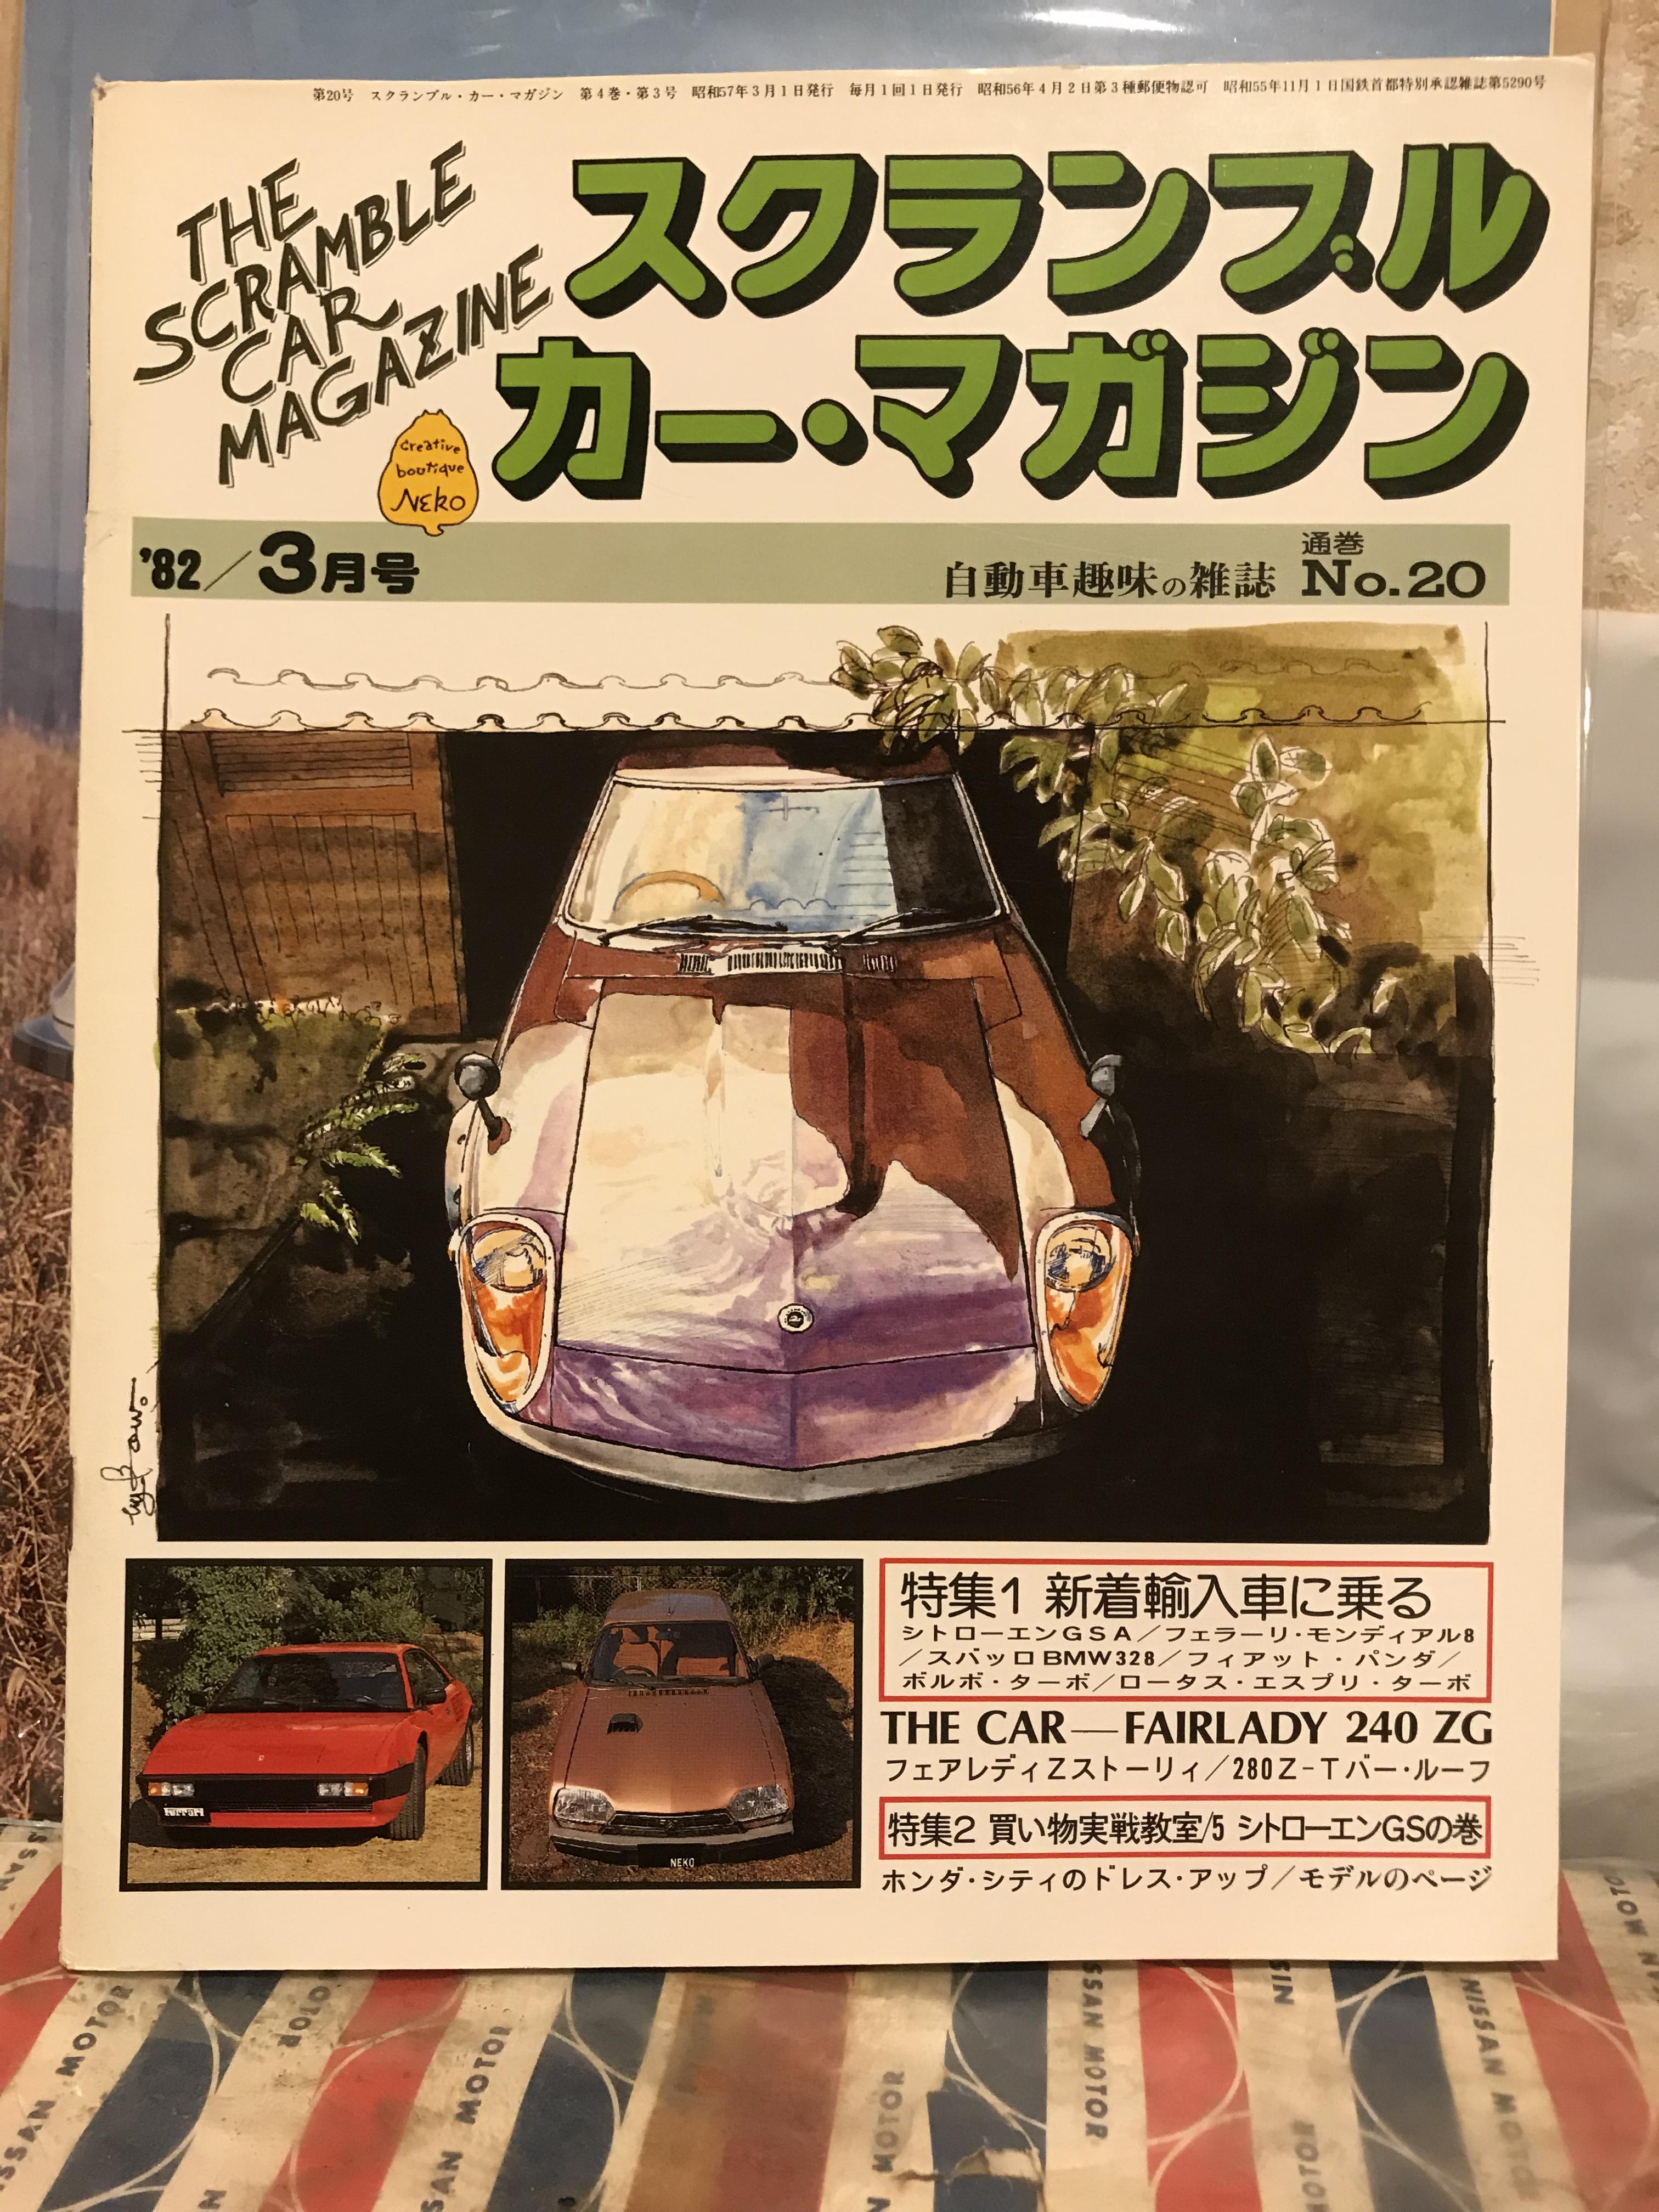
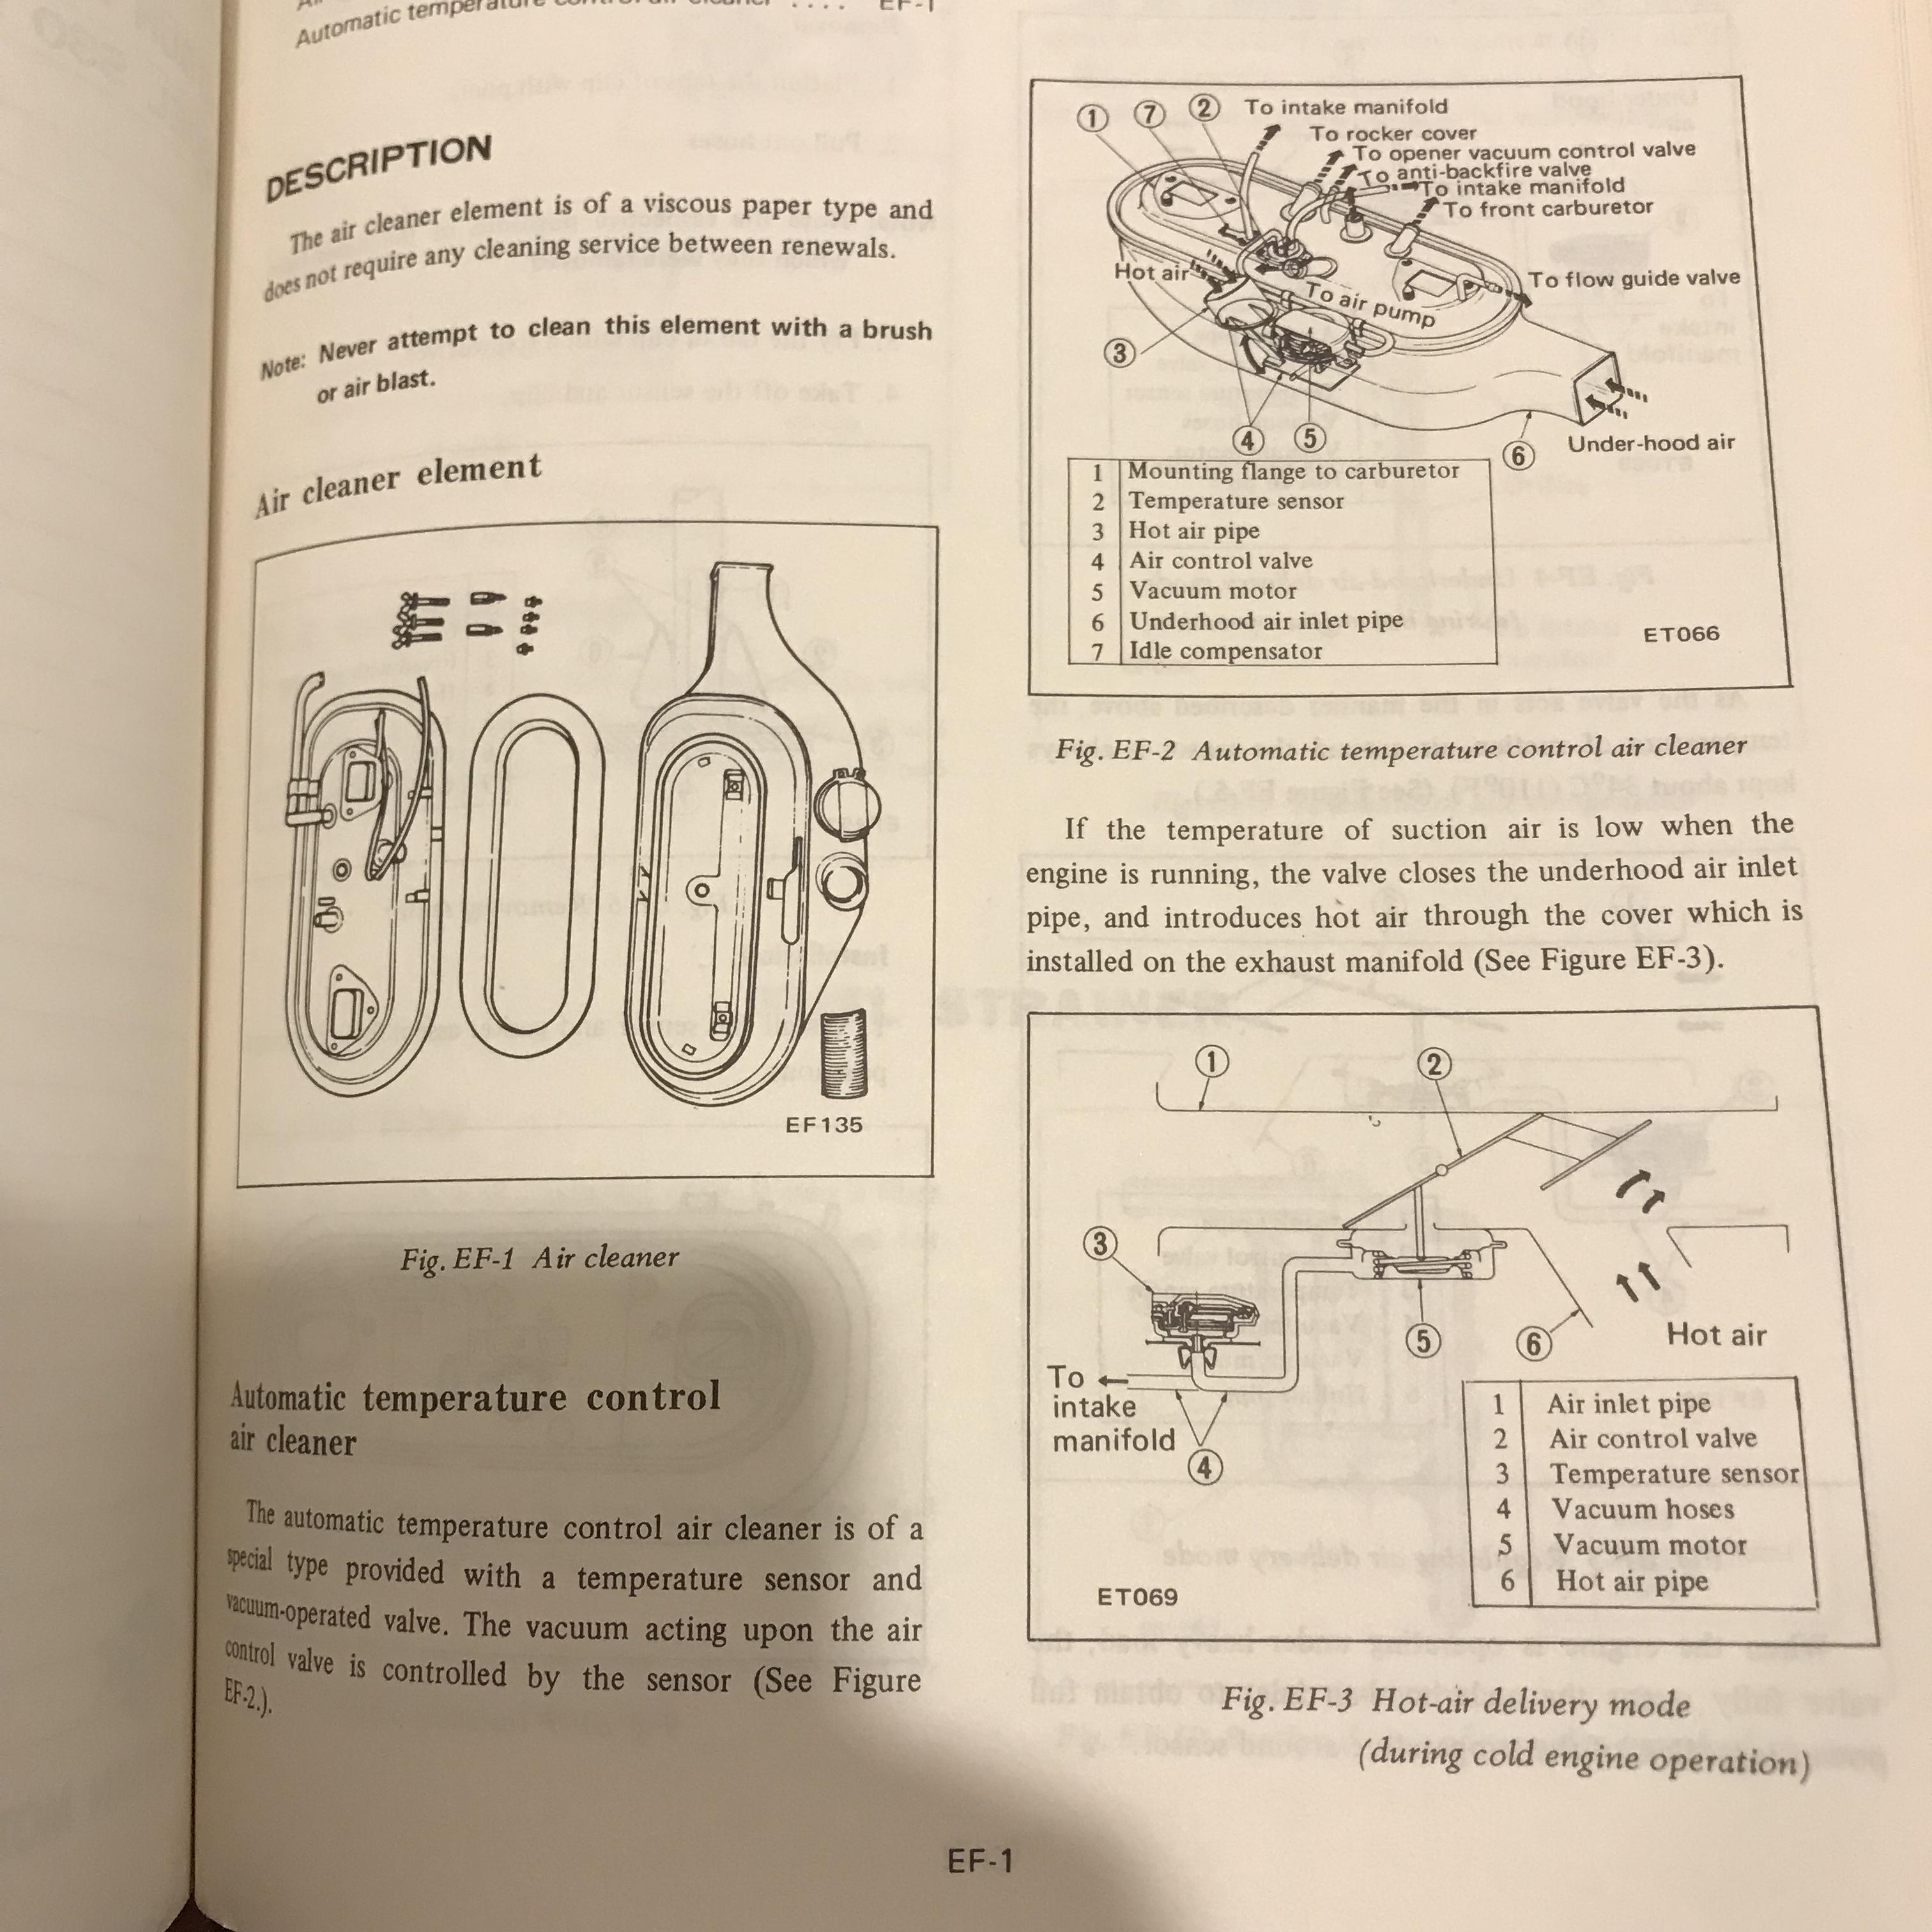
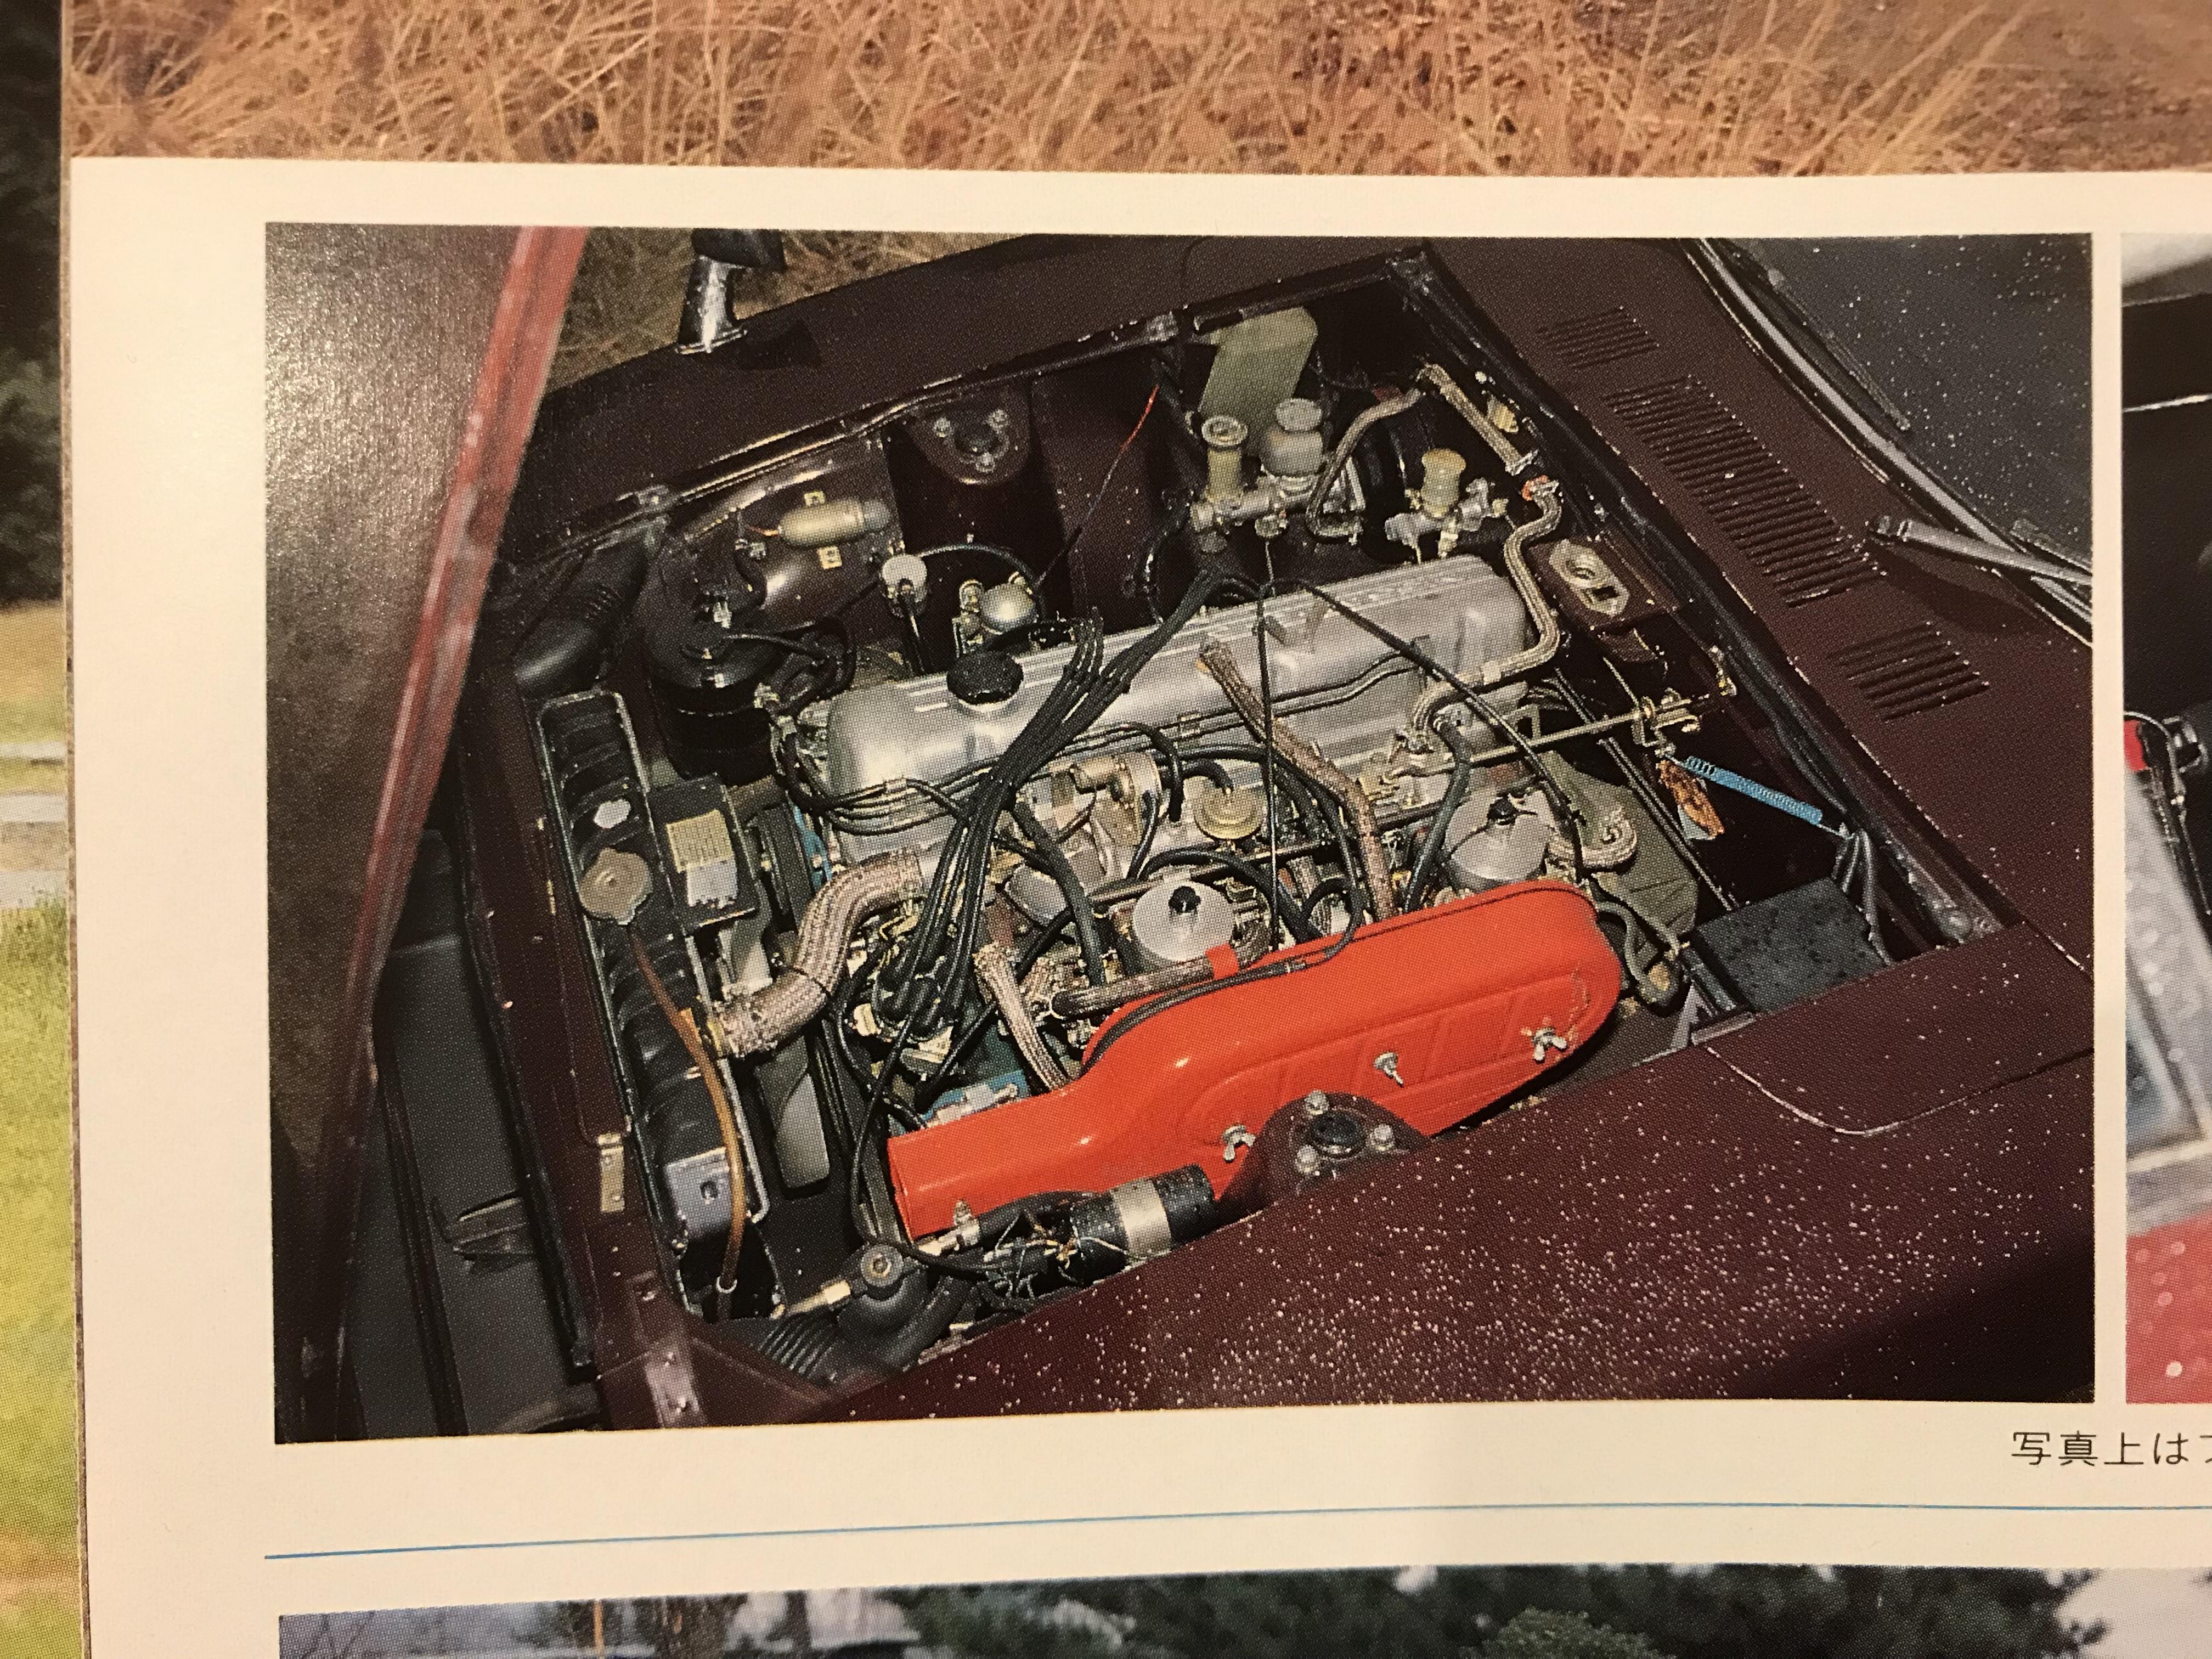
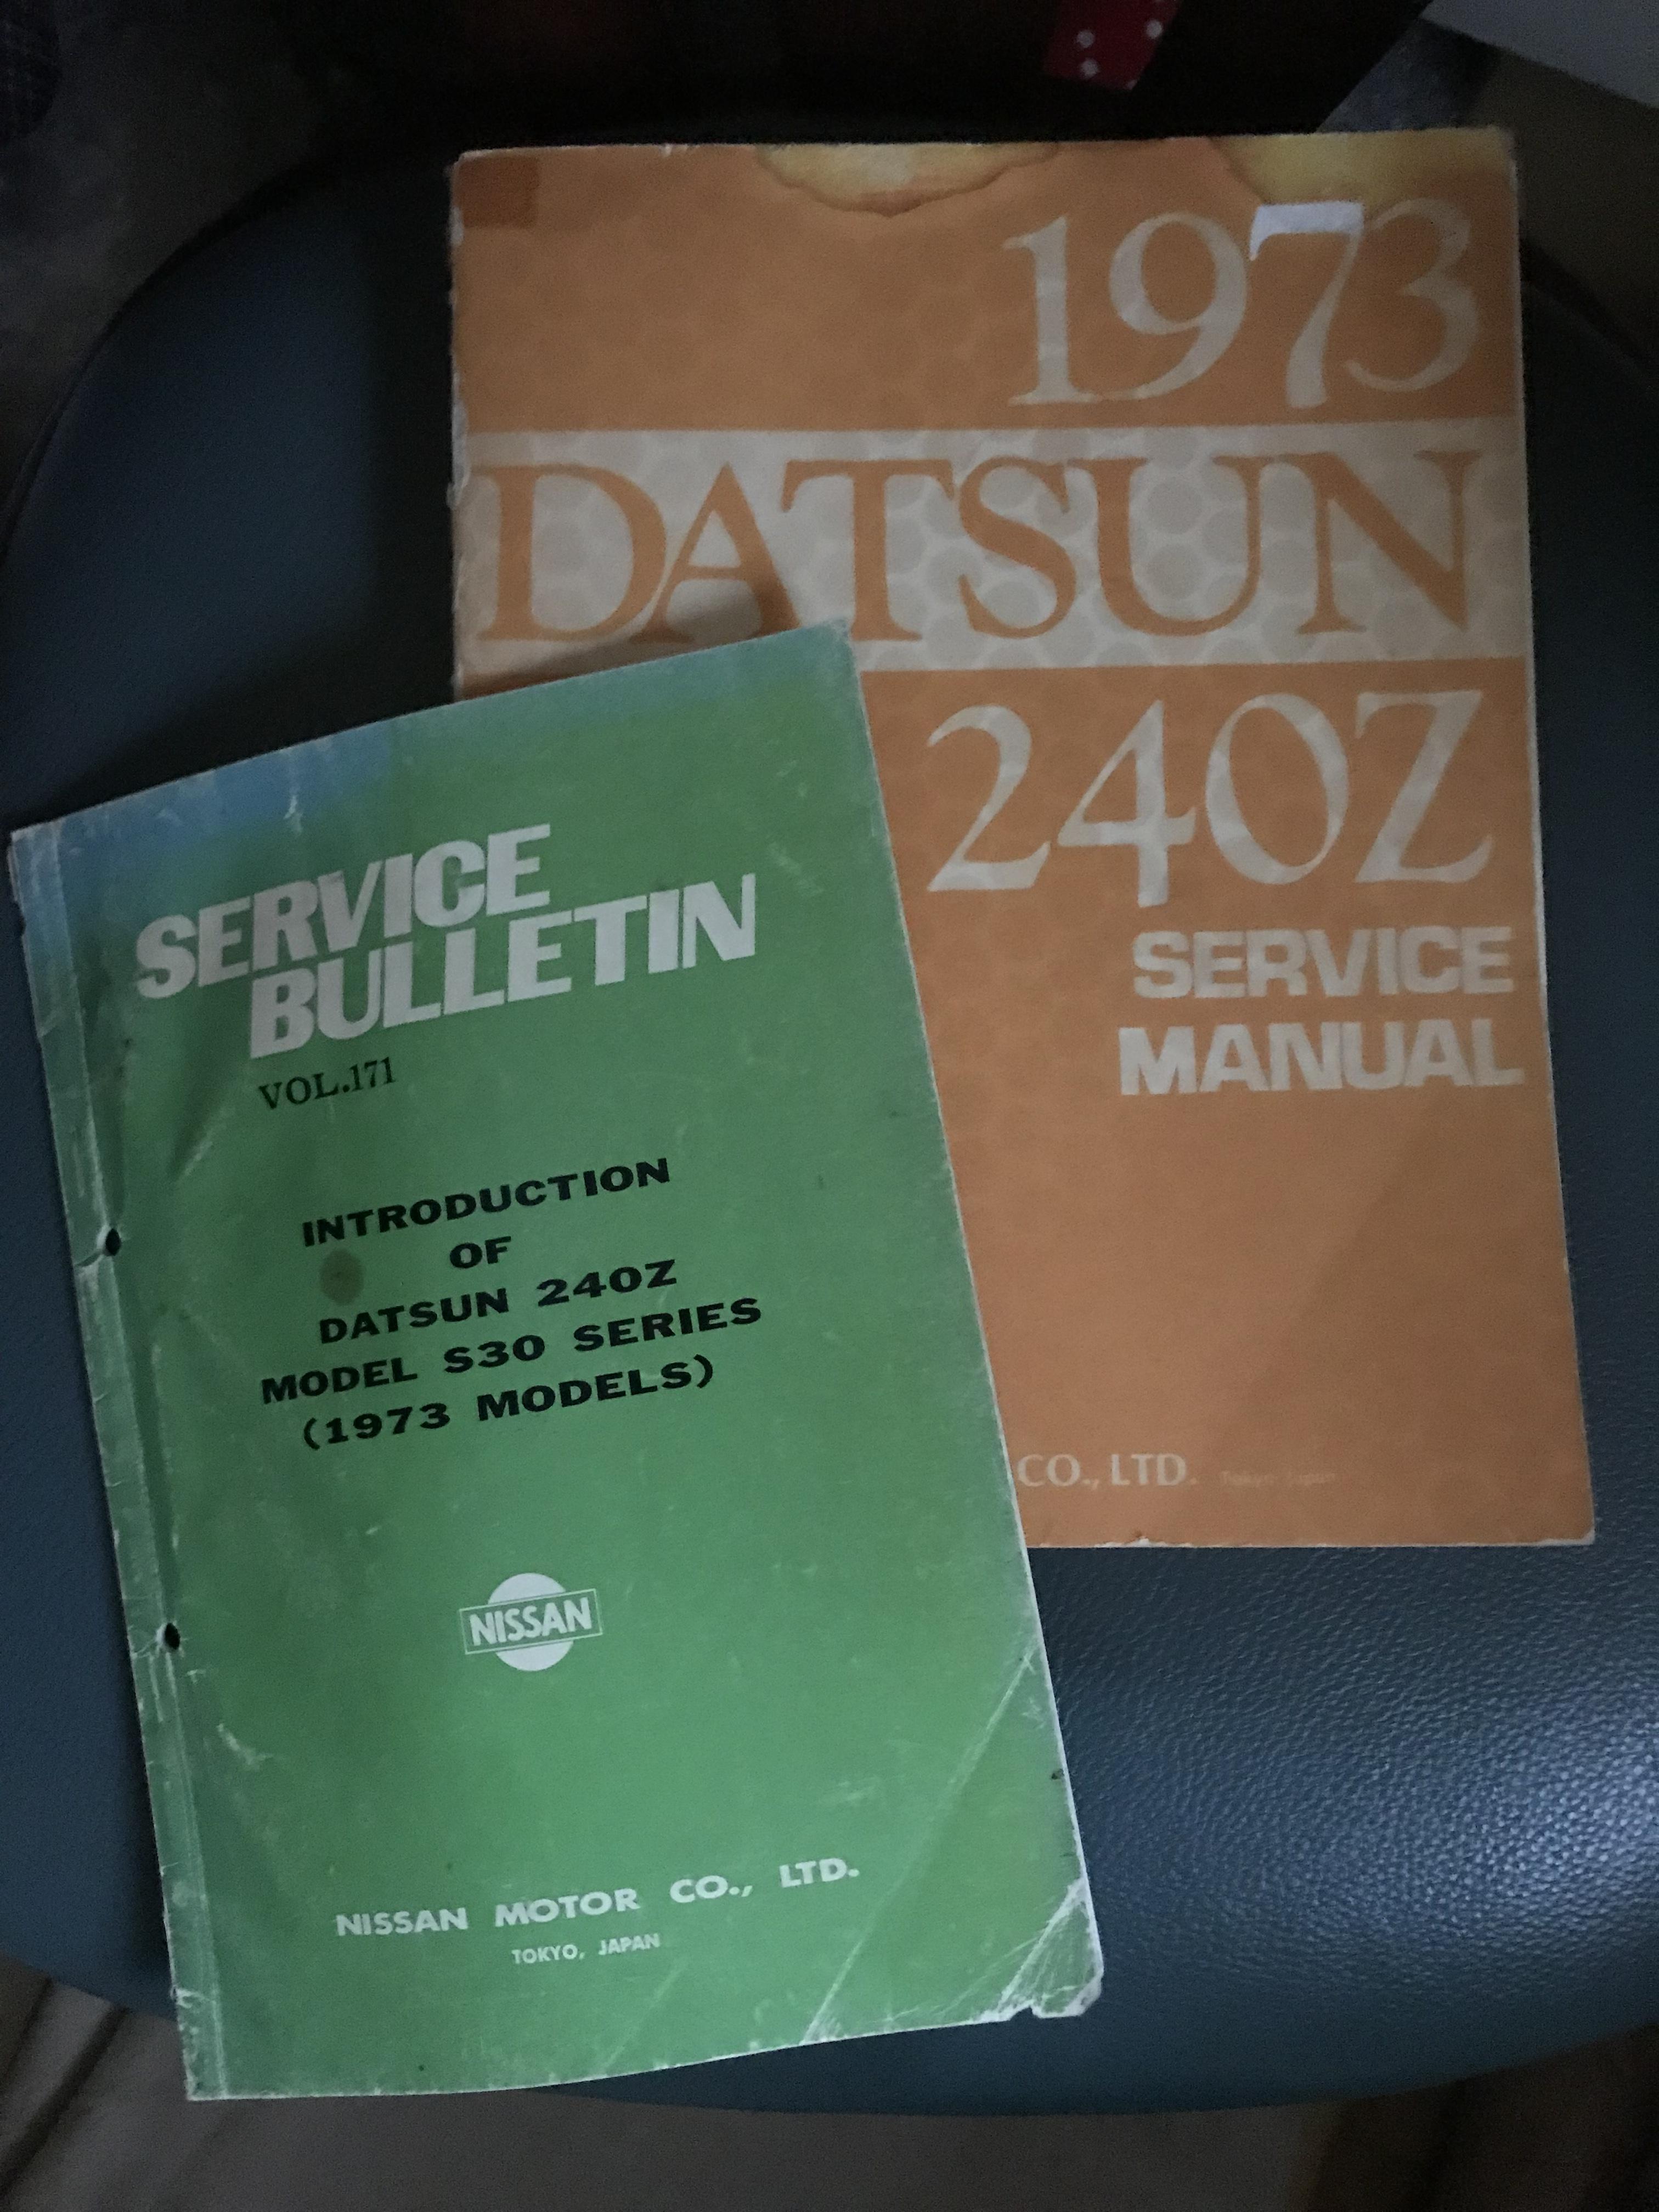
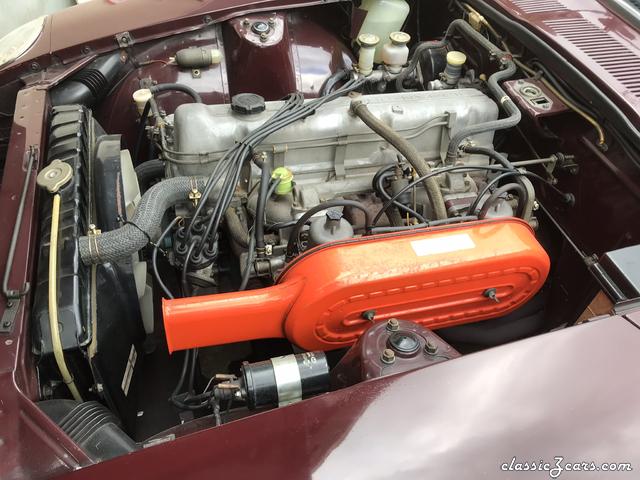
2 pointsAbout the Summer/ Winter air cleaner, after 03/1973 , Fairlady Z series ( except Z432 ) has a new bigger air cleaner which has the vacuum operated valve with a temperature compensation . Excerpt from スクランブルカーマガジン 03/82 , Parts catalog Fairlady Z 1973 . And I looked FSM and Service bulletin for 1973 240Z. Kats


 2 points
 -
2 pointsPaint the exterior grey. Inside red, blood red! Great combo. Reminds me of the Black Knight from Holy Grail, "merely a flesh wound". Also the White House Christmas trees. Bloody Forrest.2 points
-
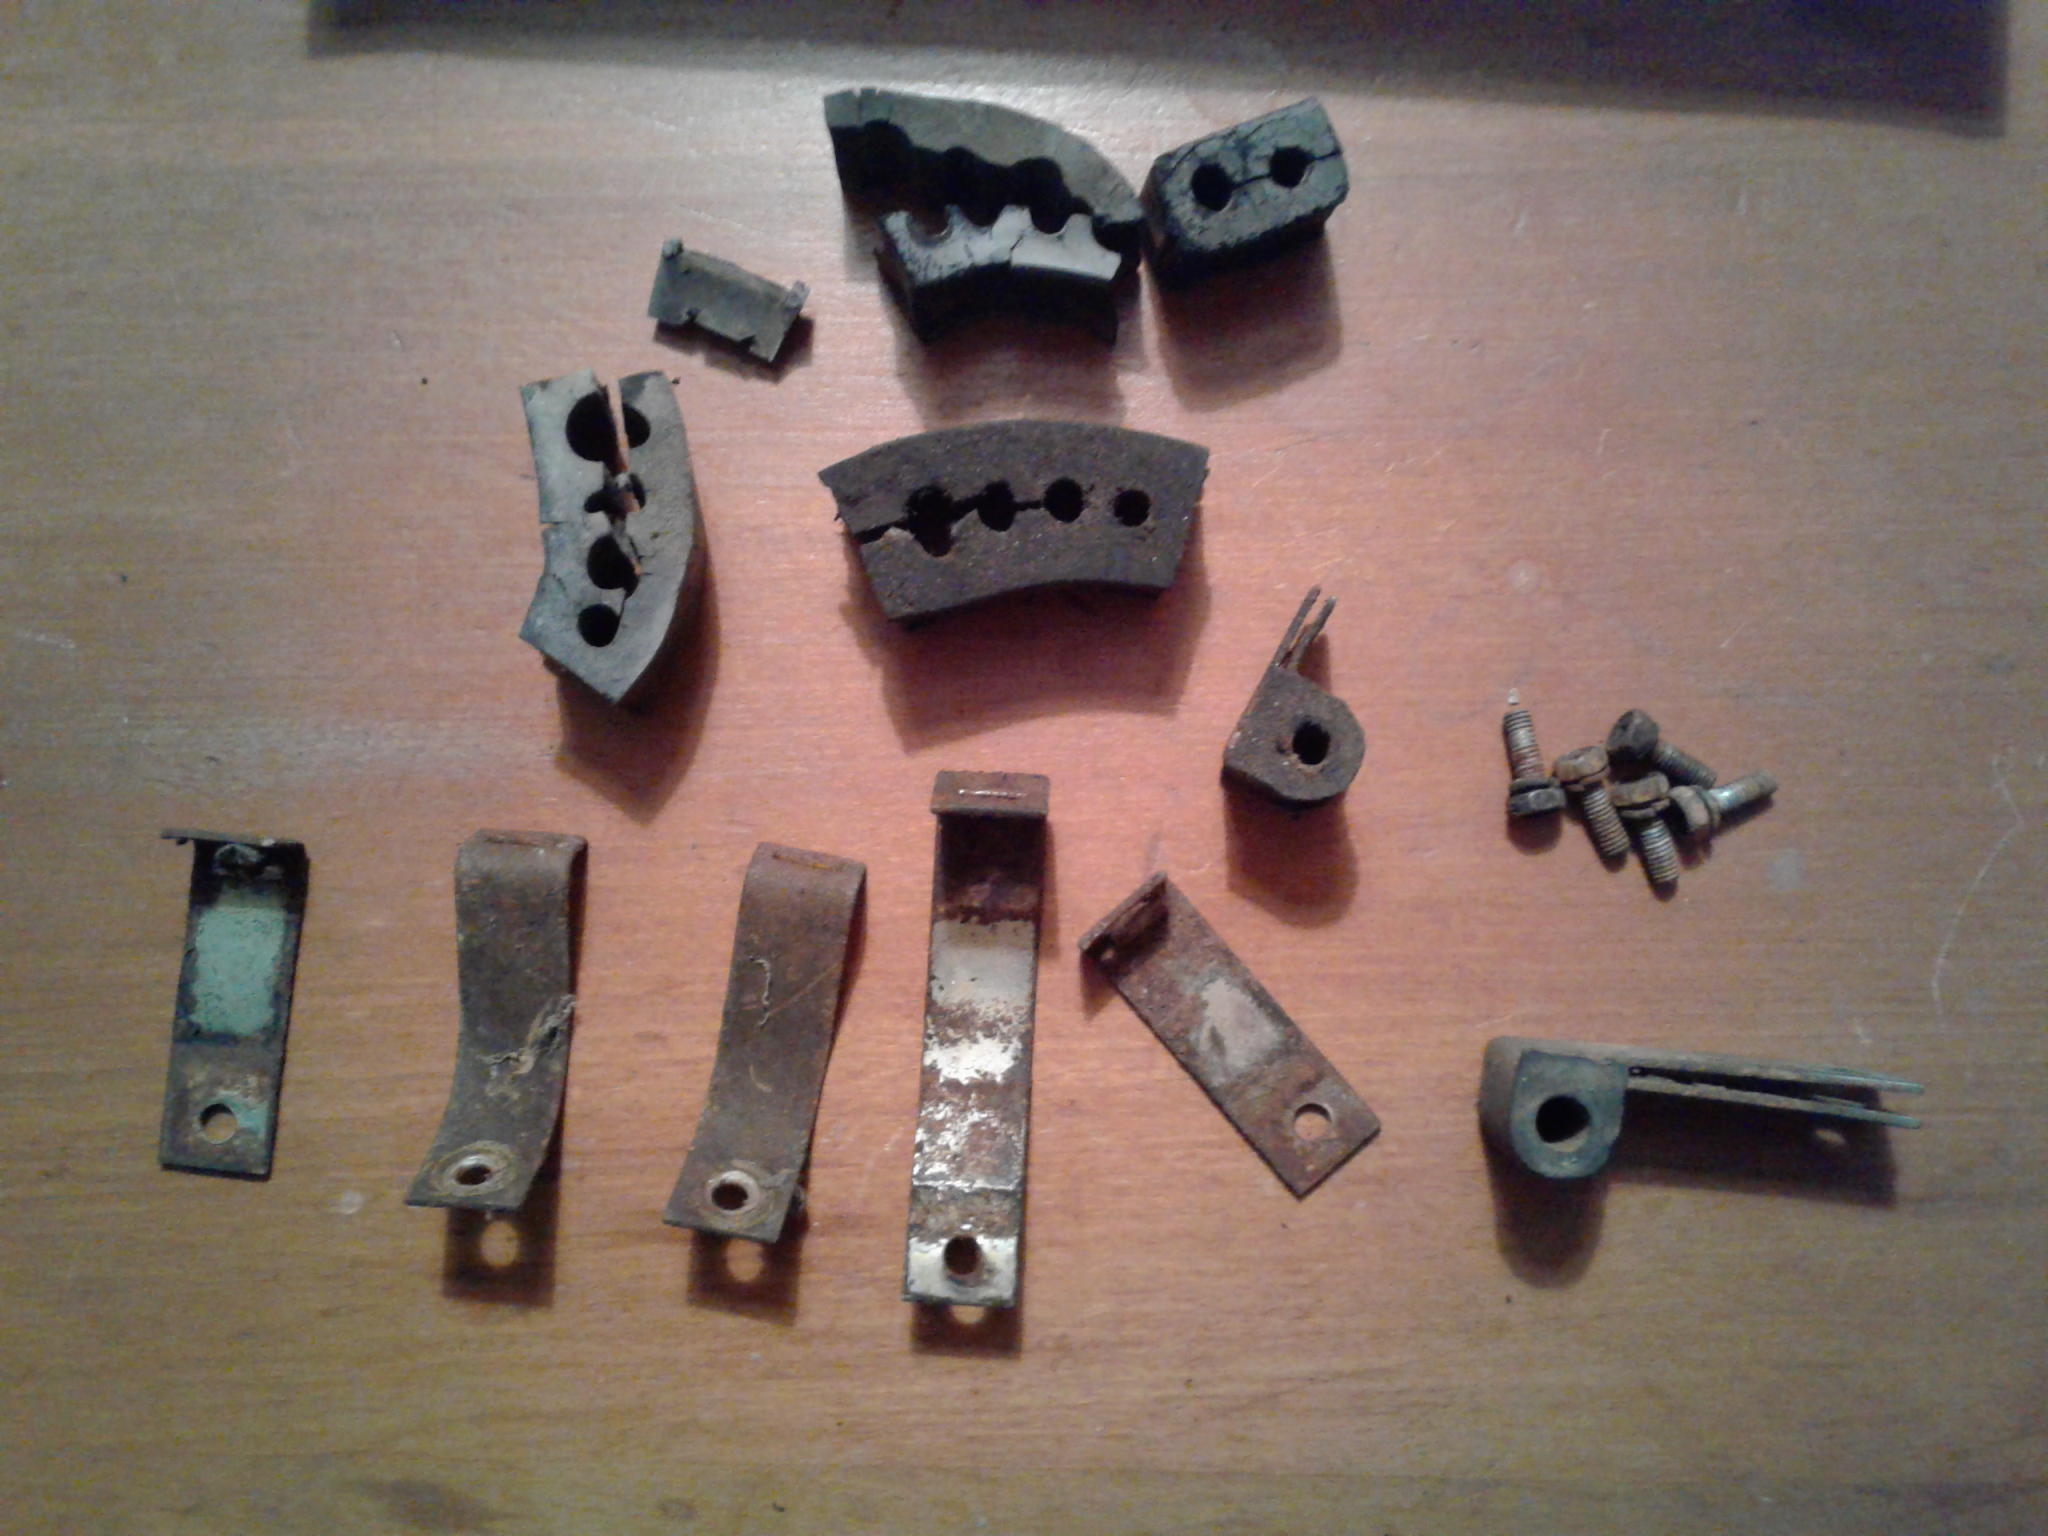
Removed from a 1973 240Z. VIN HLS30-1630XX Buyer pays $5.00 USD + shipping from zip code 23462 Miscellaneous engine bay brake/clutch tubing clips, fasteners and seriously hard-as-brick-rubber isolators. Some are broken. If the rubber bricks are not needed, they can be tossed prior to shipping. I will not remove the rubber from clips that will need to be bent to remove the isolator. Yes, there are seven clips but only five fasteners. If you have done this before, you KNOW where the other two went.... Dibs to first to respond to this thread THEN PM me. Thanks in advance for helping me clean my garage out. Wayne
 1 point
 -
1 pointThat would go over very well in my neck of the woods too Wayne. We have nothing, not even Uber. The local dicks won't allow sober driver pick up option. We don't even have taxi service here just city owned "dial a ride" mini buses for the really poor folks to get groceries. I've thought about calling and asking if they'd carry me to the liquor store! Maybe something I could do one day? I'd love to have a garage to let people use for minor wrenching. I could sell beer and nachos. Toilet charge also.1 point
-
1 point
-
1975 - 3.1 turns L-to-L, as recorded by my calibrated eyeballs.1 point
-
I just did my 76 and got 3.1 Surprisingly easy on a cold dry smooth garage floor. I need new tires.1 point
-
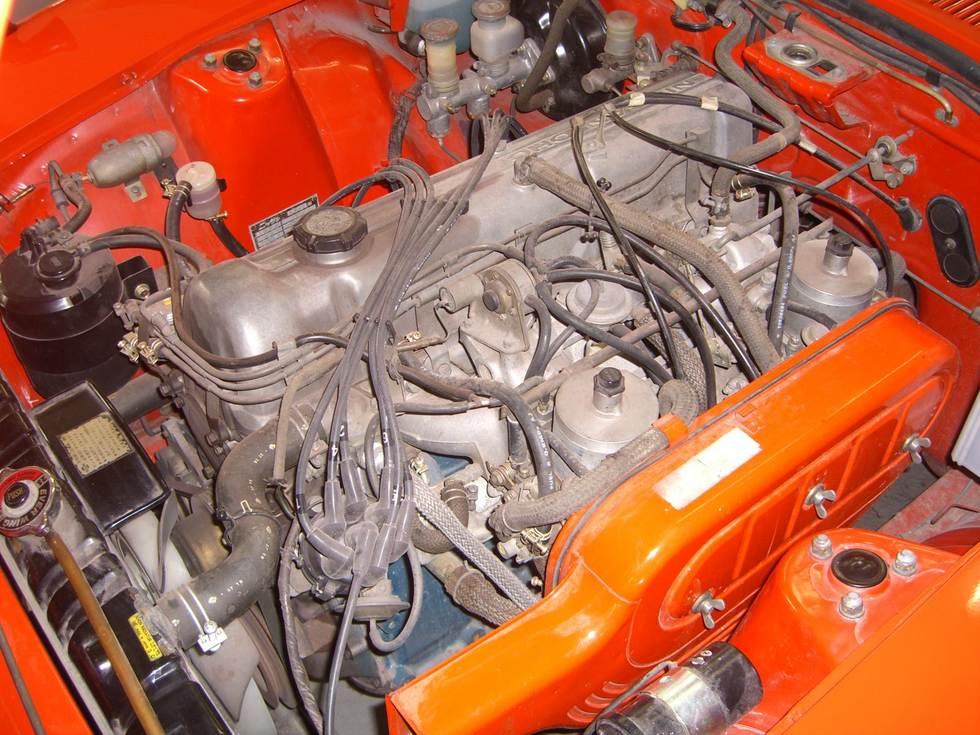
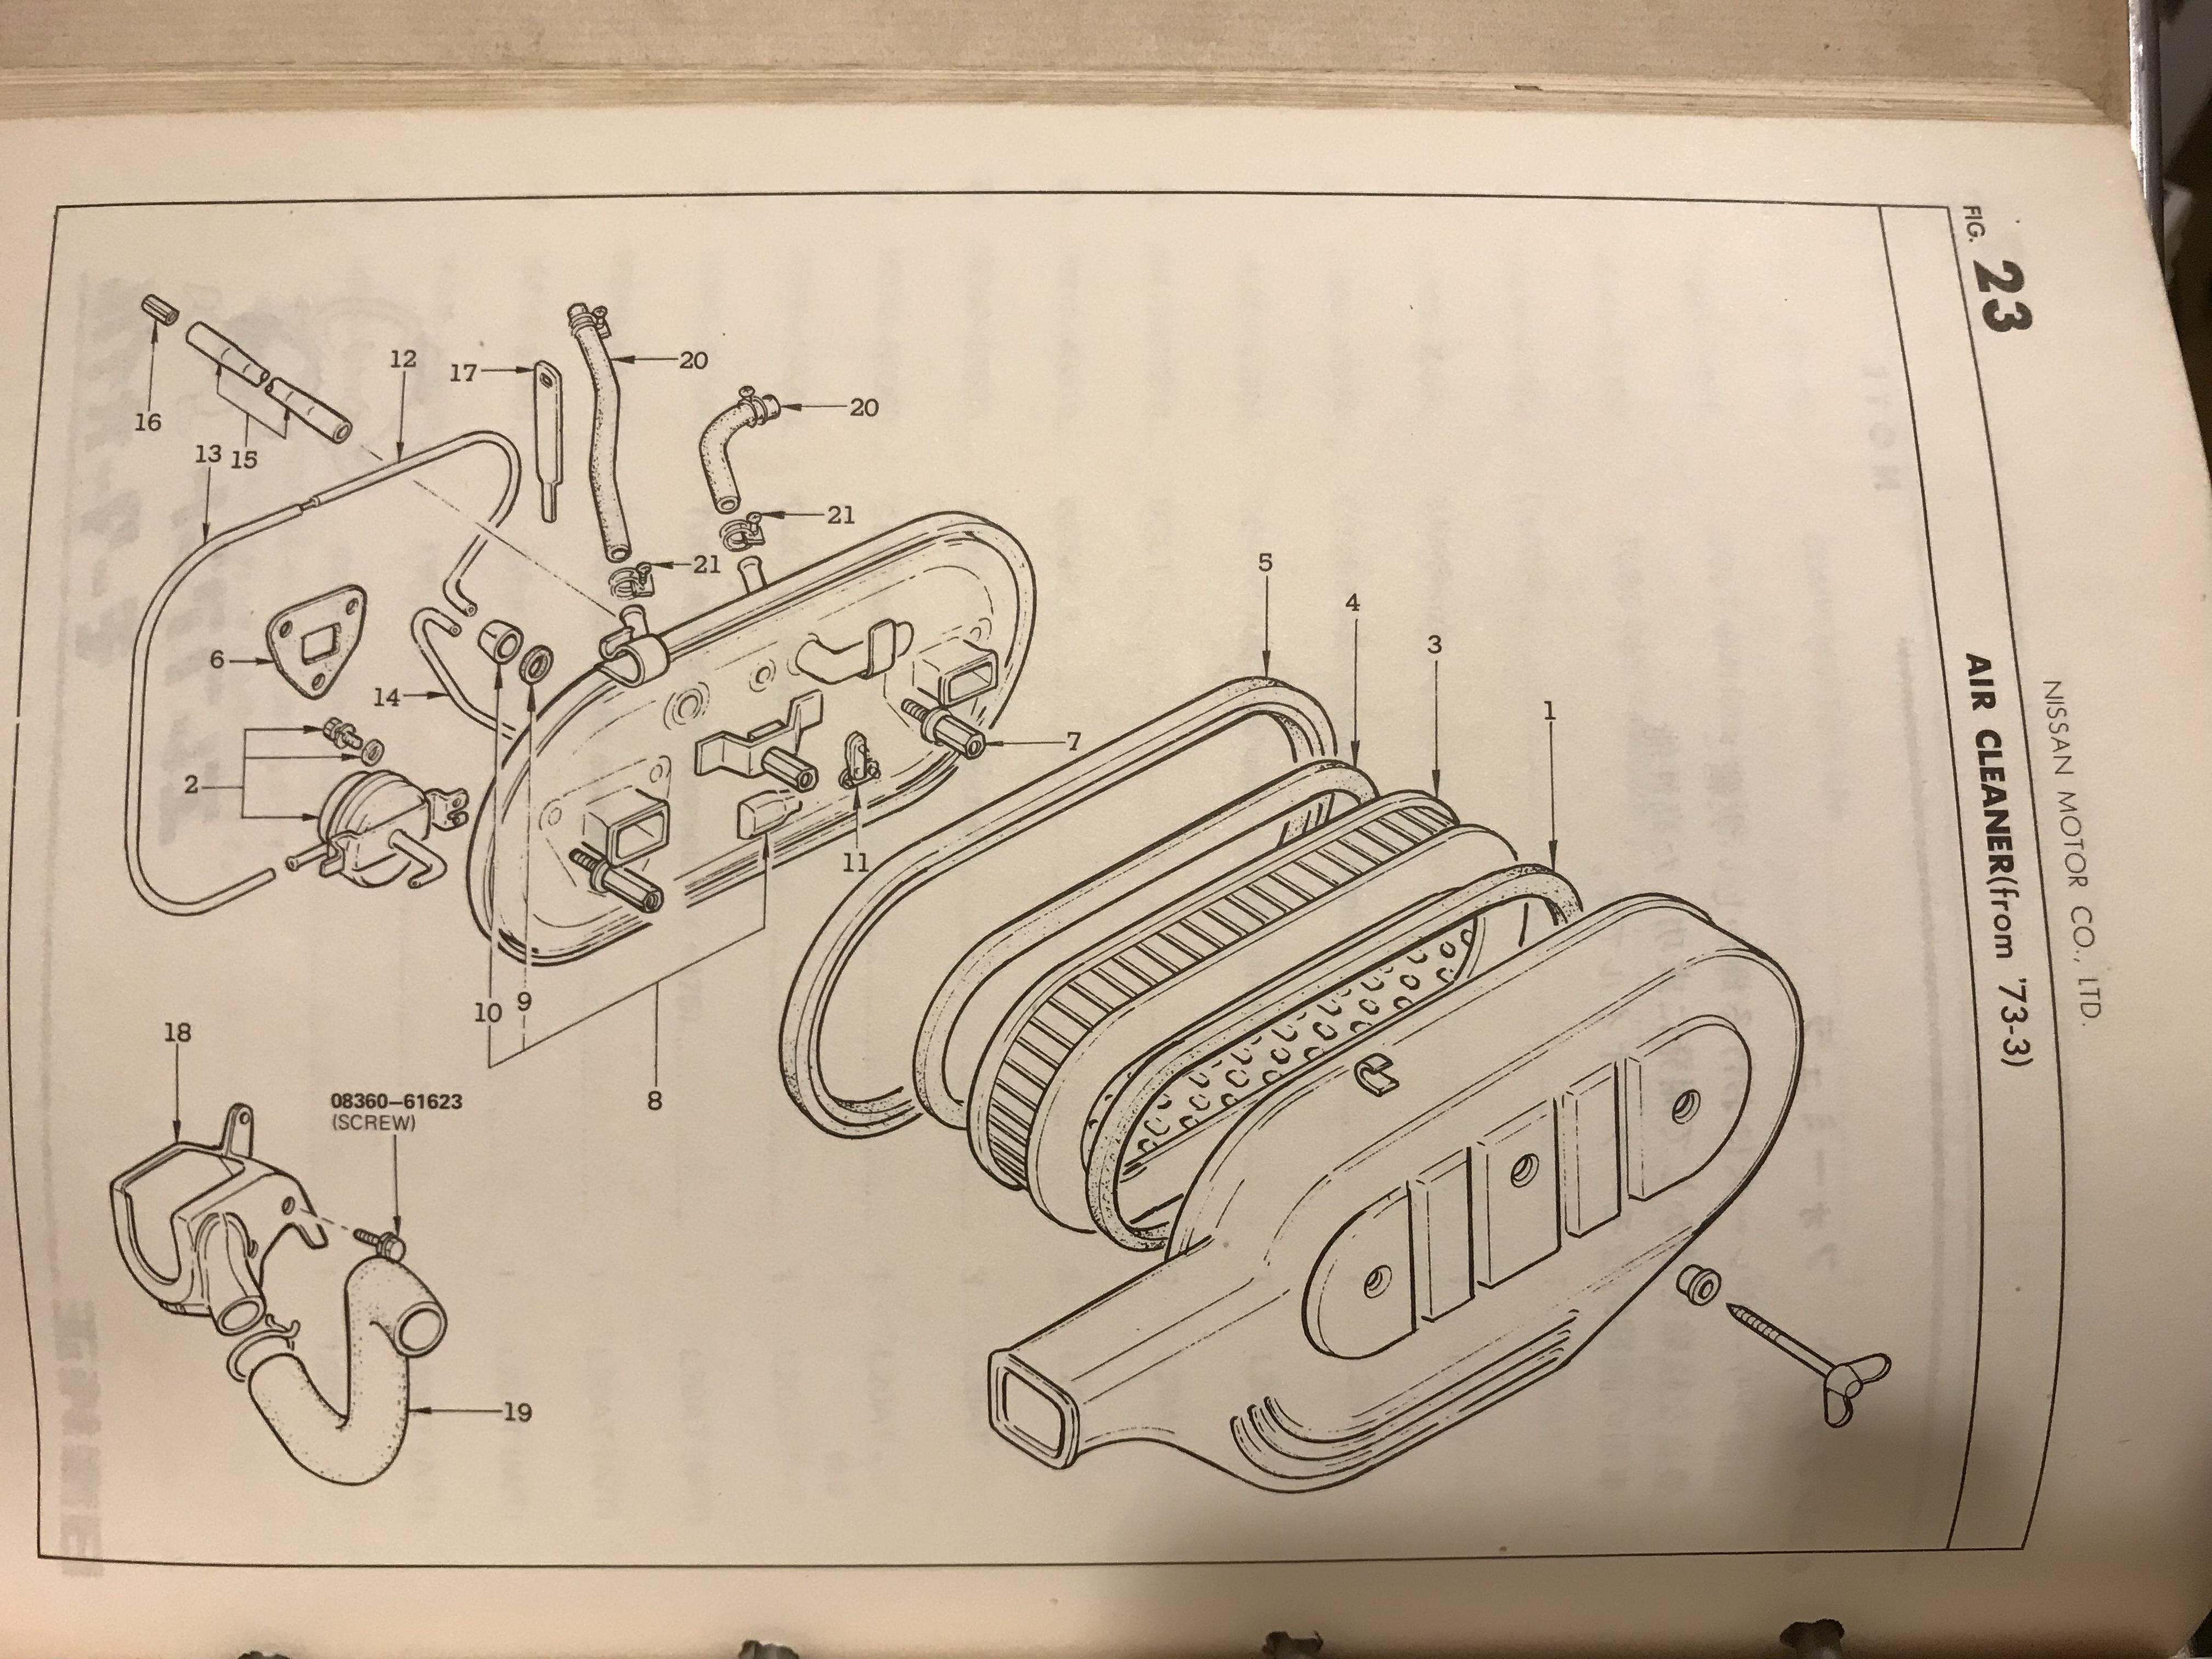
1 pointAnd for me, this type of air filer housing is better than the pre August 1973 air filter housing, as it has a separate channel inside (the bulbous bit below where the vacuum can is) which feeds the rear carb with air much more directly.1 point
-
1 pointThanks Alan ! That is a great infomation. At Aug 1973 , UK and Europe got the most powerful S30 ever, L26 with 161BHP or something ? At that time, Z432 (160BHP) was dropped from the Nissan's line up. I have read an article of a Japanese magazine about 240Z europe model test ride , the journalist envied the europian customers so much. I found these picture , the metalic brown UK 260Z was on an auction 2016 , and the 110 red 240ZG was on a sale in Japan 2006. They are very useful to look at . Kats
 1 point
 -
1 pointUK and 'Europe' (I suspect some exceptions, perhaps Portugal and other 'hot' areas) were specified with a similar - but perhaps slightly simpler - Idle Compensator/Vacuum Can/Temp Sensor-equipped system from August 1973 onwards:1 point
-
@wal280z, all of the images were migrated over. Your image was in the body work and paint gallery which is here: https://www.classiczcars.com/gallery/category/2041-body-work-and-paint/?page=29 If you want to see all the images you posted, here's the link: https://www.classiczcars.com/profile/5508-wal280z/?do=content&type=gallery_image&change_section=11 point
-
1 point1 point1 pointThat is much better than I thought it would be, for some reason I was thinking it would be flat glass, not convex. Thank you1 point1 pointThanks Cliff ! Thanks Blue , I think I don’t get it correctl?y but , here are pictures. This morning I drove my Z432 to an airport. Kats
 1 point1 pointHe's pretty good at it or so I'm told. Like the sister bootleggers on Andy Griffith show, the Morrison's. He rats out his competition. One day it'll be mine! Auction or bail money. Lime 112 with black interior but he's painted the raised hood line black??? Thanks Charles! Cliff1 pointHi Charles @Patcon, I never needed a lift in the Uni-strut idea I posted. I attached the chains while the motor was mounted to the cross-member while it was still attached to the body and made adjustments to the chain sling (not shown) prior to removing the cross-member. I told ya I was cheap.... I can squeeze 6 Lincoln's out of a Jefferson nickle if need be... It's too bad hat I scrapped THAT car as it had so many good bits and piece... I sure wish that I could find that color code for that yellow... Not a Nissan OEM for that year. Wayne1 pointYou could probably rent a lift for the day fairly cheap. Or if you're like me you use it as an excuse to go by one"...but honey, it was on sale!" If you already have the cross member to put back in, you would only need for a few hours.1 pointMany great points to consider in all your experienced comments. I will digest all the numerous tips before I decide which way to go. I don't have an engine hoist so the Unistrut route or a variant thereof might be my method of choice. I'll report back. Thanks for all the great help fellas.1 pointMaybe you could wait until the sheriff auctions it off after they seize it?1 pointI did this in October on my 240z. Rebuilt everything under the car but didn't want to remove the engine. Started with rear end and then did the front. Here is what I did. - Entire car was lifted up on heavy duty jack stands. - Bought extra crossmember on ebay and powdercoated it. - BTW, transmission is installed and trans mount is installed. Just letting you know since you have had the rest of the car apart. Both of these help stabilize the engine. - Removed radiator, control arms, steering rack, struts, TC rods, everything since all was being powder coated...not radiator. - Removed hood. - Used engine hoist with tilt attachment, connected to stock engine lift brackets. - Loosen engine mounts. - Lifted engine off mounts. - Removed old crossmember. - Installed powder coated crossmember with engine mounts. Installed mount fasteners but kept loose. - Getting the engine to drop in place on the mounts is kind of the same challenge it always is when you reinstall the engine. At first I was trying to keep the crossmember mounted but loose. This didn't work because it wasn't where it should be. Ended up tightening it up and the install went far smoother. Keeping the mounts a bit loose though helped. I had to fiddle with the hoist and tilting device, lifting, lowering, re-balancing, etc. I did a little pushing and pulling with a pry bar too. Eventually I was able to fasten the mounts and tighten. - I don't think I would attempt to do this without an engine hoist and tilting device. Also, my engine hoist has a nice long arm / beam which helps since the car was in the air. Trying to do it by supporting the engine with jack stands below, to me, would not give you the movement you need to get everything lined back up. Yes, I would do it this way again and plan to this summer with my dad's 280z. Hope this helps. Best of luck.1 pointVery, very nice Moelk. The car sounds and looks terrific! Thanks for the post. Guy1 point1 pointThank you! It's really exciting seeing it progress at this stage. This is the first time I have ever gone this far with a car and I am excited to see the end result. I tried to clean up my old 510 bay as best as I can but this time I want to go more like this Z32 which is the most amazing looking engine bay I have seen in a long time. The body guy has my bay down to bare metal and is just finishing up a few more things before it gets primed, filled and then primed again.1 point1 point1 pointSarah, Keep in mind that if you decide to get back into the Z world, the door is open, and there is a place for you at the table. Between you, @Arne, and @sblake01 (to name just a few), it's always sad to hear about a good contributor to the forum moving away from Z cars. While we know you guys still visit, it's not as much fun as when you were hanging out here all of the time.1 point1 pointSorry to see you go. I'll never forget the yogurt cup test you introduced me to. If it wasn't for that who knows how long it would taken me to find my vacuum leak. Drop us a line every now and then. Don't be a stranger. Bob1 point1 pointSad day for us that know you and have learned so much from your posting. You helped me with great kindness and understanding patience. Thank You very much Sarah, you'll always be a friend. I hope your partner the very best! Cliff1 point1 pointPlan to possibly take them for plating Wednesday if the company is open. I will let you know when they are plated. JLP1 point1 pointBTW don't use aluminum as spacers! The dissimilar metals causes other issues. I agree, your best bet is to make some. I like originality too, but sometimes it's not worth the effort. The older I get, enjoying the car on the road becomes the priority1 point1 pointI think it's not very likely that you'll find these Nissan shim plates. Not impossible. Just unlikely. However. they're nothing more than pieces of stamped metal plate. You can easily make your own. For reference, auto body shim plates are typically provided in four thicknesses: 1/64", 1/32", 1/16" and 1/8" (0.4mm, 0.8mm, 1.2mm and 1.6mm). For the door shim plates, a little adjustment at the the front of the door will make for a lot of angular adjustment at the bottom and top of the door, so I'm thinking that a set of 1/64" and 1/32" plates would be the way to go. The thicknesses don't have to be exactly 1/64" or 1/32". Use what you can find conveniently. These shim plates don't need to be pretty and they don't need to be shaped to +/- 0.001" tolerances.1 point


Important Information
By using this site, you agree to our Privacy Policy and Guidelines. We have placed cookies on your device to help make this website better. You can adjust your cookie settings, otherwise we'll assume you're okay to continue.