Jump to content

Leaderboard

Popular Content

Showing content with the highest reputation since 11/19/2025 in all areas

  1. Put on your party hats and toot your horns. Join me in celebrating the 54th Anniversary of the day I bought my 1971 240Z. Today, it sits in my driveway proudly showing its age. Unfortunately, I'm also showing my age and have a little more trouble getting in and out of it and working the pedals than I did in 1971. Great car, great fun, 54 years of great road adventures!
  2. A work colleague of mine and I spent about an hour yesterday getting some video of the 240z I restored (got it on the road on Dec 31 last year). Unlike me, he has skills and talent for editing and creating videos. Have a look! https://www.youtube.com/watch?v=nQ3ieeuqjwI
  3. 4 points
    Mine were more crud from leaving old gas in them for too long. The tanks were good and solid after I pressure washed the outside of them. That muriatic acid made the inside like new but after sloshing around for 5 minutes I had to pour in about 3 gallons of mixed ahead of time baking soda and water to neutralize the acid then emptied that into an empty 5 and killed a lot of ant beds around my property. Then the acetone to remove the water, quick hit with the leaf blower and then the Red-Kote. Sloshed that around completely covering the tank and let that drain out into another 5 then direct sunlight for 30 minutes, then another round with the leaf blower. Then I put that bitch on a shelf and got drunk. It was very nerve wracking for this 'ol boy, but when all was said and done I was and still am proud of what I did. You see, I hate following directions.
  4. But the price of obesity drugs are much cheaper.
  5. Well done! Congratulations from another OO.πŸŽ‰
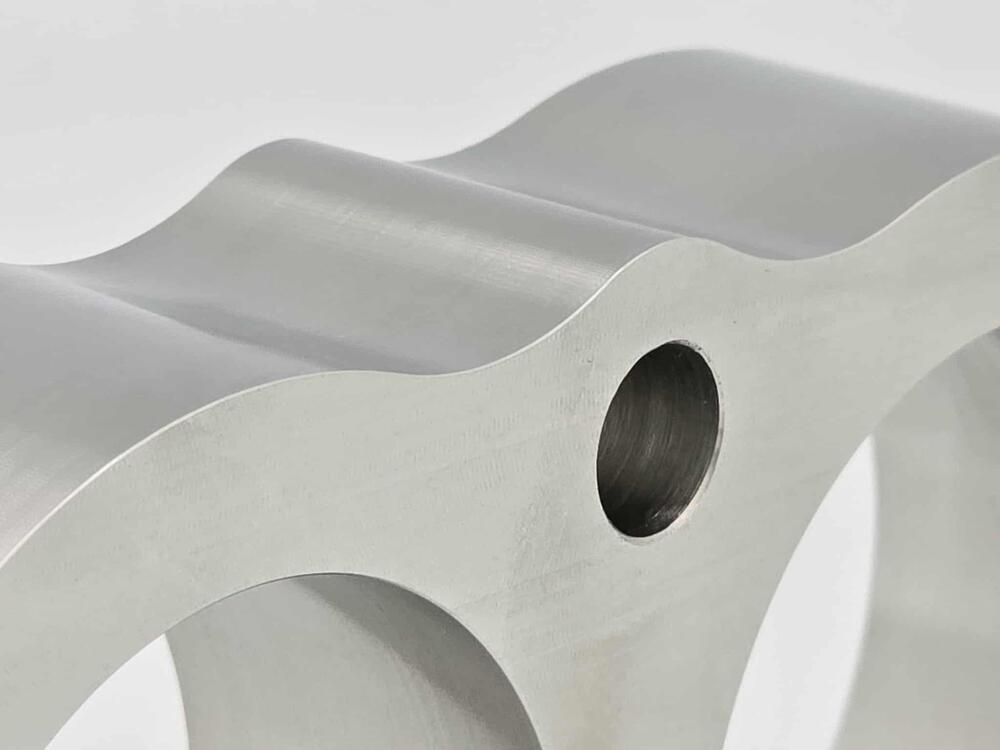
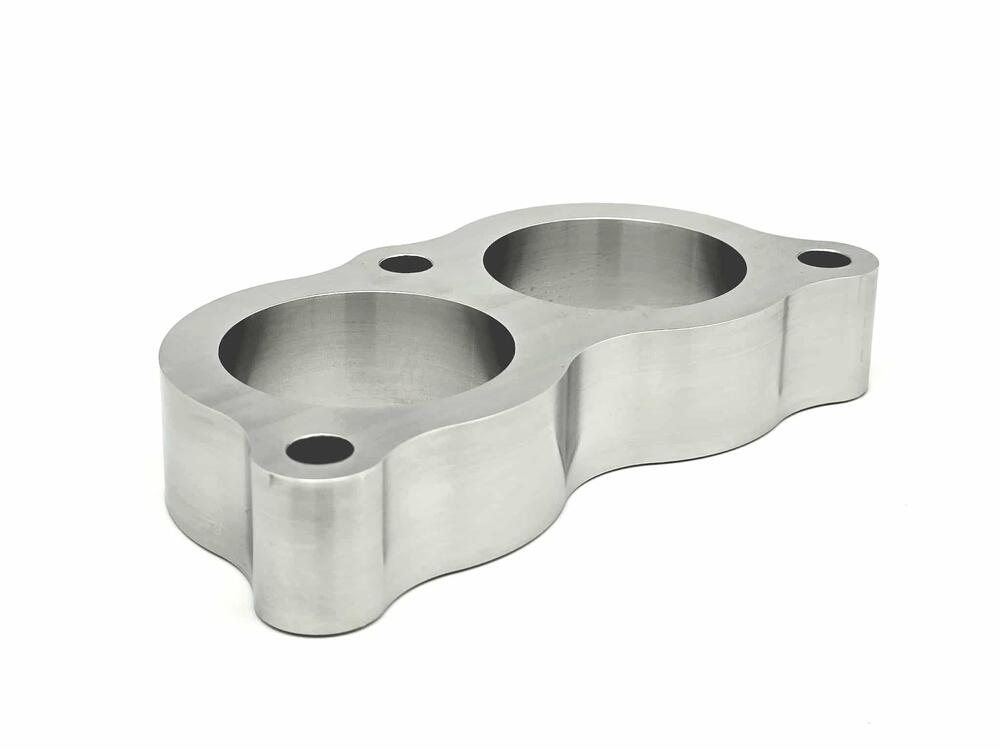
  6. I offer two different versions of my conversion bell housings to do the reverse tilt. One for the CD009 and one for the TL70. Most of the people that buy my head end up tilting them so I offer the bell housings to assist in that.
  7. 3 points
    Submerge the sending unit in CLR (calcium, lime, and rust) for 24 - 48 hrs. It will come out clean and usable.
  8. Good thread! I get to pick my DD based on need... 2000 Lexus LX470 (Landcruiser) But mostly drive this daily: 2014 BMW Z4 (E89) Manual
  9. Years ago I sacrificed this Craftsman screwdriver to make a Z brake adjustment tool, it has worked very well.
  10. Well, I gave up trying to find it and just yanked it off with a puller lol
  11. 3 points
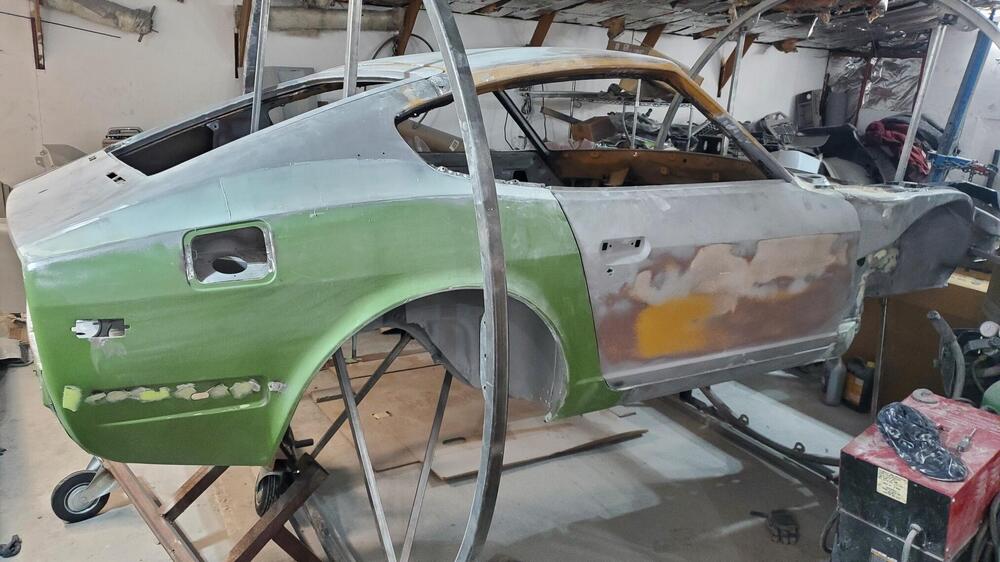
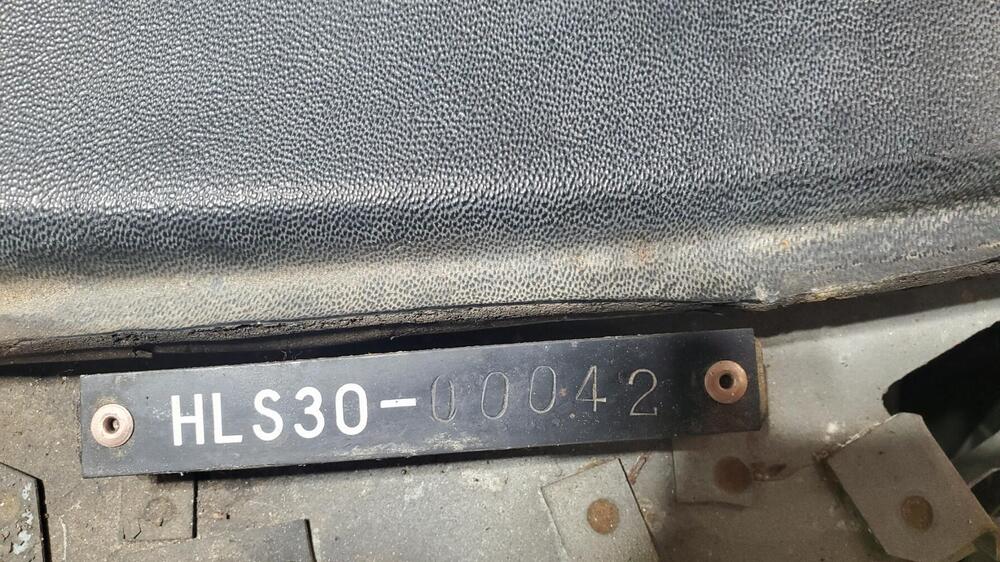
    The next thing to attack is the firewalls . I can’t finish the passenger upper frame because I need access to spot weld the firewall panel . The firewall is sandwiched between the inner fender wall and outer . I also have an issue with the passenger side firewall panel from KF . The drivers side worked out pretty sweet and I should be able to do a decent job welding it in . The biggest obstacle is that I wanted to preserve the vin# that’s stamped on the wall so I had to cut around it . The passenger side doesn’t line up right as you can see but the pics . They said they will send me a new one . I think the panel wasn’t square on their stamping machine . KF has been really good supporting their products . I’ll also add that their drivers firewall panel does not include the doubler for the inside
  12. It's been a whole year since the surgery! Can hardly believe it, time flies when you're on the better end of healing. Thanks for all the prayers and well wishes, they worked. Next is a mid-foot fusion that I'm dreading but the docs said after a year with the knee replacement they could do it. I had planned a day of relaxing in the driver's seat of the 240 but it has rained like a cow pissing on a flat rock. Maybe tomorrow?
  13. 3 points
    There was a post around that had someone replacing the guts of the old module with the new HEI but I cant find it. I might do that, but mount the box on the firewall or something. I like that it would appear more period correct. @EuroDat did that to his '77
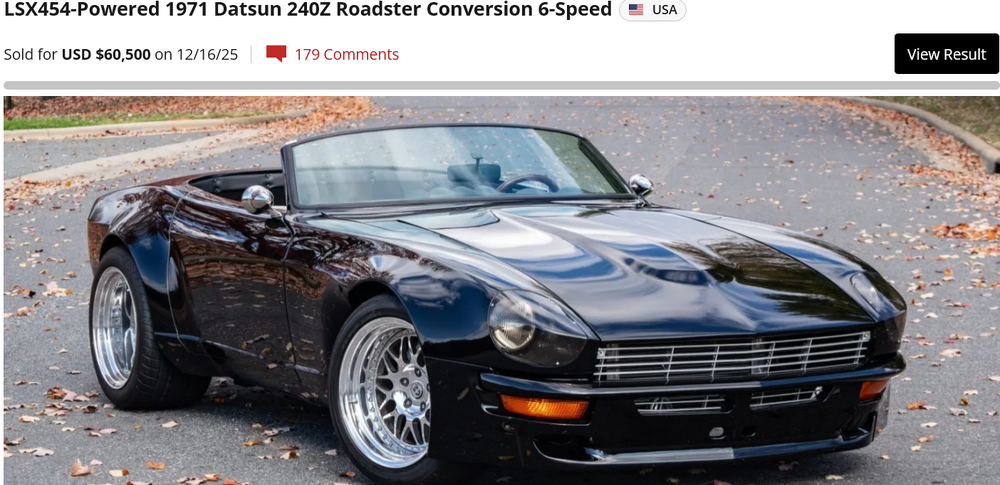
  14. As I've been saying for some time now; the upper middle class collector car market has been depressed for at least the past 10 months. Yes, should have taken the 90K.
  15. 2 points
    What would you say the success rate is. I’ve seen both results reported here. The overall condition of the tank is probably going to be the deciding factor. I had my tank redone at a shop, keep in mind you’re at their mercy as far as the job you get. At the end of the day my tank began to leak from minuscule rust pit holes. That’s when I decided to purchase a new tank. Again it’s all about what shape your tank is in and you really won’t know until you remove it.
  16. 2 points
    Saw this and I am tempted to purchase. We had Aurora slot cars growing up and they were a ton of fun. HO scale, so would fit with my trains.
  17. What I have...the red/blue are flat head, the blue/clear are philips, and the black/clear are torx. This seems to be the standard from what I've seen in stores for decades. Maybe some older tools were different.
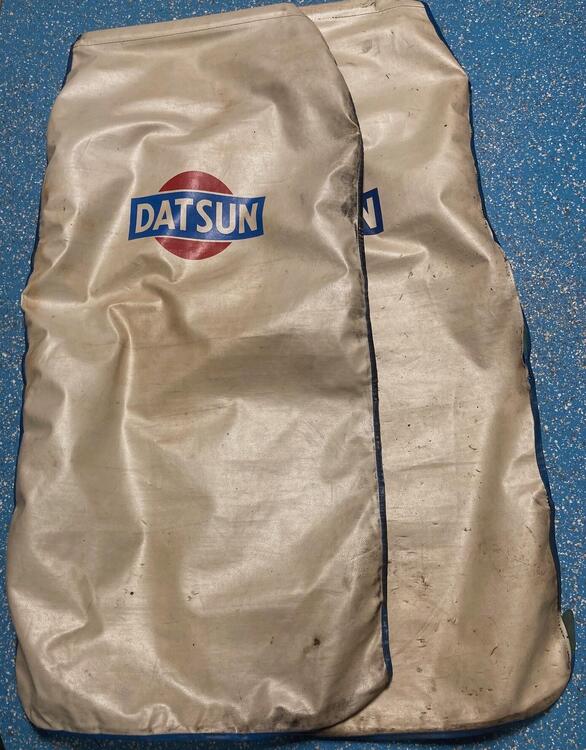
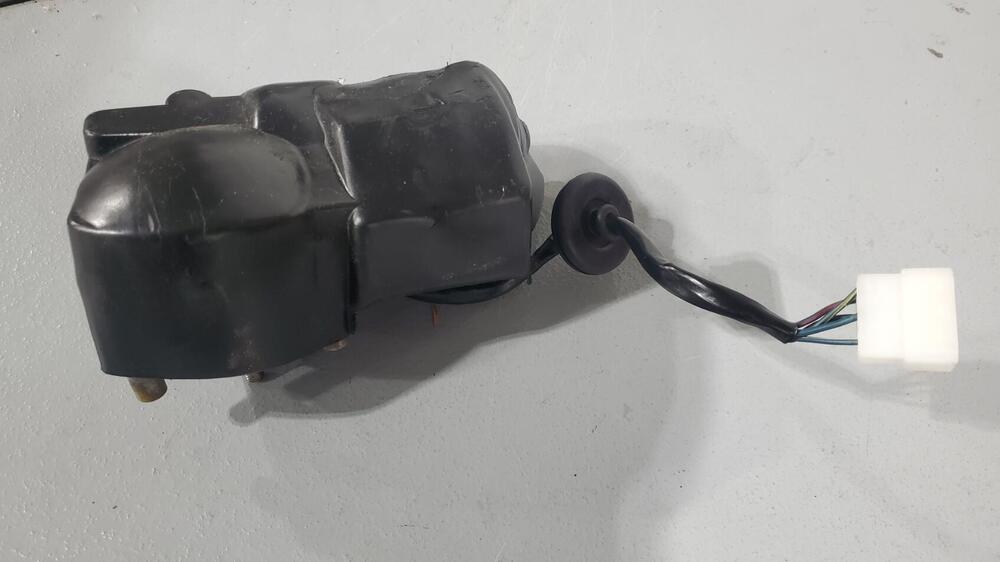
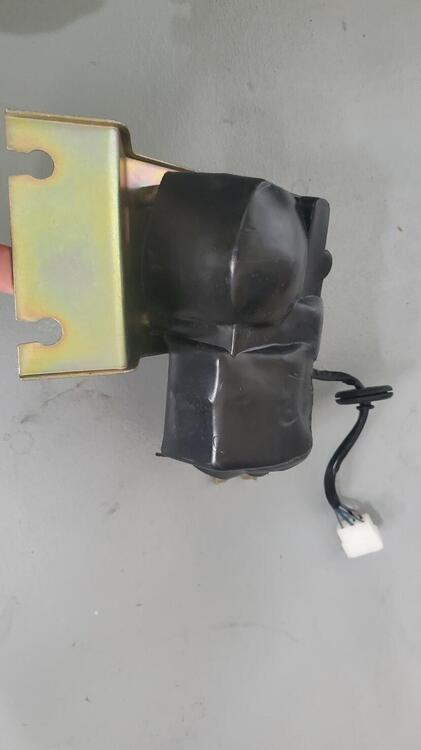
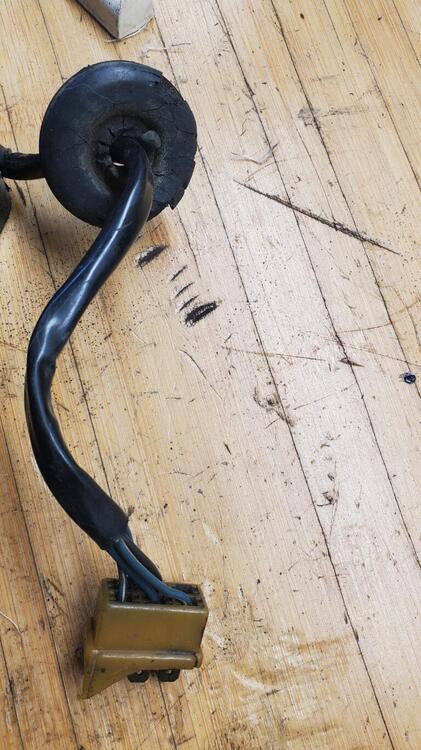
  18. I am currently going through the various parts of the car and cleaning, re-furbing and painting (as needed) so that everything will be ready to install once the body returns. I figured I would post a few 'Unique to the early cars' parts here (or things that Rich has never seen before) on a 240Z. On the gas pedal there is a small bracket at the very top. I am not sure of the purpose of that feature. My guess is that it was intended to be used in tandem with the deleted throttle lever. The cover on the wiper motor is something I have never seen. Nice custom fit. The later bag covers were probably cheaper to produce. The steering column transition brackets have overmolded rubber in the locations where the shaft would be attached. I guess they decided that these were not needed. Interesting to see though.
  19. Well, it should be no surprise really, but we are all (well most of us) carrying a little device that is more spatially aware than we ever dreamed. The humble iPhone has considerable power to know where it in space, what is level and what is plumb, which way is north and how far away you are from the sales at Best Buy…. Built in apps already expose those powers. Check out Level and Measure. I’m not going to go to great lengths to describe what I found, I’m just going to leave a web link here to an company that has developed an app and some simple hardware that I think is incredibly good at what it does. Read their story and see what you think. It’s called: Gyraline https://gyraline.com/products/the-case It consists of a little flat 3D printed plate that you mount your iPhone into. The plate has nubbins that let you place it against your wheel’s rim lip in a dependable way so you can align your phone to the rim correctly. Fire up the app, place the phone in a few key spots, push buttons, BOOM. Out spits your alignment. I will say I have their version 1, been using it for about a year, and that it works. I can get a toe in and camber measurement in literally 1 minute. All four wheels. Yeah…… I’ve compared it to β€œReal” alignments and it’s very very close. I just had my Mazda cx70 done at the dealership and I plan on comparing it to what they said as well. Anyway, read, study, you decide. The thing is not cheap, they know what they have. They are challenging the big guys with their marketing materials. No more string for me…..
  20. 2 points
    And, as I noted in 2023, that NAPA kit seems to be NLA. But do your own checks. You might just get lucky and find one sitting on some NAPA shop's shelves. I just re-checked my old files. The NAPA kit (PN 6601000) was described as a 'RANCO HTR-100' rebuild kit. It was evidently applicable to the heaters used in the Studebaker Avanti, so it's conceivable that it was used across the entire Studebaker line (Lark, Hawk, etc). A little snooping around a Studebaker owners club website might turn up a lead. RANCO appears to have been swallowed up by Robertshaw. Most of the focus for the RANCO product line these days appears to be in electronic temperature controllers used for commercial/industrial heating systems. I suspect that the 'RANCO' of 2025 may be nothing more than a brand name (i.e. it's unlikely you'll find a RANCO factory with a parts desk). Just one thing, though: I see that NAPA Canada lists something called a 'URO Parts Heater Valve Repair Kit'. A little checking indicates that URO Parts is a brand marketed by A.P.A. Industries (Simi Valley, CA). A.P.A. provides aftermarket parts (incl. cooling system parts) for a variety of European, Asian and North American cars and trucks. In their website, they say: "A.P.A. specializes in accurate reproduction parts for classic vehicles, including a wide variety of items that are no longer available from the dealer". Maybe there might be some leads there. The heater control valve design used in the 510 and Z probably wasn't unique to Nissan. In fact, the Nissan heater design bears certain resemblances to the British 'Smiths' unit that was used in so many UK cars back in the 1950's and 60's. A little investigation along these lines might turn up a British shop that specializes in heater restorations and has a back room filled with obscure parts like a little rubber washer that will fit your 510's control valve. Try this link for a starting point... The MG Experience - Smith's Heater Restoration
  21. 2 points
    @siteunseen The infamous Librarian. Please do your due diligence and bail Charles out of the issue at hand. You Da Best!!
  22. Oh, that was no accident. That was desperation and frustration right there!! Cutting wheel on a 4 1/2 angle grinder, and then a BFH to crack through the center portion that I only cut through partway (so I didn't cut into the axle flanges).
  23. Had to resort to the old drum puller once. Came off with a very loud bang. Putting on a couple of lug nuts loosely prevents it from exploding into your lap
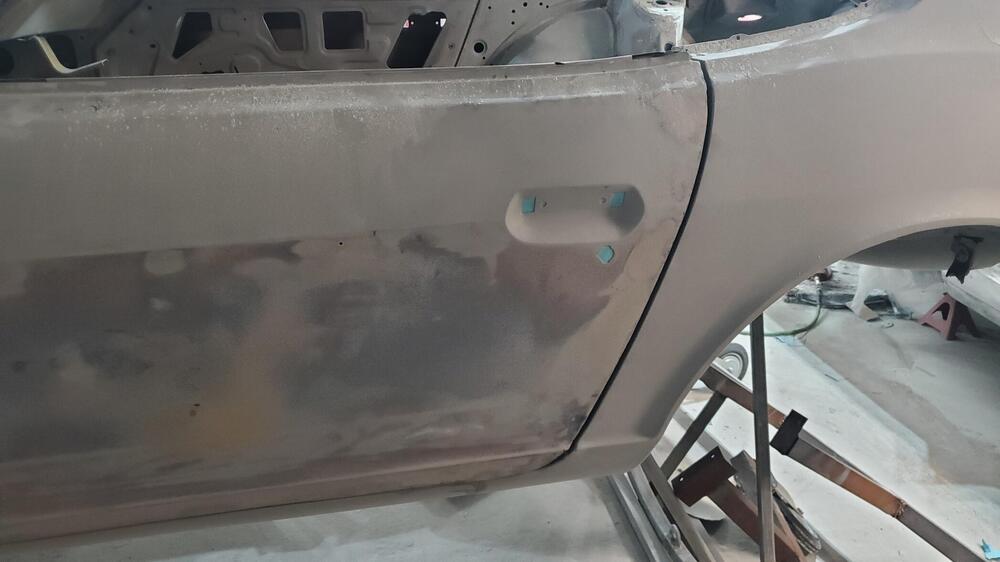
  24. 2 points
    I didn’t make the larger pieces of upper frame rail. Same car I bought my roof from I also bought all his straight scrap pieces . It was enough of a challenge to make that 1” filler strip between the pieces he sent me - ha . I don’t have the tools to do that complex of bends and curves. The tool is just a right angle air grinder with a Roloc sanding discs . I use that tool more than most . I have cut- off wheel mandrel and scotch bright disc options . I actually have 3 of them with different mandrels on each .
  25. We’d need the @Yarb inator to help us with the electrons.
  26. 2 points
    Winner winner chicken dinner, we have spark Now im gonna look into some heat sink and stew on where i want to mount it. Time to move on to the fuel system. I know the fuel is toast and the tank will need to be cleaned. I’ll probably start on removing that and see what condition the lines are in. I’m excited!
  27. Yeah, hopefully it should be easy to tell. In any event, it's got to be better than this!!! Hahaha!
  28. 2 points
    I would add some details of how, exactly, you are evaluating "spark". With a spark plug at the end of a plug wire, through the coil center terminal, with a spark tester...? Are you cranking the engine when you do this? Have you disconnected the original module by the fuse box or did you resintall it? And, or, but, I have noticed that you do not have any battery power going to the coil in your picture. You only have the coil connected to the module and no pwer to the module either. You need power to the coil positive terminal. Also, use your meter and make sure that the mounting screw of the module has a good ground. And make sure that it's the correct screw. Only one of the screws completes the ground through the module, it has a thicker ferrule. Looks like you have the correct screw but you might not have good contact through that screw head or where it seats on the TB. The TB is not the best place to mount it. That's where all of the coil current flows when the module is doing its thing. And, it you plan to run it for long you need a proper heat sink under the flat part of the module. It gets hot and heat will cause them to fail.
  29. 2 points
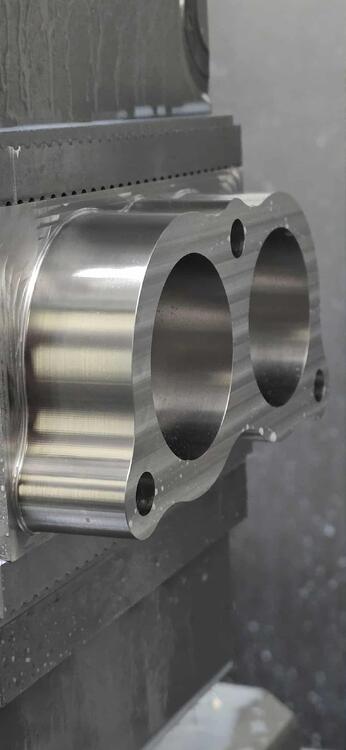
    When I spoke with Sean @ ZStory, he recommended the Street-sport or Race-sport for my build. I'm leaning towards the street-sport, but as my build increases in cost, I may just re-use the MSA header I have for now and get the ZStory later, especially with the tariffs and all...
  30. I'm installing new KYB's I like the idea of a light coating of lube on the inner walls.
  31. Sold for $101K on BAT in 2019... Adjusted for inflation, to break even it needed to sell for $129K in todays money. Nonetheless in todays market - $90K was a pretty strong offer.
  32. To get my plug out I used a small pipe wrench and a bottle jack to loosen mine. Situated the wrench so I could get the jack under the handle then pumped the jack a few times and it loosened up.
  33. 1 point
    Just leave the condenser disconnected. You don't need it for now. You can also just connect both of the wires from the ballast resistor (the block) to the coil positive. You don't need it when you use the HEI module.
  34. Look between 1st and 2nd spark plugs to see what head you have. Should be an E88 or N42, maybe N47? That will tell us what exhaust port shape you have and whether or not you have the injector notches. If it's an E88 you can use the 240 gasket. Fel-Pro has a universal diamond shape exhaust manifold gasket but it has the injector notches too. From what I remember it will work with carbs but I've never used one so maybe someone can tell us? If it's the OE E88 I would use the right gasket with round intake holes and square exhaust ports. I bought mine through Nissan dealership but zcardepot.com has them too.
  35. Congrats and keep going! All the best to you and your "Z"
  36. I believe that all the tapered fittings are BPT. Probably dictated by world manufacturing climate at the time. Some of the BPT and their respective NPT counterparts are different enough to easily tell the difference, and some of them are really similar. For example, with some thread sealant, it usually seals if you stuff a 1/8 NPT plug into a hole threaded for 1/8 BPT. But, I think the BPT is correct. There also does exist some locations where a straight thread was used (temp gauge sender unit for example), but I've found them to be straight up metric thread, not BSPP.
  37. 1 point
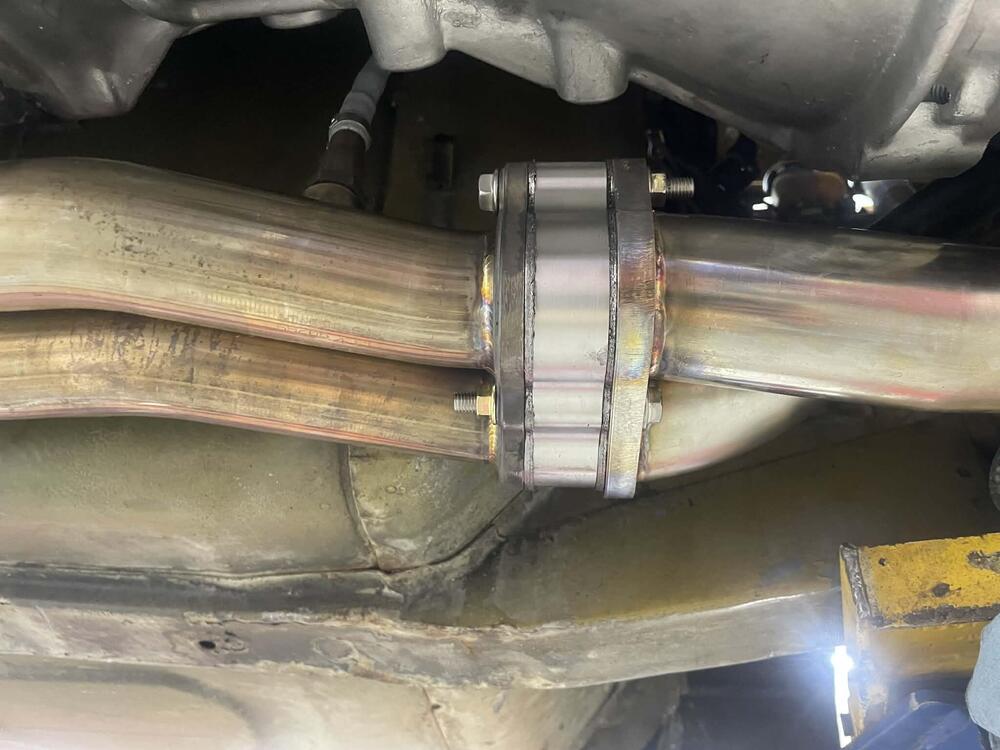
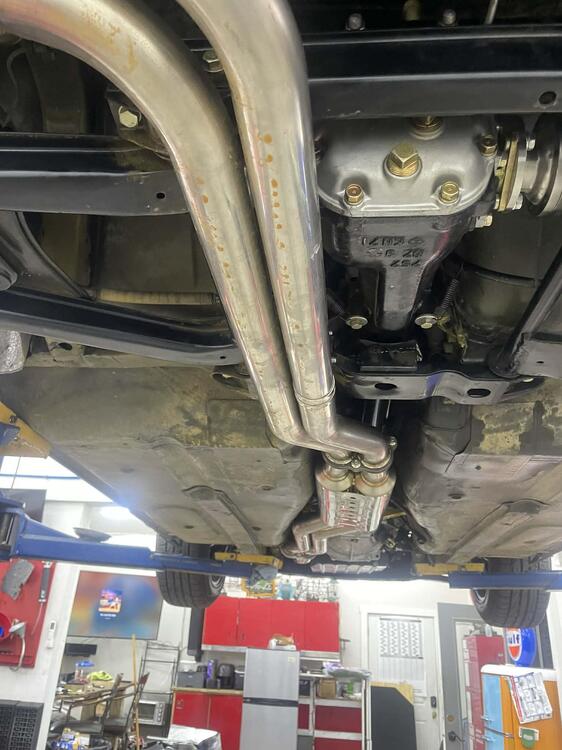
    Ok, I got the race-sport header and can confirm that it will not clear the oil pan with the heatshield. I of course learned this after the engine was in the car and was not about to remove it so I rolled up under the car with a Dremel and cutting wheel to cut the heatshield off. Once that was done the header fit just fine. Hope this helps keep you from being covered in sparks cutting the heat shield off after installation like I was. :)
  38. You can get them for a 4-wheeler at your local motorcycle shop. They have those metal bands that work great instead of the e-bay ones that send you zip-ties.
  39. It will be interesting to see how the BaT S30.world/Garage 44 auction goes when it is (eventually) listed. Im guessing the 240-Z has been shipped to the USA to sell rather than be passed in.
  40. Yep. Been down all those paths and I STILL don't know (for sure) what size they actually are. I see what you used, but I don't think you used what was intended to go in those holes. I've seen more references to BSPT than anything else, so I suspect that is what it is. There are MANY holes that can be plugged on these cars; holes in the block, holes in the exhaust manifold, holes in the thermo housing, etc. Looks like some may be just metric threads (which are a parallel thread), some are BSPT (I'm presuming, will confirm) and some others may be BSPP. I also googled, "240z balance tube plugs" as was suggested in the thread you linked to, and many of the resources provided by Google were links to places where one could purchase said plugs, but they were not identified as to which size or threadform they were, in fact, a couple of the sellers provided two different plugs with two different threadforms and said both, "will work". Call me picky, but I prefer to use the proper fitting when a threaded hole is provided.
  41. Cannon Manifold and three 40 DCOE 151 (spanish pedigree) weber 151s. I have had these apart and cleaned them but they still need to be gone through and verified. I had them on my Z car running since 2012. Pulled them off and need the space in my garage. Comes with oversized rod ends, and throttle arm mounting bar (less deflection), which is a modification of my own. Carbs are complete. I am pretty sure I have the air horns that came with them. I can ship to anywhere in the CONTIENTAL US, but shipping will be on the purchaser. I will box them up in a protected WEBER carb box individually. For the manifold and carbs I am asking 800 dollars plus shipping. Please give me an email at sdamico555@Gmail.com
  42. A little doesn’t hurt to prevent rust in the tube.
  43. I mailed the balancer to the guys in Reading this AM. $300. Thanks for the tipπŸ™‹β€β™‚οΈ
  44. They have a 15mm square socket available on Amazon. Works like a champ with a 1/2” pull bar. I chose the Harfington model. https://www.amazon.com/s?k=15mm+socket
  45. Fifty-year-old rubber exposed to heat, cold, vibration and air pollution. Aftermarket replacements are available. Your chances of finding a NOS unit are low. Your chances of finding a good-condition used unit are better, but will require you to rely on the quality of the seller's photos. There are a couple of businesses (Damper Doctor, Winslow Mfg) that will re-core your old unit.
  46. @cgsheen1 I was going to post in another thread but didn't want to thread jack, I'm hopeful to make it to Zcon in your area next year and check out your cars
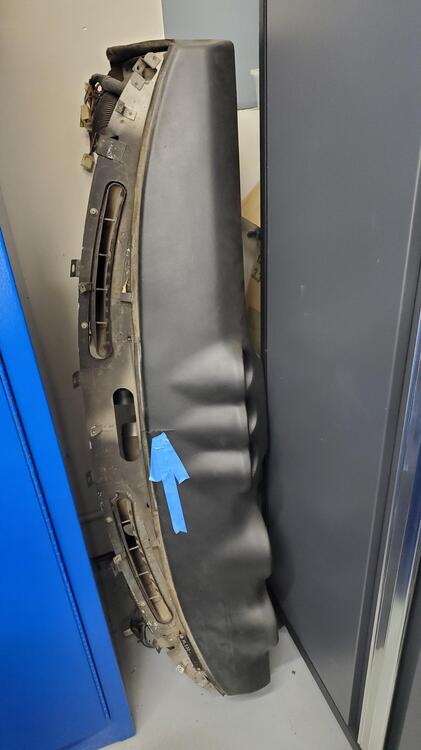
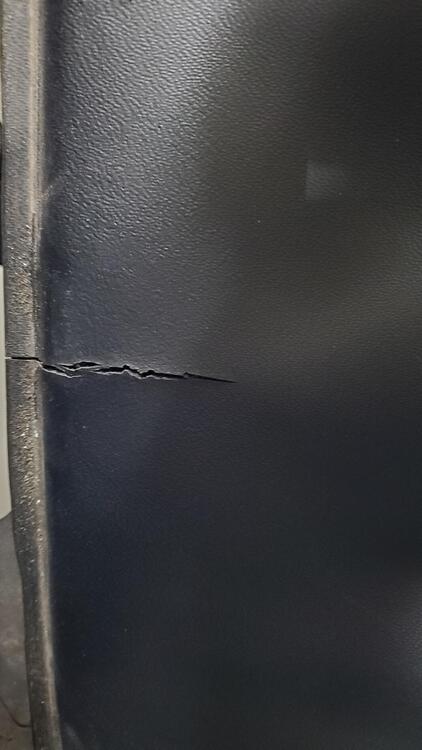
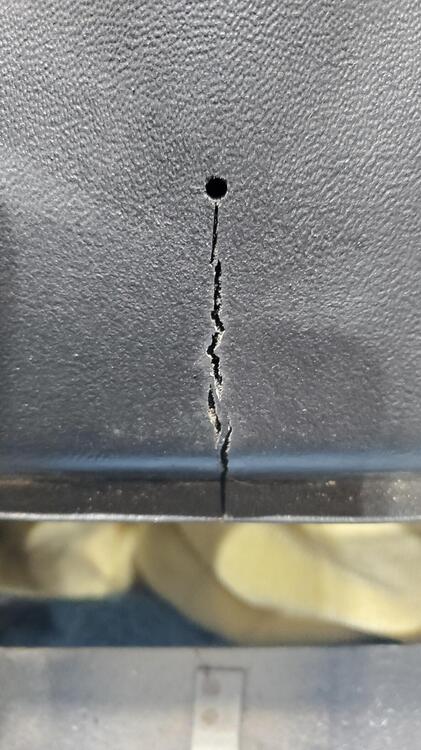
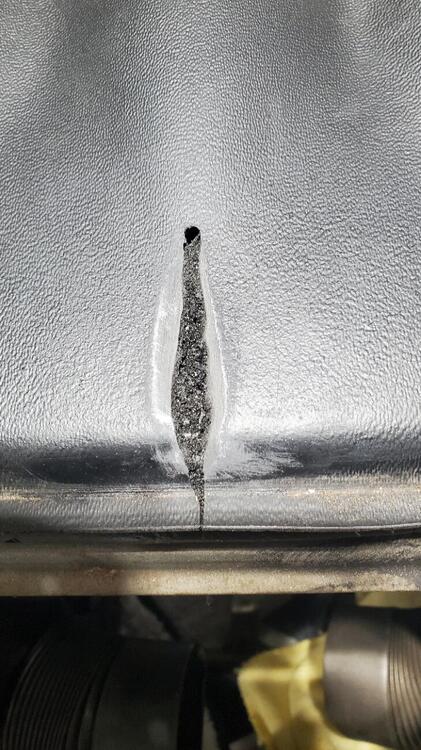
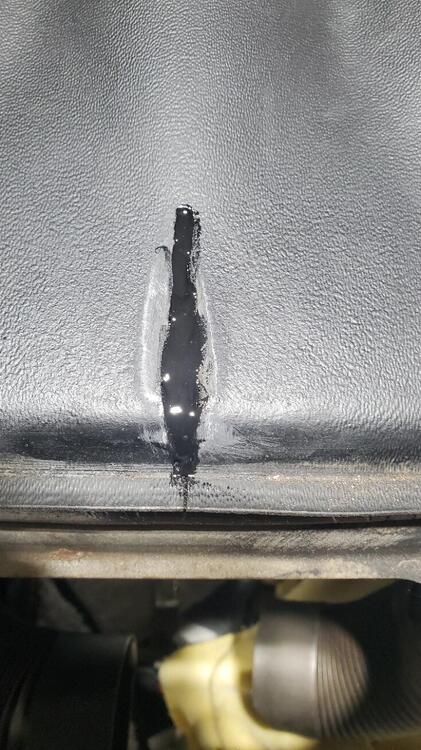
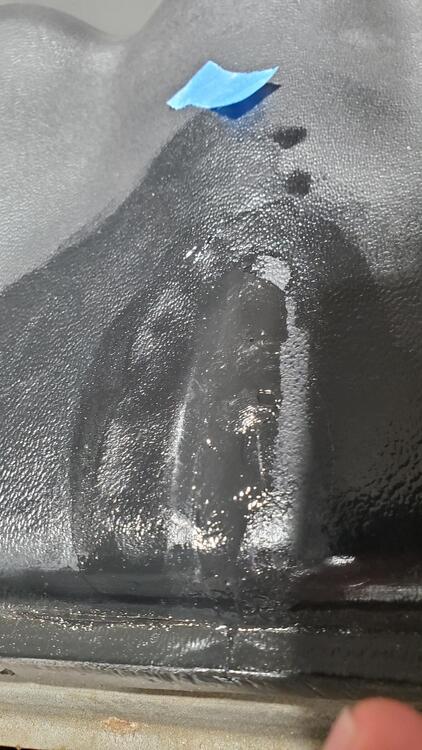
  47. The difference is modern bumpers are TPO (Thermoplastic Polyolefin) and a urethane bumper is different. I routinely plastic weld TPO bumpers for my cars I repair but Urethane bumpers can't be plastic welded. At least not in the traditional meaning. TPO is also stiff and takes paint better because it's more solid and less rubber like than urethane. Some TPO bumpers for 240z's would be very interesting

Important Information

By using this site, you agree to our Privacy Policy and Guidelines. We have placed cookies on your device to help make this website better. You can adjust your cookie settings, otherwise we'll assume you're okay to continue.

Configure browser push notifications

Chrome (Android)
  1. Tap the lock icon next to the address bar.
  2. Tap Permissions β†’ Notifications.
  3. Adjust your preference.
Chrome (Desktop)
  1. Click the padlock icon in the address bar.
  2. Select Site settings.
  3. Find Notifications and adjust your preference.