


Leaderboard
-

240260280
Free Member7Points4,442Posts -
Captain Obvious
Free Member5Points10,081Posts -
Muzez
Free Member4Points242Posts -
Mark Maras
Free Member4Points3,719Posts


Popular Content
Showing content with the highest reputation on 10/04/2020 in all areas
-
4 pointsOne end is threaded longer for a longer ball end. This rod comes with 2 ball ends... one hangs longer 🙂
 4 points
 -
4 points@Zed Head, @Patcon, @iscnetwork IT LIVESSSSSSS!!!!!! Put the starter it back on the car and jumped the car from the starter and that got it to turn over. Not sure why that did it. I can now start it using the key and battery. Maybe it just needed a little extra juice to break it loose the first time? Or the process worked loose some corrosion that I wasn't able to see. Either way, its running!4 points
-
3 points
-
3 pointsAn 8" rod is impressive. Perhaps we've discovered the reason for no pics.3 points
-
2 pointsI cheated with the die.... pretty easy job. I had to use the tail stock to align the thread cutter.... starting into SS is tough. I was able to set the depth of cut and speed so that the SS peeled off in one long twisted chip.... fun to be had! This is the first step towards making something exciting for triple carb owners 🙂2 points
-
2 pointsI watched a Jason Bourne movie yesterday, love those. Donald Trump will never leave Walter Reed. The powers that be, the CIA, have deemed him a danger to our country. Boom! There's your October surprise.2 points
-
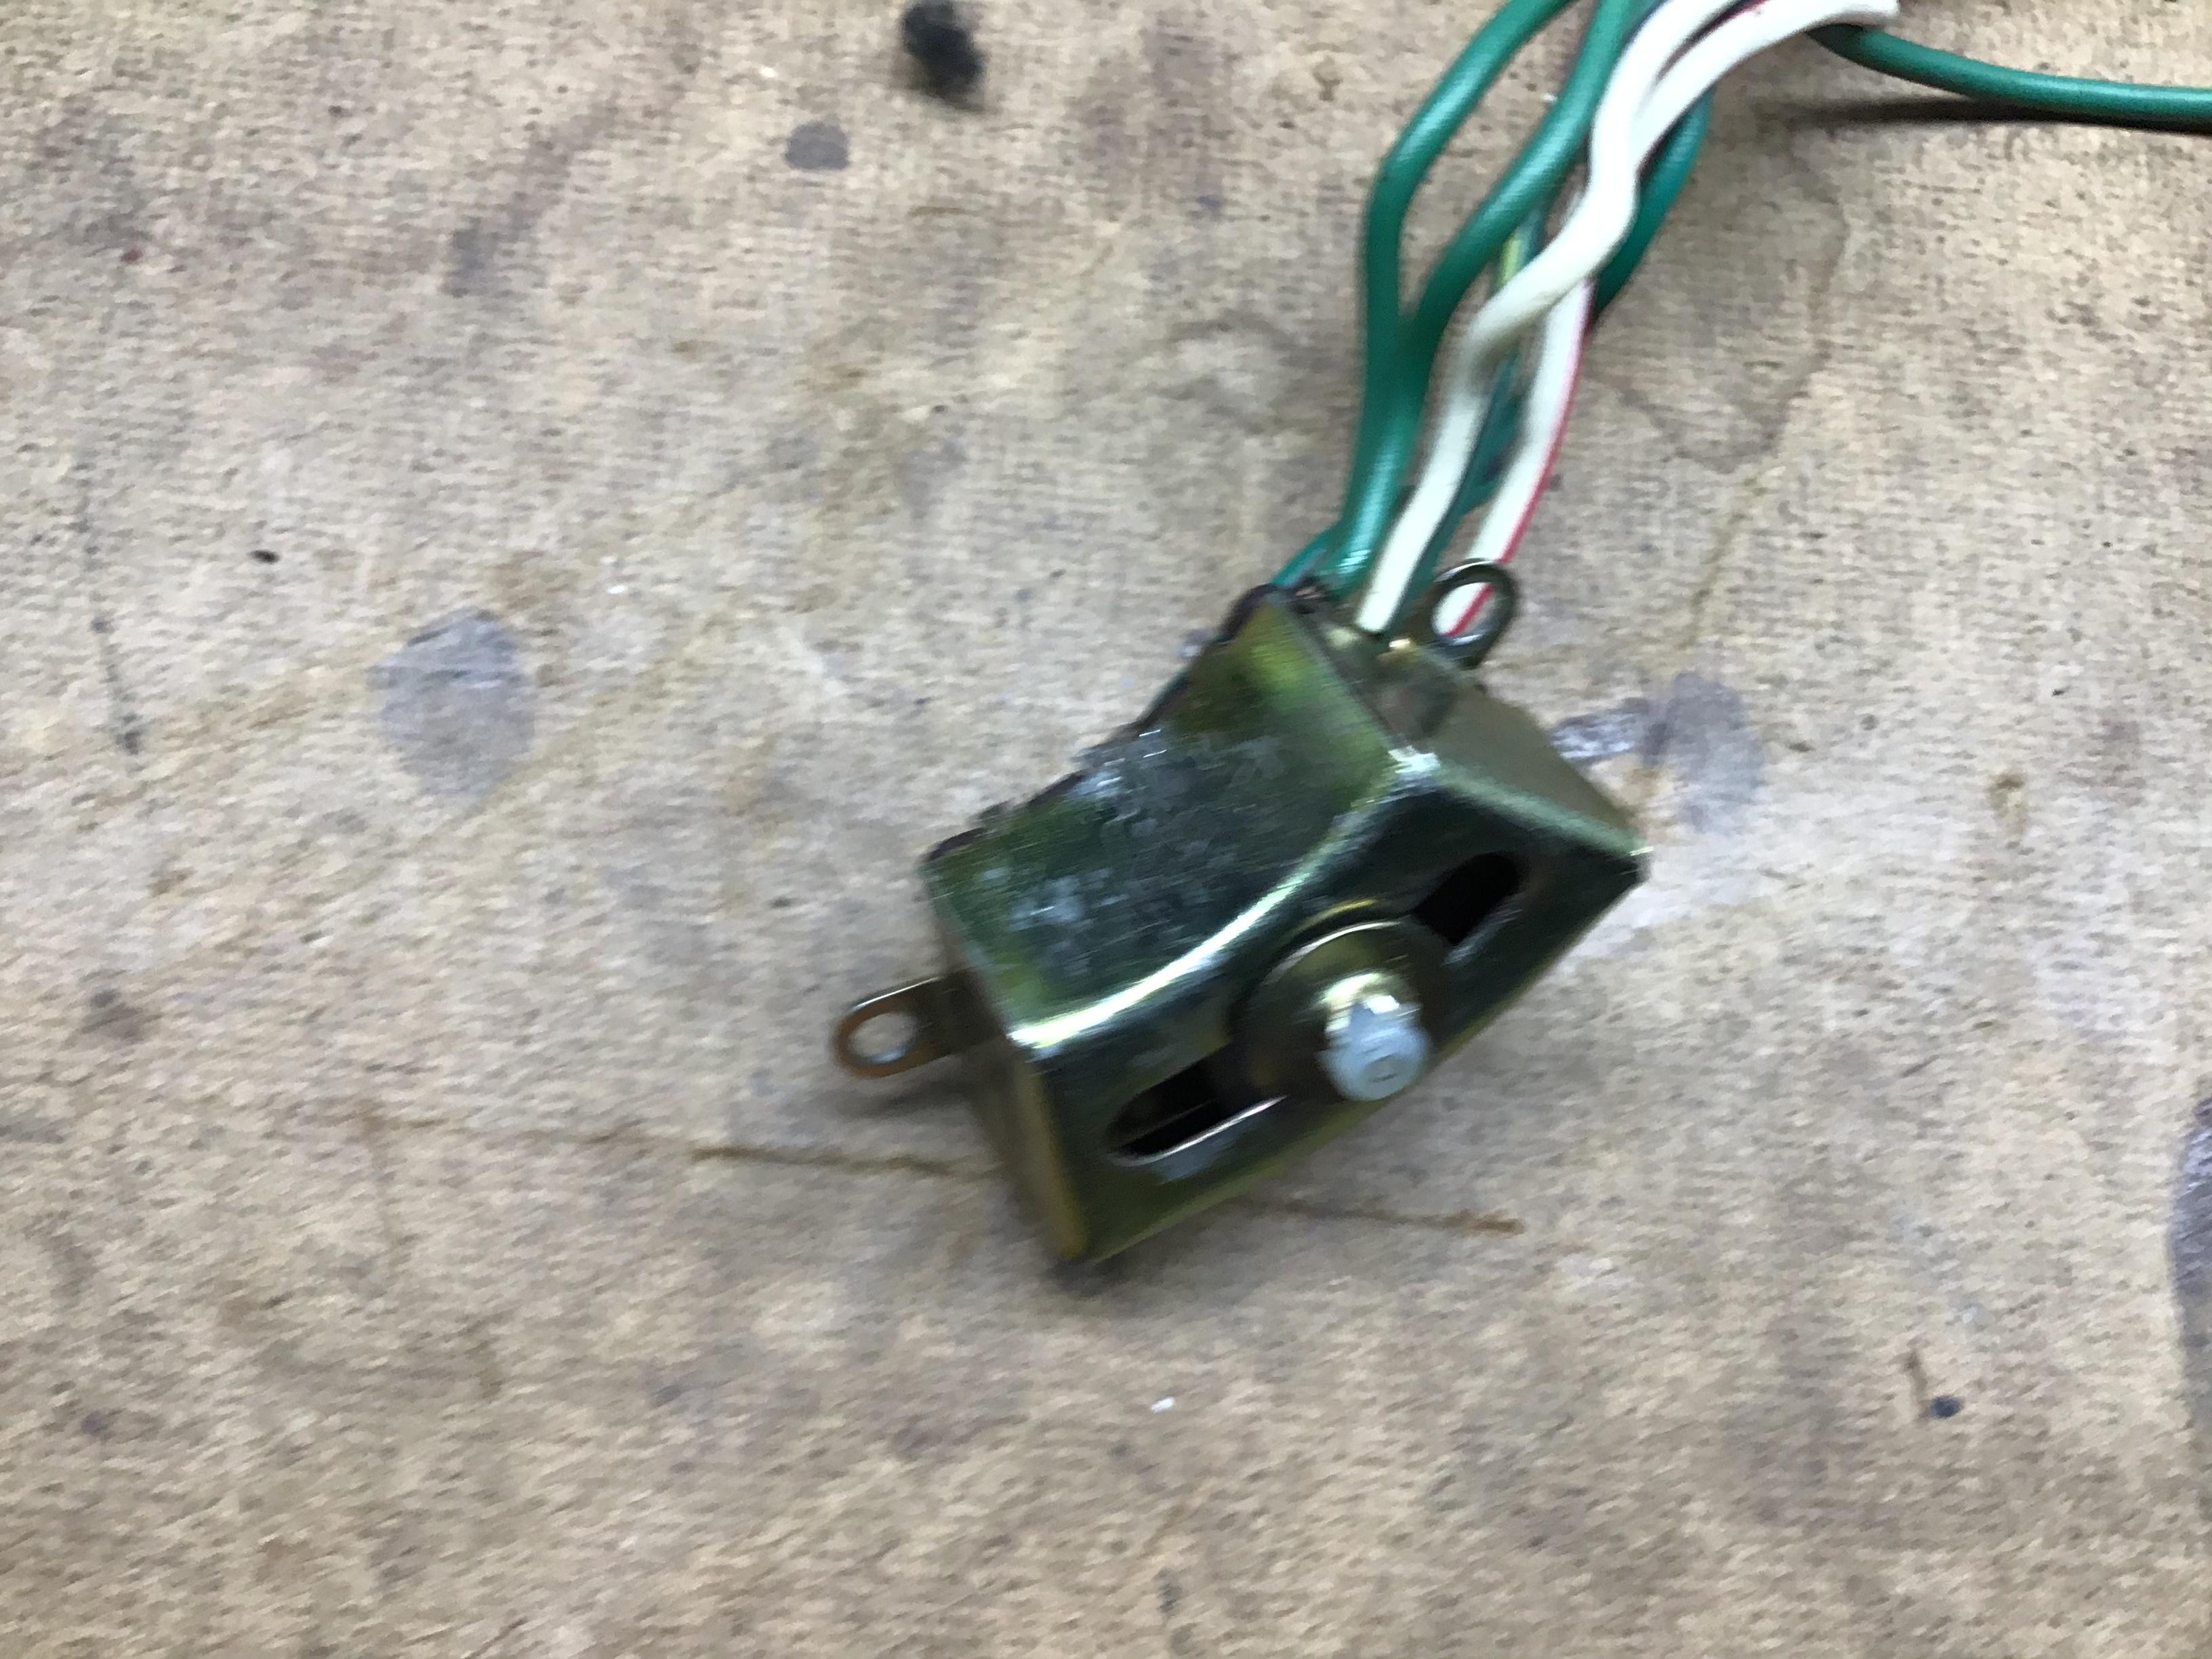
2 pointsJust wanted to ad, the Us version of the Hazard switch has 9 wires.. the euro version has only 3! (has to do with the fact that US uses the same bulbs for flash,lights and brakes.. Euro/JDM version has different bulbs for that.. so the schematic diagram is much simpler and ... a bit more relyable.. 😁2 points
-
2 pointsMaybe the mistake was testing the president or anyone of those guys. No test no cases, right?2 points
-
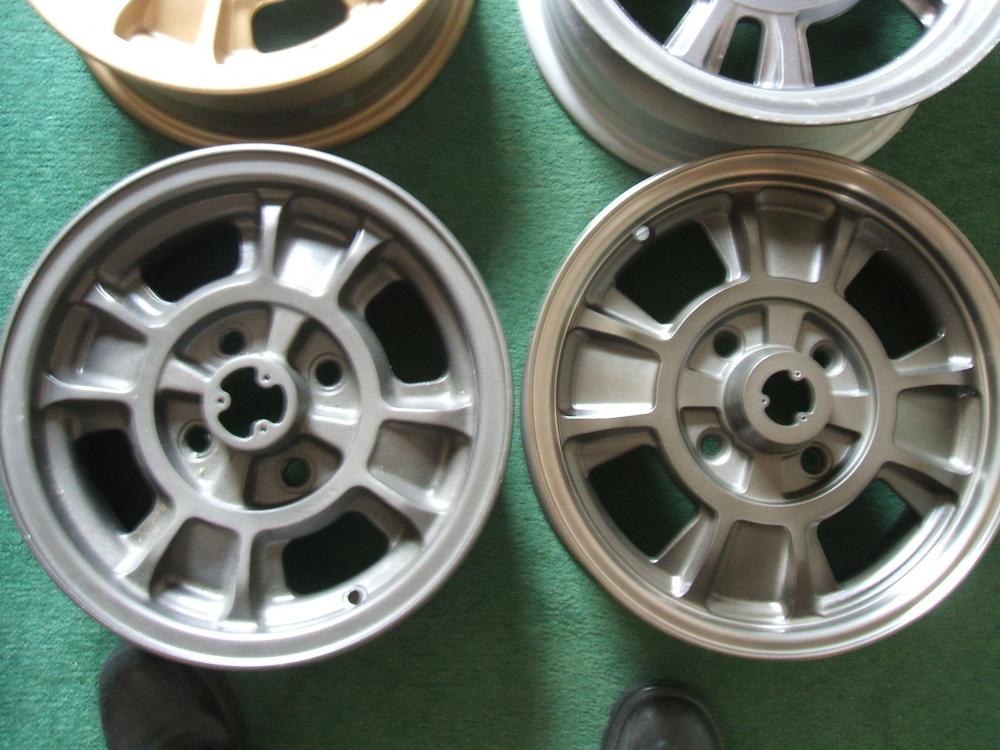
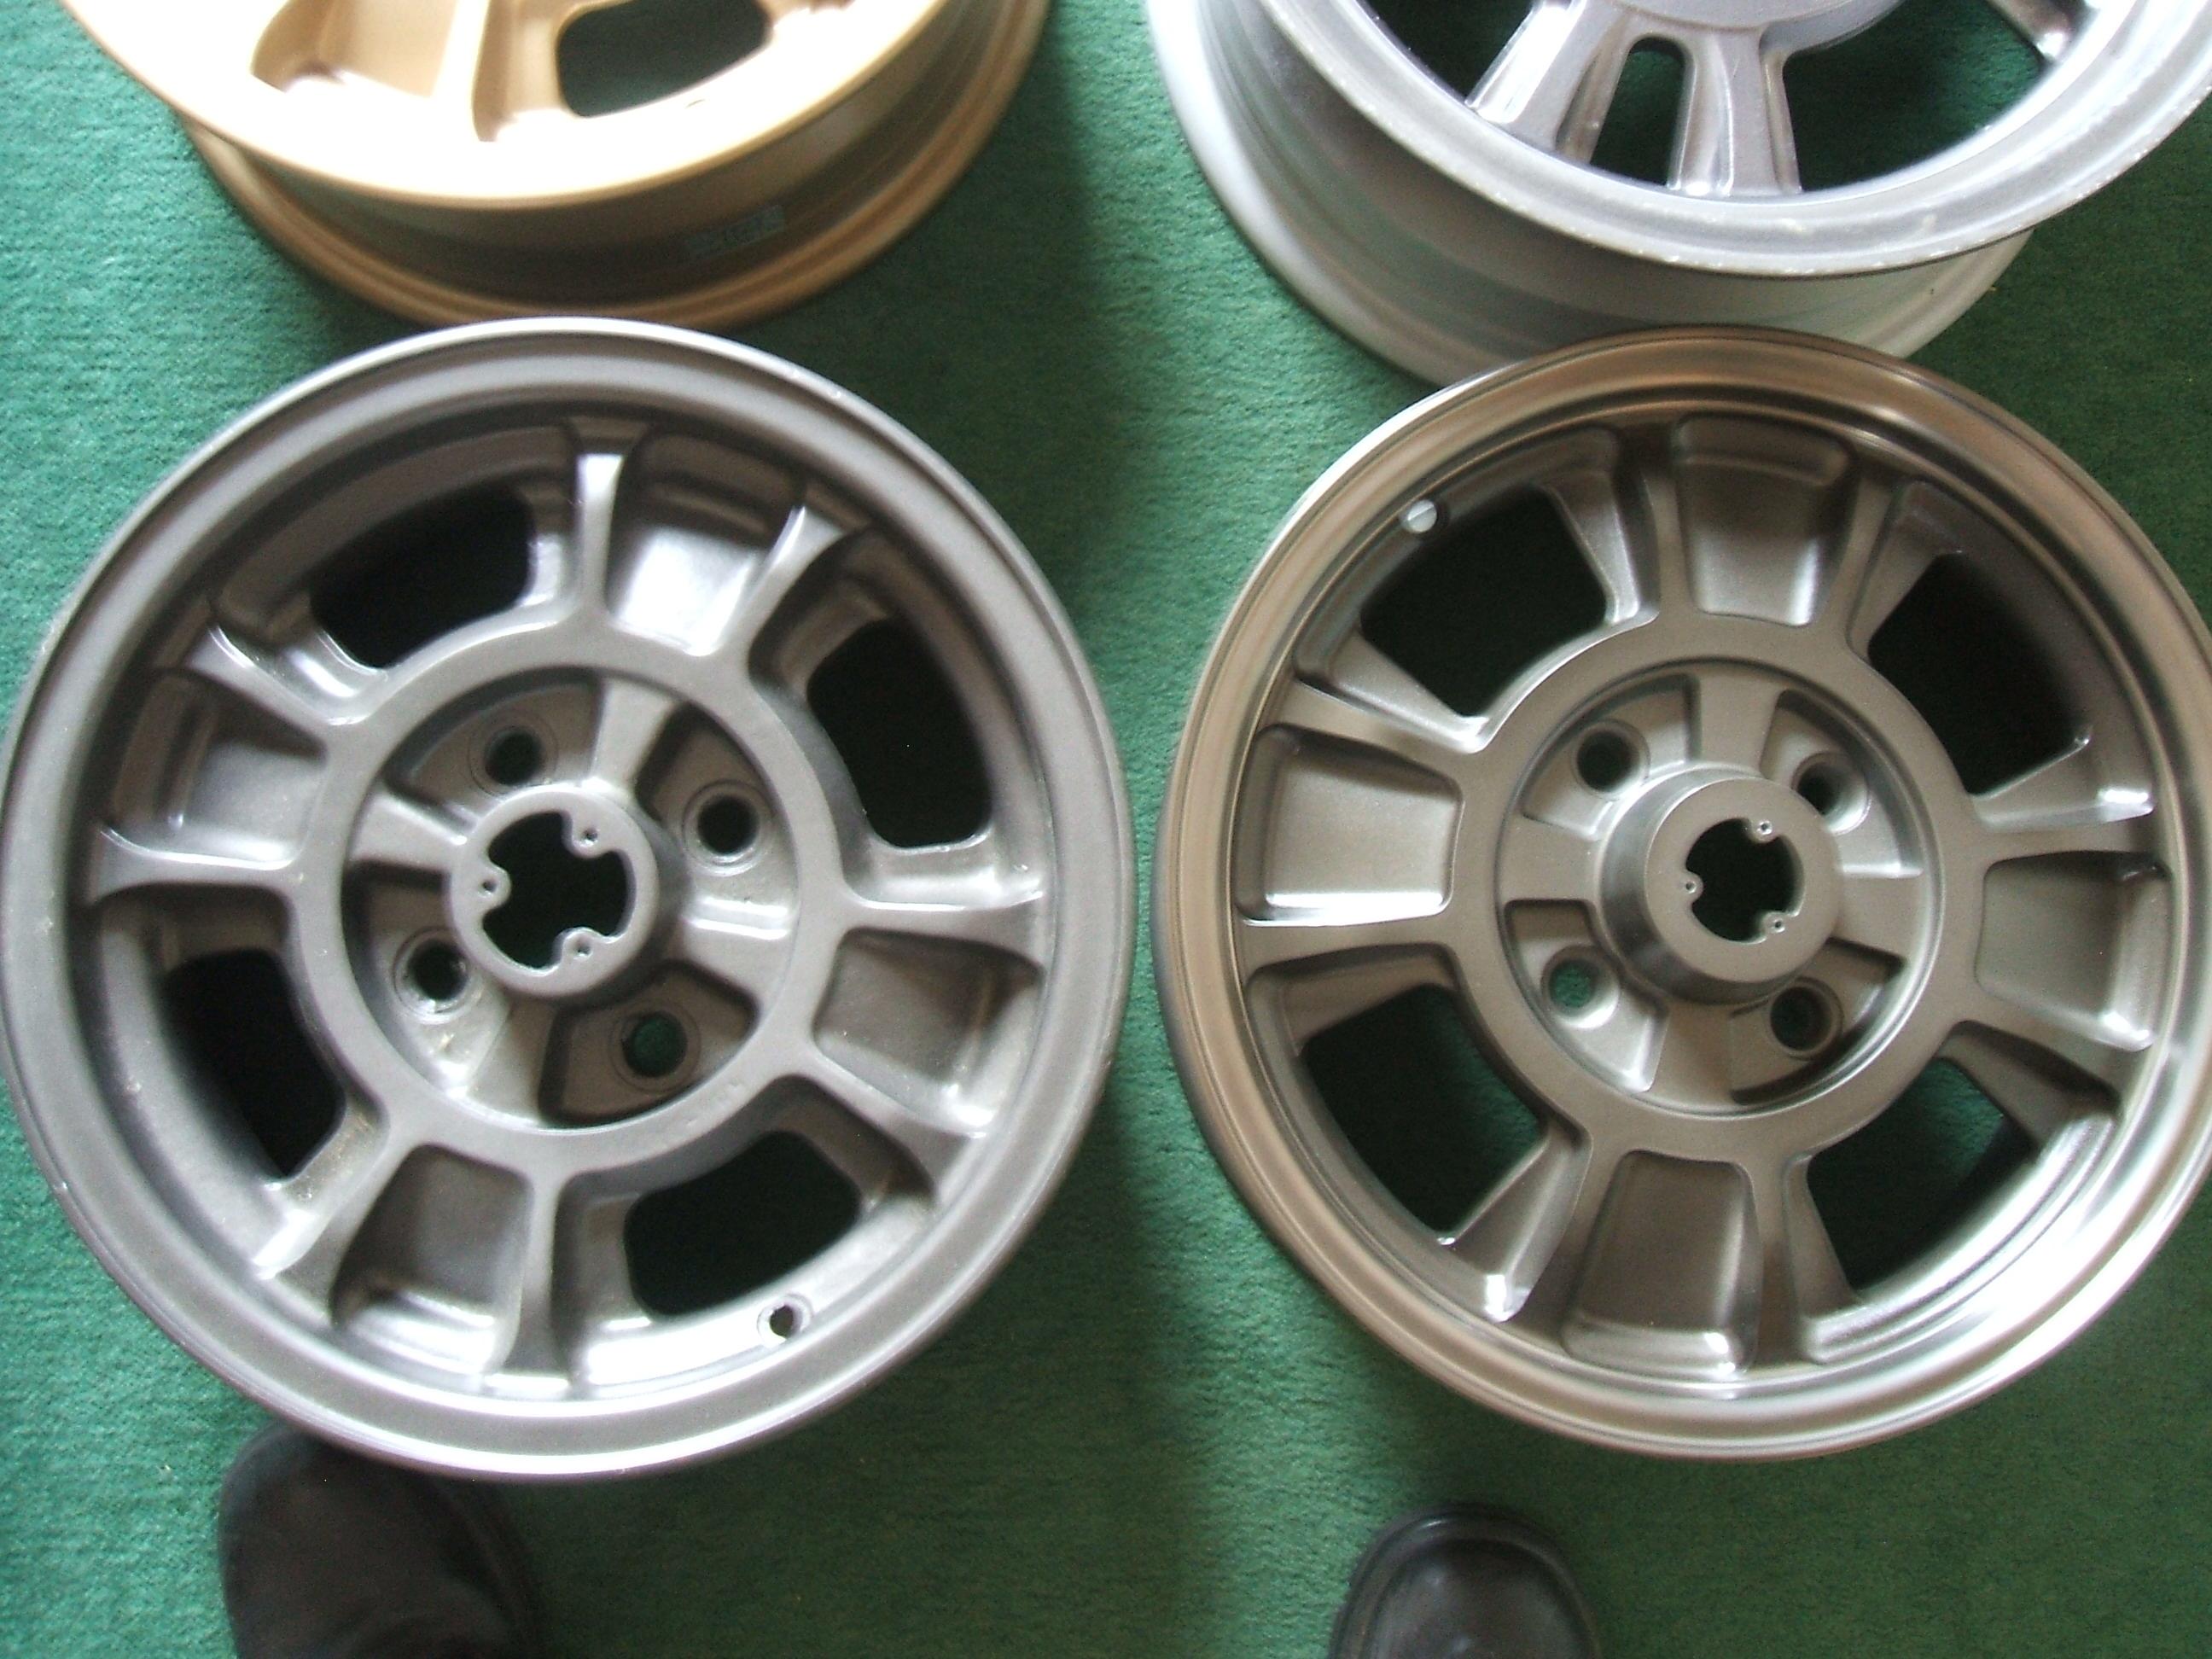
As I seem to be the "cause" of "in the style of", here is my Kobe Seiko Z432 wheel (on the left) and one of my M-speed Z432 "style" wheels; At a quick glance, let's start with the hub, the end hole is different shape, the M-speed is more tappered to the base of the wheel, and a wider circumferance at the bottom. The "spokes" radiating from the hub are a different shape, and are deeper set into the wheel on the Kobe one and thus taller. The four spaces on the outer are different, one longer and squatter (Kobe) while the M-speed is not as sqat and taller. And from therethe outer "spokes" are a slightly different shape too.There are probably others, but you get the drift. The Kobe is thicker in material, and is much more curved over all its features, while the M-speed is much more "machined" with more defined edges. None of the differences mentioned above can happen if you cast/make a buck from an original Kobe wheel. Hence why I say the M-speed is in the style of. Like Gav is doing, and the replicas made here in the UK (you just see the edge of a 15" "works replica wheel [top right] ) all stemmed from have an original Kobe wheel used as a buck or scanned. So all the design follows into the replica.
 2 points
 -
1 pointThere's a new guy on the list. Nicholas Luna, Assistant. They're not showing the president of Notre Dame on this list, since he's an outsider. I wonder how many donors and golf club members have it now. https://www.cnn.com/2020/10/04/politics/trump-circle-covid-cases/index.html1 point
-
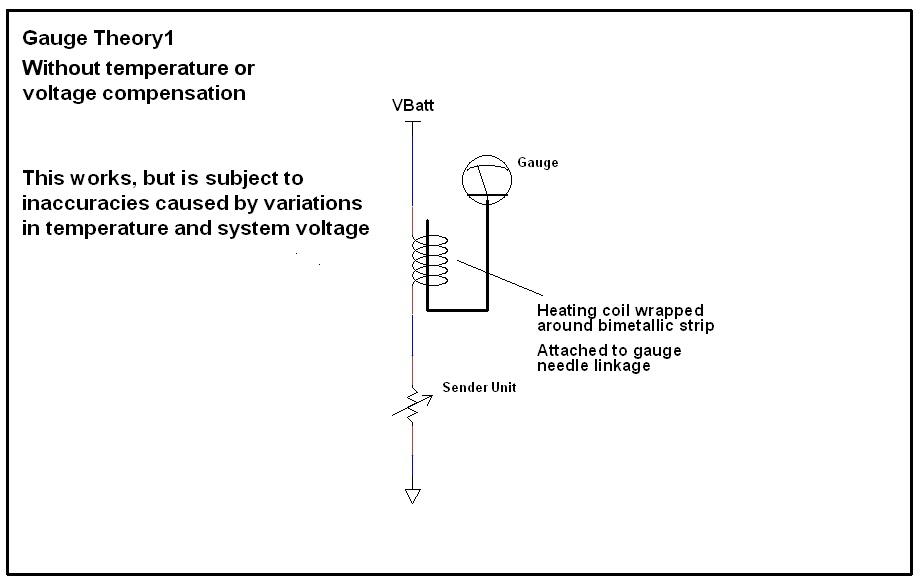
1 pointOK, I promised to describe how the gauges work... Not sure it should be here in this thread, or if I should start a new thread for this. I'll put this here for now, but if people think it should be separate let me know and I'll start a new specific thread about gauge theory. So in order to understand how the gauge system works, I think it would be a little easier to first understand how they DON'T work. I think everyone already has a good handle on this simple system, but it's an important place to start. Here's a pic of a simple (uncompensated) gauge design. Wrap a heating coil around a bimetallic strip and mechanically attach that strip to the linkage of a gauge needle. Flow current through that heating coil and to a sender unit who's resistance reflects the level of whatever you're trying to measure (temp, oil, fuel, whatever). As the resistance of the sender unit changes, the current through the heating coil changes and that changes how hot the bi-metallic strip gets. The lower the sender resistance, the higher the current. The higher the current, the hotter the bimetallic strip gets The hotter the strip, the more the needle moves. Here's a pic: This simple uncompensated gauge system does "work", but it is subject to a few real-world outside influences that can affect the accuracy: First, since the whole thing works on the temperature of the bimetallic strip, the gauge will read differently on a hot day than on a cold day. And second, since the gauges are powered by the battery system of the car, changes in that system voltage will affect the gauge readings. The gauges would read differently sitting with the engine off than they would with the engine spinning at 3000 RPM when the alternator has kicked up the voltage a bunch. The system voltage can vary from about 12V to over 14V and the gauge readings would change as the voltage varied. So the basic gauge system above sorta works, but these two real-wold effects are undesirable. If the above basic gauge system makes sense, I'll get into how they compensate for those two real-world effects.
 1 point
 -
1 point
-
1 pointYou may have to split the difference, your pic in post #3 distinctly shows the center of the bumper is off to the driver's side.1 point
-
1 pointwell i looked underneath the back by the tank and one line going from the tank to the hardline that runs to the engine bay is loose, old , hard and brittle. i’m going to replace that and see if maybe that’s why it kept doing that1 point
-
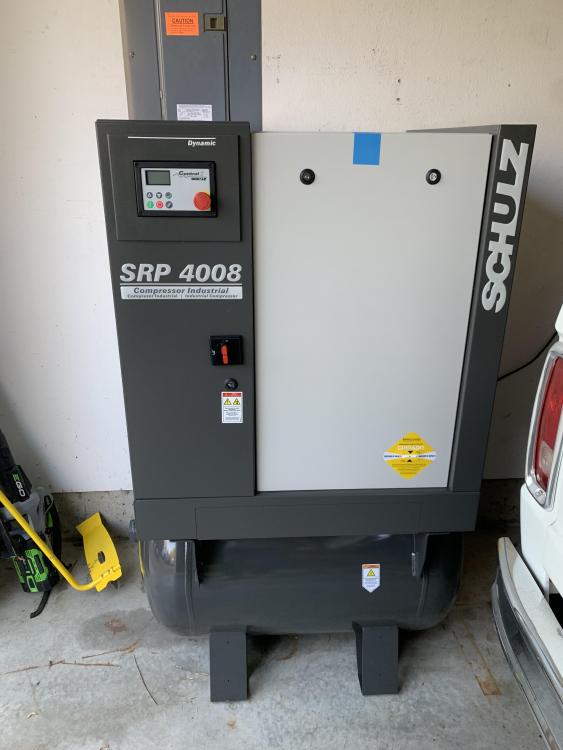
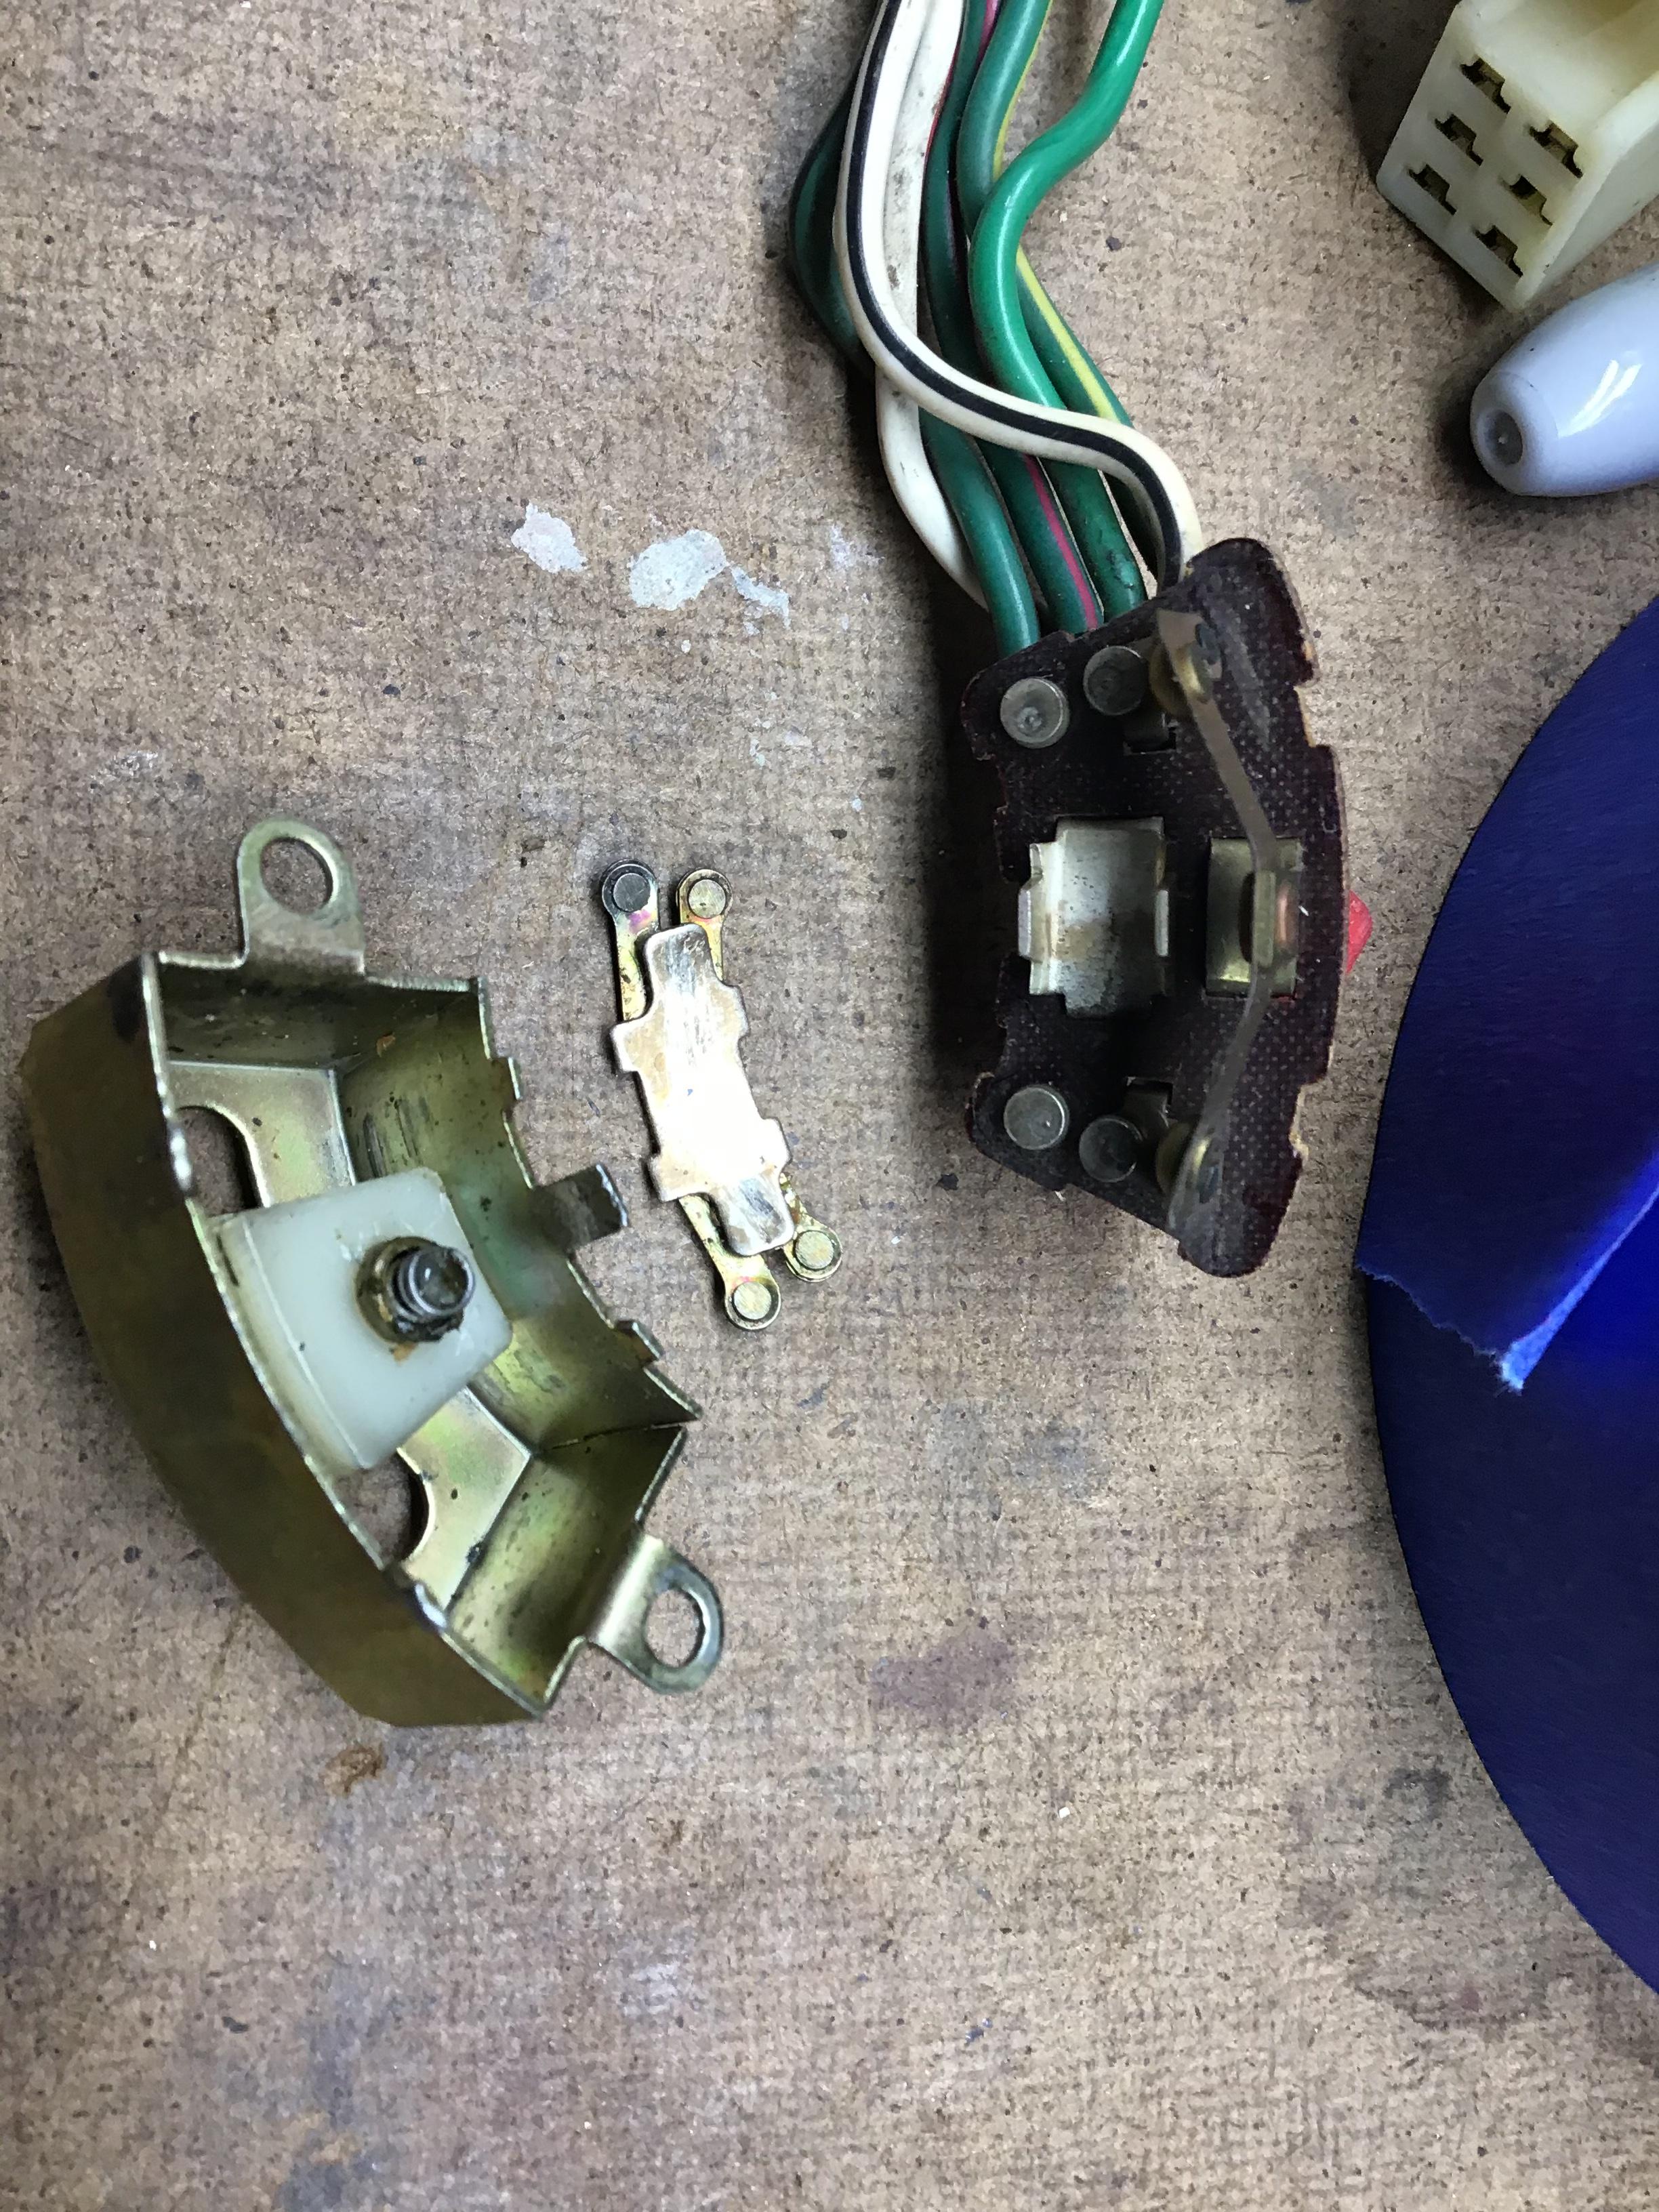
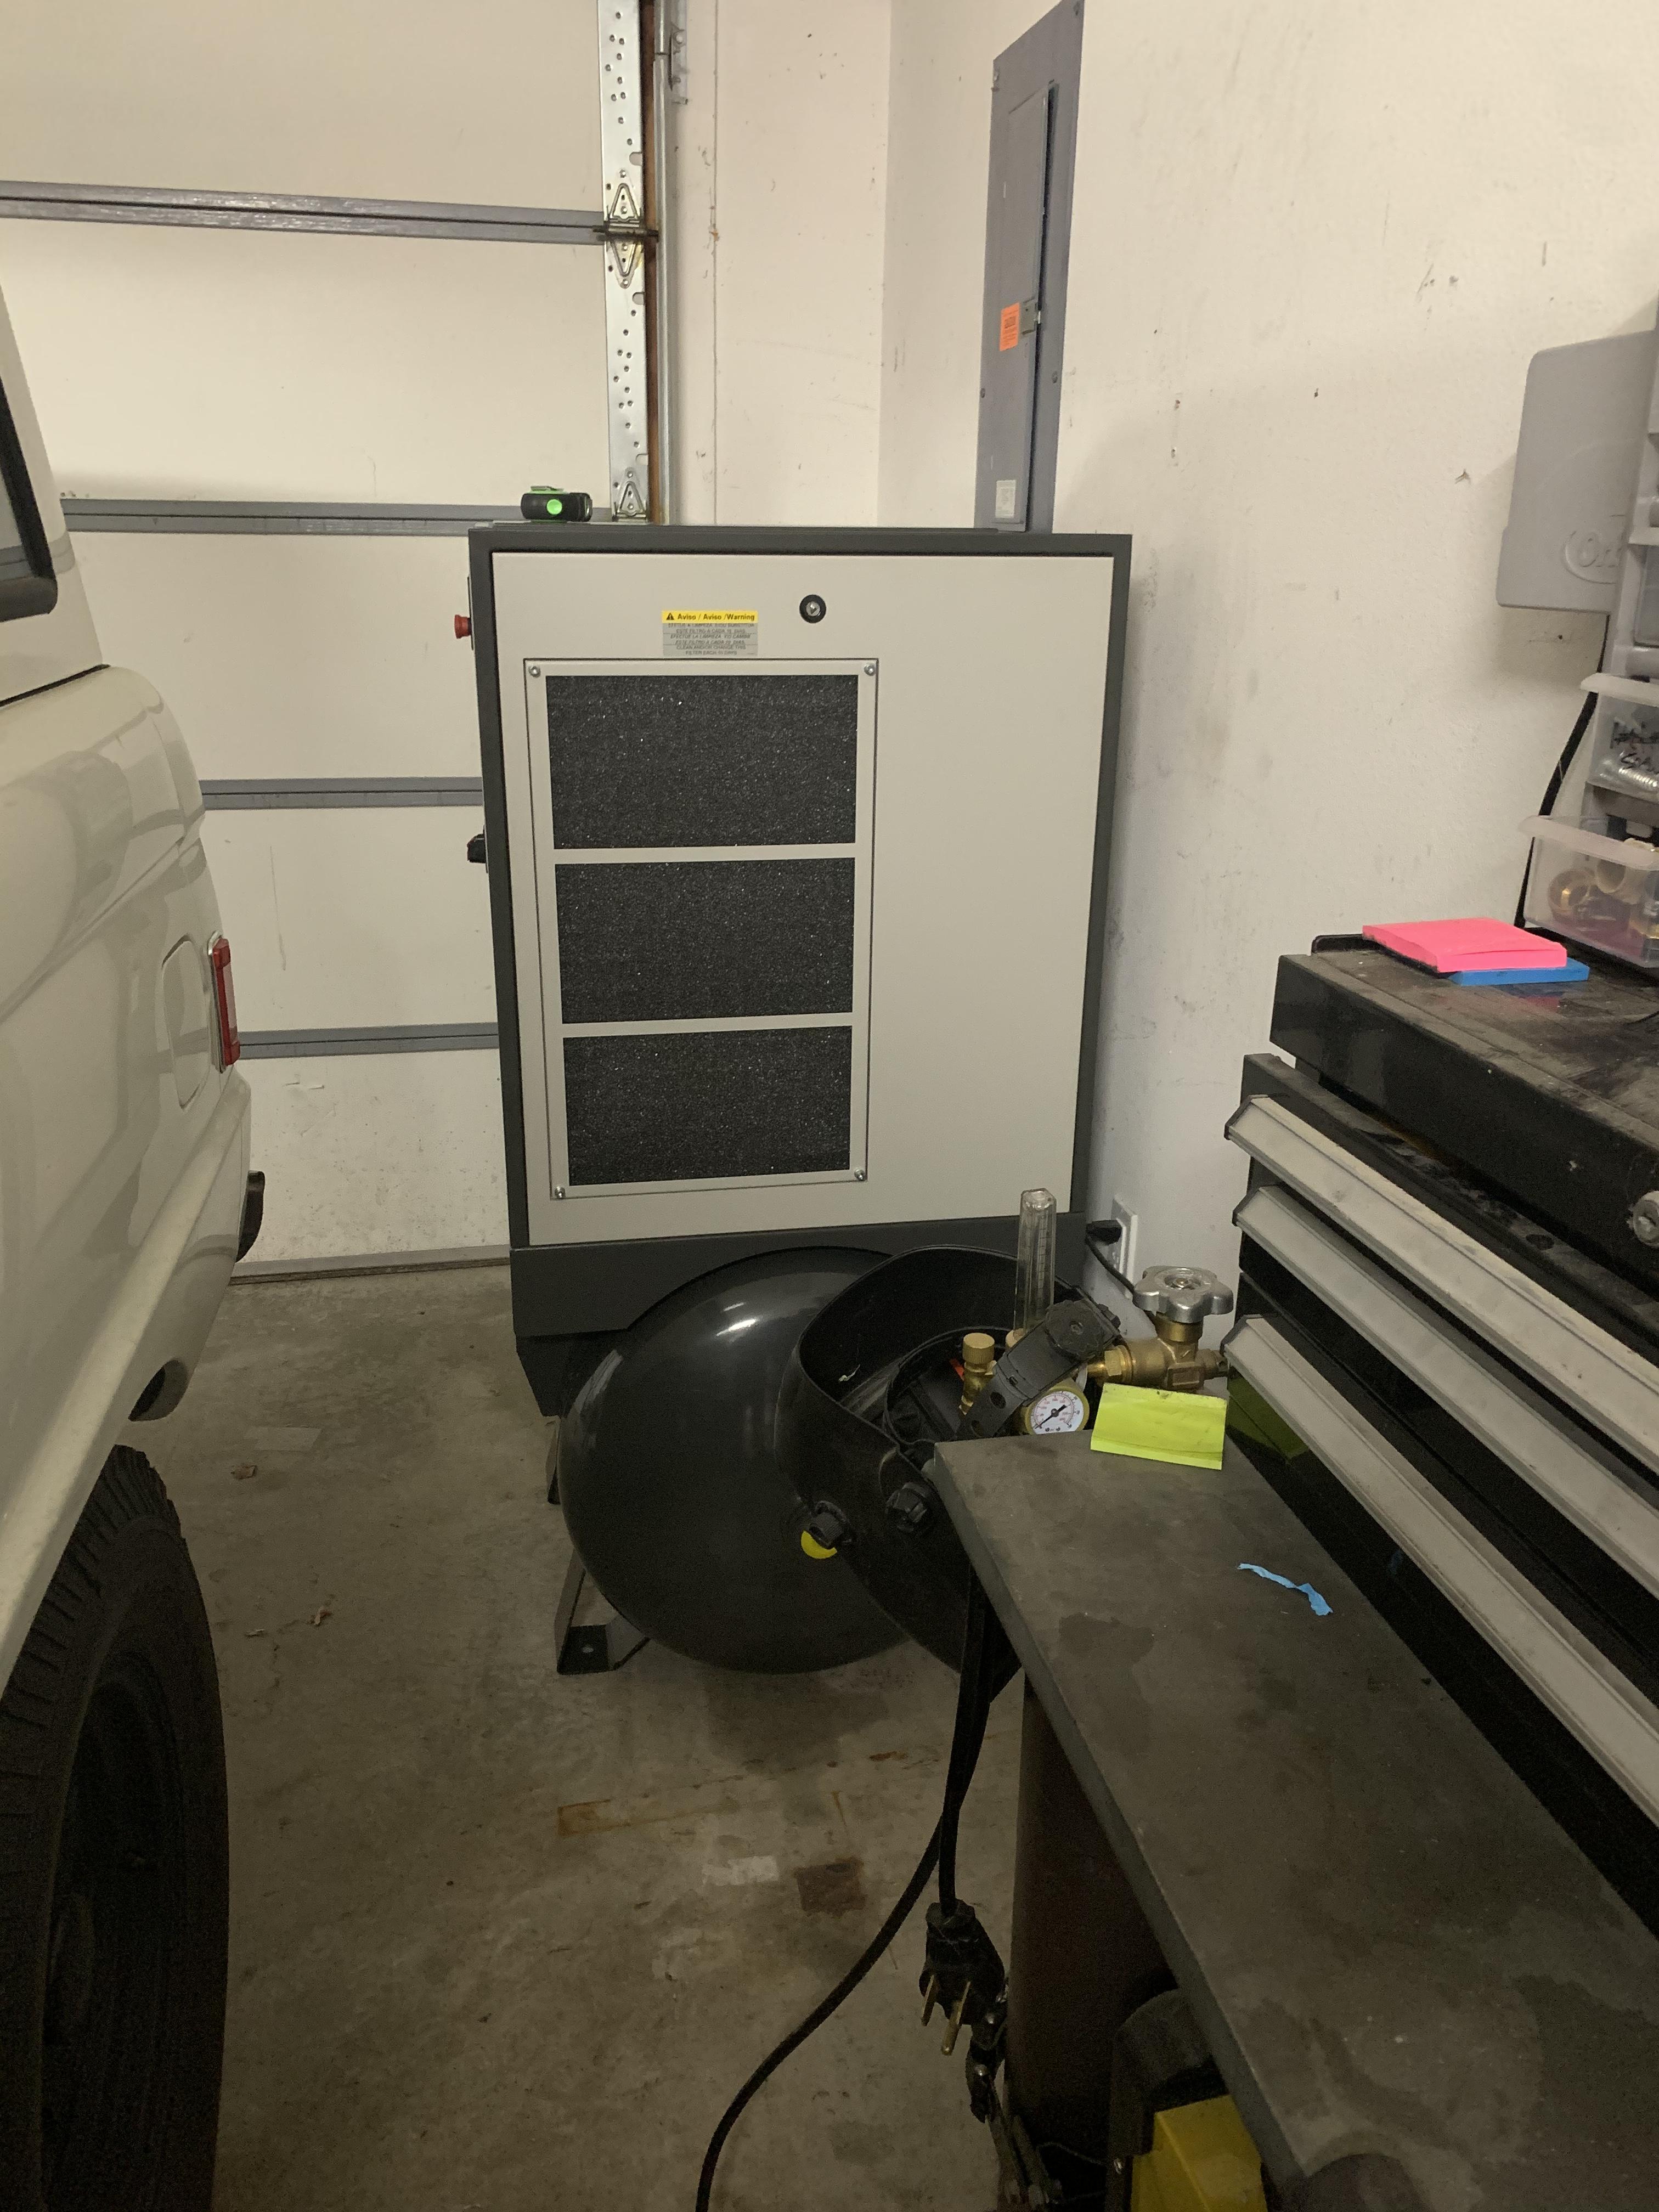
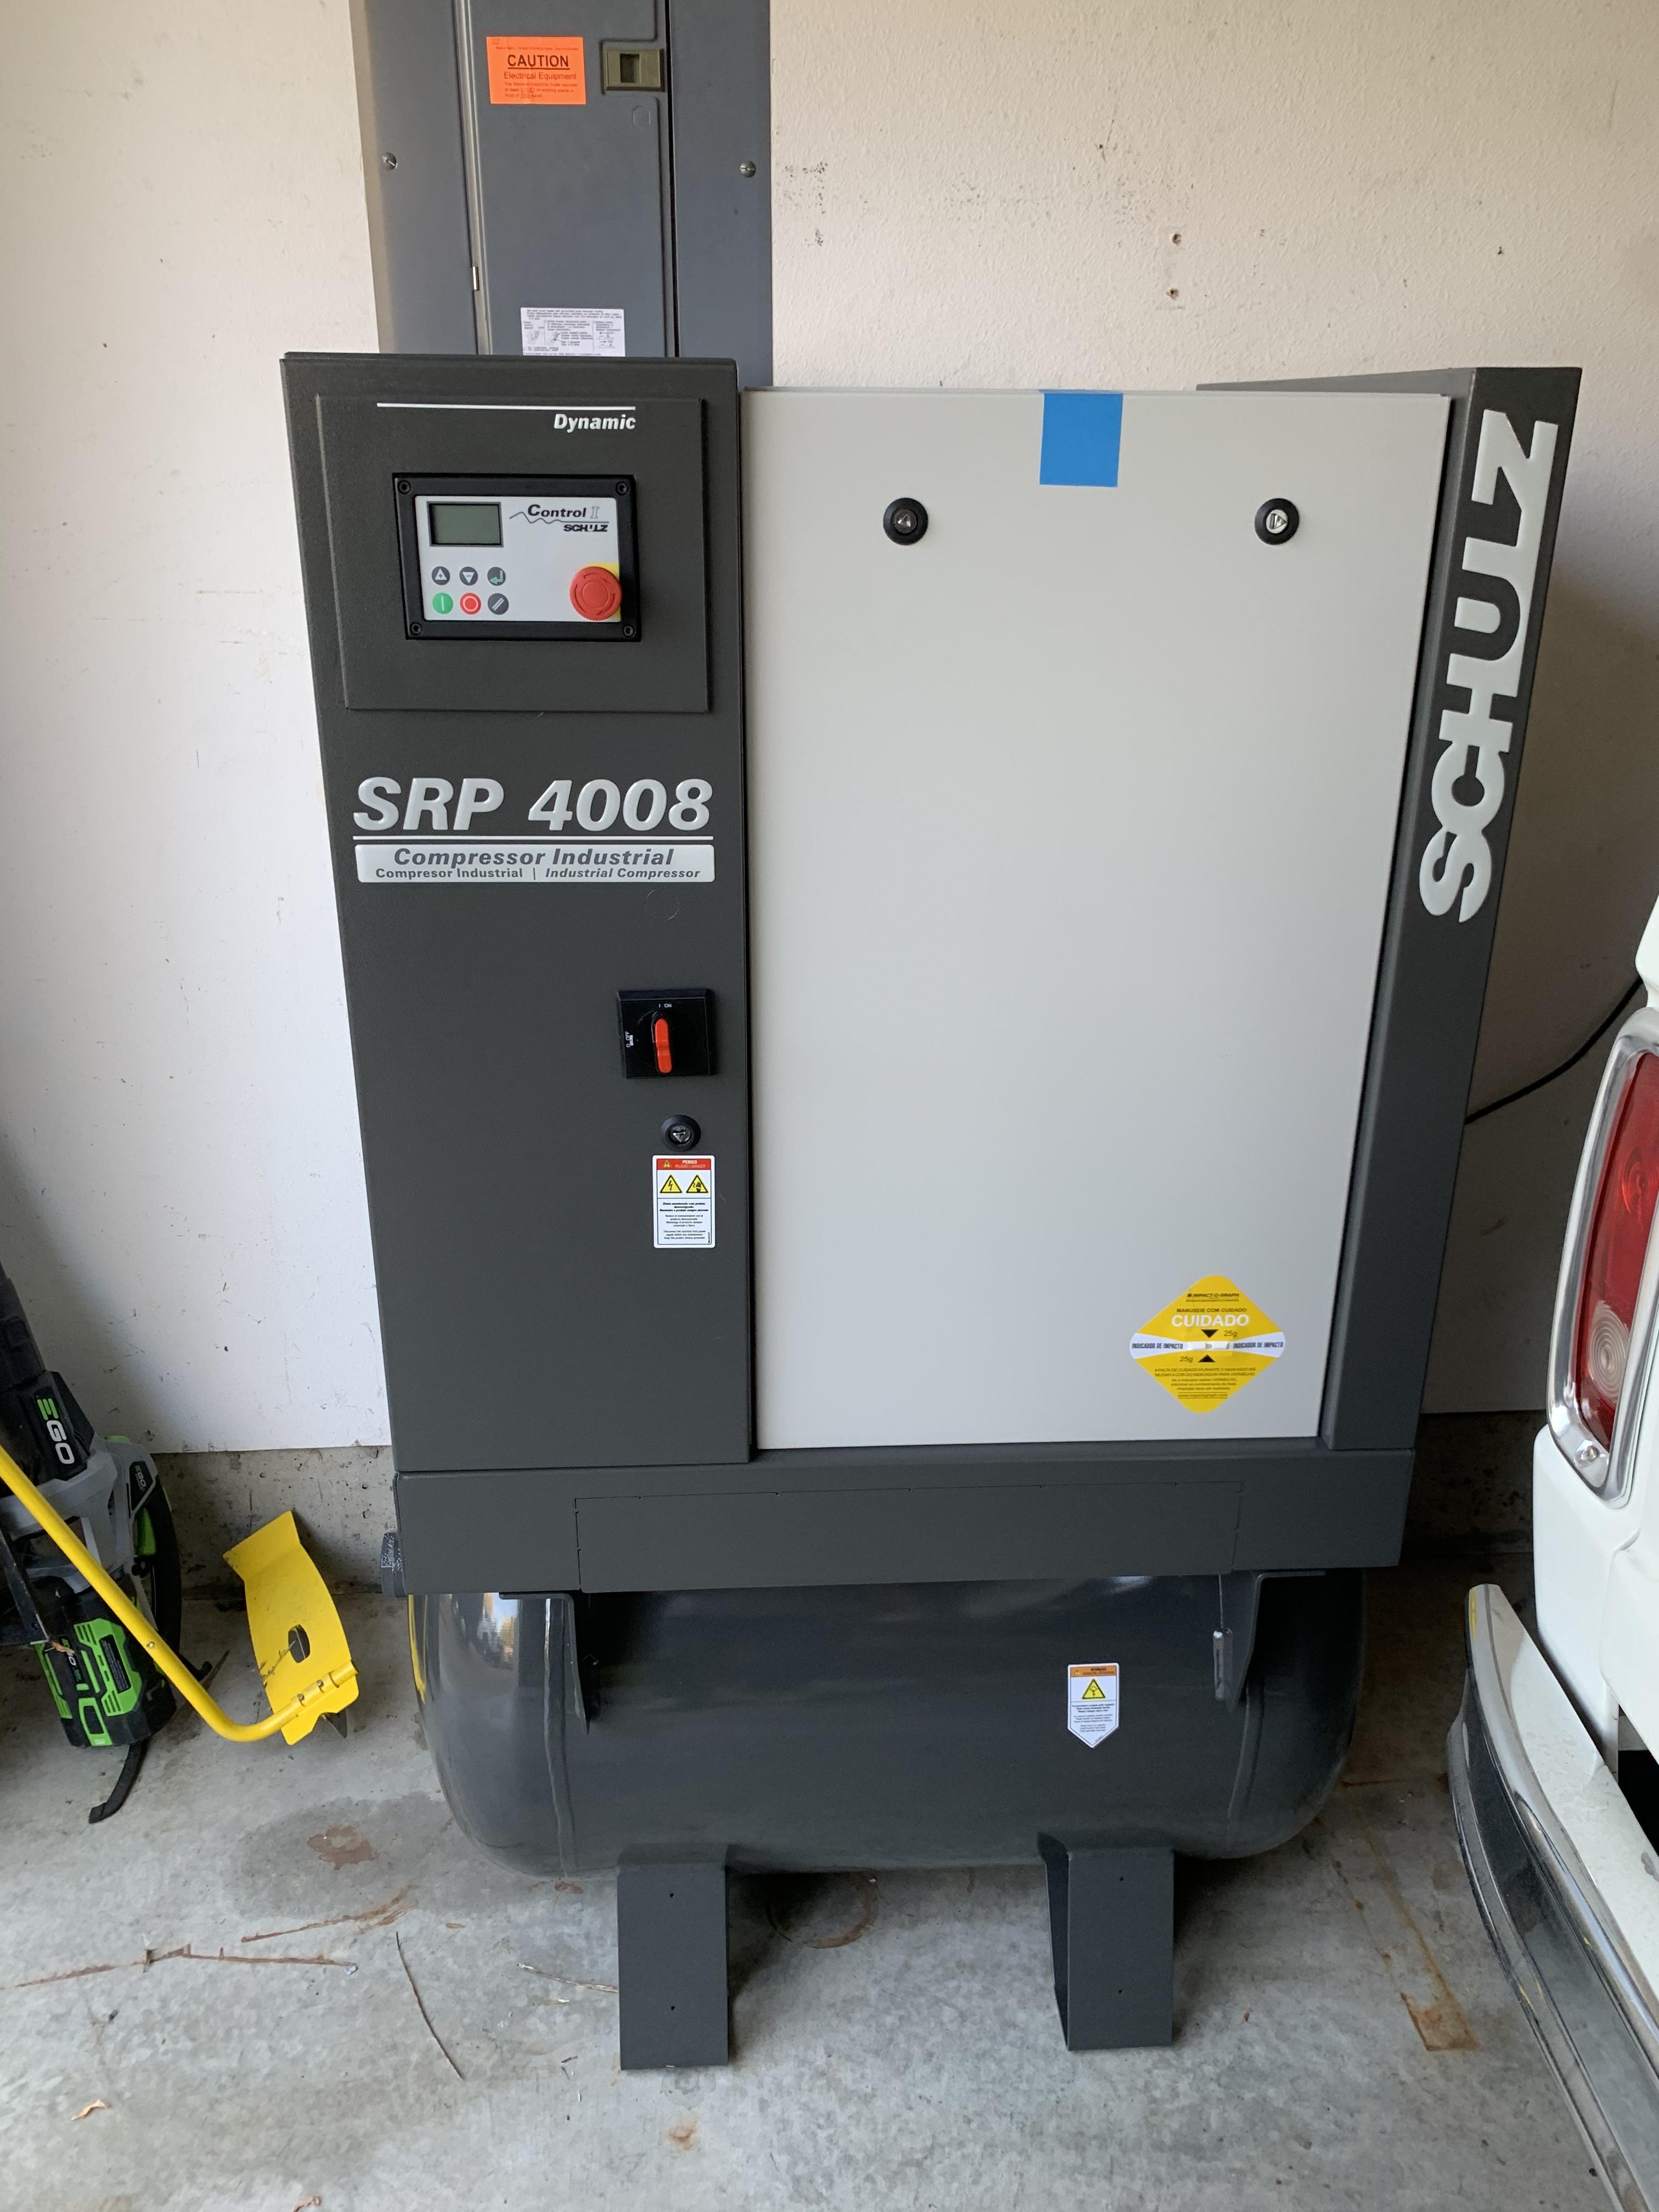
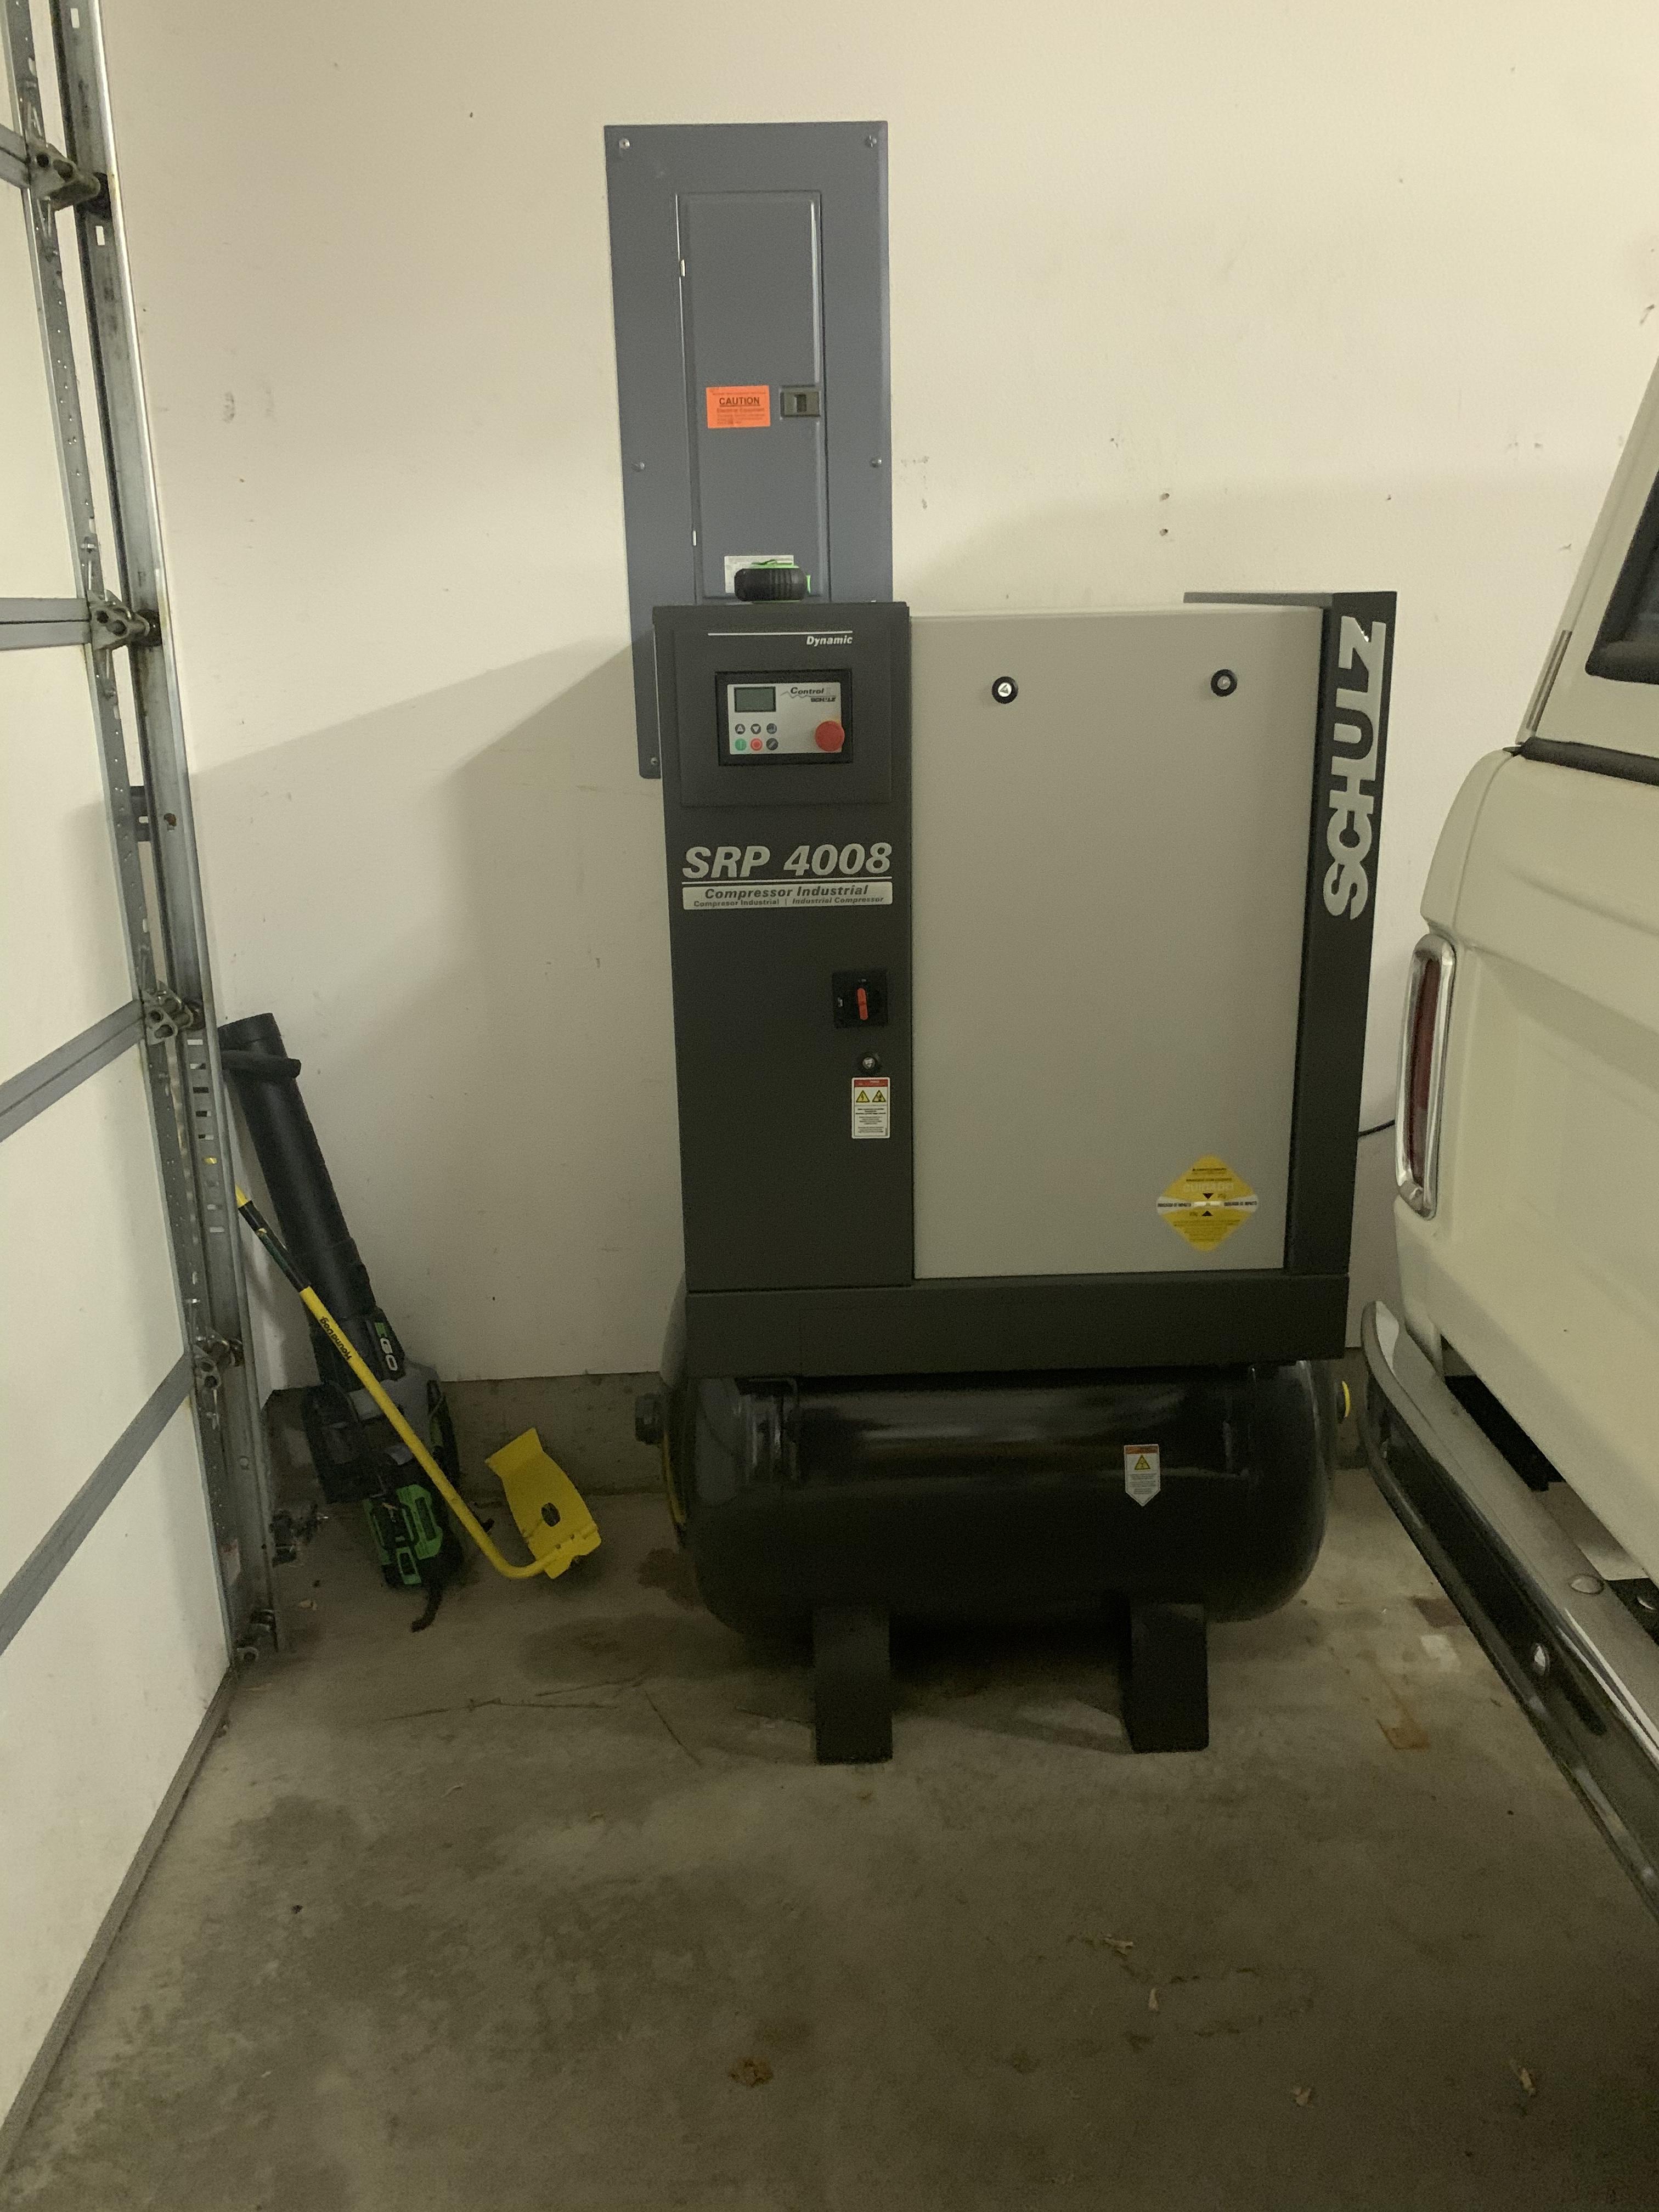
1 point1 point1 pointI get my fuel clamps from the JY, seems better quality than the stuff sold at local autozone. Its a good idea to check under the hood a lot. I always check when getting gas. leave it running pop the hood look for leaks. turn off, fill up. leave the hood popped while filling, helps with controlling heat soak on hot days.1 point1 point1 pointThe OP's problem is with the hazard switch. If it was functioning correctly, it should switch off the turn signal switch. Since he says the left front flashes when the hazard switch and turn signal switch are on, the hazard switch is not cutting off the turn signal switch like it should. The rocker switch in the hazard switch isn't making good contact with that part of the circuit.1 point1 pointi finished putting everything back together and installed new throttle return springs and the float bowl to carb hoses as well as the jets in the float bowl and it runs 10x’s better then it did. doesn’t sputter like it was and runs pretty good. it does seem like it’s running rich now but it’s night and day difference then it was.1 point1 point1 pointhttps://fiddlingwithzcars.wordpress.com/2013/01/13/early-hazard-switch/1 point1 pointCongratulations. If it still has the old braided hoses you should change them all, especially the ones over the engine. They age and crack and split and squirt fuel. It's easy to do,the injector hoses actually just press on. Procedure described in the FSM. I had really good luck with the Airtex E8312 pump. No problems, about 30,000 miles, many years. Bought it at OReilly Auto. https://www.amazon.com/Airtex-E8312-Electric-Fuel-Pump/dp/B000DT7Y7K1 point1 pointYes usually the problem is inside of the switch. I can send you photos if you want.1 point1 pointI am not sure I read all the post closely enough but I recently had to replace a bad cable on my skidsteer. It did a similar thing it ohm'd out and voltage was good, but it wouldn't pass enough current to spin the starter. Point being, check all the connections and make sure the battery is good. Add a jump box or use a know good battery. Try spinning it with the starter with the plugs removed to narrow down the problem1 pointAlso loosen the fill plug before draining it! They can be stubborn. Aweful to drain it then not be able to fill it.1 point1 pointIf it fit before, it should fit now. Without the mounting brackets in play, the ends of the bumper should tuck right in to the fender recesses and I suspect they did just that prior to the chrome replating. To me that suggests that something happened at the plating shop that has warped or distorted the bumper. If you have a buddy with a OE bumper perhaps you could lay yours on his to check the shape and identify where the change is located. You are right in expecting stress on the body panels if you attempt to pull it in on one side or both - it should not need to be pulled in with the bolts.1 point1 pointIf you going to replace the pump be advised that the aftermarkets don't seem to last . The last one I bought was $95, lasted 7 months, and was only used for about 20 starts. The first after market pump only lasted one year. The OEM pump may be costly but it lasts. Also, the after markets don't fit like the OEM and you have to make several modifications. Yes, 1/2 inch hose from tank to pump , but make sure you use FI hose out of the pump to the fuel damper like Zed said.1 pointWell the compressor came. It’s 28” deep instead of the 23” their webpage says. So it’s a tight fit. My wife isn’t happy:) Its pretty darn nice. Internal pumps and such are all weg, which I like. I am hopeful this is the last Compressor I ever have to buy.

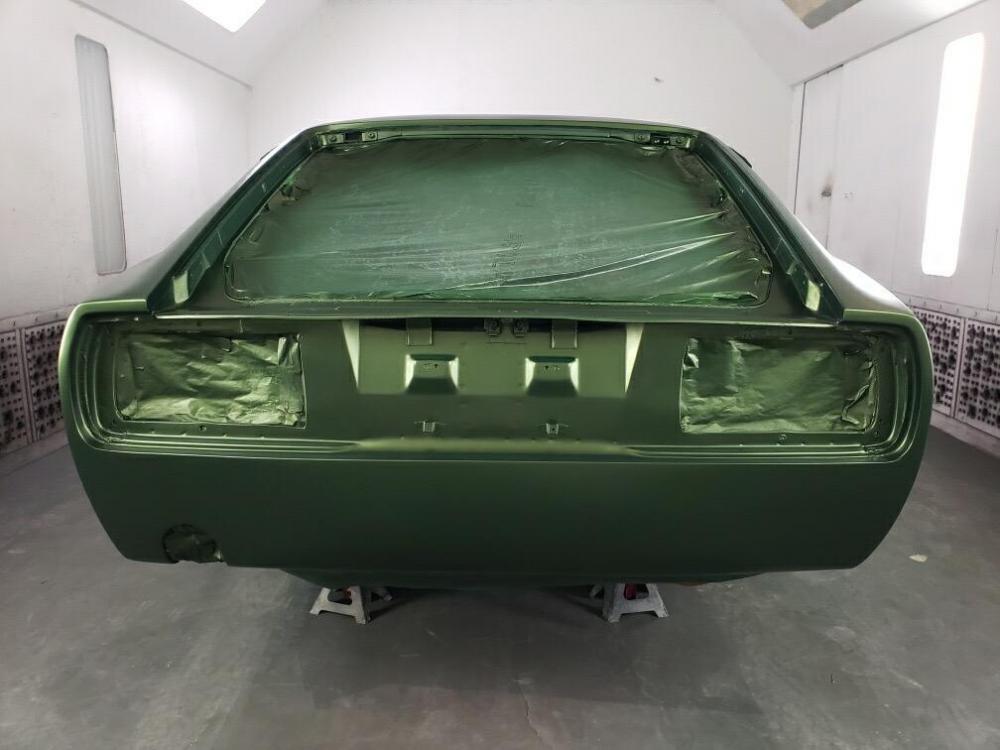
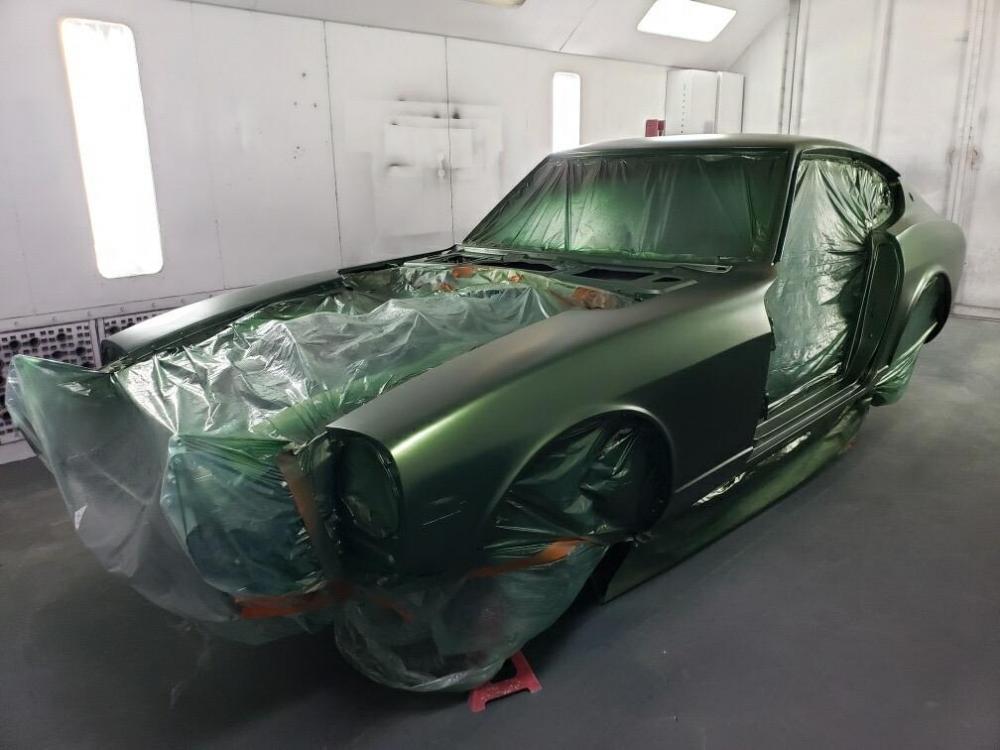
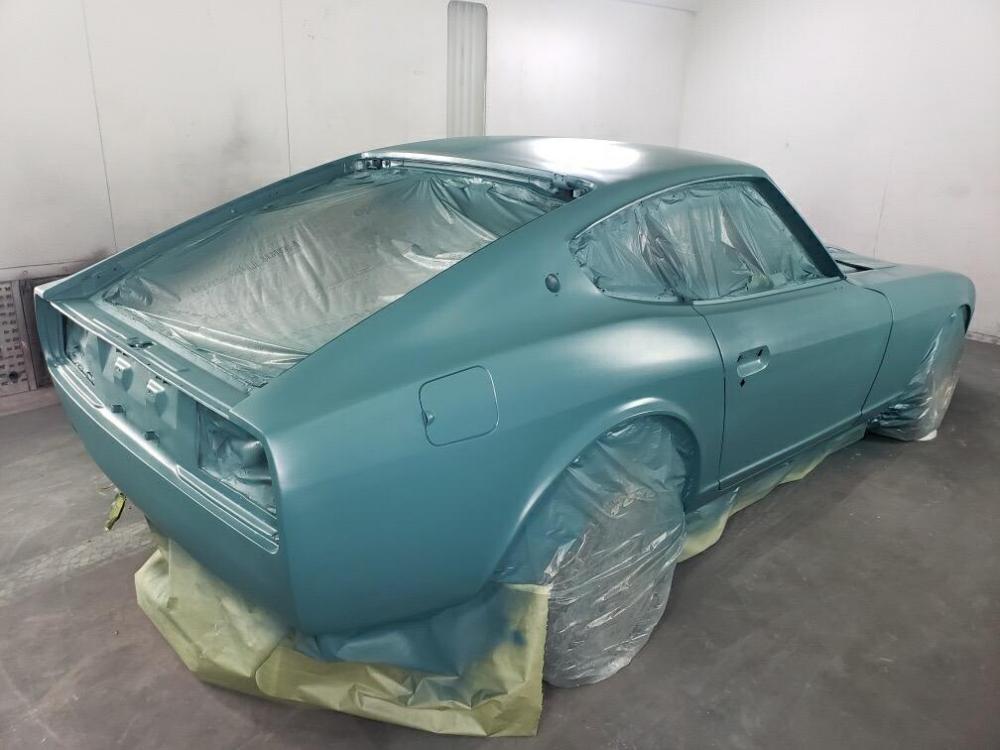
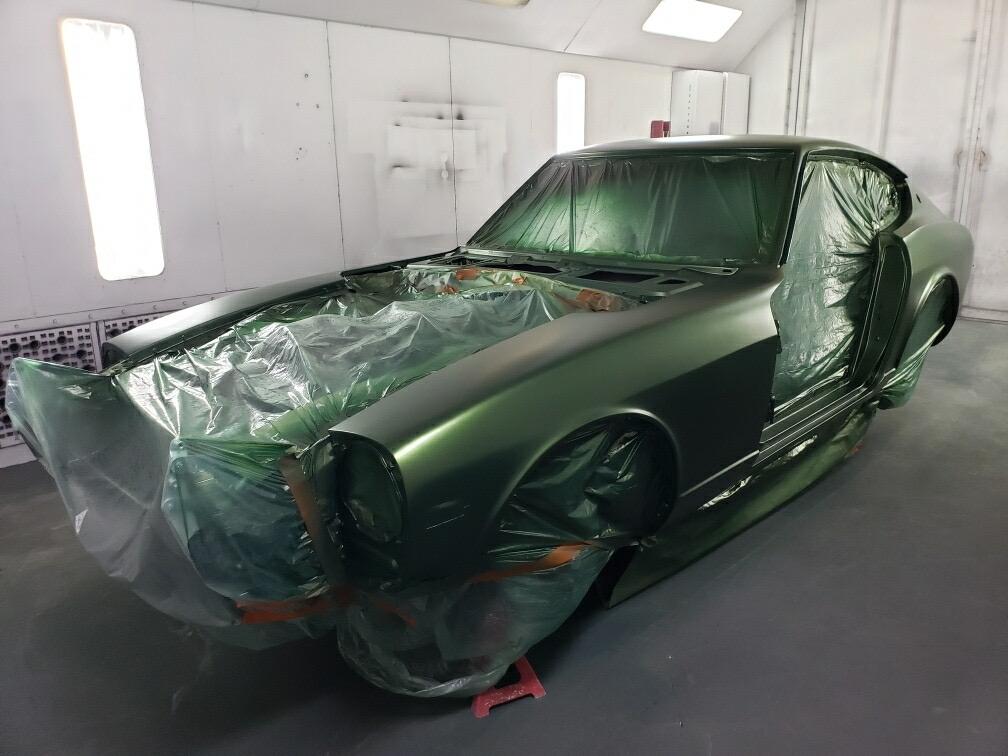
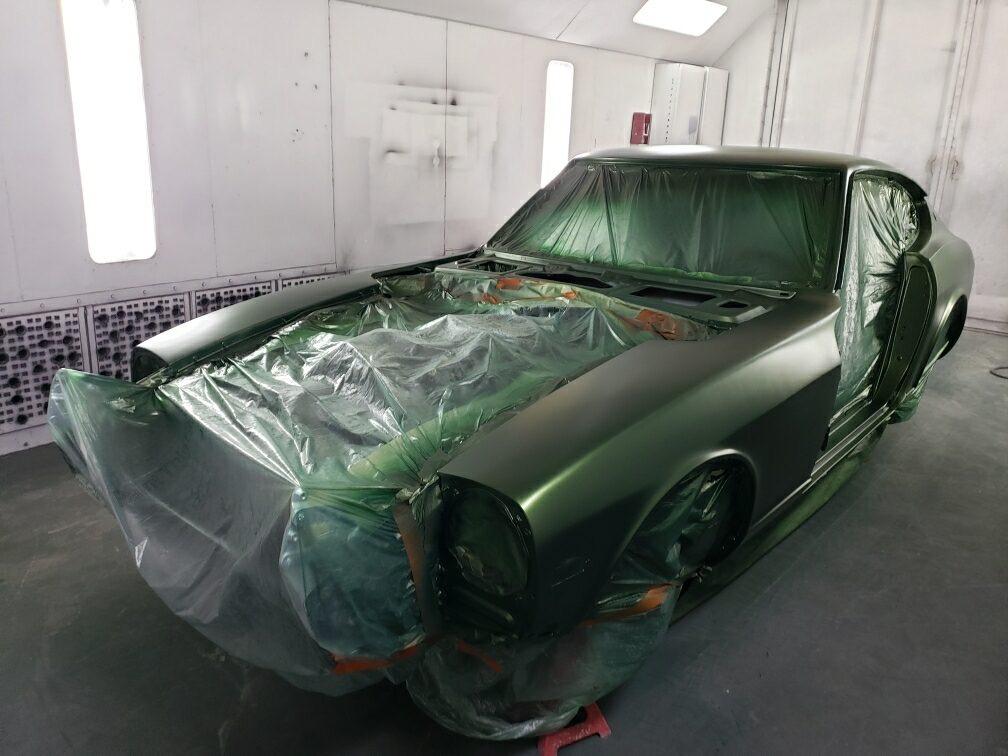
 1 pointWet sanded all morning and then coated with green sealer. In booth and base coat applied. Leaving to dry over the weekend and then hit it with clear coat on Monday.

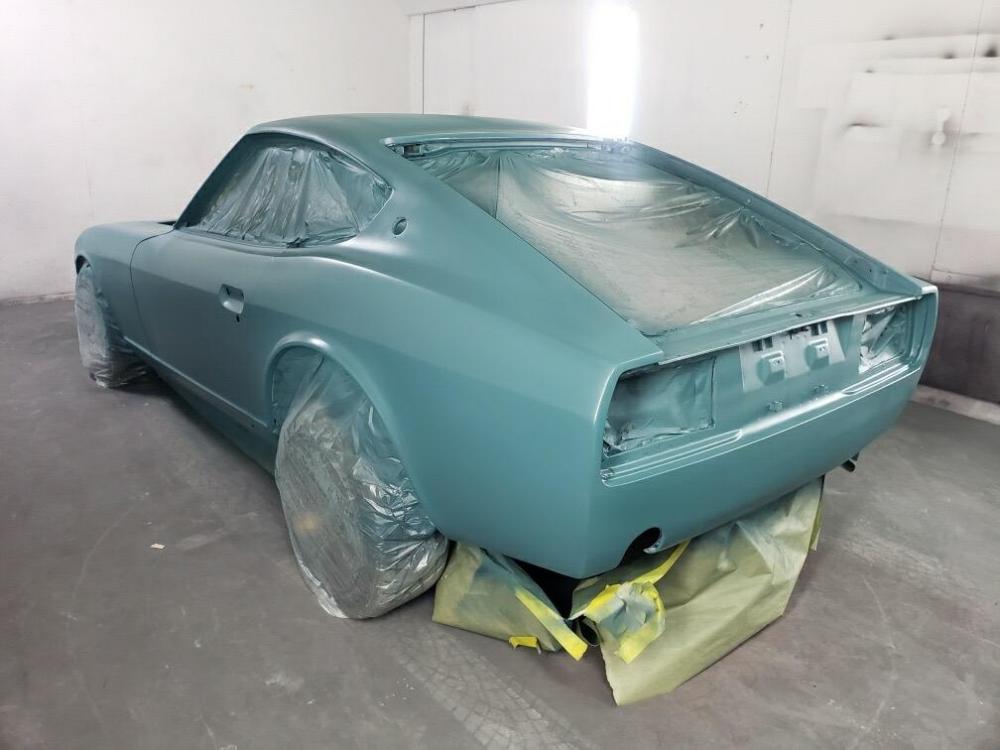
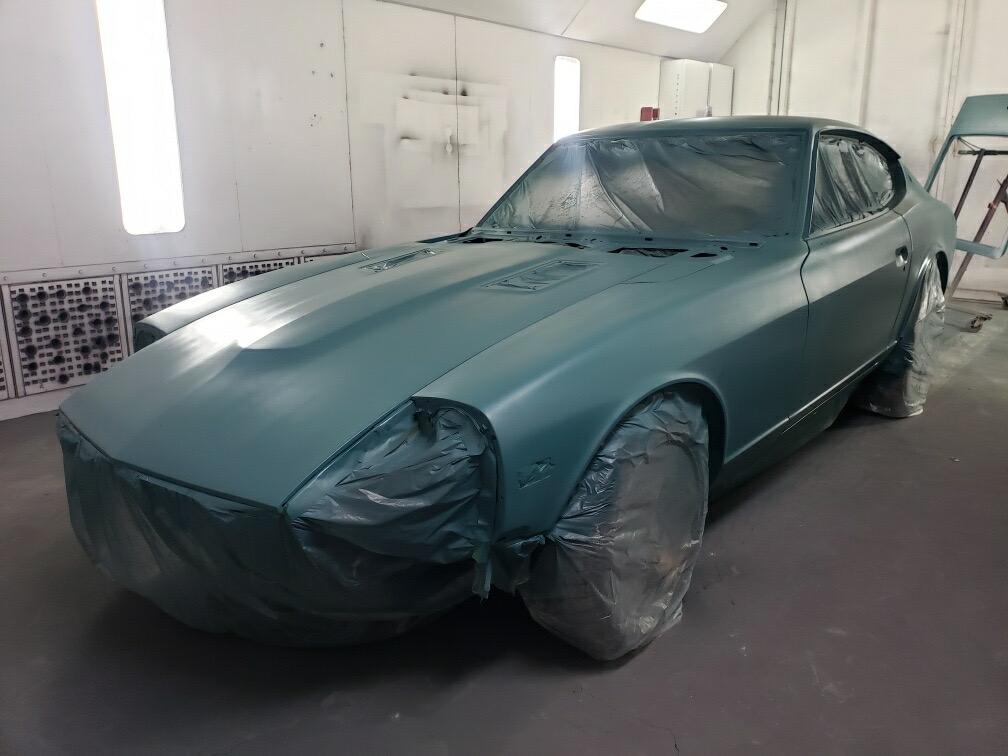
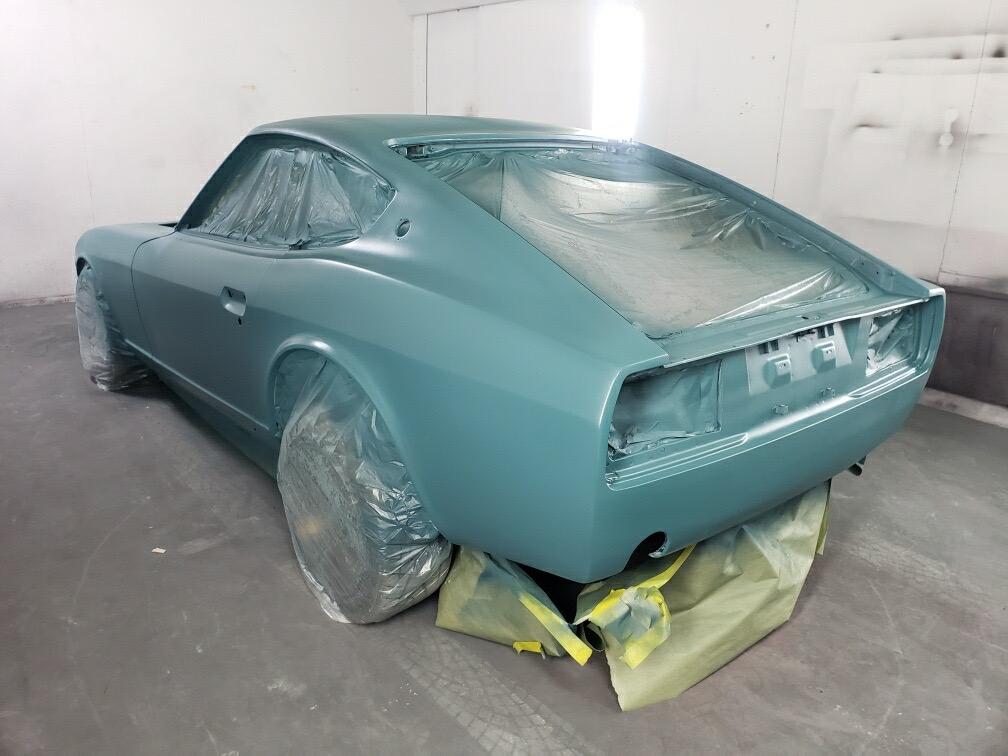
 1 point1 pointOn my '63, the solenoid inside had arced and corroded so much over time that it would not get enough amps to the starter to run in. I just had to file down the brass bars and all was good again.1 point1 pointWorth a shot. Since you know it works when the starter is off the car. These cars really only have the switch in the AFM as a safety system. Or the interlock that iscnetwork is messing with, which you shouldn't have. That's about it. The starter should always work. Several of us have used it to move our cars off the road by putting it in gear and turning the key to Start. Since you're getting a click though, that means the solenoid is getting power. Not clear what's going on with yours. Good luck, keep trying stuff.1 pointAdmitting a screw- up is a nice way to help someone else avoid it. All of us have brain farts on occasion.1 pointFinal tinted primer yesterday. Very happy with the result. Wet sanding today and hopefully painting over the weekend.
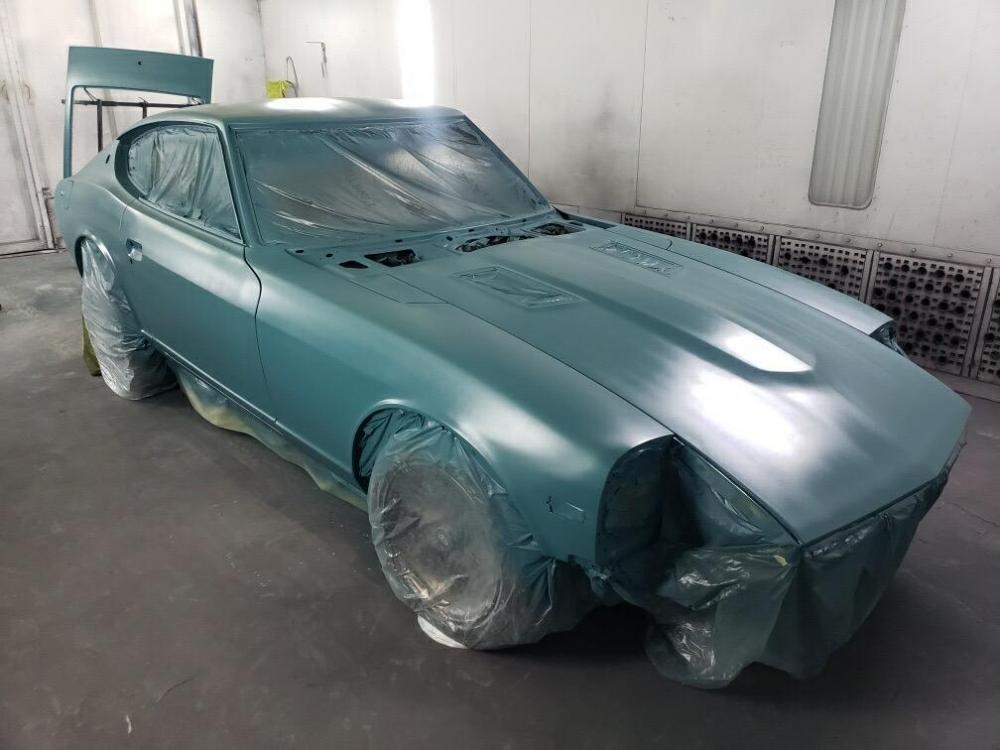

 1 pointWe all do stuff like that, some admit it, some don't.1 pointLike many Z restorations your panels will be much better fitted than they were when they rolled out the factory, you have the luxury of time that the assembly workers didn't. If you need to install a couple of shim washers on the bottom of the front fender to keep it inline then do it before the final paint.1 pointI read your first post and wanted to reply but didn't have a clue. Those rags and paper towels are common problem sources, form what I've seen. You should keep a count of your paper towels like a surgical team with sponges, and verify all accounted for after a procedure.1 pointOne day later.... So I spent the afternoon trying to figure out this problem. After checking all the basic connections, I finally decided to start disassembling the components to check them out individually. The first component to come out was the brake master cylinder. Upon disconnecting the two brake lines from the bottom of the master cylinder, I immediately noticed that the brake lines were blocked/plugged up with the remnants of paper towel. Apparently, in my haste to reassemble everything I forgot to remove all of the paper towel pieces that I had used to plug up the lines/ports while everything was apart. After a few hours of blowing out lines with compressed air and taking apart the master cylinder I'm pretty sure that I've now successfully removed all the offending material. I feel like Homer Simpson....DOH!!!! A self imposed headache for sure. My wife said that I shouldn't confess to this mistake on the forum...but I felt obligated to disclose what the solution was to the problem that I originally posted...maybe it will help someone else out sometime down the line... I'm feeling confident that tomorrow the brake bleeding job will go much easier!1 point1 pointYeah, that's really odd. To spend all that time making things flow all nice and smooth and curvy, only to put that huge protuberance thing on the front. Doesn't make any sense to me at all.1 point


Important Information
By using this site, you agree to our Privacy Policy and Guidelines. We have placed cookies on your device to help make this website better. You can adjust your cookie settings, otherwise we'll assume you're okay to continue.