Leaderboard
-
theguppies
Free Member10Points93Posts -
SoCalJim
Free Member7Points324Posts -

wheee!
Free Member6Points4,607Posts -
Mark Maras
Free Member4Points3,727Posts


Popular Content
Showing content with the highest reputation on 11/10/2019 in all areas
-
4 points
-
3 points
-
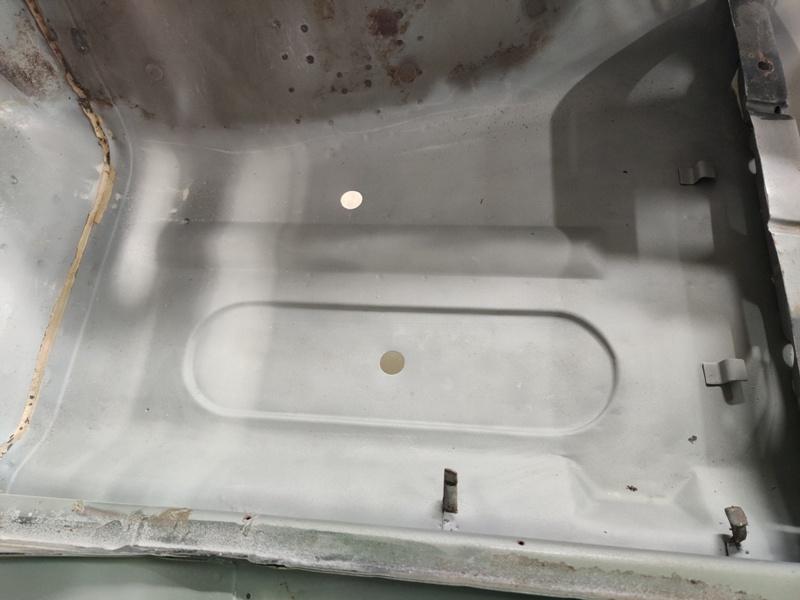
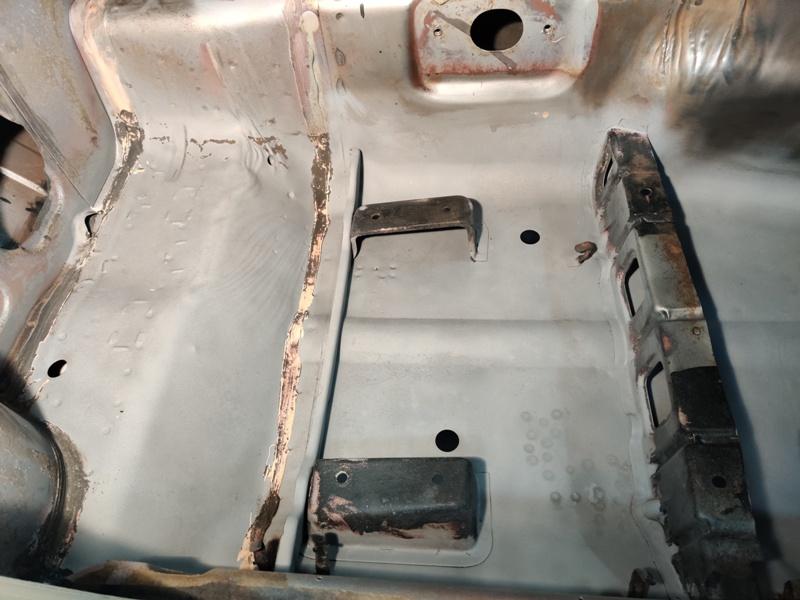
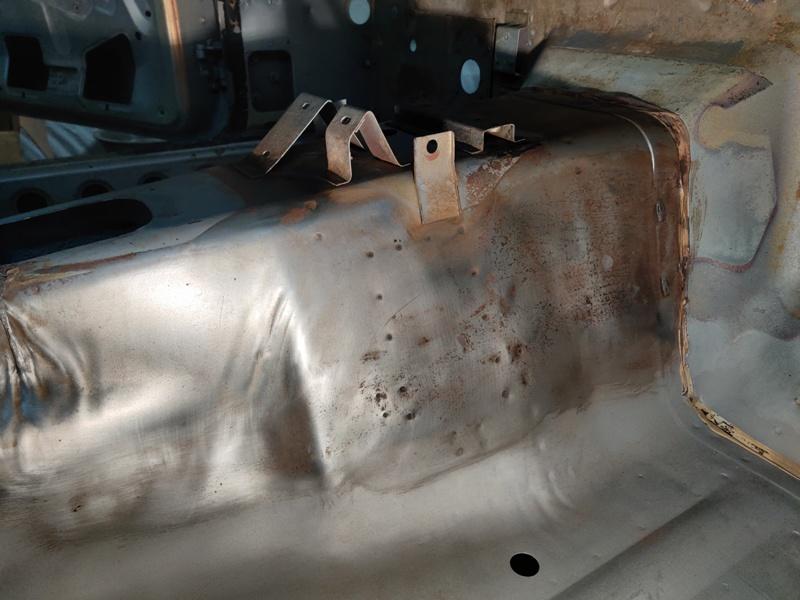
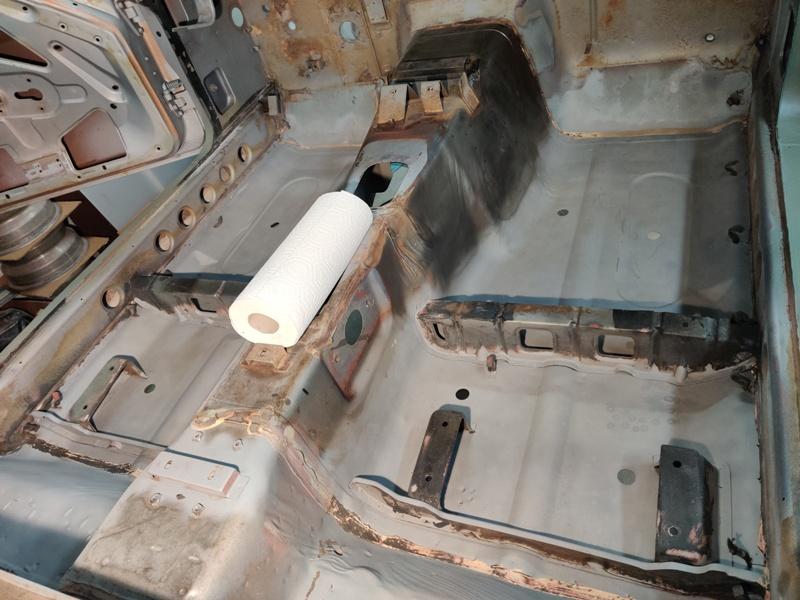
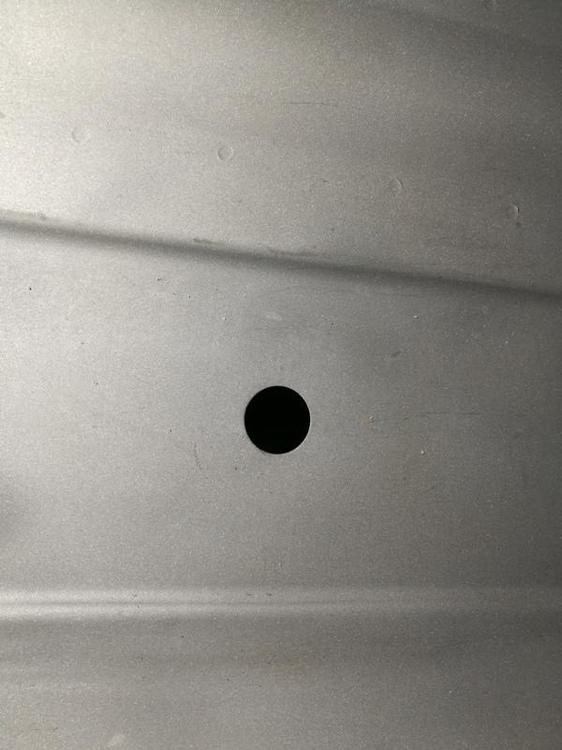
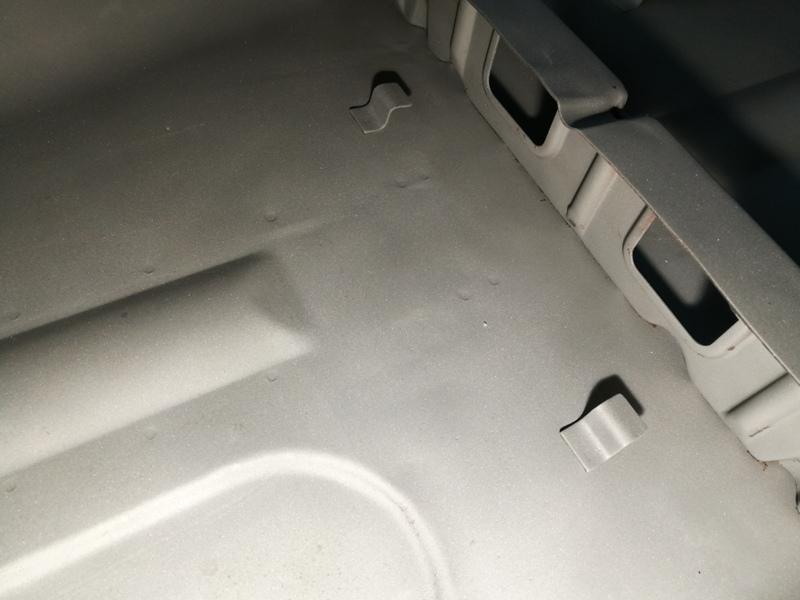
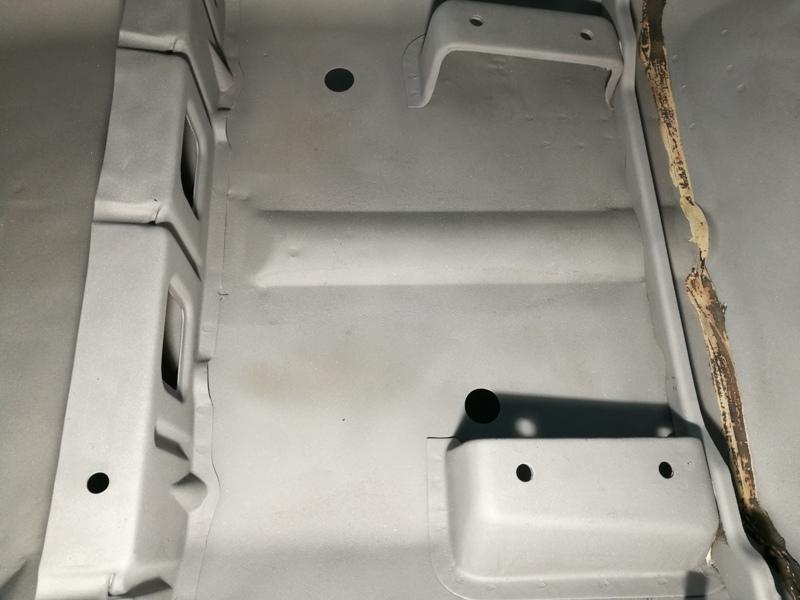
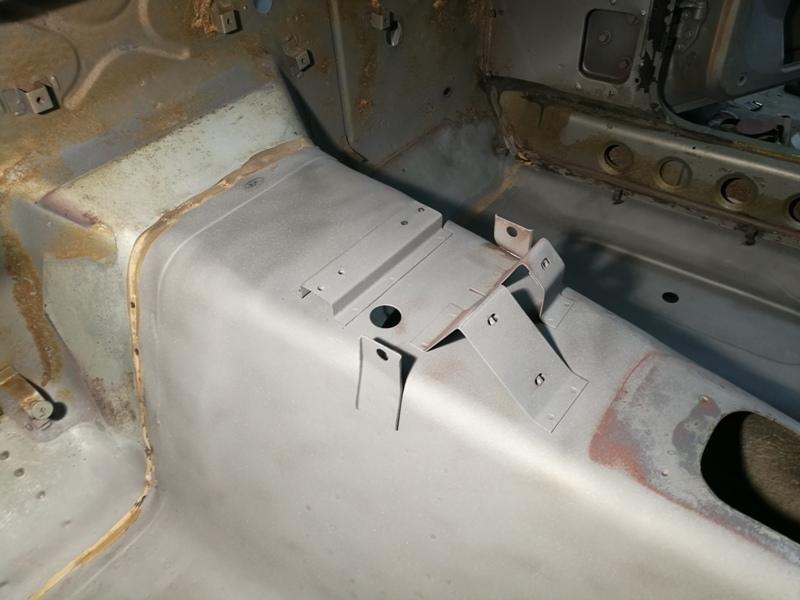
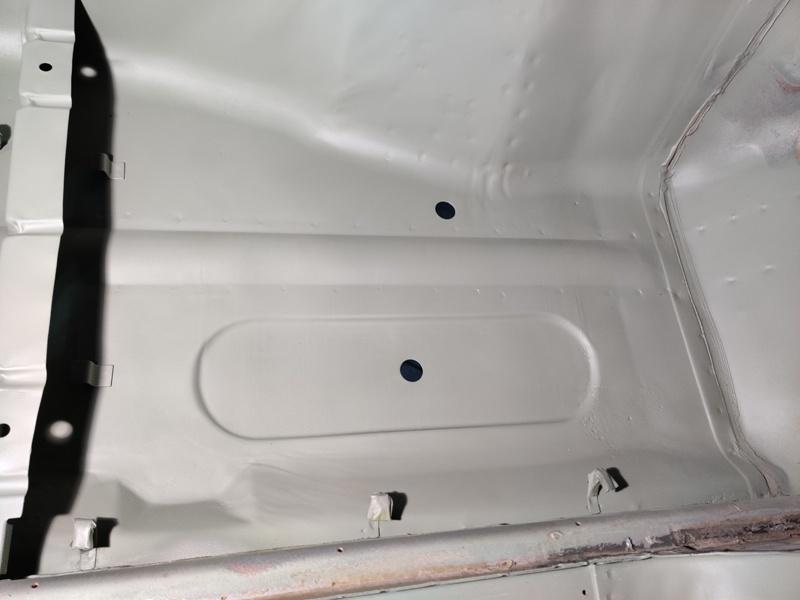
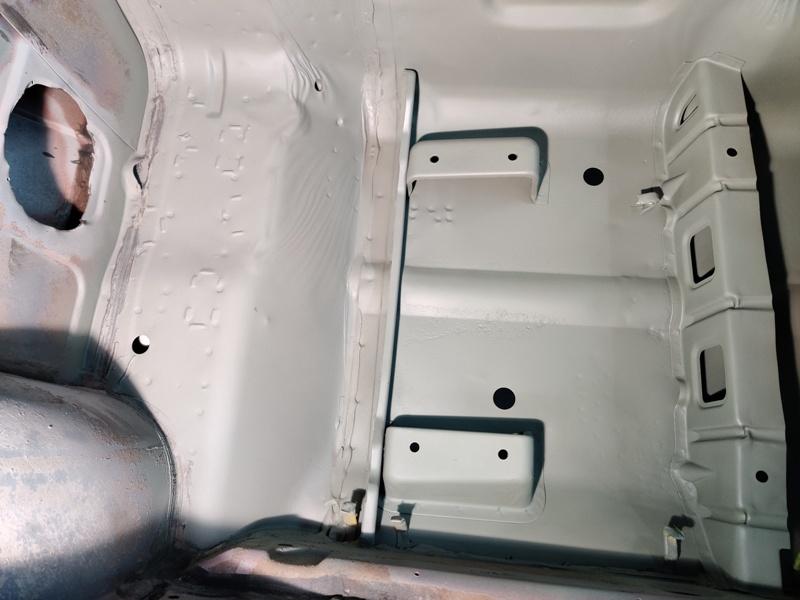
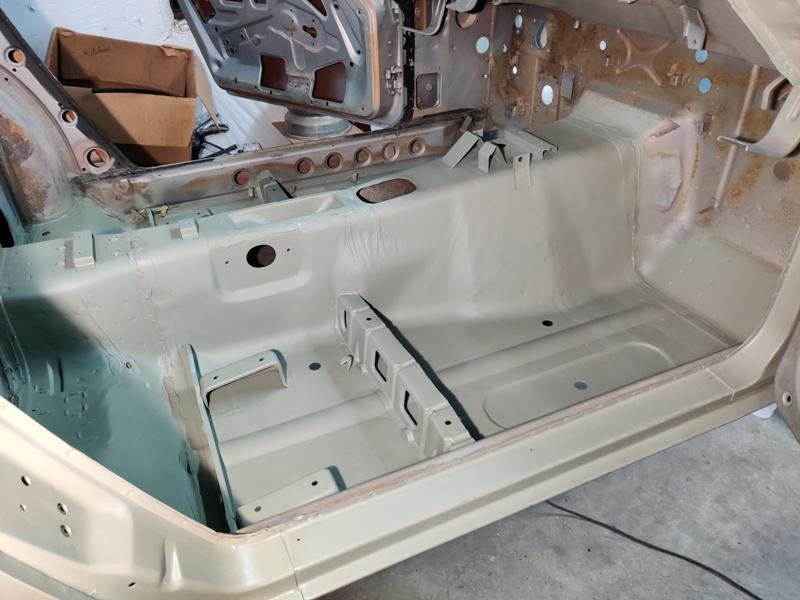
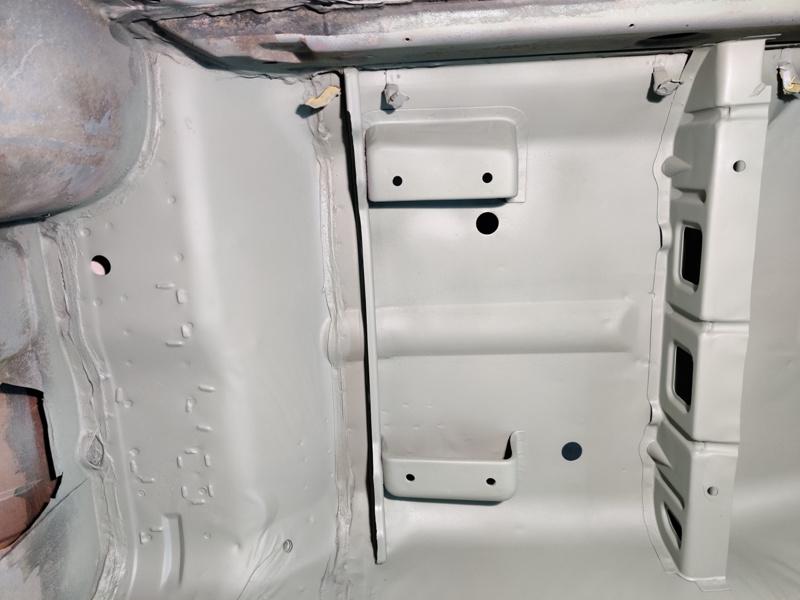
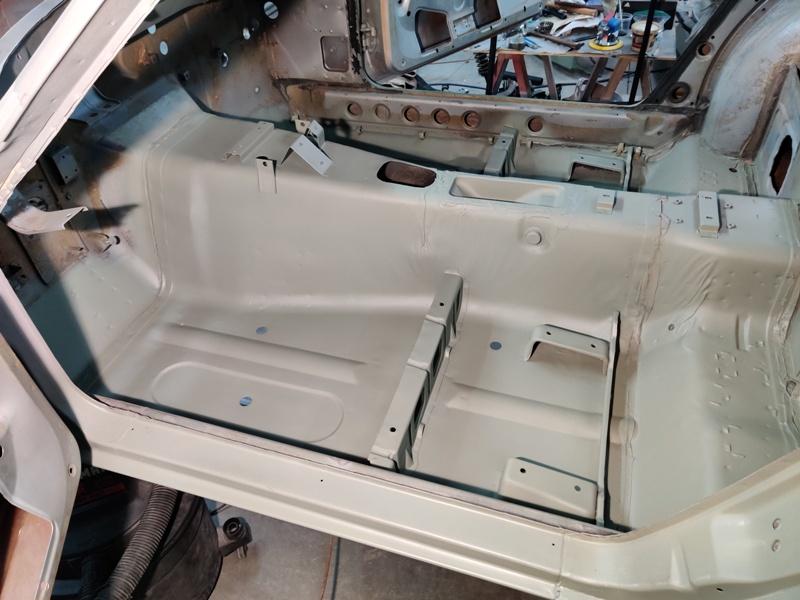
After finishing the work to straighten the floors, I sandblasted them, careful to avoid hitting the wiring clips. I followed that with a coat of epoxy primer the next day. If you don't prime quickly where I live in GA, rust will start developing again, typically in the pitted areas where rust was before. Epoxy primed:


 3 points
 -
I am also in the beginning stages of doing this research and was planning to do some sort of write up on it. I just reached out to Wheee! and have been digging through Duffy’s thread to get started. I think this thread is as good a place to compile notes as any. This is what I have gathered, plus contributions by @Zed Head, @duffymahoney, @wheee!, and @madkaw (please suggest edits as appropriate): Benefits Better Performance? - Yes, in the form of hotter spark, less chance of misfire, more efficient combustion, and better emissions Better power? - Maybe. Full control of timing in any load situation is a far and above the compromise of a dizzy - however it might be recurved. Lower cost? - Not initially, but parts are easier to find that the original setup once a system is in place. Tunable? - Yes. Programmable ignition curves allow you to optimize for power and efficiency. Required Components Coils (6) Spark Plugs (6) Coil Bracket Camshaft Triggering Device / Position Sensor / Angle Sensor Crankshaft Triggering Device / Position Sensor / Angle Sensor Ignition Control Unit / Module Battery Wiring Harness Manifold Absolute Pressure Sensor Tachometer Signal Converter Considerations Cost - Is the cost of the system worth the benefits for your car vs OEM parts or other options? Availability - Can you find replacement components to get your build finished and keep it working? Difficulty - Will you need to have help getting it installed, tuned, and keep it working? Appearance - Which of each component is right for your build style? Heat - How will heat be managed to ensure proper function and longevity? Positioning - How will you route the wiring through firewall and what mounting points will work for each component? Accessories - Will you be running AC, the headlight relay harness, non-original alternator, other hard-wired electronics, etc.? Glossary Smart Coils (from AEM Performance Electronics) “Smart” Inductive Coils are designed for use on applications that do not have an external igniter. Wasted Spark (from Wikipedia) In a wasted spark system, the spark plugs fire in pairs, with one plug in a cylinder on its compression stroke and the other plug in a cylinder on its exhaust stroke. The extra spark during the exhaust stroke has no effect and is thus "wasted". This design halves the number of components necessary in a typical ignition system, while the extra spark, against much reduced dielectric resistance, barely impacts the lifespan of modern ignition components. In a typical engine, it requires only about 2–3 kV to fire the cylinder on its exhaust stroke. The remaining coil energy is available to fire the spark plug in the cylinder on its compression stroke (typically about 8 to 12 kV). “If you're running a wasted spark system, you don't need cam sensor. Two pistons will be approaching TDC at the same time. Of the pair, one of the rising pistons is approaching TDC on it's compression stroke, and the other one is approaching TDC on it's exhaust stroke. A cam sensor would allow you to differentiate between those two, but if you're running a wasted spark system, you don't care... Just spark both of them at the same time. If you had a cam sensor, you could spark just the cylinder on it's compression stroke alone without "wasting" a spark on the other cylinder.” - Captain Obvious COMPONENTS: COILS ACDelco D585 Nissan R35 COMPONENTS: COIL BRACKETS Blake Machine Co. http://blakemachine.com/performance_parts_by_blake_machine/datsun_coil_on_plug_brackets_6__4_cylinder List of Options for Crank and Cam Position Sensors @ Hybrids -https://forums.hybridz.org/topic/126710-list-of-options-for-crank-and-cam-position-sensors/ COMPONENTS: CAMSHAFT ANGLE SENSOR Jeep 4.0 CAS in stock distributor location https://forums.hybridz.org/topic/125904-jeep-cam-angle-sensor-for-l-series/ 1998 Nissan Quest (PN: 22100-P8500) https://www.classiczcars.com/forums/topic/58568-duffys-171-series-1-240z-build/?page=19&tab=comments#comment-582356 COMPONENTS: CRANKSHAFT ANGLE SENSOR 1982-83 280ZXT distributor with DIYautotune wheel XXX Austin Hoke Bolt-in-Kit http://hokeperformance.squarespace.com/l-series-crank-angle-sensor https://hokeperformance.squarespace.com/store/l-series-crank-angle-sensor-kit BJH Dynamics / Robello Racing XXX Damper-mounted universal or OEM trigger wheel XXX Flywheel Hall Sensor XXX Top End Performance Trigger Wheel fab Service XXX COMPONENTS: ECU Crane: Electromotive: Haltech: https://www.haltech.com/ MSD: Megajolt: https://www.autosportlabs.com/the-new-megajolte-mk2-is-here/ https://www.mgexp.com/article/mgb-edis-installation.html https://trigger-wheels.com/store/contents/en-uk/p72.html3 points
-
3 points
-
3 points
-
2 pointsGot on with some bits i'd been putting off due to the 'fear' of doing it. There was a tiny bit of over 'blasting' from the second round of paint that left the bottom of the rails looking like they could suffer, along with the lovely original panel joins in the wheel well, that would be prone to water ingress, so it was stripped, etched/sealed/primed/stone chipped and painted. stone chip all under the front also. Then paint Once that was done, subframes and ARB's. Rear wheel bearings finally sorted. I've got a technique now, after all the practice I had! I shimmed the companion flange 1mm using 0.5mm shims, wheels turn nice and freely. A dry build of the front suspension I've an issue, where the lower adjuster on the front strut hits the balljoint thread. only needs 3mm to clear However a set of RCA's/bump steer spacers will do the job. Common american ones are 1" which I think is far too much, 15-18mm would do myself fine. I've concern over how close to the frame rail the front arb is. I can't remember how close the standard one is. a 'fix' would be to increase the thickness of the spacer/spreader plate under the chassis rail and cutting some length out of the distance piece on the arb link. I'll measure how much travel I get before it hits first. I did drop it on its wheels for the first time in 7-8 years.2 points
-
2 pointsThe block was only tanked and bores honed. I’m going to buy a dial indicator tomorrow and if its within tolerance then I won’t pull it apart. Sent from my iPhone using Tapatalk2 points
-
2 pointsSorry it is taking longer than I had hope for. I don’t want for send you a tiny flaw product.2 points
-
2 pointsThank you for sharing the fine details. Those details cannot be found in competitor’s dash.2 points
-
2 pointsI'm also going to try to call a Canadian Nissan dealer over the boarder from New Hampshire. Perhaps I can go on a road trip.2 points
-
2 pointsI wonder if they shipped certain amounts of parts to certain regions but since so many Canadian Zs have succumbed to rust. Maybe you didn't use the supply as fast as those South of the border2 points
-
2 pointsUpdate: Had to order a new roll of vinyl as the old one was giving us a lot of problems. We are testing out the new roll and if it comes out perfect, production will resume.2 points
-
2 pointsLiving in the rainy NW, if I had backed off every time the wipers lifted, I'd still be trying to get to where I was going. Oh yeah, I forgot yet another lift factor in Zs. Traveling at speed, hit a puddle and the steering wheel goes limp. Yahoo, it's a hydroplane too.2 points
-
1 pointHello everyone, new guy here. I purchased a 1983 zx last year and haven't touched it yet due to so many projects for other people. I'm caught up enough to start building myself a car, and I want this to be my best and last one. I'm getting too old and broke down to put this off any longer. I've been a hot rod mechanic and body man for 30 years and lm lost on the Datsun with all the electronics. I guess I'm too old school and set in my ways to even want to know how it all works. I hope to get help from you guys and I'll give what help I can in other areas I'm more familiar with. Thanks1 point
-
1 pointTrue. He could modify his also, I'd guess. It's the clamping screw that's the issue. Keeping the ZX distributor is the easiest. It's not connected the to the EFI system. You can keep it and run carbs. I was responding to the question as asked.1 point
-
https://www.autosportlabs.com/the-new-megajolte-mk2-is-here/ https://trigger-wheels.com/store/contents/en-uk/p72.html https://www.mgexp.com/article/mgb-edis-installation.html1 point
-
1 pointNew correct EFI hose clamps for 75-83 Zs and ZXs are still available from Nissan as of this date. Use them in my shop all the time.1 point
-
The best way to test how the mixture is would be to 1st make sure the ign timing is correct, then using a brand new set of plugs, install and take if for a short test run, normal driving, of about 10 miles, then pull the plugs and read them. they should be very nearly white, just a tiny tan if any. I set my timing at 10 degrees with a idle of about 800 rpm. I don't know if this will be good enough to let you know about how you will do for emissions, but if they are turning brown after a short run like that I would think its going to fail.1 point
-
@zKars Jim probably has a few hundred or so...1 point
-
On the track (long straight stretch) my stock late 71 with a 4 speed and given enough time would creep up to 125 mph on the speedo. That's close to the 201 km/h.1 point
-
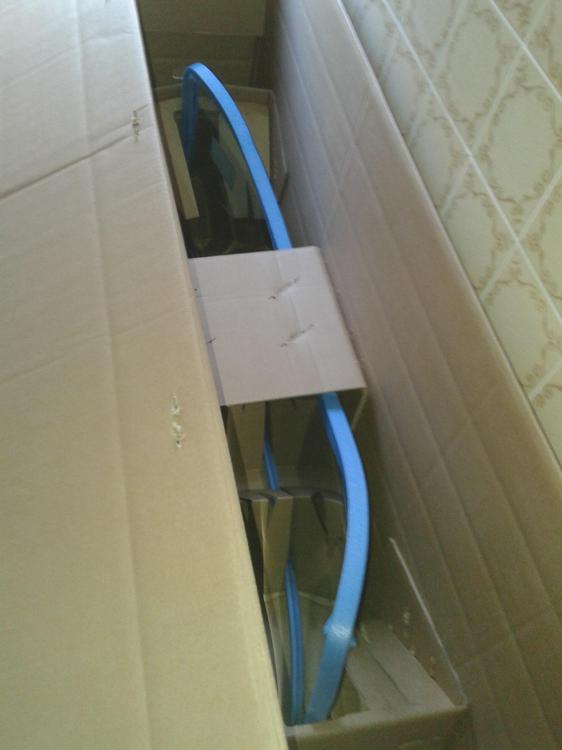
Last week the new screen came in from Germany... I take it in the box to the painter. Yeah fool me ones.. ?
 1 point
 -
1 pointI'm not too far from canada. I'm going to call a dealer over the broader and see what they say. Roadtrip!1 point
-
My Dad always rubbed the rear panels to find a handful of tar. That was his white glove test and the start of my get bitched out day.1 point
-
1 point
-
1 point
-
1 point
-
Wow! Don't tempt me!! I would love to have you take up space here for a while! I will start browsing though. Maybe I should just buy you a plane ticket for a month or so and you can come here and push Lily along...1 point
-
My late 71 had wheel chocks, lug wrench and a jack with the two piece handle. No tool kit.1 point
-
Is there a state licensing board to complain to? I’d be interested in seeing the service procedural checklist and summary sheet. If they have one it probably looks something like this: Replace plugs, wires, points, rotor, condenser, & cap Set timing Check brakes for wear Check brake fluid Check tire pressure Adjust clutch Change oil & filter Top off radiator fluid Check to see if owner is in the waiting area Drive it like you stole it1 point
-
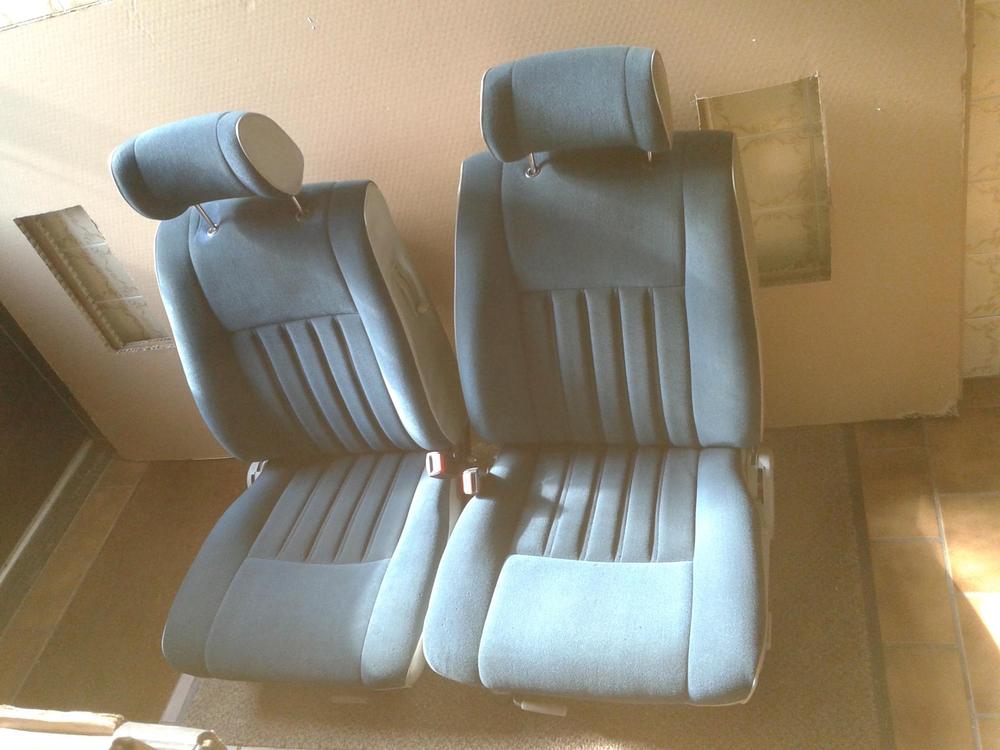
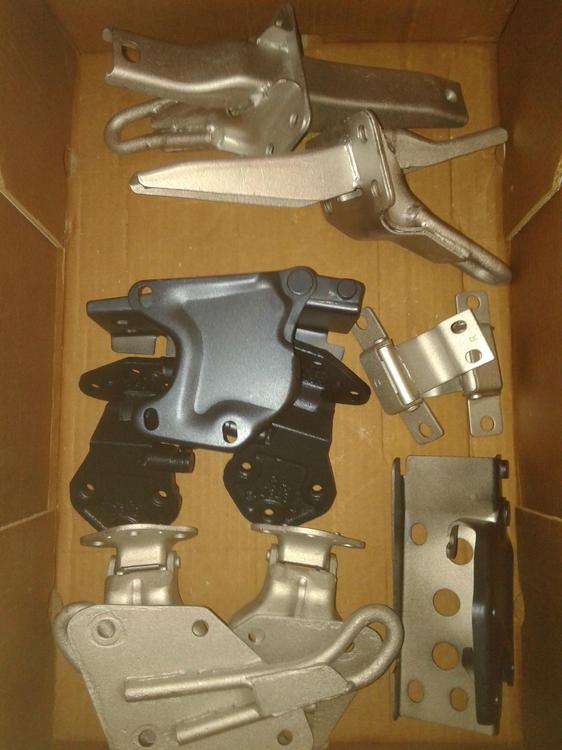
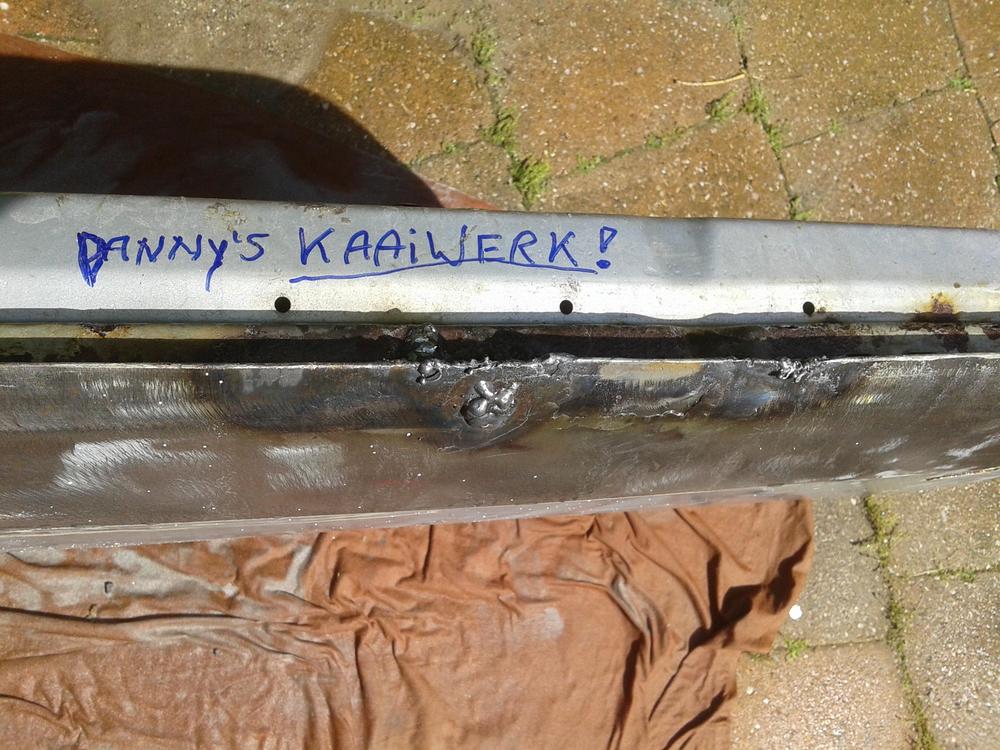
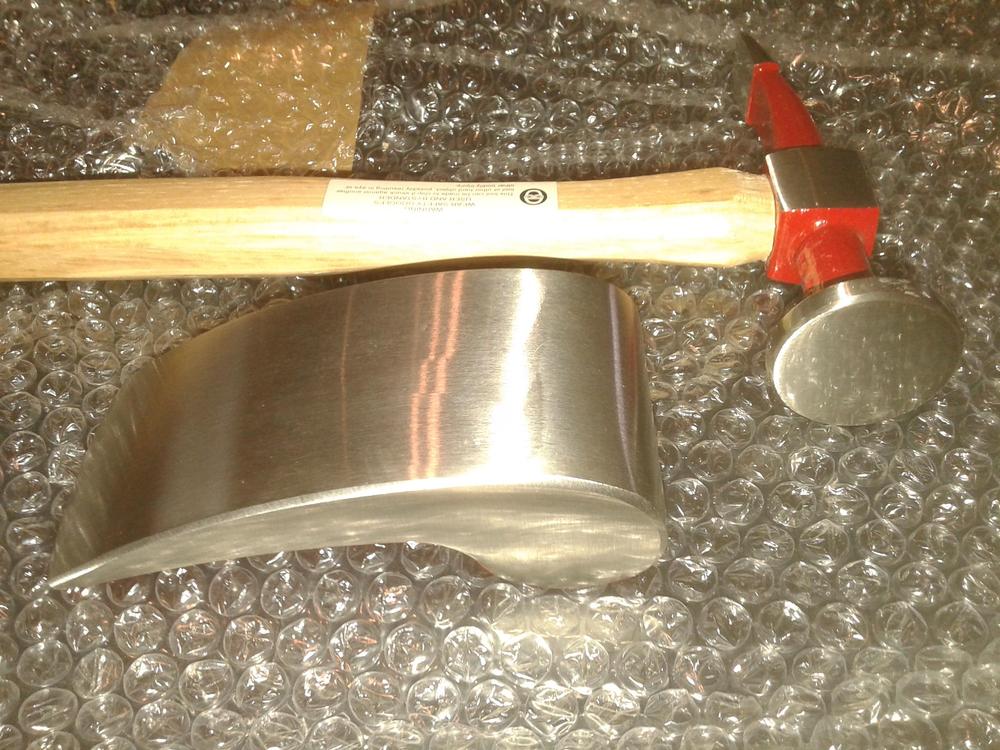
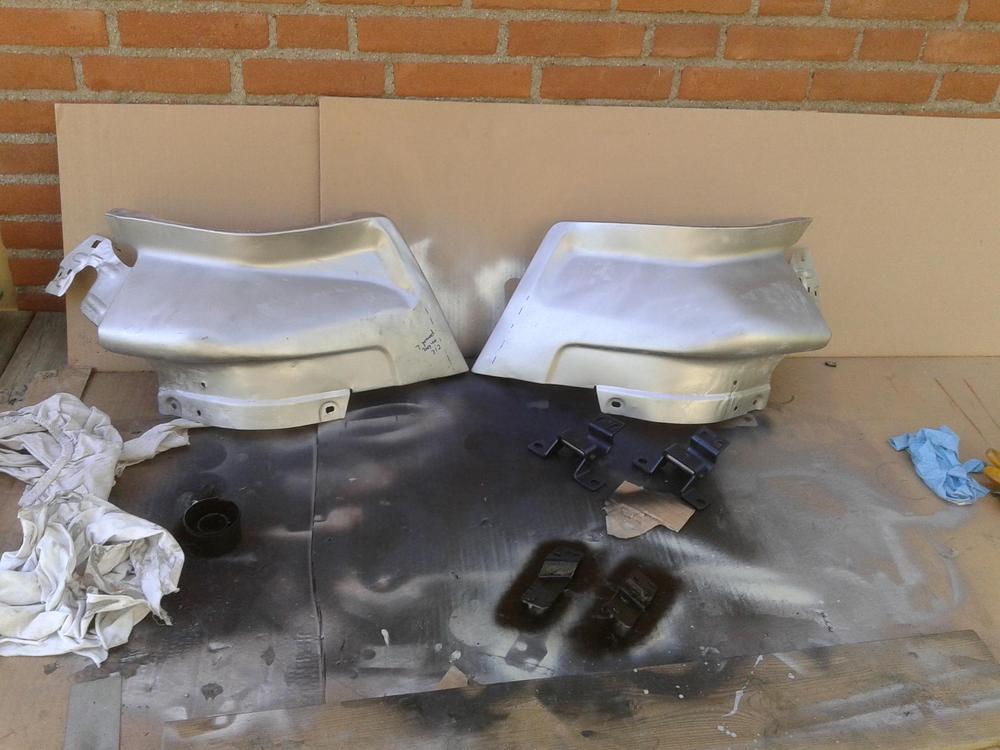
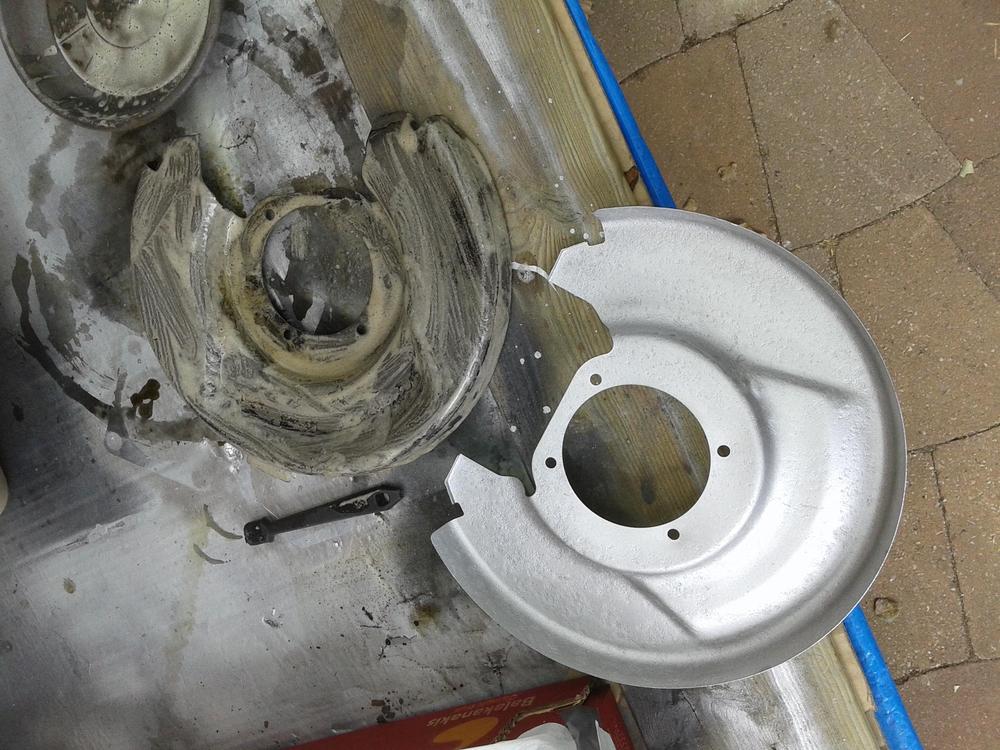
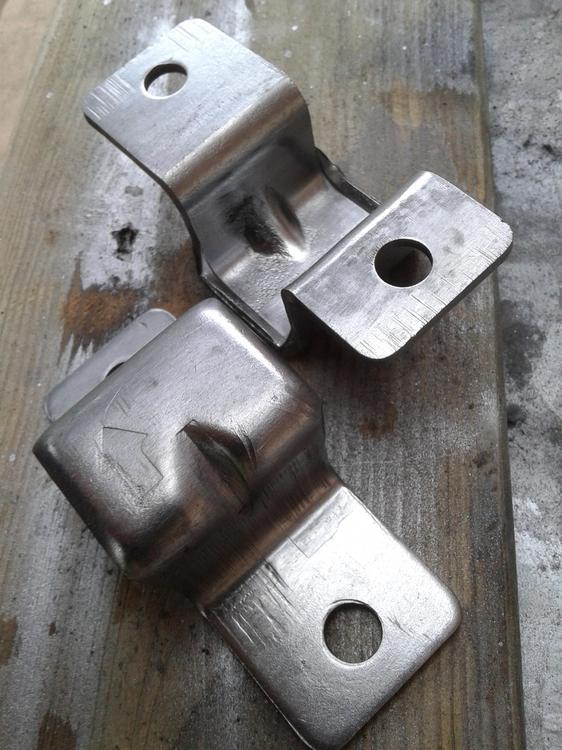
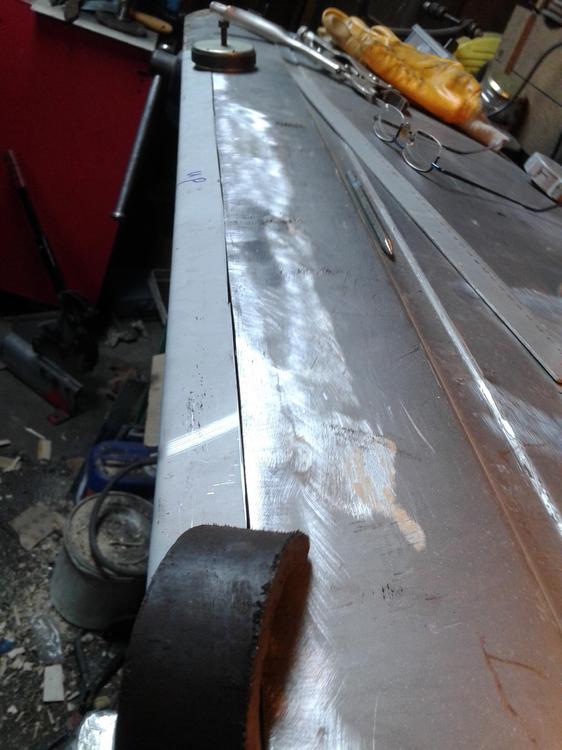
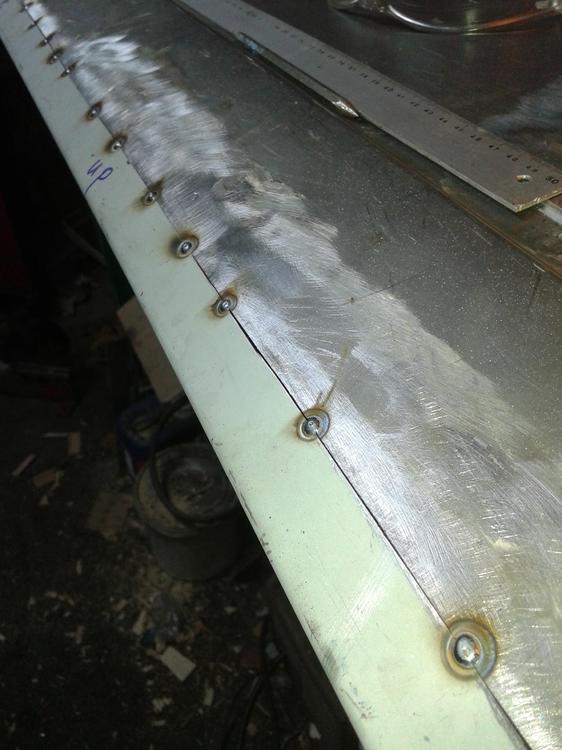
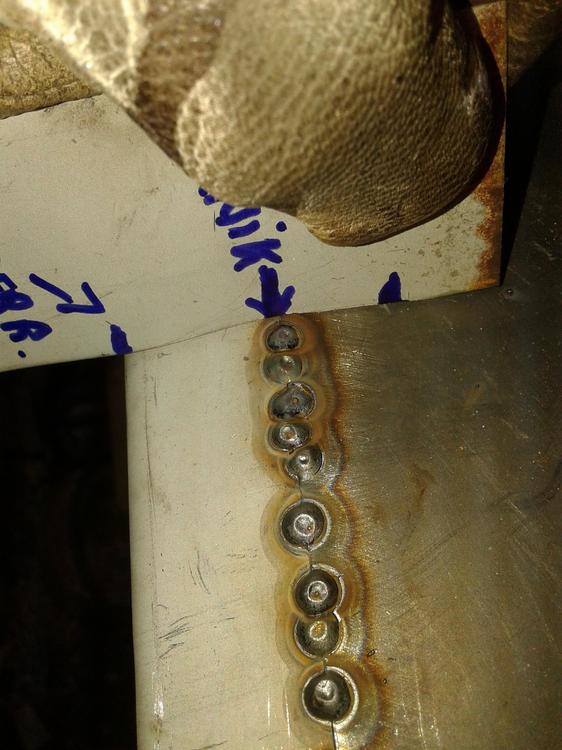
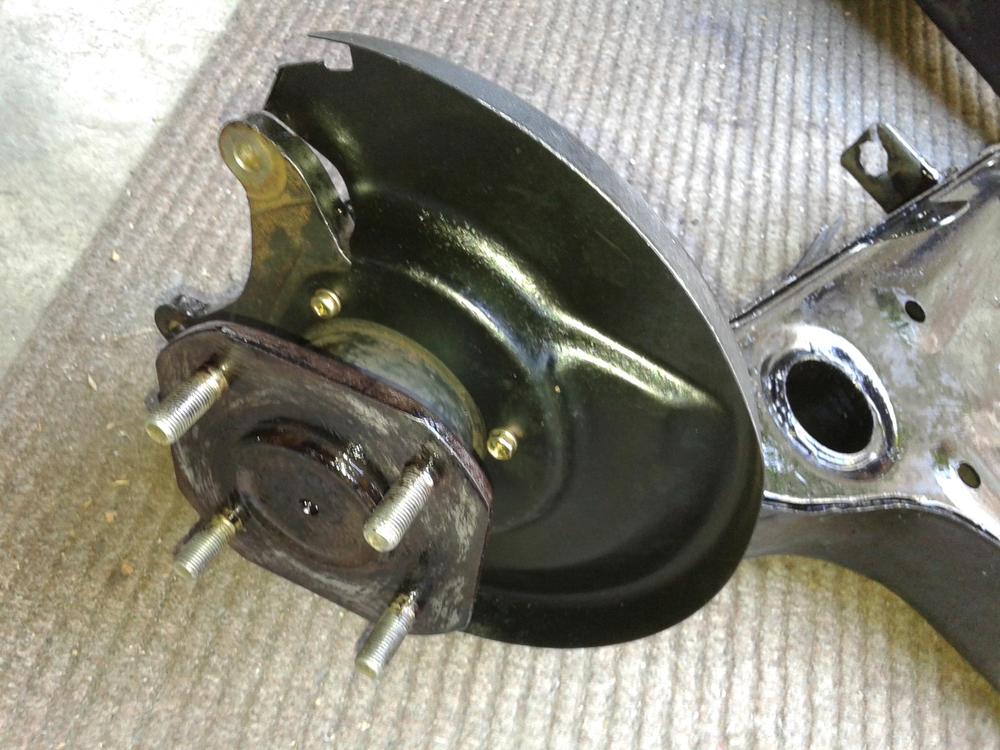
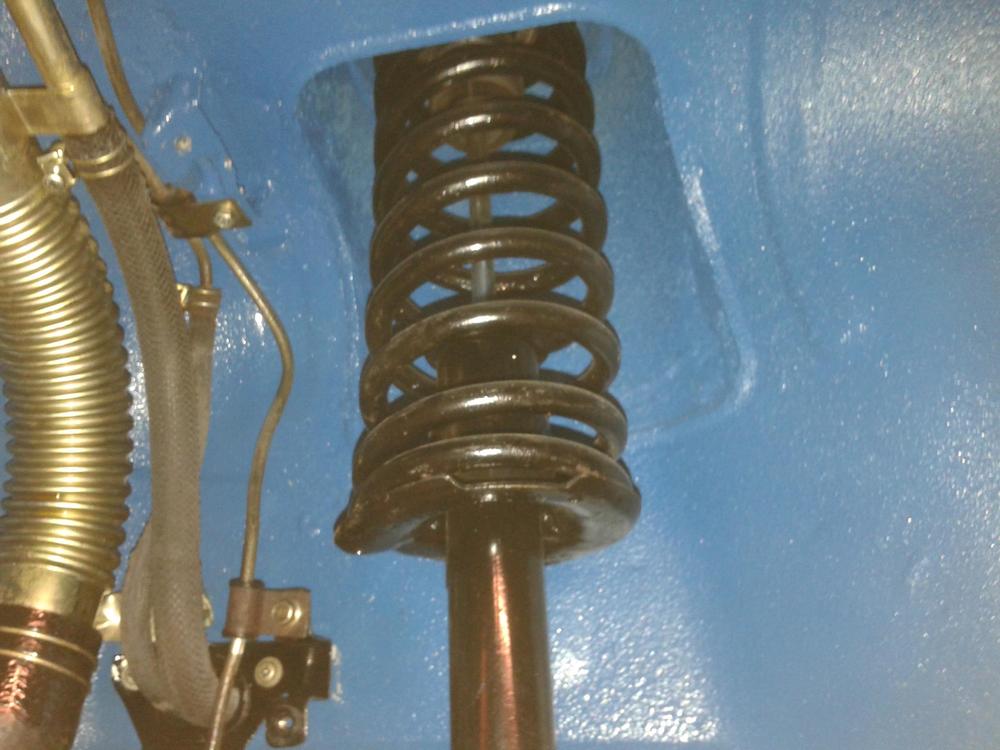
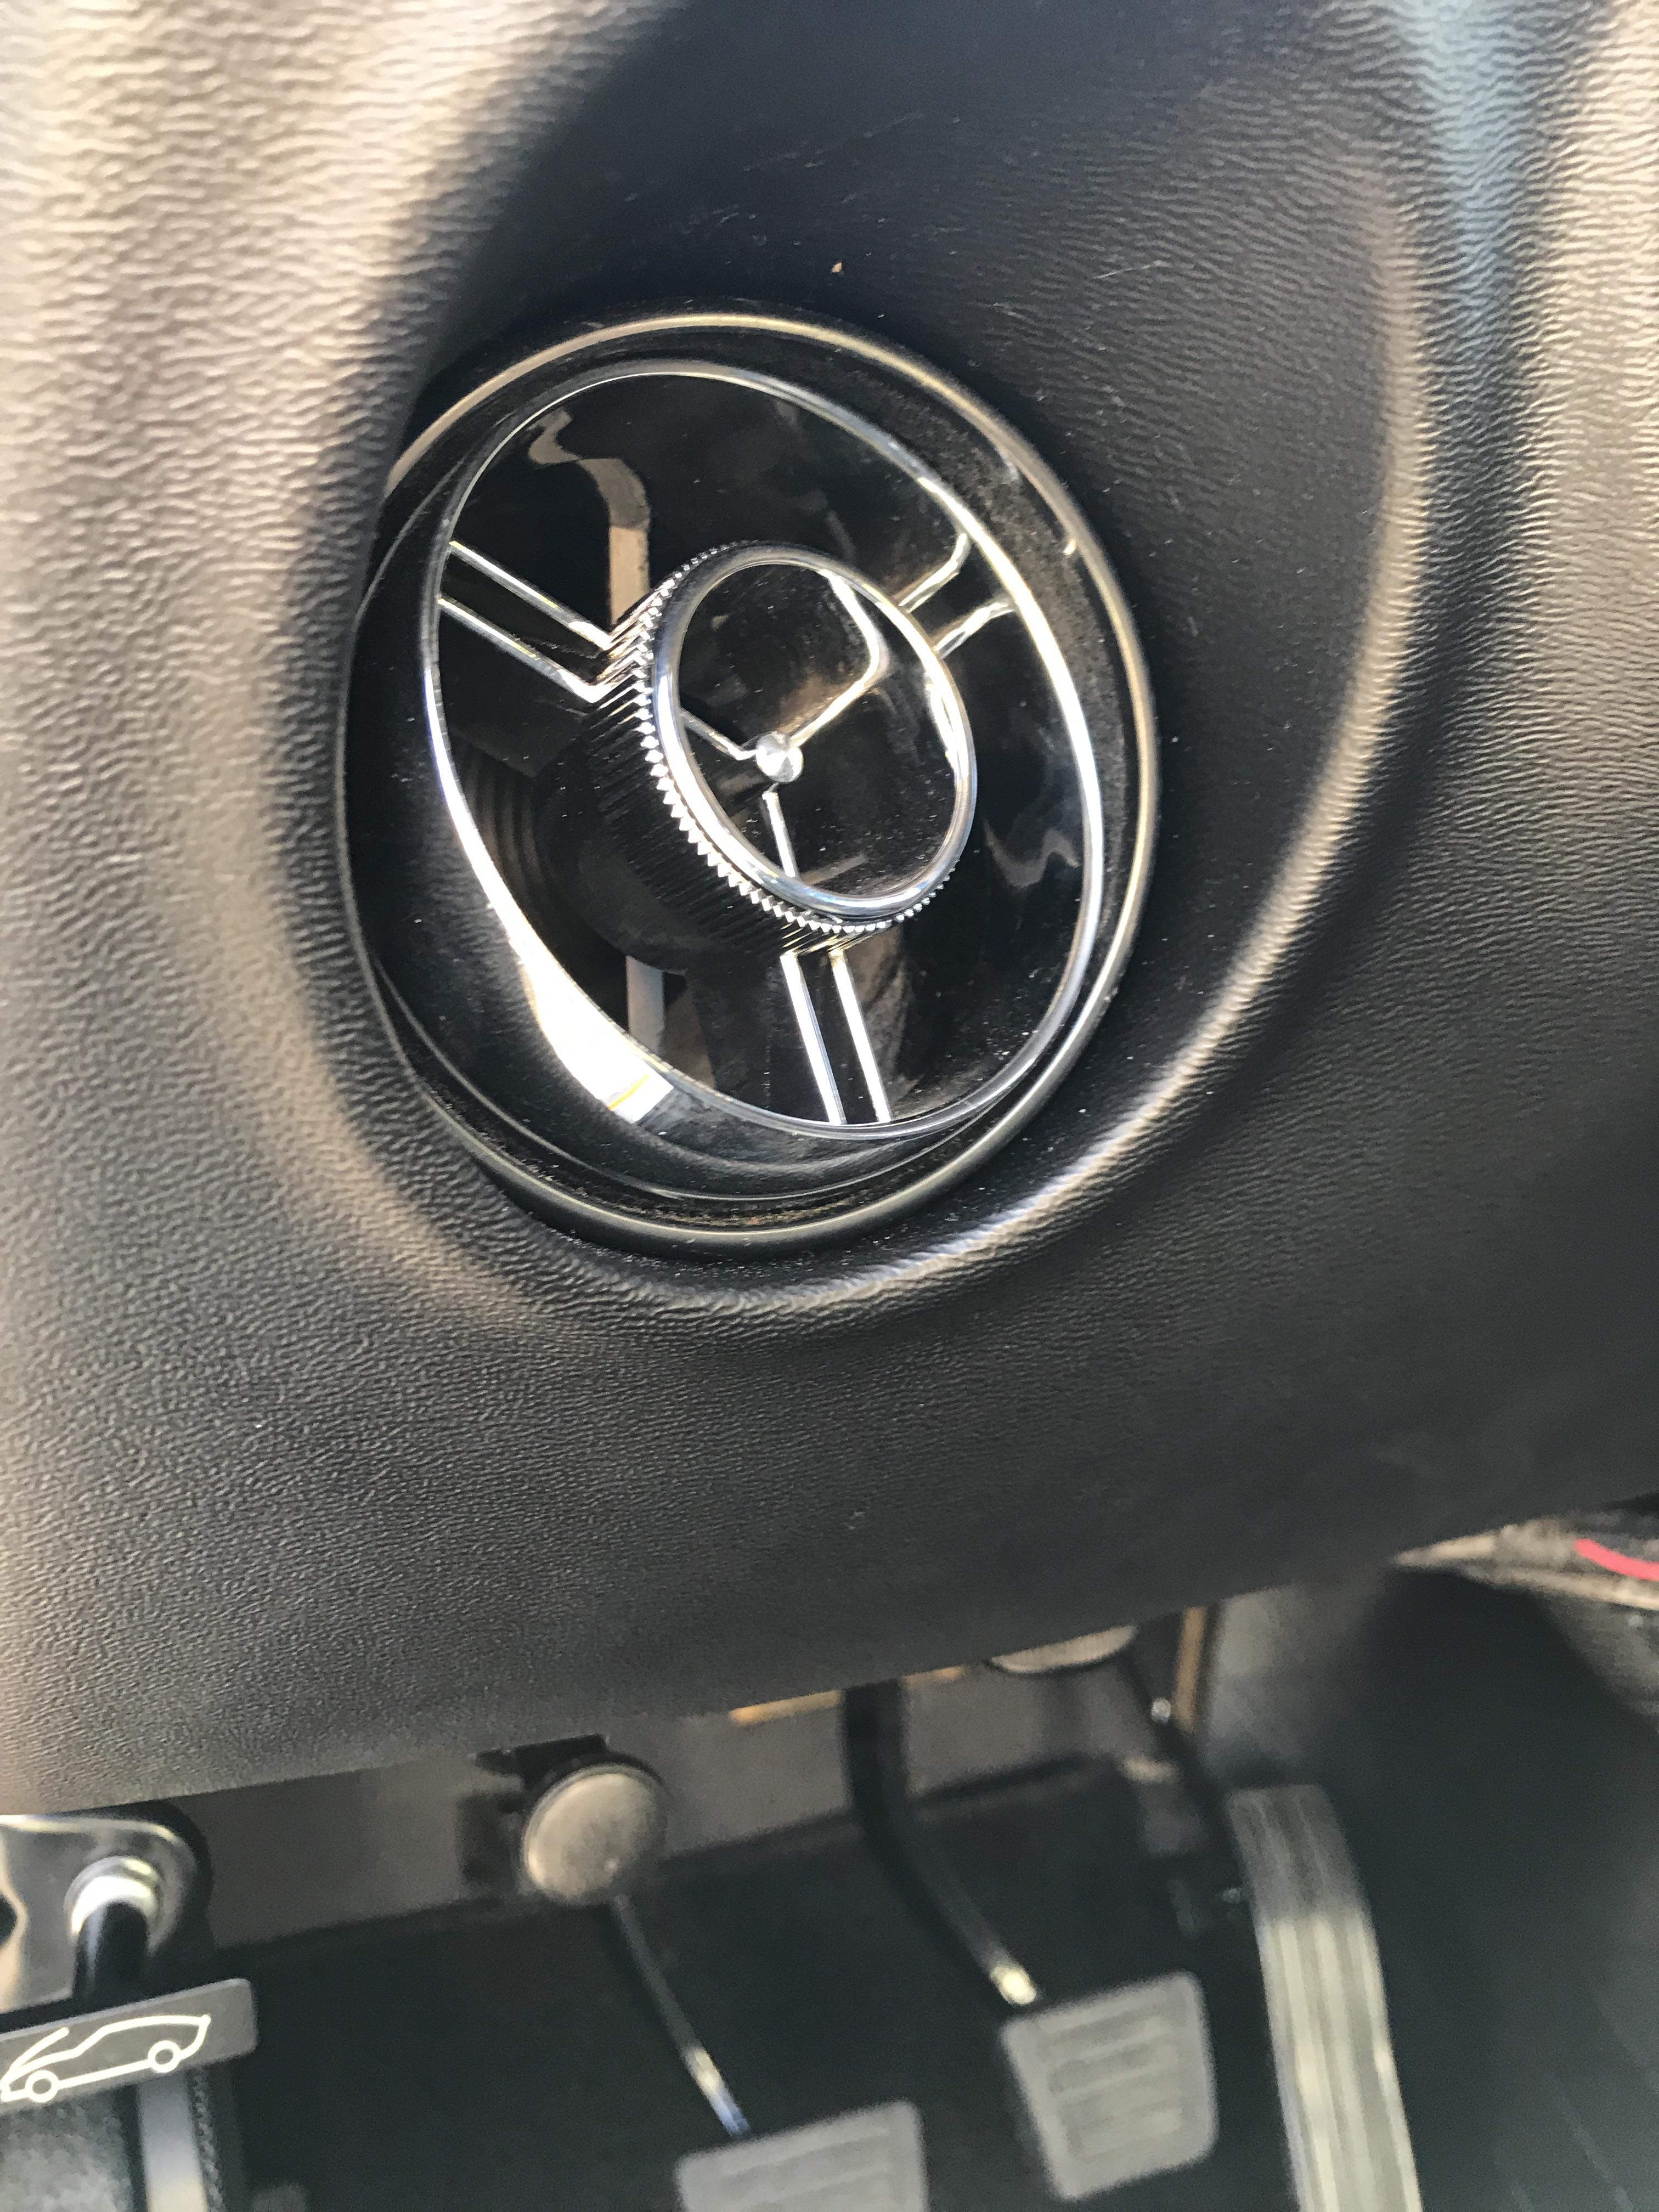
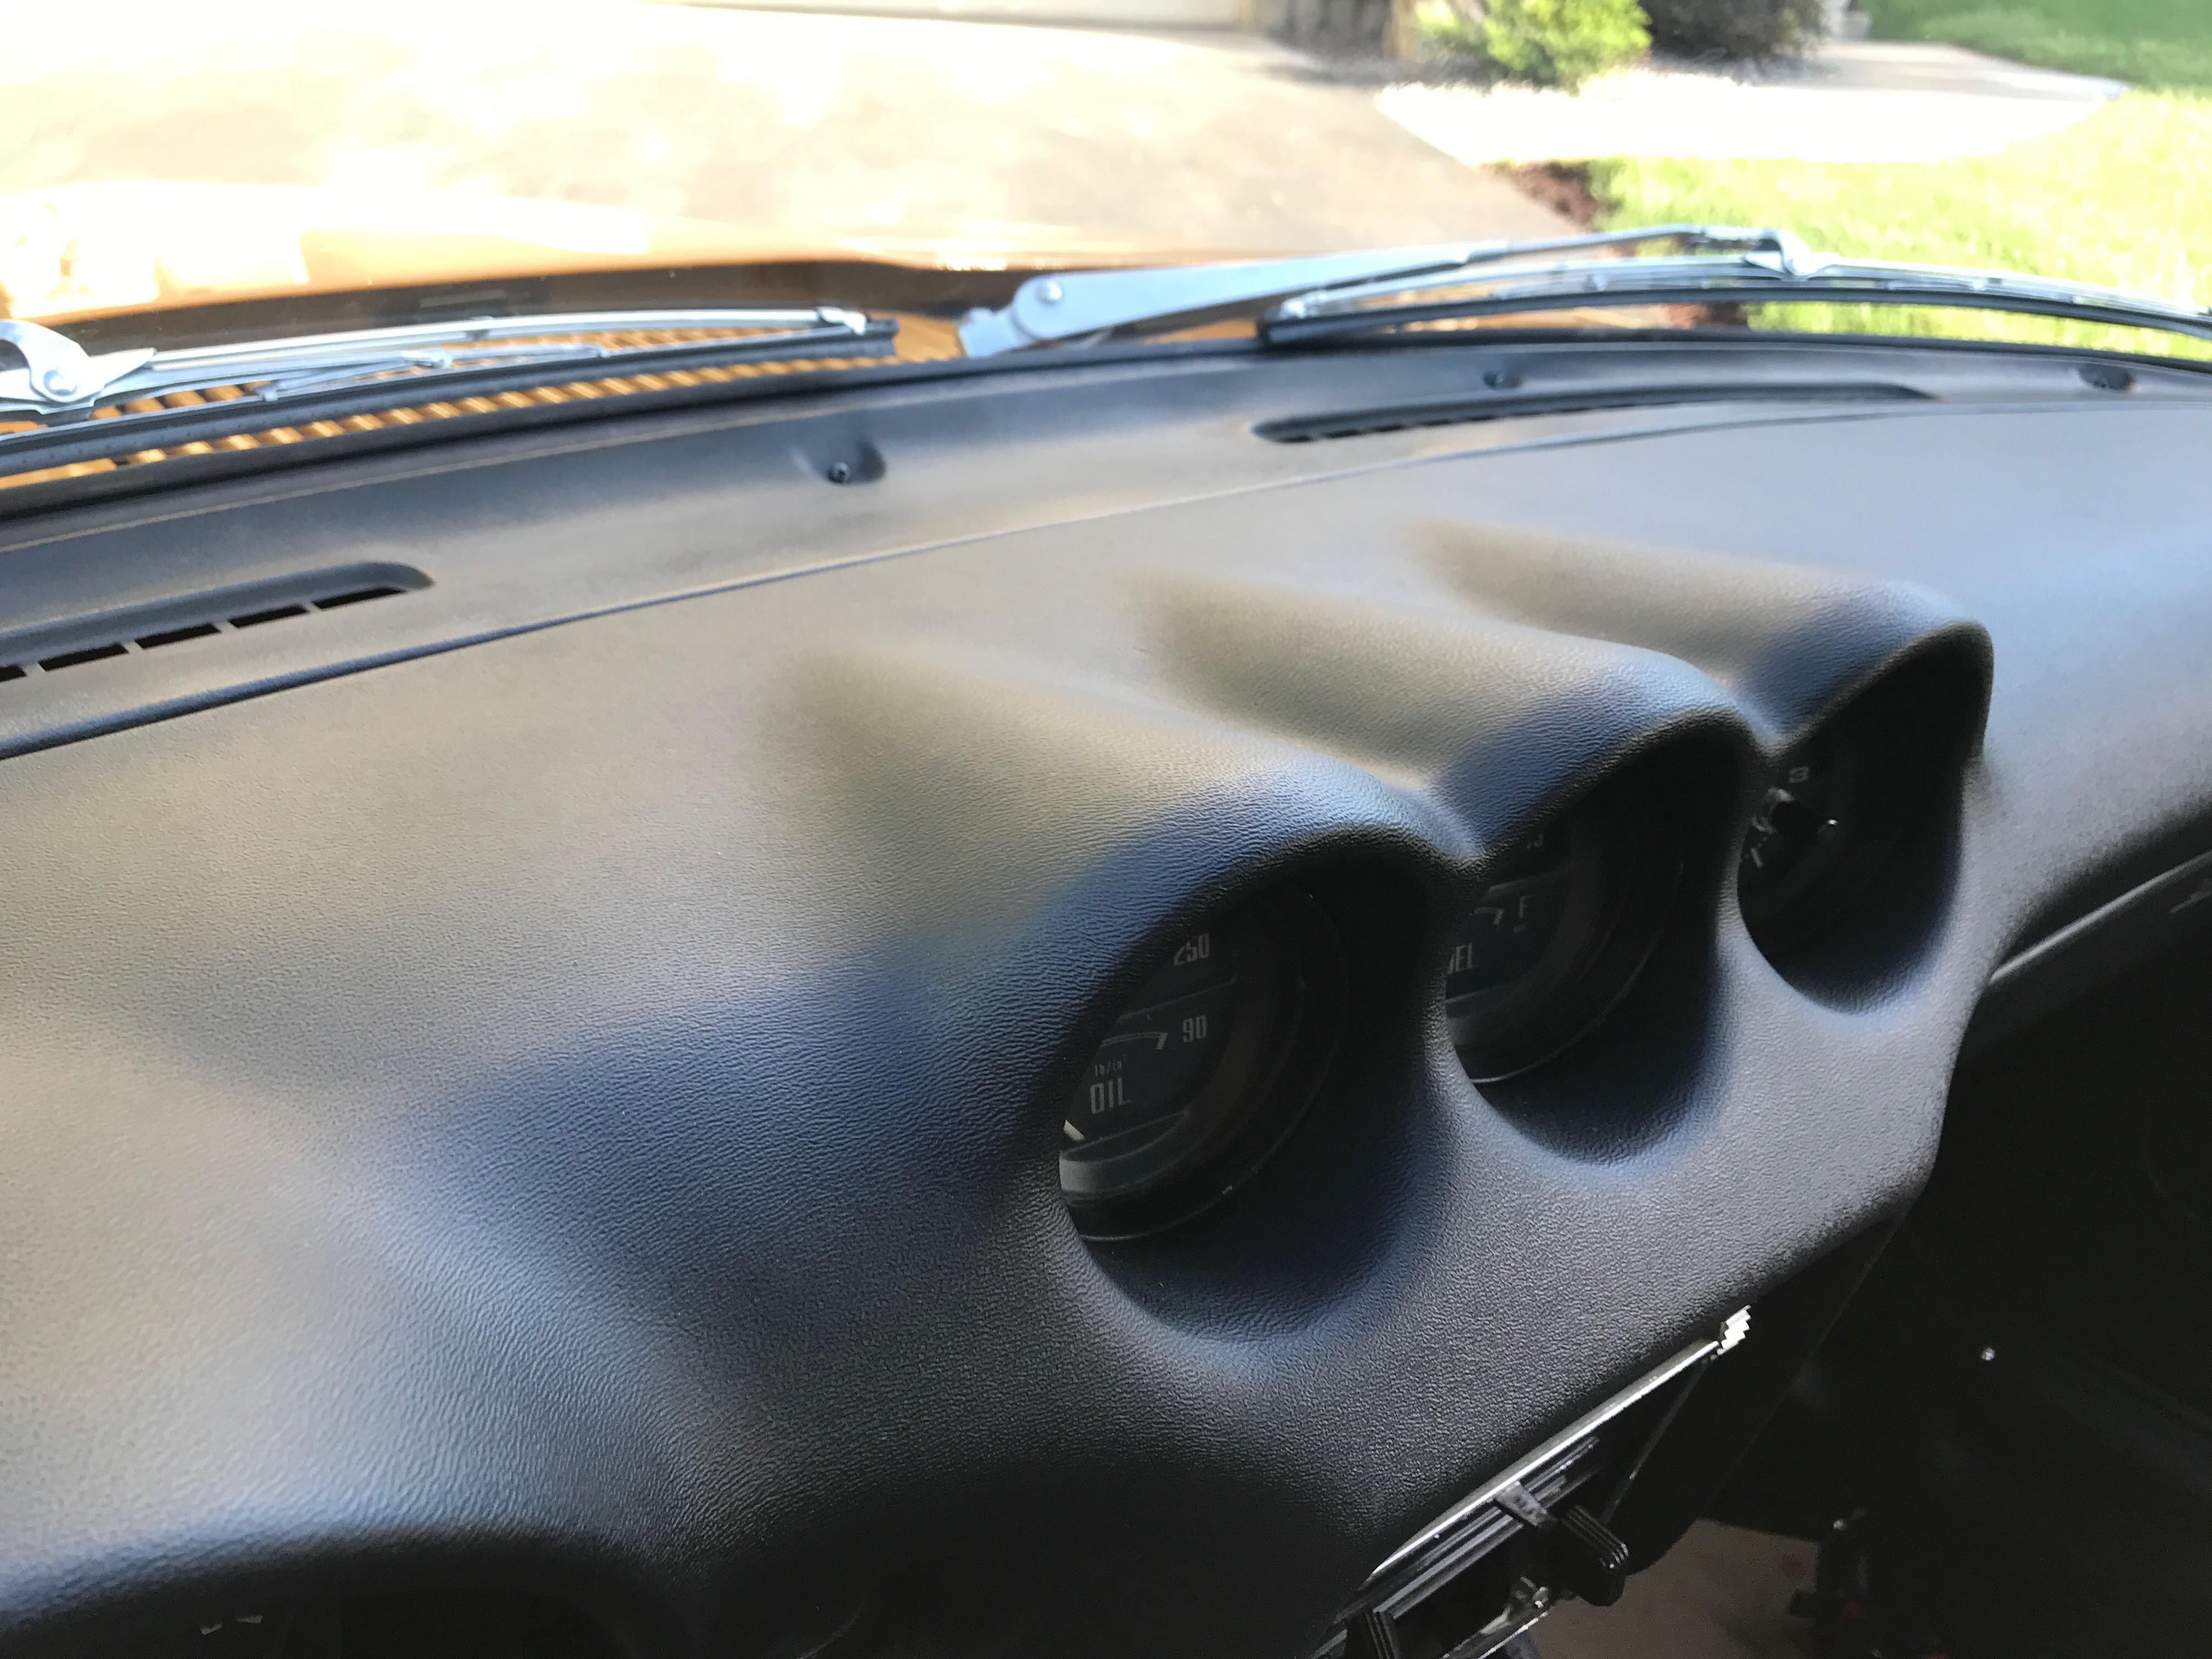
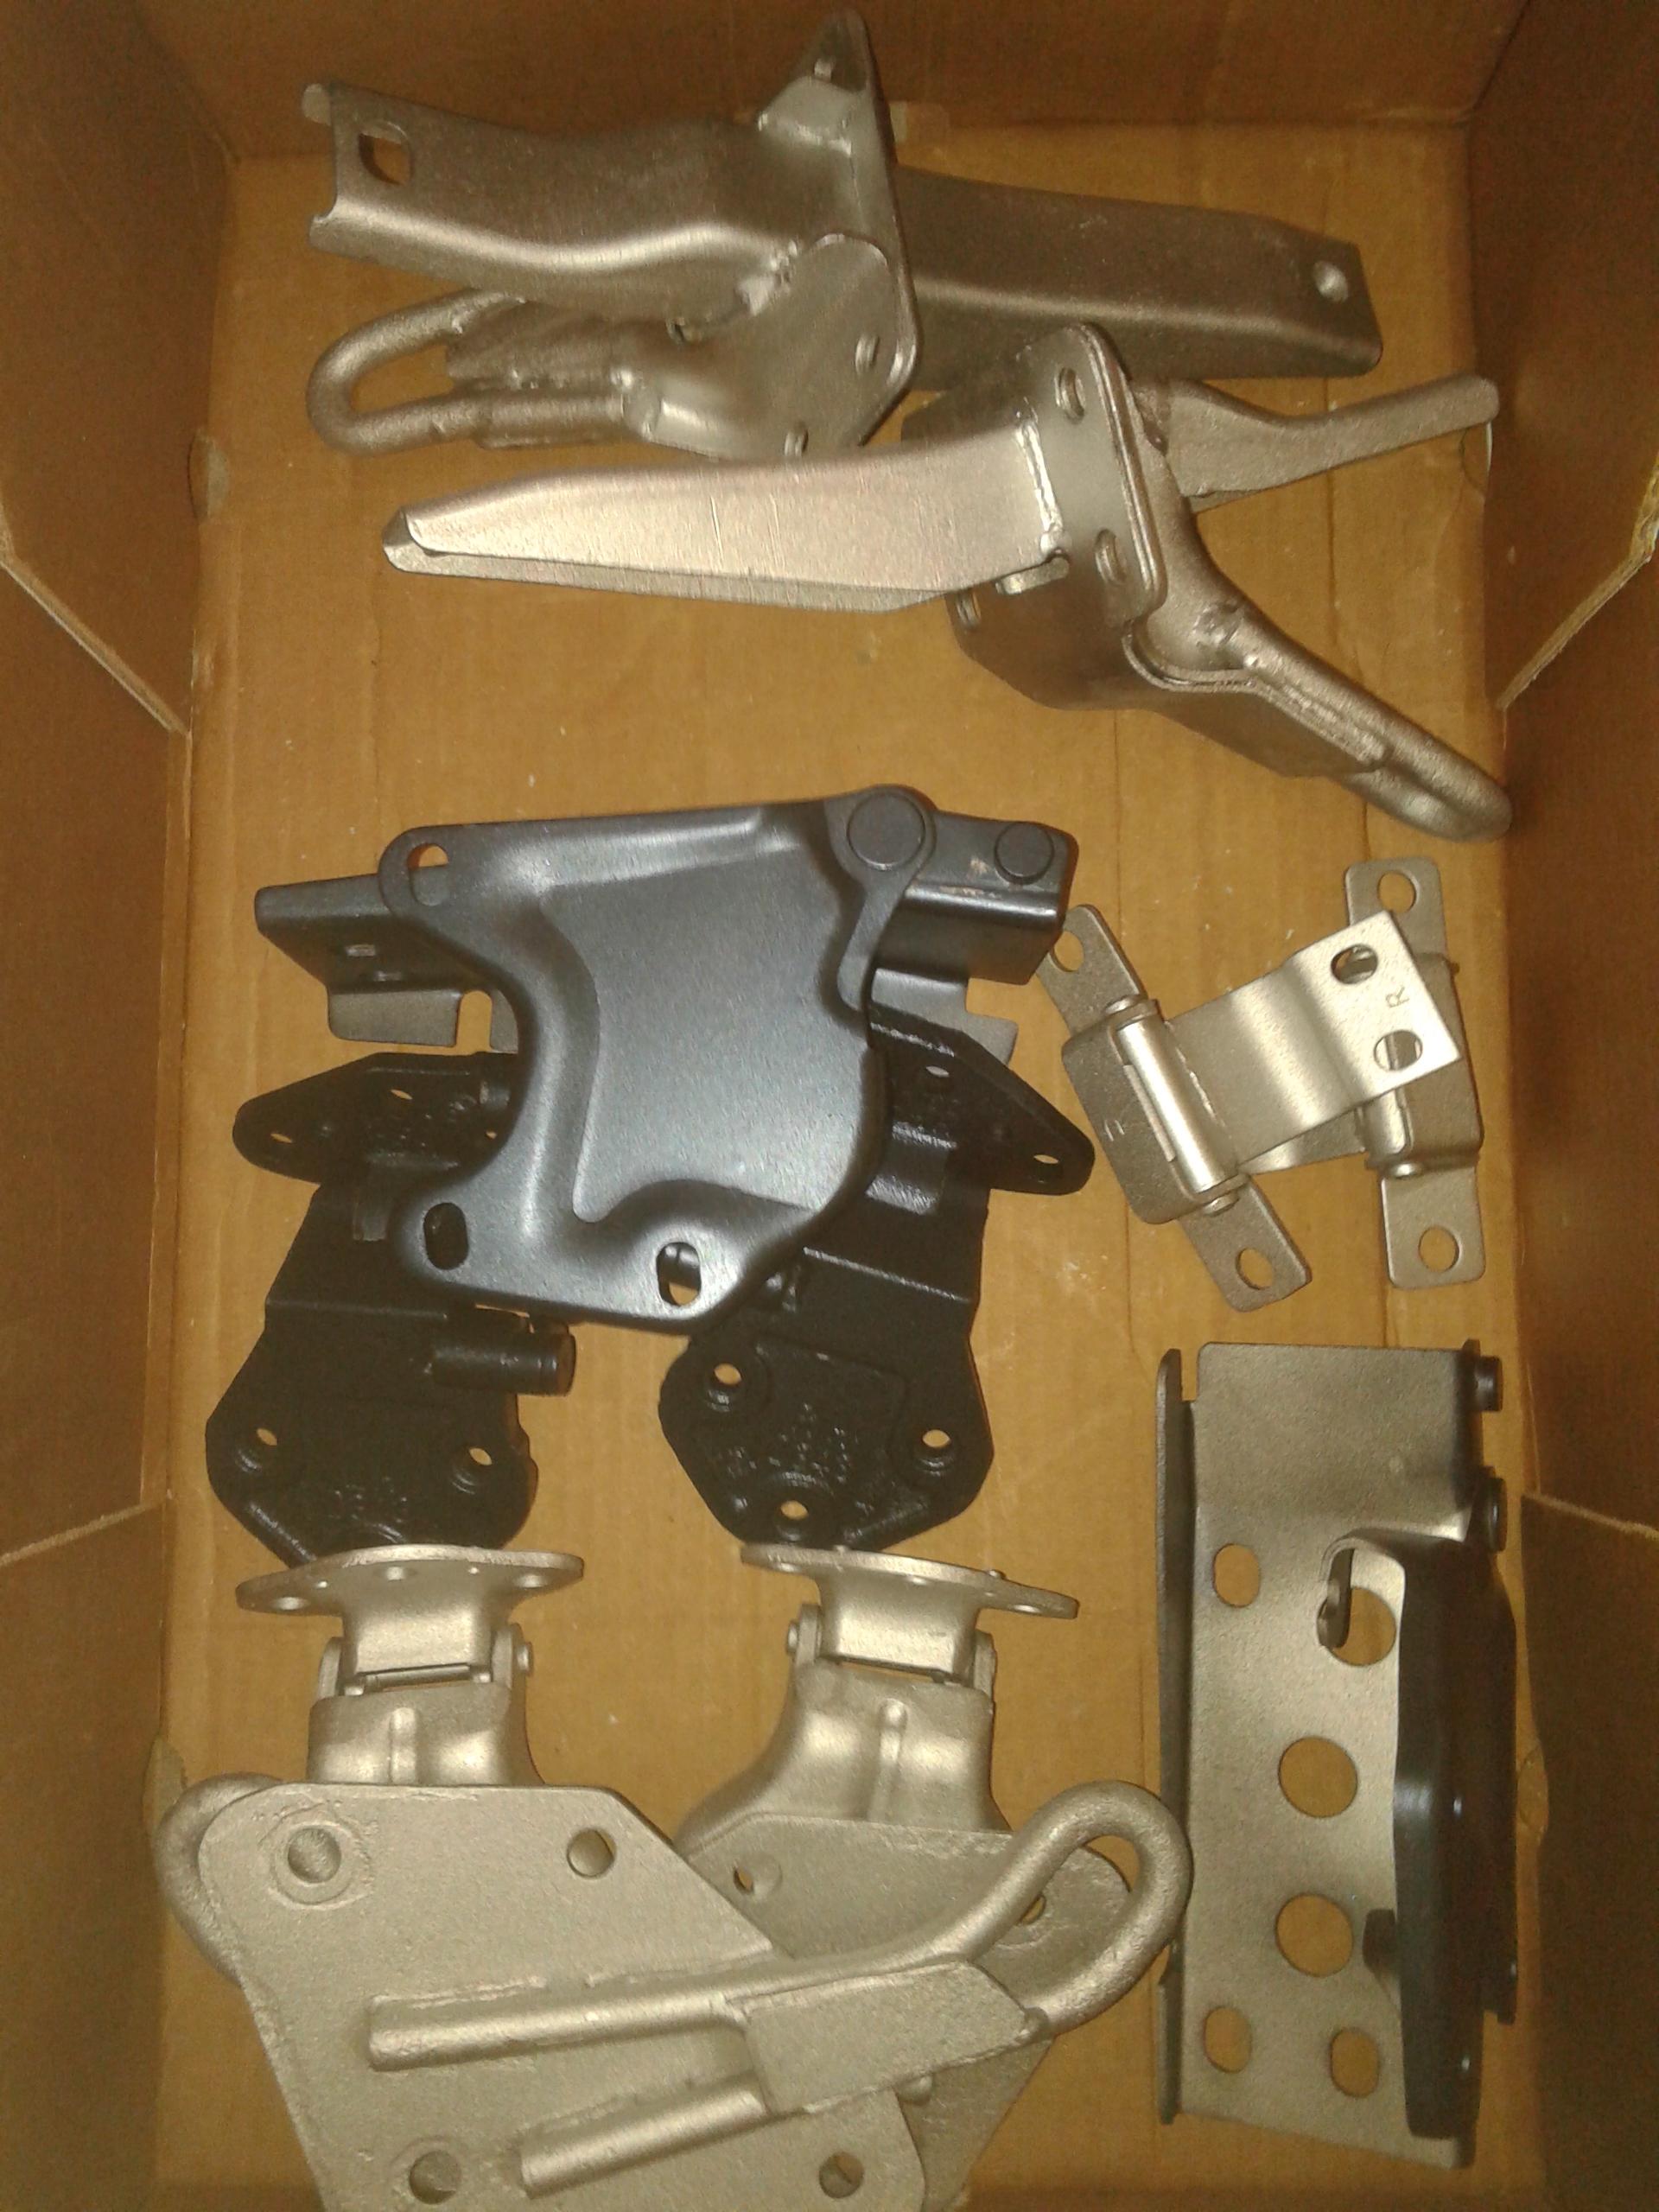
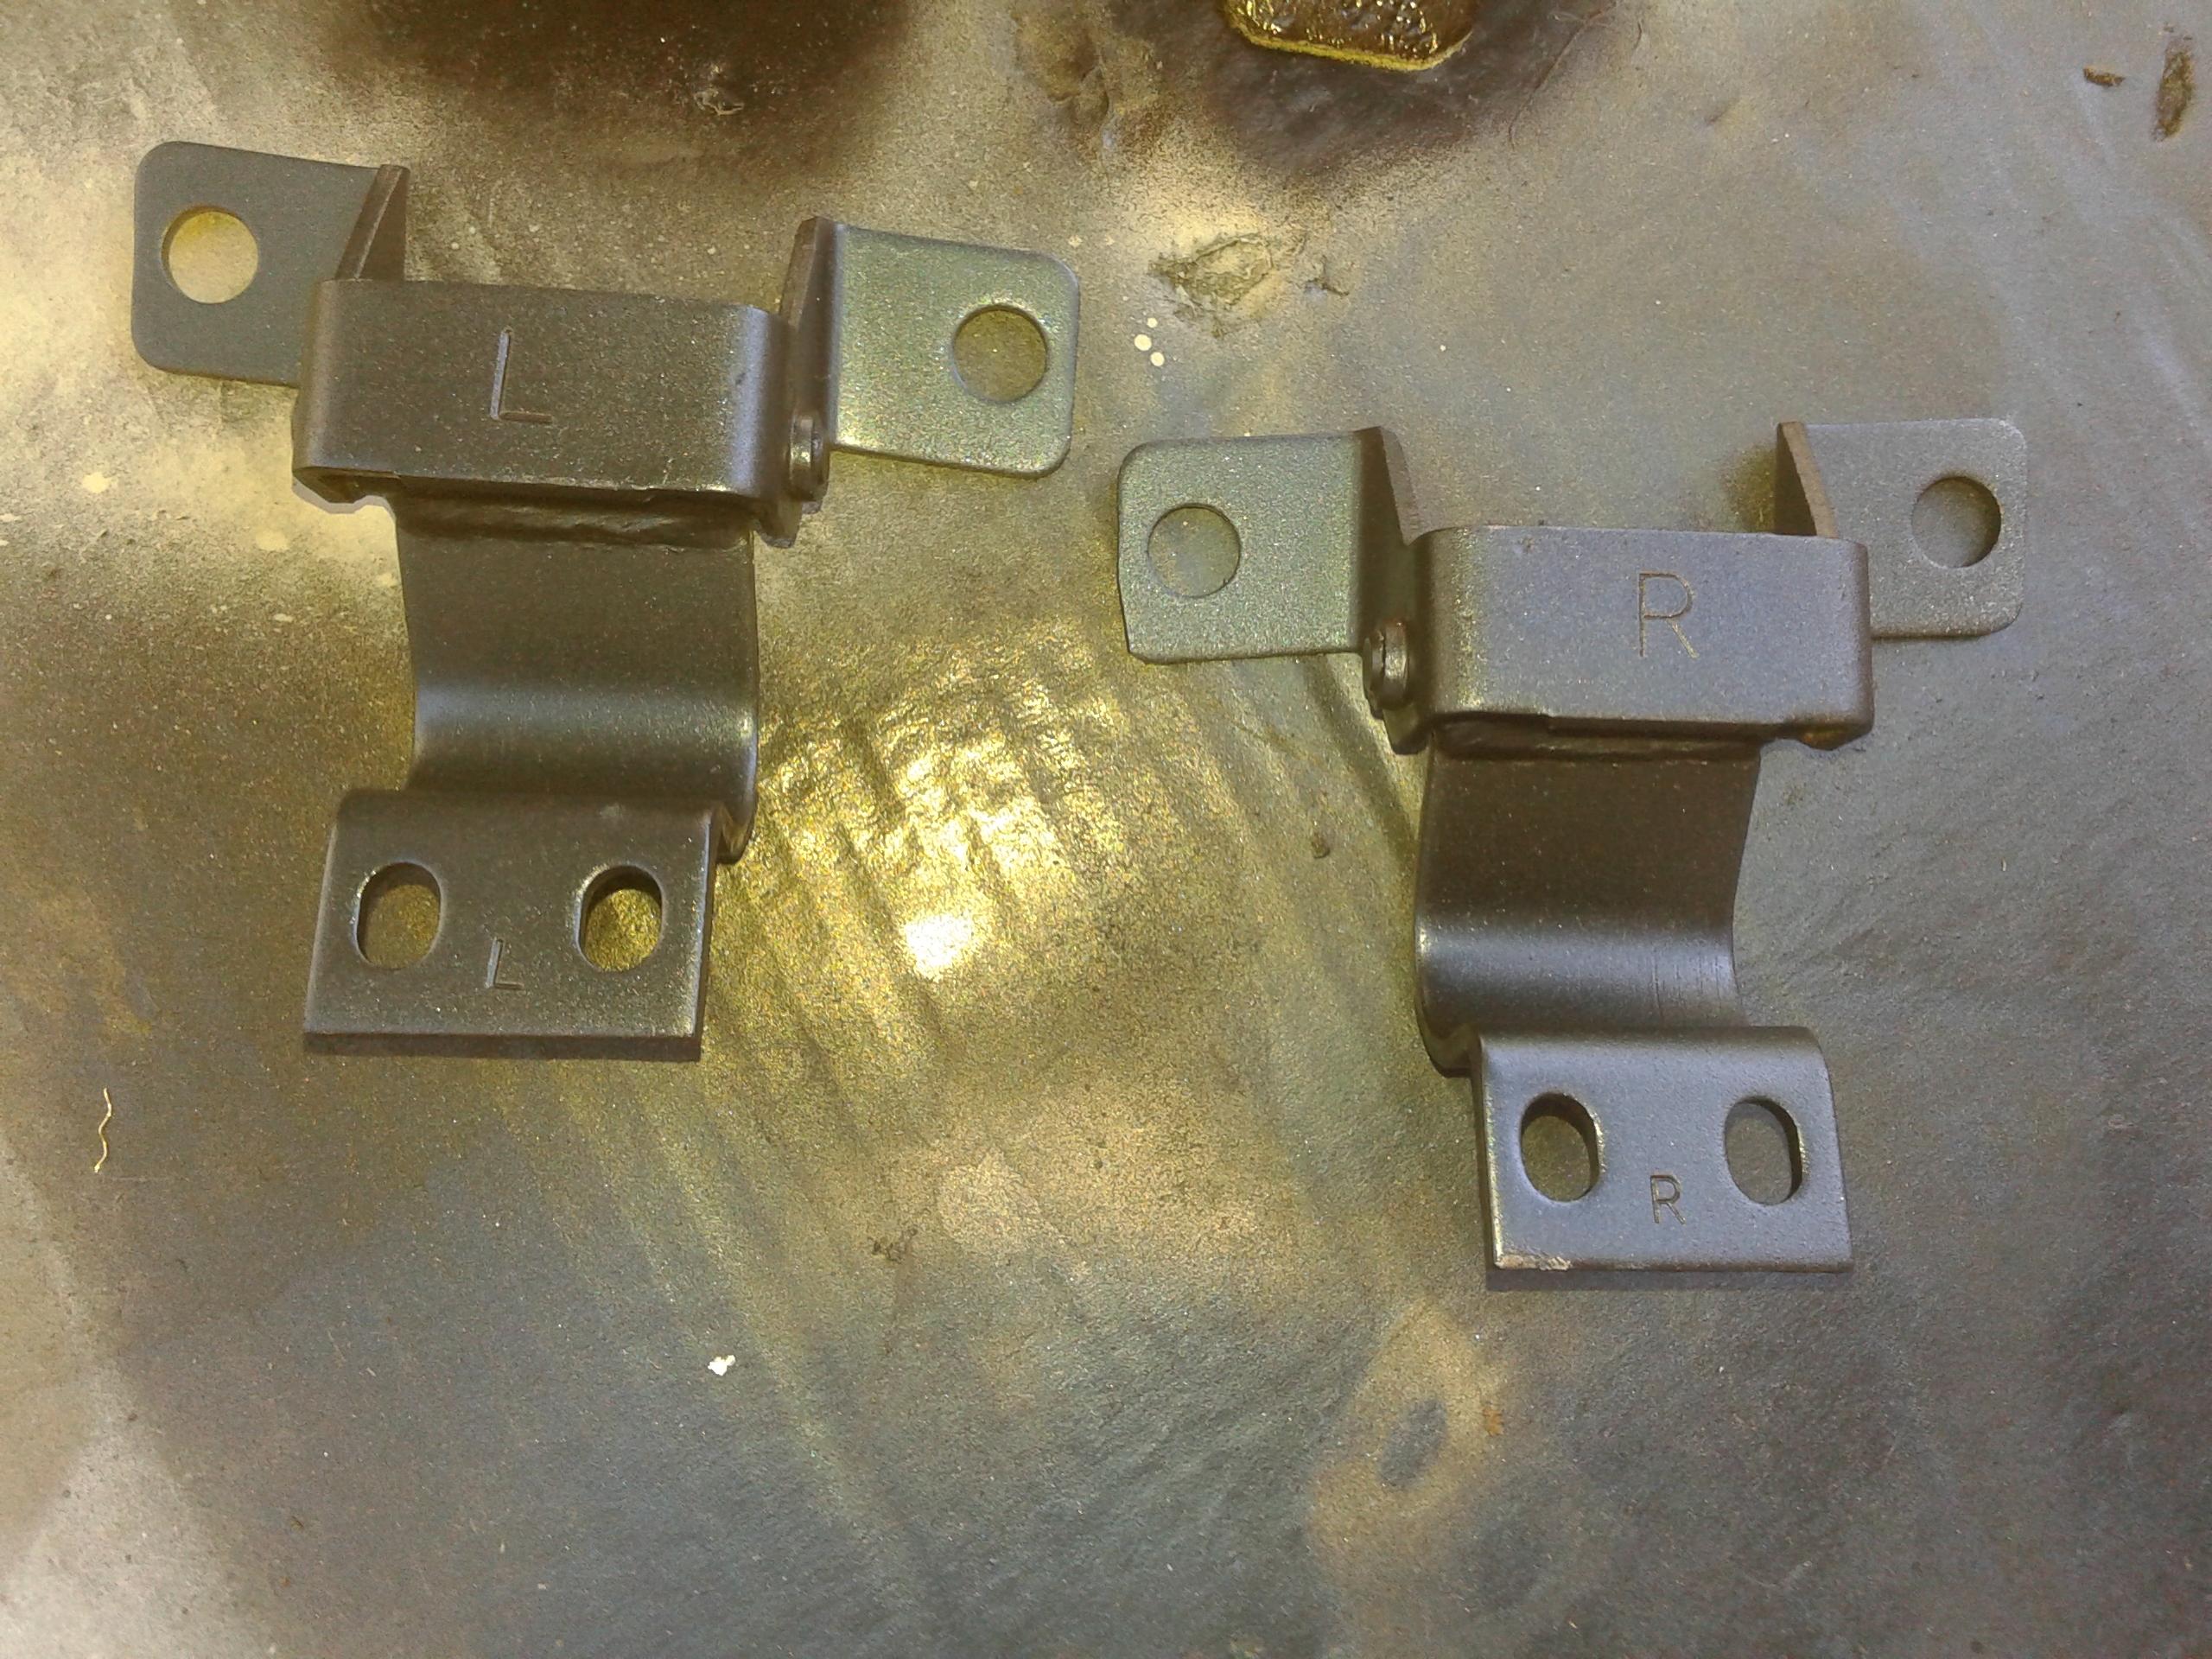
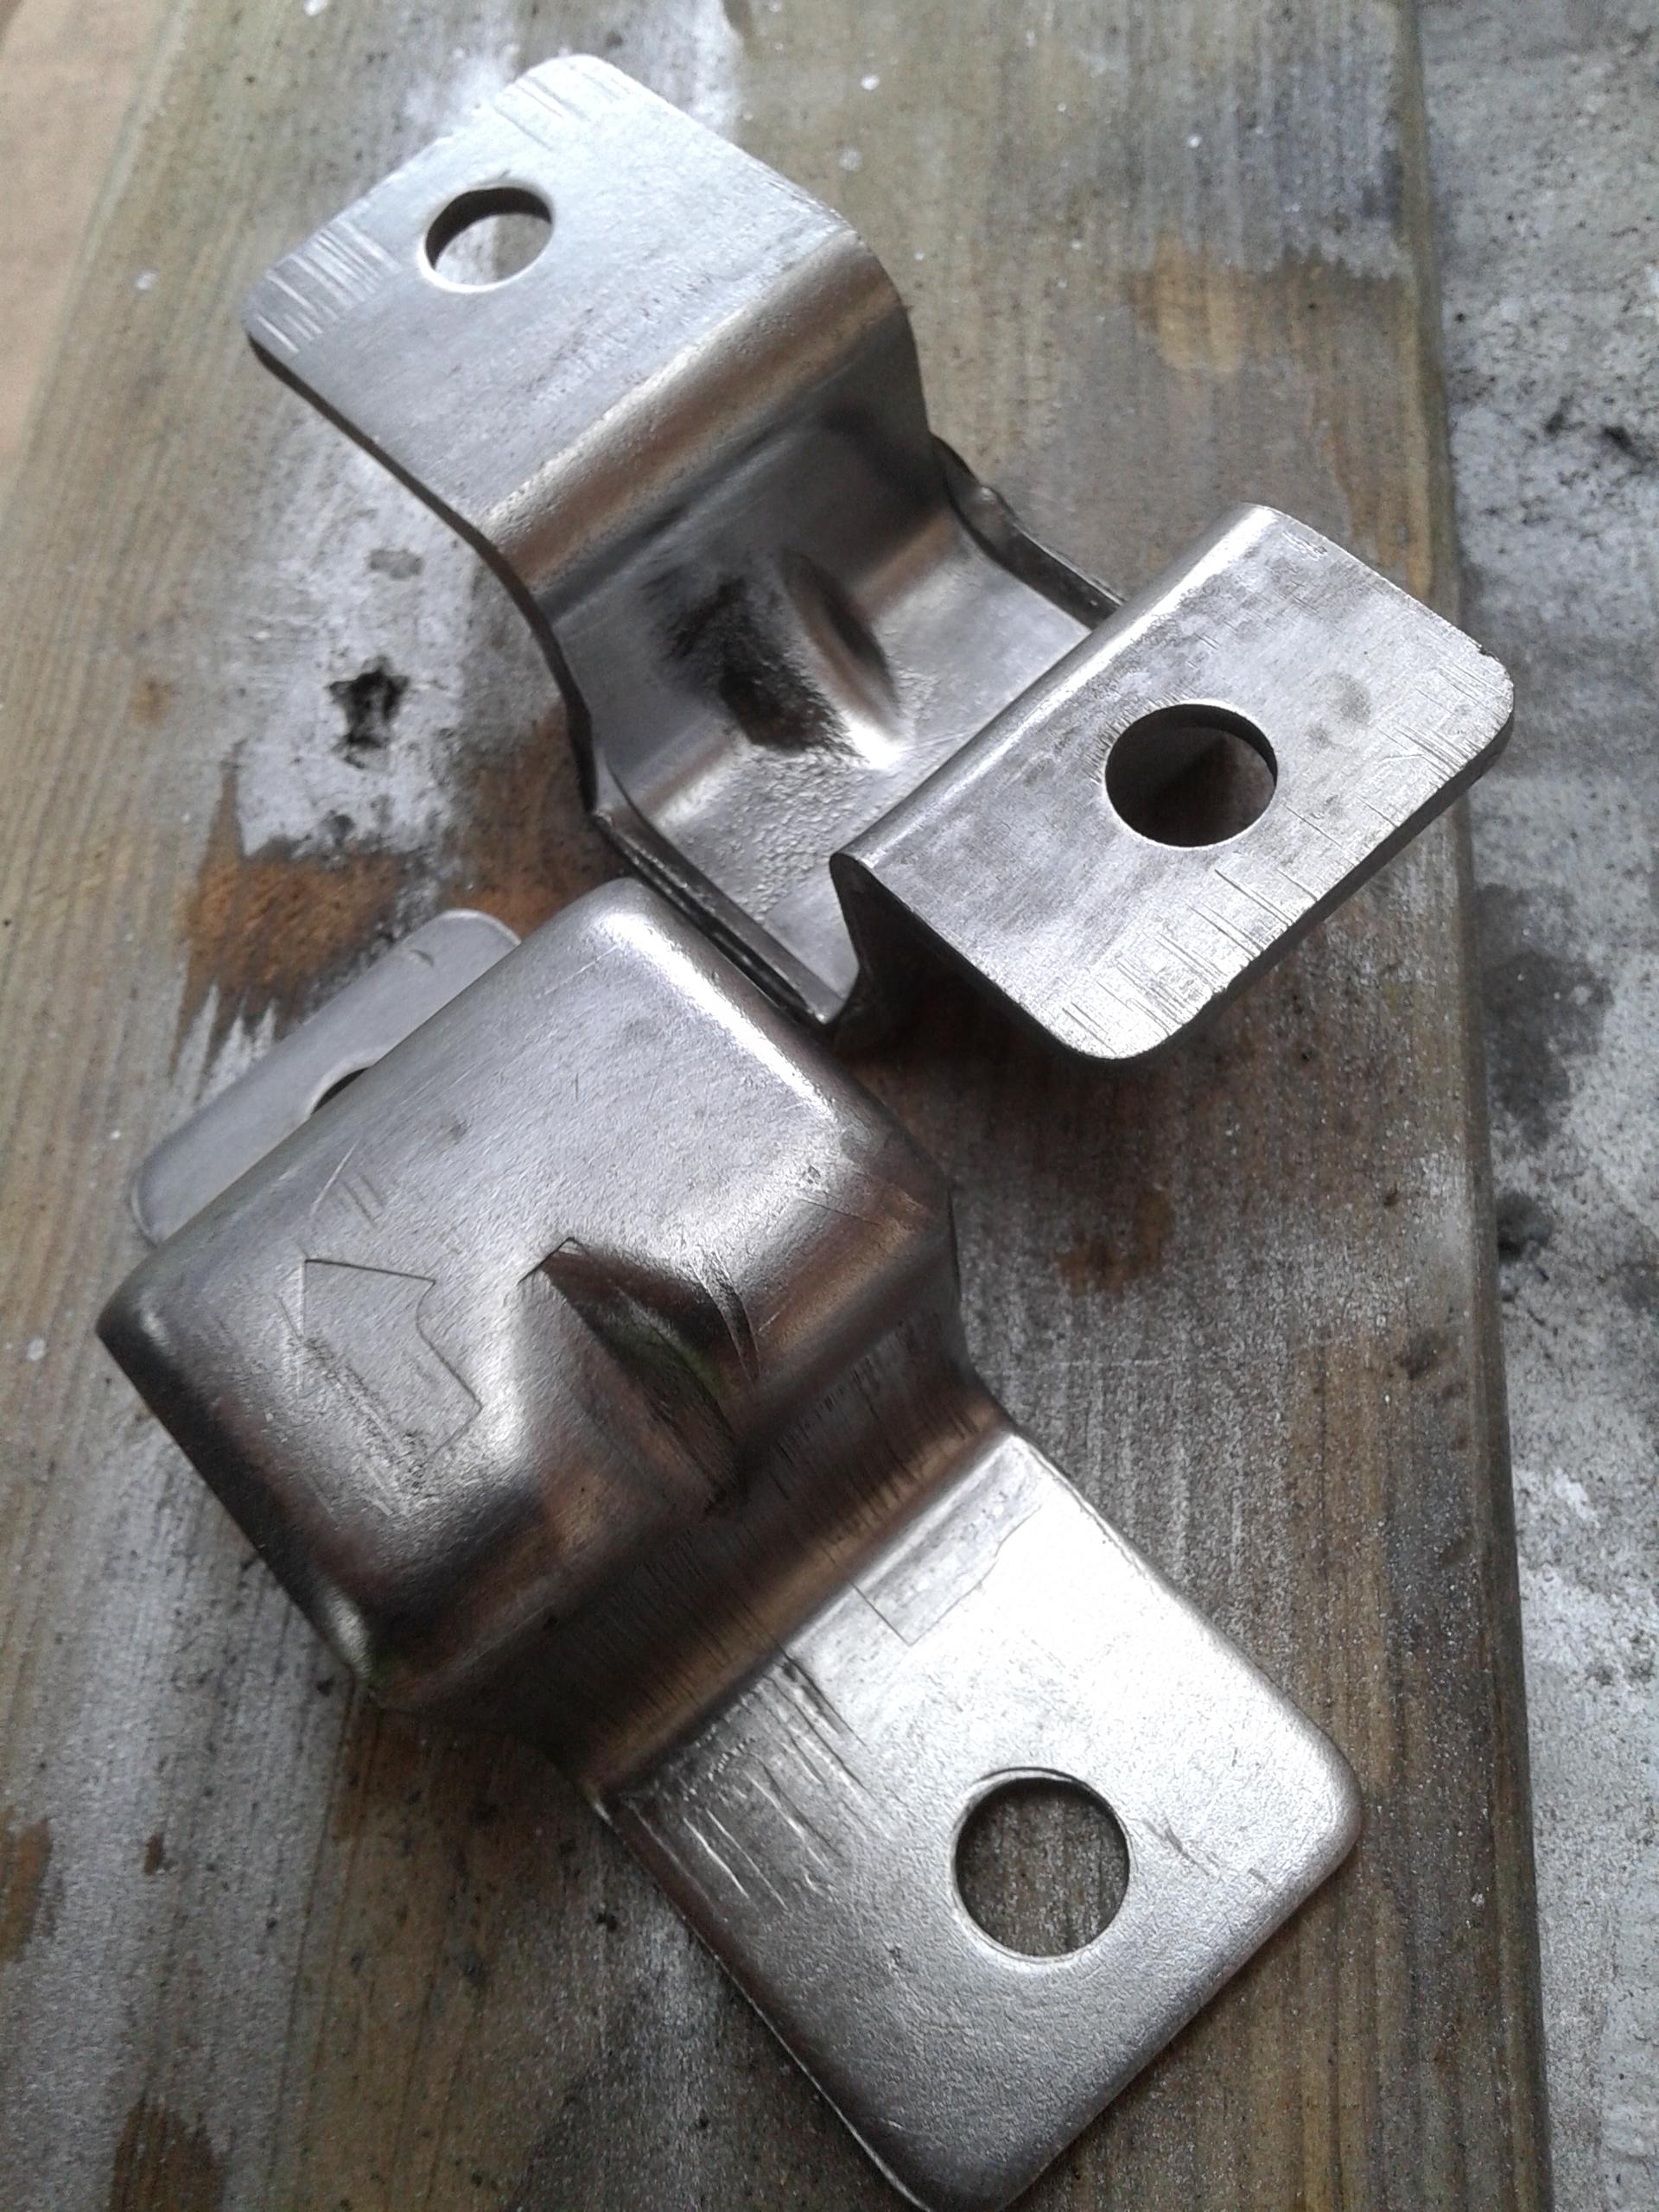
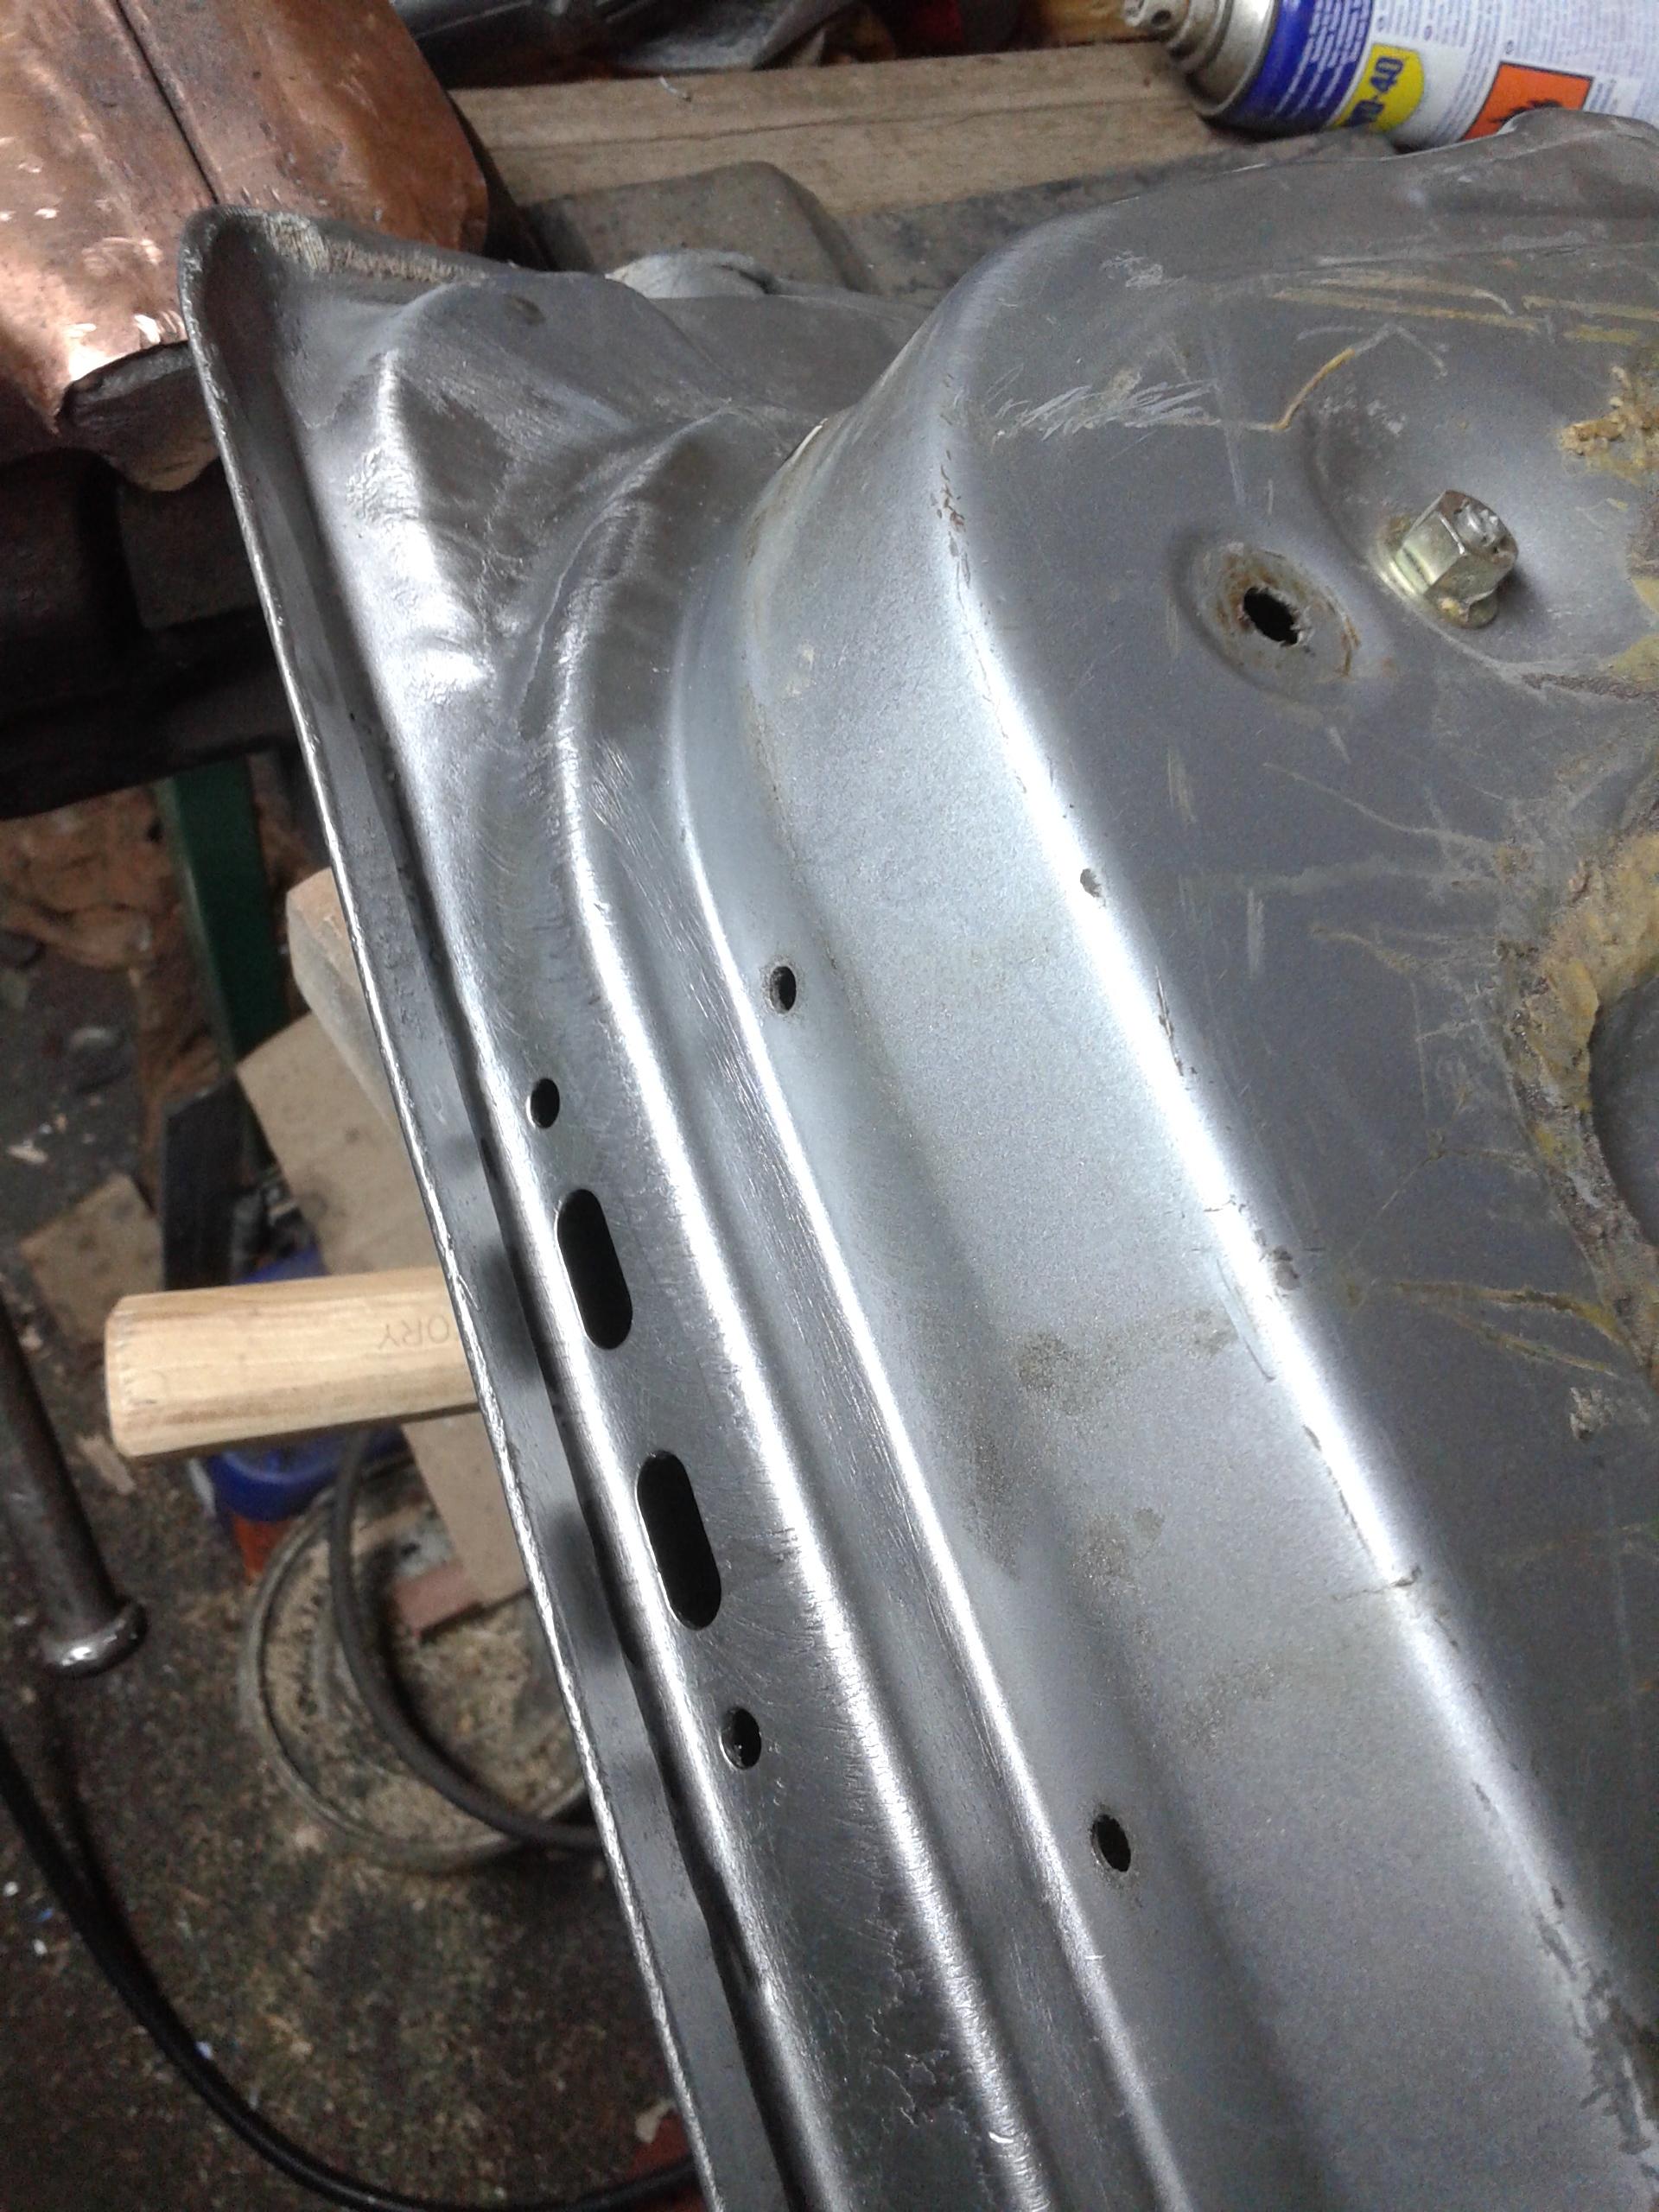
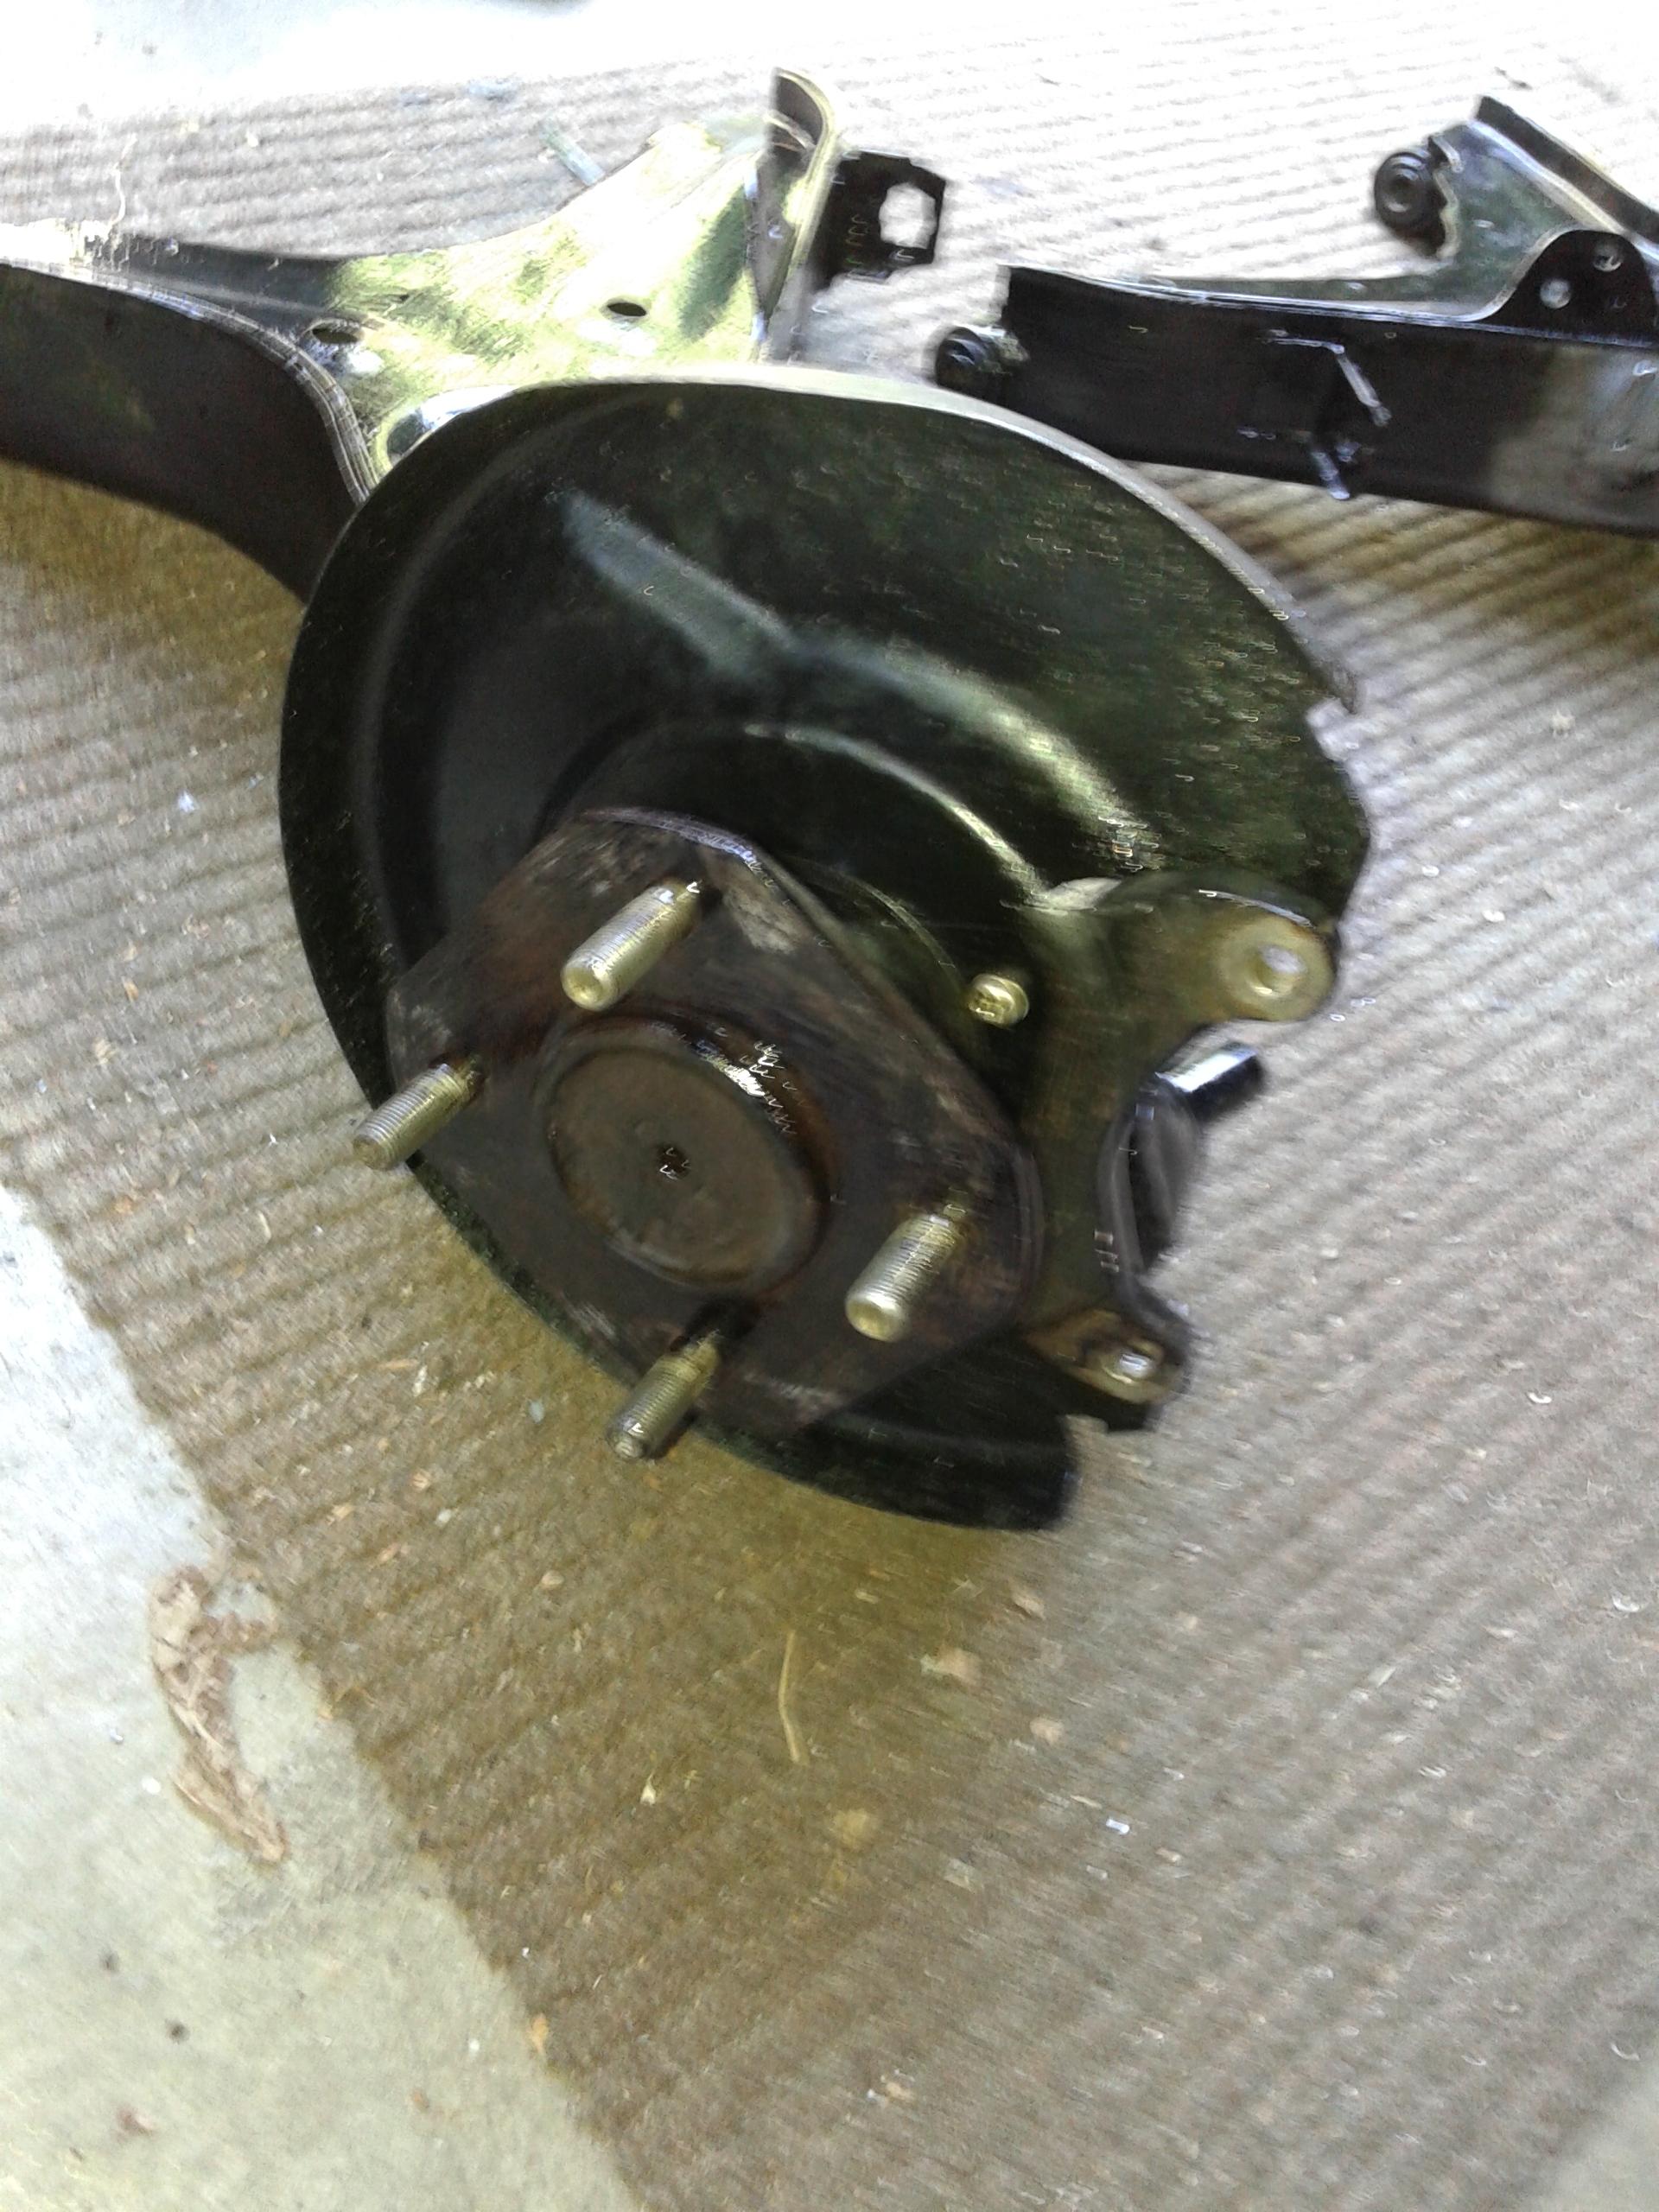
It's November 2019. The zx was for years in a heated garage. Bought me a new battery and a new windshield.. This month my car go's to the pro - paintershop… i hope haha (oh are all those painters people were no good arranggements can be made ??? If i say tomorrow at 10 i'm there at 10! (sons of ….grrrr) The fuel was prepped with some stuff the keep it from clogging.. i putted in the battery after a check for lose cables (the dash is not in..) Then i started the car, the fuelpump started but no starting engine.. then the alarm made itself known.. AH.. that's it.. somewhere here has to be a switch.. i switched the alarm of and.. turned the key.. Yup!! it started right away! 20191107_145039.mp4 Some pic's from the work this year... rear spring. Cleaned but not perfect.. If someone knows a way to paint this fabric.. it's called "tricot" would be nice to paint it a bit darker... rear bumper, lots of dents taken out.. a week of work every afternoon…. cleanup for paint.. hinges.. TAKE A GOOD LOOK.. at these.. Original hinges and no whear on them !!! had good maintanance!! Creative people don't have junk laying around, they just surrounded by a lot of new ideas! My painter tried to weld… he shure can't.. (Danny's kaaiwerk = Danny's sloppy work.. i all deleted it.) New tools.. Front skirt. Hinges rear boot lid. Get the horror out. Rust off before new paint. Original parts… like new.. An electronics engineer doing metal work. Not bad... Checking over and over the edge in the plating. Making it smooooddeehhh…. The as new rear wishbones some colored ground paint in rear wheelwell Lots of new parts.. Rear wheelhousing , part of fuellines.
.thumb.jpg.0c40da64a9649caceb9b04067798b7a0.jpg)
.thumb.jpg.74ed923eddb76b00e0cd1a26a6d600da.jpg)
.thumb.jpg.c0eb4af4f83c24b576913cf30066dc3c.jpg)
.thumb.jpg.cca590cc24b9a21cf9c909c4eb97f435.jpg)
.thumb.jpg.9ad2917b47888d062649af21d28f5ded.jpg)
.thumb.jpg.5561e924544f25f27a21a352f37e6d20.jpg)
.thumb.jpg.33d2a5b8a7181032d0ed68cbc10b53ab.jpg)
.thumb.jpg.a6535d7f29acd382dfd128c8b310d7e6.jpg)
.thumb.jpg.213bd1fded0f9fcc294dfc1abe9a7e28.jpg)
.thumb.jpg.97dd72914e6ff5a1ecf68b68933eb722.jpg)

.thumb.jpg.43119b9af4305105b362e1488af20dd0.jpg)
.thumb.jpg.3a6cc85d30229e558b1b5269bcae4c0e.jpg)
.thumb.jpg.b44d0c60d5d80c5142ef44017981fdde.jpg)
.thumb.jpg.adf5baebab1392417e47bd43059c3bfa.jpg)

.thumb.jpg.3ed6cc26acdeeb3ed9c48d5255d491dc.jpg)

.thumb.jpg.bcd2f71023970d2660c43236e0e62e2d.jpg)
.thumb.jpg.f7afe6345b4329bf7c3f98e764775035.jpg)

 1 point
 -
1 pointWay back in the day when pop music sounded like Alvin and the Chipmunks, my first car was a '73 240z. Even though the car was only 6 years old, it constantly required a lot of of love and money. Otherwise, they wont age gracefully. Maybe 280z is different than 240z. But mine did not age gracefully. Whatever could be broken was. If you are obsessed like I was and already made up your mind and if you can swing it, buy a z and keep it. Also buy a car to drive.1 point
-
1 pointTrue. But I have removed the whole fusible link assembly in favour of a digital fuse block1 point
-
Hoonigan.... I don't do burnouts in my own cars. Why would I let or encourage anyone else to do so? That's just a way to create a possible problem by looking for it. Now if it was a track car, purpose built for abuse, then that's another story...1 point
-
1 pointJust a heads up for those awaiting a dash like me.... I spoke to Vintage Dashes by email today and their manufacturer has an issue with their machinery and there was no delivery last week. Still waiting to hear when it will be back in production. I am waiting for my 280 dash at the moment.1 point
-
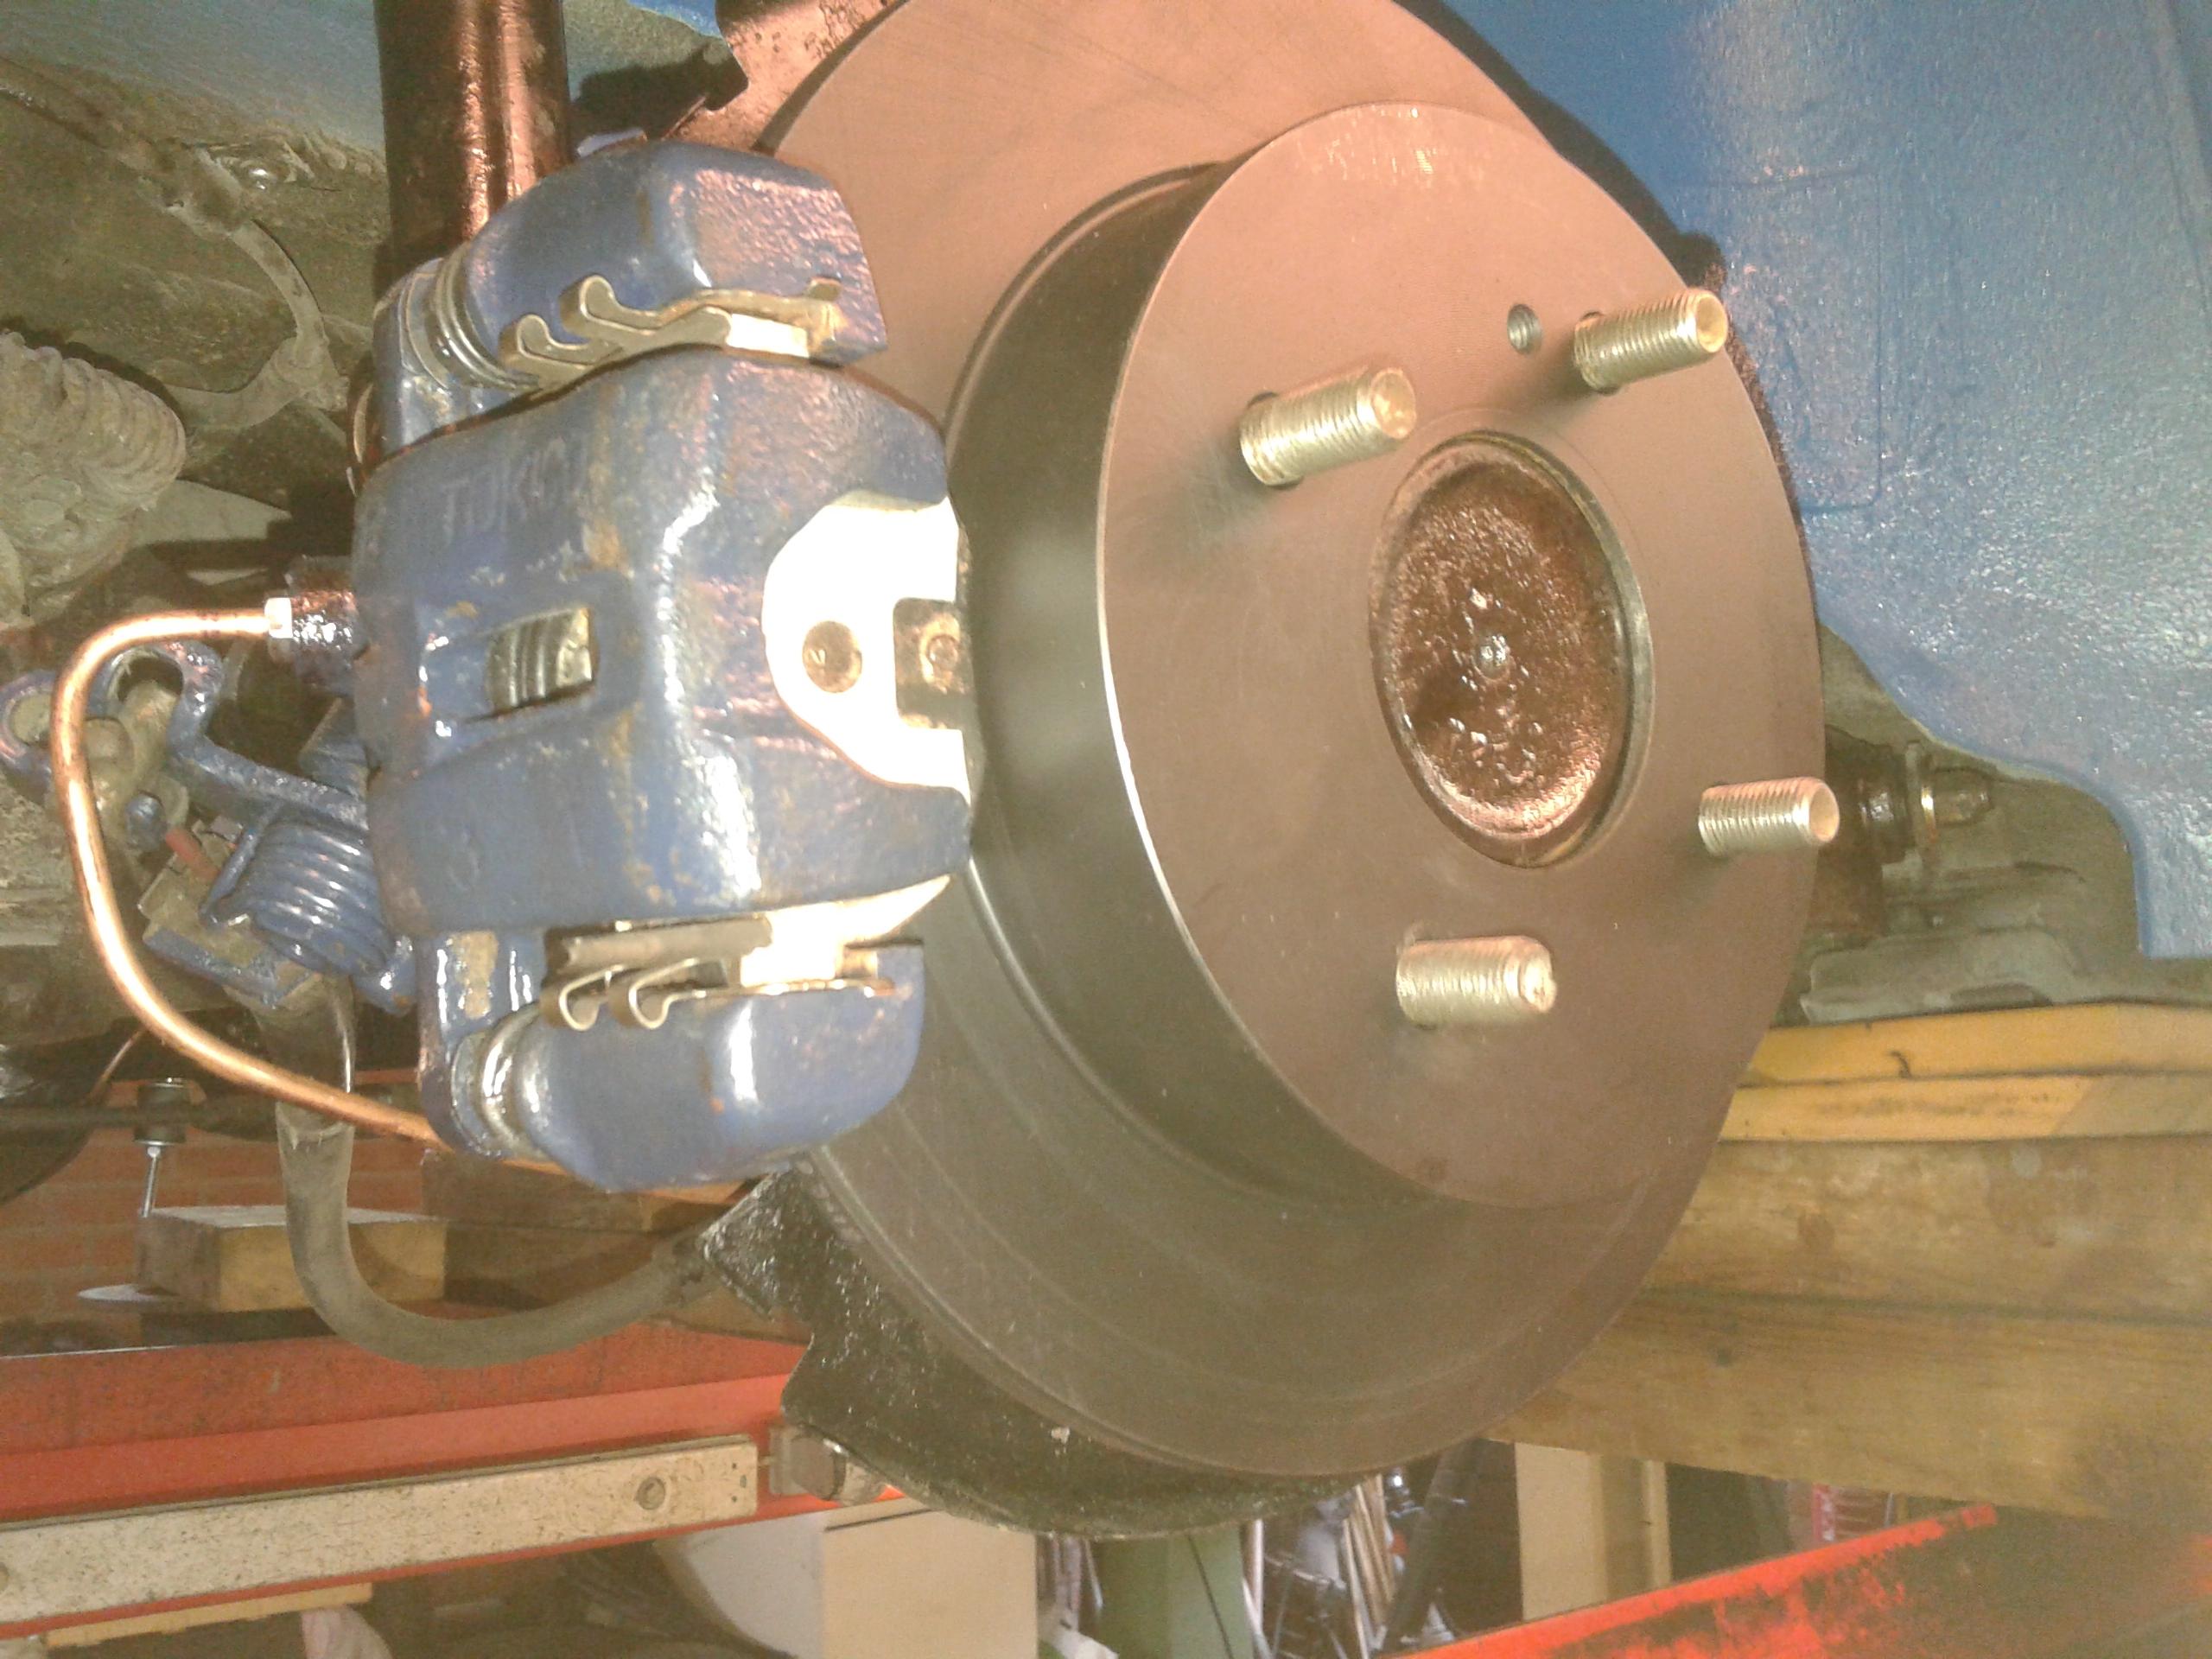
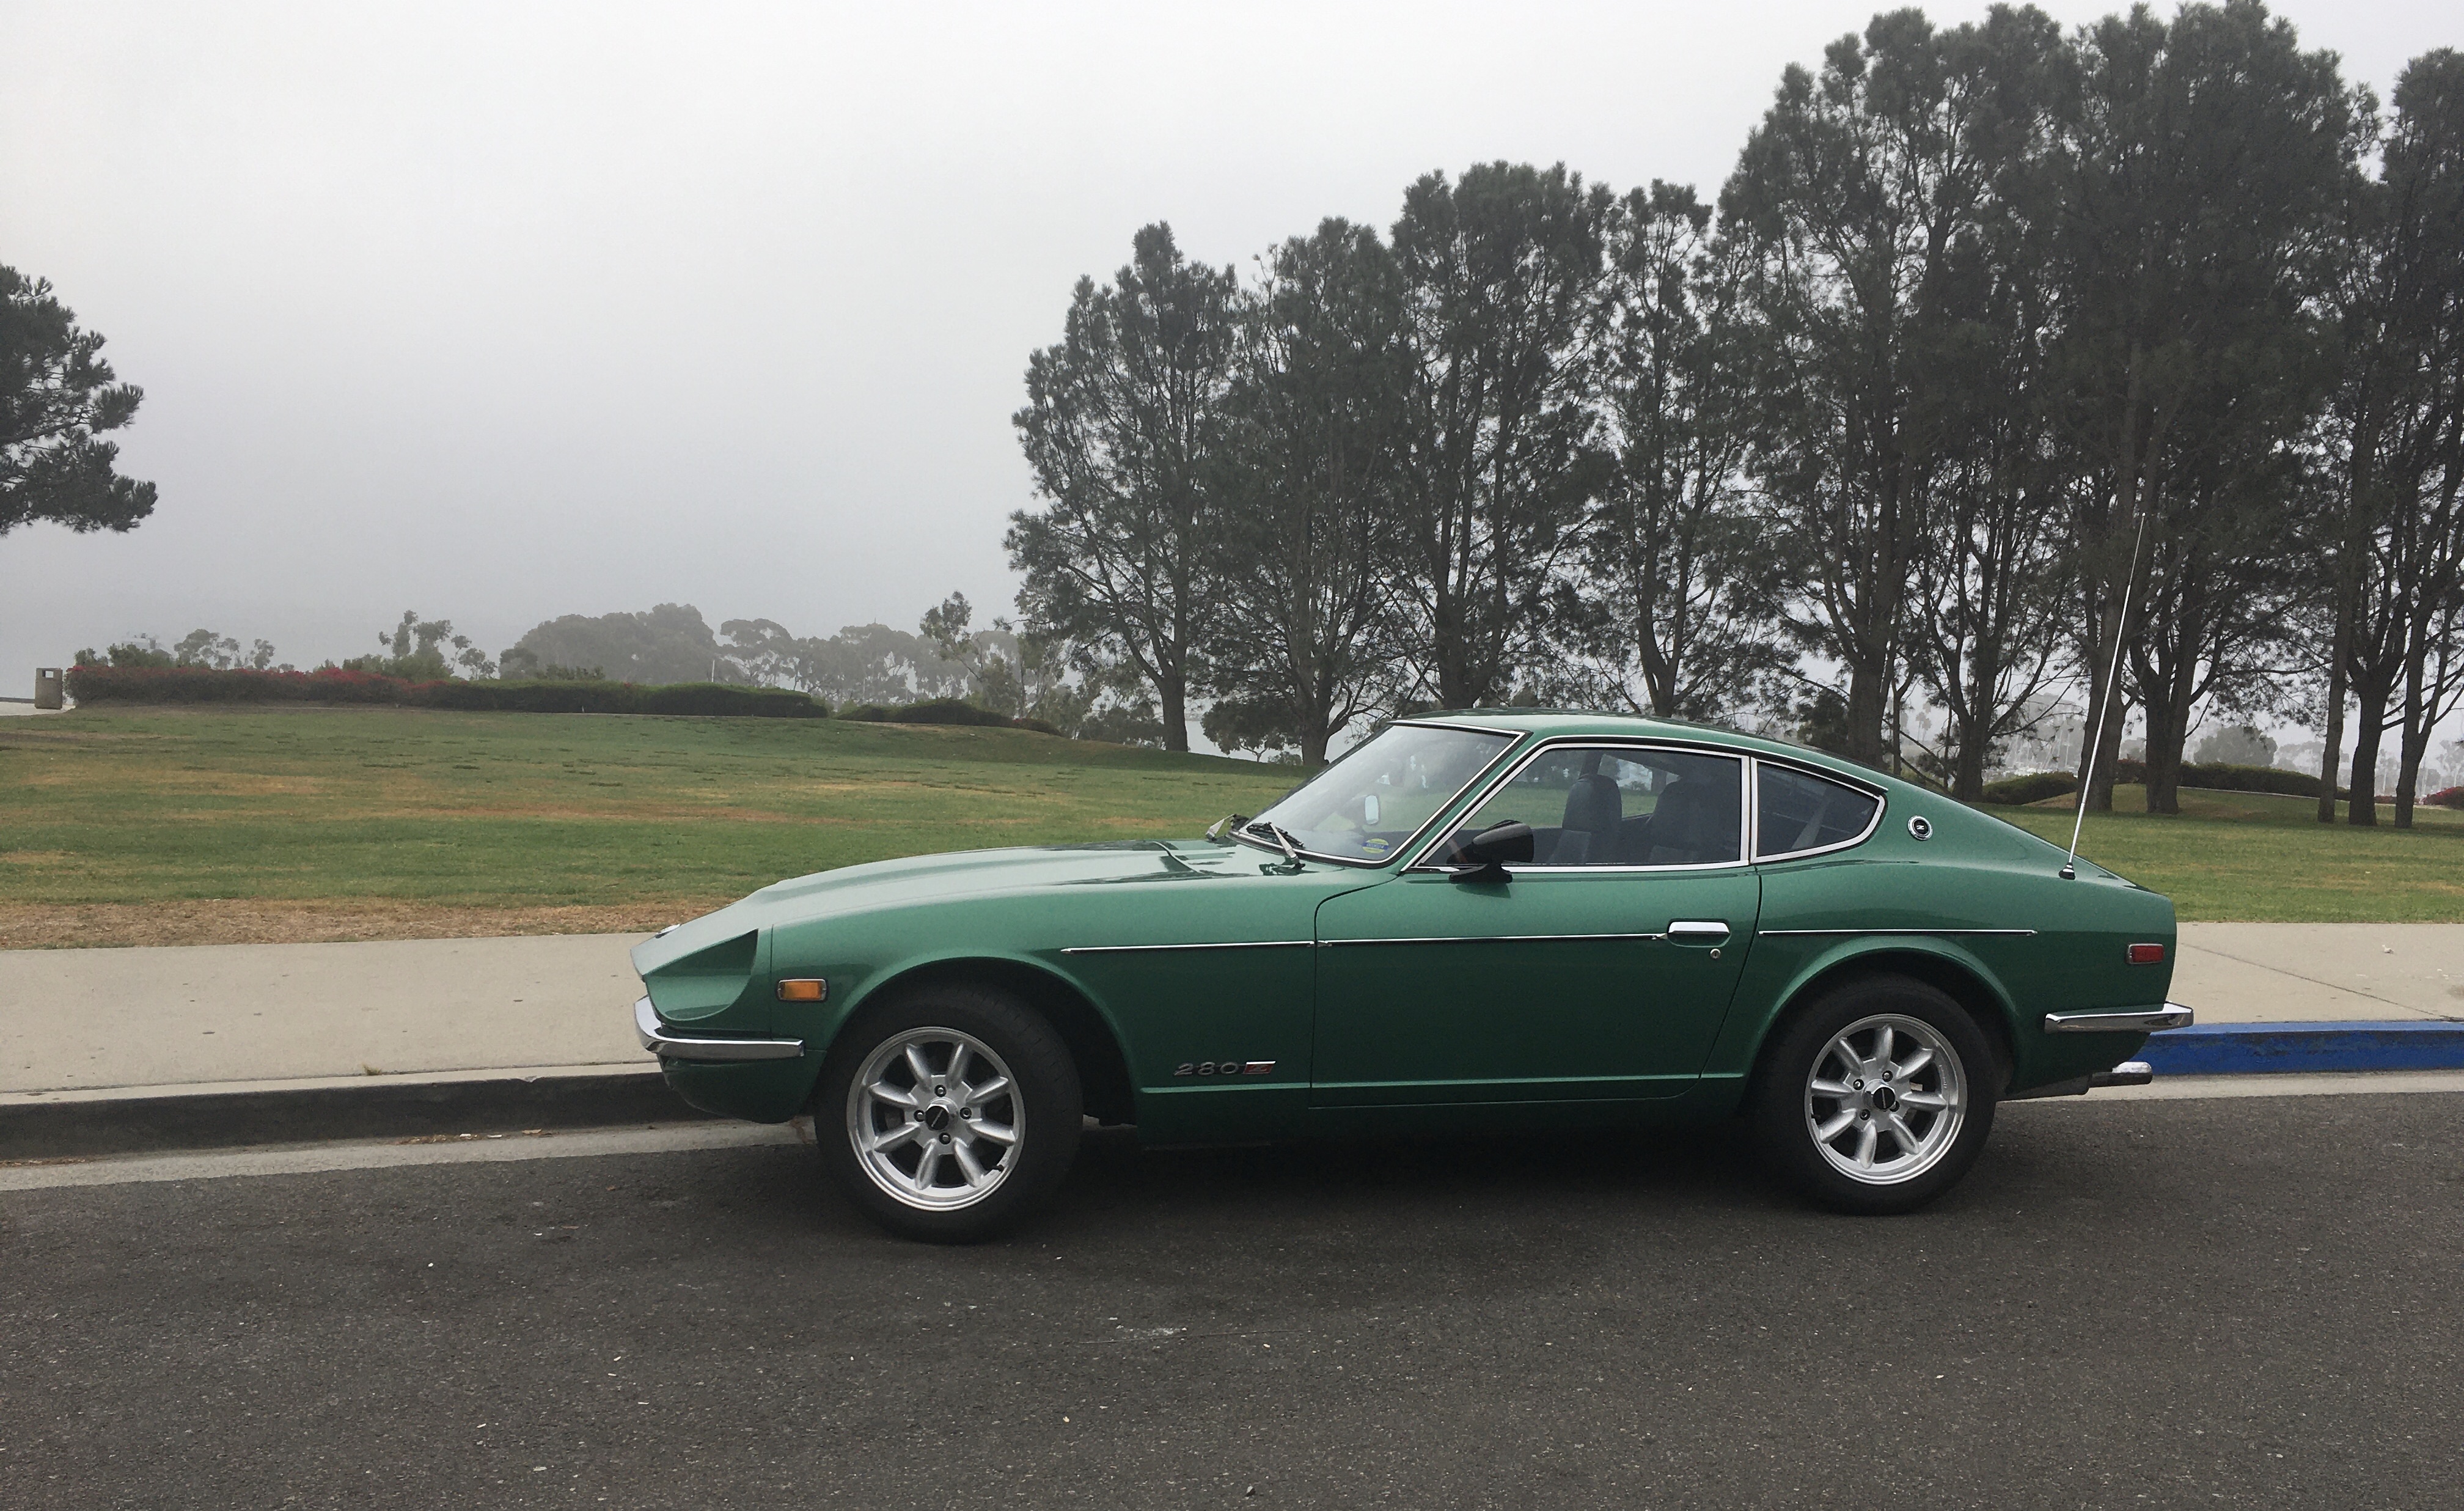
The 280 just sold for $22,000 on BaT and now it is going to Dubai, http://www.tominiclassics.com/ I made my parts and materials cost back and a little bit for my labour, I'm happy boy. Shopping list, another Z, bigger compressor, more lights in the shop, a new Tig welder?, maybe a spot welder too, ...1 point


.jpg.72679c7dabbb0715aa0c45c33063f202.jpg)

.jpg.6002e6cc9edc80bc8c6b4ef0fb55f7f2.jpg)
.jpg.cec1193e8d5d3c01057e4cc94e34bc92.jpg)
.jpg.e512da34c3045455223ab9e7dfcb97e5.jpg)
.jpg.b20125c67f4e94841c116fb03b780b0d.jpg)
.jpg.c5d61b0a5ee7223f2ace763bf0167d7c.jpg)
.jpg.7b38a10a9526d0256bf2b8180d271f66.jpg)
.jpg.6d3b2de40e48ef7256a36726fc106a23.jpg)
.jpg.4b317a19724ad69eb8c47fd5da160d7f.jpg)
.jpg.de8629e370eaf324be0db2a043138f0f.jpg)


.jpg.16d231ffecc2f2ad76de4e286aec6cdf.jpg)


.jpg.a3414bf4e7a92b88055e9cf80f7fdb48.jpg)


.jpg.4d9512b178ed0f33ddbdf52ed83cc7c6.jpg)
.jpg.da1d78d6c7f9b51df98dd35c8140f029.jpg)
.jpg.81cc33de9711d59db075c82500dba3f2.jpg)

.jpg.a708140234bd1e9fe7f5bfda49592b74.jpg)
.jpg.7f3752e8fc24e3a633528154ea613ab3.jpg)