


Leaderboard
-
conedodger
Free Member7Points12,513Posts -
rcb280z
 Subscriber
 4Points2,392Posts
 -
Patcon
Subscriber3Points11,142Posts -

kats
Free Member3Points2,215Posts


Popular Content
Showing content with the highest reputation on 05/27/2019 in all areas
-
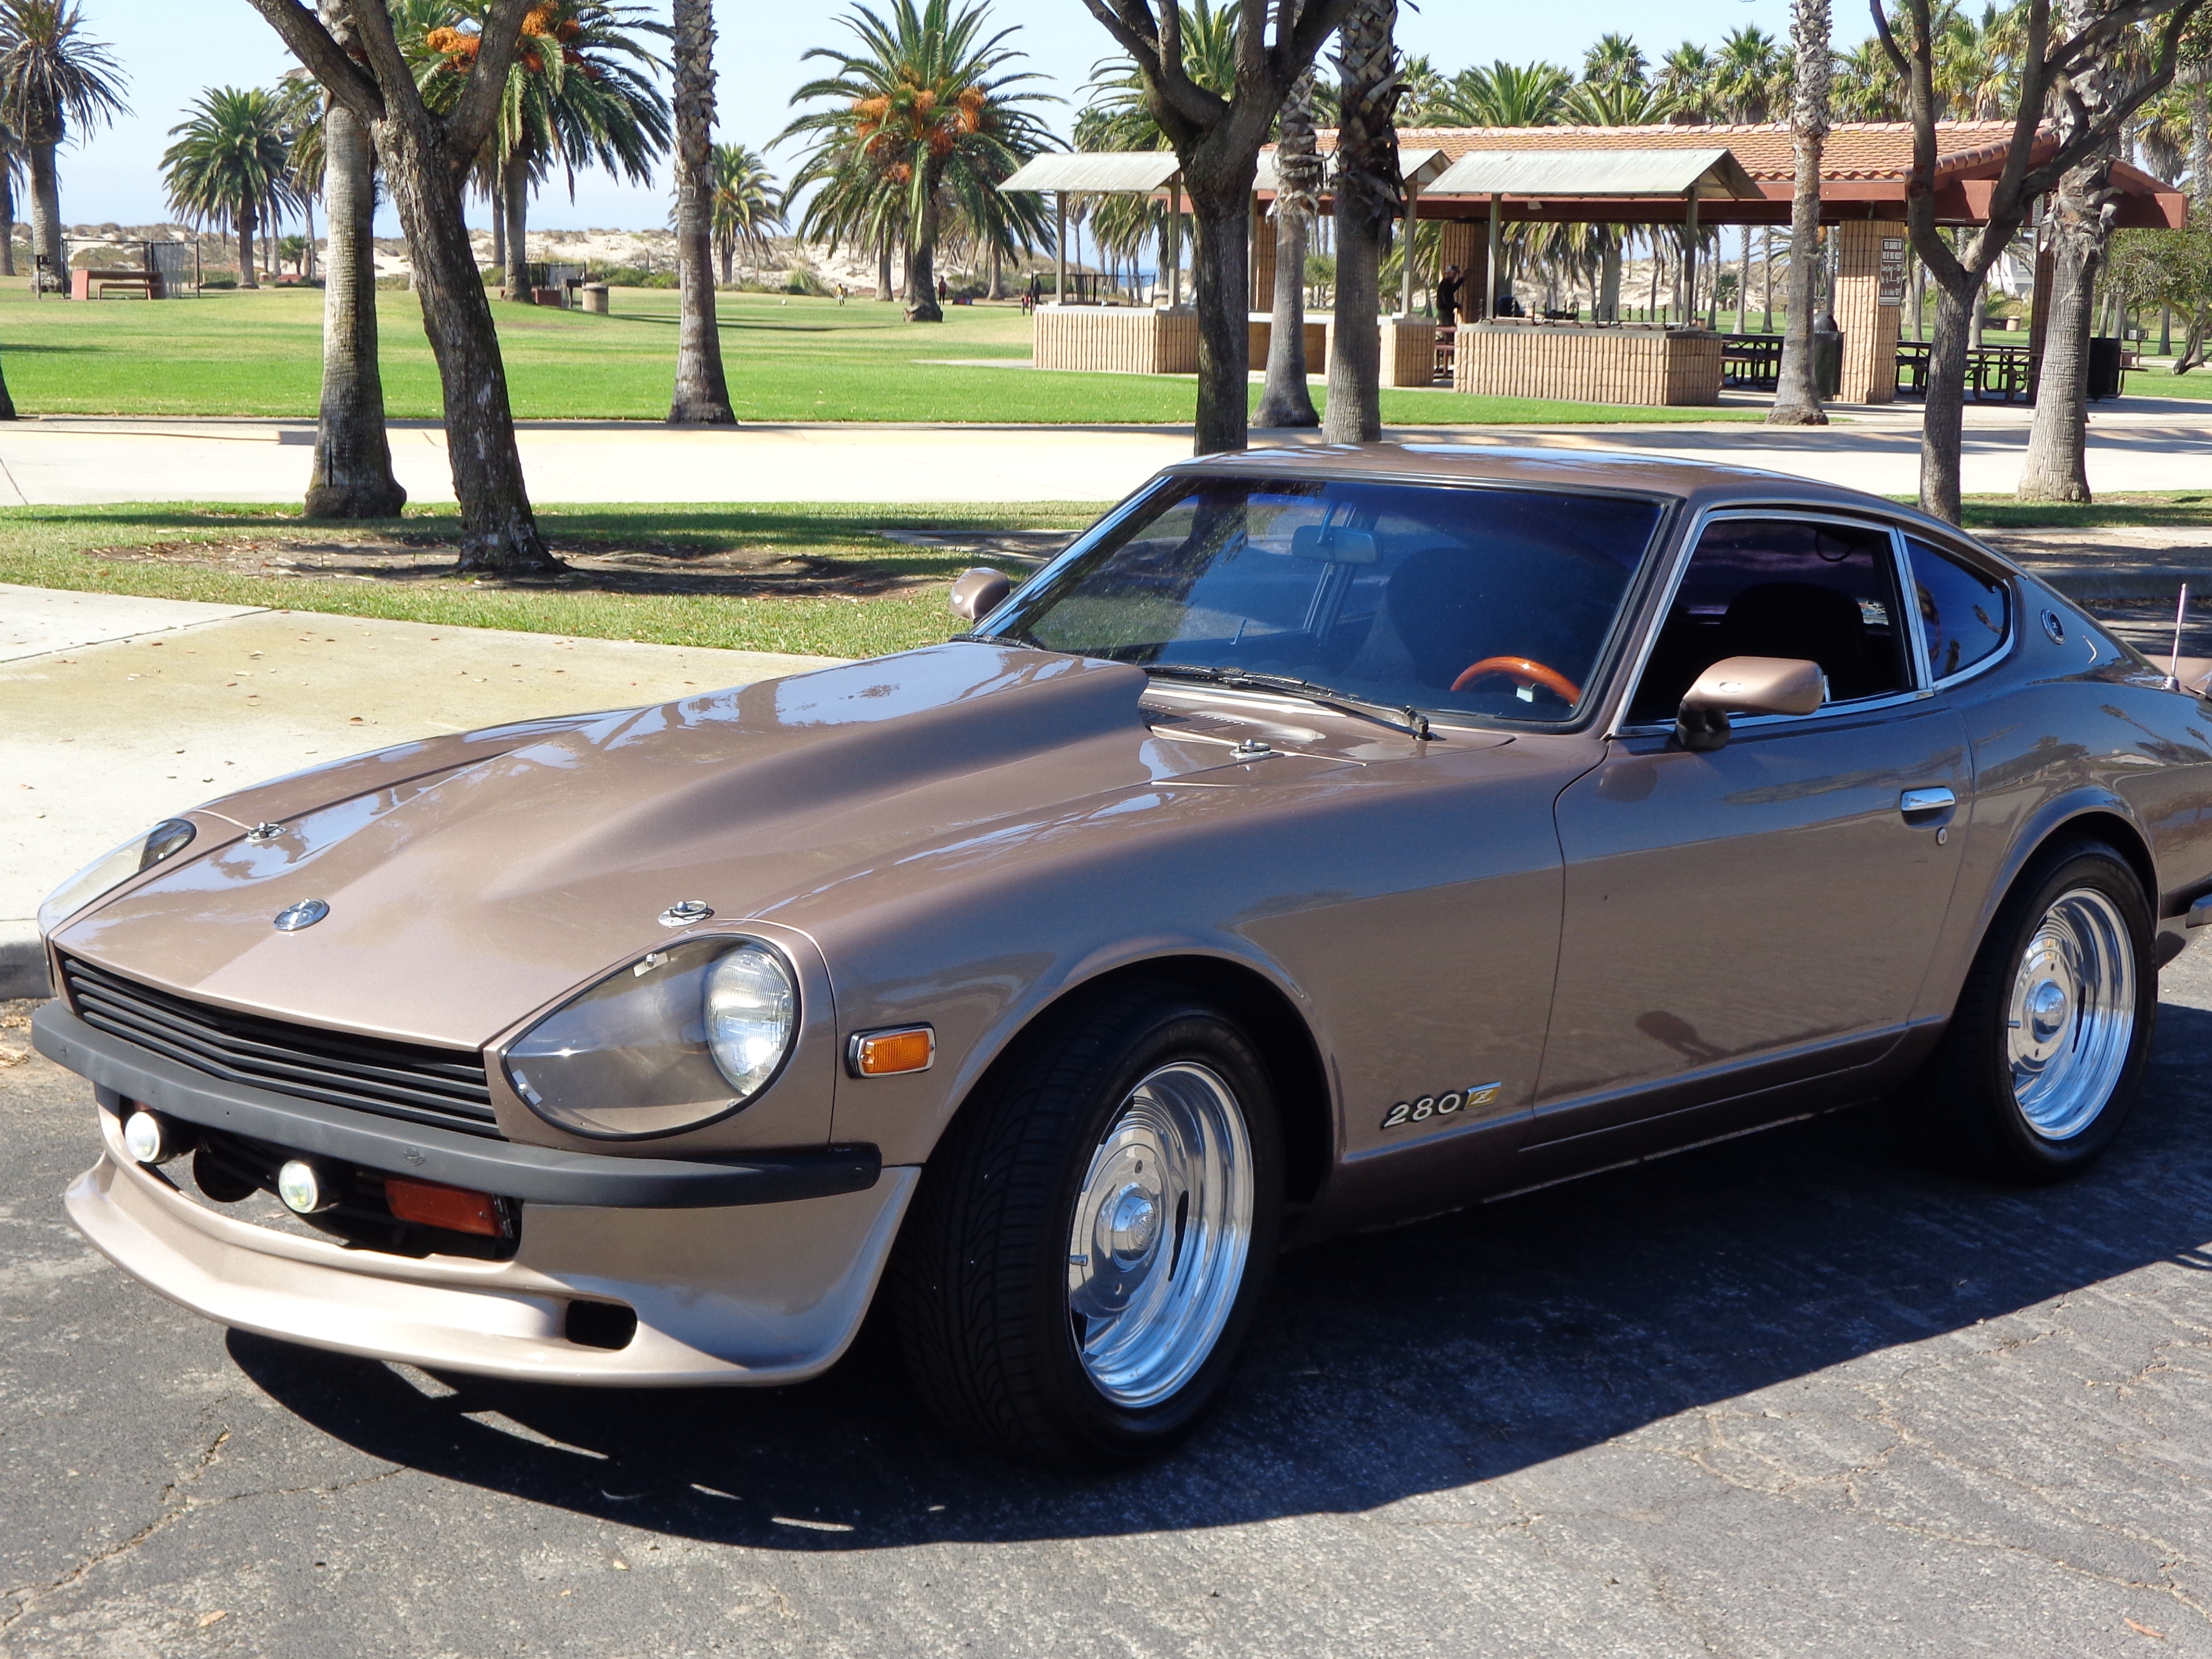
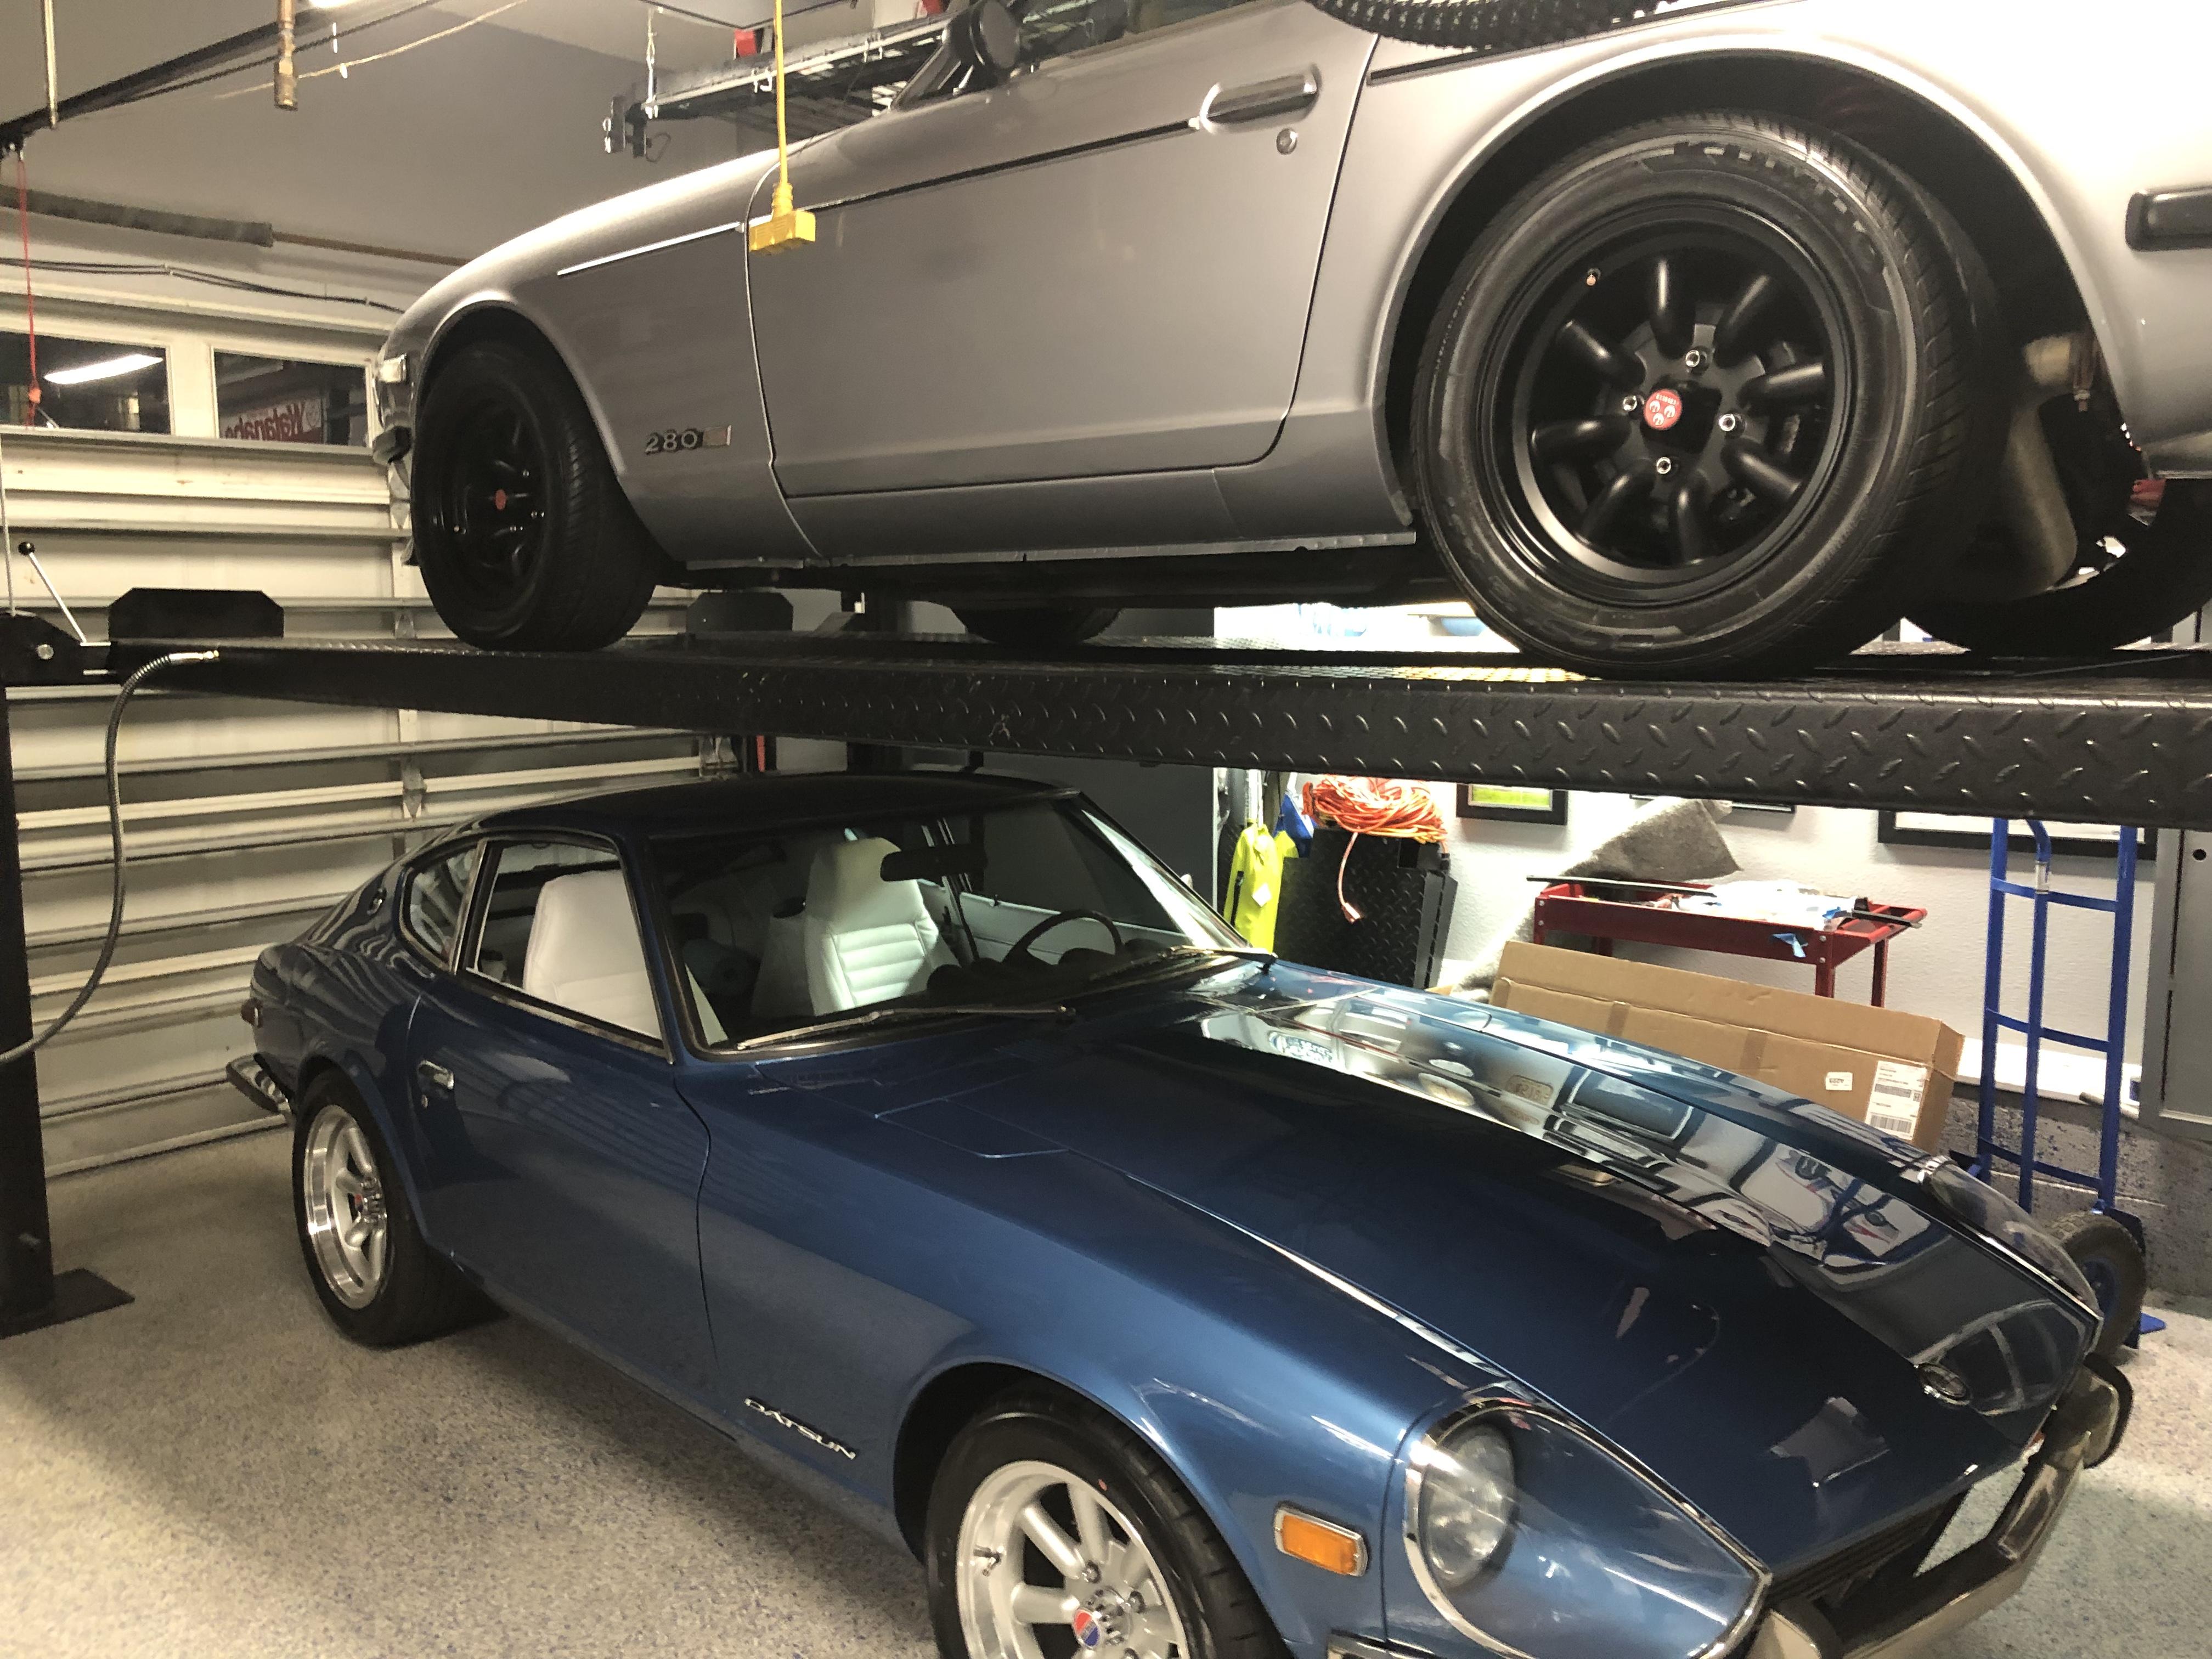
4 pointsHappy Memorial Day and much thanks to all that served and continue to serve this beautiful country of ours! Thank You.4 points
-
Just saw this... Kats, any chance you can send me contact info for the bracket? I found something on Facebook but not sure if it's the same company or not.. Thanks for all your help. You've renewed my passion for my own car since I drove your Z432 in Kyoto.. ? Mike2 points
-
2 pointsCheck that the other wire, the one that does not have 12 volts, has a good ground. No ground, no spin.
 2 points
 -
2 pointsSpeaking on behalf of three friends who were killed in Viet Nam, I'm not amused. Dennis Deeds, Major, USAF Retired2 points
-
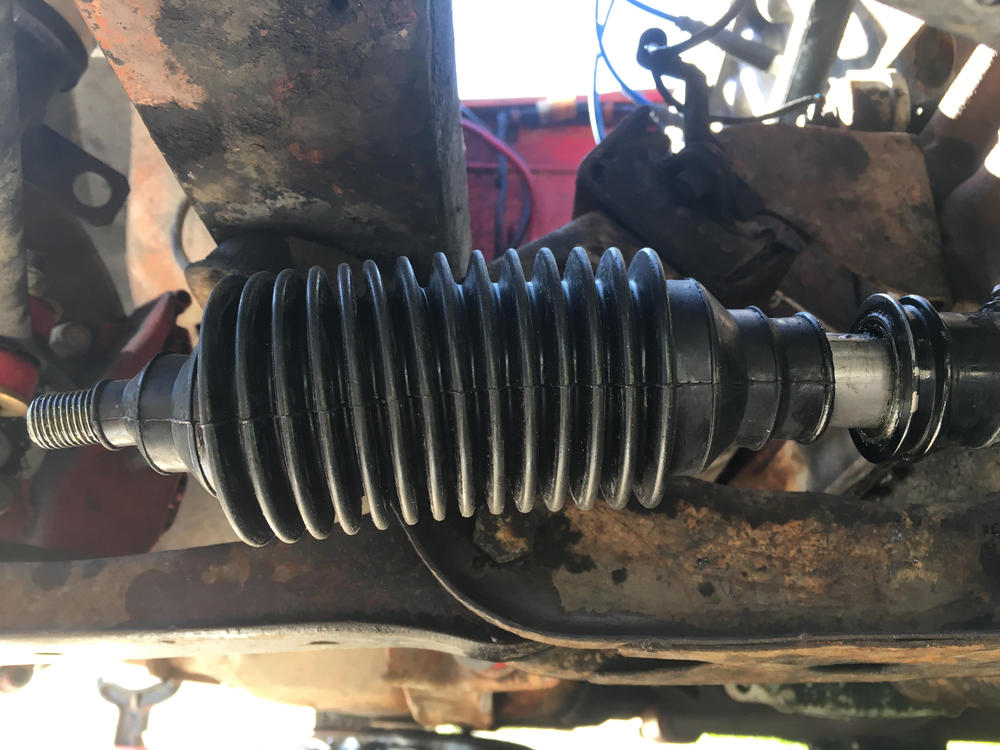
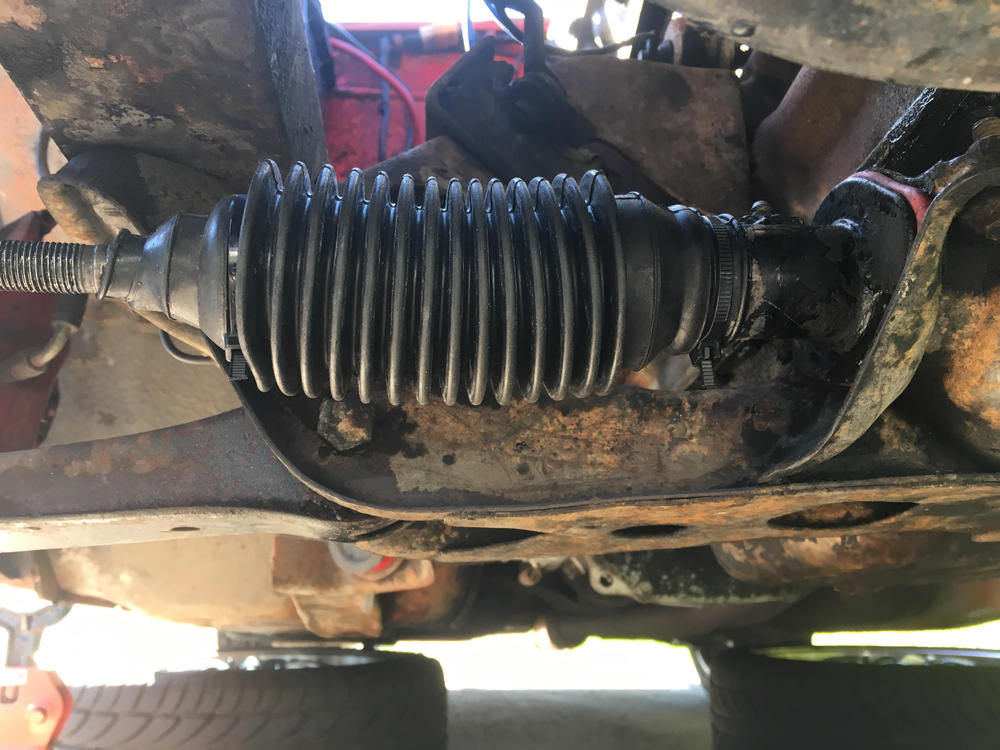
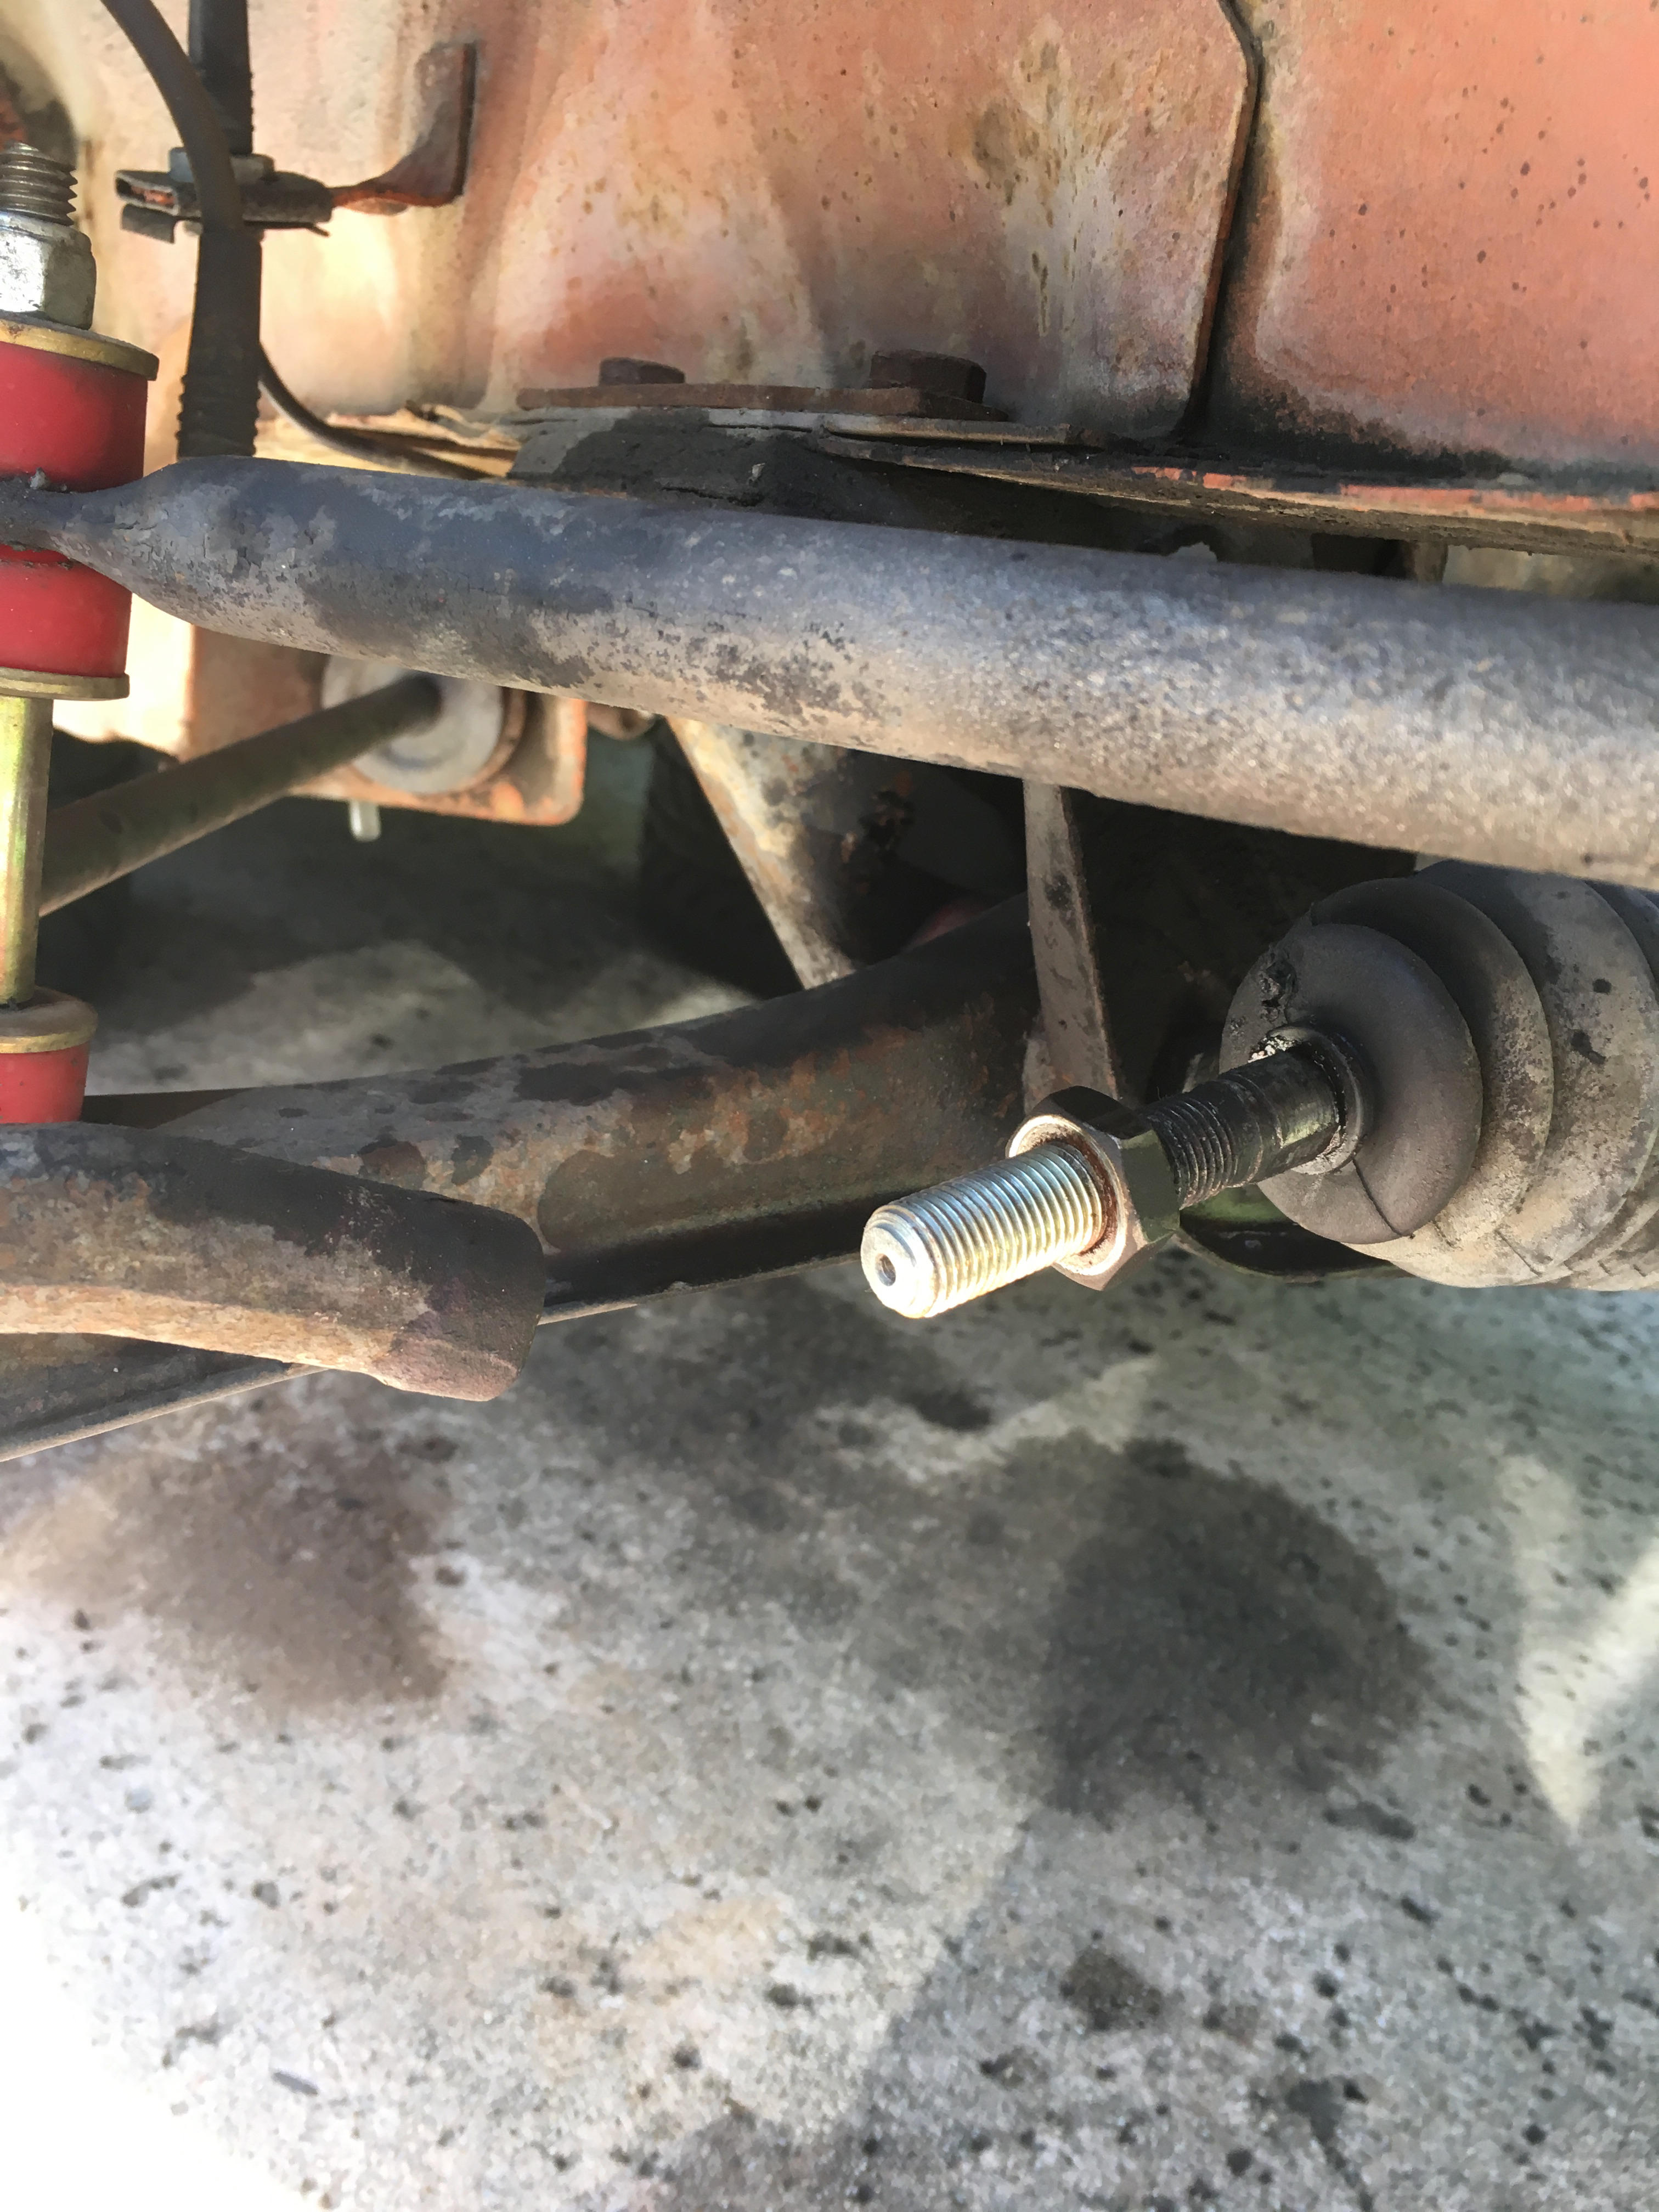
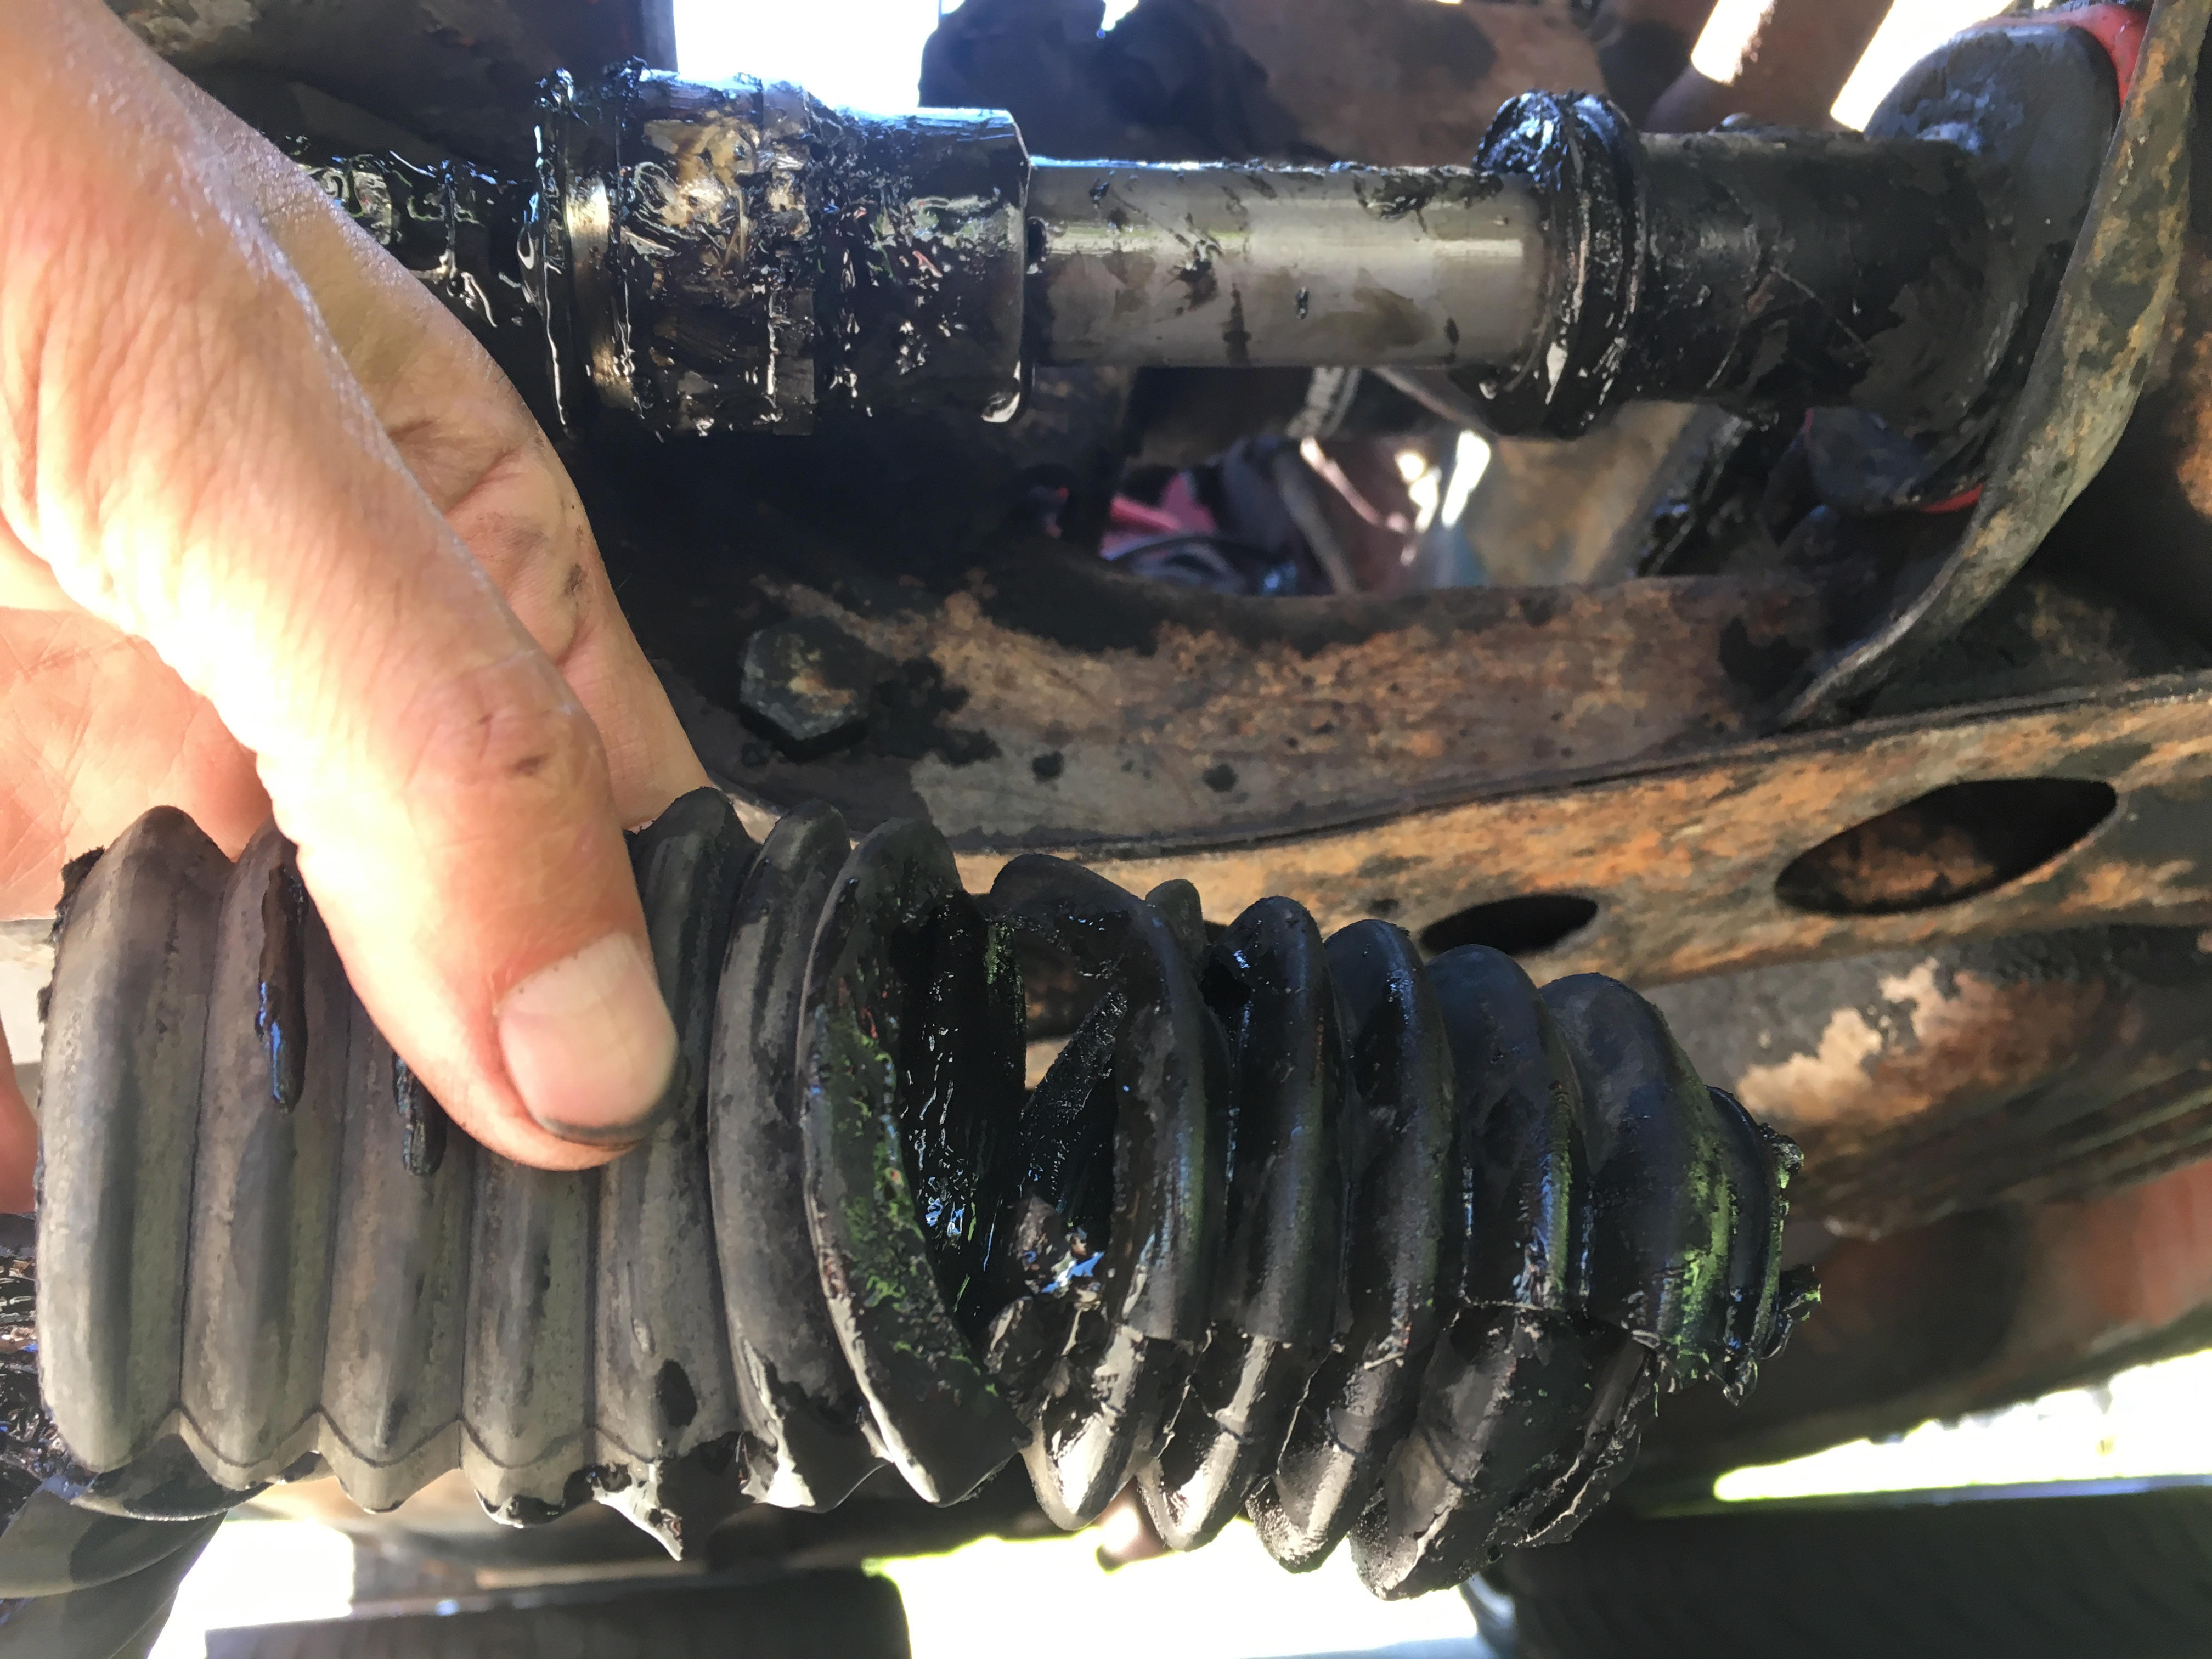
2 pointsGood job, just one minor thing that could turn into major, the tie wraps on the outboard end of the boots go on the very end of the rubber so they are tight around the smooth section of the threaded rod. Where you have them now dirt can still get in and foul up the ball joint.2 points
-
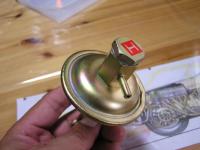
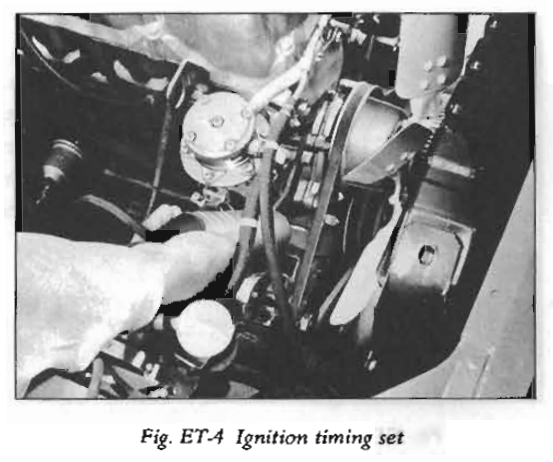
Just an interesting side story… if you are not concerned with Date Correct or cosmetics - and just need to replace the OEM pump on Daily Driver: Back in the 60’s that was a Carter Fuel Pump, then sold as a Purolator and today as a Facet. They originally had a set of points and today the newer Facets are solid state. (single wire) The OEM Part No. 477060E for the 2.75 to 4.0 psi/34 gah NAPA - $188.00 NISMO on eBay $131.99 +$14.95 shipping Amazon $122.88 Aircraftspruce.com $78.75 https://www.aircraftspruce.com/catalog/eppages/facetgoldflo.php?gclid=EAIaIQobChMIw6239pu74gIVlInICh2f2w6hEAQYASABEgJbQ_D_BwE2 points
-
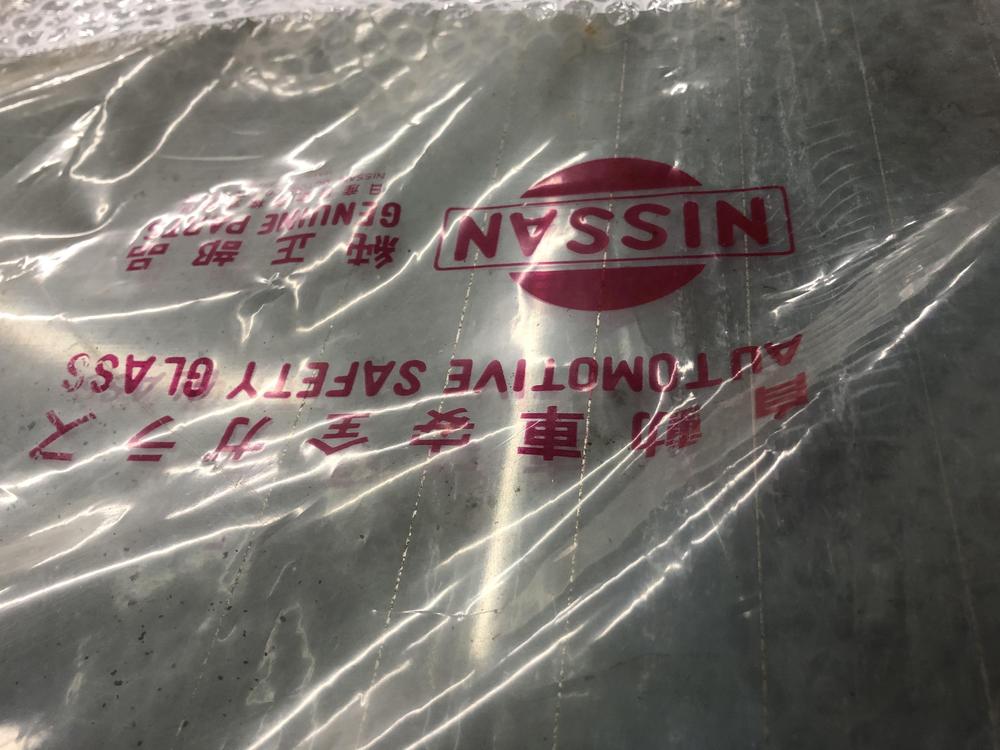
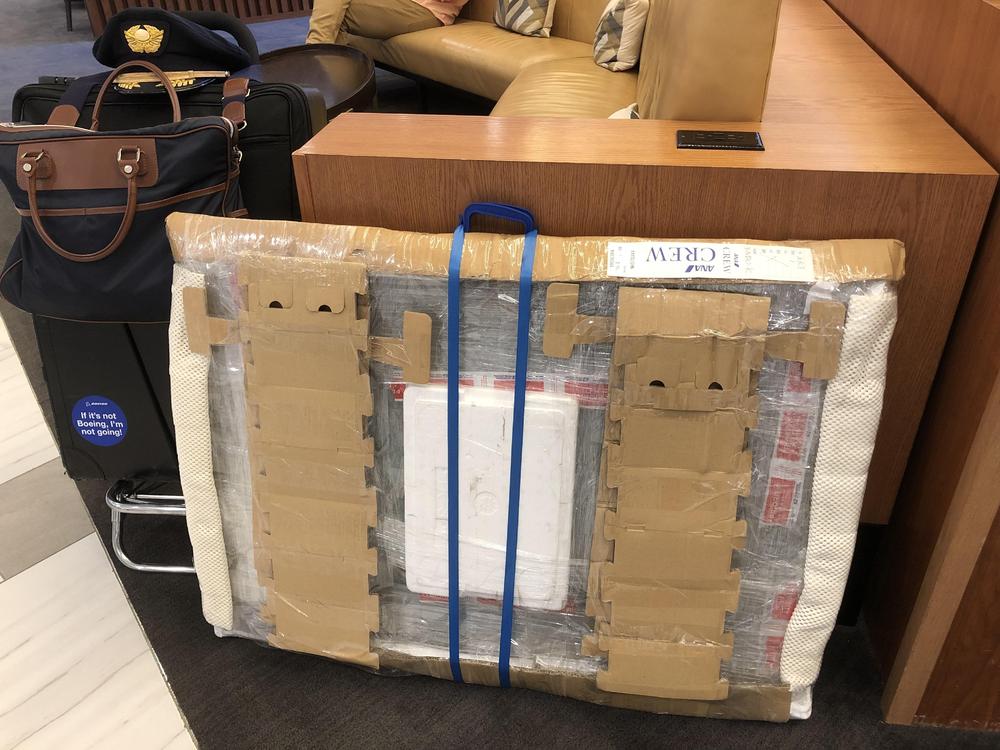
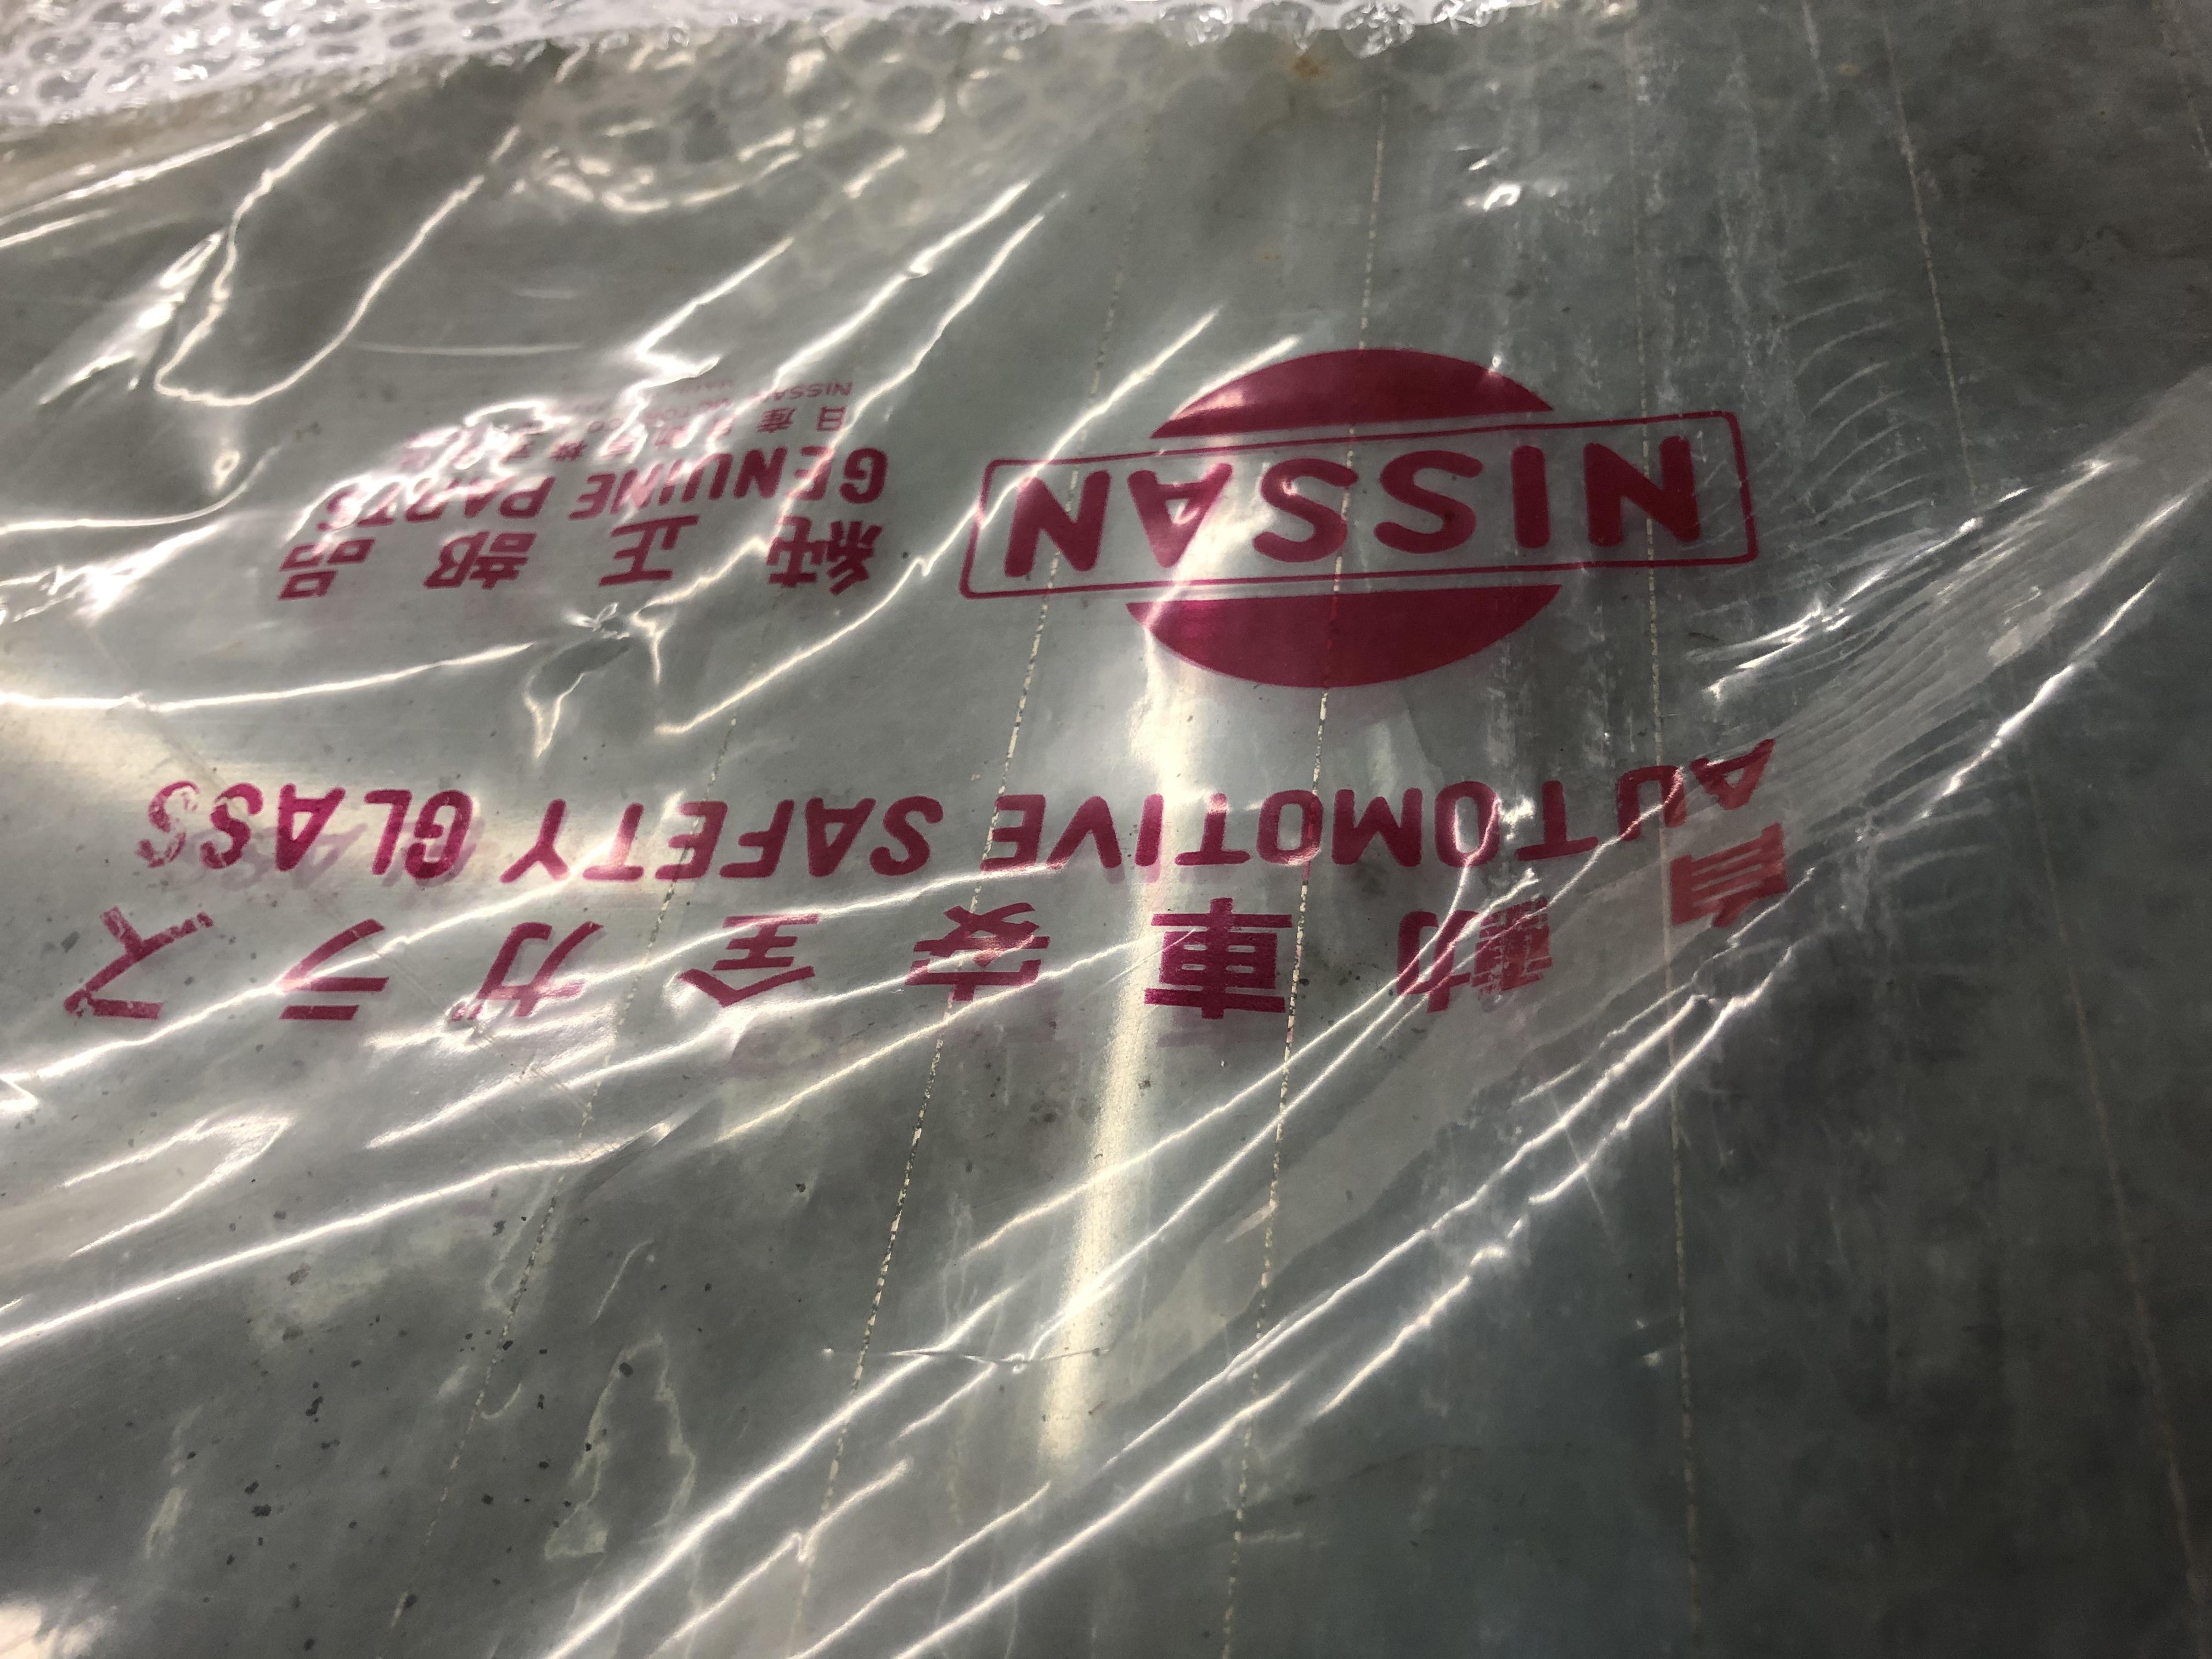
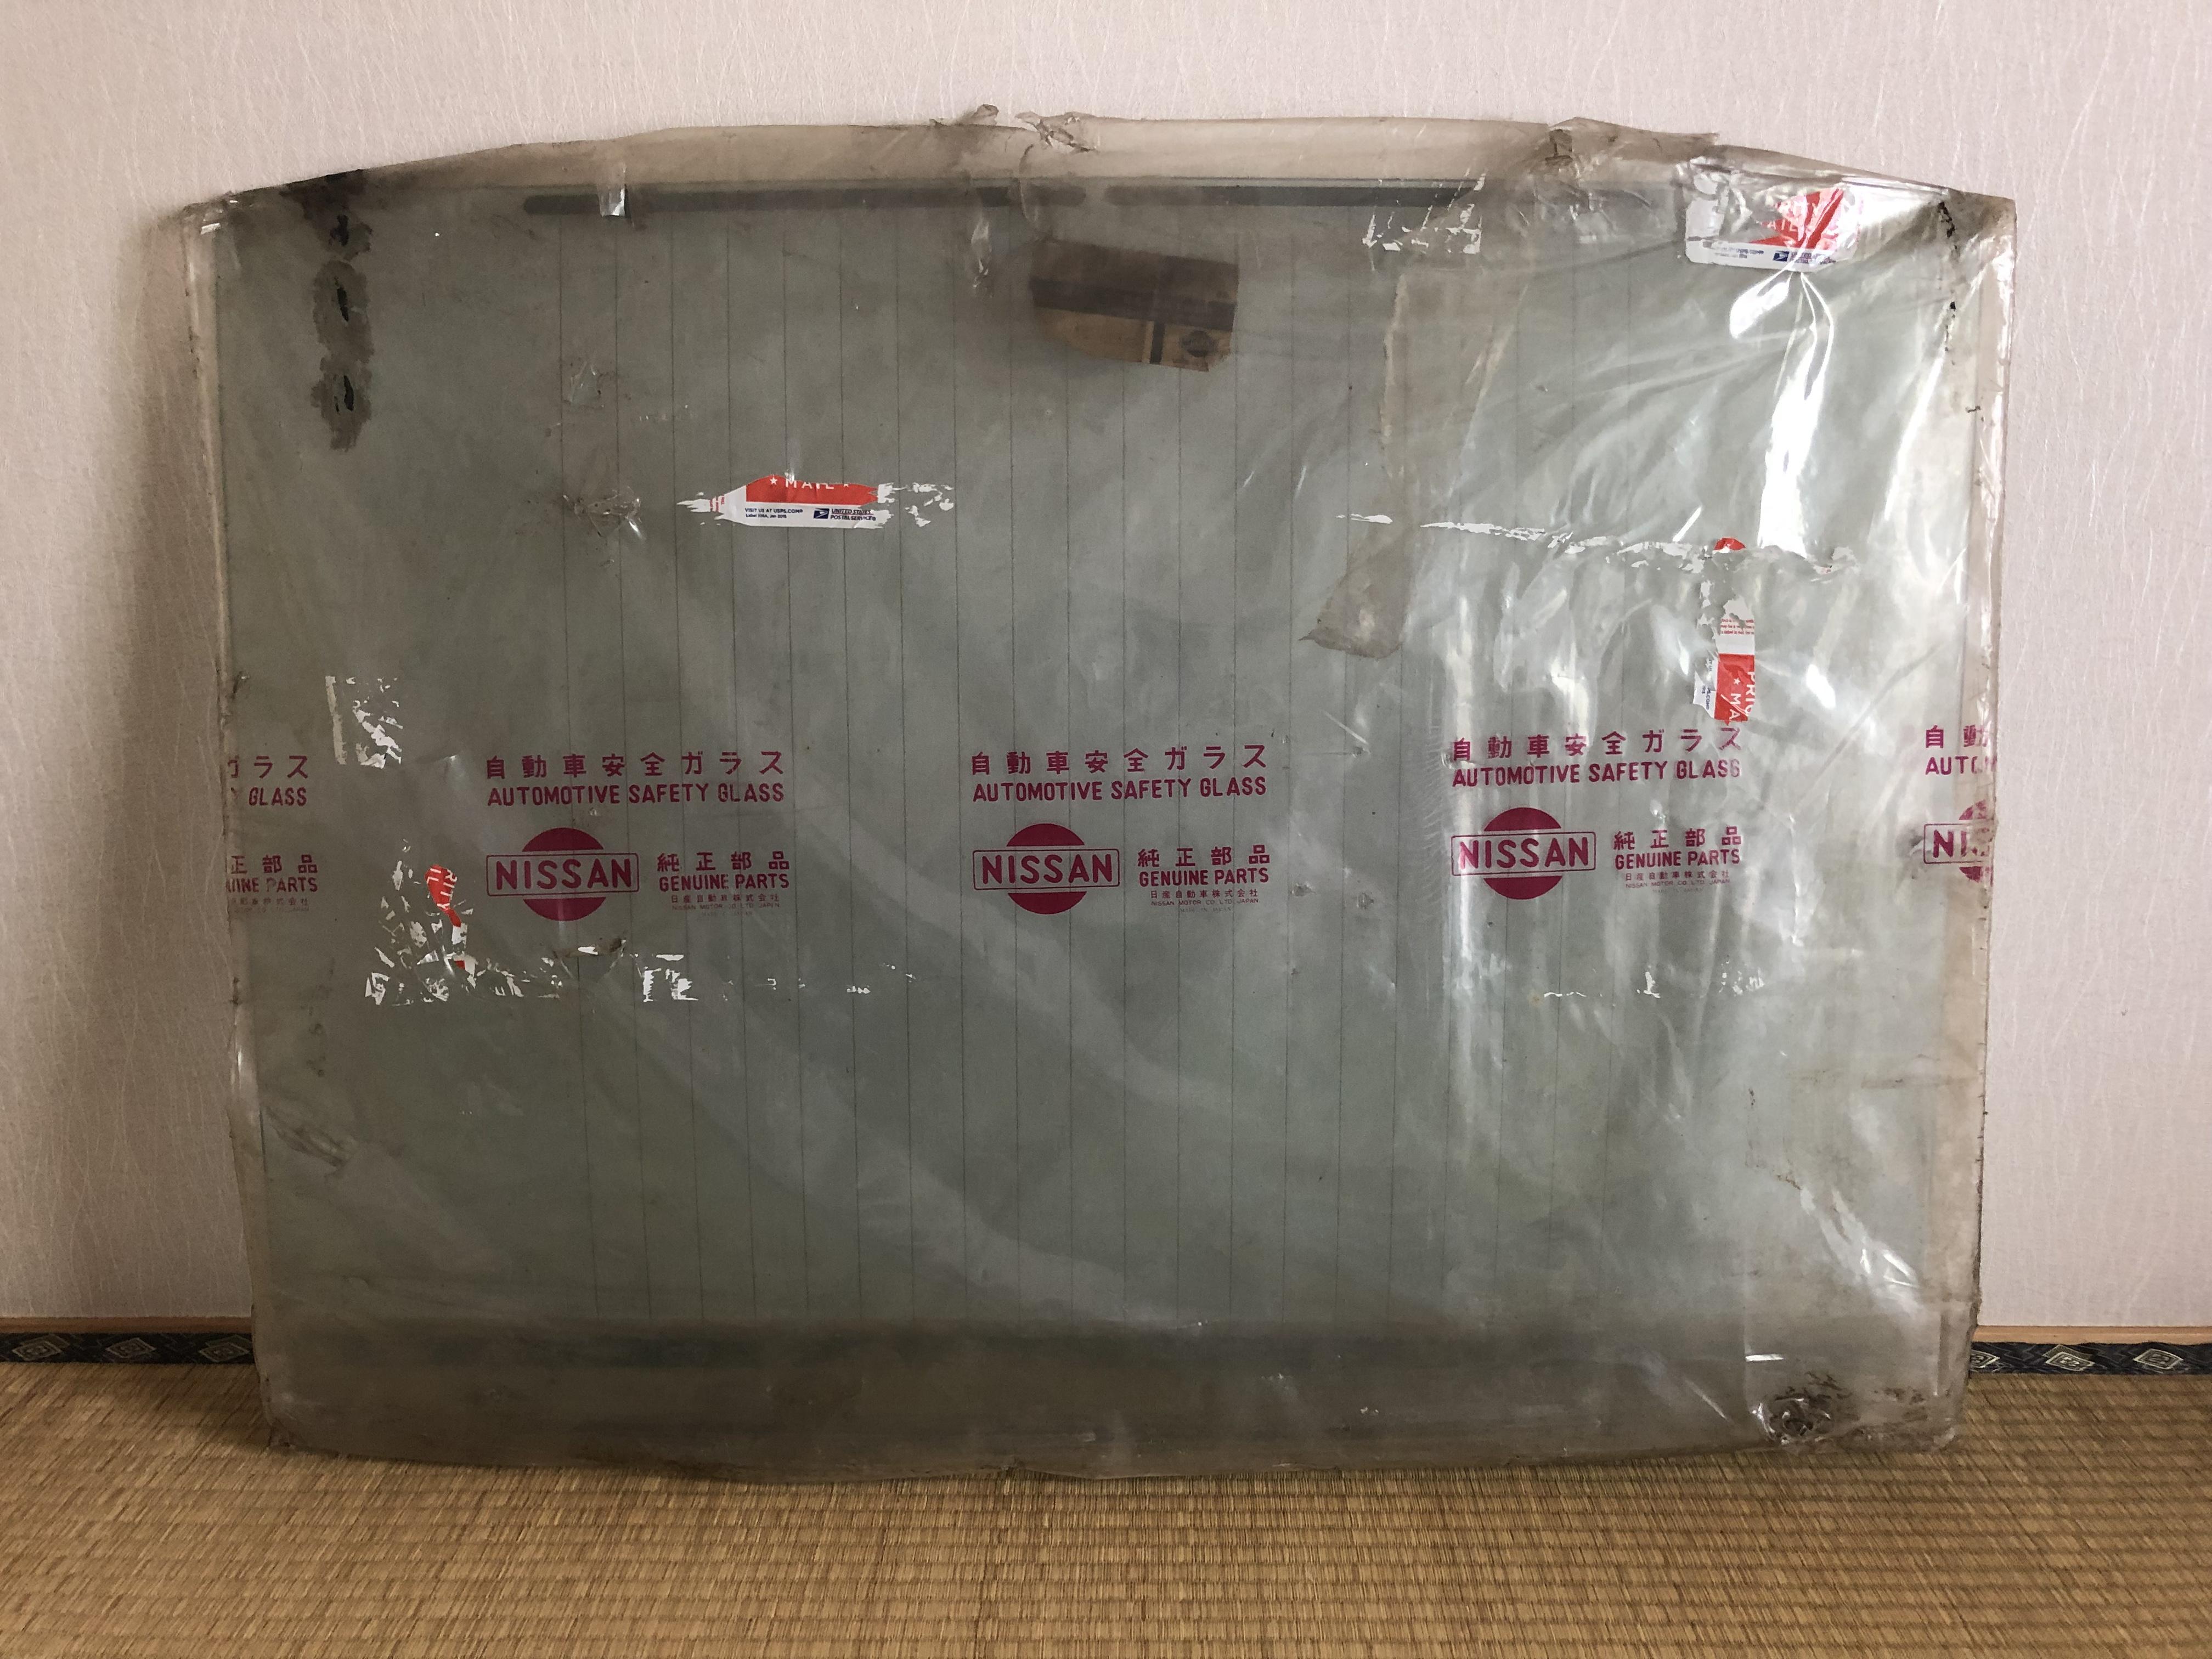
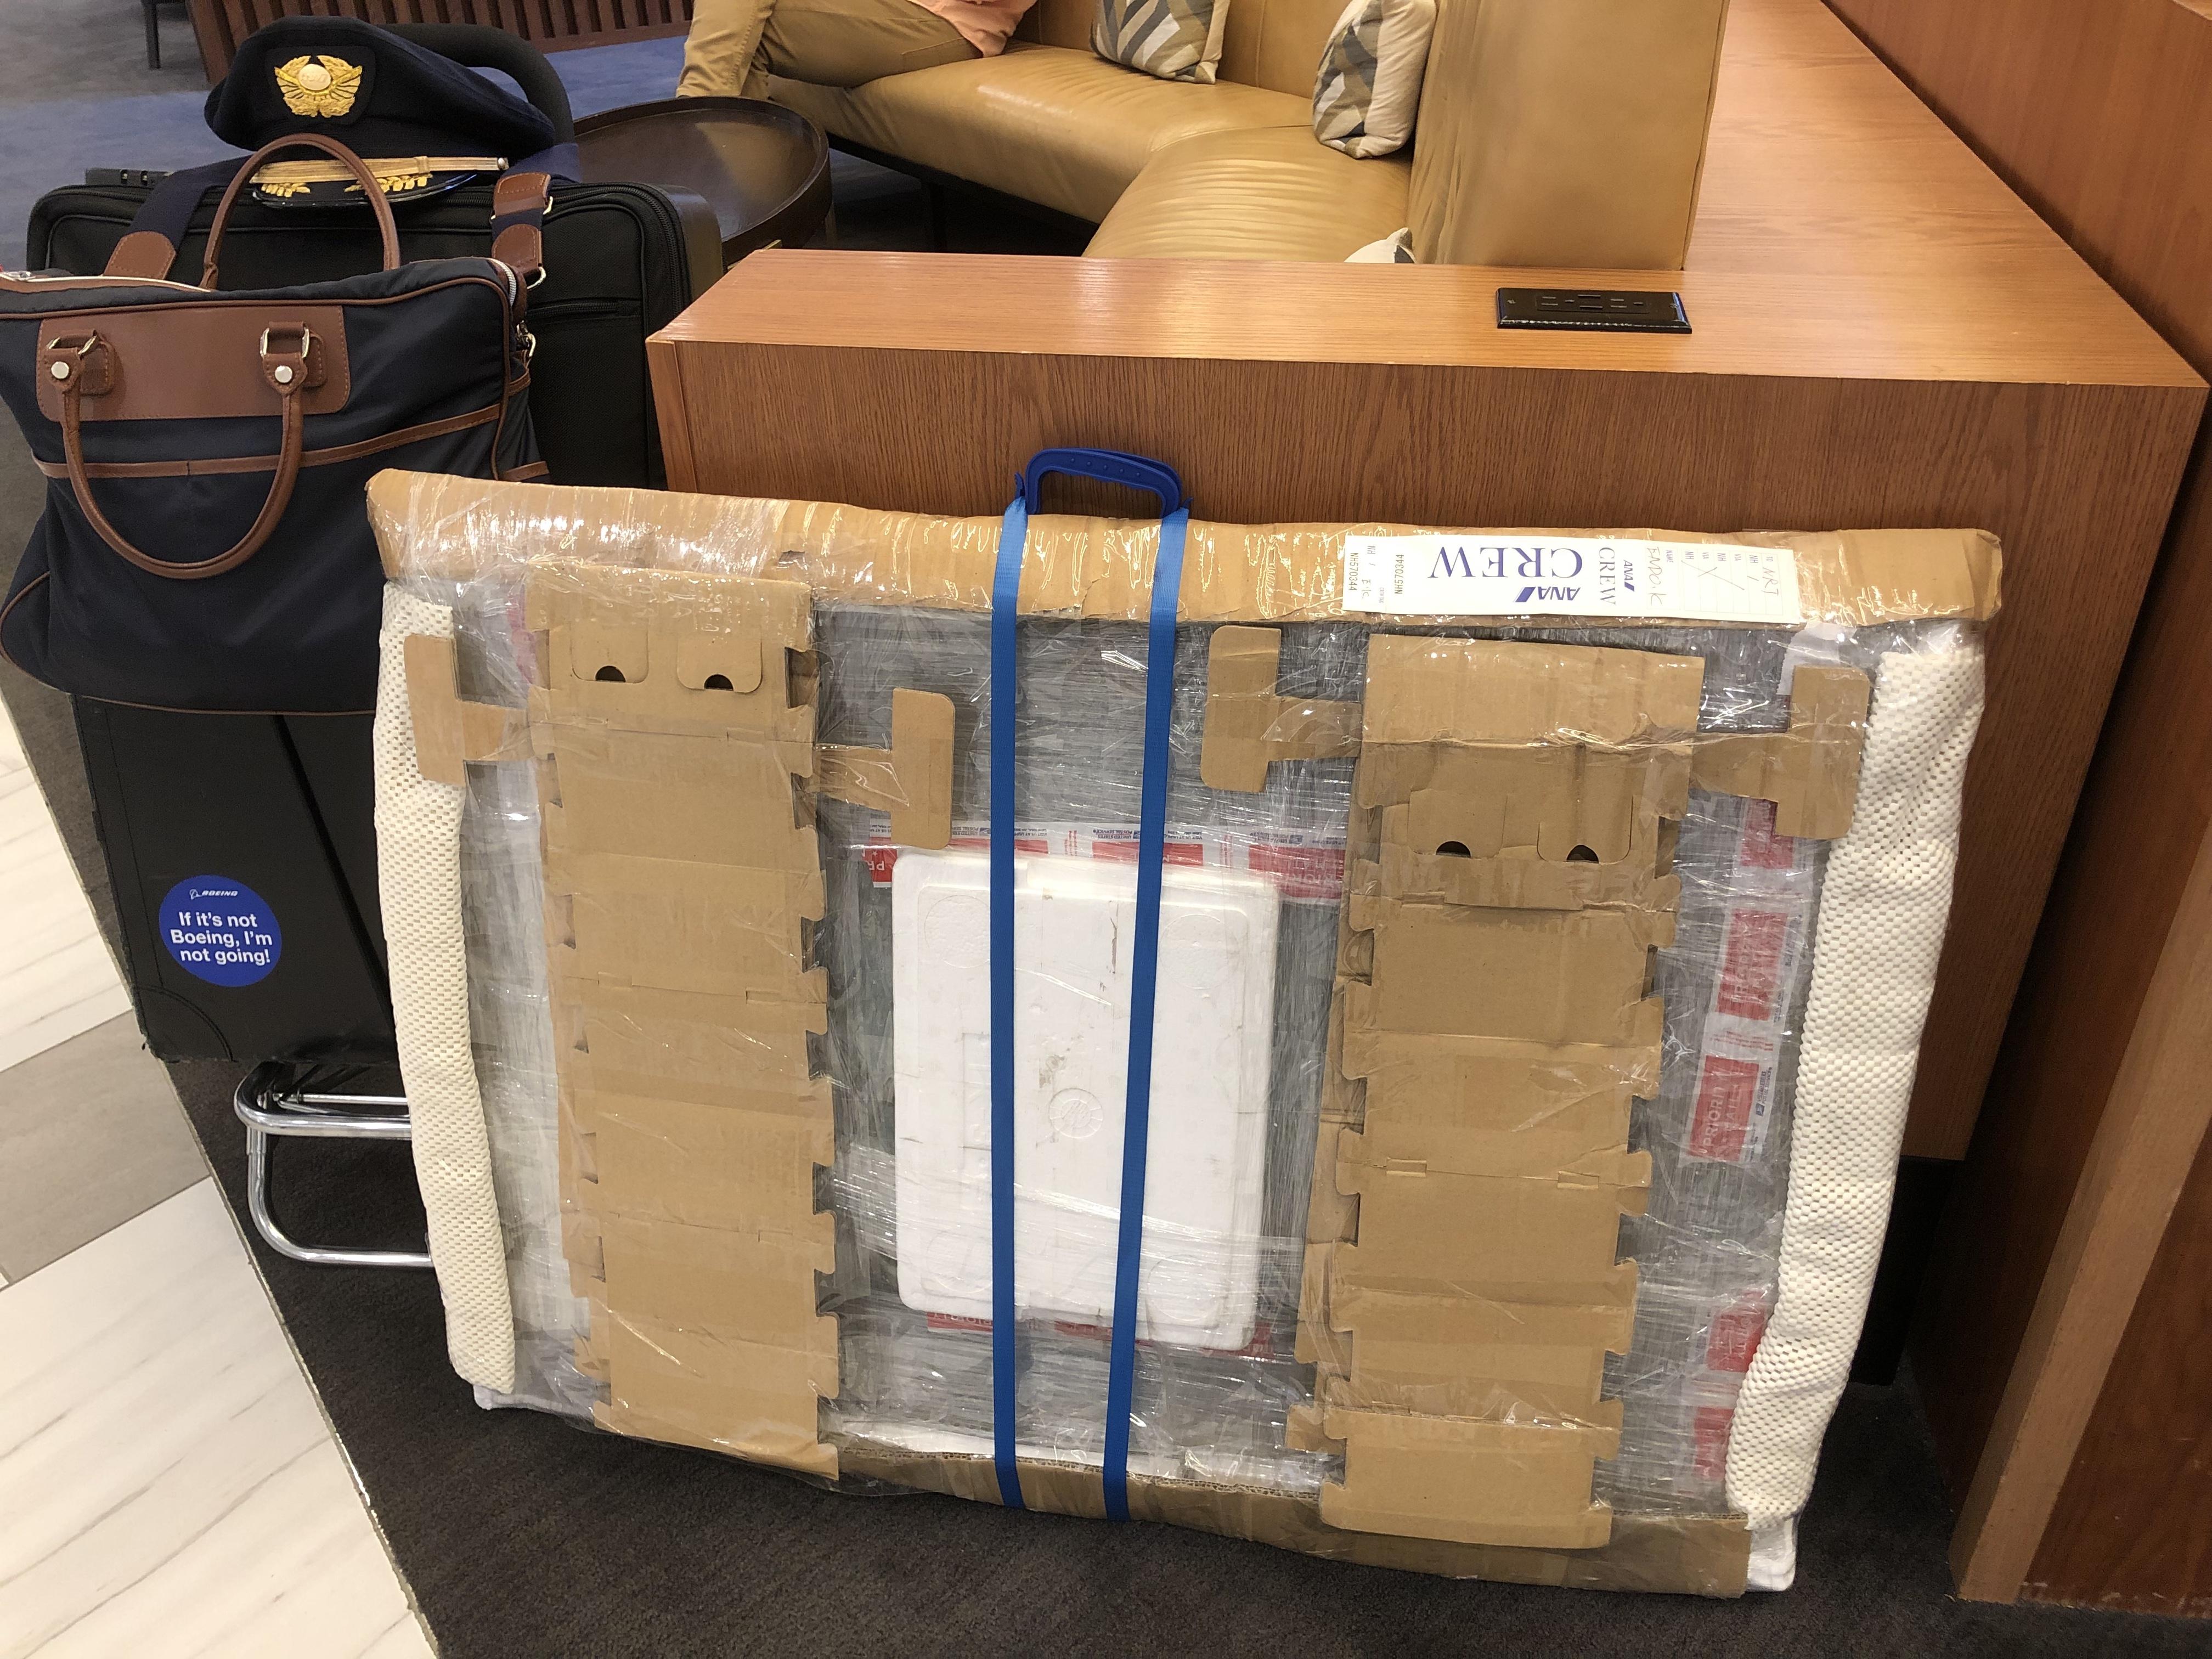
2 pointsNice Kats, love the idea of recreating the old genuine part sticker too. Looks like you carried that glass with you through the airport lounge. I'm glad I'm not the only 1 who carries car parts with me on international flights. :D2 points
-
Google translated text: ★ ★ Product Details ☆ Super rare! ! Resin-made headlight bezel for initial type S30Z Z432 New! ! Boxed! ! It is an exhibition of. ☆ Genuine part number: 63116-E4100, 63115-E4100 ☆ It is made of resin for early model 44 to 45 years S30Z, Z432, Z432R. (Not steel since mid-term !!) ☆ new unused! ! Boxed! ! is. ☆ If you miss this time you will probably not get it again! ! ☆ If you are seeking perfection, we will refuse the tender of nervous ones firmly. ☆ Please bid on observance of no claim & no return after confirmation with the image. ※ In addition, we have exhibited many parts such as parts for S30Z, parts for L-shape, parts for Nissan old cars. ★ ★ Shipping Details ☆ Shipping is uniform 3,000 yen (Hokkaido, Okinawa 5,000 yen plus) ★ Notes ★ ☆ Please contact us within 24 hours after the end of the auction and only those who can complete payment within 3 days. ☆ The one with a bad evaluation and the one with few evaluations may cancel even if the end is near. ☆ Cancellation after a successful bid, discount can not be accepted at all. ☆ We have set it up uniformly because we can not handle many inquiries for shipping costs. ☆ Since it is different from the actual shipping cost, we can not accept any claim regarding the shipping cost after a successful bid. ☆ I do not hear the specification of the delivery company. ☆ It may take time before shipping due to work. ☆ If you are in a hurry please contact us in advance. ☆ All our exhibits will be stock items, so there will be no purchases after a successful bid. ☆ Please bid only for those who can understand all explanatory notes and notes. ☆ If you can not follow the instructions will be deleted by the highest bidder convenience. (Please note that a bad rating is automatically attached) ☆ Please issue a transfer form instead of issuing a receipt. ☆ Please check if there is any damage once the product has arrived. (We can not accept complaints from the day after arrival) ☆ Please look at the self-introduction before bidding.1 point
-
1 pointSpeaker wire varies a lot. If you mean what comes with most stereos, like 24ga or something, that's a little small. If you mean 12 ga like I normally use, that should be more than adequate1 point
-
1 pointI used the same thing a Cliff. Speaker wire and alligator clips when I was troubleshooting my fuel pump problems. It worked fine. When you said you put 12V on it but it wasn’t a full 12V that’s a bit ambiguous. Probably needs to be pretty close to 12V for it to work. If your pushing 10V it might be a problem. I agree with Zed Head on making sure it is properly grounded. When my fuel pump wasn’t working, I was able to narrow it down to the ignition switch. It worked fine when connected directly to 12V but would work when turning the key. Sent from my iPhone using Tapatalk1 point
-
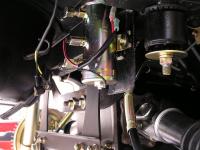
1 pointBack from training and parts are coming in! This is a little gift to myself... custom lug nuts with rotating wheel faces and locking caps. A little cherry bling! This is the wideband sensor for the Haltech kit. Hope to be in the shop again this week.1 point
-
1 pointMake sure the positive and negative are correct and tight. Also if you are in the car trying to listen for it you might just not be hearing it some are pretty quiet. I hooked my battery direct to mine to verify You should be getting very close to full battery power at the pump. Test at the battery to verify it’s voltage. Sent from my iPhone using Tapatalk1 point
-
Just looked and its not on eBay right now, however this is the guy. Happy to put you in touch through Facebook if you'd like: https://www.ebay.co.uk/usr/garymann69?_trksid=p2047675.l25591 point
-
I pretty much agree with all of that. To us aficionados of collecting and accurately restoring, the build date is everything. It is what determines the correctness of parts associated with our efforts For the tax man and DMV it's the year of first title issue, and is usually the only paper document kept that goes with the car year after year.1 point
-
1 pointIf its too low the pump might not run. Try running good battery power straight to the pump to eliminate a bad pump1 point
-
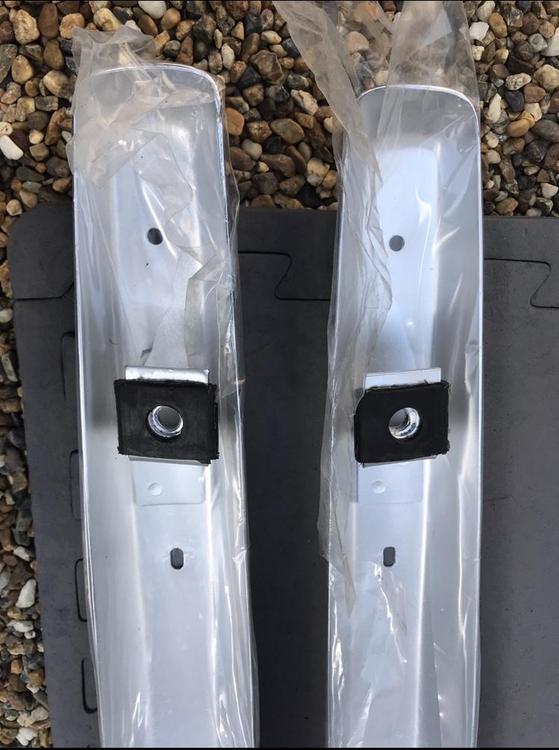
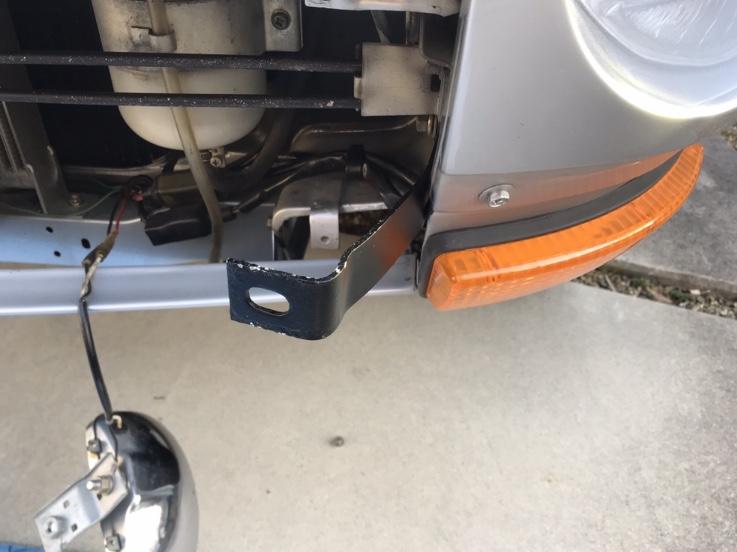
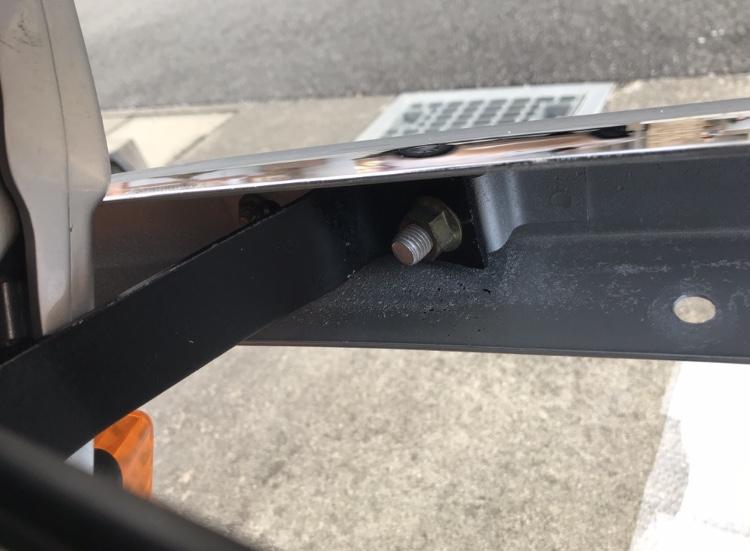
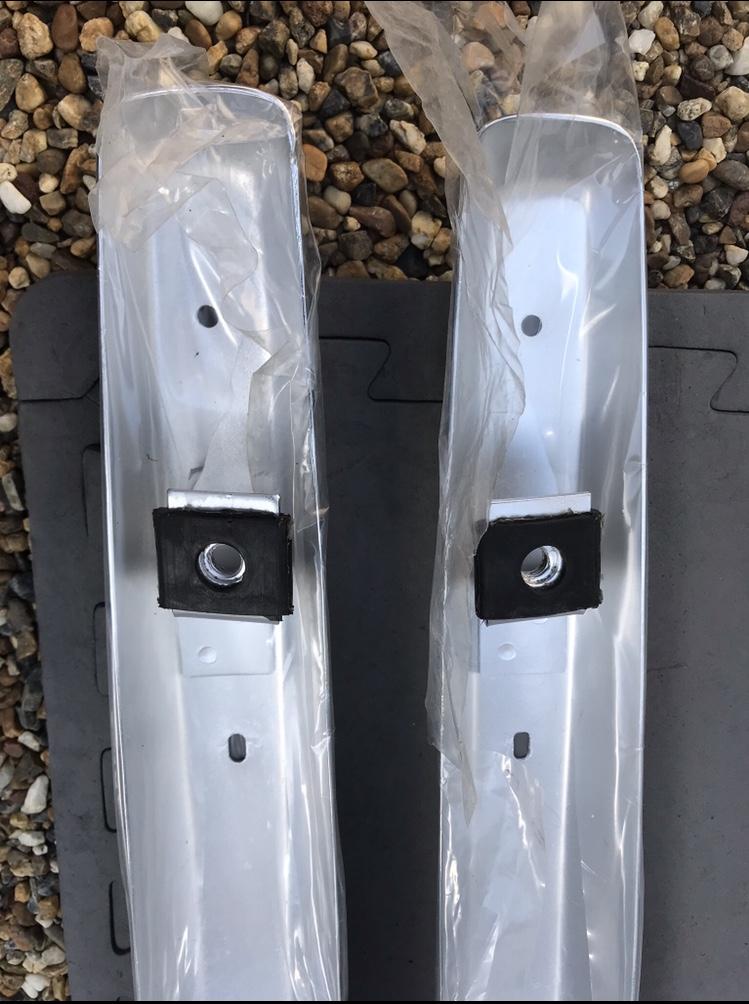
1 pointHi Gavin , I have carried a dash , some Bridgestone Super speed Radial -20 , 4.5 J steel wheels etc ? But this time , I was so nervous because of the glass , it is fragile . Of course they were in a cargo , not in a cockpit ! Today I did re-adjustments of the front bumper which I was not happy. This one is the earliest bumper which has only single stud bolt per side , and this one is not perfect shape compared when it was new . I want it to be more pointing on center tip , and the bonnet is also not perfect. I want the bonnet to be more flat or even pointing up on center tip . I am now compromised , little bit happier than before . I loosened the bumper little bit downward to have more distance between the bonnet and the bumper. I also have installed the rear side bumper which is the earliest one , without cut away near the bracket below. Kats

 1 point
 -
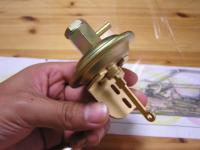
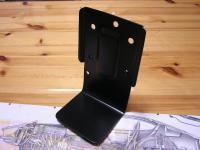
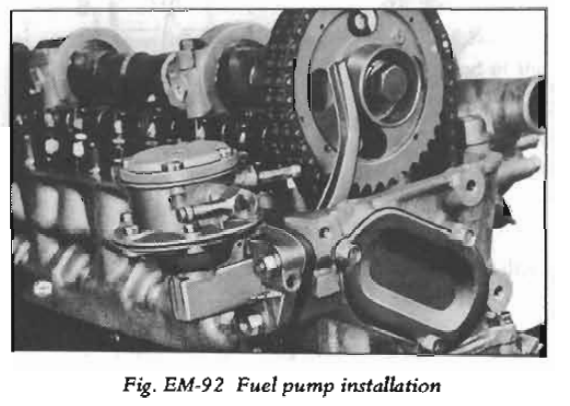
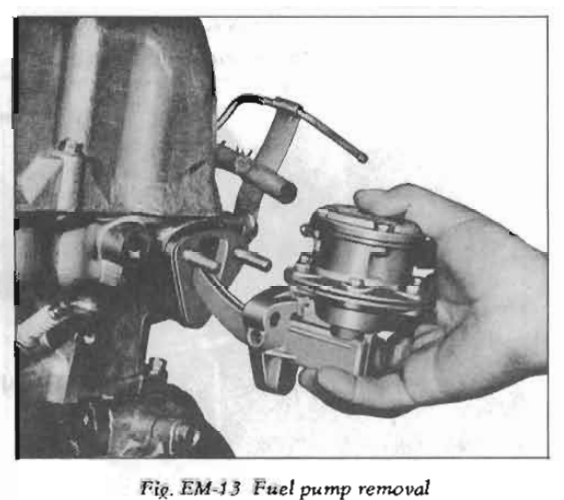
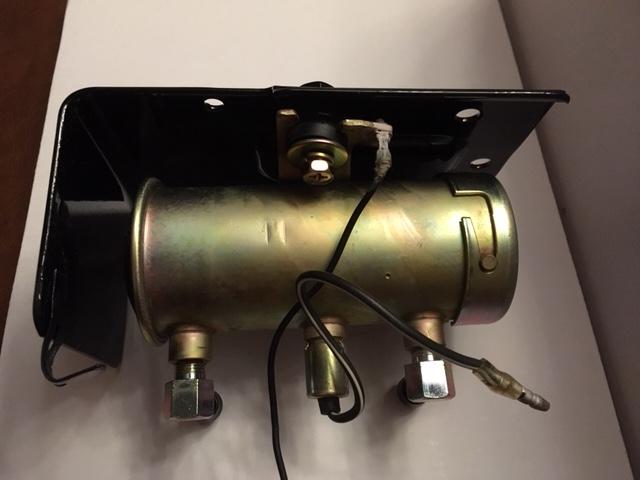
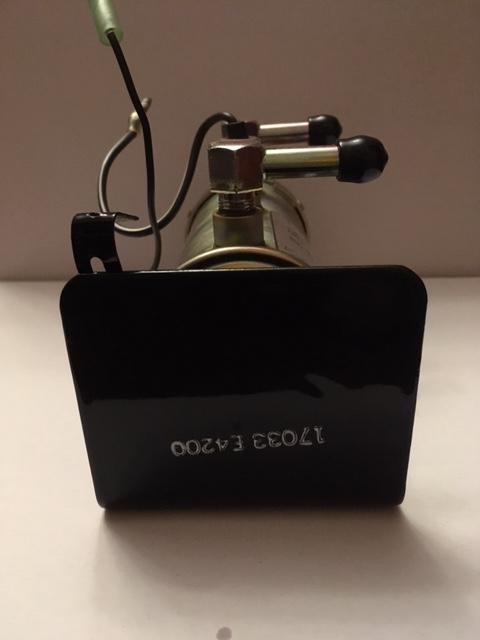
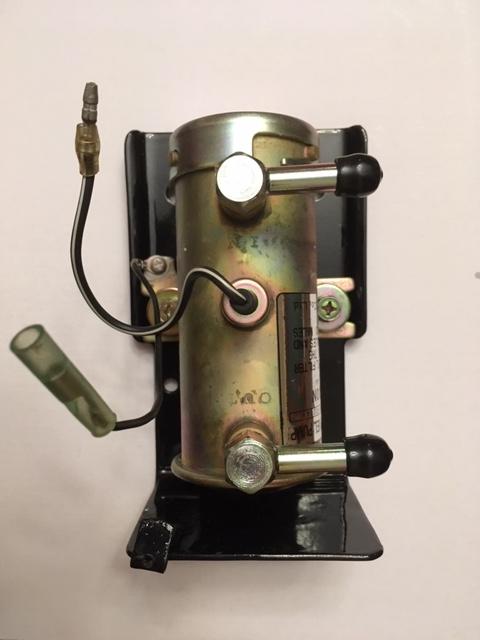
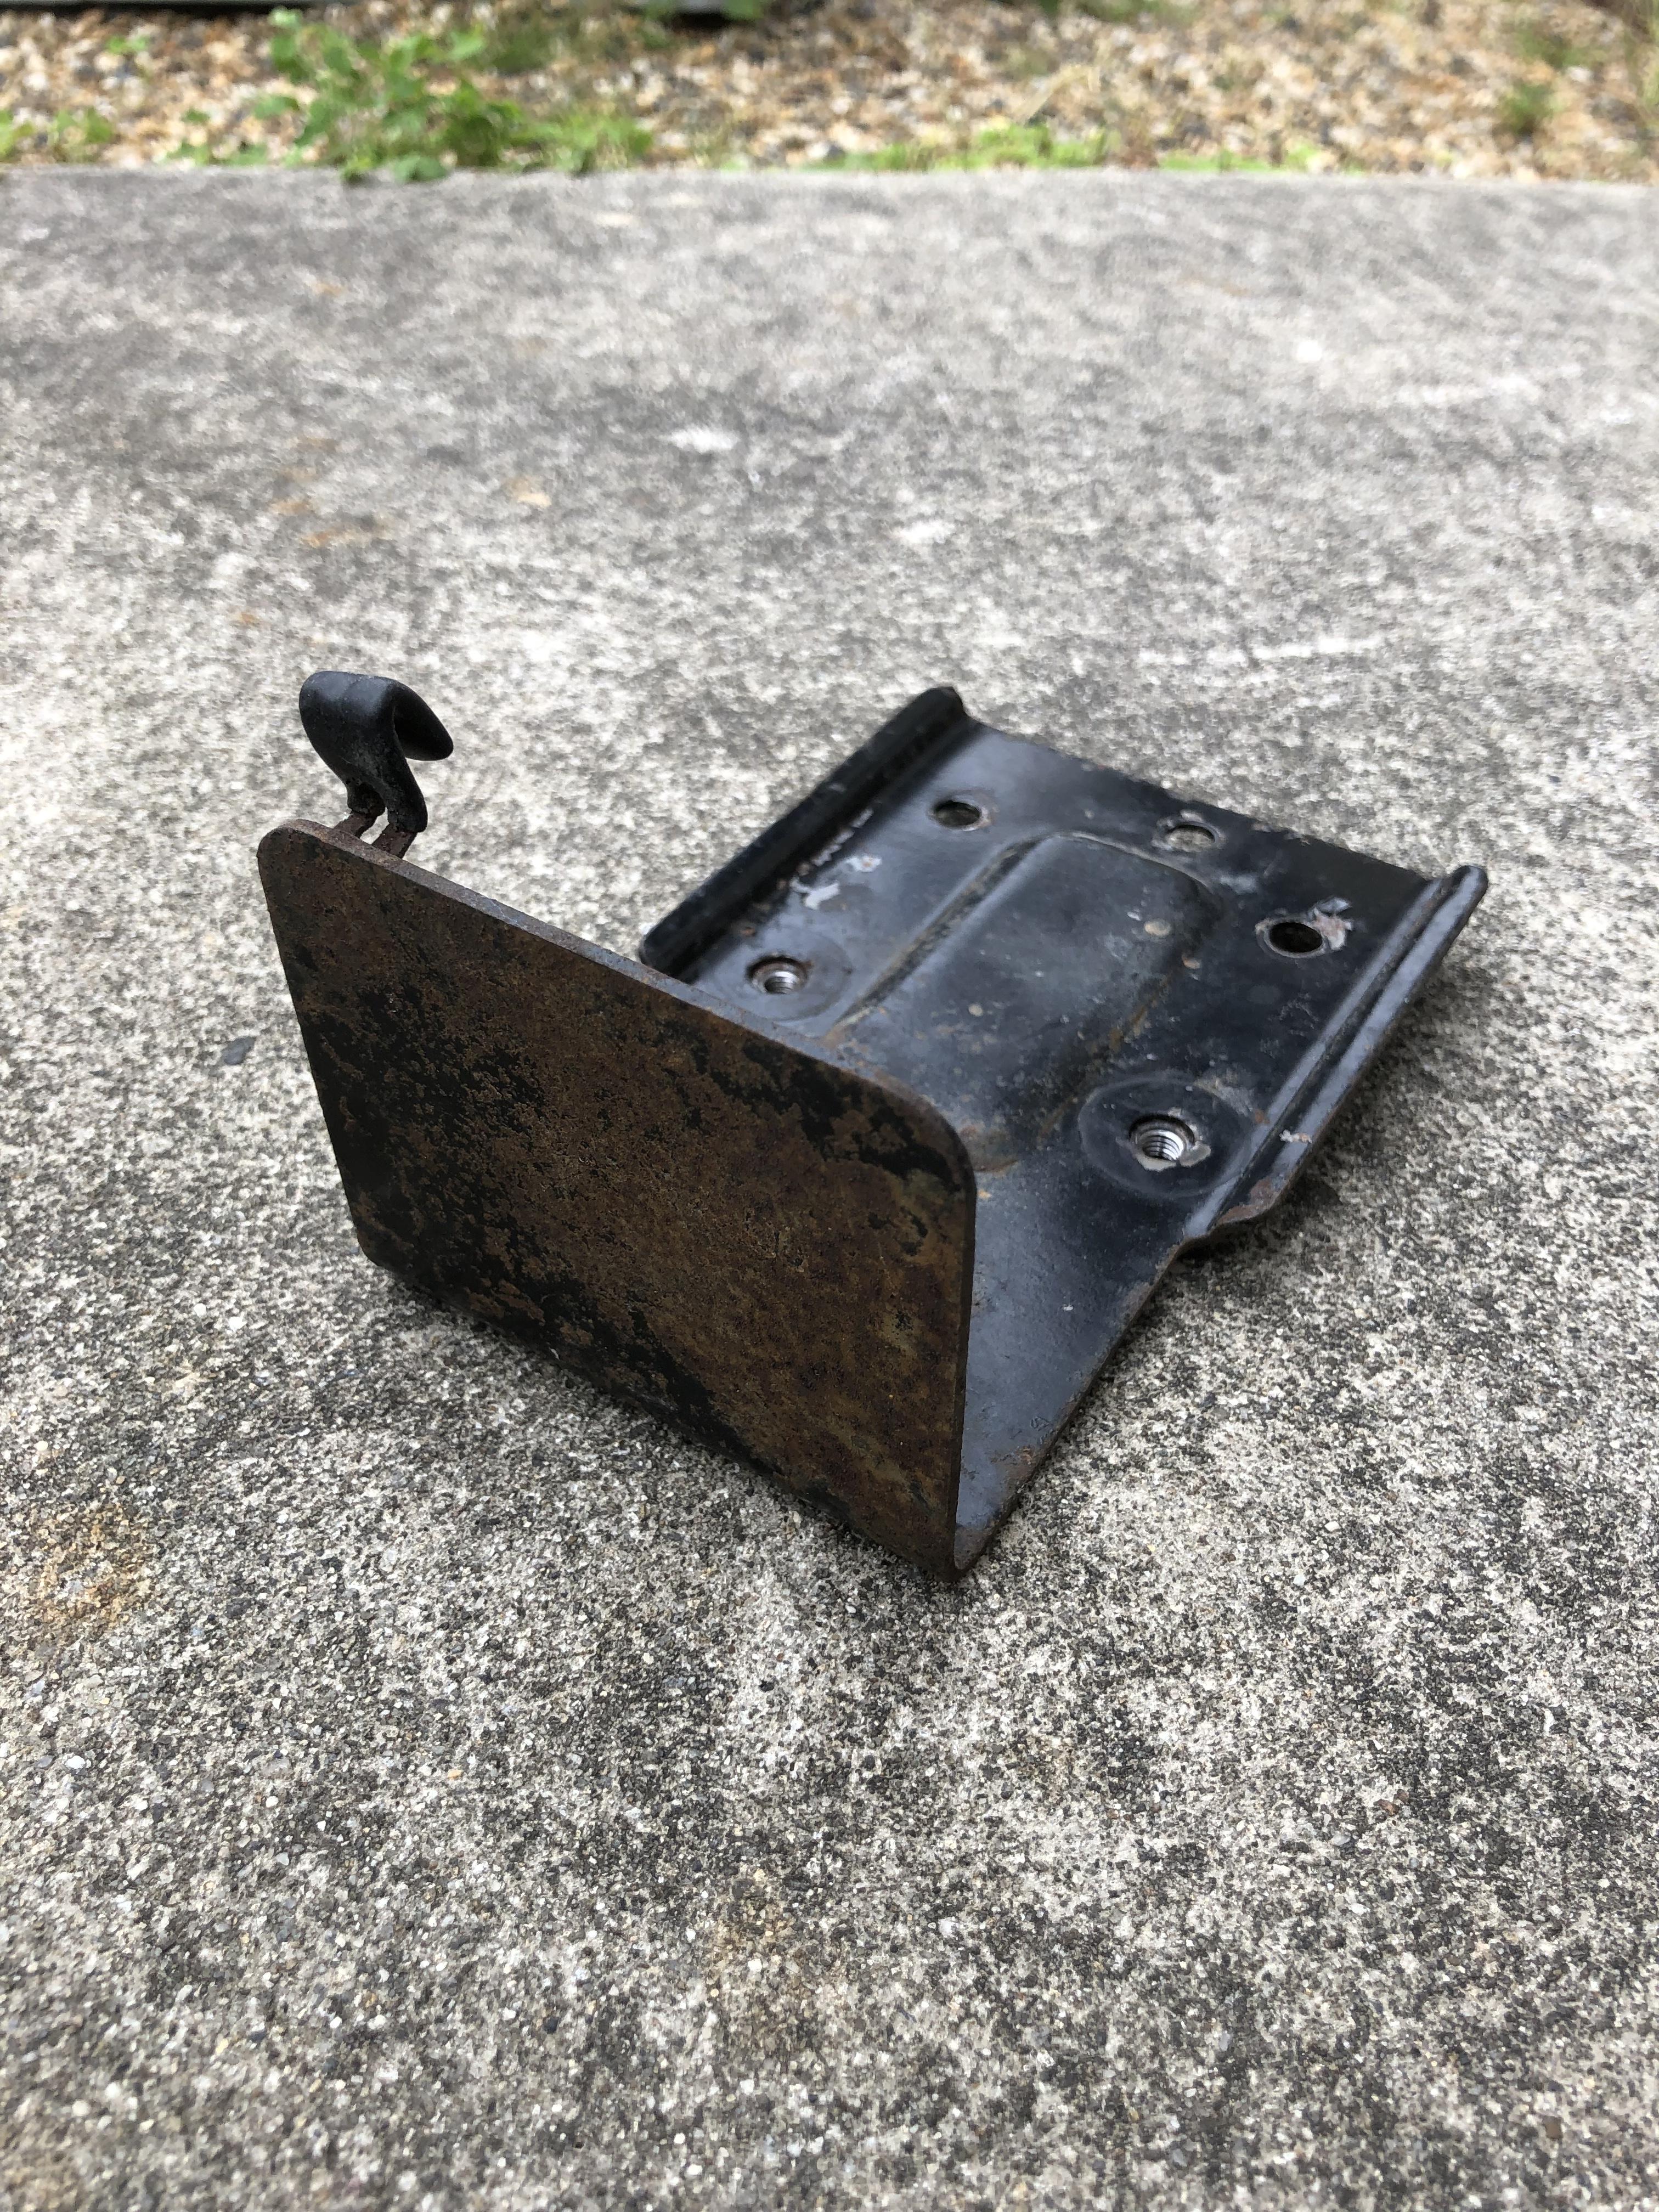
Hi Jerry, you got nice parts , I am impressed with your effort. Here is an old thread about the fuel pump bracket, if you might be interested in . And a small correction if I may , your photo shows the pump installed up side down . The bracket can be purchased at Revive Jalopy , they replicate it just like an original . I am using the replica on my Z432 , keeping an original for my LHD Z432 project. The parts number almost gone , due to aging . Kats

 1 point
 -
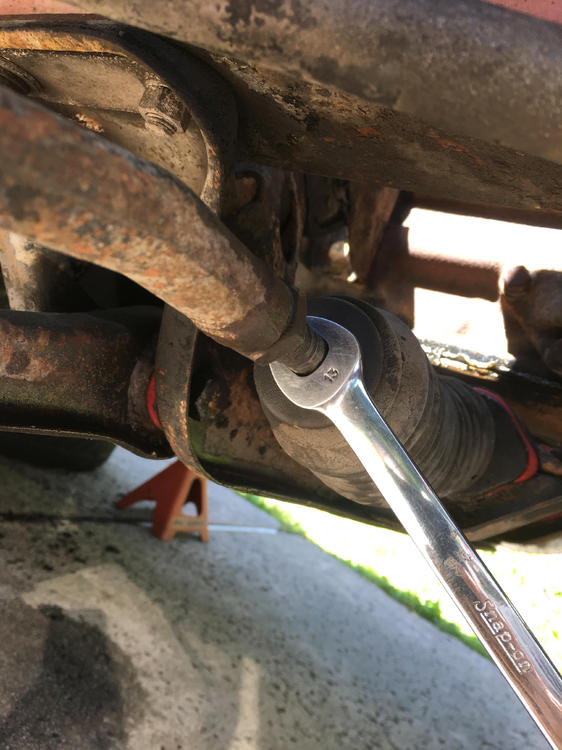
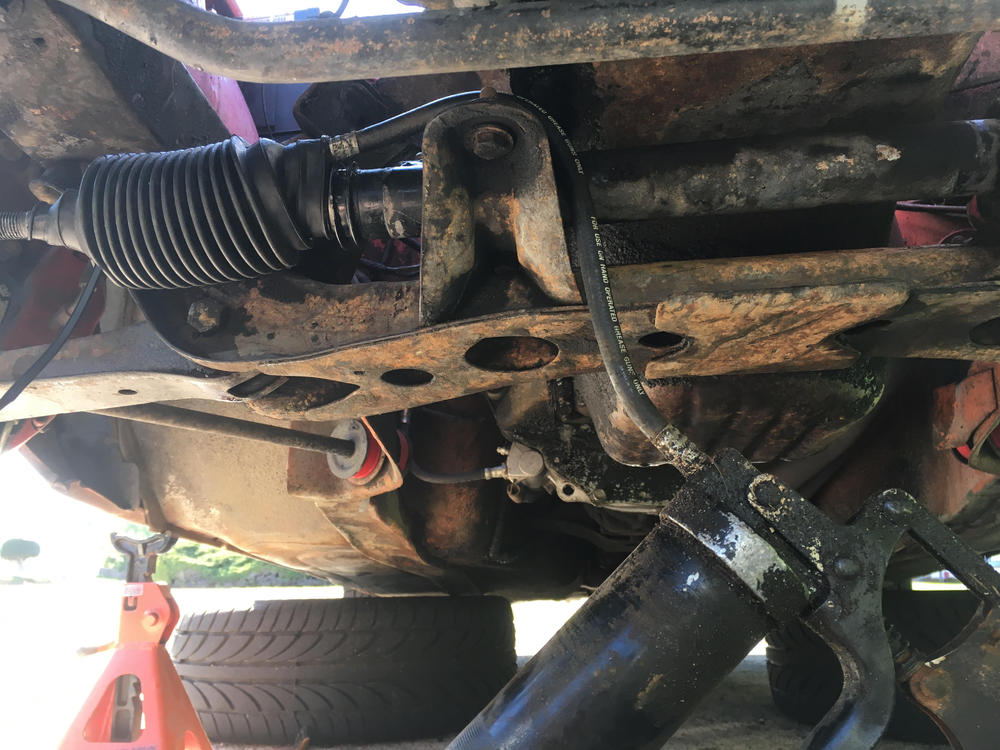
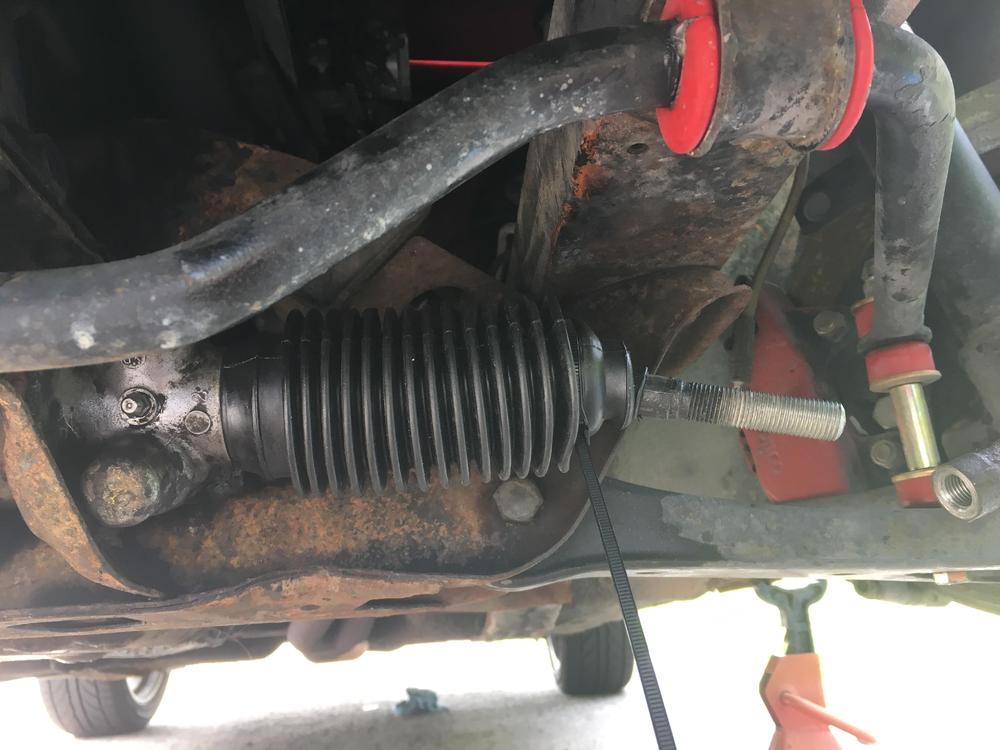
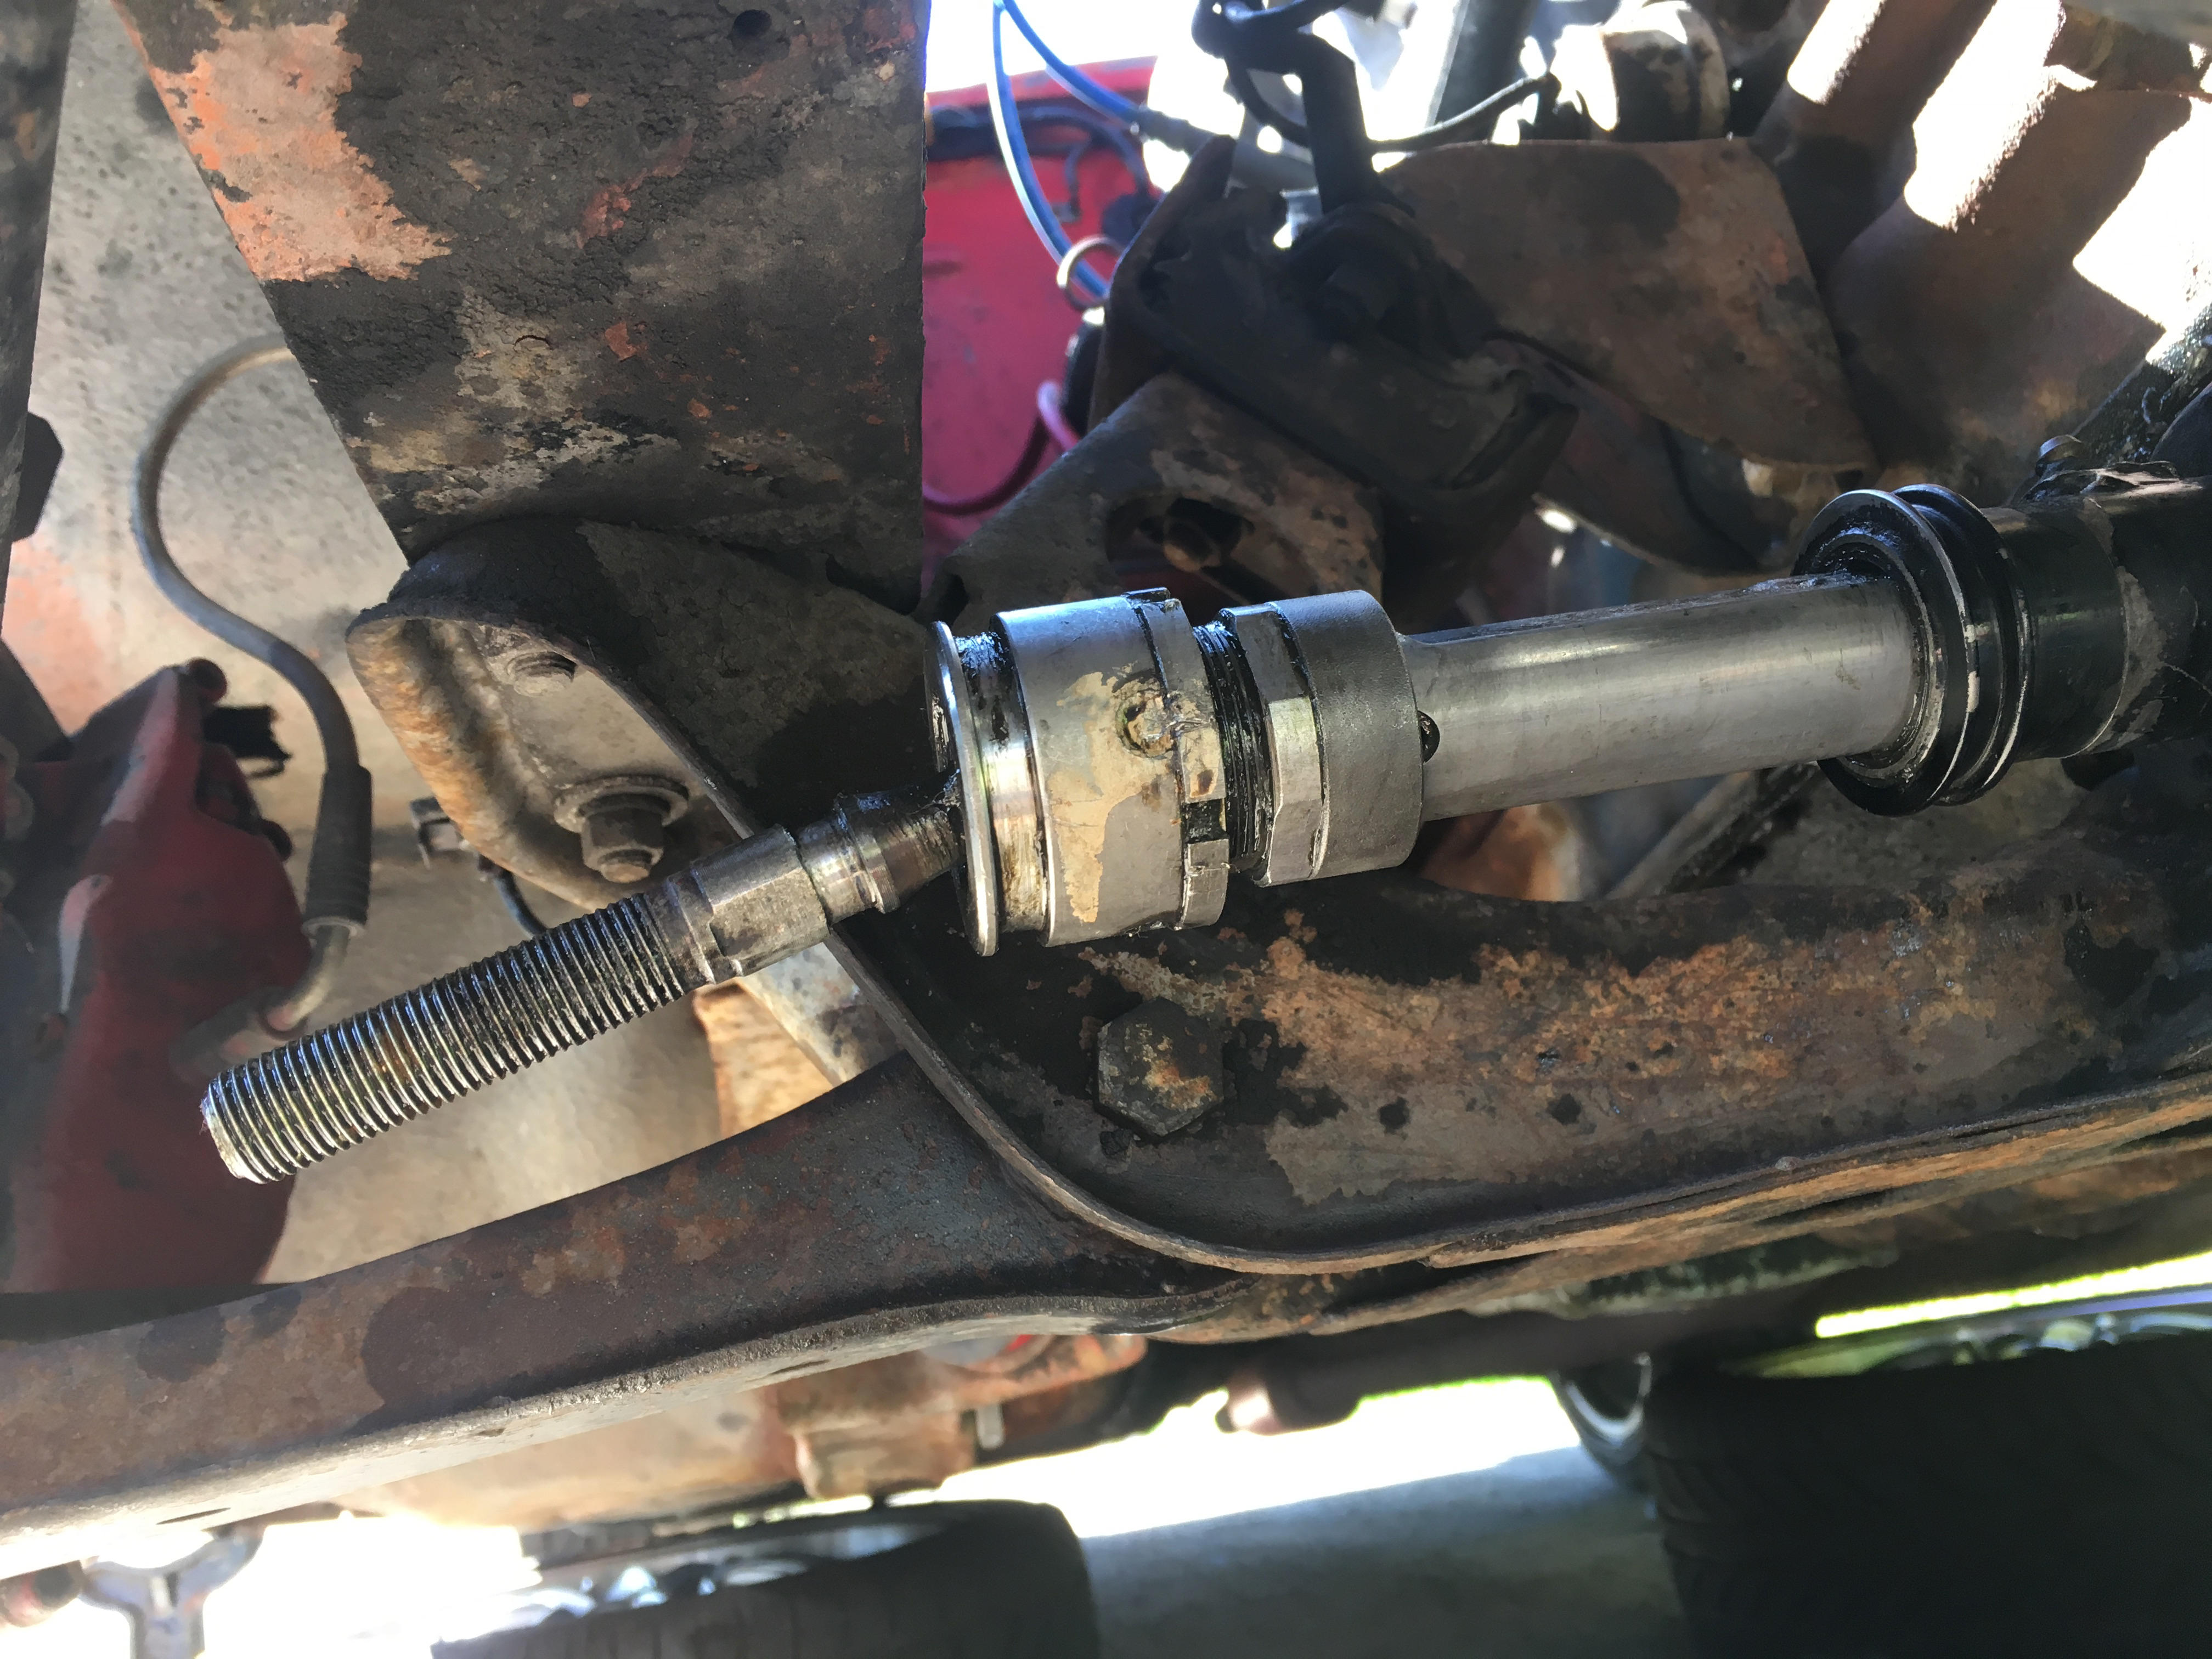
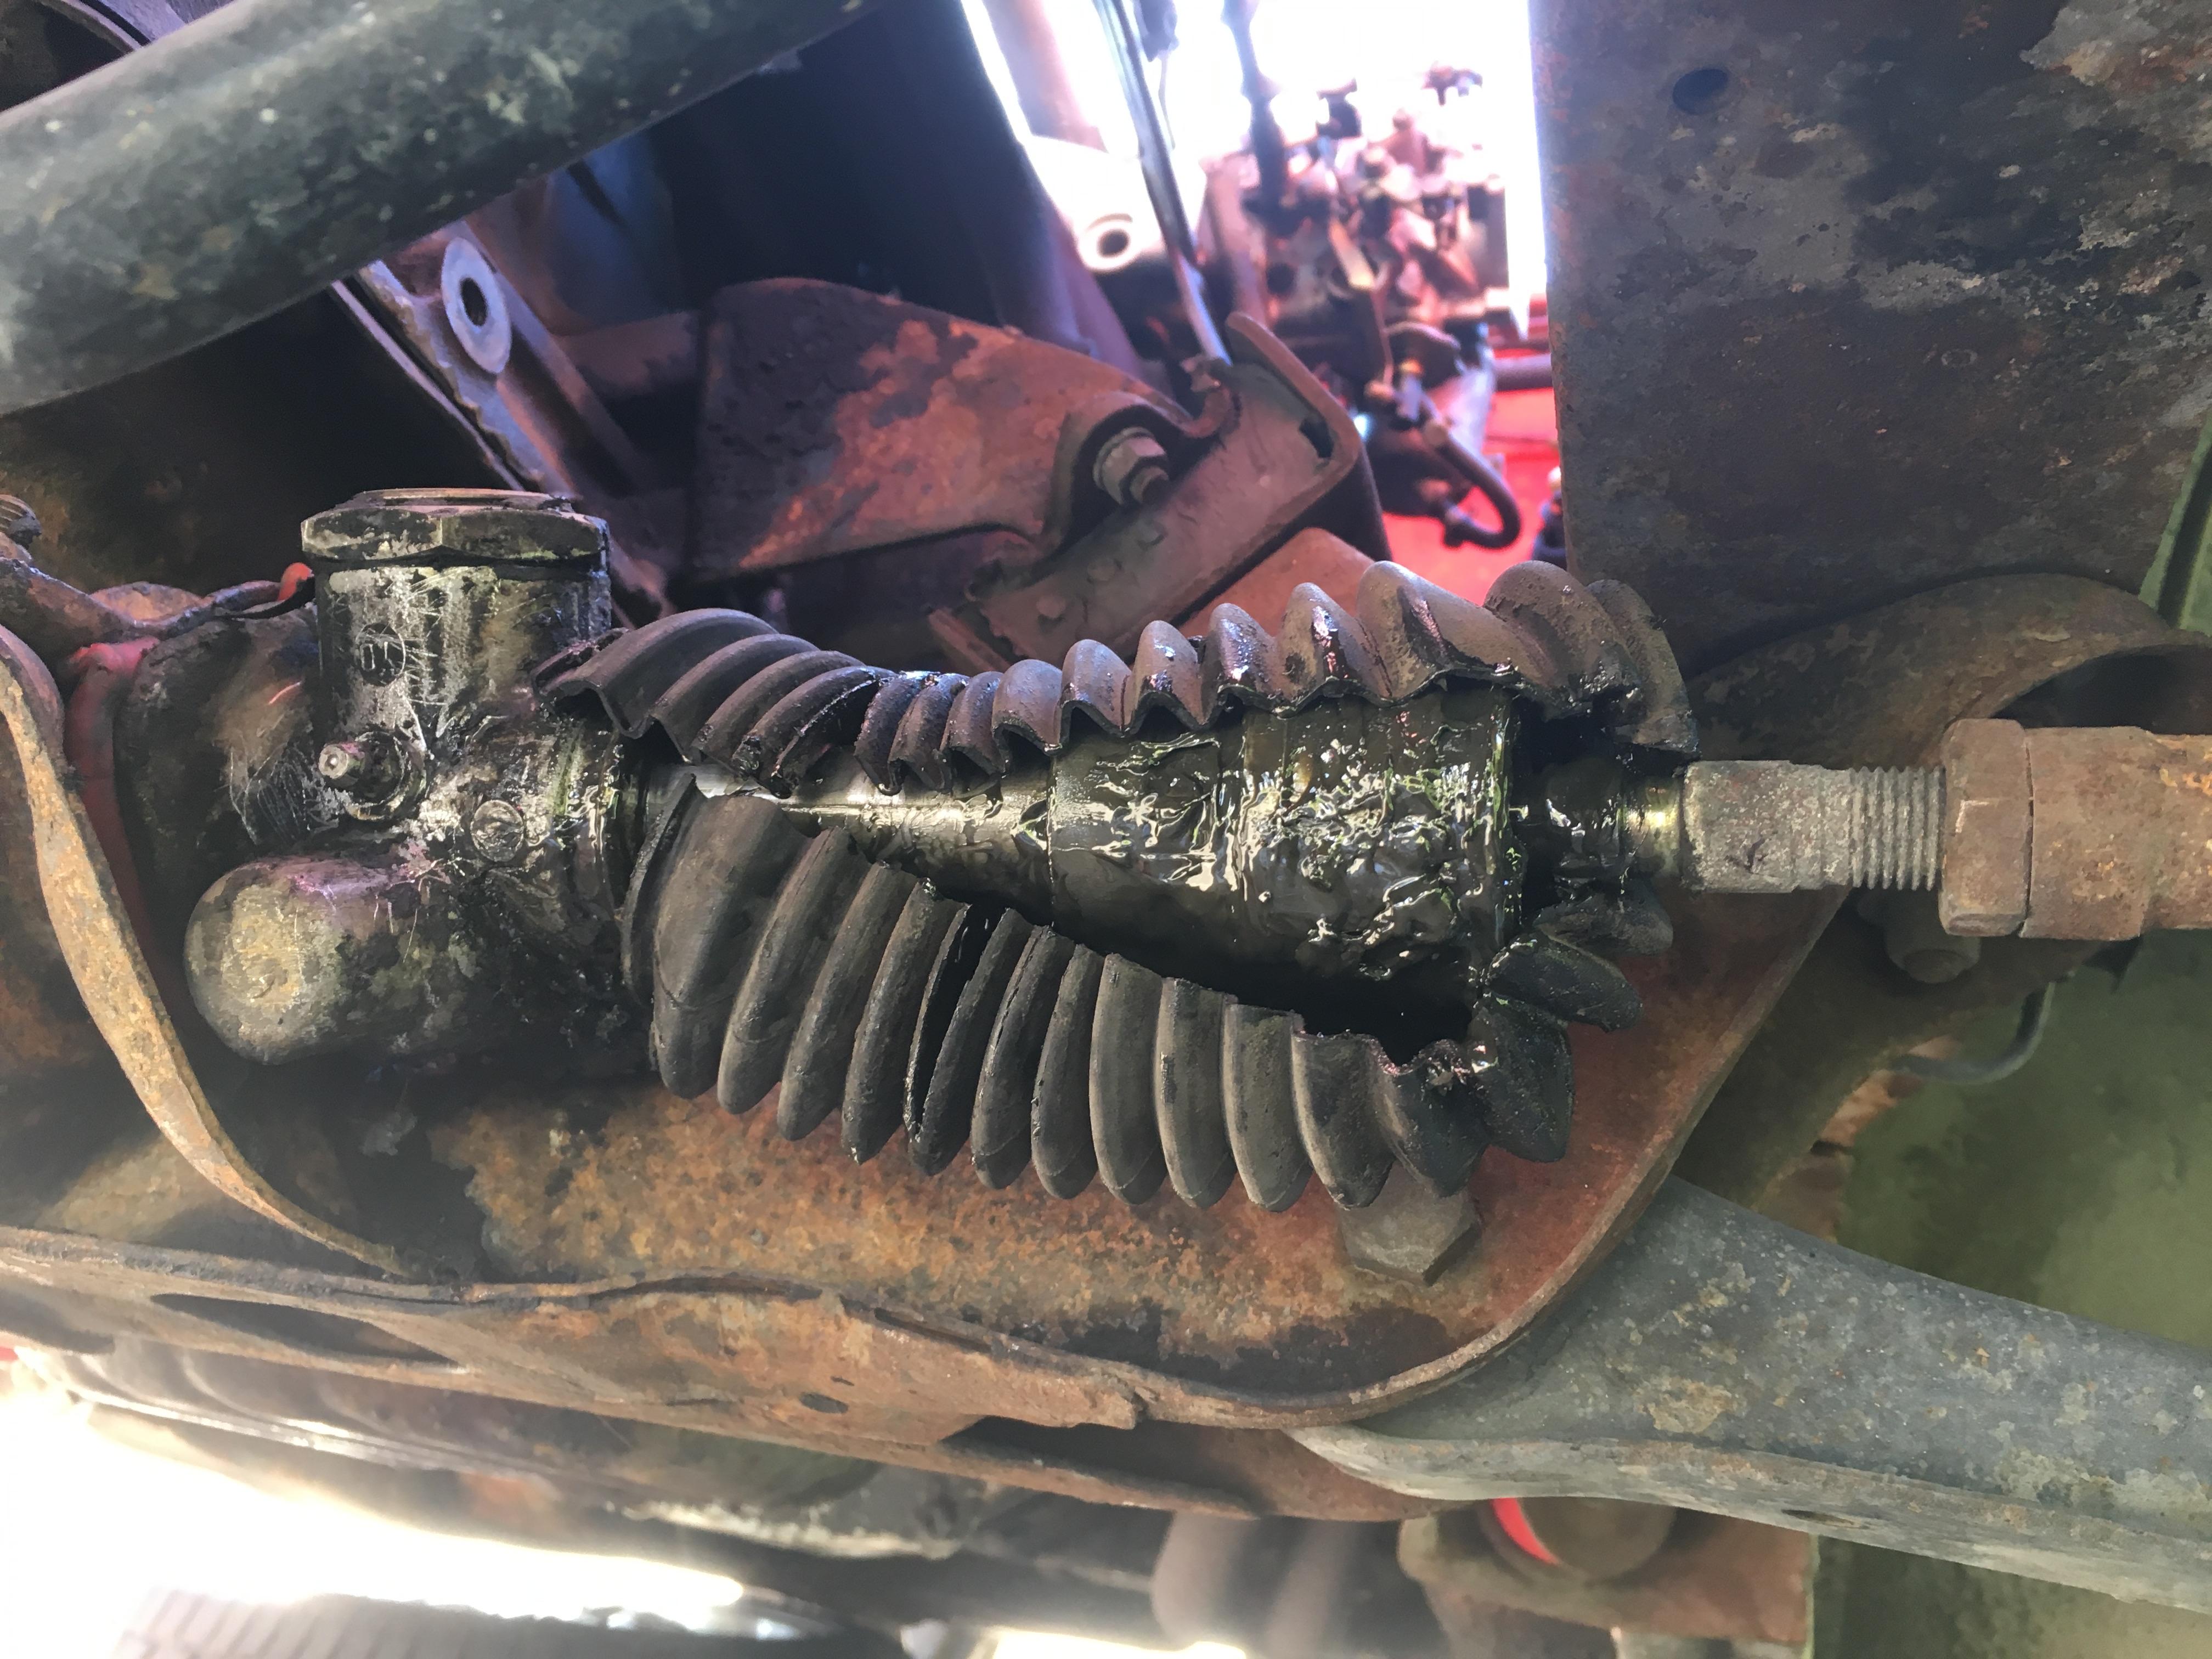
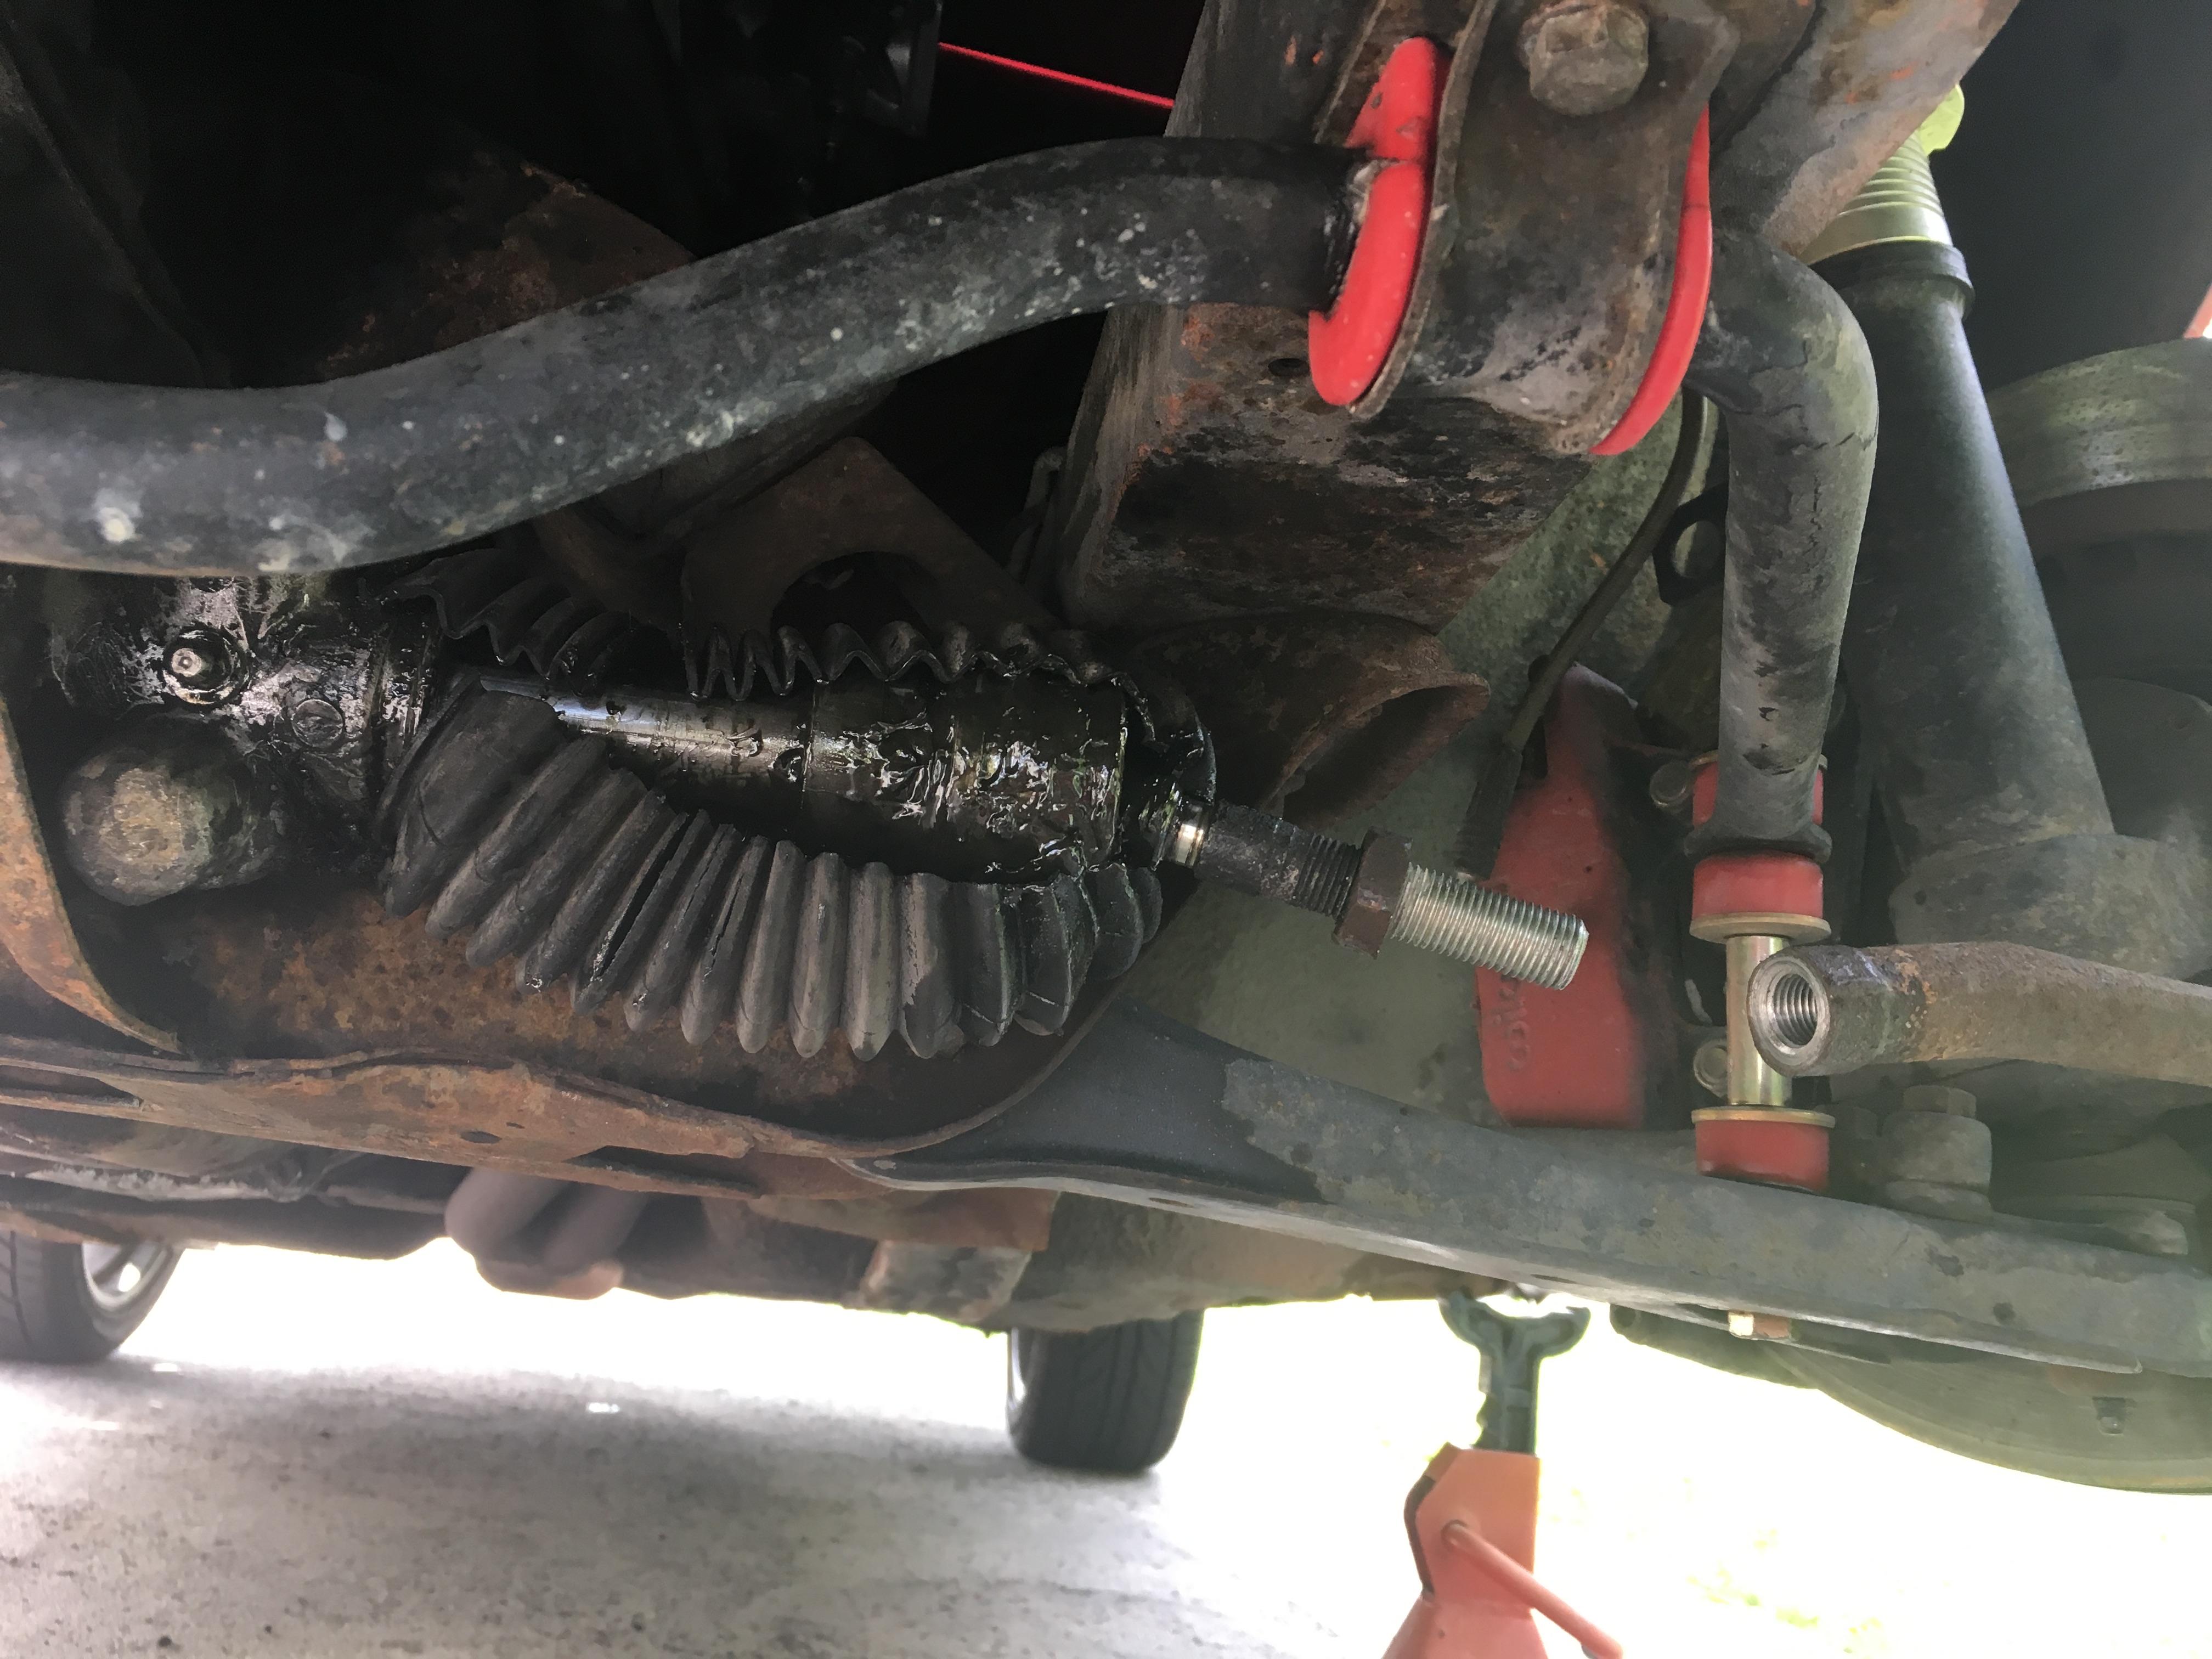
1 pointBeen on this forum for 4 months, everyone super responsive to my Help Me! posts, about my new-to-me 72 240Z; time to contribute to the forum. Steering rack accordion boots were trash. Bought 23-4459 boots from MSA. First image sequence is for the passenger side. Unscrew the tie rod ends, clean the half shaft, install the new boots (had to trim one section from the small end, about 1/2" to clear tie rod nut), fill with grease, install tie wraps. Start with a full tube of fresh grease, so you don't run out half way and have to drive to 3 auto parts store looking for the same kind. Doh. Second image sequence is for the driver side. Basically the same drill, although had to trim one section from the big end of the boot, so it would fit. Took the opportunity to degrease the steering knuckle. Greased all the zerks afterwards. Didn't find it practical to count how many turns required to remove the tie rod ends, in order to put them back together w/o realignment. Way too imprecise. Just looked for where the tie rod had no grime, turned it in that far. See "passenger tie rod end removed.jpg" Plenty good enough to drive car to Wheel Works for alignment. Hope this helps someone.


 1 point
 -
I'm with zed head here. The reason of engine failure has been put without evidence directly to 123. (I did read the emails) . they tried to help. Don't trust instructions except special points like the led in the 123 case. When you need them to do the job, then maybe you should ask someone to do it for you.1 point
-
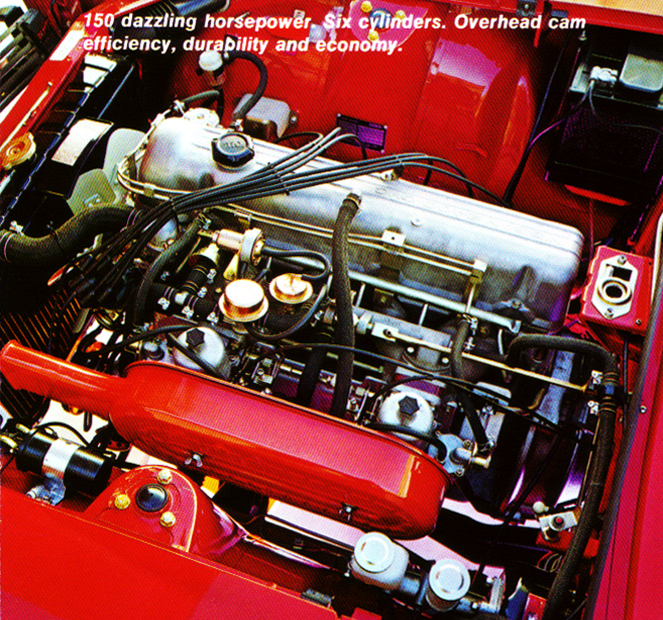
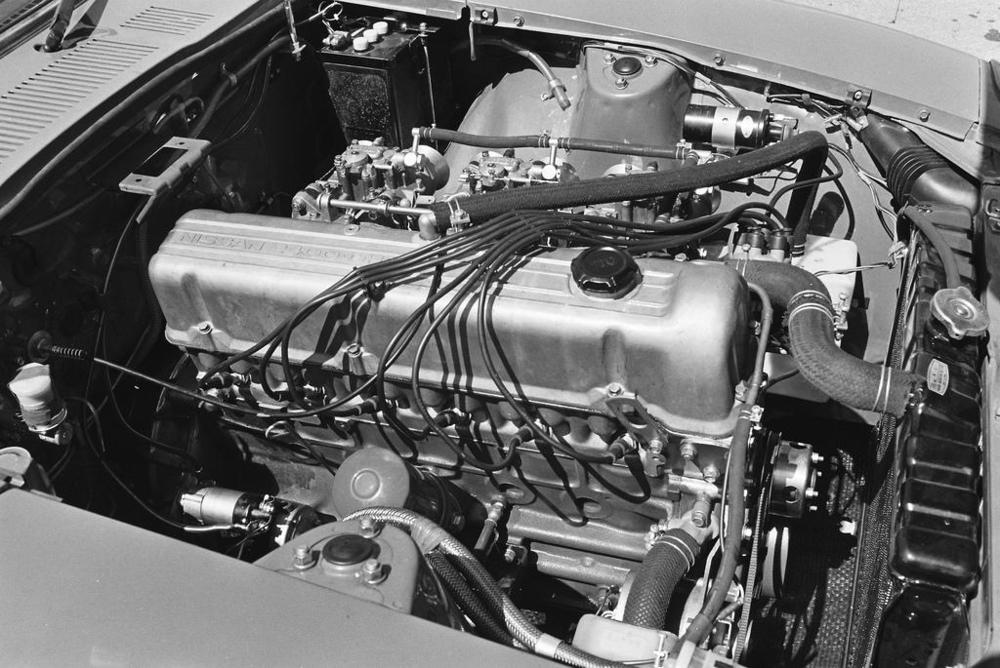
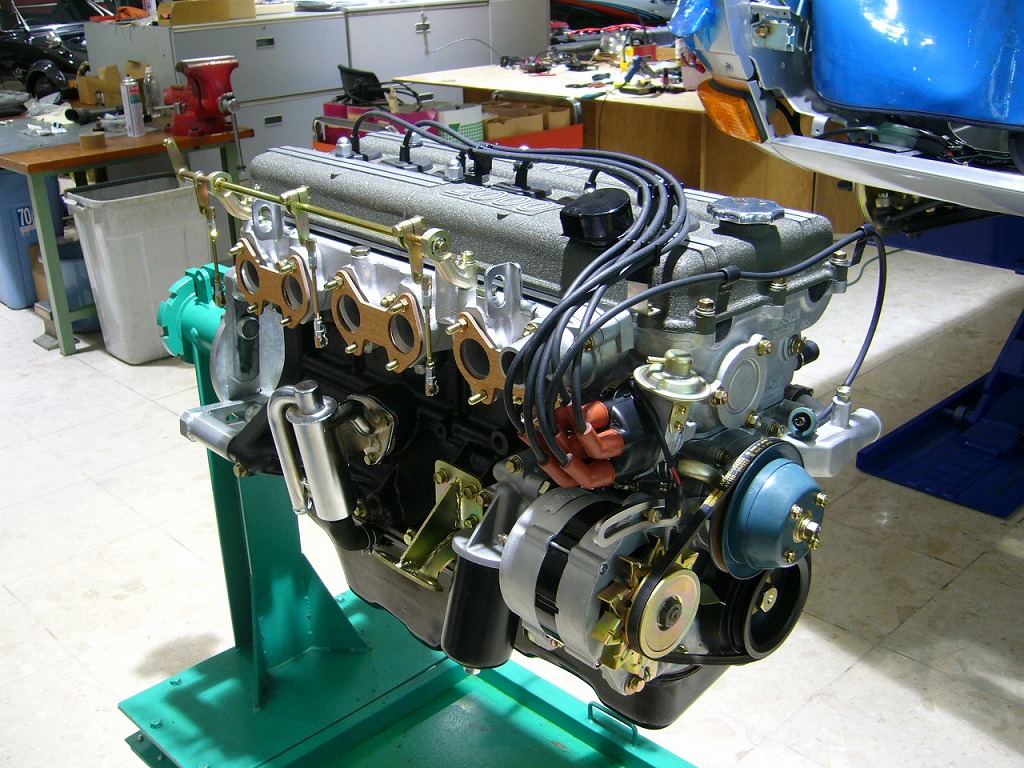
1 pointEarly 1970 brochure has 710/OIL Cap: FSM with posible HLS30-00003 seems to have 710/OIL Cap July 1970 First L24 Factory racer had 710/OIL Cap: Q3 1970 BRE racer seems to have Elephant Cap:
 1 point
 -
1 pointThe OIL cap, as Jim pointed out, is the correct cap for that valve cover. Both of your's are not correct.1 point
-
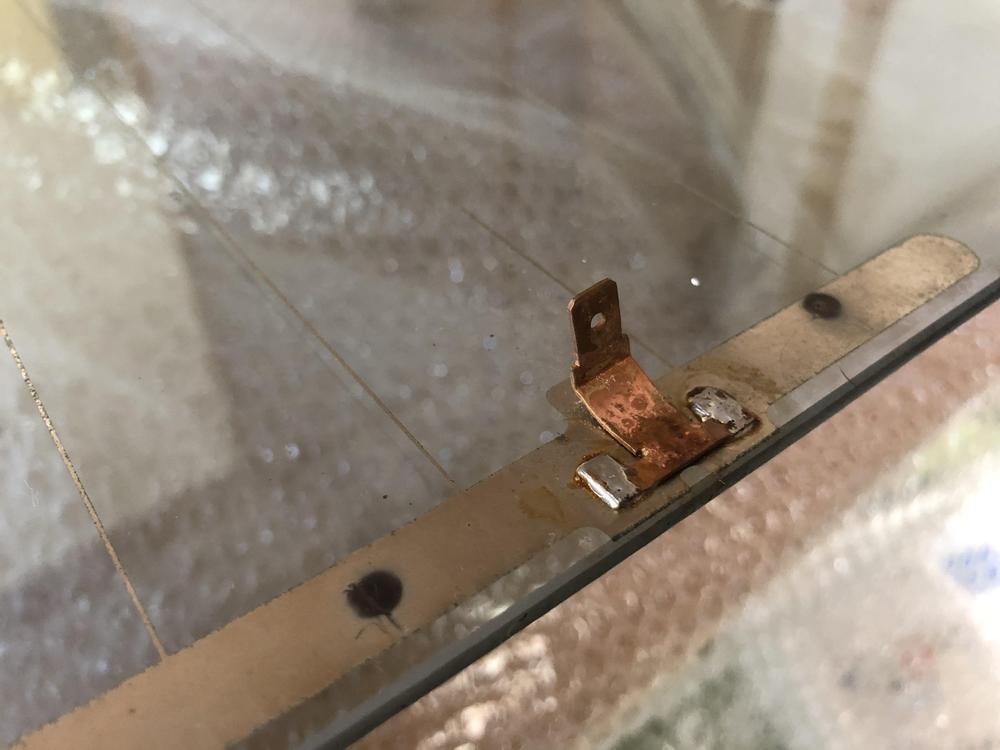
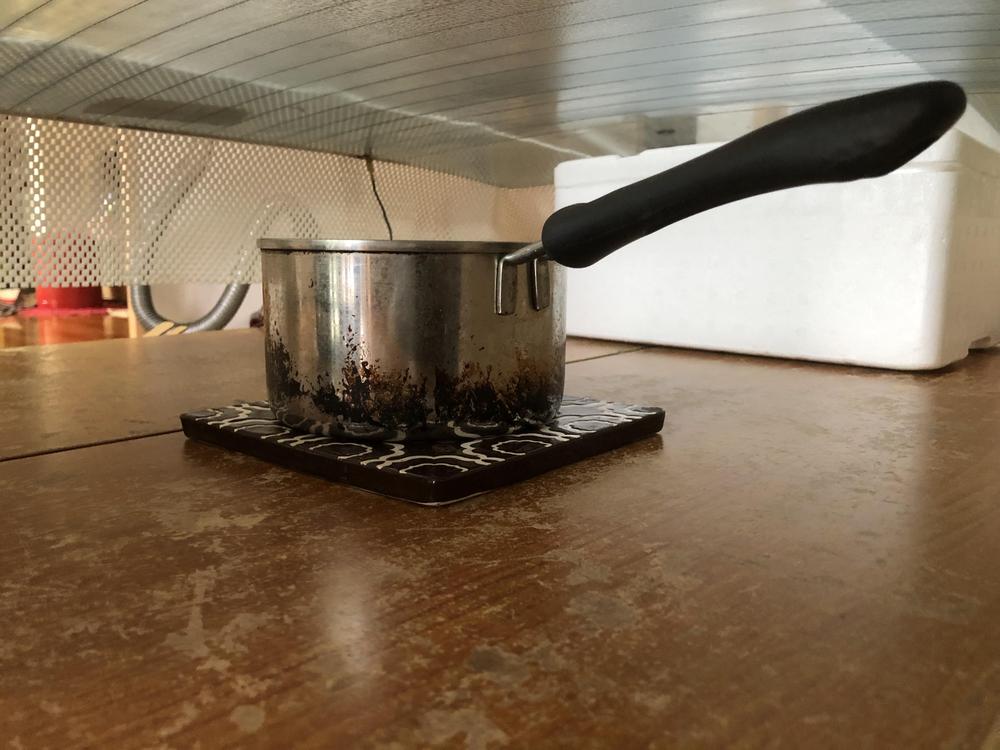
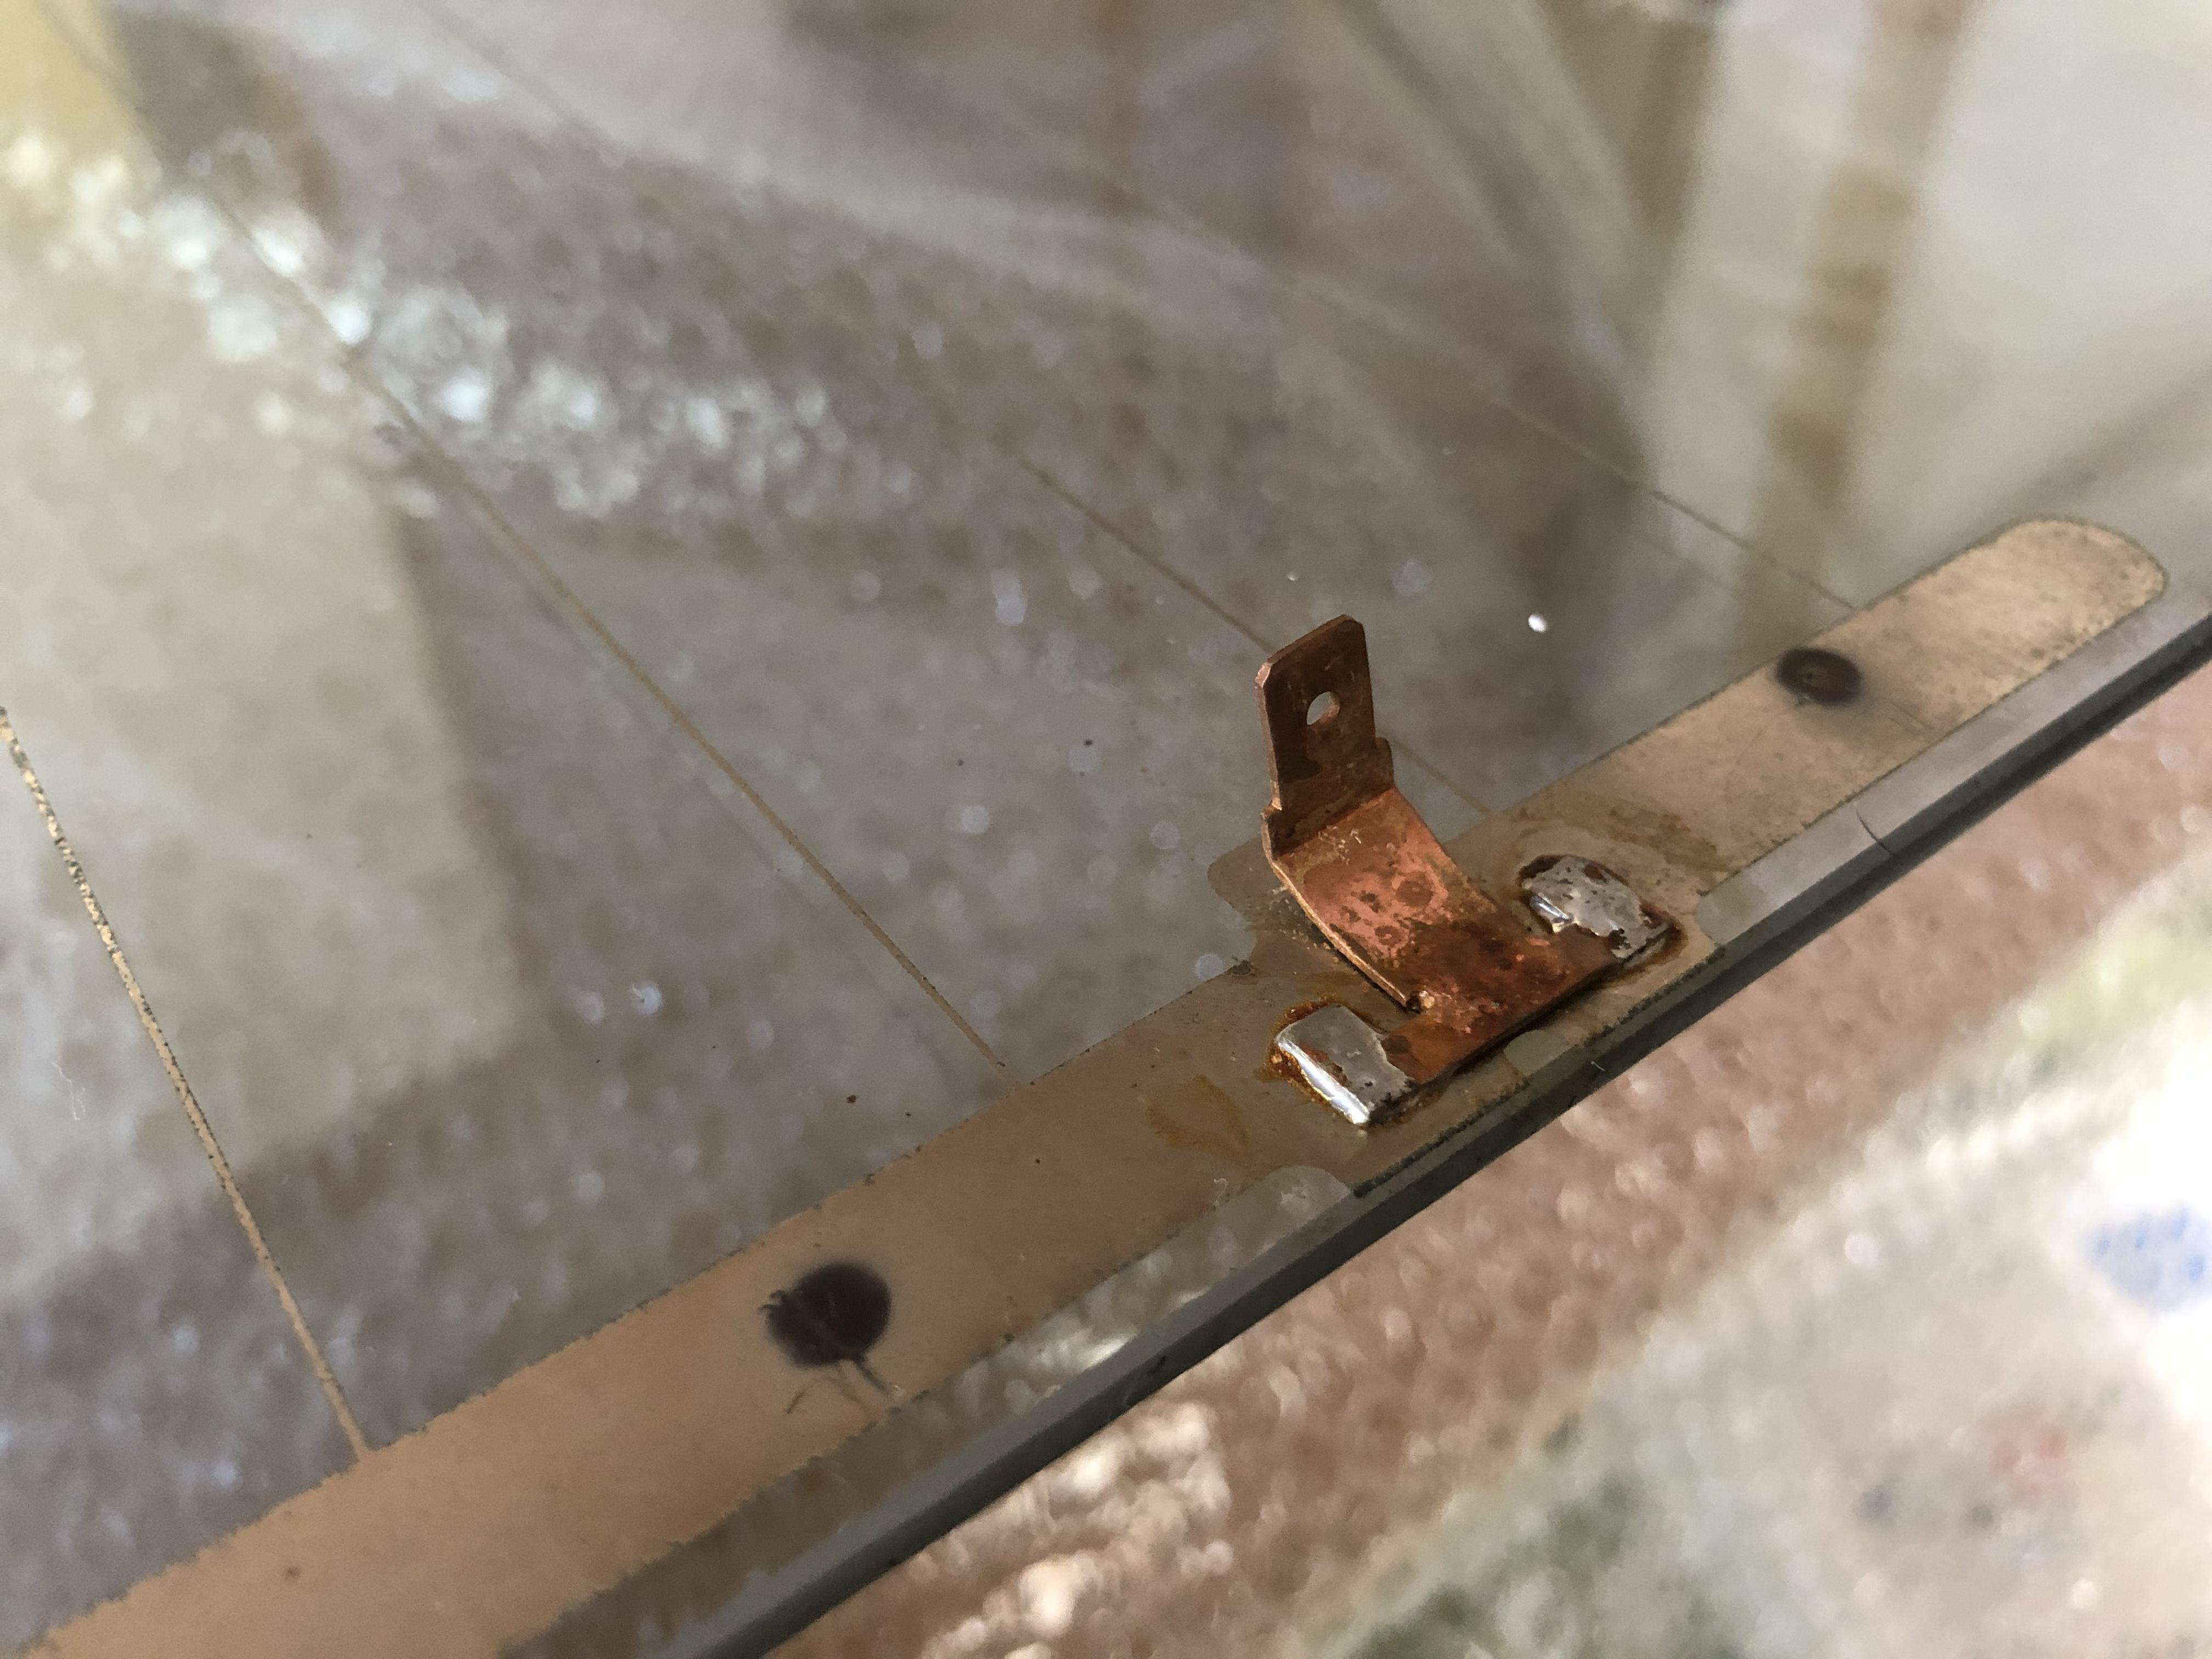
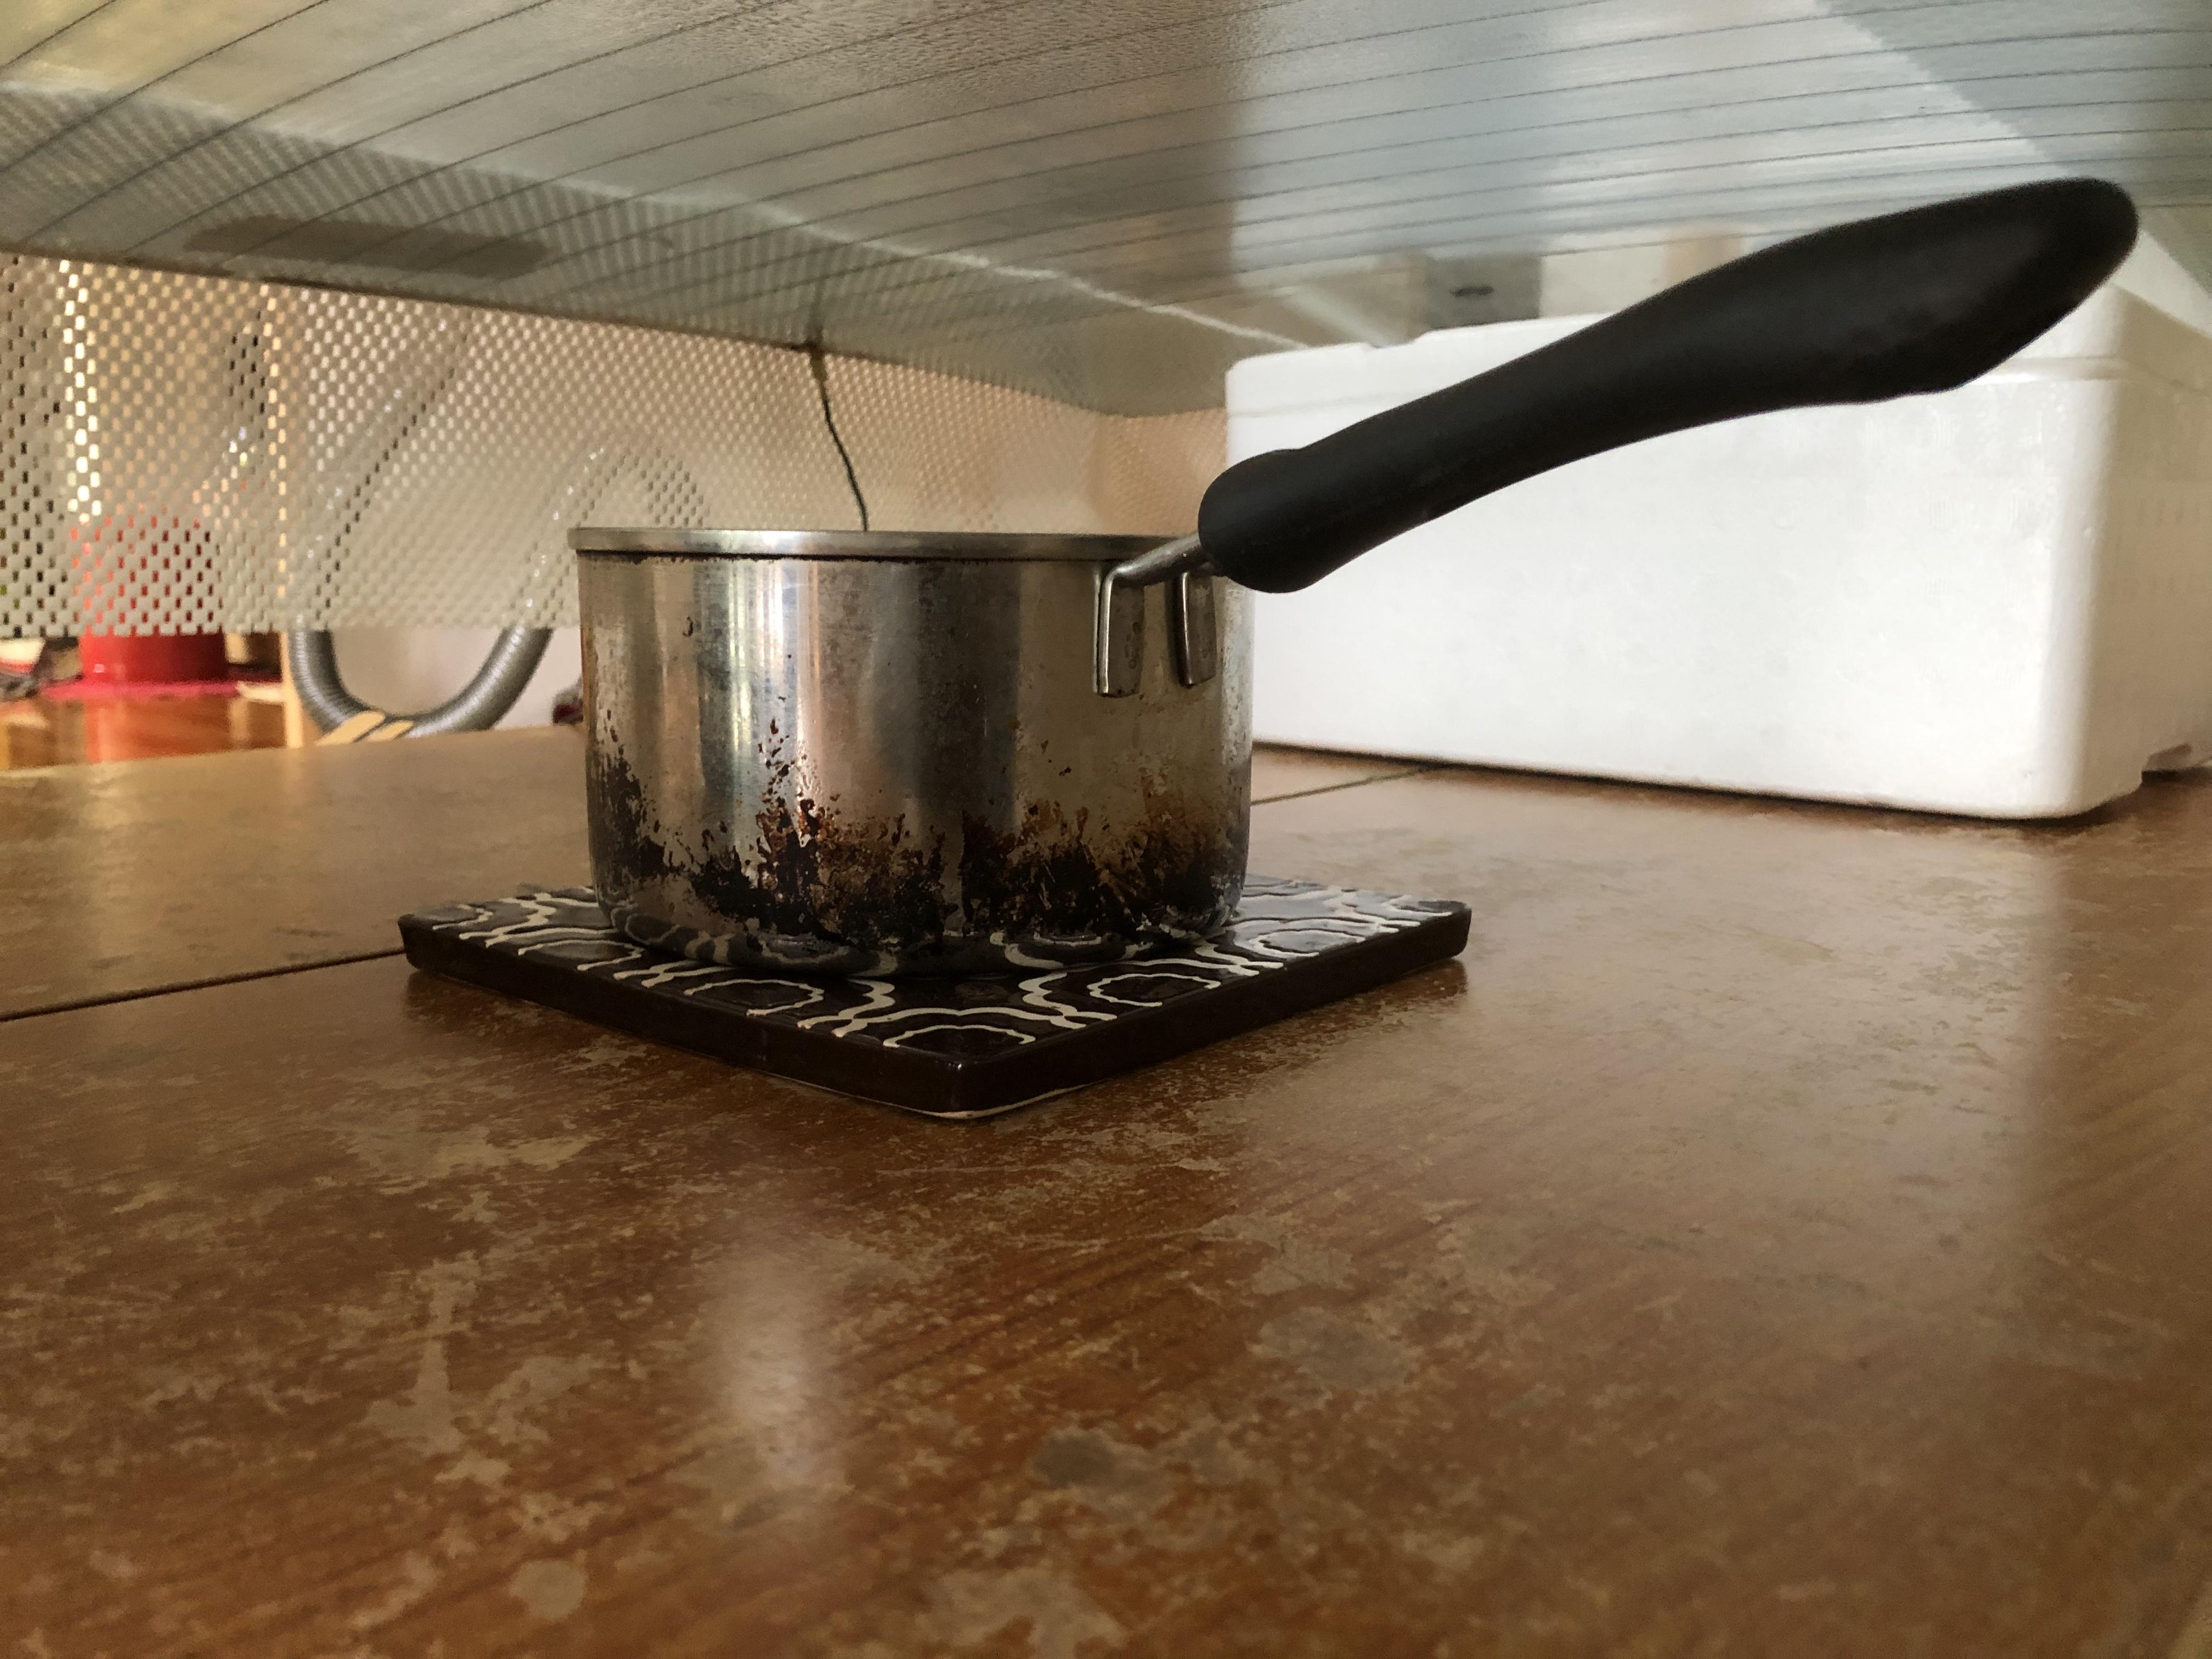
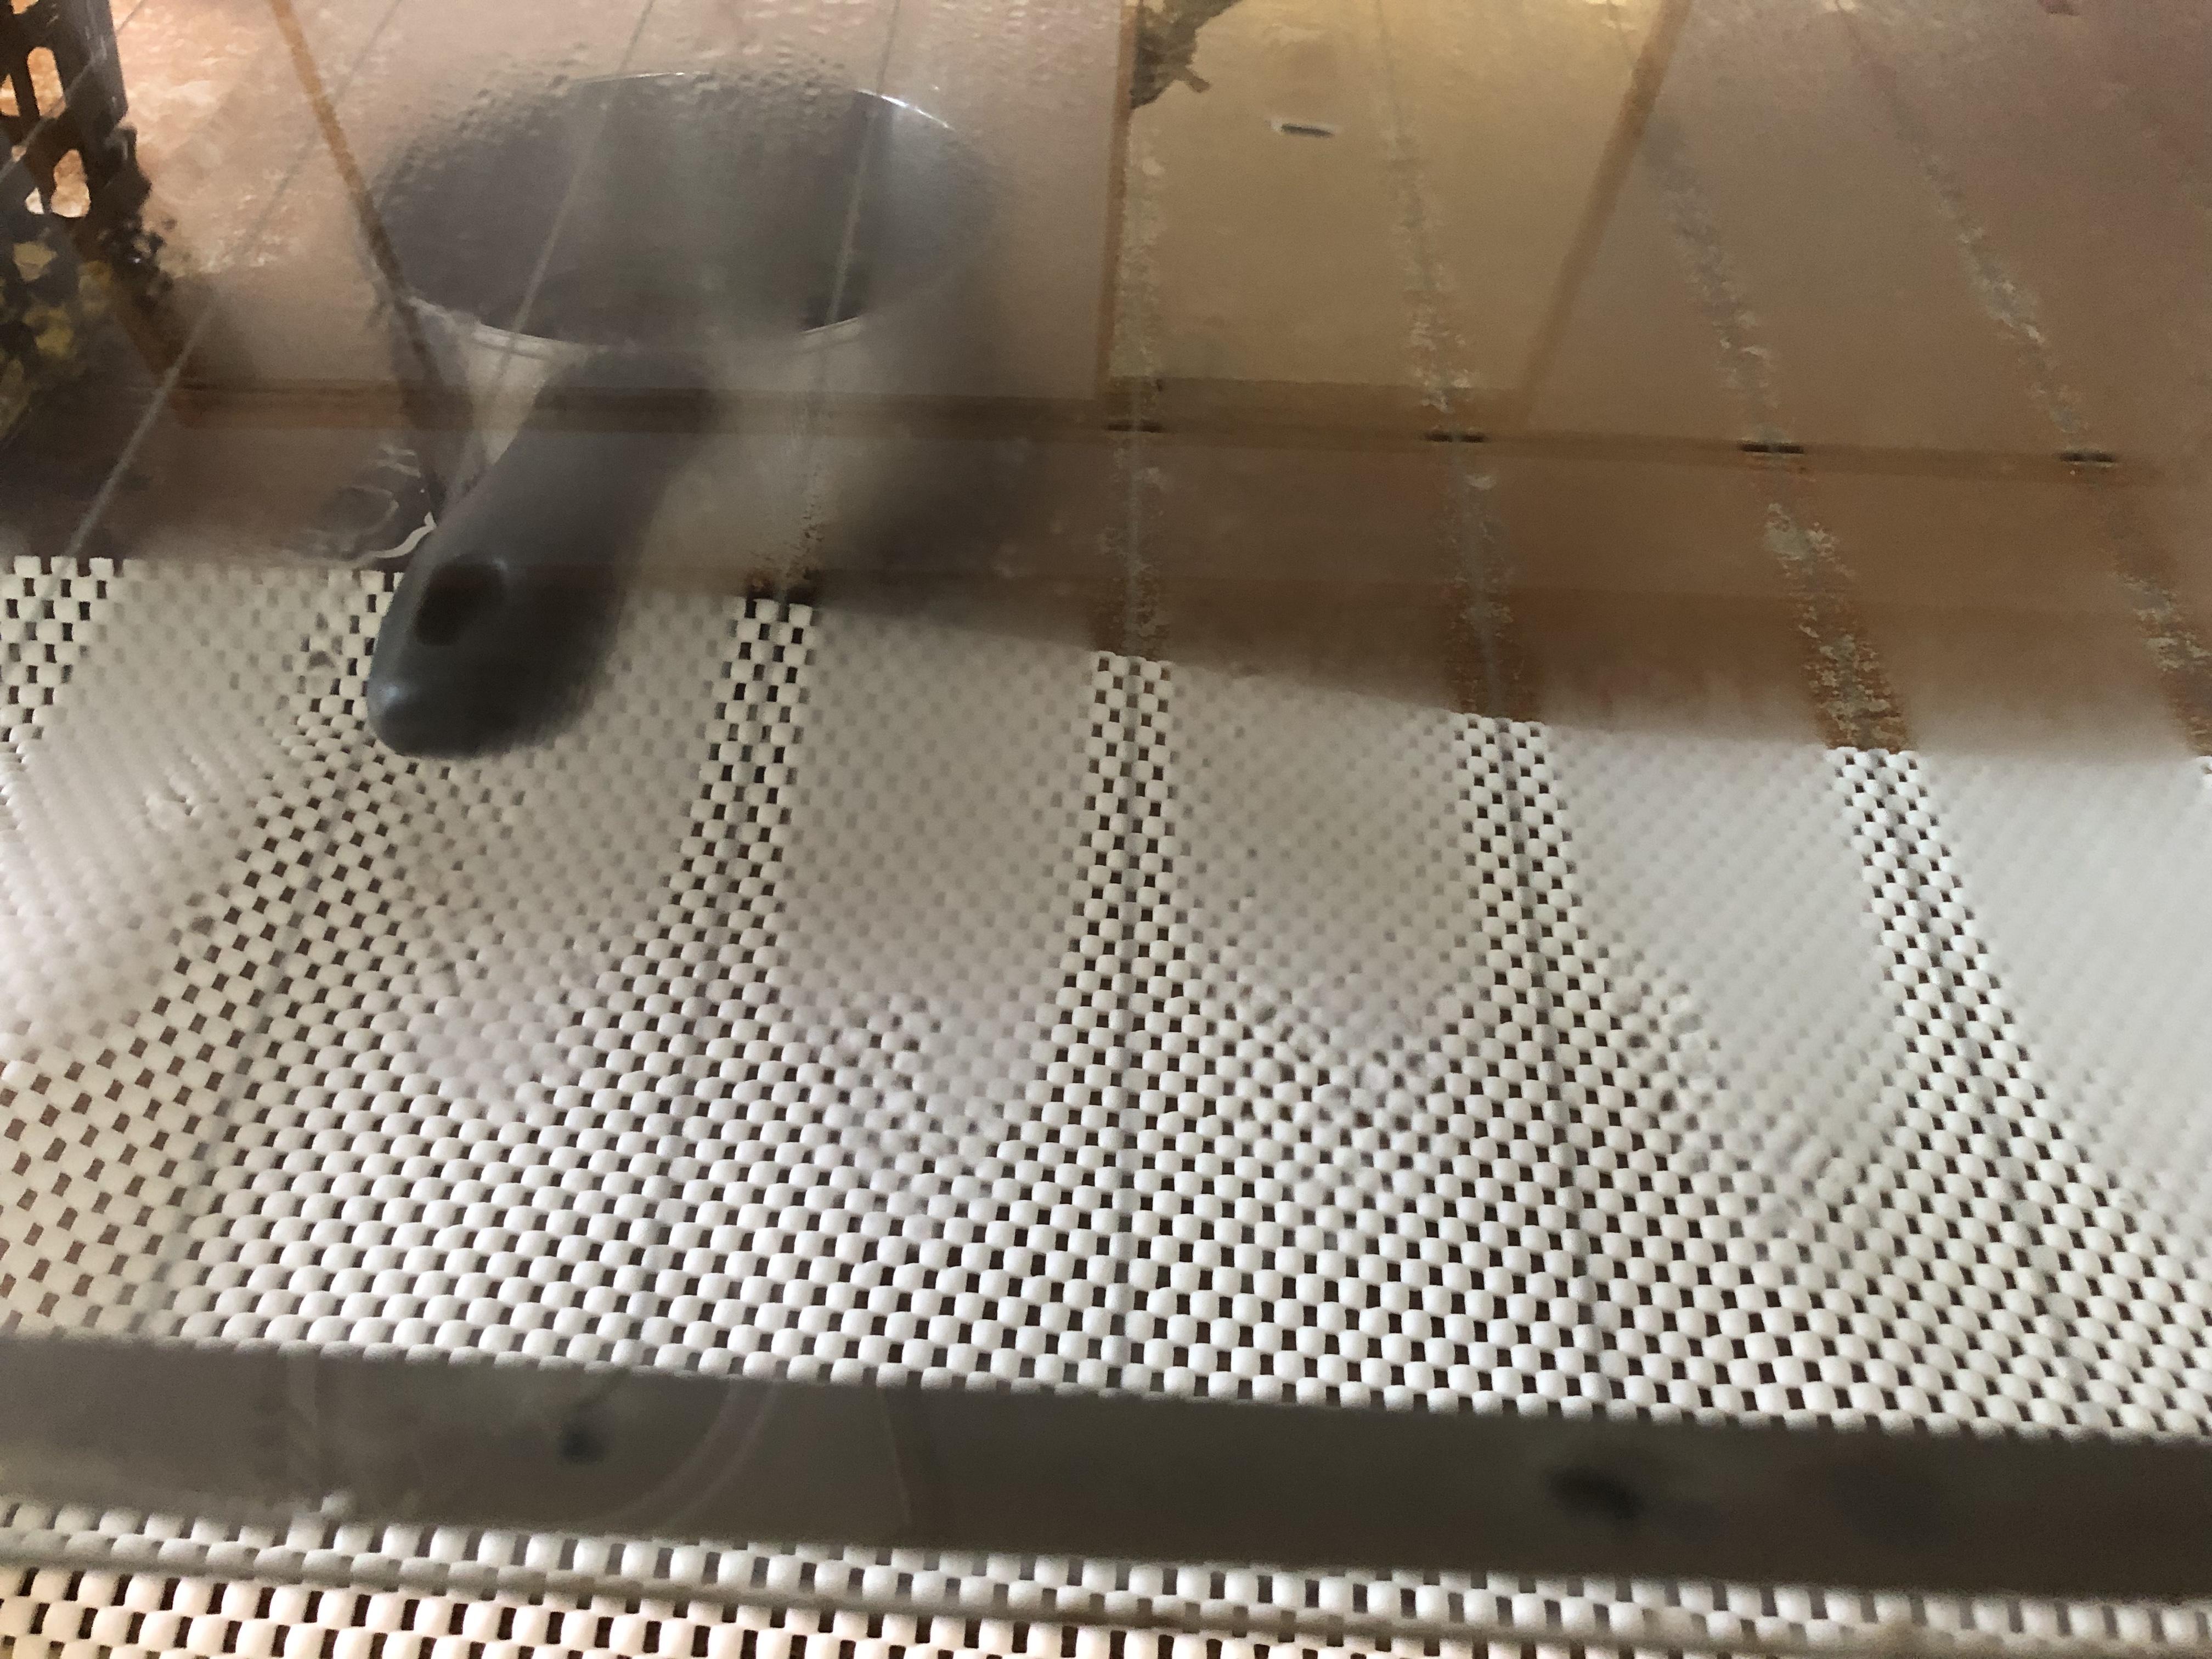
1 pointHi , I will replace a rear deck glass of my Z432 with a NOS one soon , I have got this when I flew the place and brought it back home with my plane. I am so glad that the defroster works perfect, the glass passed the operation test . It is my style , boiled water under the glass . Kats

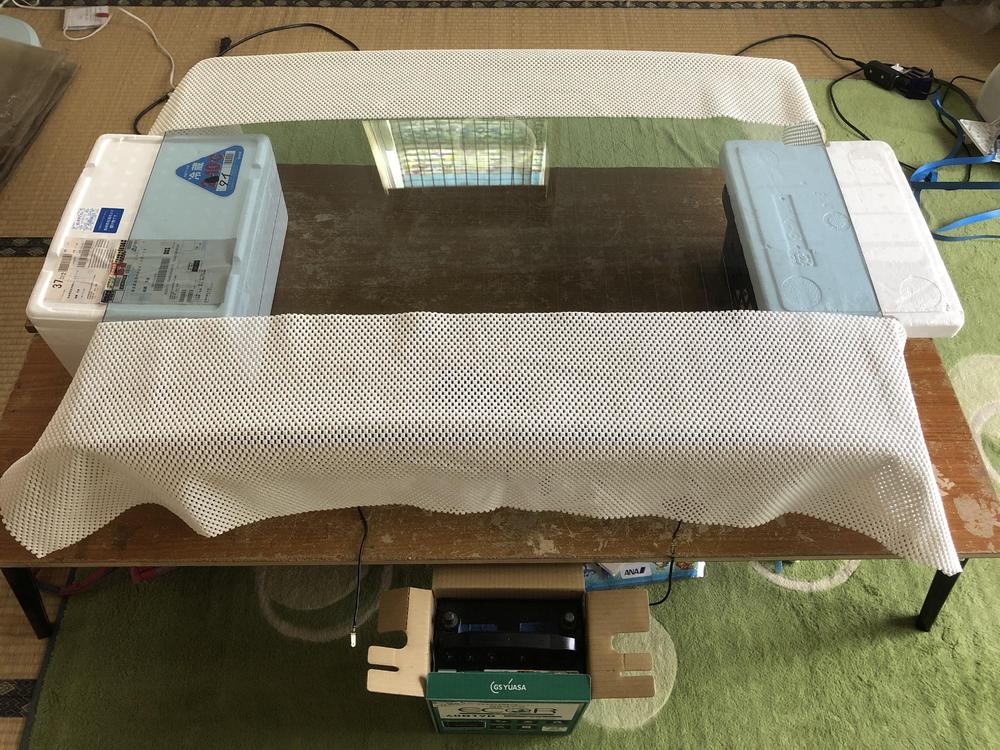
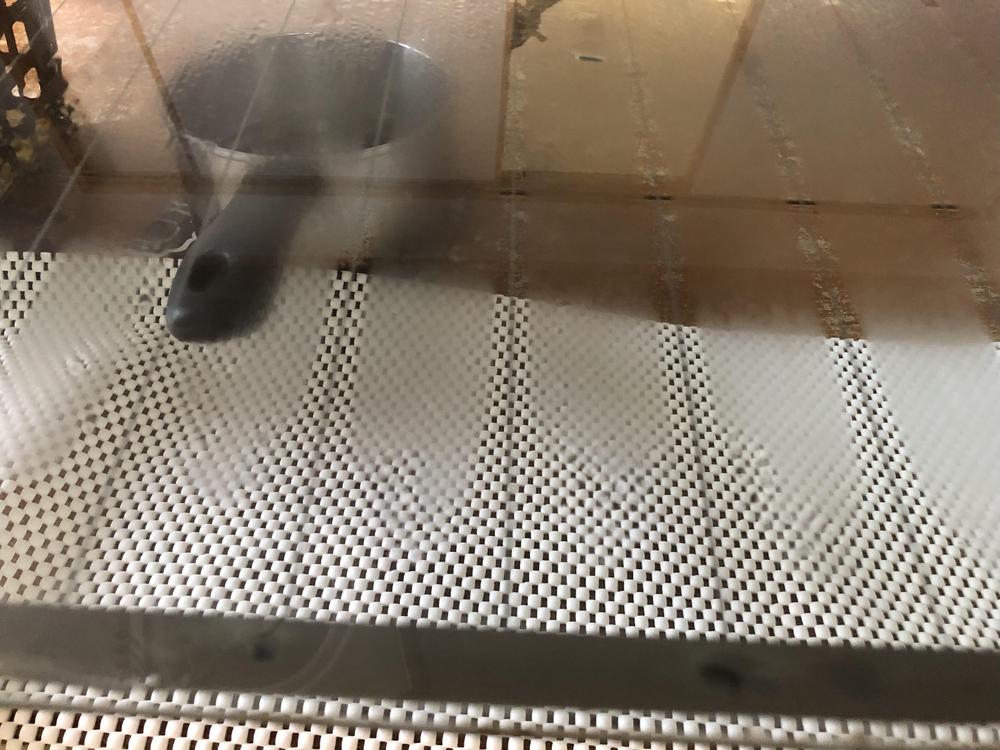
 1 point
 -
1 pointI think that is the part number I used. I found they were a little too large but worked ok. Most people won't know unless I run over them.1 point
-
1 pointThis is what I’m doing right now... Hanging out at the wash racks at the end of Maple Resolve 19 in Wainwright Alberta. American troops participate with us every year. That’s two of my guys chatting with the Hercules crew. Good times.1 point
-
1 point
-
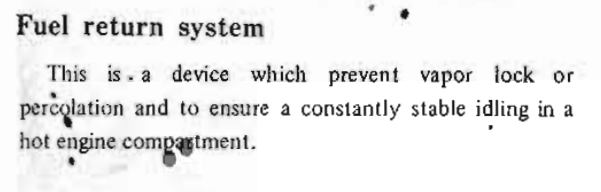
1 pointWith respect to the early Red Z in the first FSM. Some of the unique parts were photographed and documented. Here is that fuel return part that was first on the fuel bowl then moved to the rail. I wonder if the design and/or part was taken from the twin SU roadster or 510 SS? The different fuel pump routing is also captured in the FSM:
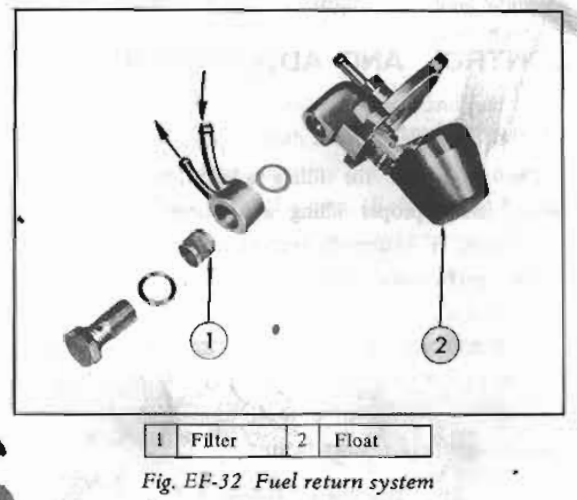

 1 point
 -
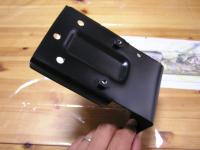
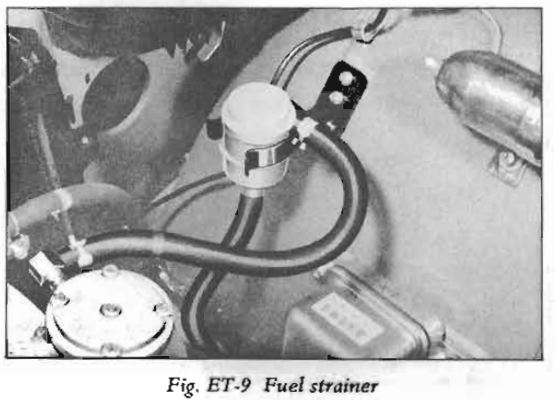
1 point1 pointThis is another interesting NOS part that I recently acquired. Electric Fuel Pump upgrade.
 1 point


Important Information
By using this site, you agree to our Privacy Policy and Guidelines. We have placed cookies on your device to help make this website better. You can adjust your cookie settings, otherwise we'll assume you're okay to continue.