zKars
Supporting Member
-
Joined
-
Last visited
Everything posted by zKars
-
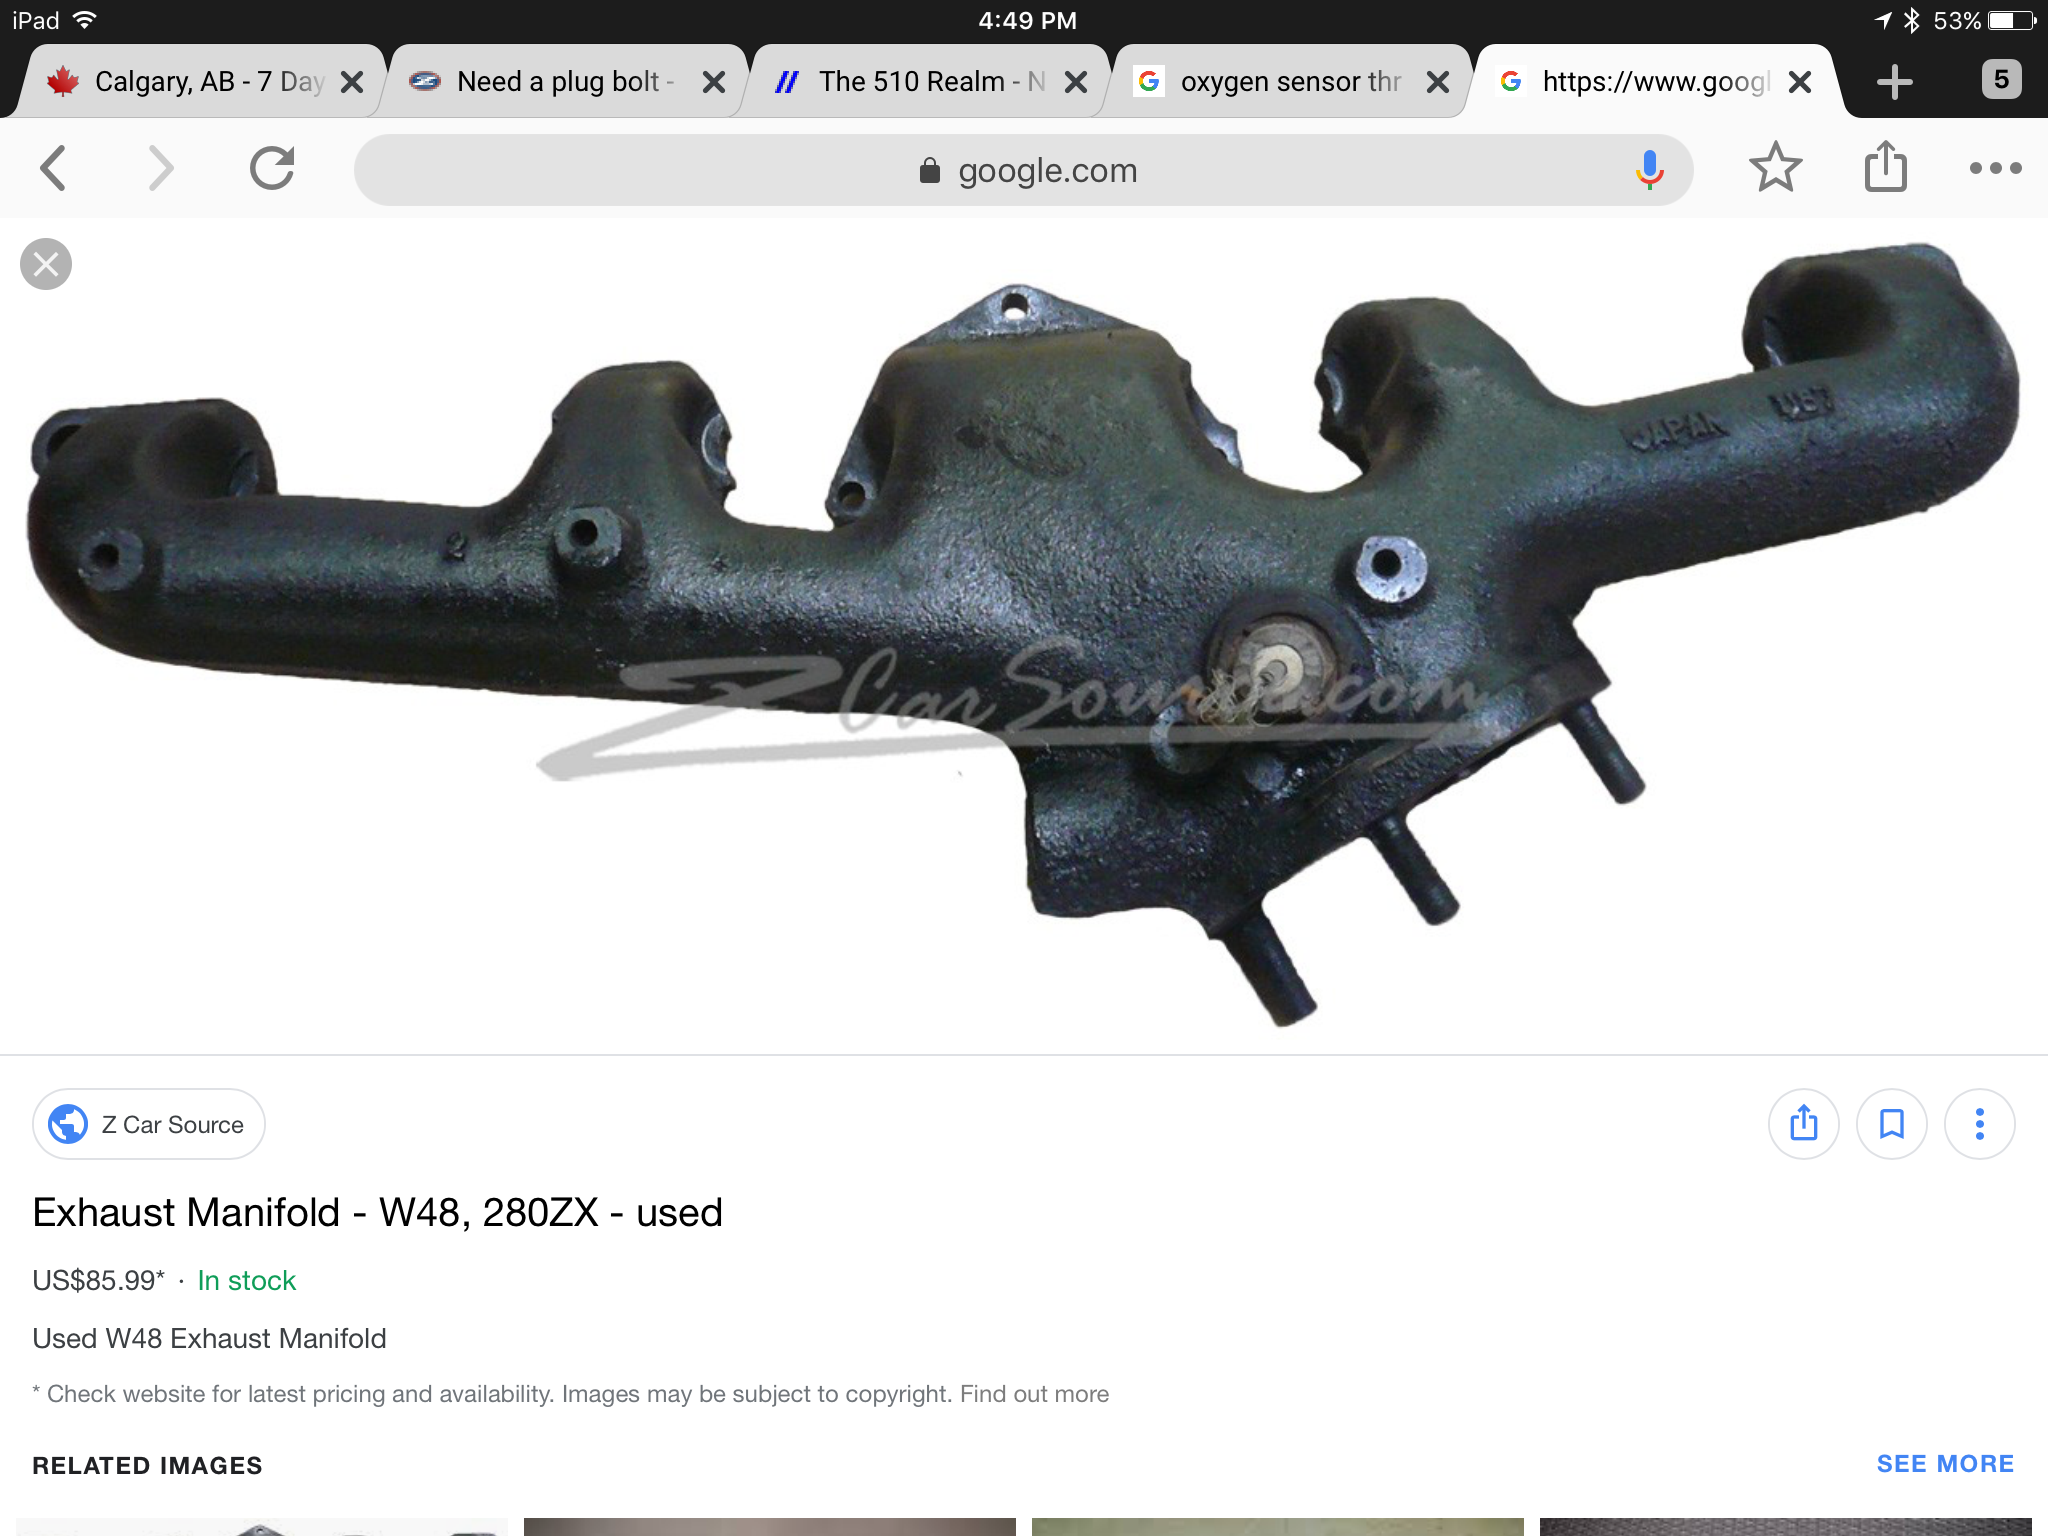
Is that not the narrow band O2 sensor location from a ZX manifold? Never seen an early manifold with a need for either an EGR fitting or O2 sensor that would explain that hole. Unless it was a later user added "feature" Anyway if its O2 bung thread, its M18x 1.5. https://www.google.com/search?q=280zx+exhaust+manifold&rlz=1C9BKJA_enCA668CA668&oq=280zx+exhaust+manifold&aqs=chrome..69i57j0l3.6099j1j7&hl=en-US&sourceid=chrome-mobile&ie=UTF-8#imgrc=wbMsjPBtTsxSnM:

-
Please indicate in what axis you feel play on the right. in and out, up and down? The copper washer has no effect on how the bearings sit in their seats or the compression of the distance piece. It does affect where the inner stub half sits when its all tight, in an in/out sense, ie spaces it out a bit, which might differ how it fits with the seal or interferes on the sides if the dust flange is bent or something. Bottom line, that dang washer has nothing to do with bearing fit, preload, rotation torque, or anything important. If you have entire axle play, the bearings are not seated or the inner stub is not touching or compressing the two bearings against the distance piece properly, and about the only way that washer can affect this is if is jamming on the shaft and some force you appliying is bending the washer and not applying compression to bearing inner race. You didn't enlarge that washer hole and put it between the distance piece and a bearing did you?
-
I'm going to use one in my 510 build this time around, I'll take it apart to clean it and let you know what I find. No doubt someone on amazon and or ebay has activated charcoal for sale.
-
So like magic, I get an email from eastwood just now announcing "Free shipping to Canada" for orders over $99 Clearly they felt they had to do something given the policy change.
-
-
The ground is in the fuel sender/fuel pump harness that goes through the hatch floor just beside the right rear tail light. It attaches to bolt that goes into the side of the frame rail above the tank. Totally inaccessible without removing the tank. If you think that lug is corroded, you are right. Just splice into the black wire above where it goes down below the hatch floor and make a new ground connection near the tail light. Sheet metal screw about 3 inches long should go right into the gas tank if you aim it right
-
Have to dig it up, but I bought a new (not reman) rack with inner tie rods from an outfit on ebay couple of years back. It was ~$275 USD back then. Why hunt for $200 parts? Oh yes, their ebay name is carsteering https://www.ebay.ca/usr/carsteering?_trksid=p2057872.m2749.l2754 Or https://www.jegs.com/i/Rare+Parts/202/RP26575/10002/-1
-
Just cuz I'm in the mood to stir up trouble, I have an observation about this diff getting moved to solve a rear end vibration or u-joint wear issue. The 510 IRS has it's half shafts in the supposed "bad" position with the wheel hubs behind the diff flanges by just about the same amount as the early Z's had. Ie, half shafts not 90 to diff. Nothing was ever done or said about vibration problems or u-joints prematurely wearing out in 510s (and later 610s). Me thinks there is more to the Z issue than has been revealed. I smell a Gosher style cover up.... Back to regular programming....
-
Fresh lock washers (and correct torque) are your best moves to keep that clutch on there. Lock tite is overkill in this application. Won't hurt a thing if you use it.
-
-
-
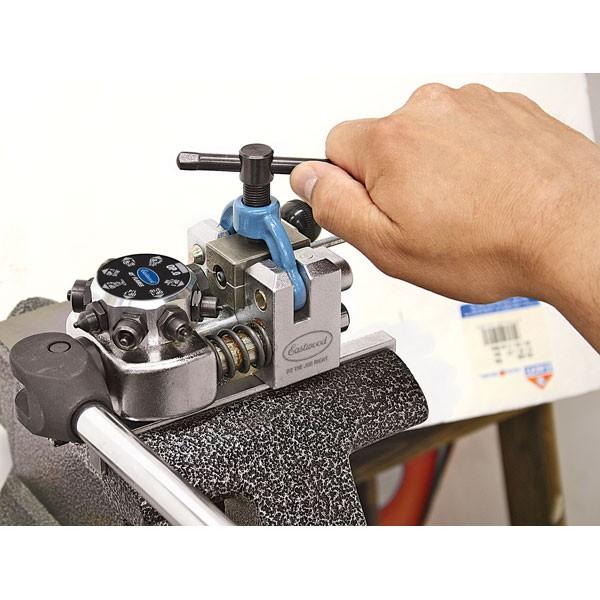
So I've been busy okay? But yesterday I finally got the eastwood tool out and have to report I like it more than the FedHill tool. Makes the same high quality flares, but it has features which makes it easier to use too. The clamp release is faster and easier to use, and the unique feature that helps you "zero" the tube position at the beginning of the operation is so slick. There is a flat face on the turret that you use to push the tubing flush with the die block, rather than the Fedhill tool that makes you either visually line it up, or use some other flat 'thing' to manually set the start position. It even breaks down for storage more easily. Pretty slick system. All this said, my Fedhill tool is pretty slick compared to most of the other tools out there. It's still available. While I'm here, I have to mention the tool I use when I have to make on-the-car flares. The picture of it below gives you the idea. It's well made, makes good flares. Eastwood has one, I bought mine from Ebay. Now if someone would come up with a system that reminds me to put the nut on the tubing, THEN make the flare...


-
Are you sure you have the right release bearing sleeve length? Do you have an adjustable length clutch arm rod? Ie arm with the hole in it that the slave rod pokes through?
-
The clutch may not be releasing completely if its hard to shift in all gears.
-
I have a few of those. z240@shaw.ca and we'll get some on the way.
-
Still waiting for someone to do the six SU setup. Using the 38mm SSS carbs should be big enough. Then I'll be impressed.
-
McMasterCarr.com has a poop load of springs. I've used an inner valve spring on my 4 door, it's close, but actually not stiff enough.
-
Whatever you use, make sure it's thin, 1/32 or so. Too thick and it will take up length and make it hard to start that J-bolt nut.
-
Gave up on these rivets a long time ago. Now I install steel 10-24 riv-nuts and black oxide truss head machine screws. https://www.mcmaster.com/94779A620 Never lose the pins, panels are held down tight. Works great for black interiors, I guess you'd be painting heads for other color interiors. Black on white or blue or tan would look cool though wouldn't it? Yes you have to drill out each of the 5mm holes to whatever size the riv nuts need but once you do it you'll never baulk when you have to remove a panel to do any modifications (which we never do, right?)

-
I had SS hose fittings in the heater in/out-lets. Both BSPT and NPT have 14 TPI for these 1/2 threads so it fits without drama. The 280's have the threaded heater hose fitting on the lower rad outlet, and the hole at the back of the head is always threaded, so it's an easy conversion. Makes it easy to put a simple brass plug in it.
-
I seem to remember that classictube had SS lines? https://classictube.com/?s=Datsun&search_id=1&post_type=product
-
As you mention, it is not sealed, it is just a deflector really for water entering from above. A carefully placed piece-o-something plastic above it, attached to the cowl would likely do just fine to deflect rain water. If you're wanting a real one, let me know,
-
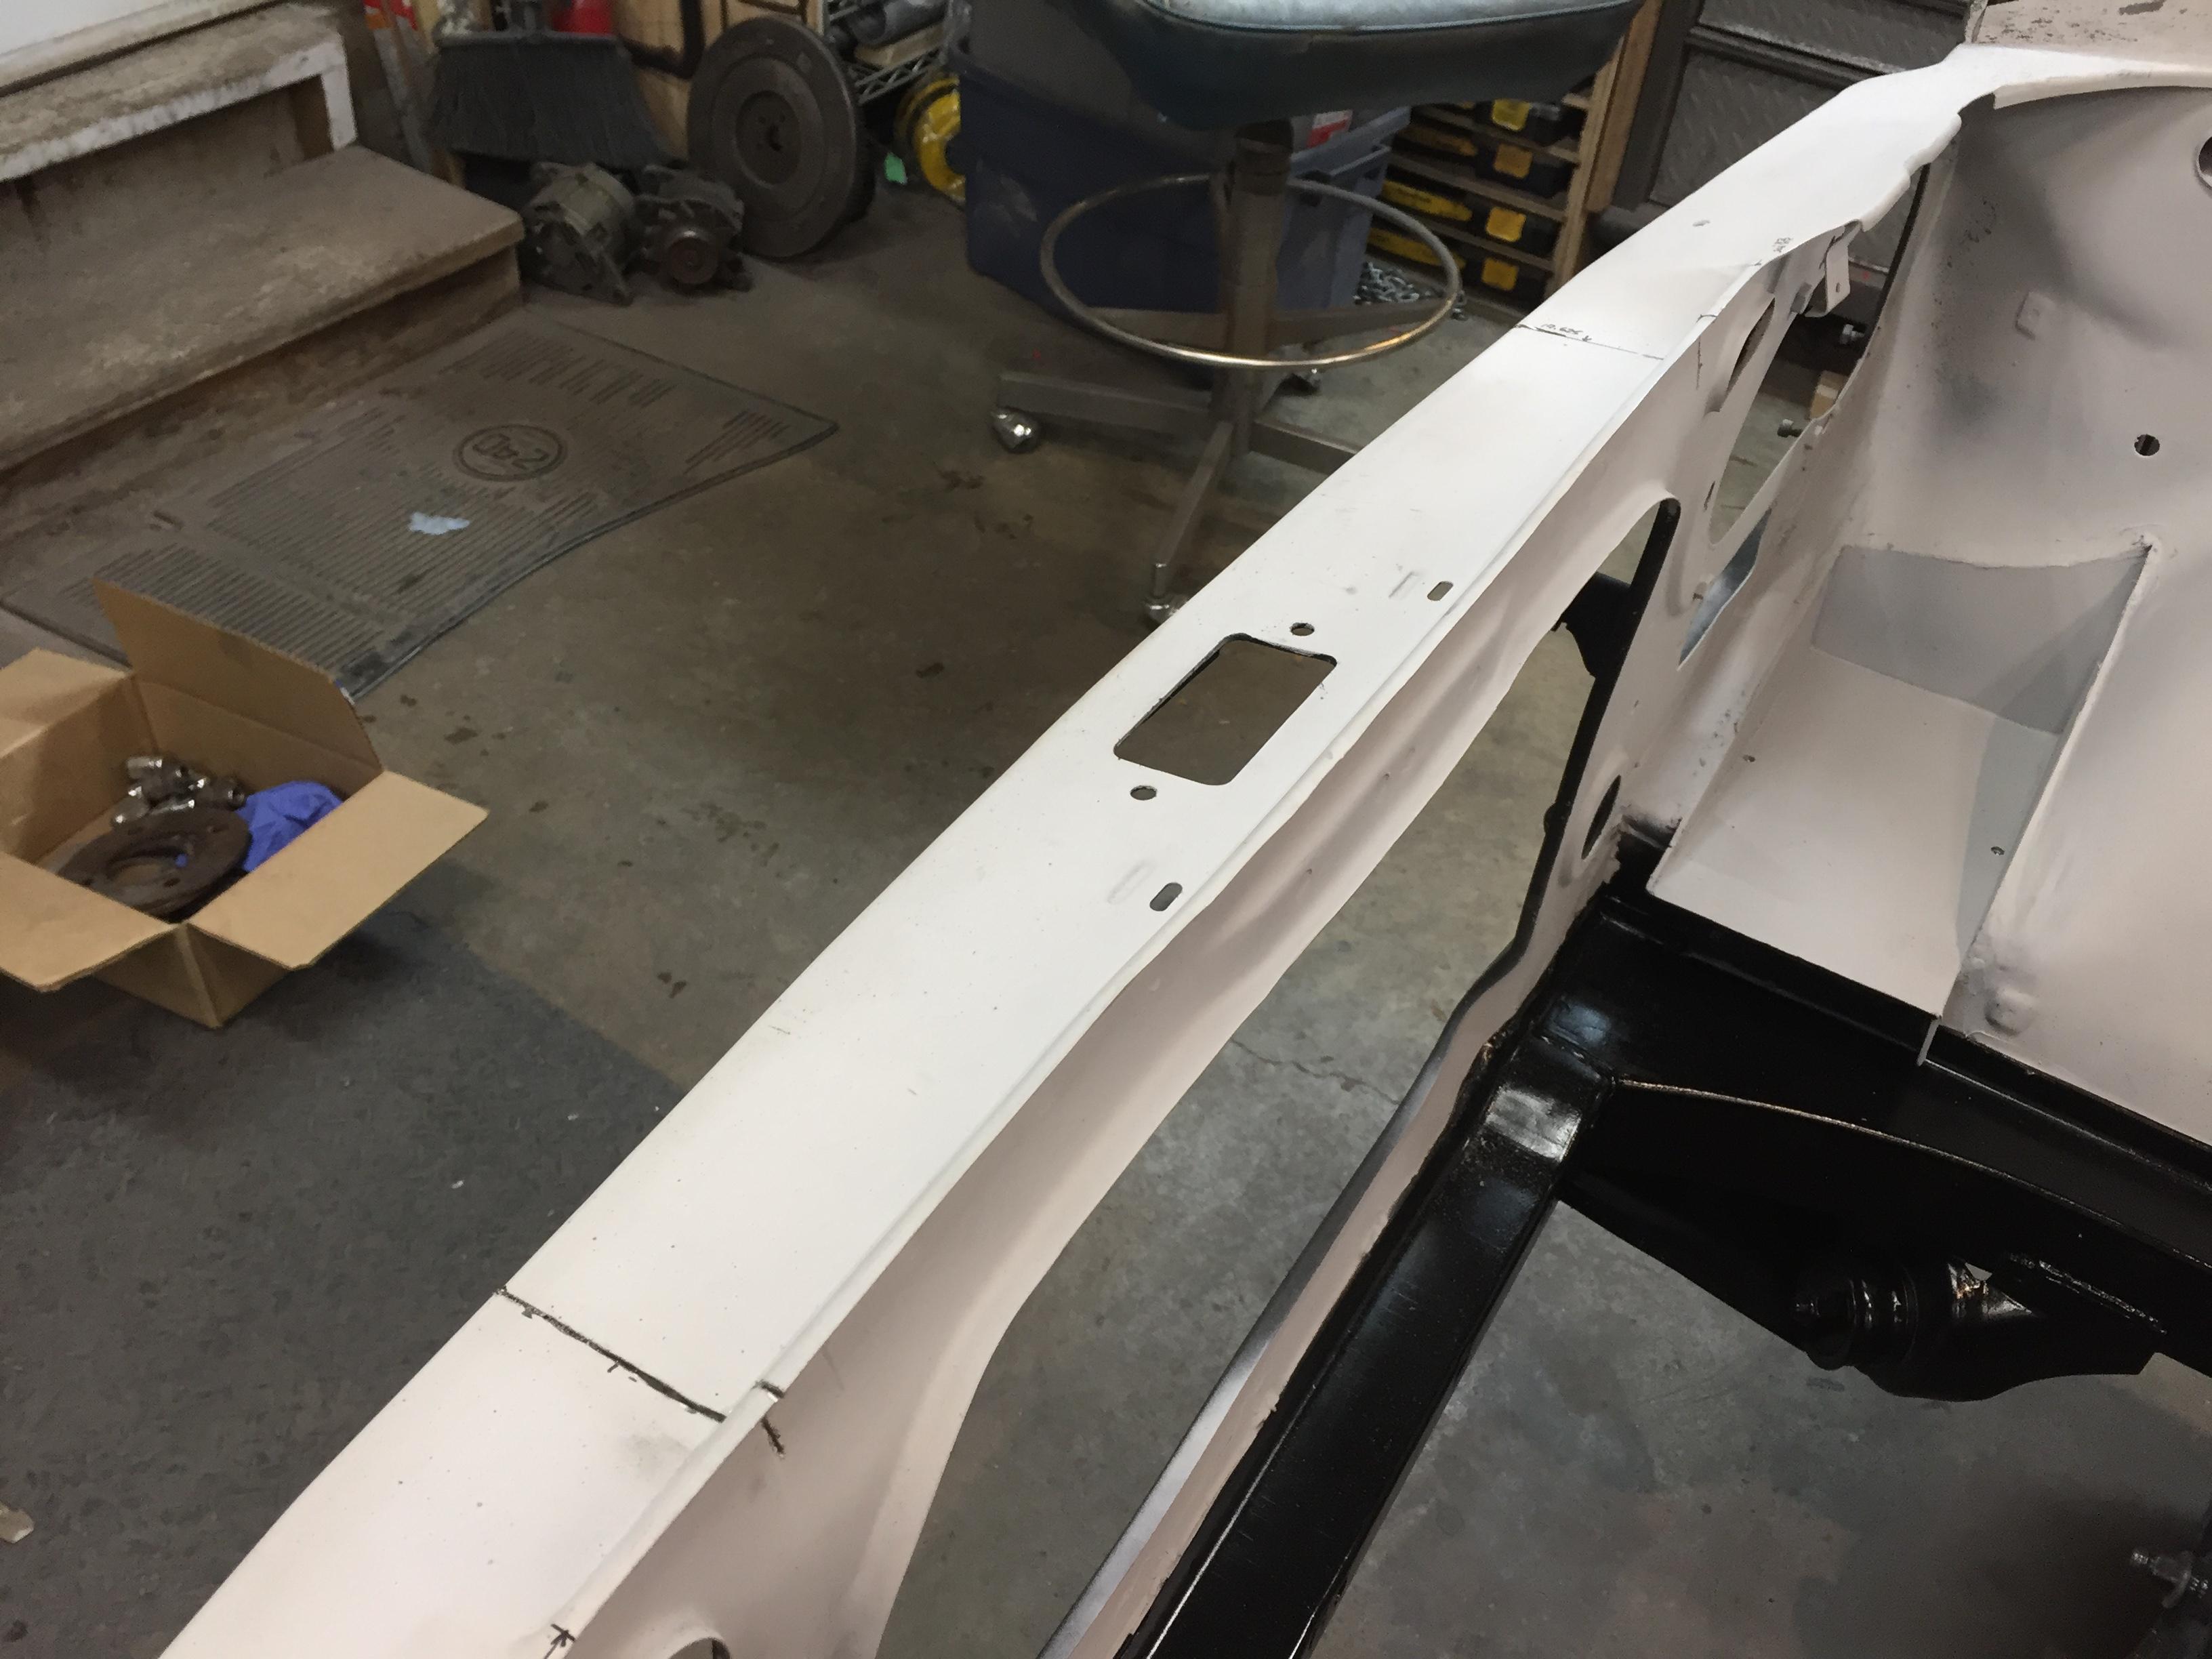
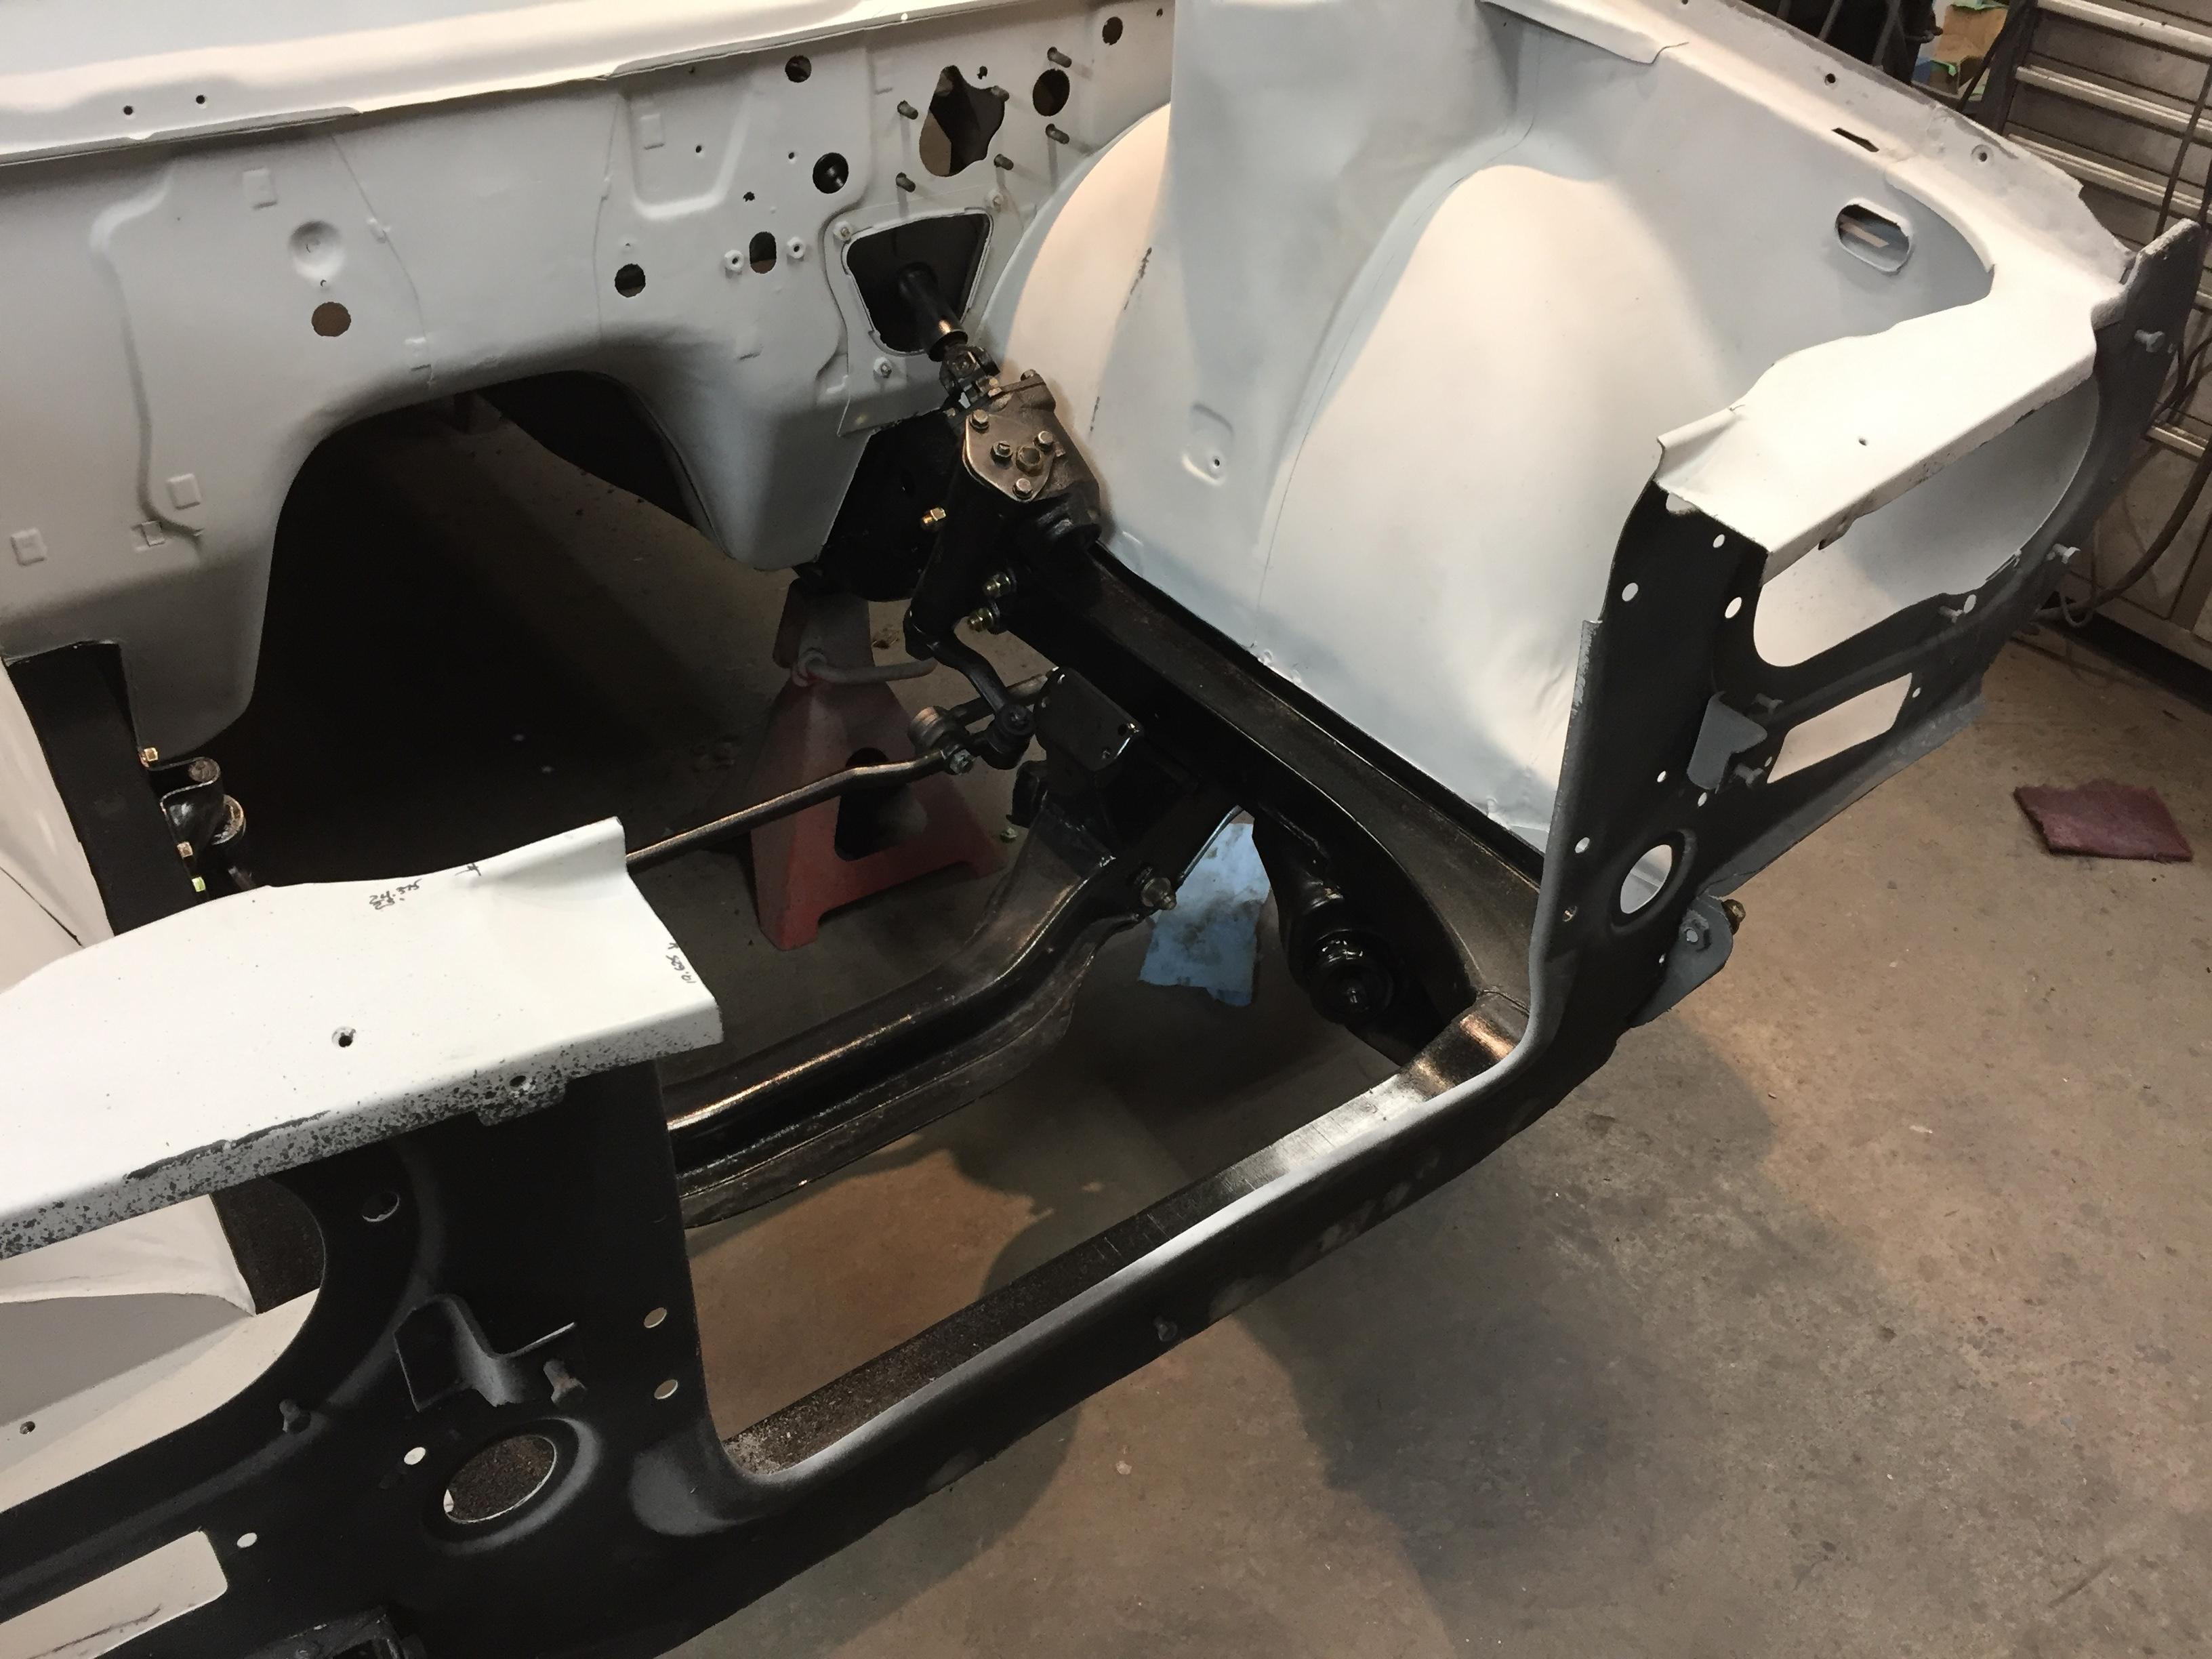
I have to go take pictures of the finished product, but its just a small plate on each side that covers the gap. Spot welded to the center, two bolts into captured nuts on the outer part. You only need tensile strength here, that metal is so thin (that front bar that ties it into the lower valance is needed to keep the hood from bending the crap out of it), and your rad provides 95% of the strength in this area.
-
It's a week for dispelling myths I see. First half shaft length difference, and now how grease works. I once believed that wheel bearings need to be filled with grease, including the dust cap. Have to keep grease around to replace what gets flung and maybe moved with heat and motion, right? Fill the bearings of course, and stuff as much in the cavities as you can. Tough to put in too much! At the same time I was doing more R&R's on rear bearings as well as fronts, and what struck me was the lack of grease in especially the rear housings. The bearings them selves were packed full of grease, quite often quite clean grease which I found surprising given that these were original bearings (spline nuts still had perfect factor peening). Maybe a light coat on the distance piec, but the cavity spaces are bone dry. But finally the light came on. Why in the world would you want grease that leaves the bearings with heat or centrifugal force and needs to be replentished by what's around? I cannot imagine a scenario that enables grease to move around in there and properly keep the bearings greased unless the entire cavity was packed full. Grease is actually designed to stay exactly where it is put and NOT to leave the bearing races at all under any but the most extremes of heat, up where metal starts to glow. The enemy of grease is moisture and dirt/grit/brake dust. If your seals are bad, that crap can get in there and destroy the bearing. I had a front failure due to a bad (ok, absent o-ring on the dust cap) and no wheel center caps that allowed crap to get in the bearing space and eventually lead to lock up and failure. My fault 100% as I was only putting grease on the bearings by this point,. So there IS a reason to put lots of grease in front of the spindle nut inside the cap, but it's mostly about a barrier to crap getting to the bearings. So there is no need to put grease anywhere but directly on the parts that touch and move. Once there, it does not move or migrate away. Any grease you put in that axle boot will stay right there and never contribute to the sliding joint. Might keep the boot soft and snuggly, but that's it.
-
But of course! It needs to come out at quite an angle, but it can be done. Bit tricky because of the steering link rod that gets stuck on the bell housing, but I done Mind you, the experience convinced me to make my rad support removable...