zKars
Supporting Member
-
Joined
-
Last visited
Everything posted by zKars
-
Ireland; Roads. Incredible. Go. PS. Buy life insurance first... oh yeah, The scenery's ok too.

-
-
Sorry to hear of this unfortunate situation and the engine damage. While you'll never know if the cap failure or timing contributed to the engine failure, it will always leave the lingering doubt about the product, even without the customer 'service' contribution. I too had the center electrode fail in my 123 dizzy cap that left me stranded in a far away place. I wasn't smart enough to carry a spare, as I thought the new one would last longer than 2000 km. Silly me. I carry a lot of spares, before and after that event, but rarely have had to use any of them, but experiences like this make the practice necessary.
-
Tanks Inc and Holley sell great in-tank pump solutions. There are others, do a bit of searching. I like one of the Holley setups as it comes with their Hydromat product that acts like the world's best fuel sponge in the bottom of the tank. Look up the Holley 12-130
-
Ah, that makes more sense. A total of 3. Still I marvel at how moving the nozzle less than a full station makes much of an effect, yet it clearly does. Seems to me the flowrate of fuel from the nozzle may be a more complex function of the total needle profile that is immersed in the nozzle than simply the difference between the needle OD/nozzle ID area at the top of the nozzle.
-
This is very helpful information. Thanks for posting it. I was reading the above post about the case where Mark had to add 3 turns to compensate for an elevation change to get back into drivable state. I had to richen it up about one turn to go from Whistler BC down to sea level in Squamish on one trip. Geez 3 turns seems like a lot I said.... So just as a point of reference in this subject matter, let's connect the number of turns required to move one station on a needle. The threads on the nozzle height adjuster are 1.0mm pitch I believe, so moving 1/8 inch, the distance between needle stations requires just a bit more than 3 complete turns. Makes me wonder how I get significant changes to AFR when tweeking the knob just 1/2 a turn or so during garage tuning sessions .... Crossing a threshold from one to the next? Maybe this stuff isn't so simple..
-
I probably have a couple of these laying around in decent shape. PM me or send an email to z240@shaw.ca
-
I have lots of bits and pieces like that, although the rubber ring bit are likely in poor shape. PM me or send an email to z240shaw.ca to discuss
-
More updates While trouble shooting an alternator wiring problem on my 510 with yes, another similar GM alternator, wired as two wire, I have more to add on the subject. First, I ran across another excellent reference web page that does an excellent job of describing the workings of all the GM alternator variants, and how to properly wire them. https://www.pirate4x4.com/tech/billavista/Wiring/Part2/#onewire My initial suggestion/recommendation about using the hotrod oriented 1 wire alternators from Mopac, has, shall we say, 'evolved' I've had consistent problems with them as they have a non-insignicant amount of current drain when the car is off. They kill the battery within about a week if you don't drive it. Hence I've moved on to the two wire style, where you supply a switched +12 wire to the alternator on the "F" or "I" terminal (right next to 'S') (see above link for very good explanation). The above reference alternator has the same case style as the original nissan alternator, so you don't have to modify your mounting base. A little spacing is about all you need to do. All I have to do is remember which car it's for. I'm pretty sure its a CS130 from the 88-89 Eagle Premier. 100 amp, internal regulator of course. You have to put your pulley on it, they come with a serpintine belt pulley. These alternators have a four wire socket that accepts a plug. You can get a pico 5657-bp pigtail from your auto parts store or get one from the wrecker. https://picocanada.com/en/view_product/5657-BP According the above link, the common practise of just jumpering the "I" (or F) terminal directly to the output terminal to excite the alternator is not the best idea. Read the details in the pirate4x4 link and you'll understand why.
-
I sent you an email. Let me know if I can help.
-
A 12/70 build dates makes it a 71 model year in most North American jursidictions. Aug (08) is the change poin, if it's month 8 To 12, it's model year is one more than the build date year. Not sure why we keep getting mixed up on build date vs Model Year. And yes, this does appear to be a great car at a decent price.
-
Hmmm. The 2+2 has an ash tray back there, if we are talking about the same place.
-
Well I have my new wallpaper for the computer for the next month or so. Thank you. All those shiny bits just waiting to be properly sorted into their new homes. Pay taxes? Feed the cat? Sleep? Nah, later, I got something important to do first.
-
Hey Leon. Talk about funny and bad timing. I was near 'Frisco in January picking up some Datsun goodies with my truck, if I'd only known... oh well. Let me know if and when your buddies are passing through. I am definitely not into packing it up for shipping, I'd have to build it a wood crate to keep it safe in transit.
-
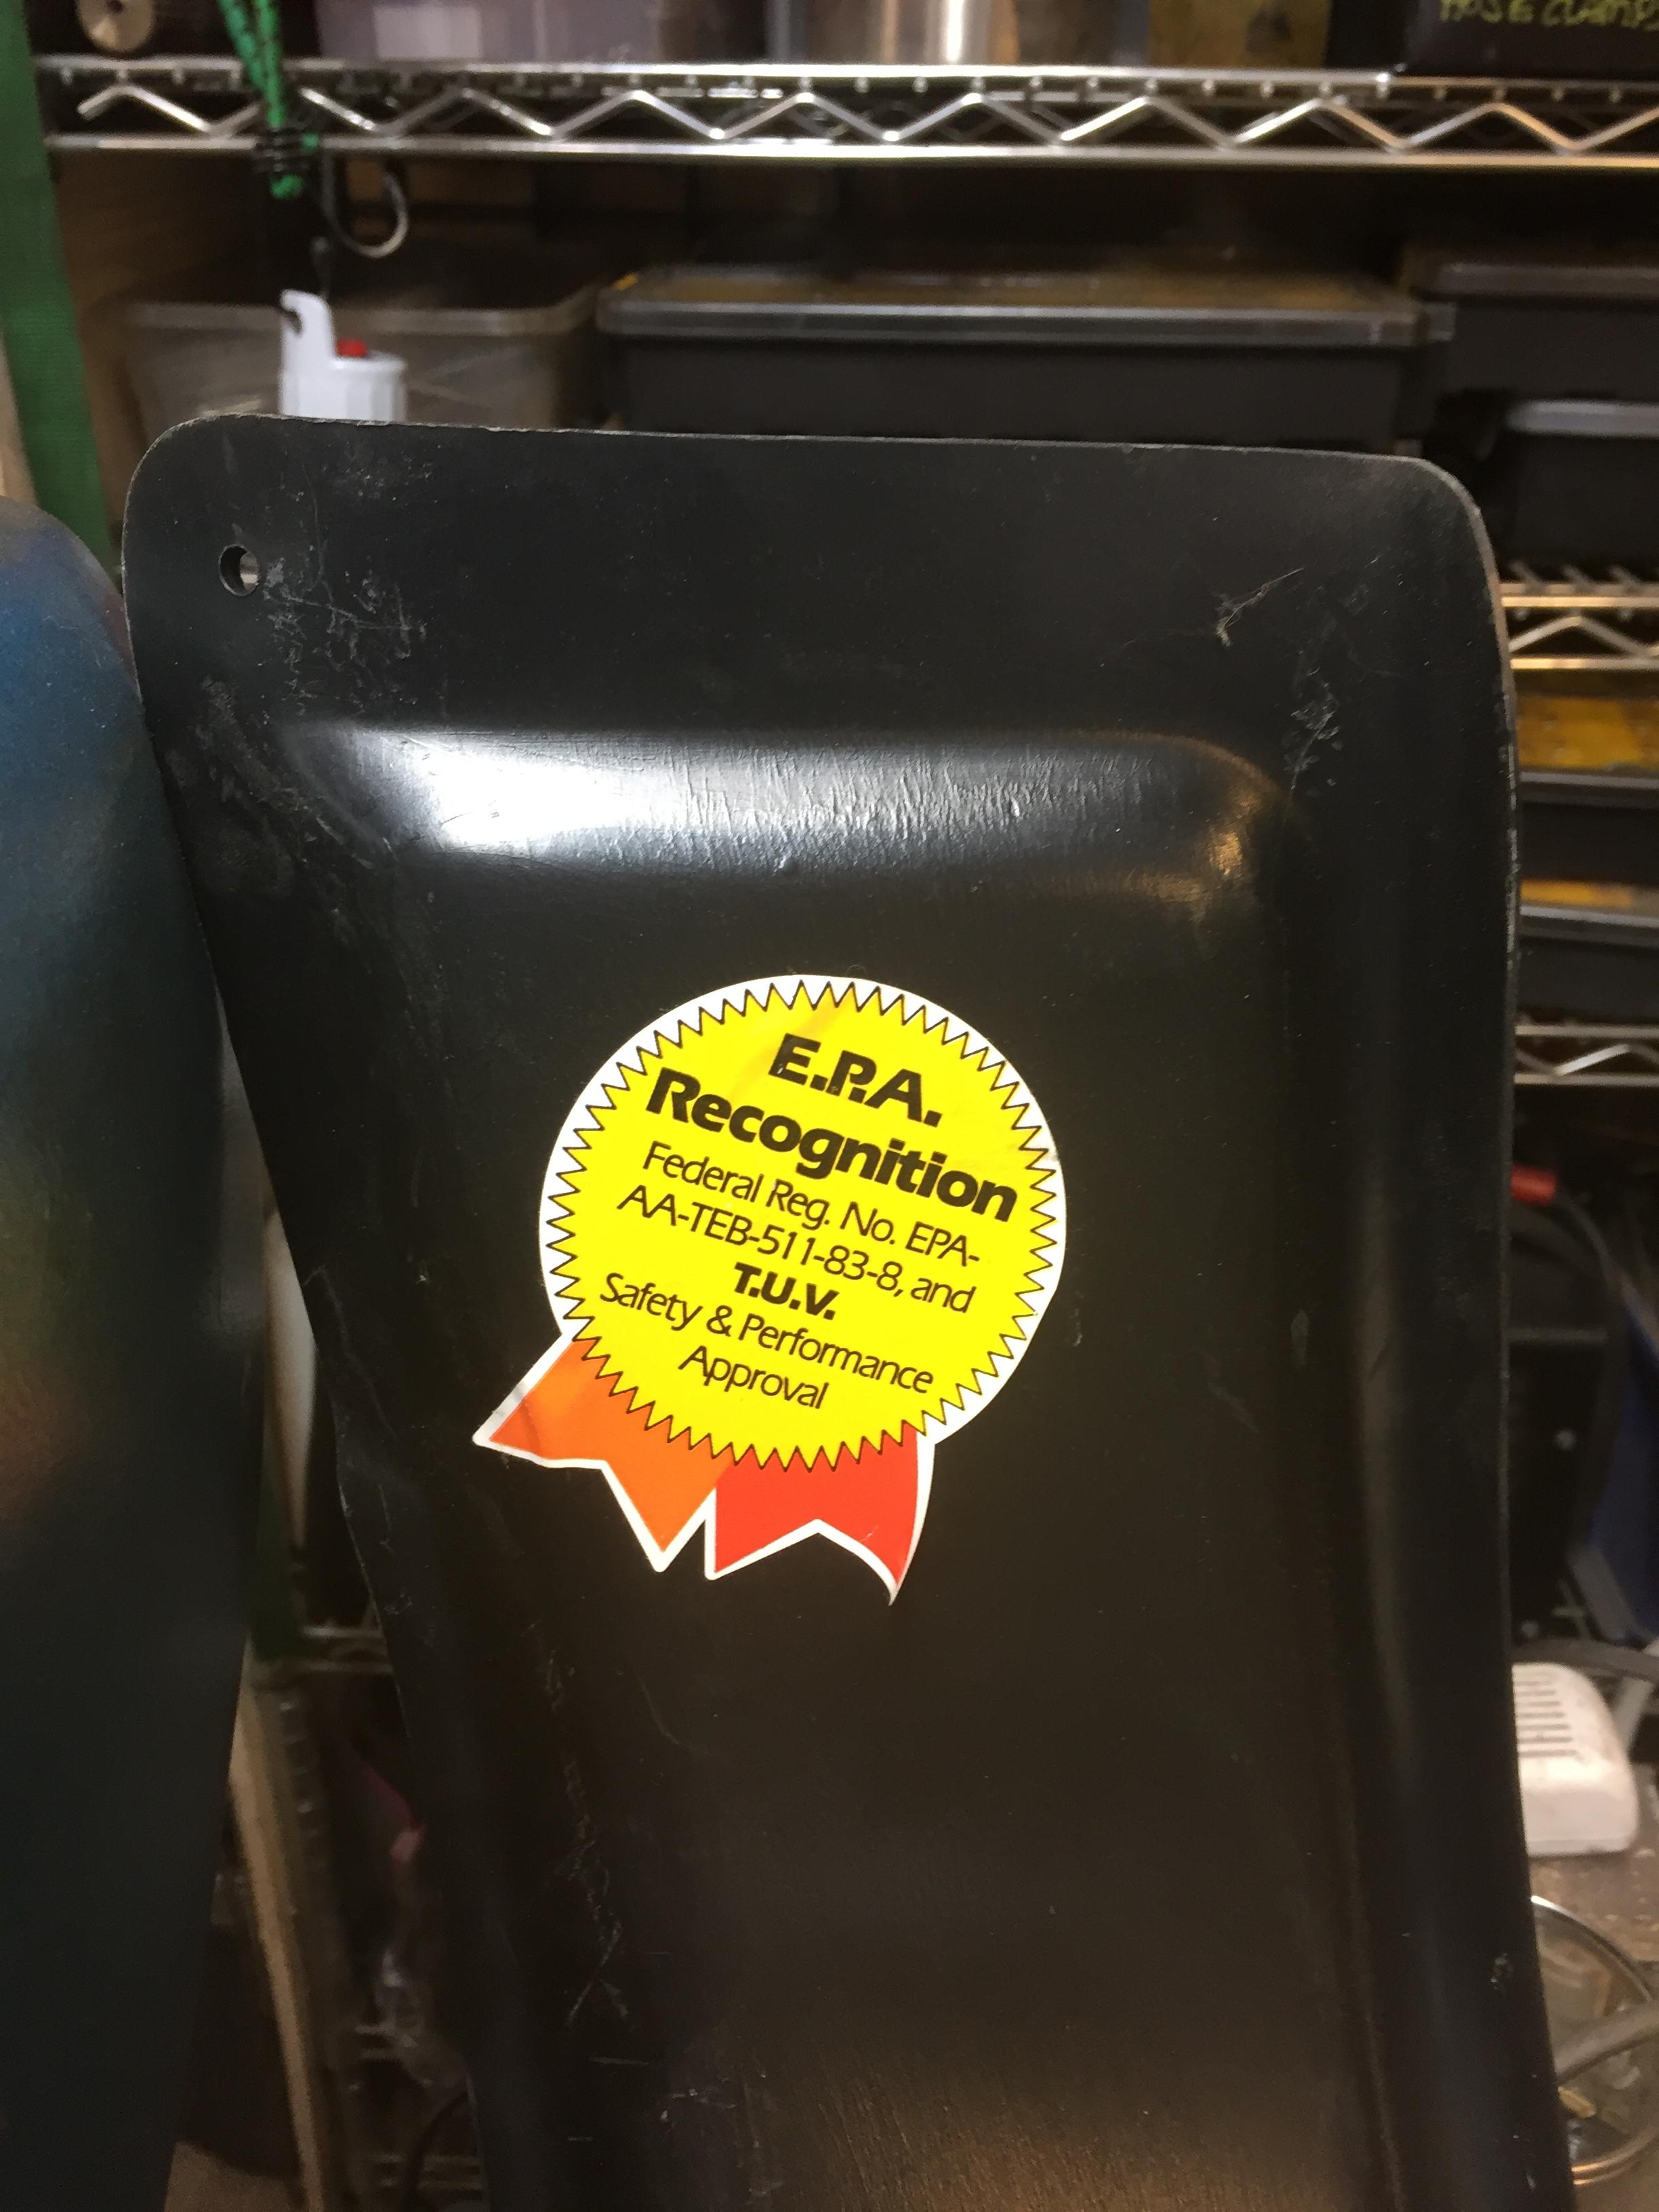
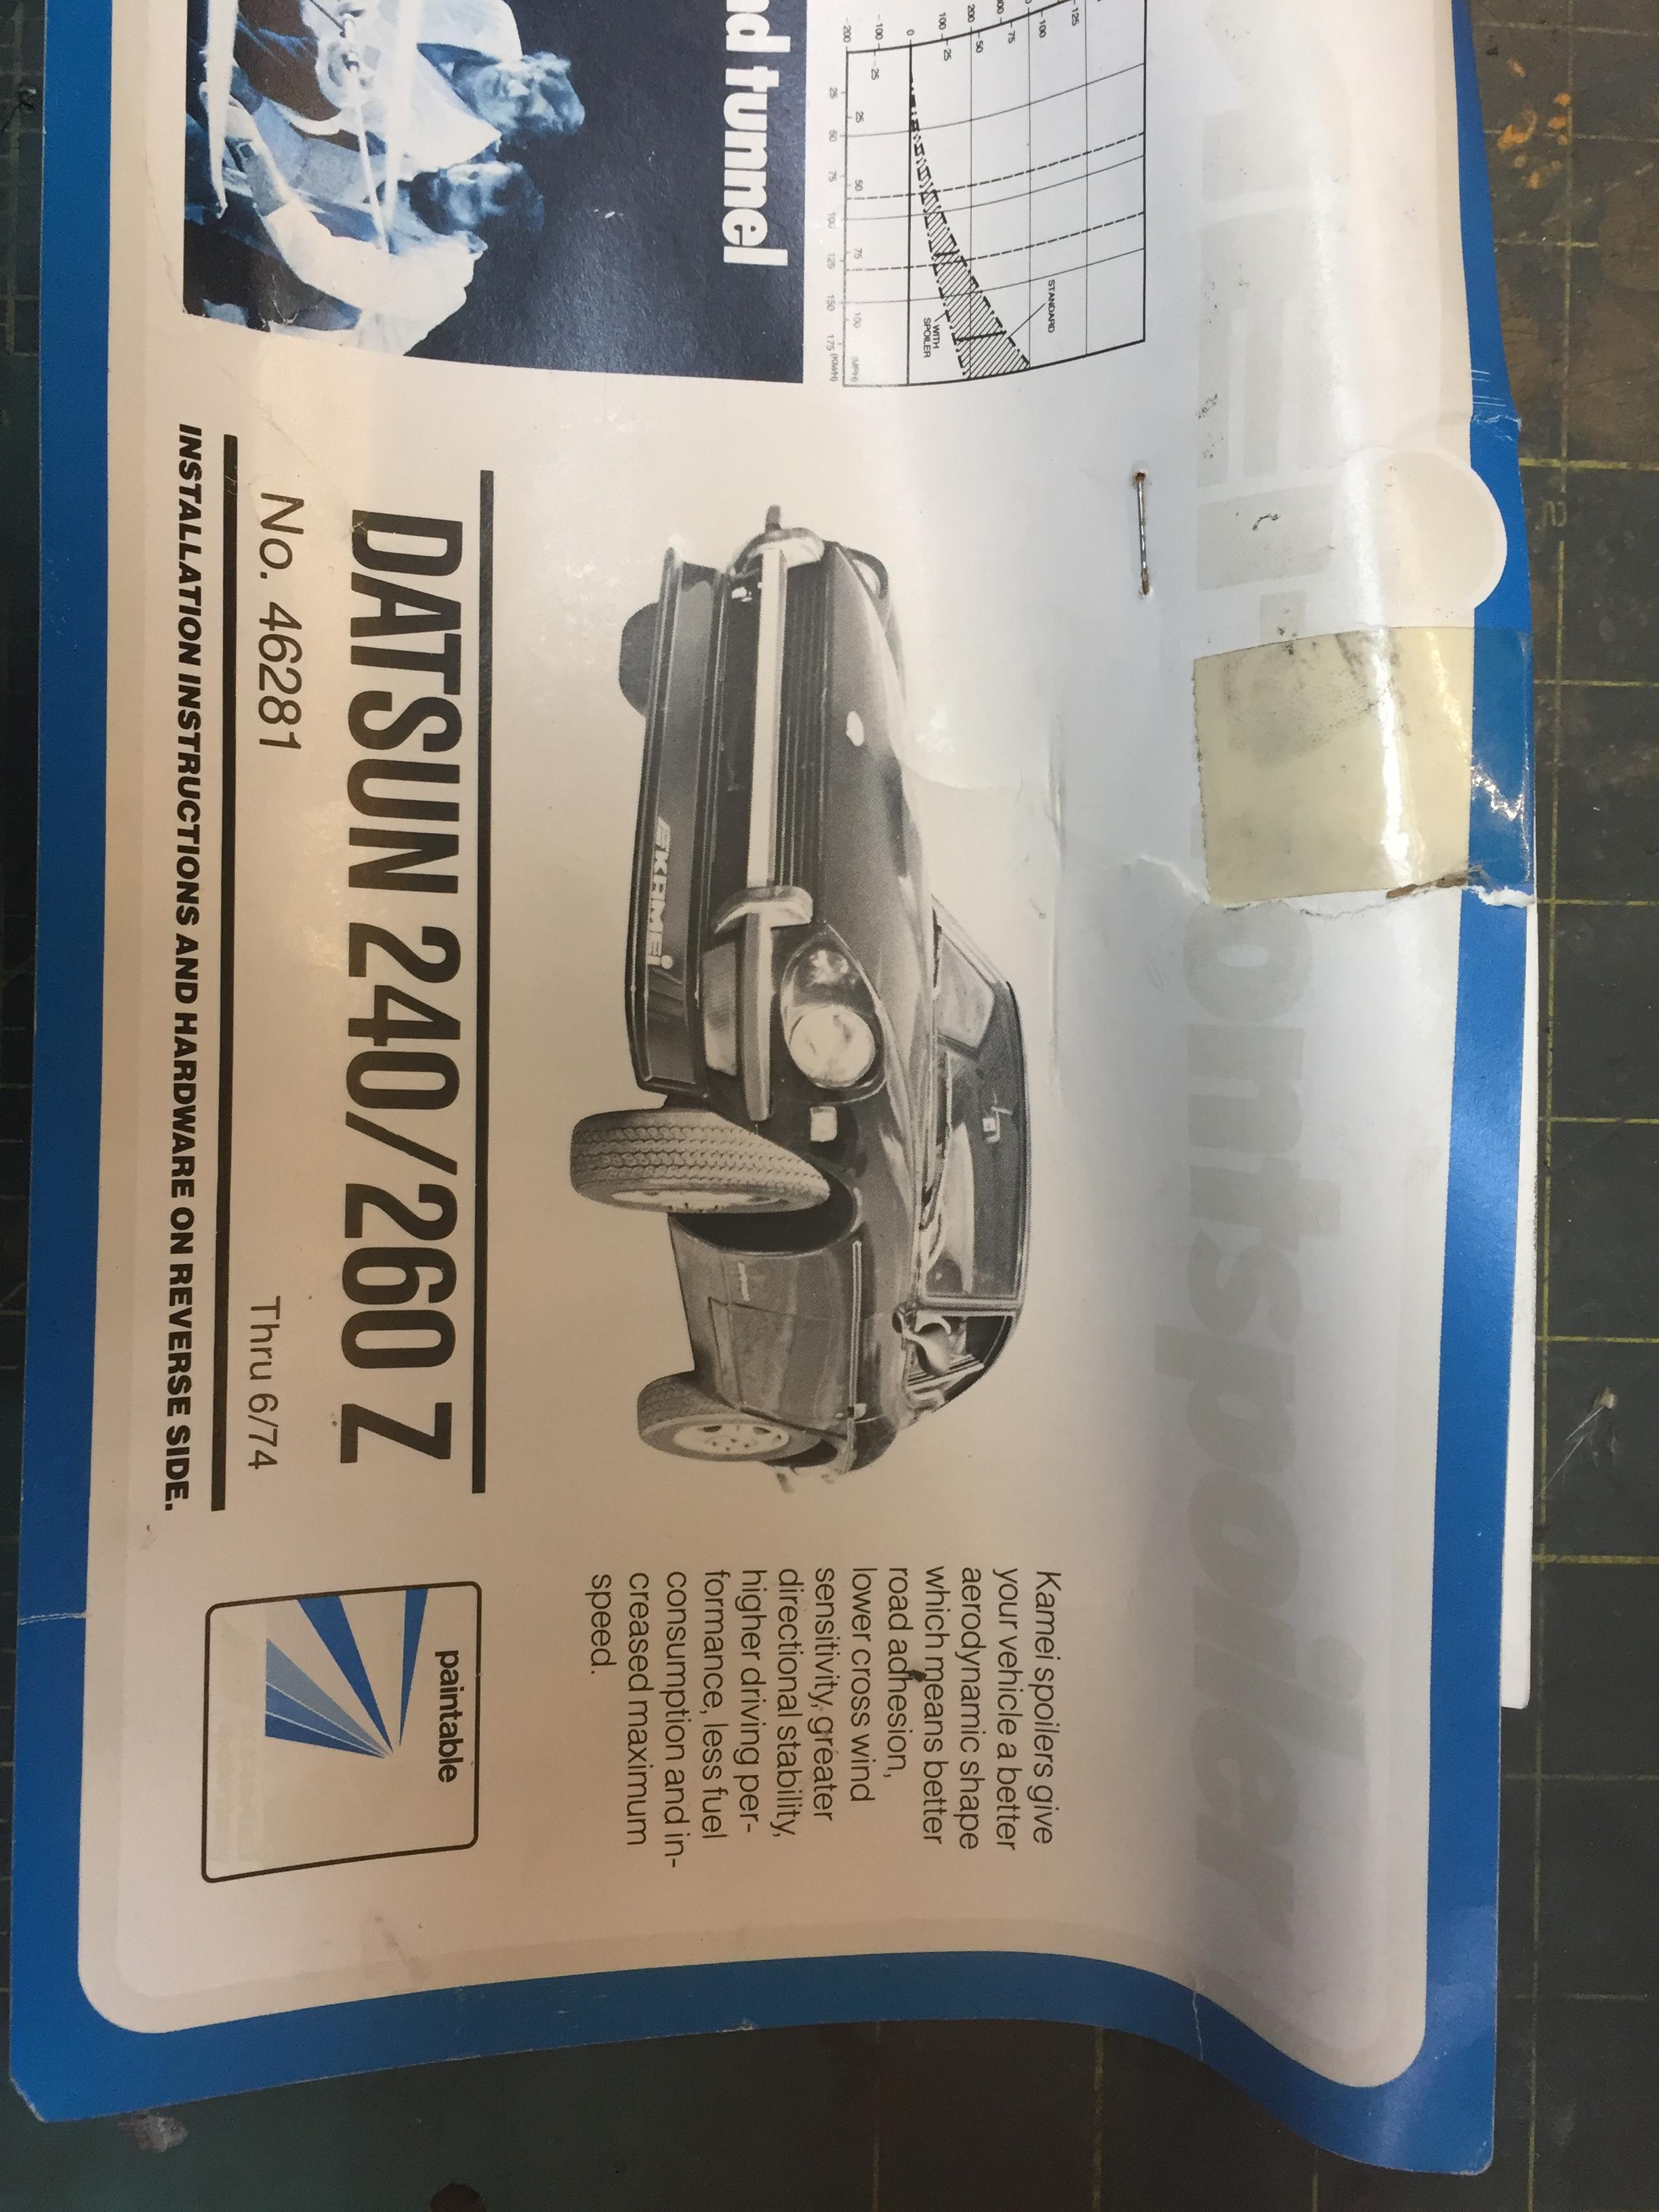
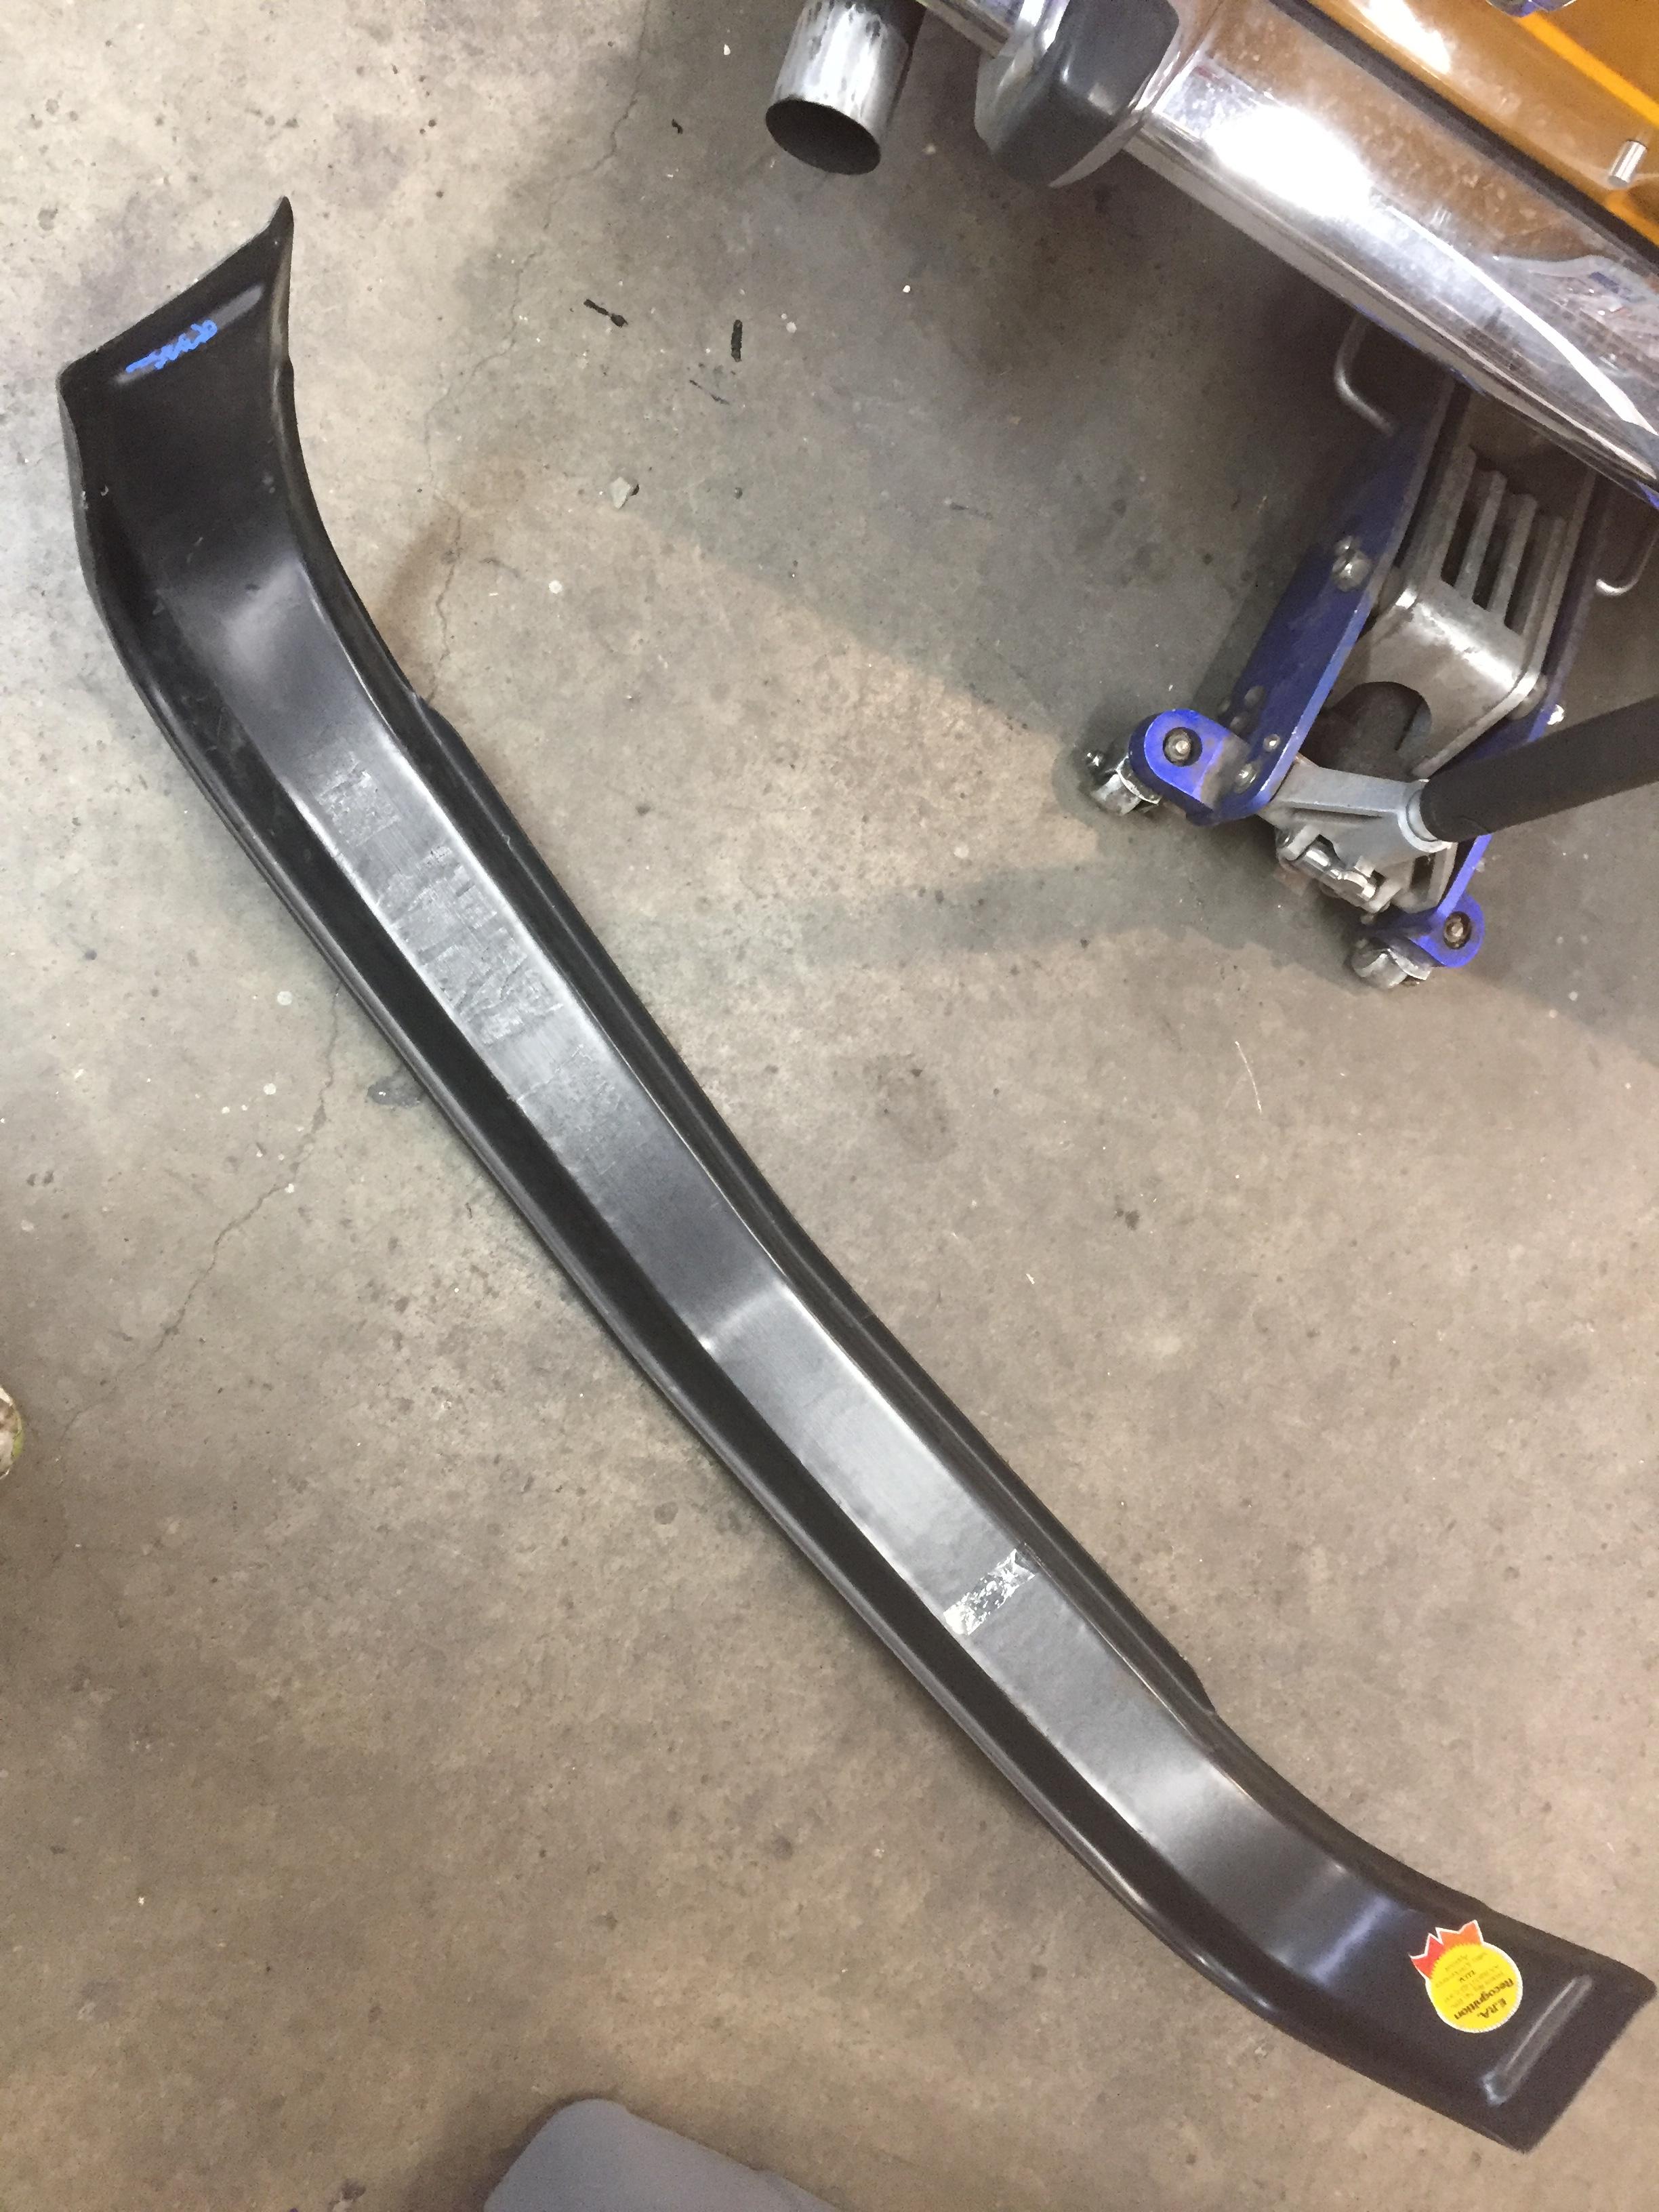
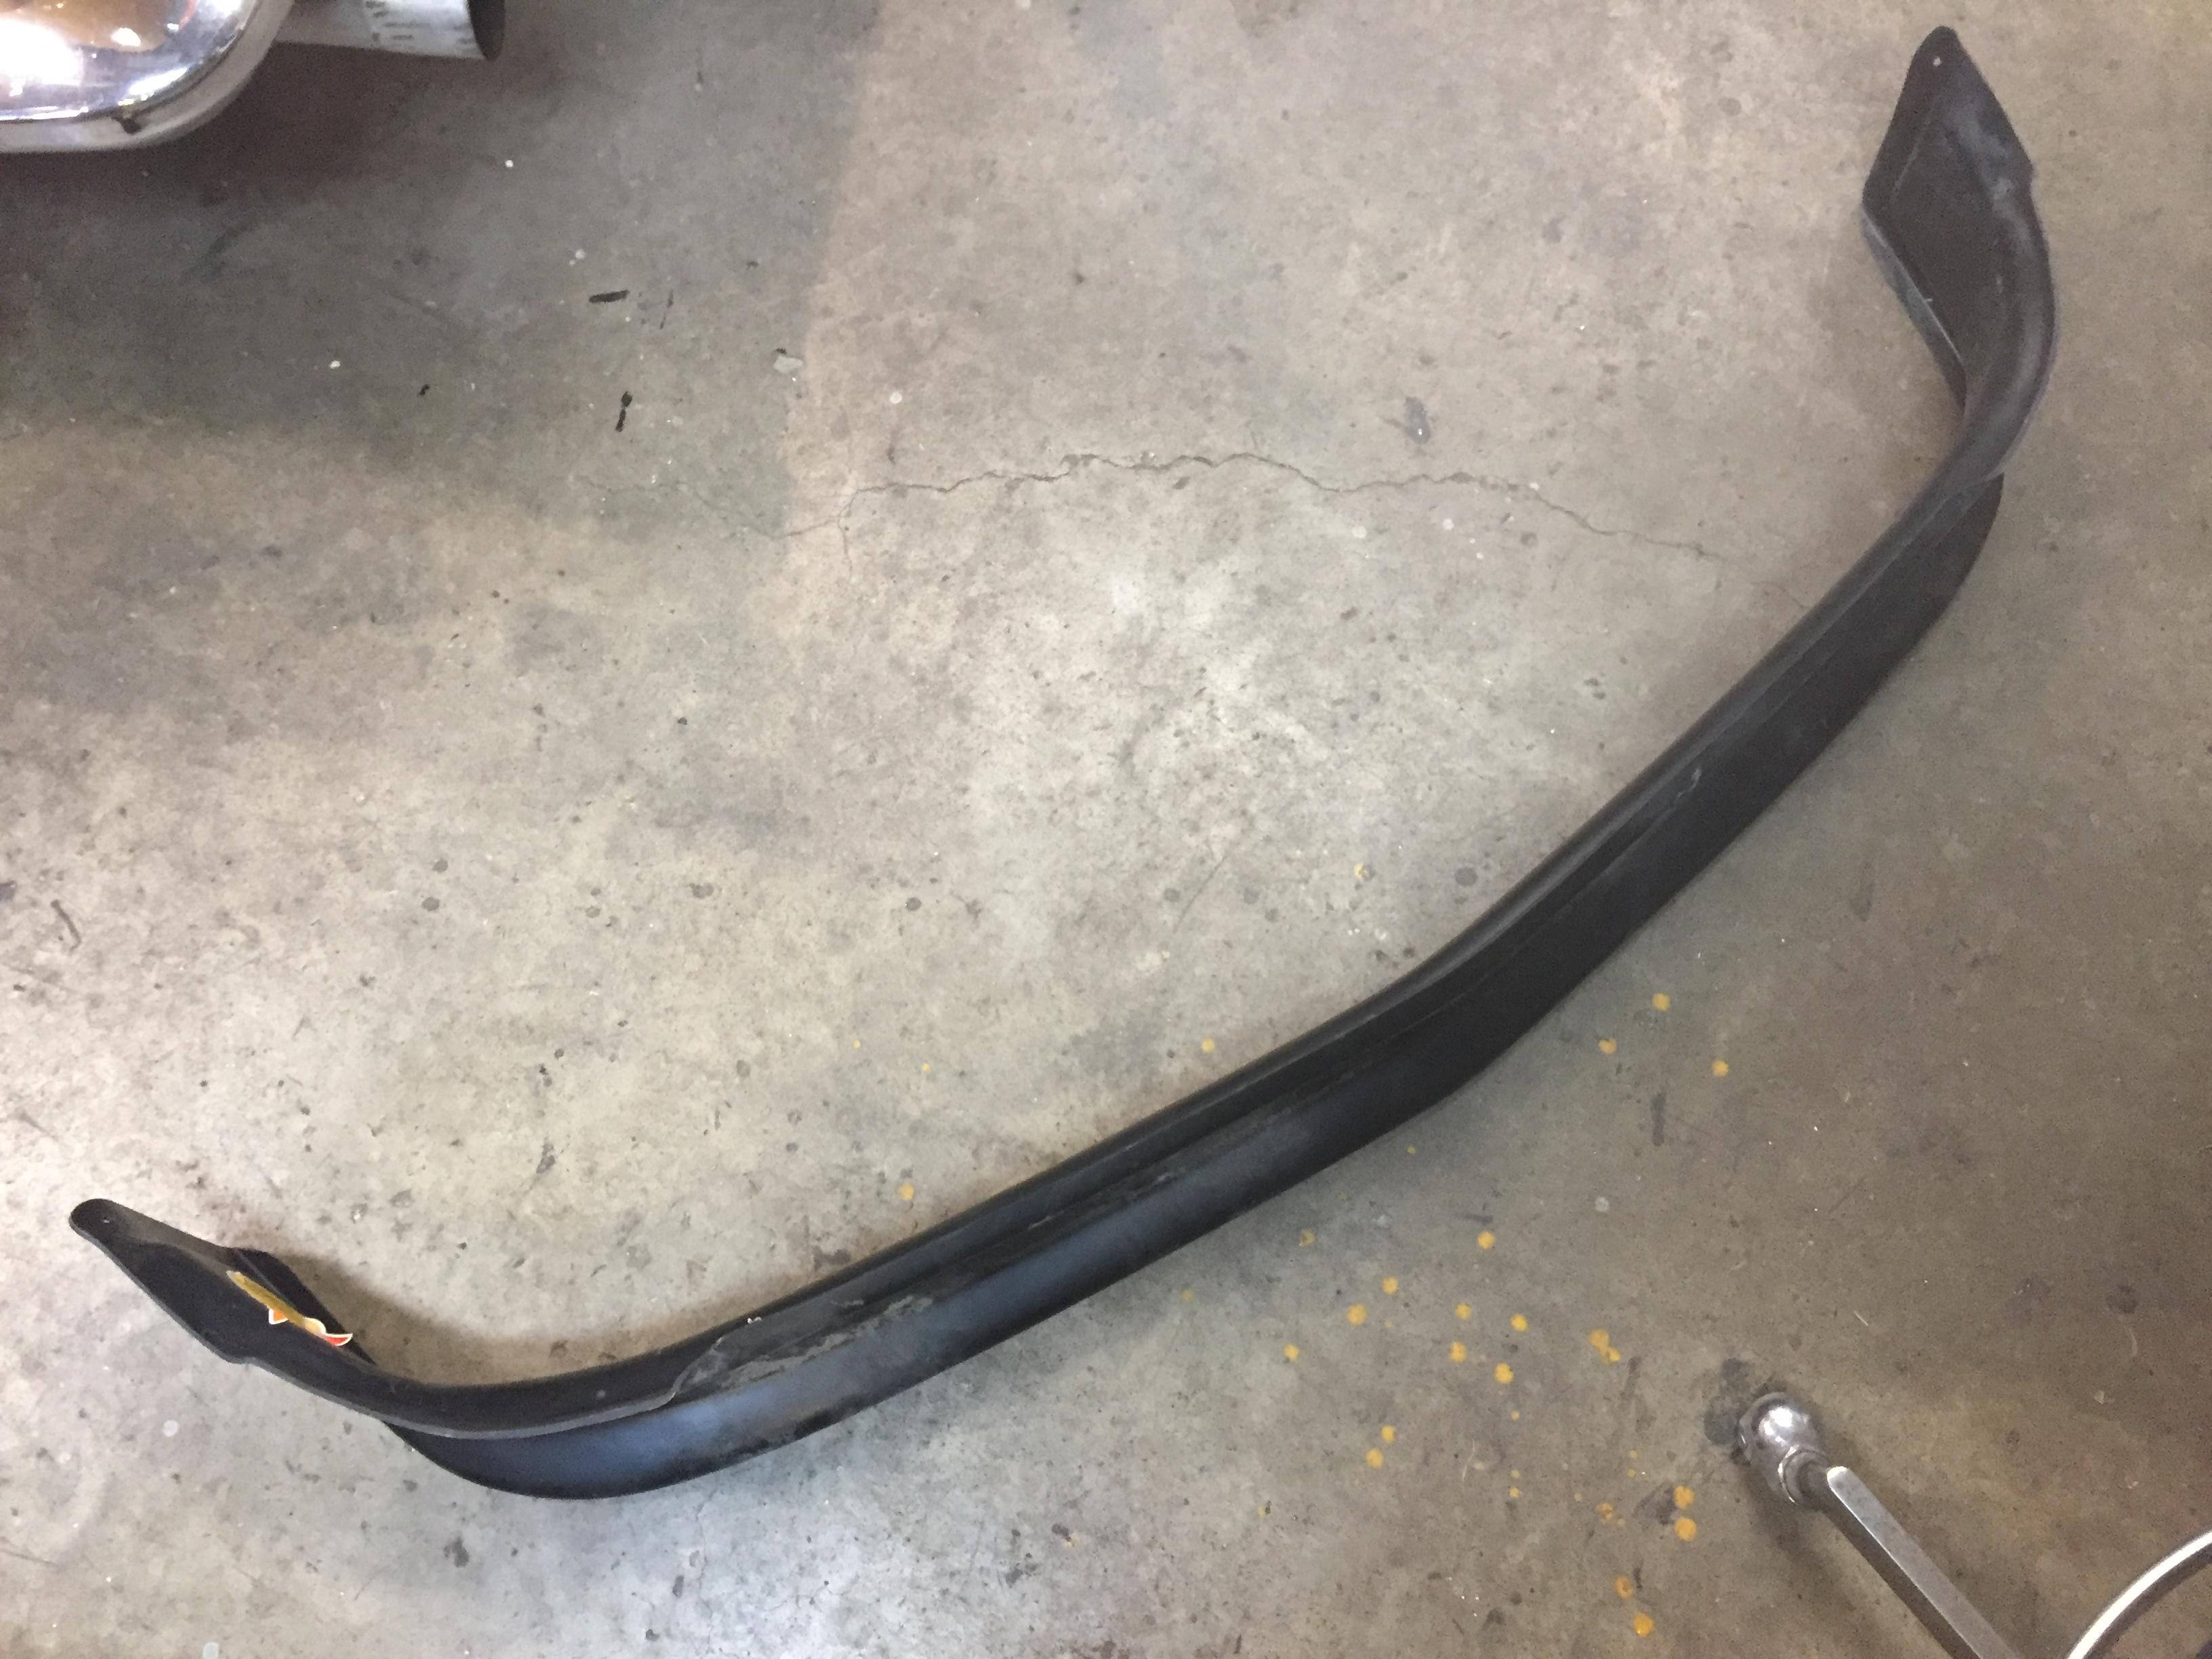
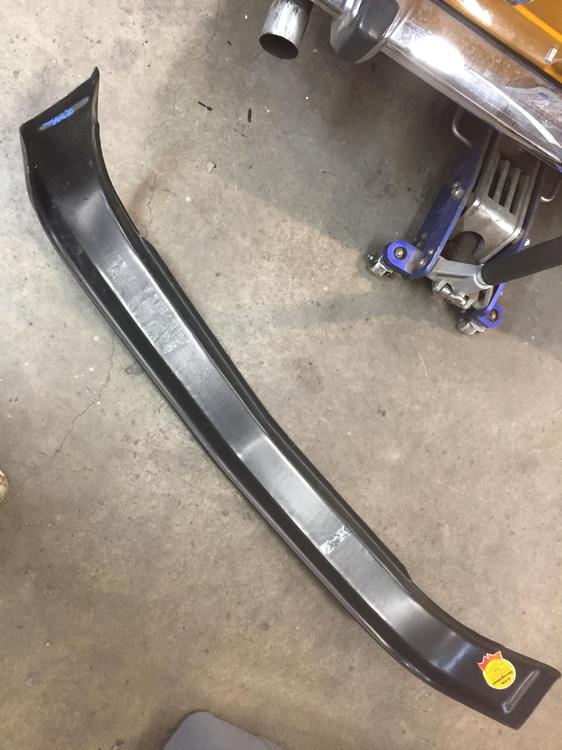
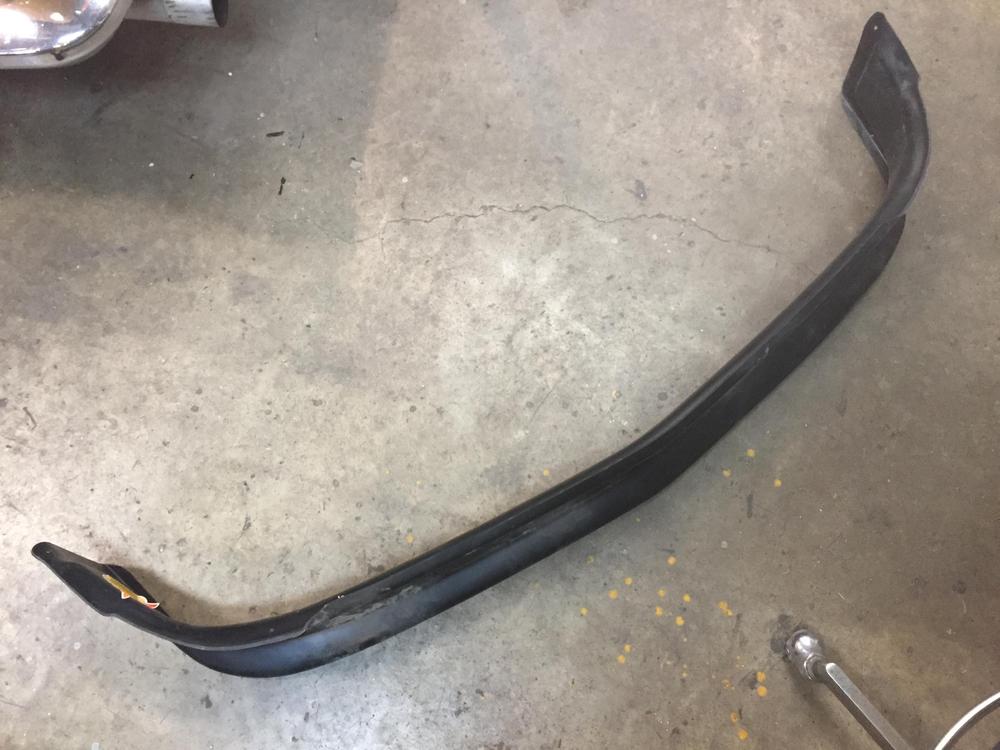
This is too funny. I pulled the identical NOS Kamei spoiler out of the back of a dead 260 at the junk yard here last Auguest. It too had the stickers and complete manual/documentation with it. Not a hint of the date anywhere on the paper work. Any one who wants to come and take from my rafters is welcome to it for what I paid for it out of pick and pull. It's hard plastic or FPR or something, it won't last long on curb stops.


-
-
It is keyed. Little slot on the edge of the sender plate and matching nub on the tank where it fits into the key
-
Let me know if you need one.
-
-
I see one missing M6 nut and flat washer on a short stud sticking out (first pic), but everything is as it should be. That's all you're missing.
-
-
-
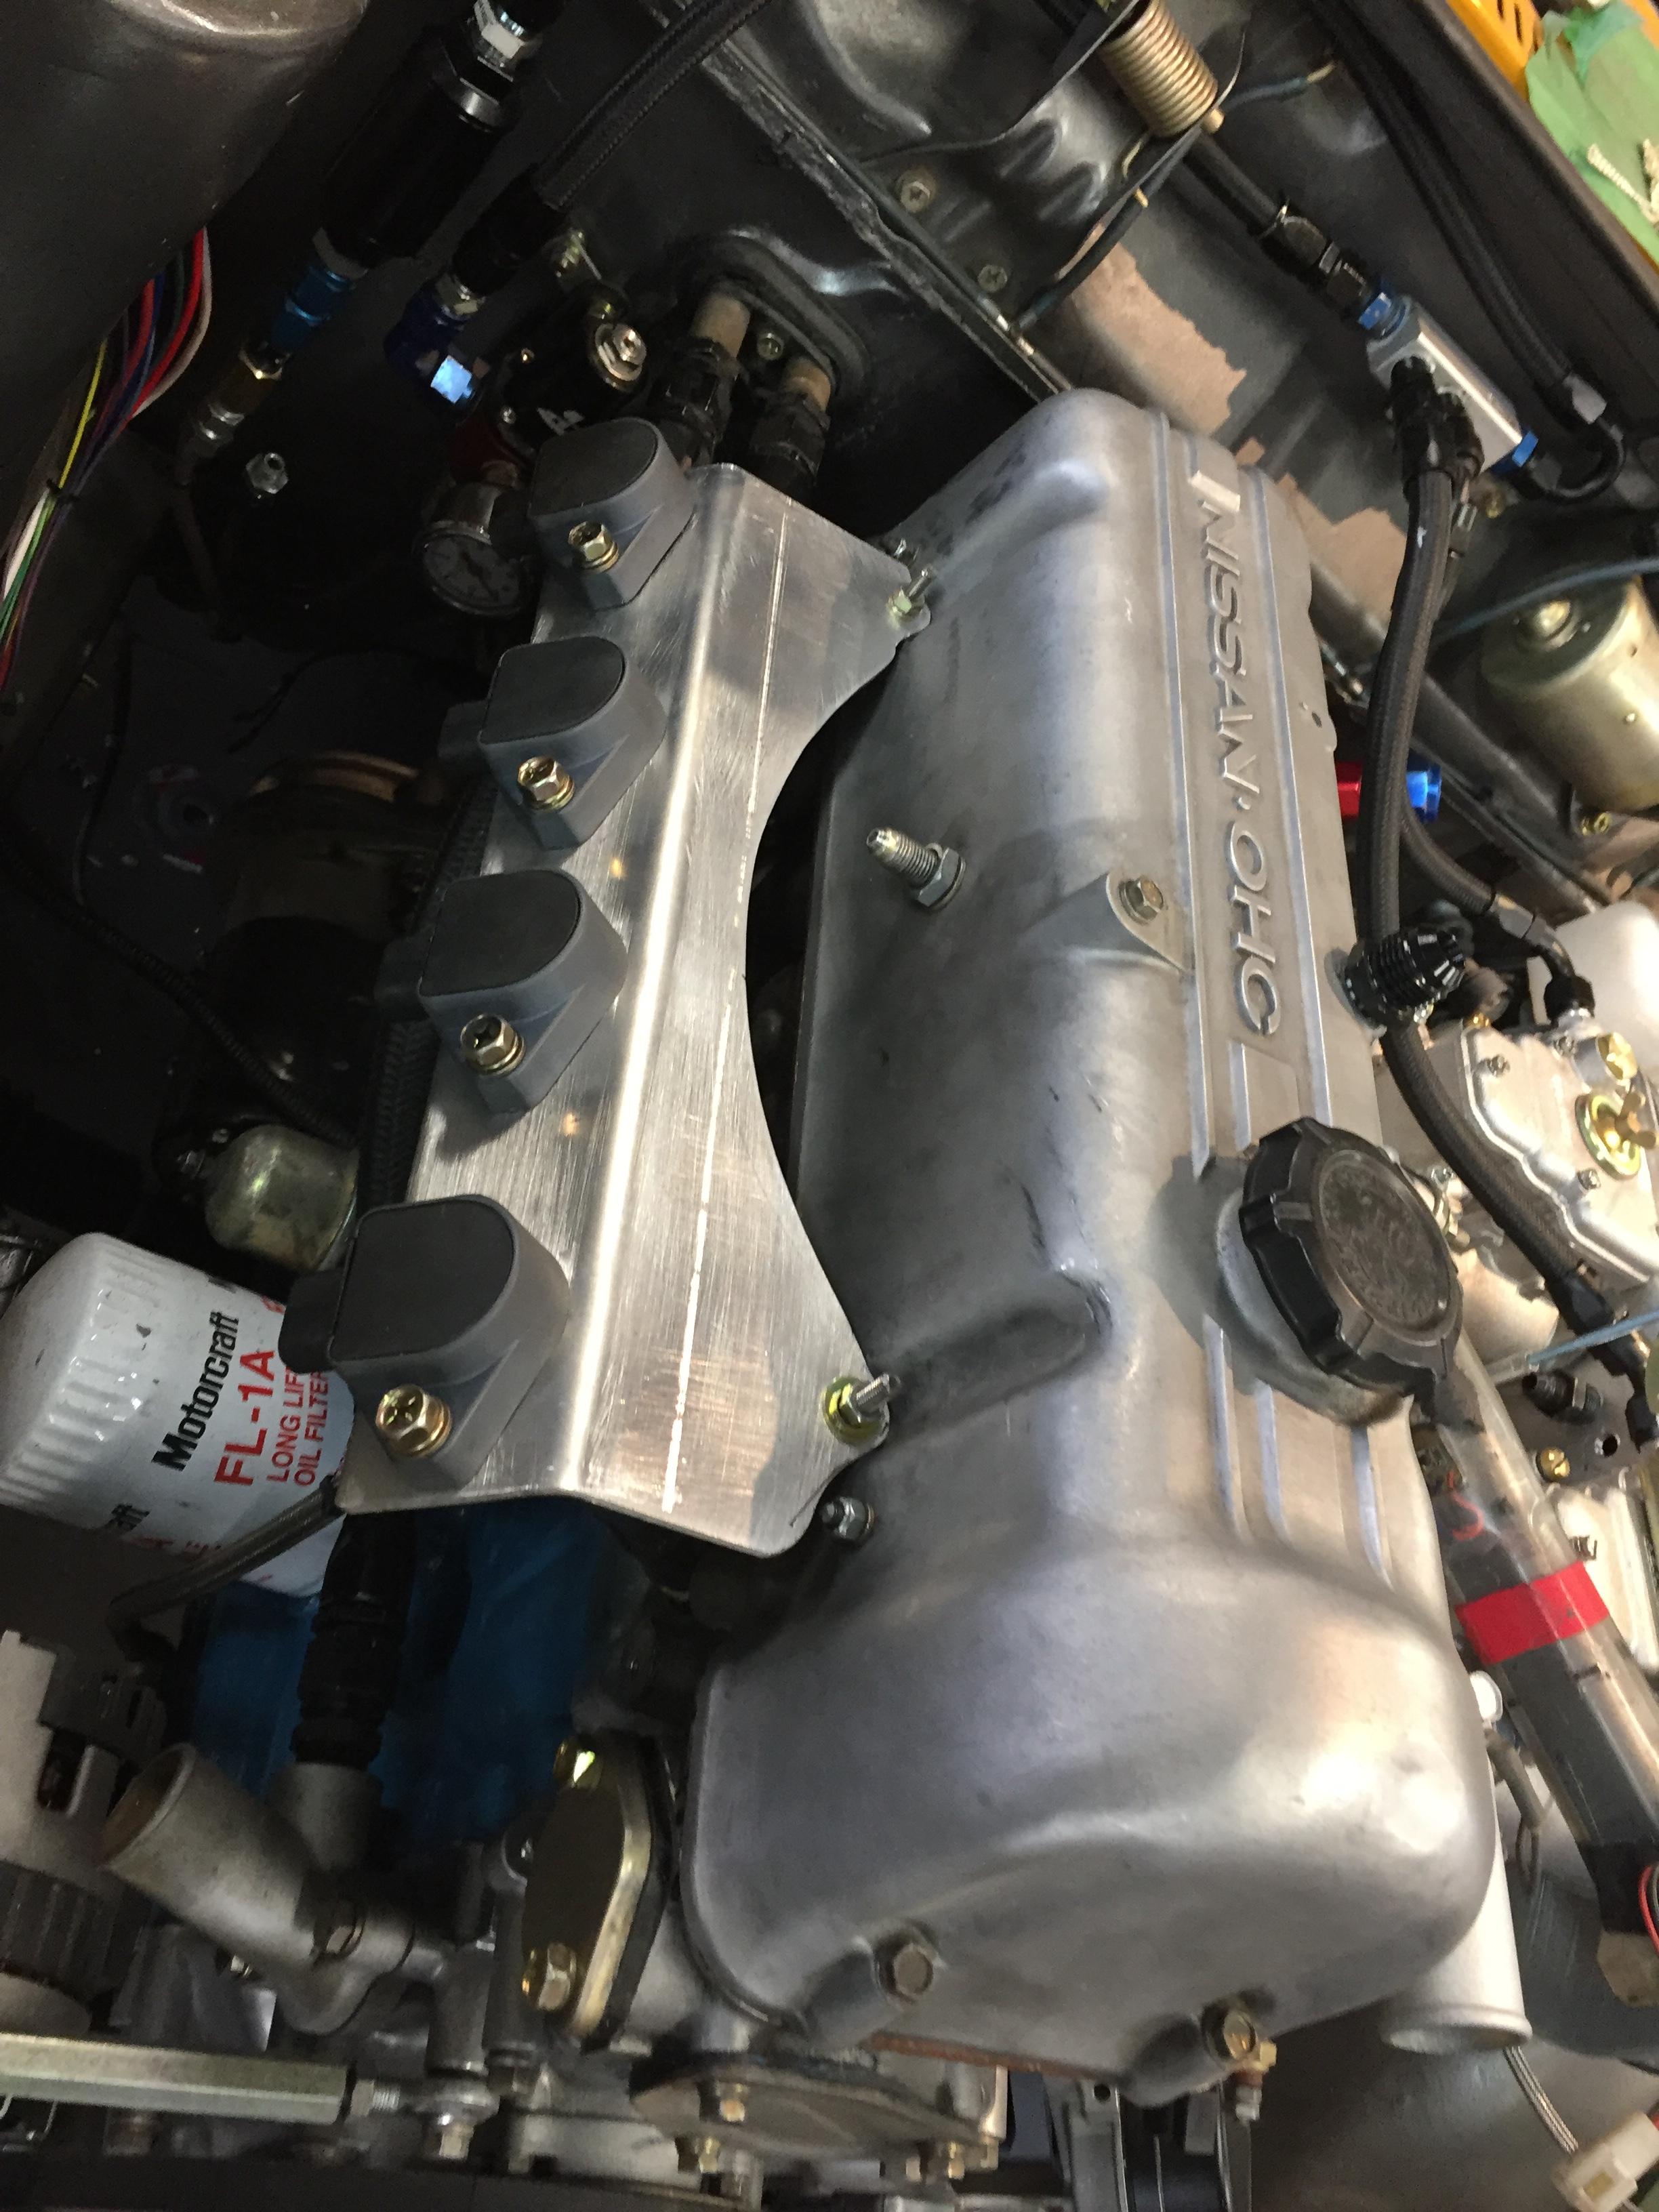
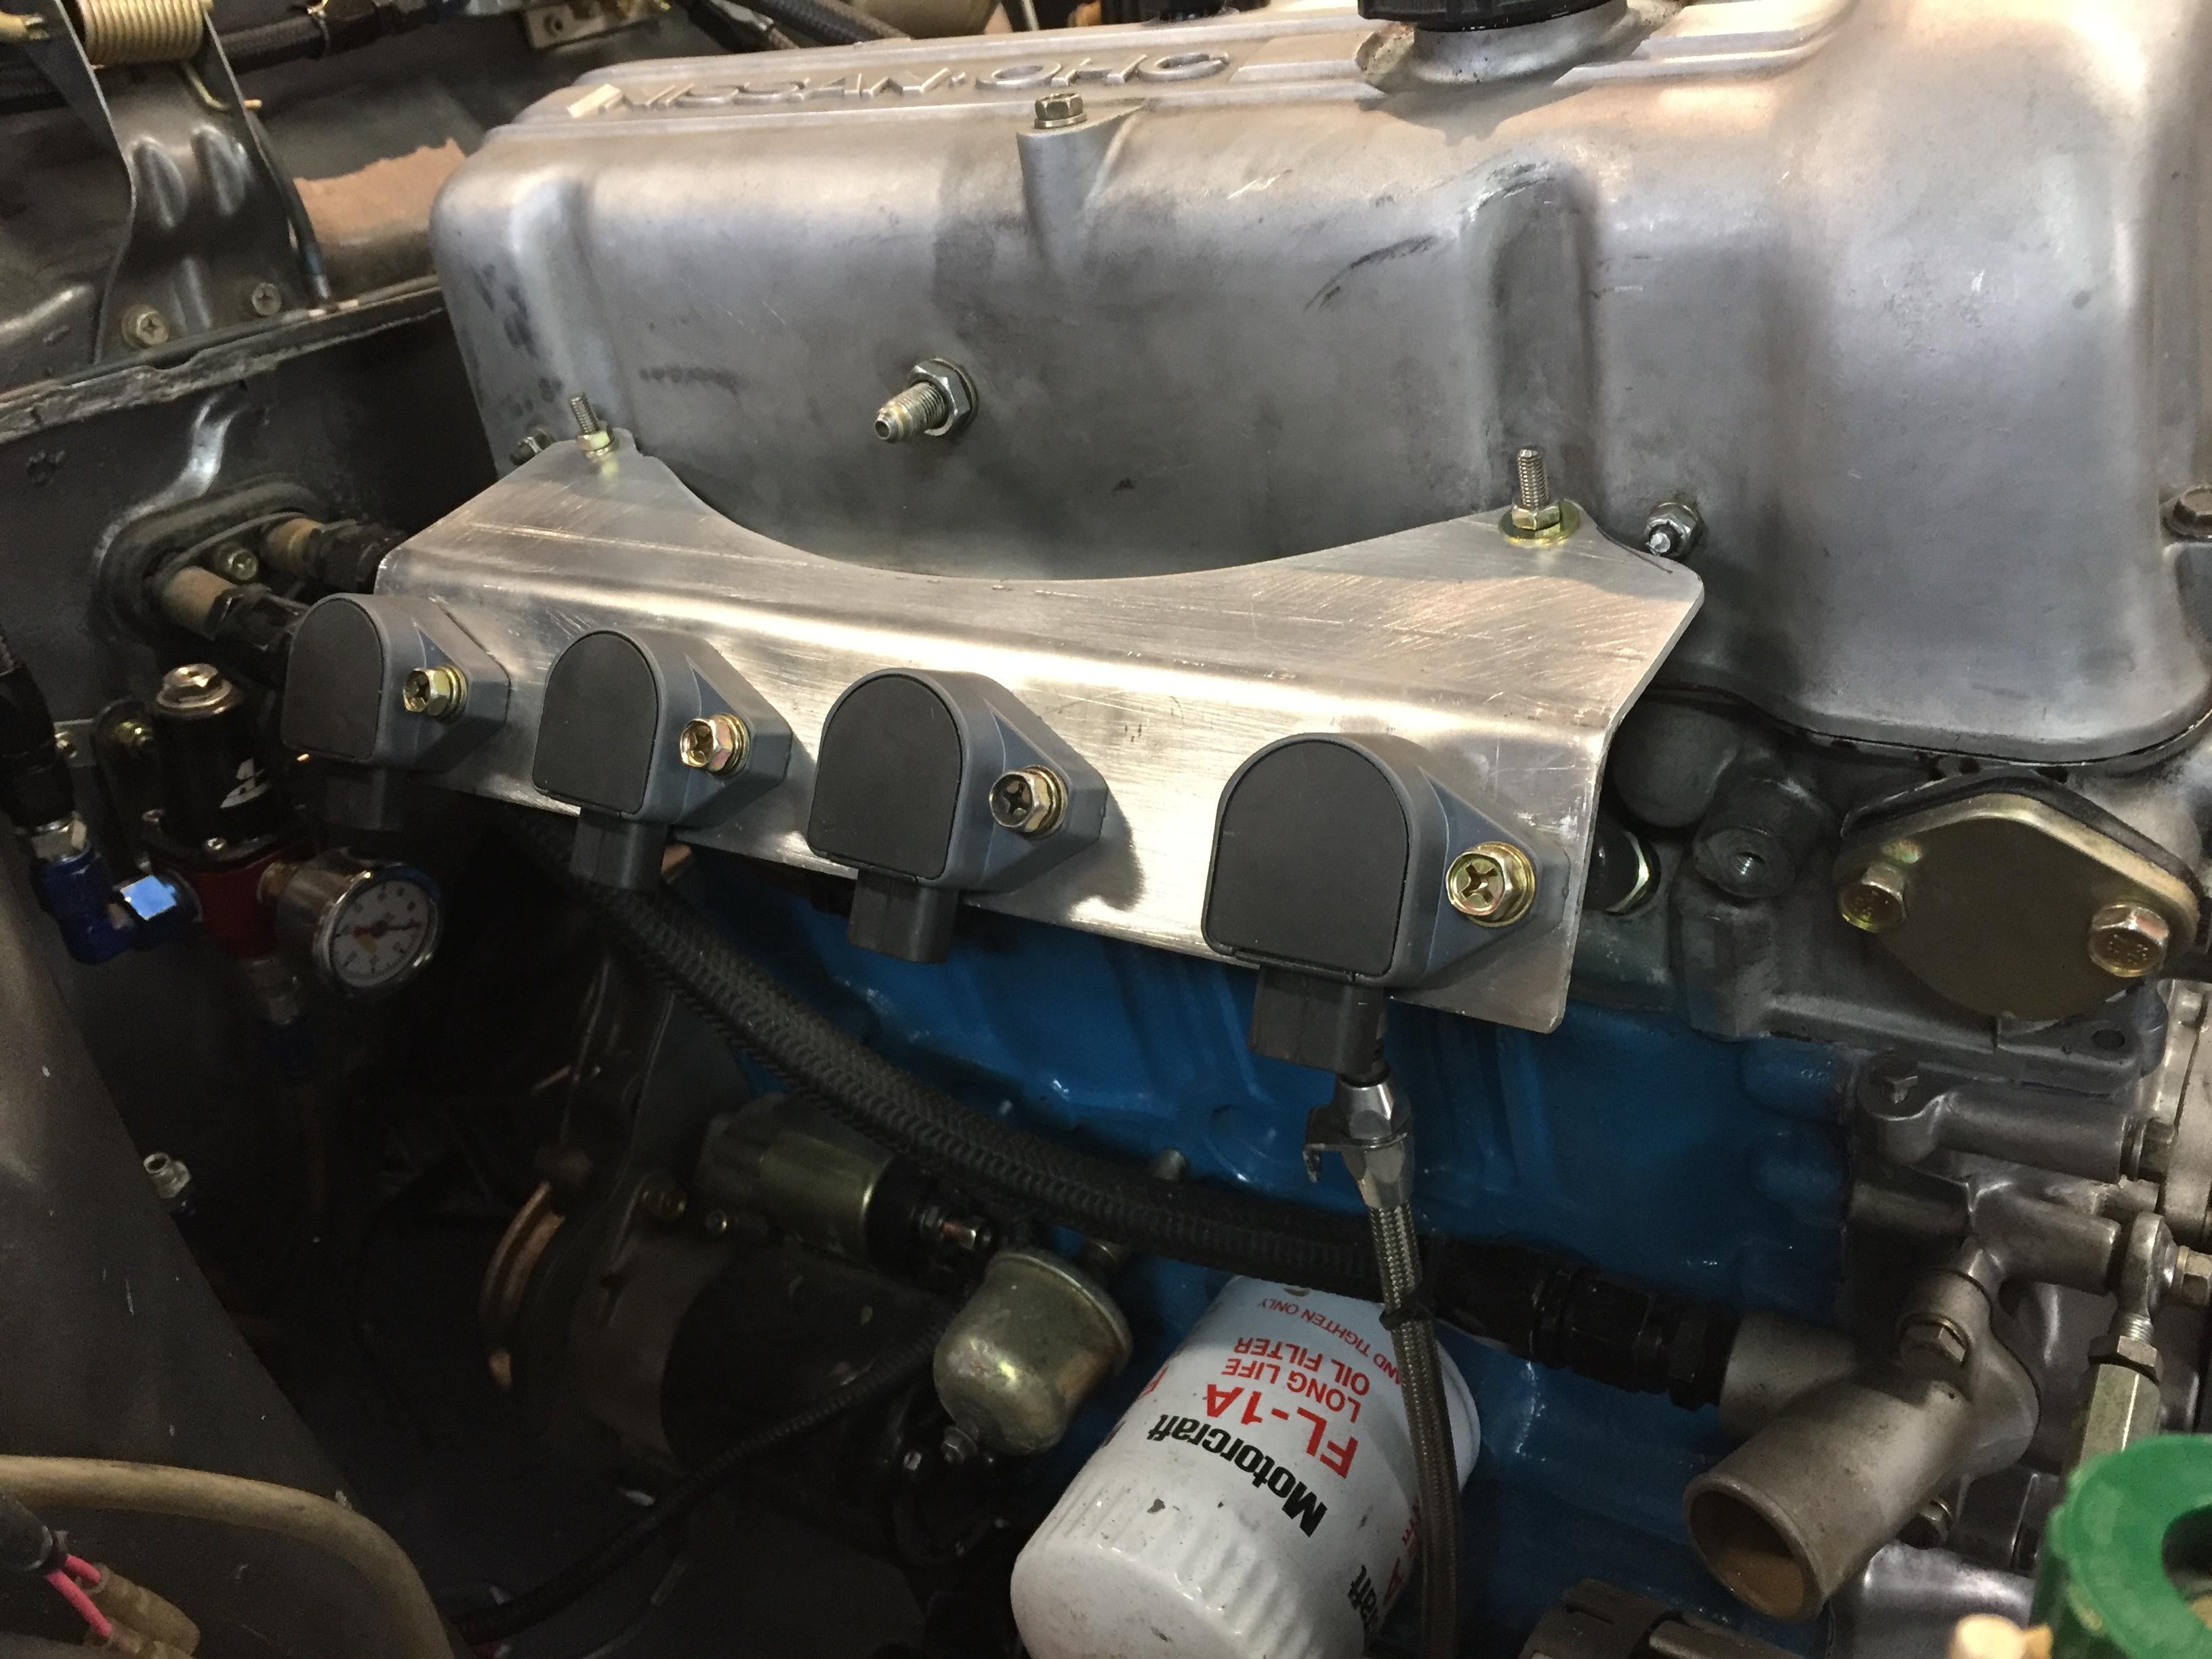
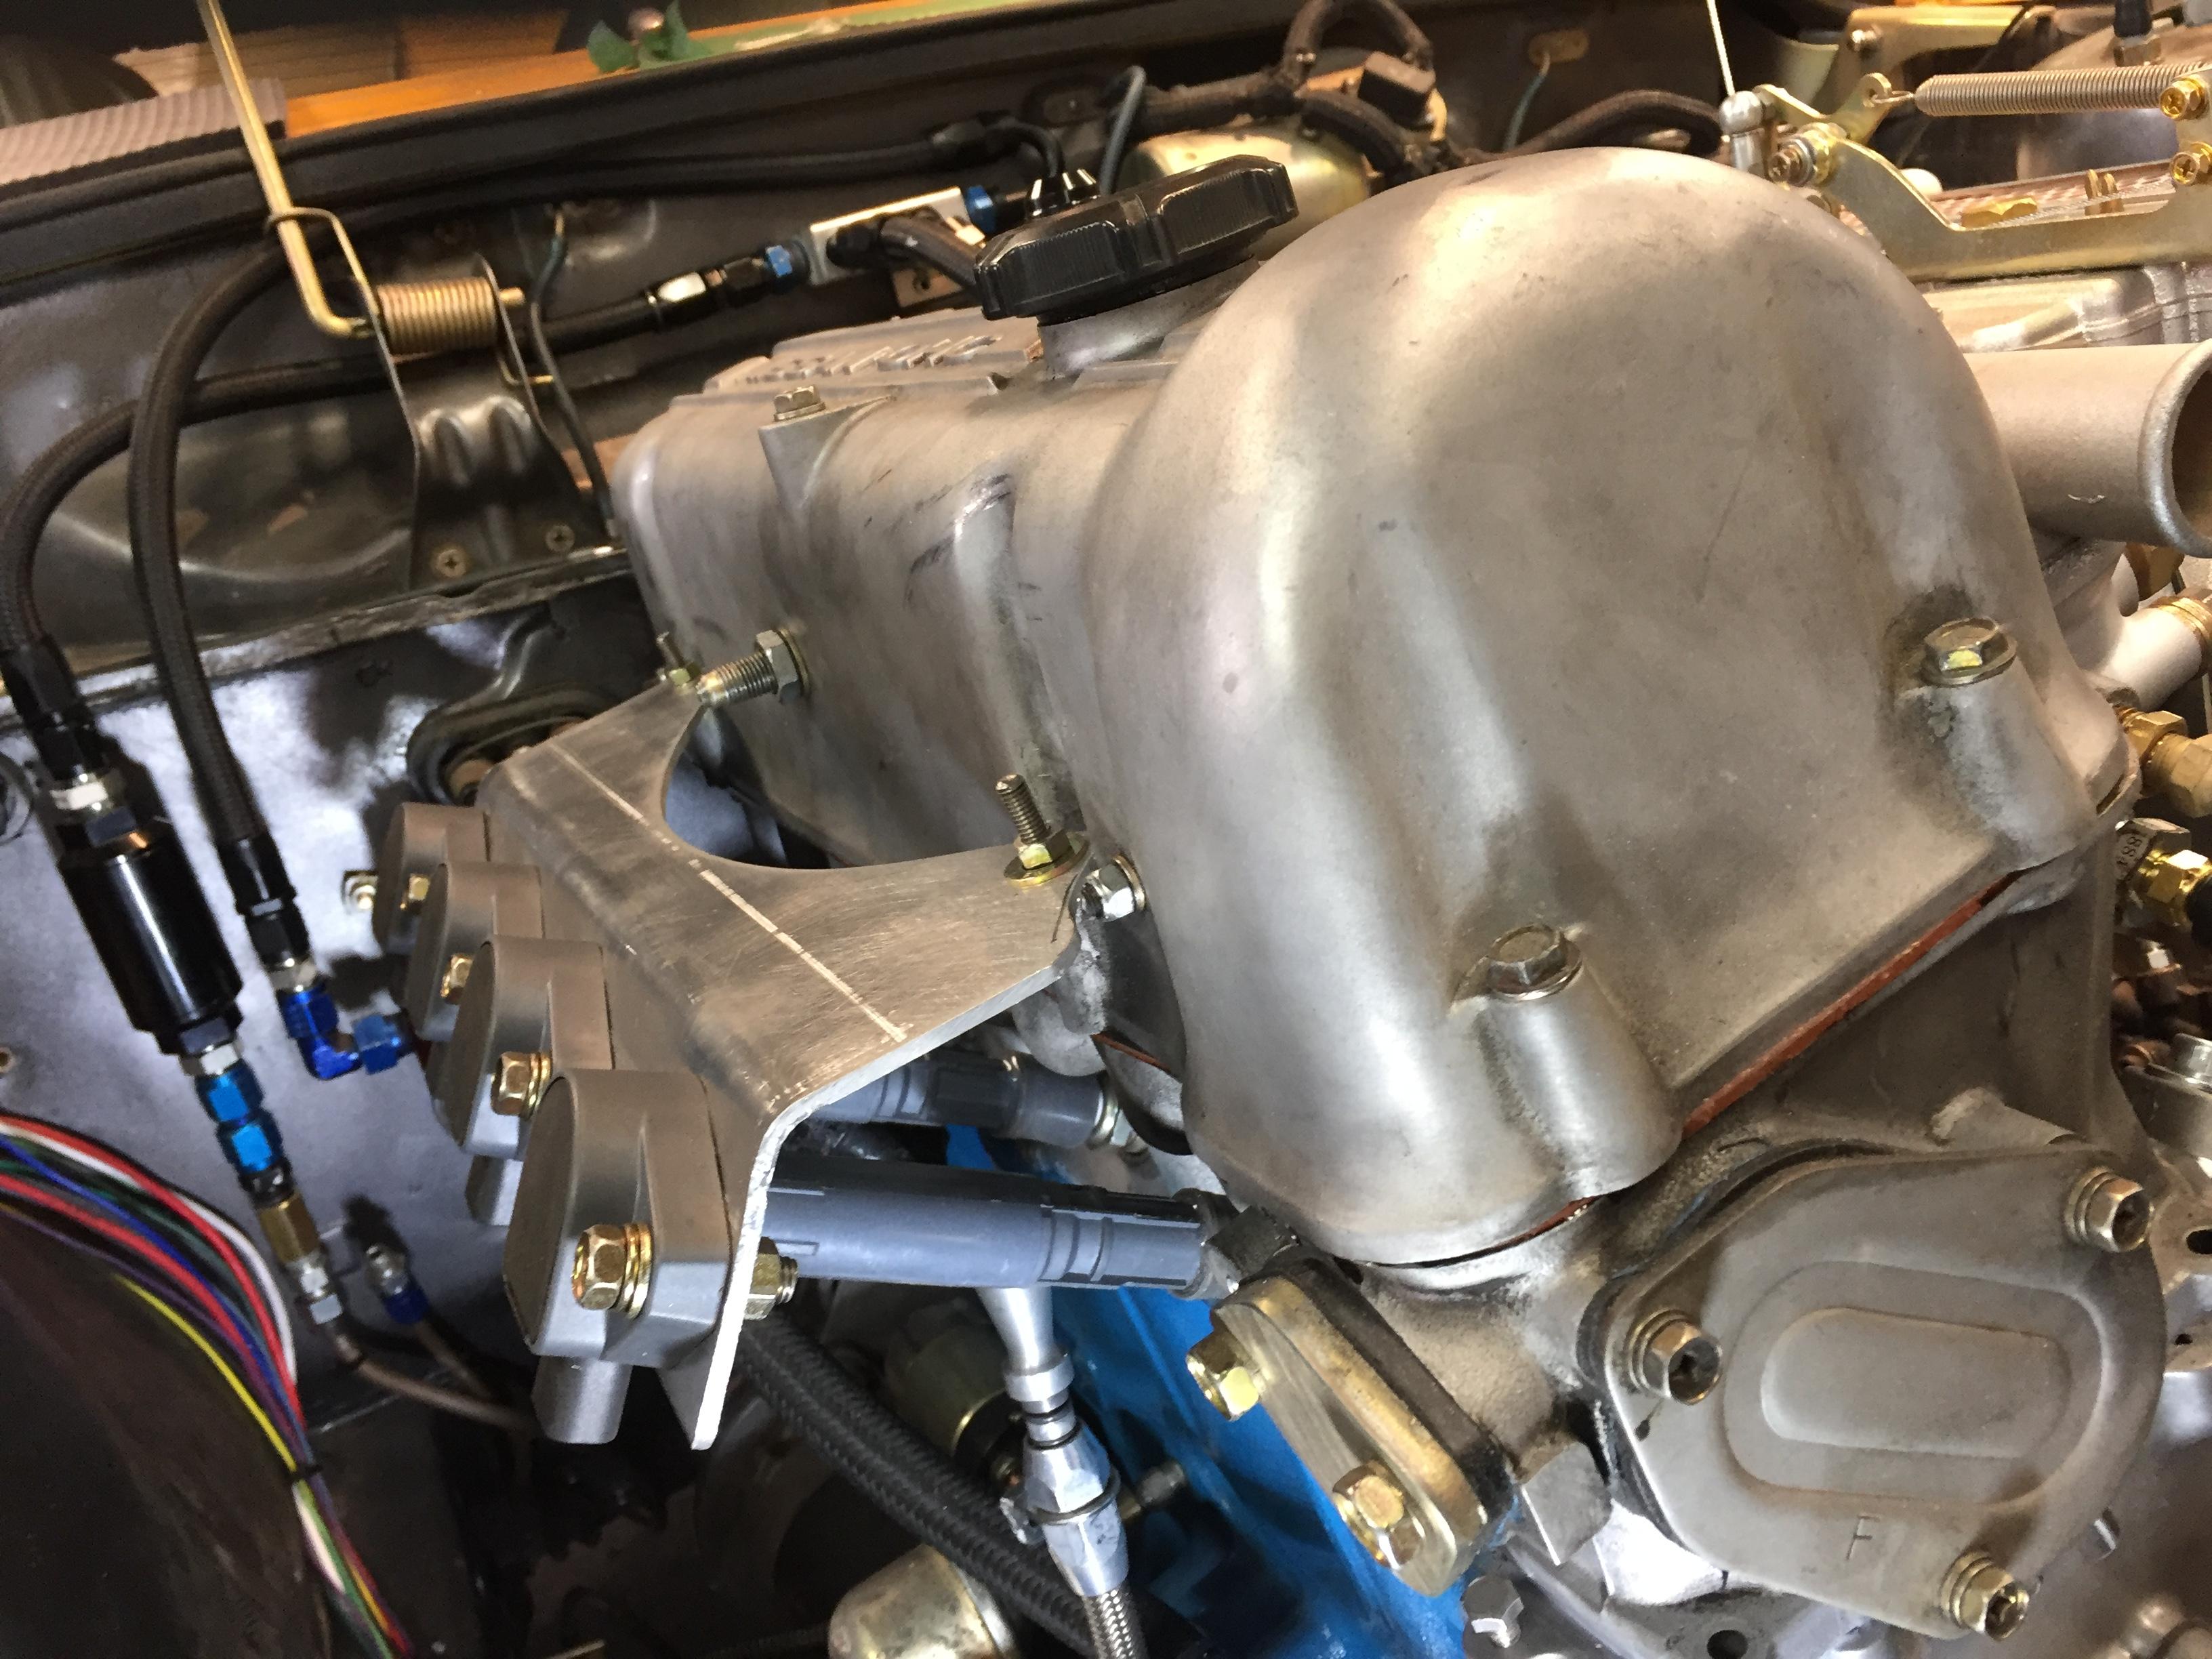
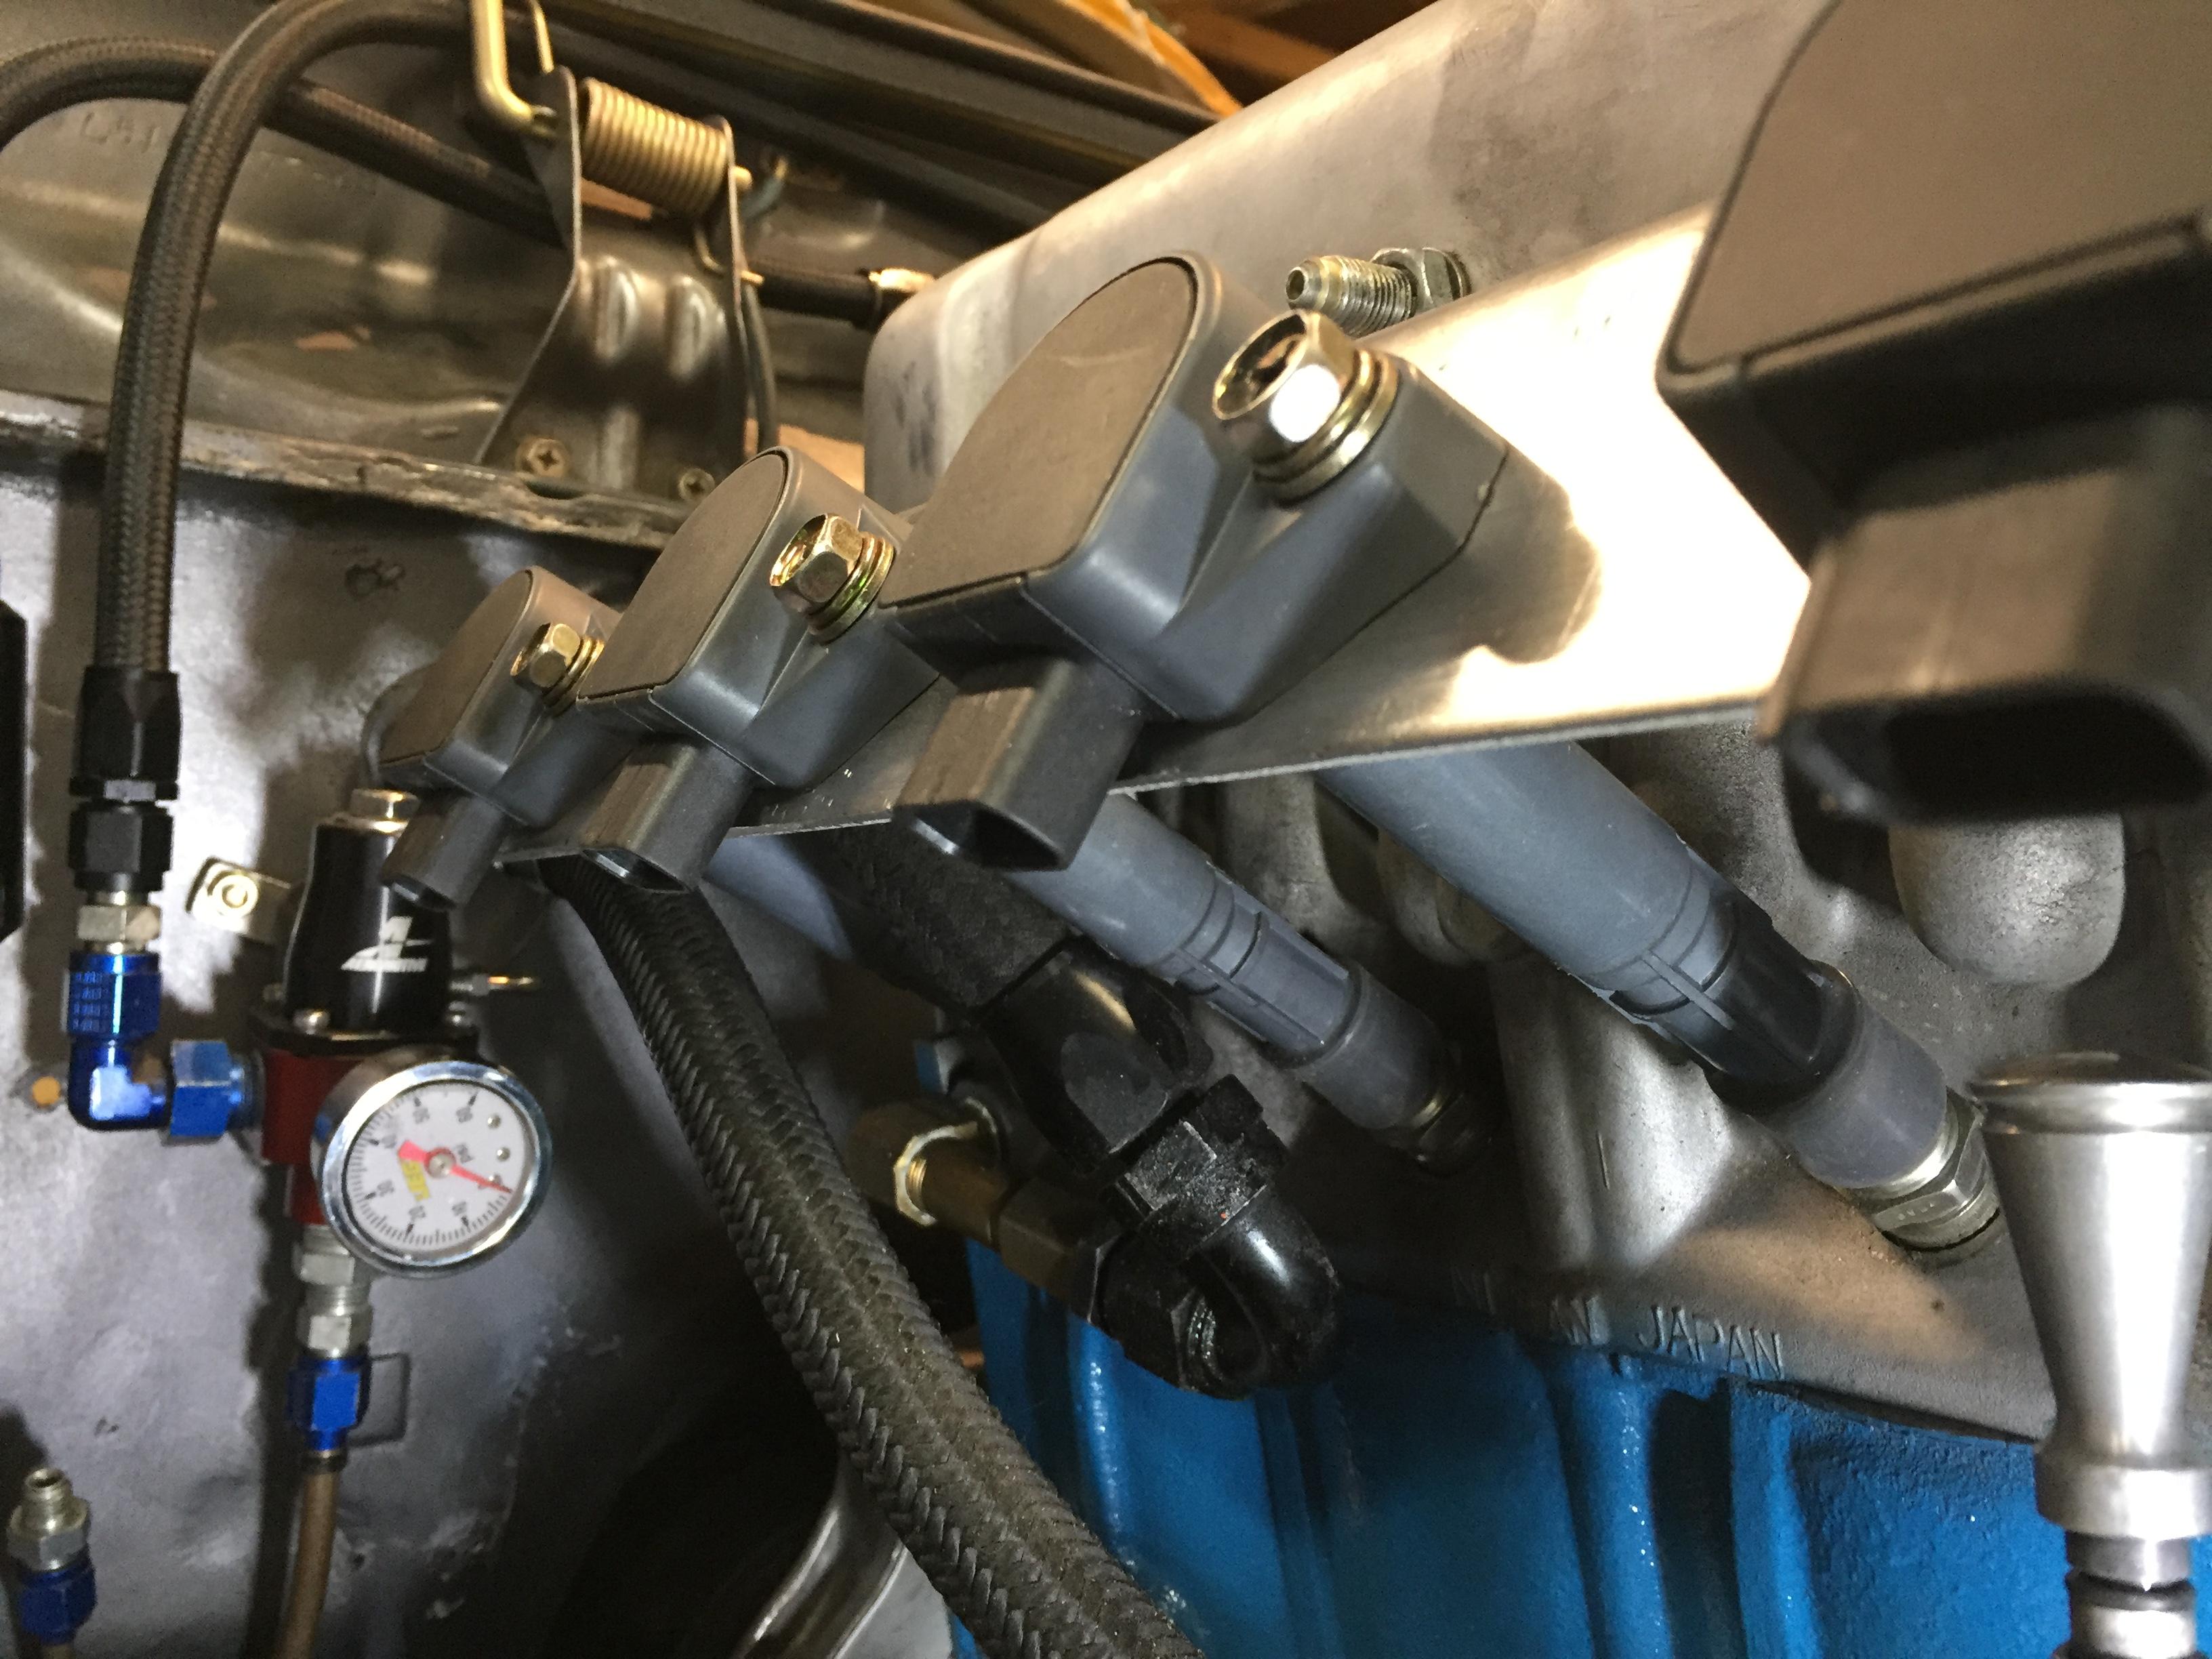
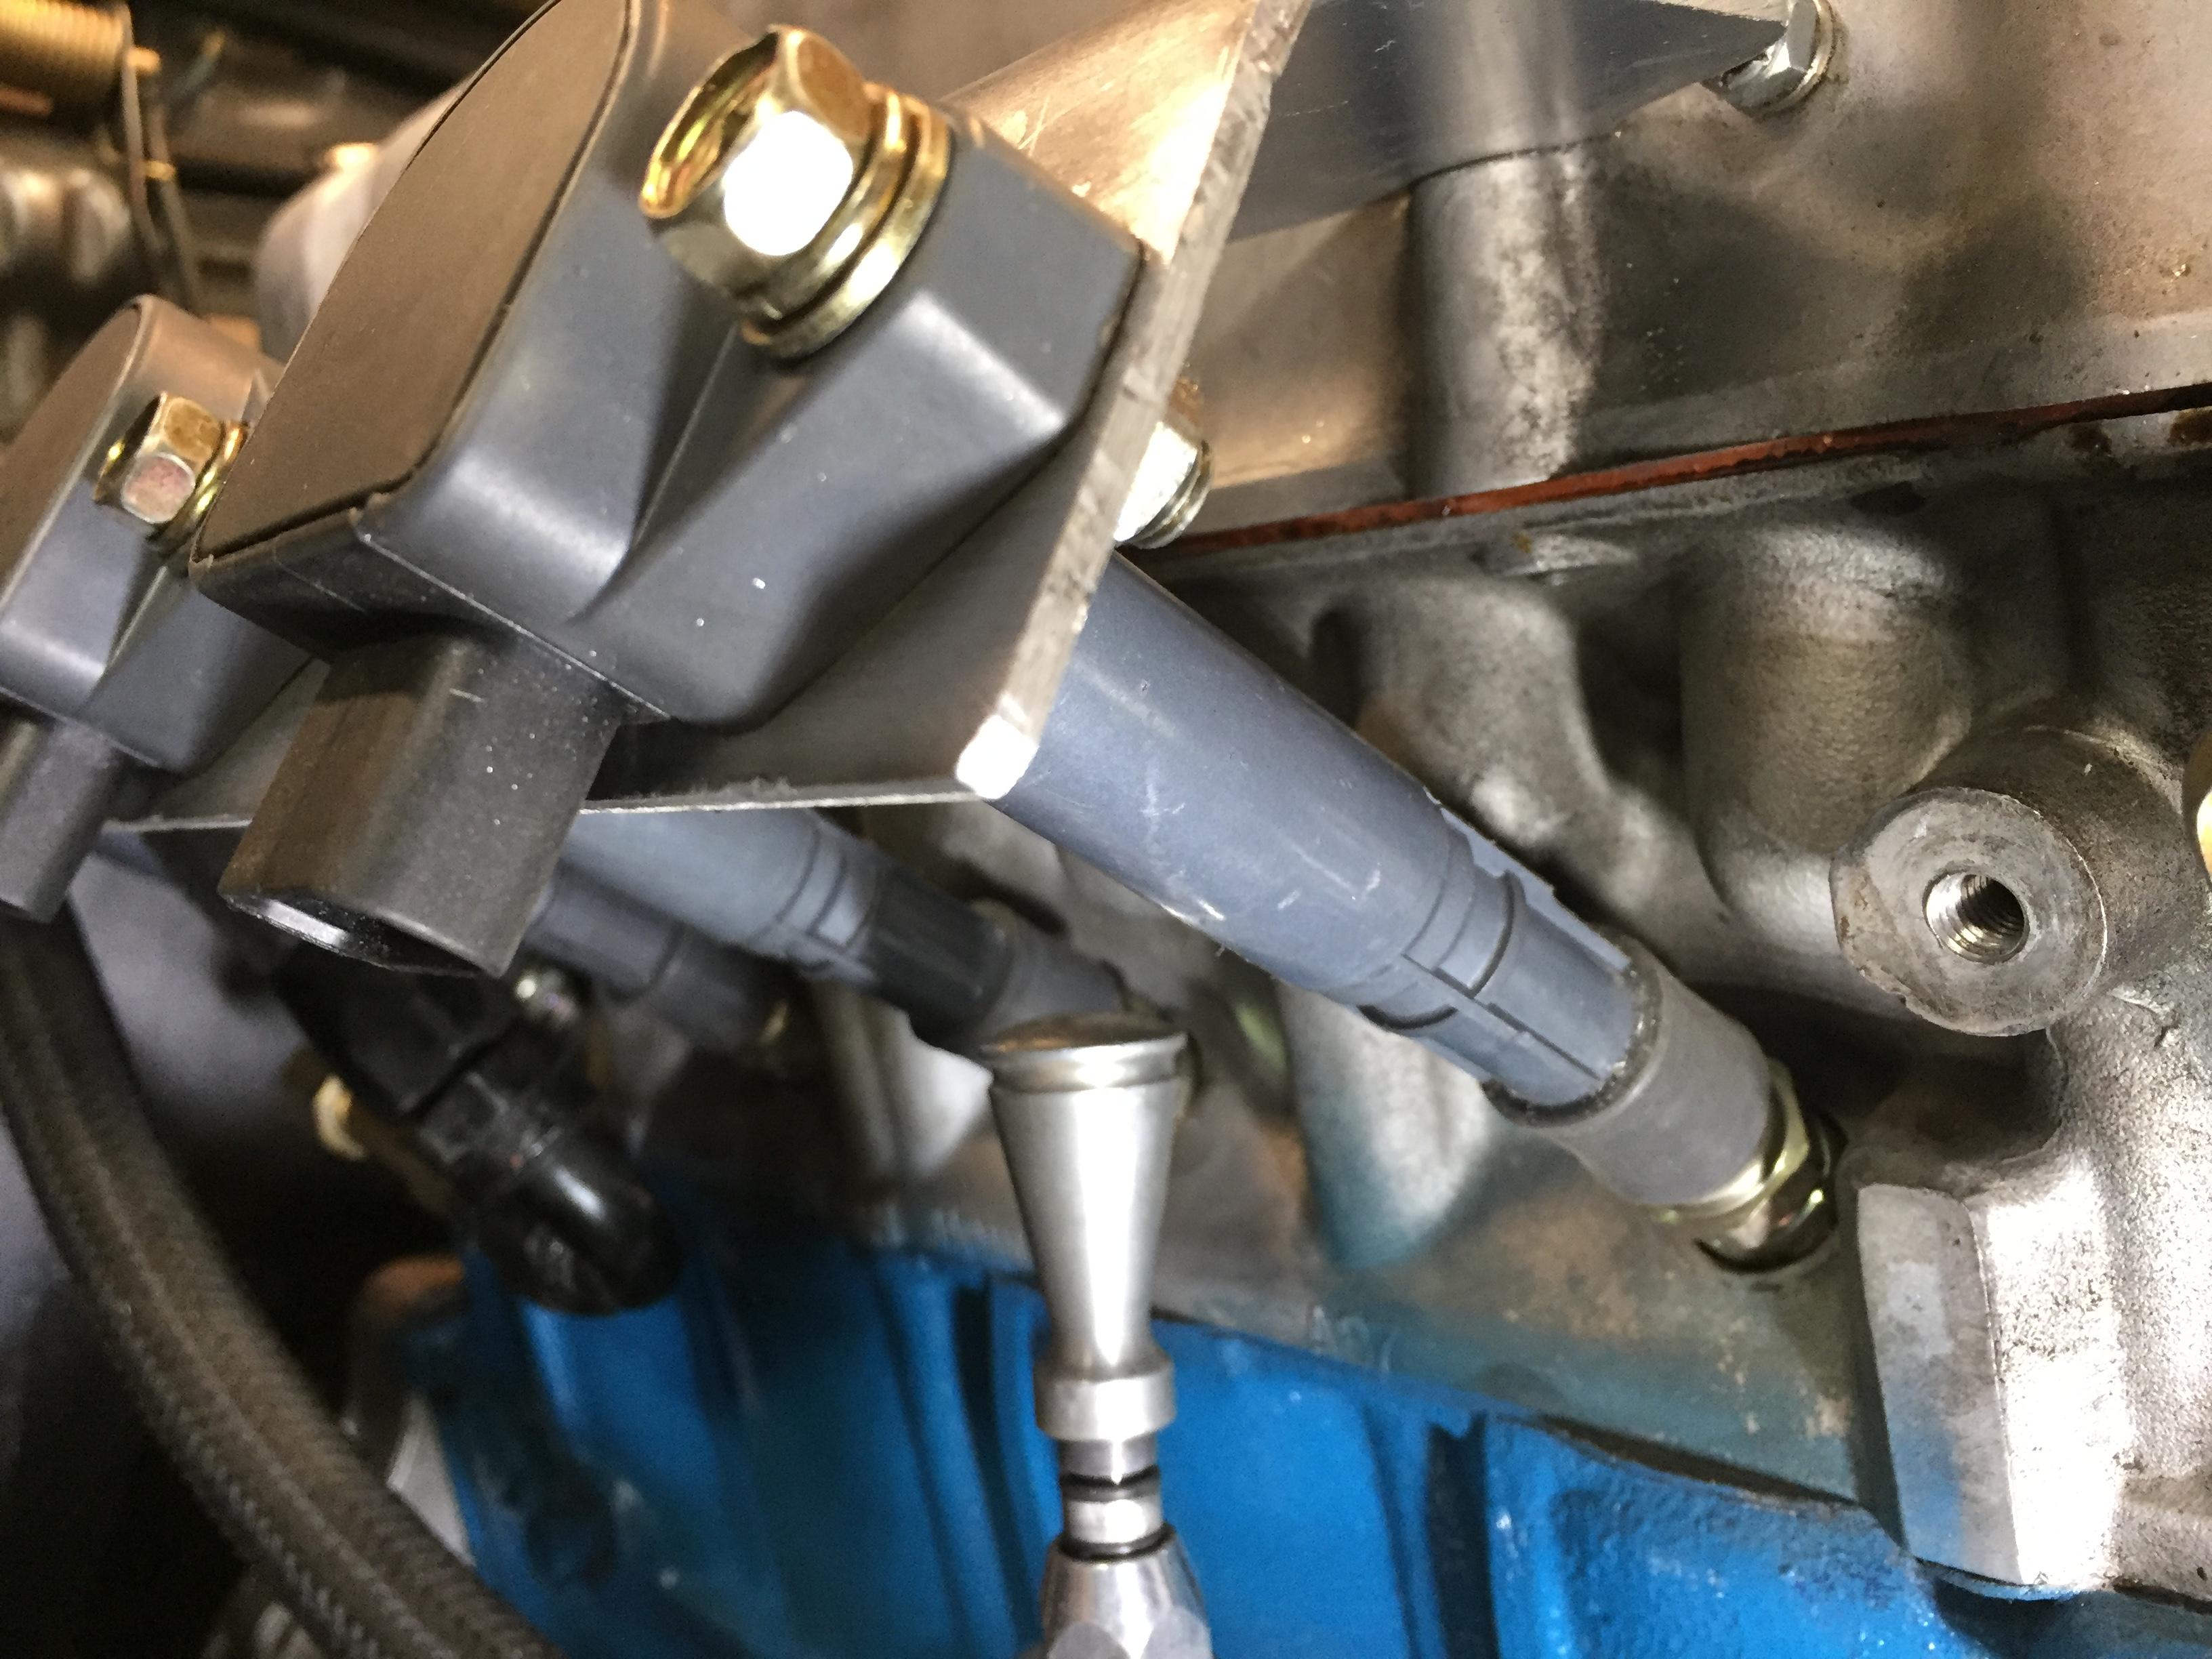
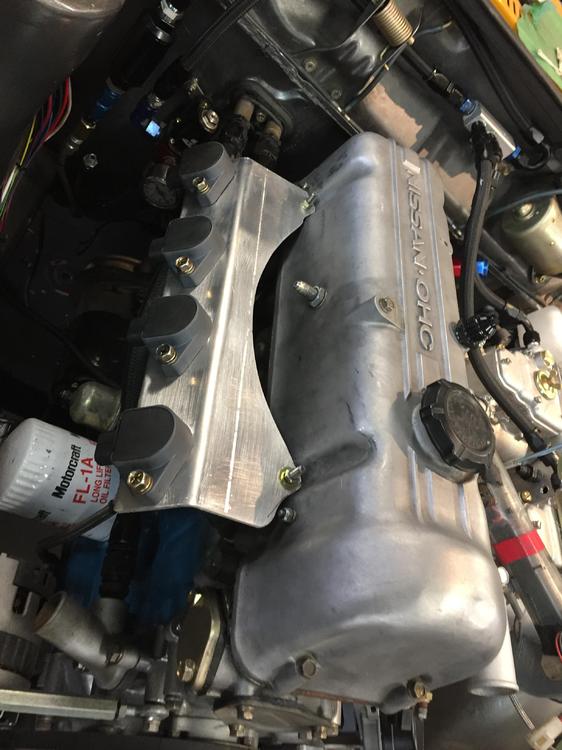
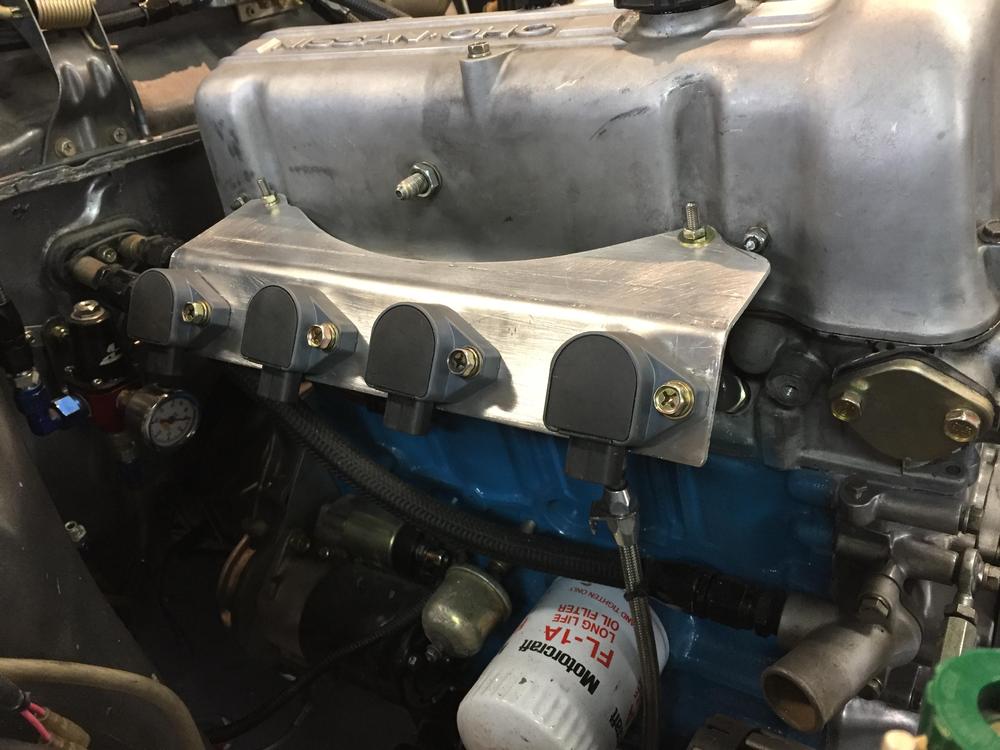
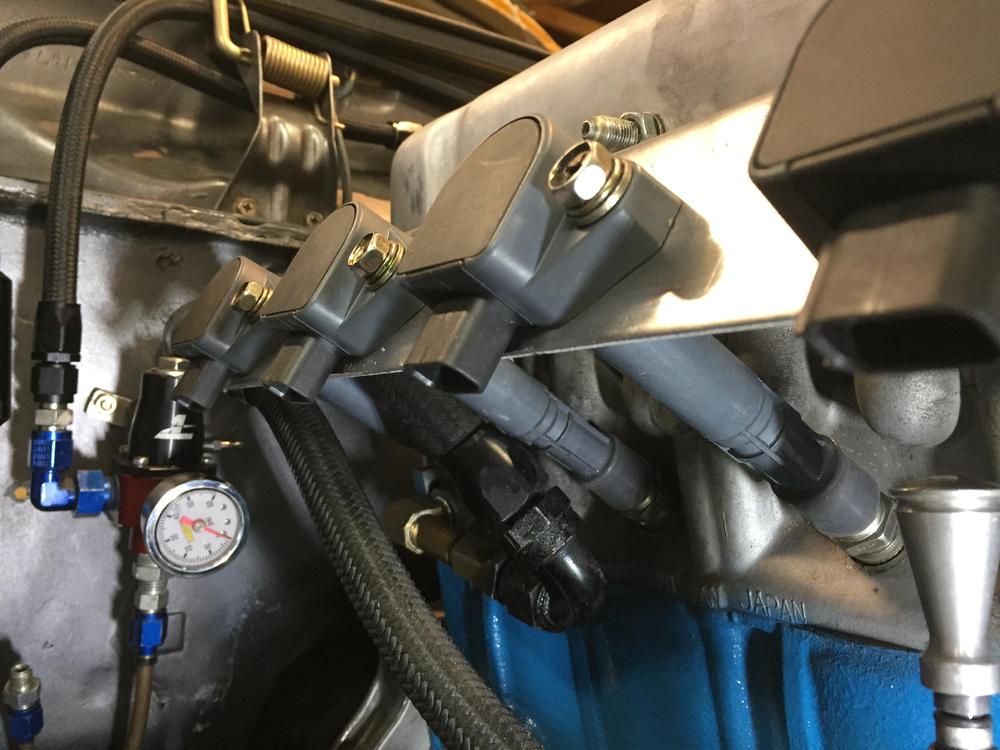
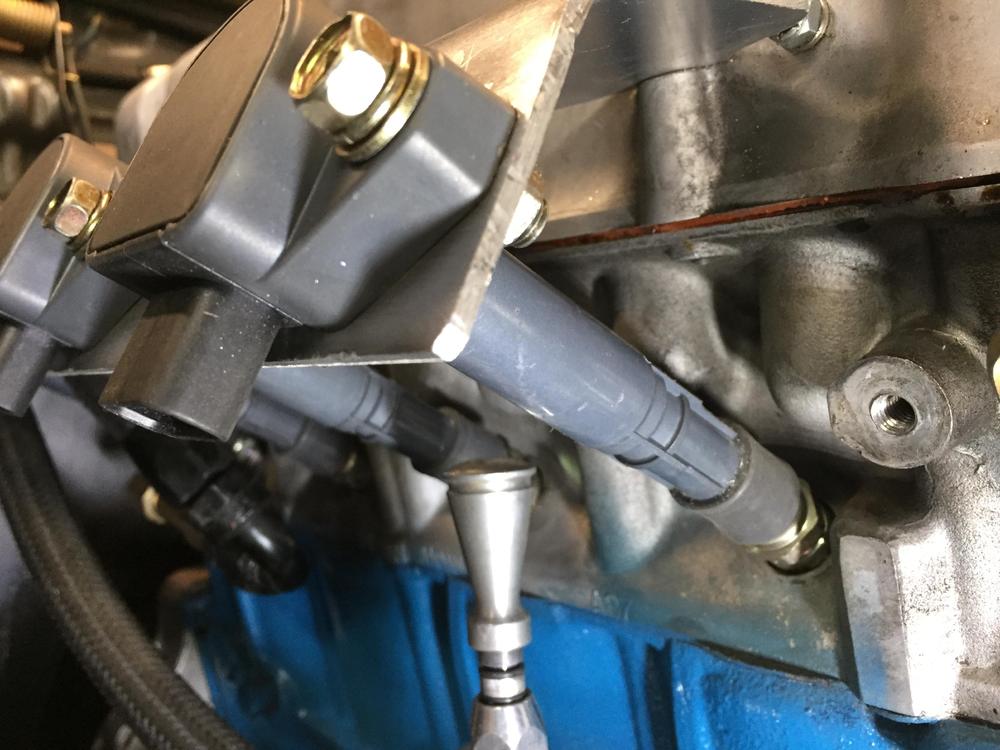
Thanks to Mark's and ConverTT for the original idea, I too am doing an EFI conversion to 510. I just completed my proto type bracket for the COP's and want to share a couple of hard won (trial and error) dimensions that may help ConverTT with his fabrication I made a simple bracket with a single bend in 1/8" aluminum plate. It is 14 x 5.5 inches wide, with the bend at 3.25", with an included bend angle of 126.6 deg. I drilled 1.5" holes for the COP base, and 11/32 holes for the mounting bolts (M8). I had to drill out the holes in each COP to 5/16 (or 8mm) as they would not quite pass a regular M8 bolt. On an L4, the plugs are not evenly spaced all along. 1-2 is 4", 2-3 is 3.625", and then 3-4 is again 4". Interesting that these measurements are not metric. They are 4", not 100mm. The center of COP 1.5" hole to it's 5/16 mounting hole is 1.25". I shaped the tabs that fit over the two valve cover bolts to fit the shape of the cove in the valve cover of course. The two holes are 3/8" from the edge. Some shapely-ness has been added to the bracket to make it both pretty and functional. More to follow. Powder coating when complete. I replaced the two valve cover bolts with studs to minimize the wear on the threads in the head with the many test fit cycles. When you tighten down the mounting bolts for each COP, it pulls the coil boot tightly down over the plug to the fully seated position. The bracket does not move in any way. It is very sturdy as is. I was tempted to make the bracket in two pieces so that you undo a couple of bolts along the seam and the two valve cover bolts to get the valve cover off for service, rather than having to undo all the COP's and wiring as well. We'll see how I feel the next few times I do a valve adjusts. I got very lucky as my press break can take a max of 14" wide stock, and that turned out to be exactly the width of the aluminum plate. Horse shoes for sure. Ah one more detail. You would think that base of the COP that sits flat on the plate would be, well, flat. Nope. The mounting tab that sticks out to the side that has the 8mm hole has a slight upward angle, may 2 degrees. A person with OCD would make a wedge shaped washer to go in there...

-
I had a great experience with my SU's with the stroker motor. Nearly equal performance in the low/mid range as the Mikuni 44's I had previously, excellent mileage, easy starting etc. AFR's with N47 needles on cruise at 15'ish, 12-13 at WOT
-
Glad to help. Speed shops that sell weld in O2 bungs will also have plugs. Some of the bungs I've bought actually came with the plug.