


Leaderboard


Popular Content
Showing content with the highest reputation on 04/06/2020 in all areas
-
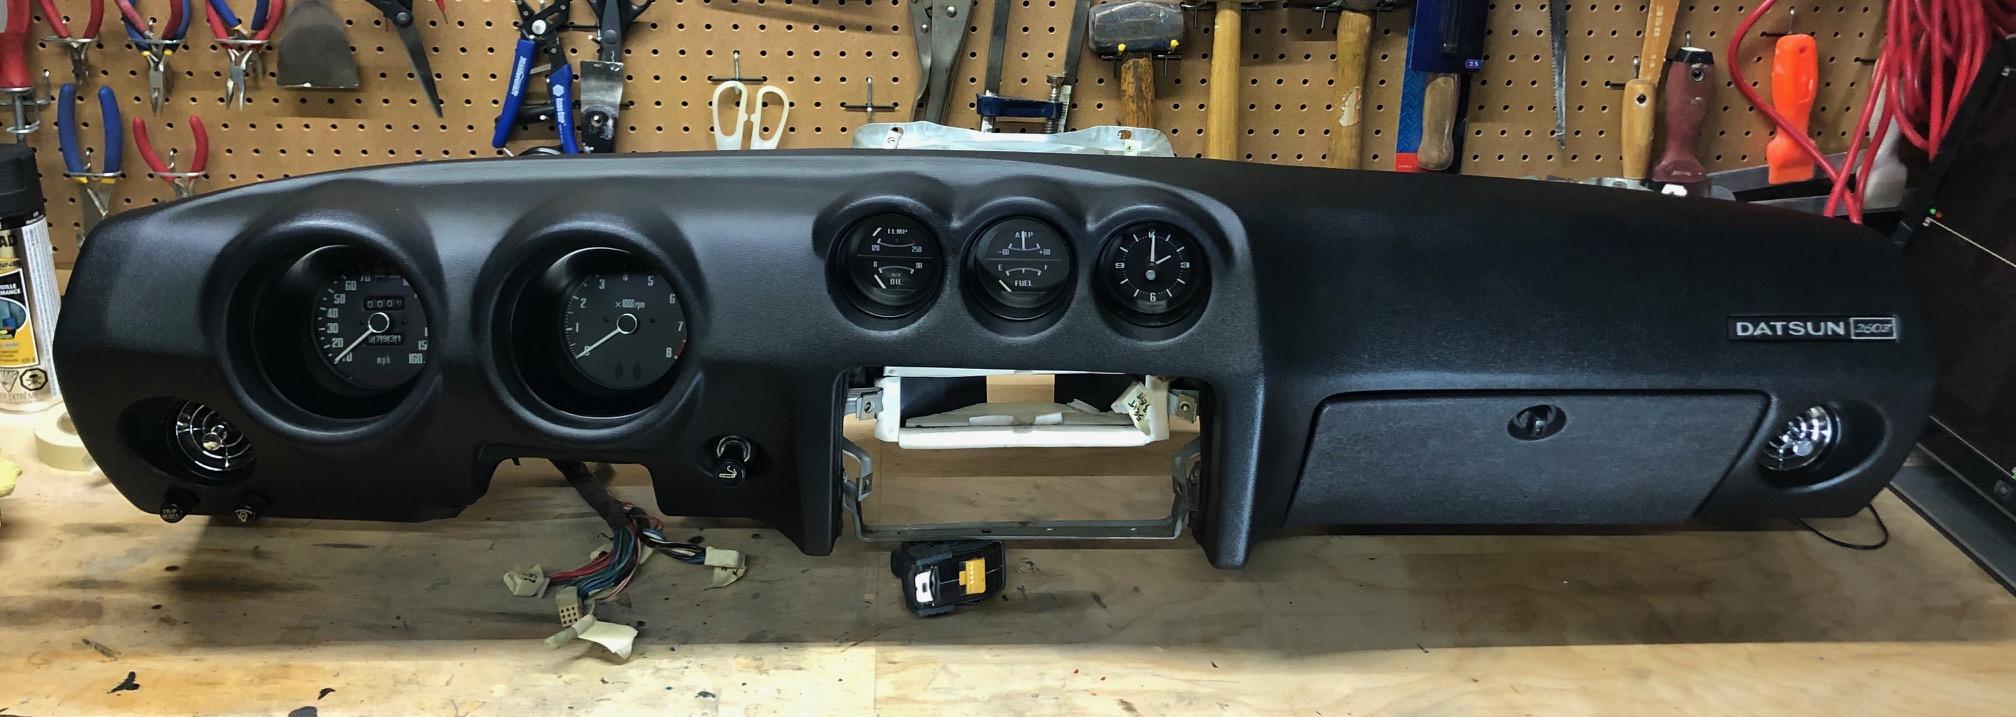
4 pointsInstalled the dash this weekend. Overall, it's a great fit and had no issues with the fitment. I have to say, this is a high quality reproduction. The wiring was all labelled before I removed the dash, so it was just a matter of plugging it into the right connectors. While I had the dash out, I also installed the power steering unit and wired this up. Double checked all my connections and wiring and fired up the car. Everything worked including the power steering. So this had been a very productive weekend. Next weekend I'll complete the centre console, trim and install the bluetooth amp.
 4 points
 -
3 pointslots of 280z's going to have nice dashes if this keep up. Before you know it finding one with a cracked dash will be rare!3 points
-
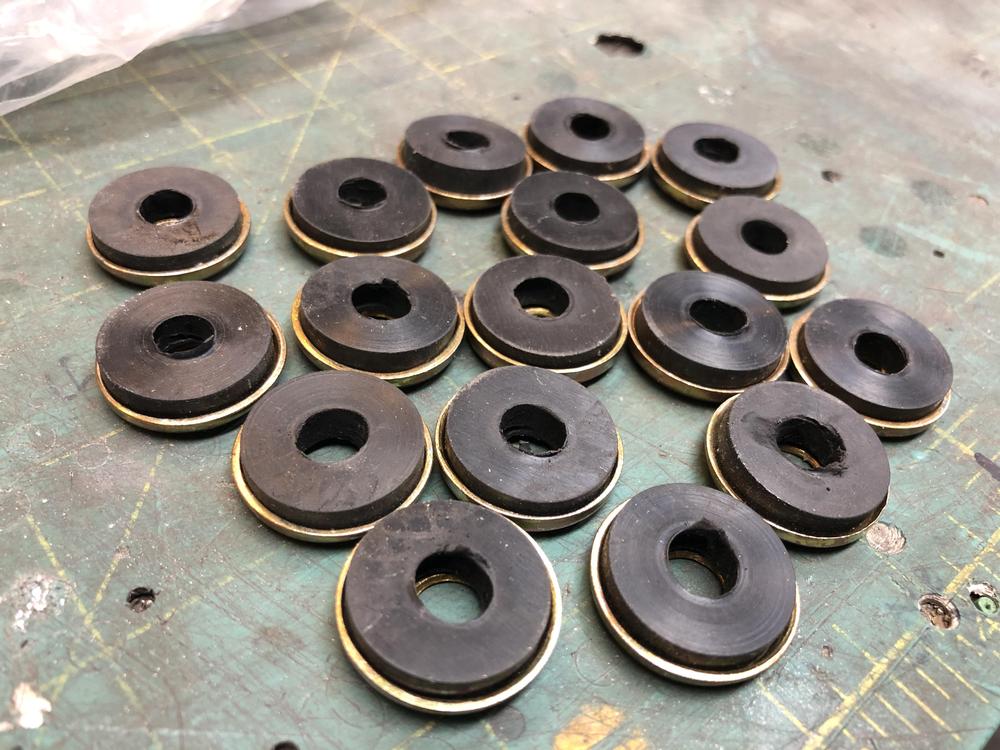
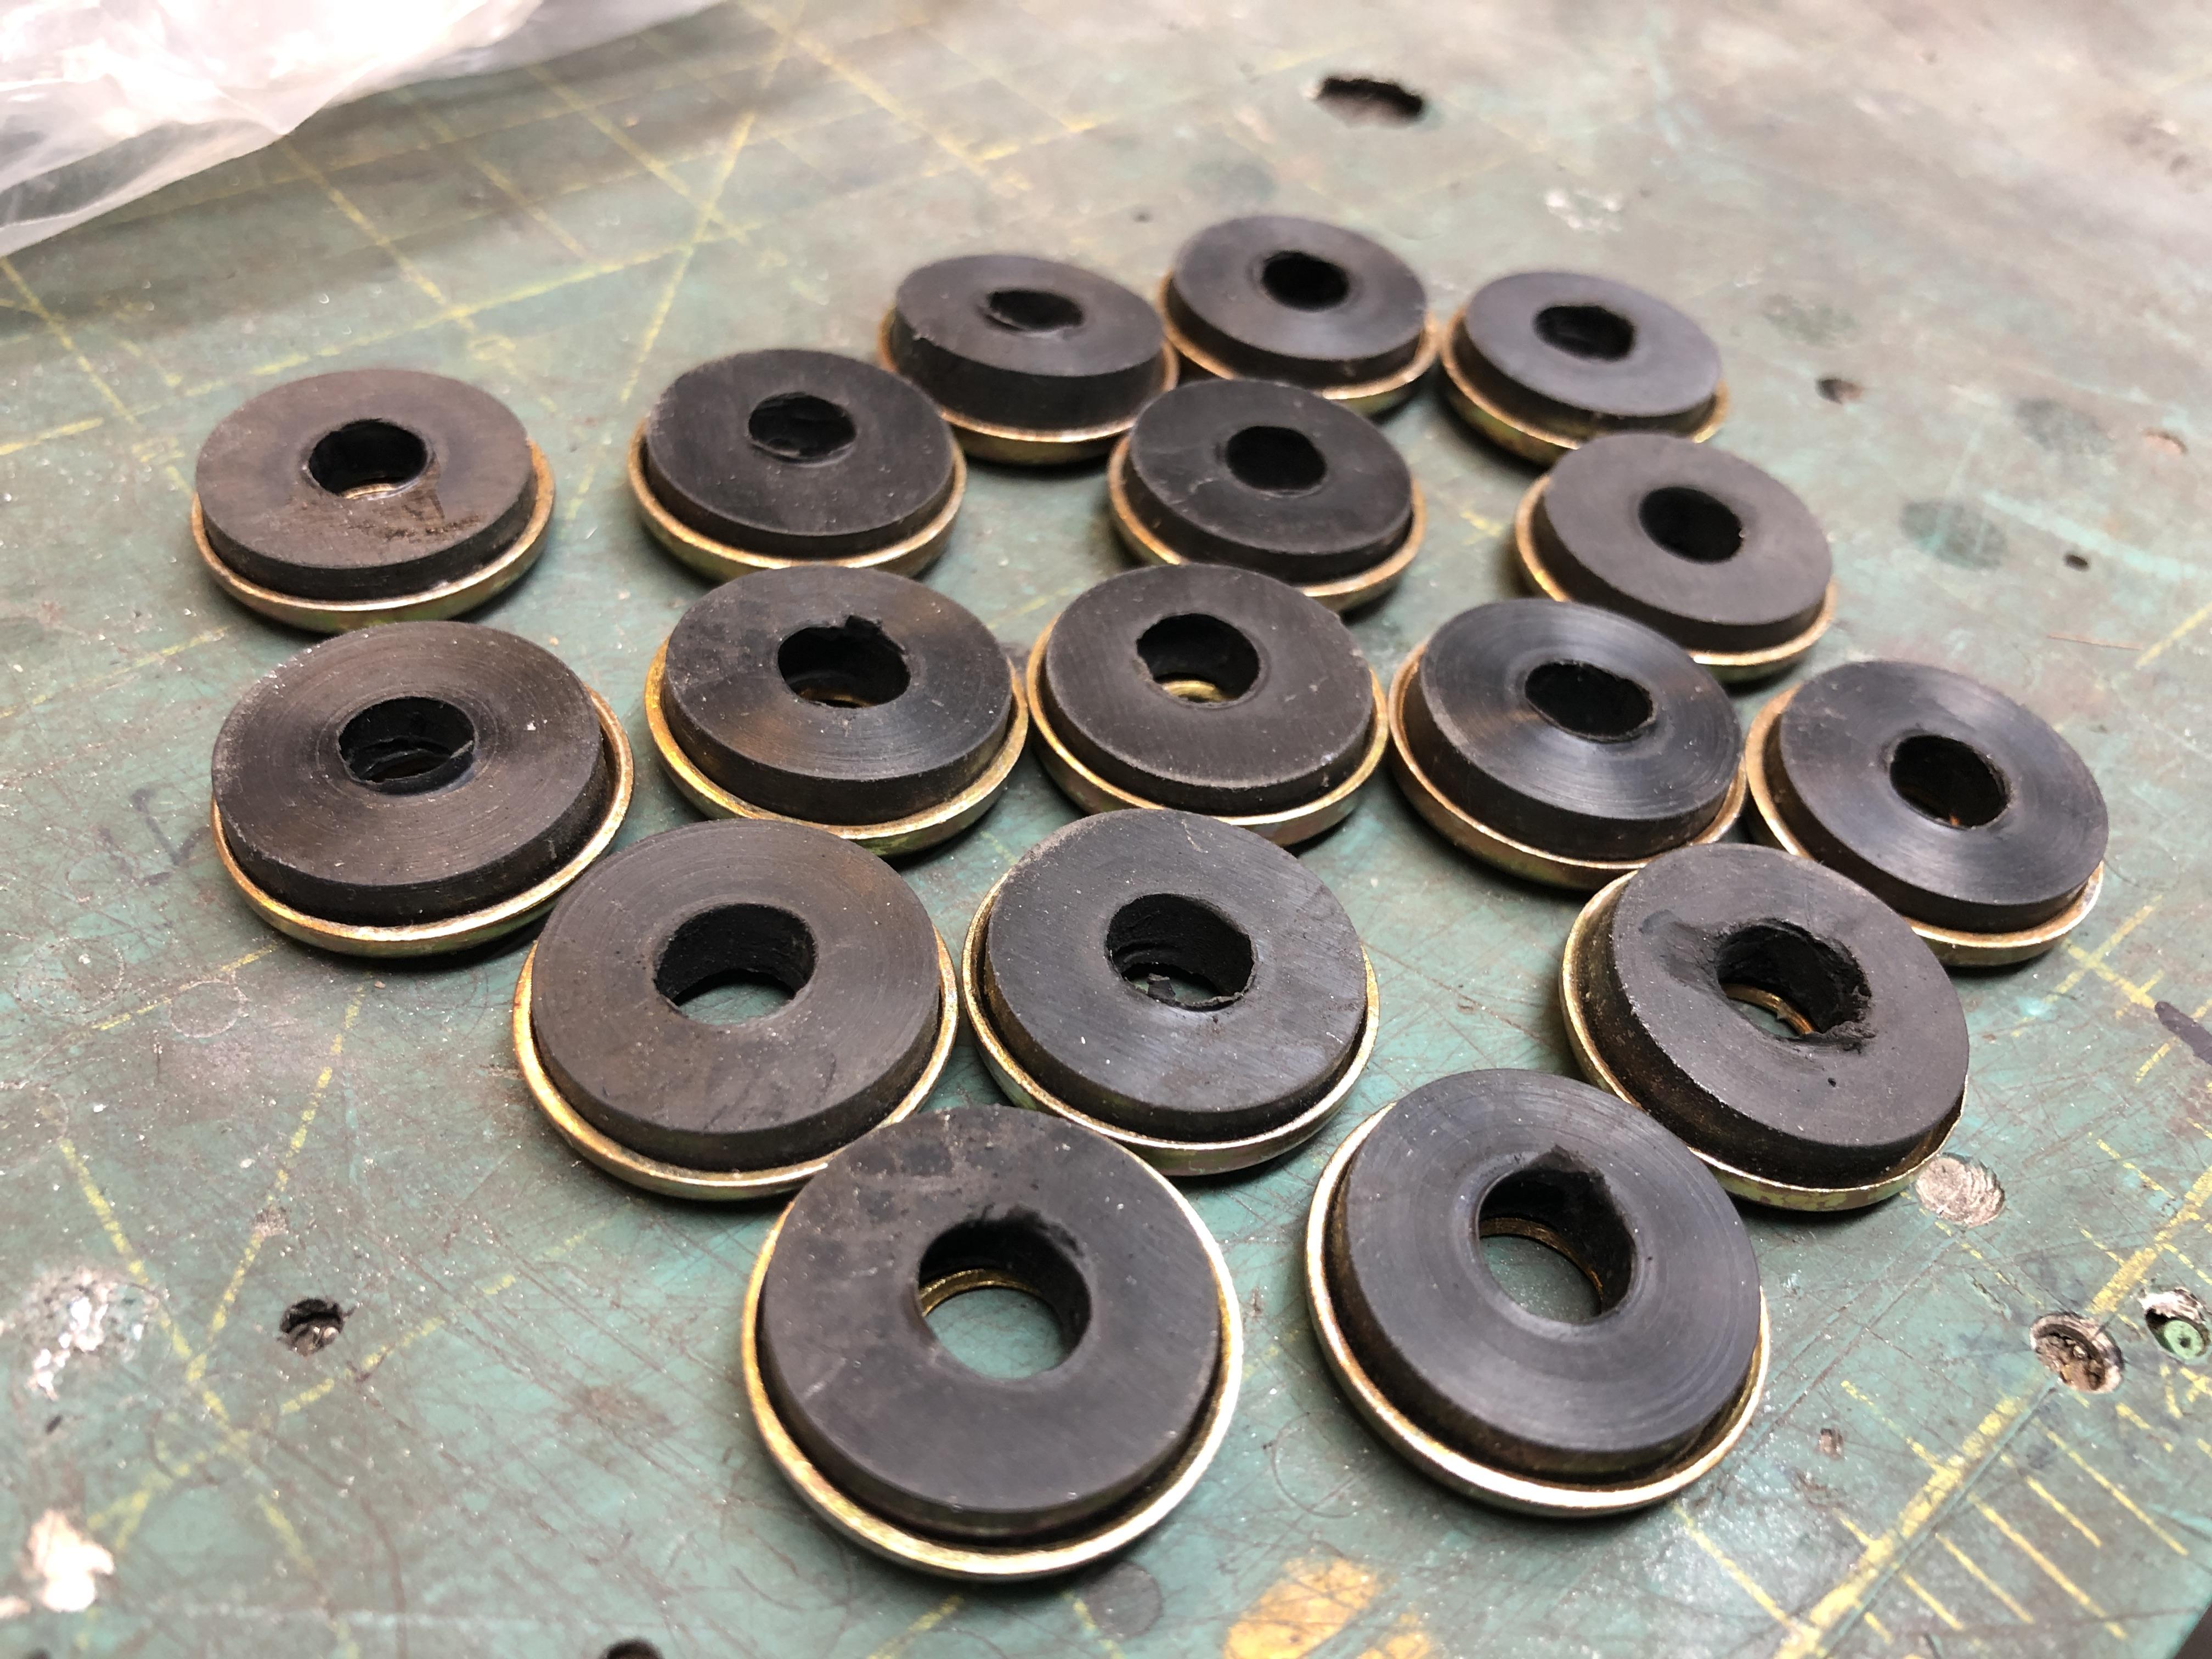
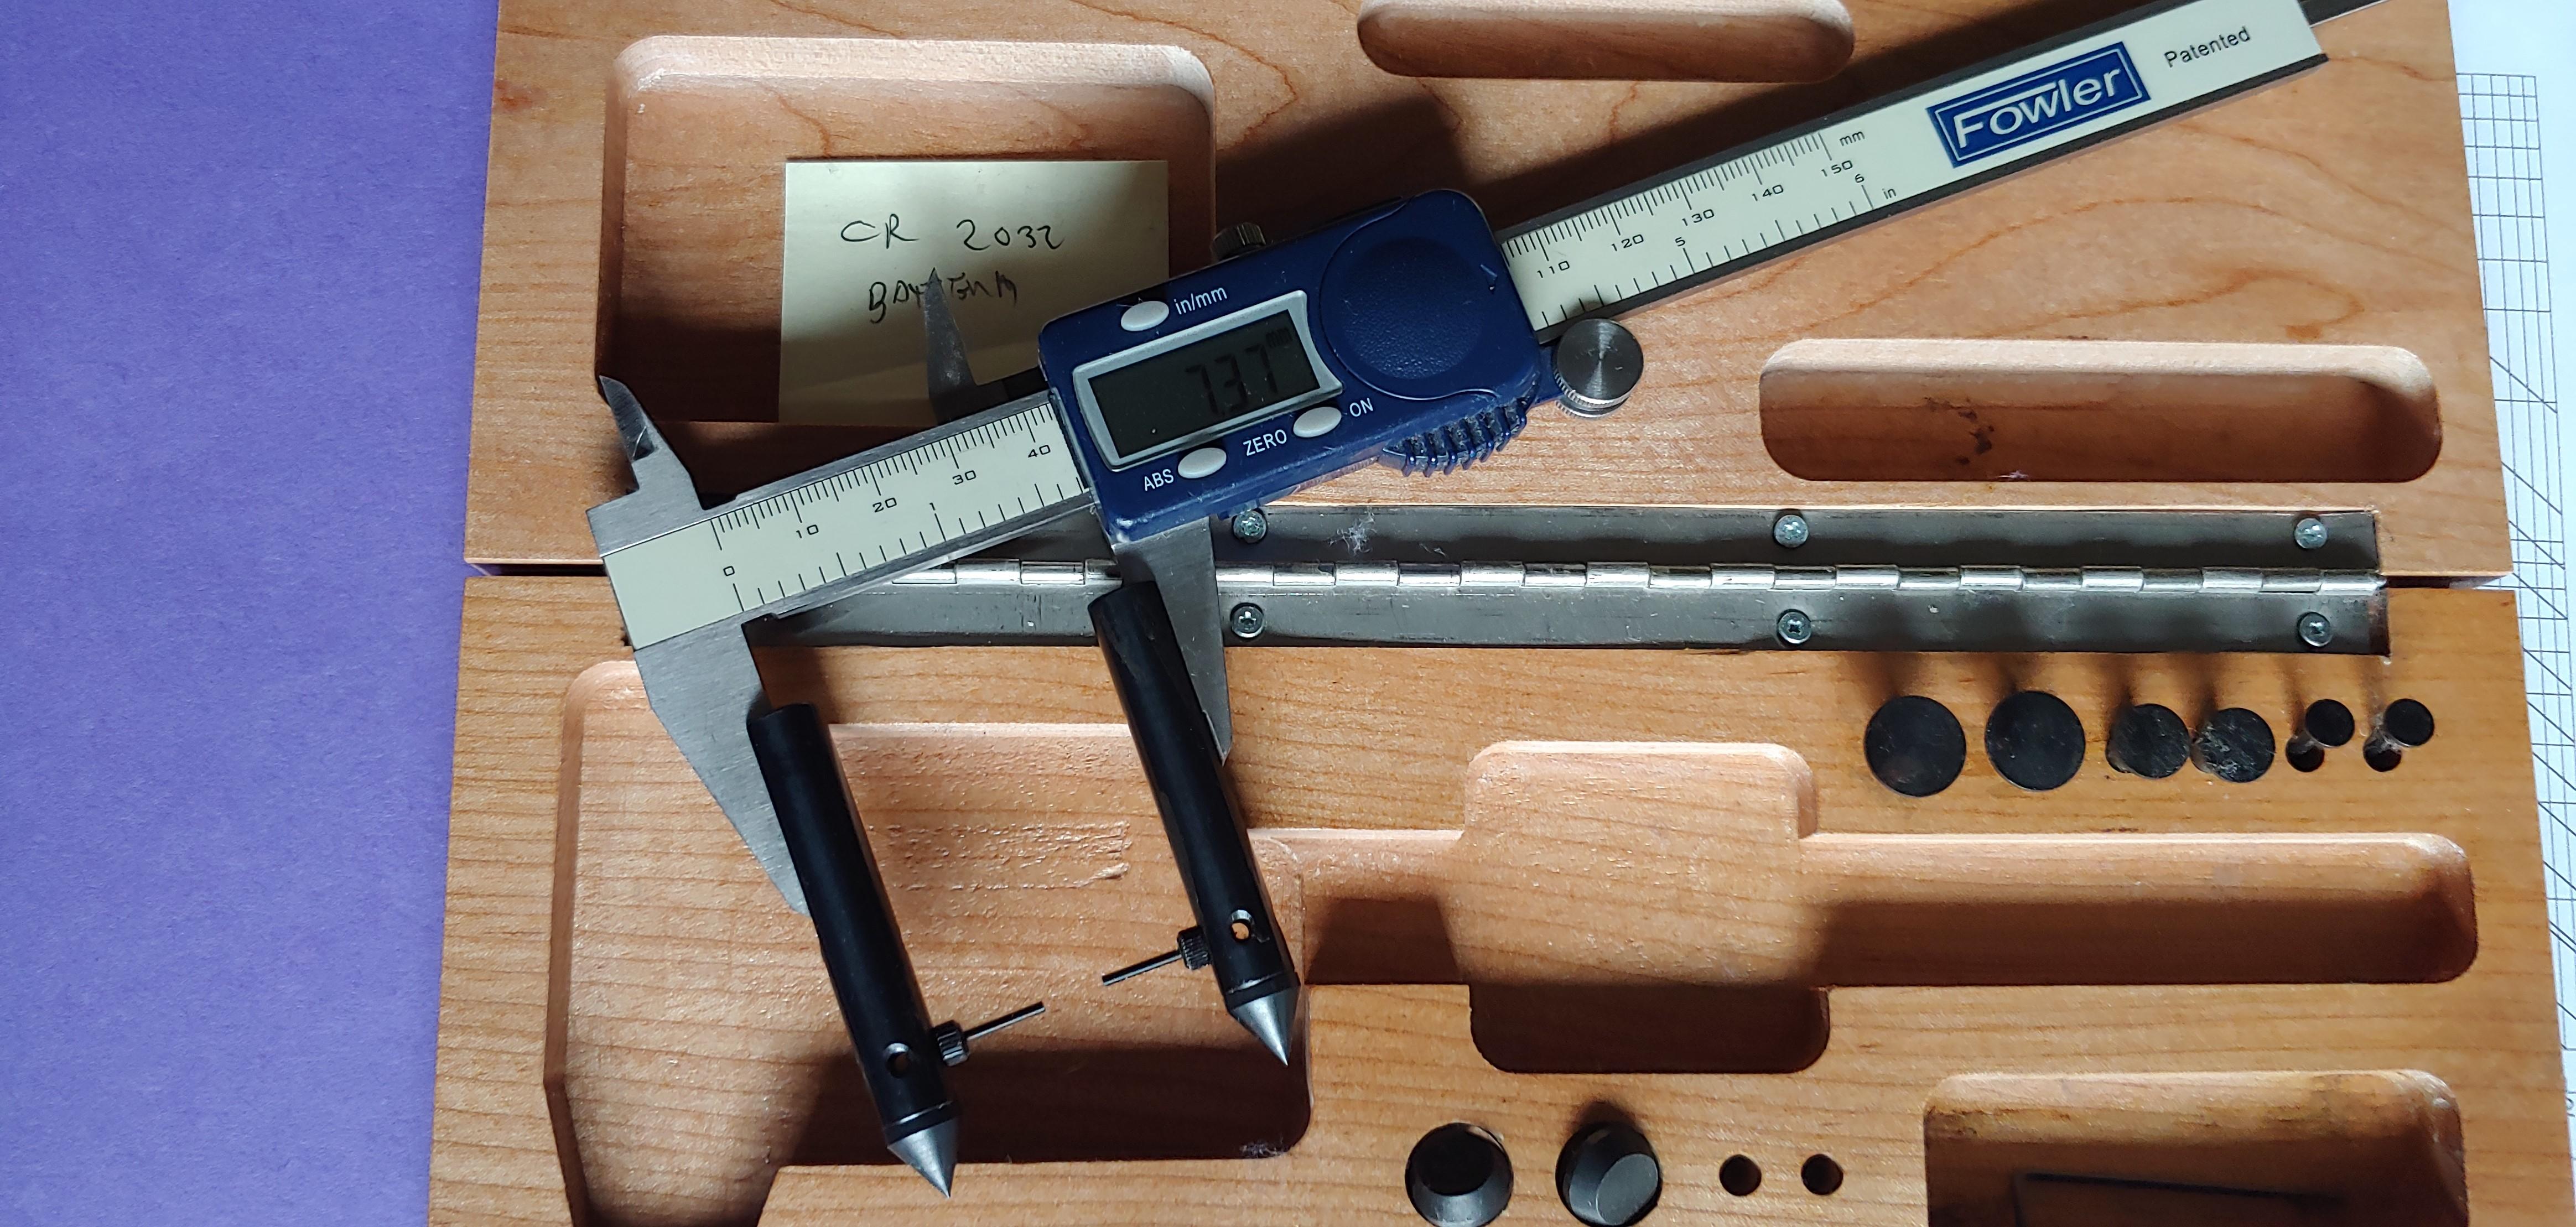
Got my plumbing washers in yesterday in the mail, got the centers drilled out to 5/16 and glued into the washers. I think I have ~25 available now. I need about 12 to “Complete” the wing bolt sets I have, the rest are up for grabs. Yes I cleanup the flash in the center. I drill them out to 5/16, but they are still a bit small, so I heat a slightly larger bolt and heat melt to enlarge and smooth out up the insides. They are a nice snug fit on the wing bolts. The washers are 11/16 OD with a 3/16 ID, so they have to drilled out. Can’t find 11/16 washers with a 5/16 hole. Next I’m working on serviceable and in-expensive total wing bolt and hex base replacements. They will be functionally identical but not perfect replica’s Won’t be able to tell with just the wing and washer showing when installed. Unless my wife says we need more masks....
 3 points
 -
Yes, DCOE's It's basically italian for 2 bore horizontal, IIRC there are several areas that can leak Philip might be of help here @2402602802 points
-
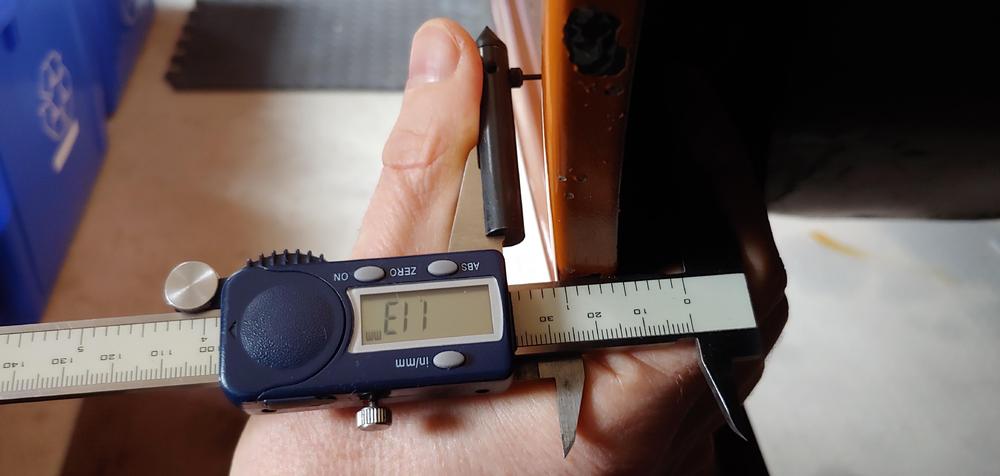
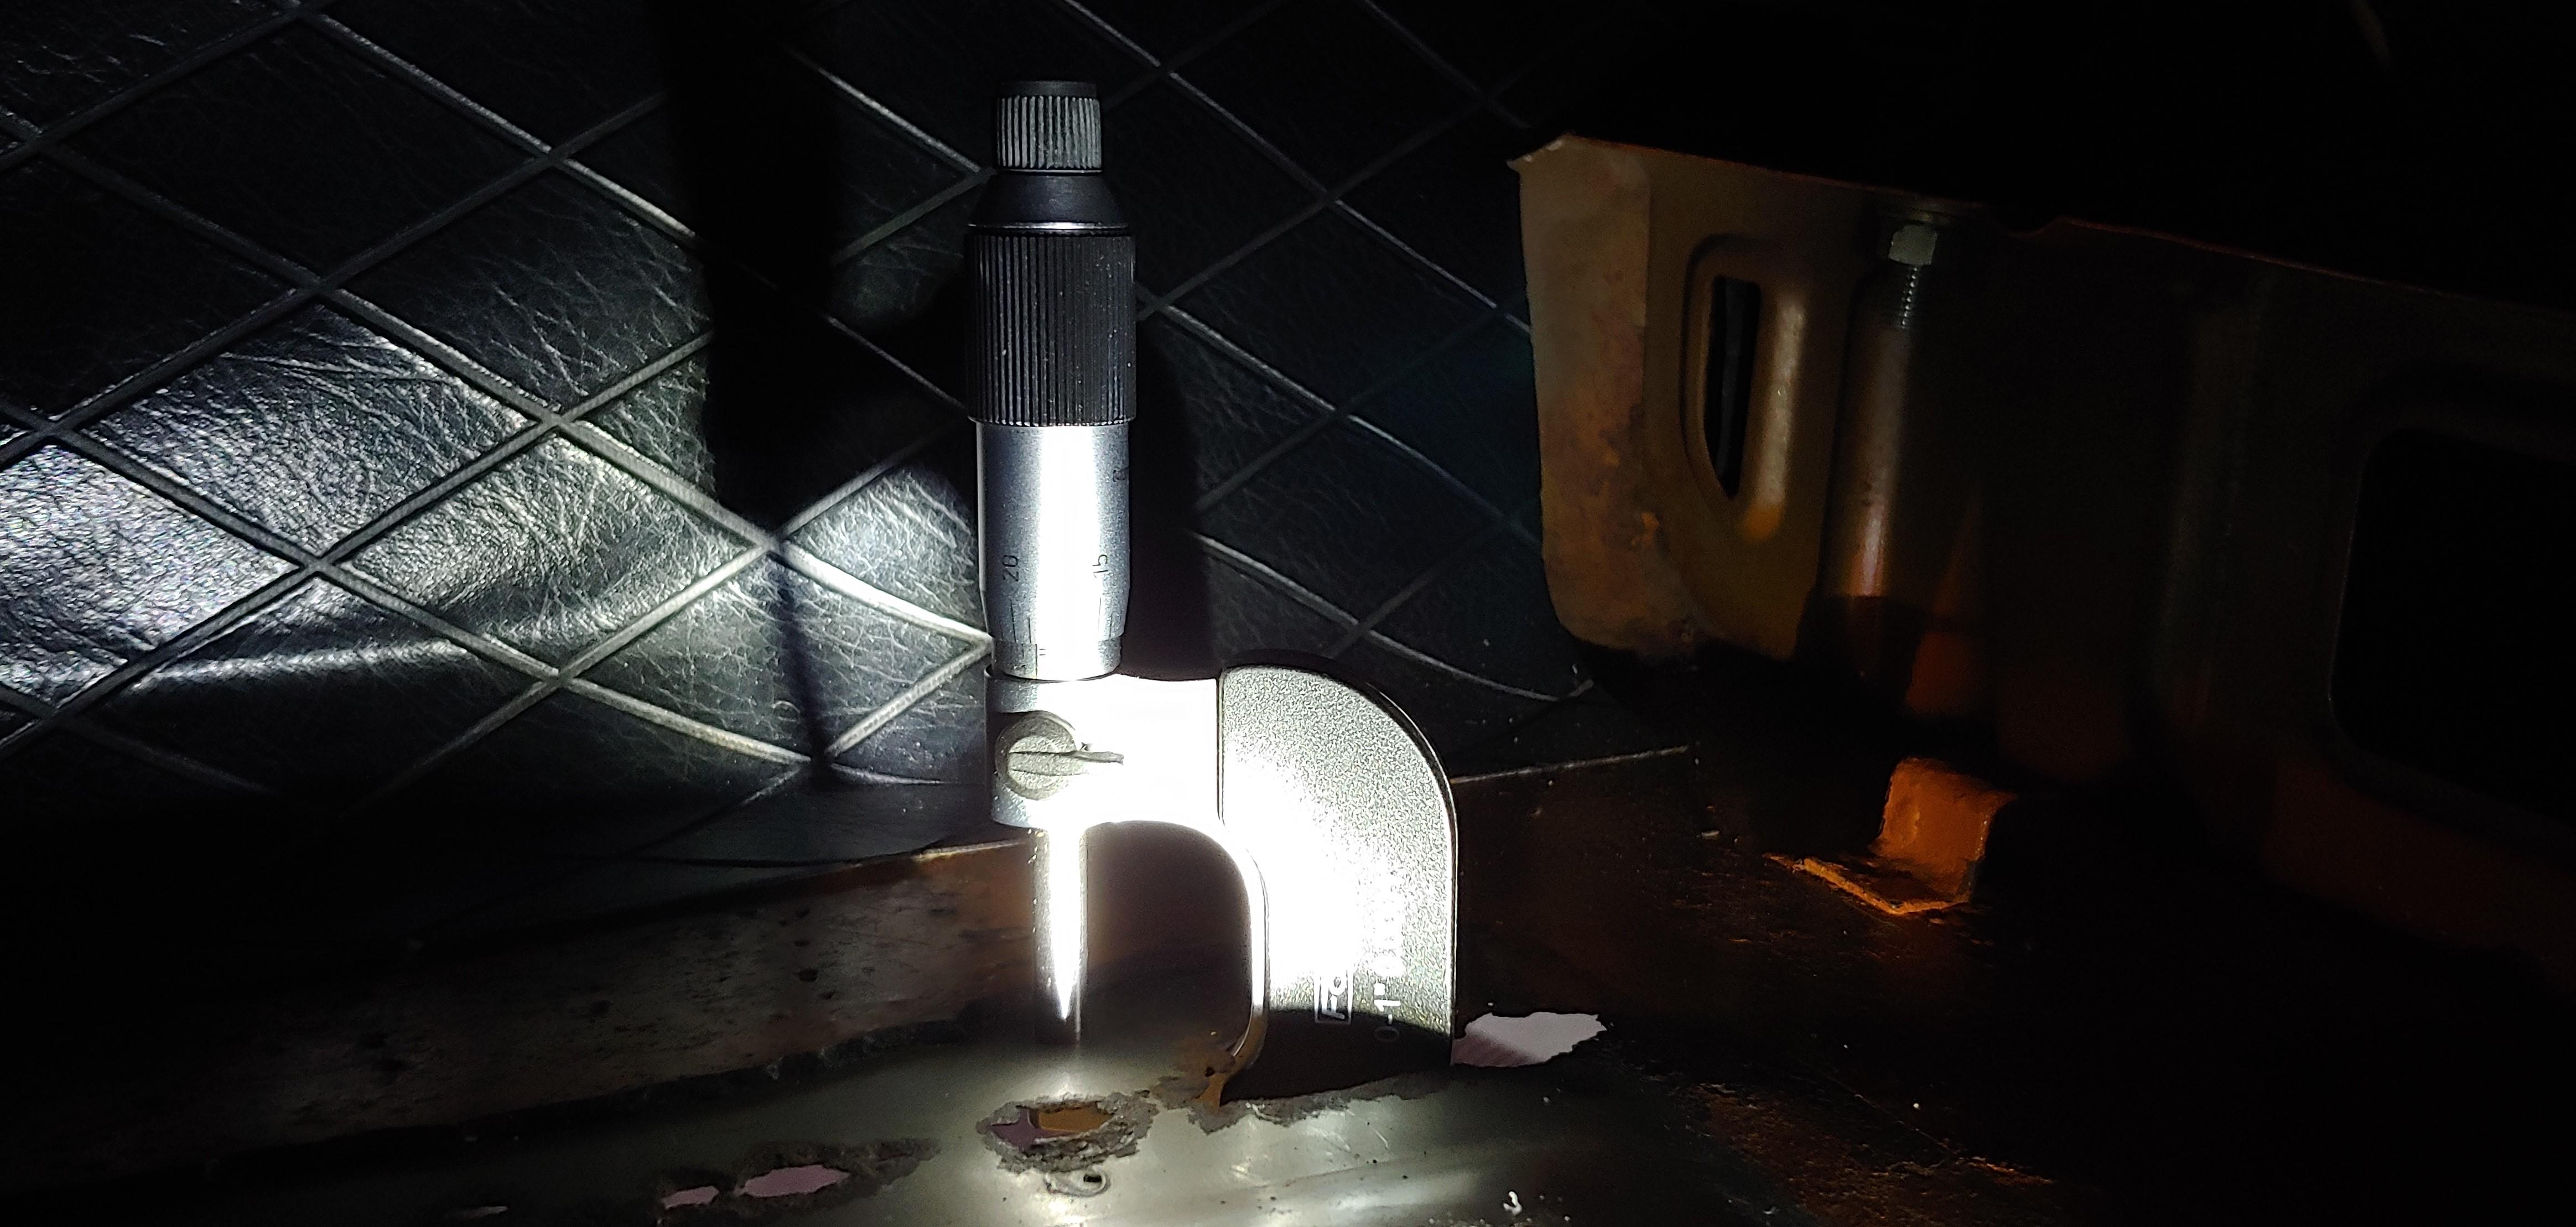
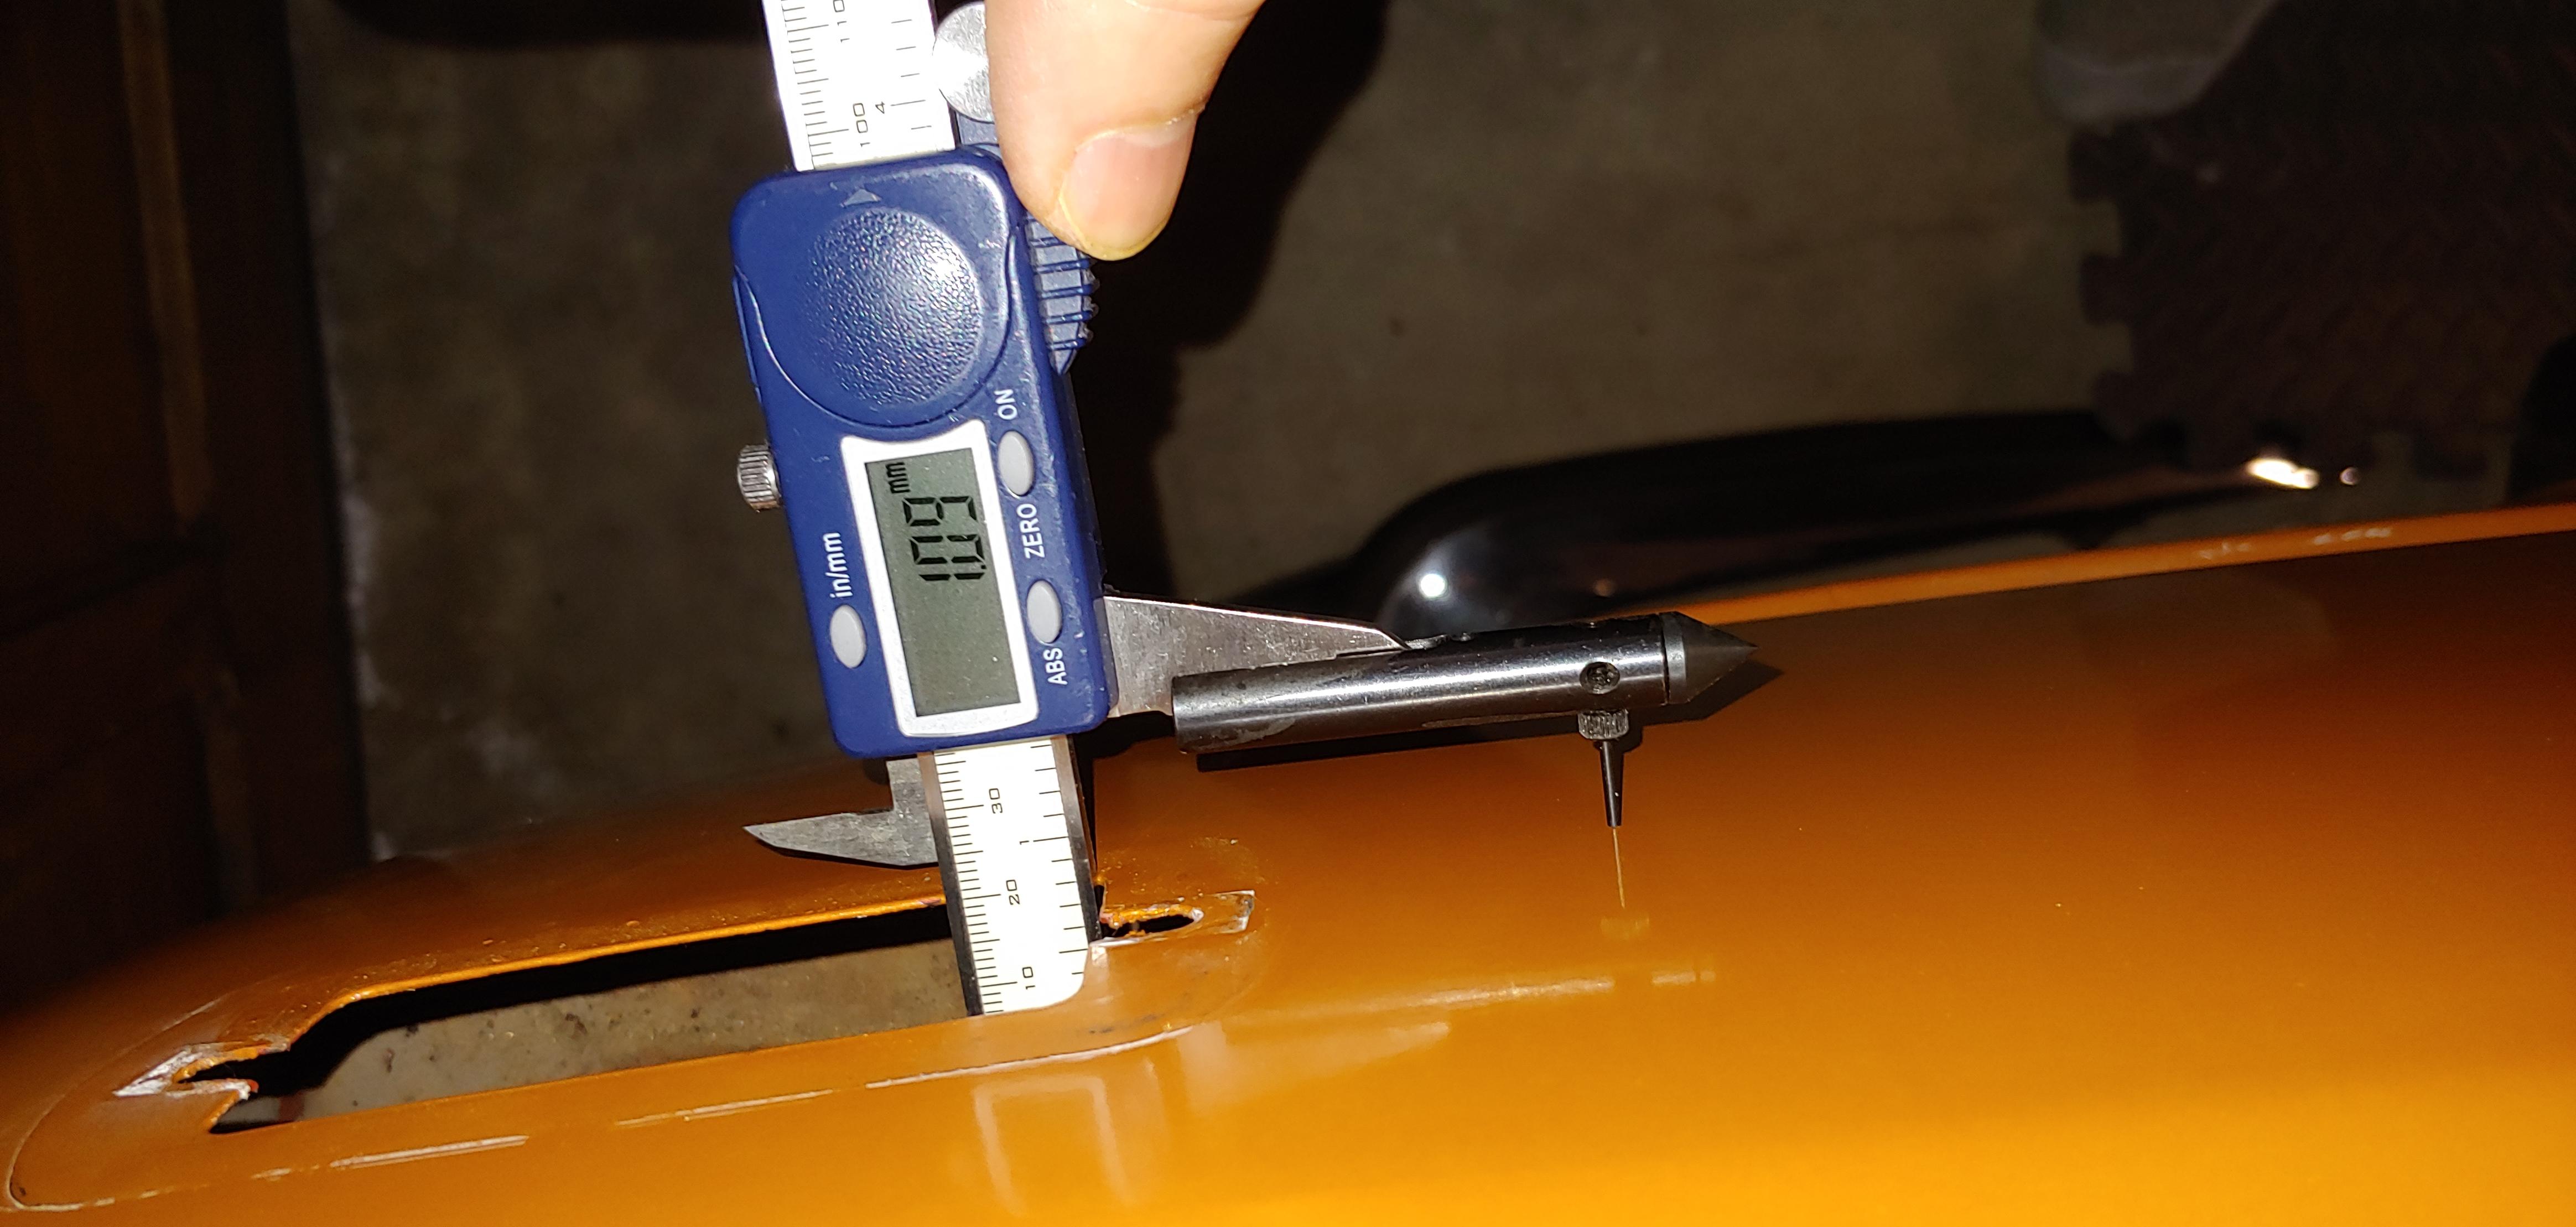
Couldn't get it with my vernier but a micrometer worked for the floor pan, to sound metal through a rust hole. The drain holes were not large enough. Measured .044" (1.12mm).
 2 points
 -
2 pointsAnd on a related note, I've whipped up a little electronic gizmo prototype that applies the mechanical advance in an electronic manner. Reads an input pulse train and effectively outputs a pulse train advanced with respect to the input. The curve looks like the stock curve with a couple adjustments to the numbers to make the math work out easier. 10 degrees advance up to about 1200 RPM Then 1.3ms of delay from 1200 up to 2500 RPM (which mimics the advance slope of the stock curve) And then caps off at 19.5 degrees above 2500 RPM Not sure there's any real value in what I did, but it was an attention diverting academic exercise. I think just that is worth something right now.2 points
-
2 pointsCliff, I started feeling better this afternoon. I think I got some bad food when I was in Panama. I ate one meal in the hotel restaurant (only 18 people in entire hotel). I ordered grilled Sea Bass and started feeling bad the next day. I have allergies too. I’ve been sneezing pretty bad the past few days and there is yellow pollen all over our cars. I think the key is body temp, a dry cough, and body aches as some primary symptoms, not to mention the loss of taste and smell. Hopefully, you’ll feel better tomorrow. Sent from my iPhone using Tapatalk2 points
-
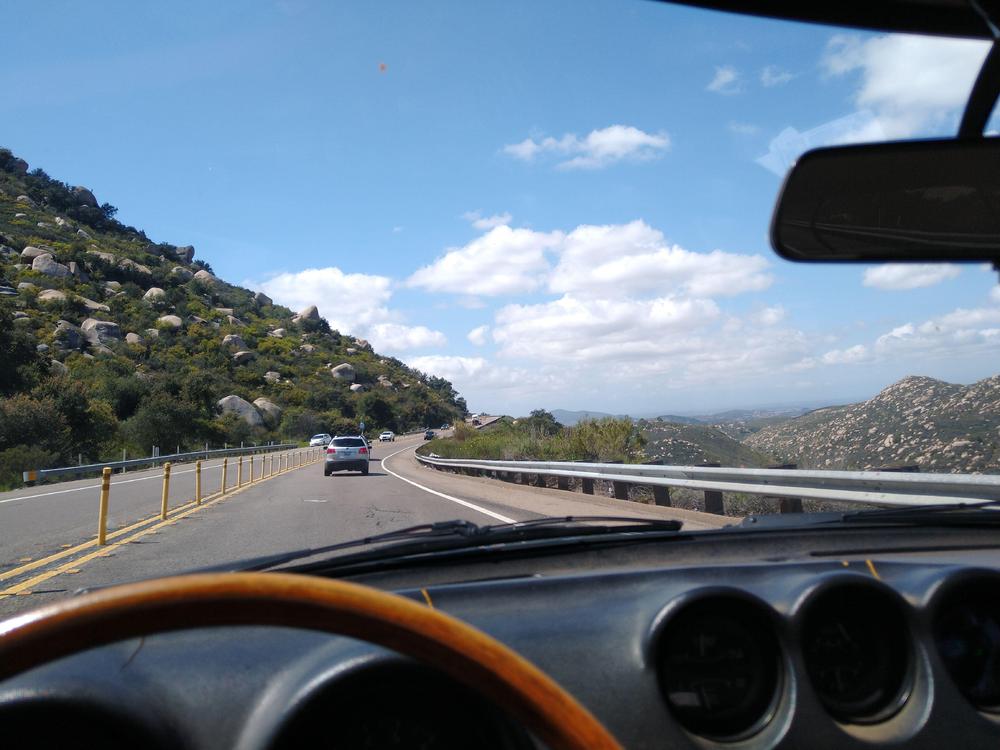
2 pointsOut of hibernation, still kicking down the road. Dash is cracking up, but no biggie, ?
 2 points
 -
Using the attachments for my vernier calipers I measured 1.09mm thk for the rear 1/4's and 1.13mm thk for the front fenders (including paint). Obviously the measurements will vary where taken due to thinning of the metal where it is stretched during the pressing process. Just thought it was a good chance to try out my seldom used attachments.


 2 points
 -
2 pointsJust finished transferring the components from the old dash to the Vintage Dash pad. It was a bit of work, but I took my time and took lots of pics along the way to help me with the reassembly. Overall, I'm very happy with the end result and can't wait to install this back in the car. Will do this once the weather gets a bit warmer. A few thing to note for anyone that's taking this route: Read the treads above for the folks that have installed this already, they provided some great tips that helped with the install. I had to trim the back of the speedo and tach part of the dash, it was way too tight and there was a small lip of dash foam. I trimmed this with an exacto knife, about a couple of mm, and was able to fit the gauges in. This is fully covered by the gauges and not visible. There is a small gap on the top part of the Amp/Fuel gauge. From a sitting angle, this should not be noticeable. There are 21 screws that hold the frame to the dash pad. Some of the metal attachments on the dash pad are covered by foam, you should remove this with a blade before you install the foam. This will allow you to find the holes for the screws when the frame is on. I ended up putting 20 out of the 21 screws from the frame. The one above the cigarette lighter was difficult to attach, was not able to locate this with the frame on. I said screw it, and did not bother with it. There are already 20 screws and its already well fastened. For the hoses, I added some tape to the plastic ends for the small hoses, and some thin weather stripping to the large hoses. This provided a solid seal, the current ones were very loose. Hope this helps and good luck!
 2 points
 -
1 pointThe rear bolt probably just needs a socket on a long skinny extension. You might have to stack short extensions and/or use pliers on the extension instead of the ratchet handle.Then the housing might just pop off with a tap or two. Problems there are very common. Just have to get creative.1 point
-
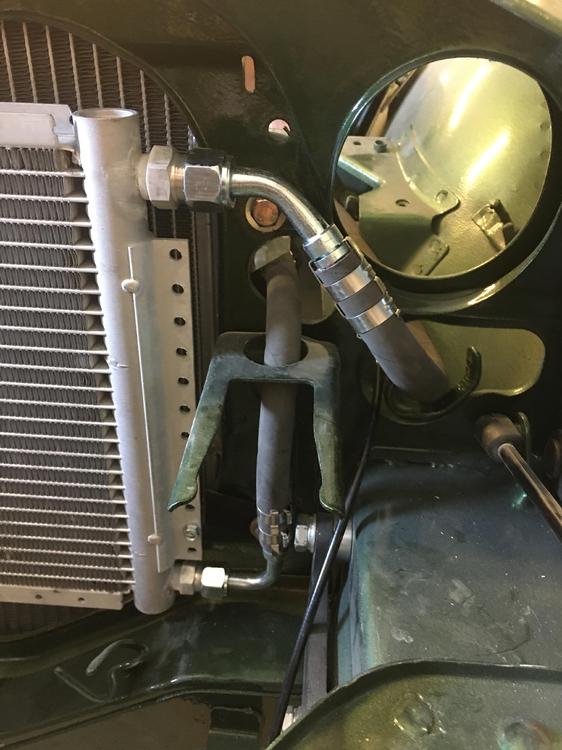
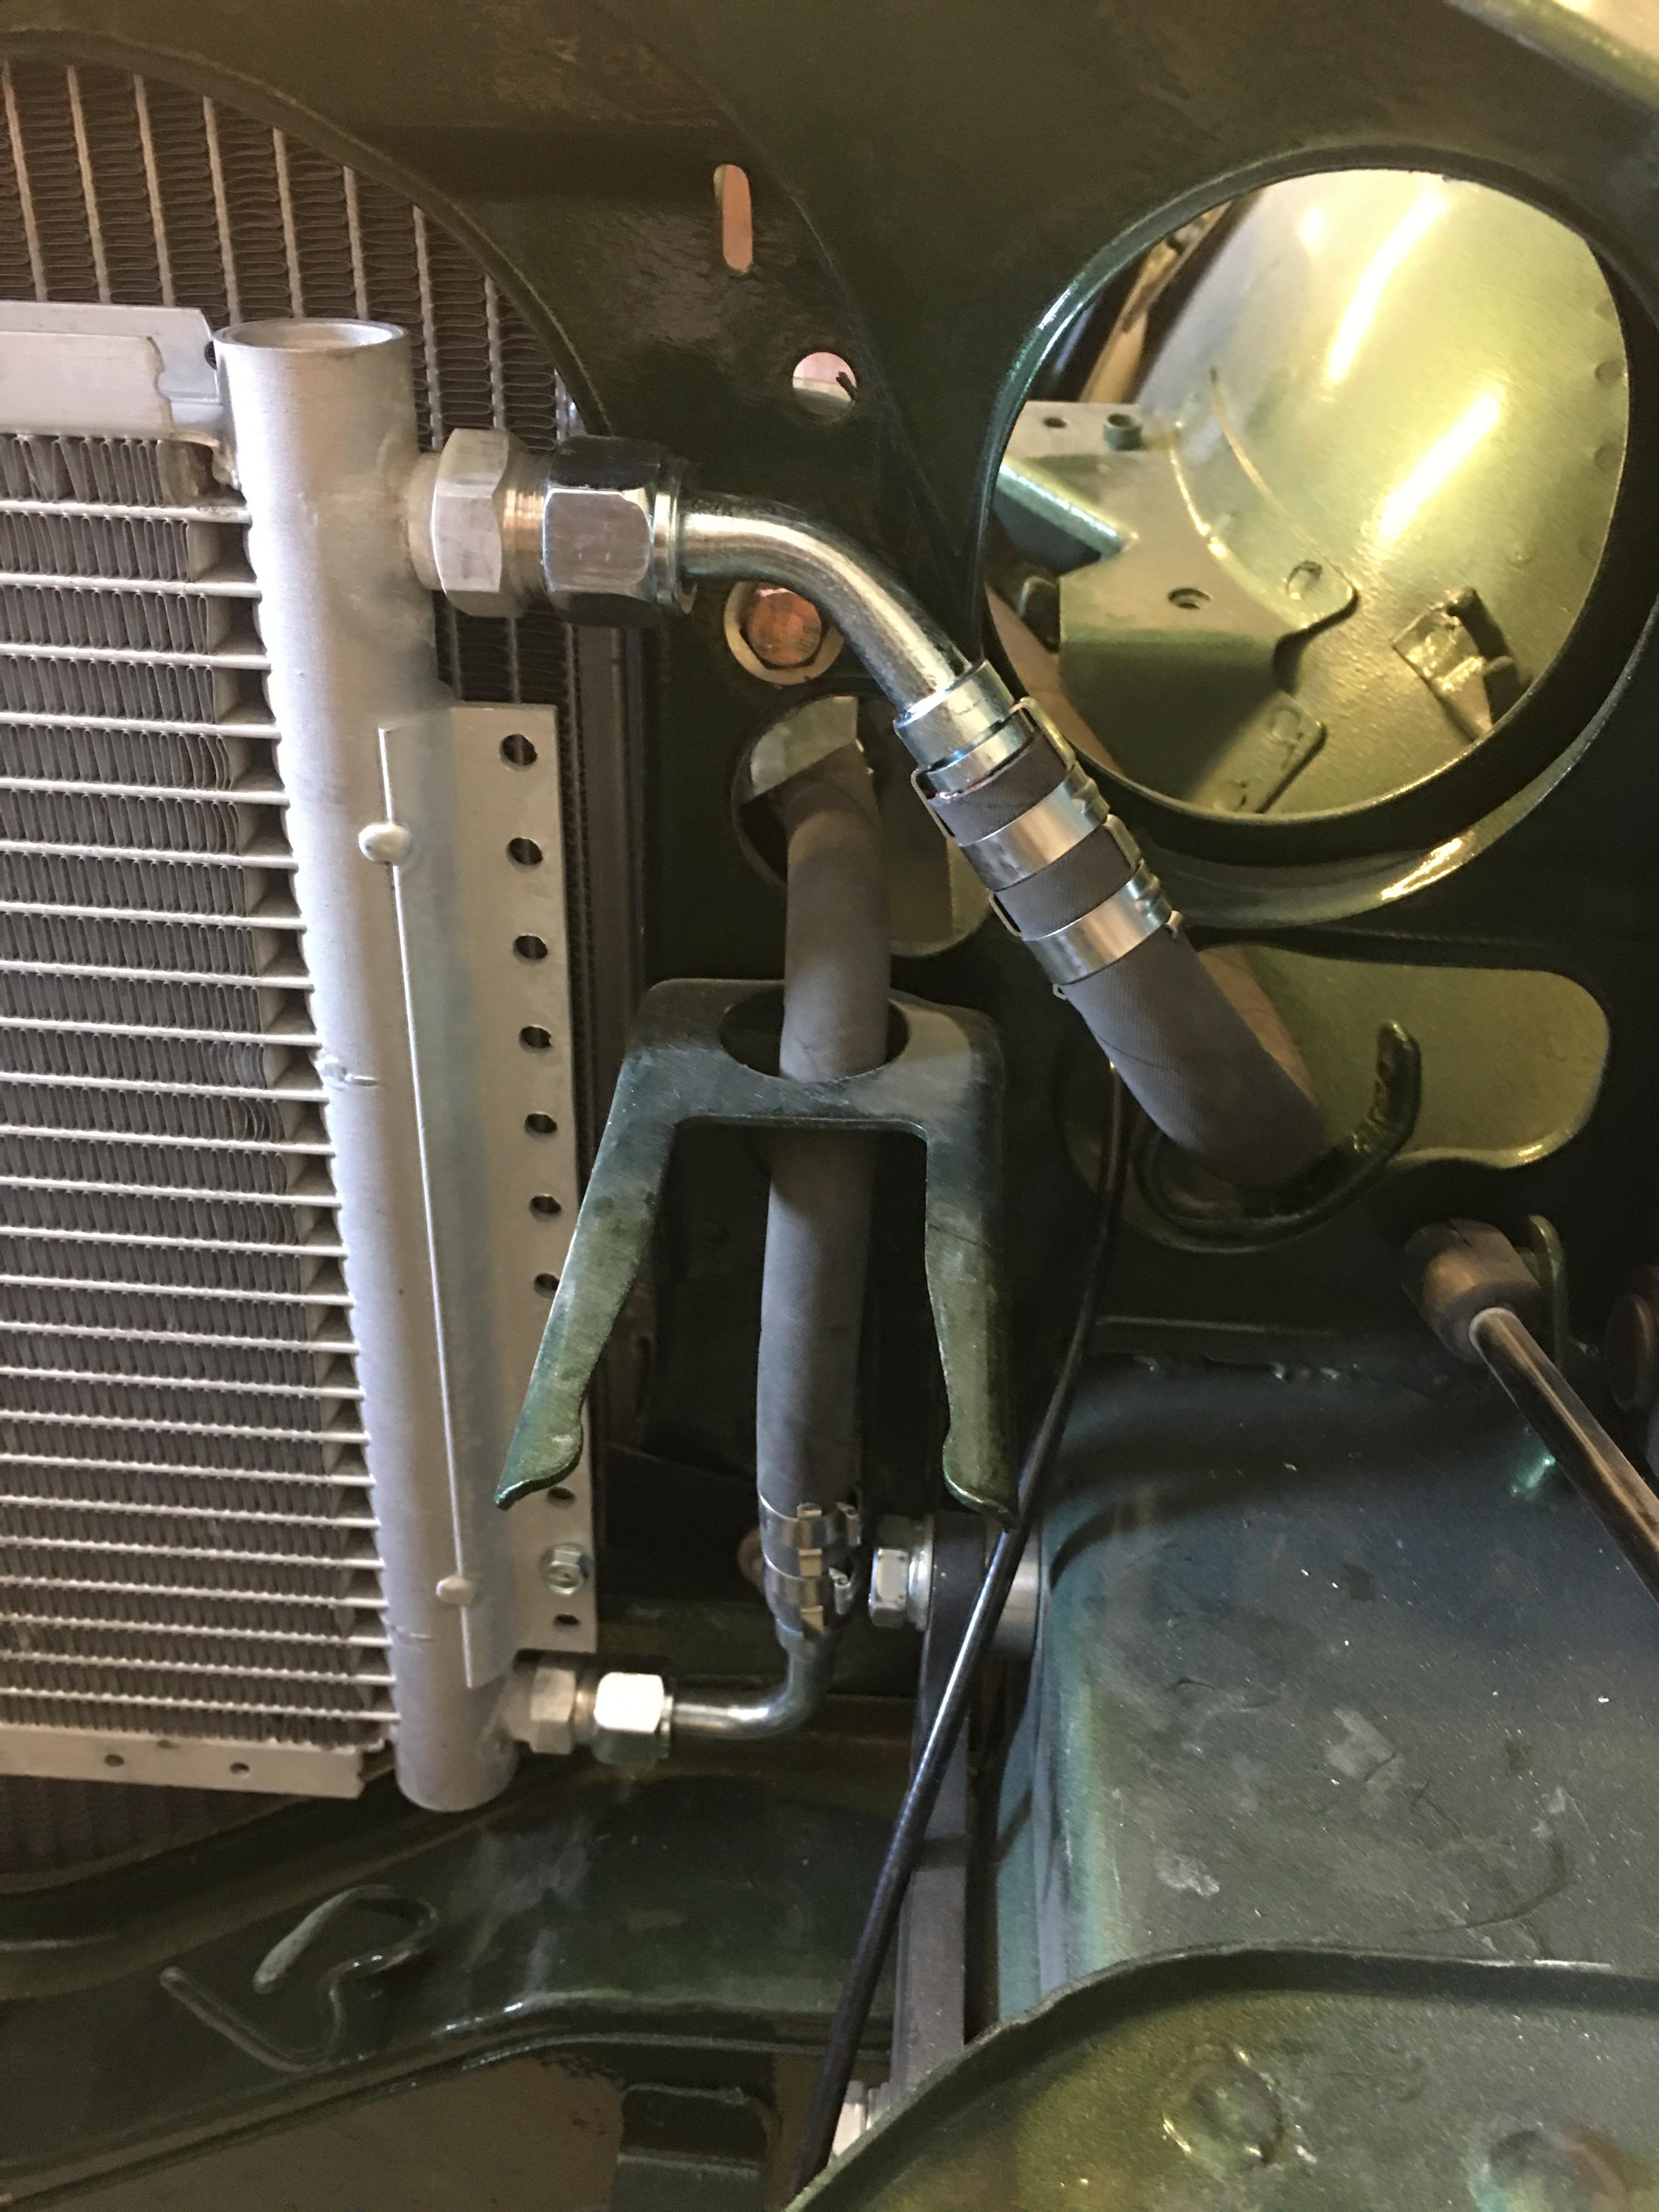
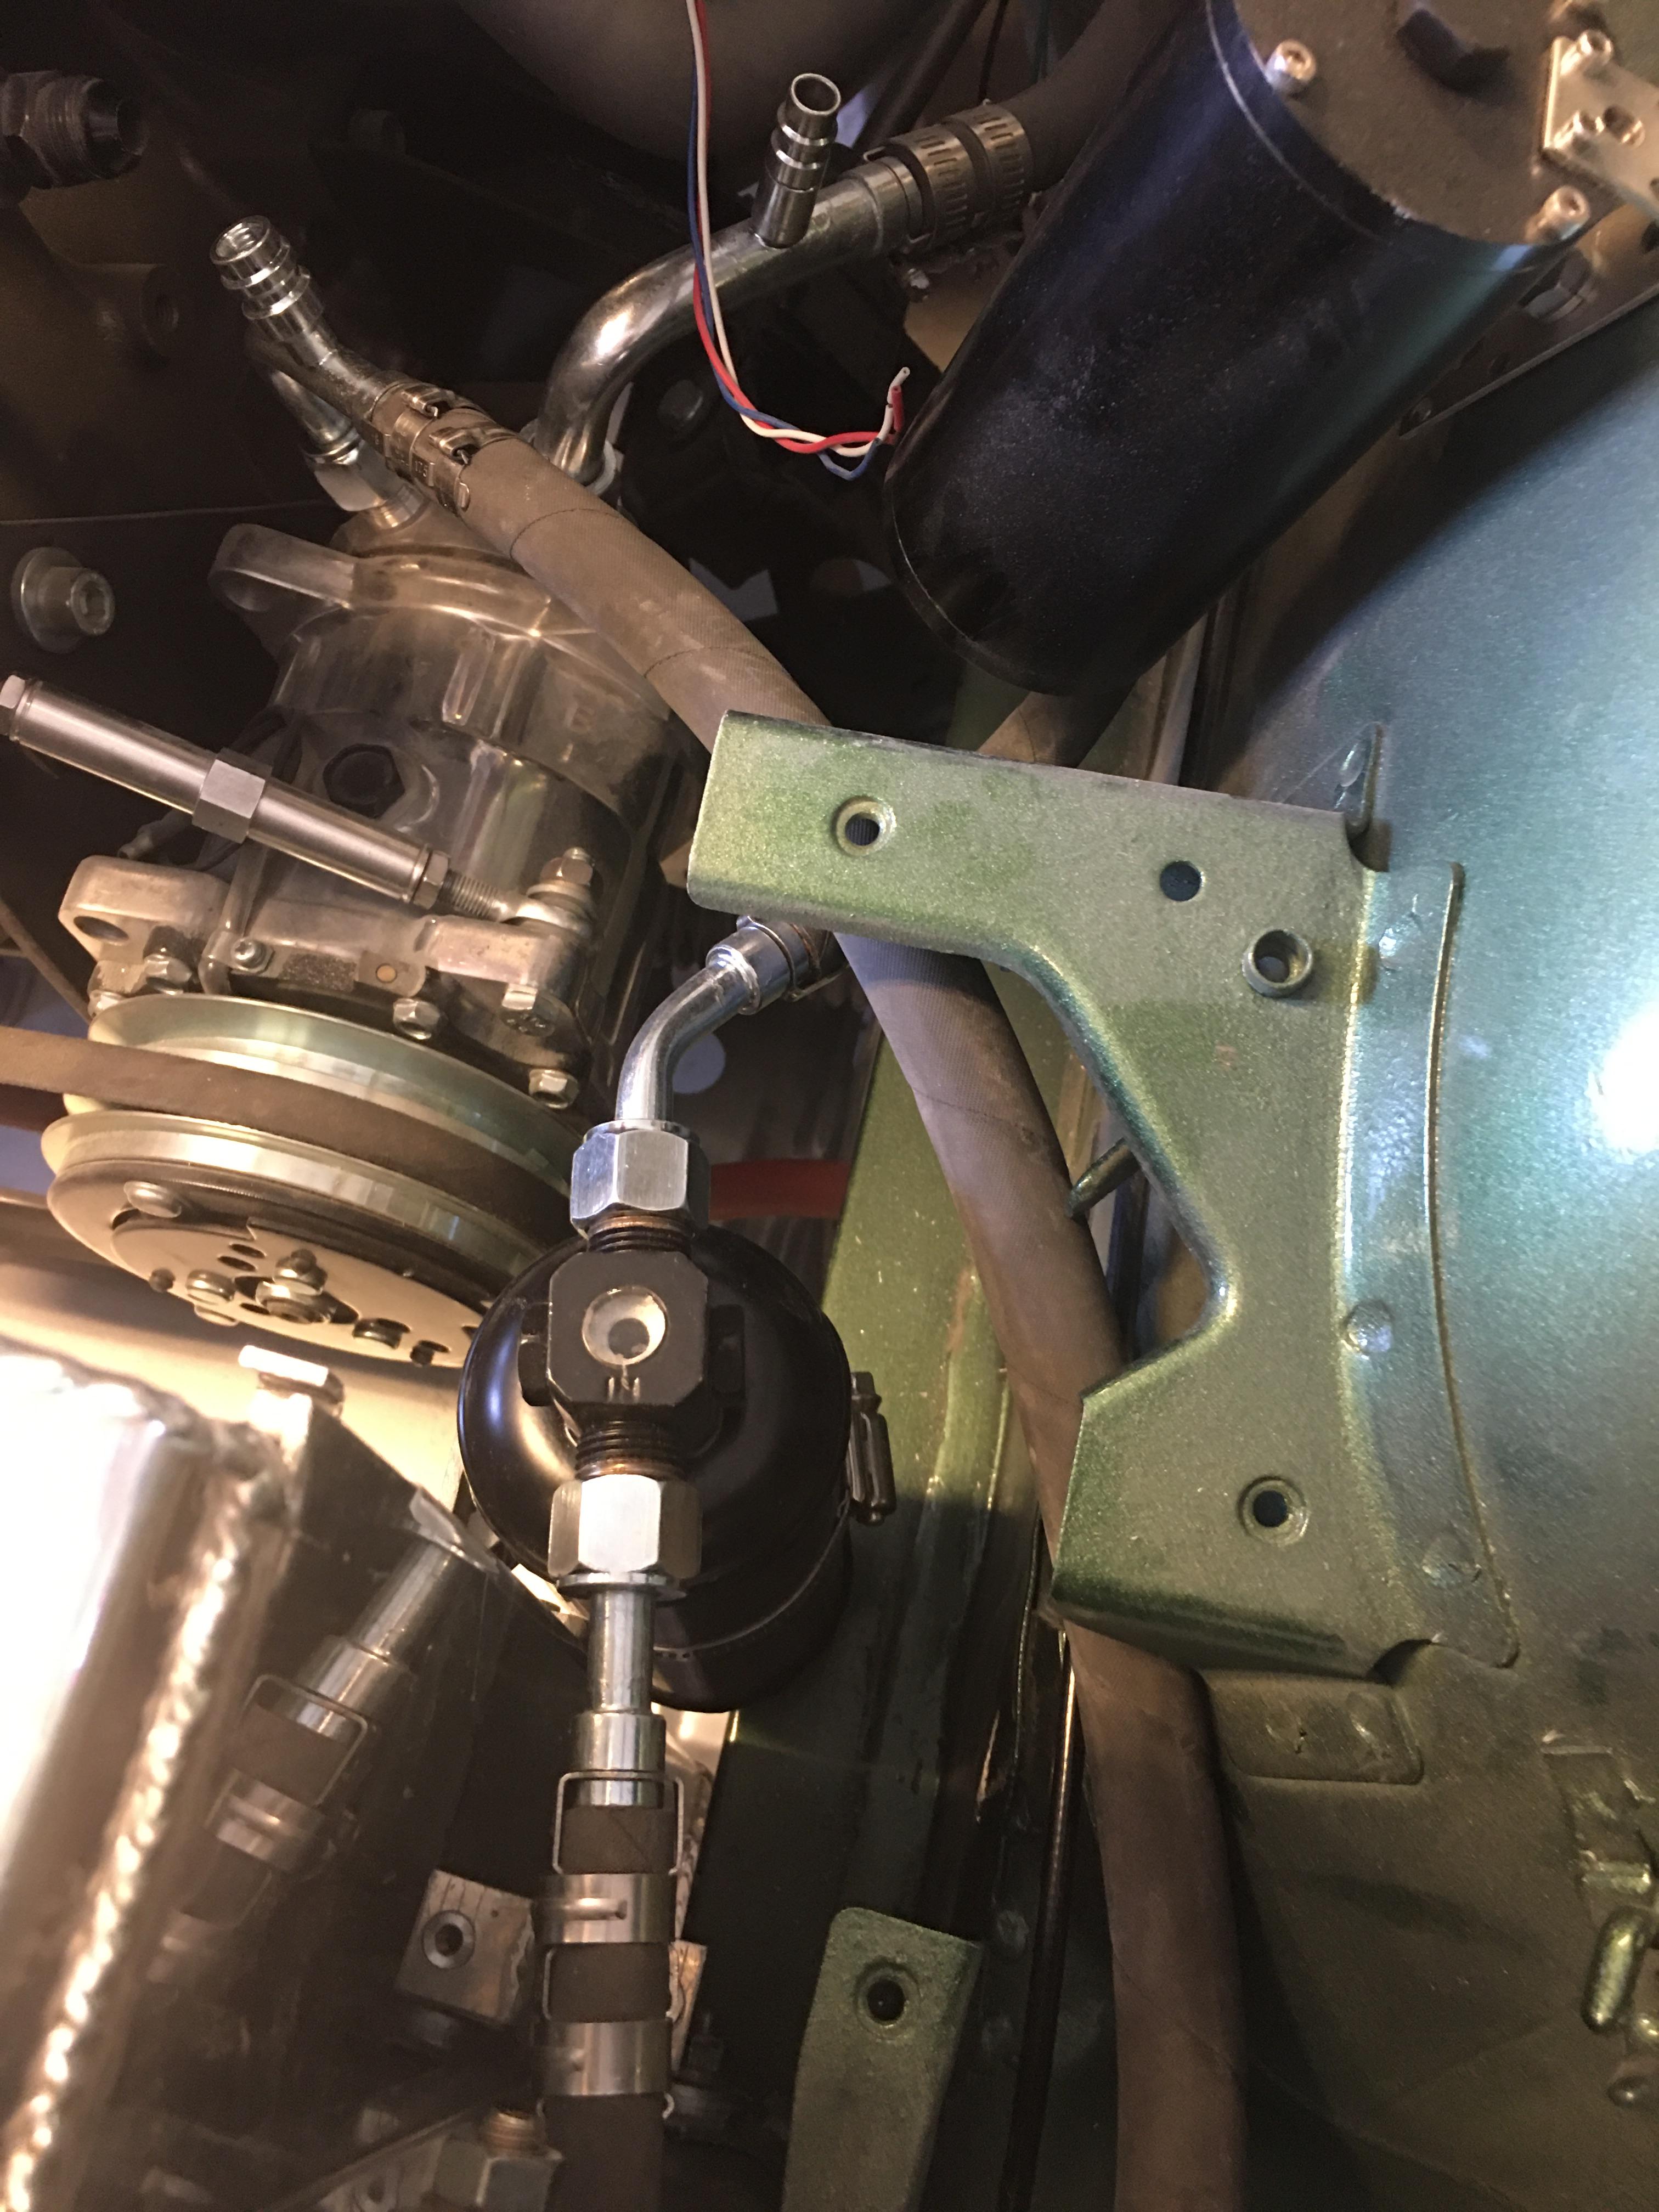
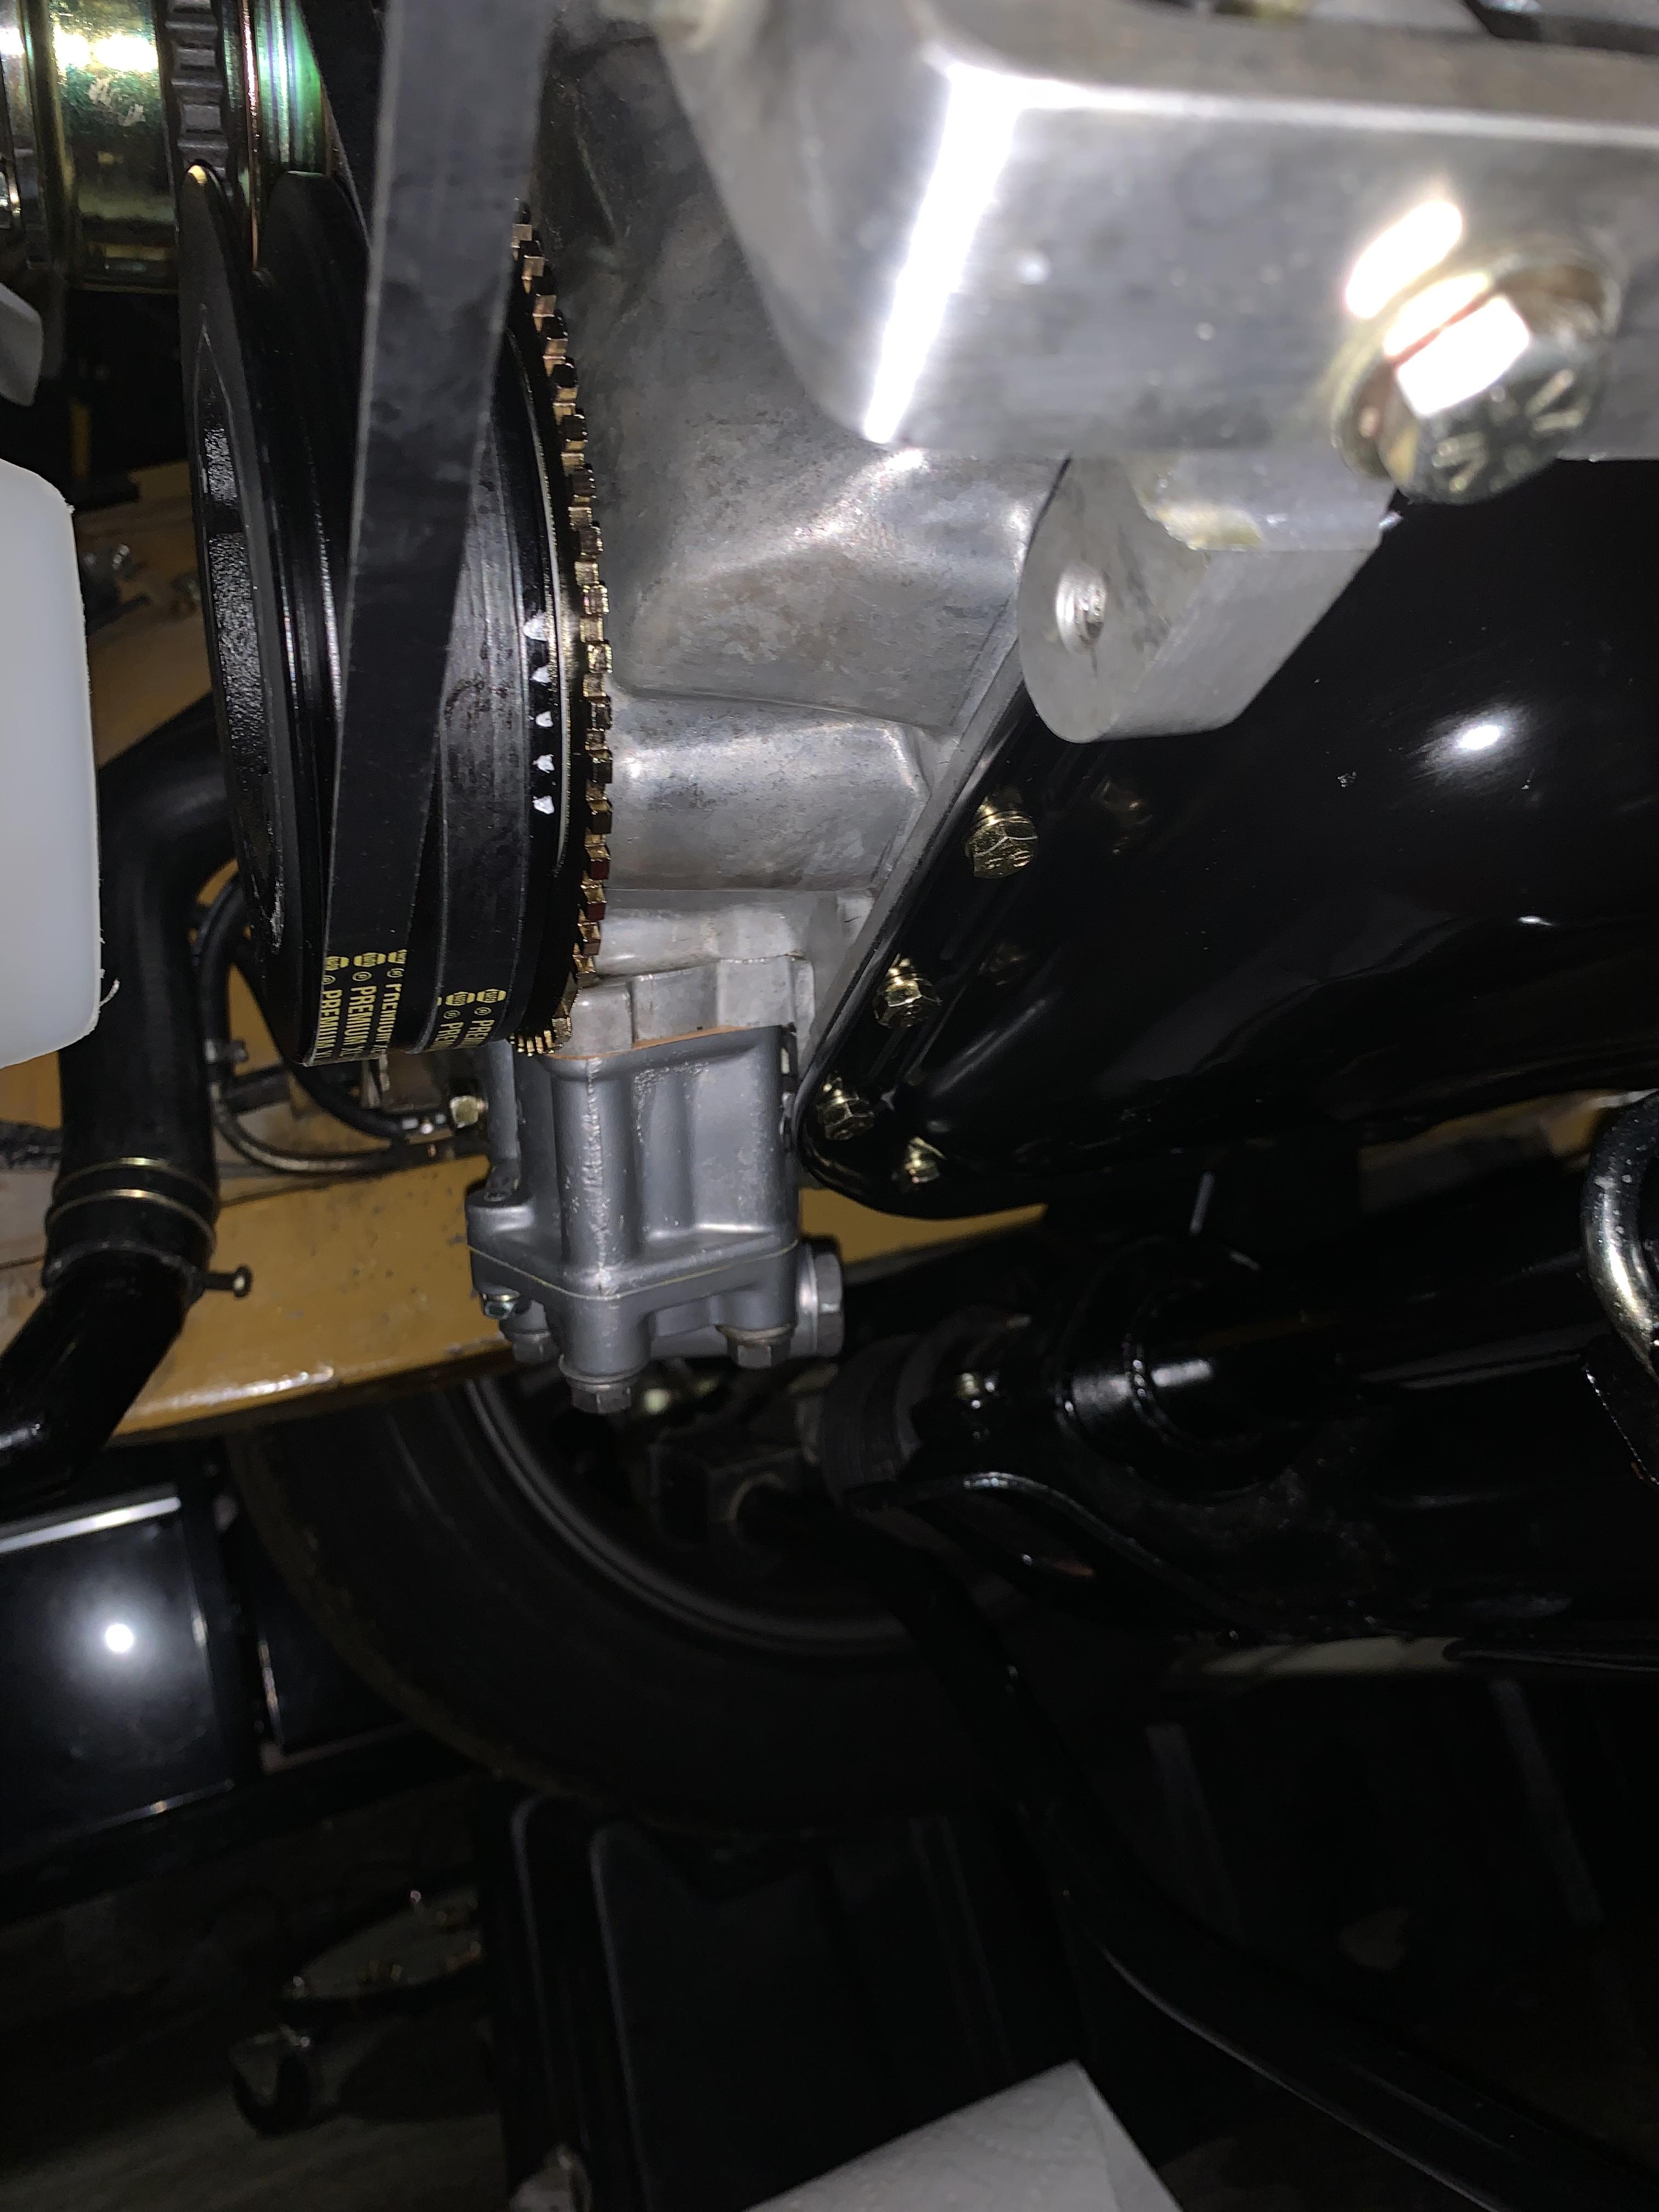
1 pointFinished routing the AC lines and used the quikclip kit to attach all the fittings. 10 from the evaporator to the pump, 8 to the top of the condenser, 6 from the condenser to the drier, 6 from the dryer to the evaporator.
 1 point
 -
I found a video that shows the tapping method for unsticking stuck float needle valves. Requires a special tool. It starts at about 30:35.1 point
-
1 pointThis morning, I read with concern the story of the tiger in the Bronx zoo having coronavirus, evidently contracted from a human zoo worker. That tiger is one of six showing symptoms. I don't know a darn thing about similarities between tiger and human physiology and health, other than we're both mammals., but if a disease crosses from human to animal, it's concerning and worth watching. I've spoken with my sister Pamela Powell DVM about this, and she tells me veterinary circles have been watching it for a while and are paying attention to it. We agree that this falls in the area of "watch for future developments," not "immediate threat." Hopefully this and a few other similar crossover events are outliers, and hopefully there isn't enough going on to be a threat to anyone. Keep in mind that just as science is working on CO-19 immunization for humans, veterinary research will be working on vaccines for animals. In other words, folks, DON'T start giving up your animals out of coronavirus fears. Remain calm, stay home, and take care of your loving animal friends. CNN Story1 point
-
1 point
-
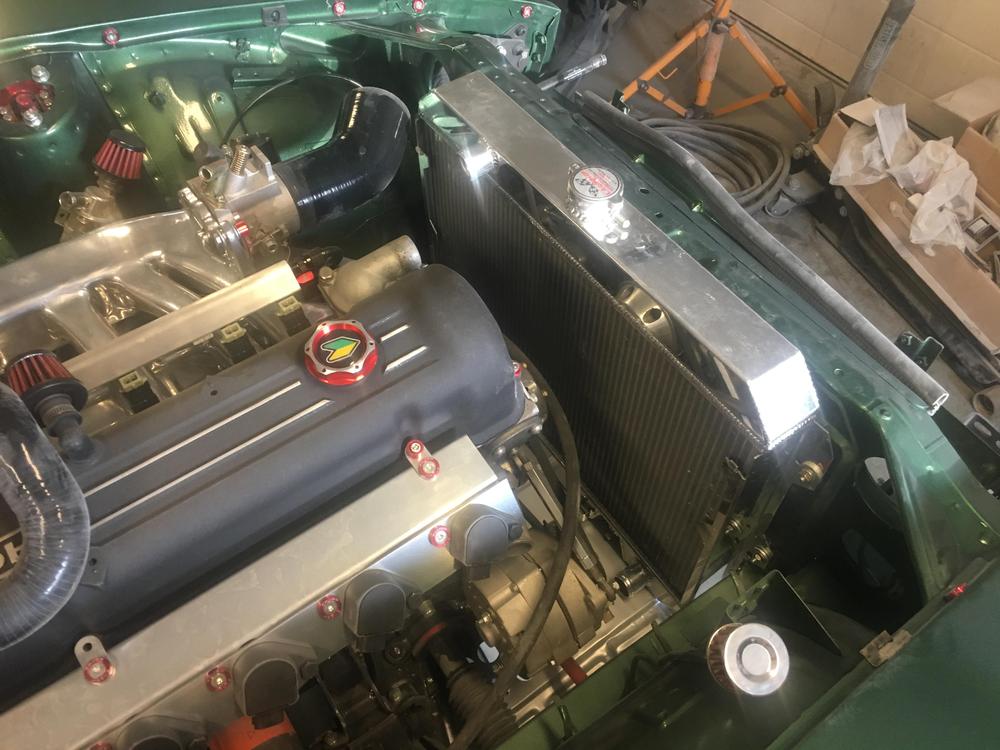
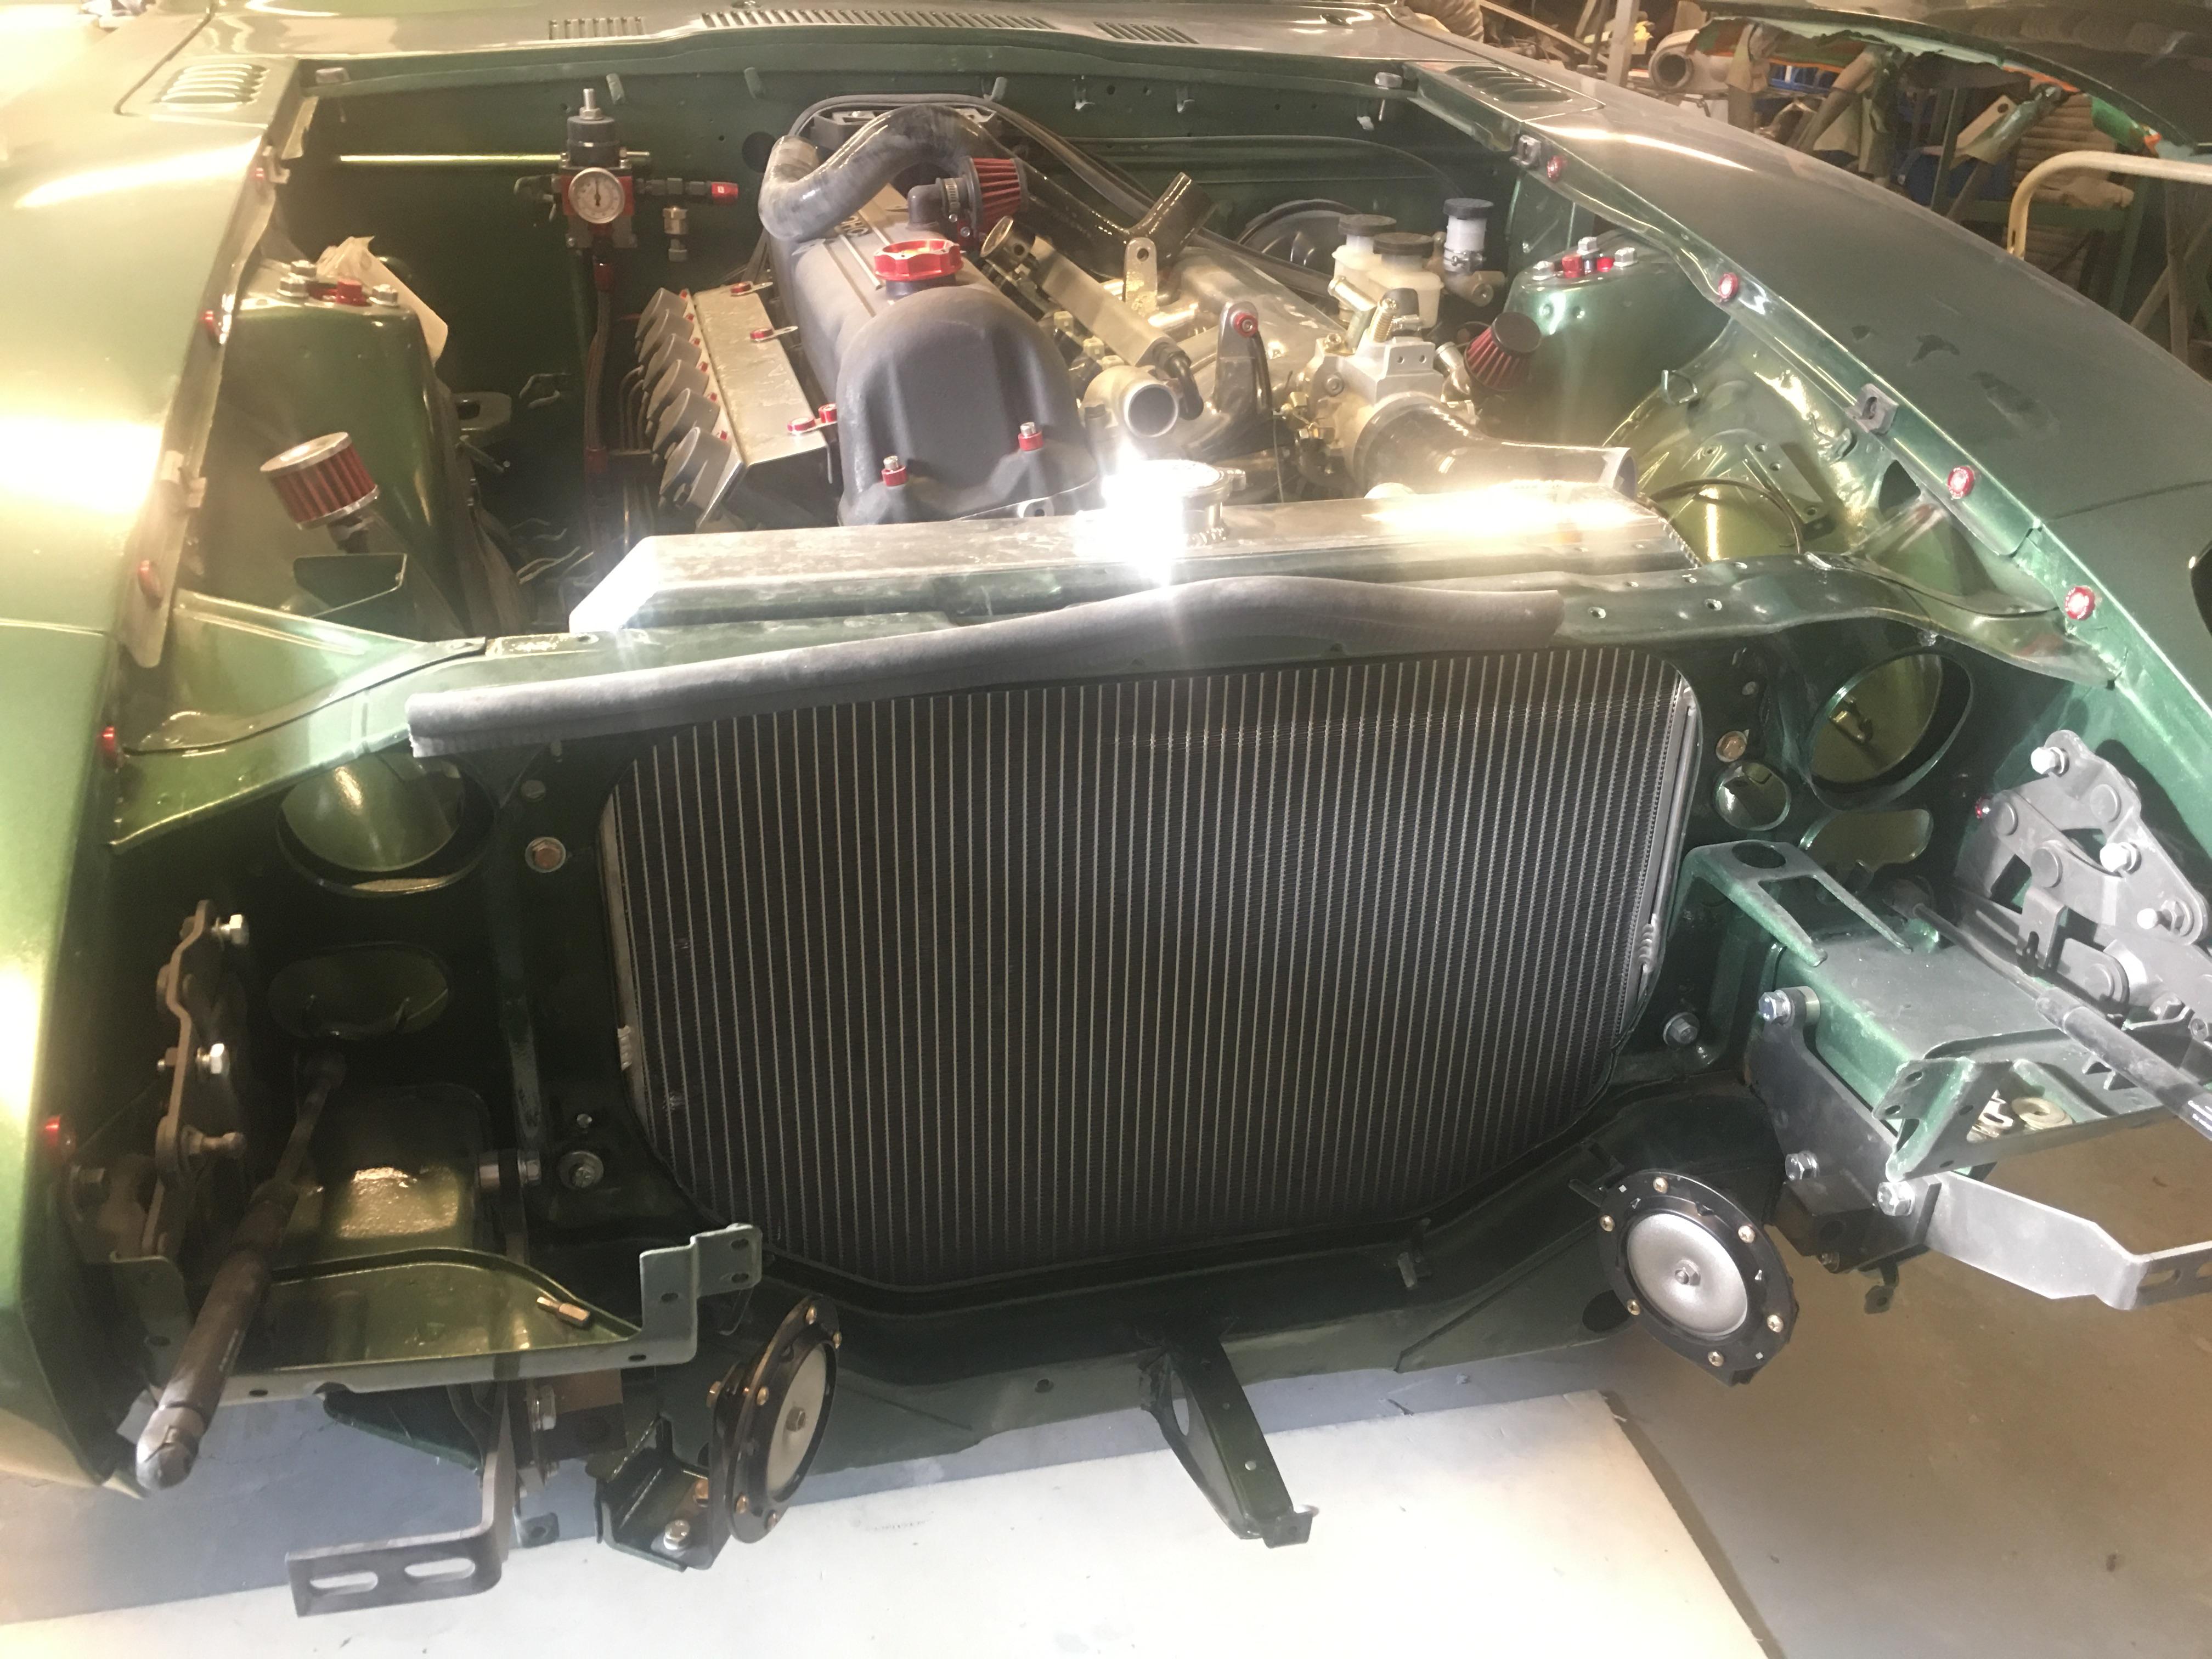
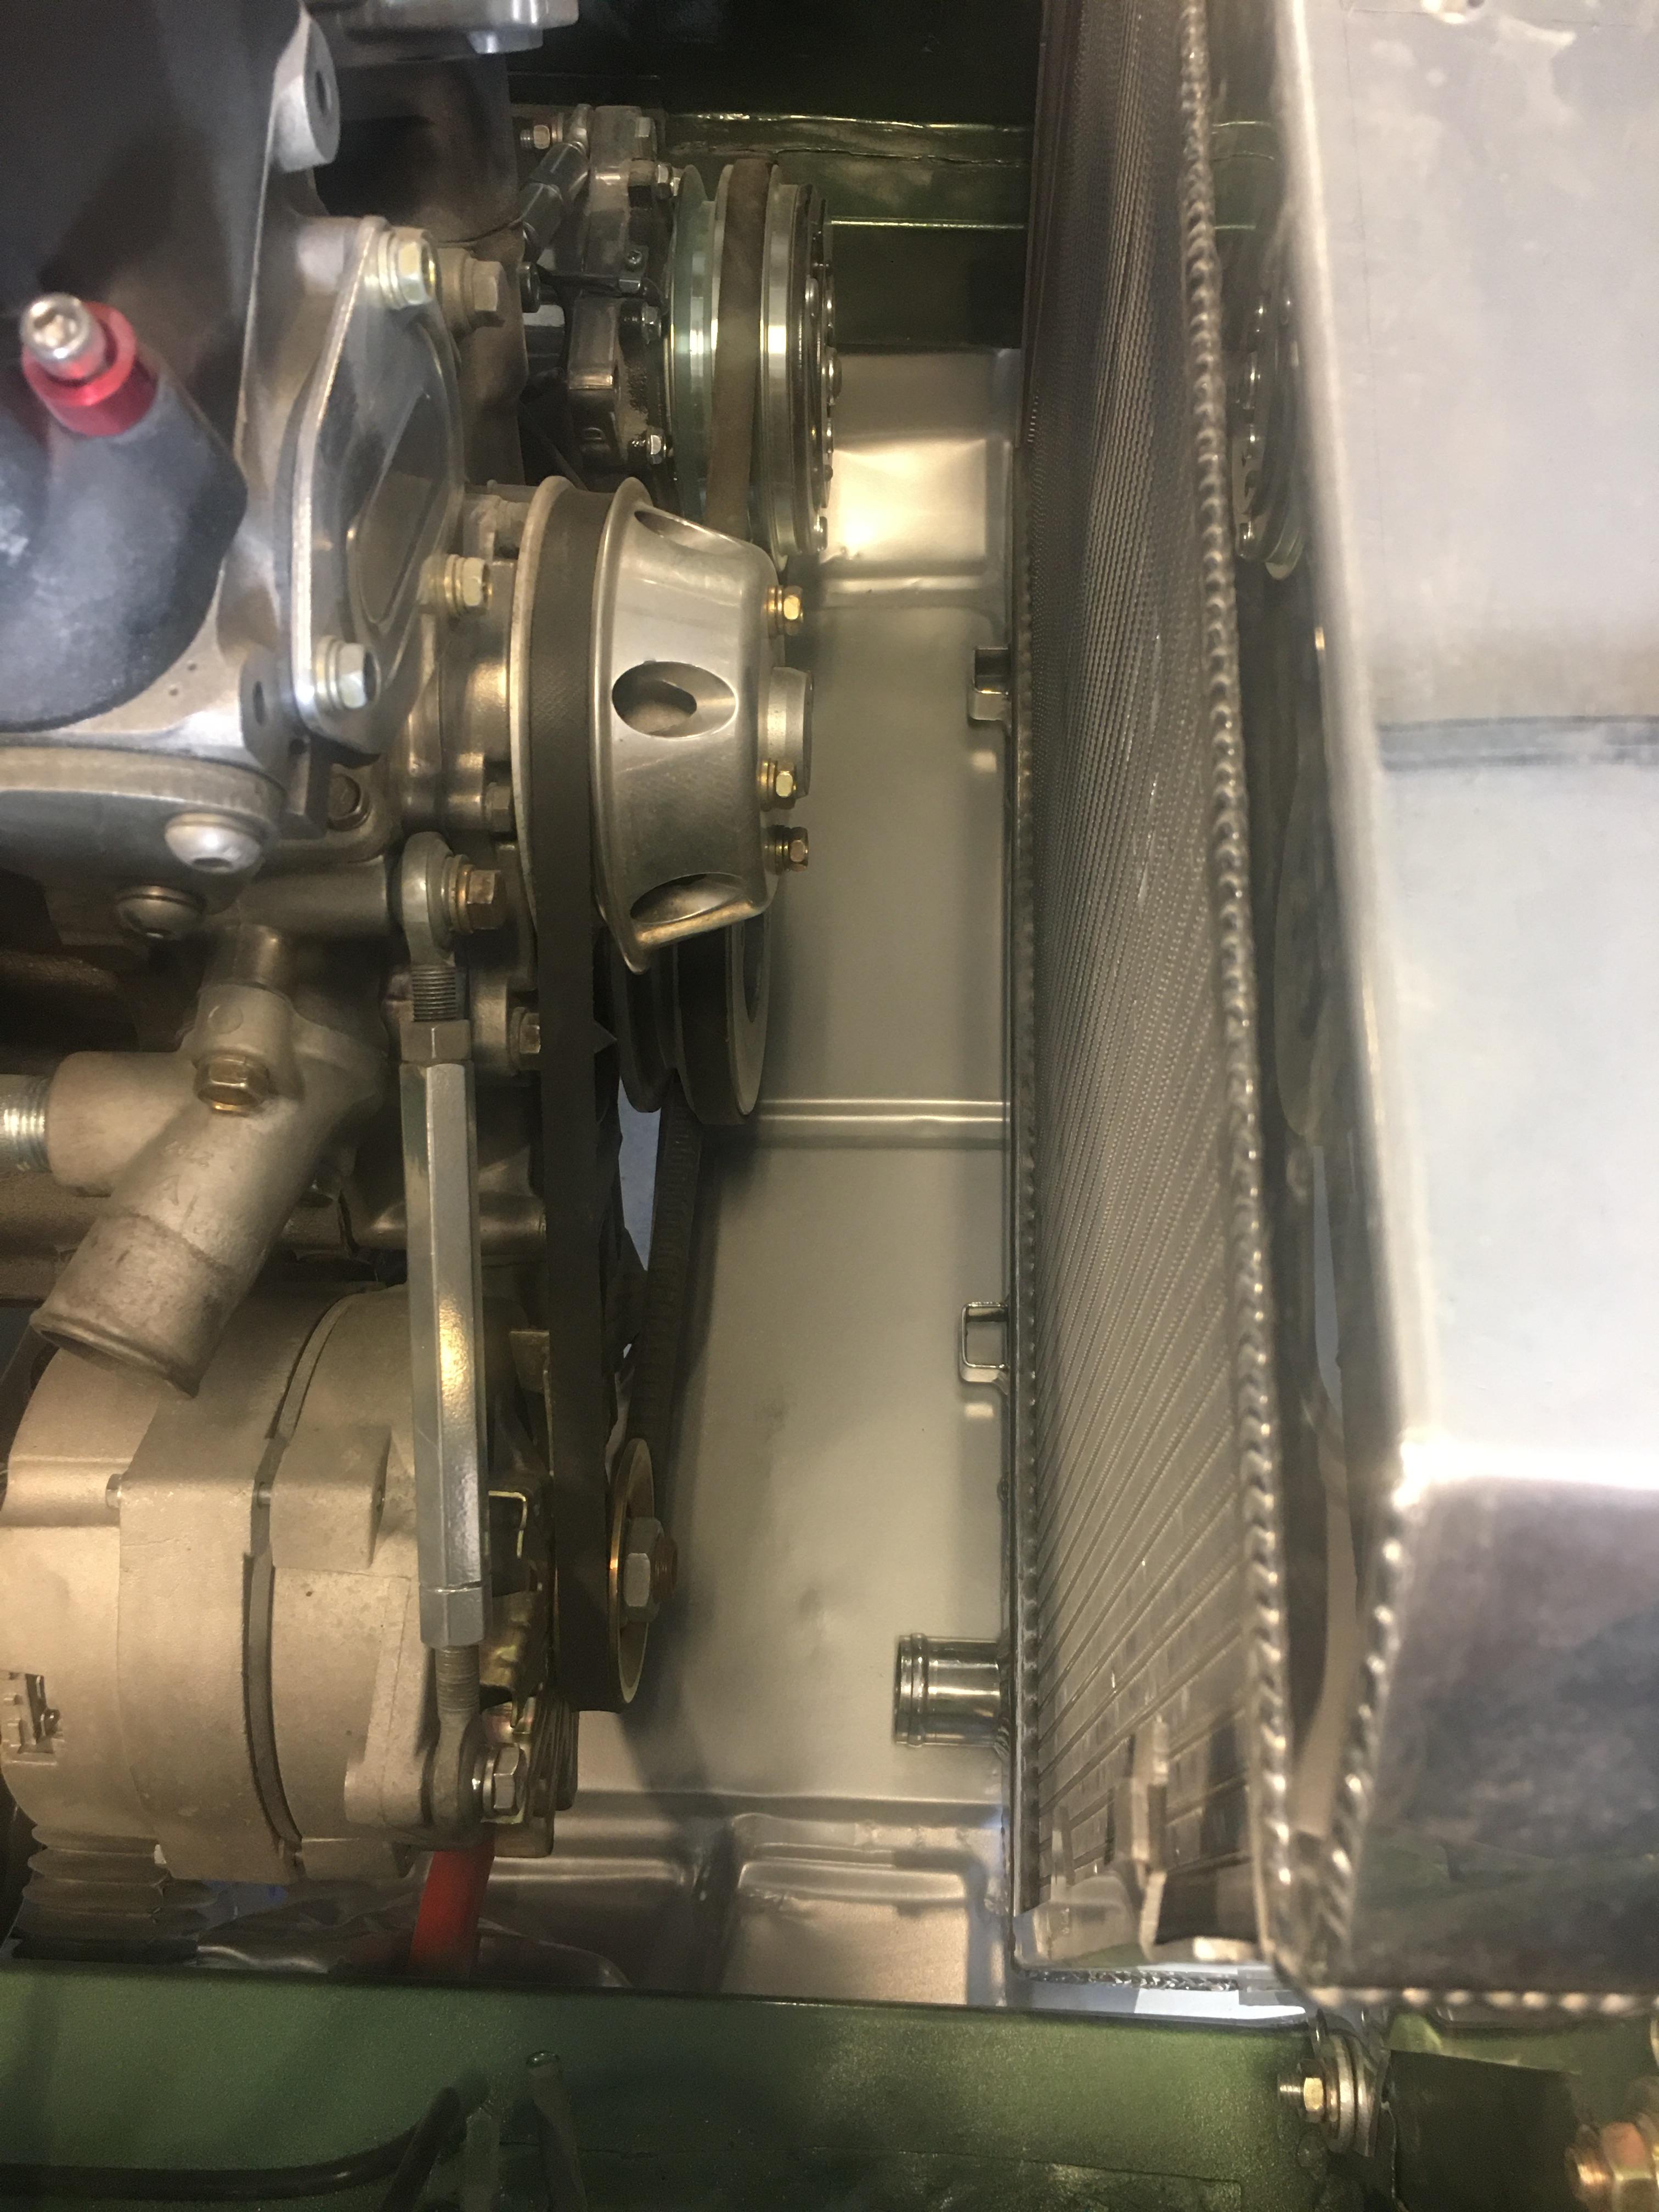
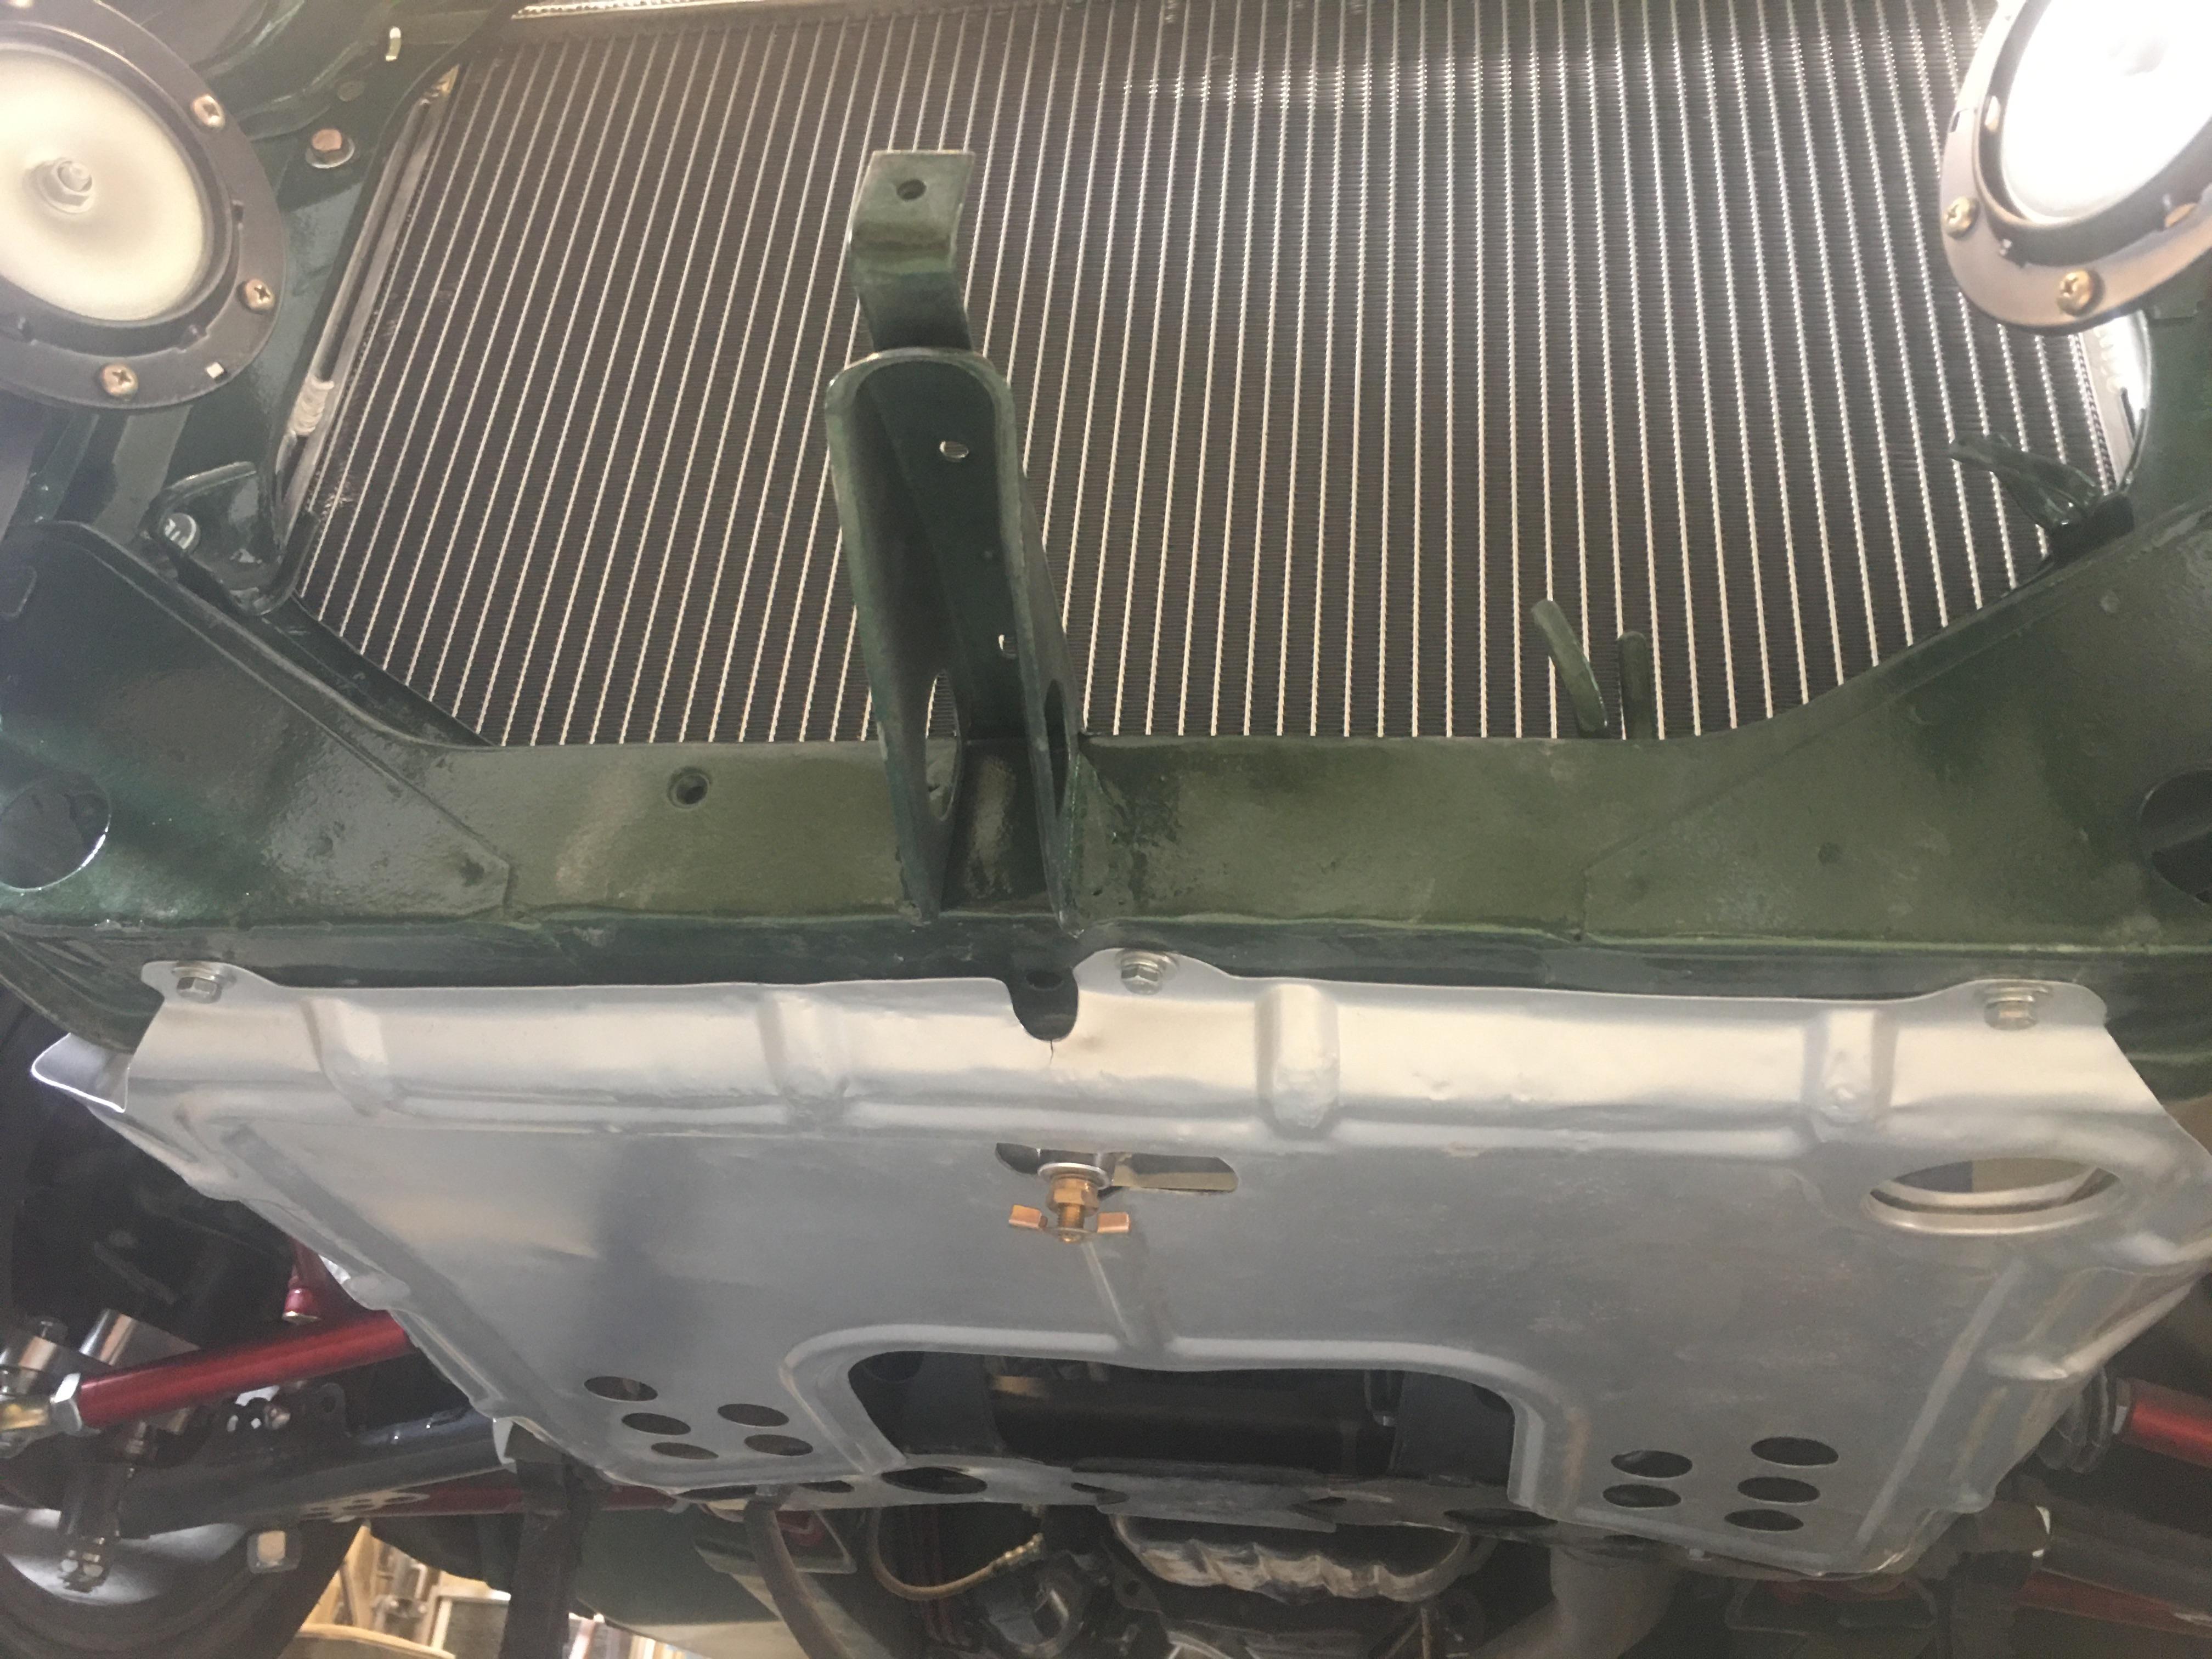
1 pointInstalled the 3 Row Champion radiator. I got a crazy deal on it a long time ago and it is for a 280ZX but the only difference is the centre drain. I modded the splash pan to compensate and now it fits great!


 1 point
 -
1 point
-
1 point
-
1 pointWell it runs, but terrible. I have a massive vac leak, either from my balance bar not sealing or maybe a throttle body wasn't bolted down correctly. Even with throttle plates in the full closed position it runs happily at 900 rpms. So it's getting a ton of air from somewhere.1 point
-
I believe that Gauge is for wire and cable, not carbon steel ...1 point
-
Sweet. Now you're the resident drawing expert. I love it when a plan comes together! So what's up with the wing bolts and hex bass thingies? You got a pic? You can chuck hex up in the lathe easily... Just sayin'. And I can probably teach you how to cut metric threads. Probably. Old dog.1 point
-
My carb knowledge is old Carters and Quadrajets and Kawasaki. Are those DCOE's? I don't even really know what that means. STILL! They have floats, and they might be stuck, and the levels need setting. Another thing that happens is that a float will get a pinhole in it and slowly fill with gasoline. then it doesn't float anymore. It's a sinker. Like SteveJ said, take a look. Might find something simple. I've seen replica carbs used for electronic fuel injection. I think it's the Jenvey system. Found it. The DCOE Heritage system. https://www.jenvey.co.uk/products/#classic-cars1 point
-
Jim (zKars), I etched a slight groove around the Float-sync at 14 mm above each block with a mini tube cutter, works great!1 point
-
IT's certainly possible. People talk about it a lot. Float levels also. Pasted a Google link below. Wish I had some carbs to work on right now. Send me your carbs and I will rebuild them for free. https://www.google.com/search?source=hp&ei=83qKXs2jMc3S-gTMnKCIDQ&q=weber+stuck+floats&oq=weber+stuck+floats&gs_lcp=CgZwc3ktYWIQAzoFCAAQgwE6AggAOgQIABAKOgYIABAWEB46CAgAEBYQChAeOgUIABDNAkomCBcSIjBnNzdnNTZnNjJnNjdnNThnNzNnNjJnNjlnNjdnNzdnNzNKGwgYEhcwZzFnMWcxZzFnMWcxZzFnMWcxZzVnNFCJDVjdJGD1JWgAcAB4AIABUIgB8wiSAQIxOJgBAKABAaoBB2d3cy13aXo&sclient=psy-ab&ved=0ahUKEwiN6erUyNLoAhVNqZ4KHUwOCNEQ4dUDCAk&uact=51 point
-
The carb guys know more about the choke mechanics on those carbs. Sometimes, "choke" means different things on different carbs.1 point
-
Tap on the carb with something solid. I've fixed stuck boat carb floats with a closed pocket knife. Tap, tap ,tap. A heavy wrench is good.1 point
-
It's probably either this hose: https://zcardepot.com/products/float-bowl-fuel-line-hose-su-carburetor-oem-240z?_pos=4&_sid=e55a805fa&_ss=r or a stuck float. There's no need to give up.1 point
-
Thanks guys. Adjusted valence and now enough room to drive. Still very close but good enough for now. Went for a drive and got back and smell fuel from under the hood. Rub my hand underneath carb. Found carb leaking where meets intake. Who wants to buy a 240Z?!1 point
-
This worked in the last plague, much more stylish than a wash cloth.
 1 point
 -
CAR54280ZX, thanks for the info on the fuel rail. I have already done than to mine by a plating shop here in LA. I believe the process is to zinc plate first, then polish that to a high shine, and dip in heated sodium dichromate. I paid $150. It looks like its gold plated. Waiting for improved weather to clear coat the intake manifold, and then begin the assembly. I also set up a plating line in the hanger to do the small stuff. Yes, the plane has been a labor of love, and as you might expect, when it came into my life 32 years ago, the ZX took second fiddle, and now I must pay the price for that. The plane is an Oshkosh award winner, and has been extensively improved. I cruise 210 mph at 8500' burning 14.5 gph. You can take a look at www.hdneubert.com.1 point
-
The "gauges" I reported are "closest to" values because my focus has been on procuring replacement metal and that is how it is sold here. BUT - in general, if you measure with a caliper (metric or imperial) the thicknesses tend to be fractionally THINNER than the gauges that I reported (ie. I rounded up). So I think that you are correct - these cars were likely built to a metric standard not a gauge standard and the gauge values are therefore an approximation only ....1 point
-
Updated chart... Panel Location Measured Thickness (t) Source Gauge (derived from ‘t’) Gauge (reported) Source Front Apron (engine compartment) 0.032” Jfa.series1 20 20 Grannyknot Tabco repair panels (all) 20 Manufacturer ConverTT Klokkerholm repair panels (rear quarter) 22 ConverTT Thick-gauge panels & pieces (which ones?) 18 2manyZs kmack Lower Front Frame Rail (OE) 0.050” Carl Beck 18 18 ConverTT Lower Front Frame Rail (ZeddFindings) 0.062” Namerow 16 Upper Front Frame Rail (‘horn’) 0.054” Carl Beck ~ 16 Front Valence Panel 0.032” Namerow ~ 20 Front Crossframe 0.076” Namerow ~ 14 Door – outer skin 20 ConverTT Inner Rocker Panel 18 ConverTT Radiator Support 18 + 20 ConverTT1 point
-
Yeah yeah I know..."Logic". Some made up word my Grandfather used to talk about during the Old Days. Like "Daylight Savings"???1 point
-
Yes, those 3 probably need to be renewed. (at the bottom of pic1 are 2 caps.. one on a third of the width of the board (light shines on it (C2), a bigger one!) and on 2/3 of the width is a smaller one.. (C1) the one right from the taped whires is probably C3, these 3 caps are electrolytic capacitors and (in this case) not likely to have leaked out of the aluminium can (I prefer aluminium to aluminum as it is the same in Dutch!!) . You can get these in a electronics store or order them.. just look for the capacity thats written on them ( in micro farads.. uF). When you take the circuitboard out, you have to watch the plus and minus of the caps. There are some BIG "minus" stripes on... yep.. the minus side of the connectors.. Getting to the box in your dash is not a big problem, just take of the cover on the right bottom and take out the glovebox.. you've done that before.. (watch out for the top of the box and take out the lightfilament..) Keep us posted! ? Restoring a 240z was expensive, even 20 years ago for me.. but a 280zx, which is a much more complicated car can be even more costly.. I'm restoring my 3rd car now and this last one i keep all the bills in a file folder and it does not close very well now i'm at the end of the resto.. if you know what i mean.. ? If i had to guess, i would say my restoration costs over 20000 euro's and not counting the over 1000 hours of prof. labour.. (as i'm disabled due to a accident at work in 1999.. (and privatly i tried to run down a big oak tree in 2006, with my fireblade..) i count every 2-3 hours as 1 hour of work.. depending also on how i feel that day etc.. So if you had to pay someone it could get roughly to 70000 euro's... A labour of love.. it has to be.. otherwise it's a moneypit.1 point
-
1 pointSure is pretty!! I wish my paint still looked like that! The PO did a clear coat and it started getting dandruff a year or so ago. All the sky-facing surfaces have peeled up like a 3rd degree sunburn.1 point
-
1 point
-
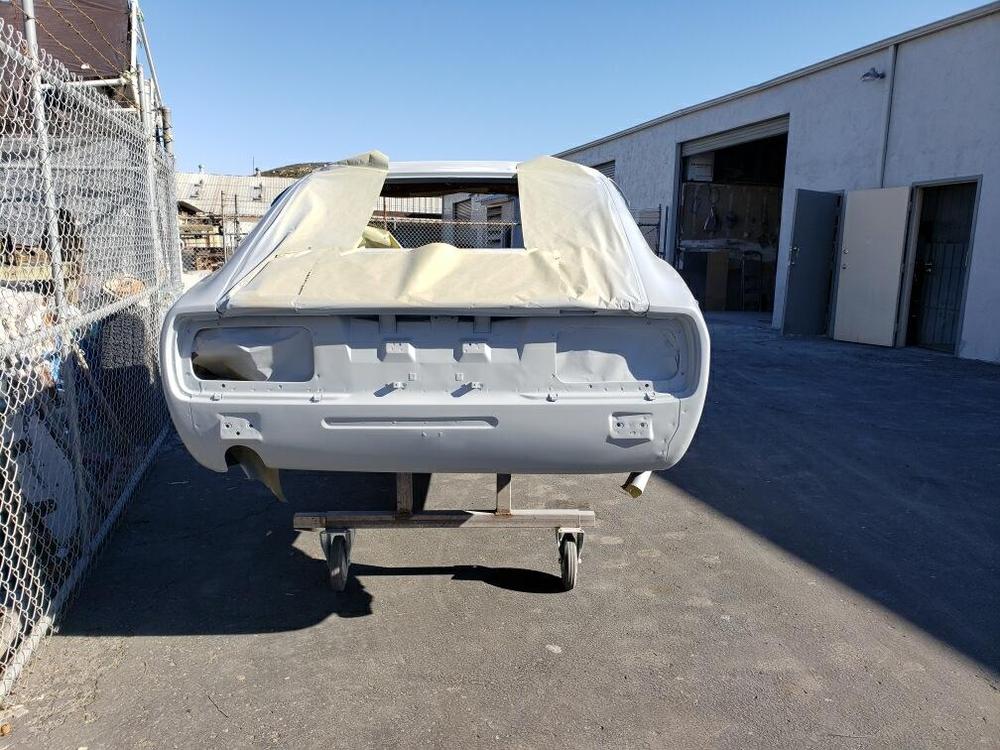
A few pics from the paint shop. This is the final primer. After it dries thoroughly shop will do final block sand and then paint white
.thumb.jpg.989392f433eeae03f331fde92528b467.jpg)
.thumb.jpg.7573725d00ecee31a15276a27f527c35.jpg)
.thumb.jpg.79ce04d052478460ddc32f63ecddb02c.jpg)

 1 point
 -
1 pointDone, I am attaching the last video, see parts 1-8 if you are interested in some of the details1 point


.jpg.9928a1bc7a7099615603d410beb4decc.jpg)
.jpg.8a1dceca4248beb61960fbe18f244e3c.jpg)
.jpg.ee53e9025b9eddf24a22799d41fac52a.jpg)

