Leaderboard

 Subscriber


Popular Content
Showing content with the highest reputation on 10/18/2019 in all areas
-
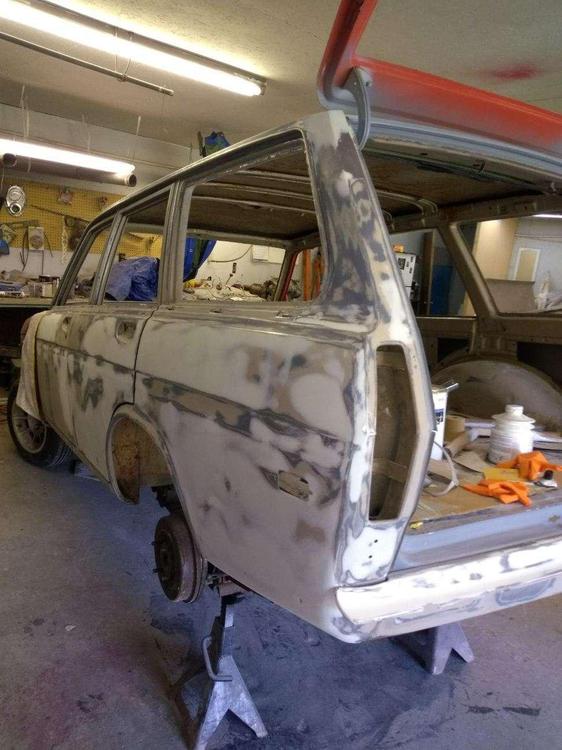
3 pointsThis is my first car restoration project and I have taught myself everything so far. Welding, bodywork, painting, mechanical, electrical. Nothing is impossible if you have a good attitude and are willing to take the time to learn how to do things. Often, being a neophyte lets you tackle jobs others never want to do again... (spindle pins, coil overs!). Ignorance can be bliss!3 points
-
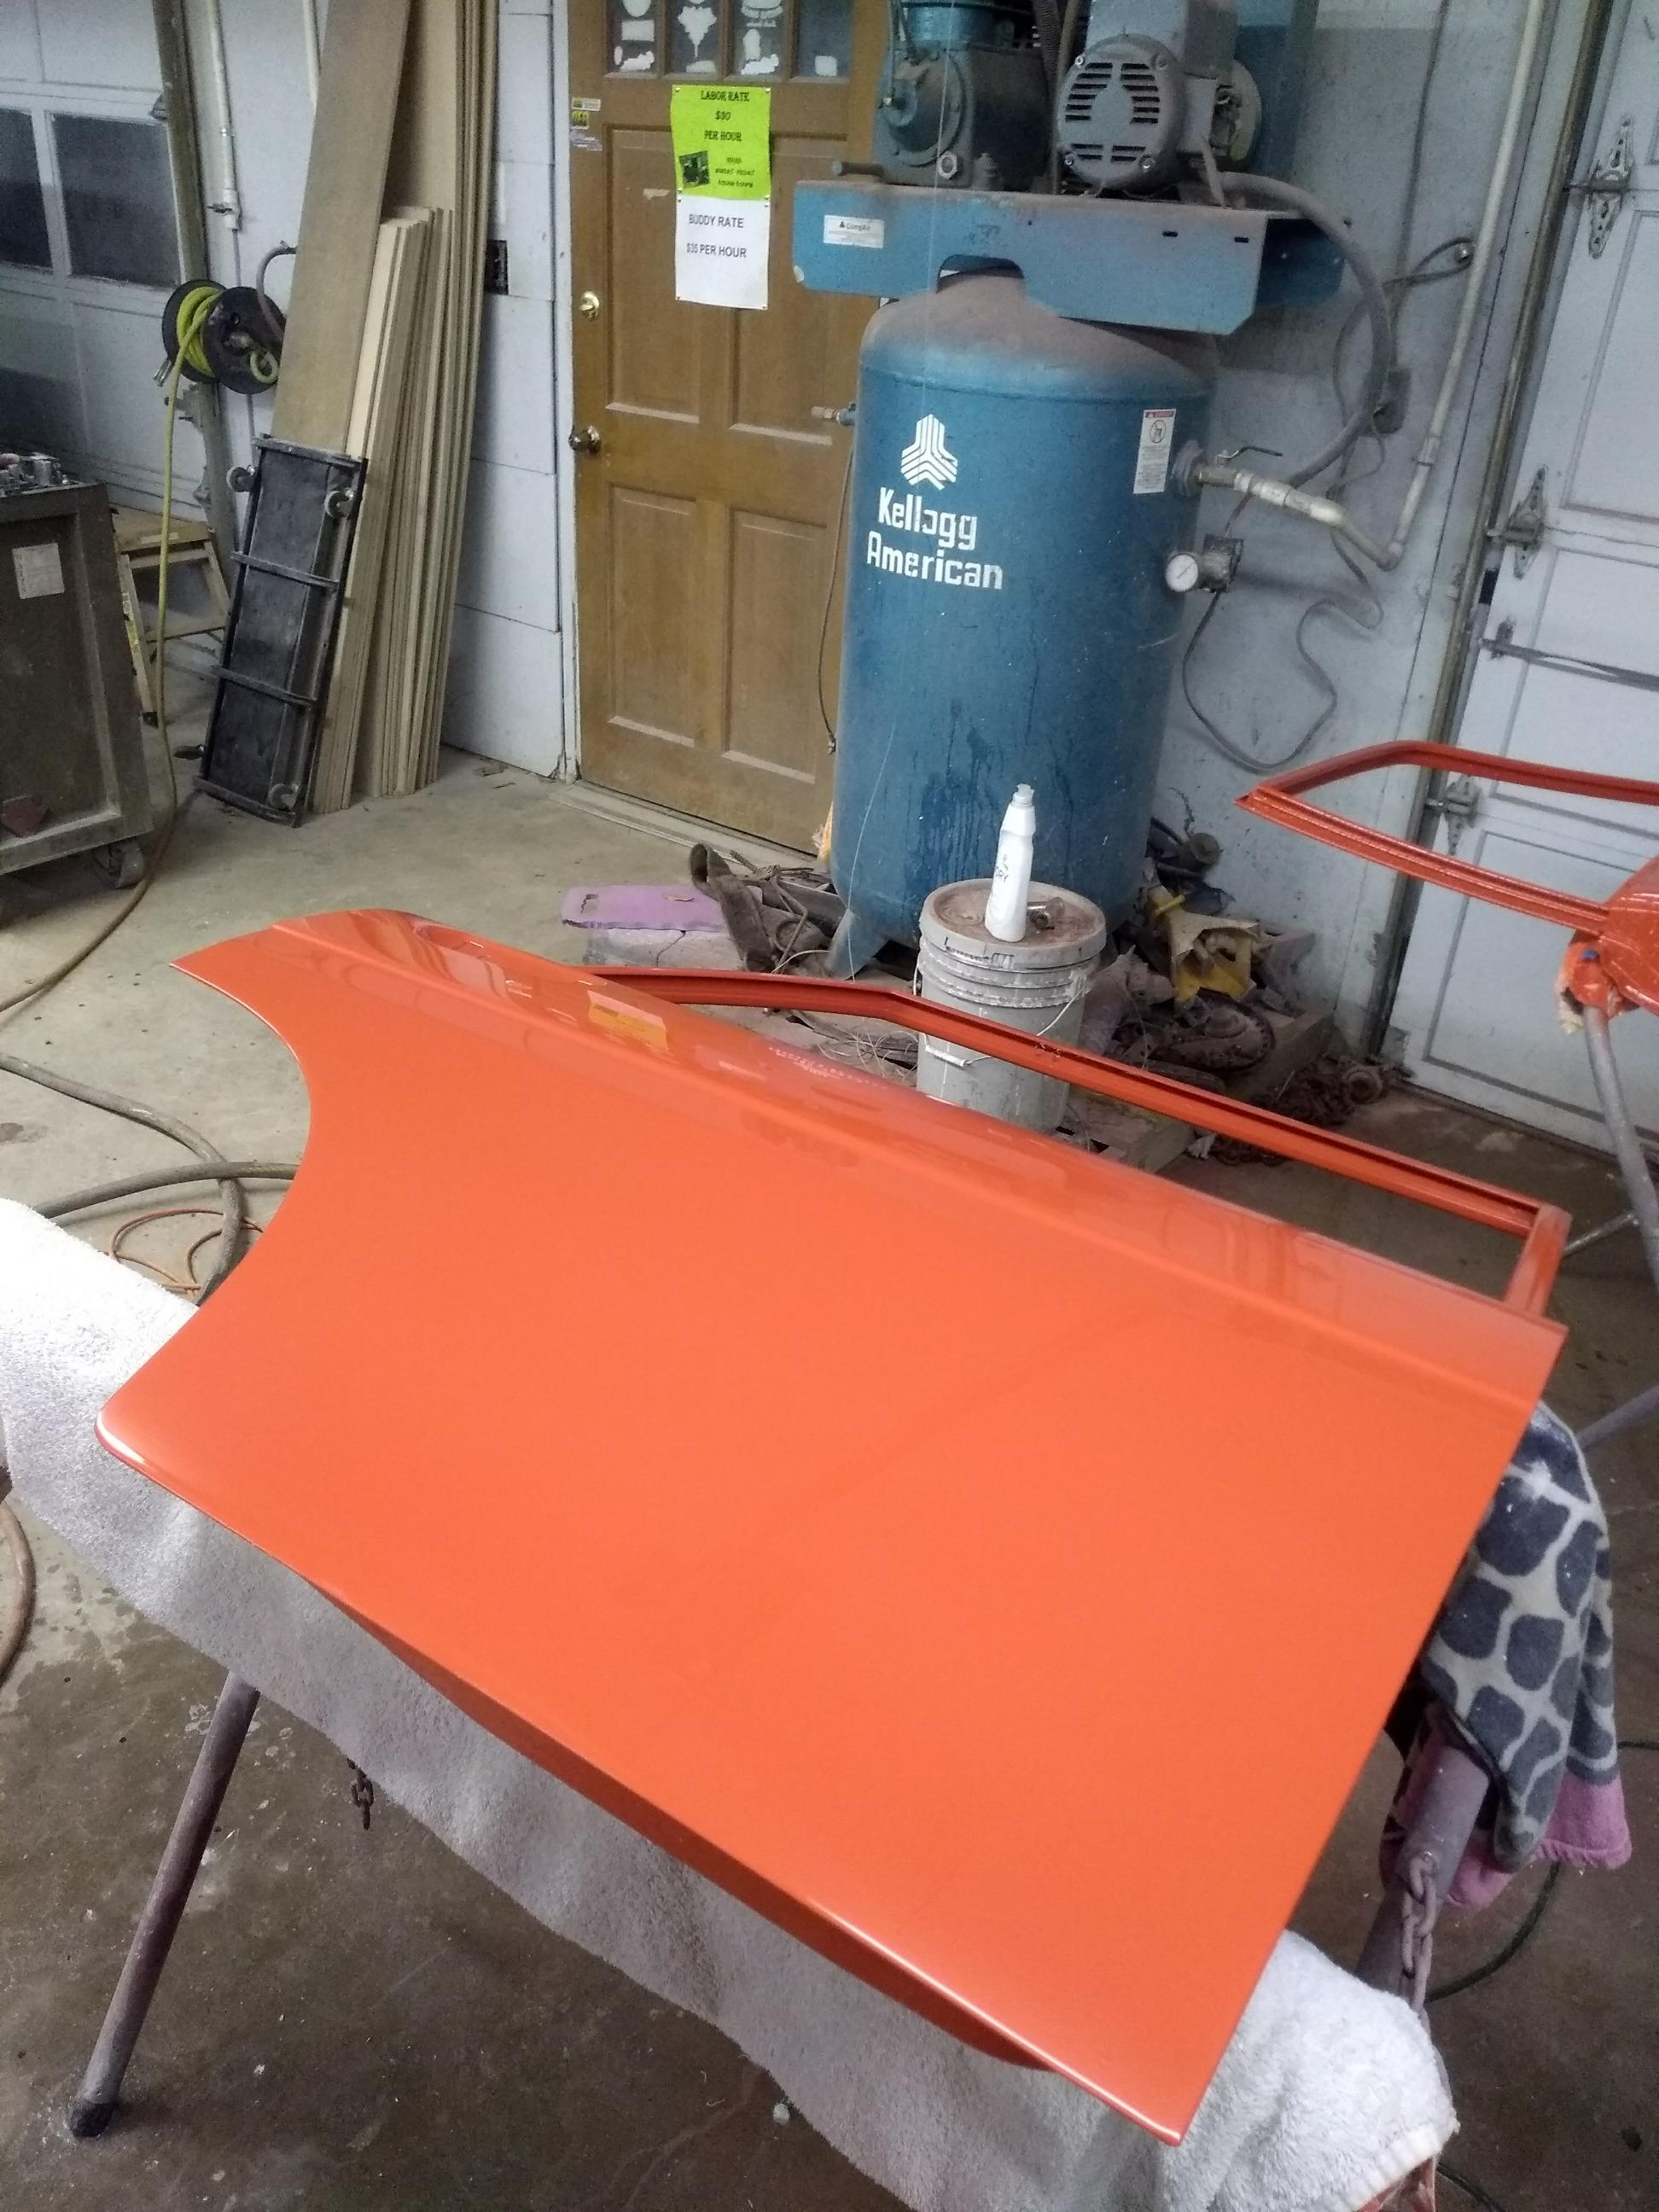
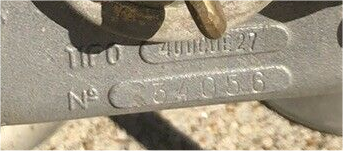
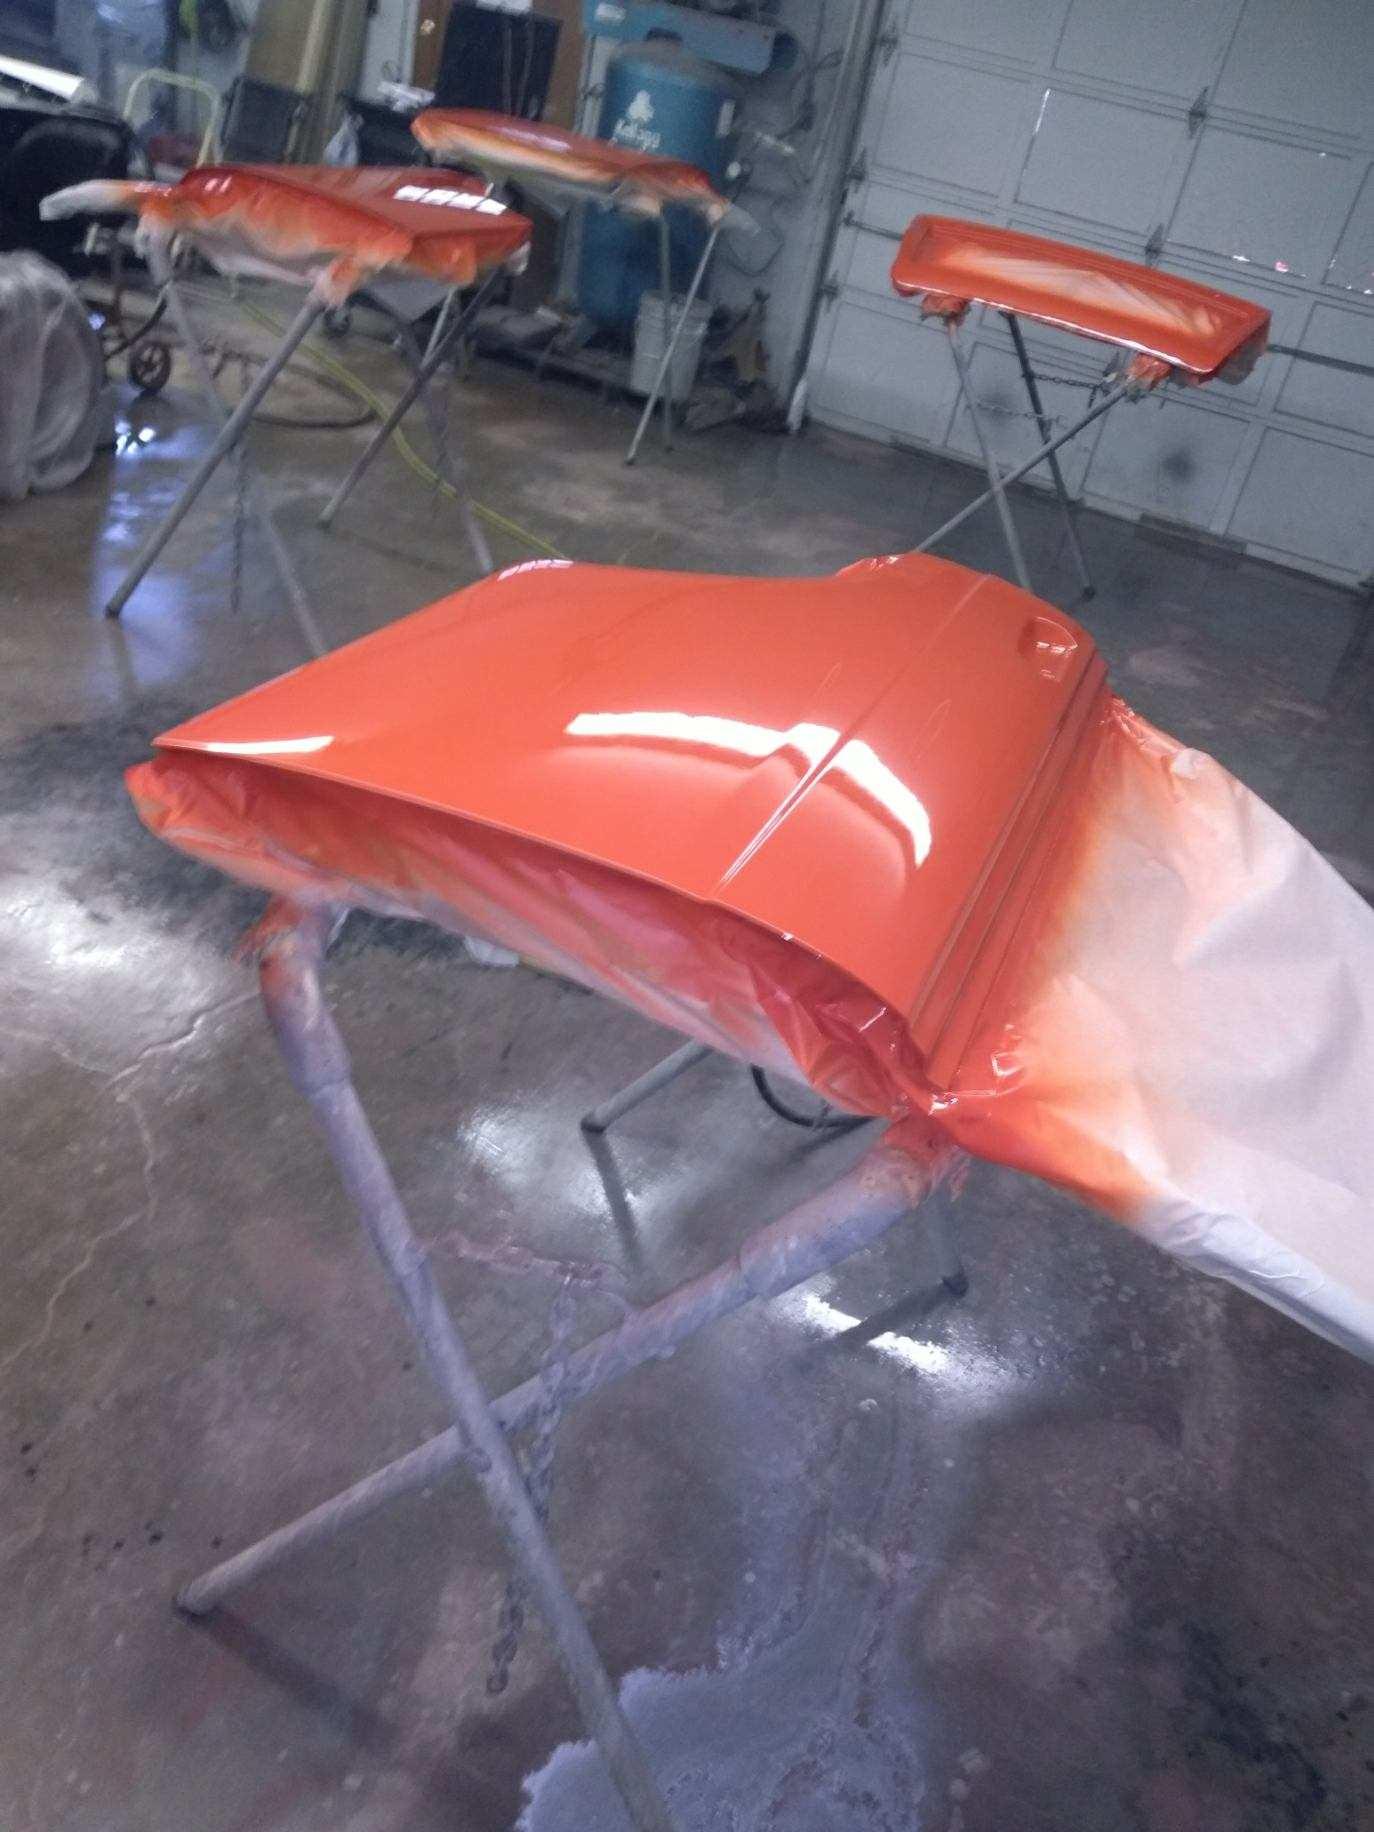
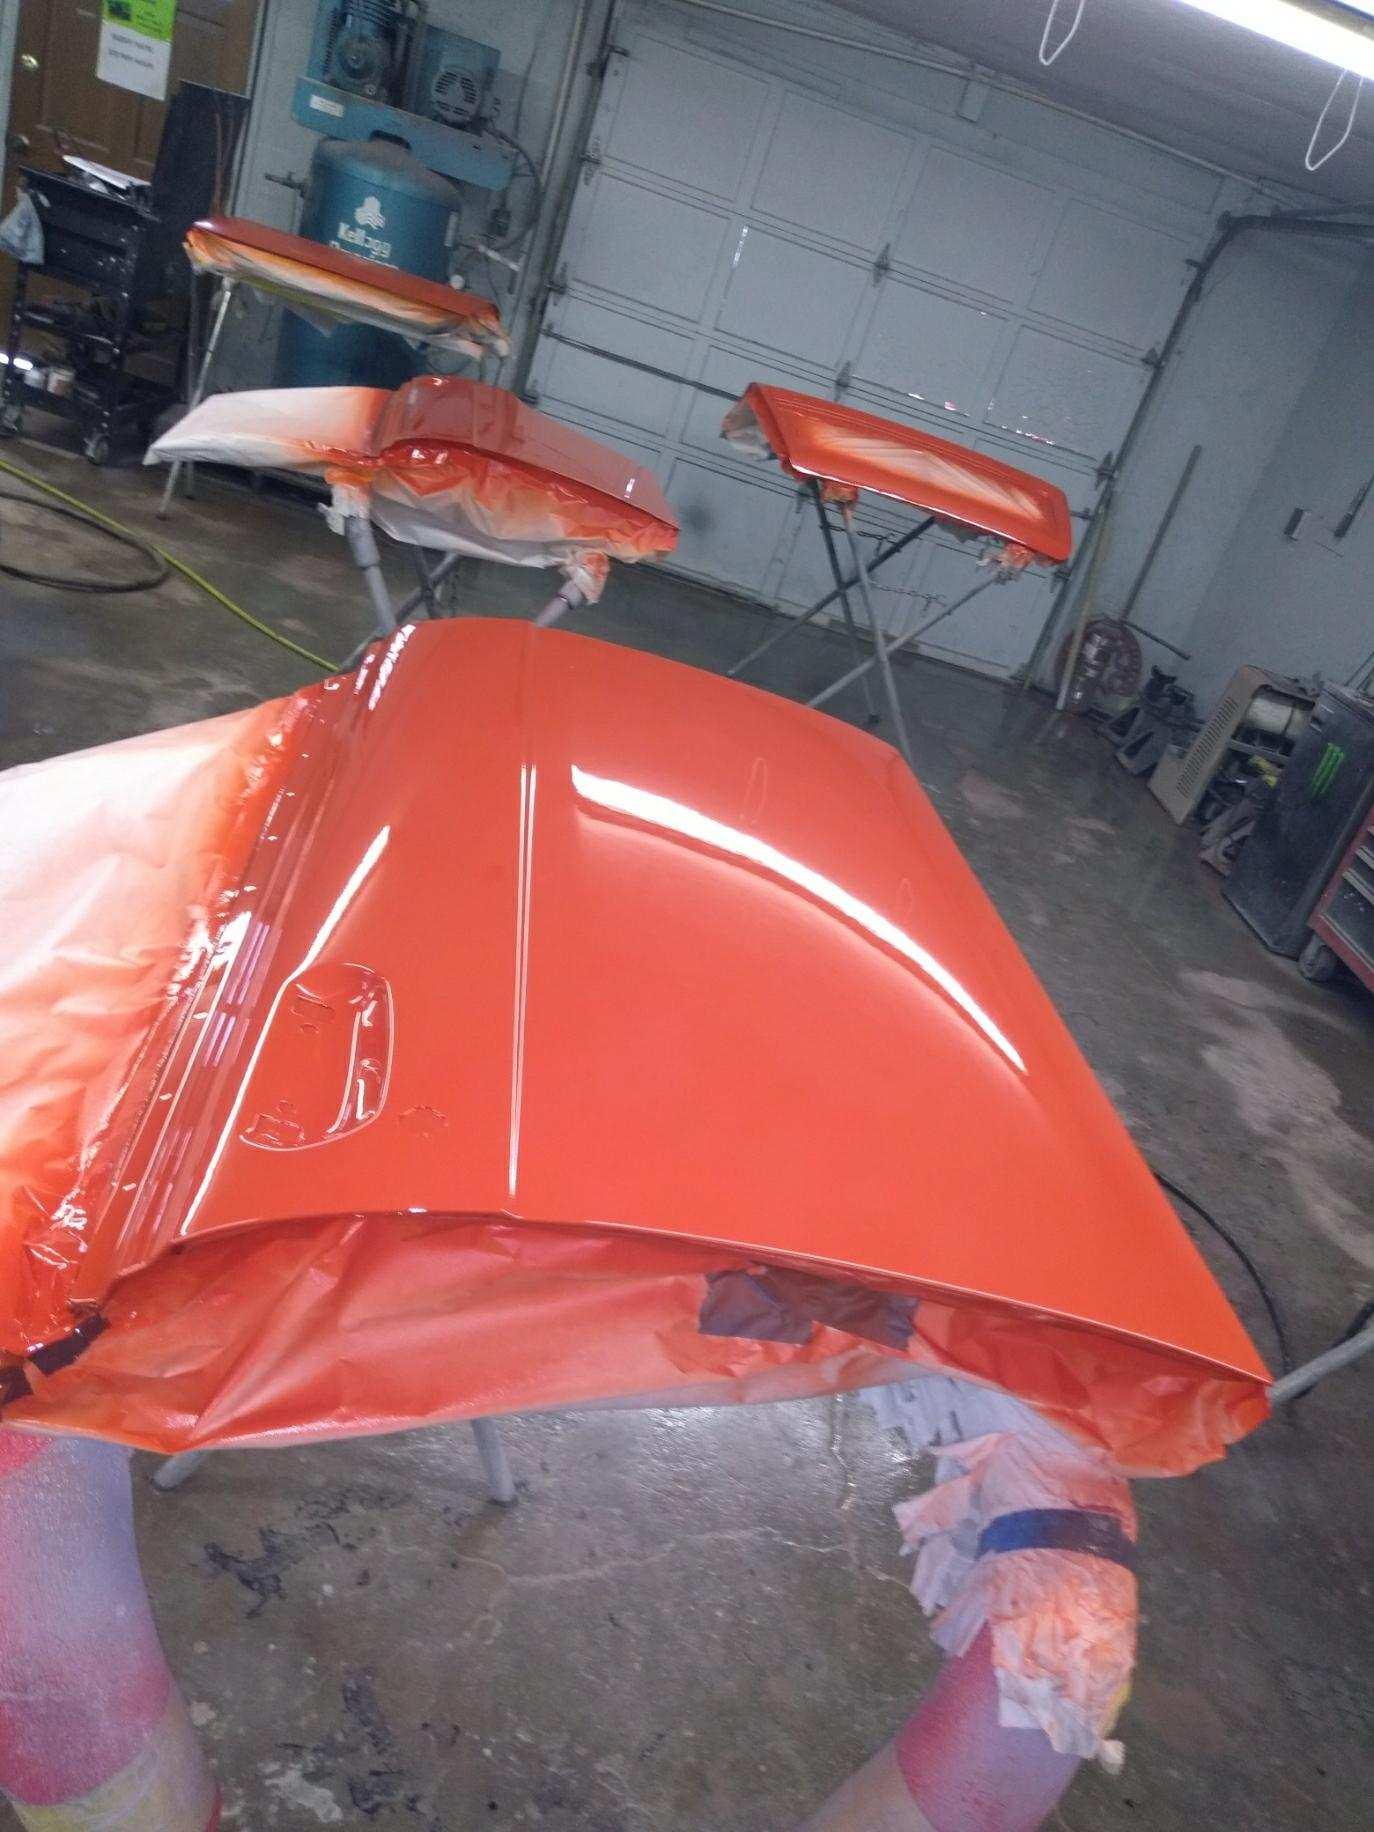
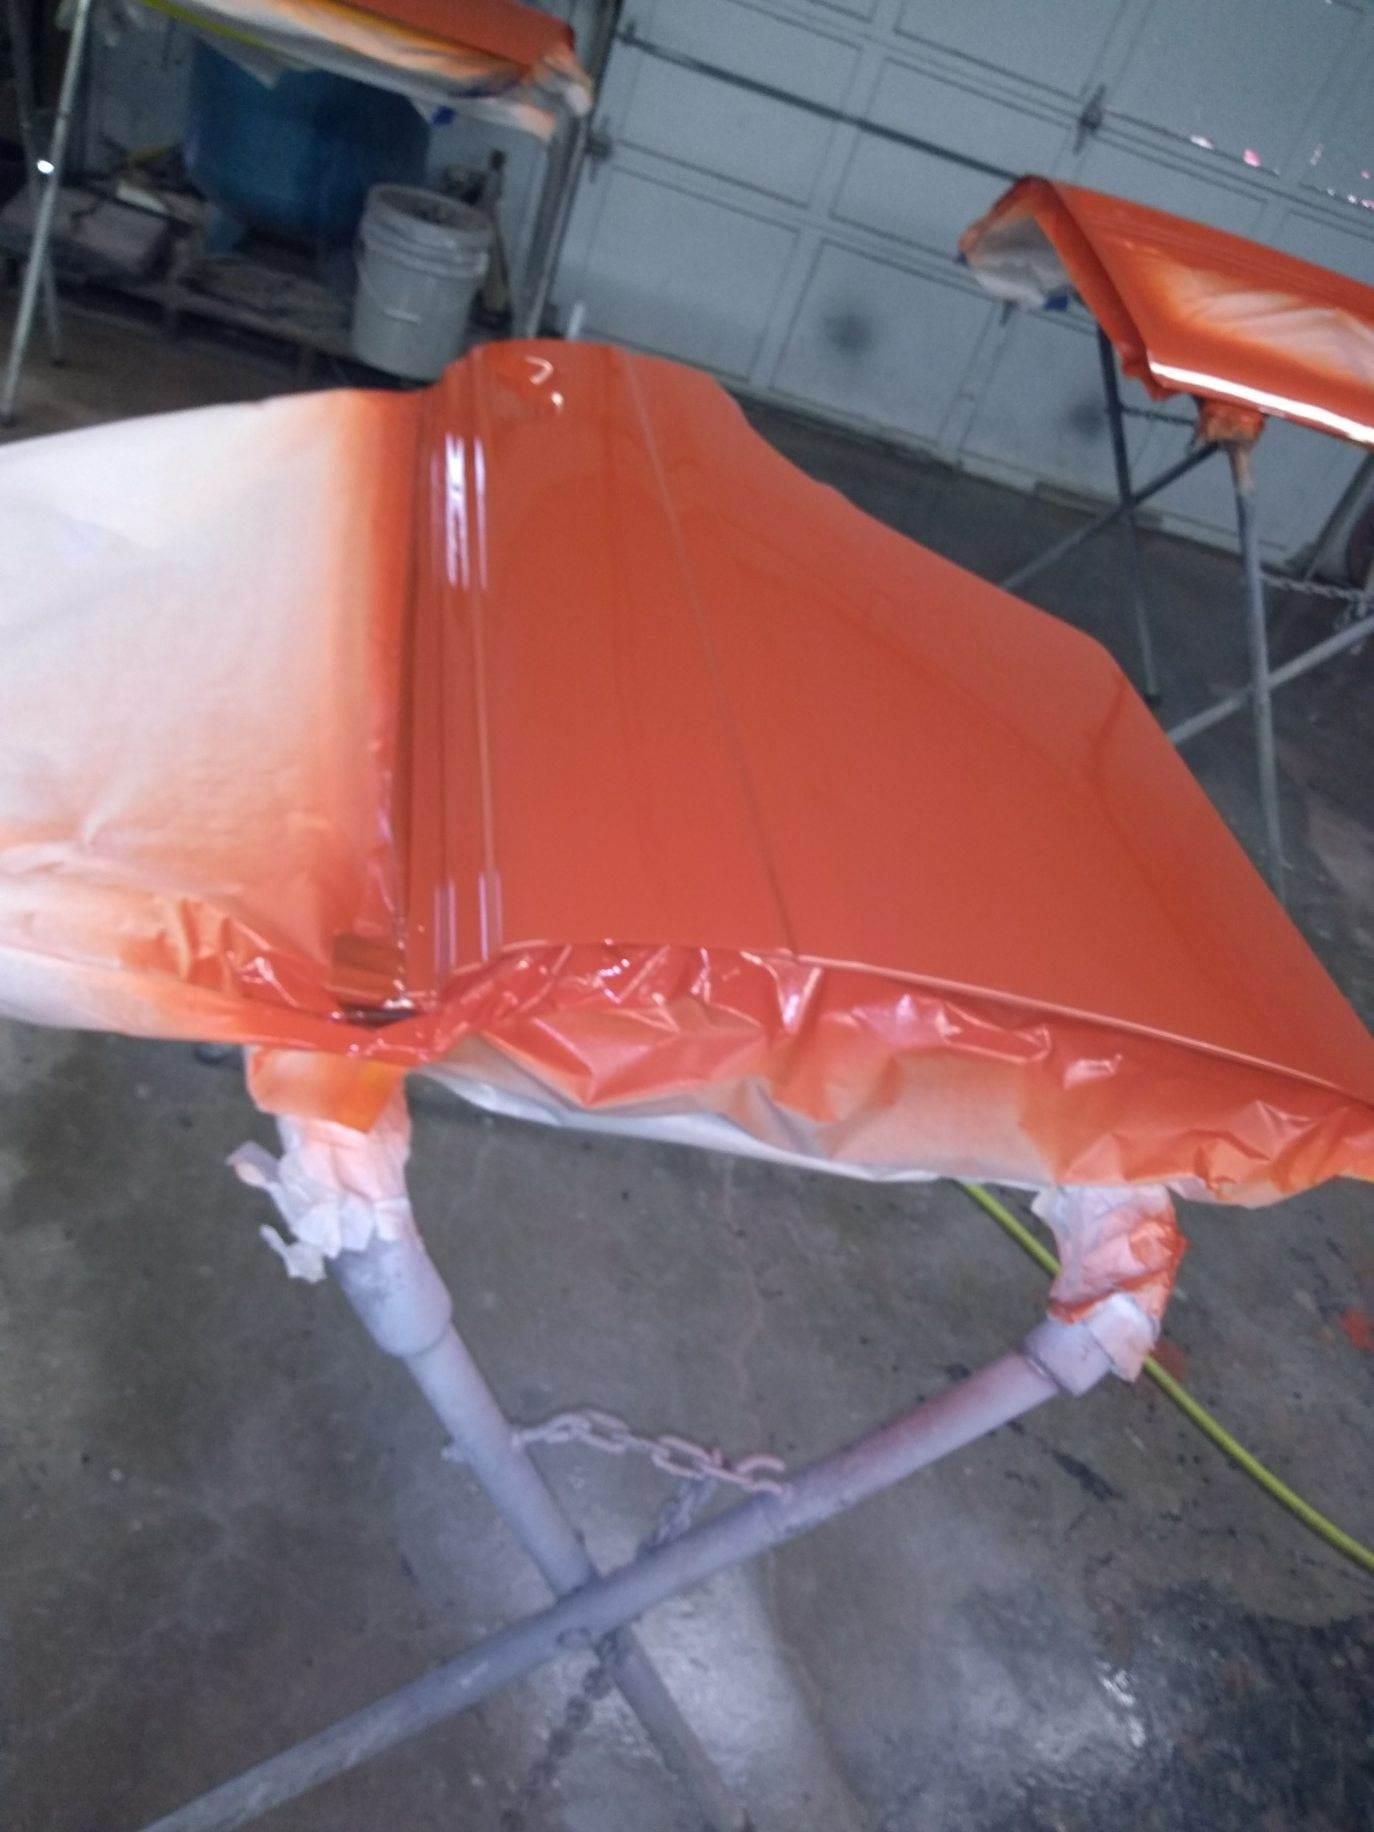
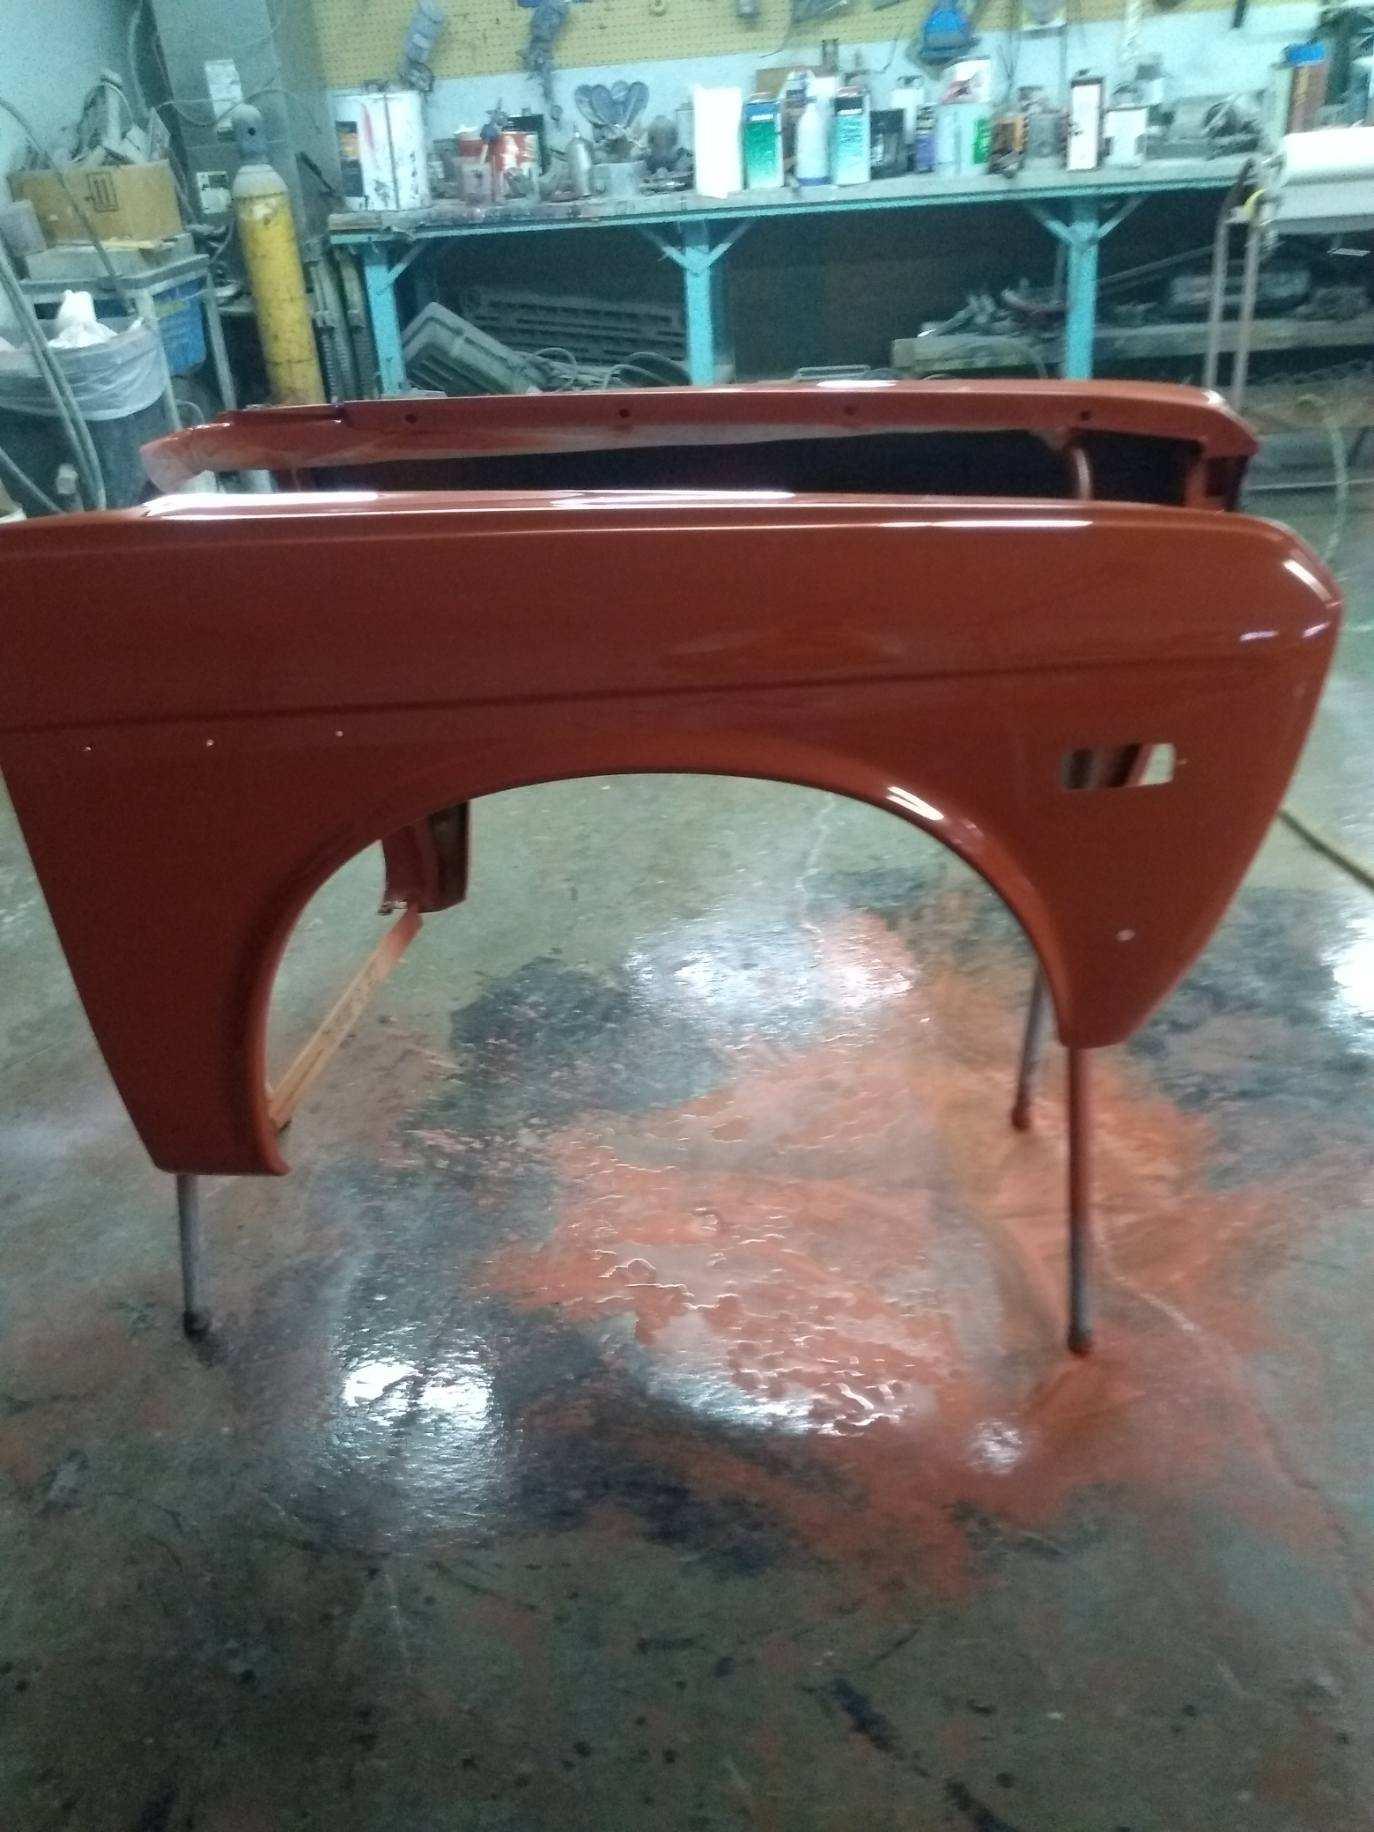
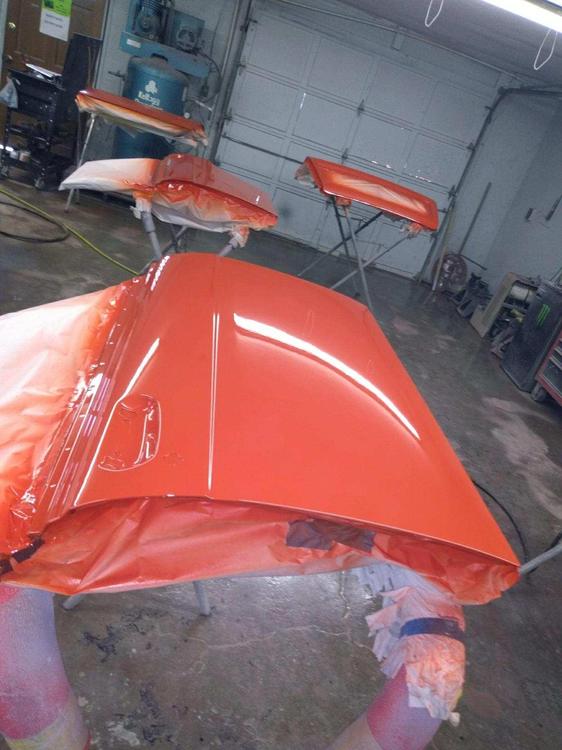
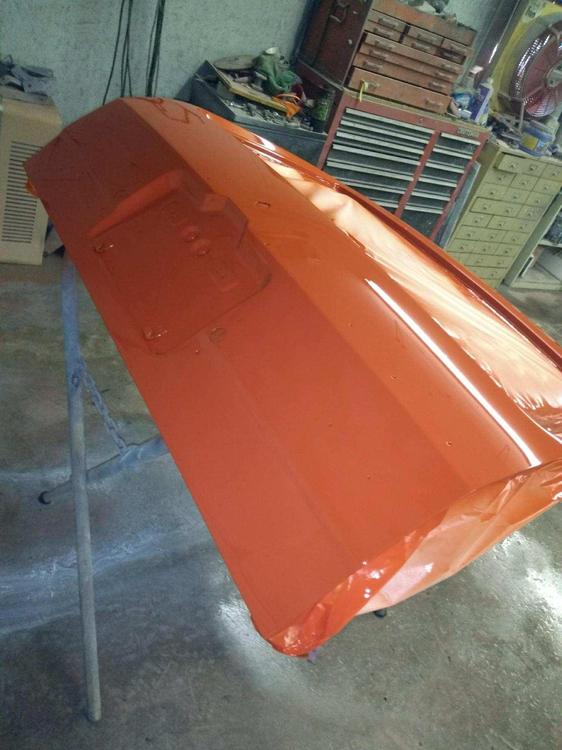
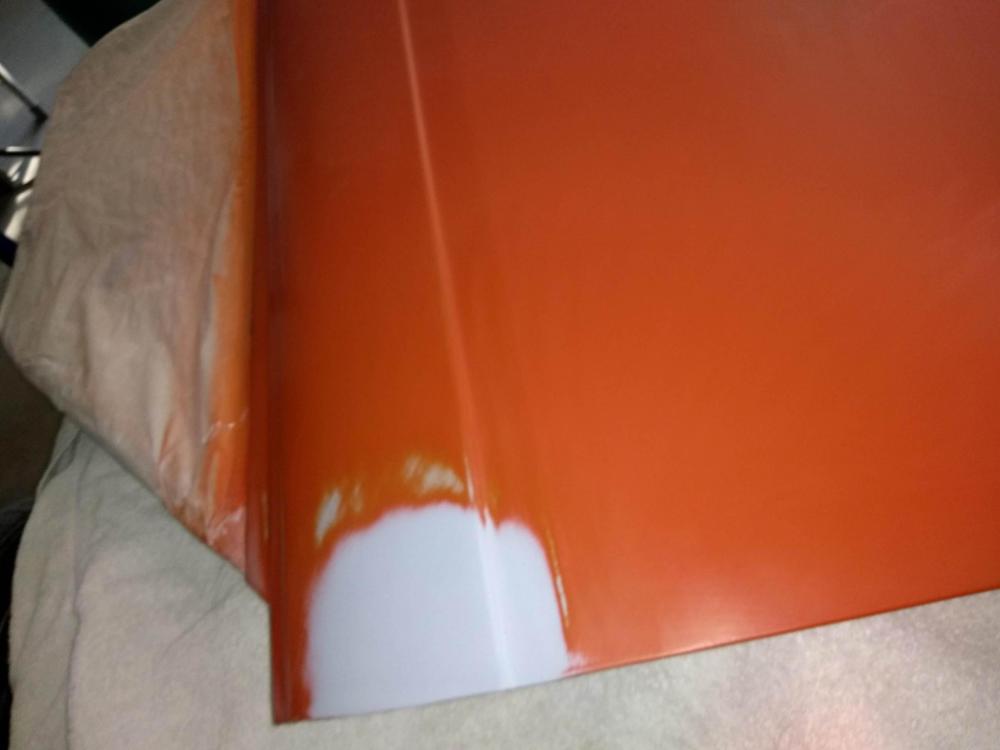
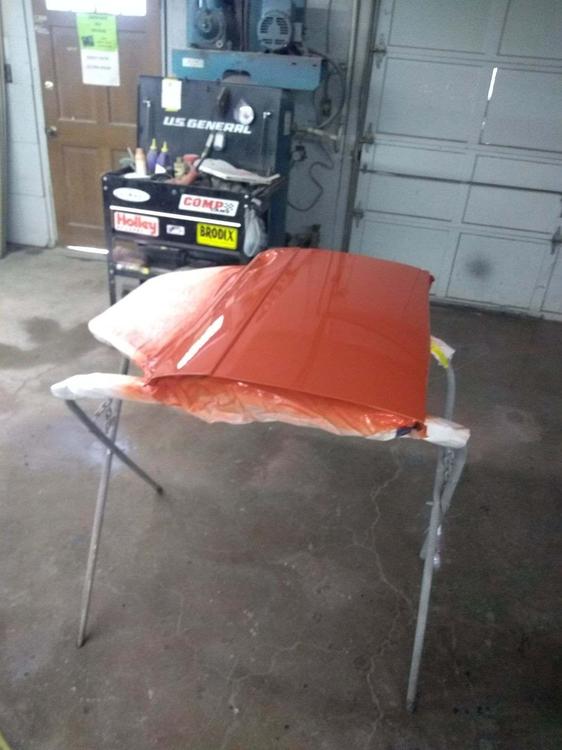
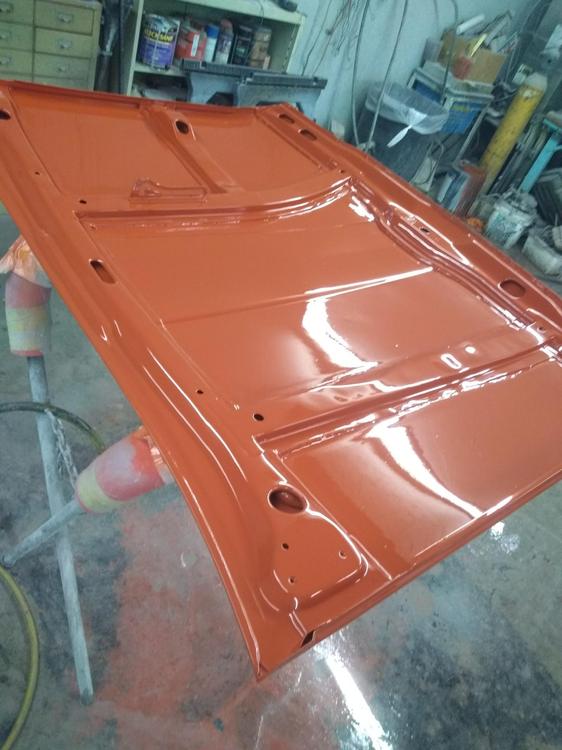
3 pointsHe started buffing this week He says it looks like an "orange mirror" We will see if Cody can get it running before Zcon 2020
 3 points
 -
3 pointsSo off to paint jail in March ...2-3 months to paint $2500-3000 plus material to paint... Should get it back in the next couple of weeks 4-5k in labor plus materials


 3 points
 -
2 points
-
2 pointsHopefully it's good, but I just can't picture him as a convincing Carroll Shelby since he looks nothing like him. We are getting a private screening a few days before it comes out, so if it's crap, at least I won't waste any money.2 points
-
I'd guess that'll still be too rich. The air corrector only leans it out at the top end. So if the stock advice is 145 main and you're mods are a mild cam and exhaust I'd be going 150 as the next step.2 points
-
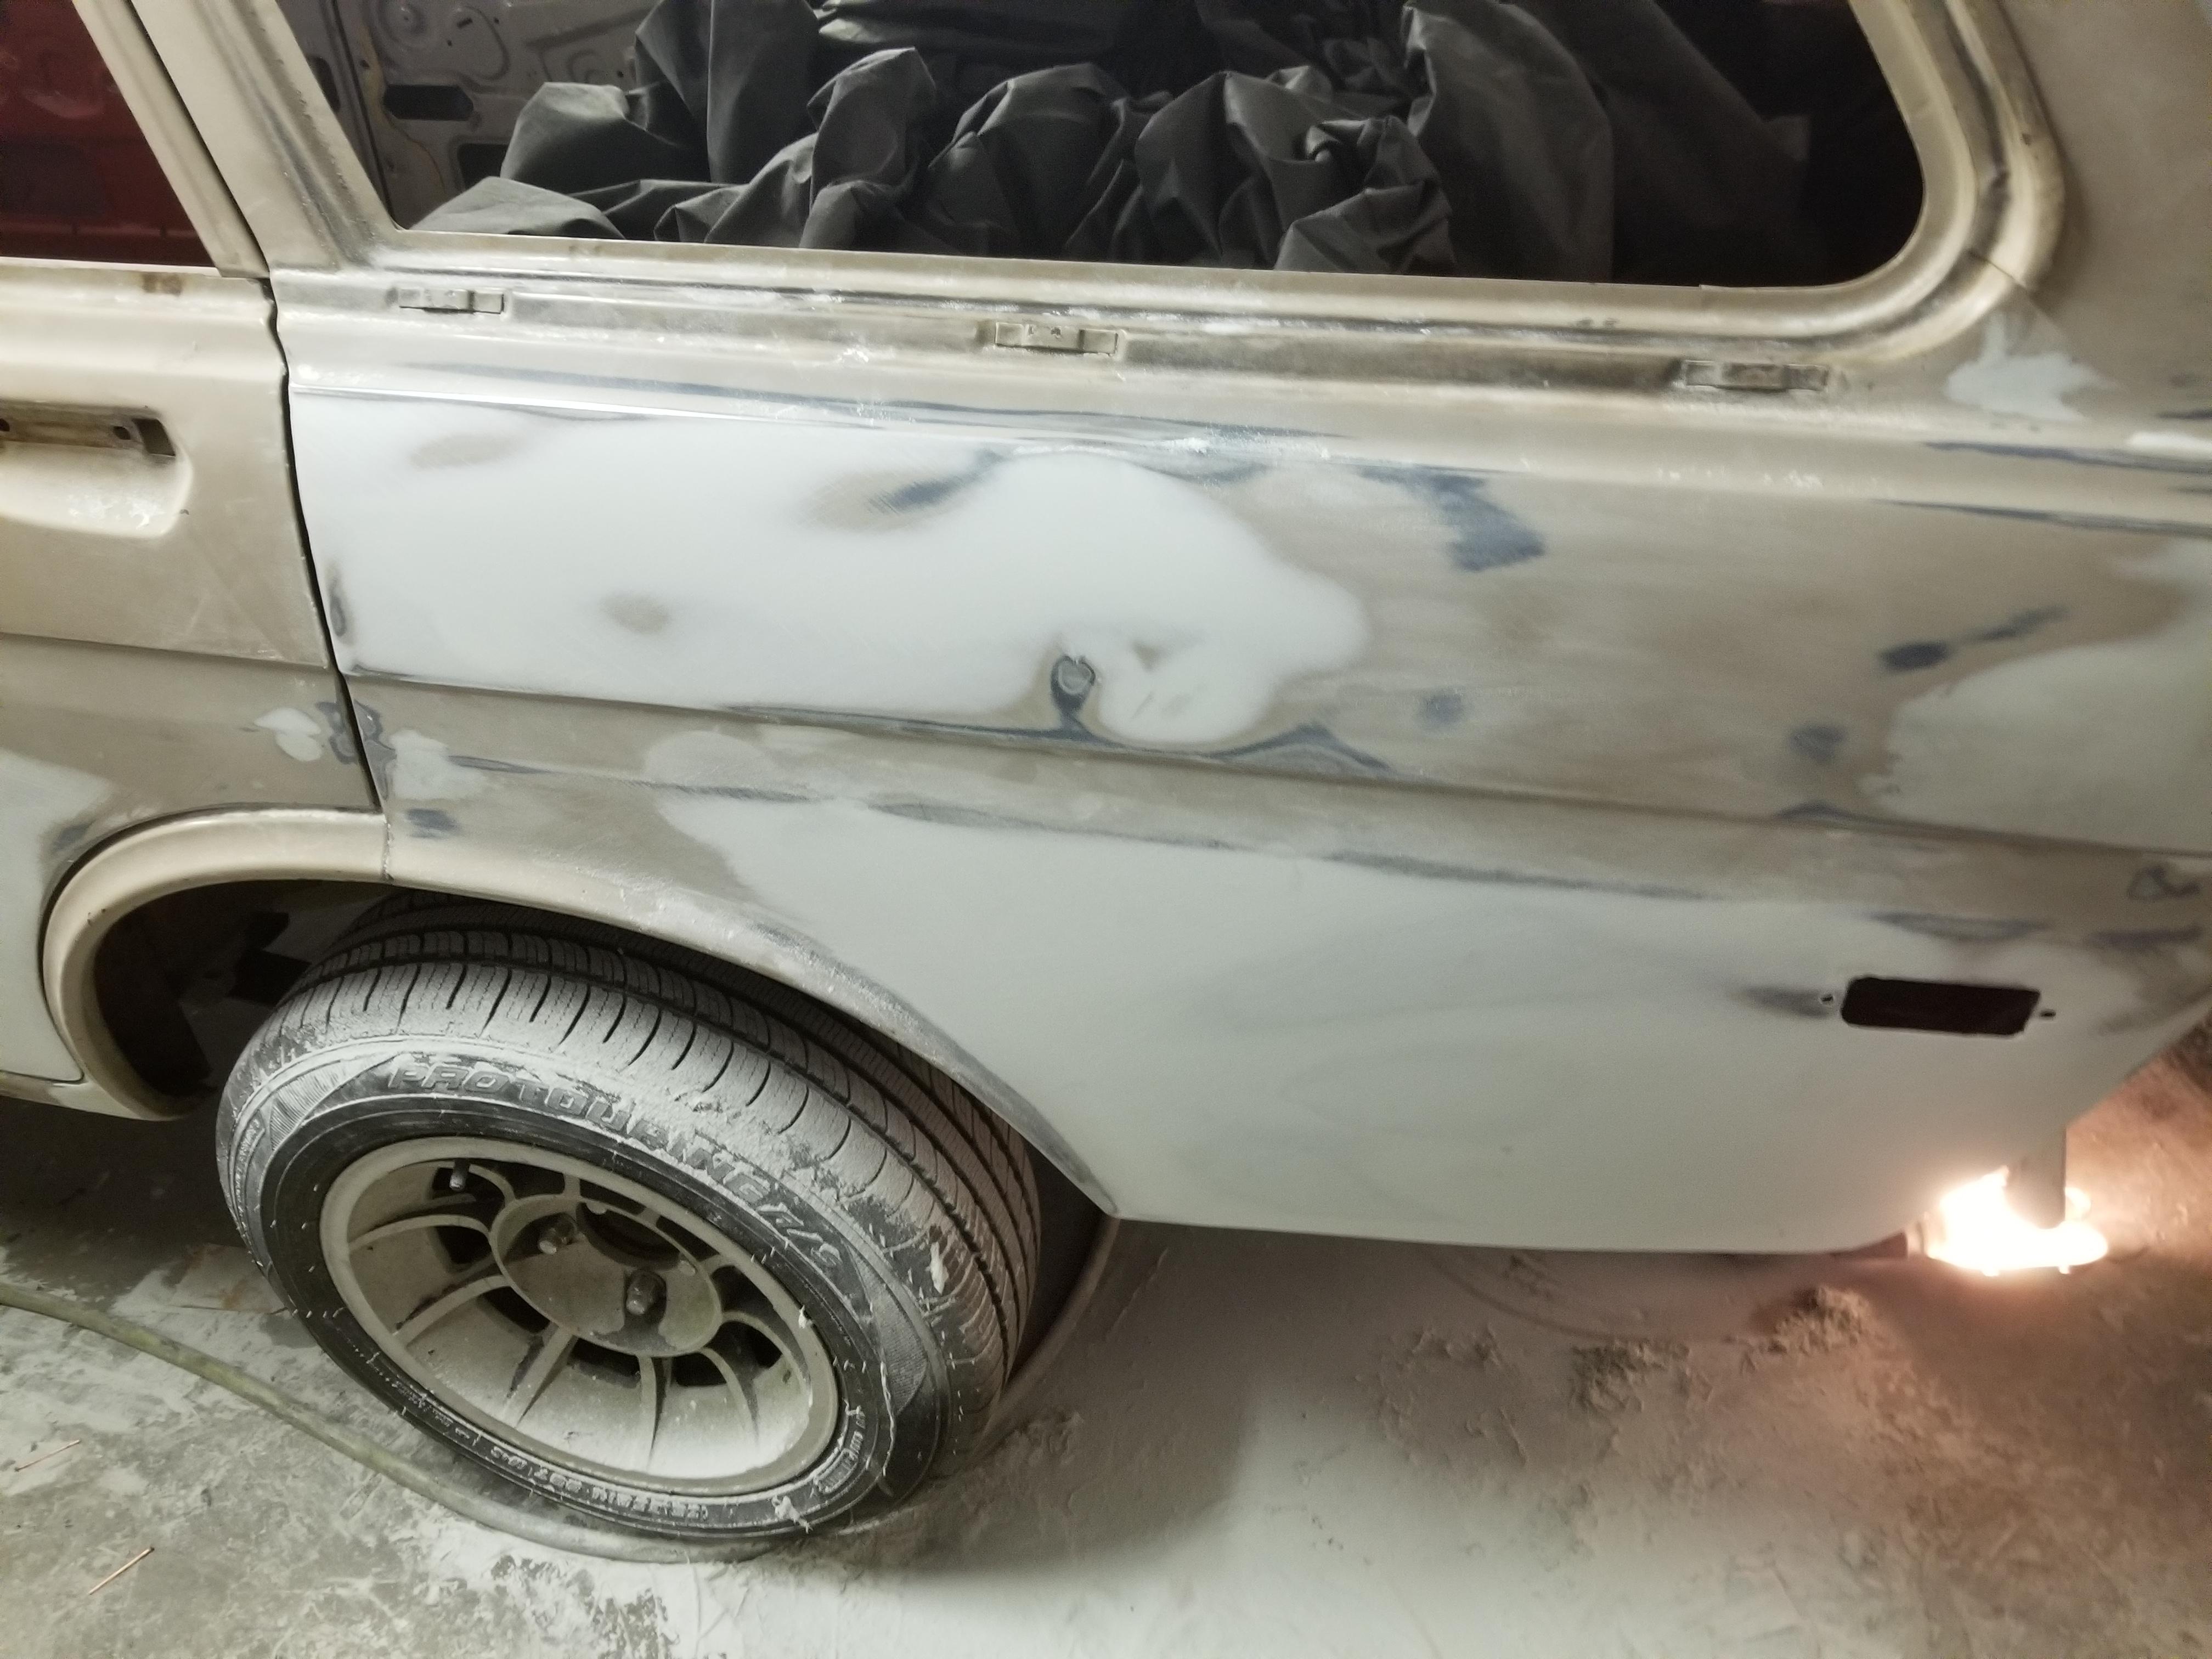
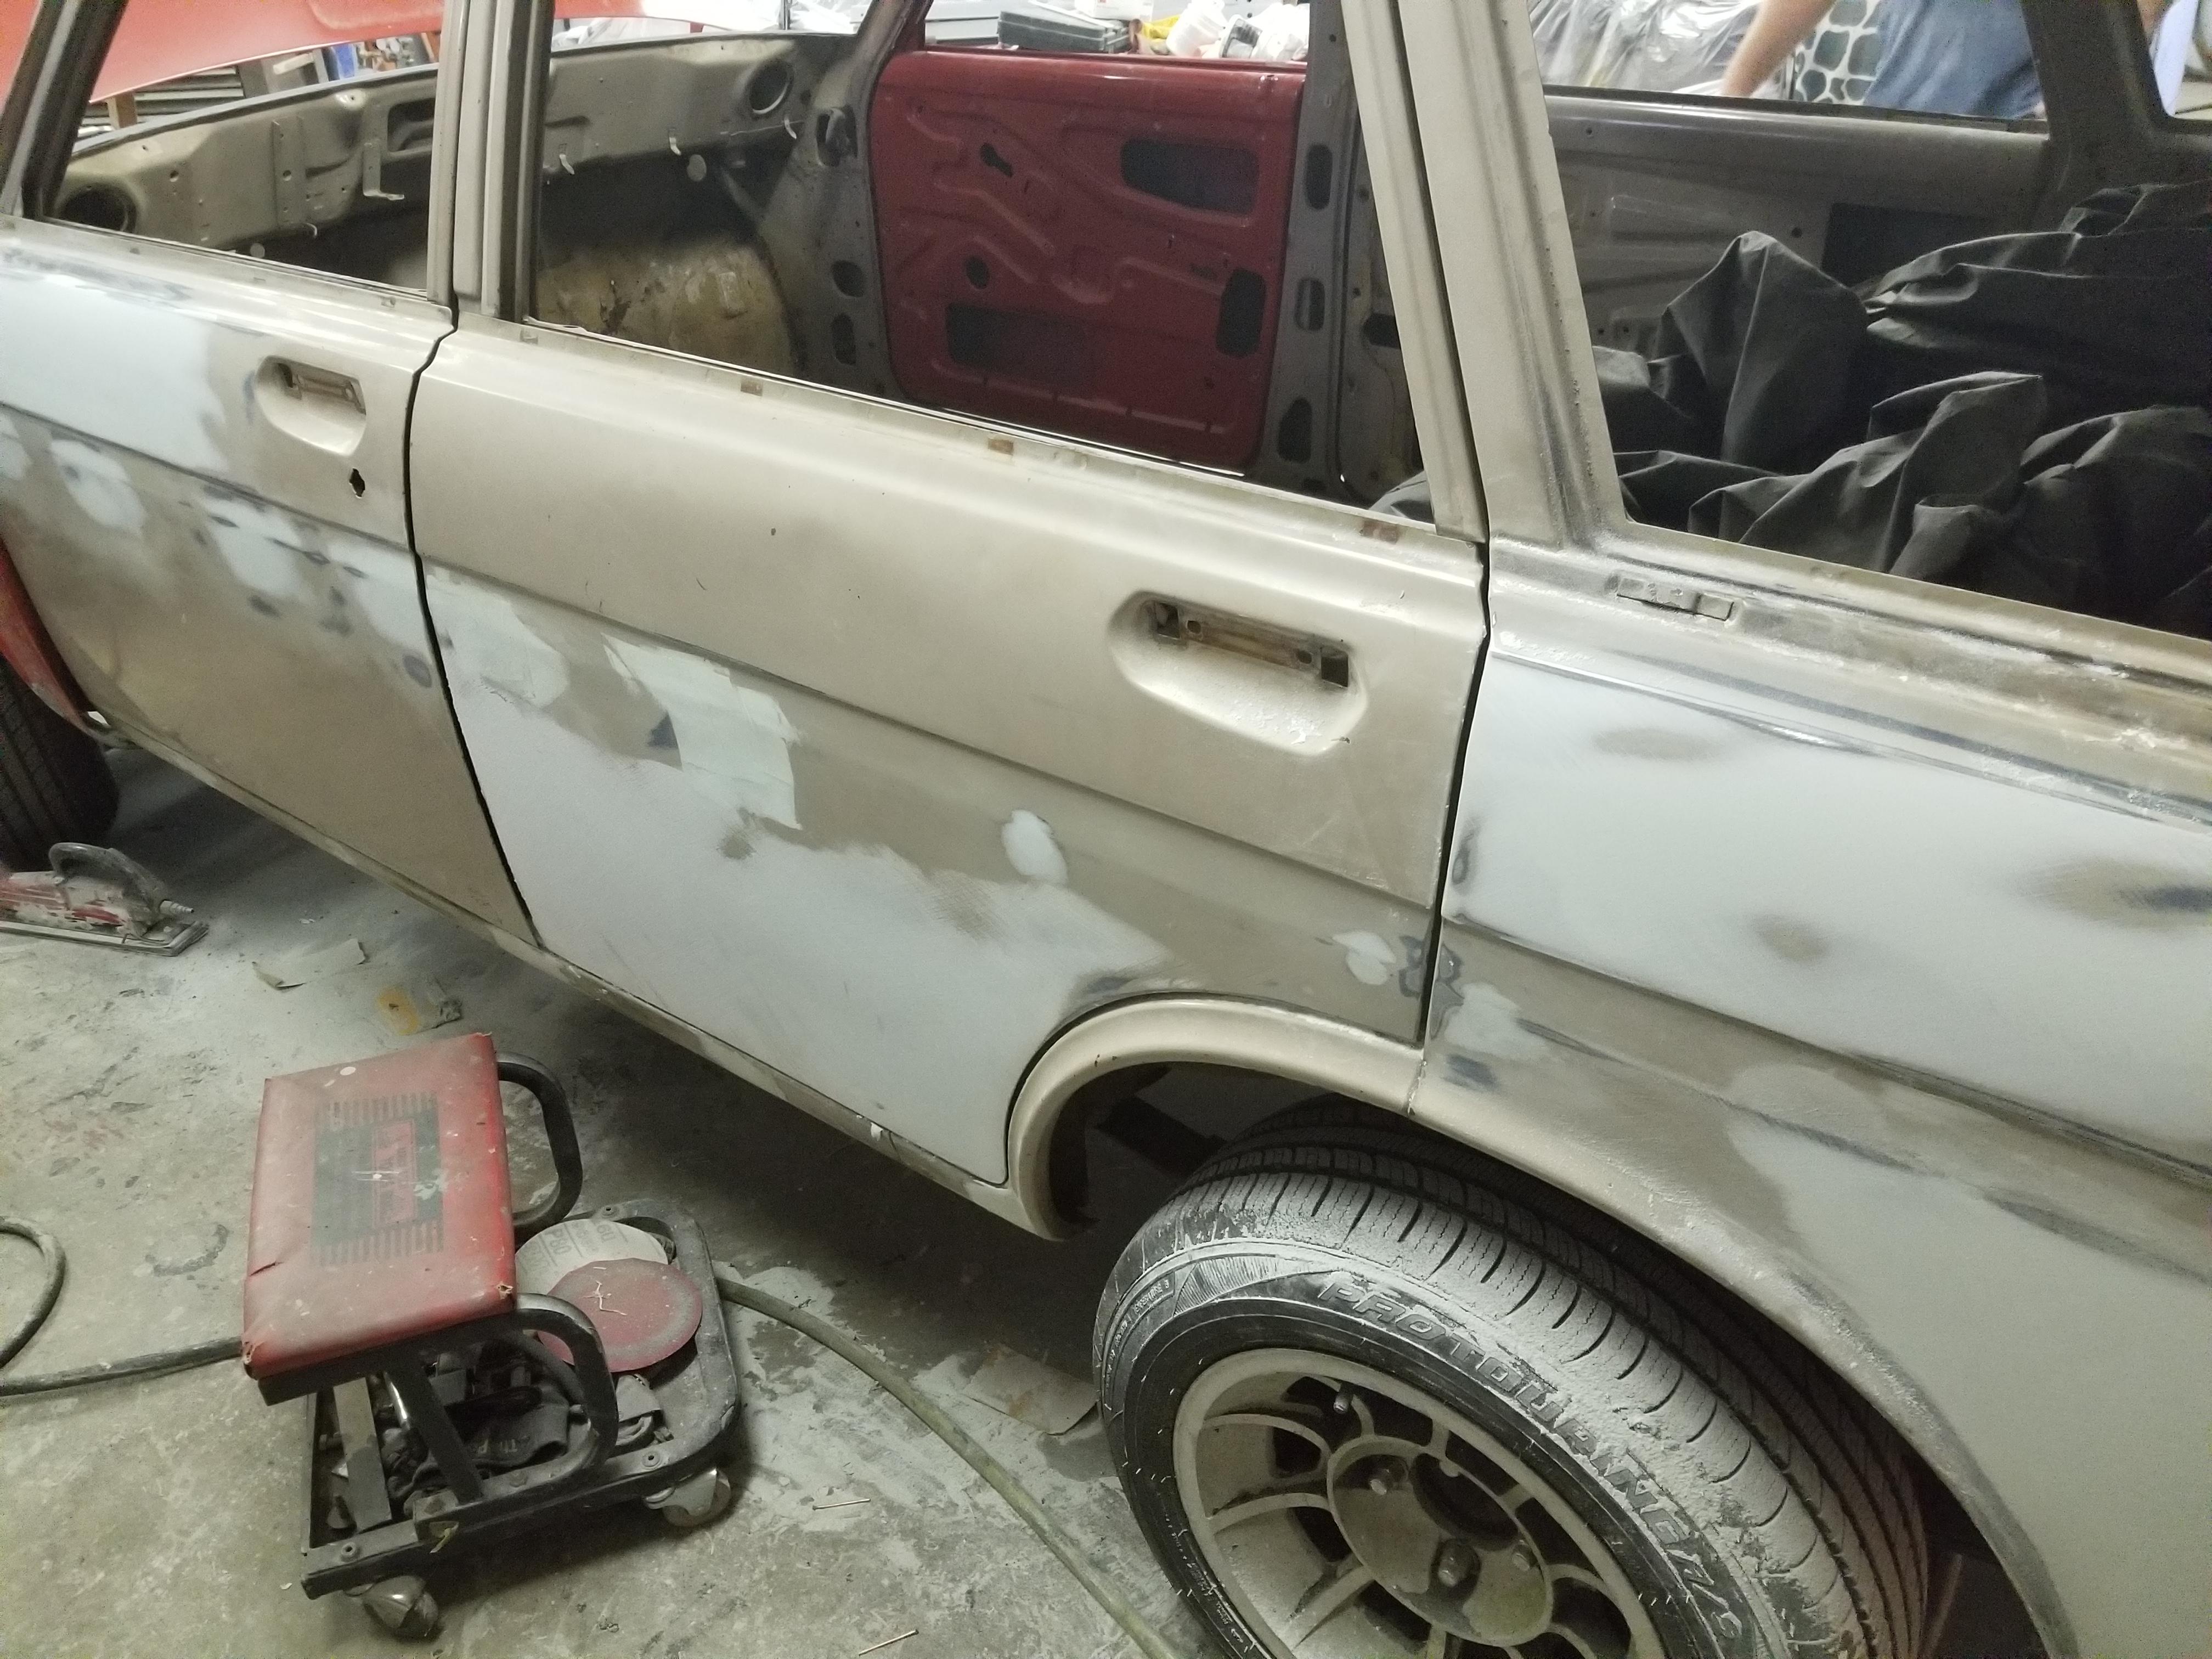
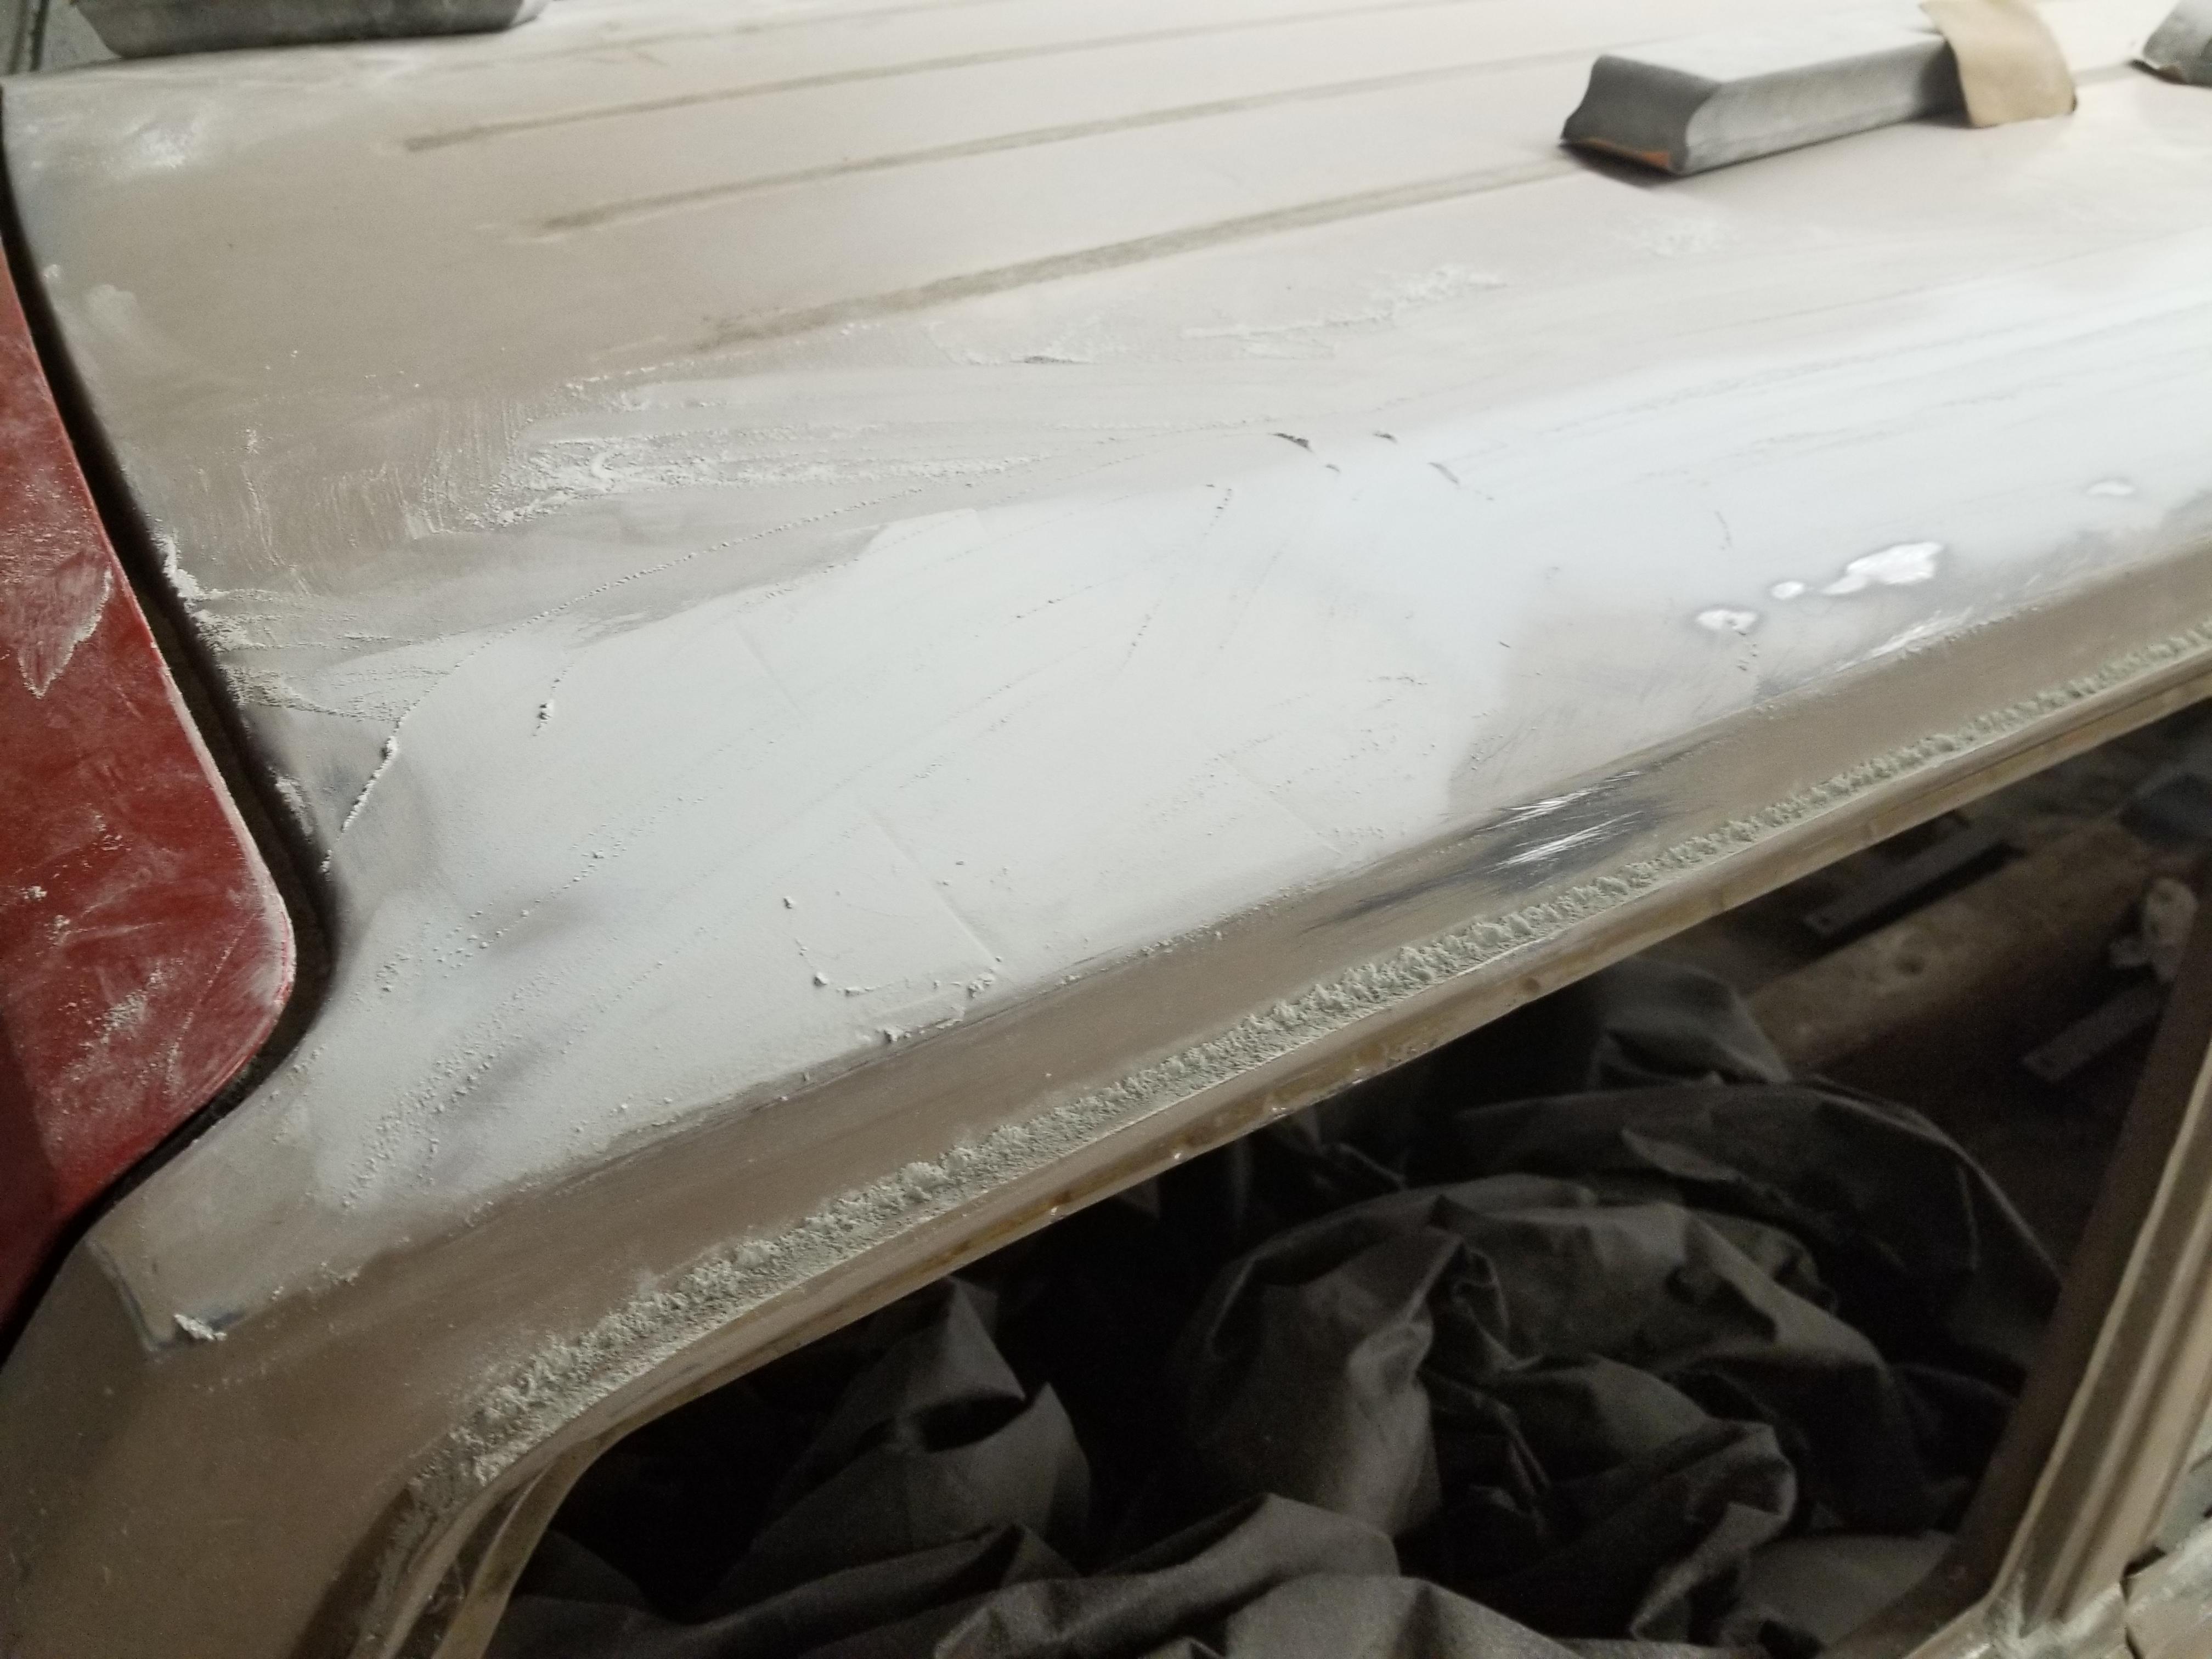
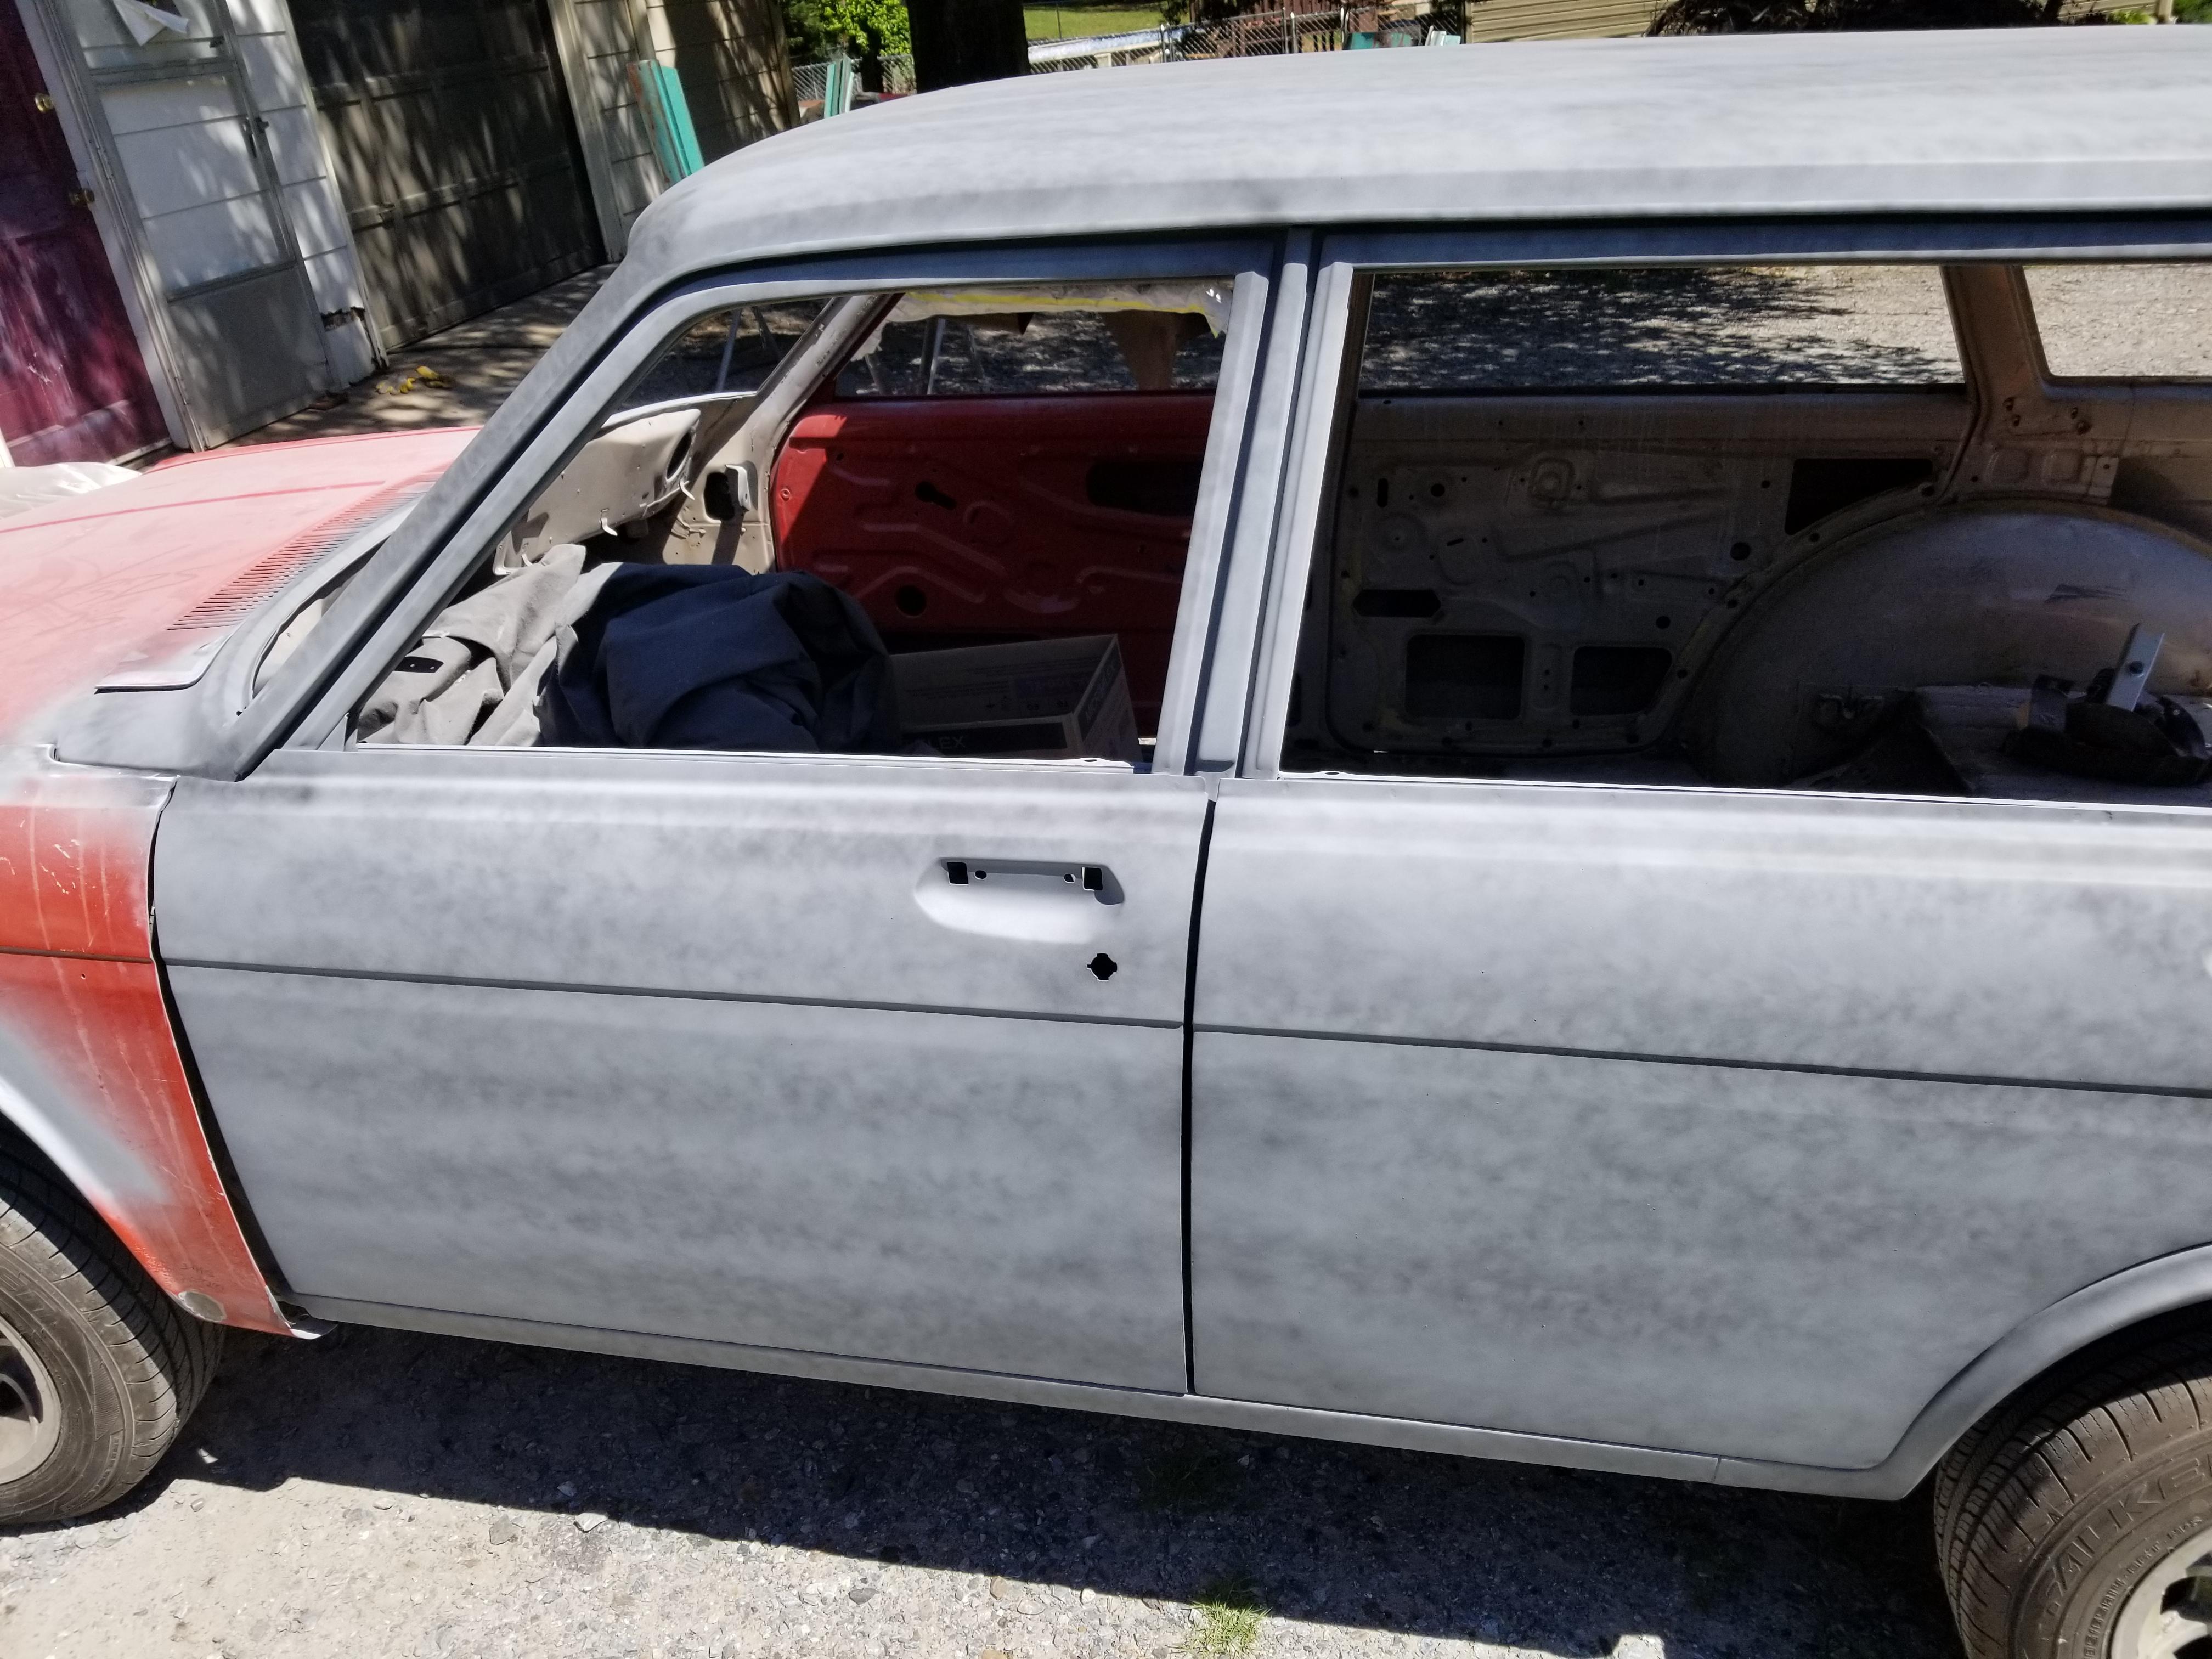
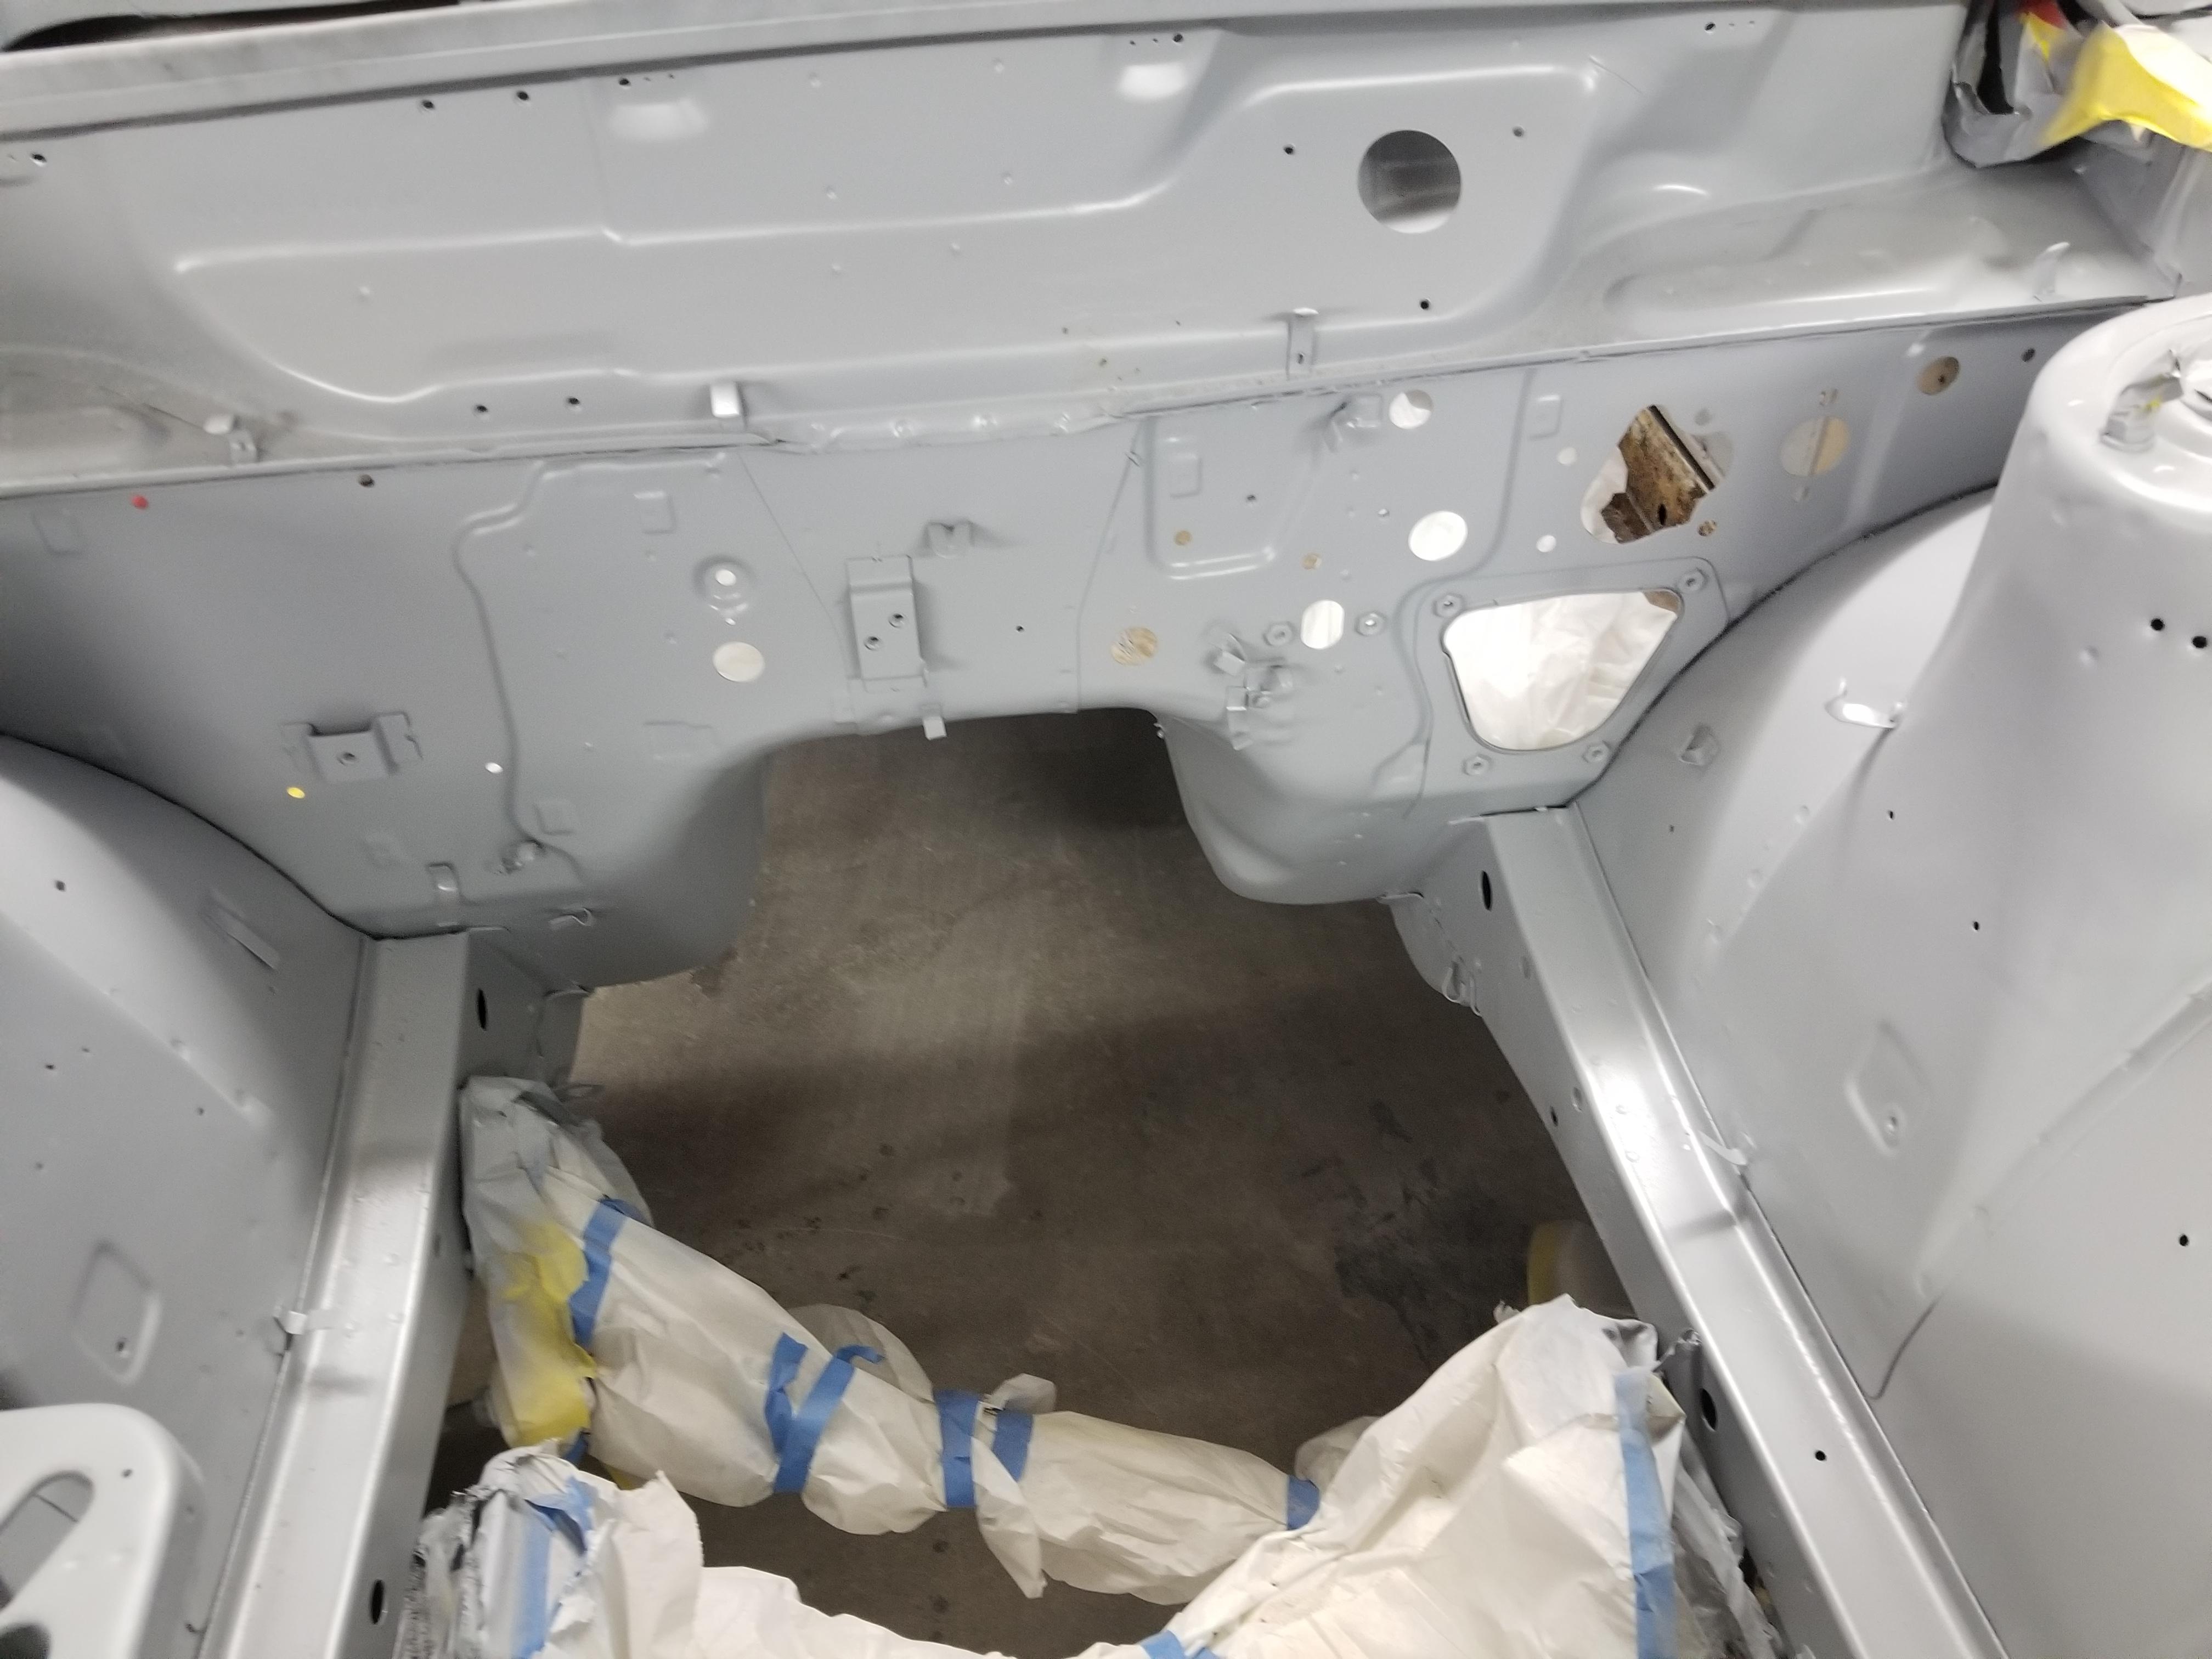
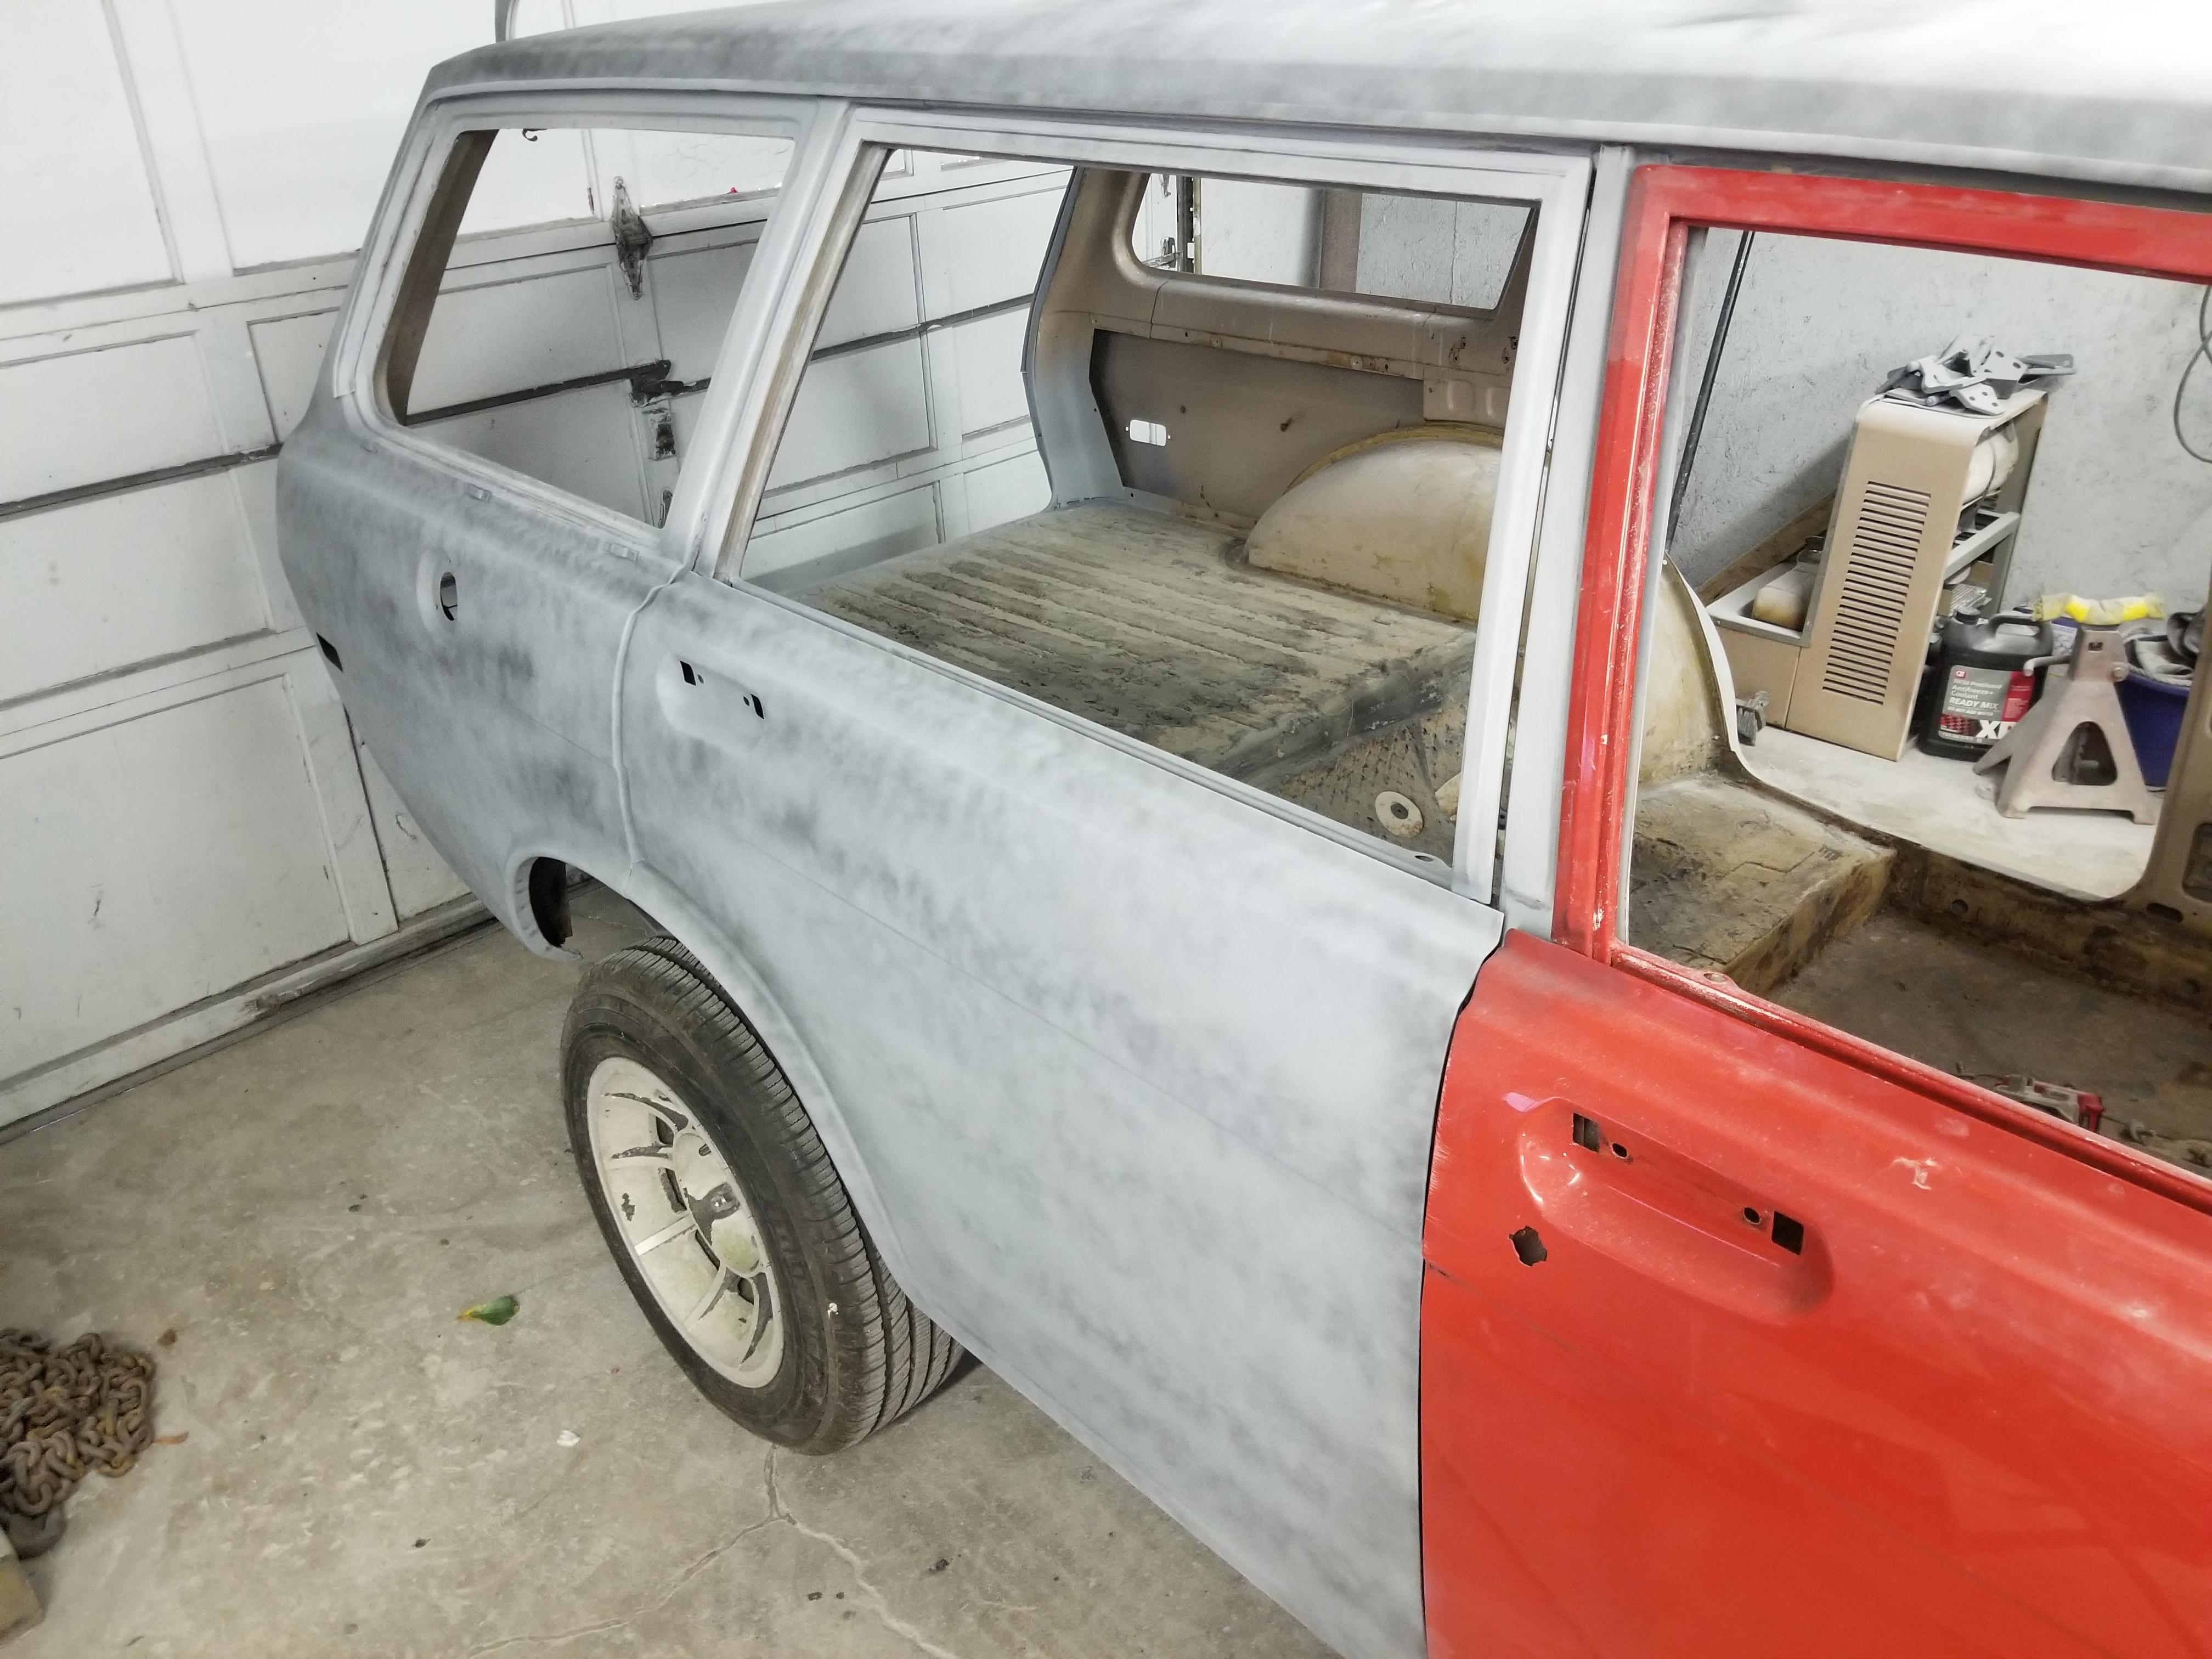
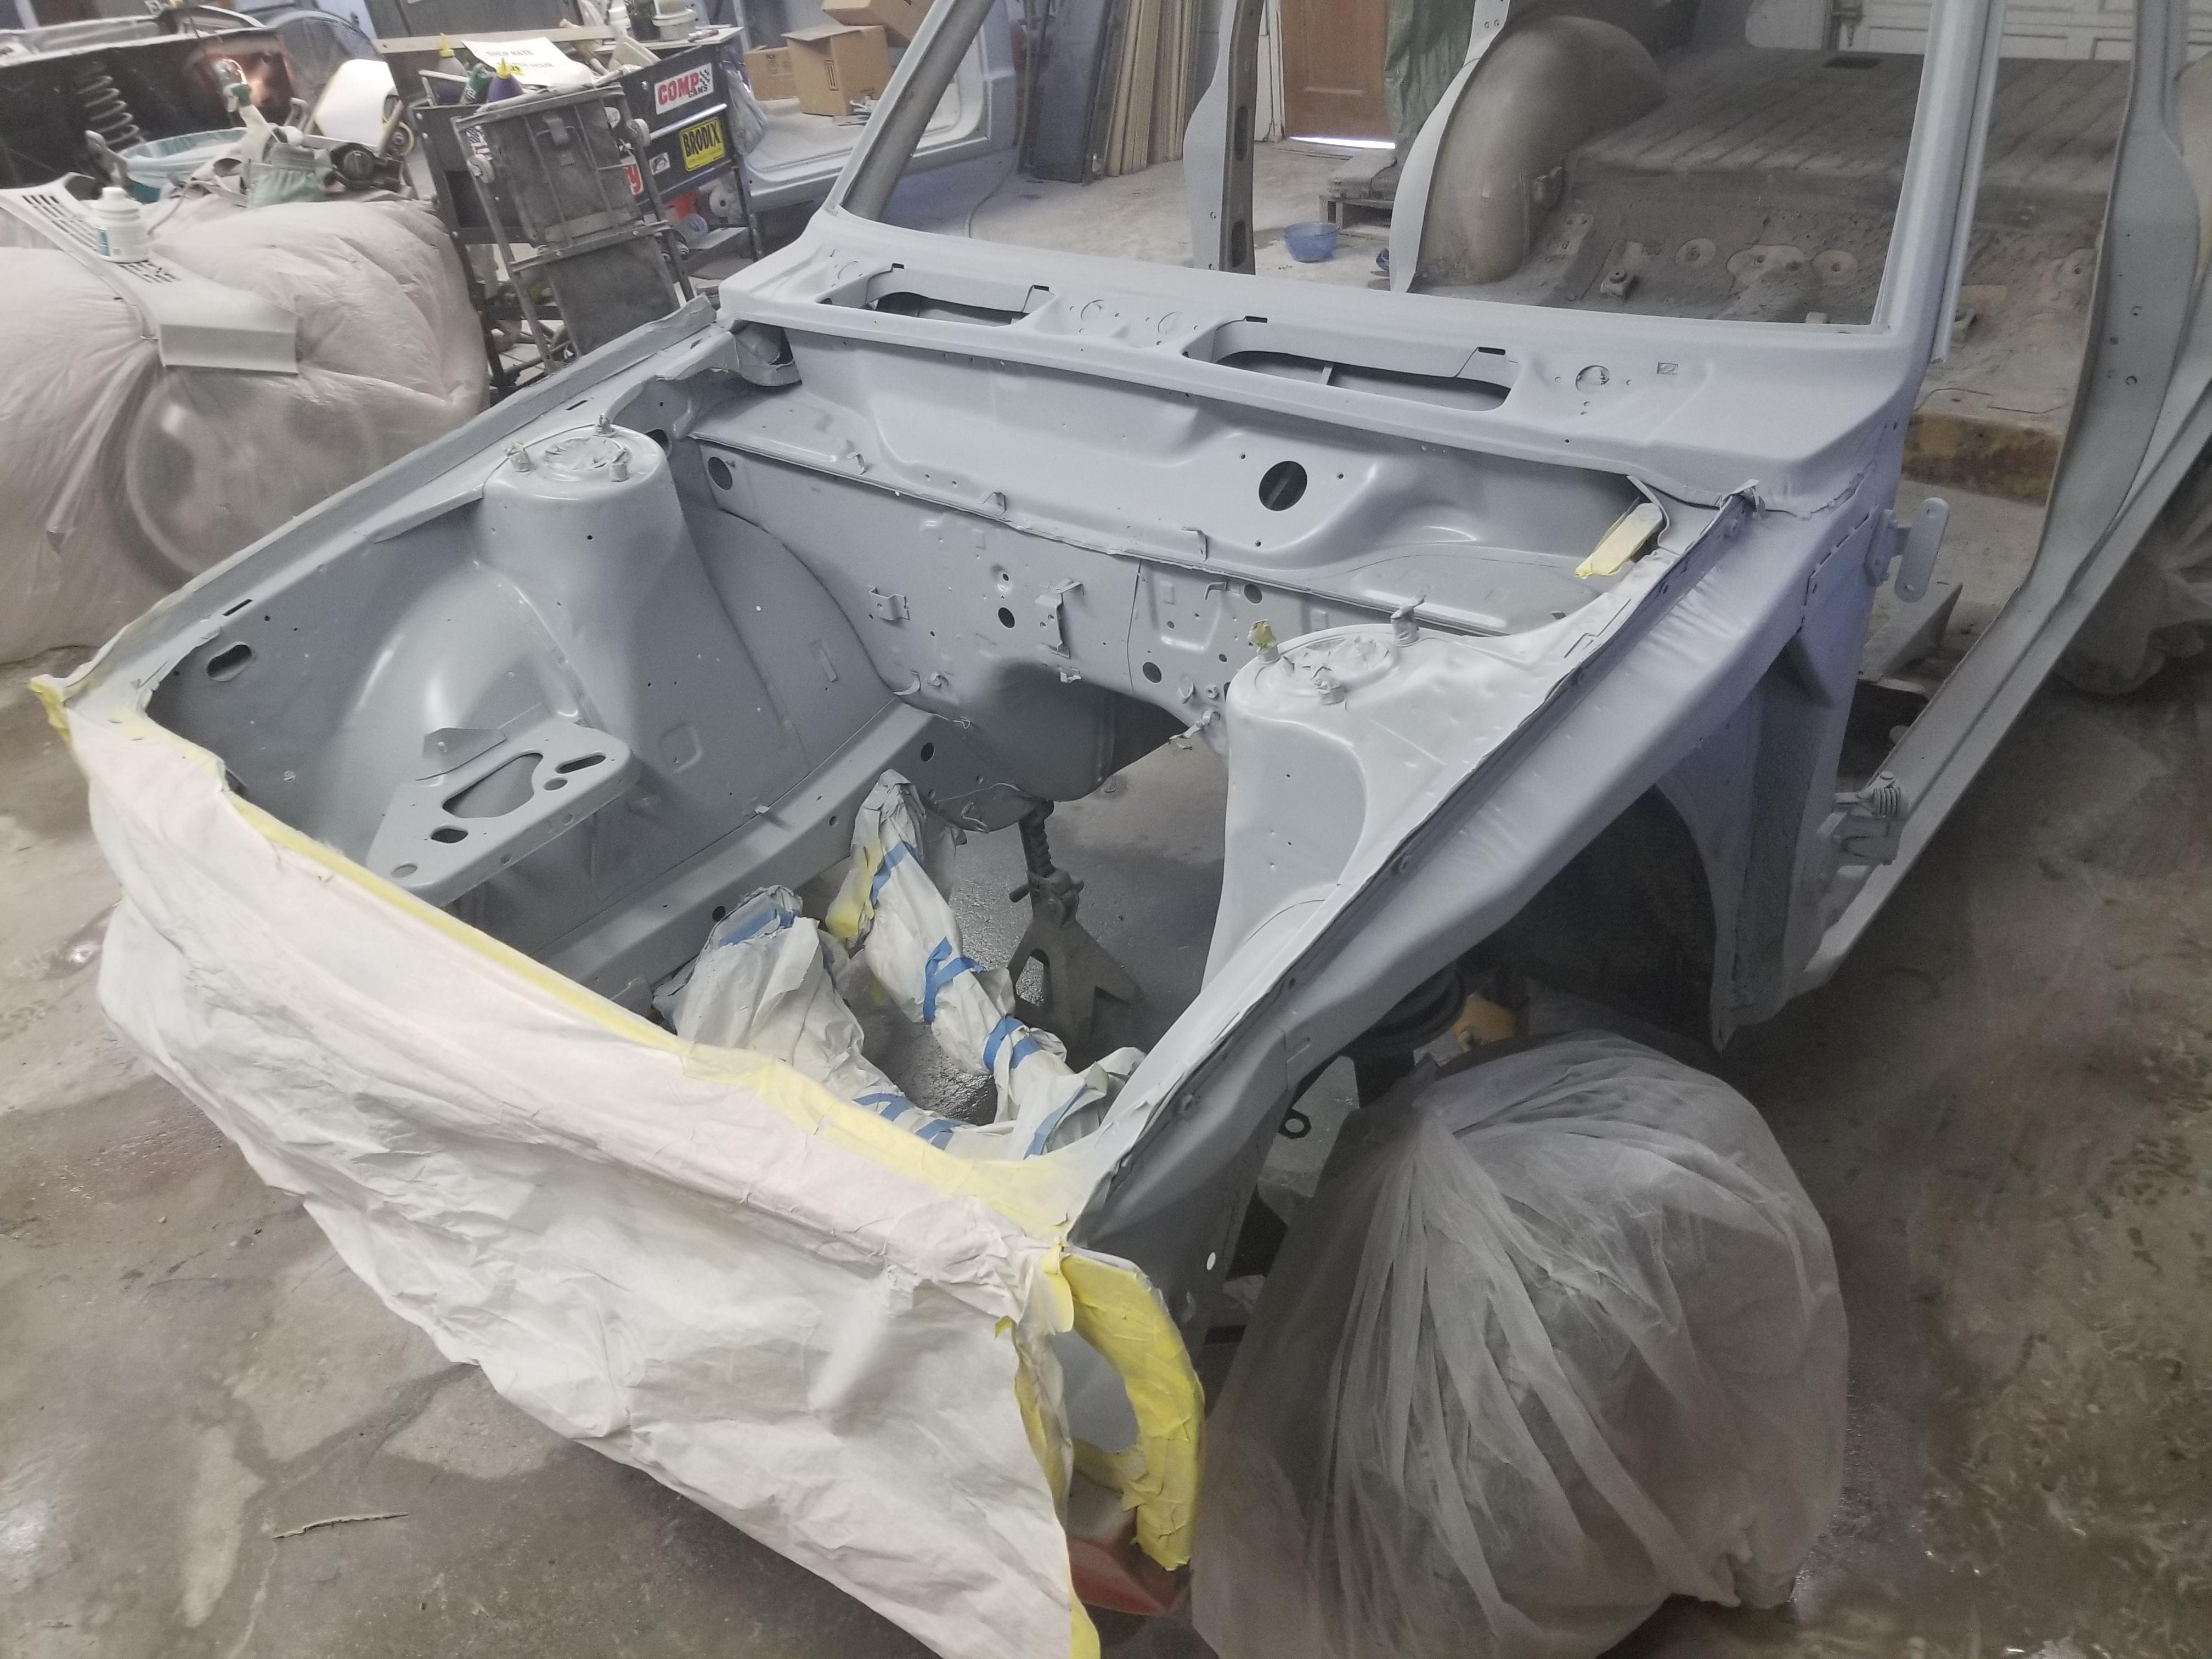
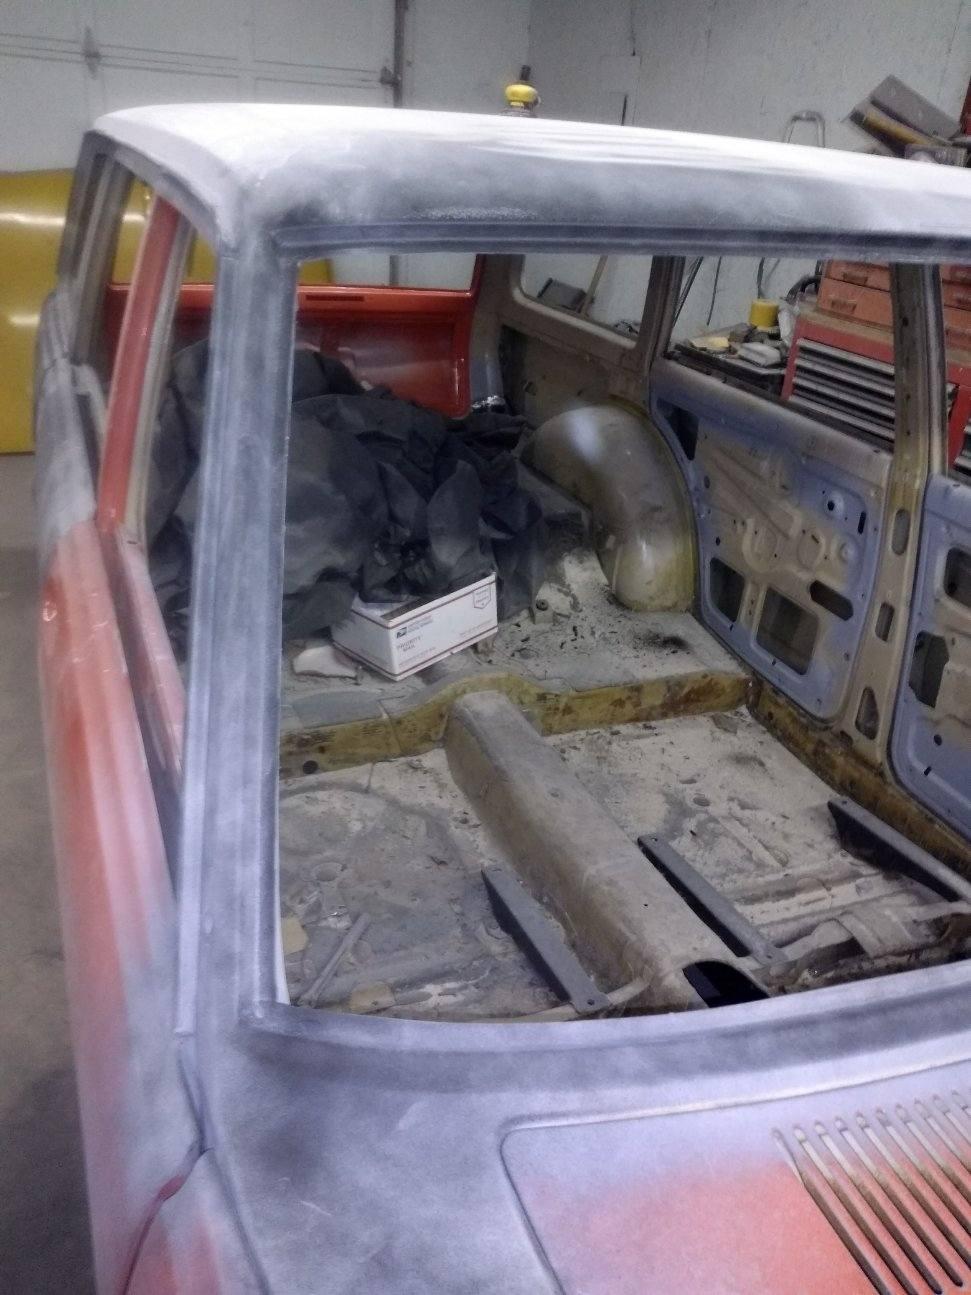
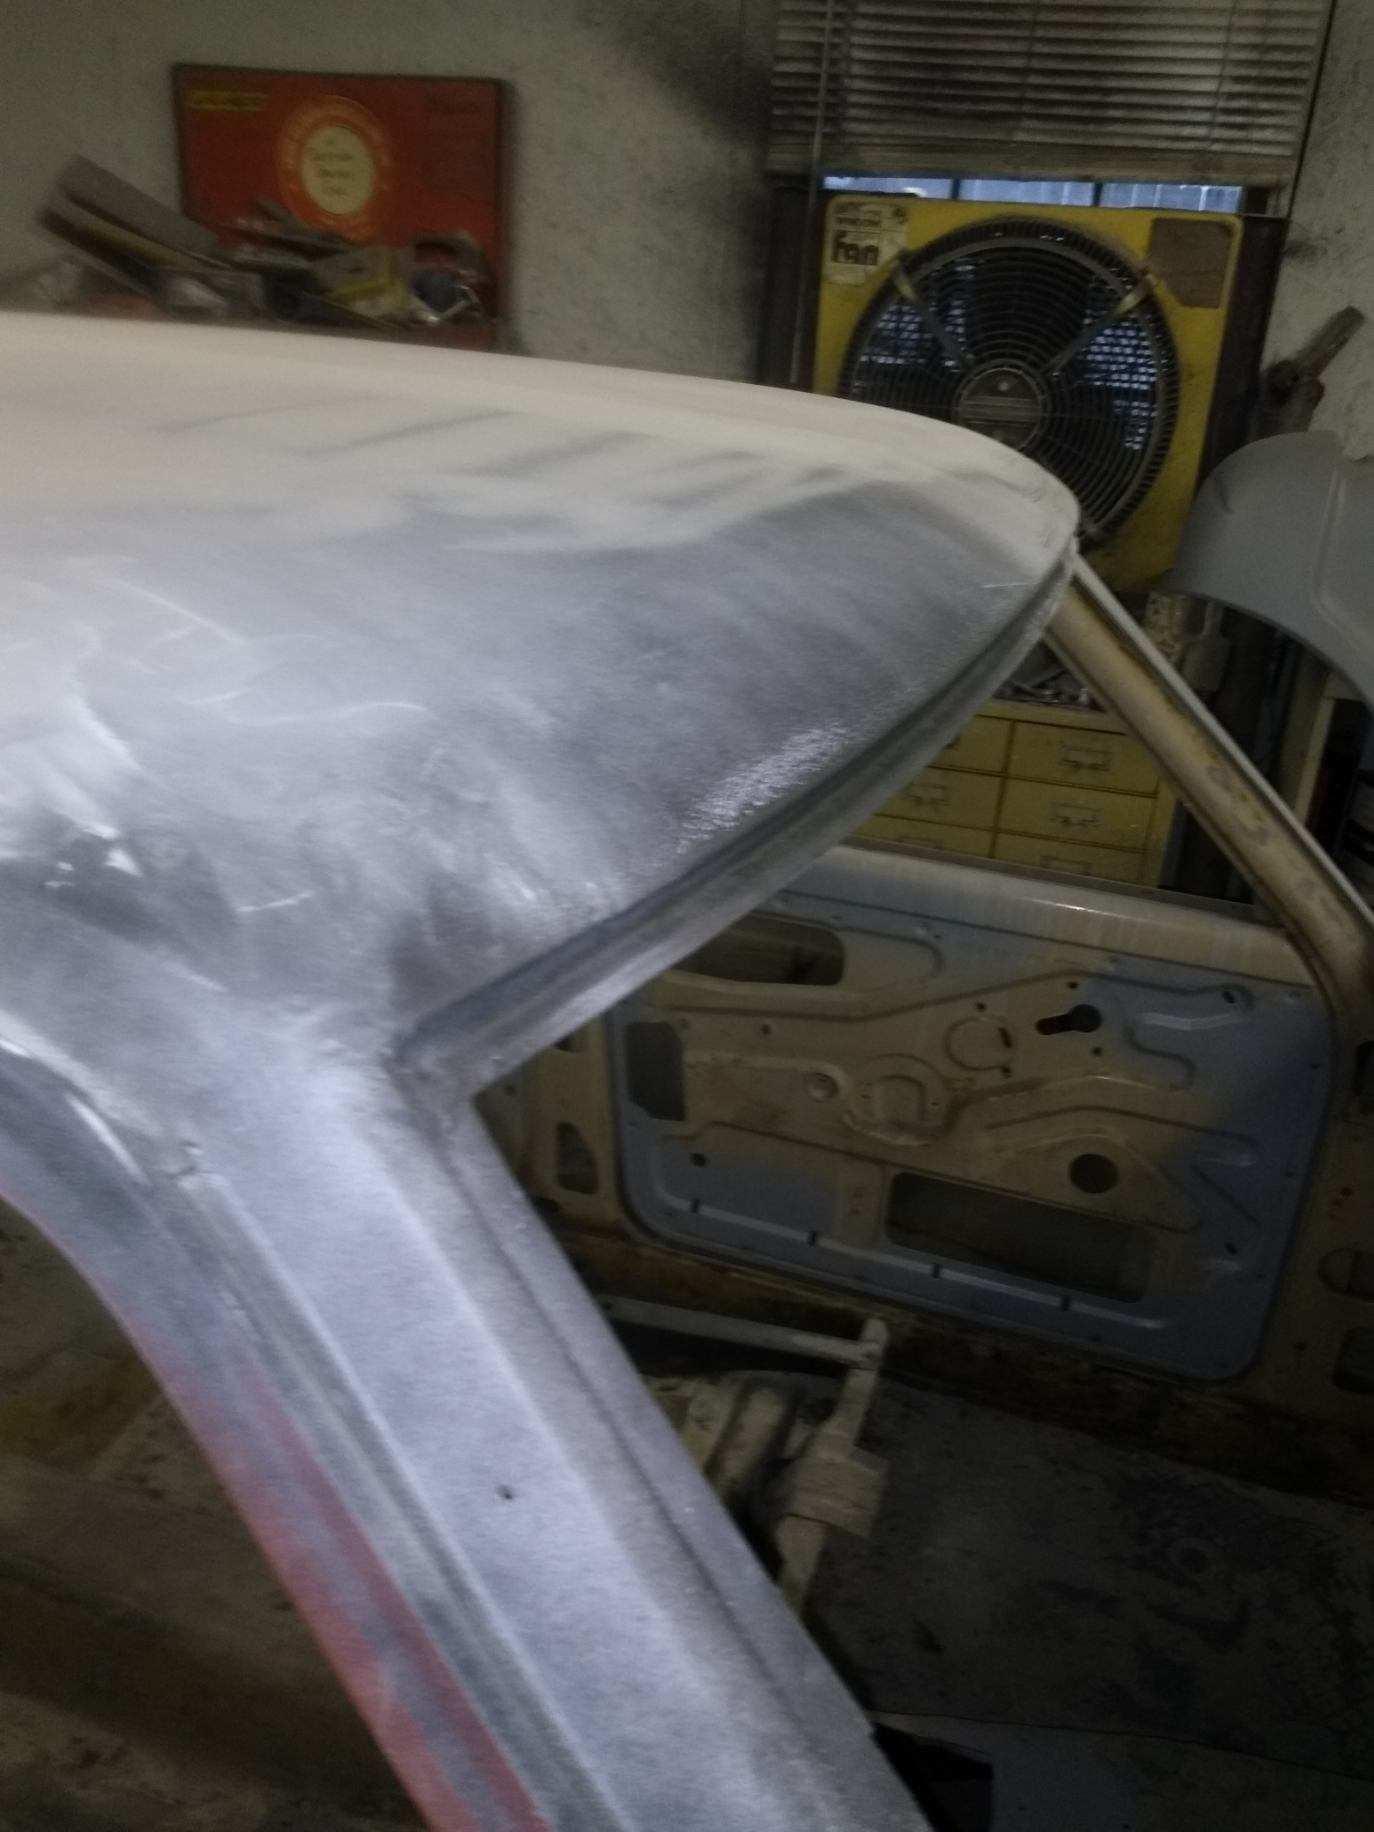
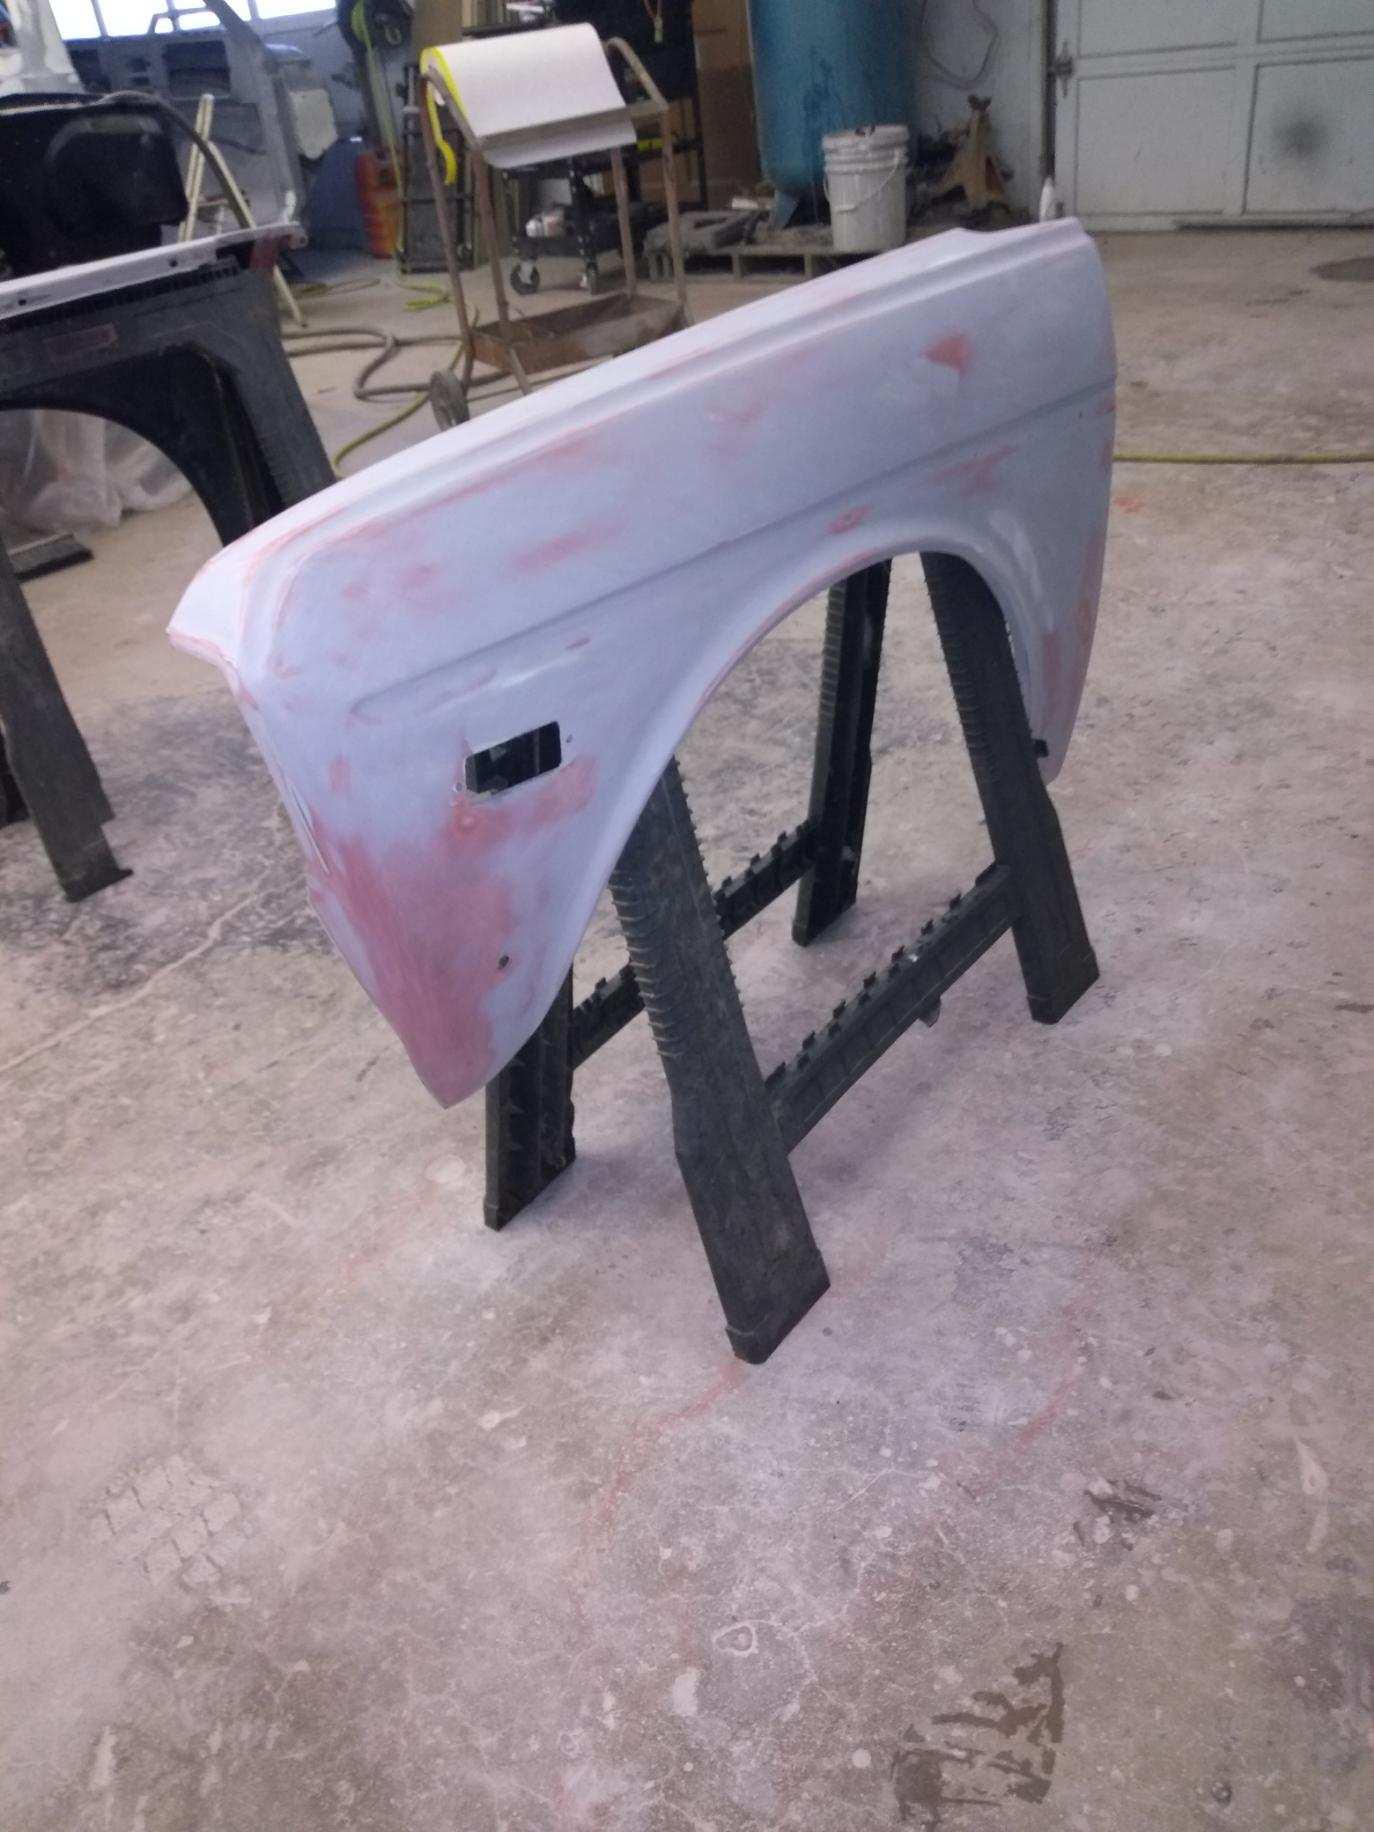
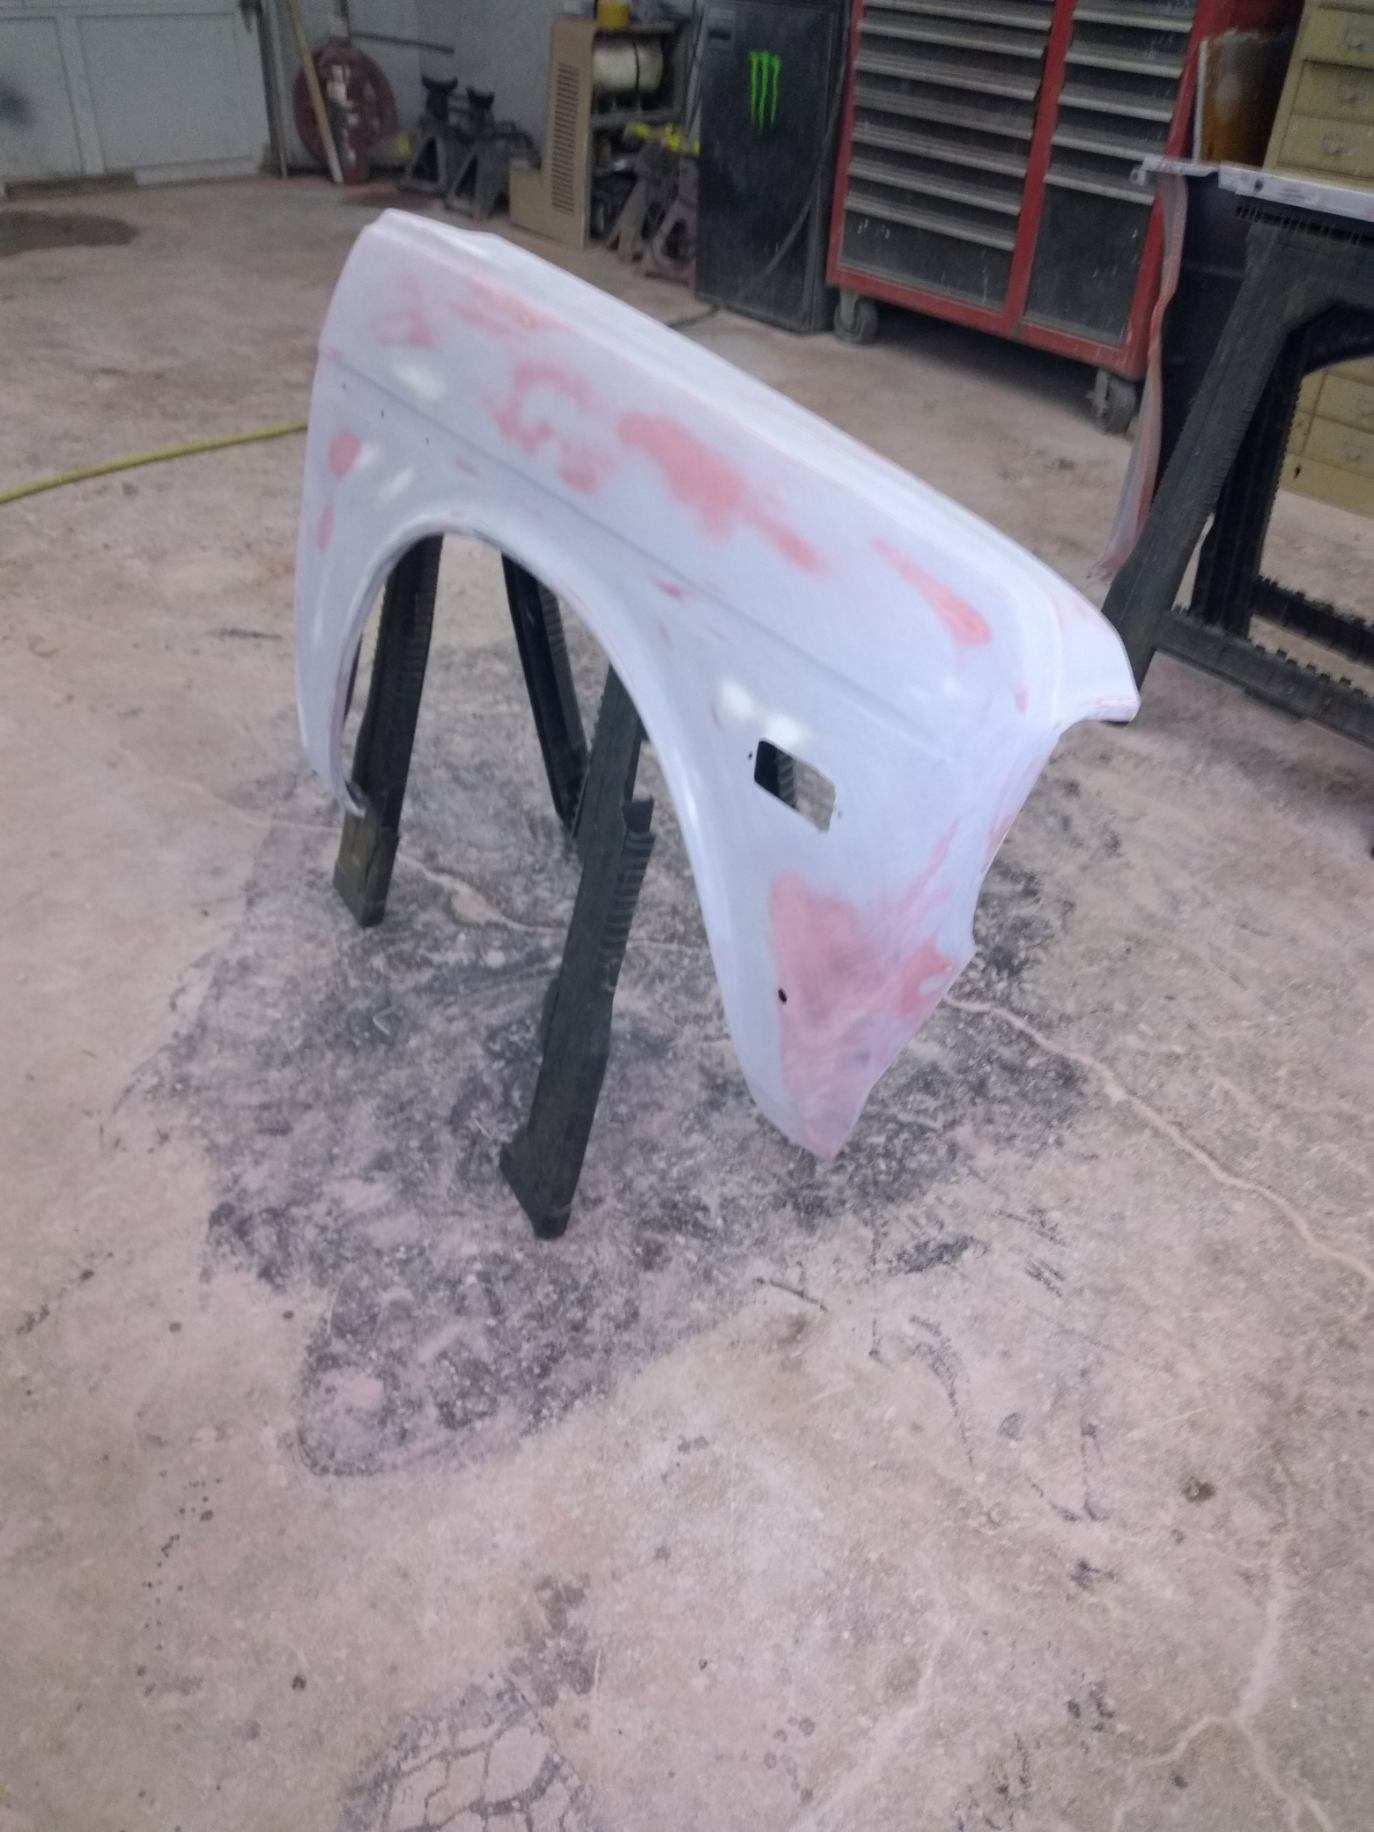
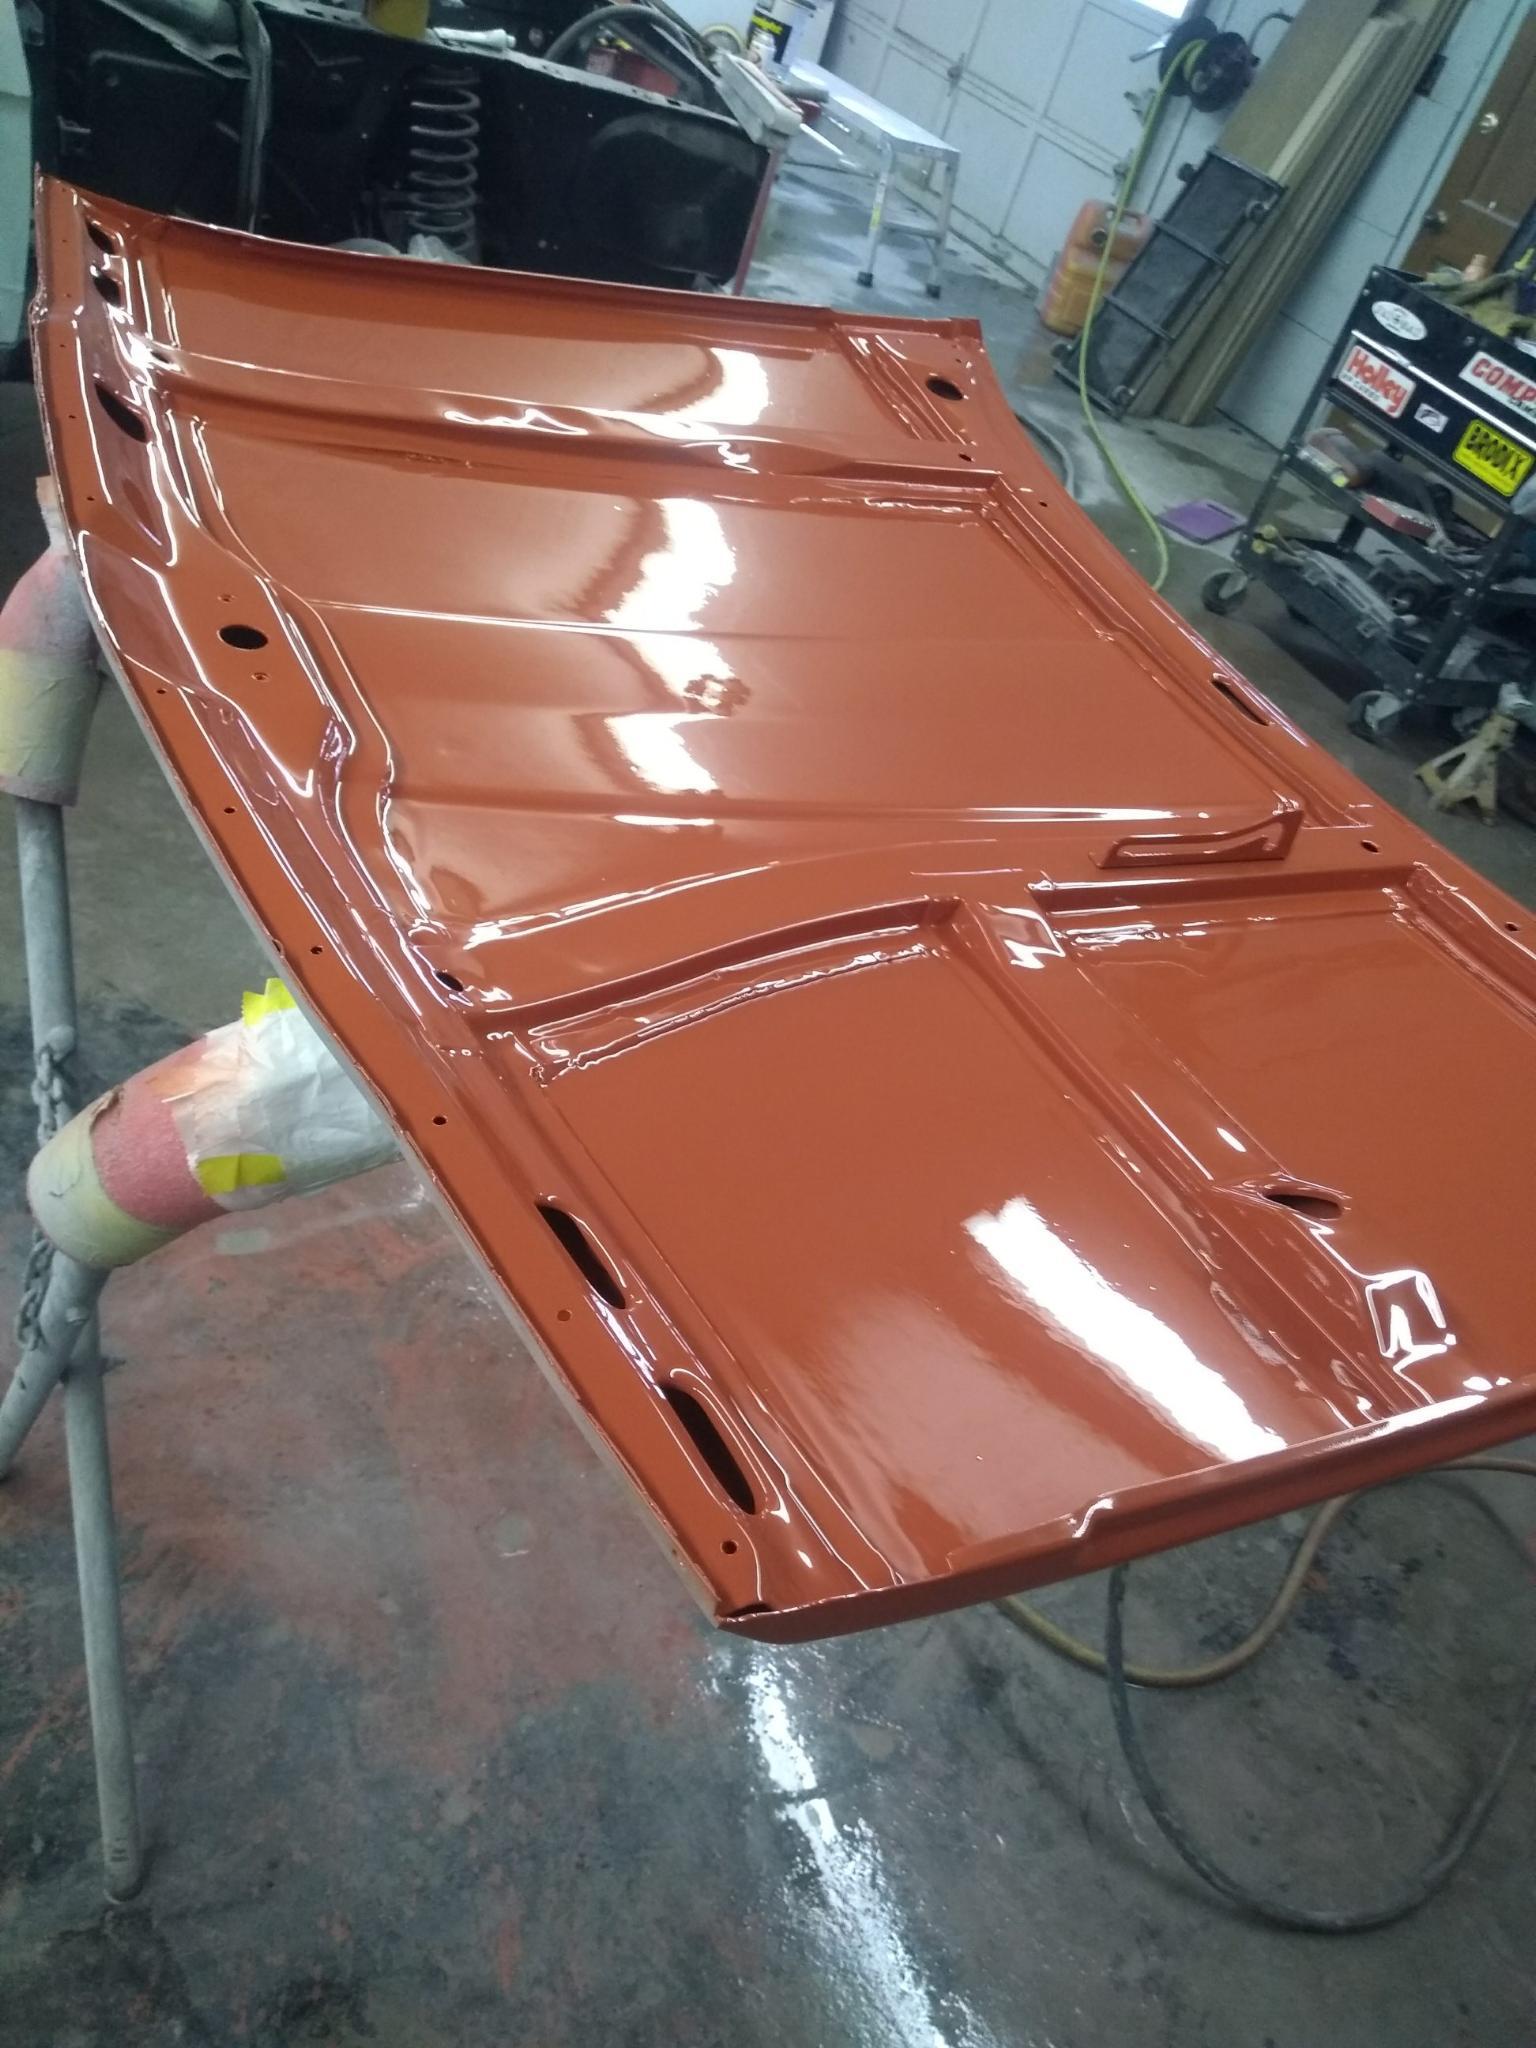
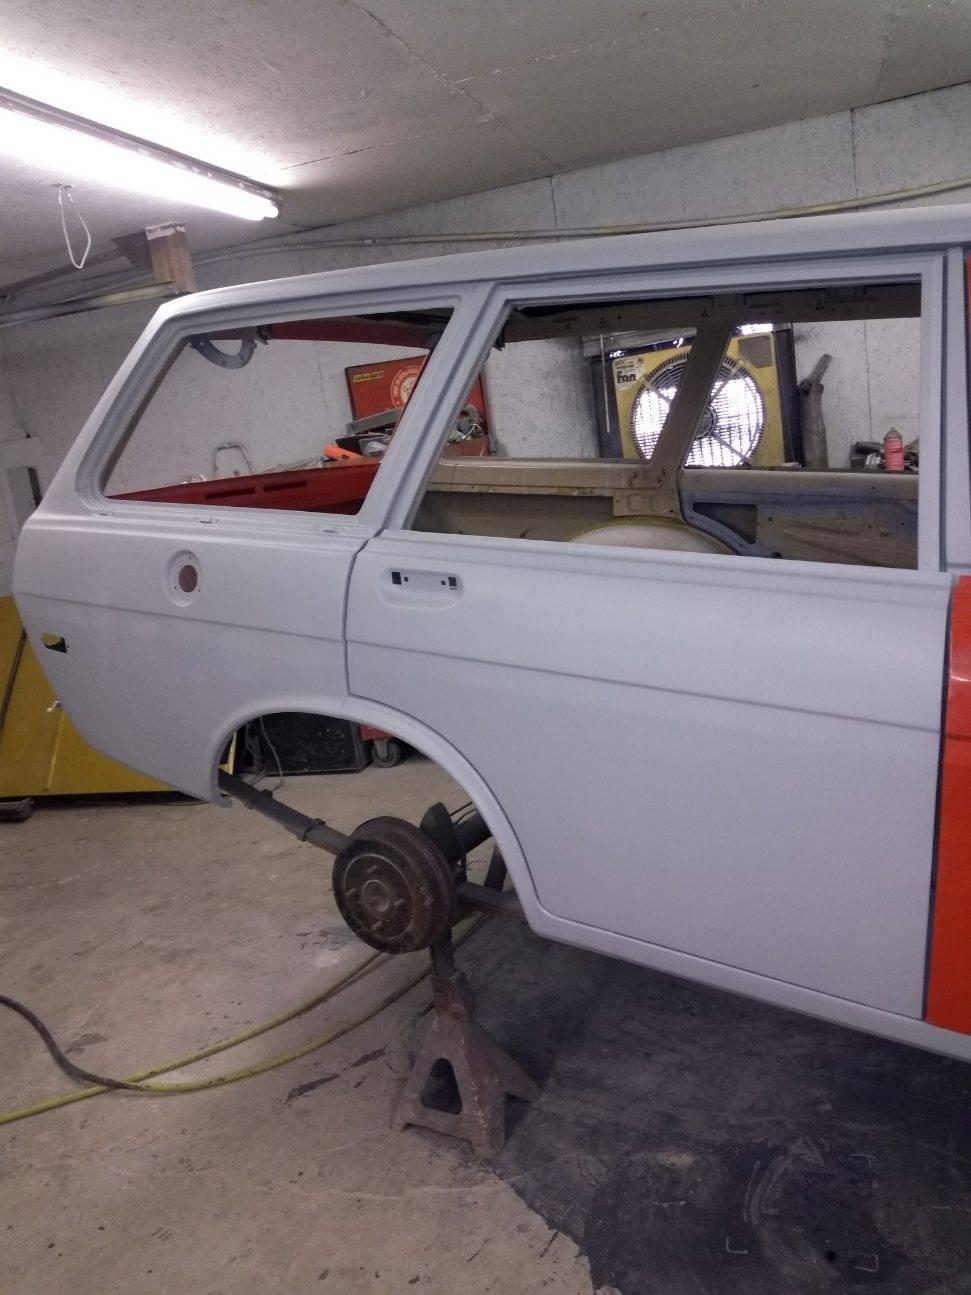
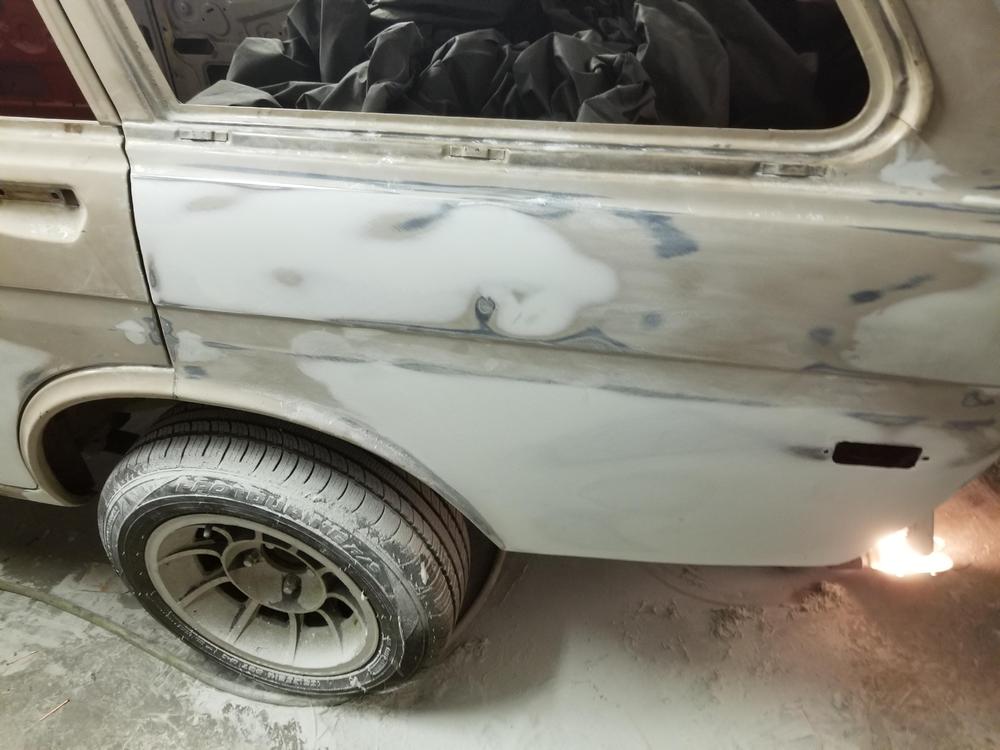
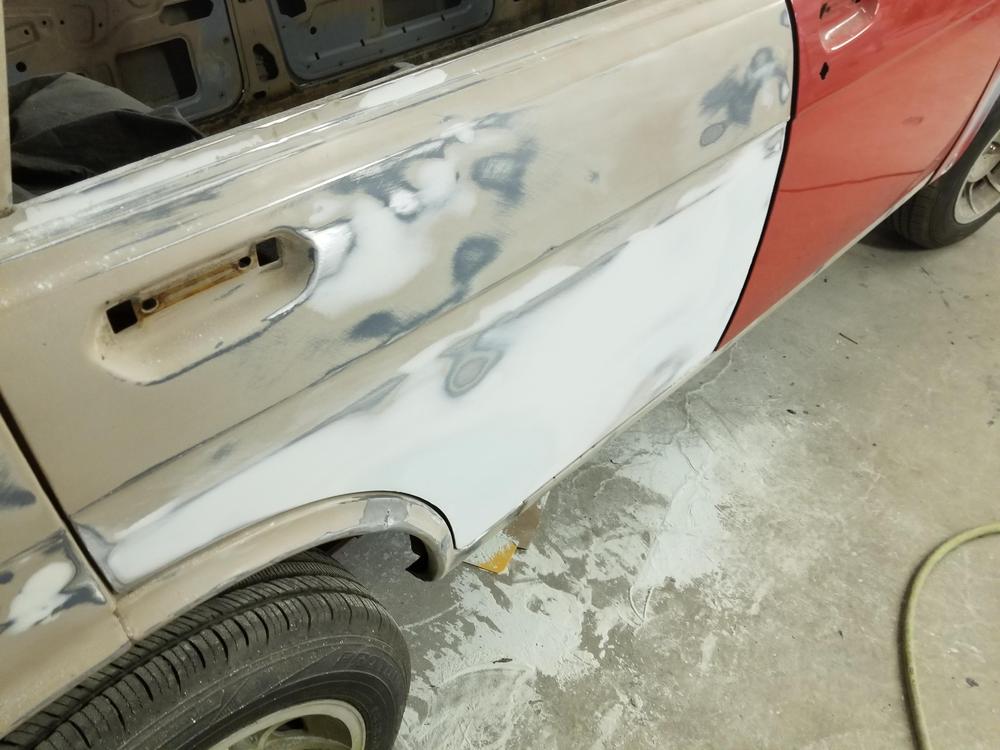
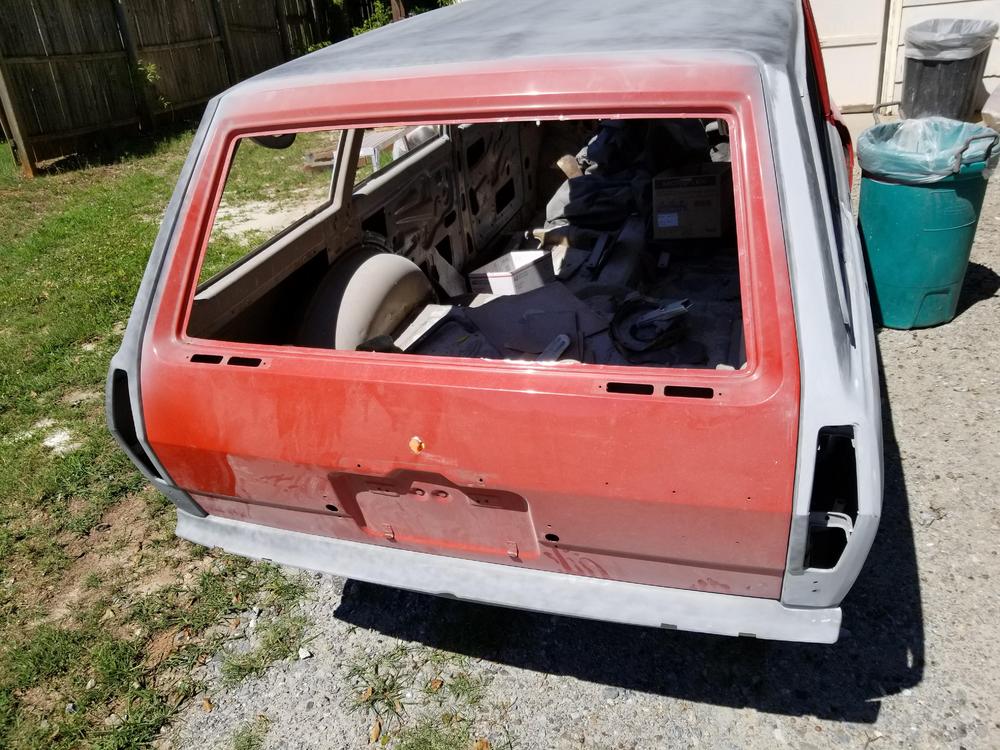
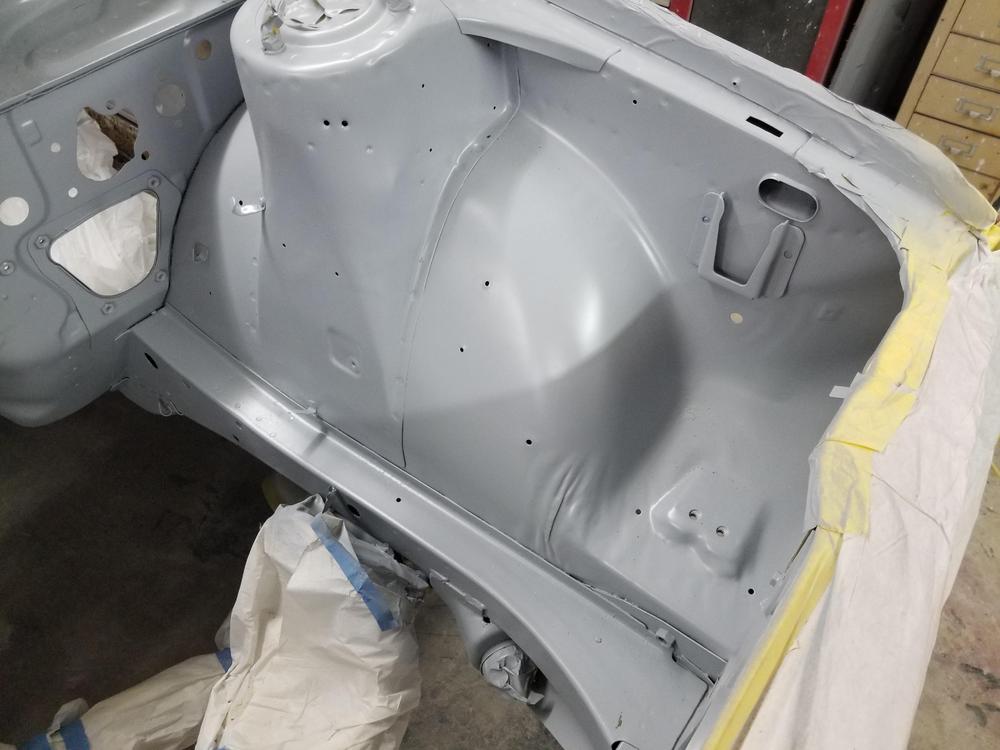
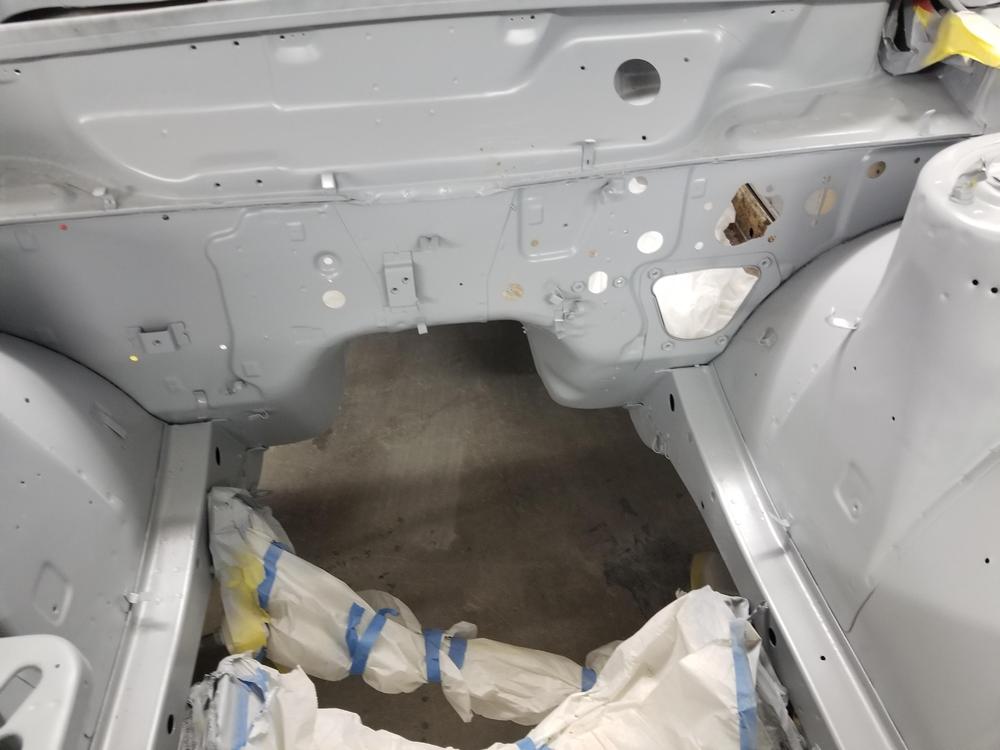
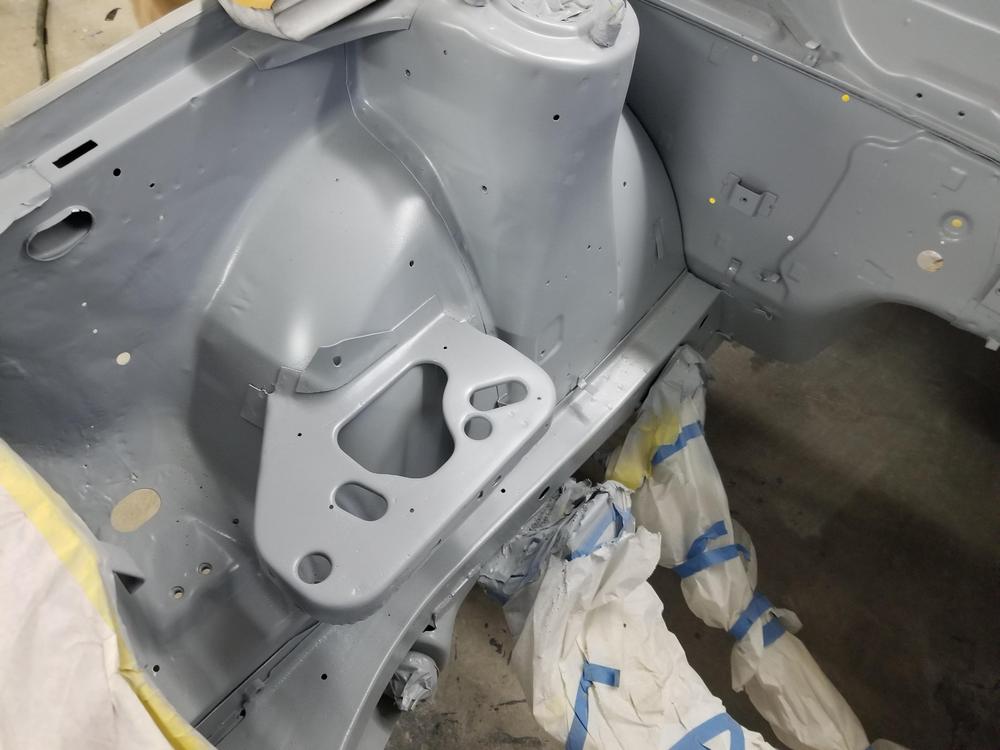
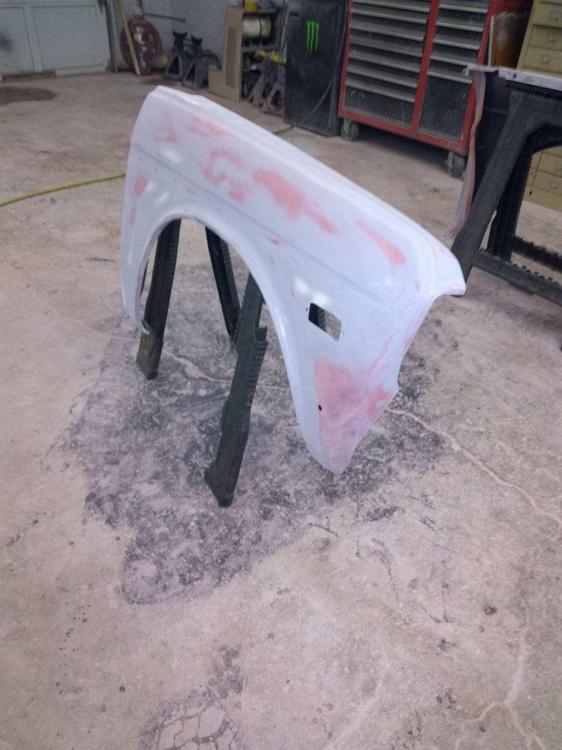
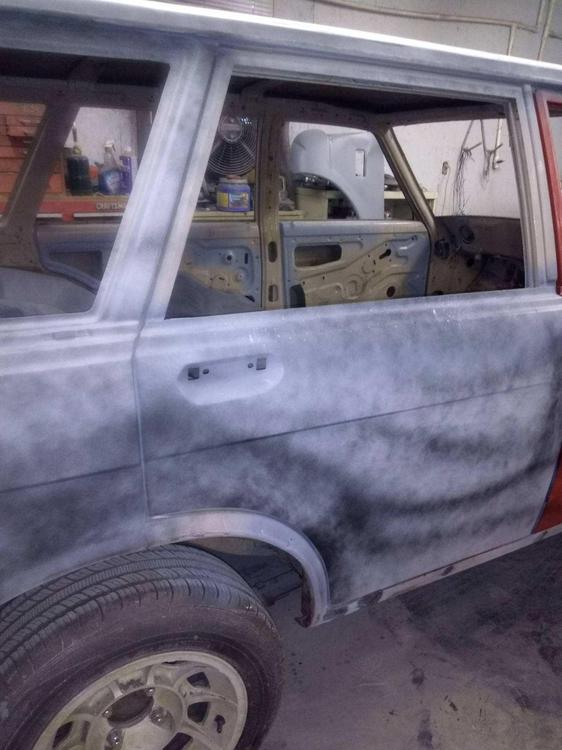
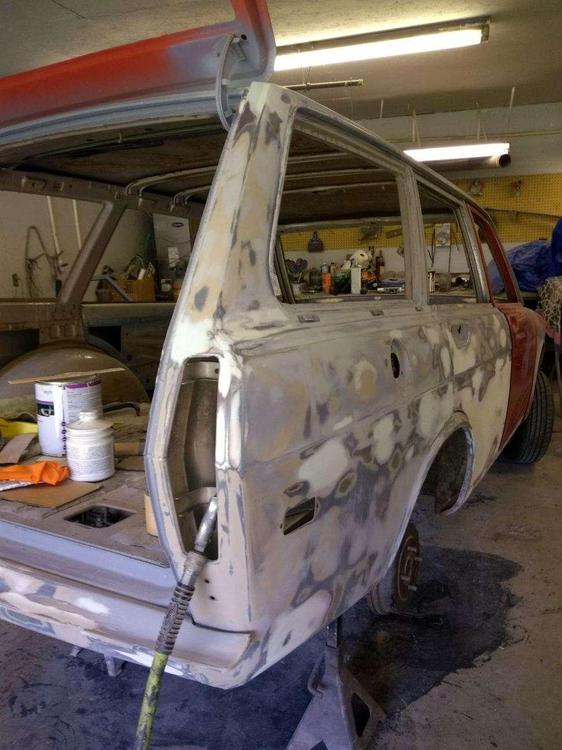
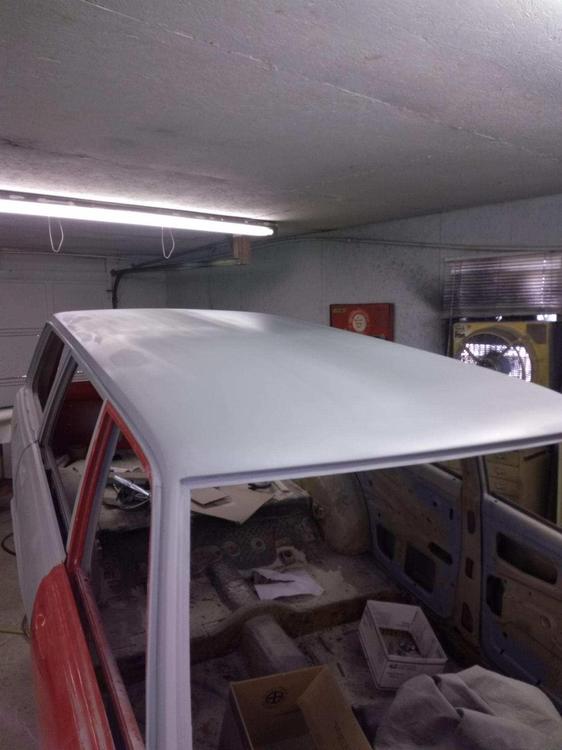
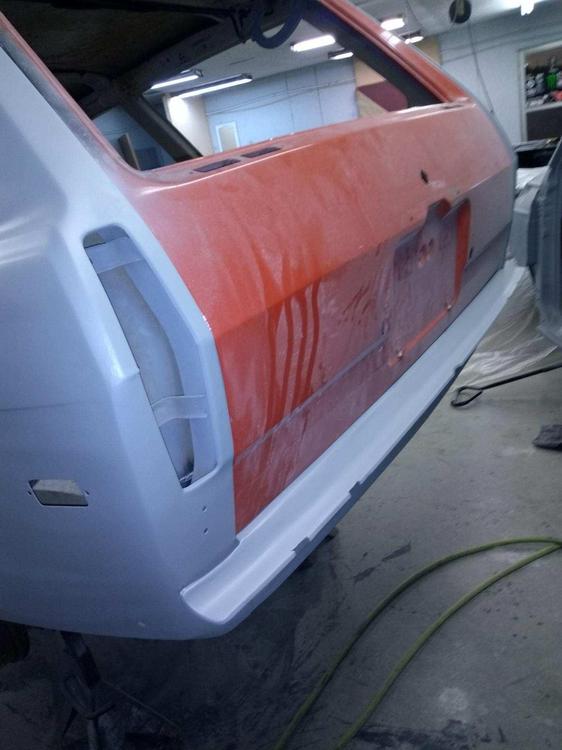
2 pointsWell that’s it! All the epoxy primer is laid on and the fun can begin! Next to finish sand the interior panel bits and flanges and lay down some colour.2 points
-
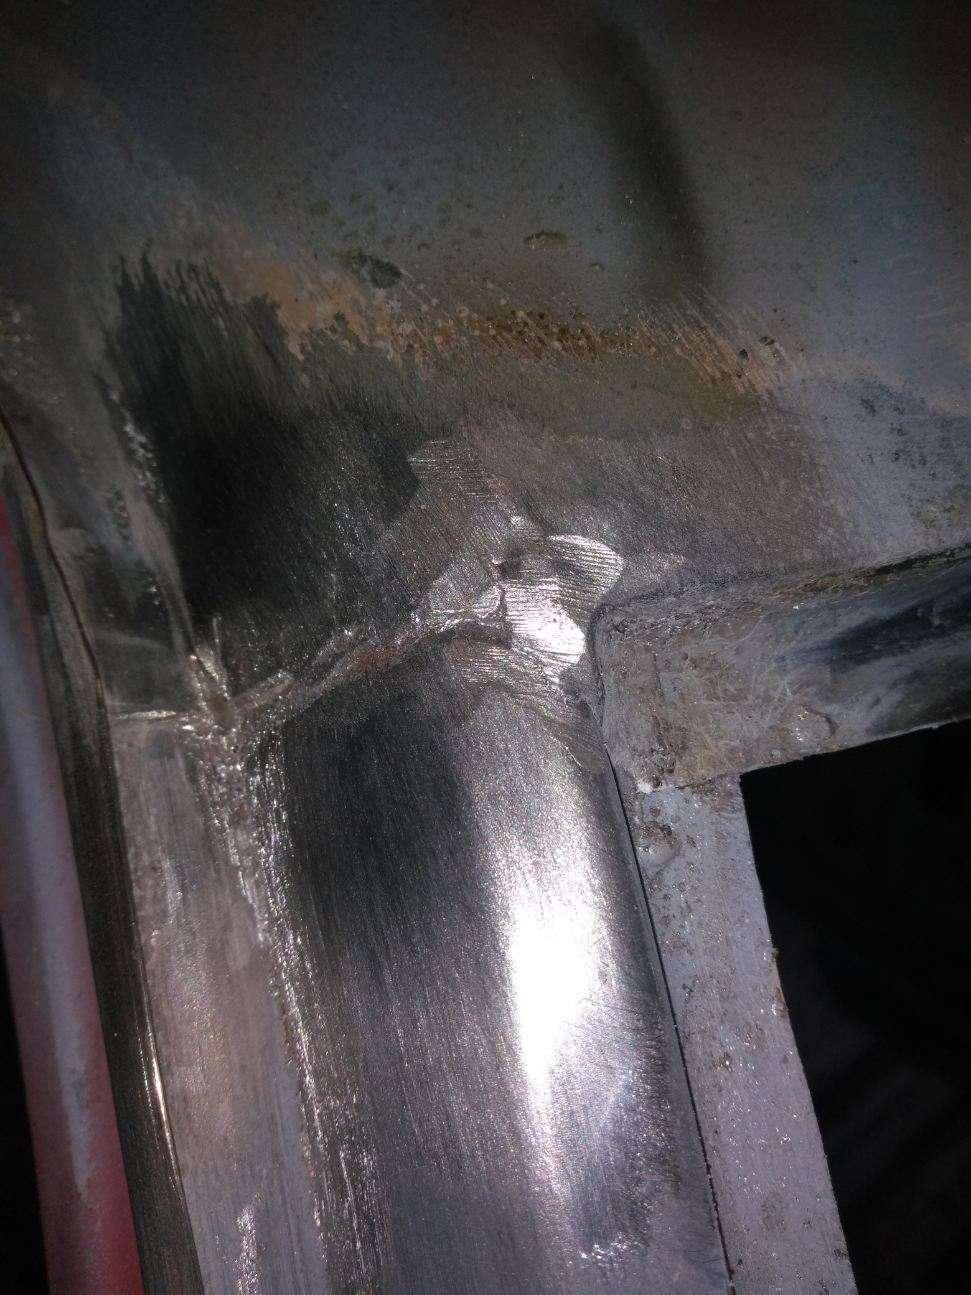
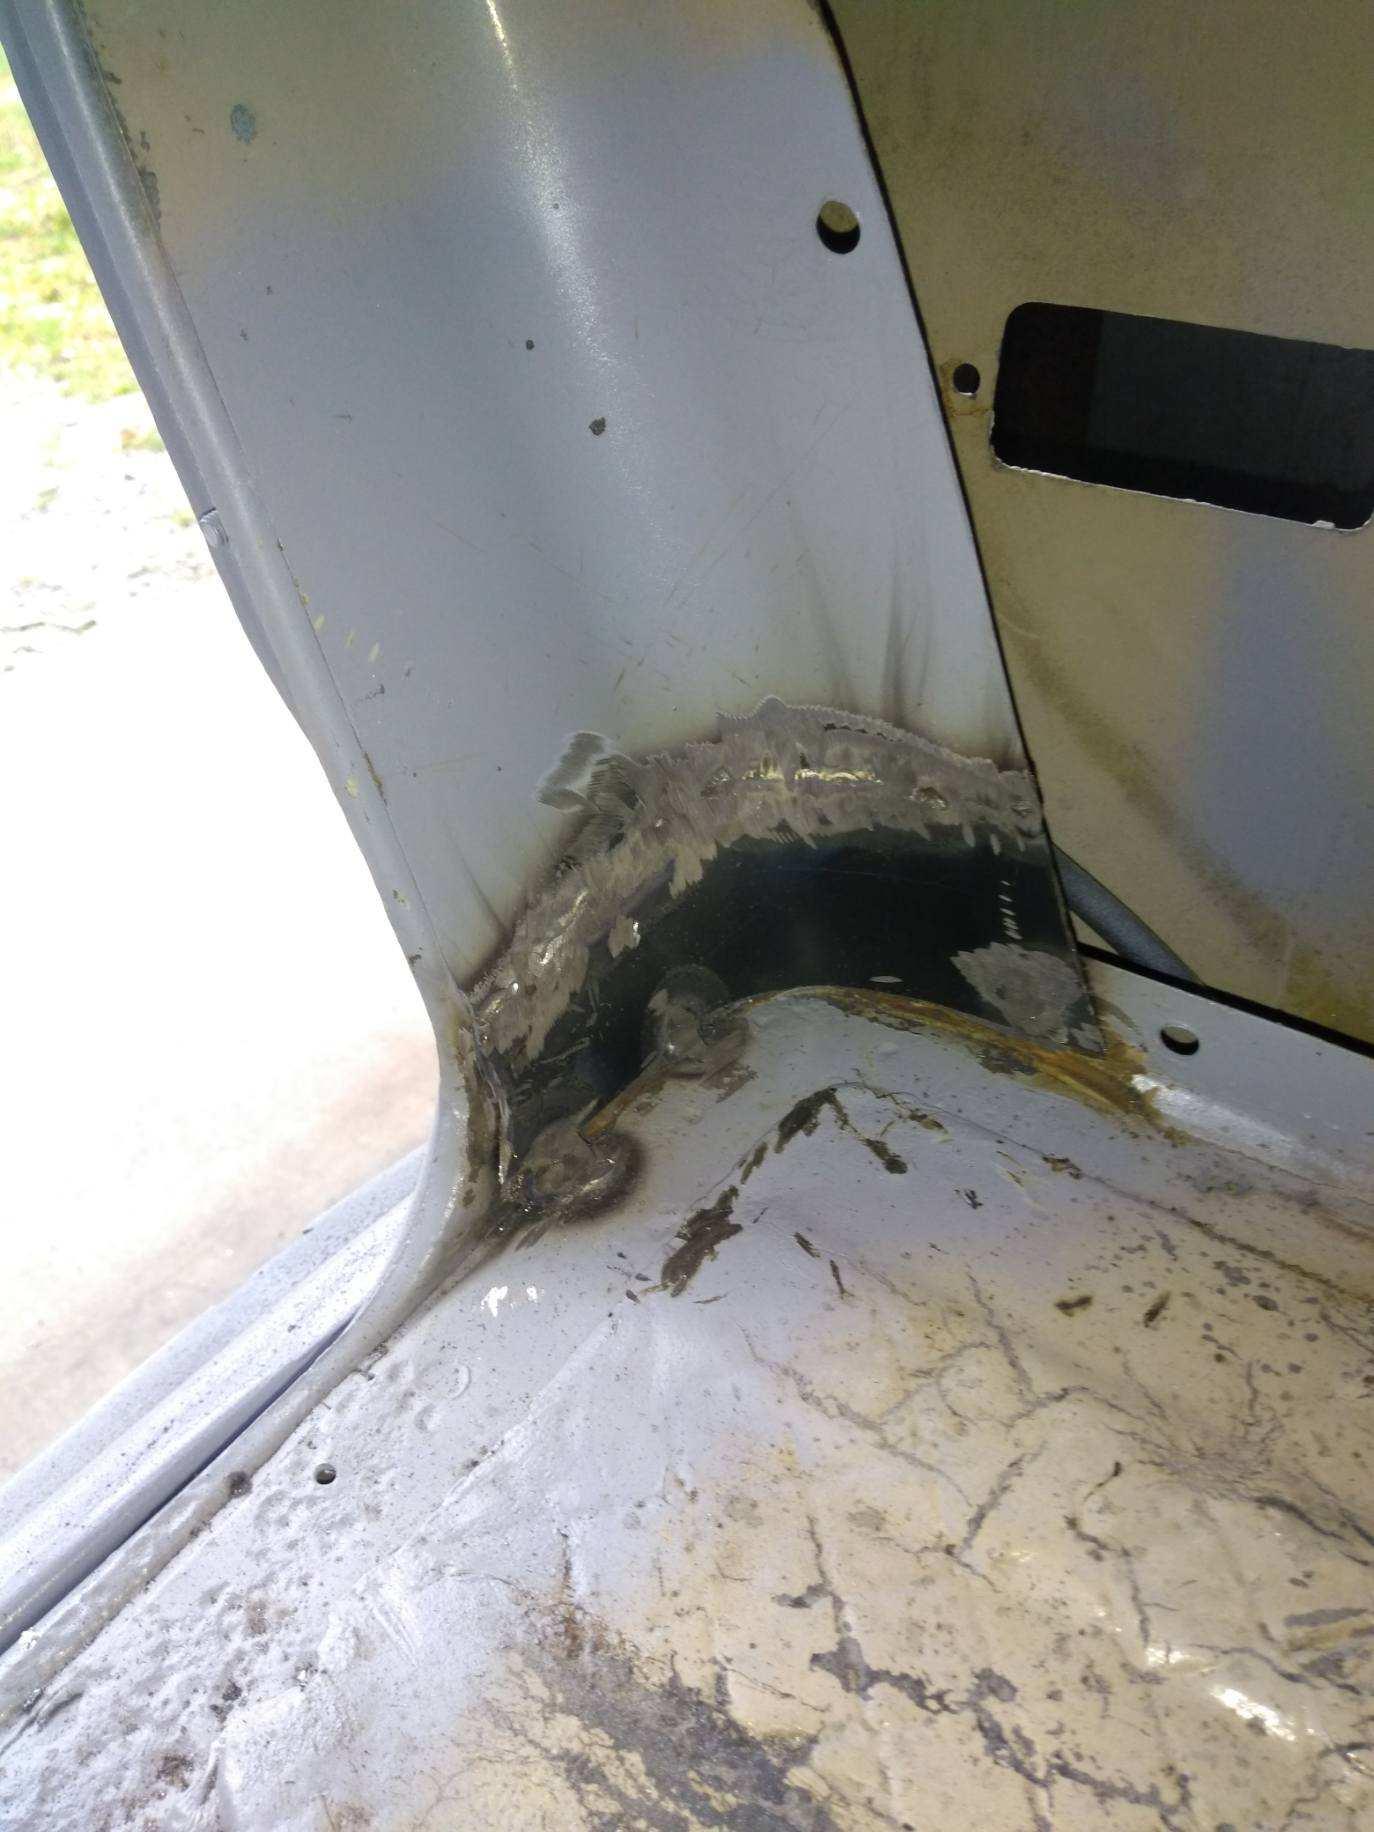
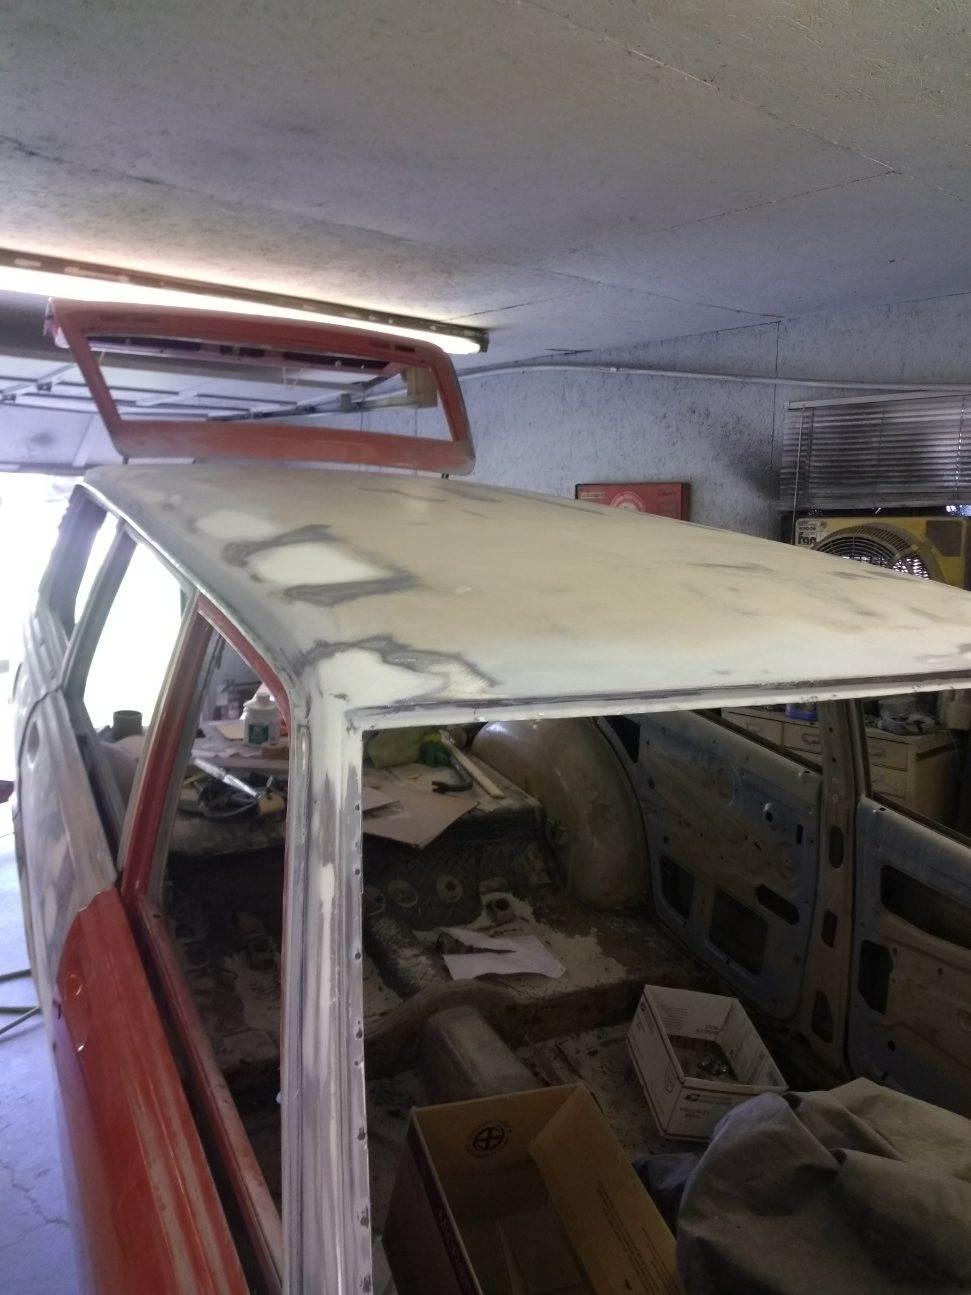
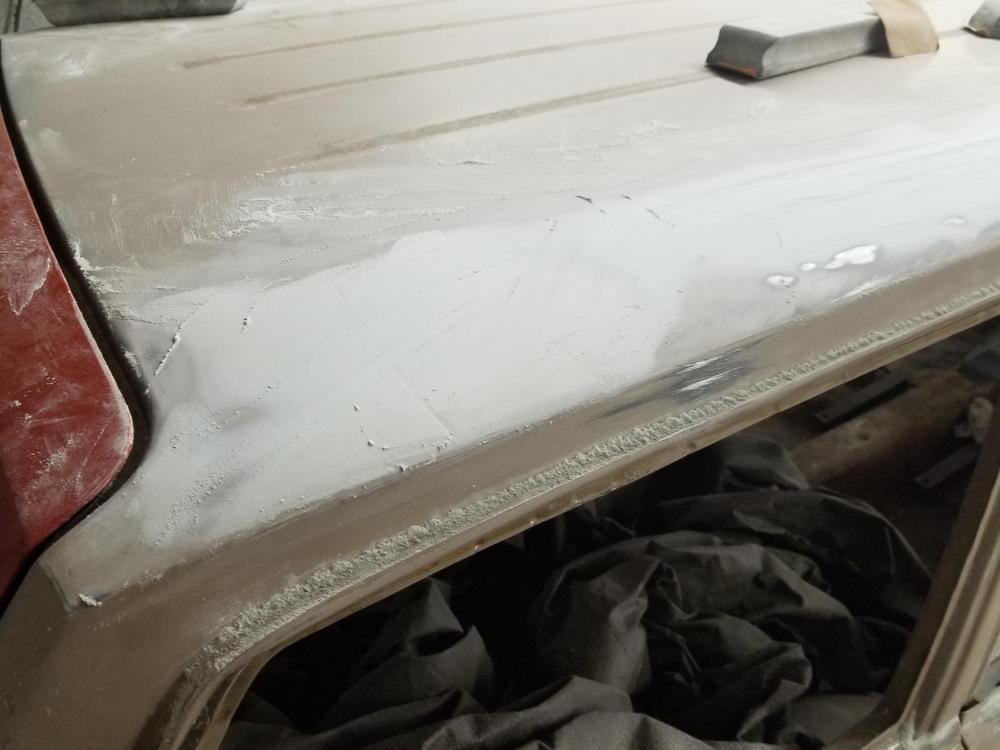
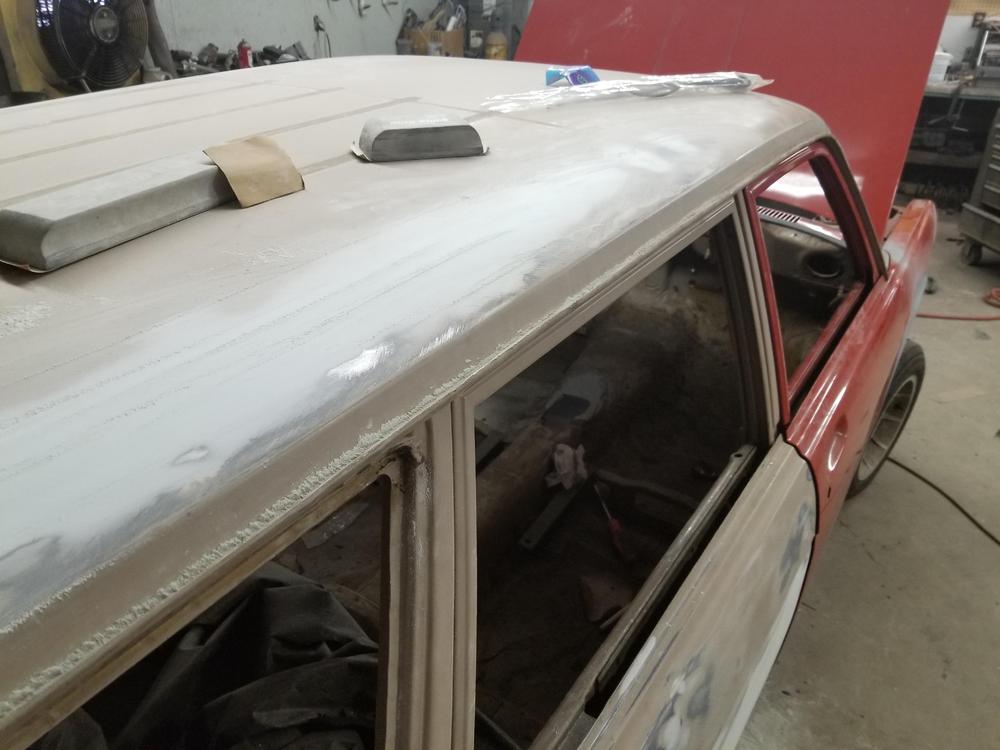
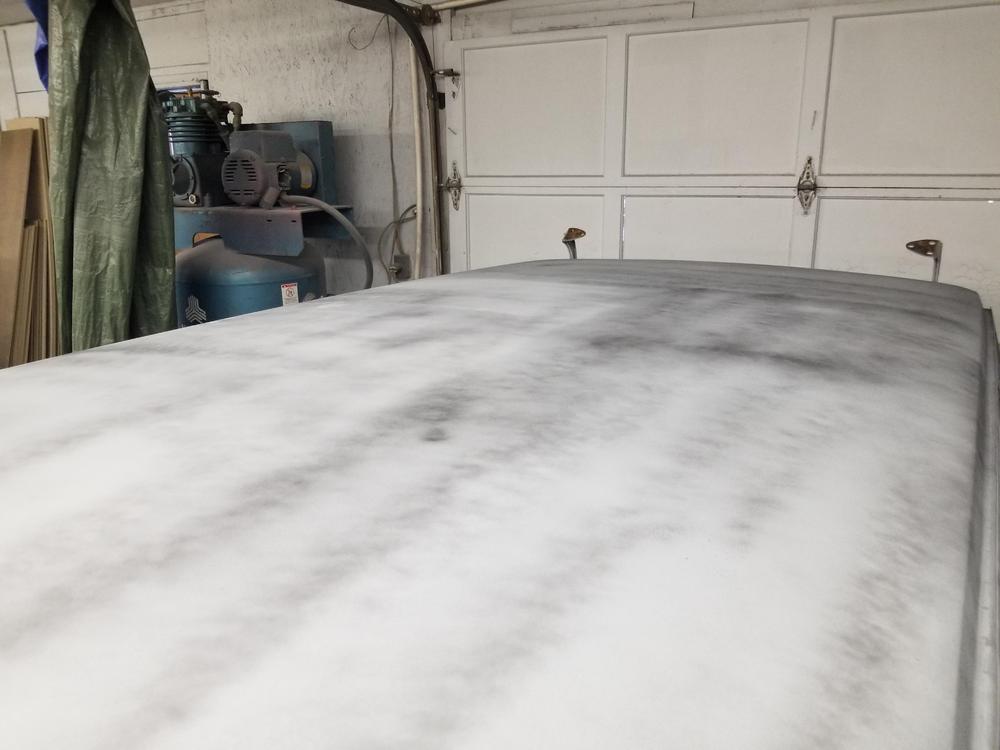
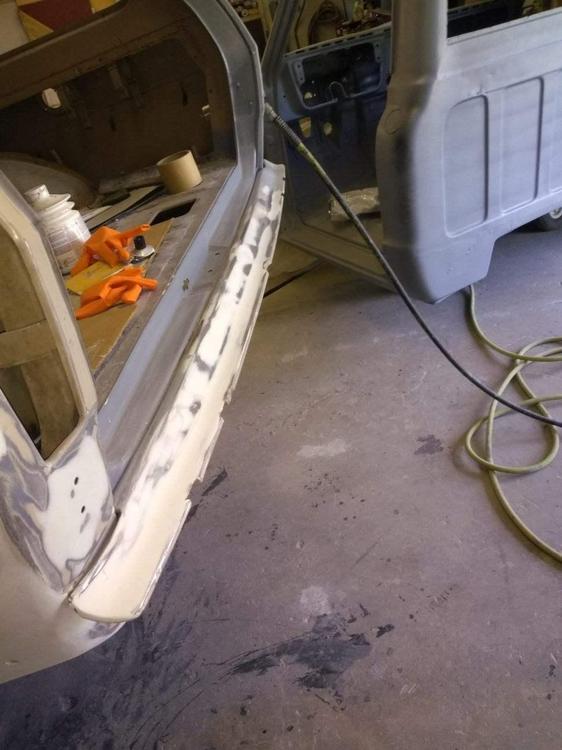
2 pointsOne of the few rust spots on the car was the inside drivers rear corner. Maybe the exhaust contributed to that. We also redid all 4 lead roof joints because they were cracking


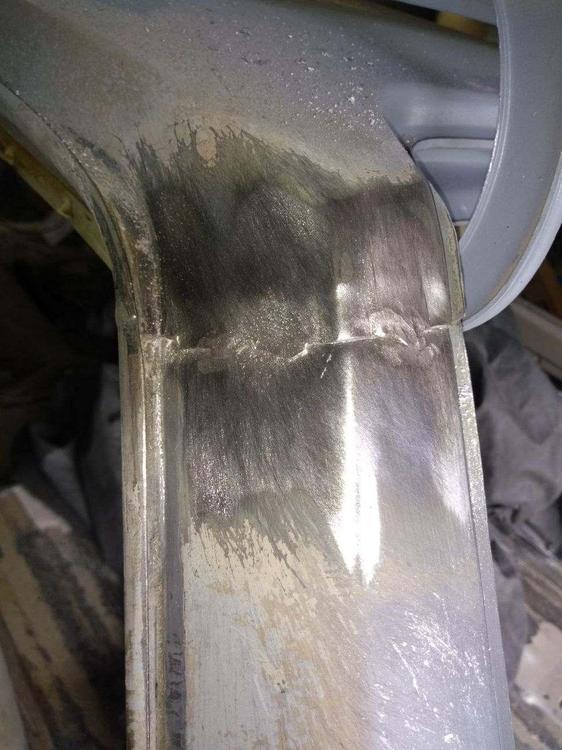
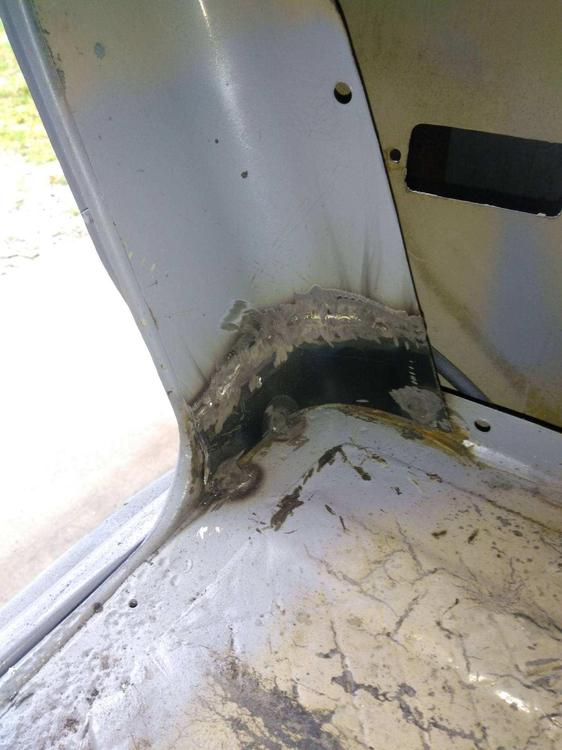


 2 points
 -
1 pointYou'll share if it's crap right? I won't waste any money either.1 point
-
1 point
-
1 pointNot to complain, but this thread is already bulky enough without the off topic posts... Maybe start a separate thread on your project to cover these things. ?1 point
-
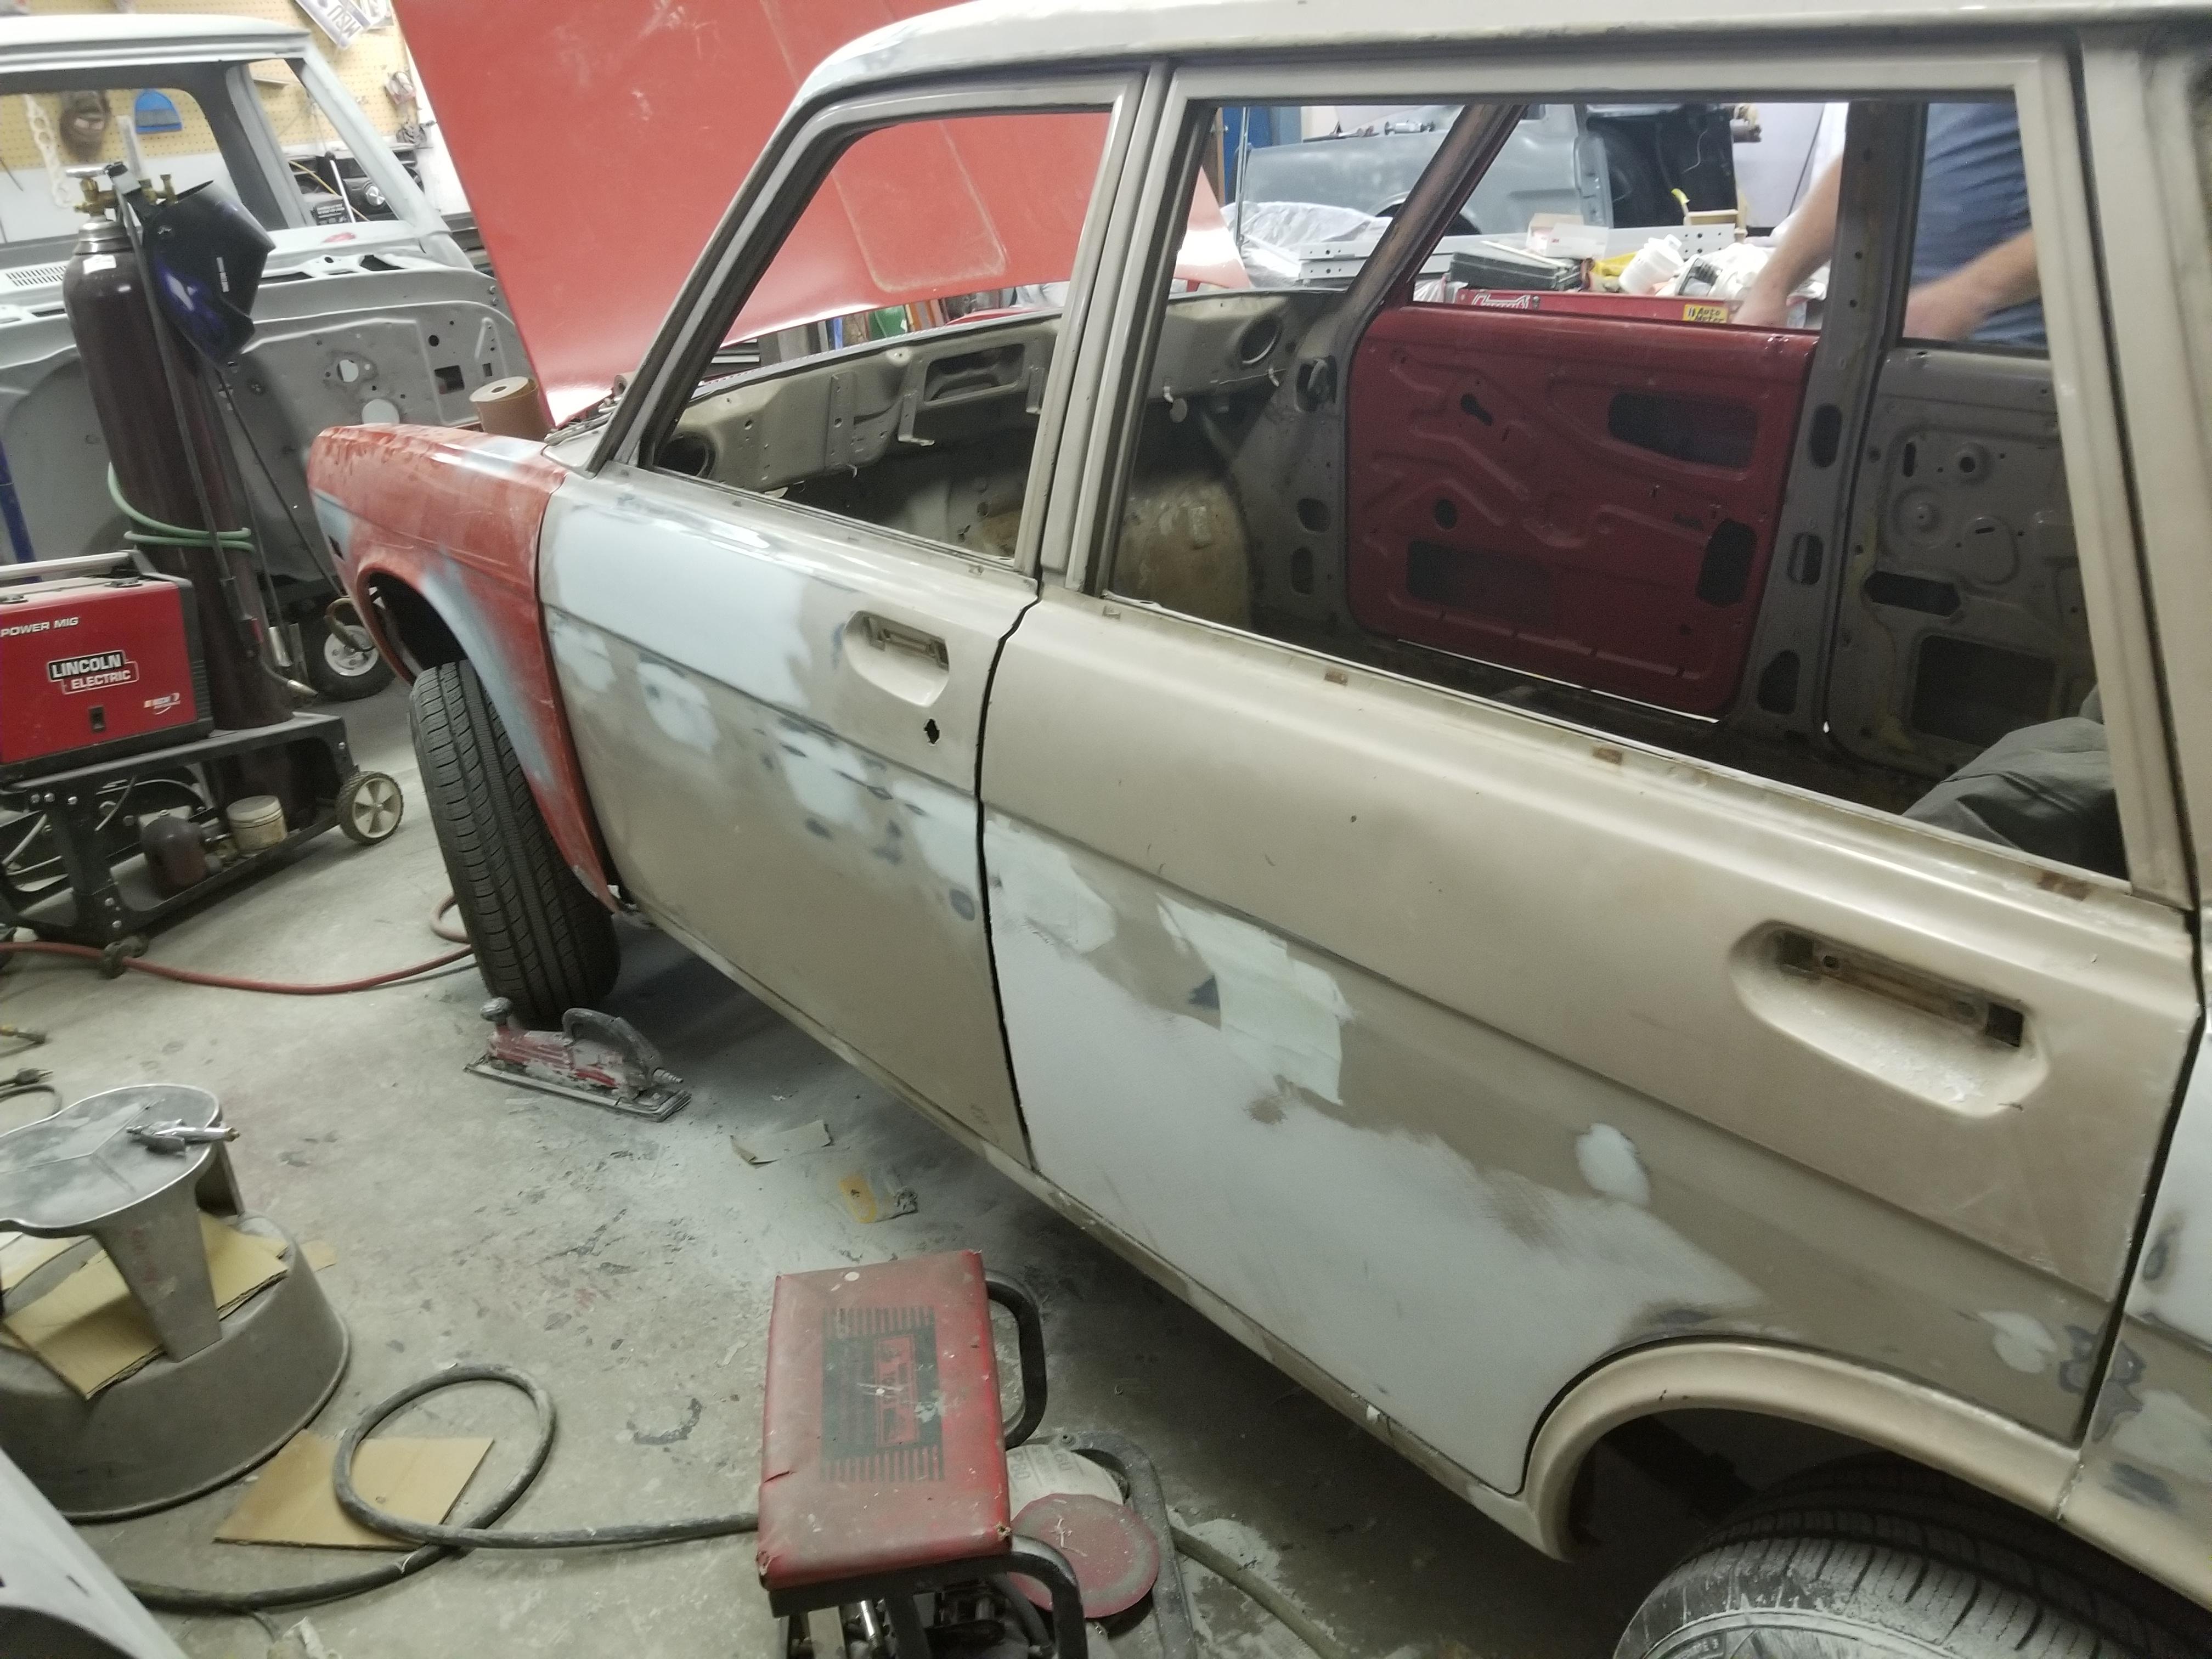
1 pointI have welded a good many shut. Not really that hard. Just little short burst and let it cool between welds1 point
-
My floats were never level after adjustment and they worked great.1 point
-
1 pointBudget in another 10$ per rod for sizing. You need to resize the rid big ends if replacing with ARP. Cutting the head face is a straight forward process. It’s not risky , anymore risky than not resizing rod bolts or installing valve guides. Head needs to be perfectly flat and a fresh finish also helps guarantee a good seal with the HG. MY 2 cents .1 point
-
1 pointGreat set of pics, it is pretty amazing to see this car coming alive. Congrats to Cody for all his hard work and to Dad for all his support!1 point
-
1 pointDifferences can be in body casting and possible changes to machining and components. Here are some of the key items that can change: 1. progression hole size, quantity, location 2. throttle plate angle 3. accelerator pump excursion probably others that I am forgetting. For triple applications, it is important that all 3 carbs are the same.1 point
-
1 pointCar guy, too... "George began his slide playing using the casing of a Sears-Craftsman 11/16ths spark plug socket wrench, rather than the traditional glass or steel finger tube."1 point
-
1 pointRIP Mr. George. I'm sure he's sipping a drink at the Commodore Hotel on the other side.1 point
-
1 point
-
1 point
-
1 pointMe Likey! I've been wondering how his car was progressing. Now it's just got assembly to go through (which is no small feat as we all know...)1 point
-
1 point
-
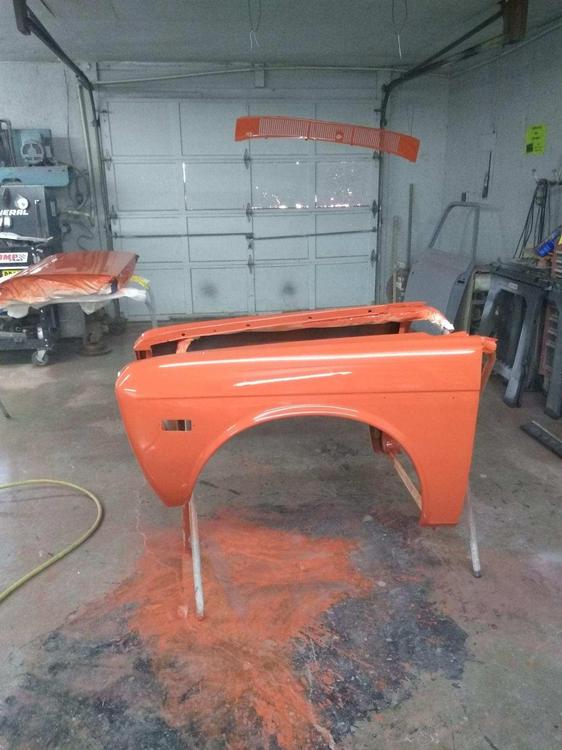
1 pointSo he paints in a 2 car garage, where he also does filler and metal work with just a window fan for ventilation He wets the floor down but that's it and I swear he has way less trash in his paint than I do in my plastic booth!! .


 1 point
 -
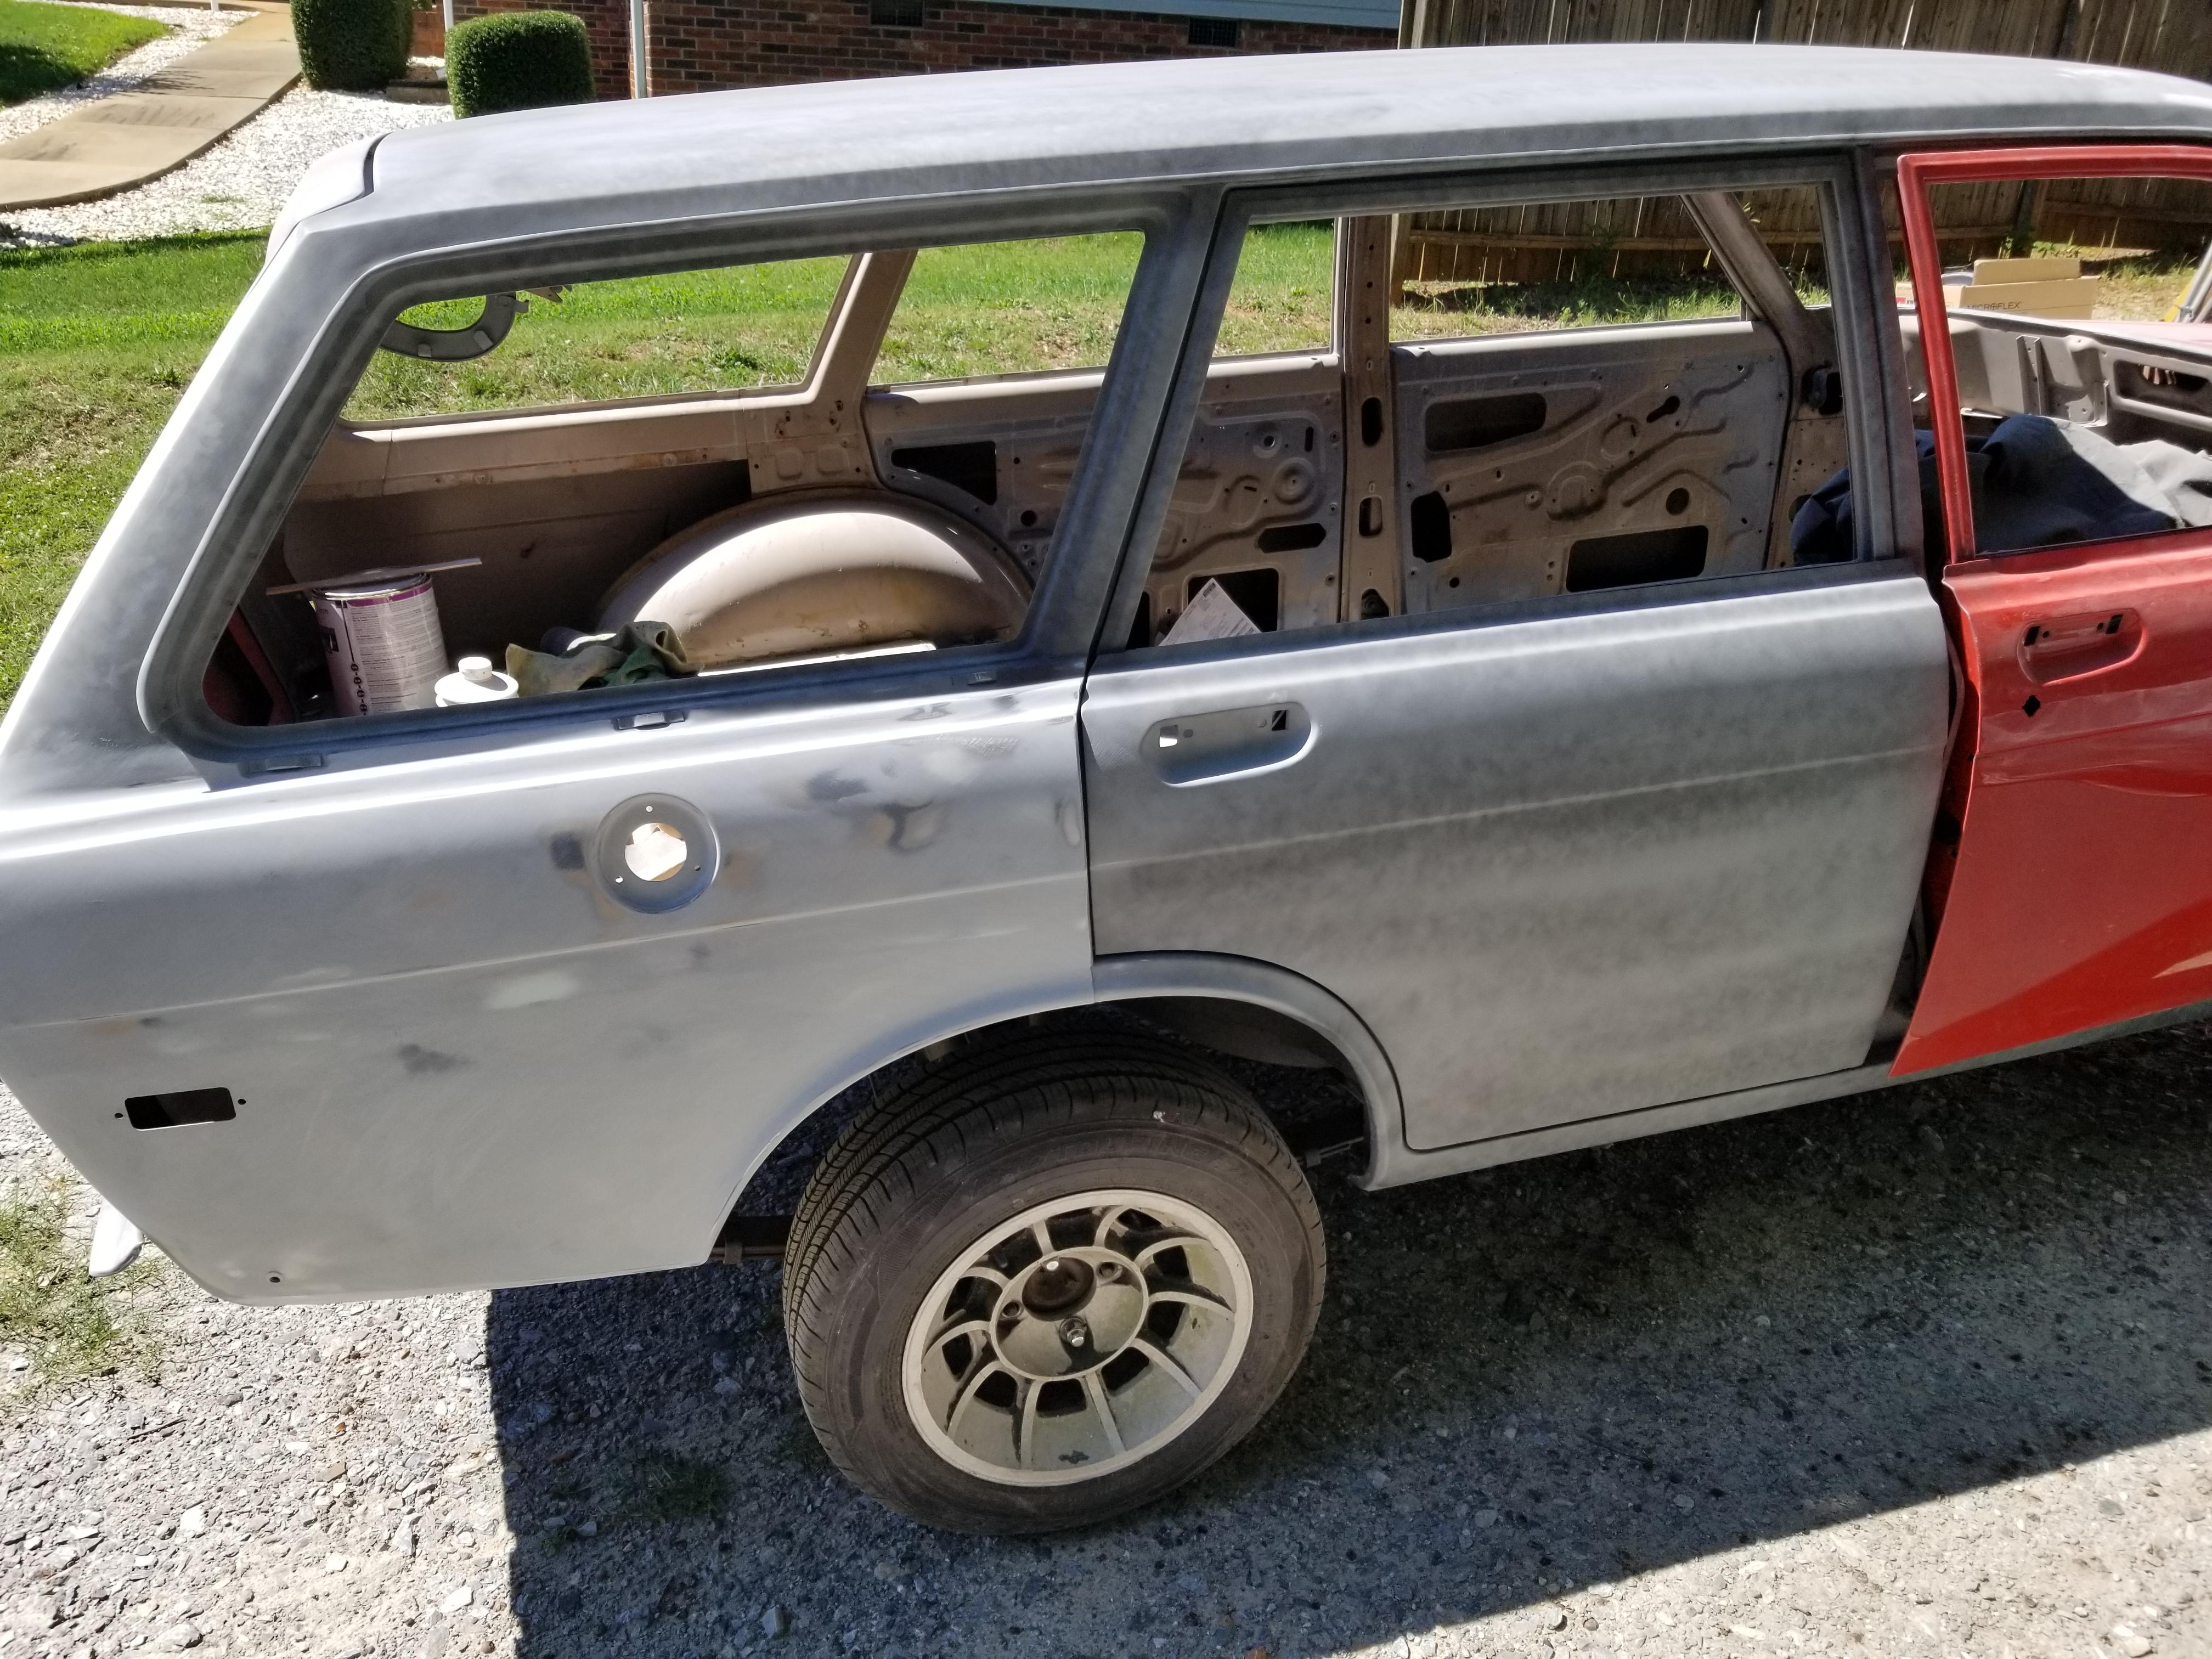
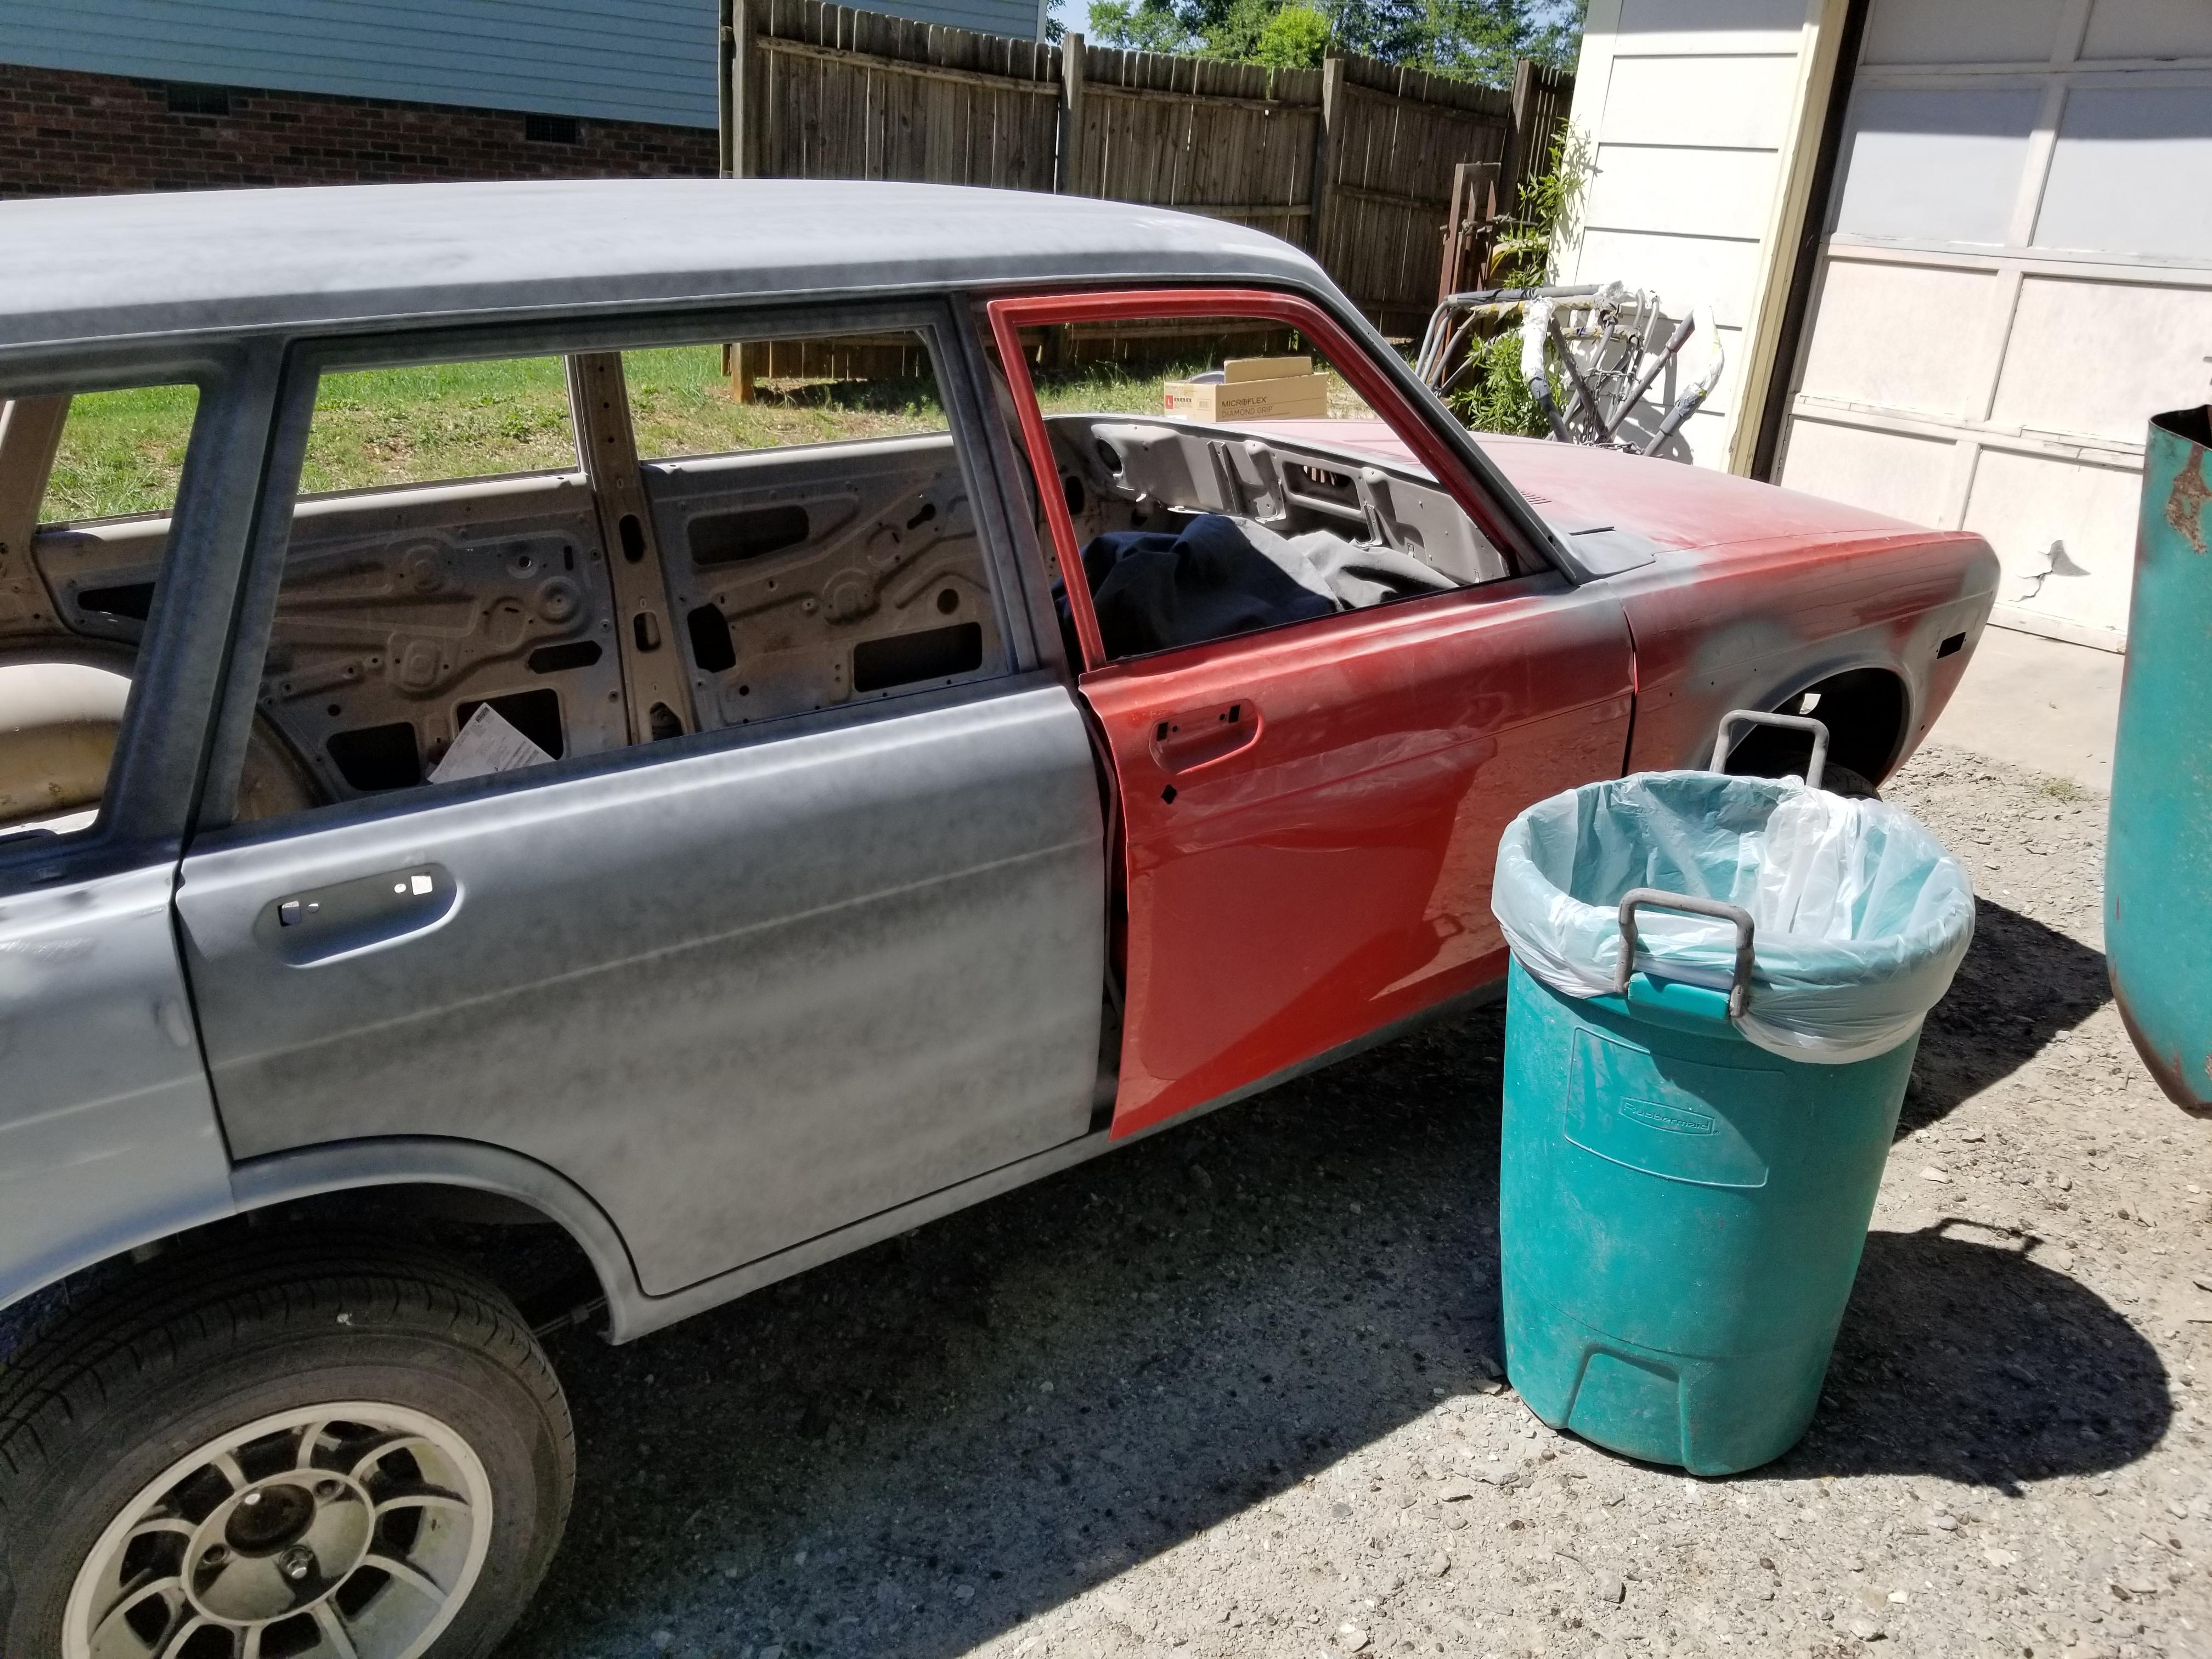
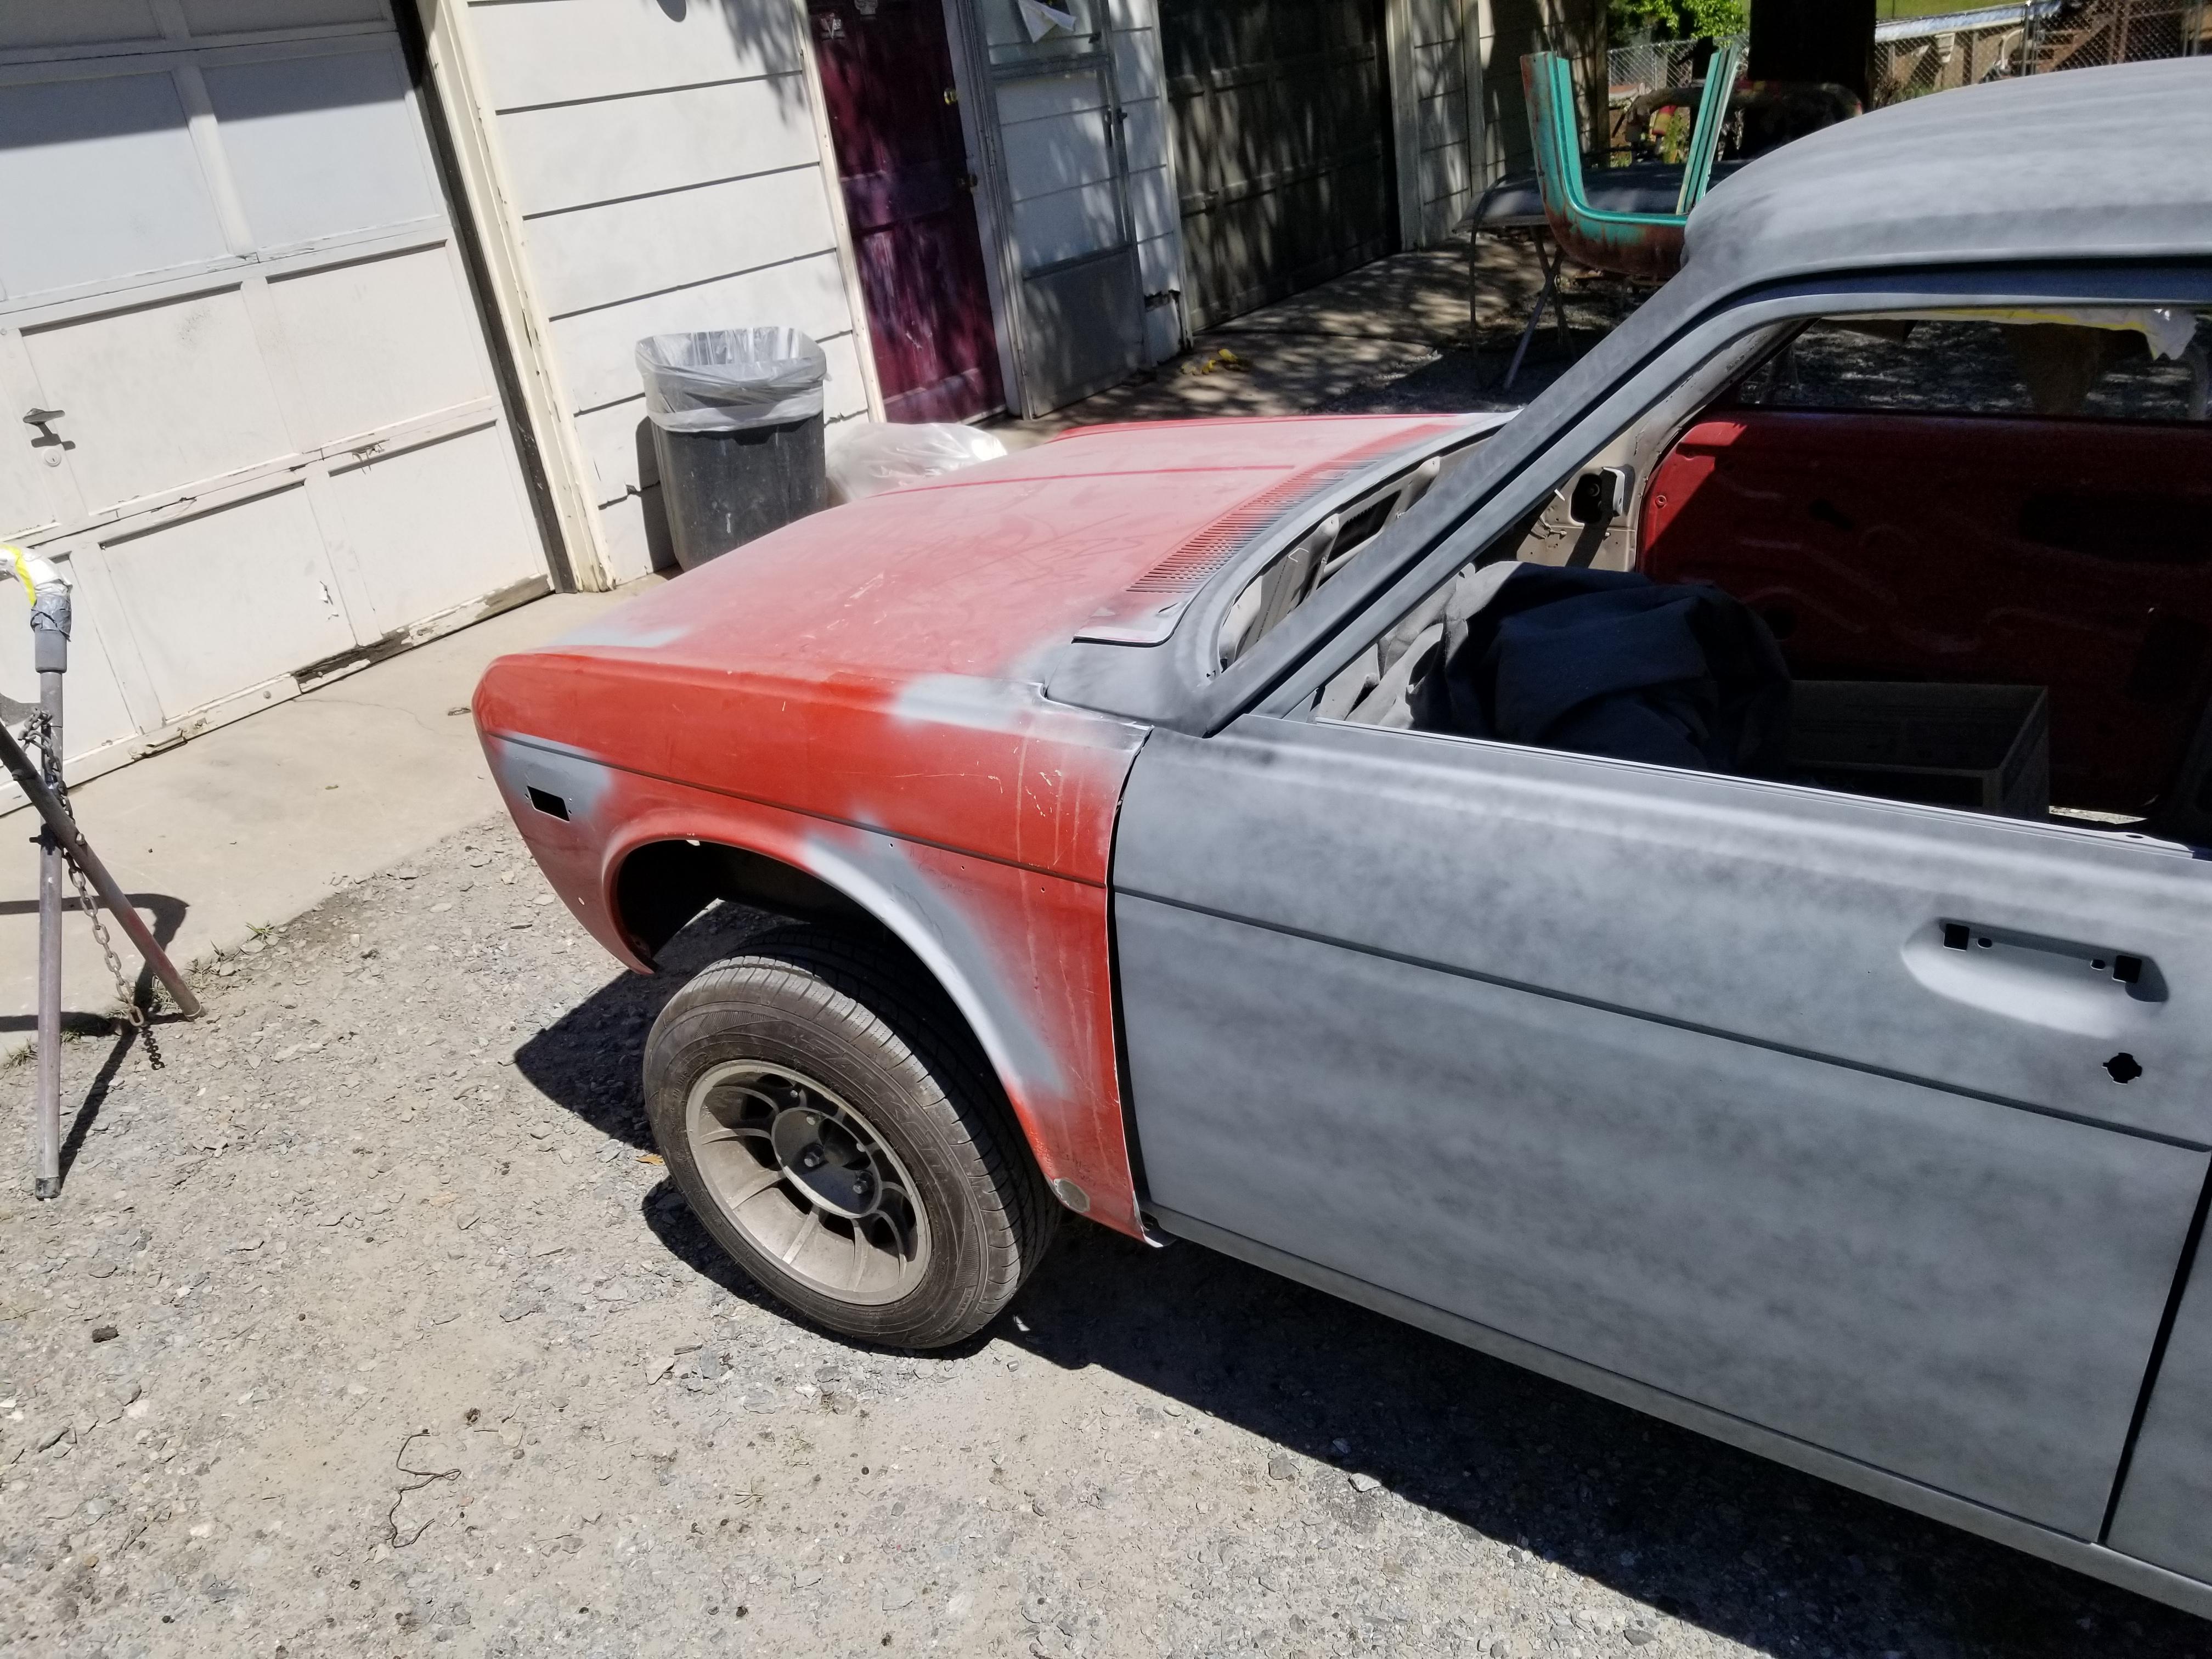
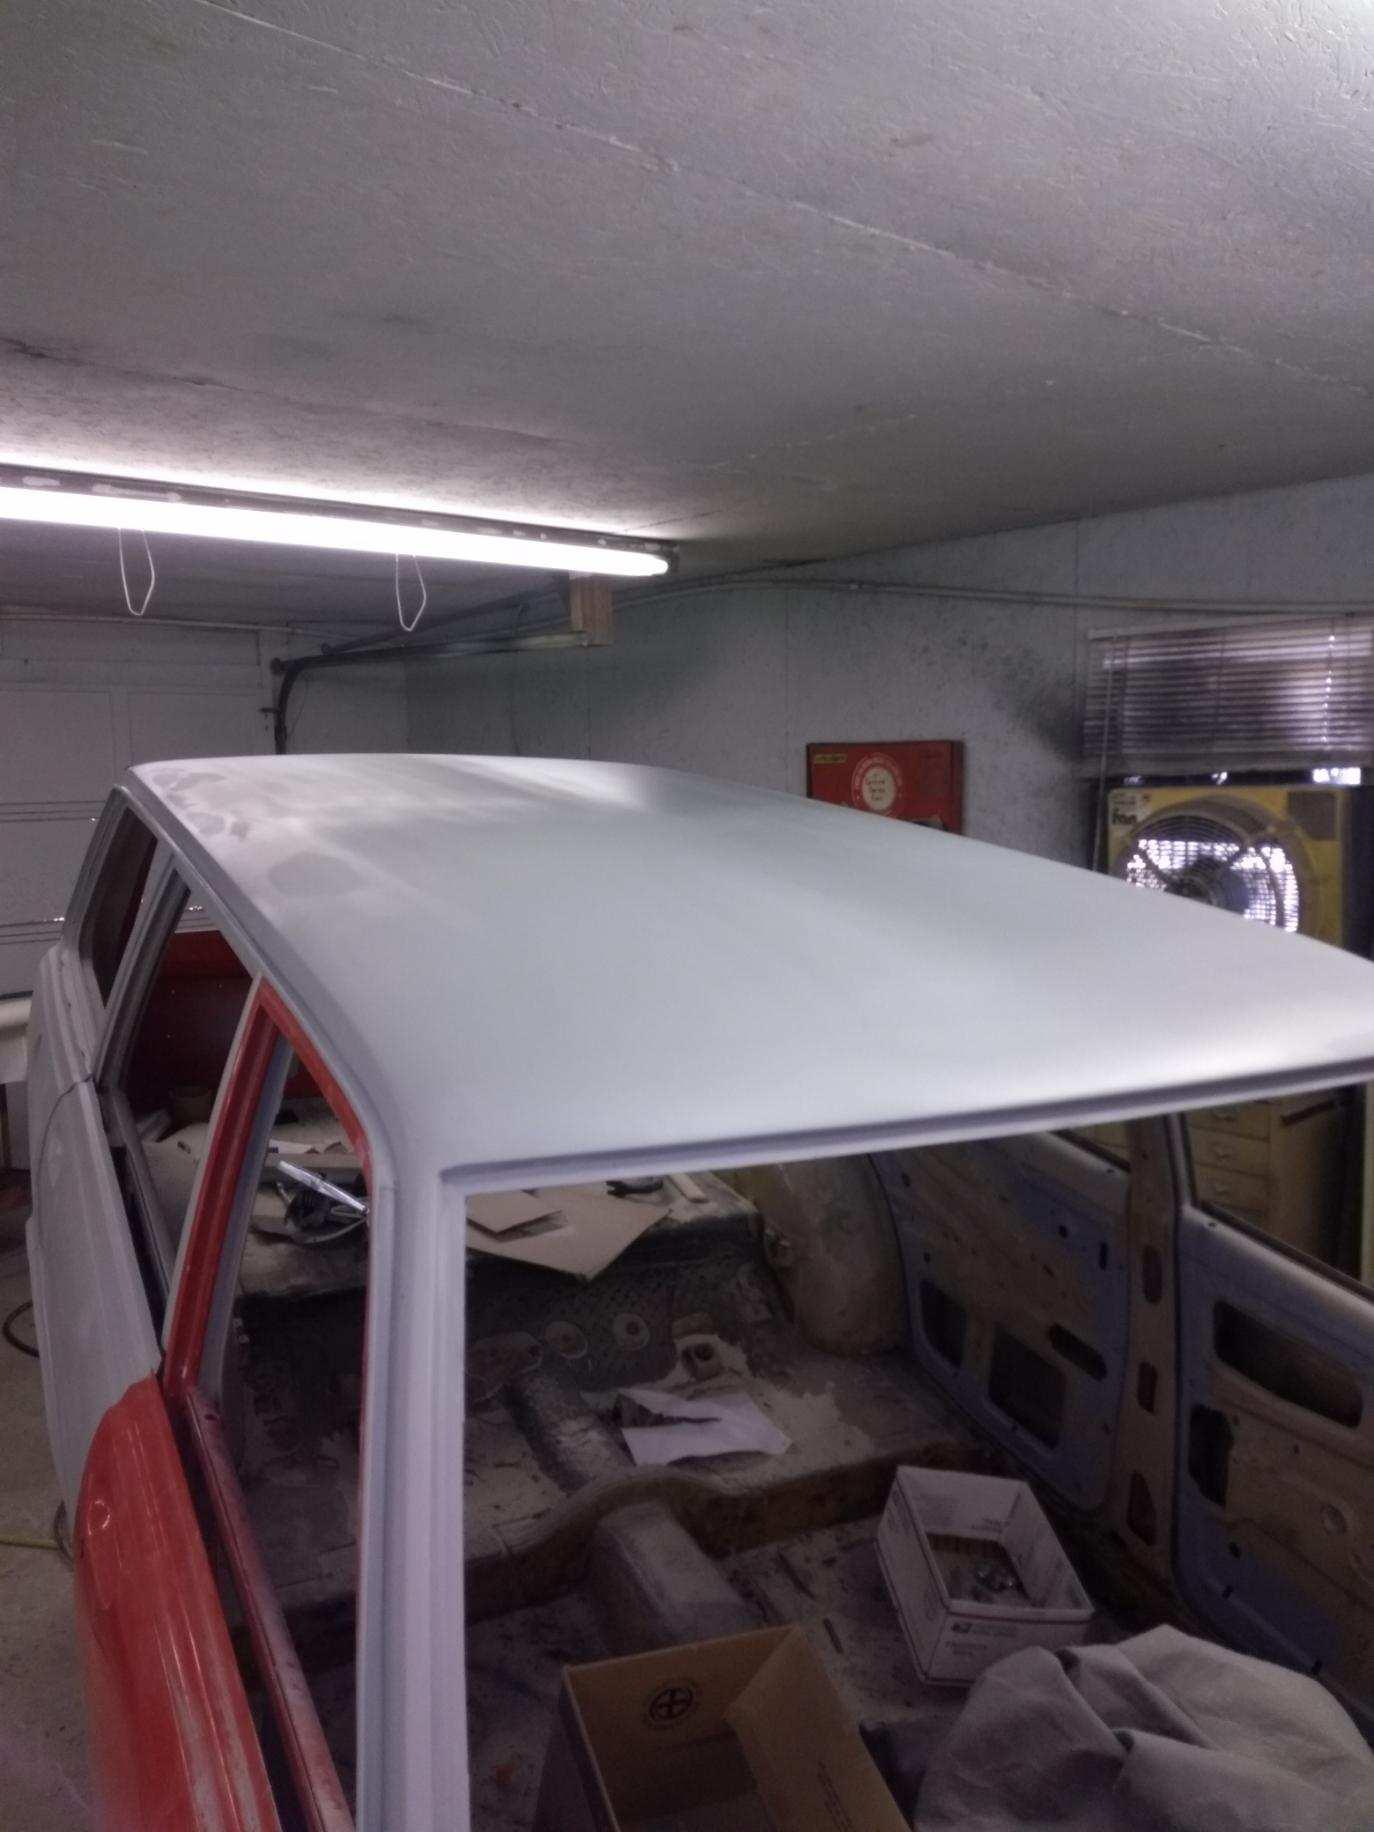
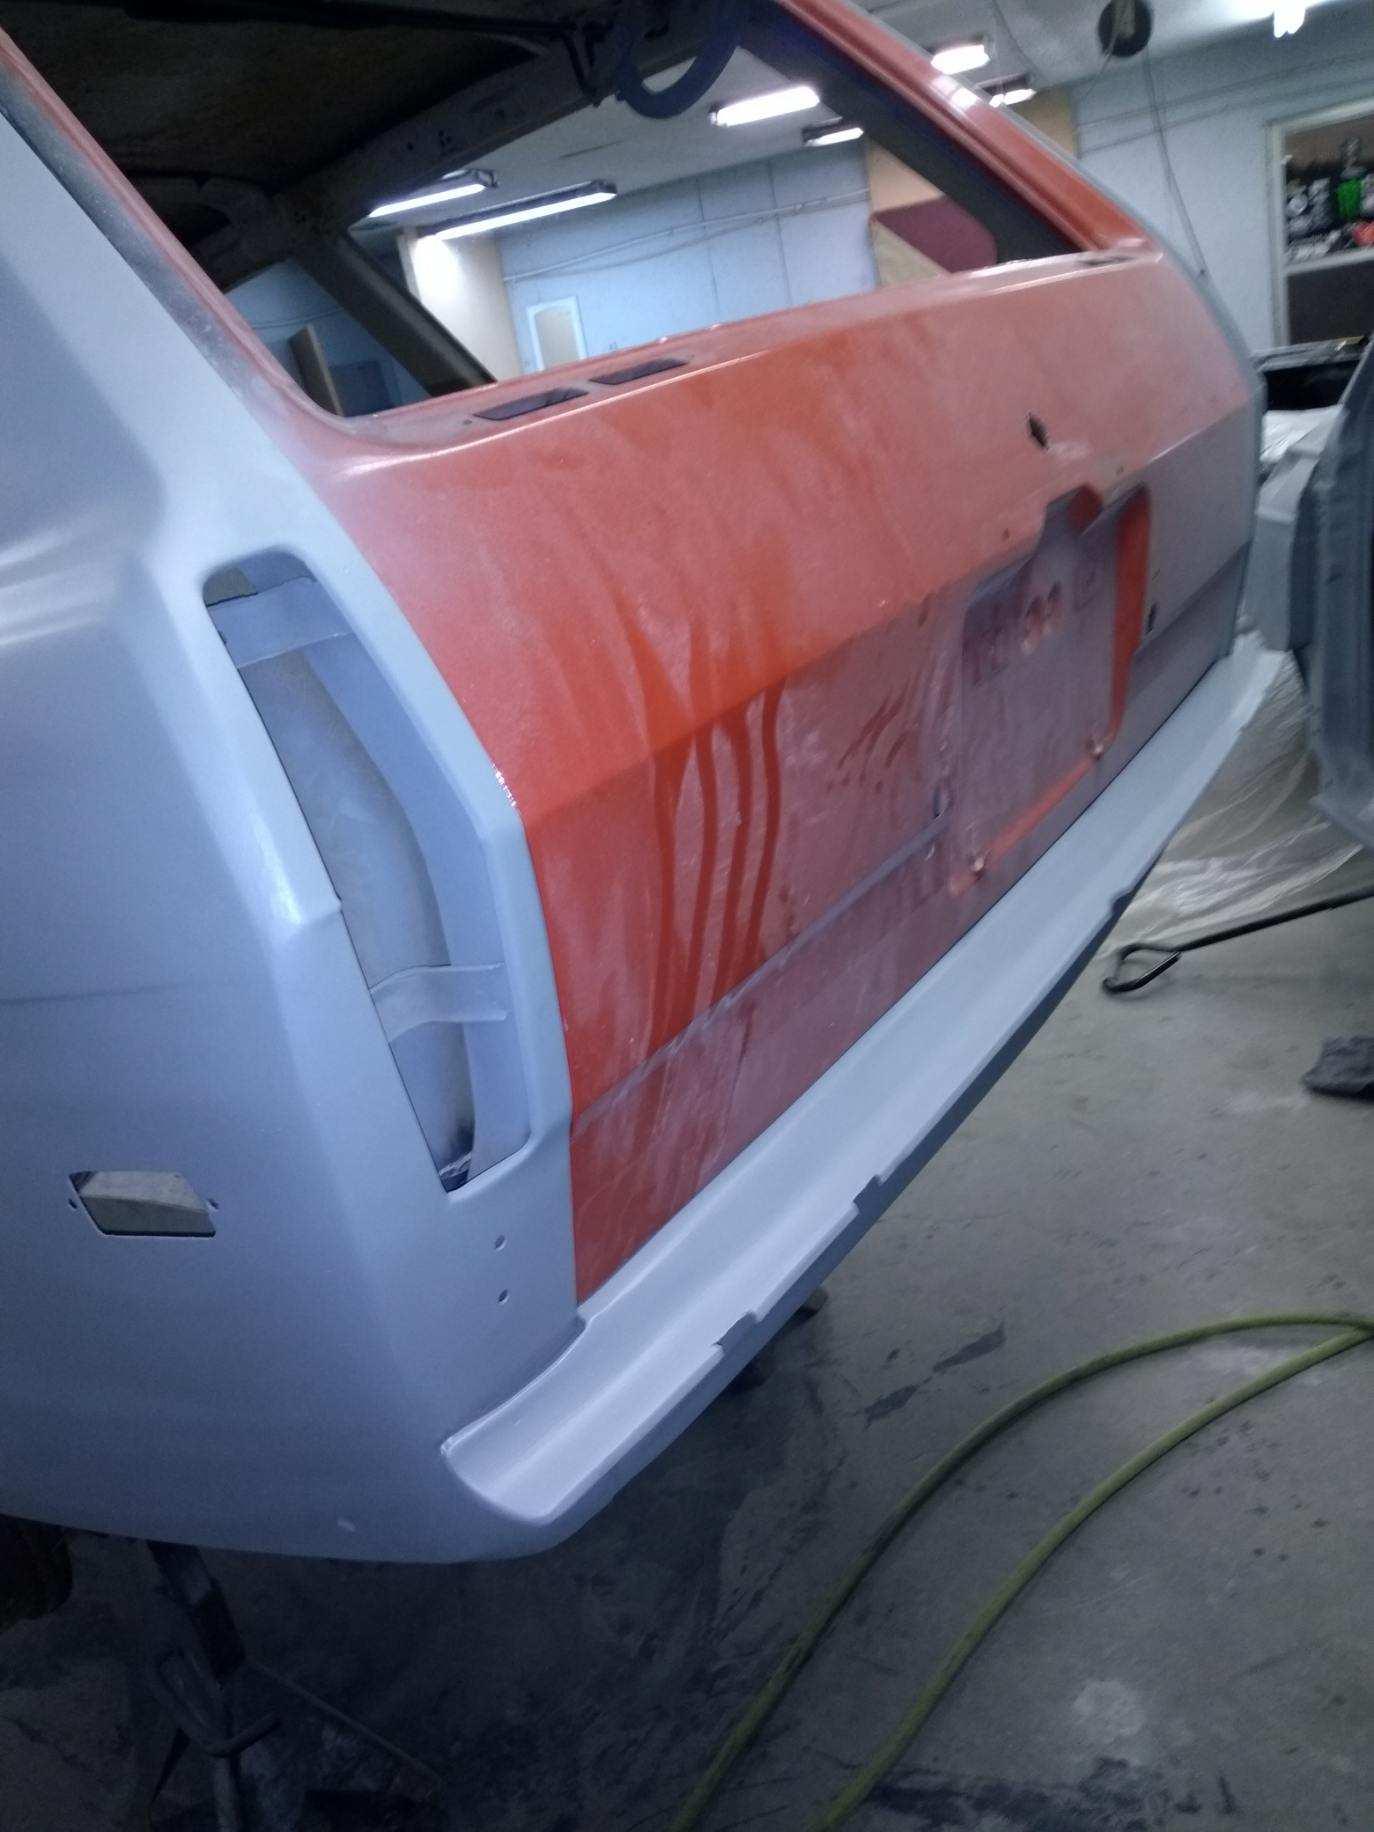
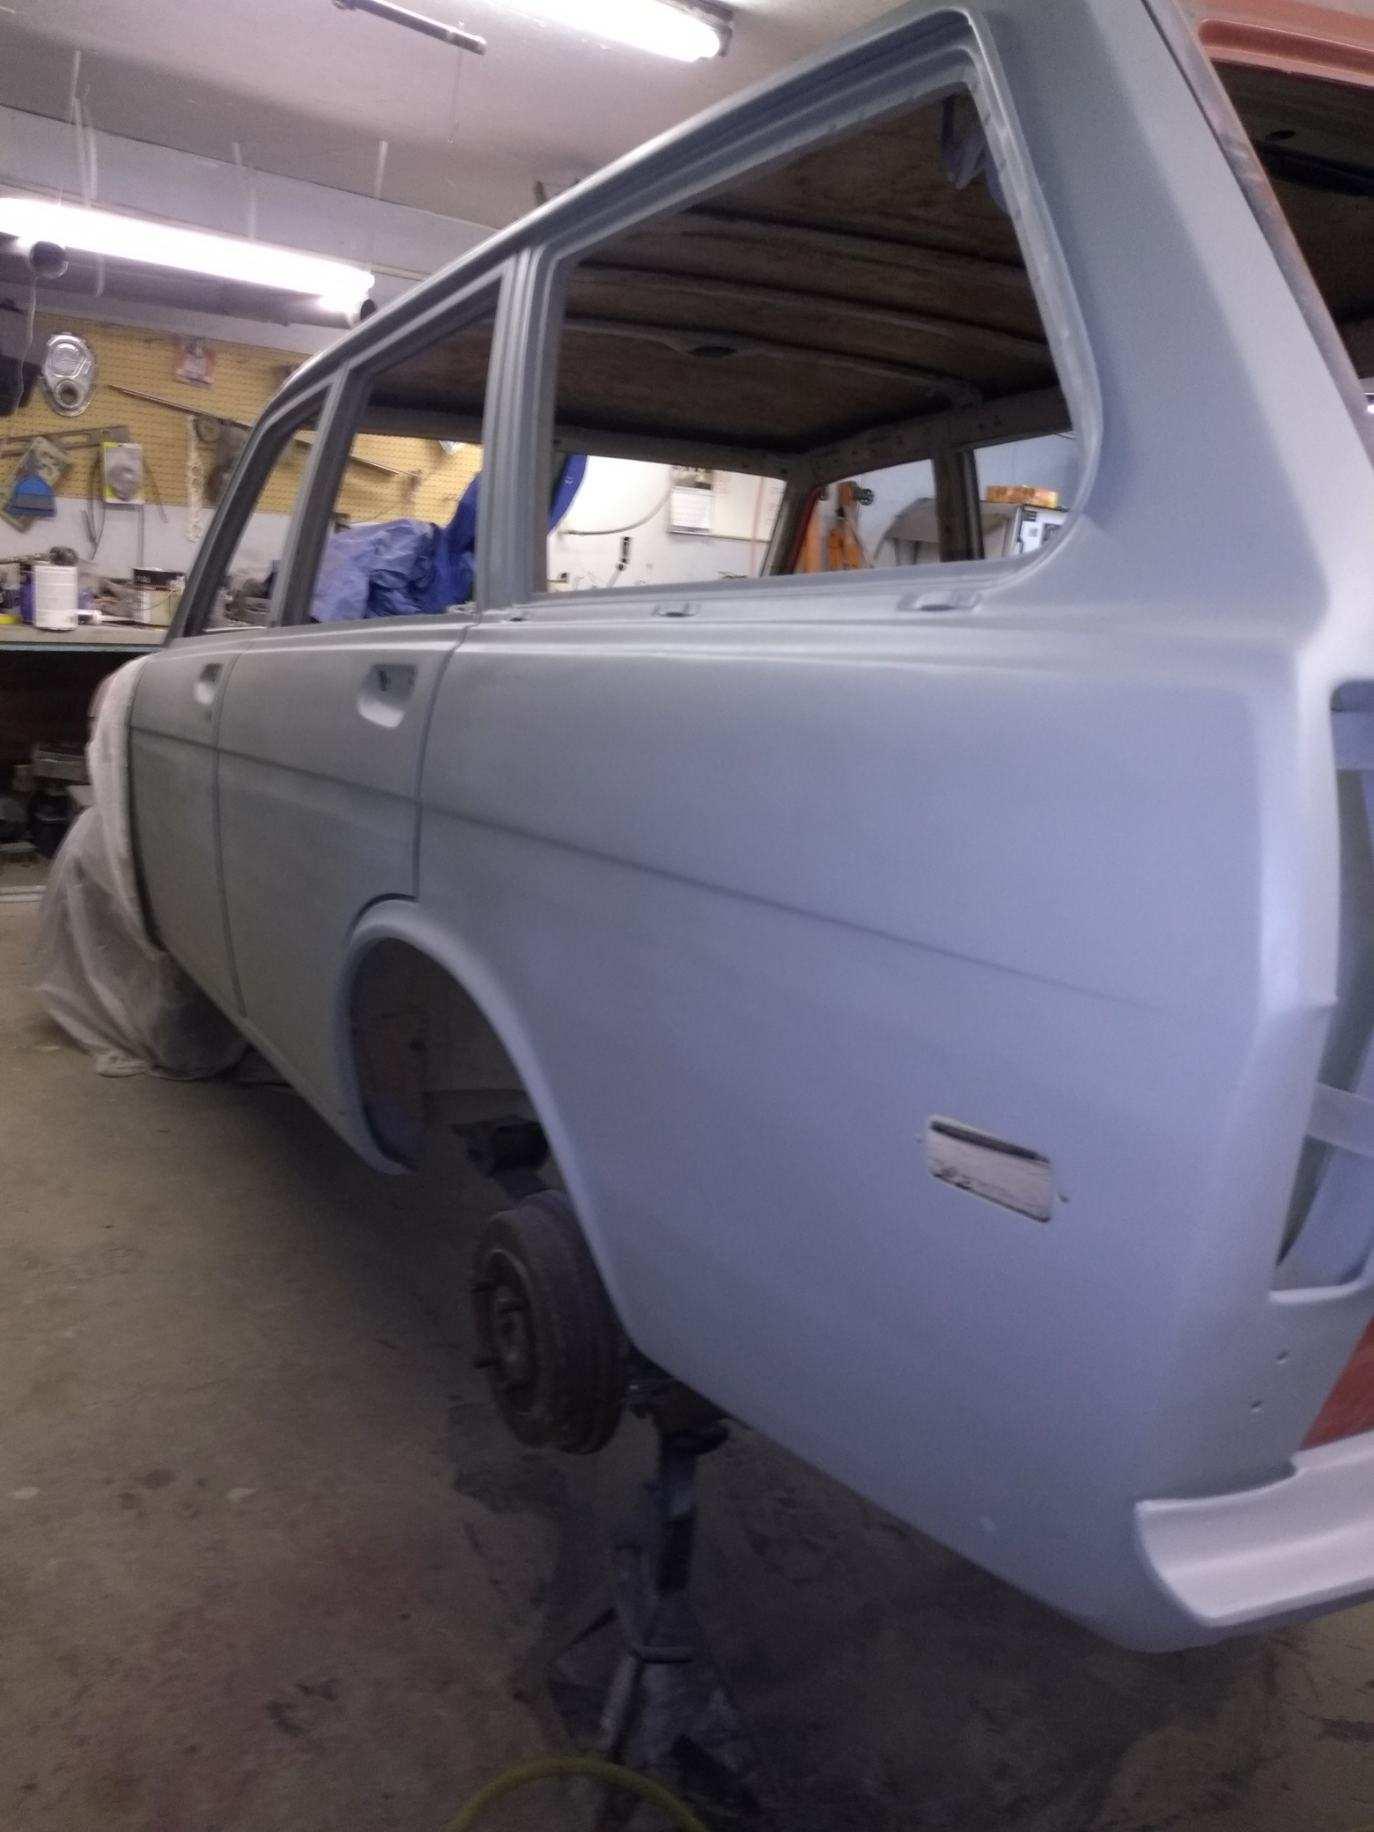
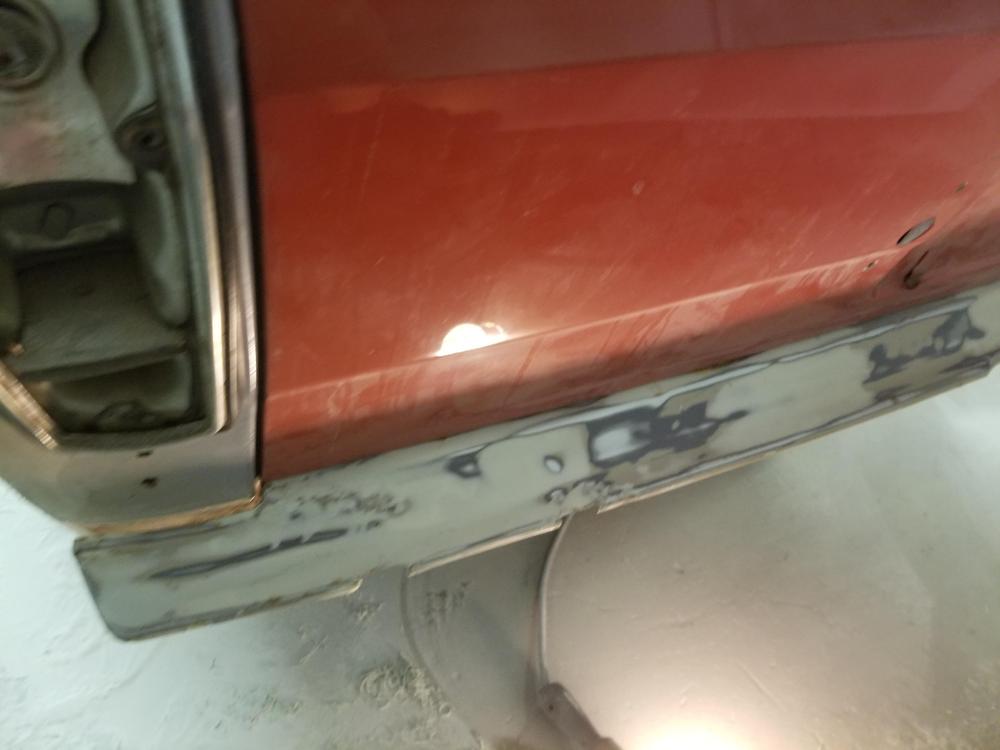
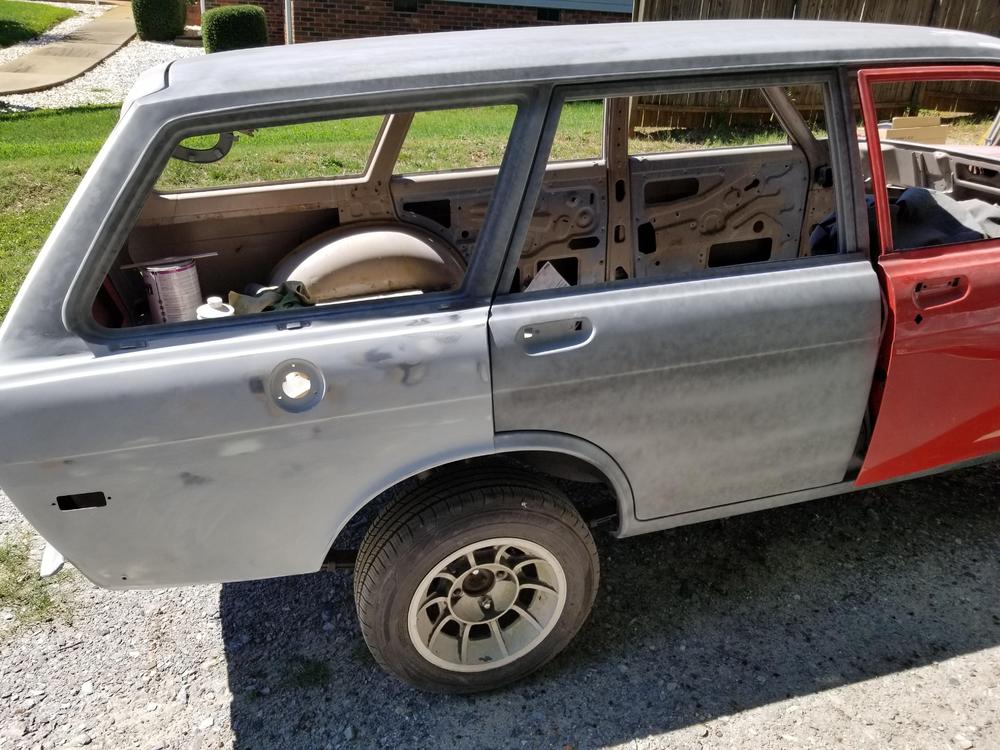
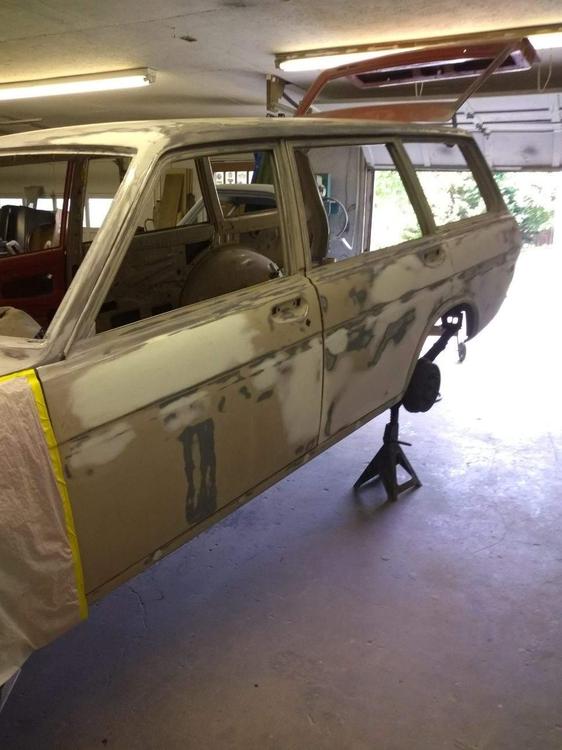
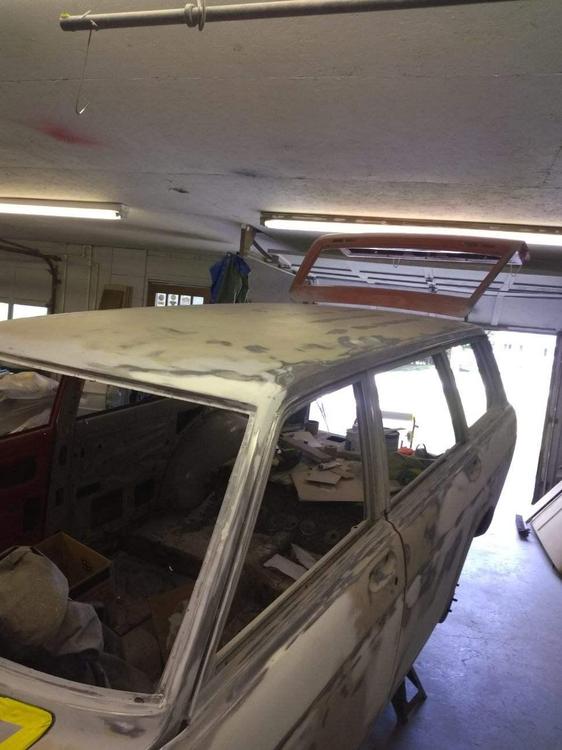
1 pointWe deleted the roof rack (so if anyones interested) and we deleted the stainless trim along the rocker panels. I like it but it's a dirt magnetic and the holes are prone to rusting so we got rid of it


 1 point
 -
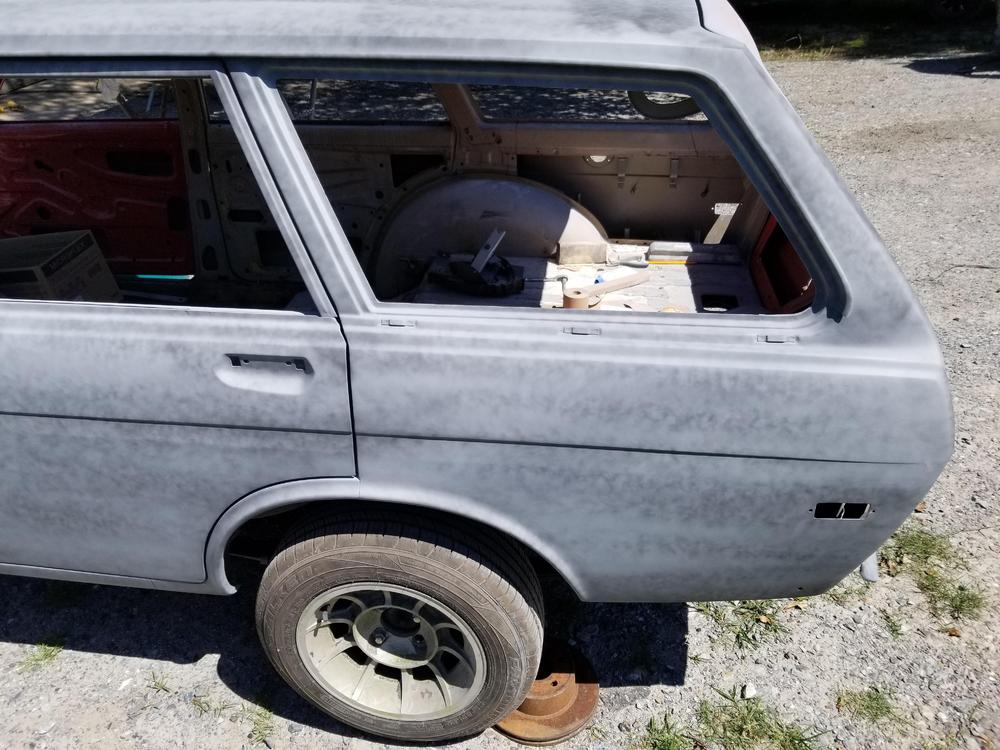
1 pointIf there are holes in the fender from a rub rail, weld them shut. Do not use filler! It won't stay and can absorb moisture and rust. If they are only under the emblem follow Whee!s advise. Just prime, paint and cover over them1 point
-
1 pointI would too. You don't know that another head will be any better or any cheaper than where you are already at. I try to take my stuff to people I trust and then rely on their expertise. That's really what I'm paying them for...1 point
-
1 pointThanks man, When I say I need to make up 10mm. I am saying I need a collar that has 10mm more throw than my old A style. I don't blame you for tuning out of this. It has gotten convoluted and crazy to keep up with. I had a talk with a guy at MSA this morning. He was very certain that a B collar would work. I didn't want to argue so I ordered a type B collar from them and a 280z 2+2 collar. If the B collar is close to what I am running now I will put in the 2+2 collar. With two day shipping I should have an update by this weekend. Besides hard shifting, with the new suspension parts the car was very pleasant to drive. Took the turns real well and didn't smell like gas leaking from the tank. LOL.1 point
-
1 pointThe pins fit identical. No need to worry about covering them. You can tape over the holes with 3M mounting tape and not worry about welding or filling them in. They will be sealed and primed and should not rust any faster with the tape over them. That way you can change you mind later. Also, in Canada, we can still buy the 280Z fender emblems new for about $30 US... Can't get the DATSUN fender emblems new from the dealer anymore though.1 point
-
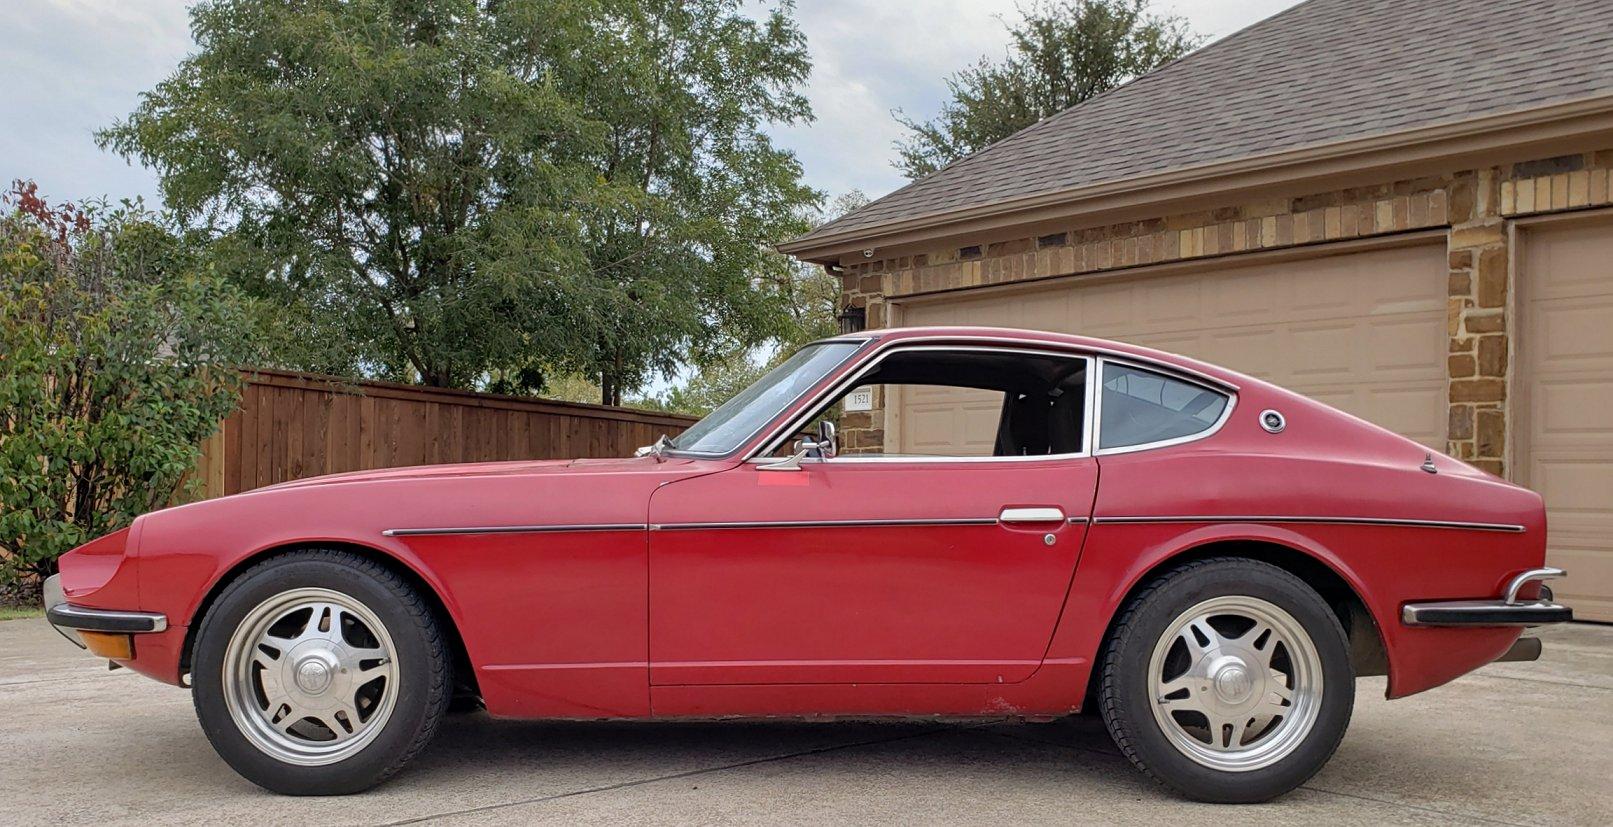
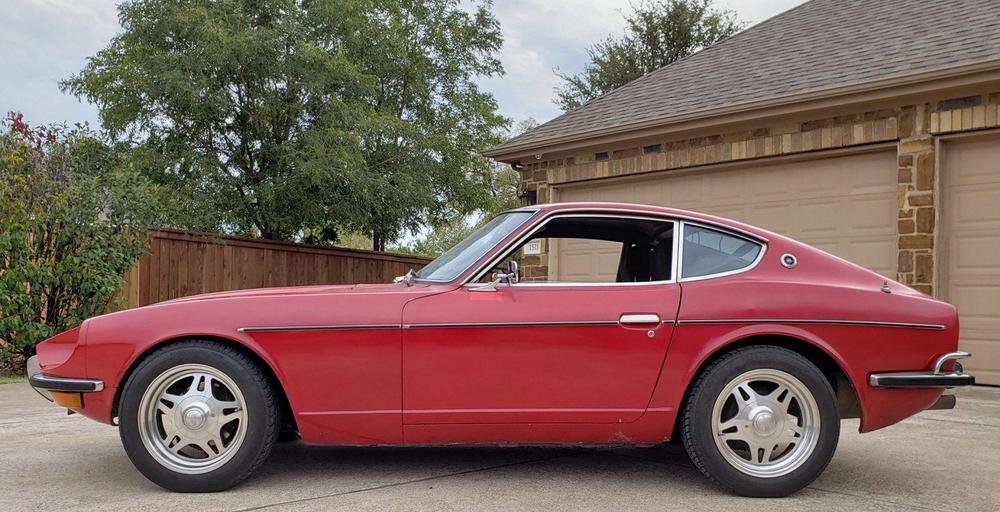
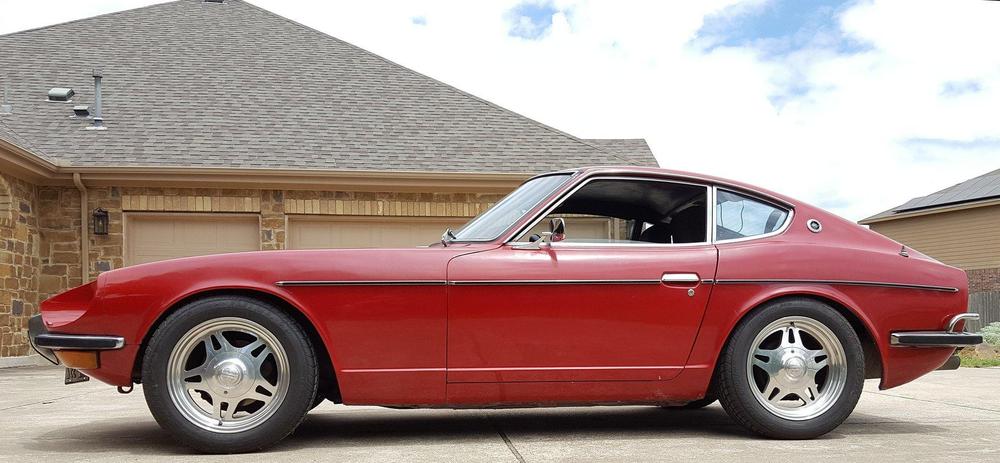
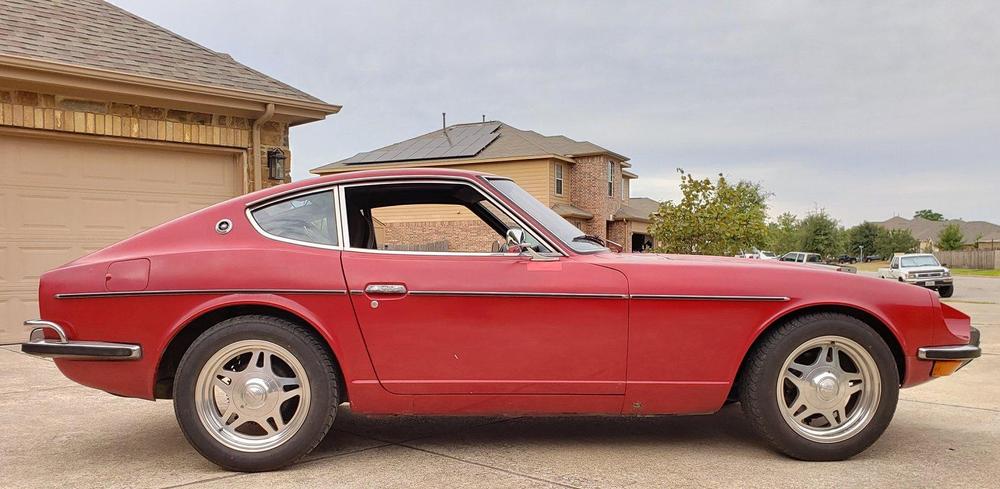
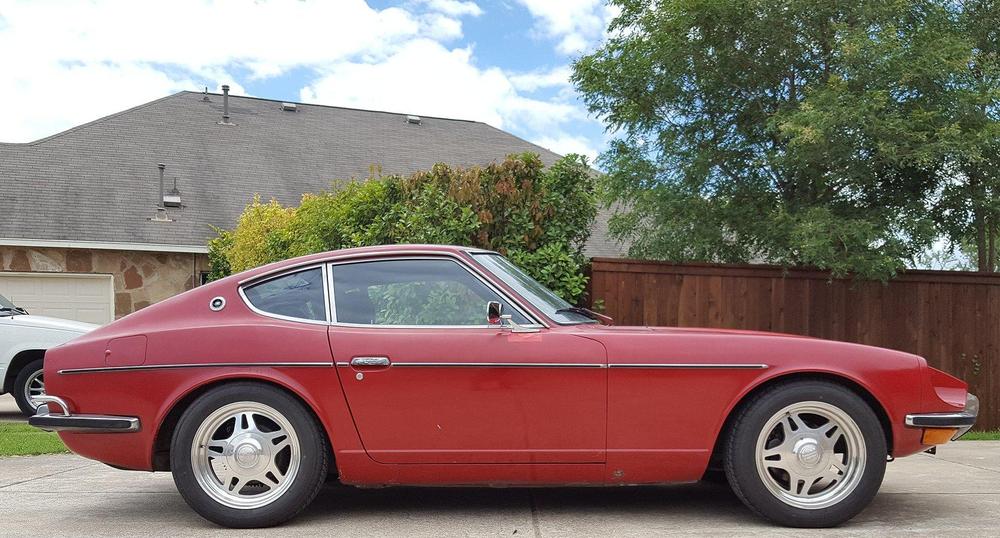
I took the Z for a test drive and I am really happy with the results. The car still handles well but now it actually has rear suspension travel so it rides nicer but is still on the firm side. Visually, I think it looks 100x better. The sunken rear suspension just let the car down and now it looks like the wheels fit the car and have some room to breathe. Below are some before and after pictures. What do you guys think?
 1 point
 -
1 point
-
1 pointTake a lot of pictures as your take it apart. Don't force the old bolts, they'll snap in a heartbeat. 50/50 acetone and transmission fluid is the best penetrating oil I've ever used. A quart of each will last forever. Buy a spray bottle and mix it as you need to. When you ziploc bag stuff write what it is on a piece of paper, not on the baggie. It'll rub off. Get some thin cheap wire, phone wire for me, and use it to tie bolts into their part. I'll try and add if I can. You're about to have some fun finally. AND the engine stand rotates a lot easier if you take the weight off the front, rope from the ceiling or a floorjack with a stick of wood. Be really careful though, they'll slide out on your foot! The wire I'm talking about is to keep the different length bolts in the right holes. The water pump, front cover, oil pump... Buy a gallon of lacquer thinner, $10, put it in a five gallon bucket with a tight lid. You'll soak a lot of stuff in that then blow the crud off easier trust me.1 point