Topics Last 30 Days
Showing topics, images, events and files posted in for the last 28 days.
- Past hour
-
 Time for another update: I spent the last couple of days in the Workshop and installed all the hood alignment parts, so the body shop can properly align the hood. I also put back all bolts to the body panels, since they were missing after I had to remove a lot of things for alignment and rework. Not much to see, but all panels are now secured for transport. Slowly, but steady, t starts to look like a complete car again. Well - there is still a lot of work. Next, i decided to test fit the side markers, just to be sure the holes are still correct. I assembled to mock-ups from various used and NOS parts which I had. And installed: (Note plastic wrap on the NOS lens, to protect it) Now the big project. The rear spoiler. As you can see, the inner bolts are missing (compare holes with the missing bolt, left): I thought it had probably rotted away in the past, so they just removed it. That made me want to drill back a hole to install a new one, but it seems the previous owner just cut off the previous bolts and the metal part was still inside the spoiler mounting position. Luckily, I was able to drill out the remains of the old studs by starting with a very thin drill and then working the size up until the original 4mm: I made myself some new bolts from some M4 screws: While sanding off the area to glue back in the new bolts, I found a crack underneath the various layers of bondo, primer and paint, which the spoiler has collected over the years: Now also that glue-remains on the inside made sense:, which chipped off like nothing, once hammered: I was able to clean the whole area And then glue both the crack and the bolts back in with some two-component epoxy glue: The result is not bad, if you ask me. It appears to be quite strong, too: Next, I wanted to get back the holes for the original emblems. After sanding the areas, I finally found some black dots, which is probably black filler, which they used to fill the original holes: While trying to tap-mark the holes for drilling, the black filler bits just popped out. So I only used the drill to clean the holes to correct size. Lucky me :-) And the Emblems can go back again, as intended from the factory: Last but not least, I spent quite some hours today to sand off those dozens (!!) of layers of filler, primer and paint from all the years. You might wonder why? Because in some areas the paint and filler is so thick, that the spoiler almost has a different shape. I'm almost done, but still need to spend a few hours. But it appears I was able to save another Original part for the car, and I hope I can install it back soon...
 -
 Wow! That's cool how you can do that. I need to do one on how to lower my blood pressure.😁 Ai is going like wildfire presently. I sure hope it ends up being positive to our lives but I'm a skeptical.
 - Today
-
 This is in regards to a hazard switch body, not a relay.
 -
 Thanks for information!
 -
 Countdown!!
- Yesterday
-
 Bring a Trailer1972 Datsun 240ZBid for the chance to own a 1972 Datsun 240Z at auction with Bring a Trailer, the home of the best vintage and classic cars online. Lot #208,164.
 -
 A small point to add...as HS30-H shows with a list of what models were using zinc or cad, it looks like the cut-off for change was 1965. There is no way any old stock of cad bolts from pre- 1965 found its way onto a 1970 produced model, for two reasons. Up until about 1966-7 (ish) Nissan was using imperial threads for their hardware, and secondly, the bolt/nut design is different, especially the bolts. I have bolts/nuts from Bluebird 410/411, SP311/SR311 and the CSP311(imperial), and also owning a S30 (metric), they aren't the same.
 -
 Yes crazy circuit, the JDM and euro are totally different.. much easyer.
 - Last week
-
 Every single one...
 -
Could well be -> intercooler, -> condenser, -> Koyo radiator (stacked up before the) -> fan. (unfortunately don't have a shroud - wish I did) Plus Phoenix softens up a lot of plastic at times (then dries it out, bakes, and cracks it). And I believe the blade length played a part in my particular case. Oh, and engine tilt vs. radiator non-tilt...
-
 The car was so powerful because it didn’t have just normal horsepower…
-
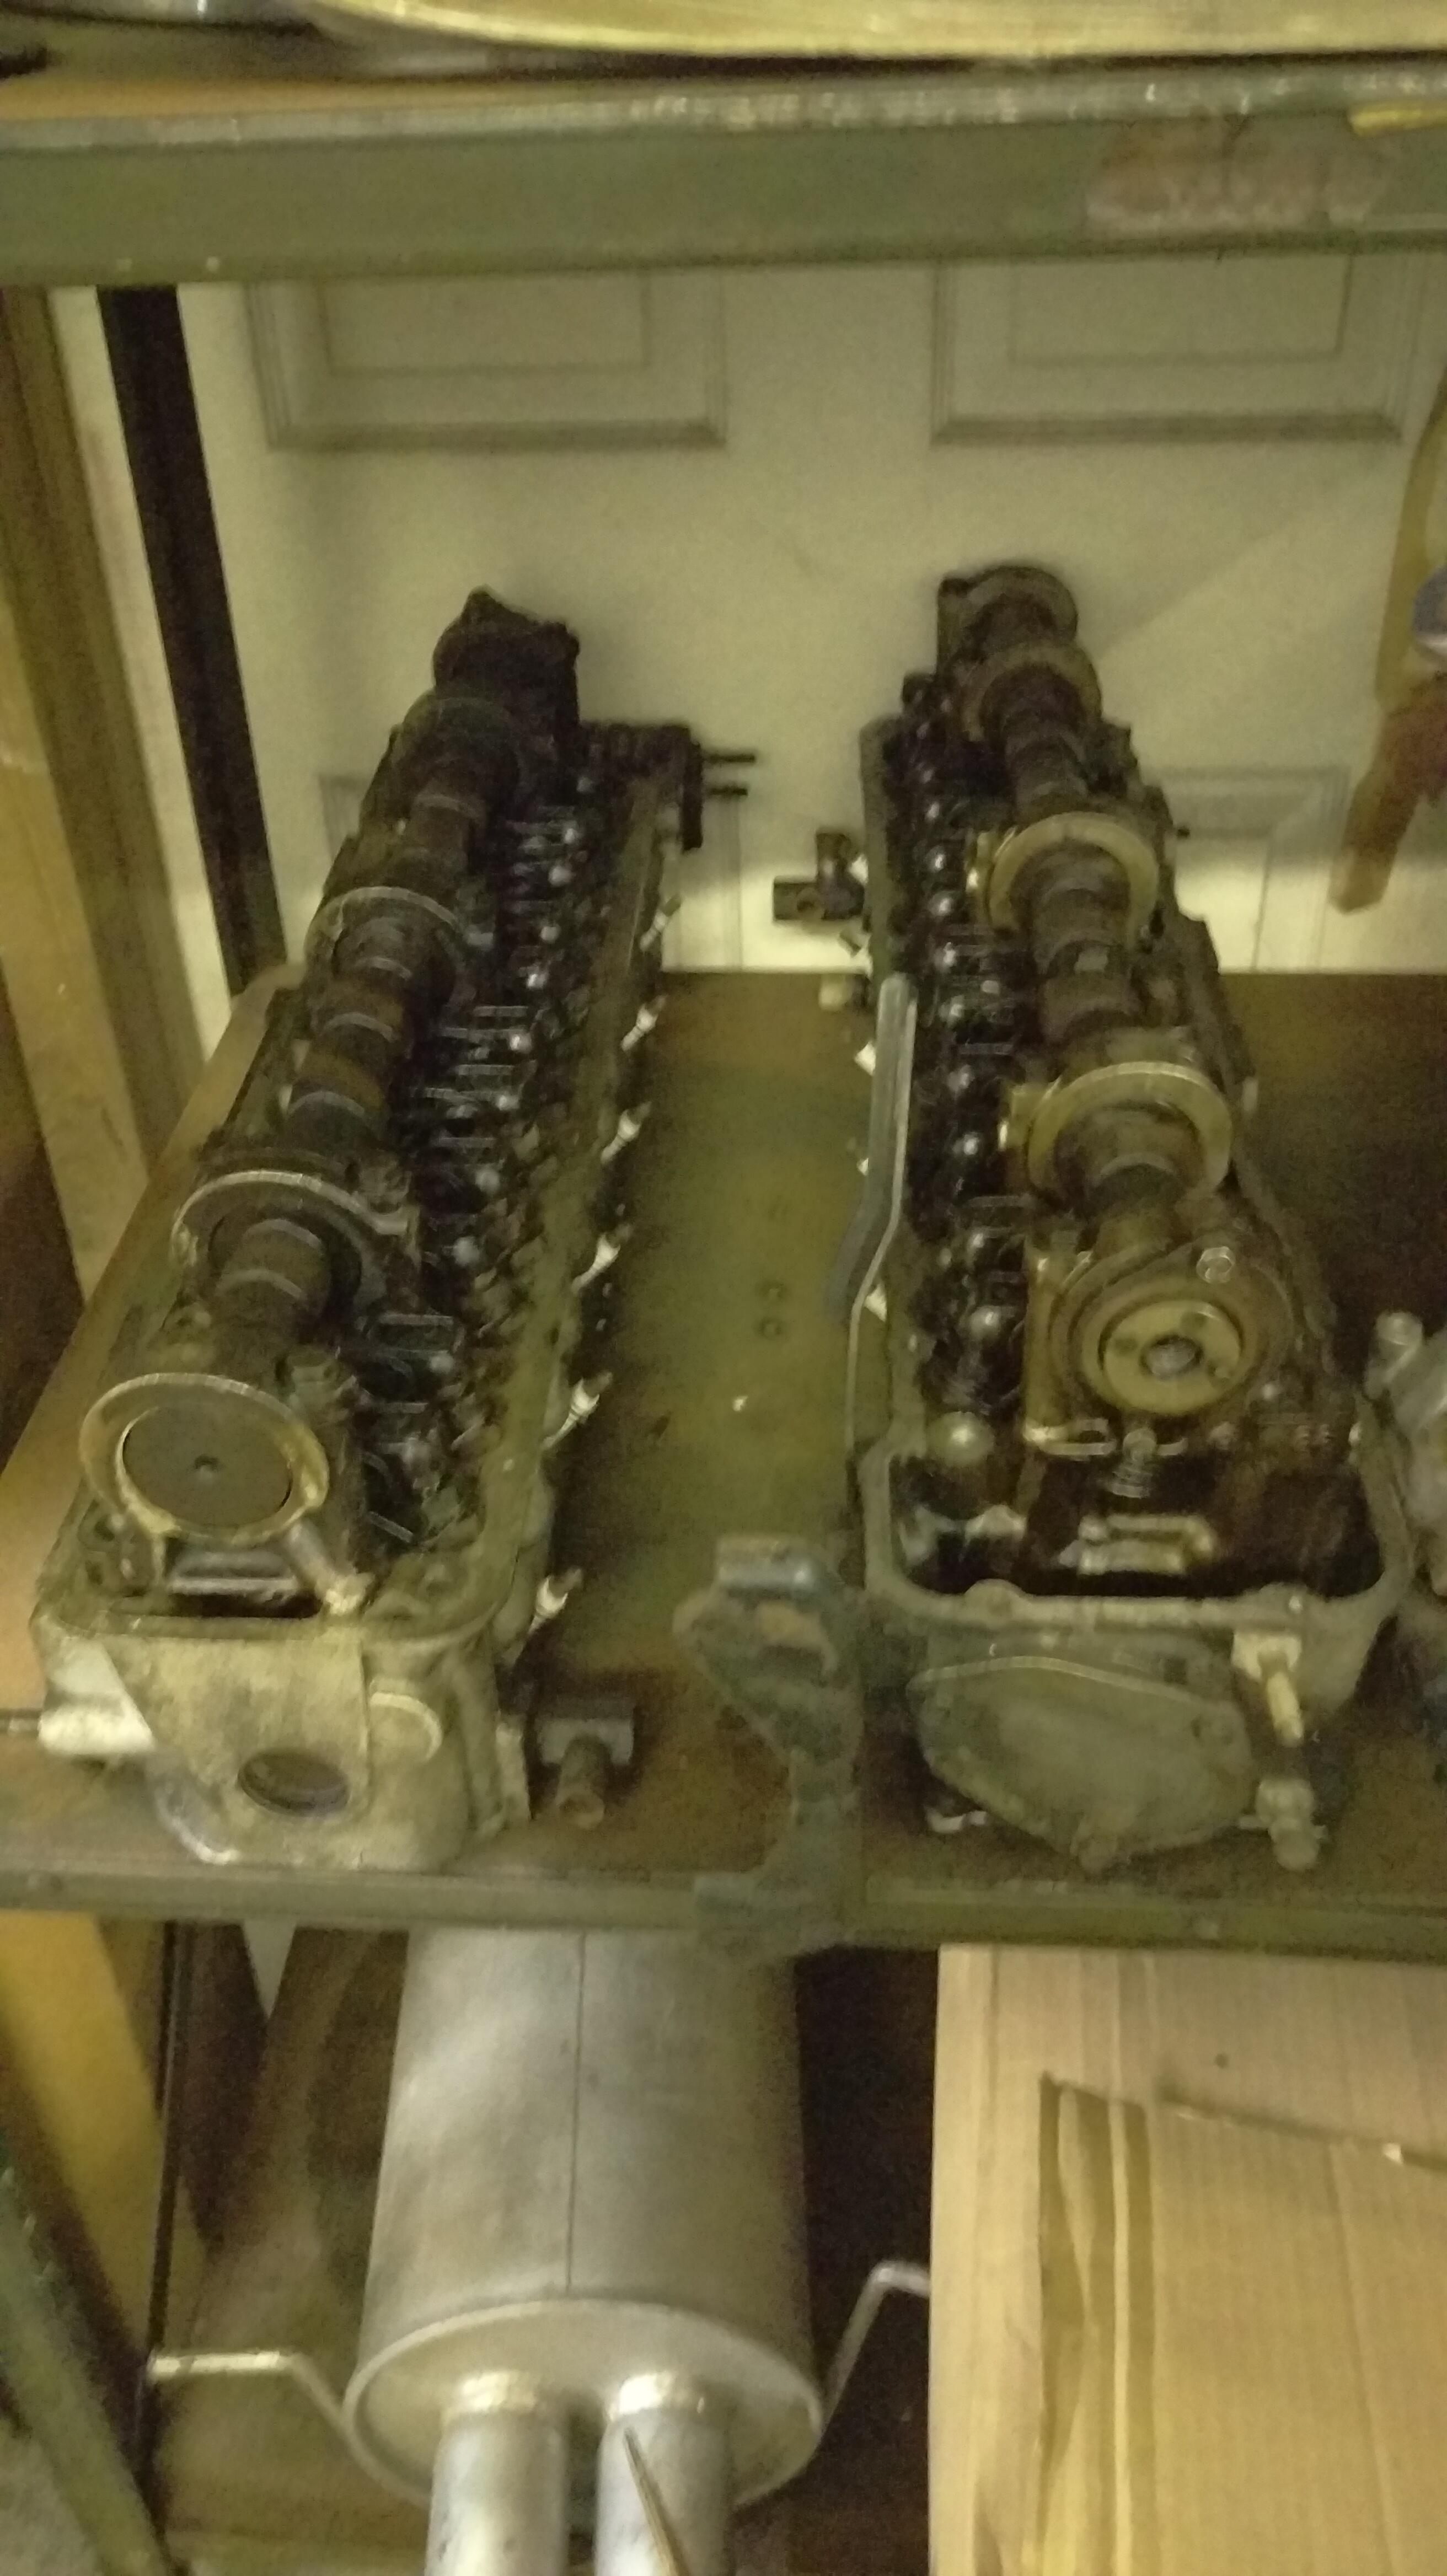
 240Z E31 Cylinder Head Complete. $400.00 Also available late N47 from 280zx Complete.
-
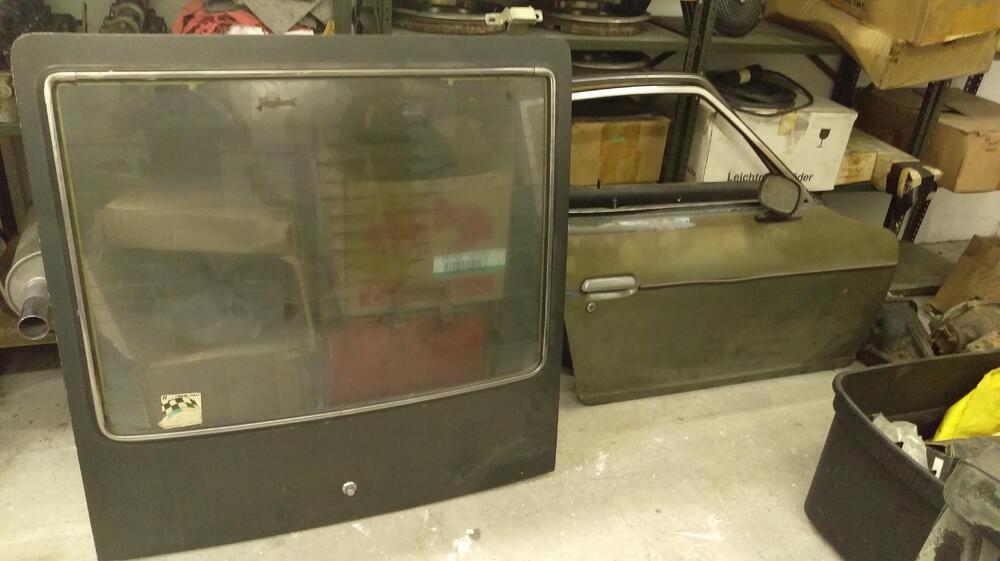
Rust free doors and hatch. Coupe. Black panels. All complete. No keys. $1200.00 Local pickup. These pieces are heavy.
-
 Thanks for the tip. That's the one I'll go with. Richard McDonel
 -
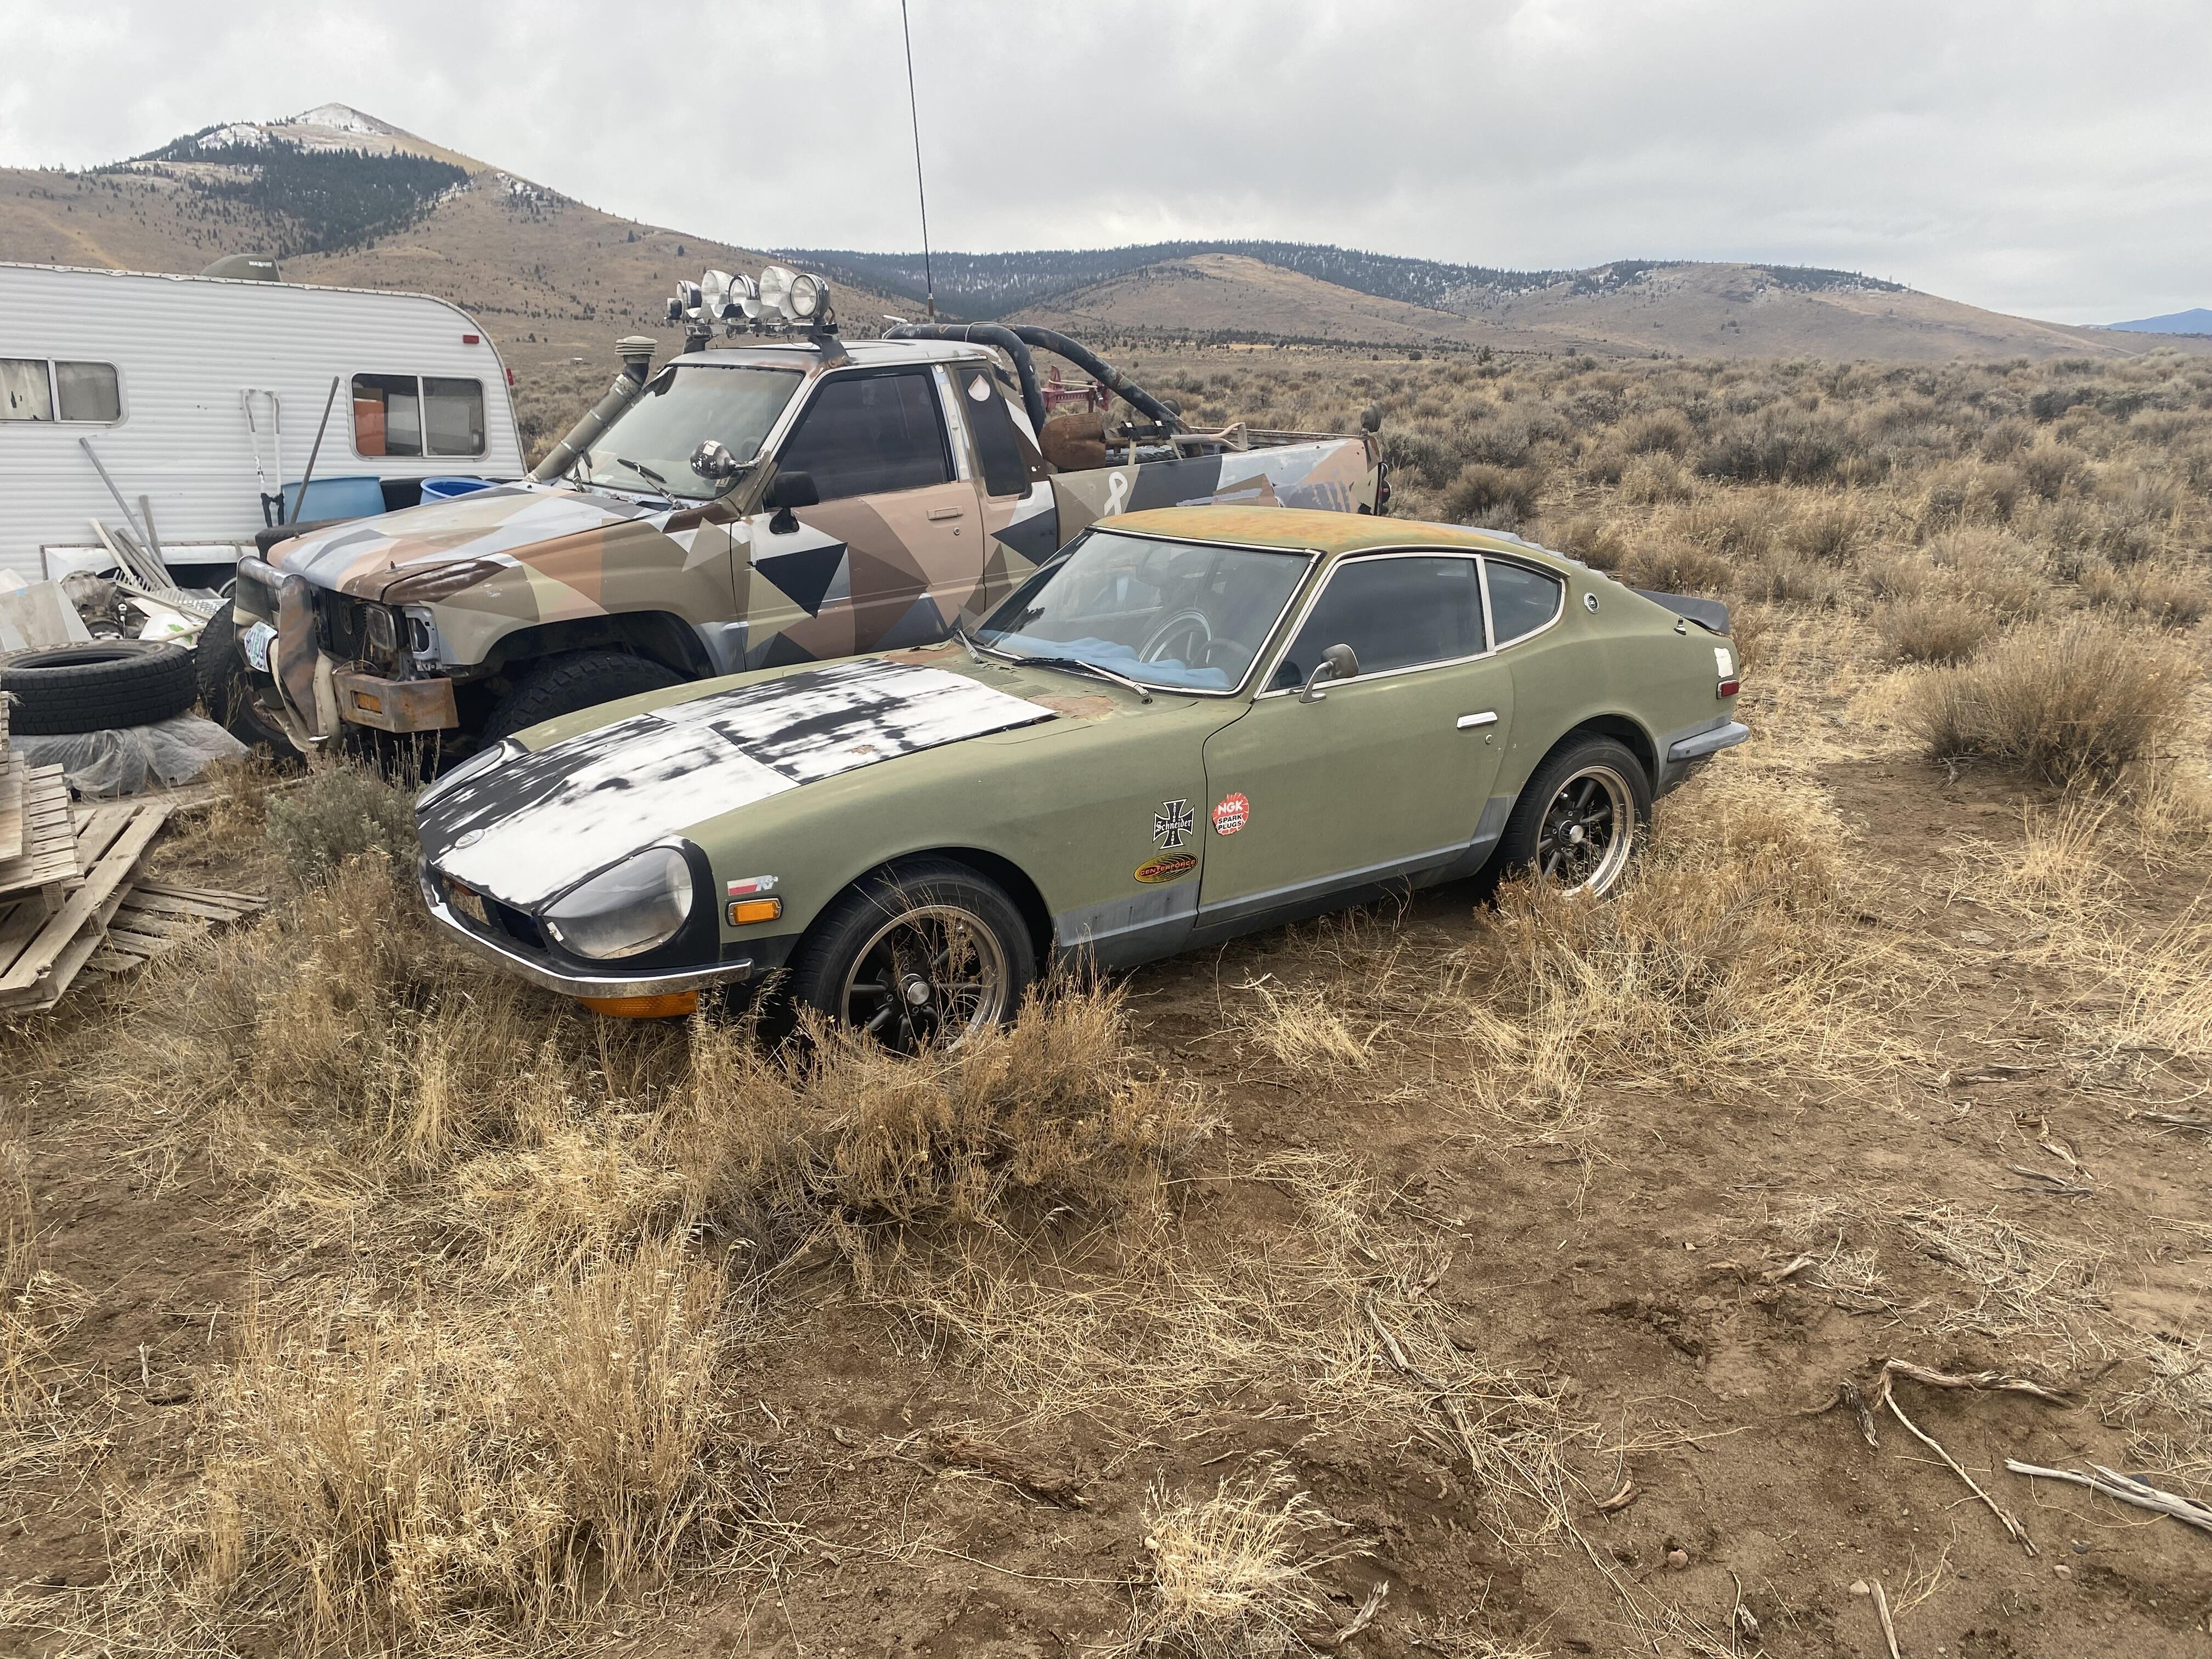
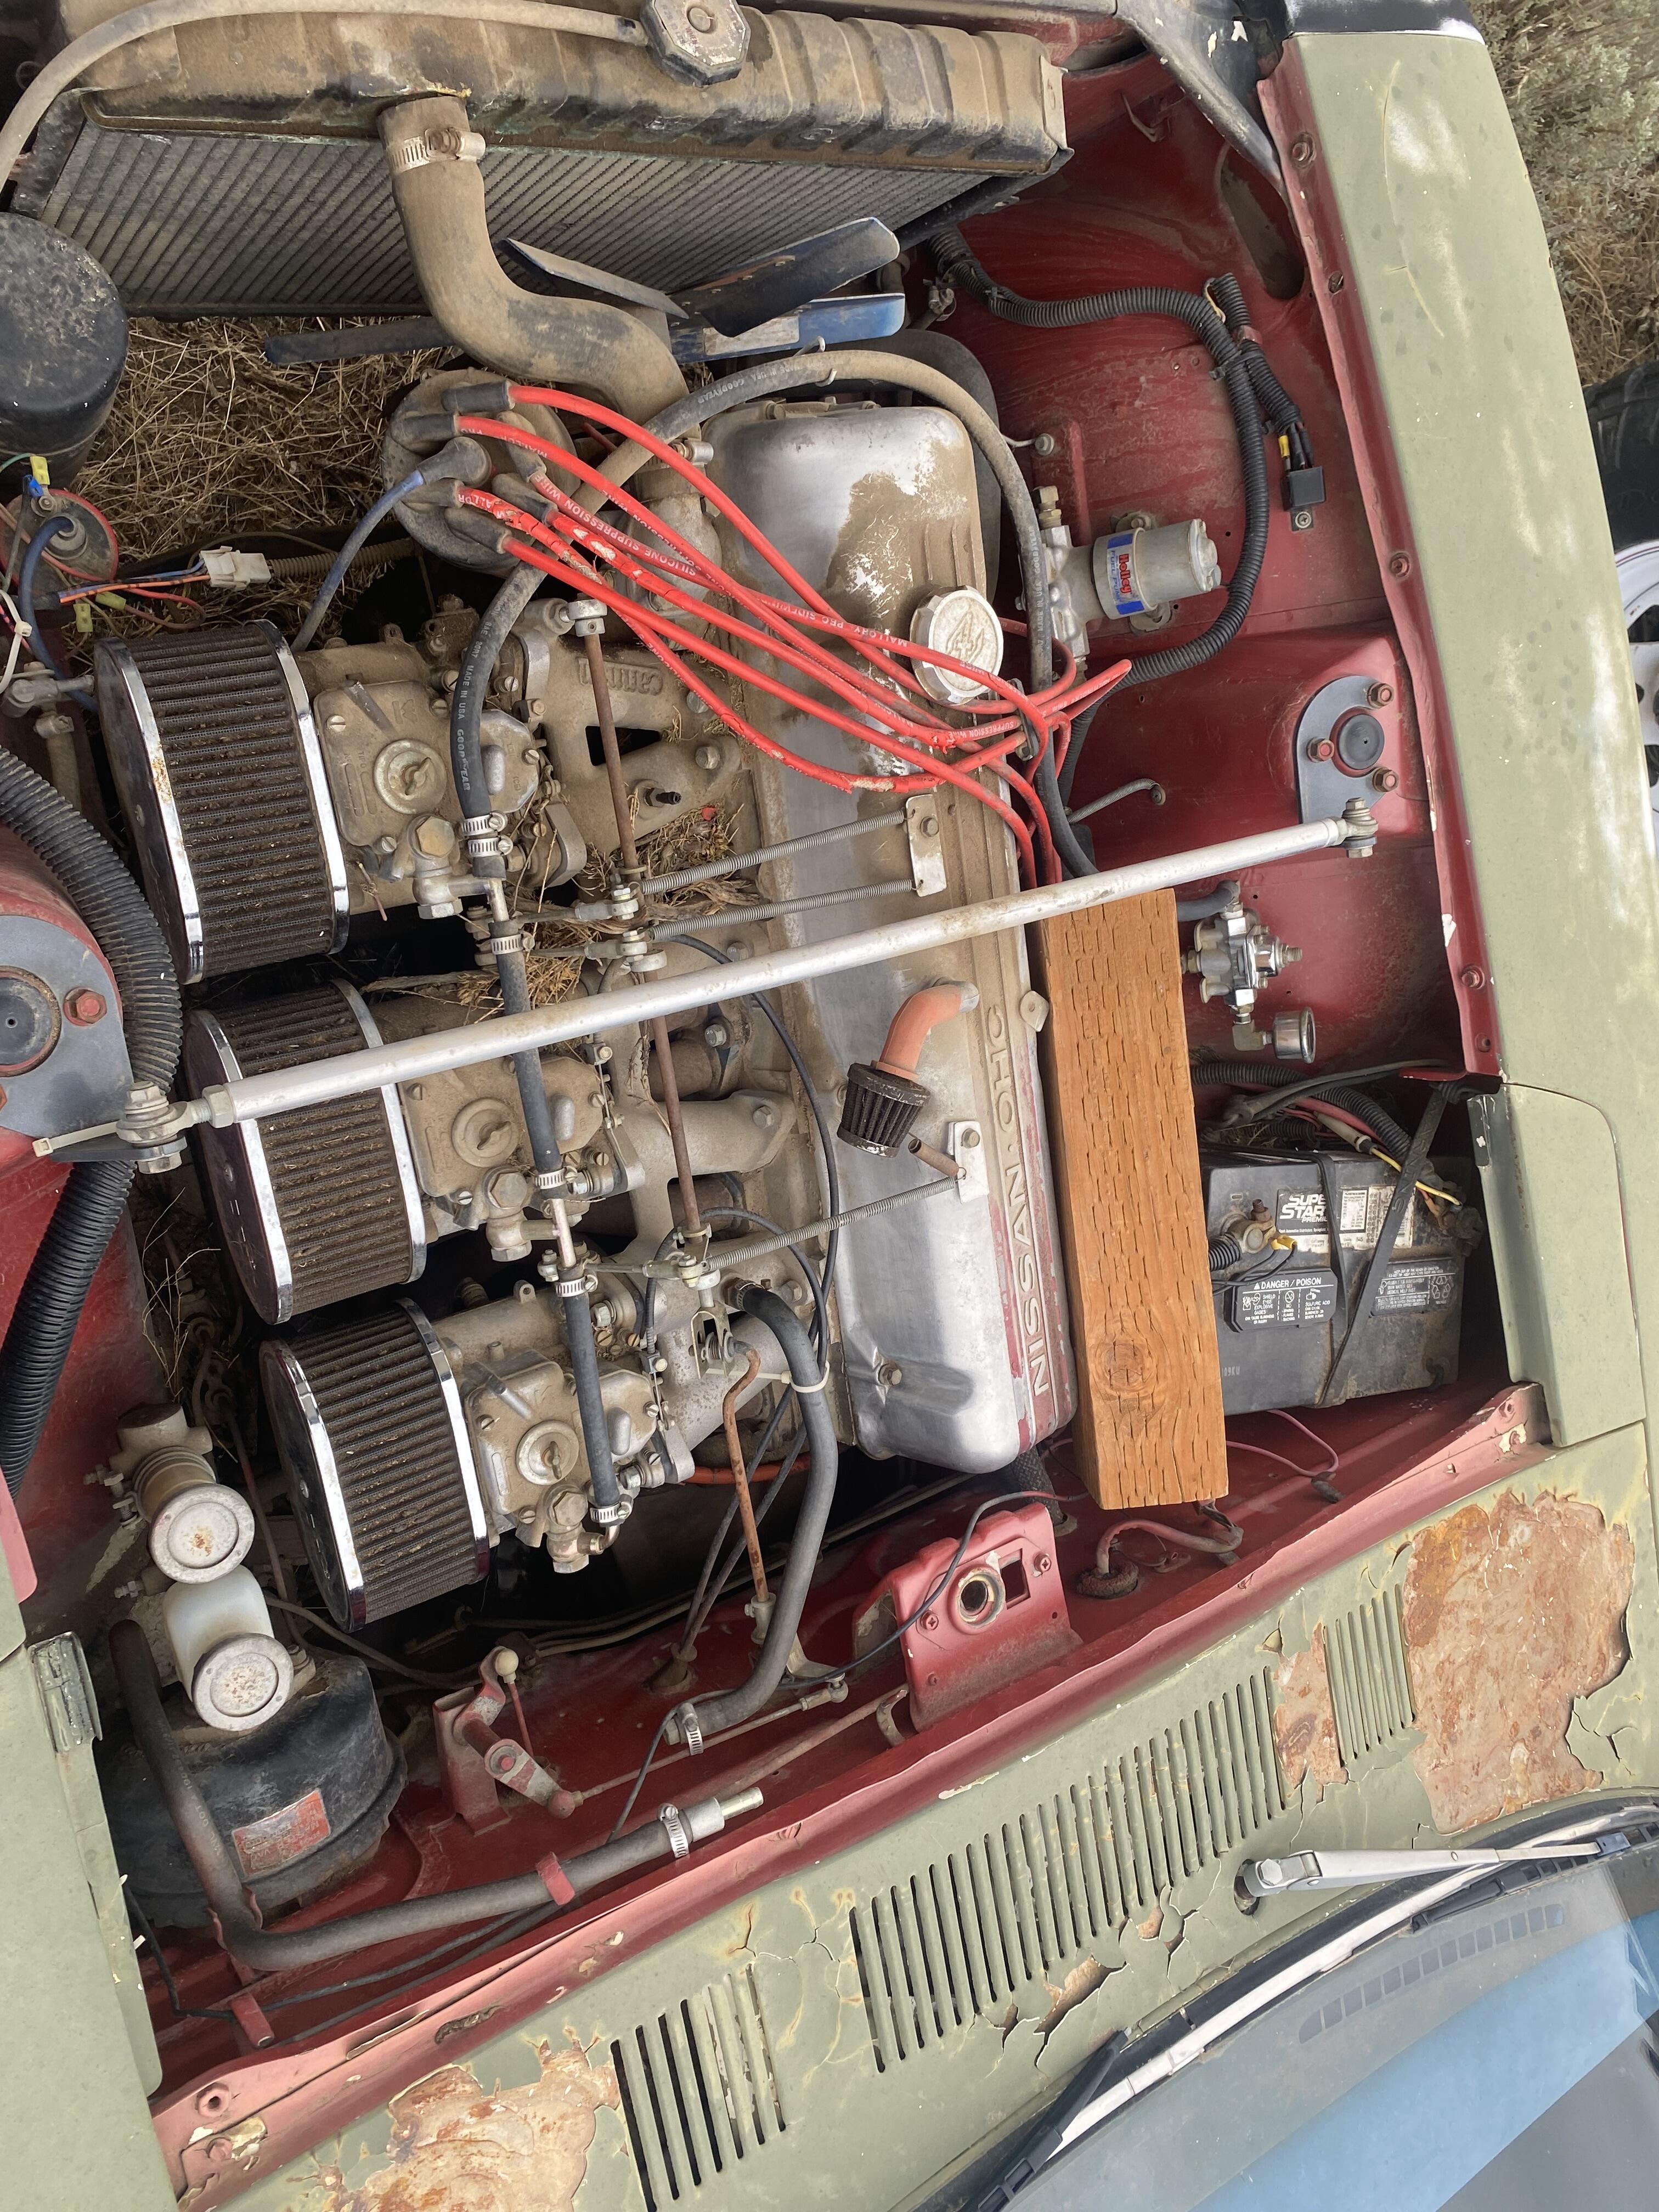
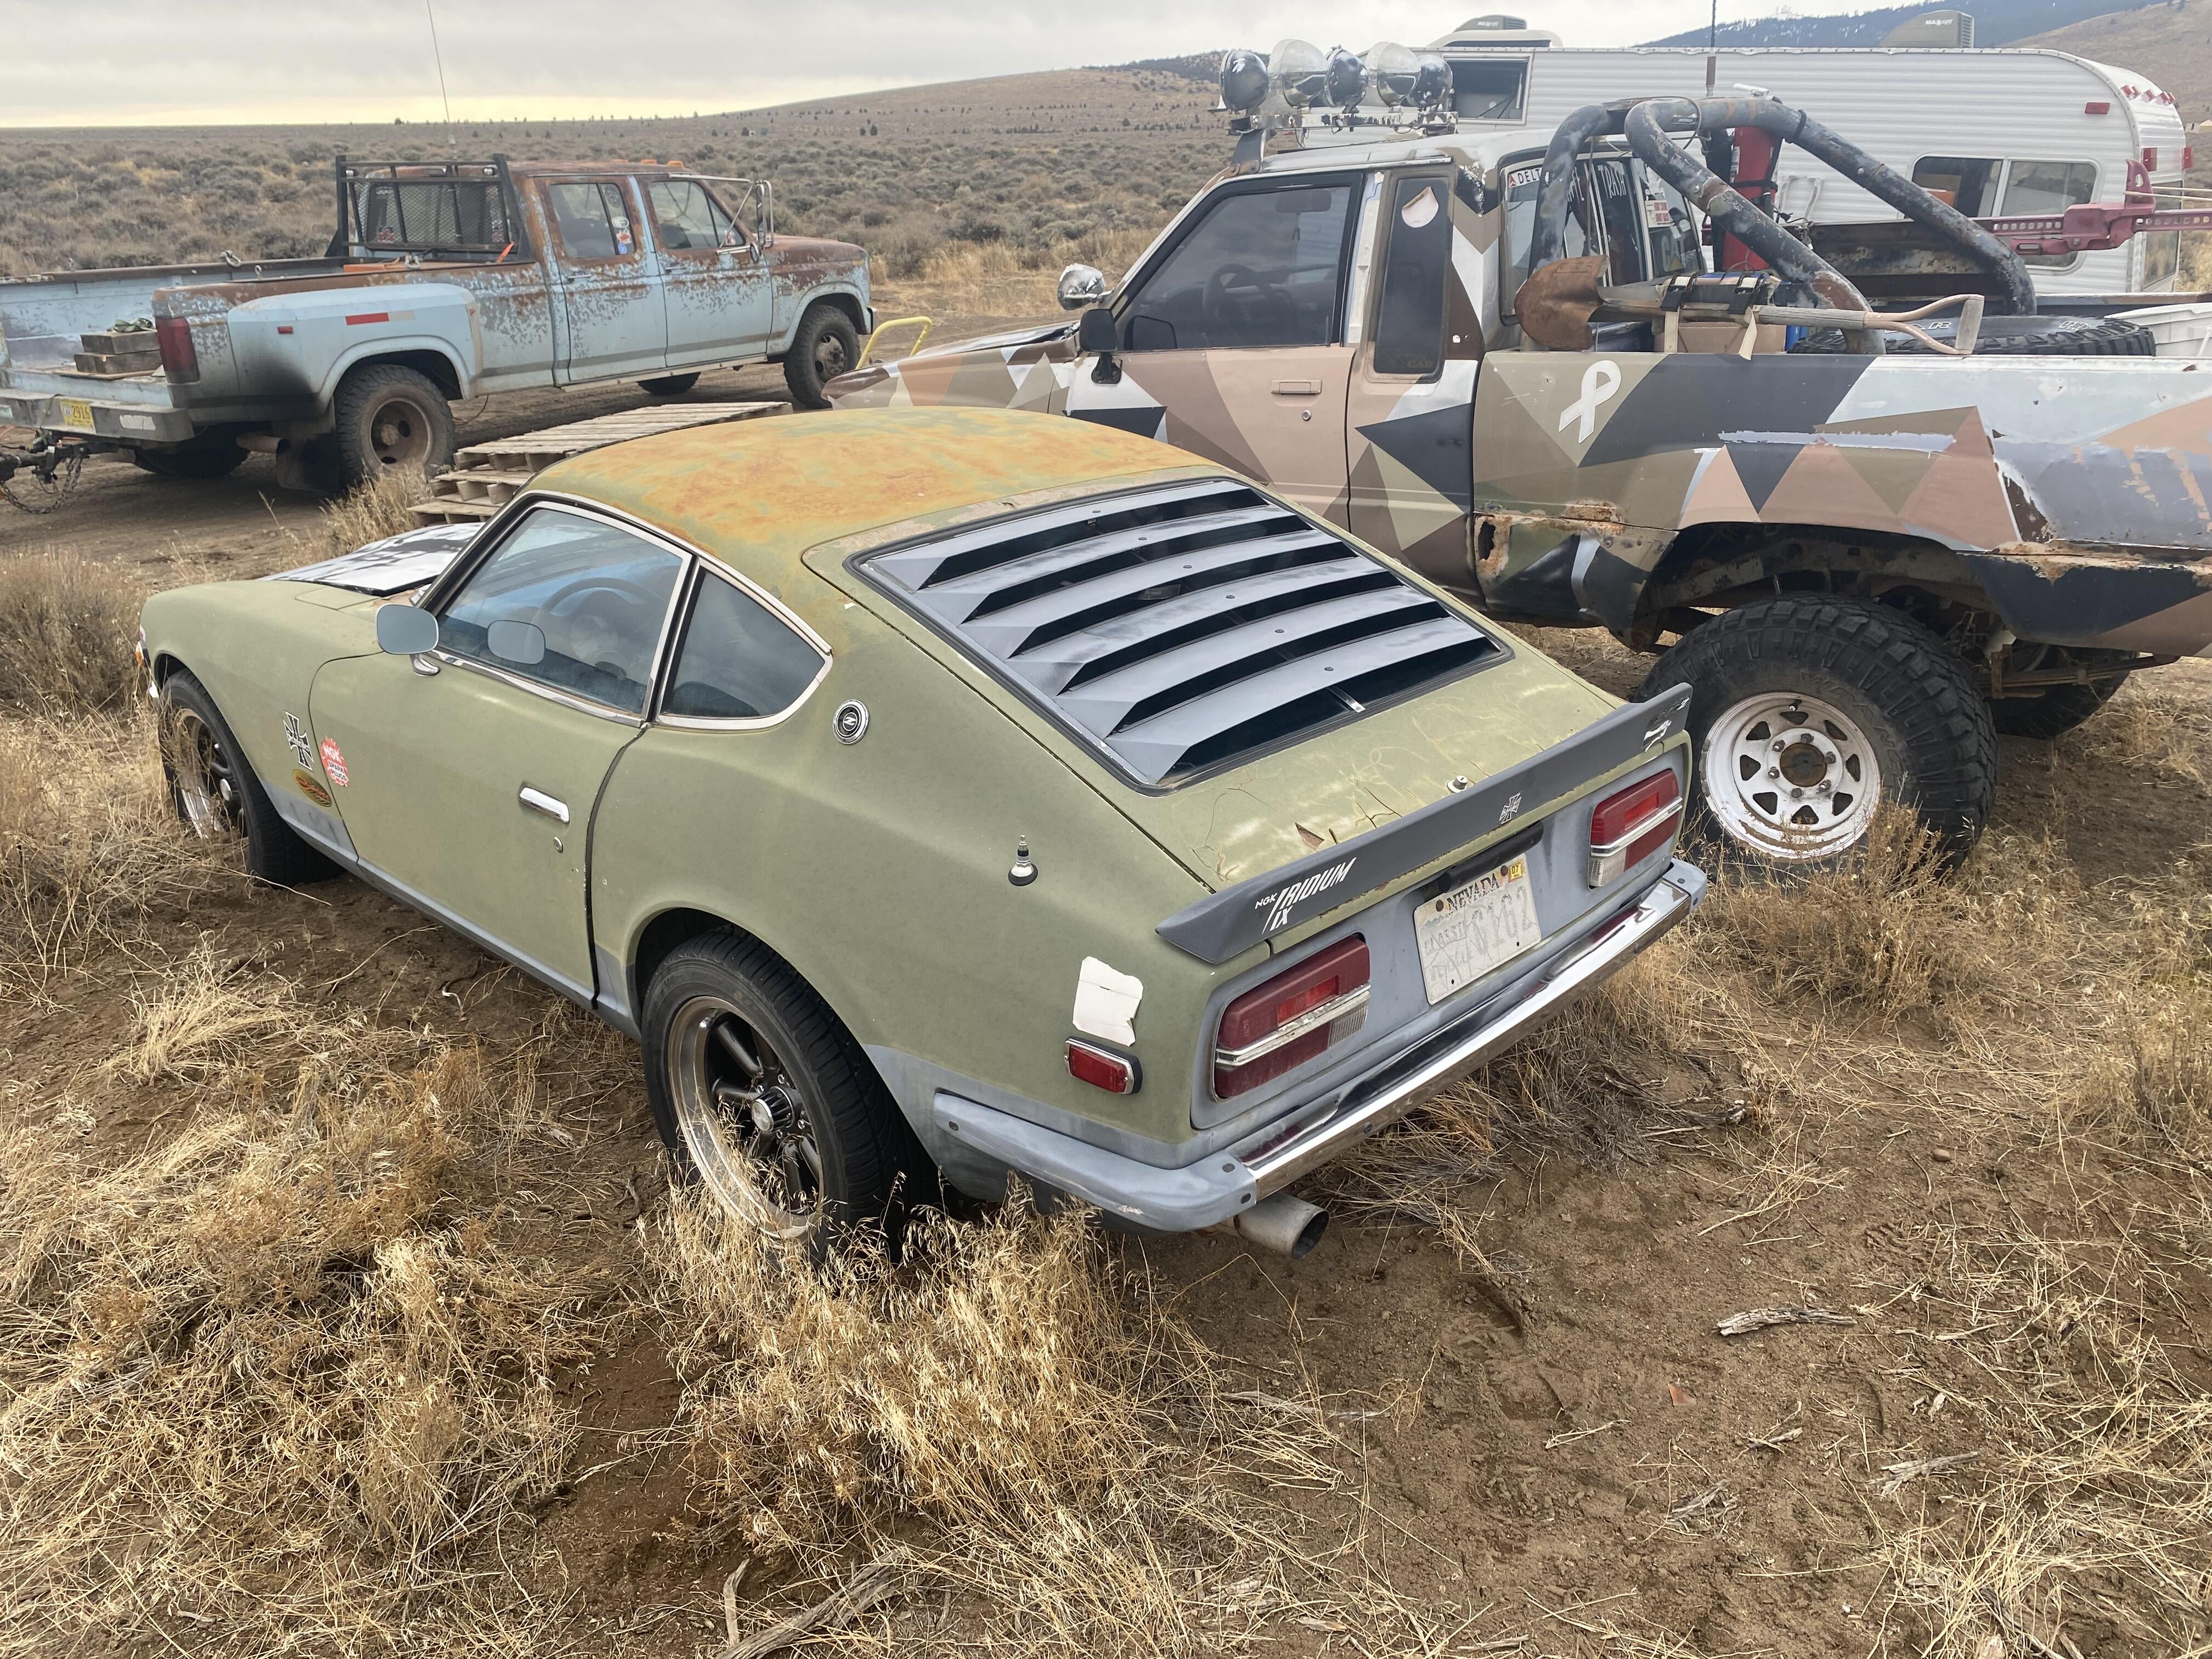
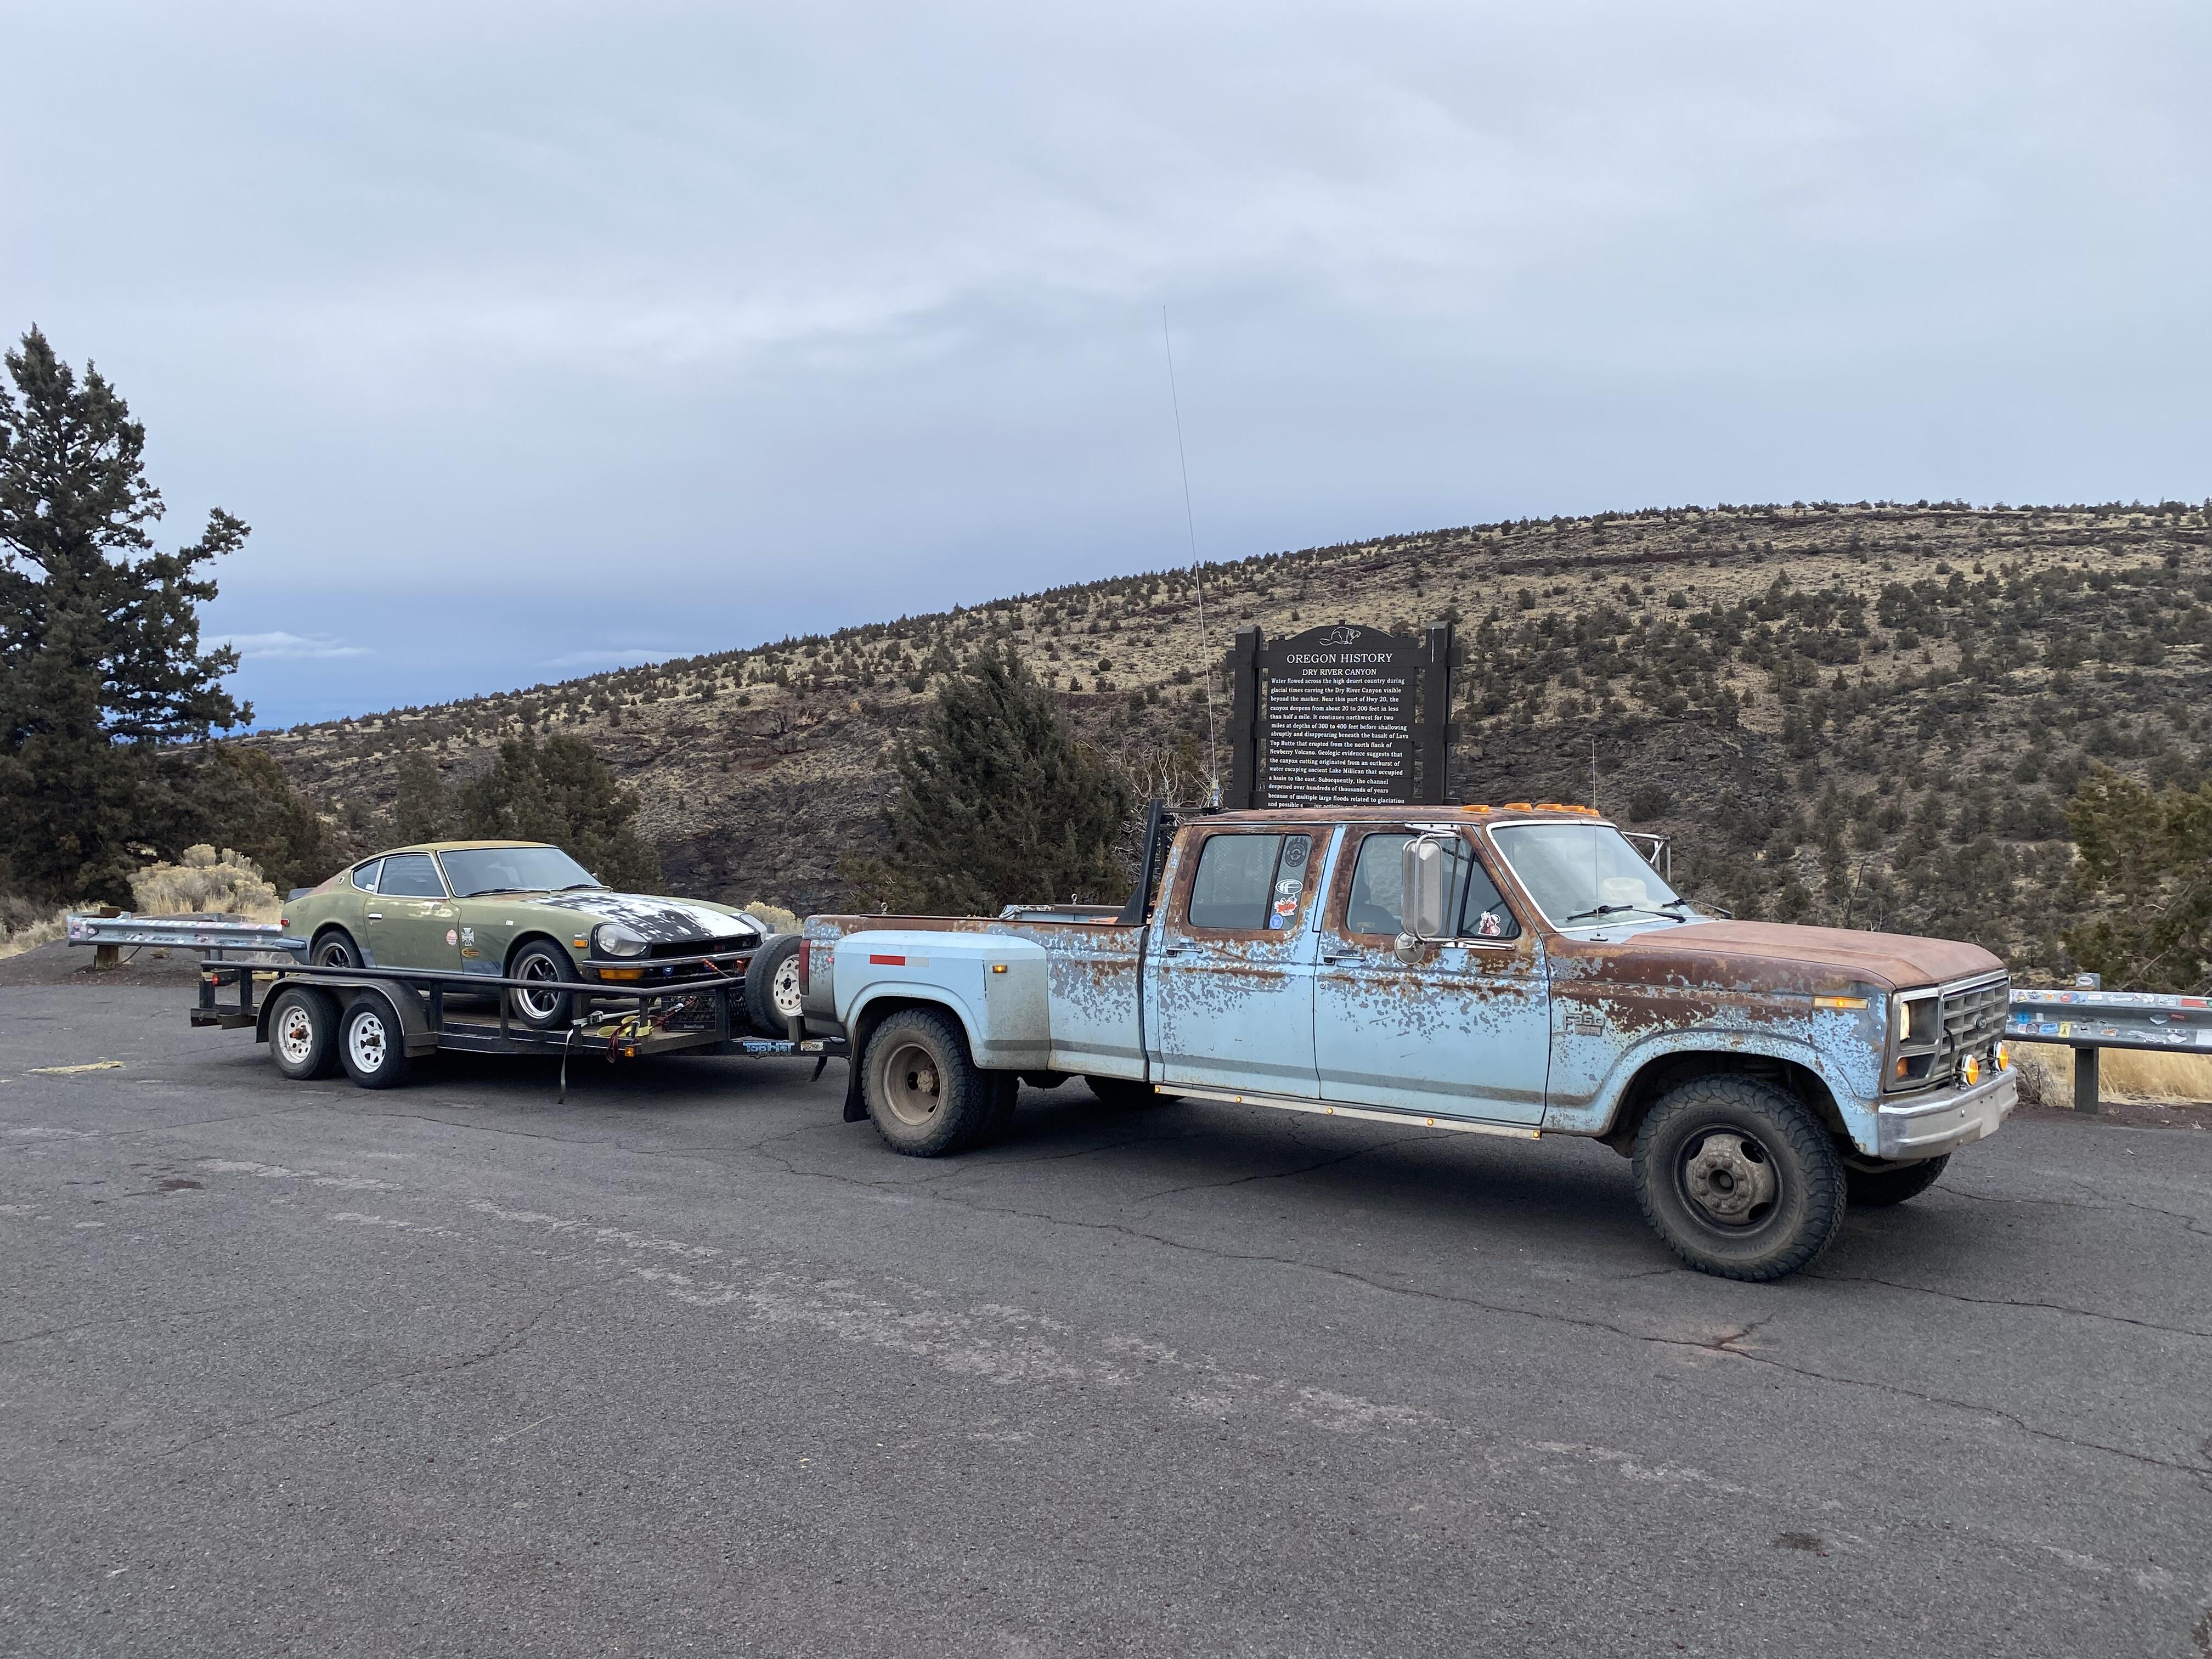
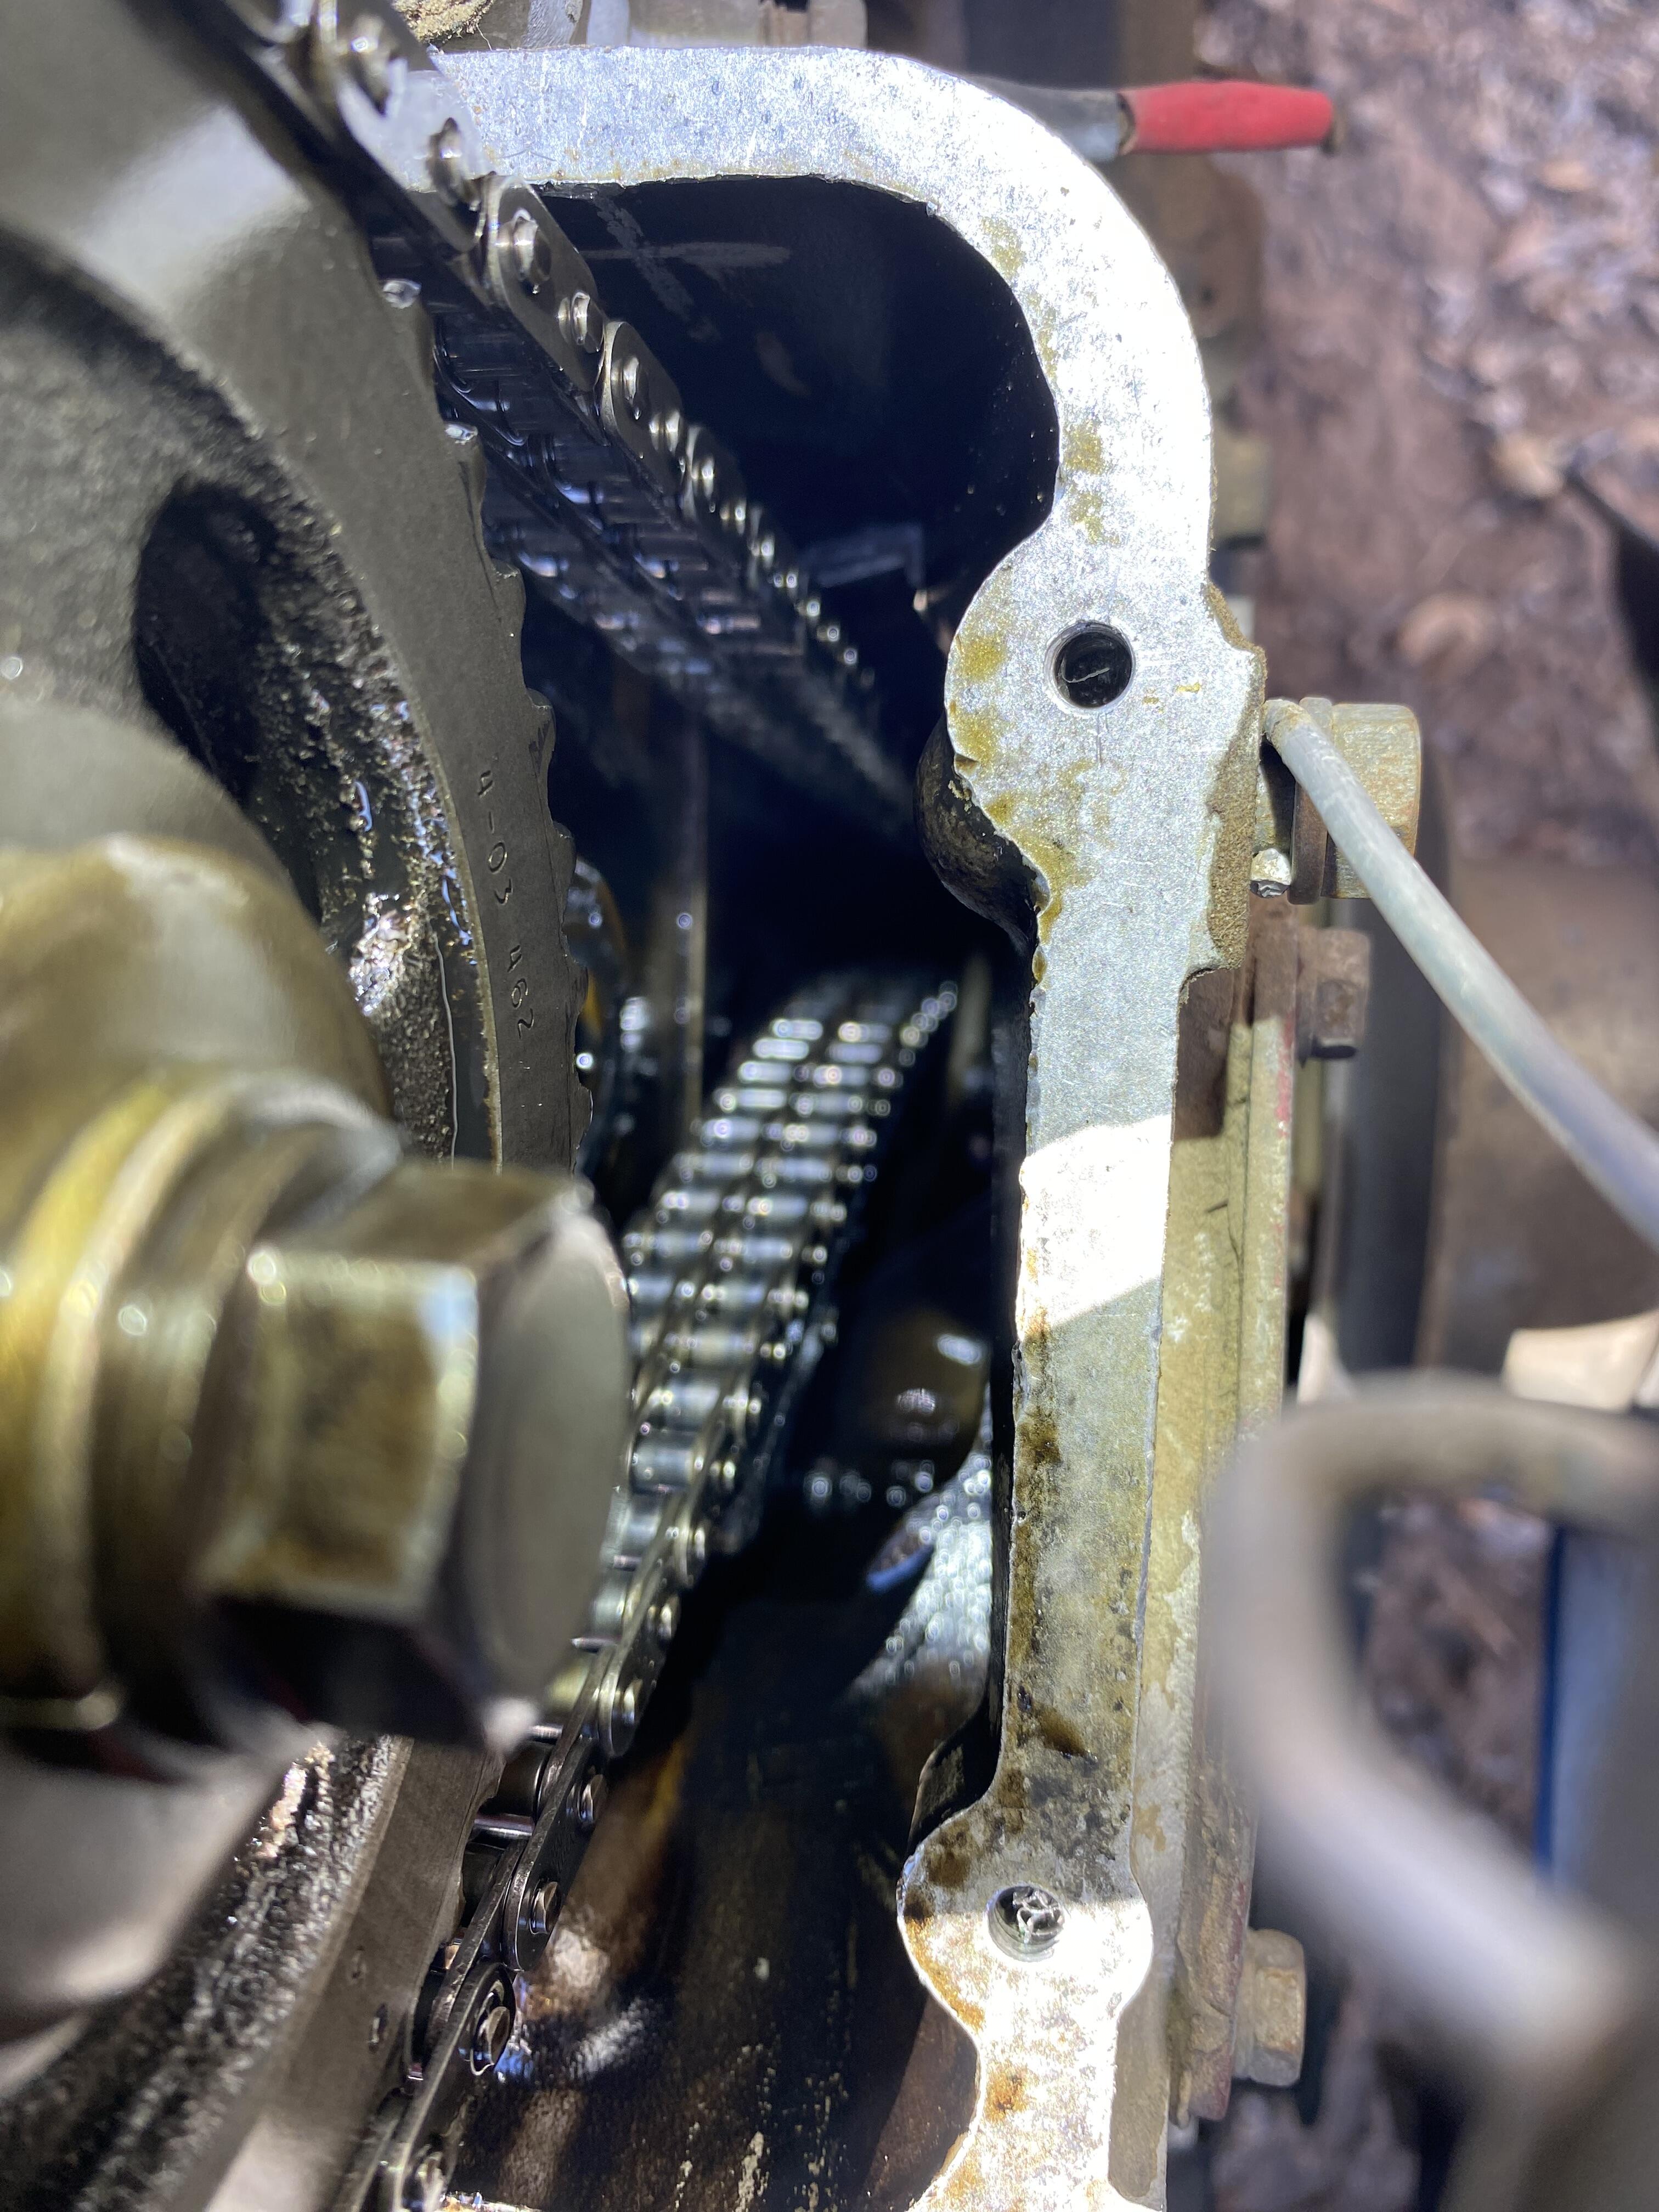
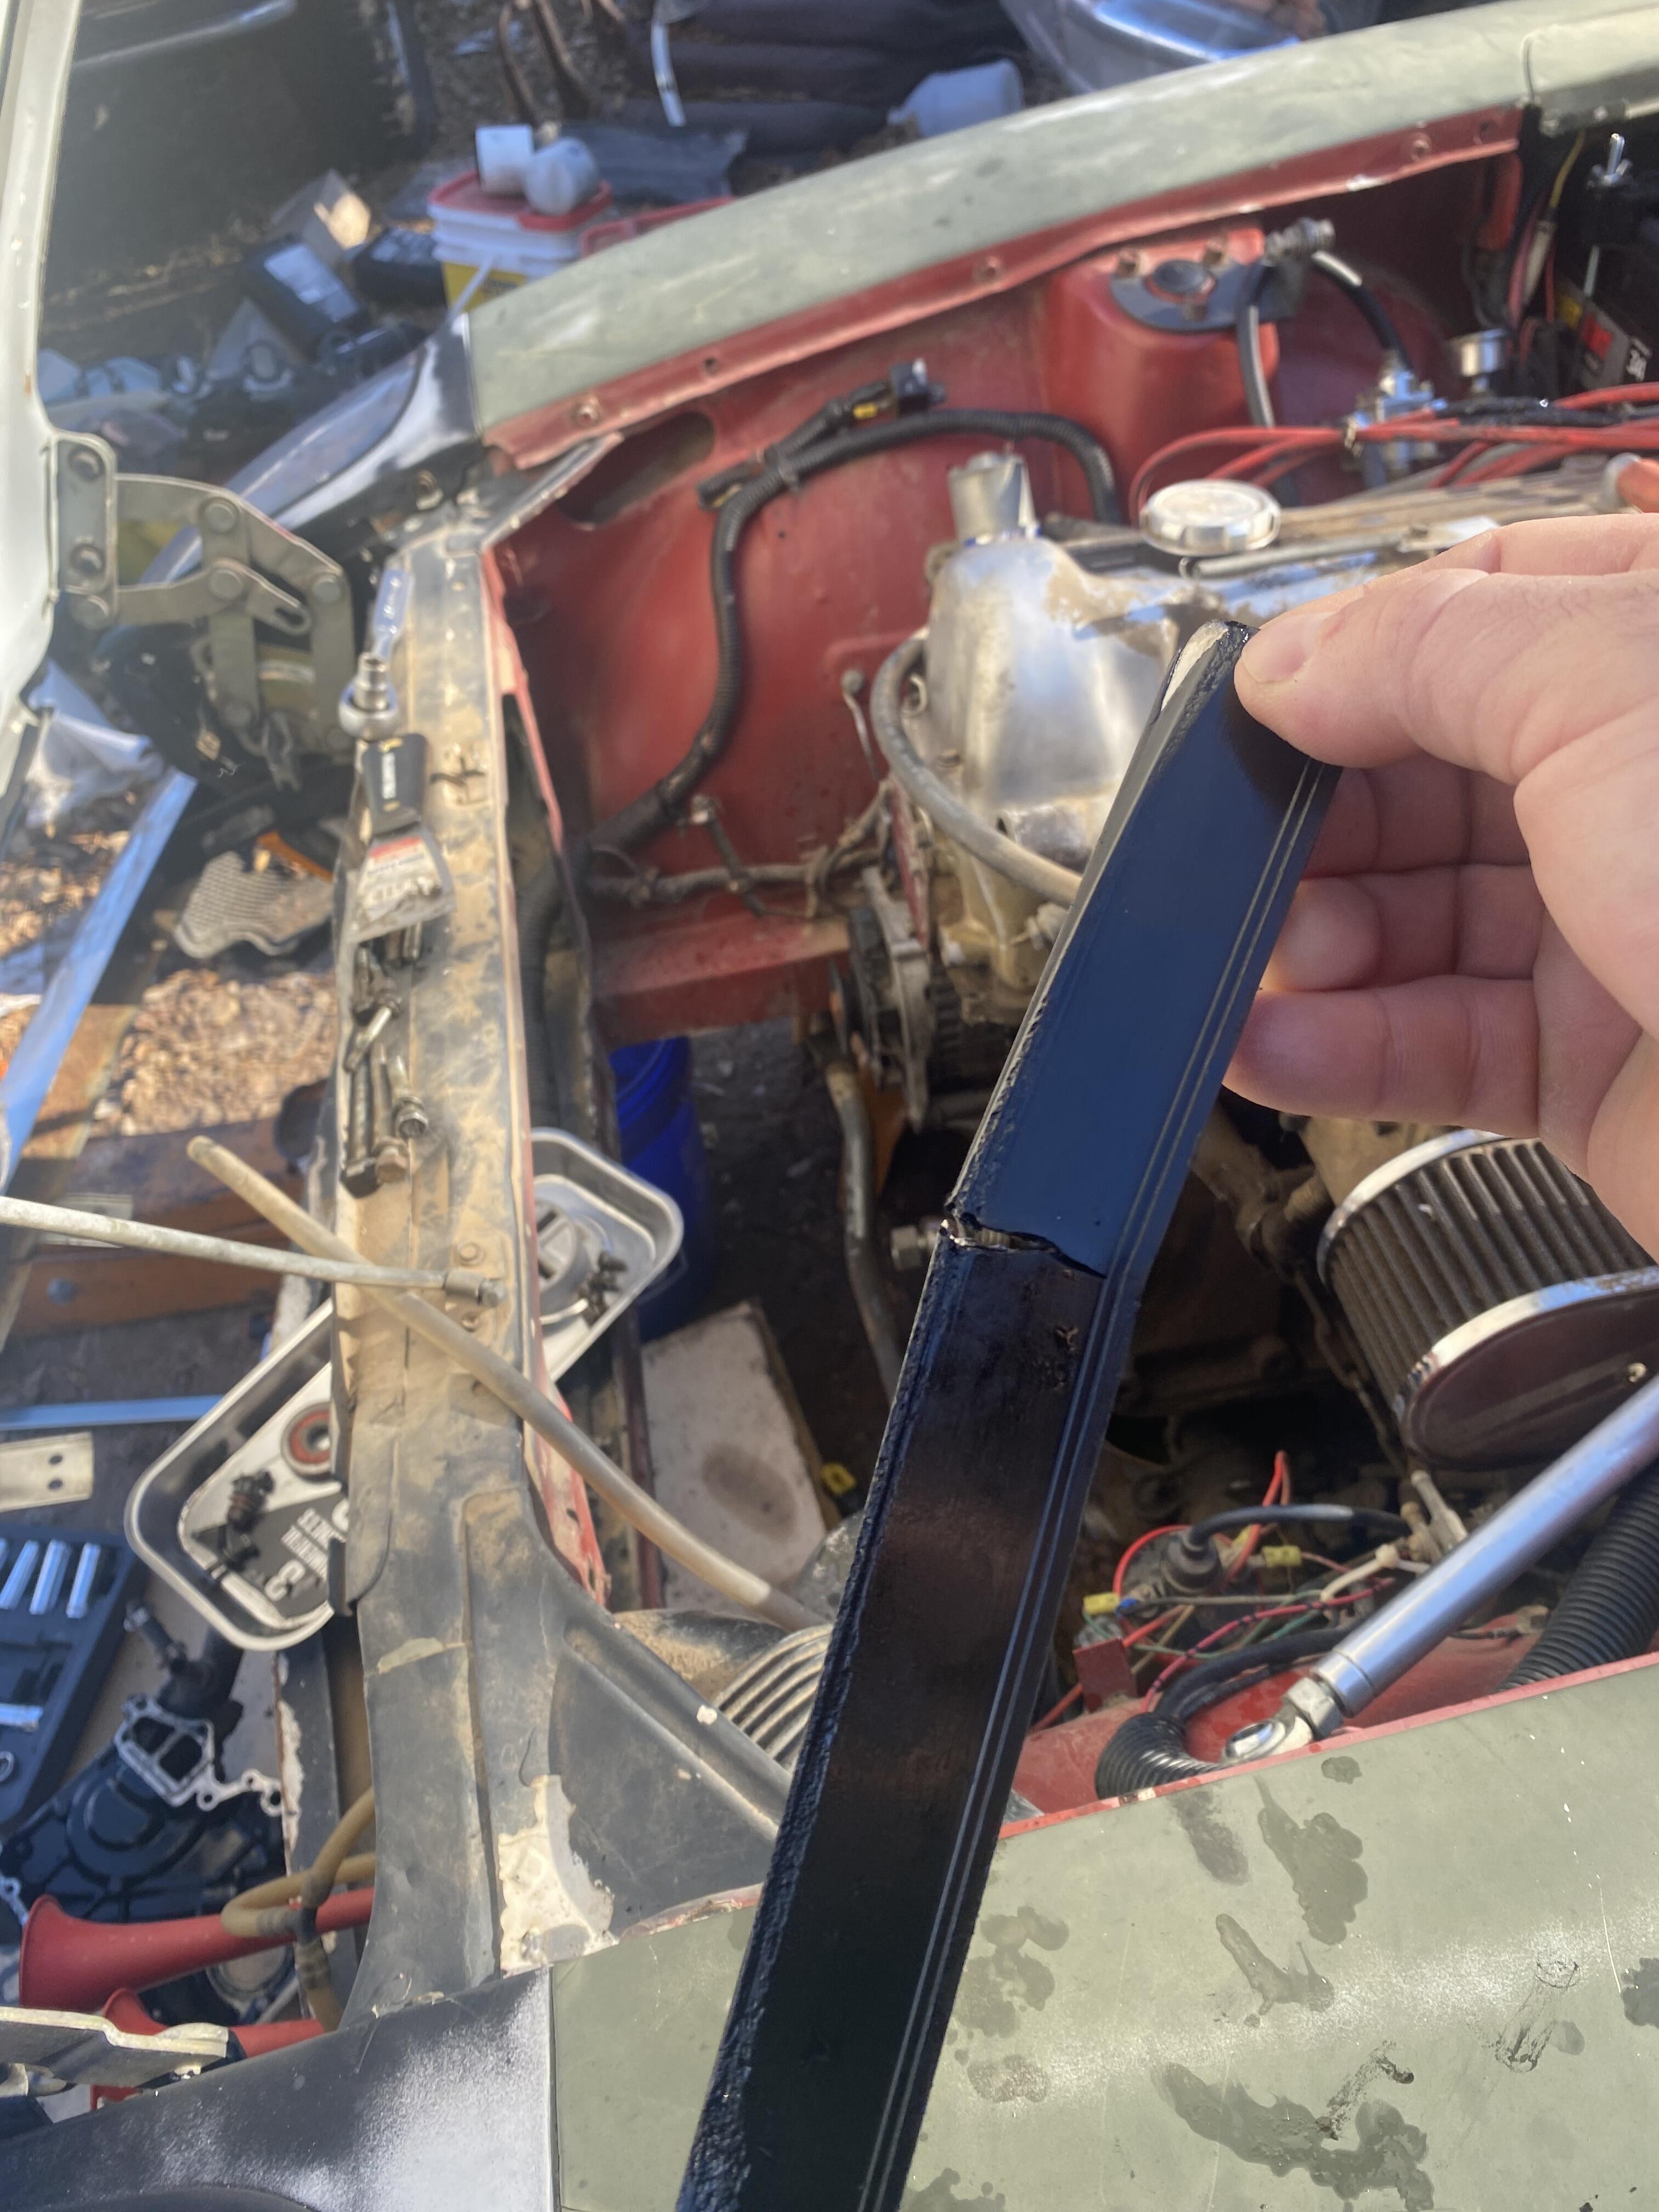
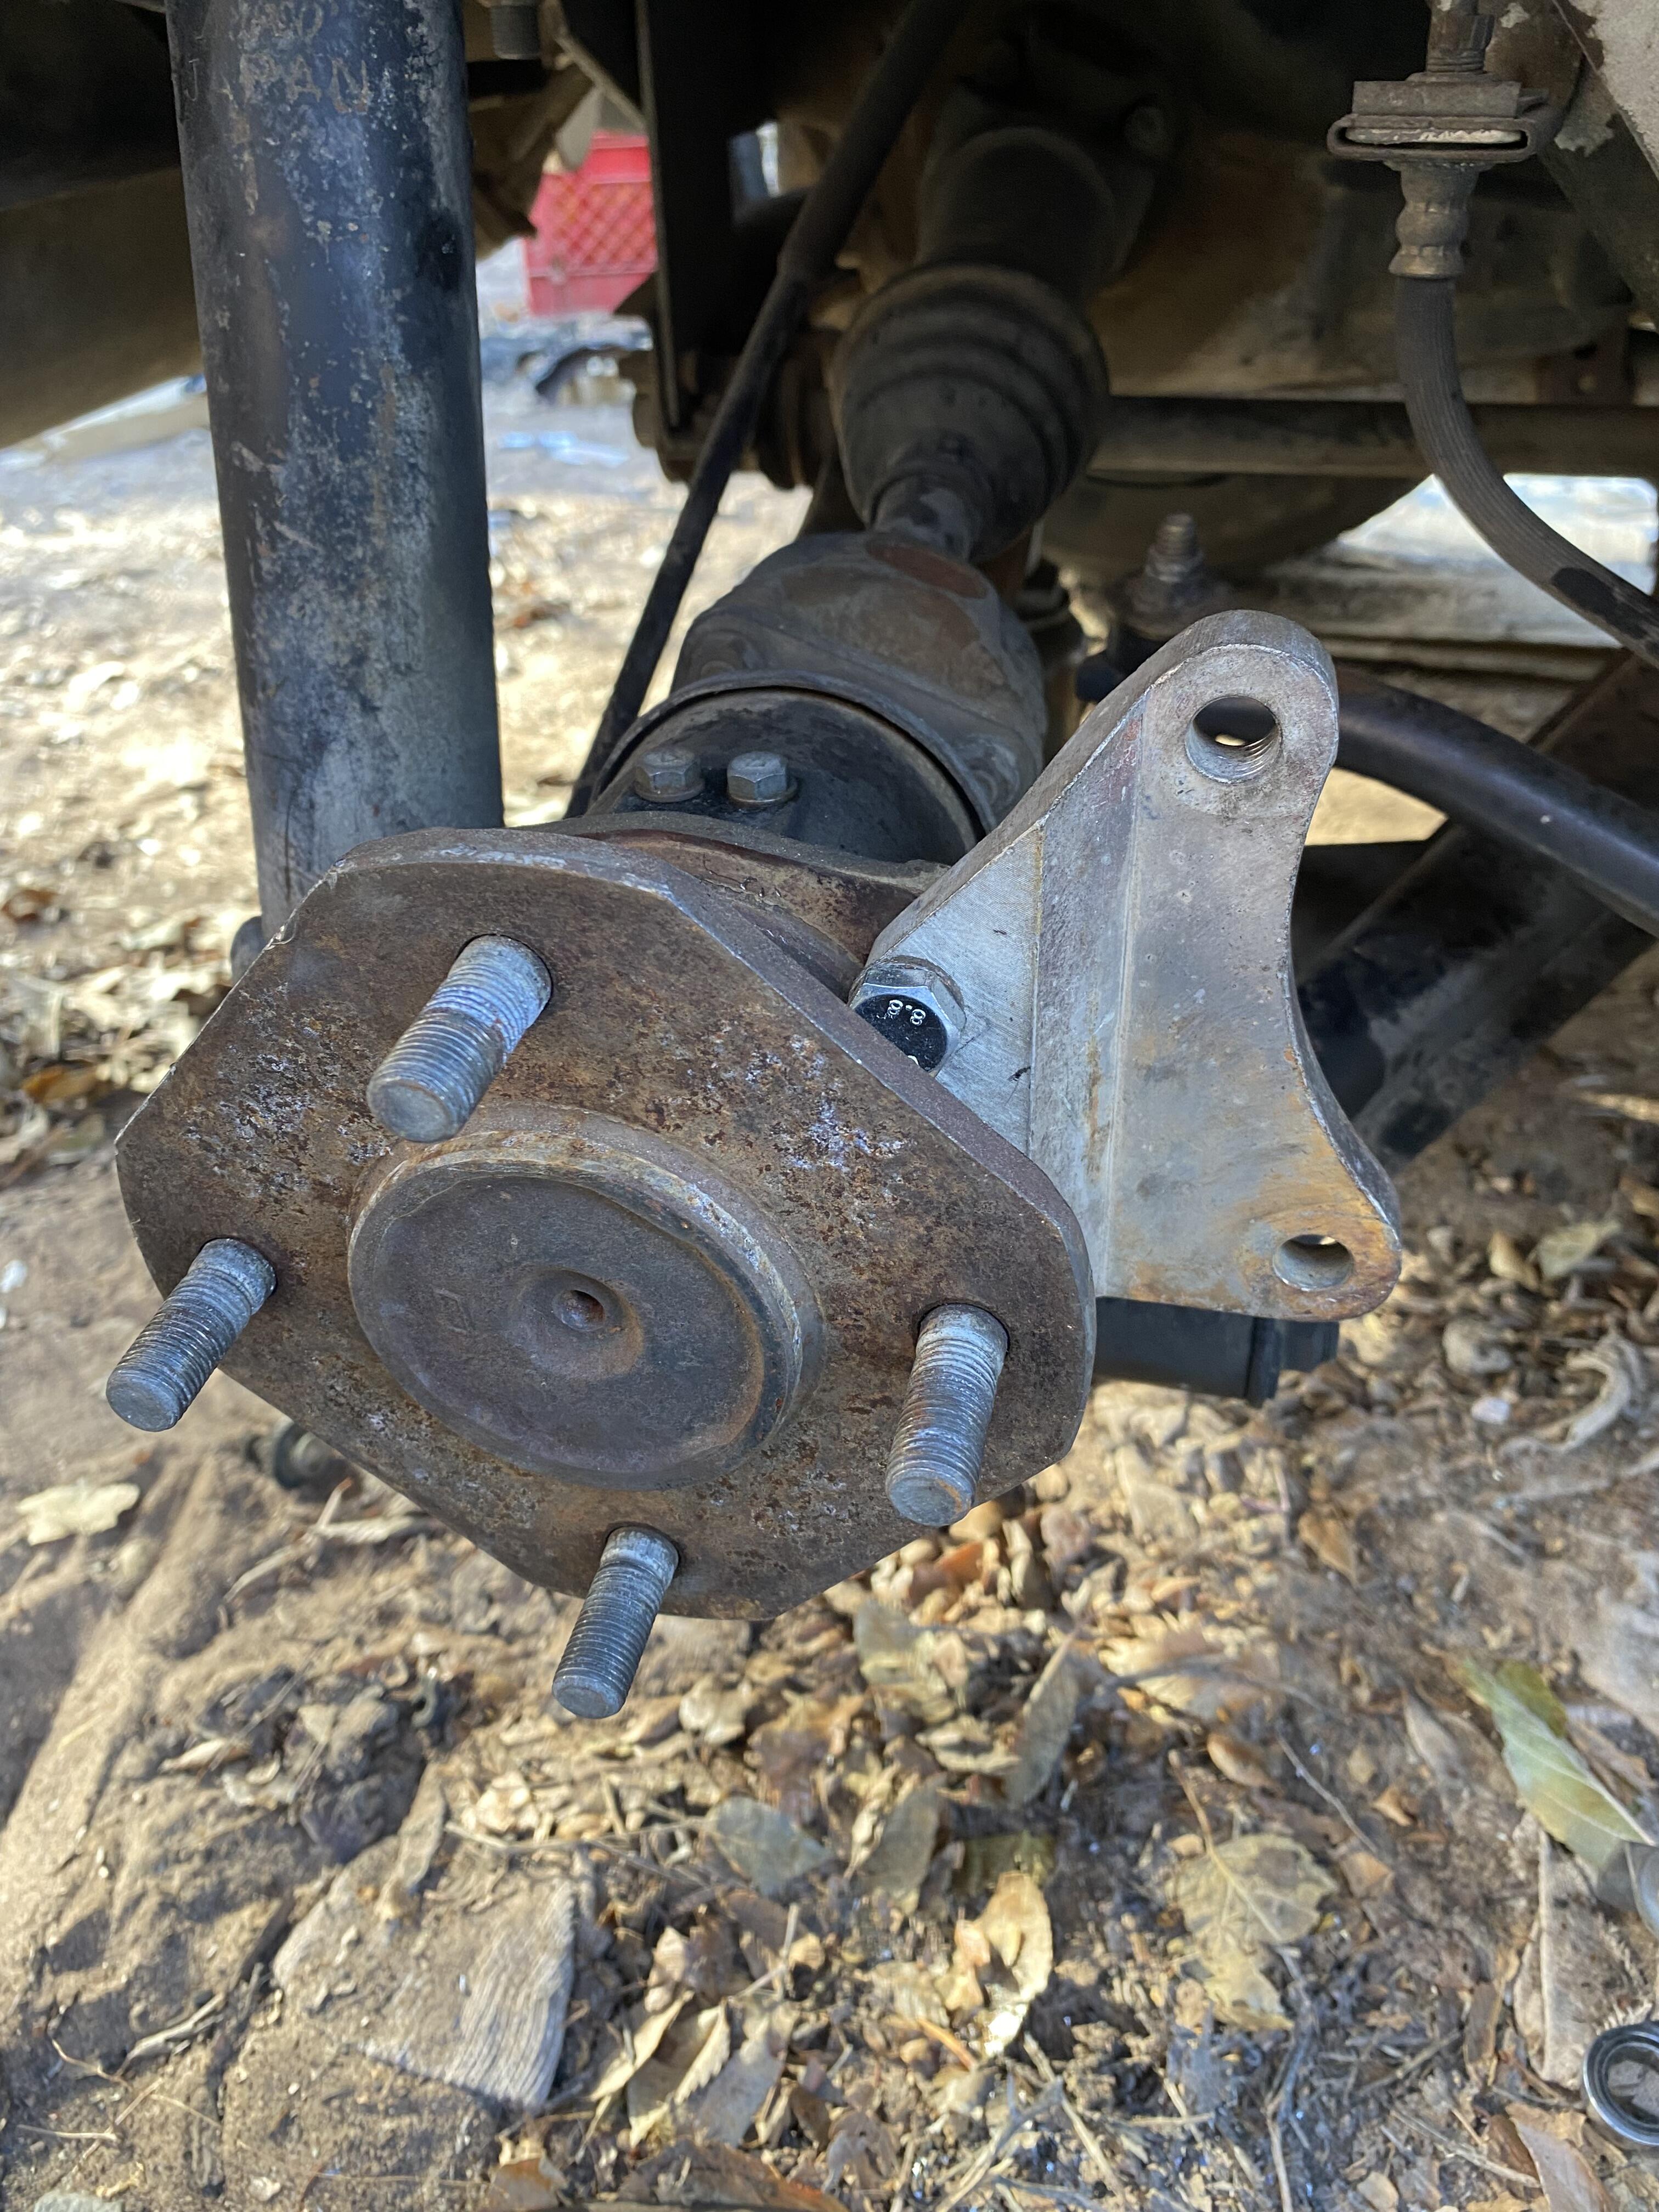
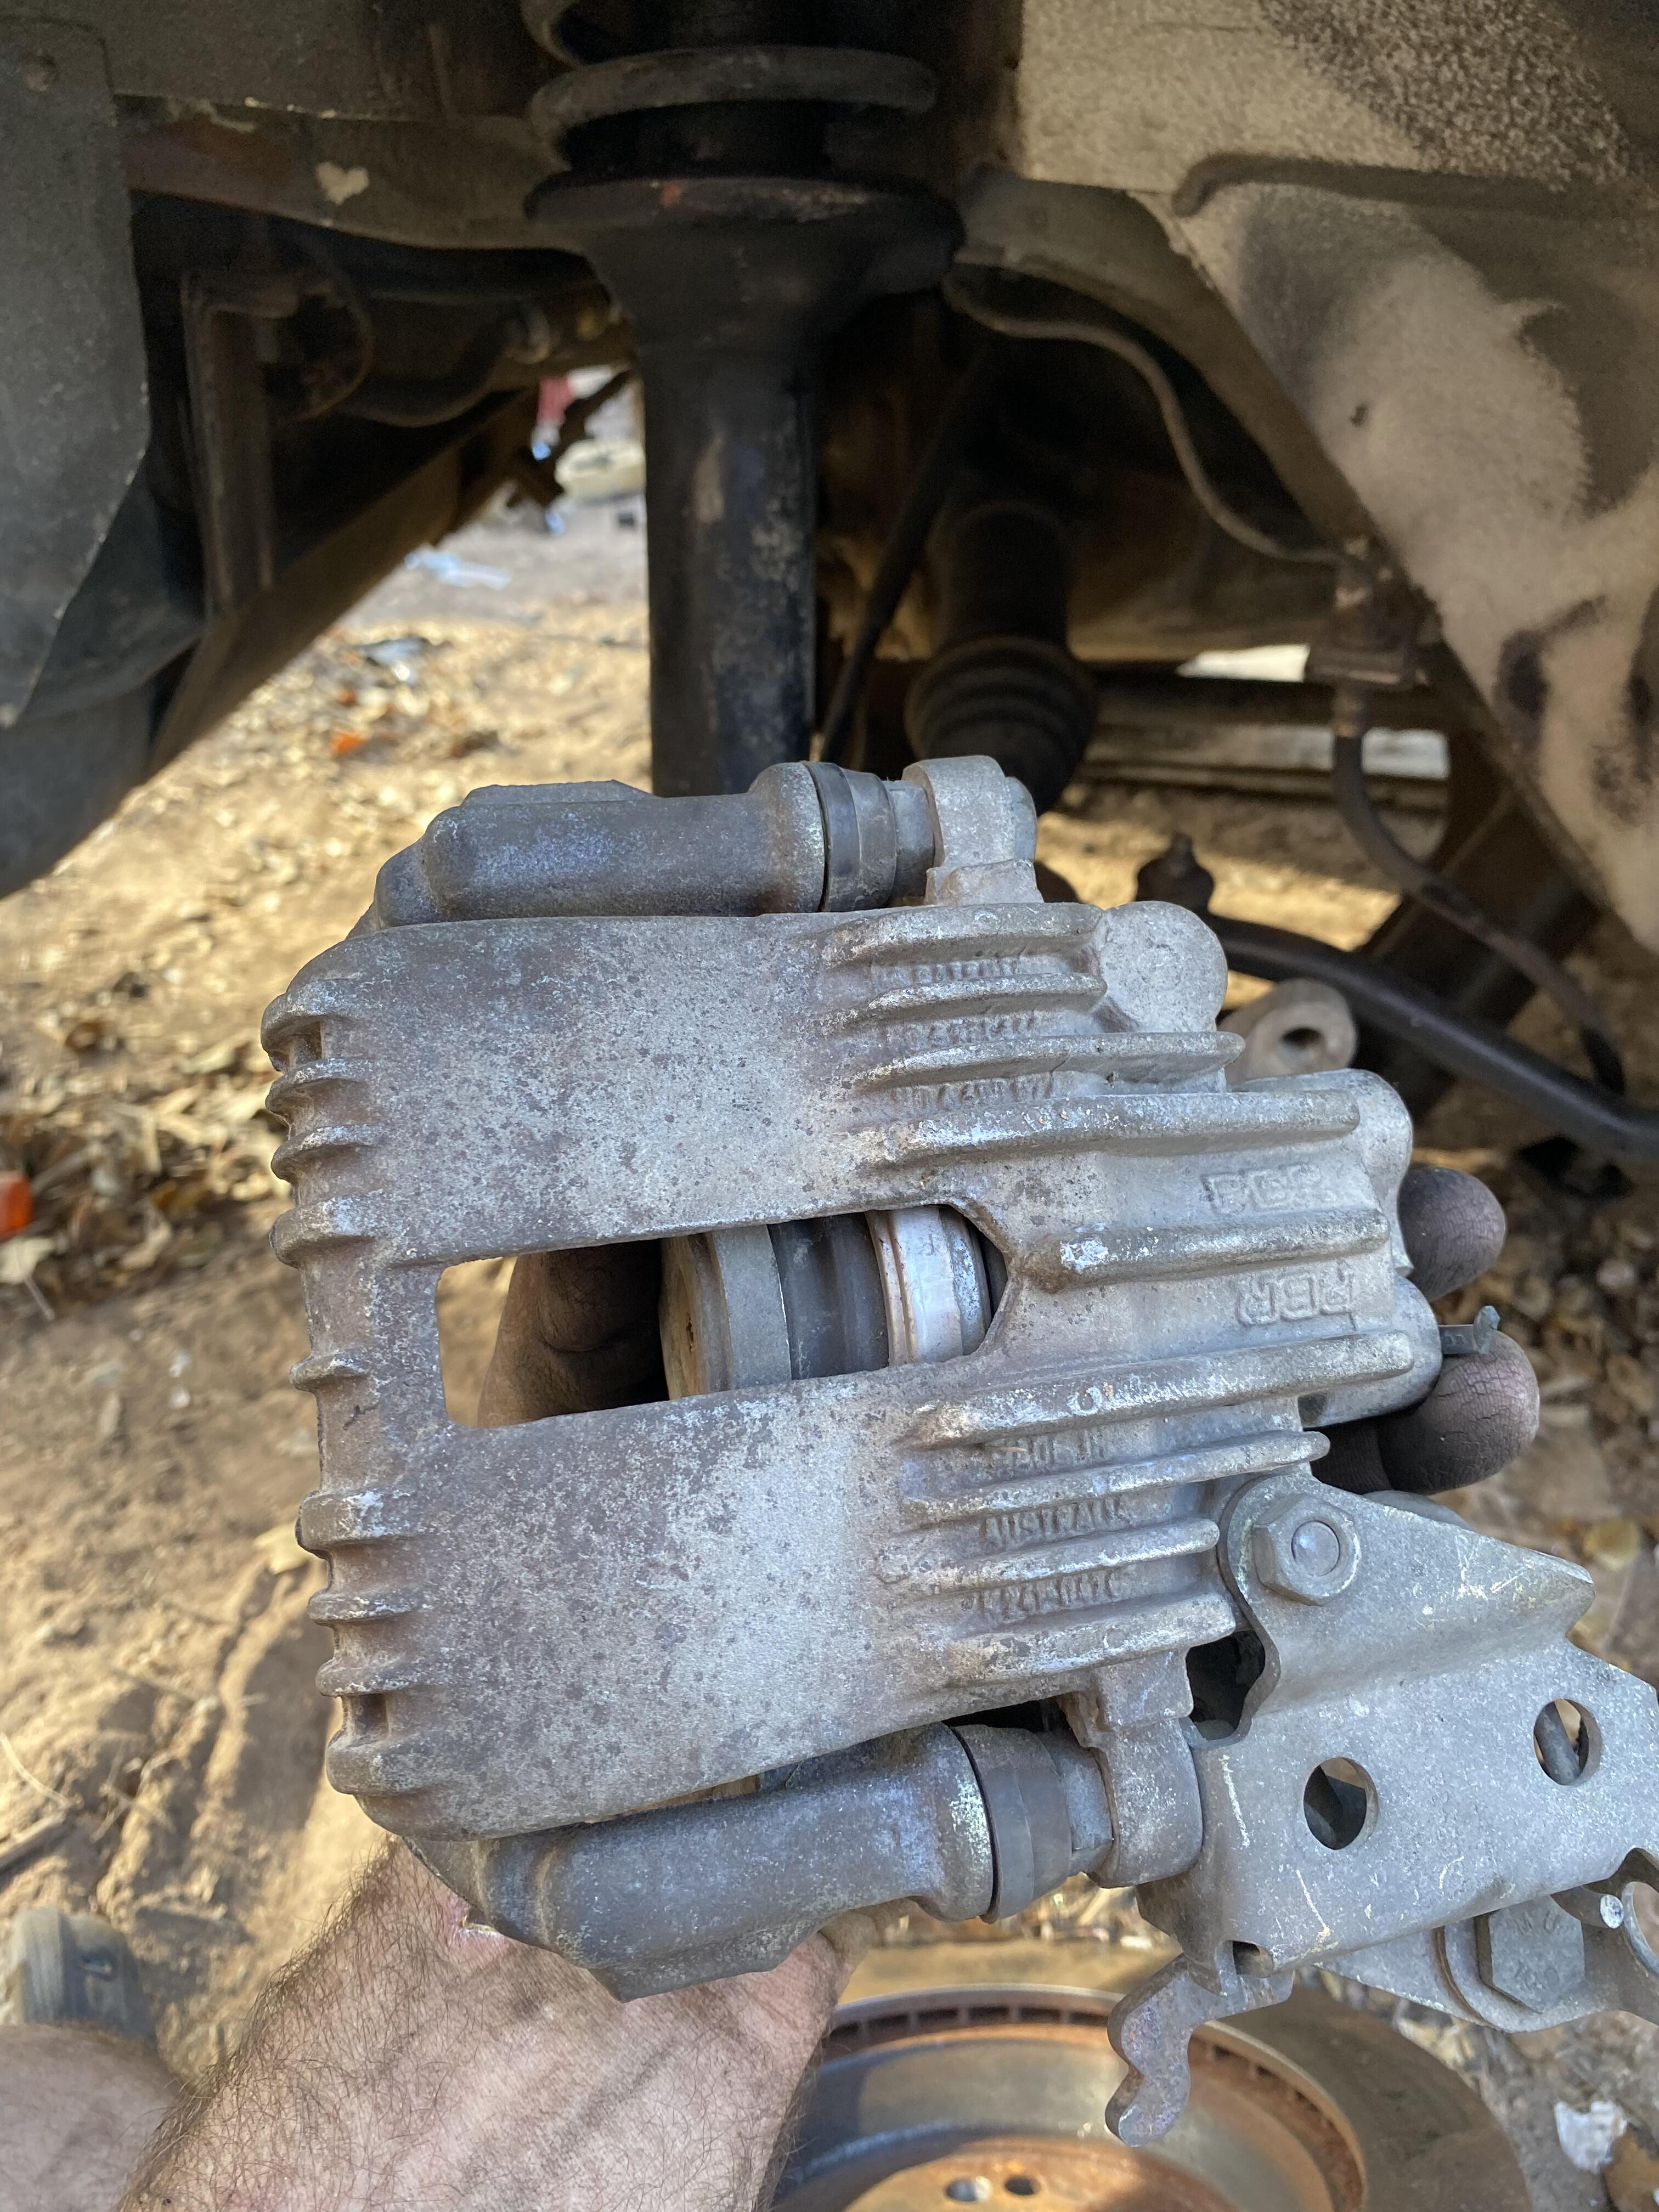
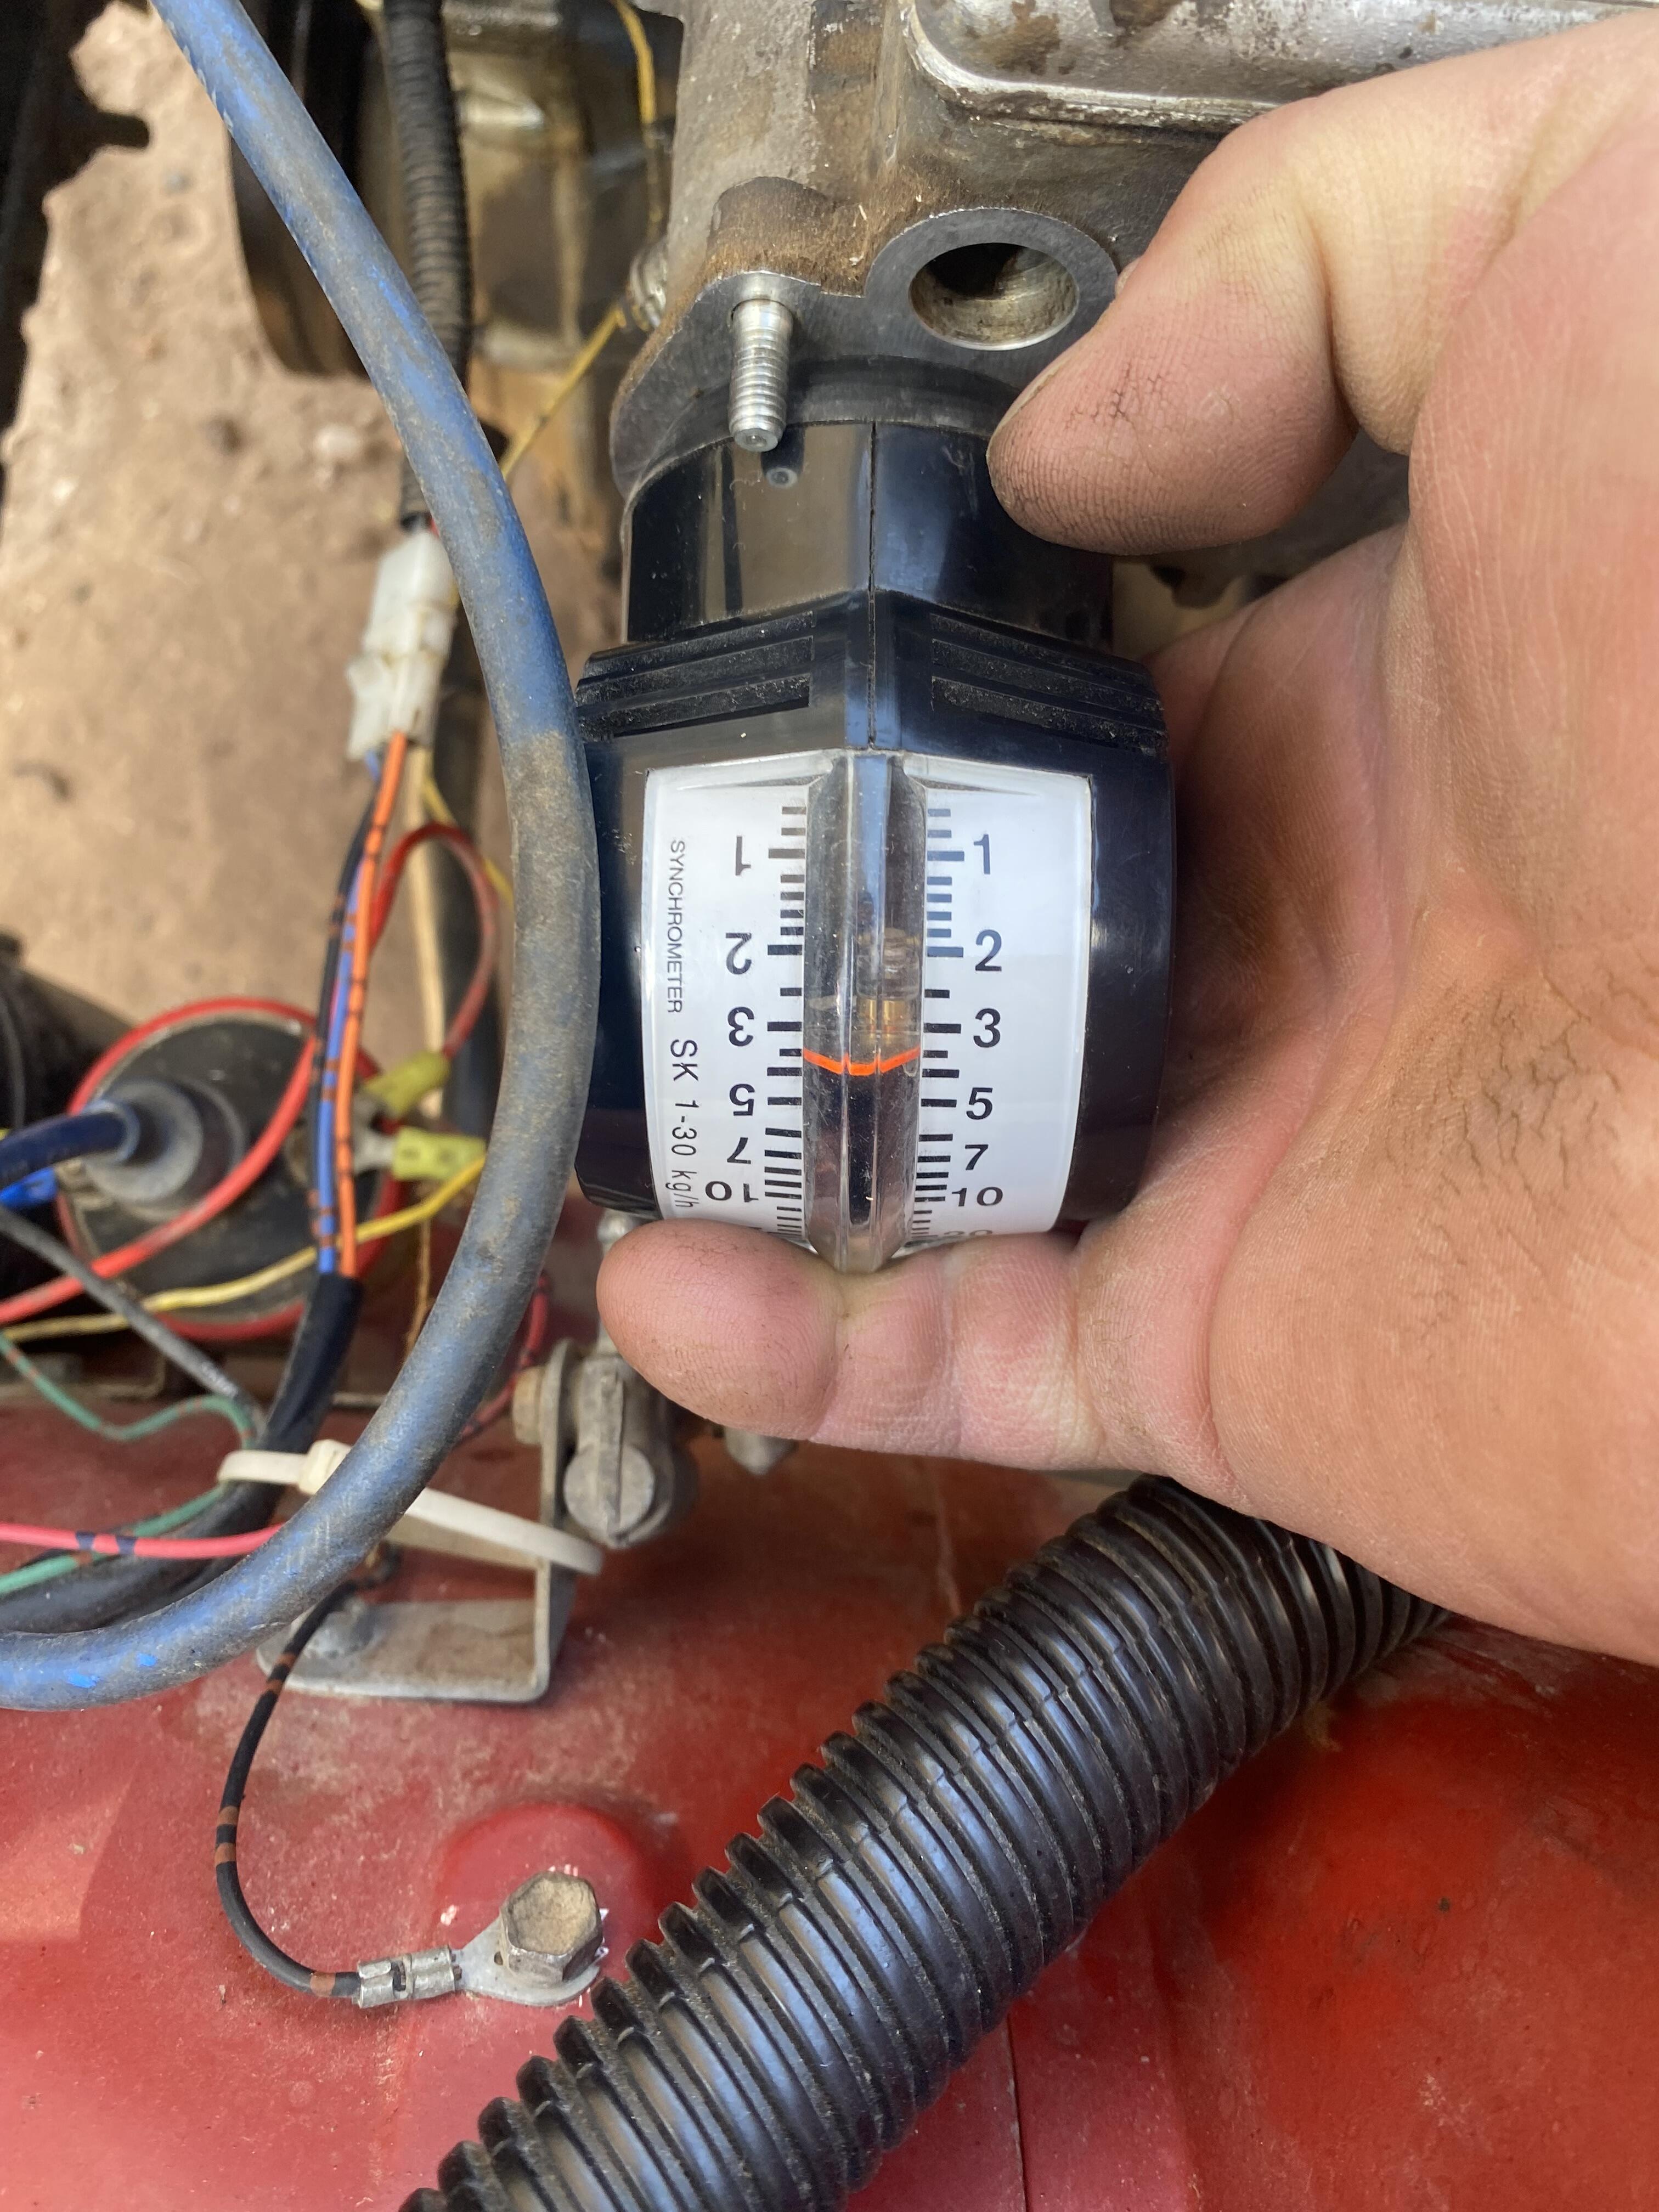
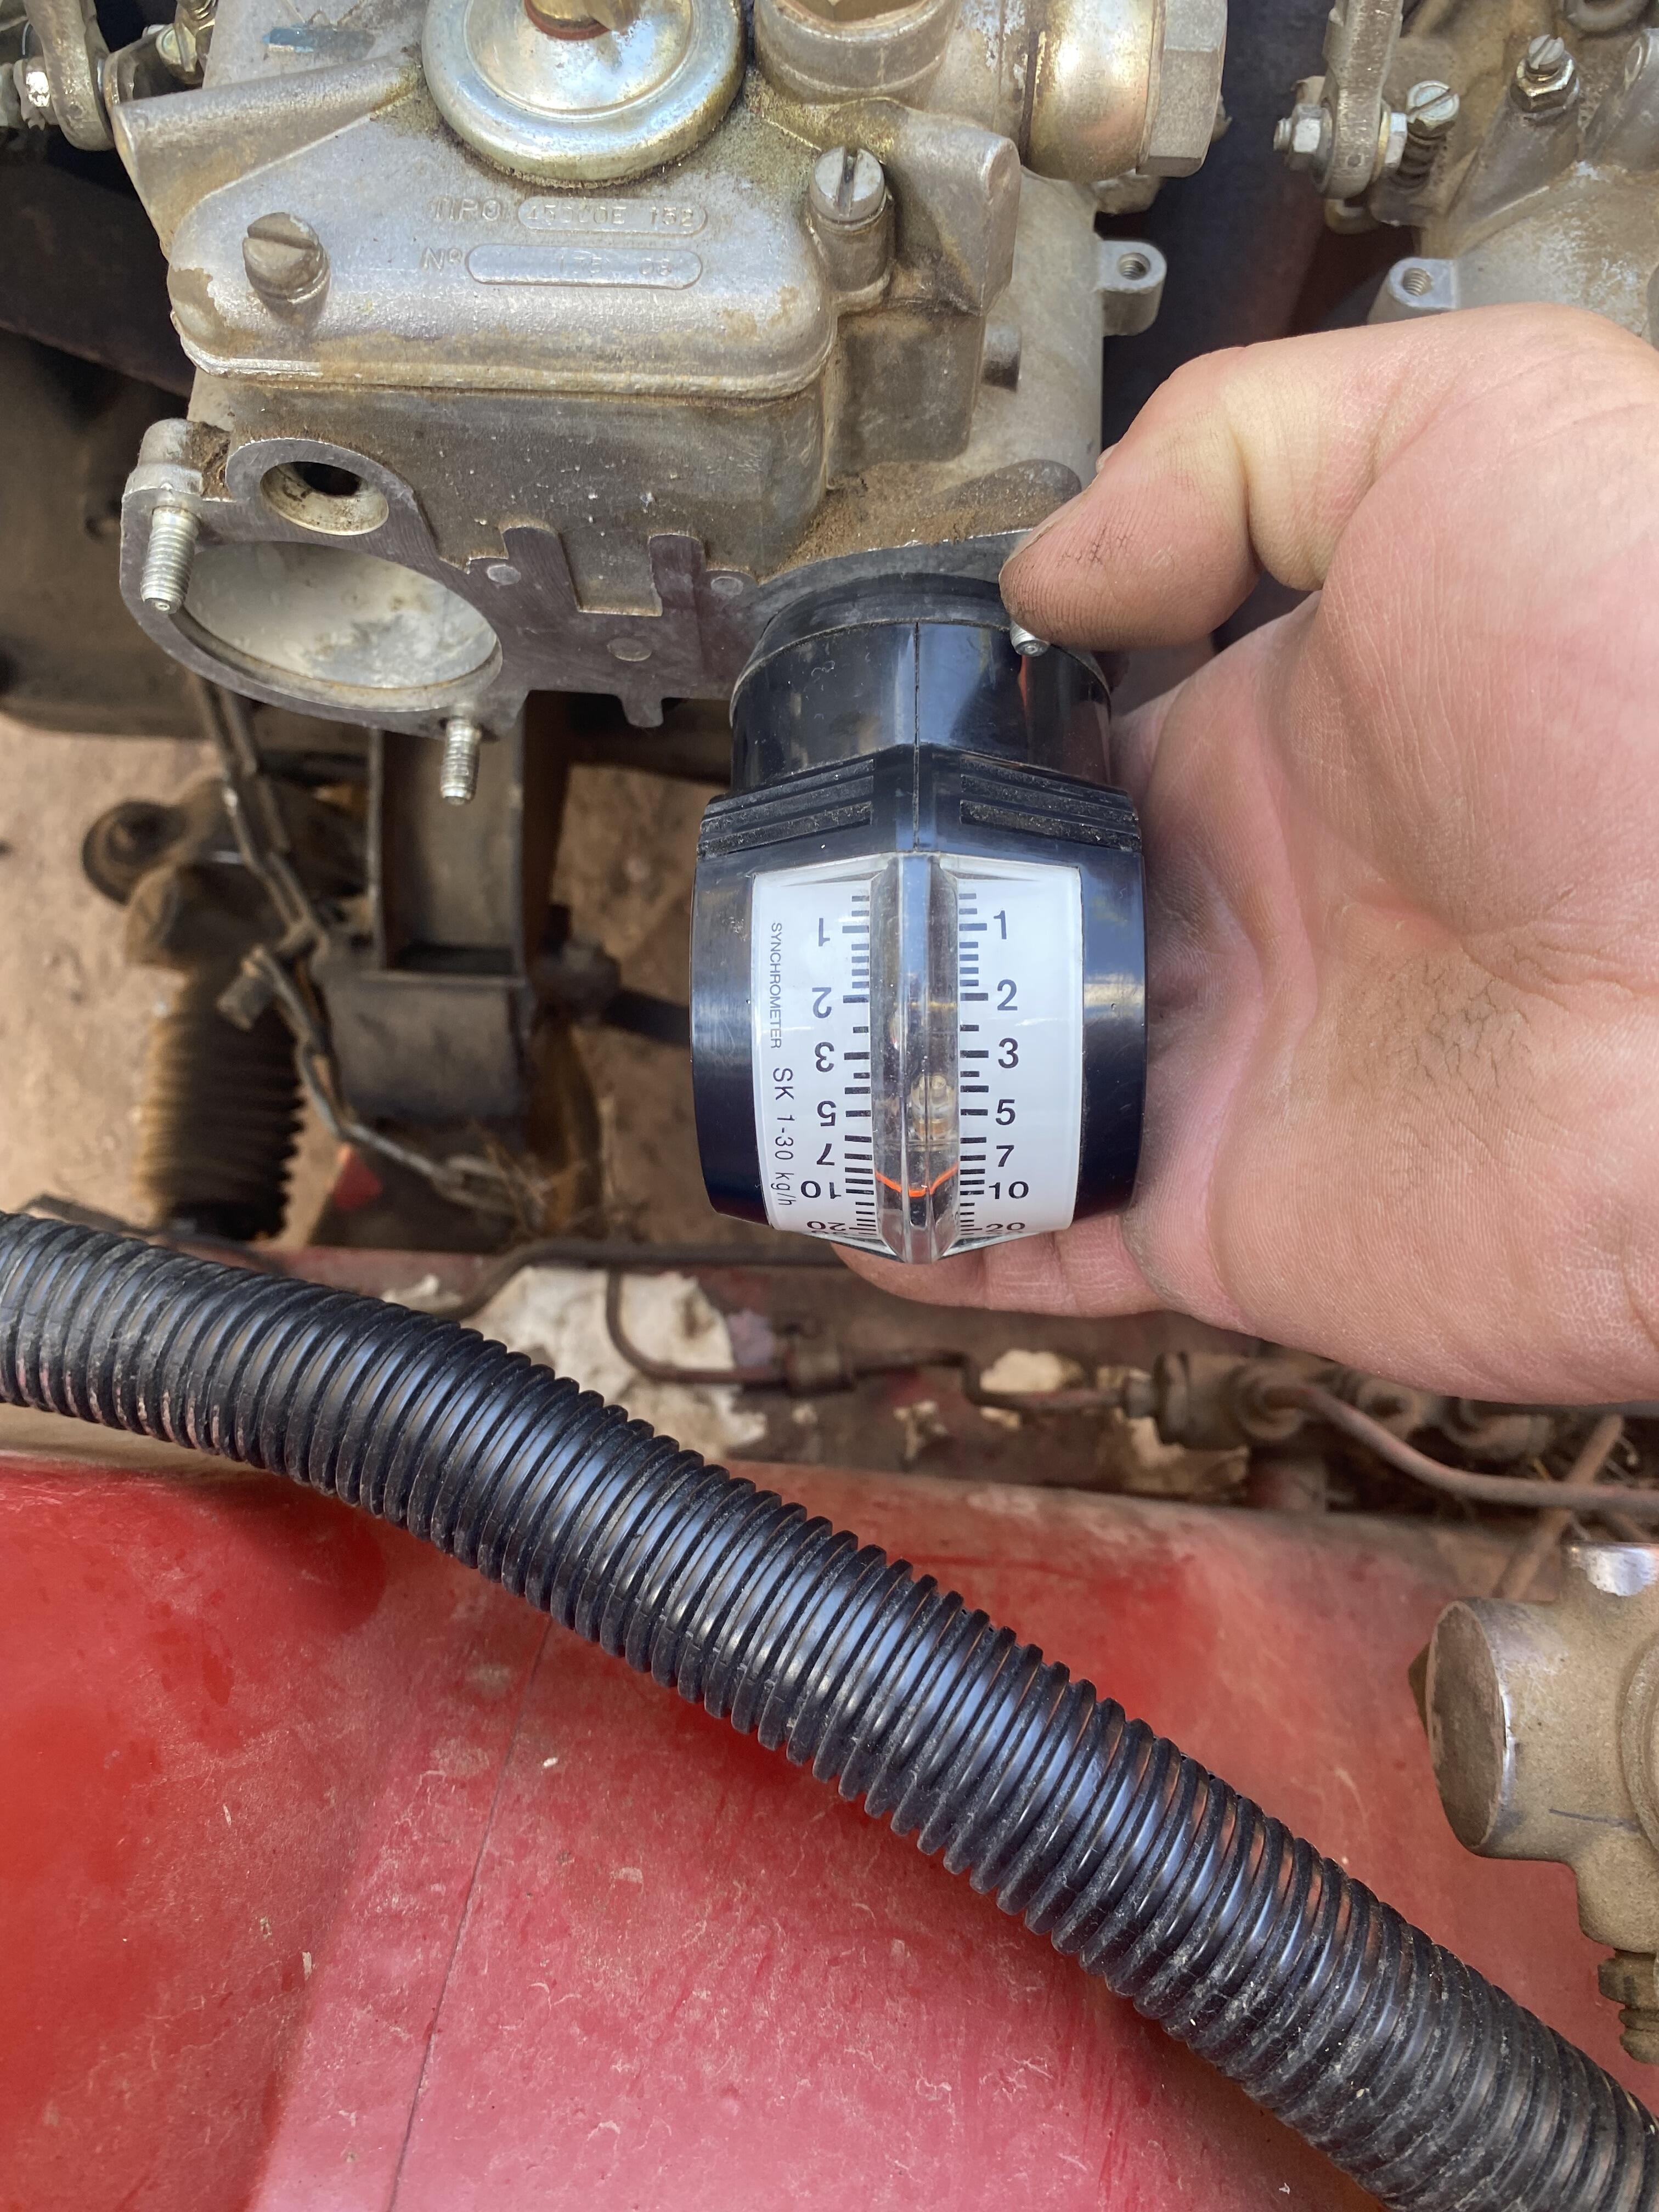
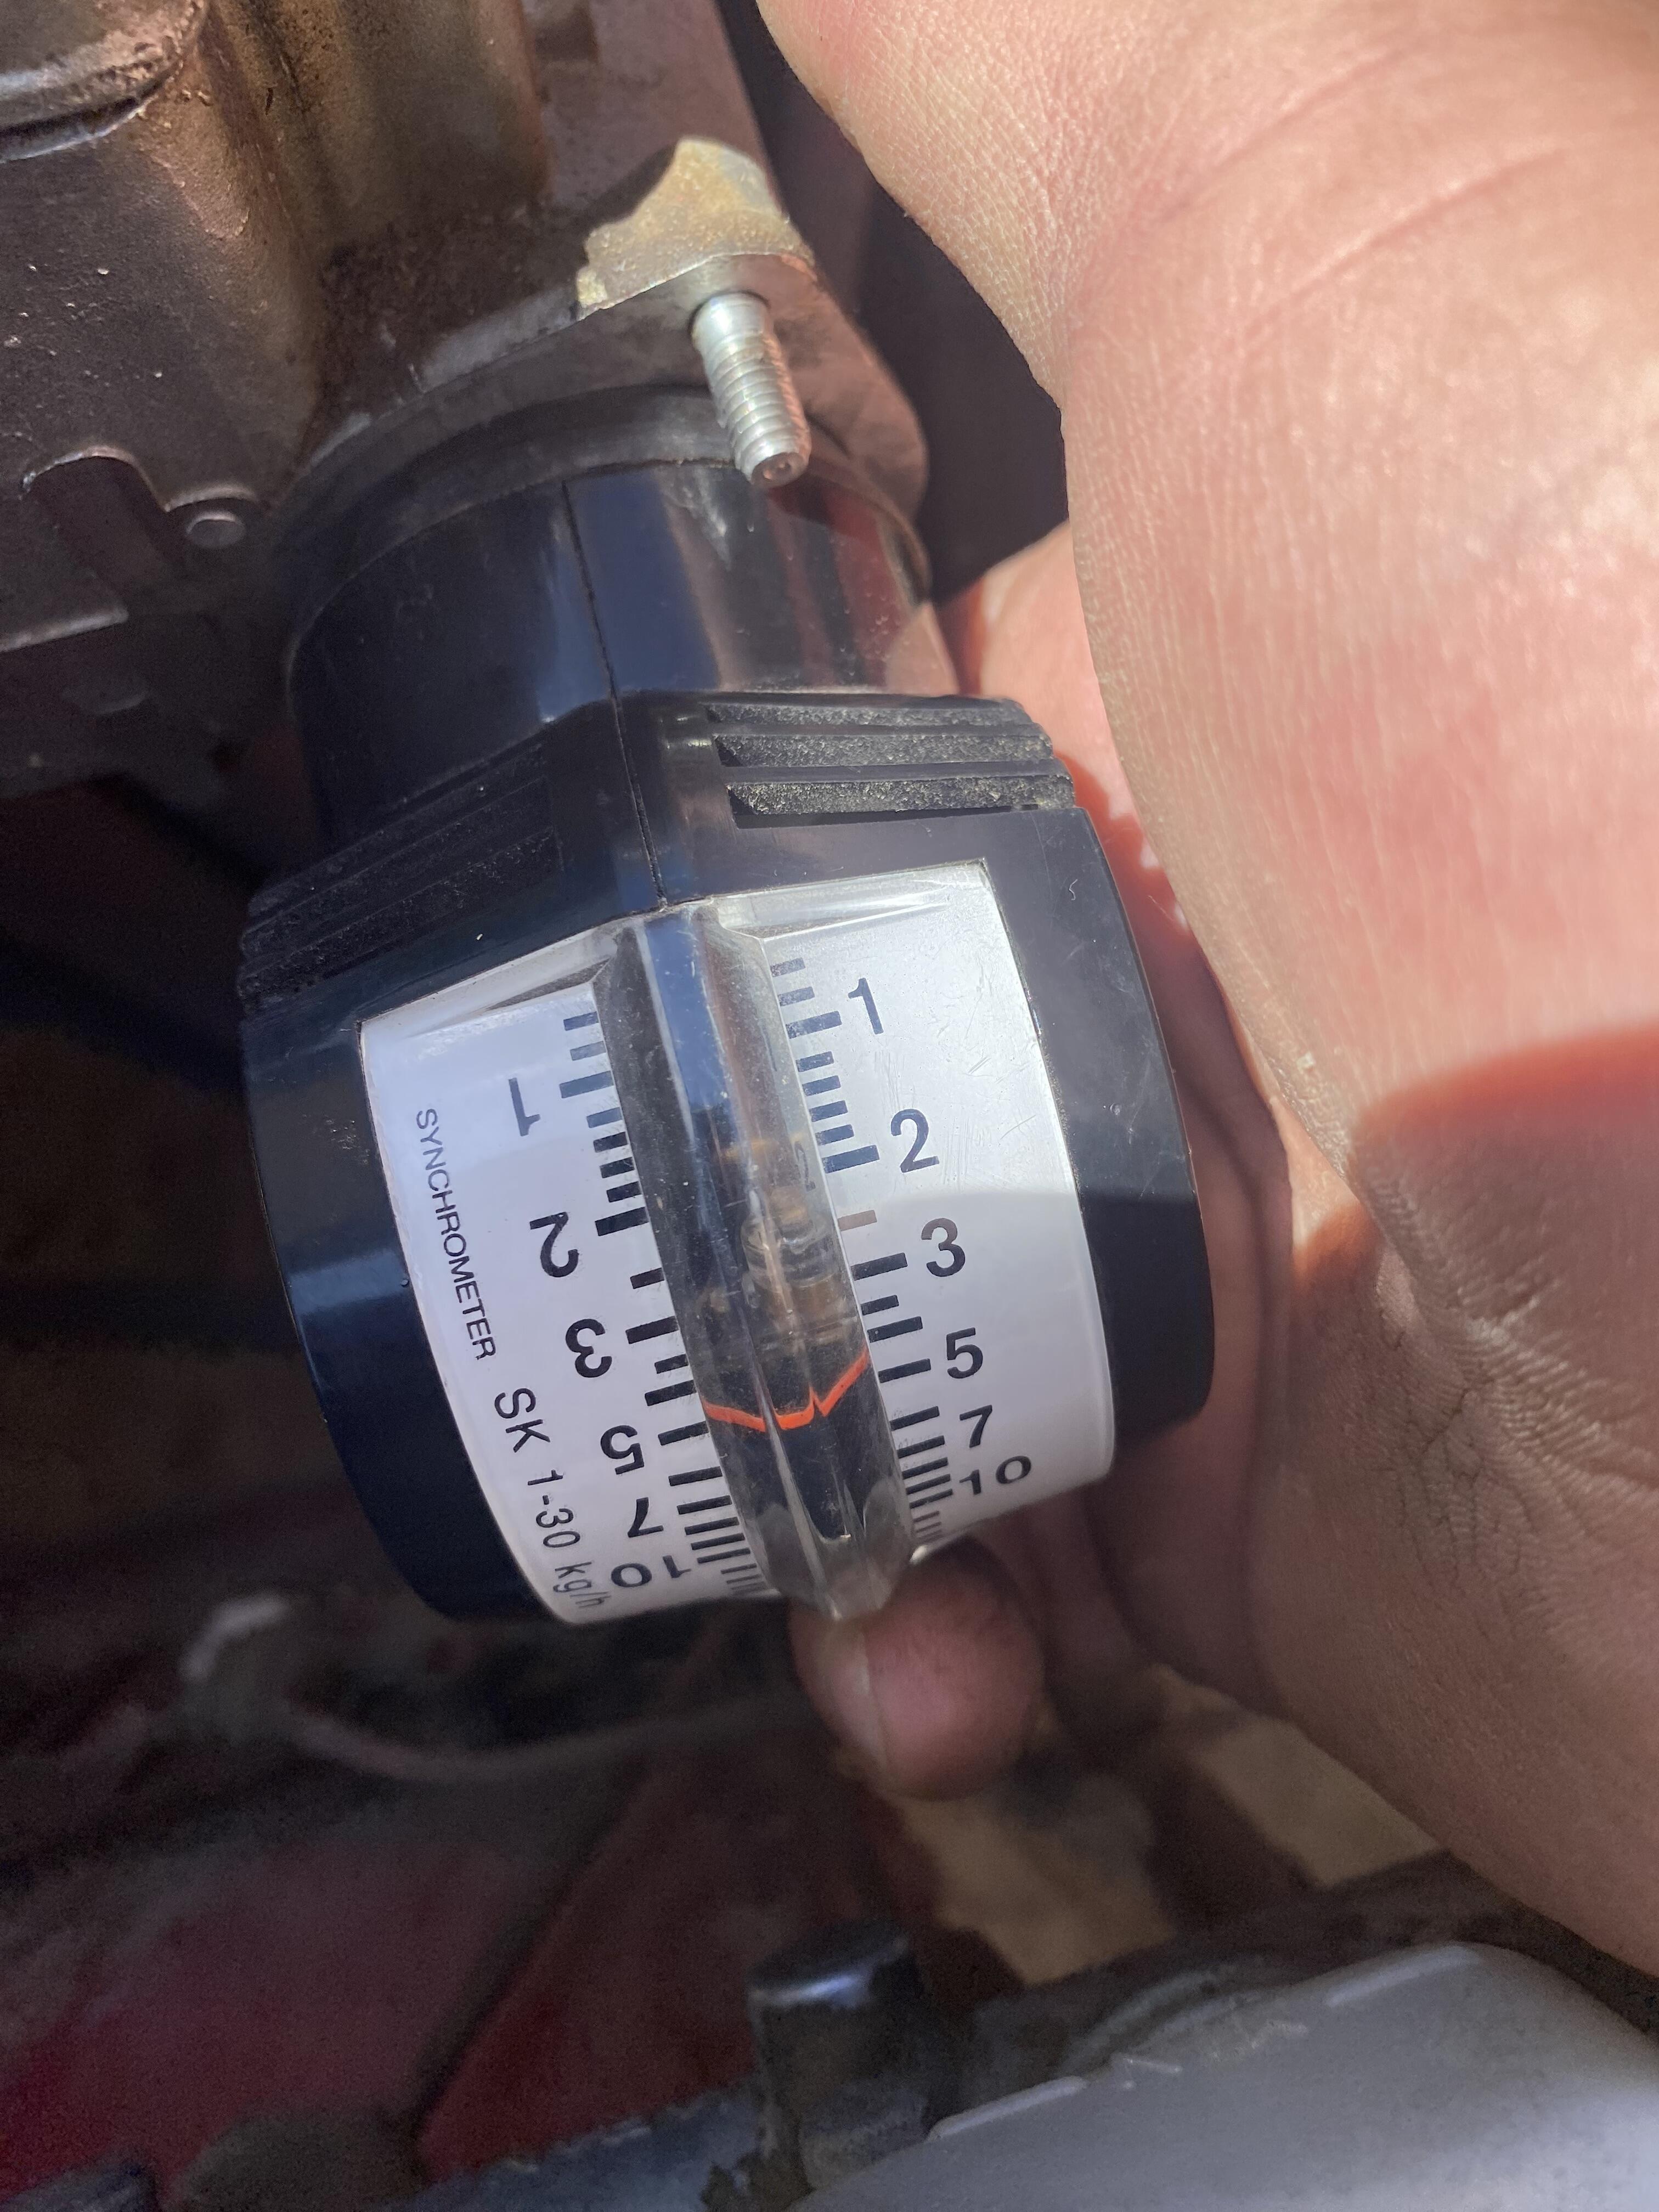
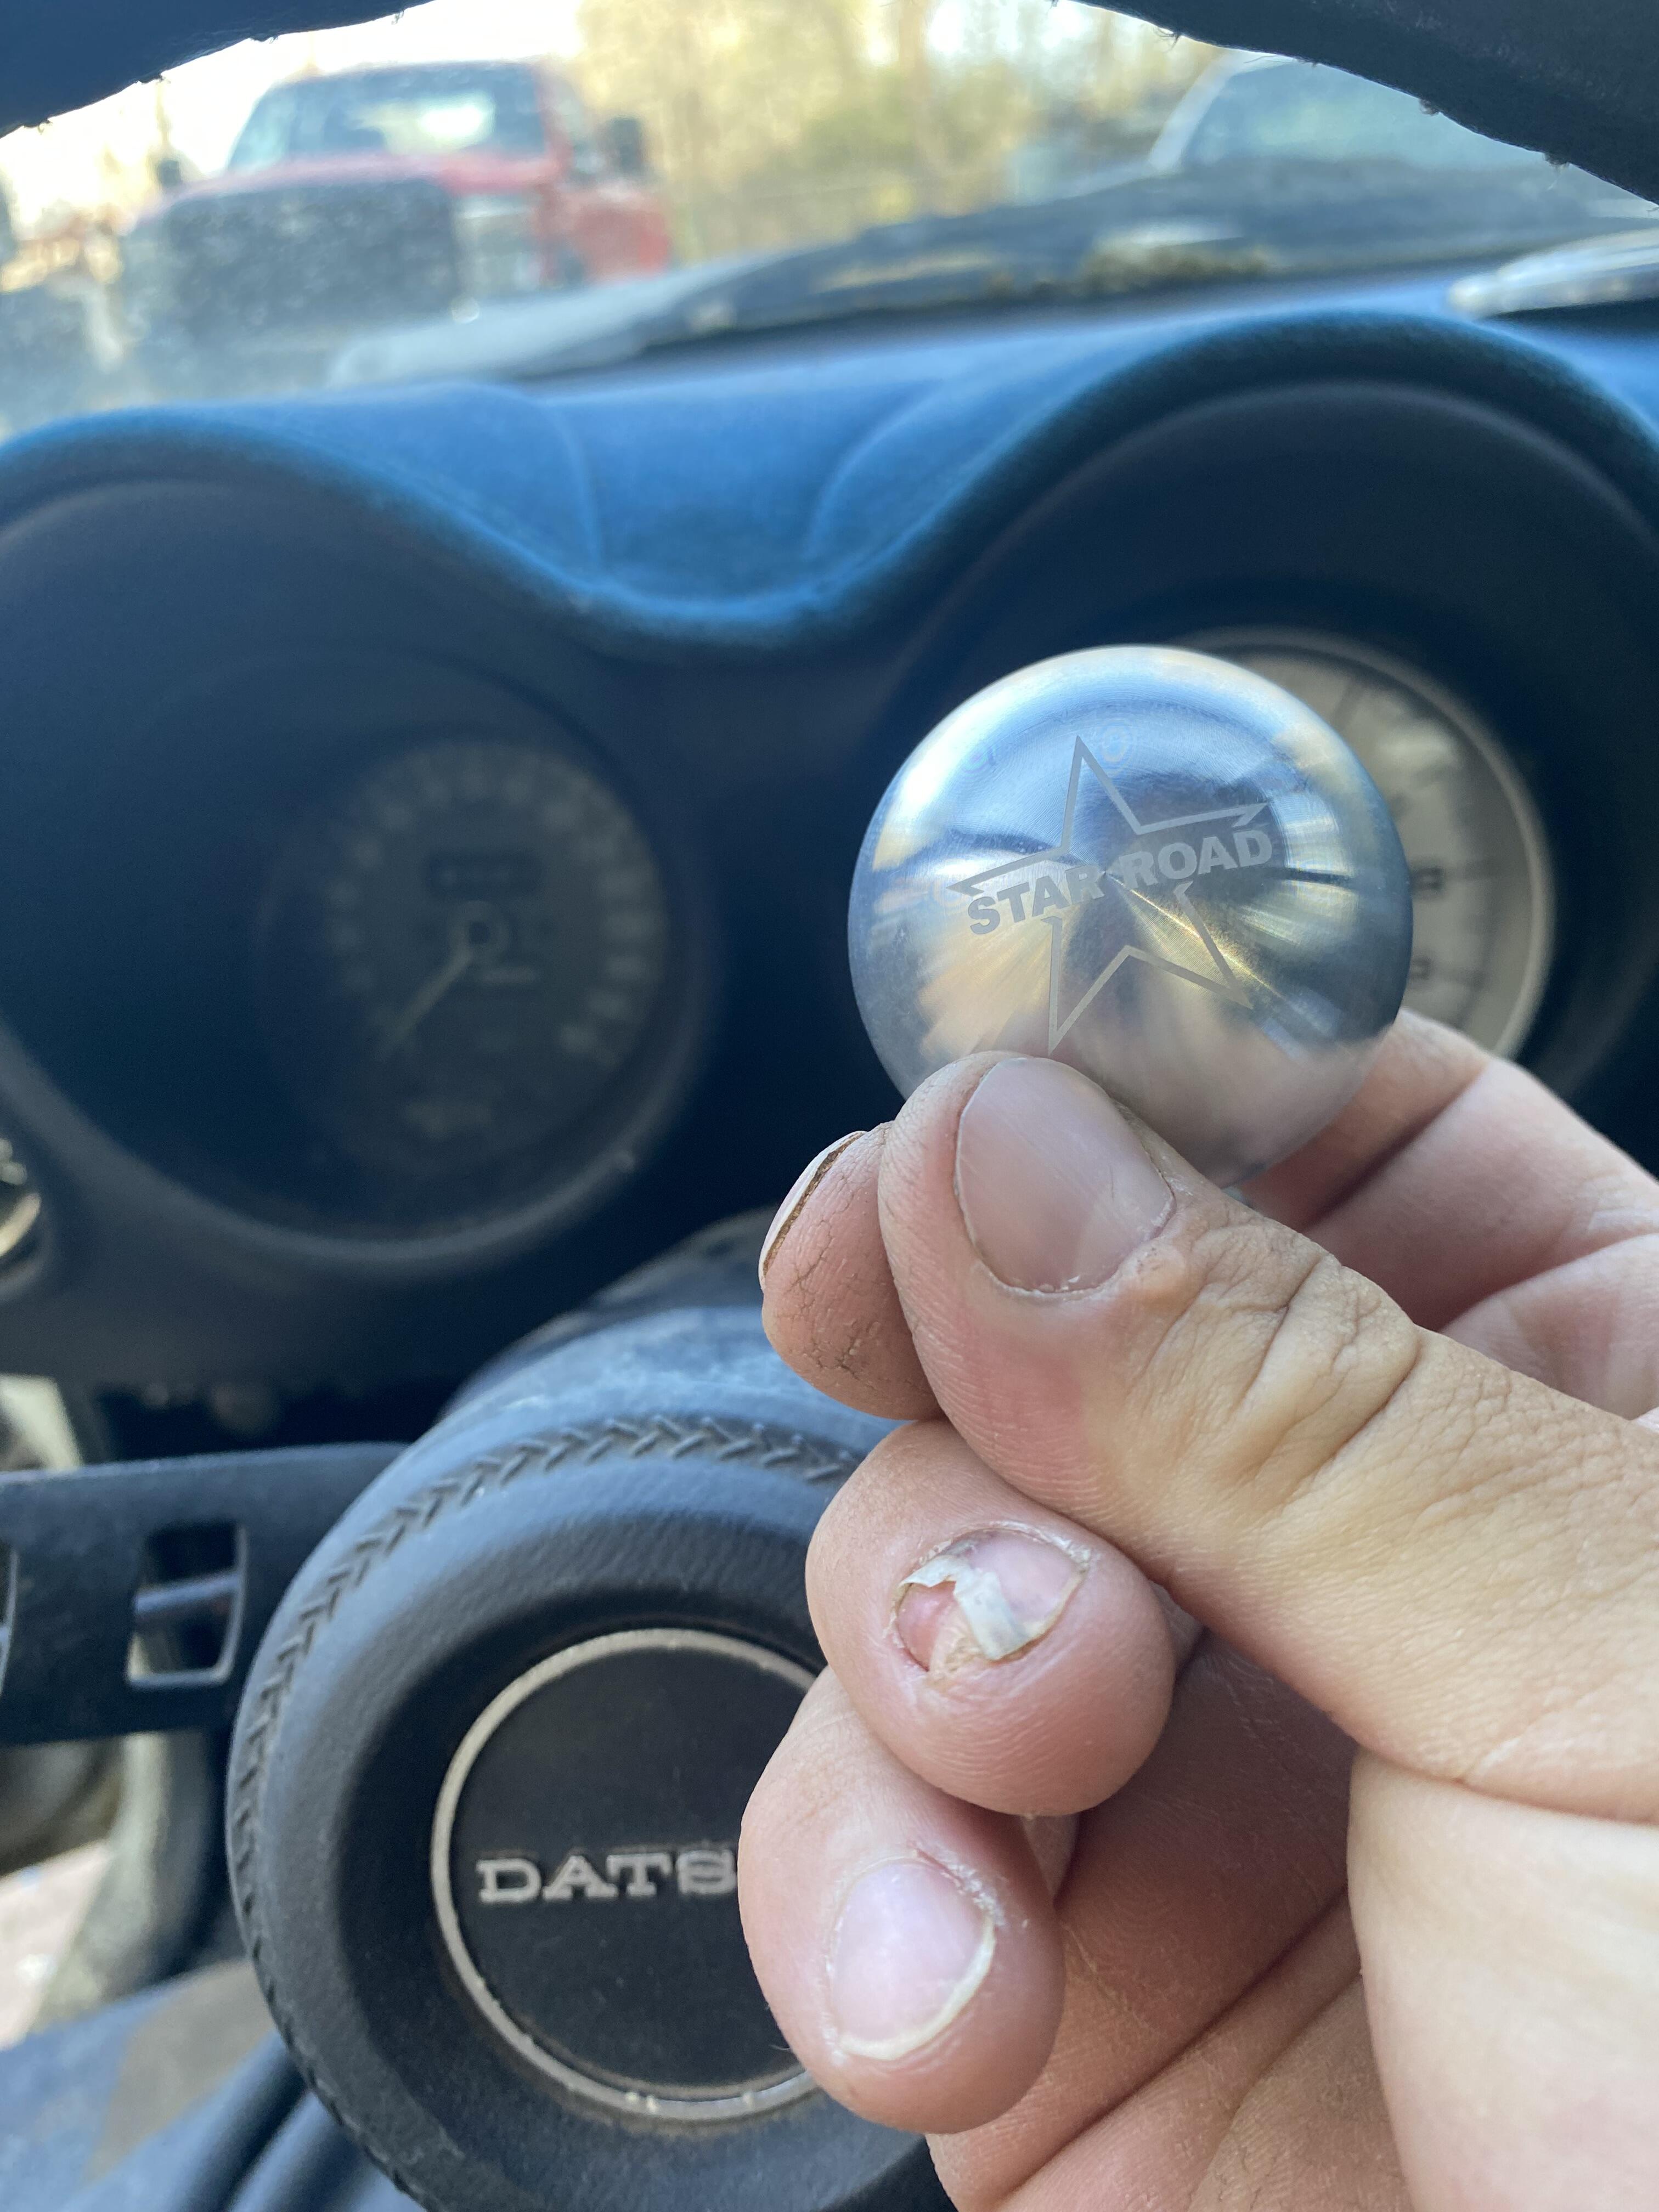
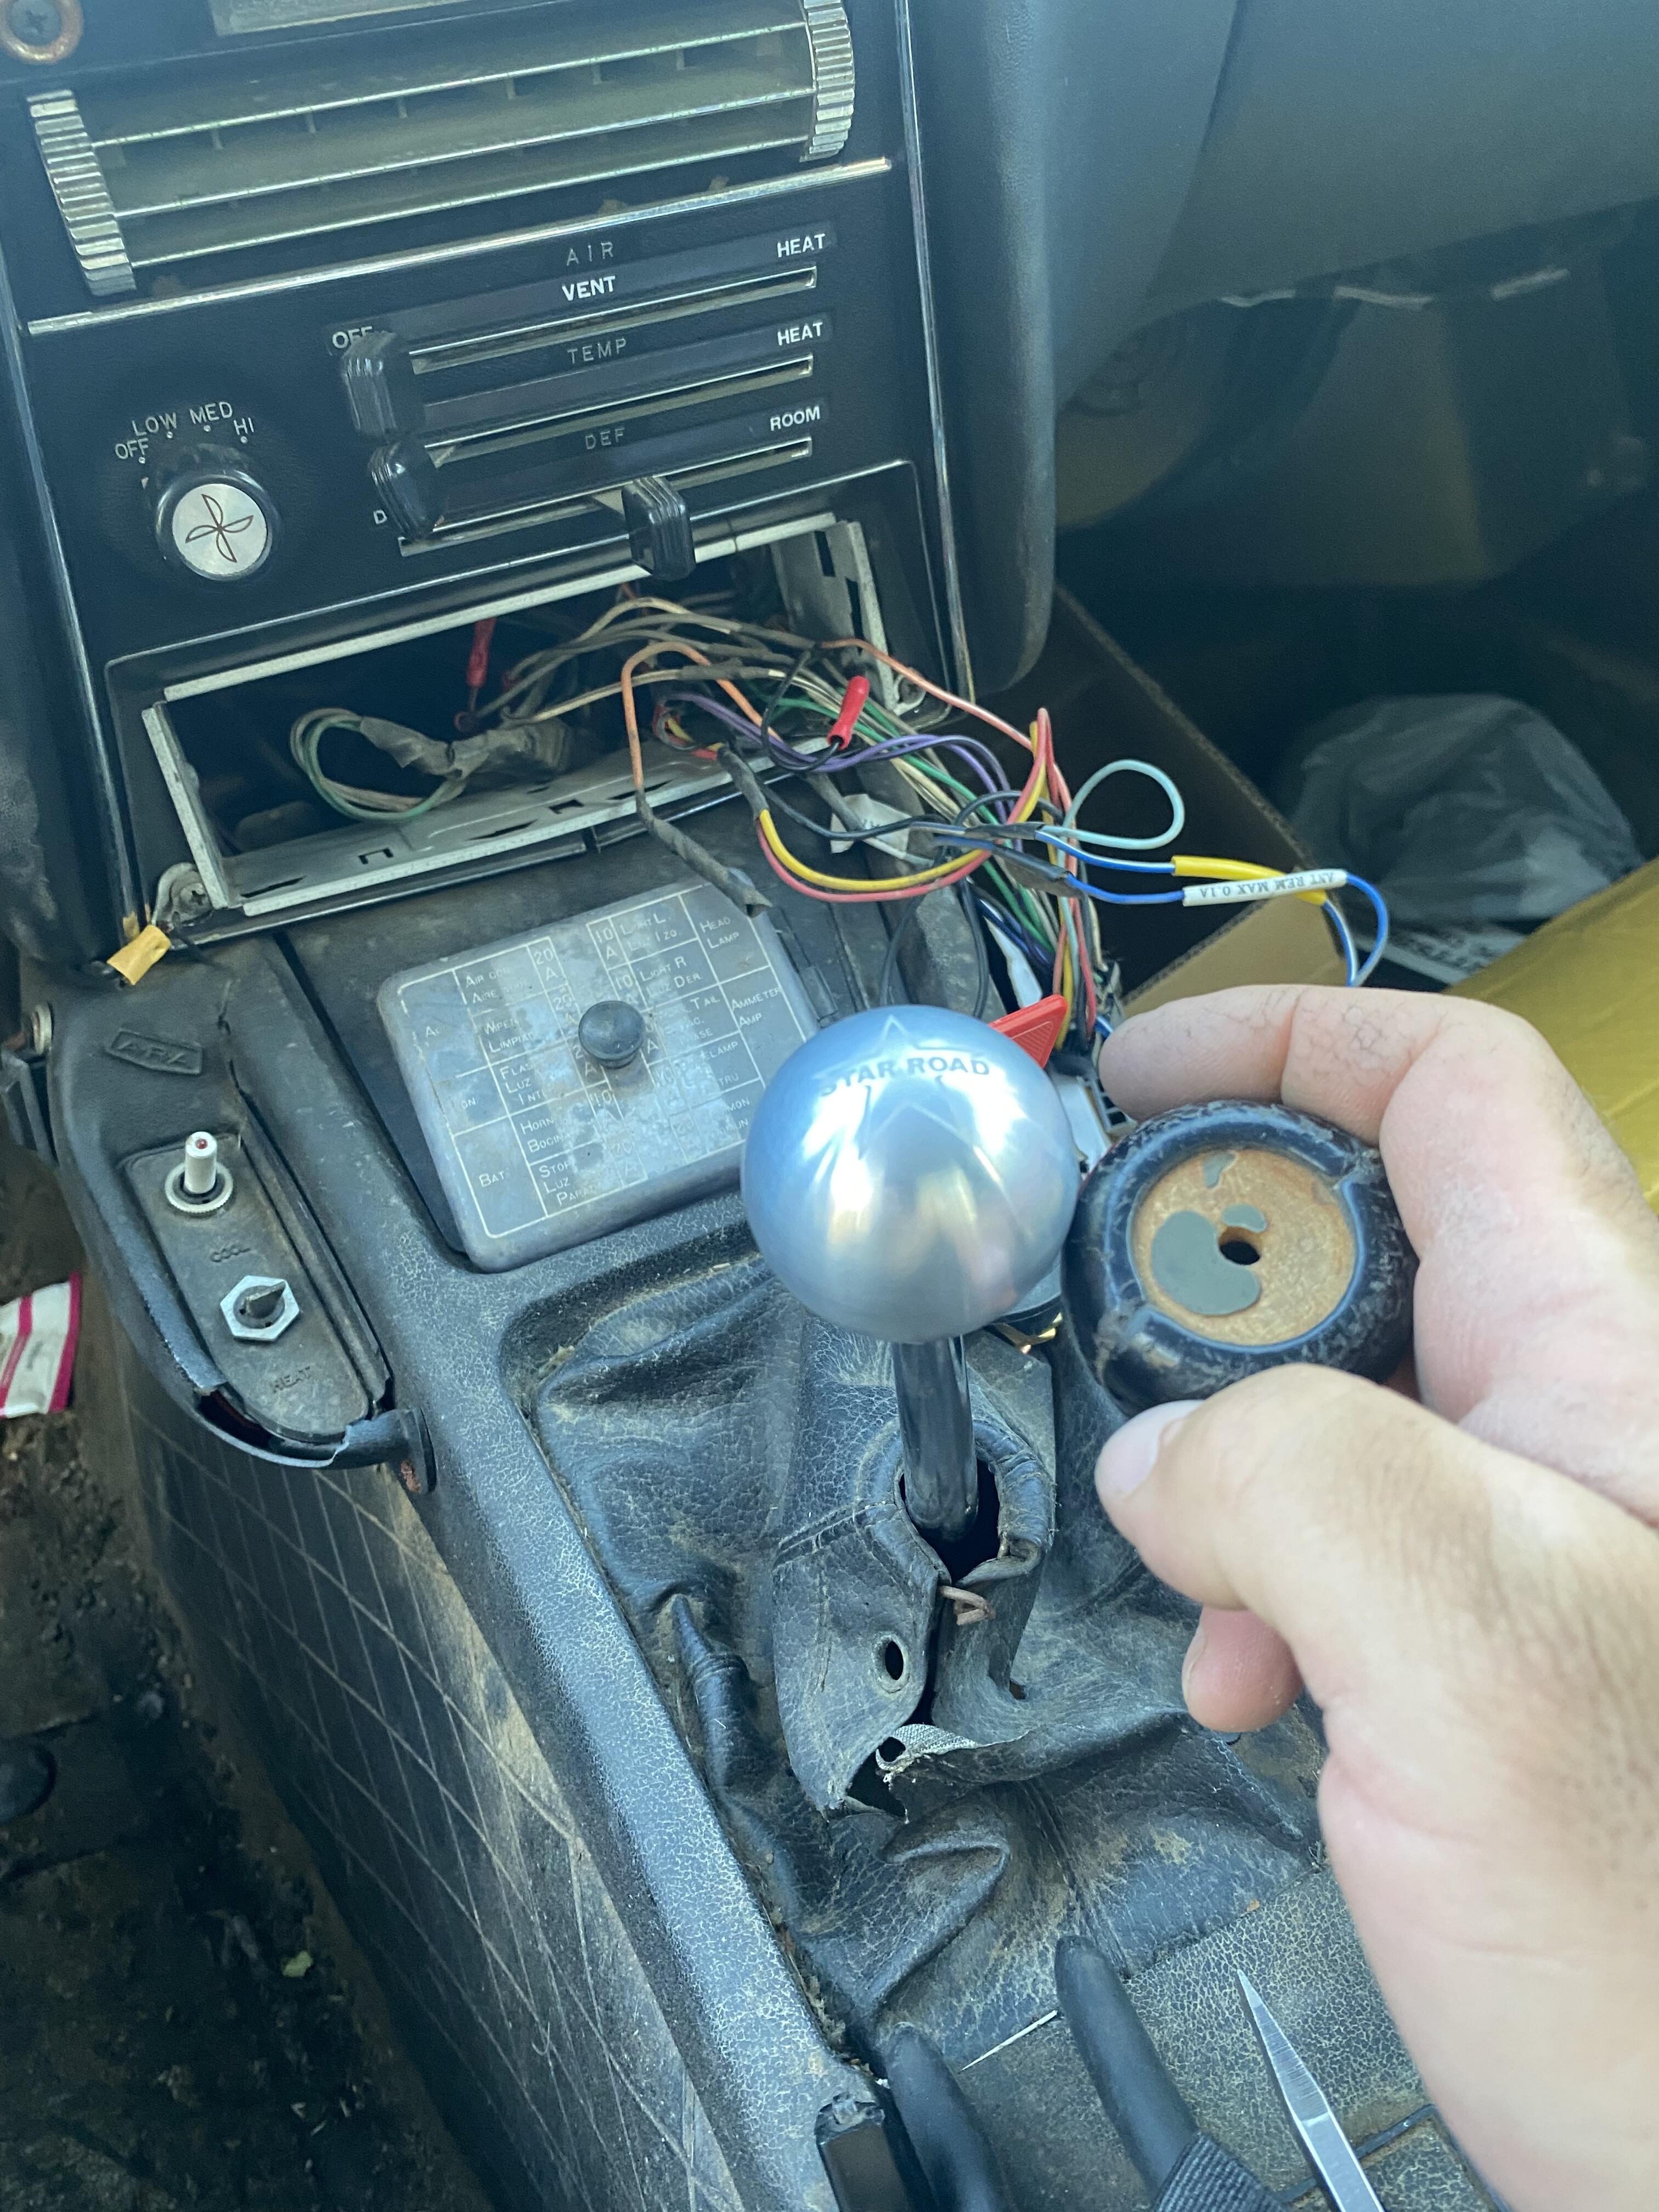
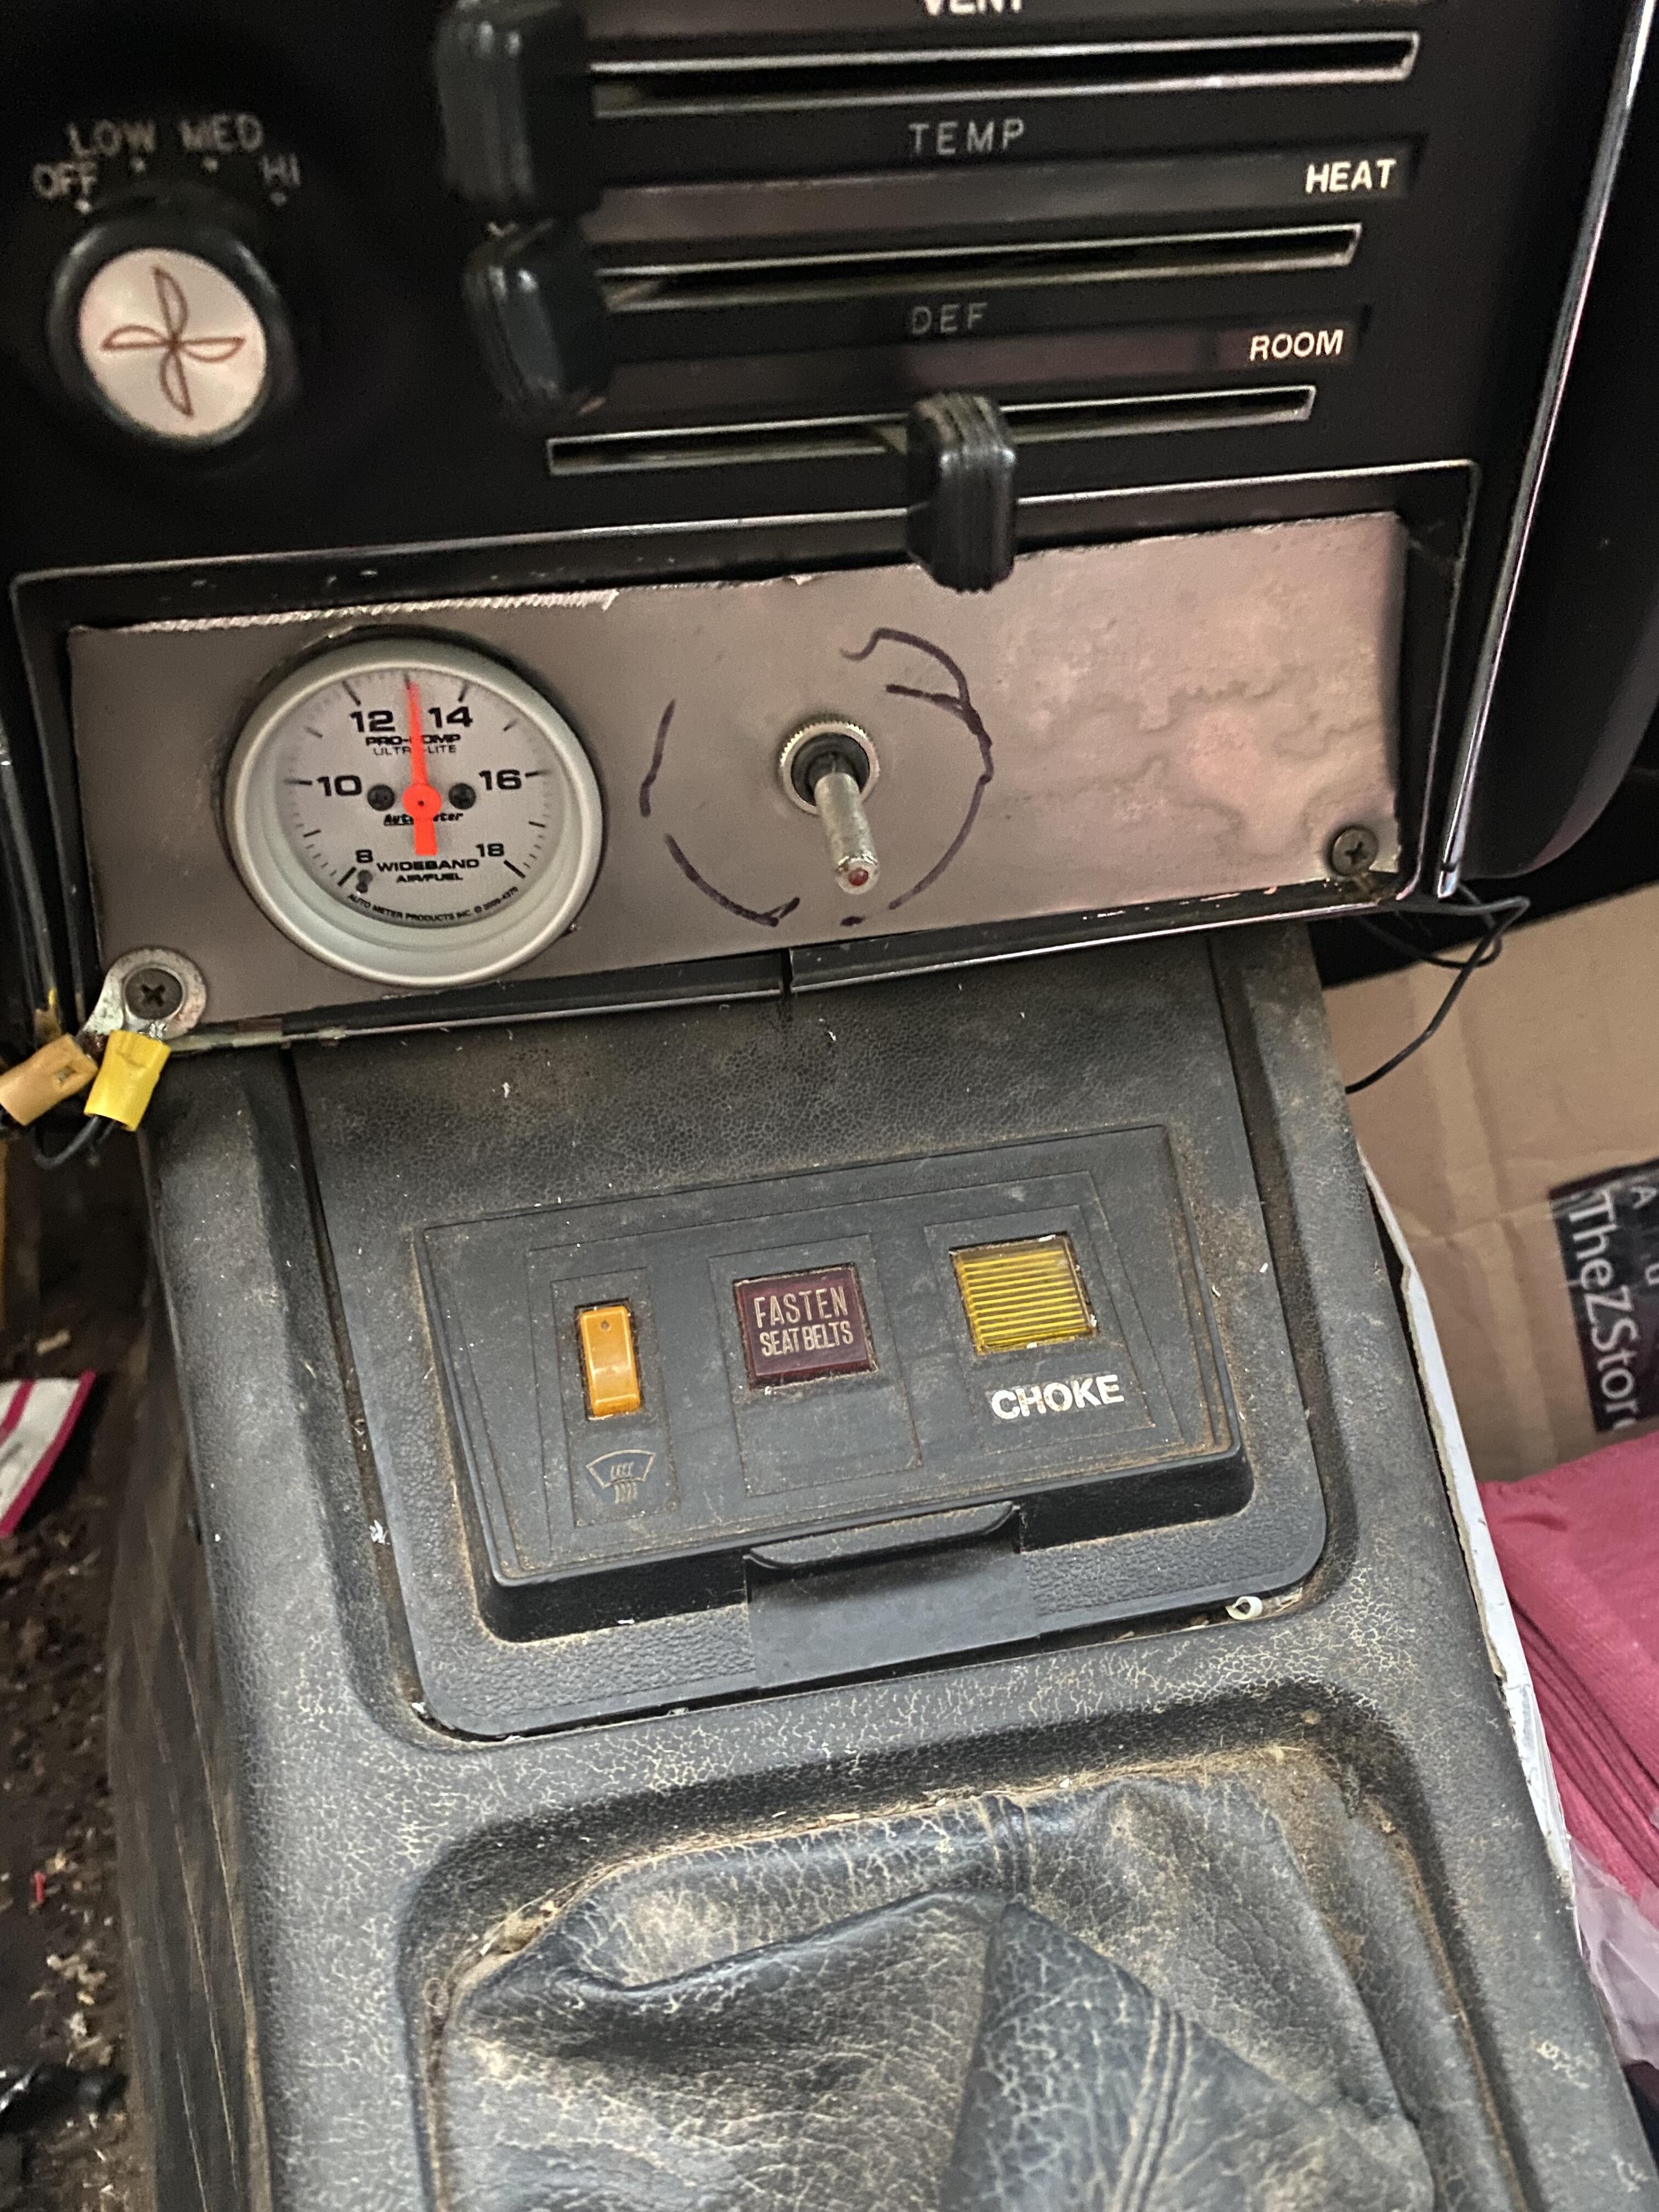
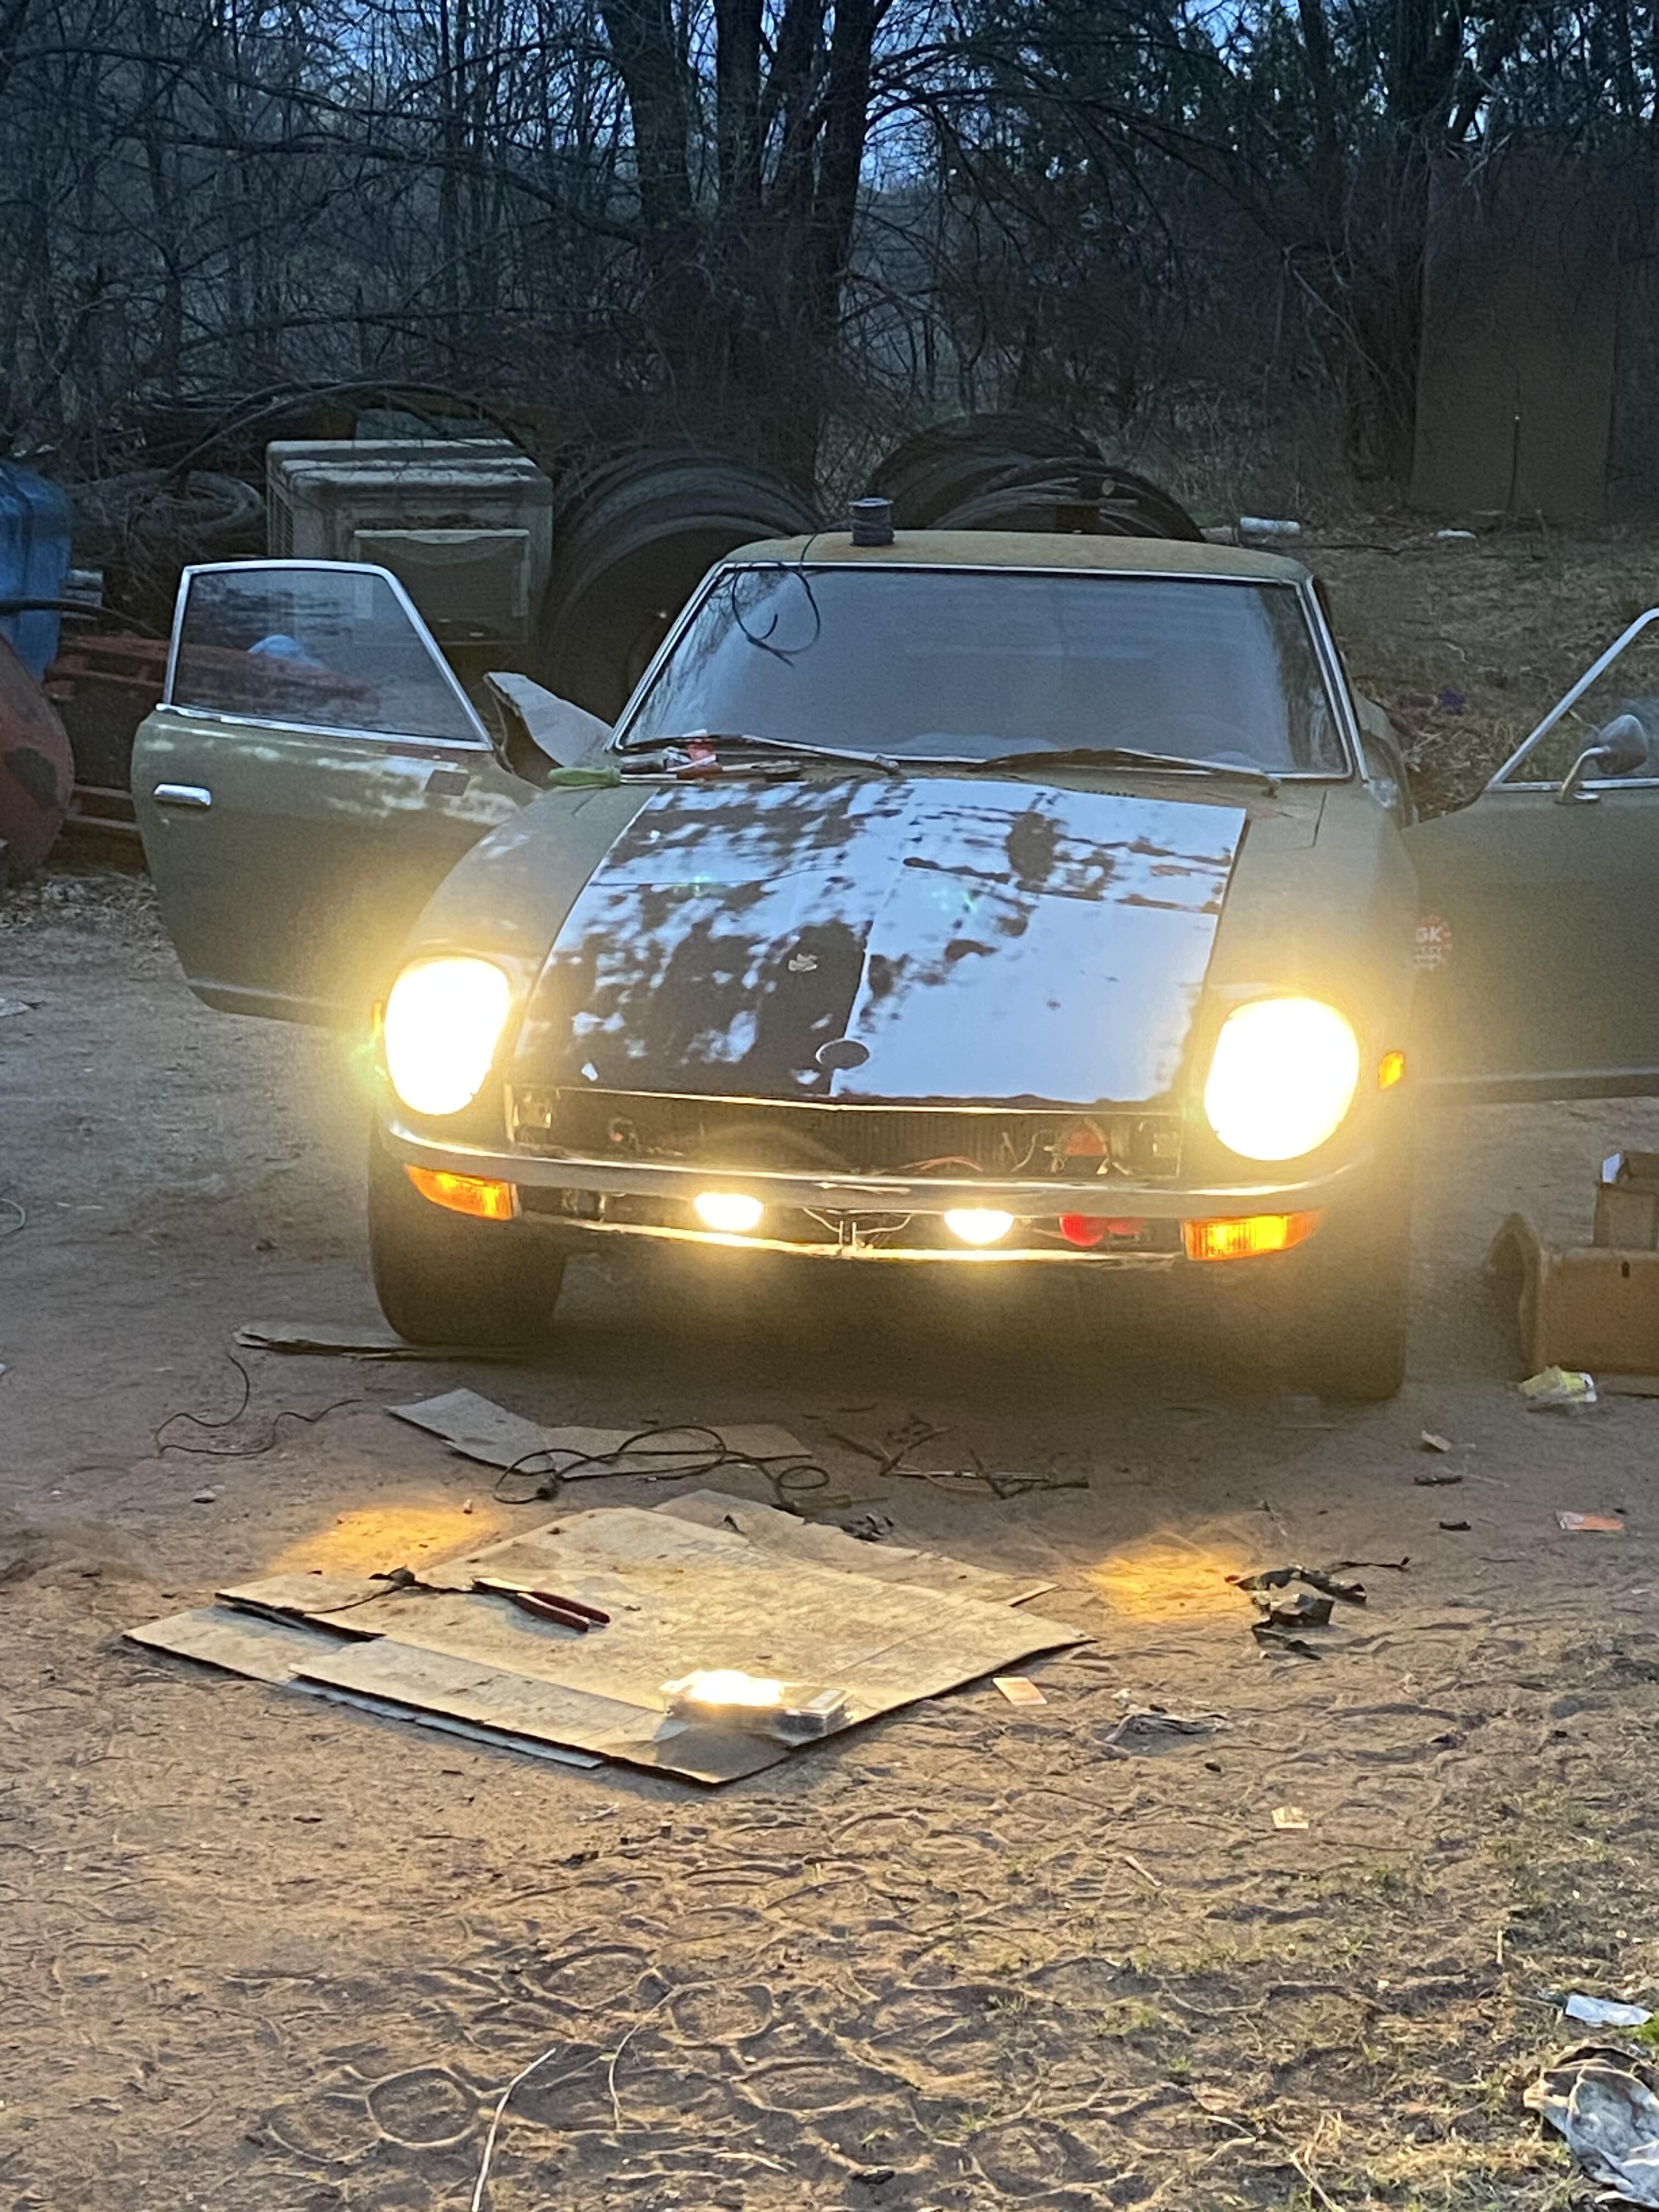
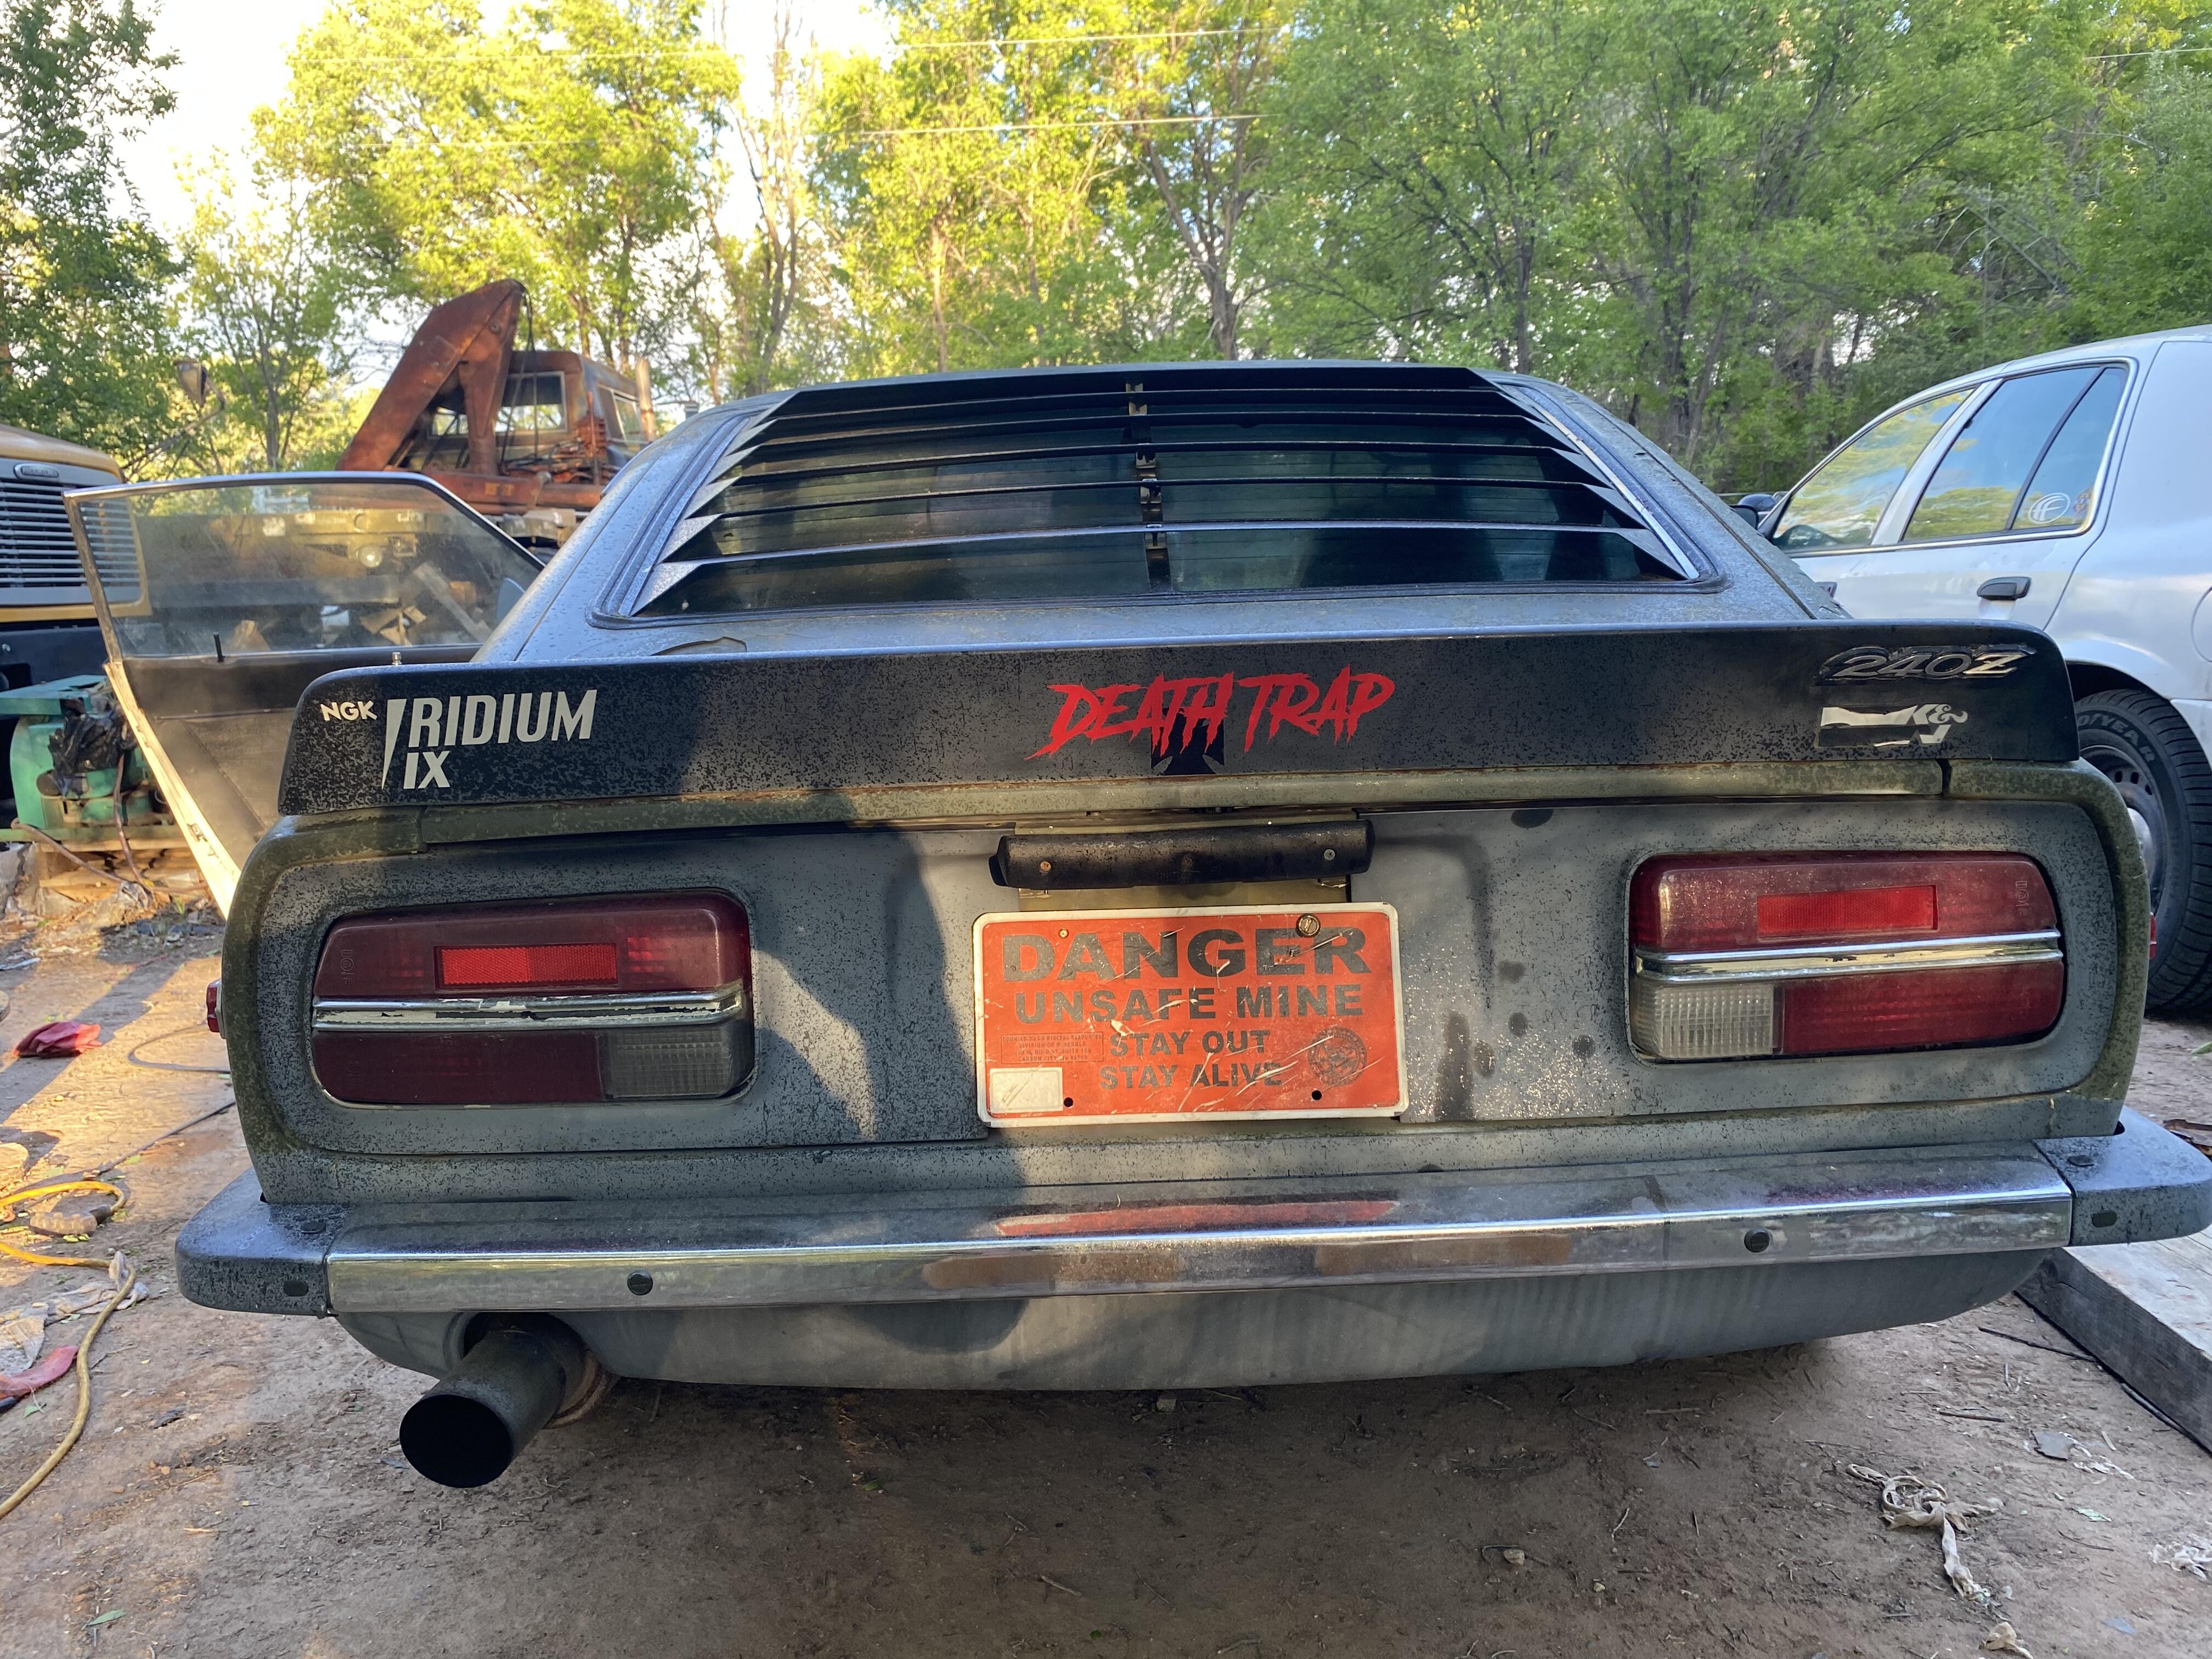
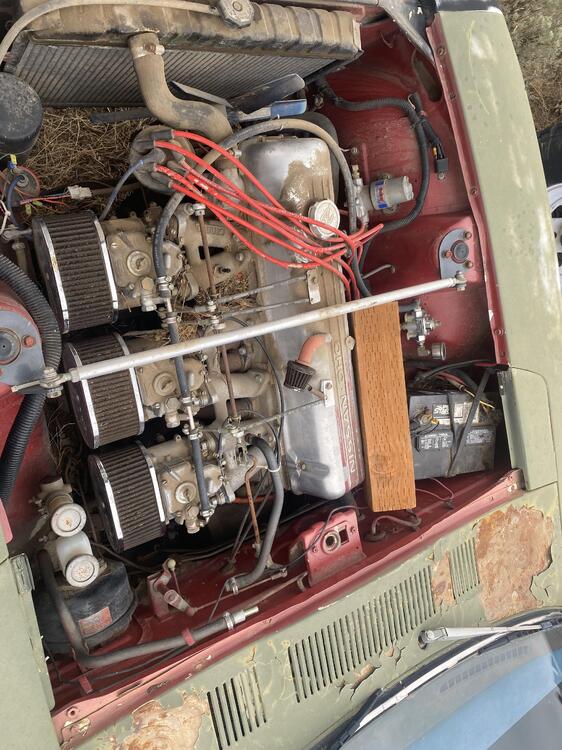
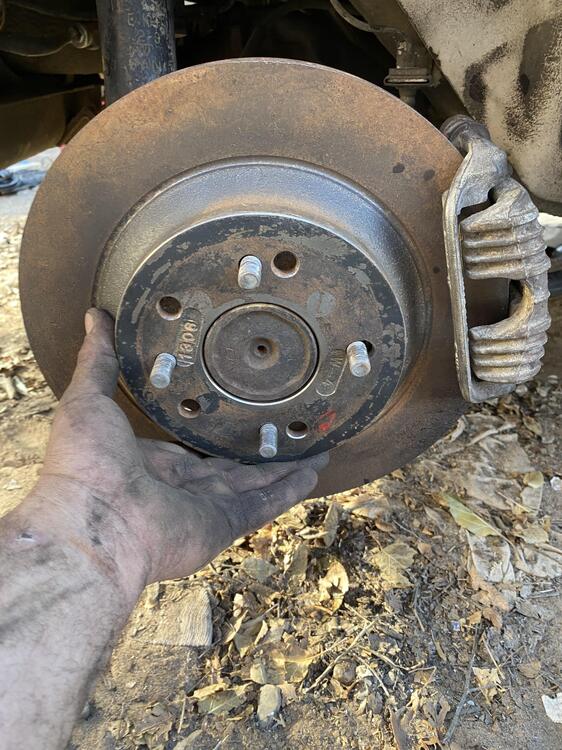
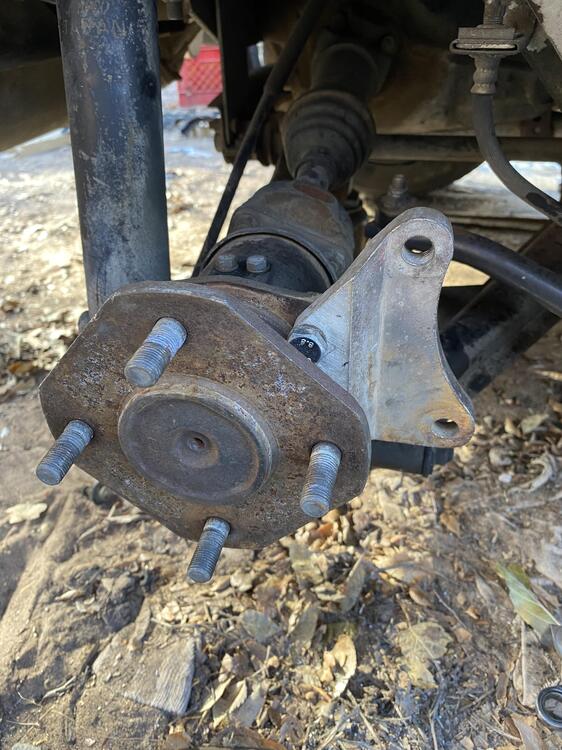
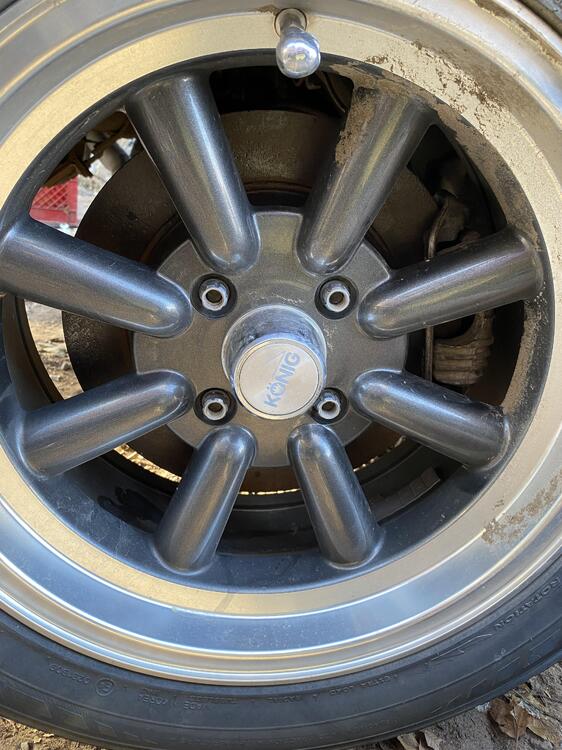
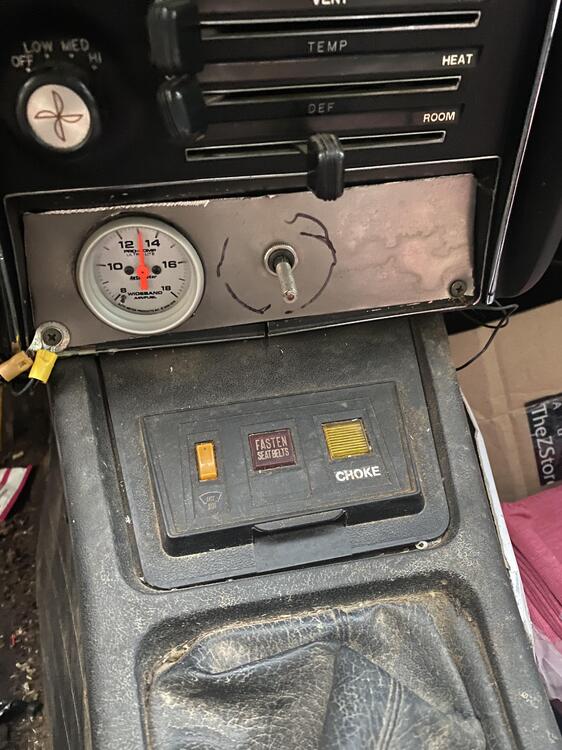
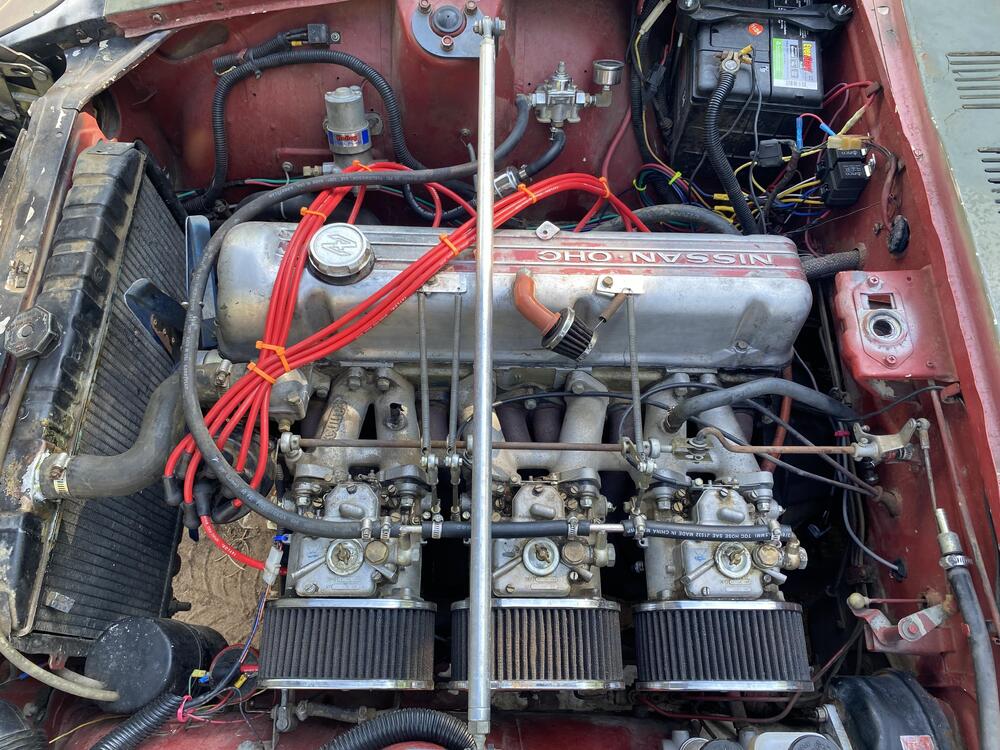
 So just a little progress of working on my 1972 240Z that I’ve resurrected twice now since I’ve owned it from 2005 or so ..it’s been a long project and not perfect but it was my daily driver . This is where it sat for 8 years untouched next to my 1988 Toyota pickup in December 2024 All loaded up for the 1500 mile return trip in my 1986 f350 diesel I pulled from a field for 500 bucks a year earlier Once I got it home I got it running pretty easy but noticed an immediate problem in the form a rattling noise from the timing cover to discover a broken tensioner and missing bolts . After that issue was fixed I decided it was time to install my big brake kit I got from a junk yard 260z about 15 years ago .. don’t know who made the brackets but the calipers and rotors are from a 90’s corvette .. 12 inch rotors too ..don’t worry about the wheel studs they have been replaced since It also needed the carbs tuned As you can see they were way off plus I discoved the carbs were loose too ..explained why the erratic idle lol I just had to get a star road shift knob Radio was full or rodent crap and figured why not add a wide band afr gauge from auto meter in its place along with my driving light switch ..I still haven’t cleaned the marker off Also had to make my own headlight relay upgrade to run flosser h4 90/100watt ralley lights It’s an L28 with N47 head from a 1979 280ZX upgrades include 45dcoe triple Webbers . Msa 3 into 2 headers msa stage 3 schneider cam along with schneider valve springs Holley blue fuel pump . Kameari Racing distributor and fidanza light flywheel with centerforce clutch . Also running a single grove dampener . I will get the engine rebuilt in the future and get it up to 10.1 cr so maybe I’d get more out of the mods I have ..but still runs great and sounds amazing .


-
 The writer's version. People have their unique talents. Three Dog Night made it work.
 -
 As of this date it is NLA from Nissan !
 -
Facebook marketplace $100. https://www.facebook.com/marketplace/item/1265446158557795/?ref=browse_tab&referral_code=marketplace_general&referral_story_type=general&tracking=%7B%22qid%22%3A%22-8463486491996509719%22%2C%22mf_story_key%22%3A%224732611337300919667%22%2C%22top_level_post_id%22%3A%224732611337300919667%22%2C%22commerce_rank_obj%22%3A%22%7B%5C%22target_id%5C%22%3A4732611337300919667%2C%5C%22target_type%5C%22%3A6%2C%5C%22primary_position%5C%22%3A78%2C%5C%22ranking_signature%5C%22%3A8680157257122688039%2C%5C%22commerce_channel%5C%22%3A501%2C%5C%22value%5C%22%3A0.00097449886189893%2C%5C%22upsell_type%5C%22%3A3523%2C%5C%22candidate_retrieval_source_map%5C%22%3A%7B%5C%2225209201332002879%5C%22%3A626%2C%5C%2225037753125825021%5C%22%3A626%7D%2C%5C%22grouping_info%5C%22%3Anull%7D%22%2C%22lightning_feed_qid%22%3A%22-8463536038638864453%22%2C%22lightning_feed_ranking_signature%22%3A%228680157257122688039%22%7D
-
Does it not catch onto the threads, one side of the notch isn't turned up a little? I don't understand any other reason for it.
-
 http://www.zcarblog.com/wp-content/uploads/2025/08/477795897_1011115091063663_8033328159812275787_n.jpg Our Z Car Garage KW V3 Suspension is available in limited quantities. These coil-overs offer game-changing performance suitable for street, track and daily-driving for your S30 Datsun Z car. http://www.zcarblog.com/wp-content/uploads/2025/08/IMG_6502.jpg http://www.zcarblog.com/wp-content/uploads/2025/08/481184467_1024485623059943_4520335096885803442_n.jpghttp://www.zcarblog.com/wp-content/uploads/2025/08/480235492_1011115124396993_2250652587135409969_n.jpg http://www.zcarblog.com/wp-content/uploads/2025/08/IMG_8079.jpg View the suspension installed on Sung Kang’s RB26DETT-powered Datsun 240Z, Larry Chen’s SR20DET-Powered Datsun 240Z, James’ turbocharged L-series powered Datsun 240Z, Mrs. Butters, our Series 1 shop 240z and more client cars in the photos below. For more information on ordering and pricing please contact RobATzcargarage.com. Christopher’s 1977 Datsun 280Z http://www.zcarblog.com/wp-content/uploads/2025/03/IMG_0100.jpghttp://www.zcarblog.com/wp-content/uploads/2025/04/79132B3E-9580-4354-8193-A495343542AA.jpg http://www.zcarblog.com/wp-content/uploads/2024/04/Snapinsta.app_435453951_1100584987877003_6251338209217300970_n_1080.jpg Rashid’s Datsun 240Z http://www.zcarblog.com/wp-content/uploads/2023/12/IMG_3644-1024x768.jpeghttp://www.zcarblog.com/wp-content/uploads/2023/12/IMG_3668-1024x768.jpeg http://www.zcarblog.com/wp-content/uploads/2023/12/IMG_3660-768x1024.jpeg Larry Chen’s SR20DET-Powered Datsun 240Z http://www.zcarblog.com/wp-content/uploads/2025/08/482238822_1031449779030194_8541949018636167241_n.jpg David’s Datsun 240Z http://www.zcarblog.com/wp-content/uploads/2023/12/IMG_3914-768x1024.jpeg http://www.zcarblog.com/wp-content/uploads/2023/12/IMG_3658-1024x768.jpeg Sung Kang’s RB26DETT-powered Datsun 240Z http://www.zcarblog.com/wp-content/uploads/2023/04/230321attctn01_AD4I1590-1024x683-1.jpeghttp://www.zcarblog.com/wp-content/uploads/2021/10/IMG_6847-768x1024.jpeg http://www.zcarblog.com/wp-content/uploads/2025/08/489963857_10161147860356524_8556000592169917657_n-scaled.jpg Rick’s BRE-240Z inspired track car http://www.zcarblog.com/wp-content/uploads/2022/12/320600770_1009589563765747_4277675222190800456_n-1024x892.jpeghttp://www.zcarblog.com/wp-content/uploads/2025/08/IMG_7934.jpg http://www.zcarblog.com/wp-content/uploads/2025/08/IMG_7942.jpg Yoni’s Datsun 240Z http://www.zcarblog.com/wp-content/uploads/2025/08/482246435_1031972718977900_6077886151500554509_n.jpg James’ turbocharged L-series powered Datsun 240Z http://www.zcarblog.com/wp-content/uploads/2022/03/IMG_6794-1024x768.jpeg Mrs. Butters, our Series 1 shop 240z http://www.zcarblog.com/wp-content/uploads/2024/12/468610894_1296792398175930_6743499117304711_n.jpg http://www.zcarblog.com/wp-content/uploads/2025/08/508182070_10161384649461524_7603414350984985404_n.jpg View the full article
 - Earlier
-

-
 Hi, I'm looking for a nice hood for my '72 Z. Anybody got a nice one for sale? I'm located in Seattle, WA. Thanks!! JH
 -
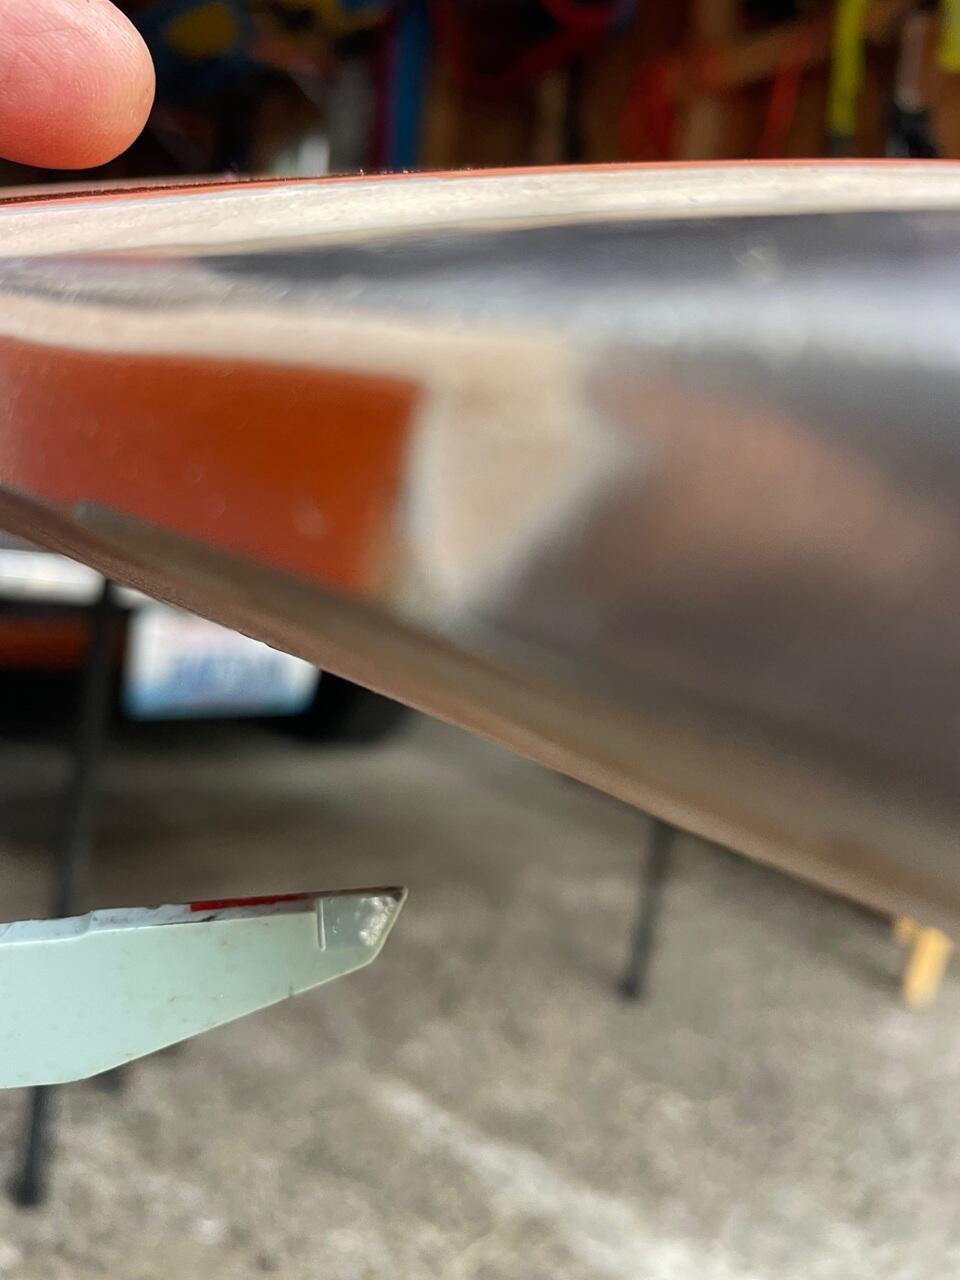
Ahh. This is interesting & helpful. My tip is closer to the red (stock) above. And my corner (1 of them ) is closer to the red one too, although I'm uncovering atleast 1/8 inch of bondo (see pic) Question #2: Does anyone have any info/experience related to the remanufactured steel hoods available on ebay, etc? I see that they're going for anywhere from $800-ish to $1200-ish. I'm considering that as option. Any thoughts, advice, etc? Thnx! JH

-
Thanks for sharing! I don't watch much TV, so when Diane told me there was a Nissan ad with what looked like a yellow version of my 240, I had to check. Cool ad, although there will be those among us who find the rubber-burning, wheel-spinning parts to be "deeply offensive," to which I say, "suck it up baby sisters."
-
 That makes sense, but the problem is really just cosmetic (once I've confirmed that the exhaust problem has been corrected), so I don't think I want to go as far as adding a second strut to correct it. I don't think all cars with the single strut have raised driver side hatches, though, so I'm thinking that there are other ways to address this. If the hinges are worn, that might be a place to start, or maybe the two hinges just need to be adjusted relative to each other to lower the driver's side? At this point I haven't glued the seals back in or attempted to adjust the hinges or latch, so I think I'll move ahead with those steps and see how close I can get things to flush. The upper portion of the new inner seal is almost vertical when installed. When the hatch is closed the vertical portion slides outward against the underside of the hatch to create the seal, so I expect it to compress a little over time as well. As an aside, I was happy to see that, with a couple of careful initial closings where I manipulated the seal at the hinges, the seal is sliding over them properly. Both my original seal and the replacement were mangled by the hinges. I've been procrastinating on the next steps because I know I'm not going to enjoy removing the adhesive from the car before gluing the new seal in, but I'll report back when I've made progress.