Topics Last 30 Days
Showing topics, images, events and files posted in for the last 28 days.
- Past hour
-
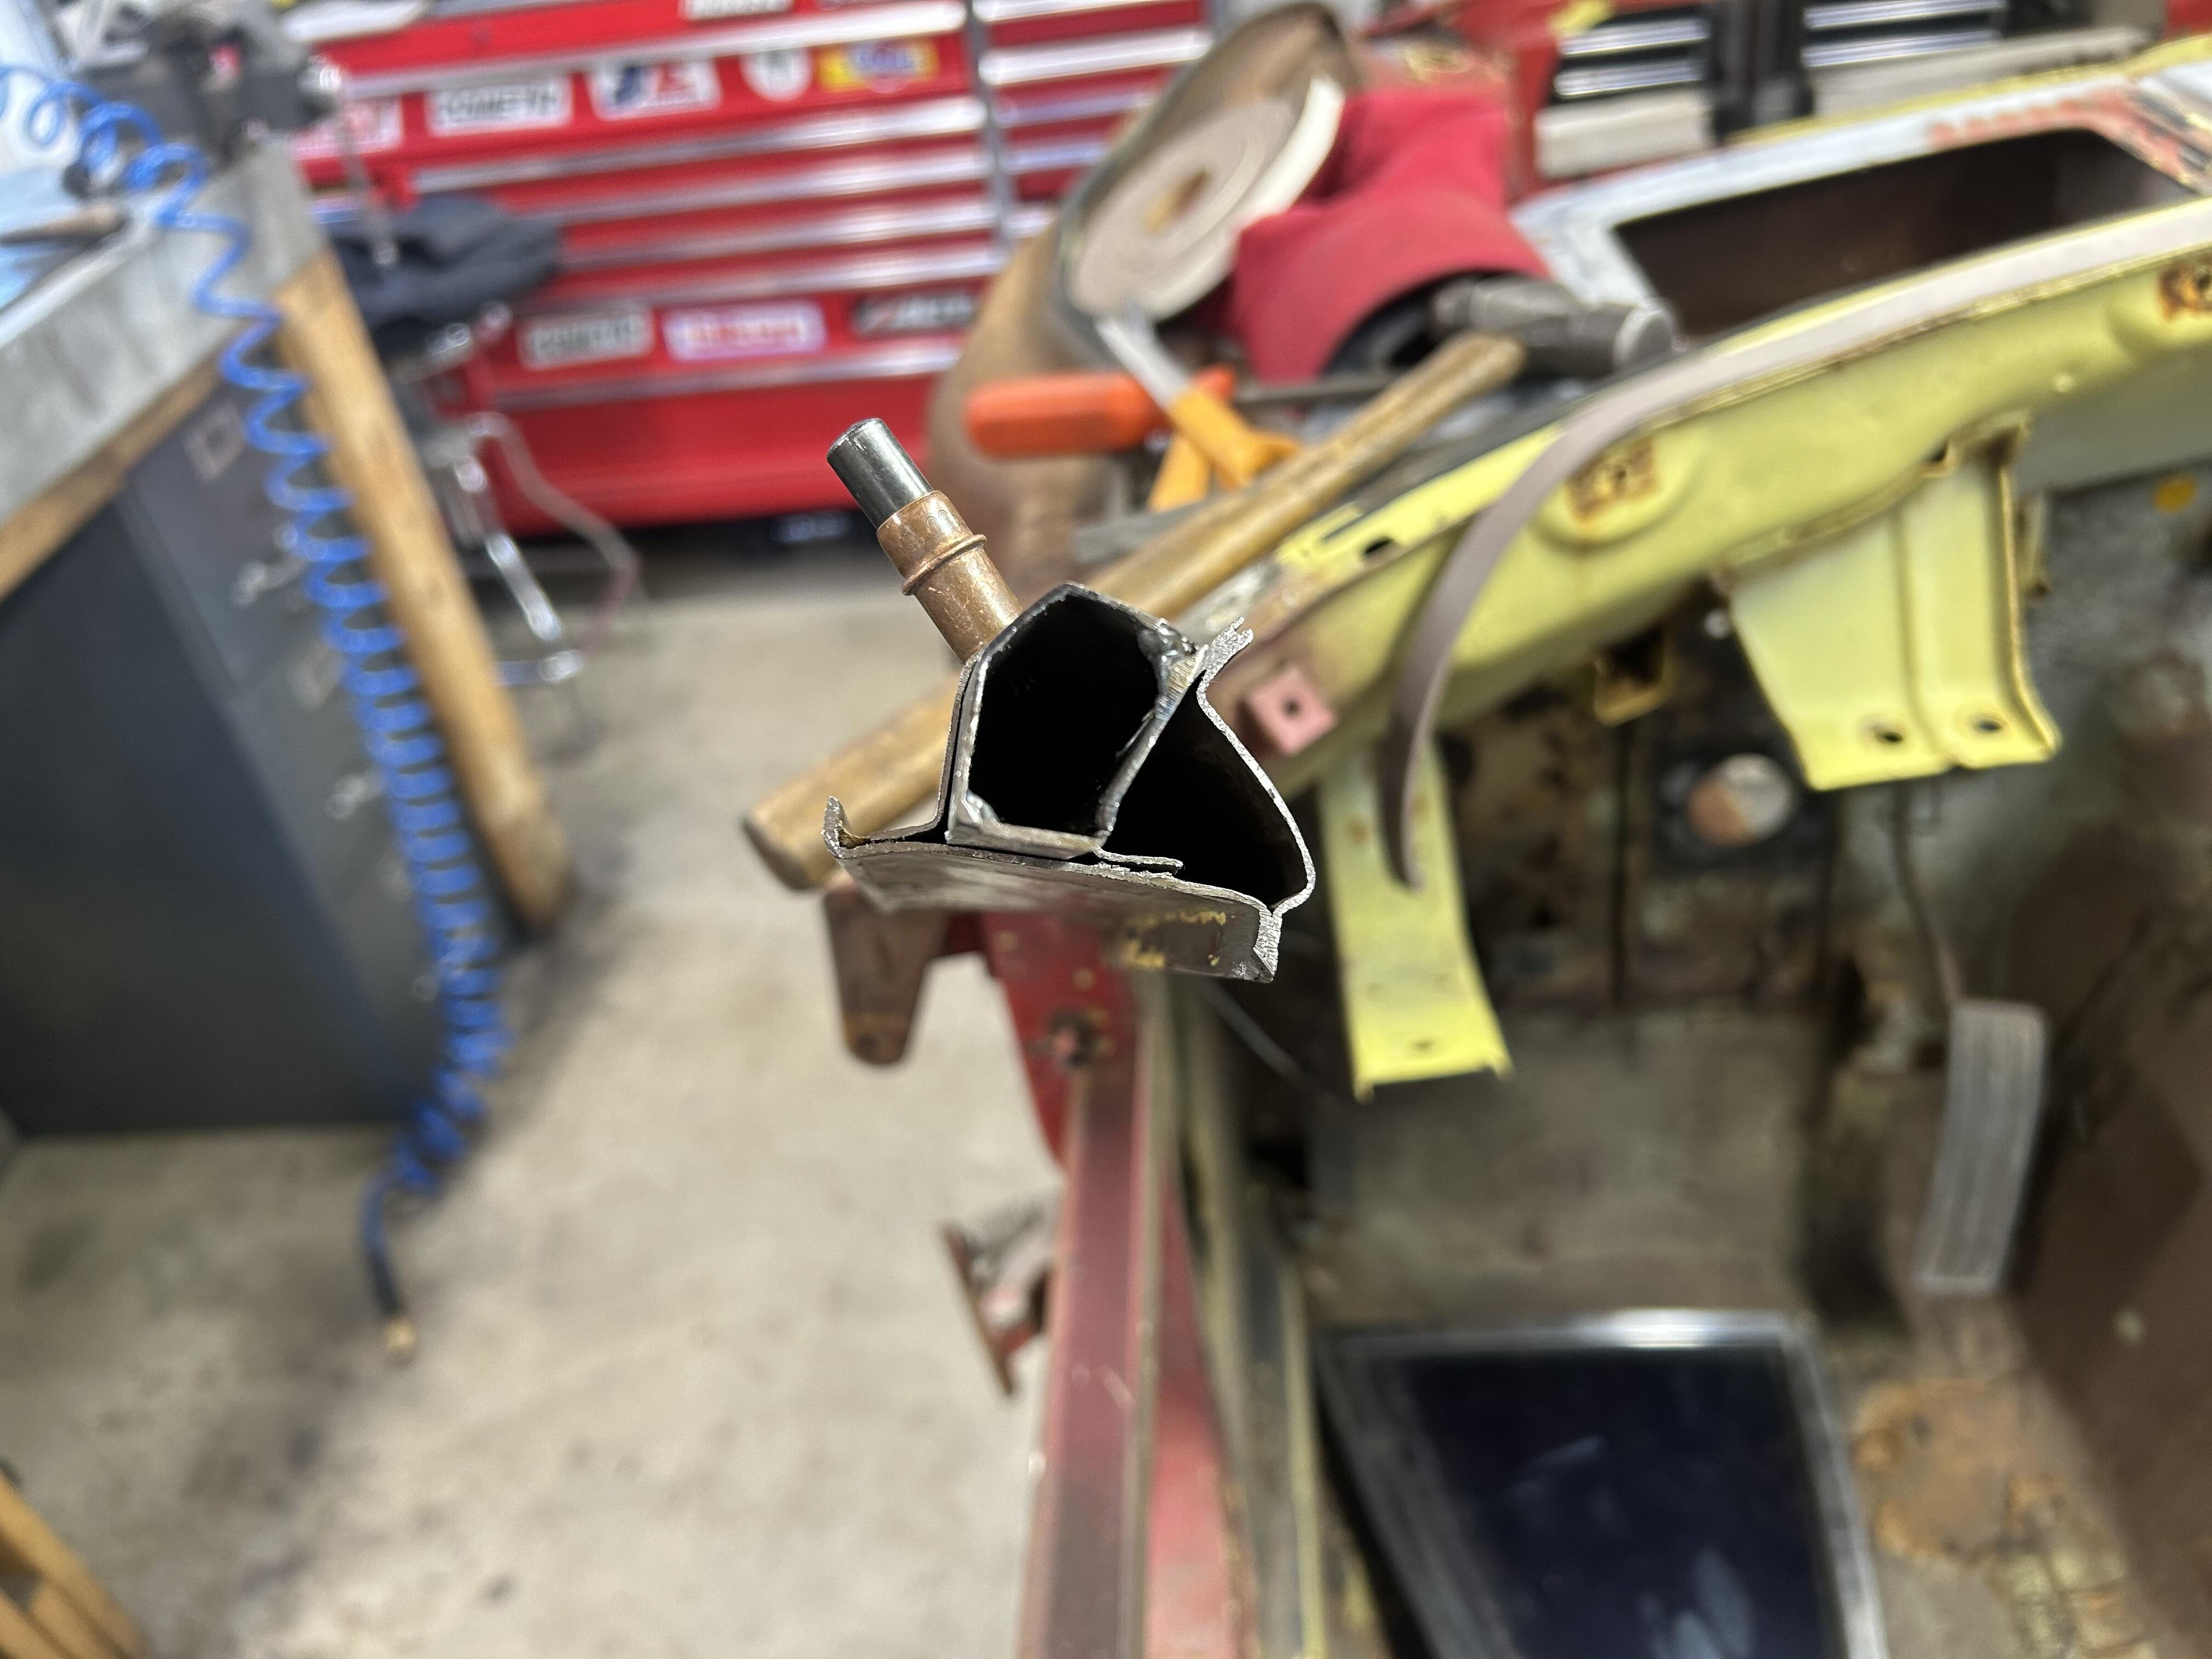
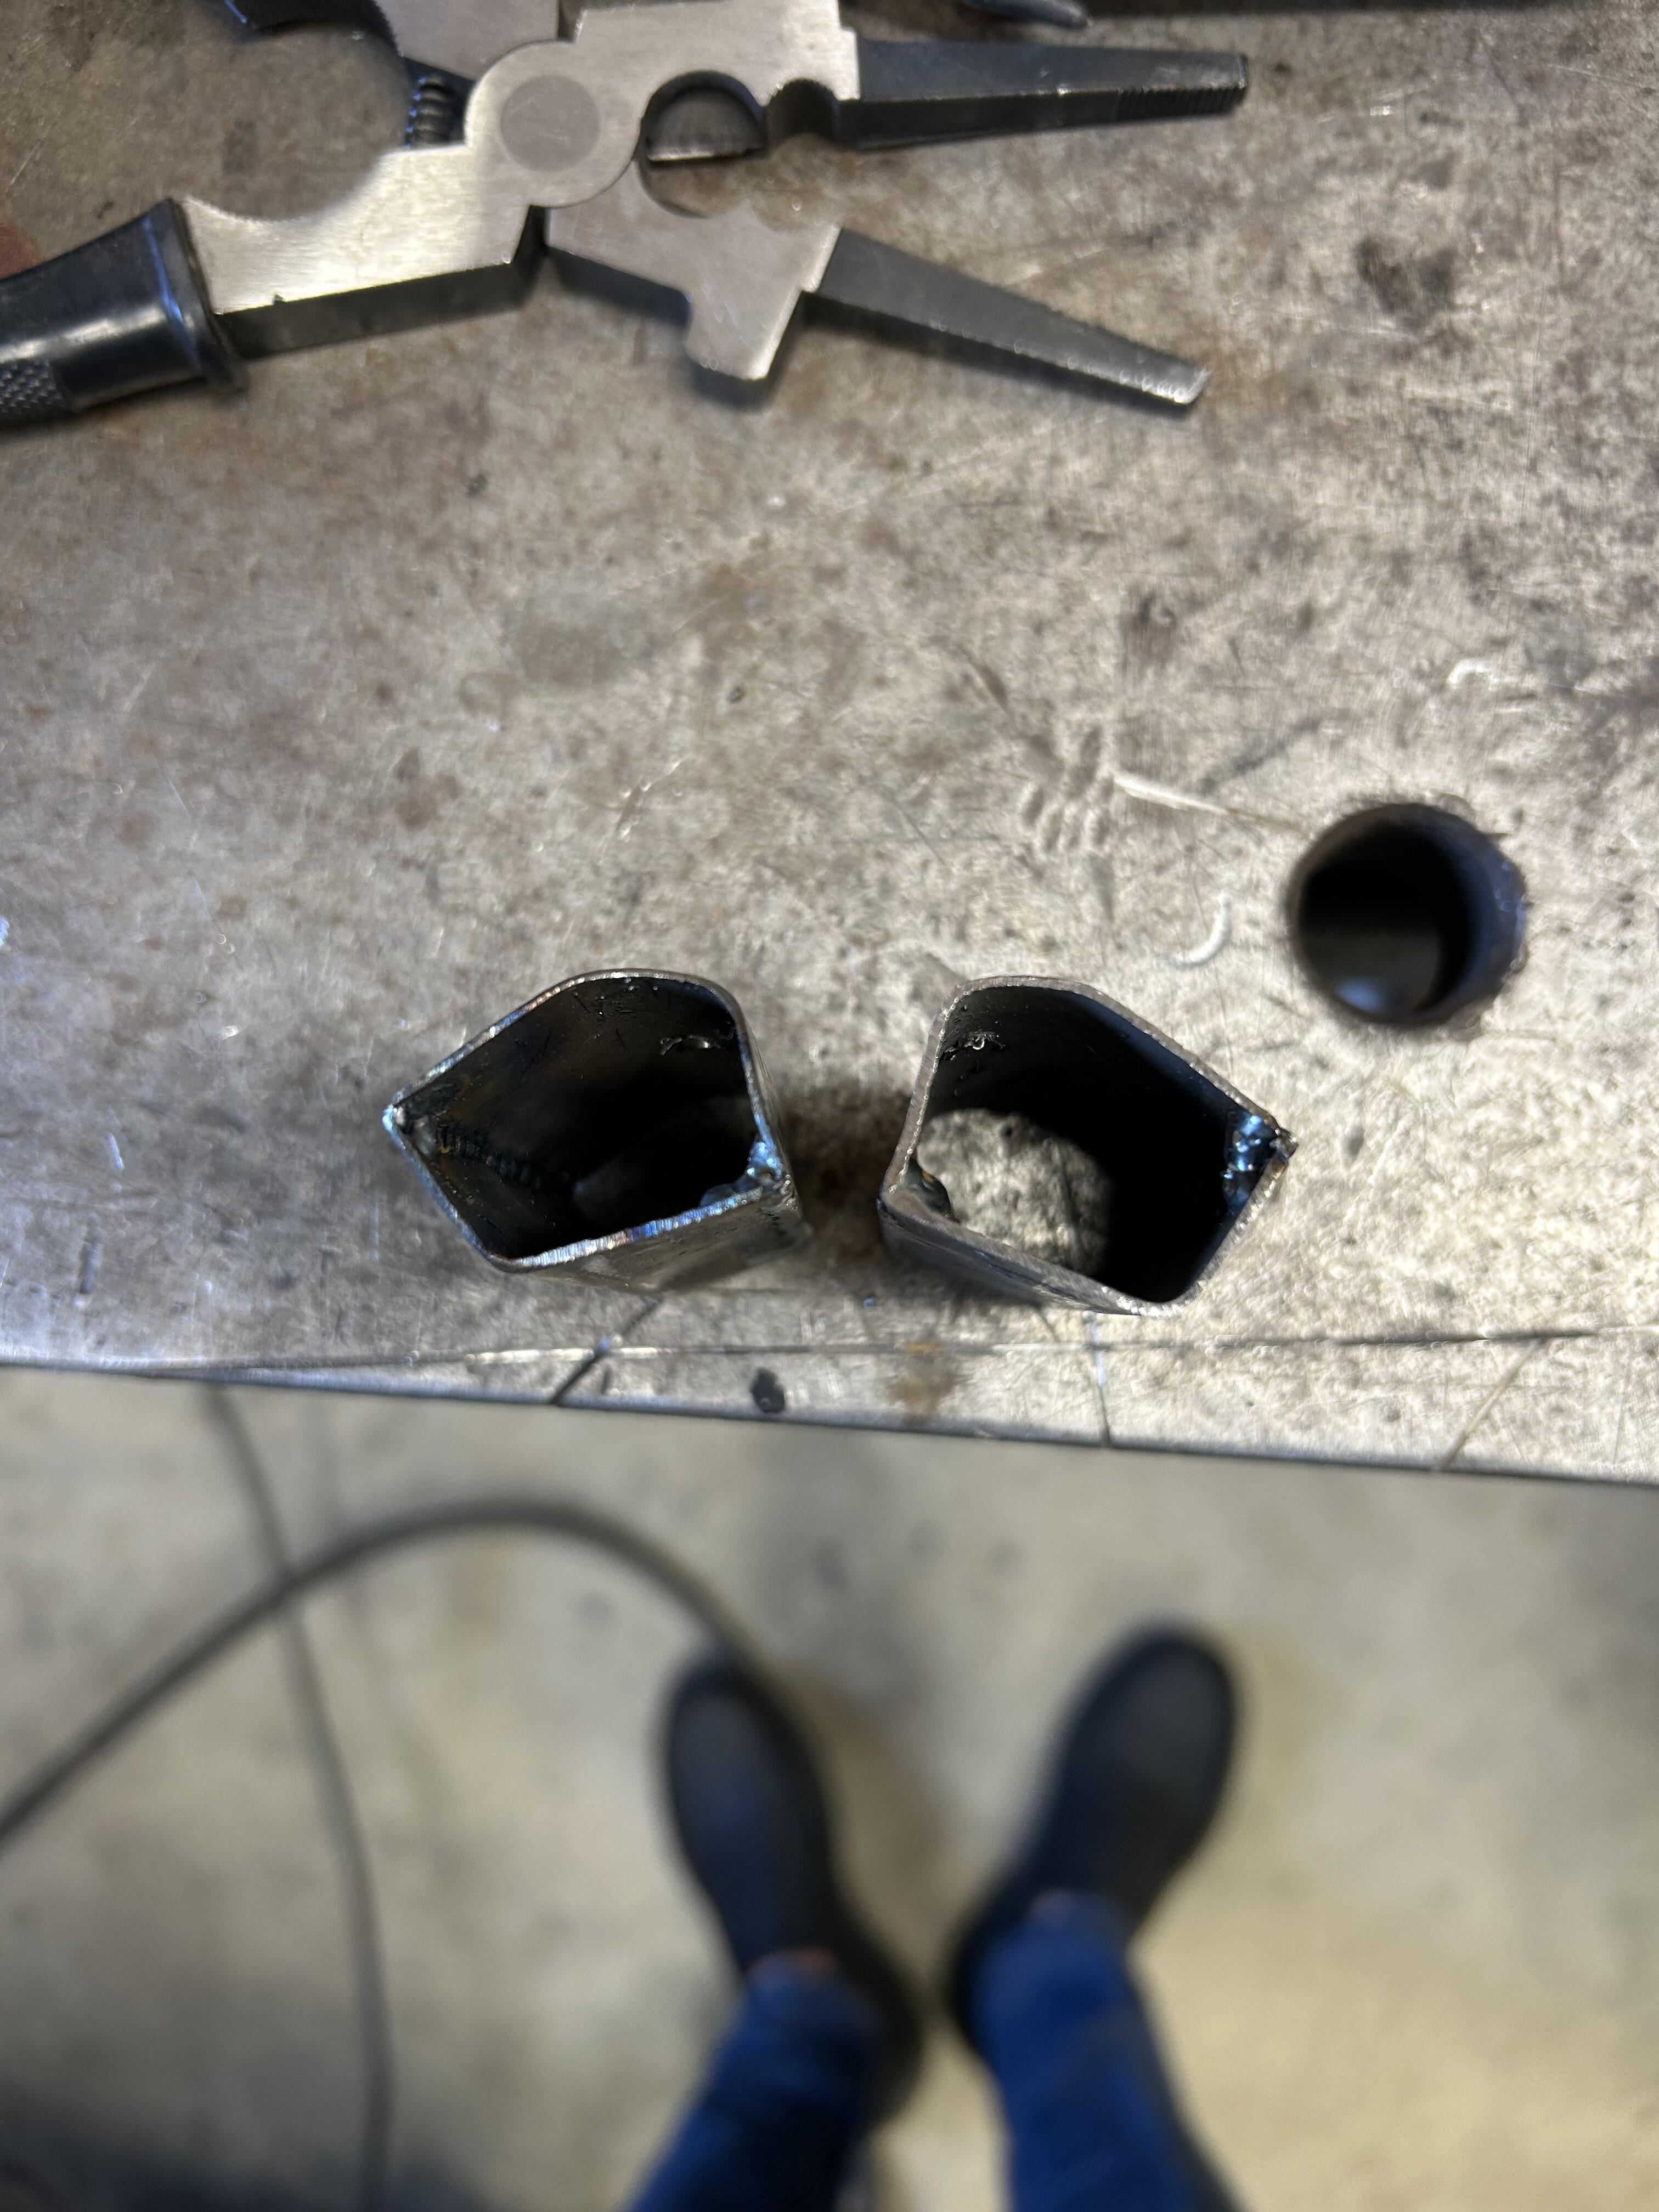
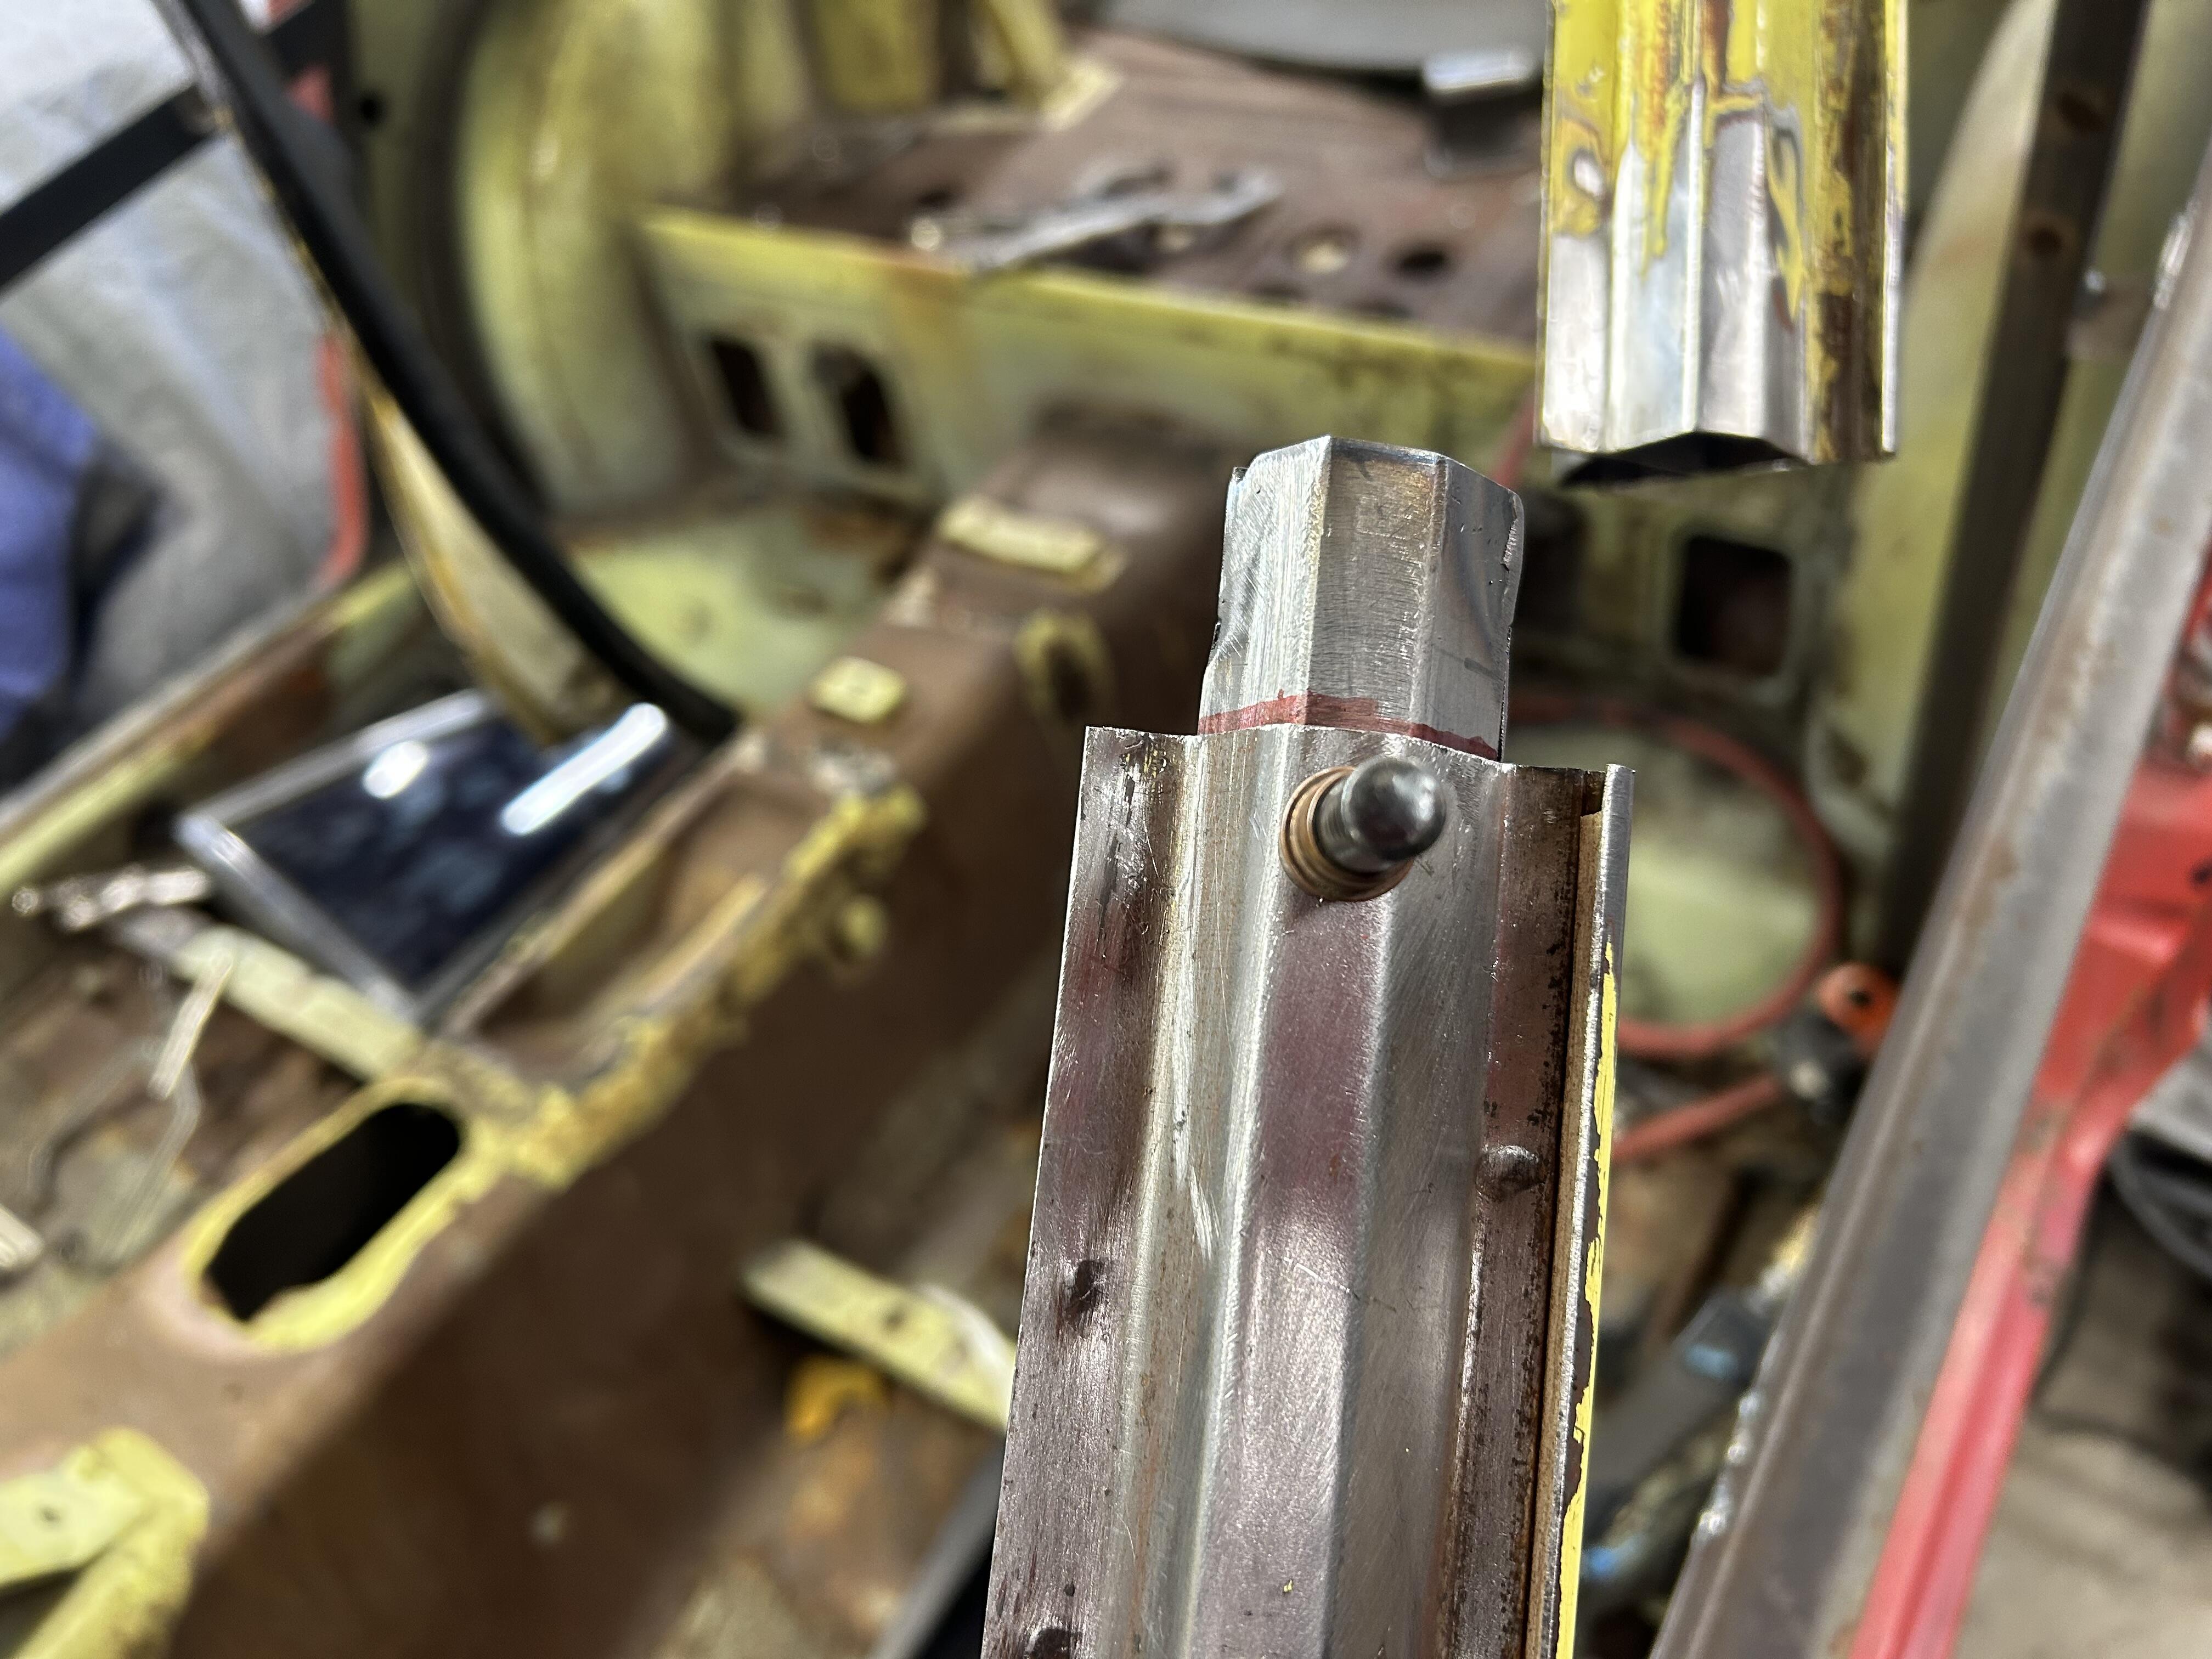
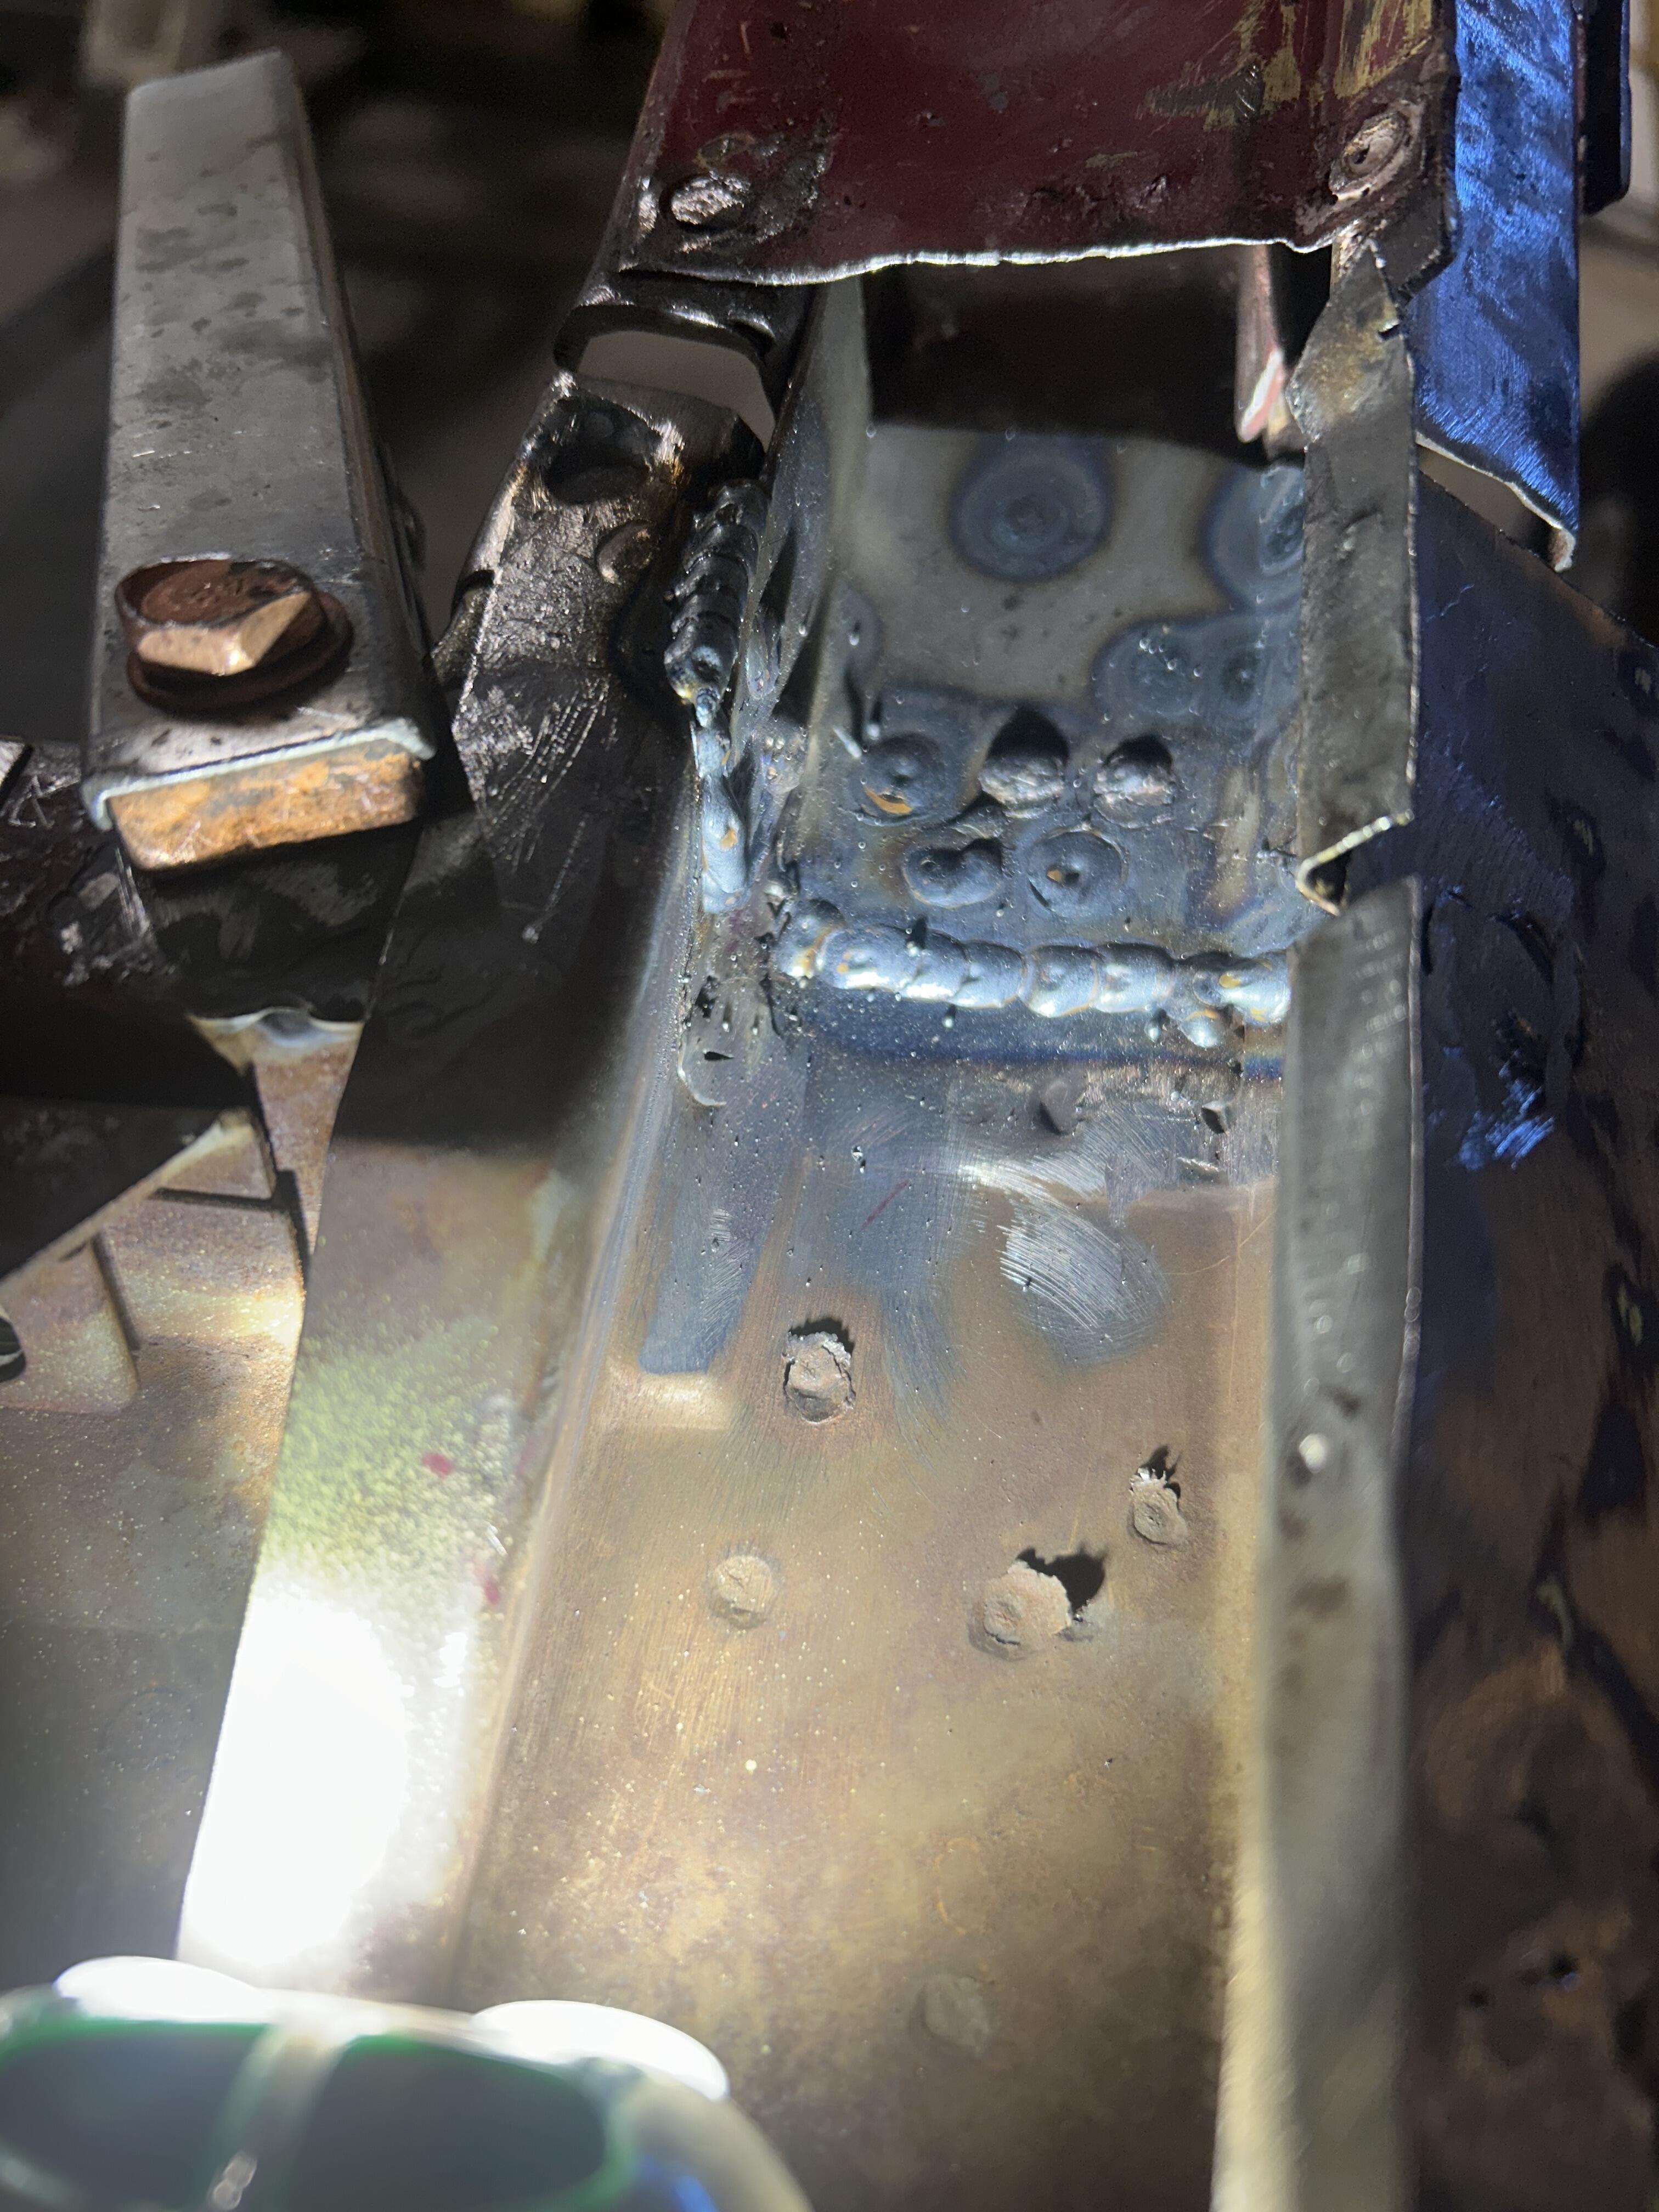
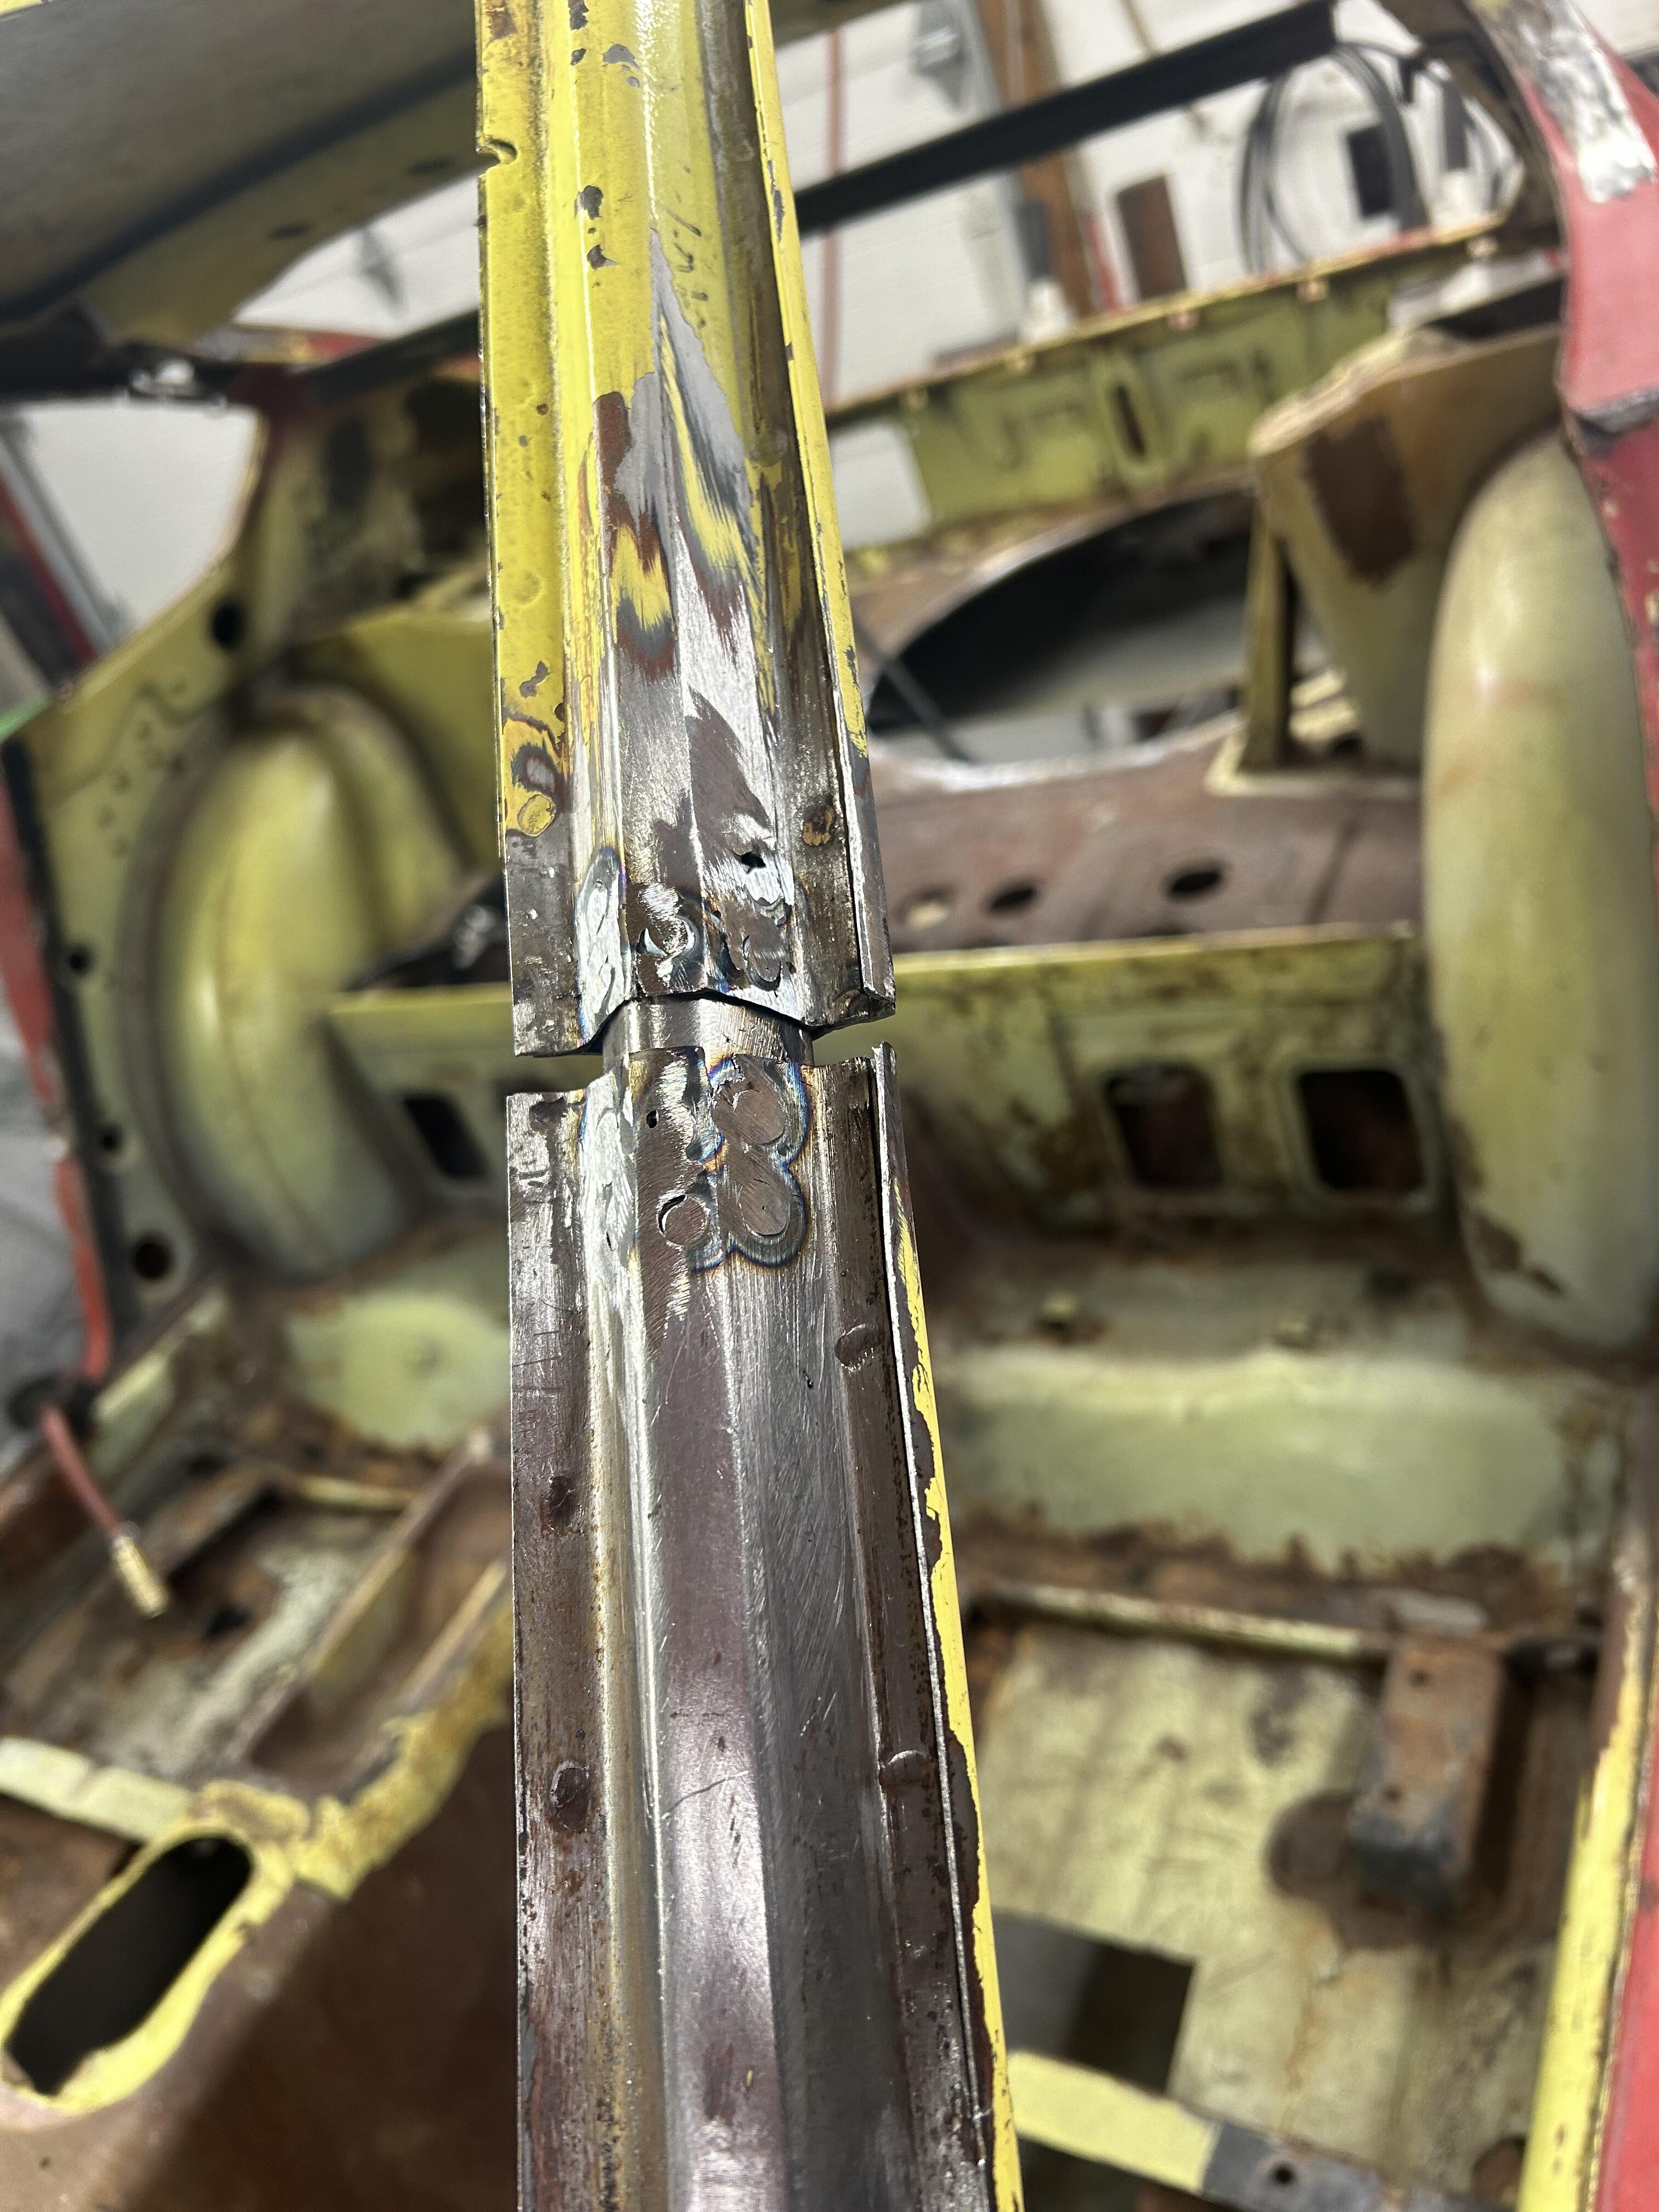
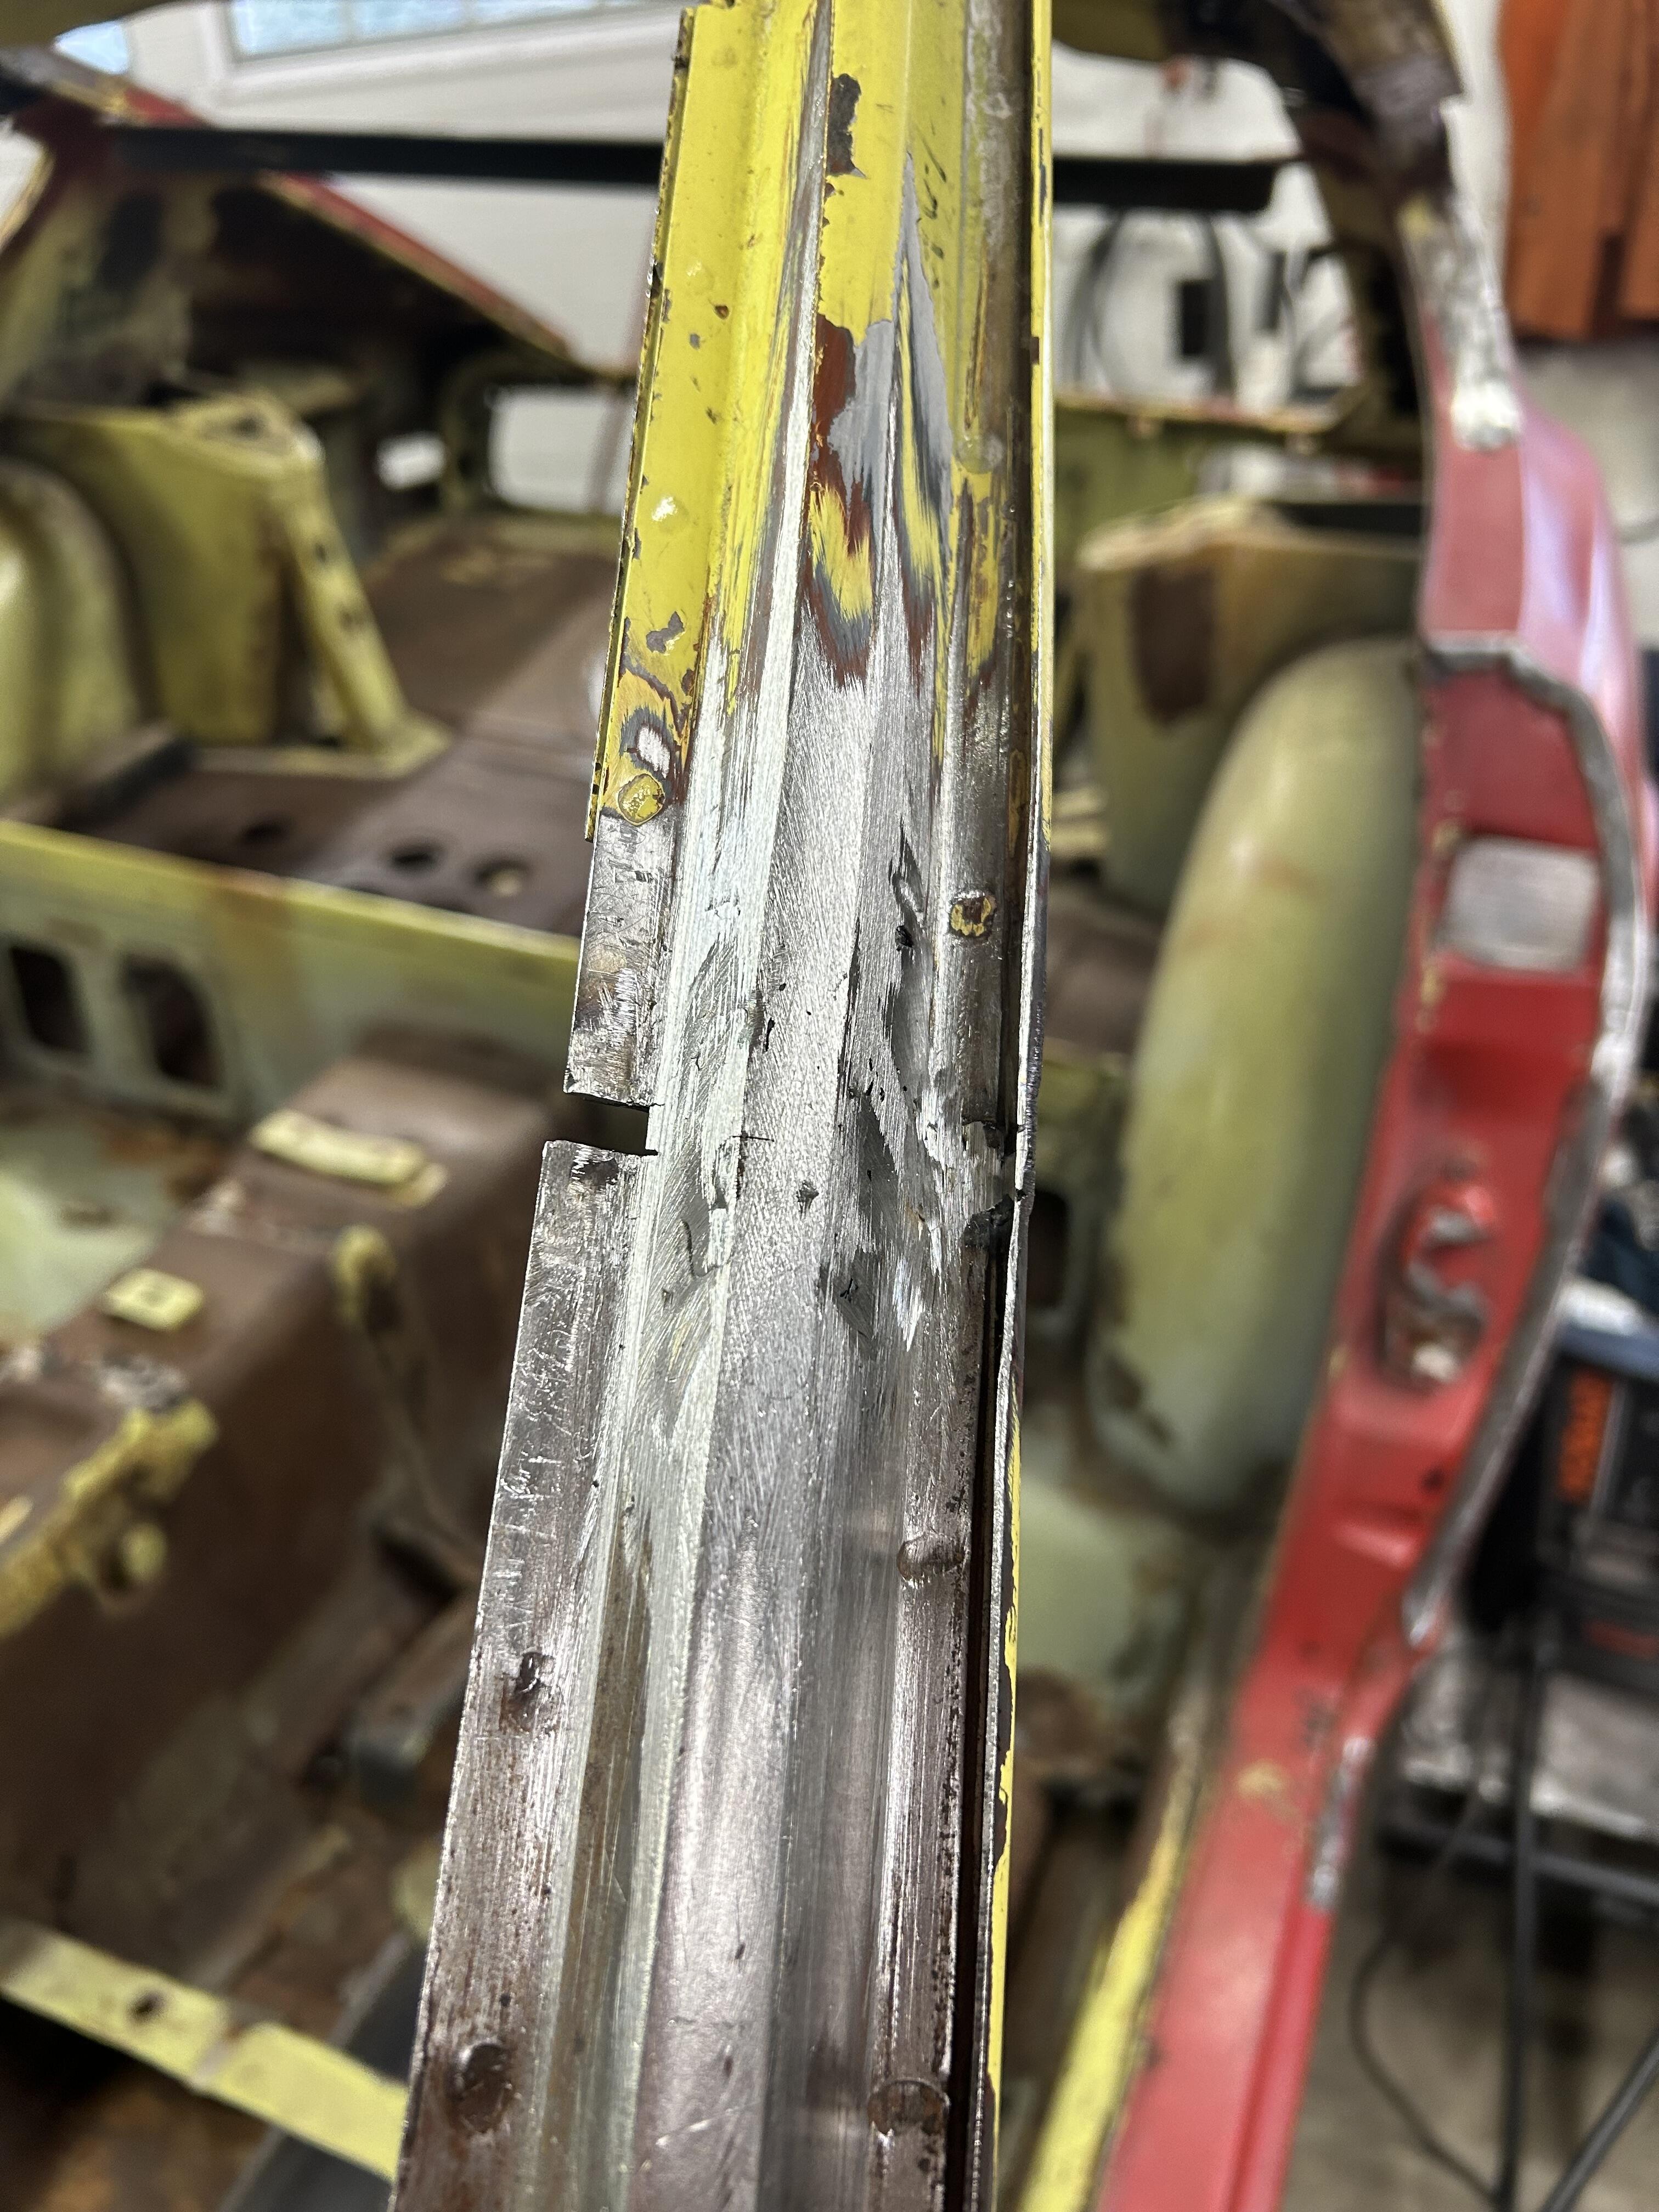
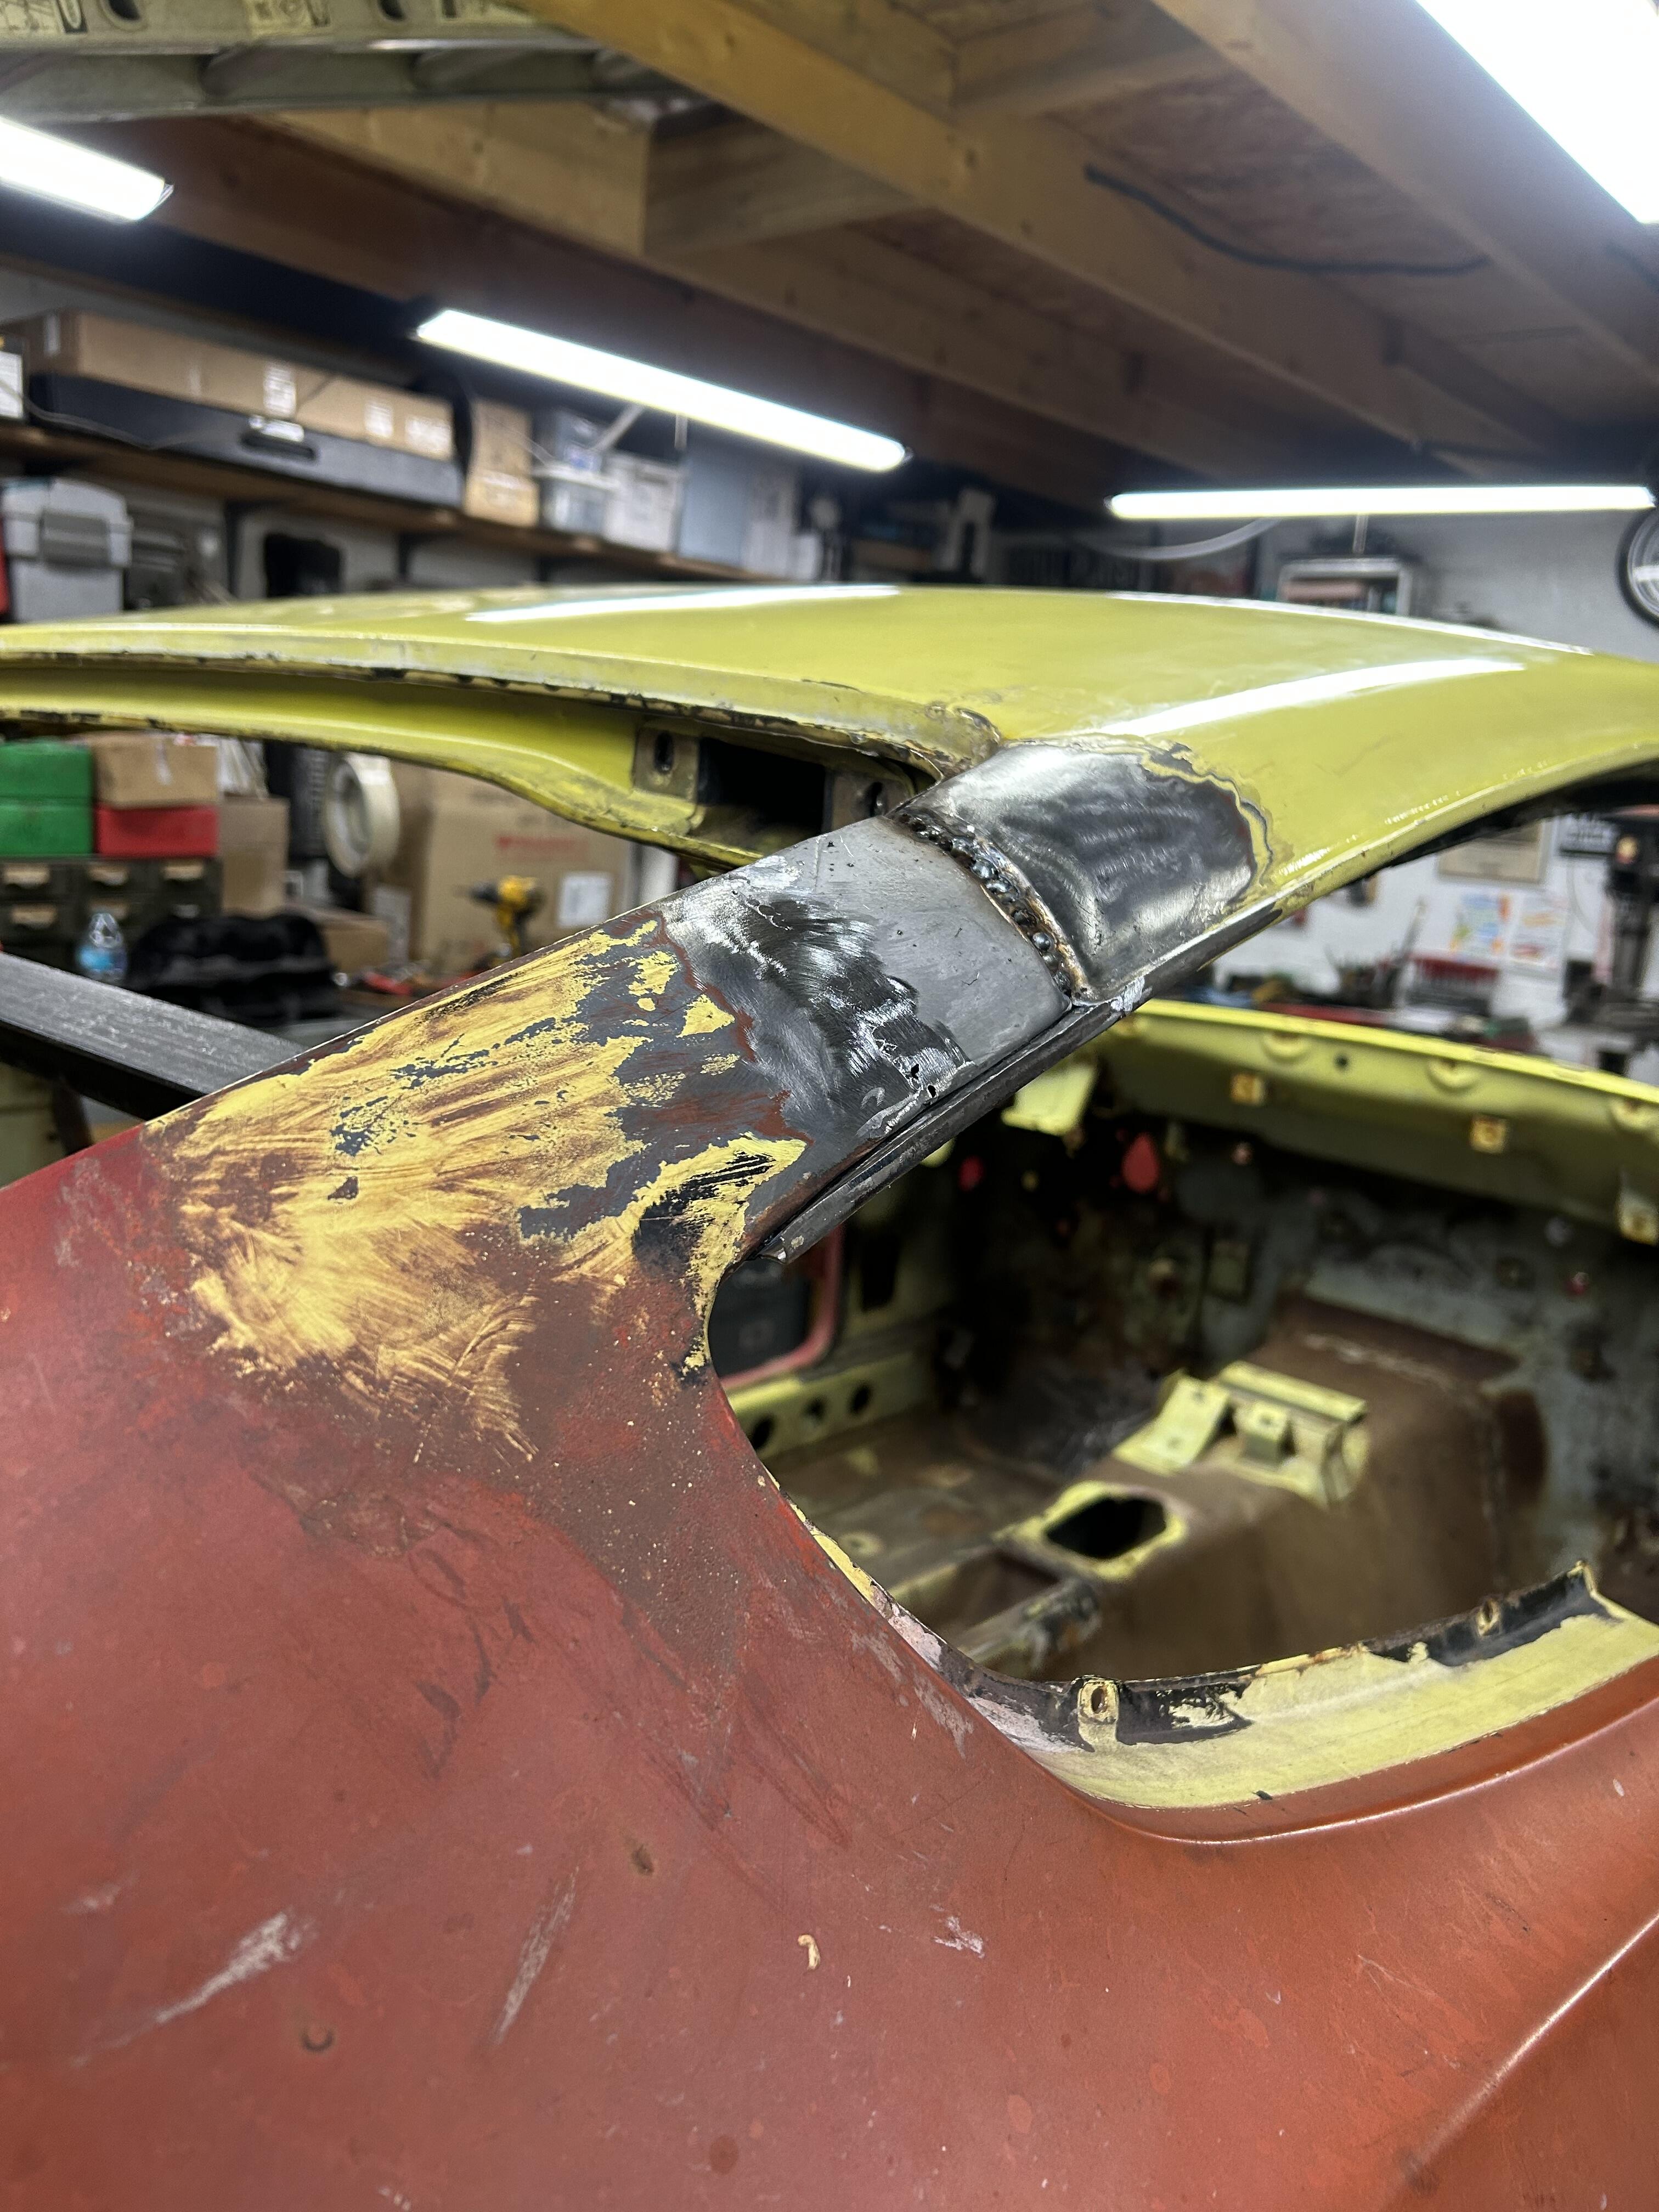
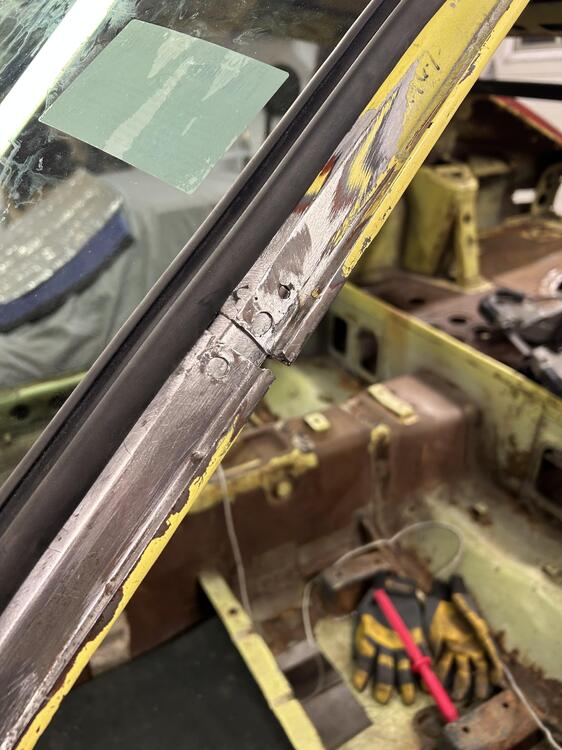
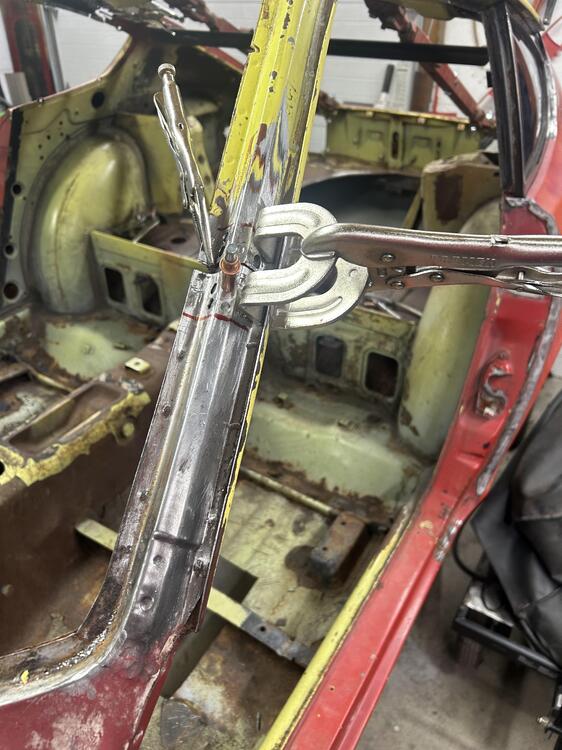
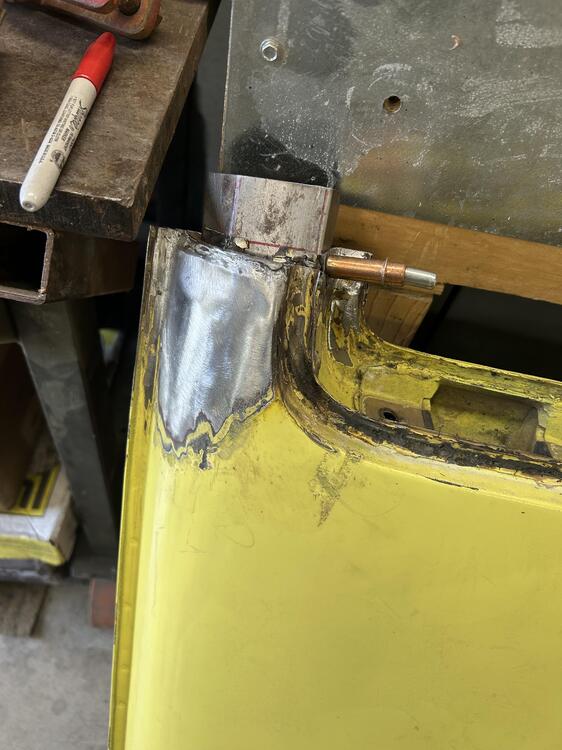
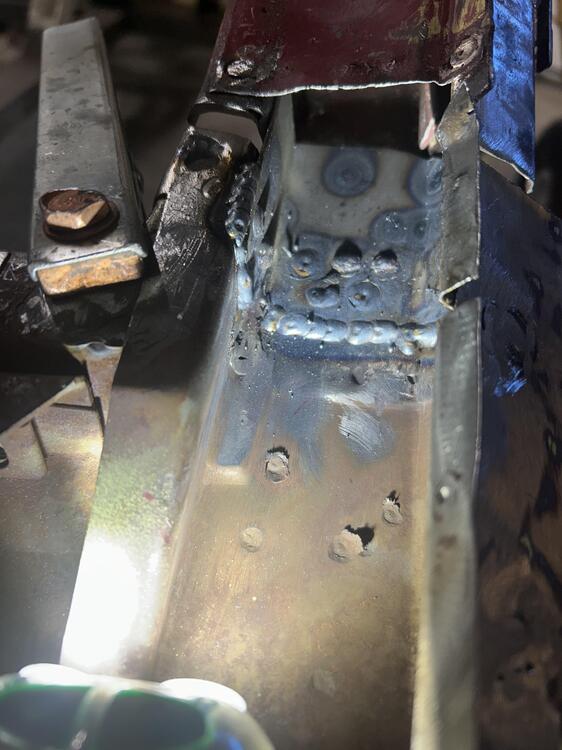
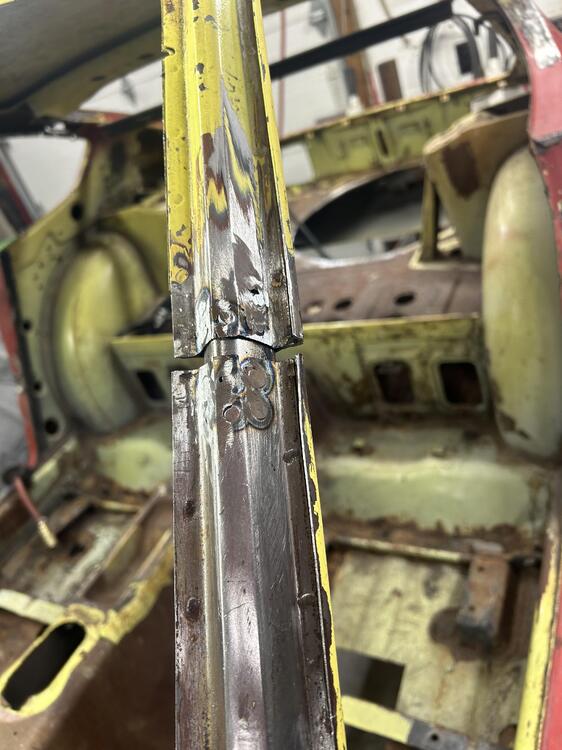
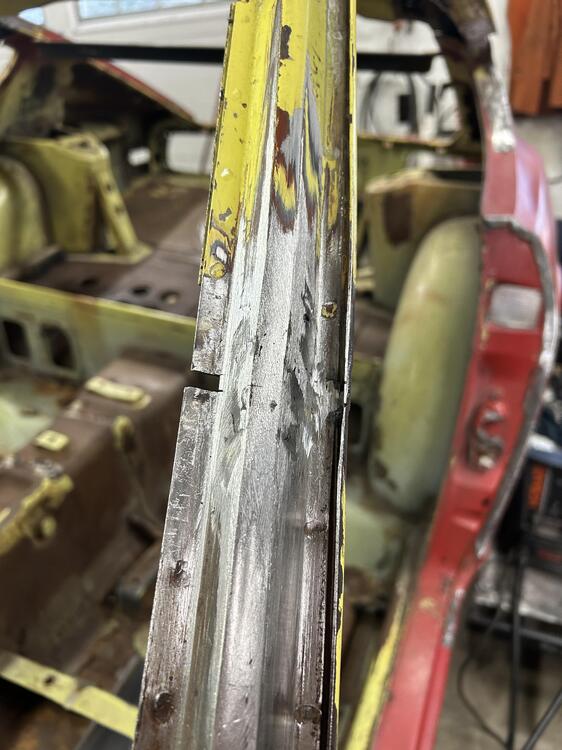
 Well here is a look of the innards of a A pillar on a Z. The way it was designed made plugging it a challenge to say the least . I had plenty of A pillar material laying around so I made some plugs to slide down inside the A pillar . I think they were less than 3” . I wanted to be able to plug weld and butt weld from all sides . I peeled back the skin on the inside of the pillar . That allowed access to weld all the way around the plug . On the back side of the roof I made a plate to help join/bridge the new roof to the rear quarter . Of course the ideal scenario was to have as small of a gap as possible . I thought I nailed it the first time - but I made the error of relying on measurements . I welded it partially and got the fit too tight and couldn’t fit a windshield . I had to undo welds and clean things up . I should have attempted to install the windshield and then welded . In the end I ended with a .250” gap which was acceptable to me . It sucked having to grind out mistakes - but I was determined . At the rear I had the quarter windows to help me line things up . Since they have 4 screws and they share with the roof and quarter - I just had to make them line up . The problem was the roof was a bit sprung and I couldn’t pull it in place without some heavy equipment. My friend of the bodyshop told me he had these big turnbuckles I could try . They were the ticket .


- Today
-
 Yeah, I used a step drill as 3/4" is apparently the one size in my "monster drill" collection that I don't have. It's smart to paint that bare metal (I'll use some of my POR-15) as it will undoubtedly see moisture -- but no salt... not under my ownership at least. Doors to be done tomorrow. Thanks again. This will all go into the power window tech article on which I'm working.
 -
 Worked for Grannyknot using zero-forgiveness sheet metal. I don't see the problem.
 - Yesterday
-
 We'll call this " The Battle of the Bulge". What caused it?
 -
 Outstanding.
 -
 They wrote great songs but I can't think of any covers that were done. What a shame.
 -
 Looks like it could be a good basis if it's not rusty. At that discount it might be a scam though
 - Last week
-
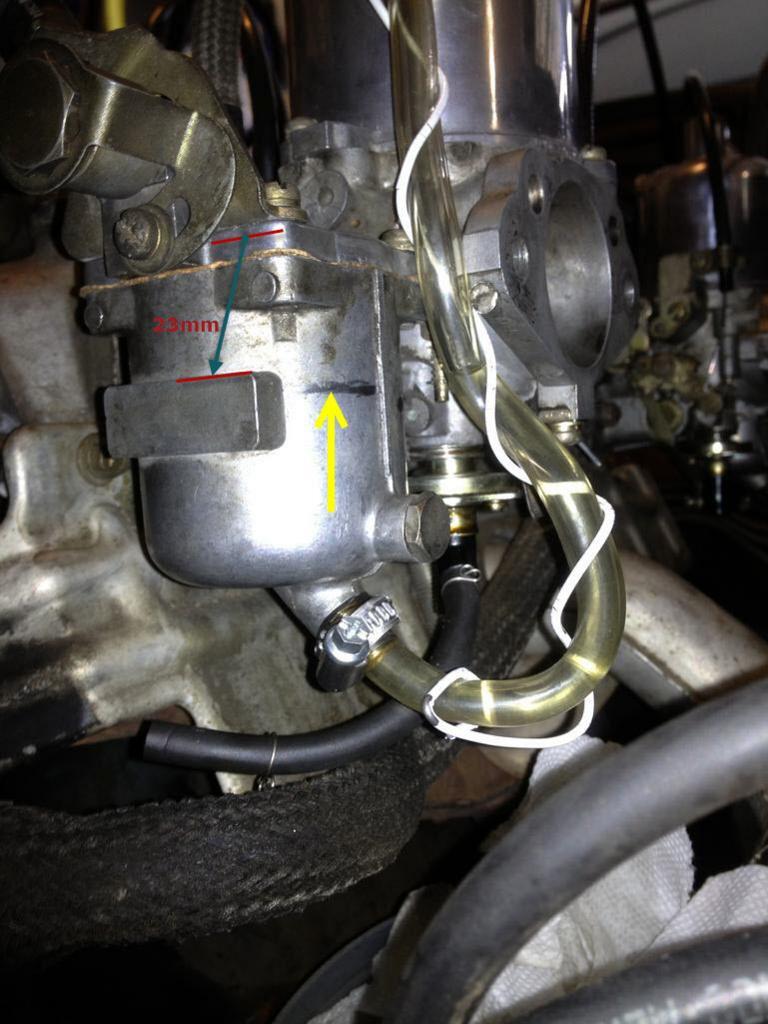
Here's a very familiar picture, I'm pretty sure Zkars put up for us, that shows where the fluid should be. The top of the rectangle.

-
 That's exactly what I did. Perfect!
 -
 As long as we’ve brought up our daily drivers, every time I go to the Toyota dealership they were telling how much mine was worth and how I should trade it! I double crossed them and sold it to a private party for $36K and bought this! Holy Schmidt it’s fast for an SUV. Porsche Macan GTS. That’s one of the other three Porsches sticking its tail out of the garage behind it…
-
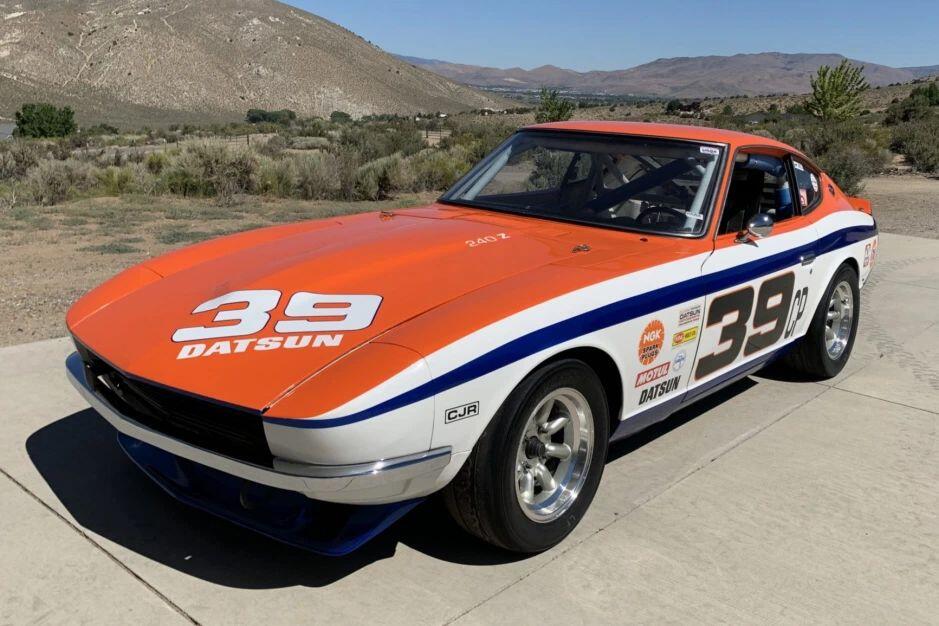
 Arguably the rarest of the fairladies…..
 -
I'm going to want power windows at some point, but would like a fairly invisible system. Atleast on the door card... I'll keep an eye out for your thread
-
 The fuel stabilizer will probably be good enough for now. I'd suggest taking it out on the road for at least an hour to work out all the issues that gasahol creates. Maybe even pump in a few gallons of fresh fuel into the tank, depending on how much fuel is still in there. FYI, when any car or internal combustion engine sits for 4 weeks the fuel and alcohol separate and the alcohol attracts moisture (water) which goes to the bottom and sits. This happens in the fuel tank, in the pump, in the fuel lines, in the carbs or injectors and so on. I don't think that I have to explain what happens with the water in the fuel system. For a fuel stabilizer in the future, there is only one product to use and it's not Sta-bil. That's an ok product and it keeps the fuel stabilized for up to 1 year but there is a product that is waaaaay better and most of you have probably heard of it. It's called Seafoam and they guarantee it to keep fuel stabilized up to 2 years. I'll take that a step further by letting everyone know that I"ve got first hand experience with the product and I've seen it keep fuel stabilized for over 4 years without any problems. I haven't checked my 79 620 fuel for over 2 years now but it was ok 2 years ago and I parked the truck in 2018 after I seafoamed the gas. My 75 z sat for 4.5 years and I put Seafoam in the gas the day I bought it in April 2018 and didn't start the engine until August 2022. I checked the fuel first and it smelled fine. Two days after I got it started I took off for the Olympic peninsula with it and drove it all over the place without a problem. Still driving the car today. By the way, Z Specialties is alive and well, I never have closed for good, only the past locations were closed for good. I work out of my home now part time and I don't have any employees. Z man of Washington
 -
Is it for the 260 in your cars owned or is it a ZX as the TECH FORUM category you chose? Here's wiring for a 260. There's a lot of info in the RESOURCES category up top of the home page
-
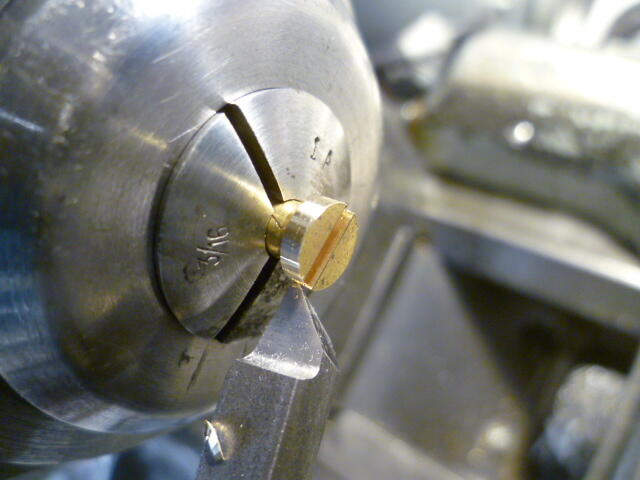
Last time I messed with this, I tried to use off the shelf screws and I could not get enough mass packed into a small enough package. I've found that 4 grams is a good amount of mass to get the float to sit level at equilibrium, and the wood screw just didn't weigh enough. Here's a failed attempt to use a brass wood screw instead of making my own weights from scratch. Pic of a wood screw chucked up in the lathe, narrowing the head, The process of narrowing the head worked fine, but the amount of mass remaining wasn't enough. I ended up making another pair of weights from scratch. Here's a pic of what didn't work out:
-
The RPMs should decease when lifting that piston, almost dying out. Lifting the piston disables that carb then you are running on the 3 cylinders the other carb feeds. That's what mine does anyhow. Try reaching in and lift the piston itself instead of pushing those pins down. Your needle height may be off from the rebuild with the needle height set screw? Remember raising and lowering is viewed from the bottom of the car. Turn the nuts towards the fender to lower the needles. Read the section on SETTING MIXTURE.
-
 Still in original packaging. $10.
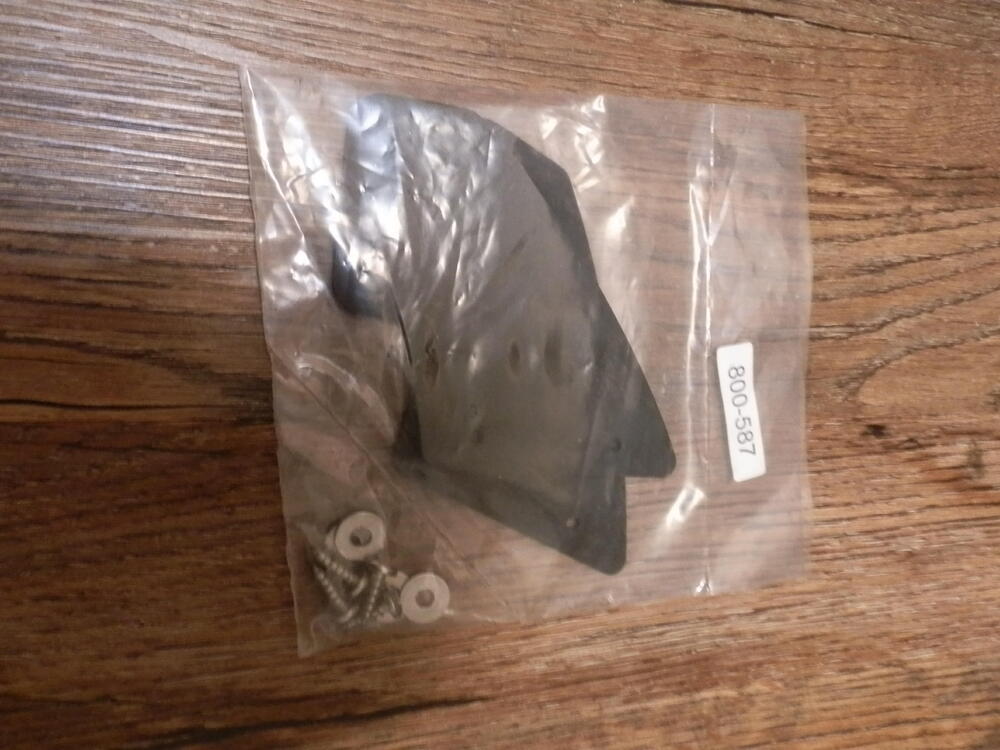
-
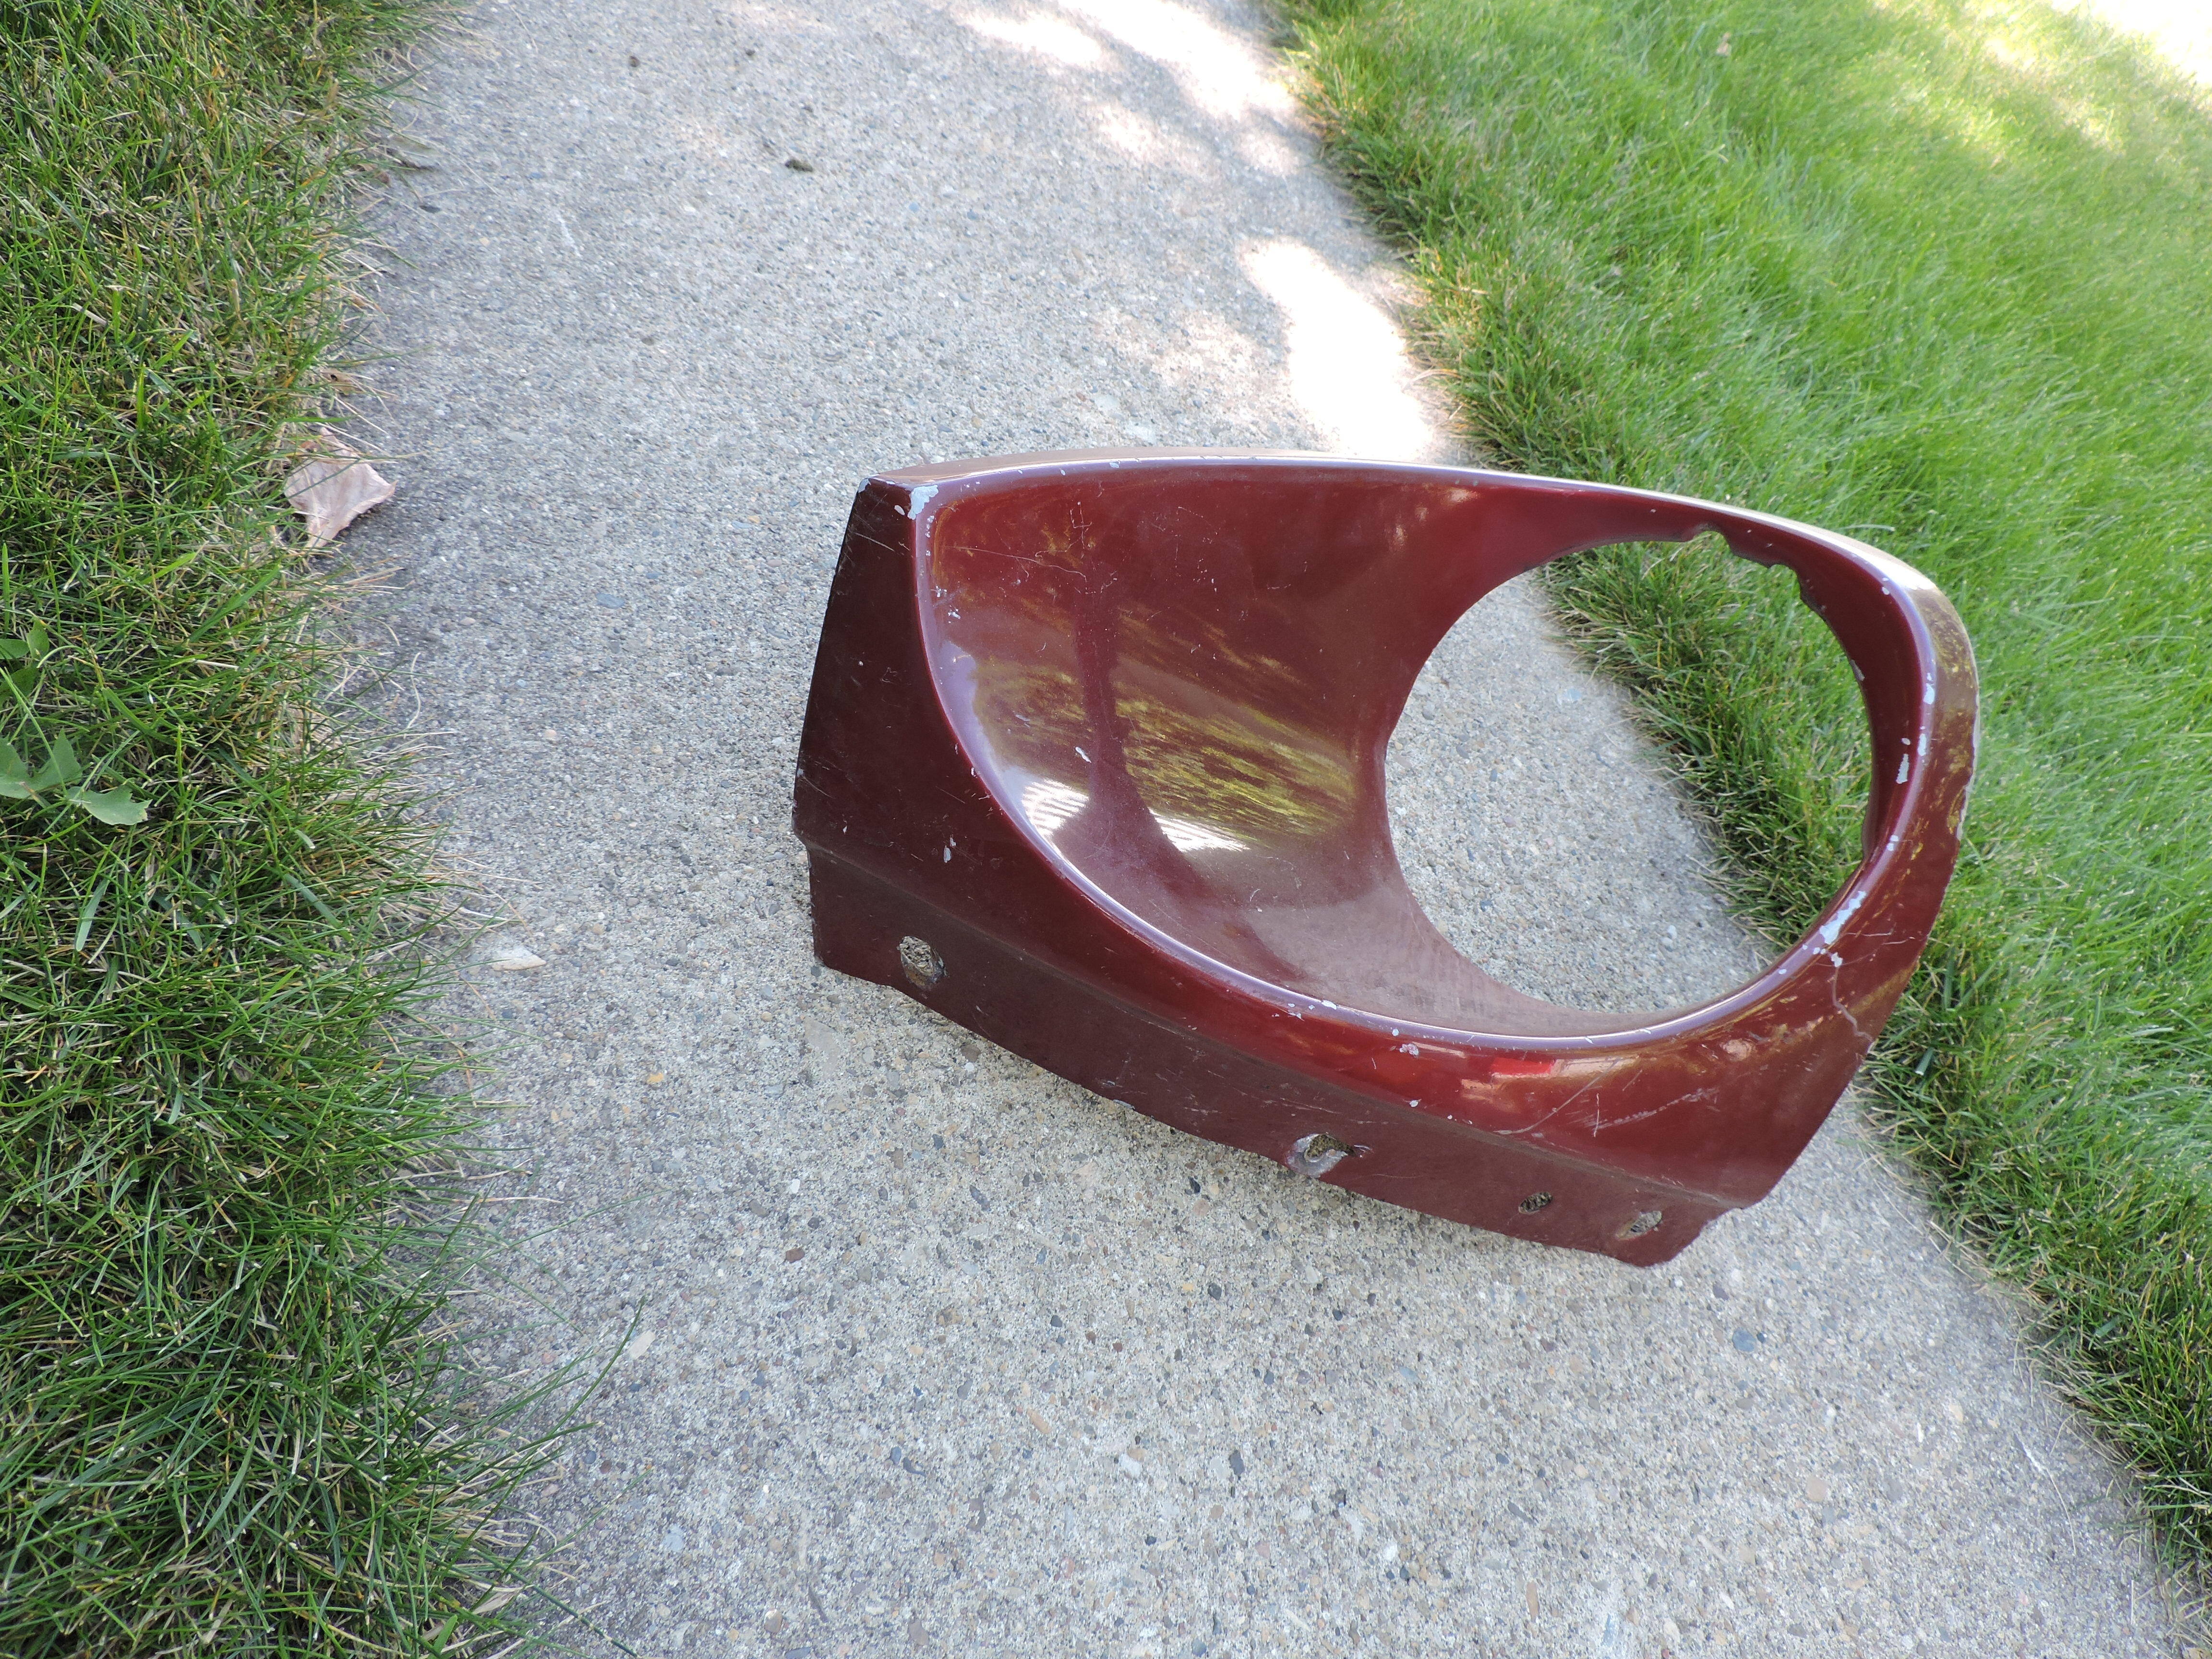
Phot says it all. Sand, paint and ready-to-go $25

-
-
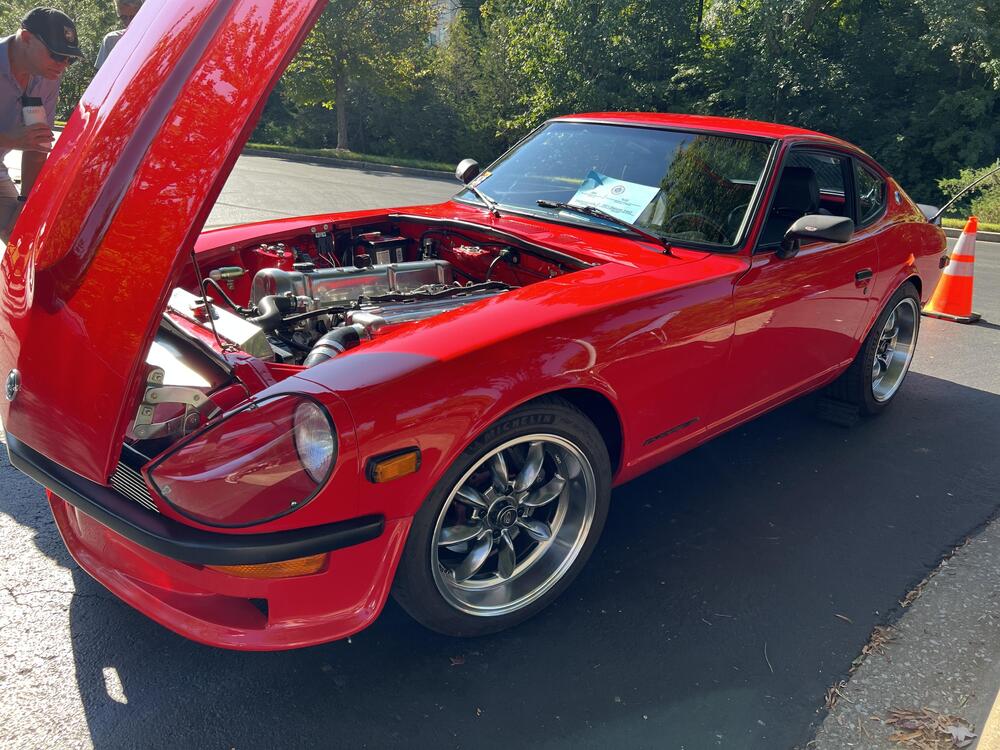
 Glad you came to ZCON and gave me some inspiration on my future engine! I got a pic of our cars together and one of yours at the show Saturday. Hope to see you again at a future event!
-
😎
-
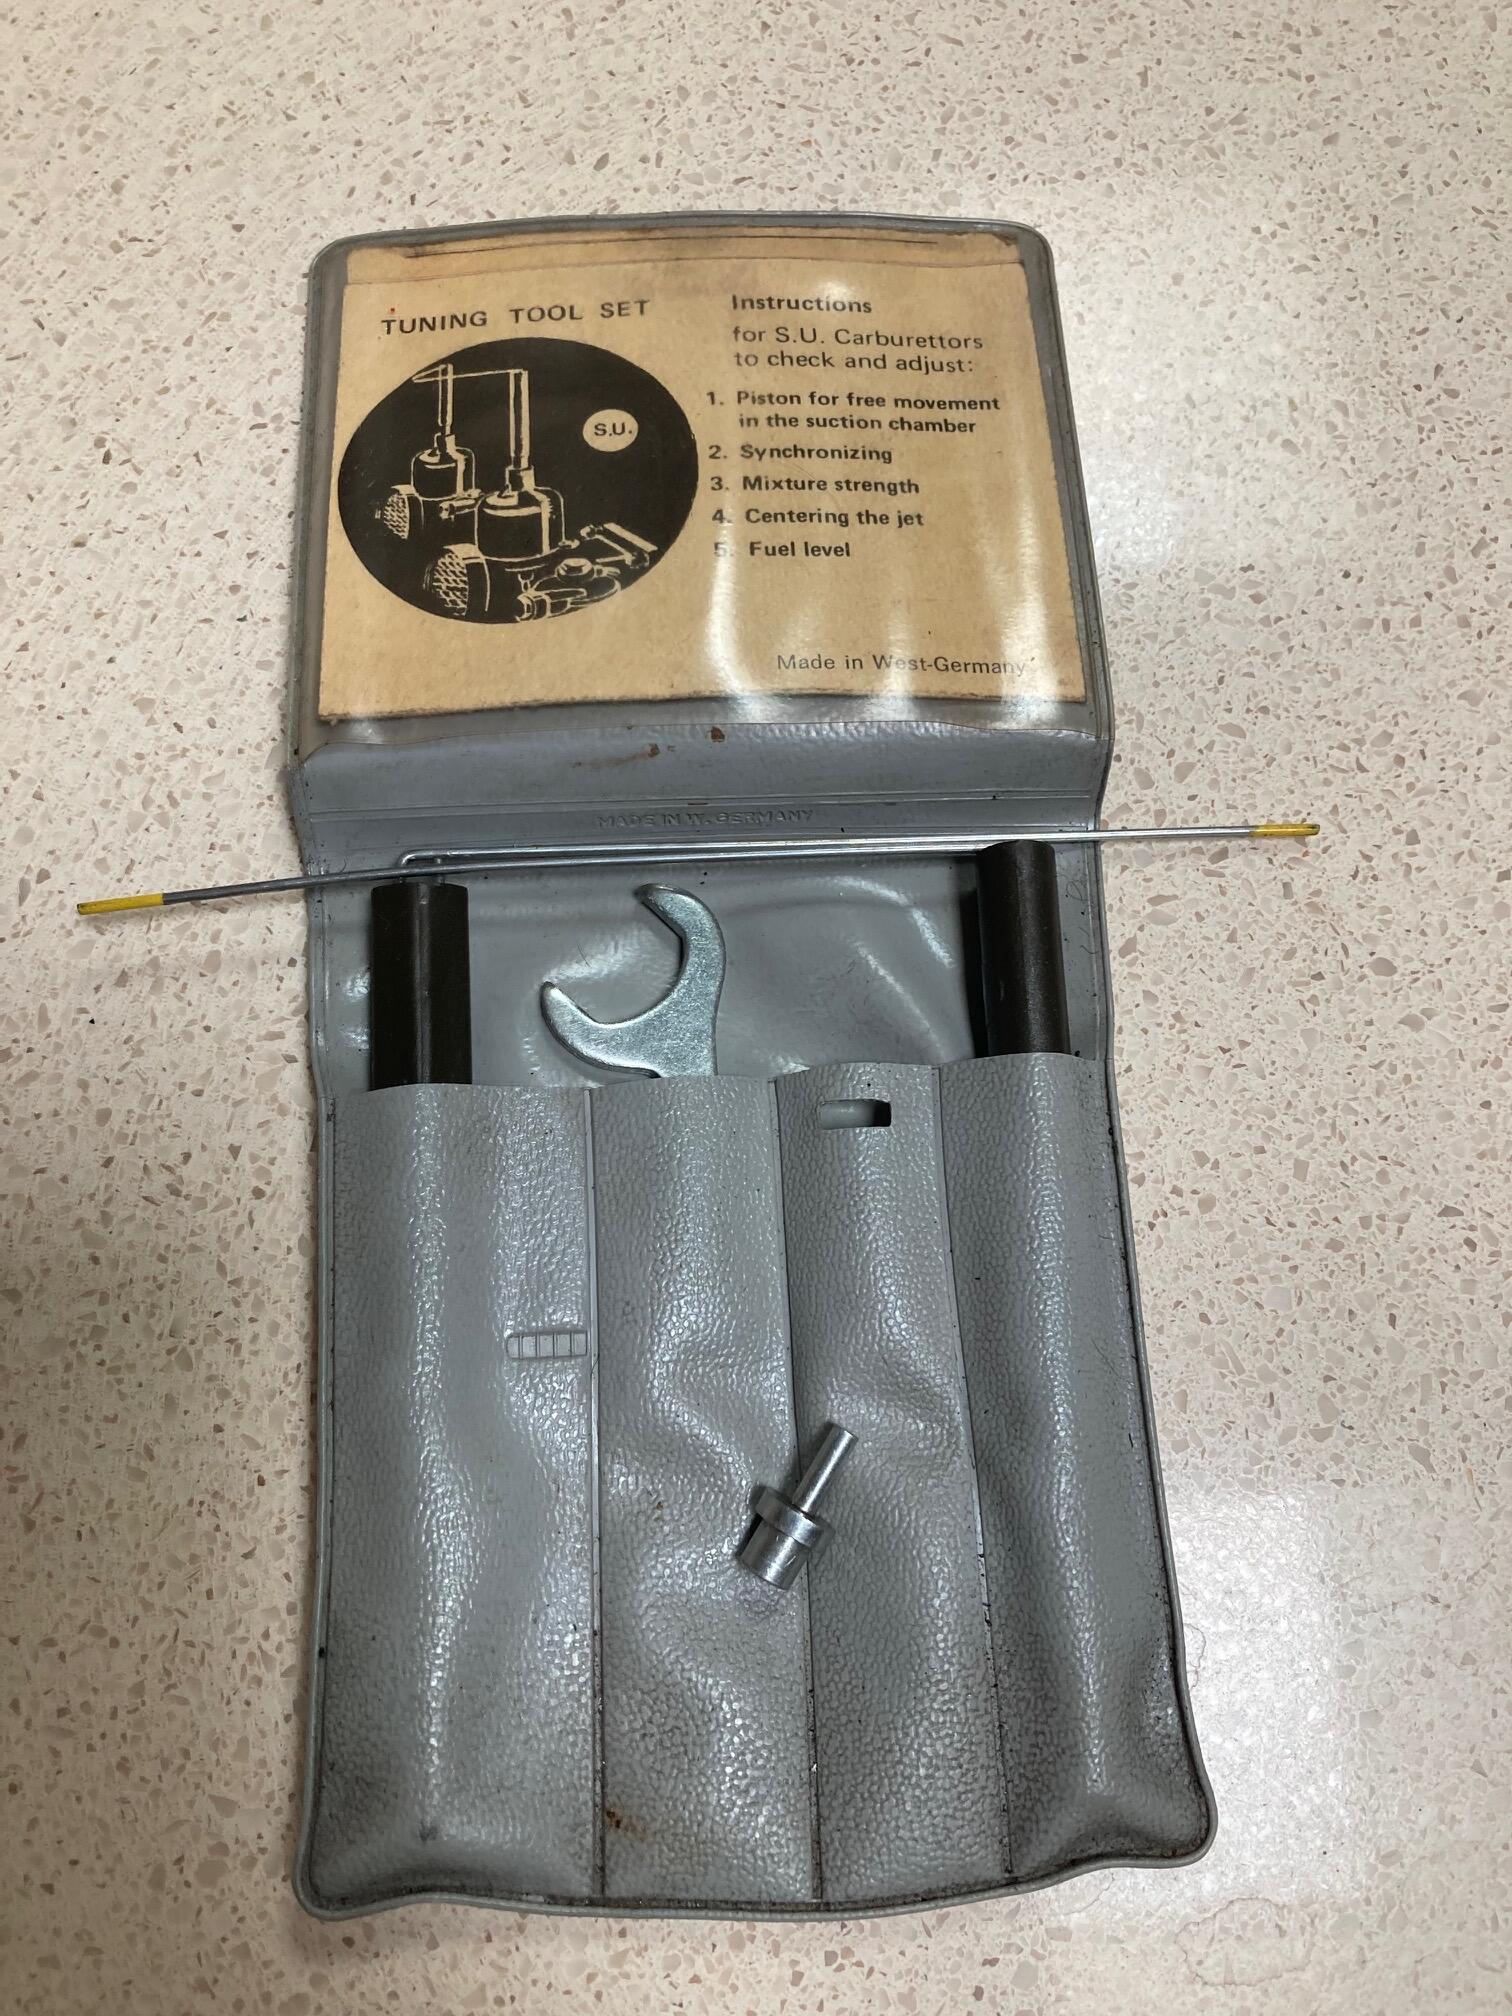
 Here is the SU tuning kit mentioned in post above. I just checked on eBay and they are available for $40. The small aluminum fitting laying on top of the gray package is the one I was referring to.
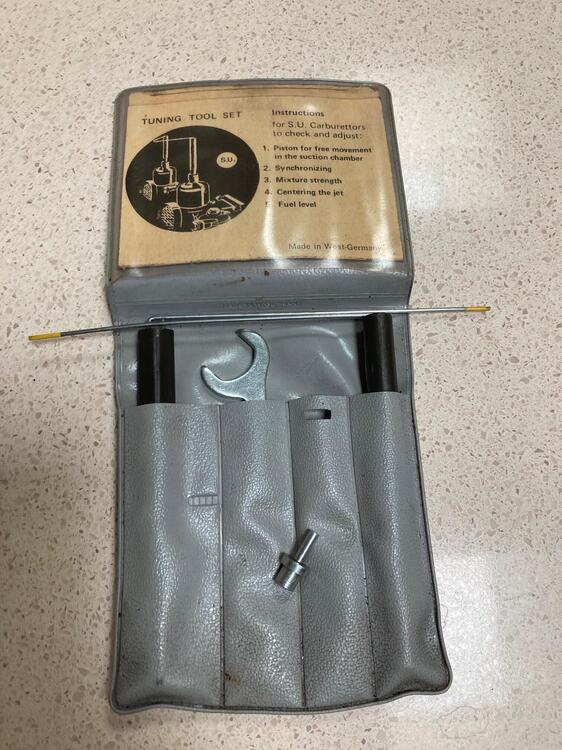
-
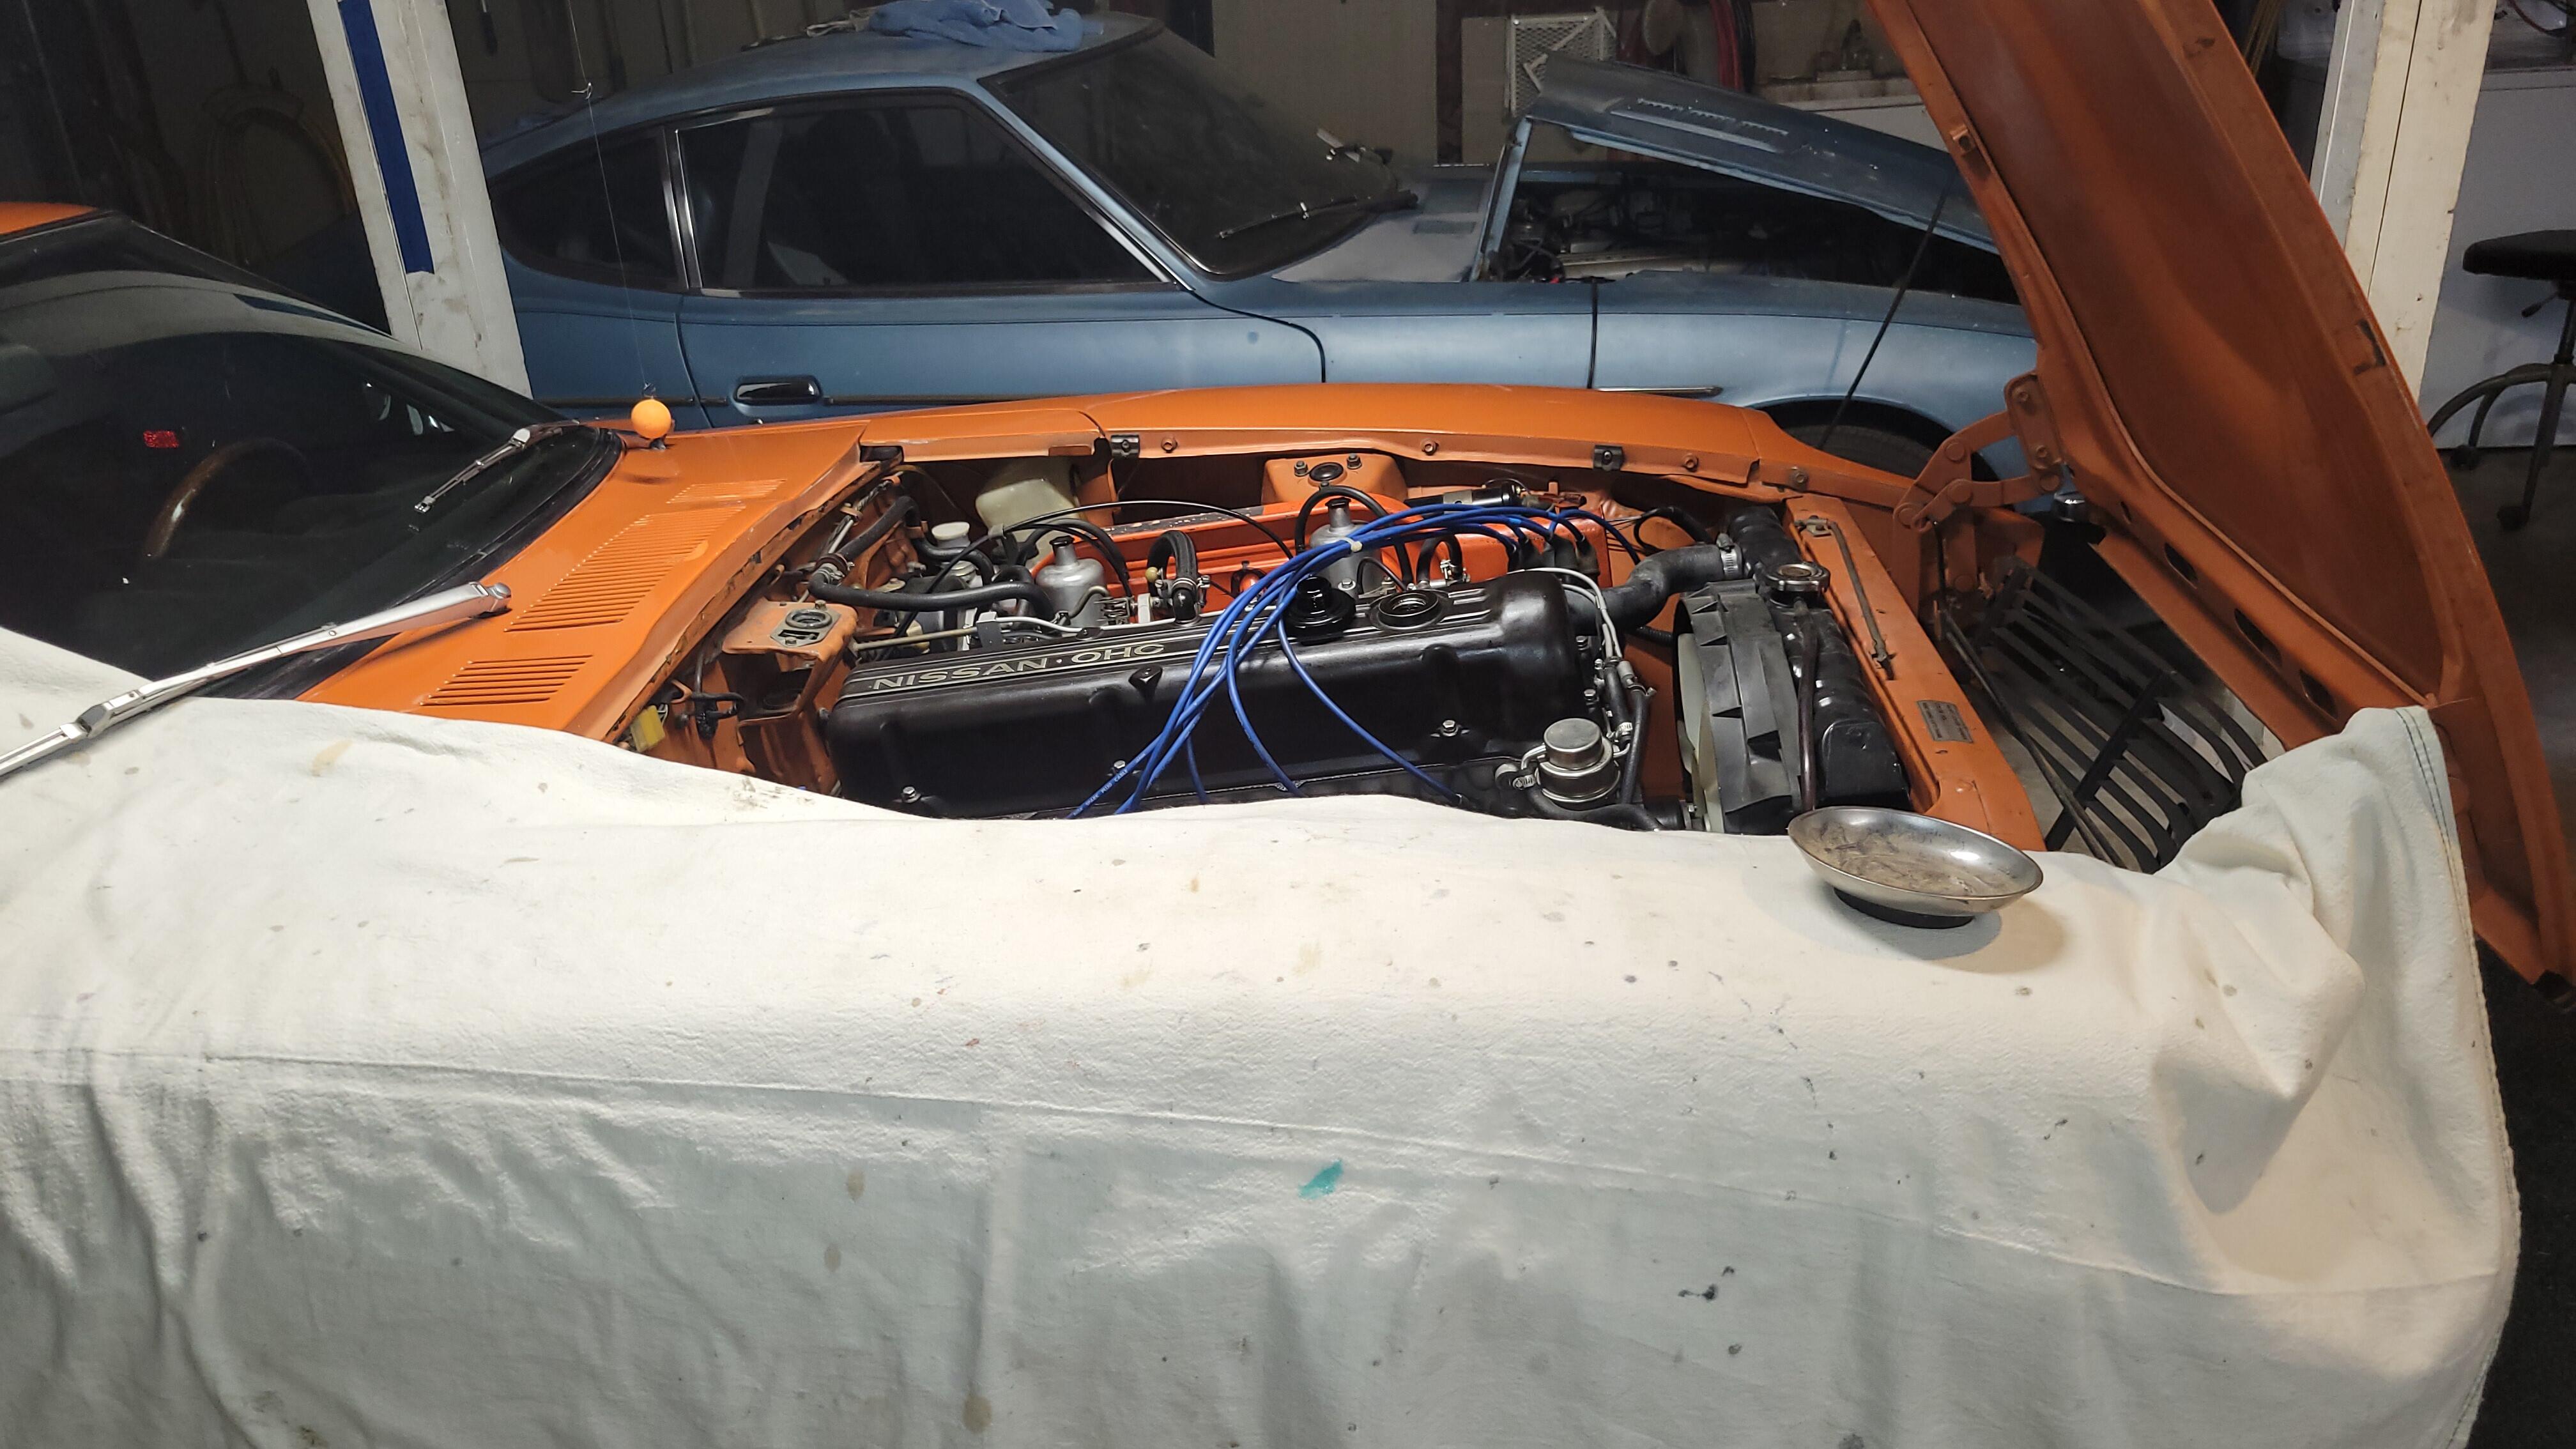
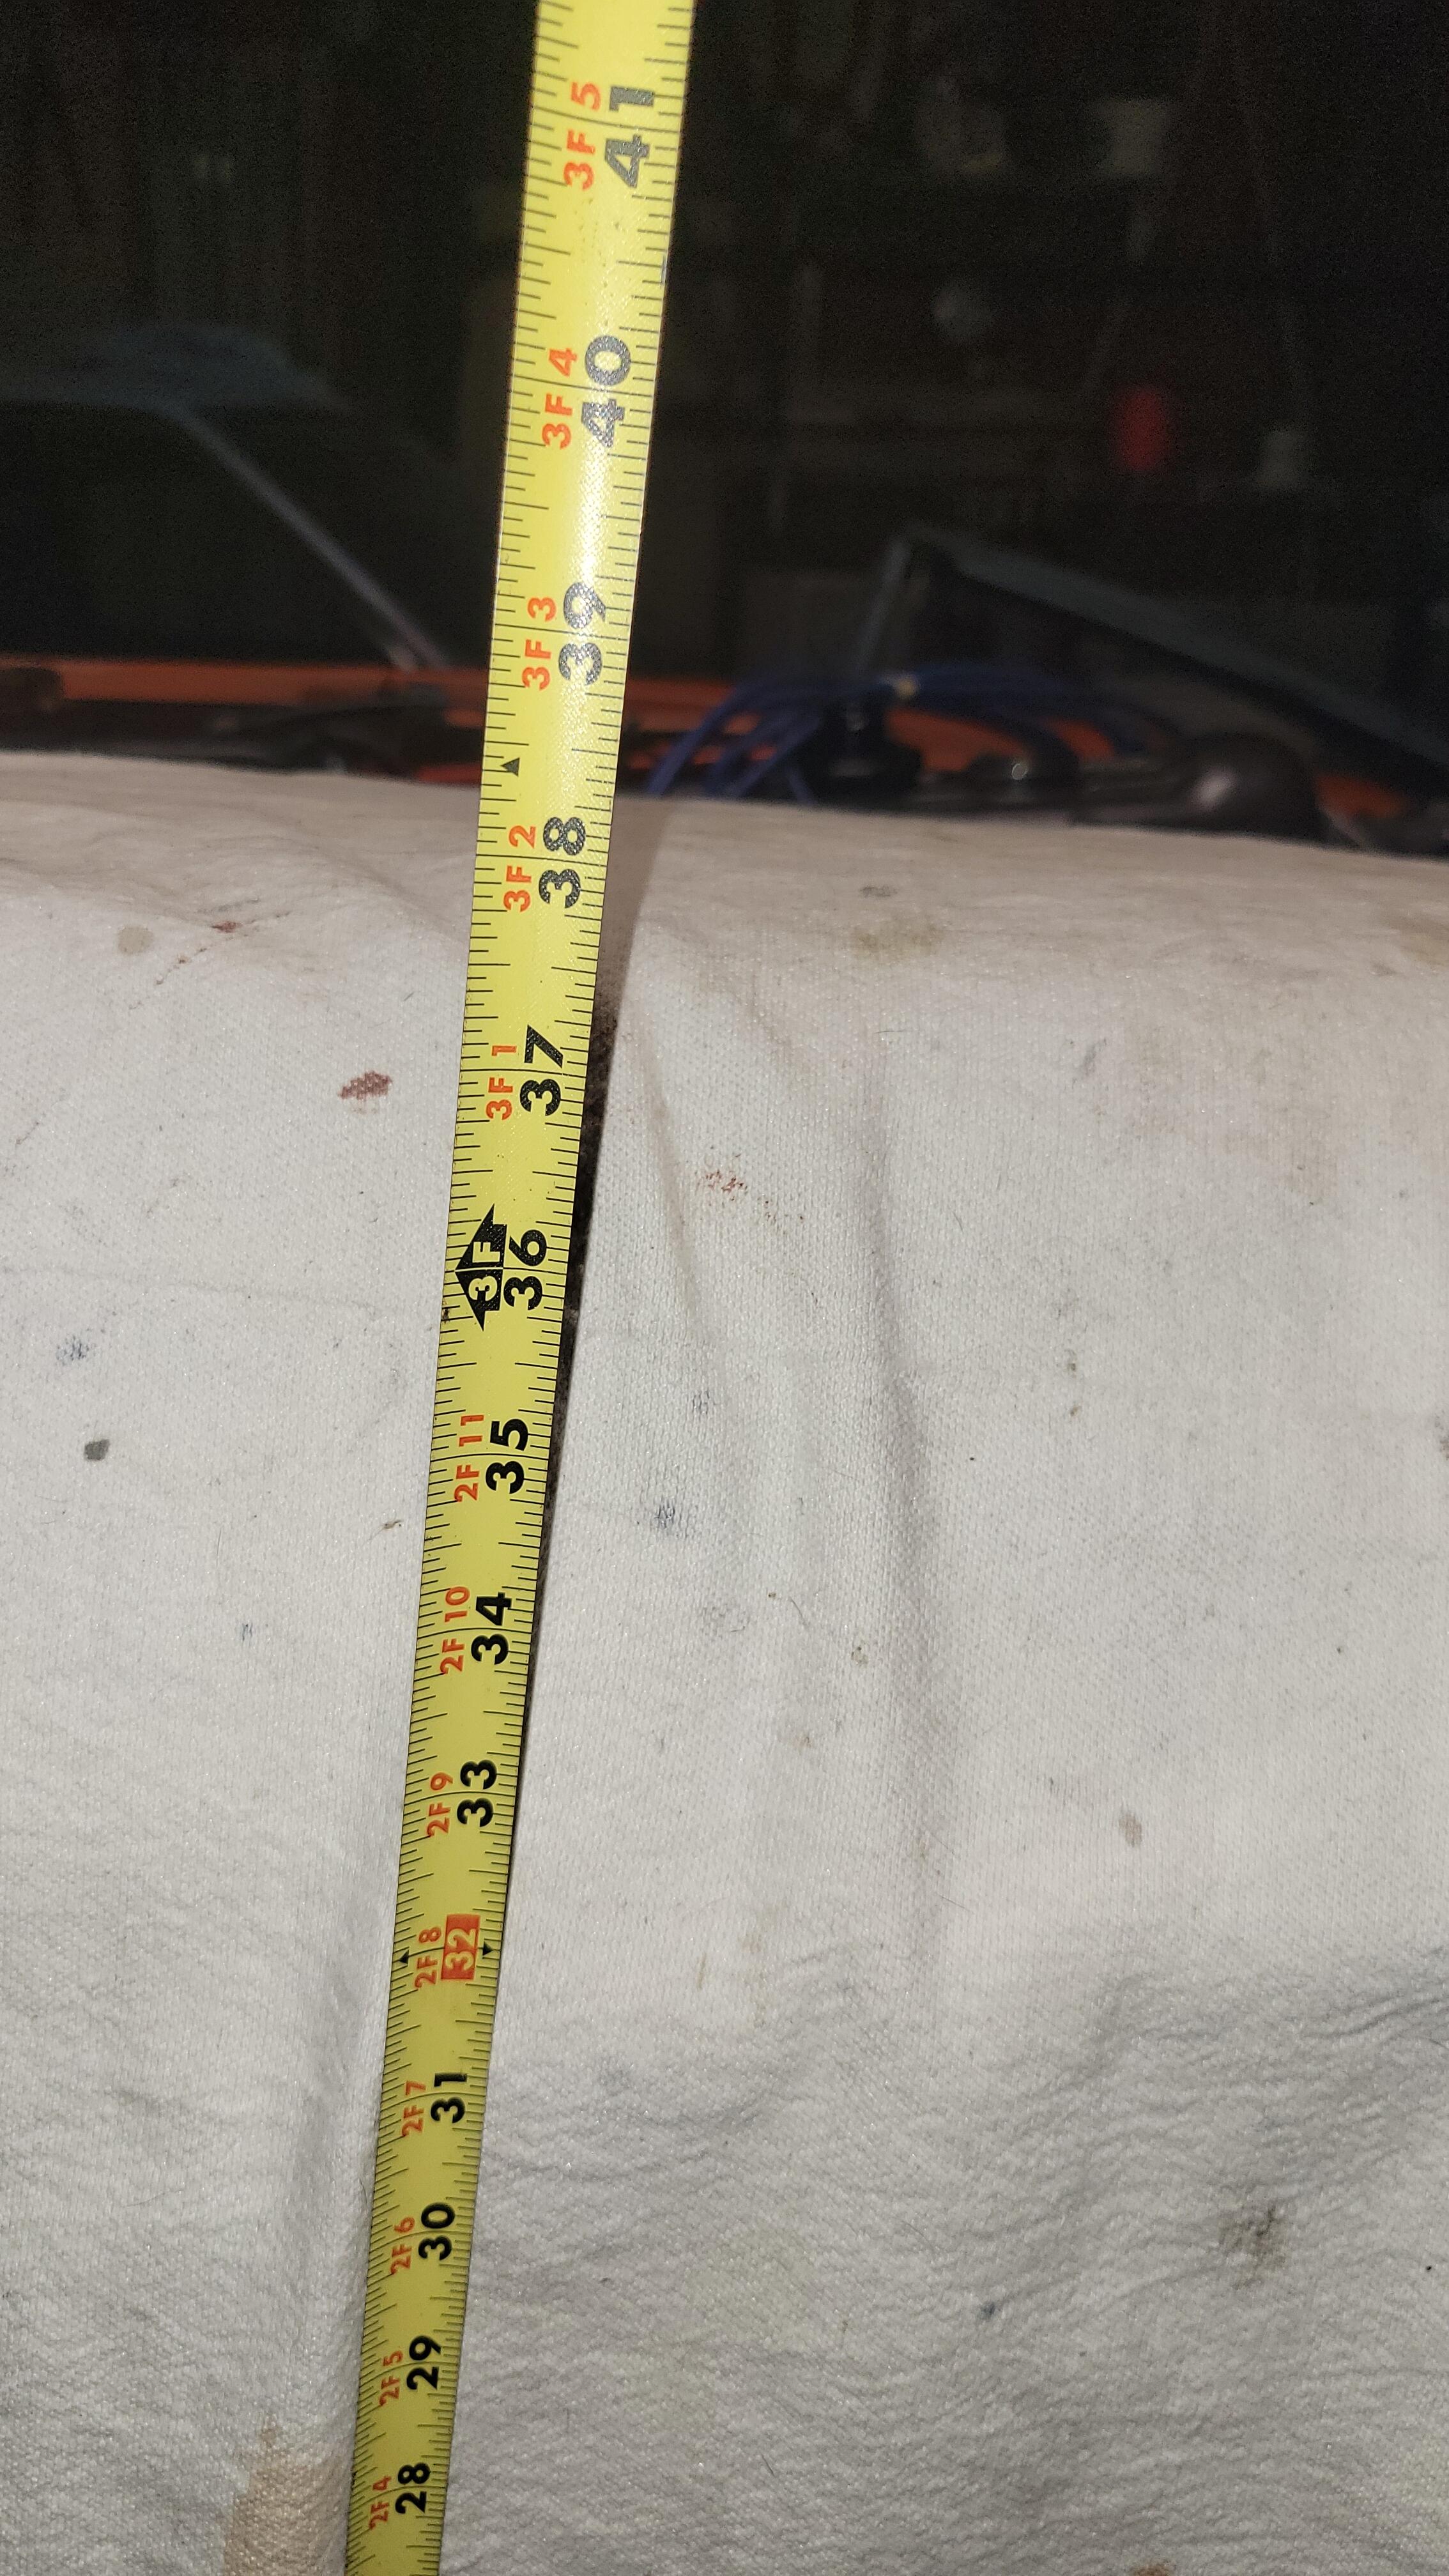
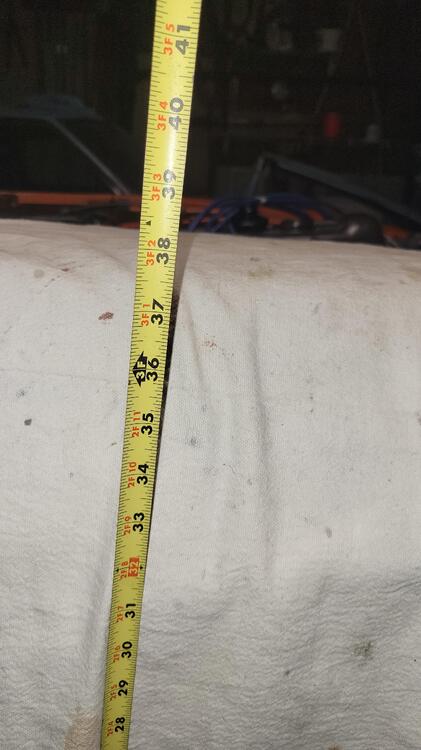
This is for you, not your car.🙂 Something I figured out after getting older and working on these cars. You can help your back when doing all that tedious engine bay stuff by simply running it up on a set of ramps or raising it up and using jack-stands to get the motor up so you're not bending over all day. Another thing I had learn the hard way was resting my elbows on the fenders would cause dents I ended popping out with a suction cup from HarborFreight. Cover the fenders with anything like towels or paint drop cloths using magnetic bowls that hold all the fasteners. I'm about to adjust the valves on mine. I use a set of Rhino ramps to get my lowered 240 up to, looks like about 38". Just a courtesy bit of advice you probably figured out way before I did and it really helps. Have fun!


-
 Very cool! I love my ZCG brake kit. The KW stuff is probably amazing, but I can't stand the purple and yellow:)
 -
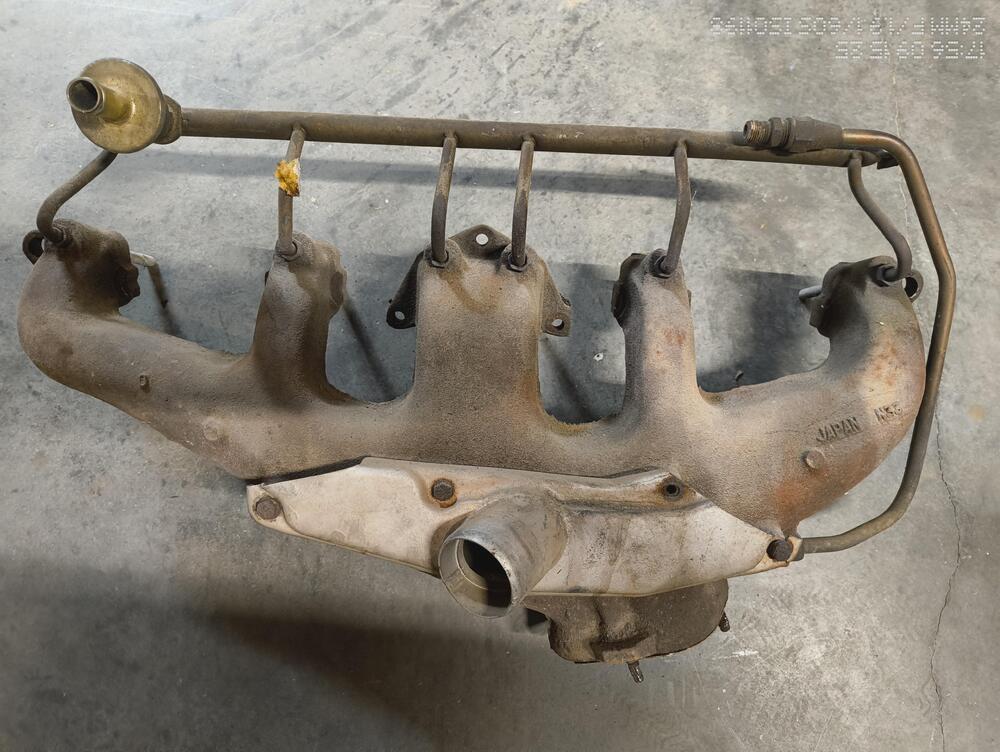
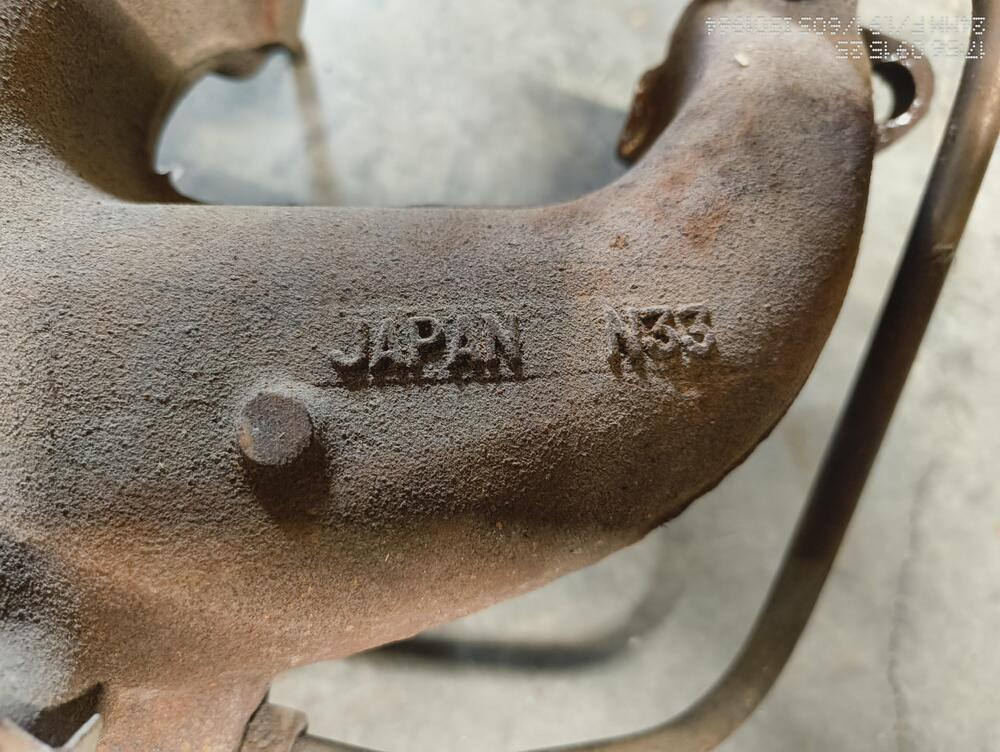
 Photos are of the original N33 exhaust manifold I removed from my 73. Replaced it with an earlier one when I went to round top carbs. I confirm you need a different downpipe. I was able to swap my 73 downpipe for an earlier one.