Topics Last Week
Showing topics, images, events and files posted in for the last 7 days.
- Past hour
-
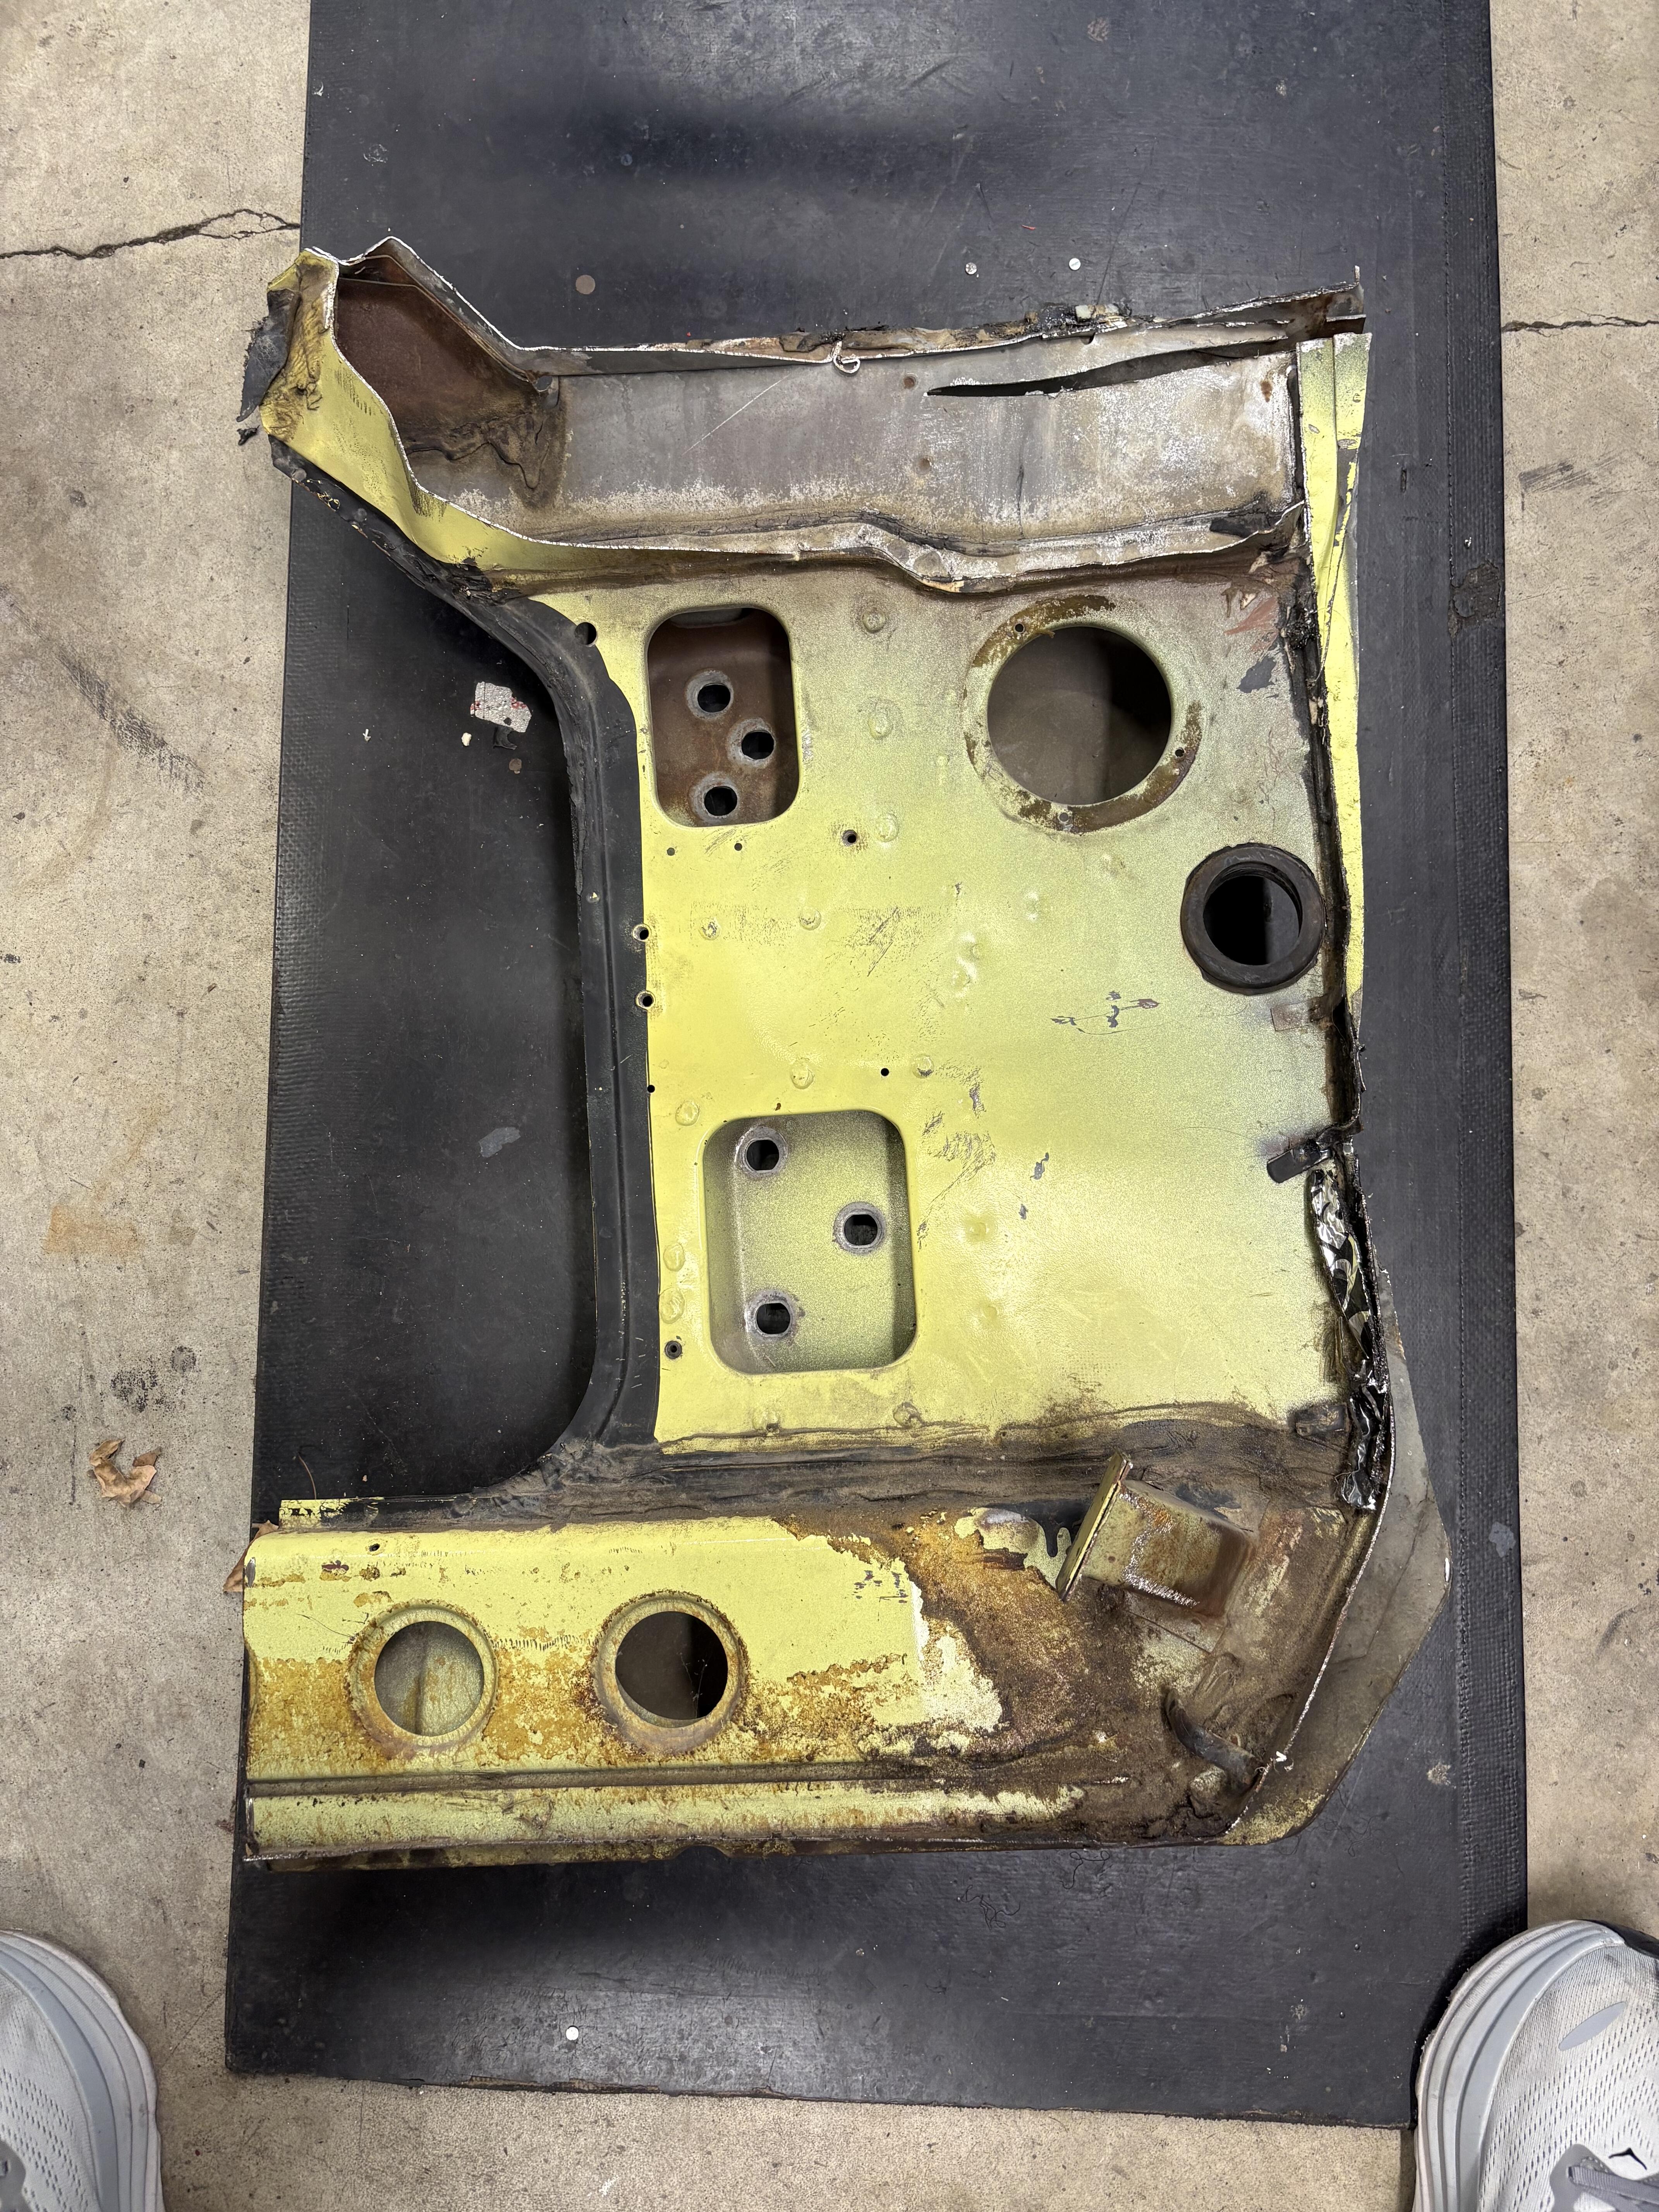
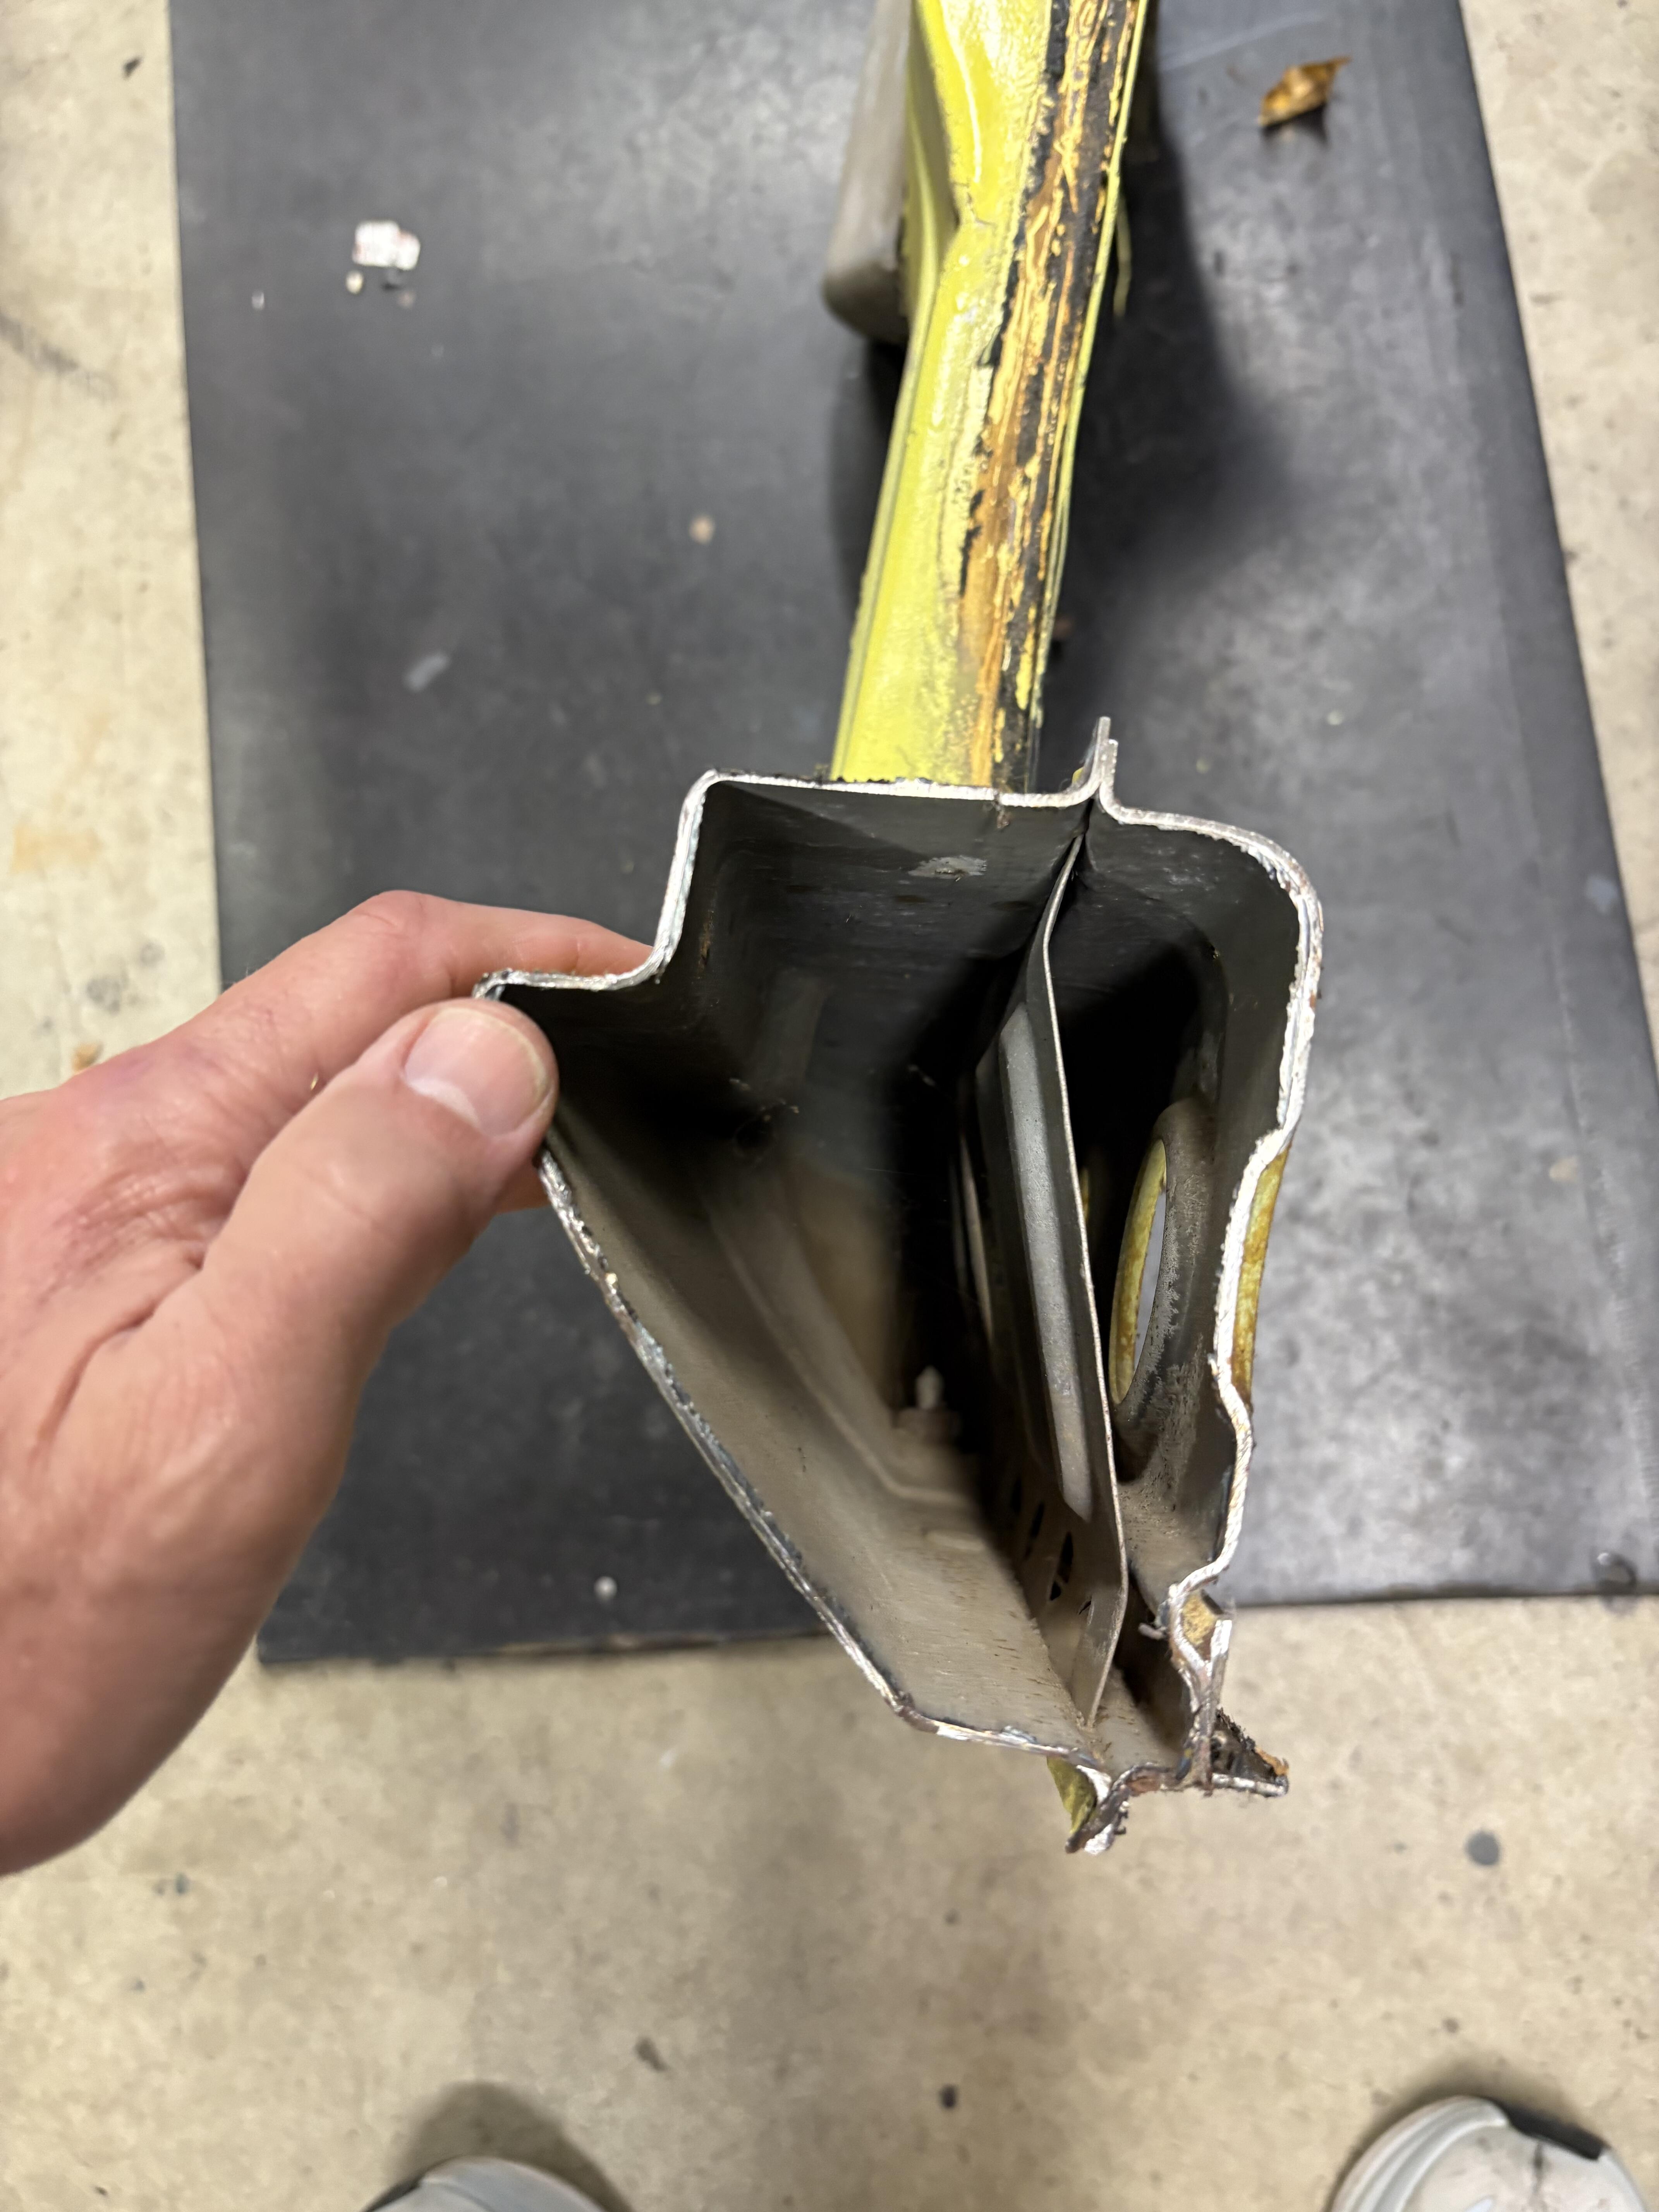
 RESTORATION Customer excitedly bursts into my now closed shop "Mike, you've gotta check out my 240 - I just had it restored". This is the same chap that wasted a fair amount of my time a few months ago when I explained the restoration process. At that time his only question was "why does it cost so much". That was followed, almost without taking time to breathe, "I don't wanna do all that"! Anyway, I go outside to check out his beauty only to find that it had recently suffered a rather cheap, glass-in, paint job, a new set of incorrect seat covers complimented with mags that are too wide sporting new tires - clearly not a restoration. The industry recognized definition of a restoration is to first reduce the car to a shell with just enough suspension to roll the car around as required. Next it goes to a stripper who removes all of the paint, undercoating, sound deadener and rust to expose what I call the "sins". Sins are the holes in the body that resulted from the rust being removed by the stripping process and or repairs done to the body in the past that, in most cases, were poorly executed. Yes, one may strip the body by applying paint stripper and scraping the layers of old paint off but this takes way too much time and doesn't expose all of the sins. Of course, the chap doing the stripping MUST know his craft and apply the correct media otherwise there could be problems no one wants or needs. The pictured 510 wagon went through the stripping process using 2 different types of media. The fellow who did the job is very experienced and knows his craft. Many, many years ago I restored a 74.5 260 and an 82 ZX which were both stripped using plastic media. I was very happy with the results but plastic seems to have fallen out of favor as I couldn't find anyone to do the 510 with plastic. The next step is body and paint. The body shell may be mounted on a a rotisserie which could make working on the body shell easier - each case is different. All of the unacceptable sheet metal is replaced with new metal which is carefully, and hopefully, done in a way to replicate the original process. Major ripples, dents and or unevenness are treated with hammers/dollies or rivets and pullers. Bondo or plastic filler is used to smooth out minor imperfections. Now we're ready for the paint booth. Interesting to note - about 90% of the dirt that finds its way onto new paint jobs comes off of the painter. Most painters now use a one time use suit and hood. While the car is making its way through the body and paint shop is when all of the stuff you removed to reduce the car to a shell gets the business. Engine and trans rebuild, heater restoration, gauge restoration/repair, fastener replating, suspension powder coating, seat rebuilding, etc. Yes, the list is much longer than I've outlined but each system needs to be addressed and now is the best time to do it. Now is NOT the time to say "well it just costs too much to address X. NO, now is the time. Just got a VERY important call so I'll finish later.
 - Today
-
 All, Thanks for the info. Dropped the R200 in the car, your are correct, the driver side side axle is shorter than the passenger side. Installed the short axle in the CLSD, engaged flush and installed in the car. never run a clutch diff before. Are there better oils and weights to run in a CLSD? Spent the dollars on Red Line 75-90 w full syn for the open diff but not sure this is correct for the clutch unit? Any help would be welcome. Thanks again.
 -
 I plugged mine off but it doesn't get very cold down here. Less chances off leaking, losing coolant was my main reason. Lots of info in these threads... https://www.google.com/search?q=plugging+water+to+carbs+240z+classiczcars.com&sca_esv=77dc914585b7f4b2&rlz=1C1VDKB_enUS1121US1121&ei=1oETafjINaKHp84P-LudoAw&ved=0ahUKEwj4i8S_3uqQAxWiw8kDHfhdB8QQ4dUDCBM&oq=plugging+water+to+carbs+240z+classiczcars.com&gs_lp=Egxnd3Mtd2l6LXNlcnAiLXBsdWdnaW5nIHdhdGVyIHRvIGNhcmJzIDI0MHogY2xhc3NpY3pjYXJzLmNvbTIFEAAY7wUyCBAAGKIEGIkFMgUQABjvBTIIEAAYgAQYogQyBRAAGO8FSJZBUOkFWKcfcAF4AJABAJgBlgGgAcYIqgEDMC45uAEMyAEA-AEBmAIKoALsCMICDhAAGIAEGLADGIYDGIoFwgILEAAYsAMYogQYiQXCAggQABiwAxjvBcICCxAAGIAEGLADGKIEwgIKECEYoAEYwwQYCsICCBAhGKABGMMEmAMAiAYBkAYIkgcDMS45oAfSHLIHAzAuObgH5wjCBwUwLjguMsgHFA&sclient=gws-wiz-serp
 -
 About rust free section from a series 1 . Not using this so up for sale. Hard to find a clean section like this . I’ll ship anywhere 200$ Email Sfinnerty1018@gmail.com


-
 Thanks! Of course and now that I know I was able to find in shop manual.
 -
 Pete’s slow-to-go-fast car…
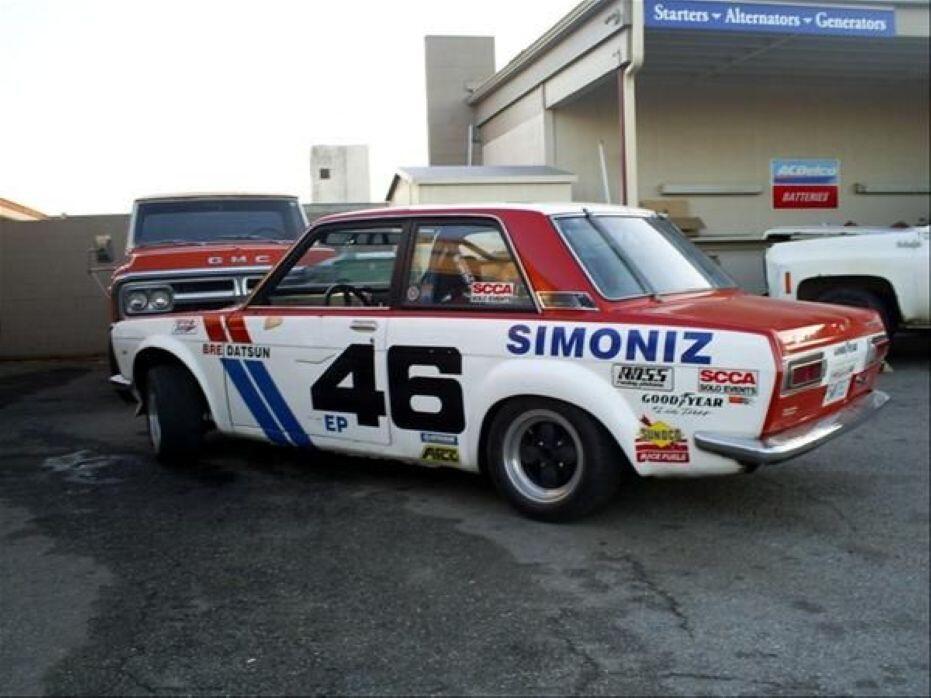
-
Well hell! @Tanker what year was that Honda electrical brake booster? Did you get a hold of the 3D print file? I’m intrigued but I can’t find the Facebook thread! 😫
-
 I was purchasing a complete NOS ignition switch minus any keys. How difficult is to have keys made for it? Should I take it to a locksmith?
 -
 @Terrapin Z - you have a PM! @kickstand80 - you have an email.
 - Yesterday
-

-
 'Make damn sure your sparks are right before you start messing around with the fuel'. Butch Bohunk, Master Mechanic, Finzio's Sincair Service
 -
 After many nights thinking about it, the current Black Friday sale and optimizing my order for the most value for my money I finally decided to pull the trigger. Maybe it’s because of the size and weight of the total order but the calculation of the shipping was a bit weird. As the parts will need to be shipped to the Netherlands I knew the shipping would be expensive but my shipping came down to almost $600!! By combining some stuff I got the shipping to drop down to $280,- while still giving me the stuff I wanted and basically a free rear strut brace. Here is a list of all the stuff I got: - Front fender brace - Frame rails - Rear strut brace - Front control arms - Steering knuckles - Front crossmember - Upper steering rack clamps - Rear control arms While weighting my options Apex dropped there Retro Mod line of suspension which allows you to keep the stock R180 or R200 long nose differential, axles and spindles. I really wanted to get the new rear suspension and subframe but found it to be too expensive for me at this time. By dropping the rear subframe I got to order the front crossmember, control arms and steering knuckle and still be a lot cheaper off. Weirdly ordering all the front suspension bits separately was almost $300,- cheaper than buying the Retro Mod front suspension kit. Seeing as I don’t need the tie rods (and the steering rack, you need to buy that separately) I’m even cheaper off. I already contacted my body shop about it and I think we will have the car back on the road by the end of winter. They will also put the car on a frame machine and measure the car to see if the chassis is twisted. And yes Zed Head I heard you about the bushings but besides that there might be more going on. Along with the new control arms all bushings will be replaced before going to the body shop.
 -
 Thanks again! I reached out to zKars, I’ll see what he has to say. Also, I wonder how much I could mill off the E31 cylinder head to help get the compression ratio back up before I ran into chain tensioner issues?
 - Last week
-
 Hi all! Currently restoring the rear hatch in all its glory, and dug through this thread. Does anyone know if the outer gasket/foam seal on the interior hatch panel (the one with the rubber flaps for rain, etc) is the same soft 8mm foam as is used on the vent shown here? Looking to replace the degraded foam, and trying to figure out the correct material. Cheers! IMG_6962.HEIC IMG_6965.HEIC IMG_6971.HEIC IMG_6976.HEIC
 -
 Do they have good grounds? Have you tried to bench test them?
 -
I think that I saw that or something similar on PBS or one of those channels. It was more focused on the main guy with the mustache. Rick Hall. Pretty fascinating show. https://en.wikipedia.org/wiki/Rick_Hall
-
 I suppose it could also be bedliner.
 -
 Here in Panama we use 95 fuel. Mechanic advised to use an octane booster. The thing is how much in half full 16 gallon tank? The whole can or half and then fill up the rest of the tank with 95 fuel?
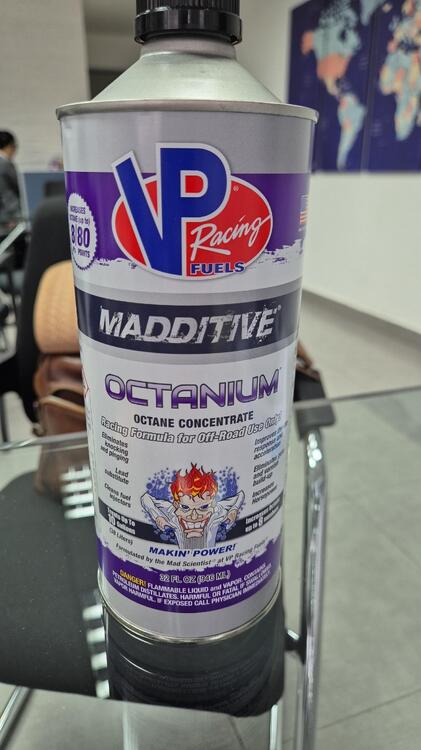
-
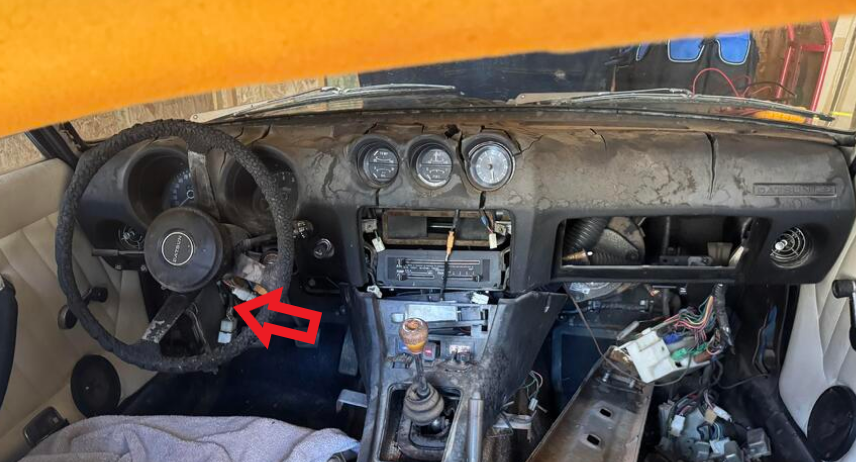
Before you get too far you might as well find the ECU. The brain box. It's over by the driver's left leg, behind the kick panel. It controls the injectors. Unless you're planning to run carbs.
-
 I'm a big fan of having a vacuum gauge on the balance tube (and plugging the emmissions holes). If the engine isn't healthy, it doesn't matter how the carbs are tuned. Compression, Timing, then Carbs. The vaccum gauge is a wonderful tool to see the health of the engine. I
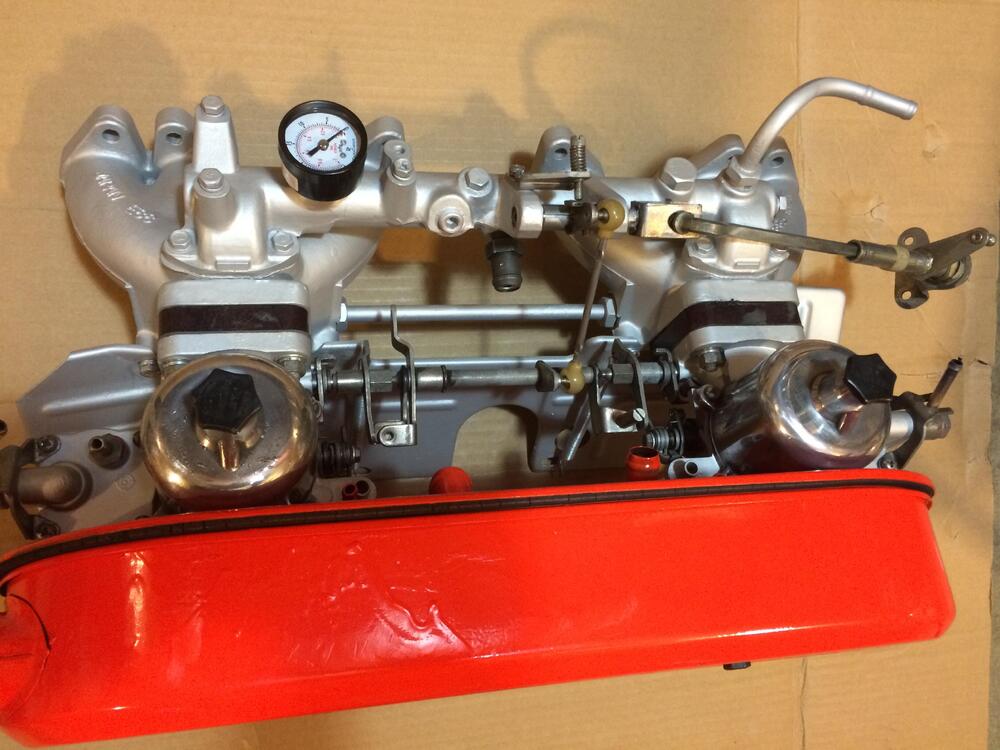

-
 Not odd at all. It's the same reason that British Standard threads were used on a "Japanense" car in the 1950s and early 1960s. Nissan's tie-up with Austin. Wait 'til you hear about Imperial wheel diameters and PCDs... https://www.nissan-global.com/EN/HERITAGE_COLLECTION/short_story/en_p13-01.html
 -
 Hello - I got them available- let me know if you are still interested
 -
 I used aluminum aircraft rivets - and like your pop rivets, I should have used a semi-tight washer on the squishy end. The sheet metal on the contacts is really thin. I also "re-squished" the (original) rivets on the bulb holders.
 -
Sounds like you're saying things have been just fine then something changed. As opposed to the brakes having always bothered you. If it was mine I'd find the source of the sudden problem before "upgrading" anything. Otherwise you could add the upgrades and end up with the same problem, never solved.
-
I have used the Zcardepot style pans in the past. It is a lot of work getting them to mate up well to the tunnel. If it were me, I would get the KF pans. I think they are better pans and will give a better finished product. You may not care today about an OEM look today but you might in ten years...