Leaderboard
-
Patcon
 Subscriber
 7Points11,142Posts
 -
gnosez
Free Member3Points1,633Posts -
charliekwin
Free Member3Points664Posts -
.JPG.cfcada9cf1c1b502df3f5f2f2ca3ff36.JPG)
SteveJ
Free Member3Points9,646Posts


Popular Content
Showing content with the highest reputation on 07/26/2021 in all areas
-
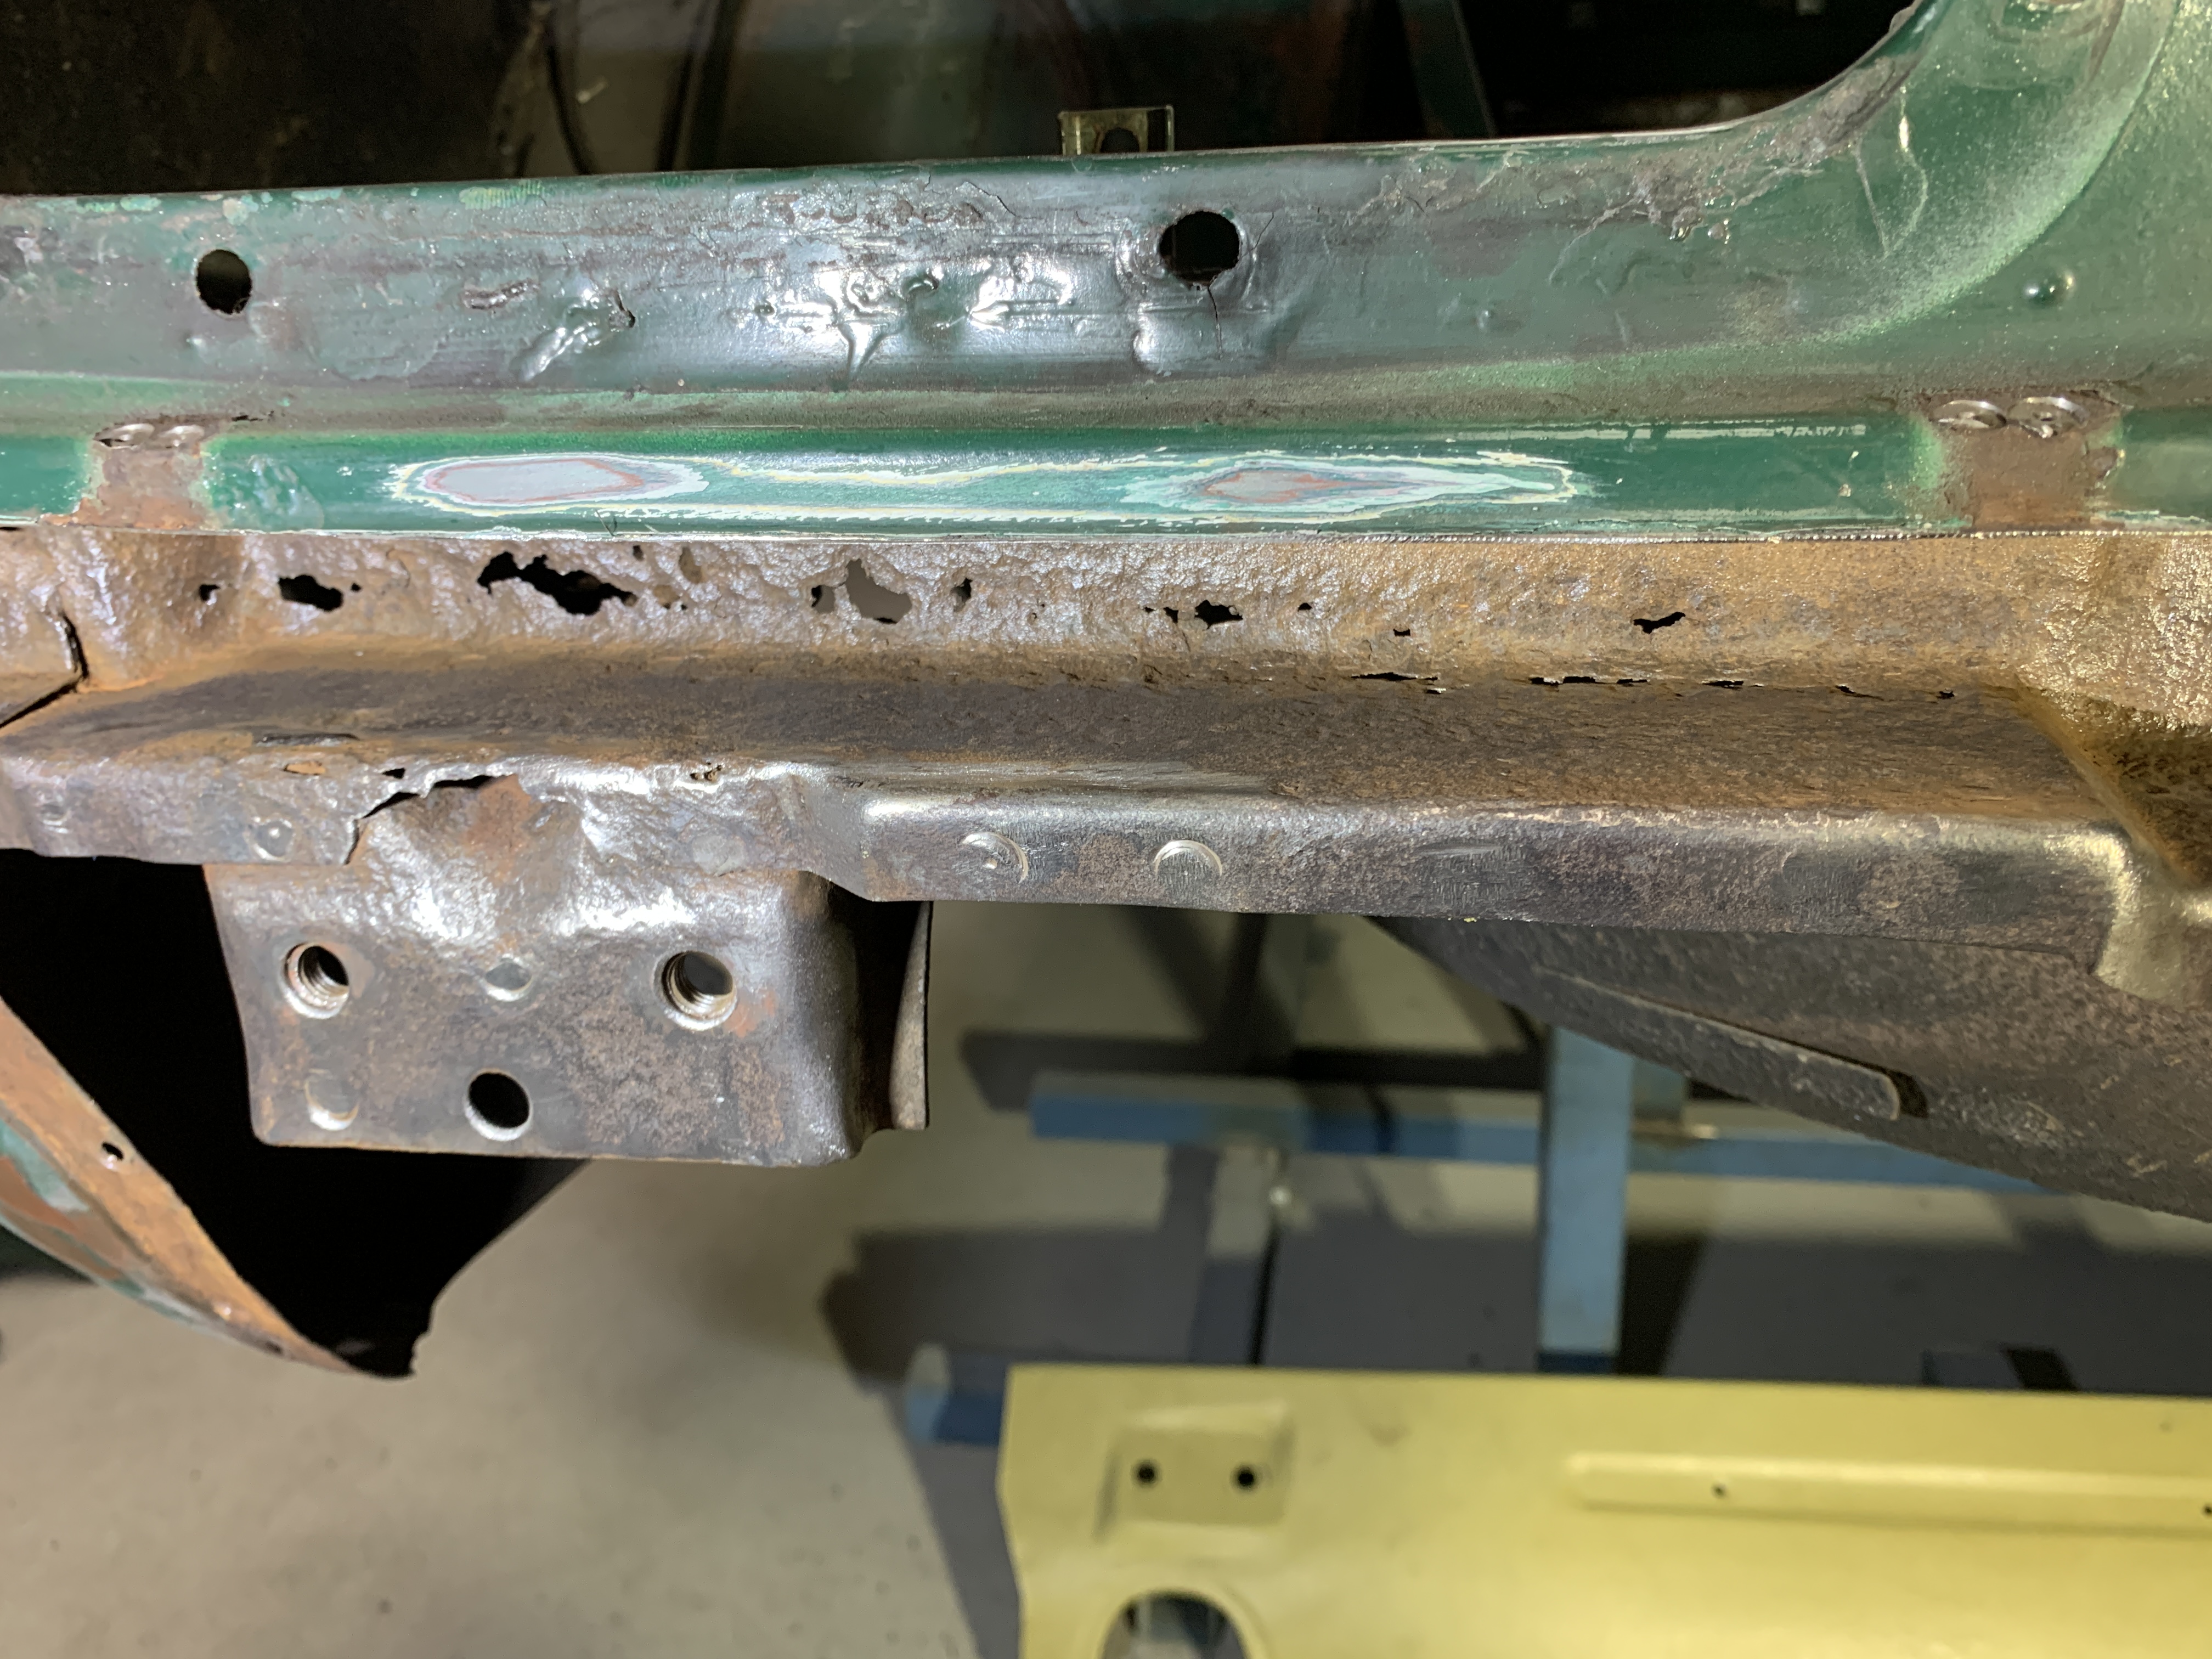
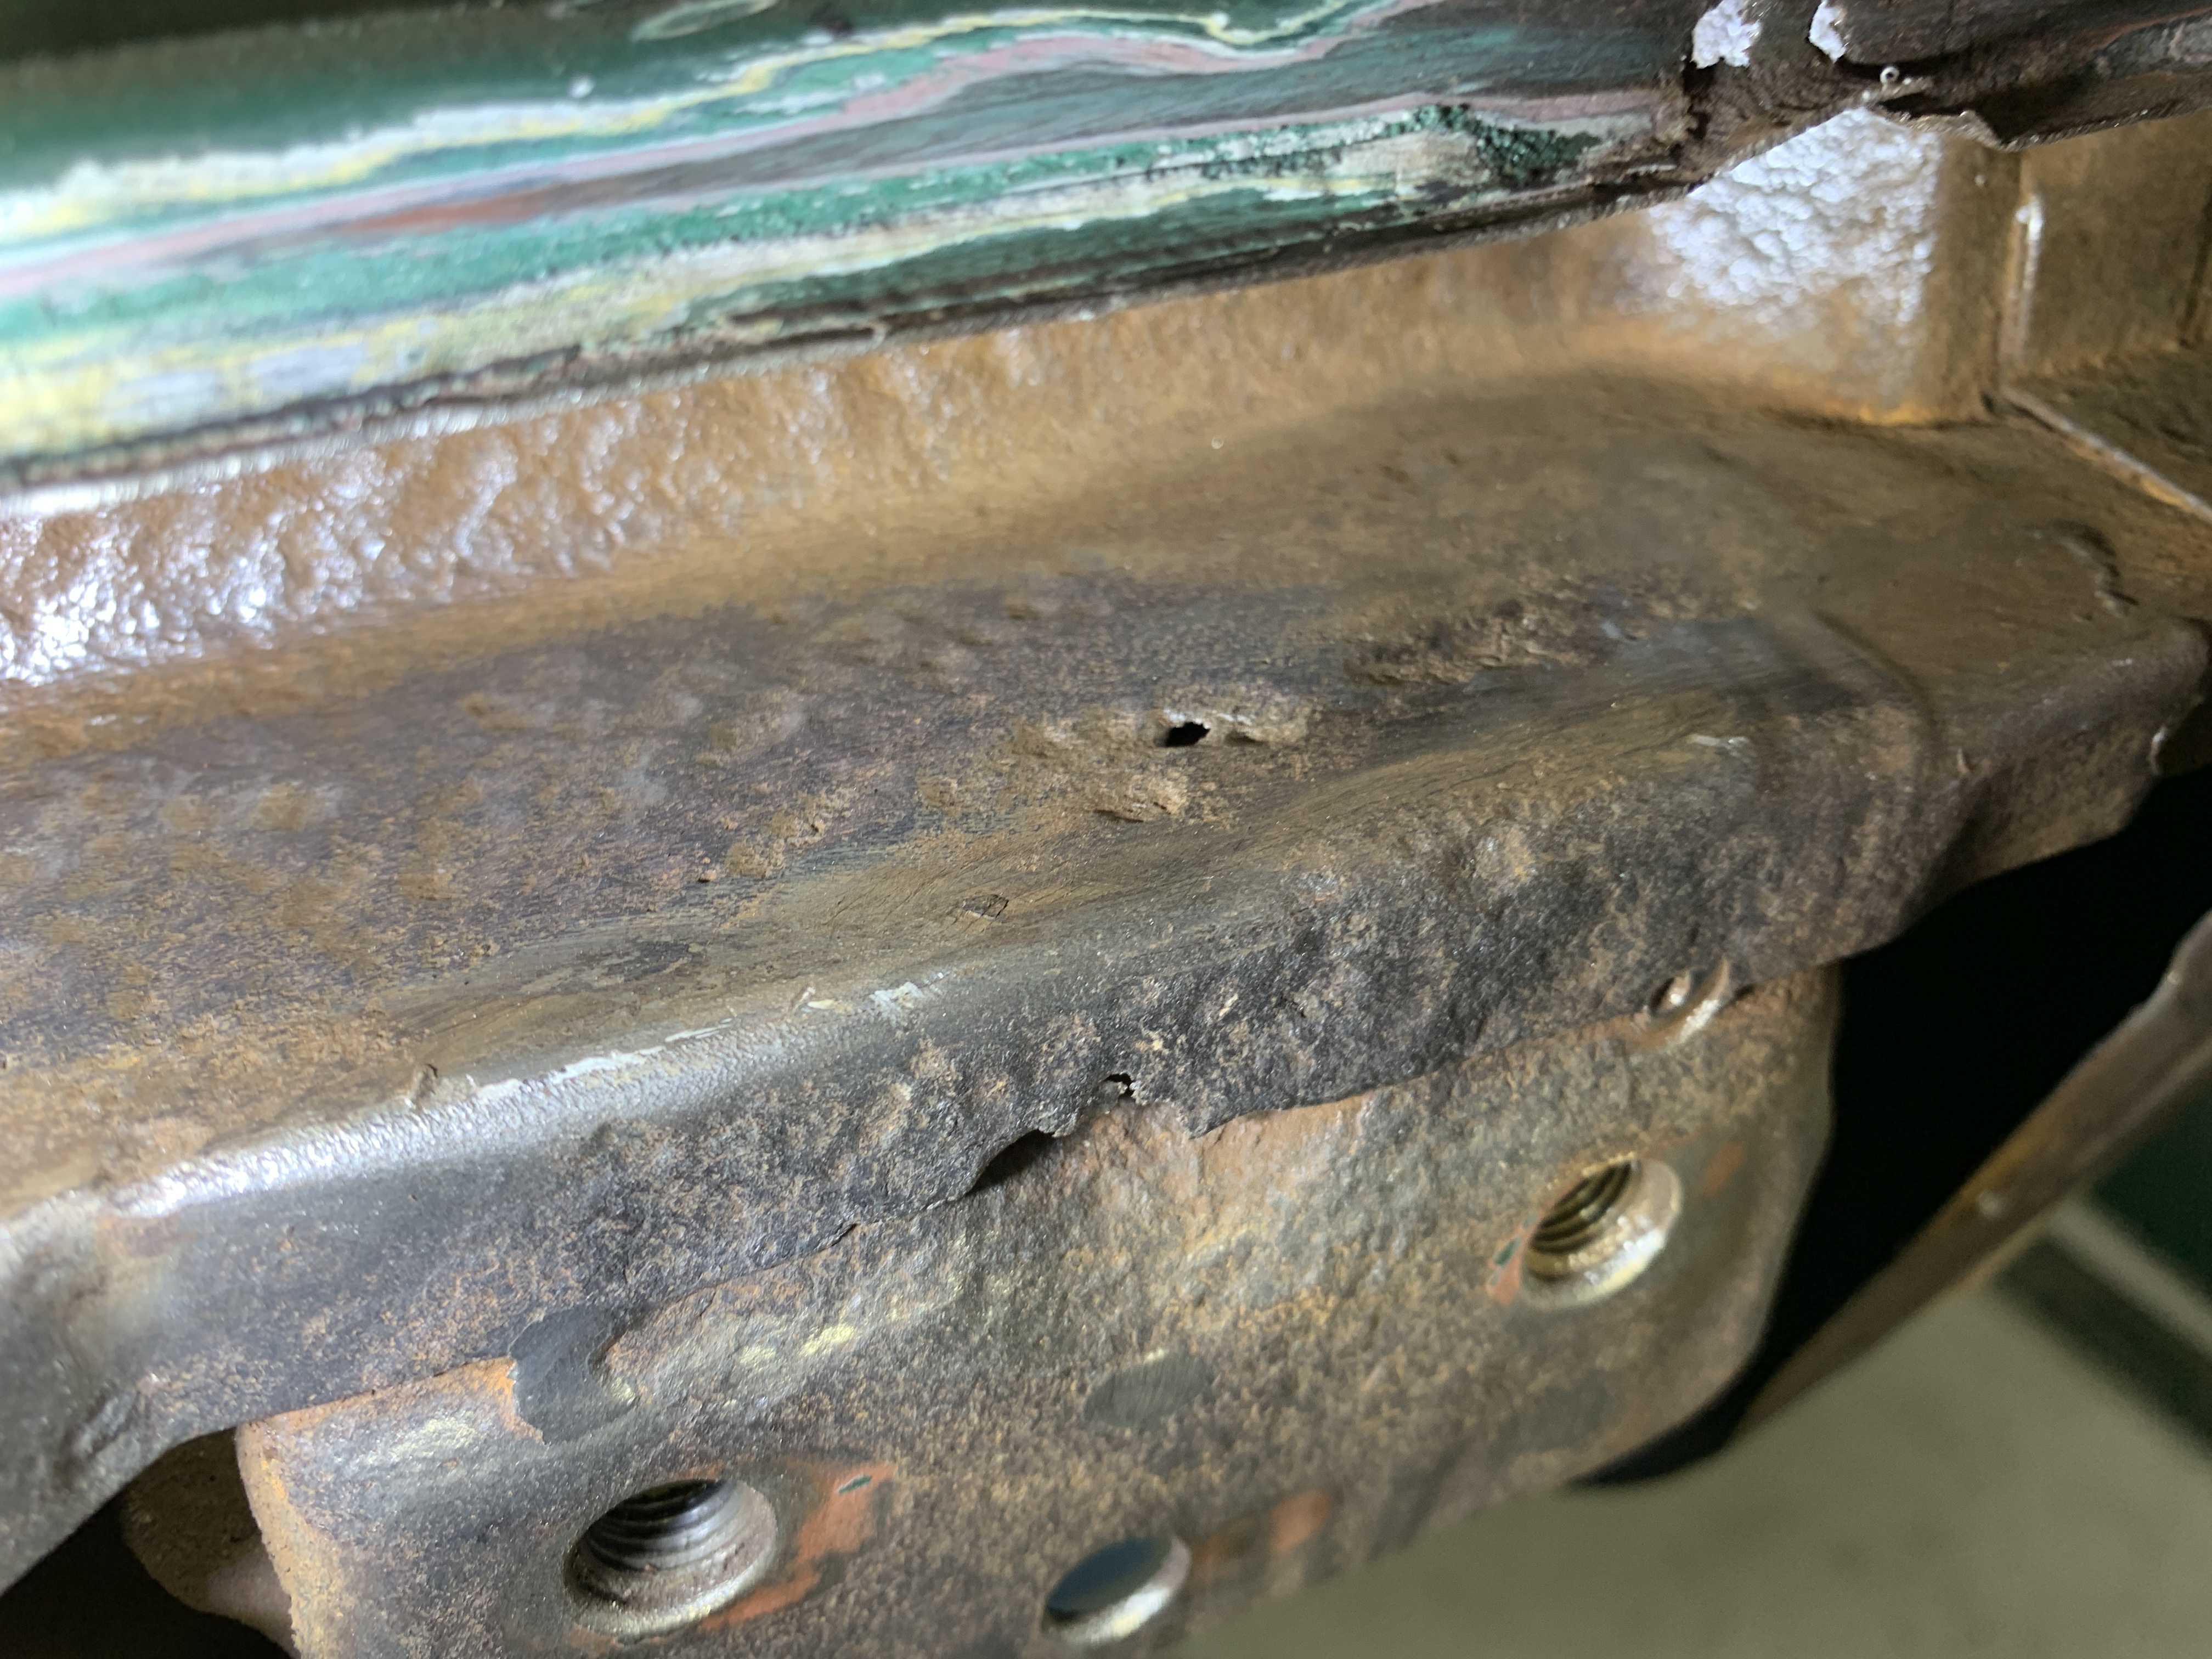
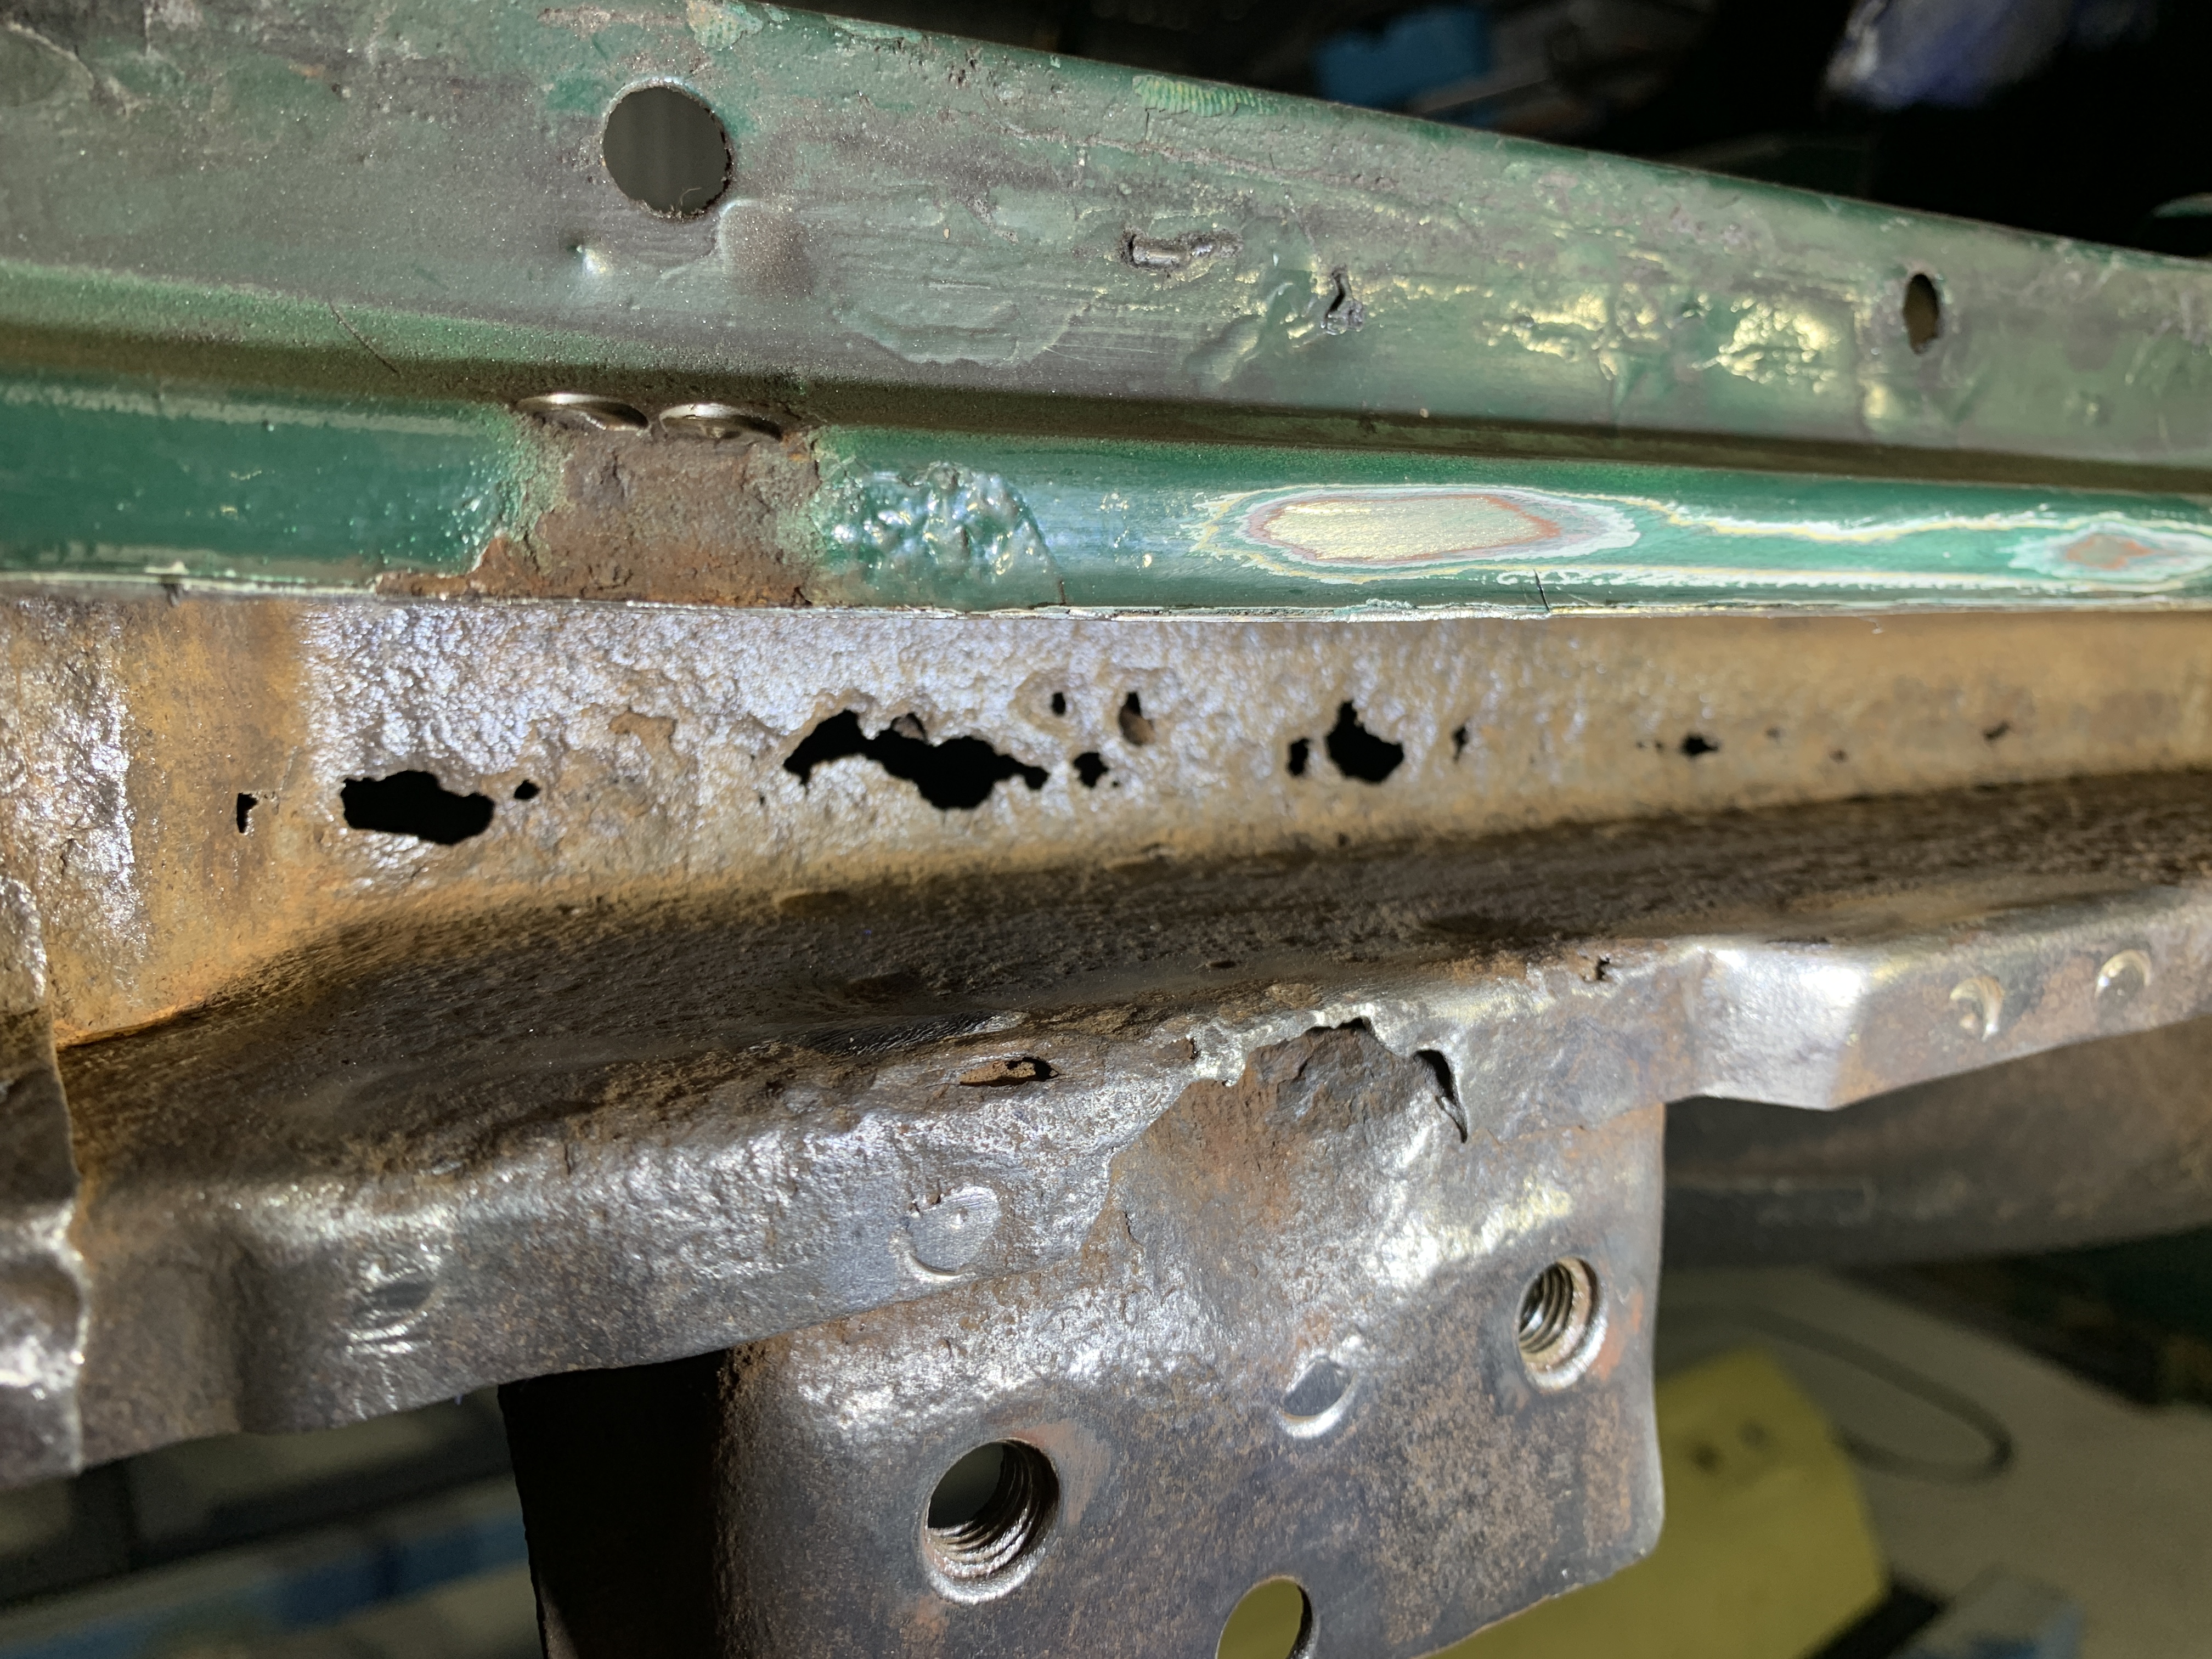
Also some copper to back the hole Helps close them up too. Mind that the copper gets hot very quickly!! Do you not have a metal shop that can brake a section like that for you? I would consider replacing that or at least the worst sections. By the time its clean there wont be much metal left. Several years ago I would have chased those holes. I have come around to the idea that it's overall just easier to get rid of that rotten metal and the chassis is stiffer for it3 points
-
Fun morning today. Took the Z down the street to Carcadia at Route 66, the local cars and coffee event here. It was my first time going (naturally, I took zero pictures) and the first time taking my car to an event like this. Mine was the only S30 there this time, though a couple of roadsters padded the Datsun ranks, and I chatted with their owners for a bit. A lot of people had nice things to say about the car, which was very gratifying. No less than 5 asked "who did the paint?" (I guess this is just one of the standard car questions to ask) and being able to say "me, in my garage" sure makes all the time and effort worth it.3 points
-
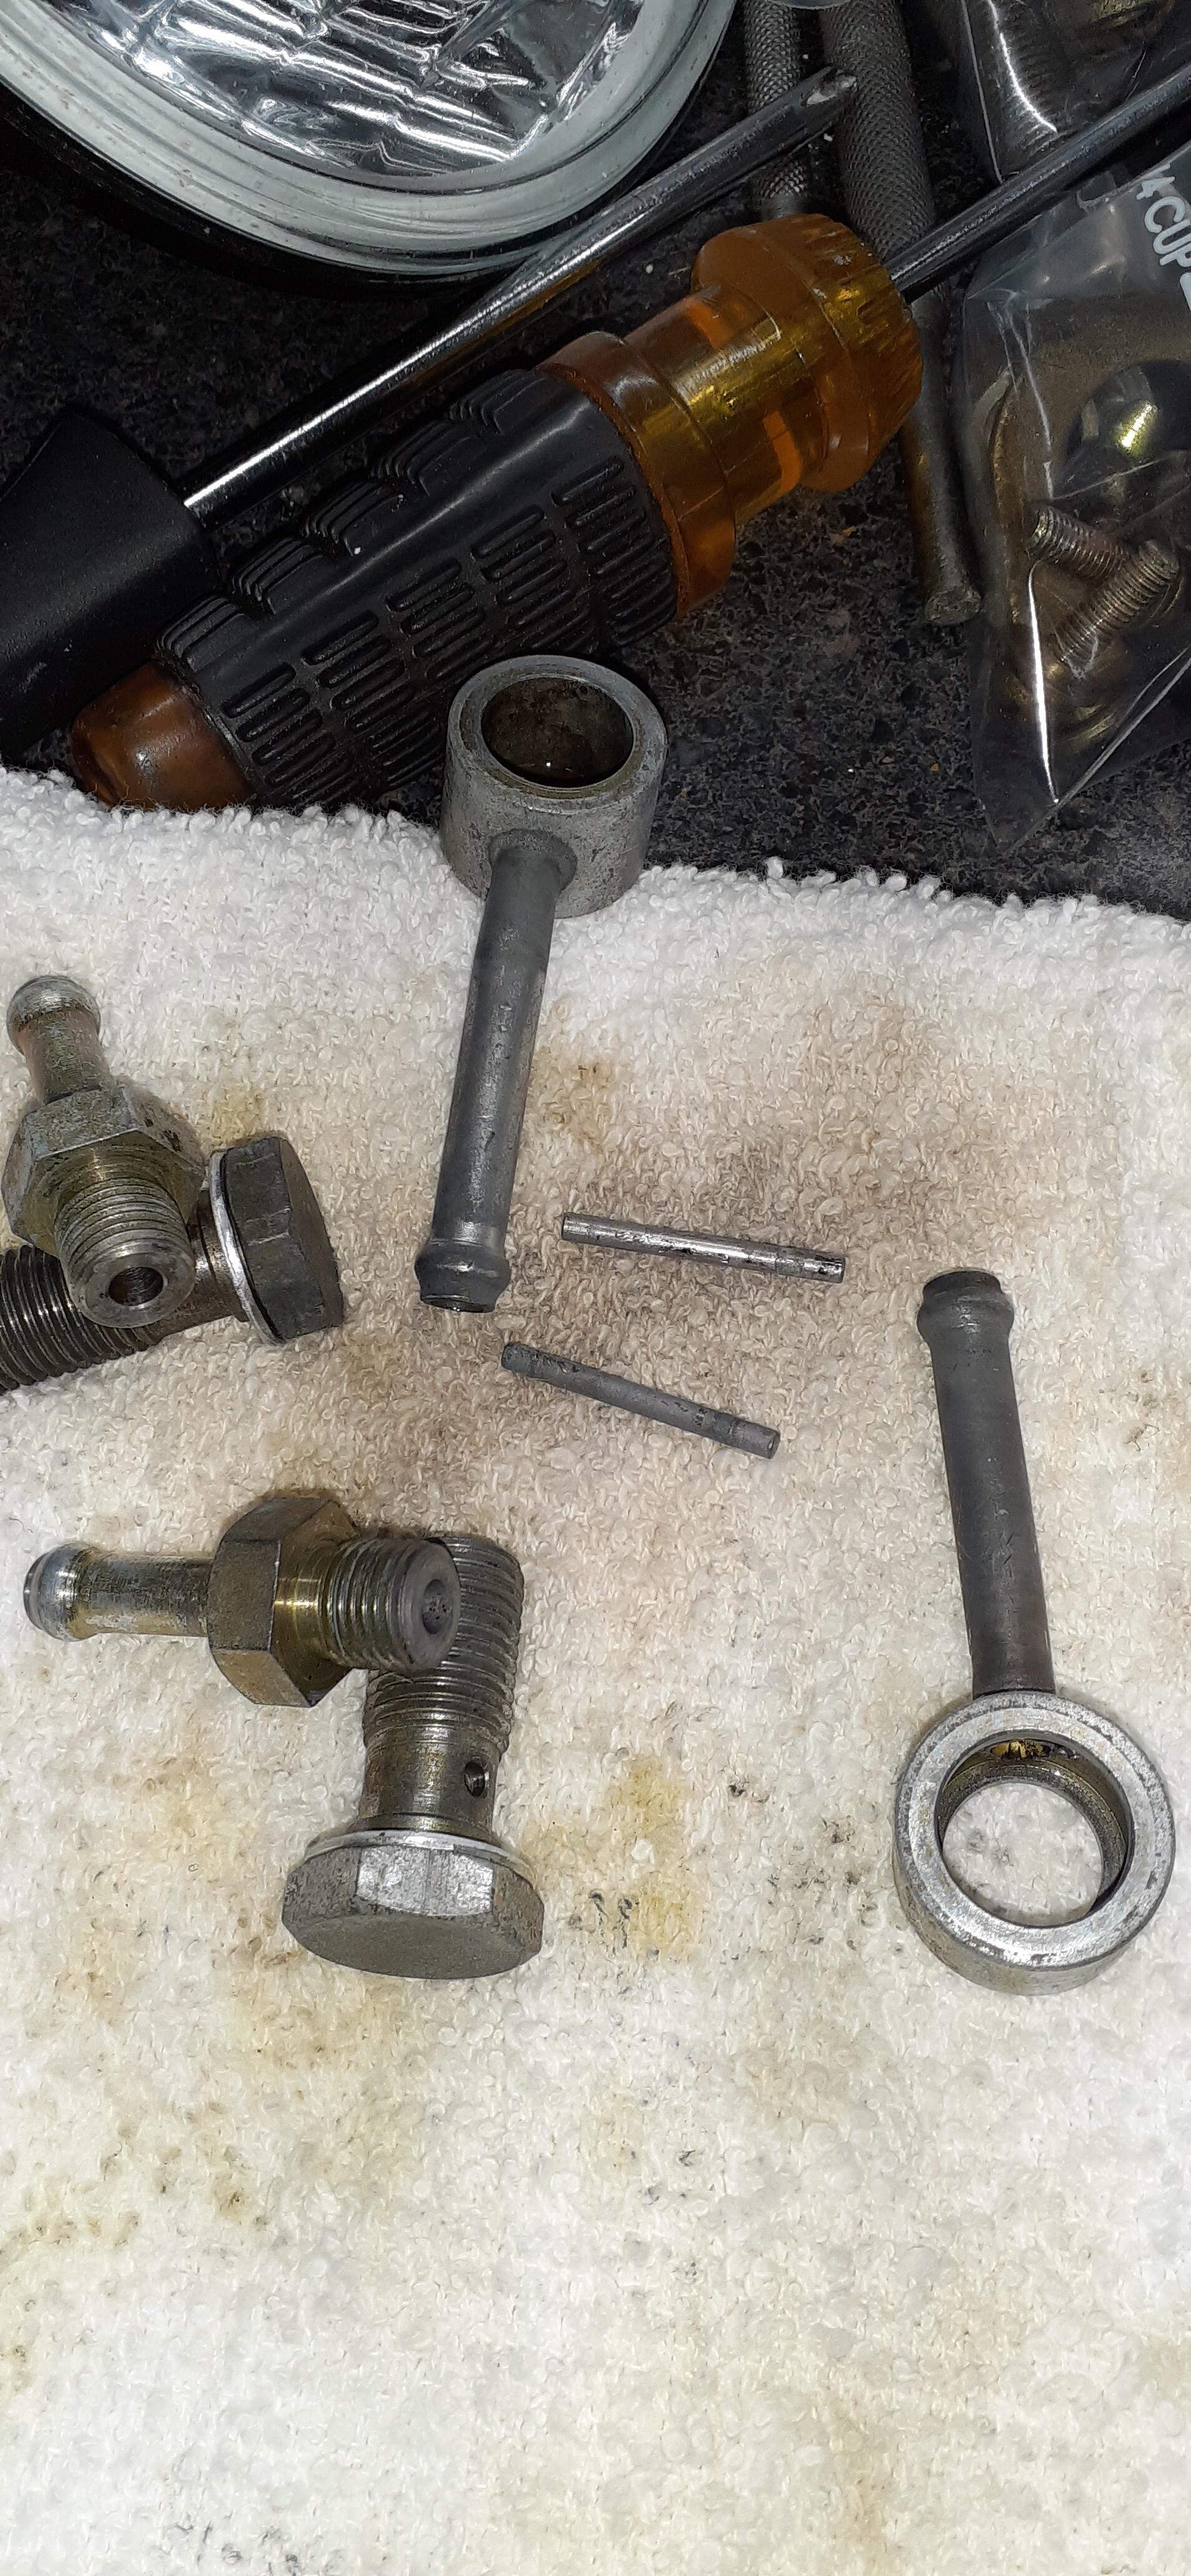
3 pointsI actually spent more time installing a couple of lights in the garage than I did working on the car. Since I had to do the install with the garage doors open, it got pretty warm in there today. However, I now have good light over the engine bay, so I think that will be to my advantage going forward. The overnight bath in EvapoRust was good for the steel parts of the float bowl. After taking the parts out of the bath, I put them in a bath of fogging oil. I put the new valves in the float bowls and installed the floats and the vents. The lids are secured with new gaskets. I ordered the banjo bolt filters from ZCarDepot yesterday, so I hope to have them in time for the weekend. Also I would like the get the new Quickjacks operational sooner than later. The car was difficult to push in and out of the garage. It felt like one of the brakes was hanging. It would be nice to get the car off the ground so I could inspect it. Fortunately SWMBO is pretty tolerant of car parts in the Dining Room now, so if it has to wait a while, I might not get in too much trouble.
 3 points
 -
2 points#2 Only if the trans mount rubber is split, torn, or perished would I replace it. If it looks ok, just re-use it.2 points
-
You can try filling the holes with weld but you'll have to clean the rust from around them first. After removing the rust, you'll probably find you've enlarged the hole out to solid steel and have a dime or quarter size hole to patch. I can assure you that inserting a piece of sheet metal into a clean hole is much easier and satisfying than chasing a hole in rusty sheet metal with a Mig.2 points
-
There are both very affordable reproductions and not that much more expensive OEM ones available from all the usual vendors. https://www.thezstore.com/page/TZS/CTGY/classic02o02e012 points
-
2 pointsJust my $0.02 worth regarding mounting the intake and exhaust before you put the engine in the car. I have never found it to be a fun thing to do bent over the fender trying to get one of the exhaust bolts/nuts on right. For me it's much easier to do it on a stand where I can rotate the engine to gain the best possible angle (notice best possible not the best angle). In the course of a race season I might have an engine in/out 3-4 times. Even a single swap is done the same way. Blew head gasket at Summit Point in May, swapped in the back-up motor and am waiting on a new head gasket so I can do The Glen with a few more HP in October.2 points
-
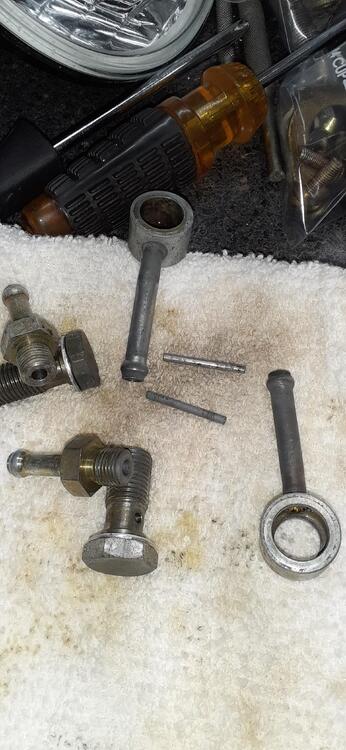
2 pointsI have the tranny all put together. Seems to bench shift ok. Hopefully in the next 6 months we will get to road test it. We'll see Thanks for everyone's help!!2 points
-
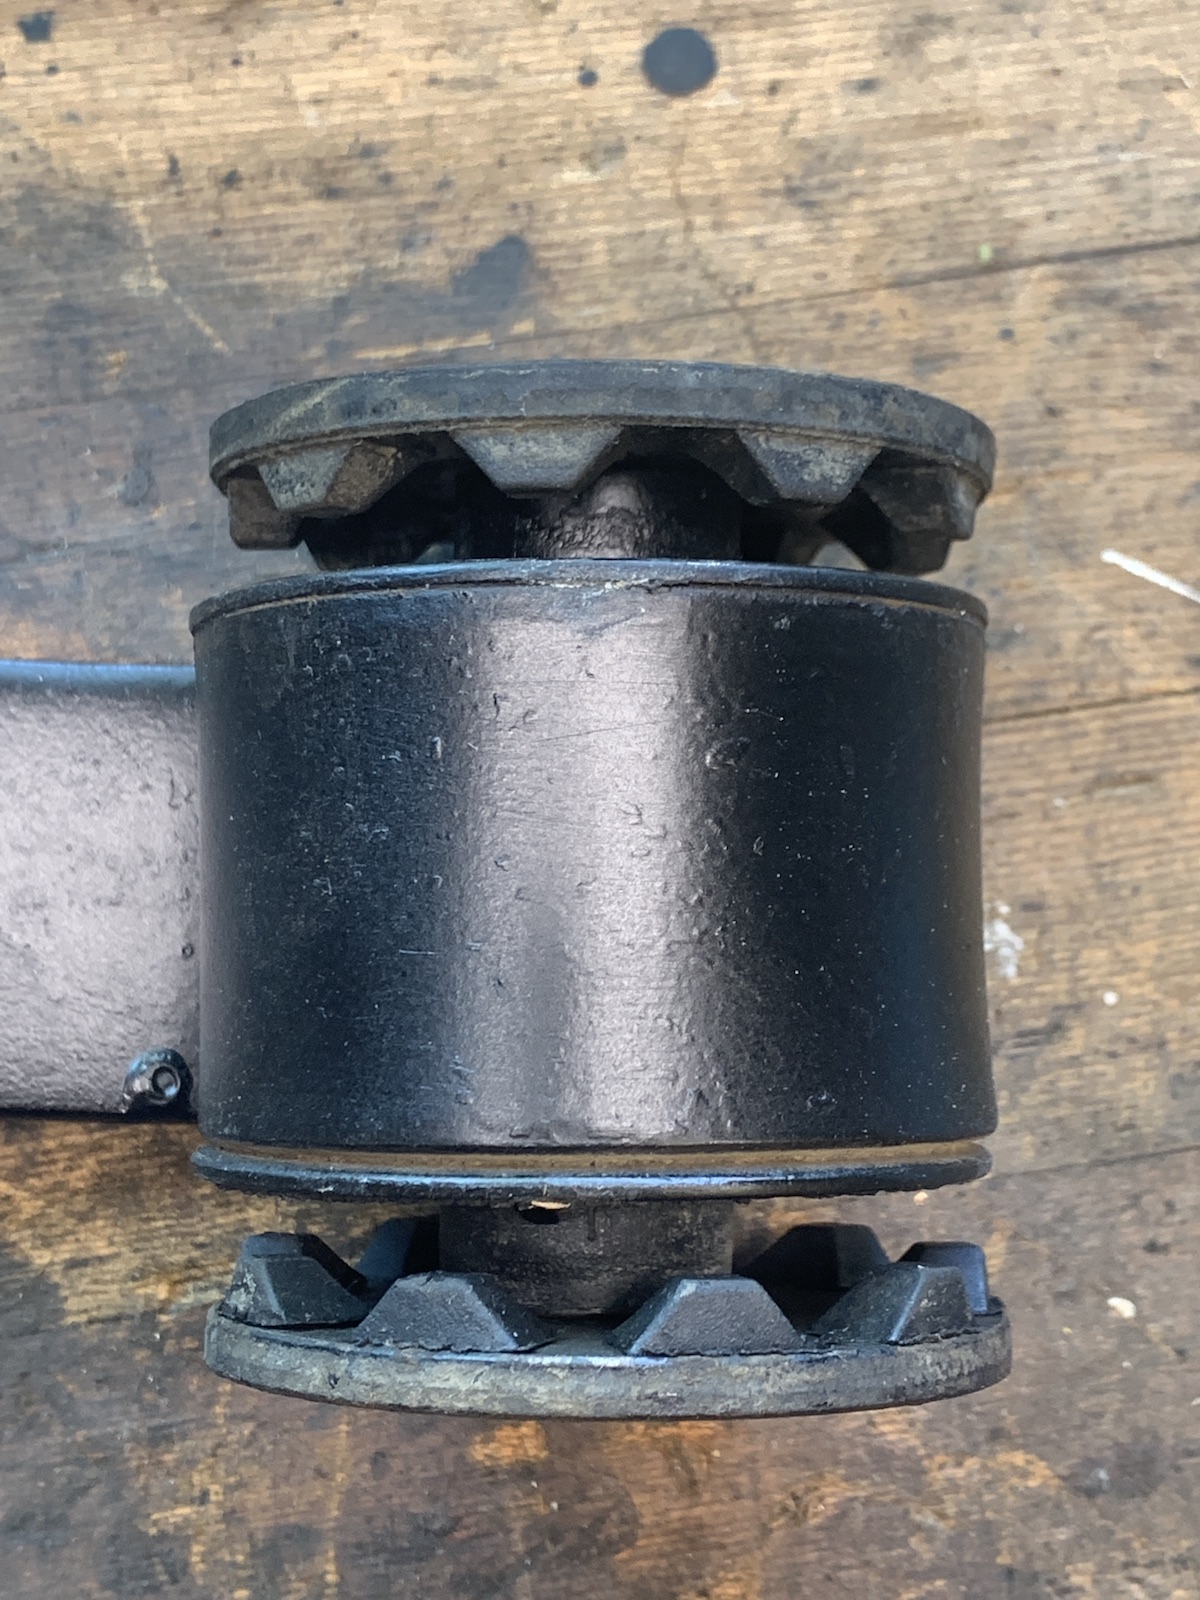
2 pointsCleaned up the rear wheel wells with soap and a scrub brush, turned out pretty good. Dealing with the mustache bar now, to get the differential in place so I can adjust the bushing on the new TC front mount I bought. I've read a few mustache bar links here, pro's and cons of replacing the bushings, the nonexistent serrated rubber washers, etc. The bushings in mine seem good, not too hardened, so I don't want to replace with poly for now. The washers on the other hand, not so fortunate. While cleaning in my solvent tank some of the rubber nubs fell off, and a few were already missing. I know these are no longer available, but was wondering if anything has changed in the last couple years since those last posts? It seems to me that these washers only come into play as the differential attempts to twist, and there's an 1/8" gap between them, IMHO they're just added insurance in case of complete bushing failure. I suppose with a healthy engine there would be occasional contact, especially with new soft rubber bushings. I could be wrong. Anyway, just wondering what others are doing for the washers for the stock rubber bushing setup. Fabricate your own? Motor mount washer substitution of some sort? Use as is and forget about it? On another note, I wish the TC mounting bracket had a little more clearance next to the brake/fuel line bracket! I did ground out a little notch for added room, but just another 1/8" more in that dogleg bend would have been really helpful. I had to use a bottle jack to wedge it into place. [emoji53] And, got most of the fasteners decently plated using my home Caswell system, not perfect. About 4 hours work here for cleaning and plating.
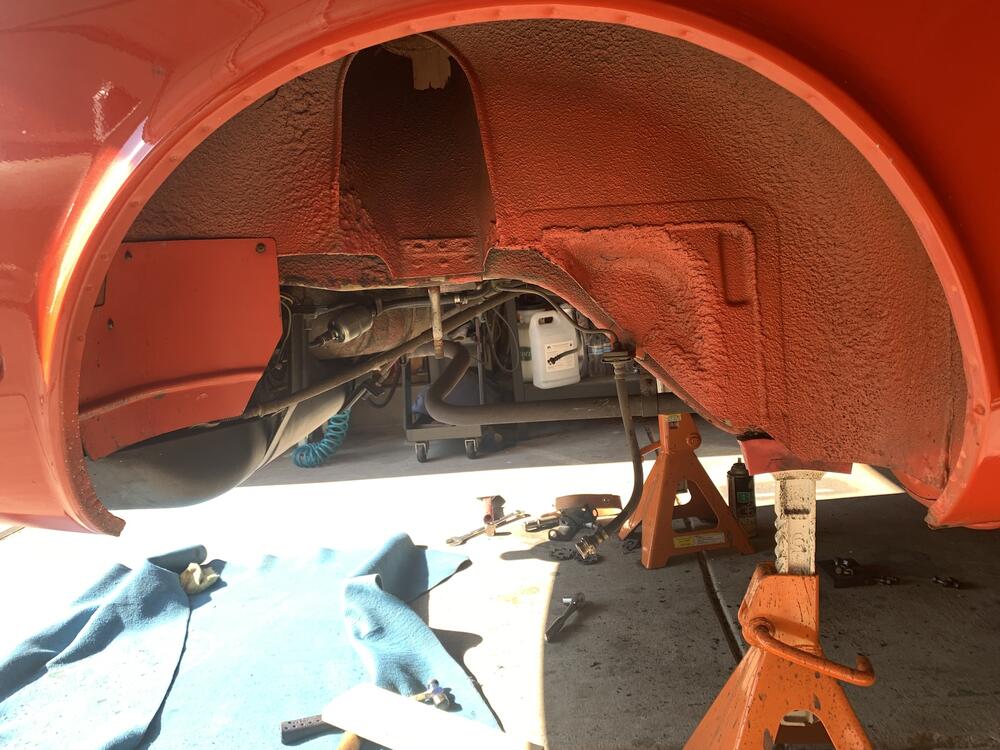


 2 points
 -
Ah come on man, give yourself some credit, they asked about the paint because you did a damn fine job on it.1 point
-
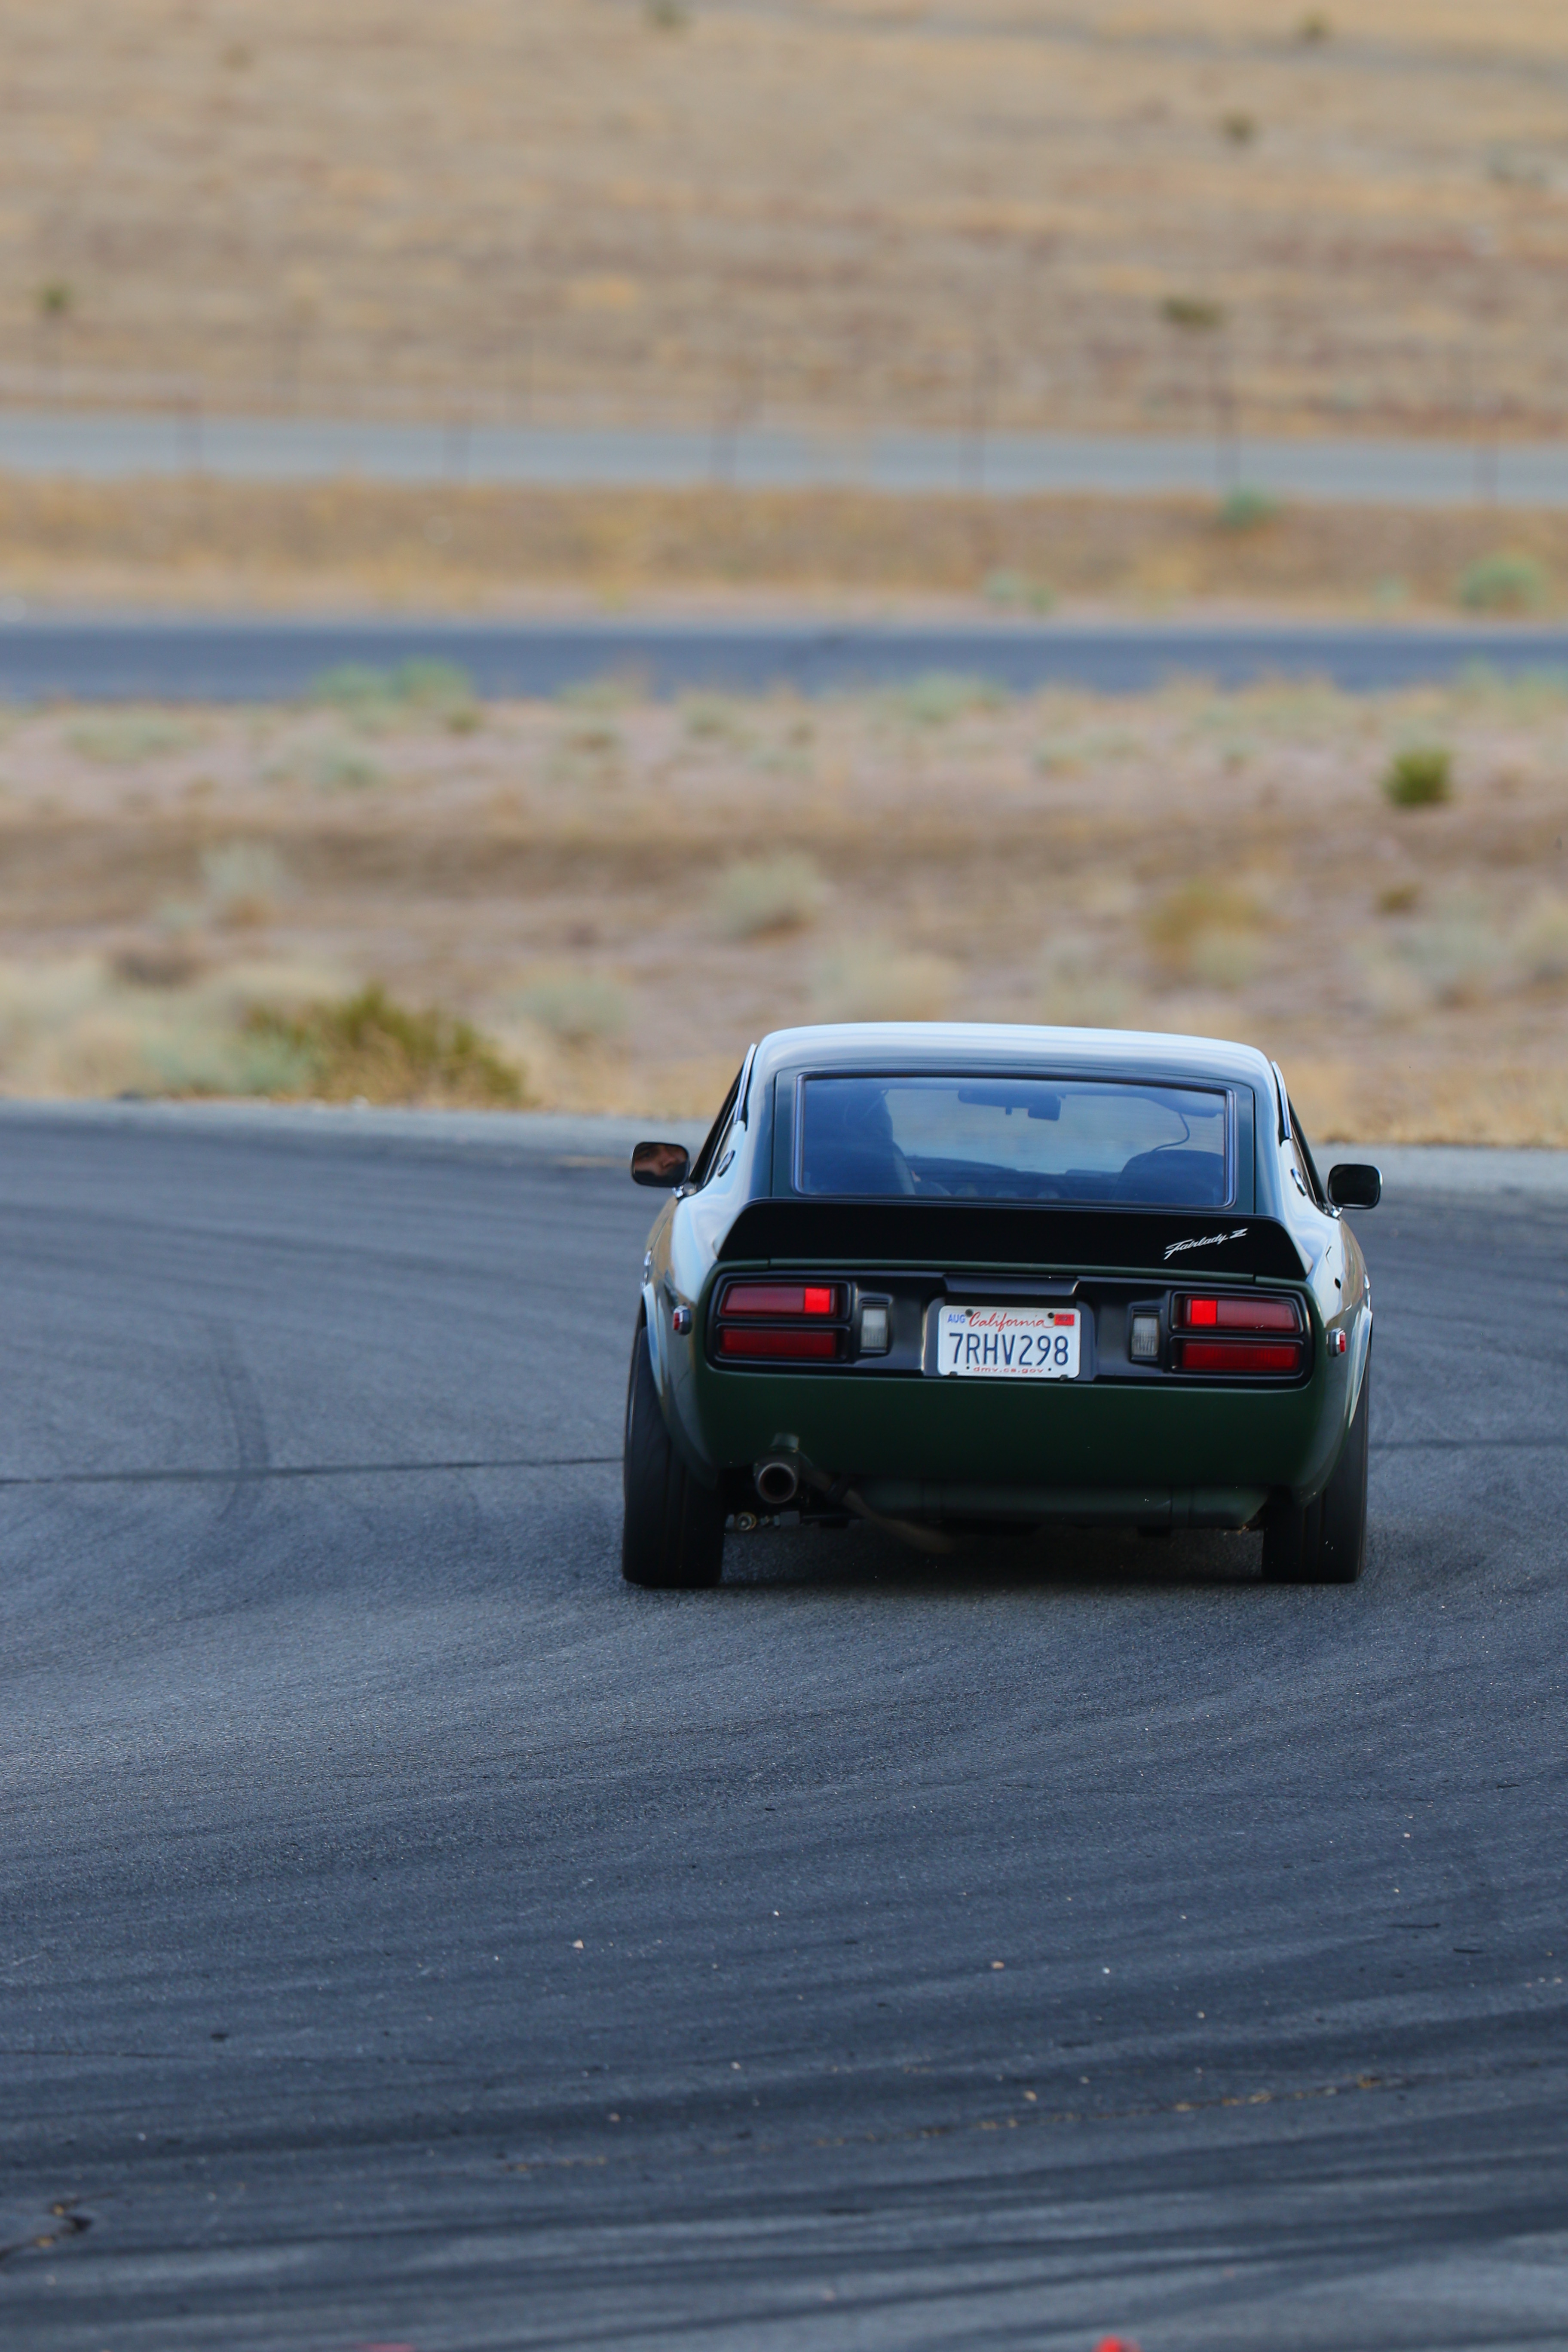
Saturday the Colorado Z Car Club (Denver area) had an autocross at a Sheriff's training center where there is a nice asphalt area...they even provided the cones for us! I hadn't driven an autocross in about 22 years. My 280ZX has fairly new all-season tires, as they were about the only thing I could find in the original size, but what the heck. I aired them up to 39 PSI all around and had at it. There weren't many cars there - about a dozen - so we all got in plenty of runs. I had about 8 runs. It was a tight course, and I ran the whole thing in first gear, but that wasn't all bad because it kept the turbo spooled up so I had good acceleration power. Also good, my times dropped steadily. I started off at 58:xx, then ran 57:xx. then 56:xx, then 54:xx, and my last couple of runs were 52:xx. I managed to take off six seconds and didn't catch a single cone. The fastest time was set by a gent in a track-prepared 350Z at about 44 seconds. It also gave me a chance to make sure the new helmet I bought for the autocross at the national Z Car Convention in Colorado Springs fit well. I'm happy with it. That was a great way to spend a Saturday AM, and the sun cooperated by hiding behind cloud cover until about noon.1 point
-
1 pointSweet, thank you for the input. And compression was fine, I did a test about 3 months ago I remember all cylinders were around 140-160 which I know is low for a Z but shouldn't be extremely bad imo. Sweet thanks, I'll be ordering one later today then. Personally I like my engine bay to be clean, but if it means avoiding a fire I'll do it. And I actually just ordered TTT bracing, I honestly don't know if my chassis has a lot of flex or not but I definitely have a good amount of body roll

 1 point
 -
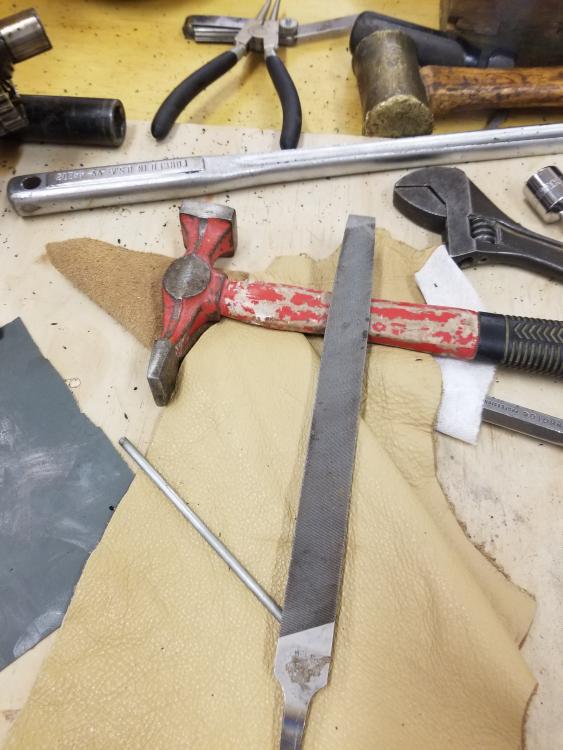
1 pointNo damage done, the k&n breather I had for the crank case blew off but that's about it, drove the car an hour home after the incident. I have breathers/filters on the valve cover and pcv, I'm pretty sure oil was coming out of them when I was doing hard cornering so I'll have to get an oil catch can. You can see what I mean in the picture. Question do you know if I can run one catch can for both of would two separate catch cans be better?
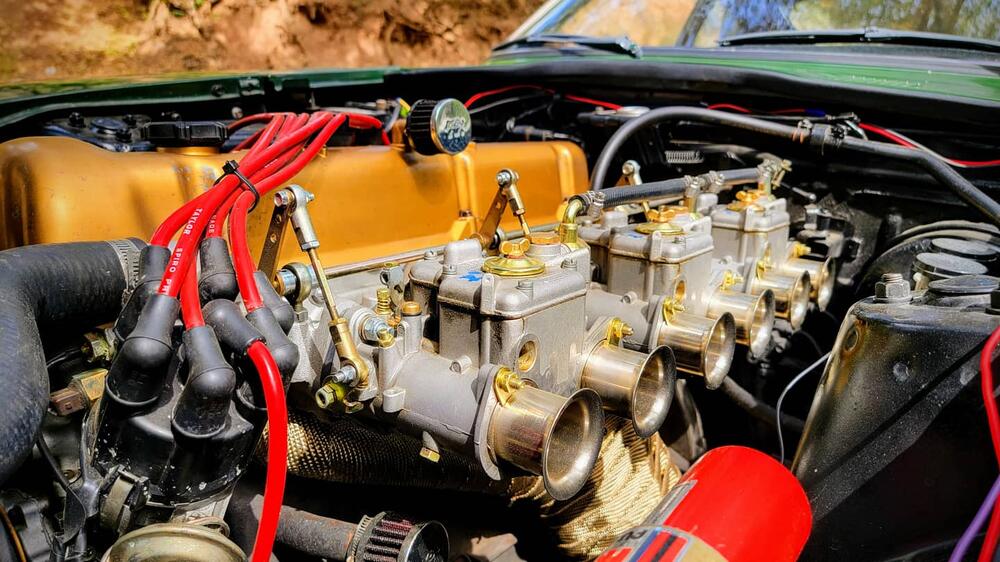 1 point
 -
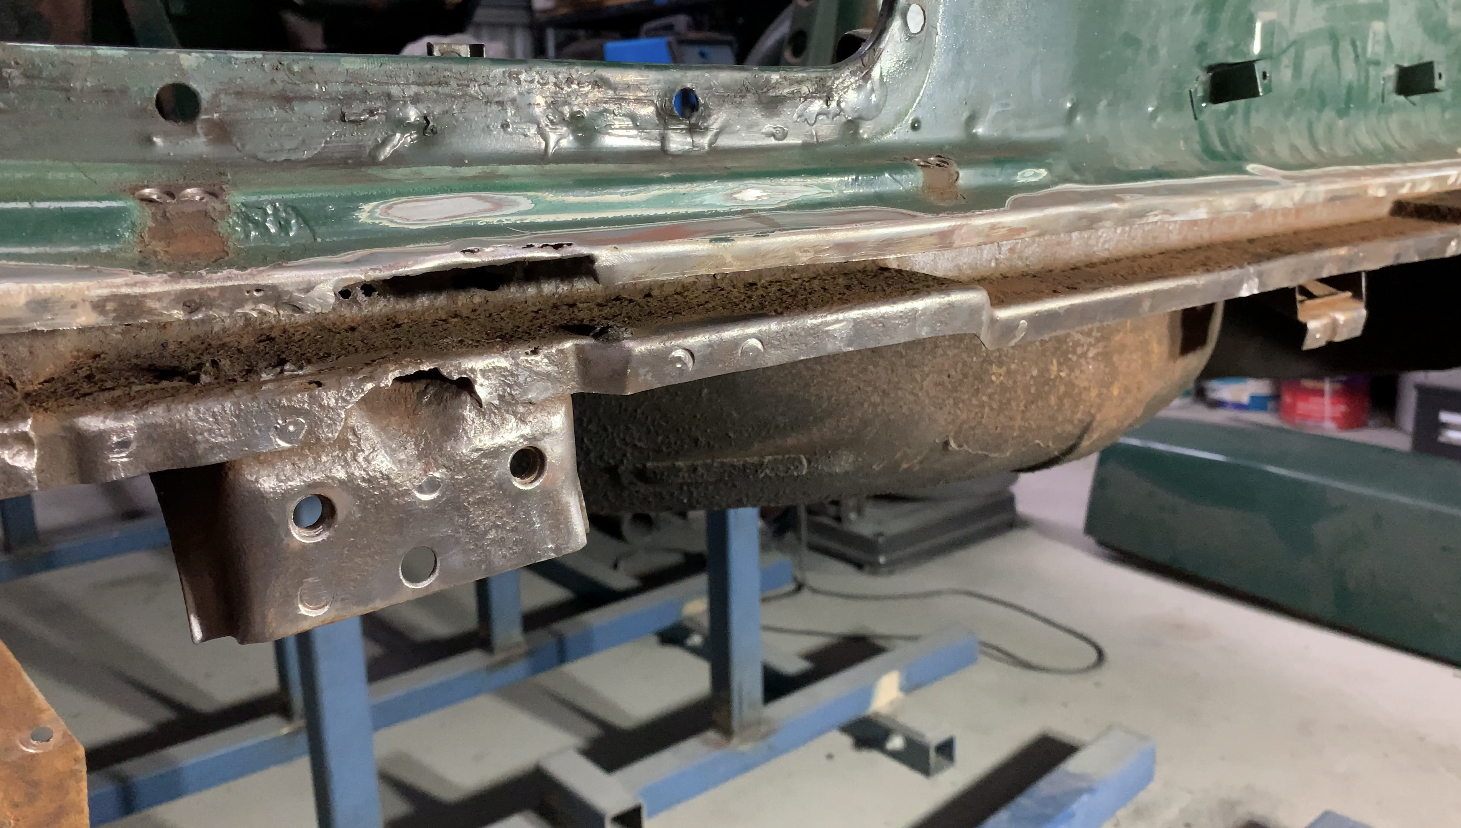
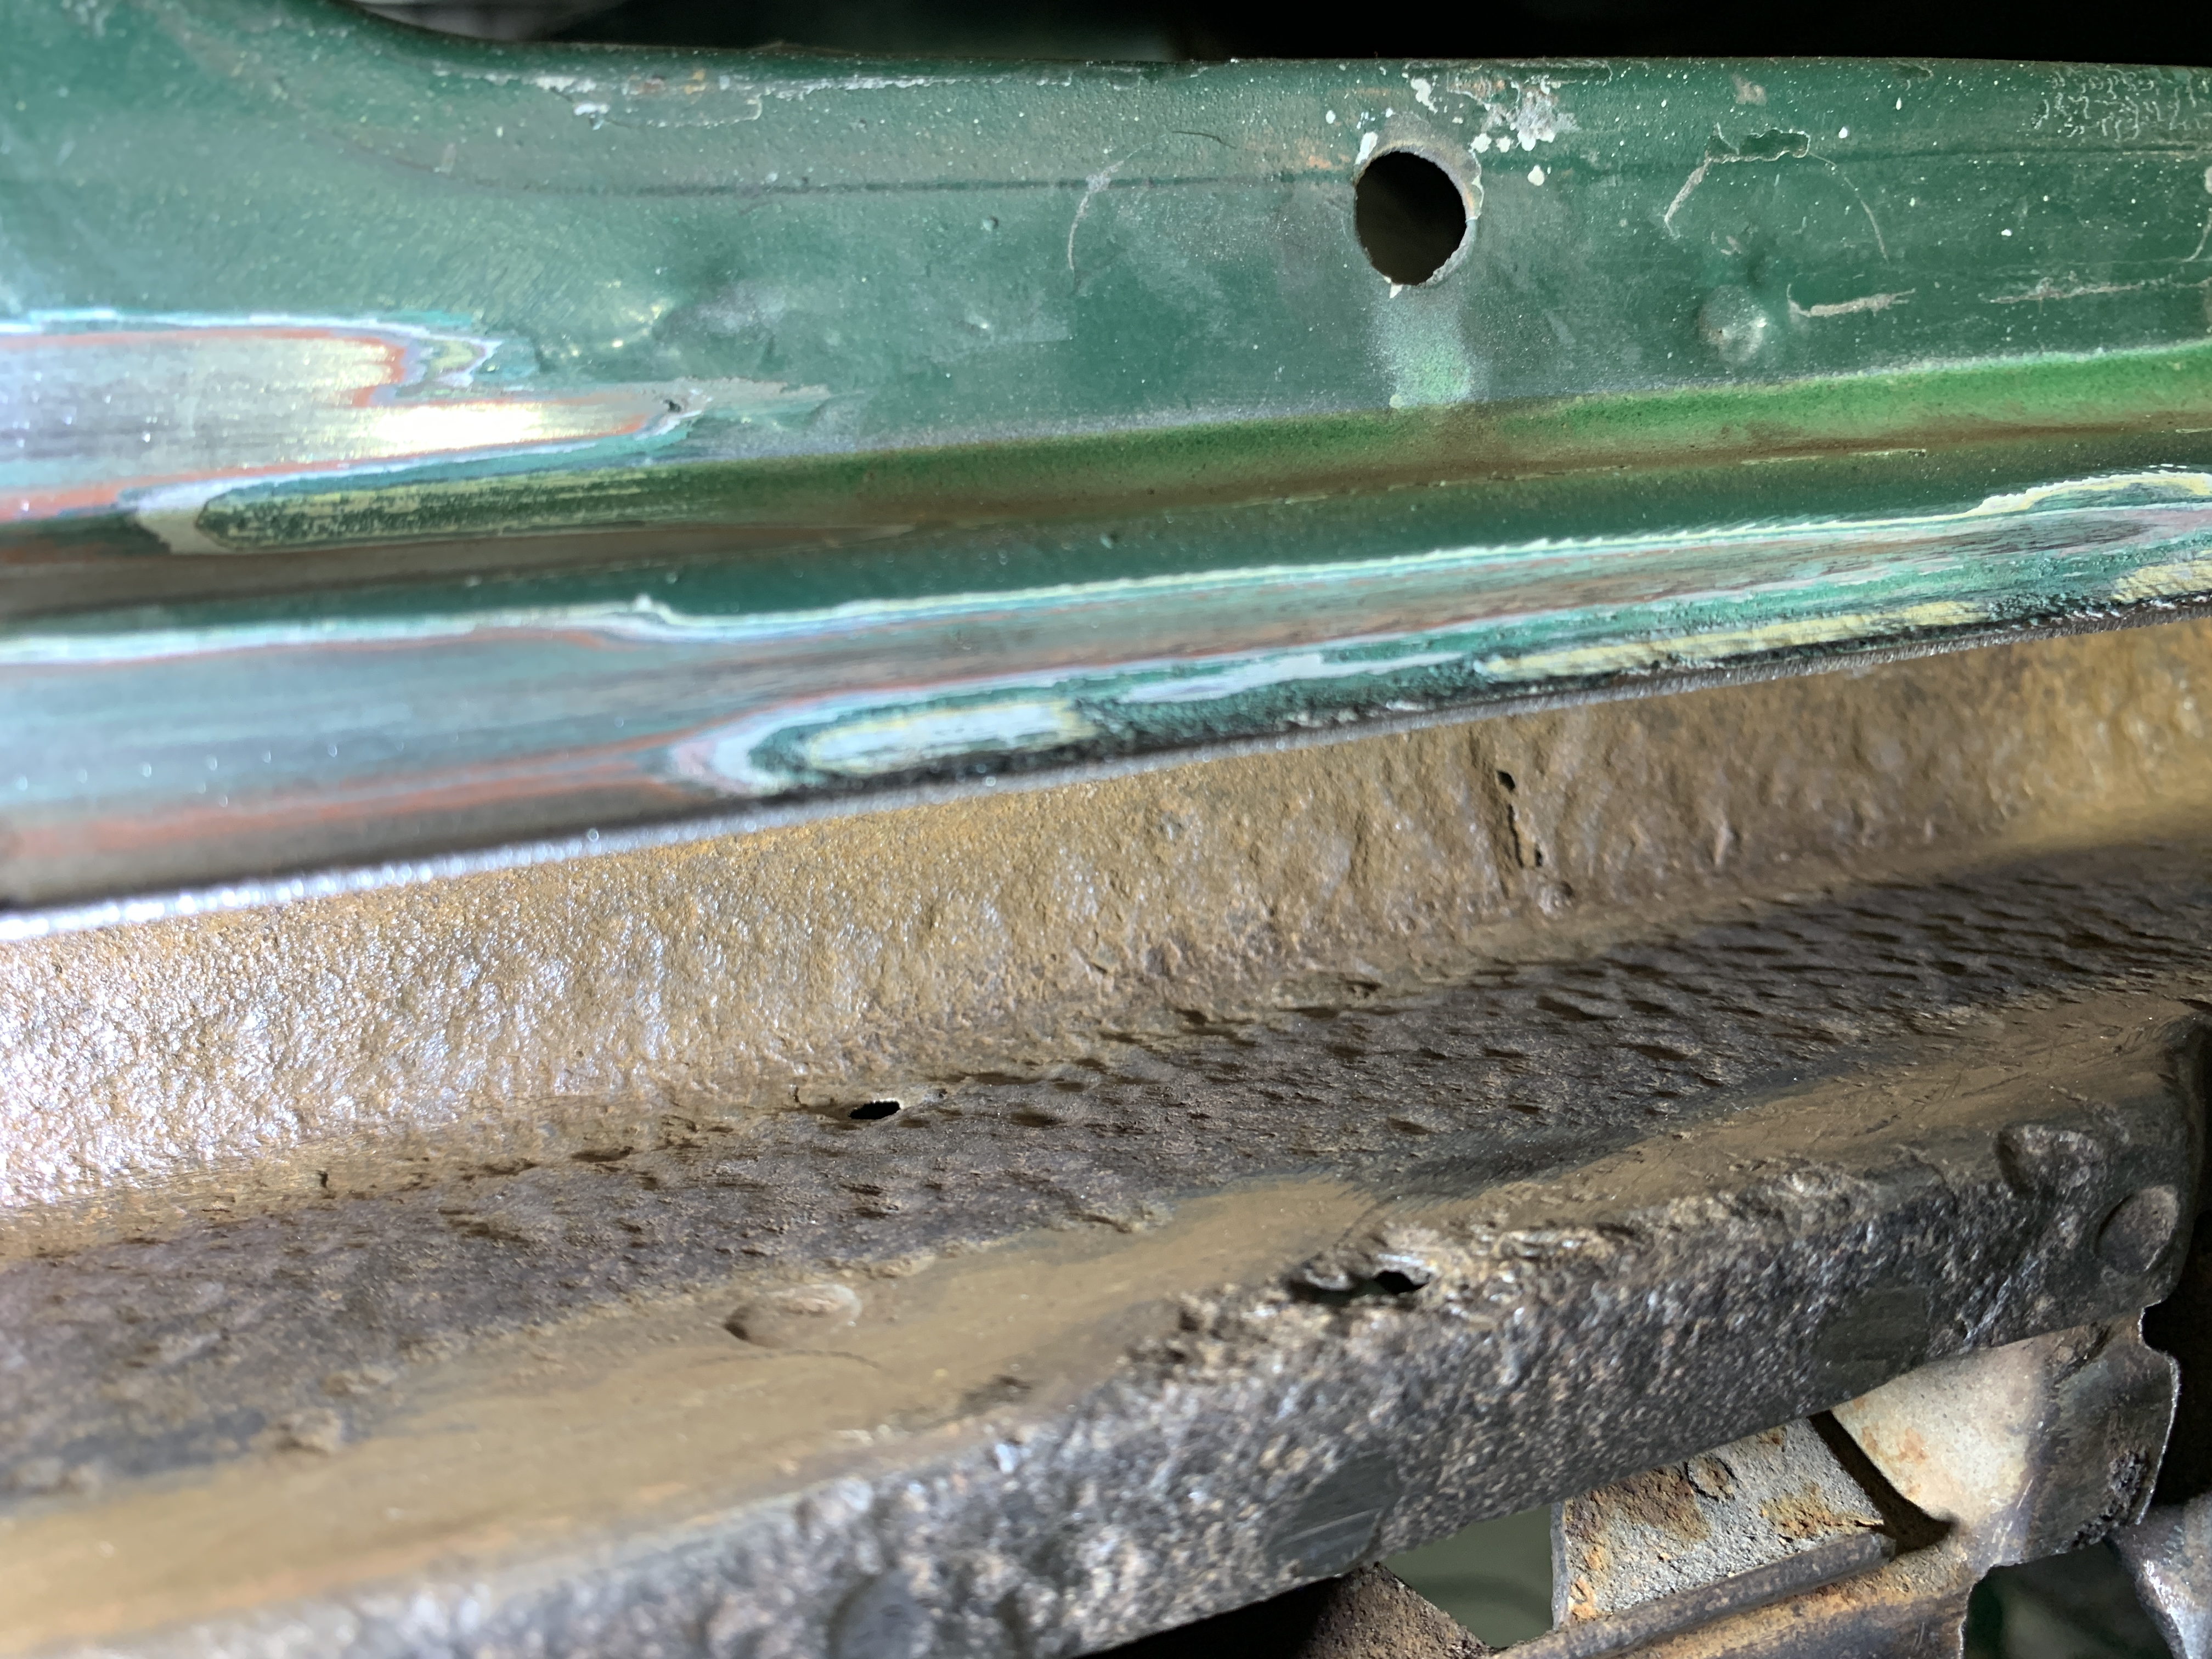
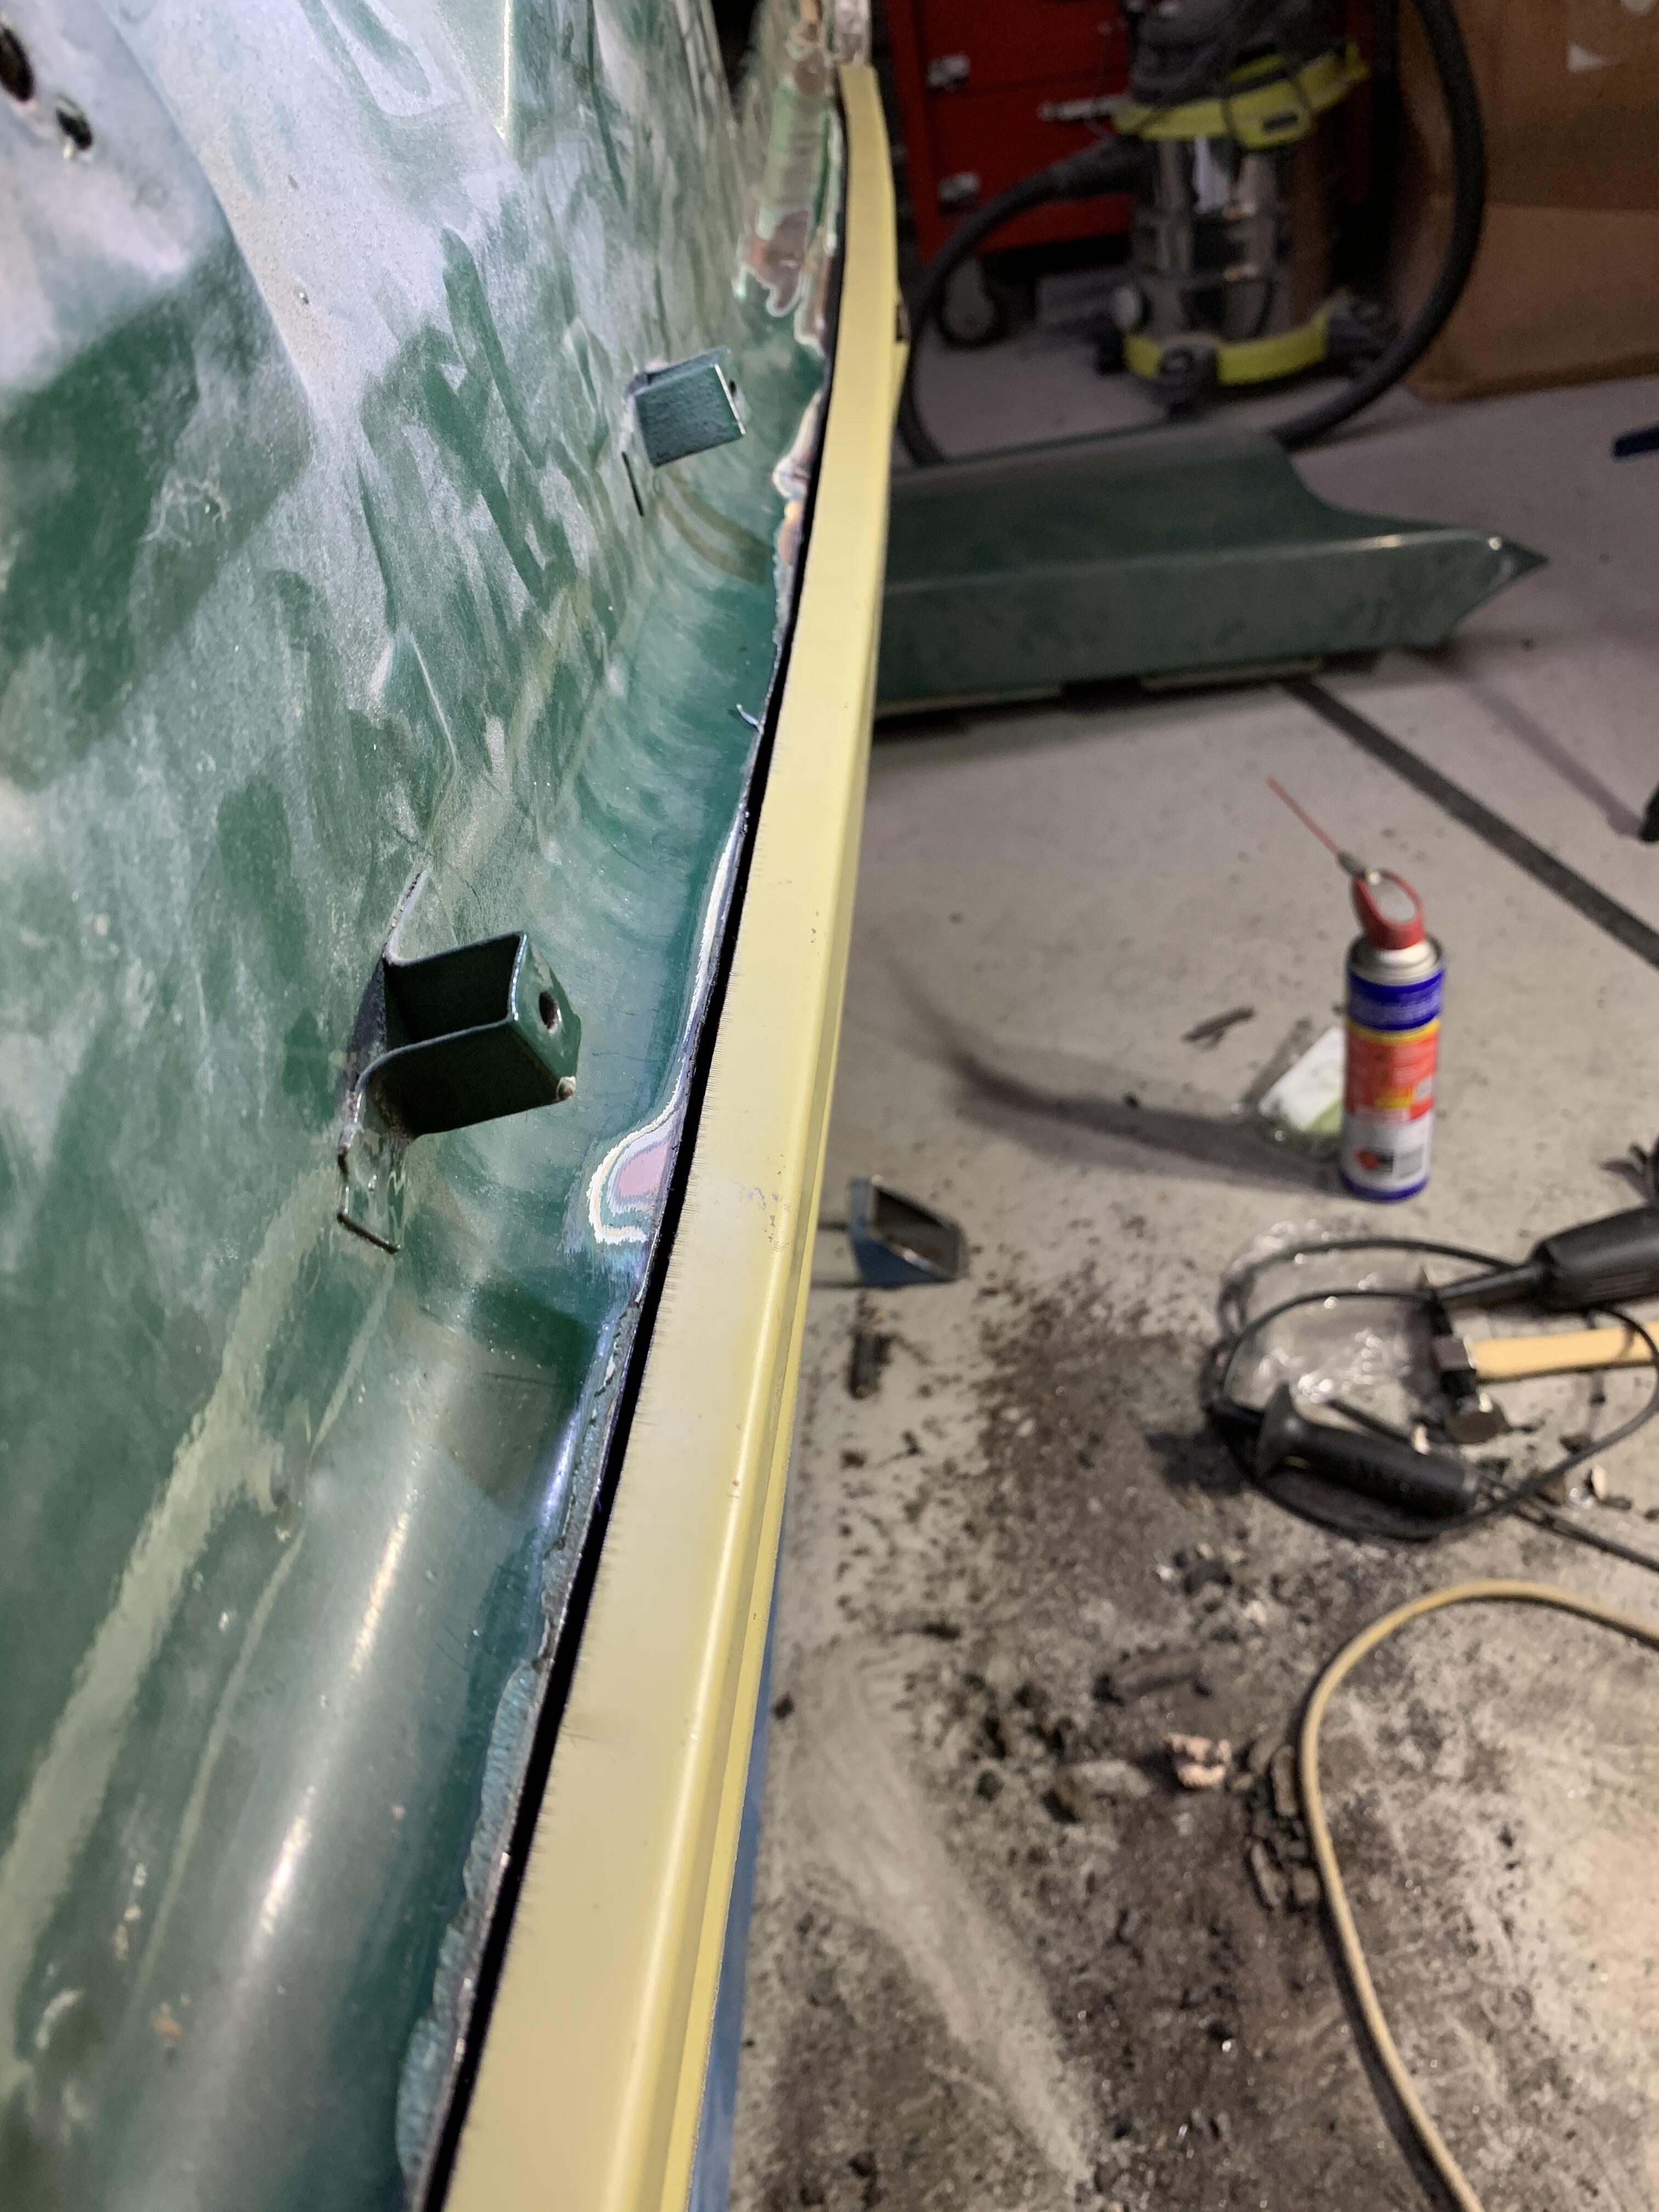
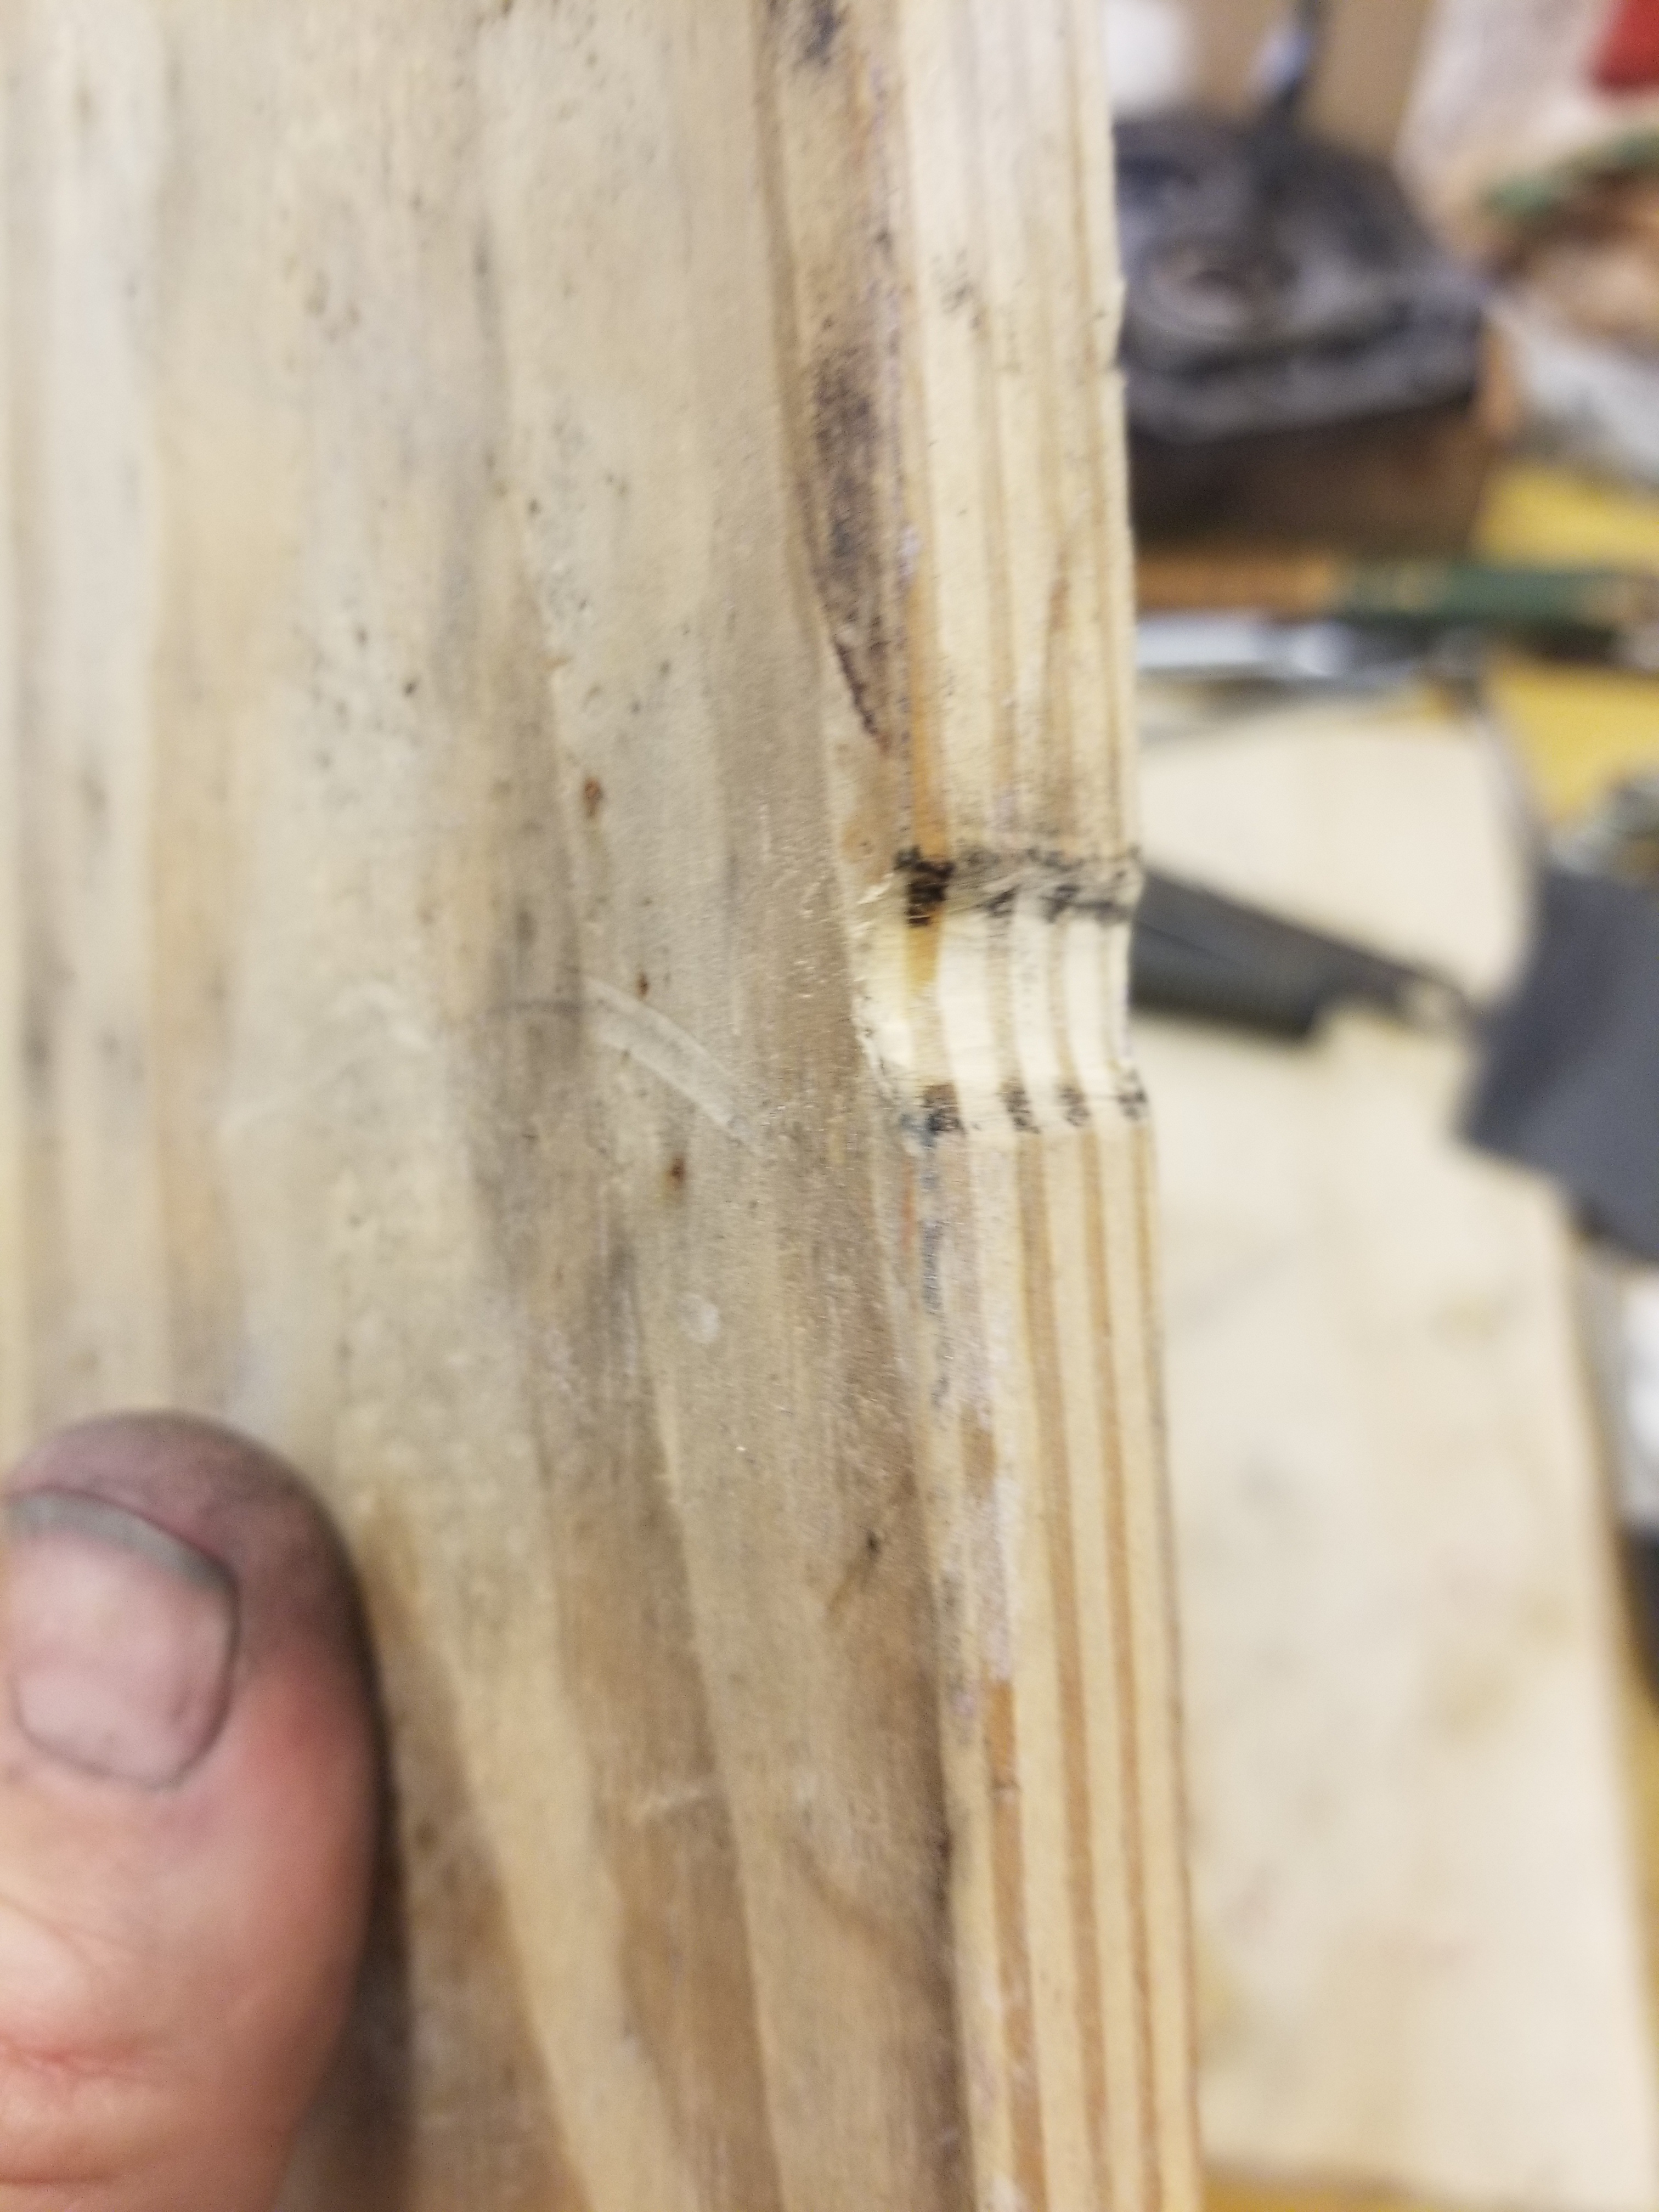
Didn’t get a great deal of time this break, only managed a few precious hours with Sheena. I’ve lost a tonne of sleep lately, tossing and turning in bed scheming and stressing about how I’m going to do this job! Anyone else do that? I’m sure I’m not the only one... I ground down all the proud spot welds and gave the front face and what I could reach a good wire wheeling. I bolted the repair panel in, marked the cut line and made the finaL cut. All the while shitting myself... cut was good with more room for access I went to work cleaning the box section as best I could. Came up ok and revealed many new holes where rust had eaten through. Question. Can I just fill any small holes with the mig? Given I use a rust converter and ensure the welding surface is free of any rust? I was keen to get a coating on the box section but with the rust that needs repairing I figured I would save it for once those were done. I was thinking of trying a spot blaster to further tidy up the unreachable areas in the box section. Has anyone used something like these? I know they’re generally crap but are they good enough to do some small areas? next time I plan to: - repair rusted through areas on the box section (I think I’ll be lucky to get through this as will be my first time welding in patch panels....wish me luck....) - hopefully get some kbs rustseal in there


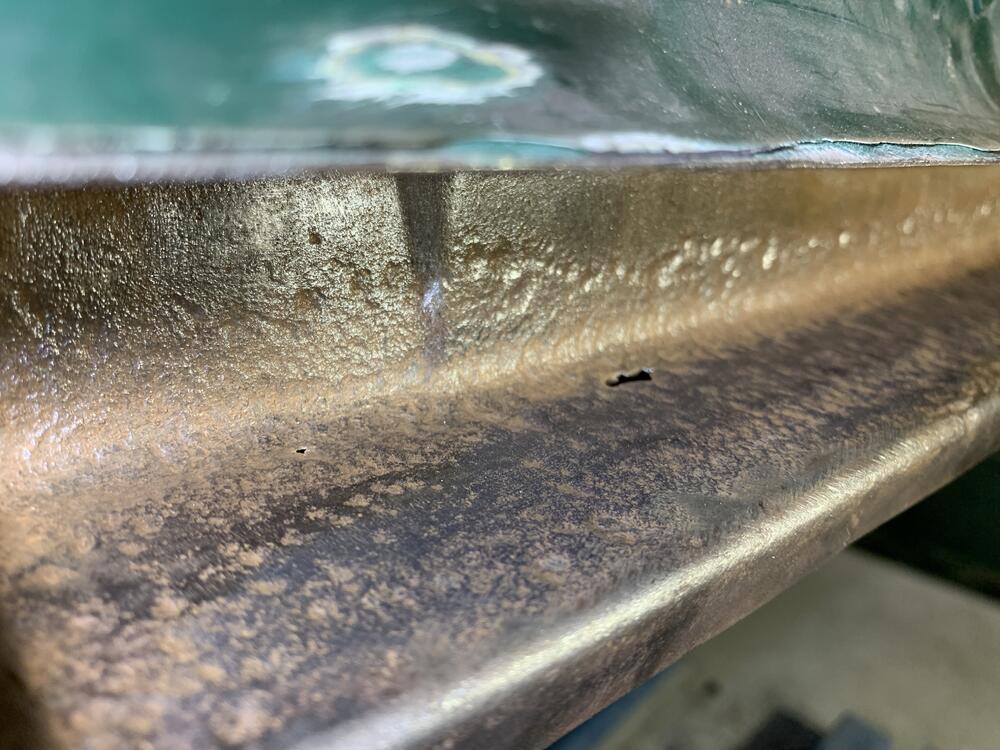

 1 point
 -
At least it starts with a Z! :p1 point
-
Those doorhandles are made of zamac.. It's a disasterous "metal" a mix of aluminium,copper,zinc.. it rusts from the inside of airbubbles that are IN the alloy.. so you can't stop the decay The ornament "Z"on the c-pillar, (air outlet), are also made of that stuff.. a restorers nightmare! 😞1 point
-
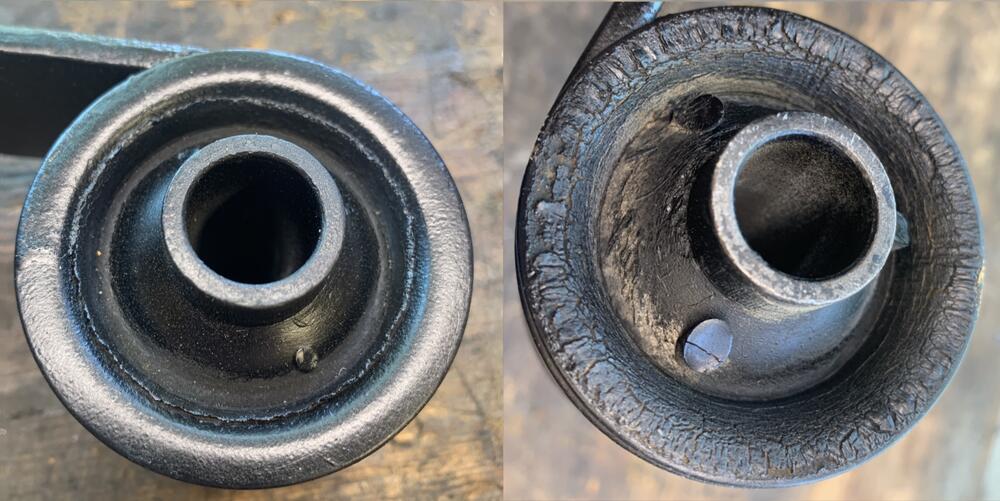
1 pointOn mine, the serrated washers were missing their teeth completely as they had been washed off with British weather over 40+ years. The moustache bar used to clonk going over bumps or undulations in the road when accelerating. As they are NLA, I used some 9mm and 3mm washers (60mm OD, 24mm ID -22mm if you want a very tight self centring fit) to make my own version. NEVER a clunk since and I’ve been pushing very hard. https://www.ebay.co.uk/itm/5-x-pick-own-size-Solid-Neoprene-Rubber-Washer-Washers-3mm-thk-upto-60mm-dia-/262163888110 I think the engineers put them there for a very good reason. Ps. Great work - looks incredible under there - now you will fear puddles!!! [emoji1787]1 point
-
door latch was seized and would not latch or stay closed... needed to take whole latch out and lube it like mad.. hard job as needed to take window from out to do this.. still working on re assembling door..1 point
-
I guessed $24K-$28K - - SOLD For $21,211.00. Someone may have gotten a pretty good deal on that.1 point
-
Hmmm, I was always under the impression that tube was one-piece and soldered (to seal the tank) at the plate it goes through. The plate is soldered to the tank itself. IF the tube is 2-piece, and if it's swiveling at it's solder joint at the plate, it also has to be "disconnected" from to the second piece that remains unmovable while you're twisting the exposed feed tubing. If it's soldered (supposed to be soldered) to the pickup tube inside the tank which does not move, that solder joint is broken also - either that or the tube itself is cracked or broken. Most fluid pumps don't work well if you can pull air into the source piping. I've repaired a few 240Z fuel tanks with broken solder joints at the supply and return tubing, but I've never actually de-soldered the plate to remove the entire assembly. So, I don't know if any of that fuel tubing is one or two piece. My only concern in your situation would be sealing the tube on the exterior without checking that all the tube on the interior was "liquid tight" - without cracks, holes, or other damage.1 point
-
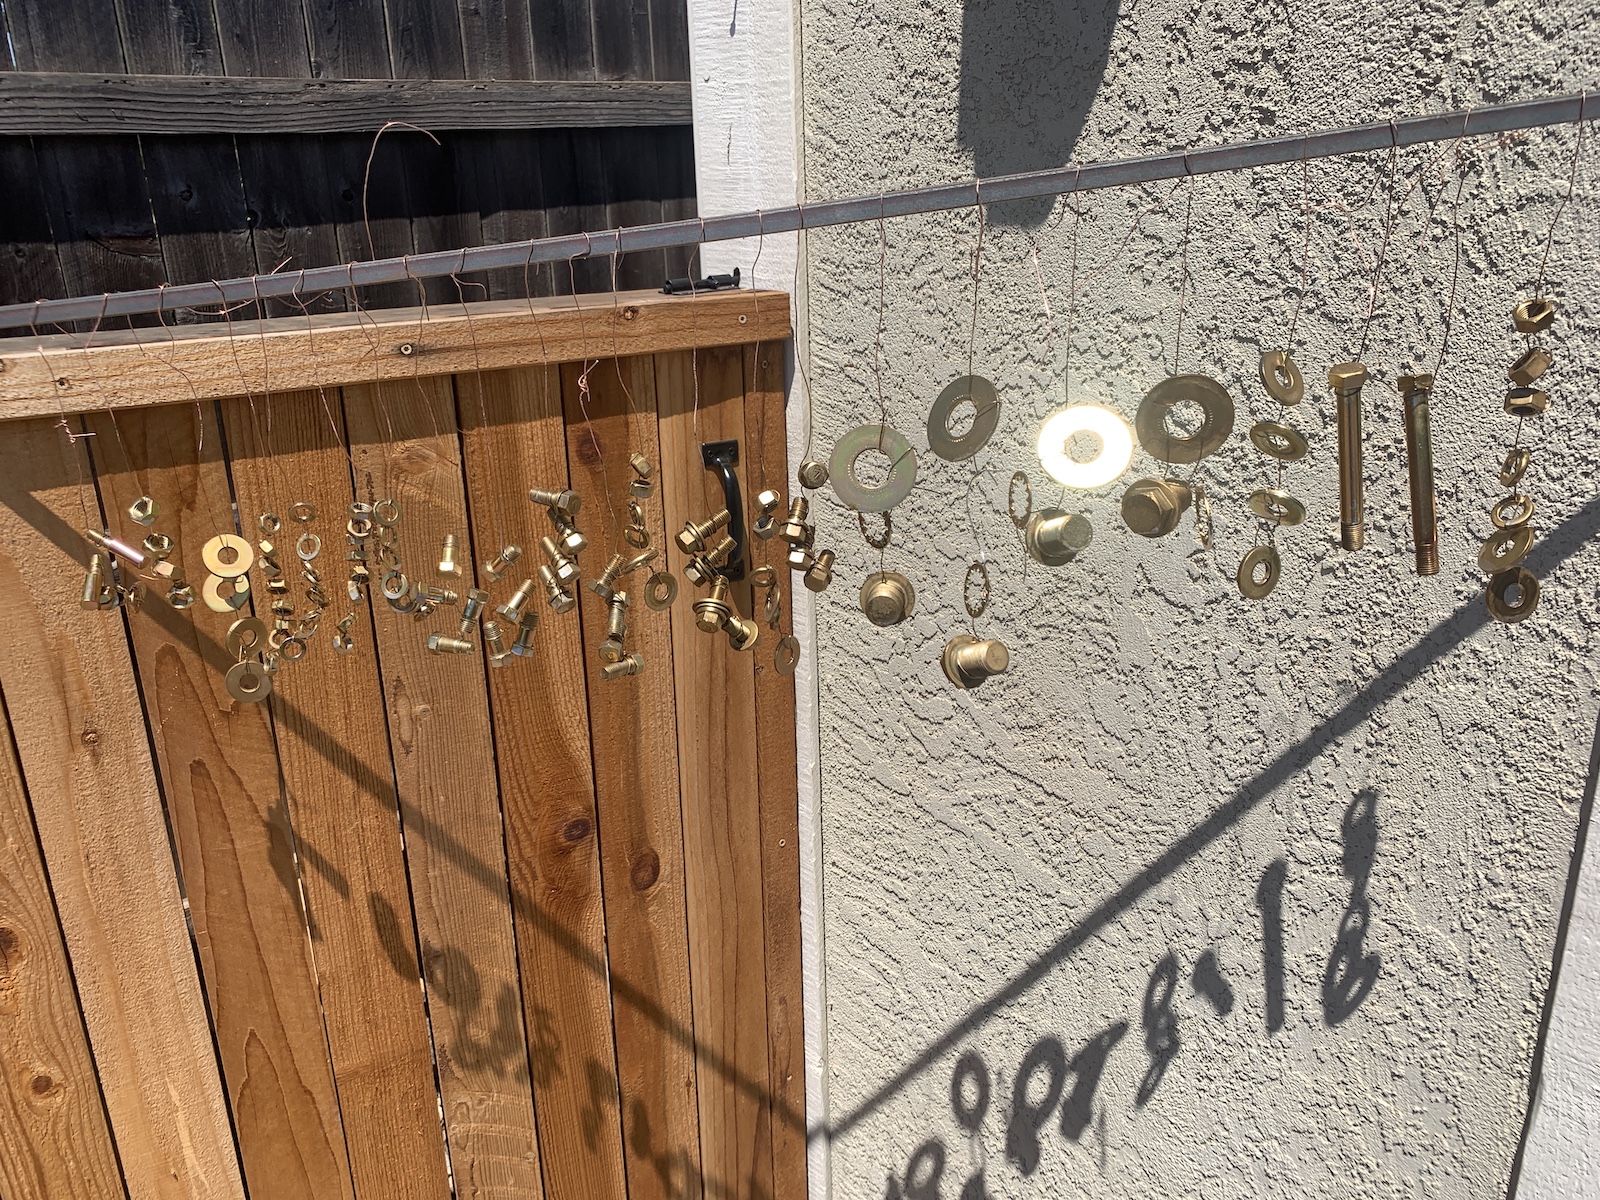
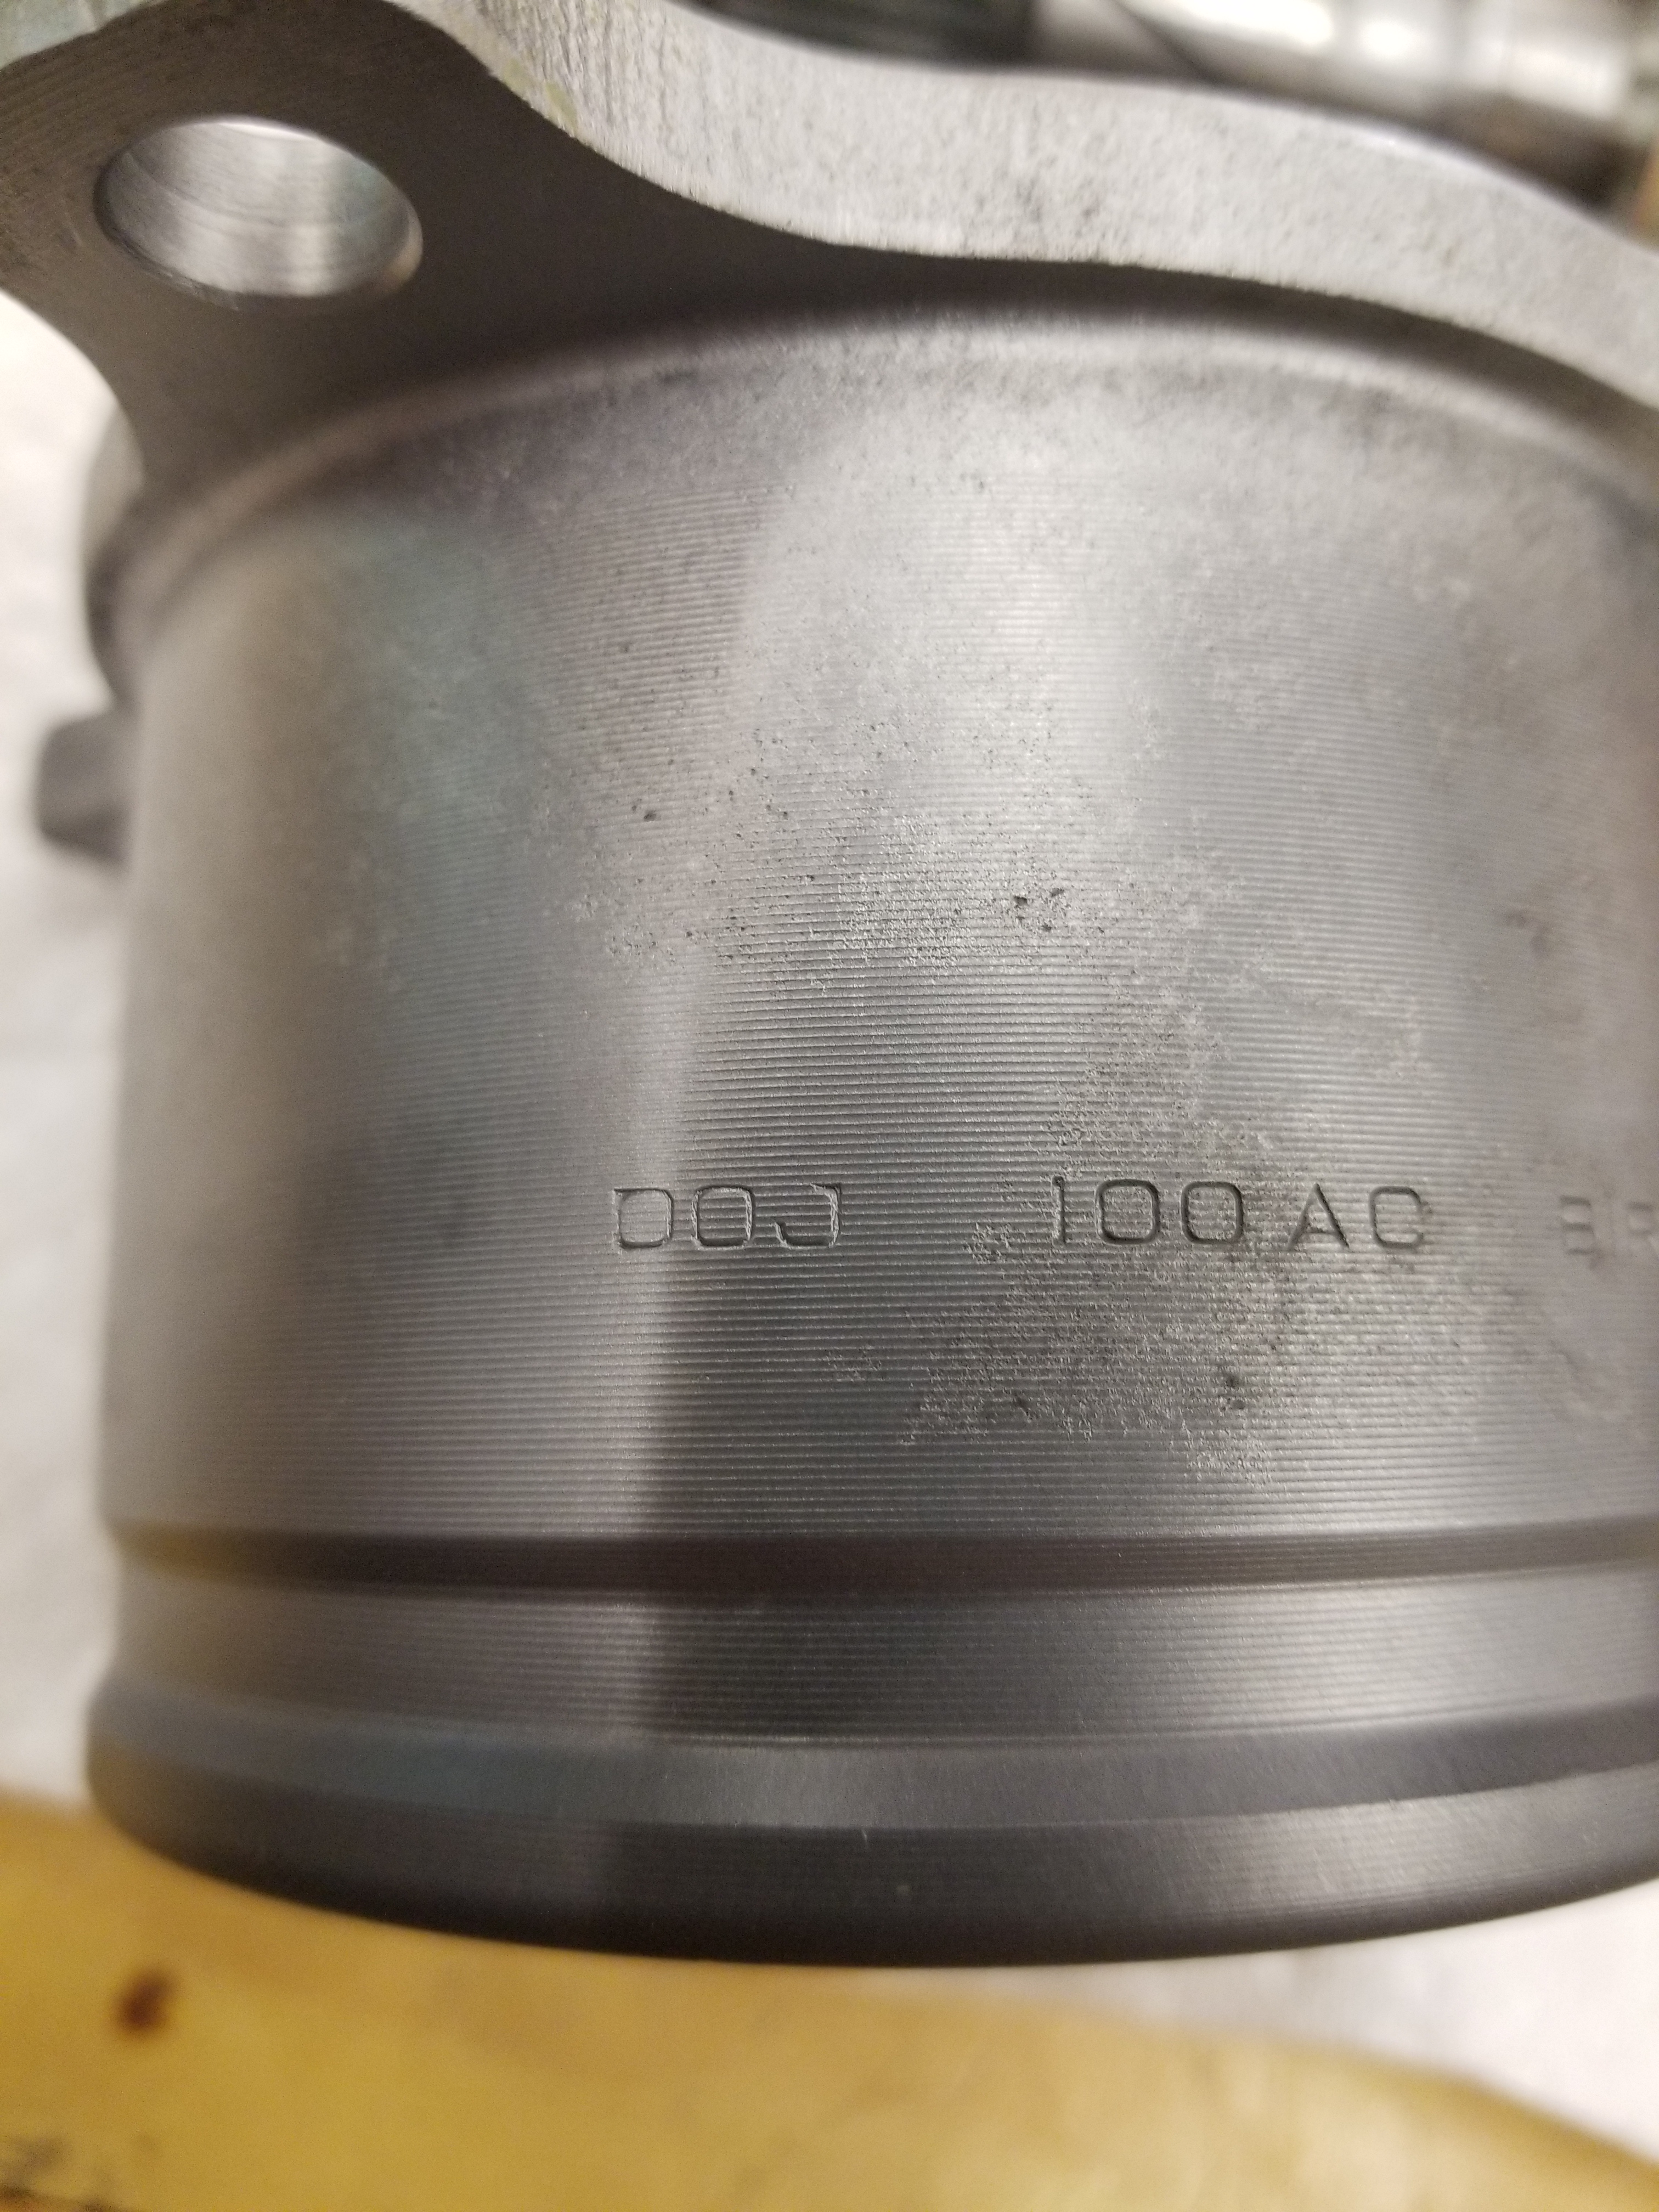
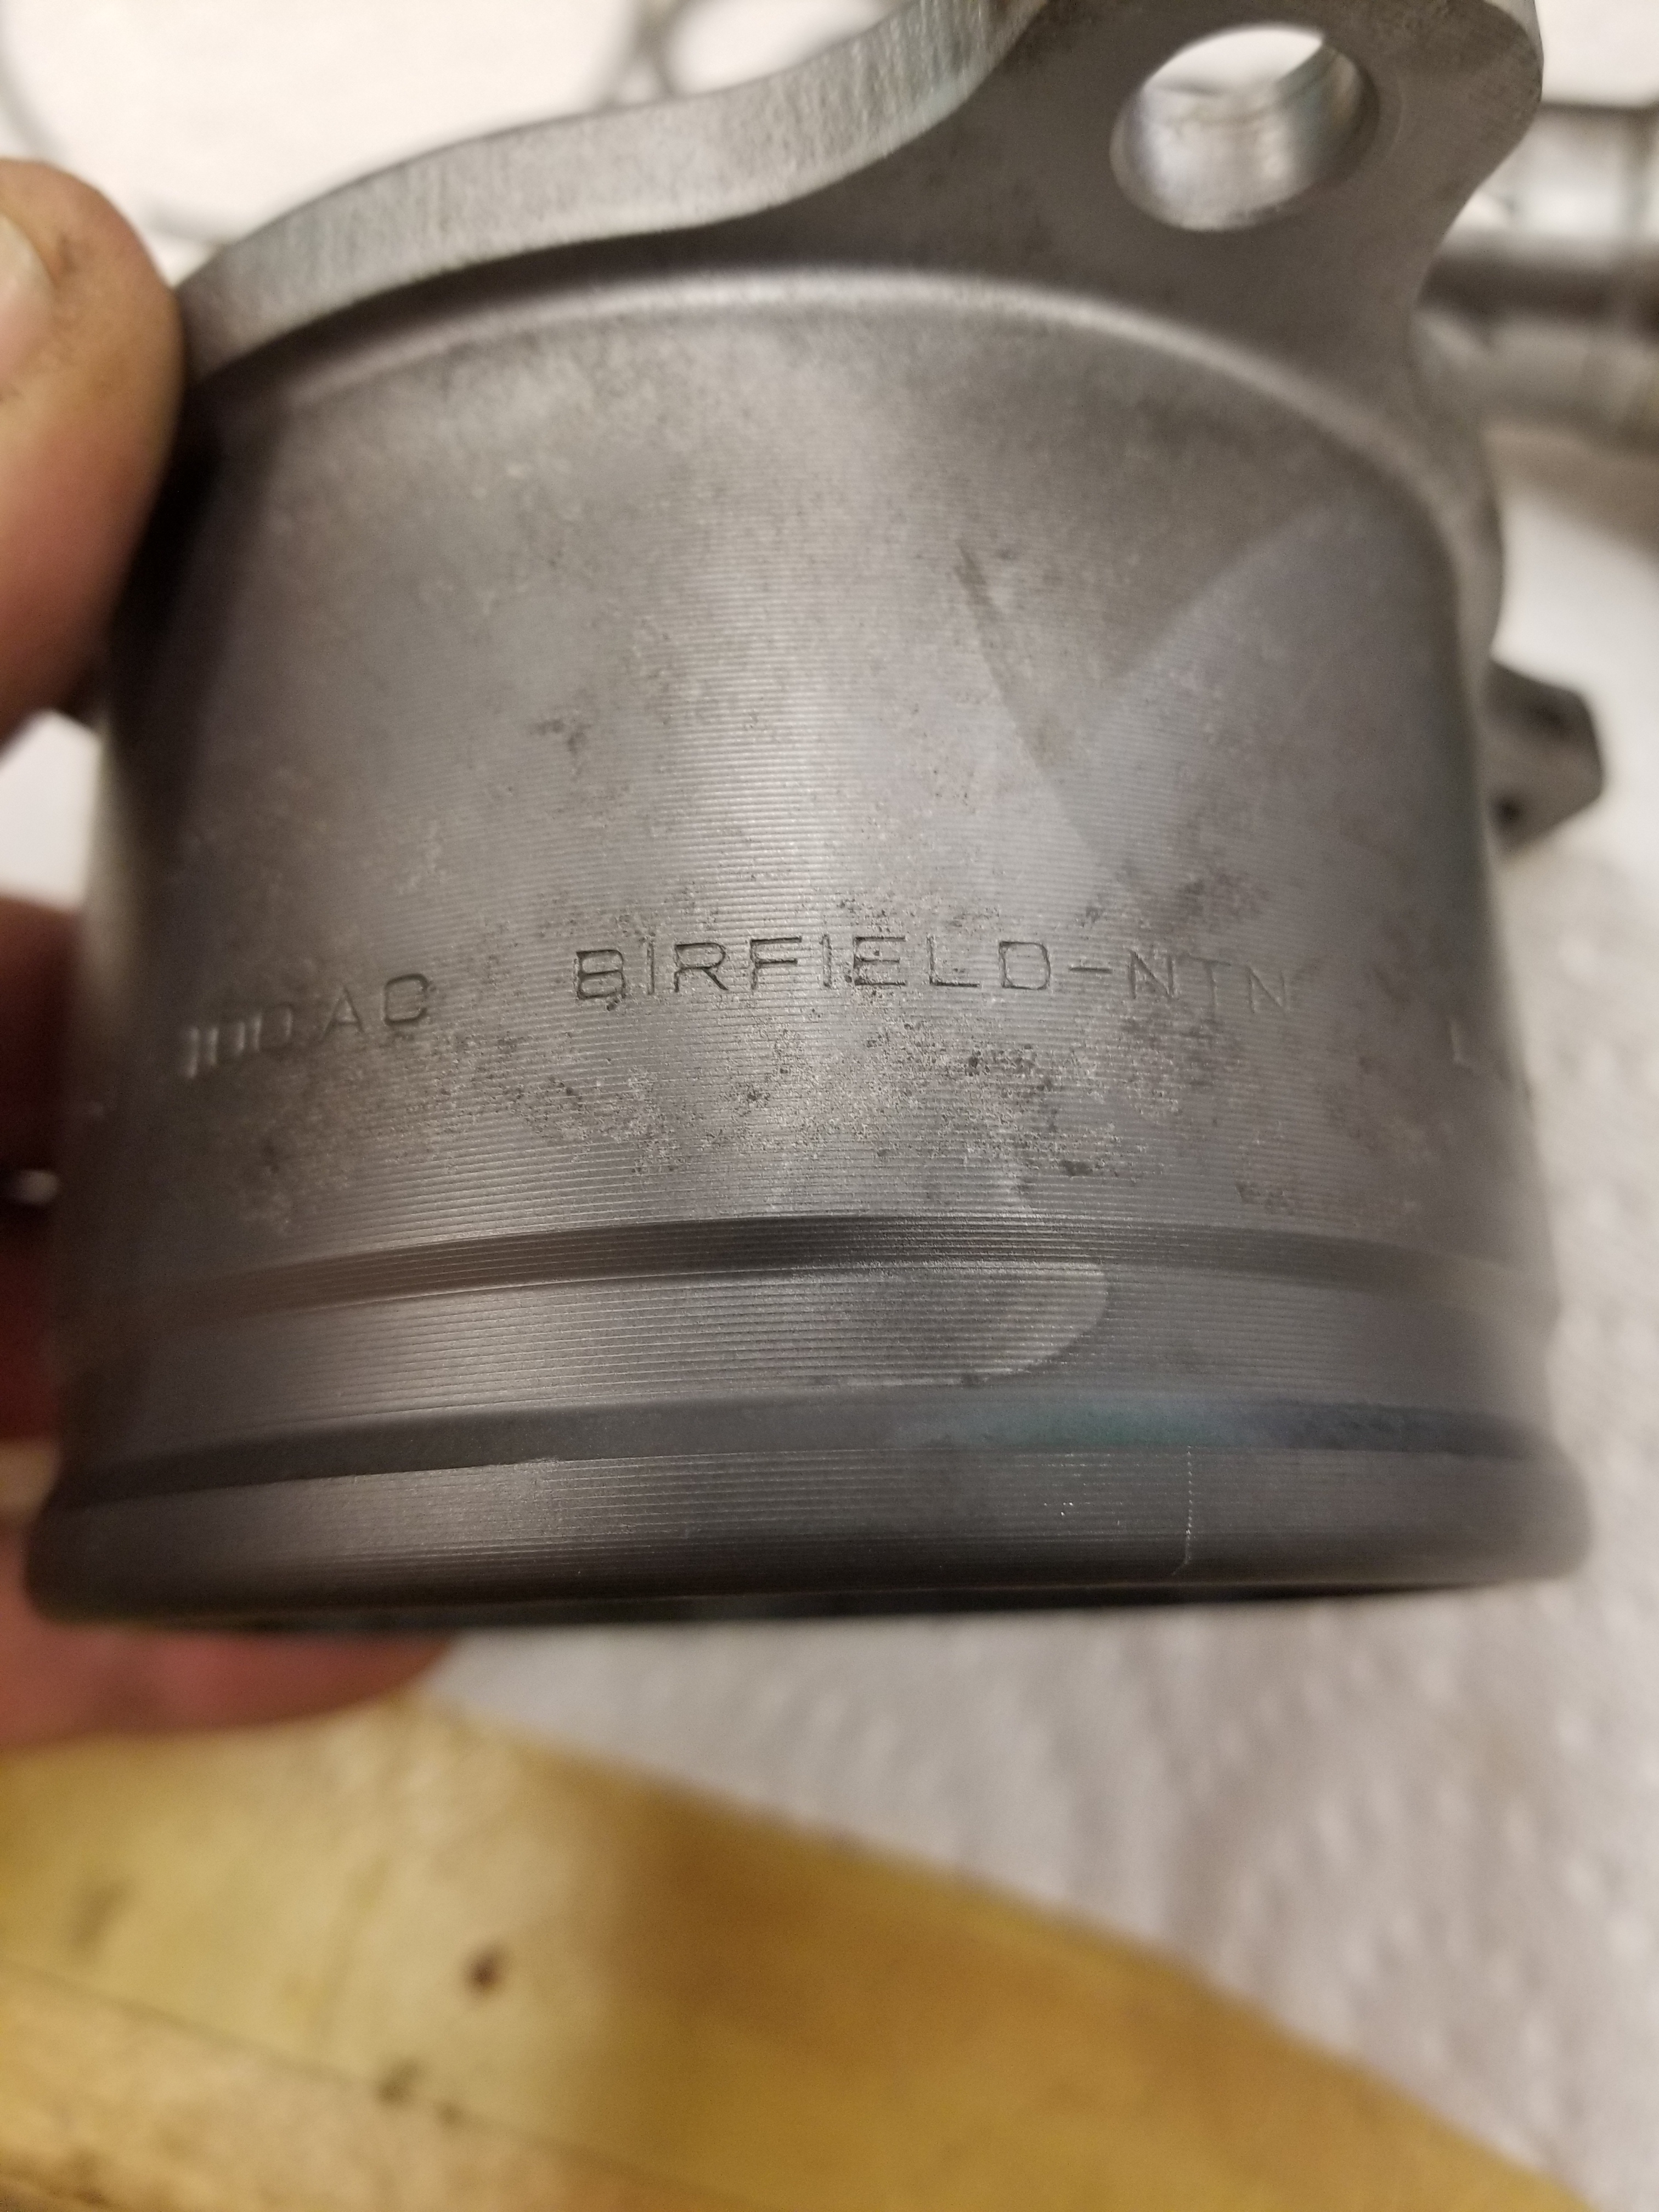
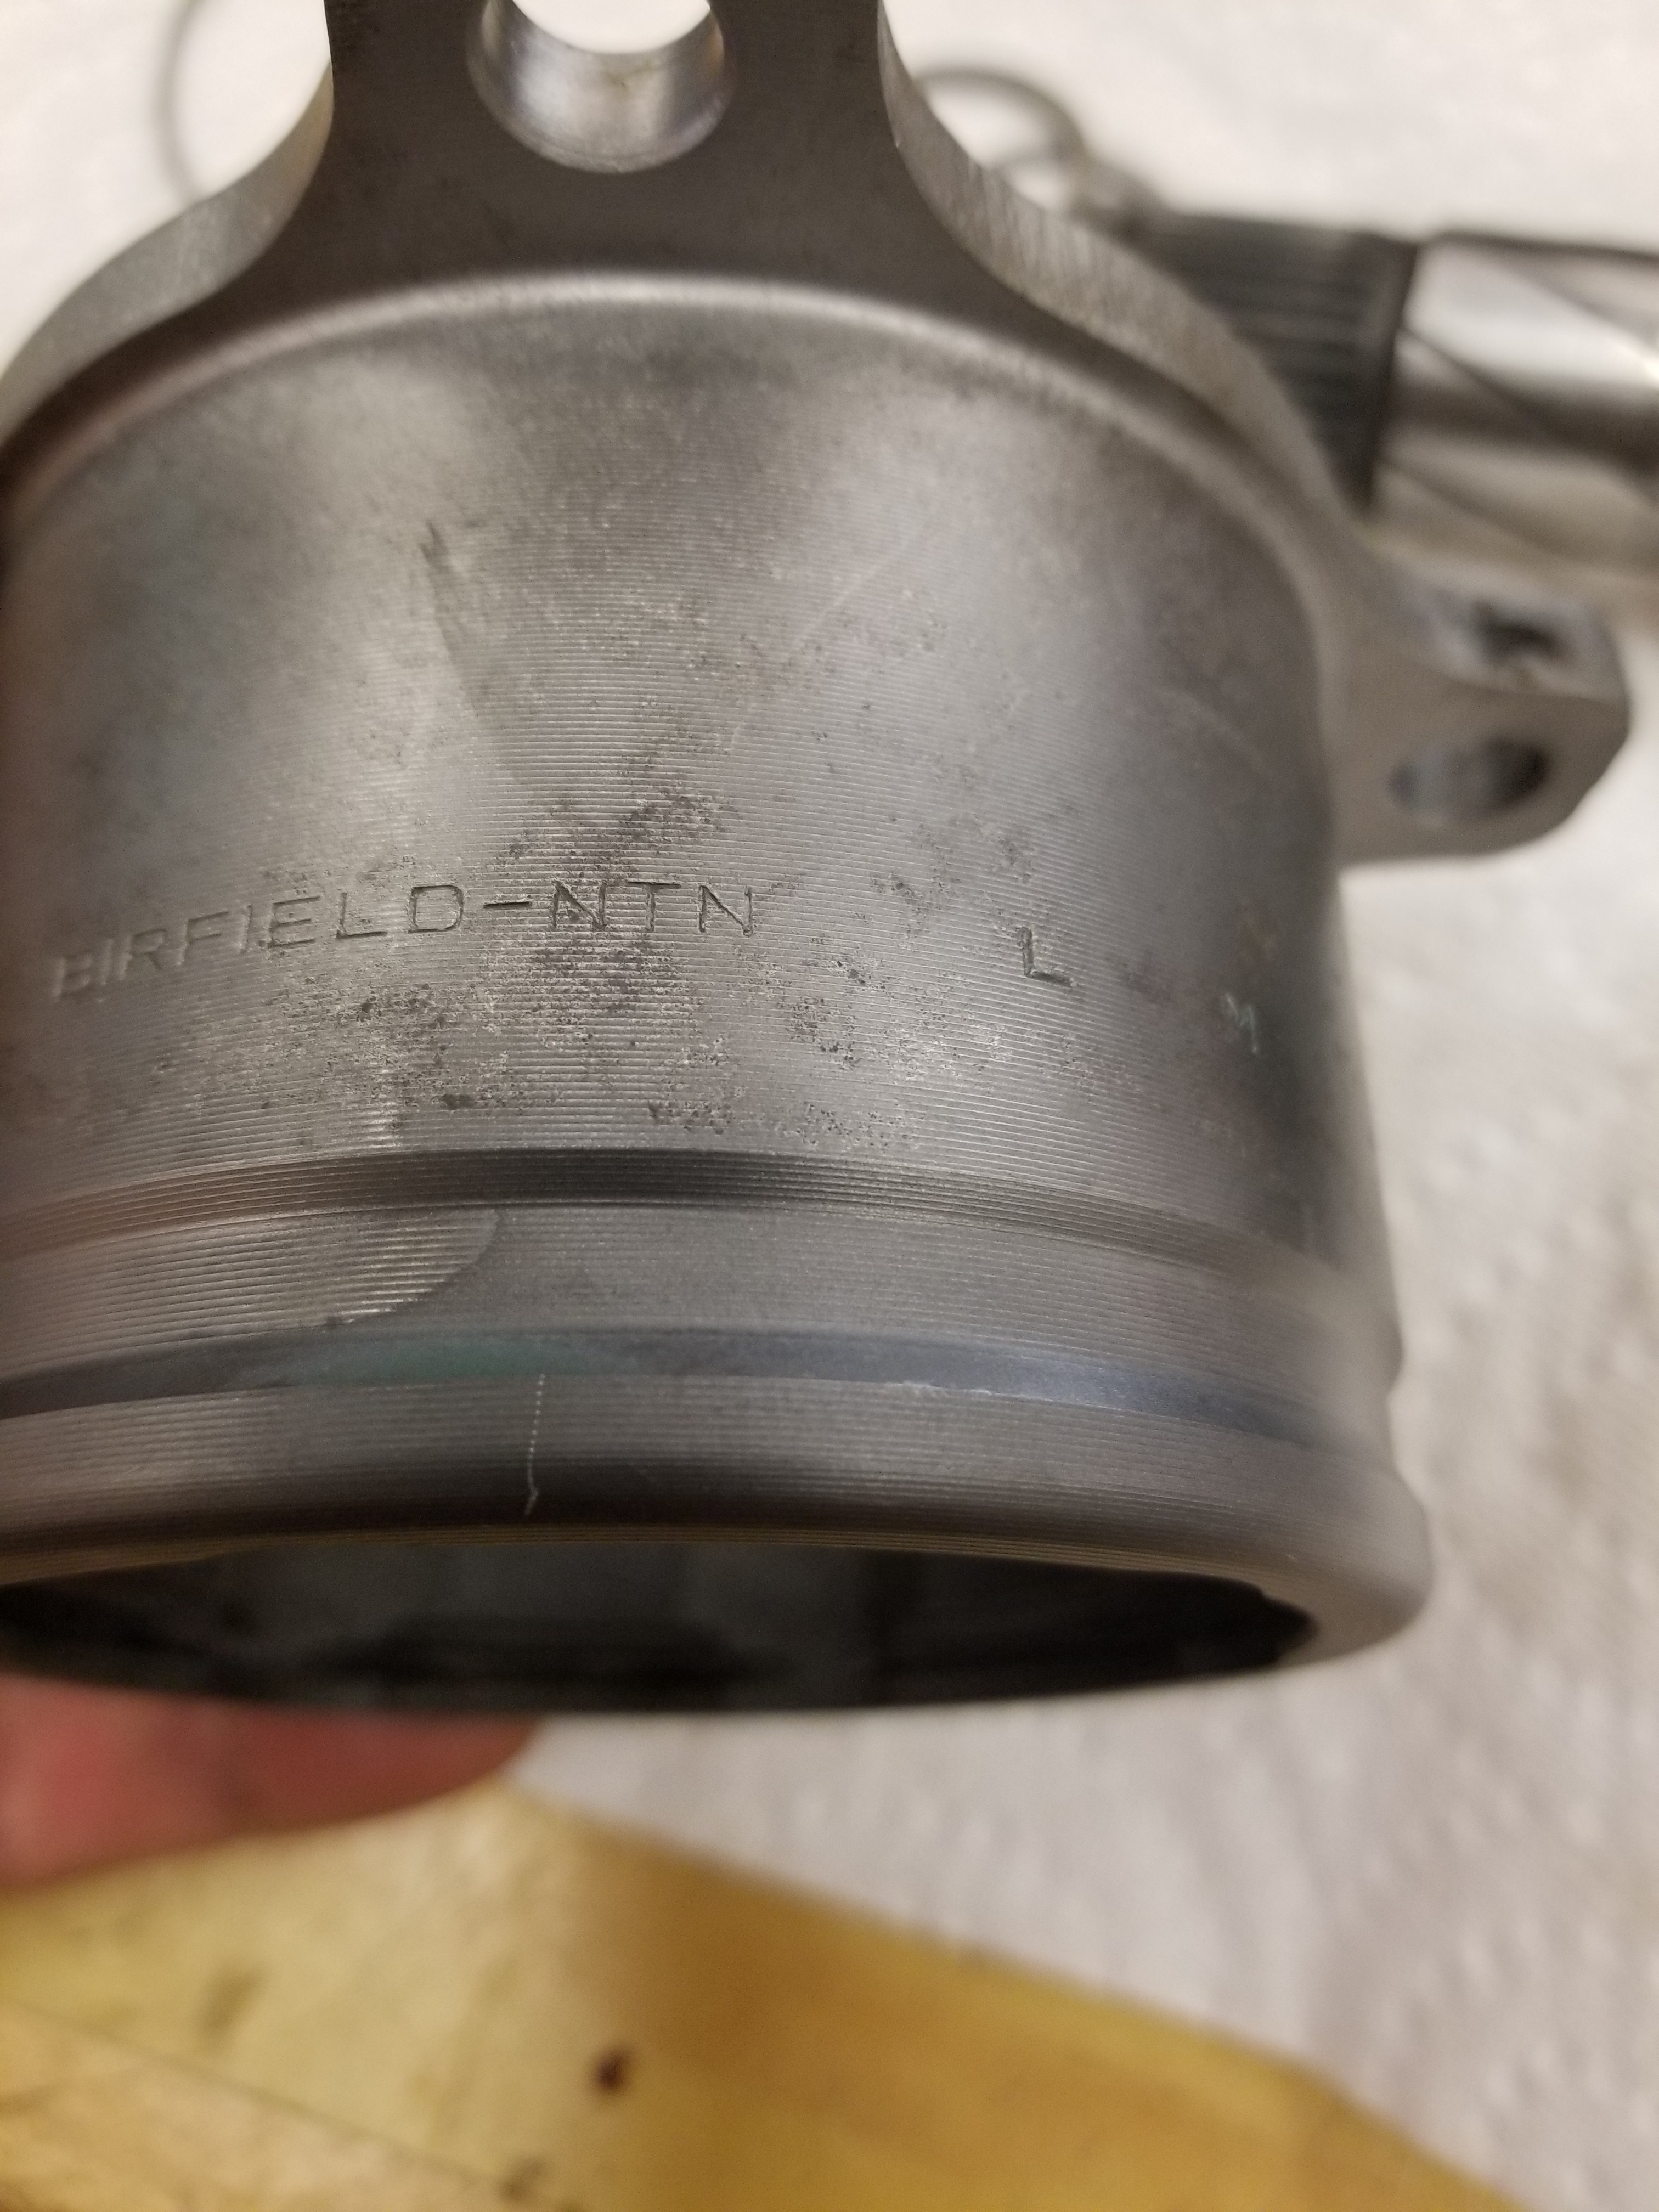
1 point624 days since a post!!! Pffttt! Depressing... Any way the car is still out of the shop and covered up and the Goon is occupying premium space but I did tinker a little today. I pulled together about 20#'s of metal to go to the platers. It's an experiment. I did very little prep work other than degreasing. We'll see what I get back. I also worked on one of the Cv axle halfshafts for the CLSD rear end. It's been sitting on my bench for almost 2 years. I found these numbers on the hub. Might be useful or cross-referenceable


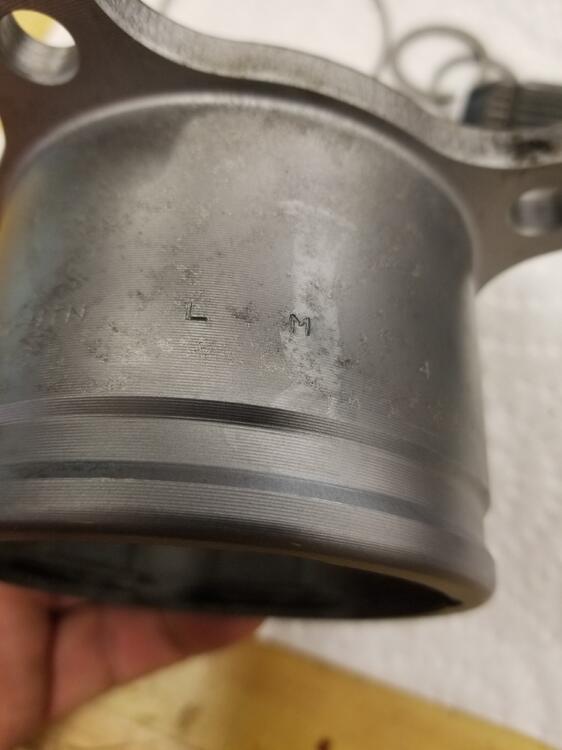 1 point
 -
1 pointA few years back @Captain Obvious turned my old skateboard veneers into a shifter knob. It’s cool to keep using the old board, lots of memories with it…. Reduce, reuse, recycle I guess 🙂 The new one is slightly larger, so it fits my hands better…1 point
-
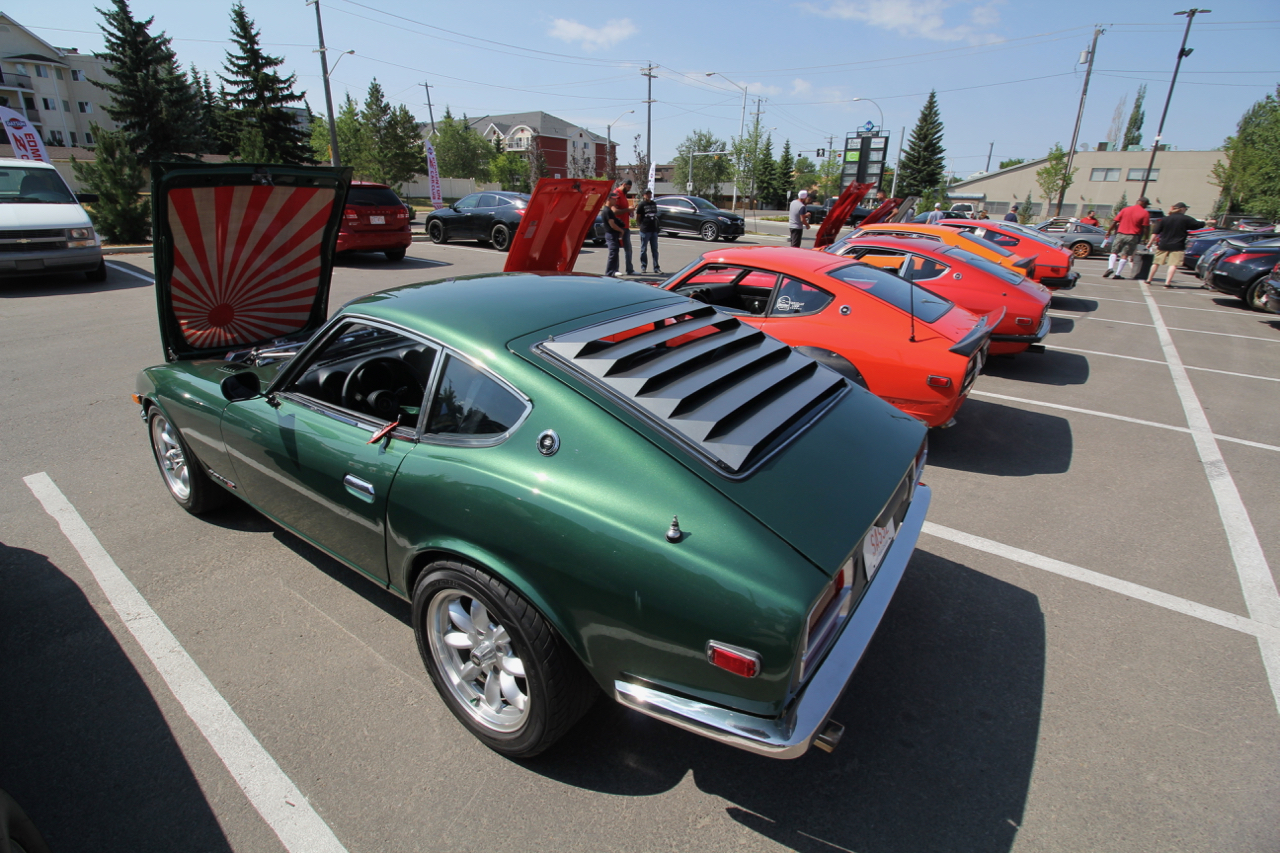
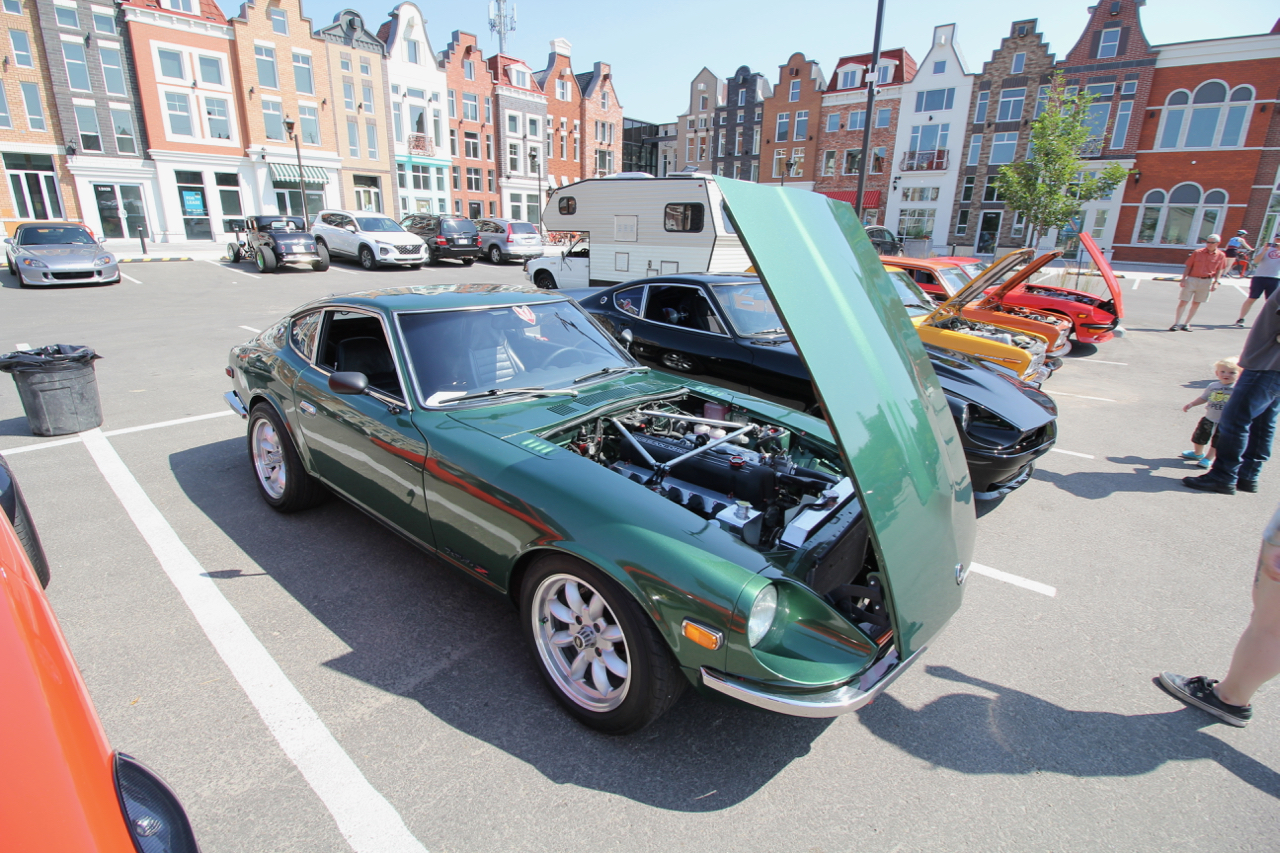
1 pointWell, it has been a long time coming, but I finally got the car out to a car show. Went to the 30th Anniversary of the Edmonton Z Car Club Car show on Saturday. Wow! Where did all of these S30's come from! It was a great turnout with lots of great cars. I am over the moon thrilled with SASSZ and how she looks in the sunlight. We weren't the only ones apparently because we took first place for the S30 class and Best in Show to boot! Validation after all this time feels amazing... Thanks to everyone on this forum that have helped push me along with advice and encouragement, parts and knowledge. This was indeed a village effort to get me this far!


 1 point
 -
Scott K in #202. Very fast driver in a very well sorted out 240. Telemetry and a coach with a driver who listens and isn't afraid to wreck his car (as long as no one else is around) while he tries to be faster in one segment of the track or another.1 point
-
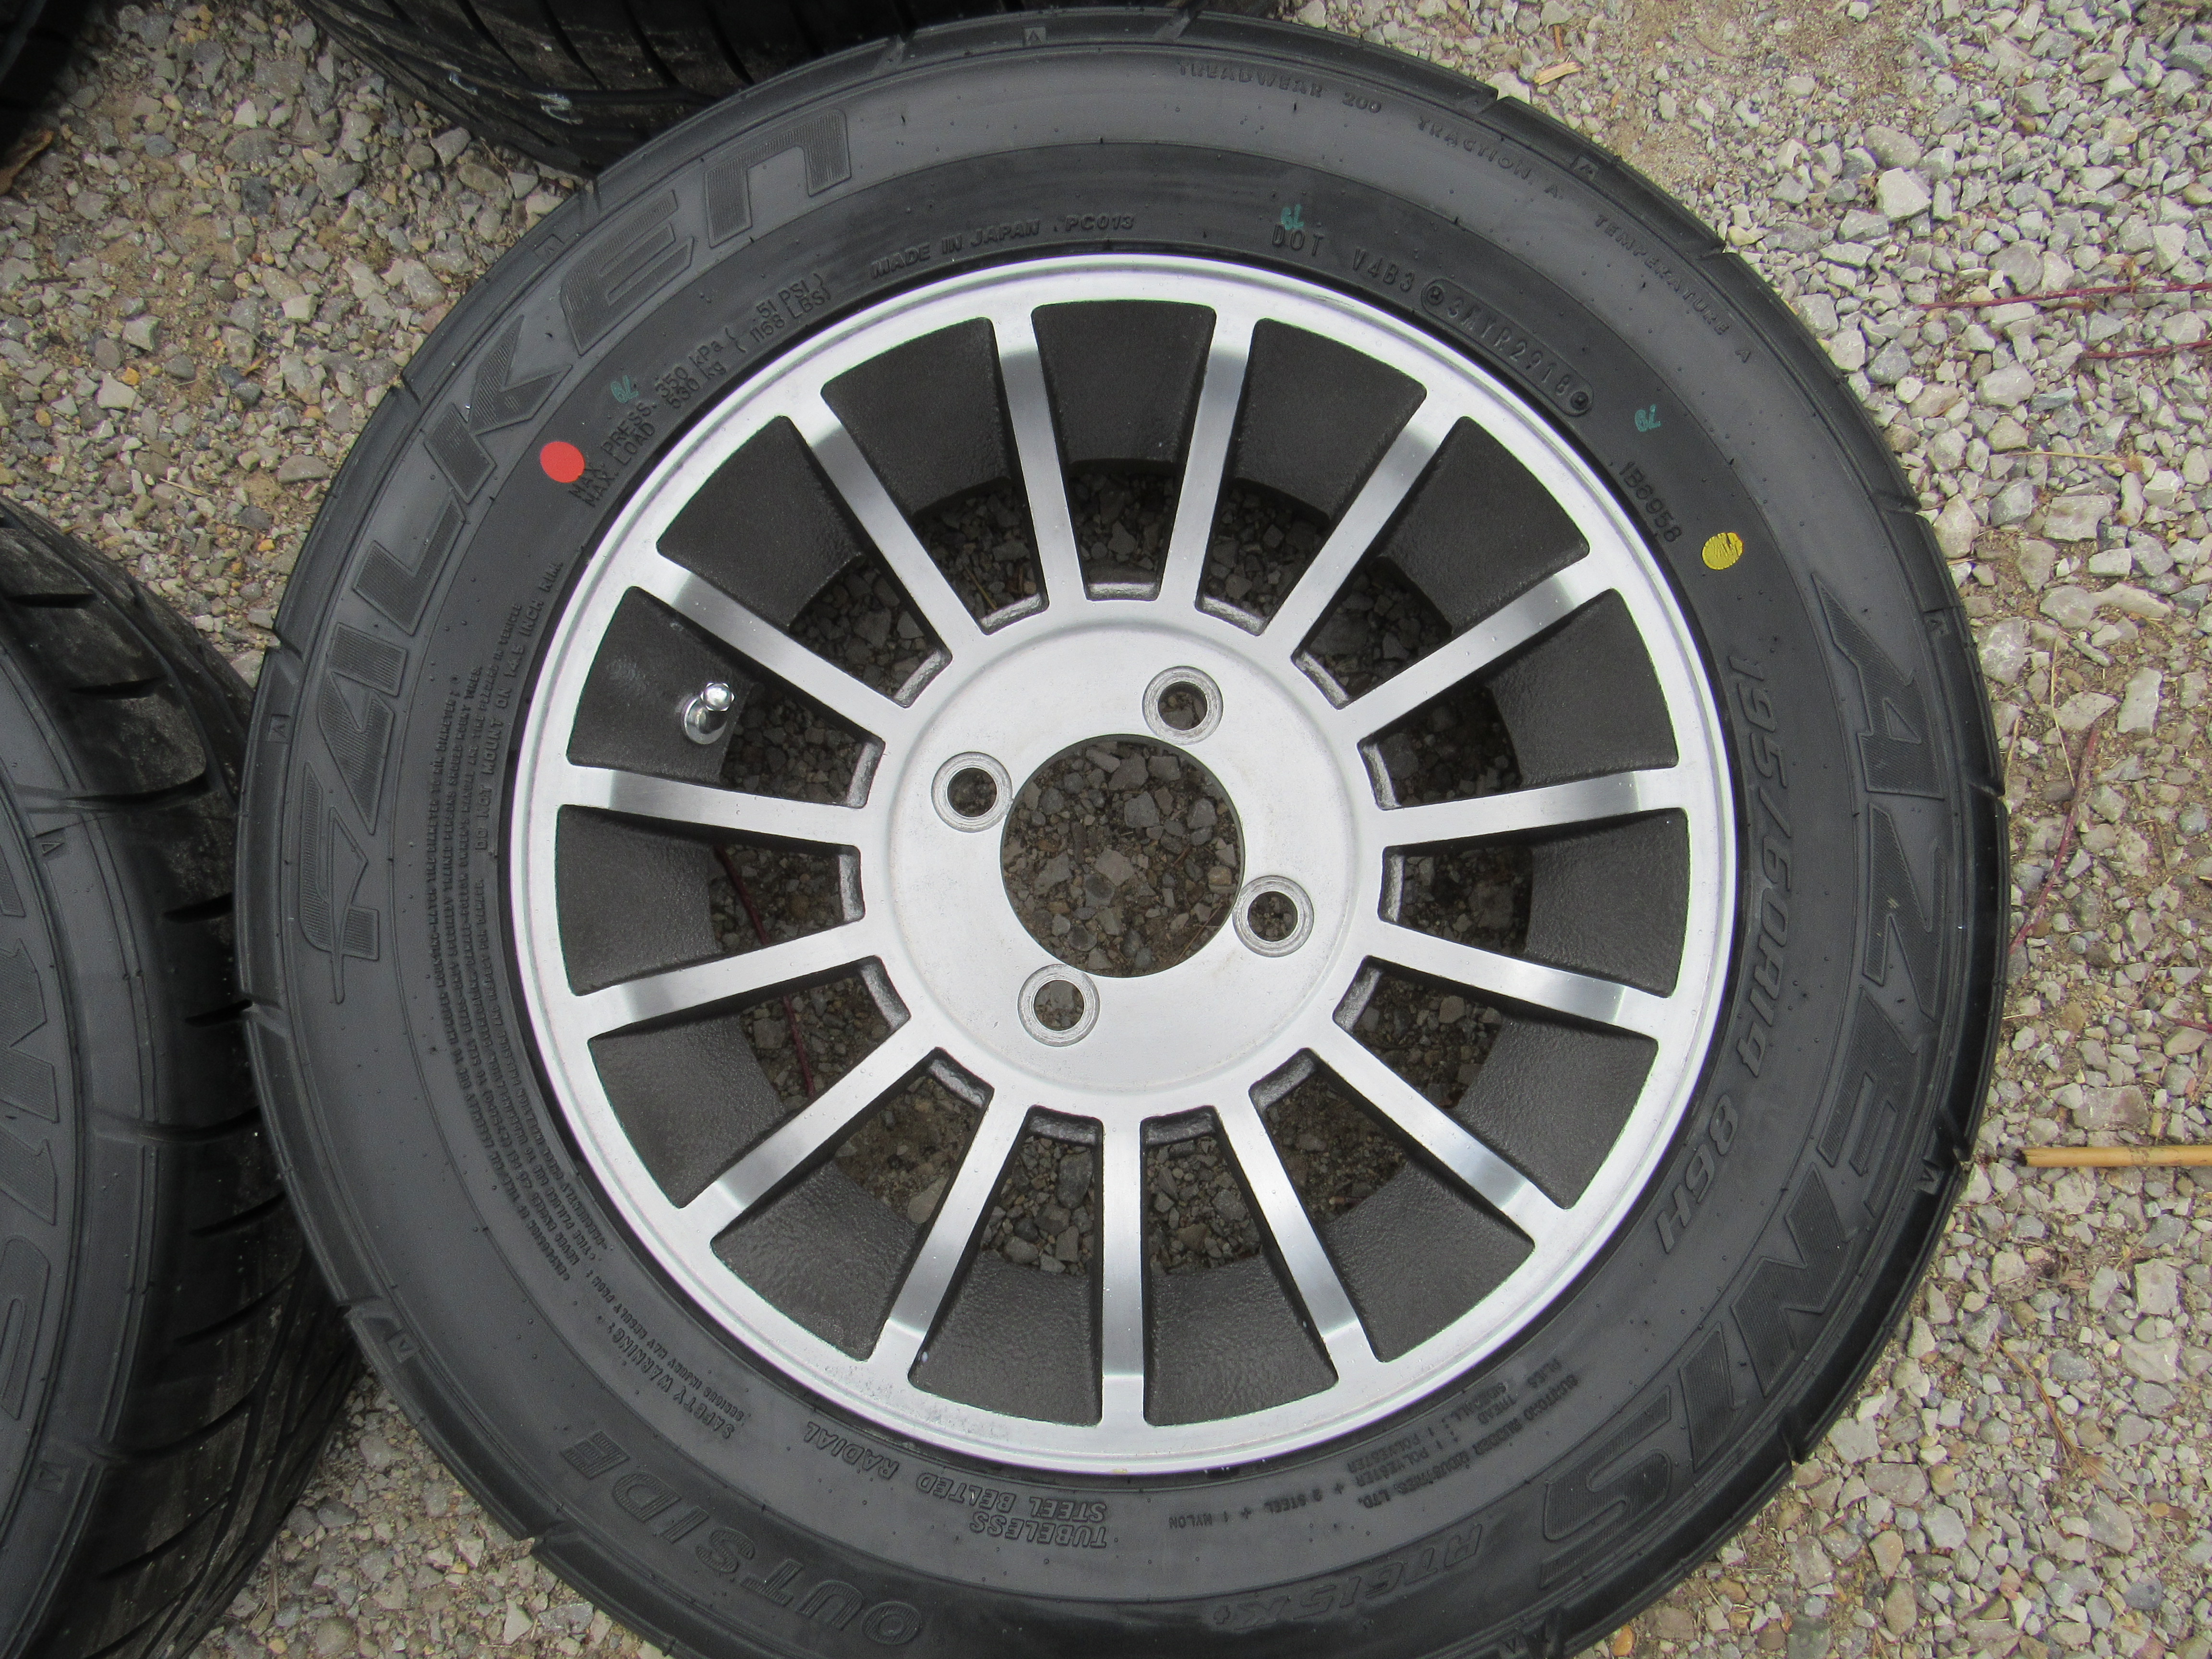
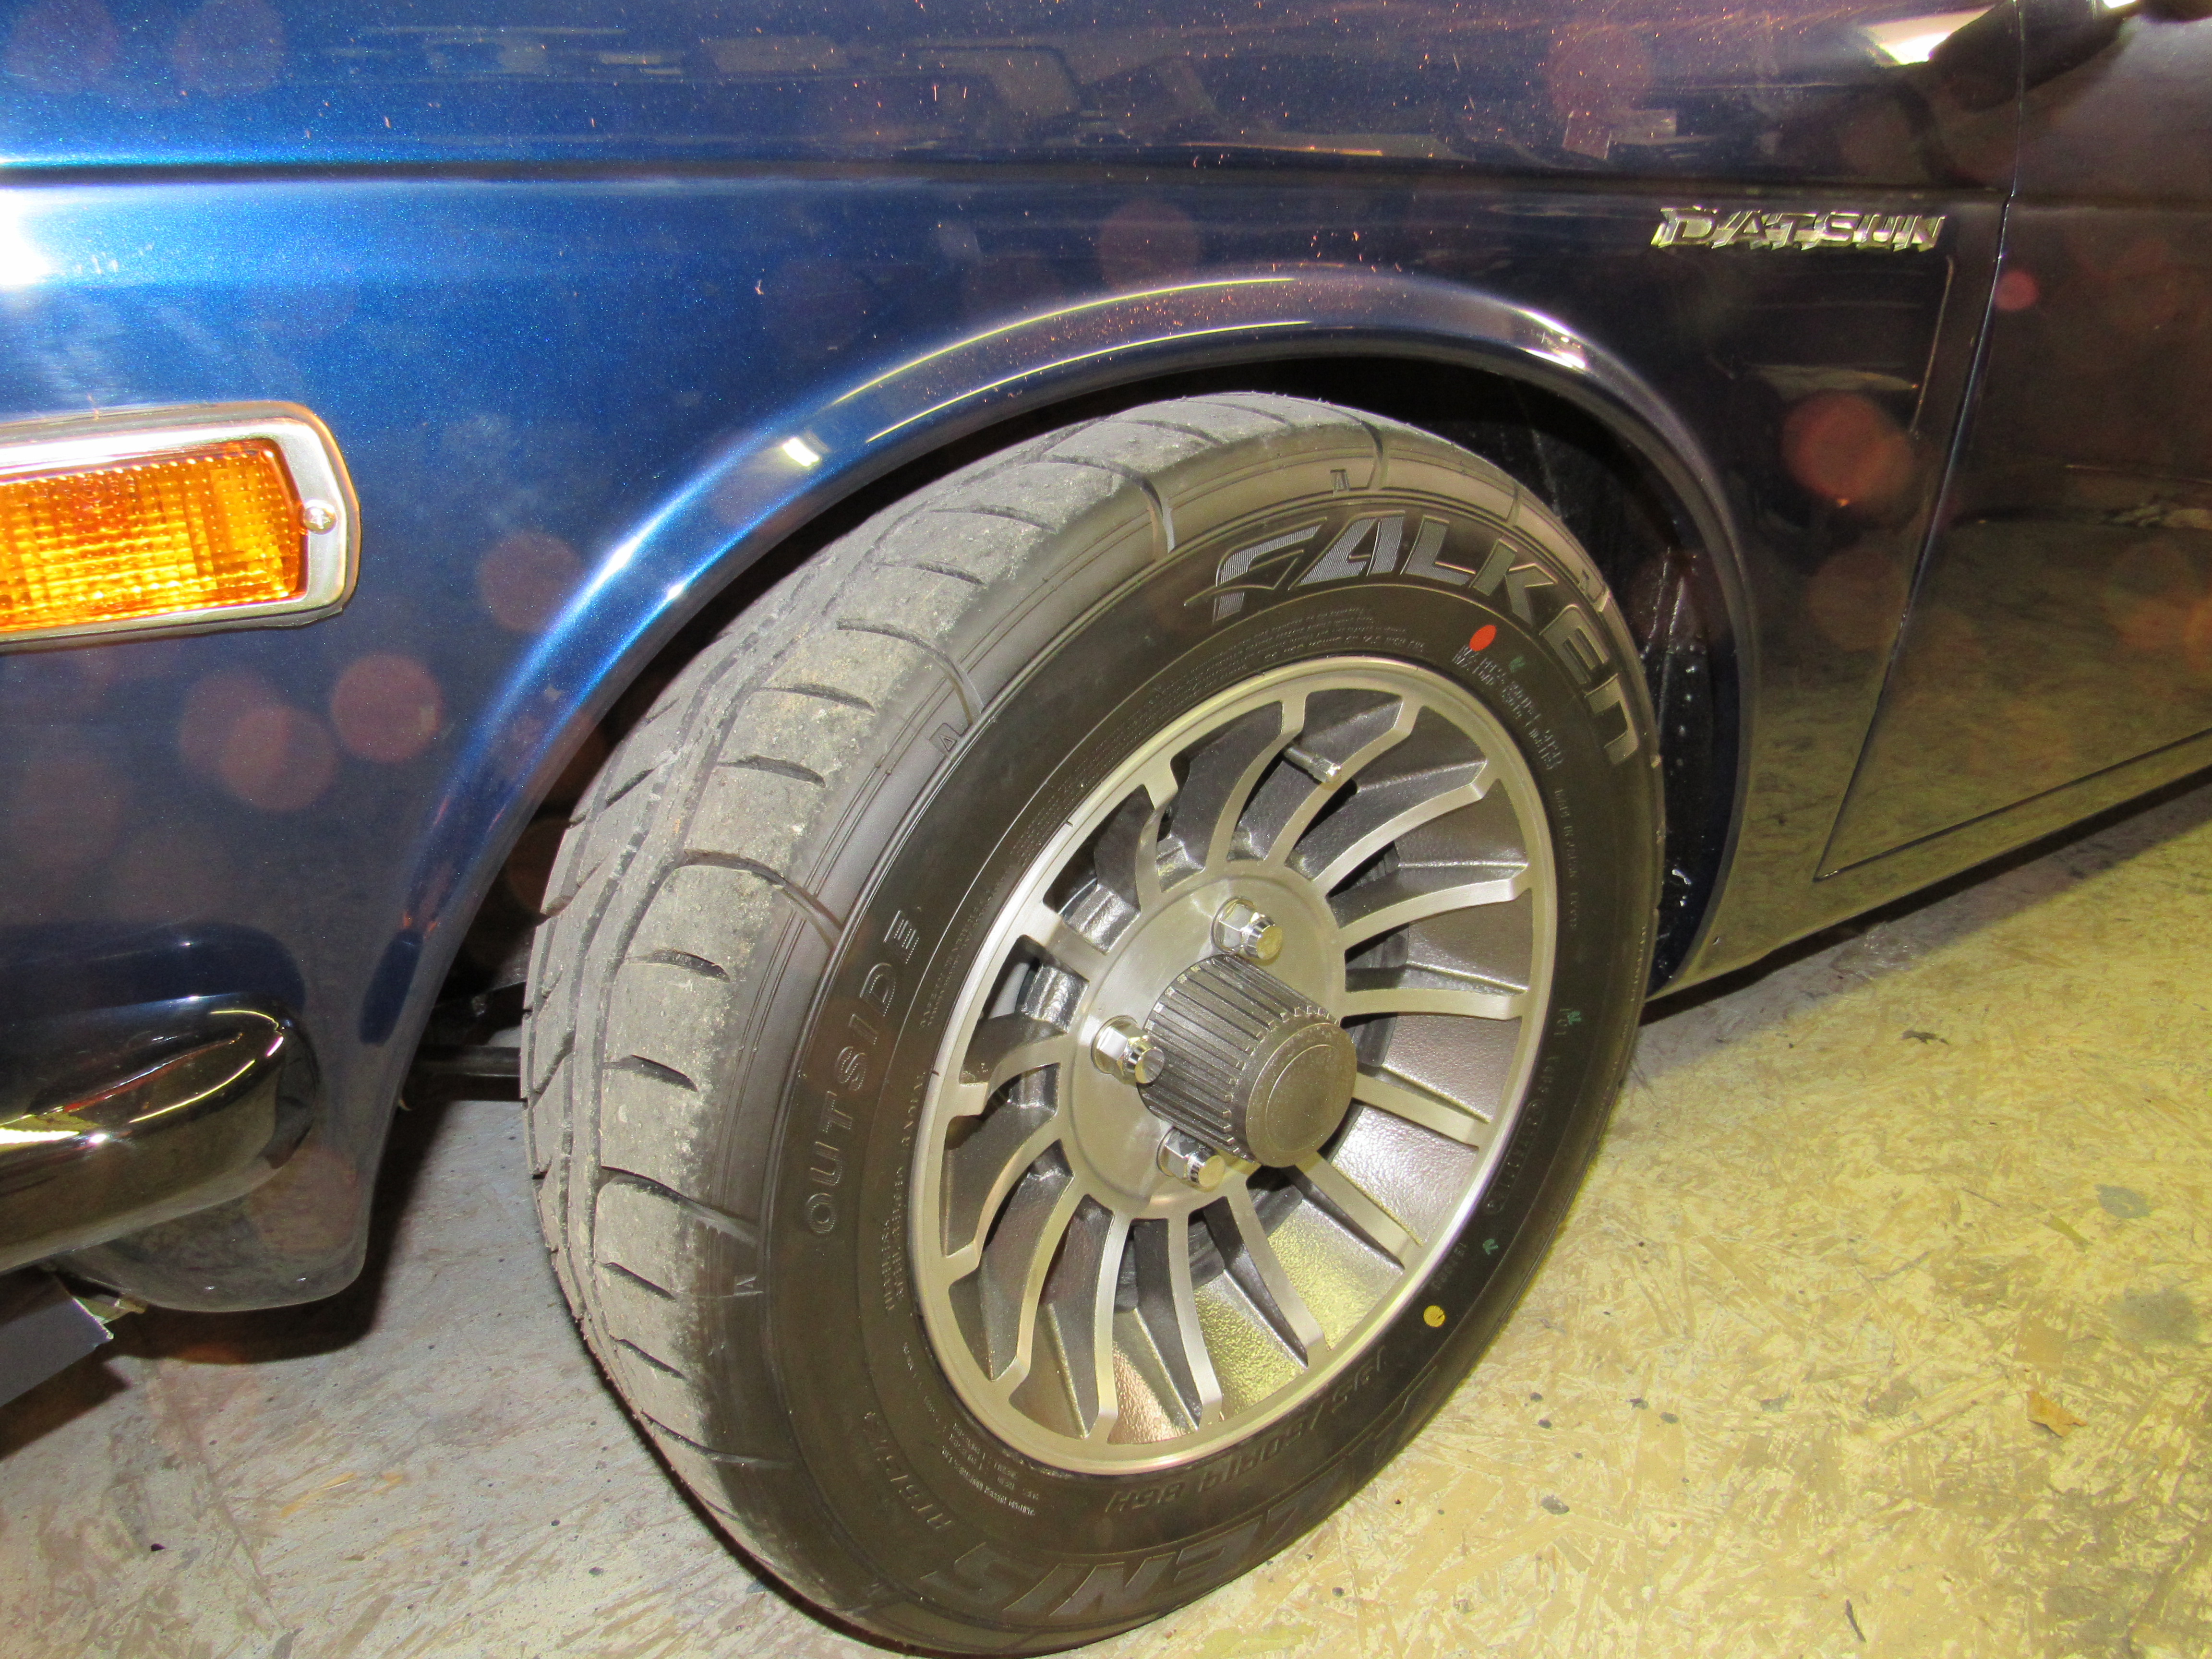
1 pointI have 195/60/14 Falken Azenis on my 510, good looking tire and although I haven't pushed them yet they seem to be pretty sticky.
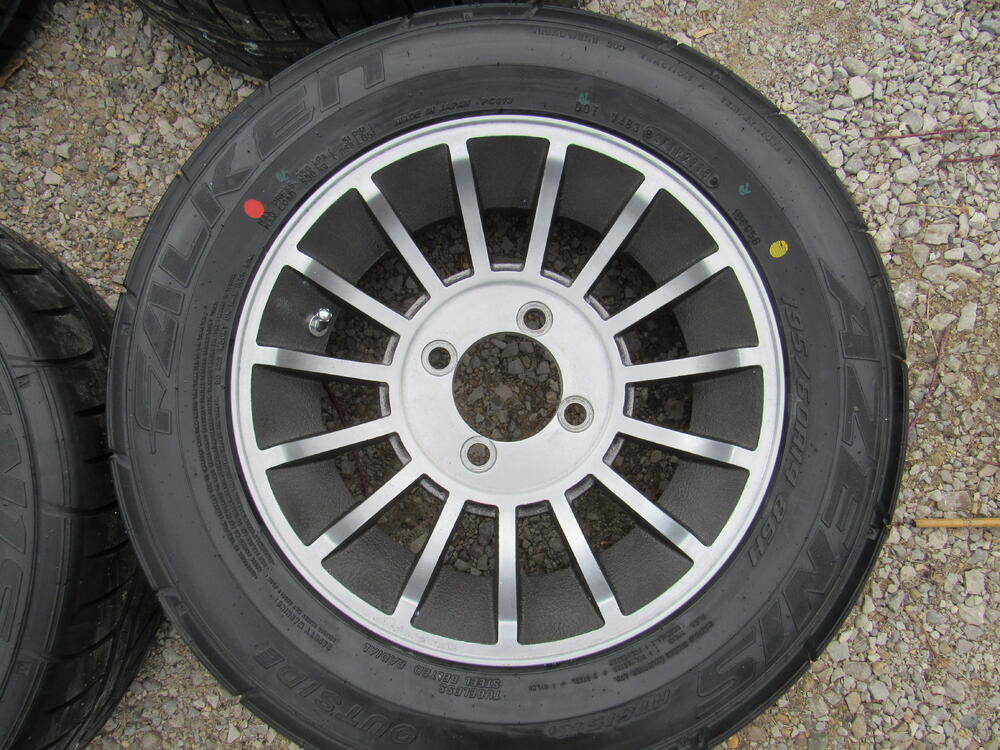
 1 point
 -
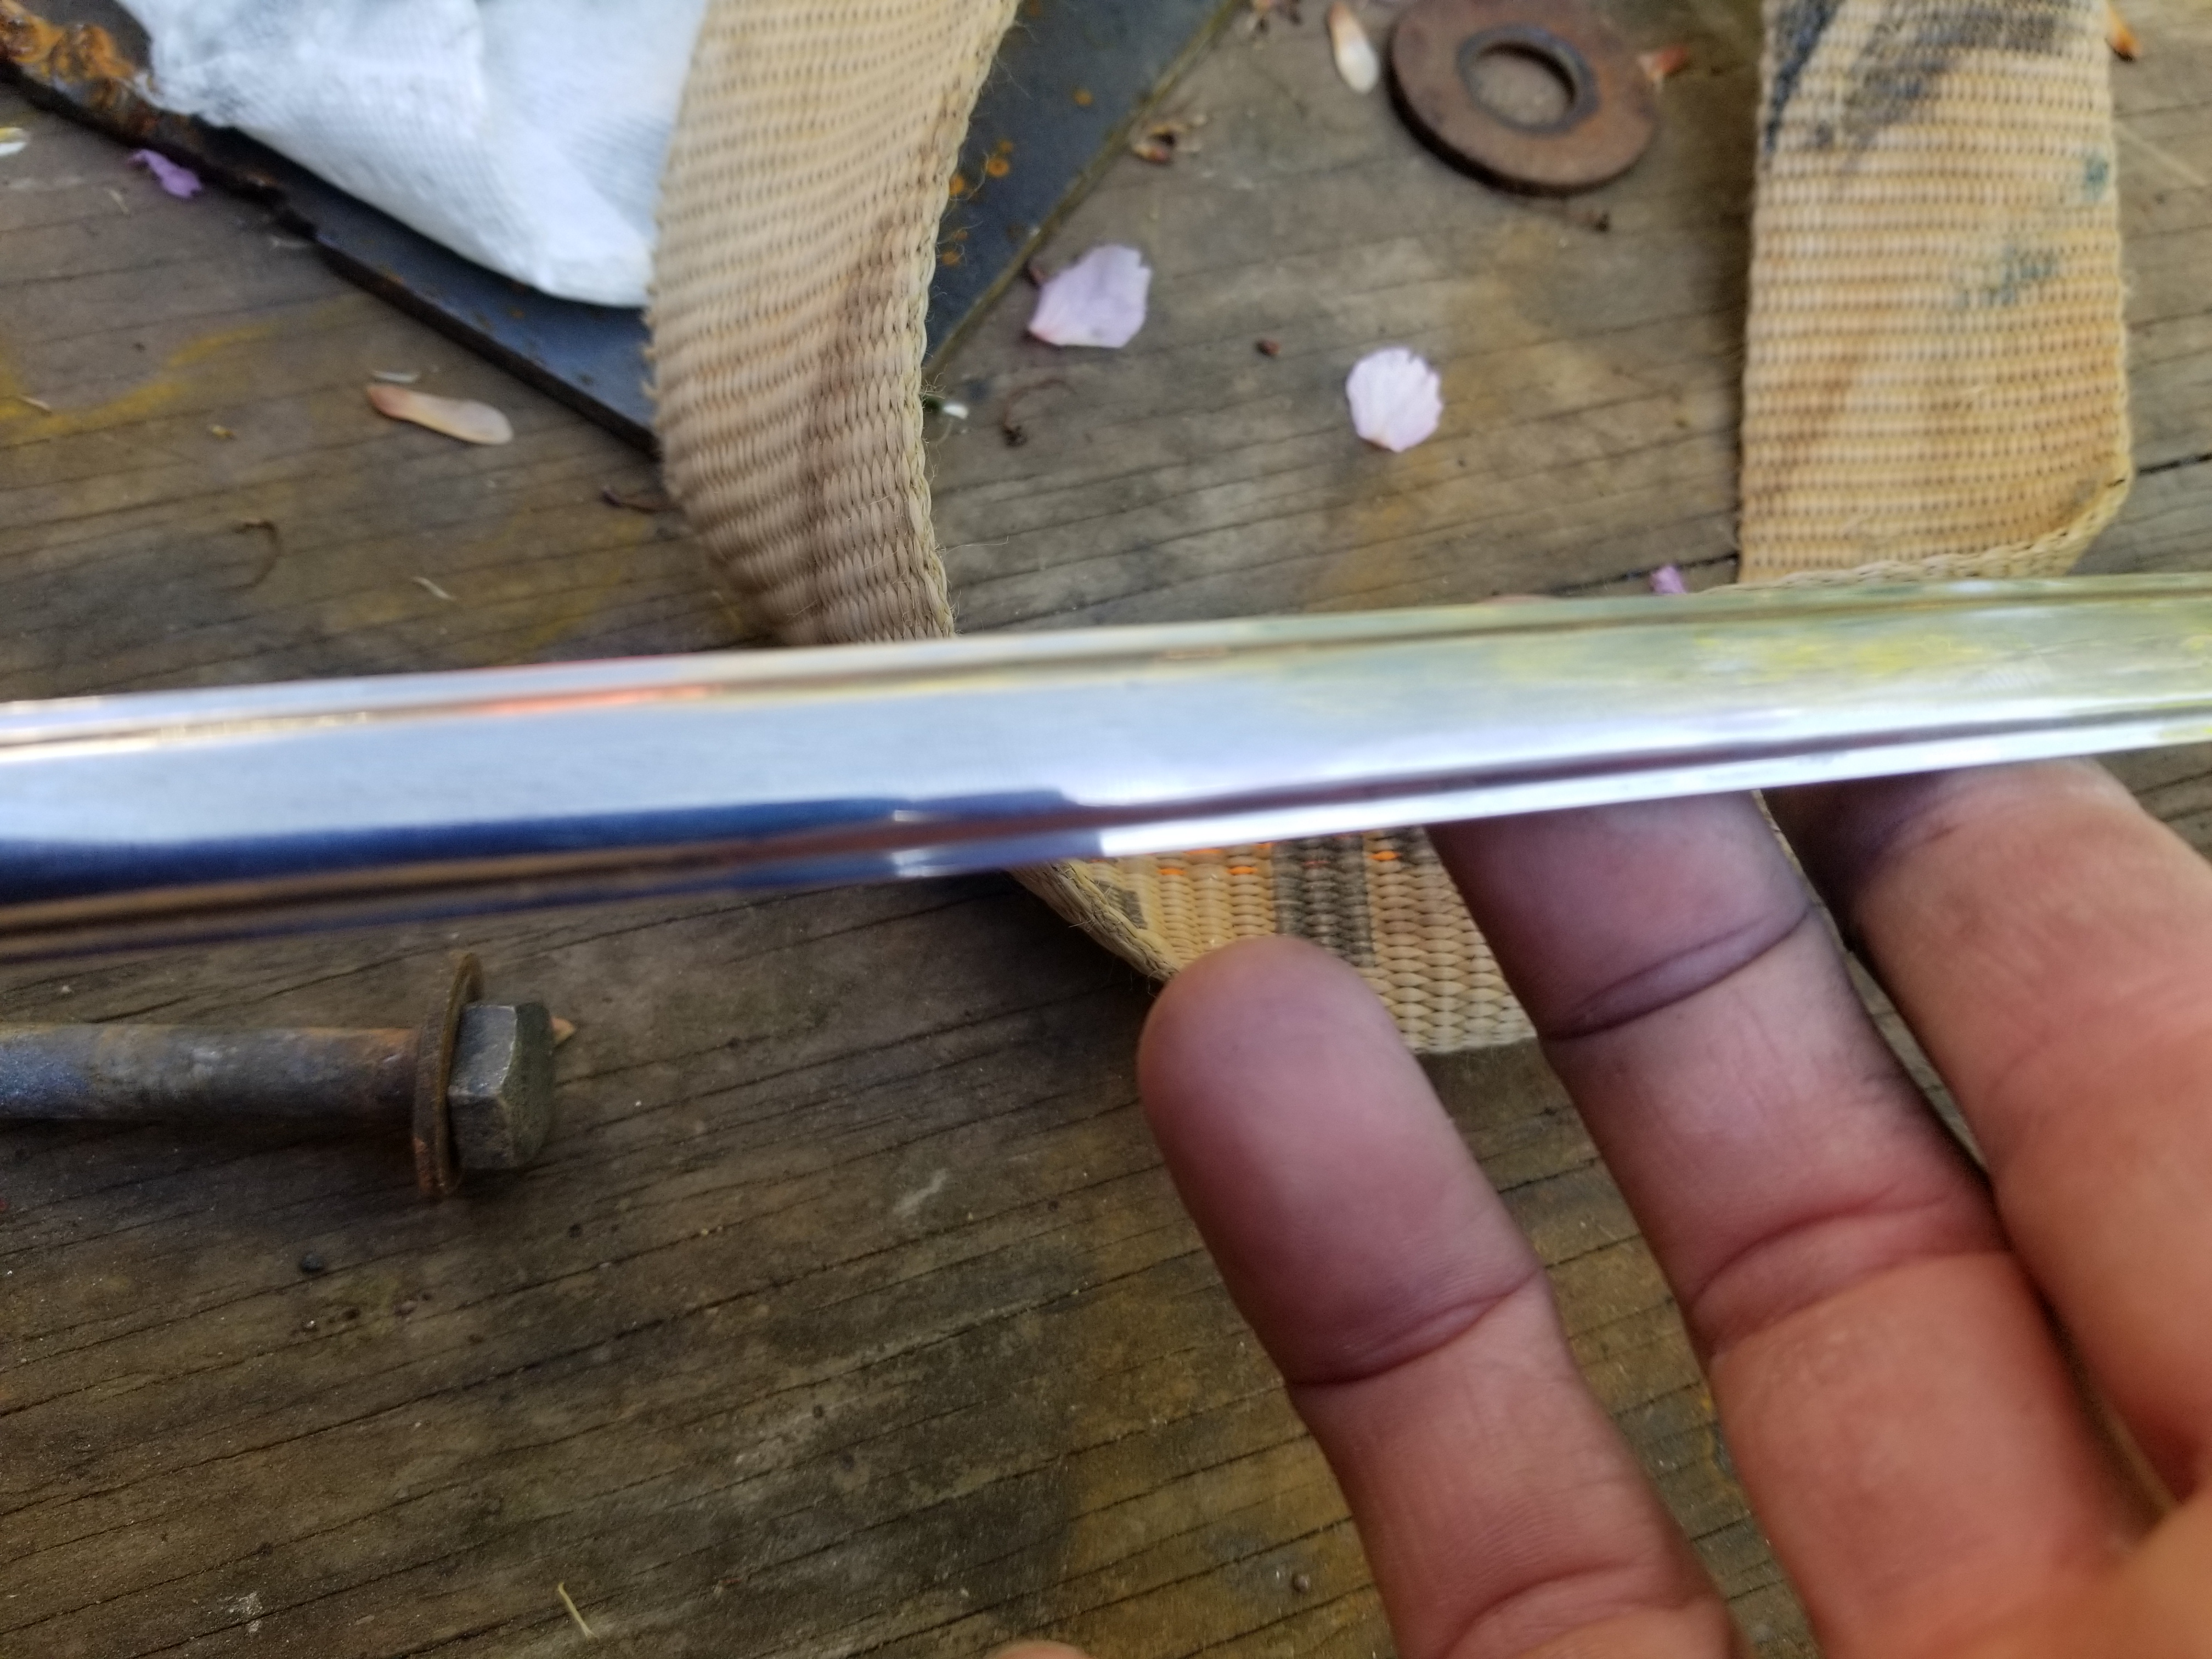
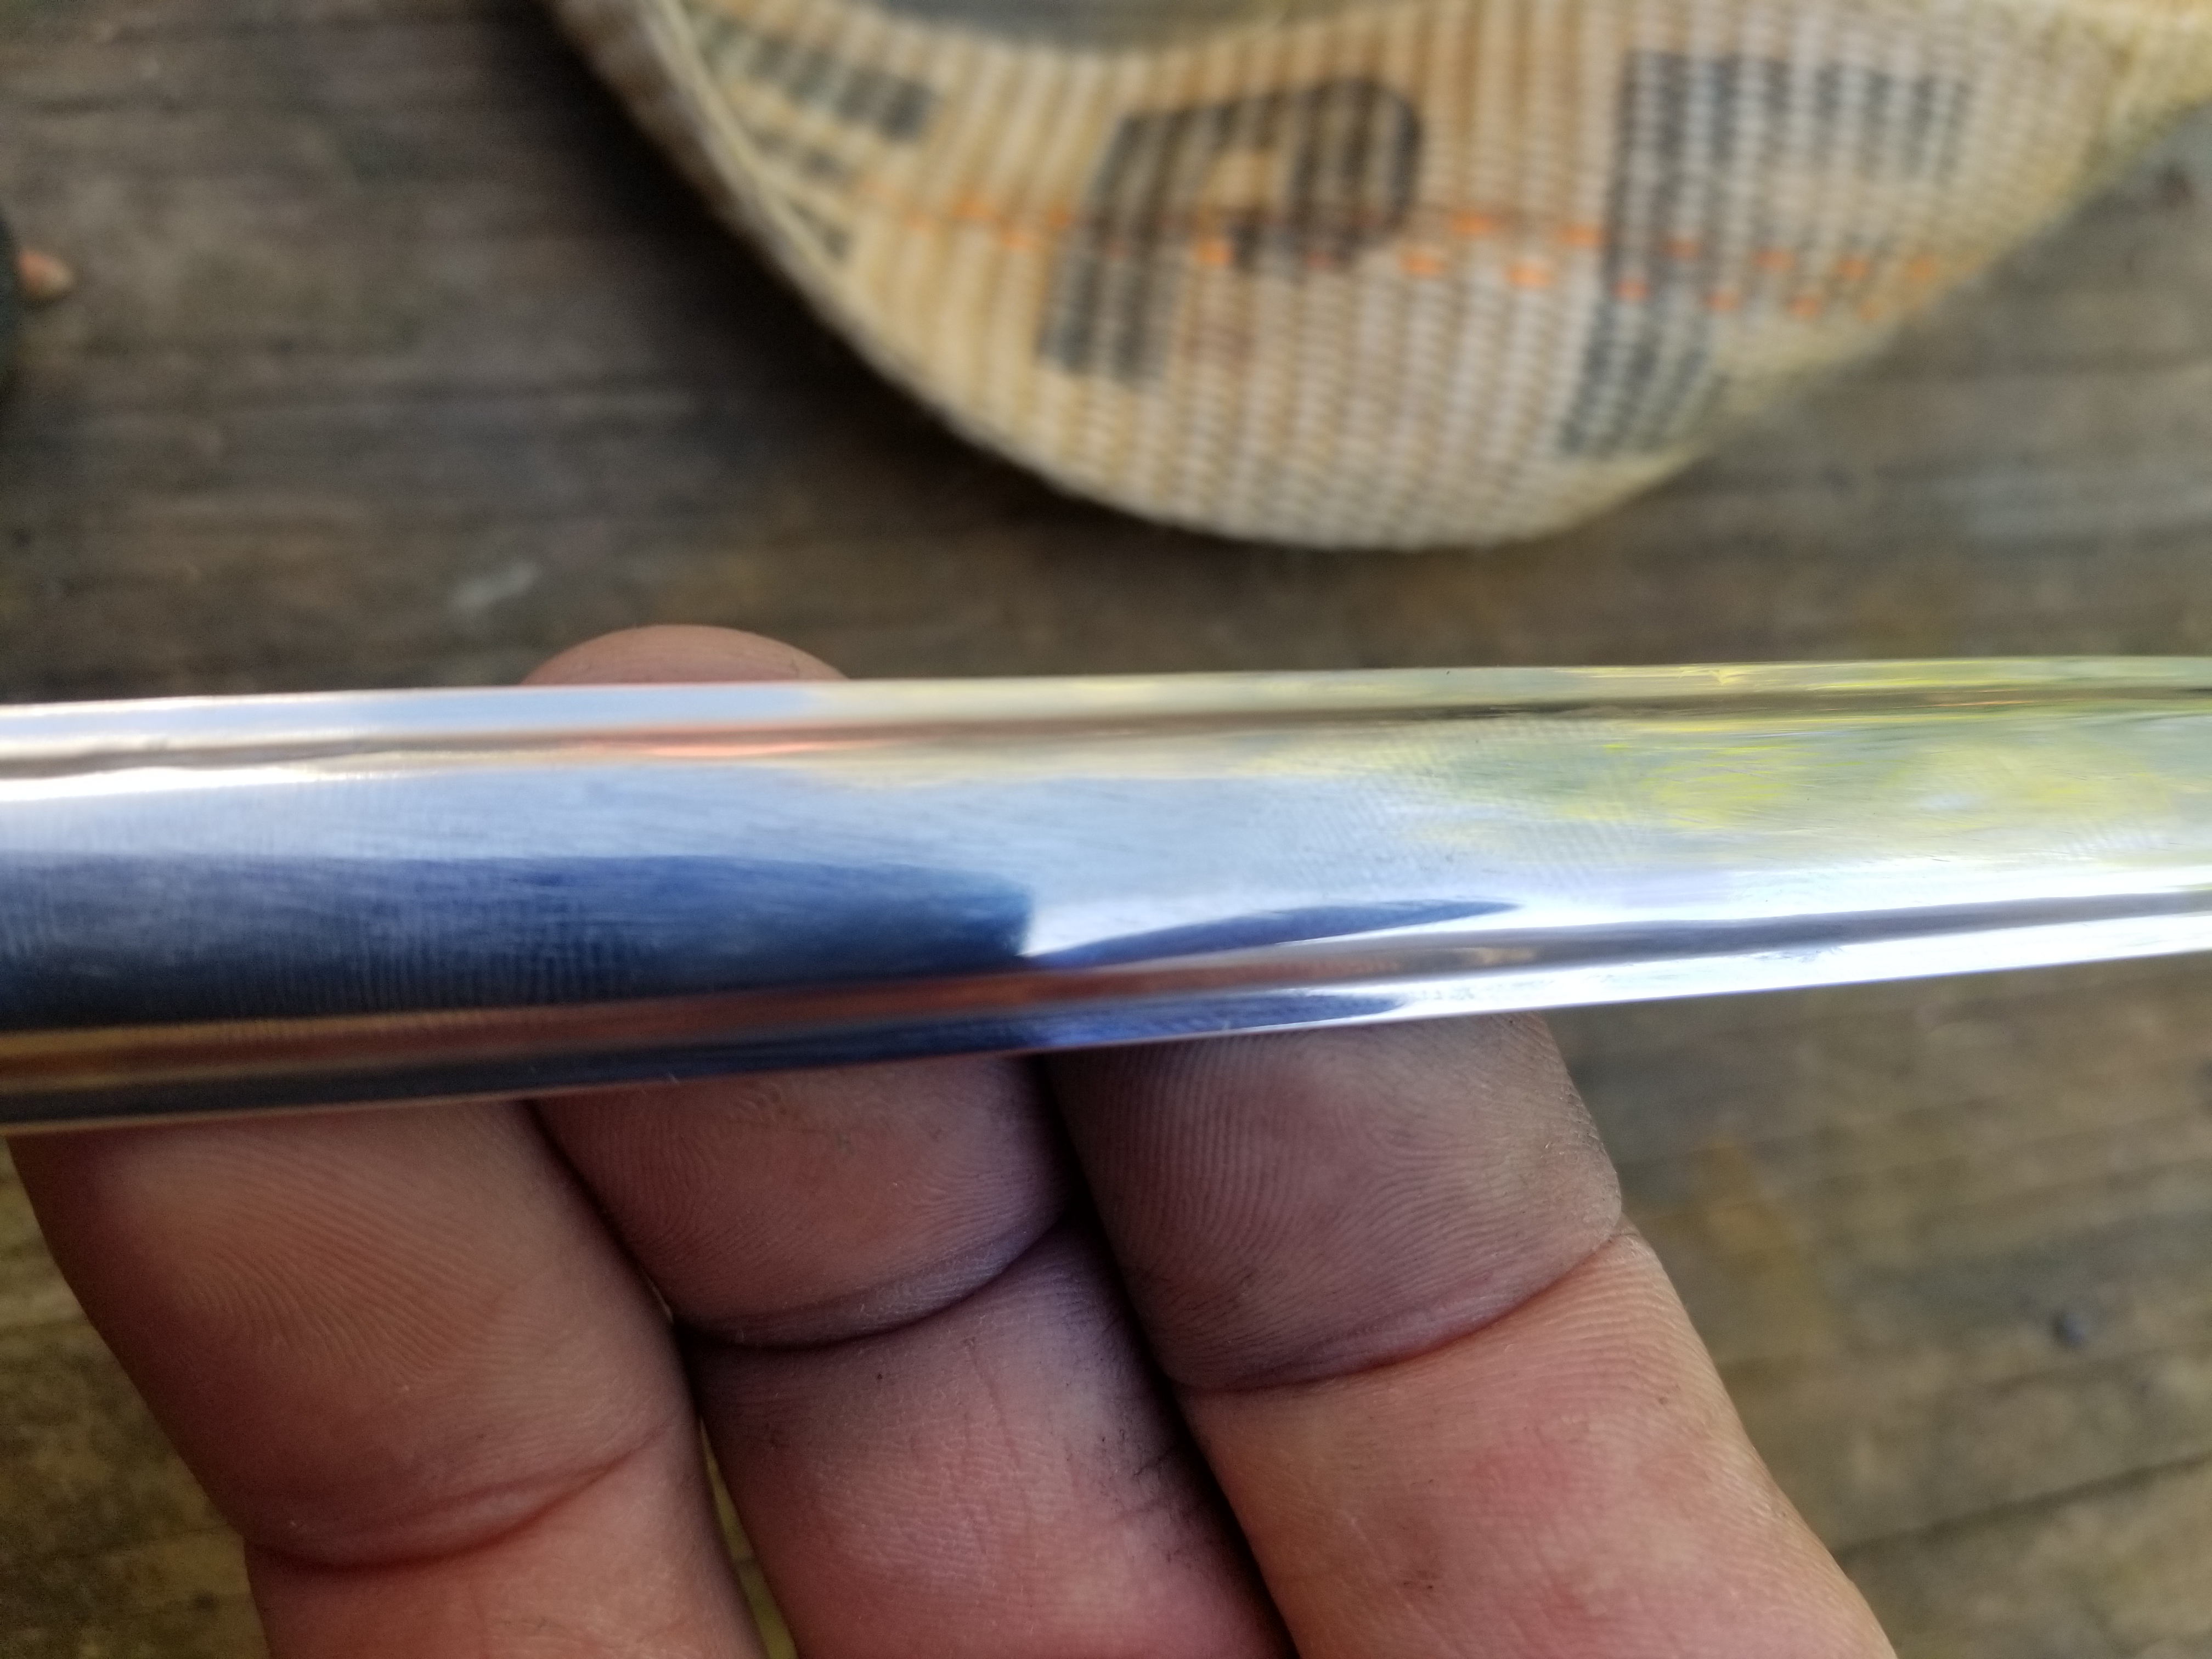
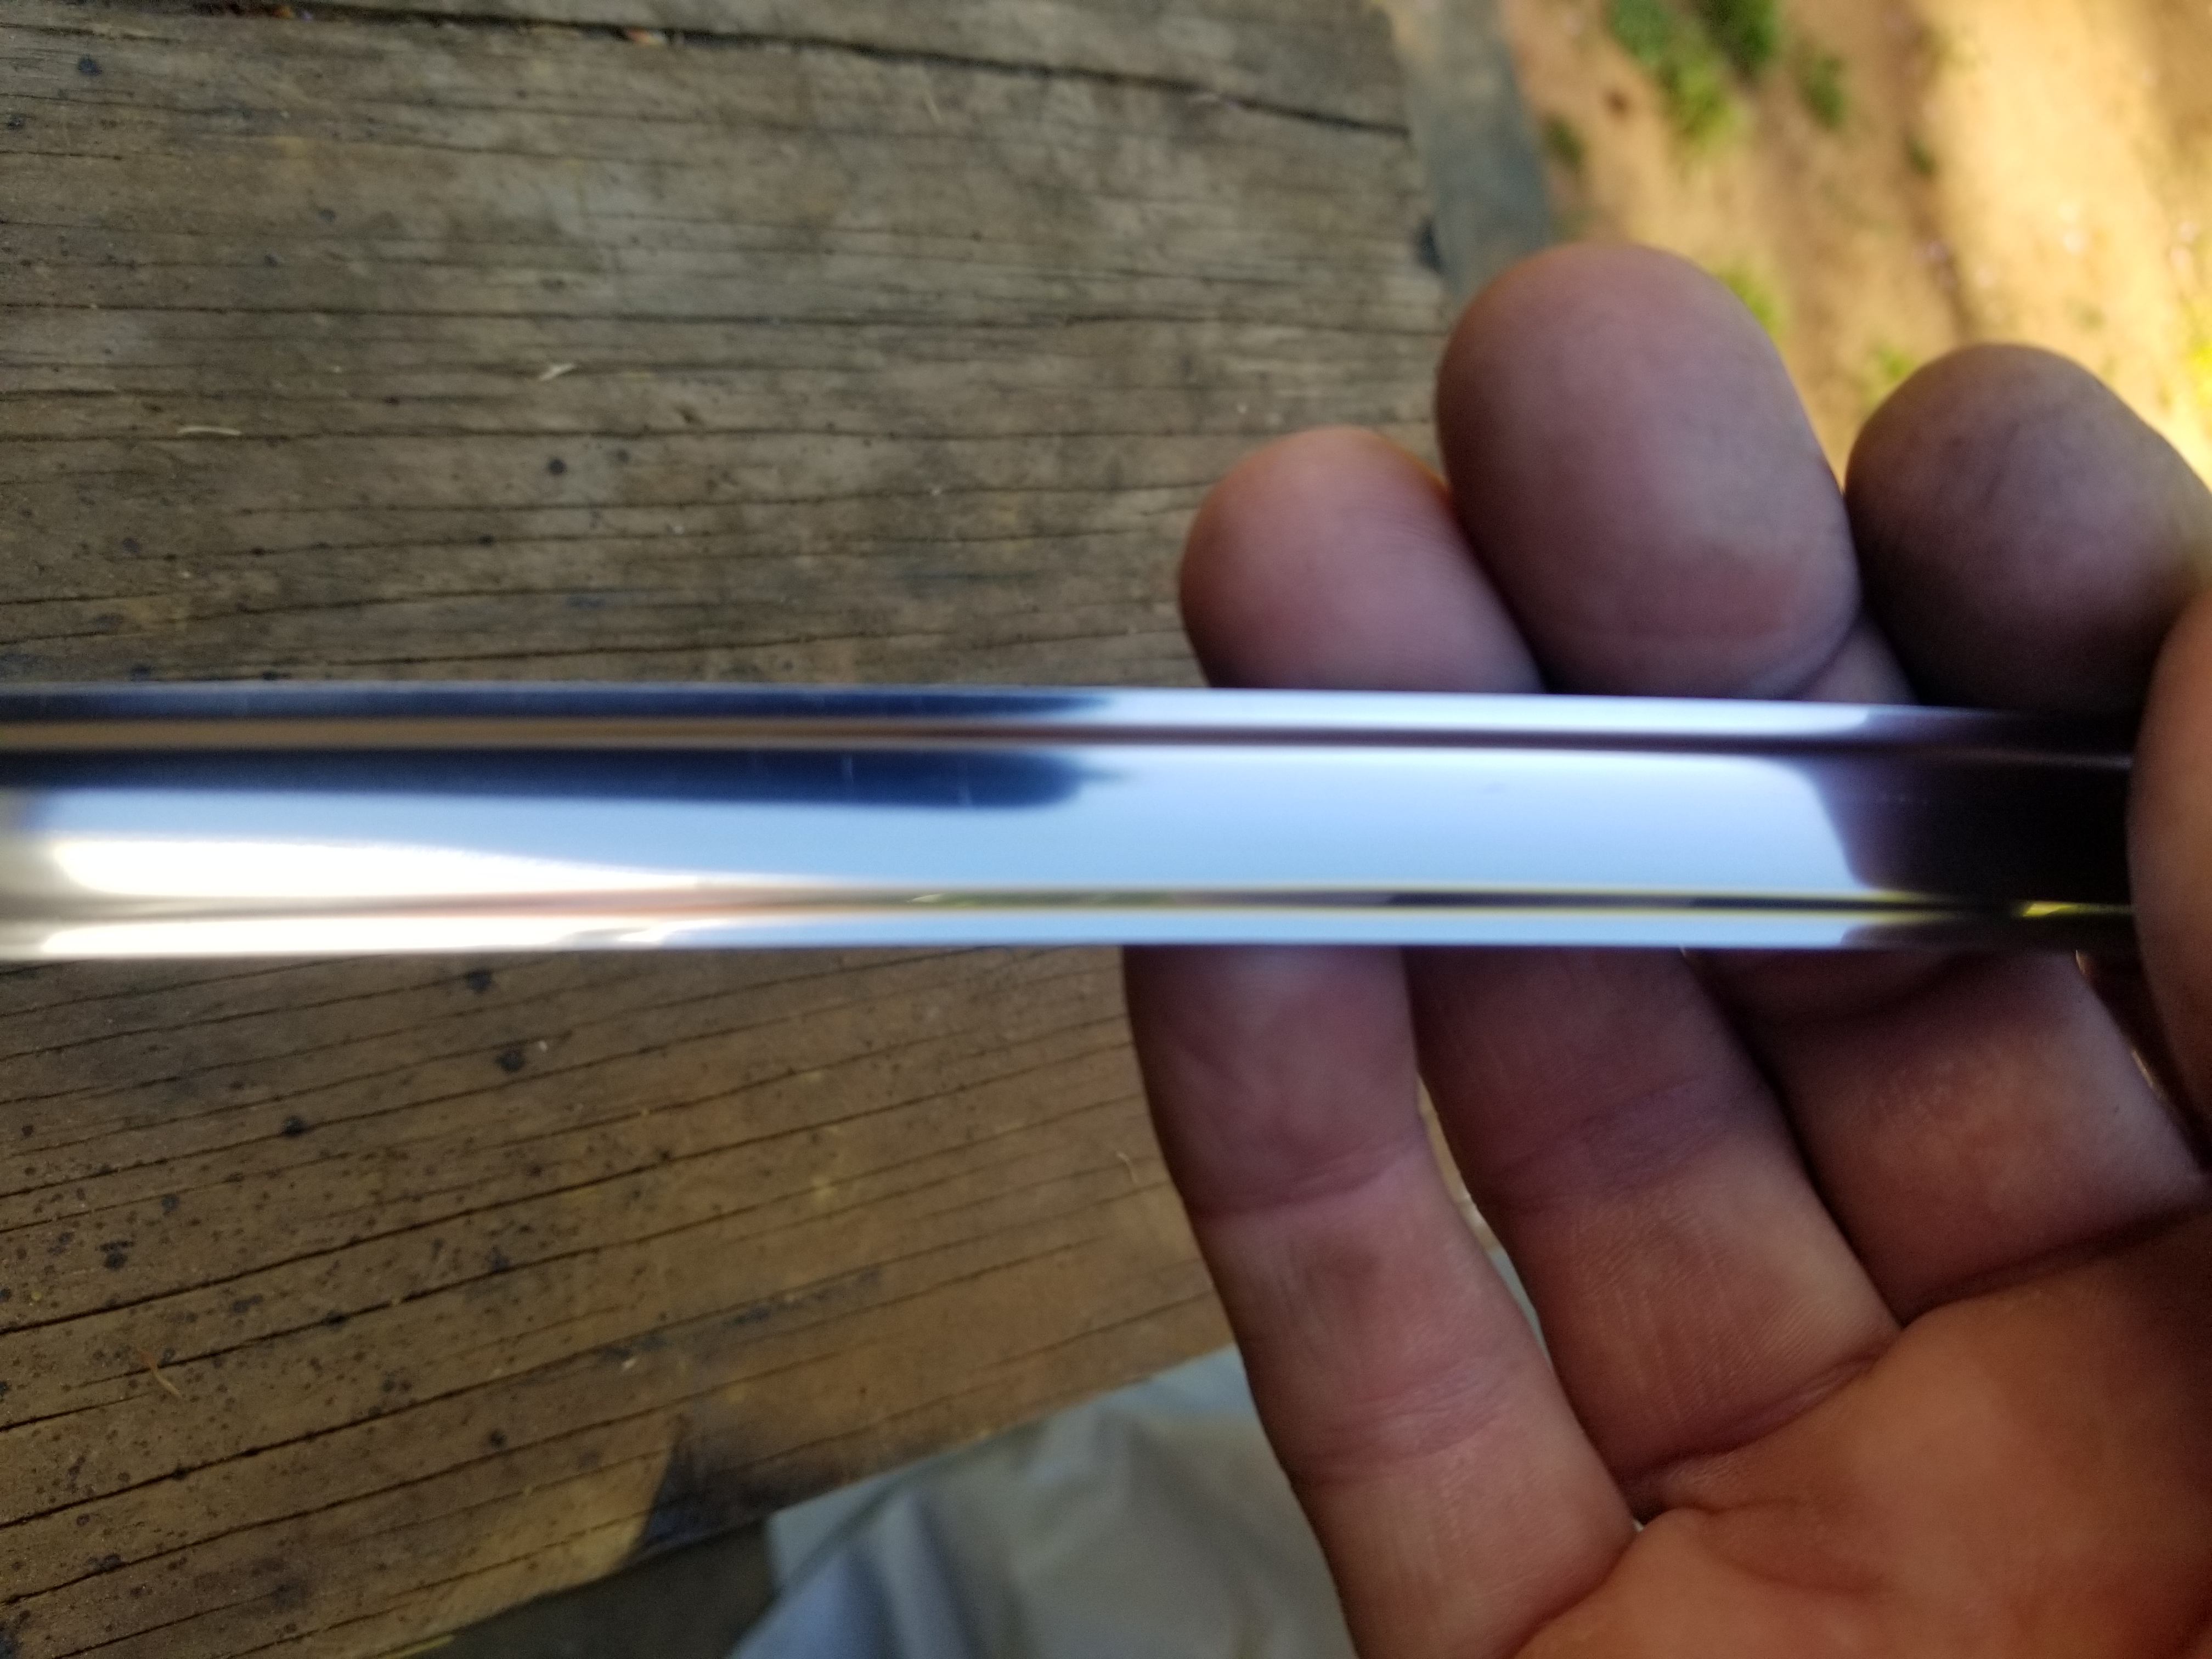
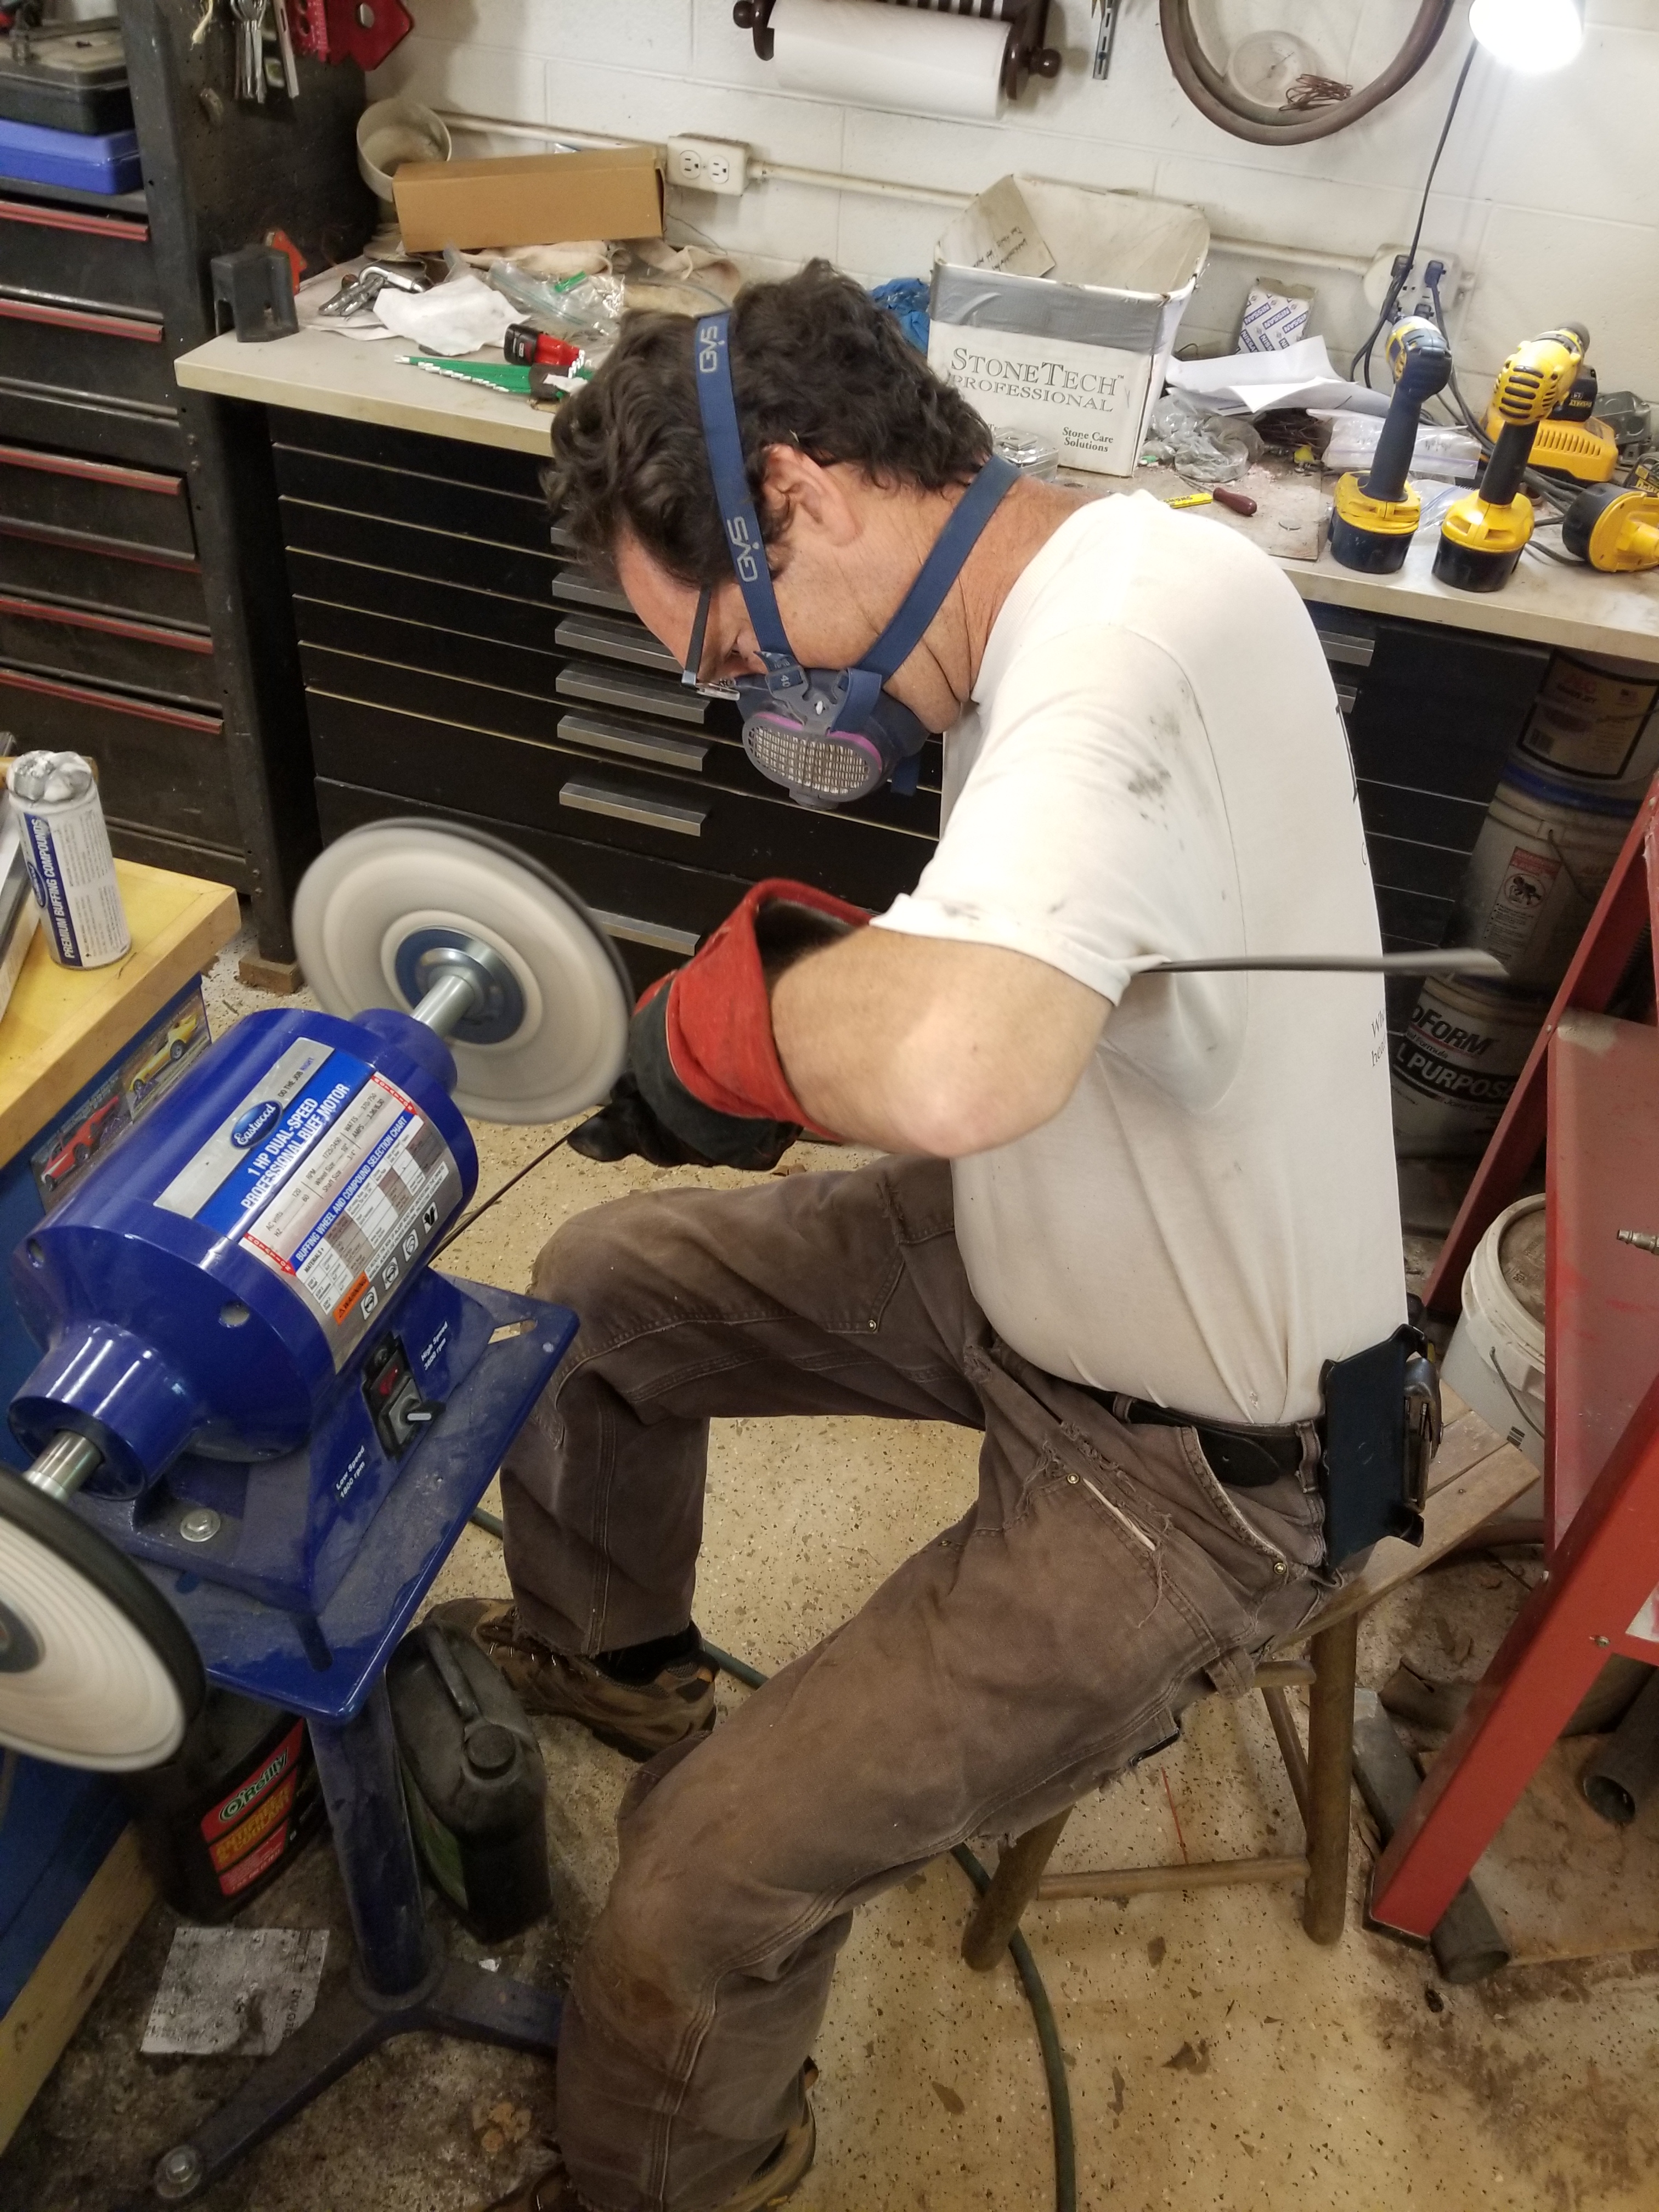
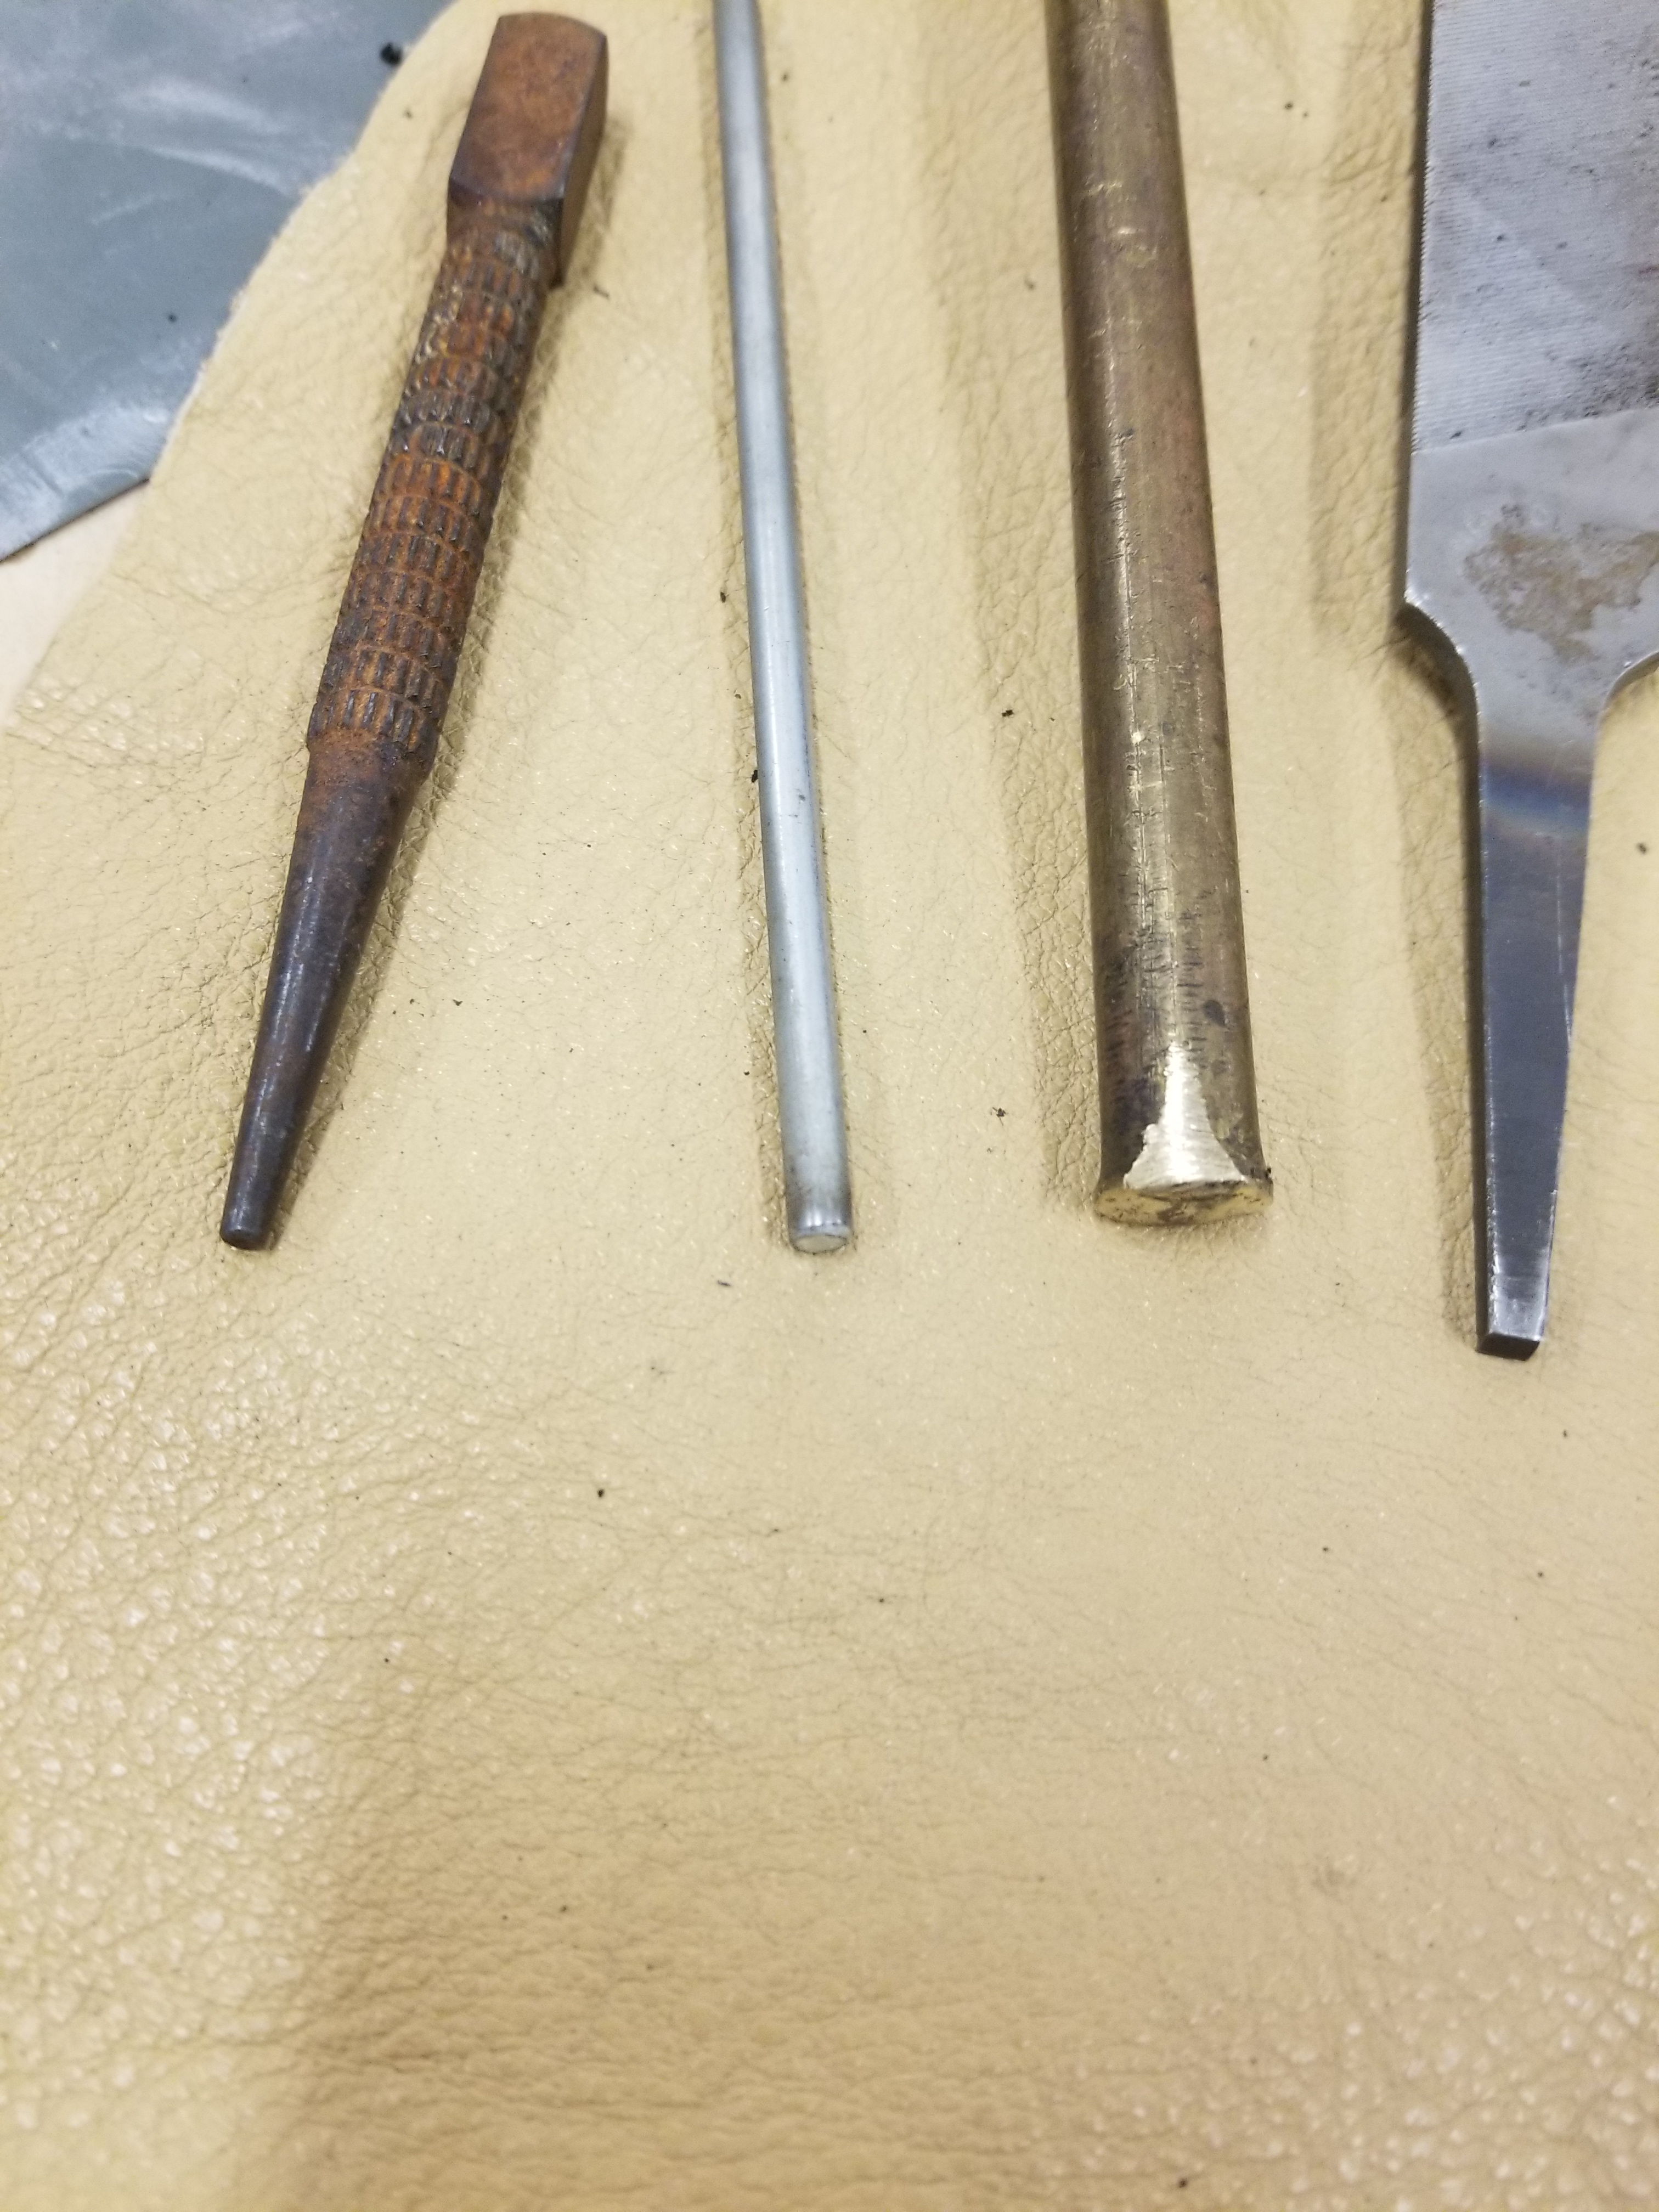
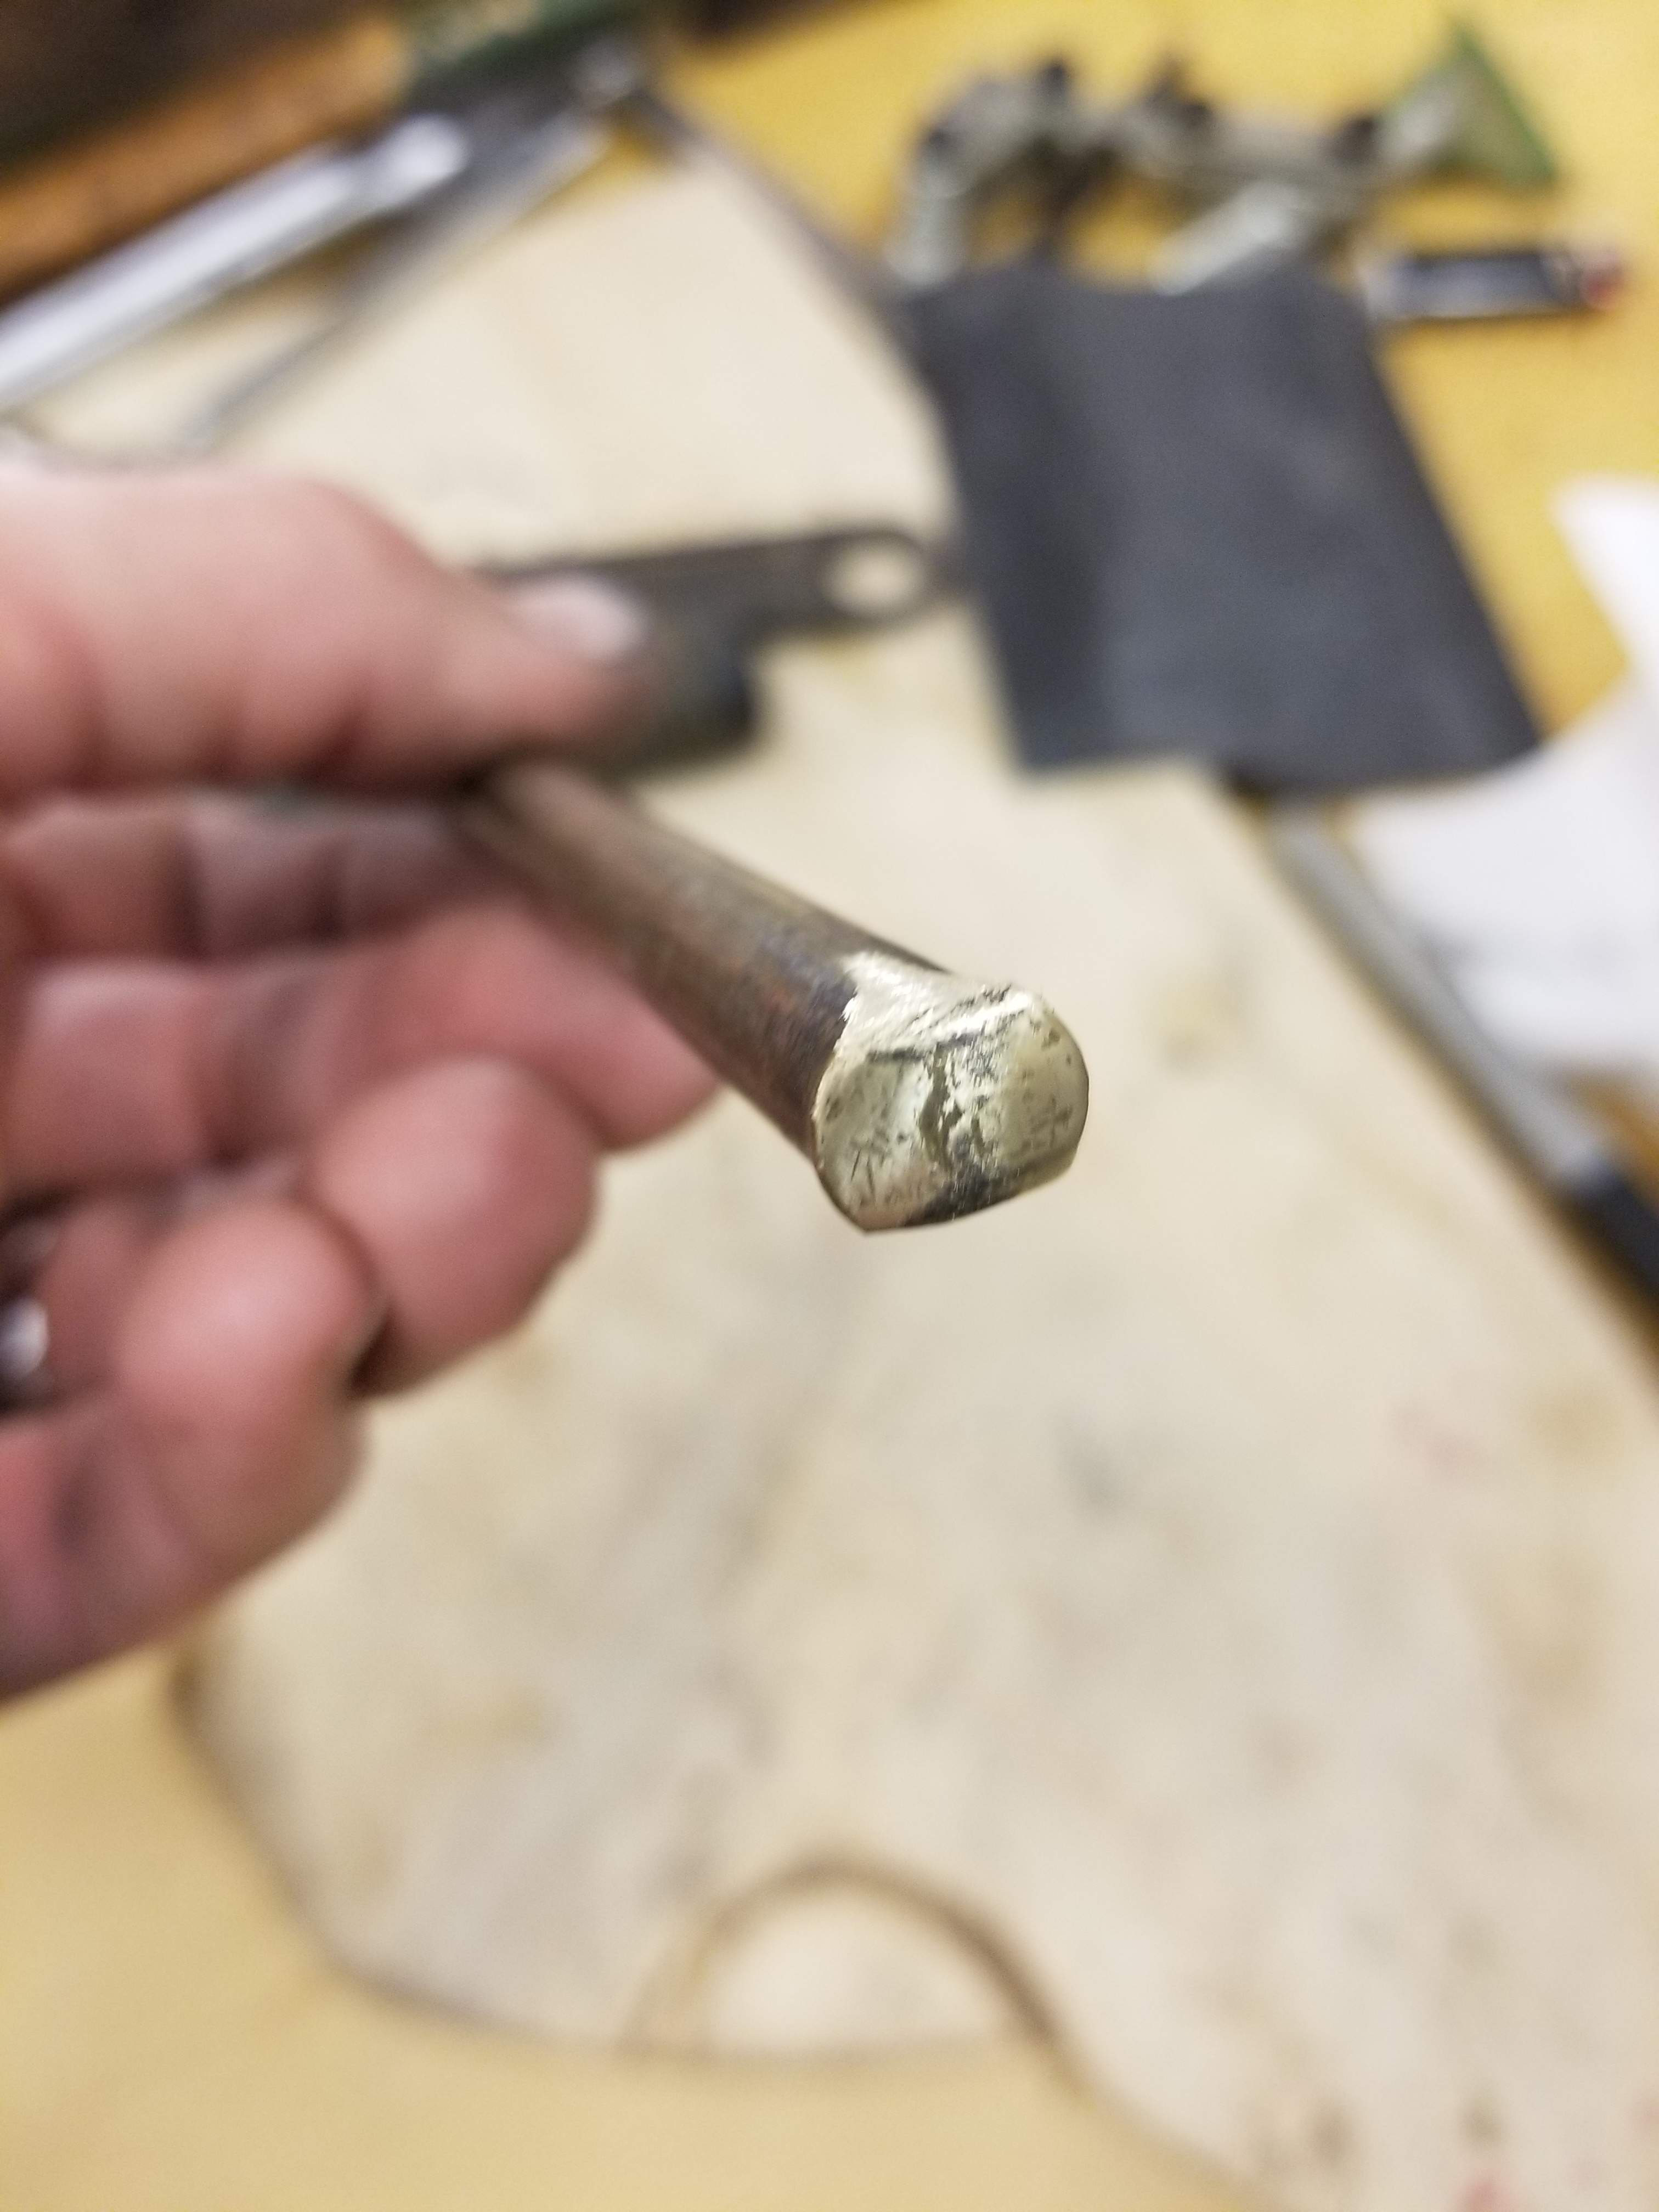
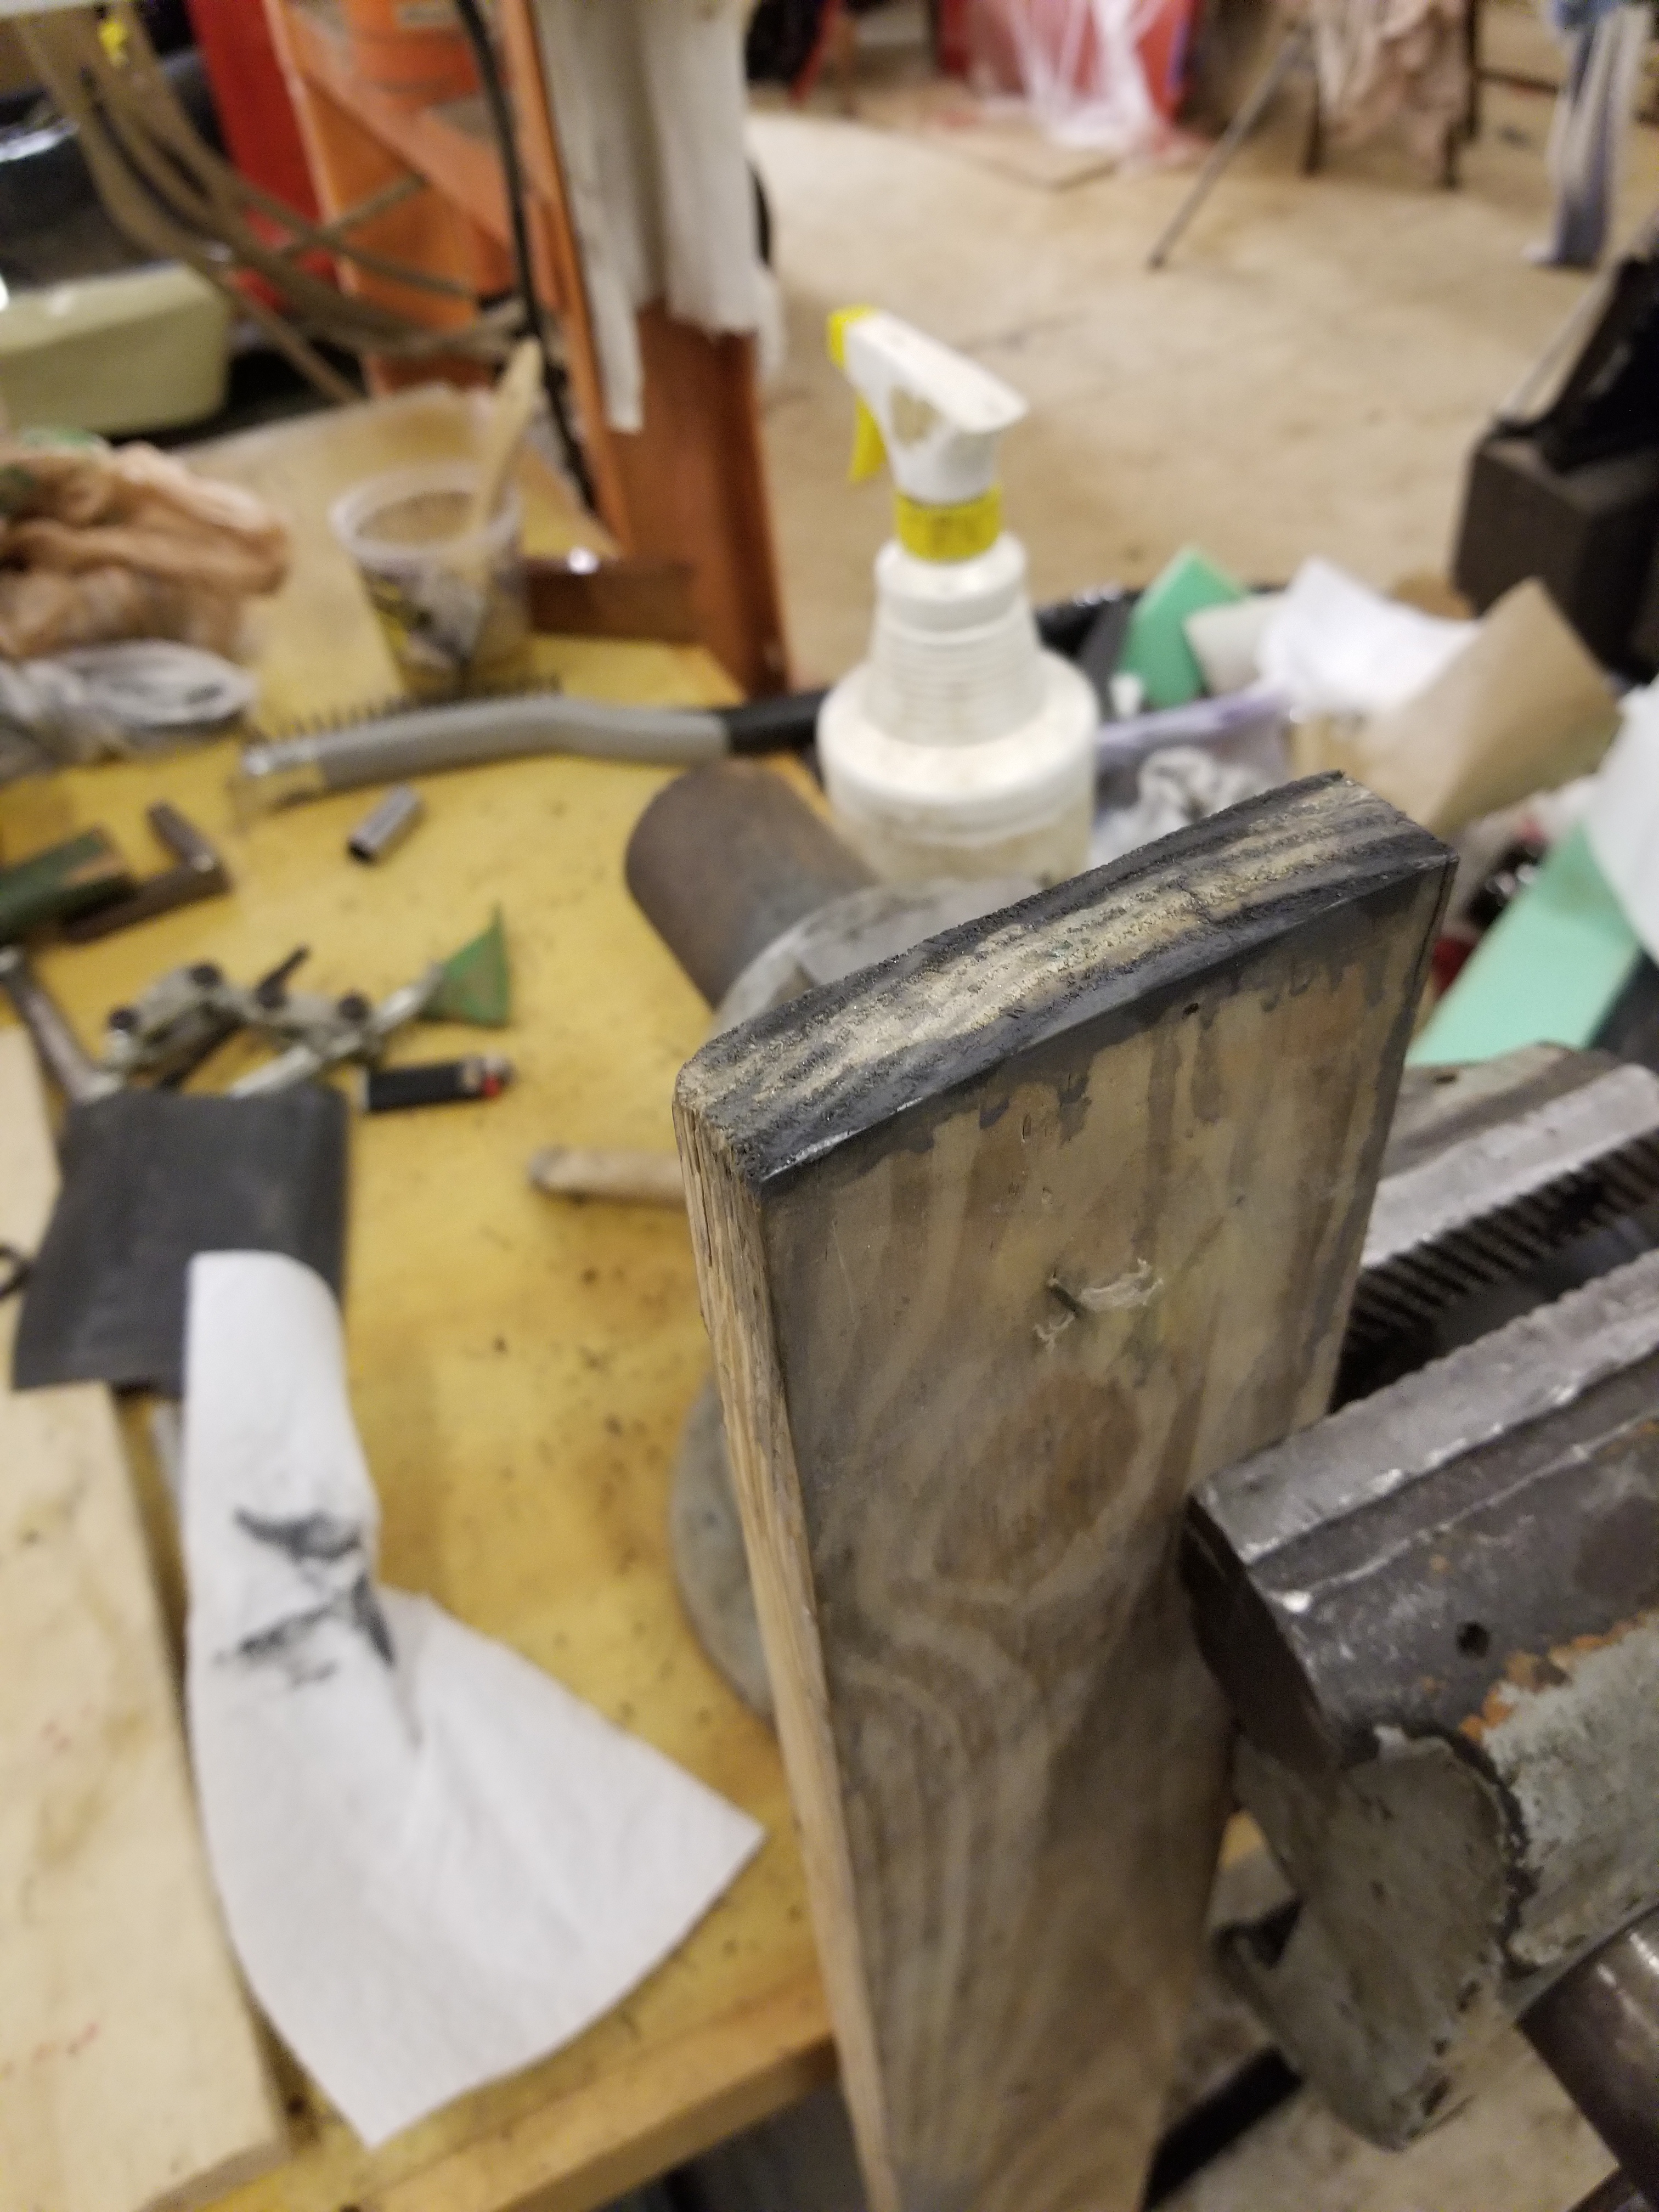
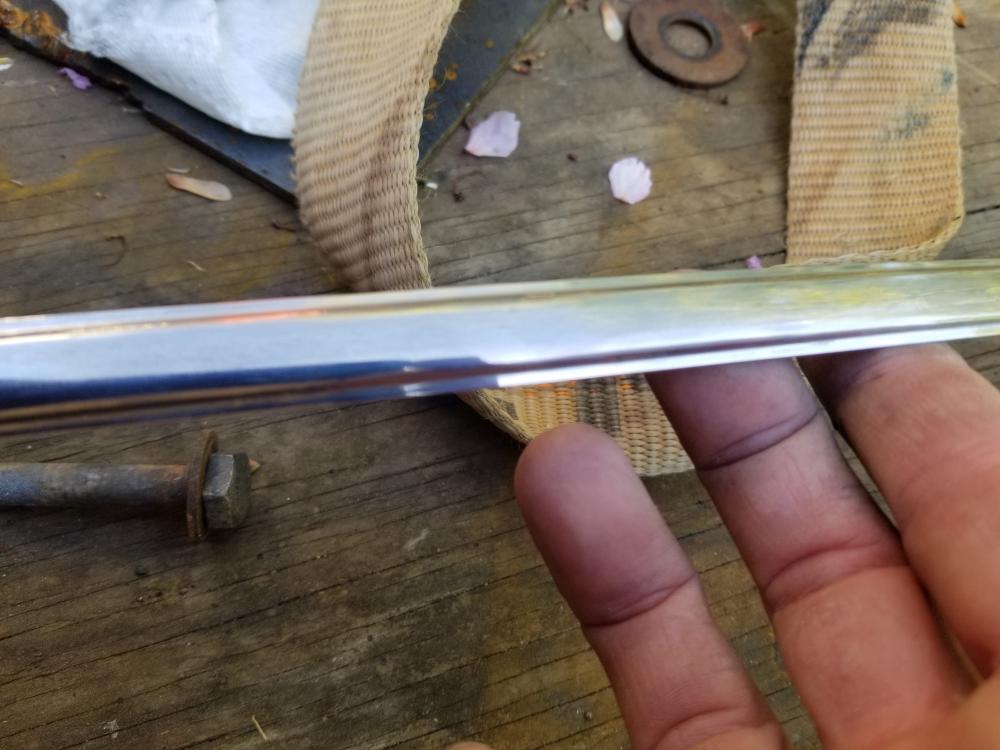
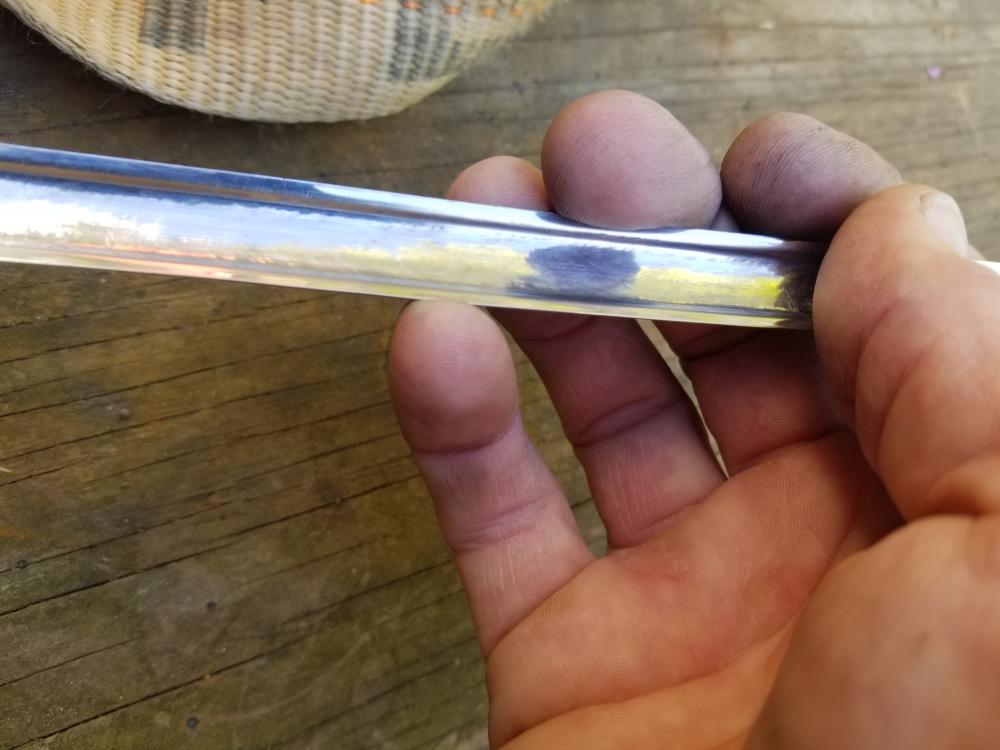
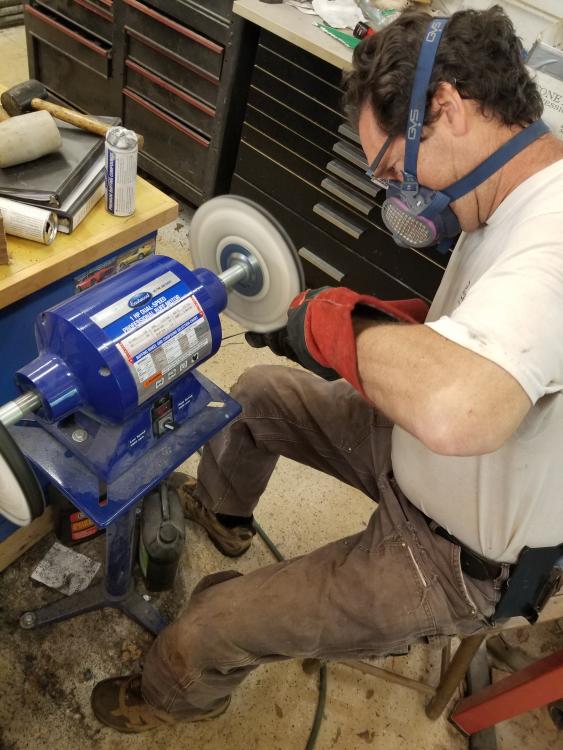
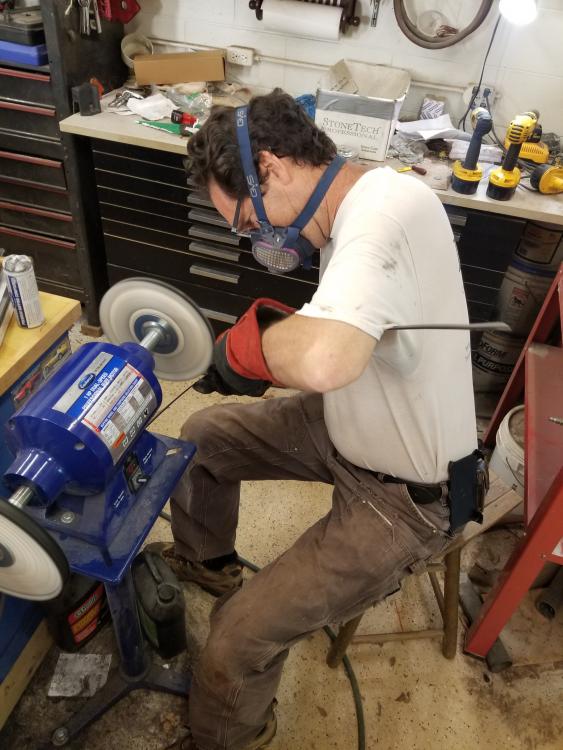
1 pointSo I should've taken pictures first!! Sometimes I get "tunnel vision"... The lower windshield trim on Cody's car was bashed in about 8" or 9" wide right in the middle of the windshield. It was so caved it it was concave instead of convex. So I had reached out to the forum to source this trim. @Terrapin Zhad responded with a good source for it, but we may have a lead on a parts car and I hate the idea of buying a new set of trim and then ending up with a parts car on top of that! So I figured I didn't have anything to lose by trying to straighten what I had... So off to YouTube All the videos on YouTube are pretty much dealing with vintage American cars. The trim on these cars is so much thicker and heavier than our Datsun trim. I wasn't really very hopeful.. So out came the tools So an assortment of punches, a body hammer and a flat file. A finer file would have been a plus. So I started dollying the dents out of the back of the trim. The main tool I used was the brass punch that I shaved the edges off of. I used it from the back of the trim on a piece of leather and chucked up into the vise as an anvil. I made pretty good progress but could get the convex shape back in the trim. So I shaped a little diviot in a 1x4 and used that as a buck and dollied the trim against the divot with the brass punch. Lot's of little light strikes, hundreds... So at this point the shape is pretty close but not smooth. So here comes the file. Now our trim is super thin! So you are very limited on how much filing you can do. If you cut through it, the trim is pretty much ruined. I filed till it was pretty smooth and then I used a sharpie to mark the backside of the spots that needed more work. Then a little more filing. Then I started sanding the front to try to get rid of the filing marks. A finer file would have made this easier. I used the end of the 1x4 to rest the trim on while sanding. I had to have a helper hold the trim while I sanded and you have to use a good bit of pressure because the trim is really hard. So then I buffed it a low speed with a first and second cut You have to be really careful buffing this stuff, because the buffer will take it away from you in a heartbeat. So I was really pleased with the results. There are still some file scratches in the piece that I could probably remove with more sanding work but they are only visible if you get really close. So I buffed it at low speed with a first and second buff. It's hard to see the flaws in the trim with the cell phone camera but it is very presentable Here is the damaged area from the back, and yes it is that rough and a pristine rear section Overall really pleased!! Once it's in the weatherstrip, only about half of it shows so it should serve the purpose for now and we can keep moving forward


 1 point
 -
Here's a summary with some reloaded pics. Heater core for a 91-02 Ford Escort SOHC (not the ZX2). The heater core is aluminum, and the one I got was Spectra Premium P/N 94741. I decided on the Escort core because it was the thinnest, smallest, most generic, cheap core that I could find with tubes that stuck straight out on the same side. No long funky bent tubes. No weird mounting flanges. Generic, small, thin, and cheap because it's from a ubiquitous car and not from a low volume hard to find Ferrari. Here's a pic of the Escort core next to the original 280 core: Escort core with a layer of foam around the outside for a snug fit inside the air box: Build a little shelf for the Escort core to sit on. Since the Escort core is a little thinner, it allowed me to move the core up a little so it doesn't interfere with the floor duct control linkages at the bottom of the heater box (like the stock one does). Aluminum angle material screwed into place as a lower support shelf: Escort core in place before putting on the access panel cover. Can't see it in the pic, but it's resting on the new aluminum shelf on the far side: Cut some new holes in the access cover for the inlet and outlet tubes and put the cover in place. Tape over the original holes so air doesn't come out where it's not supposed to. I put a support shelf on the back side of the cover for that end of the core as well, but after doing that, I'm not sure it's really necessary. If I were doing it again, I would probably skip that second shelf and just use the inlet and outlet tubes poking through the cover as the supports on that end. But if you look carefully, you can see the heads of screws that hold the shelf in place: When I get a couple more minutes, I'll post some pics on how to make water connection to the core.1 point
-
I live in the North. Under 50 & I stay inside eating chili and quietly (sometimes) farting.1 point