Leaderboard
-

Av8ferg
Free Member8Points1,538Posts -

siteunseen
Free Member5Points15,115Posts -
Captain Obvious
Free Member5Points10,081Posts -

wheee!
Free Member5Points4,607Posts


Popular Content
Showing content with the highest reputation on 07/03/2021 in all areas
-
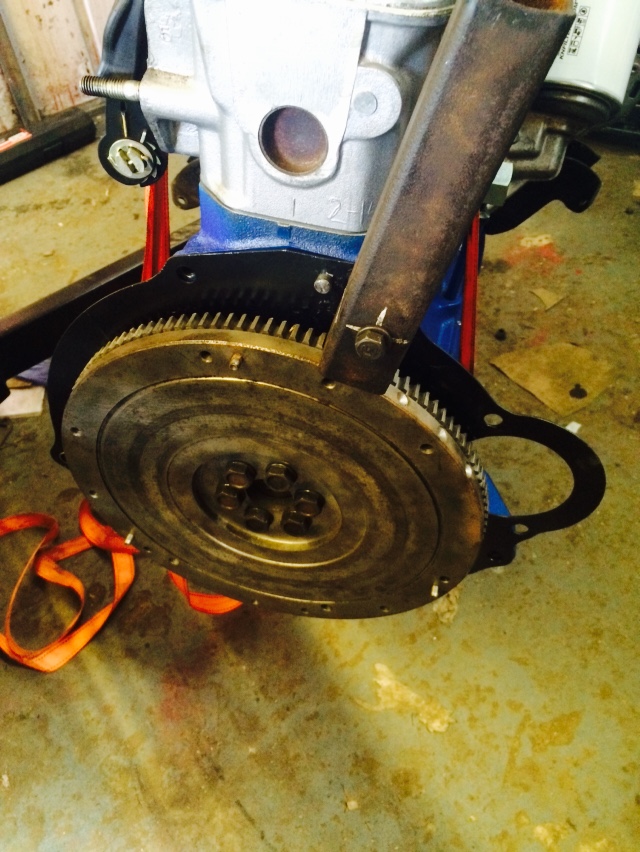
my flywheel lock tool. I think it came out of the scrap pile ready formed.
 4 points
 -
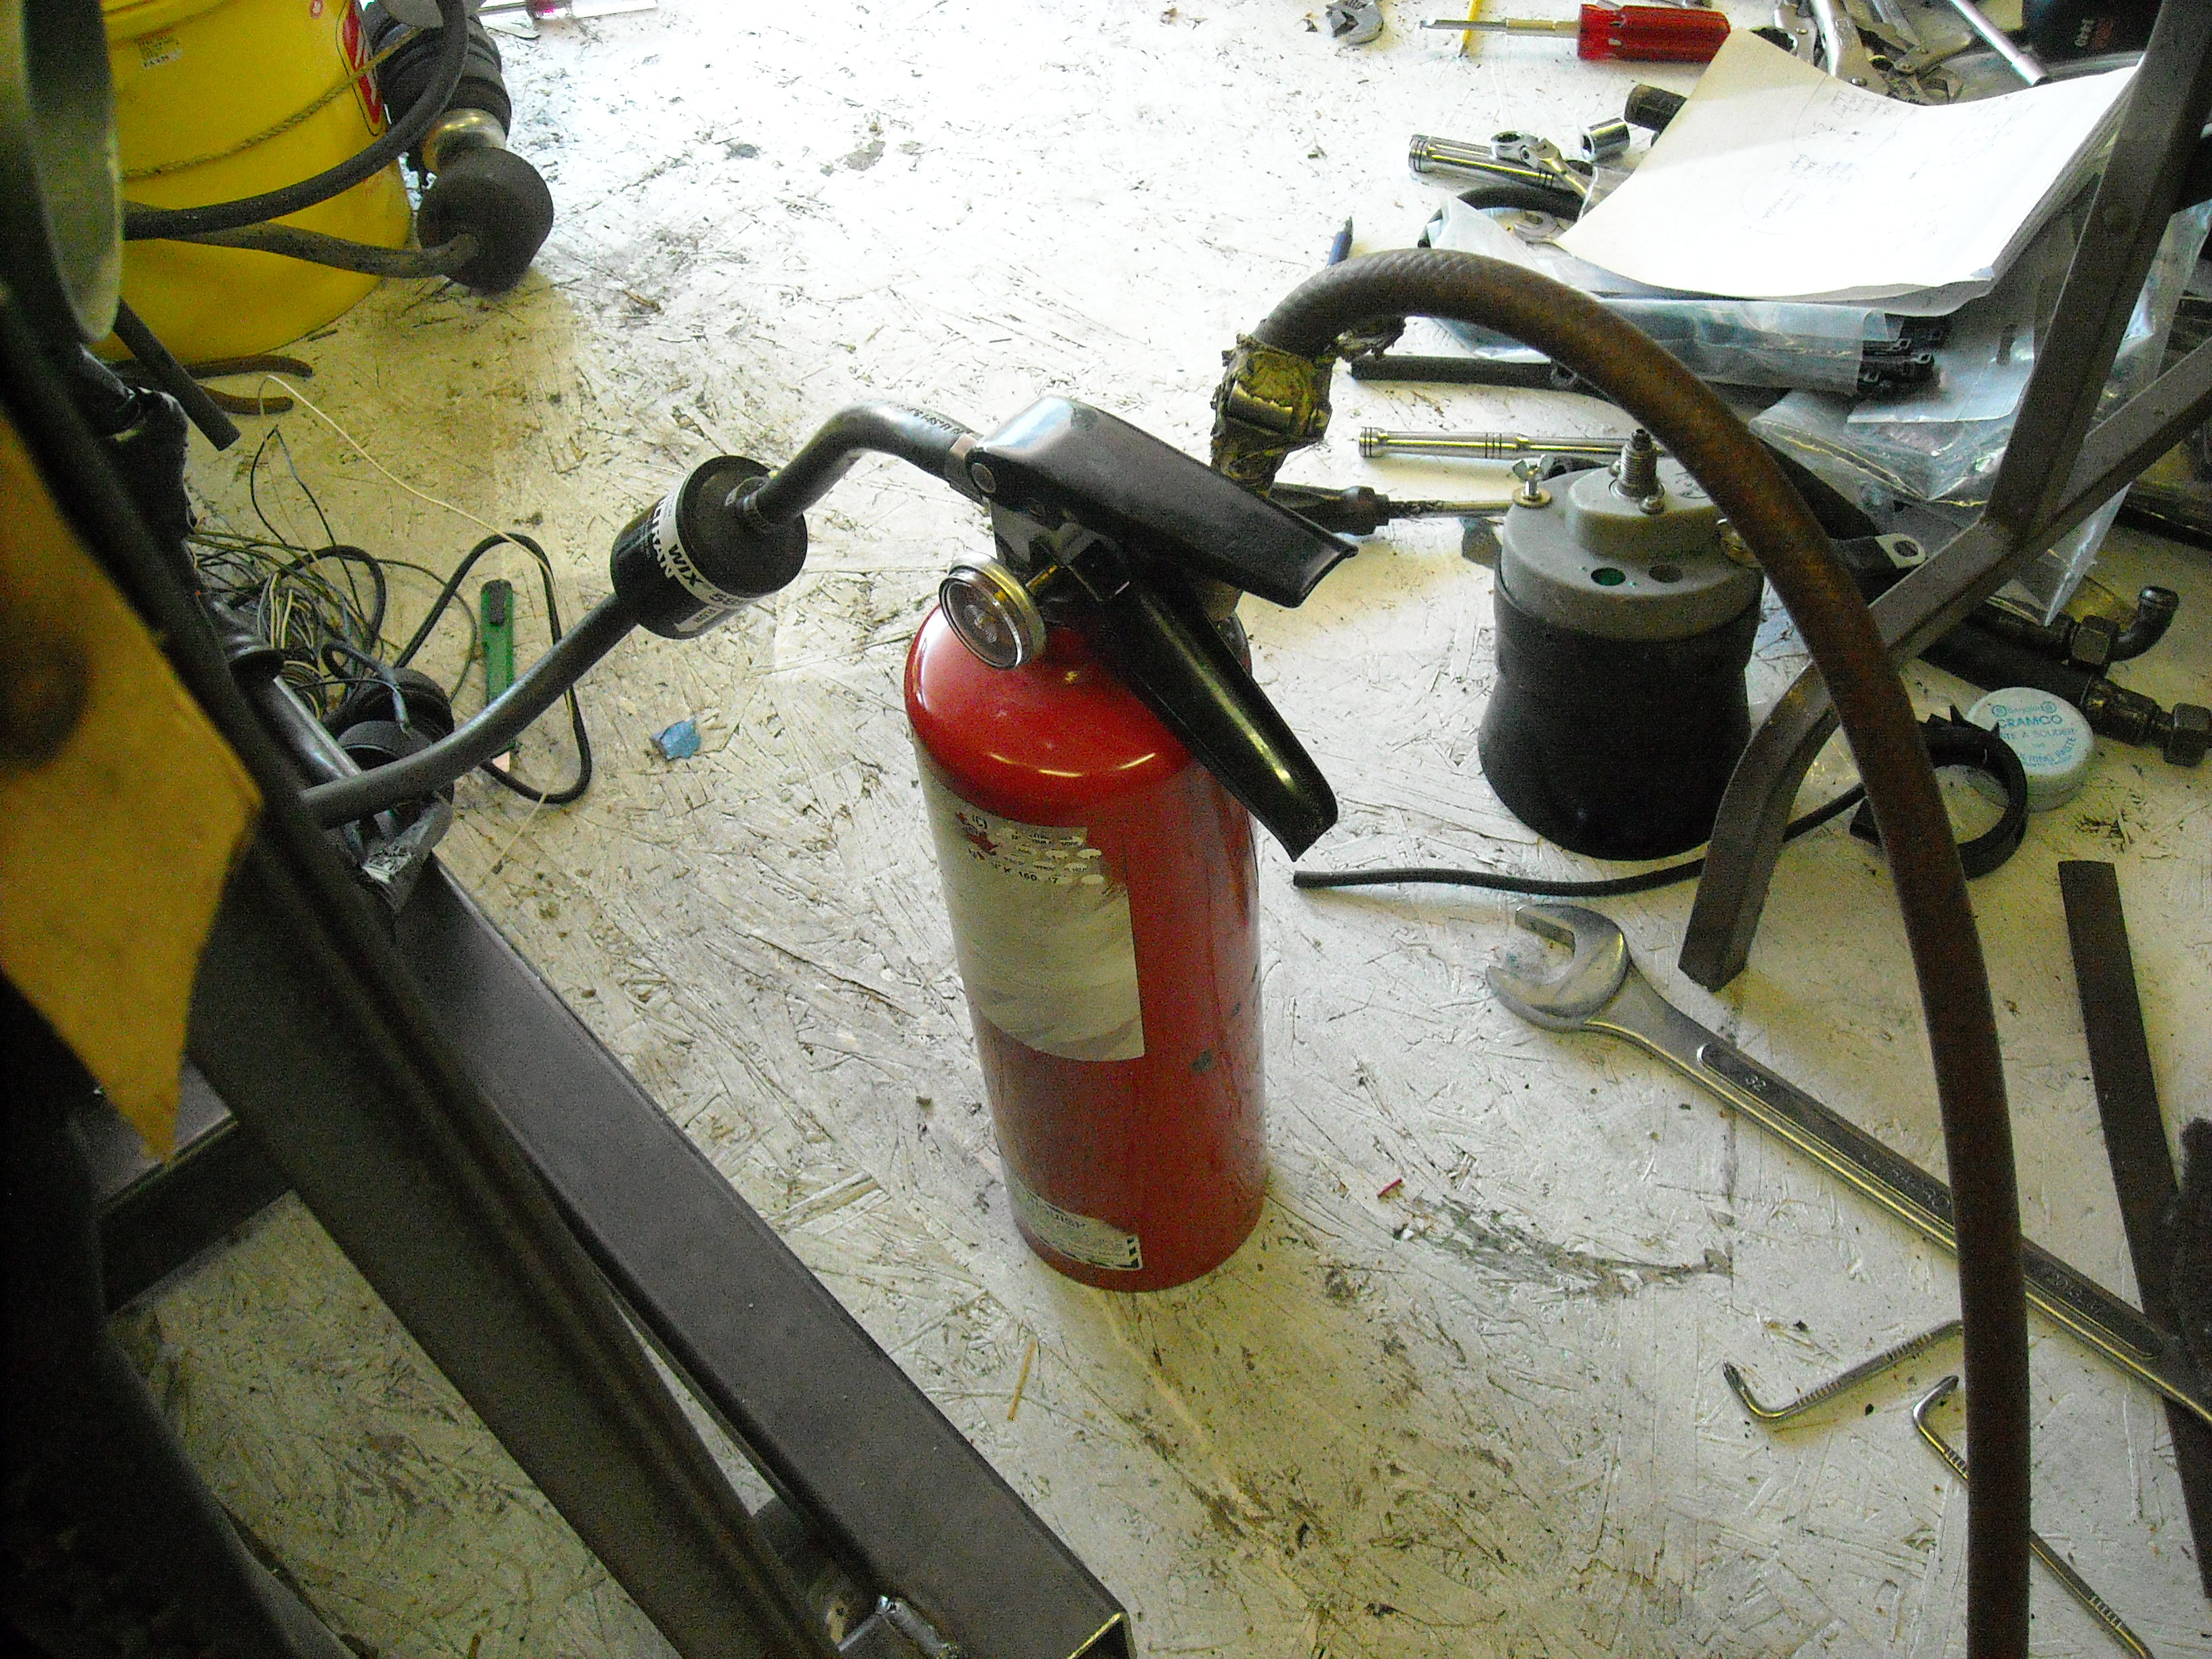
This is a pre-oiler I put together yrs ago, I use it for every engine rebuild just before start up or on engines that haven't run in a long time. The air hose attaches to the nipple I welded on, 2 liters of fresh oil goes in the canister, oil filter on the outlet hose, usually I screw the fitting into where the oil pressure sensor goes. Fill it with 90psi and squeeze the handle, the entire oiling system is filled including the engine oil filter.
 3 points
 -
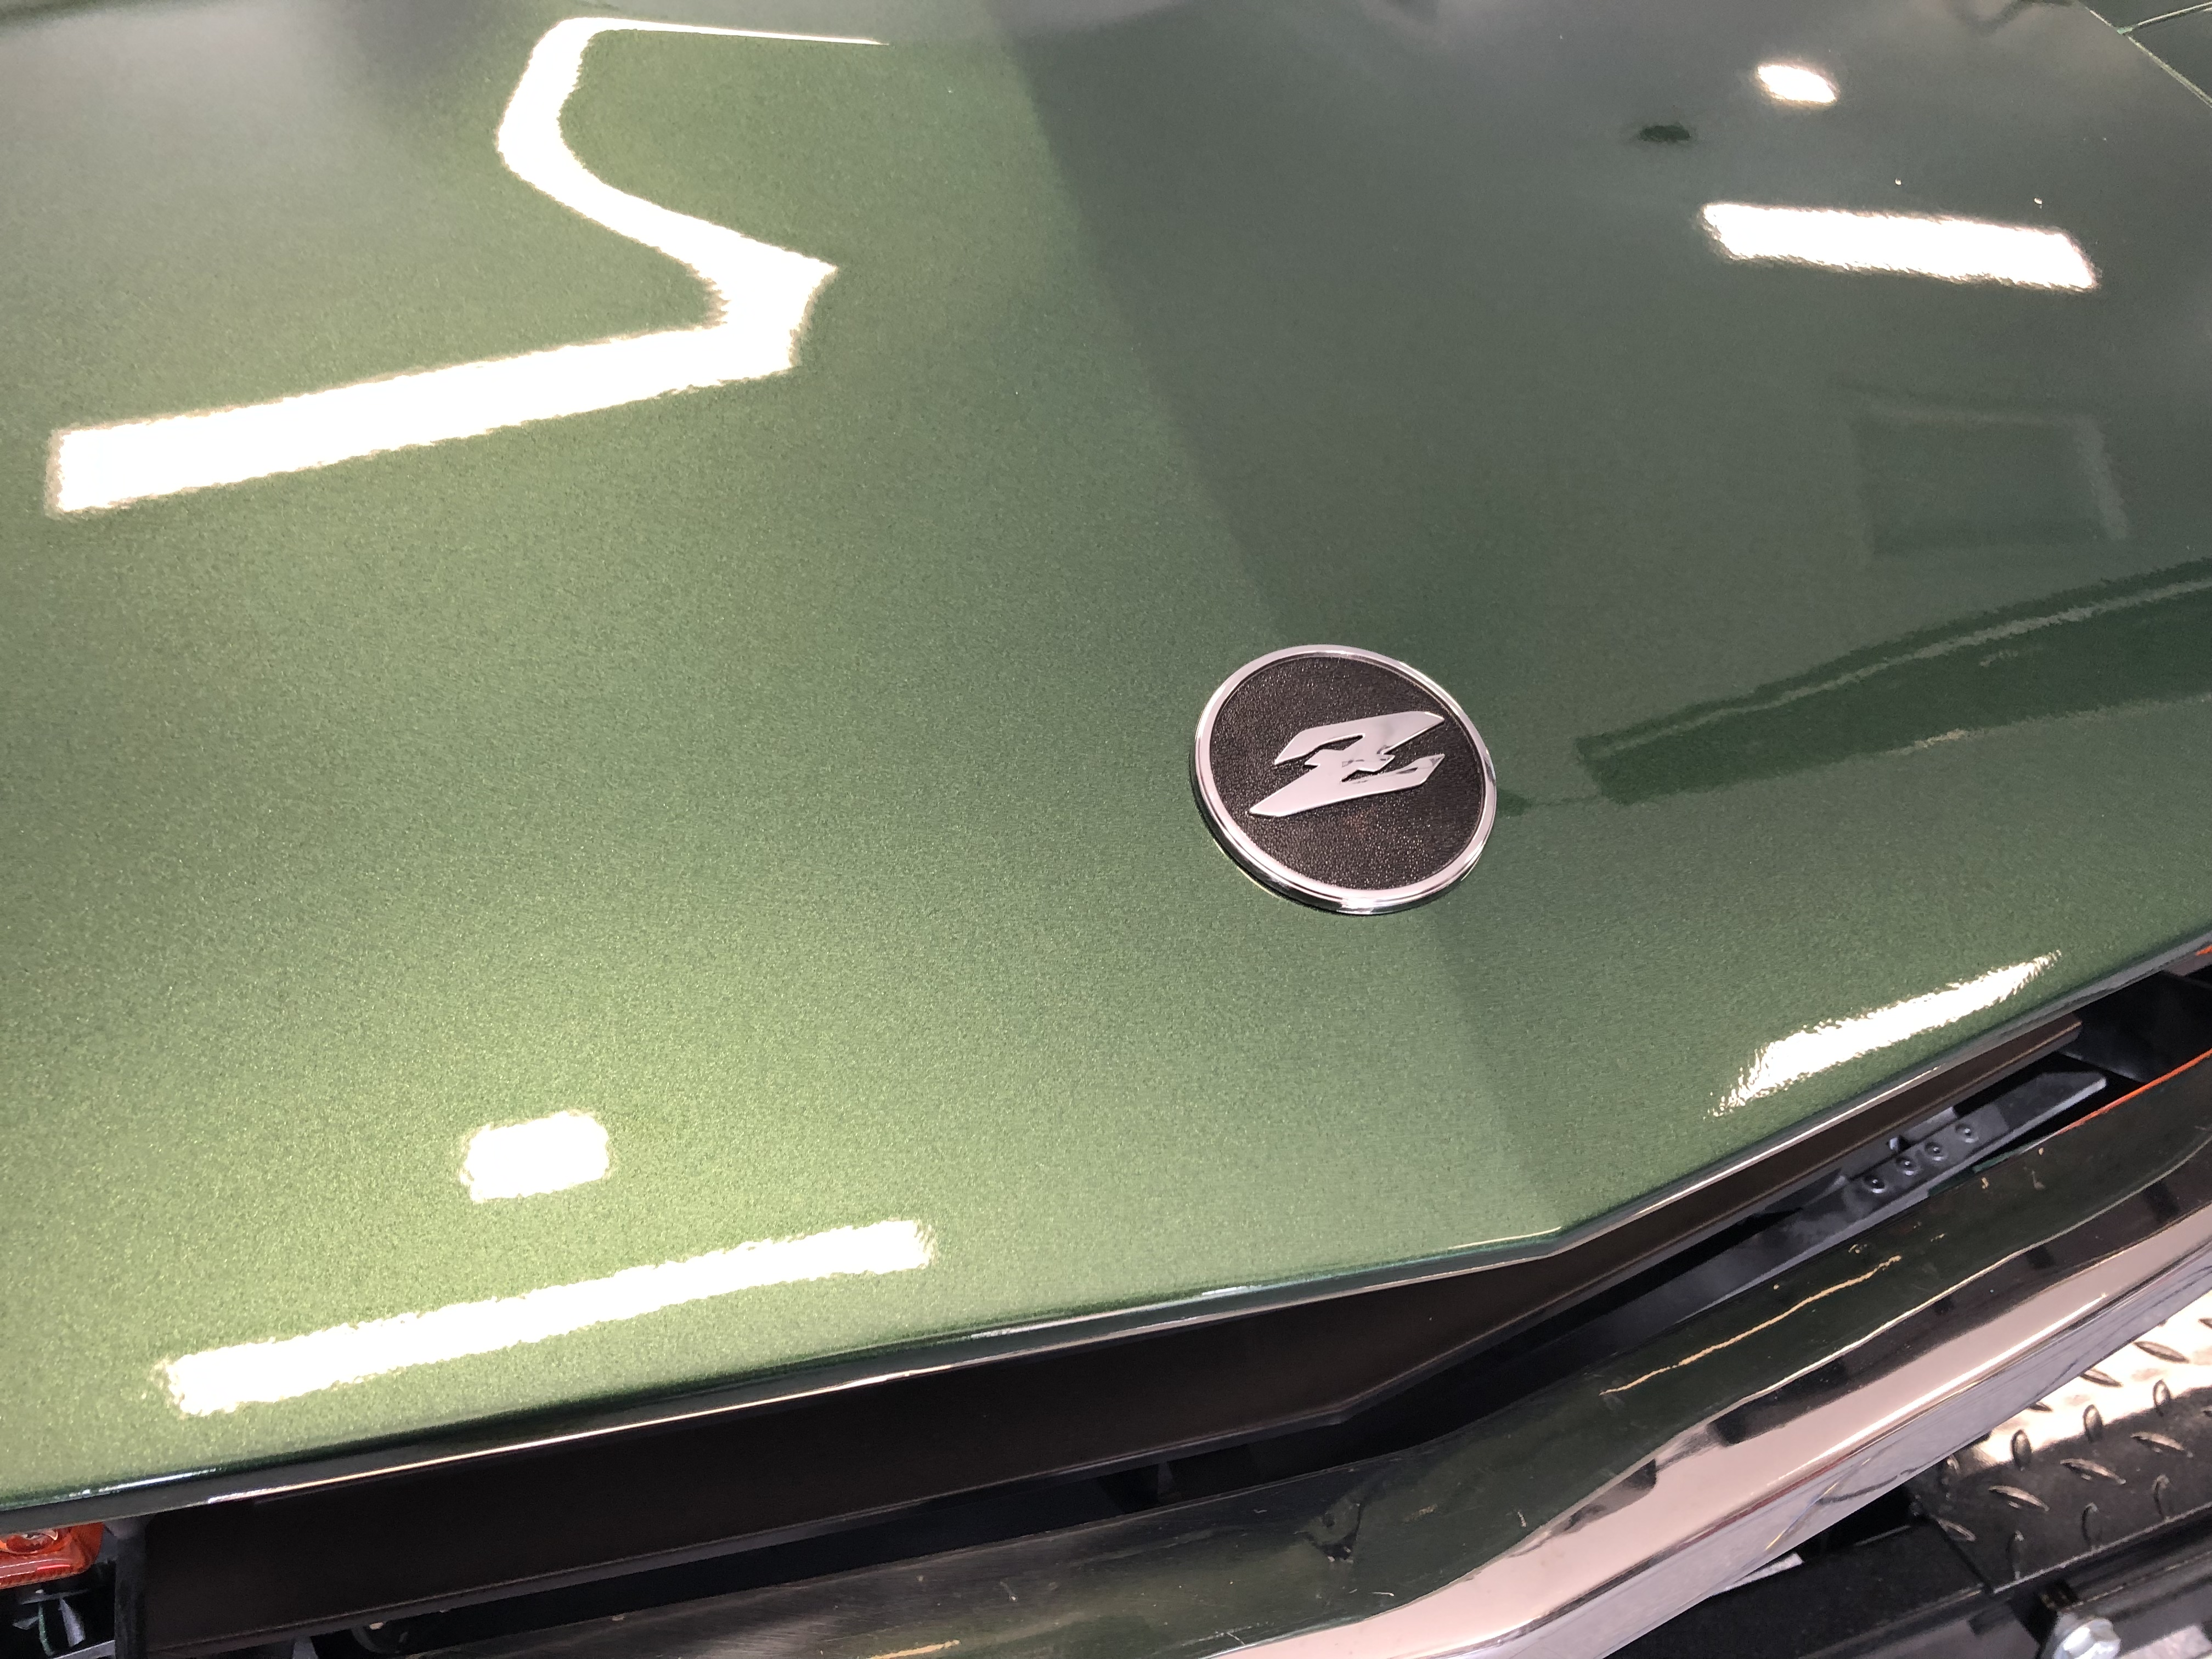
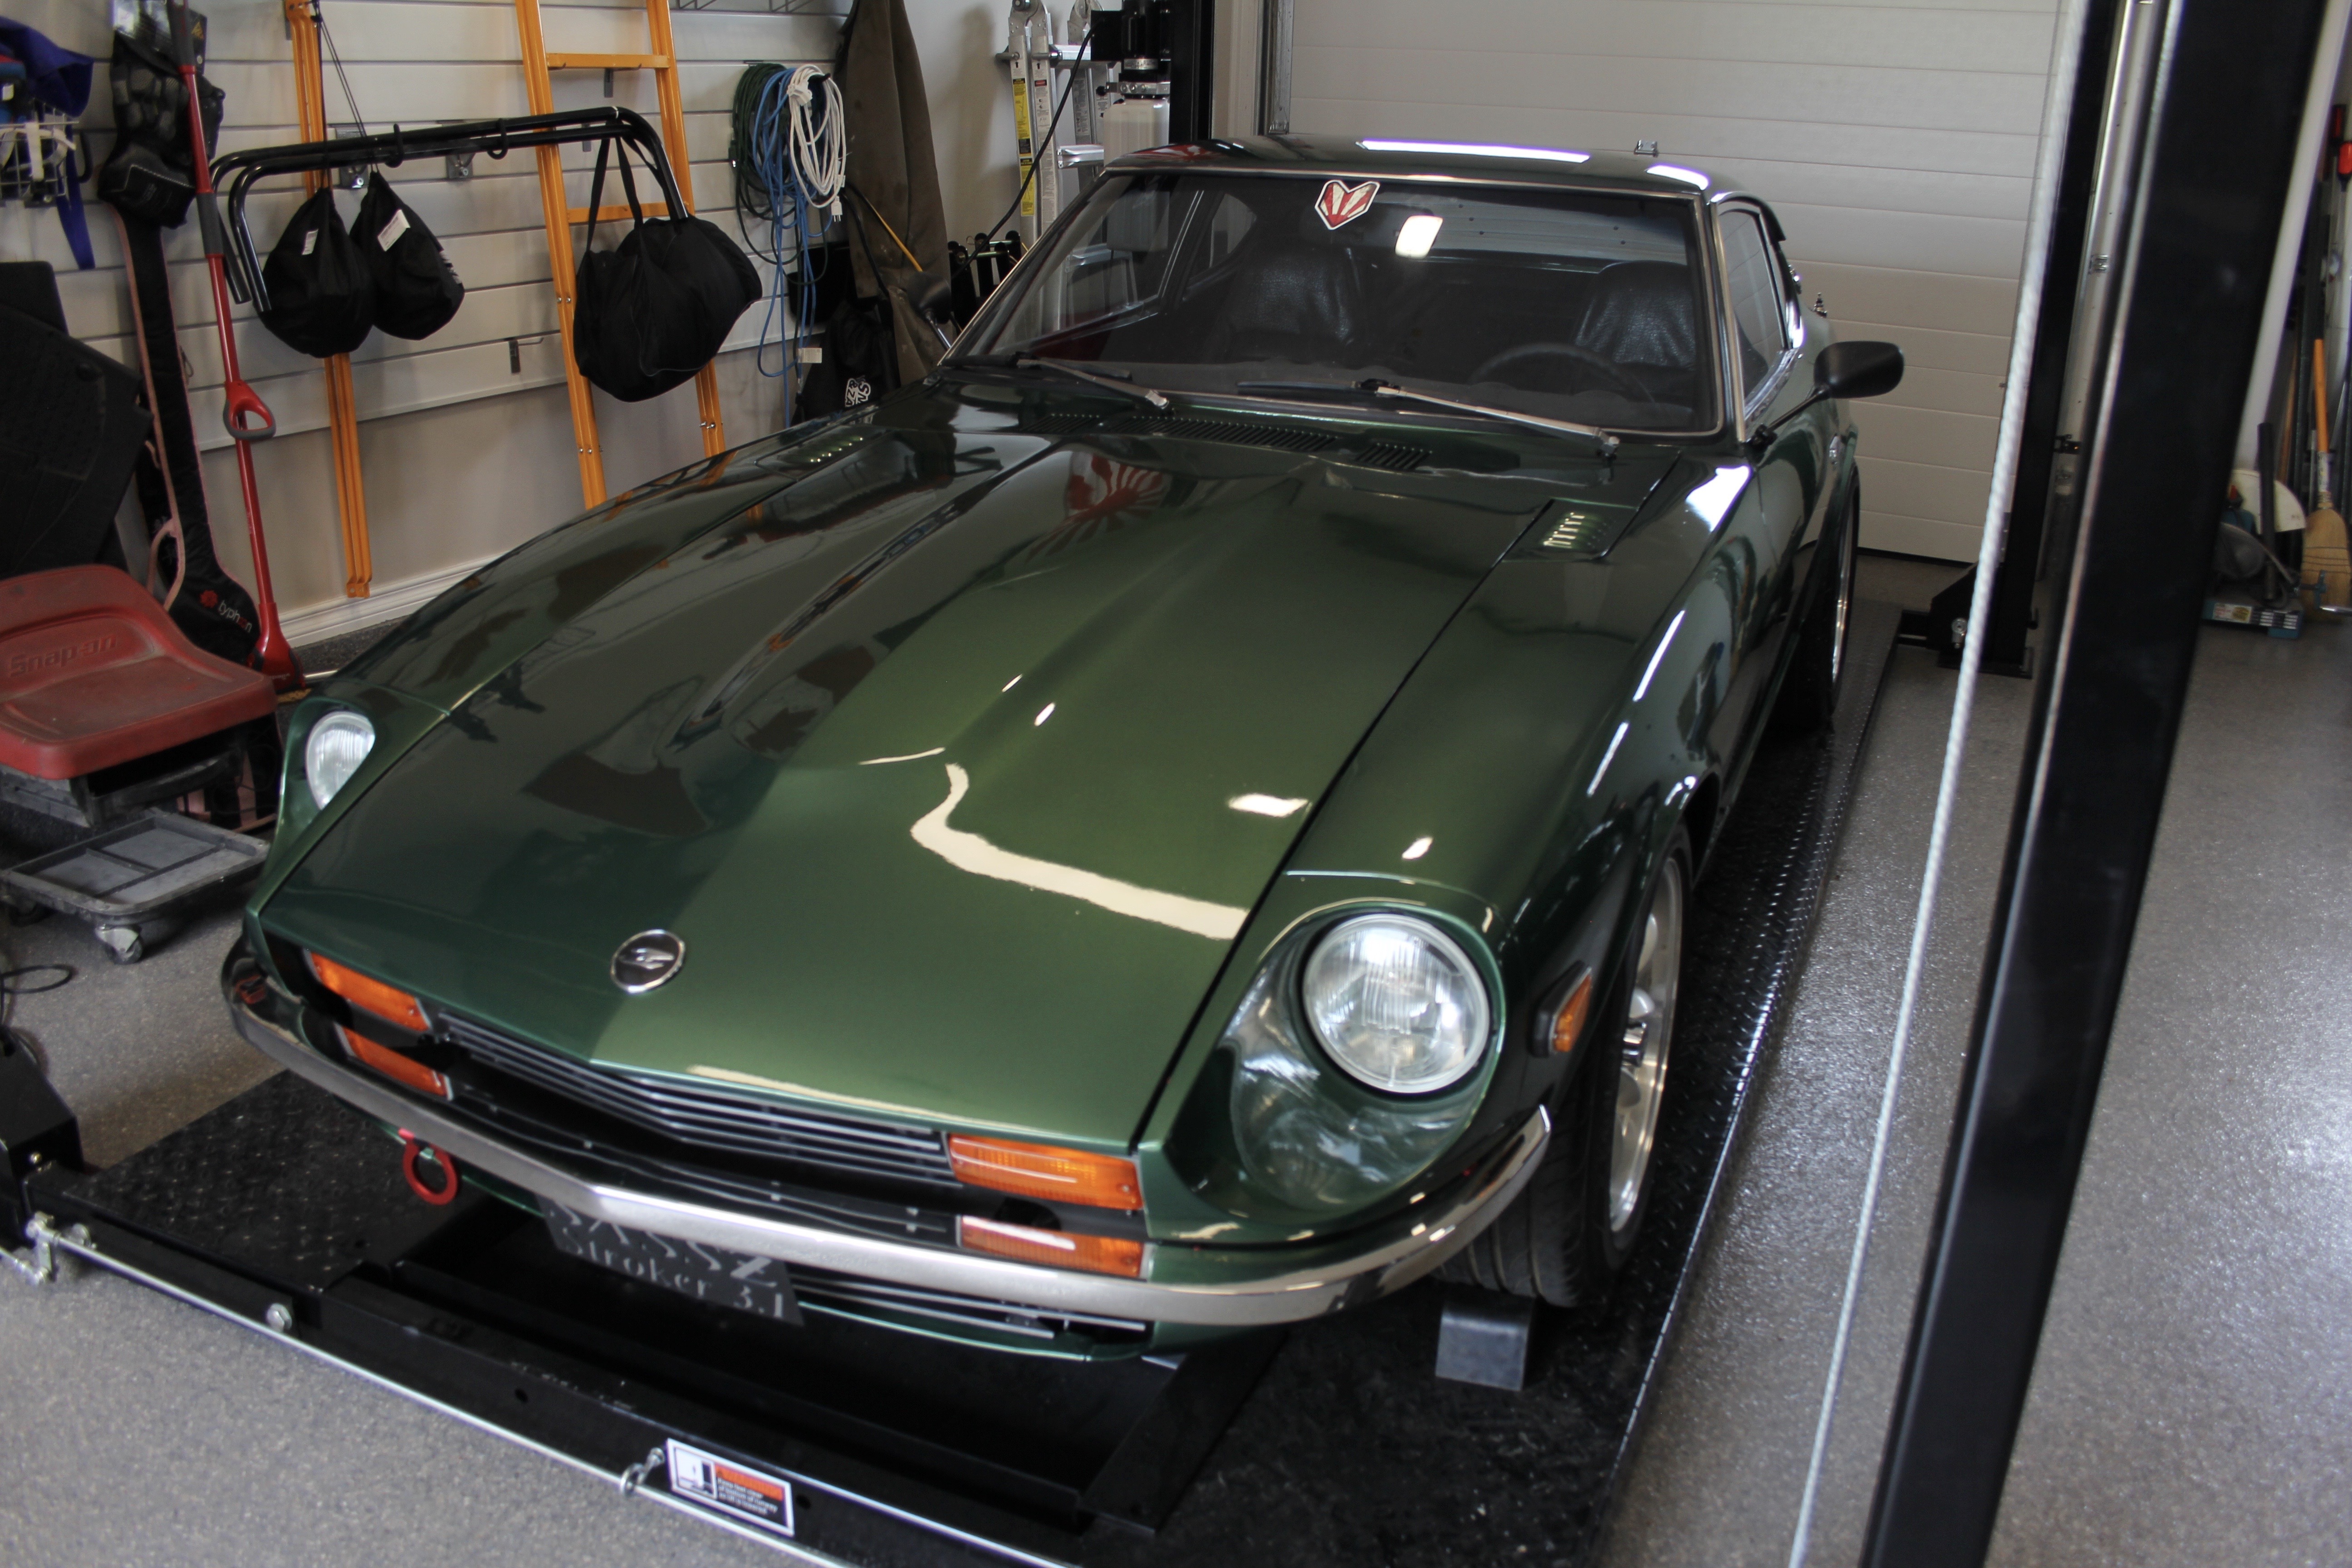
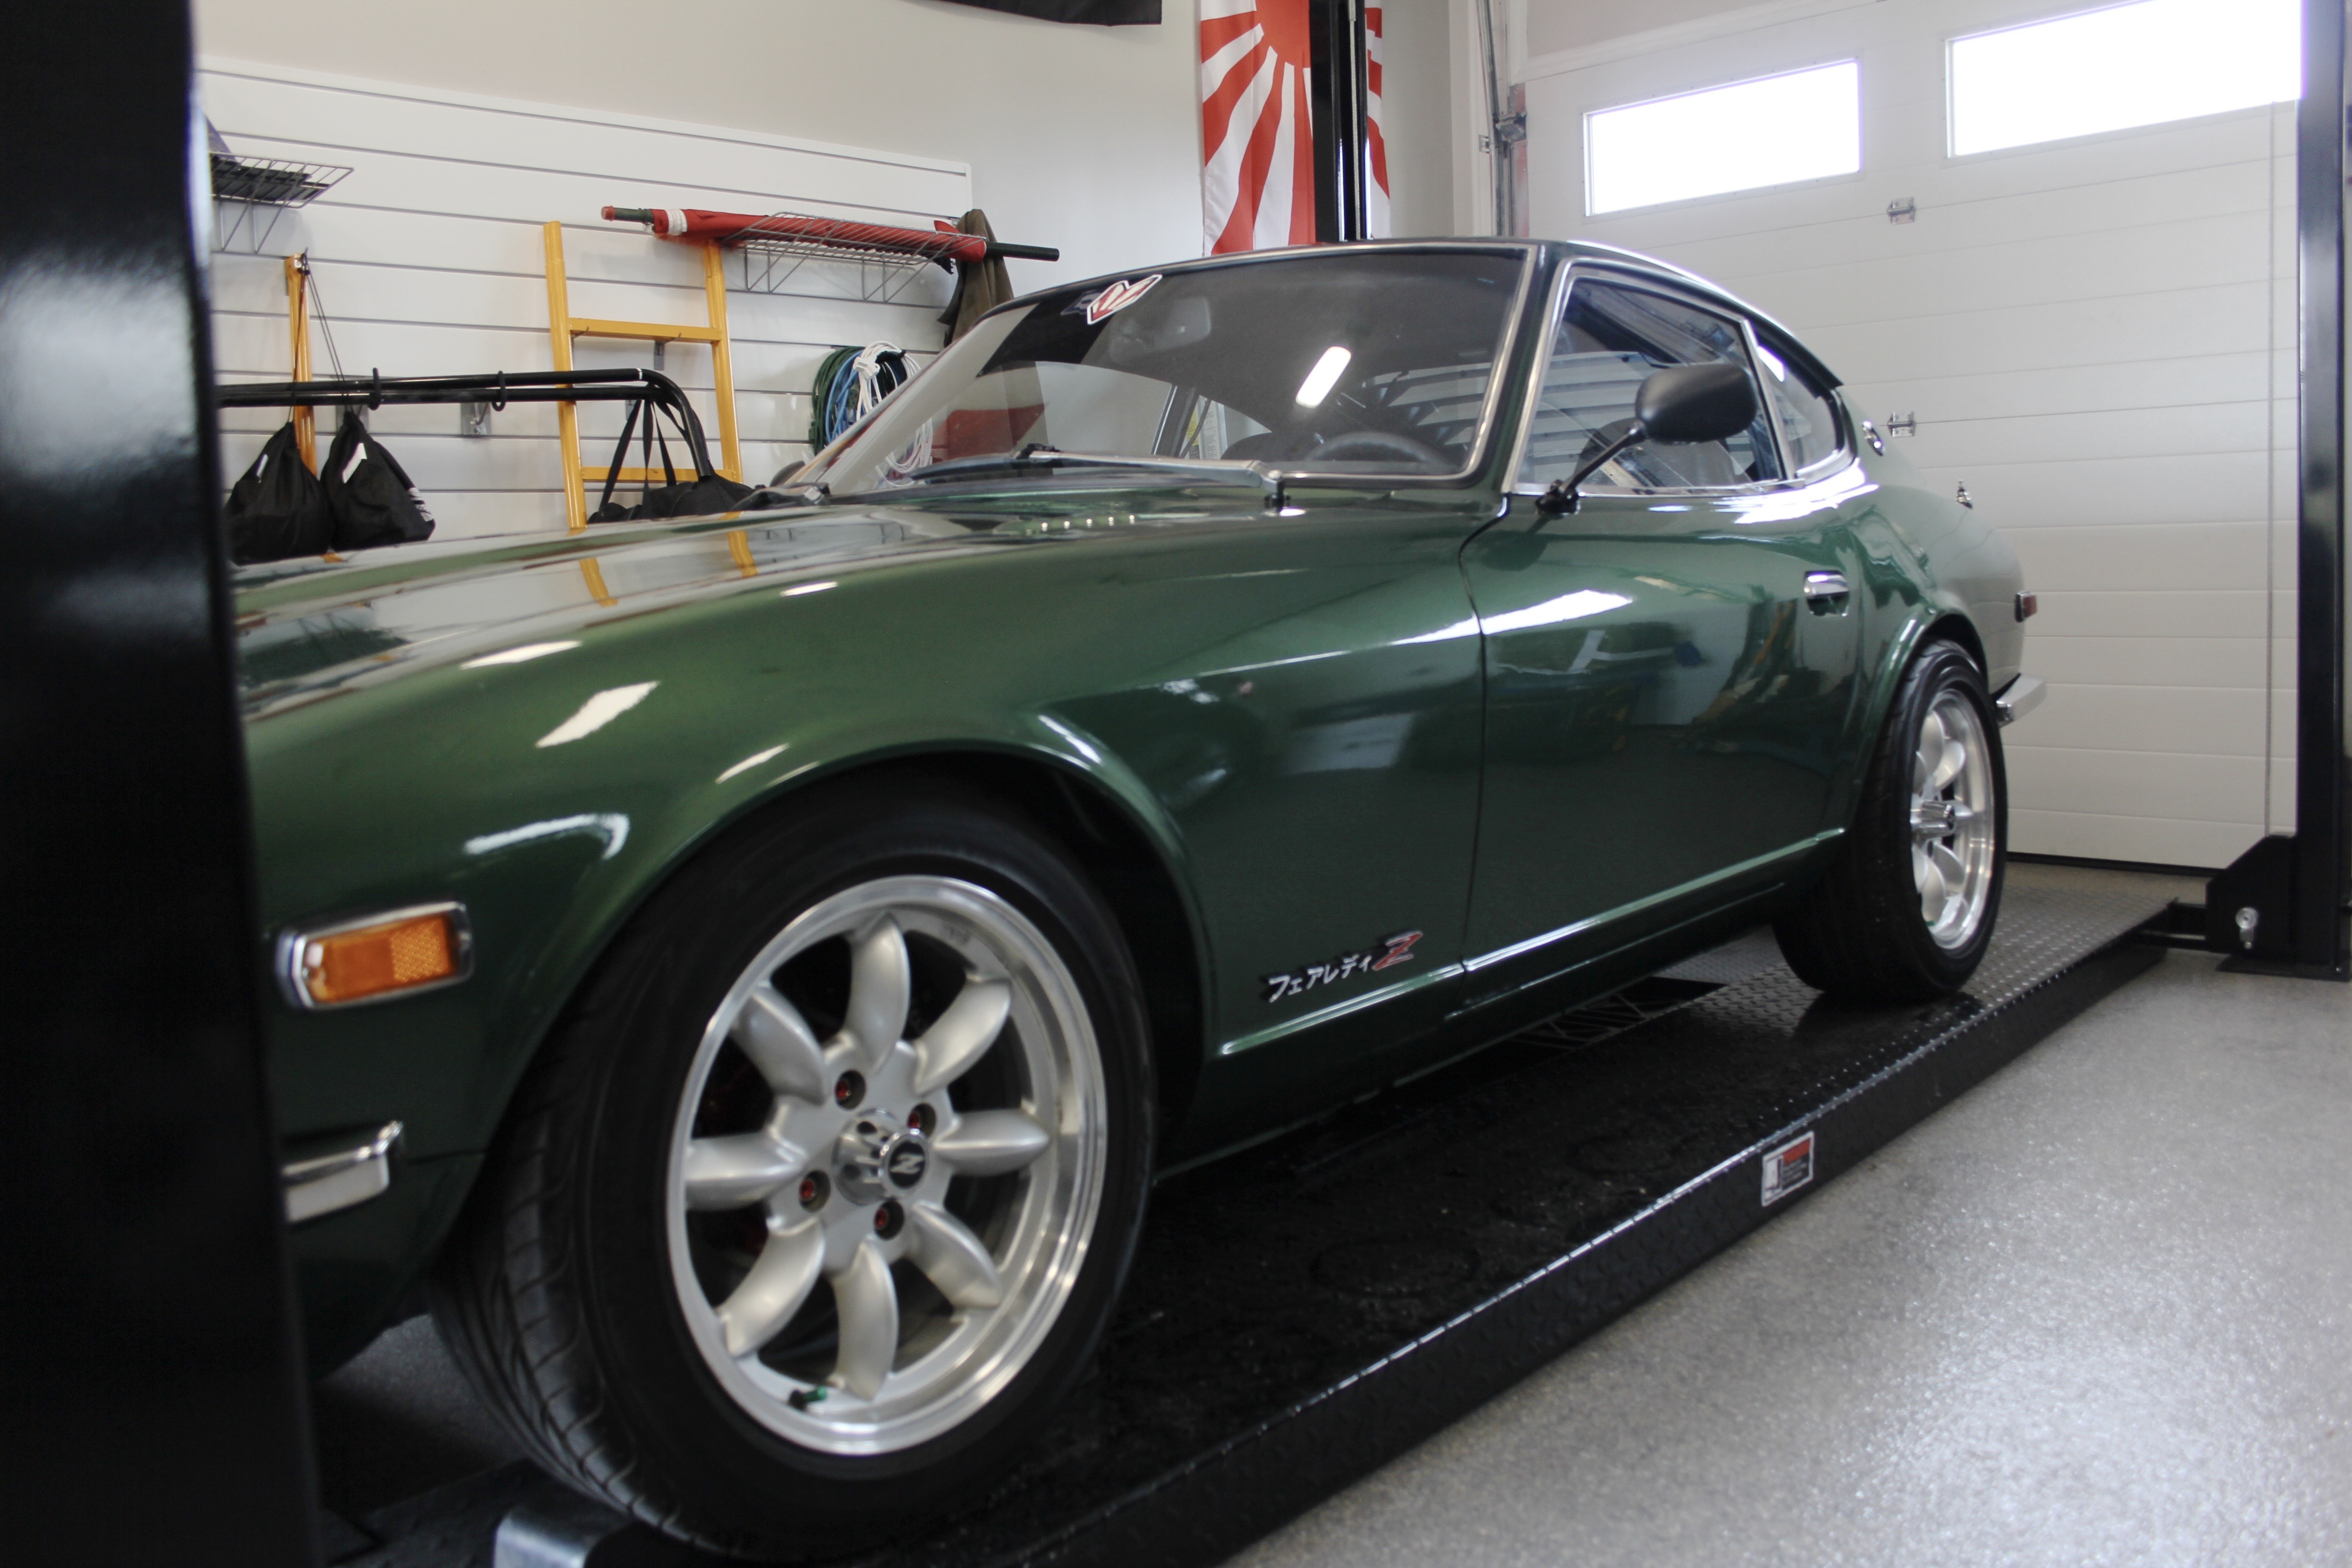
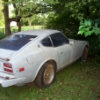
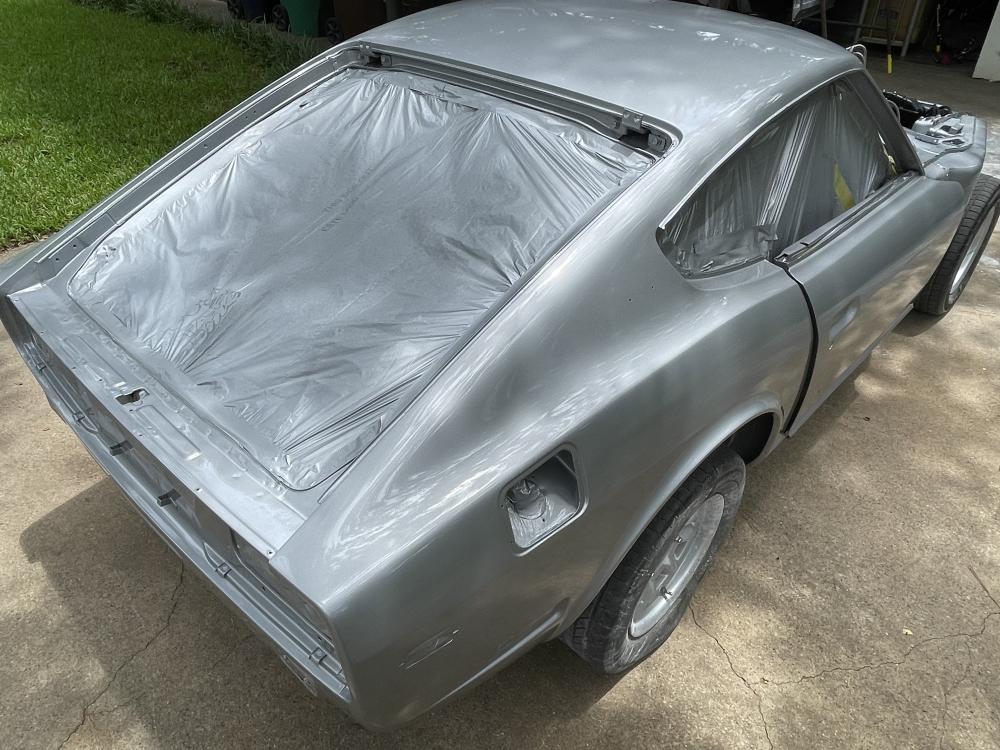
3 pointsCut and polish day. I was hesitant to do a full wet sand, and I may still do that one day, but for now a hard cut and polish was enough to get her shiny enough to drive. I have a few clear coat sags that need sanding out eventually but I can live with that for now. I wouldn’t want to burn through the clear and have to respray before I even drove it!! IMG_4763.MP4


 3 points
 -
3 pointsSteveJ: yep, can’t seem to recall that show. I was a nerd in some regards. I watched the SuperFriends on weekends and during the week I loved Star Trek, Brady Bunch, Happy Days and Lost in Space. TV is so different for my kids. AK260: Automobile Bumper had the rubber option. I think they just drill the holes, they don’t provide the actually rubber from my understanding. I prefer the cleaner look. EuroDat: Thanks again. All your advice made this much easier. So, I have one extra lower grill and will grab two more next week at one of my (secret) yards that has (4) 280z sitting mostly unstripped. Good old boy redneck yard tucked deep in the woods in the south. The place is also infested with snakes and red ants. I feel like Indian Jones when I go there. Sent from my iPhone using Tapatalk3 points
-
3 pointsFinally got my Bumpers in yesterday. These came from Automobile Bumper in Vietnam. I made a video of the unboxing and install and will post later. I used the Skillard brackets and I want to thank EuroDat for his advice, he spent a lot of time via messaging to help me out. Since I may go with a Skillard grill in the future (that’s if my current plan to use extra lower Z grills to fill the lower gap doesn’t work), I chose not to buy his brackets. He’s will not work with the Skillard grill. So I’m super happy with the fit and quality of these bumpers. You really can’t ask for a better fit on a 45+ year old car and aftermarket bumpers. Here are the before and after pics. Standby for the video another day. Sent from my iPhone using Tapatalk3 points
-
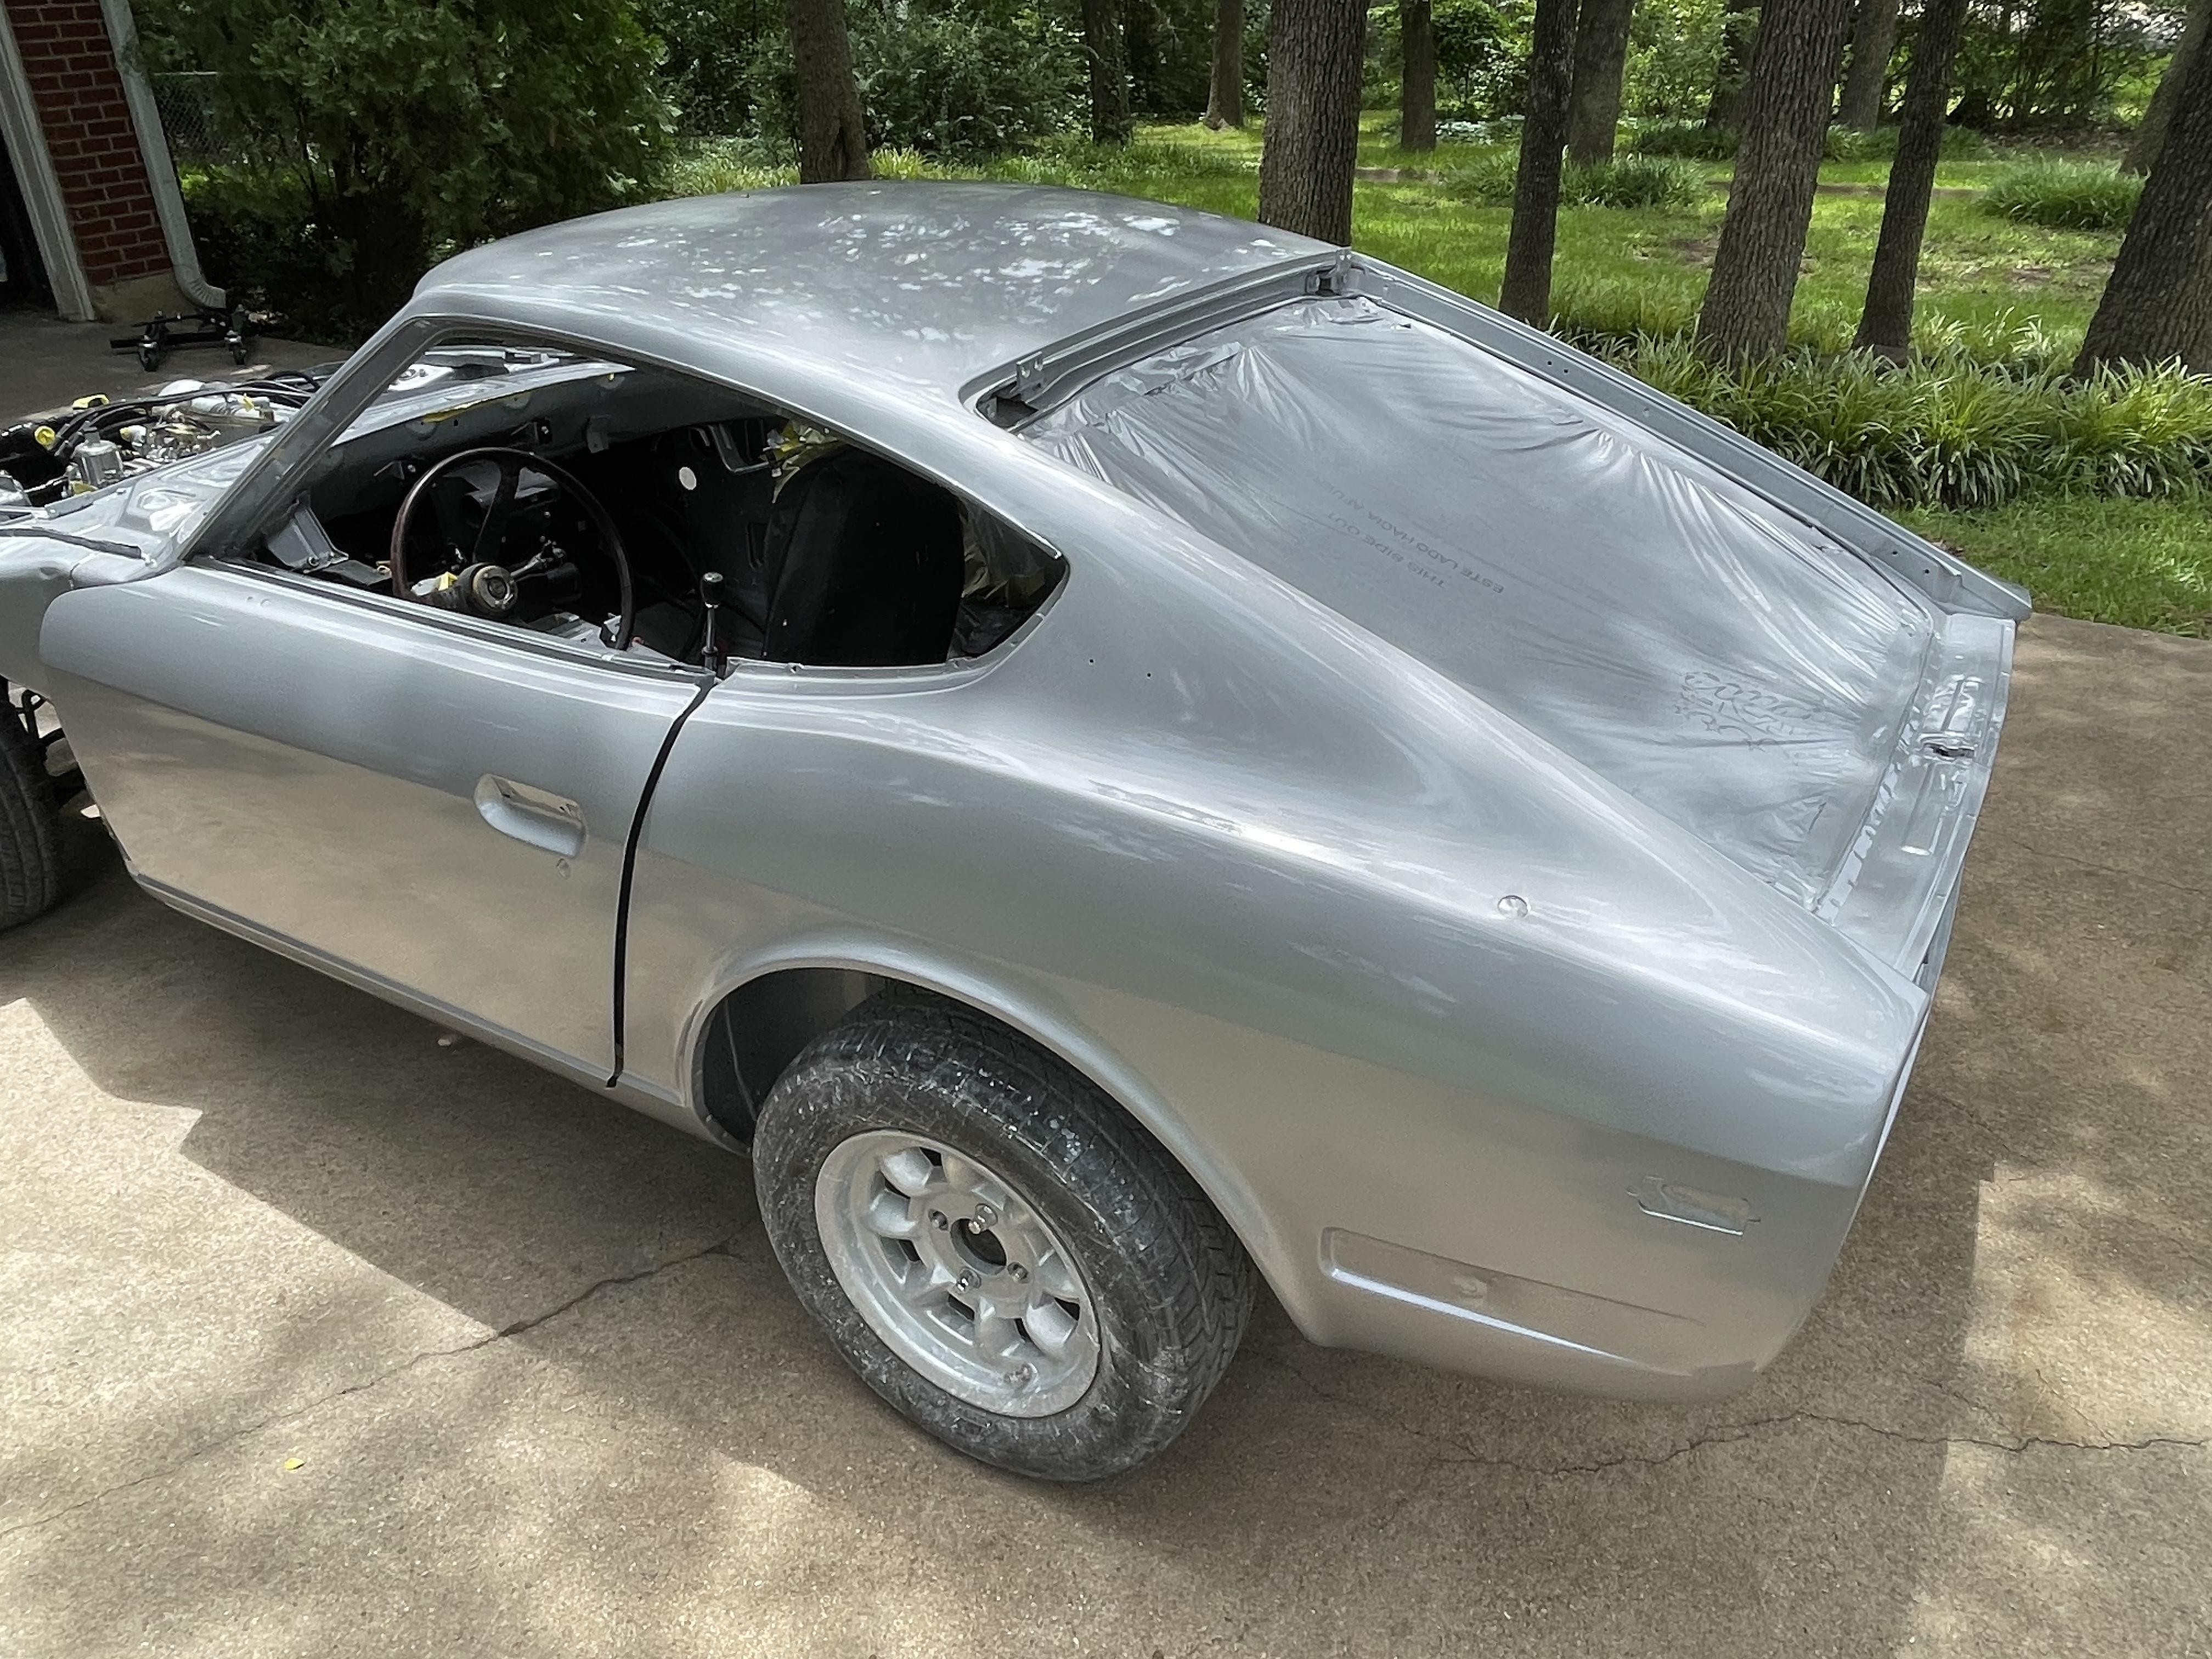
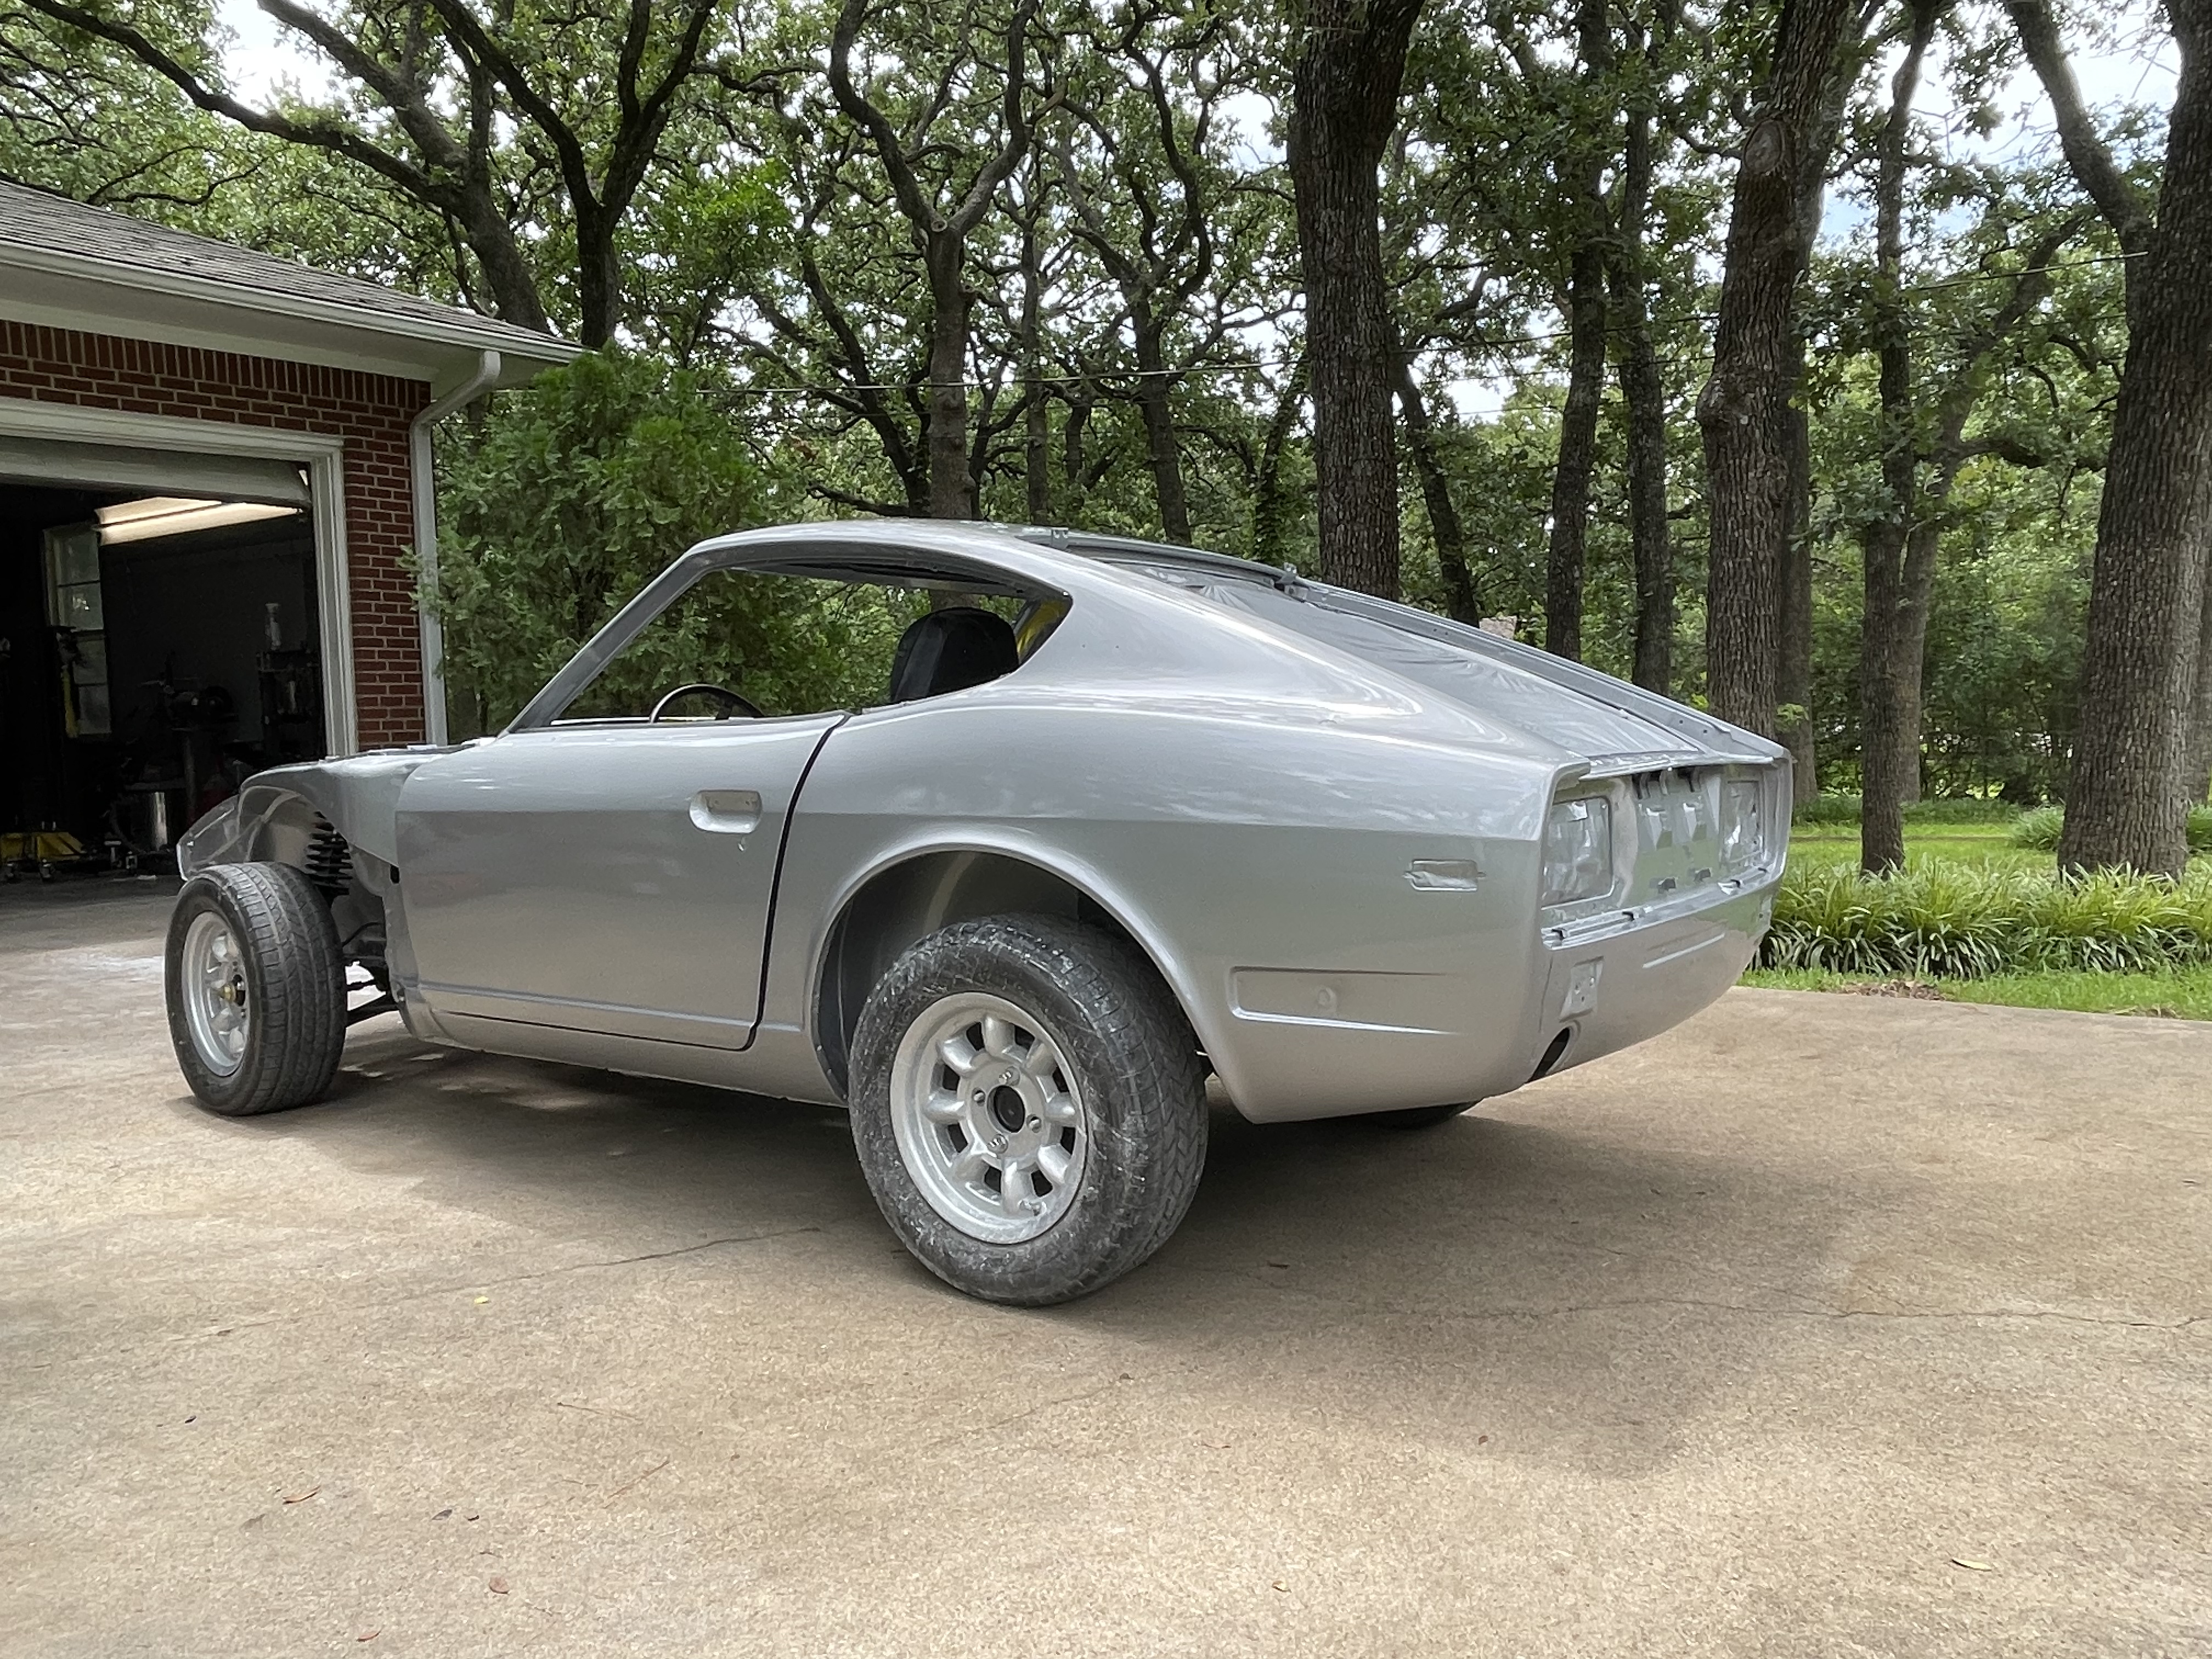
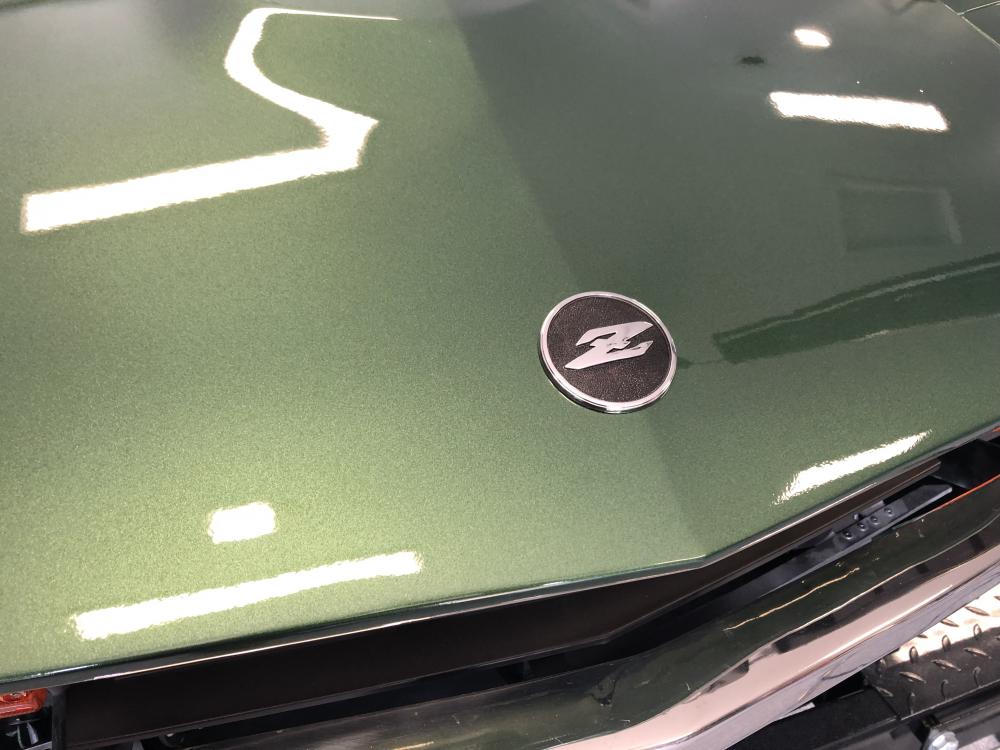
2 pointsBig update on the Z! Body is now painted and ready for reassembly. I also got in the custom made license plate holder for the Z. Modeled this one up to look like a period correct frame from the dealership the Z was sold by in Fort Worth


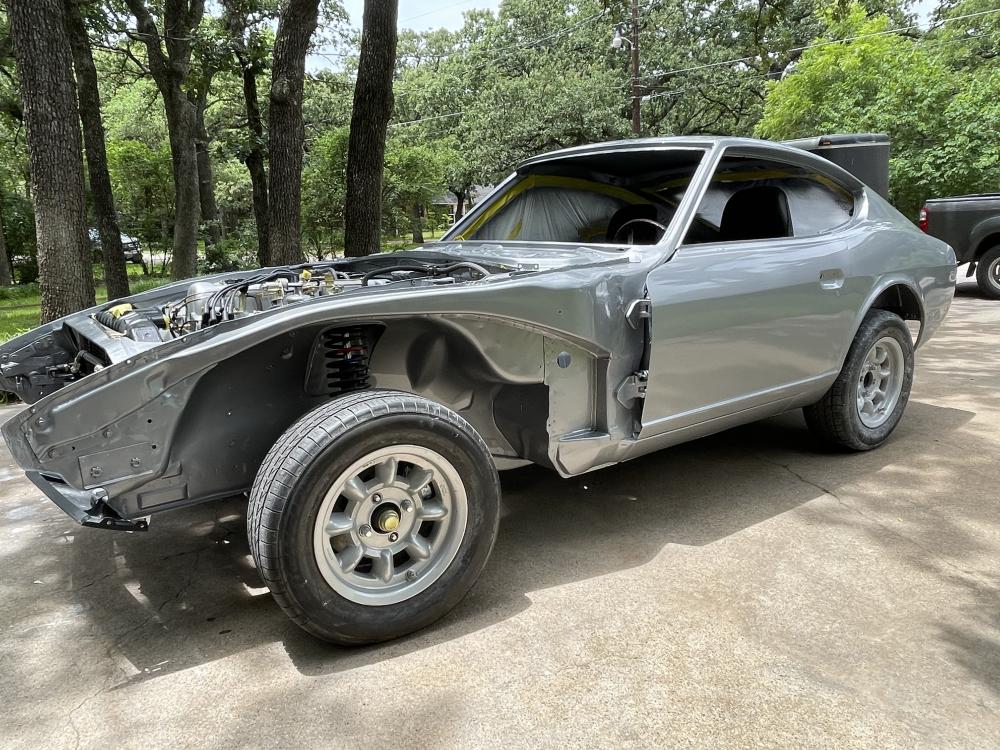

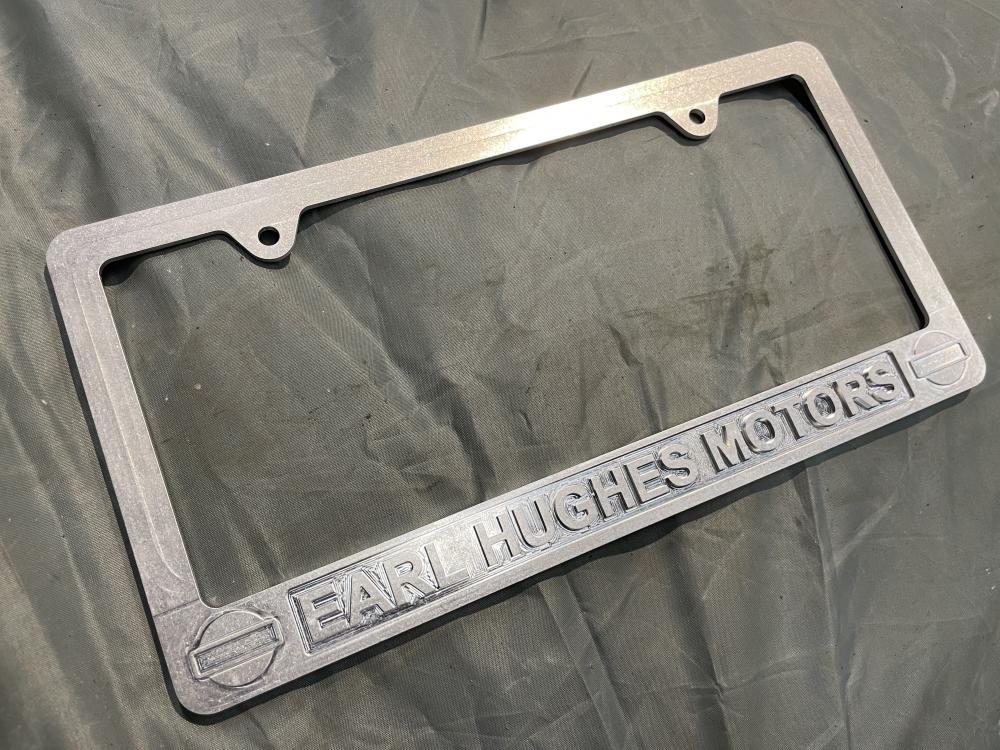 2 points
 -
2 points
-
2 pointsGood to know. The guy that owns this place looks like he was a back up cast member for the movie The Deliverance, overalls and all. First person in my life I’ve seen that dips tobacco.and smokes cigarettes at the same time. Sent from my iPhone using Tapatalk2 points
-
In theory, principle of operation, when the engine is running the valve is never fully closed, so cracking pressure is never needed. The bowl supply is always being depleted and the valve never fully closes. OR, if you consider the transparent carb video demonstration, cracking pressure is needed between each intake cycle if the needle closes fully, depending on how fast the bowl refills, which would depend on pressure/flow rate of the fuel supply. With more cylinders per carb, the needle has less time to seat fully, and things move toward constant flow through a partially open needle valve. Always open, never fully closed. And, stiction would really only be a factor at the pivot point for the floats. The needle and seat are a conical shaped neelde, and the metal edge of a the orifice. Not really a lot of stiction there. The deeper you get in to carb operation the more you understand why they they rarely work well consistently. There are always days where "something's off" and you get in to tweaking and tuning.2 points
-
2 pointsTwo different things around here. Rednecks are hateful and only out for themselves. Good old boys are respectful and help anybody that needs help.2 points
-
2 pointsGlad to help. Sorry I didn't have better news or a simpler way to fix it. And since I'm already the bringer of bad news... The normal temperature control lever should also be able to block off the flow to the heater core. If you've got it slid all the way to COLD, then the heater core should be cut-off. Yes, when you switch to A/C, the other valve should do that automatically, but you should still be able to do it manually with the lever actuated valve. So if you've already got the temperature lever slammed all the way to COLD and you're still getting a hot air through the heater core, then you've actually got three problems: Your mode door foam is leaky. Your vacuum-cokk valve is leaky. Your temperature control valve is leaky. All pretty much normal for these cars.2 points
-
And by the way, I think we're all saying the same thing here... Carbs need fuel in the bowl in order to operate correctly. And that fuel won't get into the bowl by magic. It takes pressure. It might not take much... In fact, in many circumstances, simple gravity is enough. But there must be something that pushes fuel into the bowl. But for a car like the Z with a tank located below the level of the carbs, you need a pump. And a pump needs specs. So Datsun provided some specs in order to qualify and test the pump(s) used in the cars. "Should be able to provide this volume at this pressure and no higher than this." It can be somewhat arbitrary as long as there's enough fuel provided at extended full throttle, but not so much as to force the float valve open at idle when you don't need nearly as much fuel.2 points
-
2 pointsNo excuse, @Av8ferg. I went to high school in the 80s, and I knew that one. 😉2 points
-
1 pointI'm fairly new to carbs, been playing around with them but never did understand the intricate details on how they actually work. Found a neat youtube vid that explains how they work: https://www.youtube.com/watch?v=toVfvRhWbj81 point
-
1 pointYour passion for good work has paid off! Damn fine car. Can't wait for the zcon I get to see it in person.1 point
-
Well to break the rule like most others I guess, mine were tuned and corrected until they are as good as possible. I want to remove all the brand new efi components I put on my '77 and put a spare set of SUs on there. I am a minimalist, less is best, and would drive the 240 anywhere. The efi 280, not so confident. Too many sensors trying to correct problems that are barely there. I have a friend with an efi John Deere mower that's popping through the air filter. Can not get him to understand it's most likely a sensor gone bad that I can not just "unplug". People are stupid when they get tunnel vision.1 point
-
1 point
-
1 pointYards like that are best visited when it cold outside! No ants and slow moving snakes or none at all1 point
-
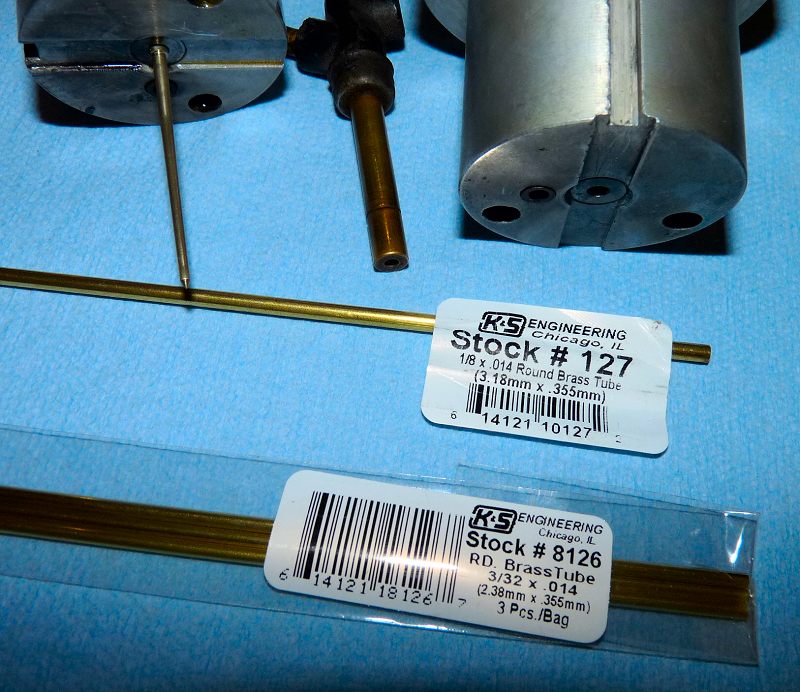
Cracking pressure is a term most associated with check valves. They are be held closed by something (usually a spring), and there is a certain amount of pressure required to overcome the combination of stiction and the force of the spring in order to force fluid through the valve. And even though not necessarily considered a check valve, the construction of the needle valve is identical to a check valve. The only difference is that the compression of the spring (and hence the force supplied) is variable because of the moving float. Here's some good pics and description of cracking pressure: https://www.hydraulicspneumatics.com/technologies/hydraulic-valves/article/21884995/engineering-essentials-pressurecontrol-valves And from that page, here's a neat sketch showing why (even though it's not a "check valve", the concepts cannot be ignored even for the float valve. If you replace the adjustment screw with the float tang, here's the carb float valve:1 point
-
1 pointLooks neat and clean so far. Nice work. The red you see on the 280Z indicator mounts will be covered when you fit the indicators and their shrouds. It will look neat and tidy when it is finished💥. Just repeating some of what we messaged for the benifit of other members: The 280Z has a larger air gap between the bumpers and lower valance for the larger radiator. If you can fabricate two extra bars in the bottom grill, it will fill the gap nicely. Or the Skillard 280Z grill. Be aware when ordering because they make the 280Z grill with 12 horizontal bars and 10 horizontal bars. The 12 bar version does not require the original lower two bar grill, but the 10 bar version does. I would suggest the 12 bar version and avoid any mis match issues. My bumper and grill brackets will only work with the Skillard 240Z grill.1 point
-
1 point
-
I wondered why I had a cast iron pipe fitting in my Z parts drawer! You told me about how that reducer would work, and it did. Thanks again.1 point
-
1 point
-
1 pointI had my Xenon air dam painted when I had my car painted, and it turned out really good. I also had my old lower valance that I took off repaired and painted at the same time, this will allow me to go back to the original front down the road if I felt like it.
 1 point
 -
1 pointGo to Youtube and search "University Motors SU Carb" It's a fantastic series of videos on British SU's. 95% of the information is exactly the same as our Datsun SU's.1 point
-
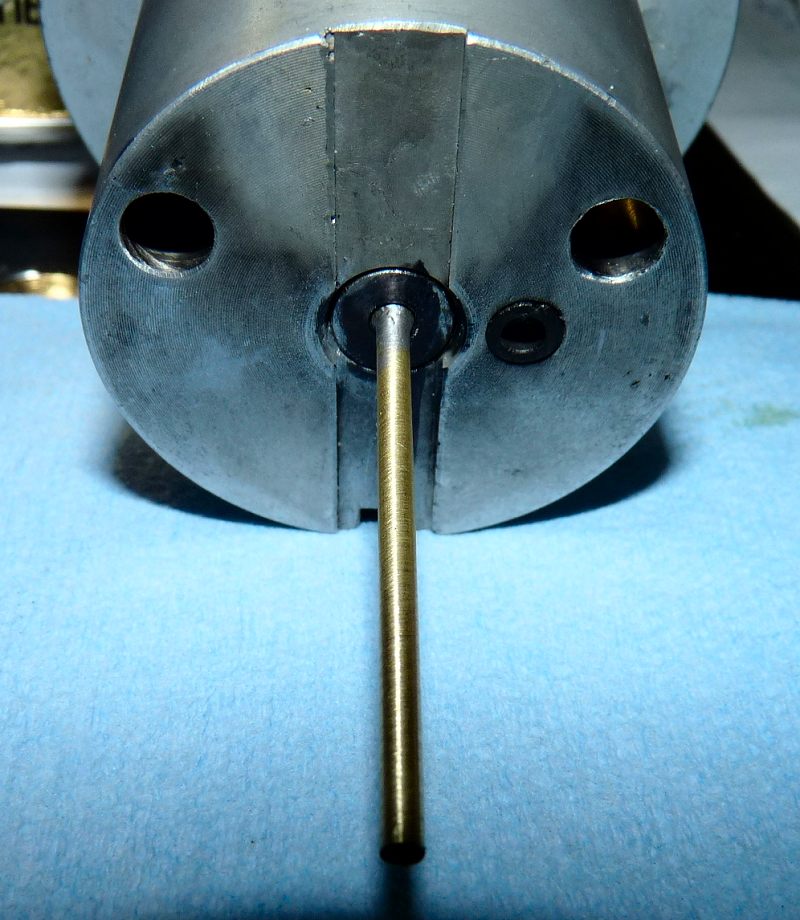
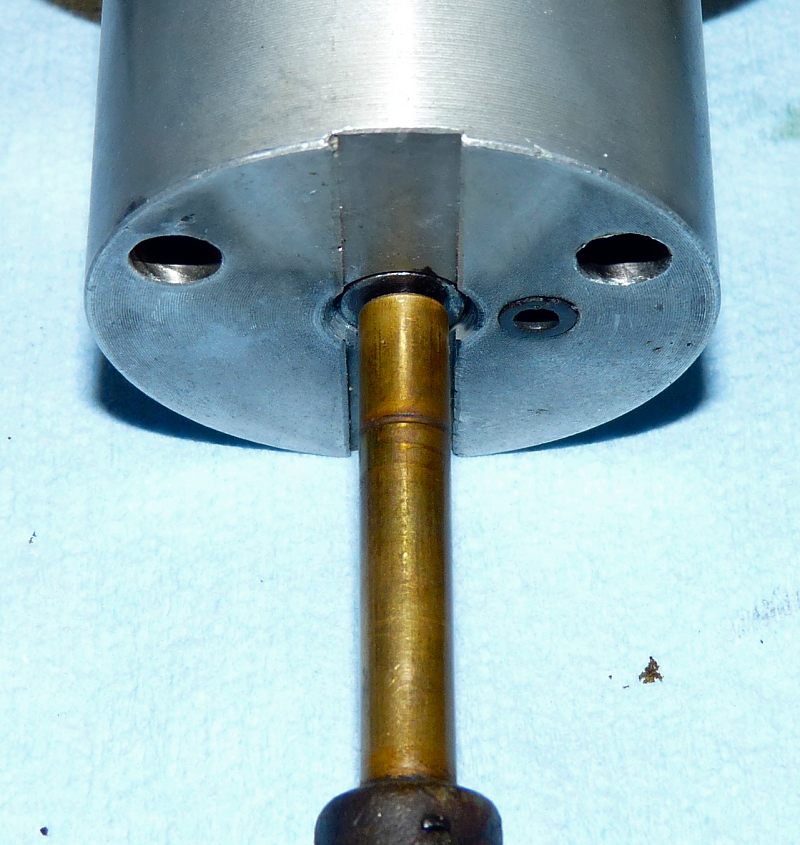
I made this for pulling the rear axle. The round hole serves a dual purpose. Either to hold a breaker bar to allow removal of the axle nut or to use with a slide hammer to pull the axle.
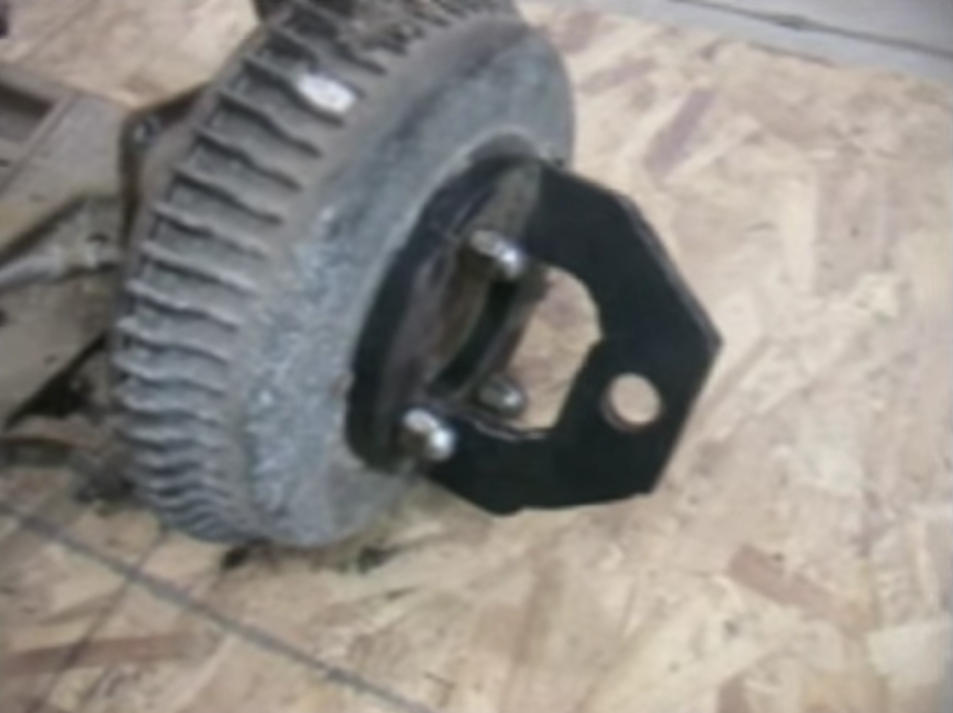 1 point
 -
1 pointMost excellent work! If you are not going to run a front license plate, consider painting the two license brackets either flat or satin black to avoid the "Ollie The Dragon" look. Been there, done that. Tell me you remember who Ollie was. 😉1 point
-
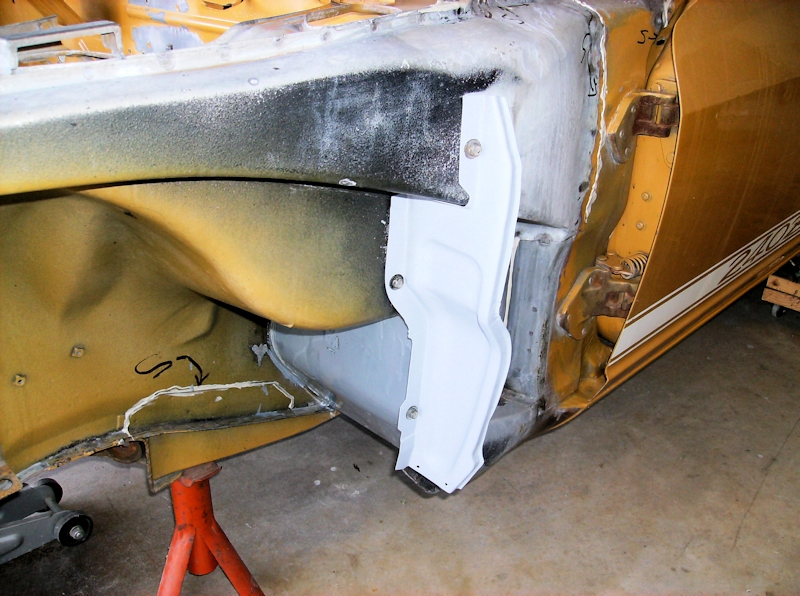
Hey Jim, Here's a pic of the mud guards getting reinstalled on my car, note three screws per side. The online parts catalog says this part is the same for all 240Z's and I have buddies working on '72's that are attached the same way. I think the parts from any 240Z will work for your project. Jim3 http://www.carpartsmanual.com/datsun/Z-1969-1978/body-240z/front-fender-hood
 1 point
 -
I’ve made dozens of tools over the years. It would be safe to say they are all equally valuable, as all were created when there wasn’t a tool available to do the job. I’ve made tools to remove spring eye bushings for leaf springs and install new ones for heavy trucks. This was so I didn’t have to remove the spring to take it to a press. I made a tool for checking and adjusting air brake slack adjusters. I built a gage for checking the toe on my race car, but it can be used to check toe on any vehicle. Along that line I made a number of tools to aid in setting and adjusting all of the suspension on the race car, camber, caster, square. Dozens of jigs and fixtures, for drilling or assembly. Stands for spare engines and transmissions. My tool box is loaded with modified wrenches and sockets. I have bought a number of wrenches just to be modified for a single job. I built a cart for a suitcase MIG welder that also carries the argon bottle, and storage for a welding hood, gloves and leather coat, clamps, spare wire, consumables and nozzle dip. I made a tool for holding L series cylinder heads for porting work, so I don’t have to chase it around the workbench. Another tool for holding a Z strut and spindle for mocking up brake caliper adapters and cooling ducts, and checking wheel to brake component clearances. It also is useful for mounting a wheel for polishing. The list goes on . . . .1 point
-
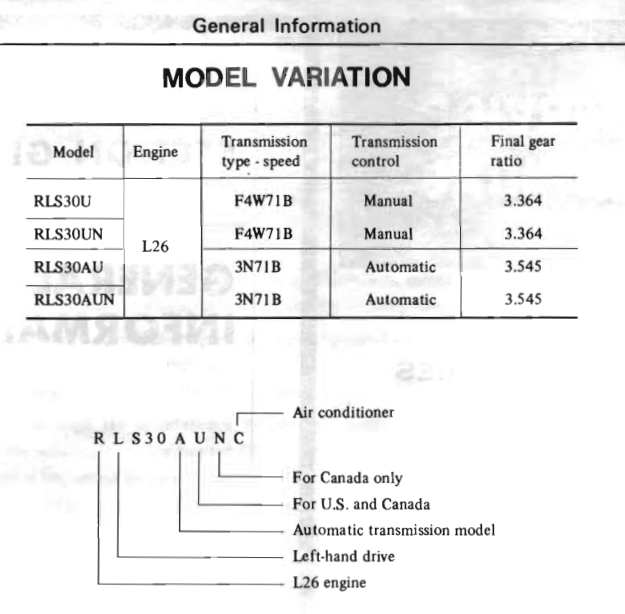
He said 260Z, not 240Z. Here's the GI from 1974. Oops.
 1 point
 -
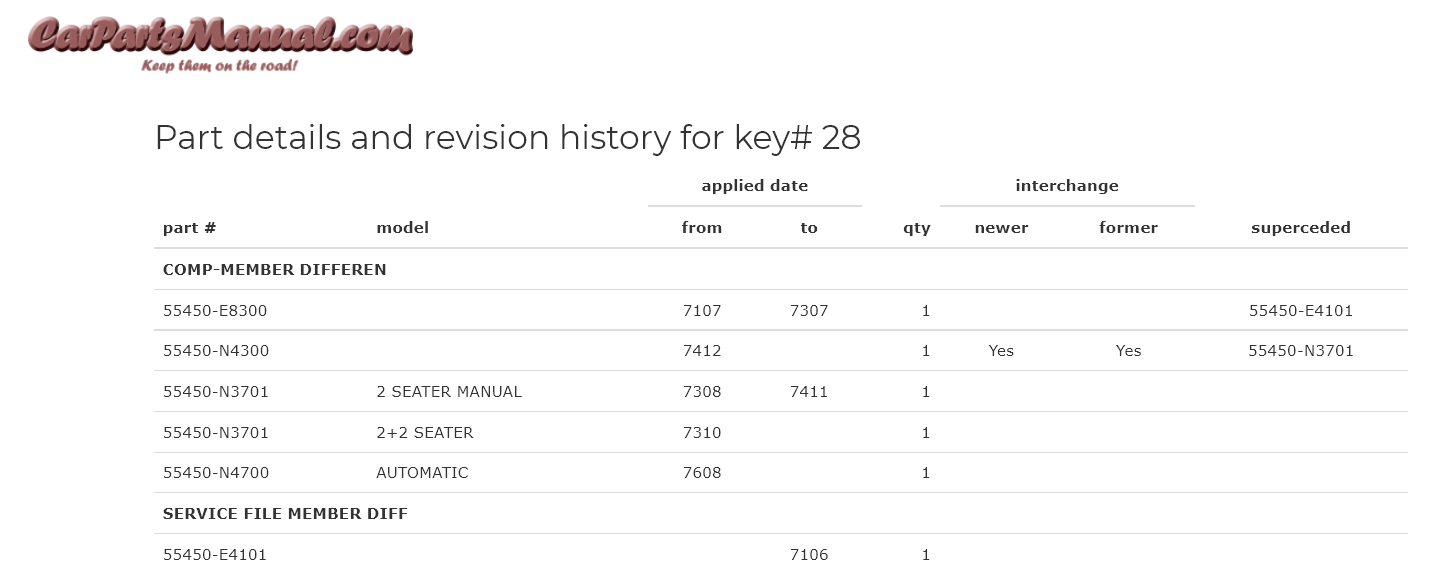
Here's a part that continued through the R180 to the R200. Kind of suggests that October 1973 was when "something different" happened with the mustache bar for the 2+2. Maybe I should be looking at small bumper 2+2's also. Edit - actually I did when I looked through BAT. Only one guy showed the diff. https://bringatrailer.com/datsun/260z/?q=260z http://www.carpartsmanual.com/datsun/Z-1969-1978/axle/rear-suspension/28
 1 point
 -
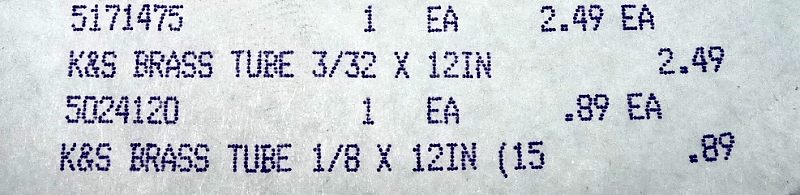
1 pointThanks for recommending that flare tool, works like a charm. It also doesn’t mar up the outside of the pipe like the old style does. Flair from parts store pipe Sent from my iPhone using Tapatalk1 point
-
1 pointOh I hear you! The resonator does kill the sound a fair bit and it was great without it on my L26. But the more aggressive cam and cam timing on the L28 with it’s bigger displacement on 10.5:1 just introduced too much drone for my Lilly soft ears! Glad the musings of a madman had some value! [emoji106]Hope you get the car is back to roaring away again soon!1 point
-
1 pointI think for a US spec 280 the 5mph bumper shocks need to be removed, brackets sourced ( there are aftermarket adapters available) or fabricated, and the rear bumper adjusted so it doesn’t ride the quarter panel ( the 280 doesn’t have the relief for the bumper).1 point
-
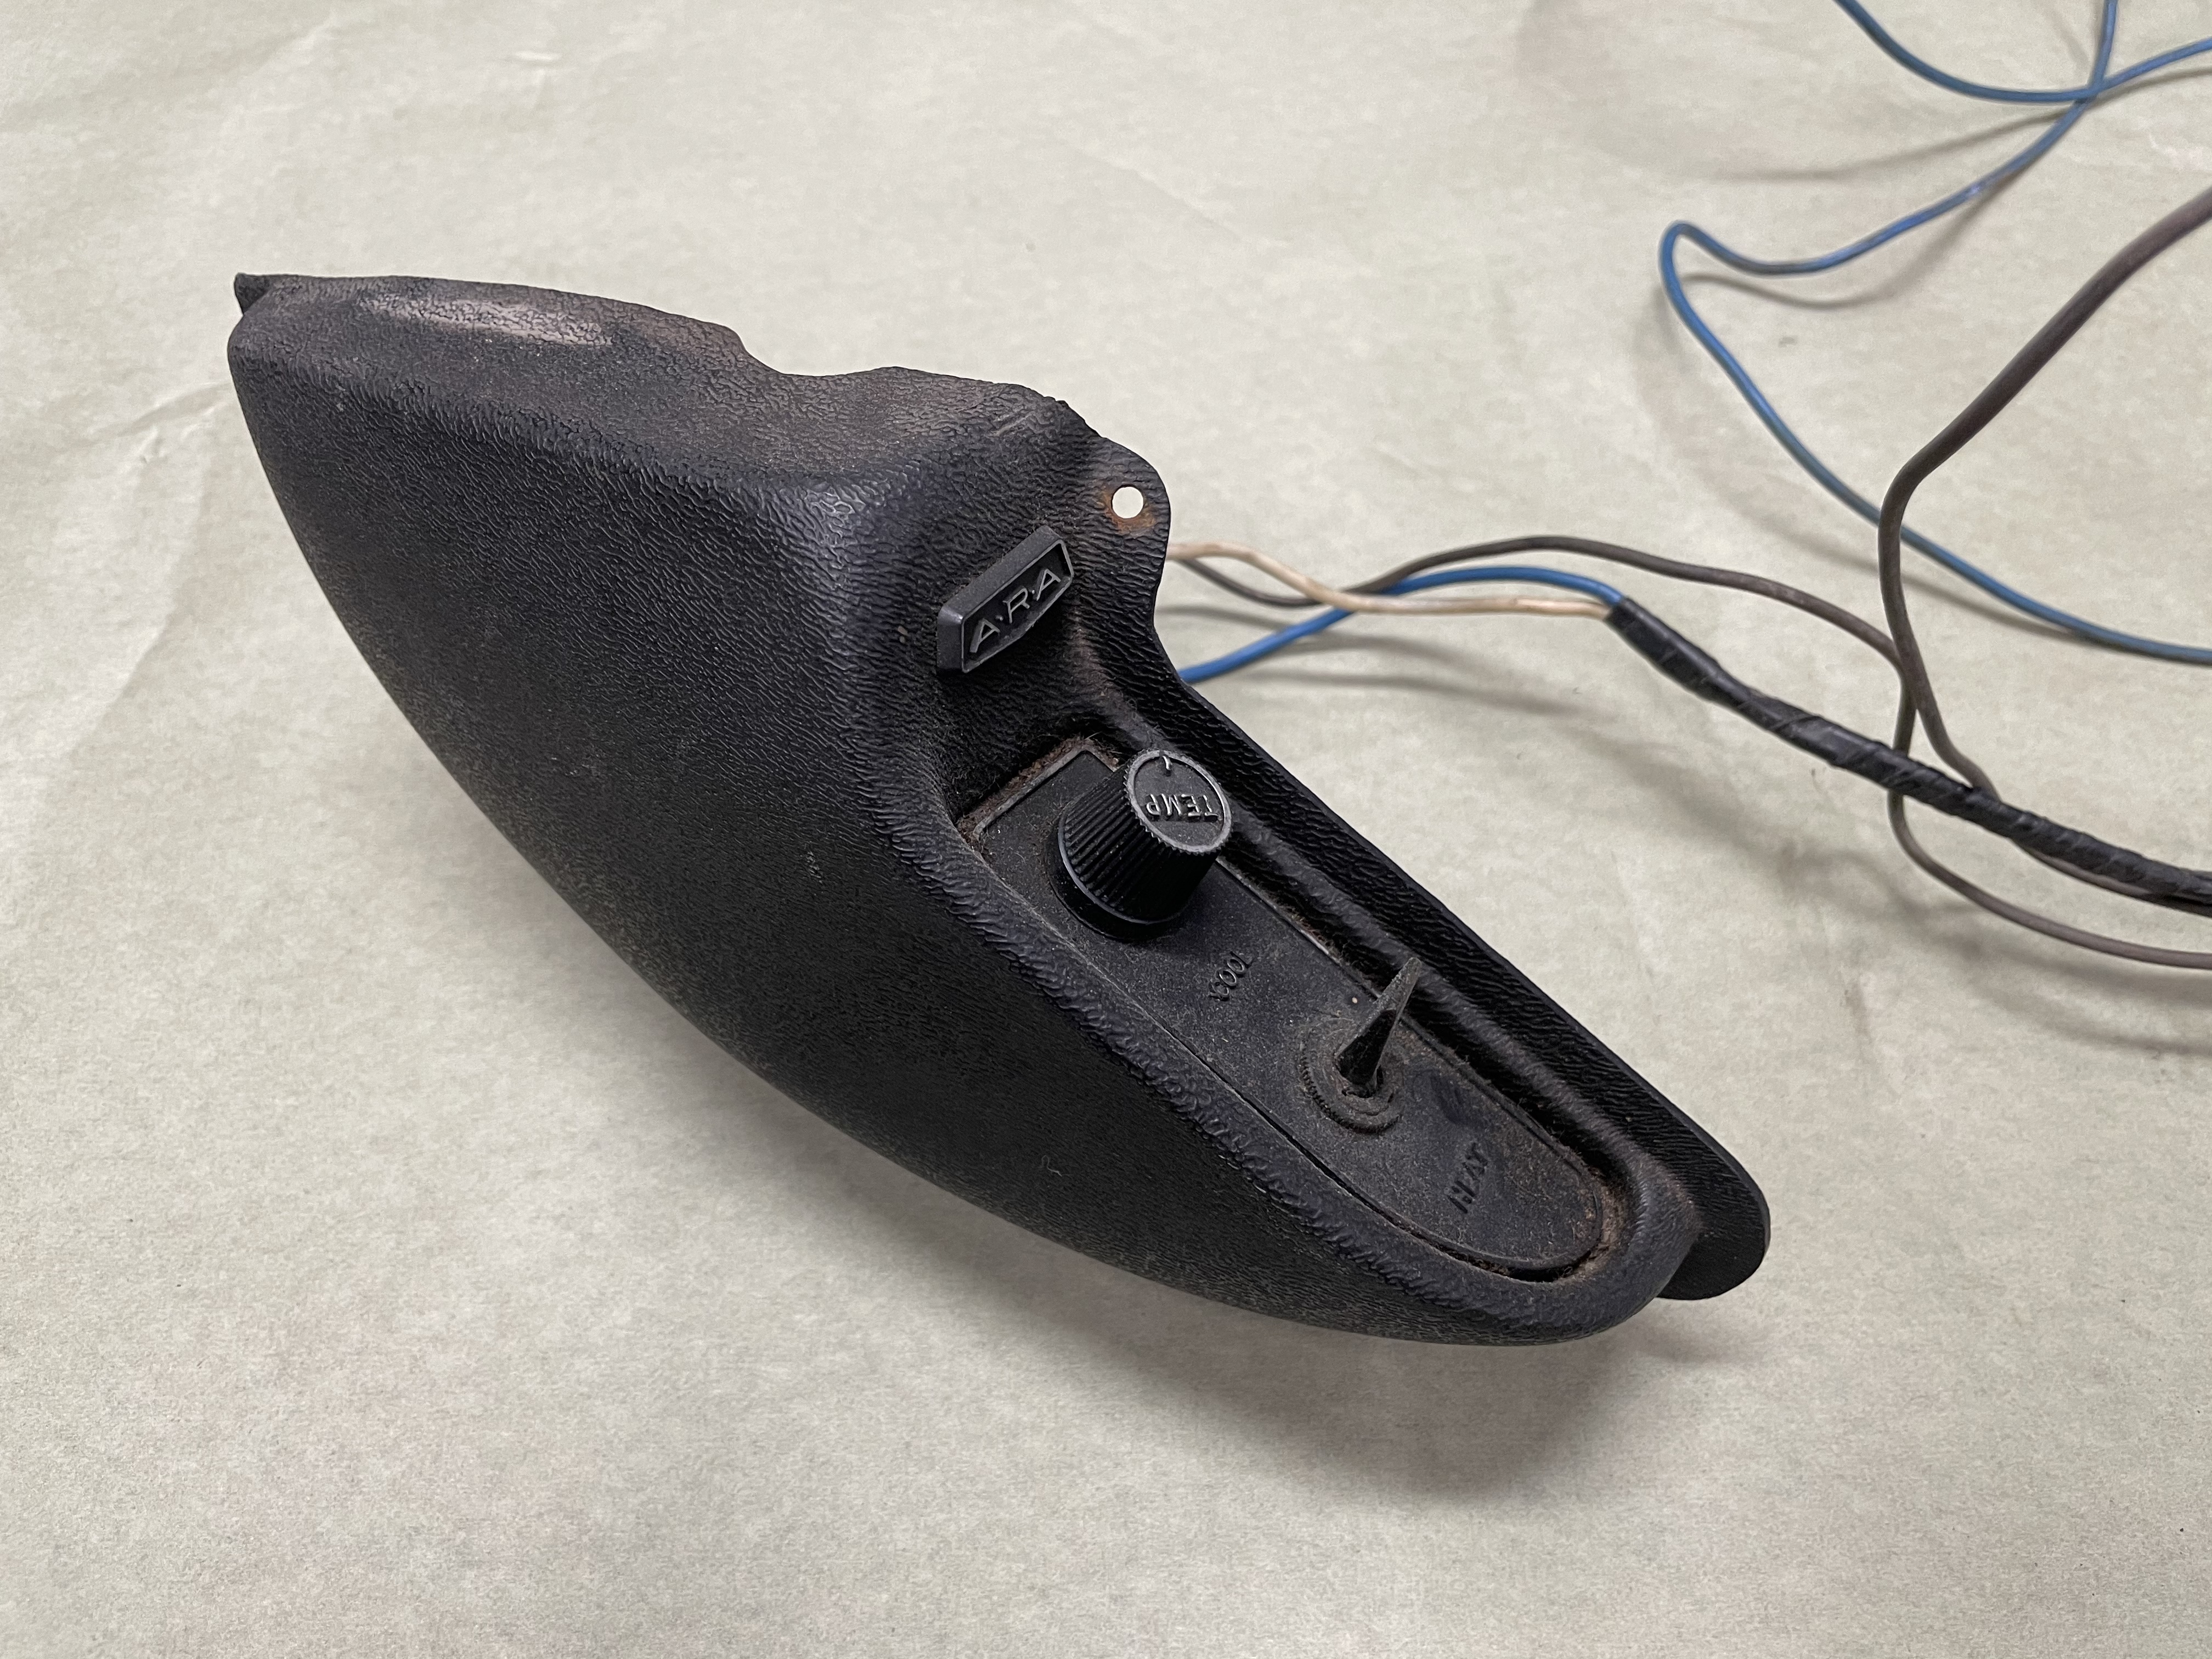
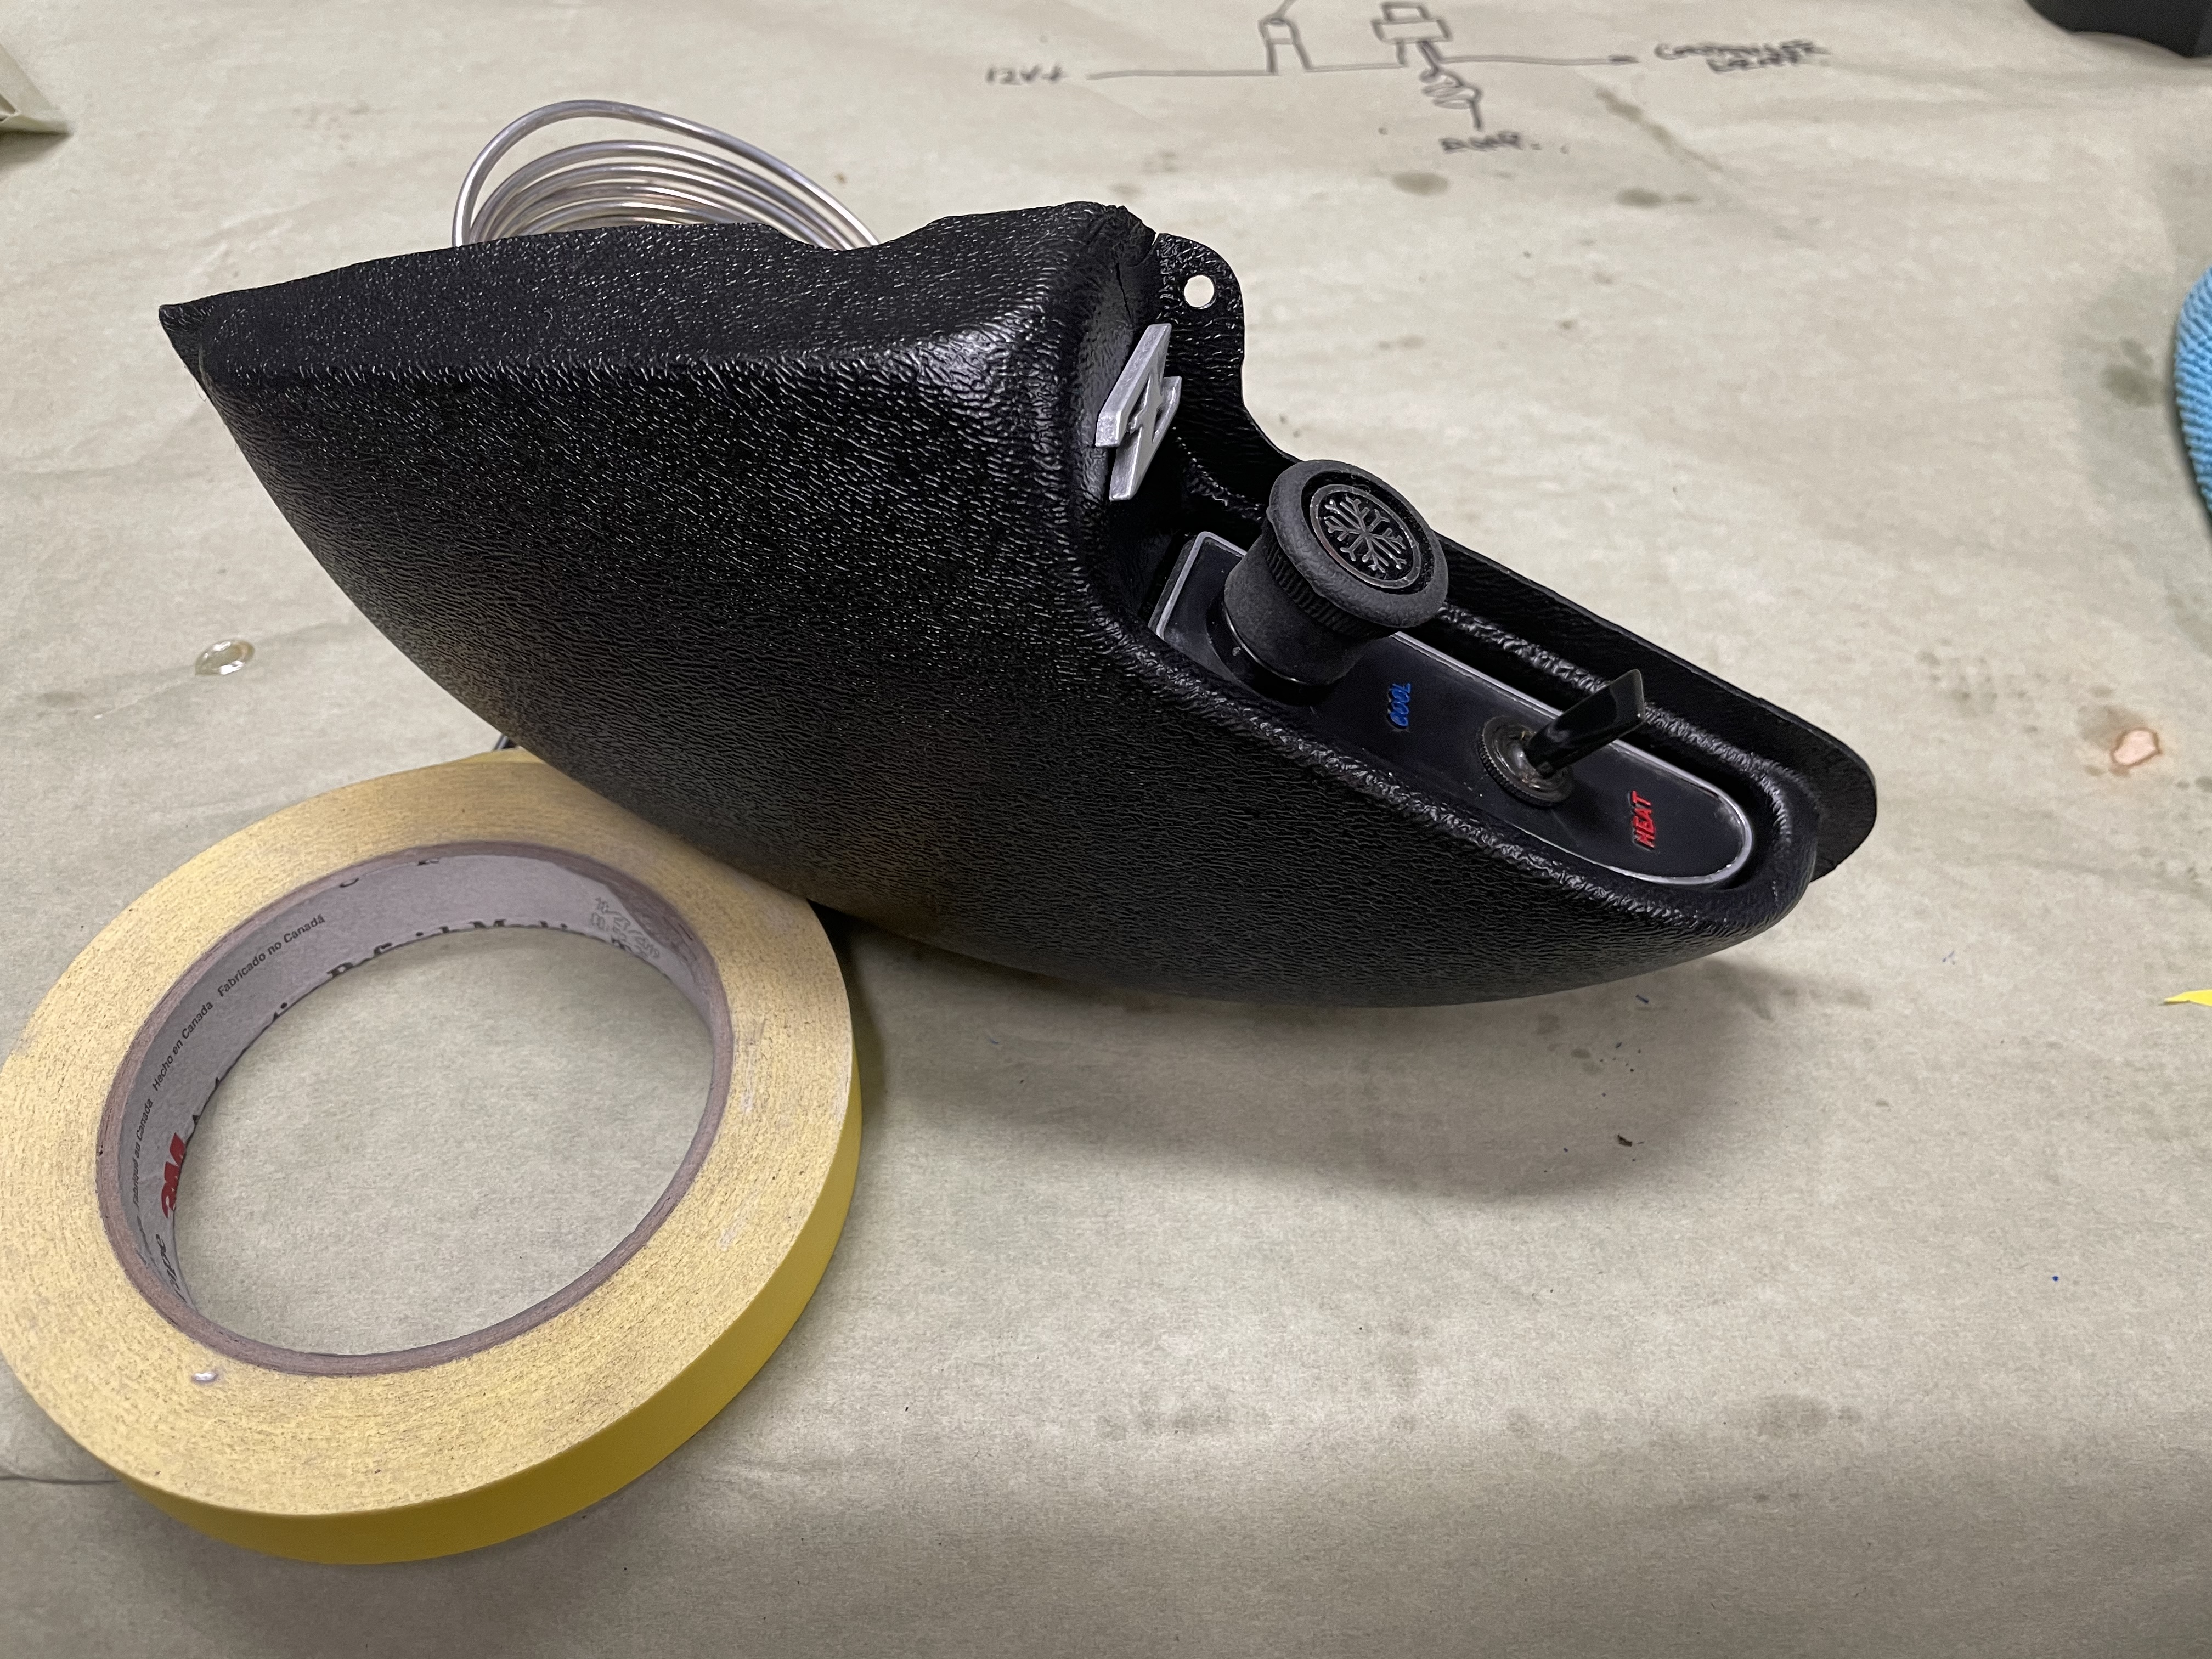
1 pointBefore and after on the dealer AC controls. Original setup was from ARA, new setup is a mostly pieced together system to make adding AC as minimally invasive as possible. For the controls the ARA unit was disassembled, cleaned, and new switches installed. Also replaced the ARA logo with a Z one to change things up.


 1 point
 -
1 pointThanks for this thread, y'all. Now I don't have to post saying "help me help me". Don't feel bad...I've had my Z for almost six months and I just now figured out it was a '78. The fella I got it from said '77, the paperwork said '77...but none of the advice for a '77 made any sense. It made for a very interesting time troubleshooting. Has anybody got a source for the EFI main relay? The coil on the one I've got is burned out. I jumpered the plug, so I know the car runs, but I'd really rather have a working relay there.1 point
-
1 pointYeah i know i need the FSM and usually i would wait to get it before i asked a bunch of questions but man i want to drive my car. Thanks guys, that helps alot, now lets see if i can get this thing to run.1 point