Leaderboard
-

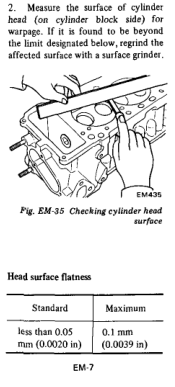
wheee!
Free Member7Points4,607Posts -

Zed Head
Free Member3Points19,236Posts -
motorman7
 Subscriber
 3Points2,228Posts
 -
jfa.series1
Subscriber3Points2,733Posts


Popular Content
Showing content with the highest reputation on 05/30/2019 in all areas
-
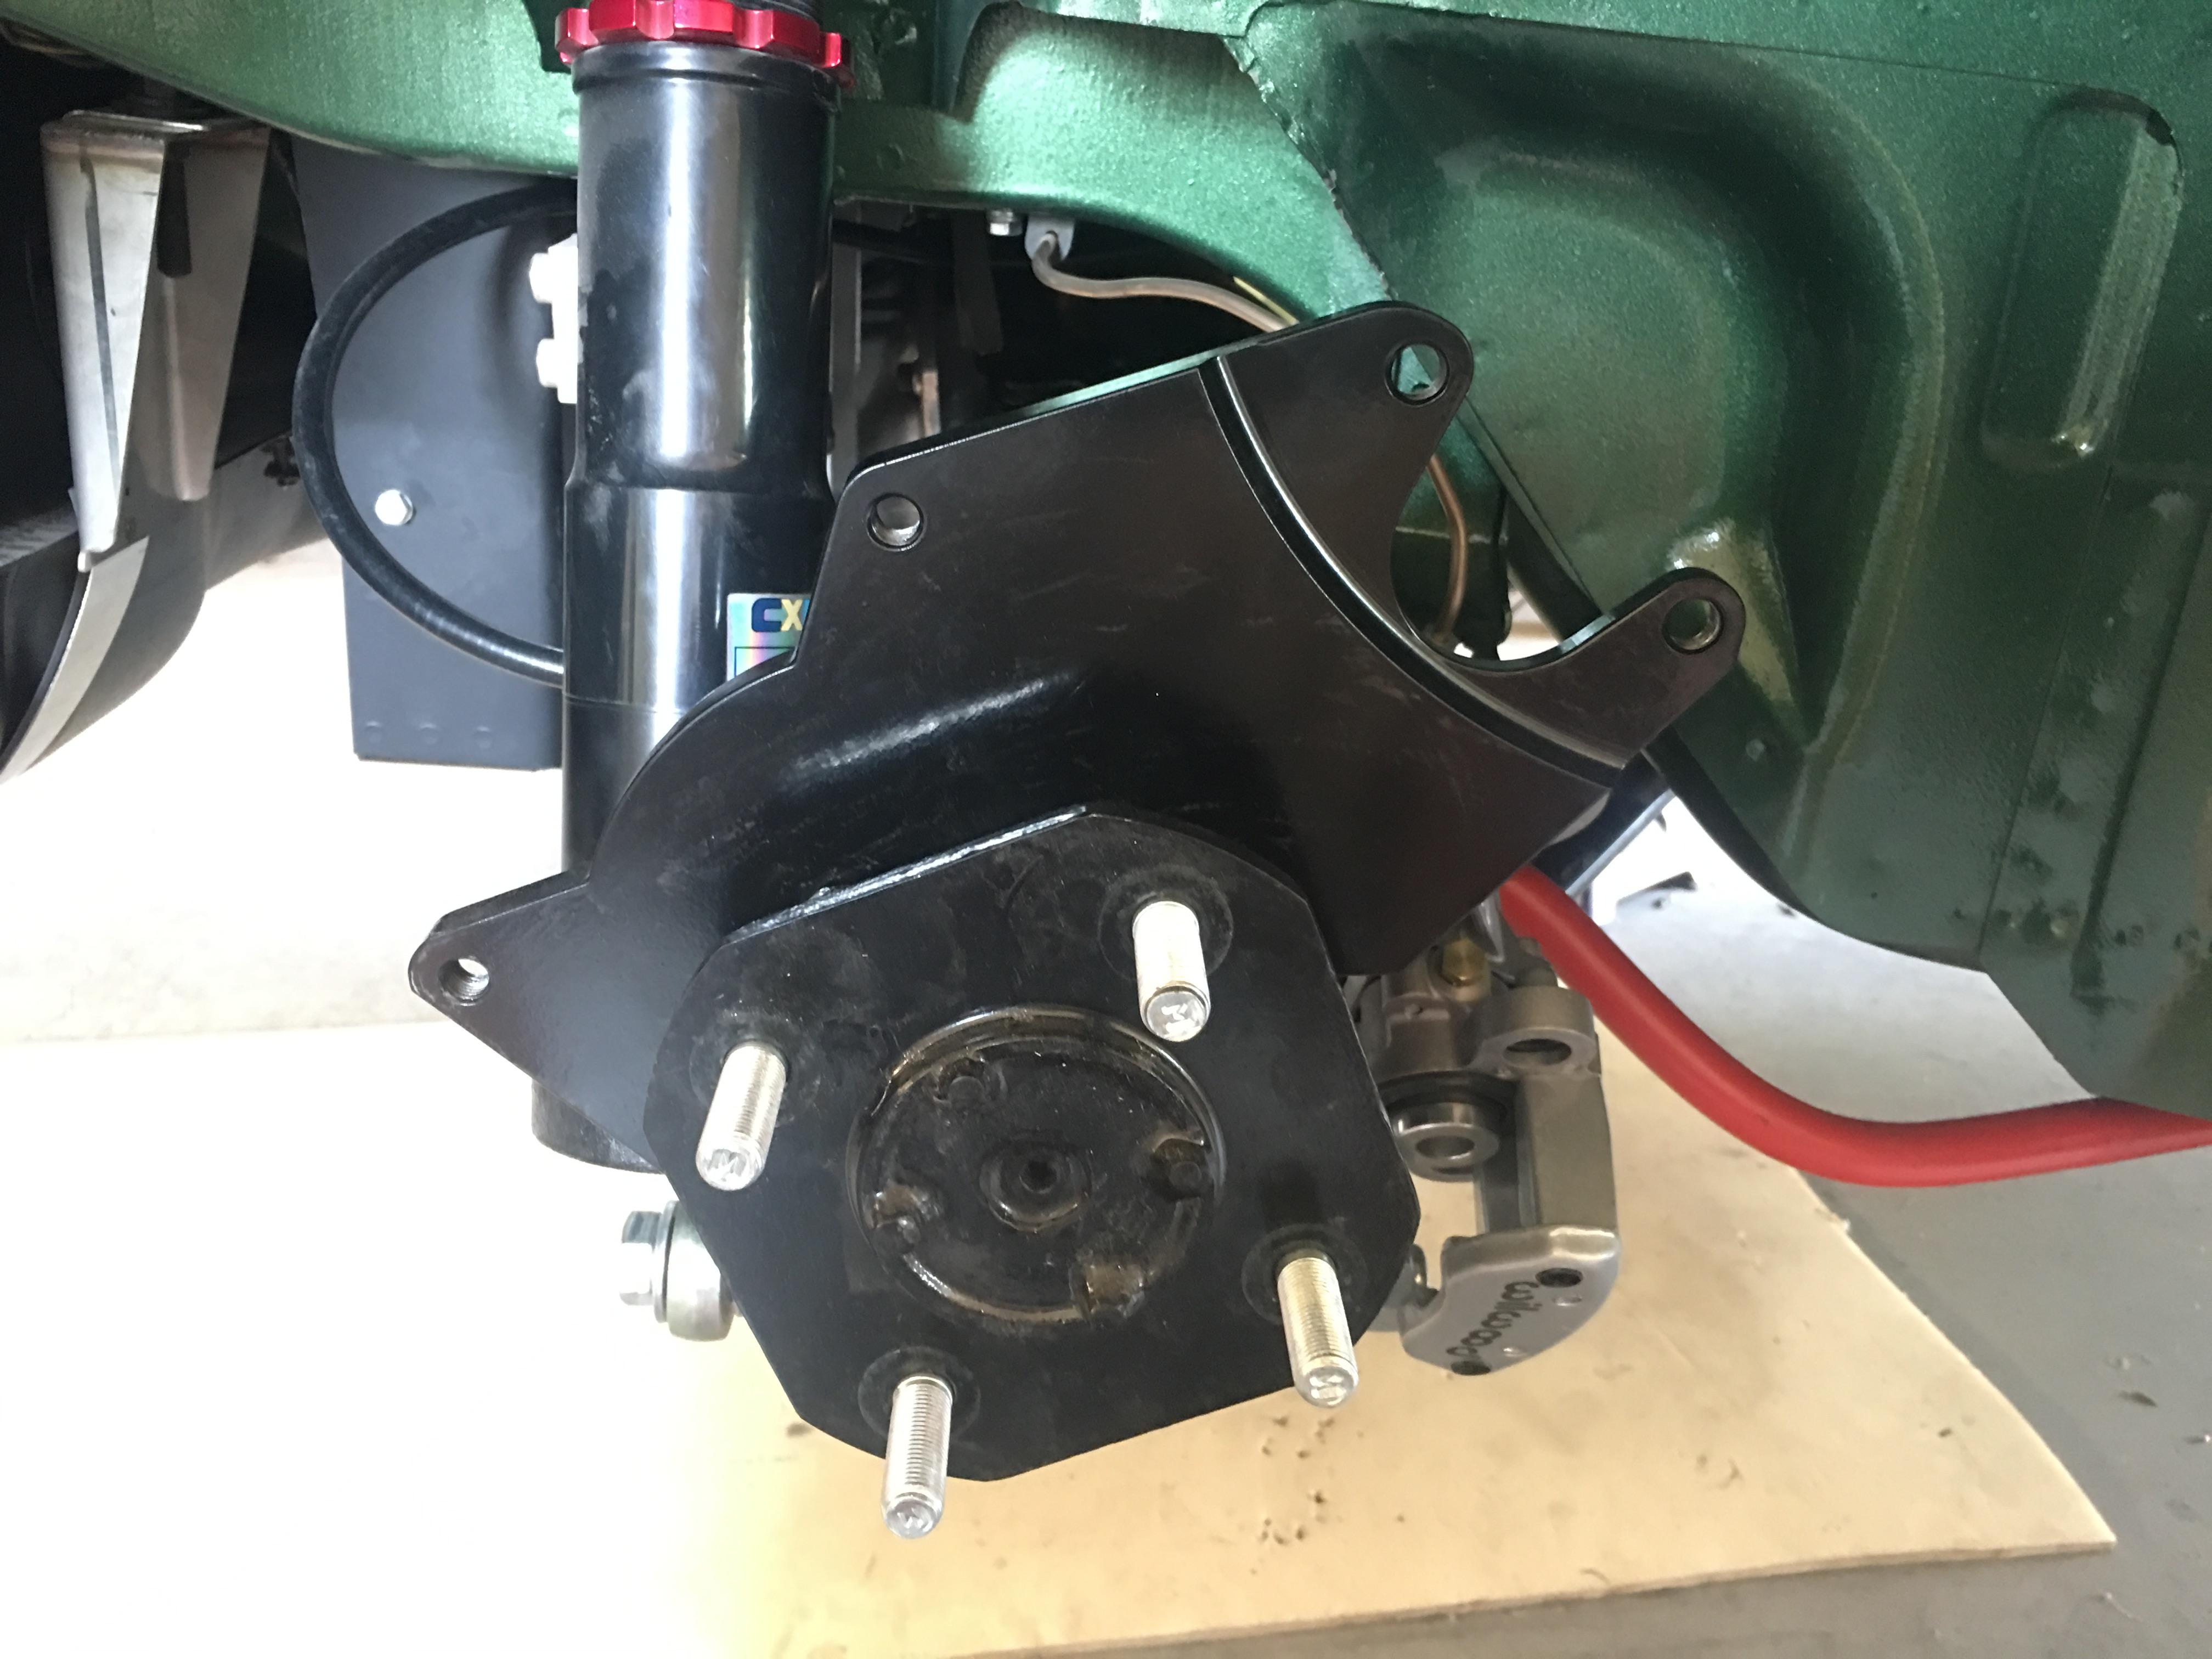
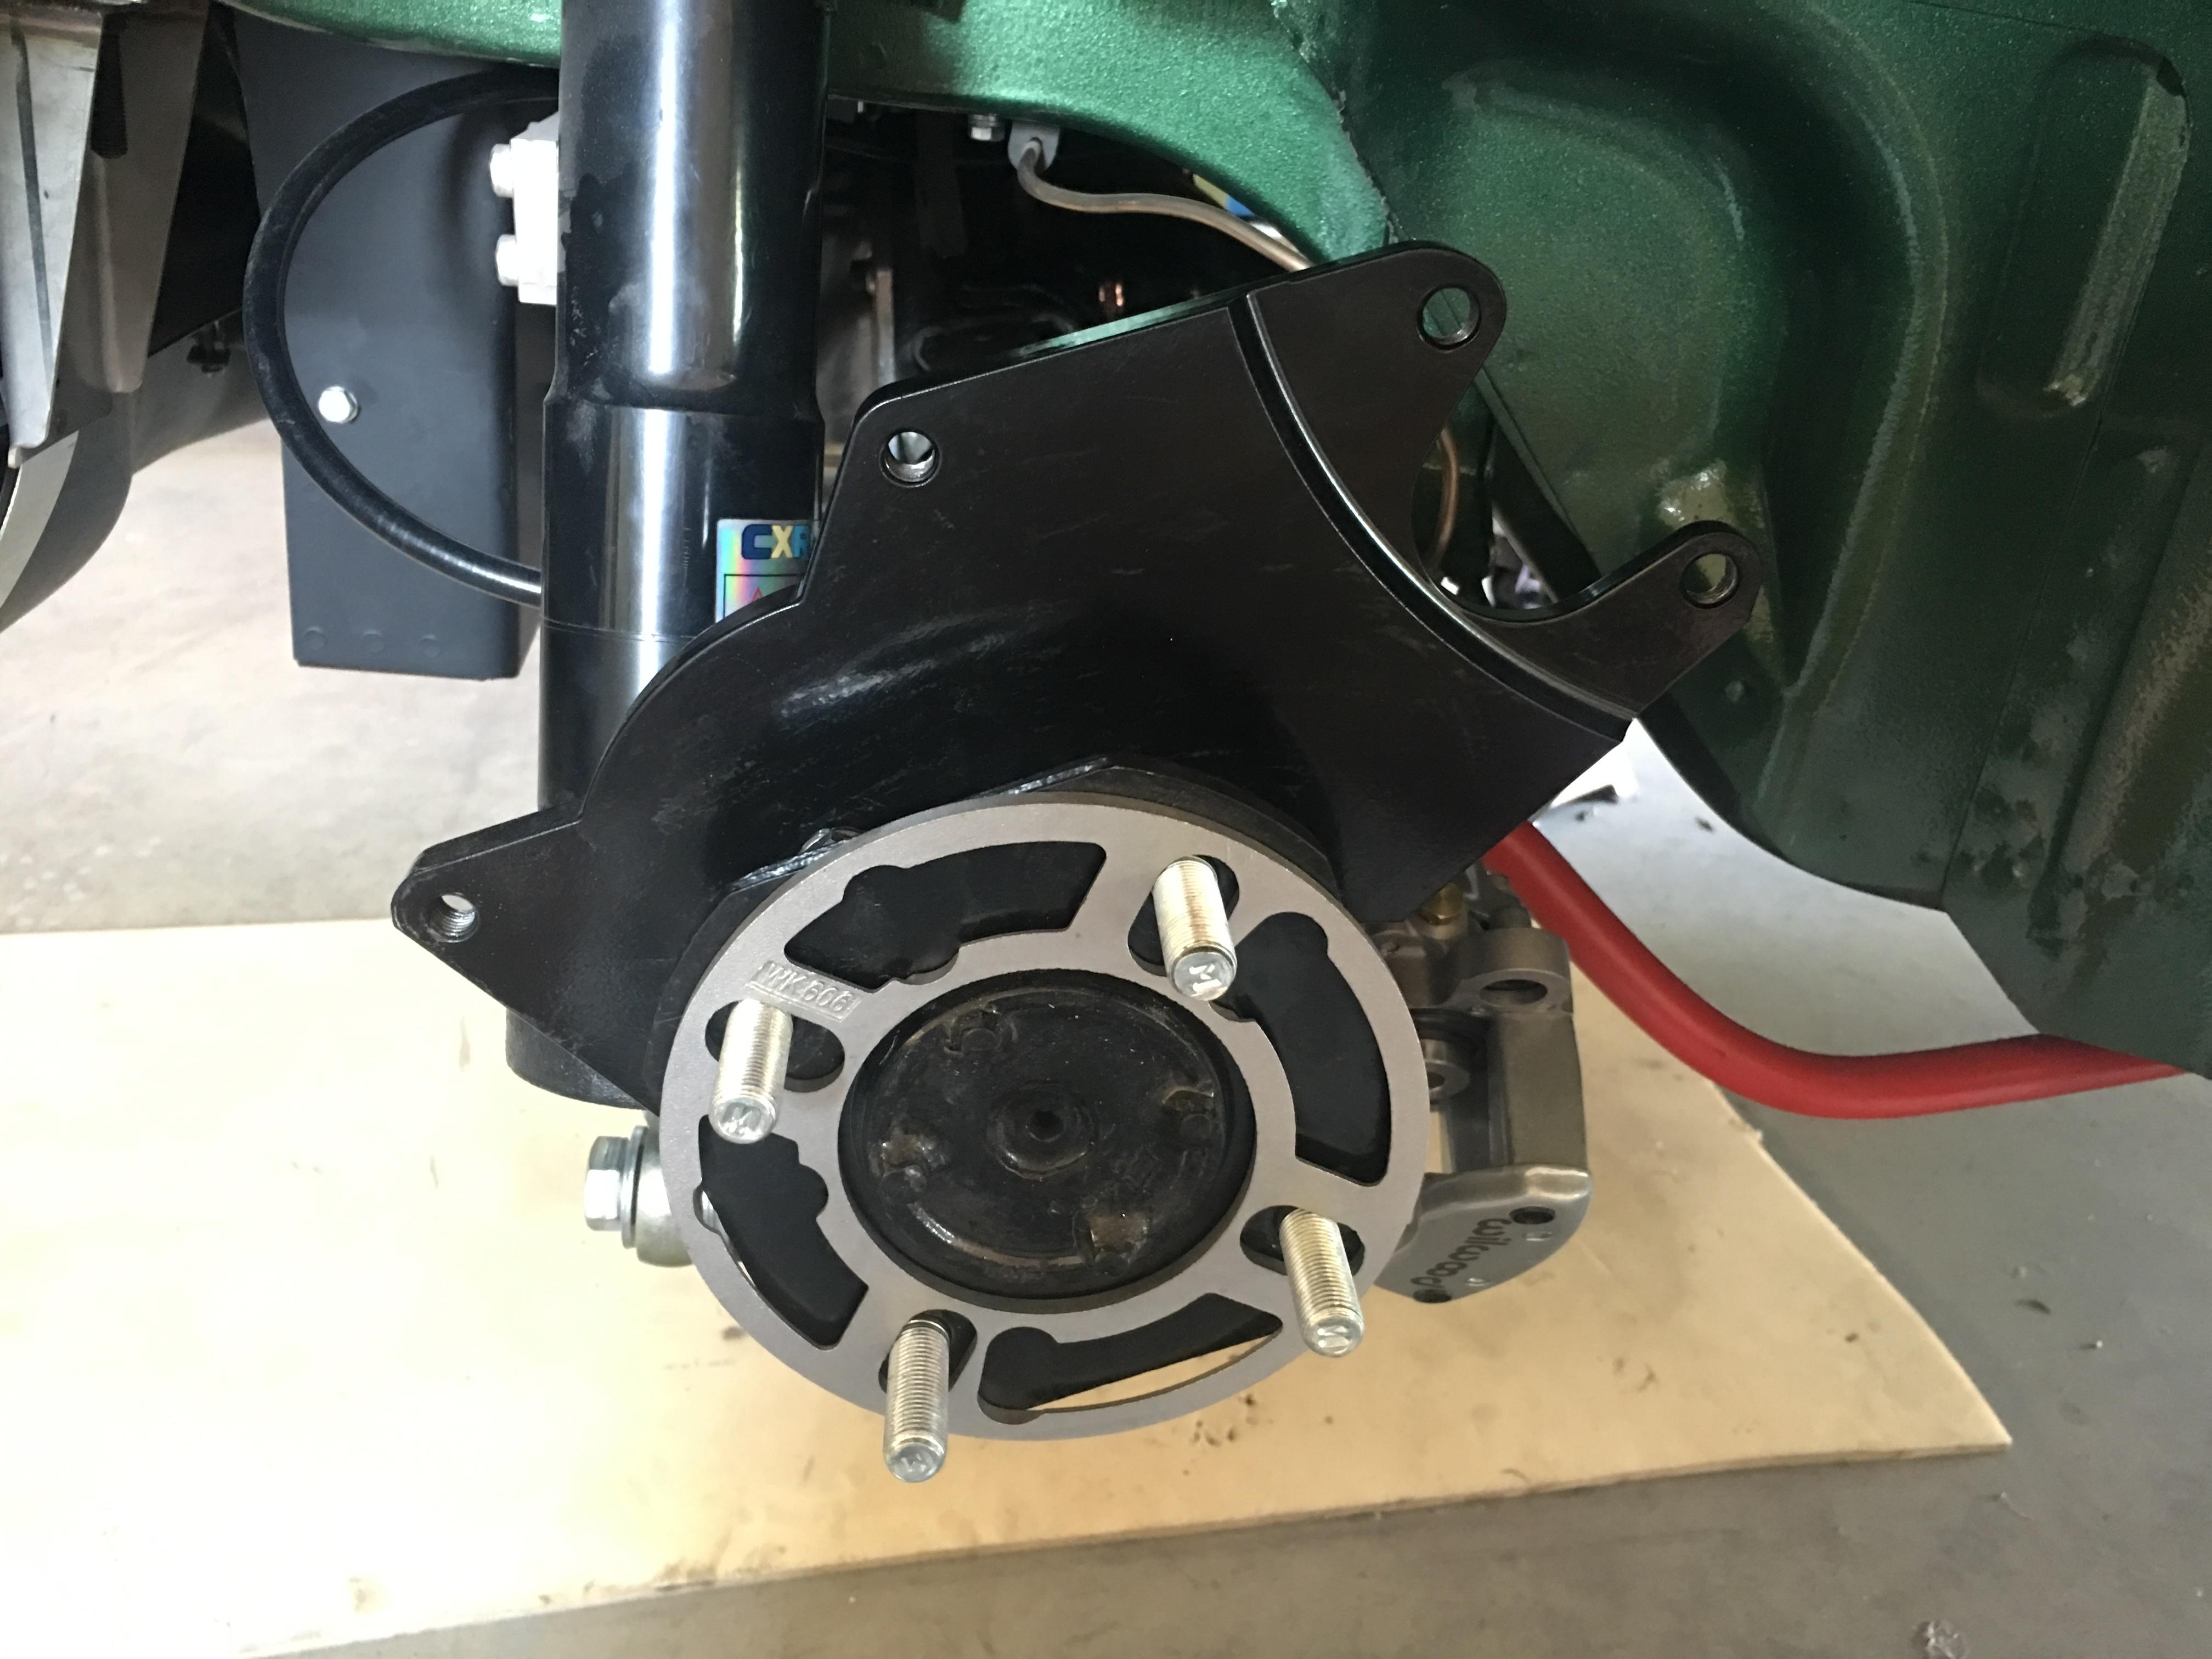
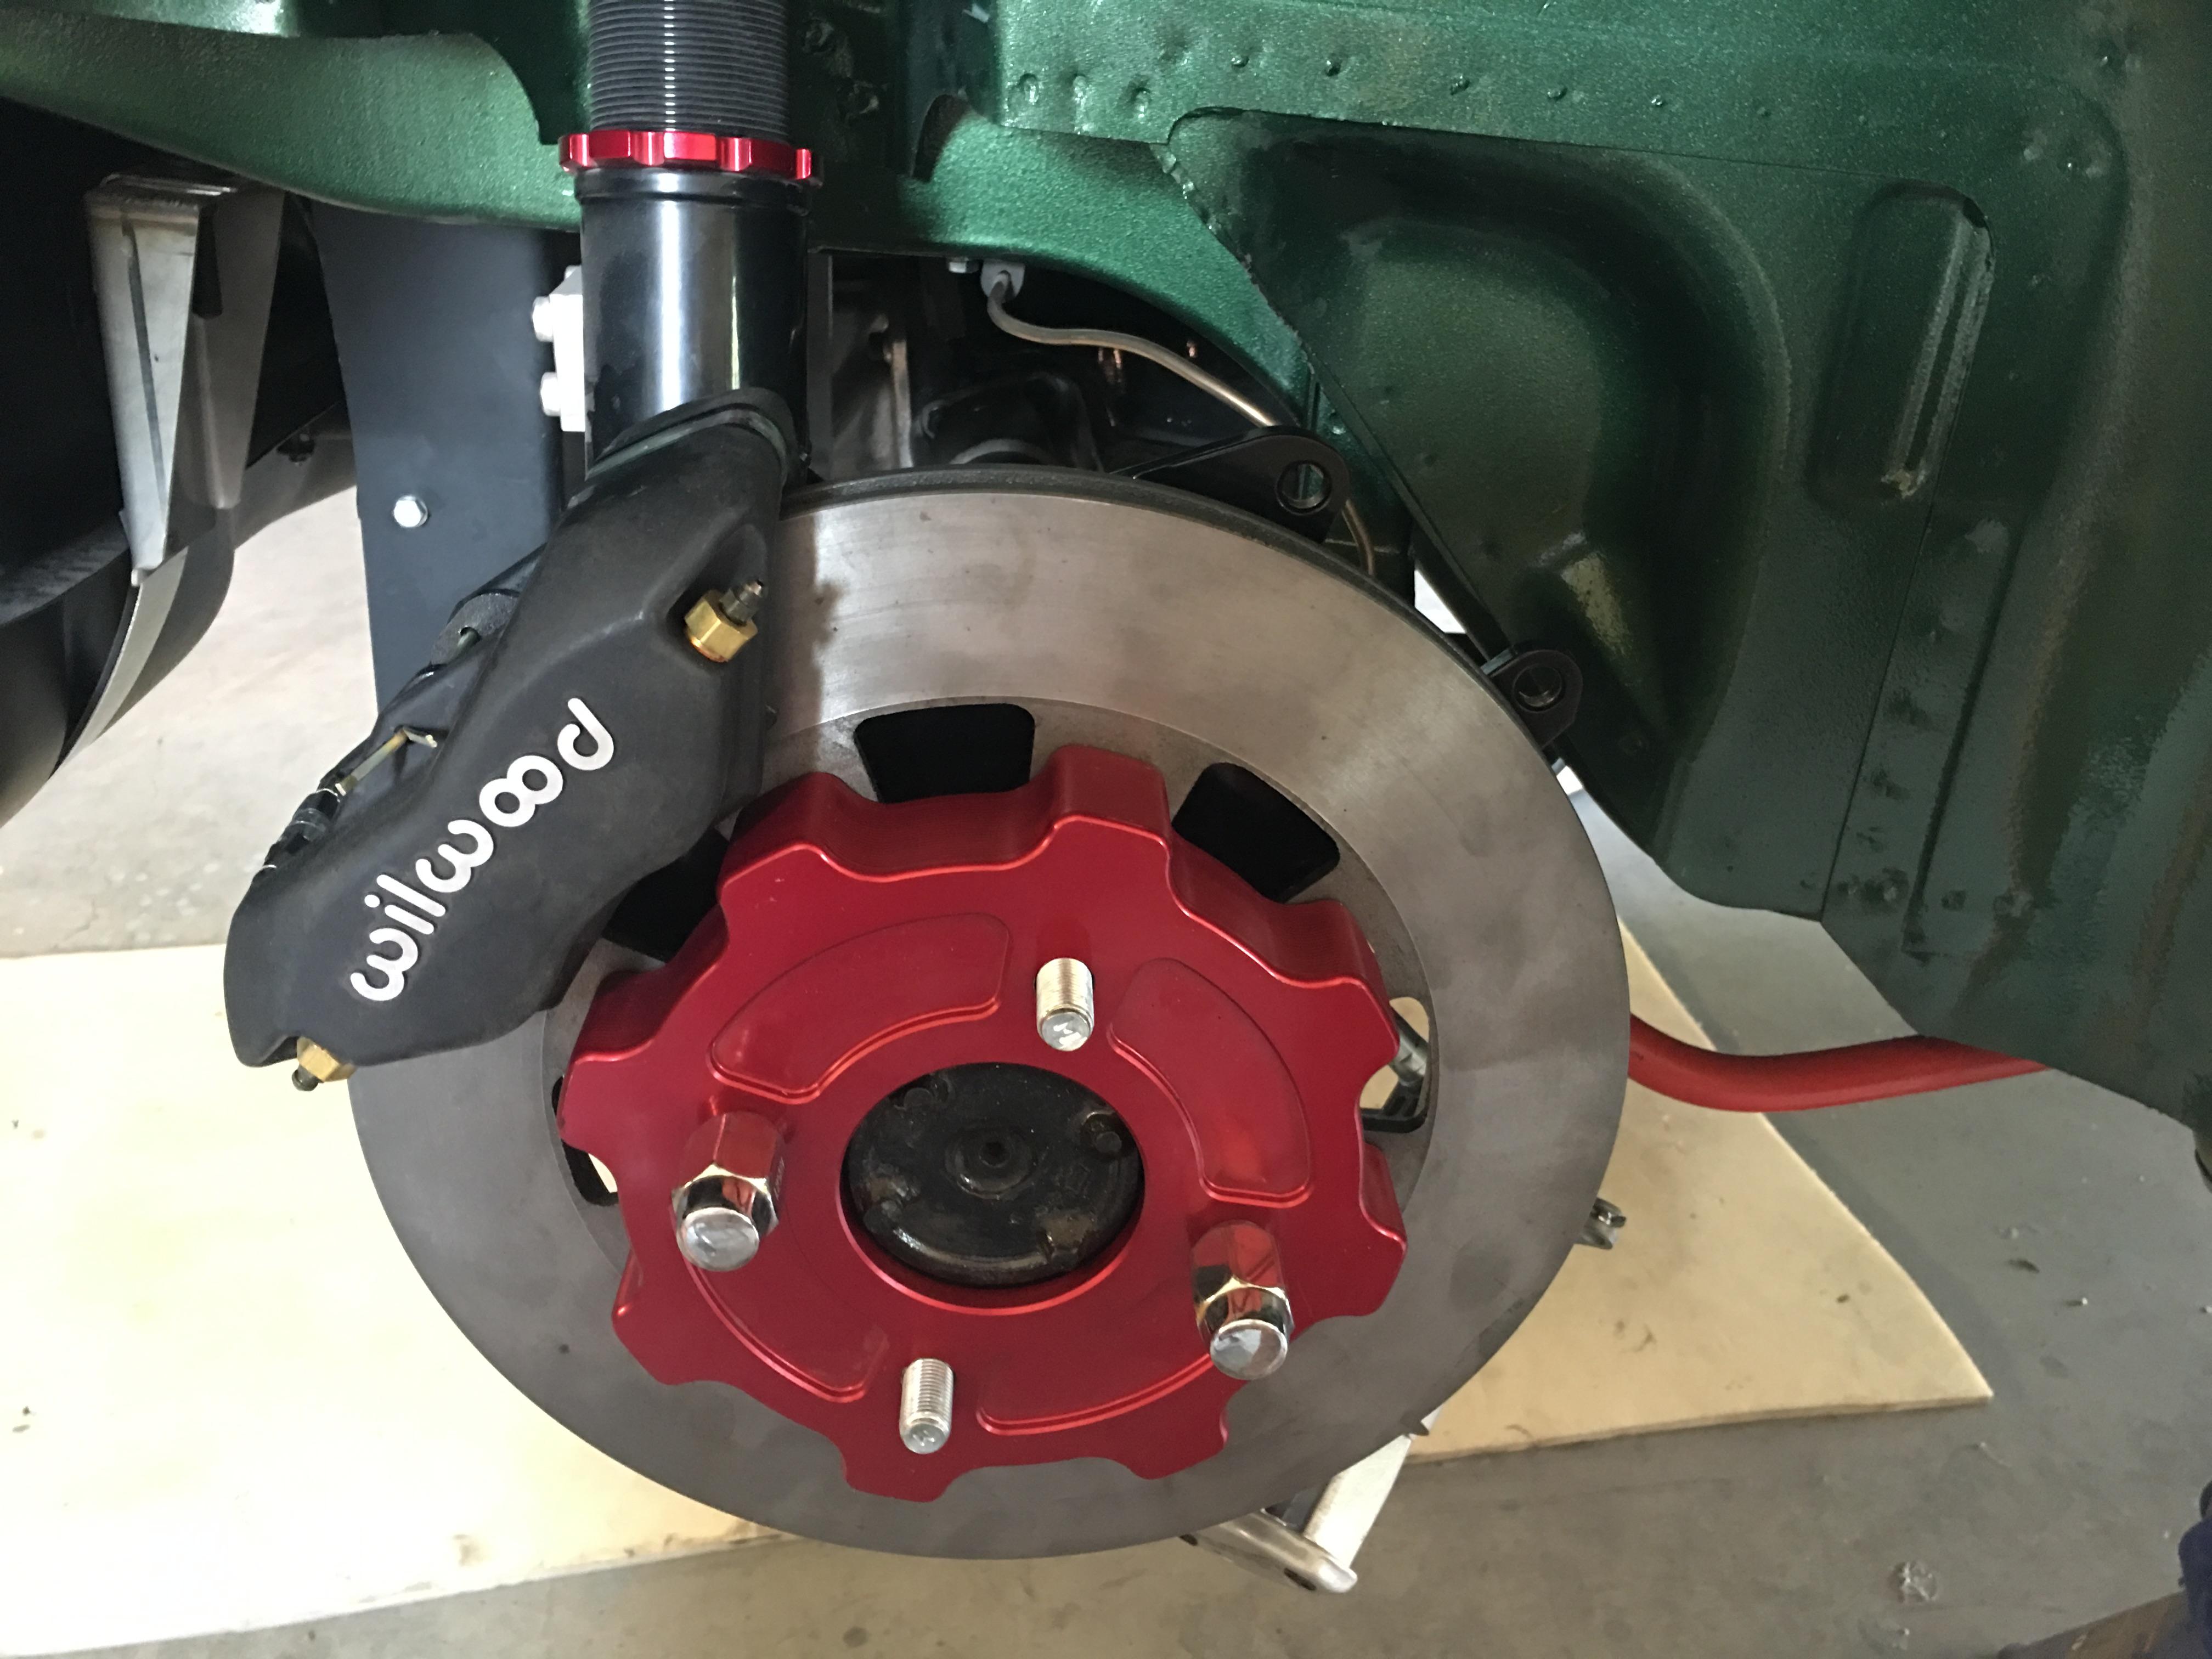
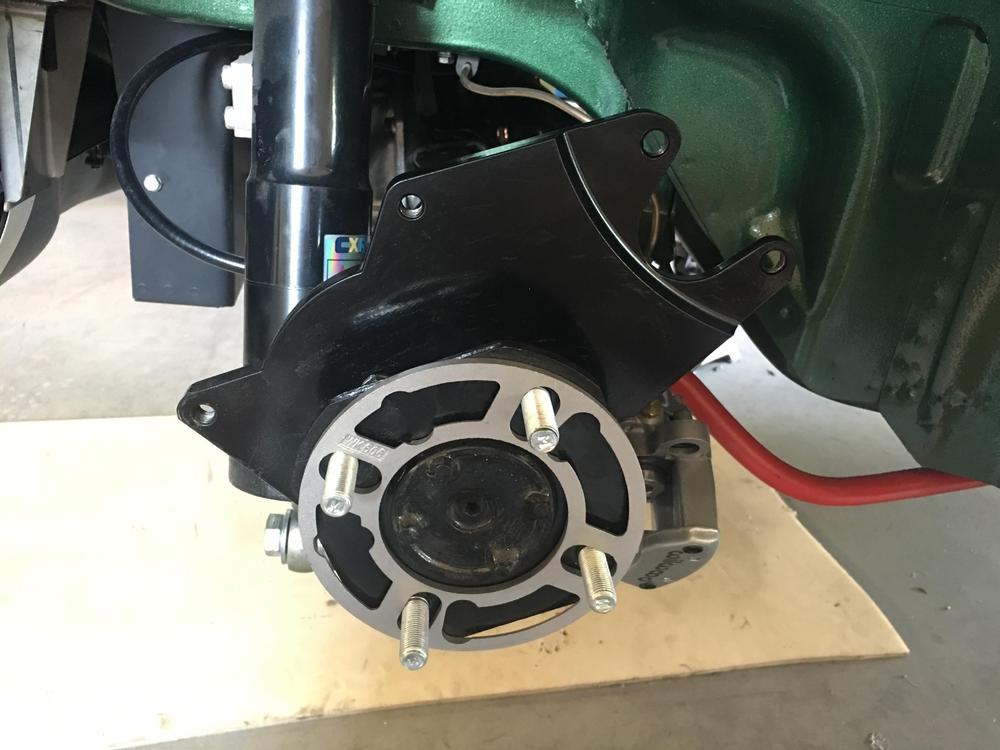
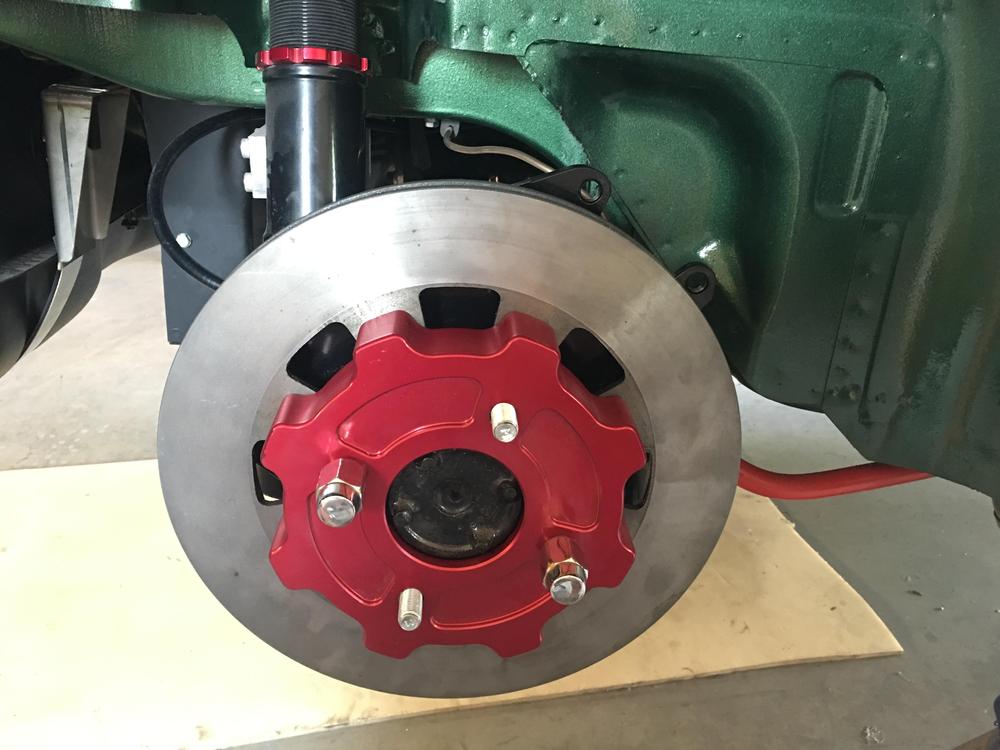
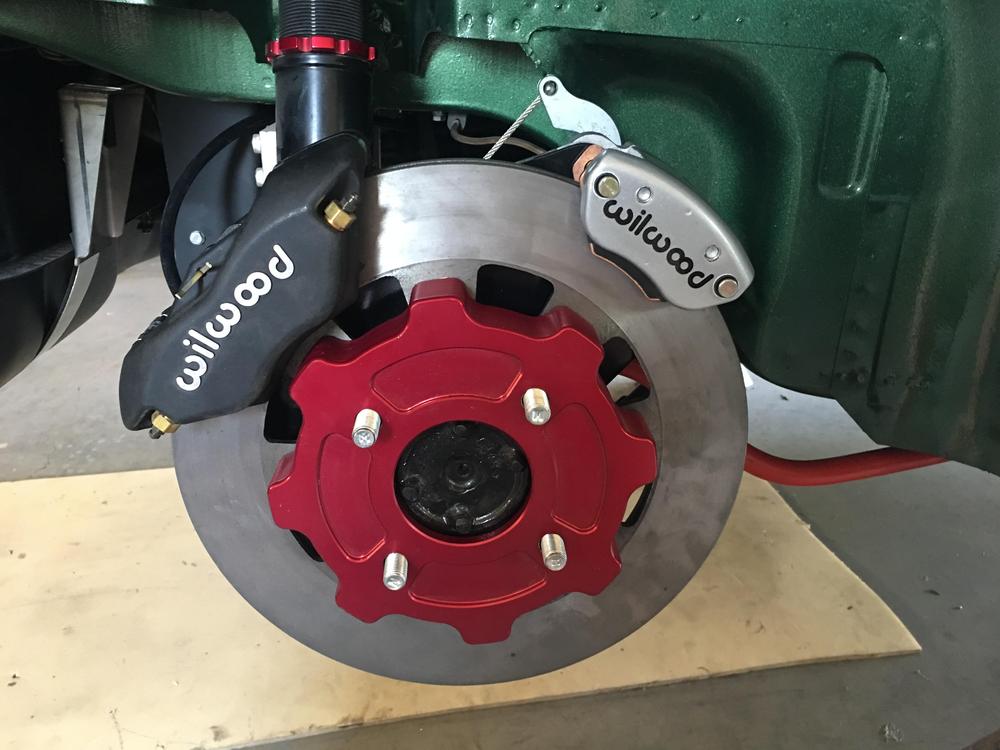
5 pointsRotors are back from the machinist and new studs arrived for the hubs. I needed a 5mm spacer for the proper rotor offset. then I mounted the rotor and main brake caliper The clearance was perfect with 5mm taken off the rotor diameter. The pads are lined up perfect with the rotors. Then I mounted the park brake assembly and followed that with the spare wheel. This is where I ran into more trouble. The 50mm extended wheel studs are still too short for me to get more than 1/2” of grip with the lug nuts. I found a company selling 60mm studs, so I have ordered those. Soon... The car will be on it’s own wheels for the first time in 3 years!


 5 points
 -
2 points
-
2 pointsI had to save the pic and blow it up. Looks like they have the rounded edge facing 'forward' and the squarish side facing 'aft' for BOTH bushings. That's weird, but then again it's a 280ZX.2 points
-
Should you find some OE trim in decent shape, consider swapping the squeegees off the current ones to to the OE pieces. Its a pretty easy task - lose the staples and use pop rivets to attach the squeegees. Been there, done that! Sign me Just Another Jim.2 points
-
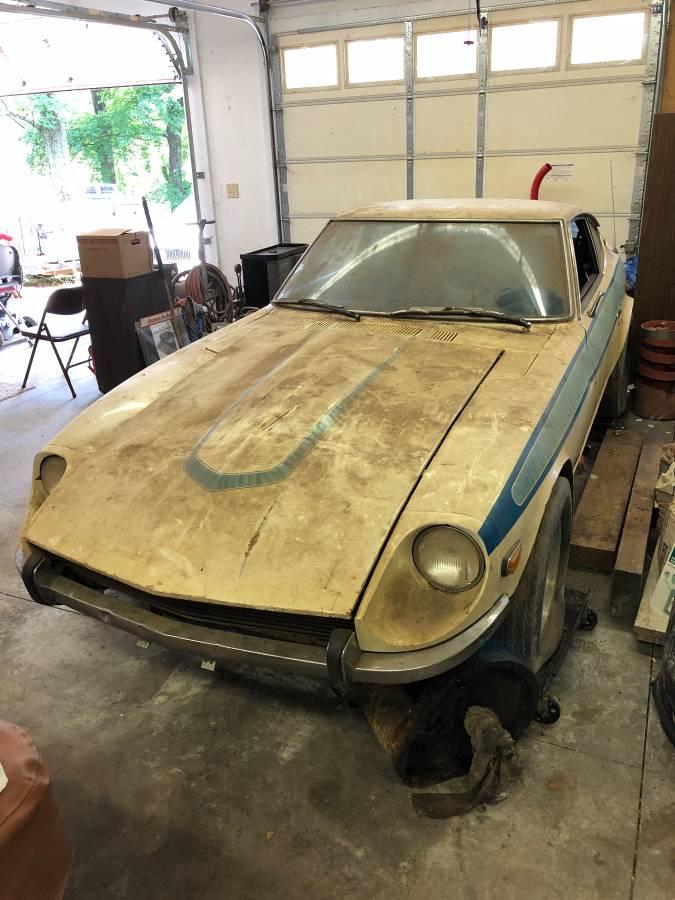
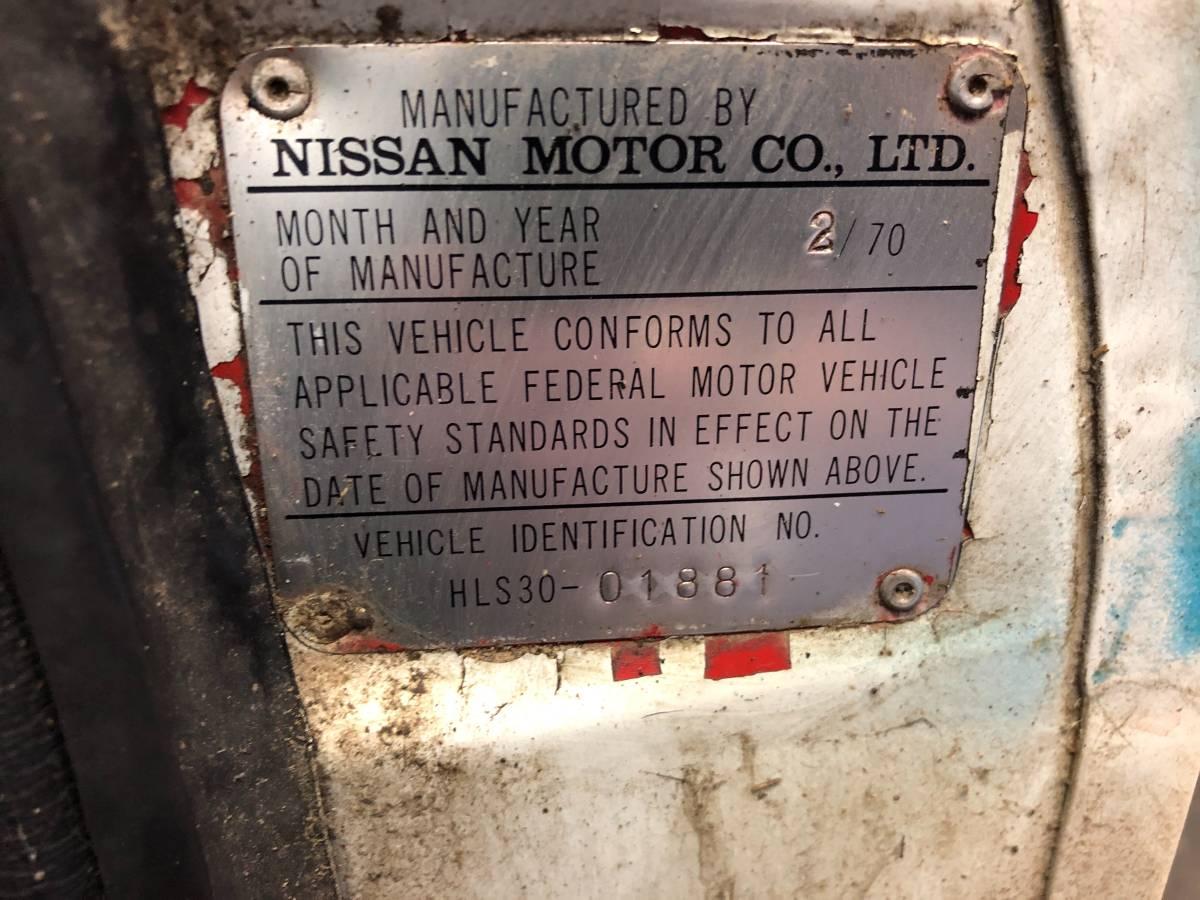
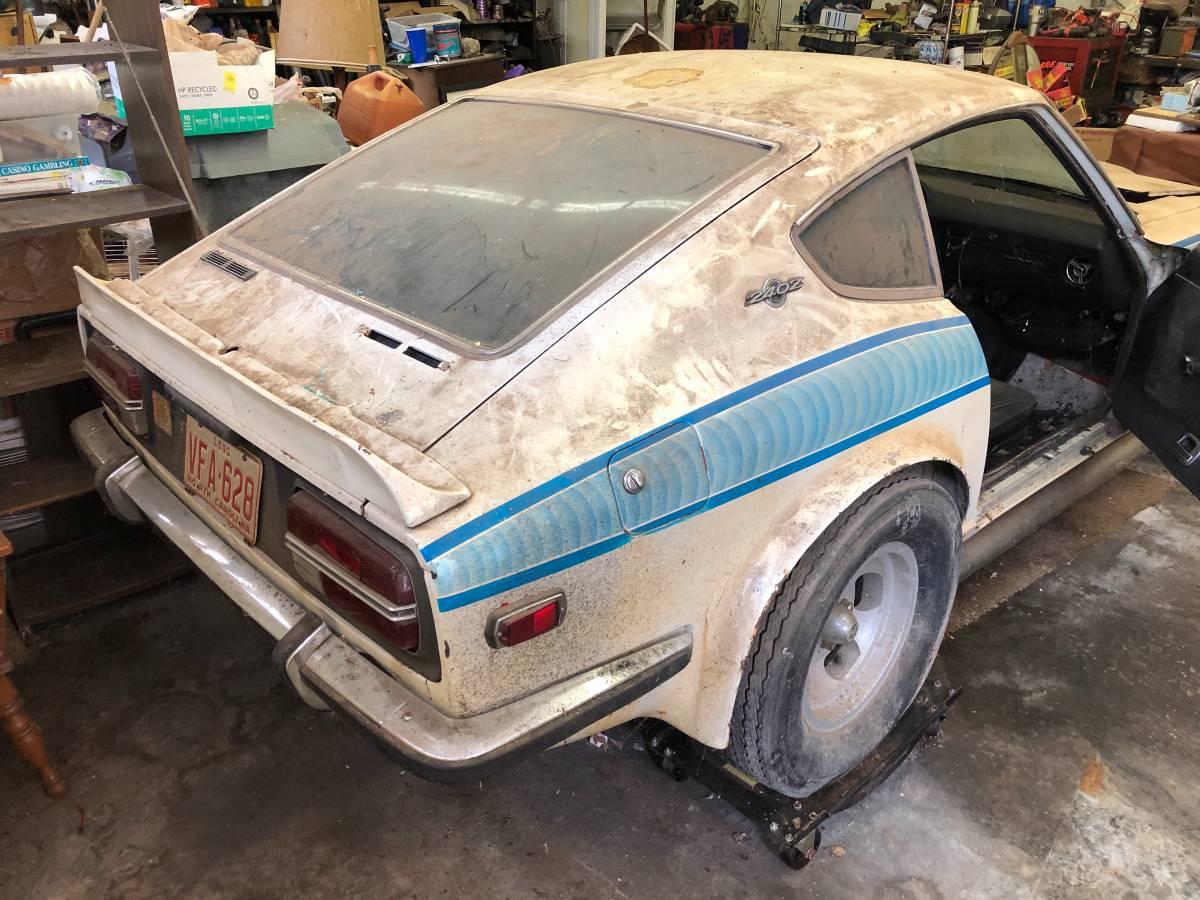
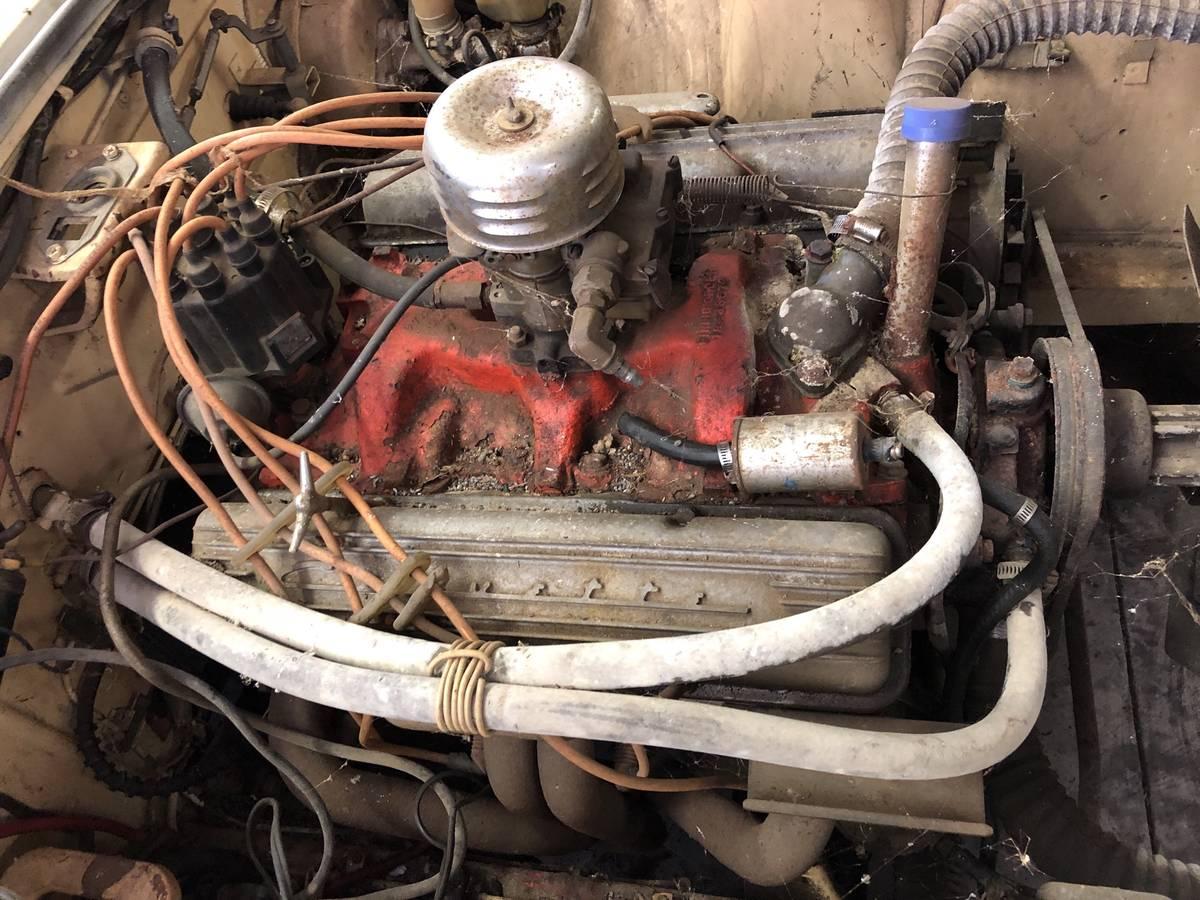
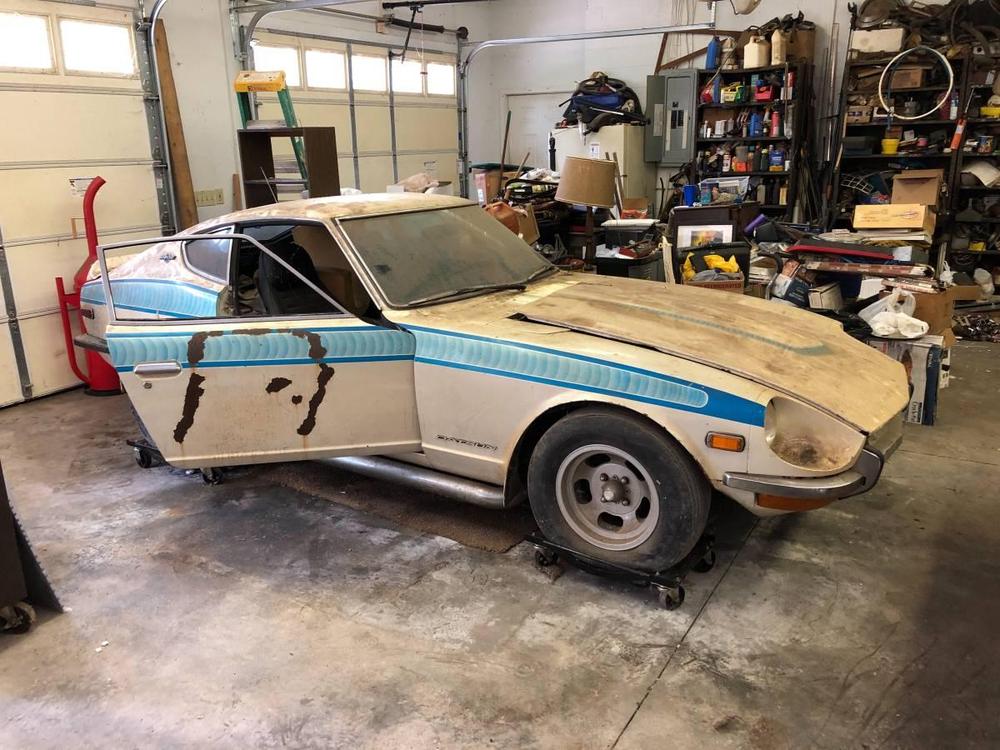
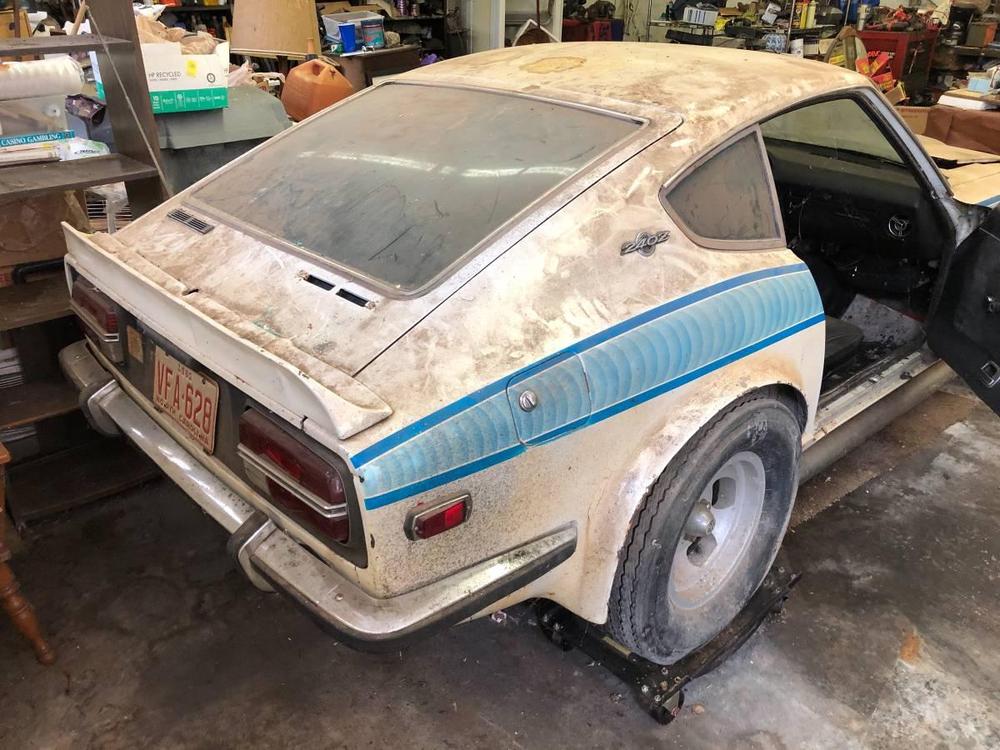
Has a 2/70 build date with what looks to be an old Corvette engine. Someone save this early Z! https://knoxville.craigslist.org/pts/d/hendersonville-240z-datsun-1971/6899775921.html


 1 point
 -
1 pointHi, I have a 76' 280z (steering wheel mounting hardware looks identical to your photo above), and the horn pad is triggered by a smaller copper spring in a rigid rubber tube under the horn pad mounting bracket. I know there are some changes between 75/76 and 77/78 model years, so the horn functionality of your car may be different than mine. I believe the wire is for the 240z steering wheel and horn pad mounting bracket. Is the parts illustration exploded diagram above for a 240z or 260z? Try checking the fuse box first if you haven't done so already. I think it's a 10A fuse for that slot, but check the 1977 z car FSM to be sure. Here's a link to download it for convenience: Then check for the actual horn itself to be sure it is there. Then try looking for the little copper spring under the steering wheel horn pad mounting bracket. I hope this helps.1 point
-
1 point
-
1 point
-
I ended up drilling new holes on my '75 Z. I didn't have to go through the inner walls. There was enough room in each side of the cargo area to reach down between the inner and outer walls, put in the bolts, and tighten them up.1 point
-
I suspect you have the repro trim w/squeegee from Z Car Depot. They caution the lack of plastic plug for the ends in the product description. The OE stainless trim element was self-capped - that is, the metal was folded over to seal the end, never had plastic plugs to the best of my knowledge.1 point
-
Polishing up the new end makes sense, only the metal and stay away from the plastic ball. Be careful to not take off the plating... Then re-assembling the ball end with the threads should be easy. Just be sure as previously stated to note the Center-to-Center ball distance from your original rod. Once cleaned the ball can be easily screwed onto your good shaft, just clean your threads on the shaft before attaching. The nut on your original rod is used to lock the threaded ball end at the correct length and orientation. There should not be any significant force torquing the threaded ball end on. Good luck...1 point
-
More muddy waters...Another item that comes into play are the mounting features/cups on the body that the bushings insert into. The feature is rounded inside. It would seem odd to put the squared end of the bushing into the rounded cup. The bushings from the energy suspension kit look like the red one in the pic above; rounded on one end, square on the other. Because of this feature, I am going with the rounded side toward the cups.1 point
-
1 point
-
To eliminate random guesses, please answer the following to help give us some background. 1. When did the problem start? a. Just recently b. A while back, but I finally decided to take care of it c. Before I owned the car 2. If you selected a or b in question 1, describe how the problem started a. Gradually - It would start and run sometimes b. All of the sudden - I was driving along and it just quit. It worked fine yesterday, and then it didn't run today. c. After I tried to repair/modify something - Be honest about what you touched. 3. What parts have you replaced so far and why? a. I had problems with that part in the past. b. A friend suggested it. c. I read it about replacing this part via an internet post (provide URL) d. Okay, I'm just throwing parts at the problem (Be honest, most of us have done that at some time.) 4. Why did you bypass the ballast resistor? a. I checked resistance across the terminals, and I got this reading (provide reading) b. I read it about bypassing it via an internet post (provide URL) 5. Please tell us how you hotwired the car. 6. What ignition system do you have on the car? a. It's completely stock with points. b. It has a ZX distributor. c. It has a Pertronix ignitor. d. It has a Crane (specify model). e. I have no idea. 7. Describe in detail what happens when a. You turn the key to start b. When the key goes from start to on 8. How did you arrive at the conclusion that it is an ignition problem a. I know it has fuel because... b. I know the timing is right because... c. I did the following tests on the ignition...1 point
-
Did you see them on the website, or did you talk to someone to confirm they actually have them? I have noticed in the past they have products on their webpage they don't stock/don't ship.1 point
-
1 pointAre you positive that this is real? Seems odd. Still not clear how exactly you blocked off the supply and return lines to the fuel rail. Your problem really sounds like either an FPR that leaks down quickly or a bad check valve in the fuel pump. Pretty common and slow starts in the morning are the symptom. If you didn't get a good seal on your supply and return lines they could still be leaking. In short, sounds like a fuel pressure leak-down problem.1 point
-
1 pointYep, I wonder what else i am going to find or not find..... Well, regardless, its only obstacles for me to work out slowly as I find them.....AND have a good time at it..Its a project in progress....hahahah. Its going to be like fishing, its not what you catch but rather do you get a few bites that keep you wondering when its going take a serious bite and meanwhile enjoy the beauty of nature....And if i ever find that I dont enjoy it anymore, then its time for it to find a new owner. Thanks guys...Now im gonna backtrack to the front..and find out where it got cut/removed...1 point
-
Replaced the 47 year old black shift and handbrake boots with red. Needed a new look.
 1 point
 -
ZCARSOURCE has them as of 5/29/2019.1 point
-
Your original engine serial number should be something close to L24-016xxx - or it could be as early as L24-014xxx. L24-120799 would have been found in Z's built around 08/72. Casting numbers on the Aluminum Head from 08/72 would be E88 - where Casting numbers on the original engine would have been E31. The Casting numbers are near the front (radiator side) of the head.1 point
-
Well...after taking time for my initial post, I tried the bottle test one more time. Success! I didn’t change a thing, but this time it worked. I’ll leave the post unless someone suggests I delete it.1 point
-
Yeah, let me know what you come up with for a source. I do think there has been discussion about the bushing orientation in the past and I think I was involved, but it's tough when you can't even find your own stuff. In the meantime, I dug up some more pics. This is what I believe is the correct orientation for the rubber bushings: And I based that off these old bushings pulled off a 260Z and pictures from other peoples cars. I'm relatively confident that they were original factory and they were installed like this: Another shot where you can see the indent from the convex side of the washers on the rubber side: Sample size of one, but that's all I got.1 point
-
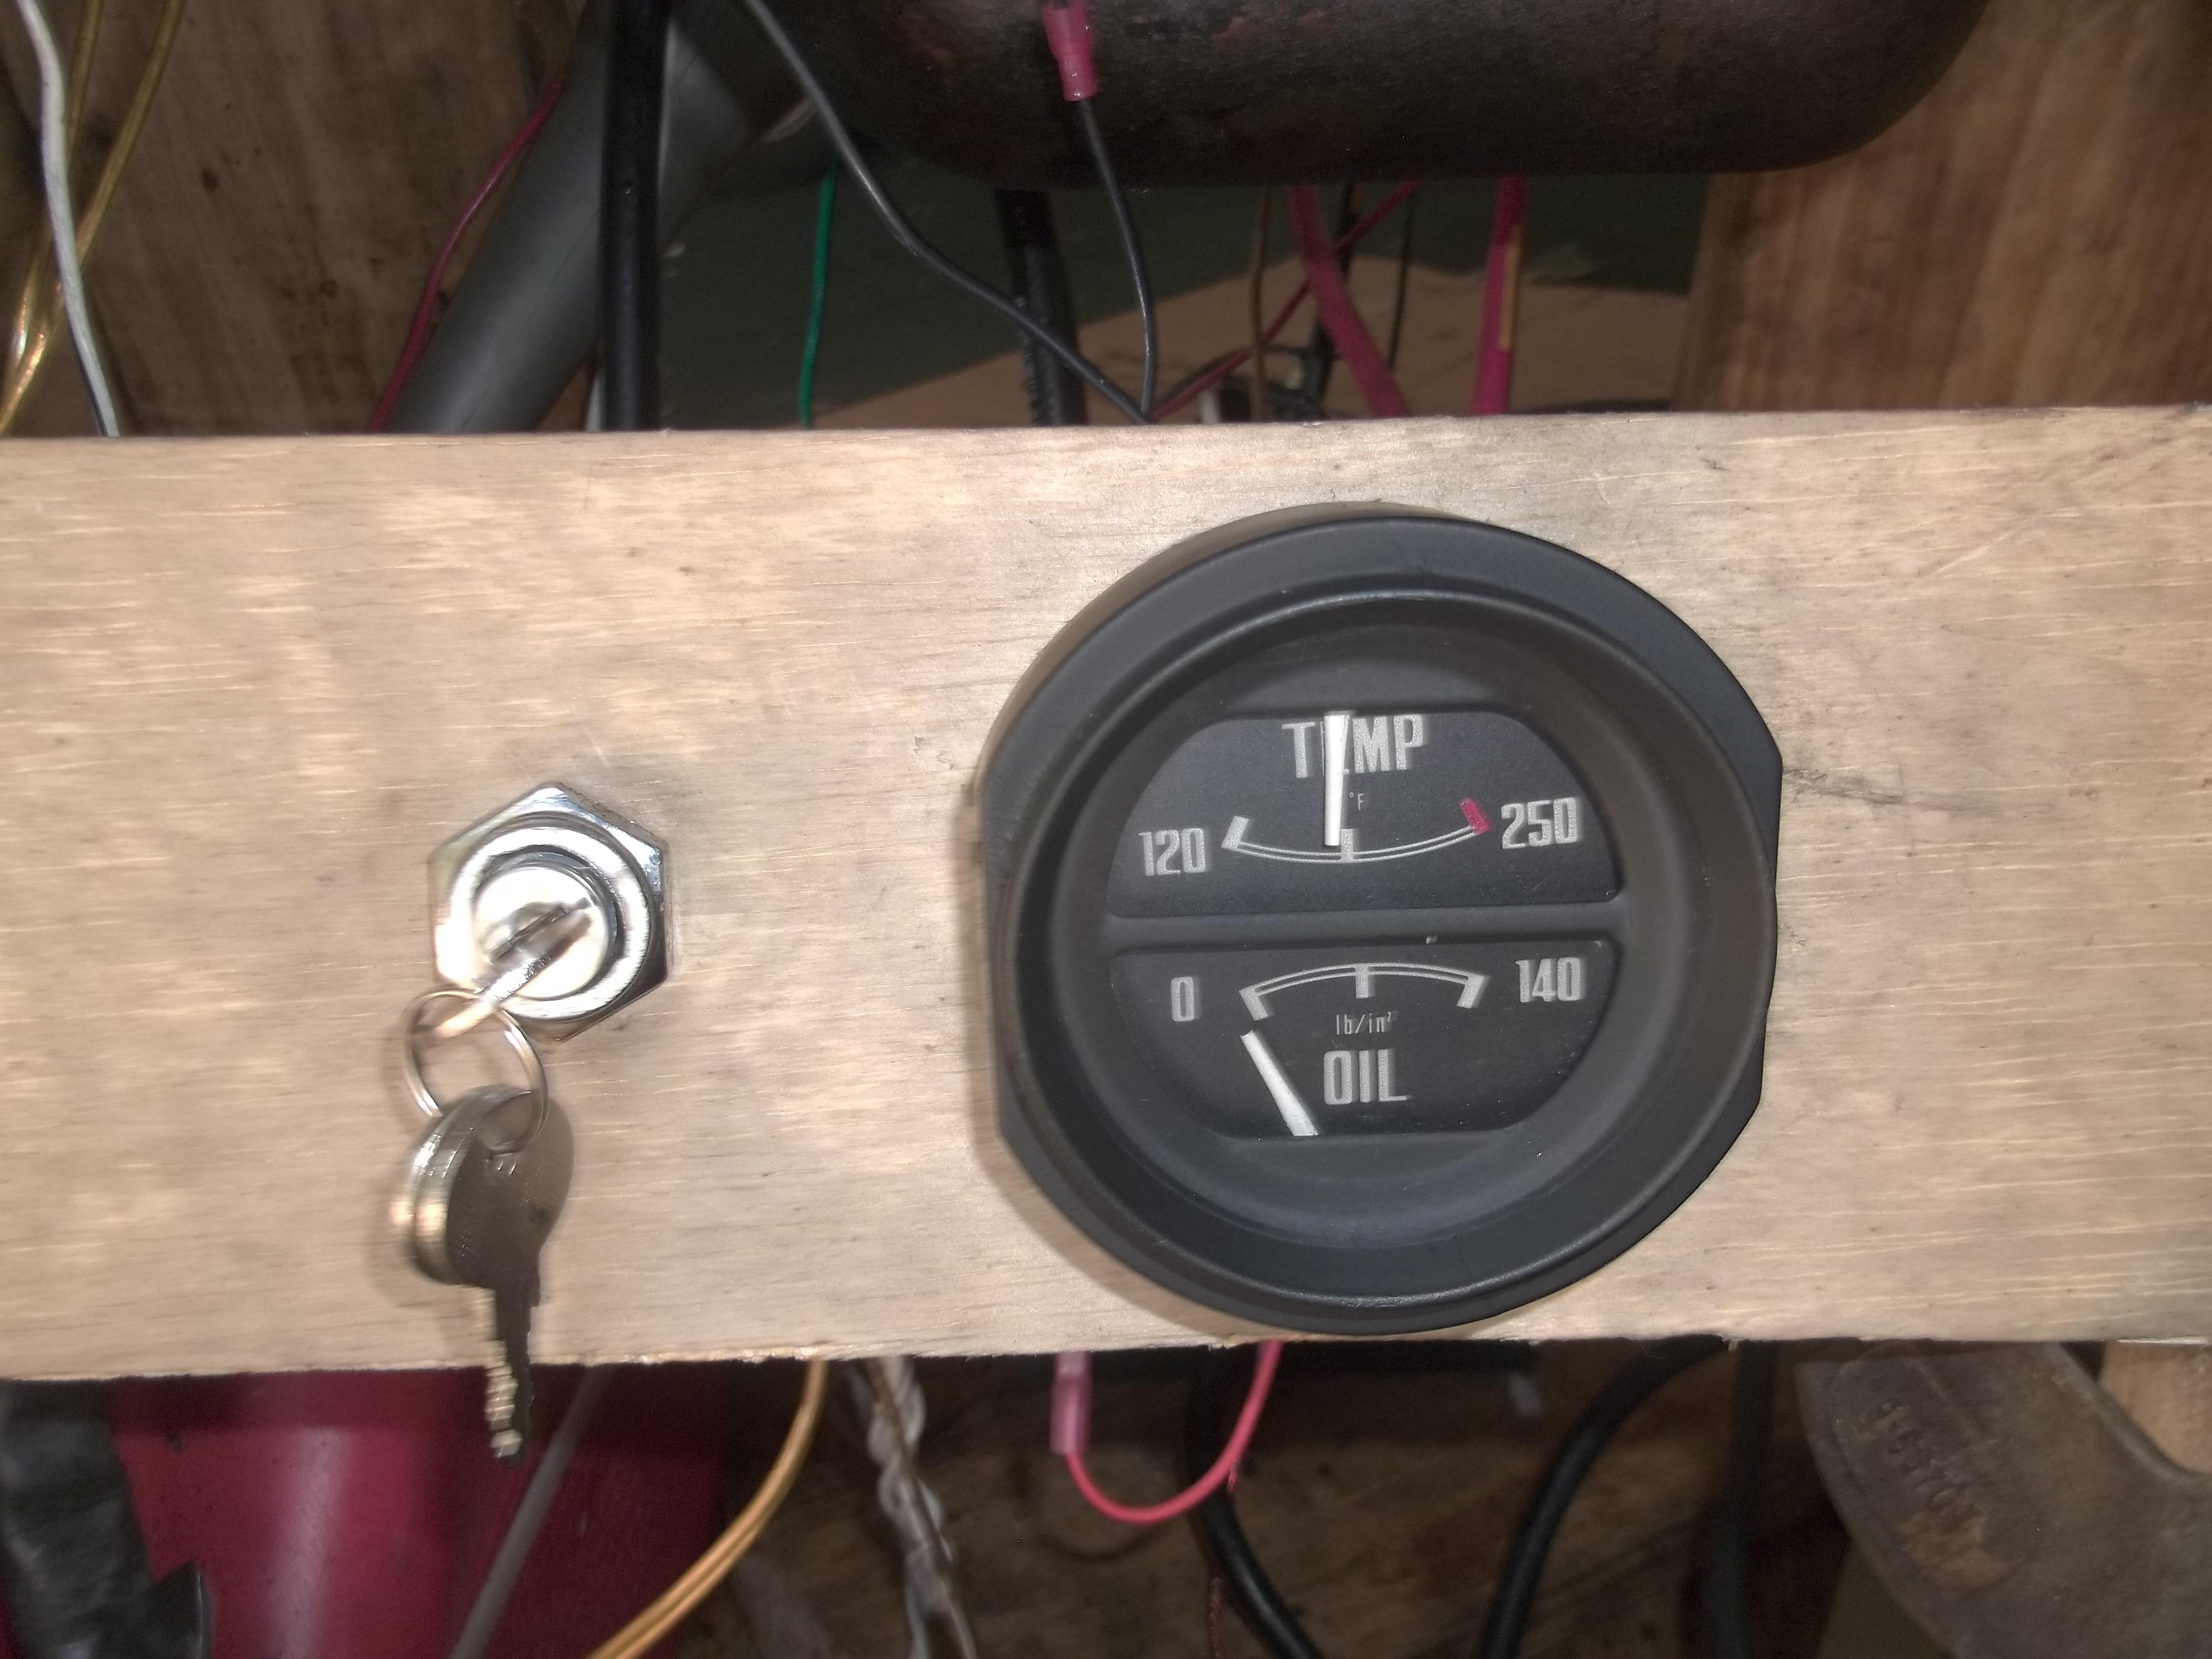
1 pointtest completed, no gush, some gas, video to be posted later, but I wanted to show Jeff his gauge, I did not do a before shot, but it came out pretty nice. Must be earlier on, has the 140psi oil gauge
 1 point
 -
1 point
-
1 pointI got curious about the need to shave or skim the head if it was out of spec. for flatness. My head was at the limit, bowed up in the middle, so I put it back on with no head gasket and tightened it back down to see how much it would take to make it flat again. It didn't take much to close the gap. I'm pretty sure that the How to Rebuild book uses a wider range also, I seem to recall .007", not the .004" that Nissan uses. The resurfacing has always bothered me because it leaves the valve train spec'ed to a different surface than the bottom of the head after skimming. The valve train is still warped. But if you tighten it back to flat using bolts then the valve train should straighten out also. Just a thought.
 1 point
 -
1 pointAh, that makes more sense. A total of 3. Still I marvel at how moving the nozzle less than a full station makes much of an effect, yet it clearly does. Seems to me the flowrate of fuel from the nozzle may be a more complex function of the total needle profile that is immersed in the nozzle than simply the difference between the needle OD/nozzle ID area at the top of the nozzle.1 point
-
I ordered and received from @EuroDat I received very quickly after ordering and paying. Brackets look great though I haven't installed yet. Plan to use on my 75 280.1 point
-
Those are made by EuroDat/Chas, from Holland, that's his thread. Good luck.1 point