Leaderboard
-

siteunseen
Free Member5Points15,115Posts -

Zup
Free Member5Points1,163Posts -
.JPG.cfcada9cf1c1b502df3f5f2f2ca3ff36.JPG)
SteveJ
Free Member3Points9,646Posts -
.JPG.0bba4b3cd2c927a10d7e48998b016f7b.JPG)
FunkytownZ
Free Member3Points113Posts


.thumb.JPG.21f1724e227b22b6d5306af2d3267f40.JPG)
Popular Content
Showing content with the highest reputation on 02/13/2017 in all areas
-
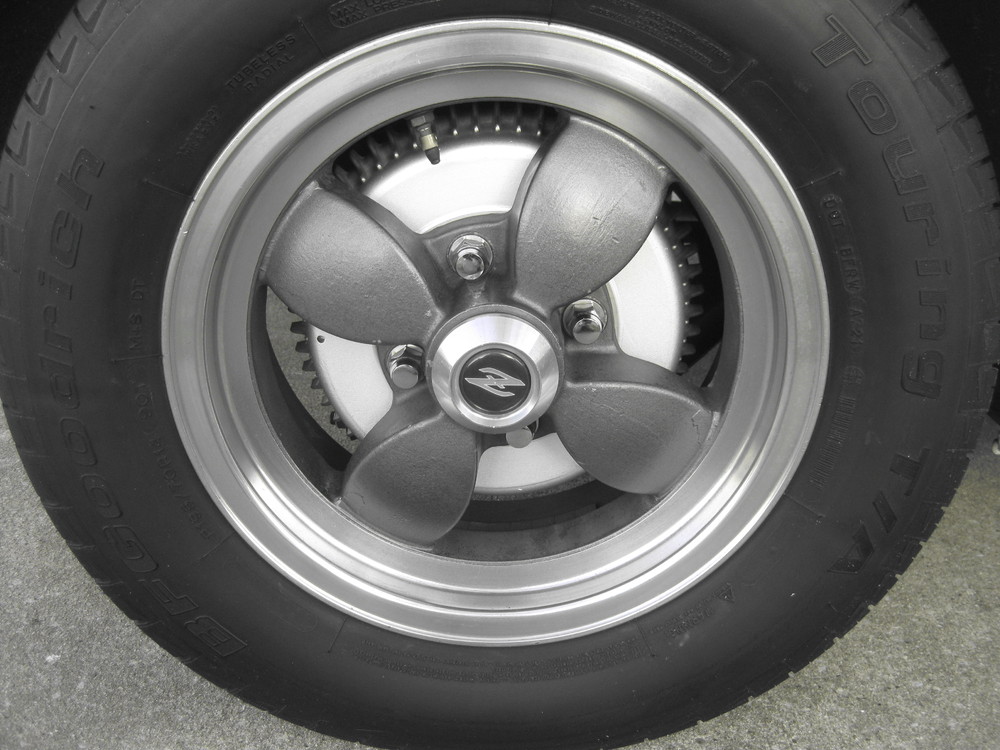
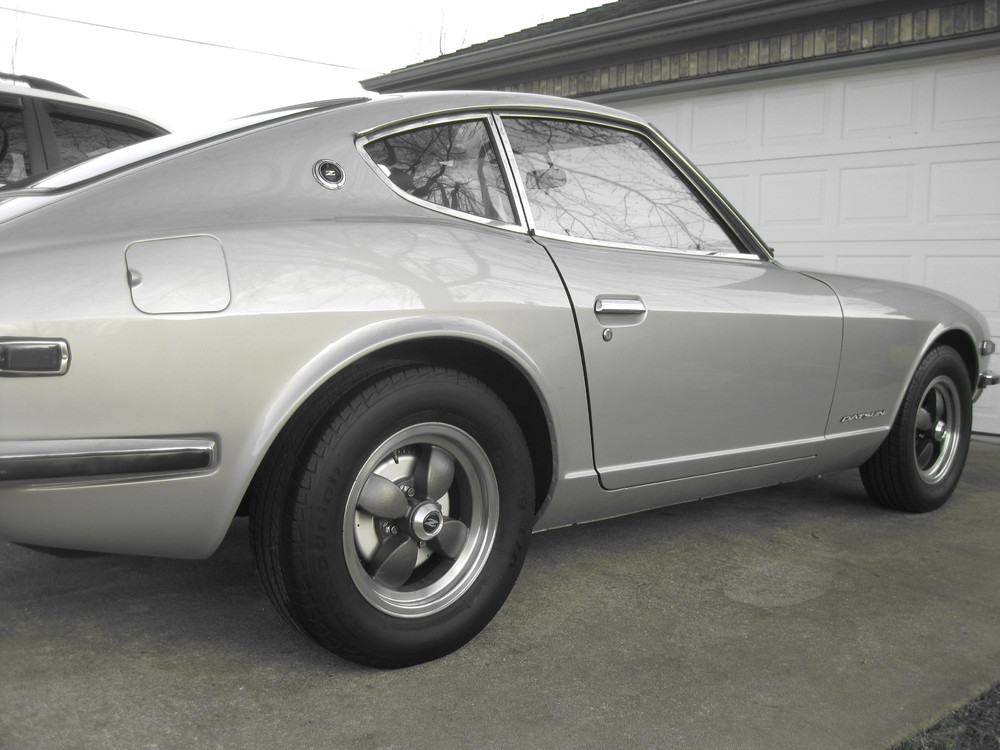
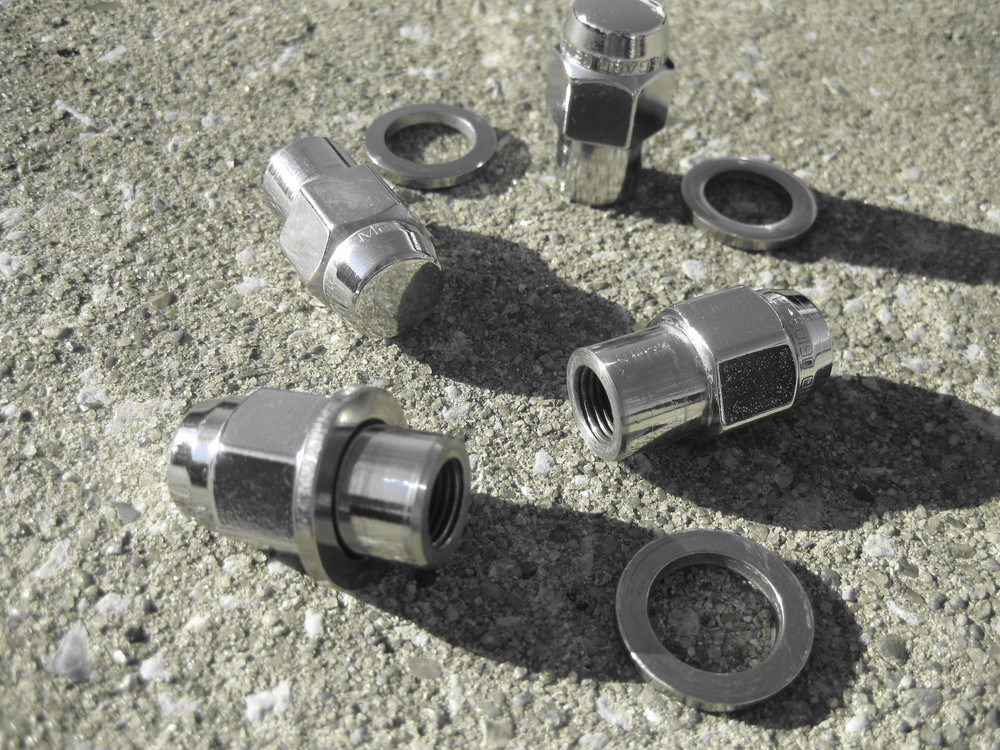
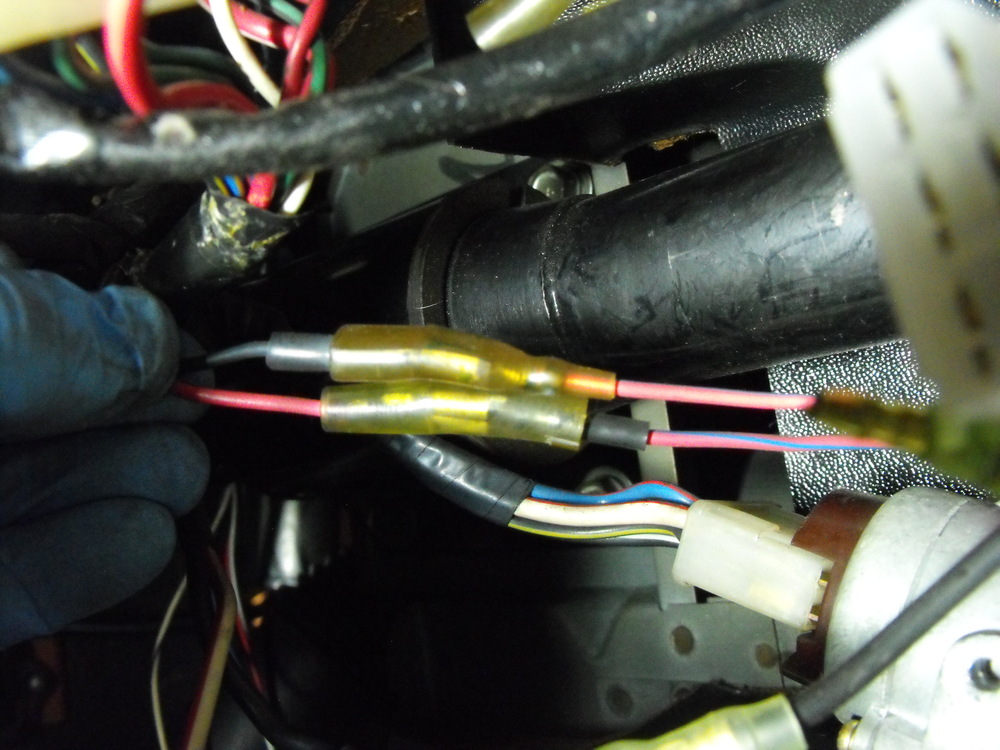
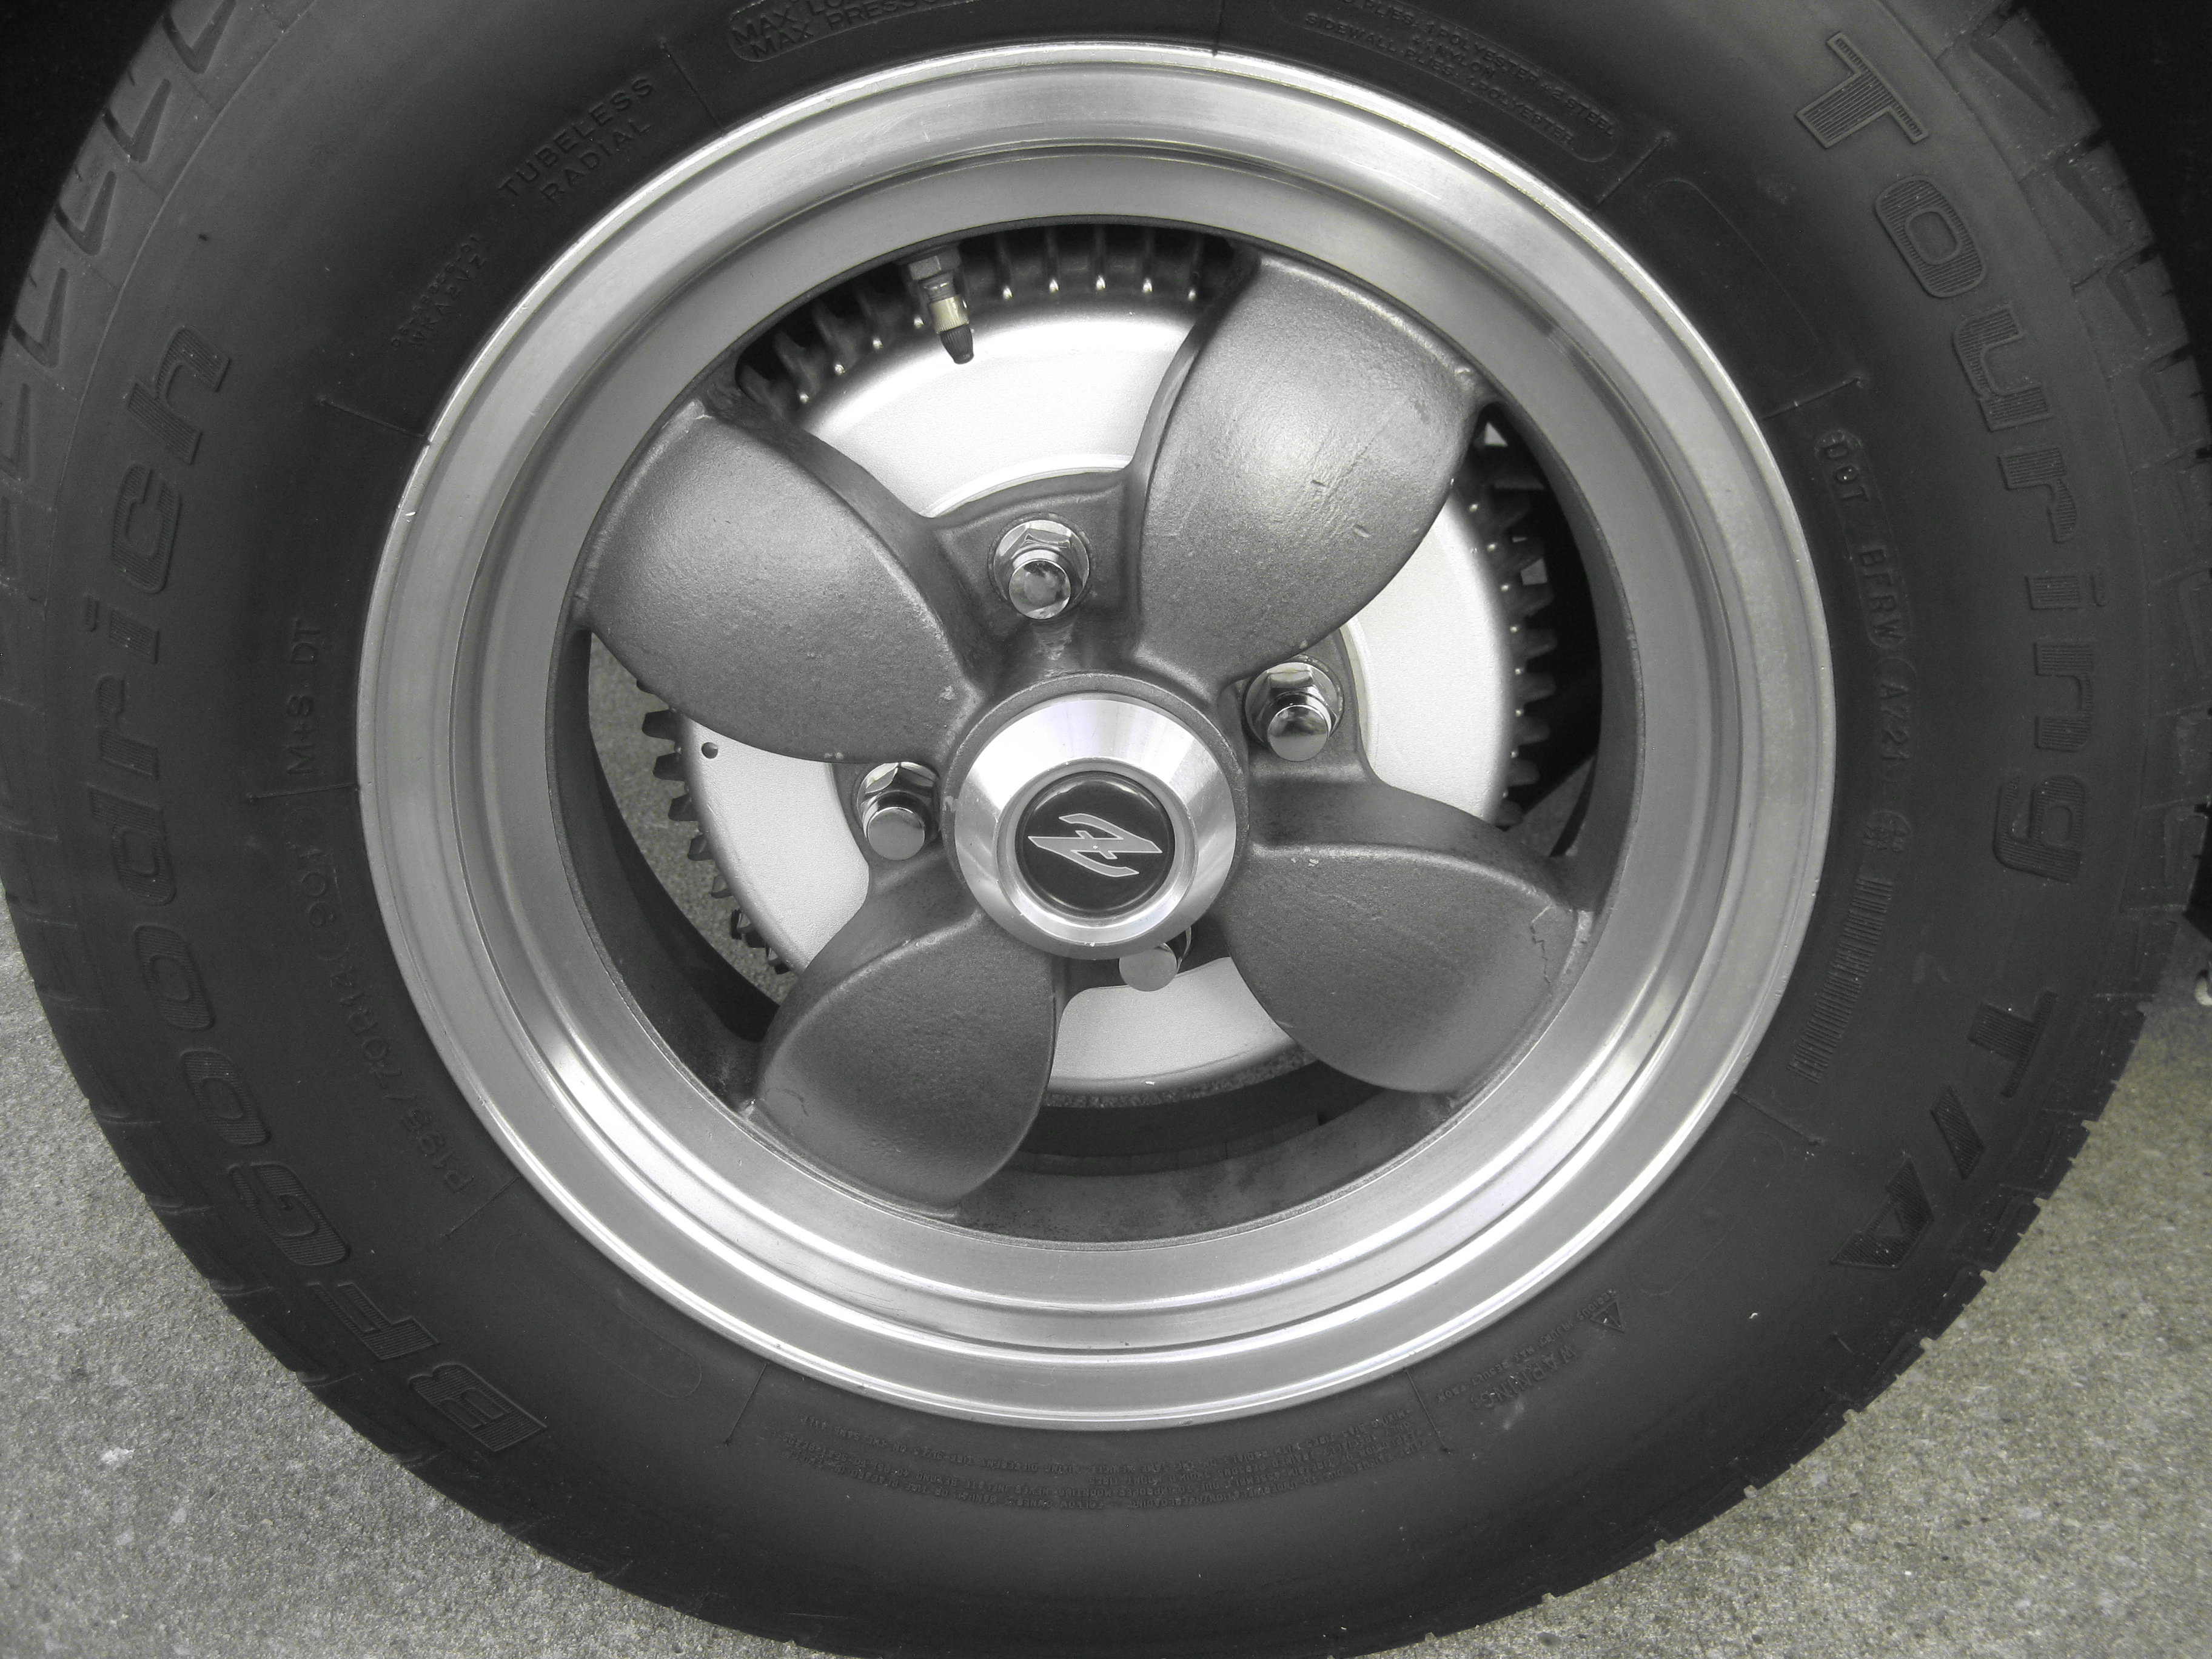
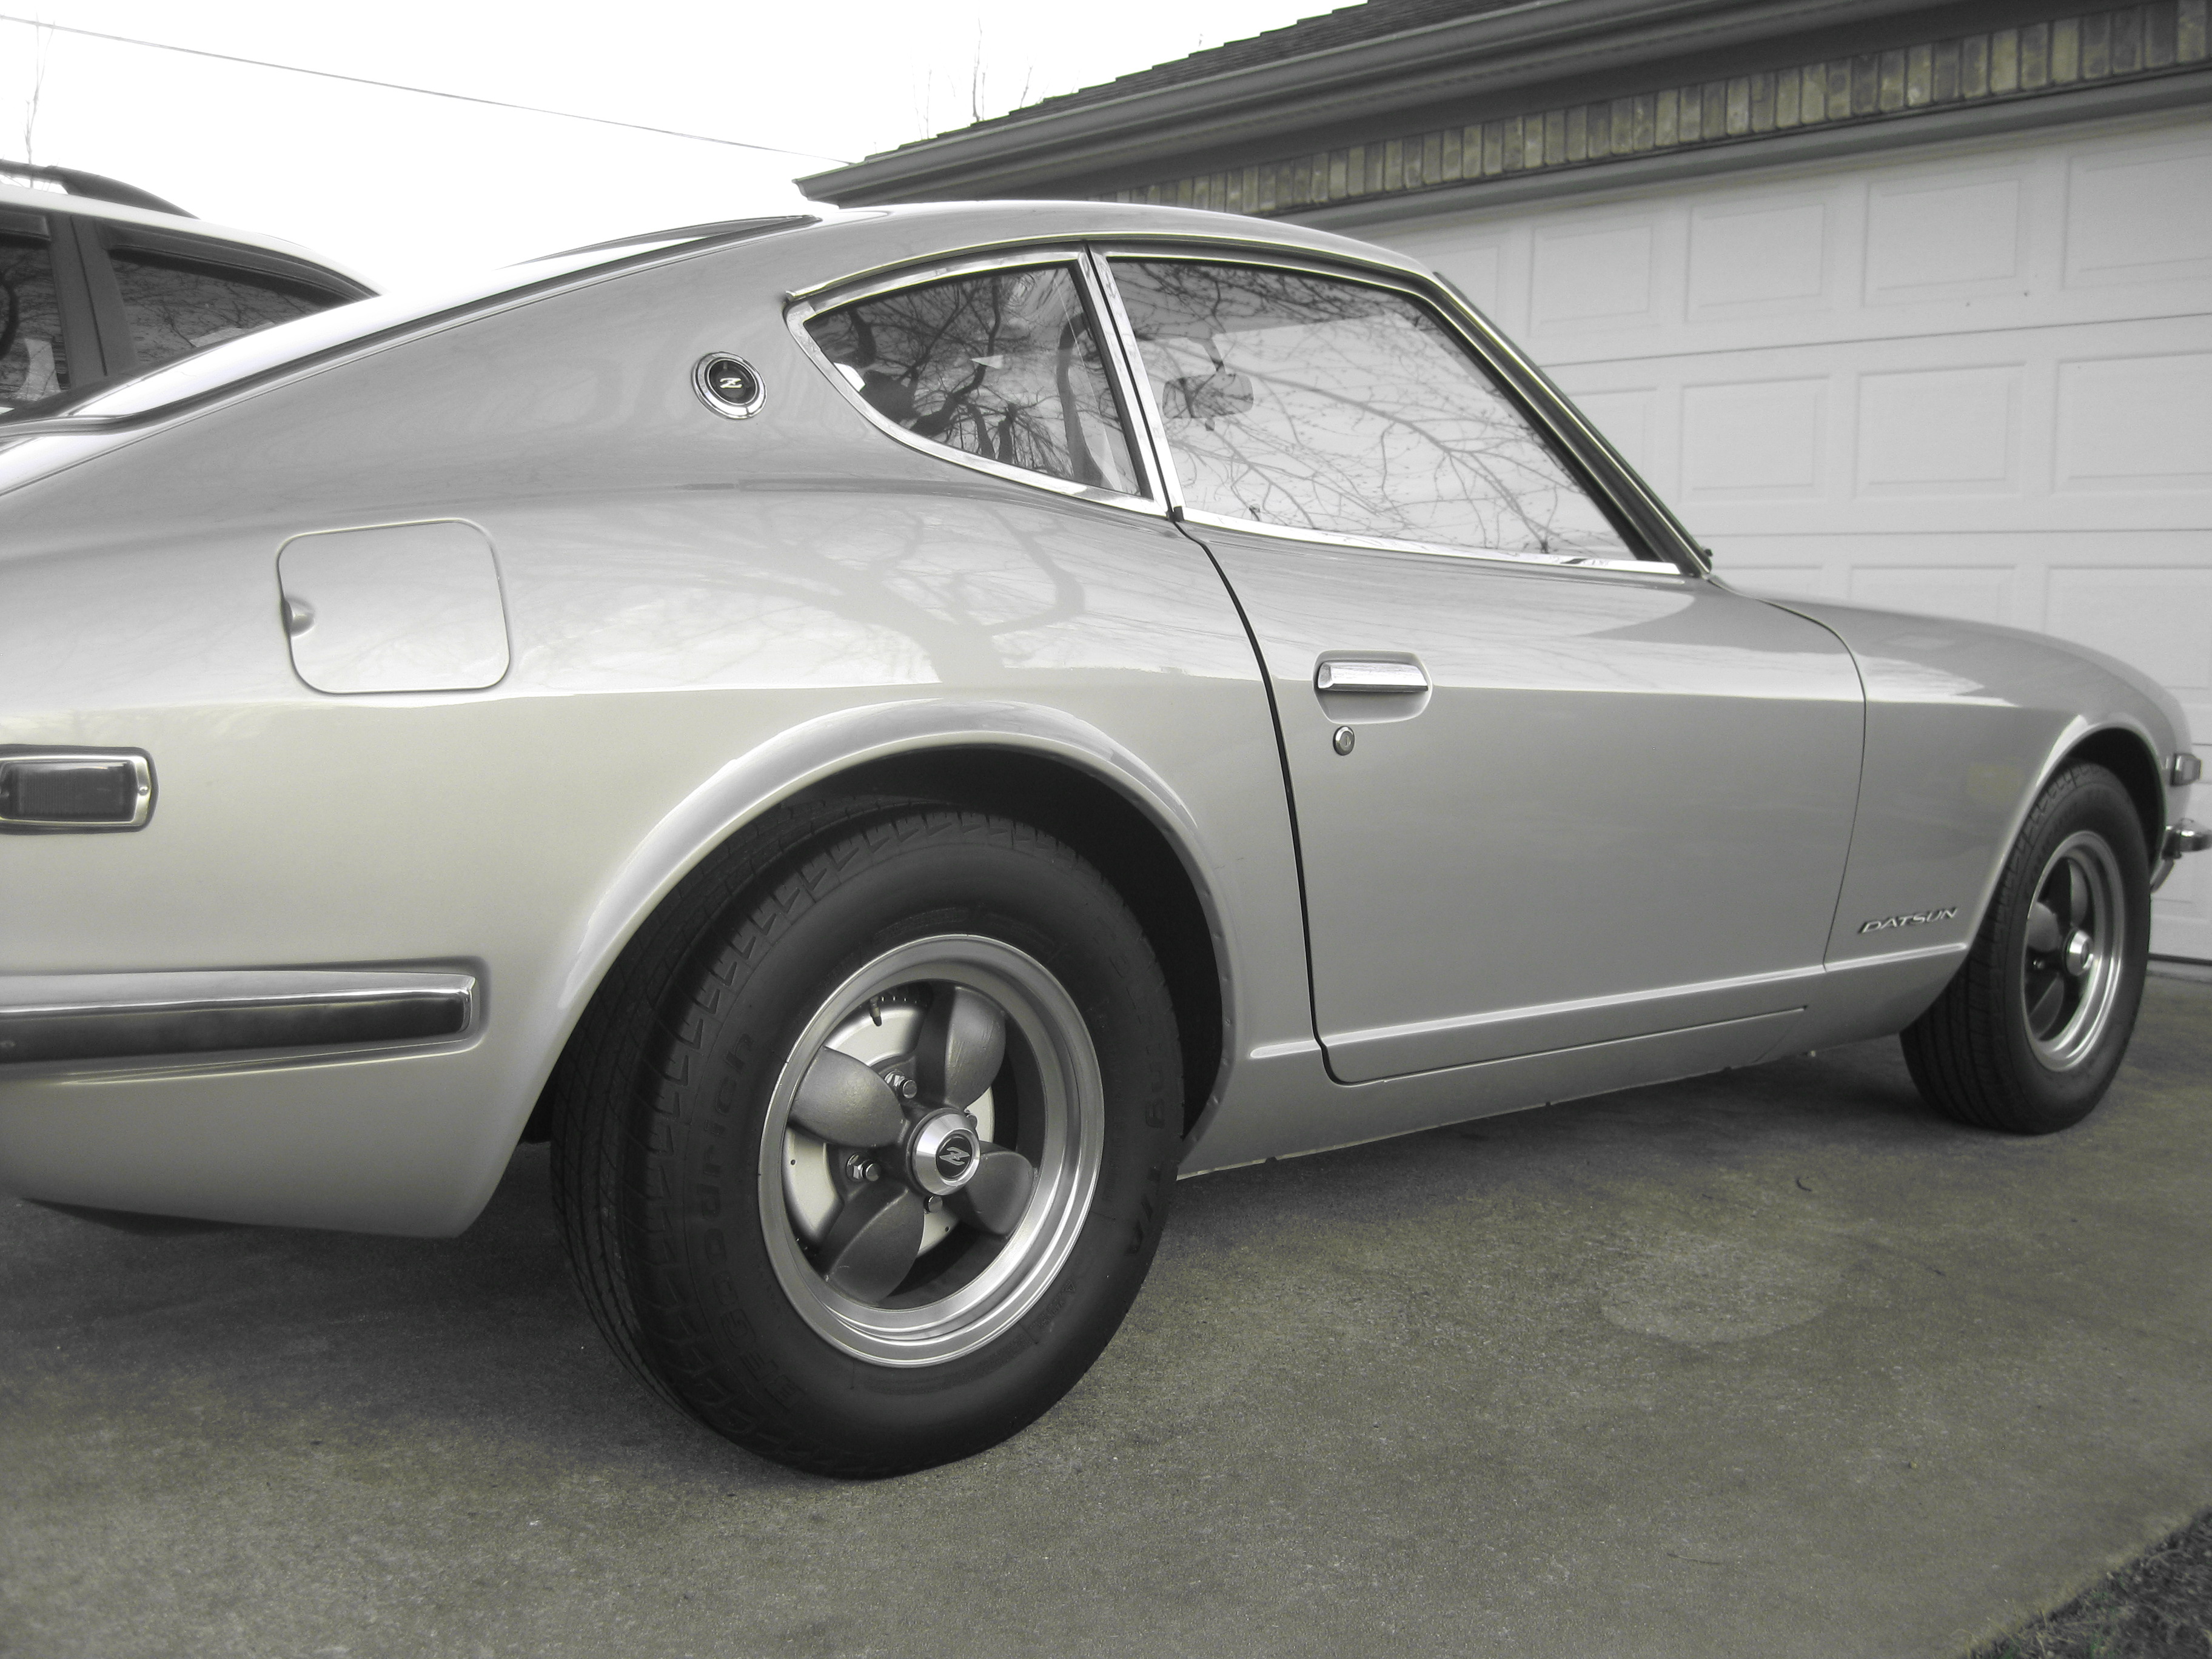
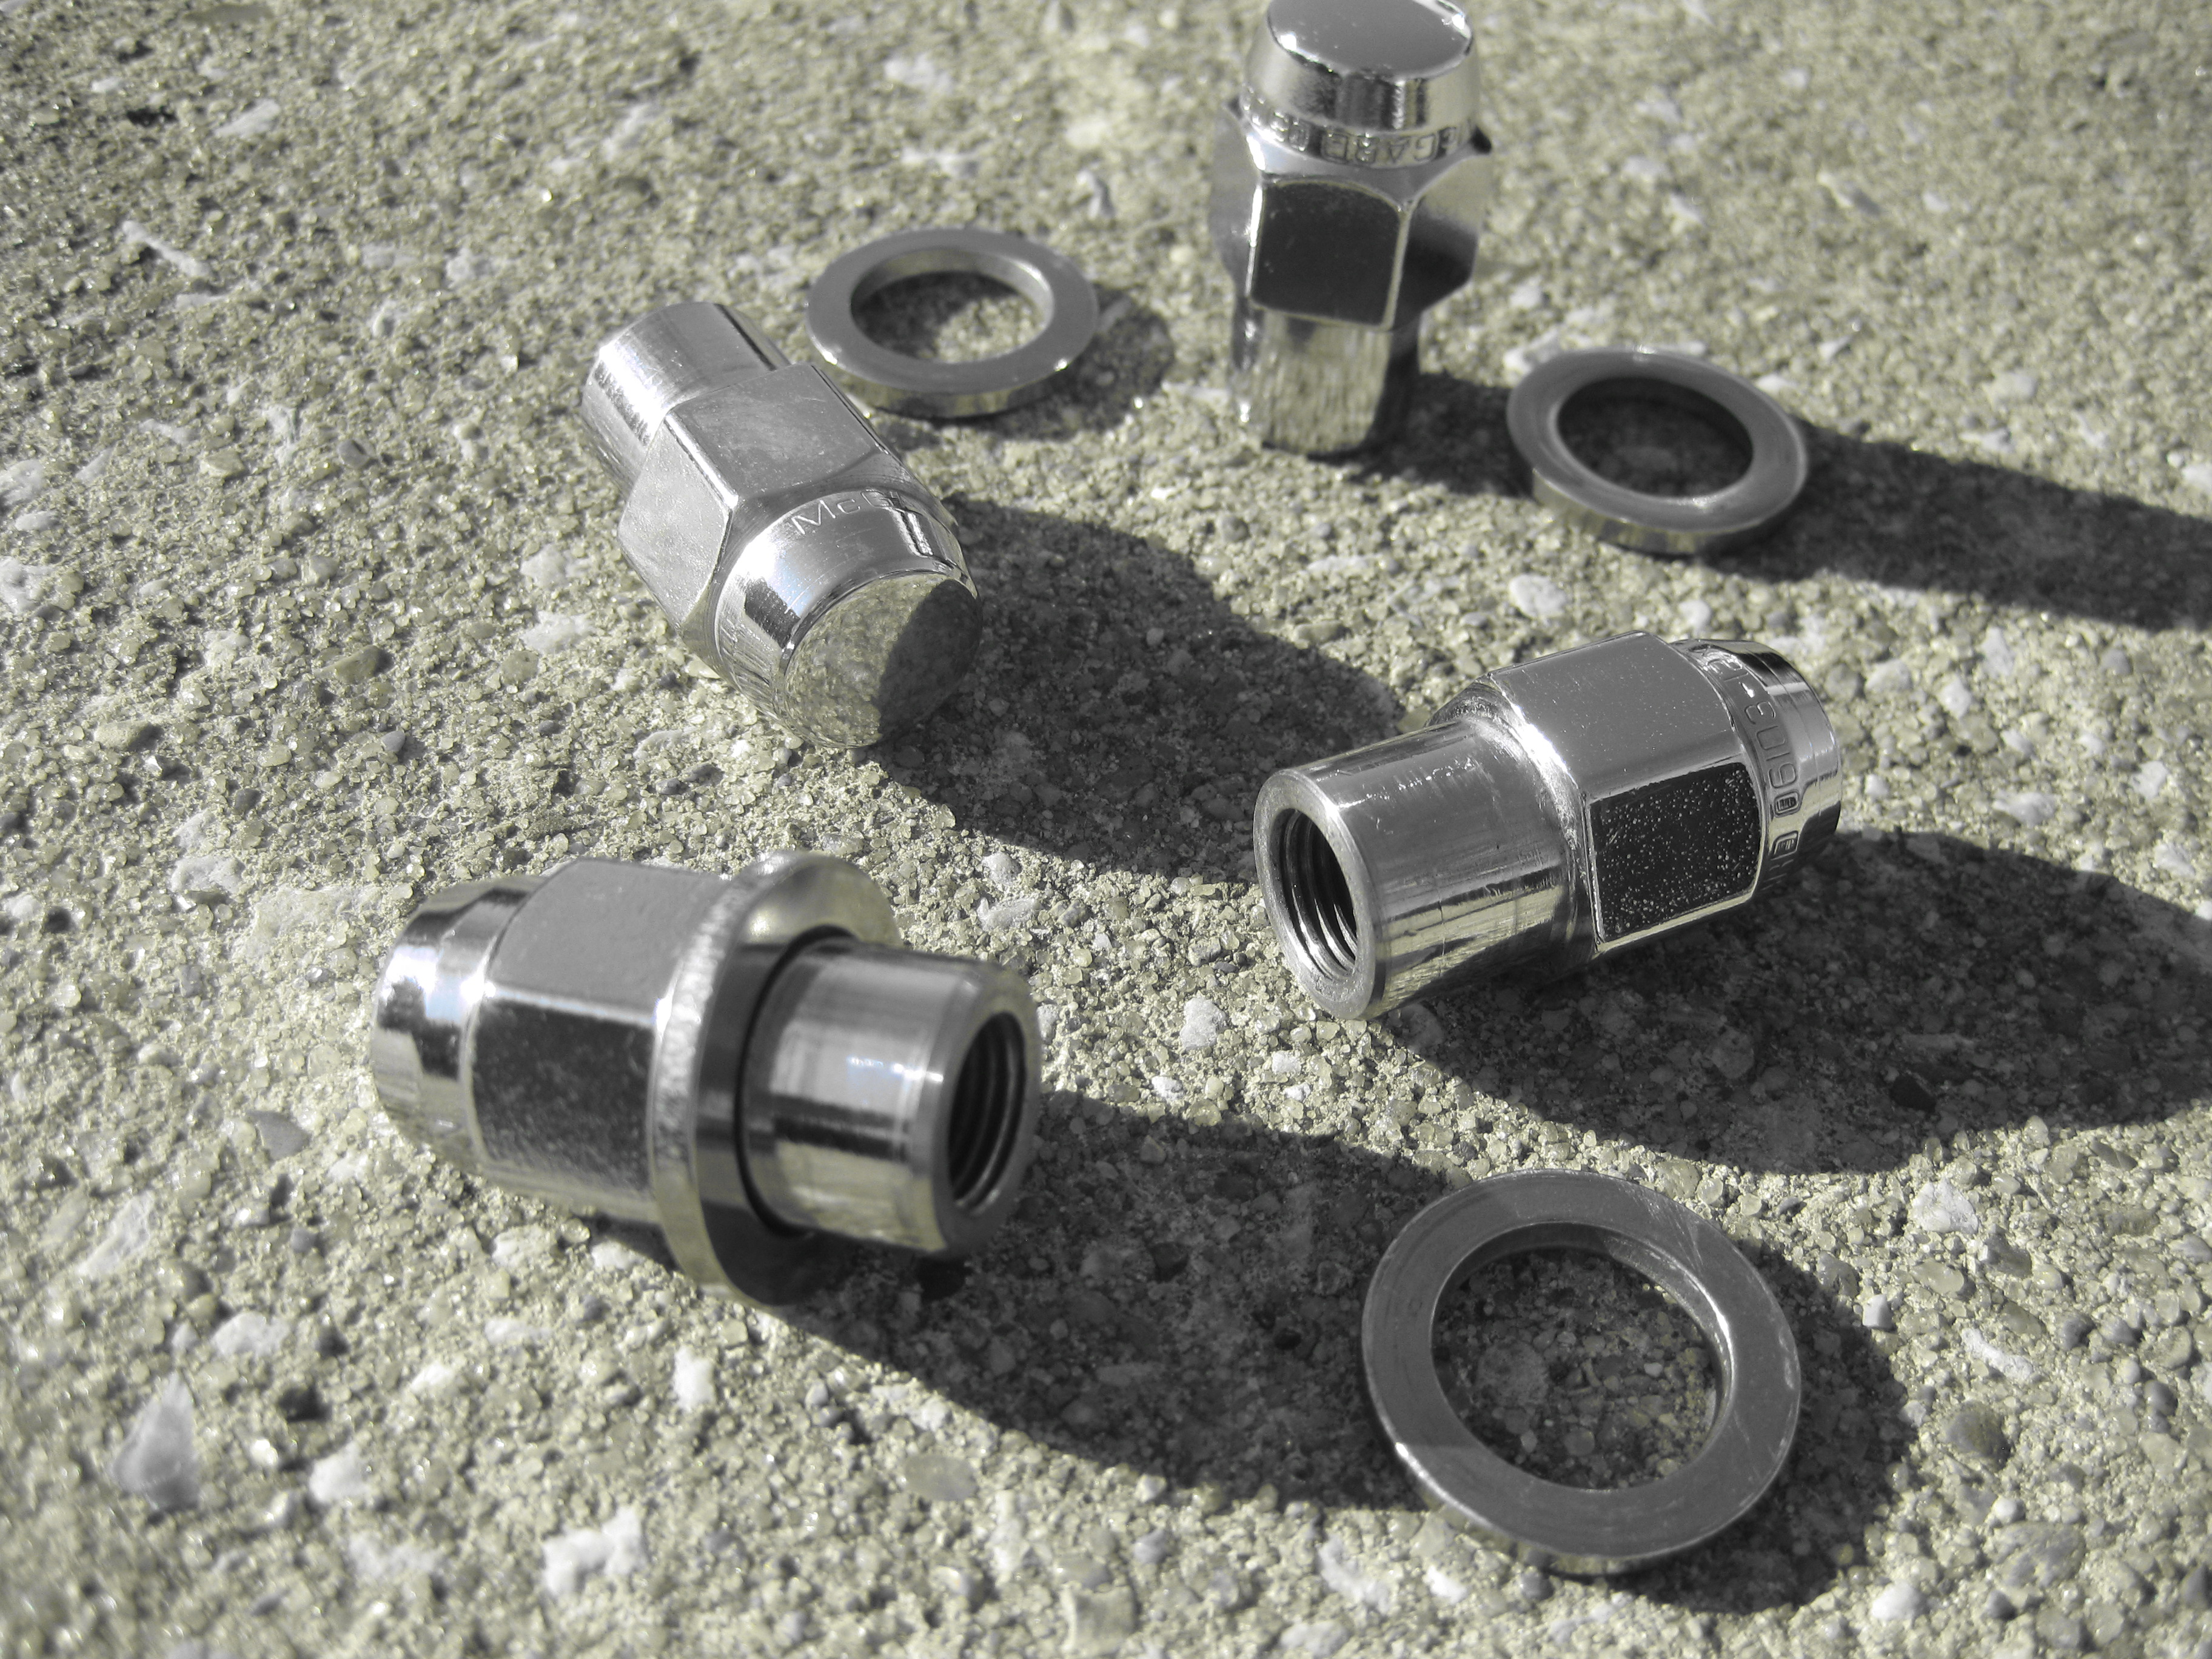
Yesterday actually---- Took advantage of the warmest temperatures for the date in over 100 years to change the rear brake drums on my 73 240Z. Let me tell you a story---- In the frenzy of activity made in preparation for ZCON 2015 in Memphis my paint shop took it upon themselves to paint my suspension. While this would normally be a good thing (and it was) there was just one small detail they overlooked in their zeal. They painted the brake drums black! NOOOooooooo----say it ain't soooo! With no time remaining to reverse this I went on to the show. The blackened brake drums had bugged me ever since but--- as is often the case with such things-- they were relegated to a "back burner" status in the scheme of life. Quite some time back,while musing through the pages of Motorsports (MSA) site, I saw a listing for new aluminum--not steel-- brake drums. Being a stickler for originality, I bookmarked in my mind that someday I should purchase a set of them as they are difficult--- if not near impossible--- to find new. I mentioned my discovery to my very good friend Jim Smirlies @S30Driver (or alternatively Jim2). He opined that "Yes", that would be a nice item to squirrel away for "future proofing". Time passes---- Jim comes to the Zup house frequently and we invited him to share Christmas Day with us for the usual camaraderie of gifting,dinner and football. Kagy (my significant other) handed me a large beautifully wrapped box with a tag which read "Holiday Cheers" that when opened read "To: Jim From: Jim2 "Merry Christmas". Needless to say I was completely blown away! It was a set of those brake drums from Jim. I was absolutely stunned! Such a thoughtful friend! Too much! Fast forward to the record breaking warmth of yesterday------------ Jim and I jacked up the rear of my 73 Z ("Zilver") and removed the offending black drums and installed the pristinely beautiful, raw aluminum silver gift set. While doing so, we gave a good cleaning to the "McGard" lugnuts that Jim2 had tasked Captain Obvious @Captain Obvious to specially modify to fit my American Racing Libre rims. I can report that after 2 years of exhaustive, daily commute, high speed road use and exposure to the harshest of Ozark climactic elements, the "McGard" lugnuts are as nice as day one, and that CO still remains as the provider "nonpareil" of lugnuts. Life is very good at the Zup garage and I am fortunate indeed. Thank you Jim2 and Captain Obvious! You guys are the best! The obligatory photos of these extraordinary acts of friendship and kindness follow: Jim D. "Zup"
 5 points
 -
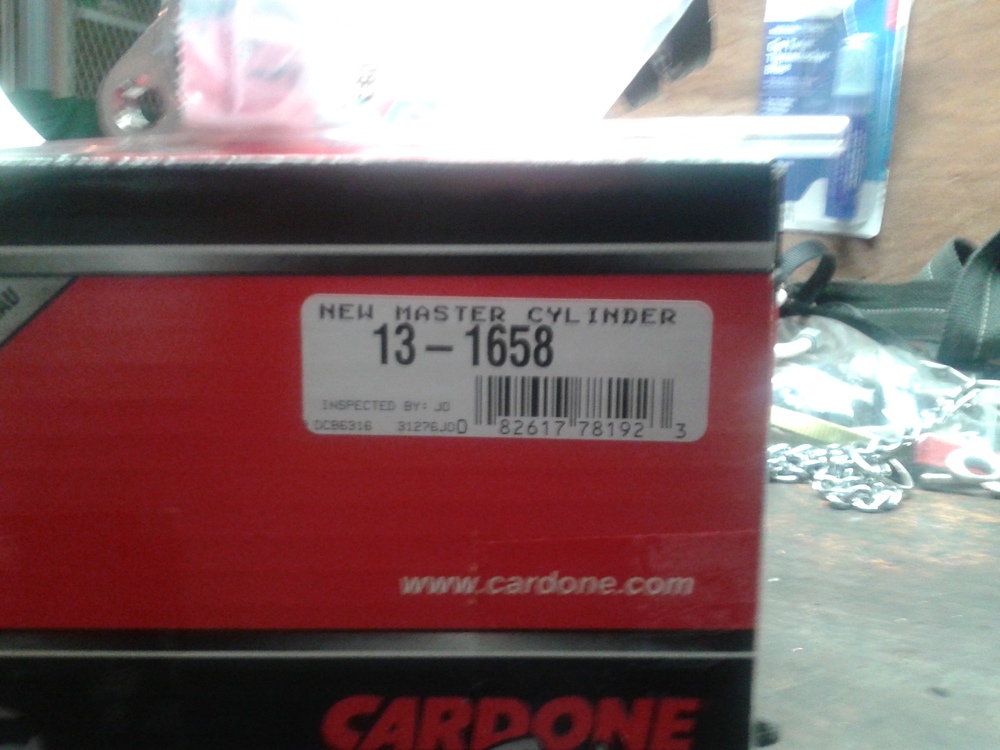
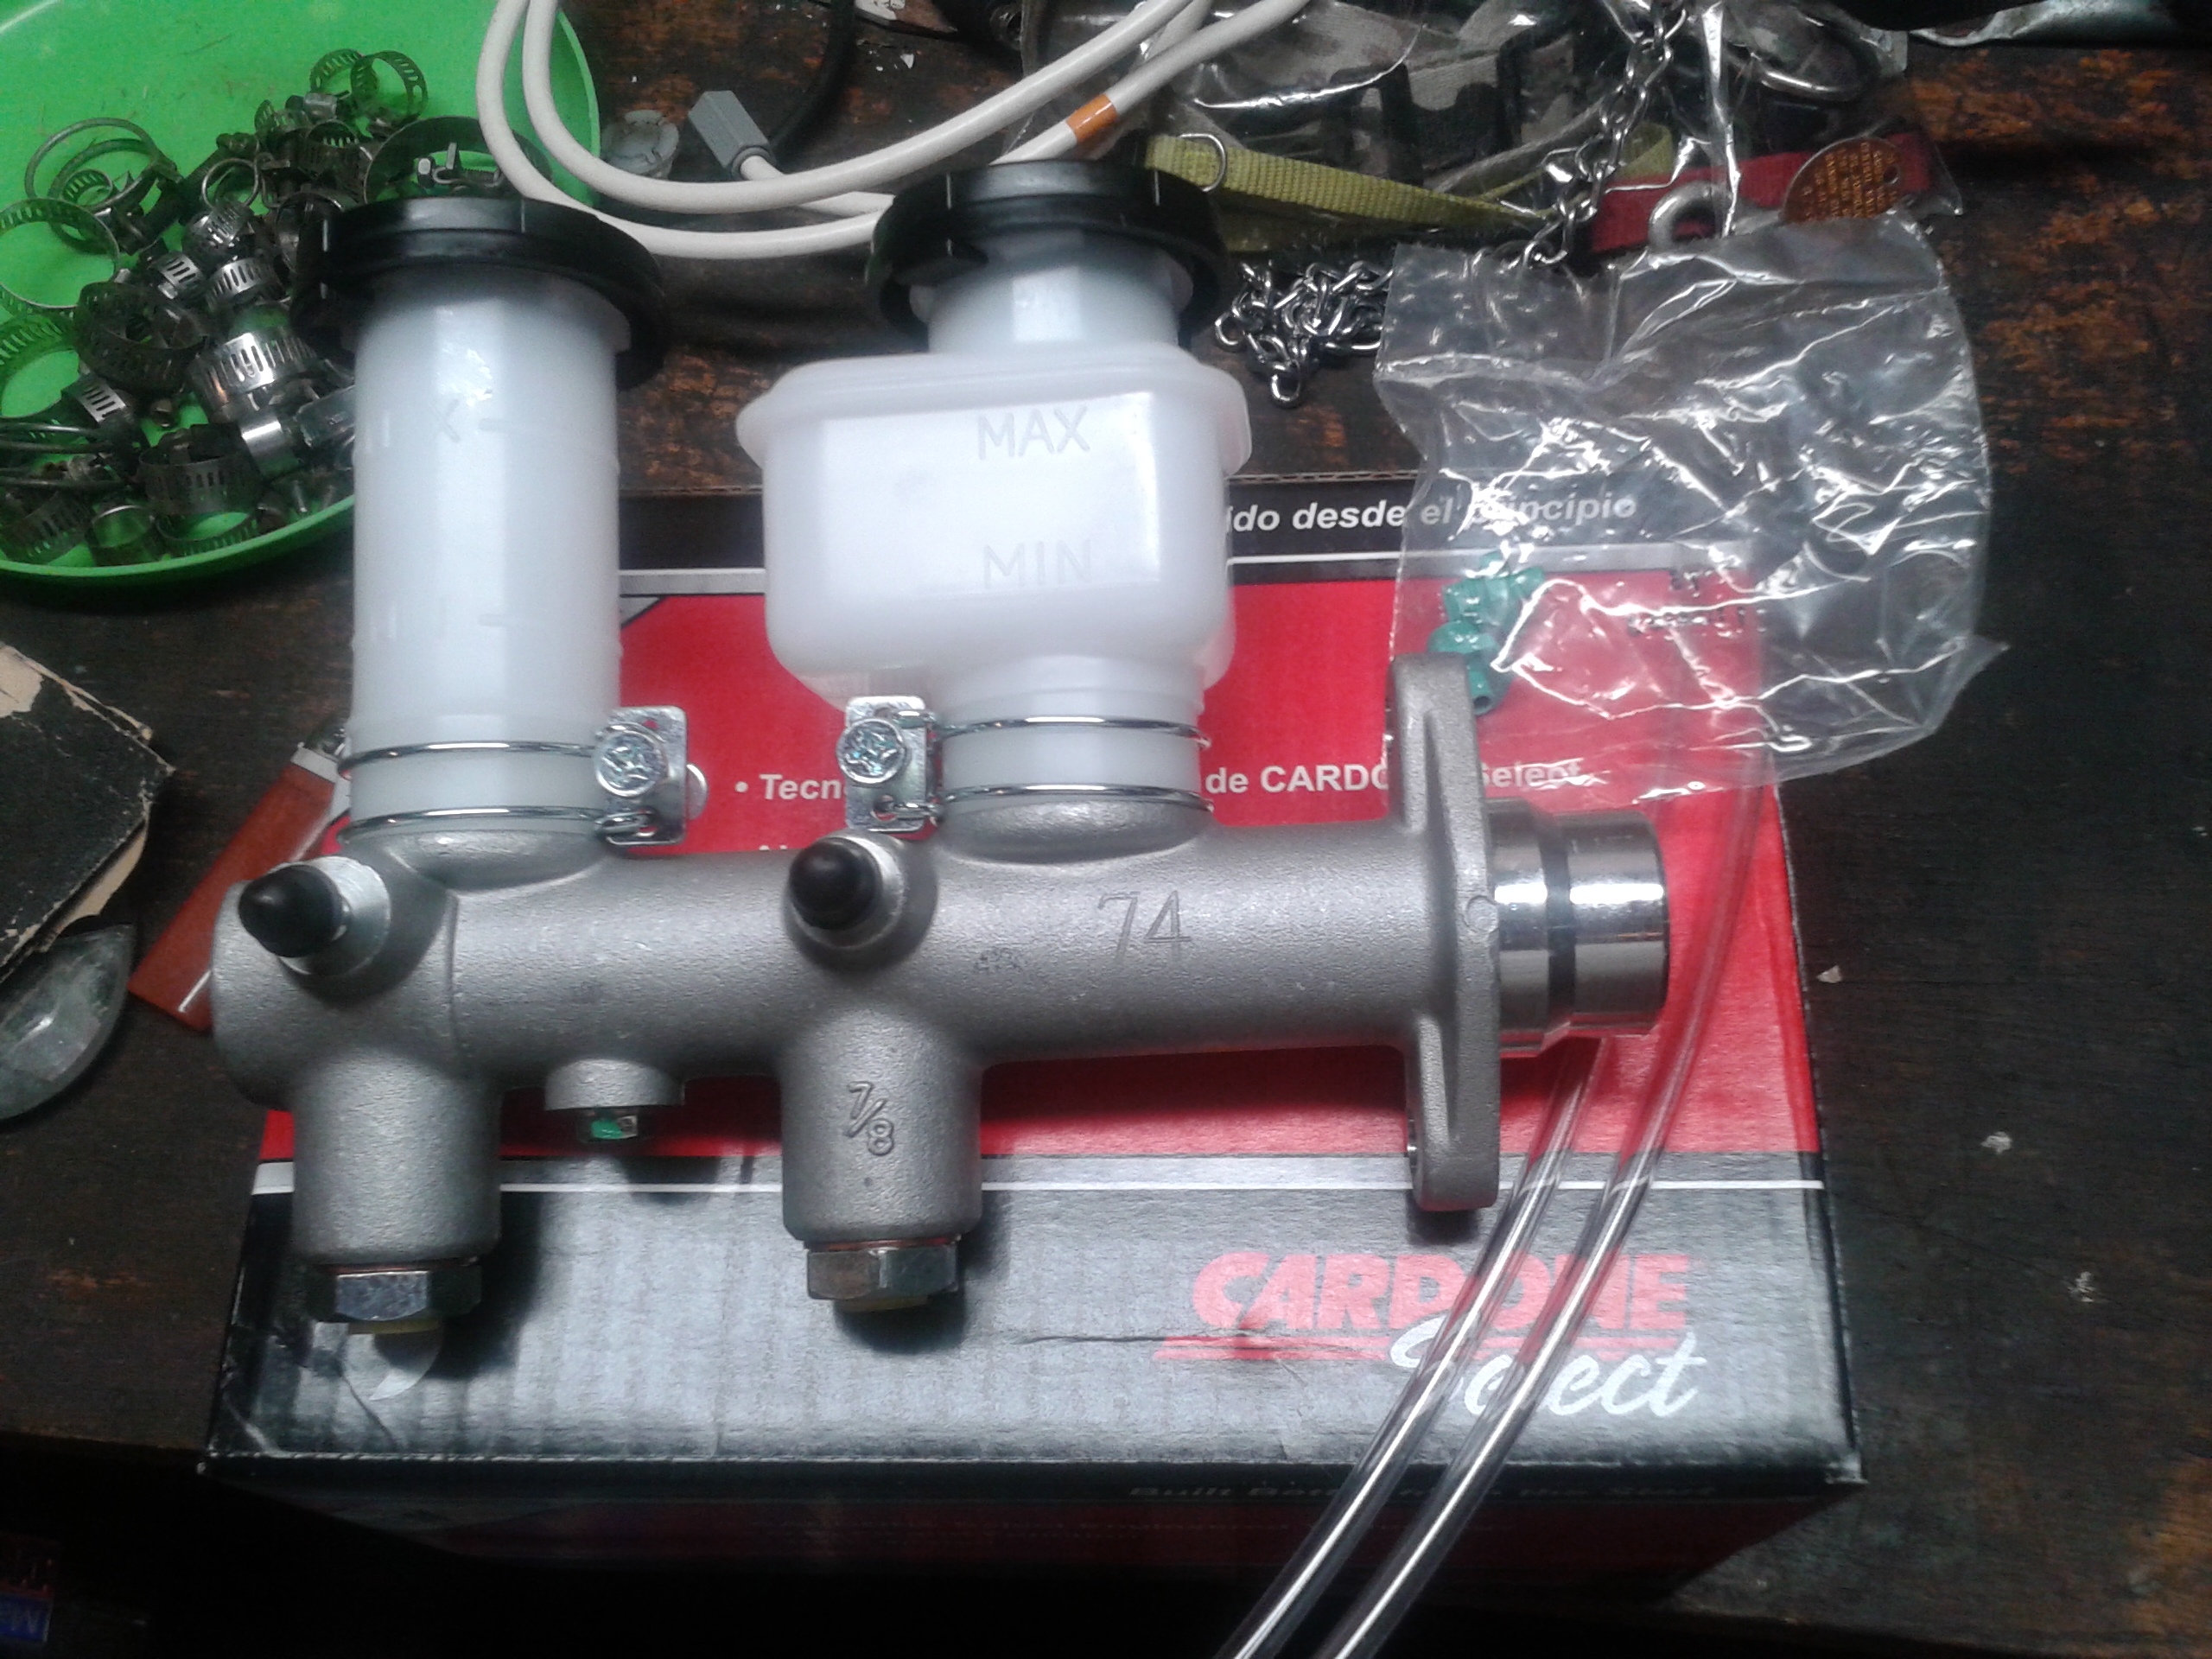
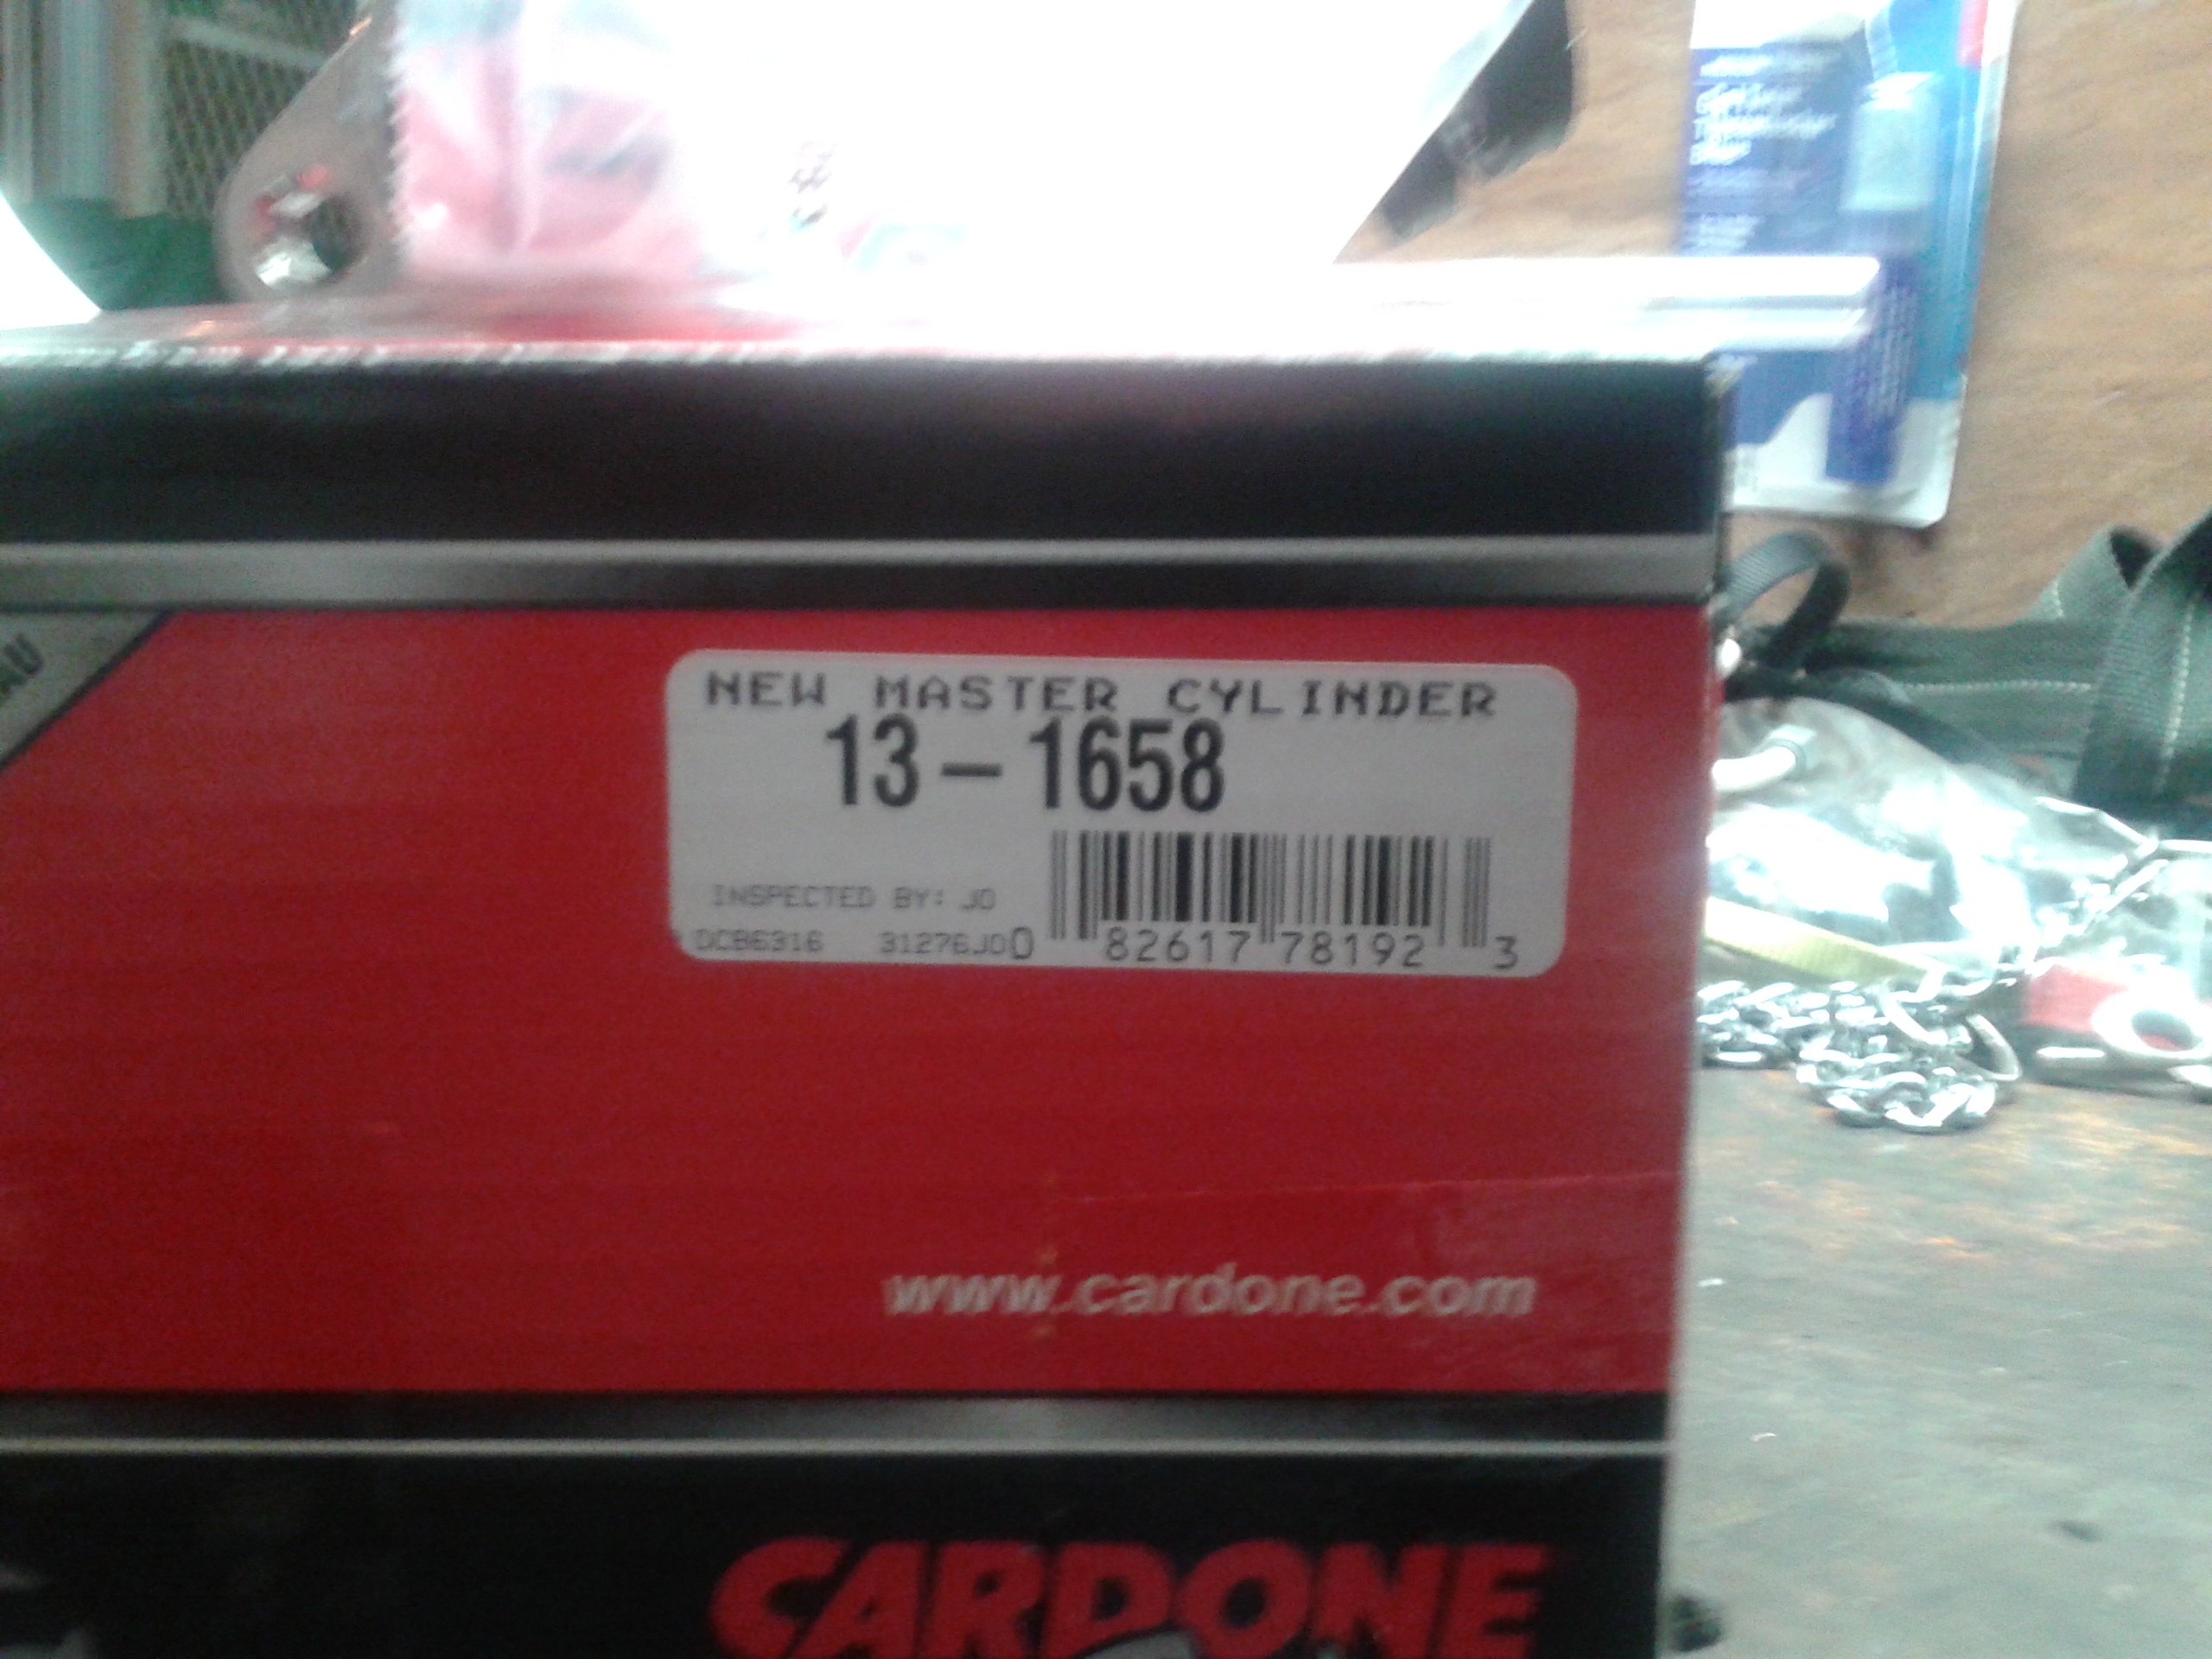
2 pointsReally like the MC I got today. Quick shipping, looks brand new and says "NEW". I need to straighten up the reservoirs a touch but overall A+.

 2 points
 -
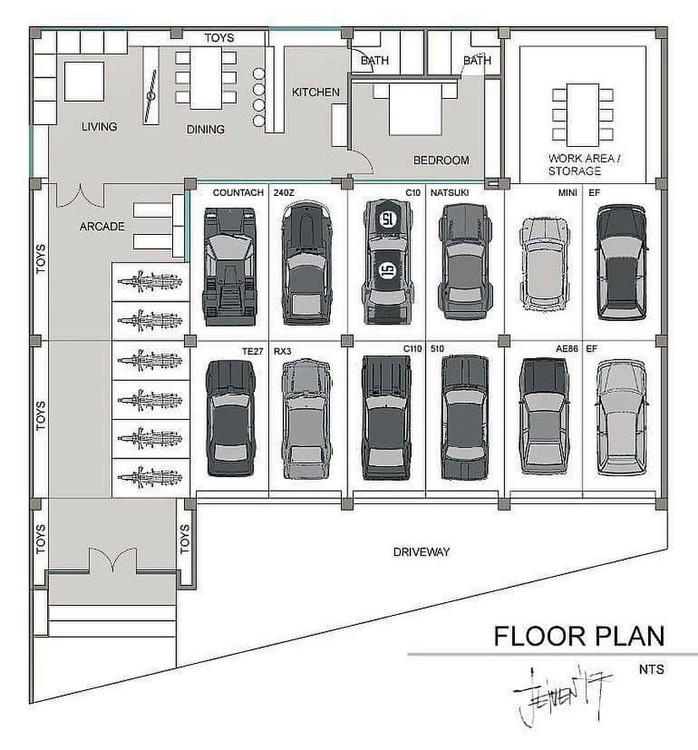
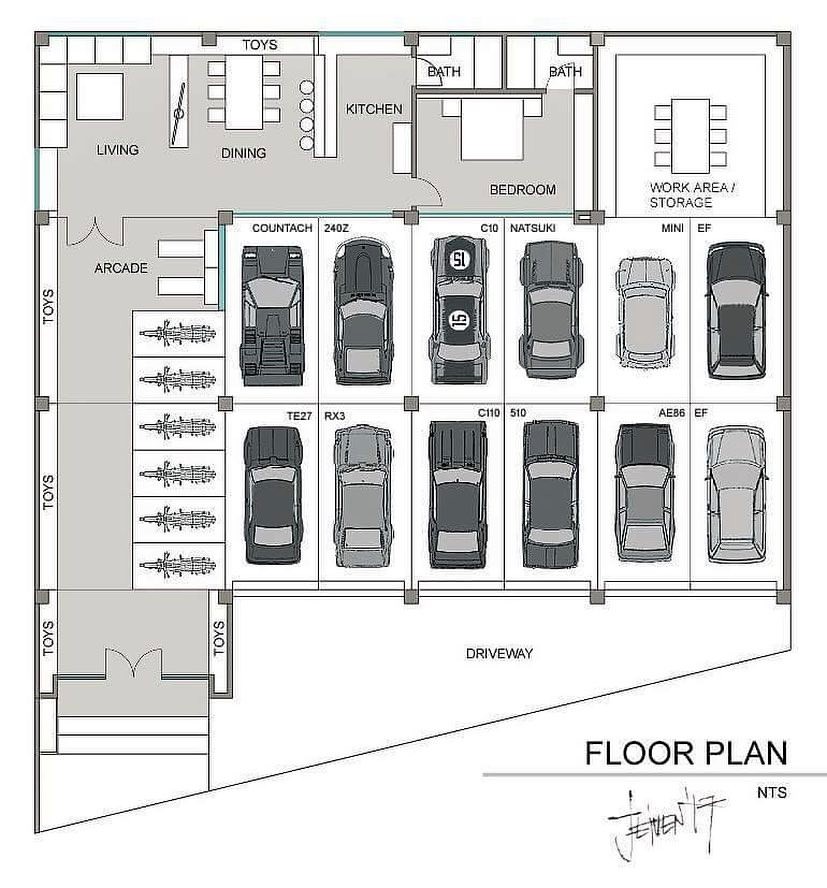
1 pointCheck out this floor plan. Is this the ultimate garage? I would probably consider leaving a few open bays near the work area for friends, but otherwise it looks good to me!
 1 point
 -
1 pointsee my comments in your quoted posts... thanks for the comments!1 point
-
1 pointMore coil hints for the day. Any oil filled coil should be mounted vertically, not horizontally like the 240 coils. Read the instructions. If they need to be vertical, it will be stated as such. The MSD instructions have this to say for the 8200 series street performance coils. "The Blaster Coil is designed to mount in most factory canister coil mounts. MSD also offers a Chrome Coil Bracket, PN 8213. It is recommended to mount the PN 8202, PN 82023 and 8223 coils in an upright position. The High Vibration Coil, PN 8222, can be mounted in any position due to its epoxy potting compound. " Putting them sideways likely exposes more of the windings out of the oil bath than when its vertical, making accelerated overheating deterioration an issue. This is a gues, but makes sense to me.1 point
-
1 pointUmmm....hire an architect. I agree. It needs MUCH more thought. Wouldn't hurt to read the building code either. As it is, it can't be built. It's unsafe.1 point
-
1 point- No bathroom with shower off the garage area - no lift - no compressor/mechanical room - no POL storage or detailing bay...... It's nice but not well thought out1 point
-
1 point
-
Good point Mr. C! Studs would do the trick with nuts at each end. Put the stud in with it skewed to the front then turn it in enough to have a captive nut on each end.1 point
-
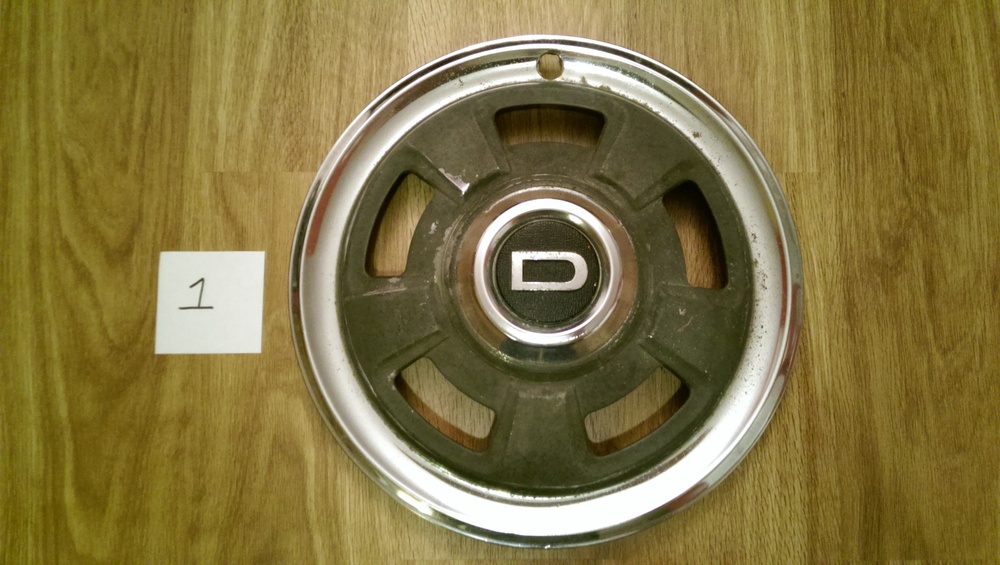
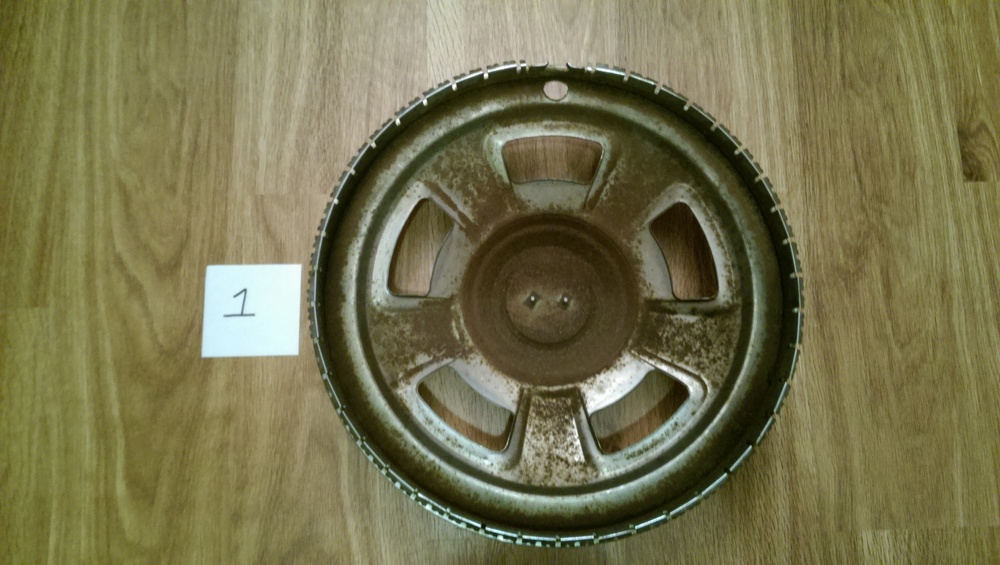
Hardway, When Marty Rogan was selling his pristine set of "D" hubcaps I posted this from the restoration of my caps: "The cost of re-chroming was dependent on the current condition of the hubcaps. My caps were straight without any dents, but they did have minor surface rust on the back sides and a little rust on the front sides. The cost to re-chrome the caps was $348 (set of 4) and the center "D" medallions was $100 (set of 4). Considering a good pair of "D" hubcaps is around $800 for the set, I thought this was a fair value!" I sent my caps to Mike at Vintage Chrome last October and look forward to seeing the new chrome! As you may have read, he's discontinuing the service, but I'm hoping someone else can take over the business for him. My caps were in better condition than yours in terms of rust, but since these "D" caps are getting hard to find, I think your caps look like good candidates to restore! Robert S.
 1 point
 -
1 pointMy first joke was the one where a couple went on vacation, left their cat for the neighbor to tend to. He calls them up and said the cat was dead, ruined their vacation. They said why didn't you tell us the cat's on the roof then call and say he fell, then that he'd died. Break it to us easier. A few days later the neighbor calls and says " your mother's on the roof".1 point
-
1 pointThe more you drive the more problems you'll find, it's like a relationship. One month and the honeymoon's over. To me it sounds like your BCDD is causing the high hanging RPM at stops. Or it could be the dashpot plunger needs greasing up a little. Have you turned the big phillips headed screw at the throttle body, the air/idle screw for idle adjustment? Hot restarts are a problem but it's not that hot yet so I'd be looking for something else causing it, maybe something electrical heating up or your fuel pressure dropping. Mine had those high speed wobbles too, new tires, rotors and wheel bearings plus an alignment straightened all that out for cheap except the tires and wheels. Grab your tie rods and see how much you can move them by hand, they should be tight. I just bought, it's on the truck for delivery today, a MC from rockauto.com. $47 delivered. It is a Cardone #1368 maybe? Here's some stuff to read on T/C rod bushings, they get worn and need replacing. Compression rod is what Blue calls it in his write up. Seems like the whole Hyper Flex kit cost me $239. I did mine when I had the motor out for rebuilding, much easier. http://atlanticz.ca/zclub/techtips/suspension.htm1 point
-
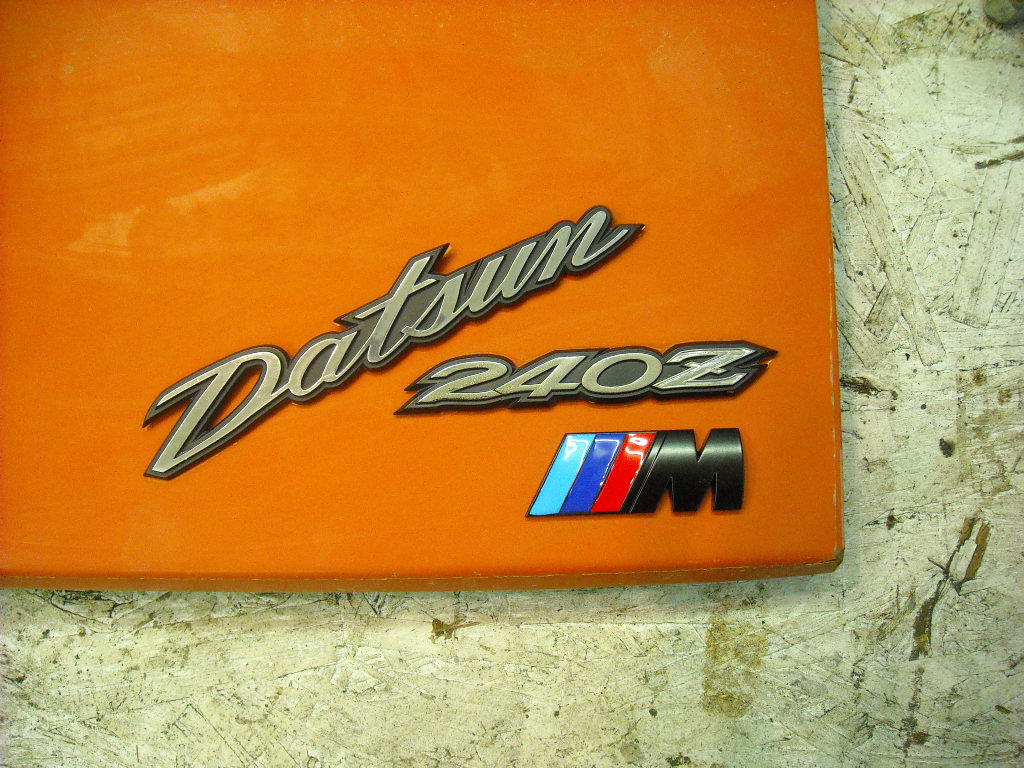
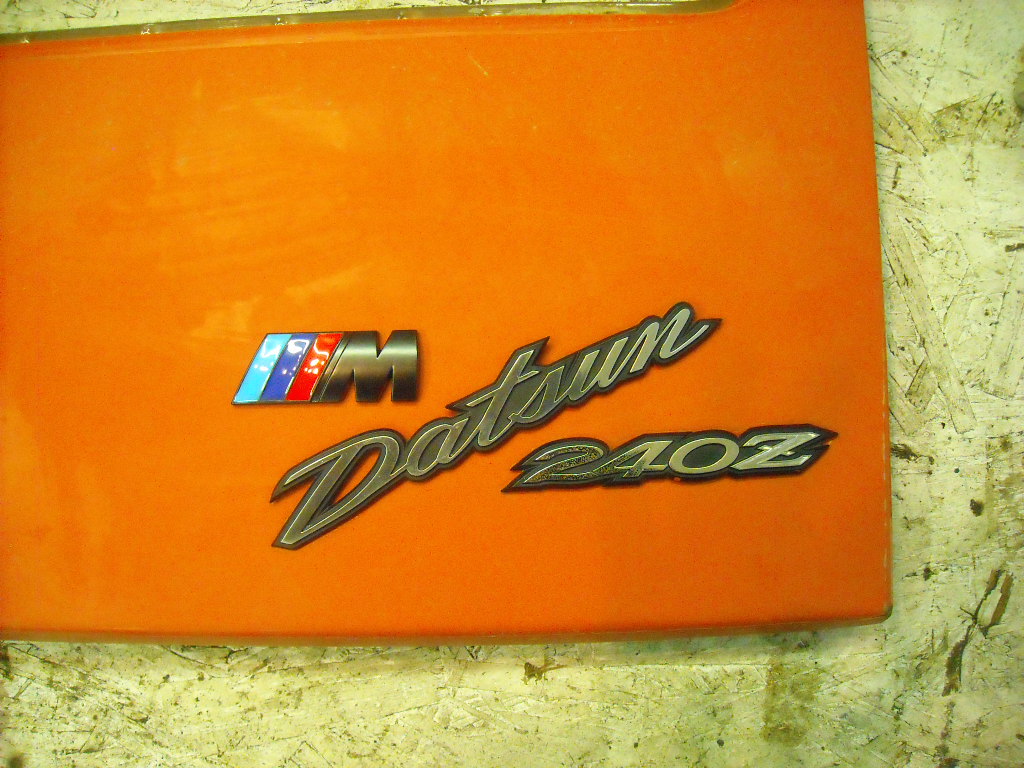
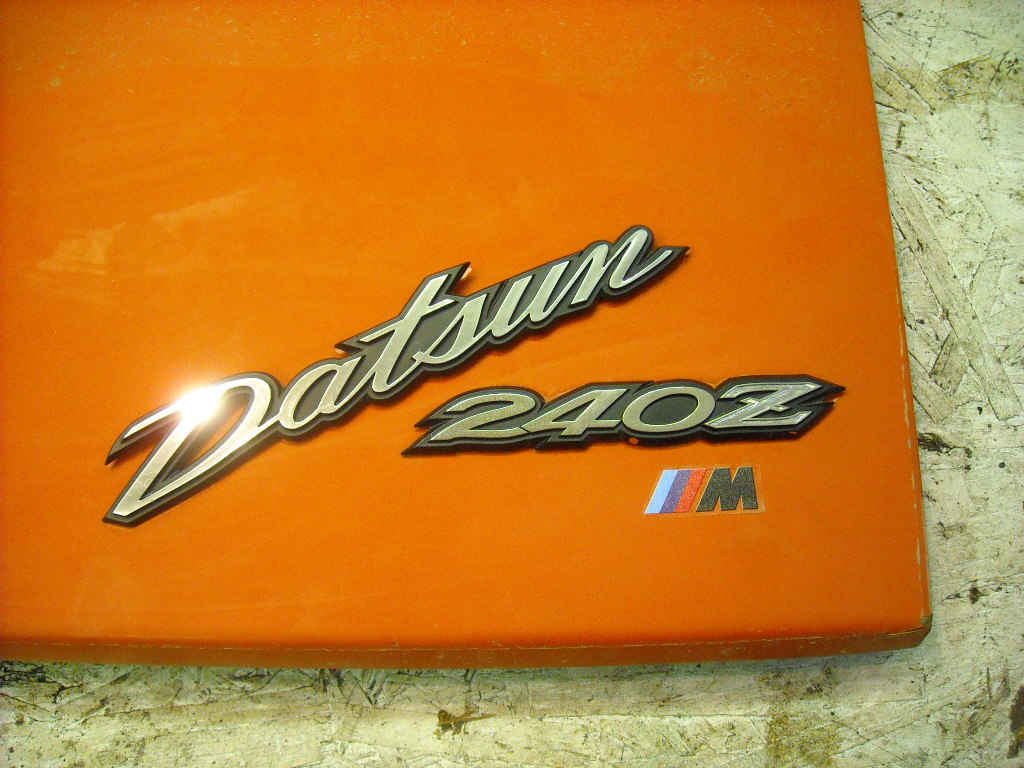
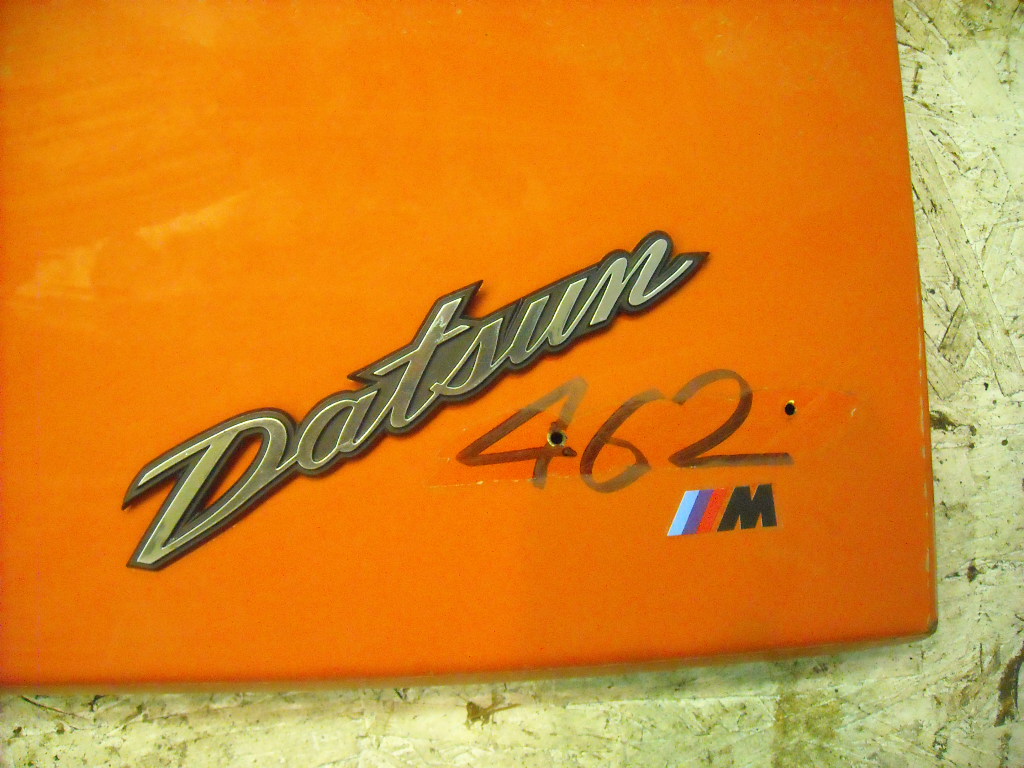
"badges? -- we don't need no stinking badges!!" since it's a complete re-paint, why not shave all the extras and have a total sleeper?1 point
-
My Dad would tear down a 350 SBC and put all the nuts and bolts in 1 bucket. I said the same thing, "how in the world are you gonna remember where they go". He said "they'll only go one way".1 point
-
Detailed photos of groupings of parts. "Engine prior to removal and then photo of all of the removed parts and brackets", " Engine compartment etc...." and some times it's just the bolt that was left over...LOL1 point
-
how does anyone remember what bolt and nut goes together after this?1 point
-
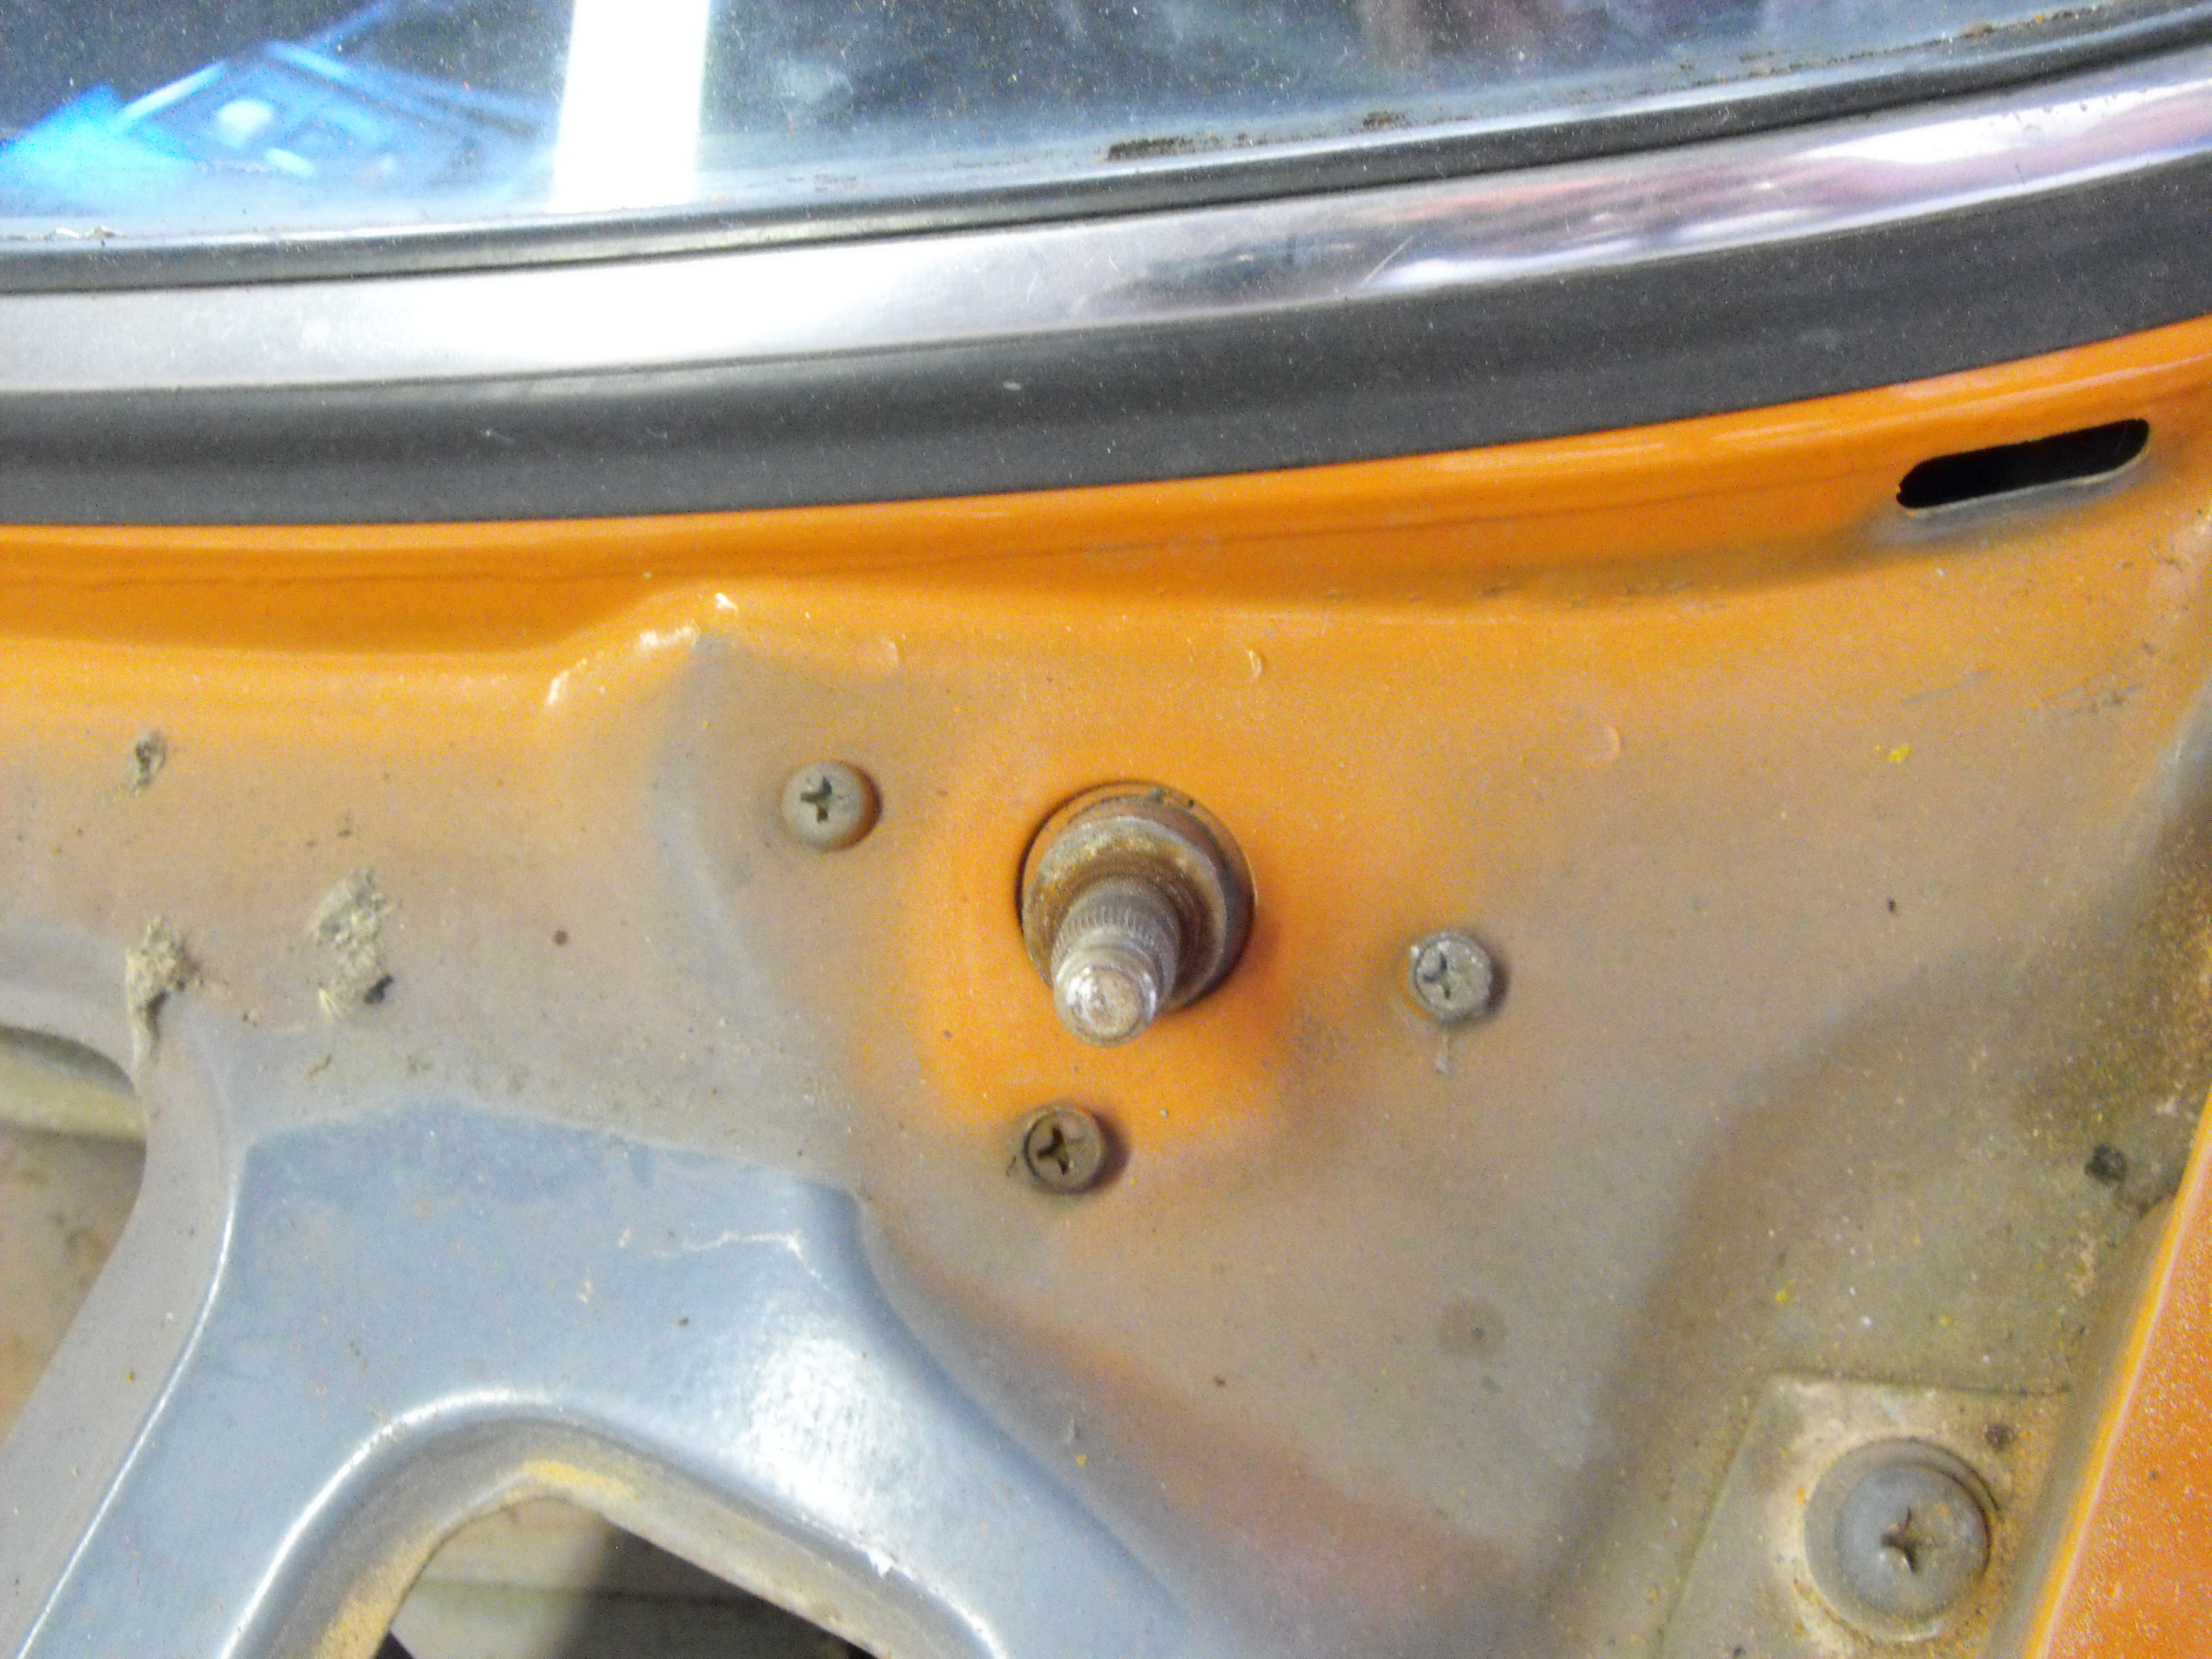
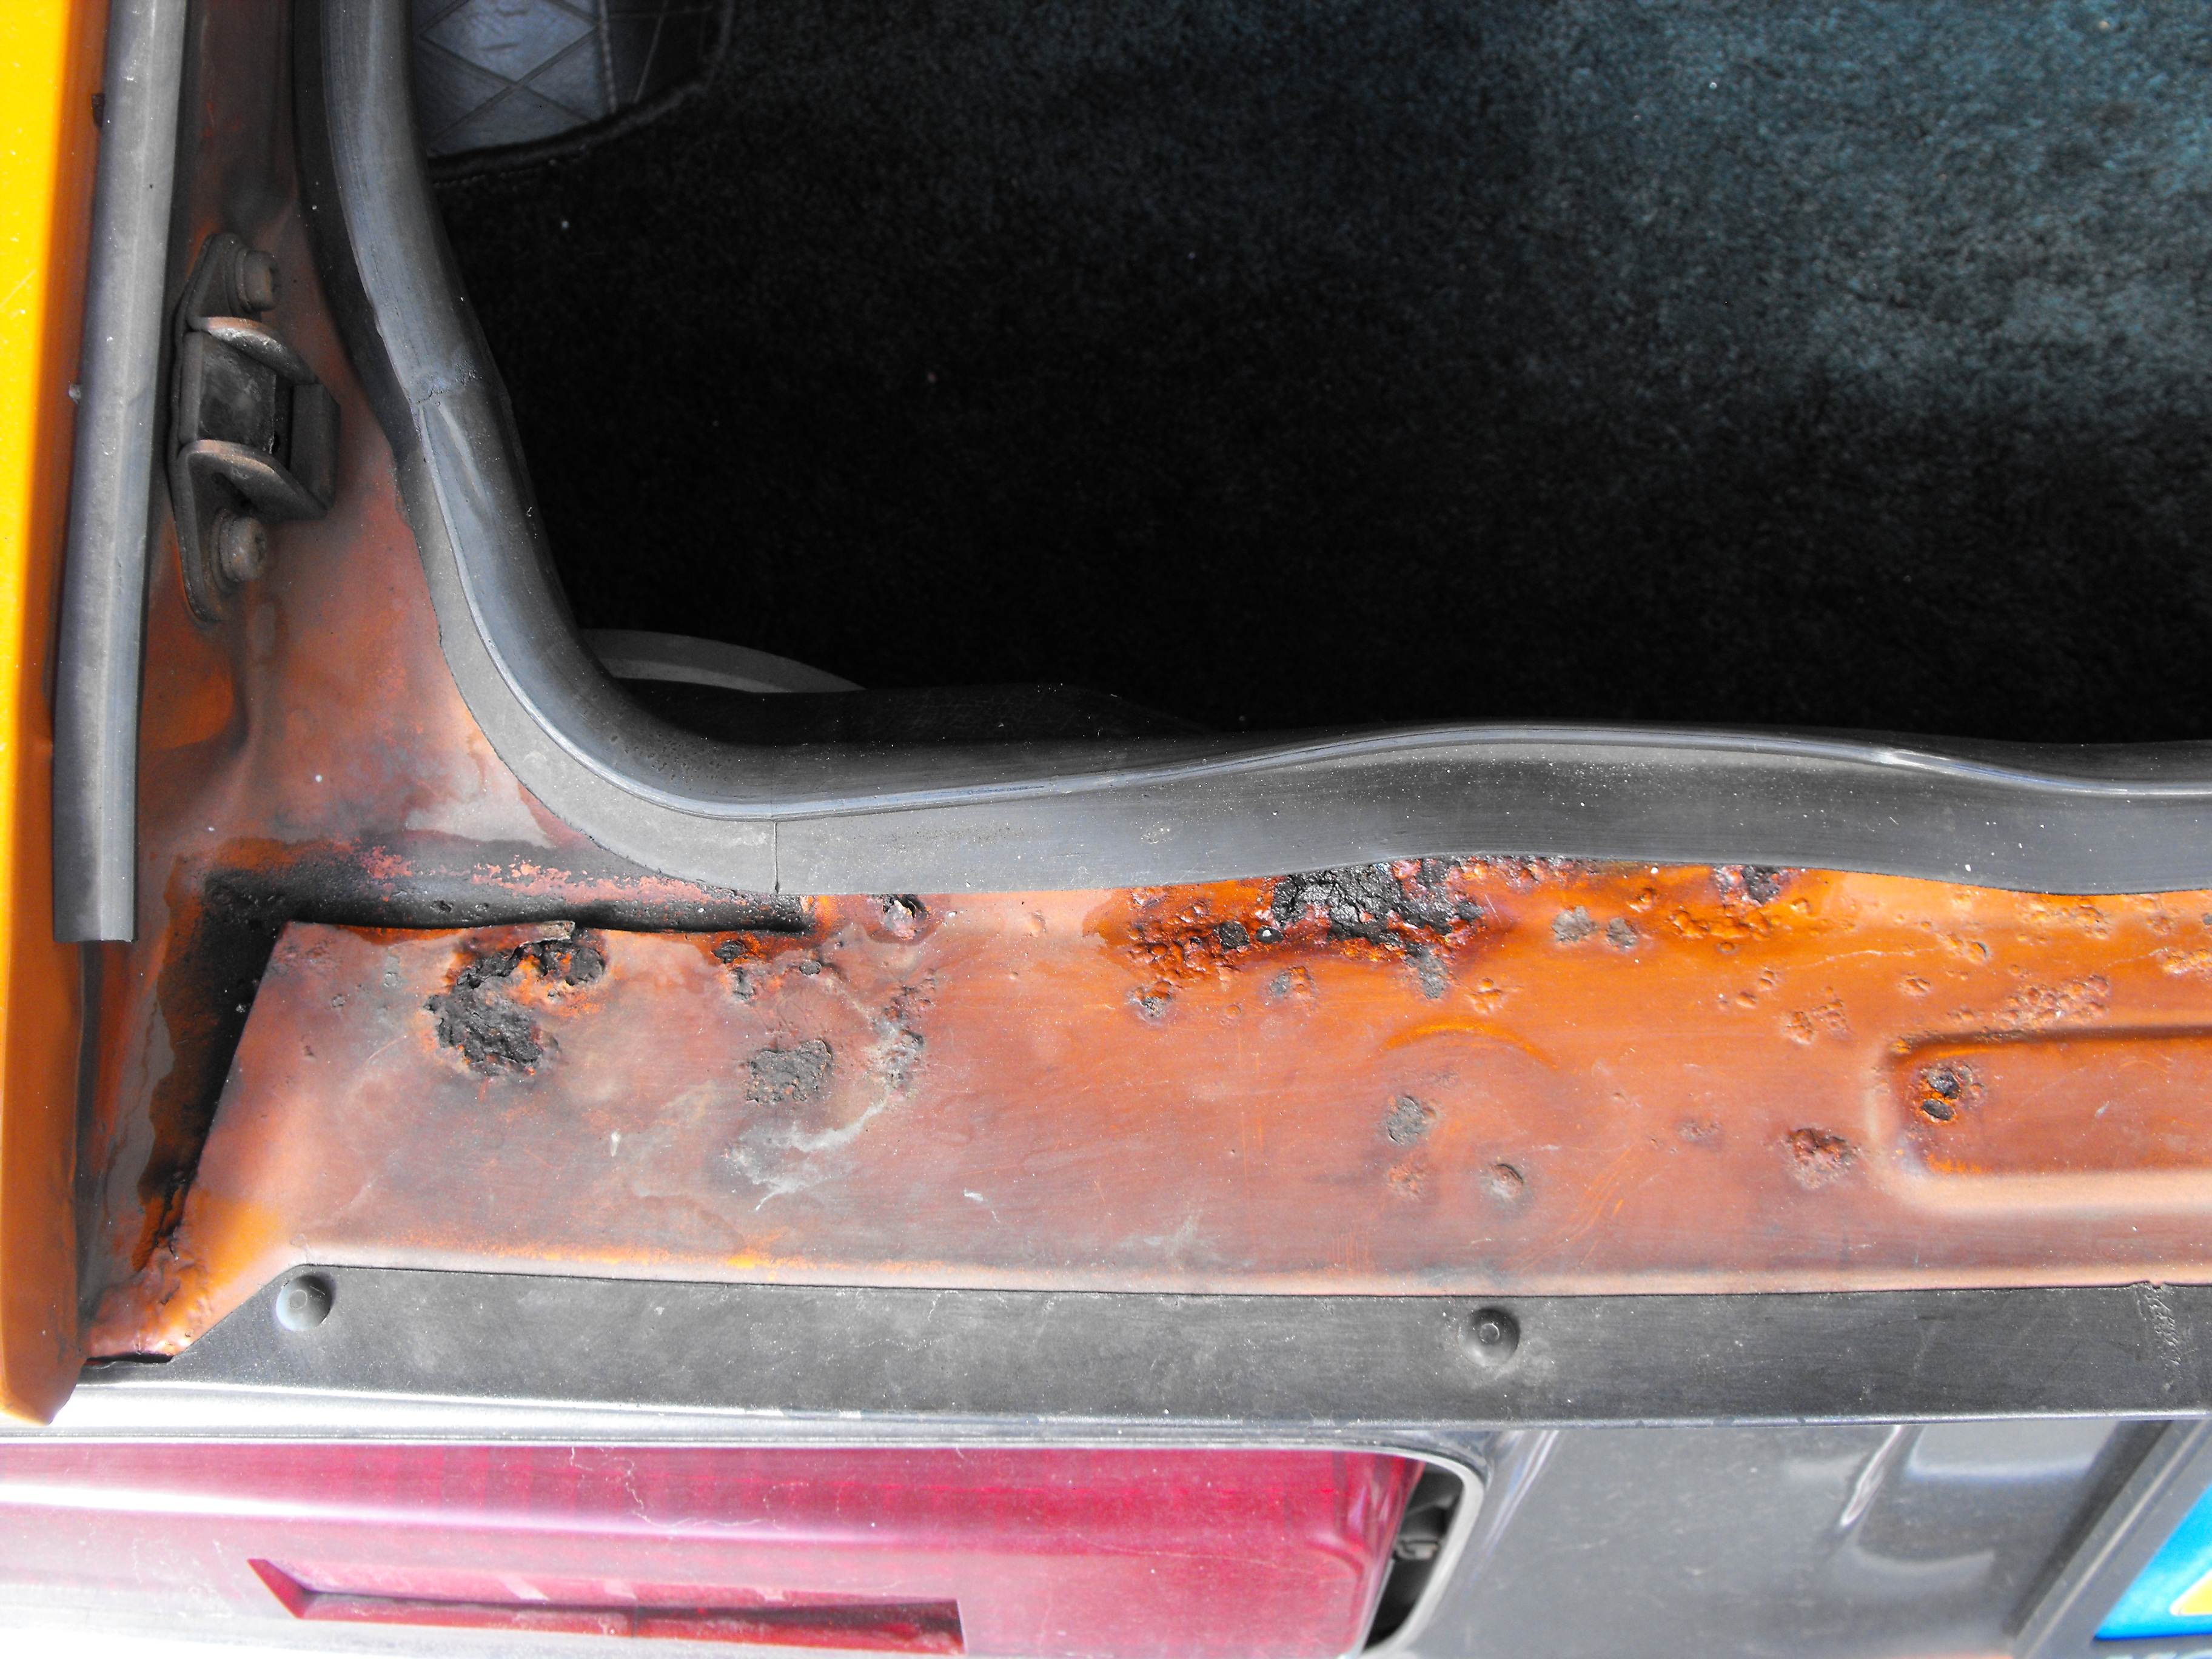
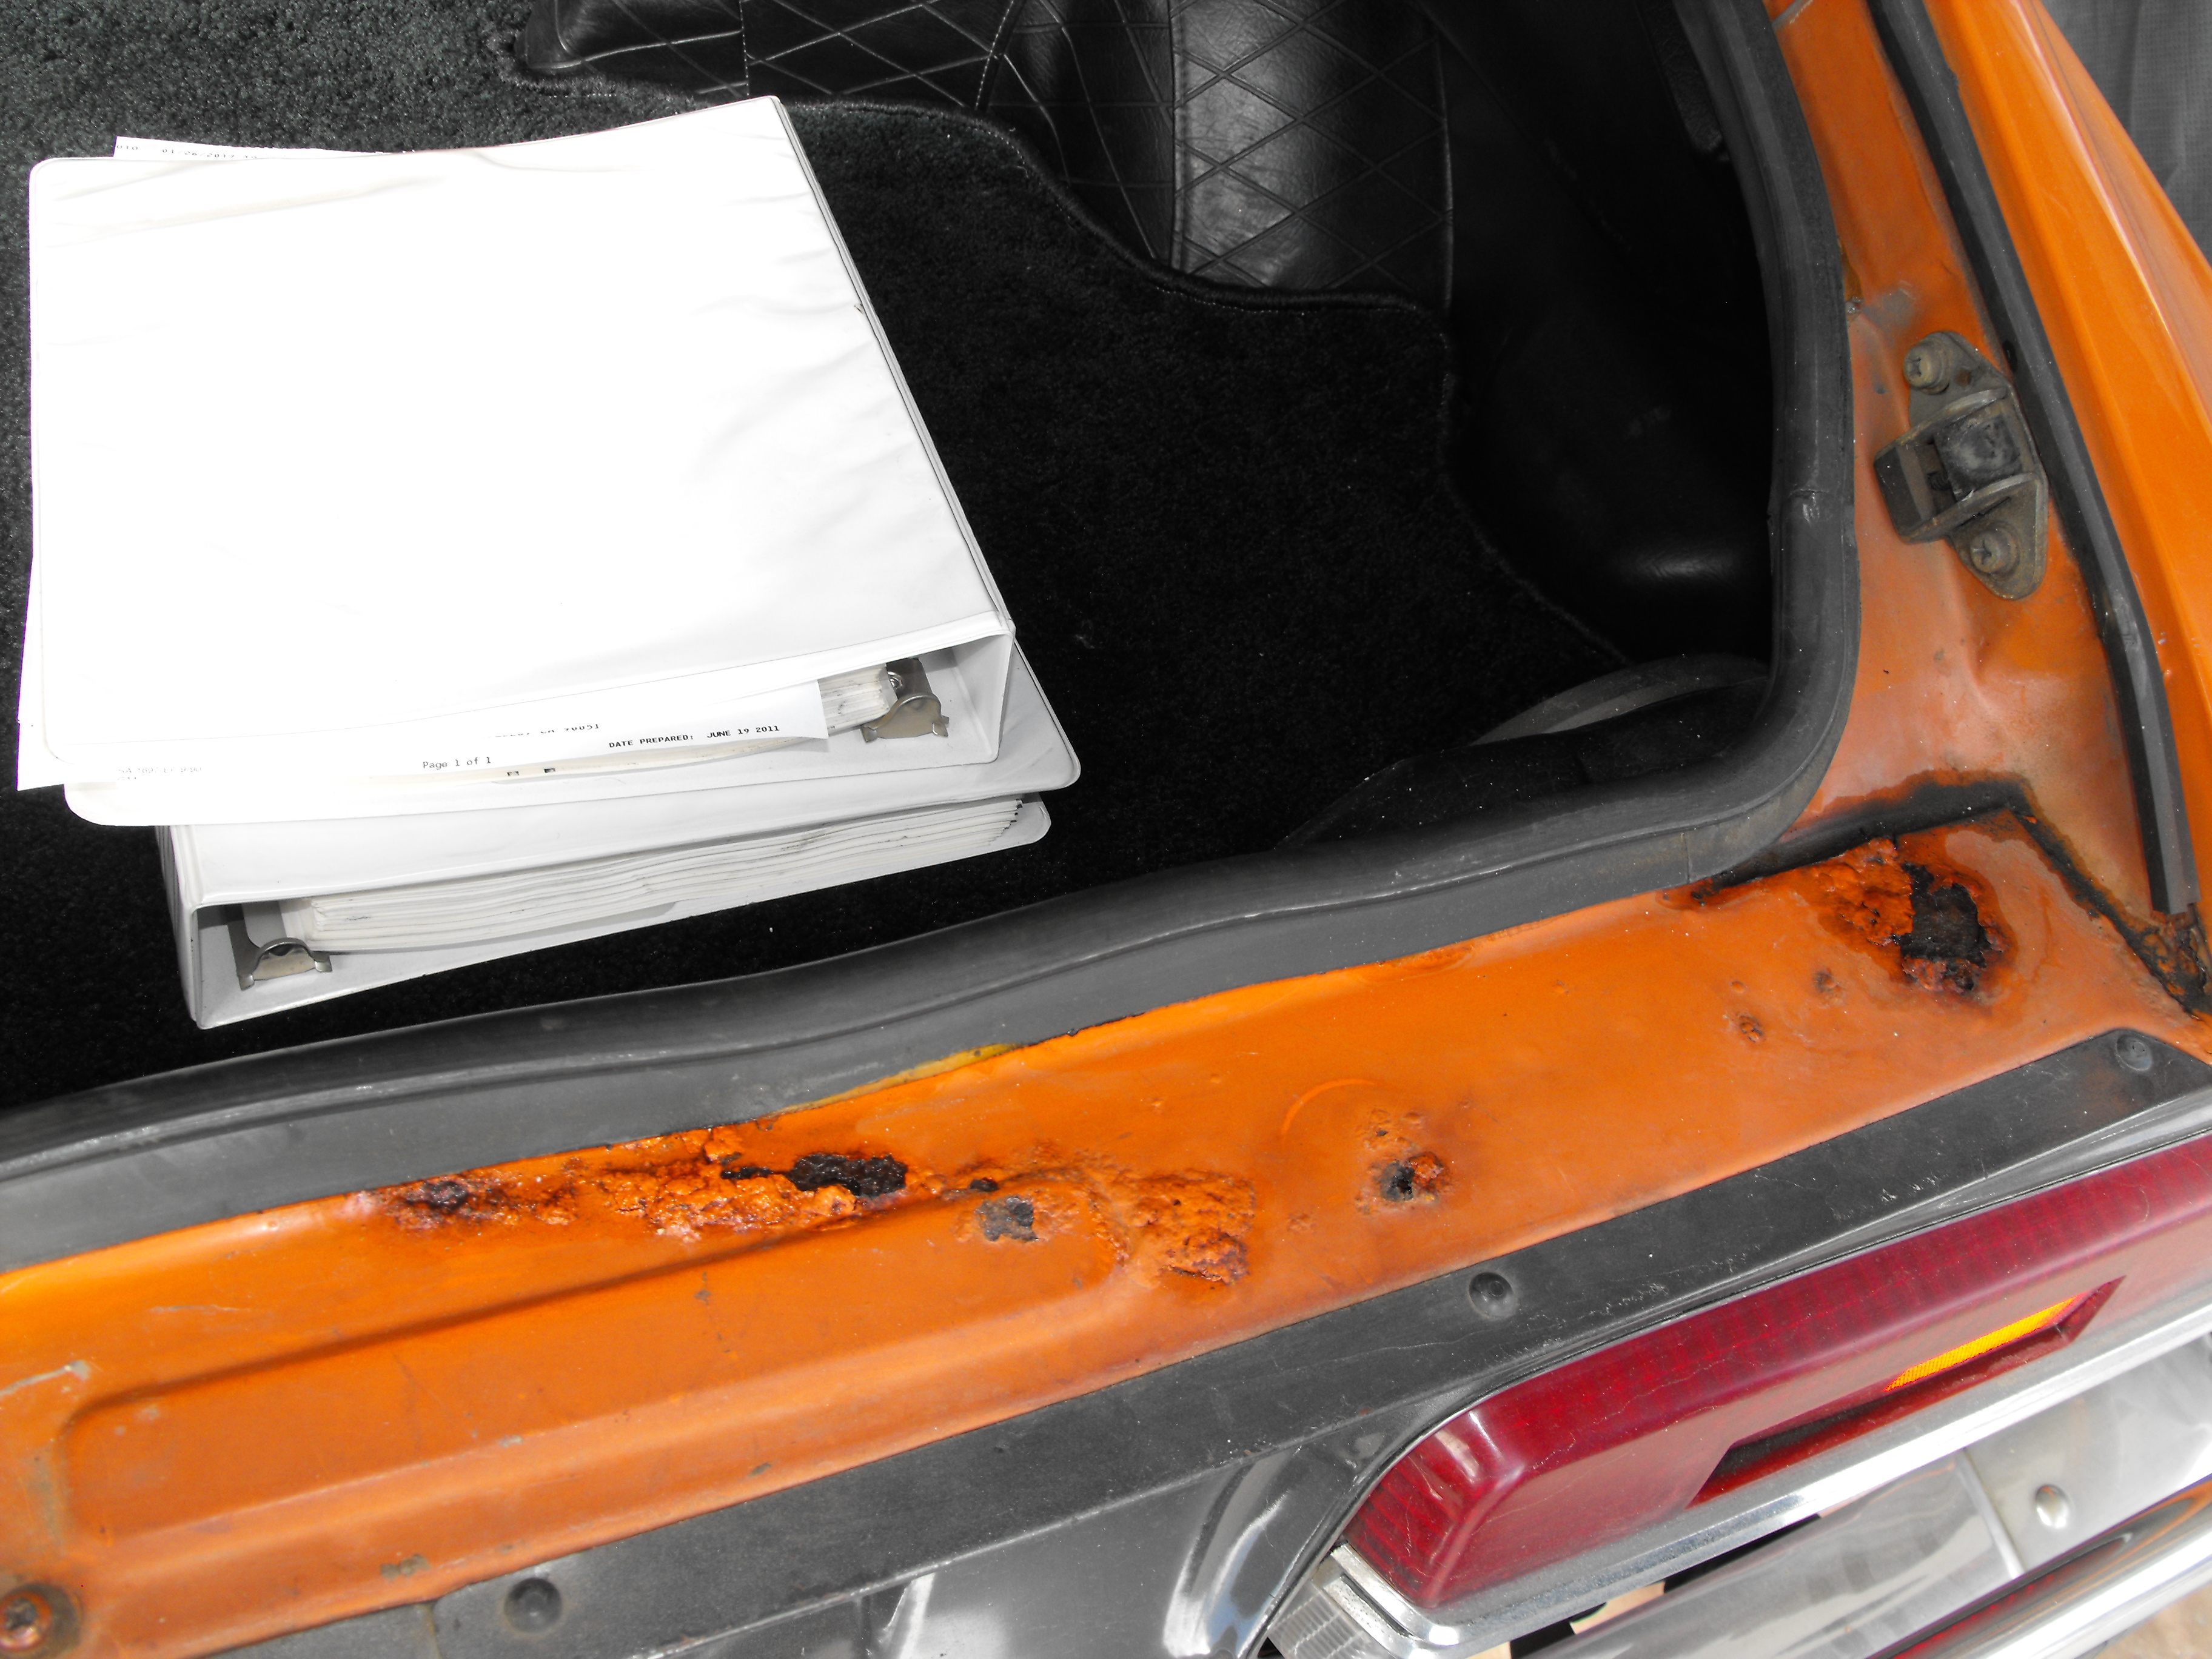
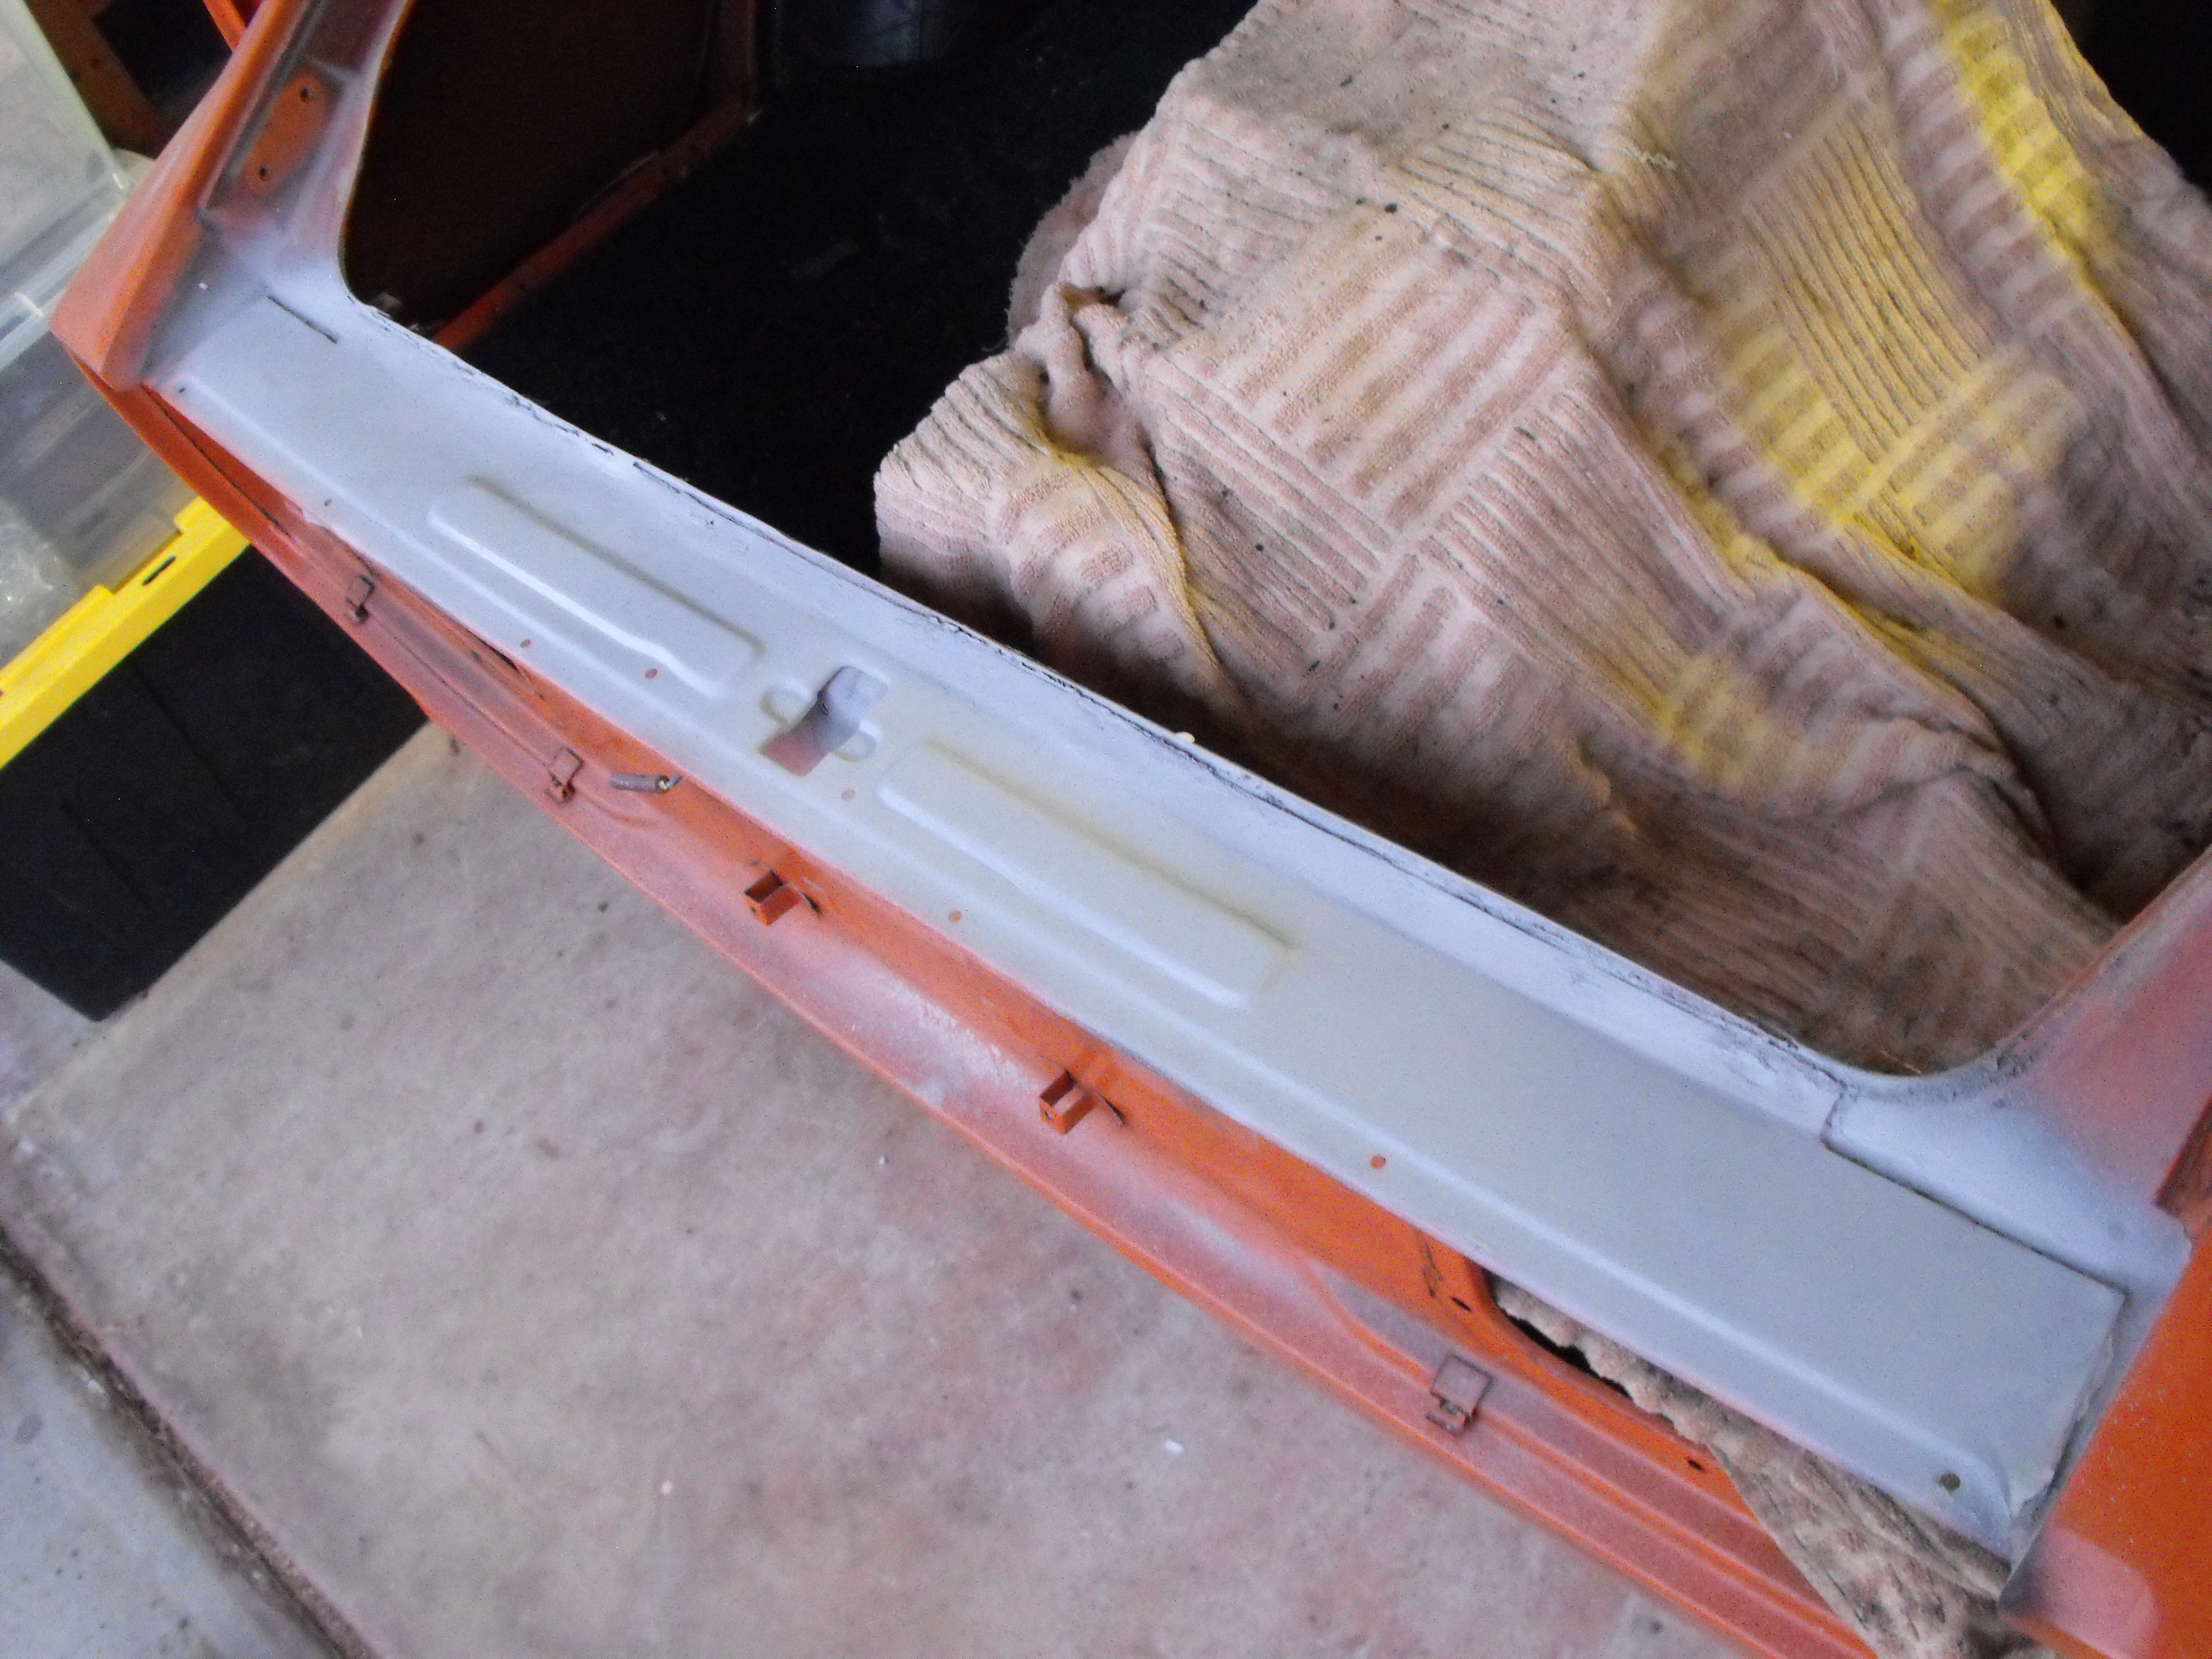
1 pointThings like this are always interesting to me. A little more Z CSI. The single panhead phillips screw (wrong type) and the two hex phillips screws(correct type) to support the windshield wiper pivot. Makes me wonder why the wiper system was removed at some point. Fortunately I have a whole box of the hex phillip screws with the yellow zinc coating. so no trouble finding the correct screw. I cleaned up the panel area under the back hatch. That had some significant rust as you can see in the pics. I wire wheeled all of the rust off and put on rust inhibitor yesterday. Used the filler today and sanded the area to form. It still needs a bit of final shaping, but is close to what it needs to be. Pics are below.


 1 point
 -
1 point
-
1 point
-
1 pointha! that's what i figured... i pulled on that wheel and it didn't budge, so i stopped out of fear of either popping myself in the face or damaging something. Good advice on pulling with the nut still installed, forgot about that trick. and thanks for the trouble shooting tip.1 point
-
1 pointBy the way, once the center nut is removed, the wheel pulls off. However, it is good to leave the nut threaded on loosely so that you don't hit yourself in the face with the steering wheel after you wiggle it loose. Also, if you have all of the other components in place, you can test the horn by putting a jumper wire to the green/black wire on the dash harness near the steering wheel and grounding it. If that does not sound the horn, you could also have a bad/missing horn relay.1 point
-
1 pointWhatever! If anyone could use these kick plates, please get in touch with me in the next few days.1 point
-
I have read many times about vibration noise because of poly bushings in the mustache bar but I have never noticed any. The car had fairly new rubber bushings on the M bar when I got it so I left them in but after a year burned them out and replaced with poly while I was trying to eliminate a clunk in the rear end.1 point
-
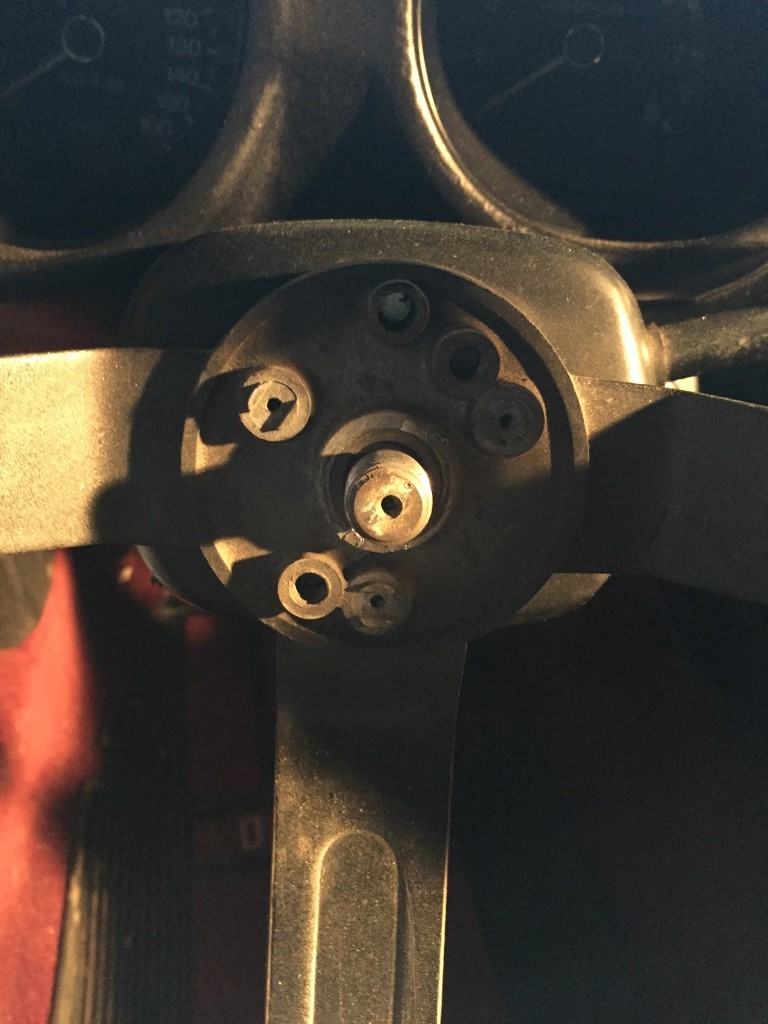
1 pointi need to get my Z inspected after bringing it into Texas. It's ready to pass, except the horn is not working. So I started simple. Checked the horns, lo and behold they're not there. So i bought some original horns off ebay and installed them, cleaned the electrical connectors and have a good ground. still nothing. Fuse looks good, relay is installed and plugged in. so i take the steering wheel cap off. with the pic below (exploded view of steering wheel assembly and parts list), I'm missing #3 (horn spring) and i'm only assuming missing #16 (comp ring contact). #19 (the plastic ring - insulator contact) is in rough shape and about to fall apart. http://www.carpartsmanual.com/datsun/Z-1969-1978/steering/steering-wheel#2 do i need to purchase a whole new wheel assembly? or just the cap? any good recommendations on a fully assembled unit I can plug and play? I didn't take the wheel off (because i don't have a special flat plate tool) but I'm hoping the electrical is still intact.


 1 point
 -
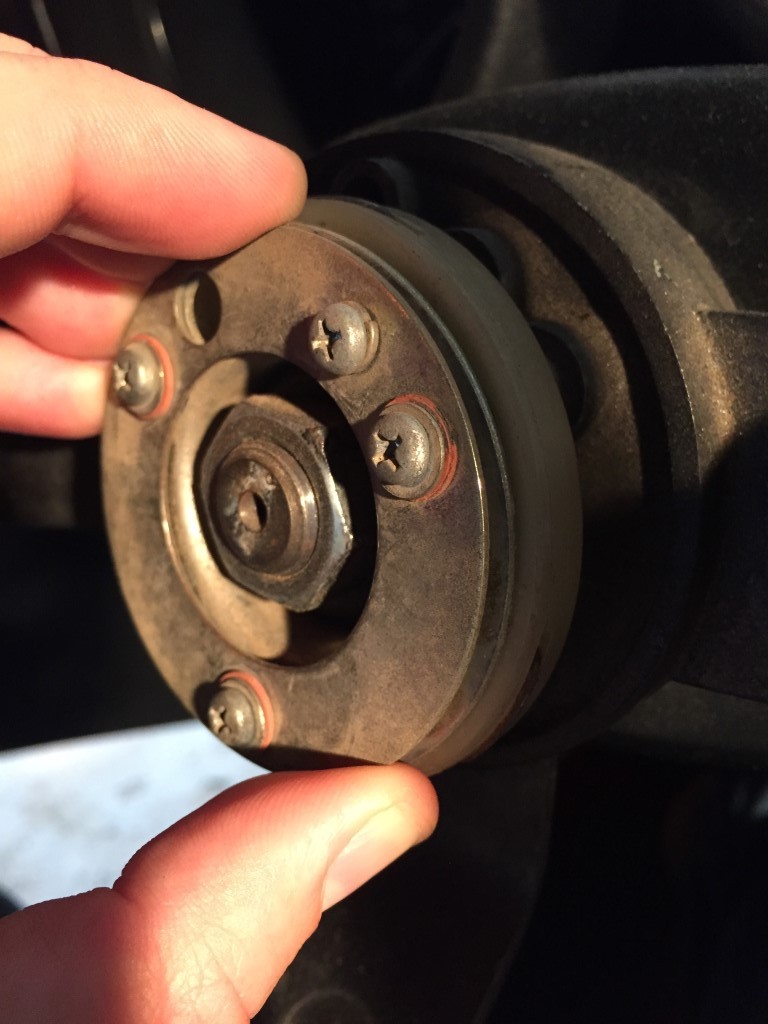
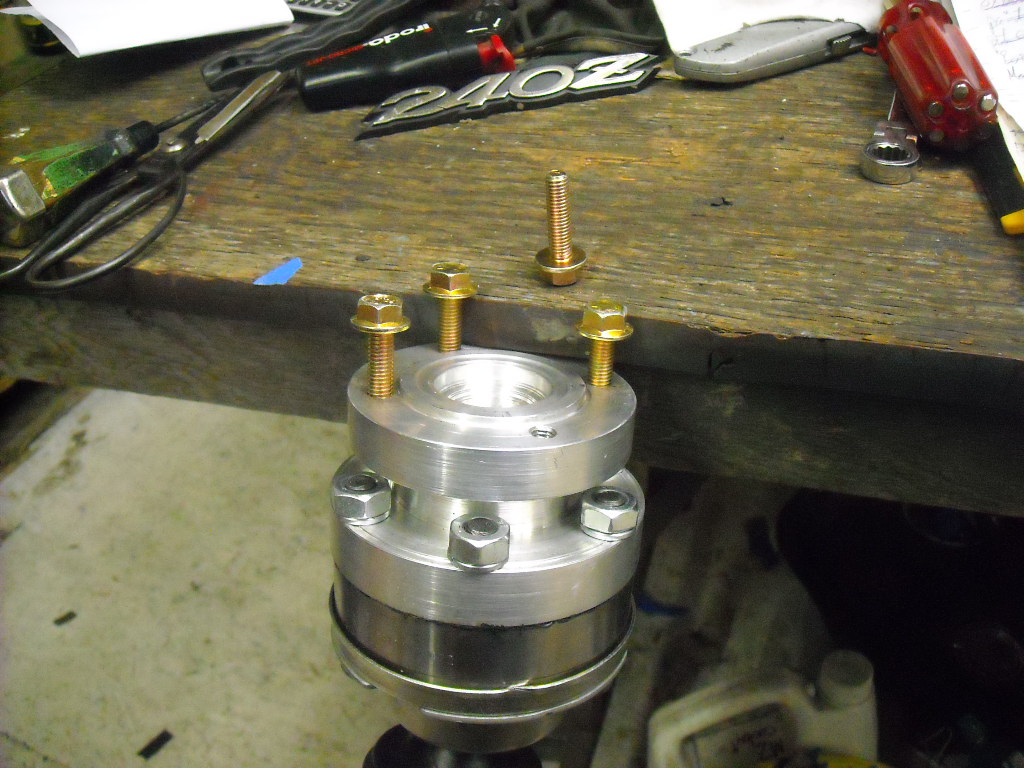
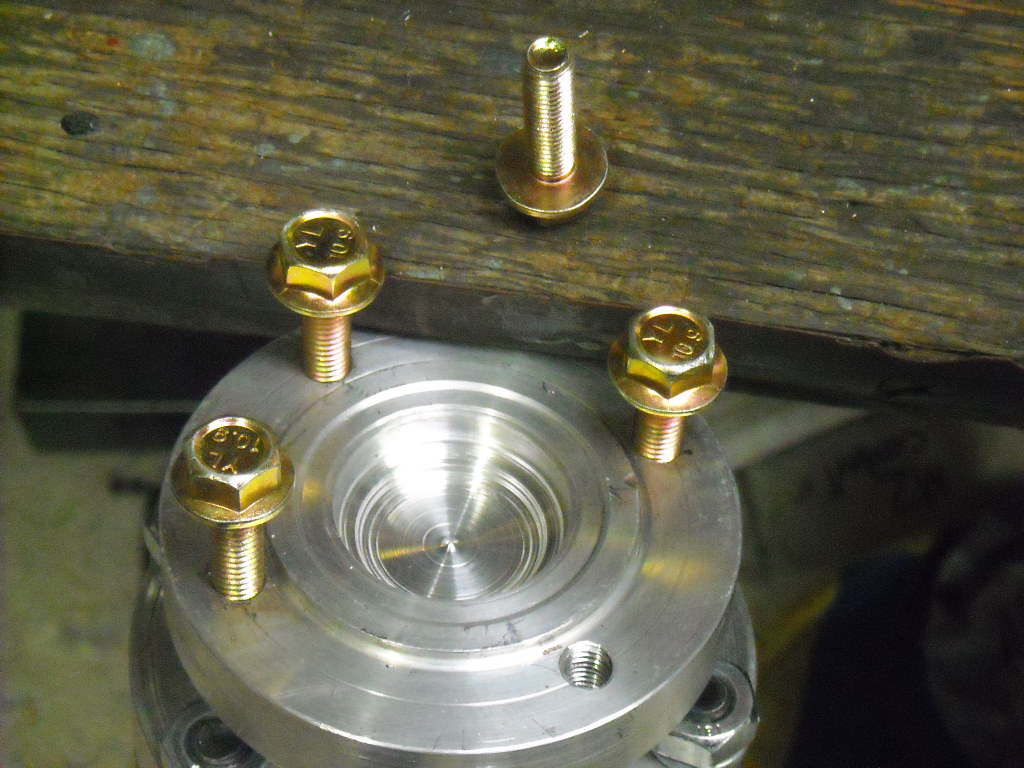
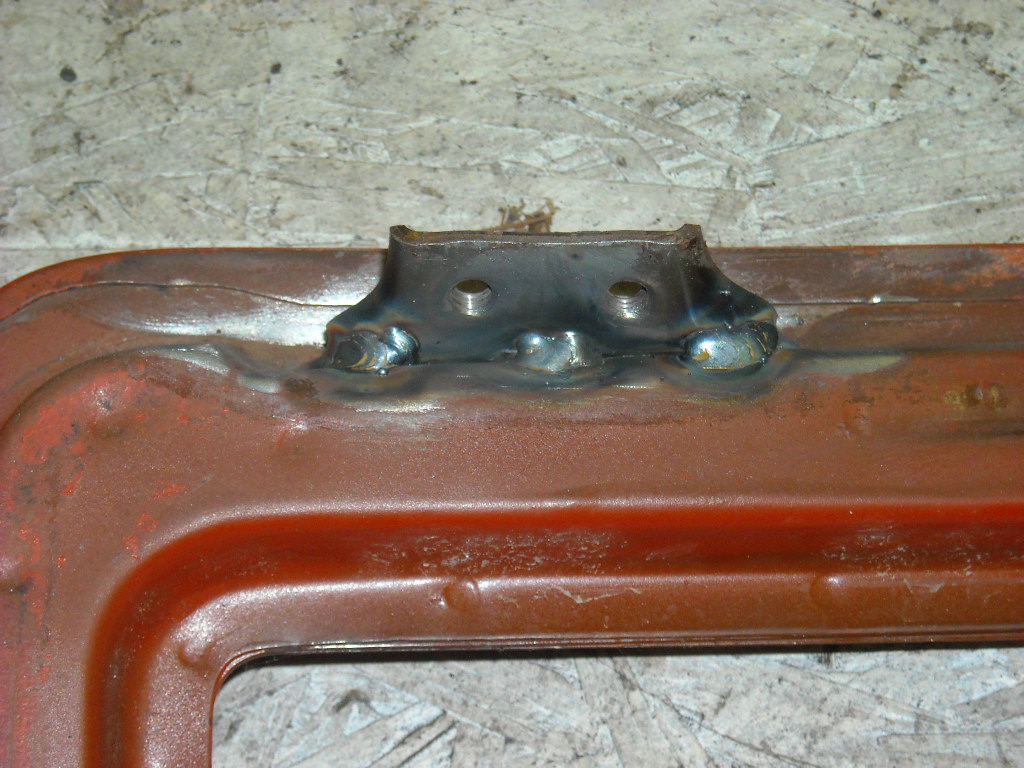
Techno strip uses 4-5 separate tanks, the first one I guess would be a strong detergent then a solvent ... I know their process is acid based, I asked them. He also said the asphalt tar mats would come off with no problem, better him than me. I'm thinking that maybe you are pulling my leg? Trying to picture this rig out on your driveway, the Z up on a rotisserie with clear plastic sheeting forming a pool/reservior, a long pipe with holes drilled in it as the shower head and an old motor geared down so the car spins slowly so that all surfaces are kept wet . I can just see the look on your wife's face With some time on my hands I'm starting to second guess decisions I have already made, here is one the aluminum driveshaft adapter I made, I'm thinking about the threads of those M8 bolts and what may happen if I can't torque them properly because of the aluminum. Can anyone advise me if Helicoils installed with Locktite into the aluminum flange would give anymore strength? There has been a couple of threads in the last year that dealt the hinge flange breaking off the rear hatch so before I get into the paint I thought I would throw some extra welds on mine just in case, thought I would start playing around with the badging, I'm open to suggestions,


 1 point
 -
1 pointGreg... Yes that really is an old joke. I'm 74 now and remember my Mom telling me that one when I was a TEEN. That sorta makes it older than your birth, eh? Amazing you could remember it. Pretty old... Hahaha, Jai1 point
-
1 pointYeah, well, table wine I usually avoid (like Coca Cola and Pepsi infact) and we have you guys to thank for saving our vines : http://io9.gizmodo.com/how-the-great-french-wine-blight-changed-grapes-forever-1691598233 Come and visit me and we'll do a few caves - nearby is Coteaux de Layon, Chinon, Saumur, muscadet 40mins away (ok, its white but goes very well with the fresh shellfish we get), there are even some decent Vendeen wines but Bordeaux is just down the road.....1 point
-
1 pointLooks like all you need to complete your darkroom is a "safe light" and some clips to hang prints to dry. That appears to be a nice set up for anyone looking to get into developing their own film. Dennis1 point
-
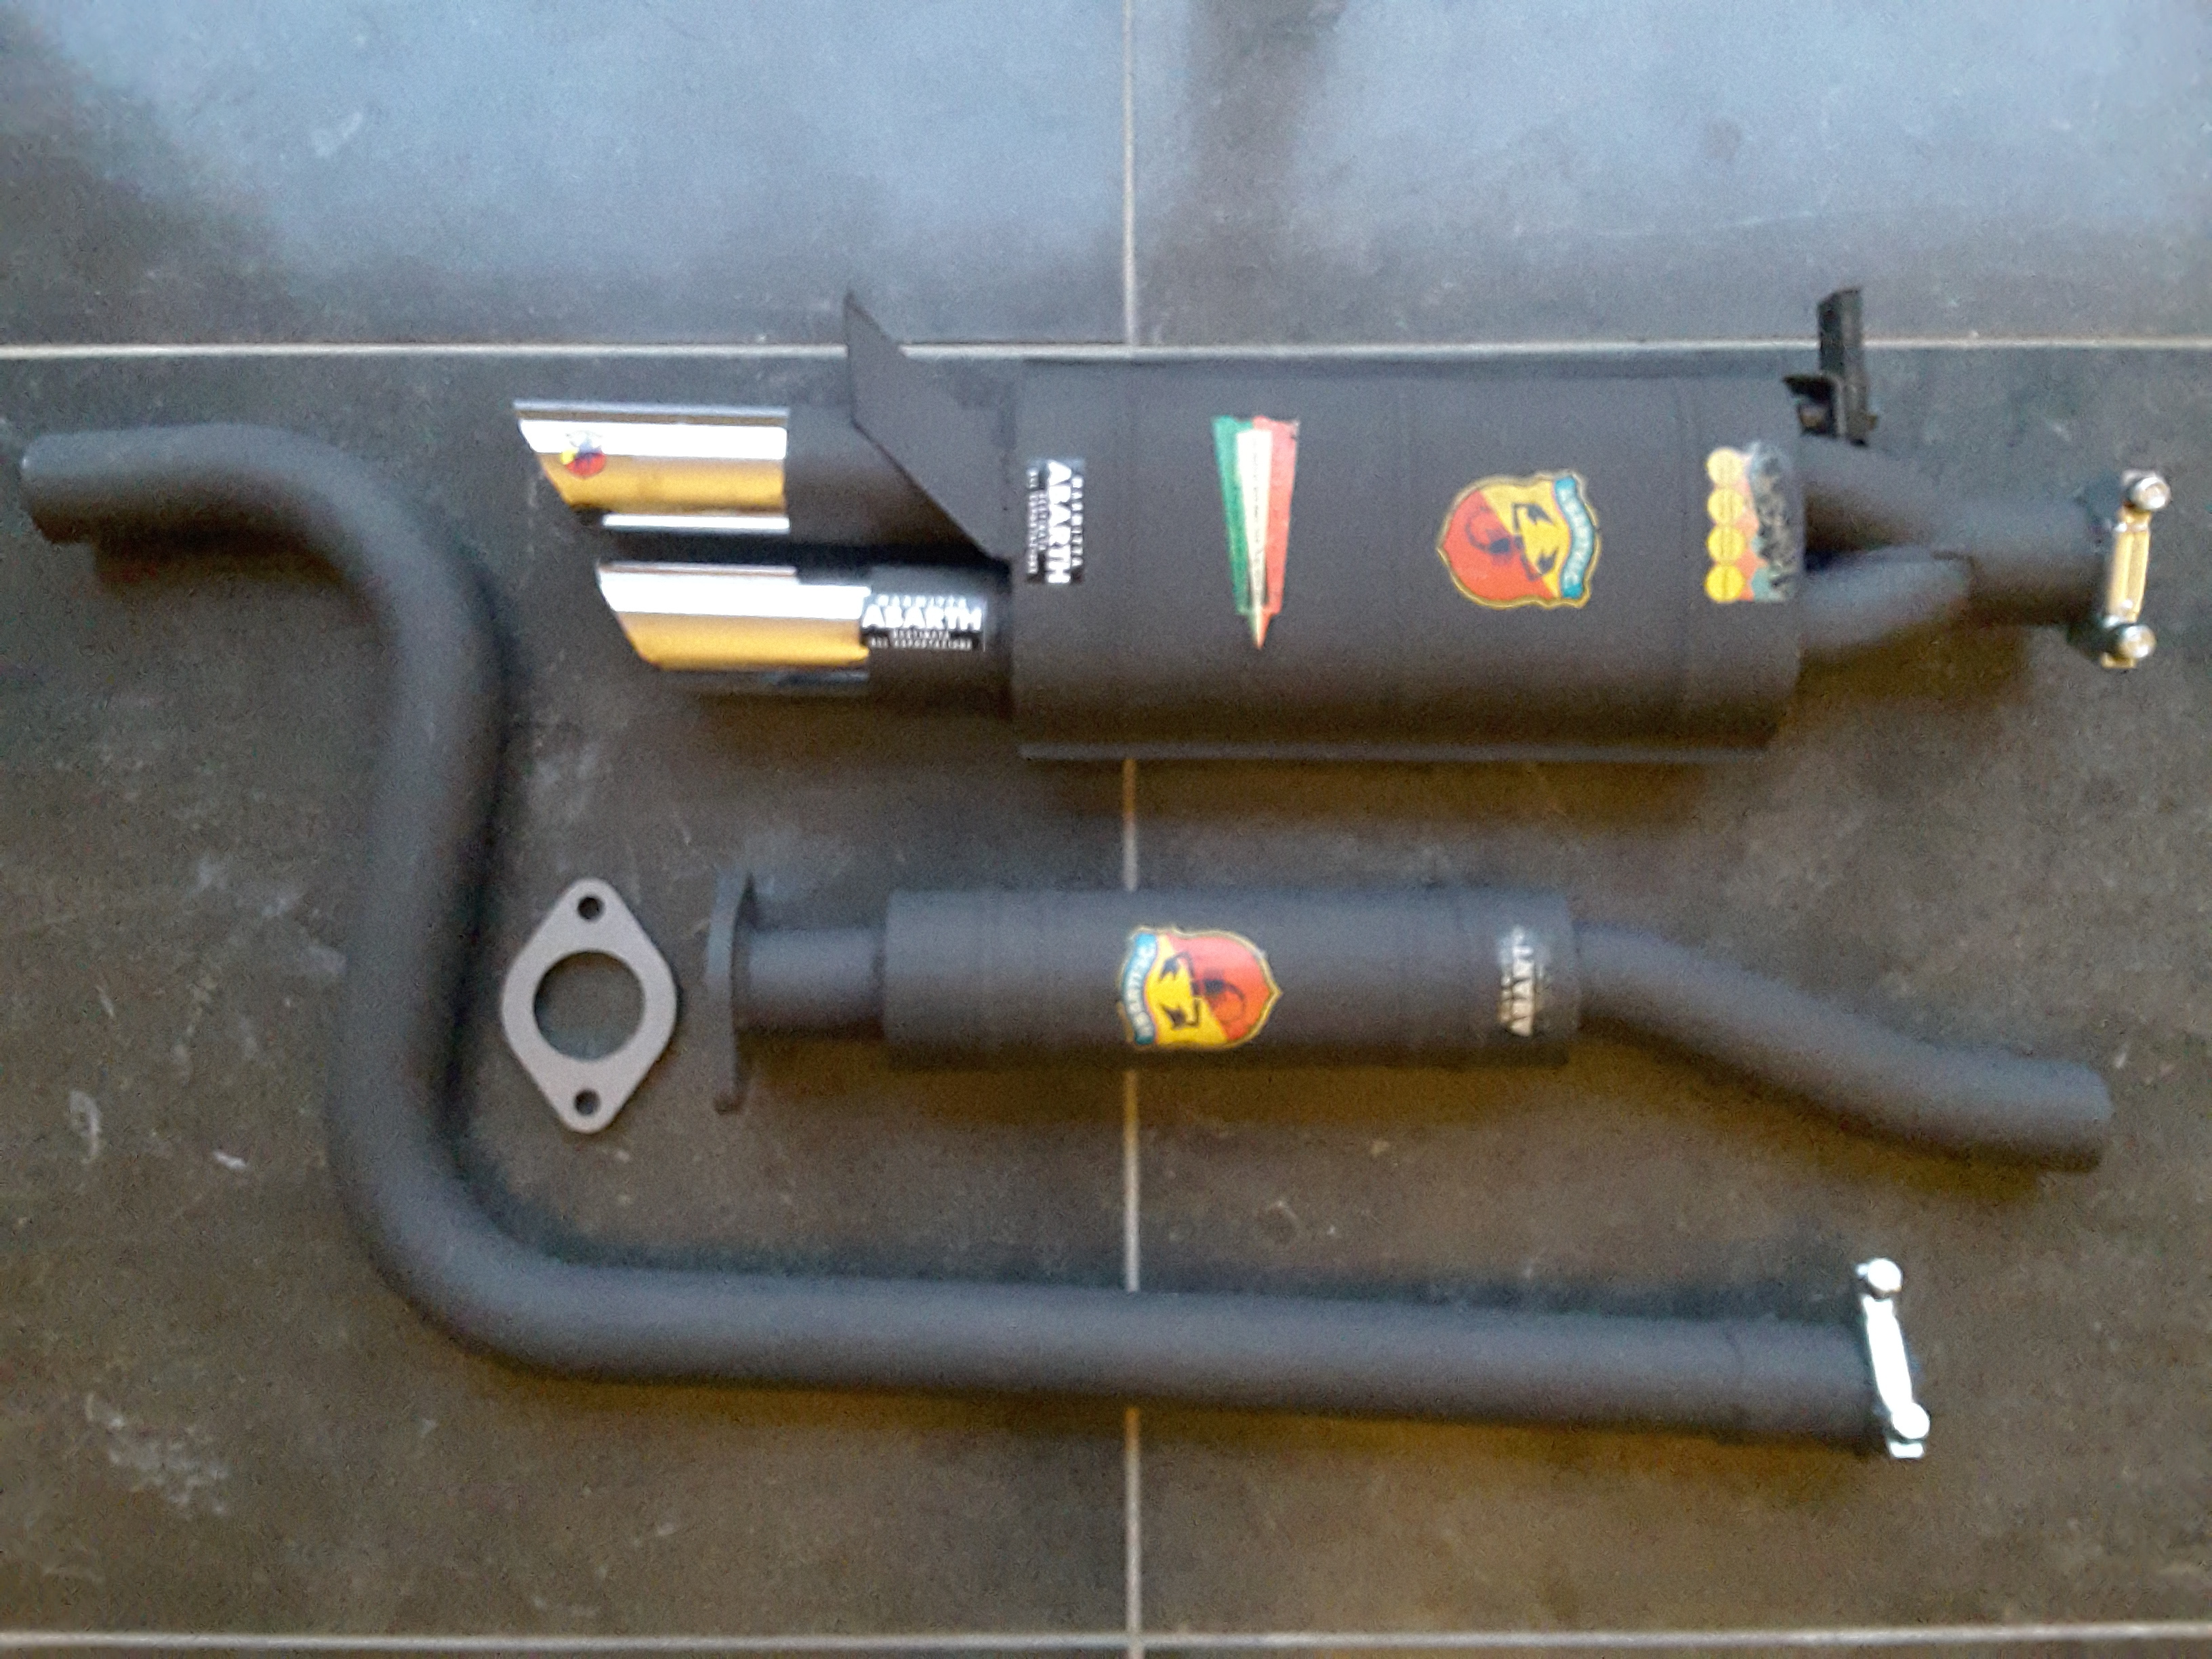
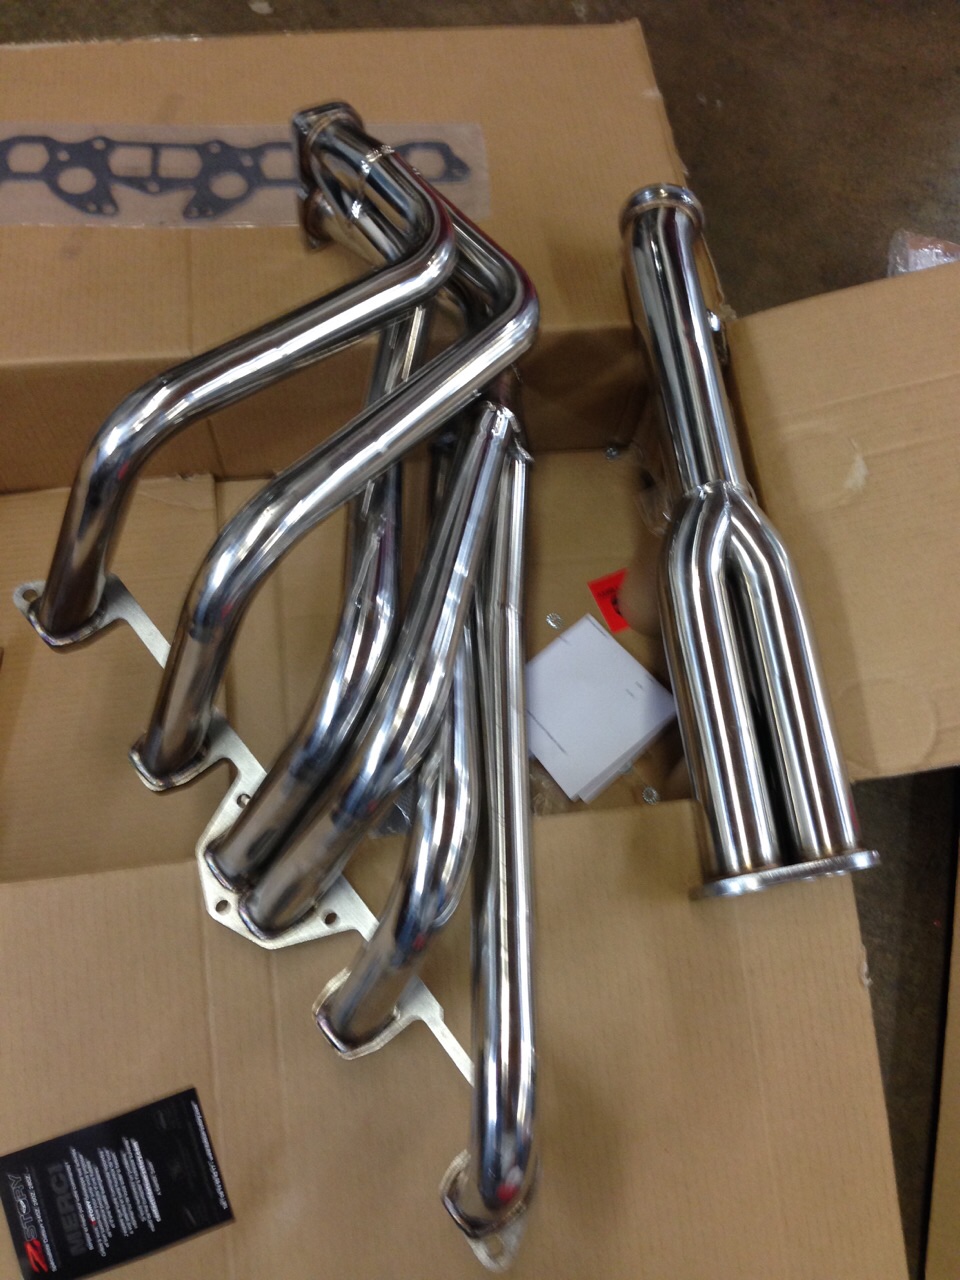
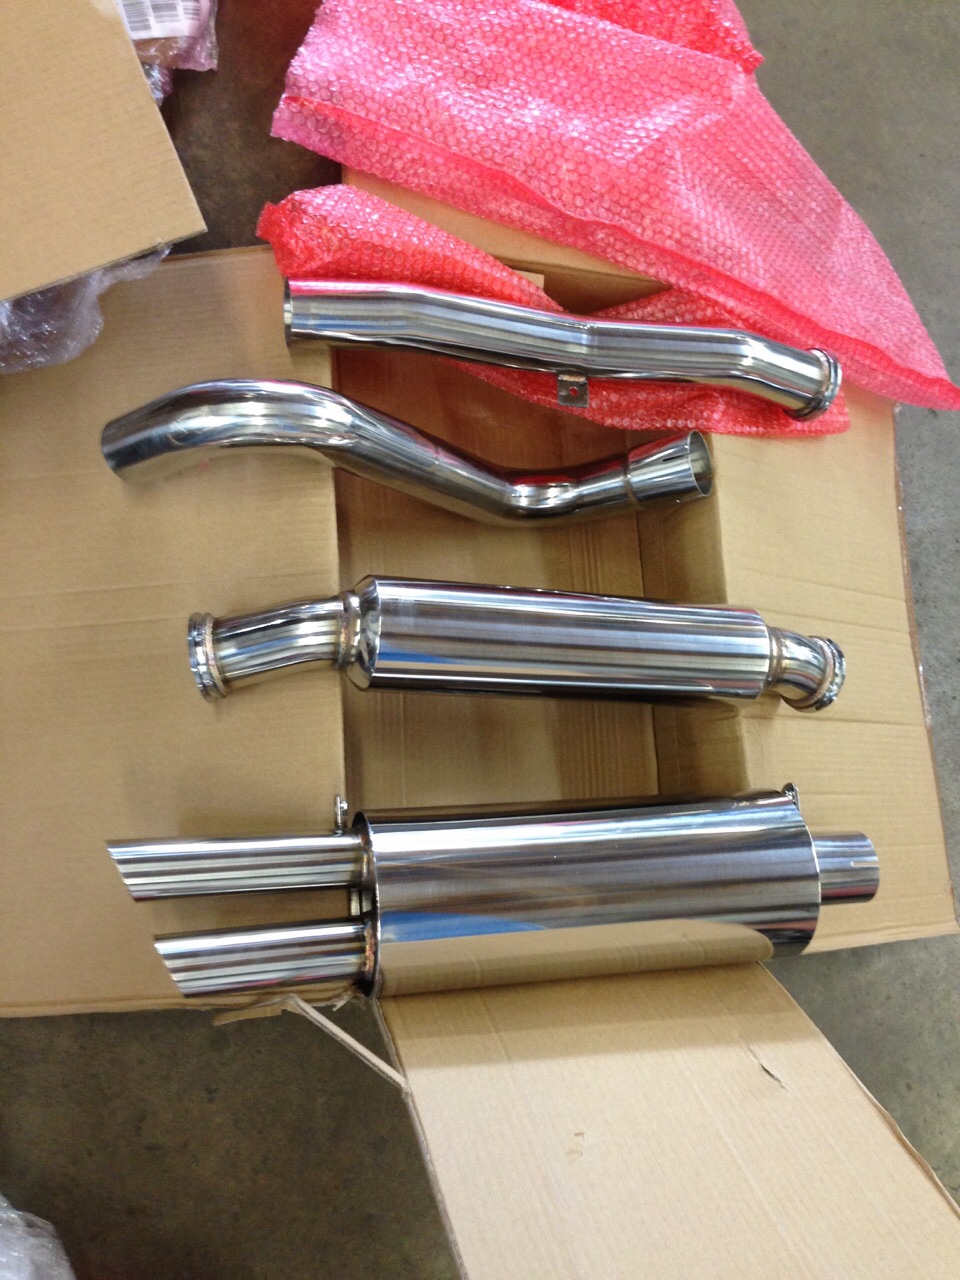
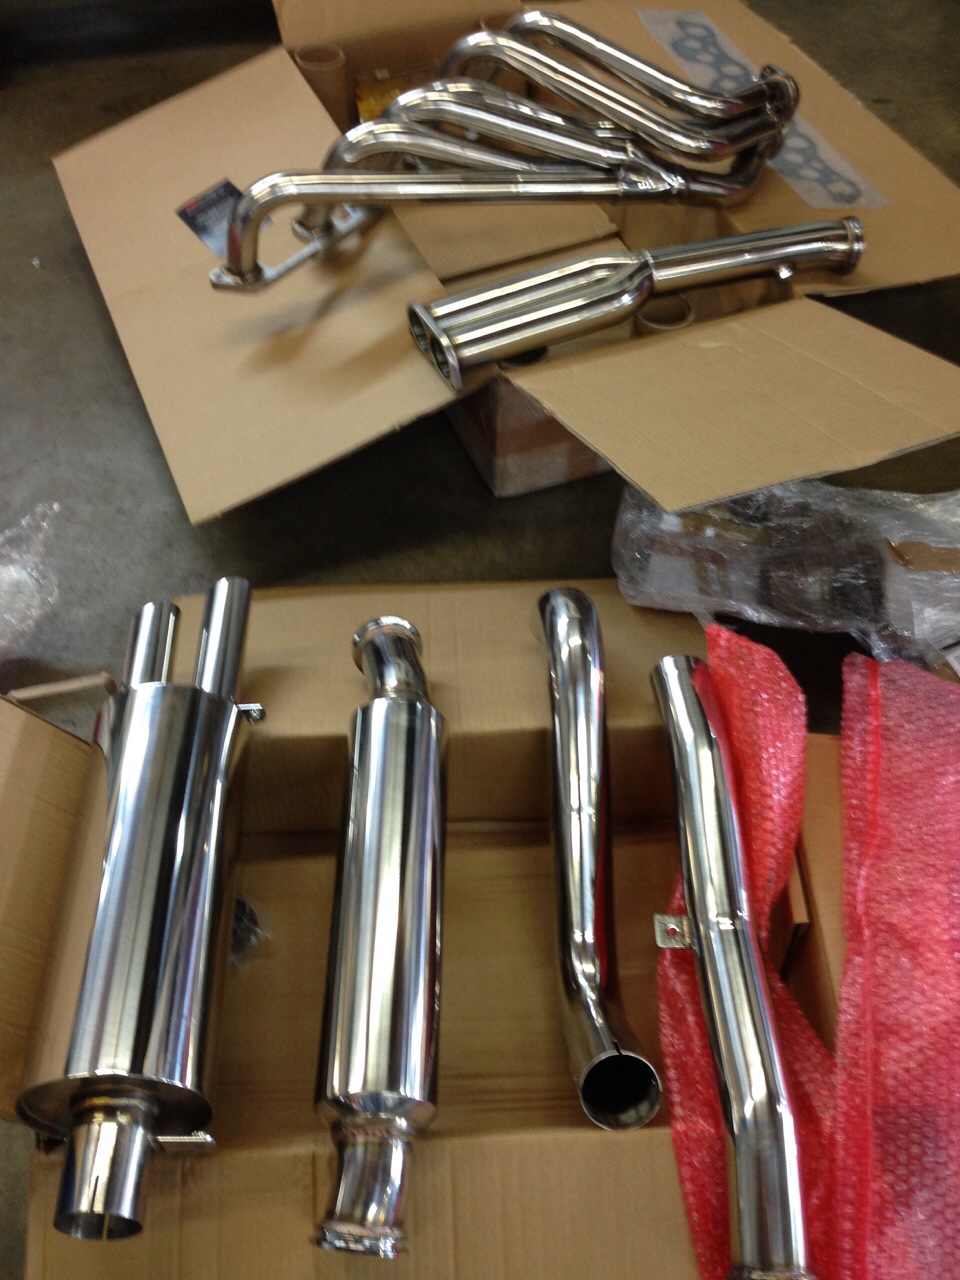
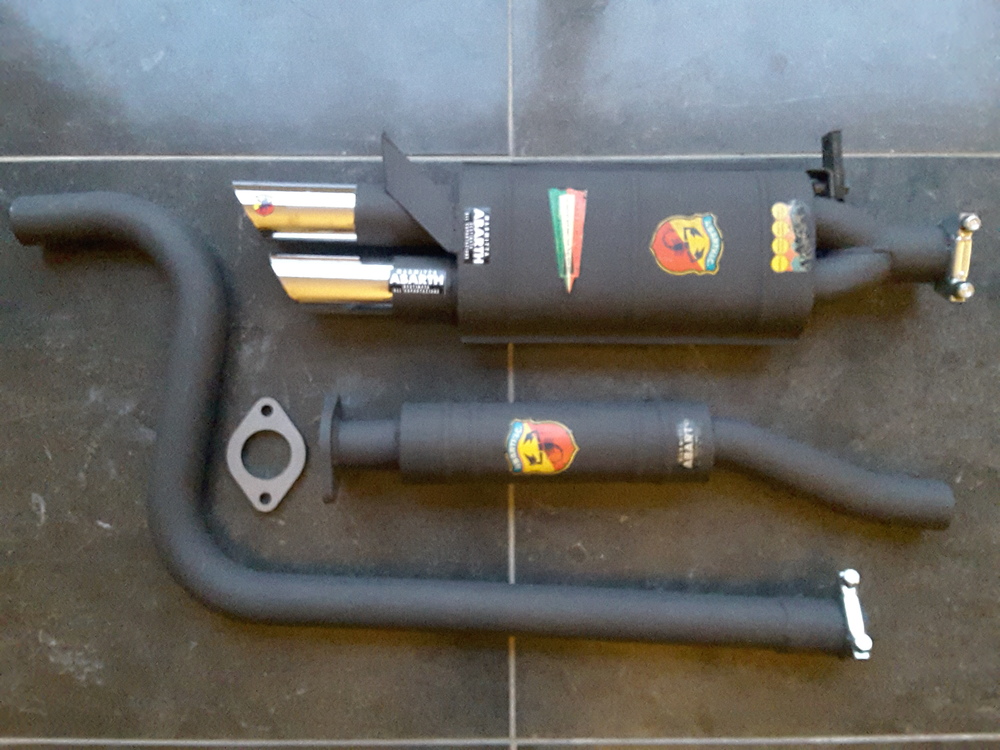
1 pointI just got my 280Z Arbath system with resonator. One of those while Im at it projects. Had the downpipe off to weld in an adapter for the O2 sensor for the new ECU. It will be a couple of weeks or more before I can fit it and see how it sounds.
 1 point
 -
1 pointThe new exhaust arrived today. Sean's system is gorgeous and I am looking forward to getting the Z out of storage and getting started. Don's iPhone using Classic Zcar Club mobile


 1 point
 -
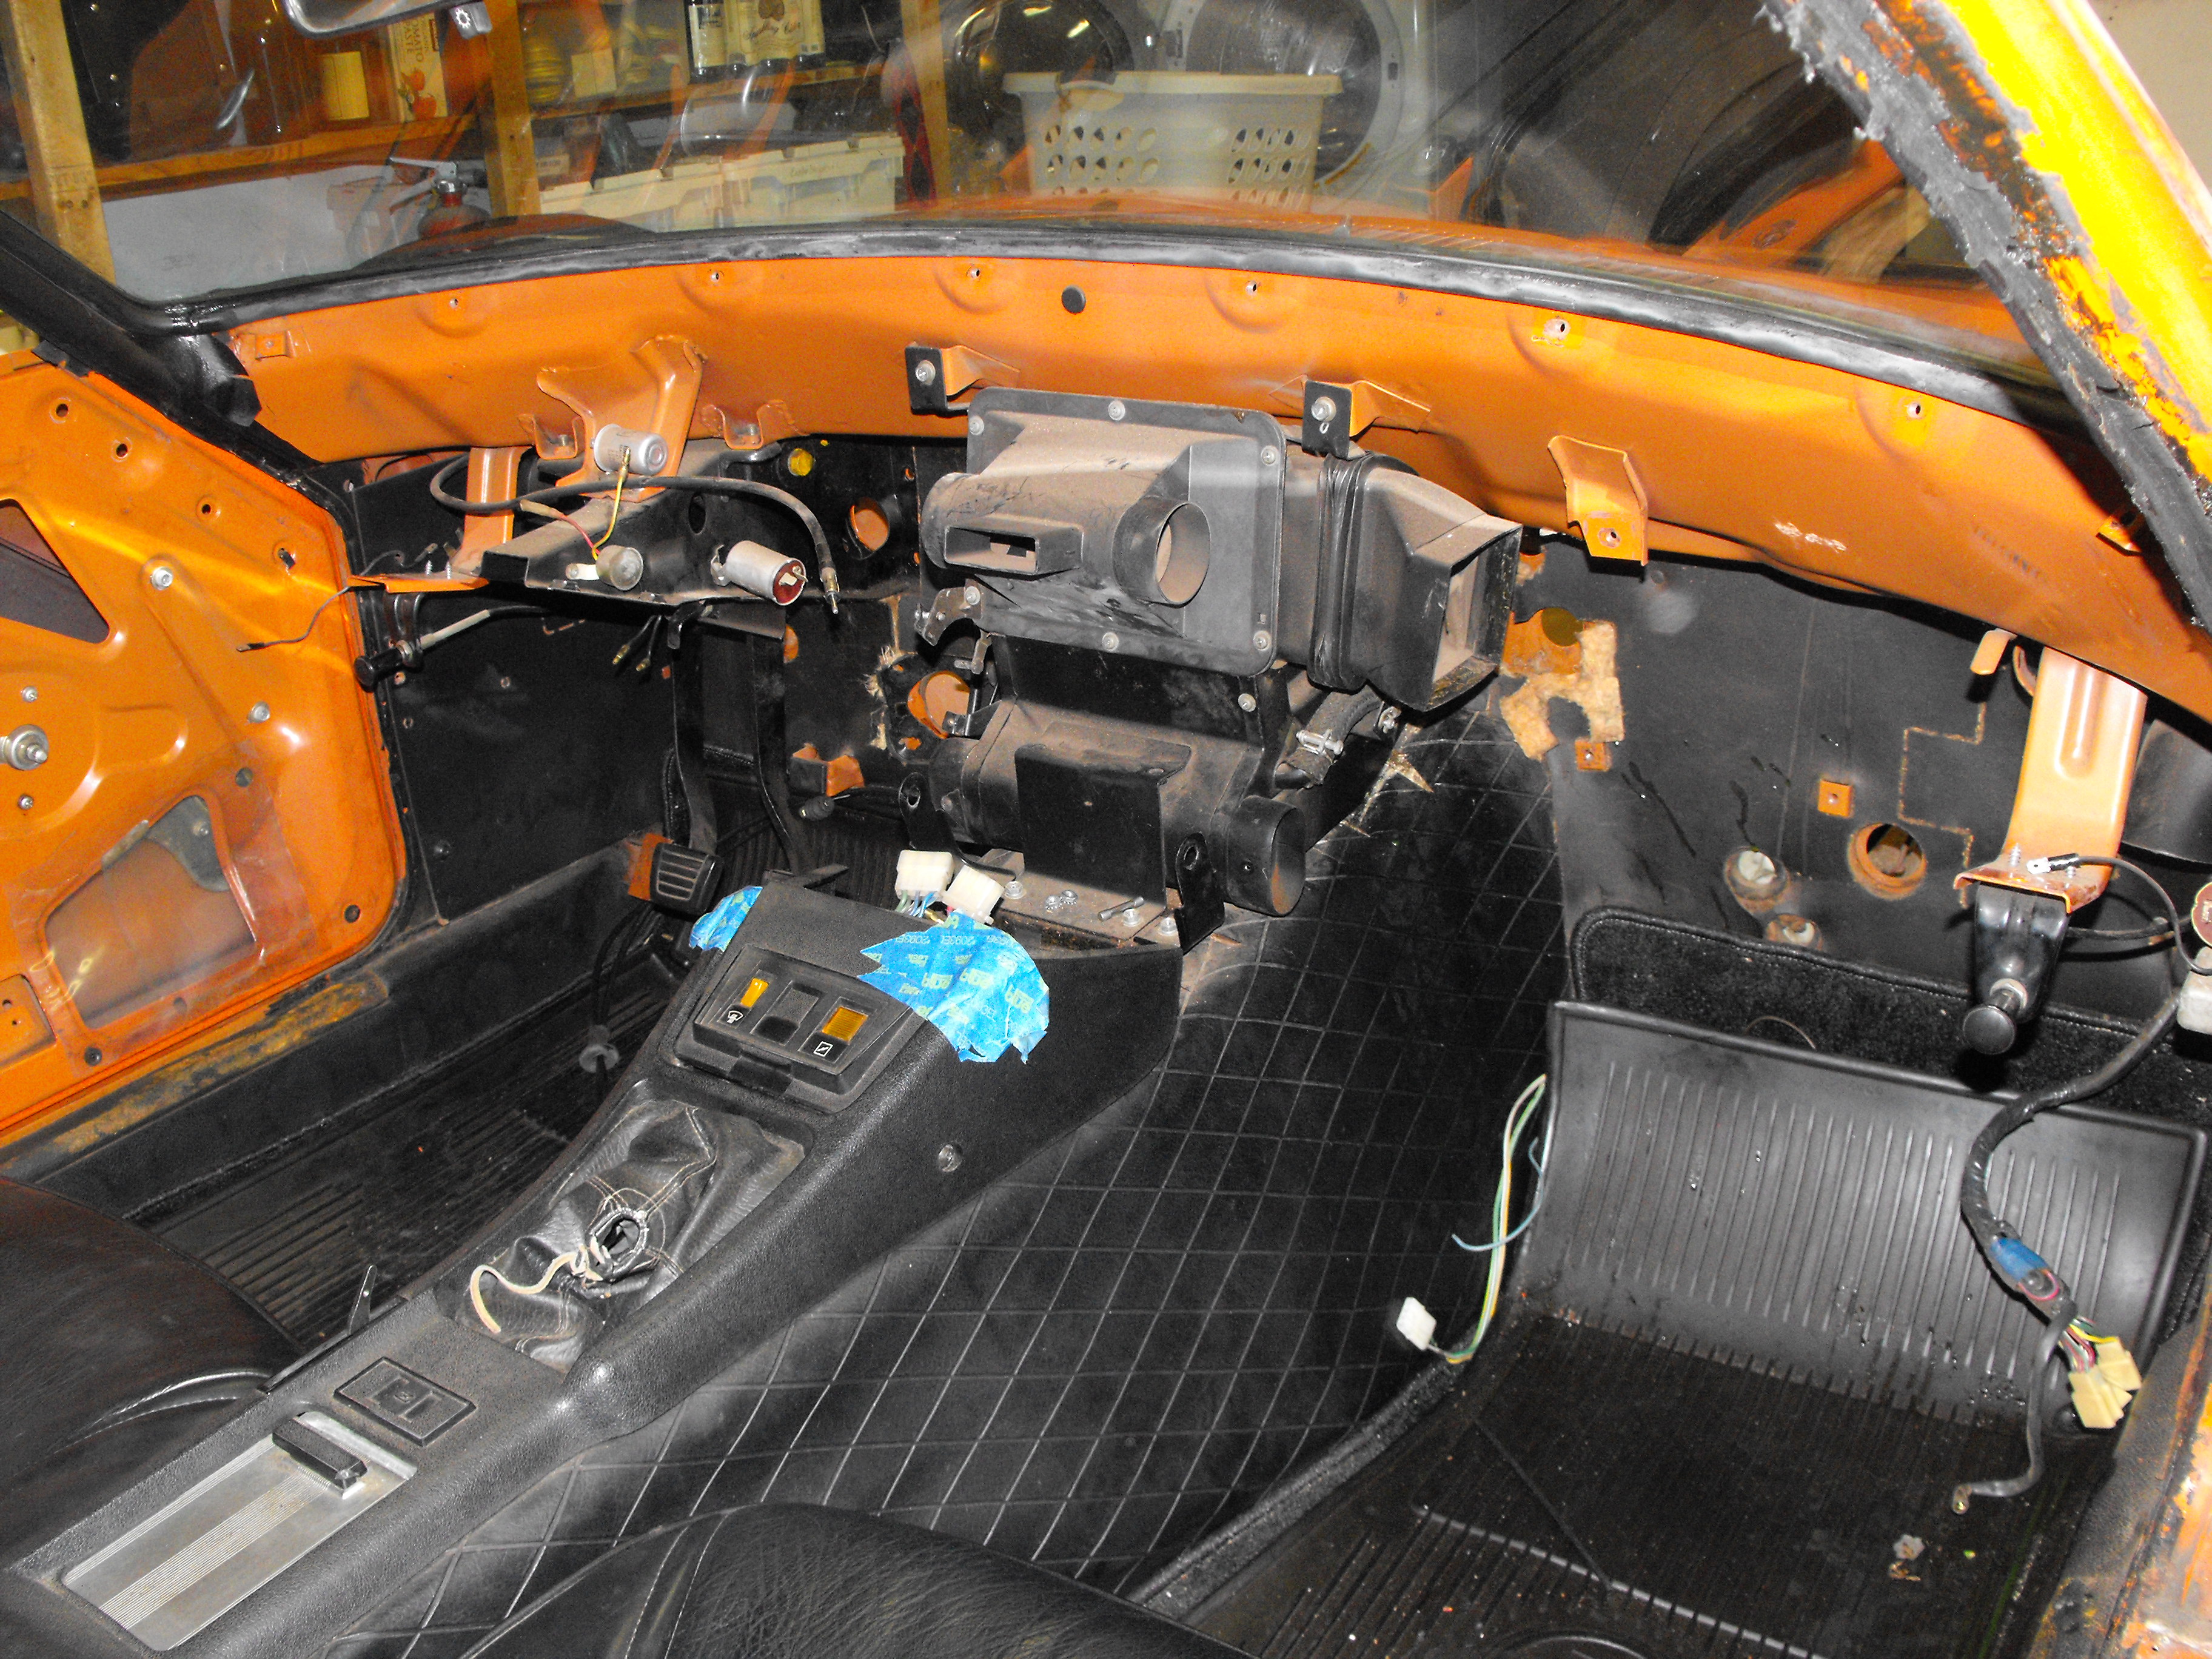
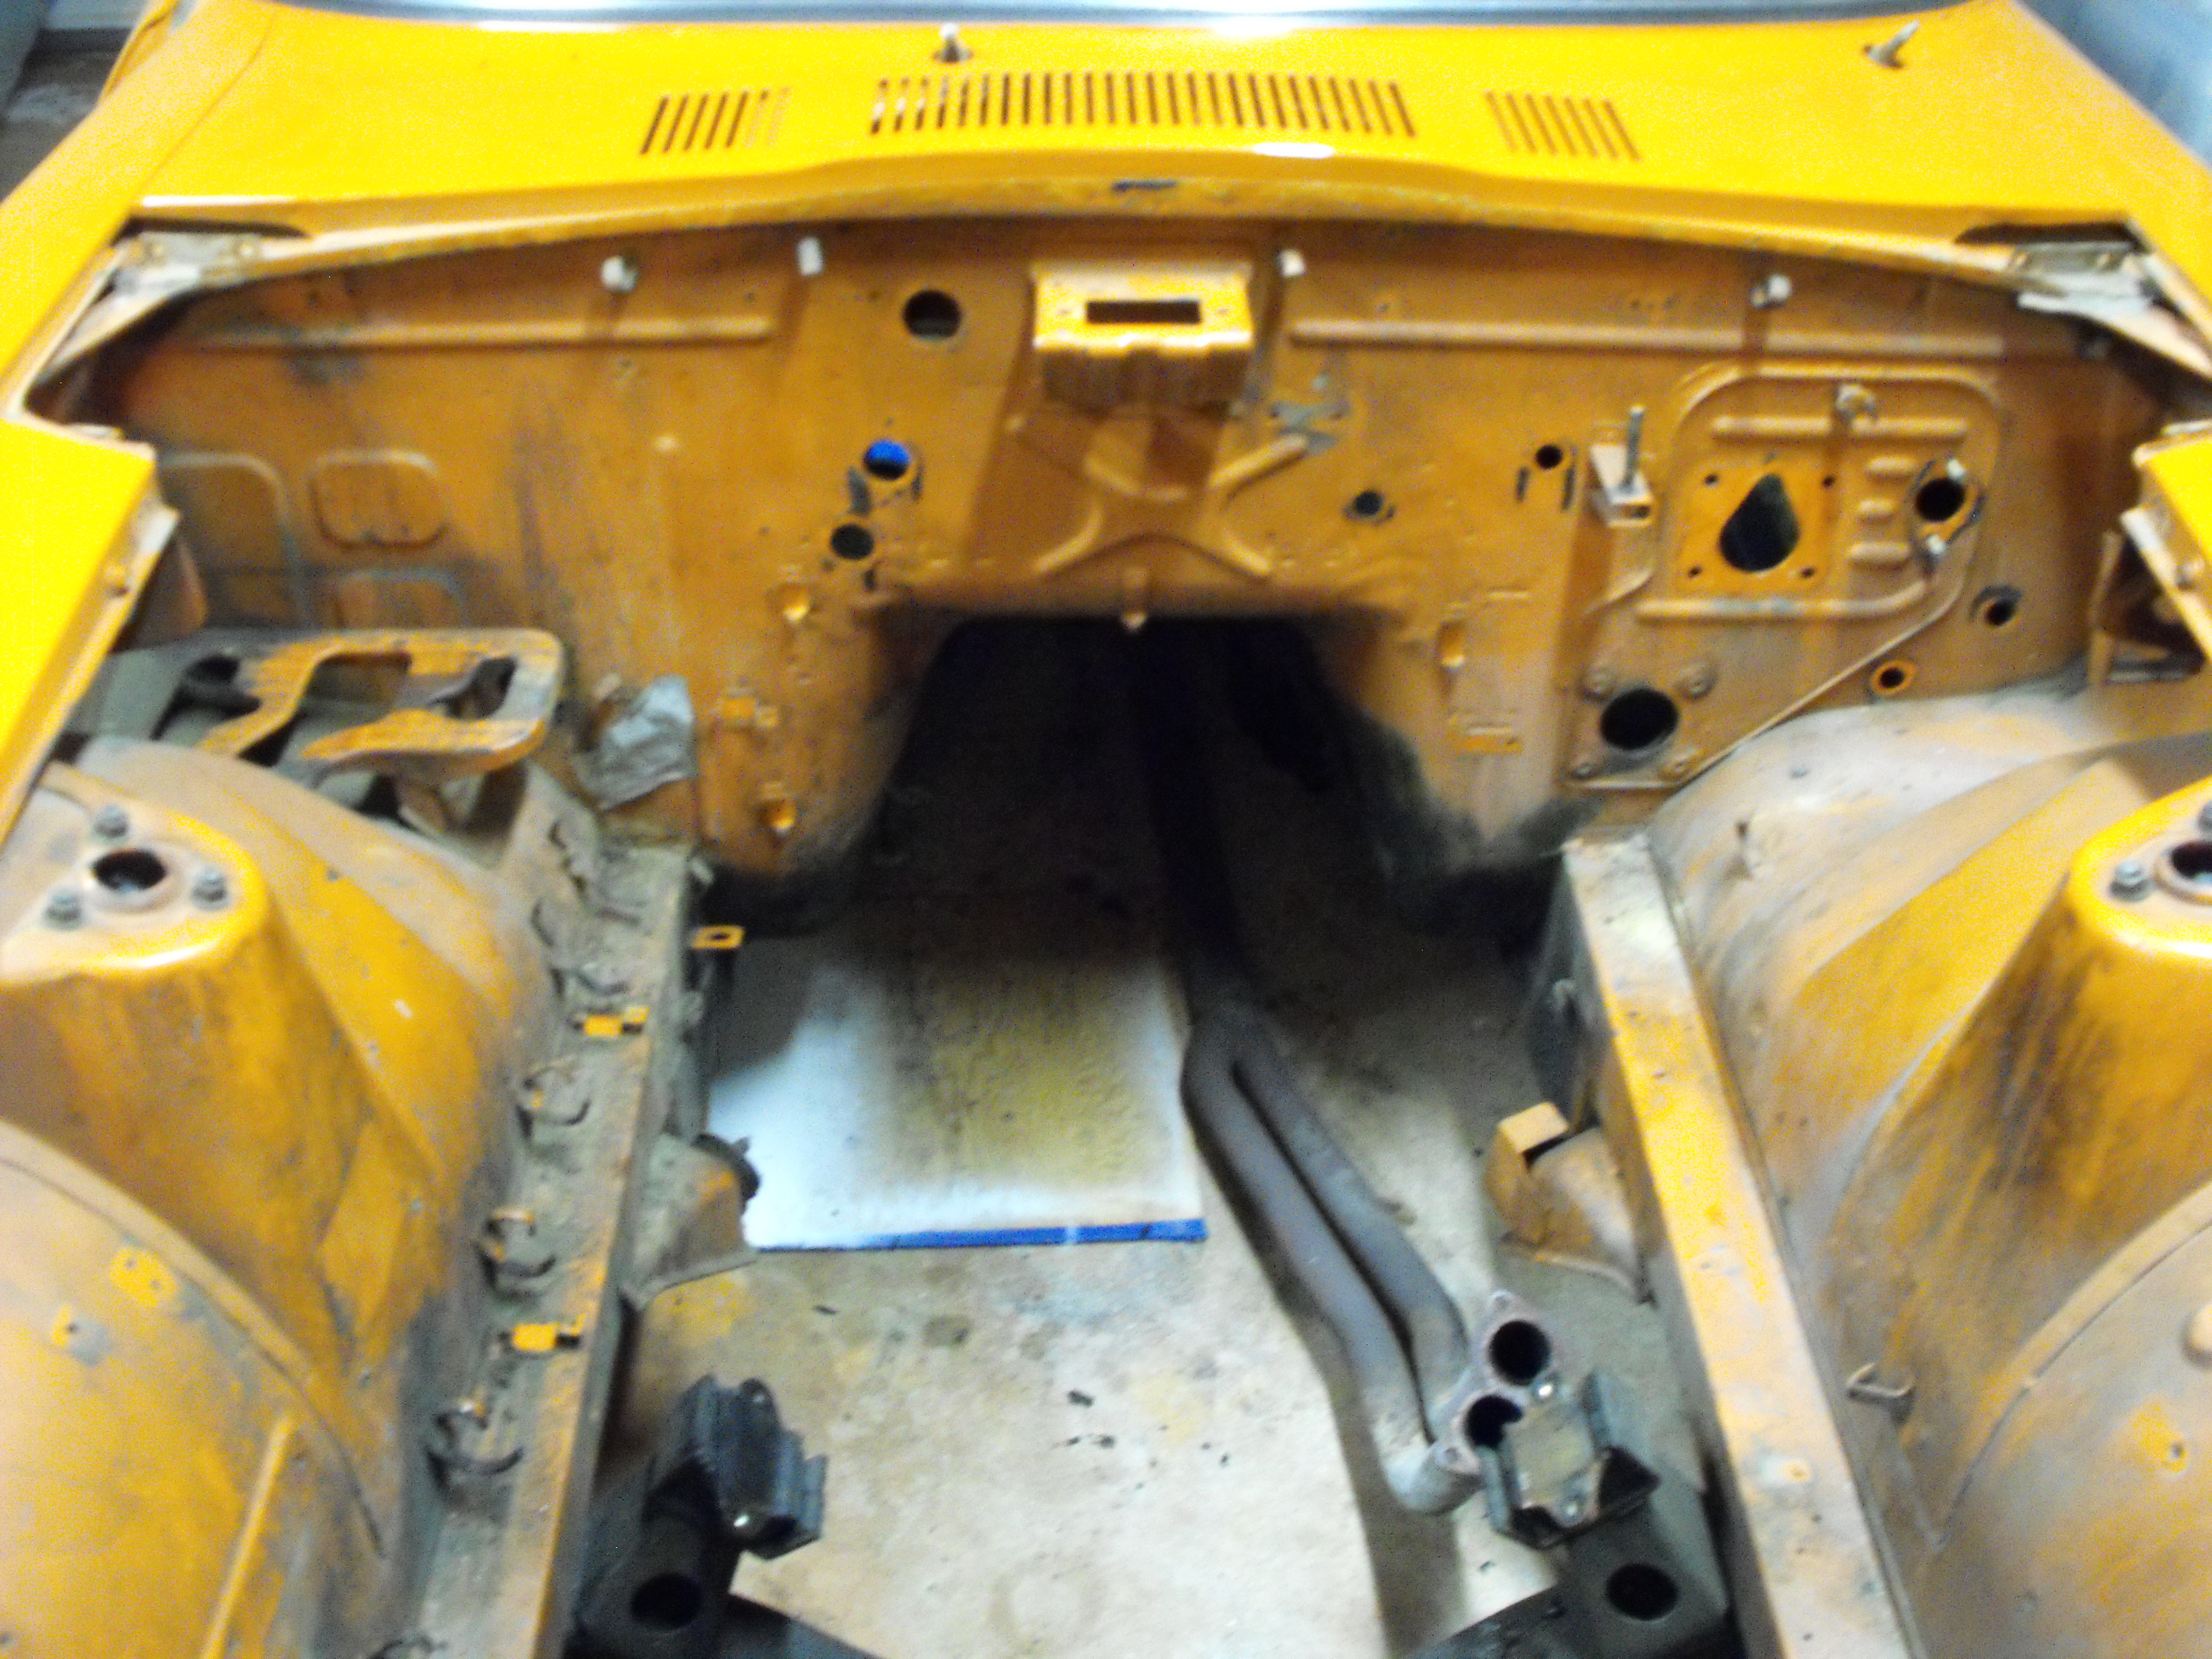
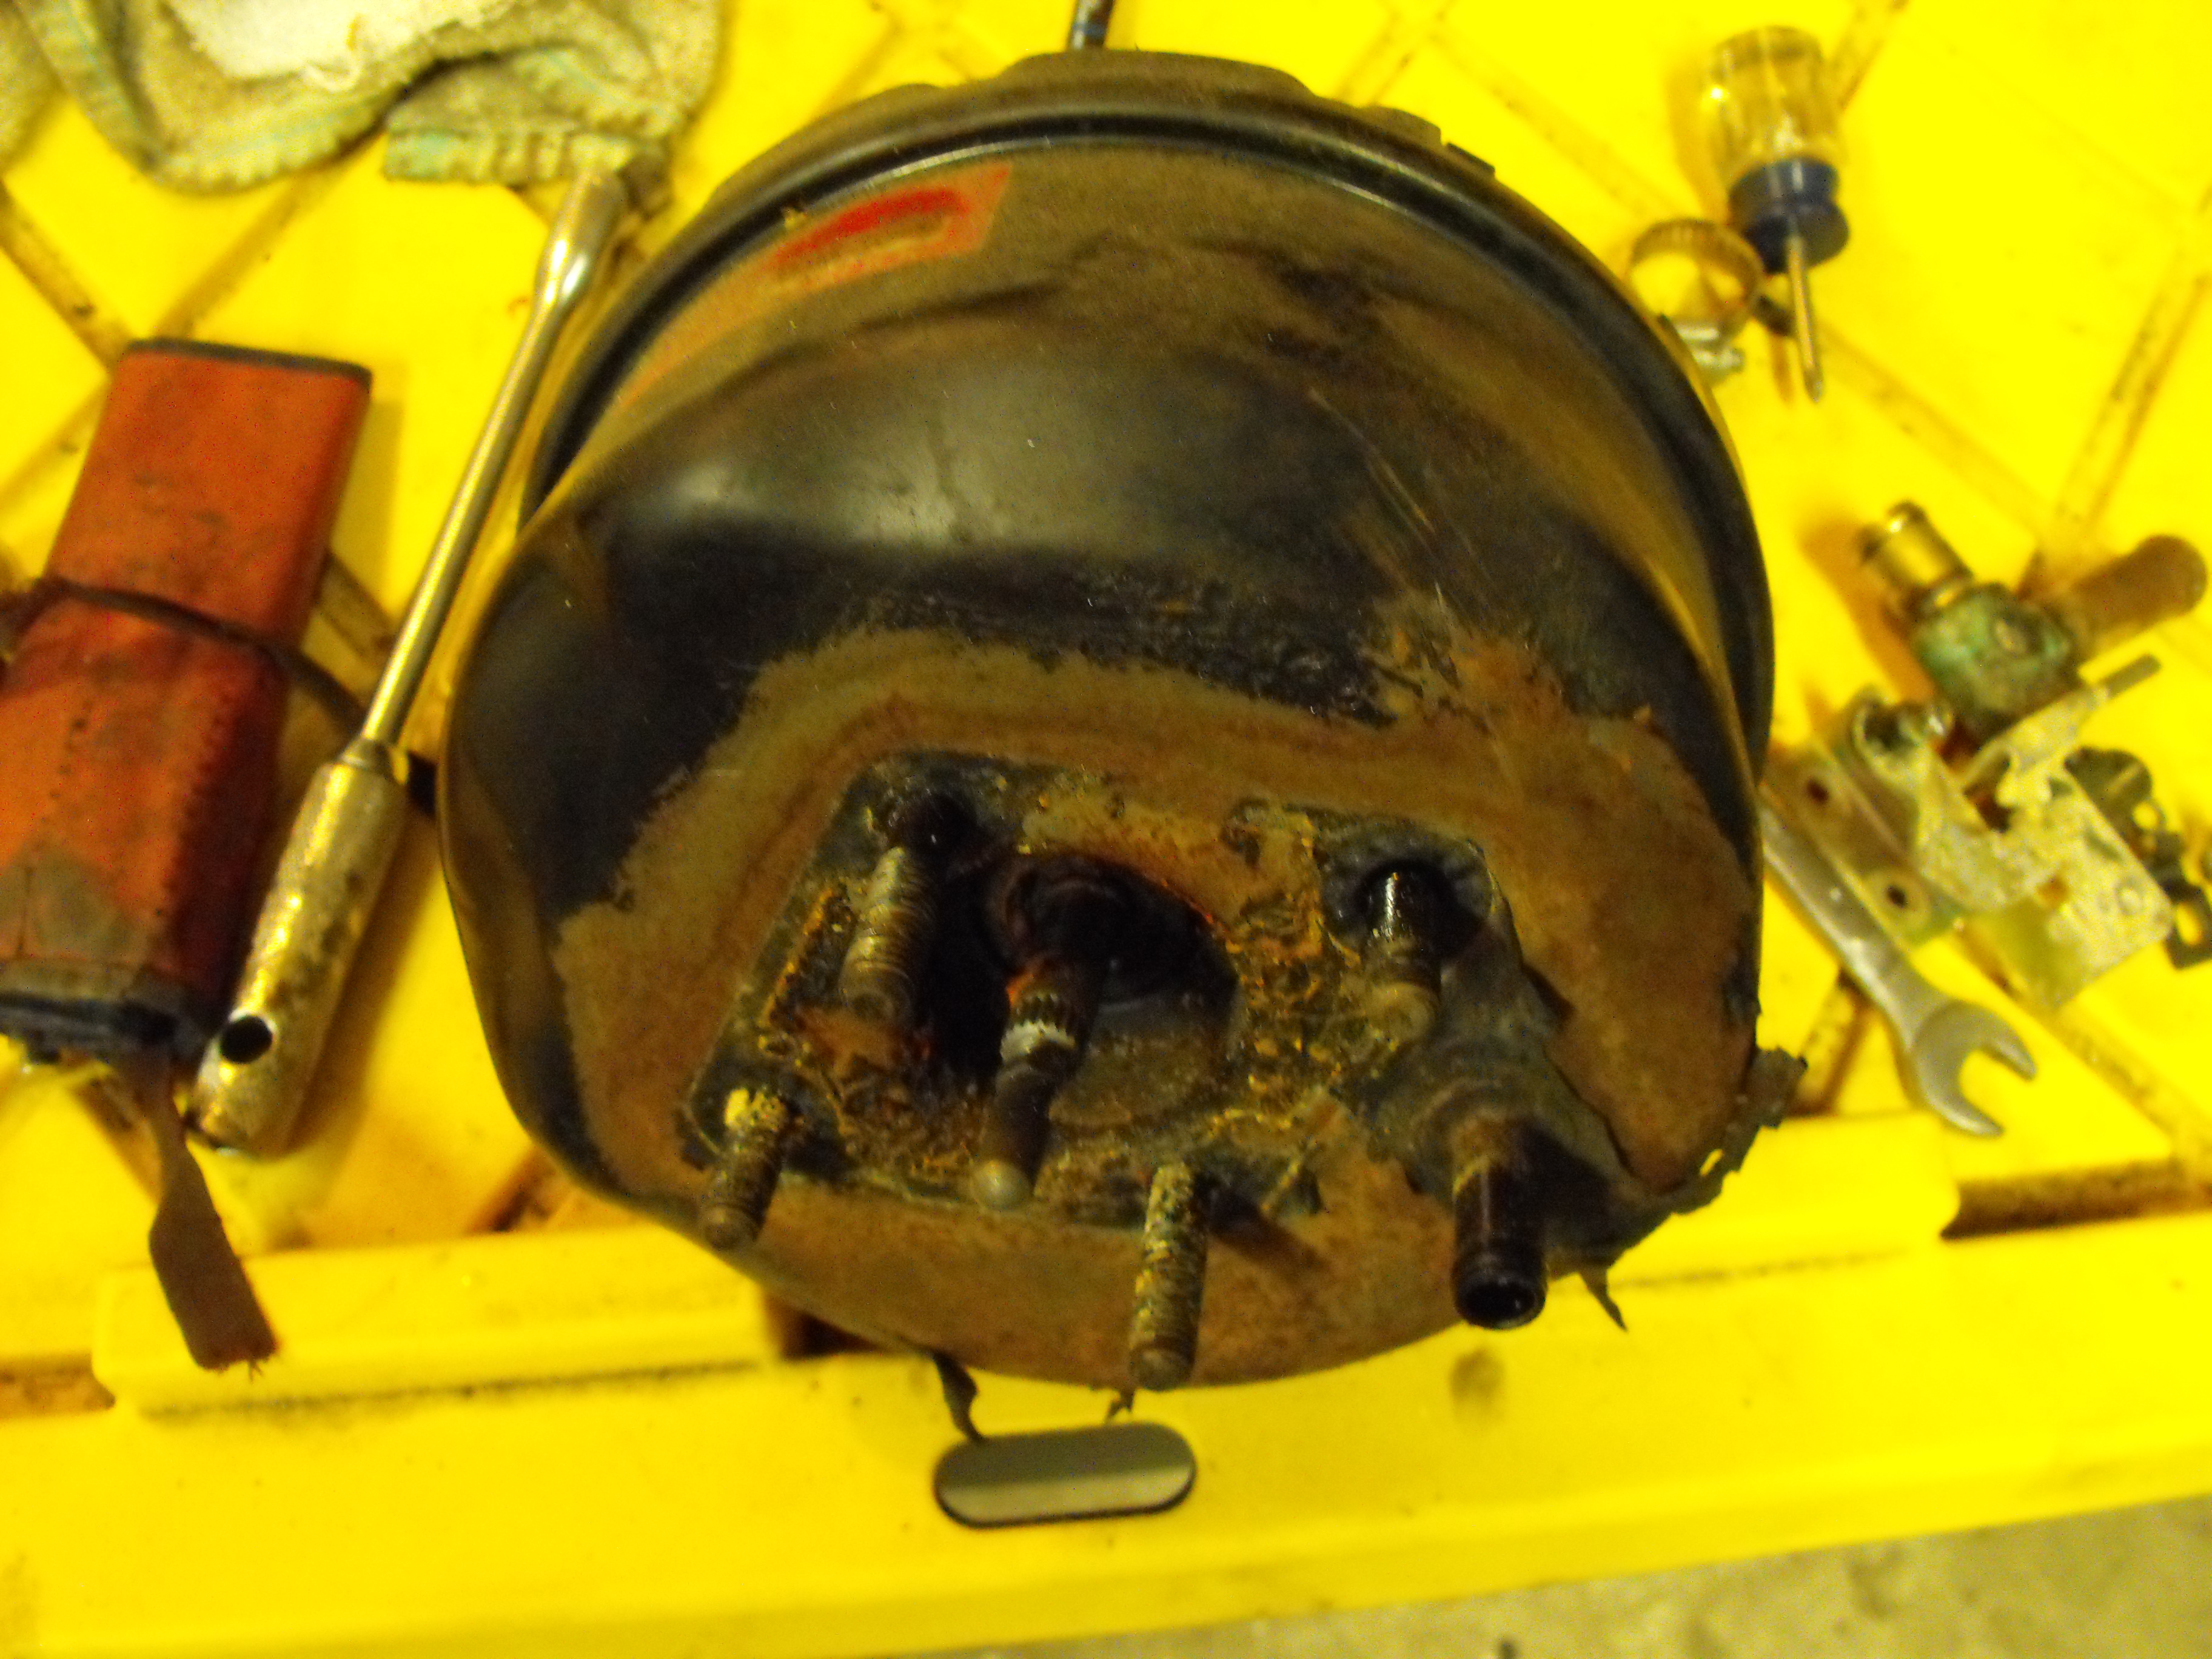
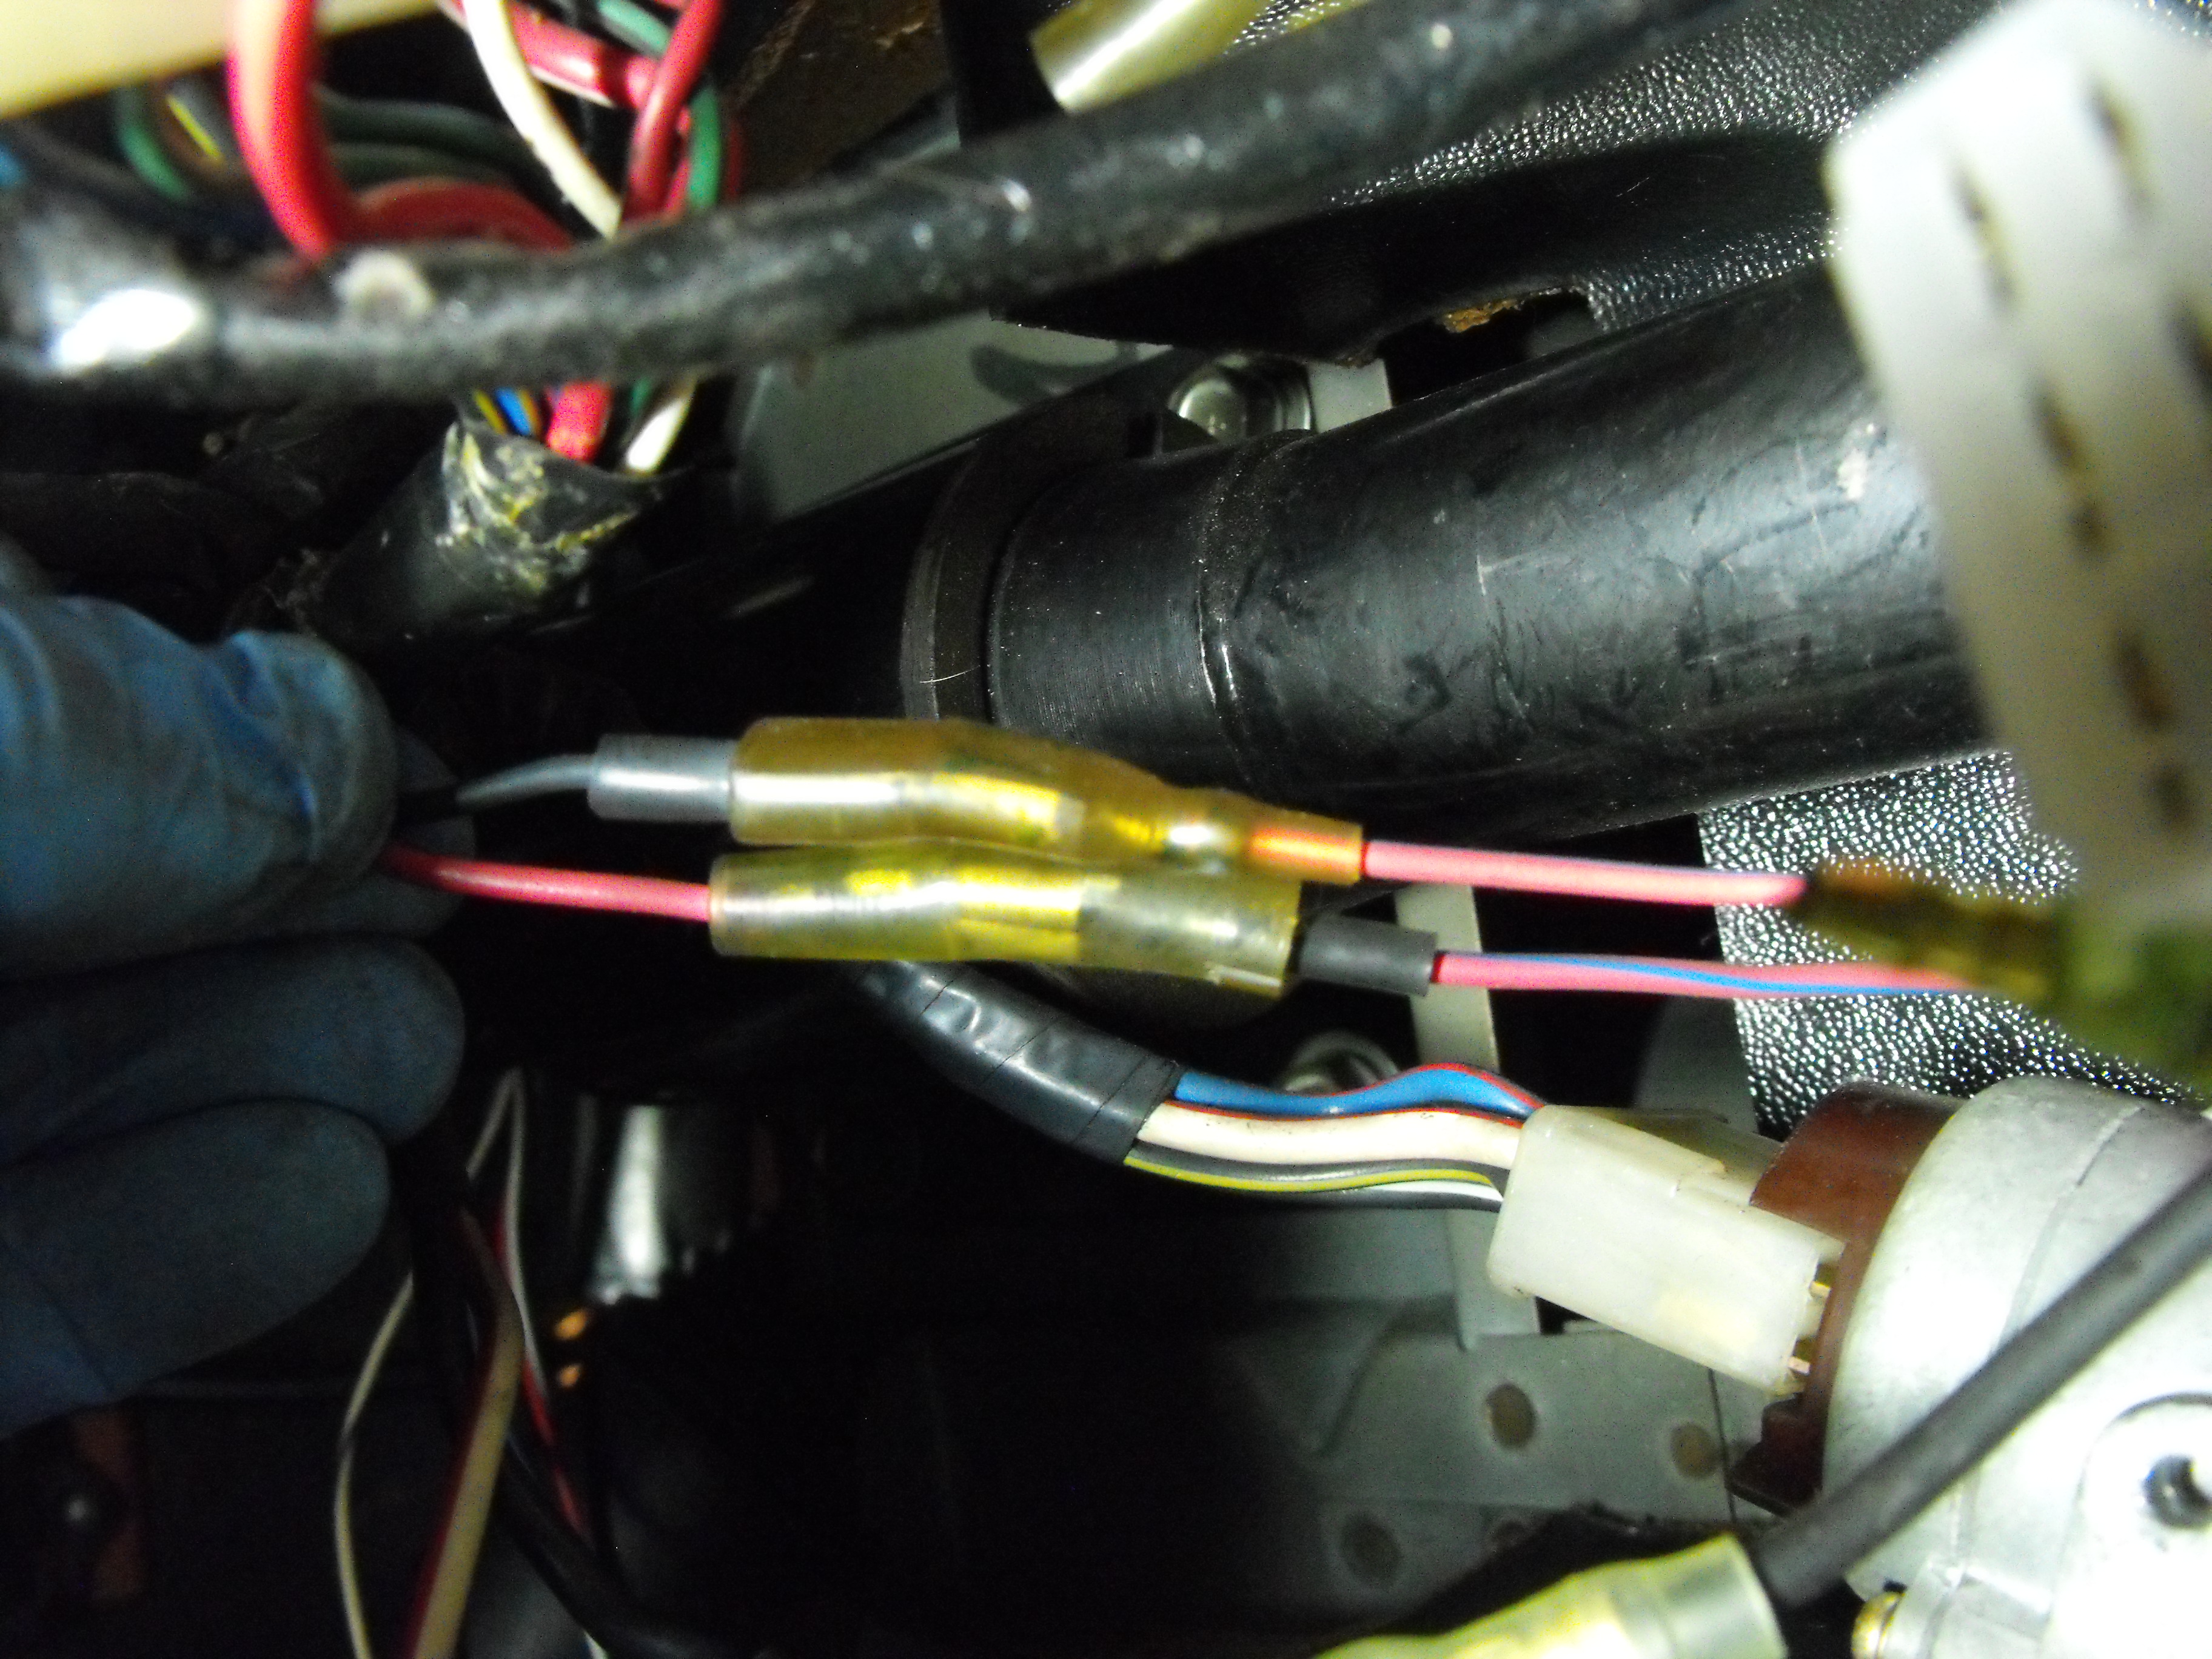
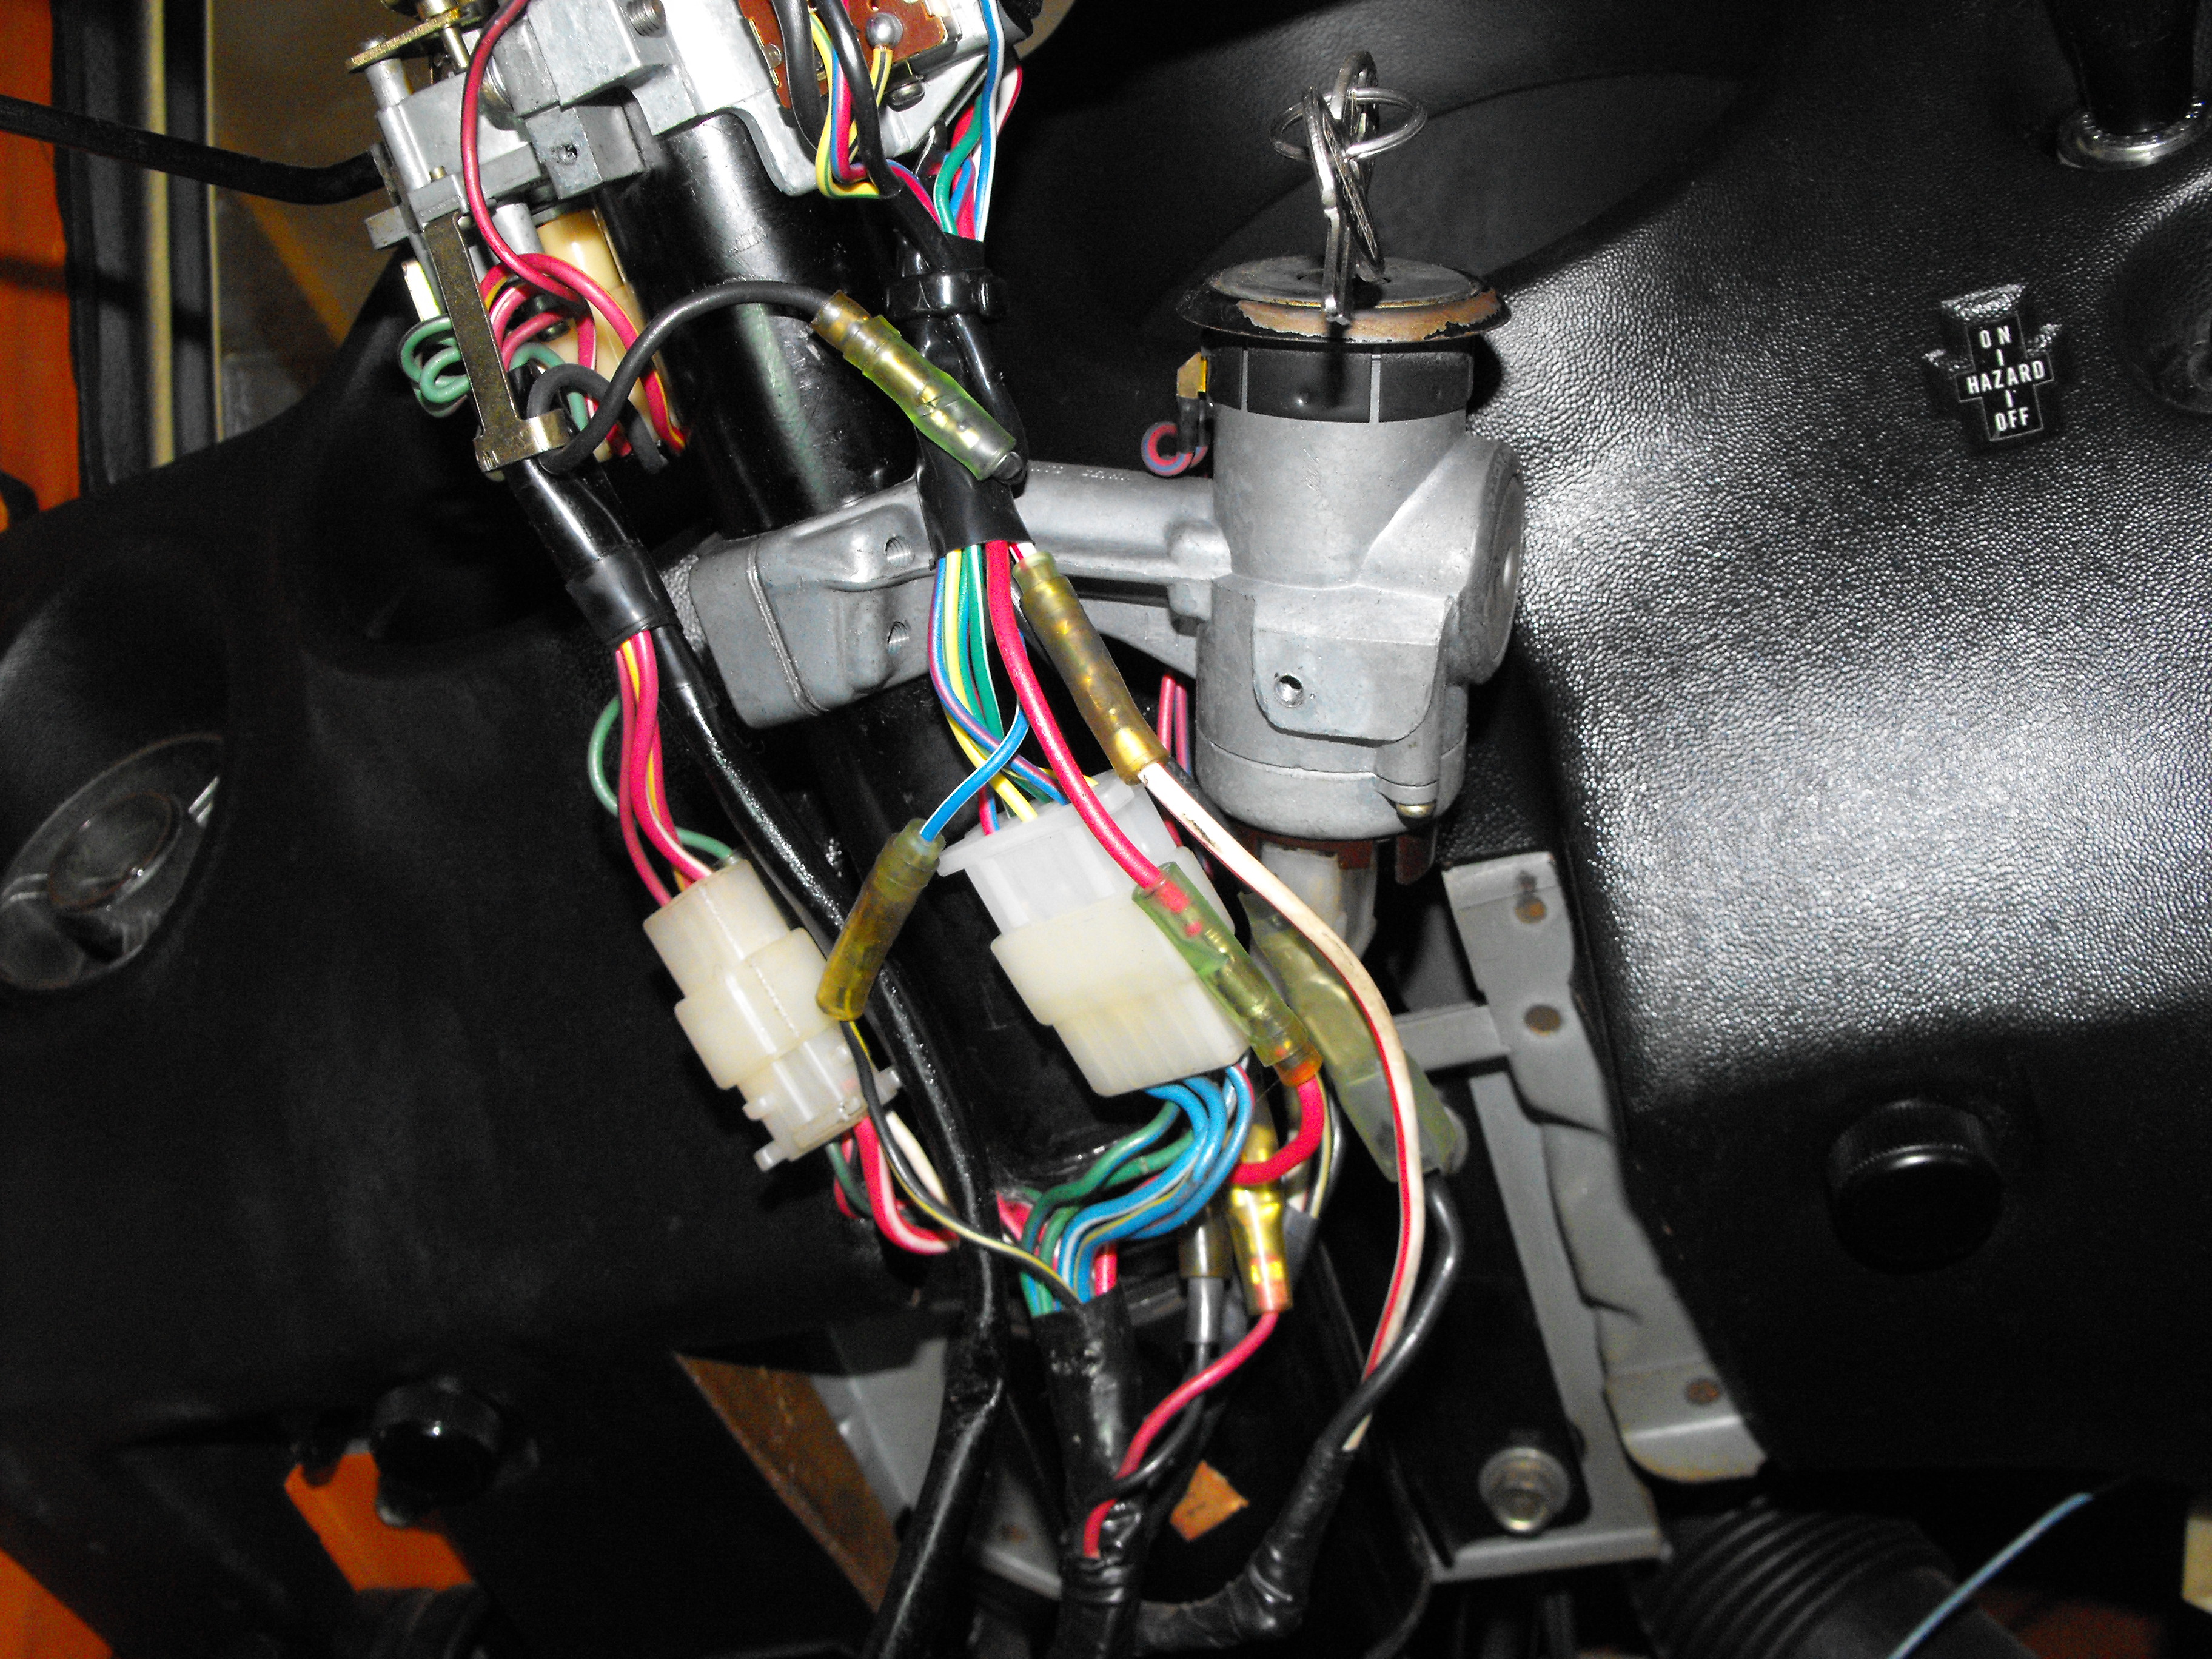
1 pointMade a little more progress tonight. I got the dash out. Woo-Hoo! I took lots of pics of the wiring as that is a bit funky under the steering column. Also took out the steering column, brake booster and clutch; so now the engine bay is stripped of parts. I think I just need to take off the rear view mirror and then I am ready to start body work. I will remove the instruments and harness from the dash and send that out to get repaired professionally. I will send that up to Just Dashes in Van Nuys. They did the dash on my orange 71 240 and it looks perfect. The brake booster looks ugly, but will clean up nicely. Here are a few pics.


 1 point
 -
I did this conversion in 2002 and have been using a electric pump from a RX-7 non injected car. Have never had any issues with vapor lock or any problem for that matter. I eliminated the mechanical pump, they act like a heat sink, and block off the opening. I have since changed engines to a F-54 with a P-79 head with cam and headers. No heat shield other that factory and again no problems. I used a simple tee into the block much smaller than the one pictured , attached the pressure switch to the side opening and the sending unit on the other. Looking at the area you cannot even see any difference from stock. I simply ran a couple of wires fron the pressure switch , right to the green wire comming from the pump on the passenger side . Cut the wire and connectec my new wires in line. This power sorce is fuesed , factory, with a inline 20 amp fuse between my splice and the power sorce. I can see no need for a relay, The pressure switch I use closes when the oil pressure reaches 7 psi. then the pump is activated. If you ever run out of gas, simply use a modern fuze with two male spade connecters , un plug your wires and bridge them with the fuze . Turn the key and fill the float bowls. I have had to do this only once. Even after winter there is enough gas in the carbs to start the engine. But if not I use the fuze. This makes it a simple and clean uncomplicated modificaton. Just take your oil sending unit with you to your parts store , tell the counter guy what you want to do so you will be buying the correct threded parts. This is about a $10.00 conversion . The RX pump is quiet too. $15.00 at the local u-pull-it. they make 4 1/2 psi. I cecked wtin ztherapy when I did this and Steve told me the limit pressure is 5 psi. Hope this is helpful. All the best. Gary1 point
-
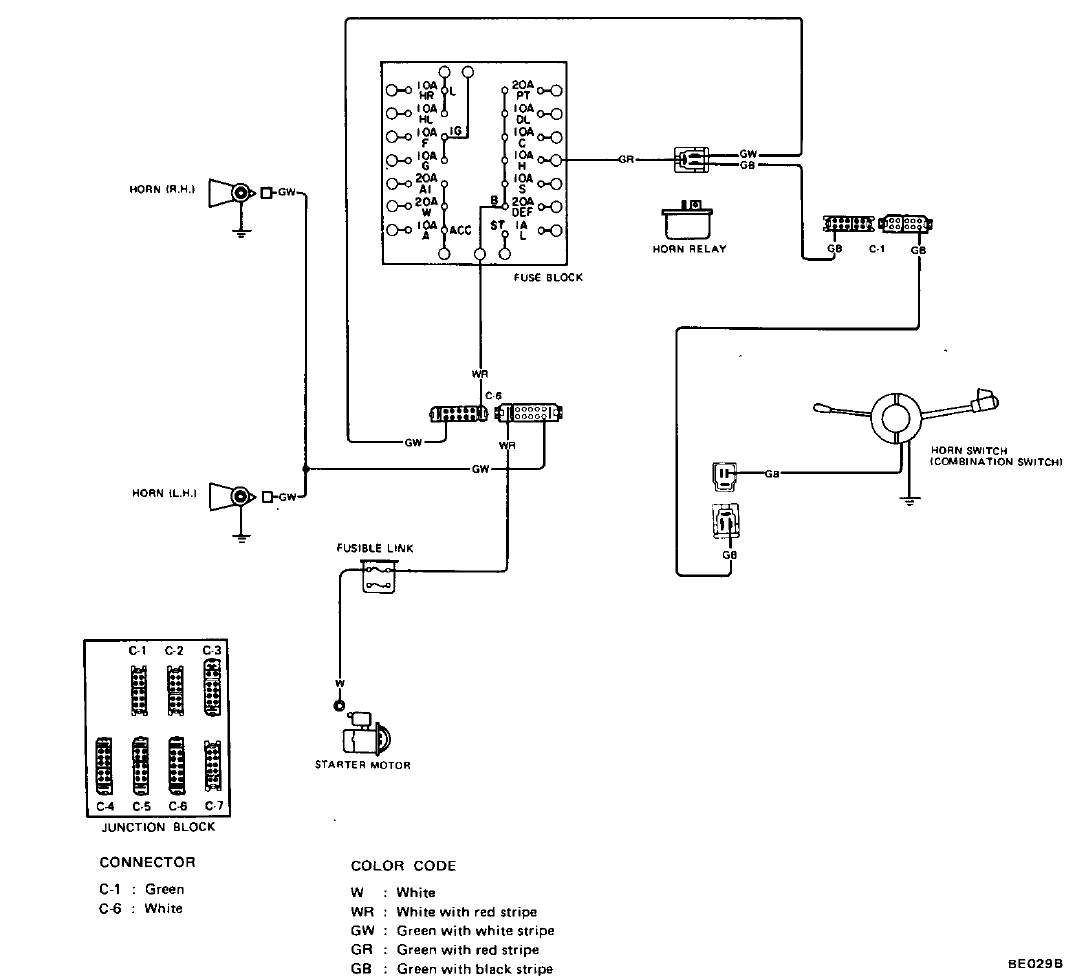
1 pointBruce, I'm not sure what you're asking. The FSM has the layout of the circuit on BE-61, shown below. This shows the complete circuit, including the connectors where the wires pass. Unless someone hacked into the wiring harness, the Green/White wire is probably still lurking around the space between the grille and radiator, most likely coming from the engine harness from around the passenger side.
 1 point


.thumb.jpg.75165ae25cbc256d967cf4697fa089e3.jpg)