


Leaderboard
-
Jeff G 78
Free Member7Points3,007Posts -
chaseincats
Free Member6Points1,035Posts -
w3wilkes
Free Member4Points972Posts -
HusseinHolland
Free Member4Points1,031Posts


Popular Content
Showing content with the highest reputation on 10/16/2023 in all areas
-
4 points
-
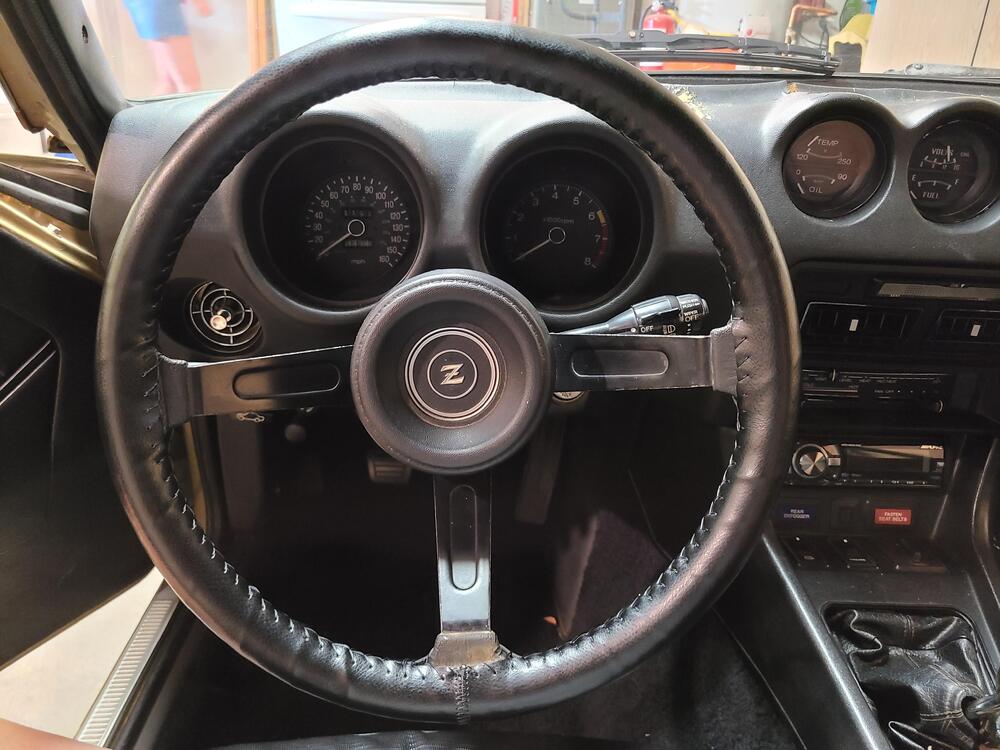
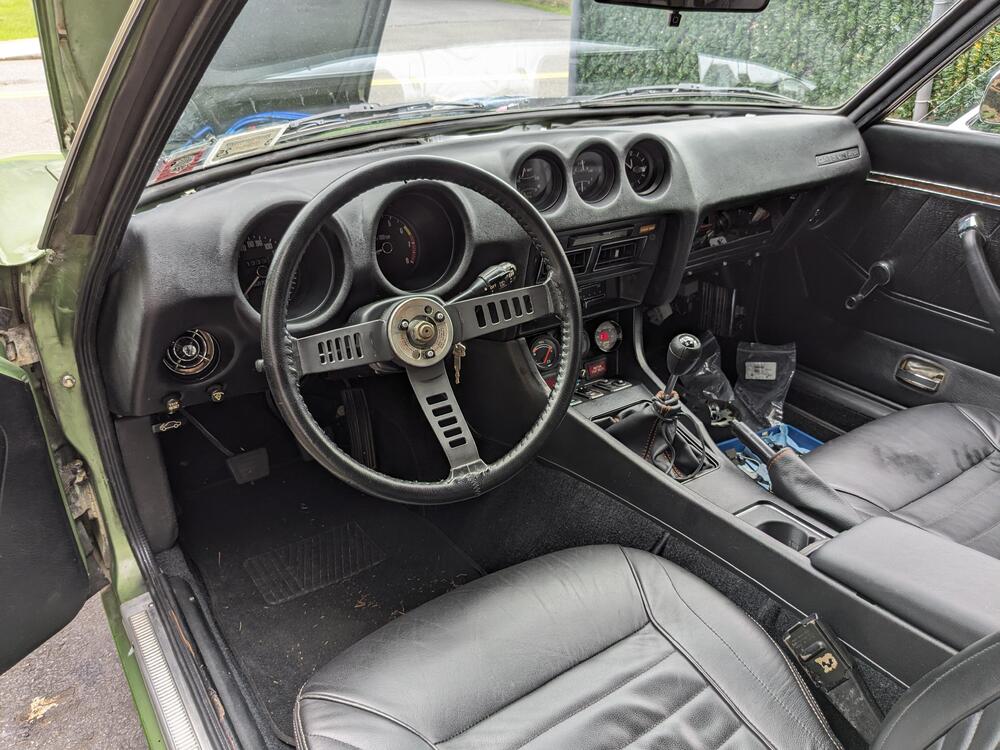
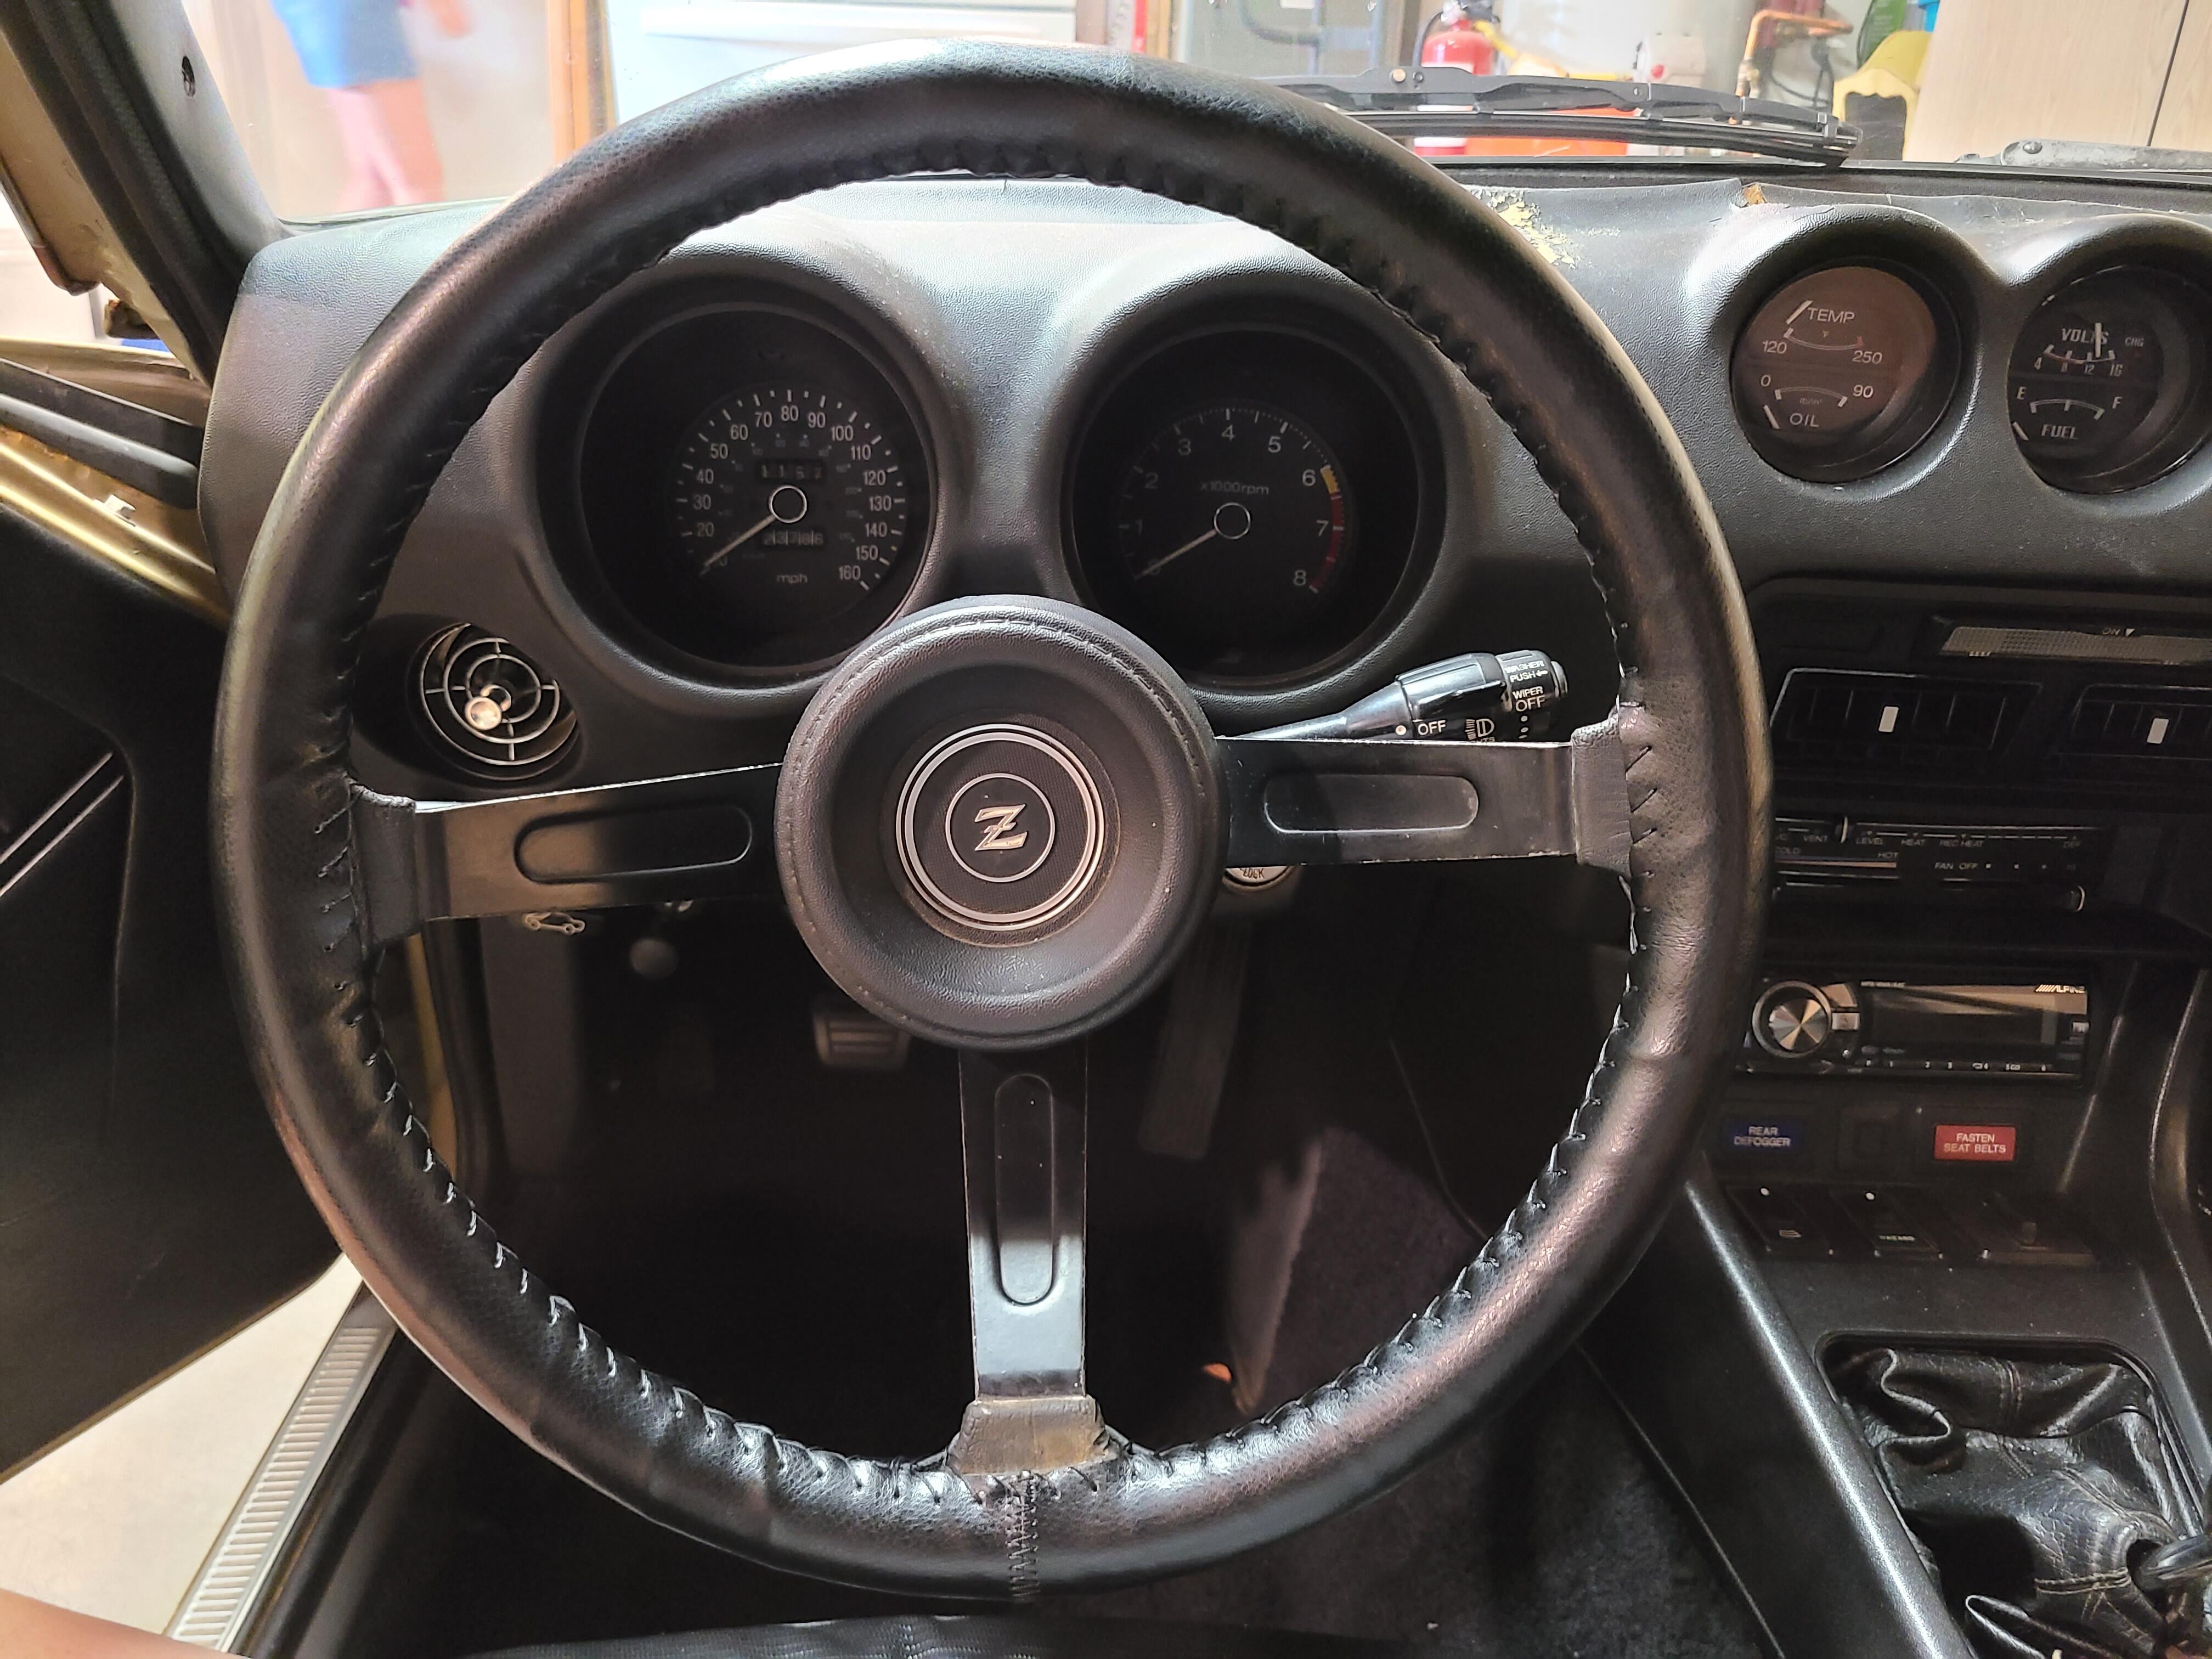
I installed a leather steering wheel cover today. It was $15.99 on Amazon and it looks great. My Z had one of those terrible 1970's foam/vinyl wheel wraps. I left it in place to add a bit of thickness and put the leather cover over top. Ideally, I would have removed the old wrap and added foam padding to get the thickness I wanted, but then it would have been much harder to get the correct leather size. I removed the wheel and used a baseball stitch. It took a few hours to stitch it on and I'm happy with the results. The old wrap prints through a bit in the photo, but it's barely visible in person and it actually gives the wheel a bit more grip in the hands. https://www.amazon.com/dp/B0989MRSDV?psc=1&ref=ppx_yo2ov_dt_b_product_details I bought a M3 size and it was perfect with the foam wrap under the leather. I'd guess the M2 would fit a stock 280Z wheel.
 4 points
 -
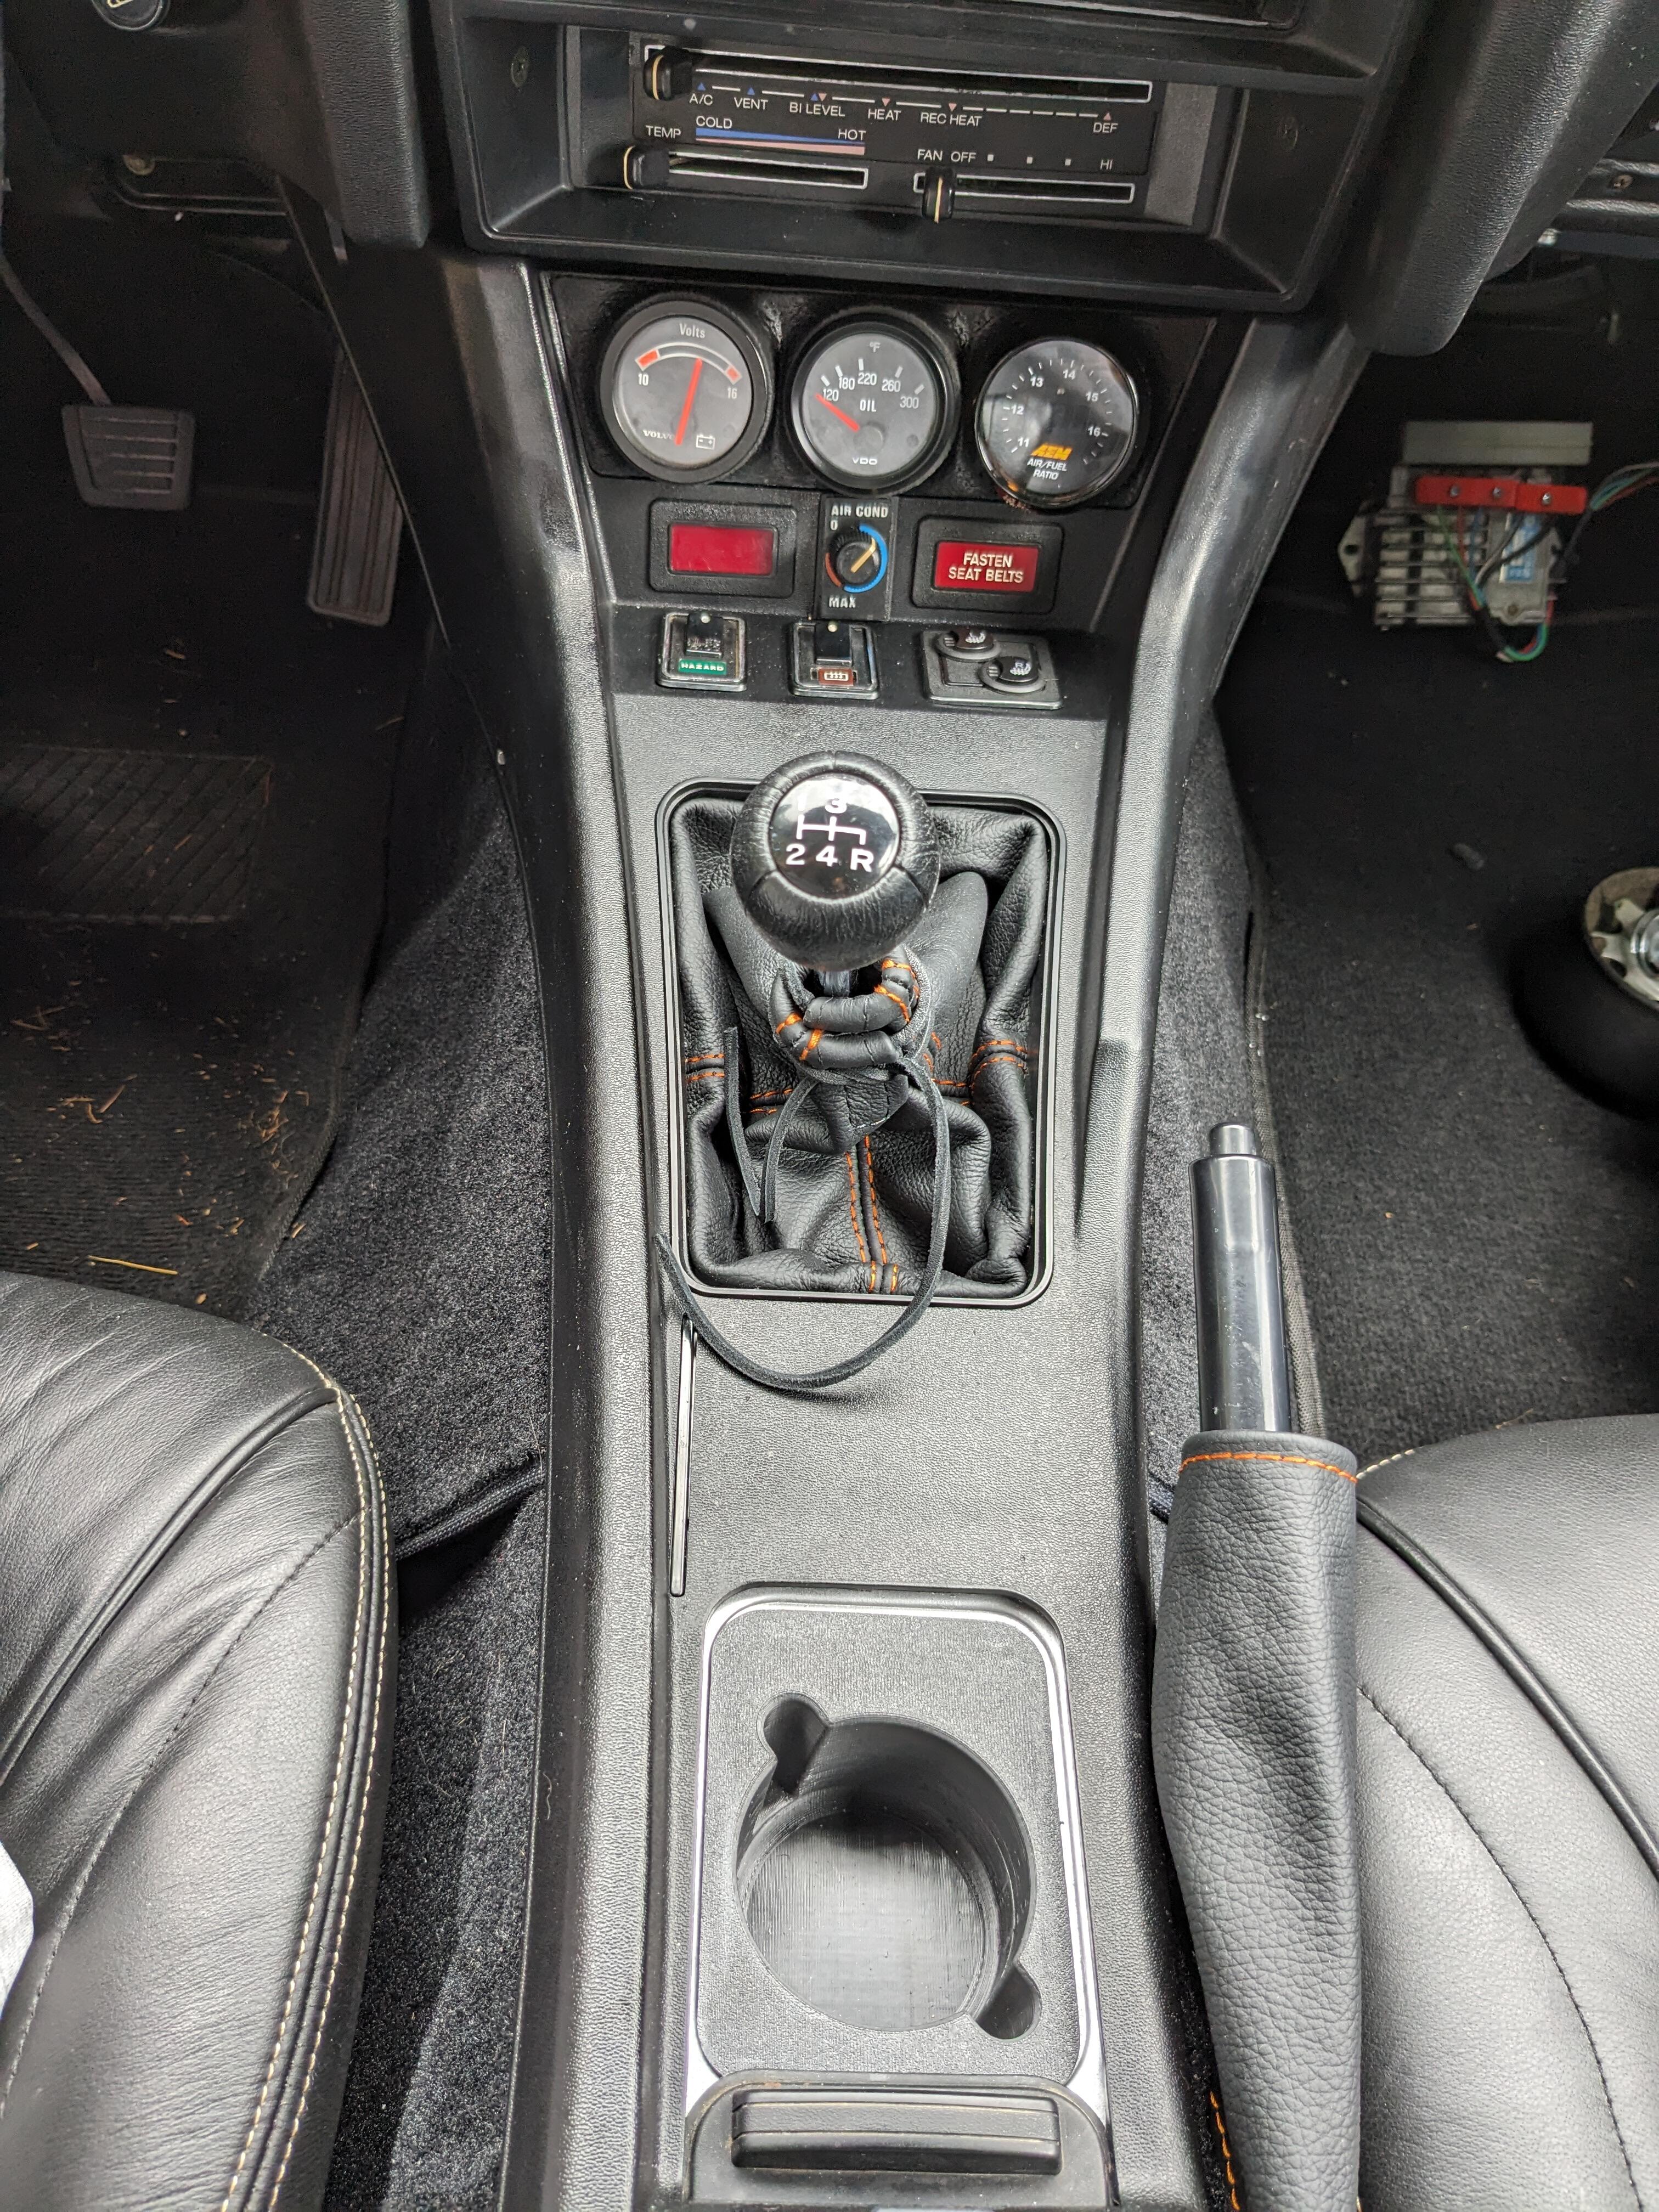
4 pointsDid a number of things today. Replaced the ECT with a new Beck Arnley 158-0134 sensor. With that, (ambient temp 50ºF) it started well (after the initial delay with priming), and during warmup. AFR's stayed nice & fat, which was not the case with the old ECT. Once it got closer to normal operating temp, the AFR"s went lean again (16's). So, I put in the 1.1K ohm resistor in series with the ECT. With that, warm AFR's are to rich (13.4-13.7) - so I don't even need 1.1K resistance added to the ECT circuit Pushing very slightly on the AFM lever fattened it up a touch, and smoothed the idle quality So, I lessened the wheel tension by 1 tooth Also adjusted the WOT enrichment TPS settings - the factory position brings it on around 30º opening, so I moved it to closer to 50º Stock adjusted Reset (lowered) the base idle closer to 800rpm, with those changes the AFR was sitting around 14.2 So, I installed the 2.2K potentiometer, wired the 1.1K as well, but decided the 2.2K would give me more range. Since 1.1K puts AFR's at idle around 14.2, I need somewhat under 1K to get the AFR's in the 14.7-14.9 range at idle. Bolts to the left dash frame support Used a 2pole HD090 series connector to join the pot to the ECU. Removed #13 wire from the ECU connector, now that goes into the pot, pot output goes to pin13. Set dial on POT so that 1K ohm is with #1 at 6 o'clock where I can see it Full value (2.2K) puts dial @ just over 5. Unlikely I will ever need to use that end of the scale. Connector tucked up above ECU Warm engine, setting dial to 0 brings AFR's to 14.7-14.9. I'll see how it starts & warms up with that setting tomorrow after work. Still can't drive it to see how it performs on the highway cruising, due to the blown out clutch slave.
 4 points
 -
3 points
-
2 pointsExcellent. And in theory, that peel-n-seal stuff is removable enough that if you ever do have to pull the tail lights out again for anything, it will let go easy (as designed) and you won't have to put a lot of stress on the plastic light housings. Glad you got the fume issue under control!2 points
-
Well, You’ve fought this for along time now. I think it’s time to crack it open and take a look. Best of luck2 points
-
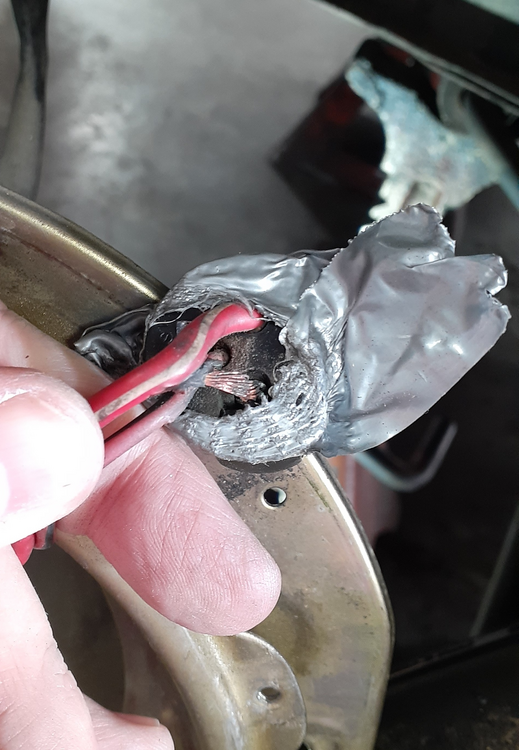
A friend was working on a customer's 78, and there was an issue with the headlights. I took a quick look at it a couple of weeks ago when my friend was hosting a party (It was a great way to decrease the amount I had to socialize.), and it seemed like corrosion in the fusible link may have been the cause. The fusible links were pretty nasty. My friend put in a Maxi Fuse holder, but the problem remained. I went out to take another look today. I saw voltage on both sides of the right fuse when I pulled the ground on the circuit. However, the was no voltage on the downstream side when I had the ground plugged in. I cleaned the fuse holders with a wire wheel, but no change. Neither headlight would light, either. I swapped the fuse for the right headlight with another that was in the fuse box, but that fuse wasn't in great shape. I got another 10A fuse from my friend, and a little while later, I detected that it had blown. Getting nowhere fast in my diagnostics, I talked with @Captain Obvious, but I couldn't provide enough information for a true ah-ha moment. He did make a good suggestion to start using a test light instead of a meter because we both knew I had to get around an impedance issue if it existed. I decided to focus on the left headlight next. I disconnected the headlight and rigged up a jumper between the engine harness connector and the headlight connector. I rigged up another jumper that I could connect to ground. I still couldn't get the left headlight to light up with the new ground. I checked things with the test light. I could get the positive side of the wiring to light up the test light, but the ground leg would not cause the test light to light up. (Hold on to this.) At that point, my friend and I broke for lunch, and I discussed the next steps with him. We agreed that pulling off the headlights would be the course of action because I narrowed down the problem to that part of the circuit. He got the front end on jackstands, and I got the left headlight out. This is what I found. Yikes! Someone thought duct tape would make good insulation. You can see how hot and melty it got. That is the positive wire with all of the missing insulation. Unfortunately I didn't have my headlight connectors with me to replace the bad terminal. At least I found the impedance issue with the left headlight. I'm surprised it didn't pop the fuse. I went over to the other side and pulled the right headlight. I found someone had overfilled it because all of the excess water came out. Okay, so the outer sheath had cracked and without inner liners, water got trapped inside the sheath. I cleaned it up and wrapped it with electrical tape. I decided to put in a 15A fuse since my friend had those on hand and test just the right headlight with the left disconnected. Sure enough, it lit up nicely. I'm not sure what caused the 10A fuses to pop, but I'm going to install a 10A fuse when I go back next week. With the right side operating, I connected the left headlight bulb (H4 housings with halogen bulbs) to the socket and turned on the headlights. The right still came on fine, and the left was dim. I'm thinking the left side was probably getting its power from the right side fuse backfeeding it. Next week I'll return to my friend's place to fix the wiring on the left headlight bucket, and he can have the owner pick up the car. Lessons learned: Follow my own advice and ALWAYS remove the fuse to test it. I was fooling myself early on when I didn't test the fuse for continuity. I know that the headlights can back feed. With a car that you're not familiar with, you don't know what someone might have crossed wiring-wise. (Finding a wire nut in the engine bay is also a BAD SIGN.) Have plenty of the right size fuses on hand when doing the testing. A fuse kit will become a regular part of my road kit for house calls. I keep them in my Z cars, but it wouldn't hurt to have a third for my tool kit. Drill down to the component level to verify diagnostics when you don't have a smoking gun. I spent more time at the entire circuit level than I should have.
 1 point
 -
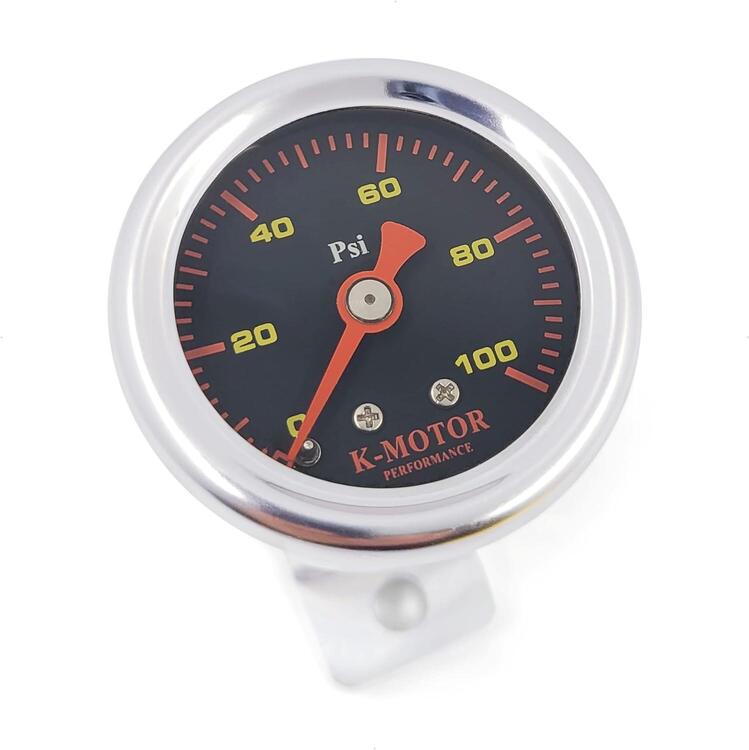
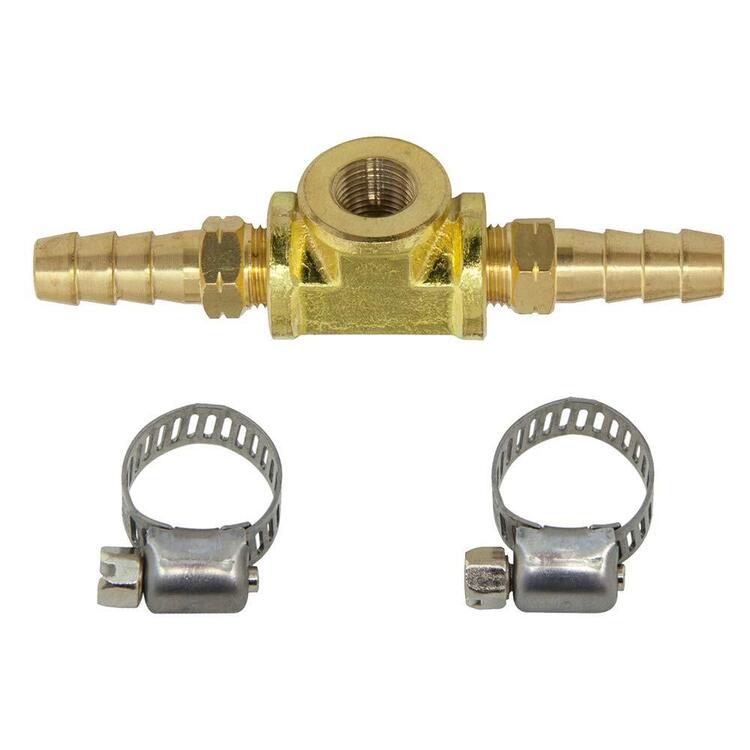
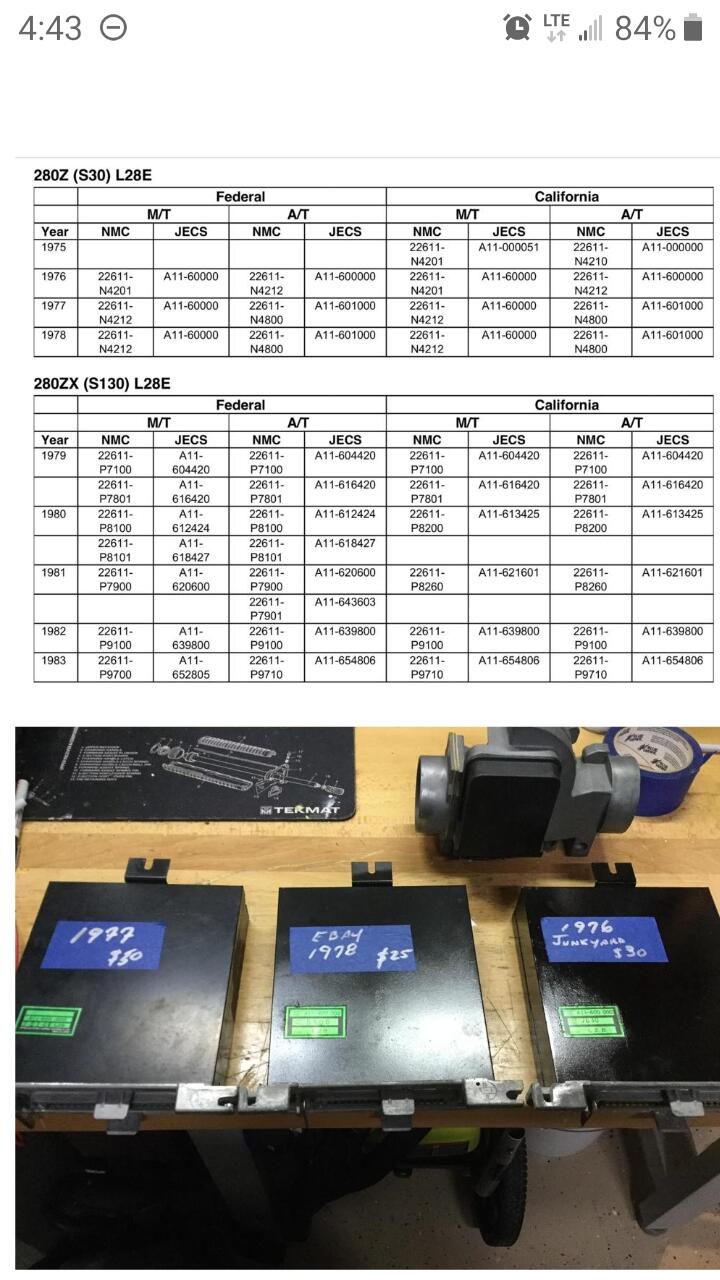
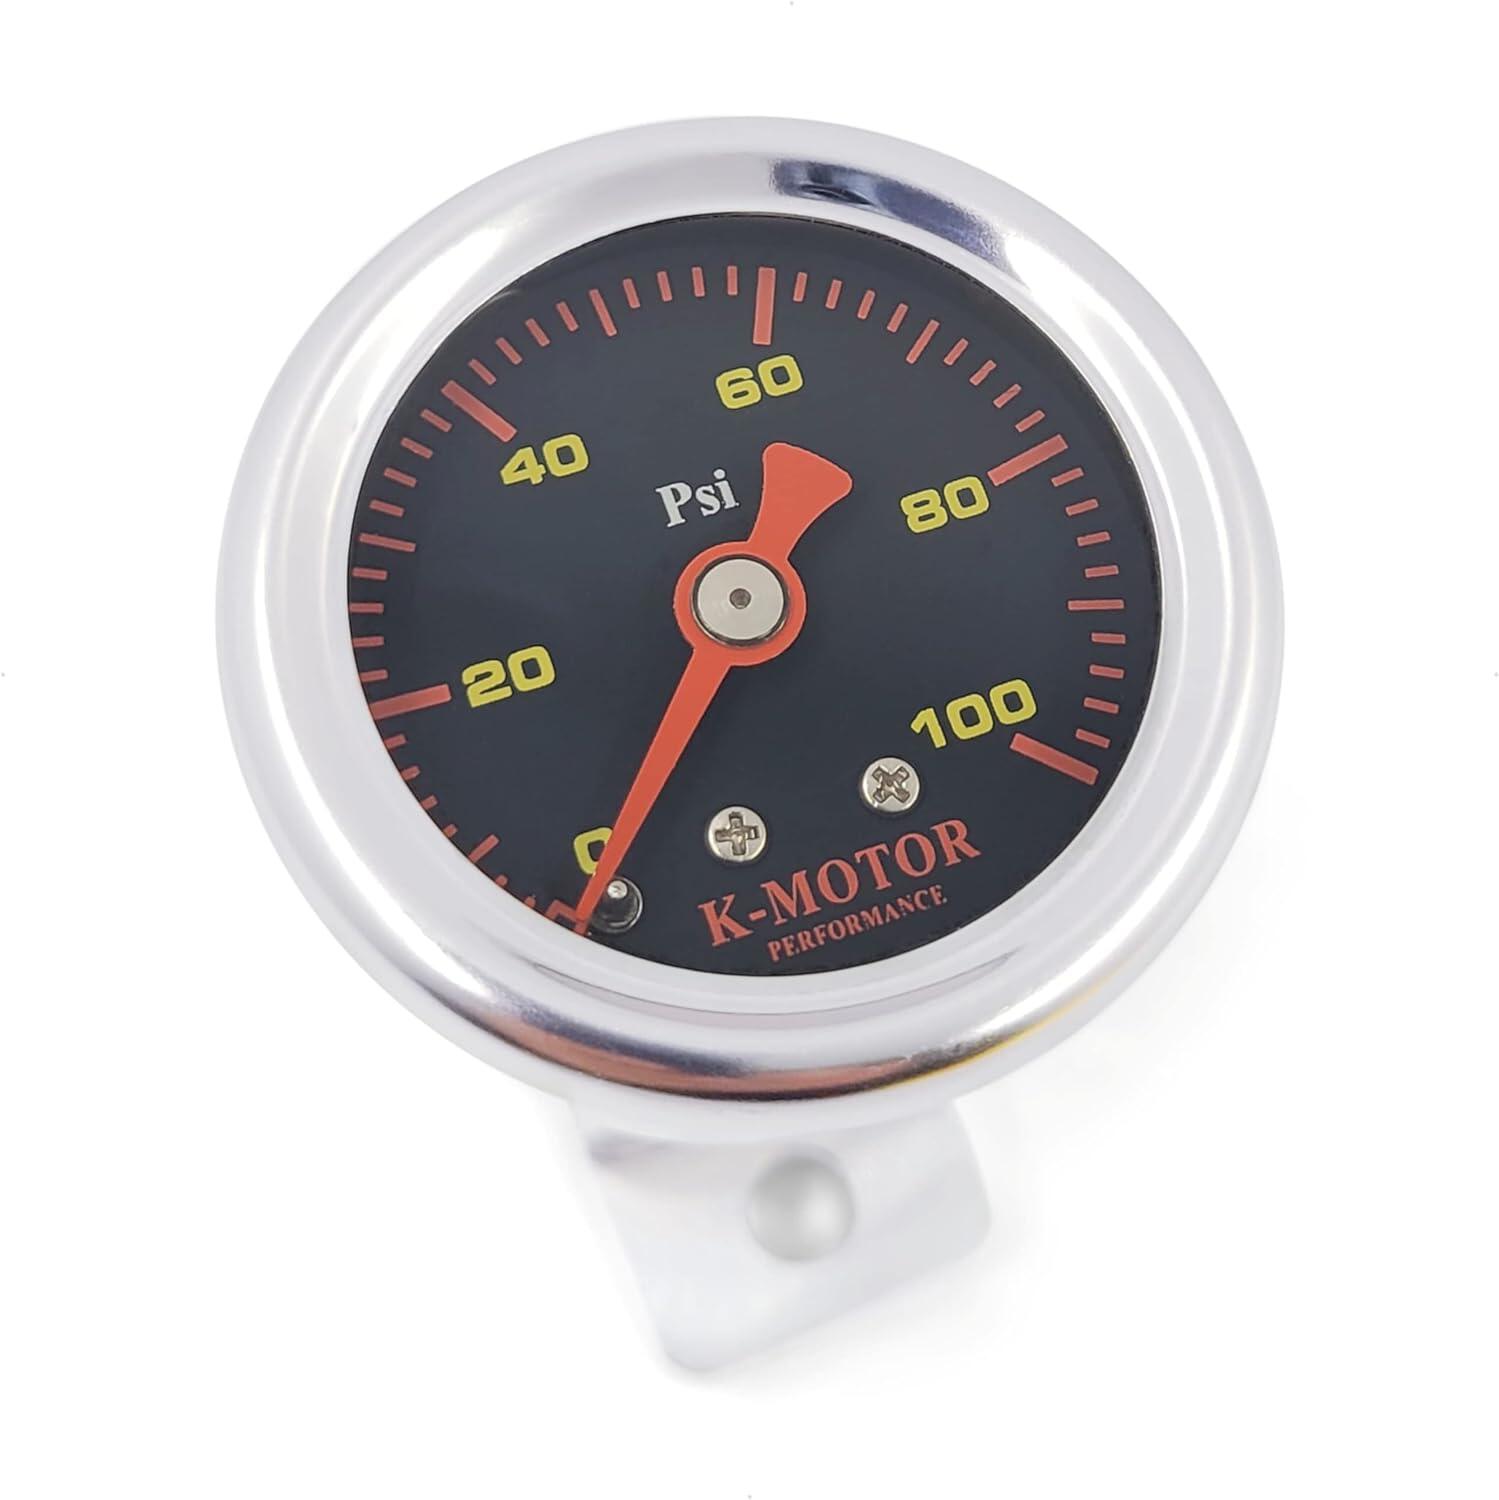
1 point1 point1 pointThere is a p/n on the side of the ECU. The plastic cut out I believe reveals the label. There is a post here on the forum on listing the compatibility of the units. I still think you need to get out the FSM and check each value of the readings. There’s no guarantee you will get a good refurbed unit.1 pointEvery one I have seen was holding the firewall pad, so, up.1 pointI've always had the best search results by typing simple keywords and ending with classiczcars.com. If it's something I remember reading from a member I put their name next to last then classiczcars.com. Most of the time I hit IMAGES and go from what I've seen in threads. Our forum is fantastic but searching within the database is lacking for sure. I'm about to start using duckduckgo.com. Google has gone to the dark side where the money is, assholes. Maybe I'll use Ask Jeeves on AOL. Sorry for the detour.1 point1 pointDidn't you check fuel pressure using a temporary gauge in the past? And it was correct? If it was mine, I'd pop the cover off of the AFM and make sure the vane is moving with air flow. Simple stuff, no tools required. Any chance you could summarize everything you've done so far with measurement numbers ? Too many pages to go back and read through them all. I see suggestions that I'm pretty sure have already been made. Plus your problem is different now. The title says "when hot" but now it's when cold. The main problem has changed.1 point1 pointYou can pinch the fuel hose between the filter and the fuel rail. Should be hard if it's got proper pressure. I think you have fuel problems too. Sounds very familiar to what I had. A filthy fuel tank. Do you have a clear filter coming out of the tank? You need one to see if there's trash in the tank. Fram G3 works best on the 280.1 point1 point1 pointI ran into this problem of the engine hitting a wall. I was on the freeway when the car slowed to 45 mph, Wouldn't go any faster regardless of which gear it was in. It would free rev to 6000 with no load. It turned out to be a partially plugged fuel filter. The fuel pressure (mechanical pump) was fine but the fuel volume was restricted. Have you tried a fuel volume test along with the pressure test?1 pointI cant recall all of the tests you have done. FWIW, I had a z that was running poorly and after doing a bunch of stuff, it turned out that the dizzy shaft/bushing was worn and causing the point gap and rotor to float around. Easy enough to check for shaft play.1 point1 pointAll of the above. I will say, though regarding the trim panel, I sealed the back of it with a bunch of tape then poked holes in the tape where the screws would go. That trim panel tends to sag since its so old and no longer seals that hole. EDIT: I forgot to add that I found the reproduction hatch gaskets were a bit too small and ended up ungluing itself in the top area by the dome light since it was too tight. I ended up buying the OEM one but it wasn't cheap (I think around $250) but worth it at the end of the day.1 point1 pointI have had this inline fuel pressure gauge on my car for 3 years. It seems to be functioning as it should https://www.amazon.com/gp/product/B07V583TP7/ref=ppx_yo_dt_b_asin_title_o01_s00?ie=UTF8&psc=1 https://www.amazon.com/gp/product/B072M33C5F/ref=ppx_yo_dt_b_asin_title_o01_s00?ie=UTF8&psc=1 I have a Glow Shift fuel pressure gauge on my Civic and it works great.
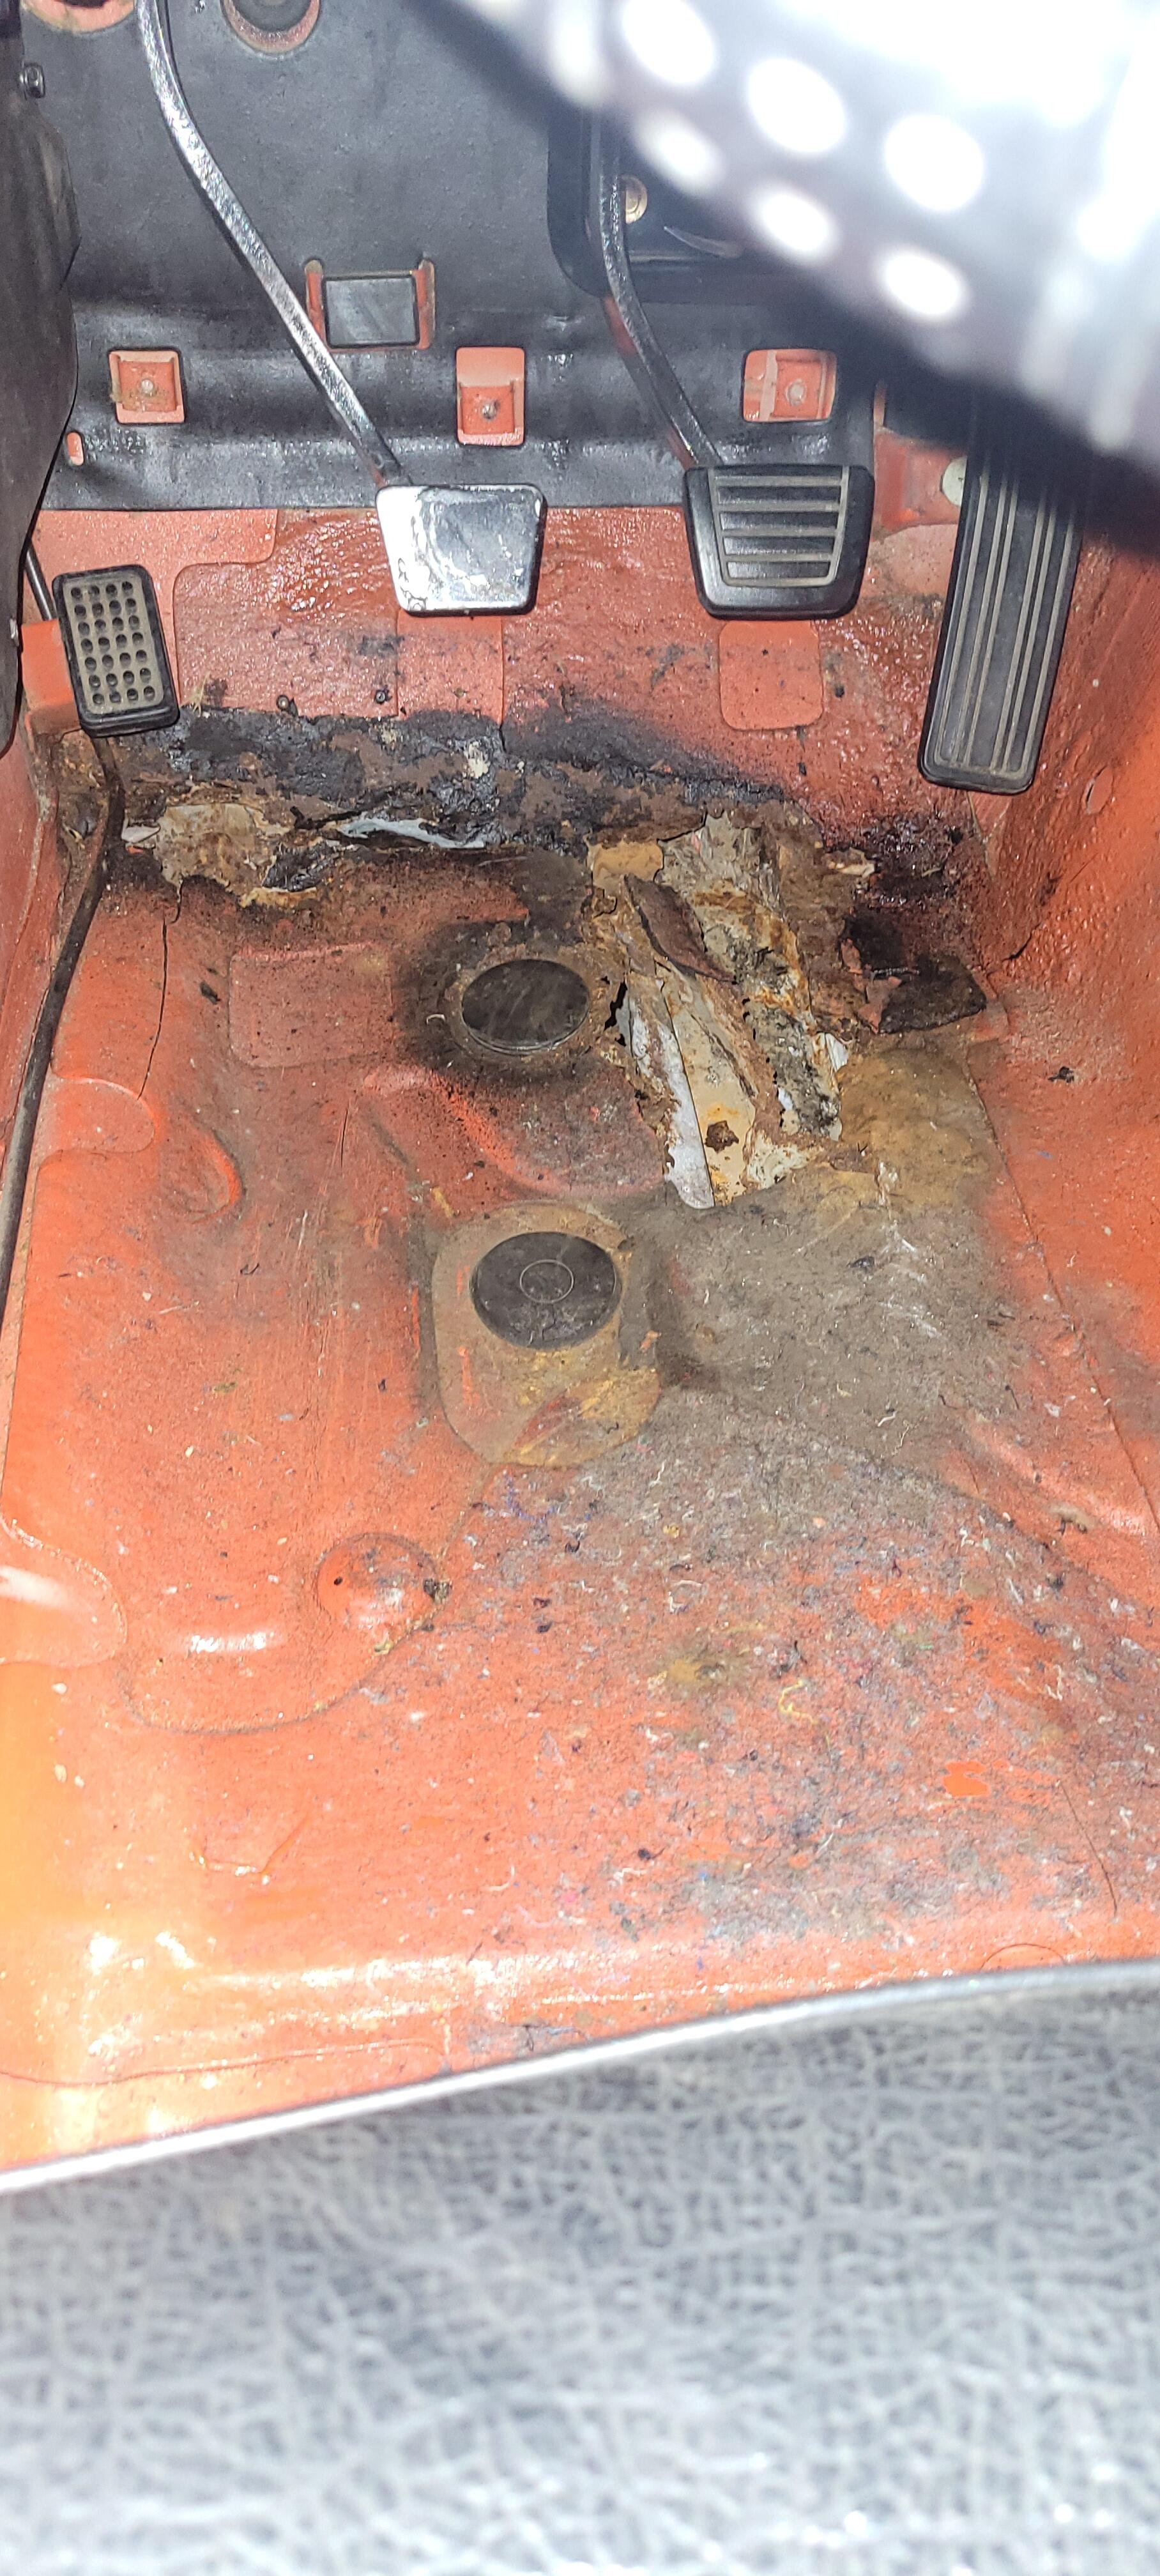
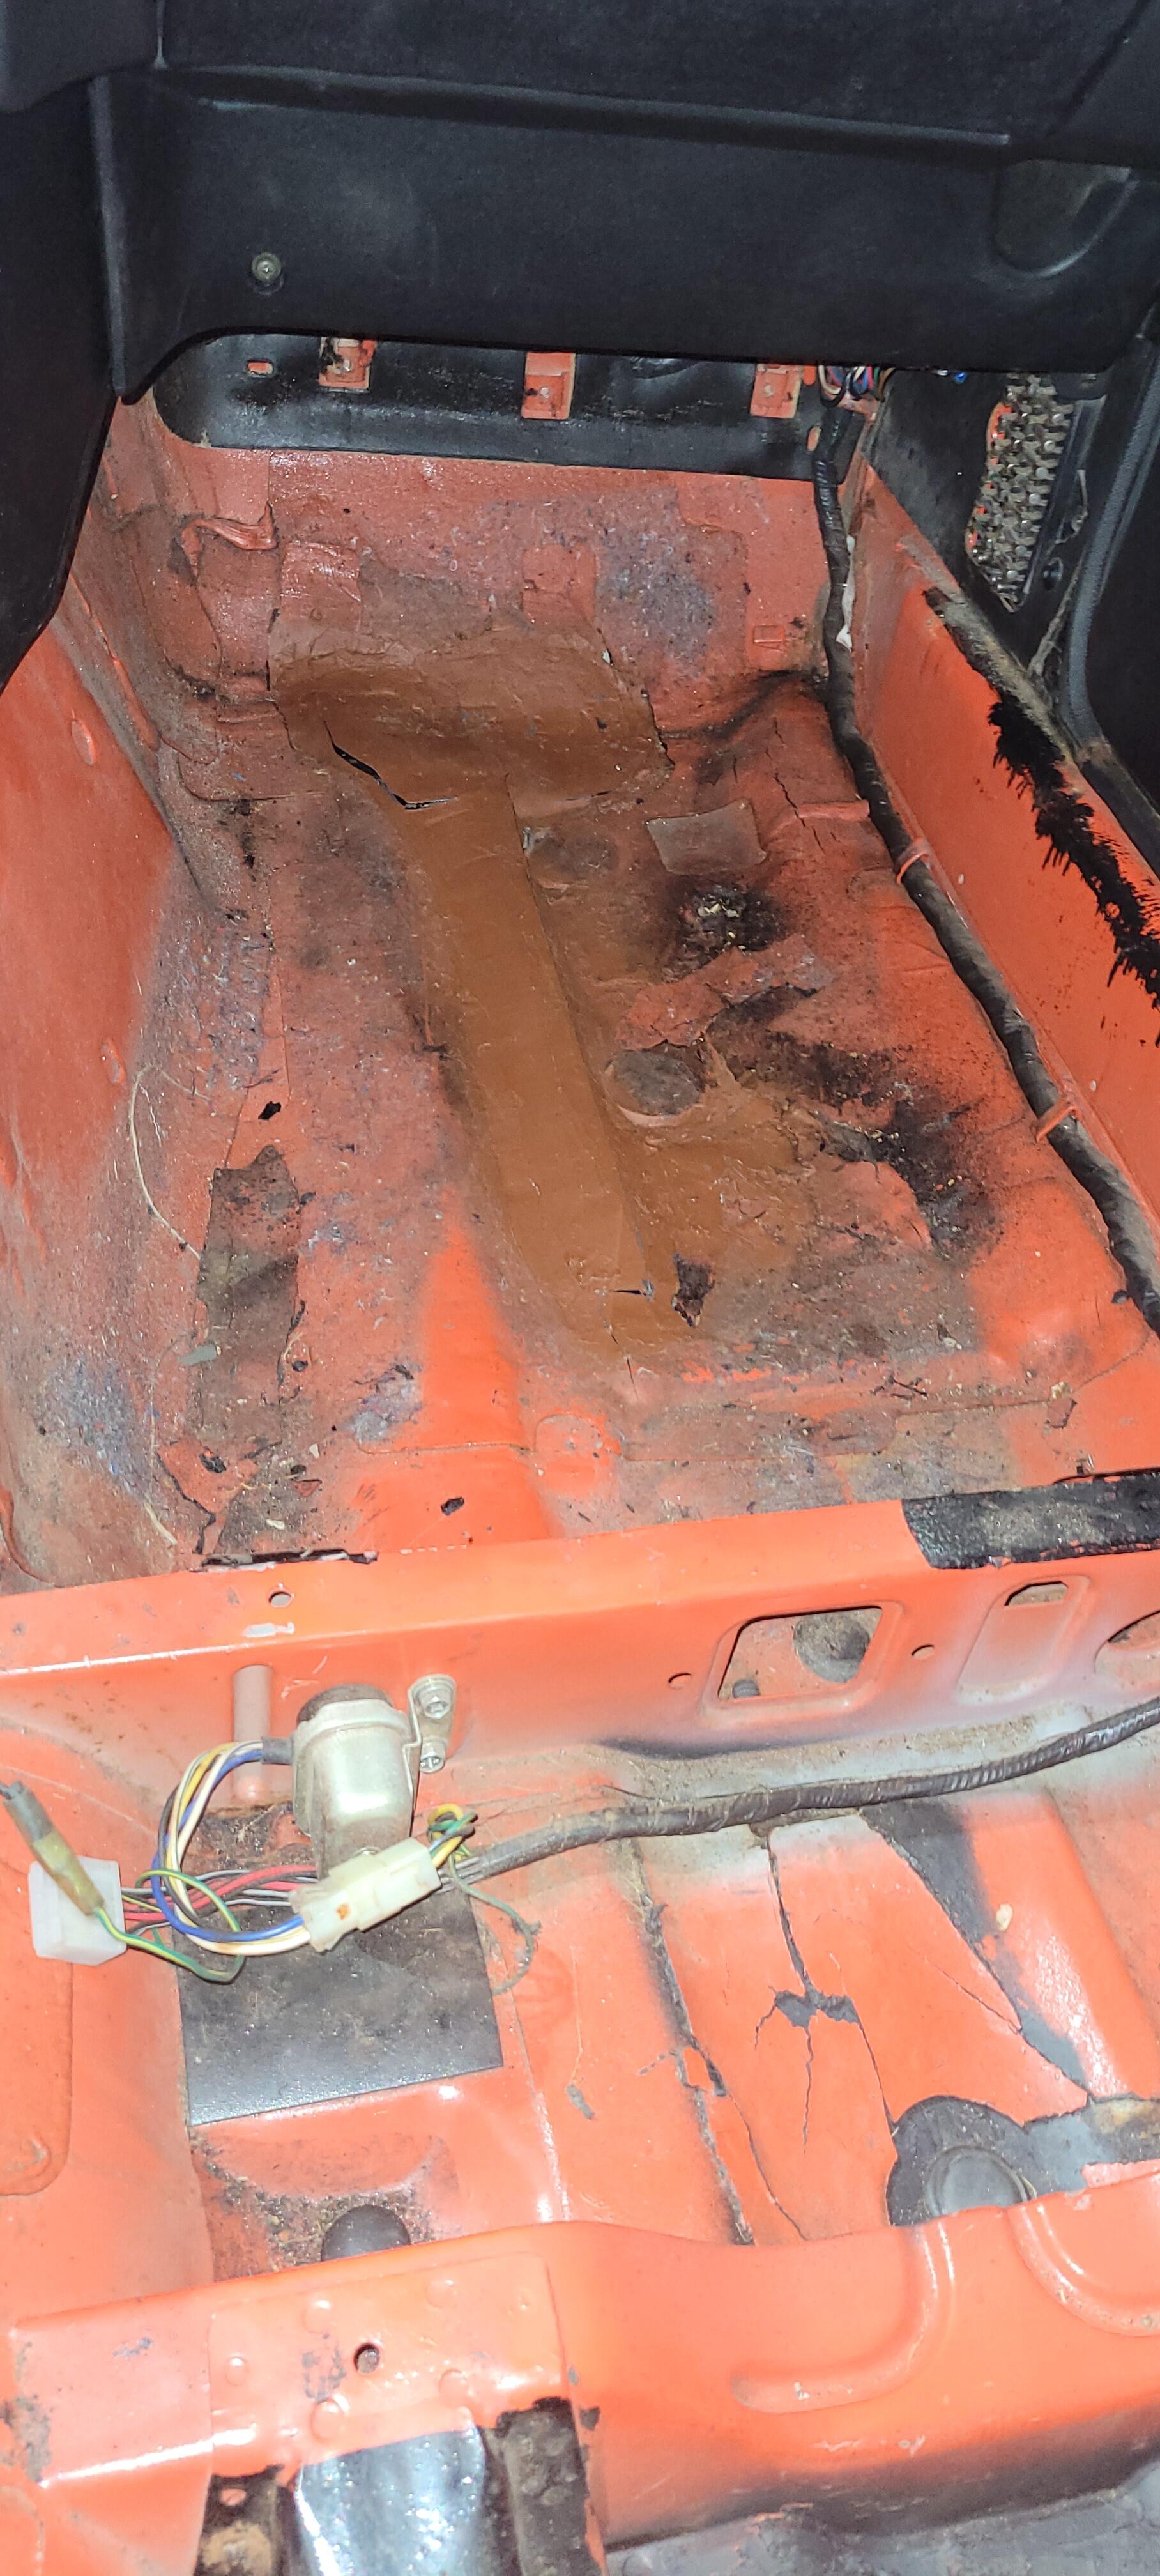
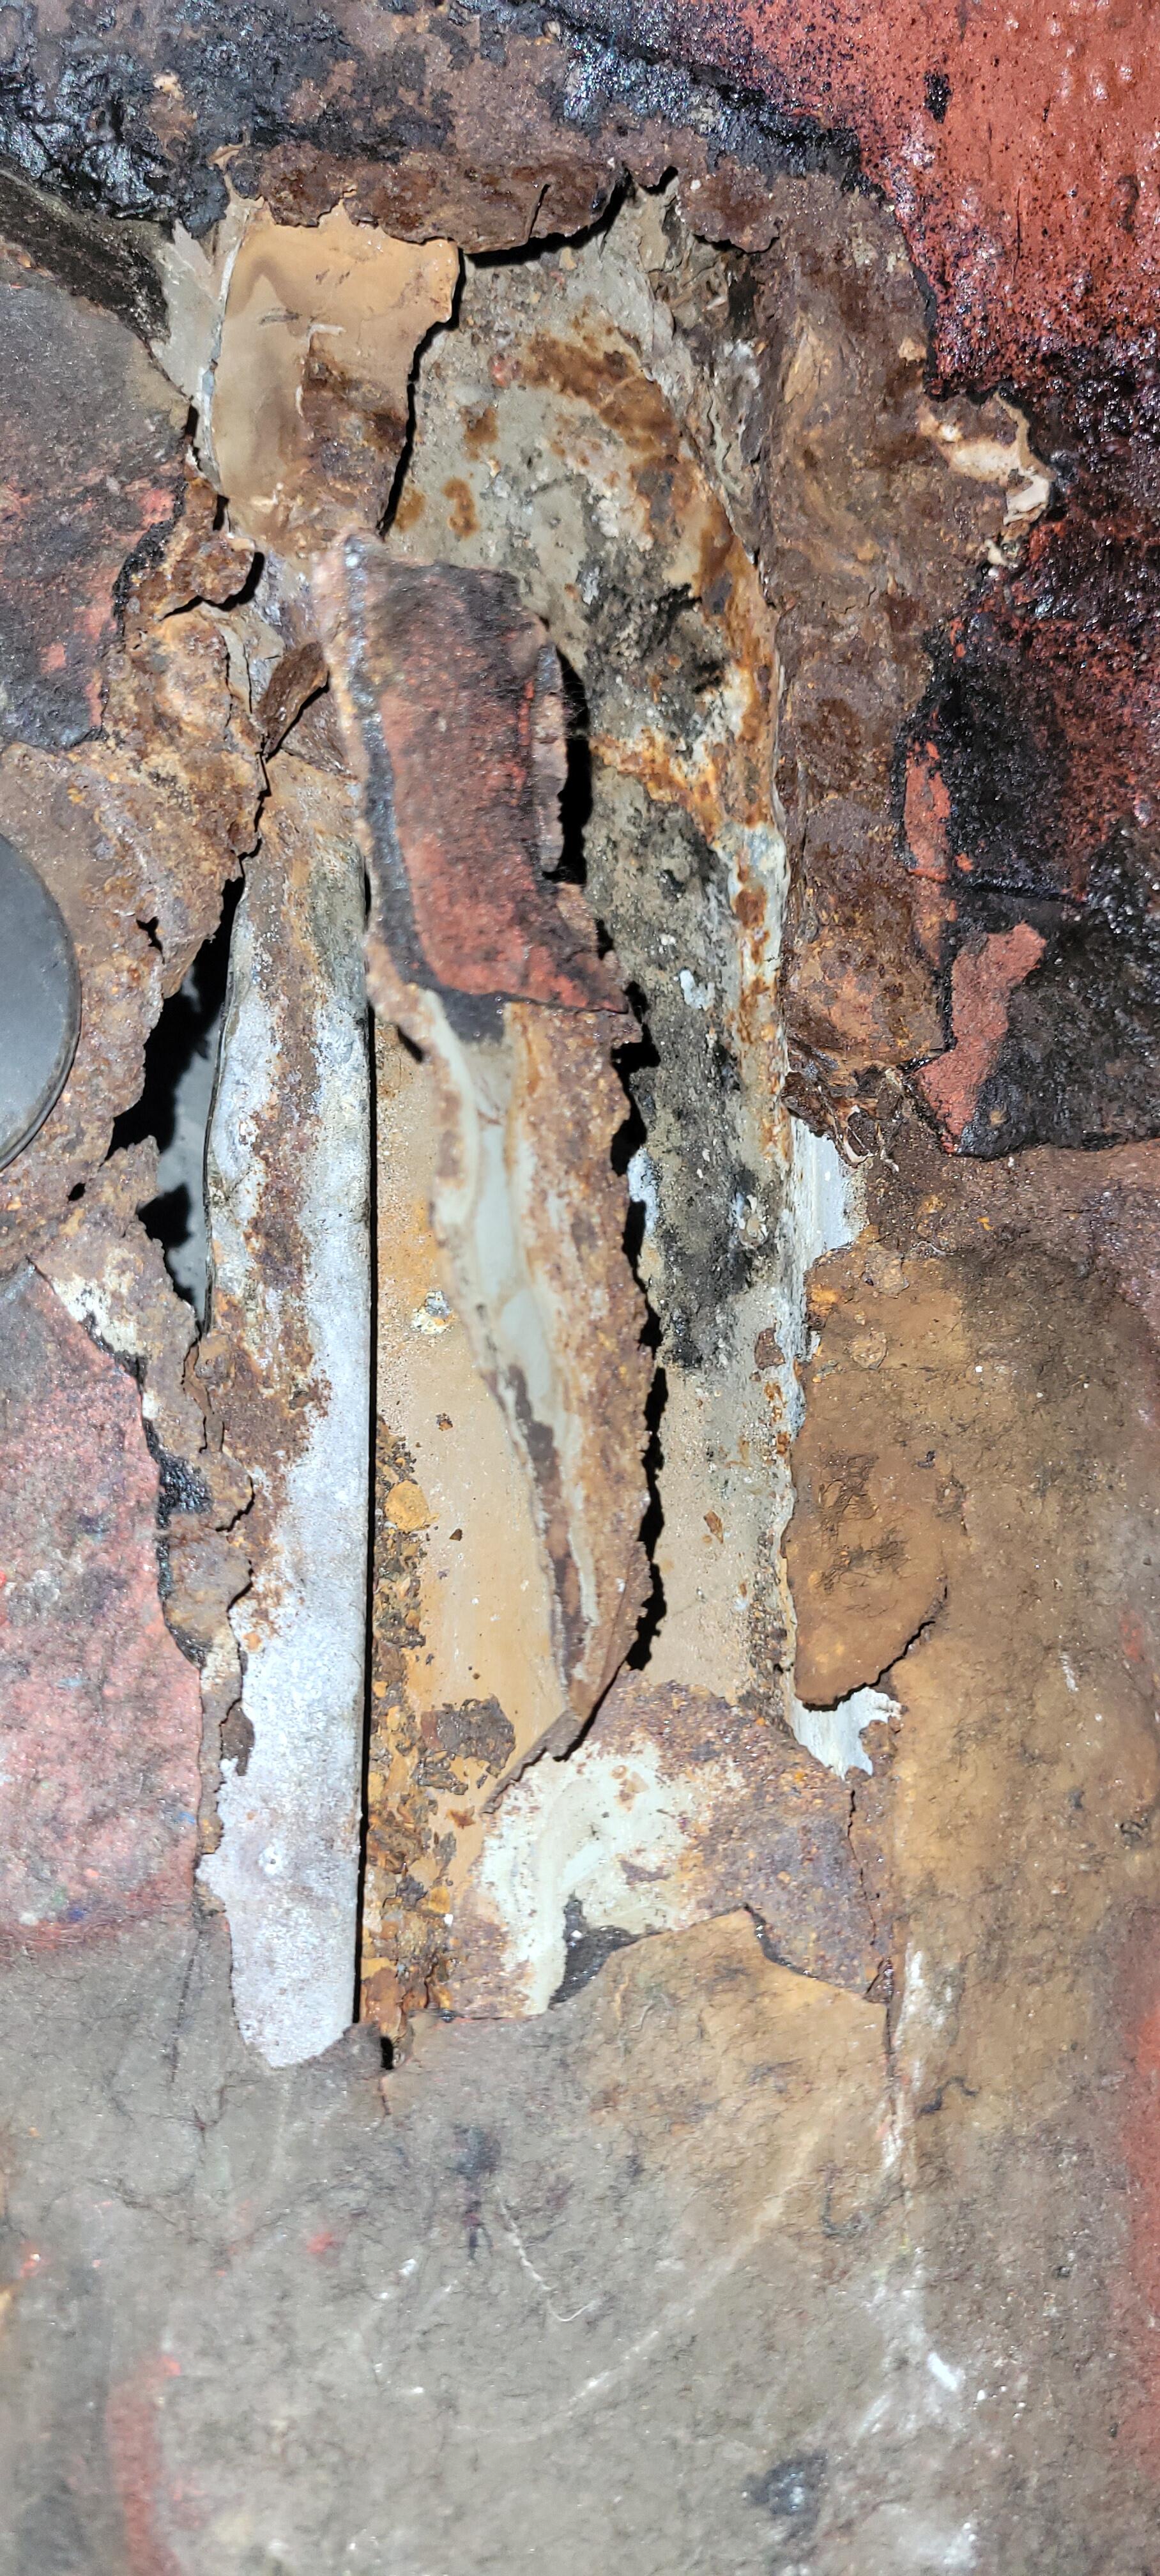
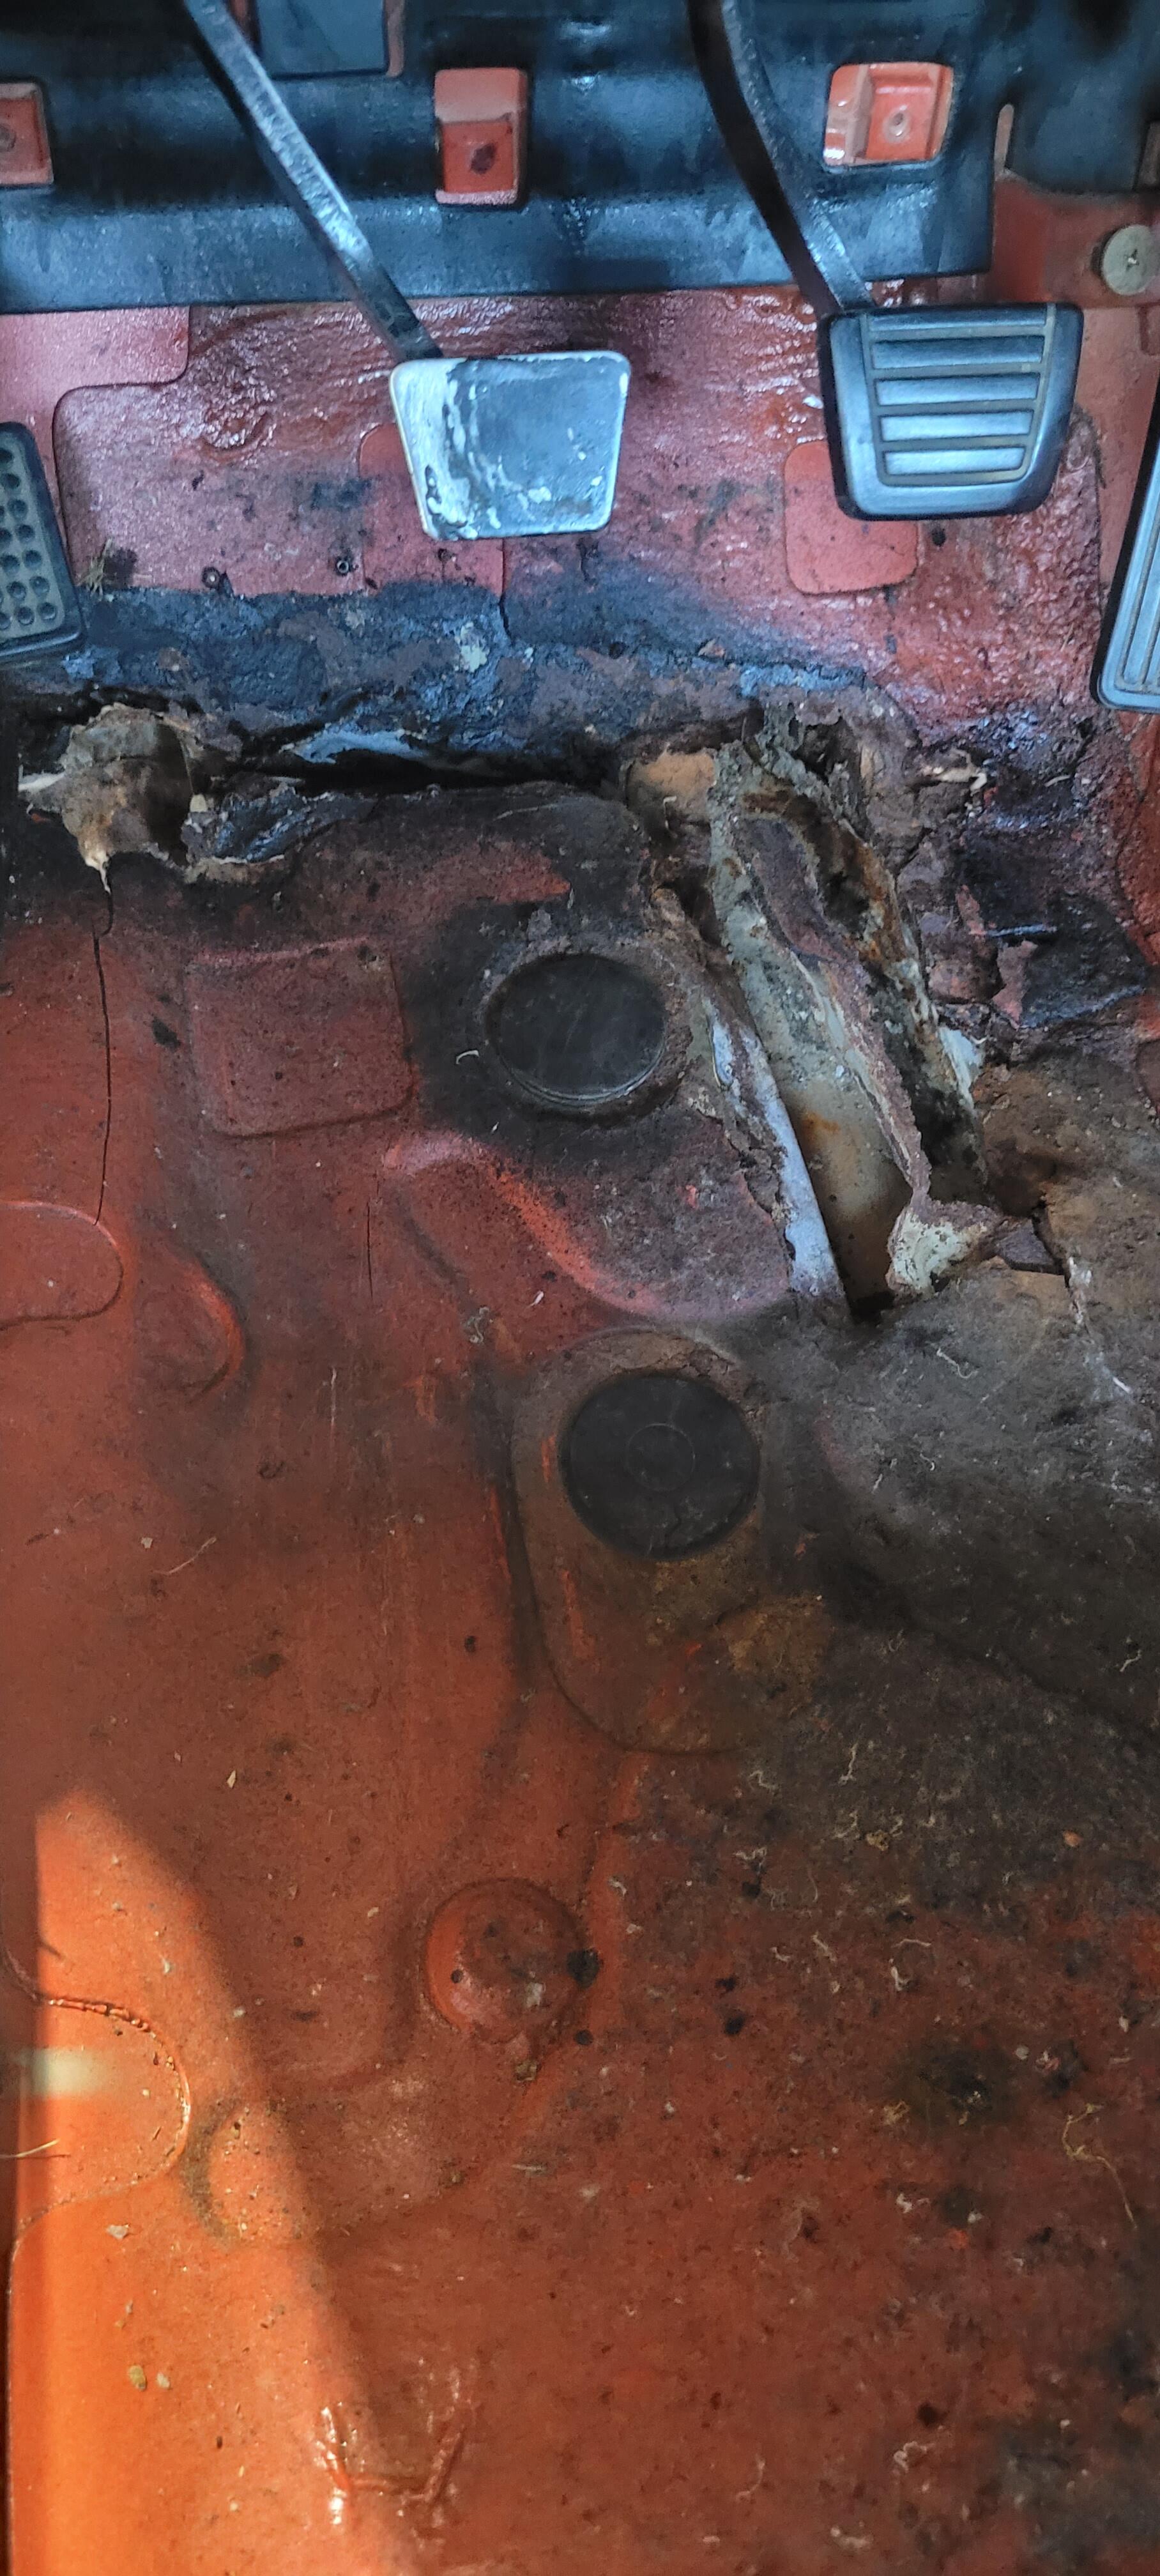
 1 point1 pointI think starting with fuel pressure and vacuum gauge is the first step1 pointAs your engine is such a mistery i would do a cold and then a hot compression test on it .. you may see some strange differences? Also.. just a thought! 🙂1 point1 pointThe only downside is that it might be harder to see the smoke from the outside. Some of the leaks could be above the tank, behind tail light trim, and the smoke might travel before appearing. The gaskets are also working the correct direction when a vacuum is drawn inside with the smoke outside.1 pointMade some progress today before I had to deal with another automotive emergency with the family minivan. I pulled up all of the loose pieces and vacuumed up the small pieces of rust. I didn't get a chance to get much of the tar mat up.
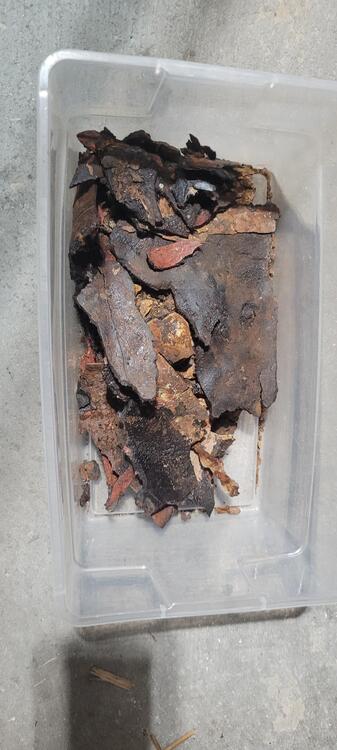


 1 pointI'd do another compression test (wide open throttle, all plugs out) before I opened it up. My thought is if it's got good (enough) compression, it's got to be fuel or spark.1 point1 point1 pointFinal update: We fogged the car like in that video again last weekend and confirmed sealing the taillight gaskets with Seal 'N Peel (one bead between the gasket and the light housing and a second between the gasket and body) worked perfectly - no smoke escapes there anymore. That said it didn't 100% fix the issue meaning there were leaks else where which we found due to a shotty weld job done by the PO when replacing the hatch base which must have been rusty. Fogging: - I saw this originally on another thread which I cant find but besides what we did (throwing the fog machine in the car and shutting the door) there's actually a better way to do it. - Once the car is fully pressurized with the fog machine, the smoke will escape from the paths of least resistance, which isn't the tiny pinholes in the back. The trick is to have someone hold the smoke machine behind the car and move it around while you turn on a shop vac and let it sit in the hatch area creating a vacuum (just like how the car works while driving). You will see where the smoke is sneaking in then just wipe some seal 'n peel or whatever sealant you have left and its game over. You'd be surprised where smoke sneaks in, for example, smoke was sneaking in AROUND one of the rivets I found. This is definitely worth your time to do at least in my opinion.1 point1 pointYes, came out pretty nice. The Rust Kutter was great plus i did plenty of sanding but the paint looks solid. I dont drive in rain or wet anyway so should be good.
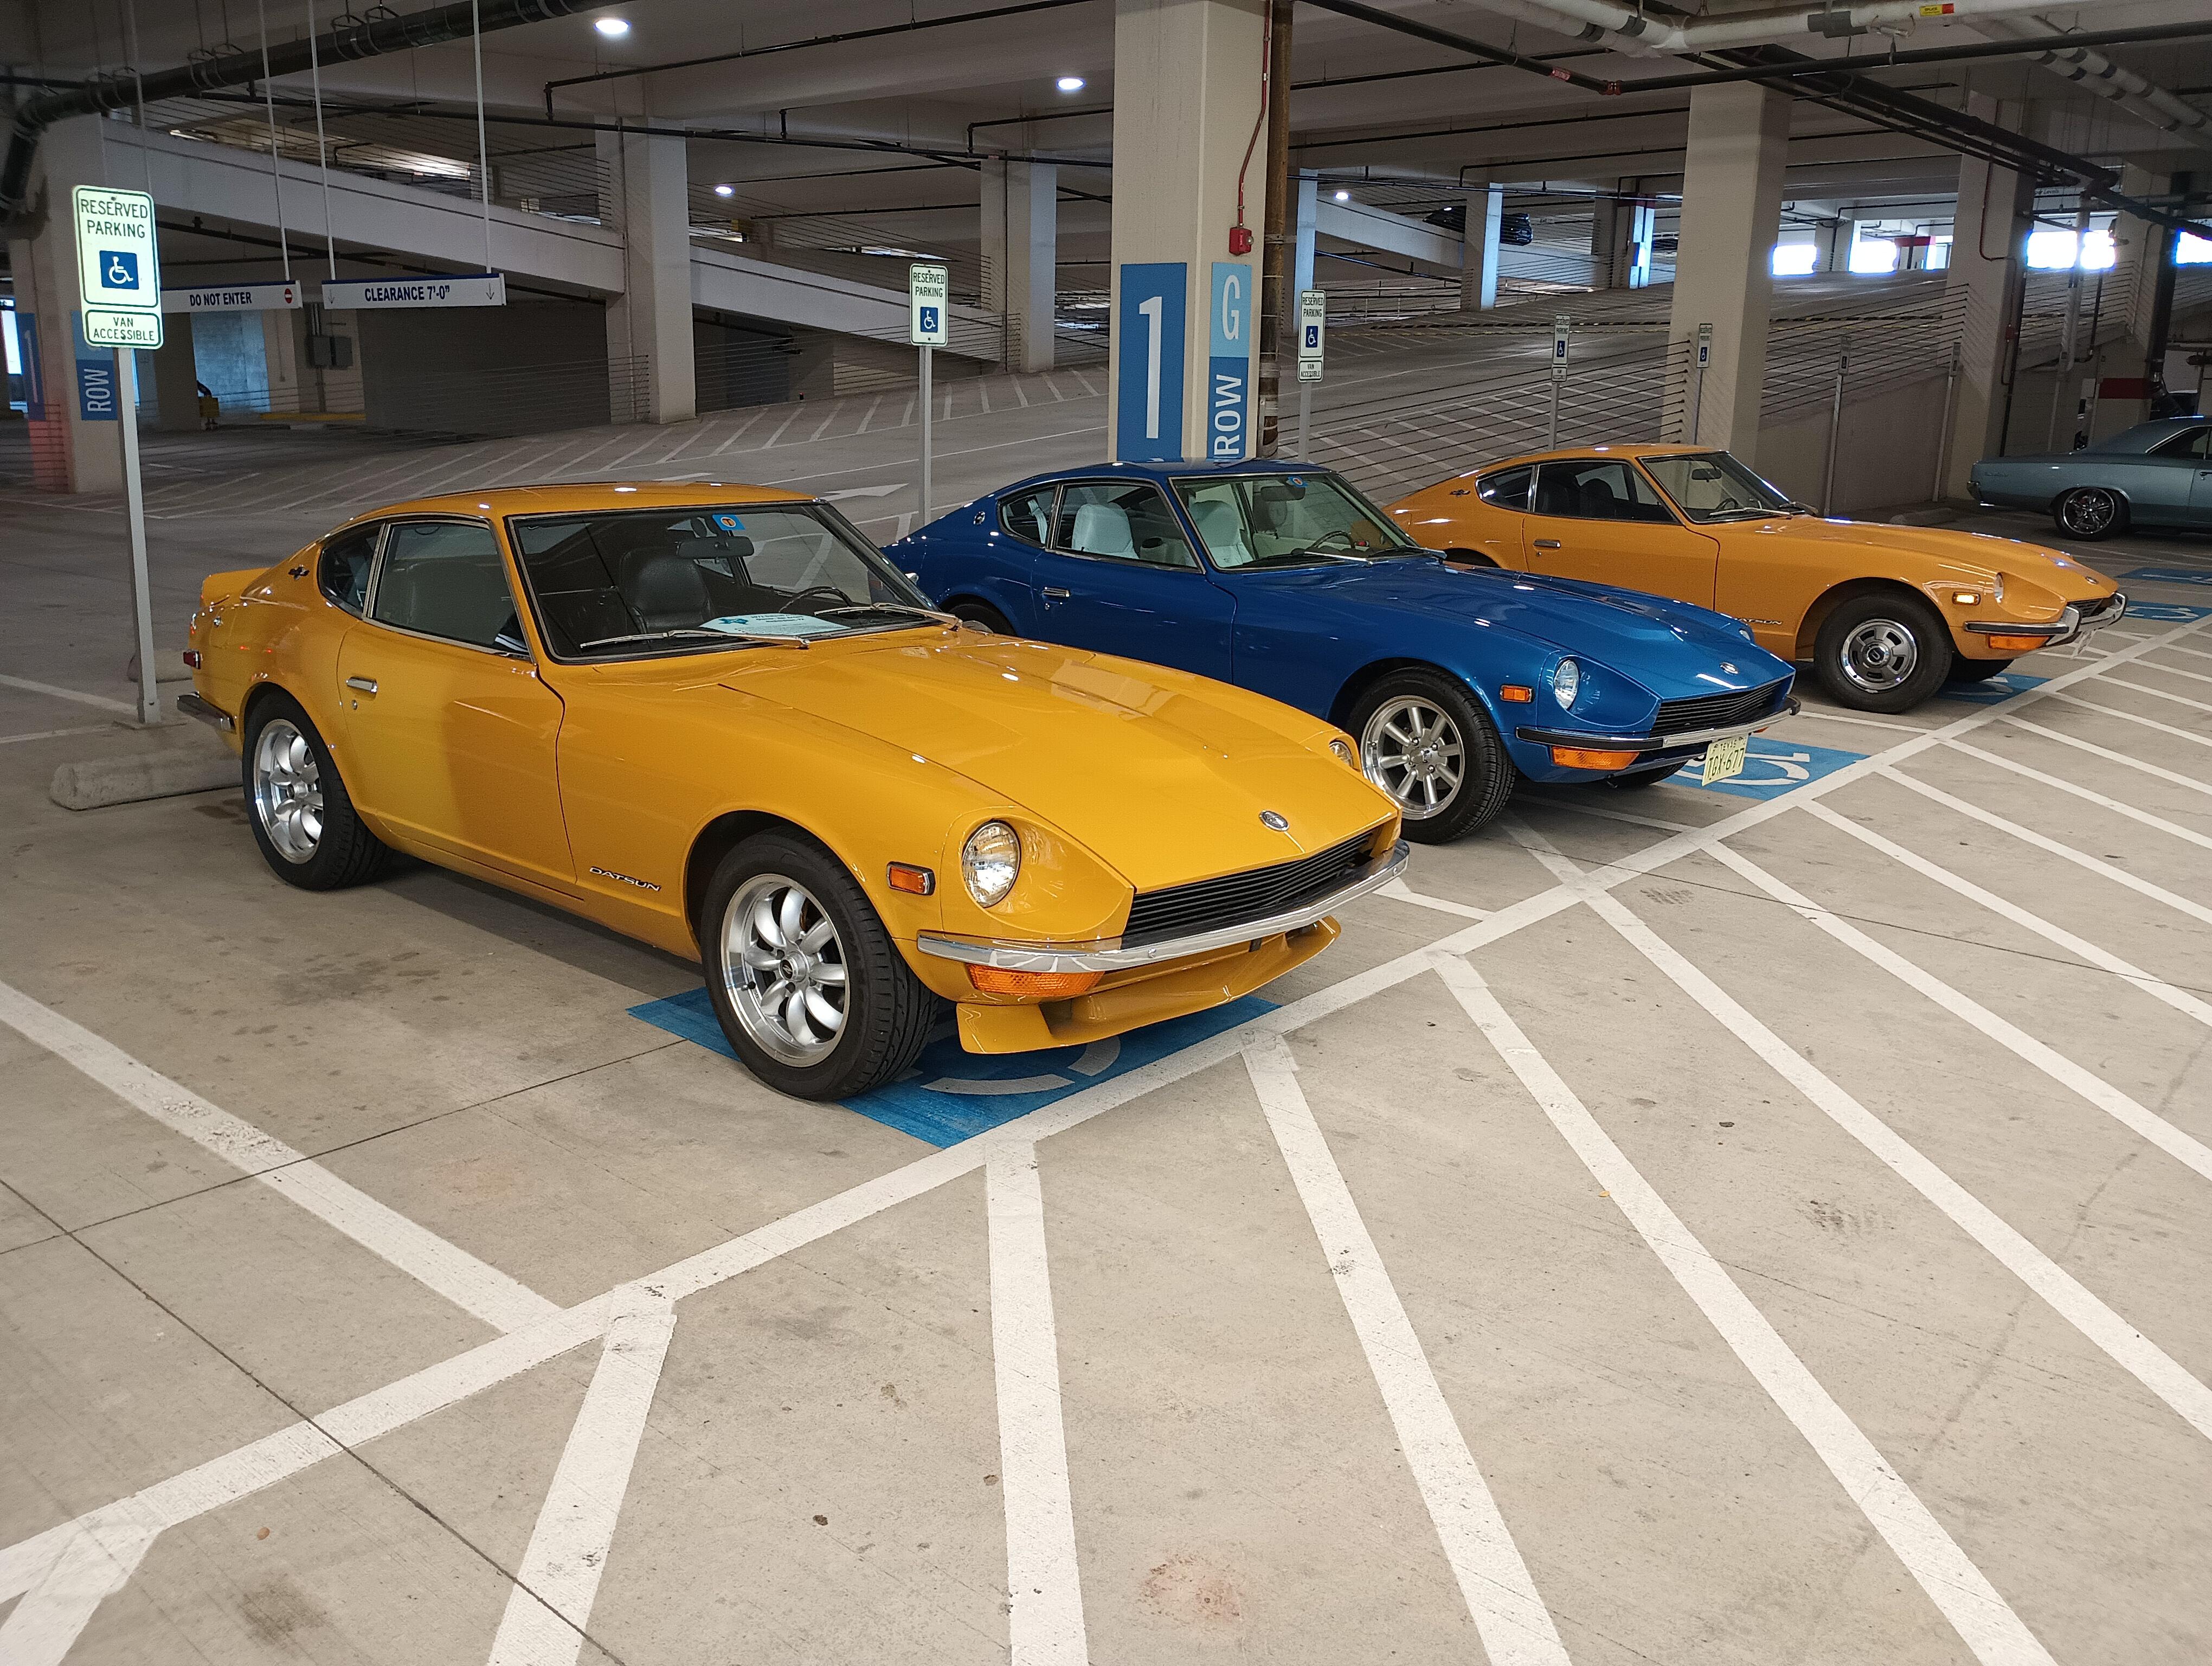
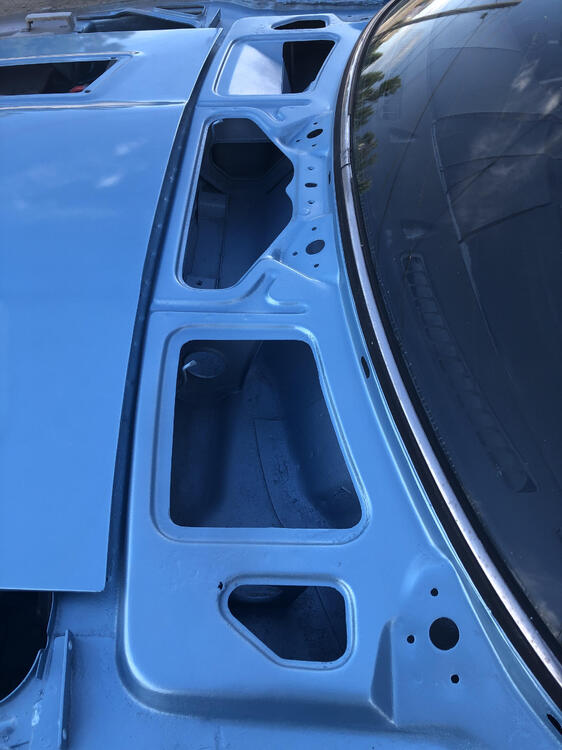 1 point1 pointNot a fun job, but got it just about wrapped up. I did have to drain the radiator, remove the lower hose, remove the alternator, and completely unbolt the large compressor bracket. It was a two person job to hold the compressor up while lining up all the bolt holes to re-attach the large steel bracket. Now that I've done it, I could do the job in half the time (isn't that always the way?). A fair amount of time was spent assessing how to tackle the job. Thanks for your input guys.1 point8hp more on a TR4? Thats what, 50% more horsepower?1 pointAttended a Hagerty Cars & Caffeine event this morning, co-sponsored by Liberty Mutual and held in their parkling garage. Joining me were fellow members @Dens240 and @zed2. After the cars thinned out we were able to get our rides together for a pic. That is Dennis' beatifully restored blue over white '72 and Keith's very original '70 parked beside me. There was probably close to $5-6 milion worth of exotics at the gathering with a Ferrari F40 as a featured display car.
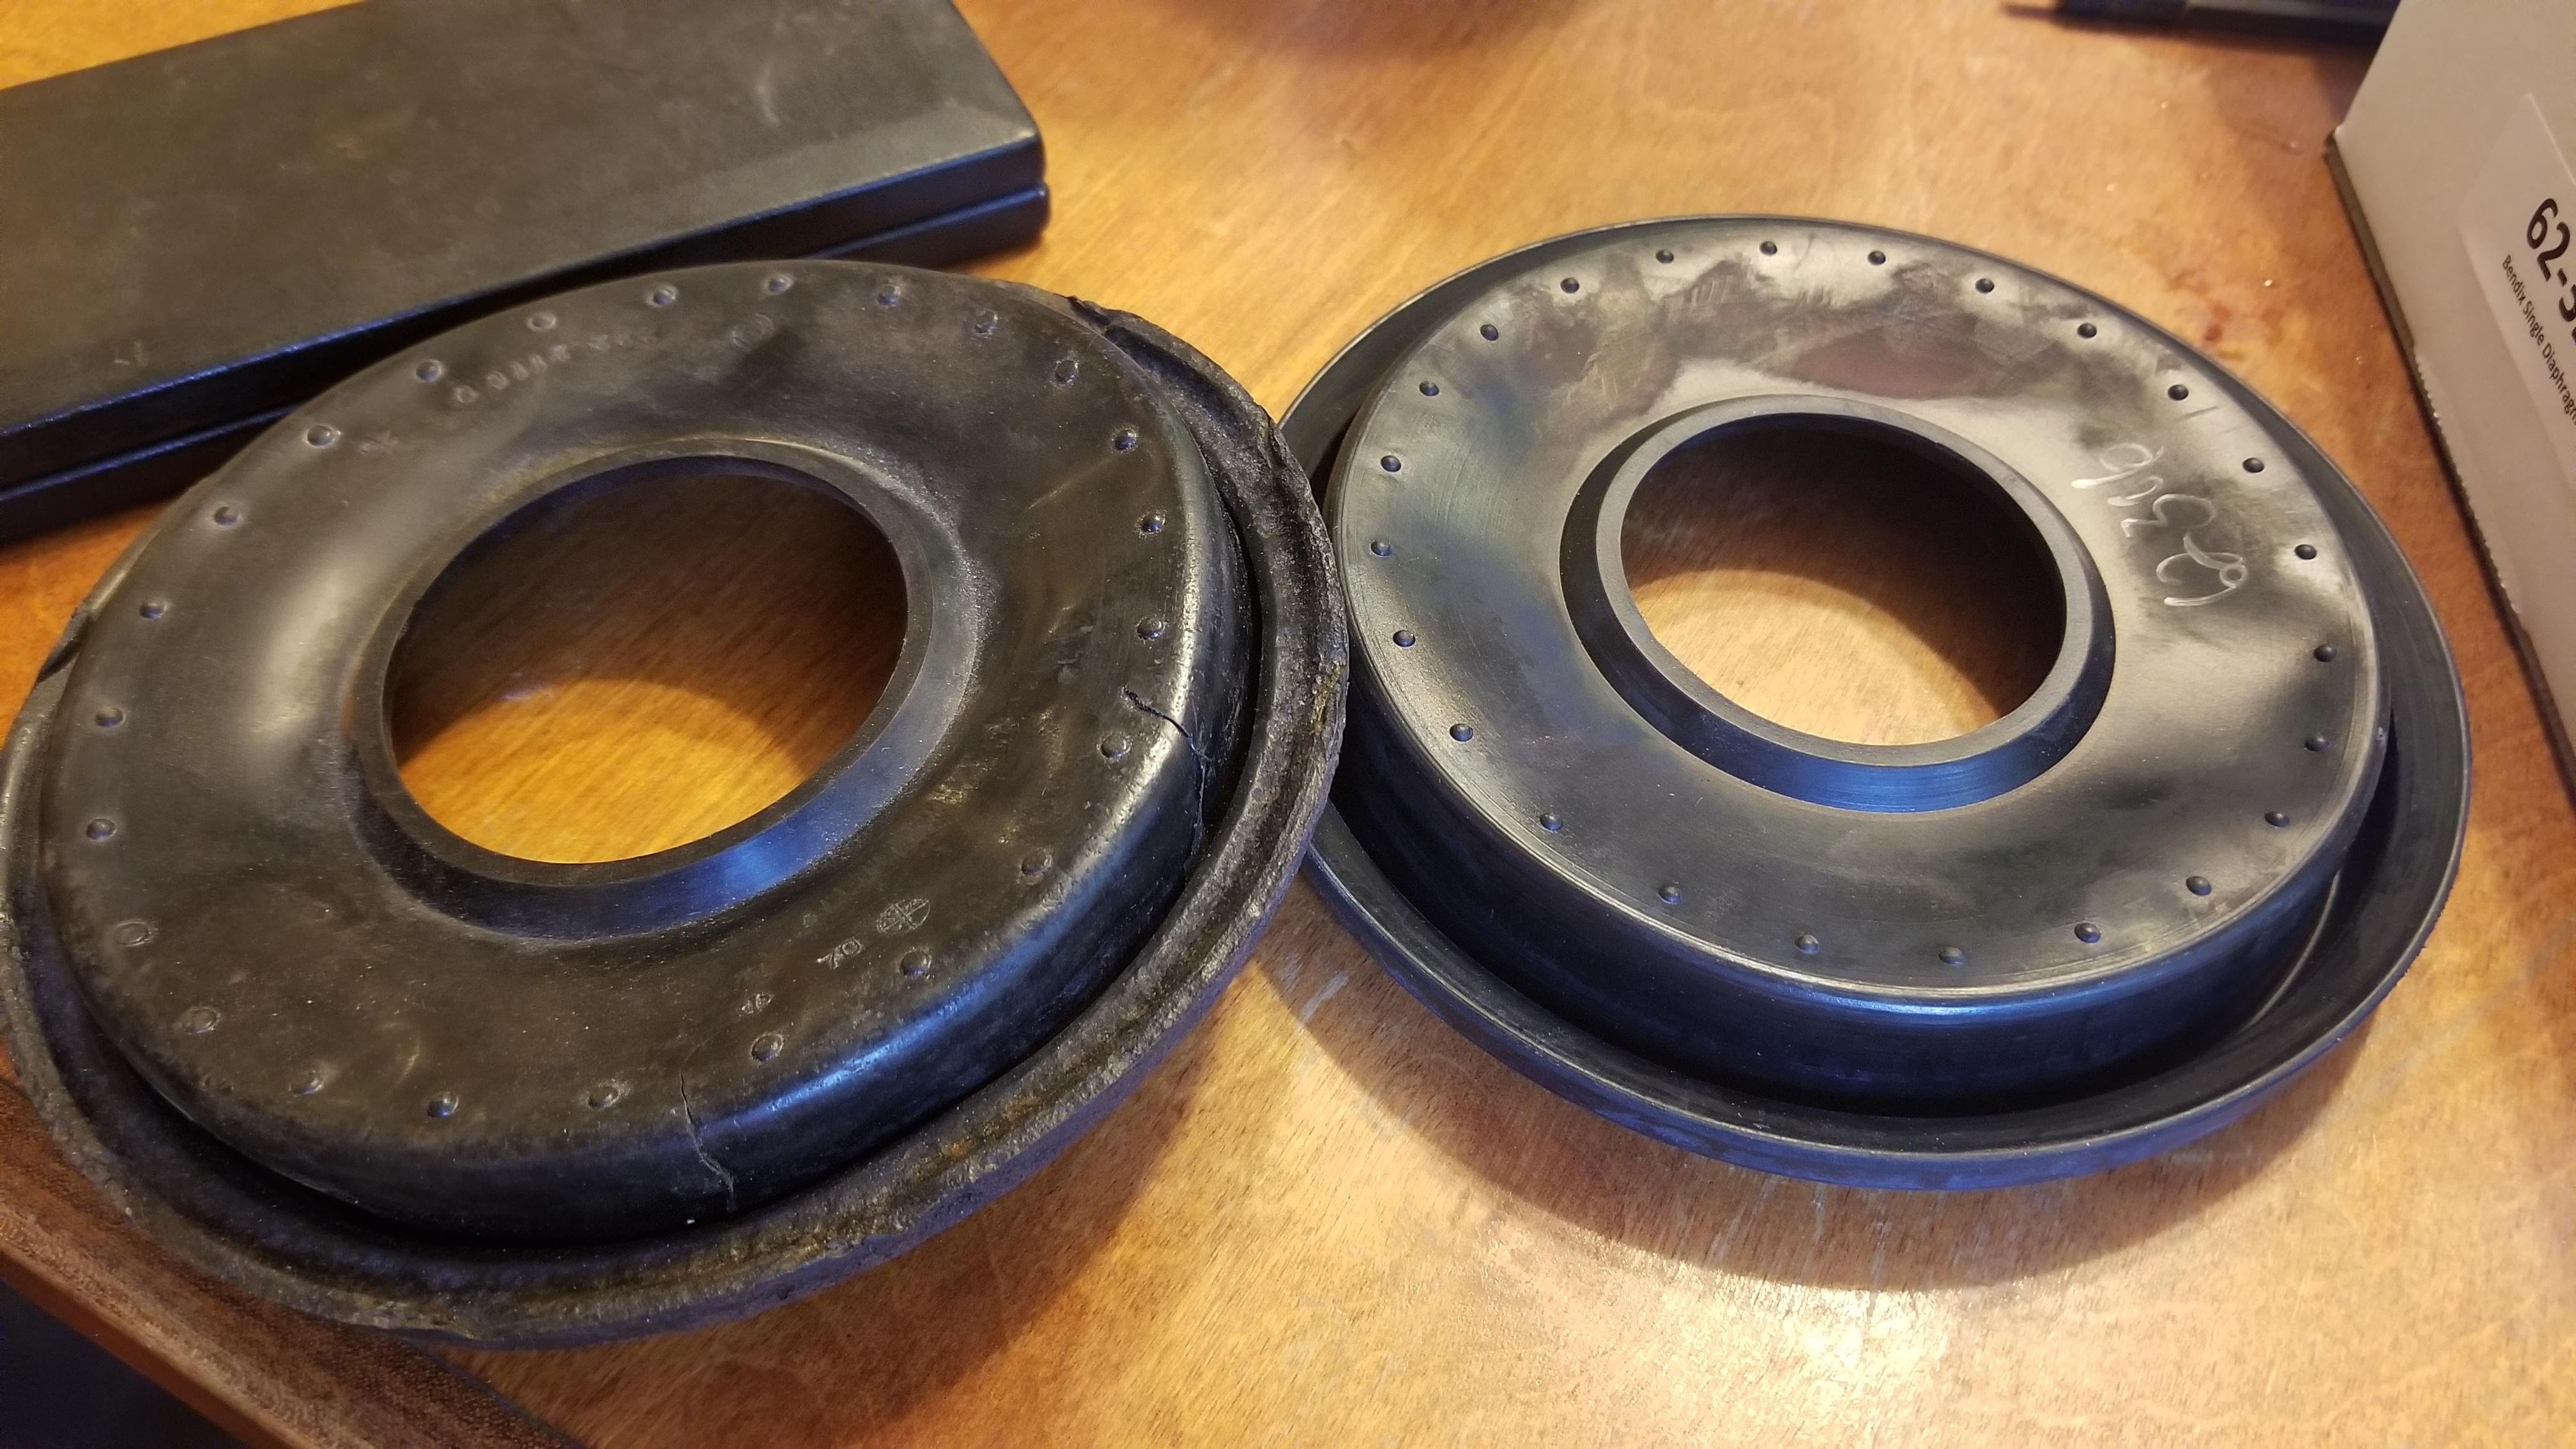
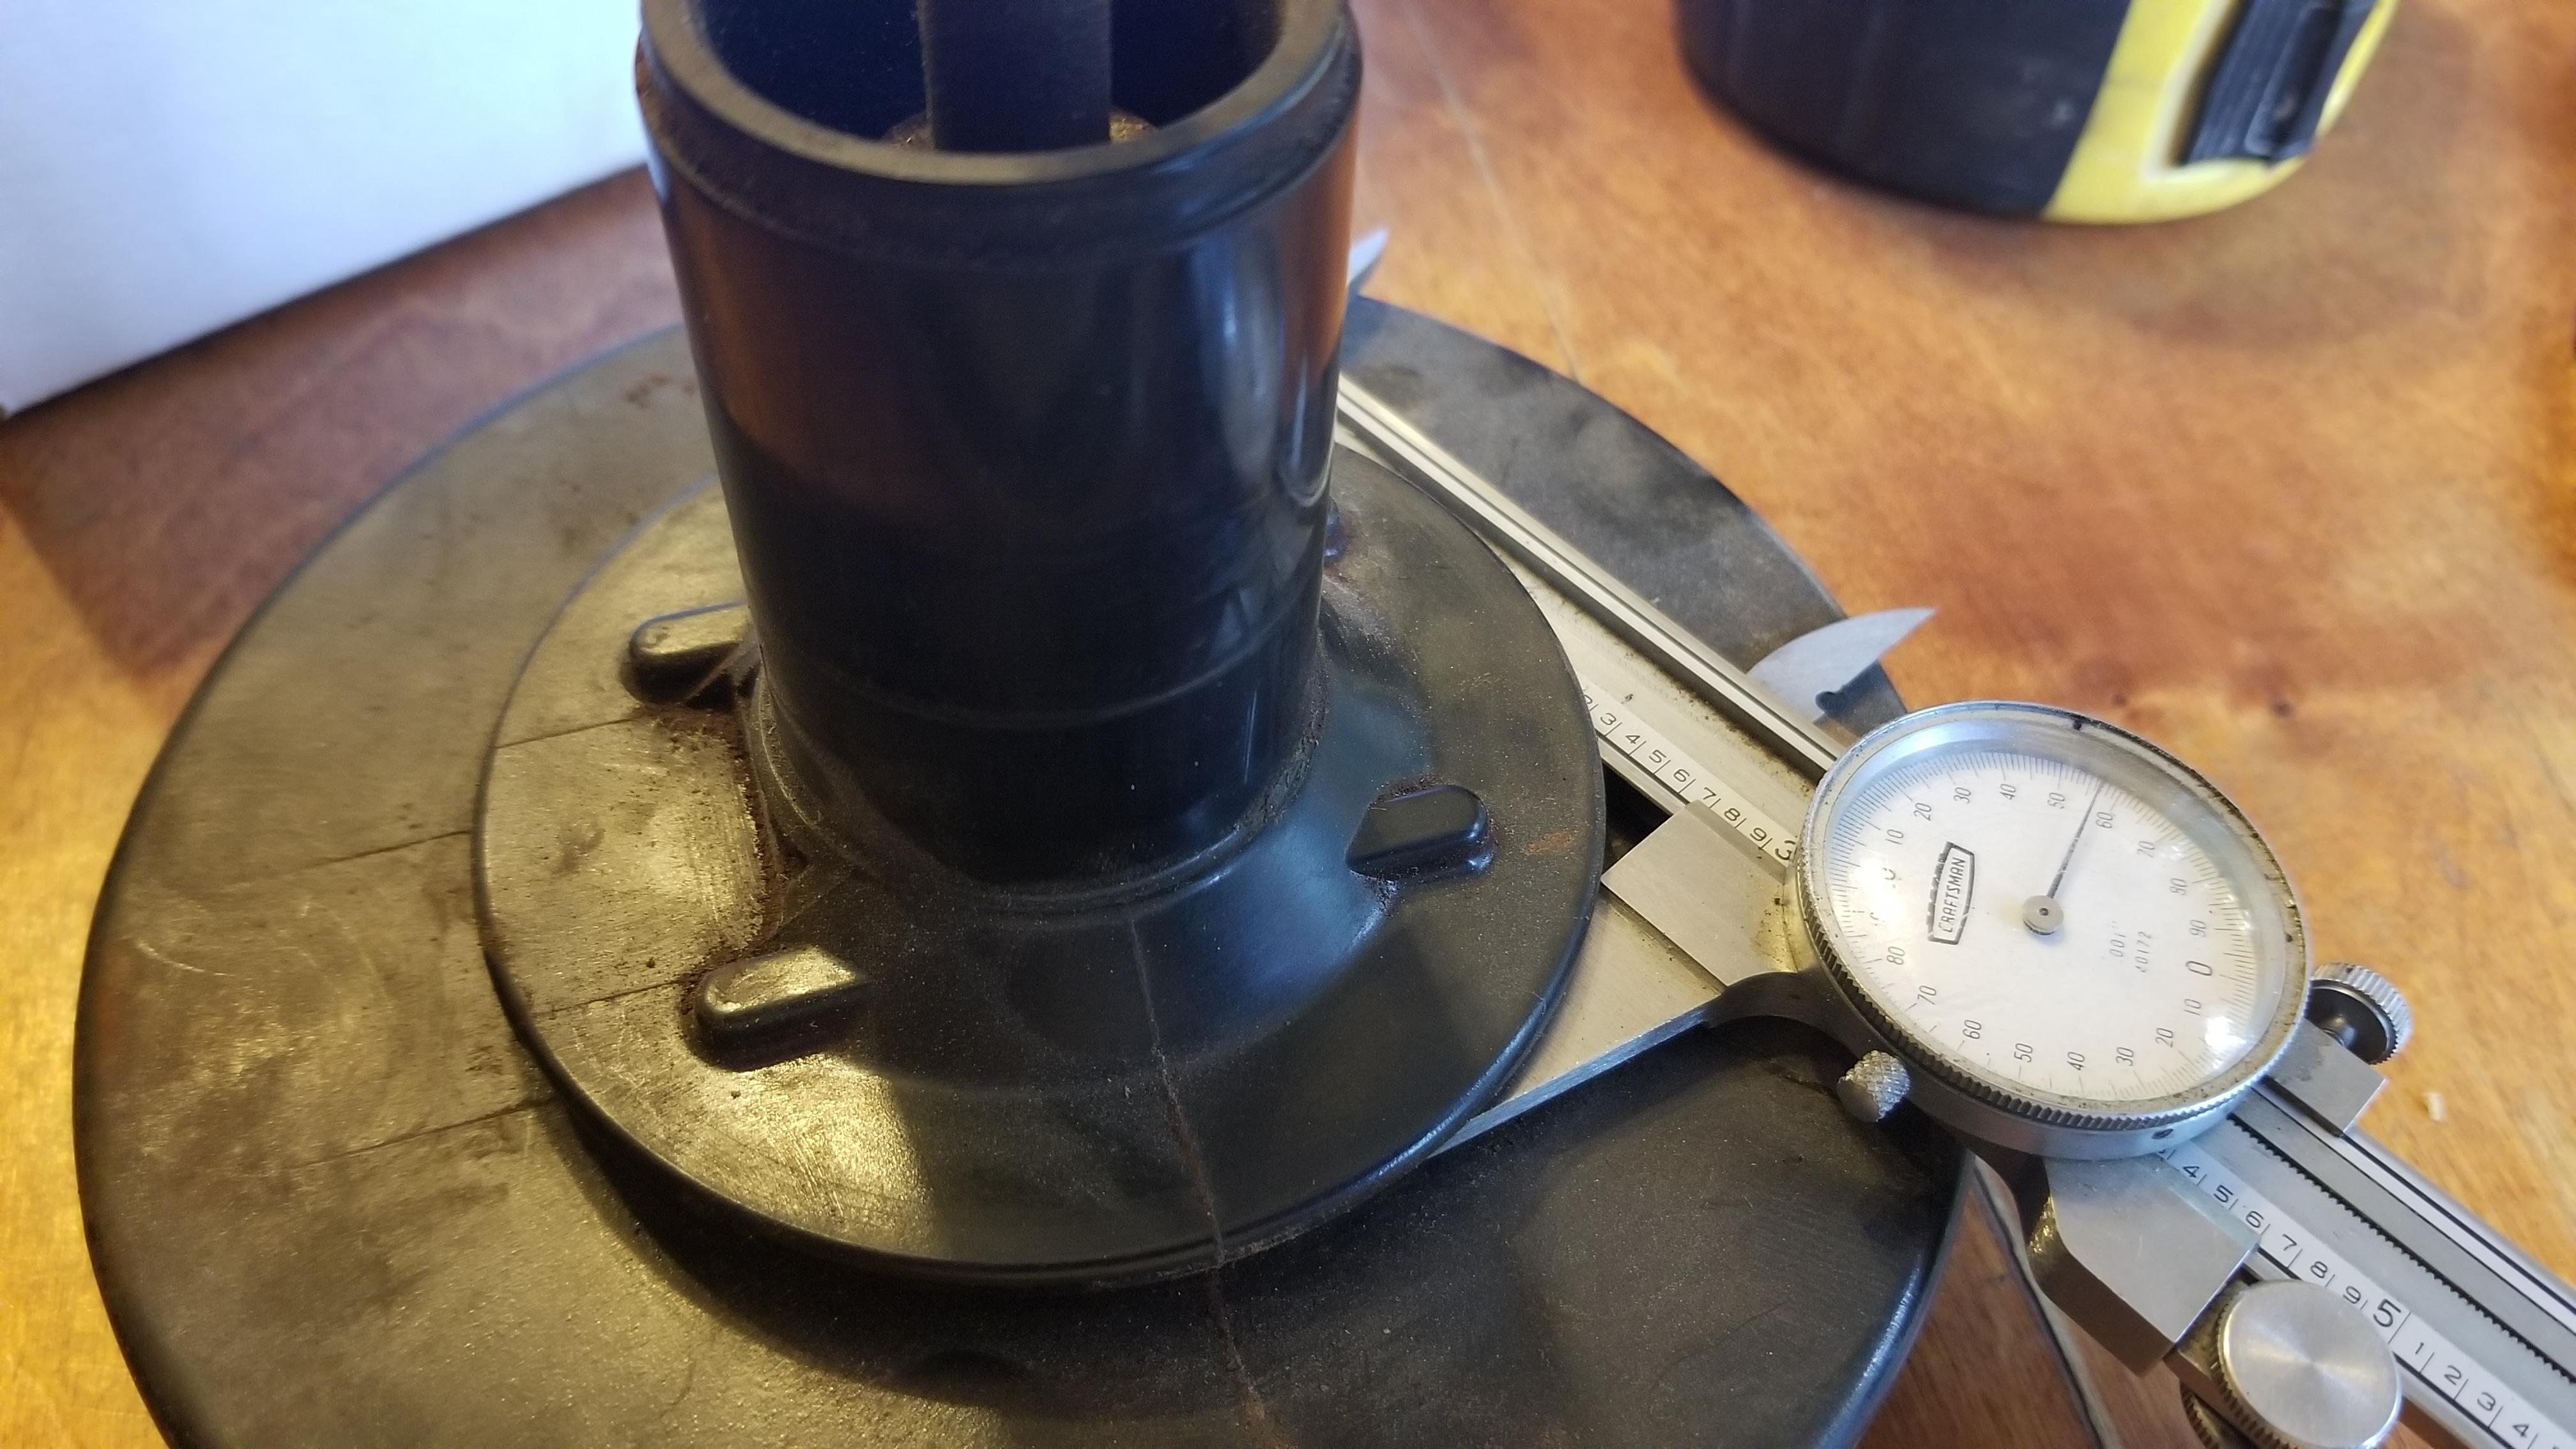
 1 point1 pointWell if this works I’ll follow suit because my car smells of exhaust in the cabin pretty bad . I’m sure I’m getting mild carbon monoxide poisoning to some degree. I do have an extra gas mask from when I was in the military maybe I can just drive around with that on the meantime [emoji23][emoji23][emoji23]1 point1 pointMaybe try without the tape first. Otherwise you wont know if the seal and peel actually worked1 point1 point1 pointMight be able to use the gooey door plastic `3m 08578` that is used to get the plastic liners behind the door-cards to stick... I should do this on my car, i was feeling loopy the other night driving around.1 point1 pointThat "next" person to have to deal with it could be you, whether it is the car you have today or another one down the road. It's always nice to think of the future when doing things.1 point1 pointAll of the gaskets I have removed on old Z's were "stuck" to the body. I would either use something like 3M trim adhesive, or maybe contact cement on the gaskets. Glad to hear the smoke machine worked though. Sealing the leaks is much easier than finding the leaks.1 pointOk! Go Hoover!!!! @240260280 I'll settle up with you in Atlanta So I got the Mustang brake booster kit in from Harmon Classic Brakes today I think that diaphragm is going to work great! I haven't looked through the rest of the kit yet Old diaphragm New diaphragm OD 6-13/16" 6 3/4" ID 2.59" 2.42" Hub OD 2.65" at diaphragm I suspect the ID on the old disc is stretched from having been on the hub for so long They basically look identical except for the tears in the old one and the deformation from having been previously installed
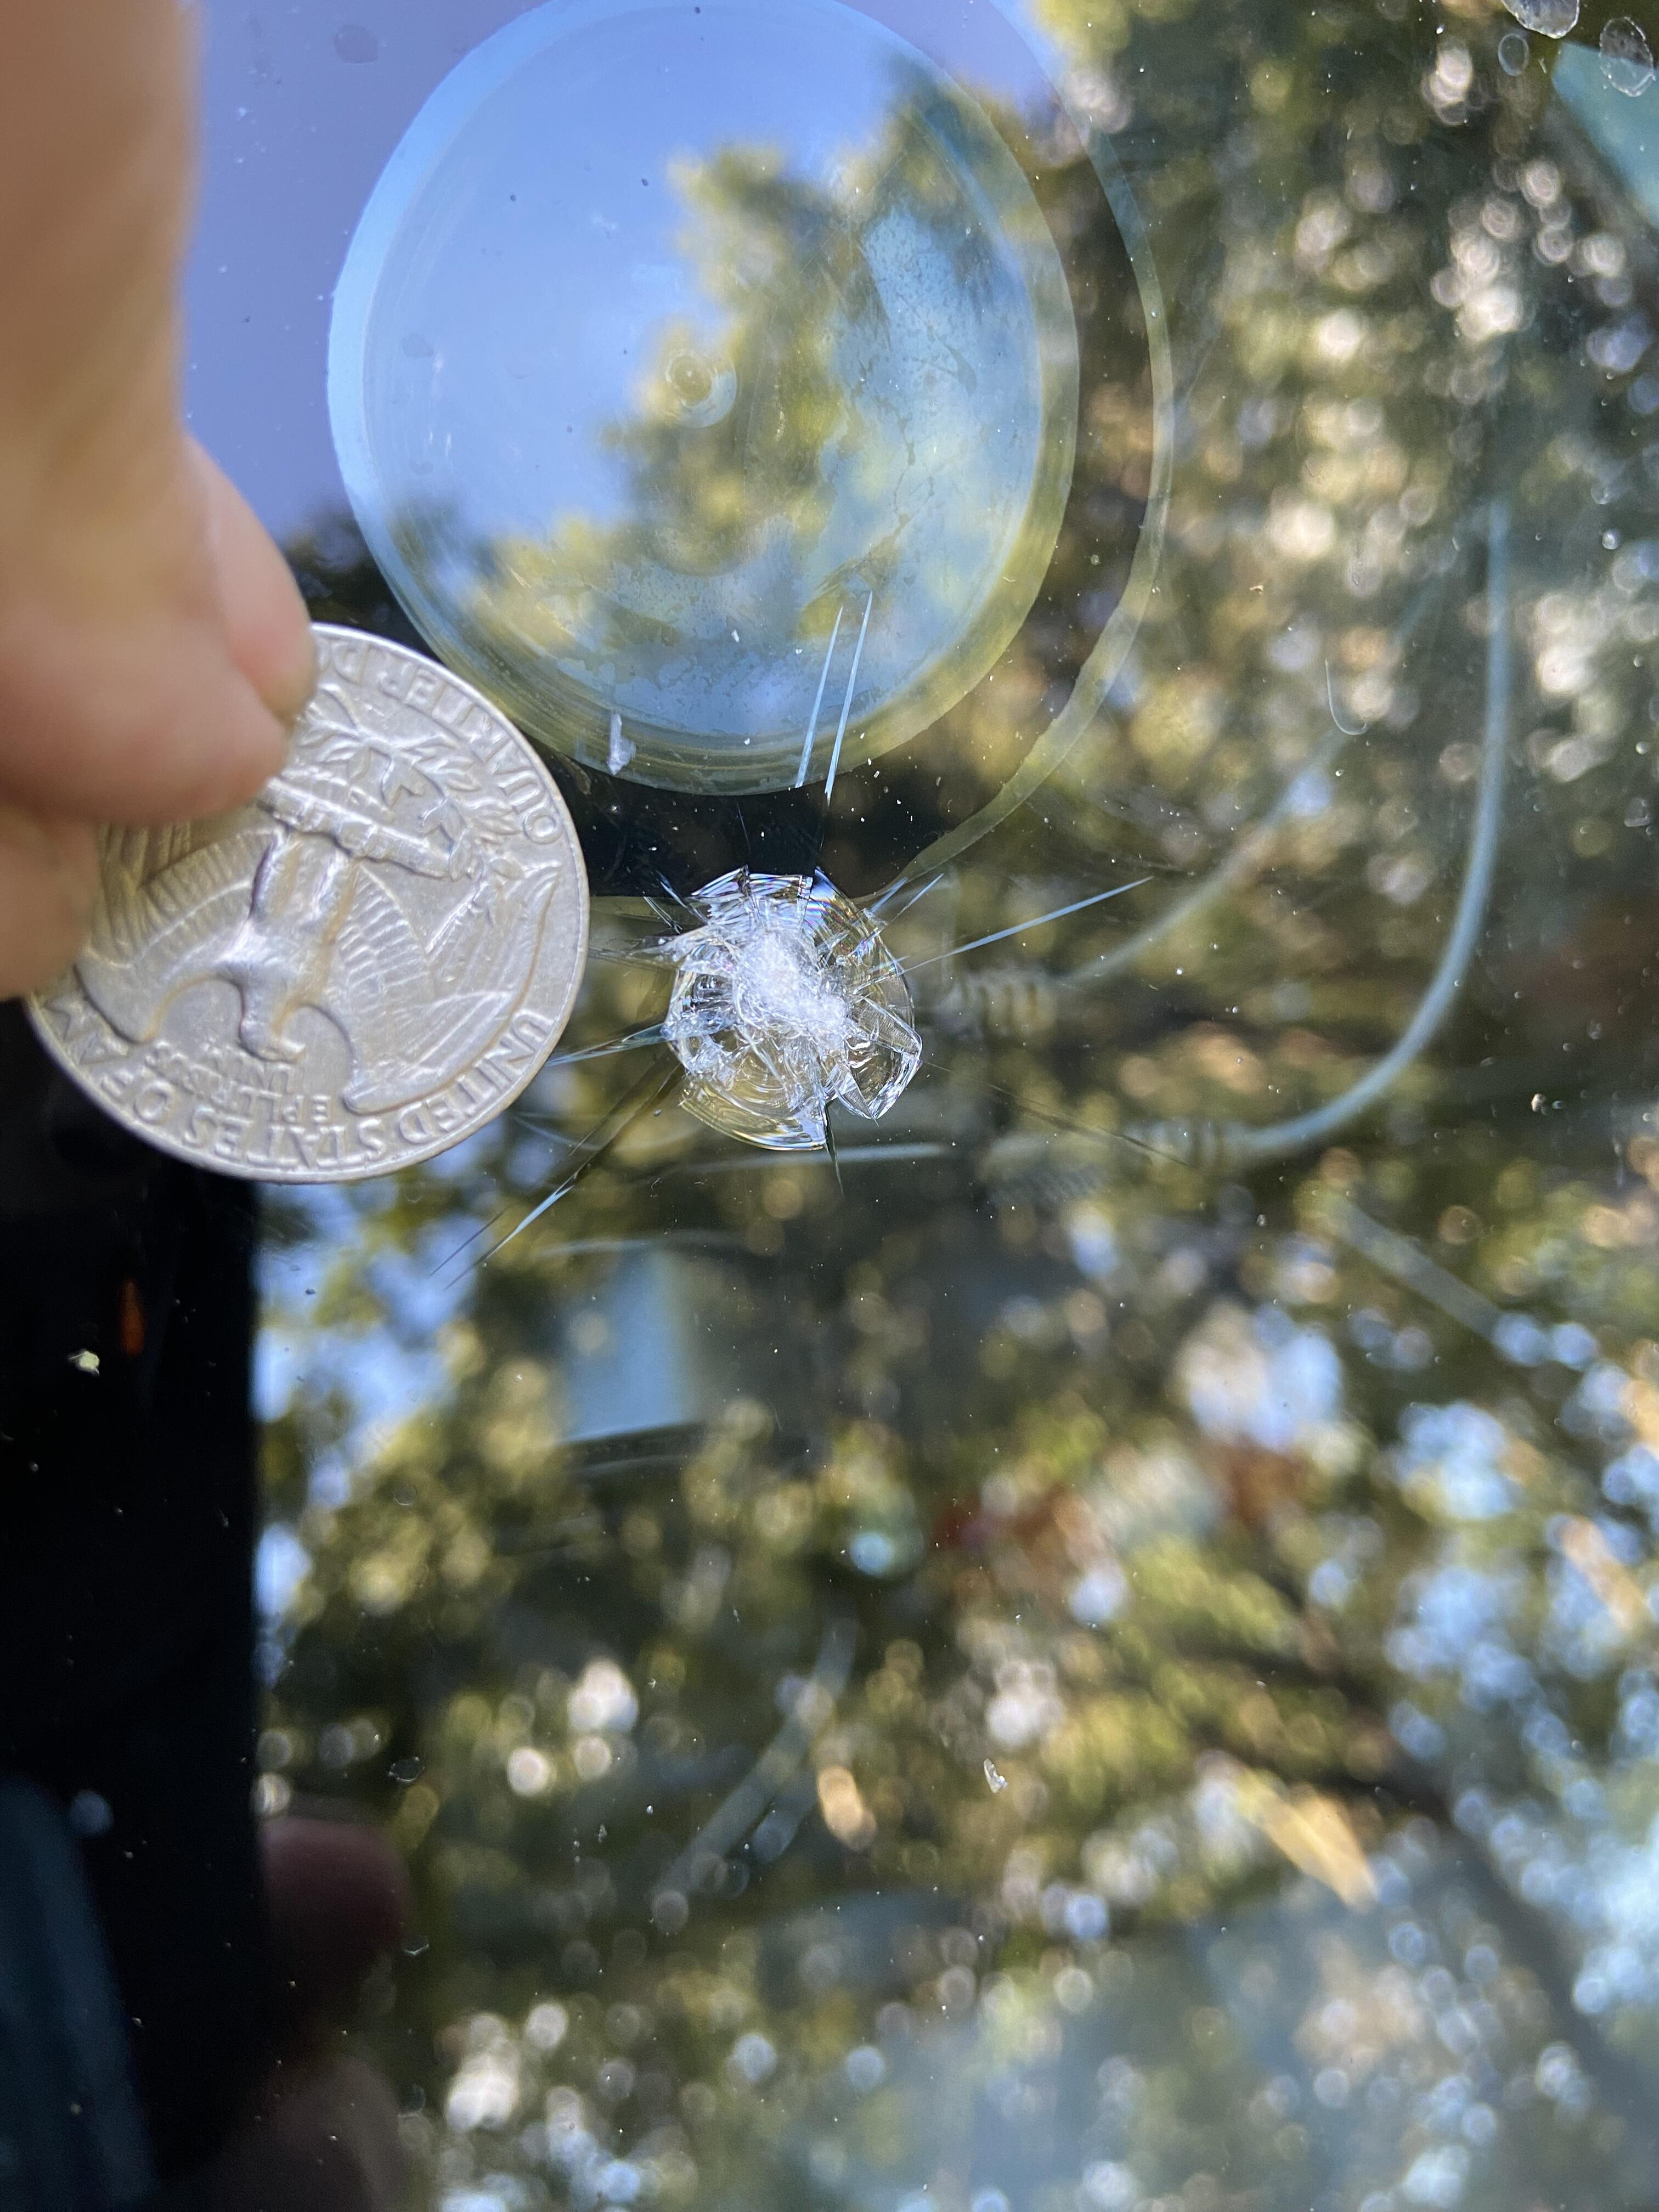
 1 pointI've been very busy with work and have been quiet on this forum for while now, but I still read the posts and still glean important knowledge and laughs from all of you. To my pleasure my Z has run great over the past year without any issues, and as of late, been driving it about 3 to four days a week. It's turned out to be a good solid car. Today, while driving home, I caught nice rock on the windshield from oncoming traffic. I saw it coming and could do nothing.🥴 I'm hoping it's repairable so I'm taking it to a windshield repair place ASAP so it won't spread.
 0 points


Important Information
By using this site, you agree to our Privacy Policy and Guidelines. We have placed cookies on your device to help make this website better. You can adjust your cookie settings, otherwise we'll assume you're okay to continue.