


Leaderboard
-
Patcon
 Subscriber
 9Points11,142Posts
 -

siteunseen
Free Member8Points15,115Posts -

Av8ferg
Free Member6Points1,538Posts -
Captain Obvious
Free Member4Points10,081Posts


Popular Content
Showing content with the highest reputation on 10/31/2021 in all areas
-
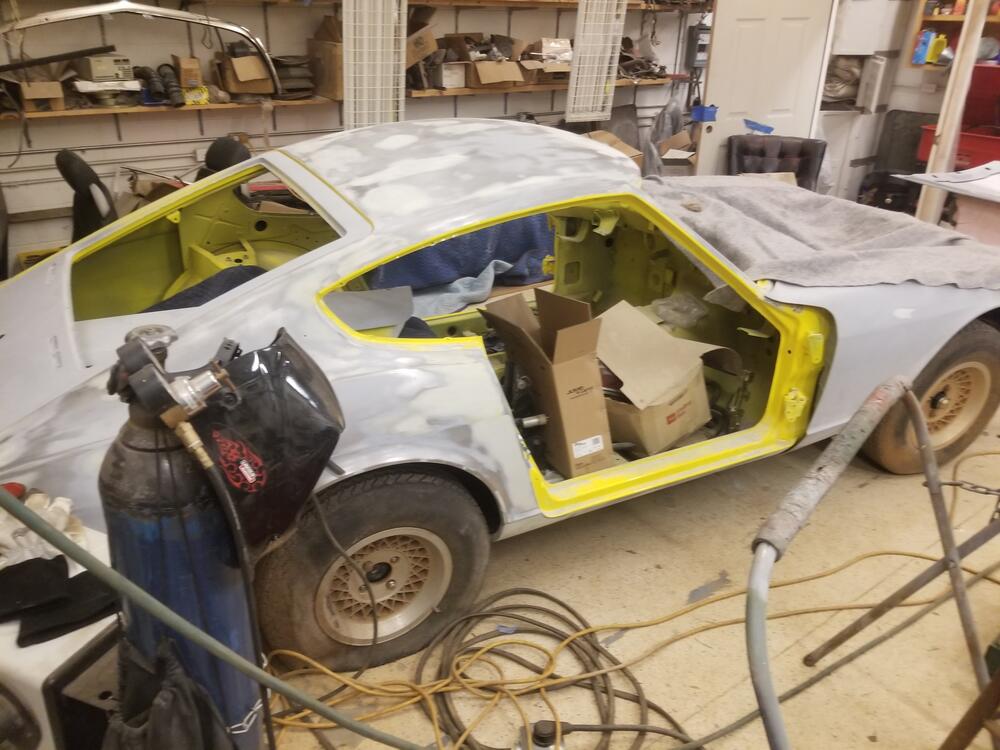
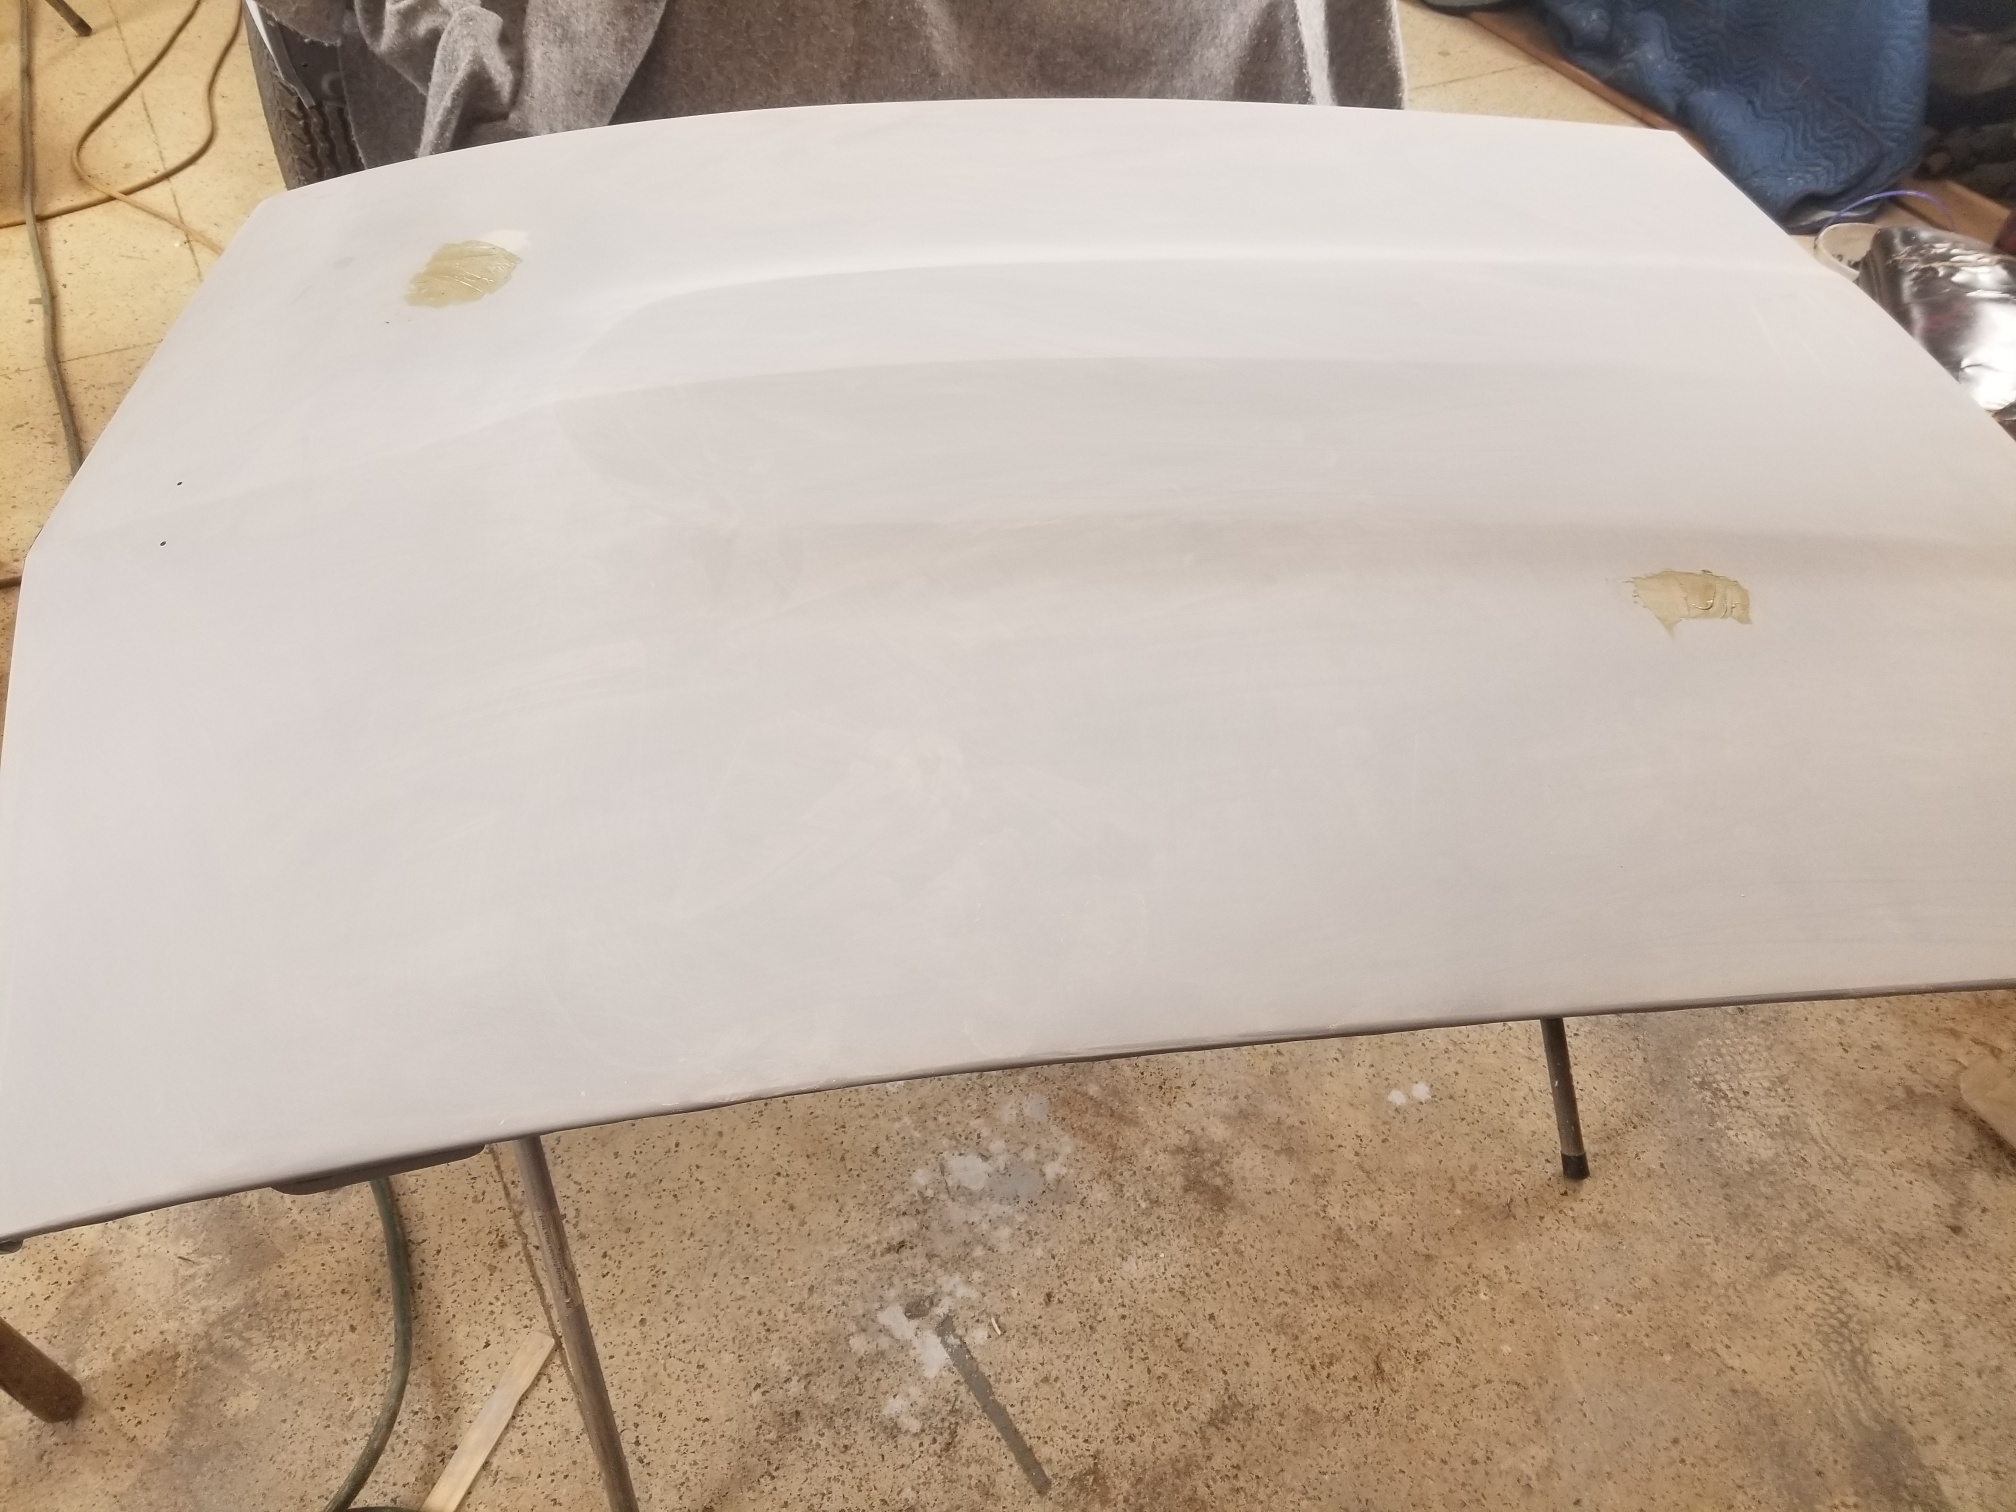
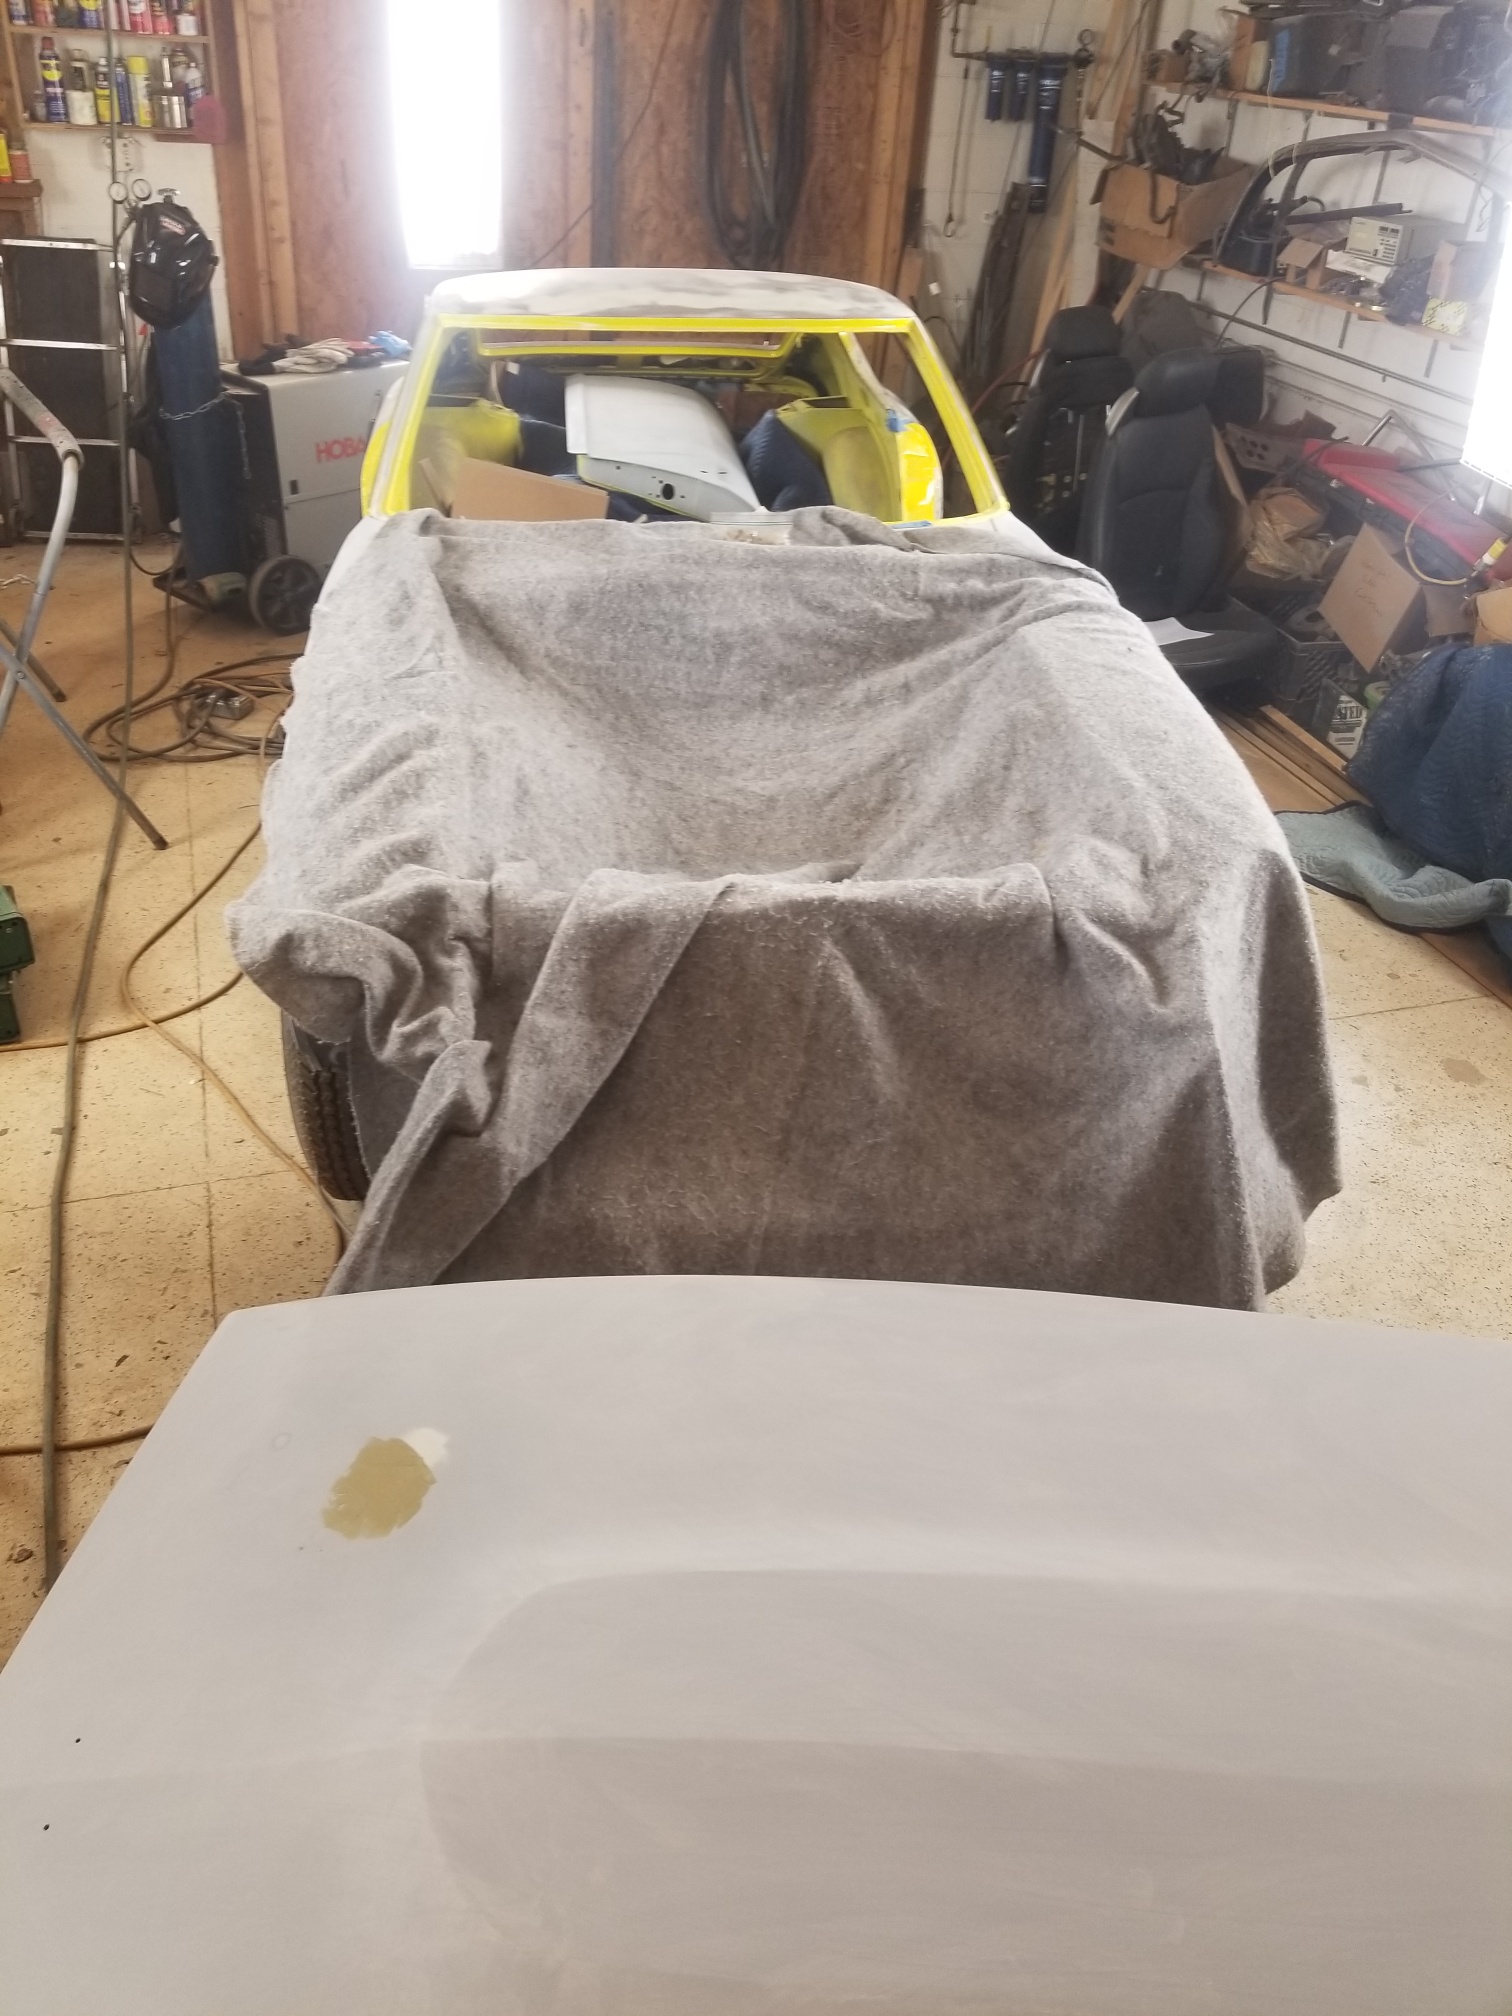
6 pointsBlocking panels and wet sanding to 600 grit I have a number of them ready for color. Most of them were pretty close to ready before I got pushed out of the shop by the Goon a while back. I may roll the chassis outside tomorrow and shoot some epoxy on it. We'll see


 6 points
 -
5 pointsChas, thank you for the compliment. I wanted to get my wiring squared away because I’ve read on this forum how many issues are tied to bad electrical connections. Part of my motivation is just wanting to get it right and not be stuck on the road somewhere. I don’t think I’ve told anyone on this forum that before my career as a military pilot I was an avionics mechanic for the US Air Force. I used to work on A-10s. The schooling was about 18 months where I learned about electrical theory, radios, navigation and modern avionics systems. I built many cables during that 4 year period working on A-10’s. I will say Captain Obvious is far far ahead of me in this area, he’d have been my boss. I was just a pion in my unit so I wasn’t doing serious repairs the new and junior guys like me did the wizz ant work like building cables and replacing cockpit instruments. The senior guys replaced and repaired cards, benched check boxes with o-scopes and did the diagnostics. So, I snipped all the connections on my harness in the engine bay and soldered on new ones. I then put heat shrink covers on each weld followed buy a larger shrink wrap to cover both wires. I then wrapped the cable in a wire loom, to help protect from heat and chafing. Here is a link to the loom. https://www.amazon.com/gp/product/B07FW672R7/ref=ppx_yo_dt_b_search_asin_title?ie=UTF8&psc=1 For the smaller wires I used a different wire cover material. You this on new cars and something I picked up at the local auto parts store. It’s an accordion looking plastic sleeve. I terminated all the covers ends with a small zip tie. Cliff, thanks….without all the help on this forum I would have probably lost motivation due to frustration and sold the car at this point without all the help on this forum. I haven’t met most of you but I still consider you guy friends and hope to continue the relationship. It’s not just cars, but this type community is healthy and continues to make me a better person because it allows me to get other perspectives and viewpoints, I hope I’ve provided the same. Captain Obvious and I have spoken on this topic. I absolutely will pay if forward. My knowledge is still on the apprentice level but willing to help when I can. Bruce, thanks for the clear explanations on my latest questions. Looks like I need to pull my AFM back off to get the spring on. Yarb…thanks as well for the help.5 points
-
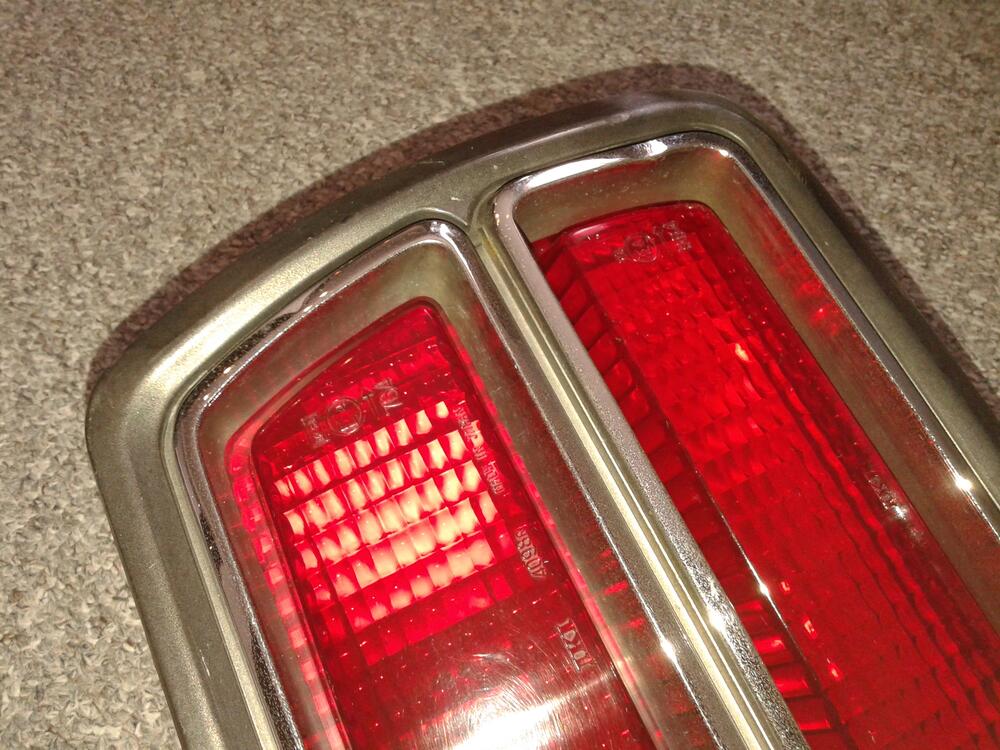
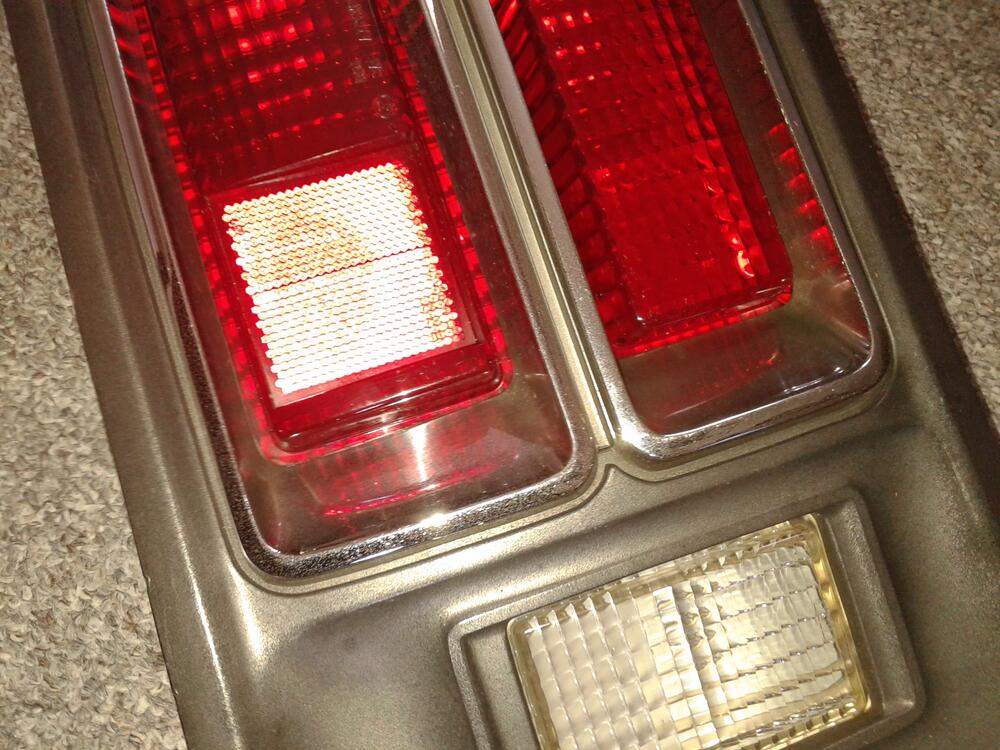
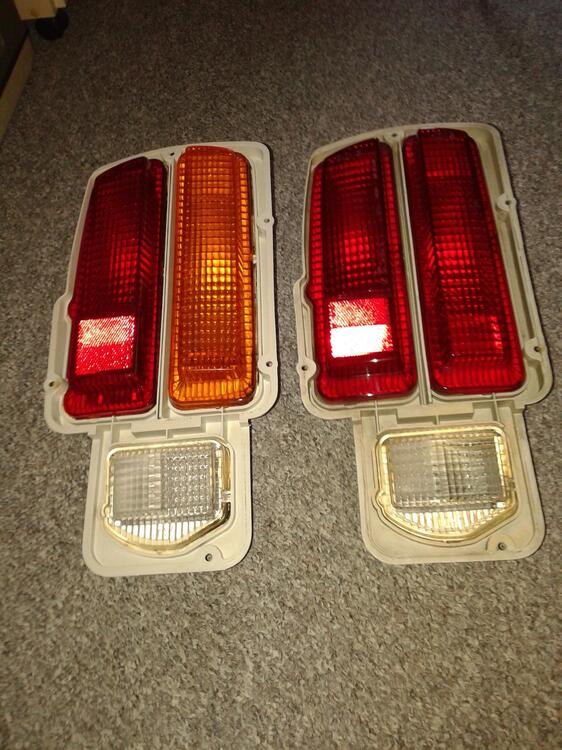
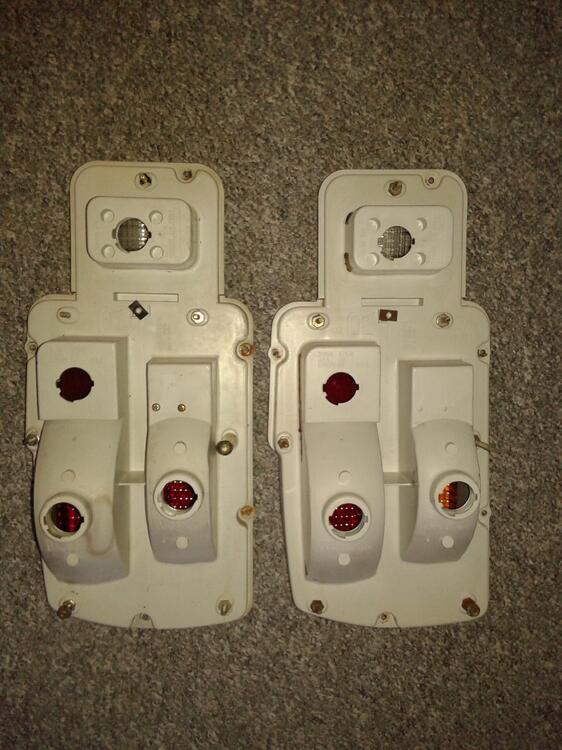
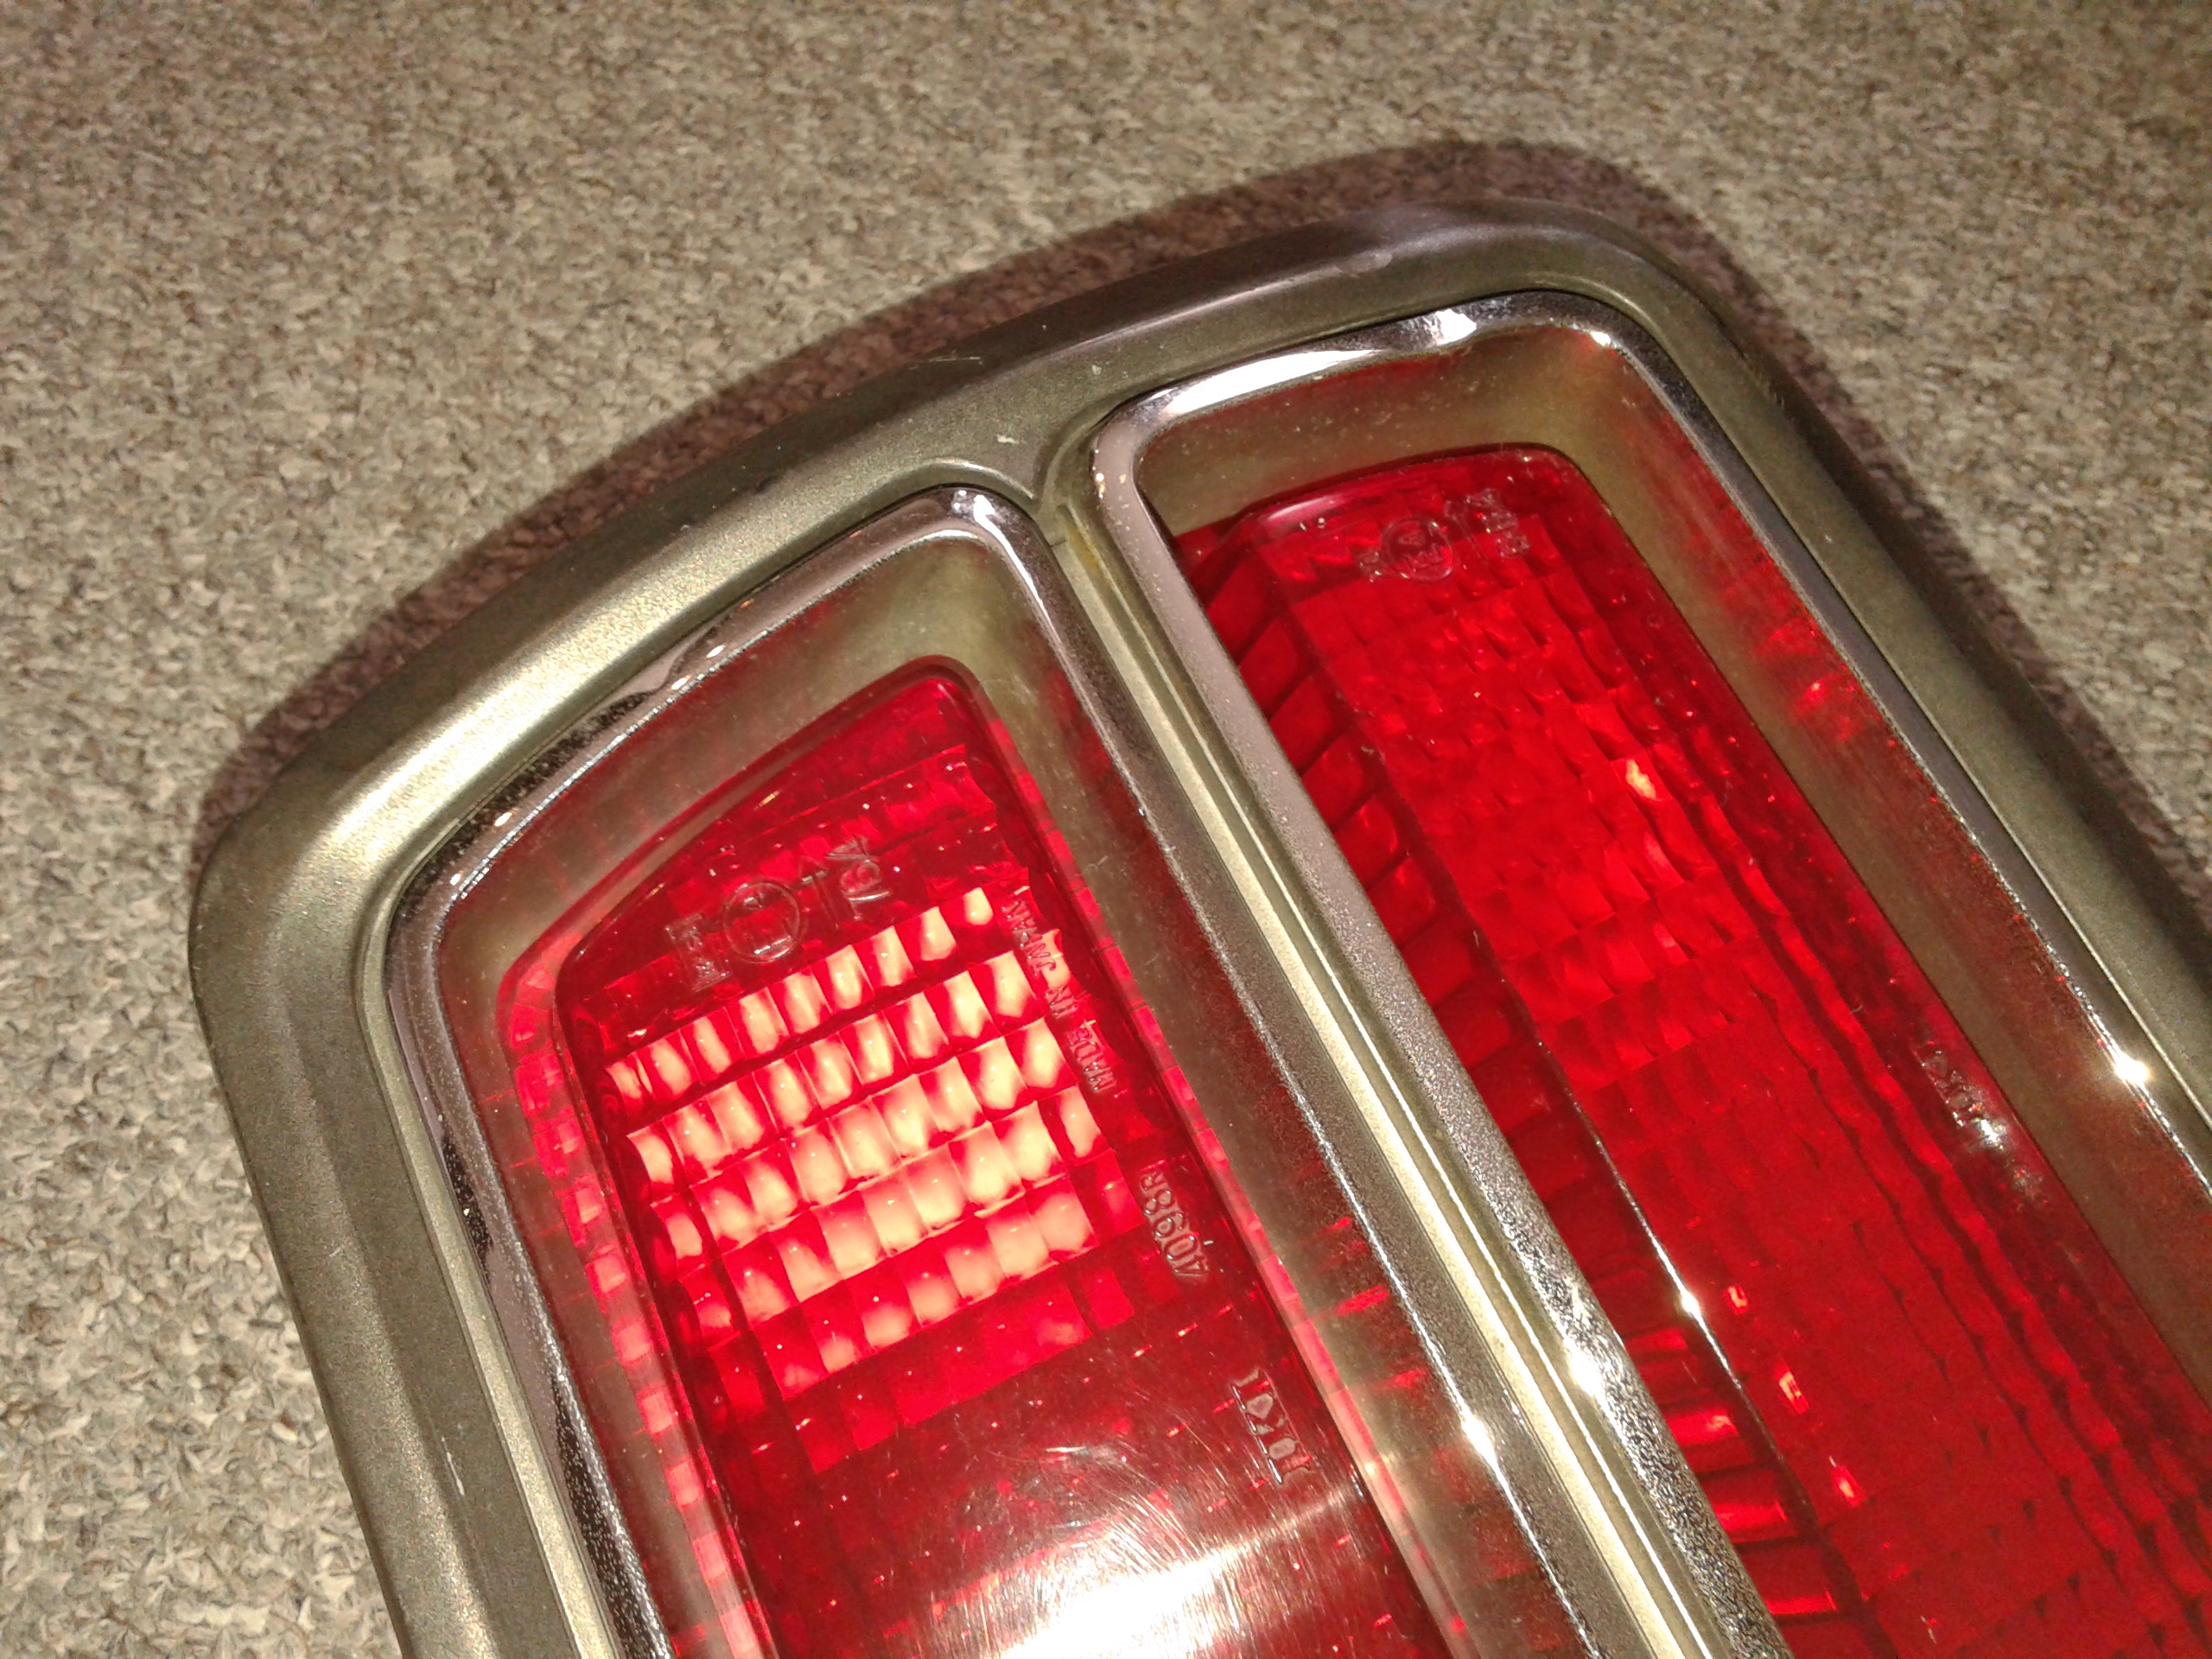
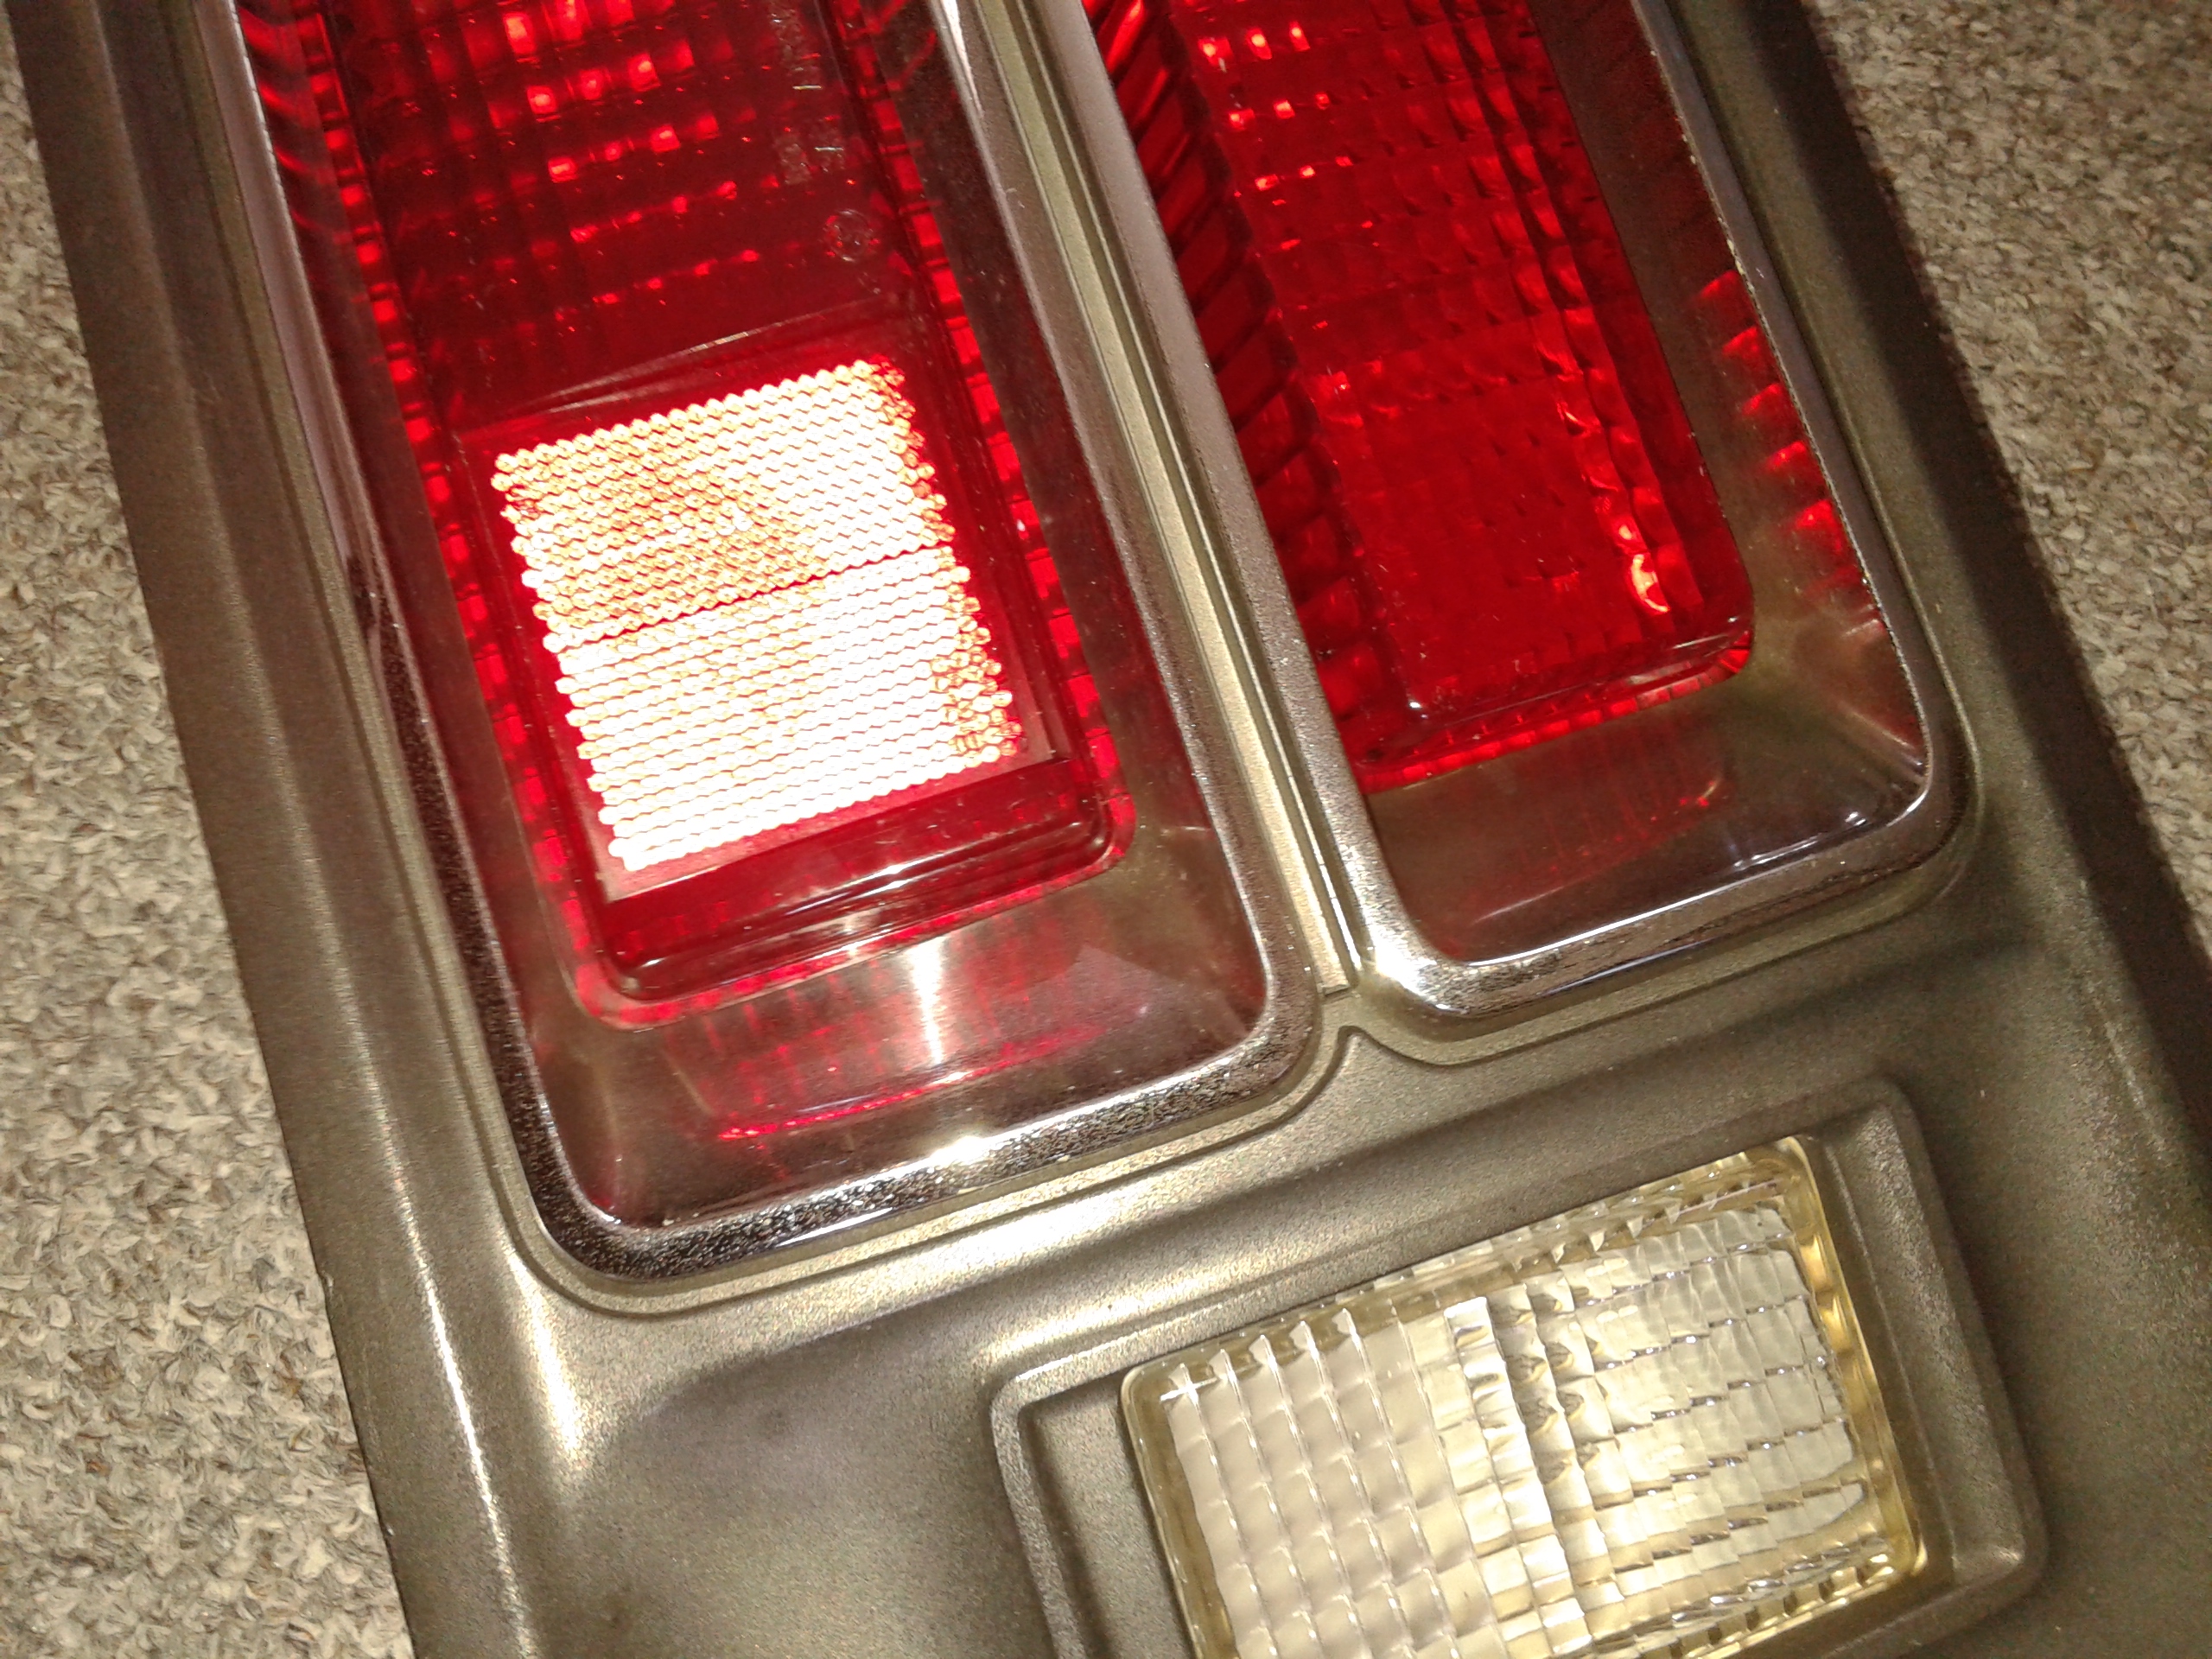
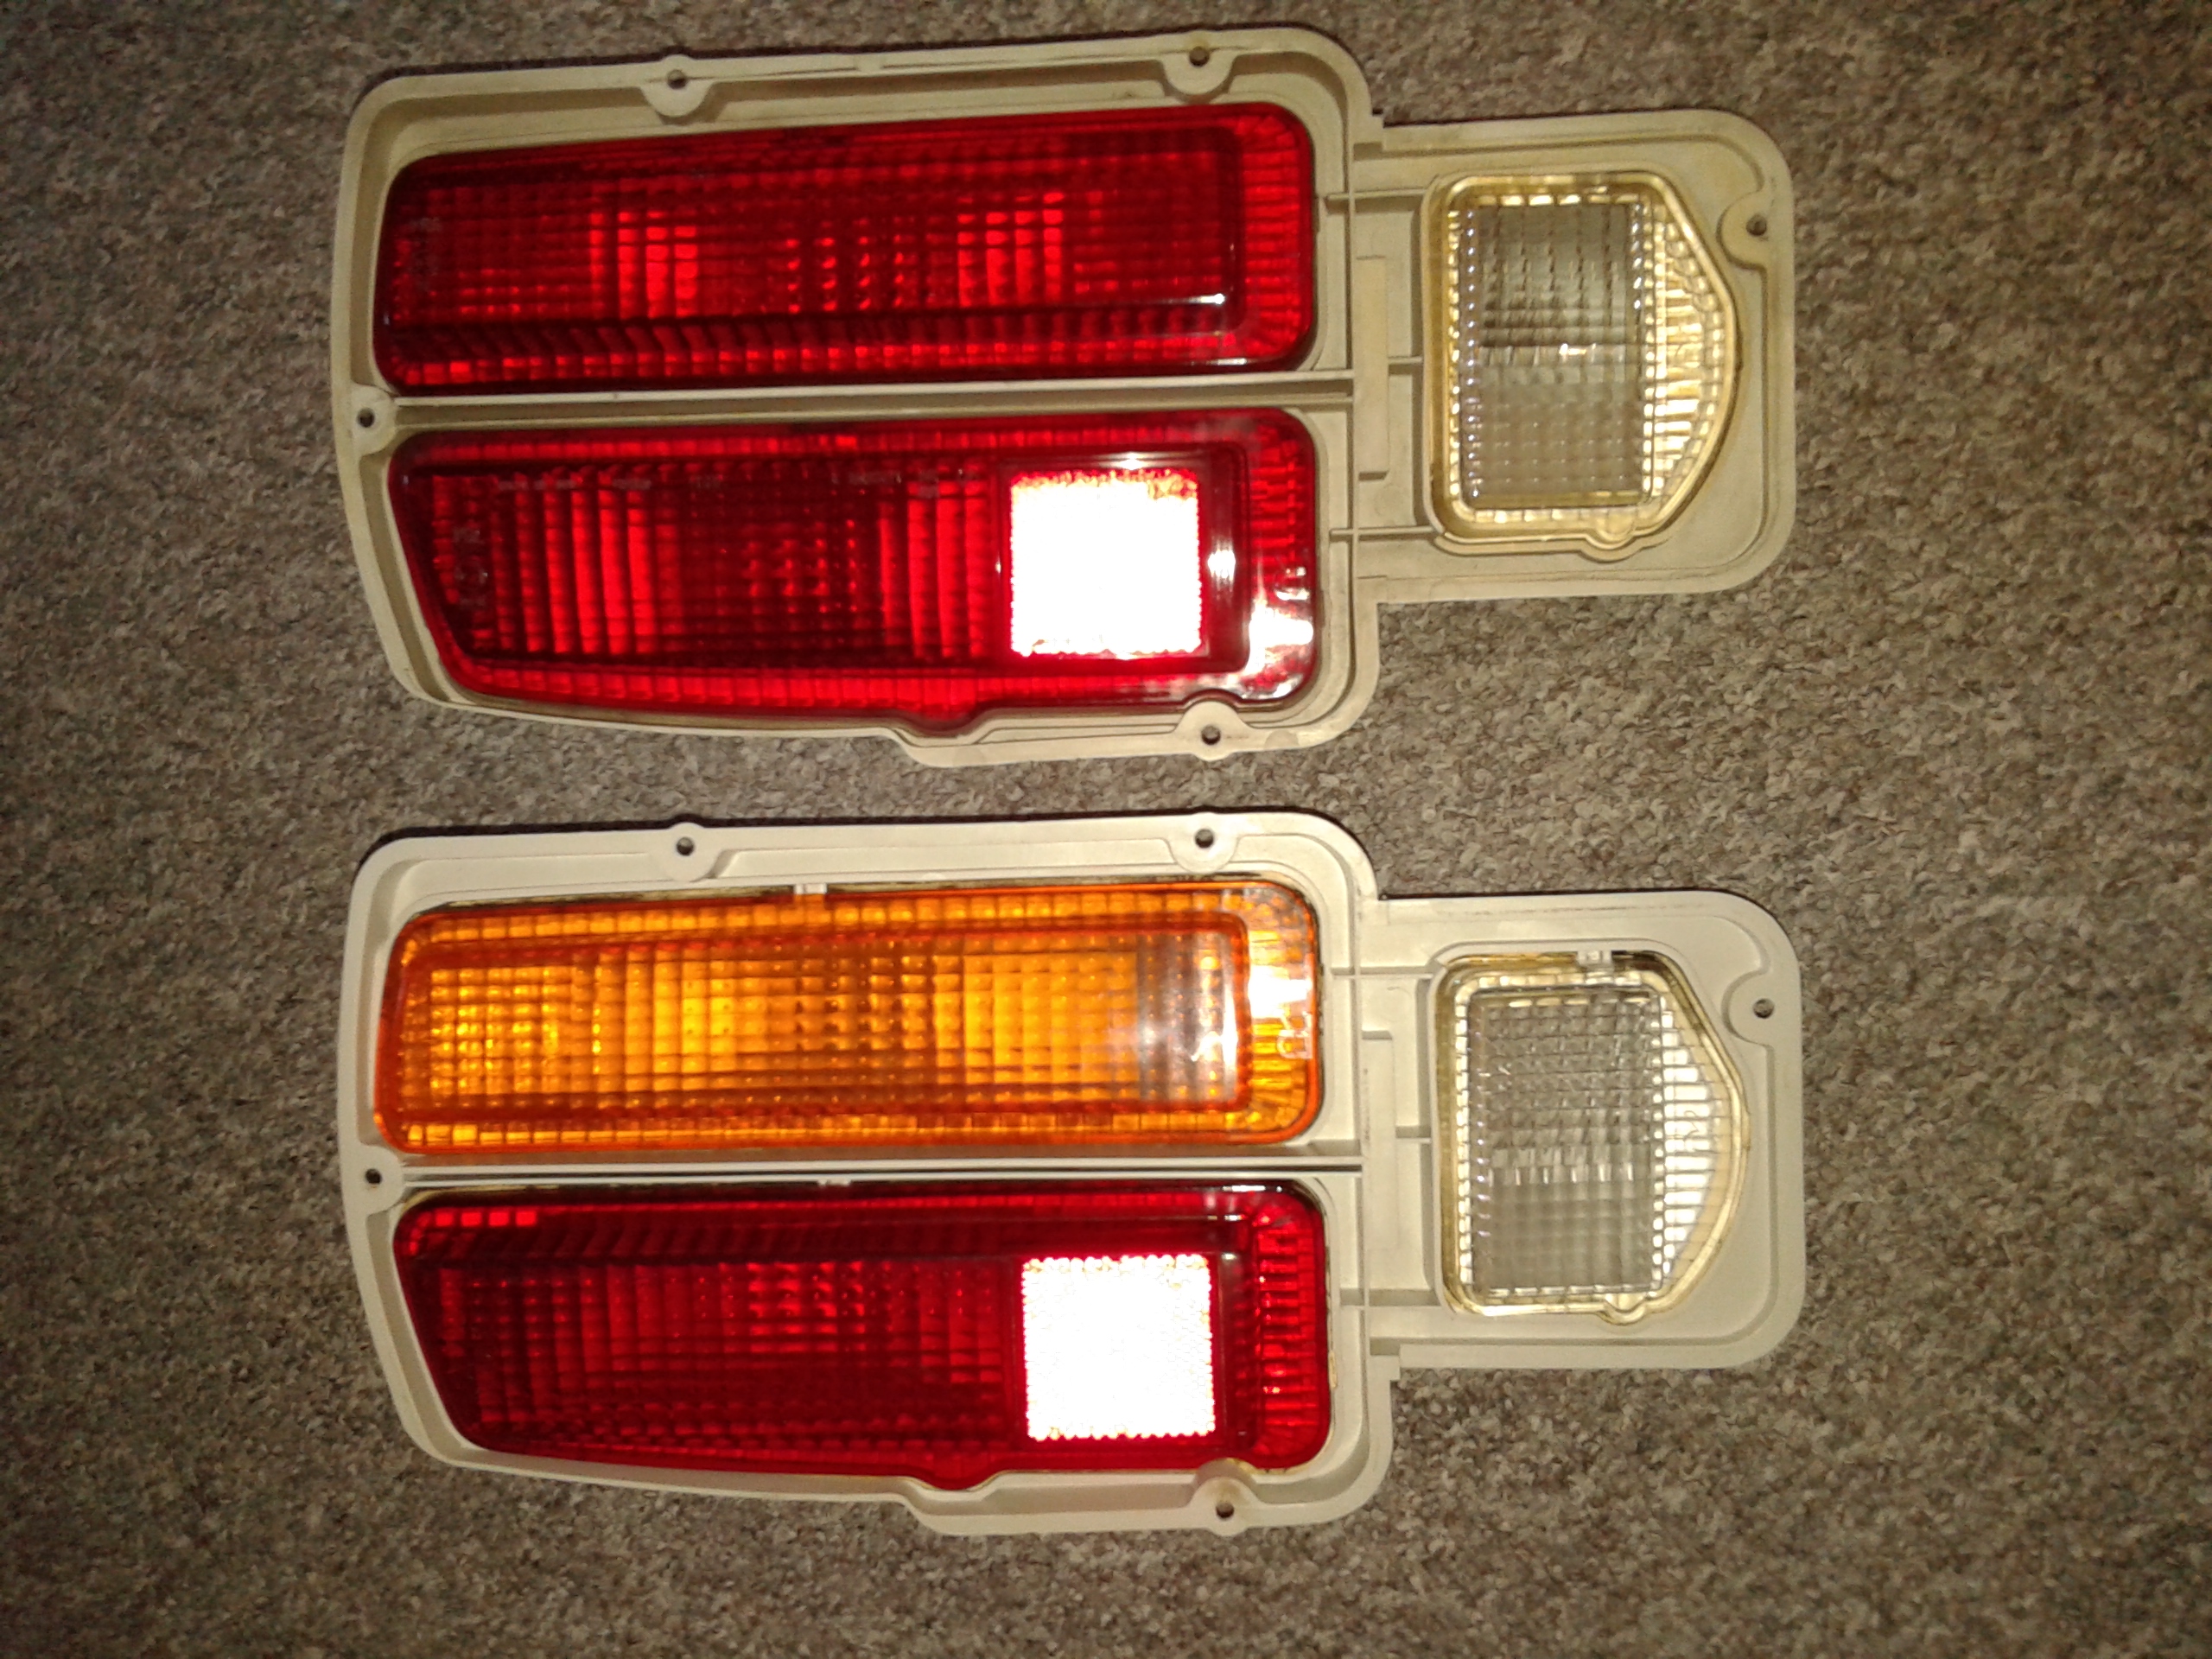
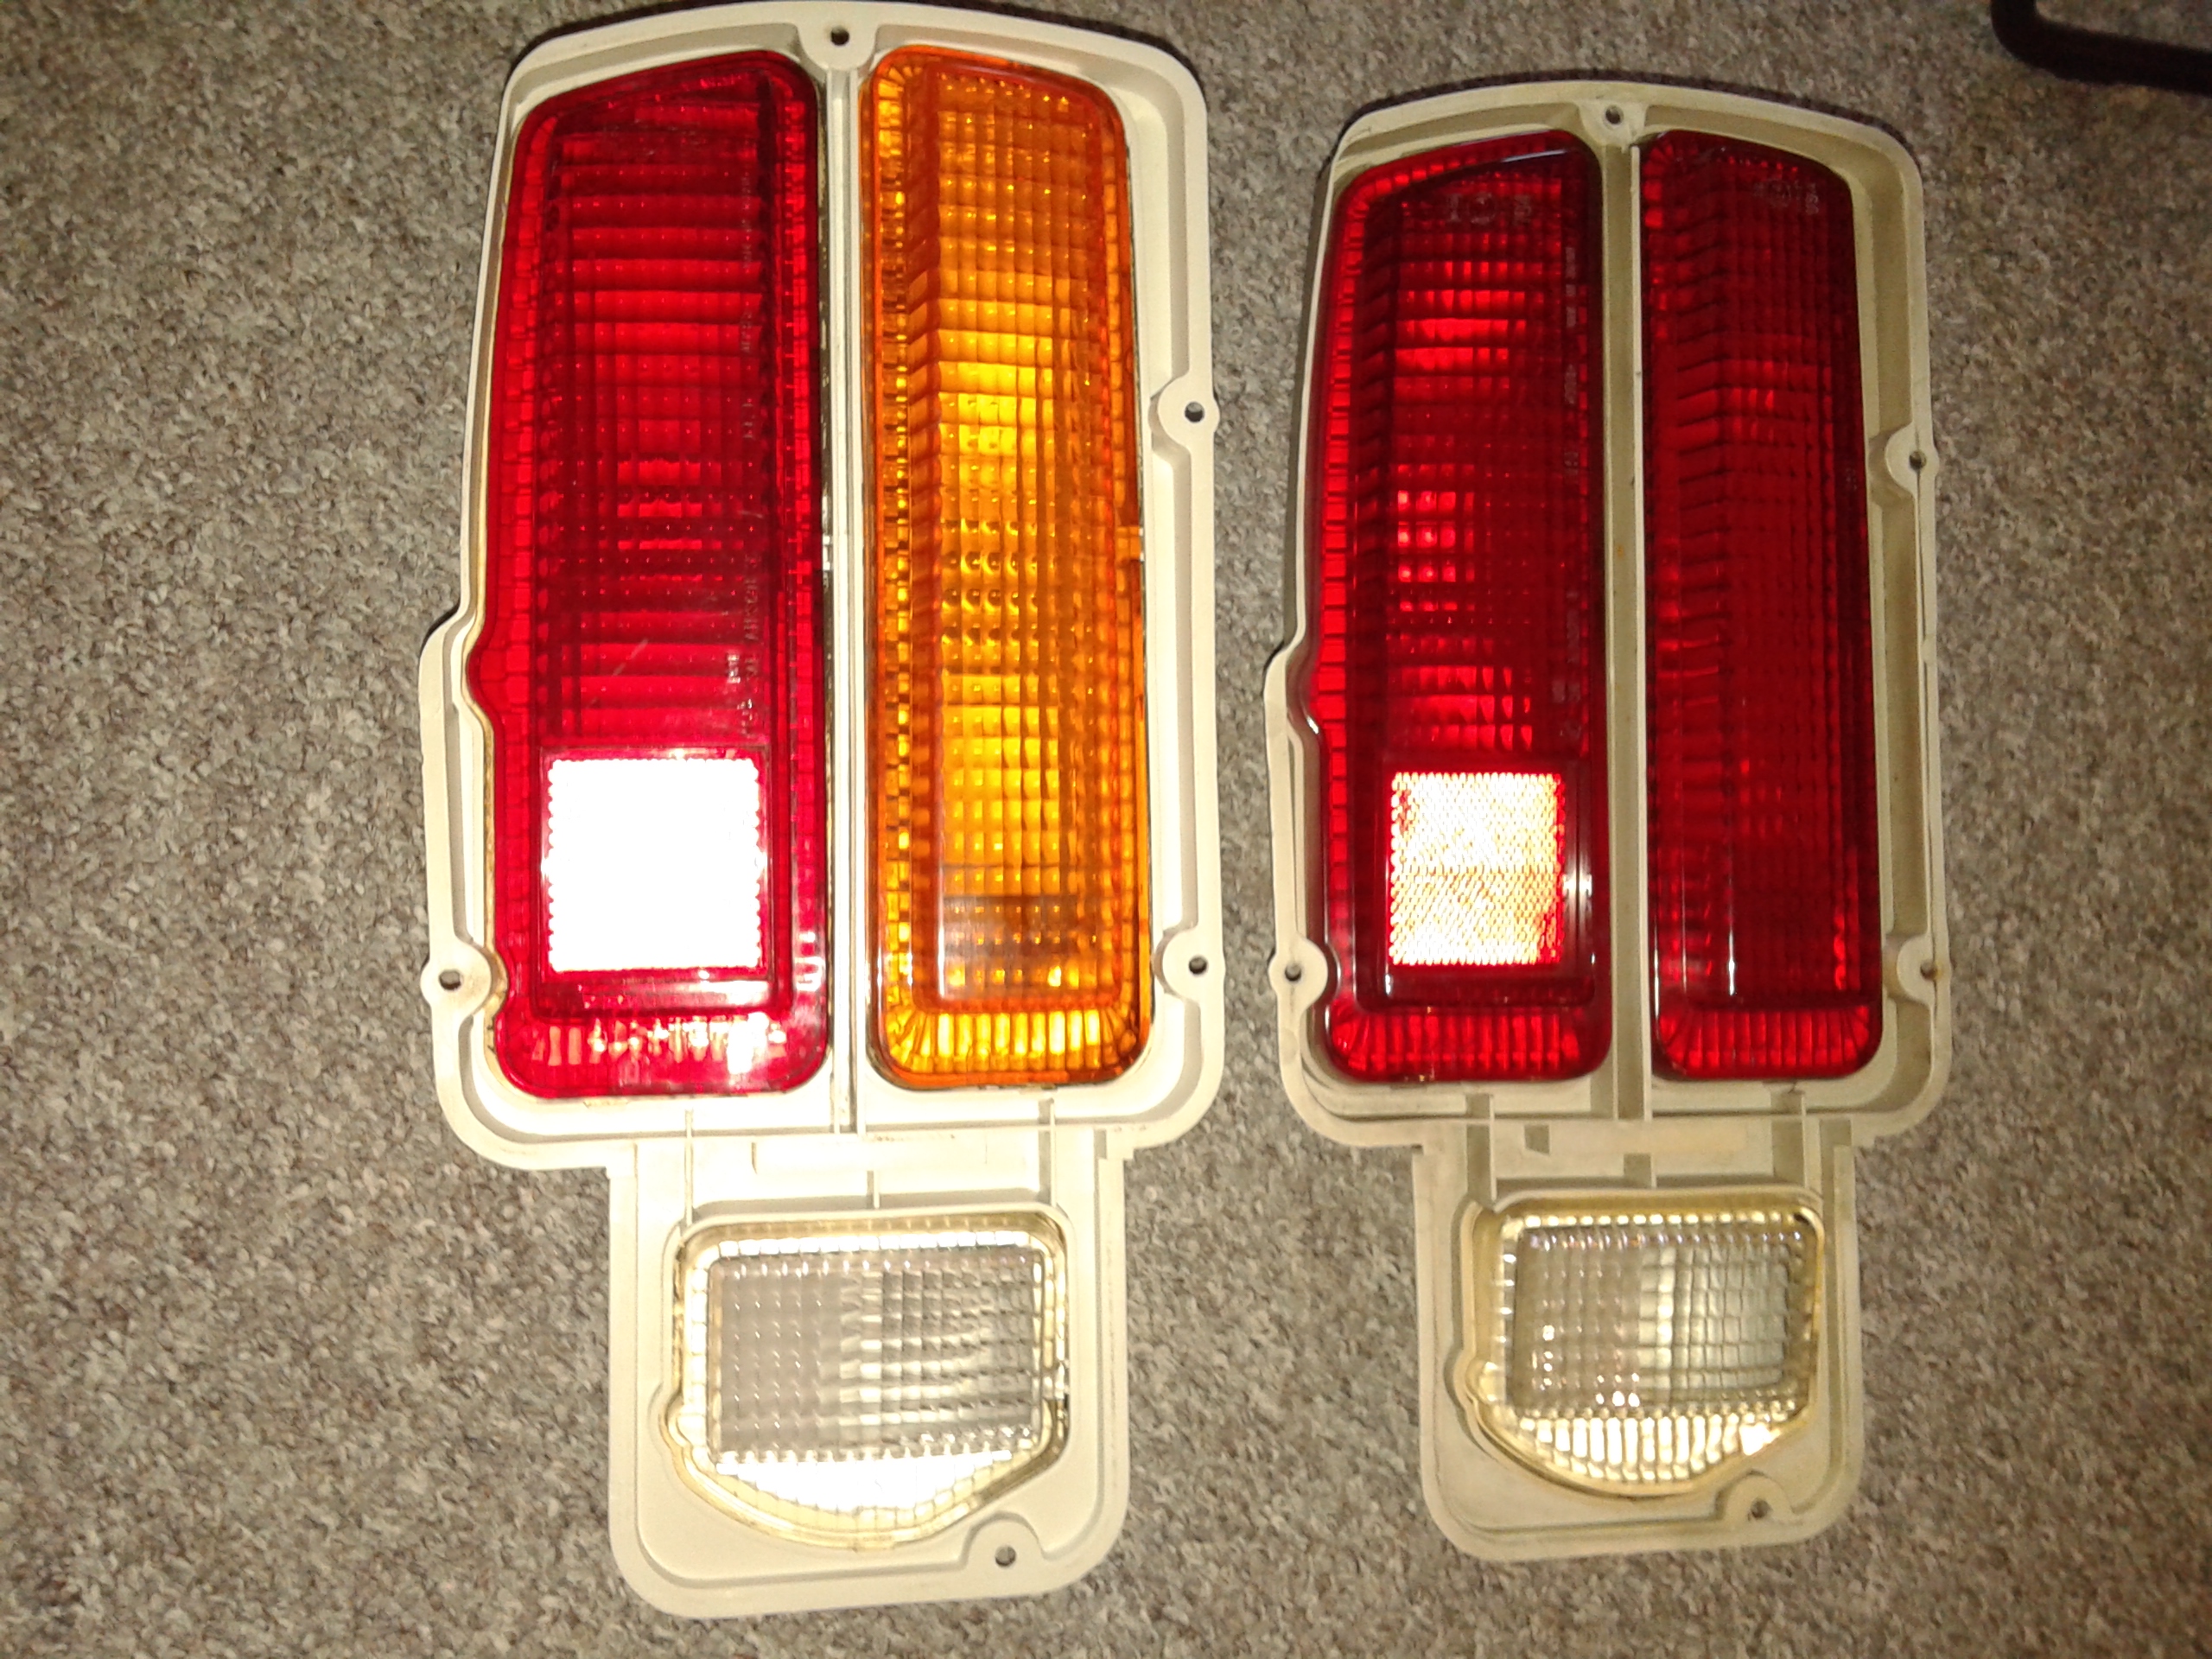
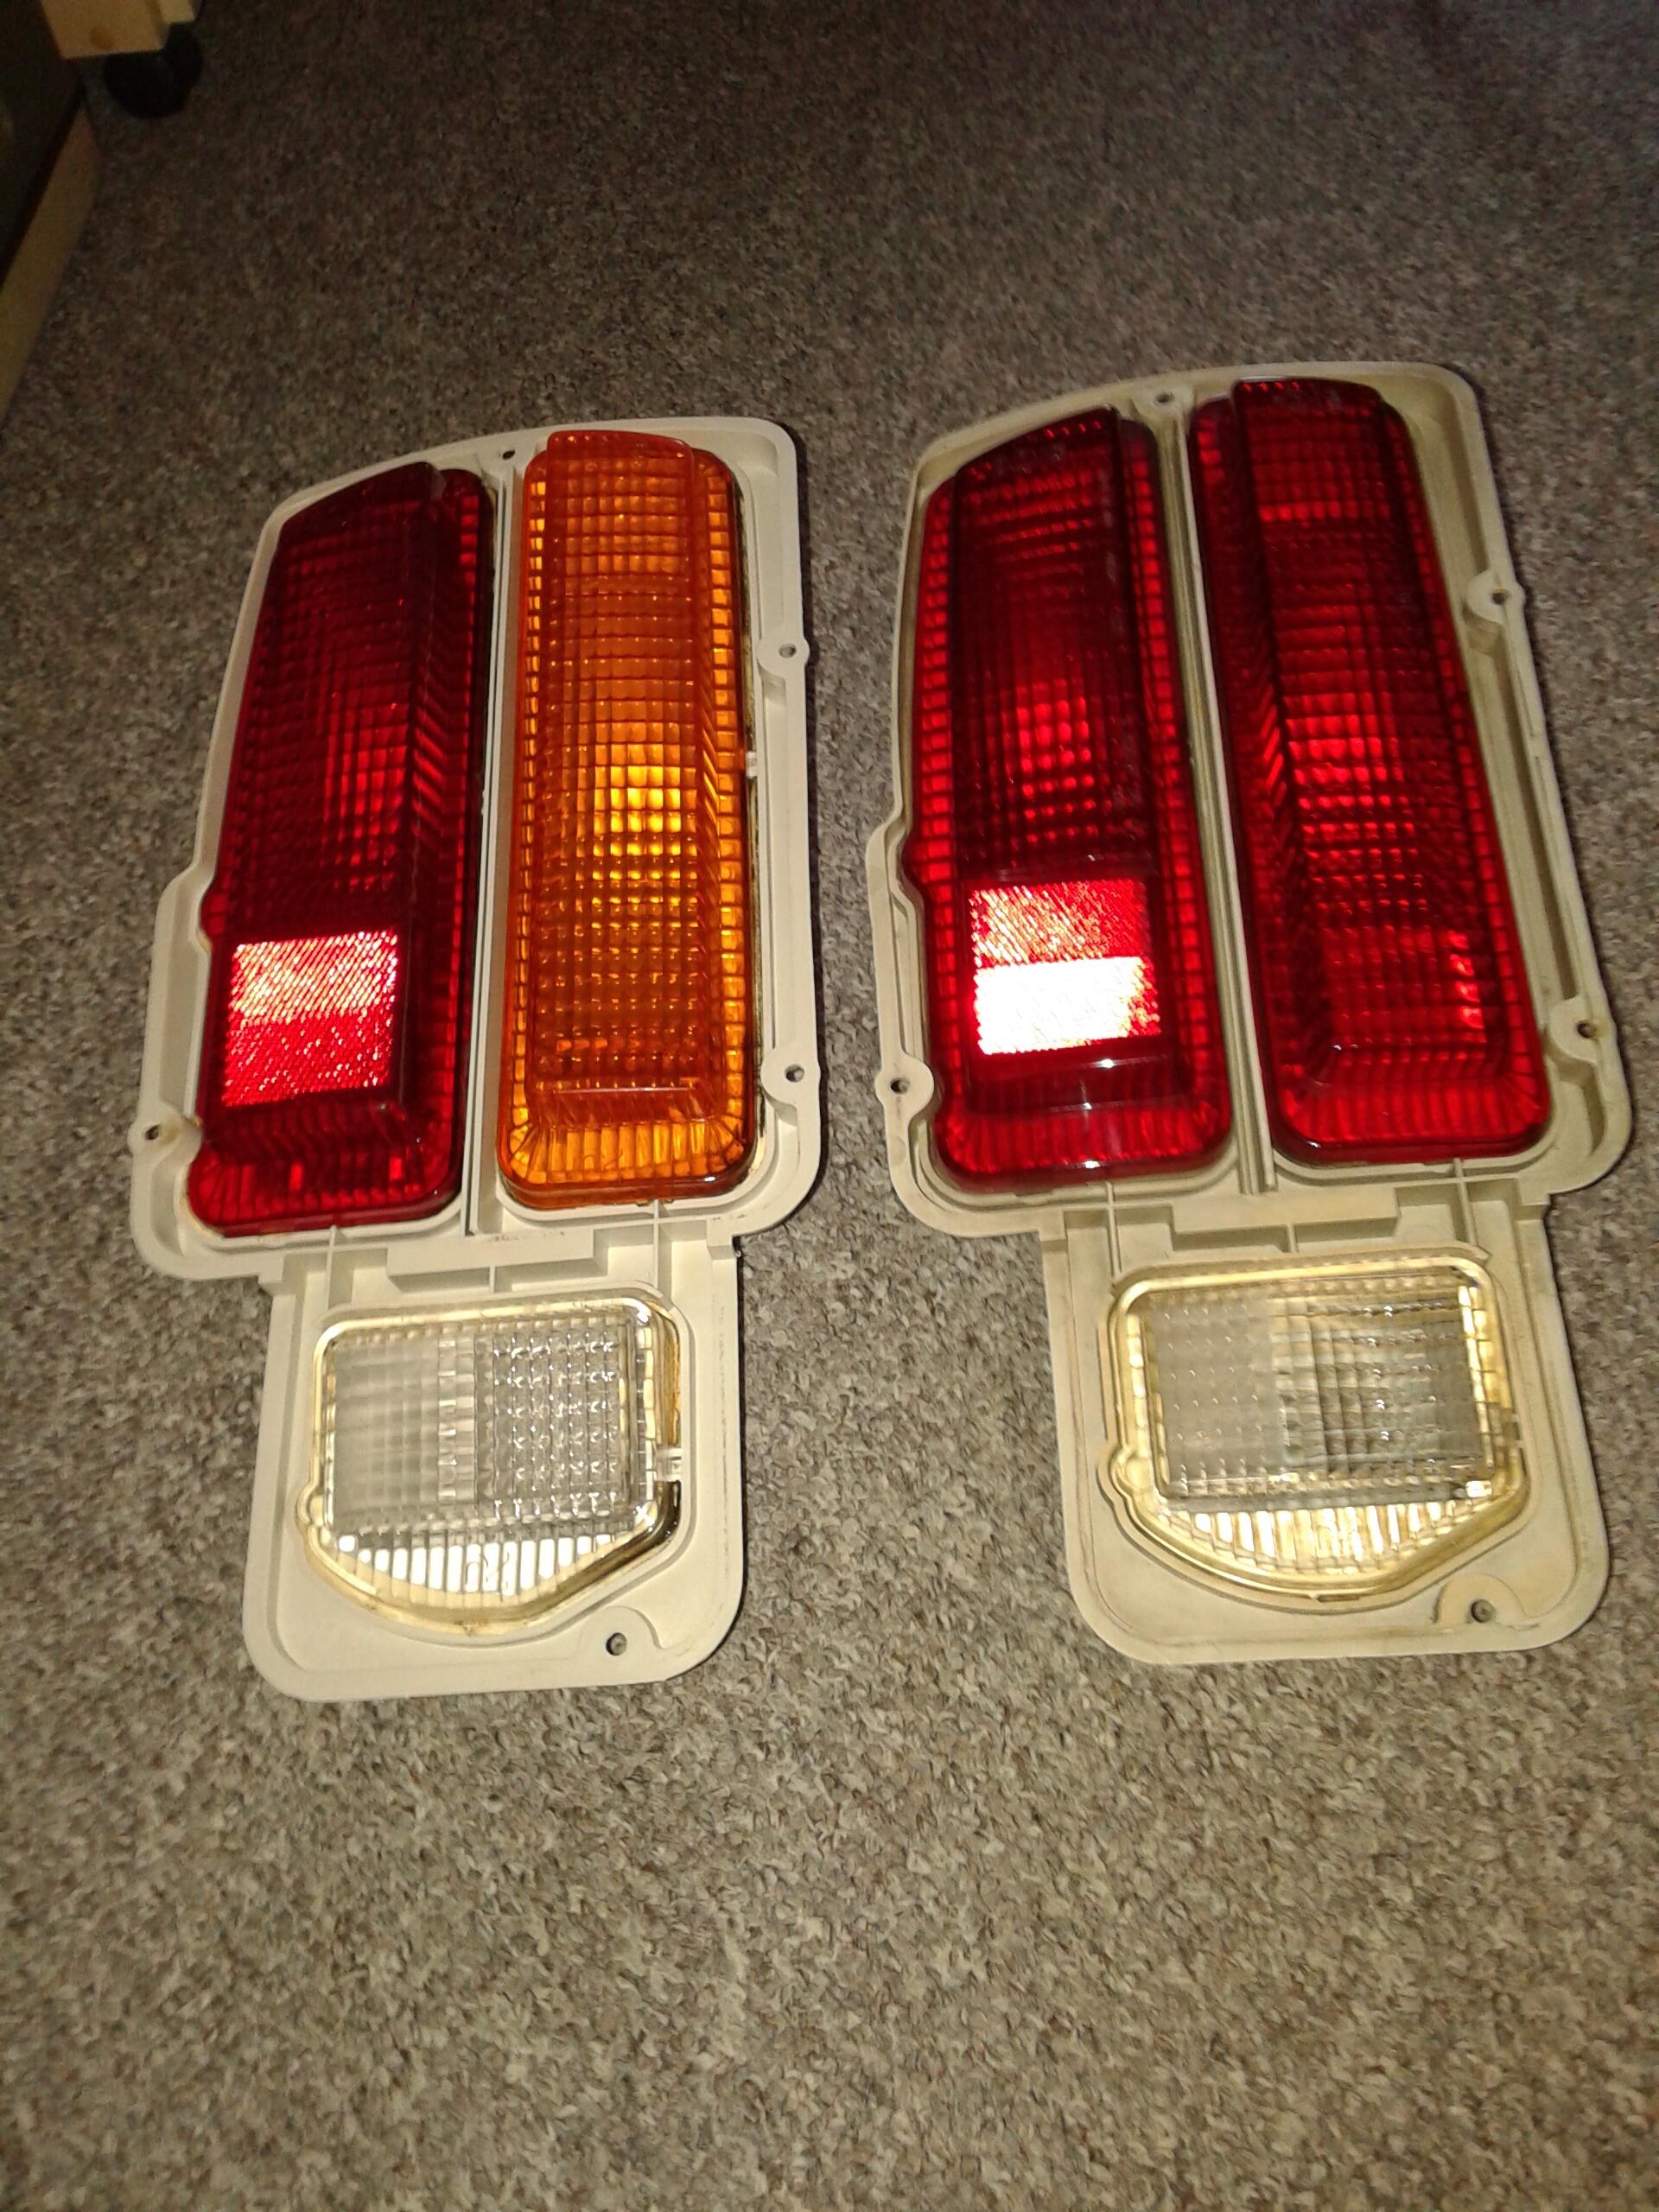
I bought the Euro specs from futofab for my 240. I like them better too. Refurbished OEs on top, futofab on bottom. The OEs are in storage and the futofabs are on there now in case of getting rear ended while I'm enjoying the car.
 2 points
 -
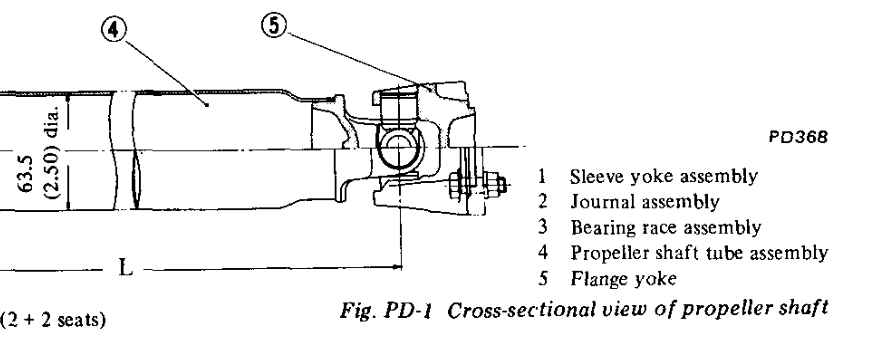
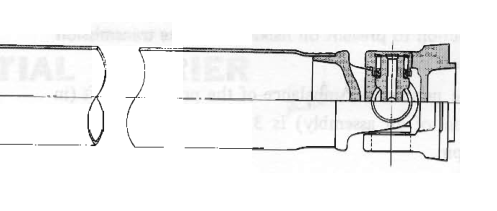
Too bad he didn't supply a ref to the chapter. I looked in P & D and didn't see any mention at ll about nuts and bolts. Here's a drawing from 1976 though. And 1972...
 2 points
 -
Love a good necro-post! Thanks Do your bolts have a smooth round head with a flat on one side? Orient the bolt so that flat prevents the bolt from turning when you tighten the nut. Memory says the nut faces the back…..2 points
-
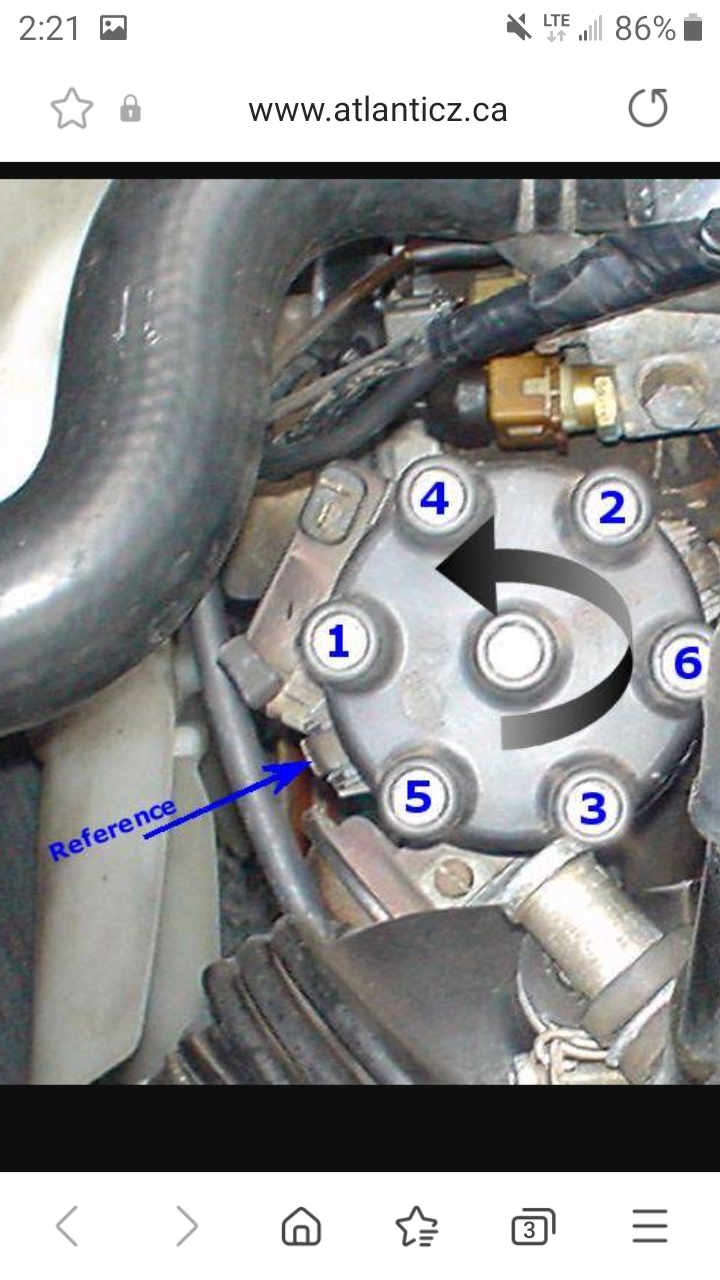
2 pointsWally, the lobes push the rocker arms down which opens the valve. There are 2 TDC. One will have the exhaust lobe down, pushing the rocker down and opnening the exhaust valve. The second time around to TDC neither lobe will be pushing a rocker down, so both valves are closed. This is the compression stroke. The fuel and air are sealed in the combustion chamber and it is ready for the spark. Now you can check the position of the rotor. While you bring the engine up to TDC on the compression stroke, watch the crank damper (or balancer) not the rotor. Check the timing mark. It dosen't need to be exact-anywhere between 0 an 15 degrees and it will start. You can fine tune the timing after you get it running. The rotor is addressed next.2 points
-
2 pointsThe only times I've messed with that spring and bracket was while I was bolting the throttle body onto the snout on the intake manifold, so I don't know if there's enough room to get in there and deal with it while the AFM and rubber tube are in place or not. You might have to take off that stuff in order to fit hands down in there to put the bracket and spring in place. Here's hoping you don't have to take too much off to get in there.2 points
-
2 points1 - Yes, the vacuum port on the throttle body that points forward is the one that supplies vacuum to both the distributor advance and the carbon can "DIST" (distributor) port. From the throttle body nipple, to the "T". Then after the "T", one side goes to the distributor and the other side goes to the control signal port on the carbon can. 1a - Yes, if you aren't running EGR, just cap off the other vacuum nipple. 2 - The "purge" line on the carbon can goes directly to the intake manifold. One of the ports on top that is always straight-up manifold vacuum. 3 - The bracket for the return spring mounts under one of the four Allen head bolt that hold the throttle body to the intake manifold. As mentioned above, the bolt is the one on the lower right. Here's a pic of an upside-down throttle body and you can see where and how the bracket mounts:
 2 points
 -
Hello All: Can anyone help me? My 1972 240Z Factory Manual specifies that these bolts be oriented so that the nuts are toward the driveshaft/U-joint (boltheads against the Diff front flange). The problem I have is that the bolts are too long (even though they are original) to feed through the flange. The front seal cover(?) of the diff is too close to the flange to allow the bolts to be slipped into the flange. Will my car fly off the road if I install the bolts "backwards" to the manuals reccomendation? Why do they specify this? Thank You to all for any assistance/advice. Thanks, Carl cstahlnecker@hotmail.com1 point
-
The parts microfiche shows this very clearly with the hex head of the bolts on the propeller shaft flange side. This is how my 1970 is assembled.
 1 point
 -
1 pointIt's plastic rather than rubber, but machts nichts. As a temporary fix, you can tape a quarter over the hole until you get a replacement plug.1 point
-
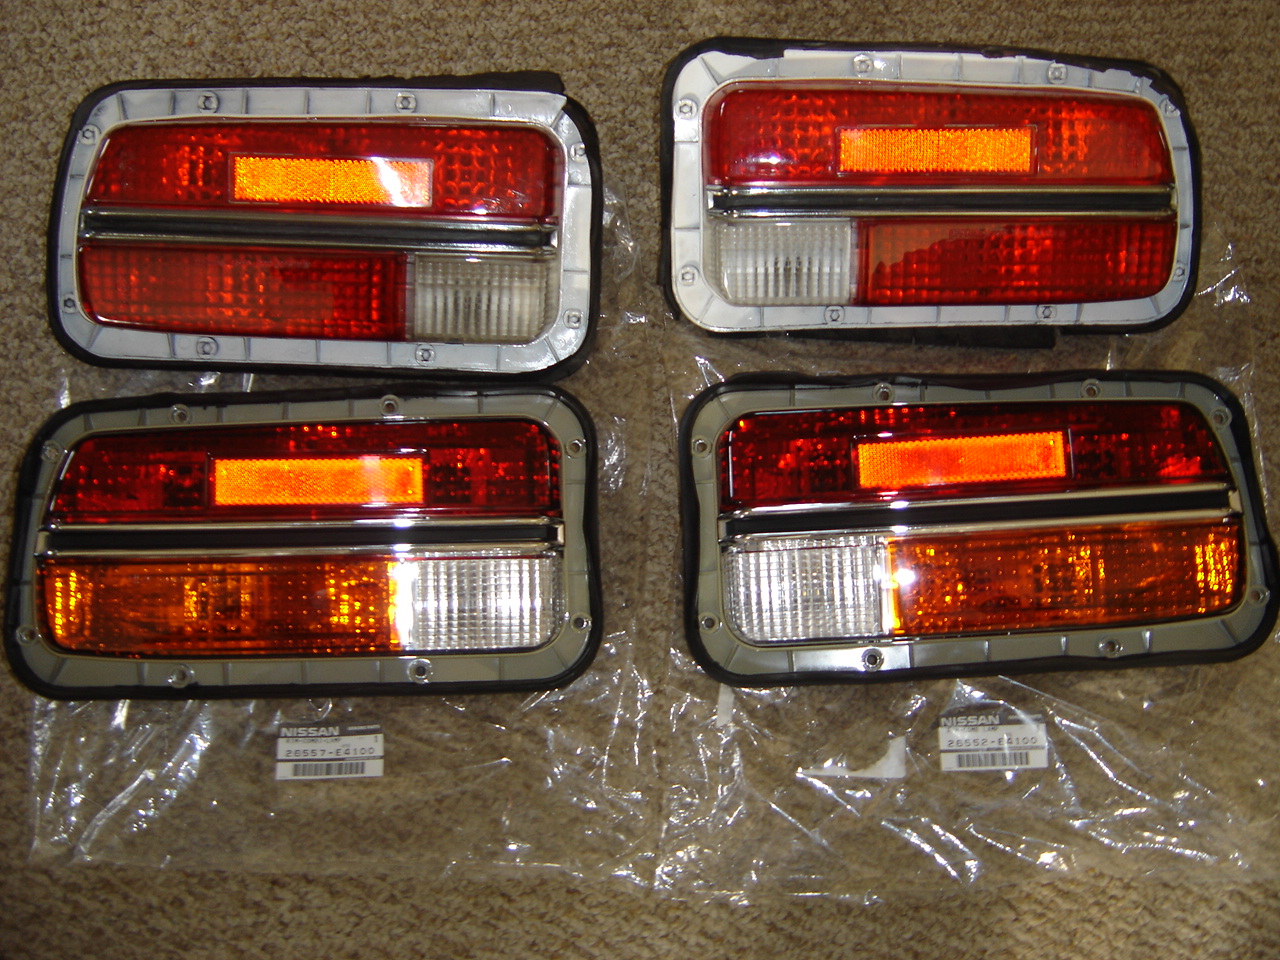
I really prefer the JDM tail lights over the North American ones. Just another example of how our government can take a good idea and muck it up...1 point
-
1 pointPossibly soaking it in boiling water and see if that frees them up. Just a thought.1 point
-
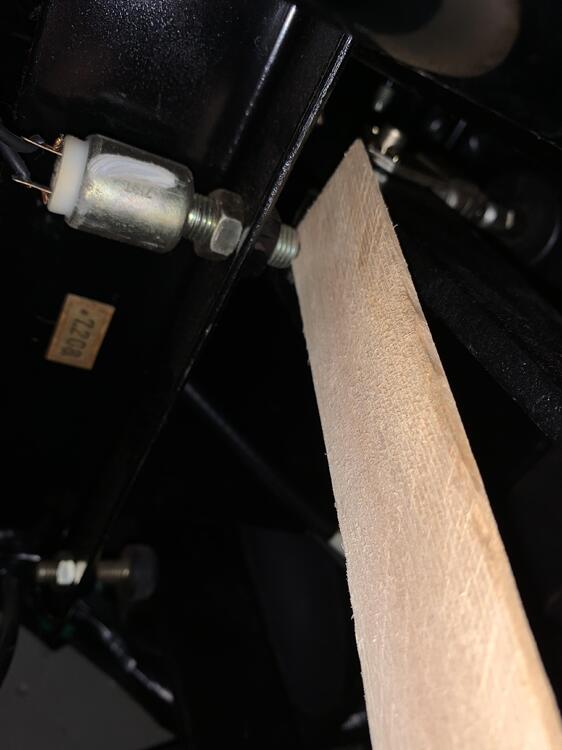
1 point@Patcon good call, it was the little rubber stopper on the brake pedal that engages with theswitch. It disintegrated. Put a shim in it until I can get a new one. Not sure what they are called though lol.
 1 point
 -
1 pointYes, bunny ears Like KeysZ said that means the valve rockers on are on the base circle of the cam and the valves are closed1 point
-
1 pointI think its just evidence of poor maintenance. m6 bolts are allowed, and rusty short ones break as much as rusty long ones.1 point
-
1 pointSo where are the canon plugs and nomex thread cable ties? 😉 Nice work Ferg. You’re going to have a car to be proud of when you’re finished.1 point
-
1 pointRemove plugs Breaker bar until lobes on #1 are up and timing mark should be between 5-10 degrees Post up a pic of where the rotor points at that time or pull the distributor and post a picture of the drive spindle under the distributor1 point
-
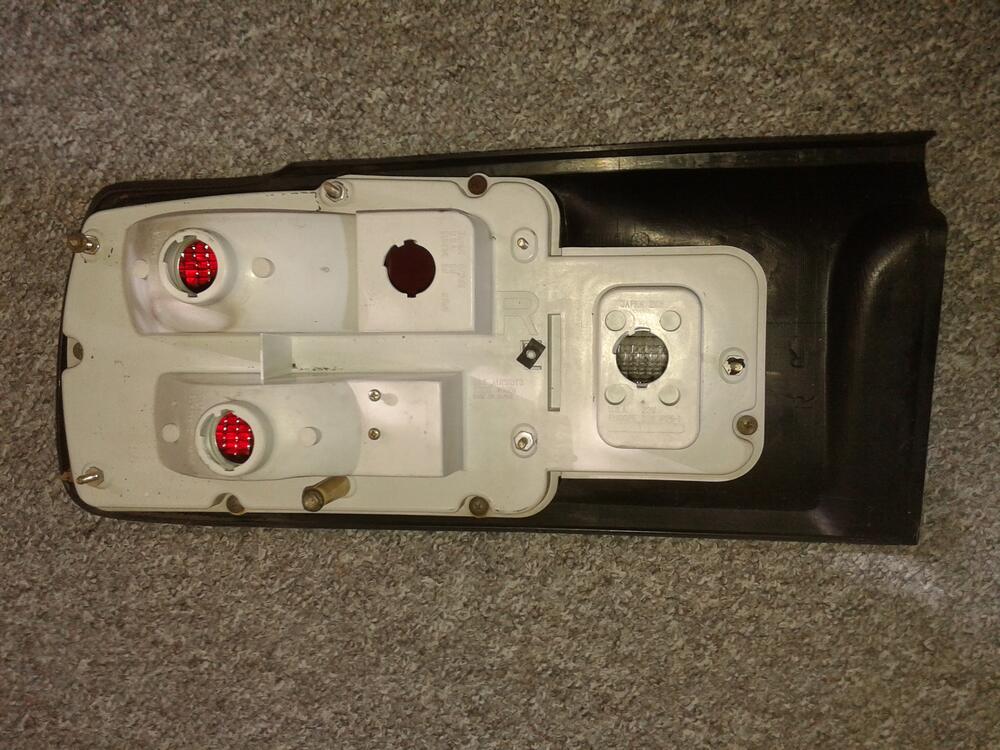
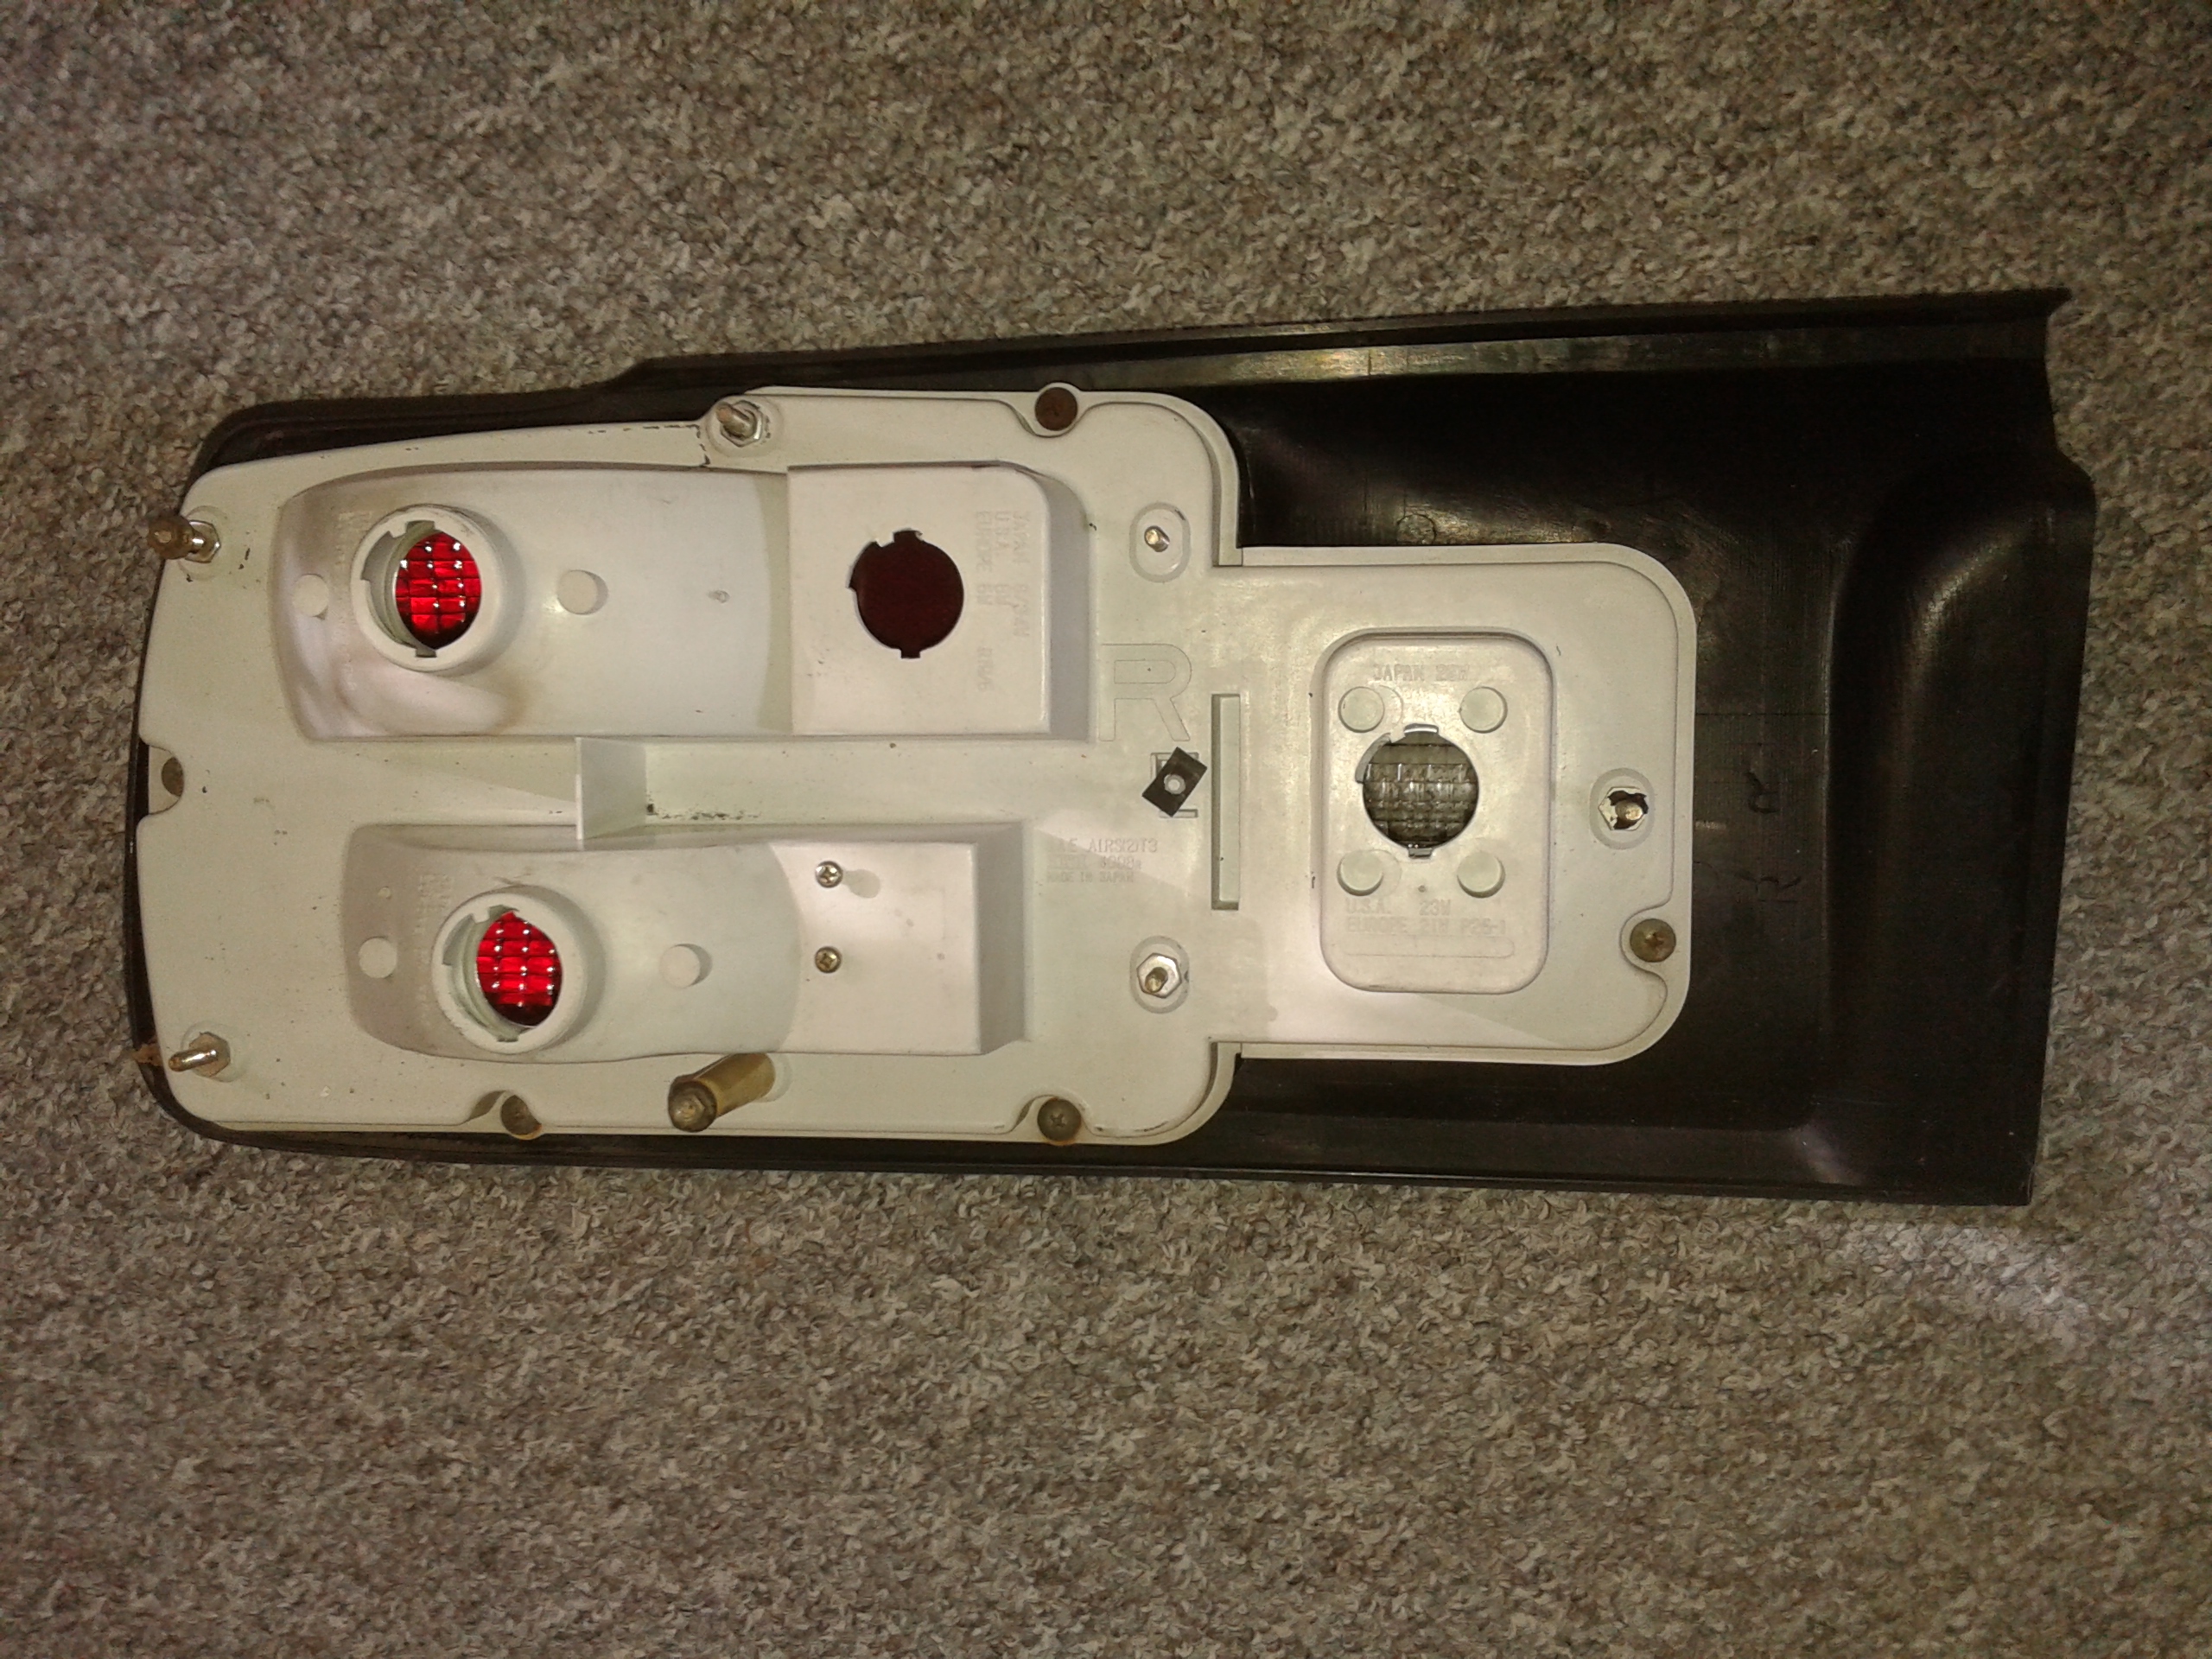
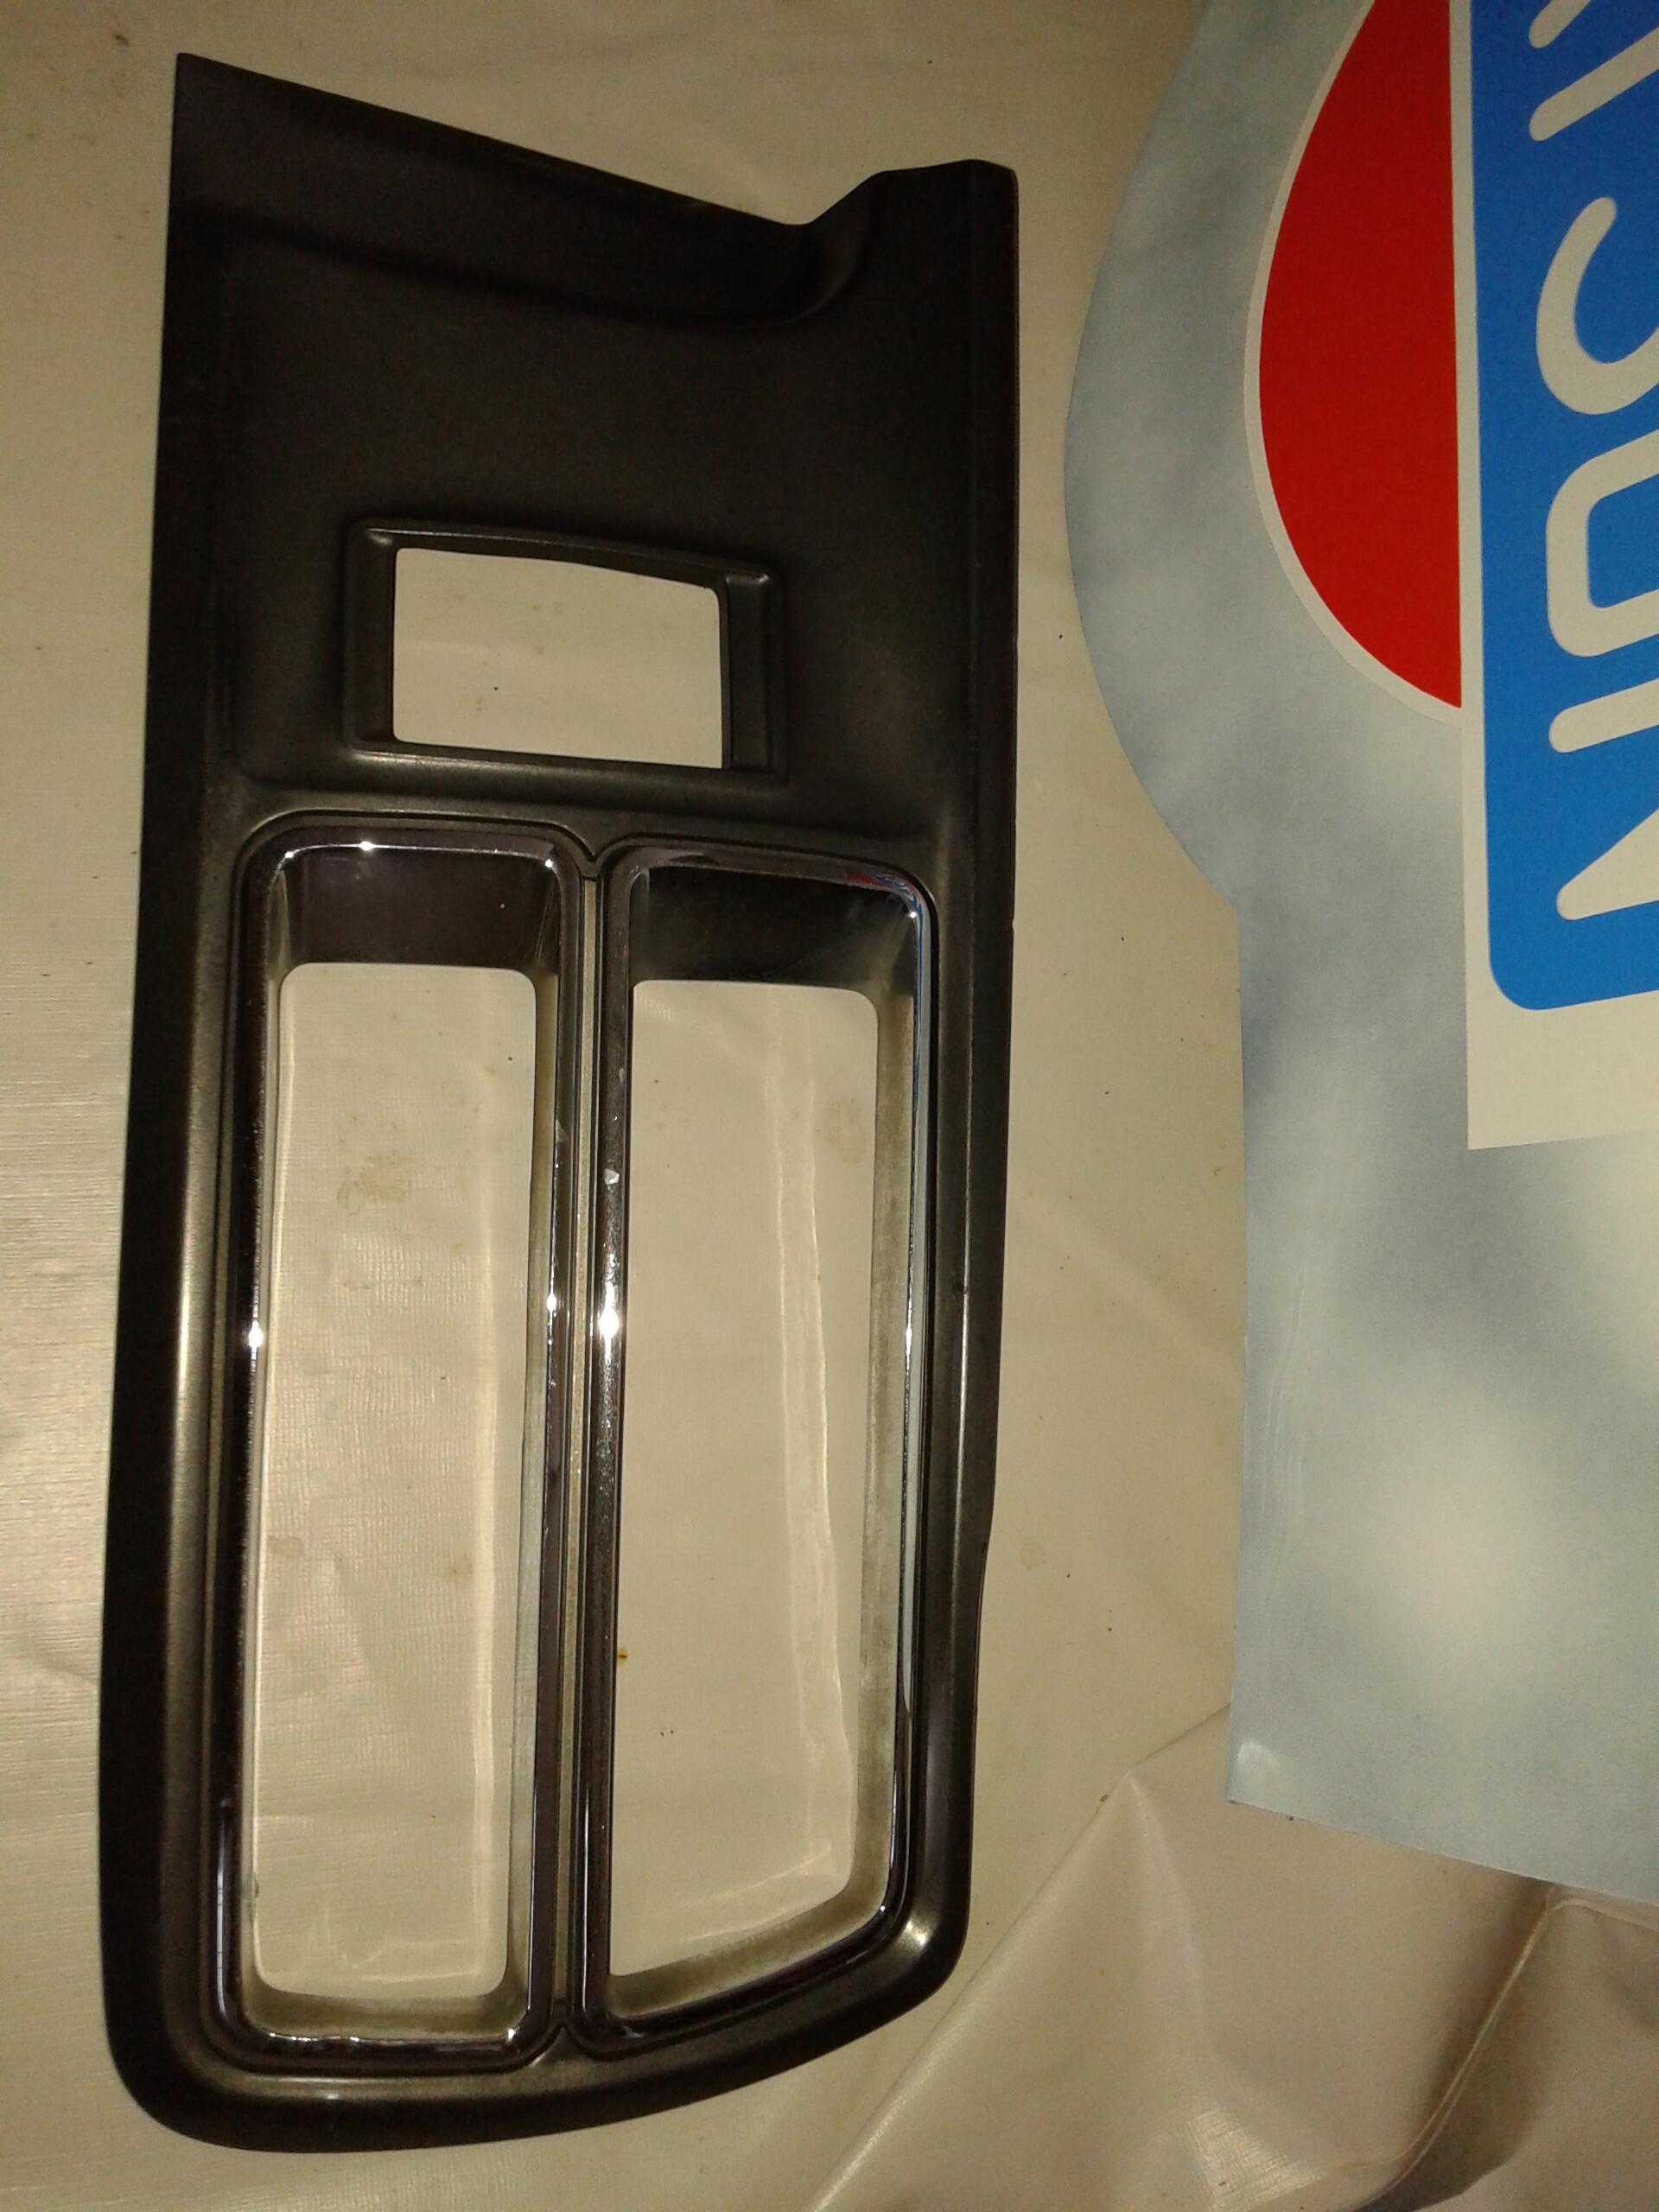
Found some pics also you can see here the diff. between euro and USA type! usa.. Difference between euro and usa.. both right hand units.. right hand outer part.


 1 point
 -
1 pointI remember that i could take them simply out on a 280zx coupler.. i have one ready for my 280zx. I don't know if other "pucks" are made the same way..1 point
-
Some weeks ago i got in contact again with Kris, the guy who bought a few parts from me, including my first, white S30 Chassis. He's currently building a crazy Blow-through turbo S30 (more on that when it gets closer to completion) with all tricks and gimmics and a lot of custom fabrication, which includes a custom cast Turbo surge tank. For that reason he once bought some surge tanks from Japan to use as inspiration for his own design. Luckily he doesn't need them anymore, so they were up for sale. And even though i don't need them at all, who am i to turn down an offer on such cool and rare vintage tuning parts? So i went to their garage yesterday and picked up all of this. What a score: The lot includes a set of 80'ies blow-through surge tanks: The first one is more commonly know. the SK compe turbo aka Sanyo-kiki Turbo surge tank: This surge-tank acts as an intake manifold champer to the careburretors with an turbo attached to it. Yes, these where the very first and early turbo kit designs: Ther second one, which i've never seen before is from the same era, but it's a JKC - Japan King charger surge tank, which was used together with a supercharger. The design is very similar to other brands like HKS, but has those unique fins on it. The basic working principle is slighty different to. the one above uses a kind of "baffle plate" inside, while this one has a cast chamber inside. Oh and he also had a huge bunch of Carboy and other vintage tuning magazines on hand, which he lend to me. There is a lot of advertizing and information on these turbo and supercharger kits in there. So i will try to complete my post about the different intake manifolds and turbo / supercharger surge tanks for the L6 engine with the latest informatino i got now. Thanks Kris for the Hospitality, and see you soon!1 point
-
1 pointOddville, The Frogs and Sebastian Bach..a walk down memory lane.1 point
-
1 point1 point1 pointAnd how about this one.. Here in Utah the prominant religion discourages any "Fun activities" on Sunday so I'm expecting the little goblins to show up tonight.1 point1 point1 point1 pointHe is doing top shelf work for sure. I think his work ethic and the forum took him there. I know I've enjoyed his build thread and getting to know him along the way. Keep it up and pass it along.1 point1 point1 pointIf I was new to the L series motor I would buy the "Tom monroe's how to rebuild" book. It answers all the questions you've asked that I've read. $20 from Amazon.1 point1 point1 pointIt's a bit confusing, Wally. The TDC occurs twice-once is the exhaust stroke and with the valve cover off the exhaust lobe points down and the exhaust valve is open. The next crankshaft revolution will be TDC on the compression stroke. The lobes will be just as in the picture siteunseen sent you. The distributor only rotates once and the crank twice. You can rotate the crank with a breaker bar and socket on the damper bolt if all the plugs are out. You can also accomplish this by putting the car in gear (stick shift) and rocking it. Check the timing mark and see where the rotor is pointing. It appears you are out of phase.1 point1 pointhttps://www.carbuilder.com/uk Their inventory is so extensive that I think it might be worth the extra shipping.1 point1 pointYes, I live in NC and shipped a box them. When I was in San Diego for work I located them and went by to check them out. Zero prep required but they won’t remove paint. Contact is at the bottom of my last post . Here’s a link. http://www.anocotemetalfinishing.com/home.html Sent from my iPhone using Tapatalk1 point


Important Information
By using this site, you agree to our Privacy Policy and Guidelines. We have placed cookies on your device to help make this website better. You can adjust your cookie settings, otherwise we'll assume you're okay to continue.