


Leaderboard
-

siteunseen
Free Member4Points15,115Posts -
Captain Obvious
Free Member3Points10,081Posts -
Dadsun
Free Member3Points193Posts -
jfa.series1
 Subscriber
 3Points2,734Posts


Popular Content
Showing content with the highest reputation on 04/02/2021 in all areas
-
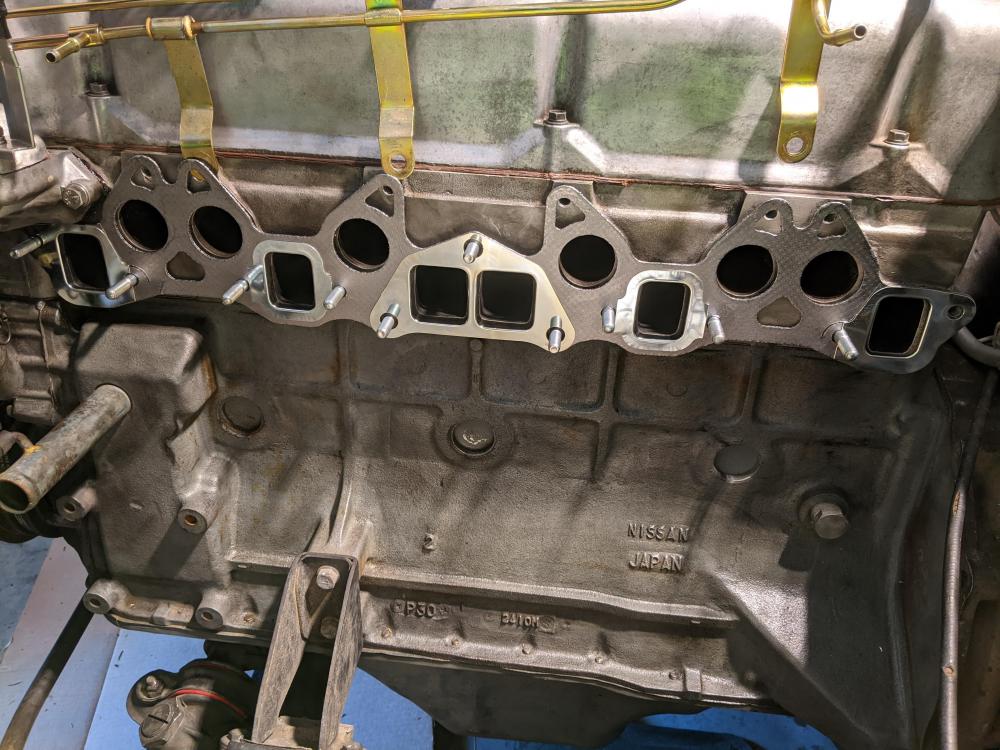
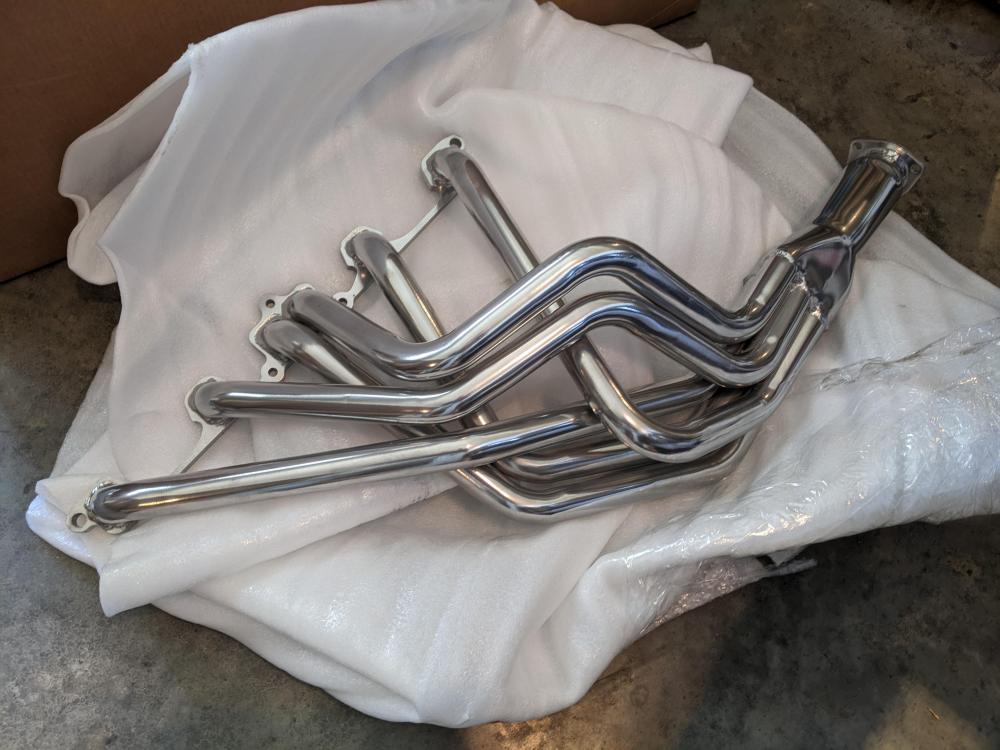
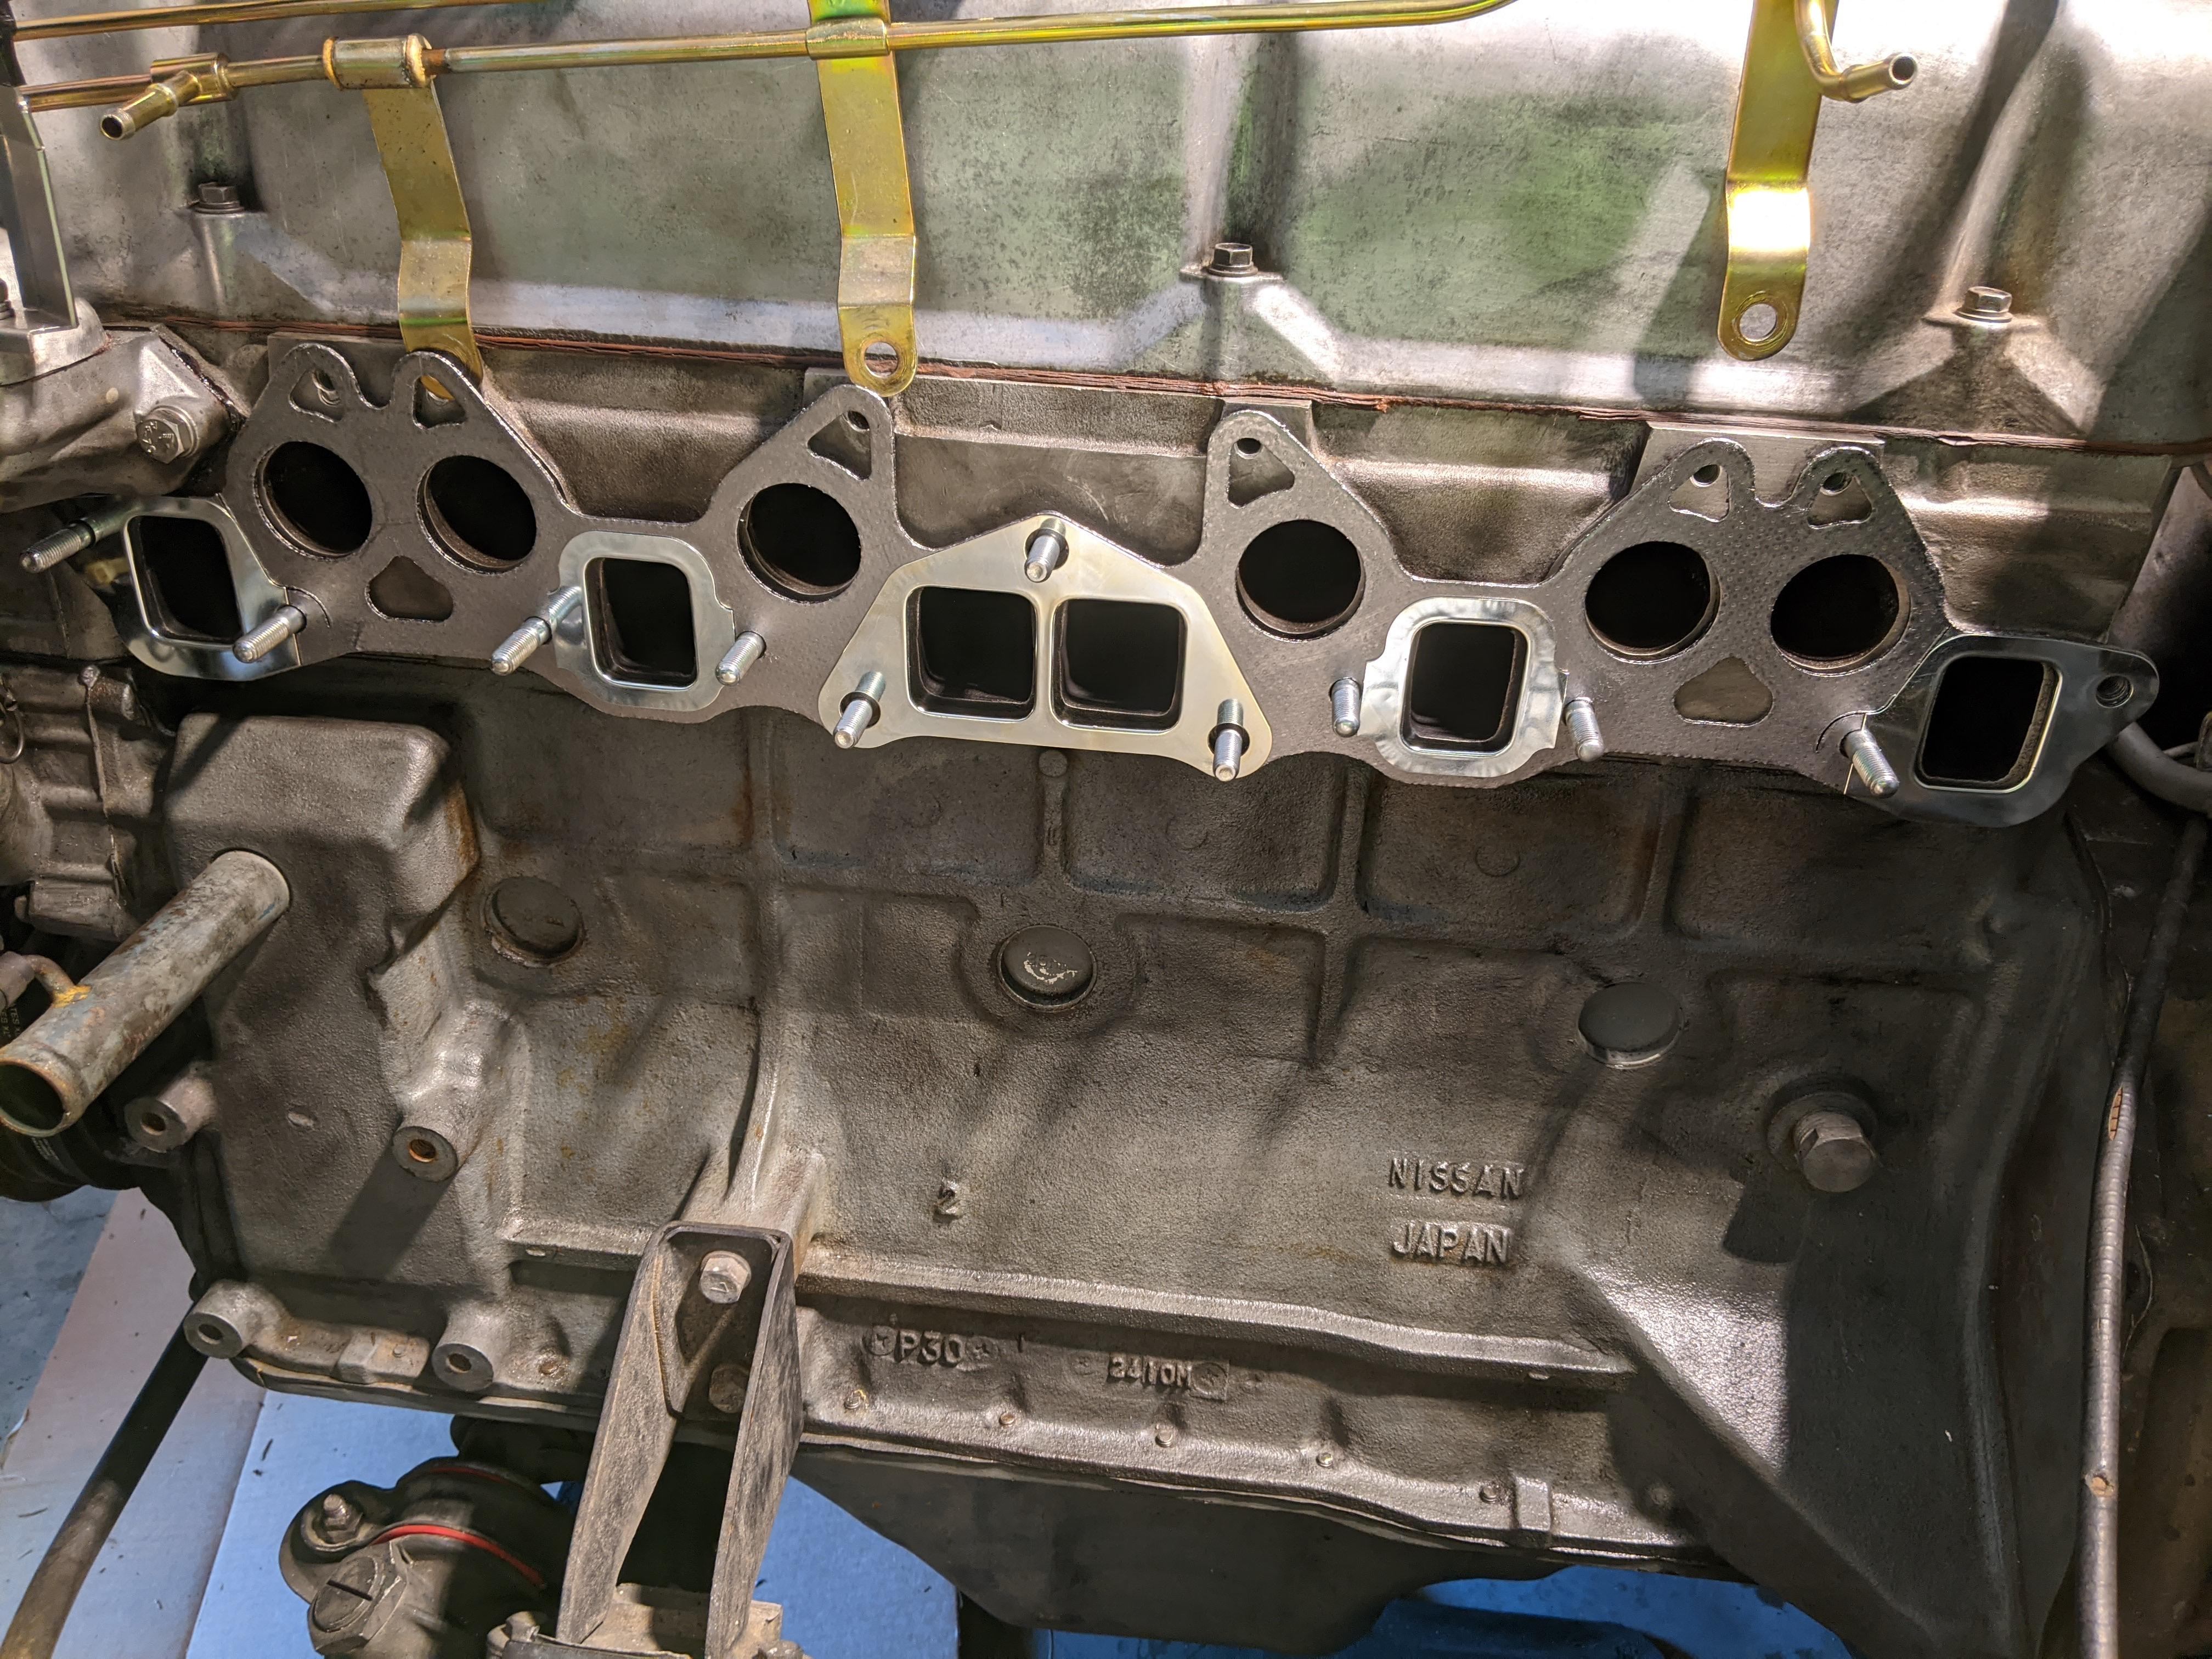
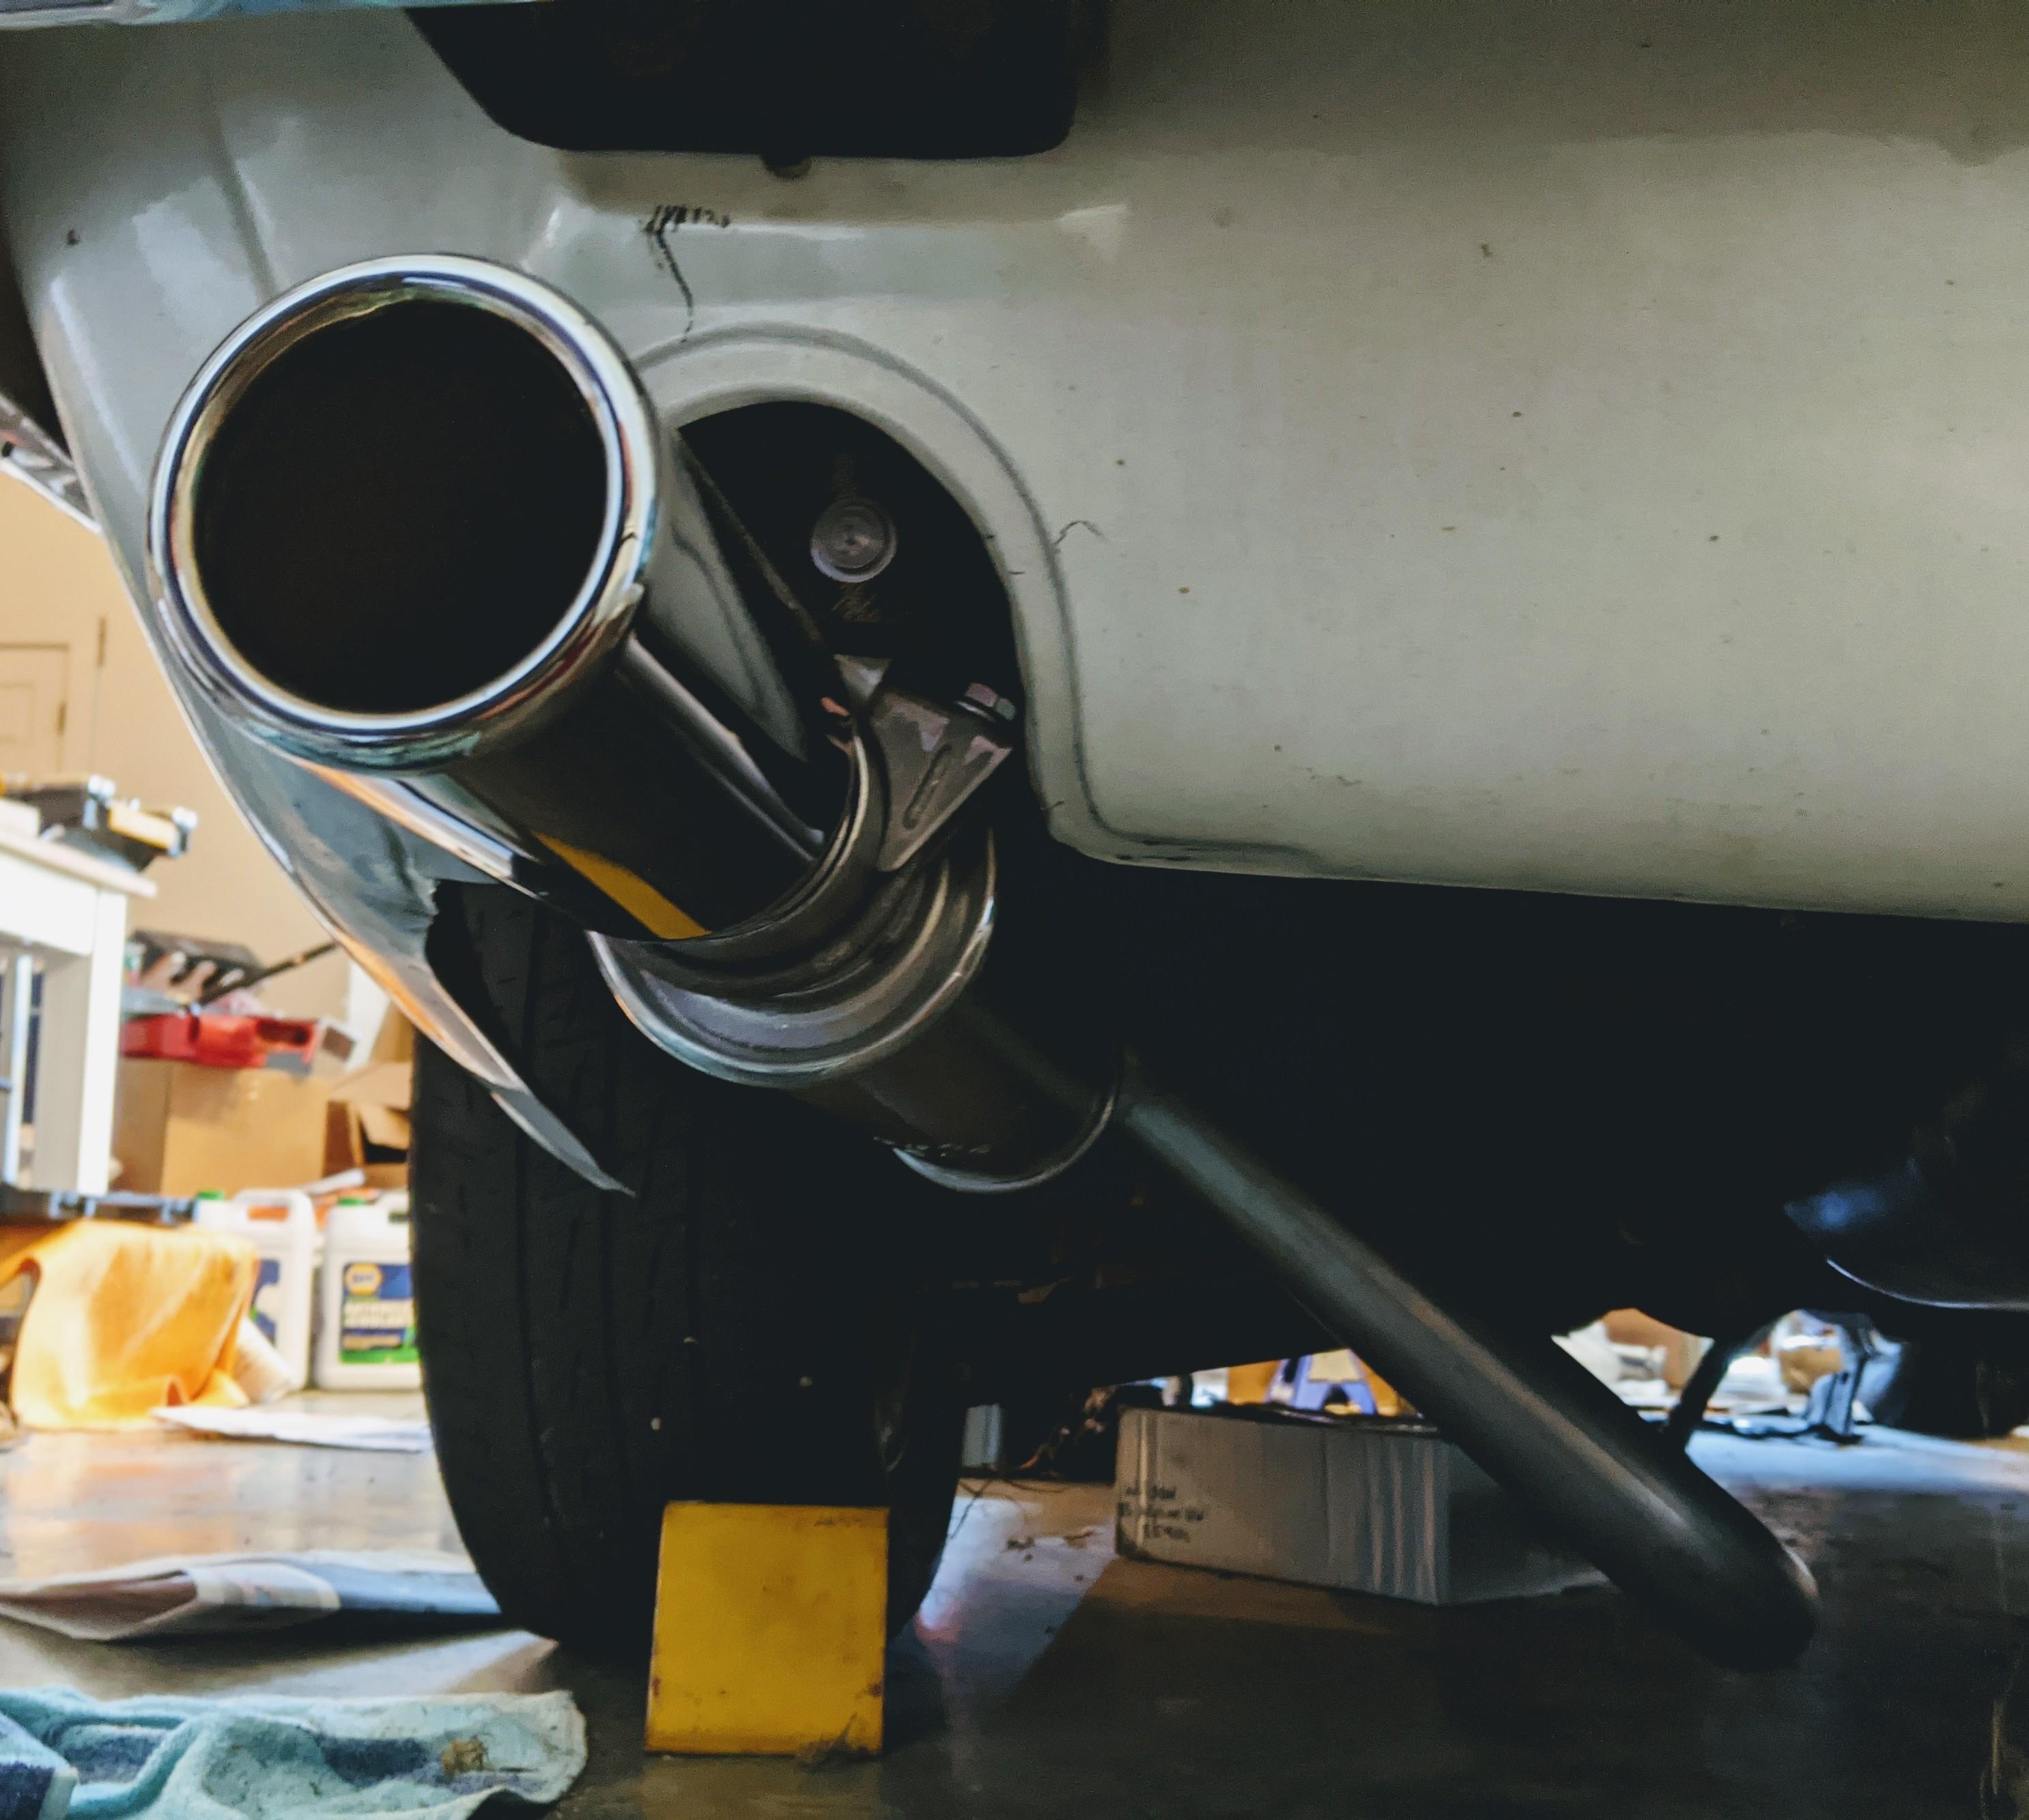
Ok, I'm back. Got the MSA header, then had Jet-Hot coat it, and also have the MSA performance exhaust system to tie it into. The thing I'm most giddy about today is successfully getting off all of the old mount studs. Spent time here and there over the last few weeks with PB Blaster, hammer taps, and good old vice grips. So, I'm ready to reassemble. My previous efforts here have used the bolts at the intake manifold, not all studs. Any tricks to assembling? I'm thinking I should start only with the studs shown to get the header and bottom of intake manifold in place and a little snug before adding the top studs. Edit: ok, I learned the hard way... Set all the studs then get after it. Looks like a good seal across the header. Will crank tomorrow.
 3 points
 -
2 points
-
2 points
-
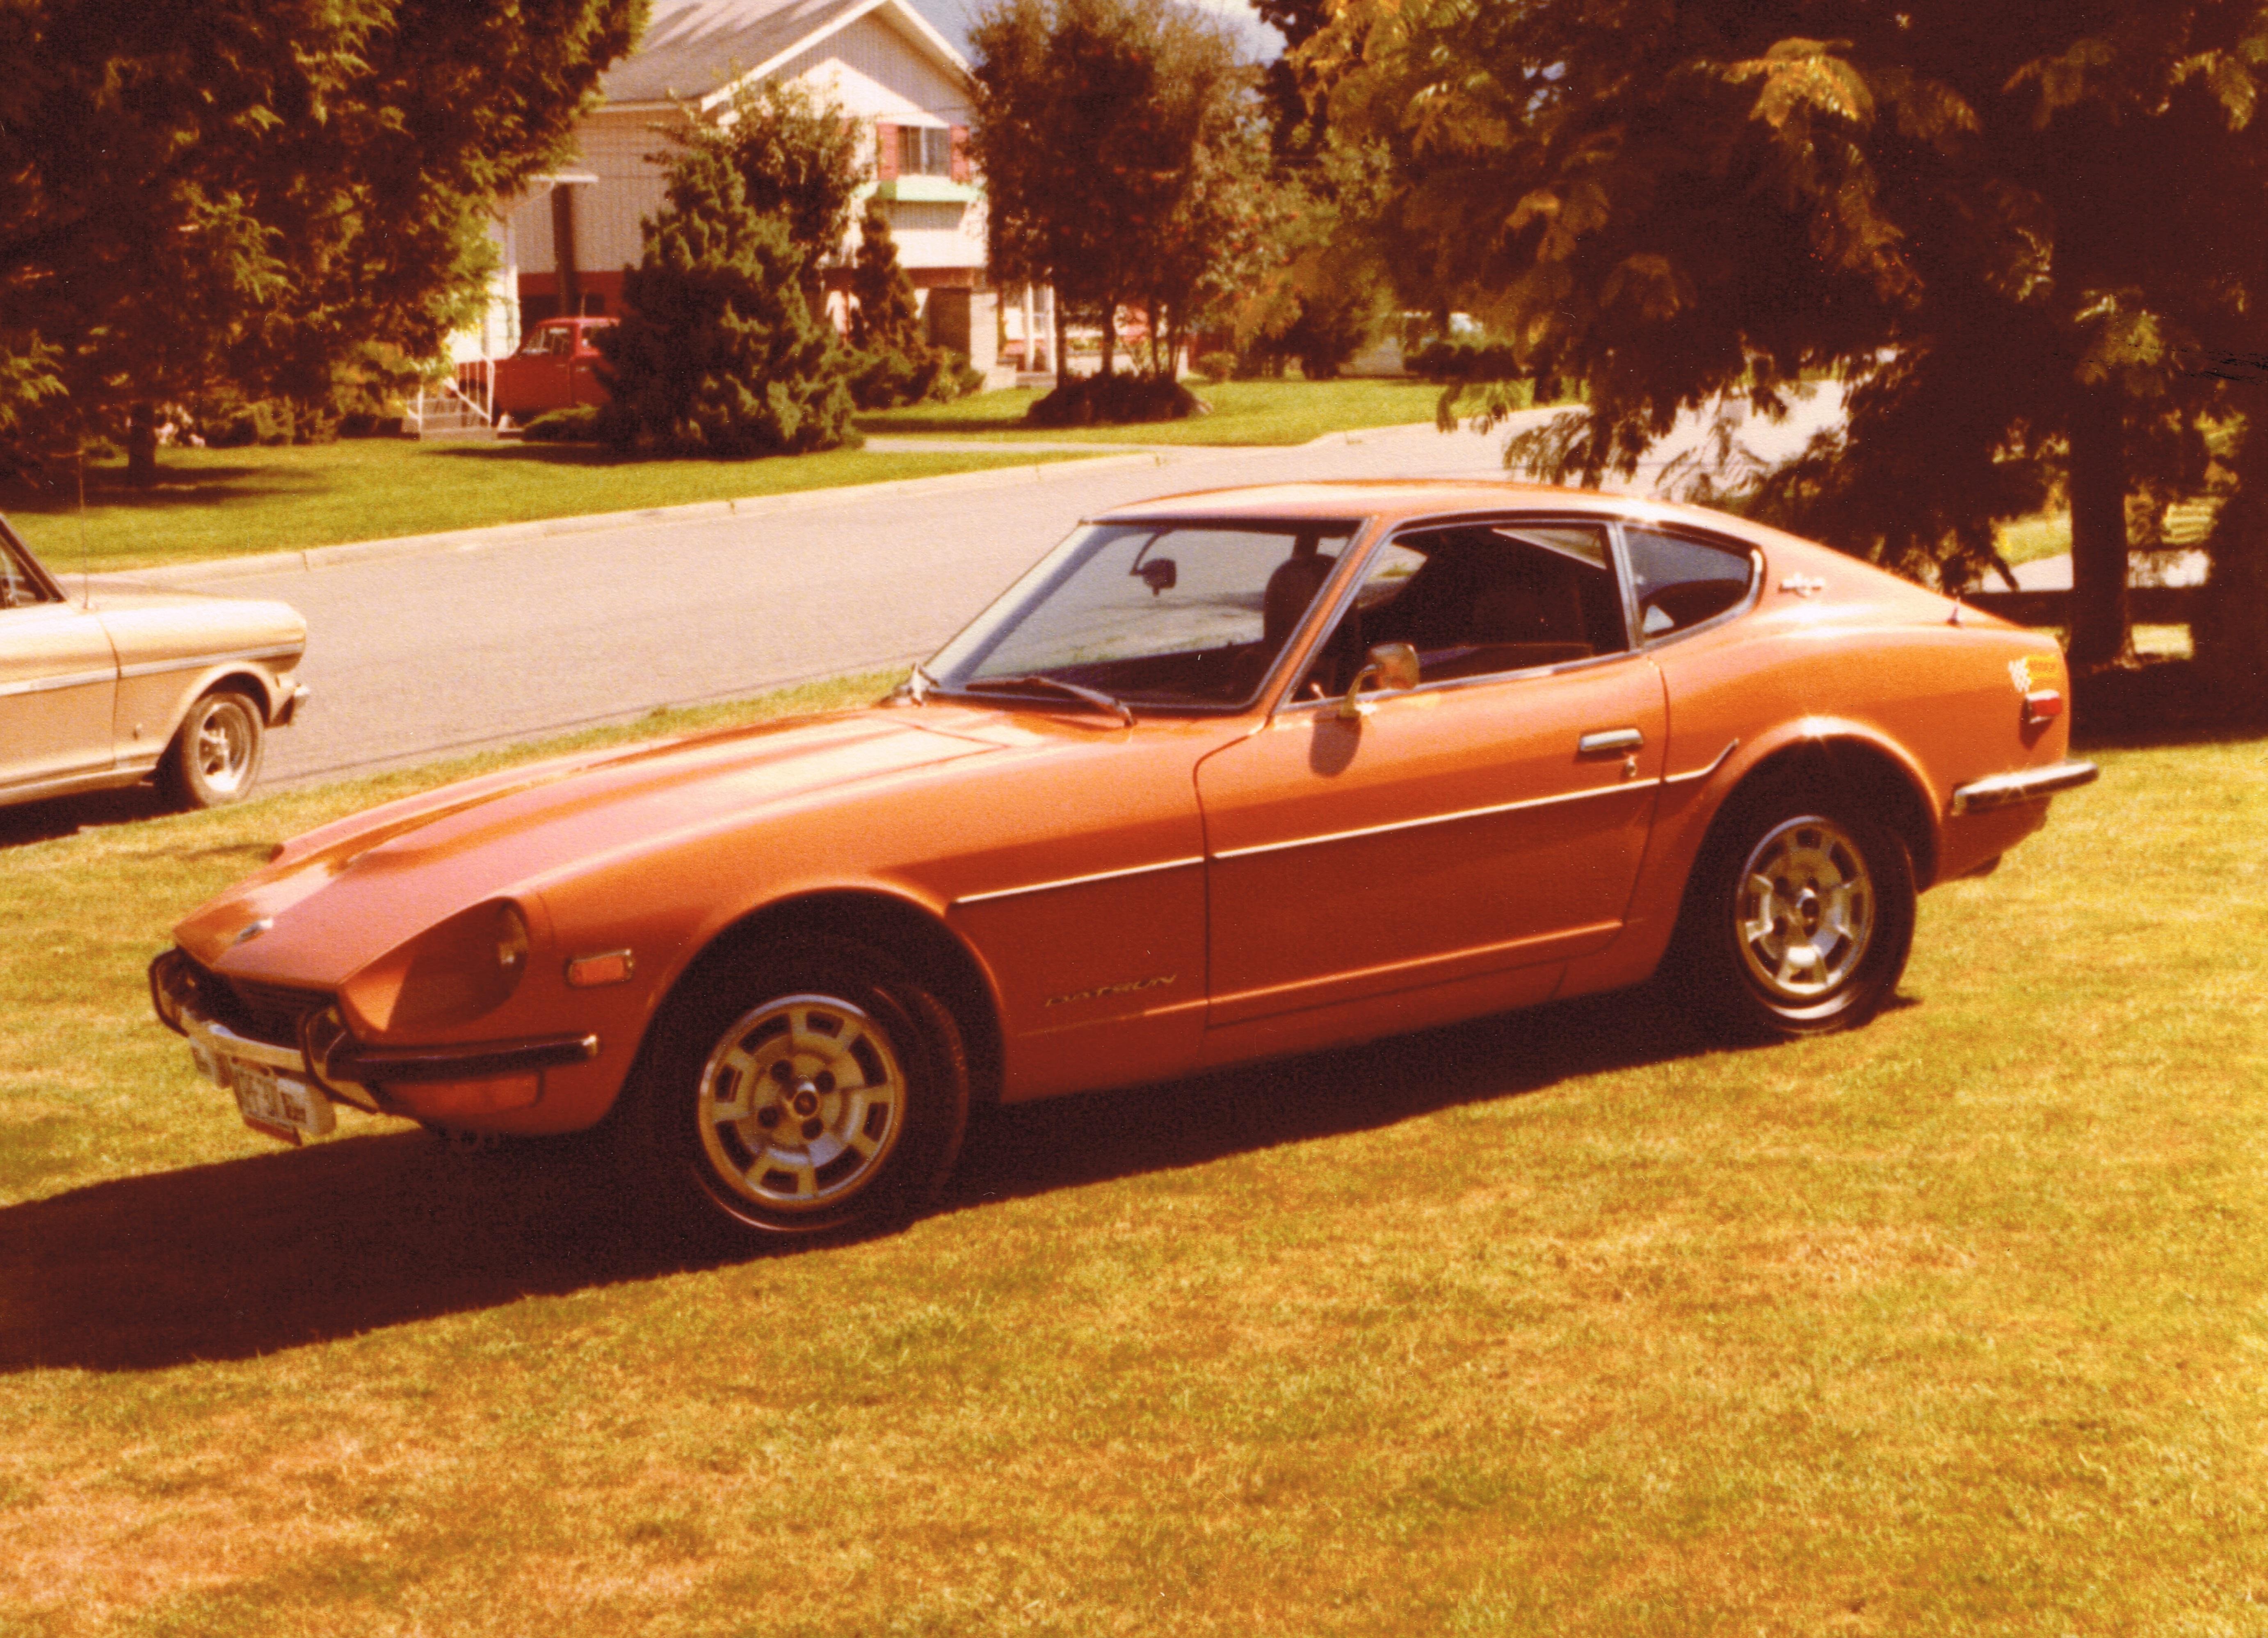
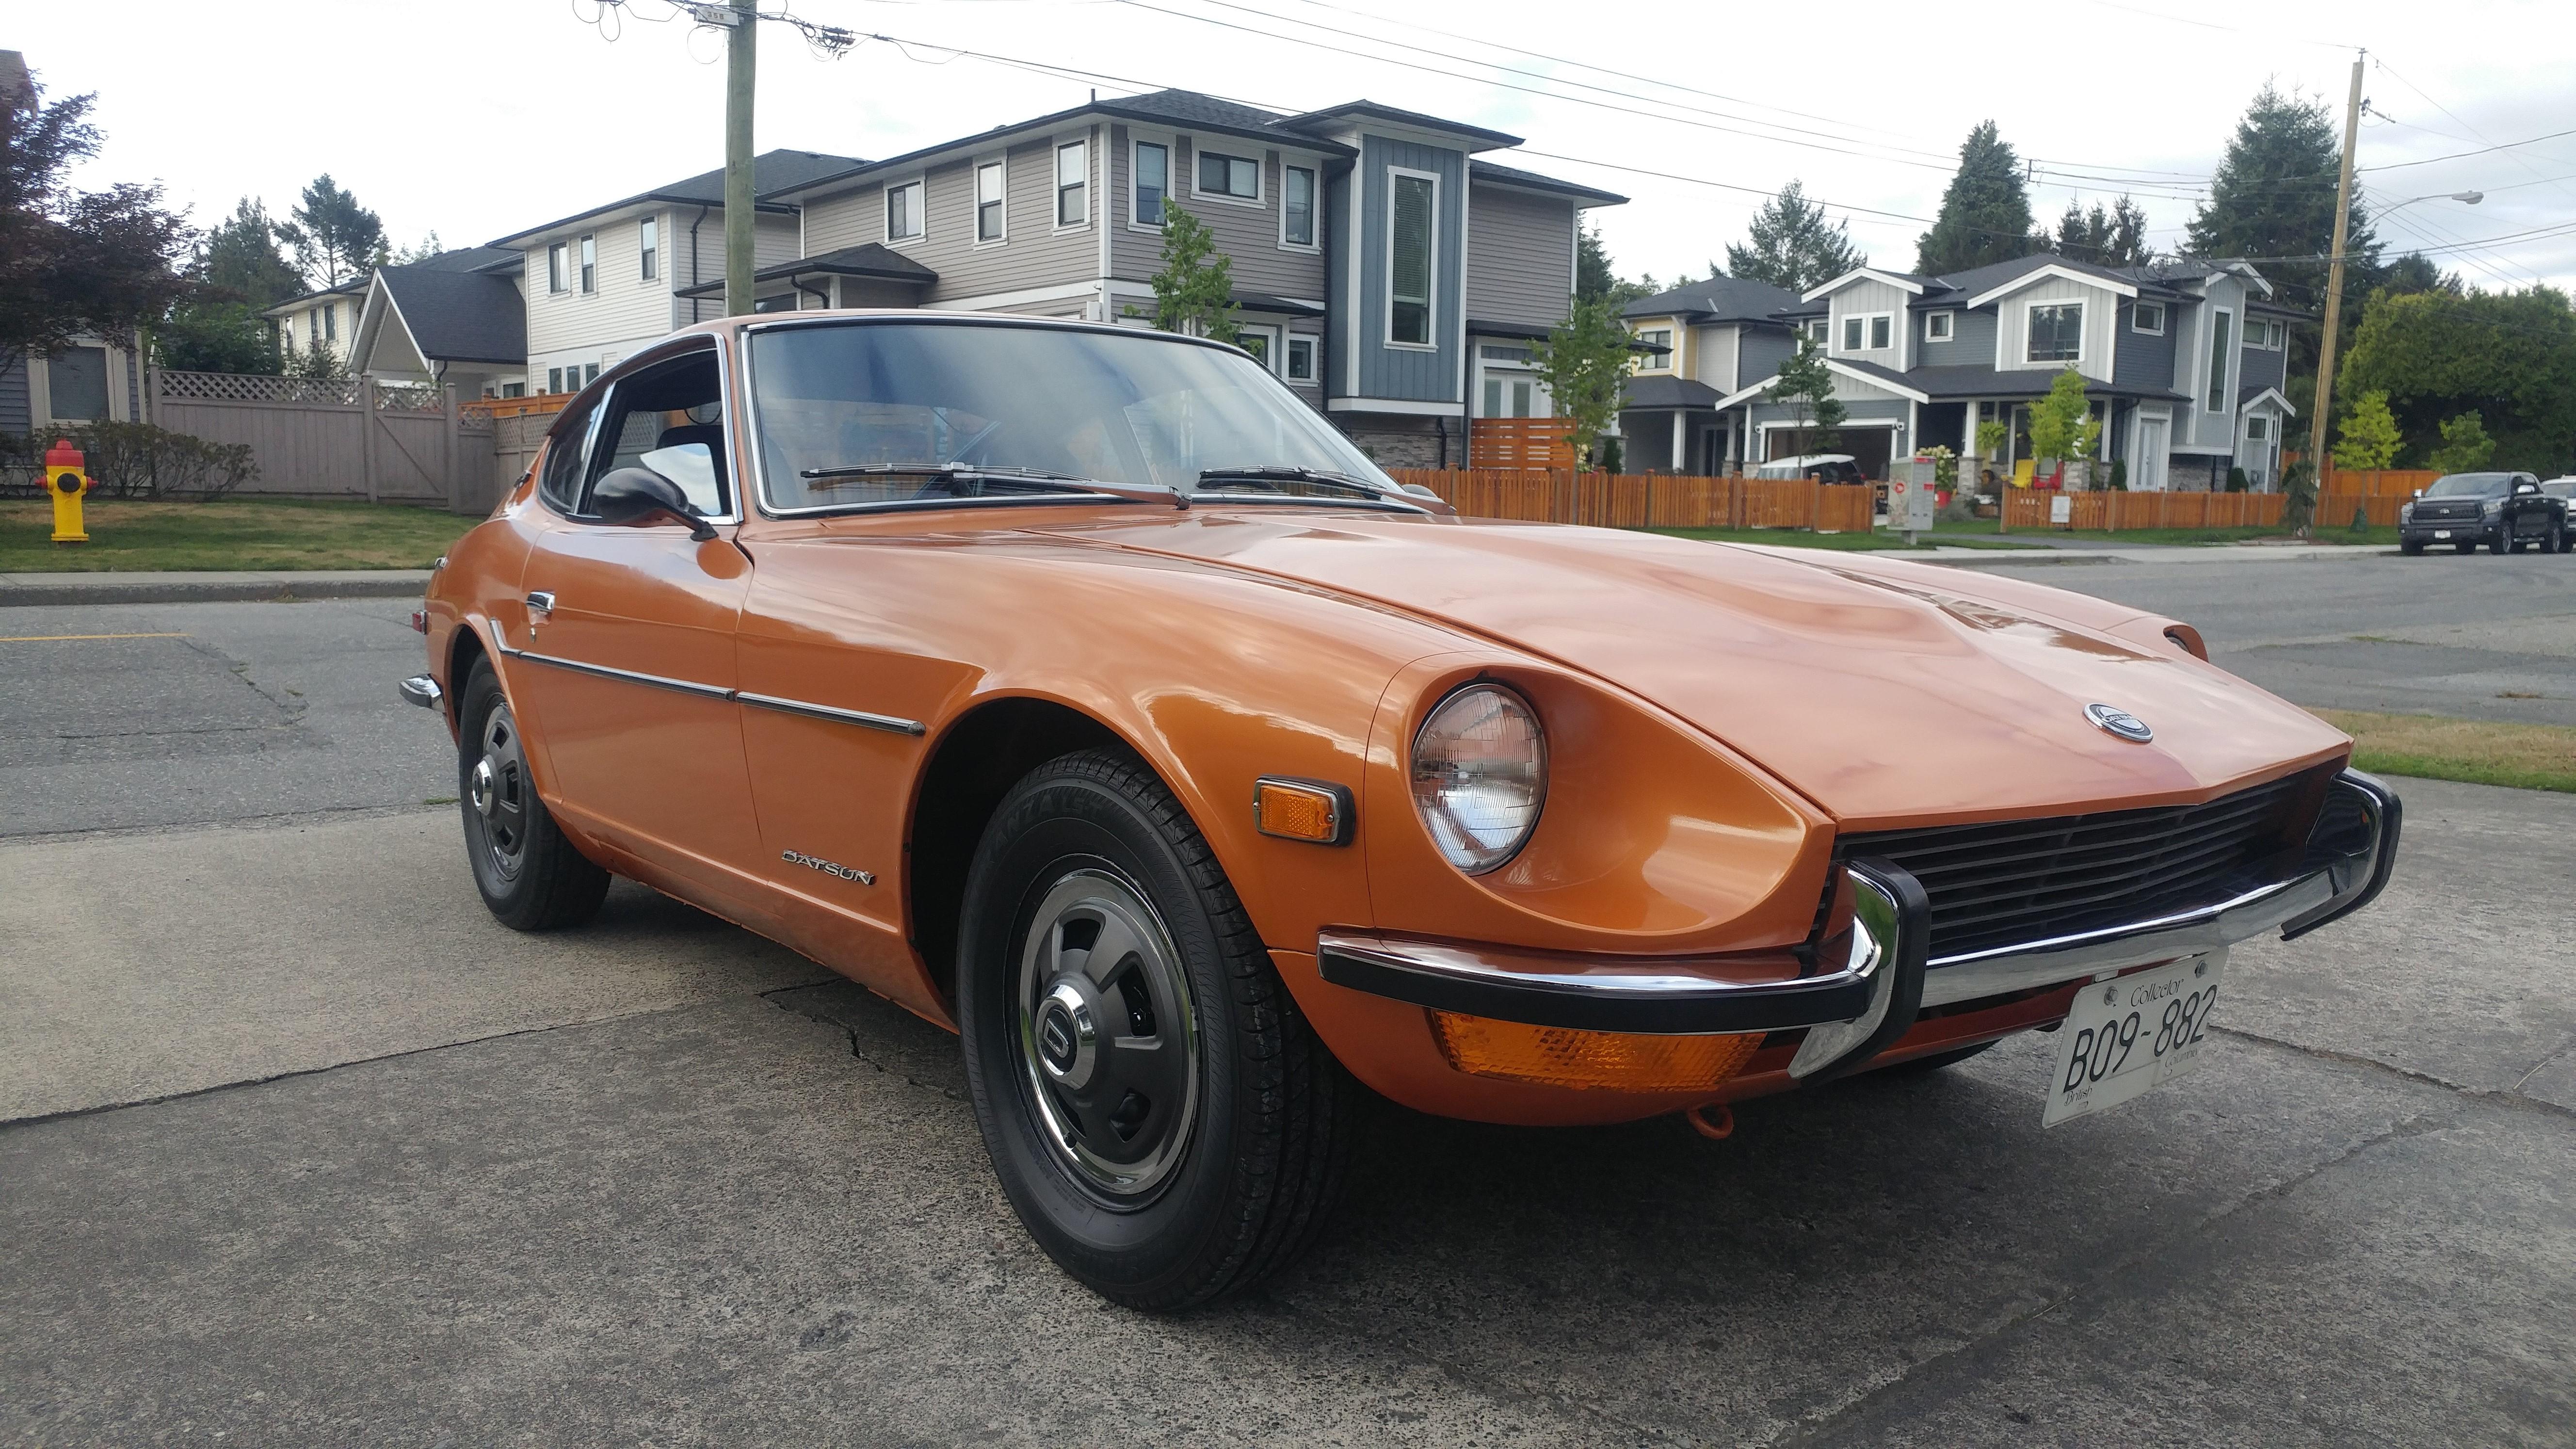
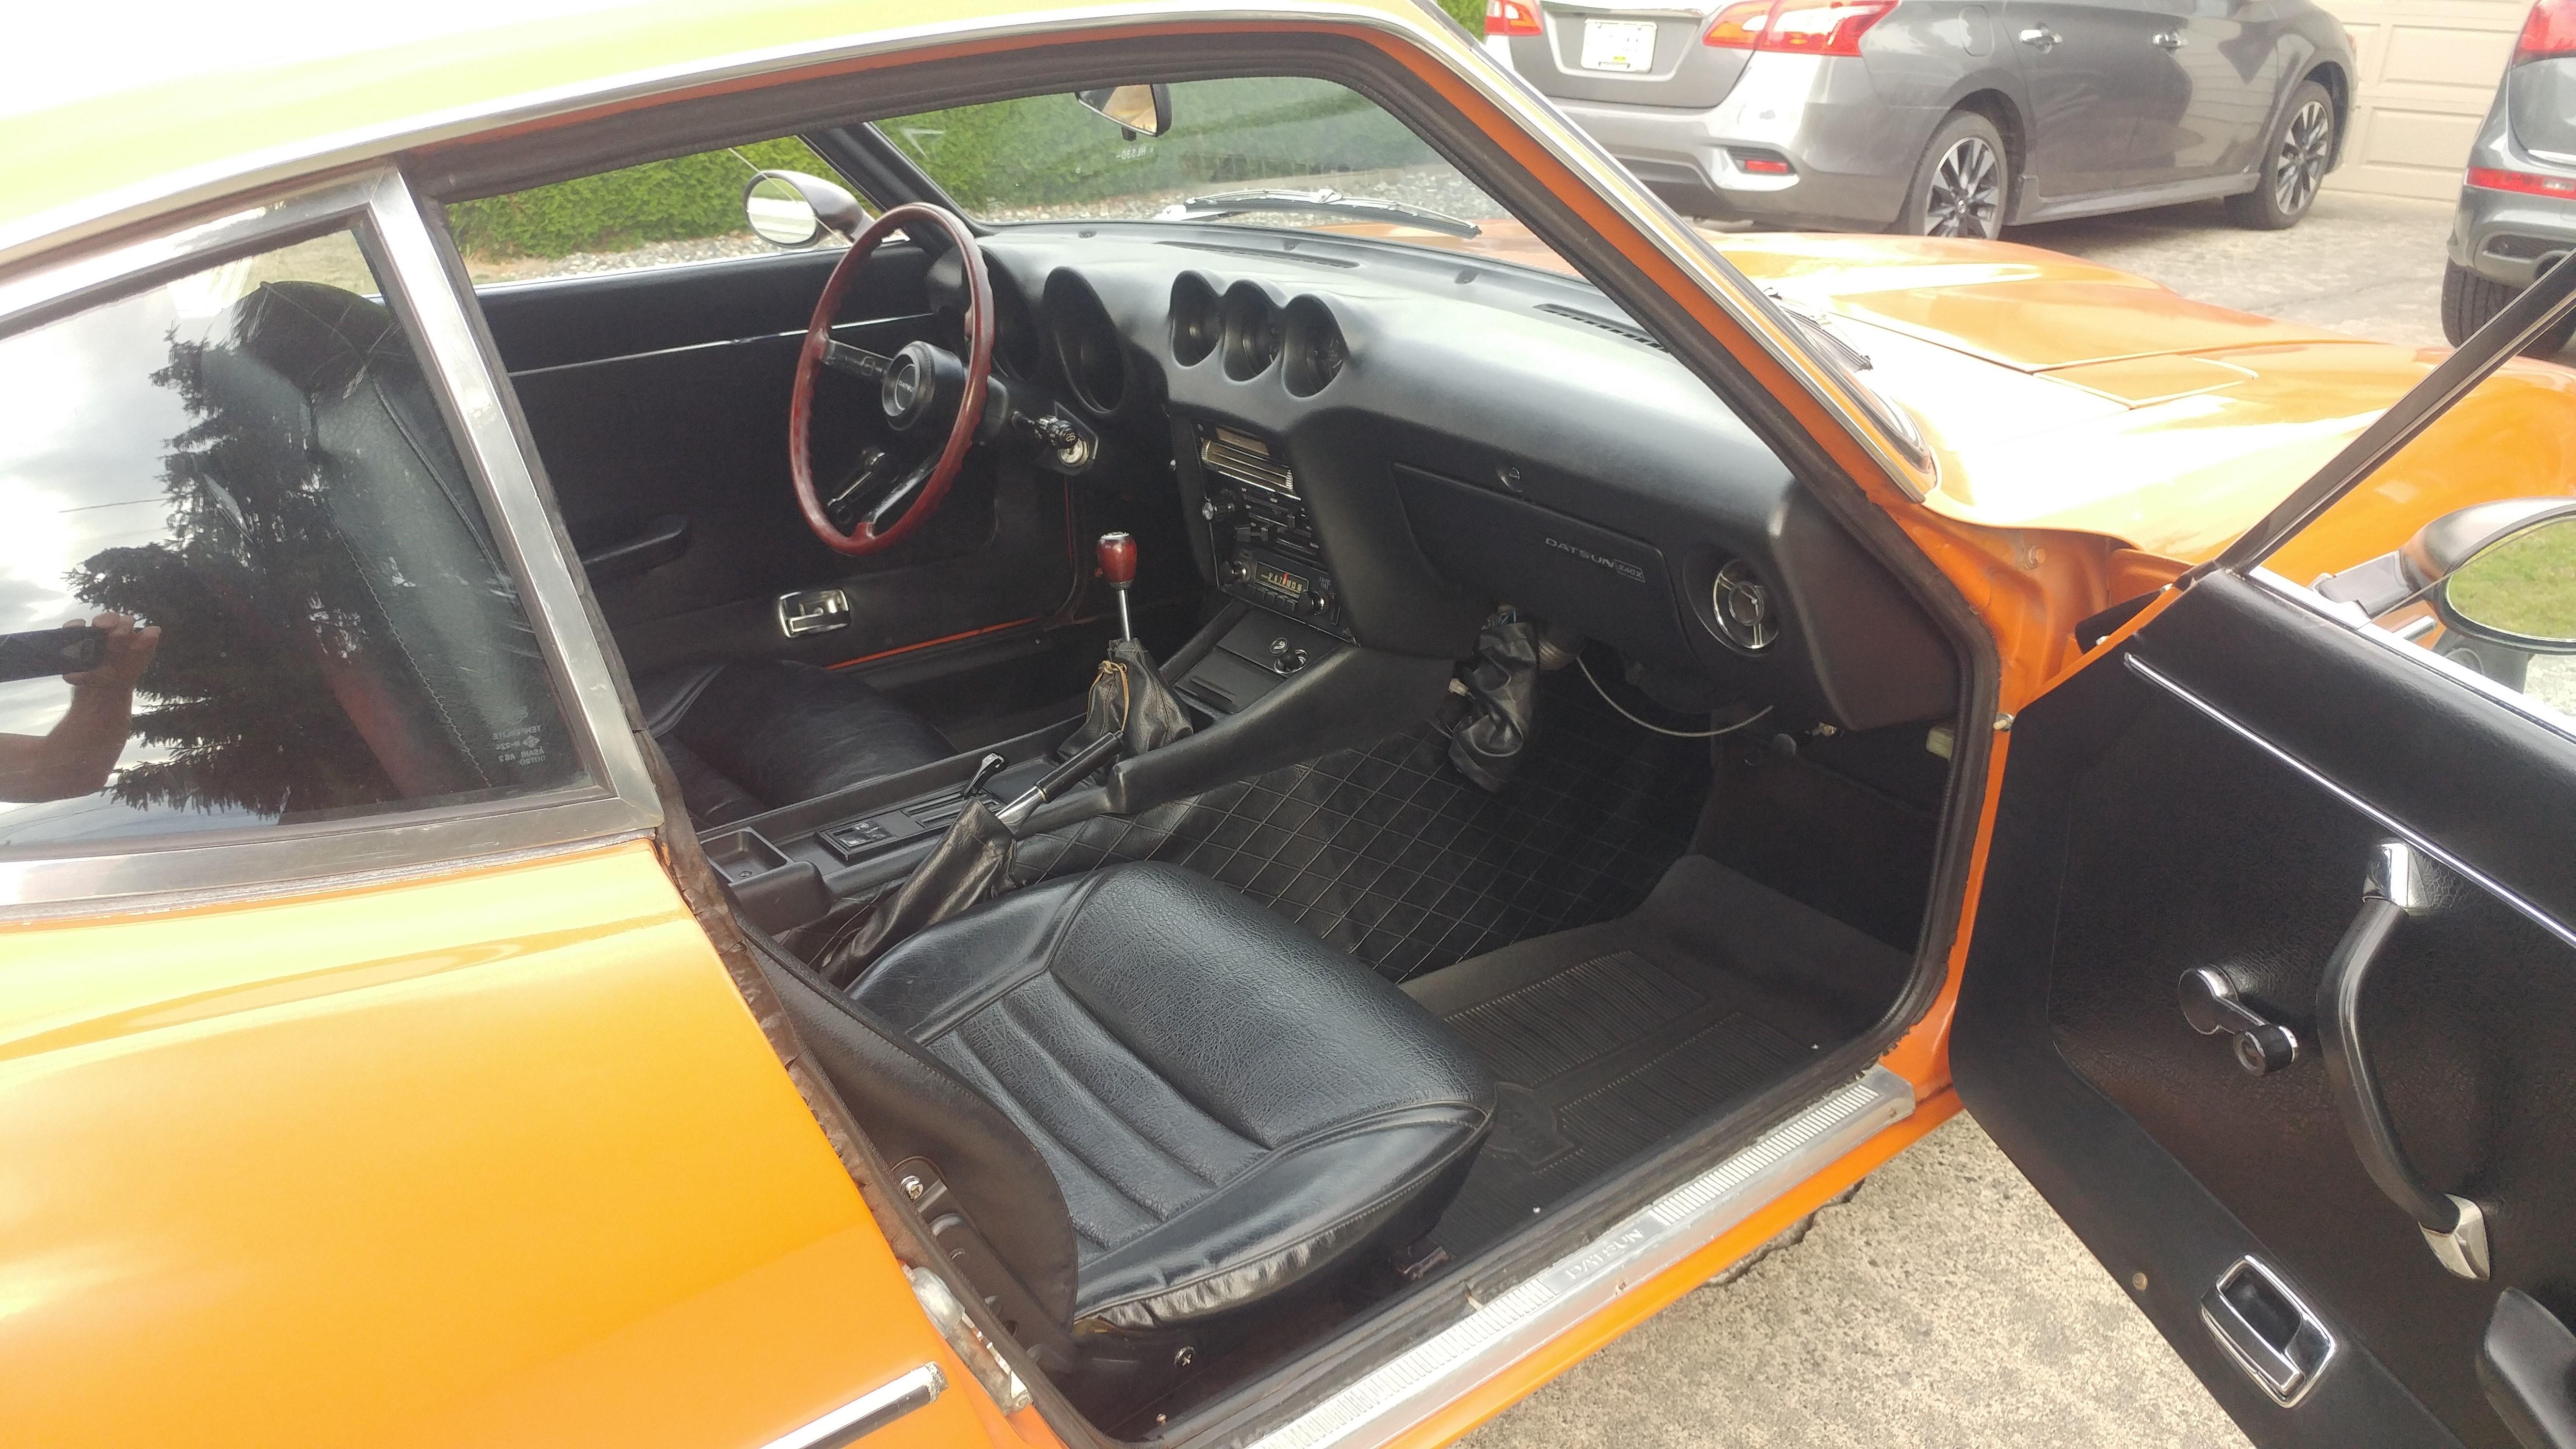
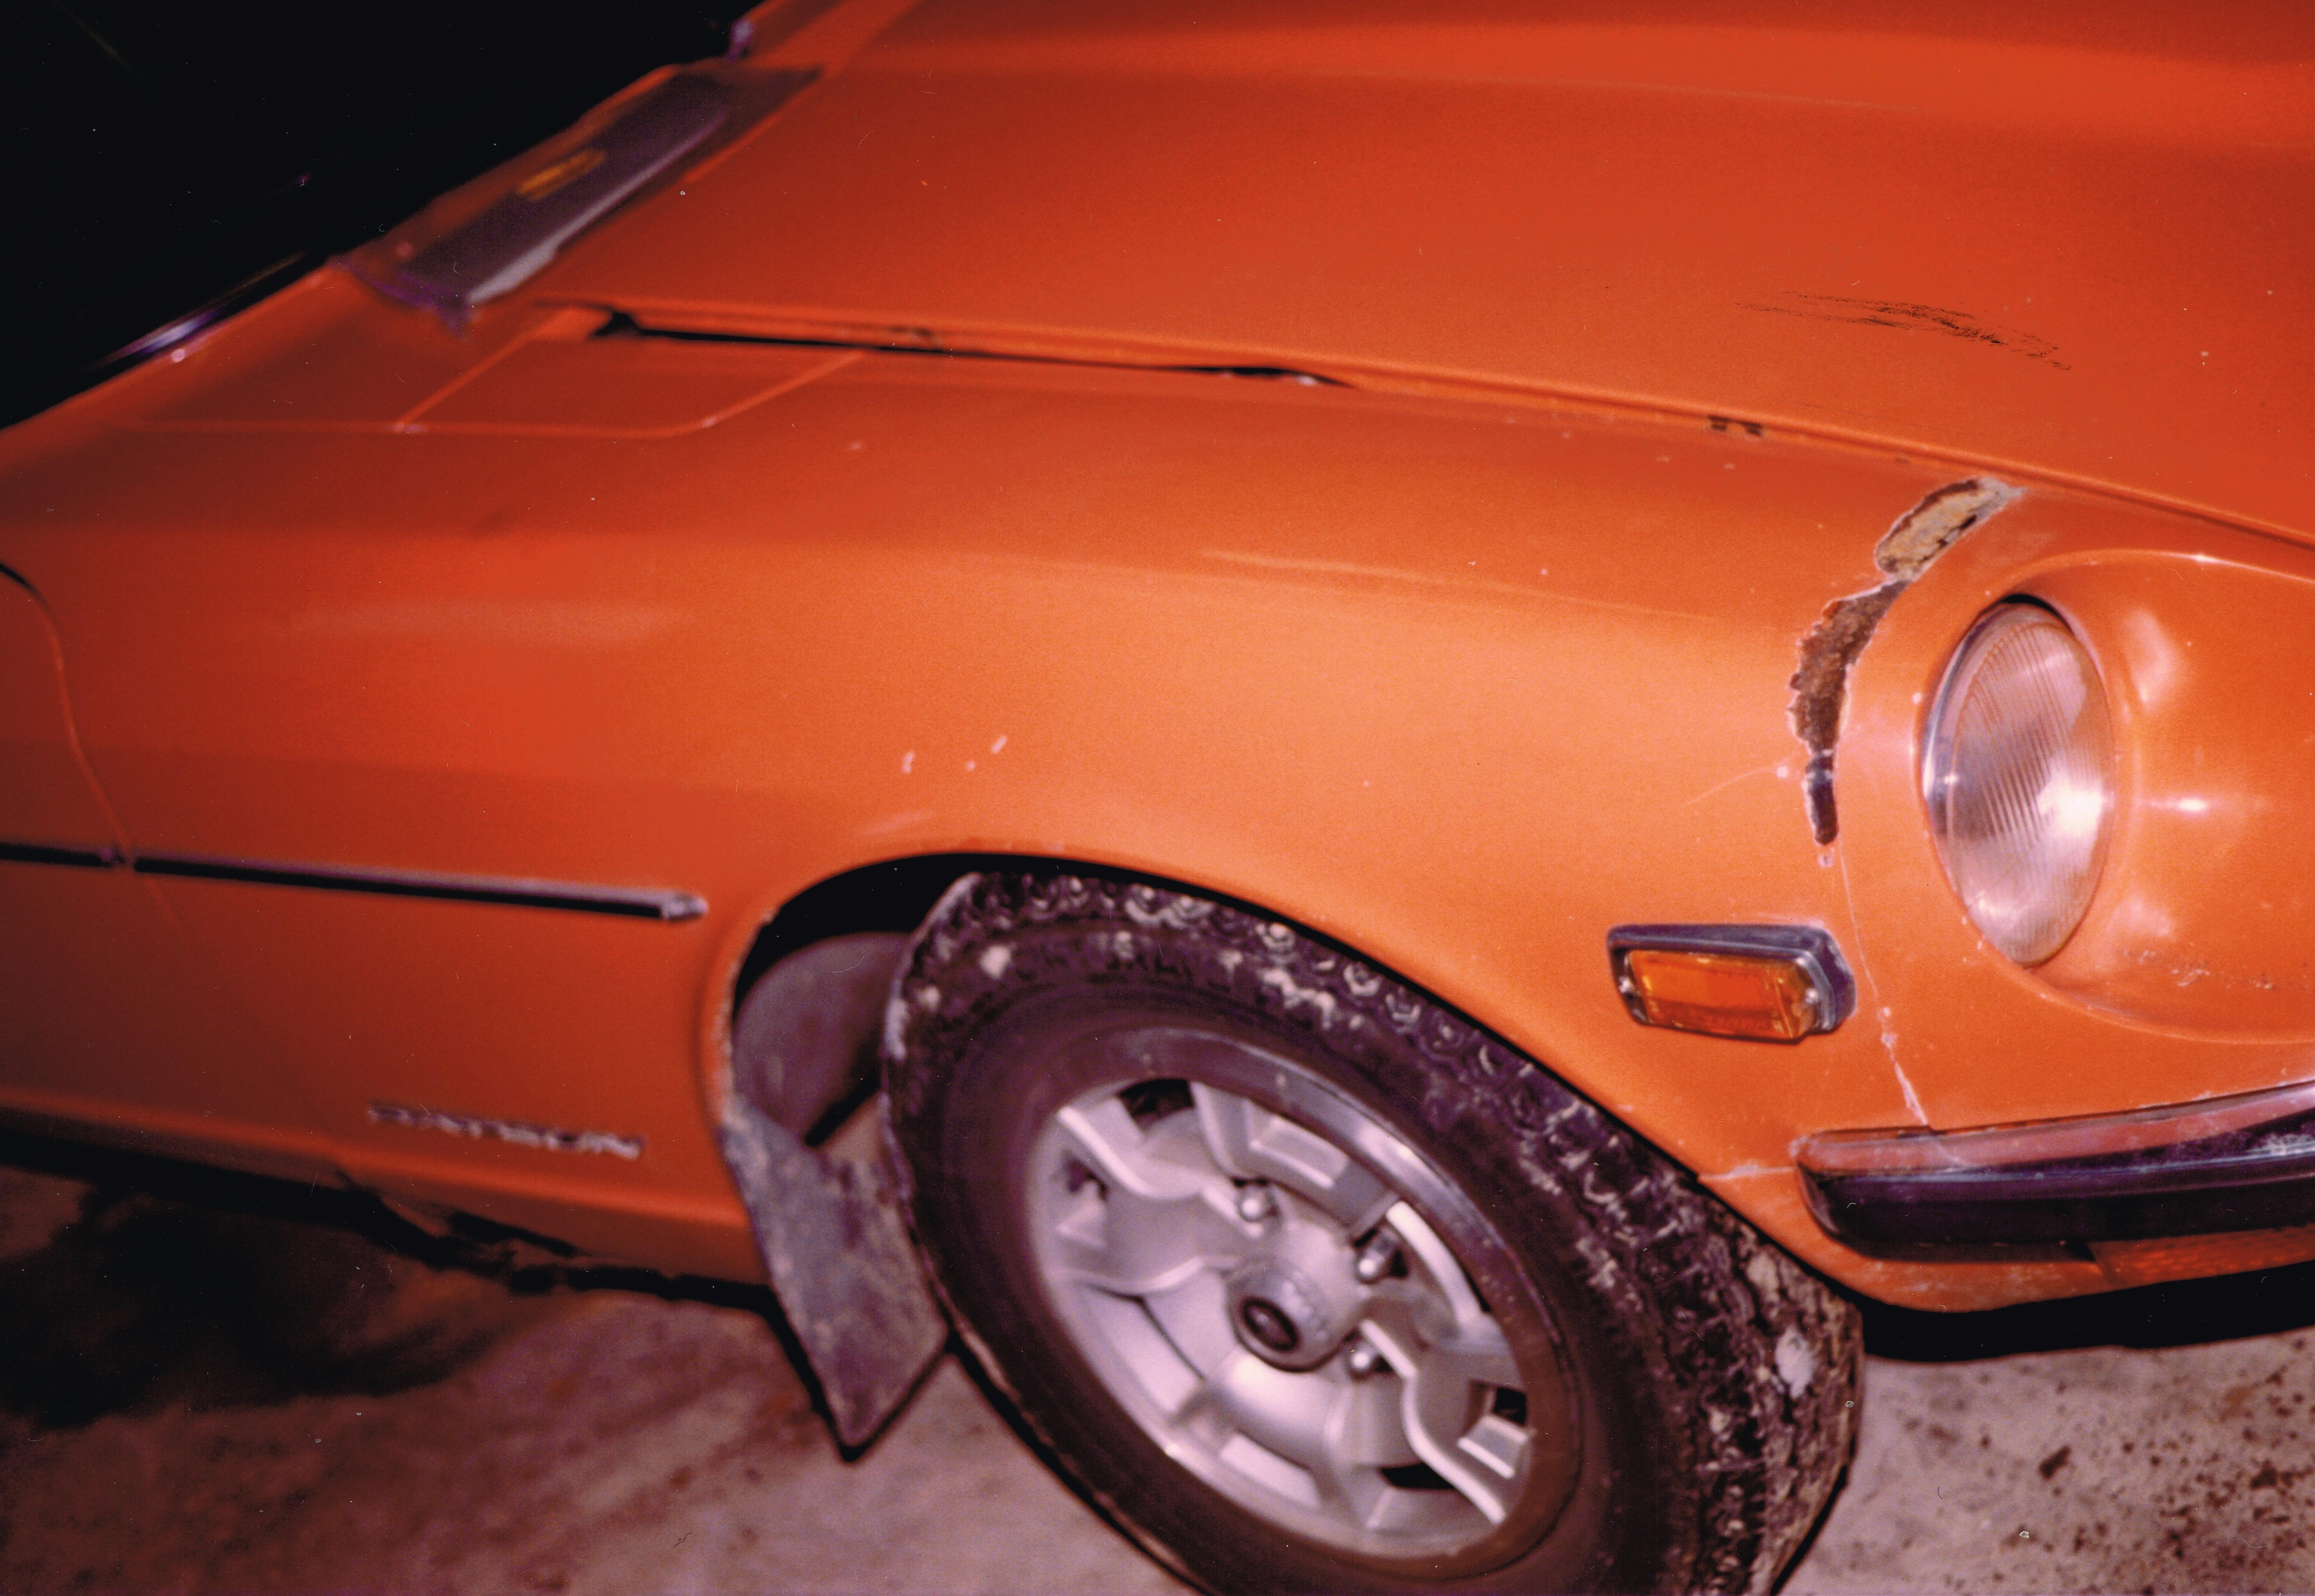
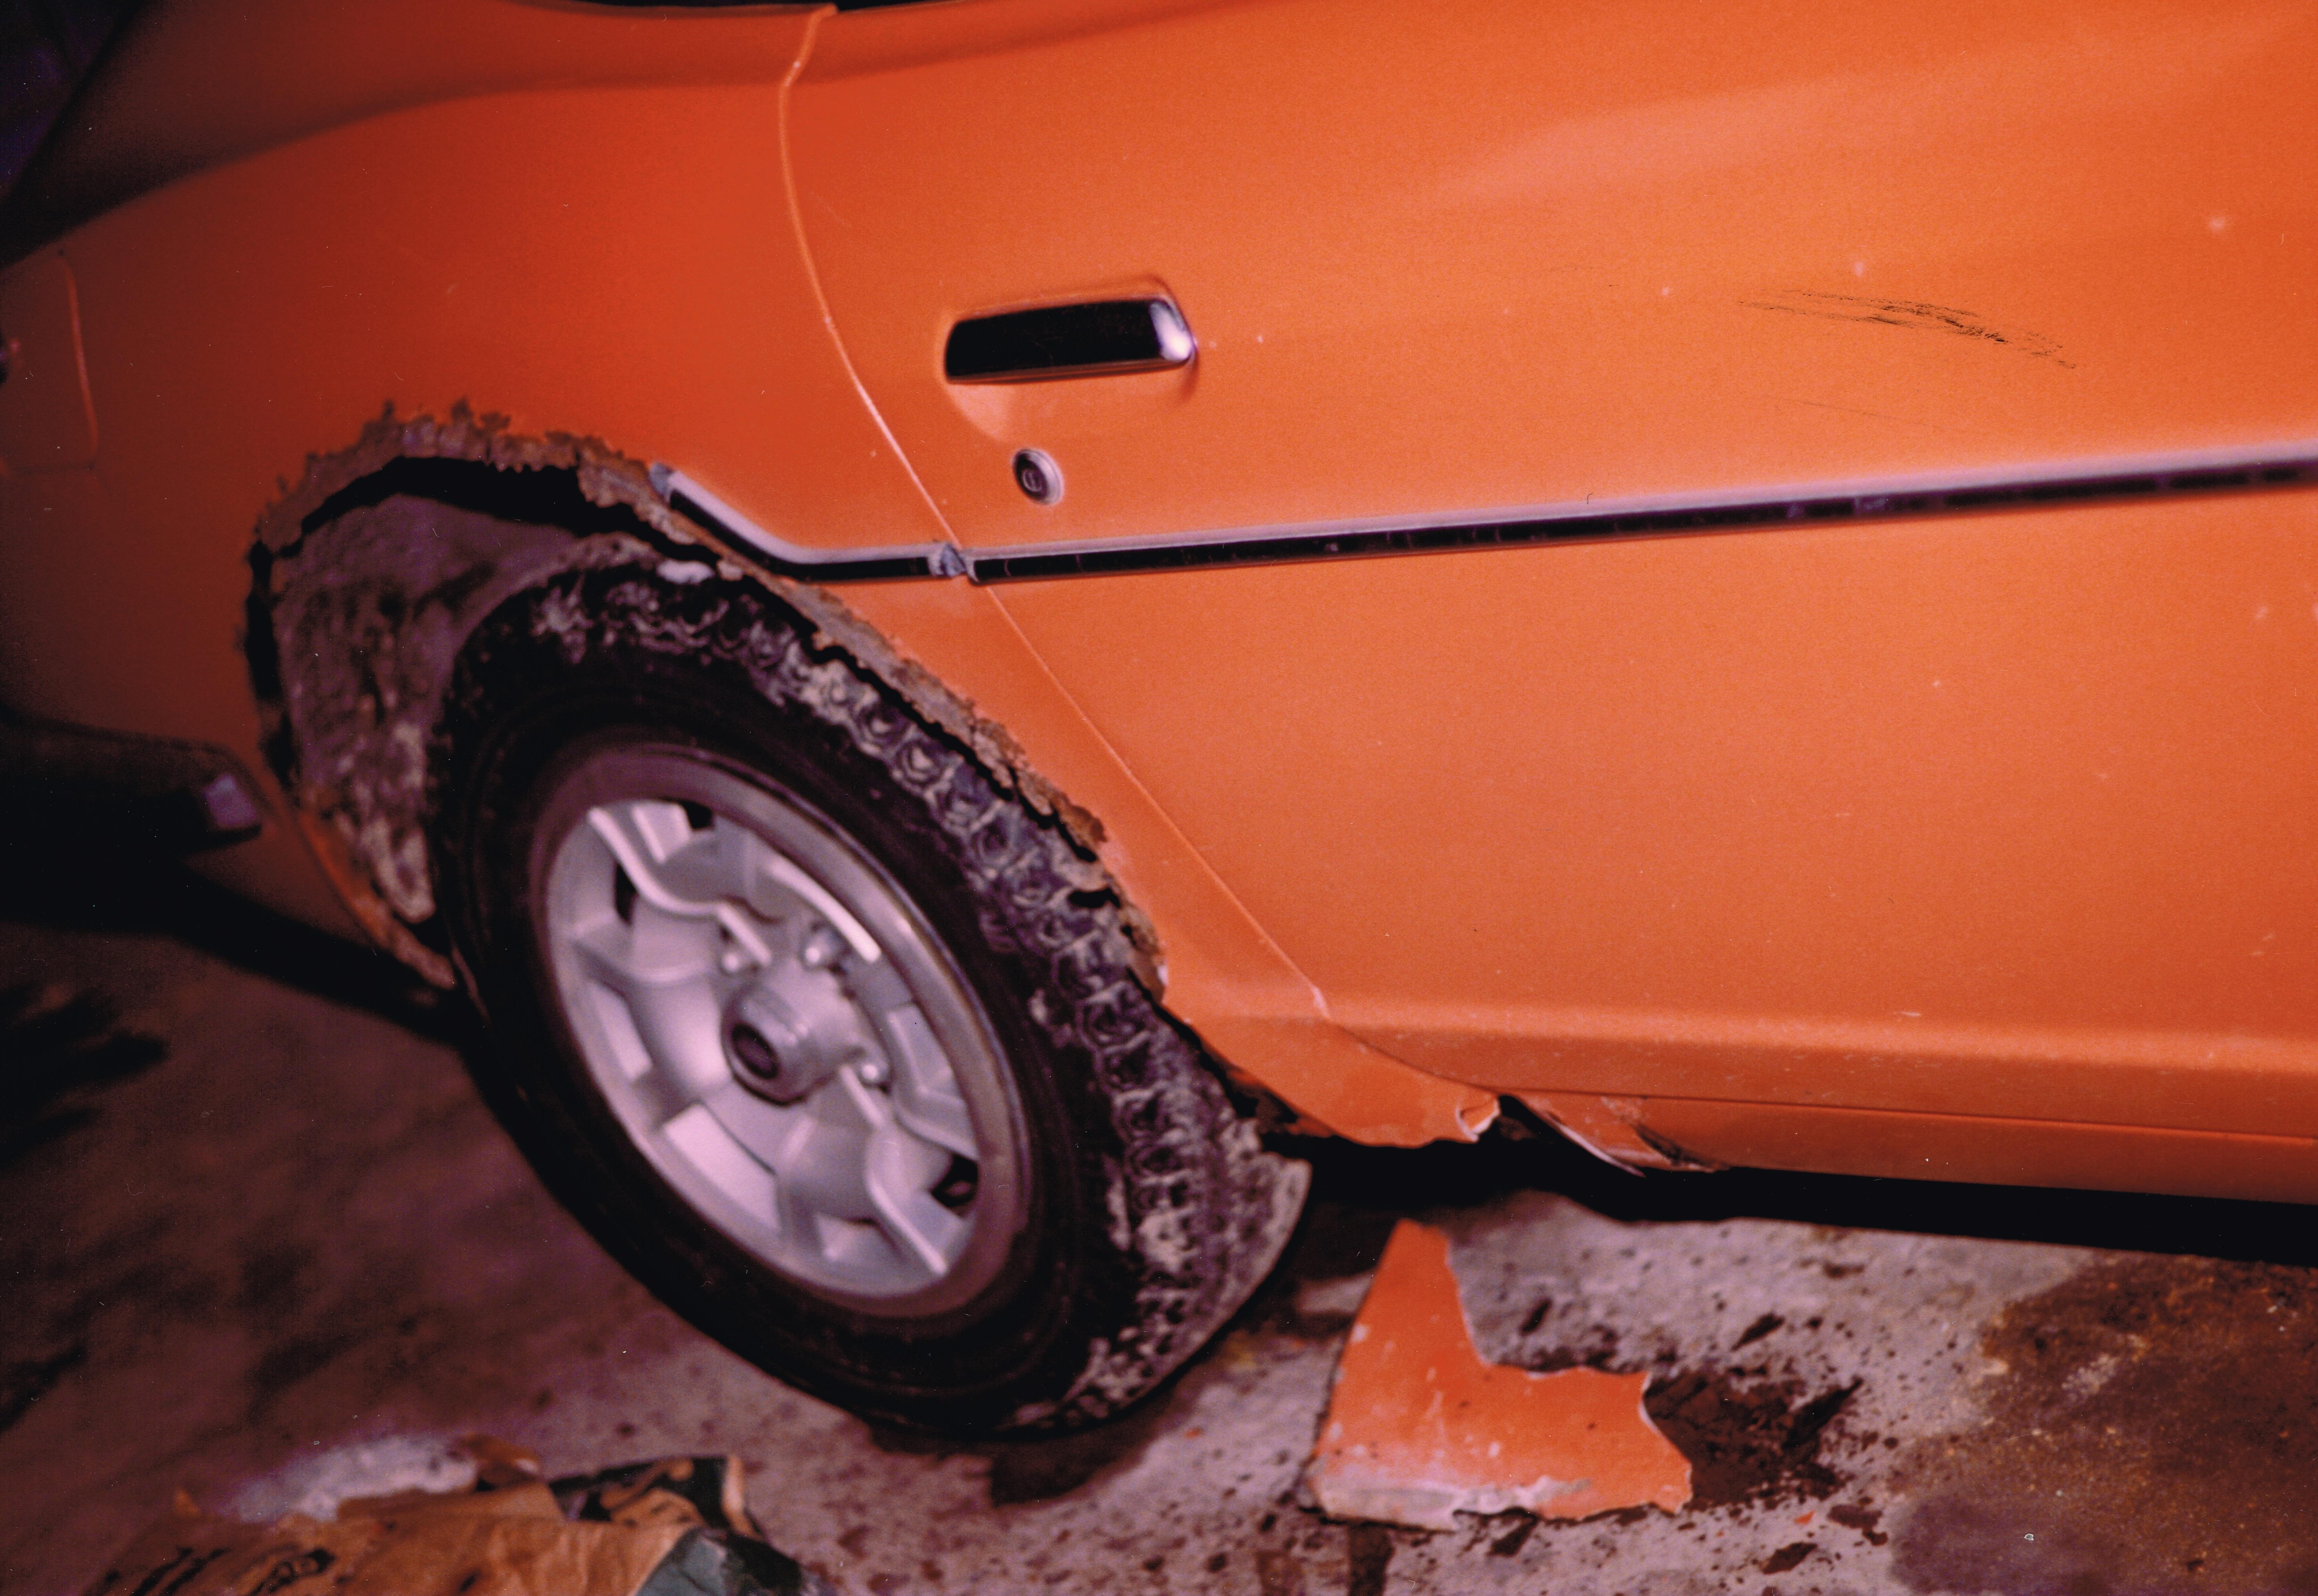
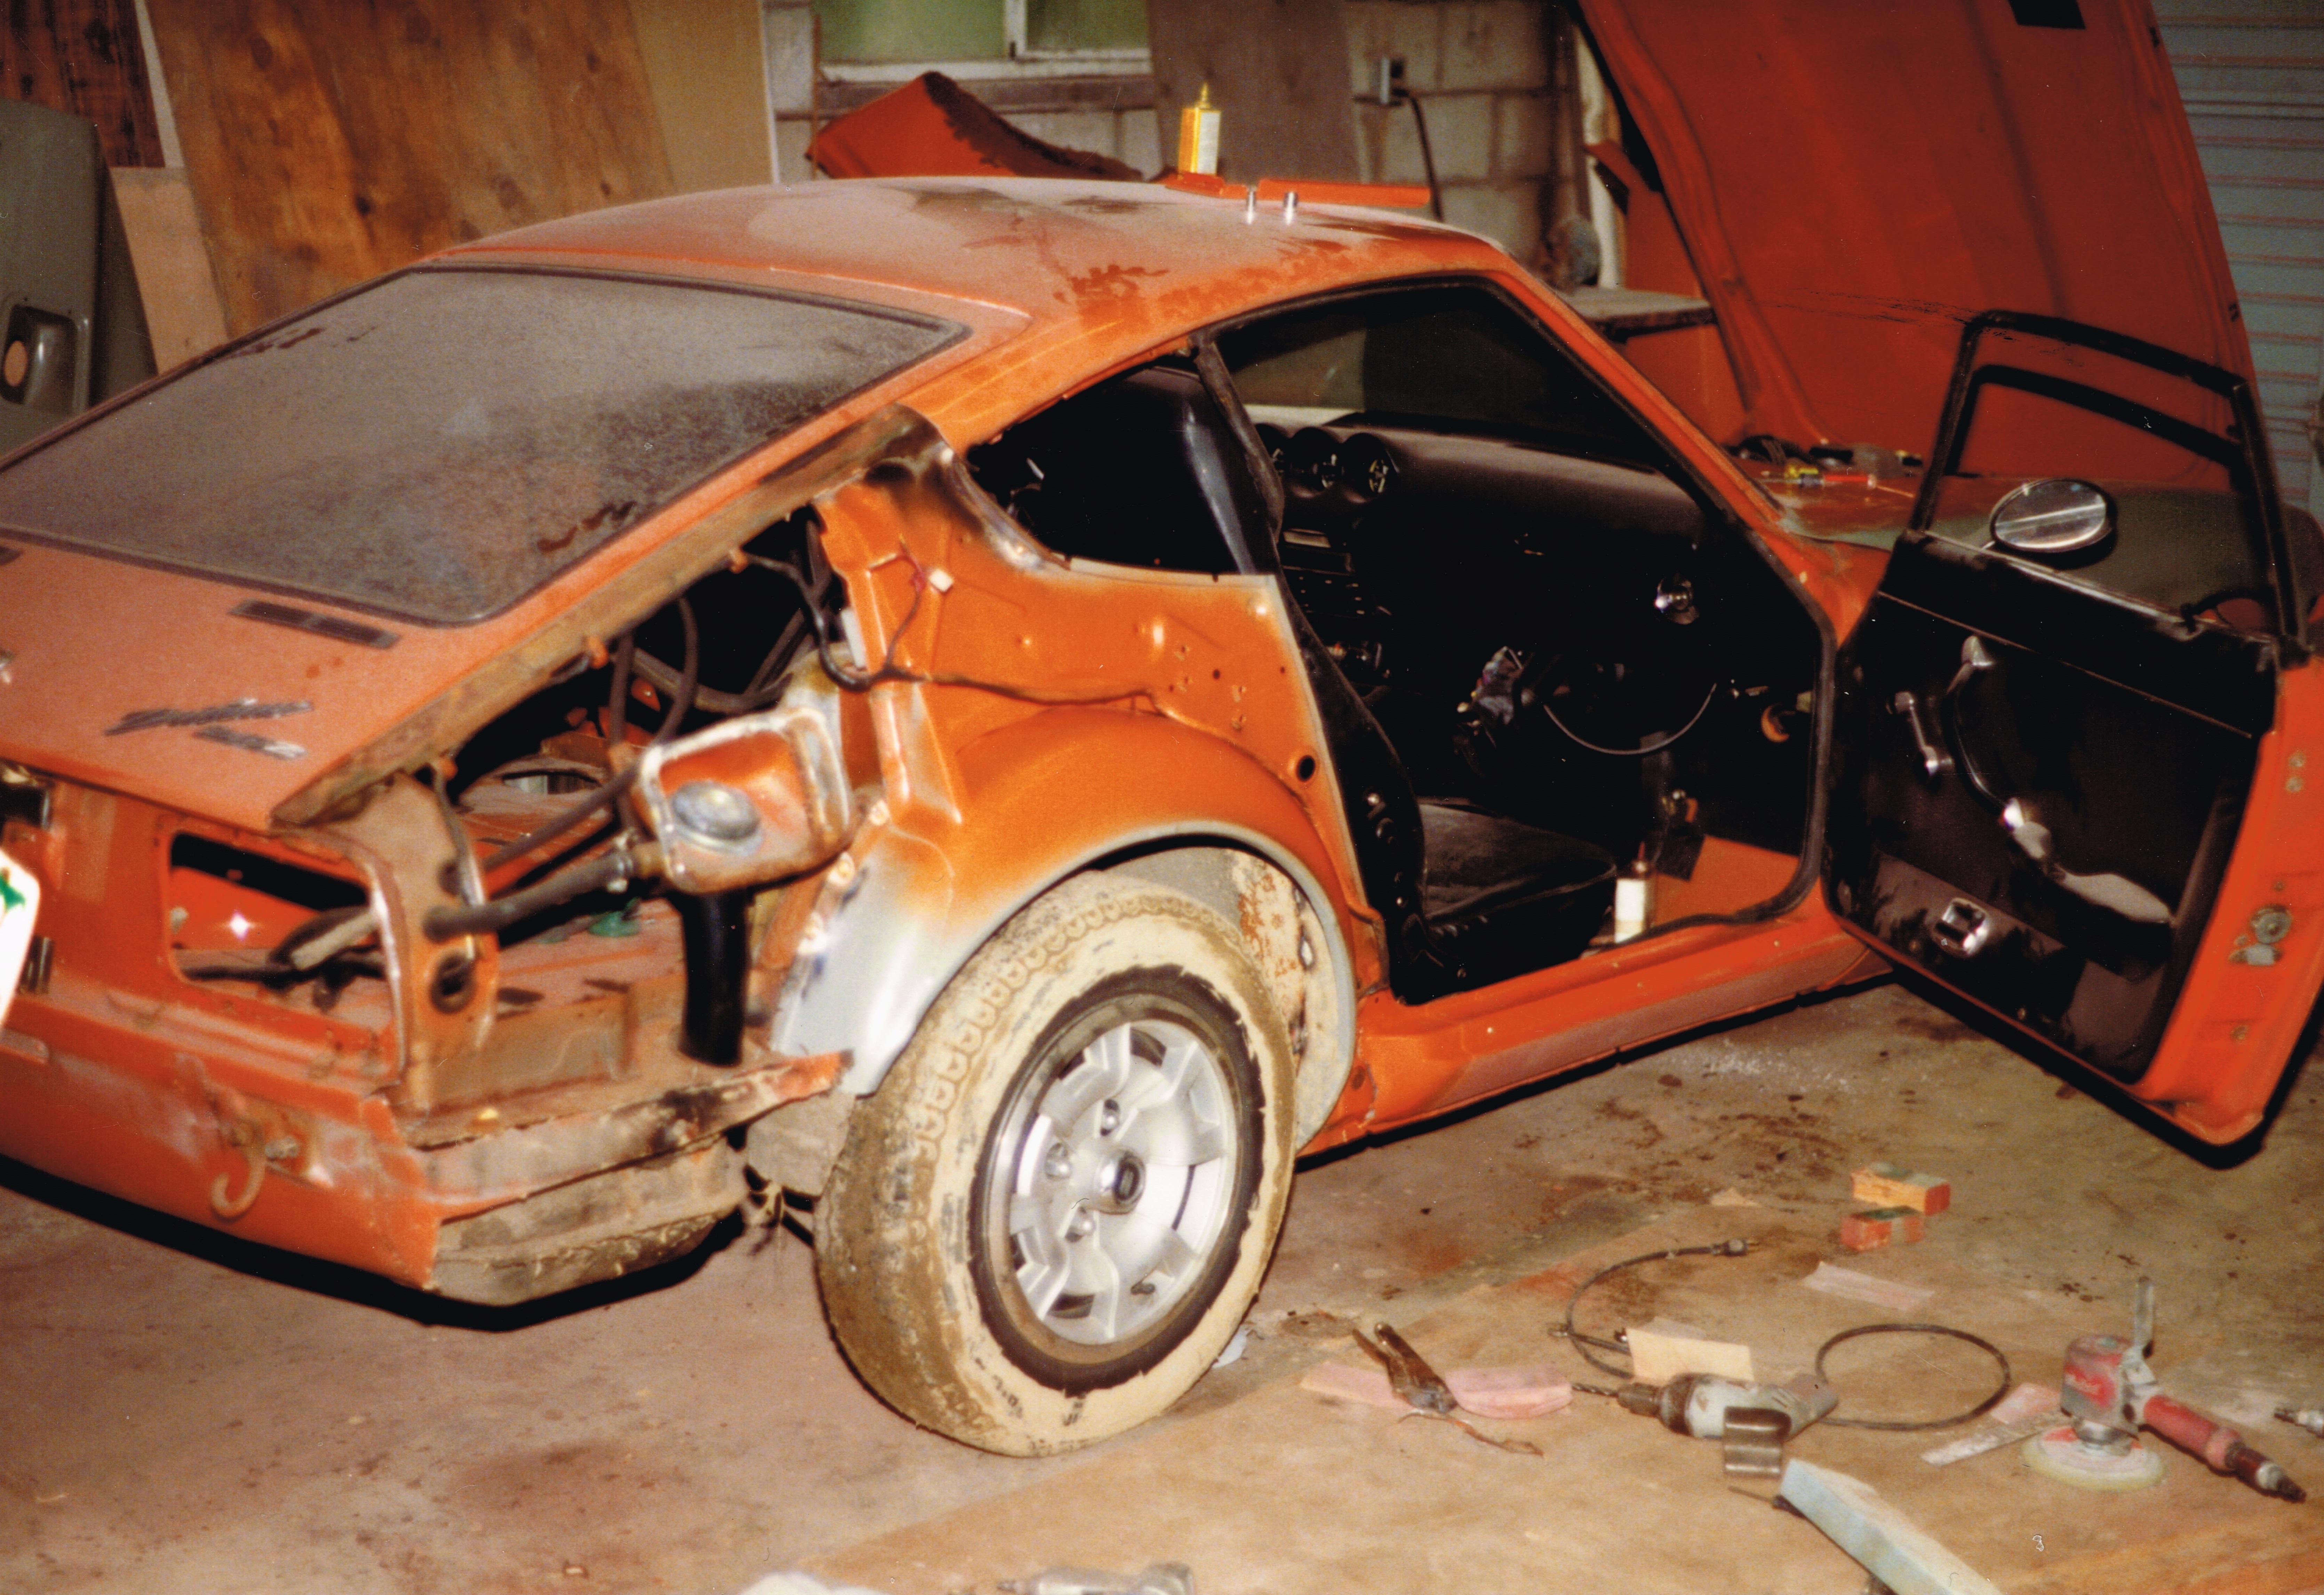
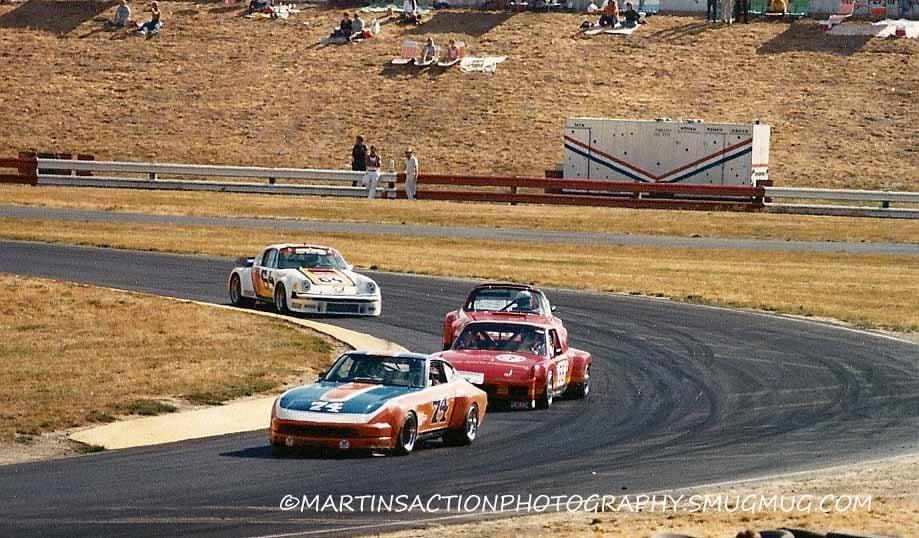
1 pointWell after forty years of ownership I'm finally starting a second go around at restoring my 1970 240Z. I purchased the car well used in 1978 with 90,000 plus miles from the local Datsun Dealership in Chilliwack, BC Canada. Here is a picture from July '78: Here is what it looks like today. Looks reasonable but the paint is showing its age and there are some other issues lurking that need to be fixed properly. Full disclosure will come later. Restoration number one was done in 1982 and I only did what I could afford at the time. I actually think this first attempt of was really "Canadian maintenance", my poor Zed was at a do or die point. Here are a few pics from 1982: I went to the parts department at my local Datsun dealership and made, what I learned later was, the largest order of body parts that anyone had ever placed with them to that point. By the time my body man and painter were finished and with the cost of the car, I could have bought a brand new 1978 280Z instead, but hey I was 18 at the time and I have never regretted doing it. In future installments I will list my restoration goals add a time line of my 40 years of ownership, after I sort and scan more of my old pictures. Anyway I plan to document my adventure with my re-restoration here, and I'm sure I will be looking for advice, also comments and tips will be very welcomed. Cheers, Mike


 1 point
 -
1 pointhttp://xenonzcar.com/s30/heads.html https://datsunzgarage.us/heads/ Read the "p79 mods" page on datsunzgarage. That's pretty much the best, money wise and performance. Shave it pretty good and shims plus earlier valves. A lot of guys on here run that head modded that way. You can do all of that to get in the 10s on compression or just put flat tops in your block.1 point
-
1 pointI have to agree, I was surprised. To their credit they did send me a new set but in all honesty only the rear ones went on (last year) as I really couldn’t be bothered to remove the bumpers / had more pressing work on the car. I believe they offer an option of having the bumpers without the rubber holes drilled but includes the rubbers in the package. That way you can have the option to install yourself or keep the corners shiny! And I have to agree the S/S does pick up scratches more easily. However my father in-law’s experience convinced me I wanted S/S. You see, in the UK the weather is constantly humid even if you don’t drive in the wet. He had his Volvo 123 Amazon bumpers re-chromed and in under 10 years they started to go again. So when I met him (about 12 years ago), I helped him fit the Harrington bumpers and to this day they look stunning!1 point
-
1 pointOK, let me answer my own question! A kind Uk member who bought them but not installed, dropped them off the other day. They are radiused to just over 180 degrees so I’m not sure if you can say fully radiused as I have seen some made from a single billet and fully radiused. They fit is 99% perfect to under 0.5mm difference between them and the carb mouths. They do look good quality. I have yet to do a back to back performance test, so more to come!1 point
-
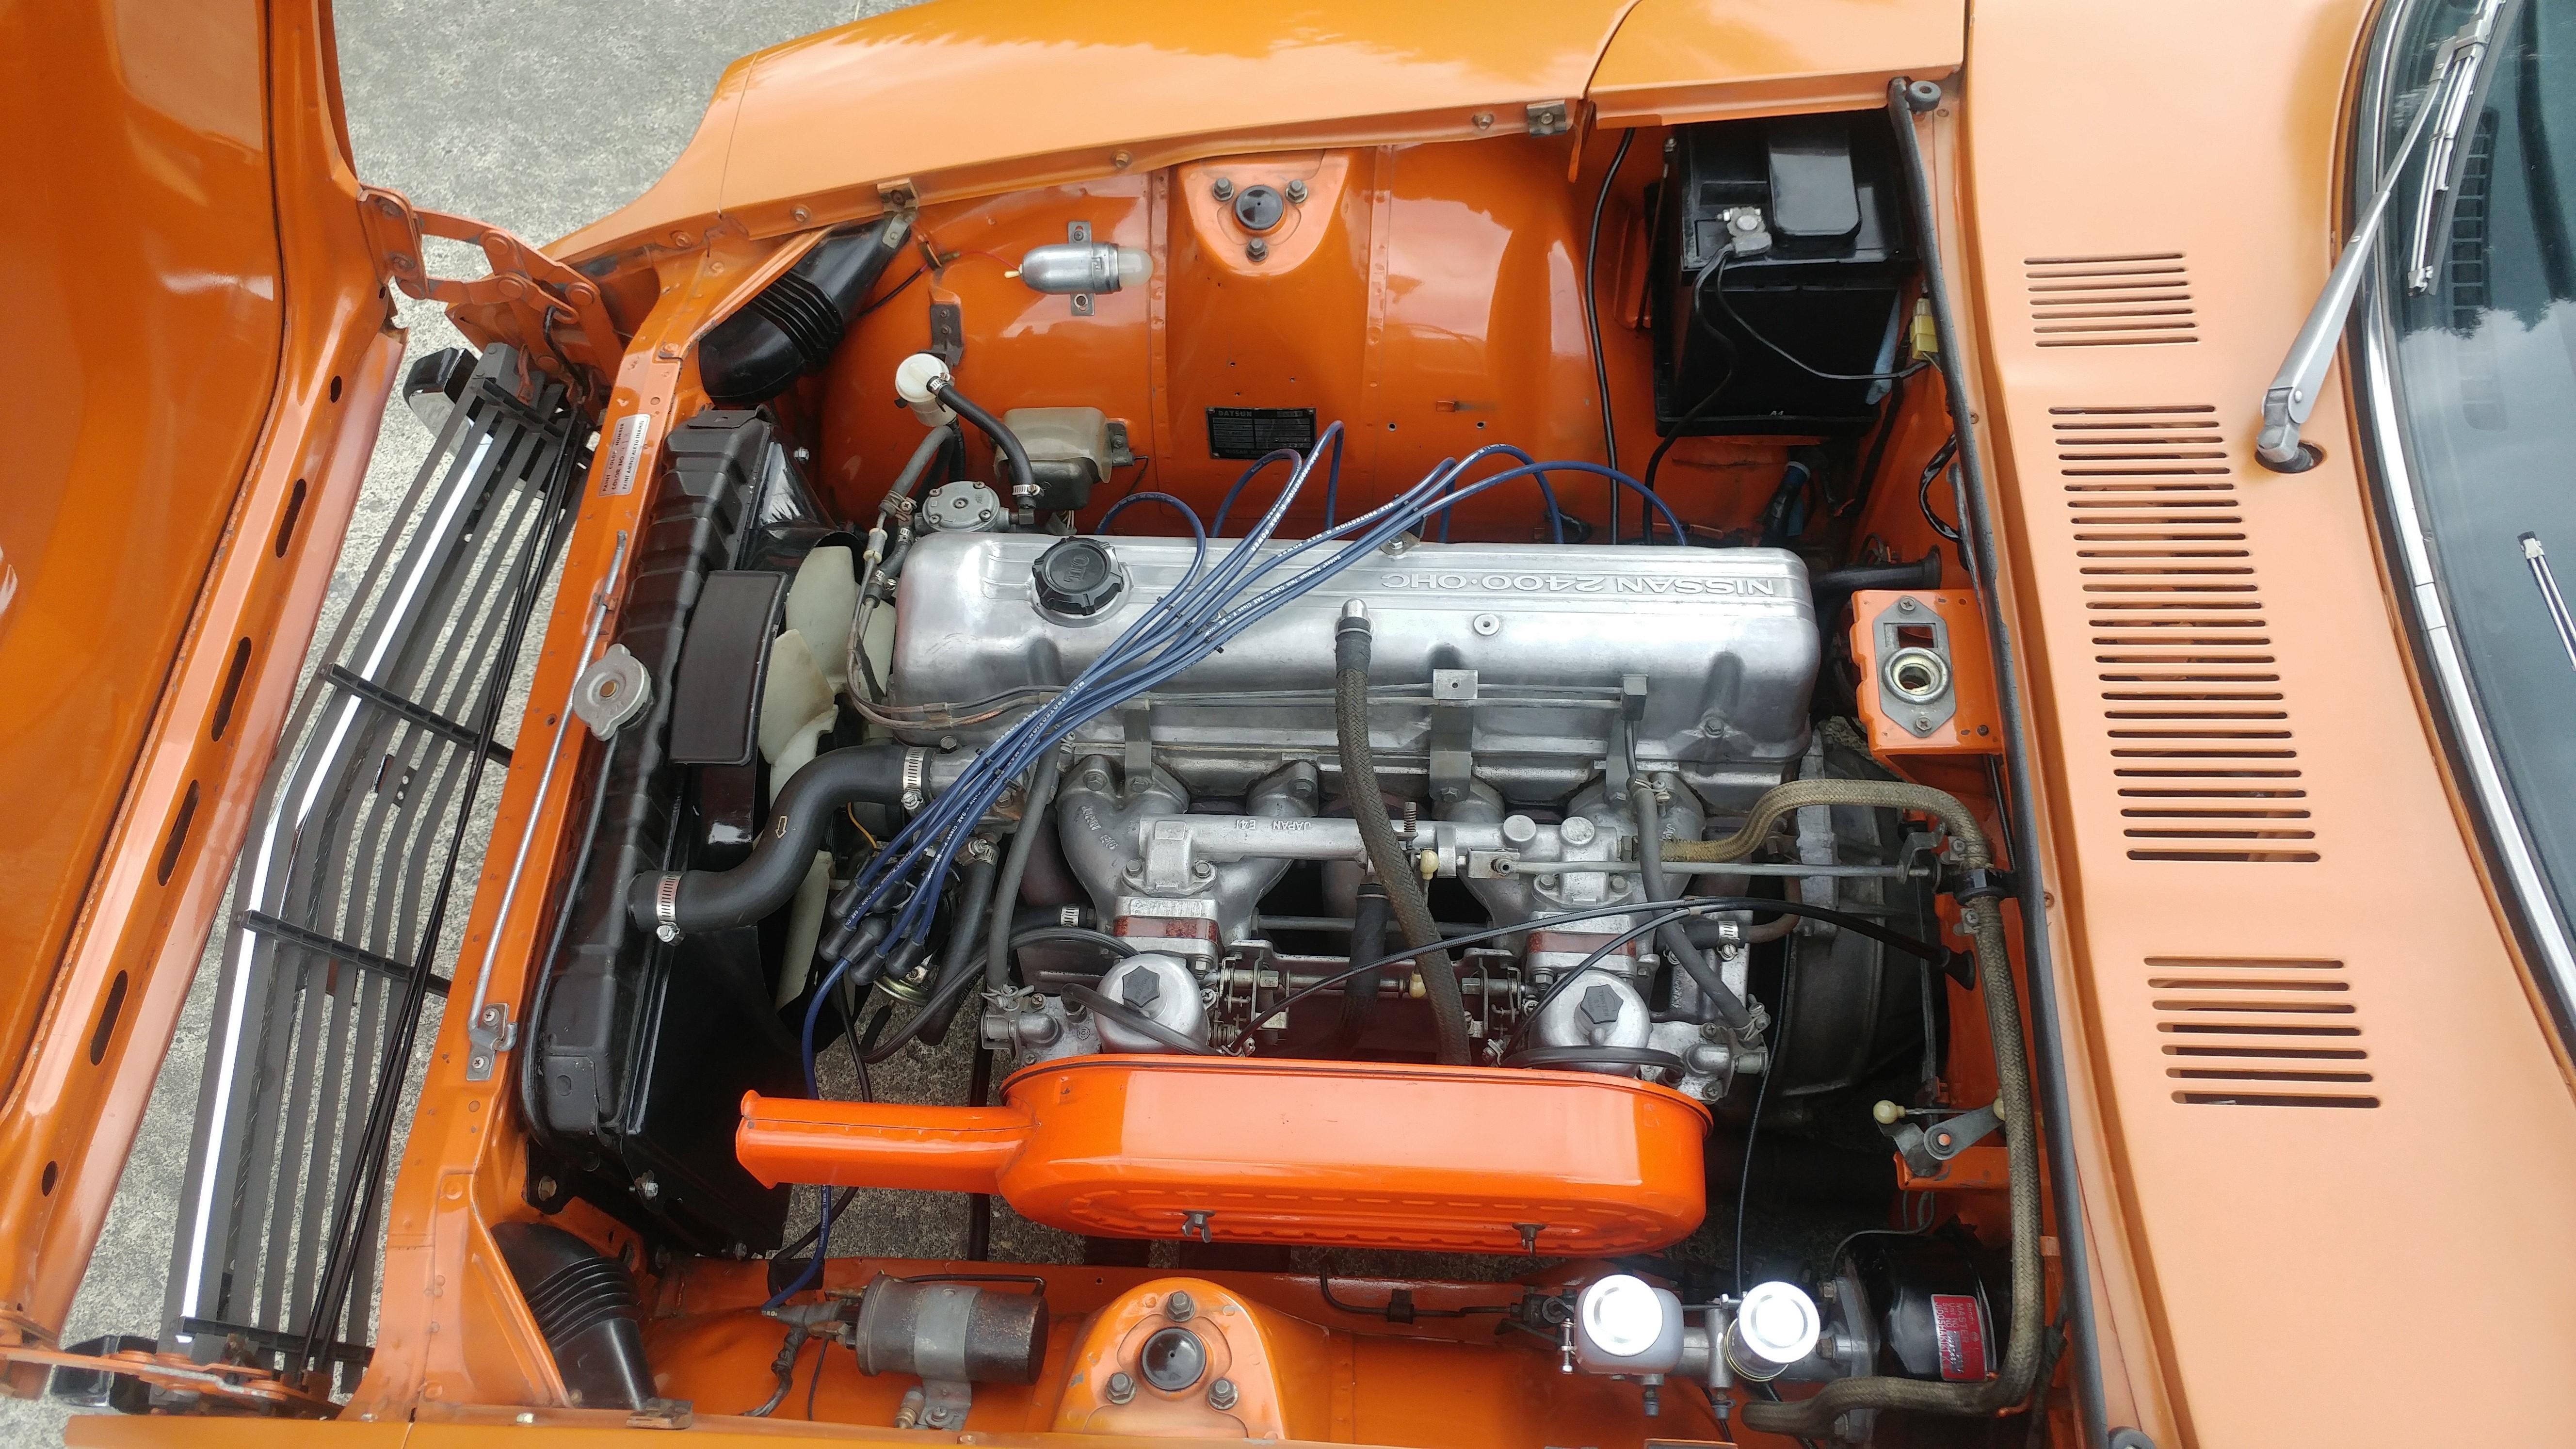
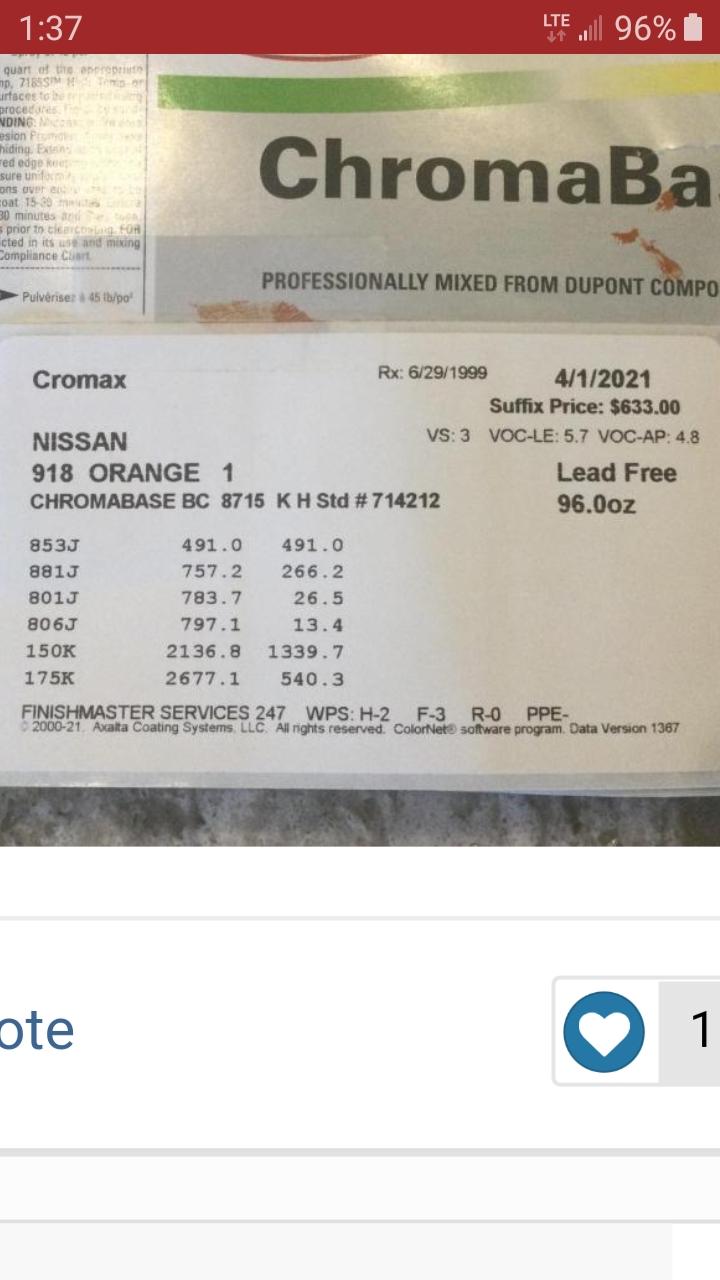
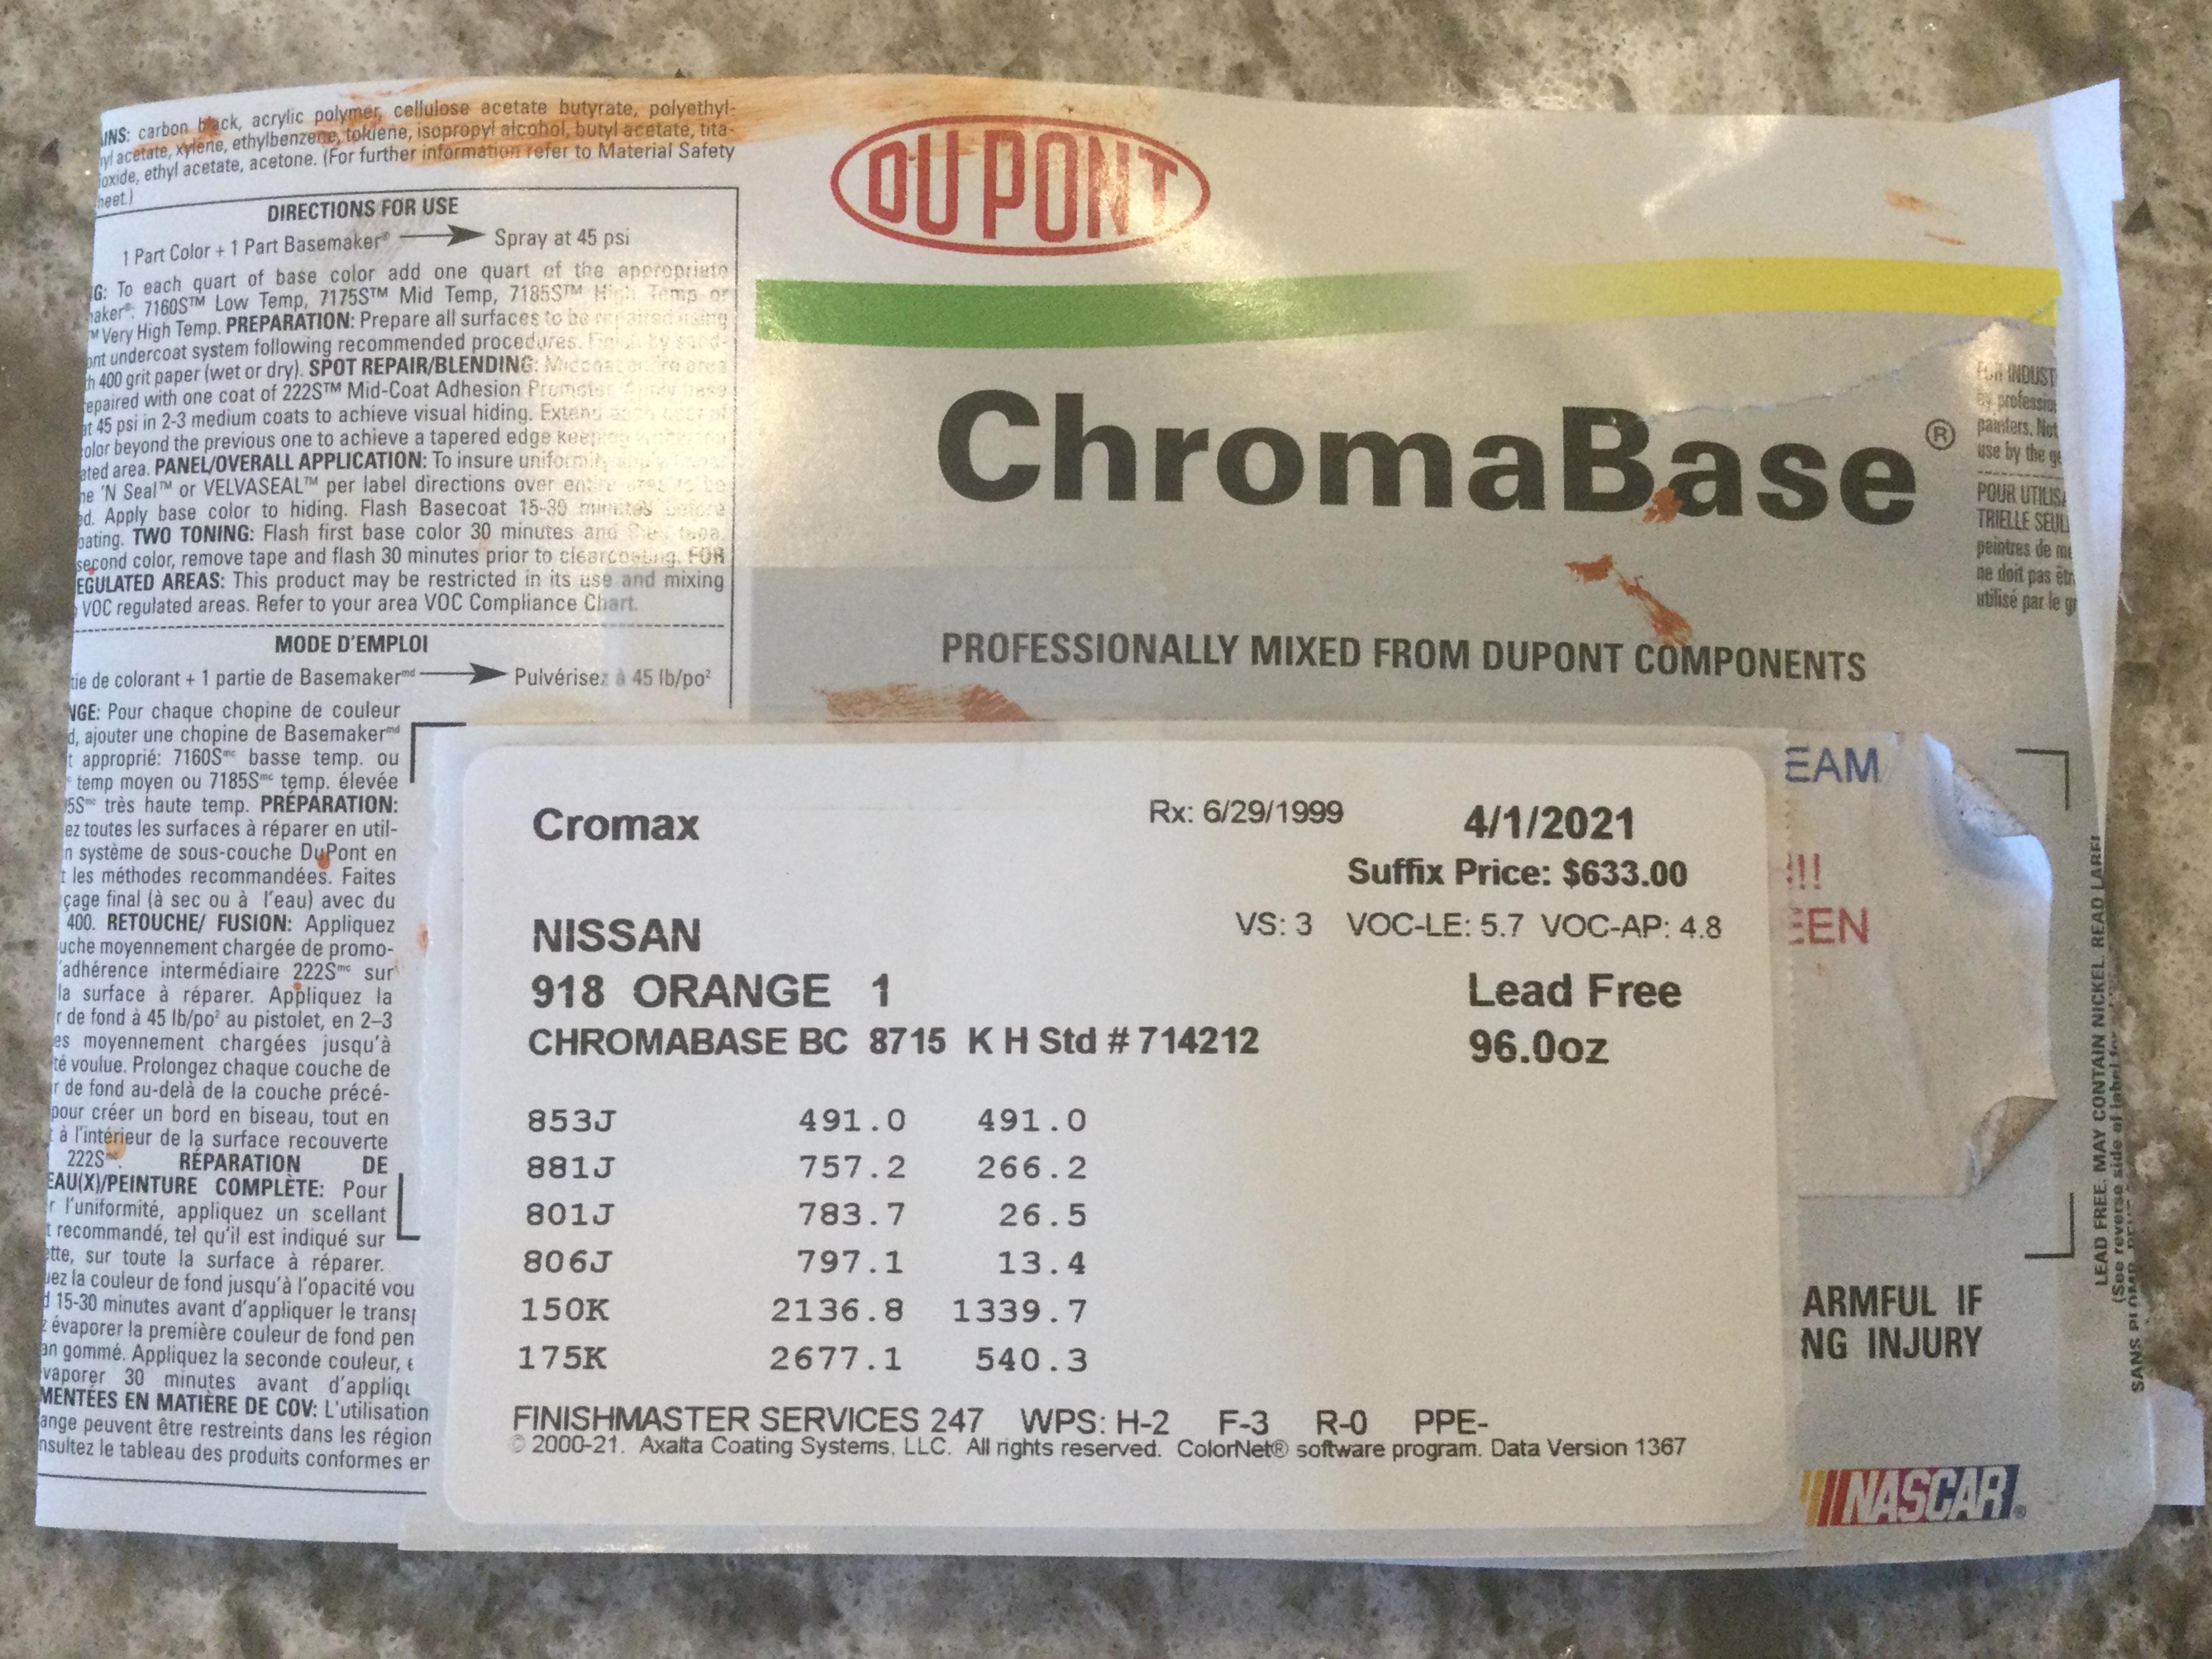
1 point1 point1 point1 pointI measured my original N47 off my 280, I'm sure it's never been touched and it measured 4.25 inches which is 107.95mm. Probably measured some grease too. I would just do the basics and have a good solid car you won't have to worry about. I jumped out of the gate at first on my 2.8 build but was talked down by some guys that have "been there done that" people. I know I'll get scorned for this but I read a long time ago, before ethanol was added to our gas, flat tops in an N42 block with an N42 head was as easy and about as cheap a good running combo you could do. I have the flat tops out of a ZX motor I took apart but the car runs fines and I don't have the energy to tear it apart just to add those. They're fun cars to drive as is and you won't out run any of the new cars so just put a good motor together, add a header and 2.5" exhaust and drive it like you stole it. I beat the hell out my 280 on 87 pump gas and it begs to be driven every time I go downstairs but I'd rather work around my house and drink beer. The car's value is going up so I let it sit most of the time. Too many idiots on the roads around here. Double for the 240. It ain't going nowhere.1 point1 pointY'all have some hard shelled bugs up that way with good aim I guess. I worry more about the rear lights than anything. I had a friend leave her bicycle in my garage after we rode one day. She left it behind the 240 on it's kickstand. I saw that the next morning and put it in the bed of my truck, outside the garage. Called and told her where it was and why. Haven't talked to her too much since then.1 point1 pointWally, yesterday I went to my Finishmaster paint supplier in Phoenix for some touch up paint. Here is the correct paint code for Nissan 918 Orange by DuPont ChromaBase paint which was used on my car (see previous posts for pictures) for all who may be interested in the correct factory finish color. Dan
 1 point1 pointI think if I had my option I would go with hard chrome. I have the SS vietnam bumpers but they haven't been installed yet, but the SS is soft and damages easily. I believe the hard chrome would hold up better1 point1 pointThe rubber on mine still look good 8 years later. I wonder if they had some quality issues between the time I purchased mine and when you bought yours.1 point1 pointI Hate it when that happens.. When you pay a lot of money for basically junk.. I know we complain sometimes about prices but good stuff costs money.. i bought some new original ones for 80-90 euro a piece and they are now 20 years old and are still looking good! Old bumperrubber can be rejuvenated bij soaking them in a bucket of hot water with a good amount of washing machine detergent! leave them in it for a week.. or 2! You'll be surprised what comes out/off of these rubbers! and how nice! Ofcourse they have to be in one piece without cracks, very little cracks are gone after a good wash.. (It helps to heat up the water during the week of soak.. can be done with a heating element out of an old deep fryer.)1 point1 pointSorry. One more thought about the timing chain and the tensioner sticking out... So the 240 slack side guide (the curved side) has a slotted hole at the top and two holes at the bottom. You have your guide with the bottom bolt going through the inboard of the two holes. I know this because I can see part of the outboard hole poking out from under the bolt head. But a pic here from @siteunseen, he has his lower bolt through the outboard hole. This effectively pushes the guide further in and tightens the chain: While putting in a whole new timing set is rarely a bad idea... What are the chances that the majority of the slack in your chain is due to an improperly installed slack side guide? I'm more of a 280 guy and the 280 guide is a little different. Just one hole that the bottom so no decision making on which hole to use.
 1 point1 pointWell color of the plastic doesn't necessarily indicate the flow rate of the injector, but to answer the intent of the question... Yes, if the new injectors flow more than the old ones, then you'll likely have to retune the system. But hopefully now that you have the other bugs and issues worked out, it should be a much easier process.1 point1 pointThe AAR and its coolant heating block can be removed, but at the cost of no increased idle speed during warmup. You will have to keep your foot on the gas pedal for a few minutes until there is some heat in the engine before it will idle without dying. In your part of the country, should not be a big problem. The AAR is a hard to find part in good working condition if your is bad, so you may be ahead of the game by eliminating it. I had one of the steel coolant lines that feed the heater block under the AAR fail without warning coming home late one night (form Dave Irwin's house) years ago. One of the few times I came close to overheating. Noticed steam coming off the hood before I saw the temp gauge. Made for a longggg ride home those last 8 or 10 miles....1 point1 pointThis thread might not be a good idea but I came across this video that I need to share. There seems to be quite a bit more foreign content on the old youtube site recently. Maybe I haven't been paying attention though. Jaws from the Bond film wins a motorcycle race.
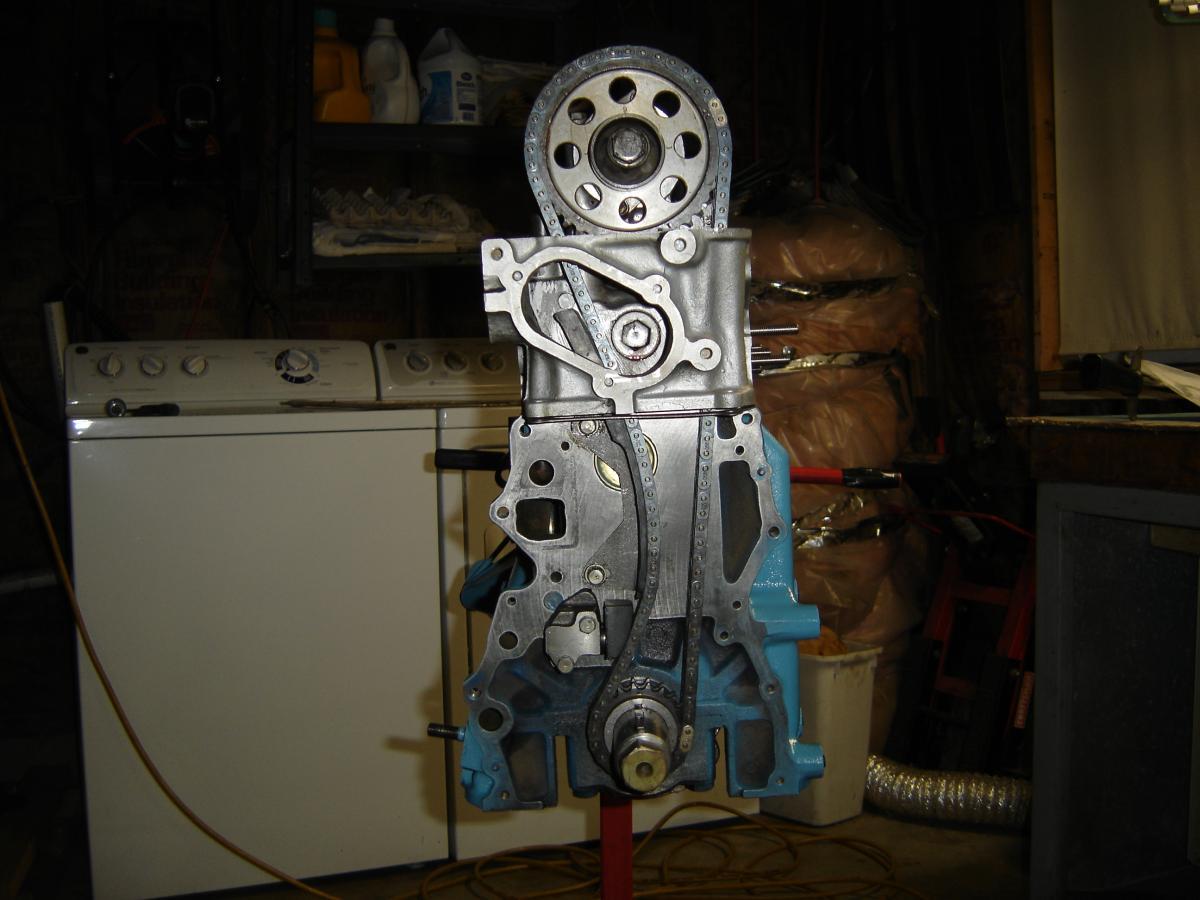
 1 point1 point1 pointyes, the kit on its way includes the gears, chain, tensioner, gasket, and guides. Not sure which gear it comes with. will post when i get it in. thanks1 point1 pointI was kidding. It looks like him though. I think he's wearing football pads. Maybe I can translate some of the comments and see who it is. Yes, shame about Jaws dying. https://en.wikipedia.org/wiki/Richard_Kiel1 point1 pointWell you've got two obviously bent valves, and marks on other pistons as well. That makes the whole top end suspect to me. The point is, the compression numbers may be more related to issues in the top end than the rings. However... You're this far in and it would suck to do a bunch of work on the top end and put it back together with a tired lower end. Who would ever do such a thing.1 point1 pointI saw the fiberglass edit. The receipts showed some body work and paint job in 1980 then some more minor work in 94. Hard to tell by the pics but I really don’t think too much fiberglass was involved. I shared the wrong pic, the auction closed at $18,500, I just stumbled across it Sunday and watched it for the last hour or so. I have a feeling we will see it on BAT for about $30,000 in a couple months.1 point1 point1 pointReminds me of a freeway interchange near Dallas/Fort Worth.1 pointHere's the MSA 6-1 header installed on my engine. The flange thickness is a perfect match for the intake manifolds.
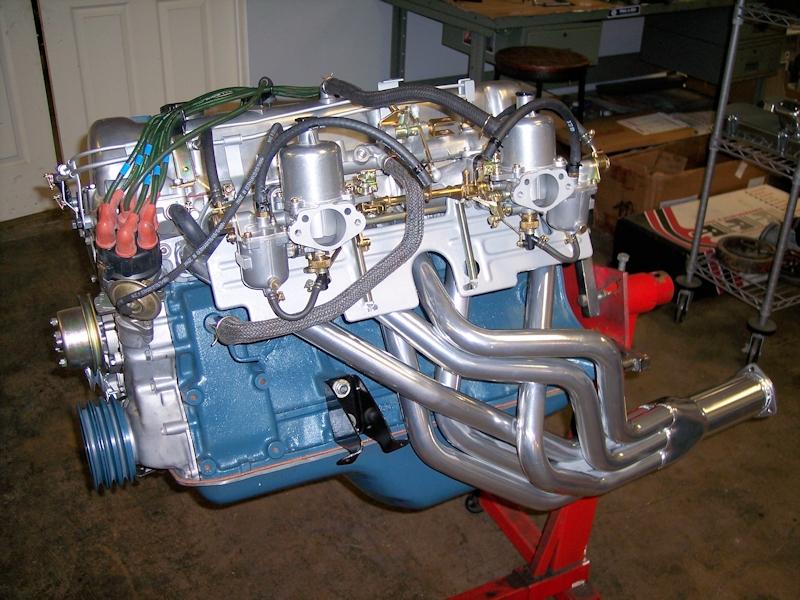 1 point


Important Information
By using this site, you agree to our Privacy Policy and Guidelines. We have placed cookies on your device to help make this website better. You can adjust your cookie settings, otherwise we'll assume you're okay to continue.
Account
Search
Configure browser push notifications
Chrome (Android)
- Tap the lock icon next to the address bar.
- Tap Permissions → Notifications.
- Adjust your preference.
Chrome (Desktop)
- Click the padlock icon in the address bar.
- Select Site settings.
- Find Notifications and adjust your preference.
Safari (iOS 16.4+)
- Ensure the site is installed via Add to Home Screen.
- Open Settings App → Notifications.
- Find your app name and adjust your preference.
Safari (macOS)
- Go to Safari → Preferences.
- Click the Websites tab.
- Select Notifications in the sidebar.
- Find this website and adjust your preference.
Edge (Android)
- Tap the lock icon next to the address bar.
- Tap Permissions.
- Find Notifications and adjust your preference.
Edge (Desktop)
- Click the padlock icon in the address bar.
- Click Permissions for this site.
- Find Notifications and adjust your preference.
Firefox (Android)
- Go to Settings → Site permissions.
- Tap Notifications.
- Find this site in the list and adjust your preference.
Firefox (Desktop)
- Open Firefox Settings.
- Search for Notifications.
- Find this site in the list and adjust your preference.