Leaderboard
-
grannyknot
Free Member6Points5,158Posts -
Patcon
 Subscriber
 6Points11,142Posts
 -
Captain Obvious
Free Member3Points10,081Posts -

siteunseen
Free Member3Points15,115Posts


Popular Content
Showing content with the highest reputation on 06/24/2019 in all areas
-
4 pointsCliff, If it were mine, I would only replace the places in the floor with patches that need it and replace the rusty frame rails. Now if you get it cleaned up and you find a lot more holes I might change my mind but on the car I am doing know that is what I did. I might have a partial floor pan from Charlie that would have the section you need. You would also need to get some frame rails. I'll be in "T-town" on Thurs evening until sometime late Friday Afternoon. If you wanted to try to meet up. I know you're pretty far North of I-204 points
-
3 points
-
2 pointsMan... That was confusing, but I think I figured it out. First, the simple (Obvious) answer... If you look at the prior page (32) of the FI bible, they show you how to locate the "ignition lead wire" and there is even a picture to show you what they are talking about. What they want you to do is disconnect and re-connect the wire that goes to pin 1 of the ECU, and the way they suggest to do that is to make and break the single wire connector under the dash next to your fuel injection relay above the driver's knee. But here's the rub..... You don't HAVE that single wire connector. You see, what happened is that the FI Bible was written in 1975, and hence, it referenced the 75 design and documentation, and in 1975 (and 76) there WAS a single wire connector there. But by the time they got to your (and mine) 77, they did away with that separate single wire connector and ran all those wires (including the input trigger signal) through the same connector that mates to the under dash harness. You do not have a single pin connector that funnels the ignition lead signal from the firewall under-dash harness to the FI system. That whole part of the FI bible does not easily apply to 77. All that said... What they want you to do is make and break the connection to pin 1 of the ECU (which is the ignition input signal). Easier to do in 75 or 76 than in 77. So here's what I would do instead: Pull the center high voltage wire out of the distributor and place it close to a good ground like the intake manifold or strut tower nut. Leave the other end of that coil wire connected to the coil as normal. Turn the key ON. Connect one side of a piece of test wire to ground. Ground and unground the negative side of the coil a bunch of times. You should get a spark from the coil wire to ground every time you unground the coil negative, and you should get an injector click on every third.2 points
-
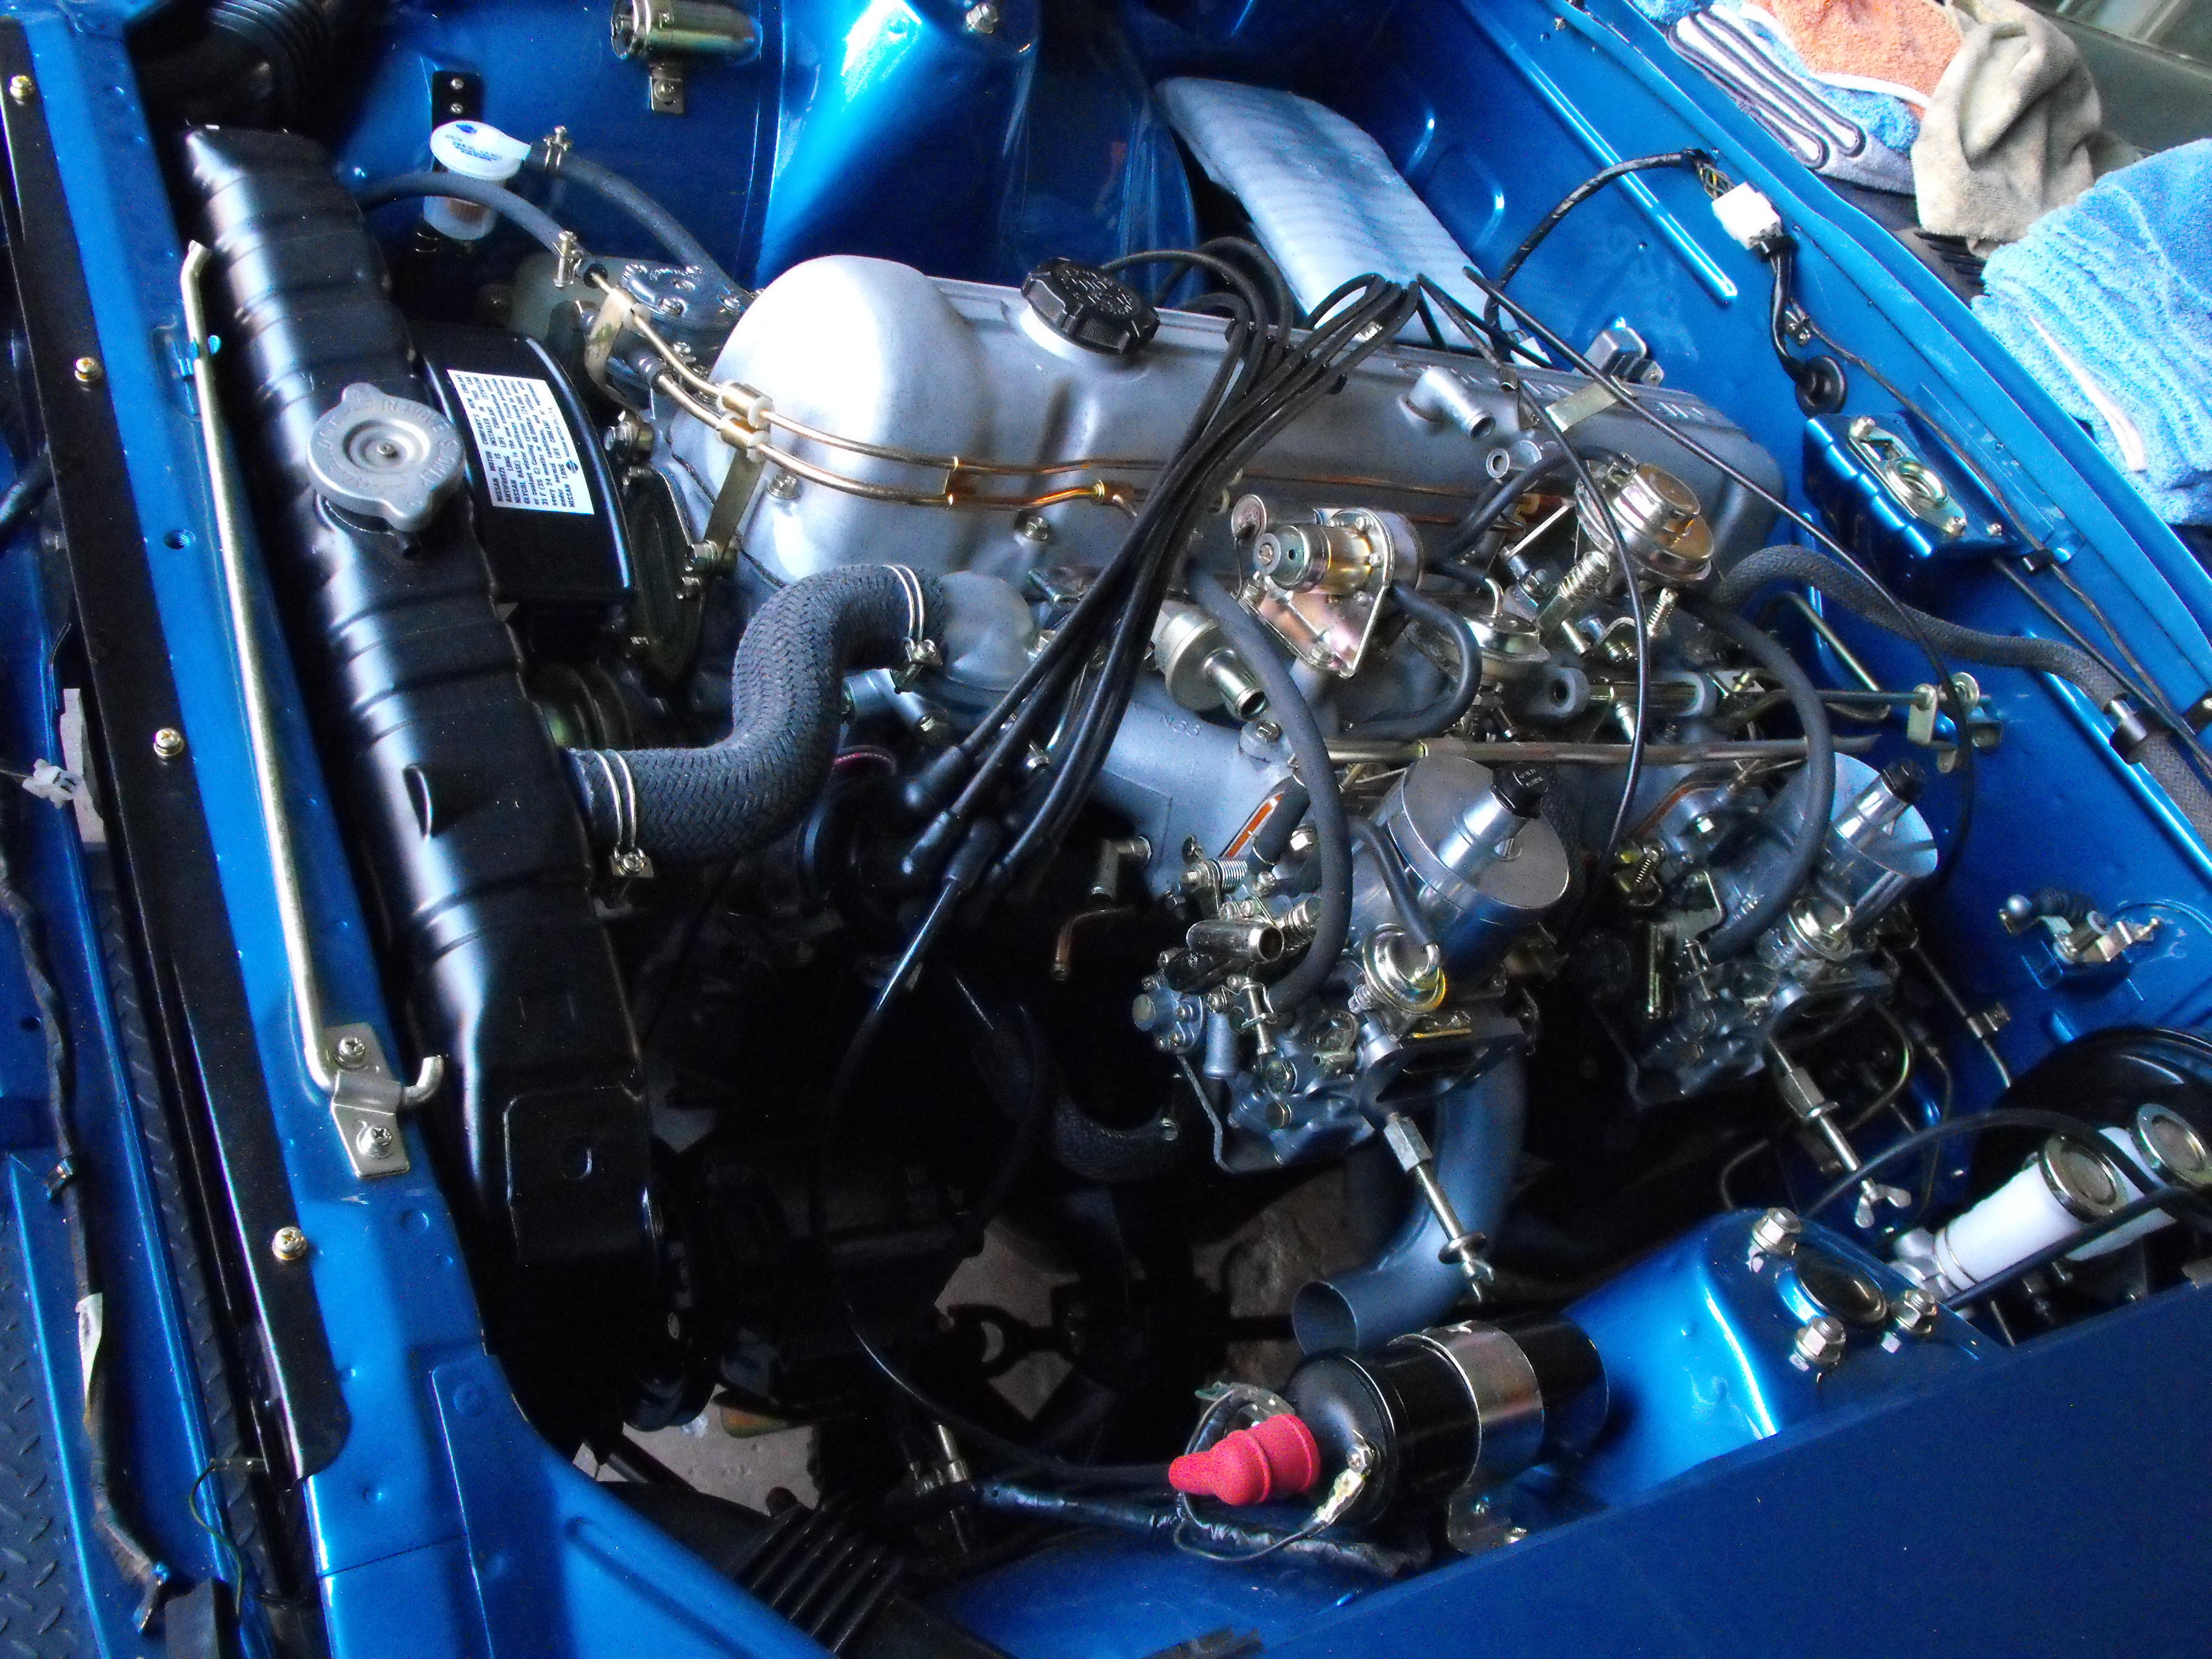
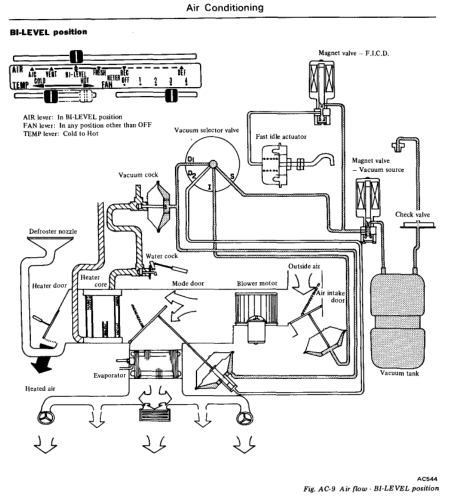
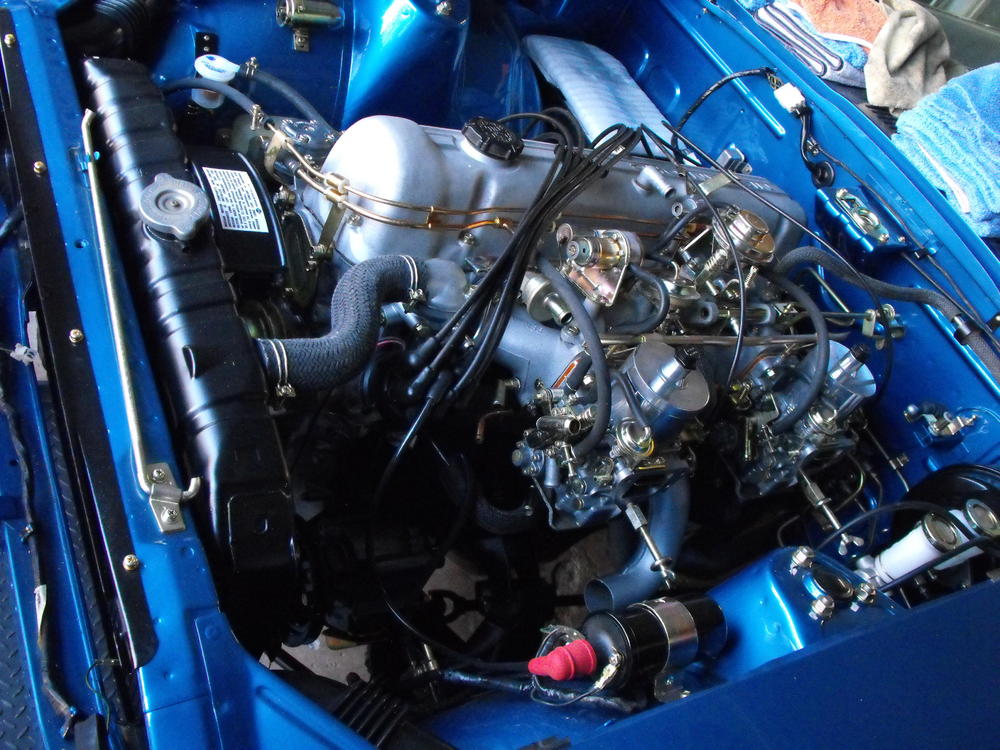
2 pointsI'm going to guess it's a 280Z? The other reason for cold air is a loss of vacuum at the AC control bottle. Pretty common. Split hoses. The vacuum woter cack (water ****) is normally closed.
 2 points
 -
Not today but the weekend ... https://youtu.be/C1clNk-Mq24 Best savoured with headphones.1 point
-
1 pointThat's thermostat opening, not sure you have a problem. Get or borrow an infrared temp guns and see what the actual temp is.1 point
-
I had a set of Bad Dog frame rails and sub-frame connectors installed. They were installed by the late John Coffey when he owned Beta Motorsports. Z's are a little special with the floor pans given their unibody construction, so I can't really recommend anyone else right now unfortunately.1 point
-
I had the reserve originally at $20k. If you were watching the auction, it hit $10k on Day 1 and then just sat at $10k until the last hour. Ramped up to $14k in 30 minutes and then sat until the last 10 minutes. Went from $14k to $17.5k in a blink and I lowered reserve to $17.5k. It then jumped to $19k.1 point
-
Well, it "sold" for $19,000, so I would say that it did well. The bidding got really fast and furious in the last 30 minutes.1 point
-
1 point4 or 5 speed trannies are same dimension. Only thing that affects collar size is the clutch. 240Z clutch requires 240Z collar...280Z clutch requires 280Z collar. 240mm flywheel requires 2plus2 collar.1 point
-
1 pointWhen you do the clutch be sure the throw bearing and collar stack to the proper height. Maybe some one can link to it for you. If the stacked height is wrong it can cause similar issues1 point
-
1 point
-
1 pointI've bought 2 Exedy 6009 kits from Amazon. Great clutch for around $100. Fyi1 point
-
1 point
-
1 pointI've tried to find the write up on my 240's tank refurb without luck so here goes from my fuzzy memory. Things you need: 1 gallon muriatic acid, $10 1 quart Denatured Alcohol, $10 I believe? 2 pound baking soda. $1 from a Dollar Store, $.50 each. 4 five gallon buckets some bungee cords with hooks. a funnel, with the long stem cut off quart of Red-Kote My process: tape up the vent lines out of the tank. Get a rubber cap for the big fill hole. fill one bucket with 2 pounds baking soda and 4 gallons of water, set aside pour in the gallon of acid, slosh around for 5 minutes then dump into an empty 5 gallon bucket pour in the baking soda and water, slosh around for a couple of minutes then empty that into another bucket pour in the quart of alcohol, slosh around for a couple of minutes pour into a smaller bucket. this will dry the water/soda rinse and prevent flash rusting. pour in the Red-Kote. Rotate the tank in all directions completely covering the inside. hang tank with bungee cords, there's some small holes around the edge for the hooks on the bungees. Let the excess drip out into another bucket. open all vent holes and the fill hole. set it out in the direct sun for 30 minutes, rotating the tank in all directions so it'll set up without pooling in the low spots. I put my leaf blower in the fill hole and let it blow on half throttle for at least 30 minutes. leave it in the sun as much as you can bringing it in at night then back out the next day. let it sit for a couple of weeks until the smell has dissipated. this will give you time to get all the evap hoses together for installation of the tank and the evap lines I poured the soda and water bucket together with the acid bucket then poured that onto all the ant beds in my yard. No more ants! This is a quick stroll back in time so most likely forgot something. If I remember anything else I'll let you know. Most important thing was to have everything readily available as this is a time sensitive process if you want it right without flash rust. Leave your phone's ringer off too. These were good reads before the job, lets you know what to expect. http://atlanticz.ca/zclub/techtips/fuel/gastank/index.htm http://damonq.com/techsheets/red-kote.pdf One more,1 point
-
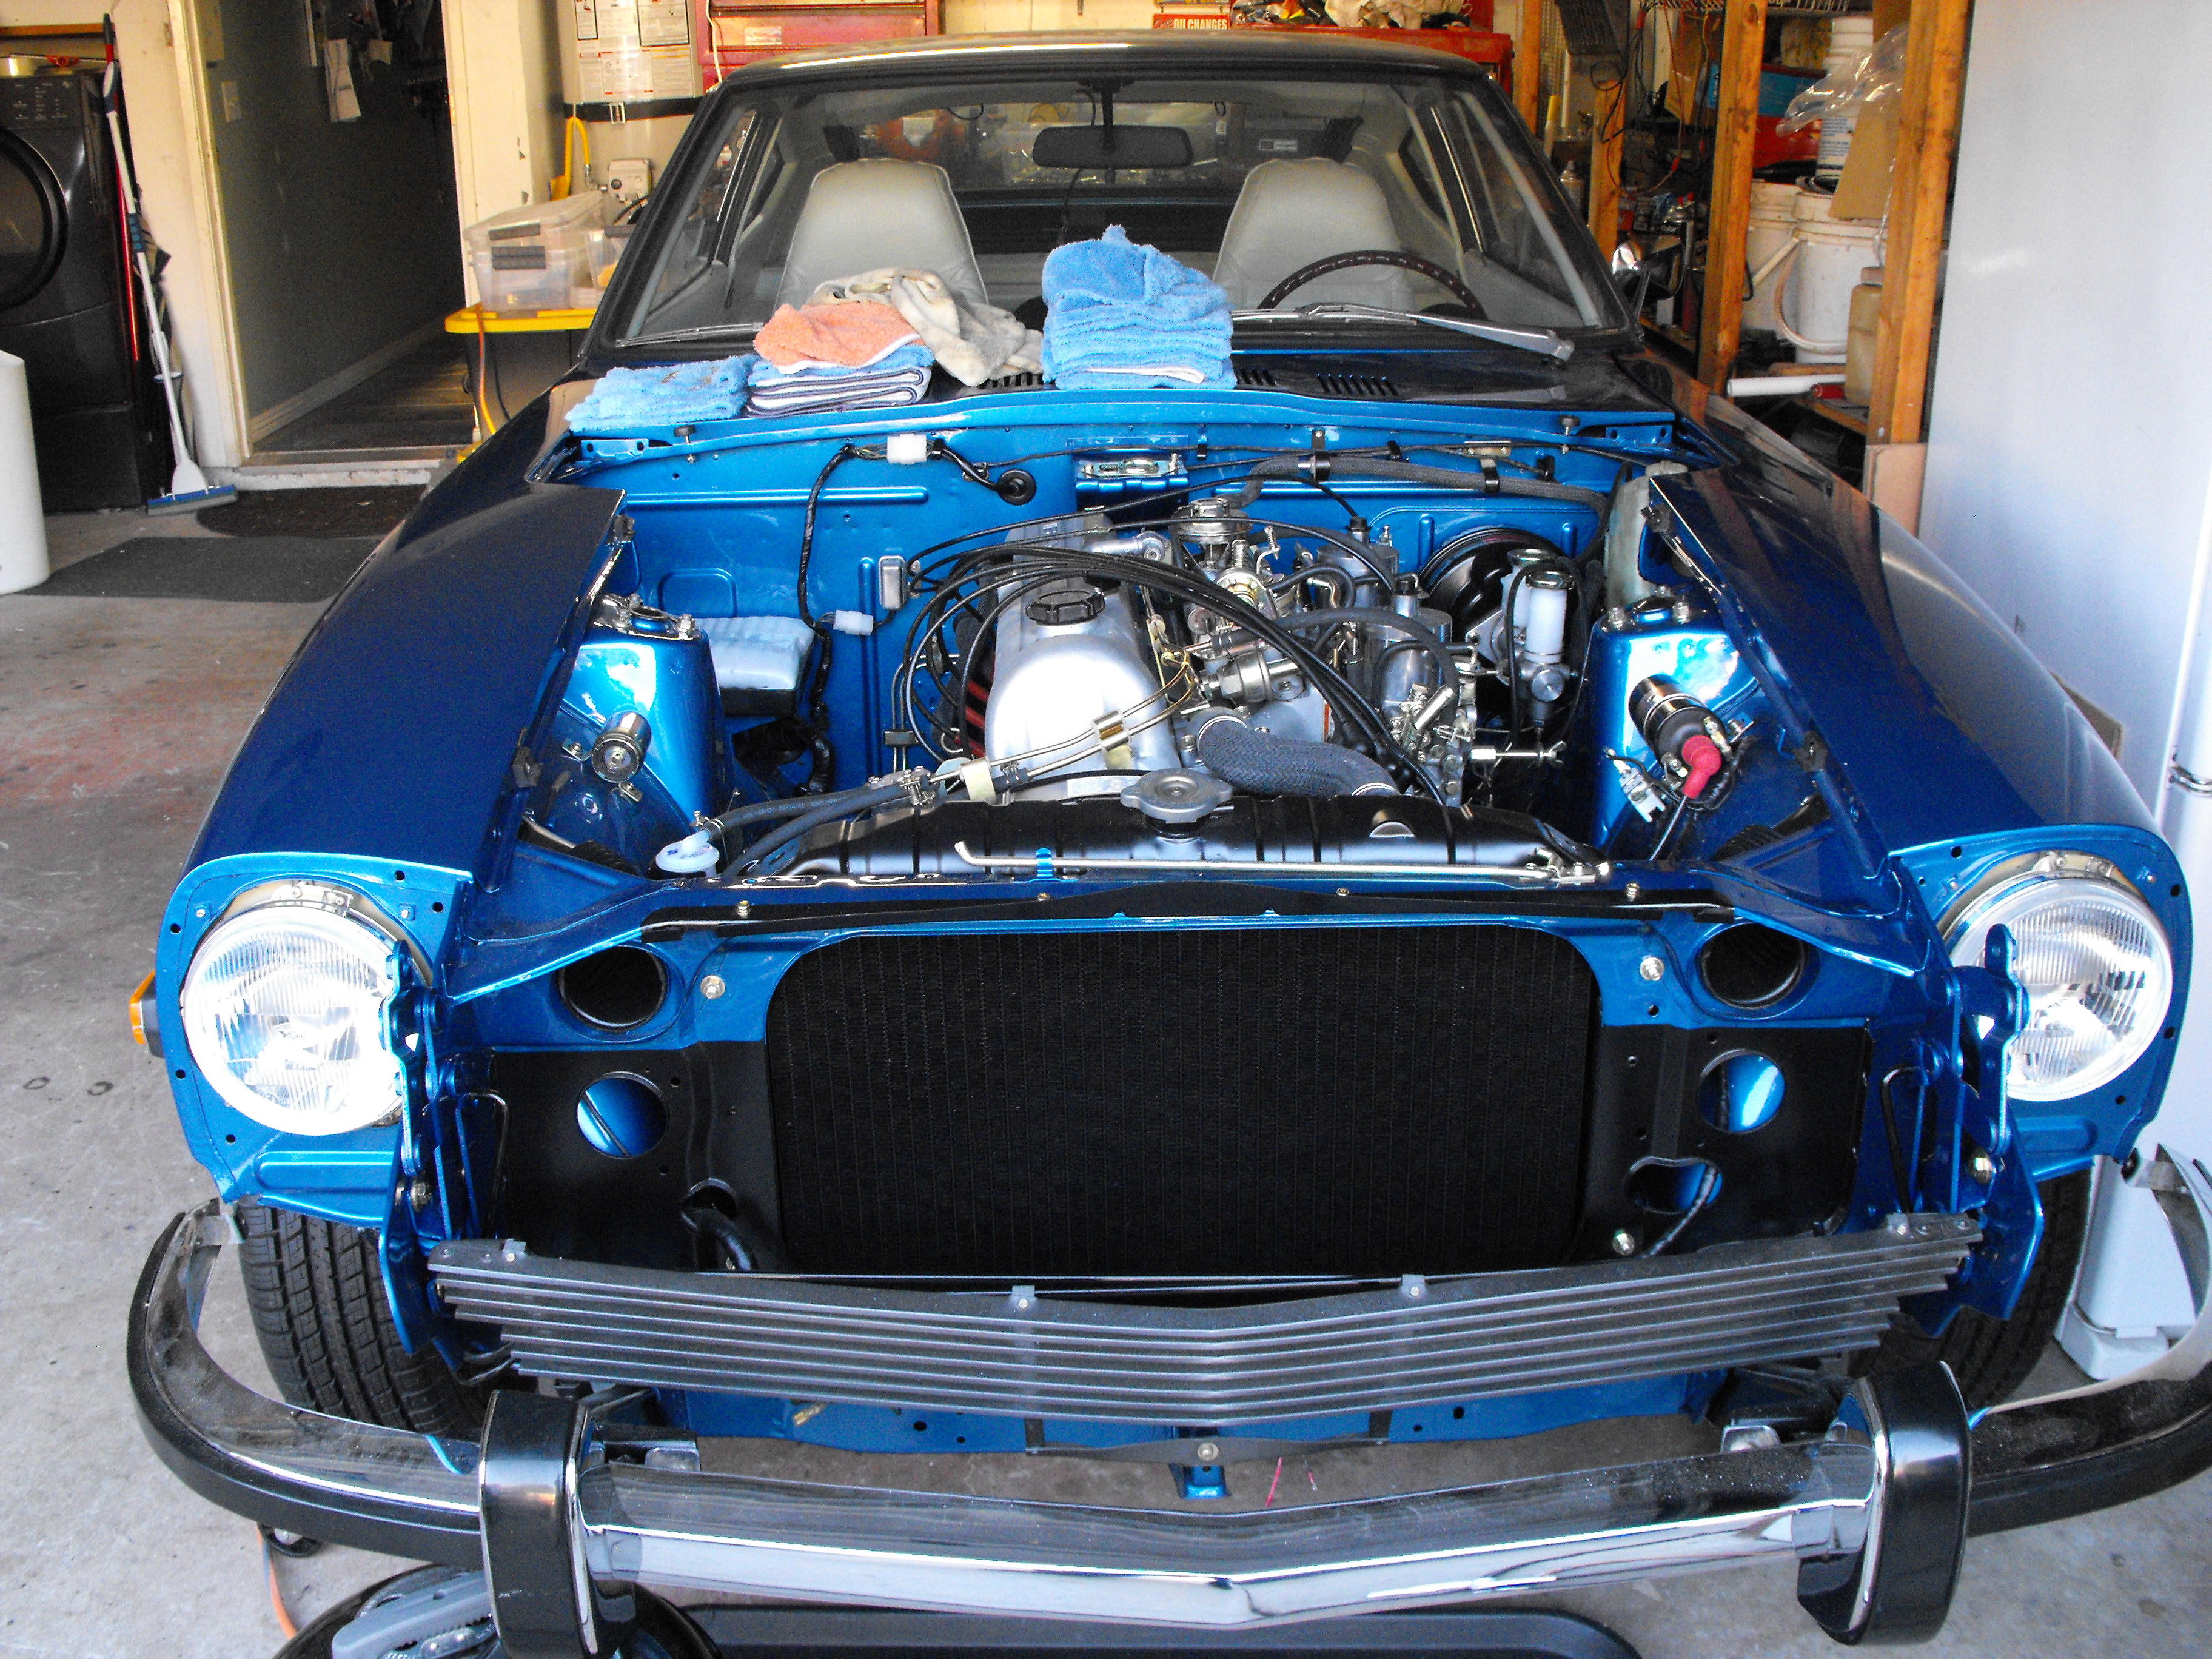
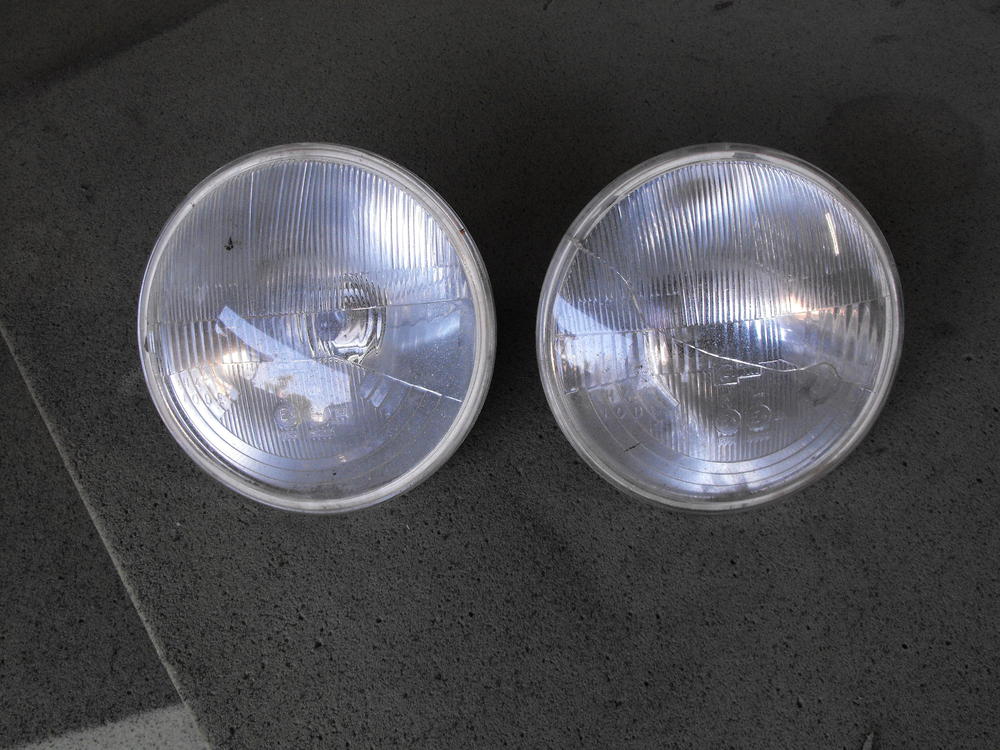
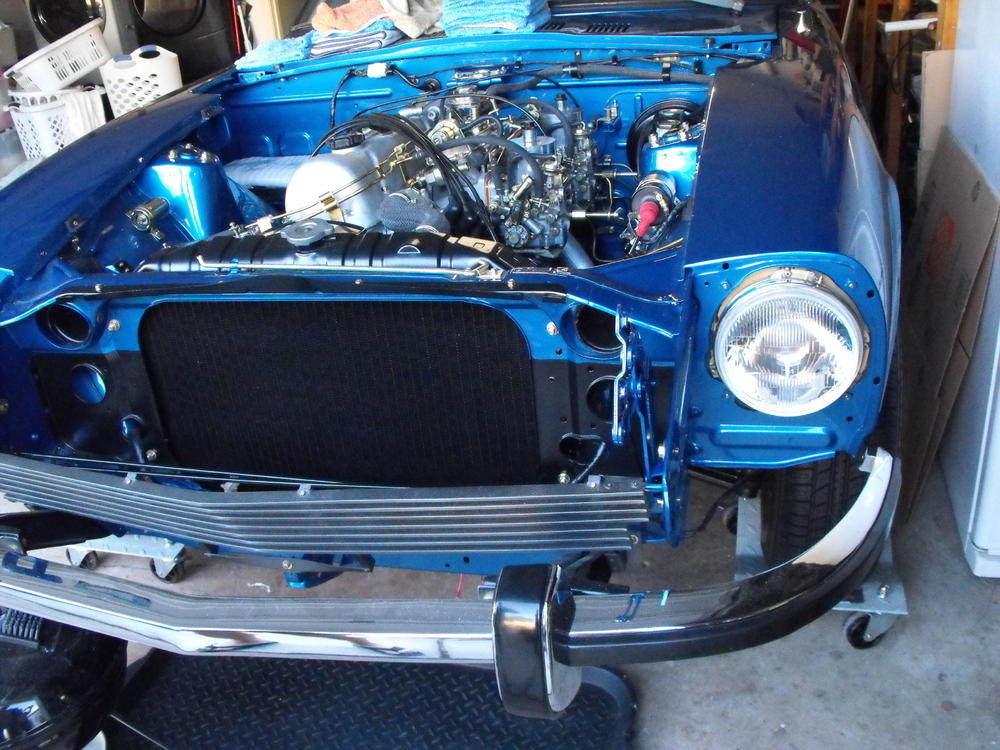
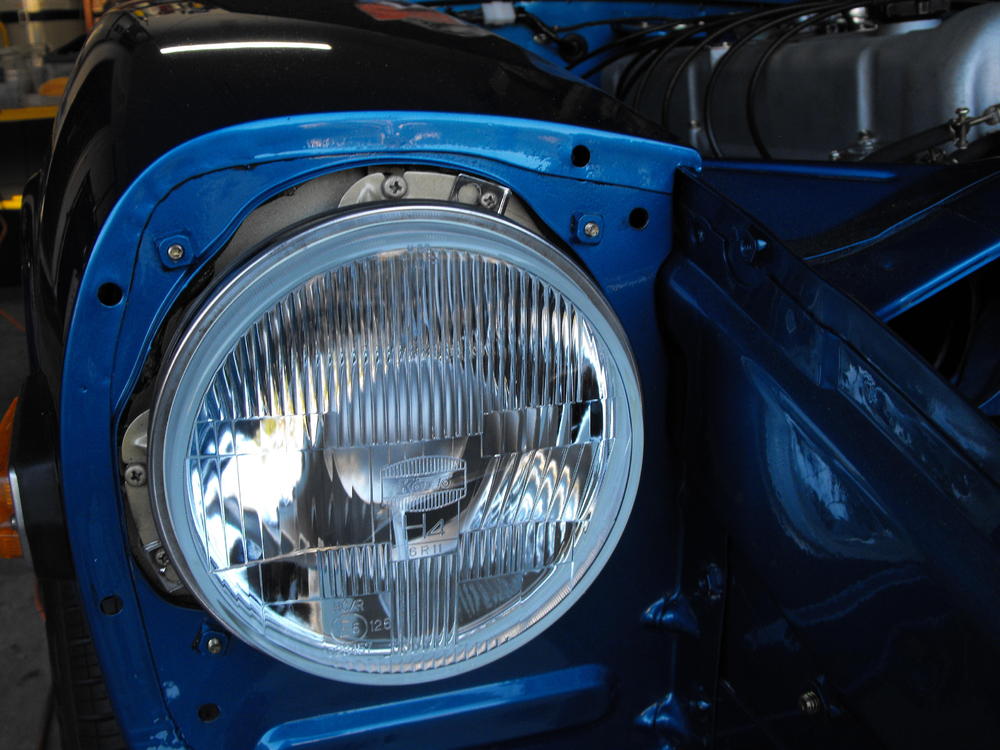
I was a little surprised to find that the stock headlights for the '73 are H4 style headlights. The old ones (aftermarket) on this car are Cibie H4's. I Found some Kioto H4's so I installed those. These are the 'new style' Kioto H4's as the original style had a more rounded face. Also got a few more tubes installed on the engine.

 1 point
 -
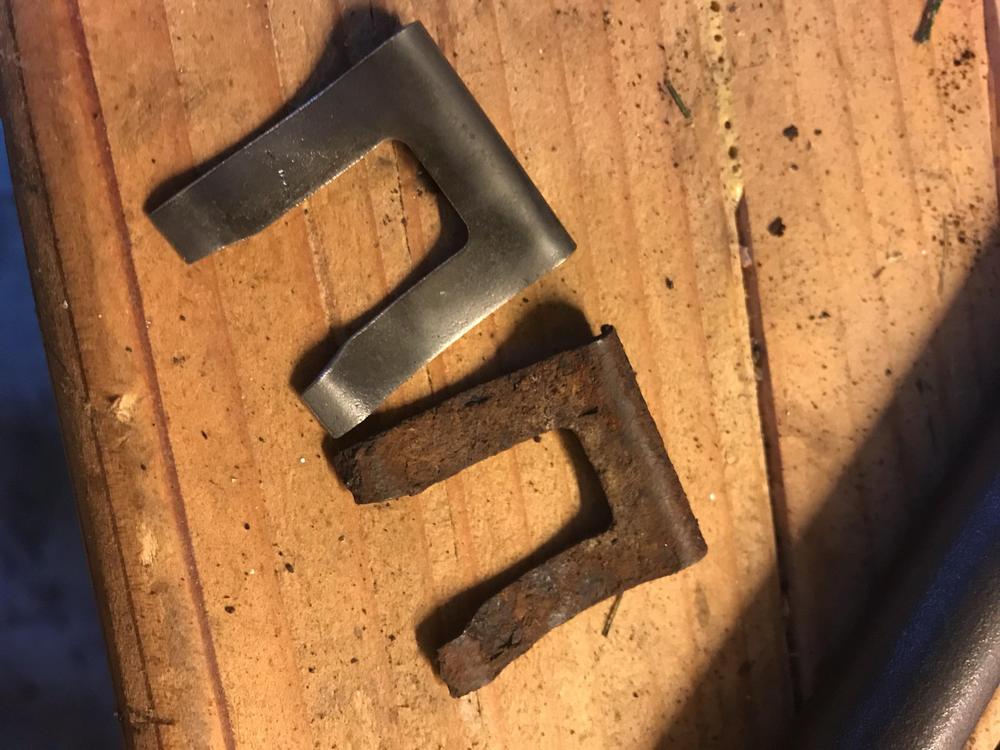
1 pointMaking some progress...cleaning up various parts. July 8th I am bringing the car into a shop to take care of the rust and replace the frame rail, floor panel and floor support. Will update the thread once the work is completed

 1 point
 -
Thank you Philip! The car could definitely use a cut and buff. One day I will focus more on the cosmetics but for now, I just want to get the mechanical systems up to scratch.1 point
-
1 point
-
1 pointarigatou gozaimasu Kats Please mail me if you see one on Yahoo Japan or elsewhere1 point
-
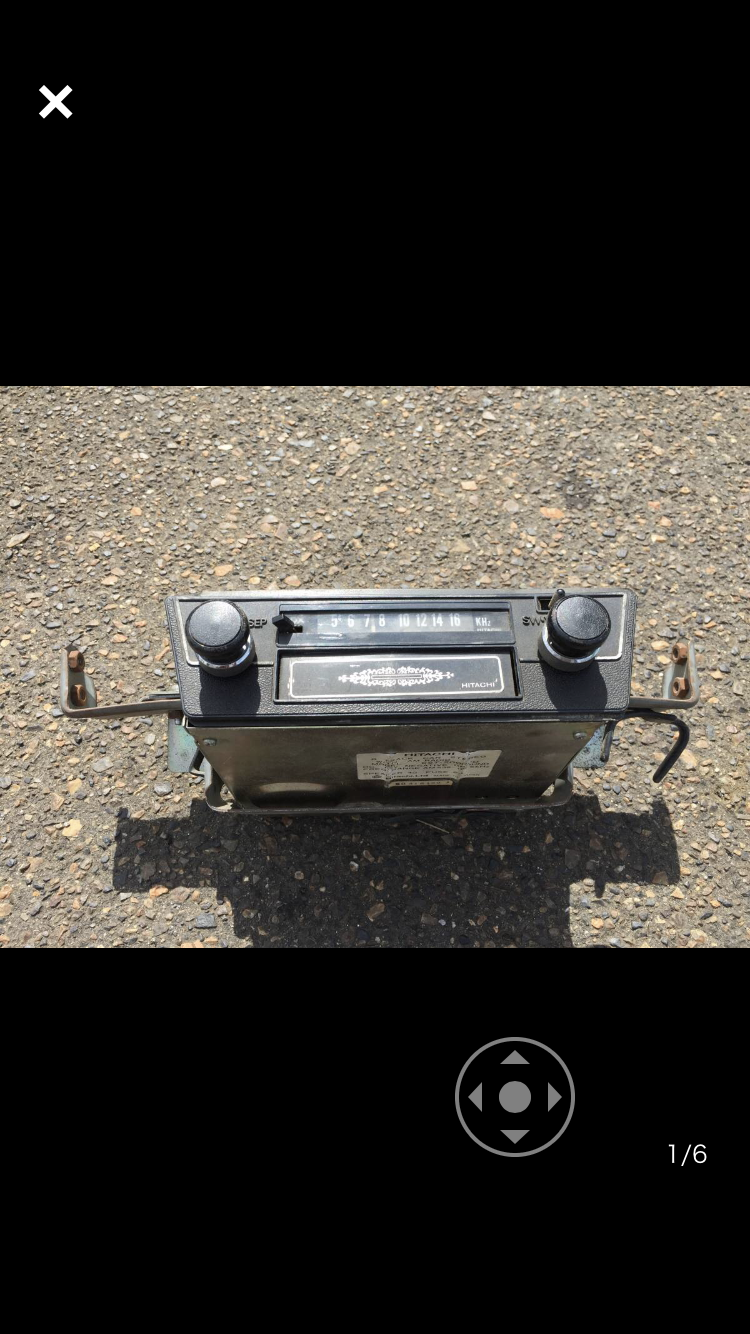
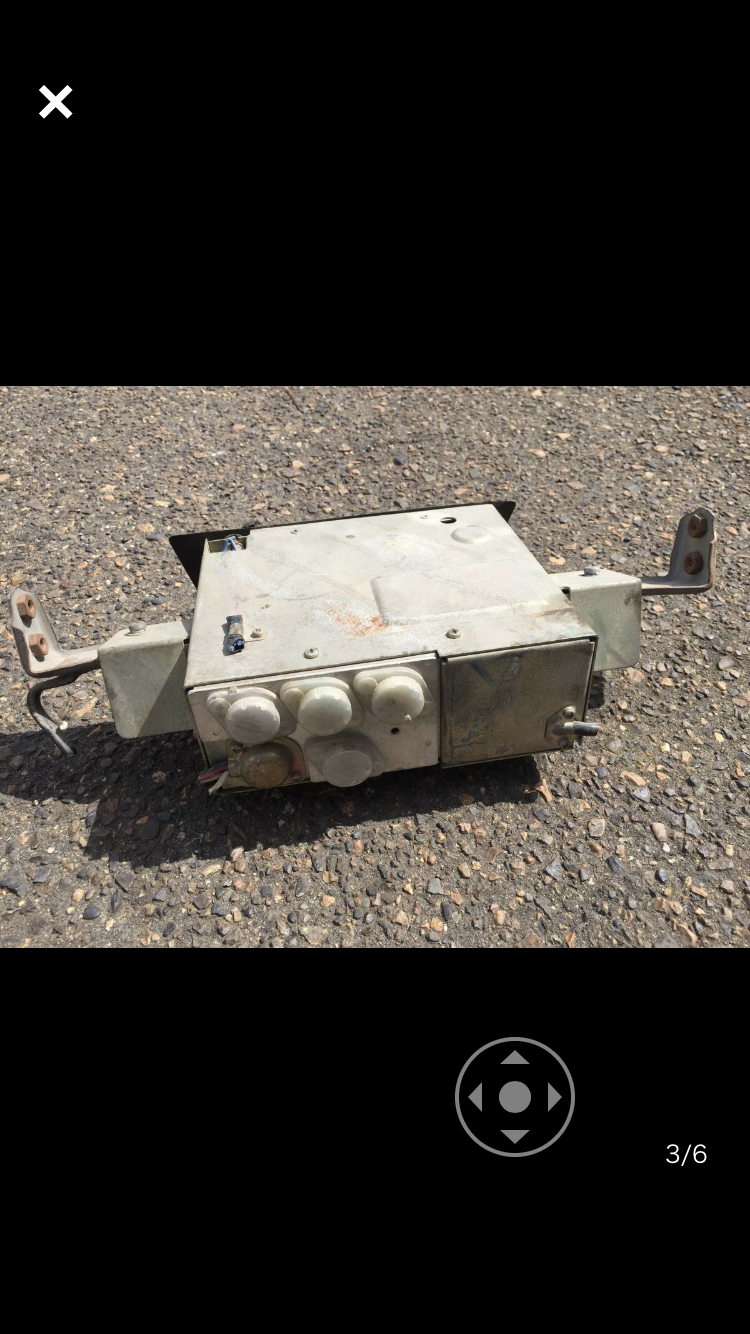
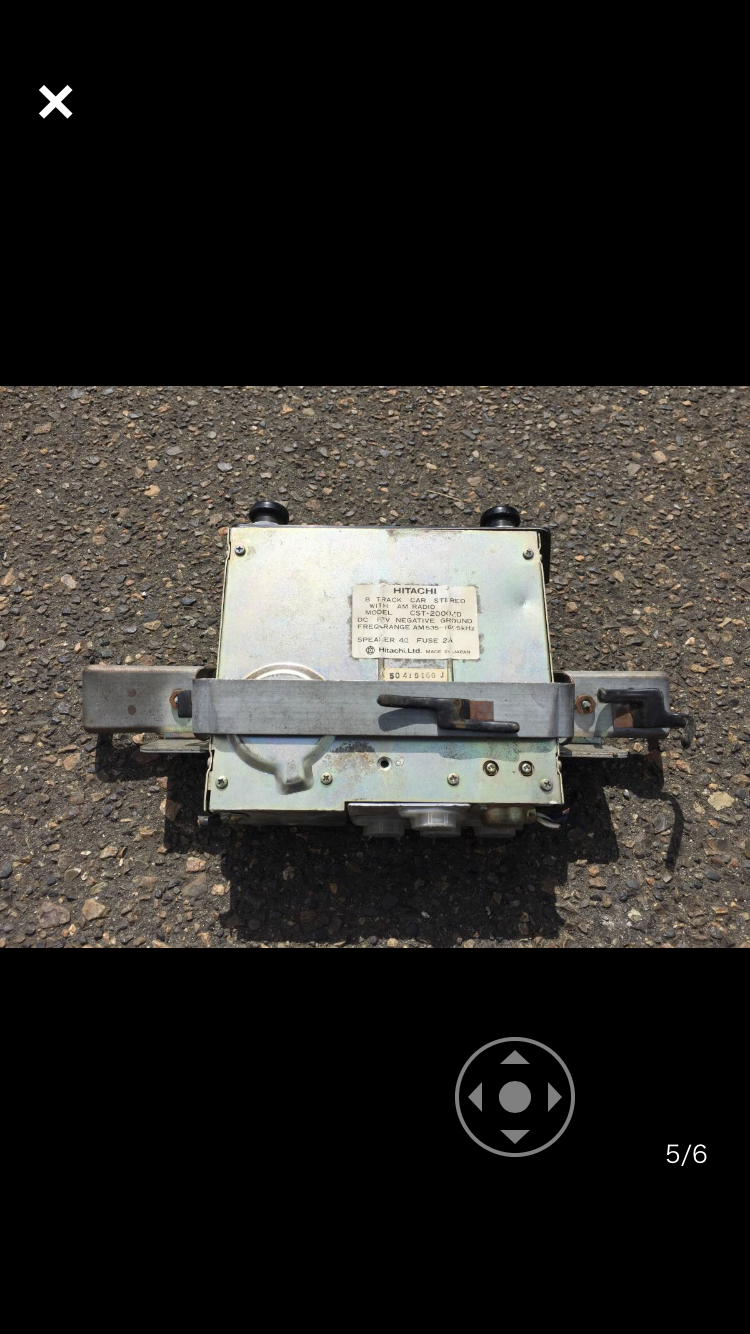
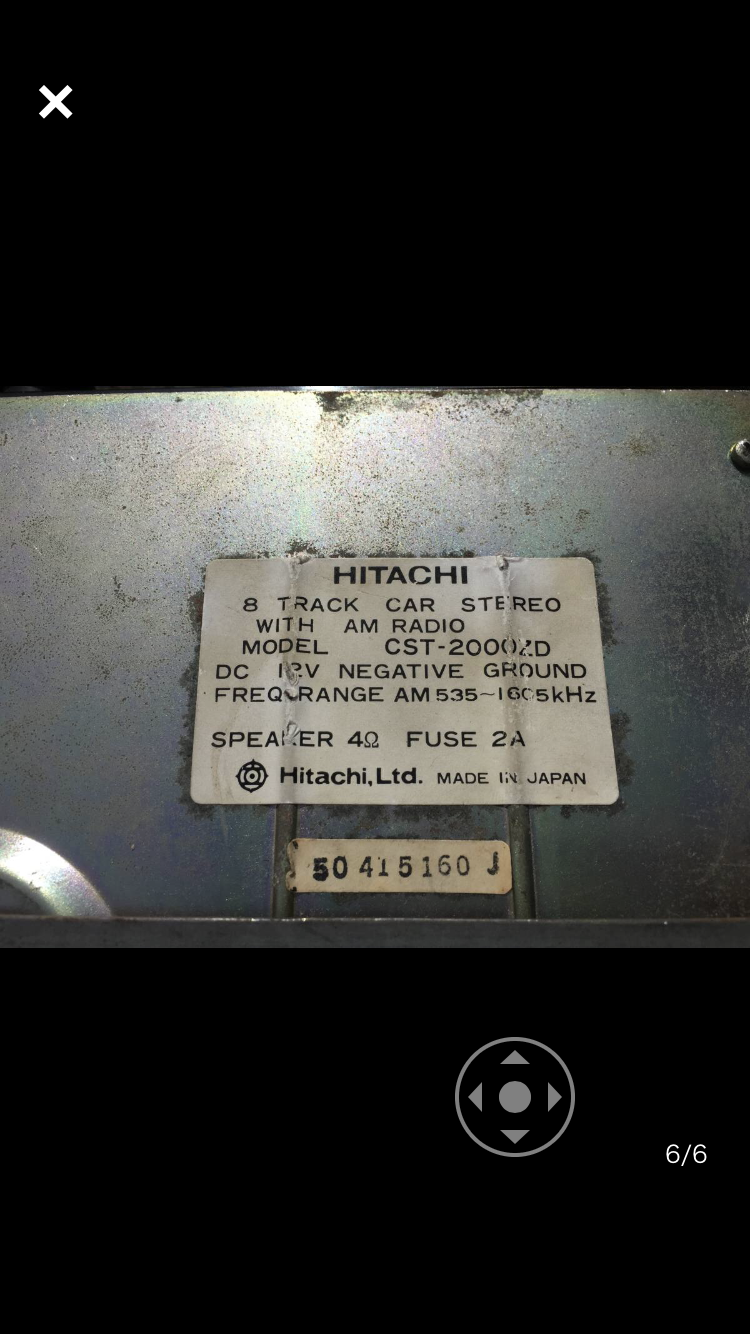
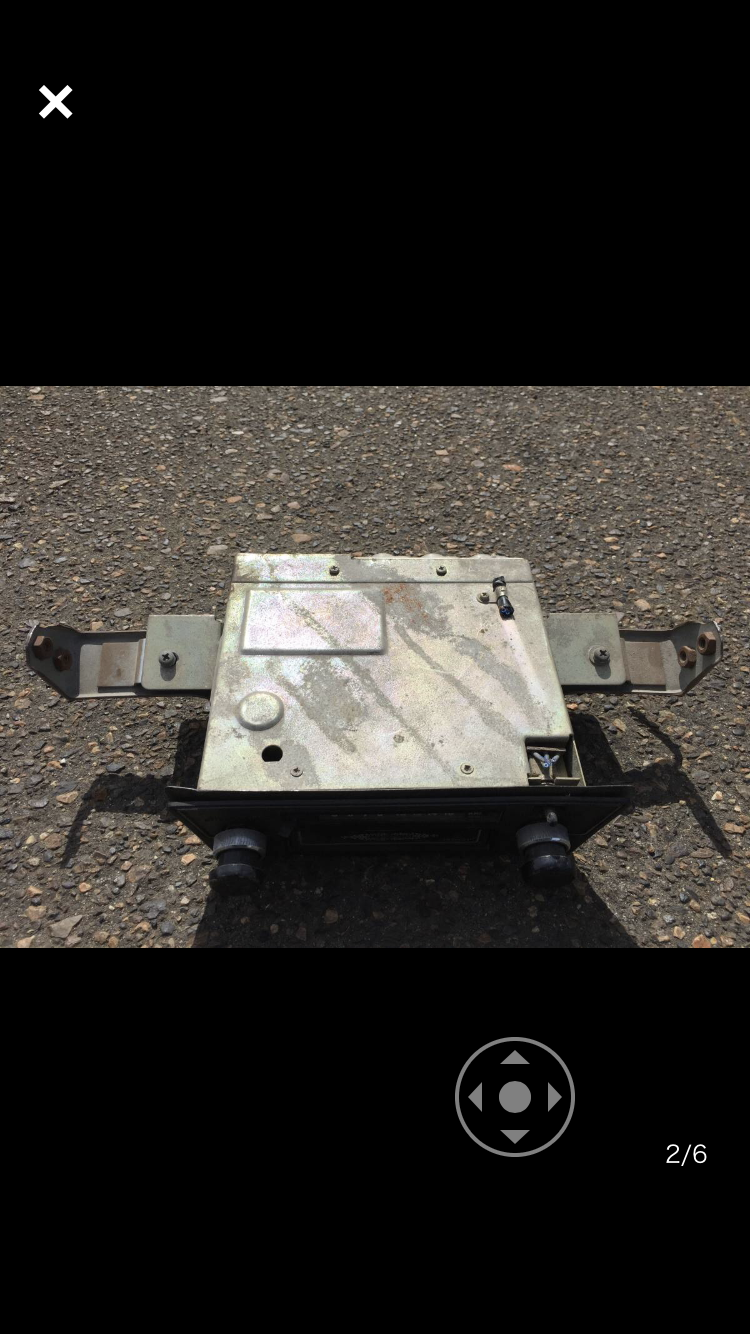
1 pointHi Gavin , what a miracle it is ! How much was that on winning bid ? I am scared to hear that. That is for the first time I have ever seen in that condition, simply amazing. Hi scotta , you have the face plate and yours is much much better looking than mine , you did touched it up very well . Here is a tip of CST-2000ZD , this model was applied from mid 1973 but this could be interchangeable with an earlier model. This 2000ZD has just a little different mounting bracket on the each sides which can be modified or removed easily. You can fit your 2000Z face plate right on to the 2000ZD without any modification. So you have good chances to find nice one if you look and extend the search widely up to 1978 in Fairlady Z series . I am now feeling I need to do it again for better result . Kats


 1 point
 -
1 pointMan... I am IMPRESSED!! Now mind meld your way over here and fix my engine.1 point
-
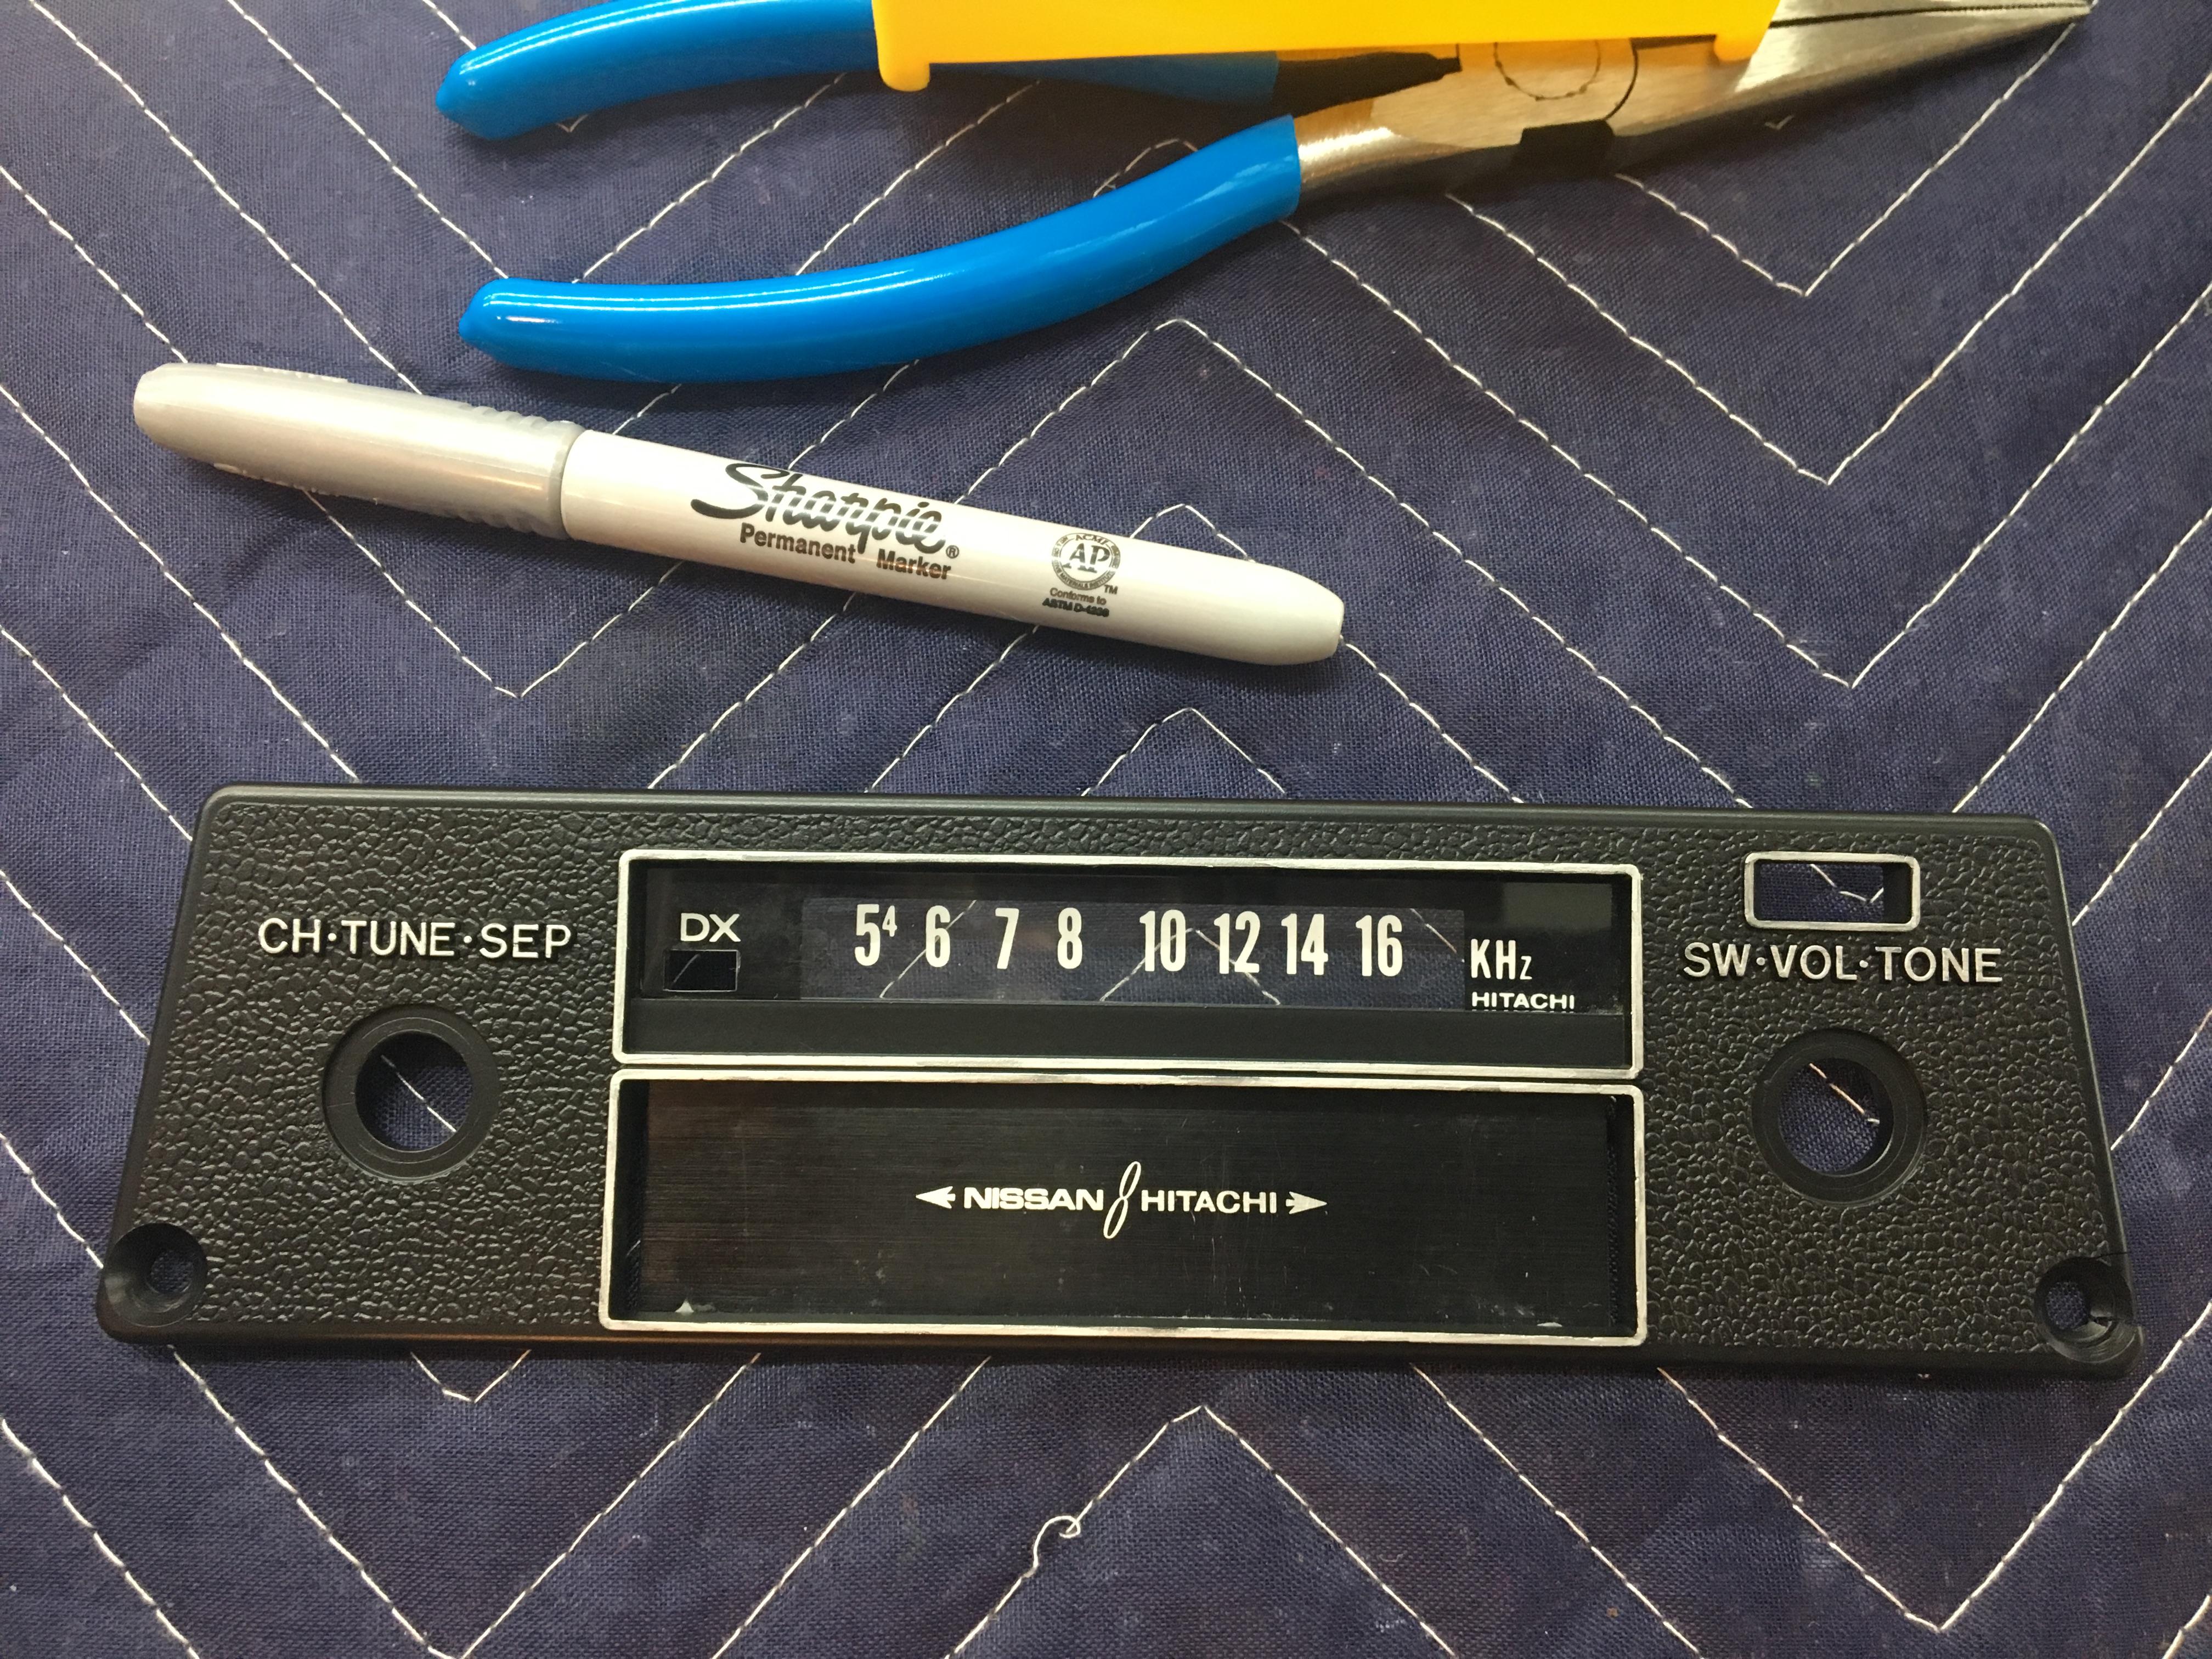
1 pointfor my 1972 FZL I have the face plate and the small switch with the rubber gasket, but not the unit. I plan to mock up a non working unit behind the face plate. So at least it looks original. I gave mine a bit of a clean and respray with Landau black SEM paint and a silver sharpie.
 1 point
 -
Visited the Z barn: @kats Picked up three hen's teeth today... well a set of 4.5" wheels with tires and a gnose too. Thanks to Jim Hildred! Also got a 72 going that has not run in 15 years... gas tasted like water lol.
 1 point
 -
1 point
-
1 pointIt's hard to see in the photo and my internet here, in the middle of nowhere, is not the best. Can you get a better side on photo? It might pay to do some more checking before removing the transmission. It could be just a leaky rear oil seal and the yoke is throughing it up around the striker arm. I would clean it, drive and check again to confirm before removing the transmission. Replacing a rear oil seal is a lot easier than pulling the transmission. These transmissions can also leak at pin (pos #8). It's not common, but possible. Some Nissan garages in Australia used to cover the exposed ends of the pin with silicone sealant as a precaution to prevent leaking. These old transmissions have wear and the tolerances could allow enough oil to leak through the pin boring. The o-ring seal (pos #3) is after the pin.1 point
-
1 pointAs Mark said, heater control valve or quite often I find the push cable that actuates the valve can bend and the valve never opens.1 point
-
1 pointIf you are running a 180 degree thermostat, your temp gauge pic is spot on - not indicating overheating. The gauge needle should swing a bit every so often as the thermostat cycles to admit cooler water and then closes.1 point
-
1 pointIt the coolant temp is hot but the heater is cold the problem is likely in the heater control valve.1 point
-
1 point
-
V-3 Kit: 17020-N3325 Electric Fuel Pump (Jidoosha Kiki) 17020-N3326 Electric Fuel Pump (Mitsuba) FWIW, Carl B.1 point
-
Value is meaningless, it is subjective. Ability is measurable which is why the numbers are so important, if a sports car can't stand up to scrutiny of its numbers then I guess you are being "delivered a message telling you what you should have already known" but will never admit to it. The 432R was a very good attempt but the engine was it's weak point, it was heavy, overly complicated and too small which is why they dumped it. A+ for effort, B- for execution. The 432R with a better engine would have been formidable and as we see here in this thread, it was. Your ability for for self delusion is remarkable Allan, you just don't seem to understand what racing is all about. The winner of the race should not be taken into account? Are you serious?! Give your head a shake man. You are looking through the wrong end of the telescope again, racing and racing history is about objectivity, that is why the numbers are recorded in the first place. Please, at least try to keep yourself out of the equation.1 point
-
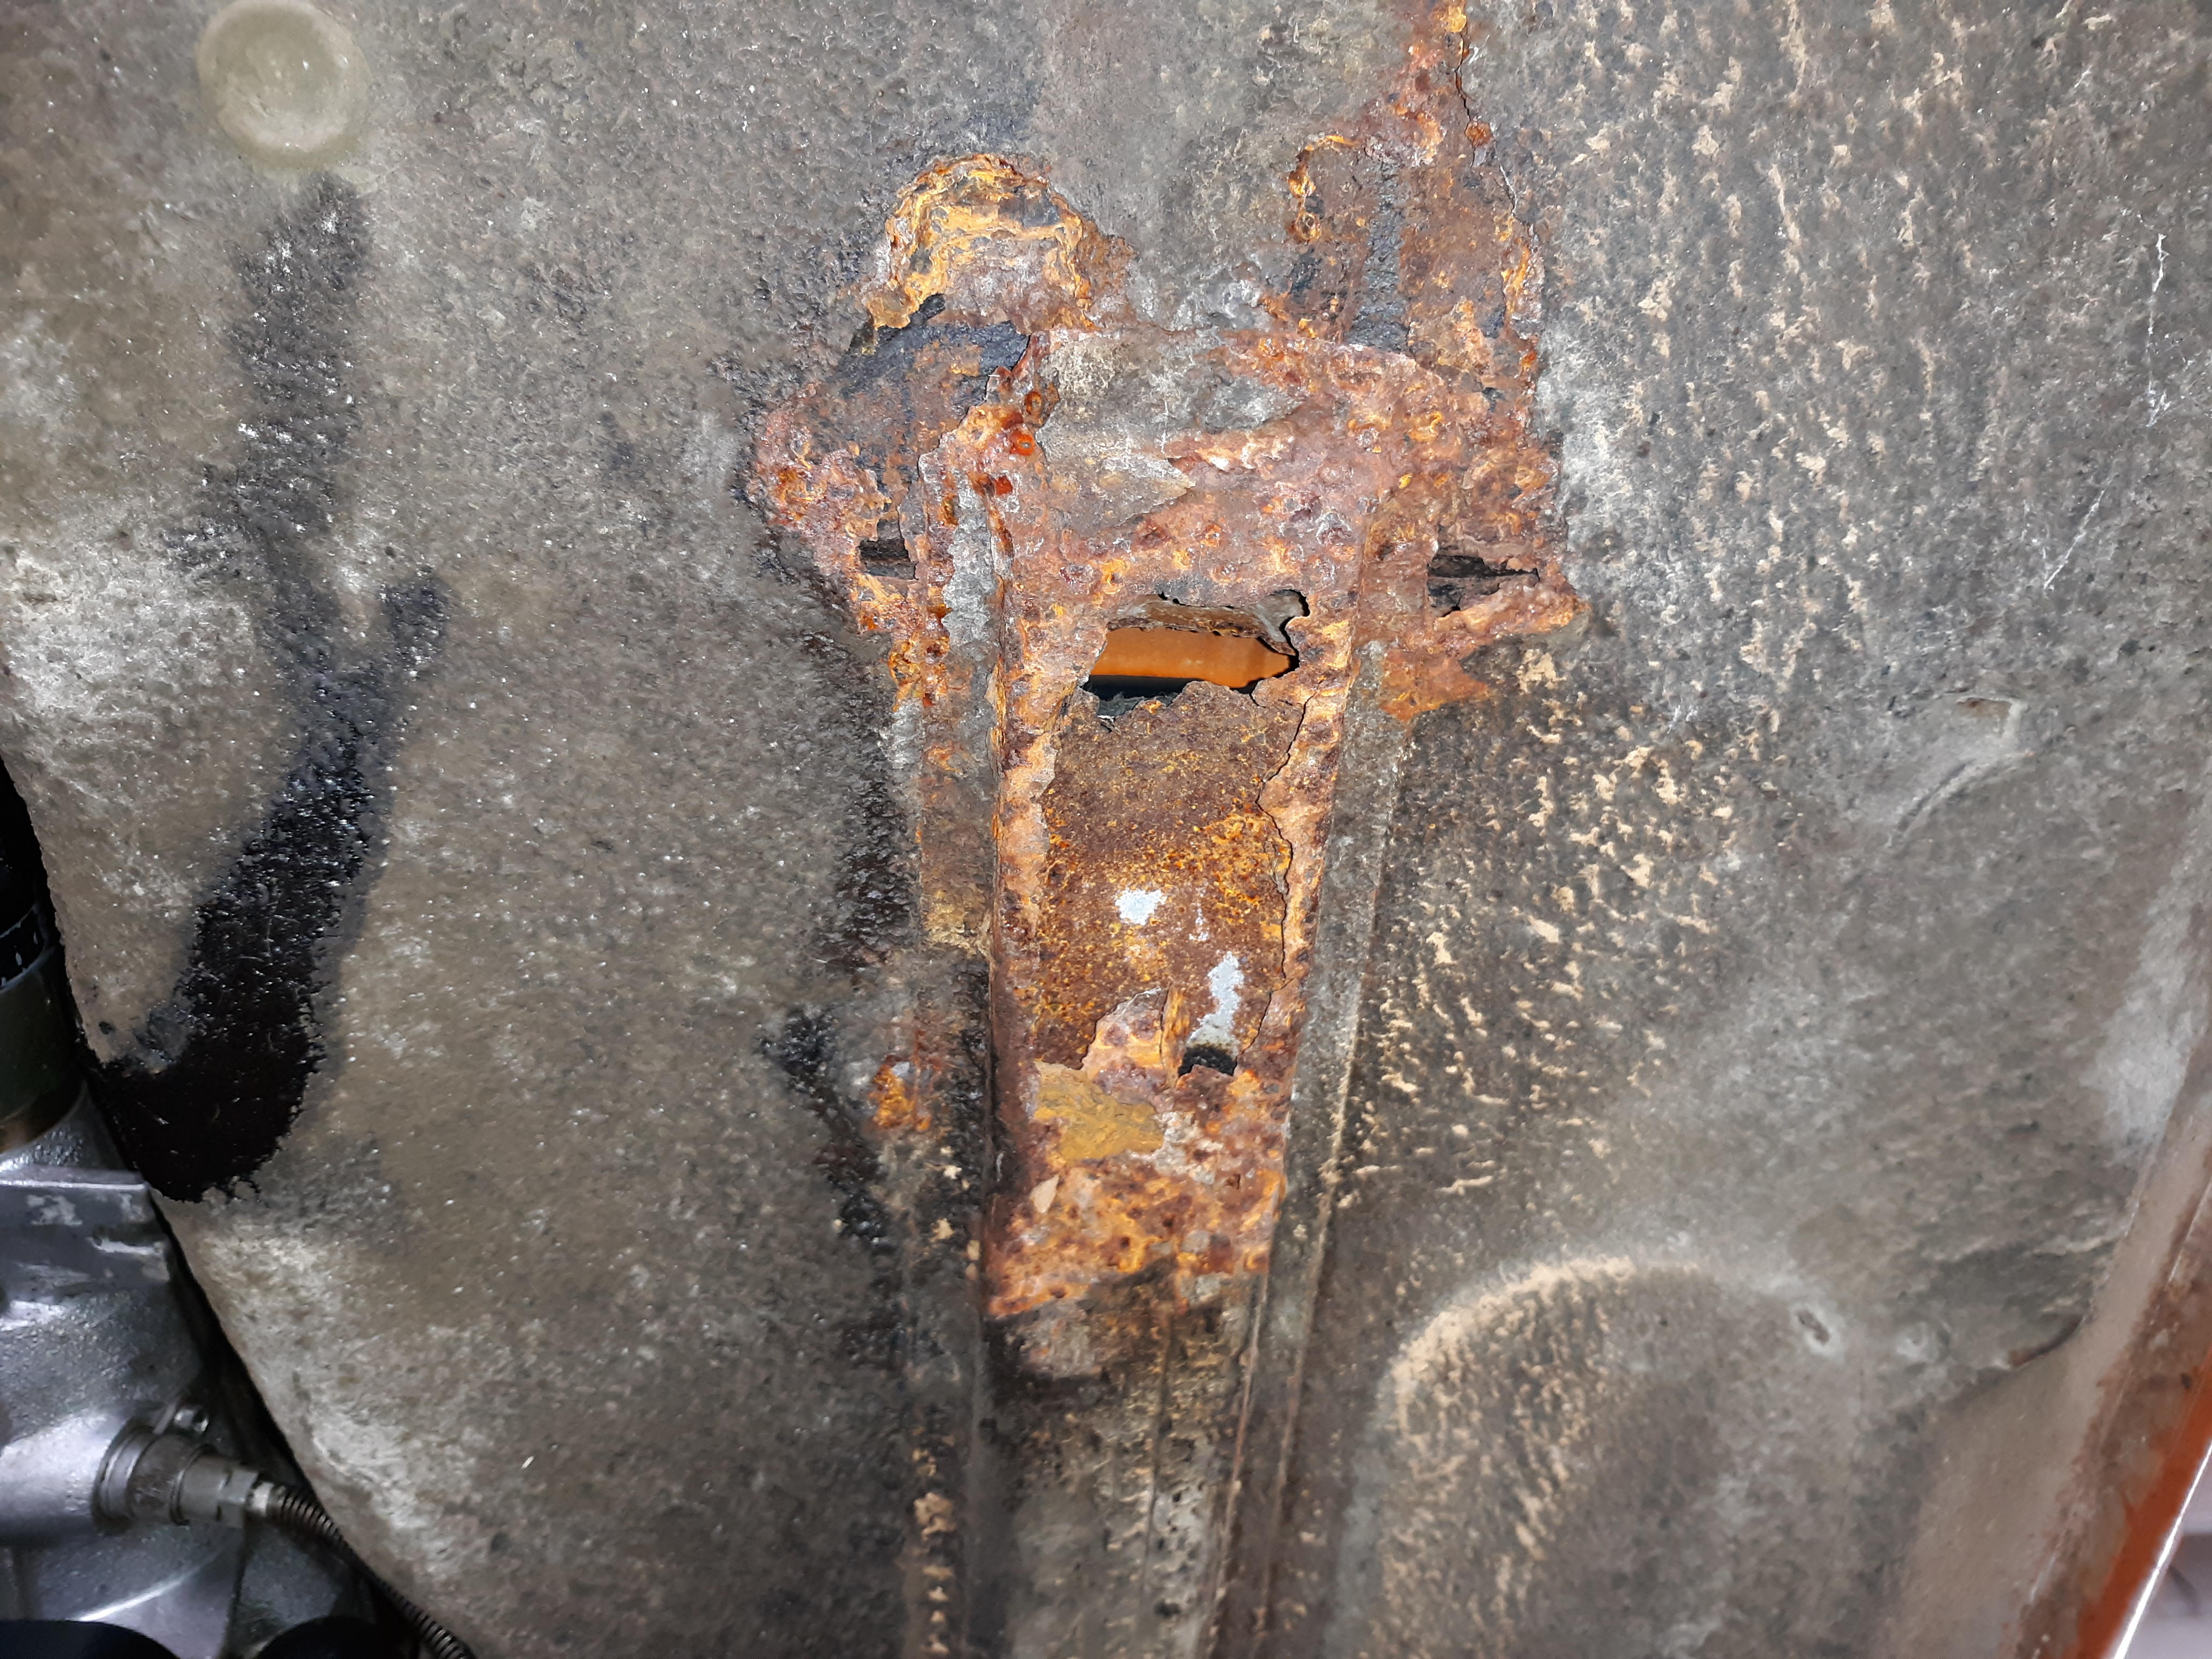
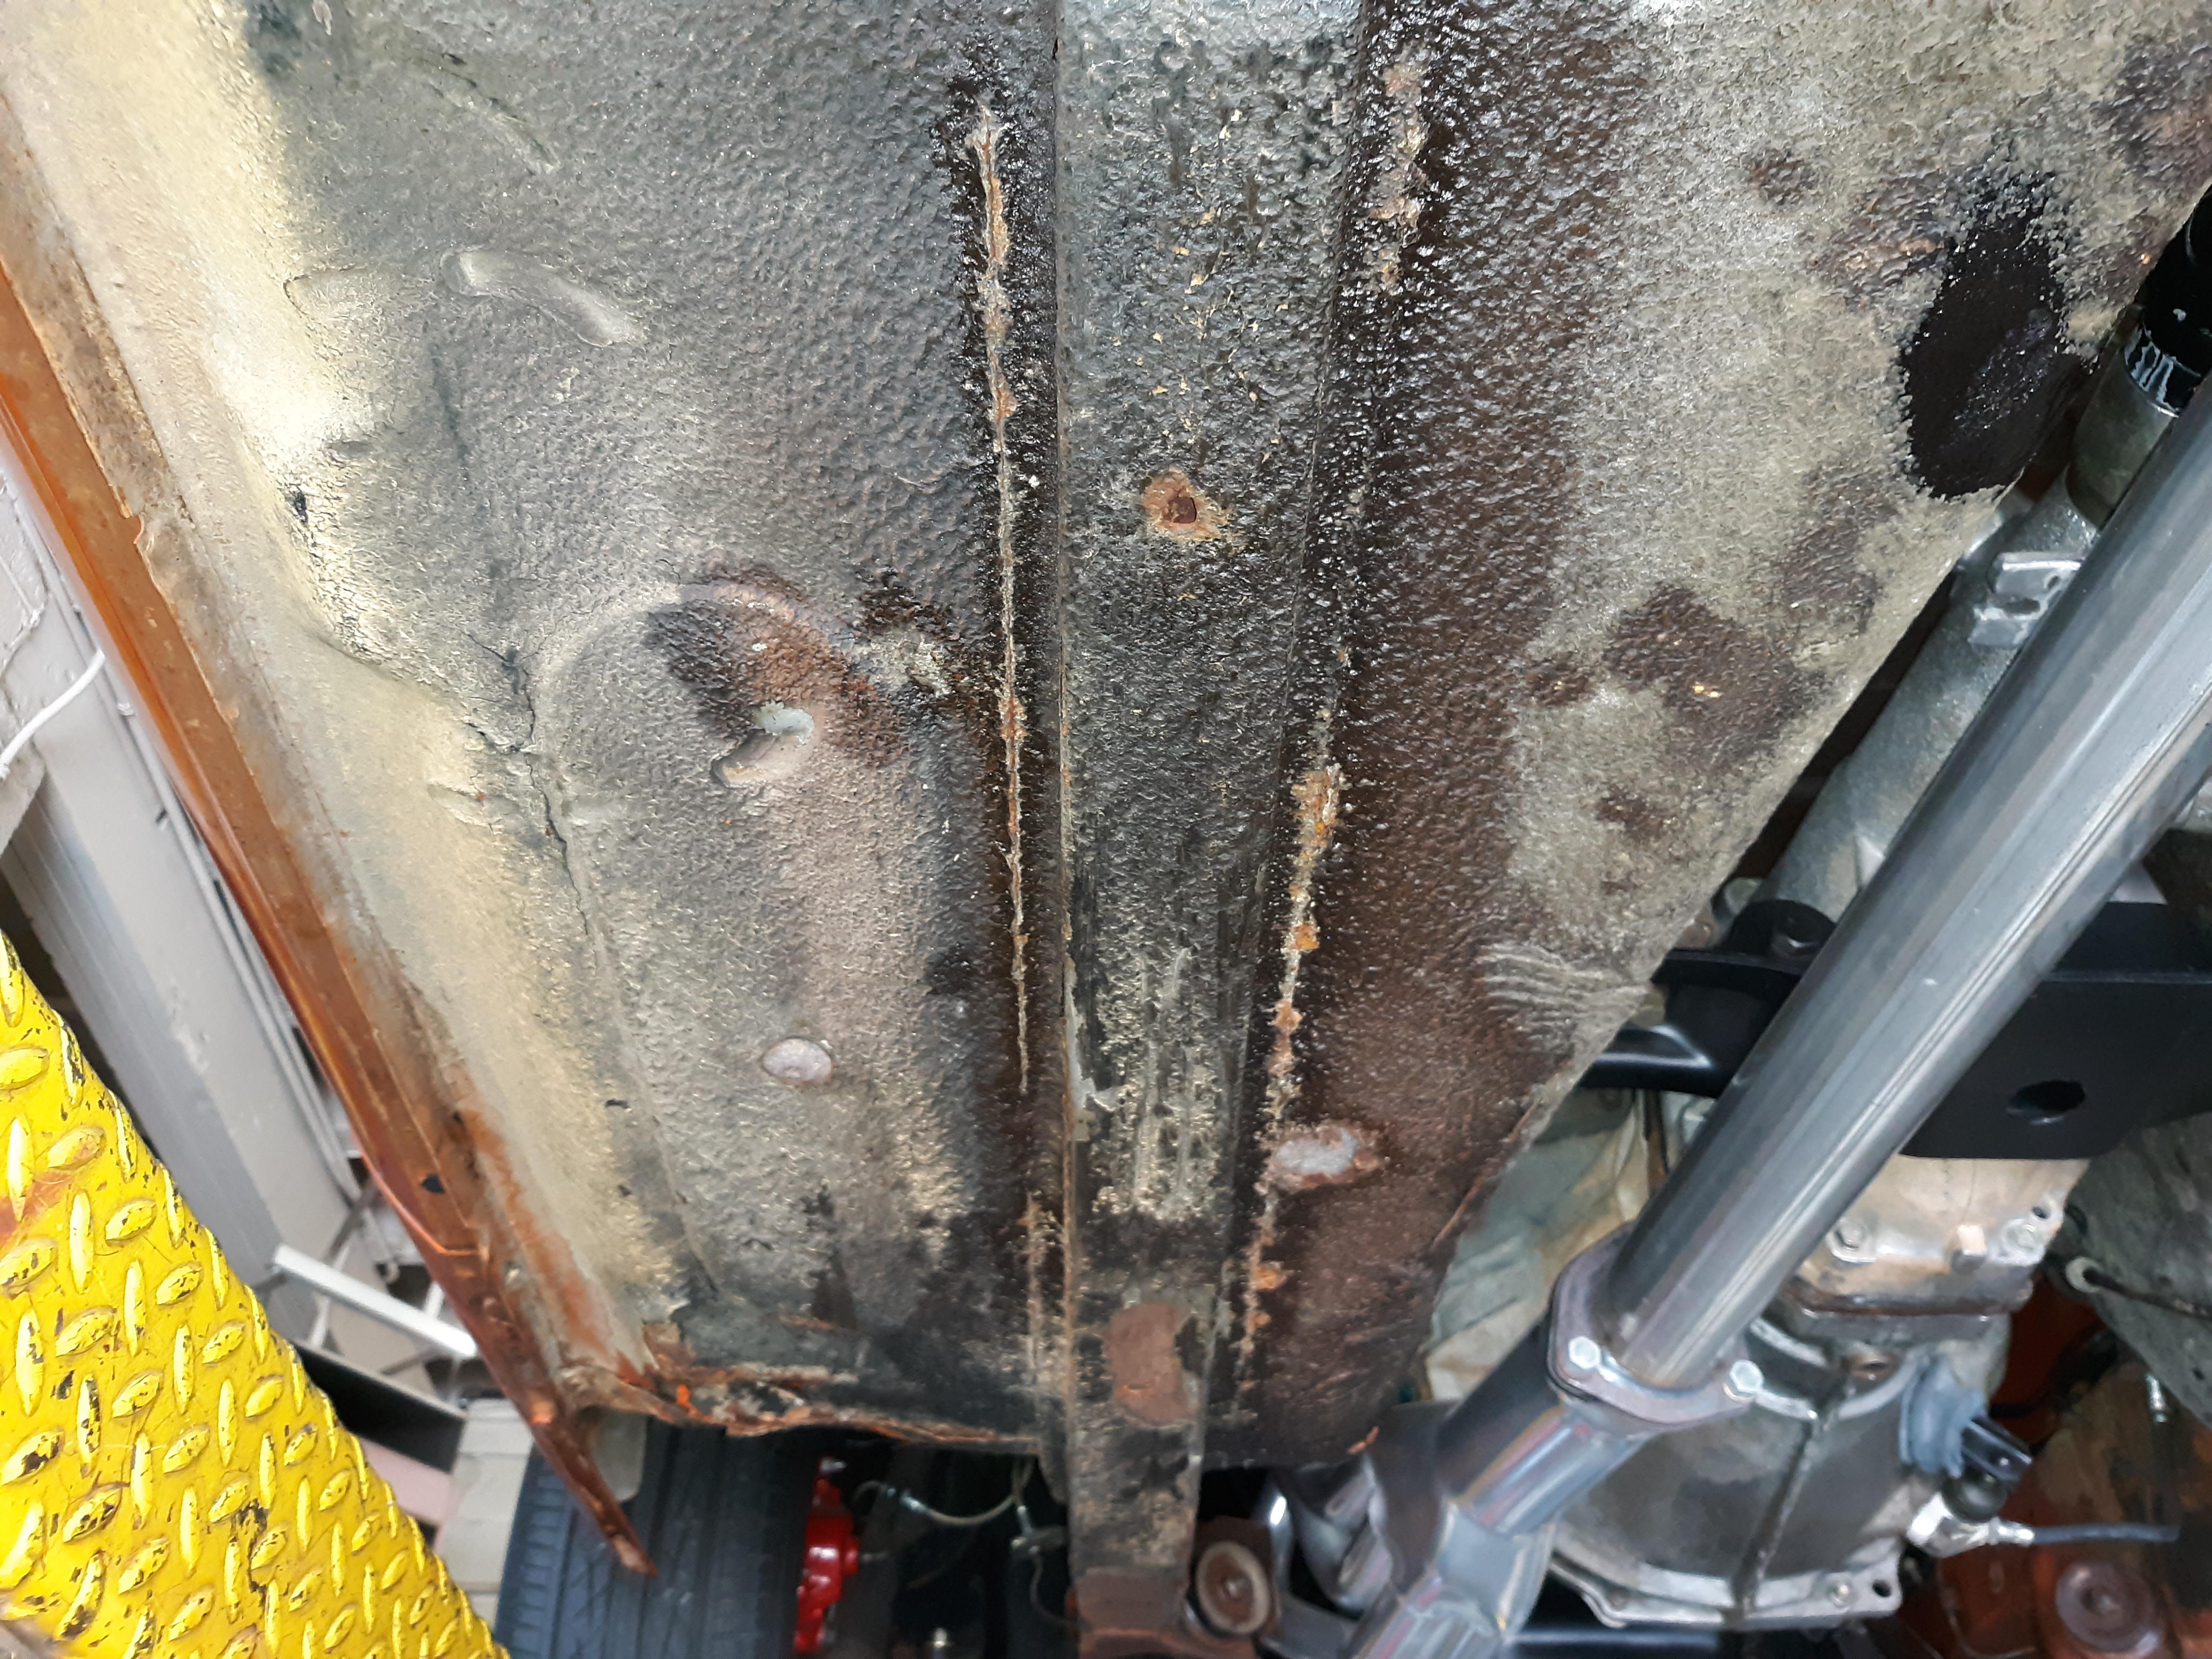
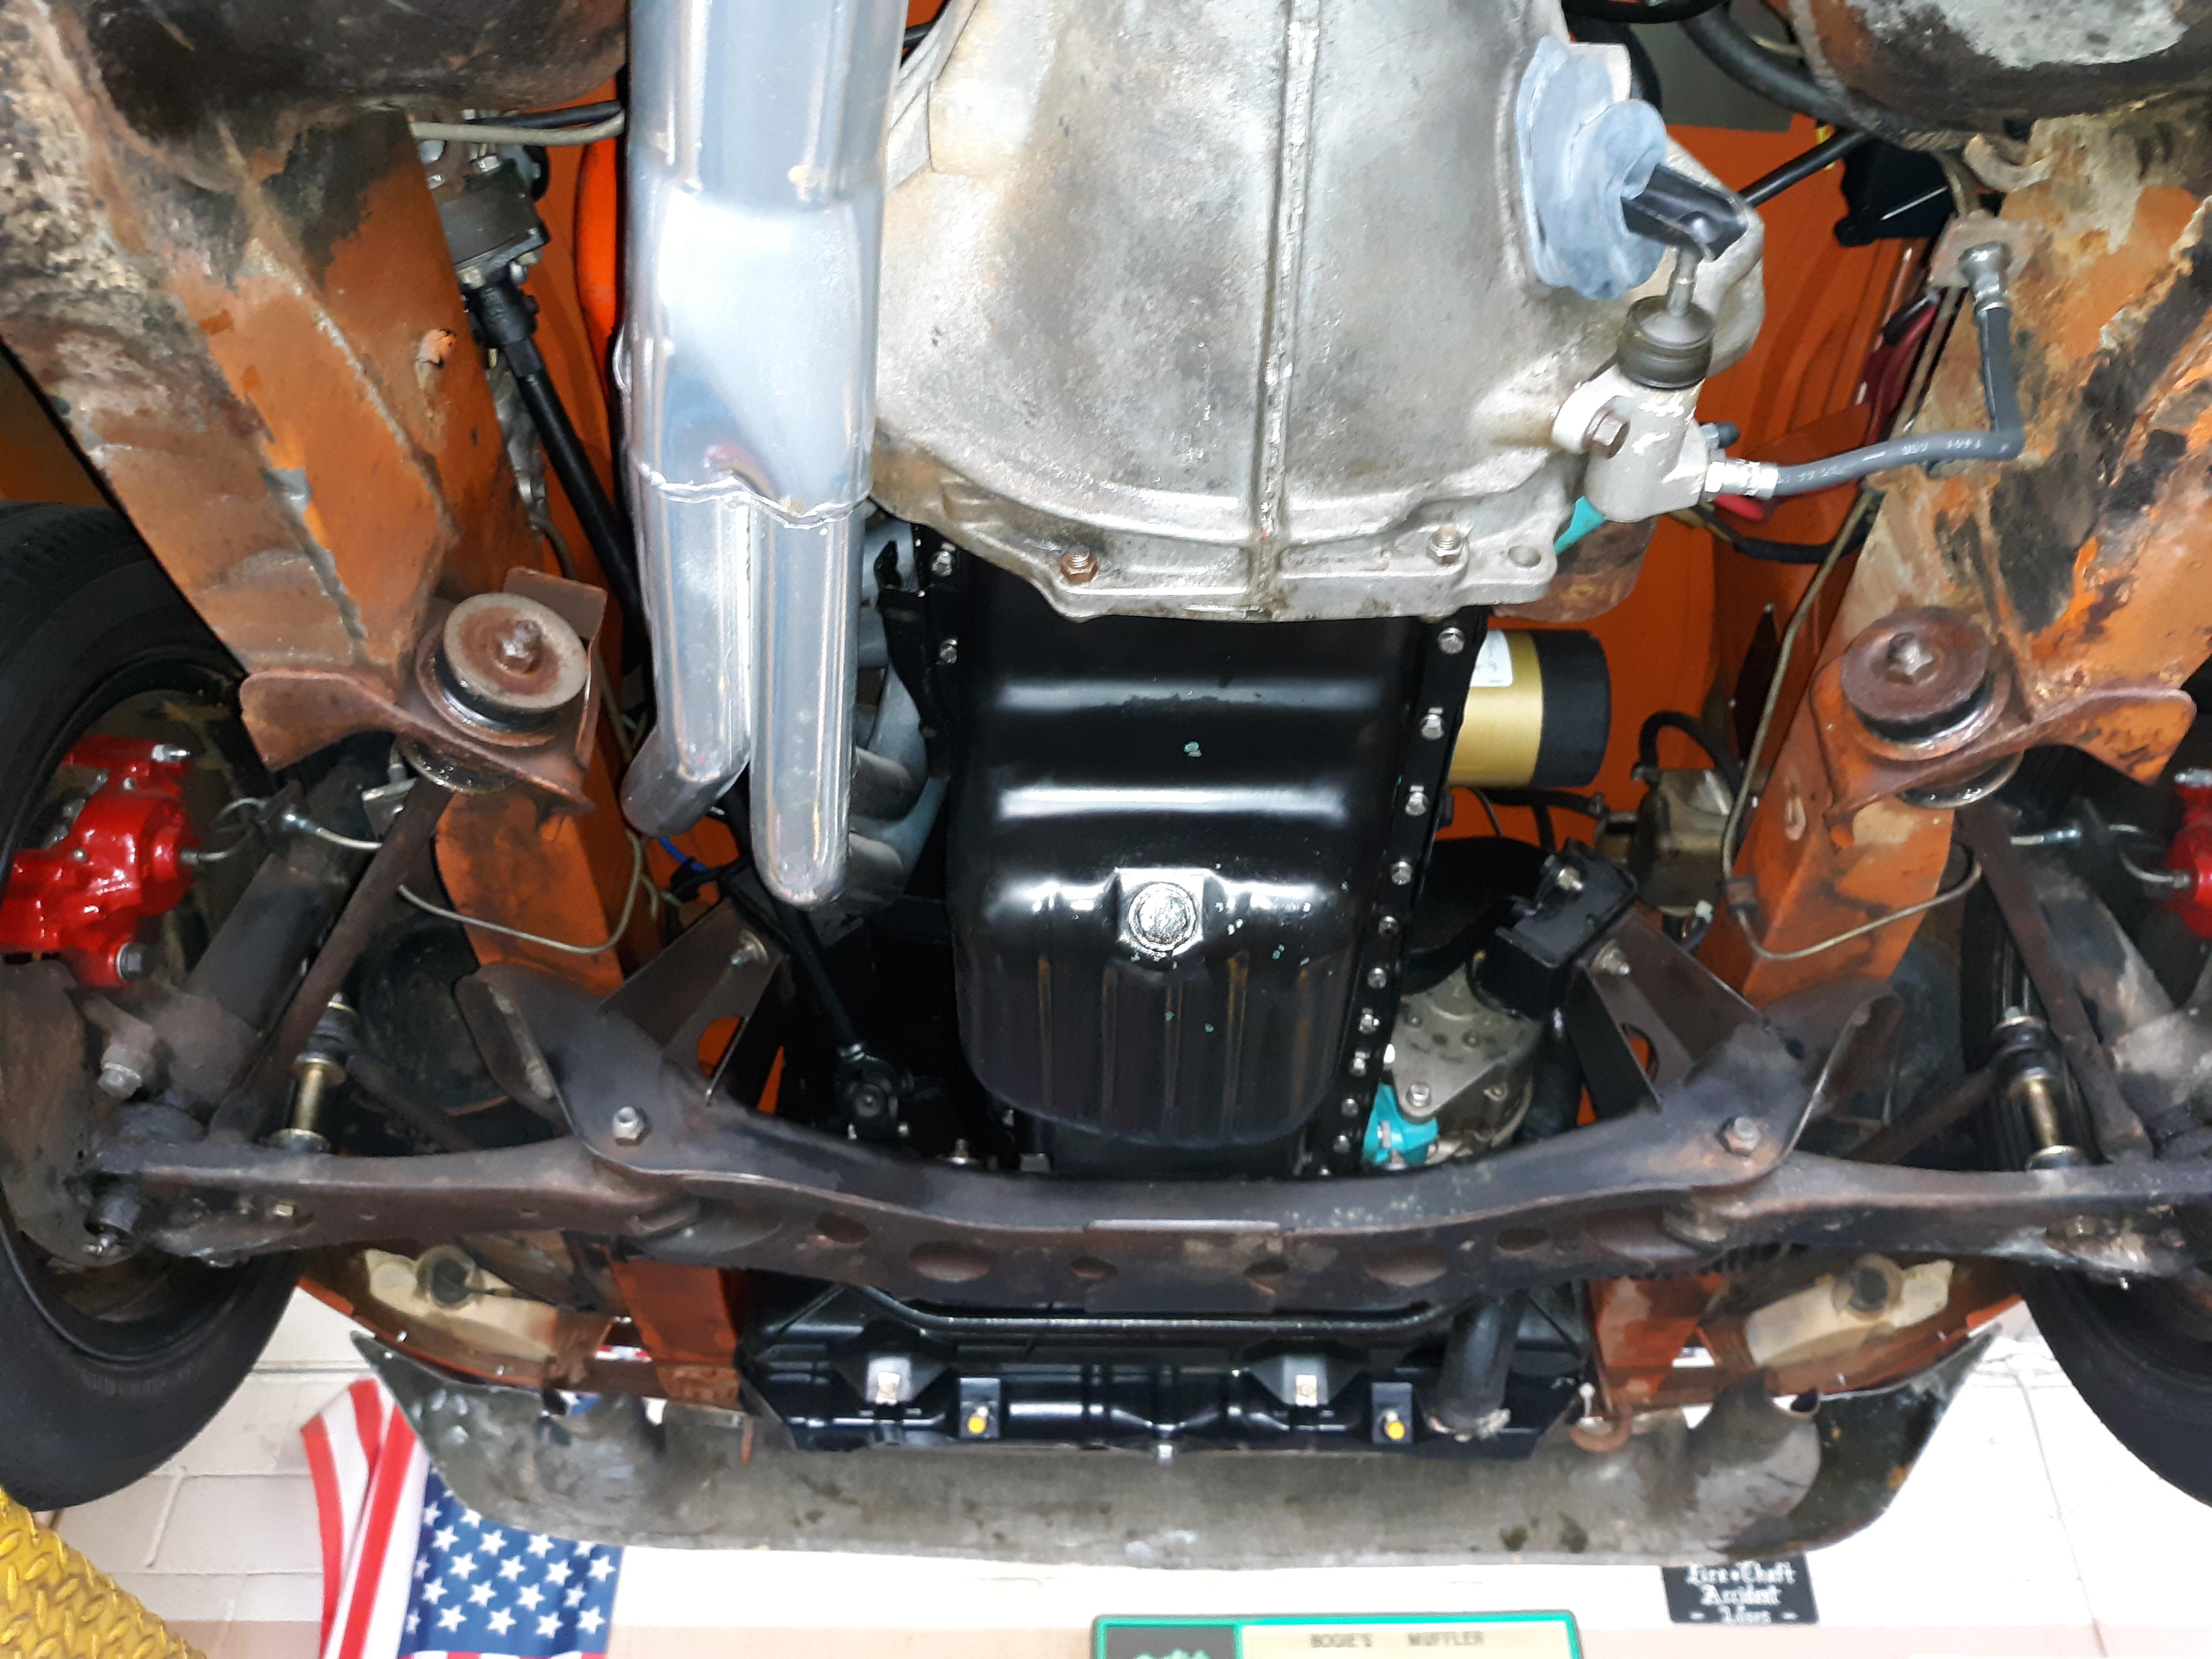
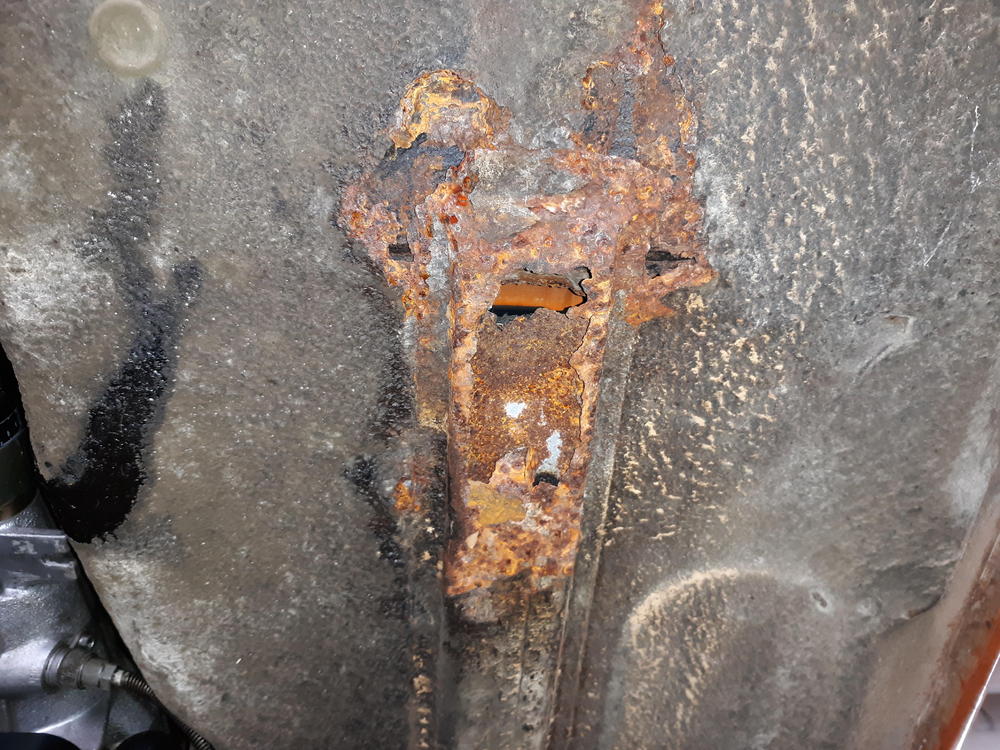
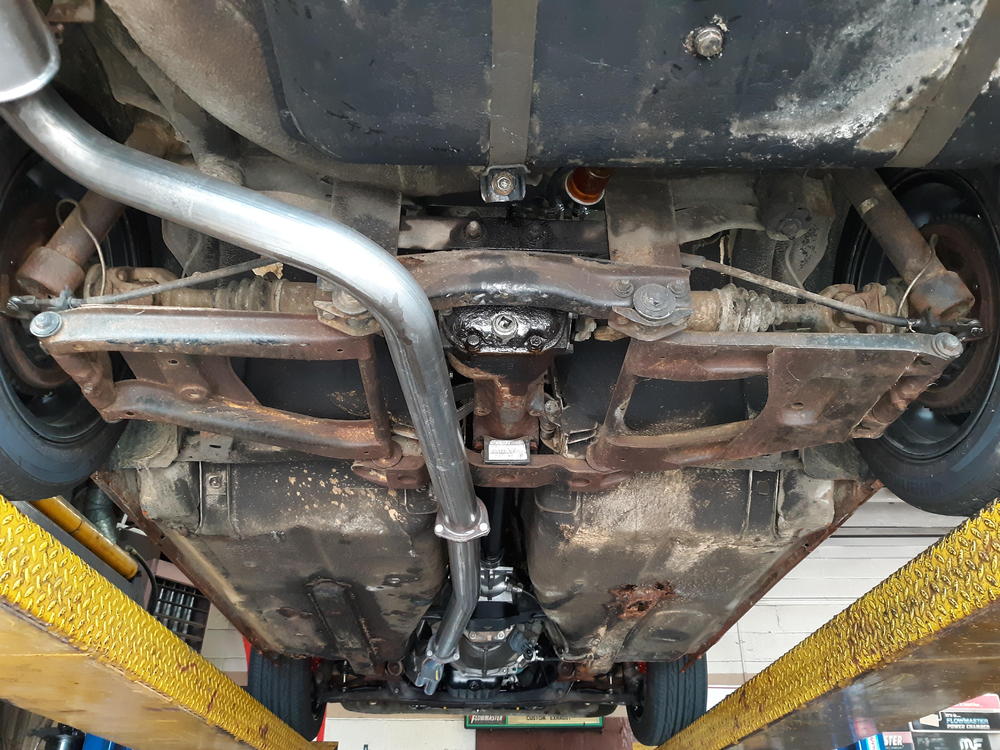
0 pointsI knew this was there just didn't know how severe it was until today. Had my exhaust tweaked a little better and while up on his lift I took some photos. Passenger's seat has one all the way through. It had leaked out the heater cores water c o c k for years apparently and caused this. Will new floor pans take care of this? Thanks in advance. Cliff Driver's side, not as bad... Rest of it...


 0 points