
Patcon
Supporting Member
-
Joined
-
Last visited
Everything posted by Patcon
-
Very creative! yeah, I can't imagine it takes much to torque the front end around on one of these cars
-
Ok. So I received a package today and headed down to the shop. The bearings seats all look good except for a little overspray Initially I measured in the scalloped areas. That allowed me to back up against two points and set the heel of the caliper against both sides of the opposing scallop Distance piece @Captain Obvious I have another question, how firmly do you hold the caliper? I can easily move the needle 0.005" with finger pressure. I have also found you have to swing the caliper back and forth looking for the smallest dimension to be sure you are square to the bore... Off of these dimensions, it would appear the bearings are being crushed by roughly 0.007" That seems like a lot of the bearings don't have any slop...?


-
I thought this would be my first choice. After I verify I can measure with the CO specialty tool...
-
Good progress. Keep at it...
-
Fabulous. I hope you are mulling a solution for me if my measurements prove correct...there's beer in it...
-
By the way, that's a nice looking little shed!
-
Yeah, I was a little incredulous at this thought I might be able to later. all these parts are masked up in the paint booth currently. That would be great! It would remove one of my variables I agree this is what I thought was going on. I was pretty careful when I set the bearings to make sure they were down on the seats. I wonder how thick that little washer is? Maybe I lost it when I pressed it apart...
-
Those are all good tips. It is also nice that these cars are relatively speaking, easy to pull because the sheet metal is so light so there are no really high stress loads to speak of
-
45's are a lot of carb for a 2.4L engine, most people run 40's
-
That looks like lots of camber up front...
-
The cam looks good, nice and shiny!
-
I have found the embedded search engine is subpar to using google, unfortunately
-
One of the threads I read last night. The guy was a helicopter crash firefighter on a navy ship. They told him if the magnesium wheels on the chopper catch fire you can't extinguish them because they burn so hot it breaks the water into hydrogen and oxygen. He also said they burn so hot they'll burn through the ship deck in just a few minutes. So the SOP was to push the burning chopper overboard...
-
My hub specs out at larger than even an A hub! So it can't have been wallered? out. The dimensions would be smaller in that case. Confusing... Now it is possible my measuring is suspect. I would only have to be off by 0.010" to be a B hub, at least on the one side
-
-
So I mic'd the second "B" piece @ 2.068" . The seat to seat dimension I got was 2.087" & 2.080" I measured in the scallops using the "B" piece as a surface to work from. Didn't have a sacrificial set of calipers So do the bearings have 0.020" freeplay? @Captain Obvious If I can't sort the other hub and have to disassemble it I will measure those parts too
-
Was it grannyknot or Sweatybetty that found something as a substitue for this?
-
Yea, I thought it was odd to be standard. As for the hub. I intentionally only did one hub at a time so I couldn't mix up parts and I had one to check against if I forgot something. The first one that seems like it will be too tight had the small copper washer in it. The second did not appear to have it. I never saw it and don't believe I lost it. I put the copper washer under the inside flange for the hub, between it and the bearing face. When I ran the nut down with the impact wrench it got too tight to turn. Now it's possible that it was over torqued but I seriously doubt it because my impact isn't really that strong. With it off the car I figured I would be challenged to get it torqued any way. So I figured I would need to have it on the car so I could use a wheel to hold it still to torque. Speaking of that, how did you torque Mathews hub? My torque wrench doesn't read that high. I also thought I should probably try to mic it so I know what I have...
-
I did some research on welding magnesium wheels last night. Evidently they can be tigged but it can be a difficult process and they are prone to stress cracks, that have to be found and repaired. A wheel like the one pictured earlier with out the lip is probably not good for anything but a hose reel like Gav said
-
If you try to die them it will have to be to a smaller size. If it were mine I would try to remove the stud and then get new studs from an automotive supply house or someplace like Fastenal. The studs are nice and make the work easier. But you have to be careful you don't snap them off, because they will have to be drilled out if you do. If you want to try to get them out put two nuts on one of them and tighten them against each other. Then put a wrench on one of the nuts and try to turn the stud out. It appears you are missing the rubber cover that goes around the clutch arm to prevent things from dropping in at the clutch.
-
As an aside, someone was asking recently about fuel tank drain threading. On the tank I have the drain plug is 1/2 x 20, which seems odd. I don't know if there is a close metric pitch or if this is truly a non-metric fitting
-
So I have been working on getting the car back down on the ground. That has meant I have been working on getting struts assembled the front backer plates use philips screws 6mm x 1.0 by maybe 10 Brake rotors bolt to the hubs with 10mmx1.25 by 18mm ? I have been plating hardware as I go and finally installing parts that I have had on the shelf for 6 years or more Work on the one of the rear struts too Did all new wheel studs while I was at it. Surprisingly I think Courtesy probably has the best price on the studs. Cheaper than where I sourced them. The rear backer plates also use 10mmx1.25 to bolt the backer plate to the hub. I am going to go ahead and convert to rear disc. I thought about converting later but figured it was just as easy to convert now I may have a similar problem as Mathew. We'll see when I torque the rear hubs. The seem like they are going to lock down when I torque them. @Captain Obvious I figured I would torque them once the car is down on it's tires


-
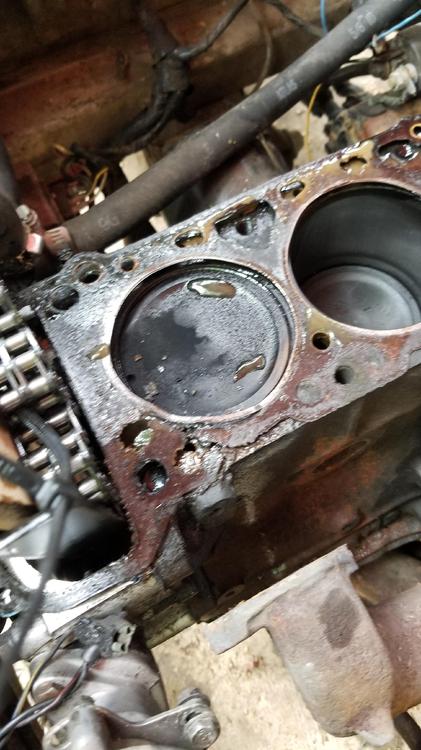
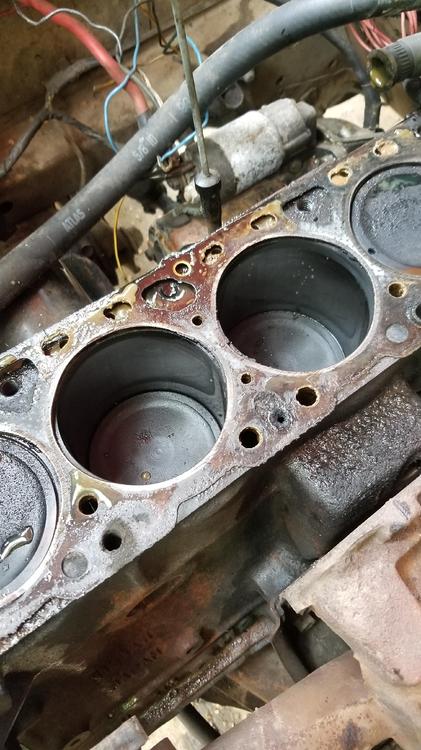
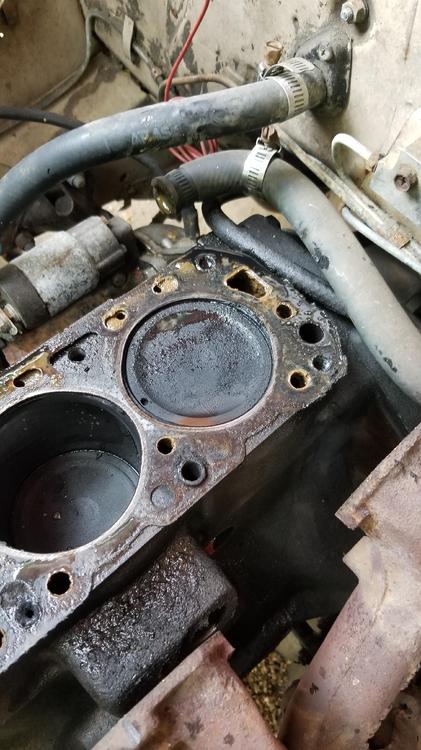
Pulled the head last weekend I think that might be our water leak #1. I checked it with a machinist rule and it's out of spec. Took it to the machine shop and he said it looks like someone had been belt sanding on it. So hopefully we will get it back the end of next week. Broke one of the bolts as the thermostat too Painted another one of his doors too

-
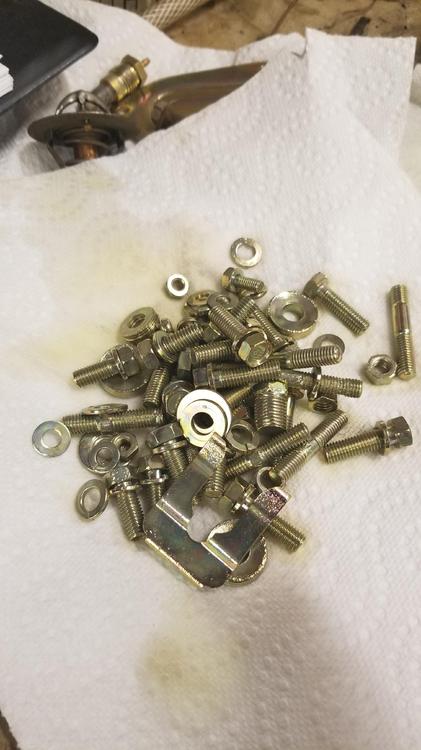
I love having the barrel plater!!! I did these today in one batch. Load em up and let it run for like an hour. I have found when my plate comes out really shiny, I blue dip for a minute or so, maybe less but I have to color dip for as much as 7 minutes to get color. I assume it's because the really shiny zinc is just harder and doesn't take color as well. I have also found when my plate isn't shiny I can turn up the current and the plate will brighten up. I have run as much as .32 per inch.
-
Very nice. You might need a throttle intake boot or more silicone! The numbers look excellent