Patcon
 Subscriber
-
Joined
-
Last visited
Everything posted by Patcon
-
 Calculate the bolt you plated and see how that compares to the current you were using. You could also drop back down to 0.14 per Squ/in to see if the DIY bath will give smoother results that way.
 -
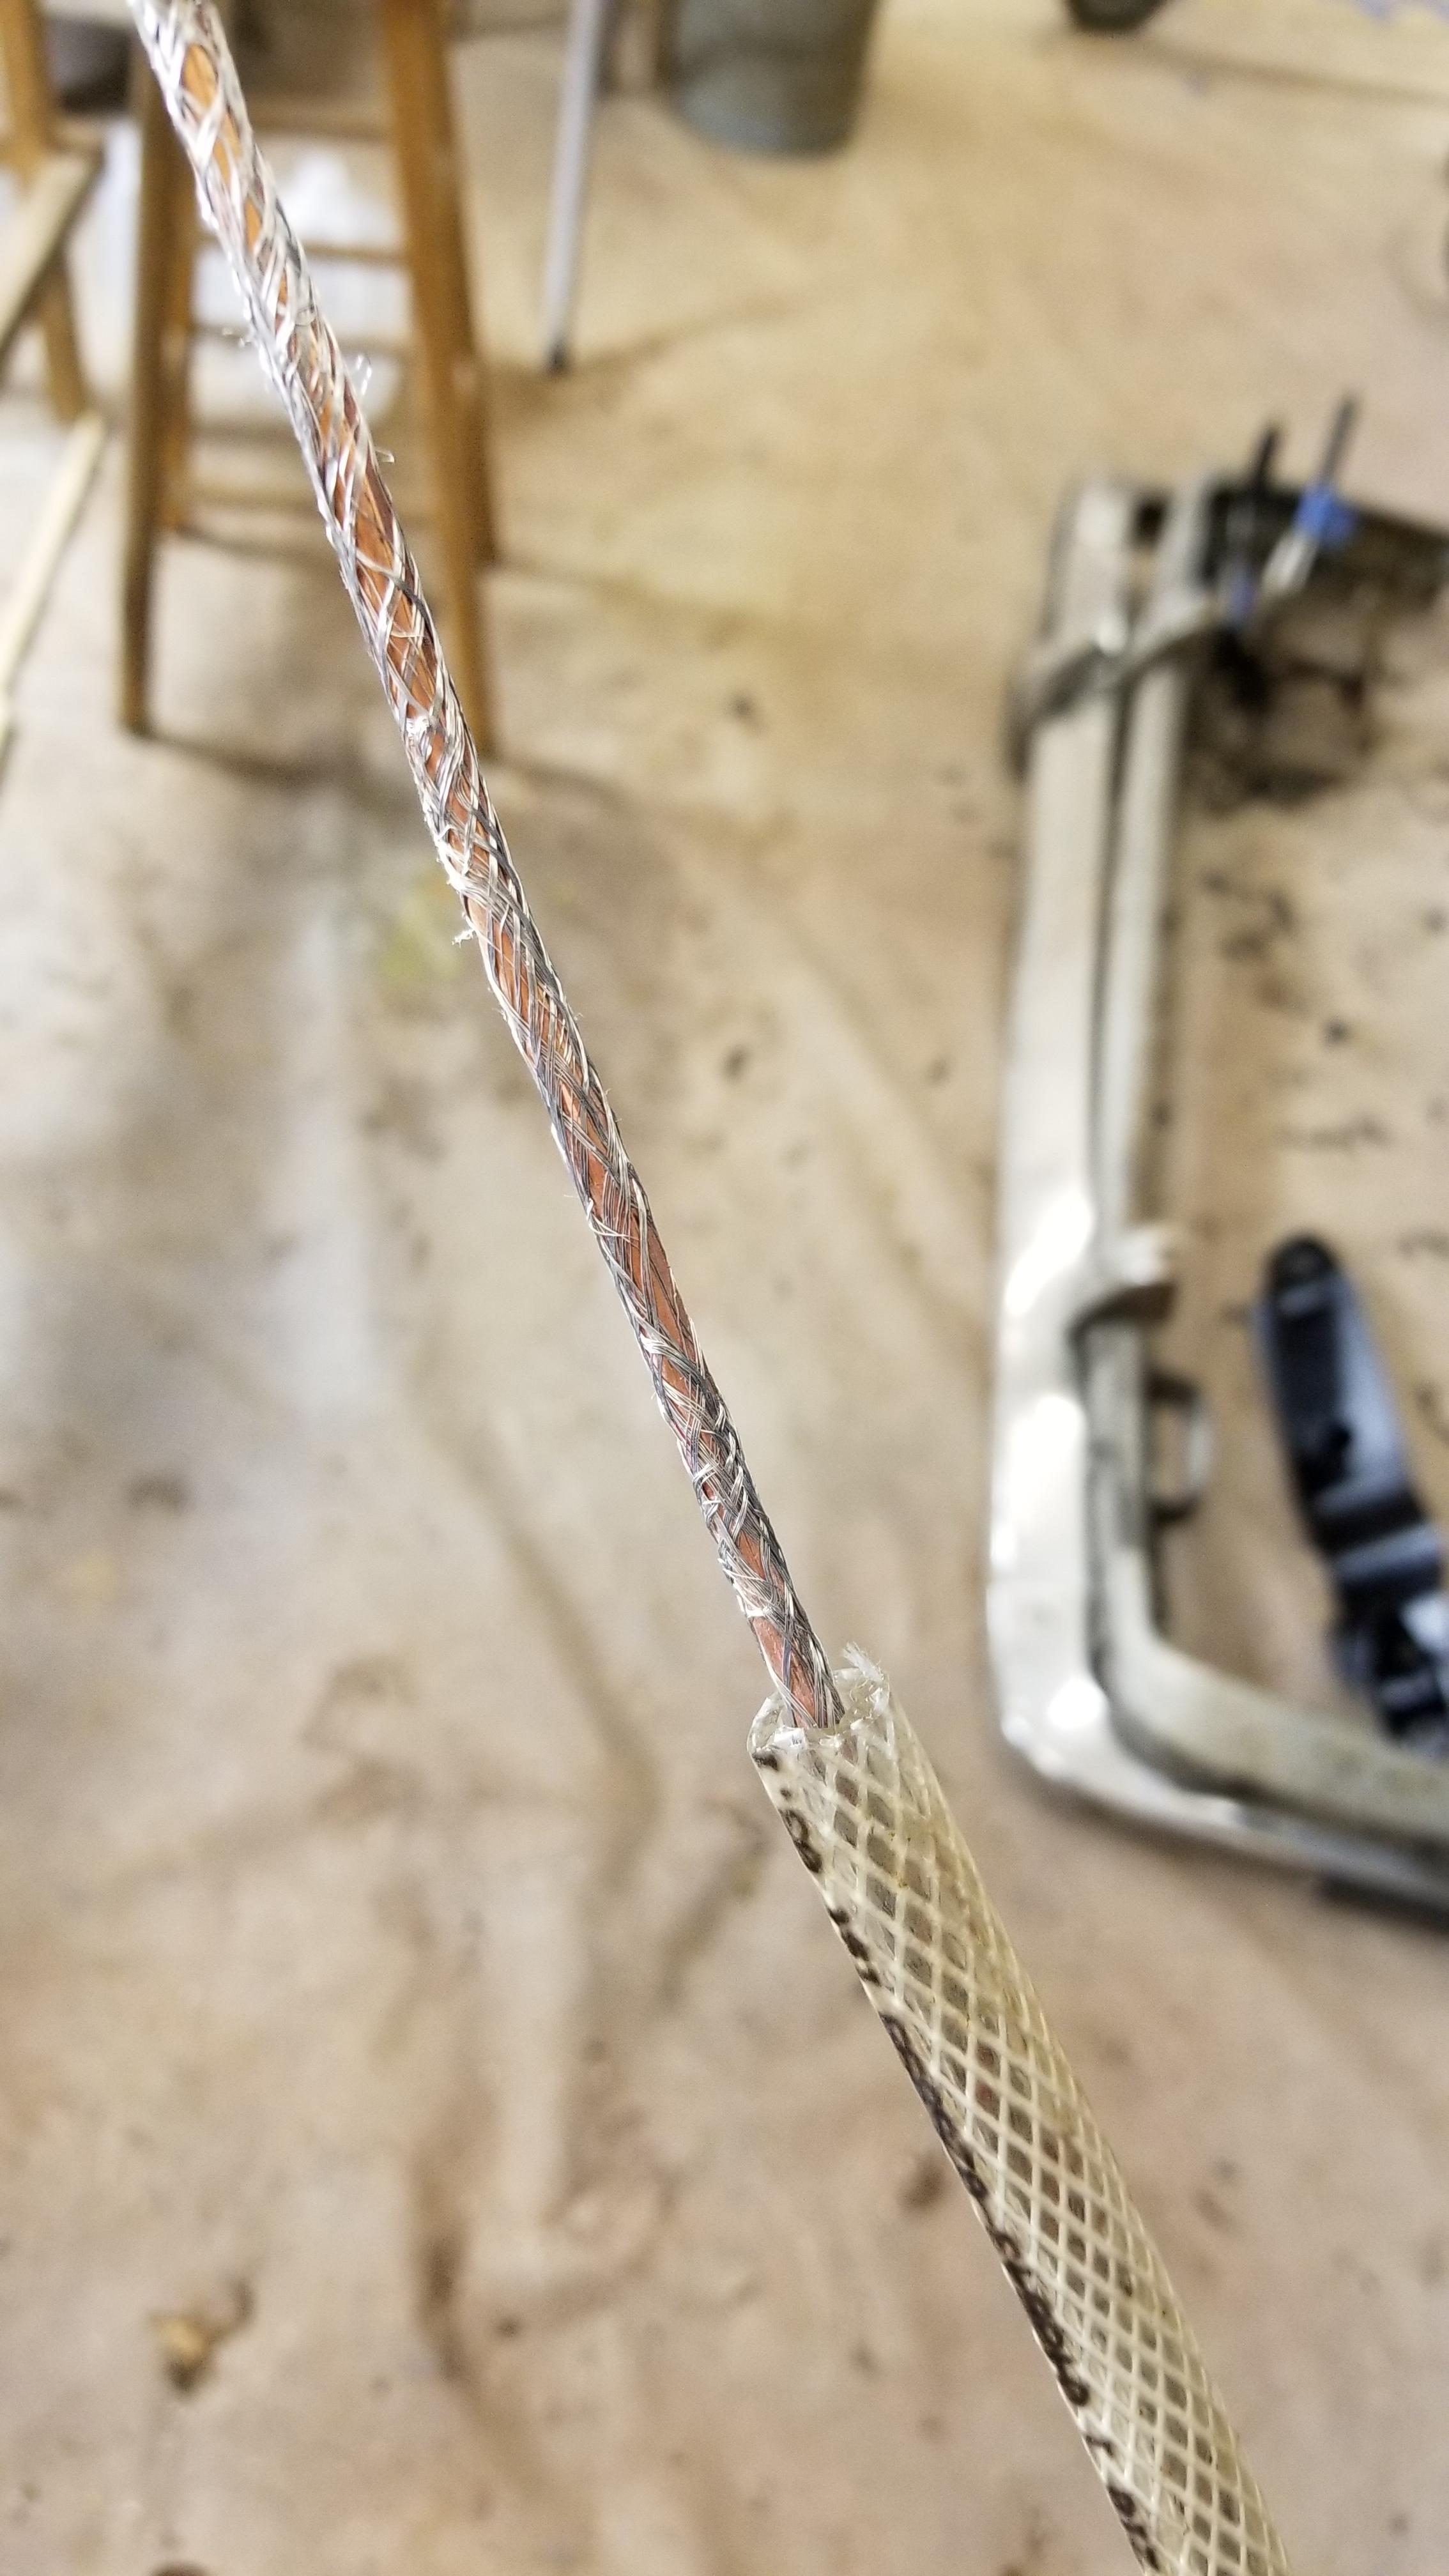
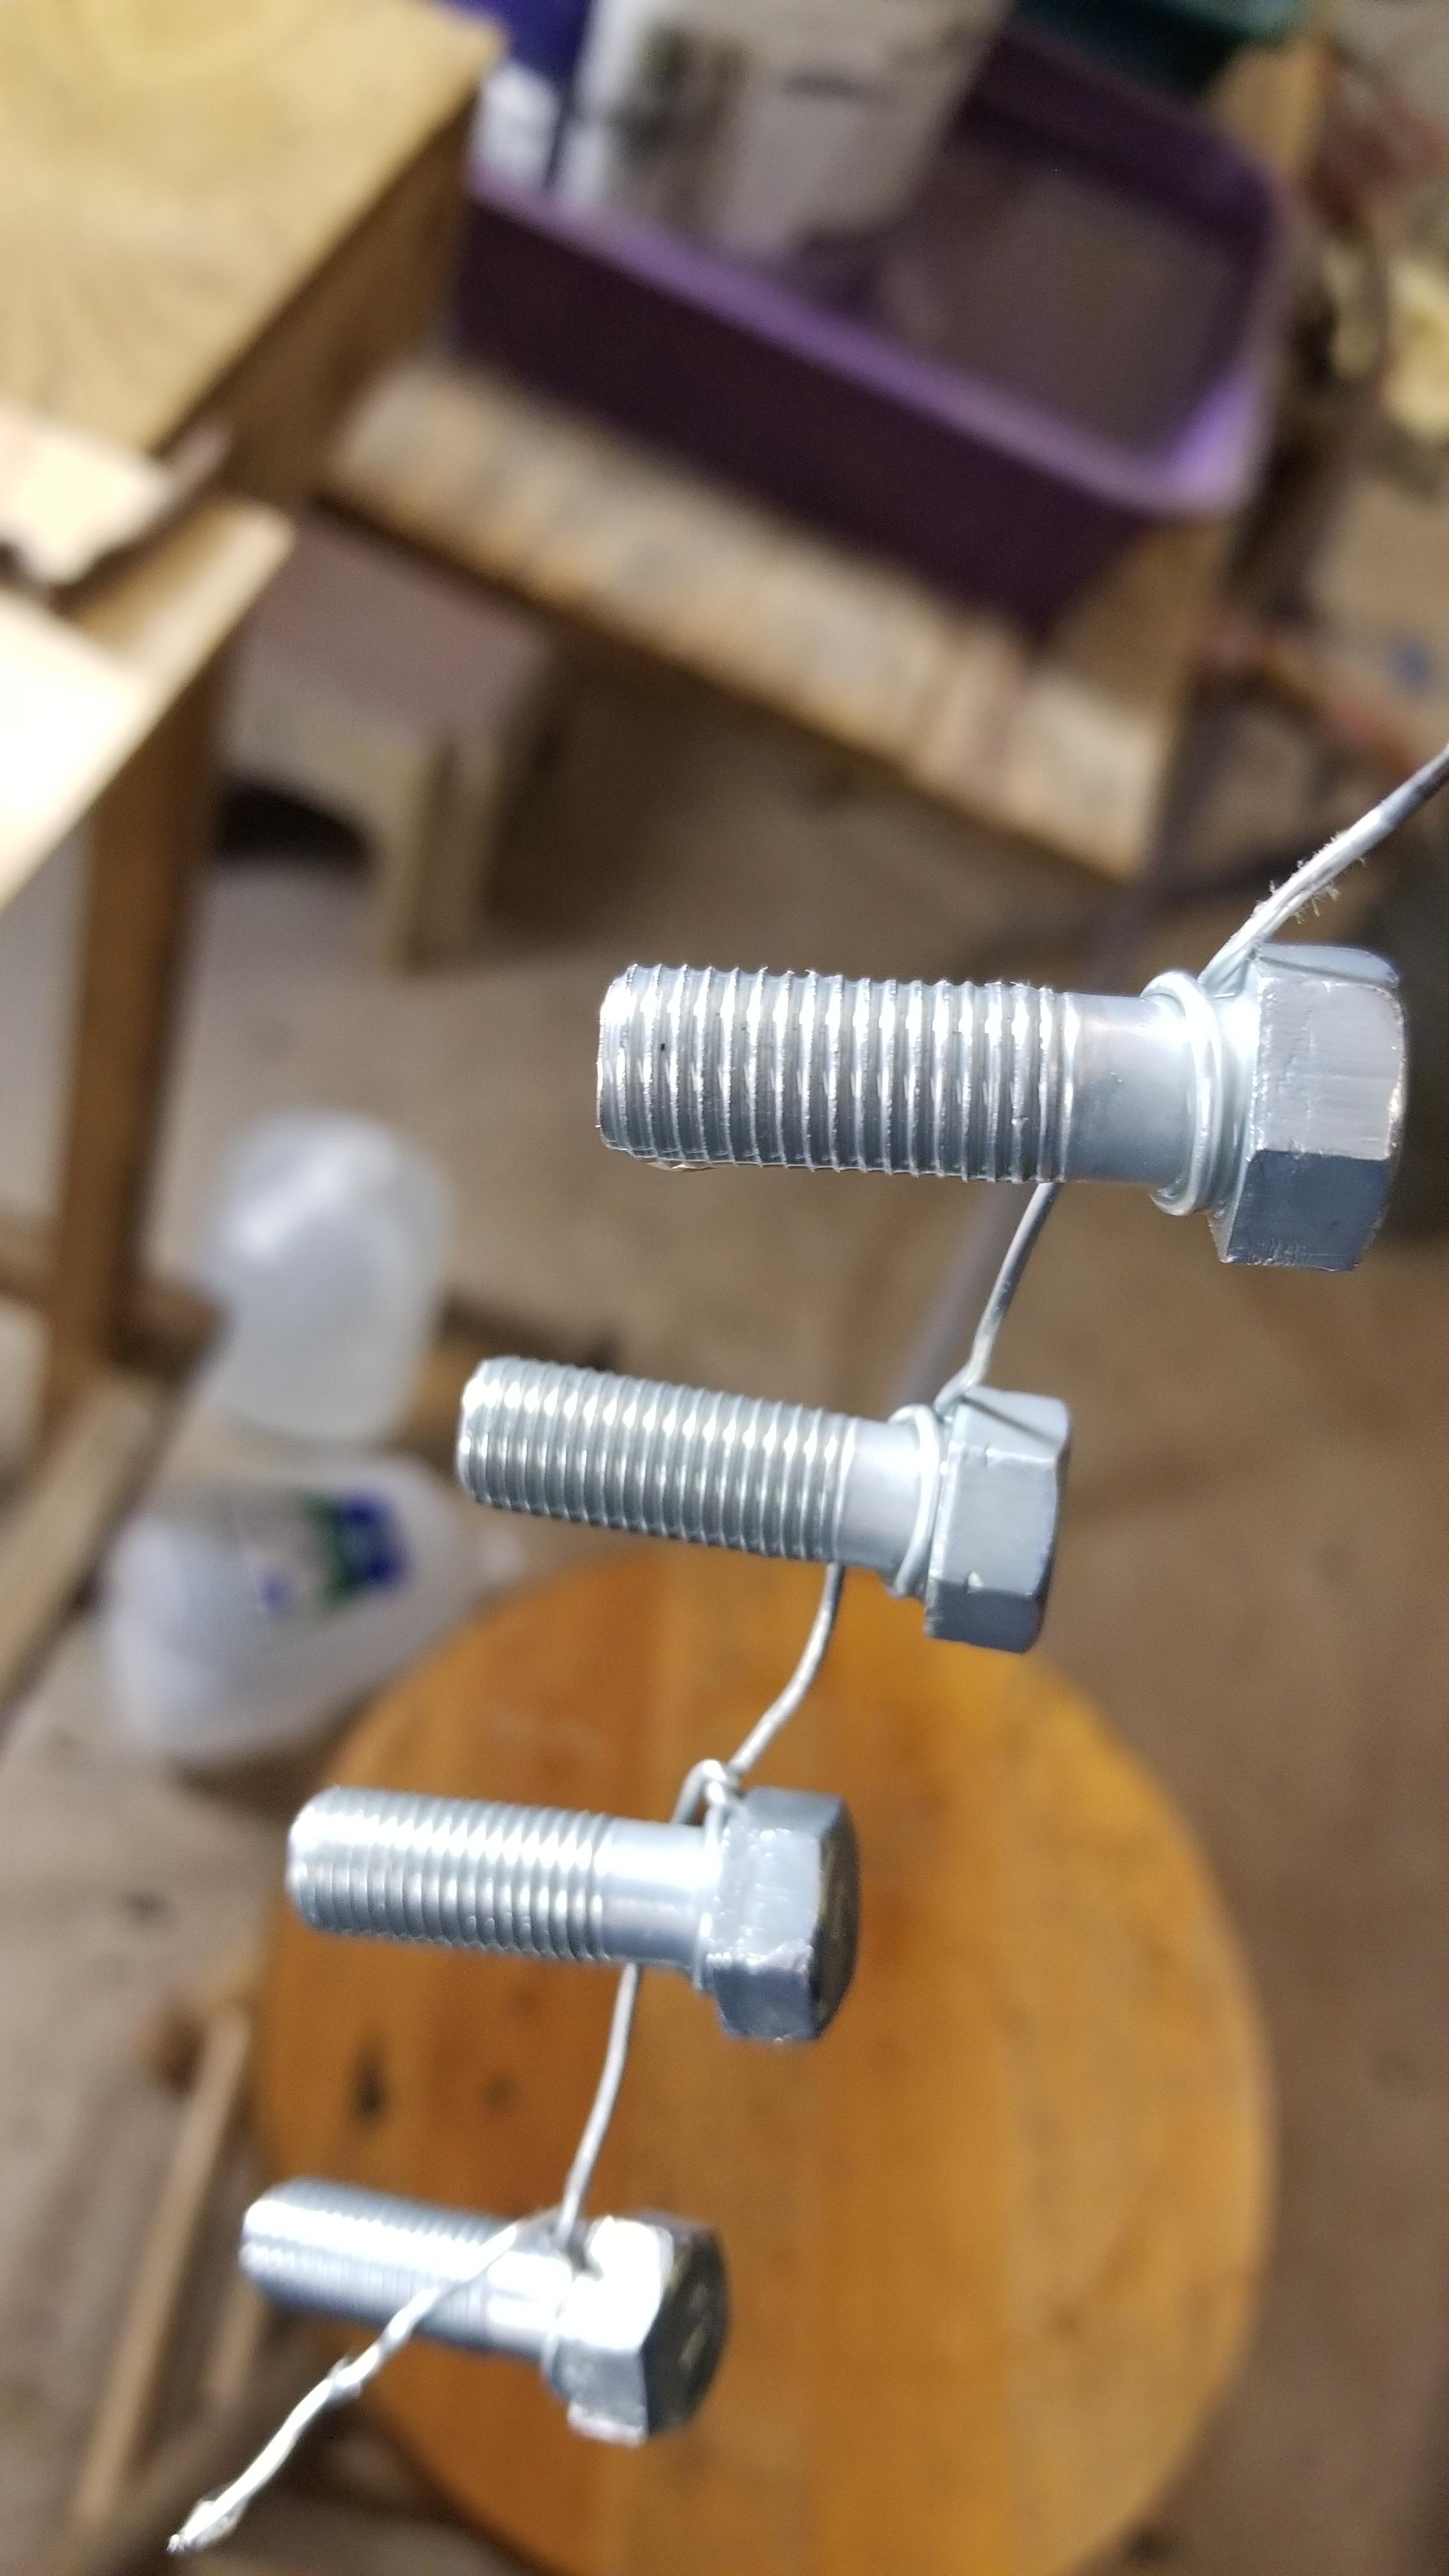
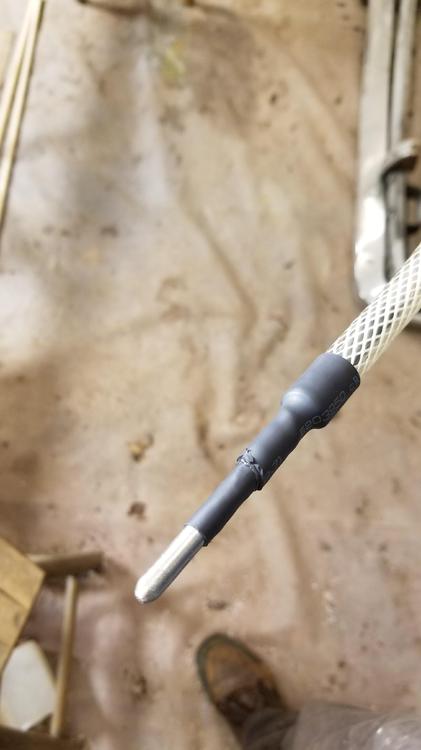
This is the dangler I made #10 solid copper fed through a shield jacket from some CCTV cable. Put a rounded off SS bolt in the end of the jacket. Fed it through a polypropylene section of hose. Sealed with heat shrink. The copper helps with being able to shape it for tank placement

-
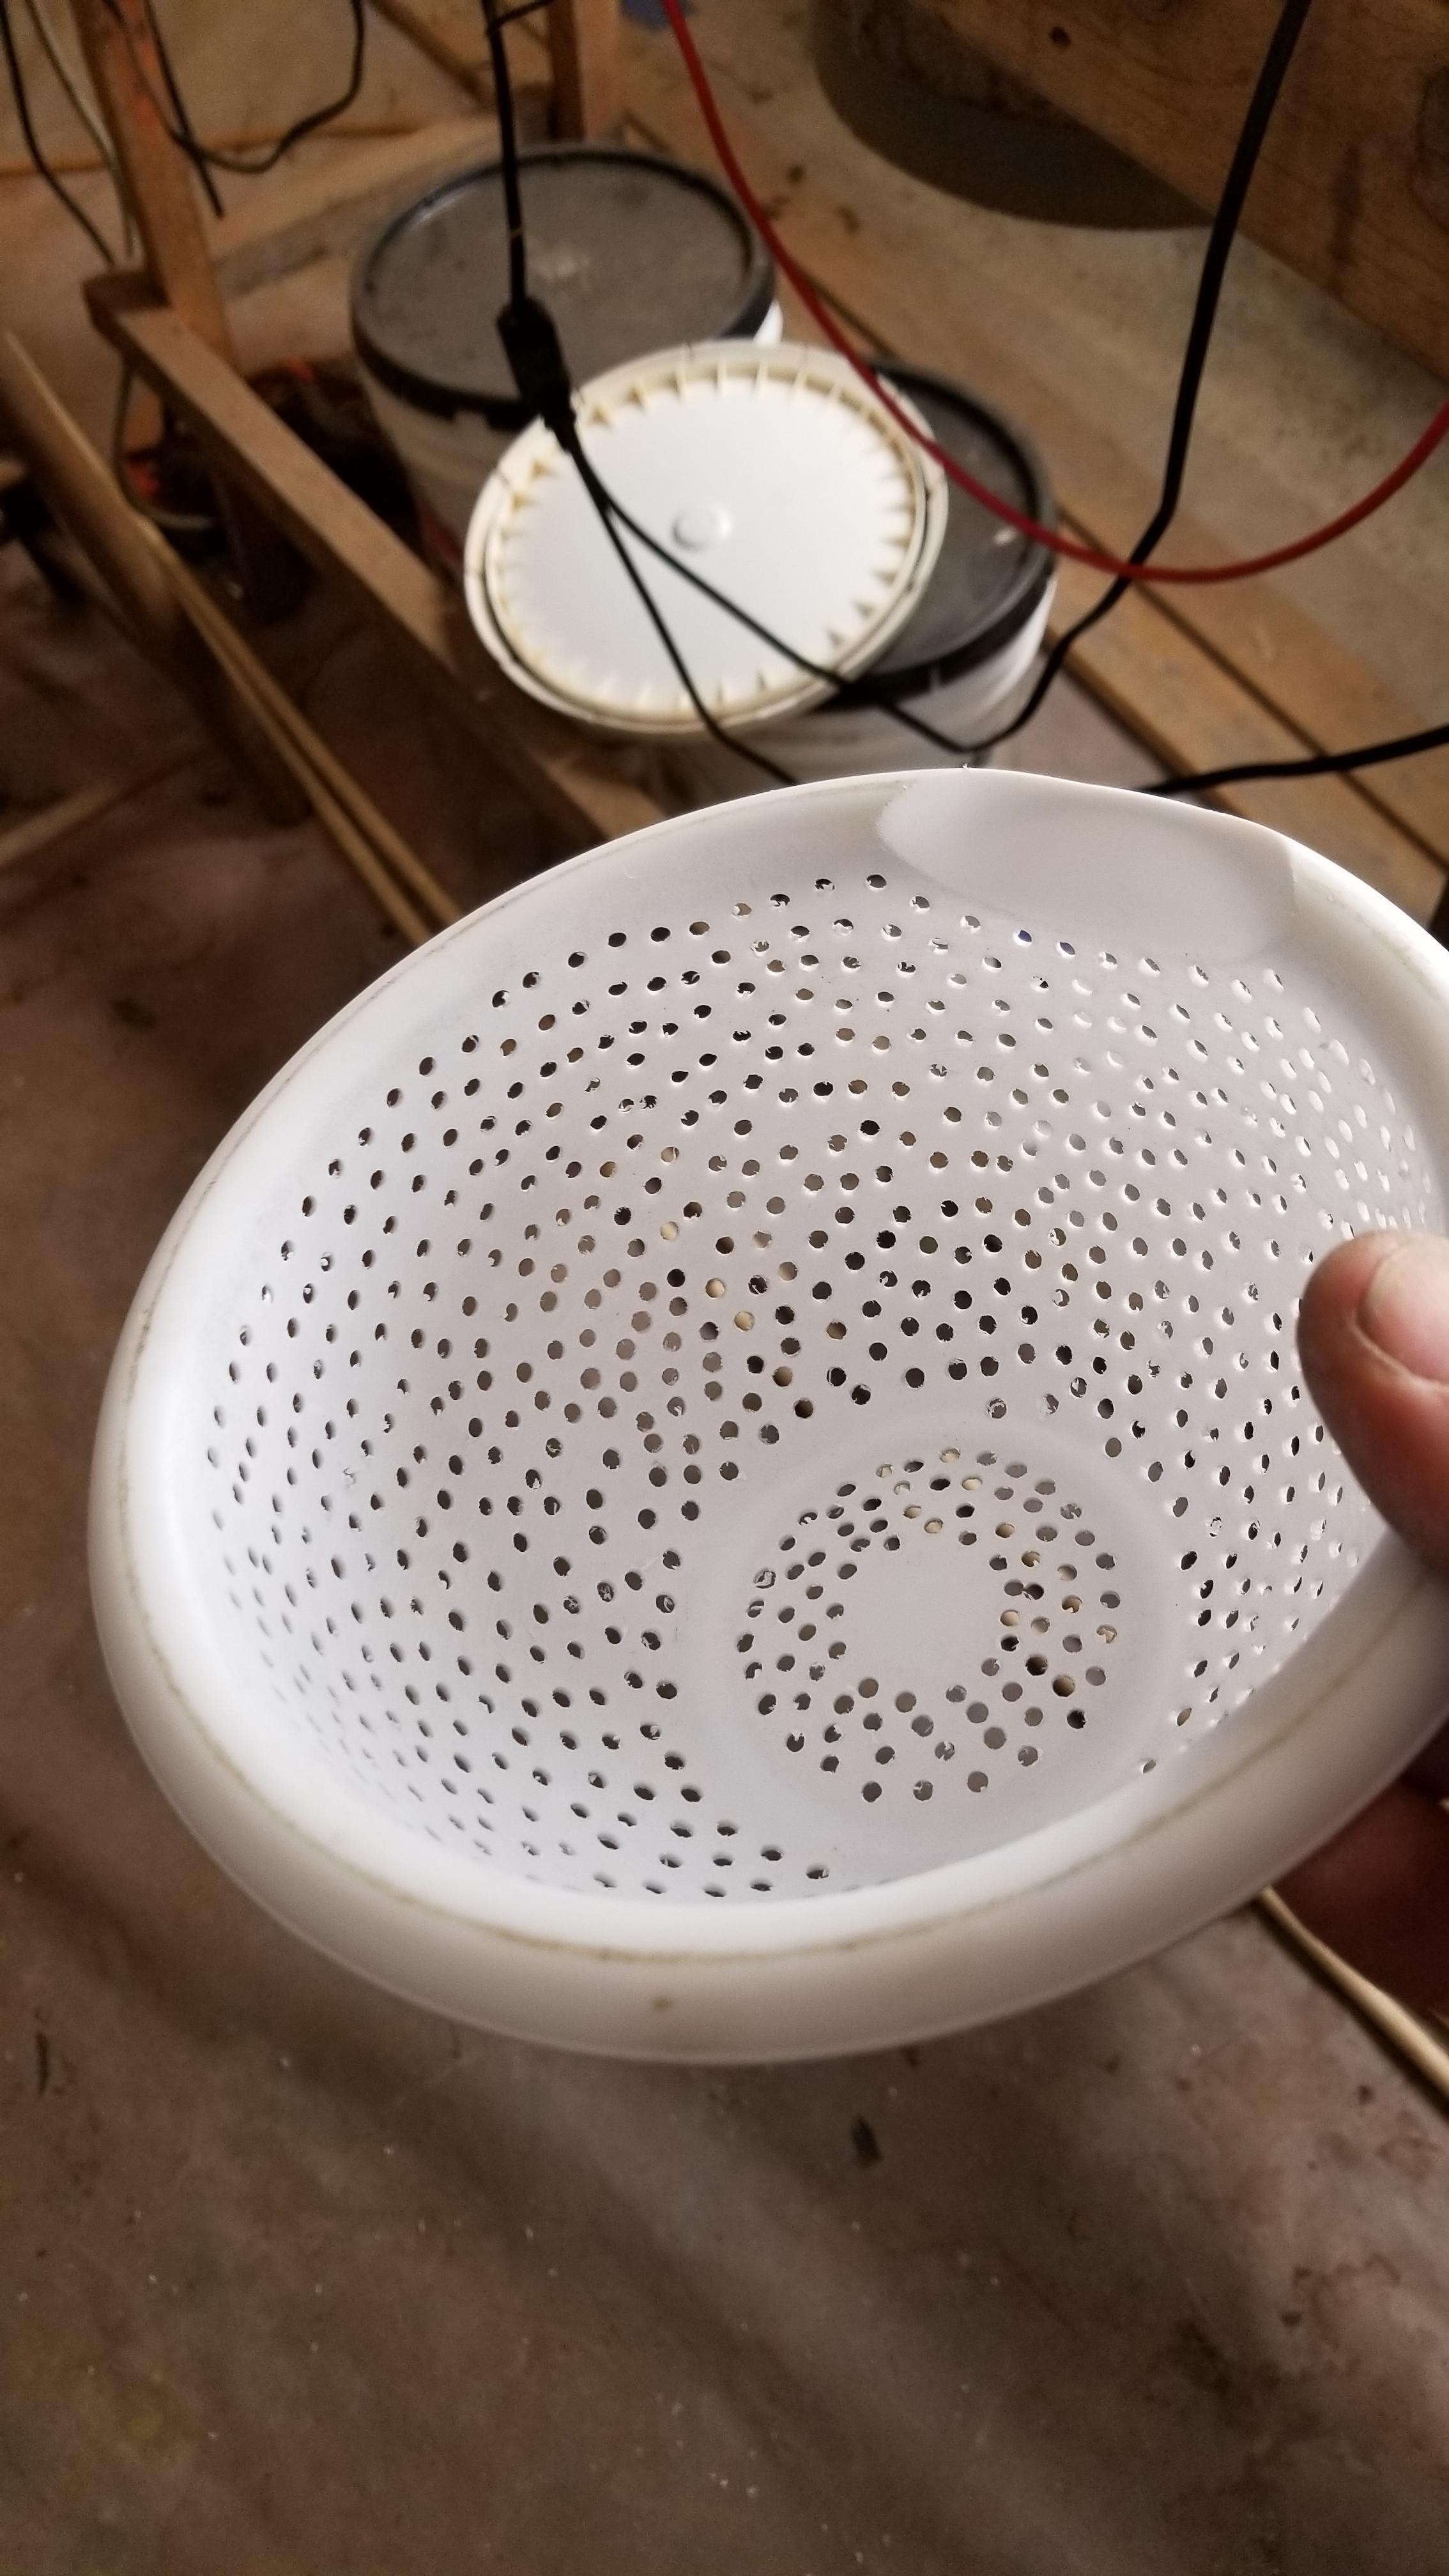
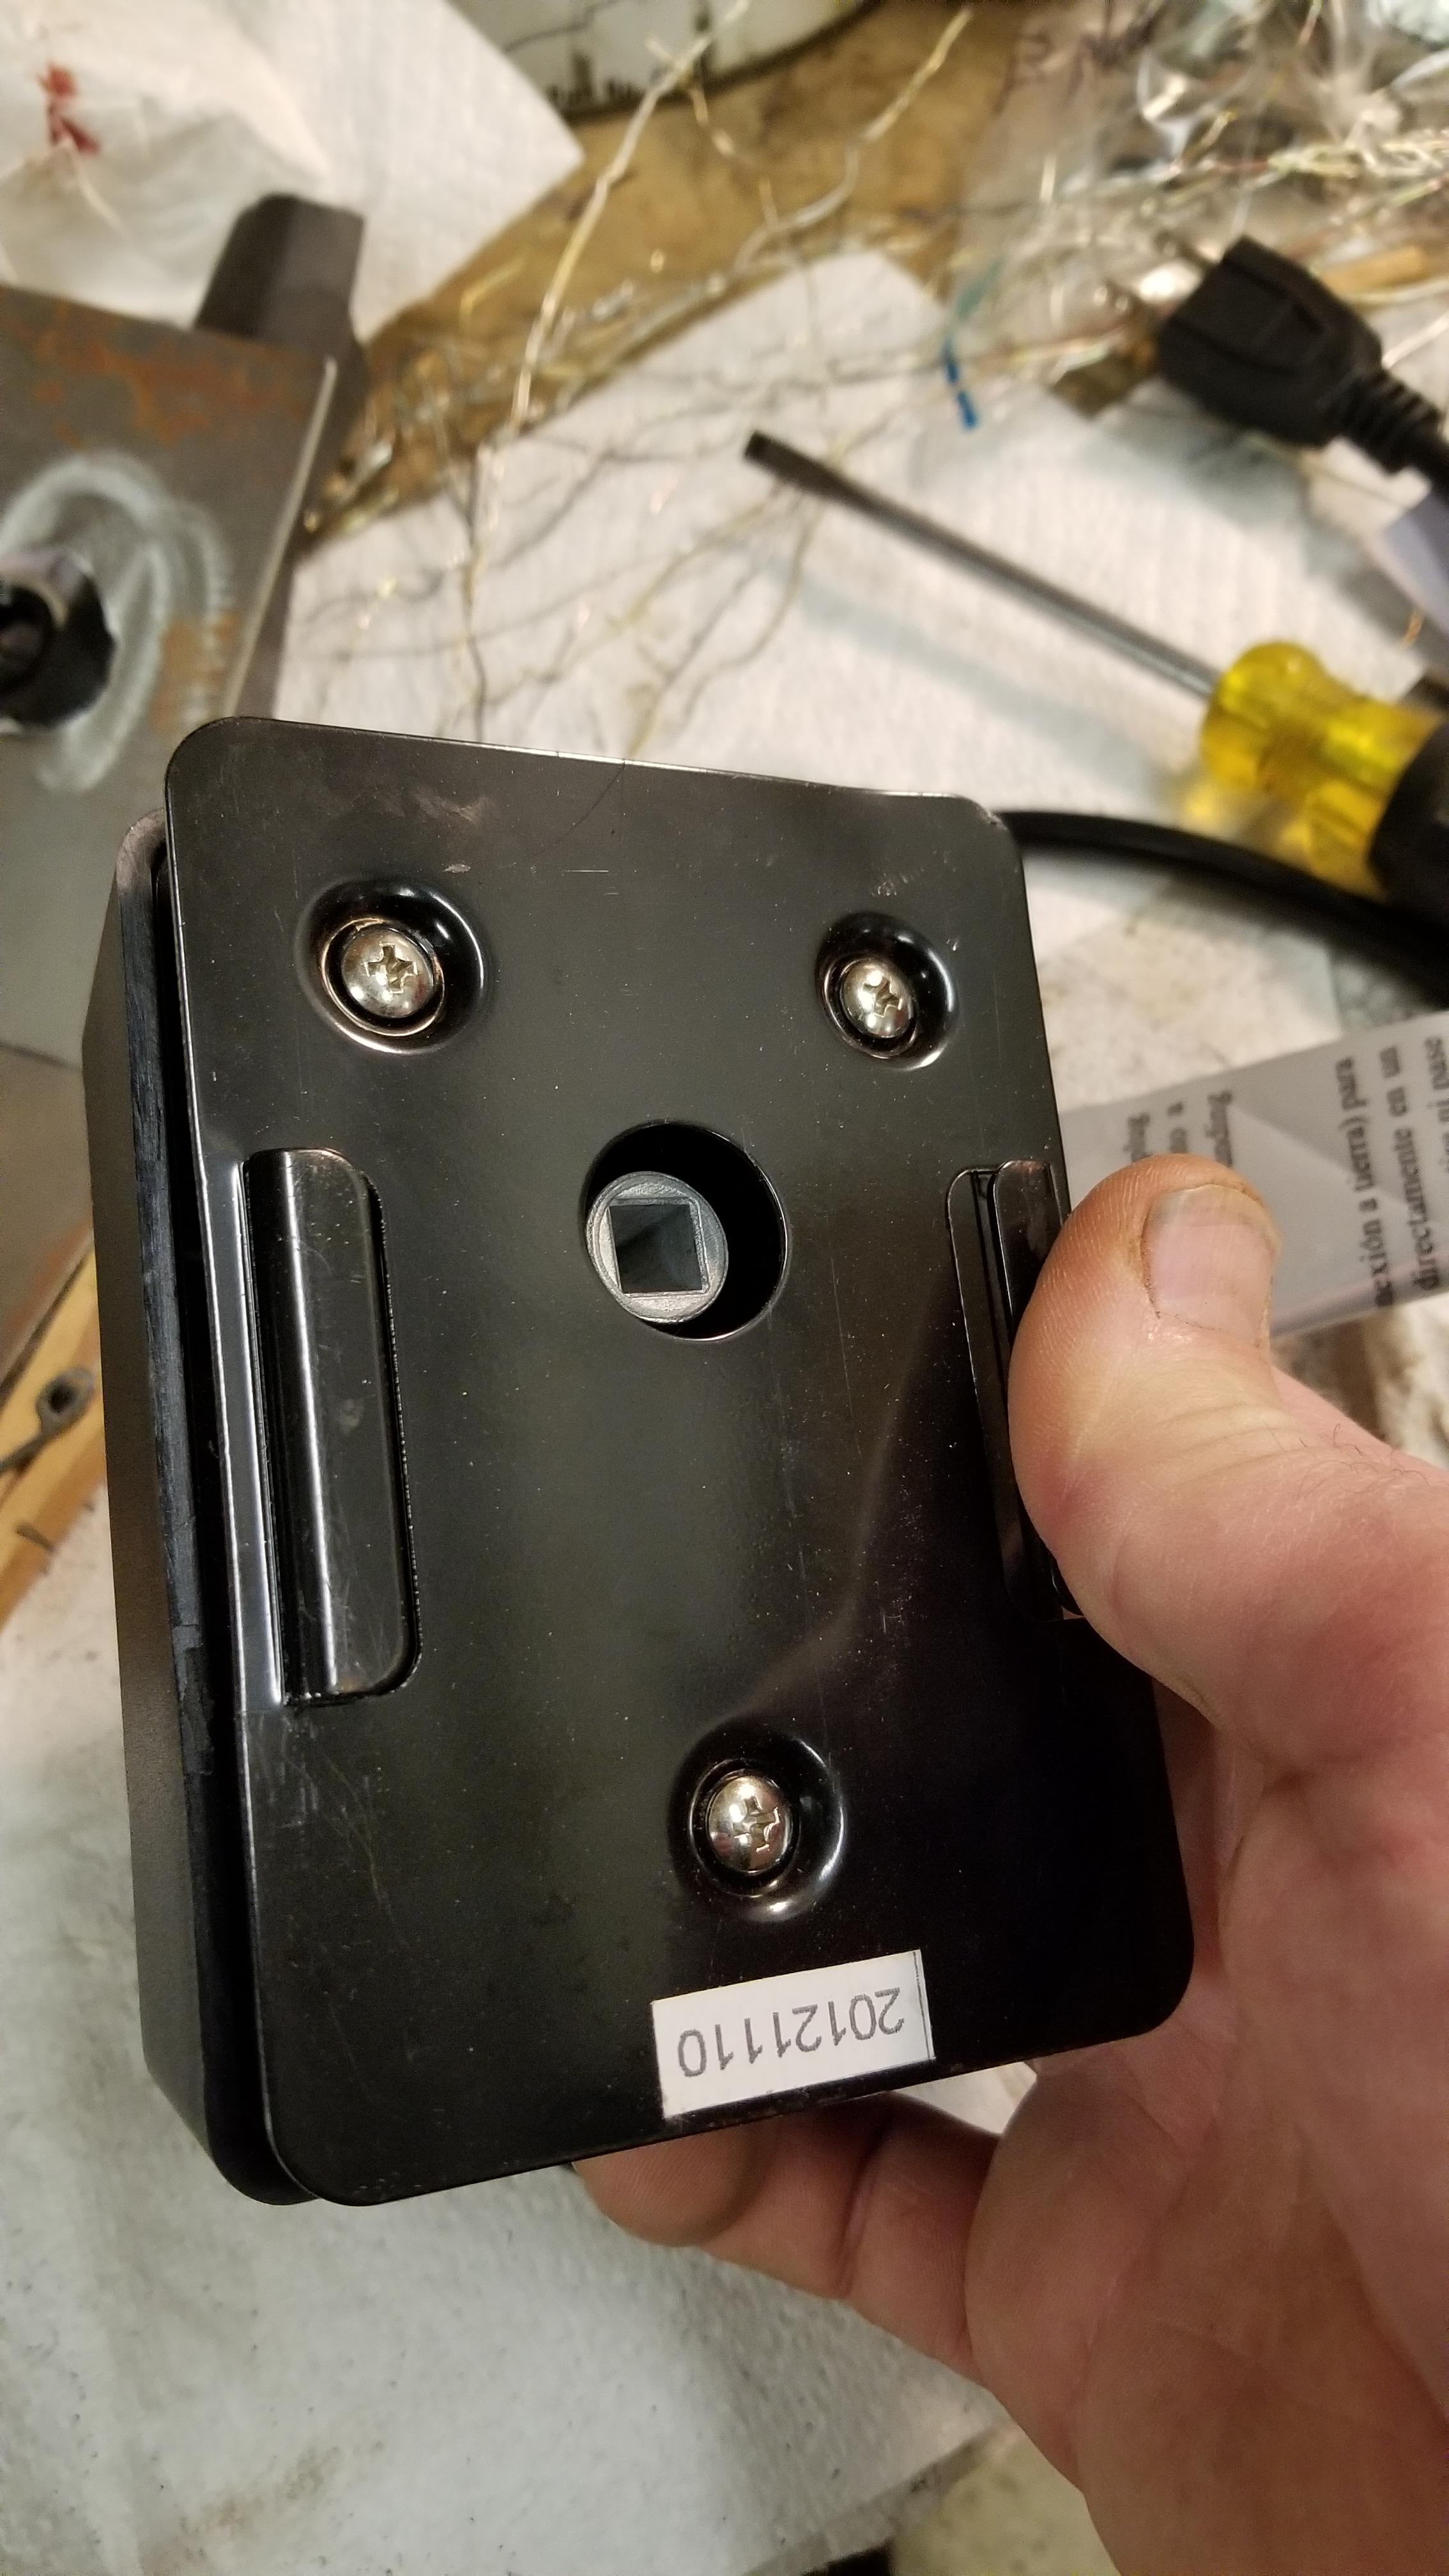
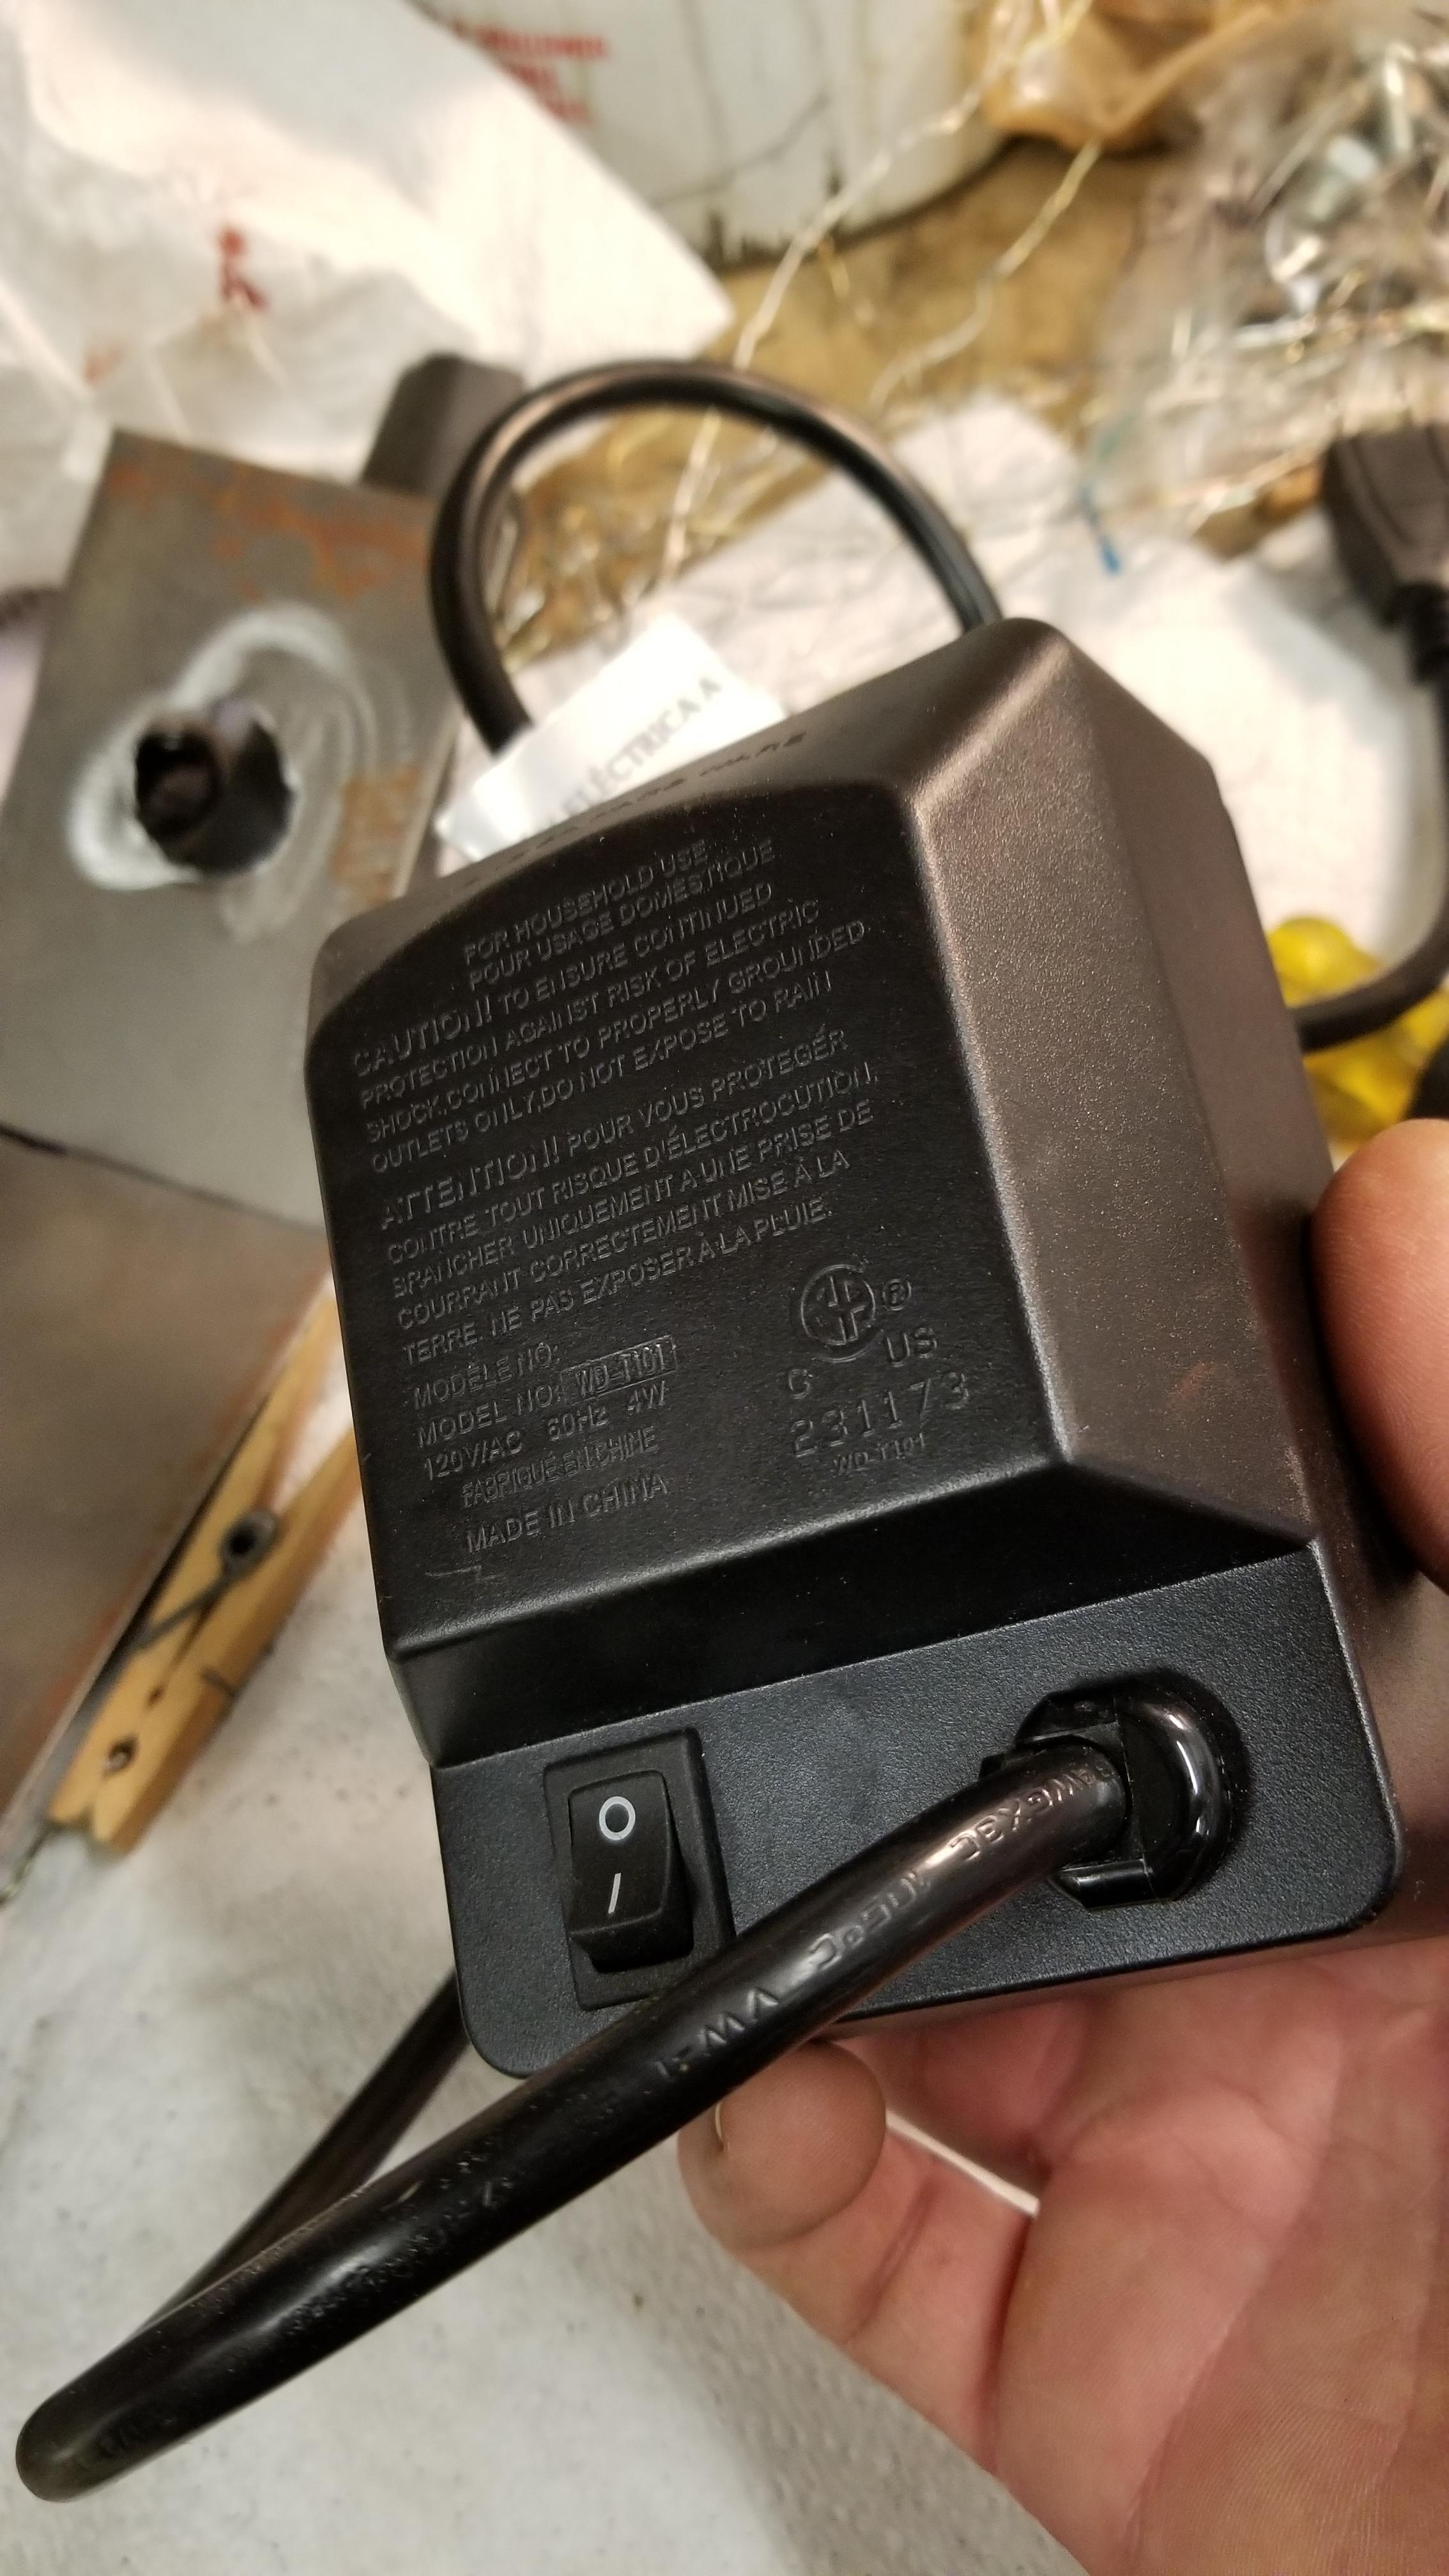
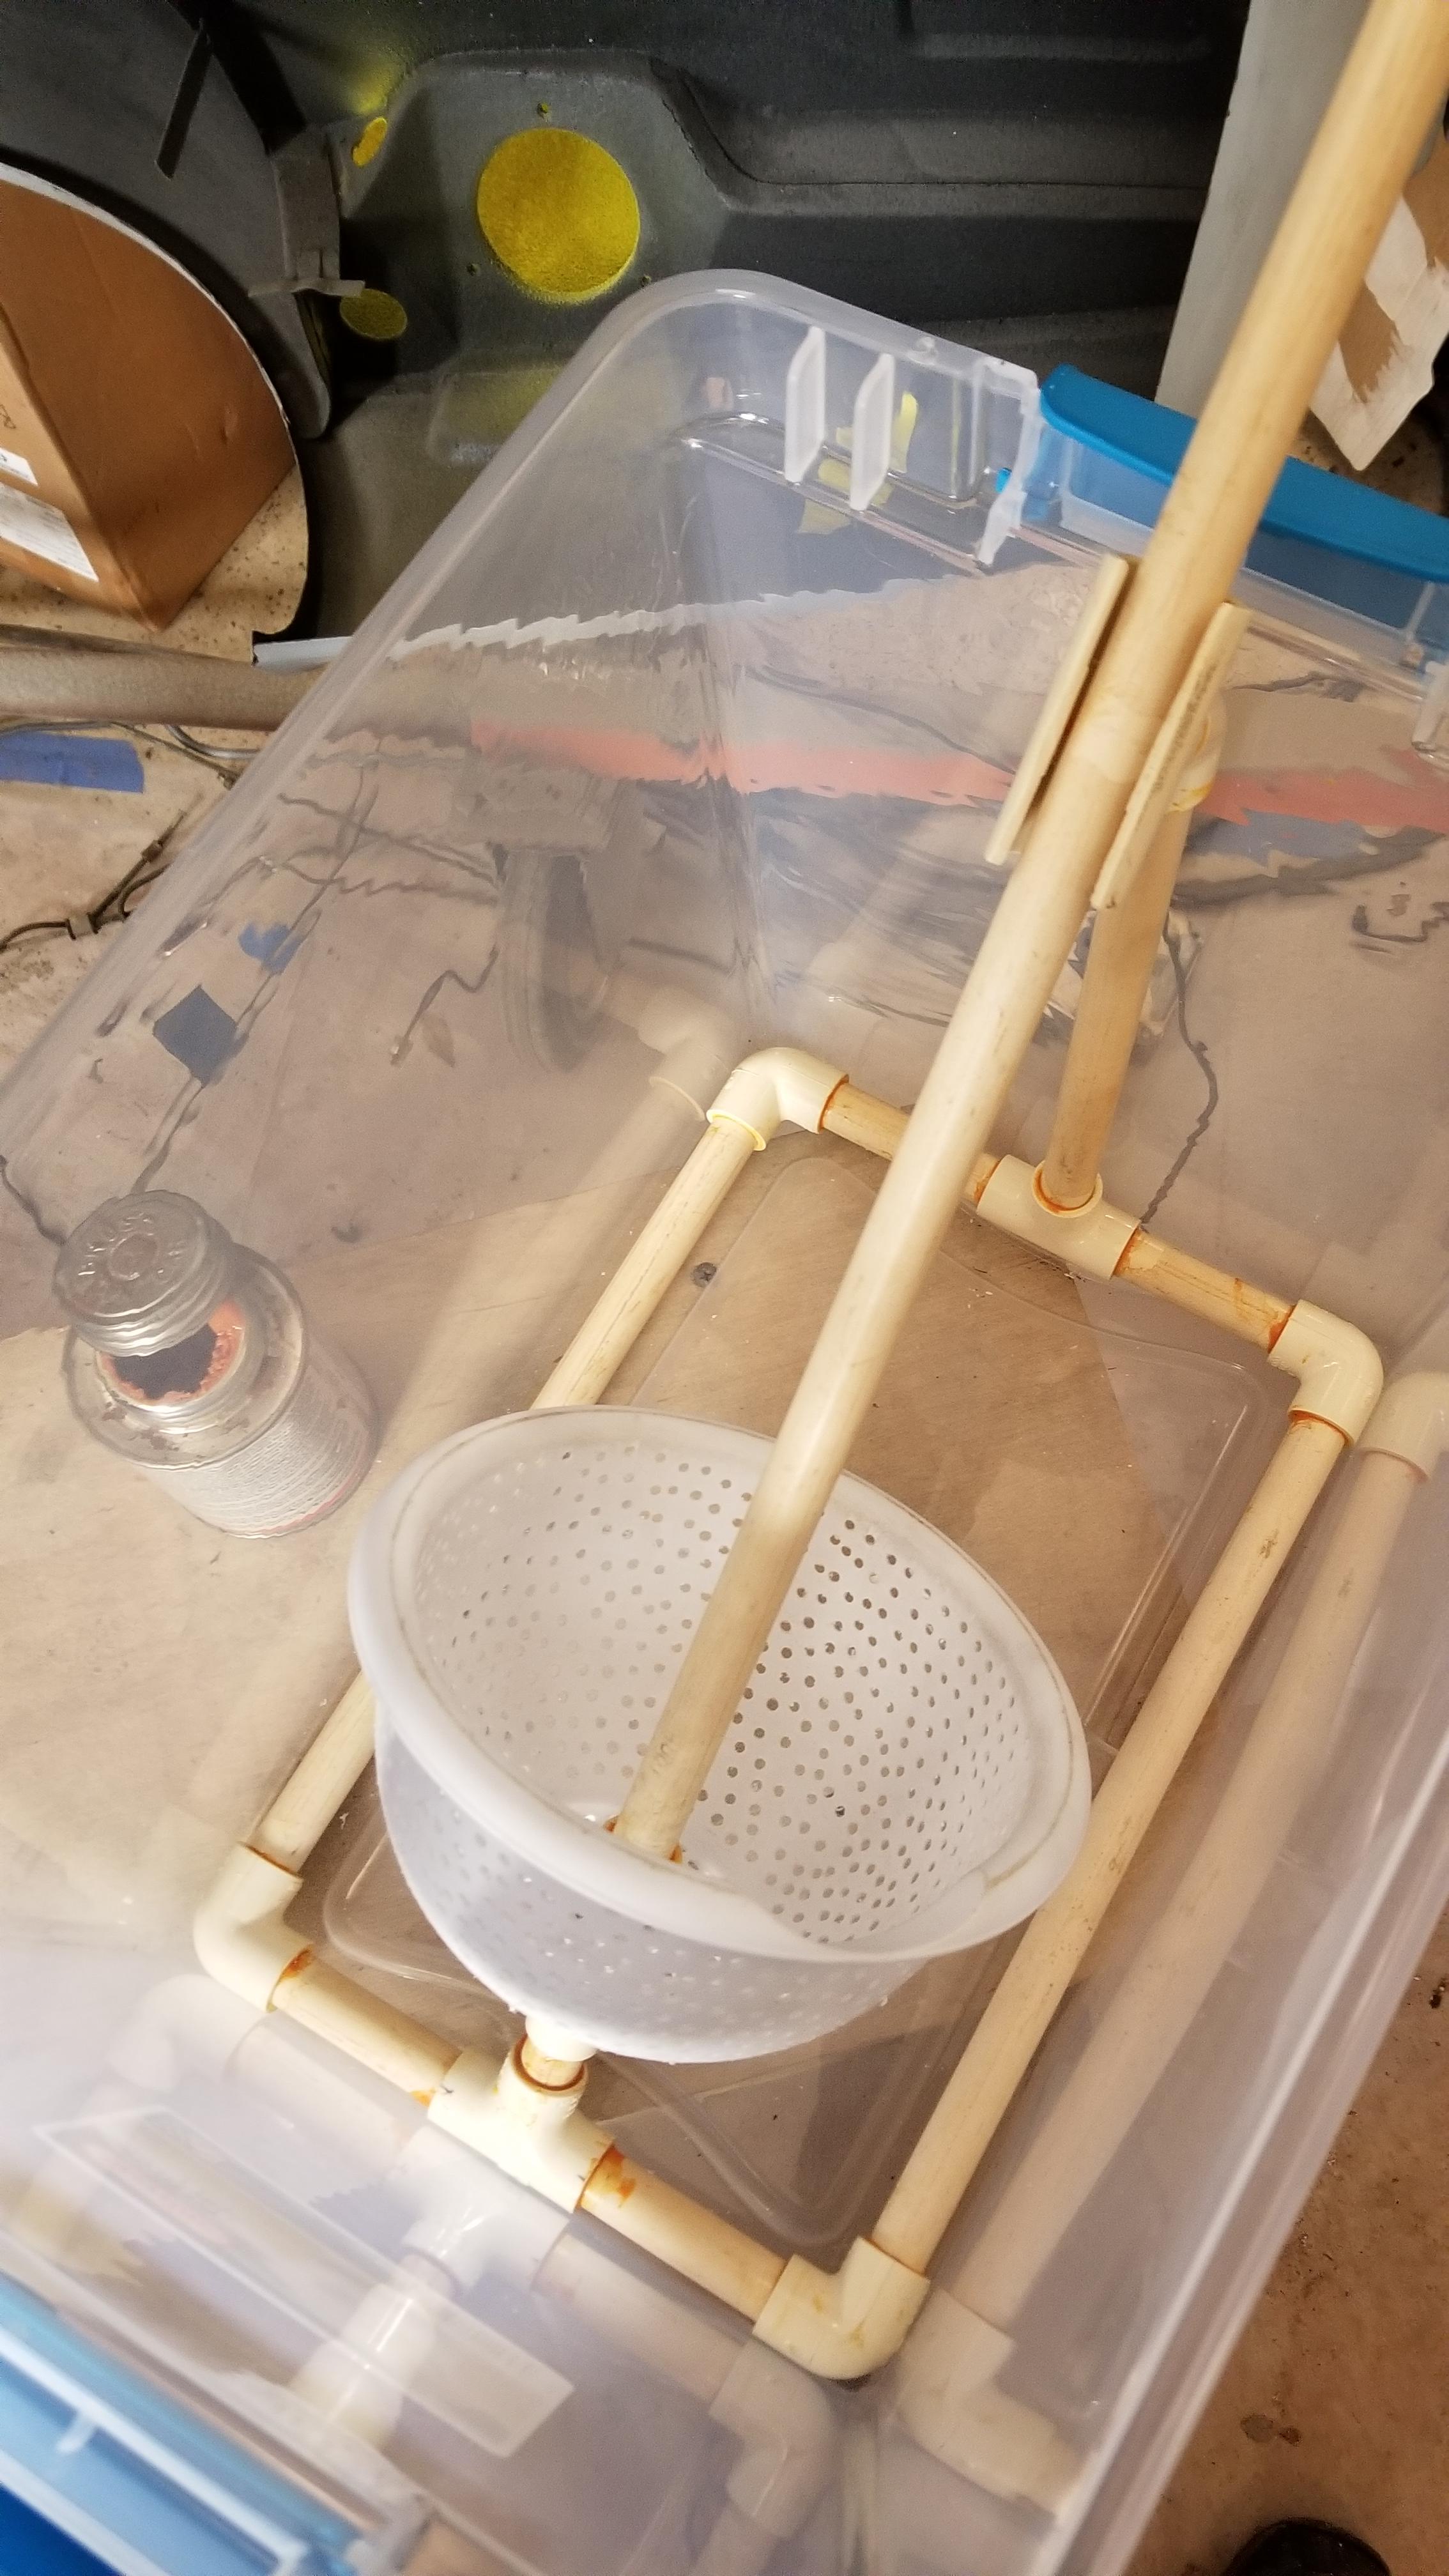
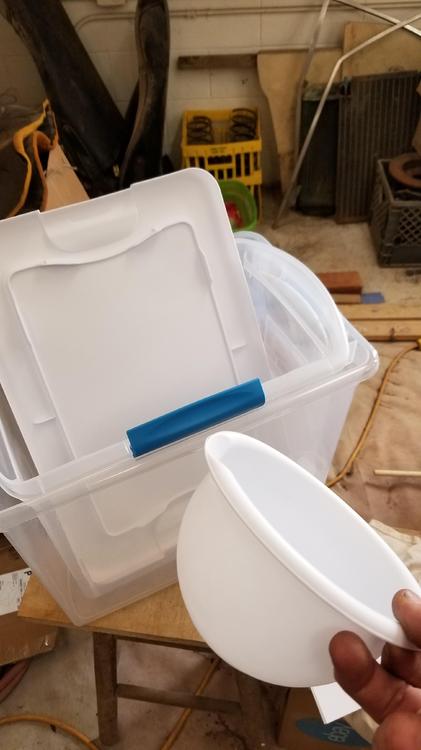
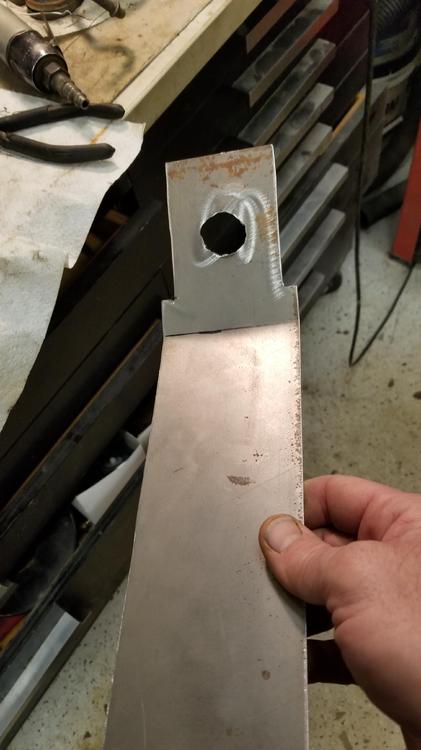
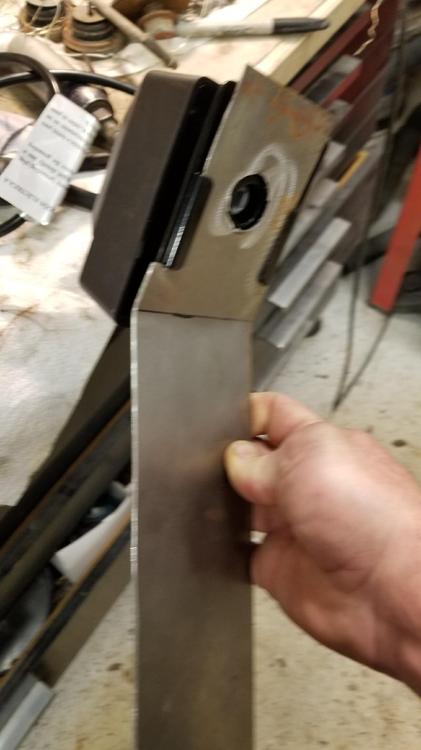
So becuase I have become convinced that the variability in my plating is elecrtical in nature I decided a couple of weeks ago to build a barrel plater. So I bought tanks at Dollar general (Sterilite clear tank) A set of bowls from dollar General. Used the smallest and an 1/8" drill bit. This was a pain!!!! Then I found rice rinsing bowls on Ebay that look like they would work well for this Cheap rotisserie motor off Ebay A little sheet metal for a mount. Blew some holes through them with the plasma cutter. Some CPVC for a stand. Had that laying around. Was gonna use it yesterday, but when I went to fire up the plating bench, the power supply was "crowbarred" and I couldn't get it to give me any current. Finally gave up. I assume it's dead now. Which will be the third power supply!!! Really frustrating! I enjoy plating and if I could get a barrel plater up and performing I would keep doing my own work. Having to buy power supplies isn't an option. I will have to reevaluate and see if I can find a decent power supply. Preferably North American made and with a warranty. I spent all day looking yesterday but didn't have very good luck. I found one promising industrial 10 amper but it may not make financial sense.


-
here is my excel spread sheet for calculating bolt and washer area. I need to add a formula for nuts Caswell formulas.xlsx Run the bolt @ 0.18 per squ. inch or the metric equivalent I run bolts for longer than that, but I have also had issues with too much Zinc build on the threads when trying to reassemble with them
-
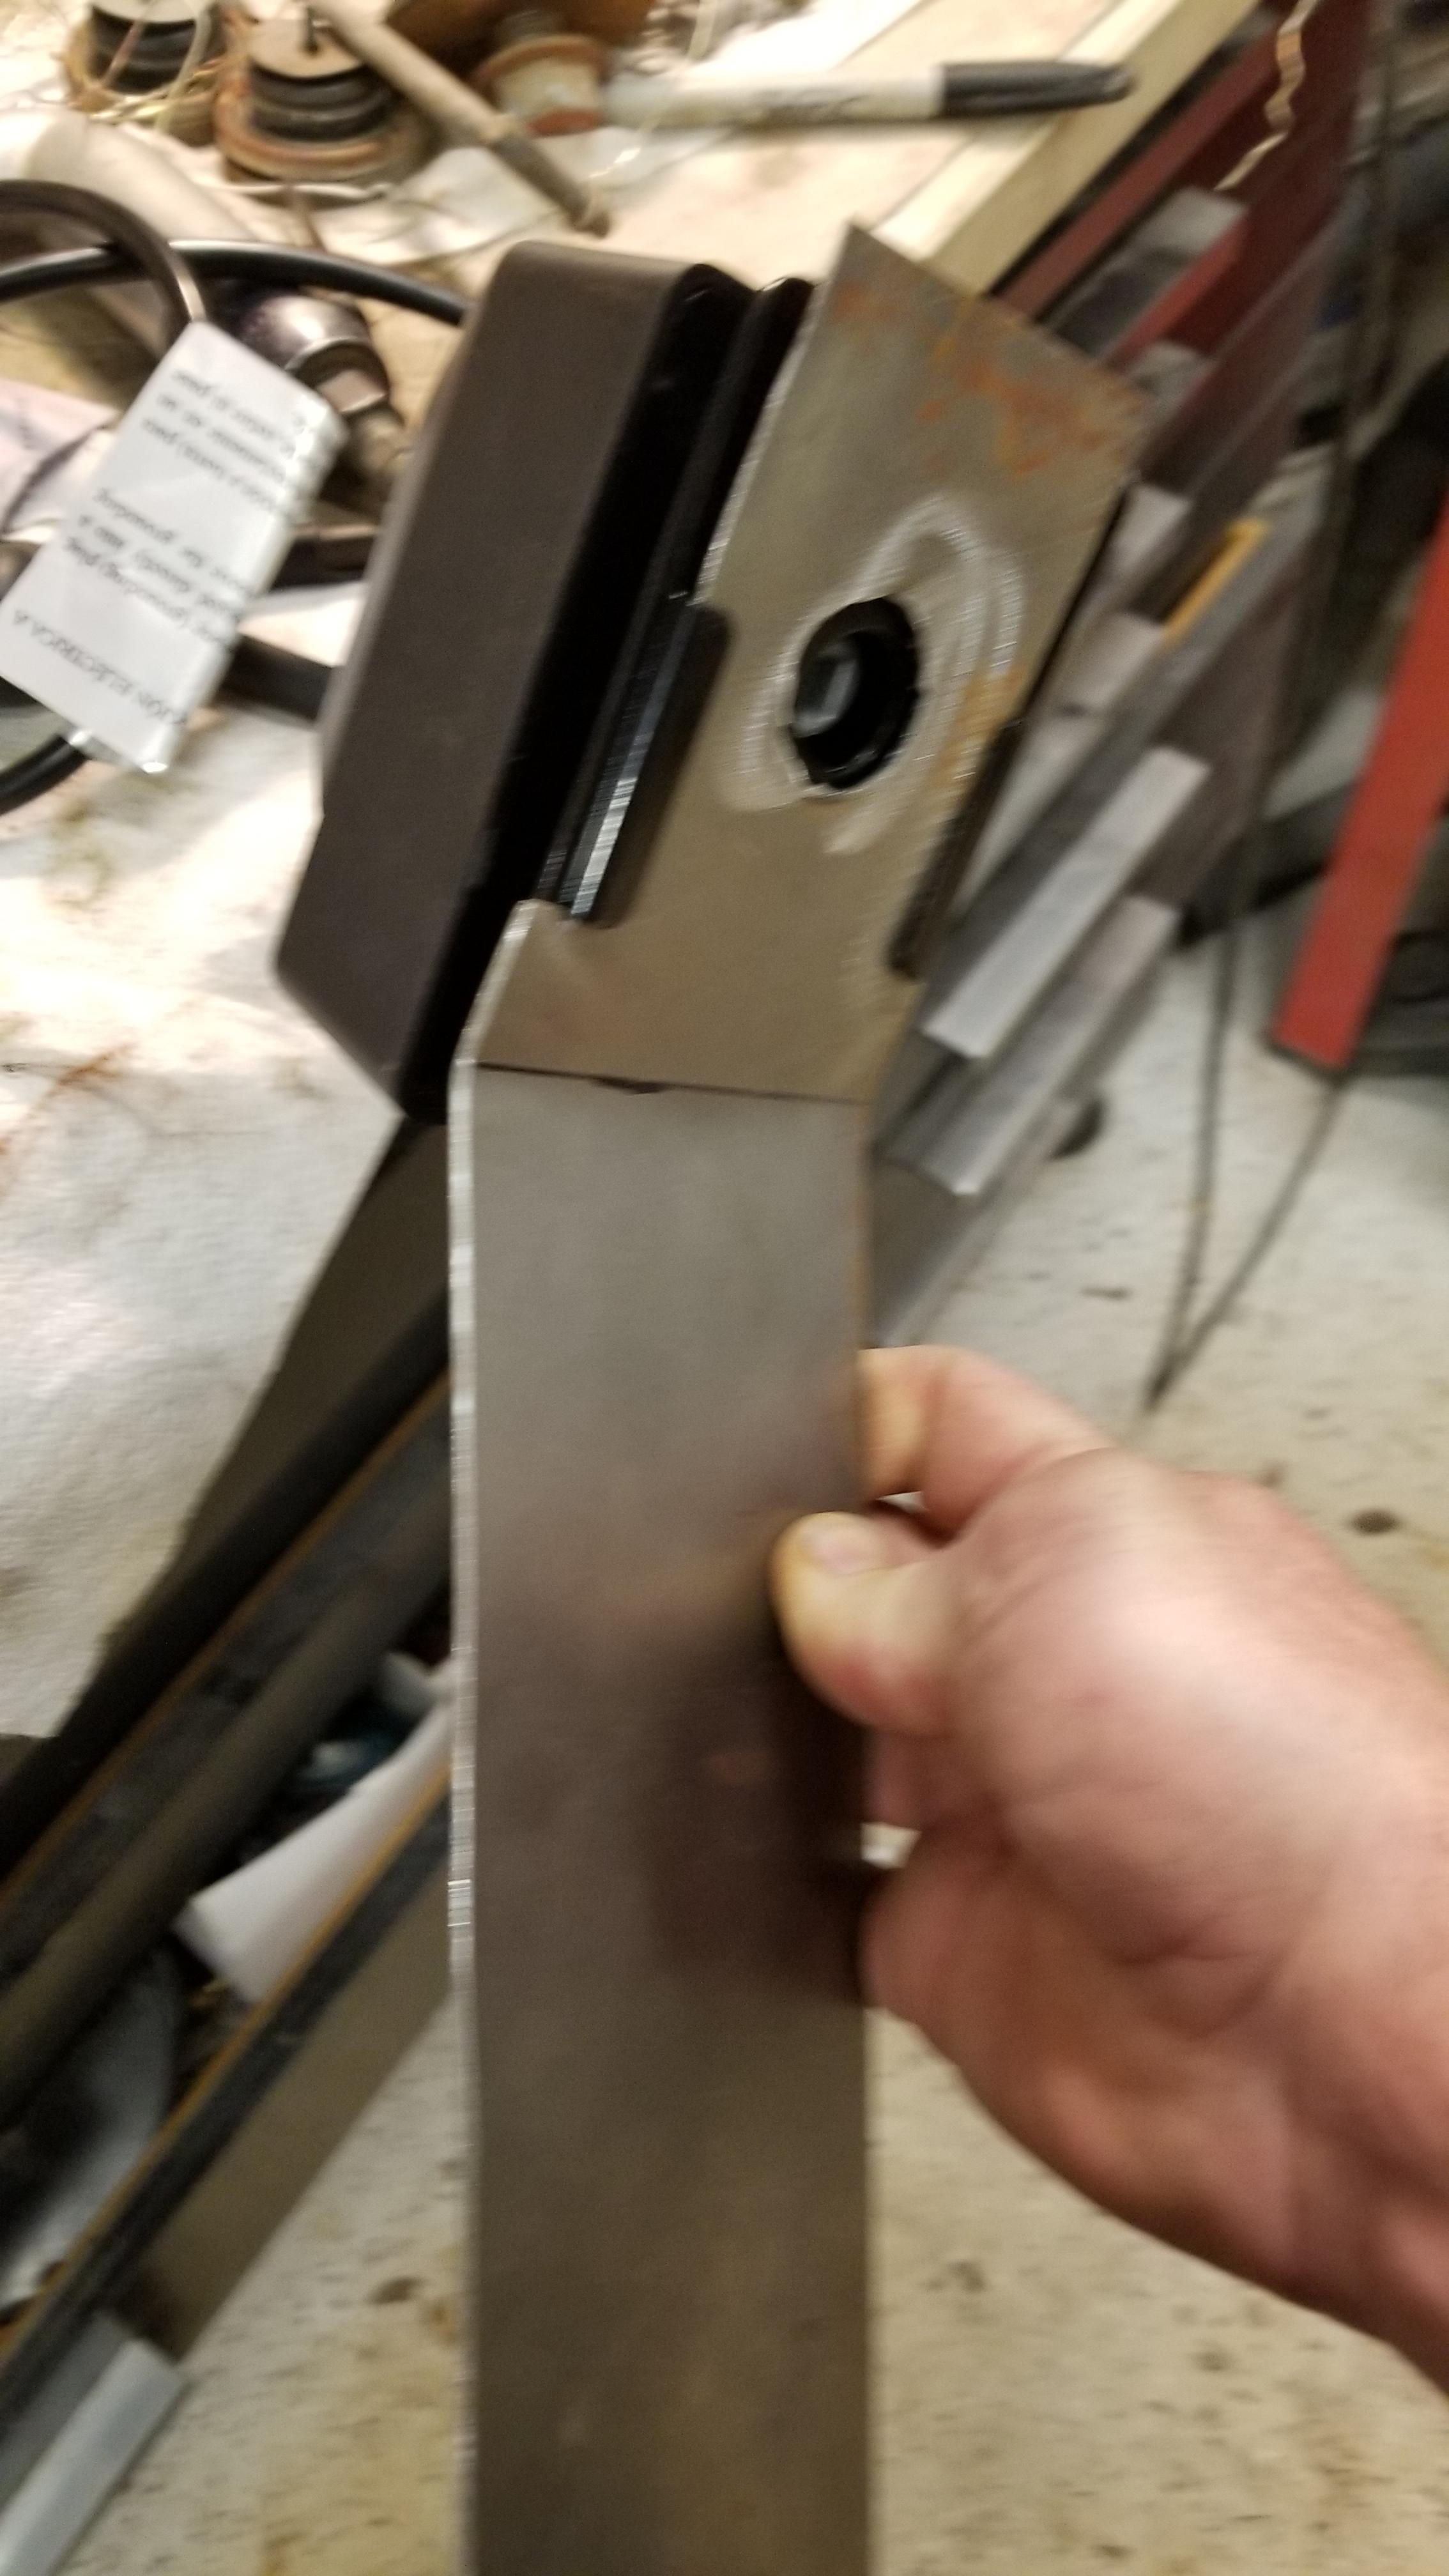
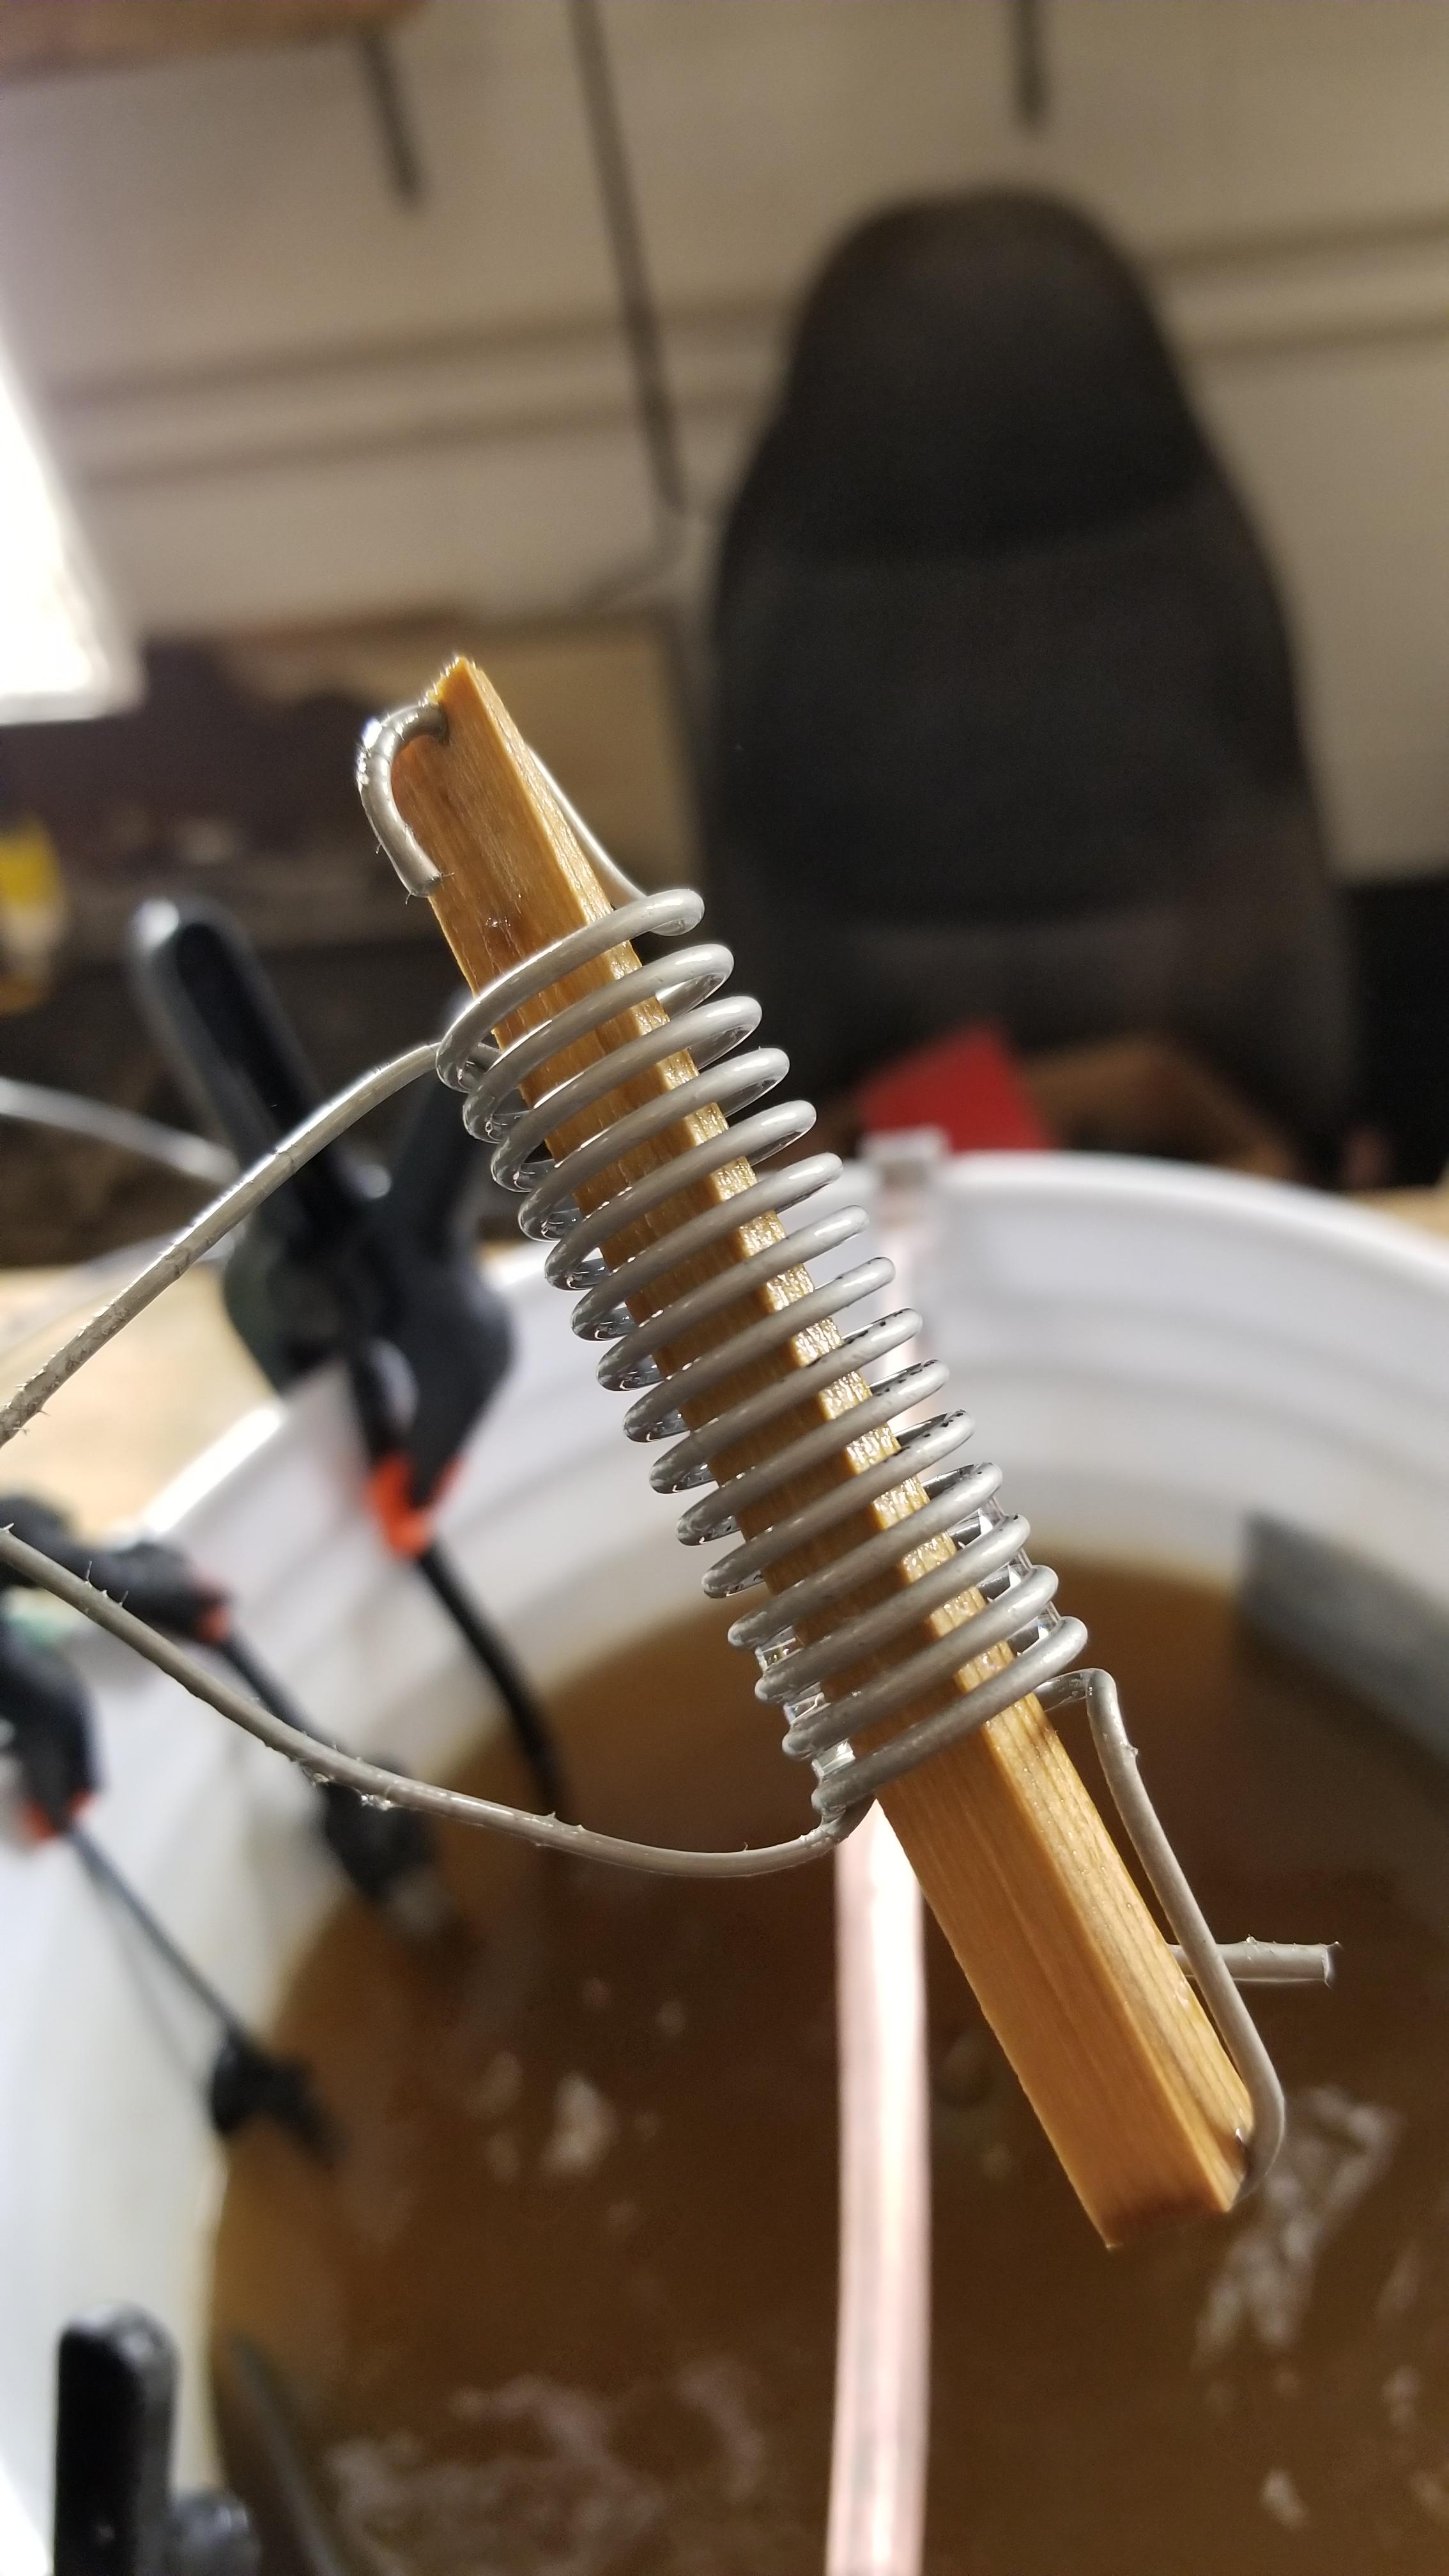
I plated some last weekend and Saturday. I supported these springs expanded so the inside could plate too. Then about half way through I took the wood out of them. Got some really good finish on some of the zinc. This is raw zinc, no chromate yet Almost chrome like... Here is a contrast between the results I tend o get. The lower parts are E brake pieces and look ok, but the upper parts are proportioning valve pieces and look stunning! I don't really know the reason these 2 sets look different. I ran these 4 parts in the tank at the same time. It has to be some kind of conductivity issue...


-
That's a good start Phillip. How are you regulating your DC power?
-
@Grubb240Z
-
-
Like I said before, you need a new mechanic! The needles in the carbs are the same front and rear! The 2.5 turns down is really sort of arbitrary. I would prefer both carbs were similar. IE both at 2.5 or 3.0 or 3.5 but it really won't be the end of the world if they're not 2.5 down. What matters is that the fuel level in each jet tube is the same. That is why Mark wants you to pull the domes off and visually inspect the fuel level in each jet! Yes, God bless him!
-
I have one that several people have inquired about but the shipping always puts them off.
-
Thanks Jeff
-
Jeff, I had a couple of questions on your paint booth. If I heard right, you are pressurizing your booth? I also believe you had another video for building the booth for the Porsche, maybe a link. Are you blowing both fans in or just one in and one out? Did you have very much trash in the Porsche paint? My booth right now is setup with negative pressure and I get a fair amount of trash in my paint. One reason is a soft sided booth tends to shed trash when they billow. So I like the idea of positive pressure in the booth. just trying to get some feedback so I can figure out how to redesign my booth.
-
I sort of agree. Just trying to verify which way I need to go with the finishing
-
-
-
-
-
I couldn't see the VIN either. The floors look rough! The unseen stuff would worry me more....
-
I have seen stub axles and axle flanges in a couple of finishes recently. MSA has them for sale refurbished in yellow zinc. Should they be yellow zinc of semi gloss black?
-
It's an early car. No floor storage and no quarter panel vent holes...
-
I was gonna tell you that was a significant amount of damage but I didn't want to be a downer. Sounds like it will work out ok since you're in the truck so cheap!
-
That is unfortunate!!! Maybe it was not what the forum had to offer you in the way of links or network but what you had to offer the forum...
-
...with a beautiful wife...
-
It's your thread, we can take it any where you want. Can't high jack your own thread! you will find that almost all of the regulars here are good people and very observant of the details!!!
-
It is probably in the center of the side yoke. Covered in goo