


Leaderboard
-
conedodger
Free Member14Points12,513Posts -
JDMjunkies.ch
Free Member4Points637Posts -

Diseazd
Free Member4Points3,362Posts -
Barefootdan
Free Member4Points275Posts


Popular Content
Showing content with the highest reputation on 04/09/2024 in all areas
-
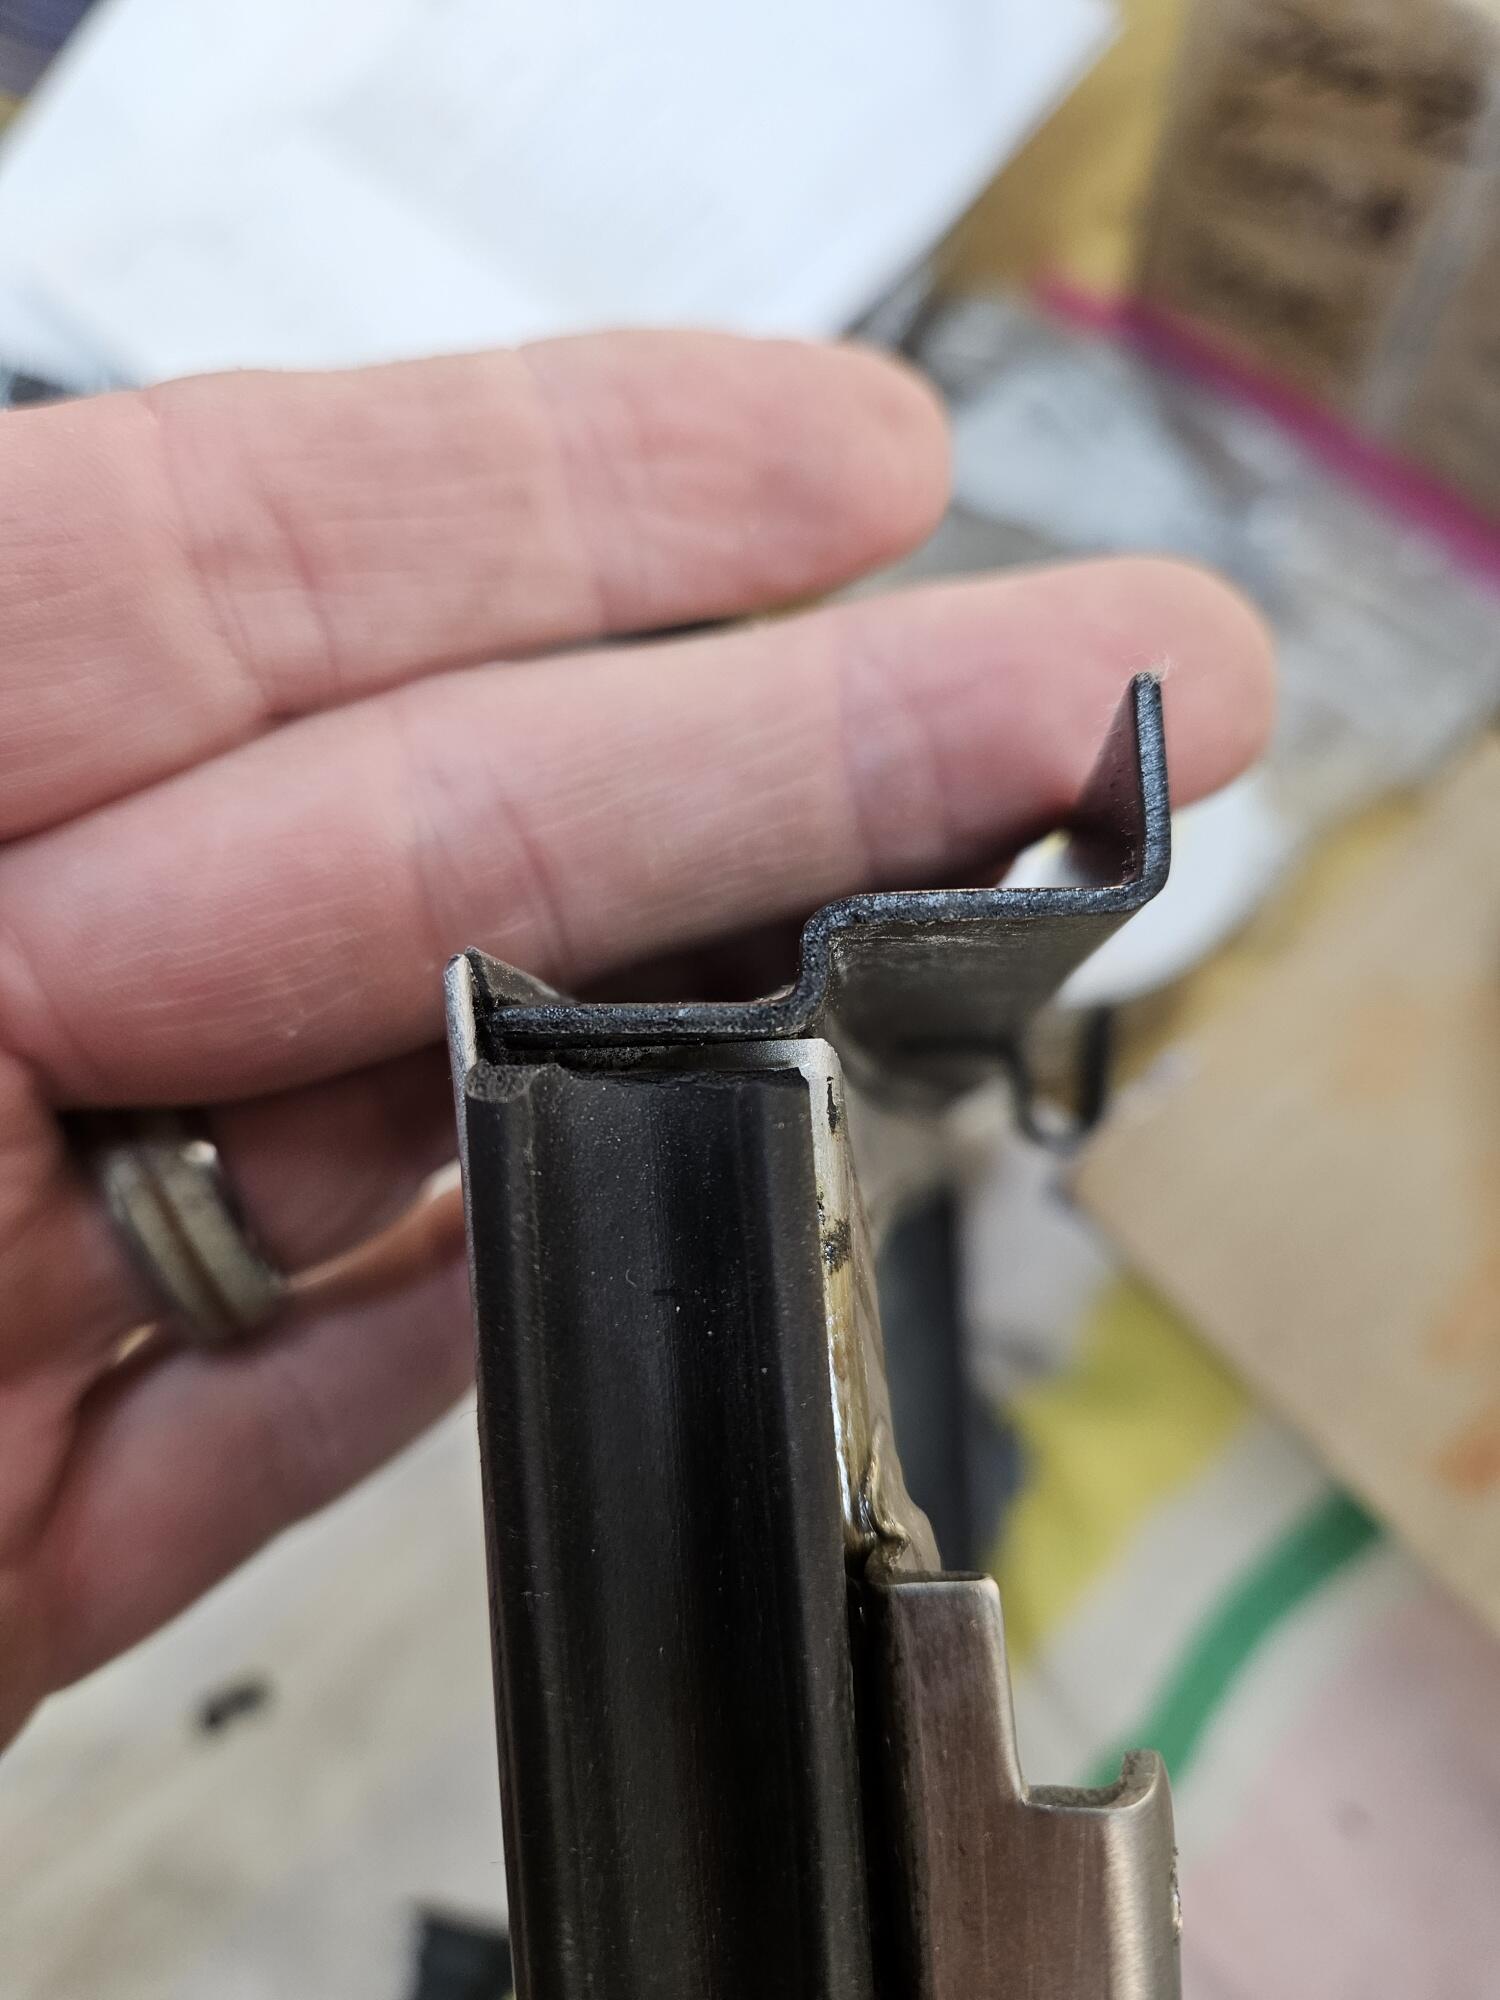
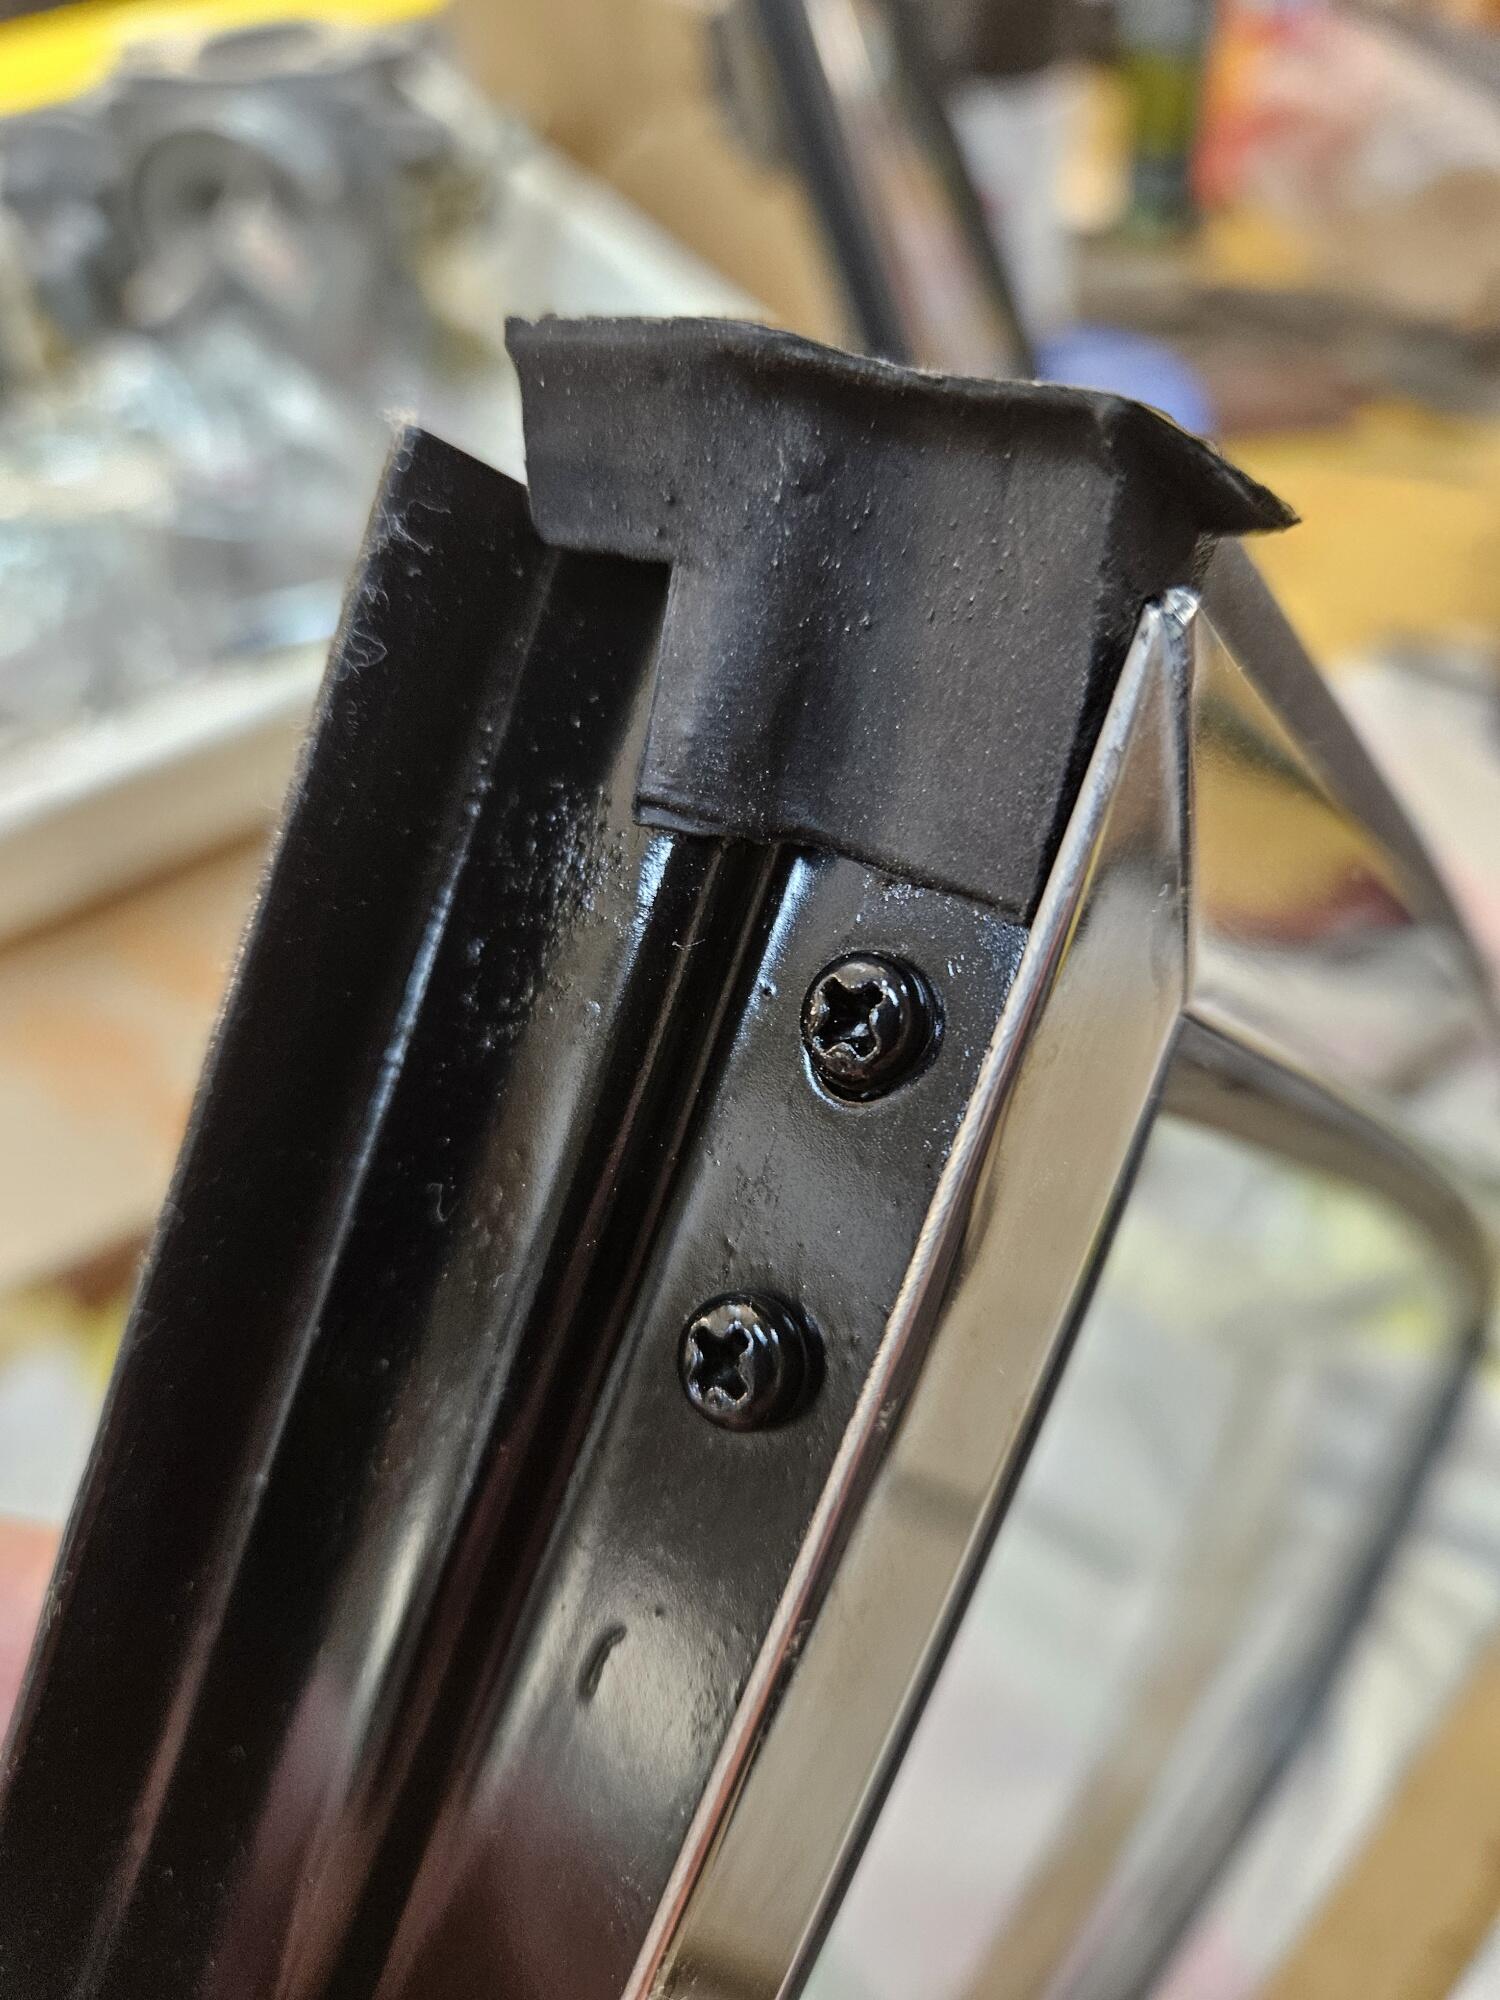
Today marks a bit of a milestone: the 240Z frame / Body / Shell is more or less completed. The rollbar and all the accessories (optional passenger foot bar, etc.) are fitted. And all the panels are installed: The car got new floorpanes, new front inner fenders, rear quarters, rear inner and outer wheel wells, new frame rails, new inner and outer side steps, new roof, a complete new rear-end, new seat-rail mounts, and much more. Many small areas like alle the little brackets got fixed and rectified. I think i can say the car is as rust-free as possible. In the next few photos, you can find some details of how the rollcage was installed, as some were intersted how i installed it. I hope i got it right and close to the factory setup. Welds from the bottom side: Bolts from the other side (inside the inner rear wheel well): So now? They'll deliver the car back to my own workshop, so i can install all the locks, spacers, rubber-dampers, trim, etc. before it goes back for final gap-adjustment and to get the sideline into the doors, etc. Once the car is back in my place, i'll take a closer look at it and share the photos with you. On the first glimpse i'm very happy with their work. but there are still some areas to fine-tune and i'm sure we forgot some small things which i will figure out once the car is back in my place. Meanwhile the next project is already waiting at their shop. A one of four known-to-still-exist Bentley Airline. Something in a slightly different category with wood frame and all.4 points
-
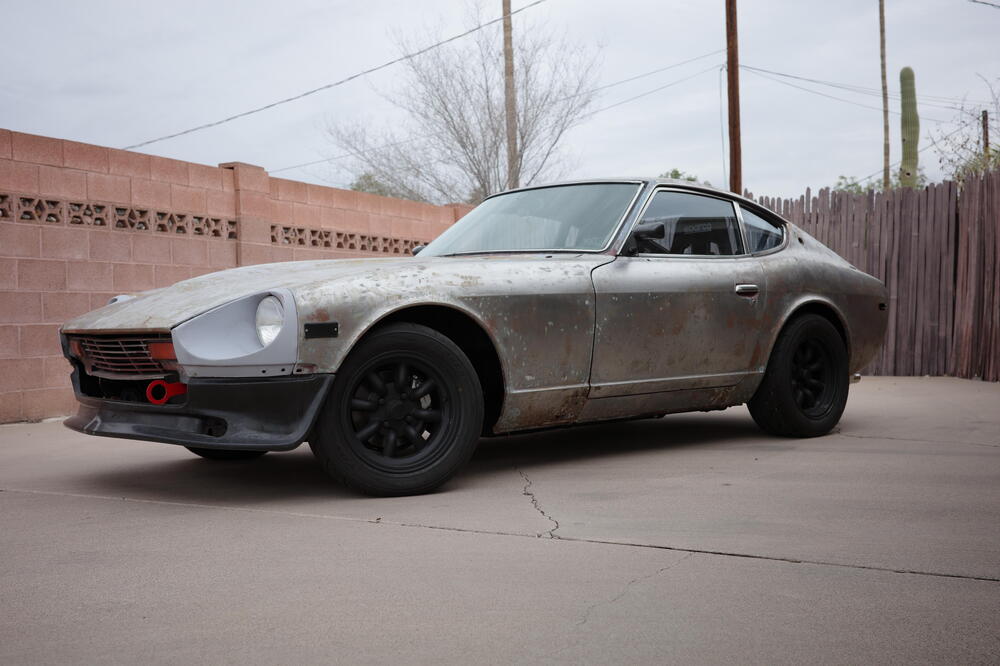
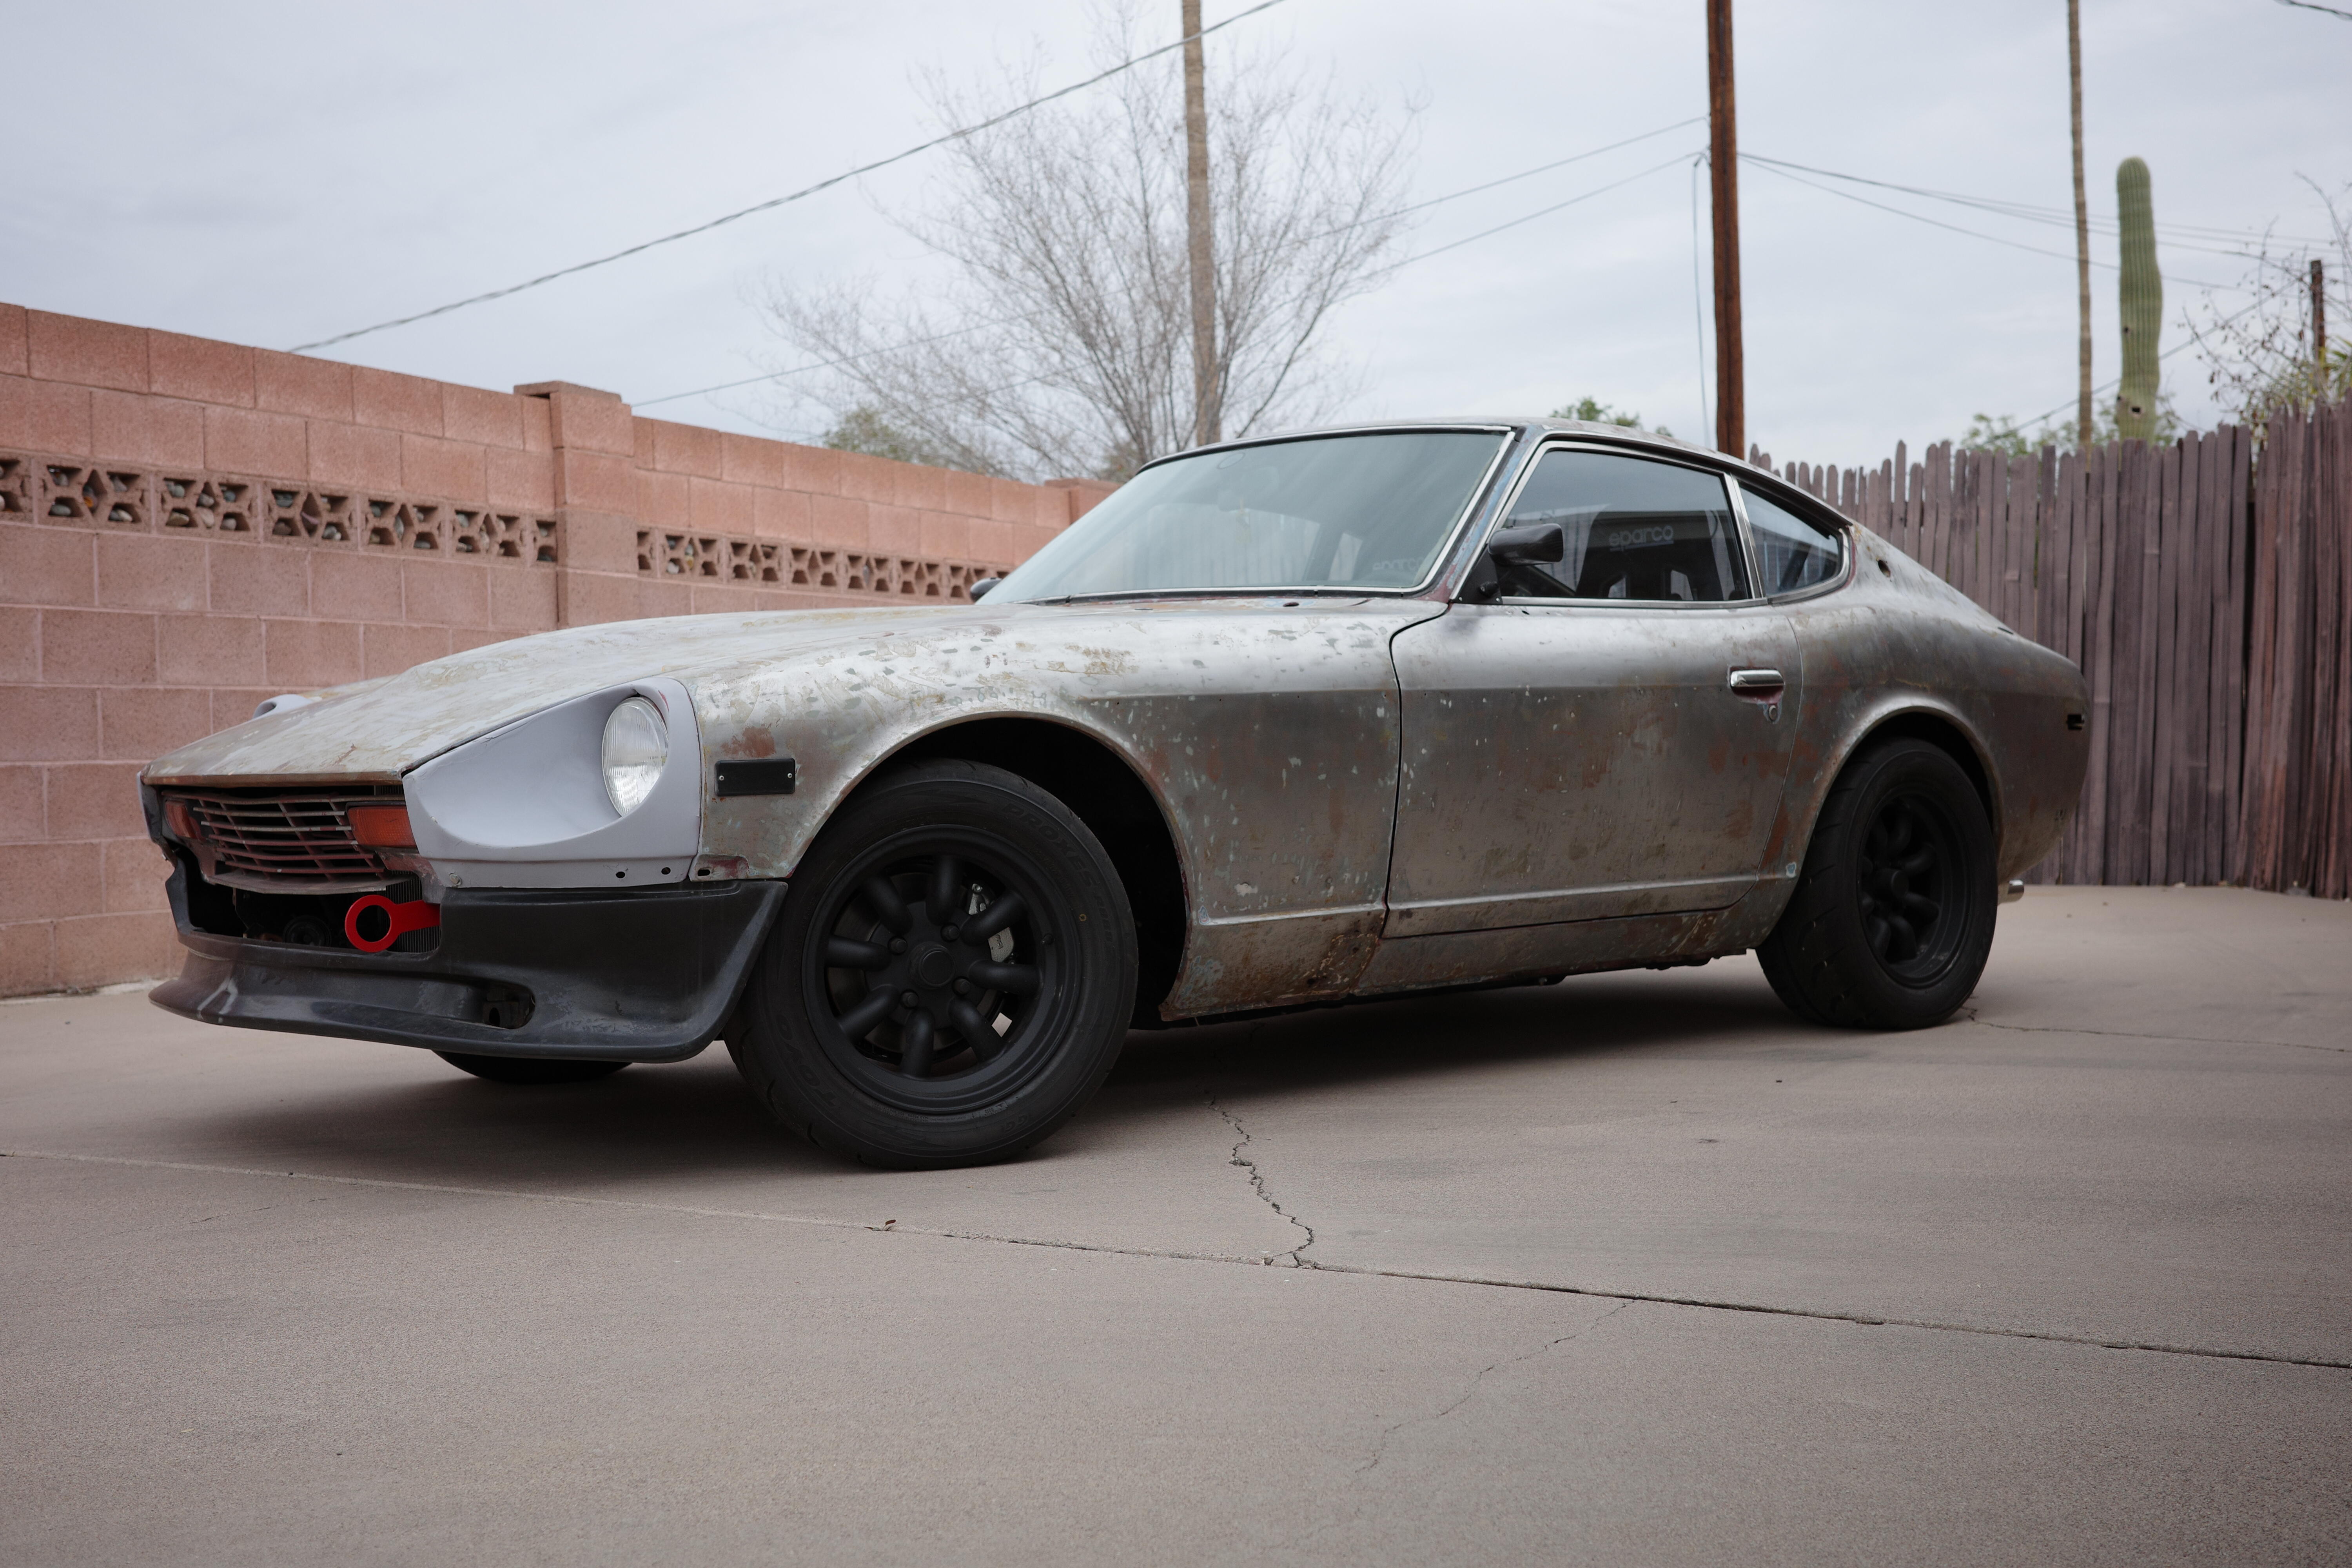
4 pointsFinally made time to take the Z to the track. What an exciting day. Made it 30 minutes to the track, four 20 minute sessions of track driving, and 30 minutes of driving home without any issues!! I have a list of new tasks to dial in since the first shakedown, but looking forward to spending more time driving the Z before summer hits!

 4 points
 -
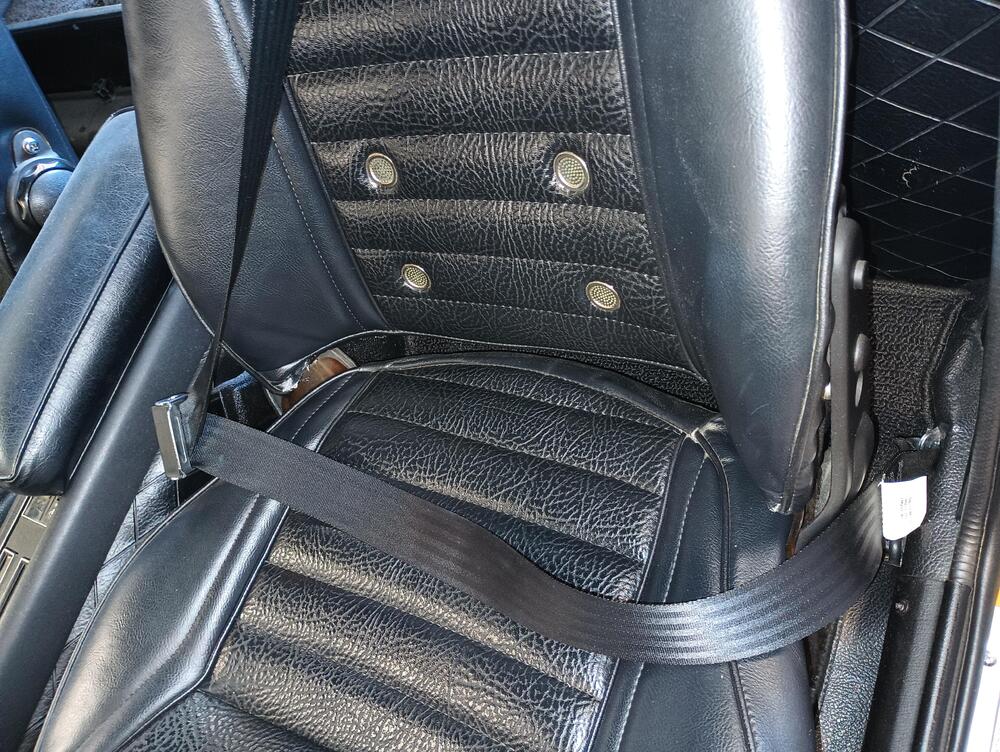
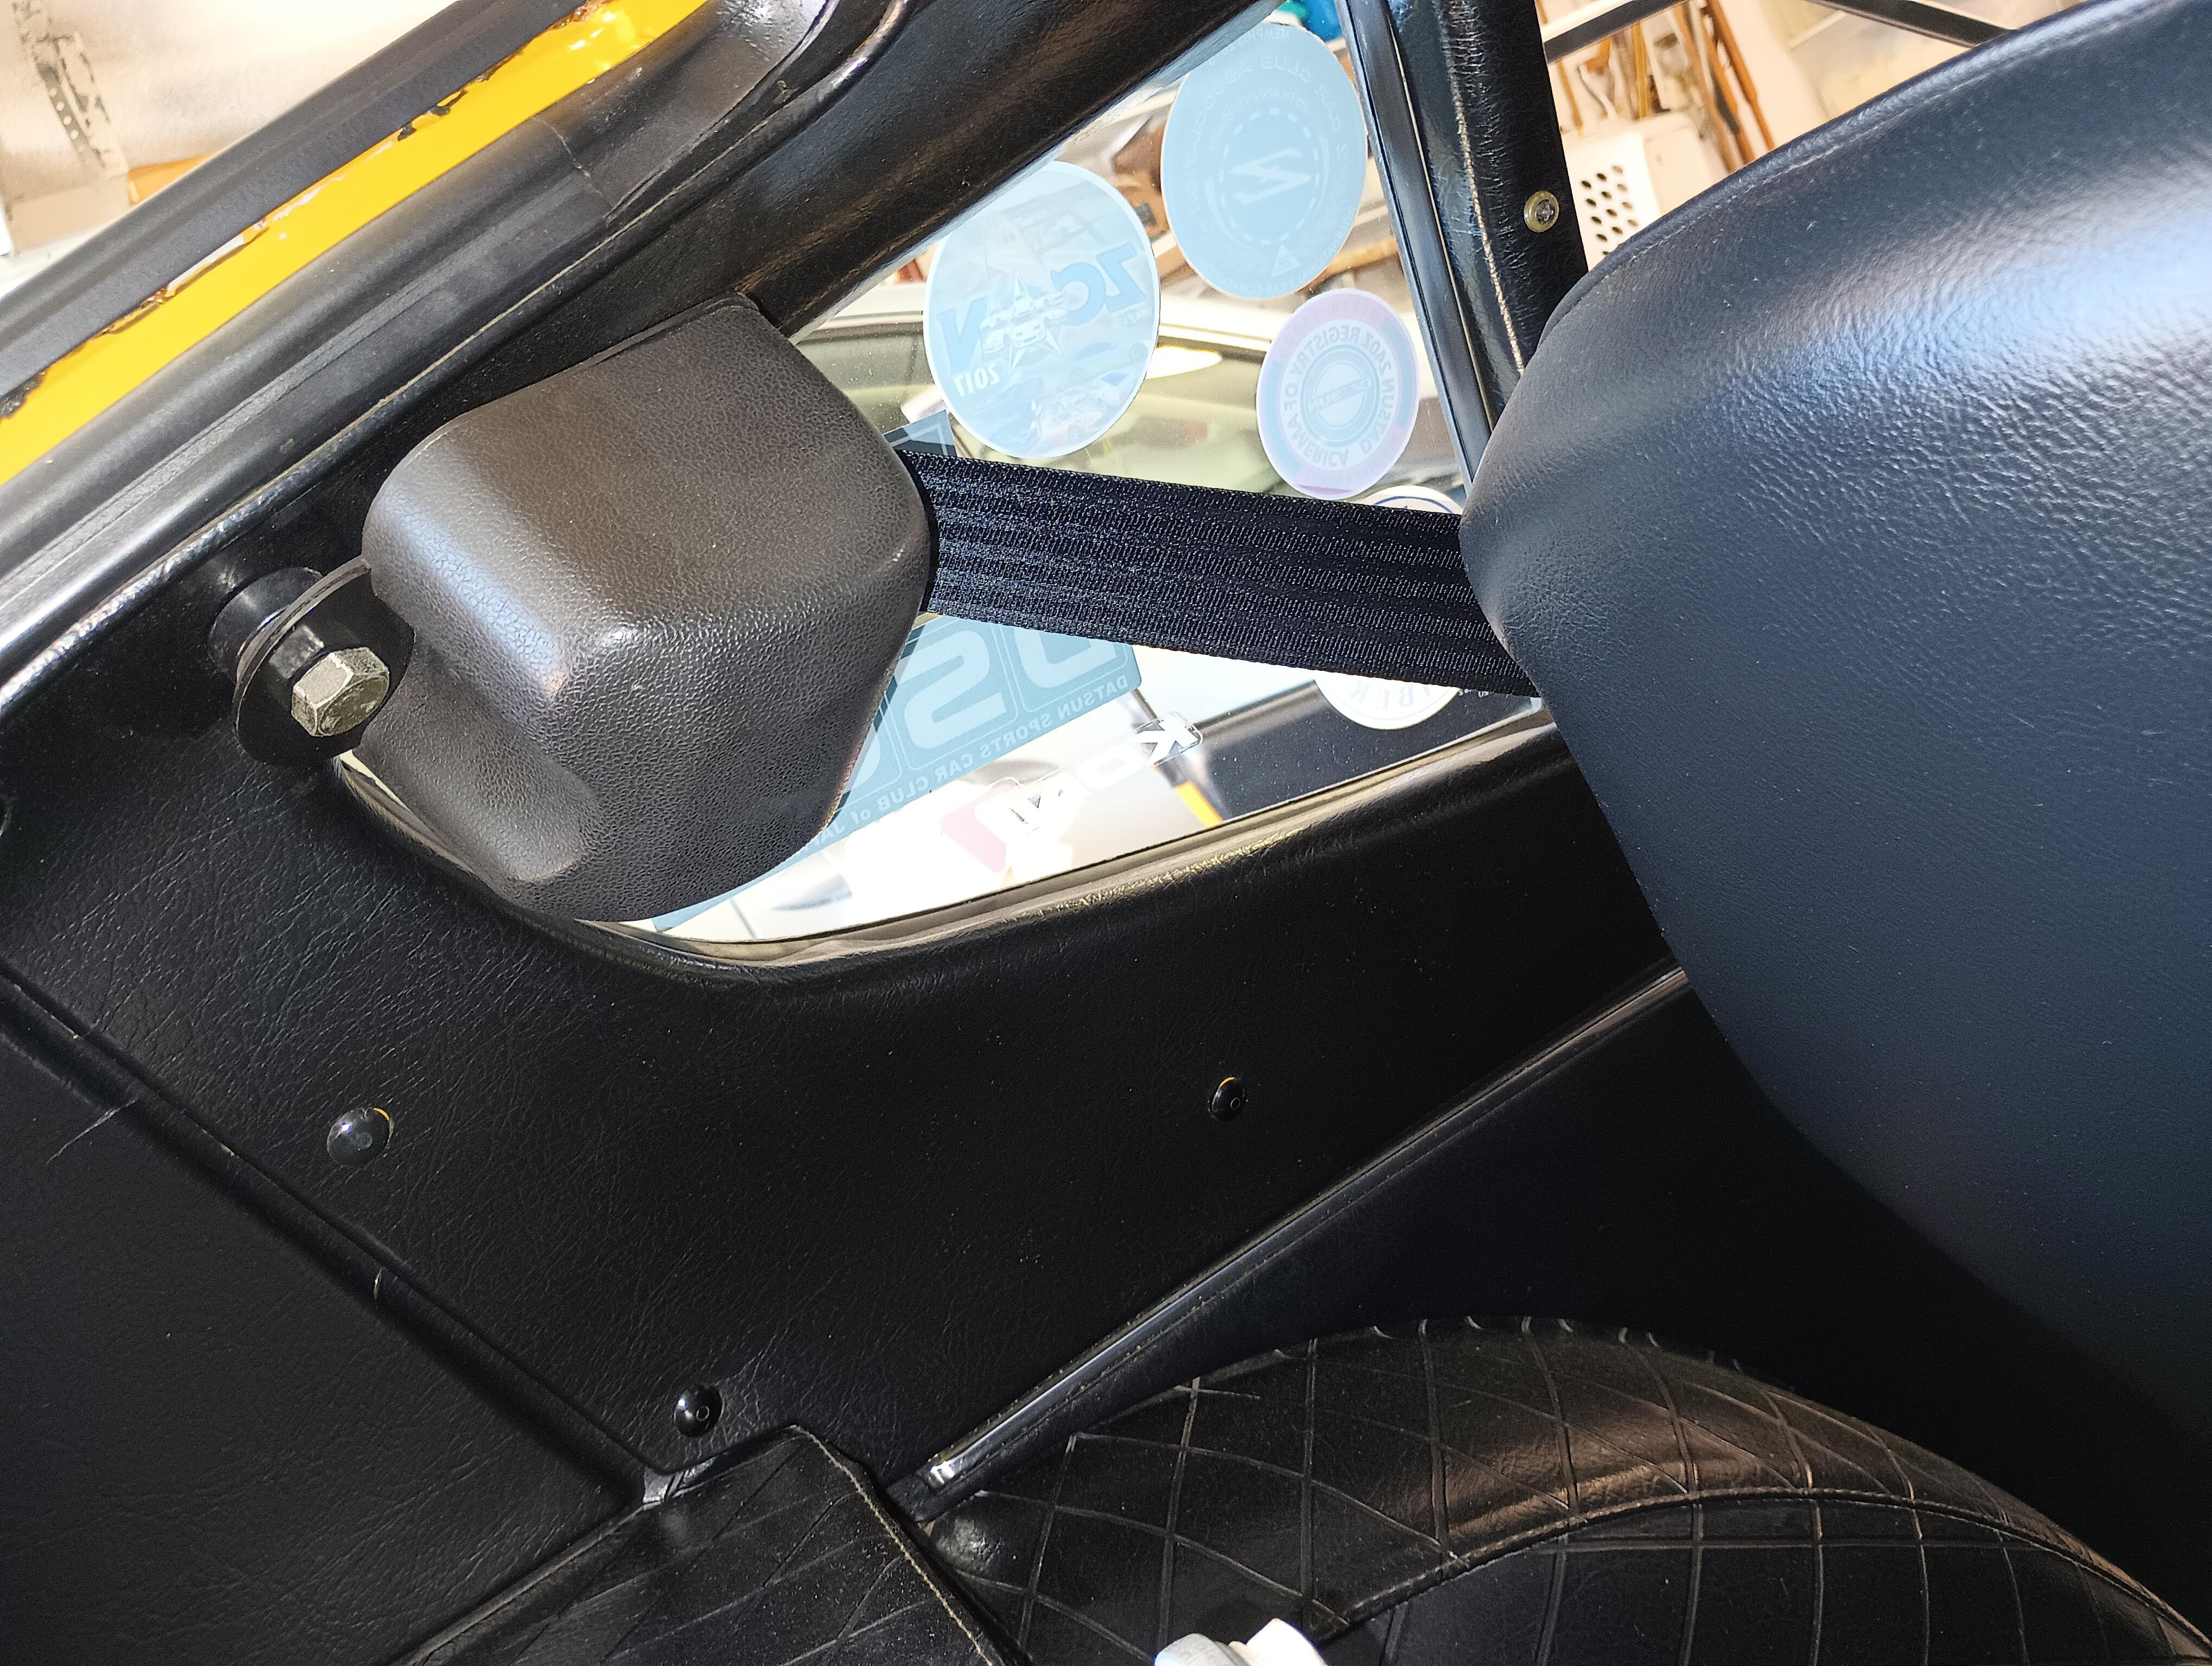
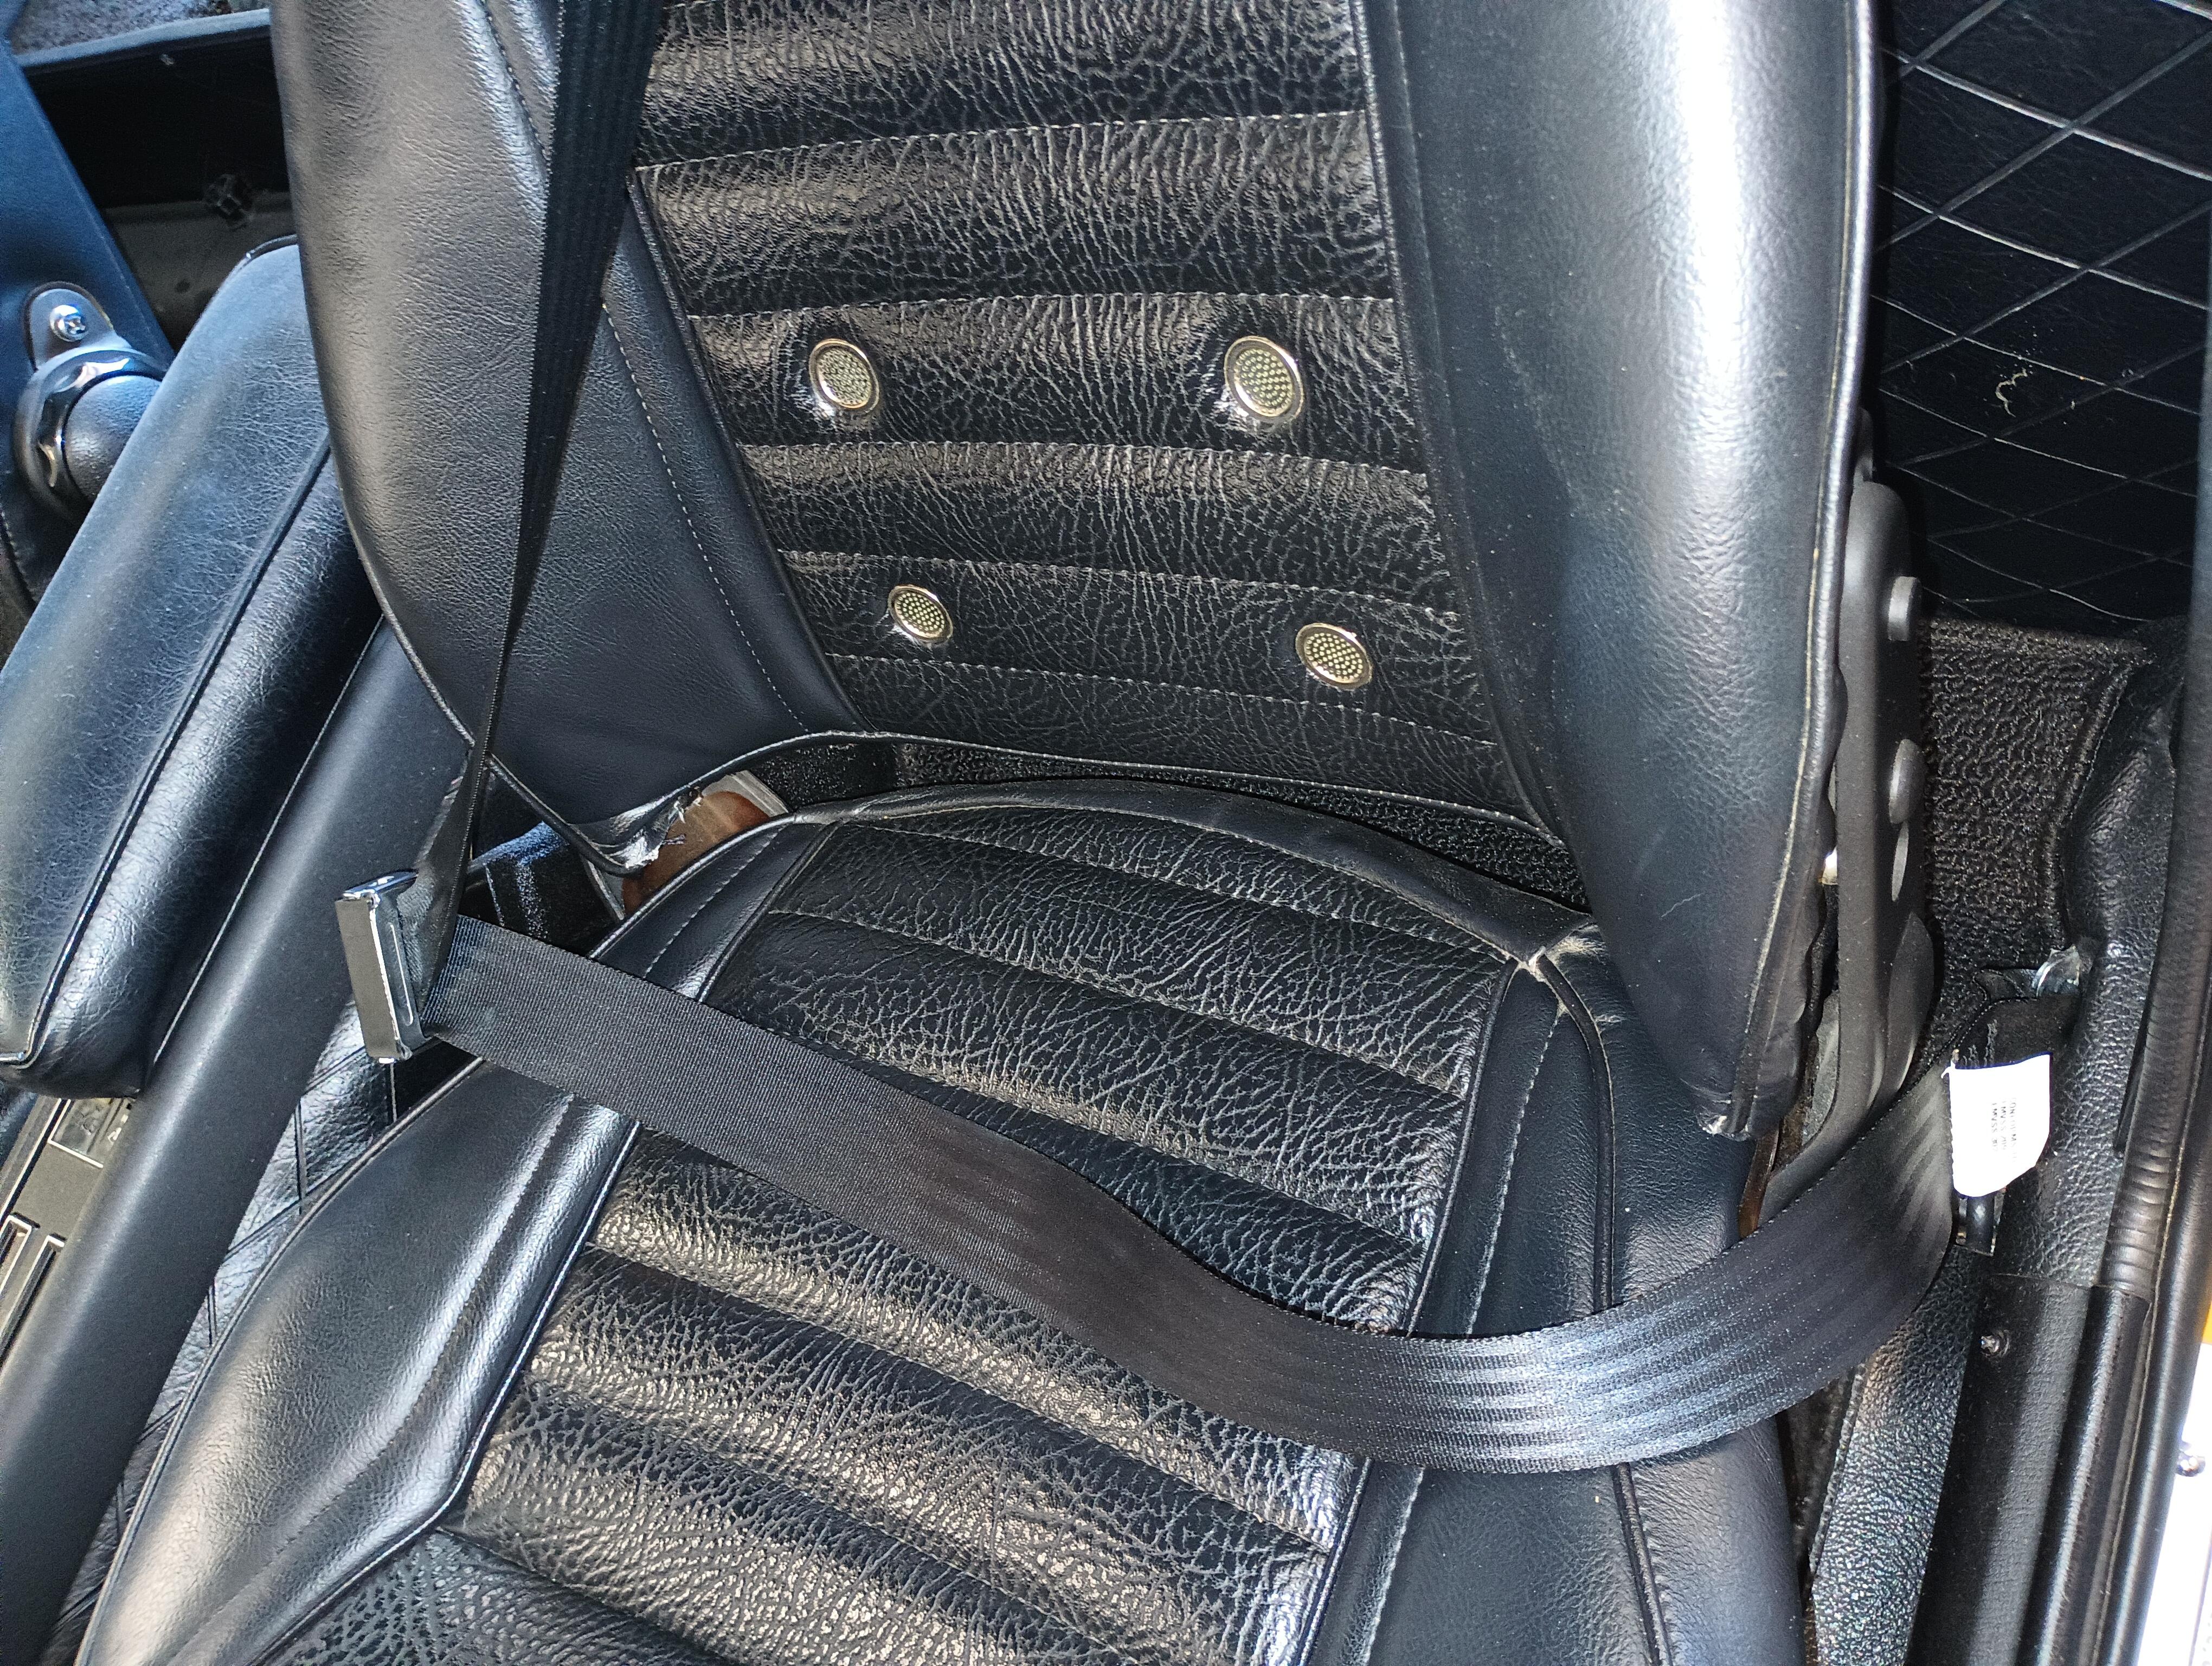
3 pointsThis is the Roadster Retractable 3-point belt from Wesco, a very comfortable belt. The retractor is mounted at the original shoulder belt location using the OE bolts. The lap belt also uses the OE bolts and locations. Here is the website and belt details. If you order, specify the 11" rigid sleeve. https://www.wescoperformance.com/noname.html

 3 points
 -
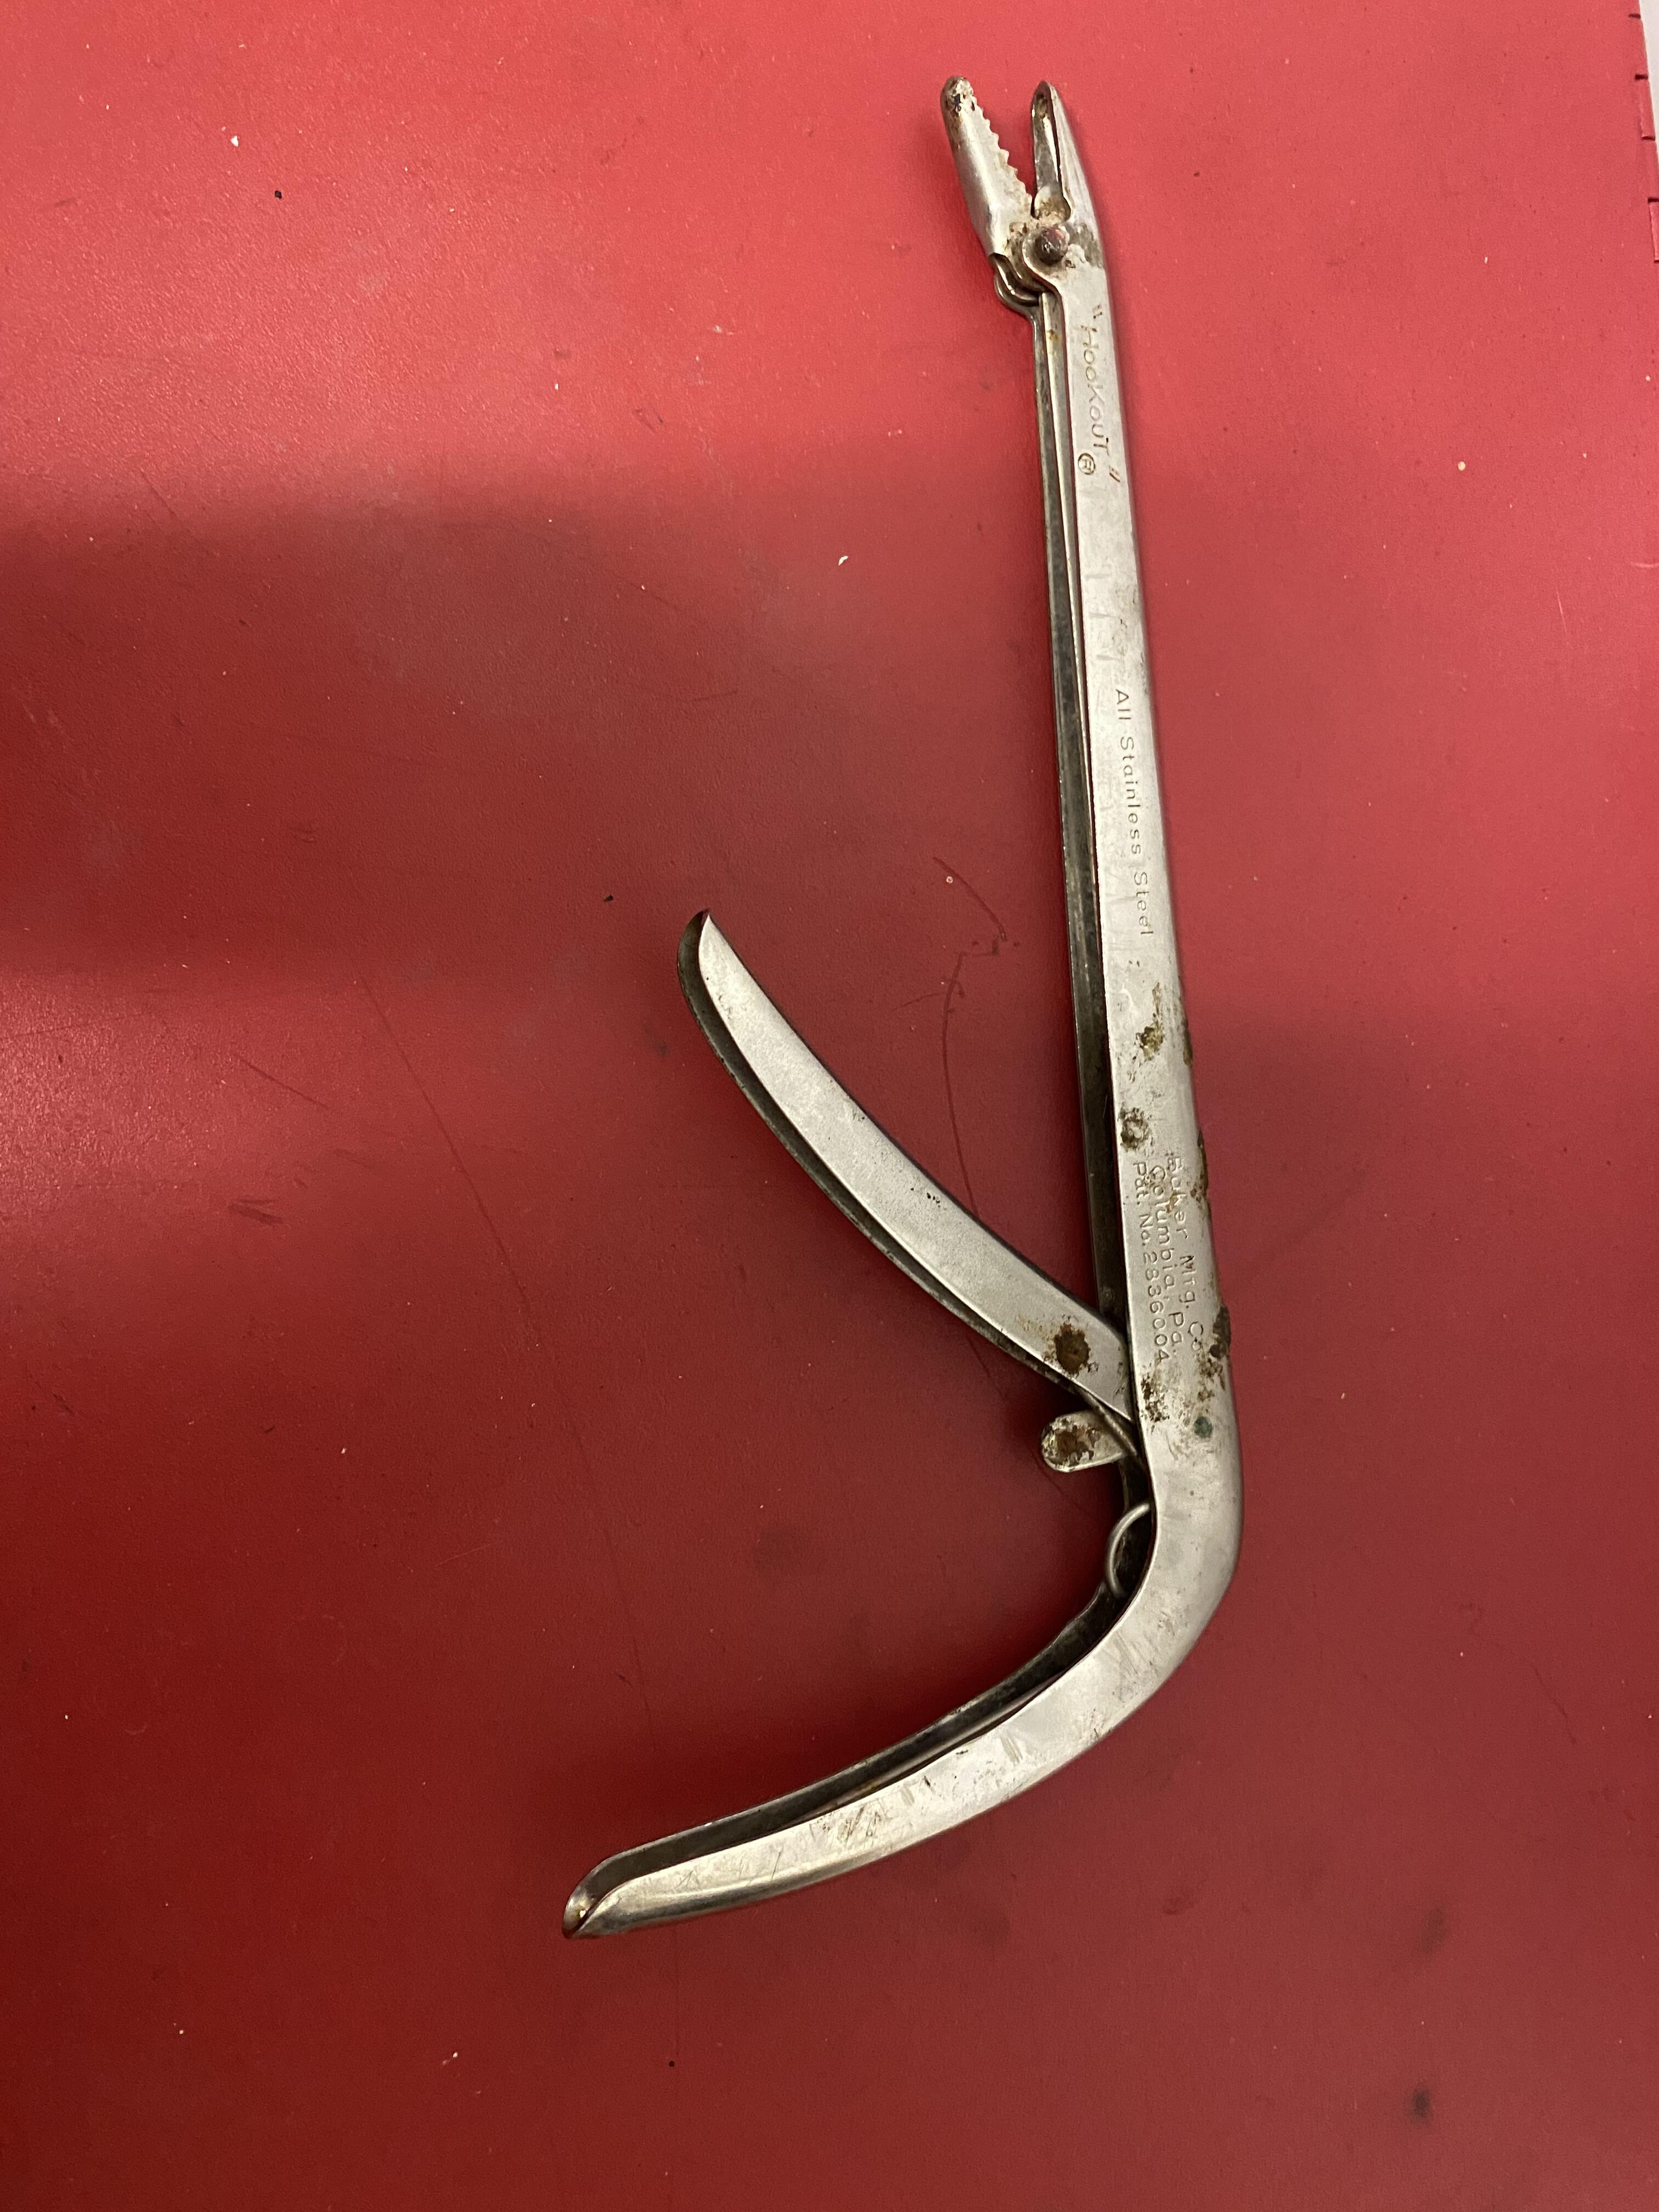
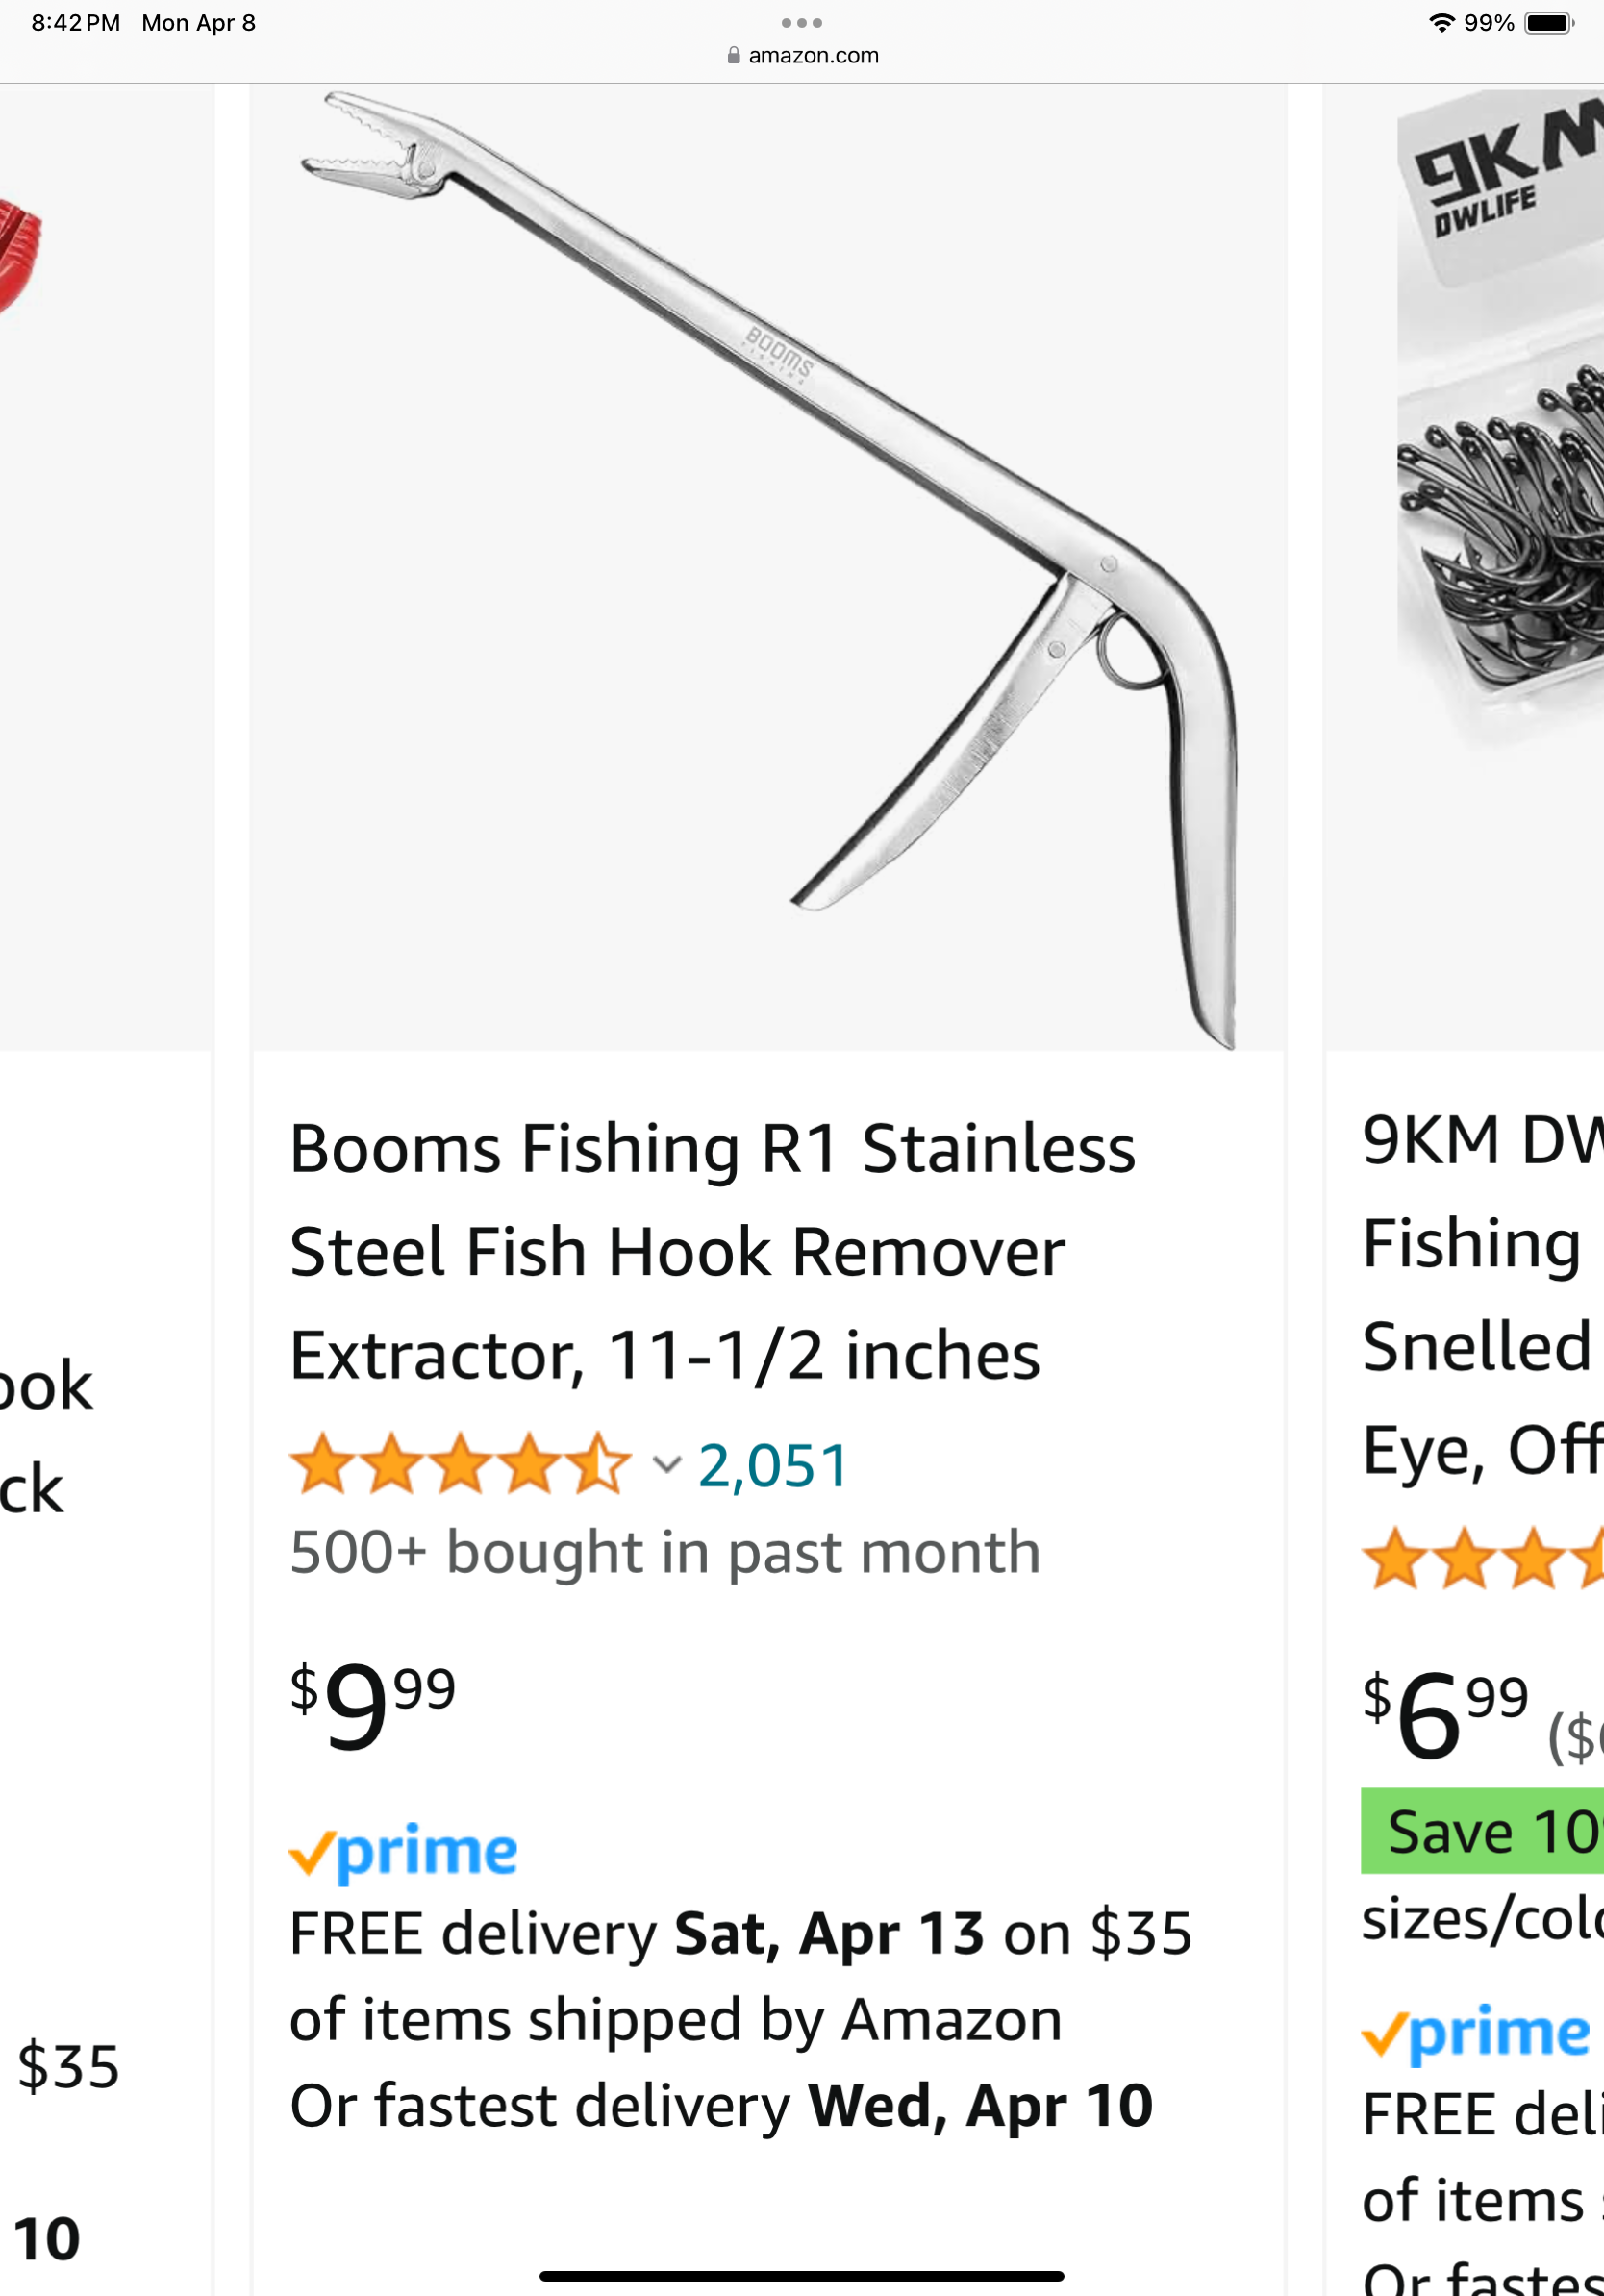
This is the tool I use to pull the retaining clip, pull out the clevis and put both back in. It’s a life saver! BTW, it a fishing hook degouger
 3 points
 -
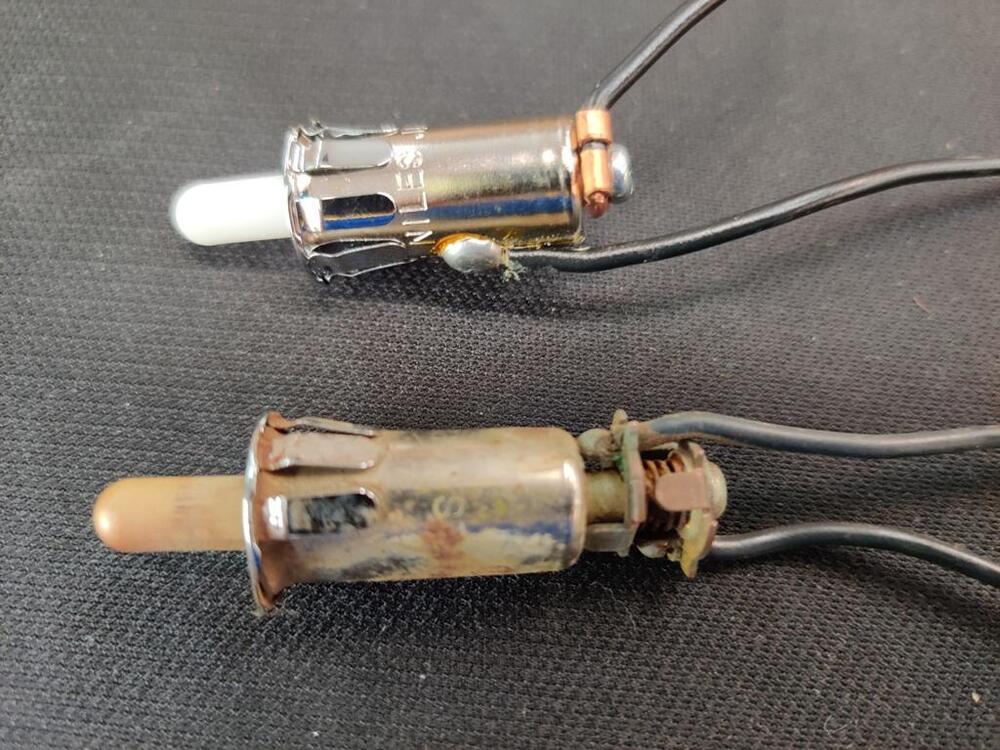
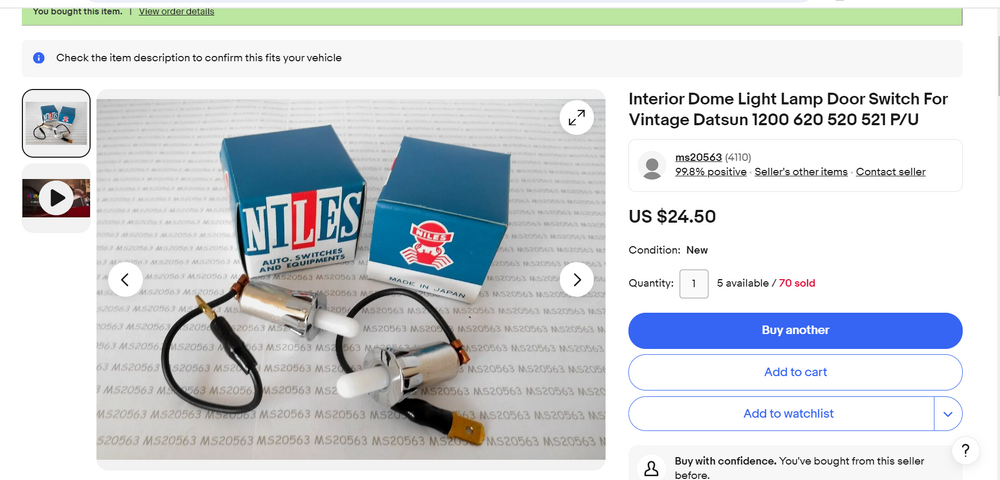
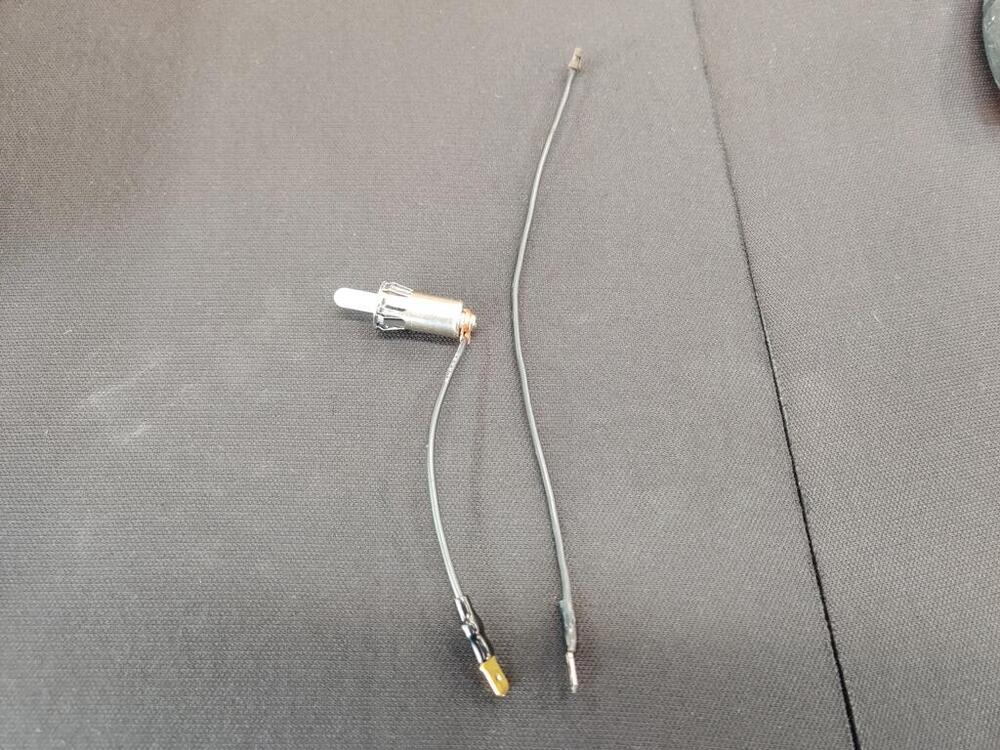
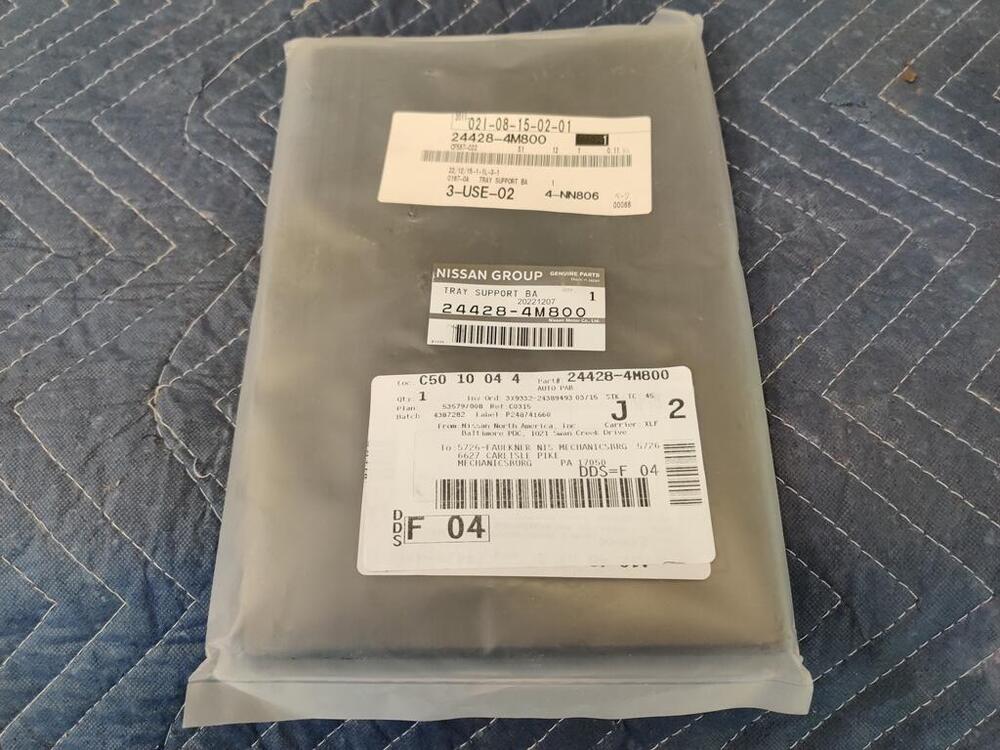
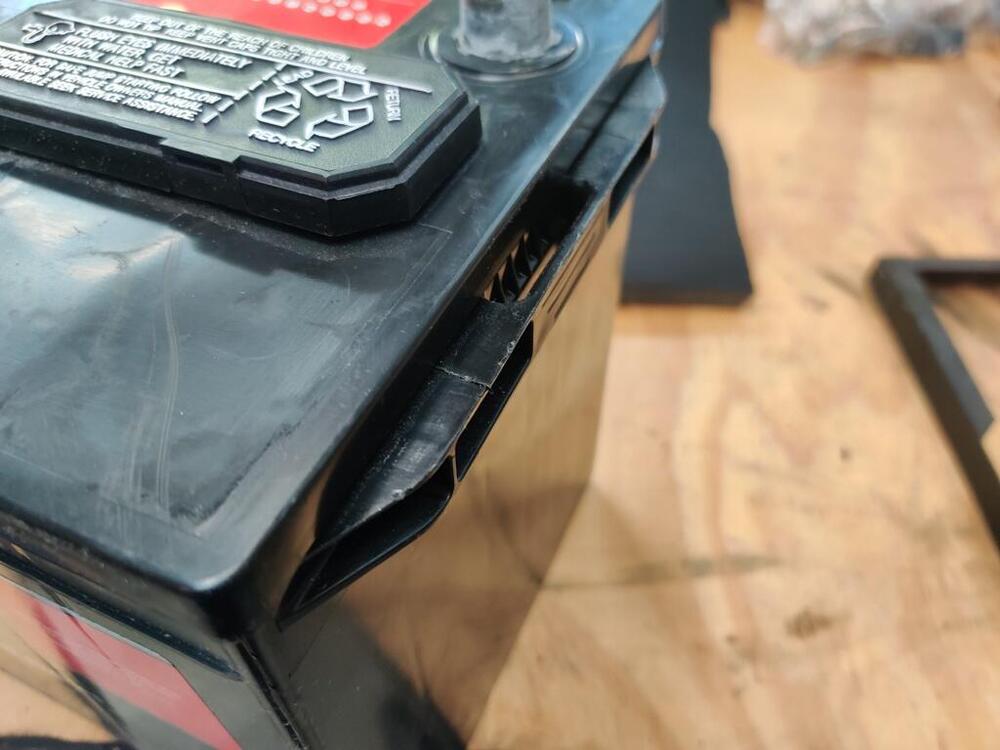
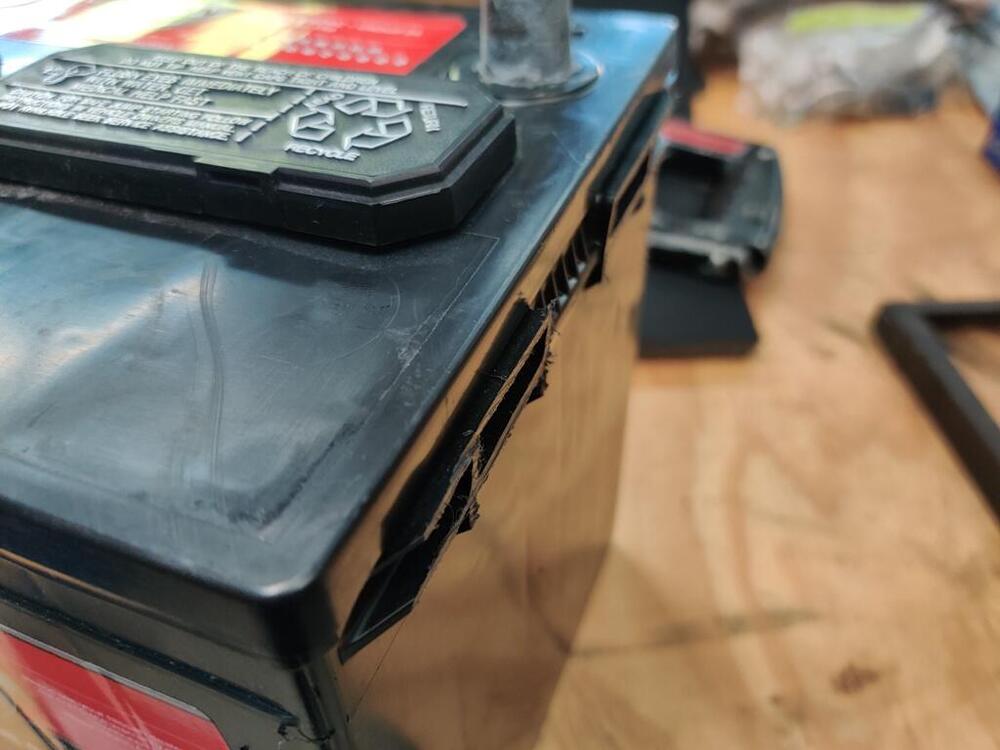
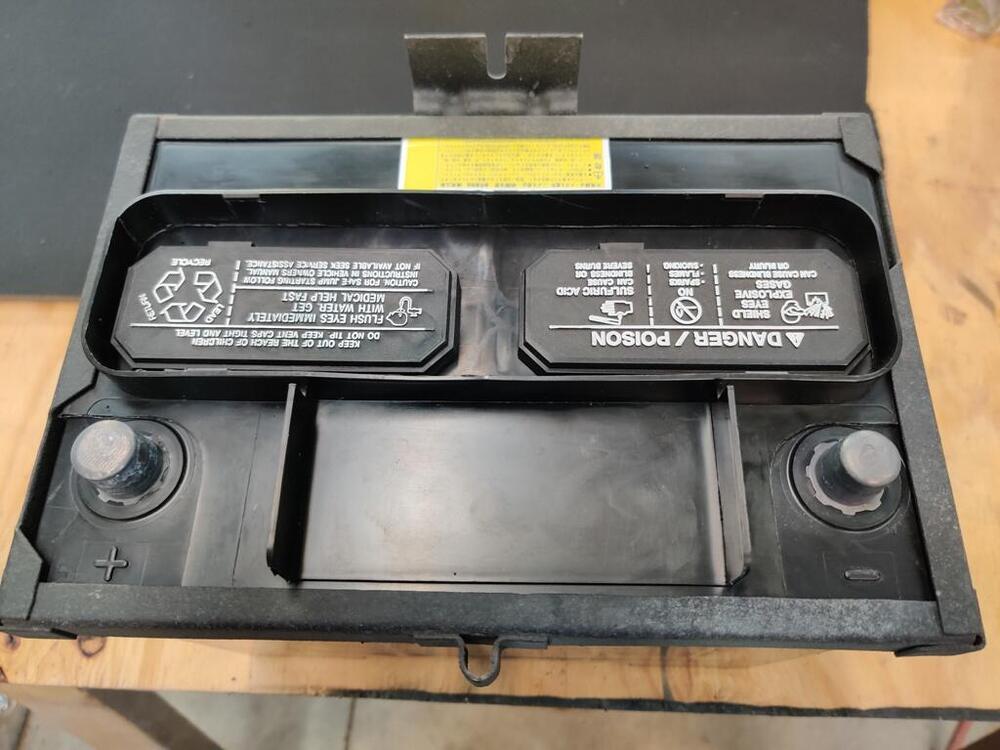
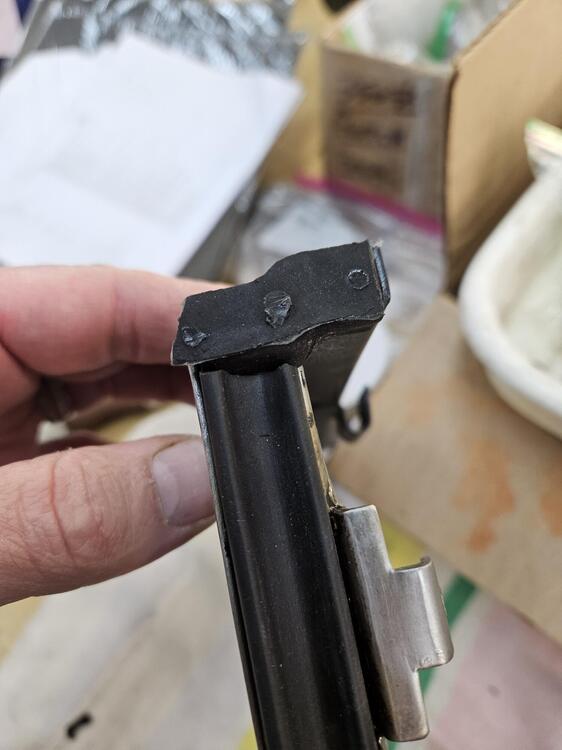
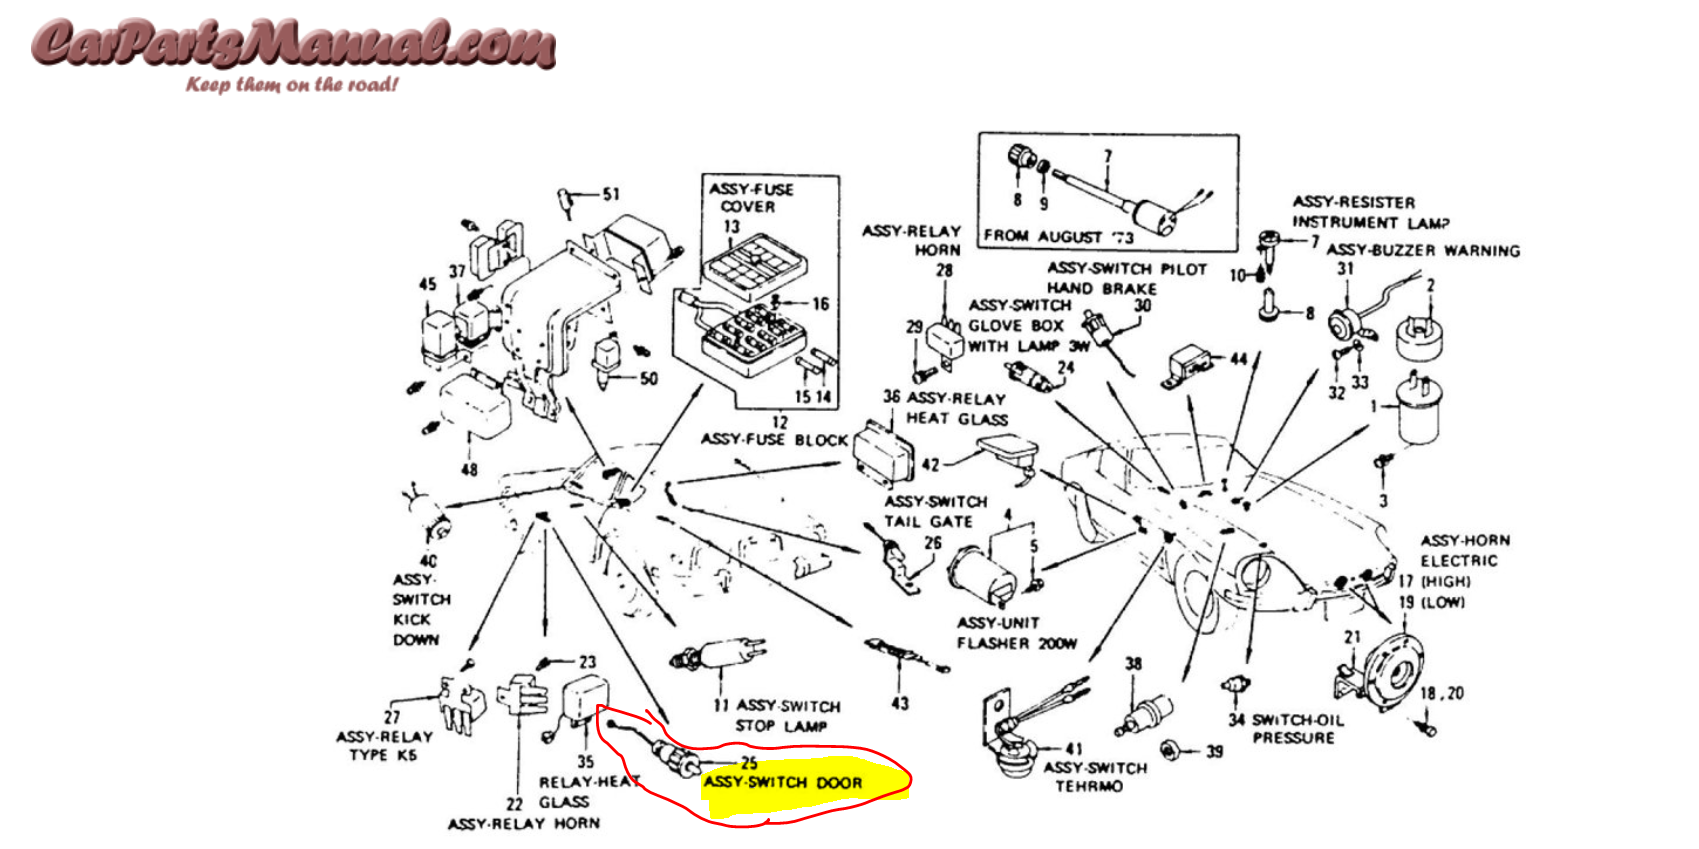
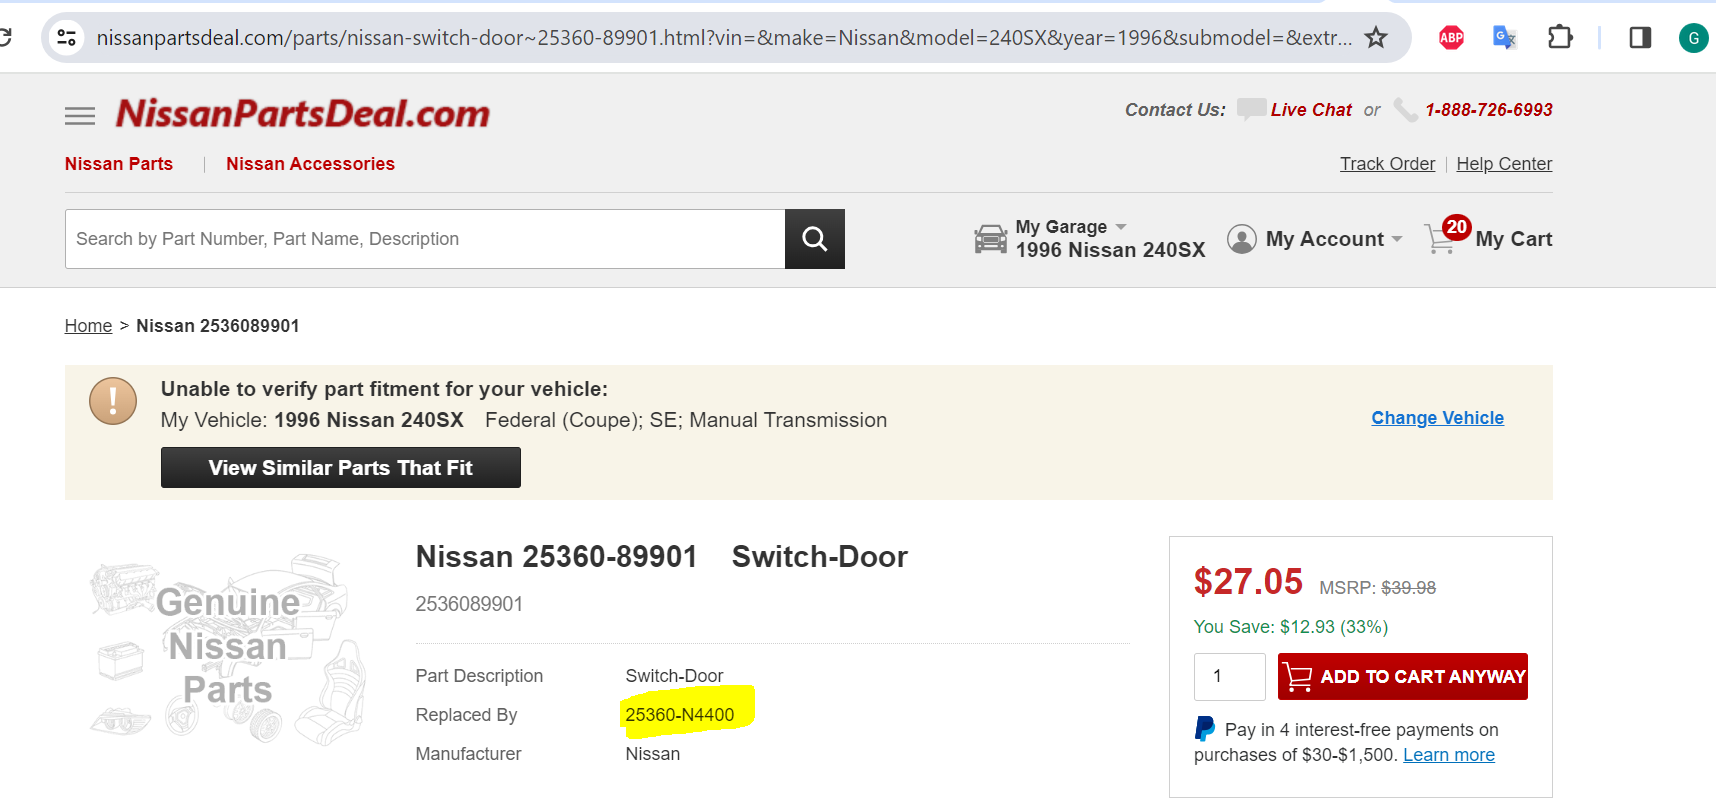
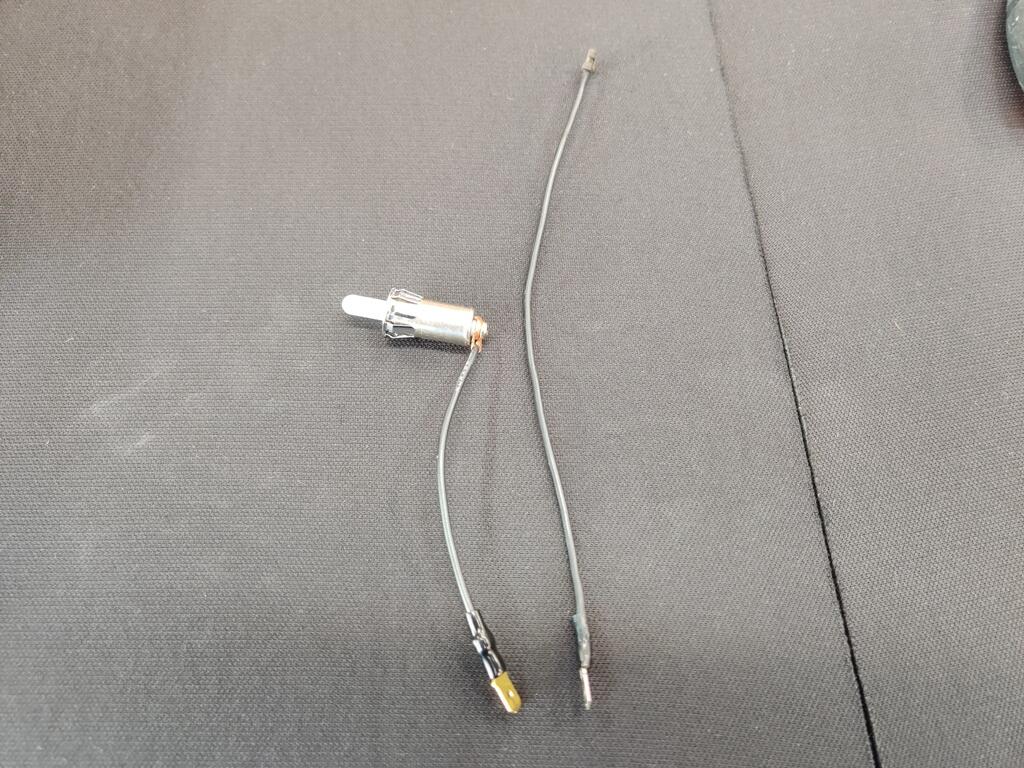
Here is an example of why you don't throw anything away, at least until you have a working replacement part installed - number 25 - assembly door switch (which I bought quite a while ago: The original part number (25360-89901) is the only one out of the thee listed for that part that is not discontinued. It supersedes to 25360-N4400: That new one is in the top of this pic - old, original left door switch is the lower one in this pic: They are... different. I haven't looked to refresh my memory, but I believe one of the wires is for the dome light circuit and one is for the door open "buzzer". The new switch has one wire that is soldered to the switch case - that is going to be a permanent ground. That wire is not going to work with either the dome light circuit or the buzzer. the plastic pin of the old switch is longer than the pin in the new one. So, it looks to me like I will need to either move the old pin and wires to the new switch (to make both circuits function as they should. Or, hook up only the one wire that is not soldered to the new switch case to the dome light circuit and leave the buzzer circuit unconnected. Right side switches are discontinued. I was able to find some similar "Niles" switches (pack of two) on eBay: In this case, the wire was shorter than the original: So, I cleaned up the old one with a wire brush on a dremel and swapped it to the new switch: I also unpacked the new battery and tray and the new, related reproduction parts I got from Steve at 240Zrubberparts.com: I had to remove the handle from the battery. And for the battery frame to fit, I used a hack saw to cut part of the plastic (that the handle clips into) off of the sides of the battery. This third pic shows the correct orientation in the car (terminals at the front and secure to firewall in the back), correct?


 2 points
 -
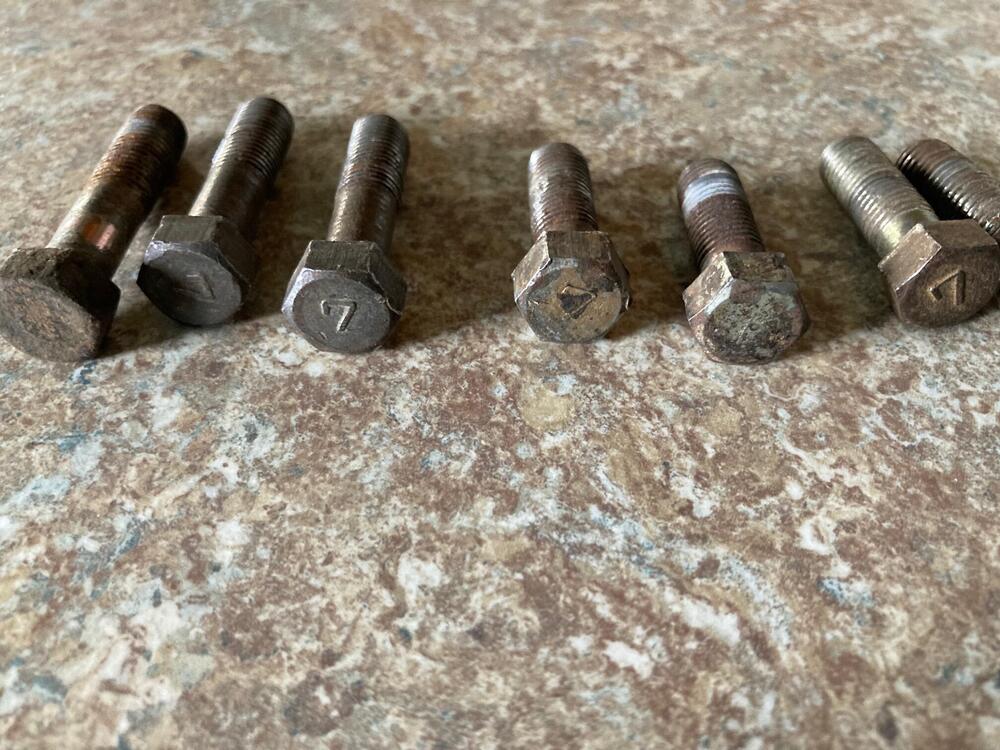
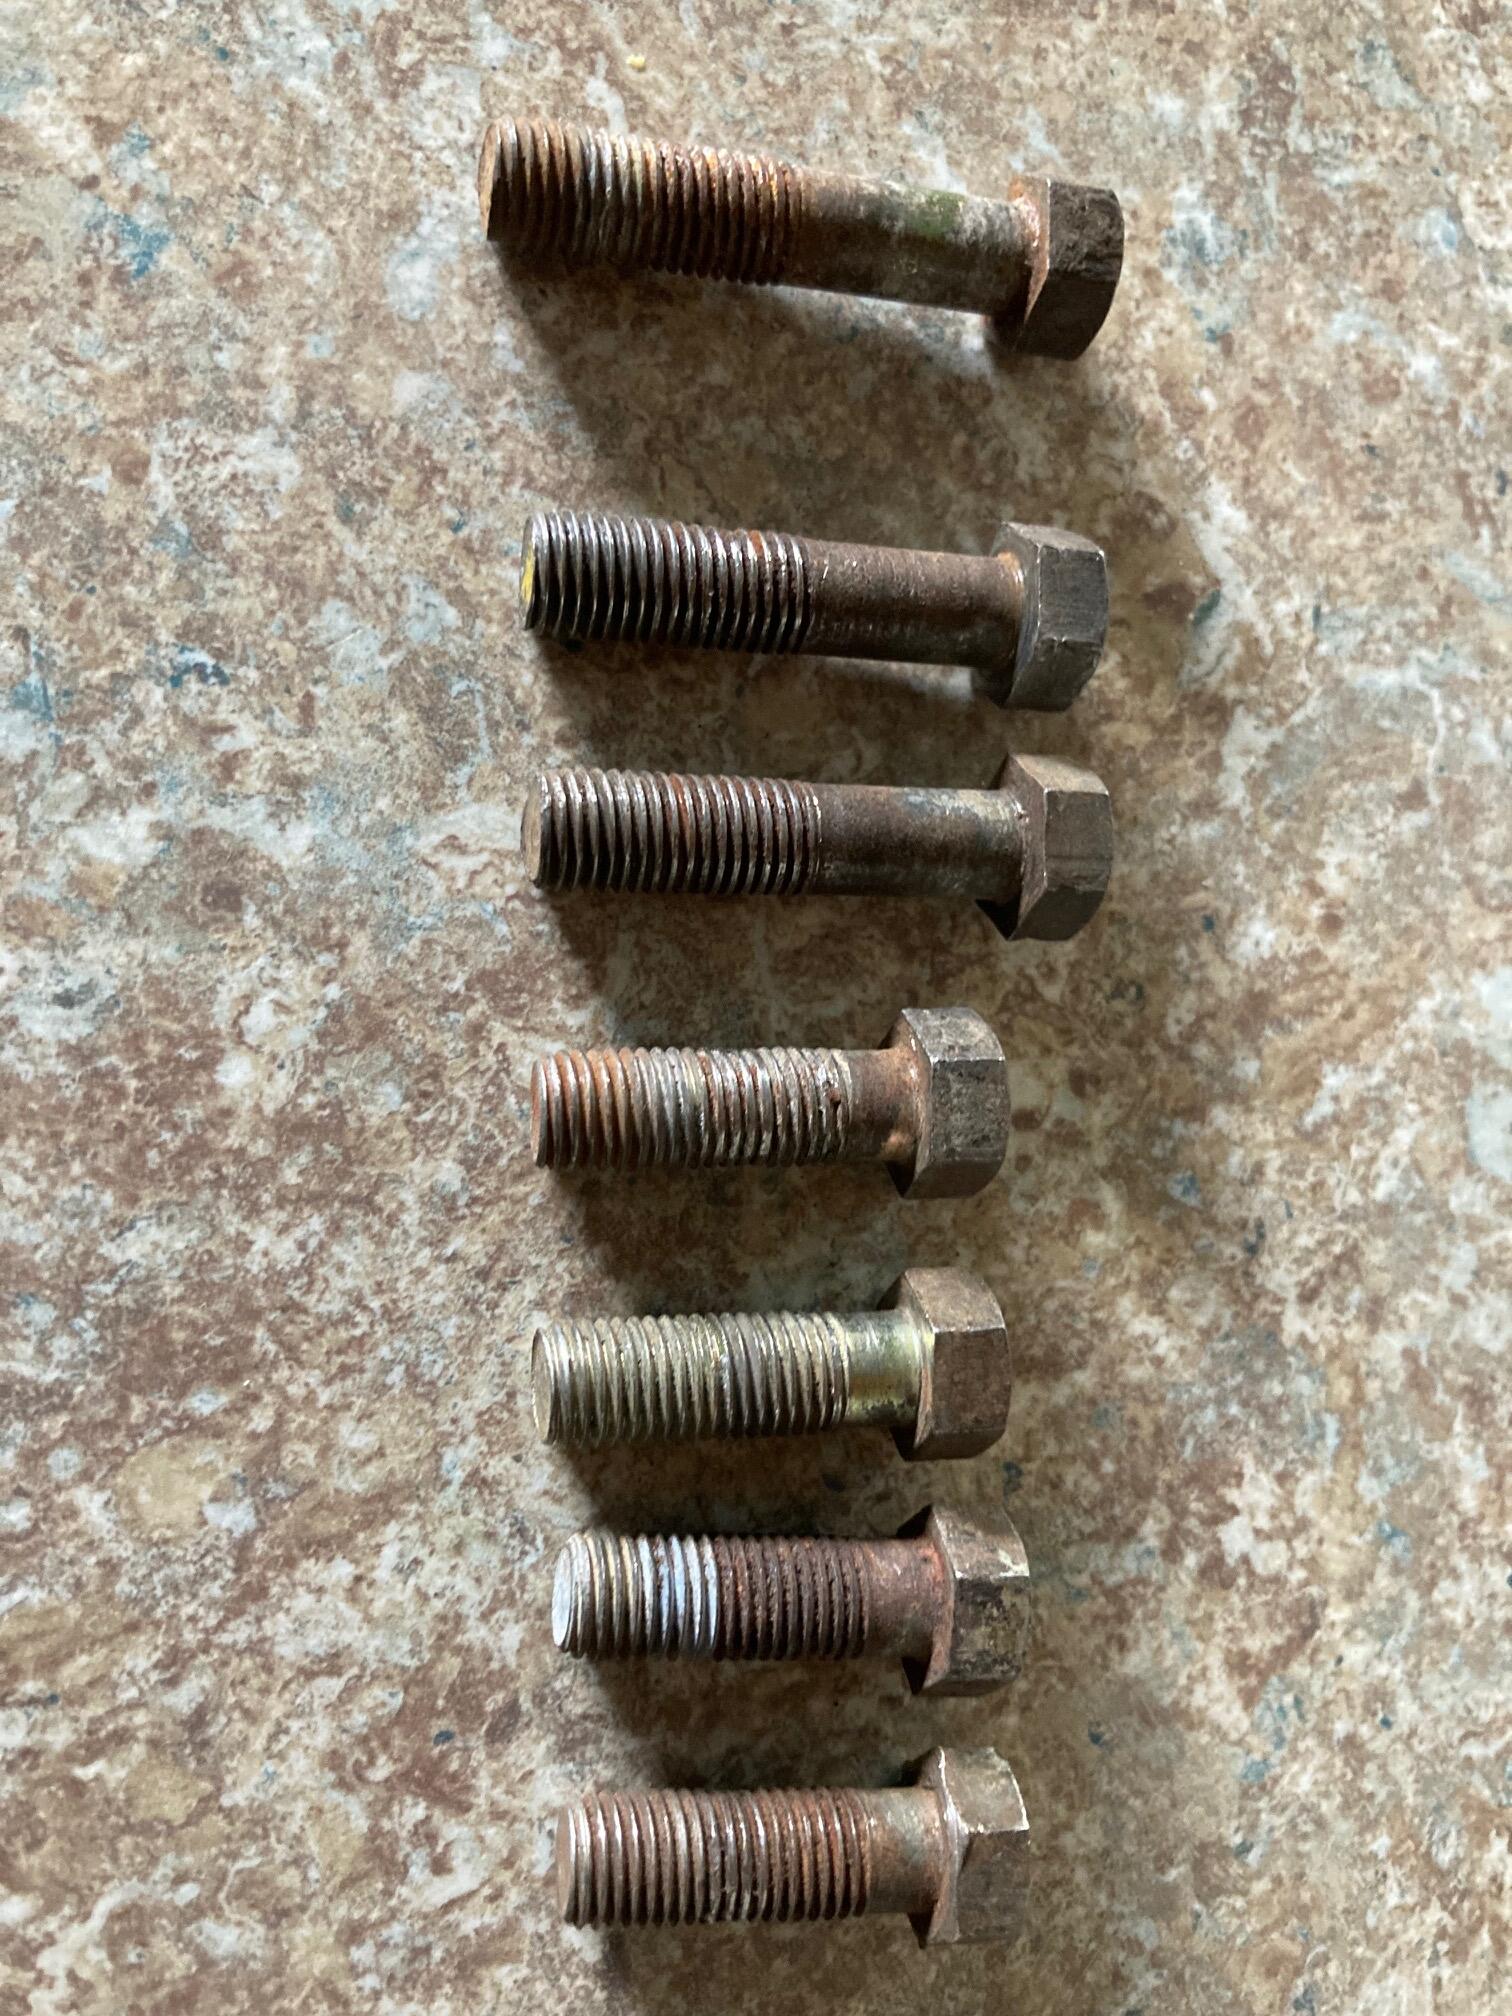
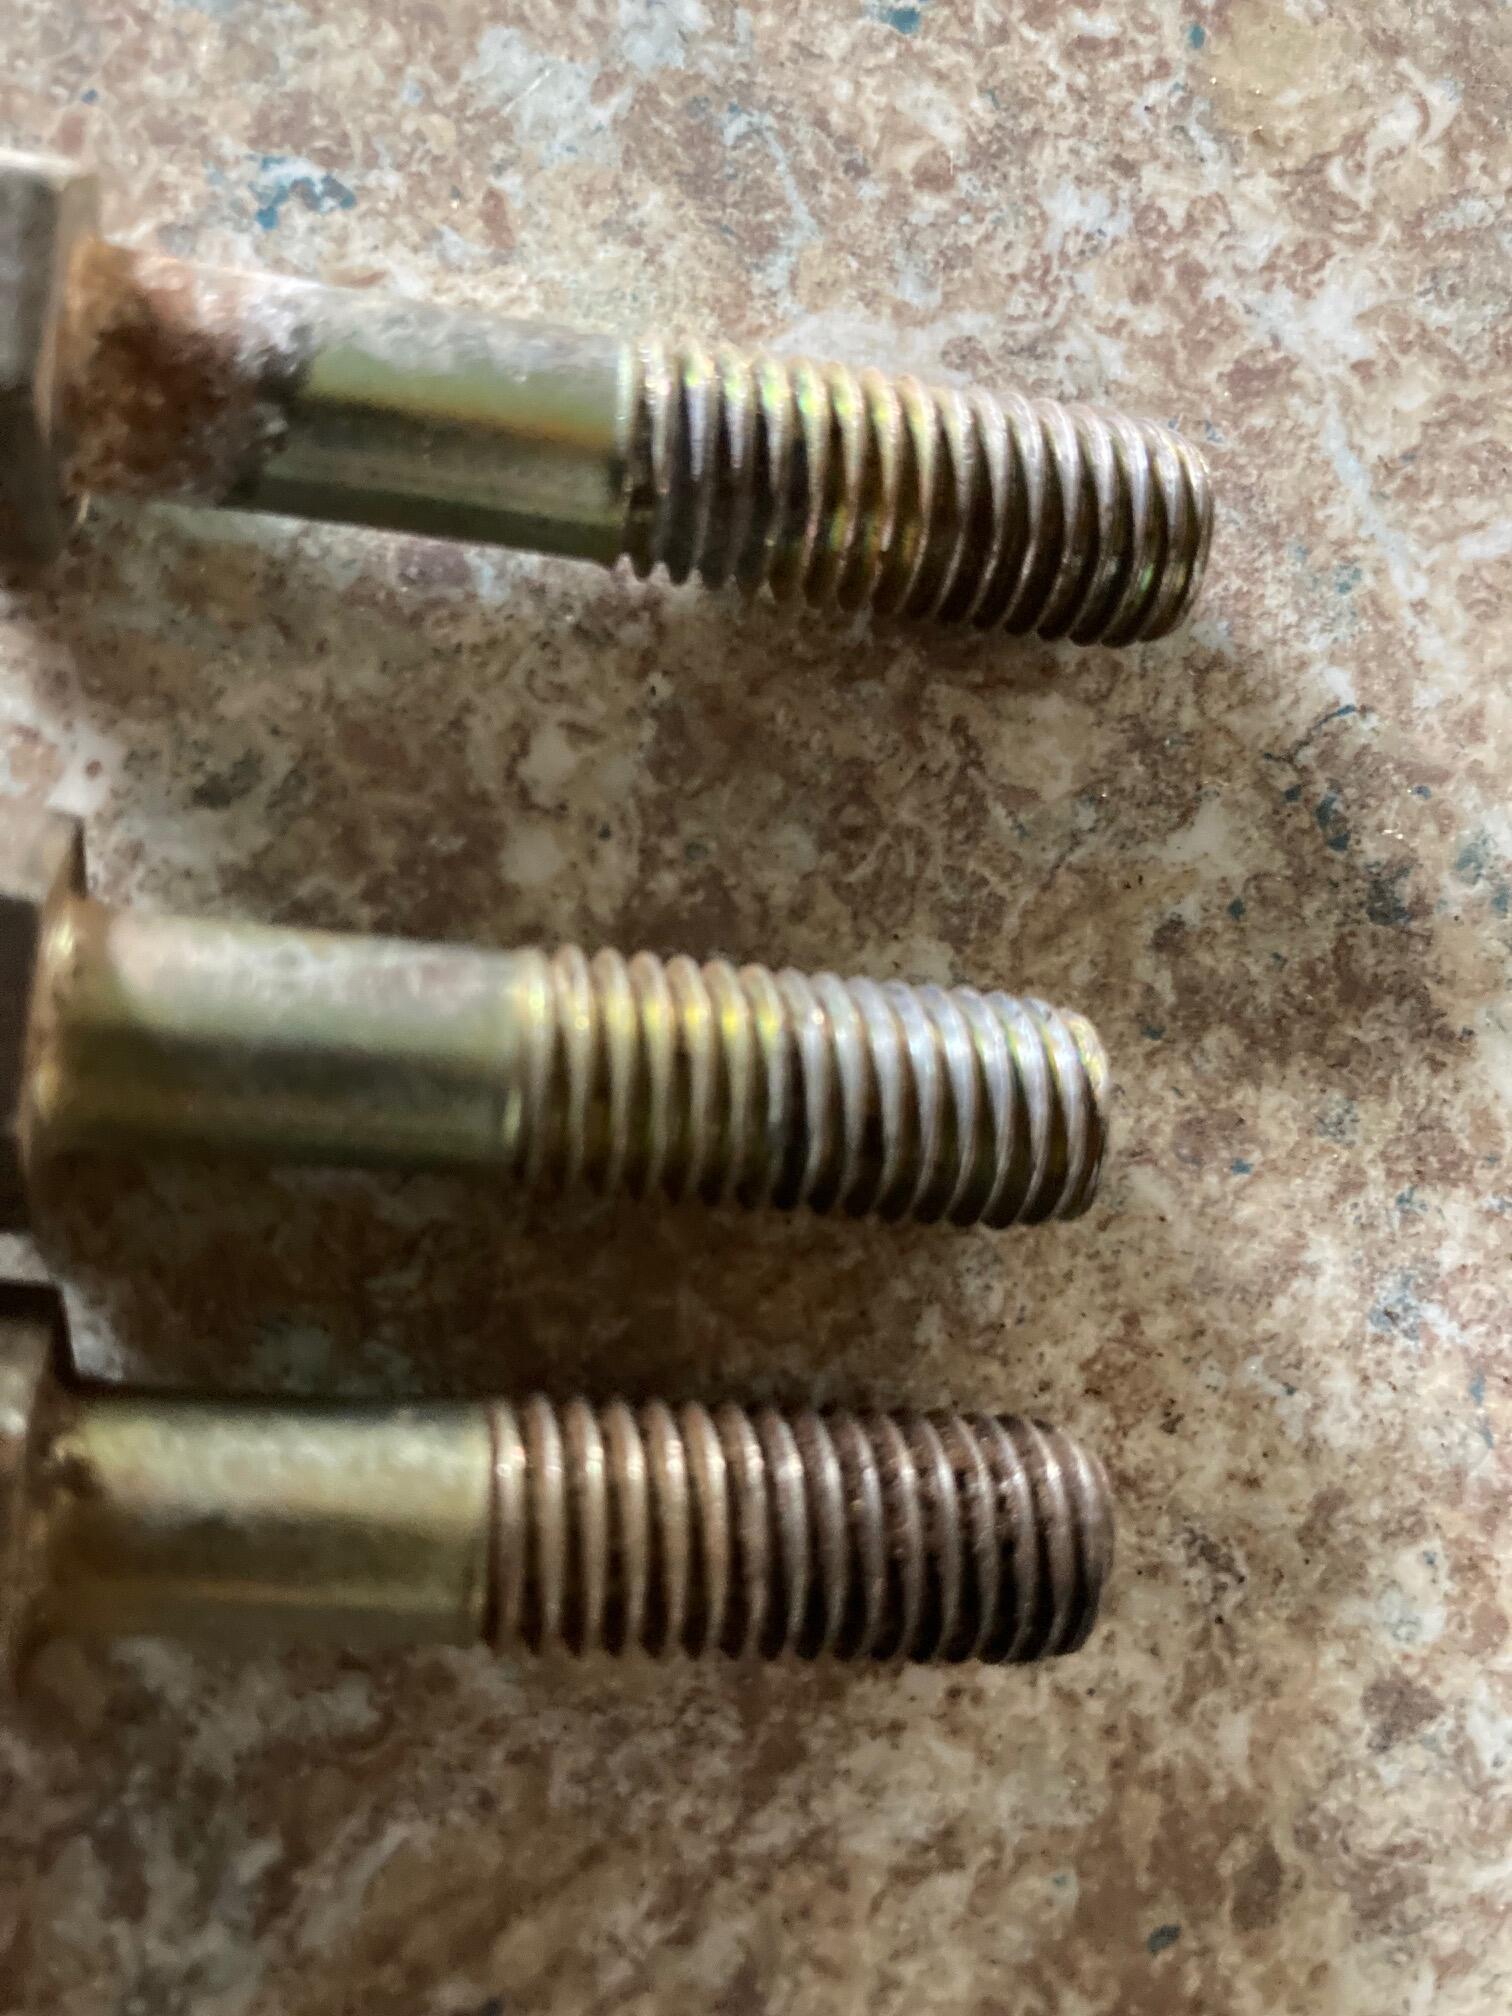
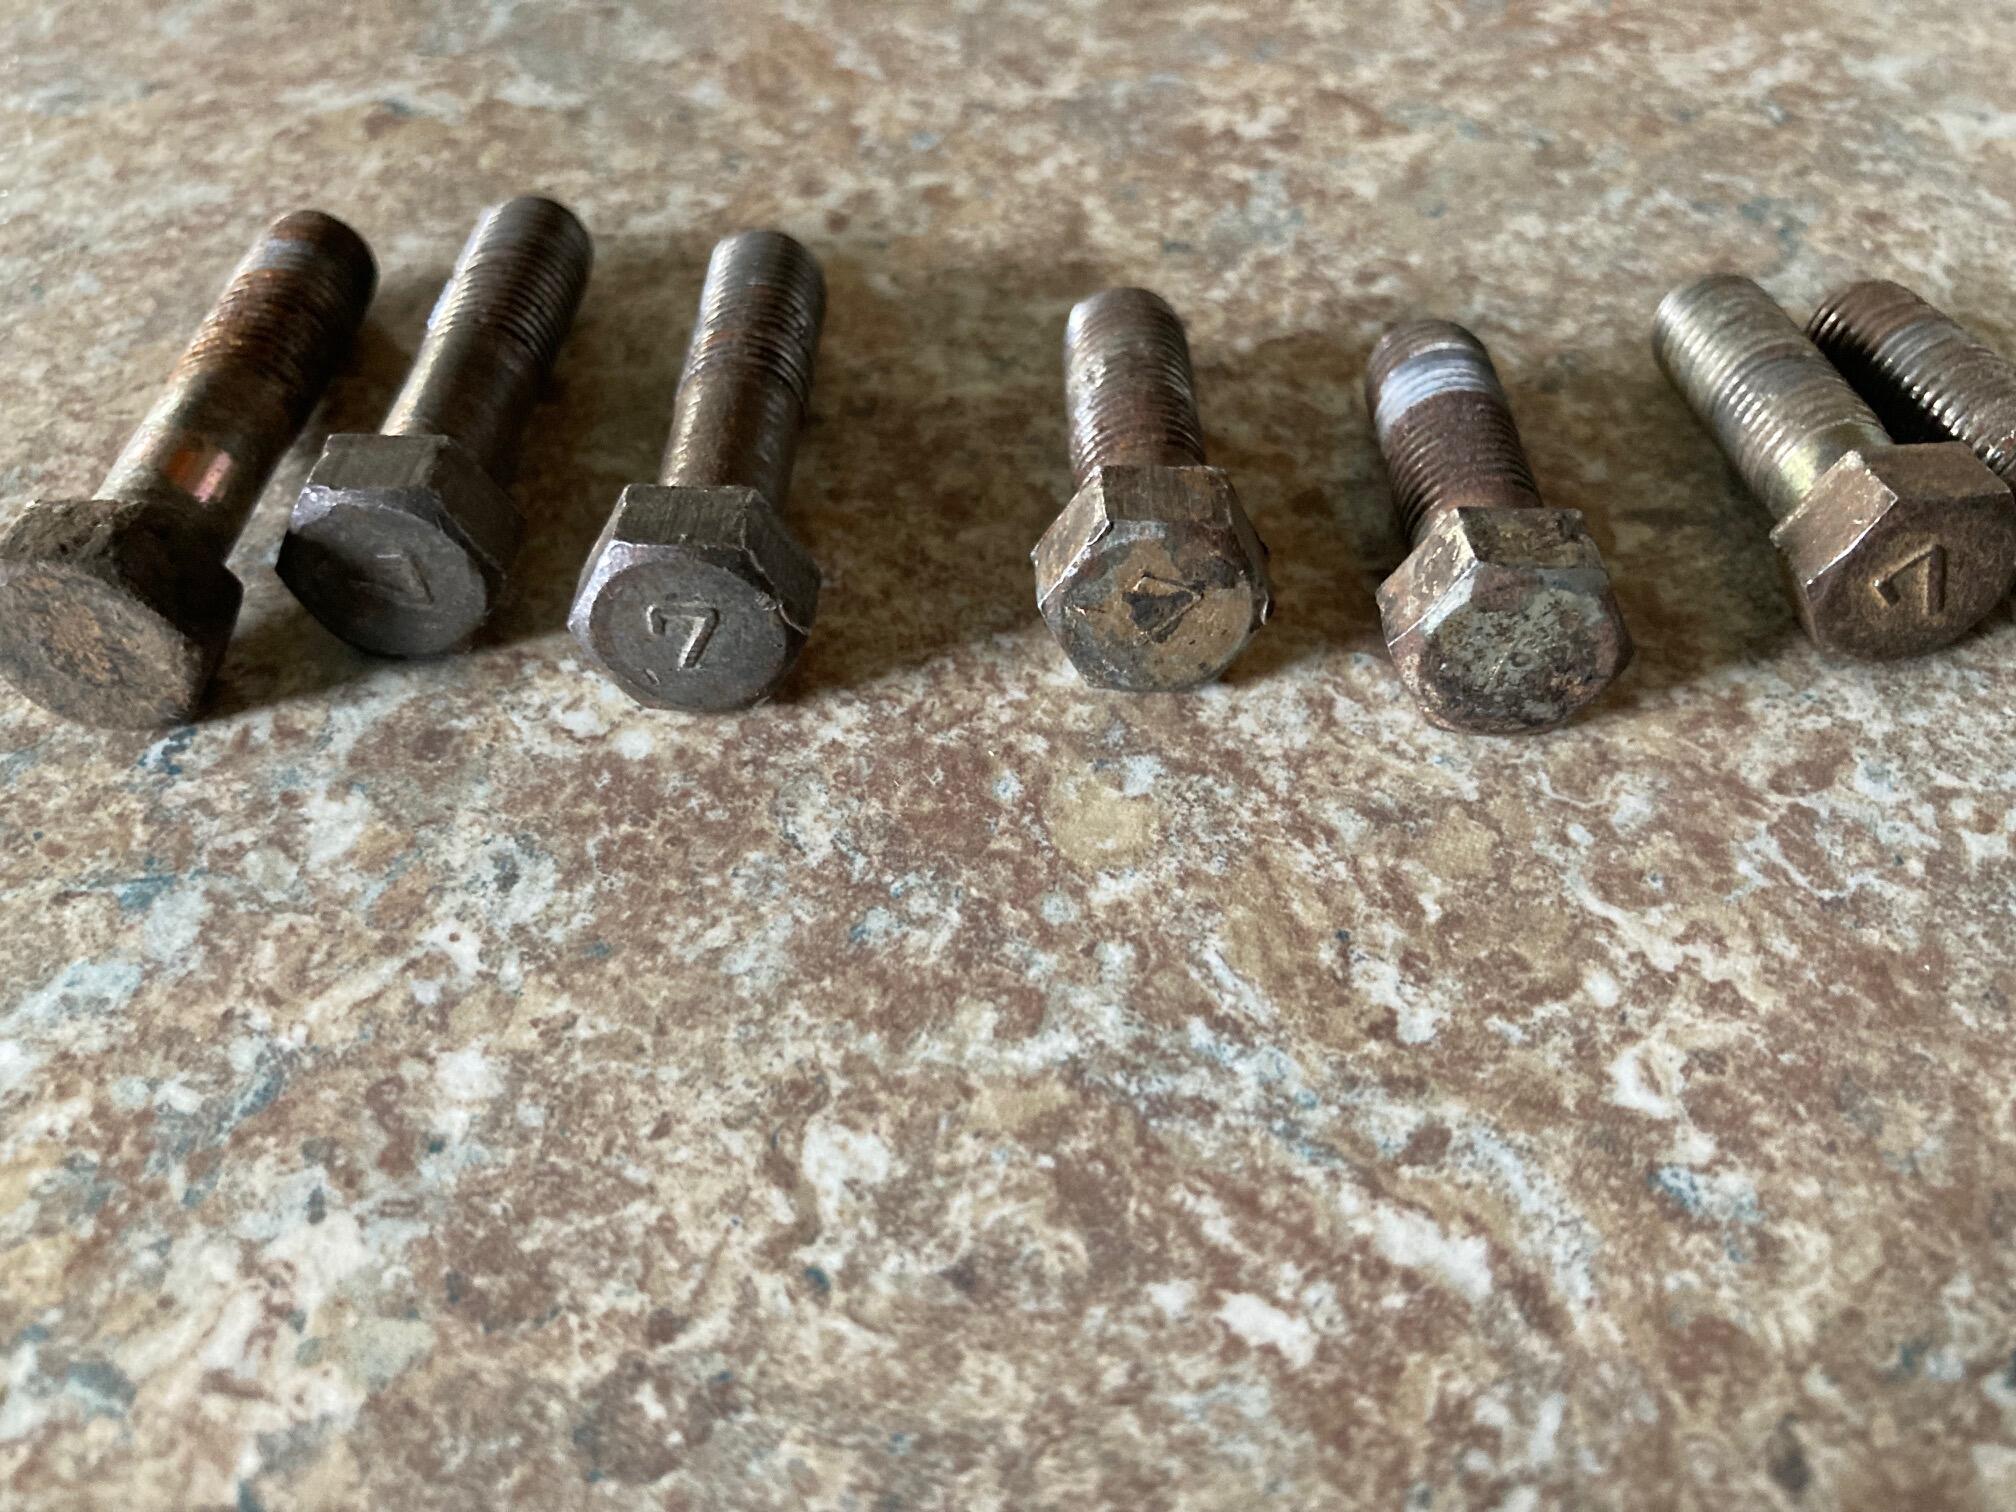
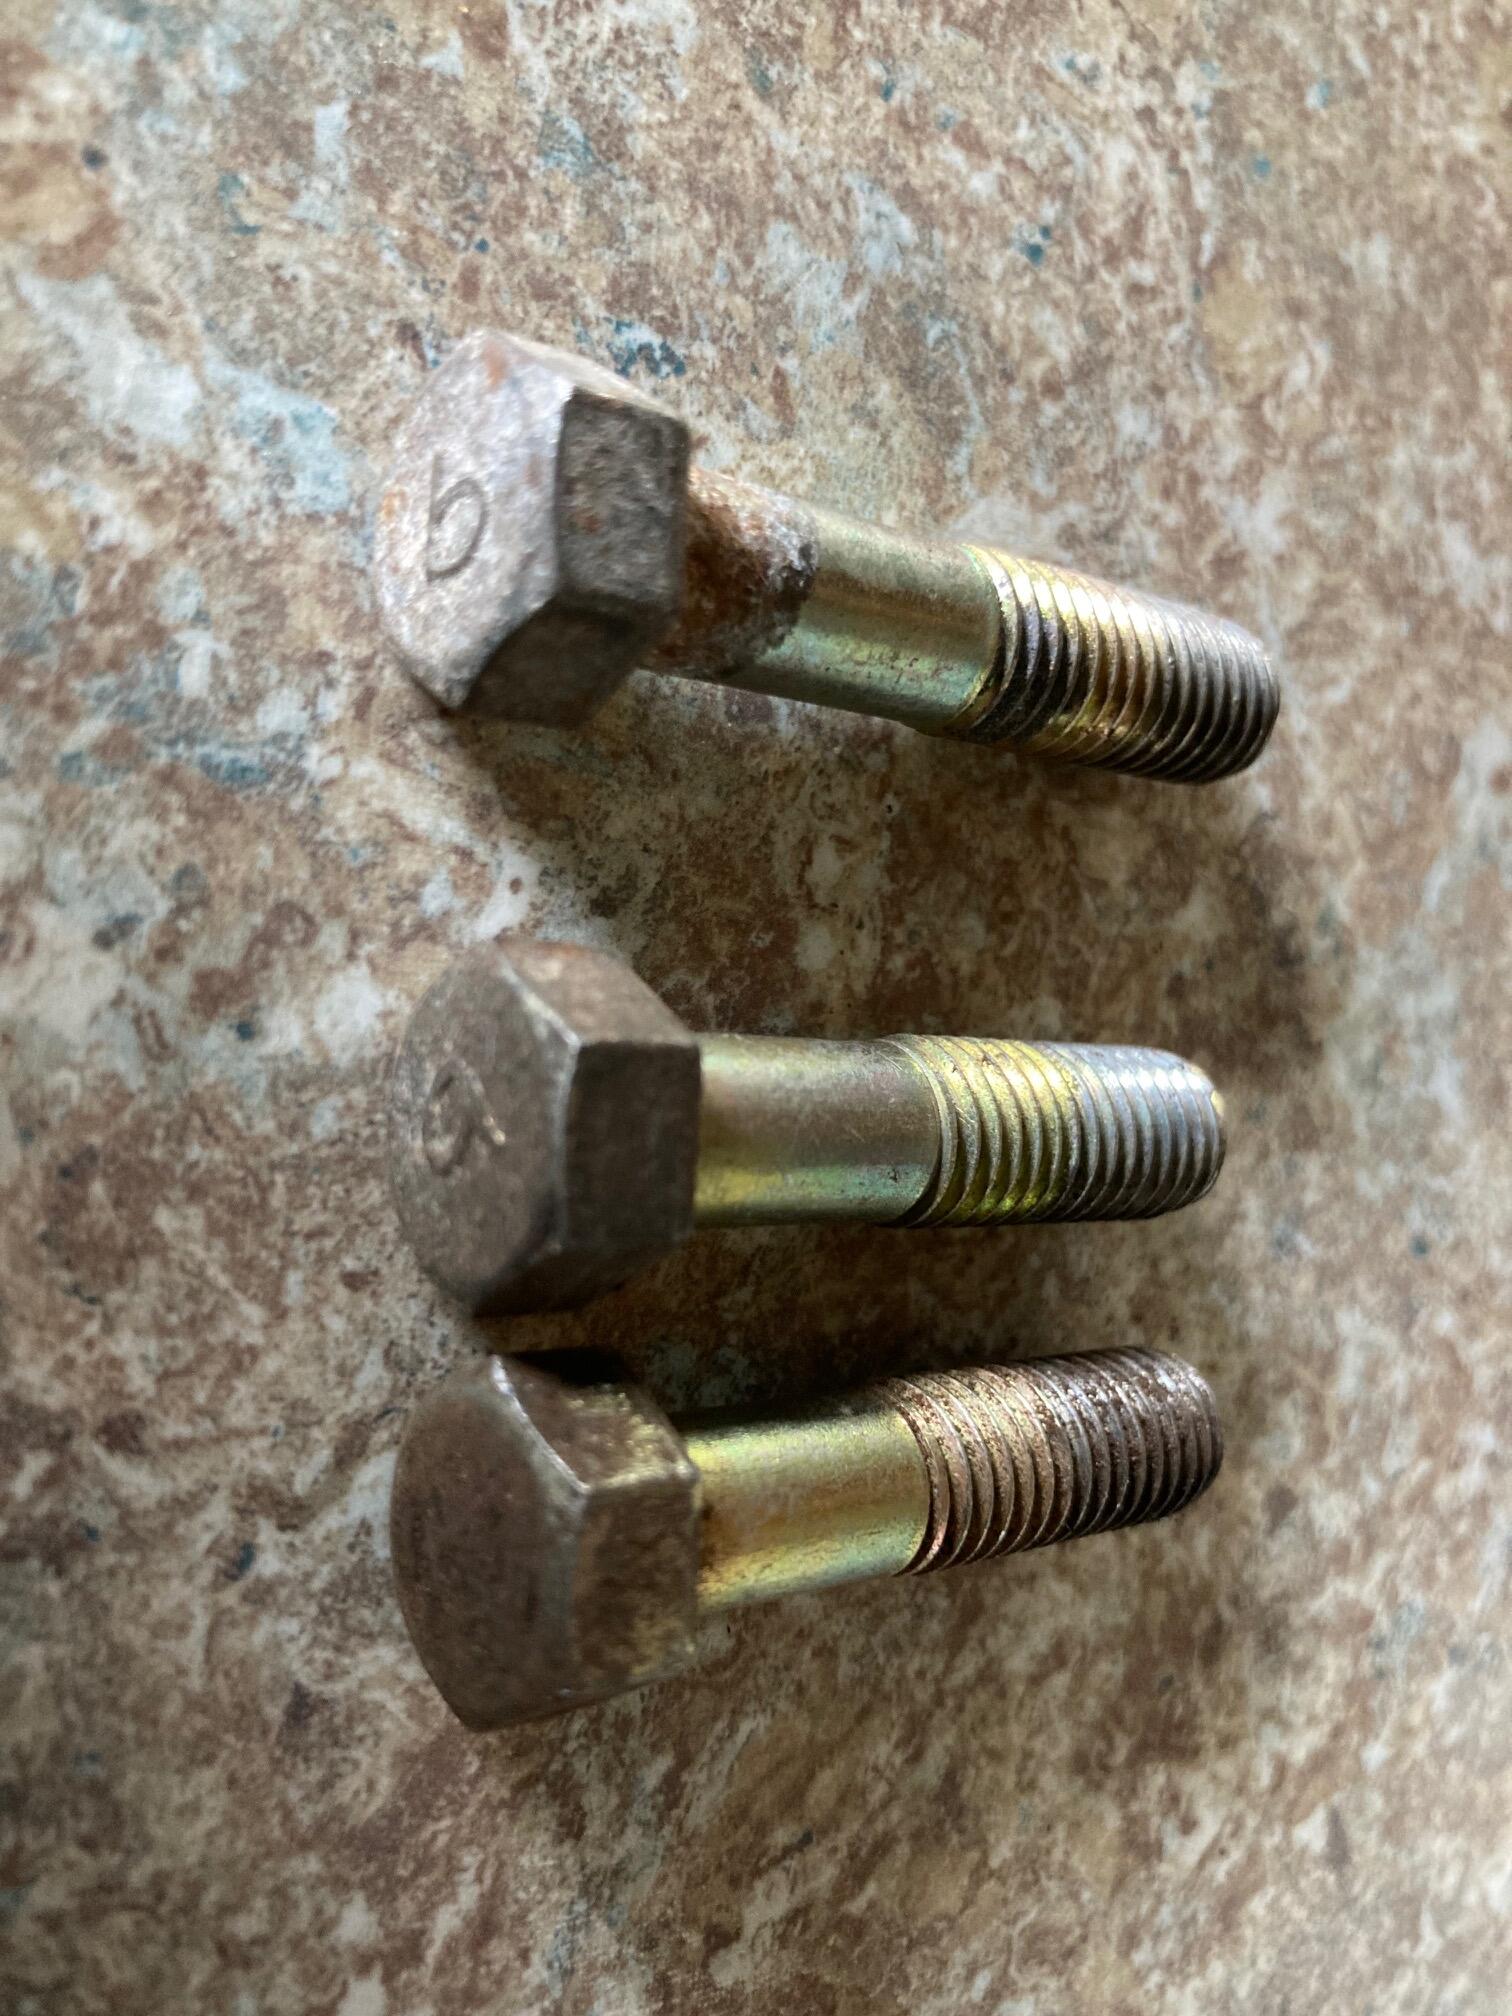
1 pointNo captive washers no flange or recessed head. Just 9 in the 1.5 and 7 on the 1.25.


 1 point
 -
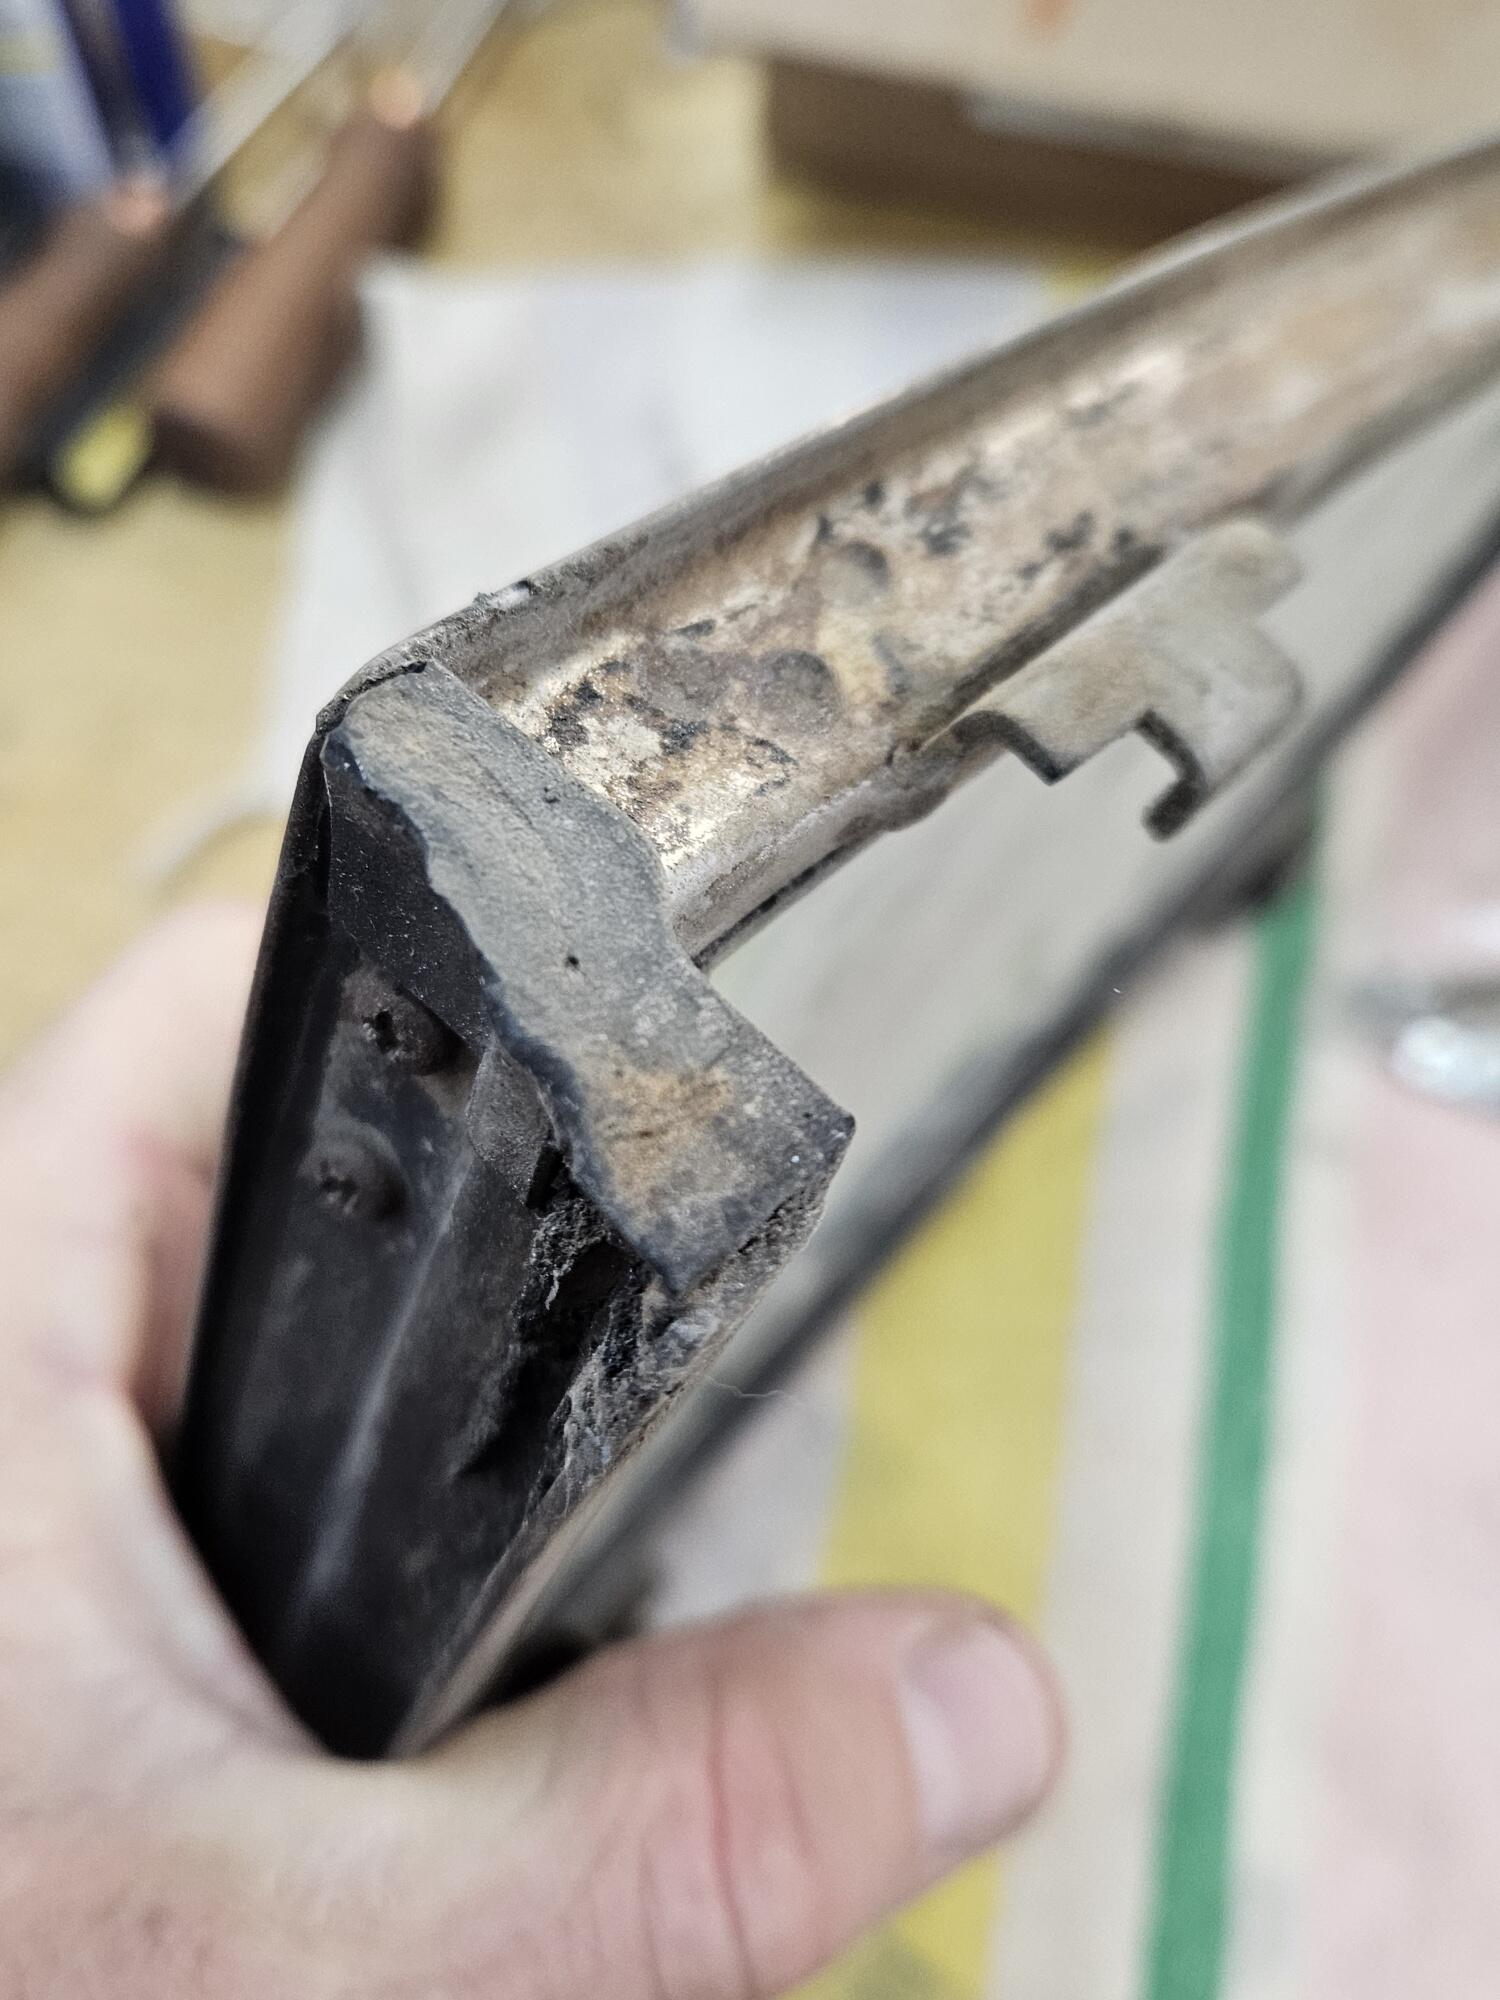
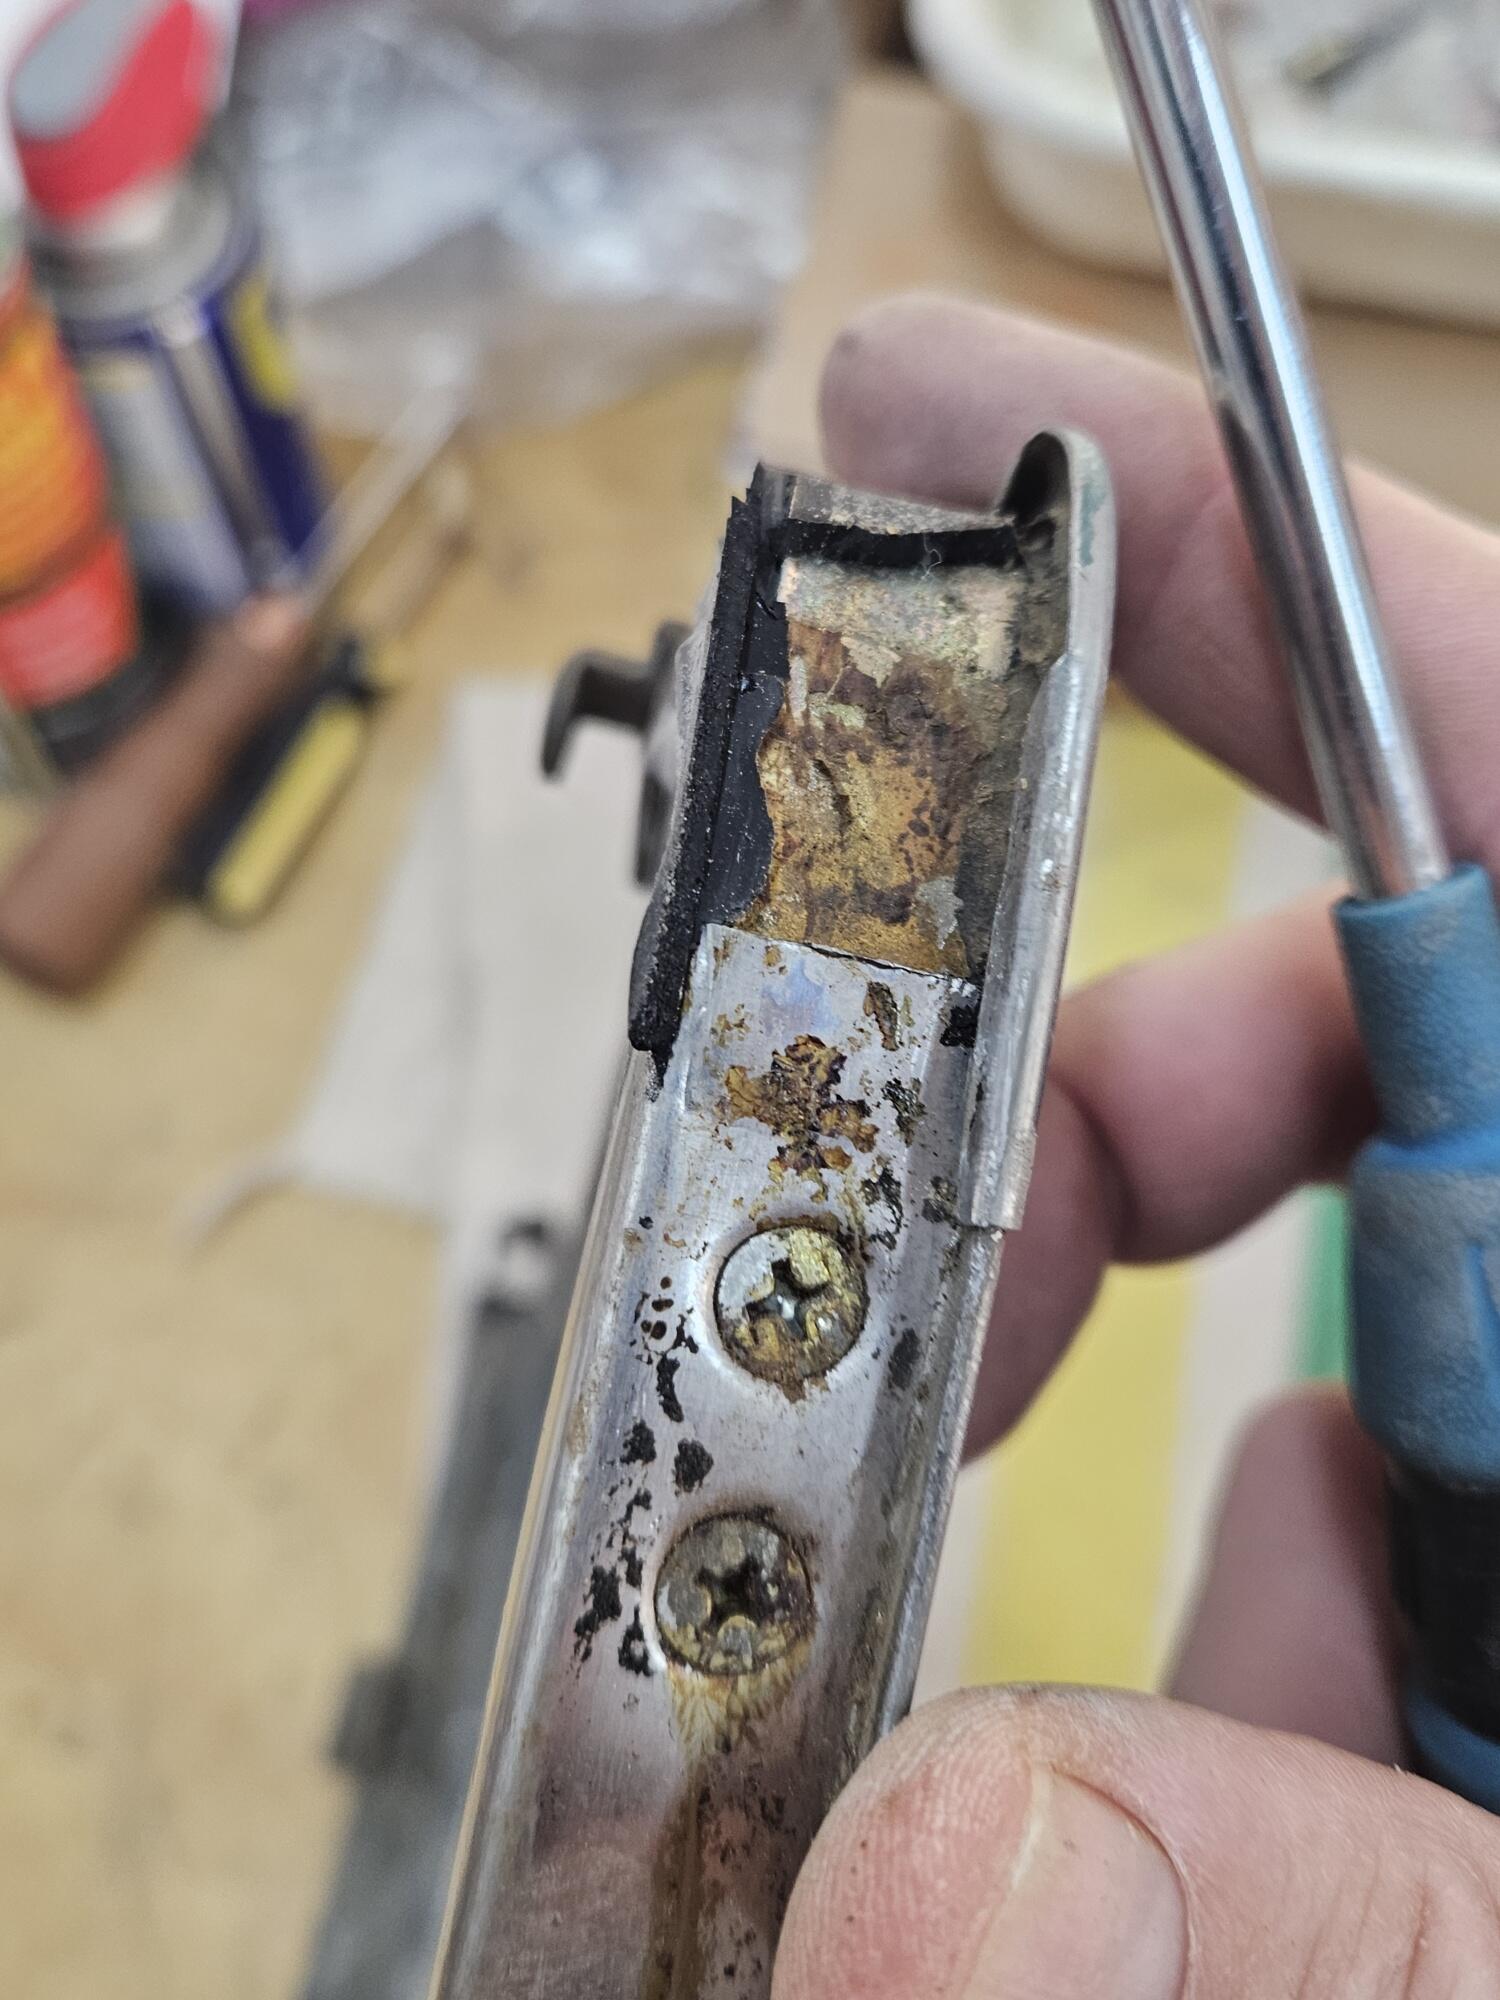
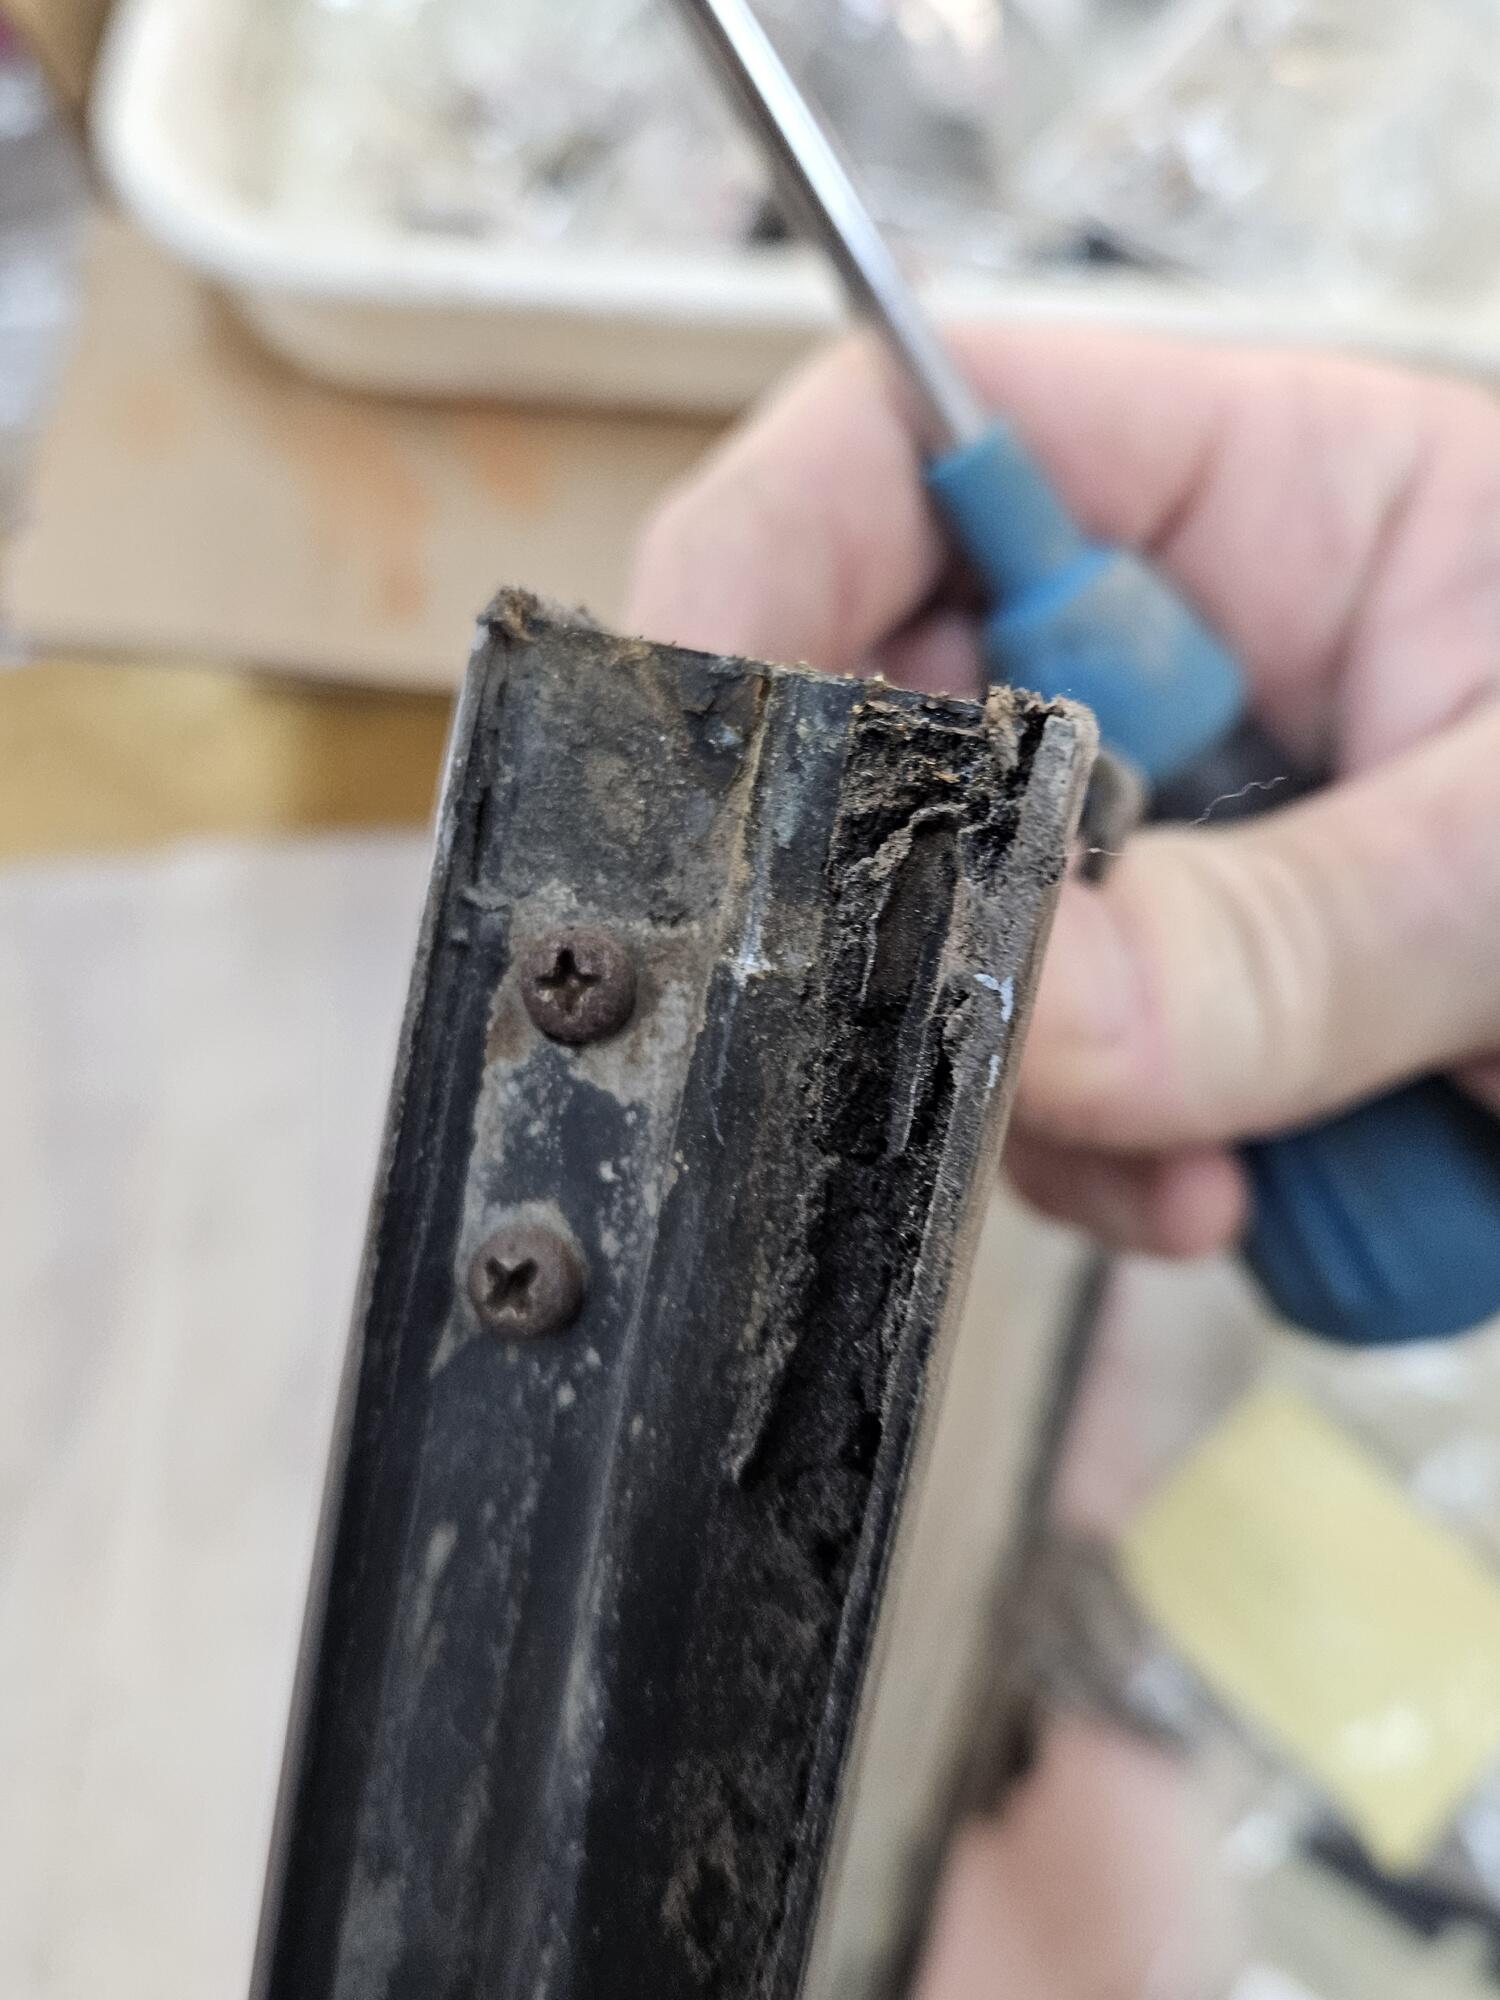
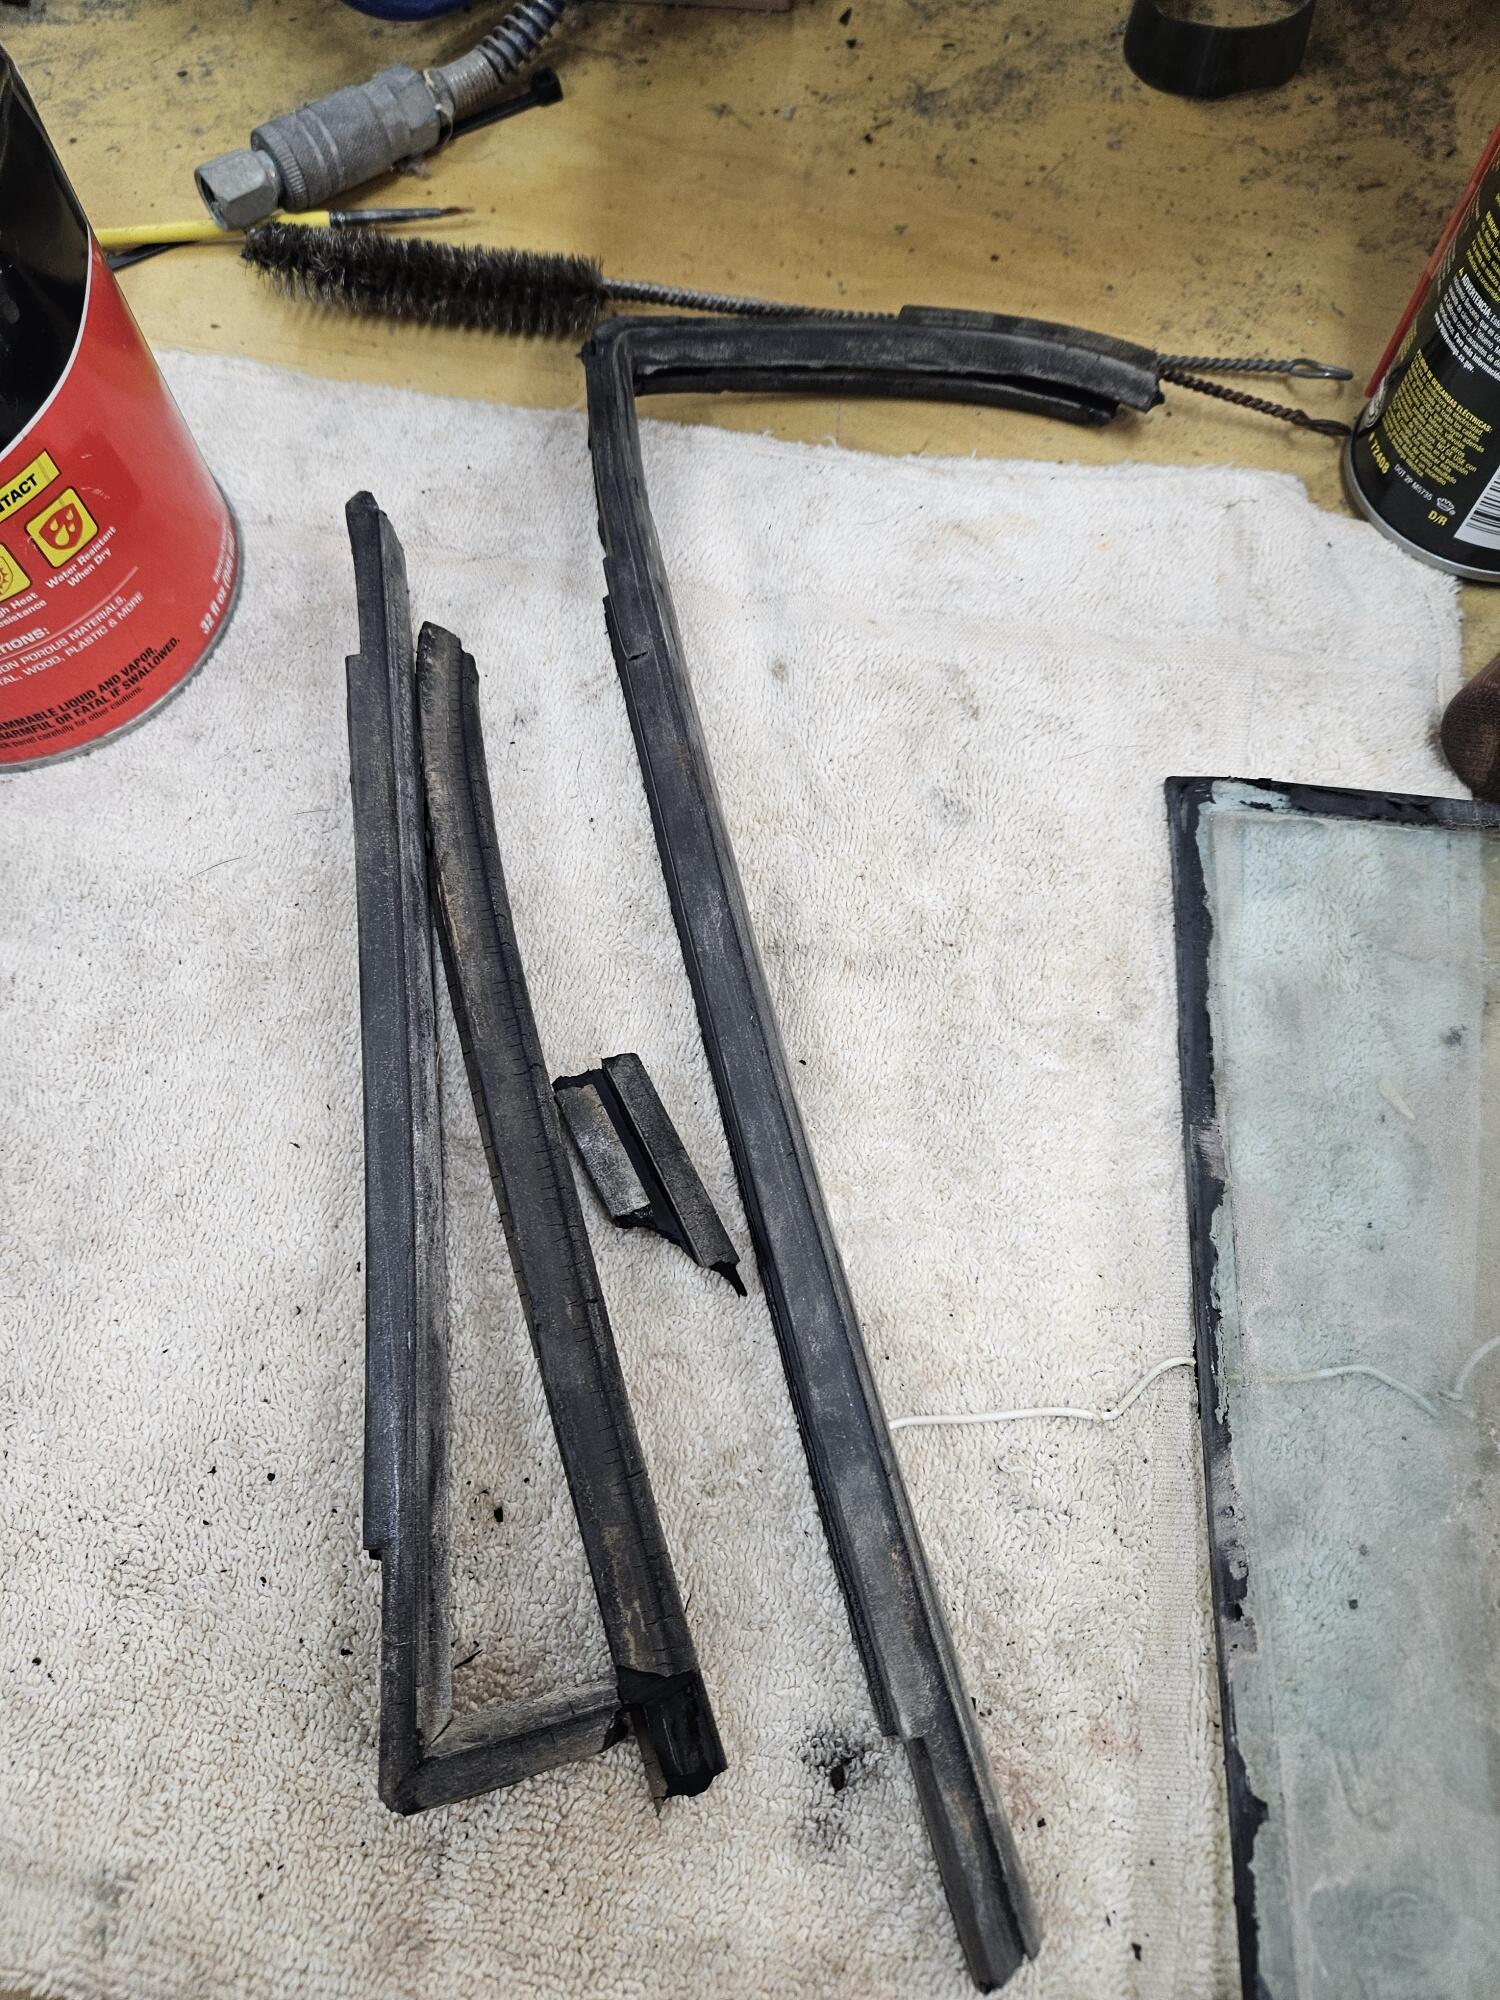
1 pointWent to the shop last night and worked on qtr windows some Old Old glass seal was toast New upper qtr seal They are ready for the car now


 1 point
 -
1 pointThis looks like 45mm with a 7 on the head. Is this enough Patina ? It has a captive washer.1 point
-
At this point, I got the door guts back in and it's a whole lot better than it was. the alignment of everything isn't perfect, but I can roll the window up and down without excessive force, and it's pretty good. Good enough for me to move to the next emergency at least. Between the help from you guys and a couple youtube videos, I managed to get the glass back into the doors and onto the regulator wheels with way less issue than I expected! Thanks guys!!1 point
-
1 point
-
Consider a Black Acid Neutralizing Mat (Link) to save potential future corrosion damage. Keith1 point
-
1 pointMaybe a video camera or cell phone instead of putting yourself under the car. Or maybe find or borrow a set of "chassis ears". Unfortunately, you cannot attach them to rotating parts.1 point
-
1 pointLooks good and it will probably help you in the future. You need a column with results though. More detail too, like brand of injector, etc. Maybe even cost but you can keep that private. I had a spreadsheet for a while for my car. Realized the nickels and dimes had added up in to the thousands for the whole car as a project. $20 here, $50 there. Doesn't take long. Don't look if you think your hobby is inexpensive. It's probably not.1 pointAfter several frustrating attempts and hours of back pain, I figured out a faster and easier way for REINSTALLING the clevis pins for both, brake booster and clutch master cilinder. Inserting the pin might actually takes a couple of minutes for the brake booster and bit longer for the master cilinder but it required a few previous steps that might take 1 hour. 0. Remove driver seat, your back will love it! Is only 4 screws. Is very important that you can see the location where the pin goes. I tried the Braille method… it won’t work! 1. Grind both pins conic… this facilitates guiding and inserting the pin into the holes of pedal lever and the connecting rode to booster and clutch master cilinder (see picture); 2. Keep lose the set of nuts fastening booster and clutch master cilinder (the loser the better but keep the nuts in the bolts). This enables to easily move the connecting roods and make their holes match the holes in the pedals; 3. Add a bit of grease to both pins, this helps sliding the pins while lubricating them for future operation; 4. Proceed to insert the pins, wiggle the pin vs the connecting rod. You will be surprised how easy each pin find its place; 5. Use a long pointed but small vice-grip pliers to reinsert the R clips; the booster clip must be gripped on it round bit flat to the pliers teeth. For the clutch master cilinder, perpendicular to the pliers teeth, be careful don’t press too much otherwise you will deform the clip. For both clips rotate the pins, so that you can see pin-hole. 6. Retighten clutch master cilinder and booster and the job is done! this requires to have some light source, and still, much parsimony needed. This part of rebuilding all that is in the engine bay has been the most difficult! Pfff!
 1 pointYep, that's why this group is so great! We all know how to get things one way or another. You can't find a decent bracket anymore. Most of the unit's I've seen are rusty, bent, or just not available. AFIK, Nissan no longer sells them. The way I look at it, we shouldn't bash a company because of something we can do ourselves. However, they have found a need and filled it with a product. I highly respect this idea and encourage it. I don't have the time, nor the resources, to build my own. So, I have purchased it with the intention of focusing my time elsewhere. Do-it-yourself projects are always a decision between time or money. But I WILL be installing this myself... 😉 As far as my status, I received an update the next day I placed my order with Kyusha. The next batch of brackets are in production now and I'll get one fresh off the press. Mike1 point1 pointI am in this stage 😅, I was looking for a smart trick, someone in high school gave me the nickname “manotas”. So, no hope, at least I got a laugh while reading the tread…1 pointCan you tell that this group is a bunch of talented self taught fabricators with healthy dose of DIY and offer to help when needed? Yeah, that’s us and damn proud of everyone here.1 pointThese pins are only supposed to be replaced by Japanese midgets born with abnormally small hands. As far as most challenging jobs on a Z, this job would rate it as #3 behind the rear spindle pins and replacement of bearings on the rear stub shafts. The pain inflicted on the body increases exponentially with age. Be happy that you are doing it while you are still young.1 pointBoy have you conjured up some old memories.......I know exactly what you are talking about!!! I've done mine a couple of times and for sure it is a real pain in the ( )! If only I was 36" tall with itty bitty hands....! Tom1 pointEasiest way is to take the dash and steering column out. It's a bit easier then. But welcome to the world of tiny Japanese fingers. Have you tried removing the rear heater valve hose clamp yet? That's real fun too.1 point0 pointsMy lug nuts are tapered. I'm using the same lug nuts my friend used when he was running these wheels and he had no shake.0 points


Important Information
By using this site, you agree to our Privacy Policy and Guidelines. We have placed cookies on your device to help make this website better. You can adjust your cookie settings, otherwise we'll assume you're okay to continue.