Leaderboard
-
Jughead
Free Member6Points131Posts -

DC871F
Free Member6Points676Posts -
grannyknot
Free Member5Points5,158Posts -
Patcon
 Subscriber
 4Points11,142Posts


Popular Content
Showing content with the highest reputation on 12/22/2021 in all areas
-
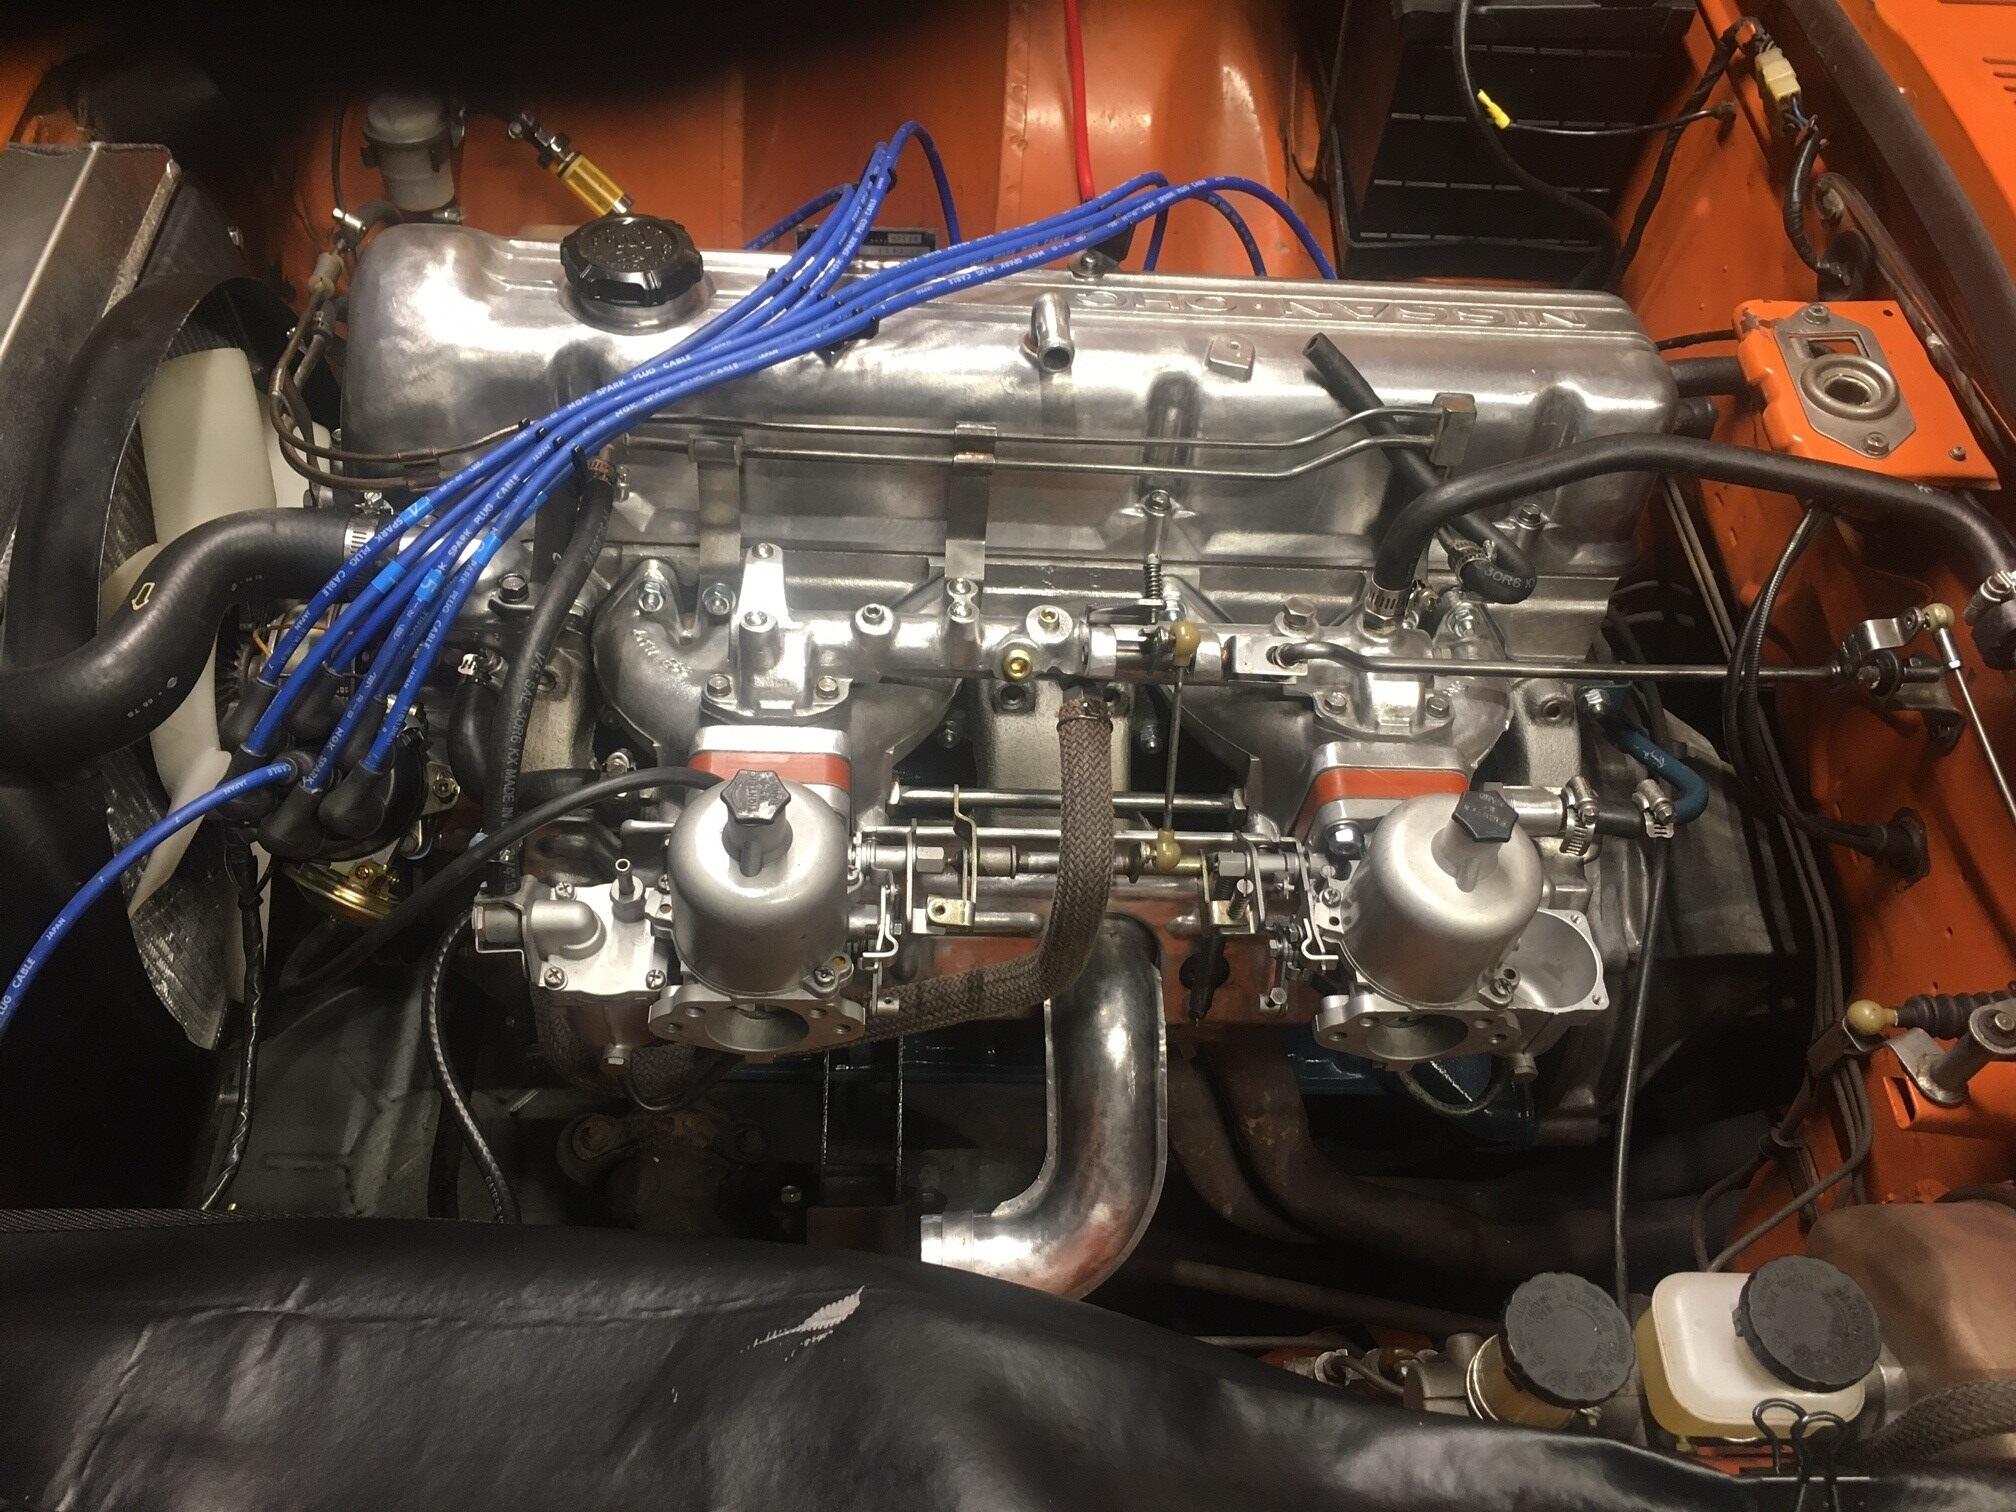
6 pointsHere's an update on my Z, in case anyone's interested: To summarize, I chased a backfire/"frontfire" condition by replacing plugs, wires, distributor, timing chain, coil, points, ballast resistor intake exhaust manifold gaskets, head gasket, carbs. I brought the head into AutoSport (Seattle) for a valve job & had the head rebuilt and the intake & exhaust manifolds refreshed. I even painted the engine block while I was at it. The problem ended up being (drum roll...) 2 plug wires swapped at the rotor cap! Duh. (I give 99% of the blame to myself and 1% to the Haynes manual!) Anyway, the engine looks and runs great now, and although I'm thoroughly embarrassed, I'm also extremely happy to have the Z on the road! Thanks to everyone who pitched in to help, and EXTRA SPECIAL THANKS to Steve @ Z Therapy. (What a great guy!) Along the way I had a lot of fun and learned a ton. Now onto to the suspension...!
 6 points
 -
3 points
-
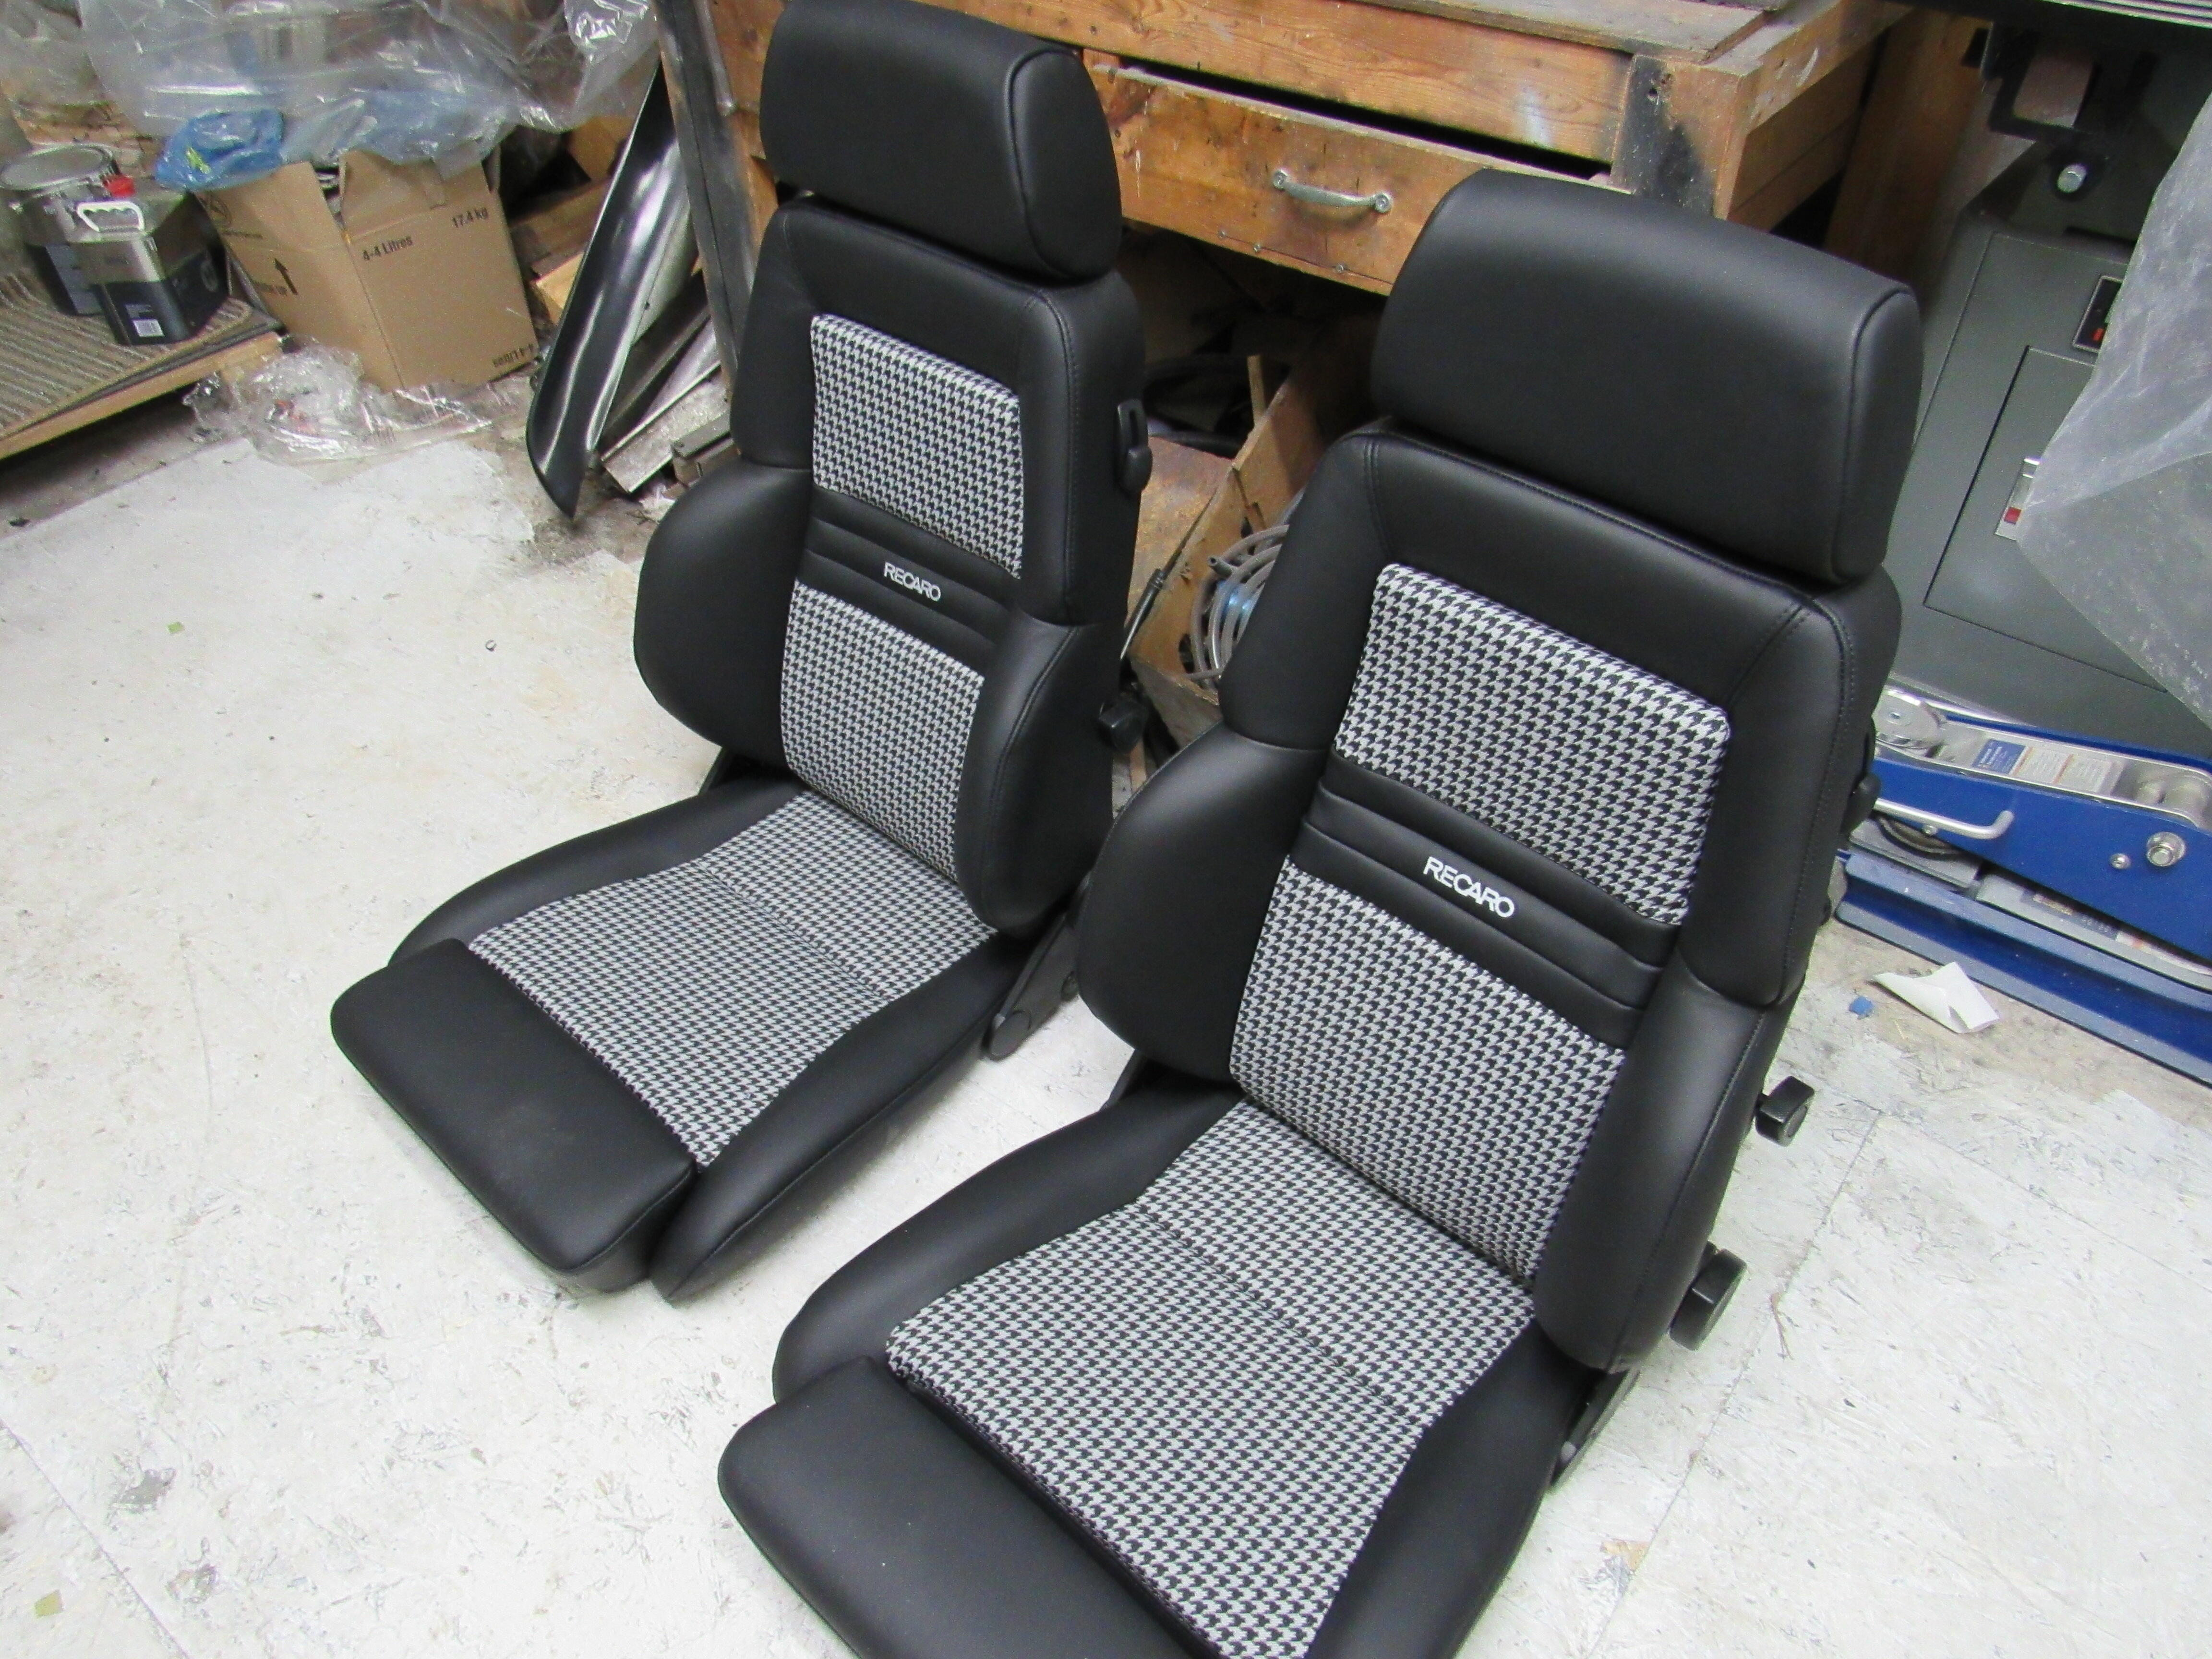
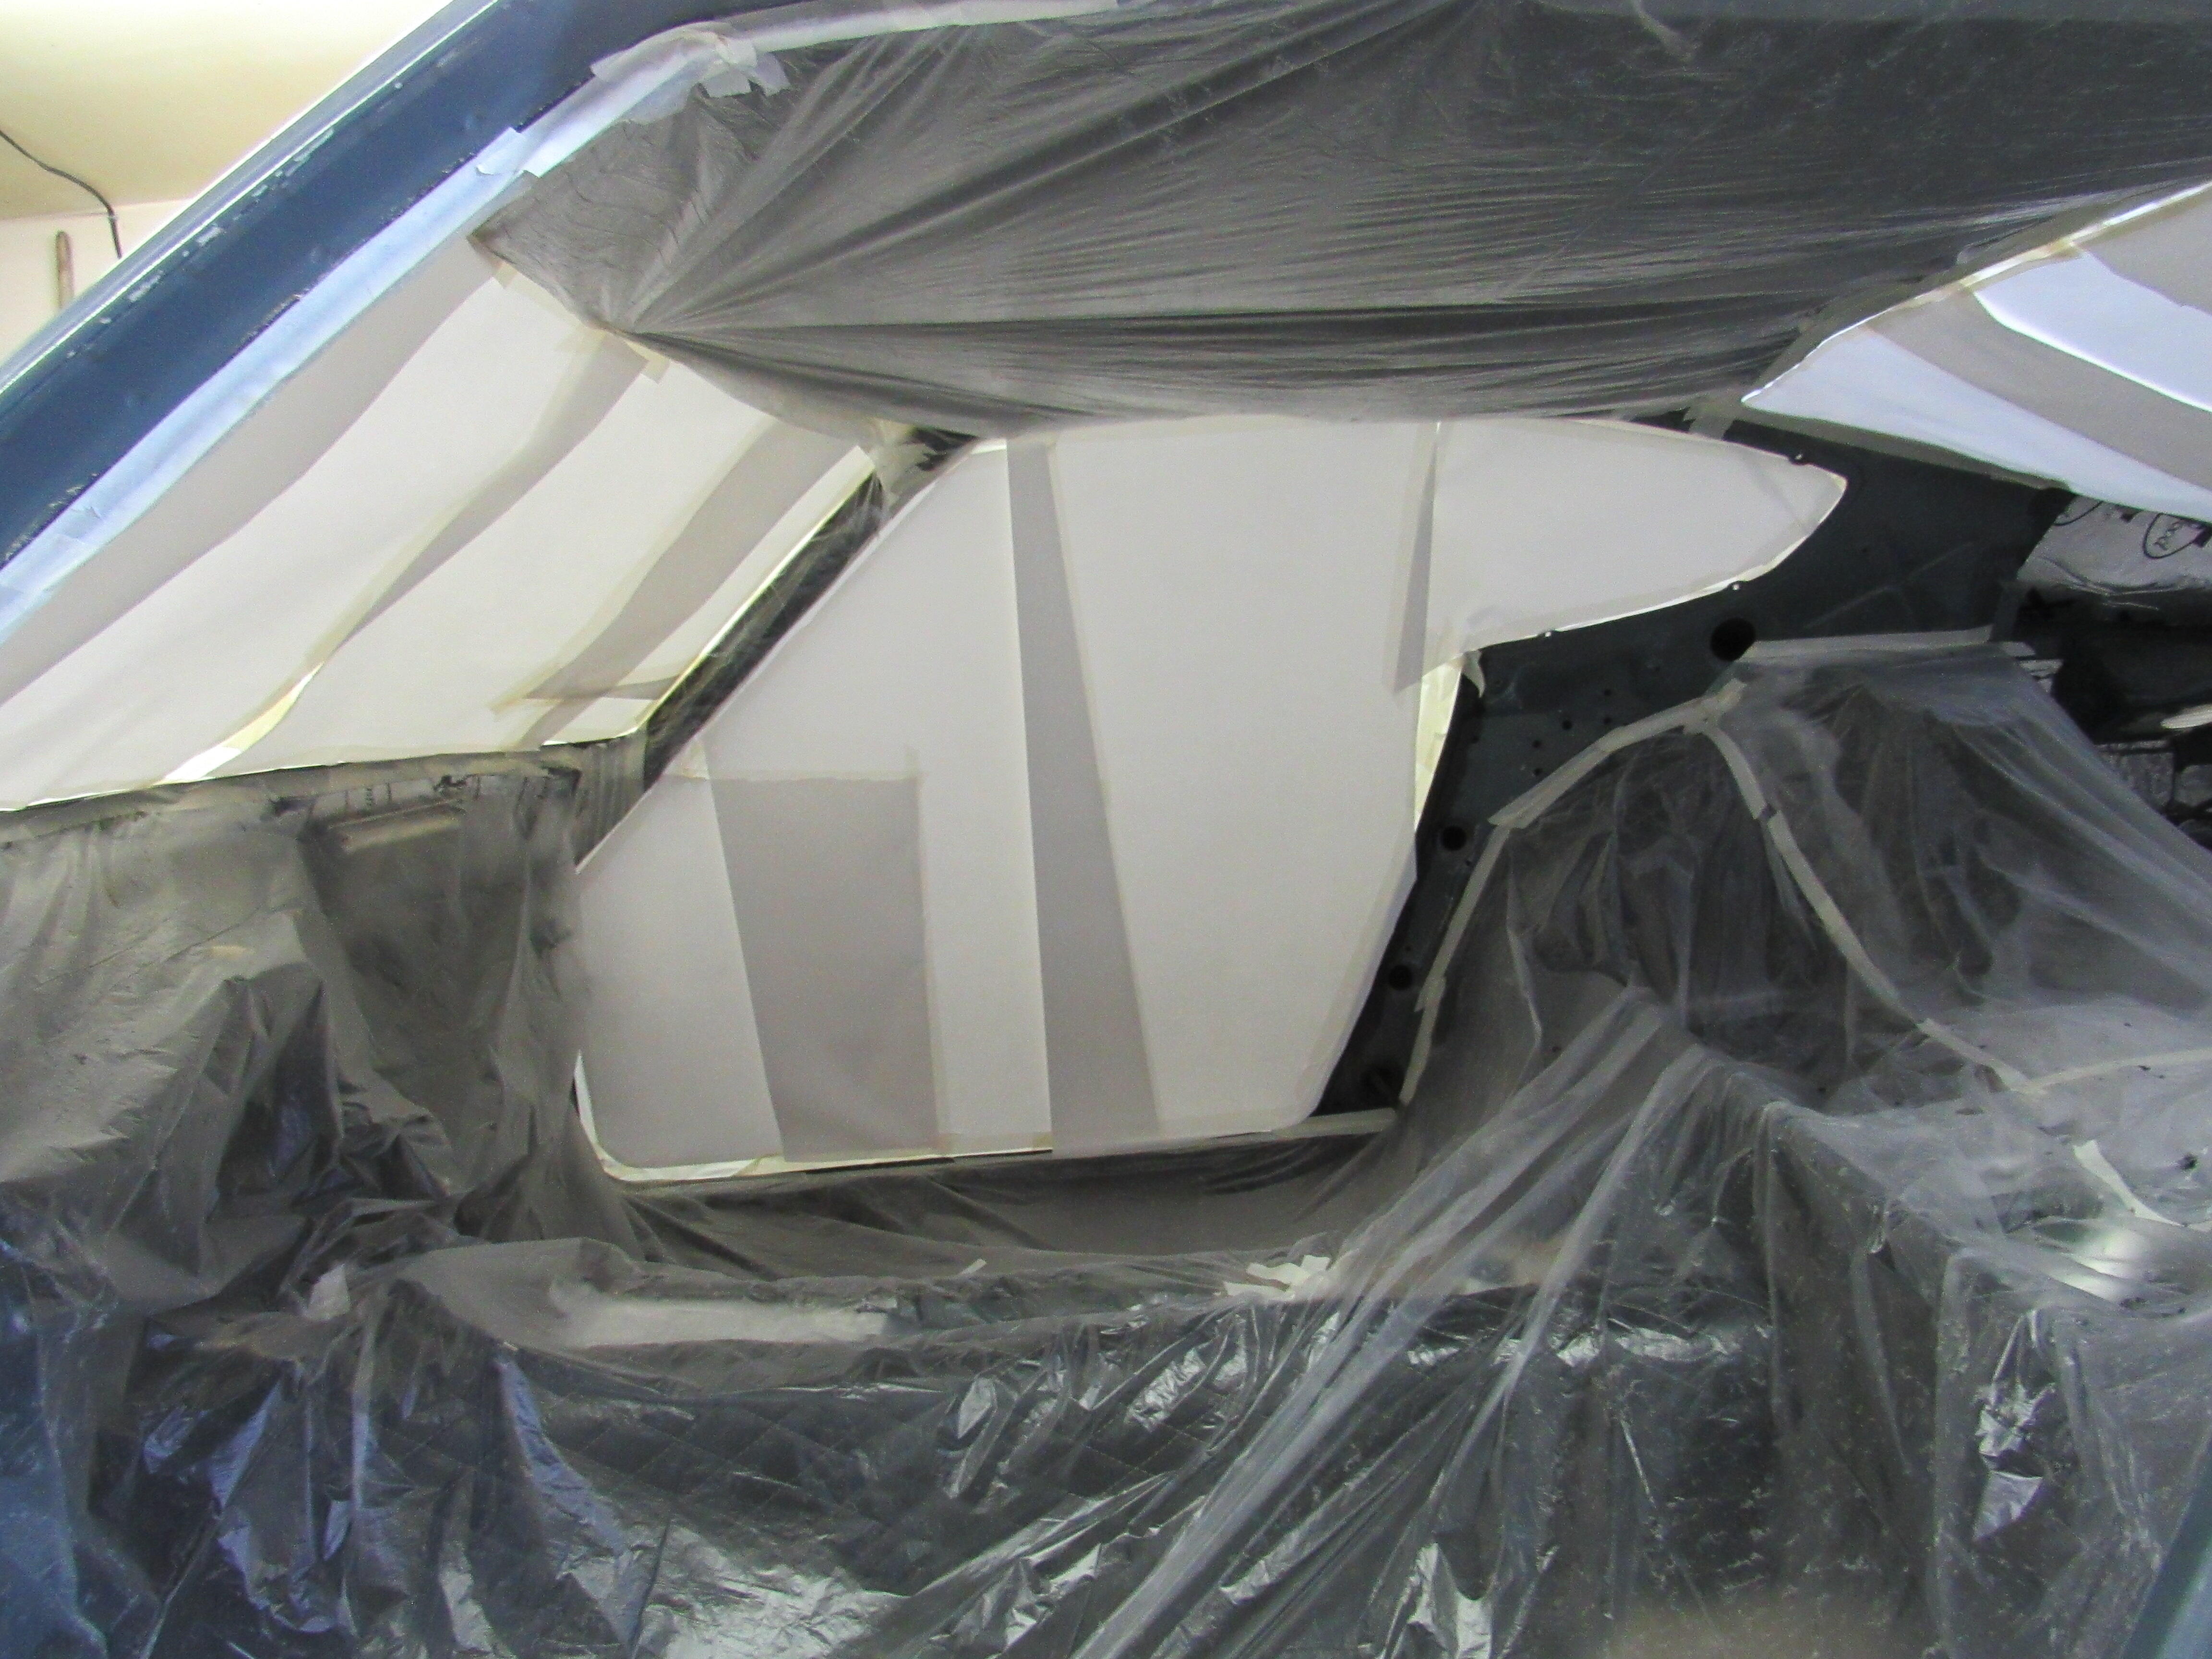
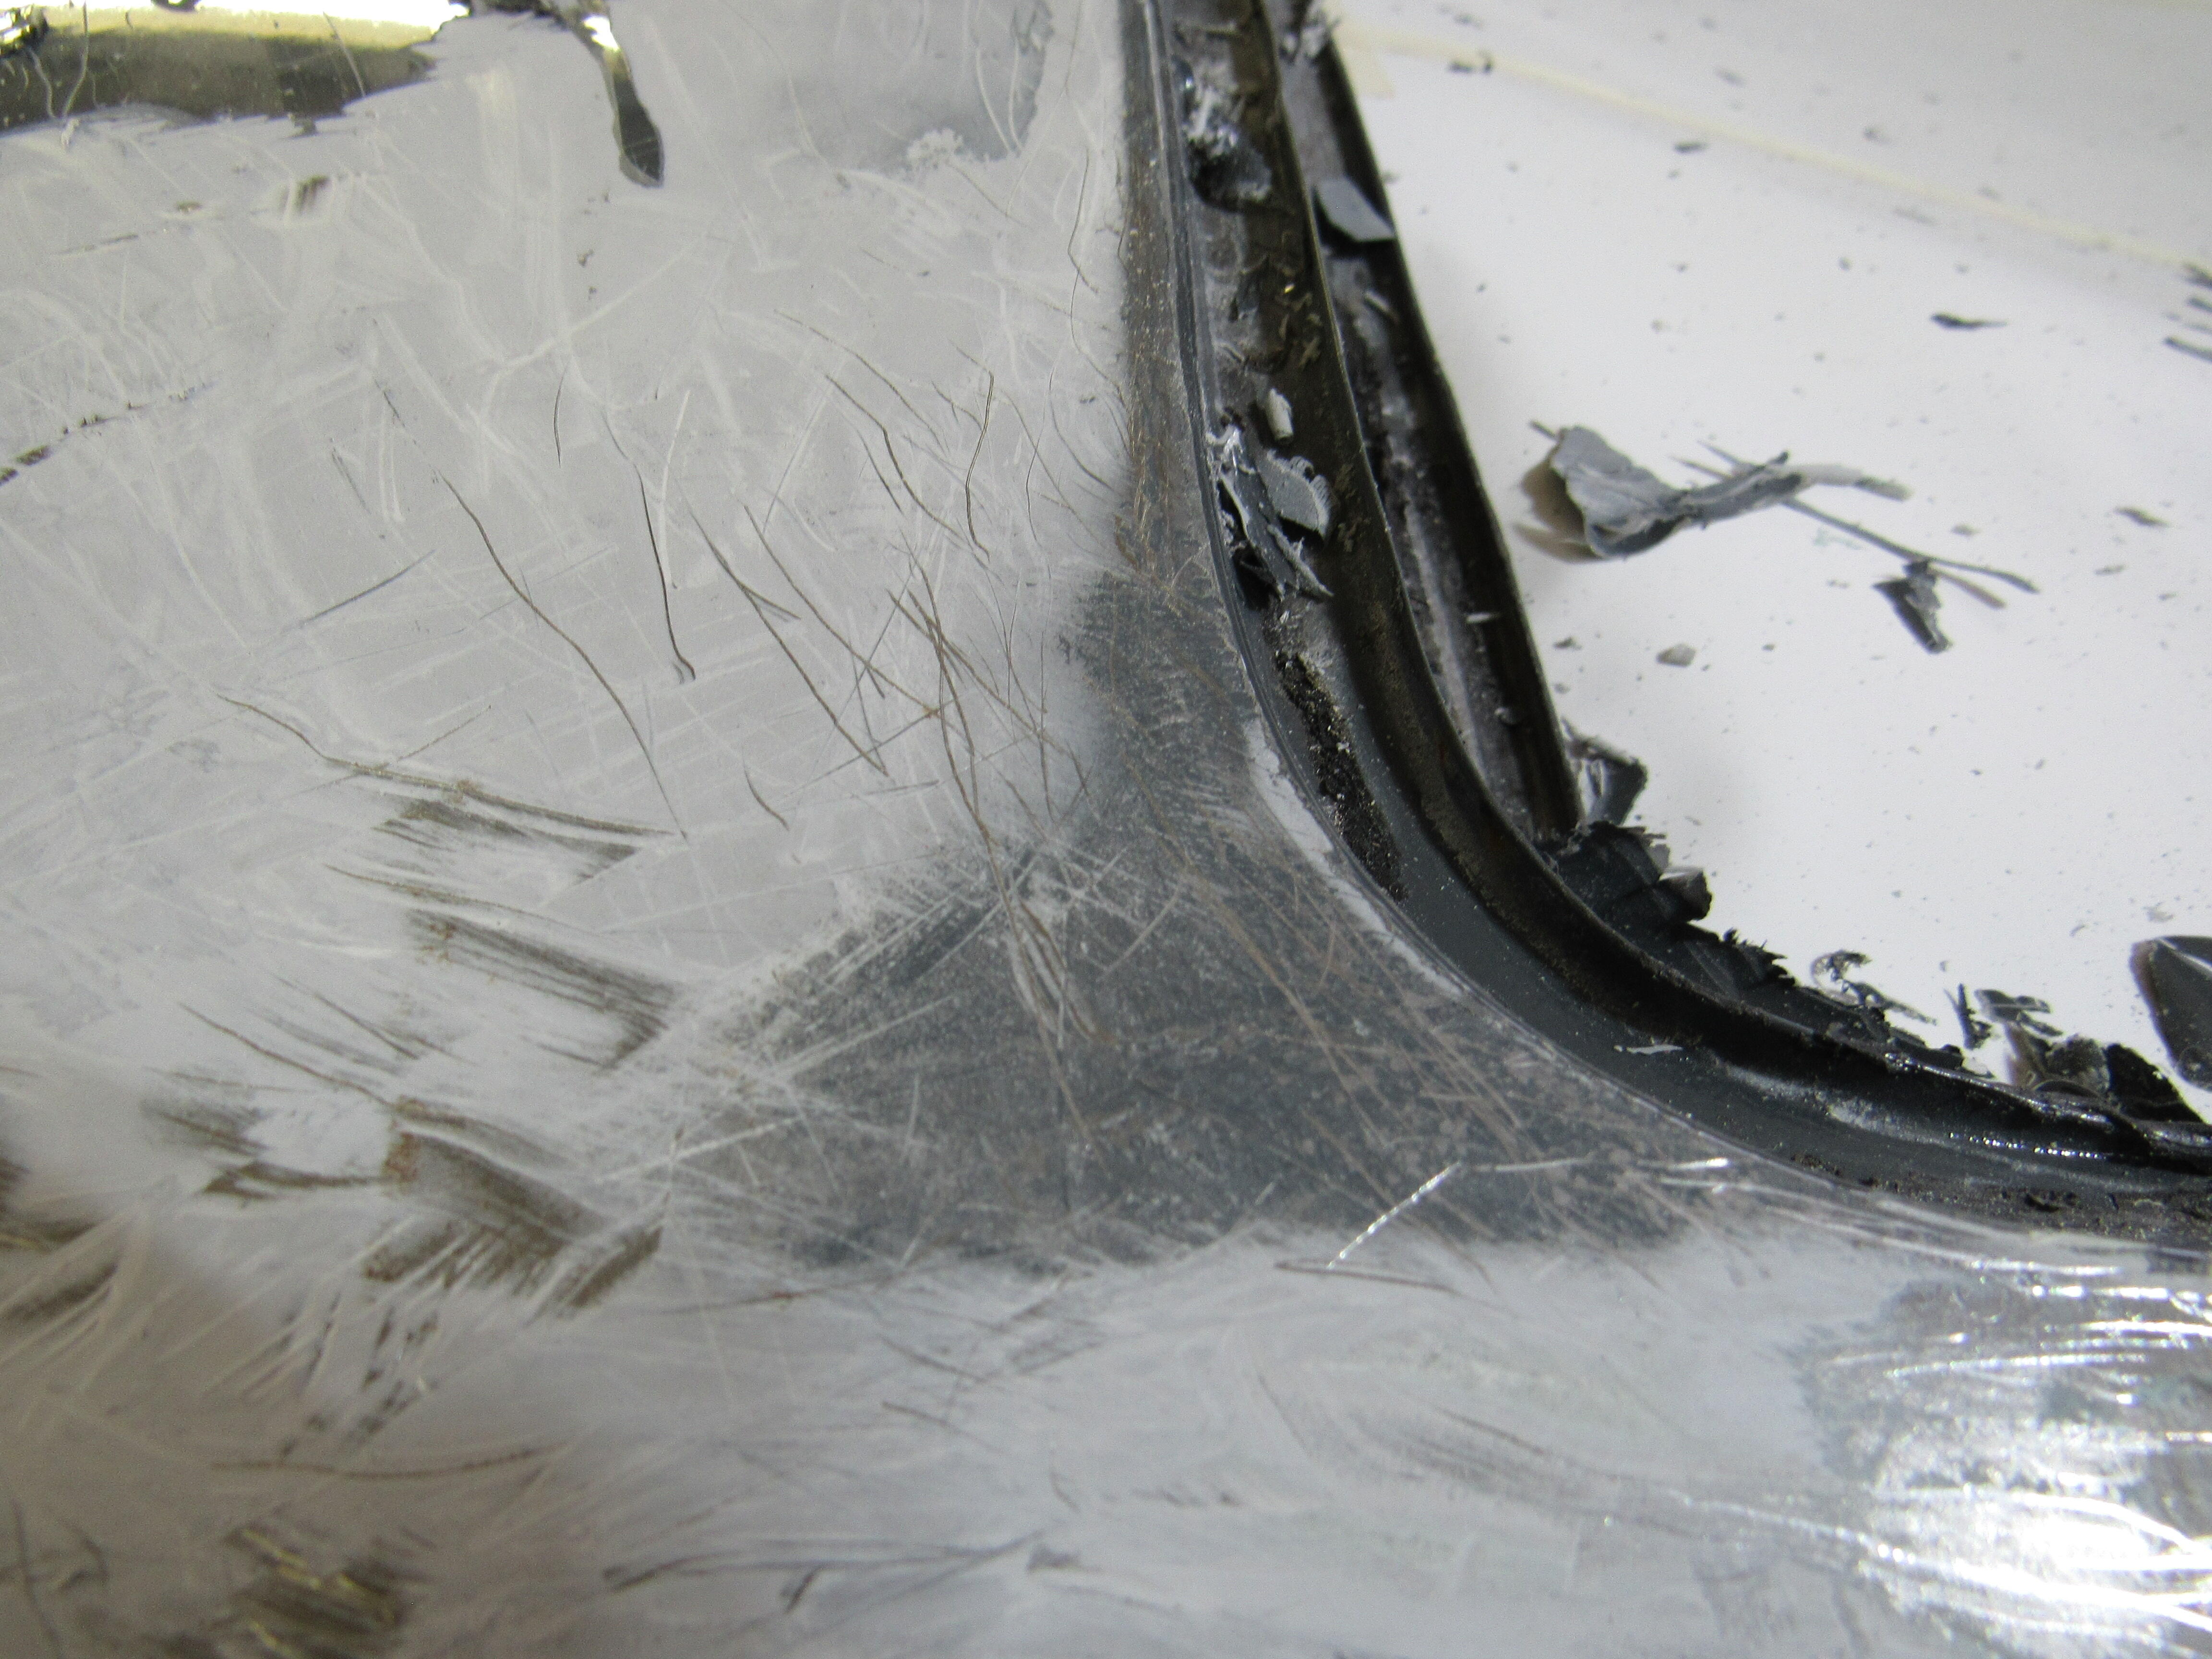
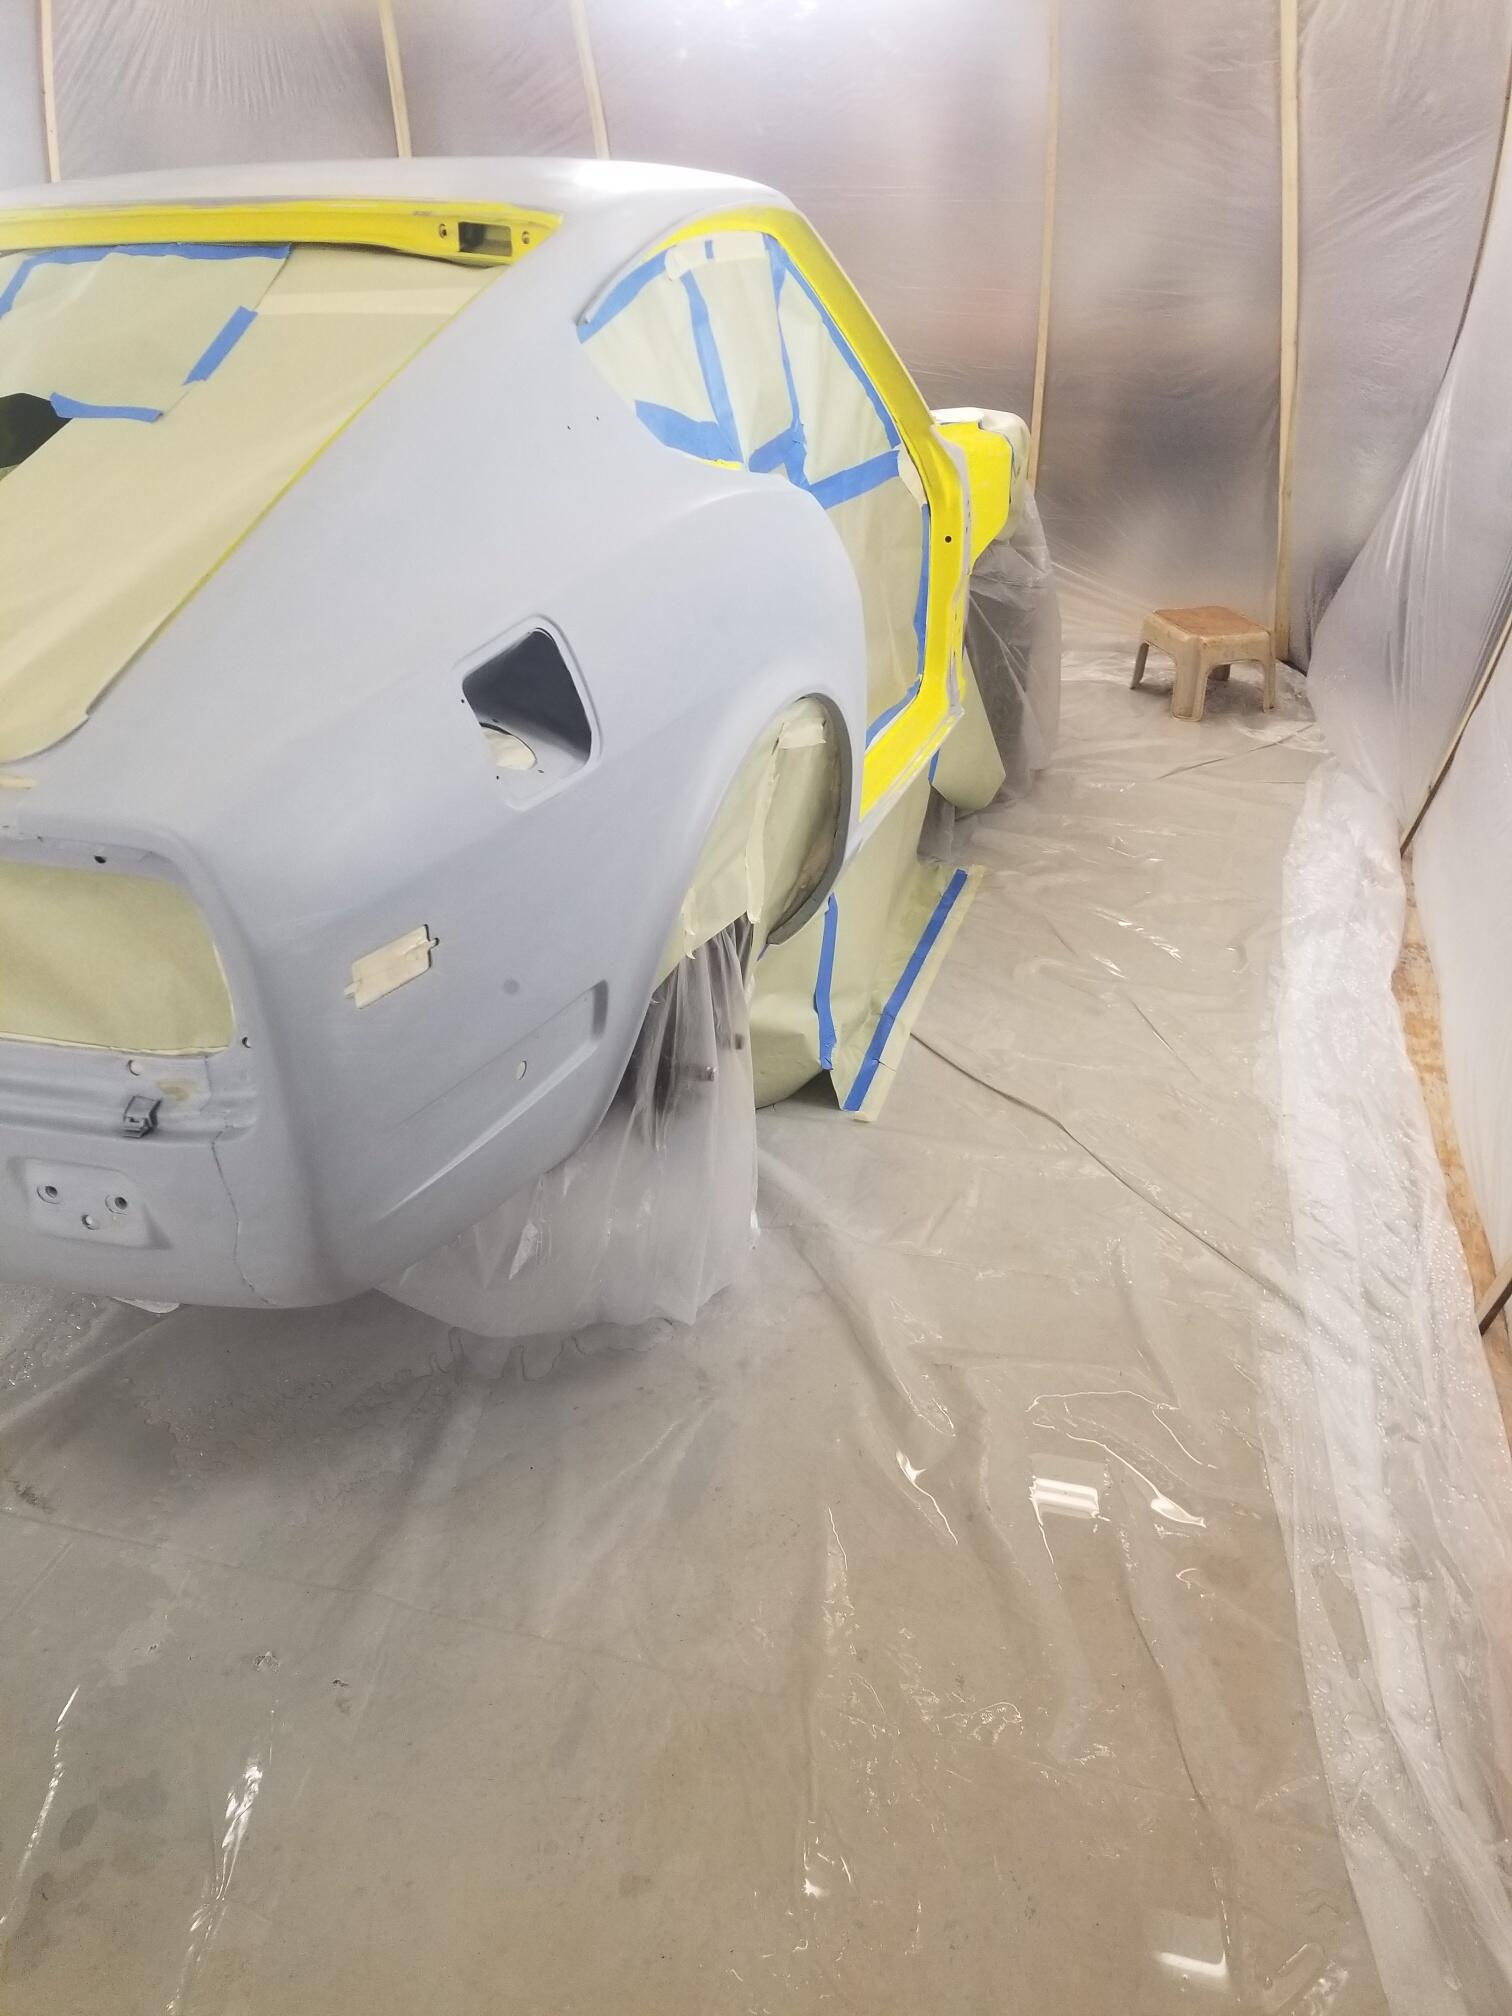
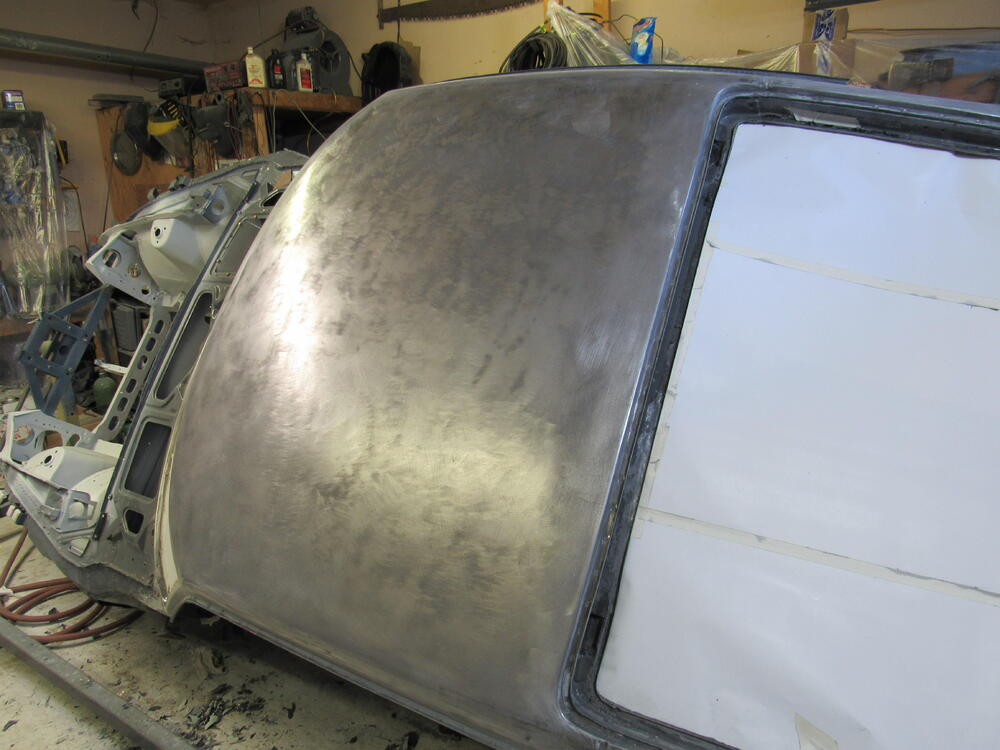
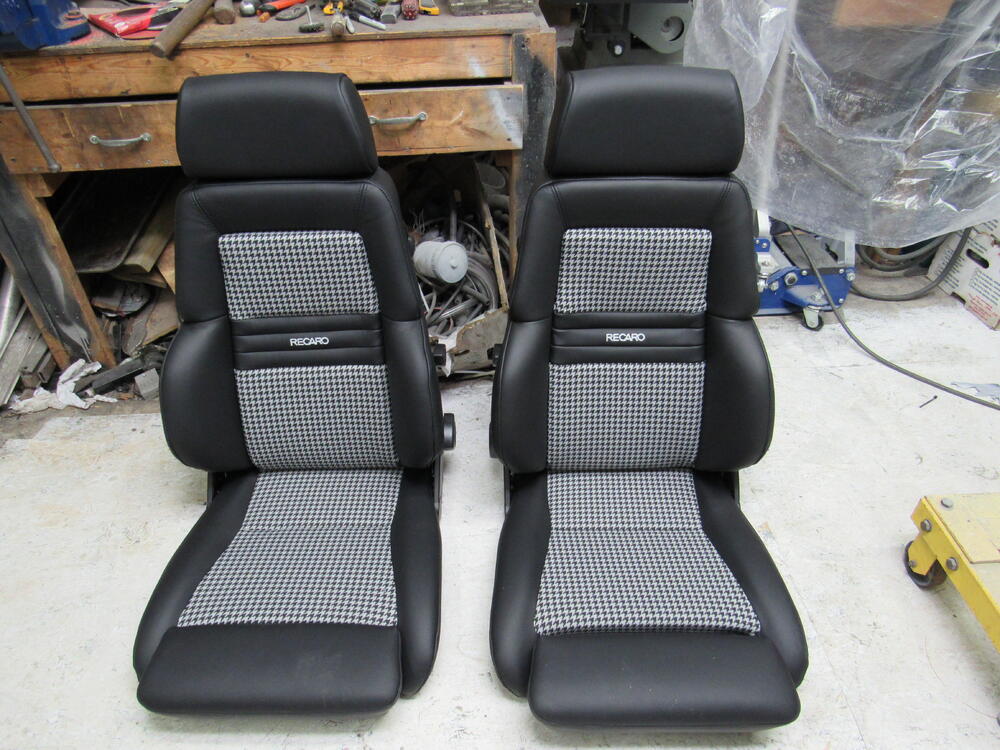
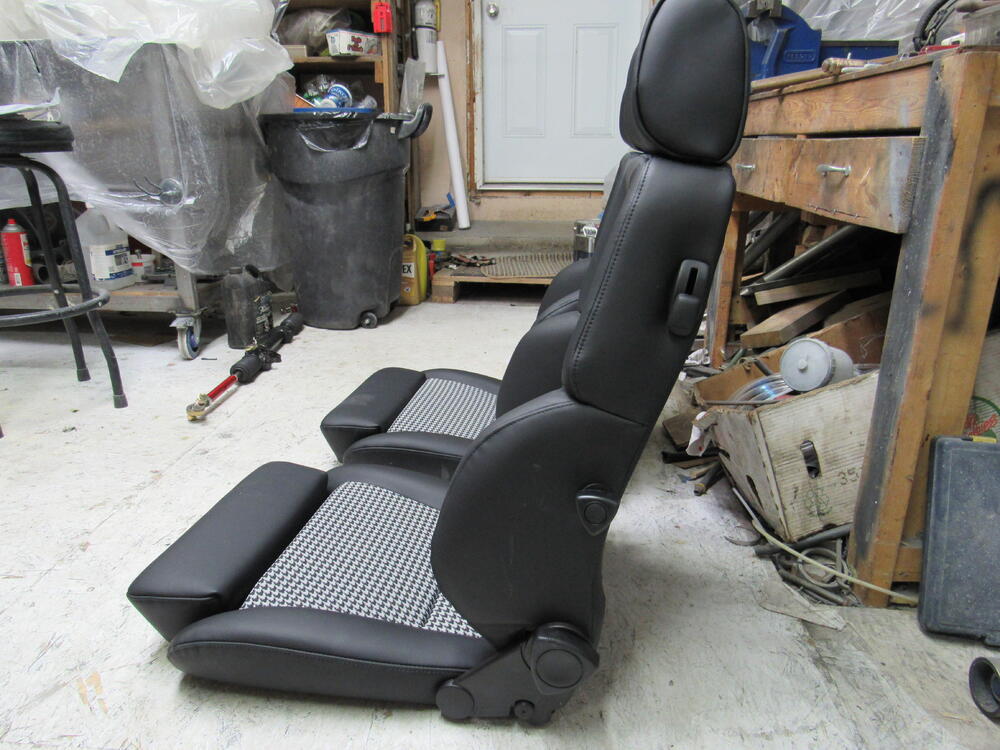
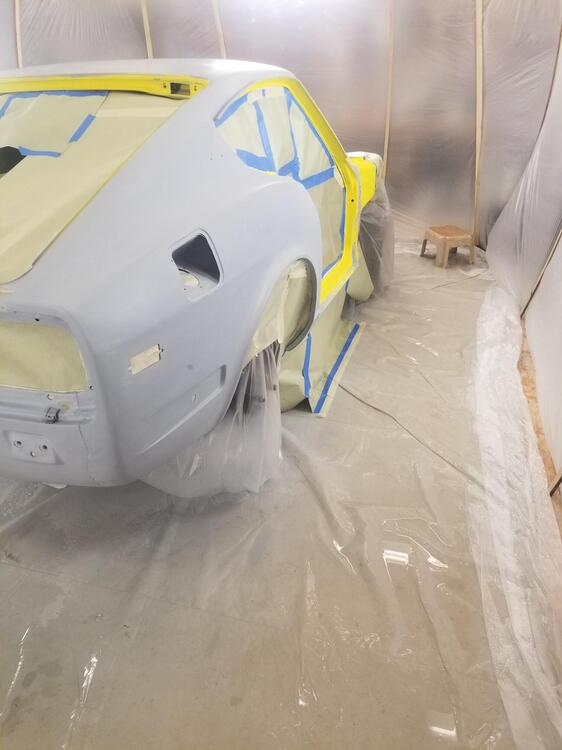
The colour hasn't been decided on yet, but this time it's not my call. I was thinking about putting the car up on BaT this coming spring and mentioned that to some of the local BMW Z4 guys, within a couple of days I got an email out of the blue from someone saying he was interested in buying the 240Z///M. We came to a price and now I'm painting and putting the car back together for this nice young couple. He's having the dash covered in Alcantara leather over the next month and he just dropped off some new Recaro seats he wants me to install. I wasn't really looking forward to repainting the car this winter, more of a necessary chore but now I'm actually enjoying it. It is going to remain local so I'm very pleased about that. I found some masking tape that had been mudded over.

 3 points
 -
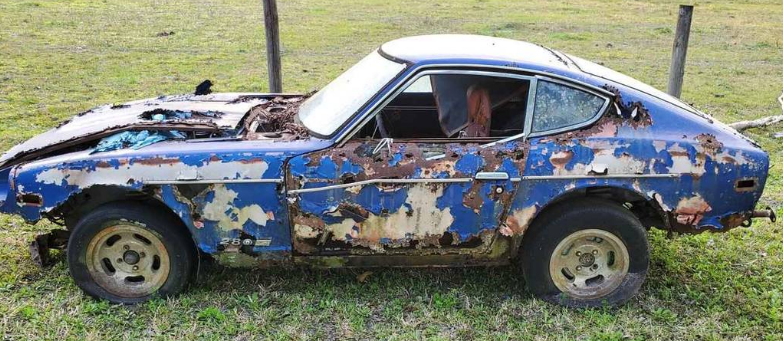
Agreed. And wow... I never thought I would ever see a Z more disgusting than that rusty junk falling off the underside cars that Beverly Hills has on ebay. Unfortunately I was wrong. I think I'm gonna hurl.3 points
-
2 points
-
2 pointsIt's always nice when the solution gets posted up, even if it's a little embarrassing. Glad you got it sorted!2 points
-
I already removed 1 of 2. What a harrowing adventure. I will buy the spindle pin tool next time since my "walk the pin out using 1234353245234645324 stacked washers" technique ended in tears. Ends up that tightening and loosening hardware a few hundred times under load is not good for the threads, who knew. 😛2 points
-
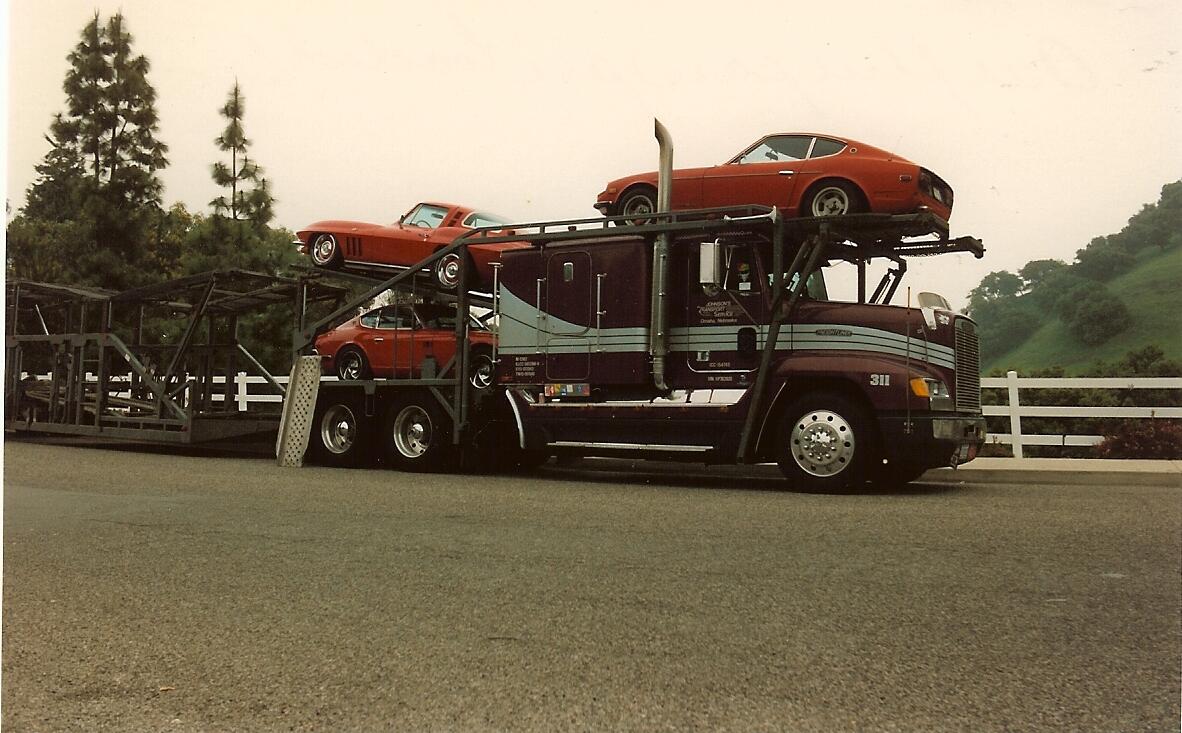
2 points1993 - Chino Hills CA to Clinton MA. The top 240Z wasn't running at the time (and still isn't ...) - the hauler was parked at the bottom of the hill I lived on, and I was able to coast down the hill with enough momentum to get it onto the first ramp. From there, the driver worked it with hydraulics and ramp tilts to get it above the cab. Aside from some minor dings on the tail end of the Corvette, the cars arrived unscathed.
 2 points
 -
2 points
-
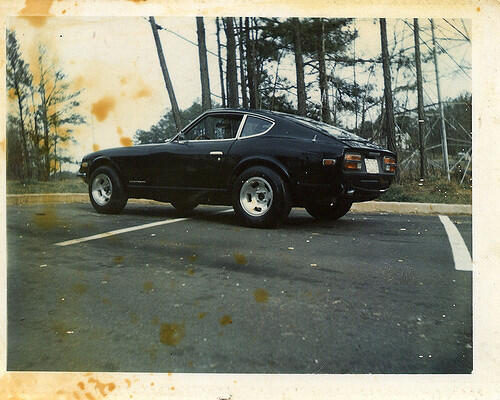
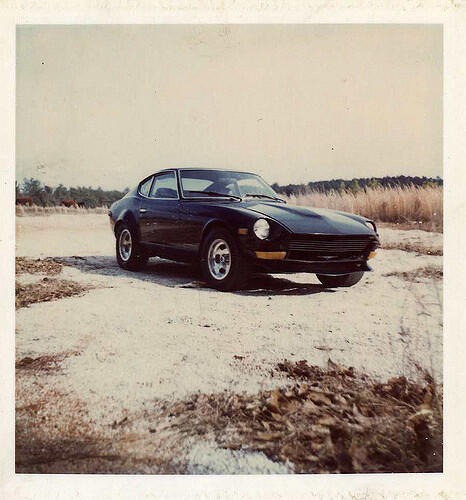
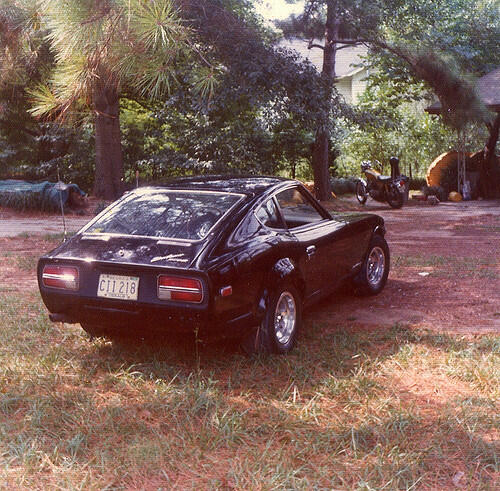
1 pointI found an old memory card while rummaging through a desk drawer today, and it had some photos I took of the 73 before I had it shipped from Virginia down to Georgia.

 1 point
 -
It can help to remove the spindle pin lock bolt, put a lug nut on the end of the spindle pin, squirt some penetrating fluid in to the lock bolt hole, and spin the pin suing the lug nut. It will spread the lubricant inside and break up the rust that's holding it in.1 point
-
1 point
-
I posted a thread on here somewhere. Search my name and spindle pin puller and you should find it. If not, I'm happy to send pics. I had access to a lathe which made it easier for sure. I bought a 3 foot length of 1" acme threaded rod, three mating nuts and three washers. I then bought a length of 1" black steel pipe. I cut the rod and drilled and tapped a M12x1.25 hole in each end. I then cut the pipe and welded the washer to one end to support the thrust bearing. One thing I didn't do that needs to be added is to either machine two flats on one end of the rod or drill a hole through the rod. As it is, it works great, but once pulled, the spindle pin and rod are locked together. The pin wedged in the rod as it's pulled. The flats or hole in the rod would allow the rod to be held from rotating. I double nut the free end of the spindle pin to back it off the rod. Without the flats or hole, I have to put the rod between blocks of wood in a vice and even then, it can be hard to hold.1 point
-
Pretty cool video but I absolutely shuddered when I saw people around sawing and cutting machinery without safety glasses - a sign of the times. Thanks for sharing.1 point
-
No tools needed to remove parts, just give the cars a good shake.1 point
-
Over the holiday break I plan to layout and model supports using ideas from your pictures and @ConVerTT's jig pictures. While looking for framing ideas I found this vintage unistrut video, and couldn't resist sharing. Lol1 point
-
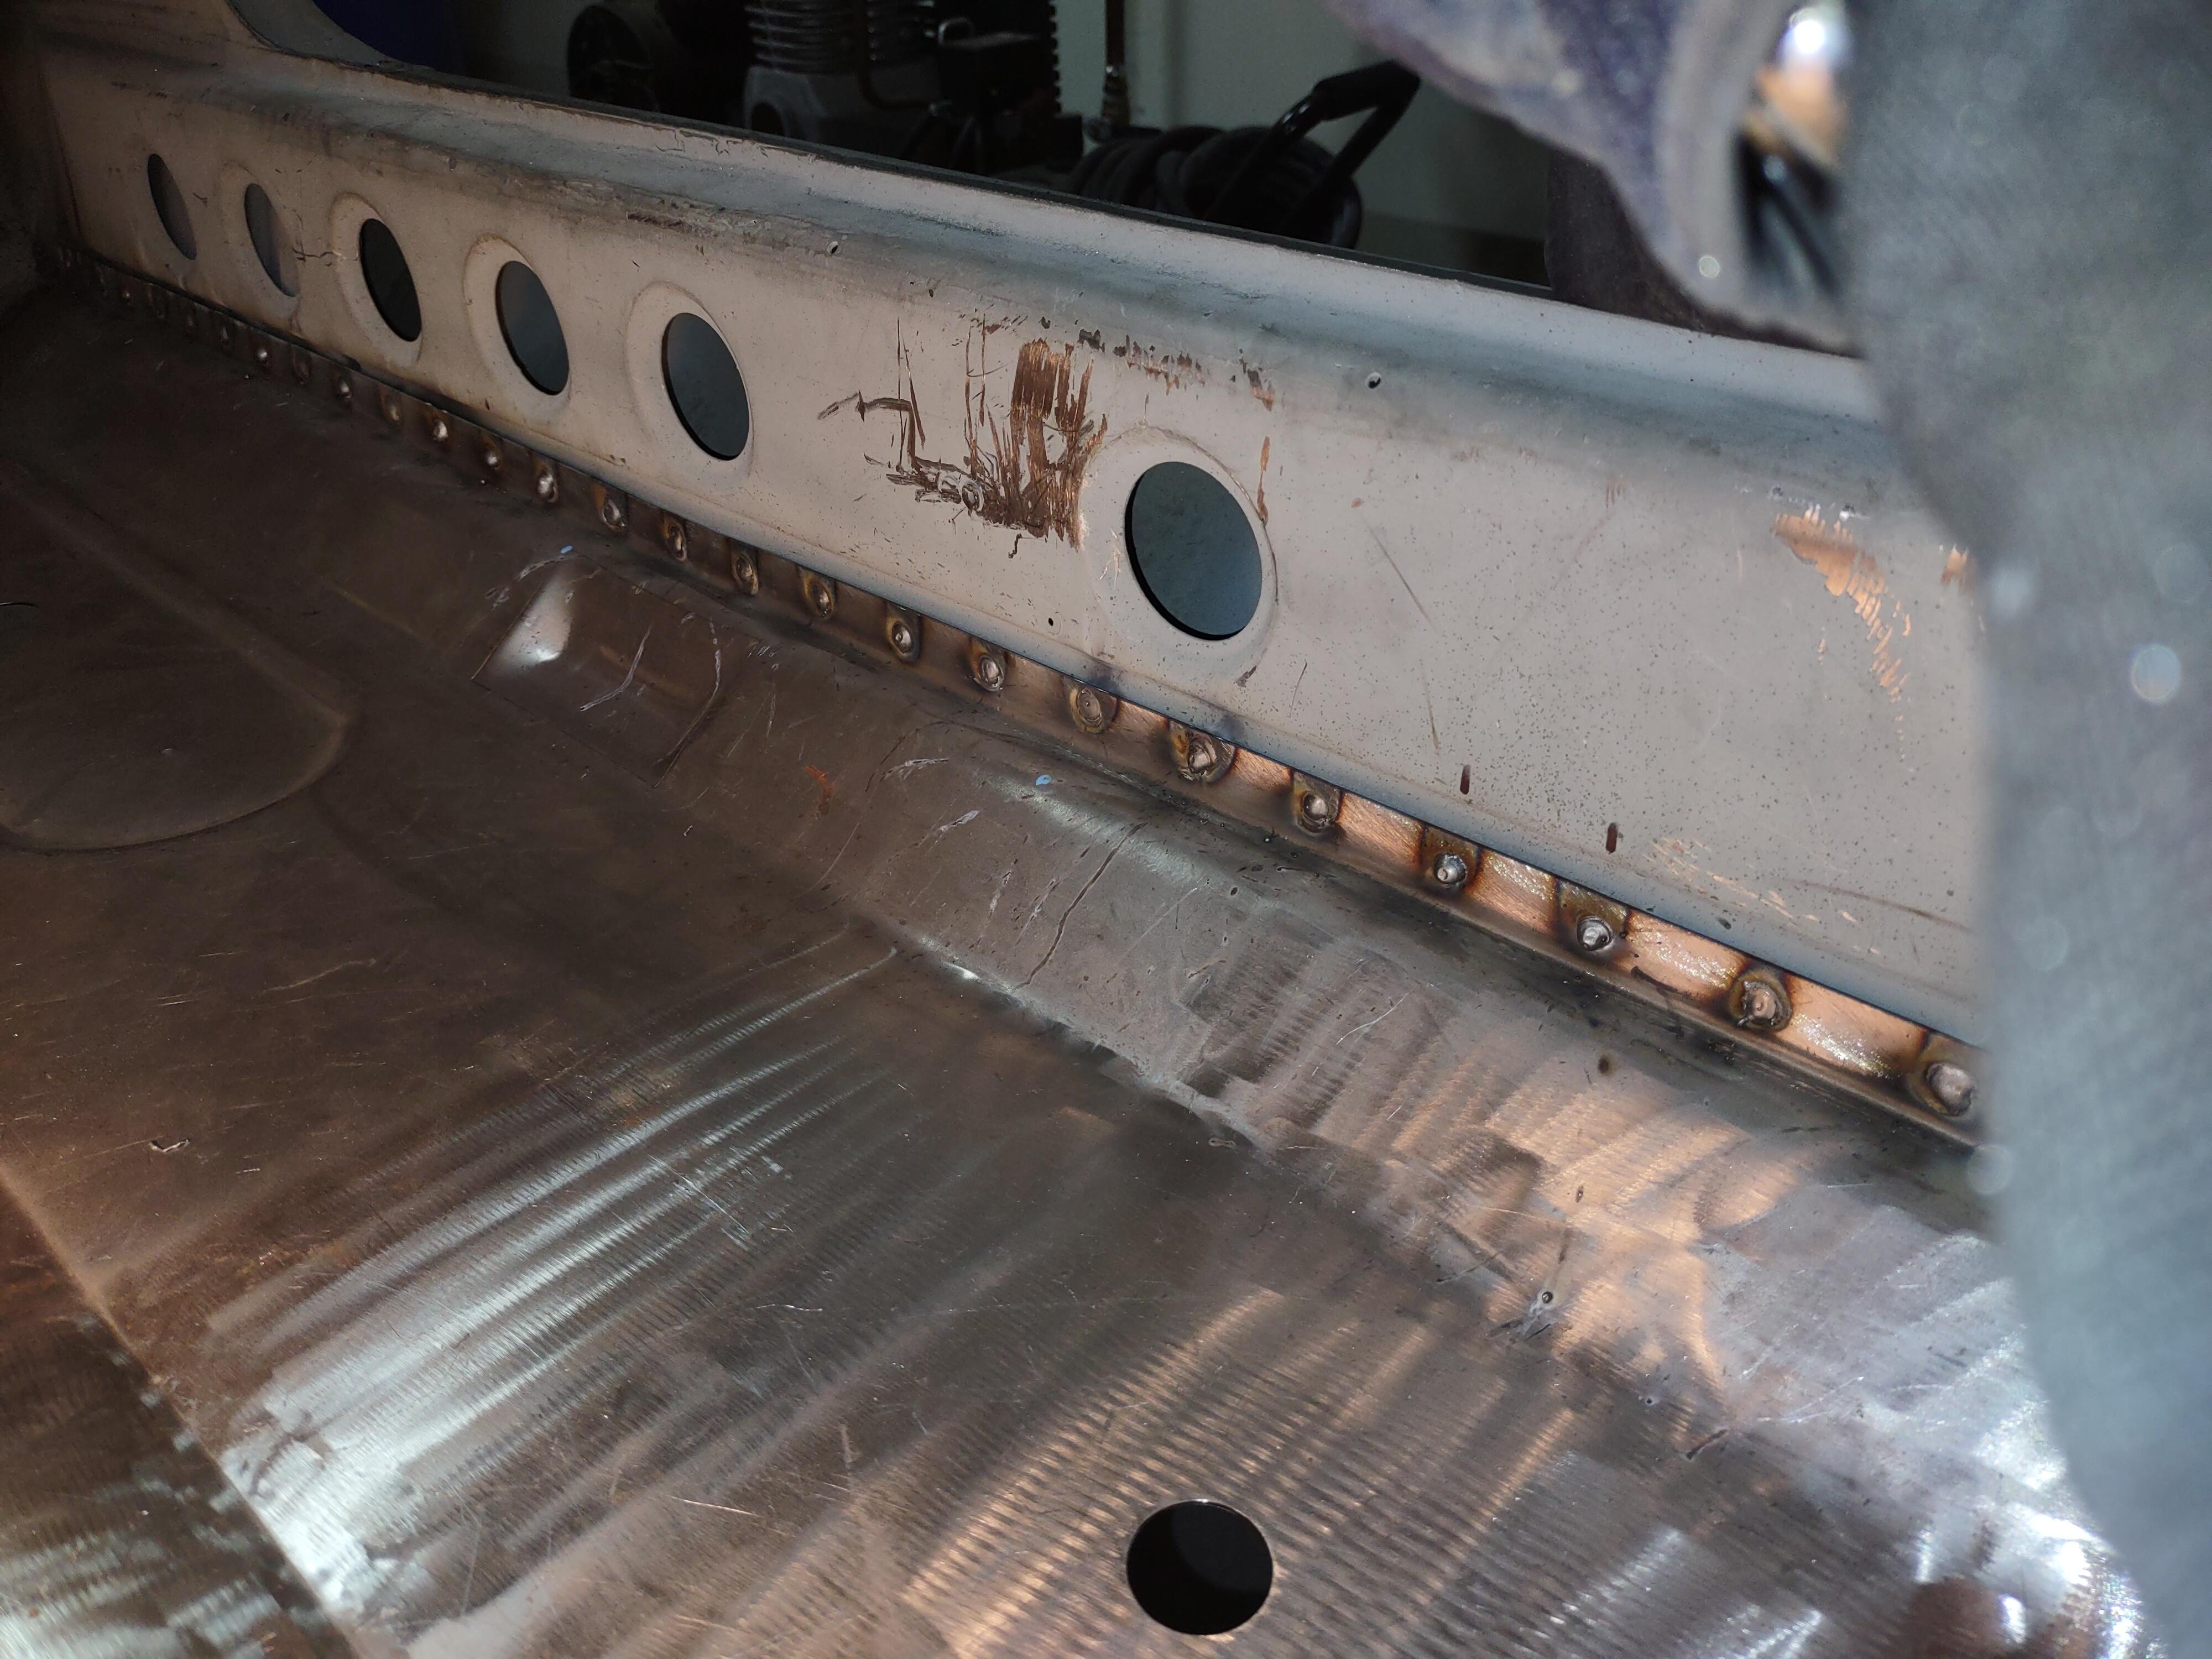
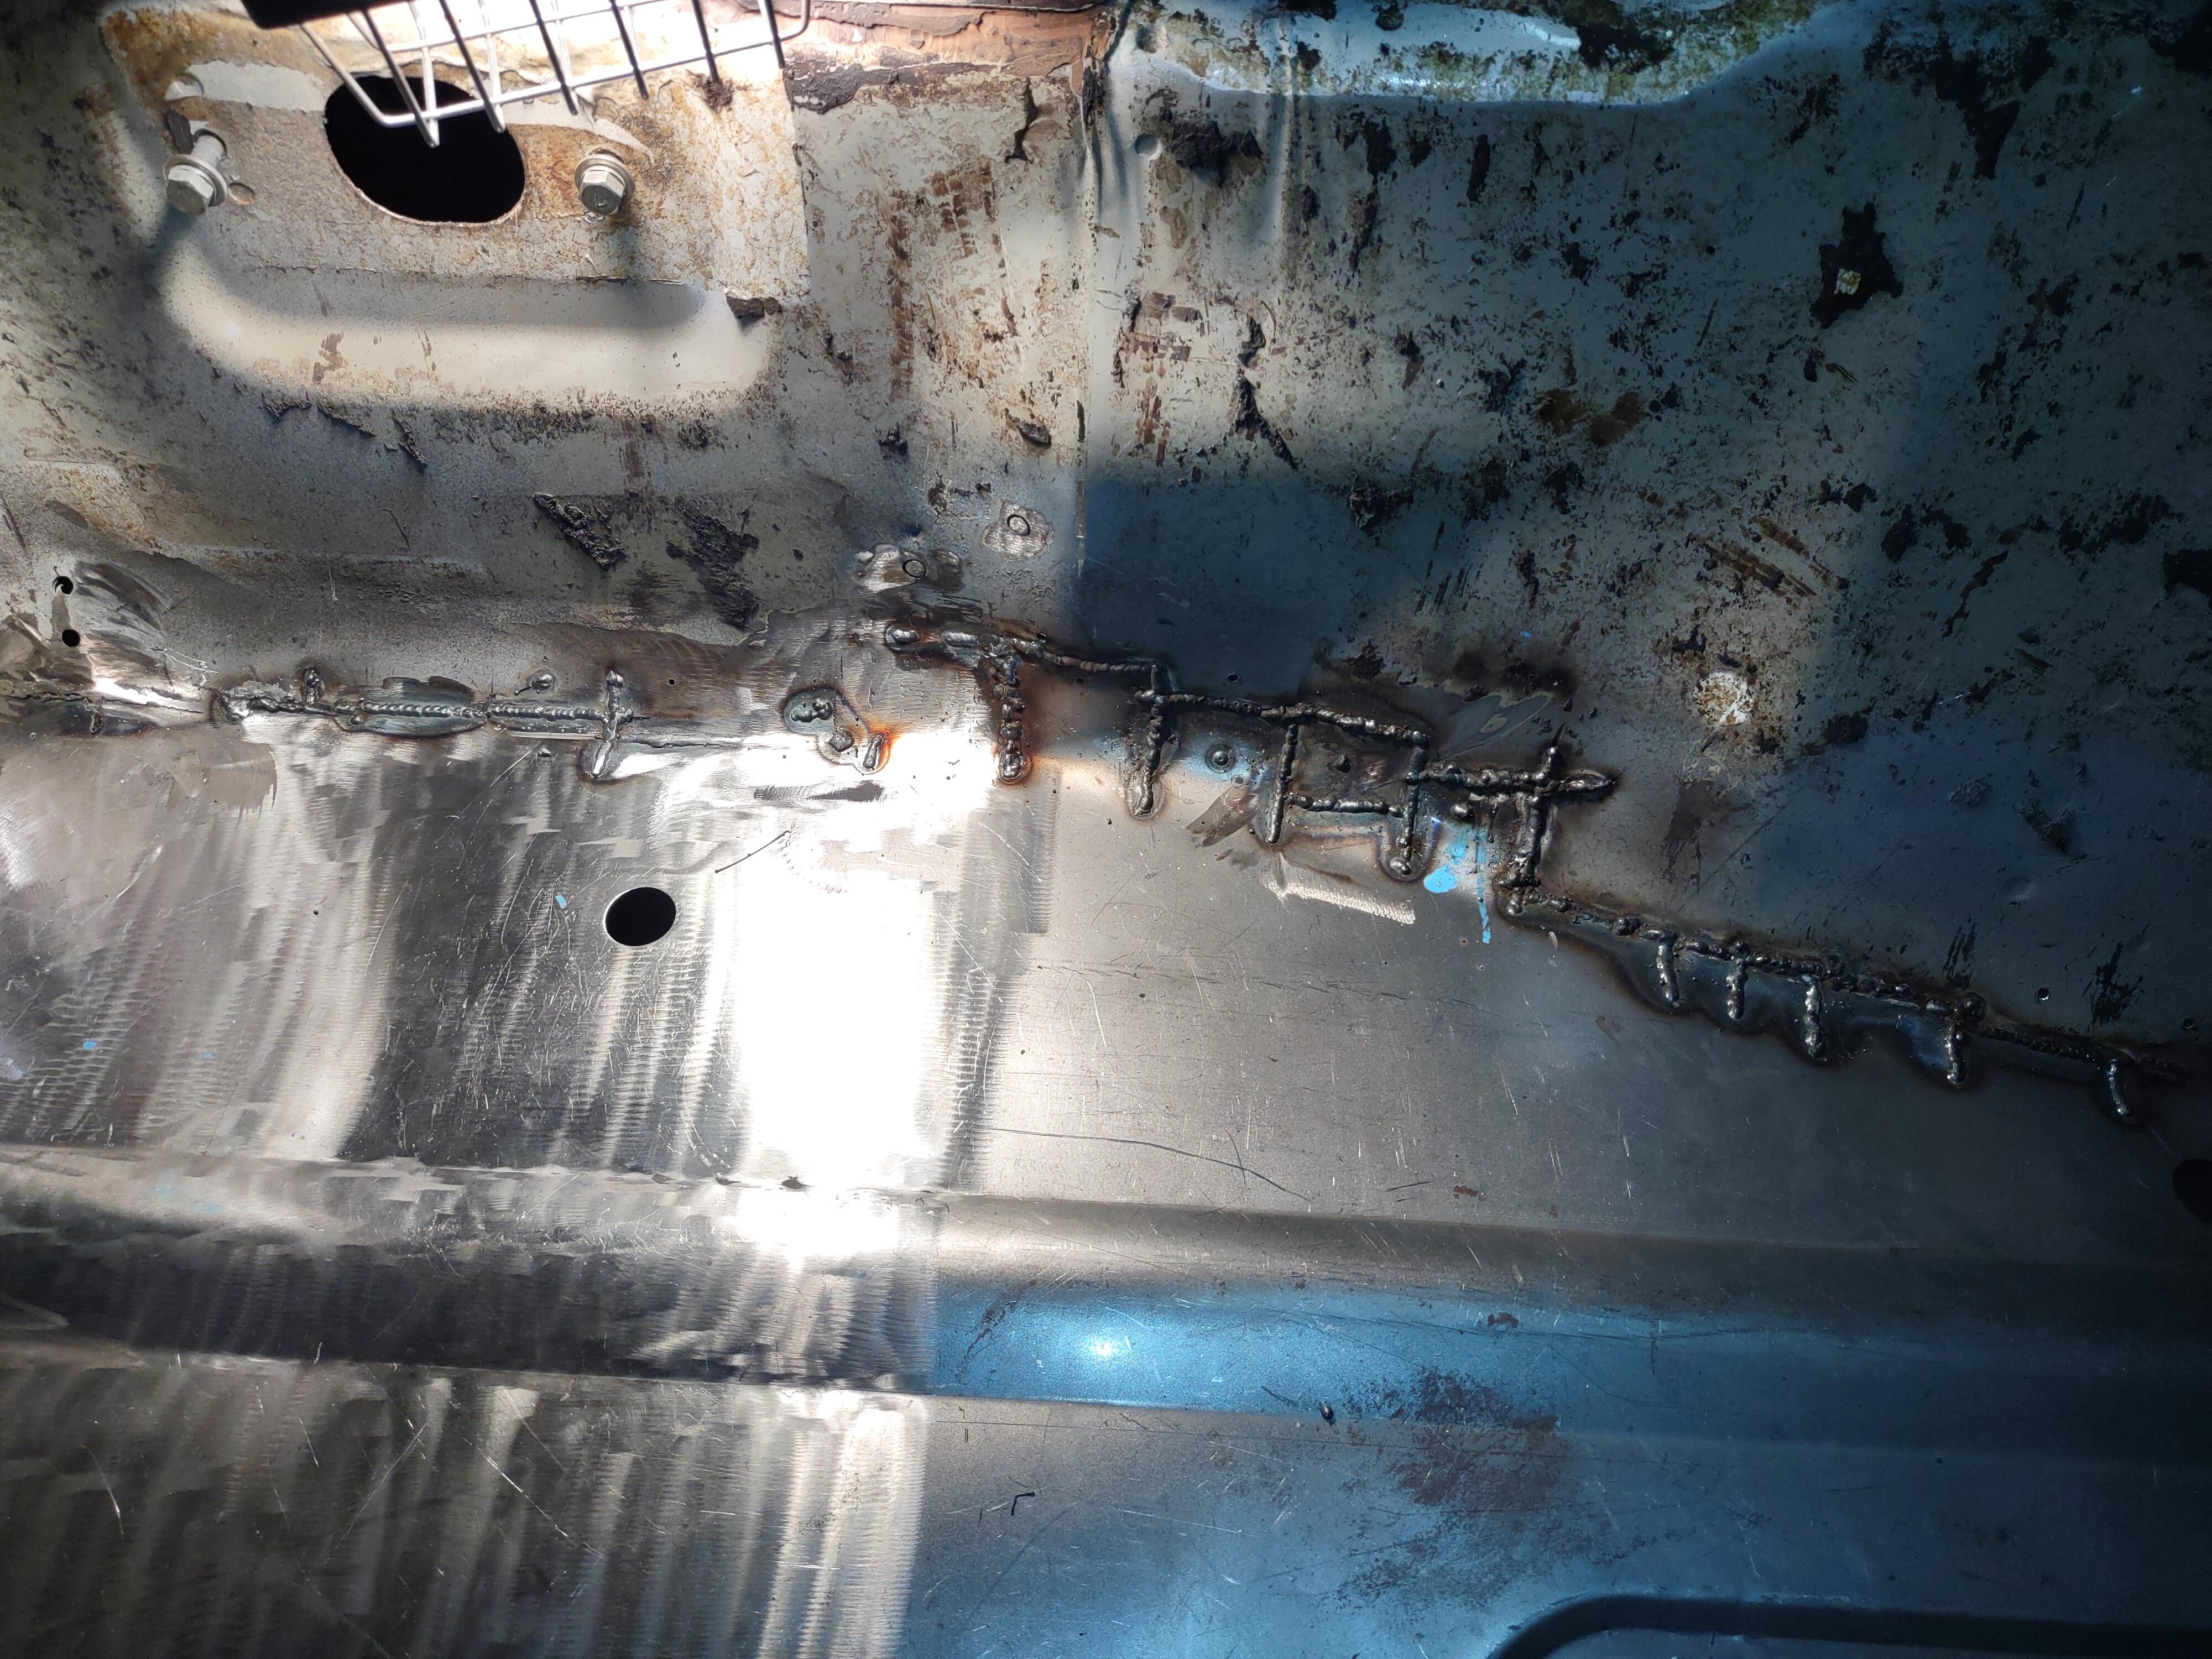
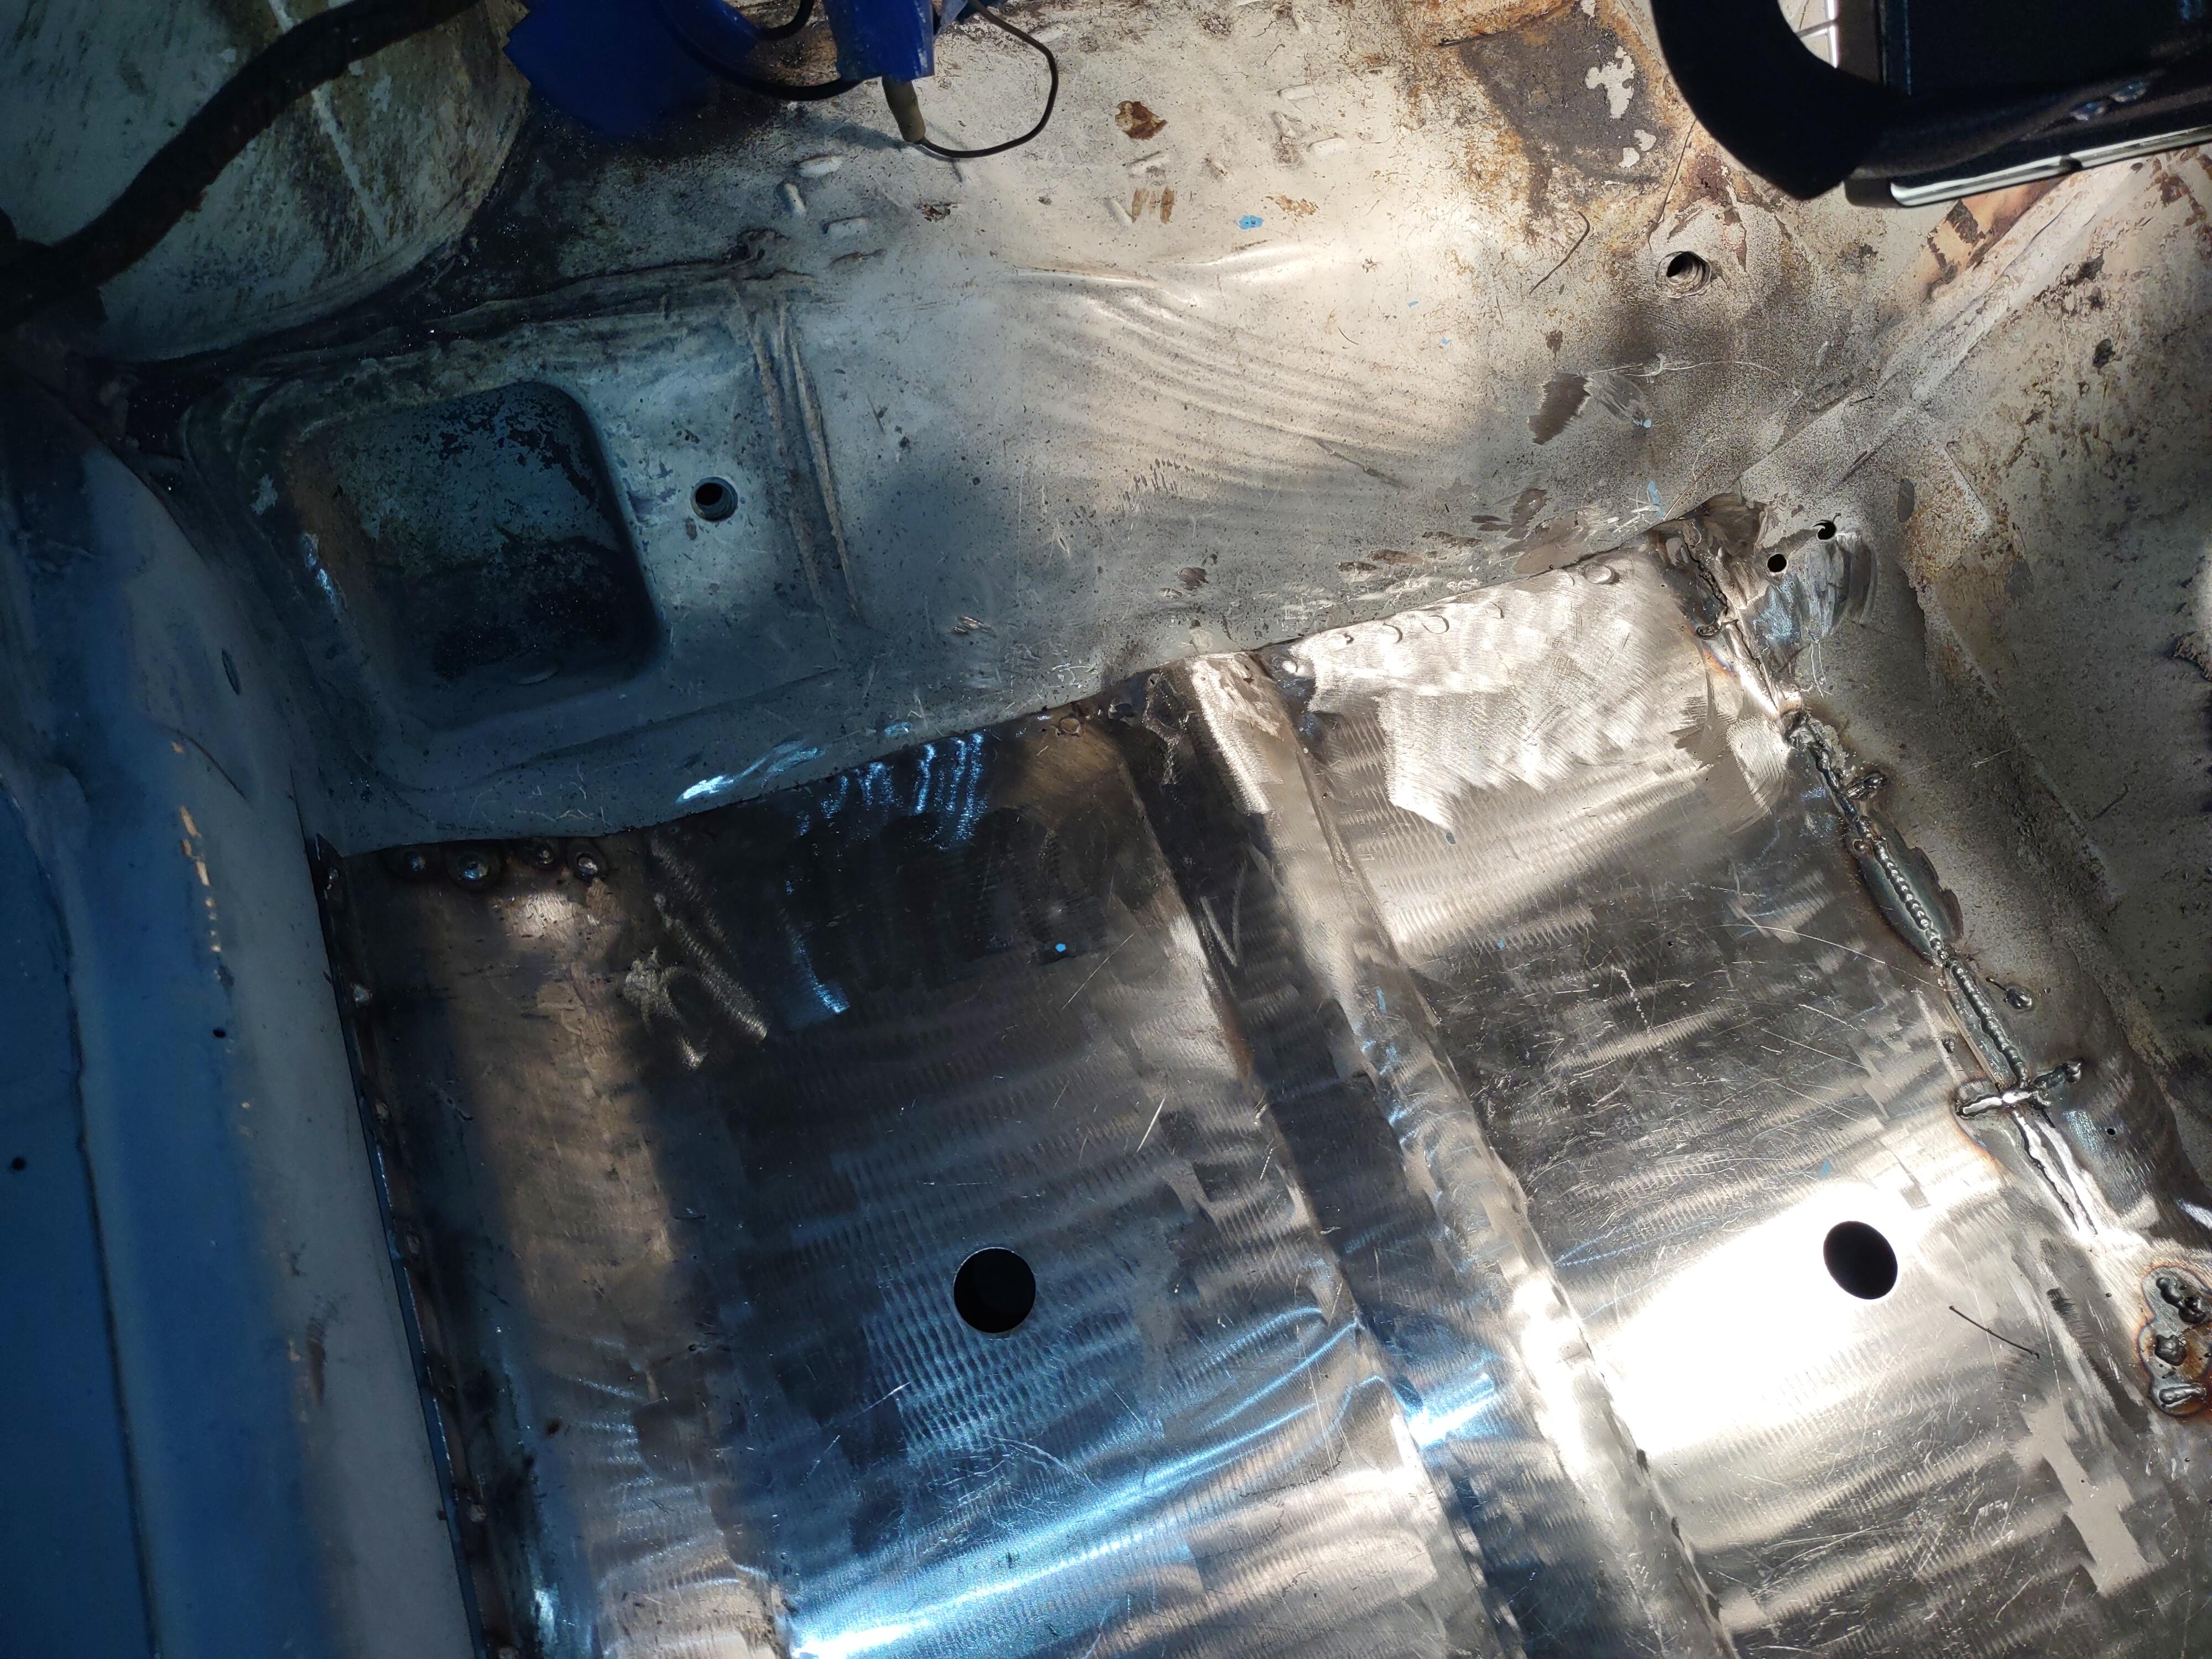
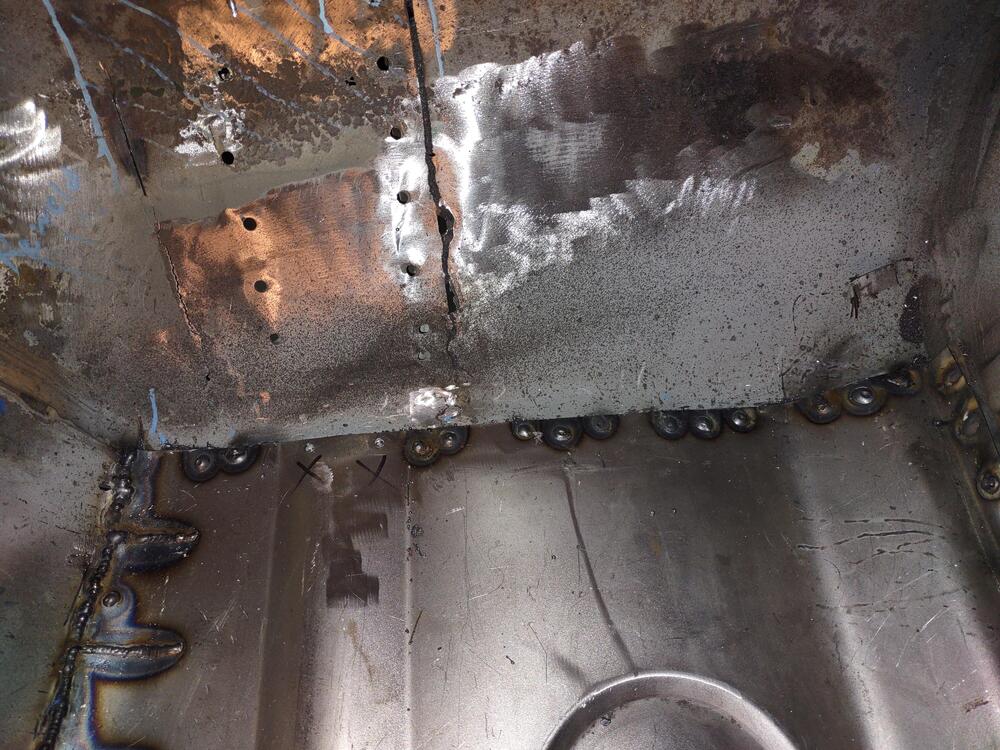
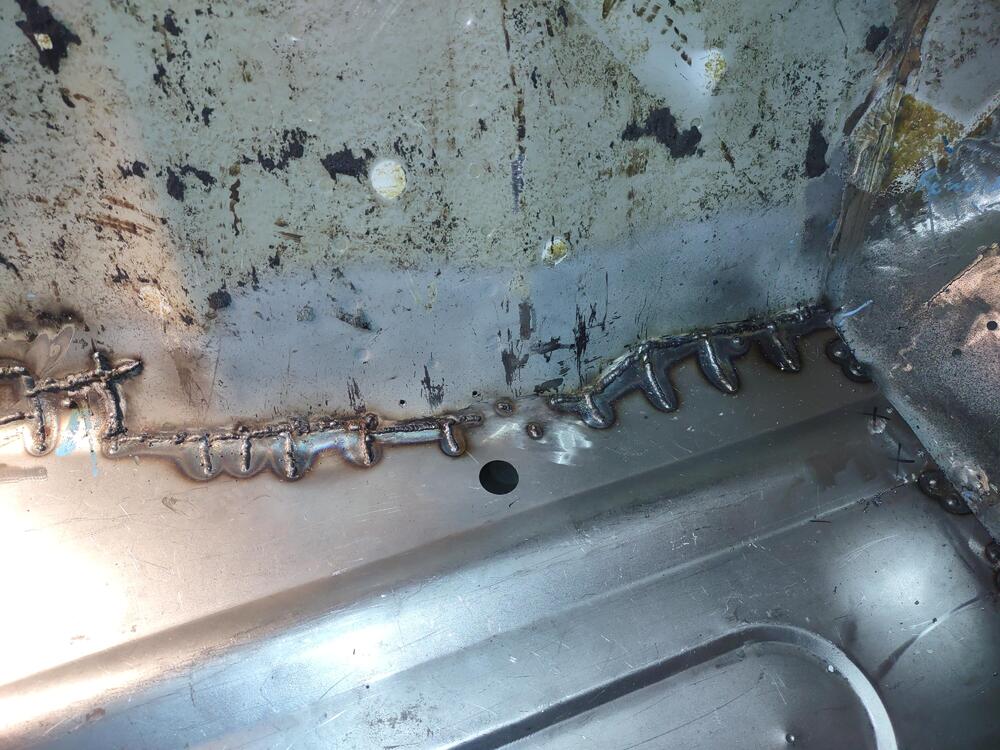
1 pointI agree going from thick new metal to old thin metal can be a challenge. You did really well and there's not really a better method other than a spot welder. One continuous seam line would be easier. I normally tack all the floor tabs to the tunnel with ¼" self tapping screws and cut through both layers with a cut off wheel.1 point
-
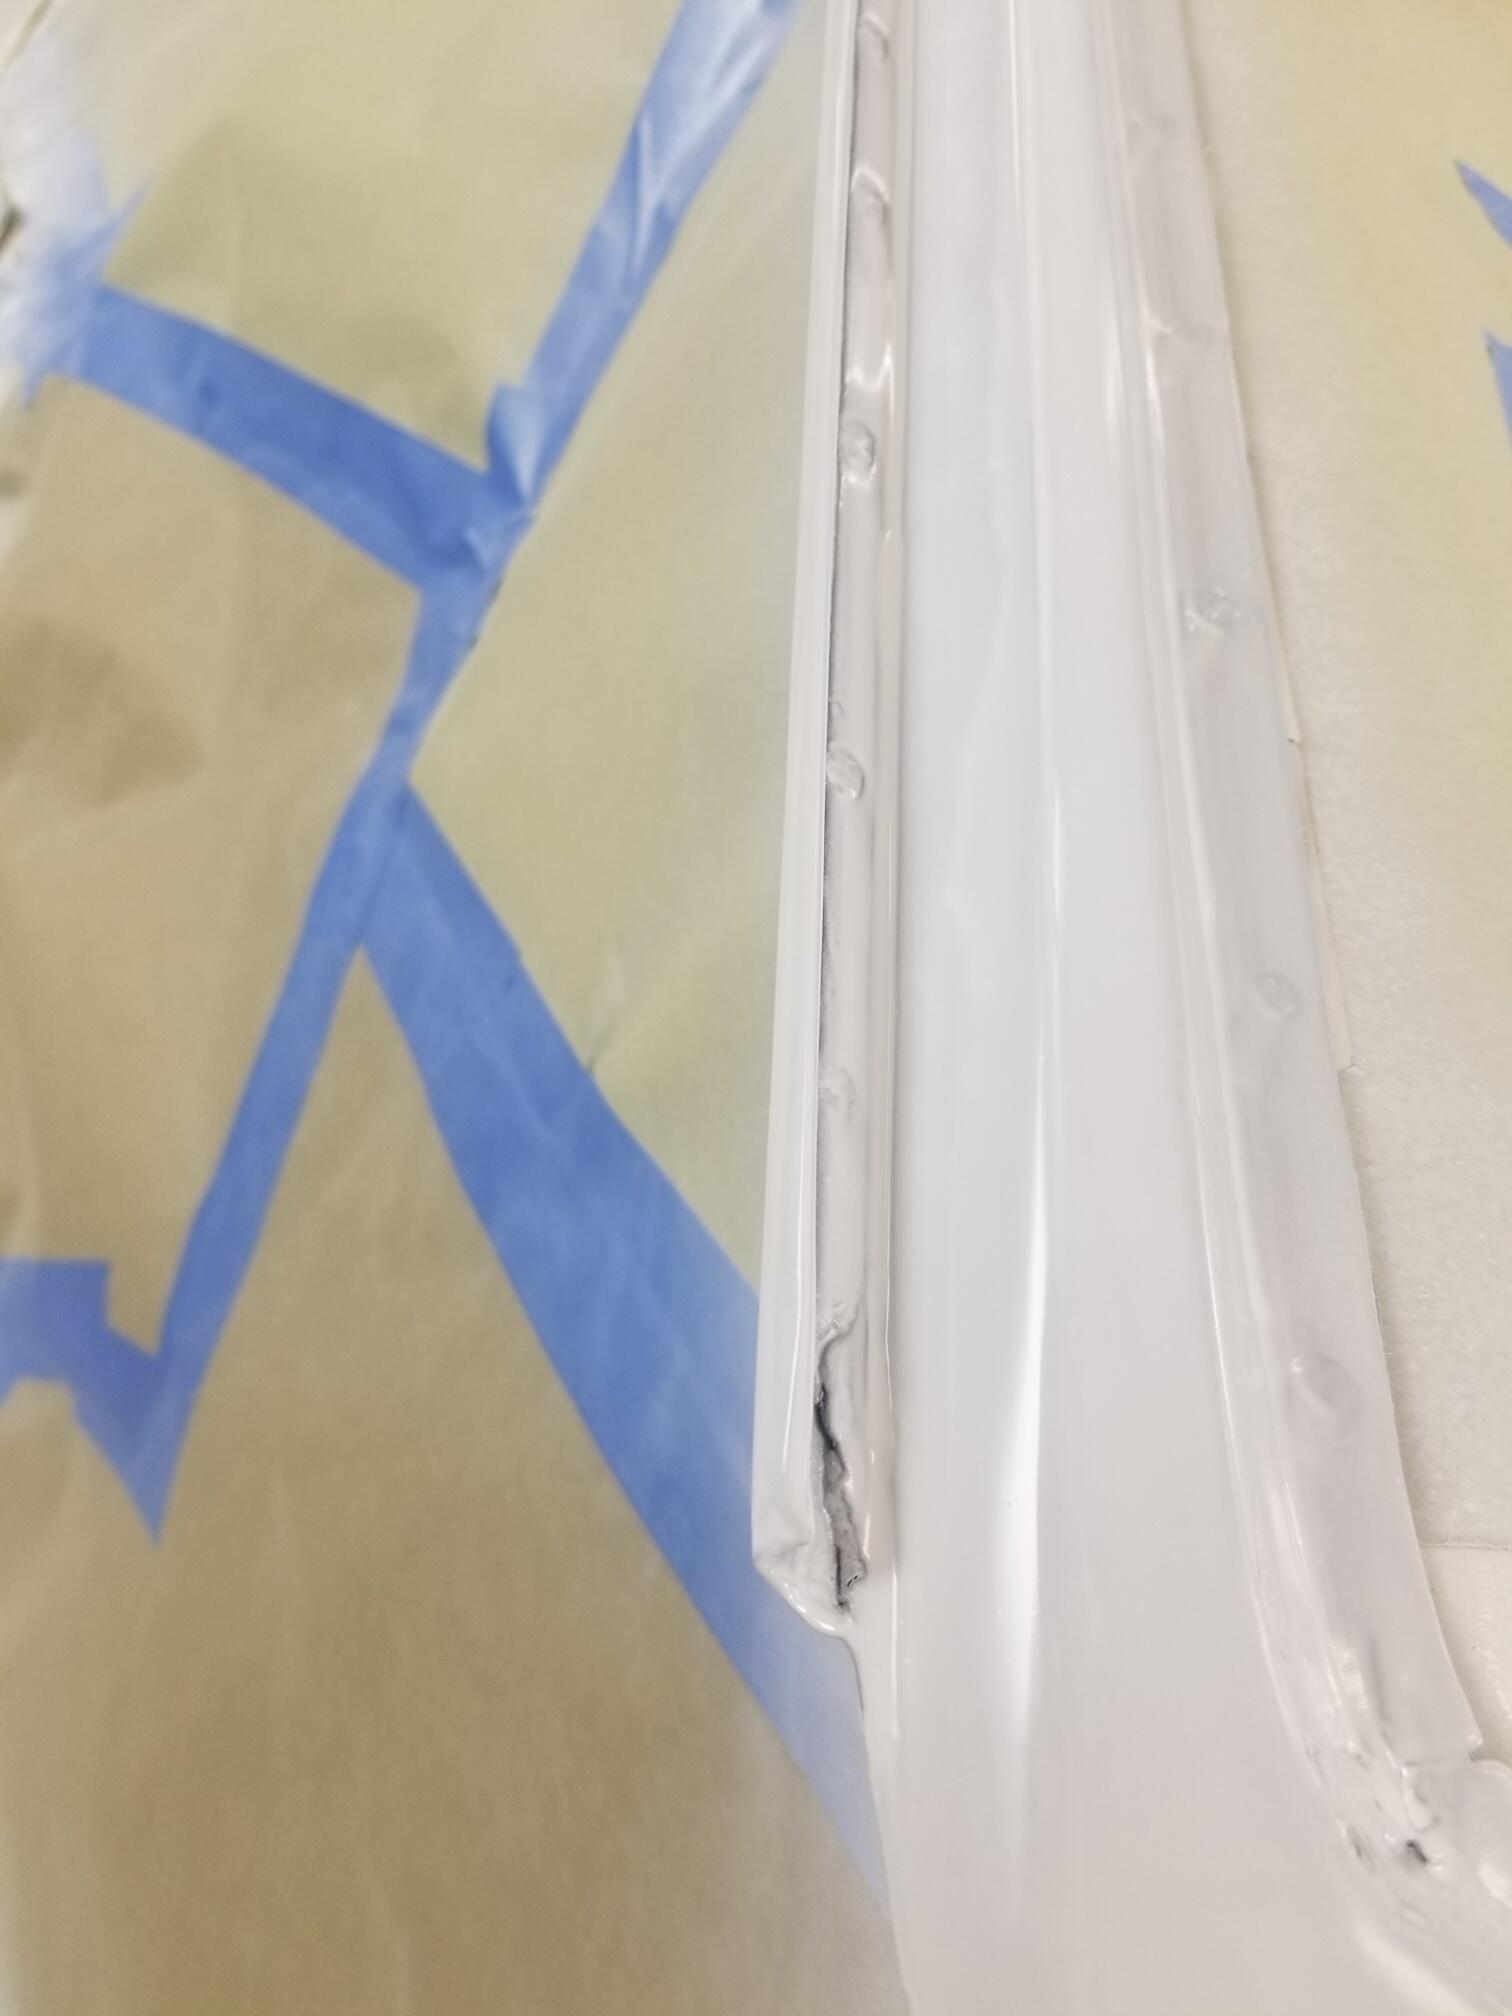
1 pointThank you! Welding new metal onto old Datsun metal was quite a task, especially for a novice. Several pin holes. Has to be a better way of doing it. One thing I would do different is to make the cut onto the tunnel at one level. I adjusted each strip to where there was clean metal. I should have just went up the tunnel level.1 point
-
1 point. I was having an impossible time sealing SS kit from Classic tube . First off you need to check for burrs on the flares . The SS lines will destroy OEM fitting flares if they don’t match up well. I finally found these and they seem to have fixed the issue https://www.amazon.com/Parker-Degree-Fitting-Flare-Gasket/dp/B077NHZ98C1 point
-
A new paint job and some TLC and the blue one's a keeper.1 point
-
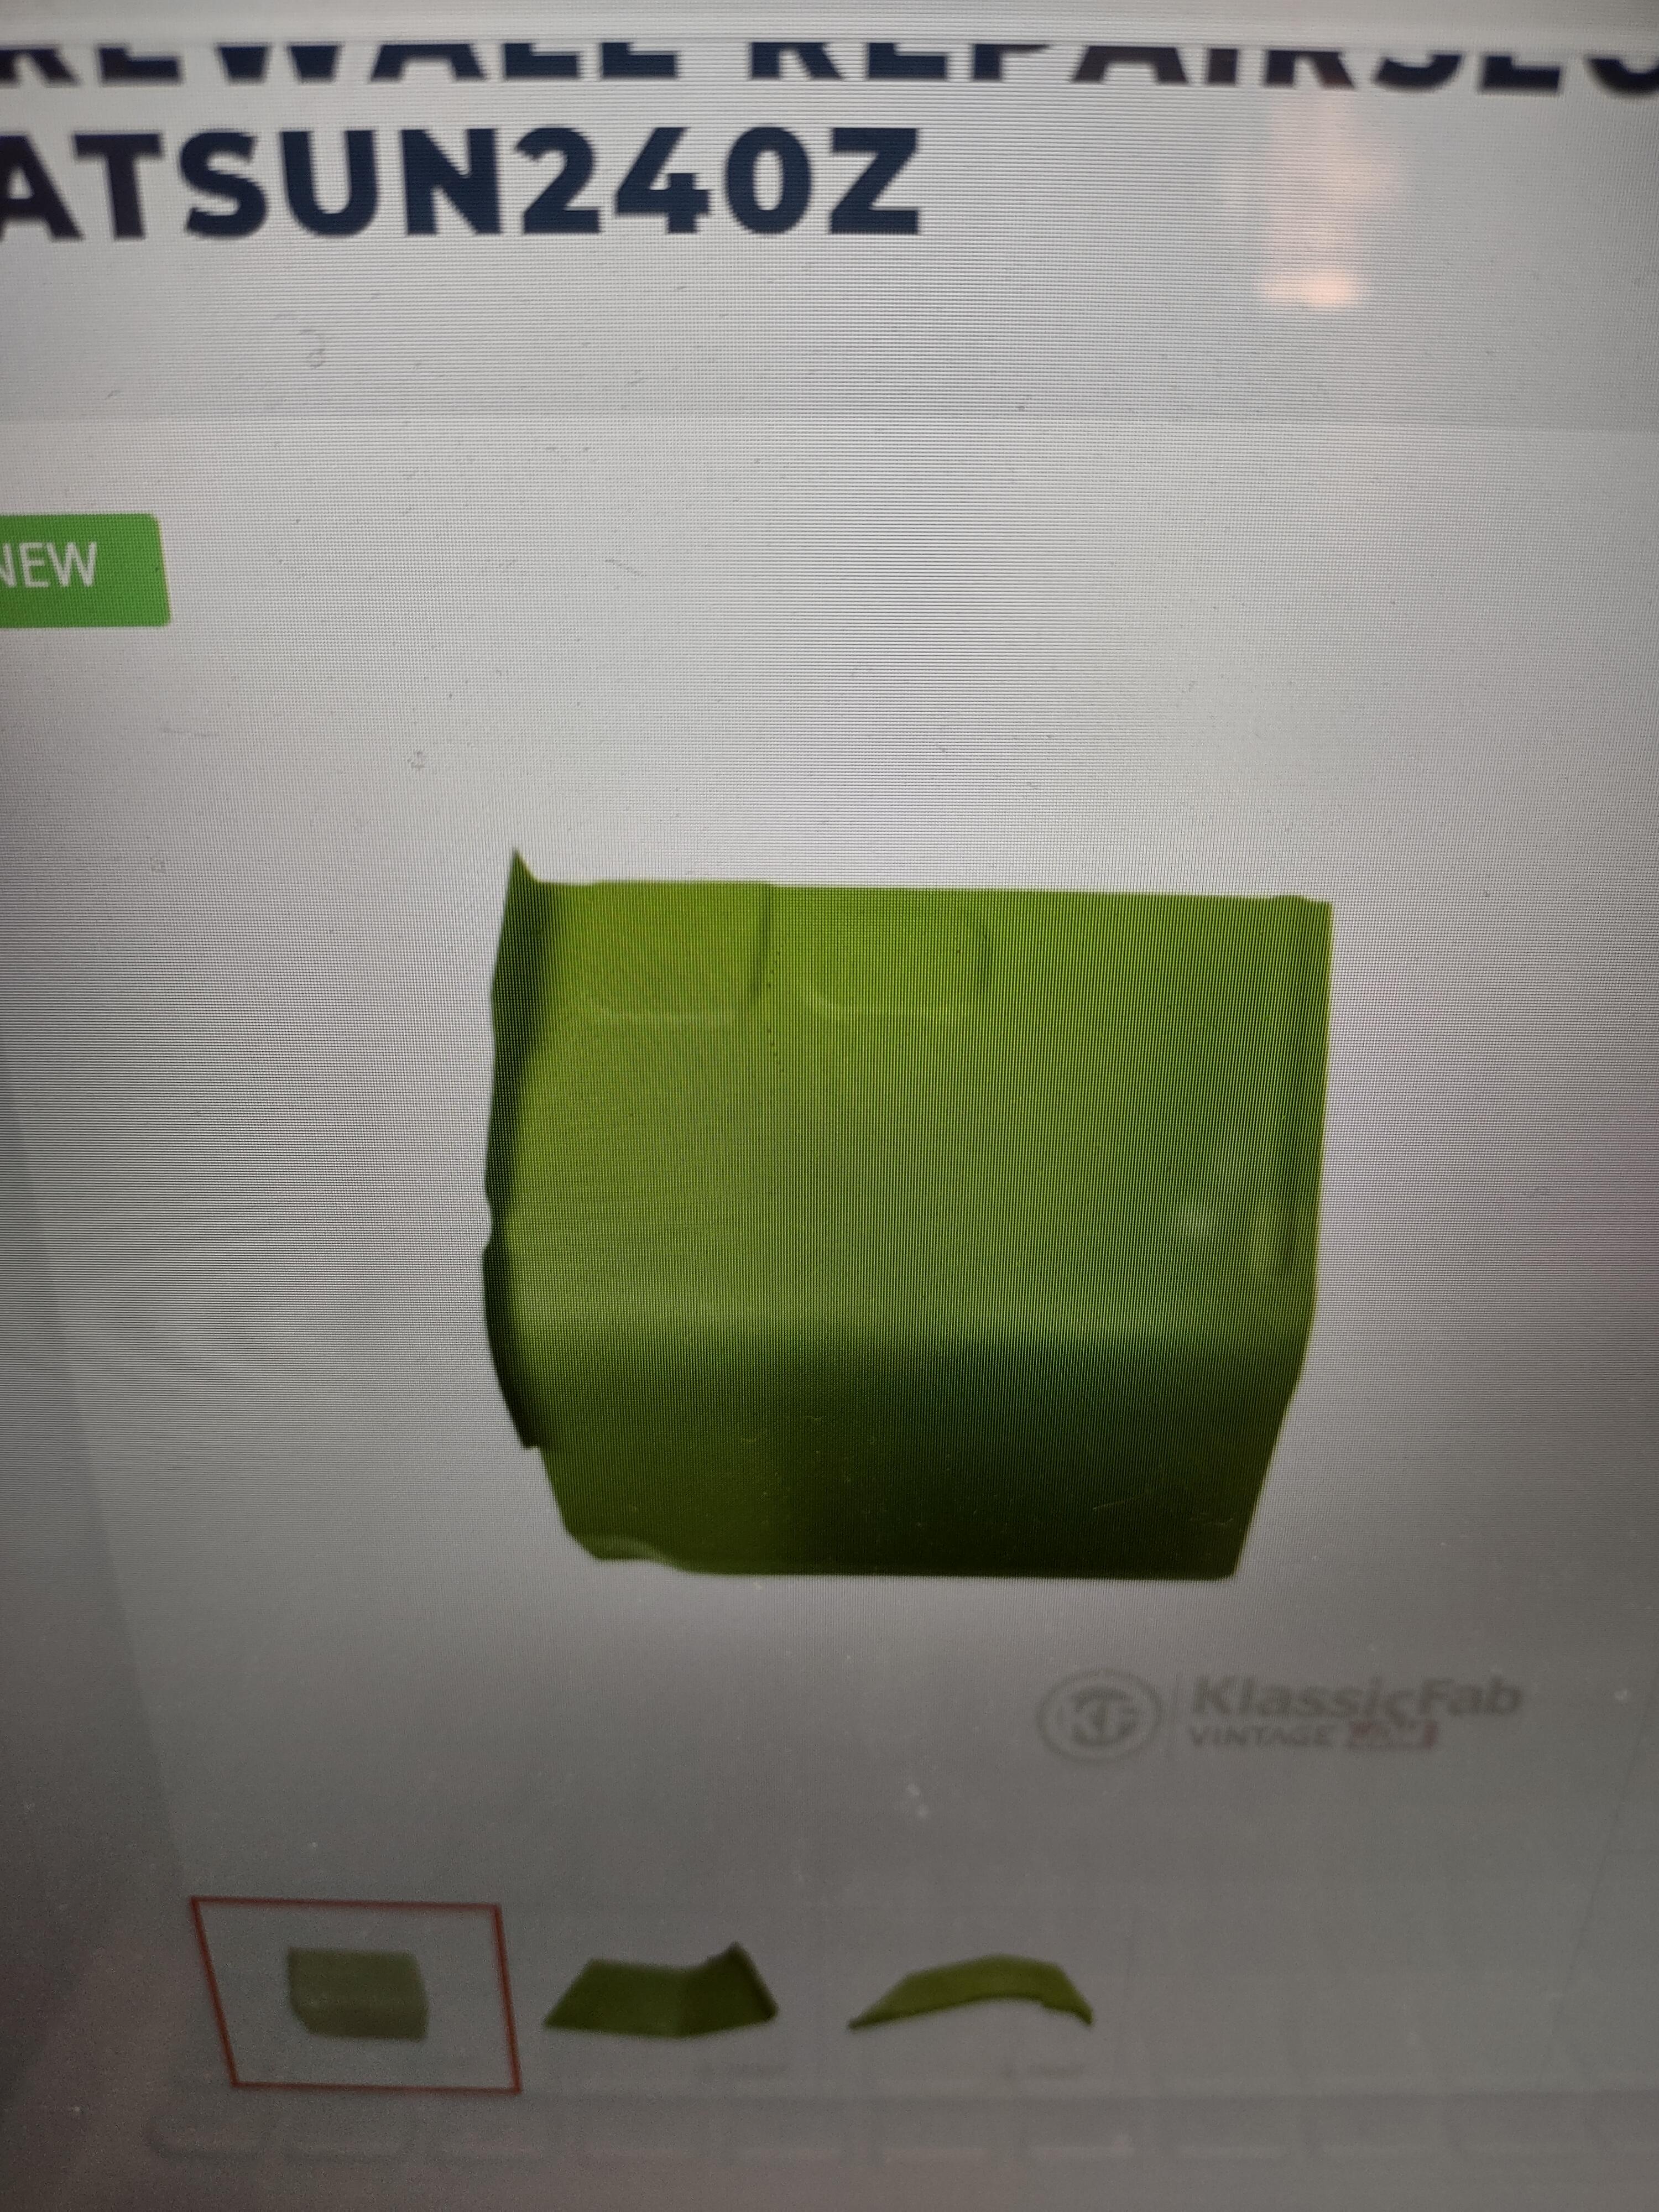
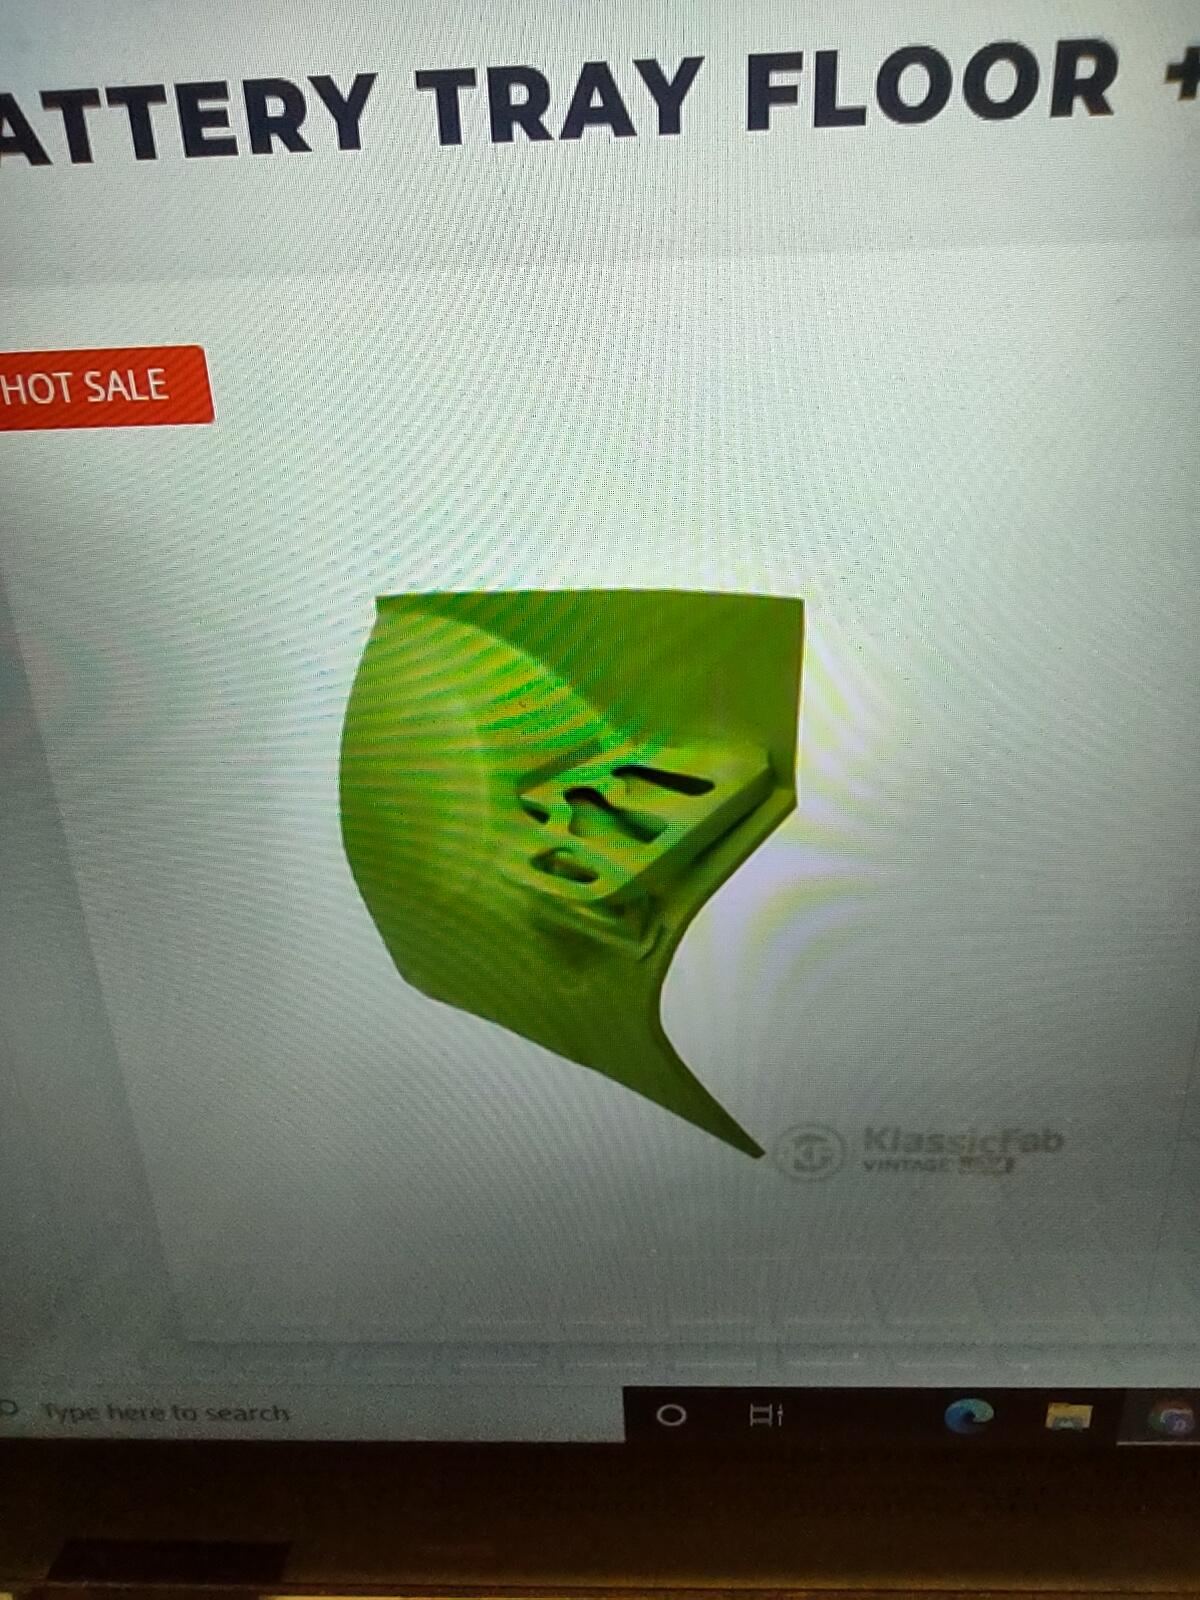
1 pointJust ordered these. It had been a while since I've been on their site, they have added some nice panels to their list.
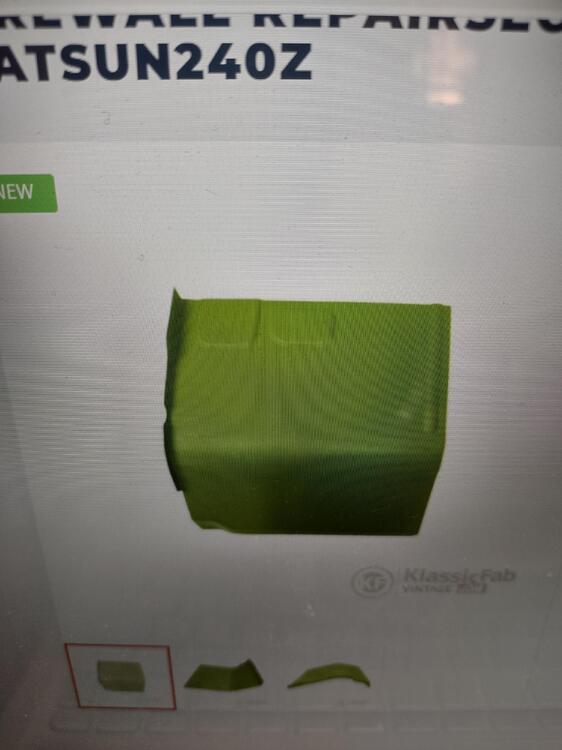
 1 point
 -
I looked around a bit on their site. Looks like the ultimate erector set. There are so many pieces! It would take me hours to look at what all is available and then figure out what I'd need.1 point
-
1 point
-
I'd like to see one running and driving just to watch it crumble apart. That would be great youtube material, many views probable.
 1 point
 -
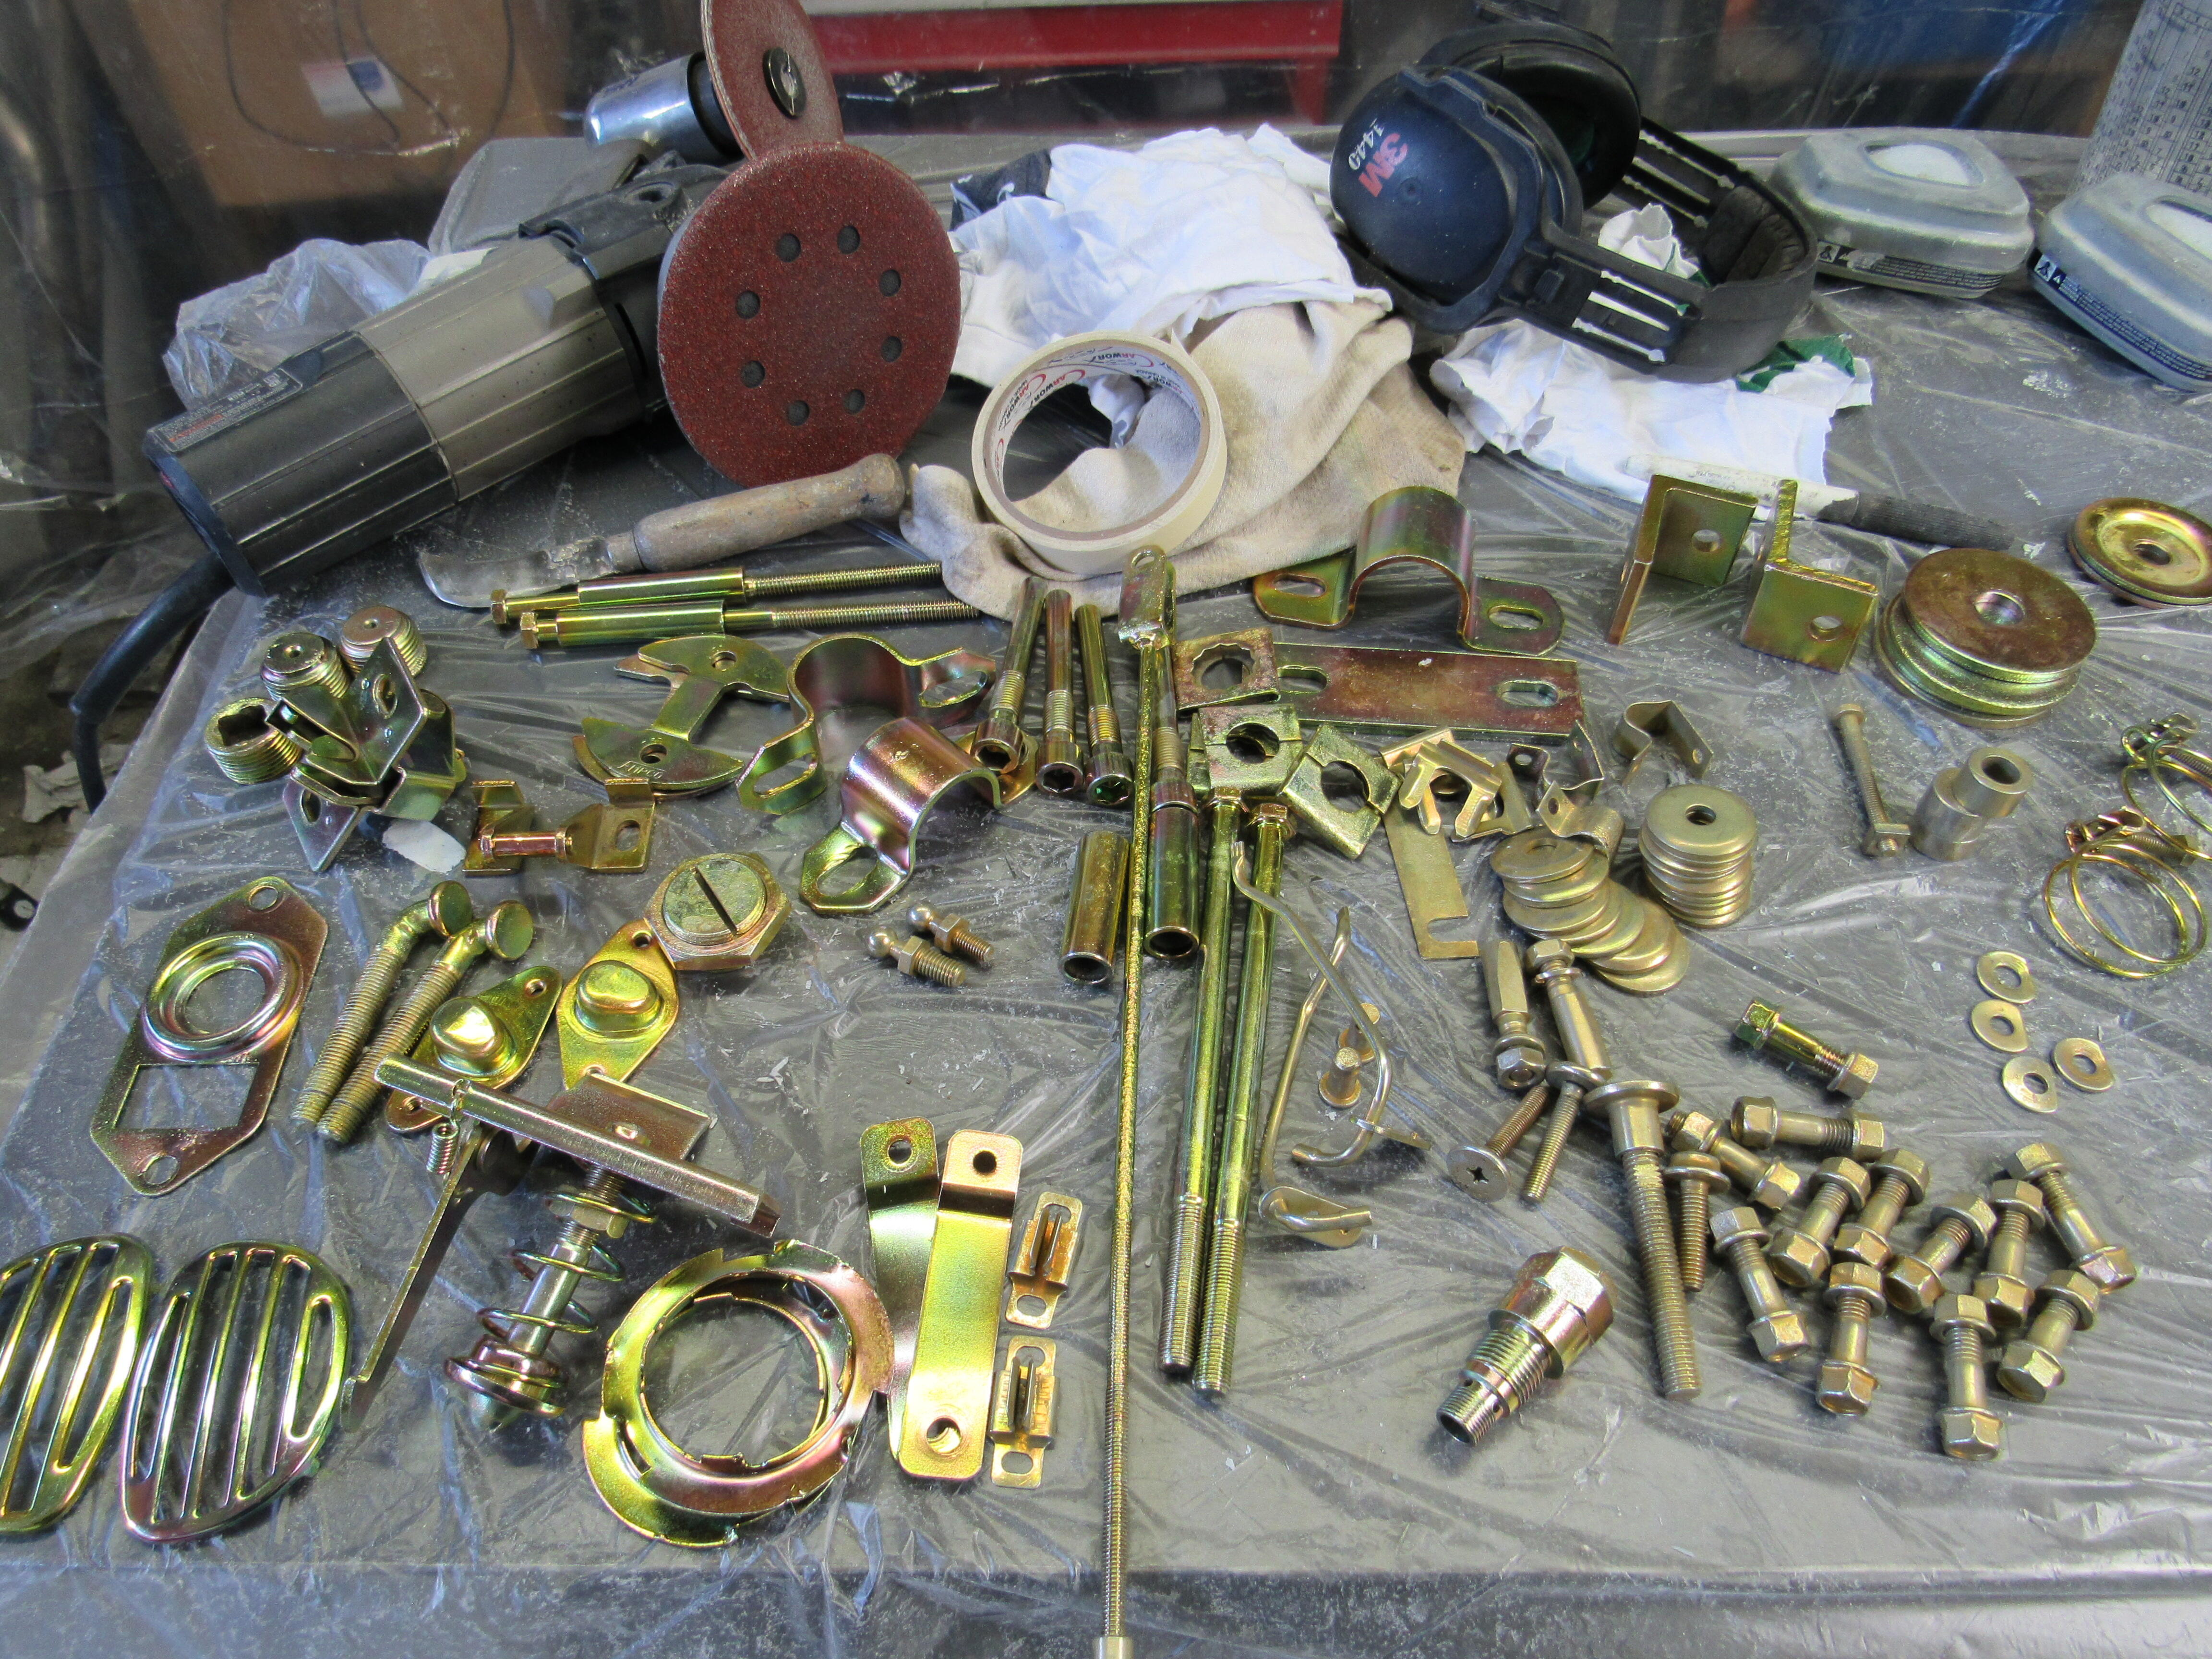
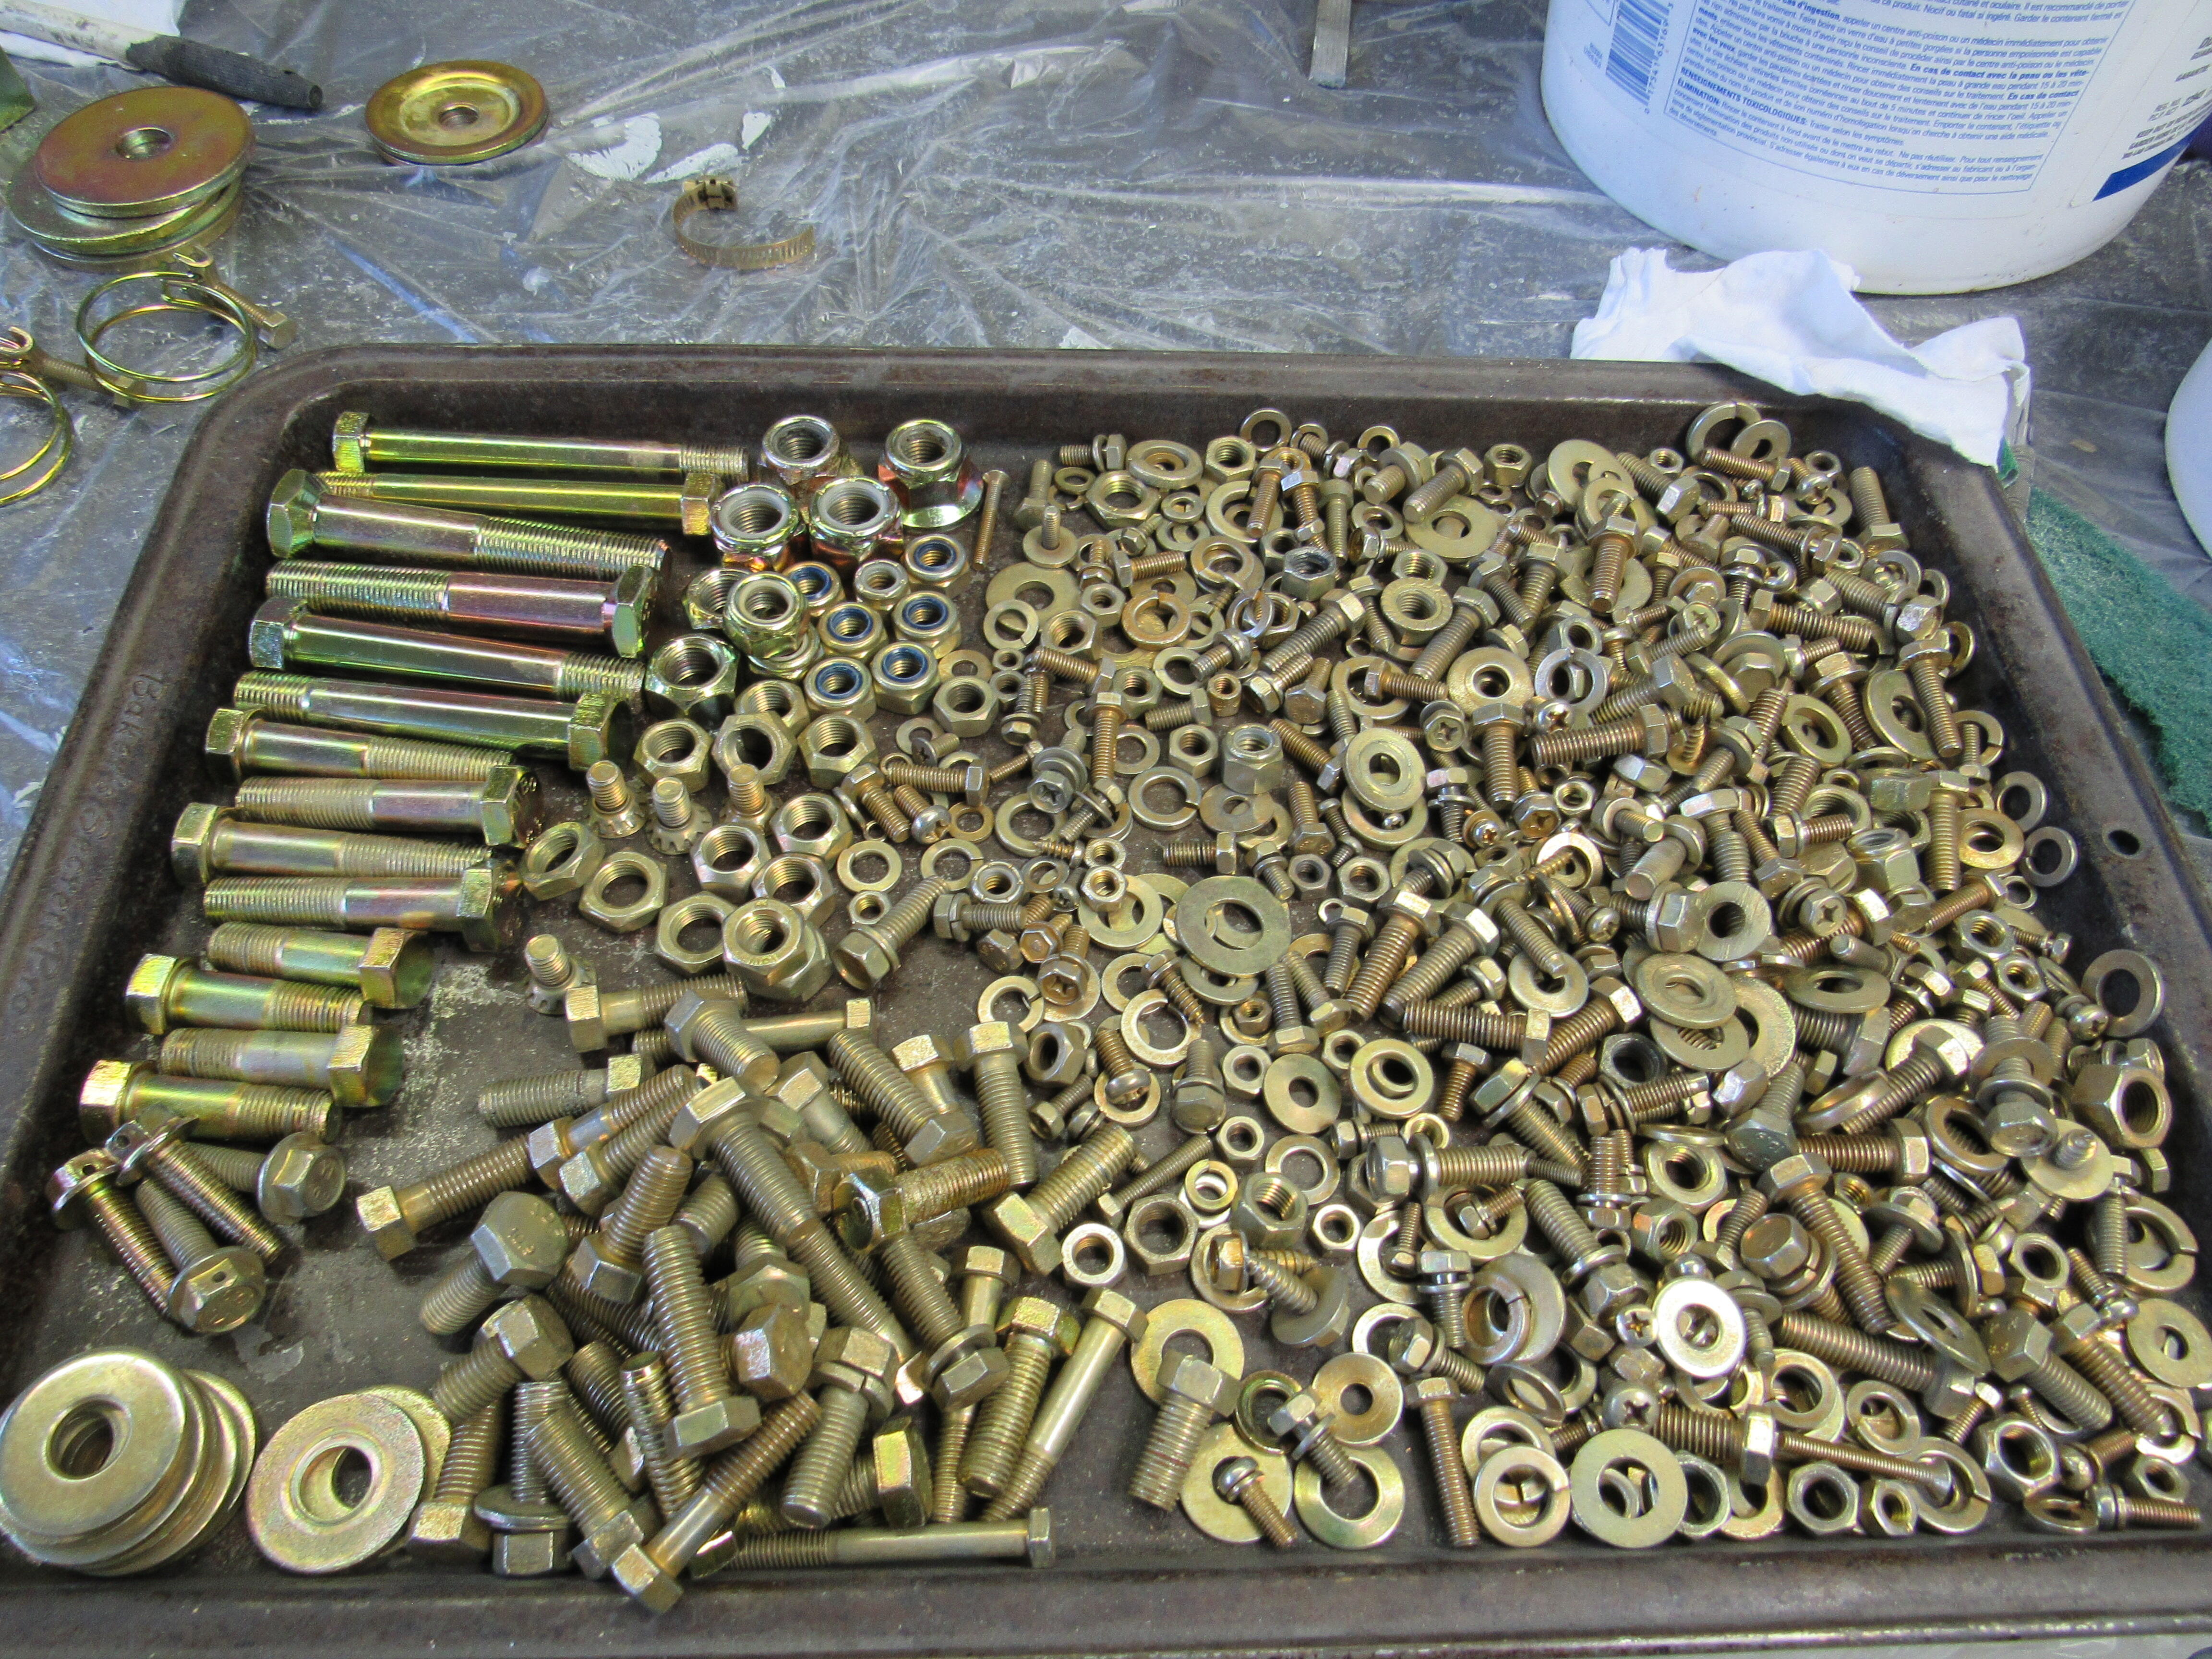
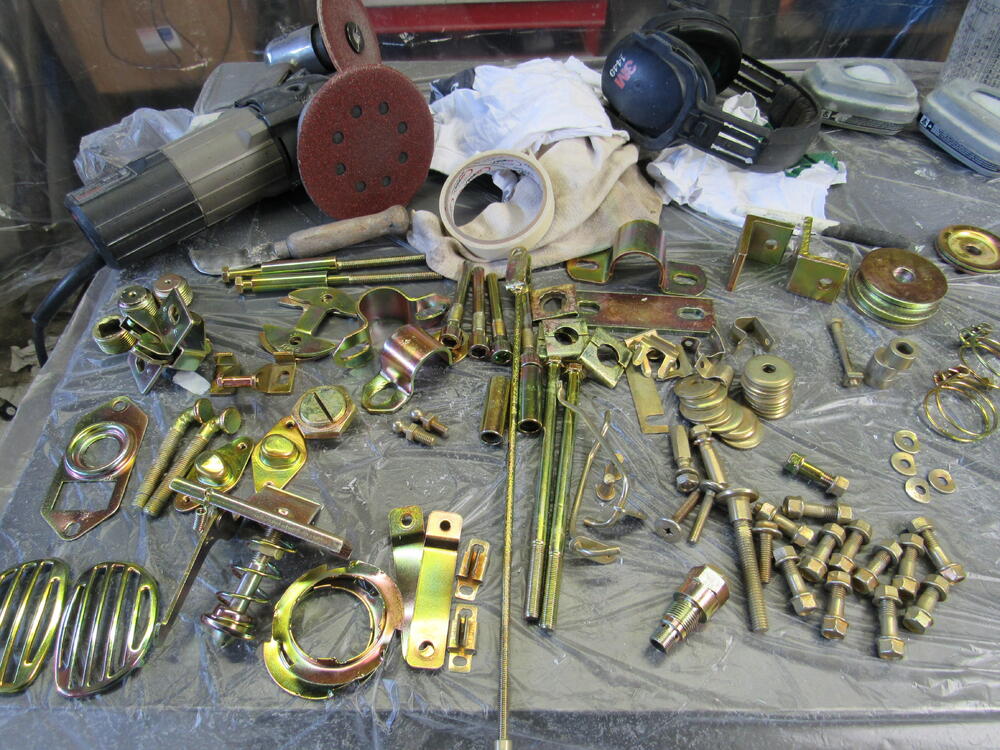
Recently i ran into a NOS lot for sale again. Turns out a still active Nissan dealership in germany is cleaning out his parts warehouse and wanted to get rid of all the old parts without any stock movement. Well, i signed up for the whole package and got the deal. It were not exactly many parts, but some really nice scores and some parts are not very common to find NOS. I checked the partnumbers beforehand and all of them are definitely S30 parts. but not all might be correct for my 240Z. Nevertheless, i got a good package deal, so i took all of them. The first one is an exchaust front pipe. It has a few scratches from storage, bot otherwise completely NOS with the factory sticker still there: Then an original L-series Oil pan. in excellent shape (Except it needs a bit of dedusting) Front lower control arm. I think the Partno. was listed for the 260Z, but i couldn't see any difference on the first glimpse. i'll have to re-check: These are pretty cool: NOS rear bumper mounting brackets: A set of genuine Akebono rear drum brake shoes: And a set of genuine rear strut inserts (replacement units):1 point
-
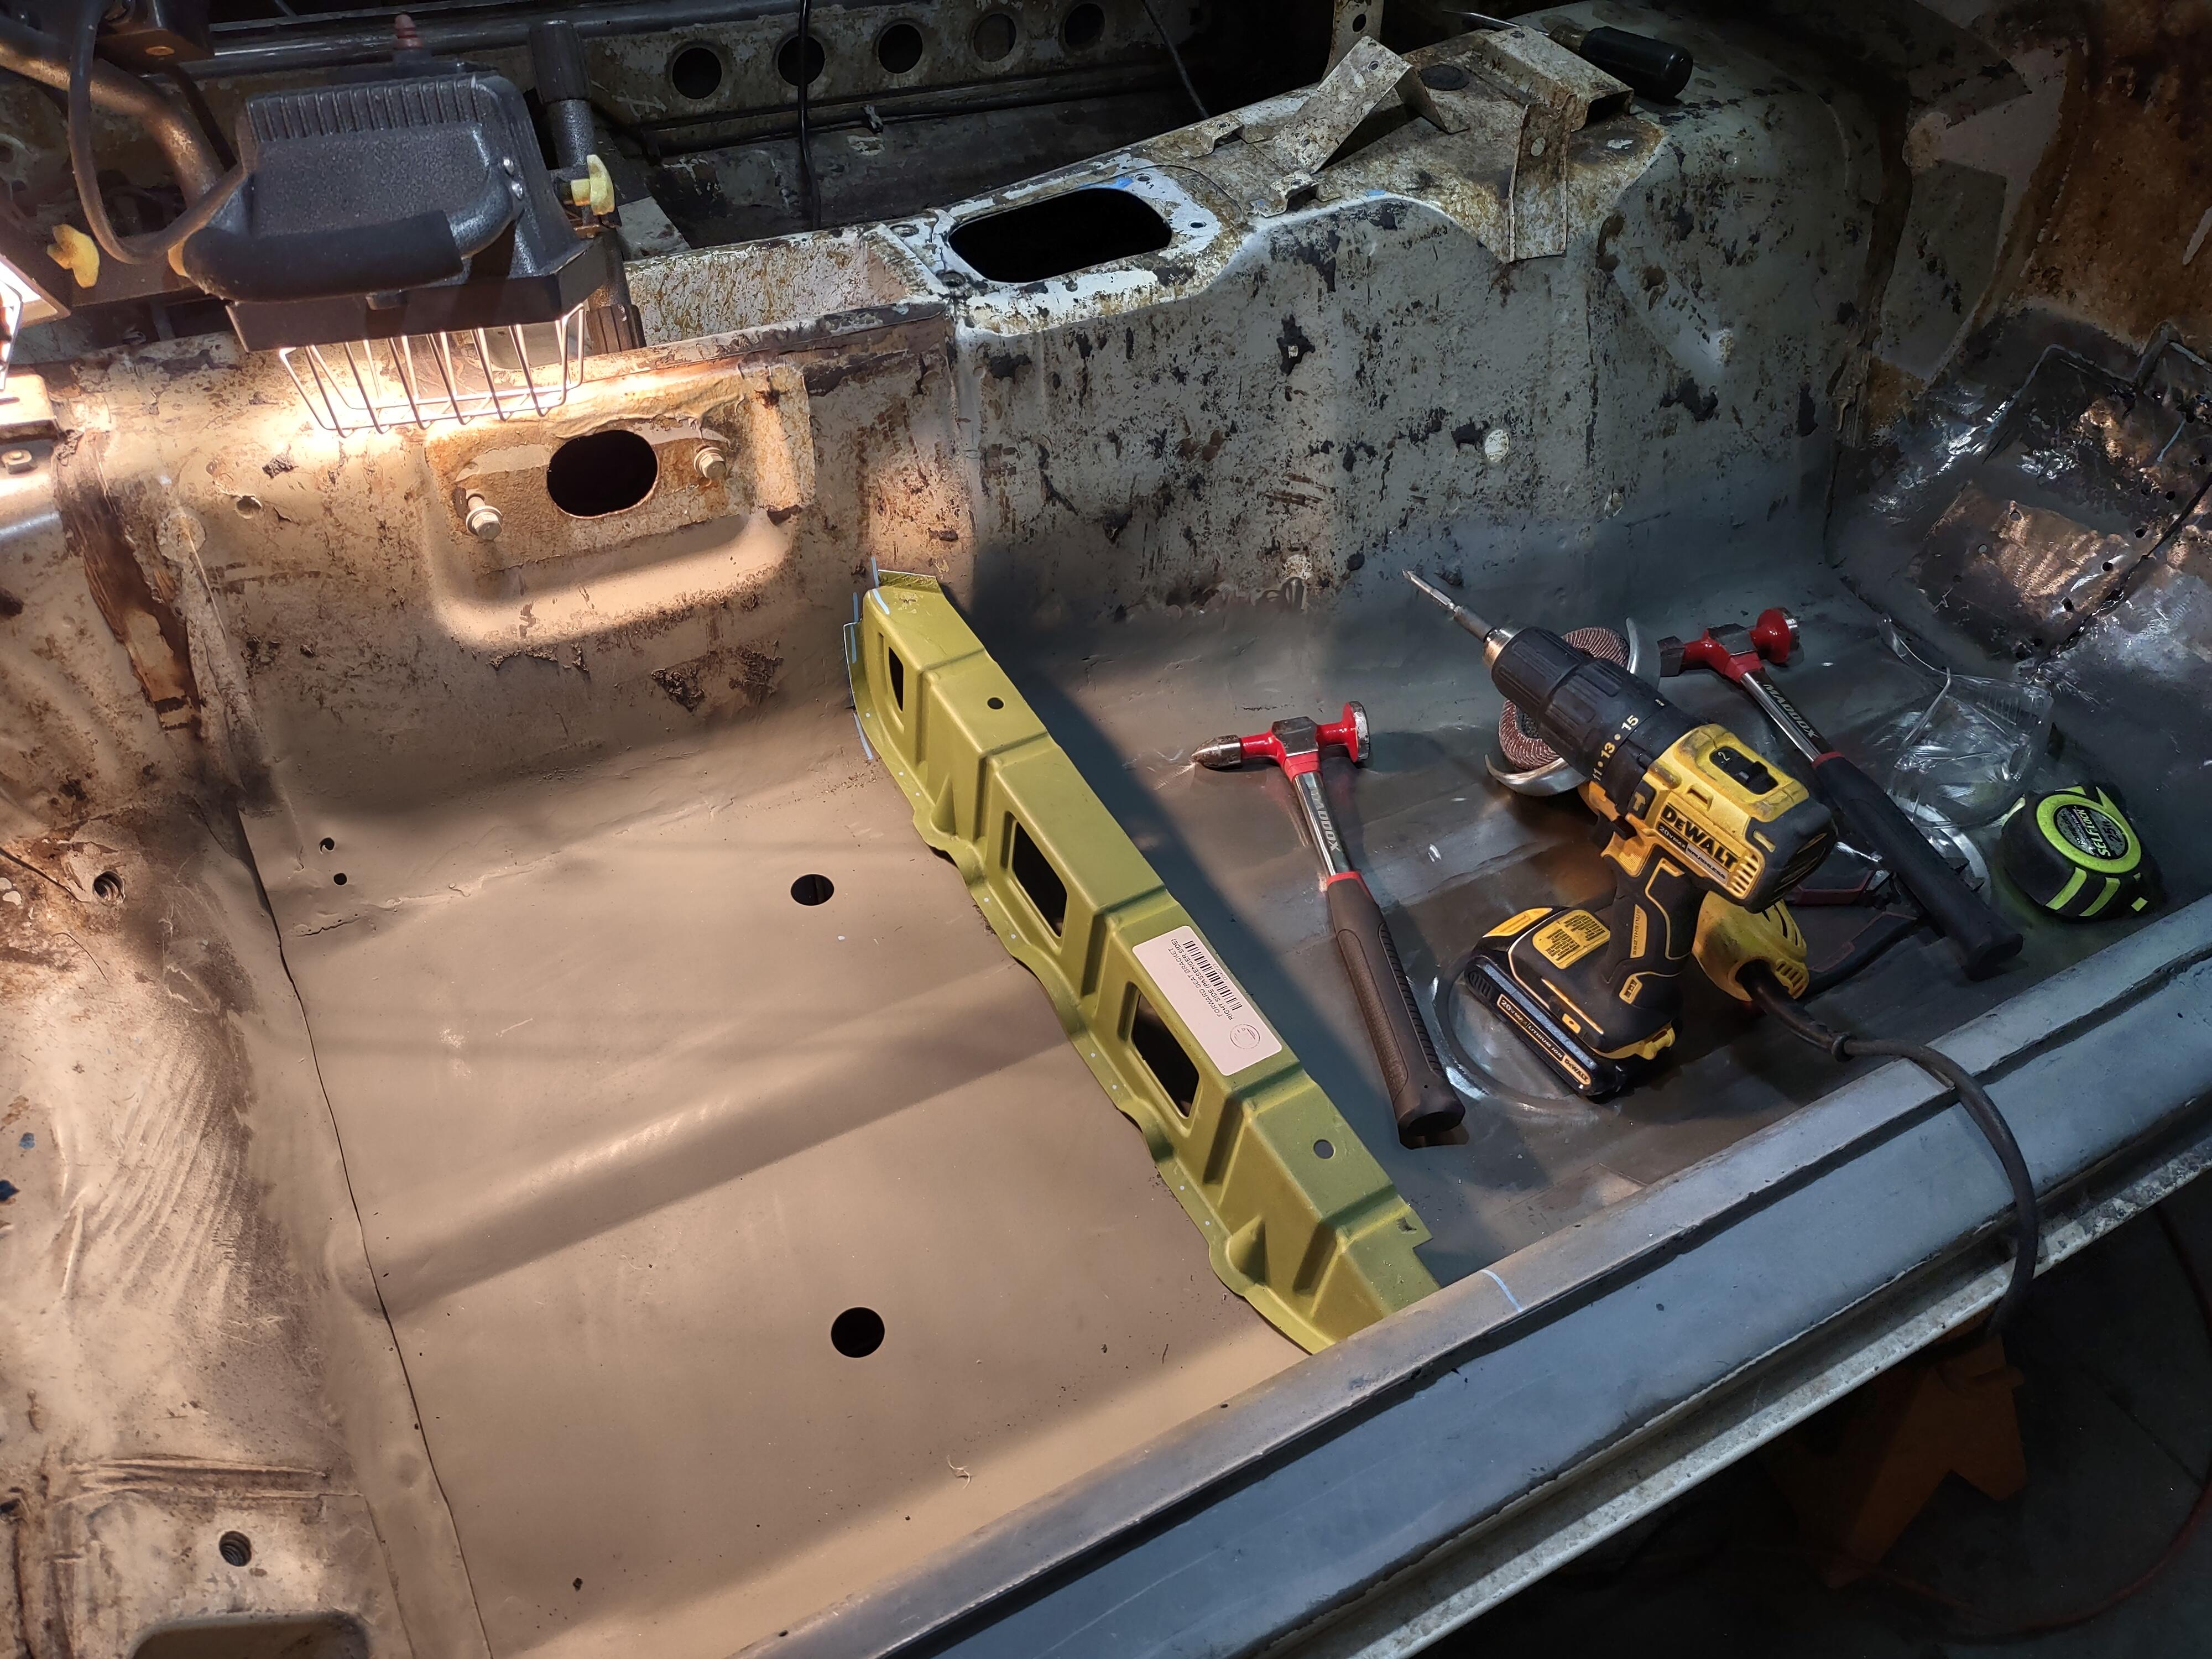
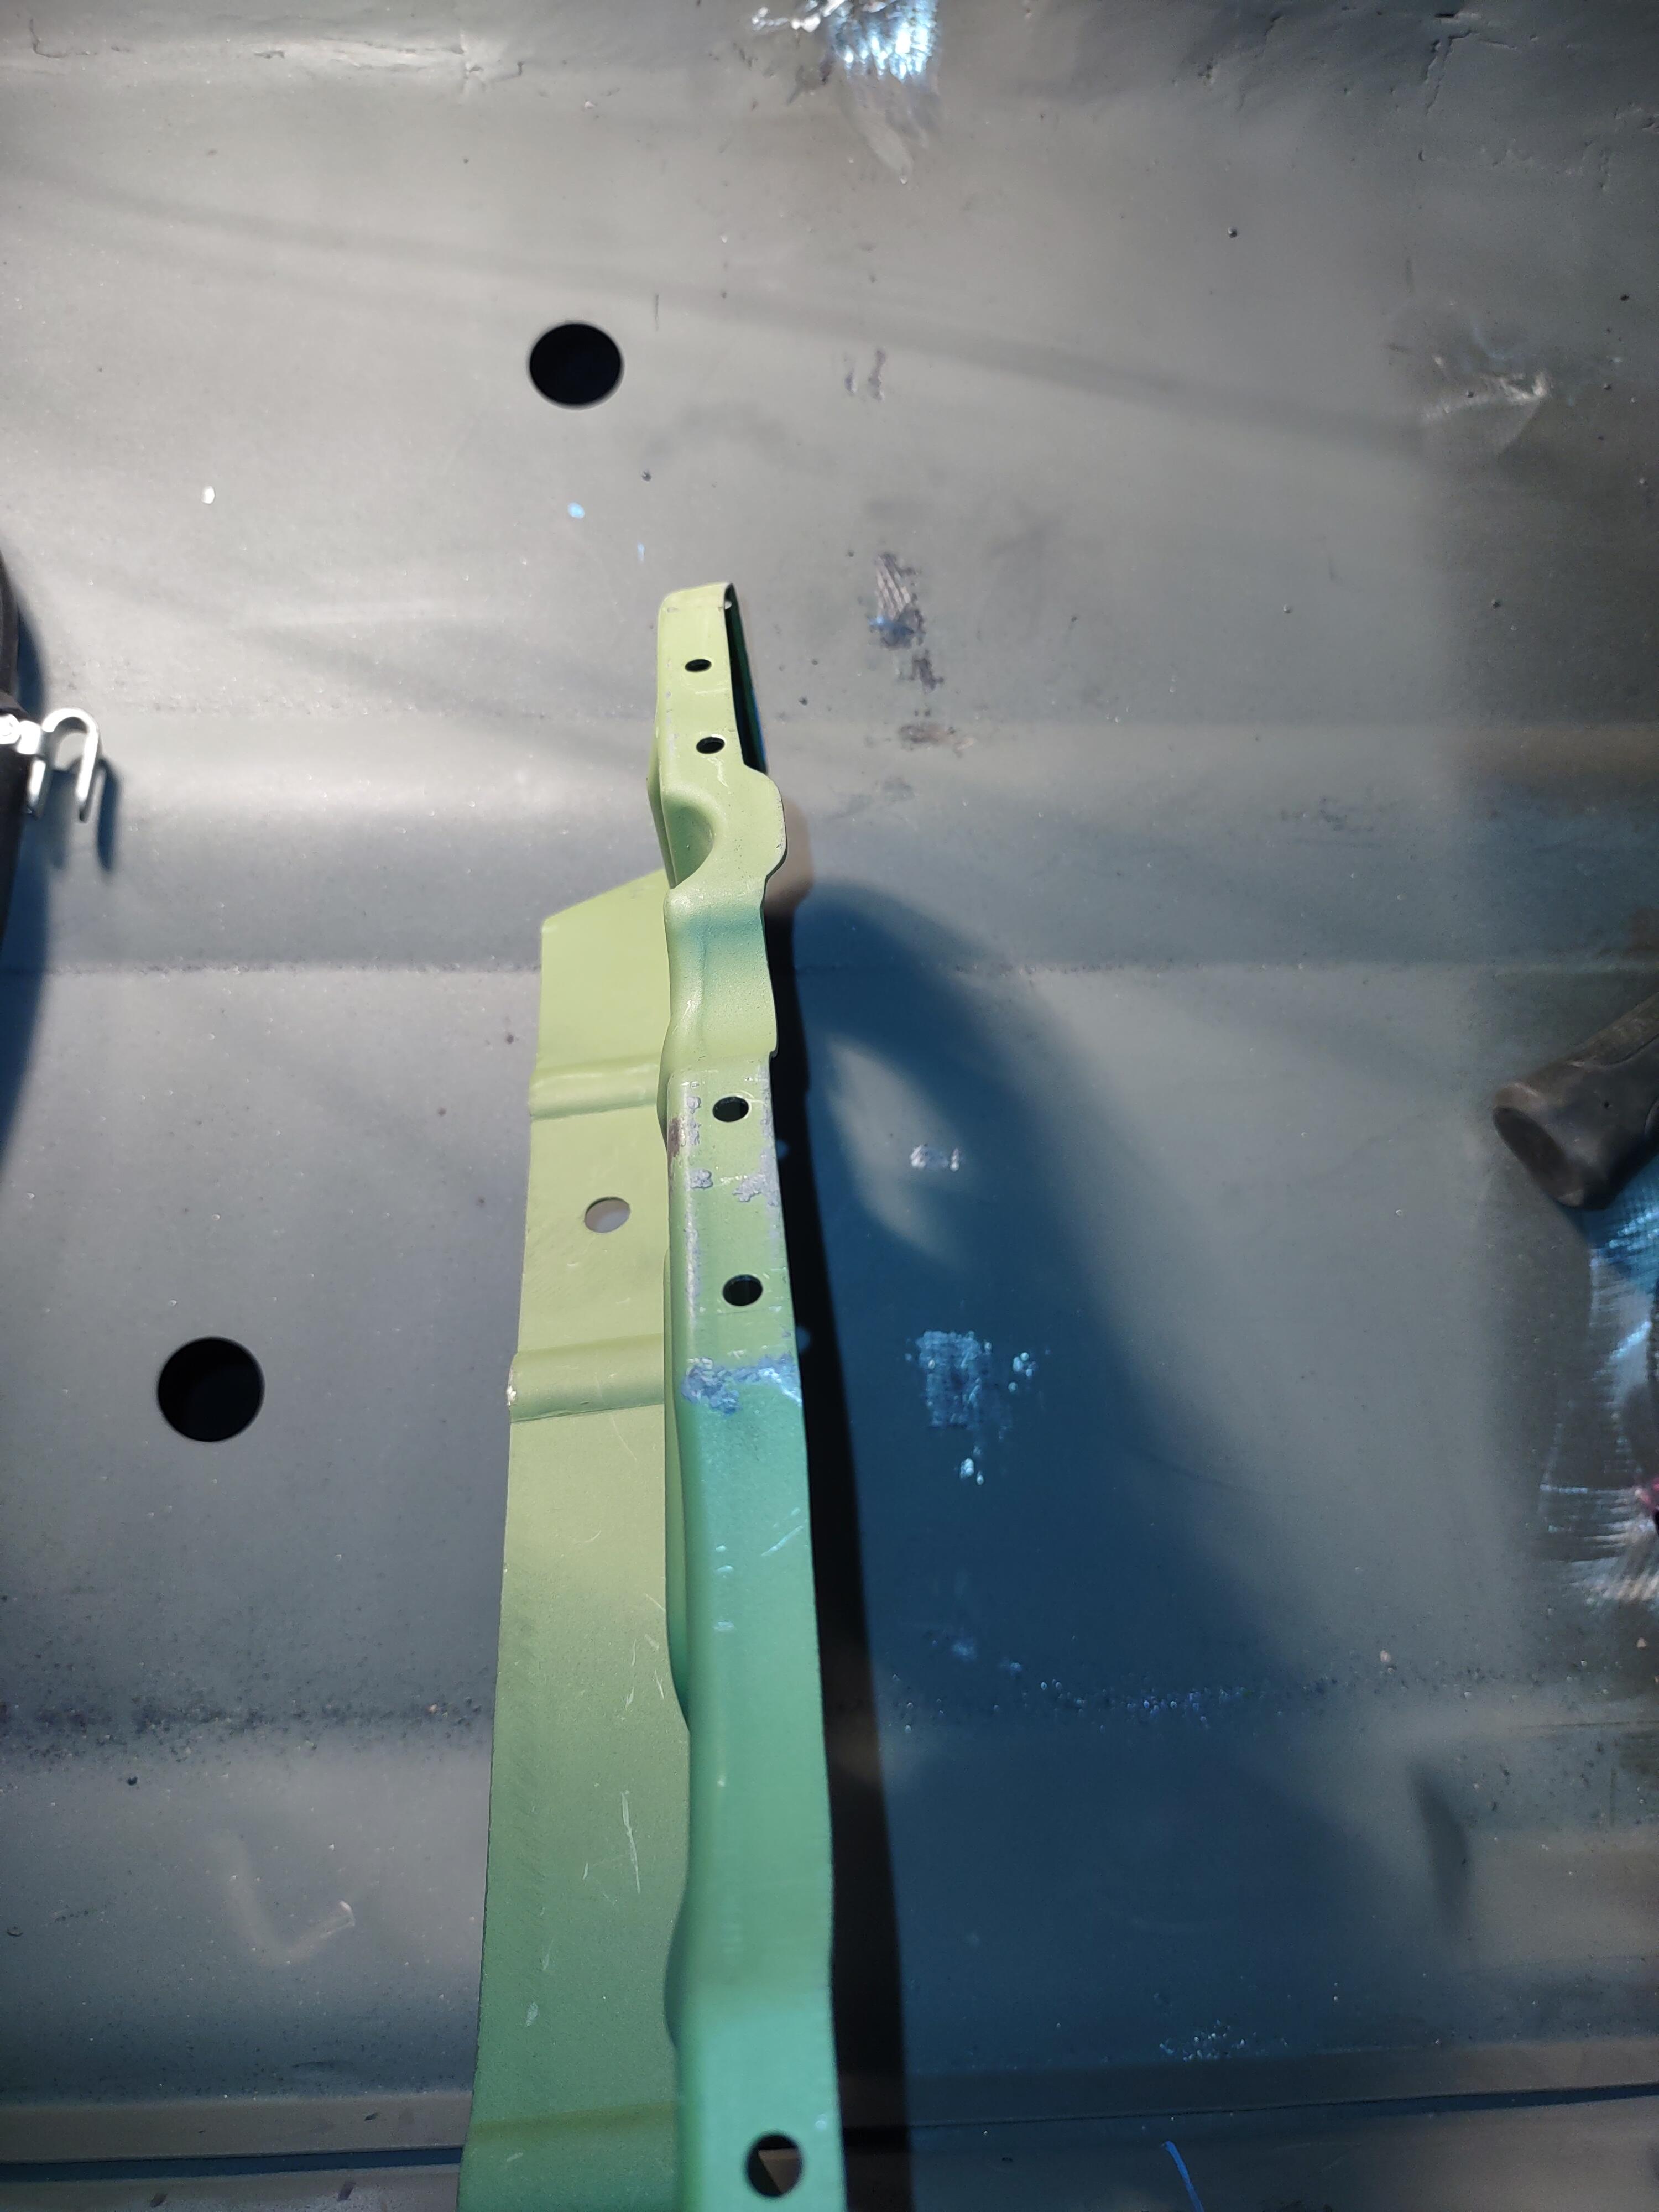
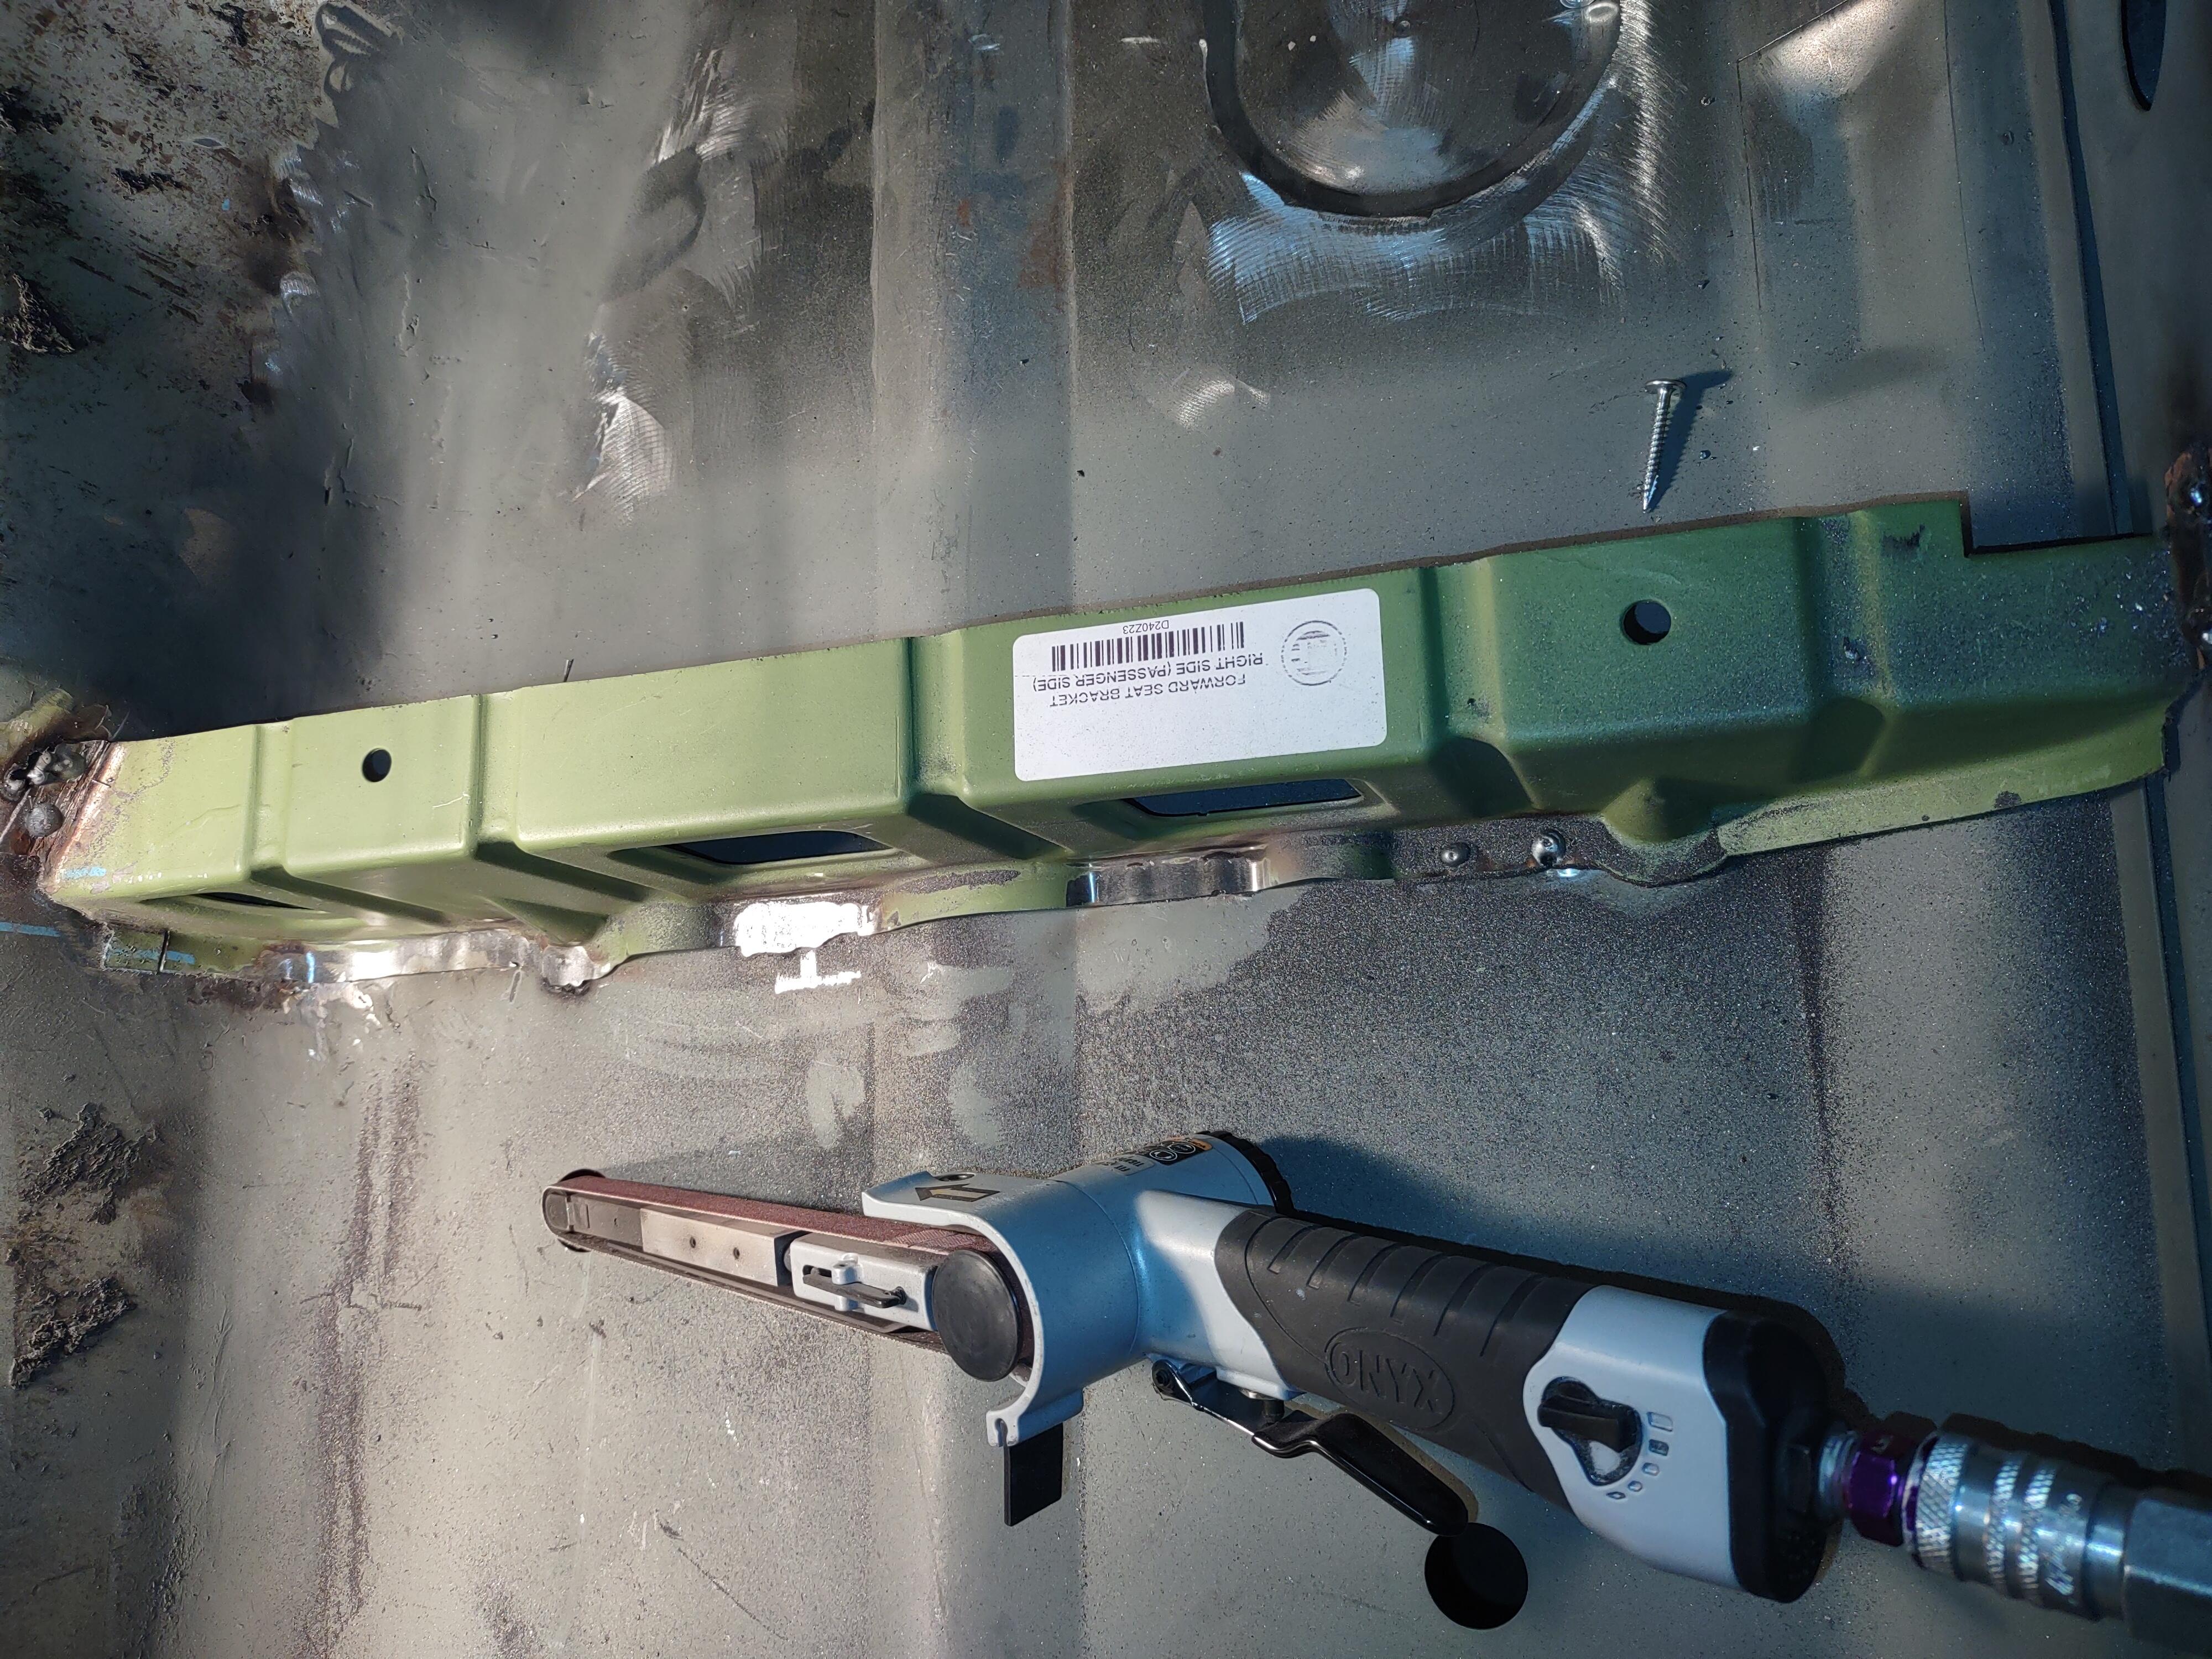
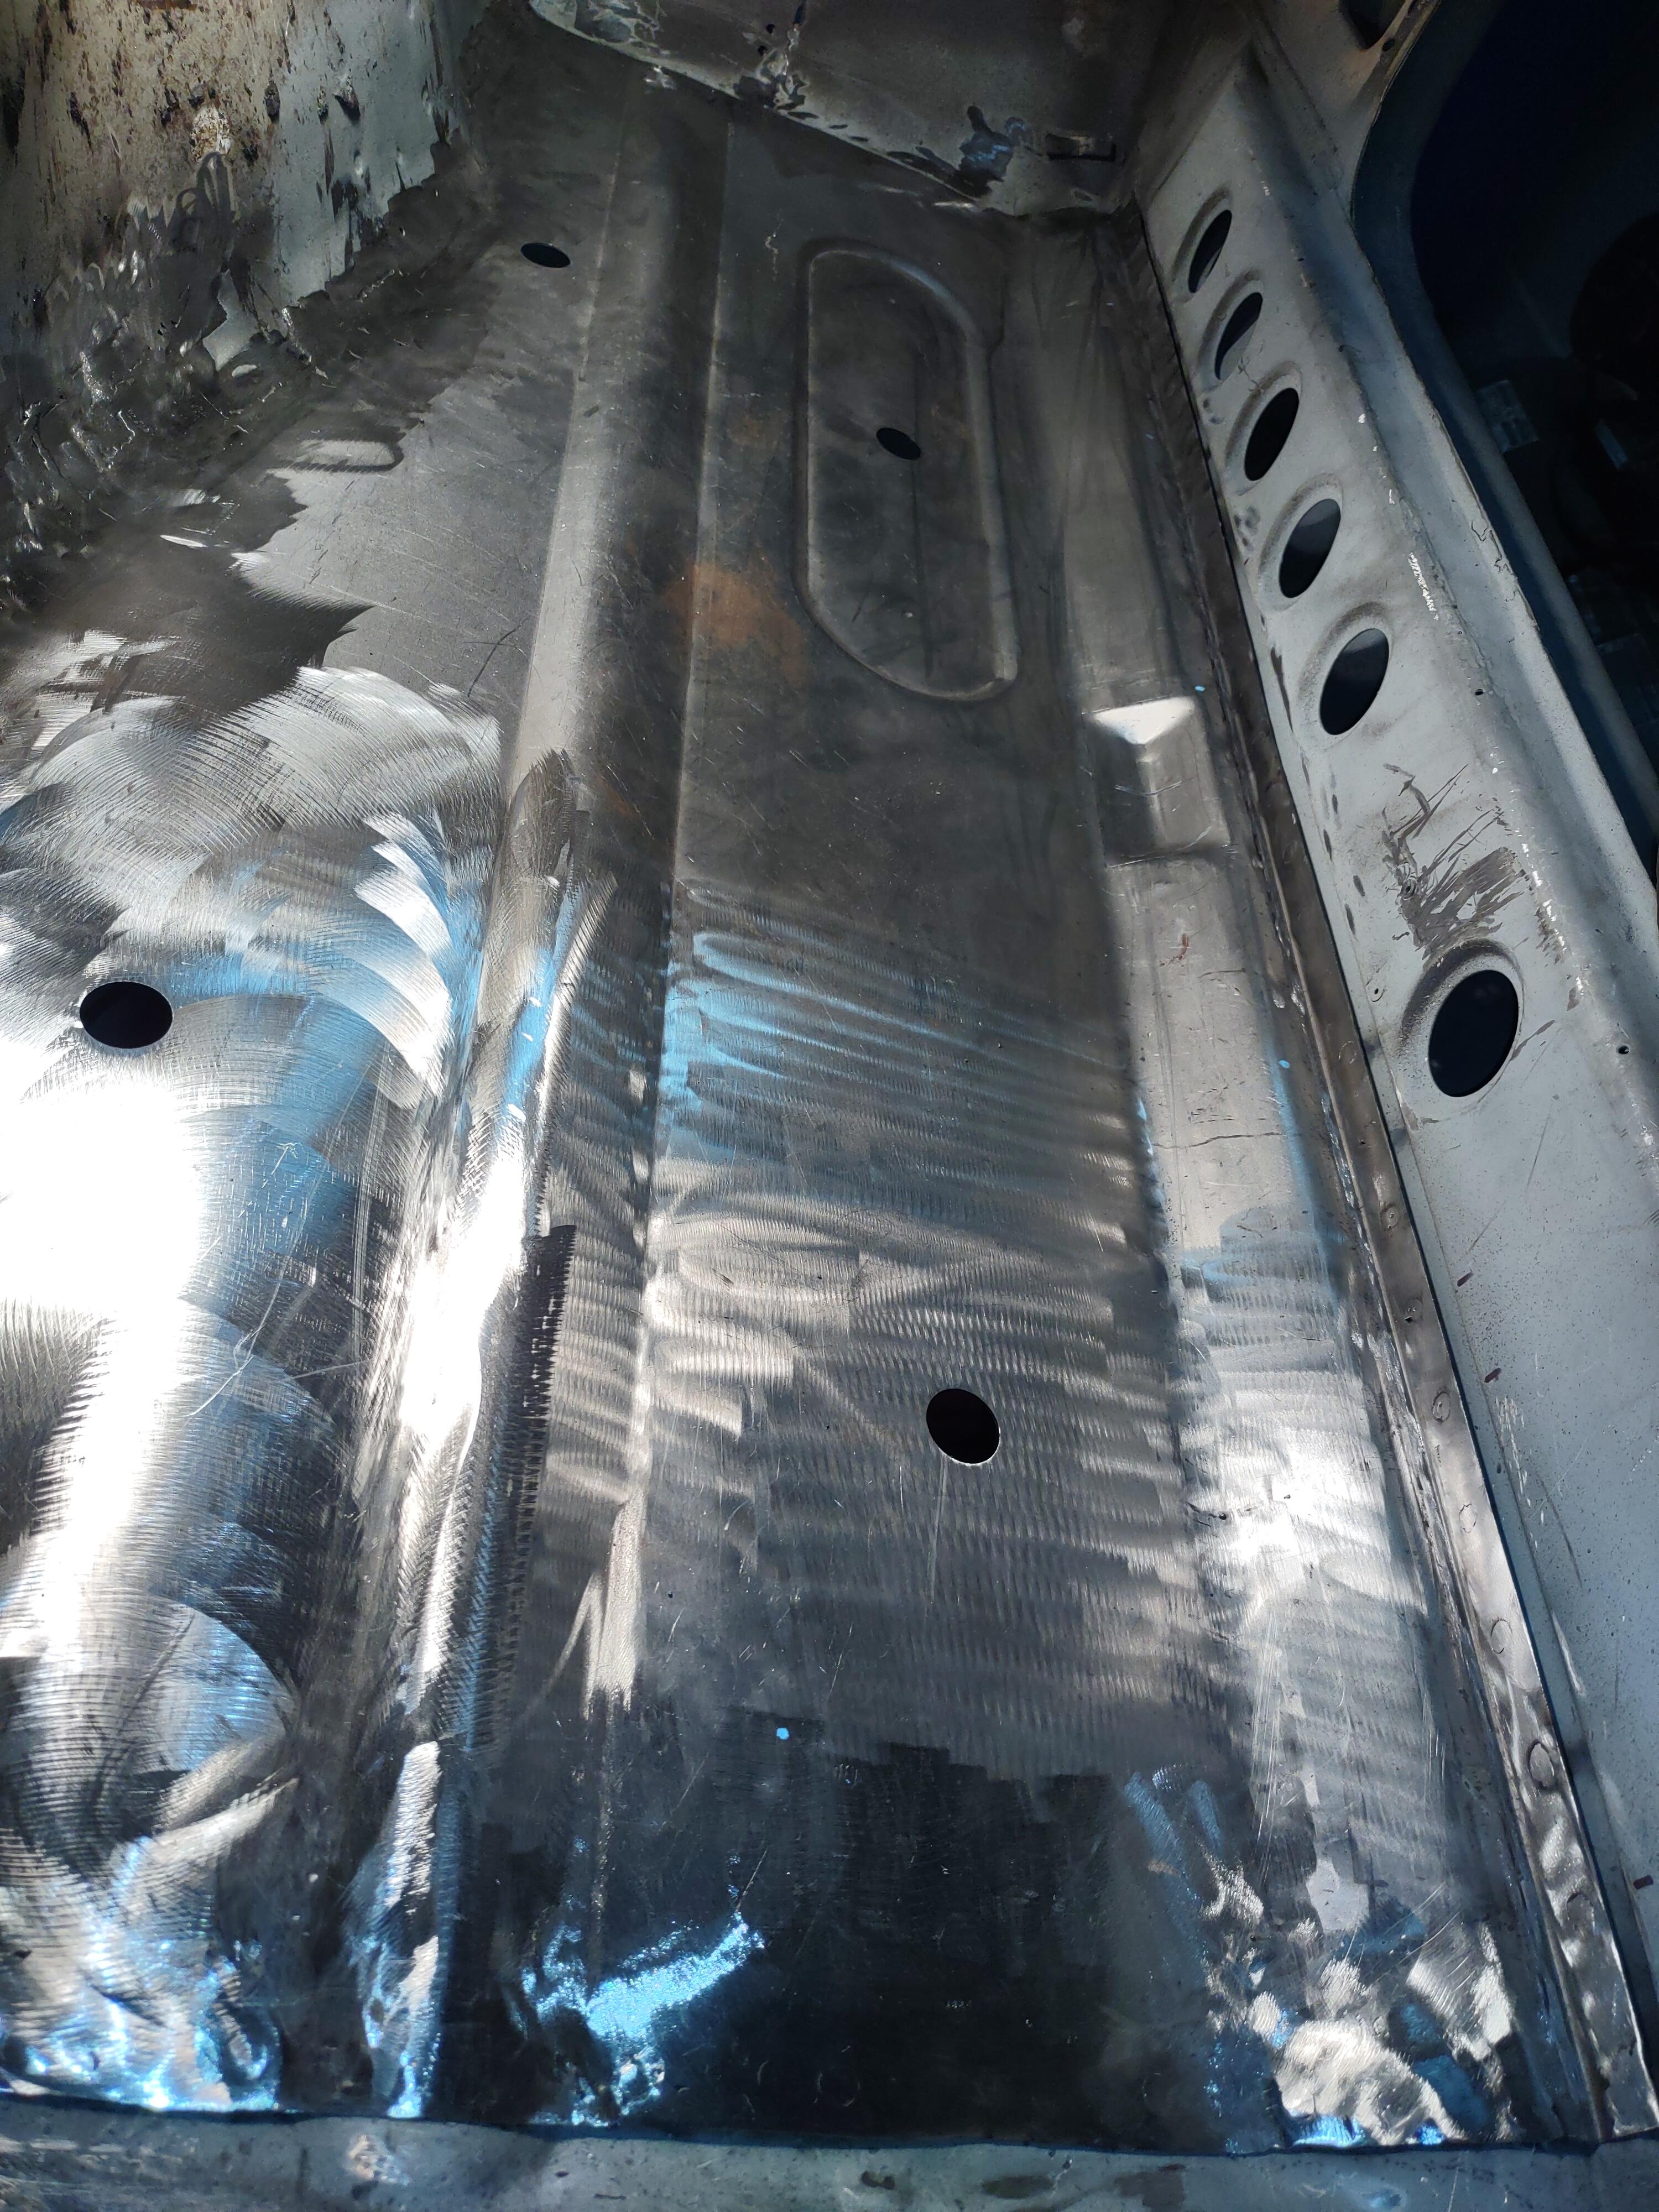
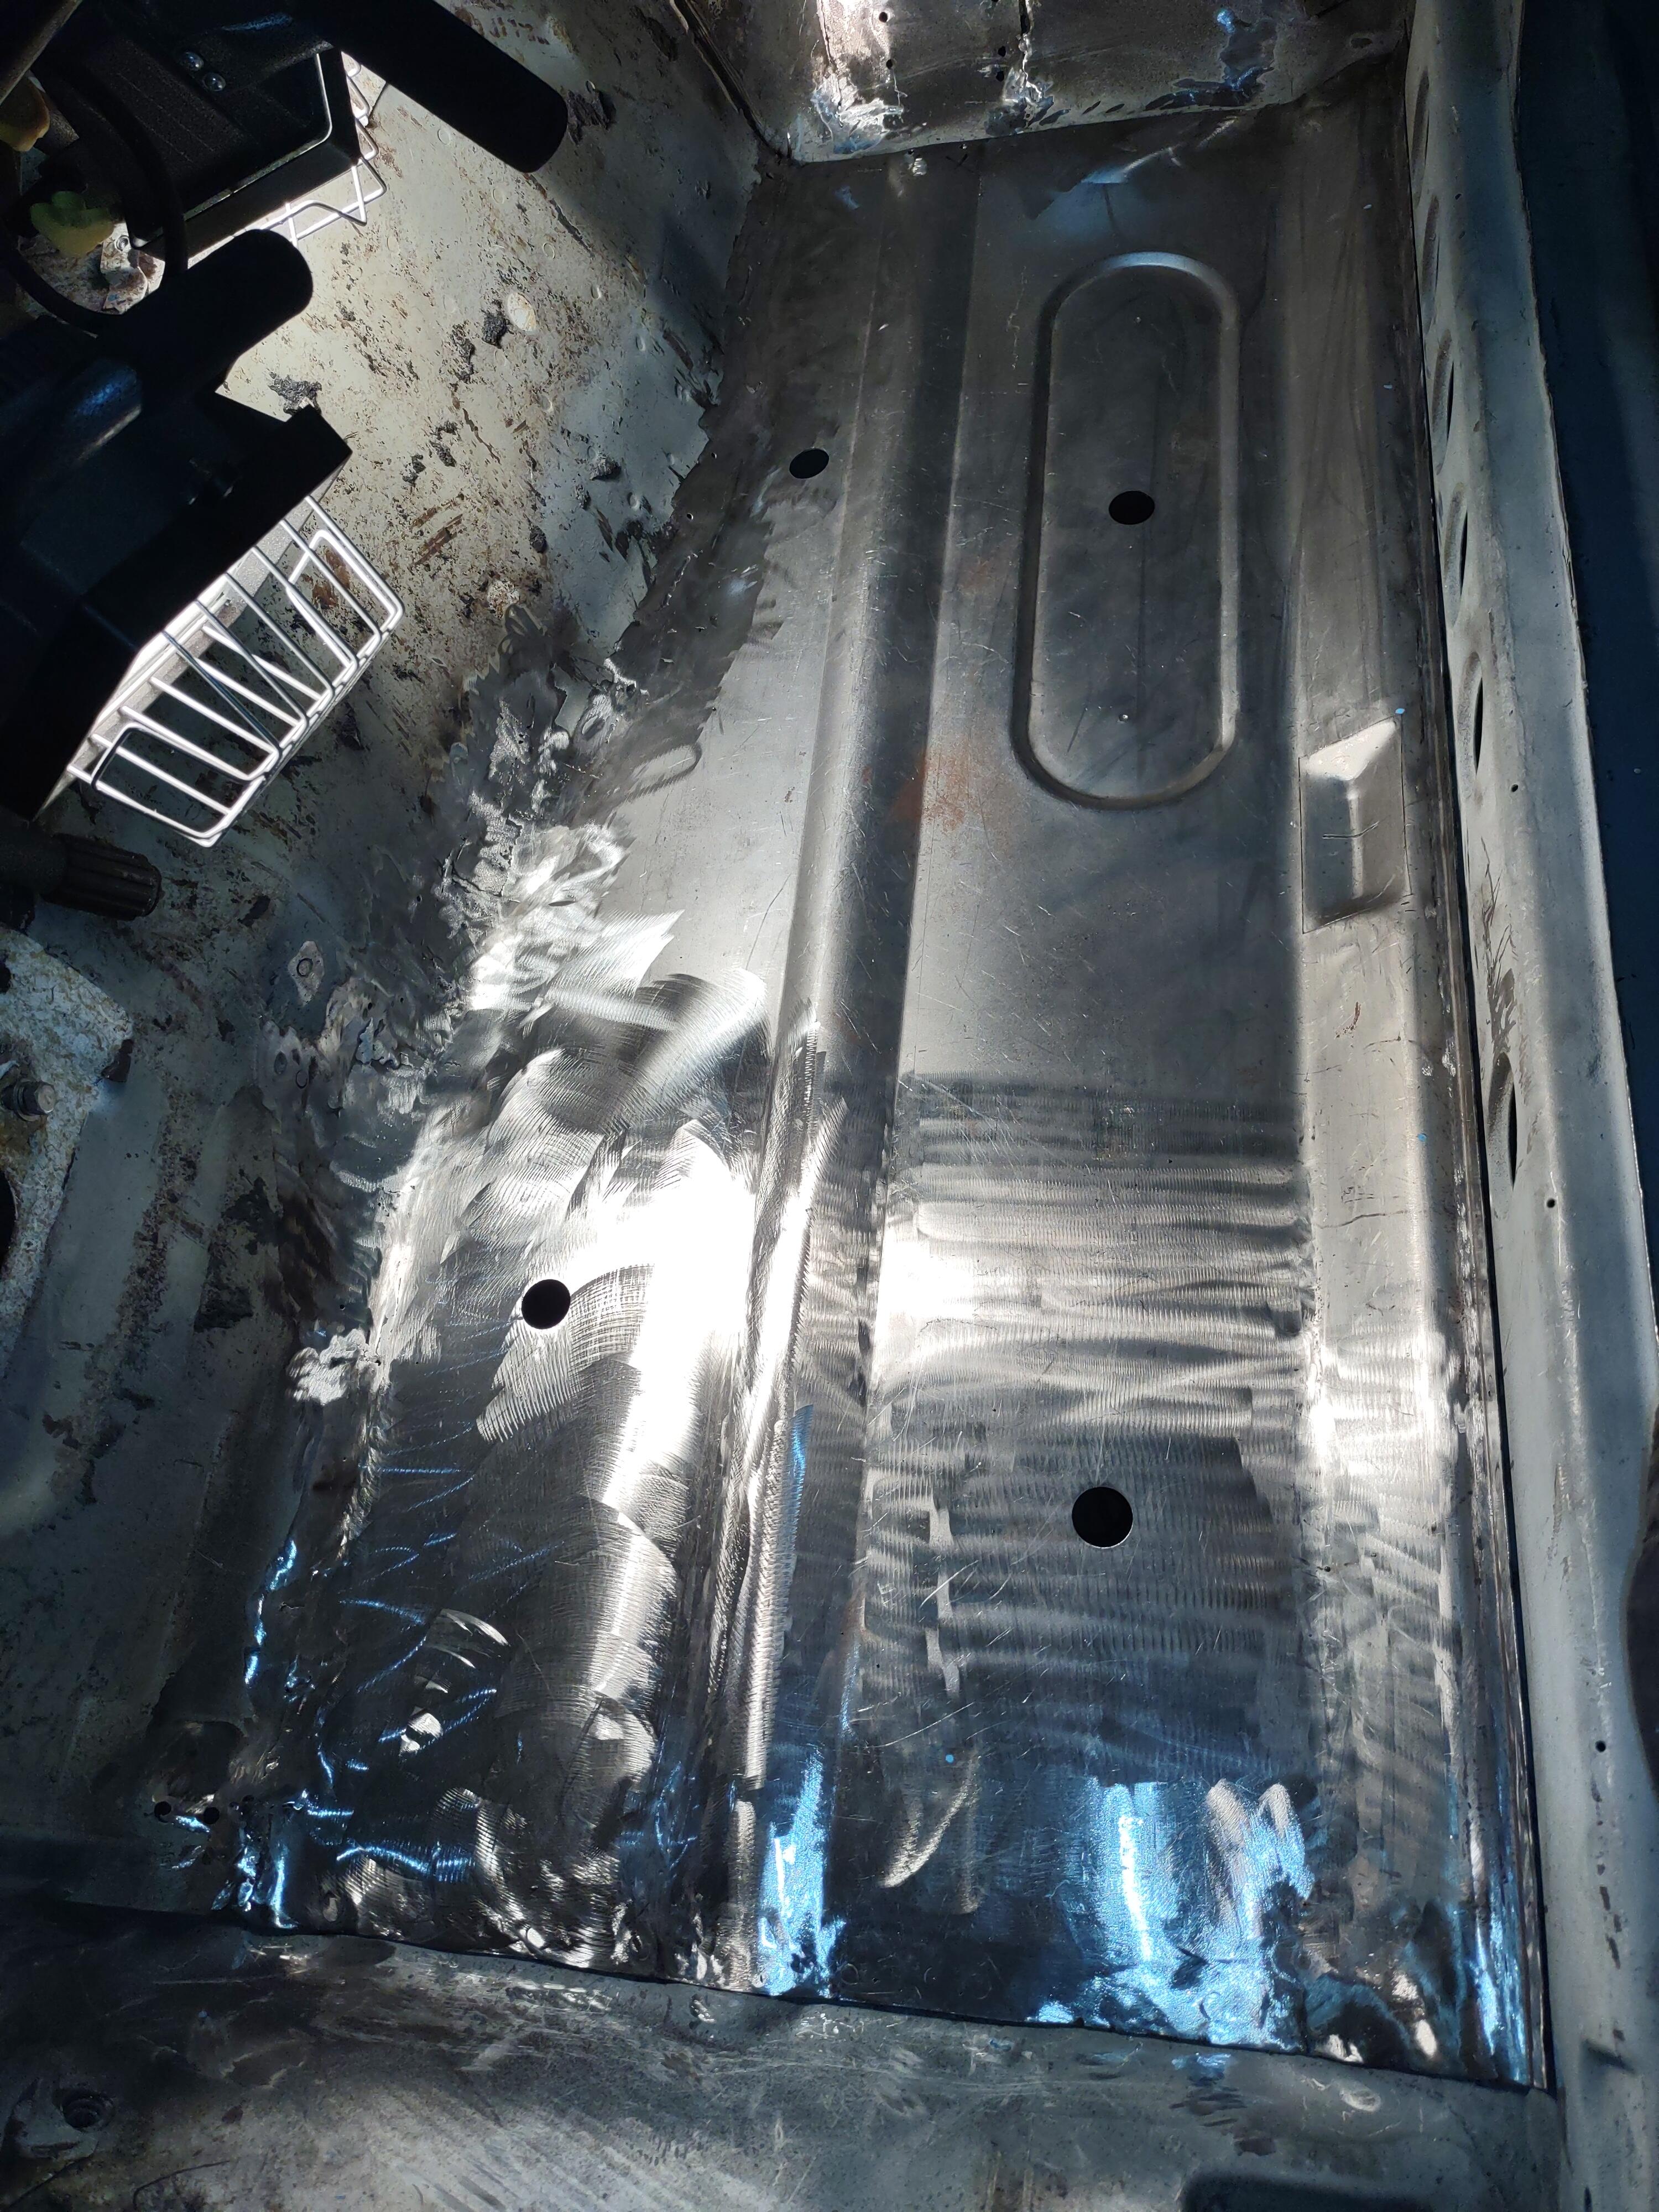
1 pointPassenger floor pan installed, touch up areas still need to be welded up and then seat mounts.


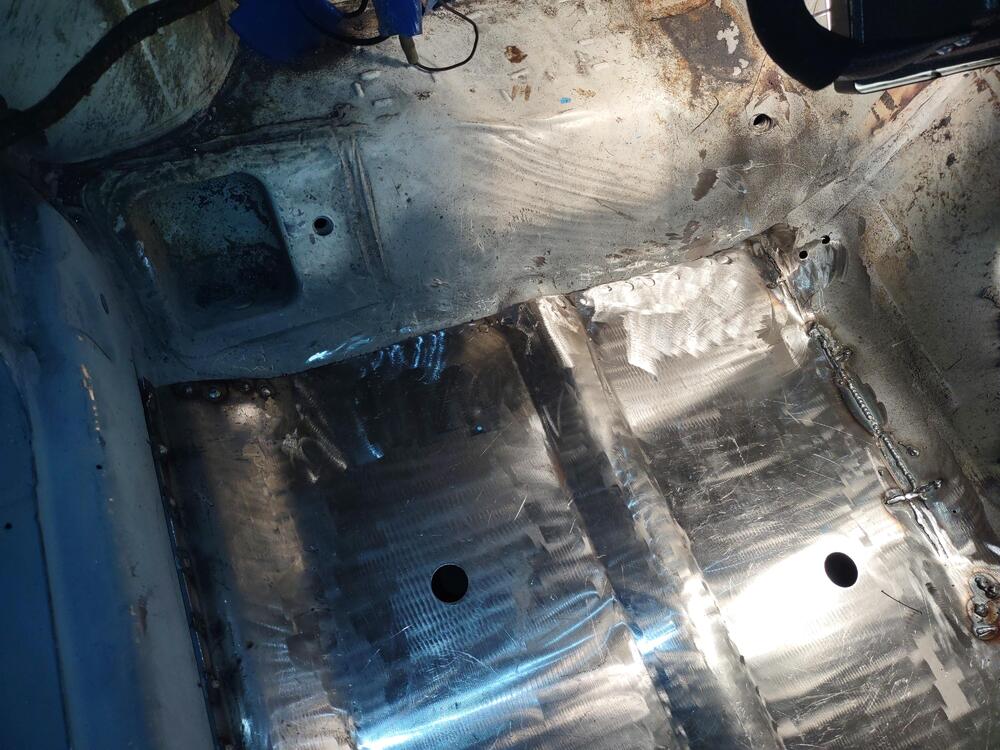 1 point
 -
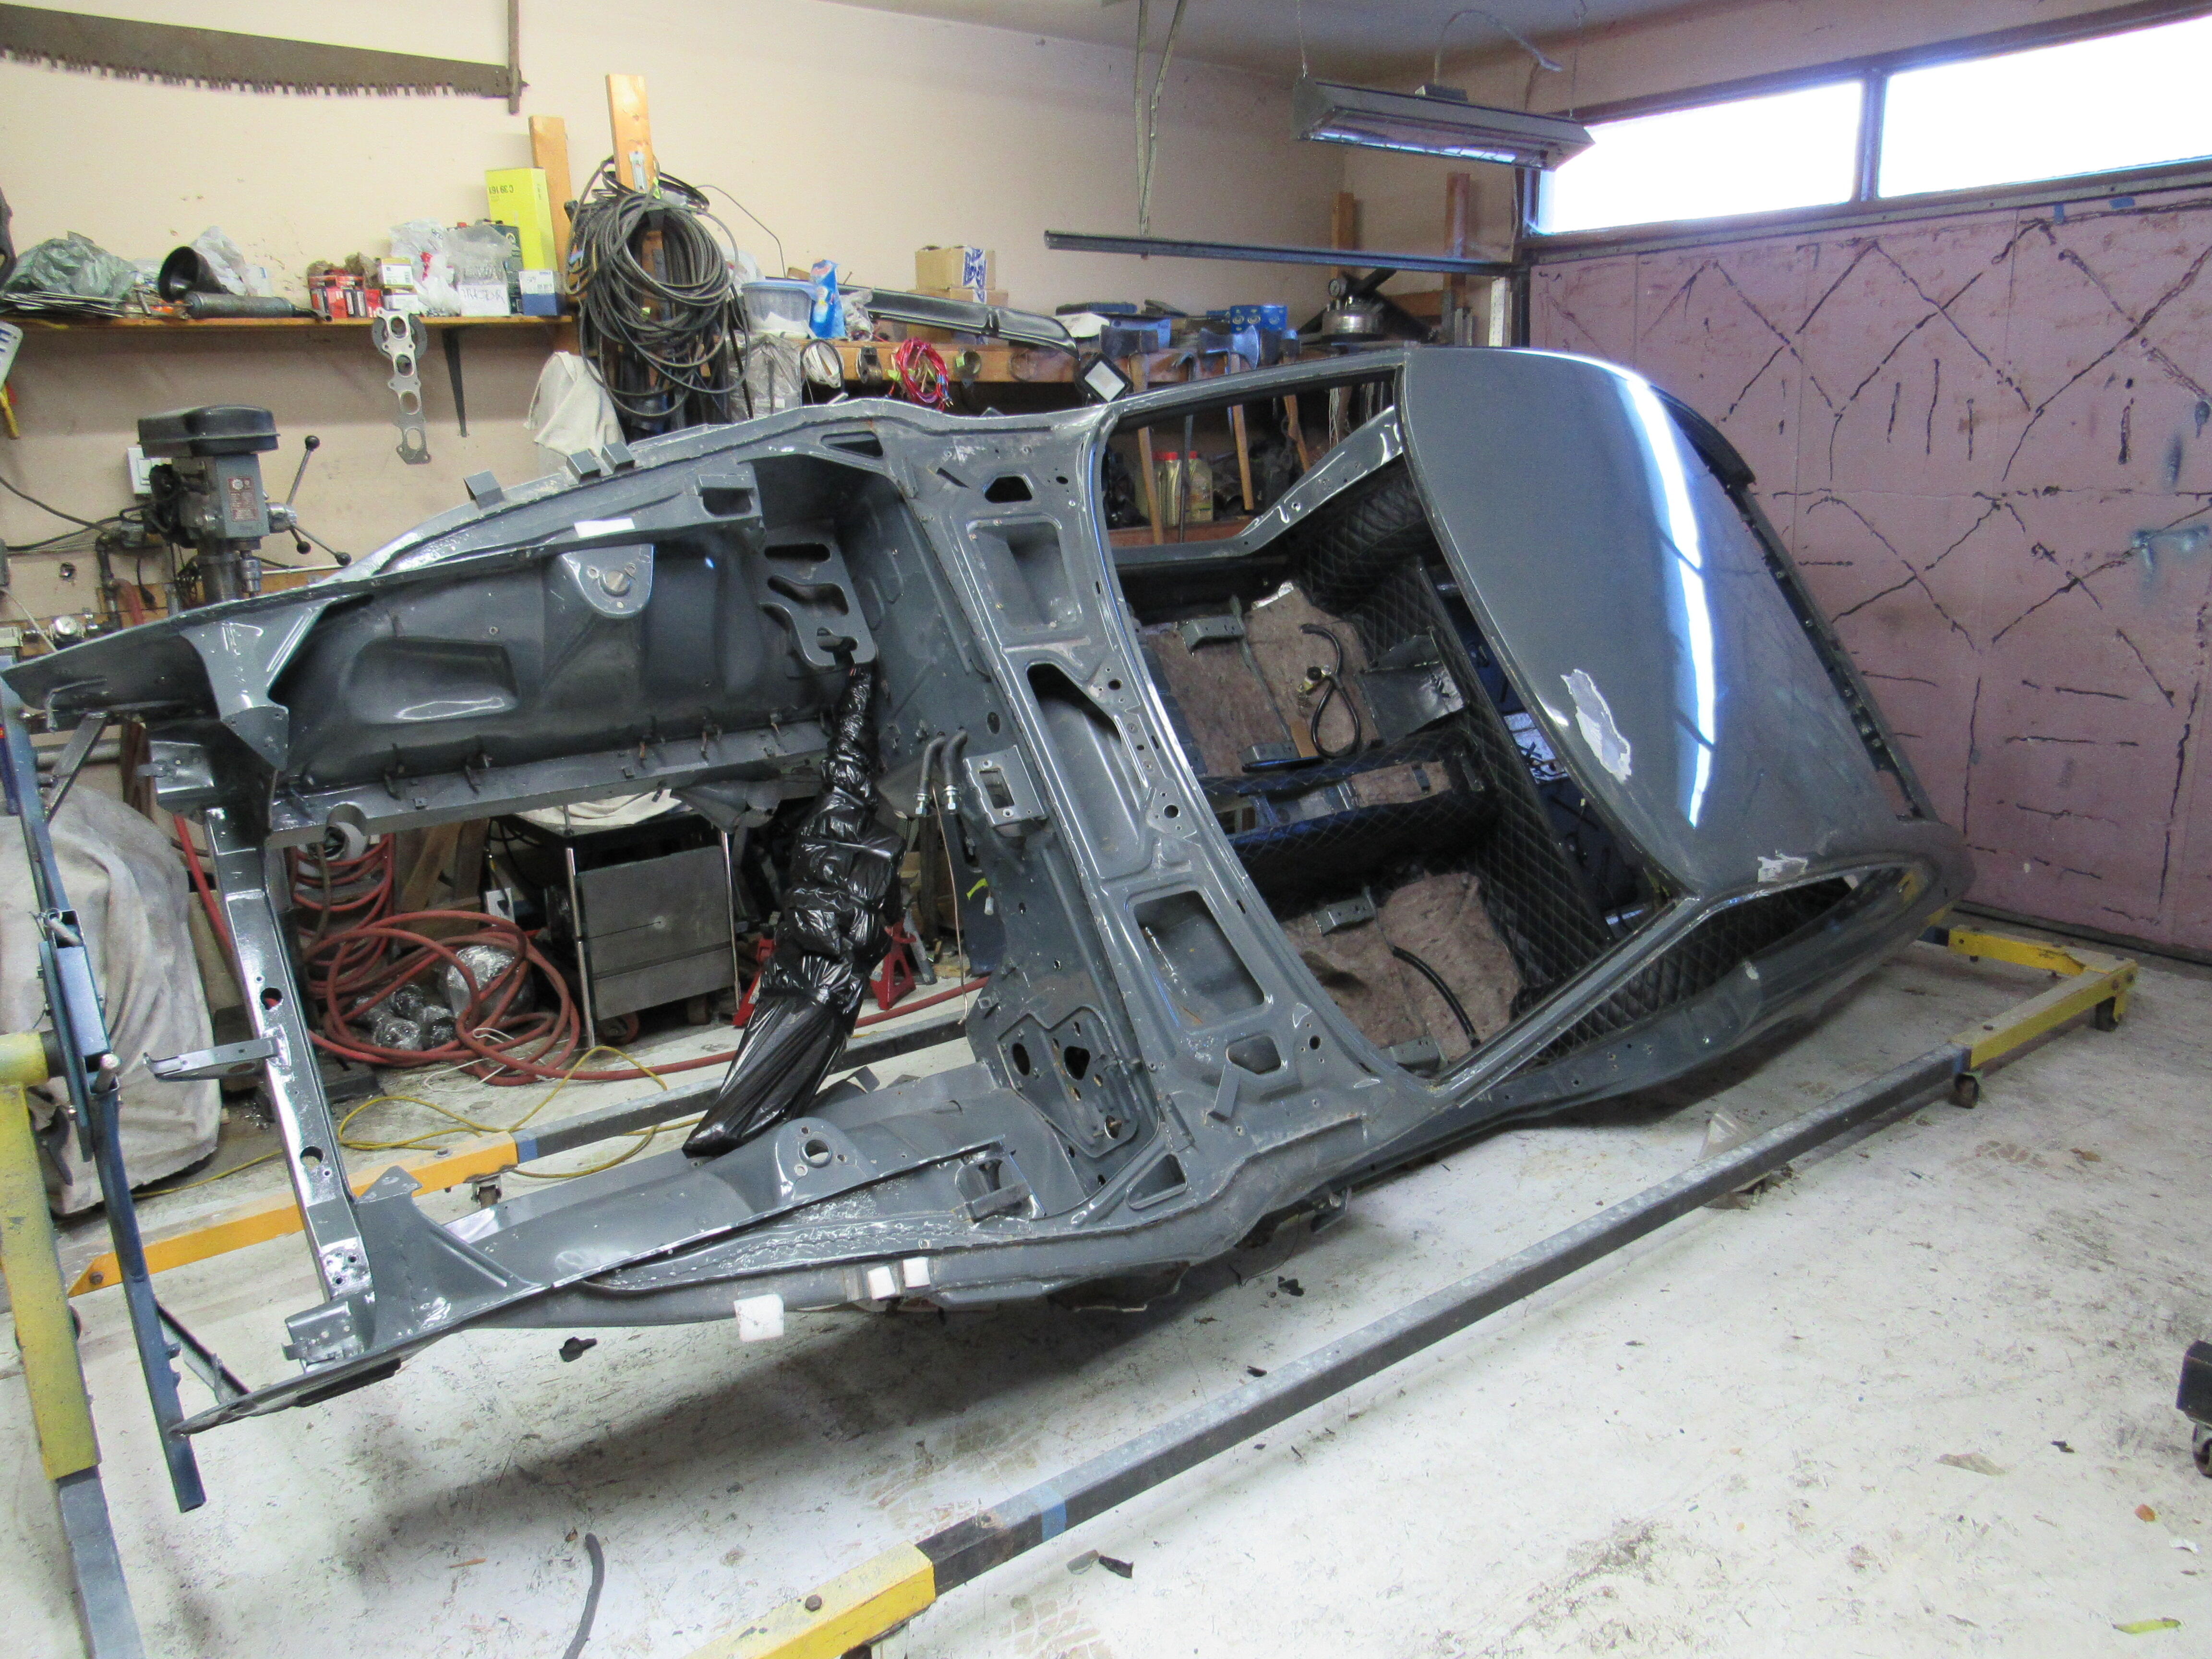
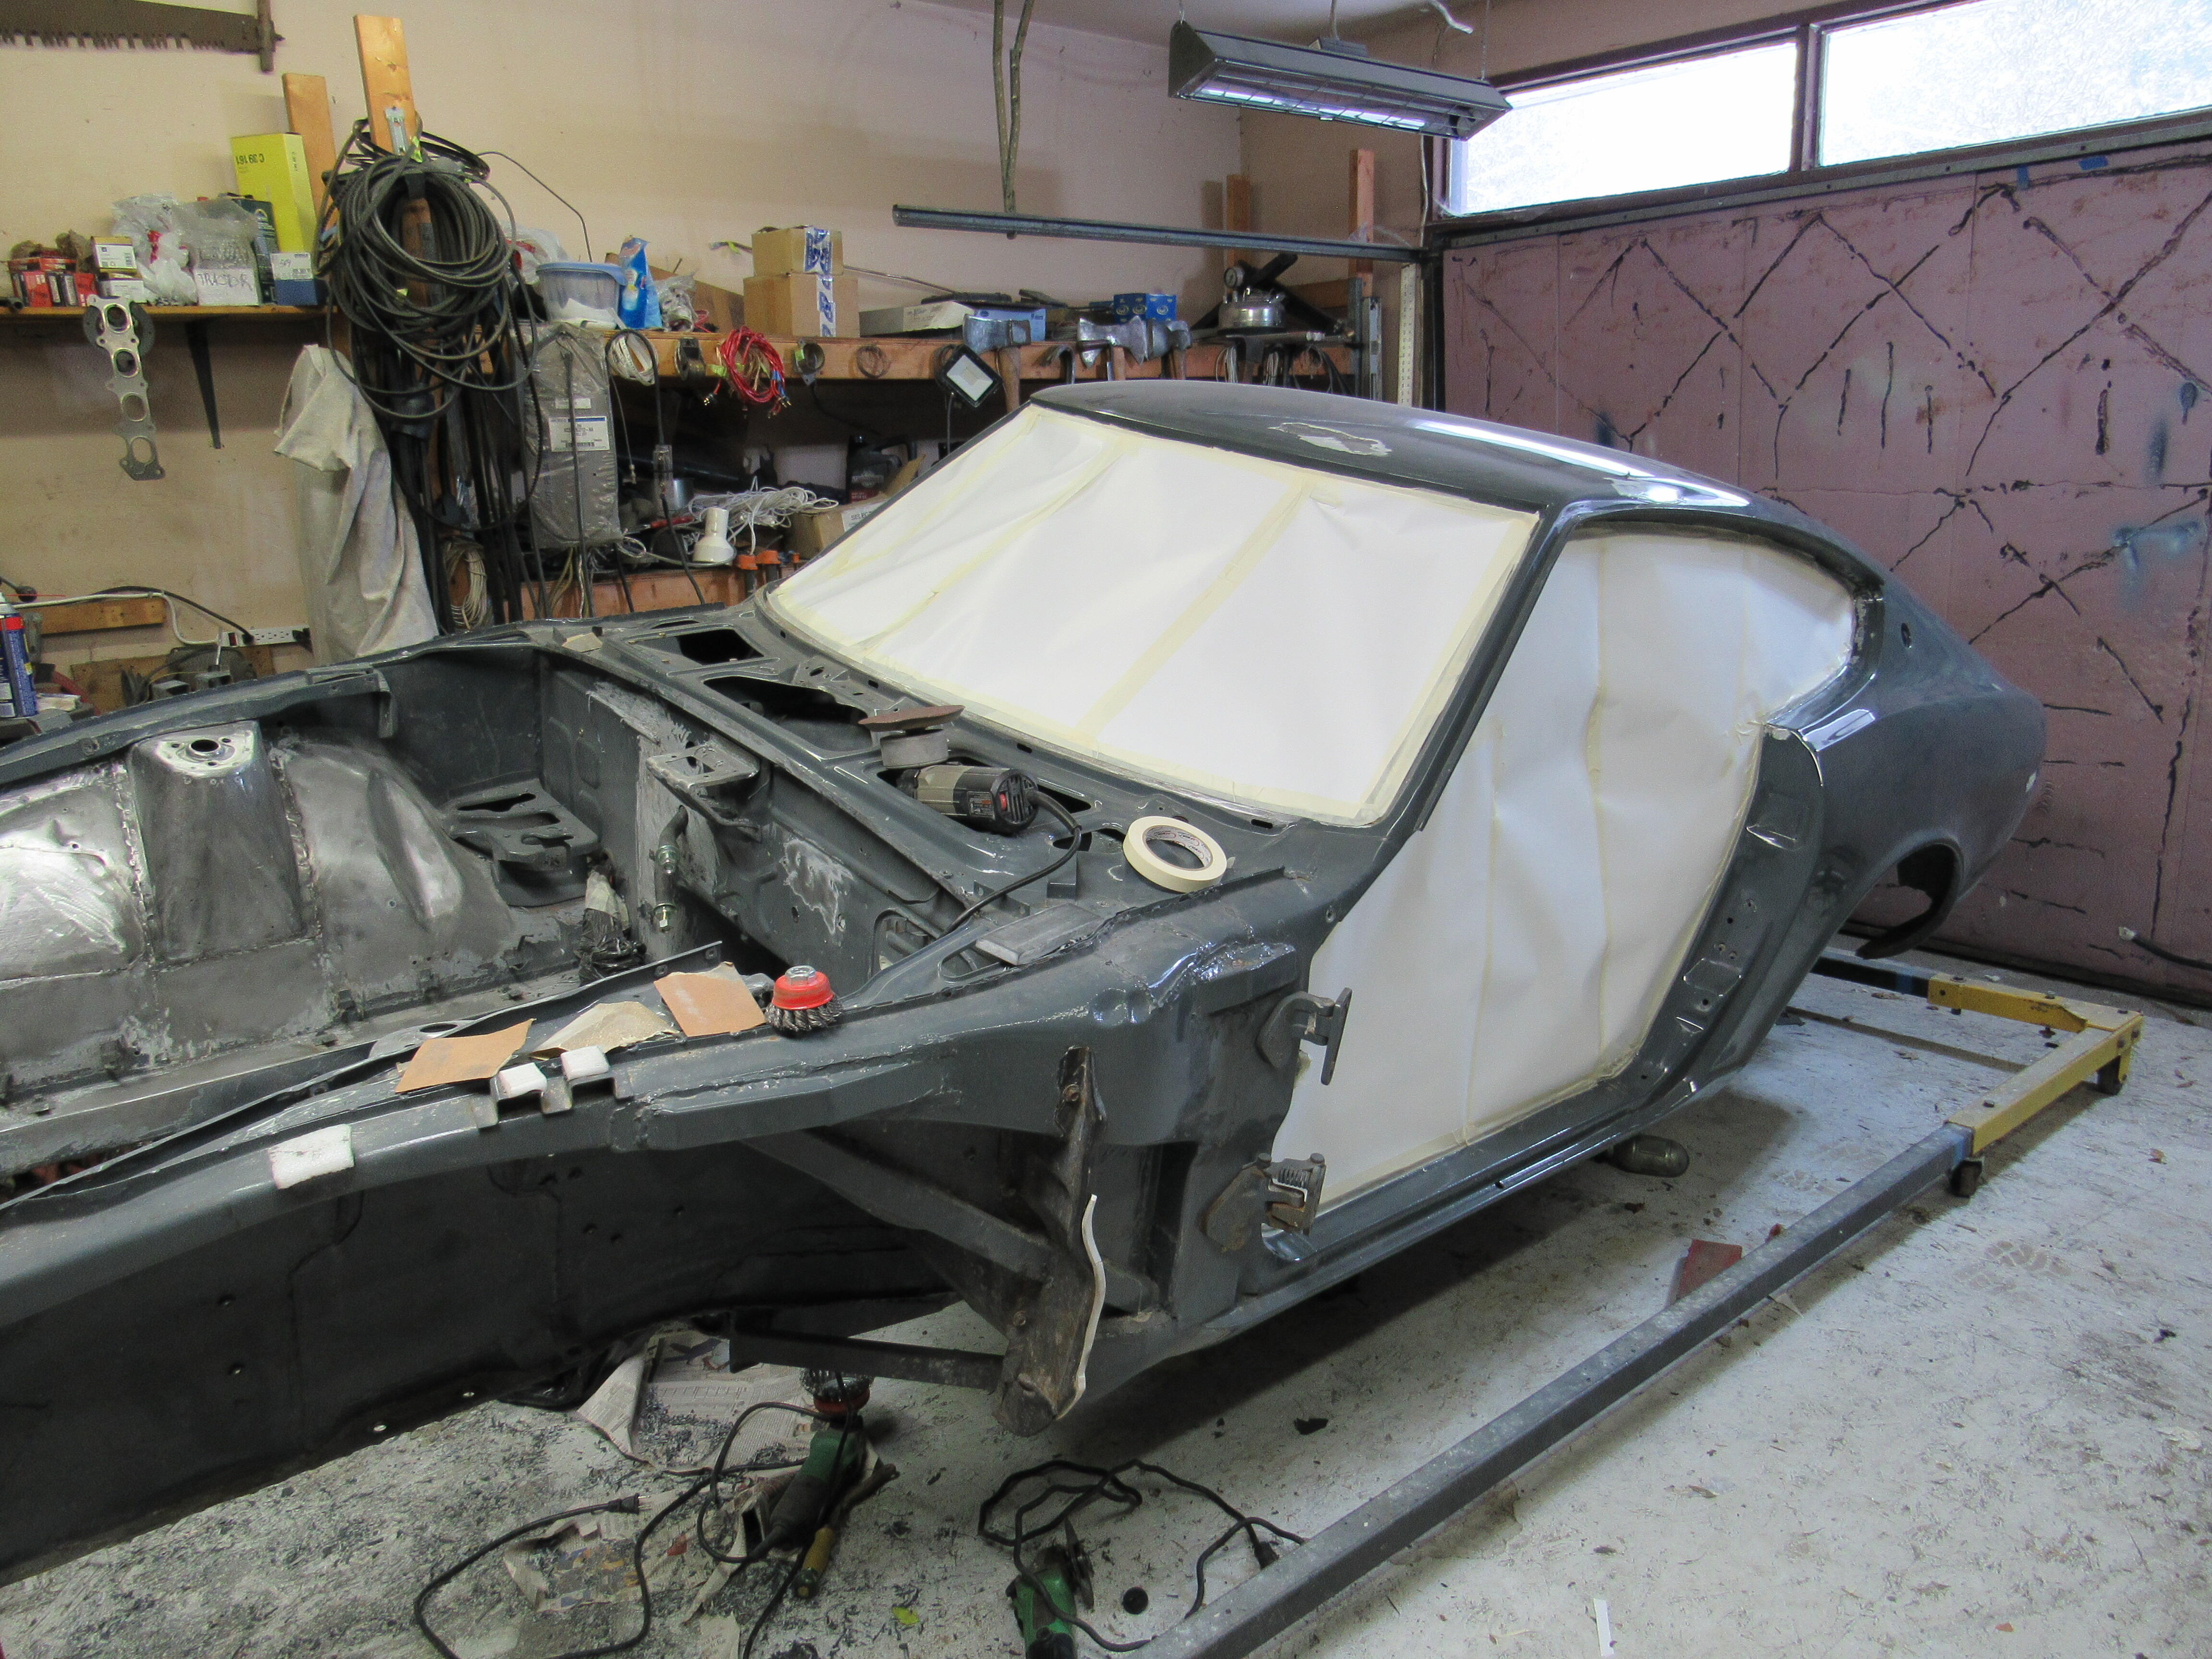
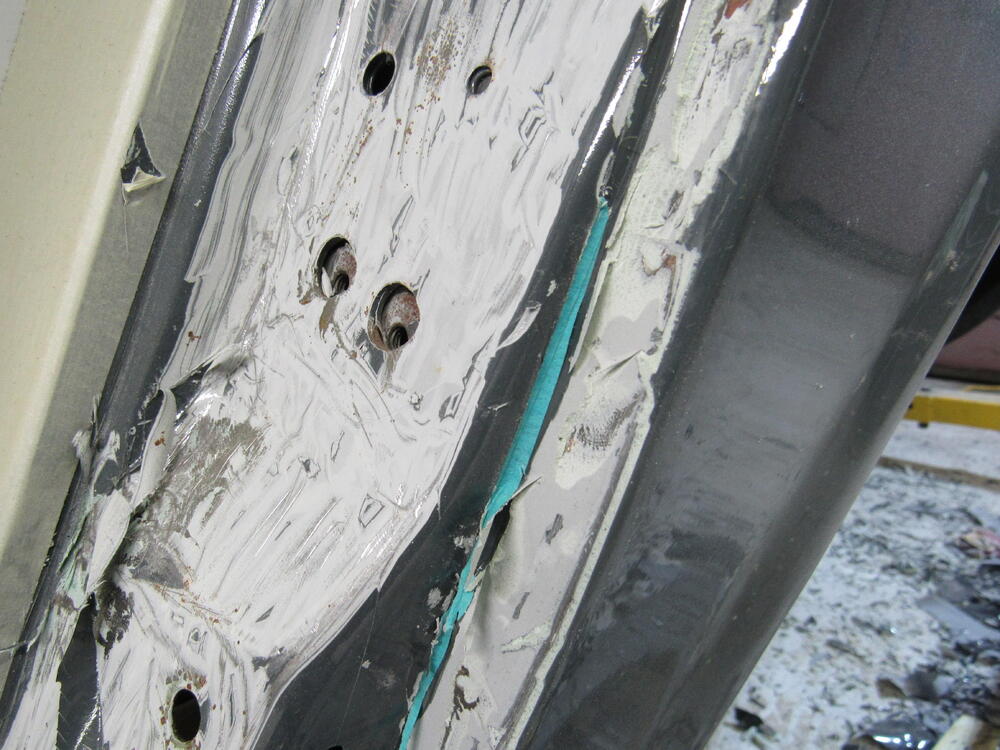
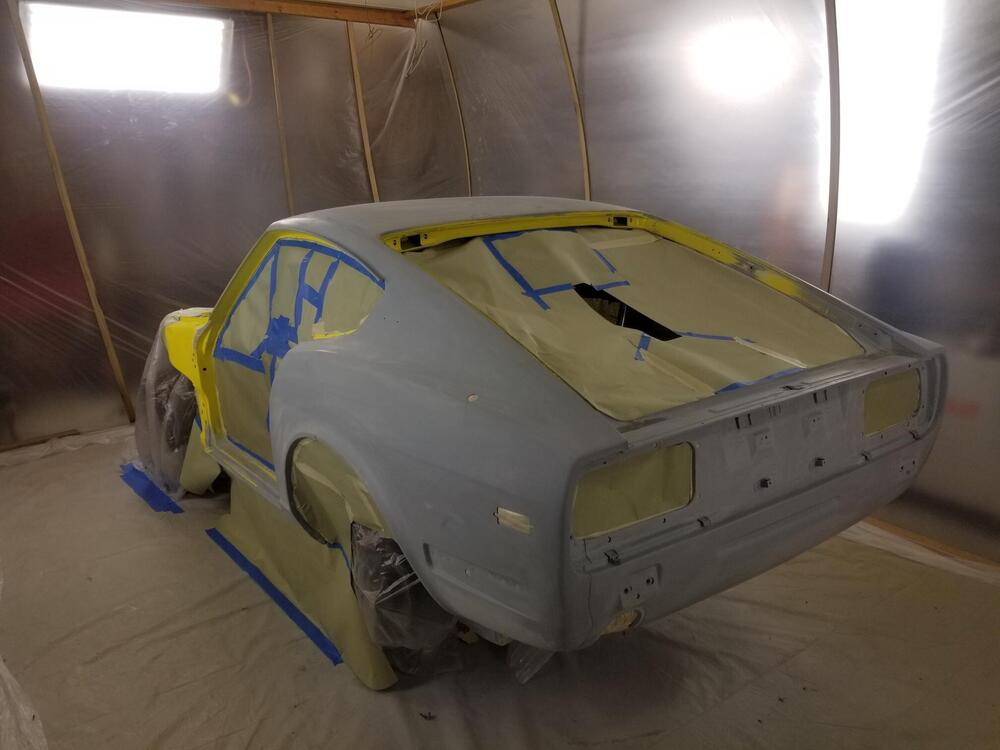
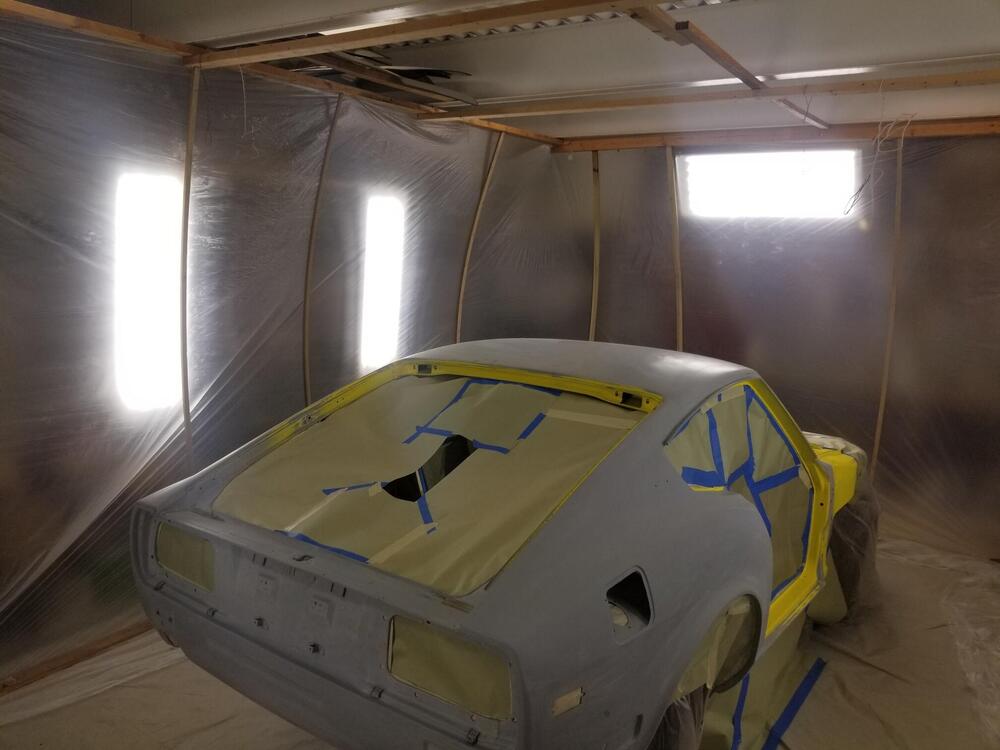
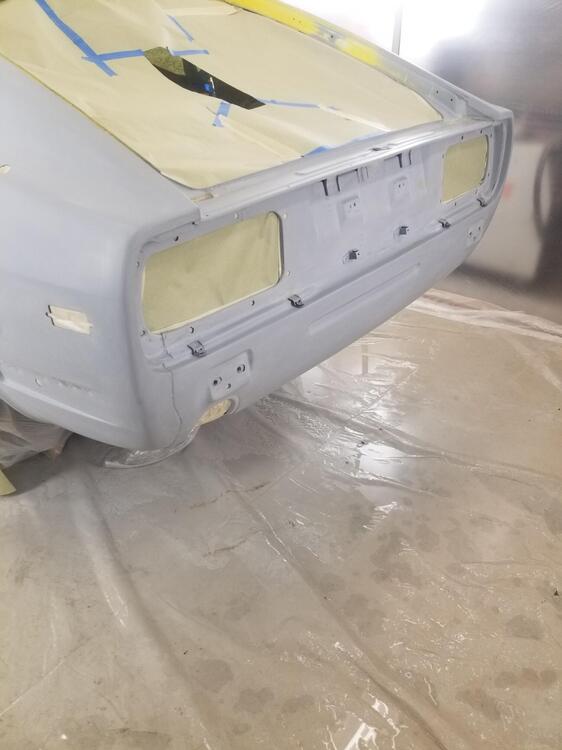
I have the car stripped and mounted on the rotisserie now, the interior mostly stripped out and have covered all the leather and roof with plastic and sealed up the openings with masking paper. I removed all the paint from the engine bay and before any oxidation could start sprayed 2 coats of epoxy primmer. So here's why the paint job failed, first off he applied filler straight on to the bare metal which I asked him not to do and he assured me he wouldn't. But he didn't sand the bare metal or even wipe it down with solvent/cleaner, you can see in the pics the pencil marks I made circling some of the flaws before I sent the car up to him. In one pic I have wiped the pencil mark off with a bit of solvent. In fact the only sanding the metal saw was when he burned through the primmer while sanding, then he sprayed basecoat colour straight on to the metal with no primmer followed by clearcoat.😲 I've never seen that one before. The only good thing about the paint job is that it is so poor that it hasn't taken long the strip it off with a heat gun and scraper, I got half the car done today. Okay, that's it I won't mention the old paint job again, moving on. The 2nd and 5th pics are the engine bay partially stripped of paint before the primer. The last pic you can see the colour coat straight on the metal with no primer under it.


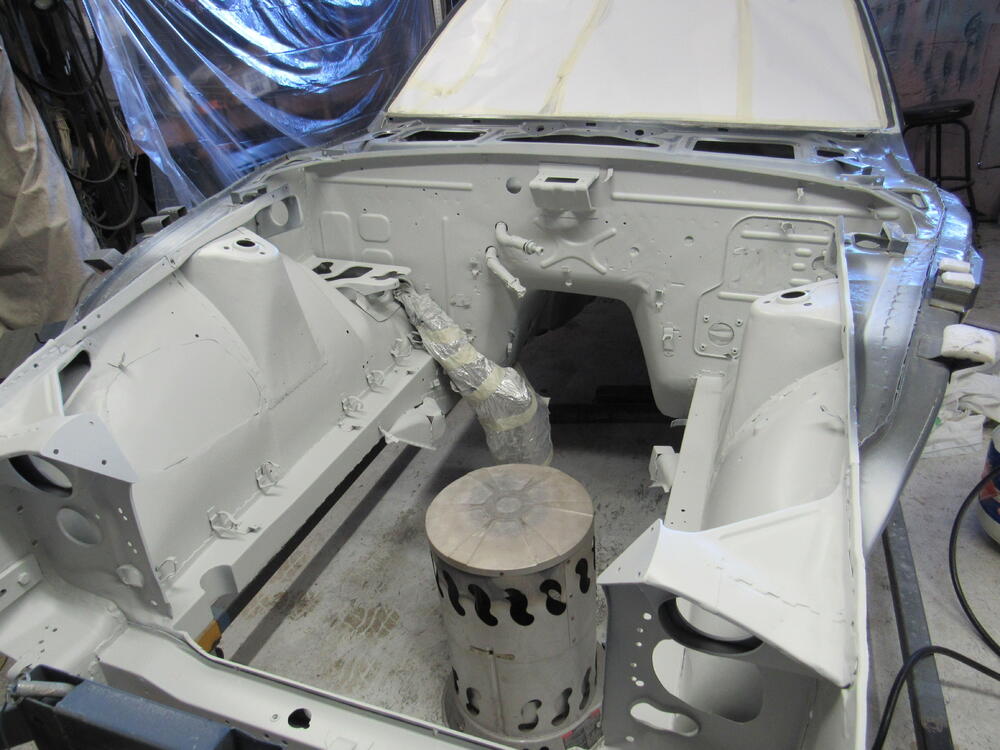


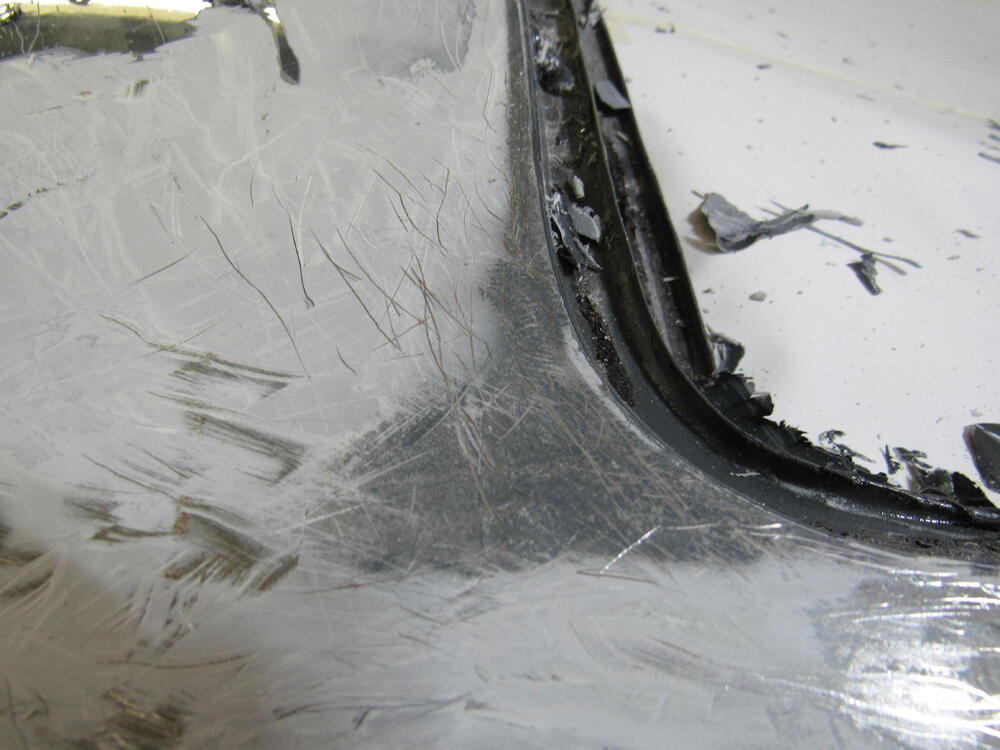 1 point
 -
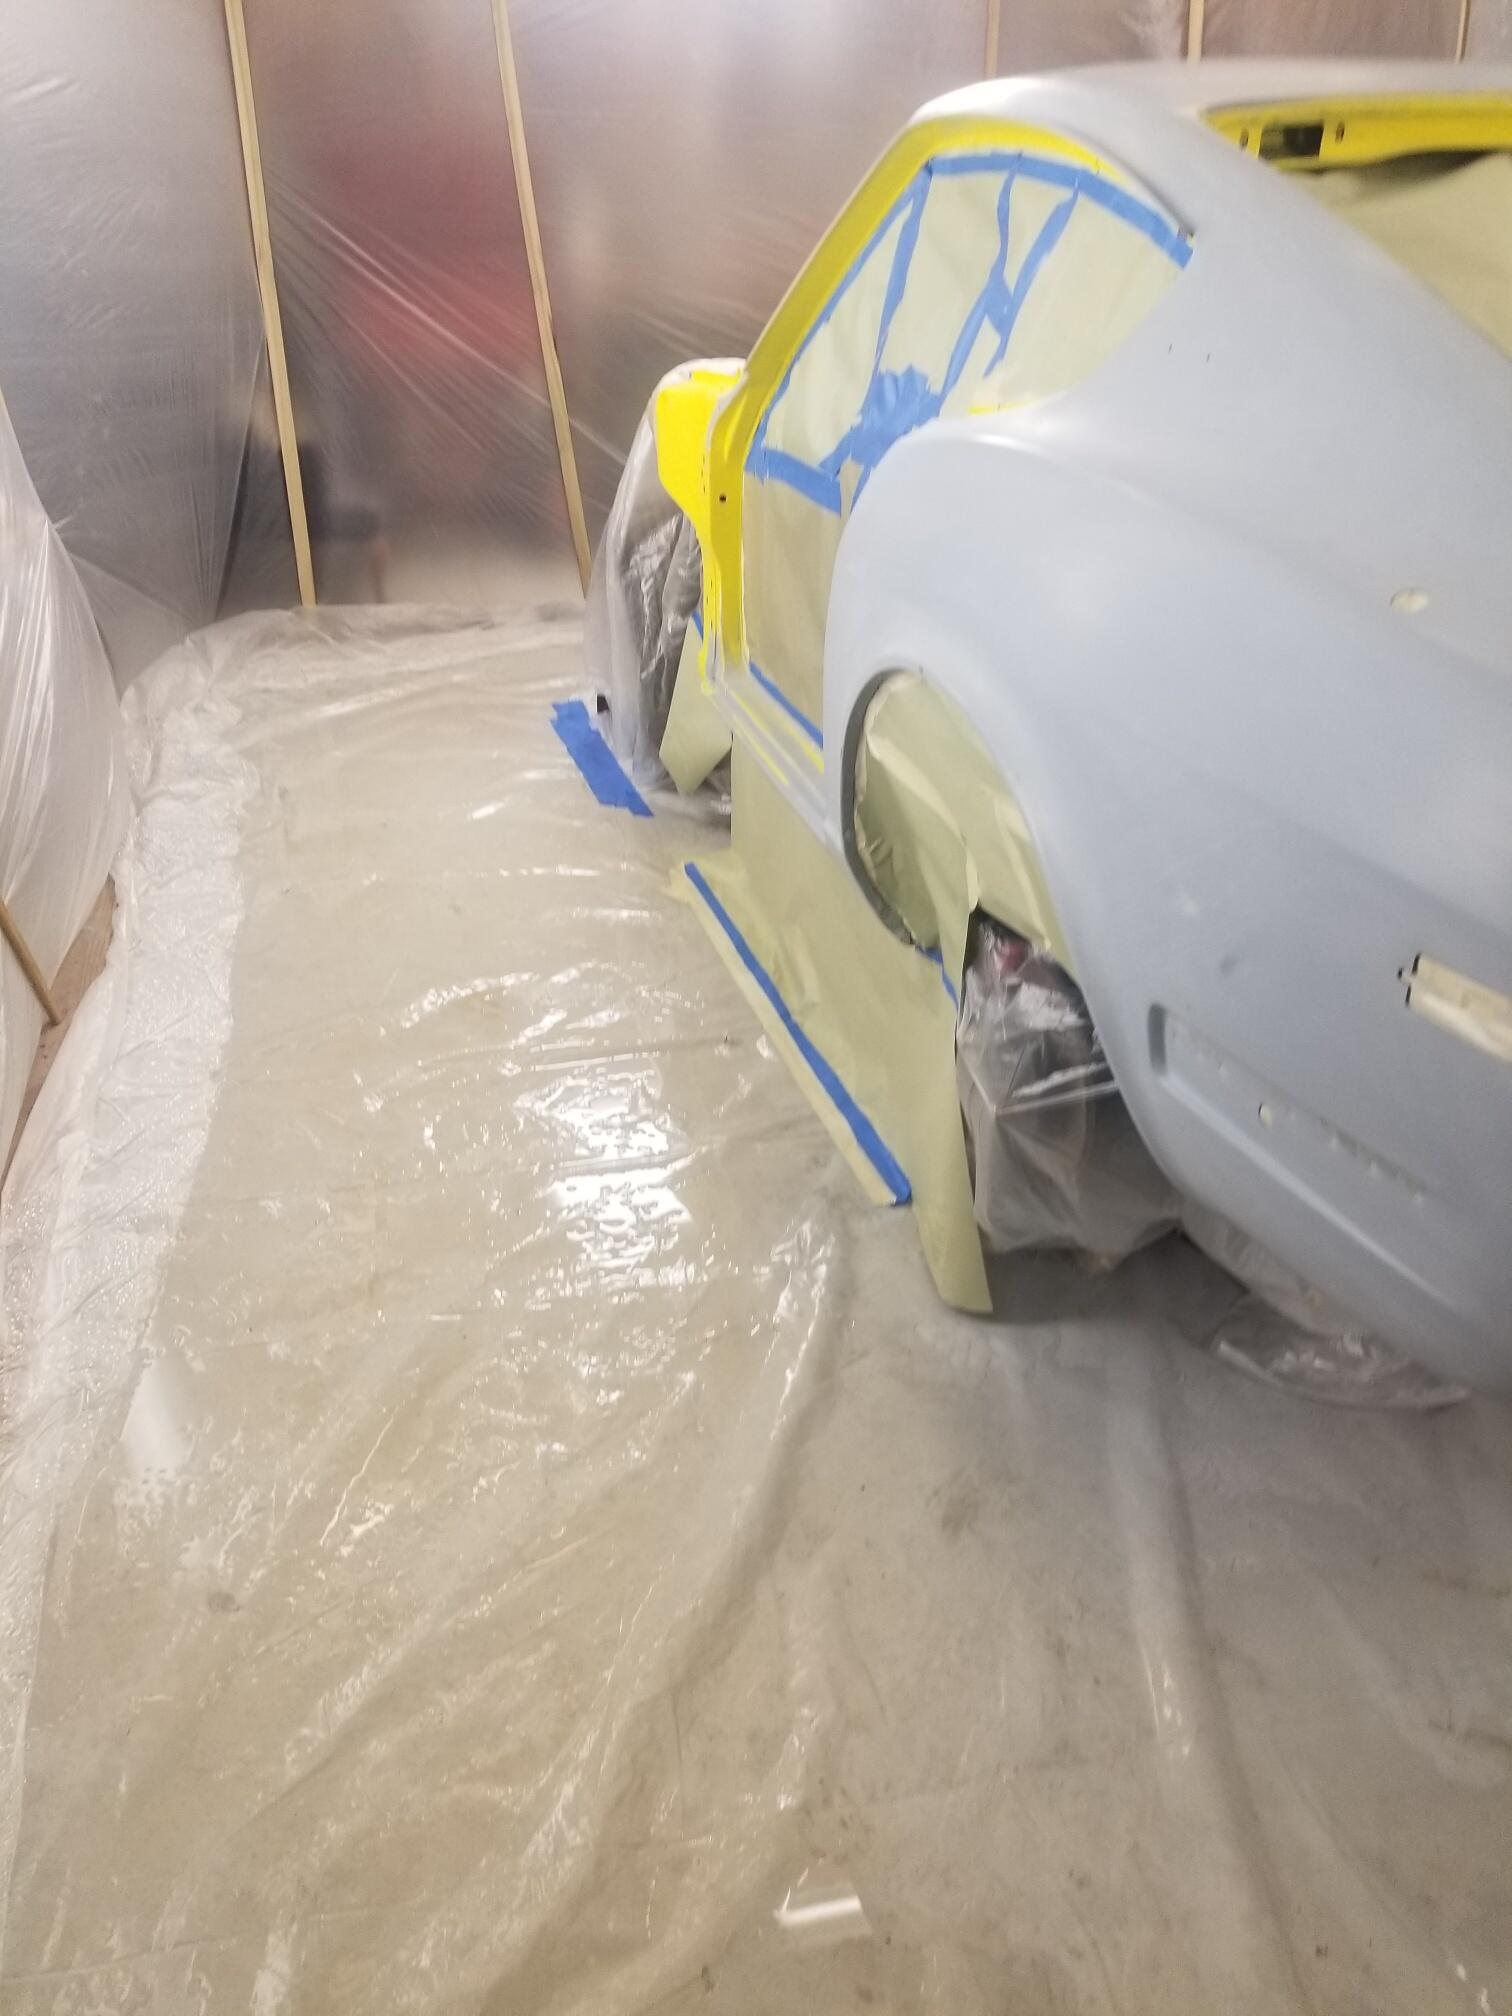
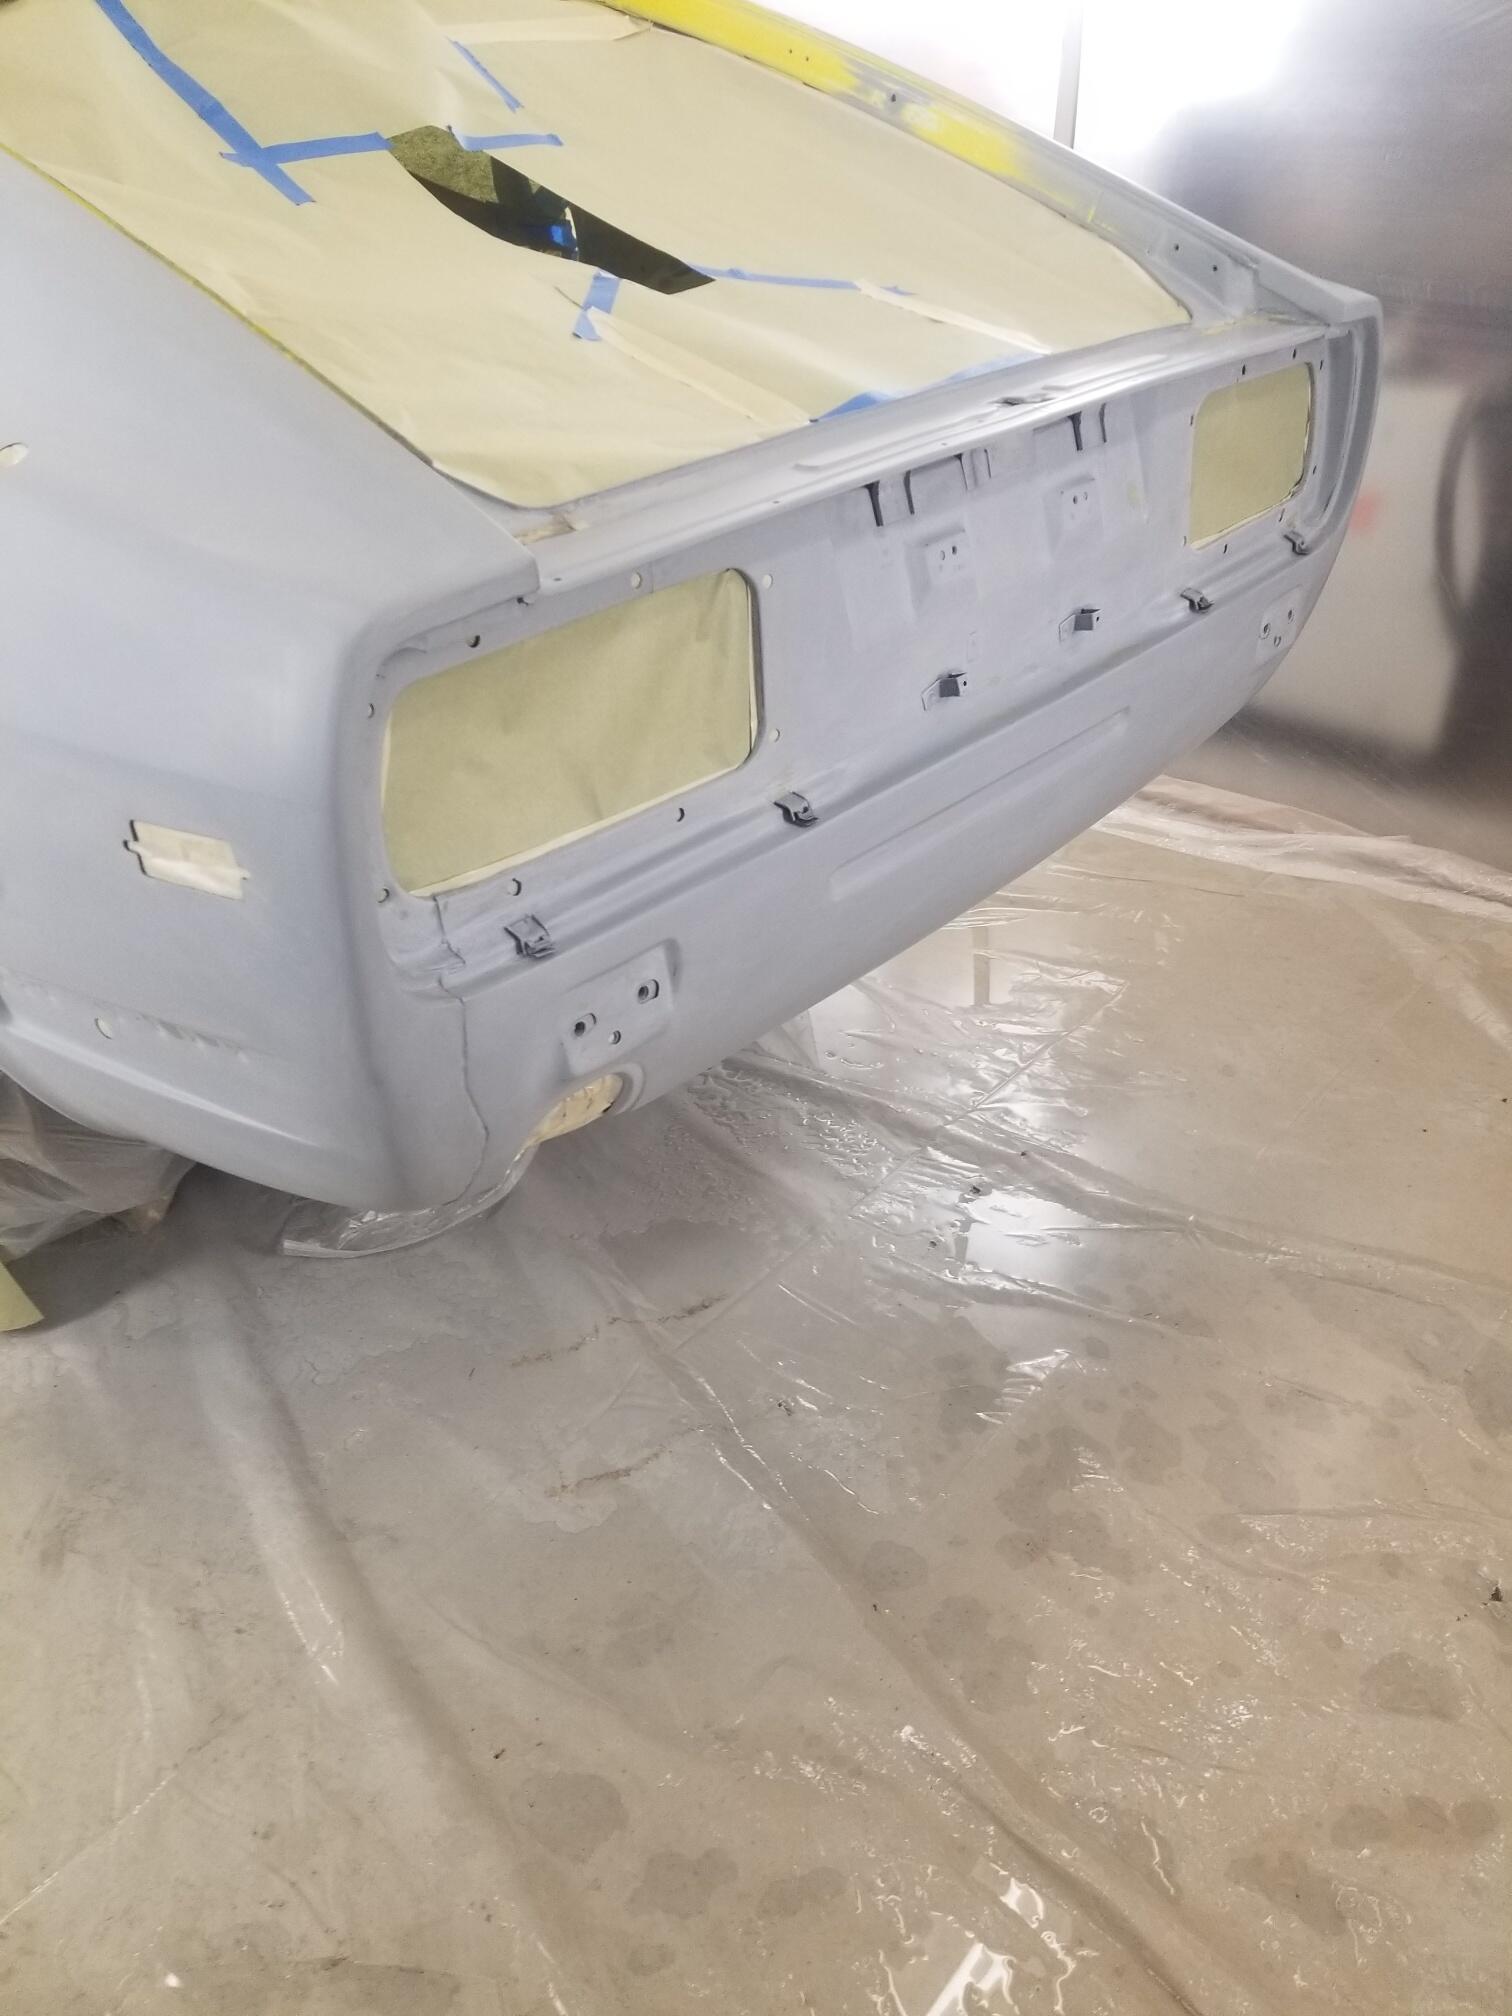
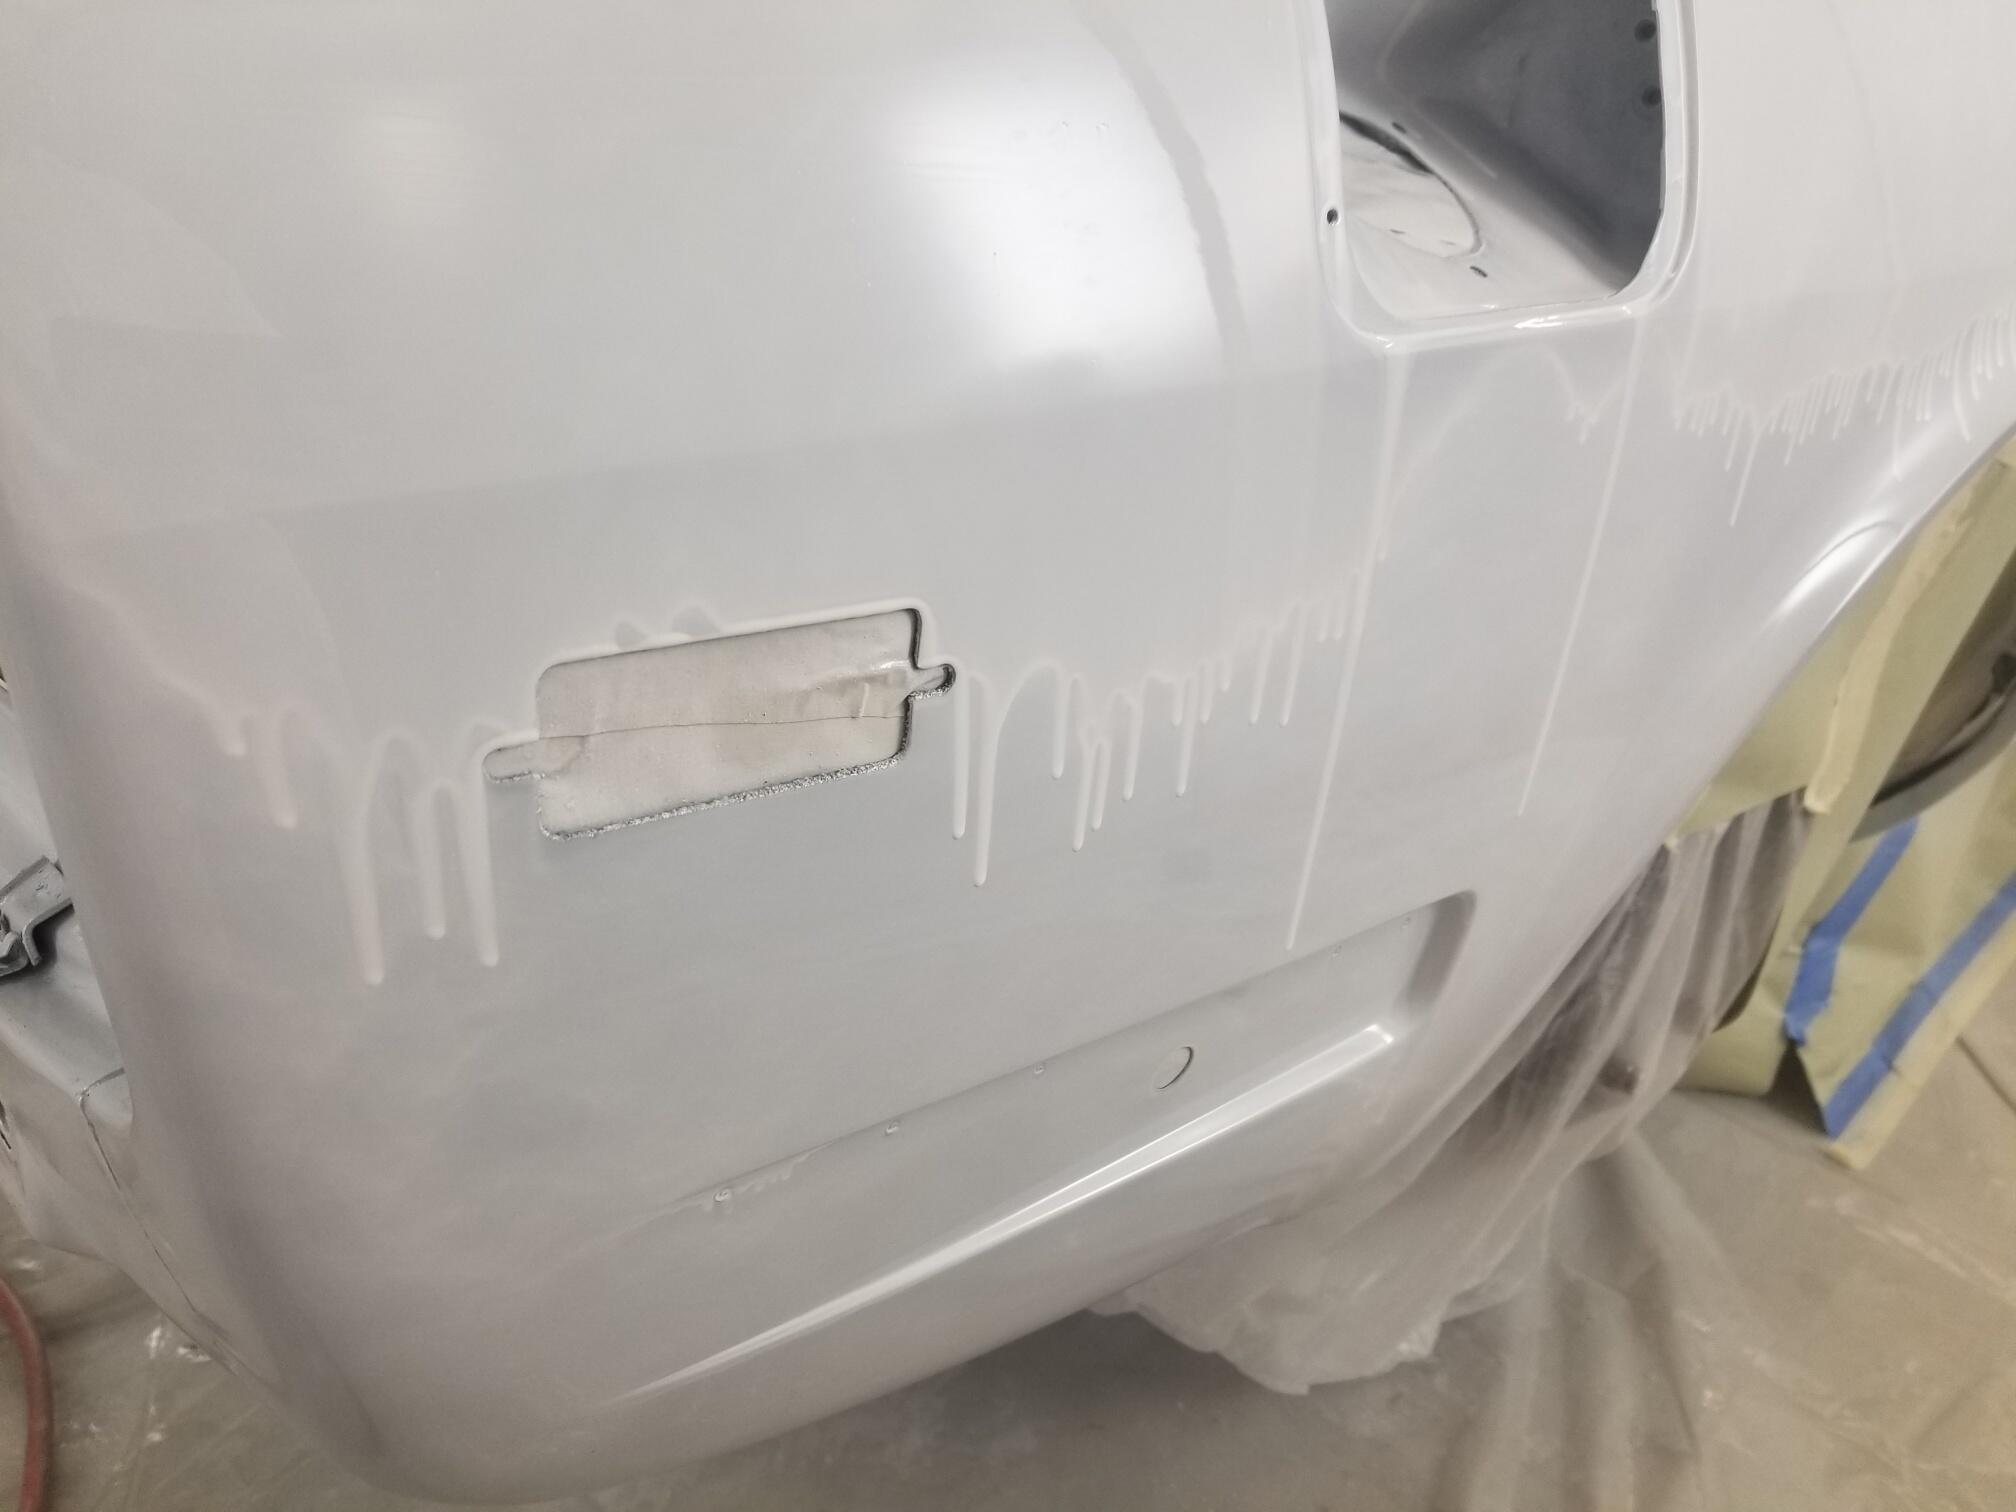
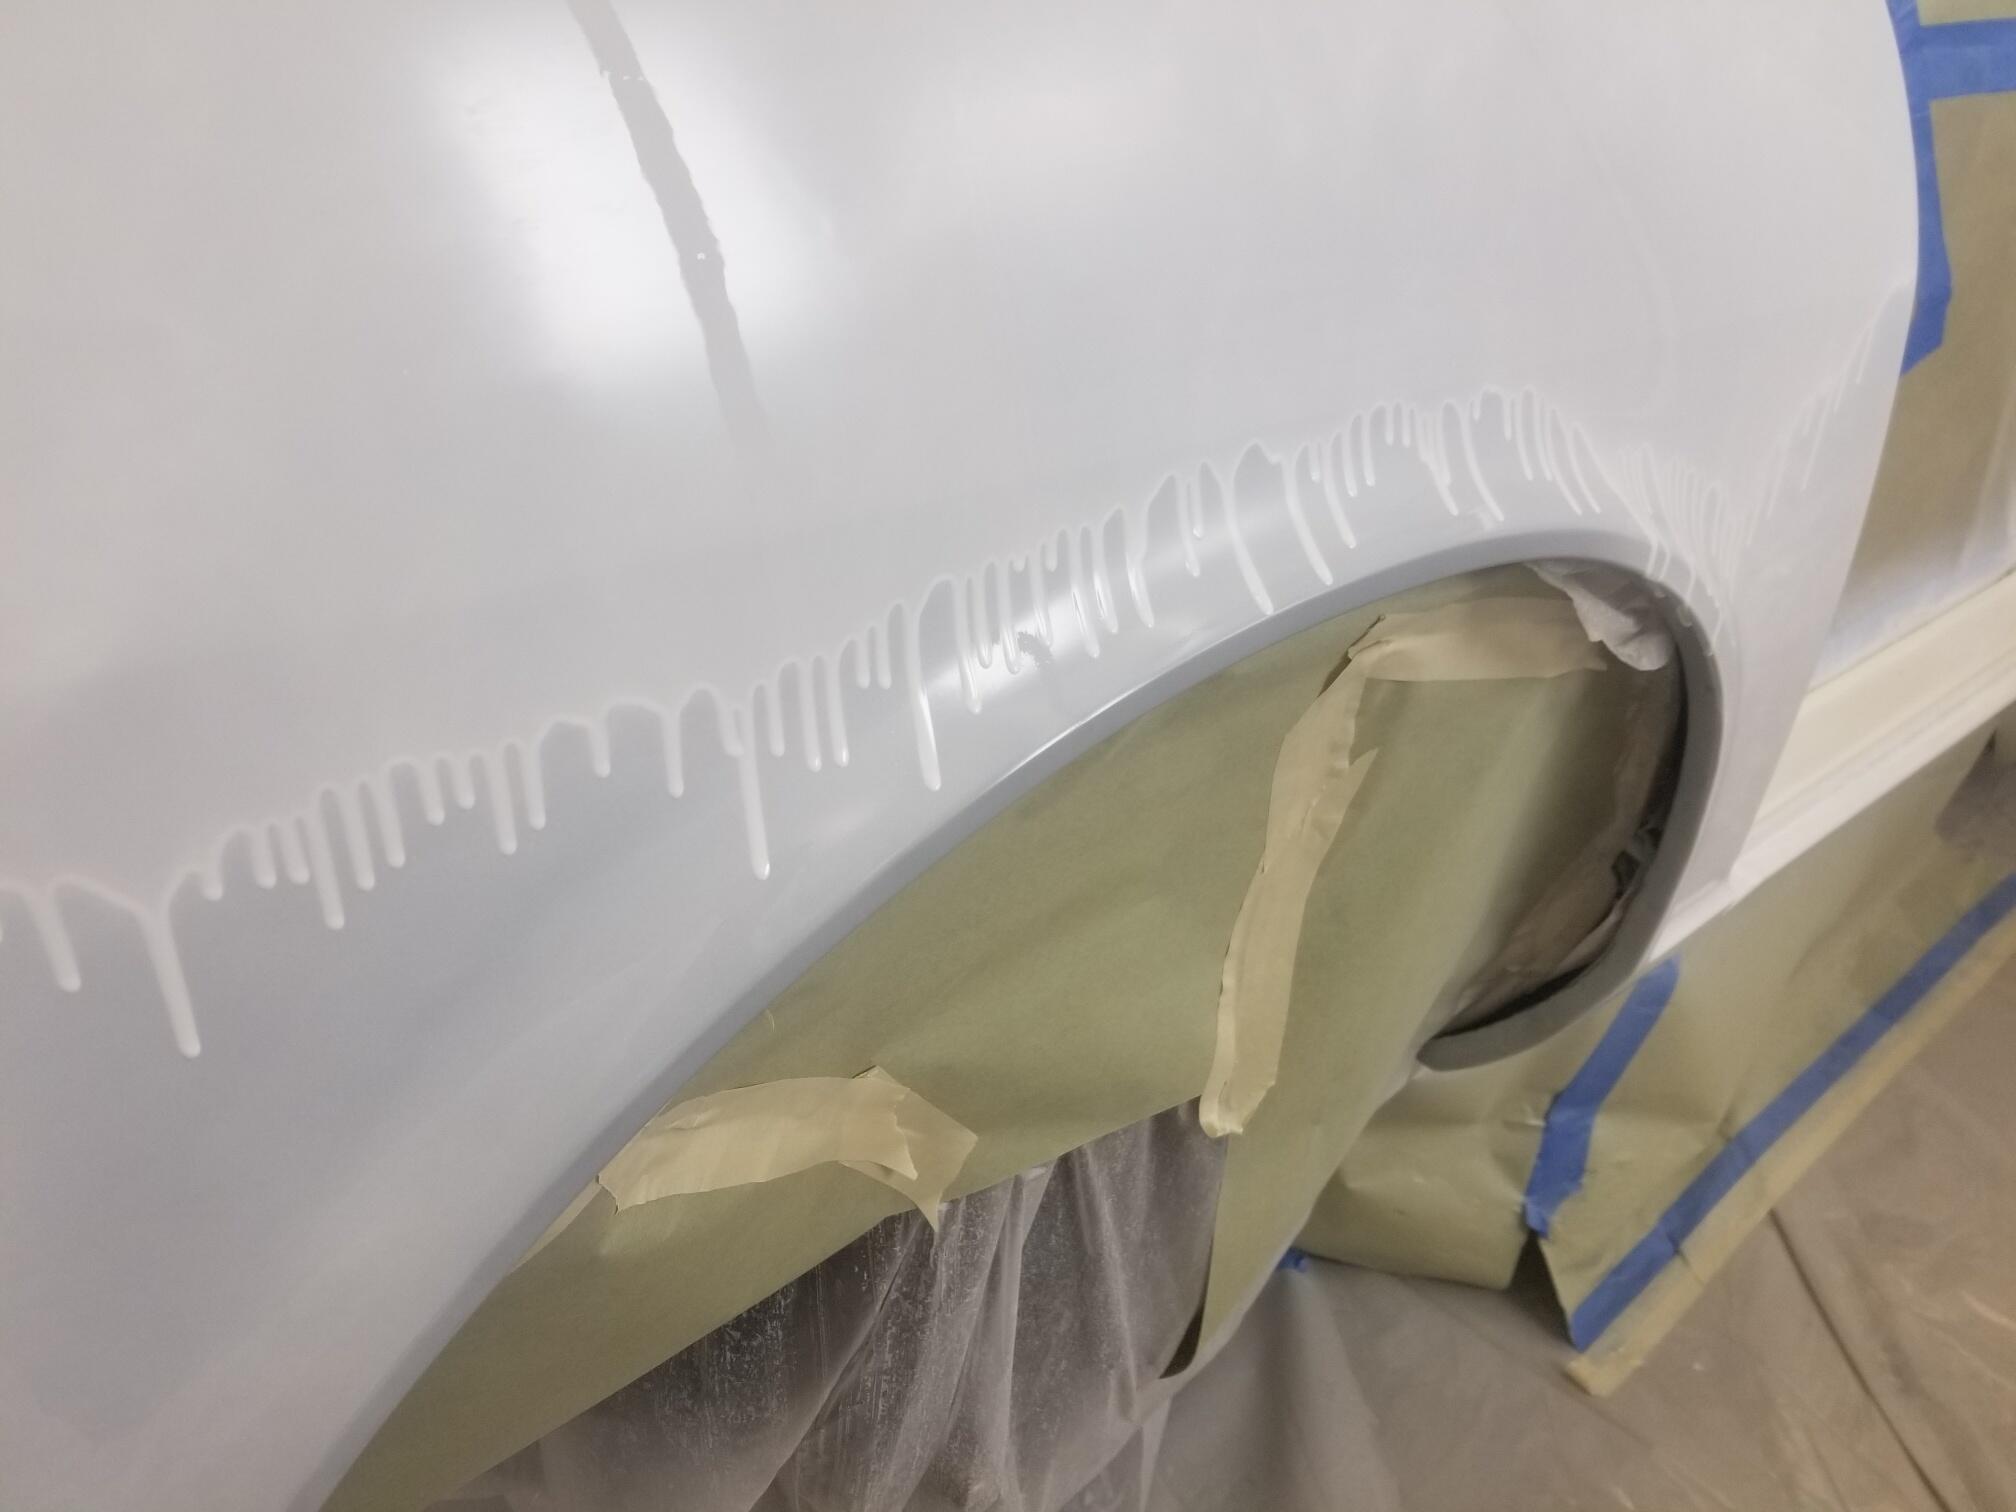
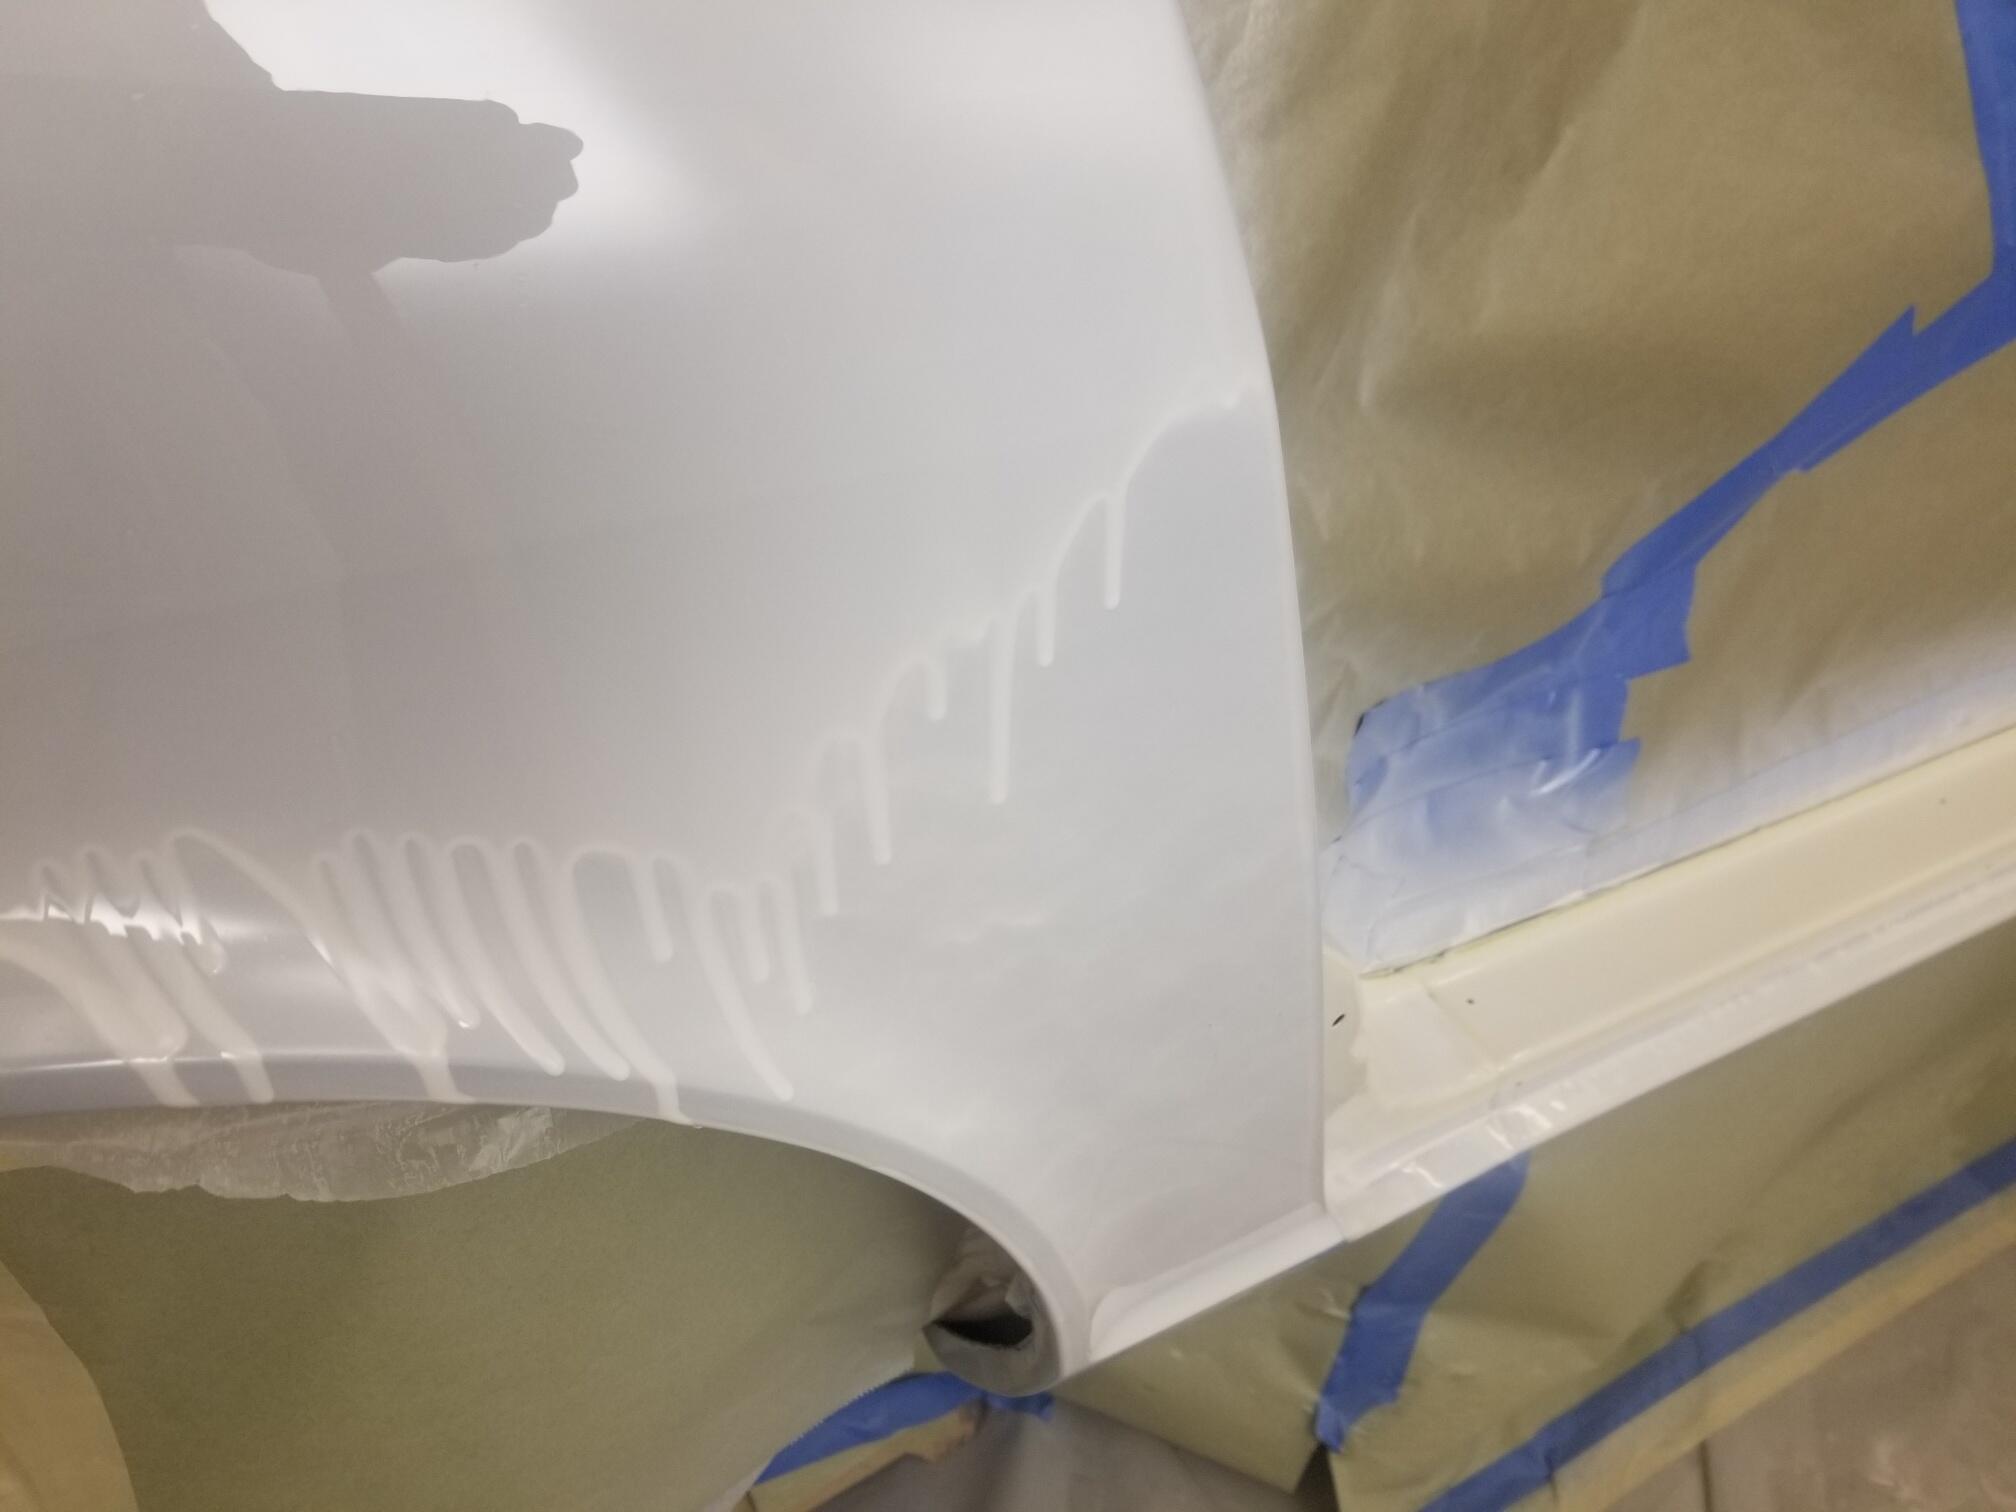
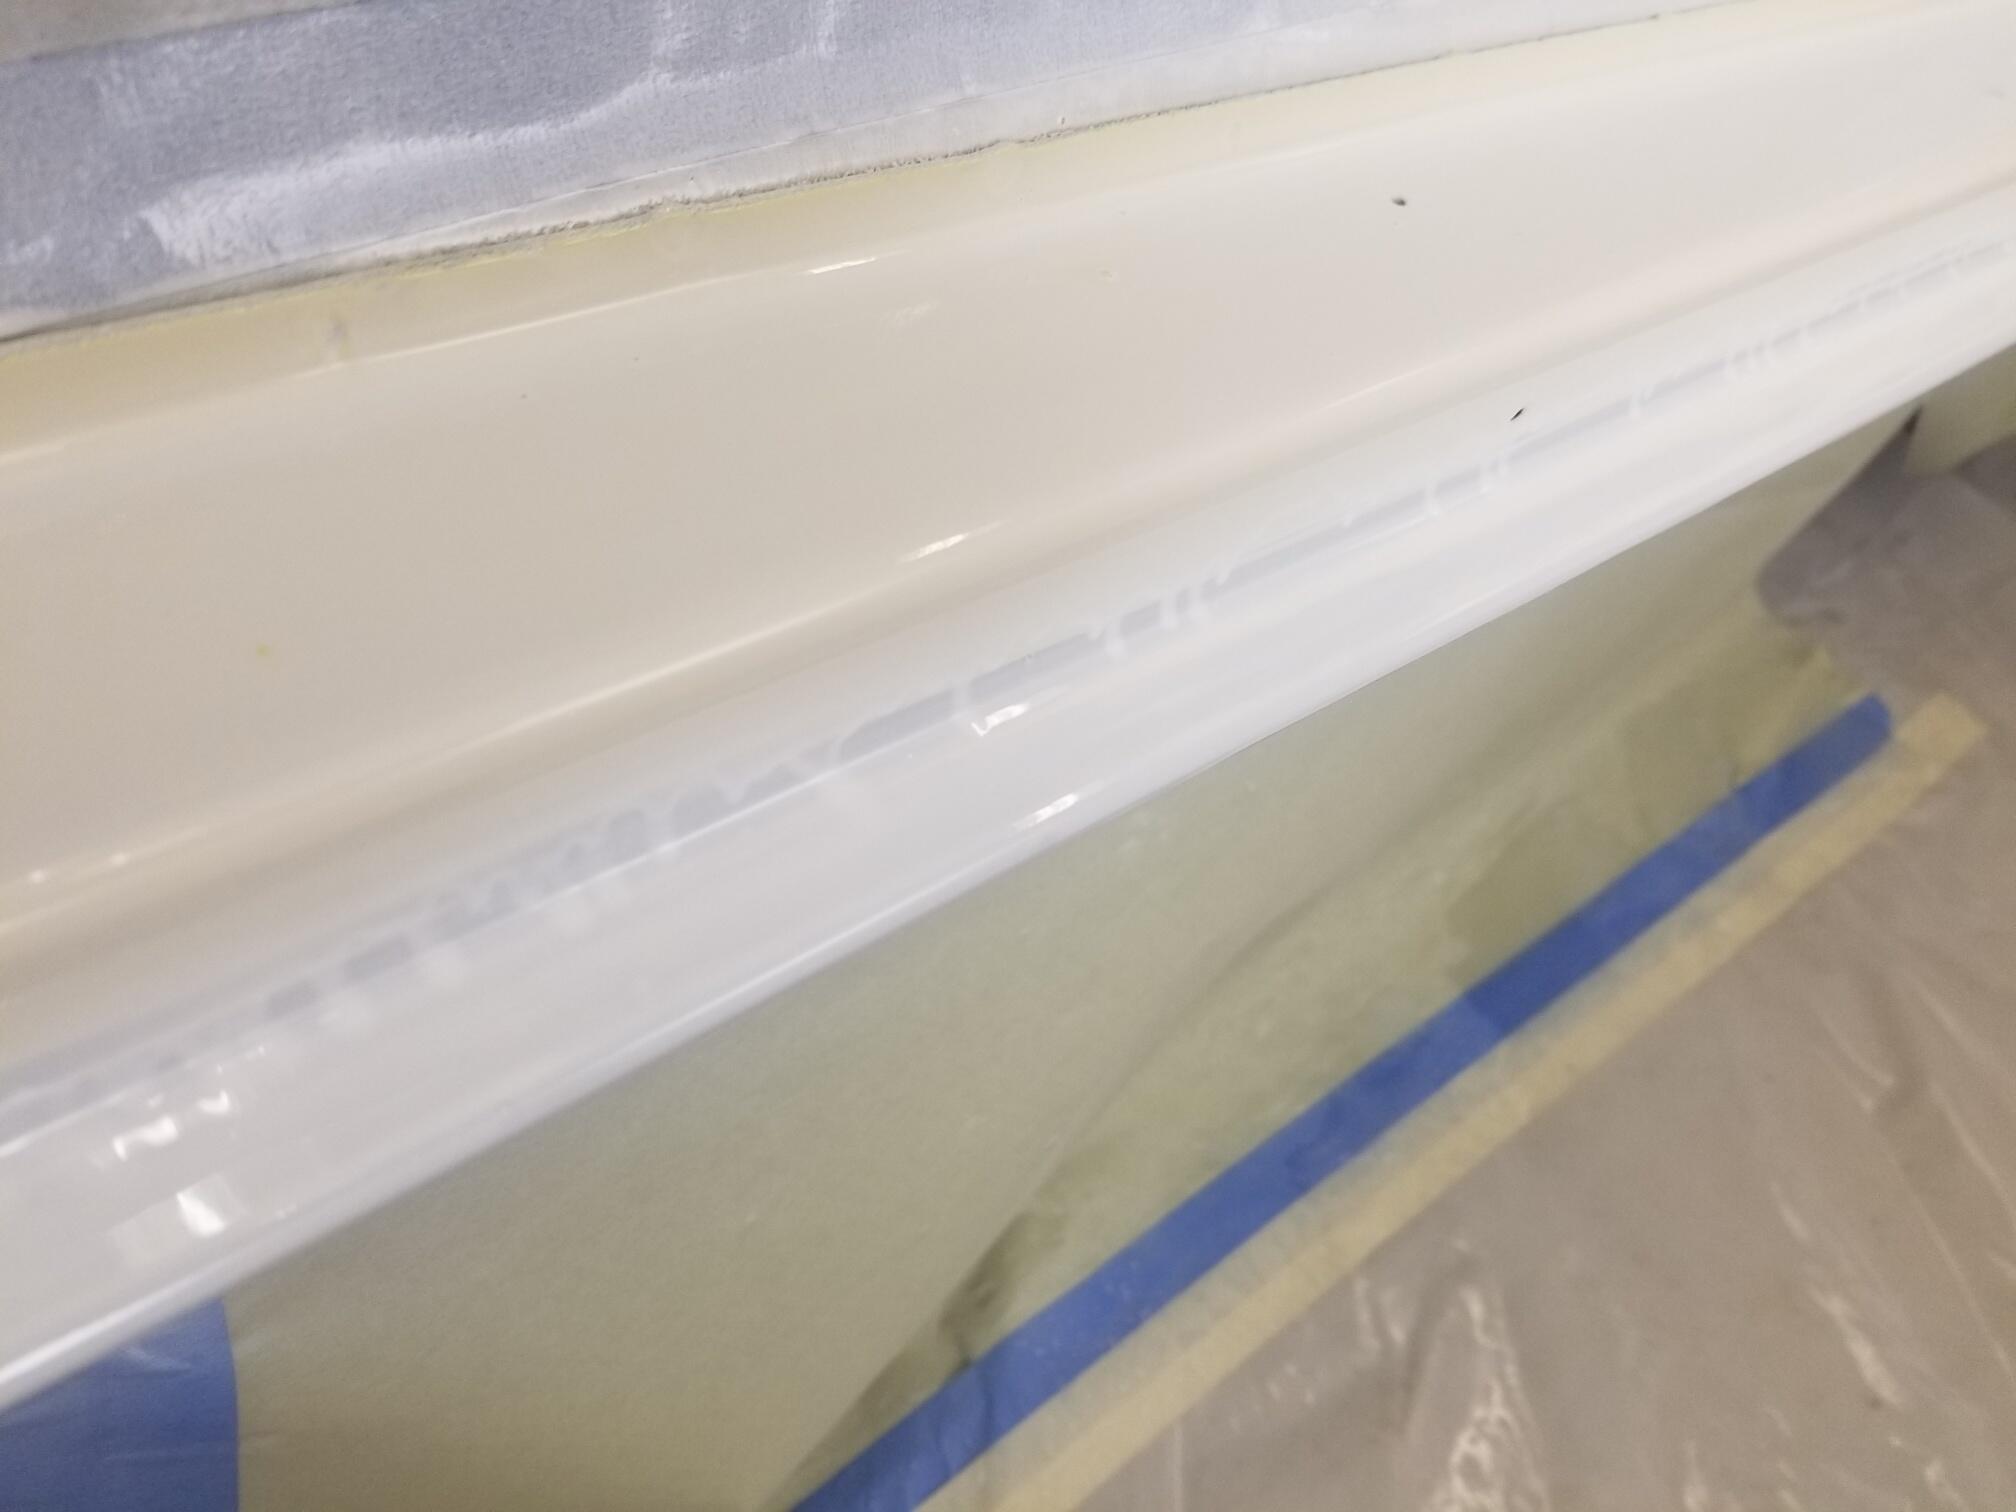
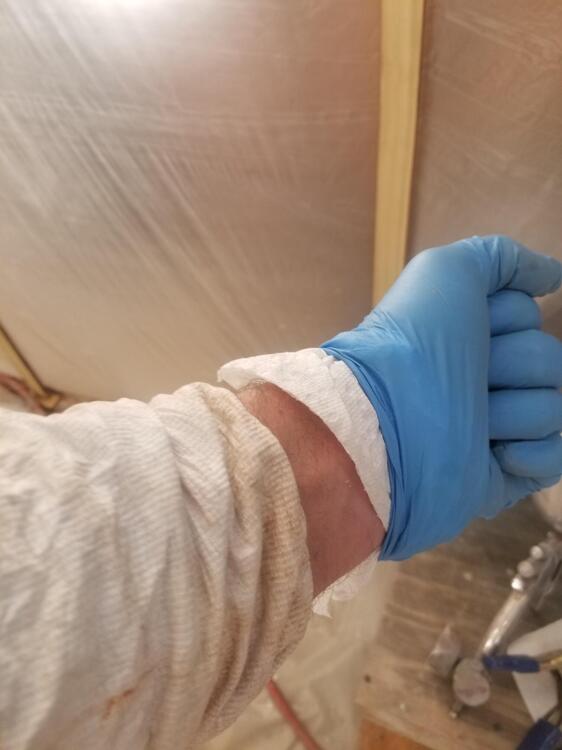
0 pointsWell, I'm unhappy! That's really an understatement. I'm absolutely pissed!! 🤬 So I ran the heater in the shop for a while to warm it up. Degrease the car and tack it good. Wet the floor down, ready to spray Using a Tyveck suit I had and I have found that tucking paper towels into my gloves prevents dripping on the panels So I am running a white sealer coat. The P sheet calls for one "medium coat to coverage" Well that's not gonna happen!!! Even at the coverage level where it runs, it hasn't covered the grey primer. The yellow needs a white base or it's a different shade when shot over a darker base Not only did the sealer run really easy but I have tons of sh!t in the paint. I mean everywhere! I have no idea where it came from?? I had planned on sealer, then base coat, then clear. Now I have to sand again and get dust everywhere which will just compound the problem. and I will have to seal again. So frustrating...


 0 points