


Leaderboard
-

wheee!
Free Member14Points4,607Posts -

Mike
Administrator3Points23,065Posts -

dutchzcarguy
Free Member3Points2,677Posts -

240260280
Free Member2Points4,442Posts


Popular Content
Showing content with the highest reputation on 04/06/2021 in all areas
-
9 points
-
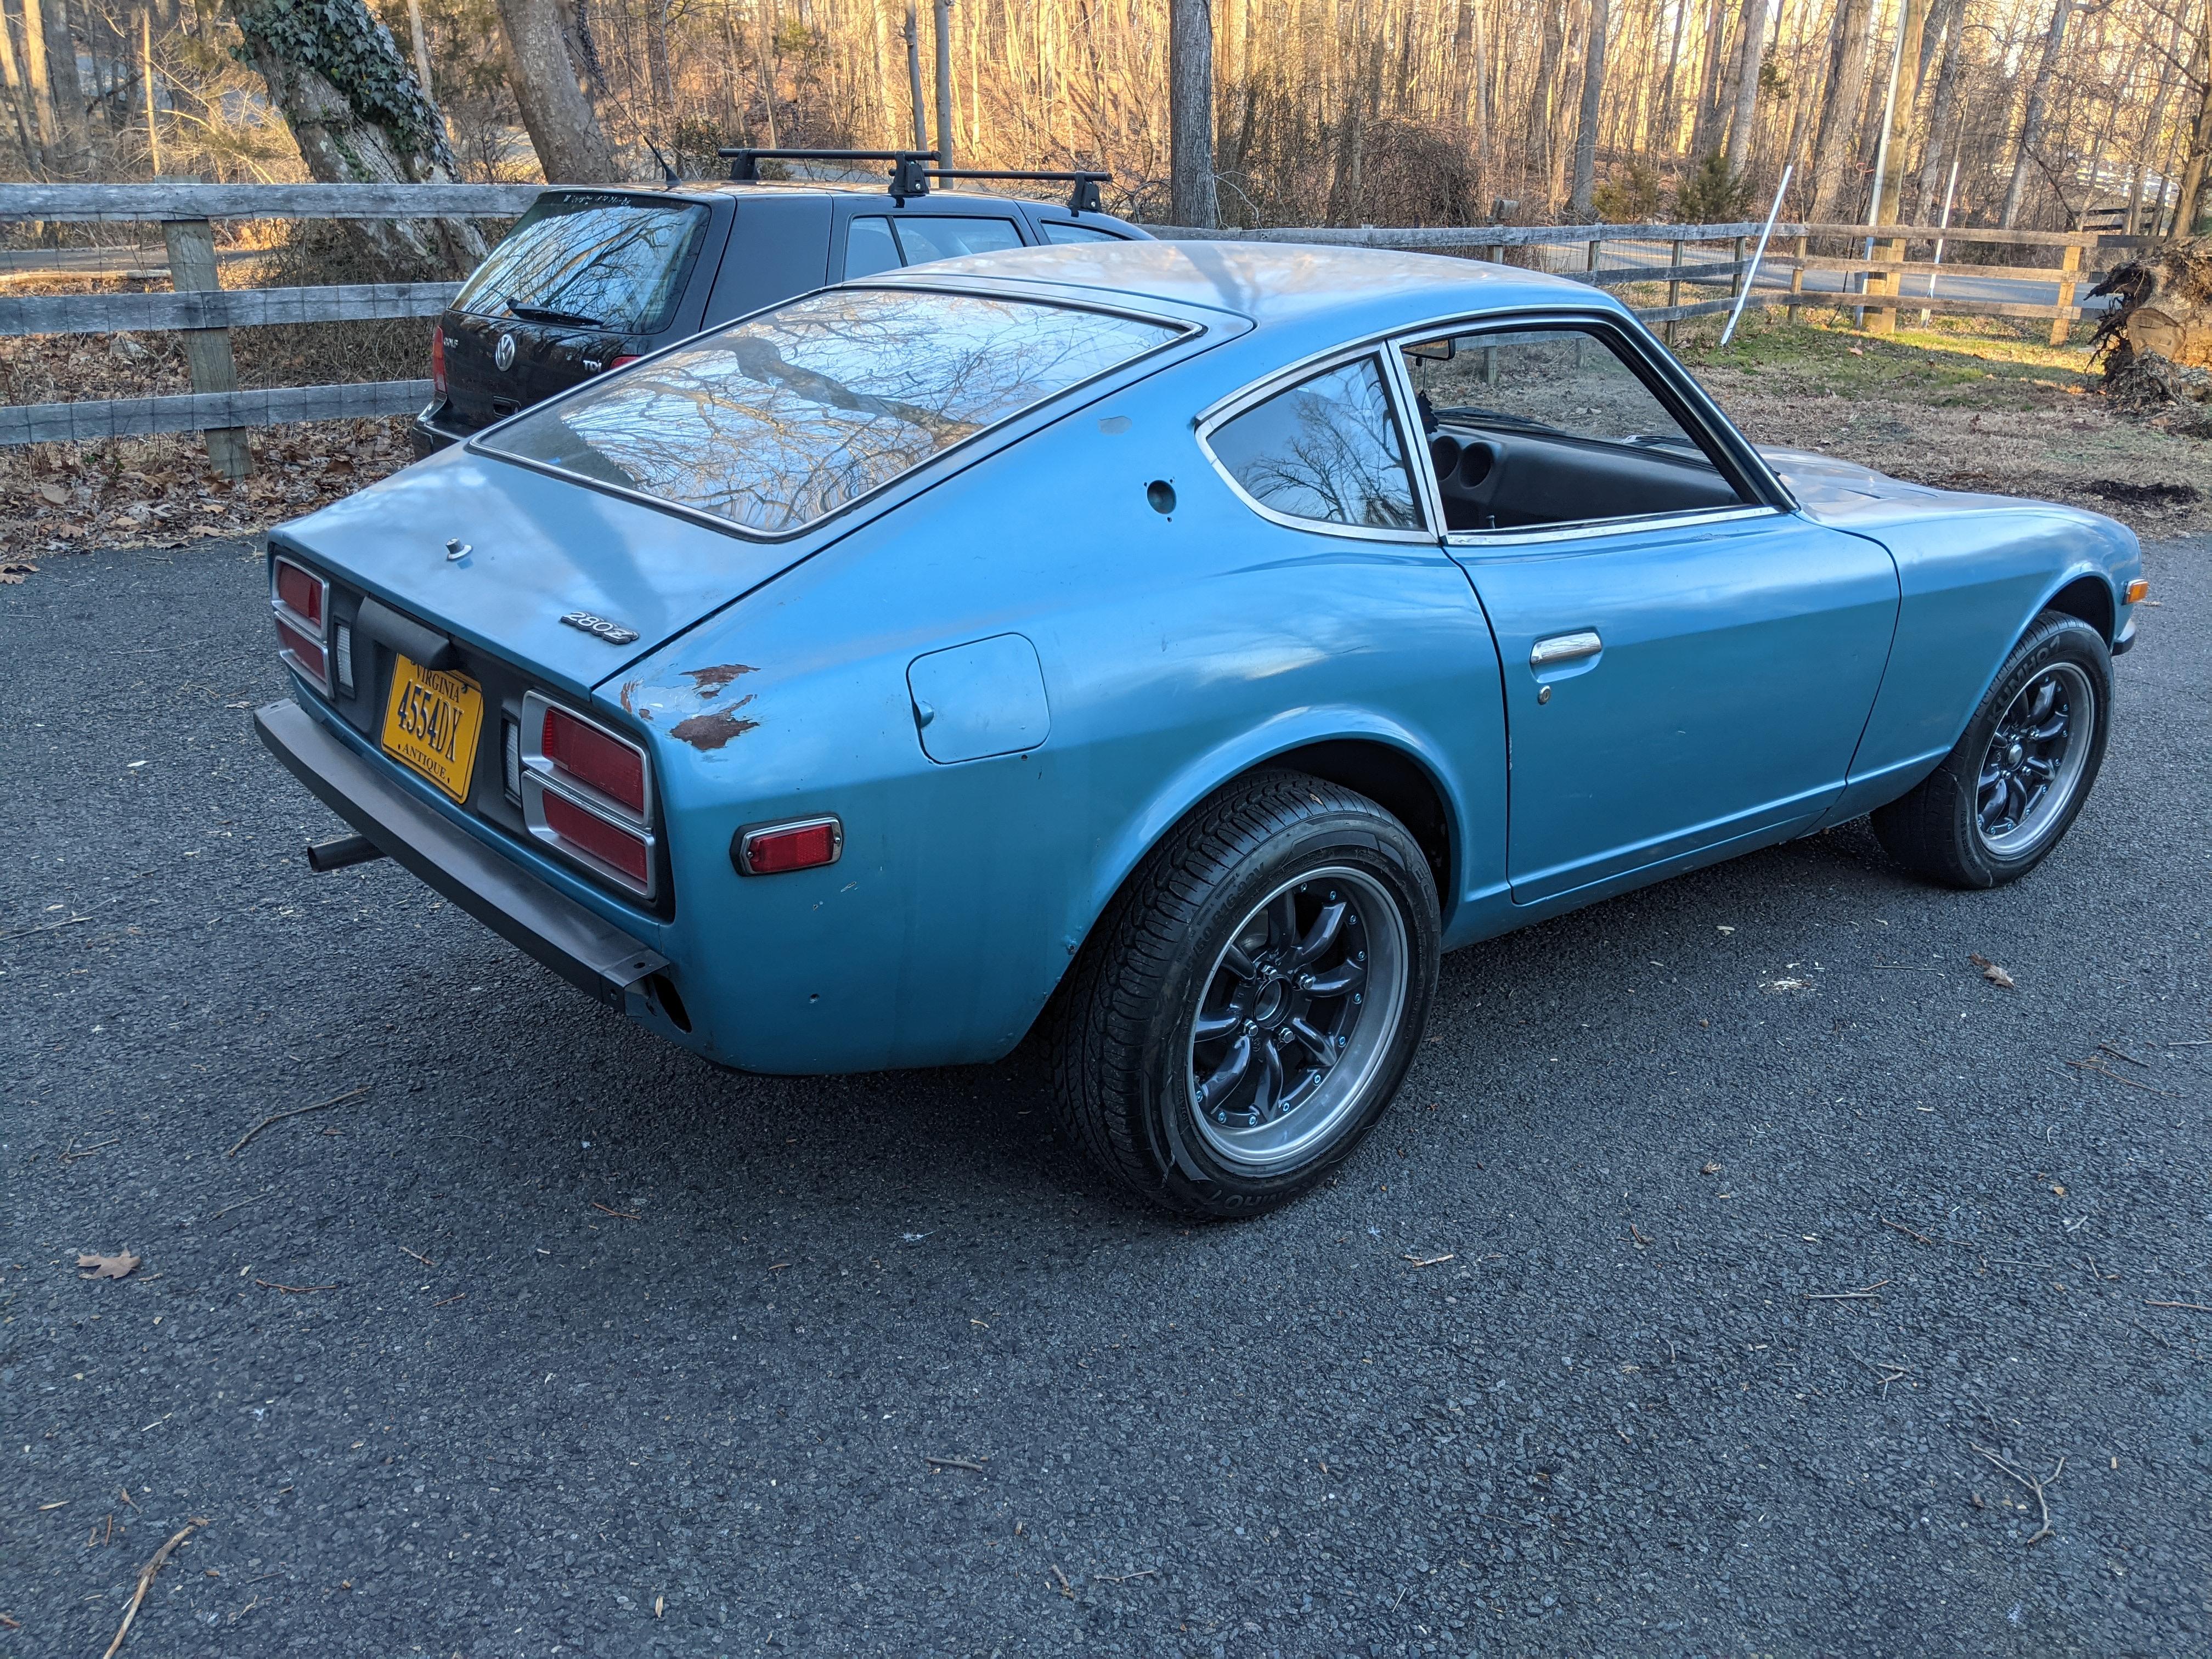
2 pointsJust wanted to chime in after installing these on my '75 280Z. I definitely researched this thread, and very much appreciate all of the great feedback and information here. Nothing but a good experience for me. I replaced the stock springs paired with KYBs with the full eibach lowering kit (23-4042 on MSA) and koni shocks (2x 23-1033, and 2x 23-1034 on MSA). I also did the MSA sway bars at the same time. Everything bolted up fine. I had the usual issues with the rears when trying to get enough clearance without pulling the spindle bolts. I ended up dropping the rear subframe; pita, but there was no way those spindles were coming out and I wasn't ready to tackle that monster just yet. I did not have any issues fitting the gland nuts, or with seating the shocks into the strut tubes. The fronts were done in about 1/4 the time of the rears, mostly due to having to drop the subframe. Once installed, the drop in ride height was definitely noticeable. I didn't measure, but I'll include a picture or two of the before/after. I set the shocks to 1/2 rotation from full soft for starters, and haven't felt the need to adjust them further yet. I've been out on 2 short twisty drives so far. The car feels firm, but in a sporty confident way. Bumps are felt but not harsh. Far less dive and roll. I'm sure the sways are helping there as well. The shocks and springs seem very well paired. A definitely improvement over the floaty feeling of the stock springs/sways + KYBs. Looking forward to pushing it a little harder this summer!
.thumb.jpg.dca115758718d33e620d84ad14db09fb.jpg)
.thumb.jpeg.a4726c7dc01d11bc2d500c283338a305.jpeg)

.thumb.jpeg.7ffda07855aa876da71933c5c0b1b774.jpeg) 2 points
2 points -
2 pointsA few months ago I installed a Retro PA-01 antenna in my 73, works great. You'll need to connect leads to an always on power, and accessory power to automate. https://www.jegs.com/i/RetroSound/700/PA-01/10002/-12 points
-
2 points
-
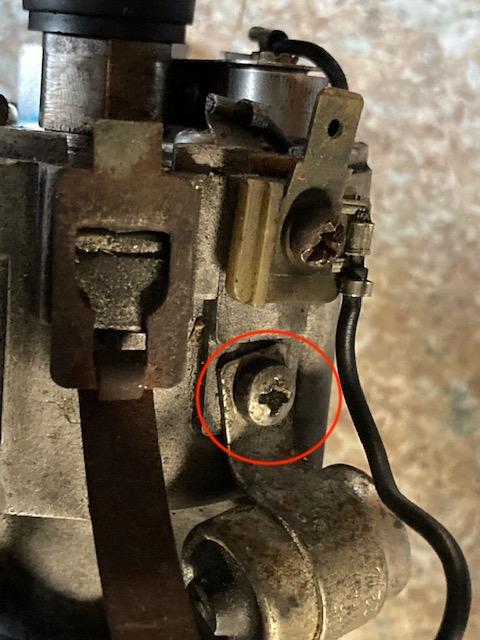
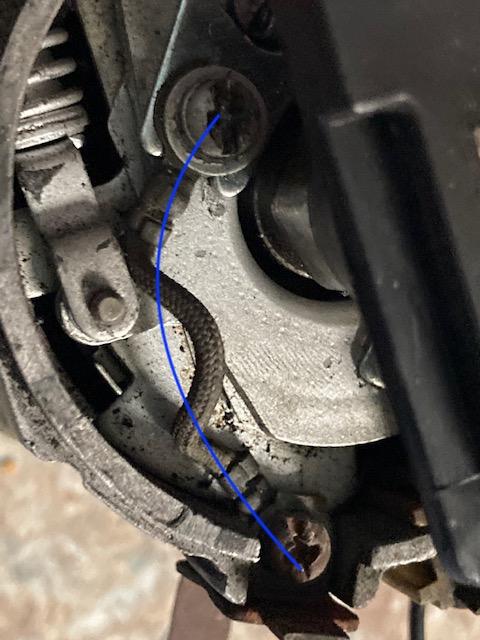
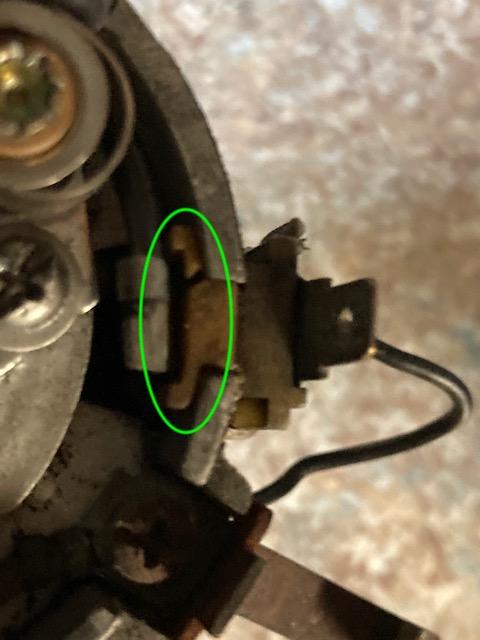
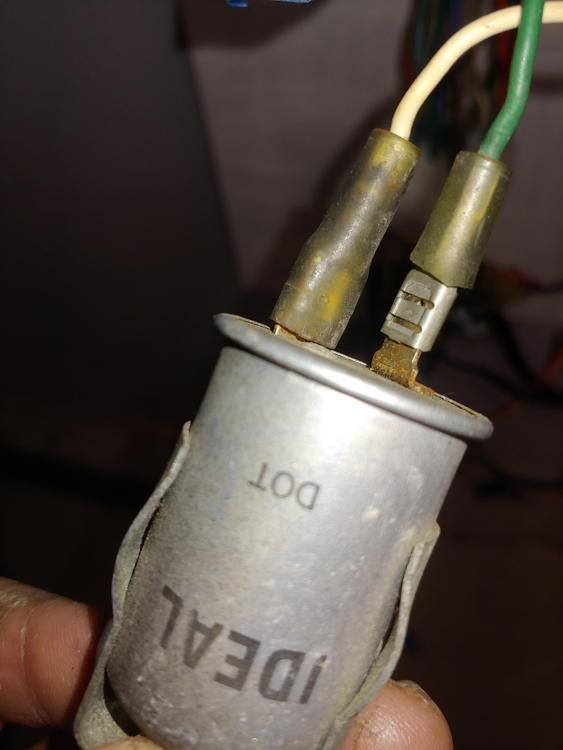
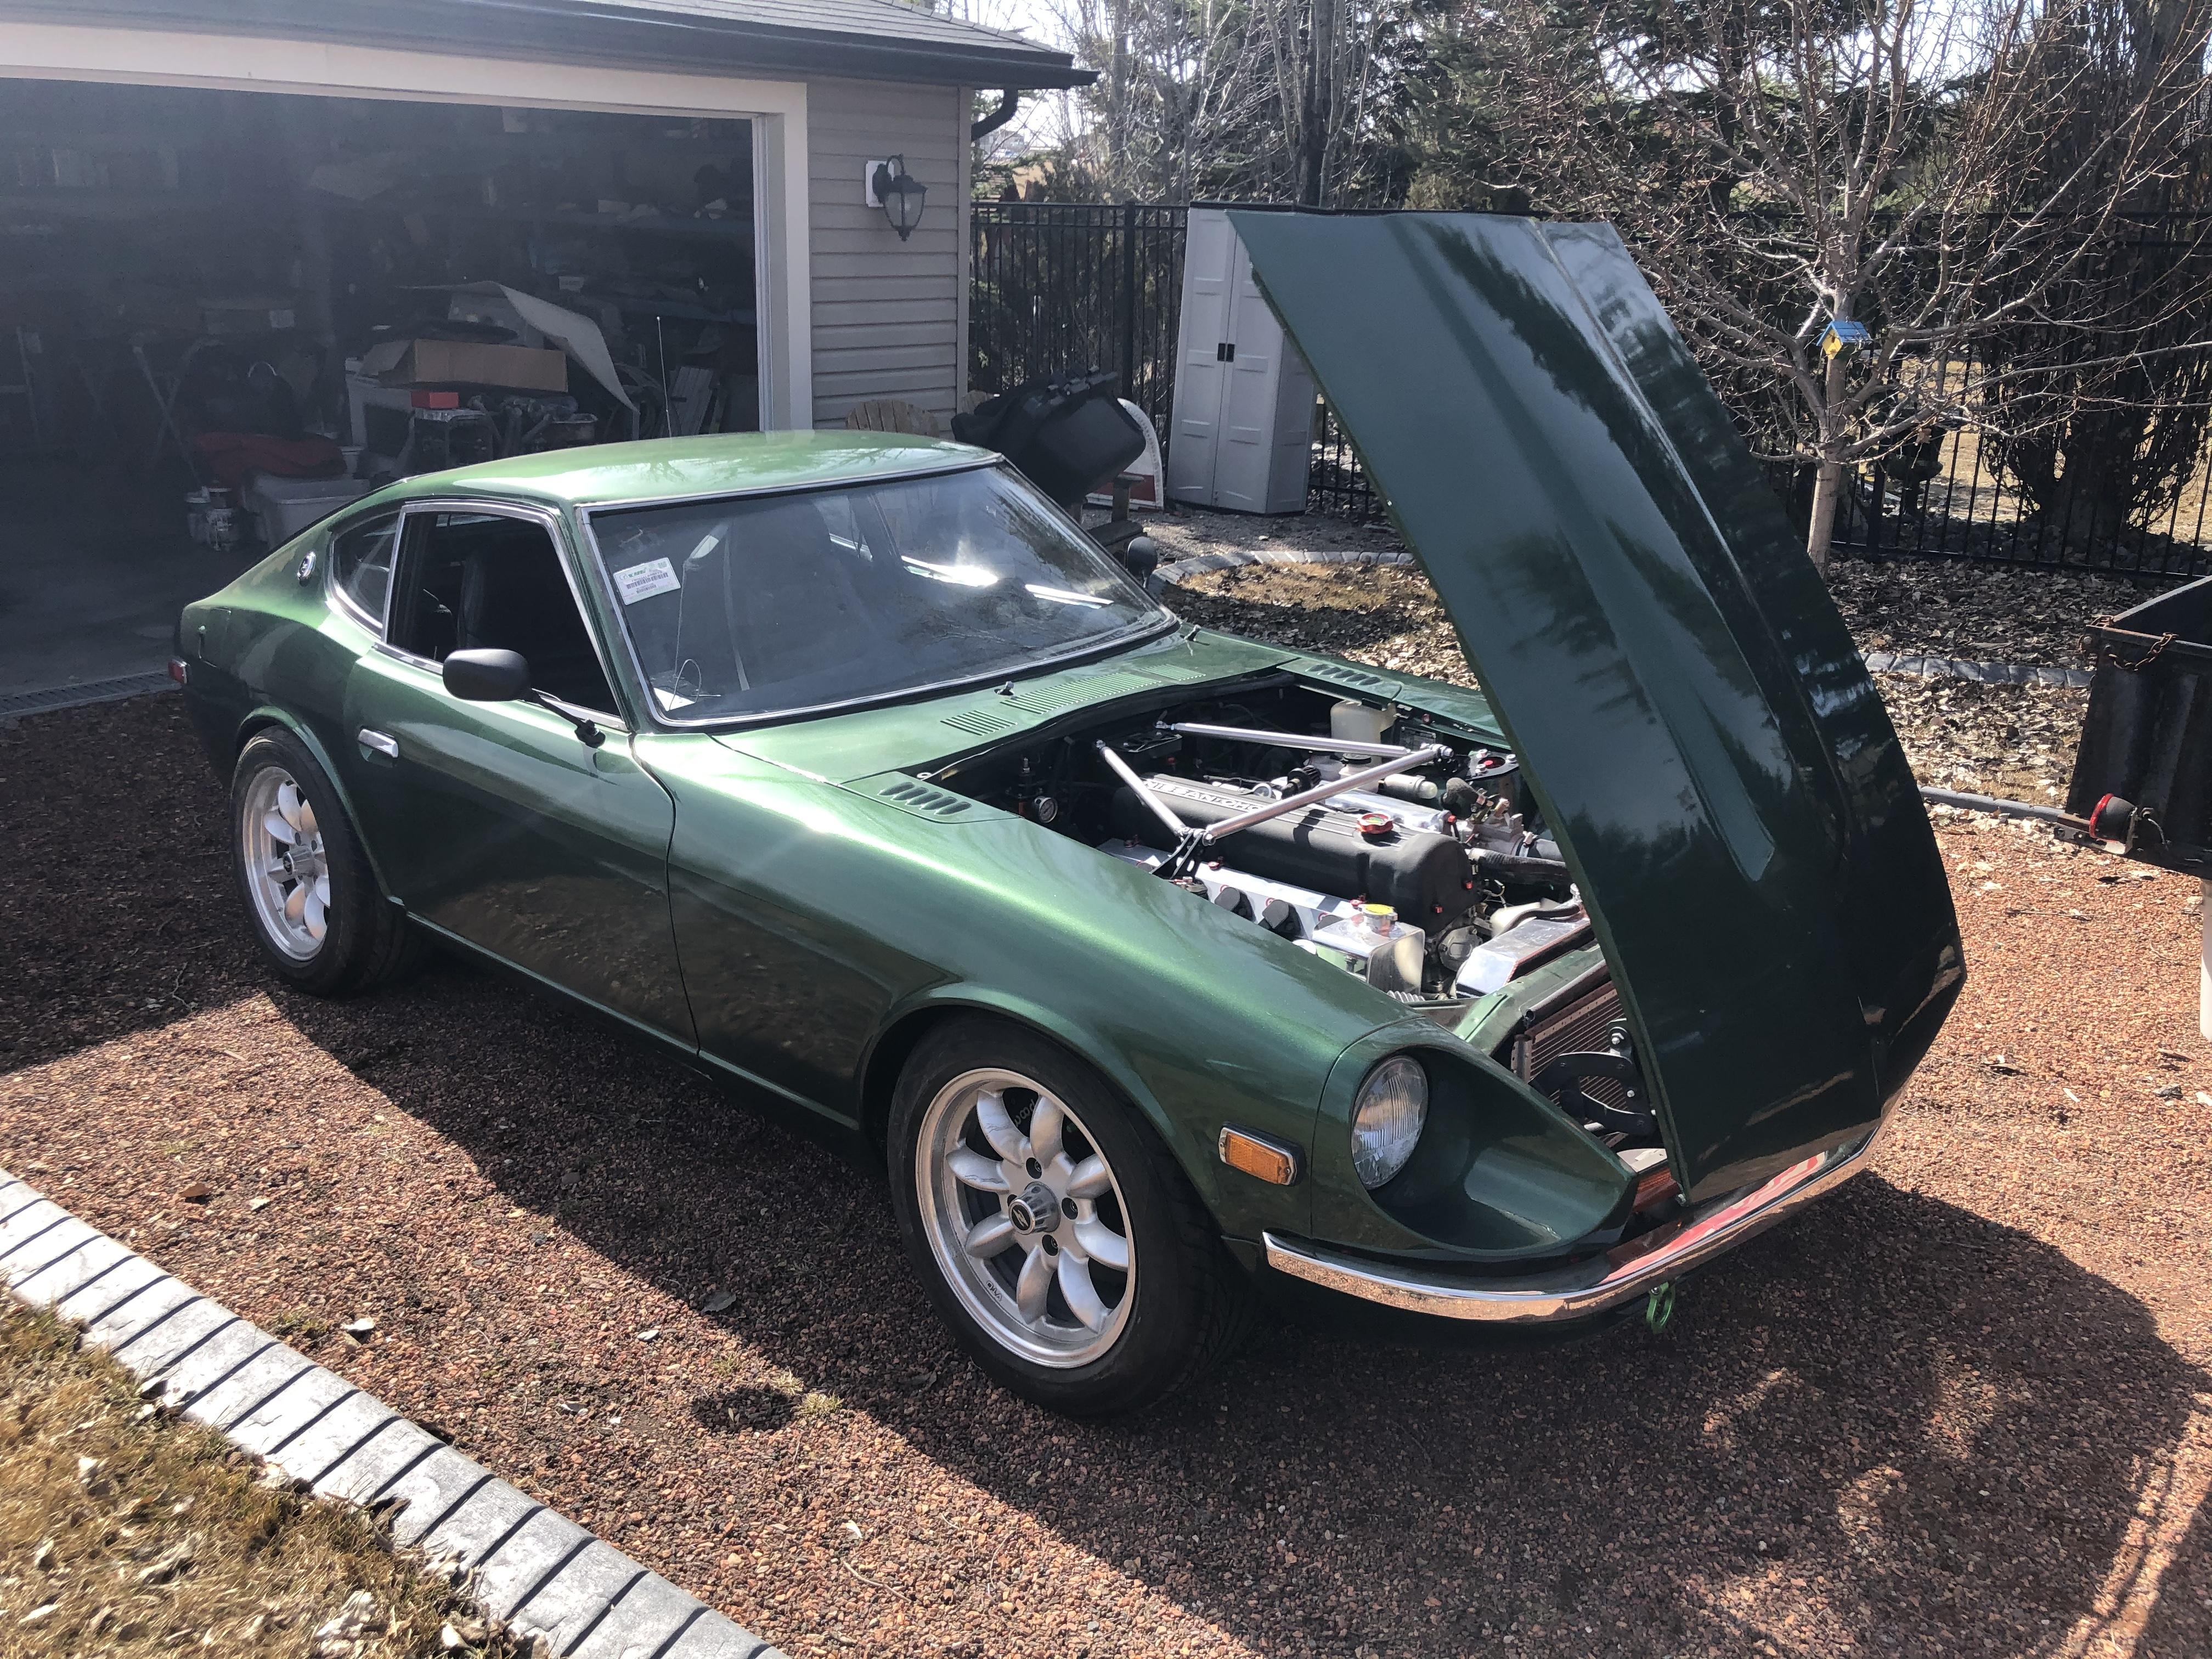
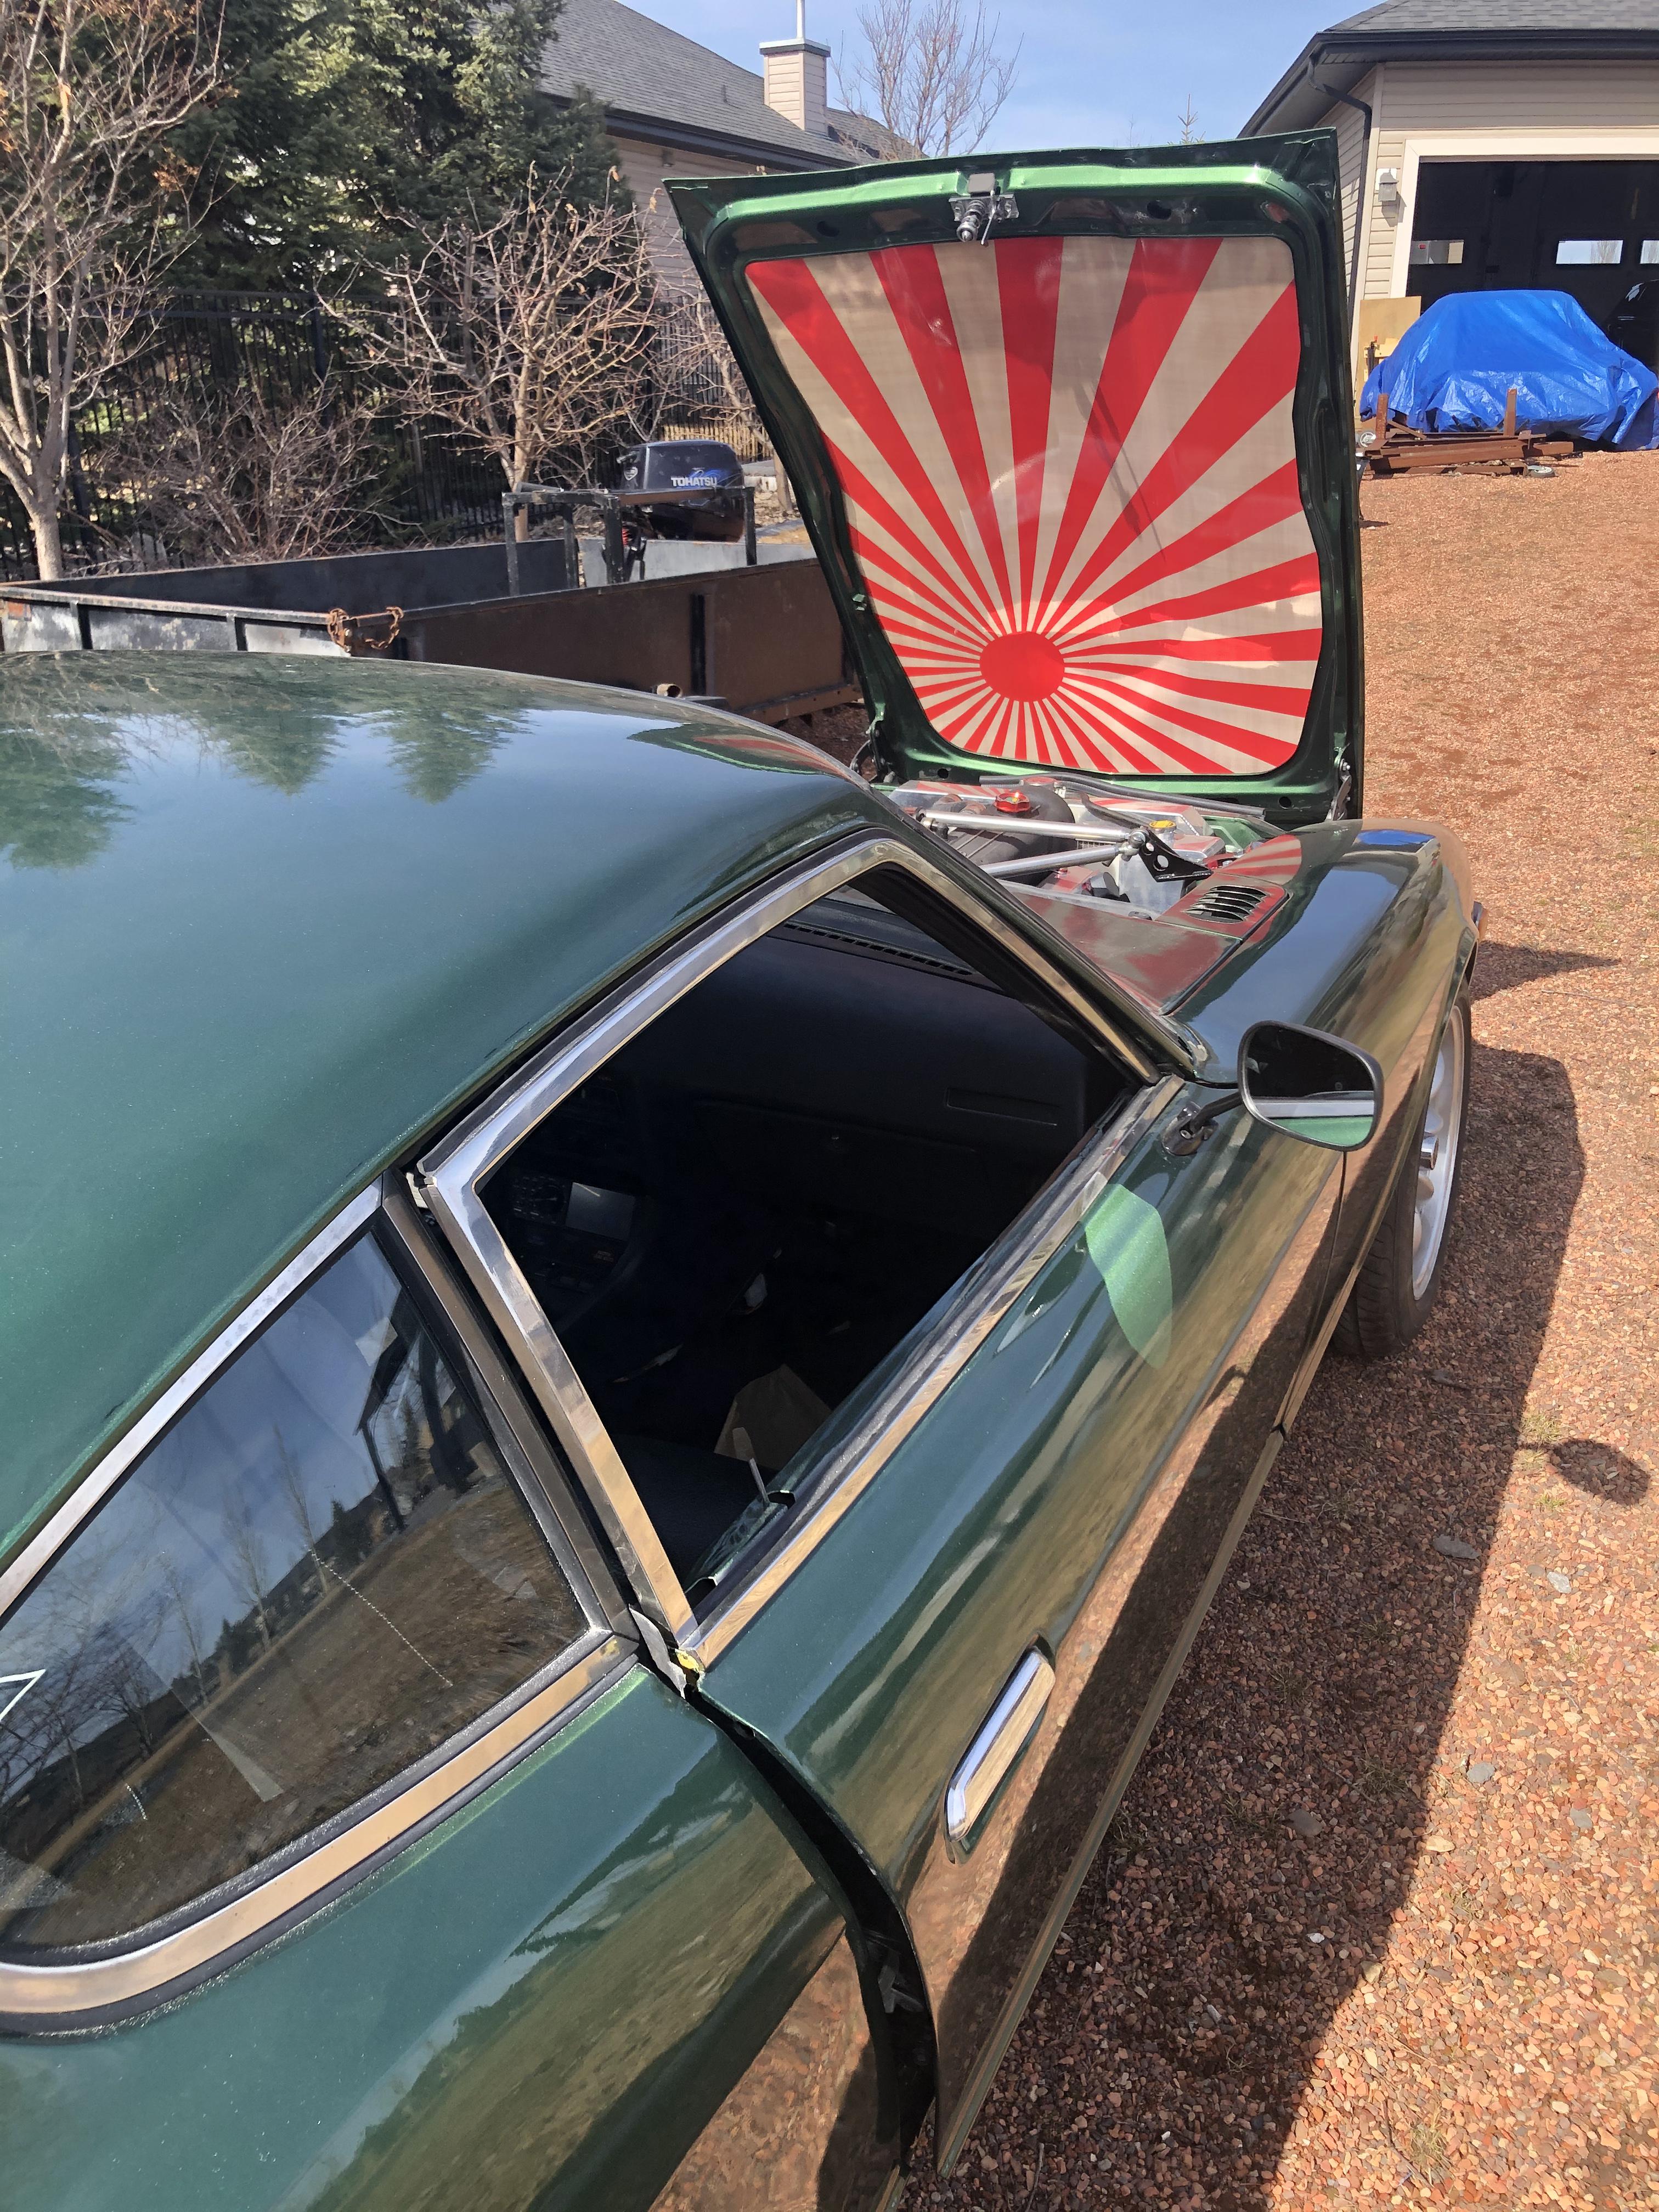
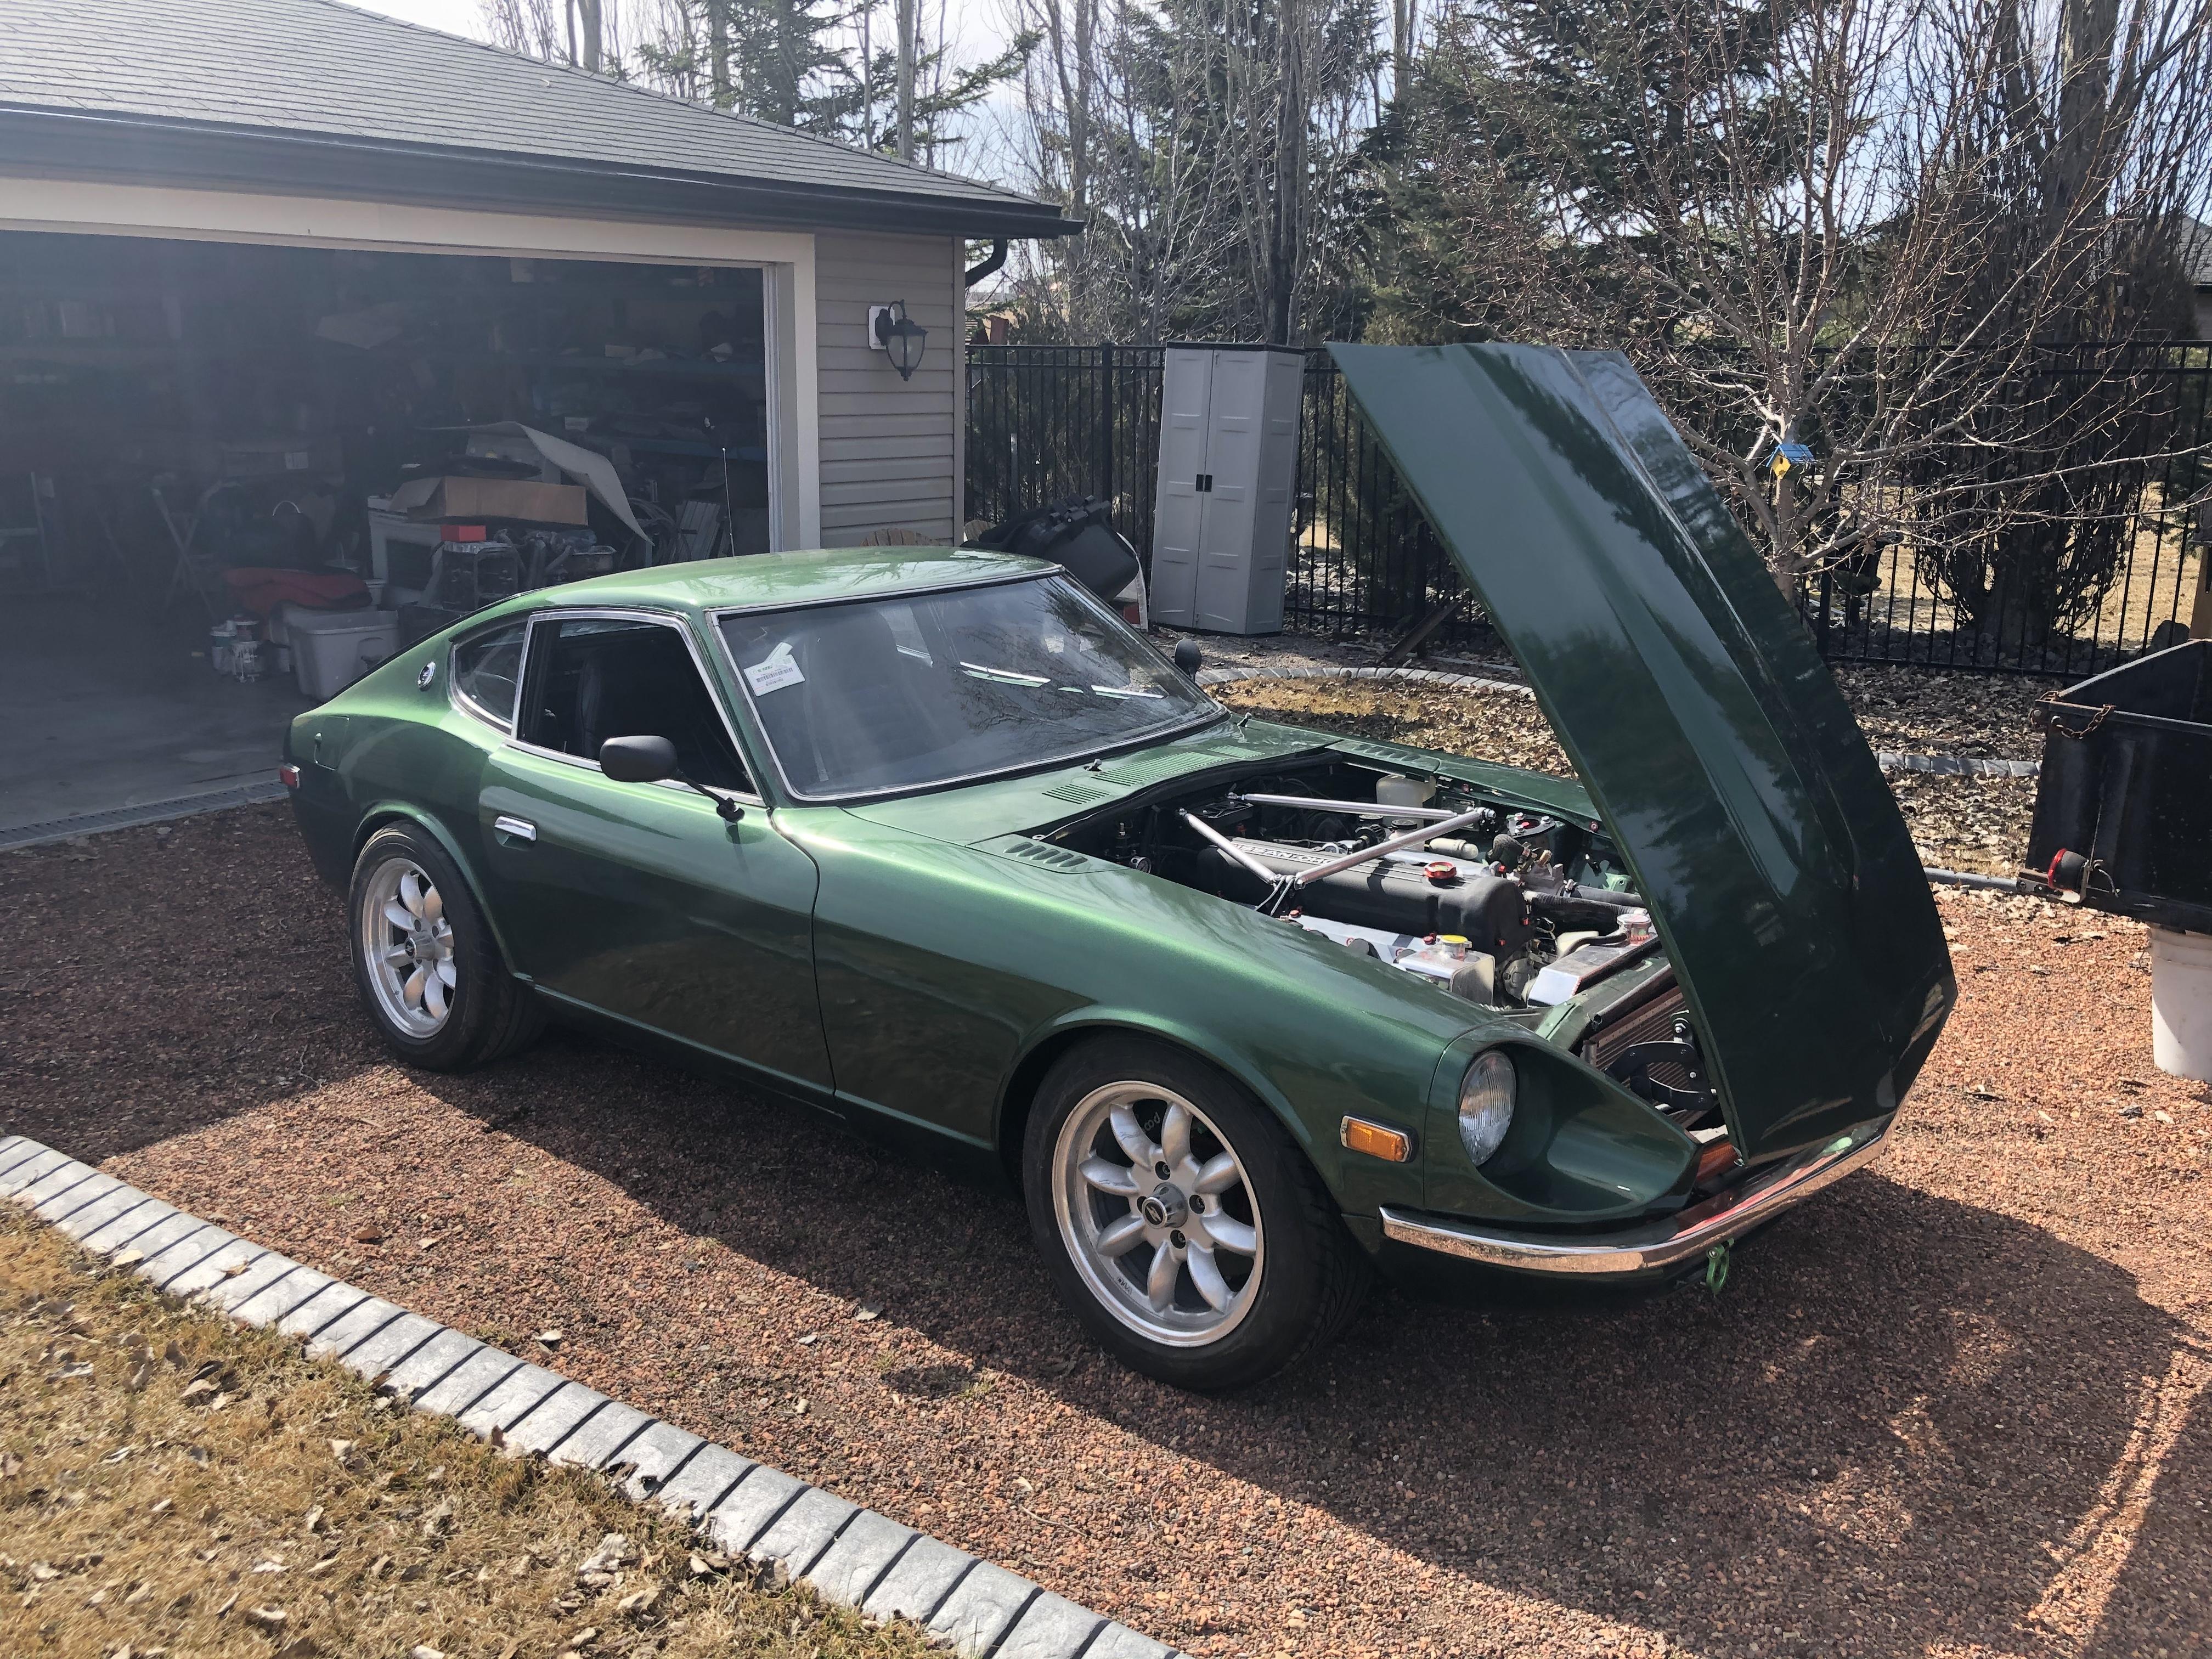
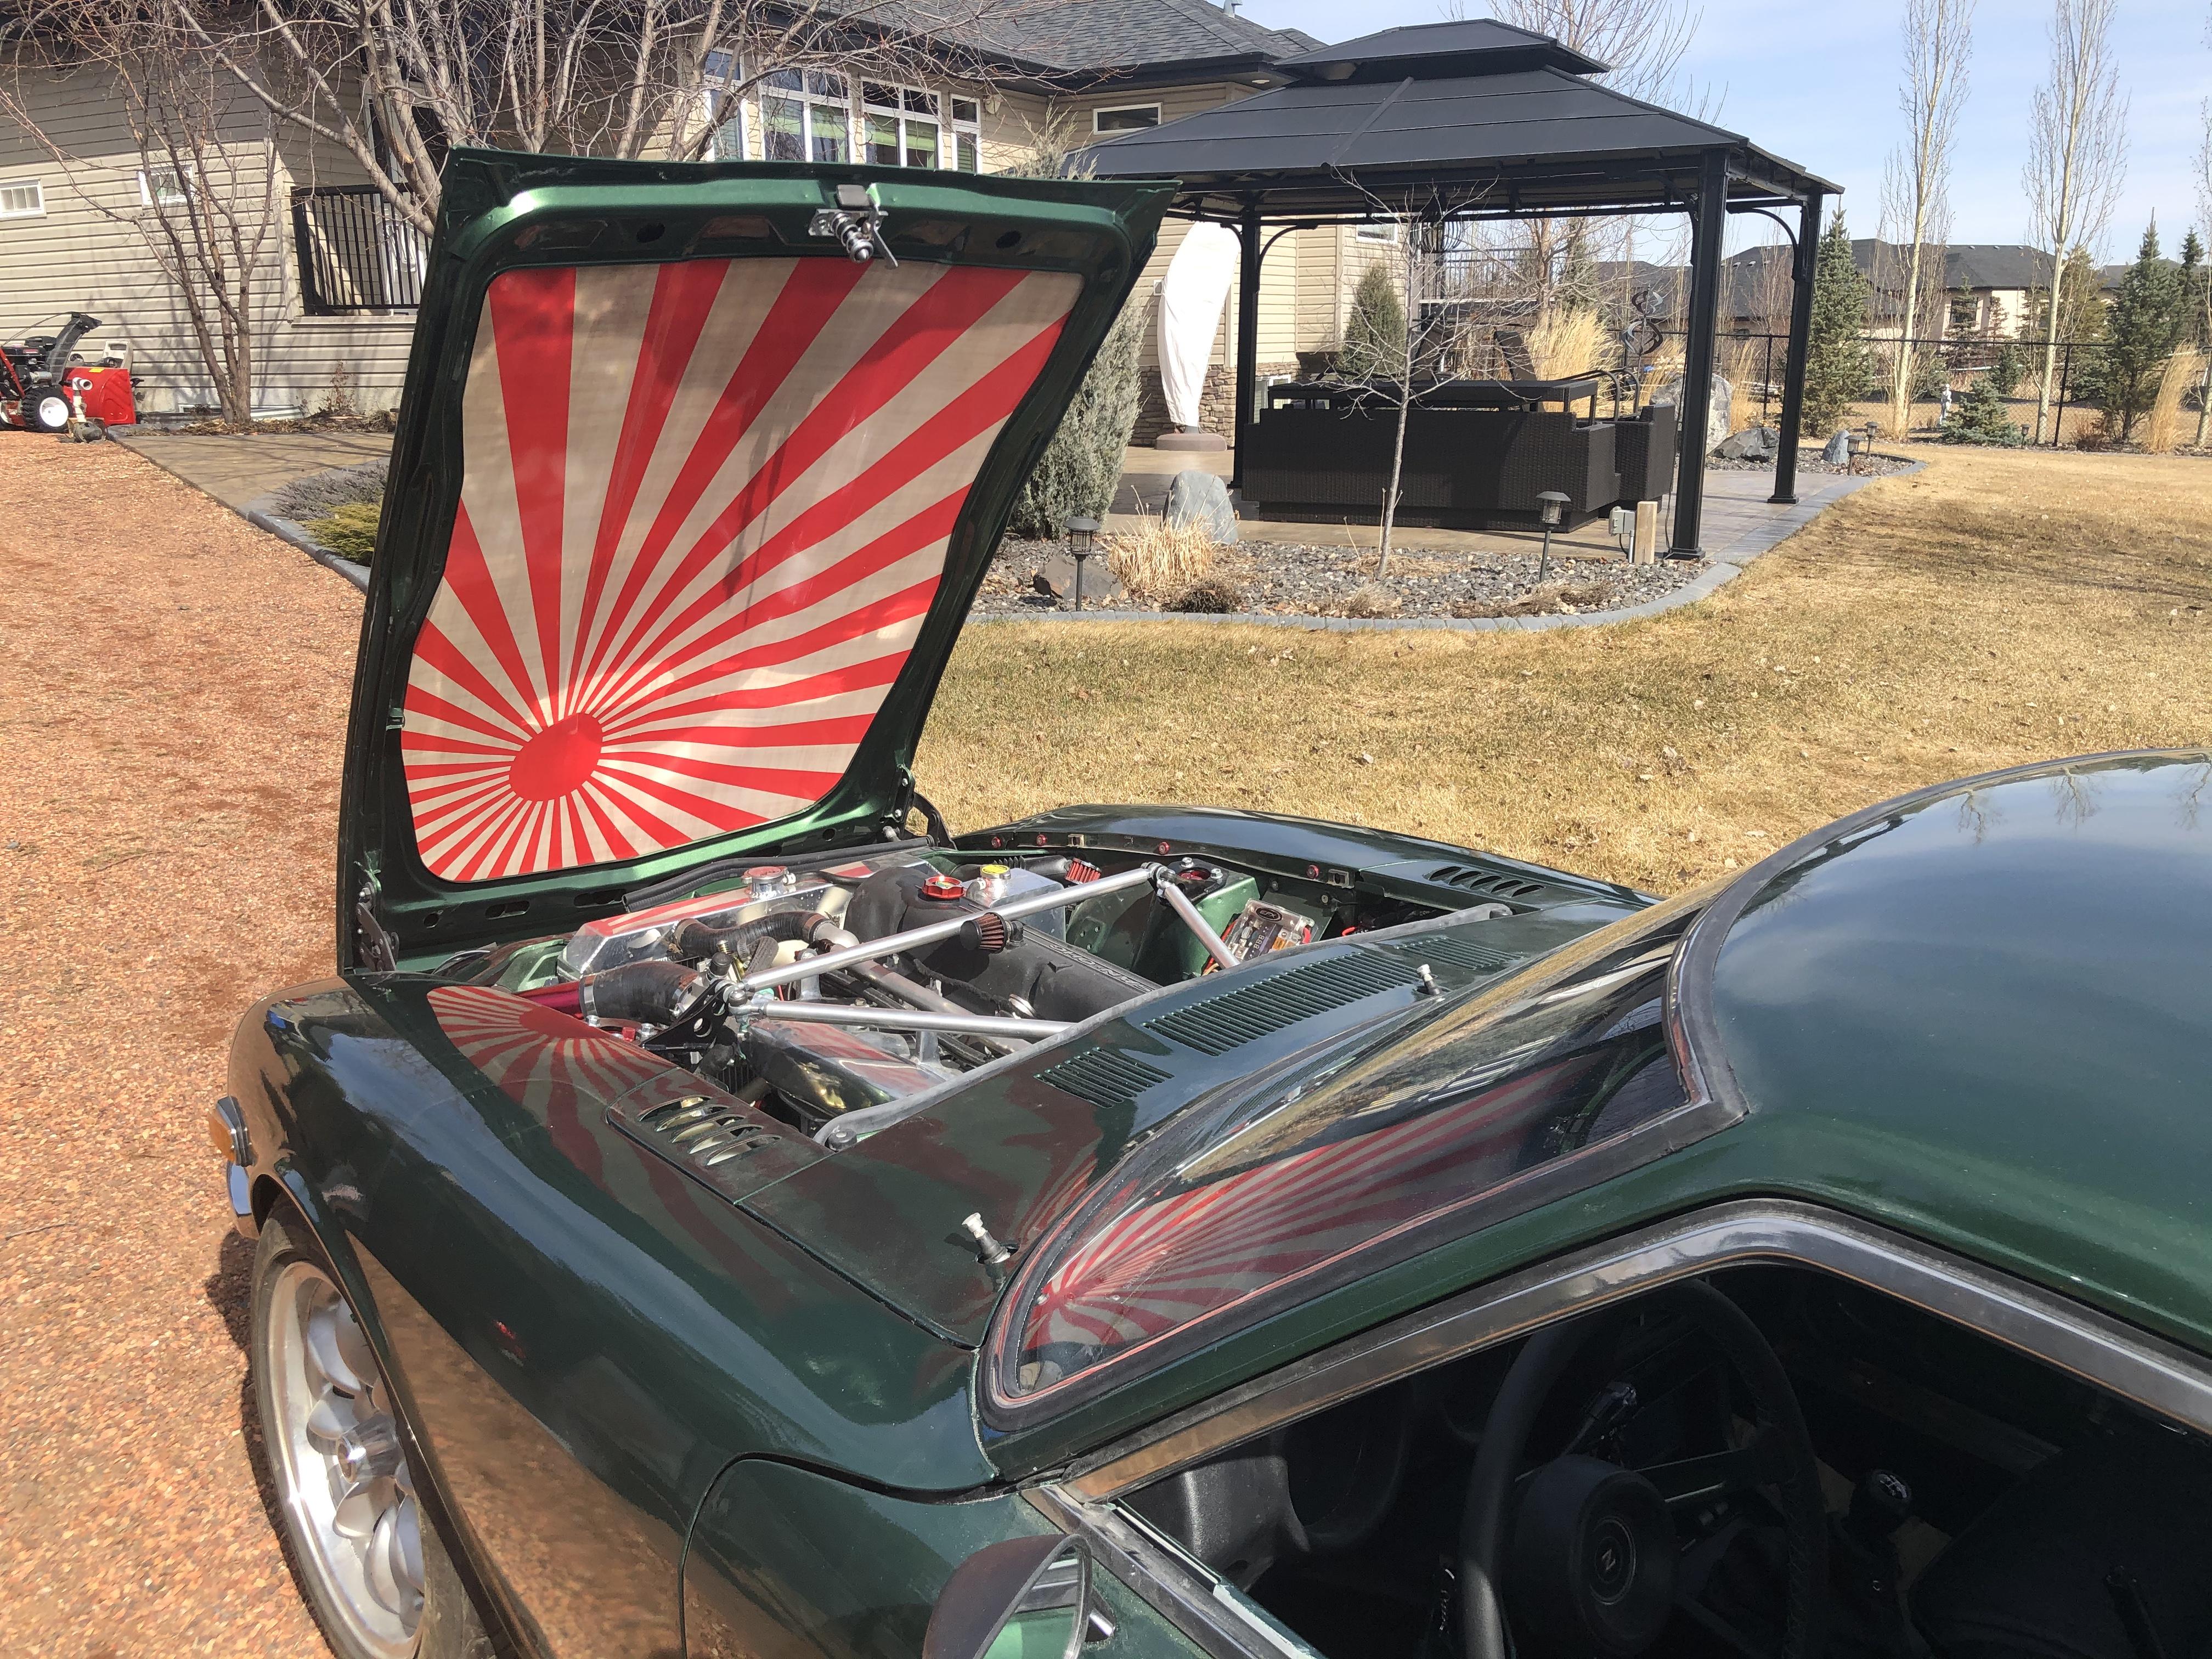
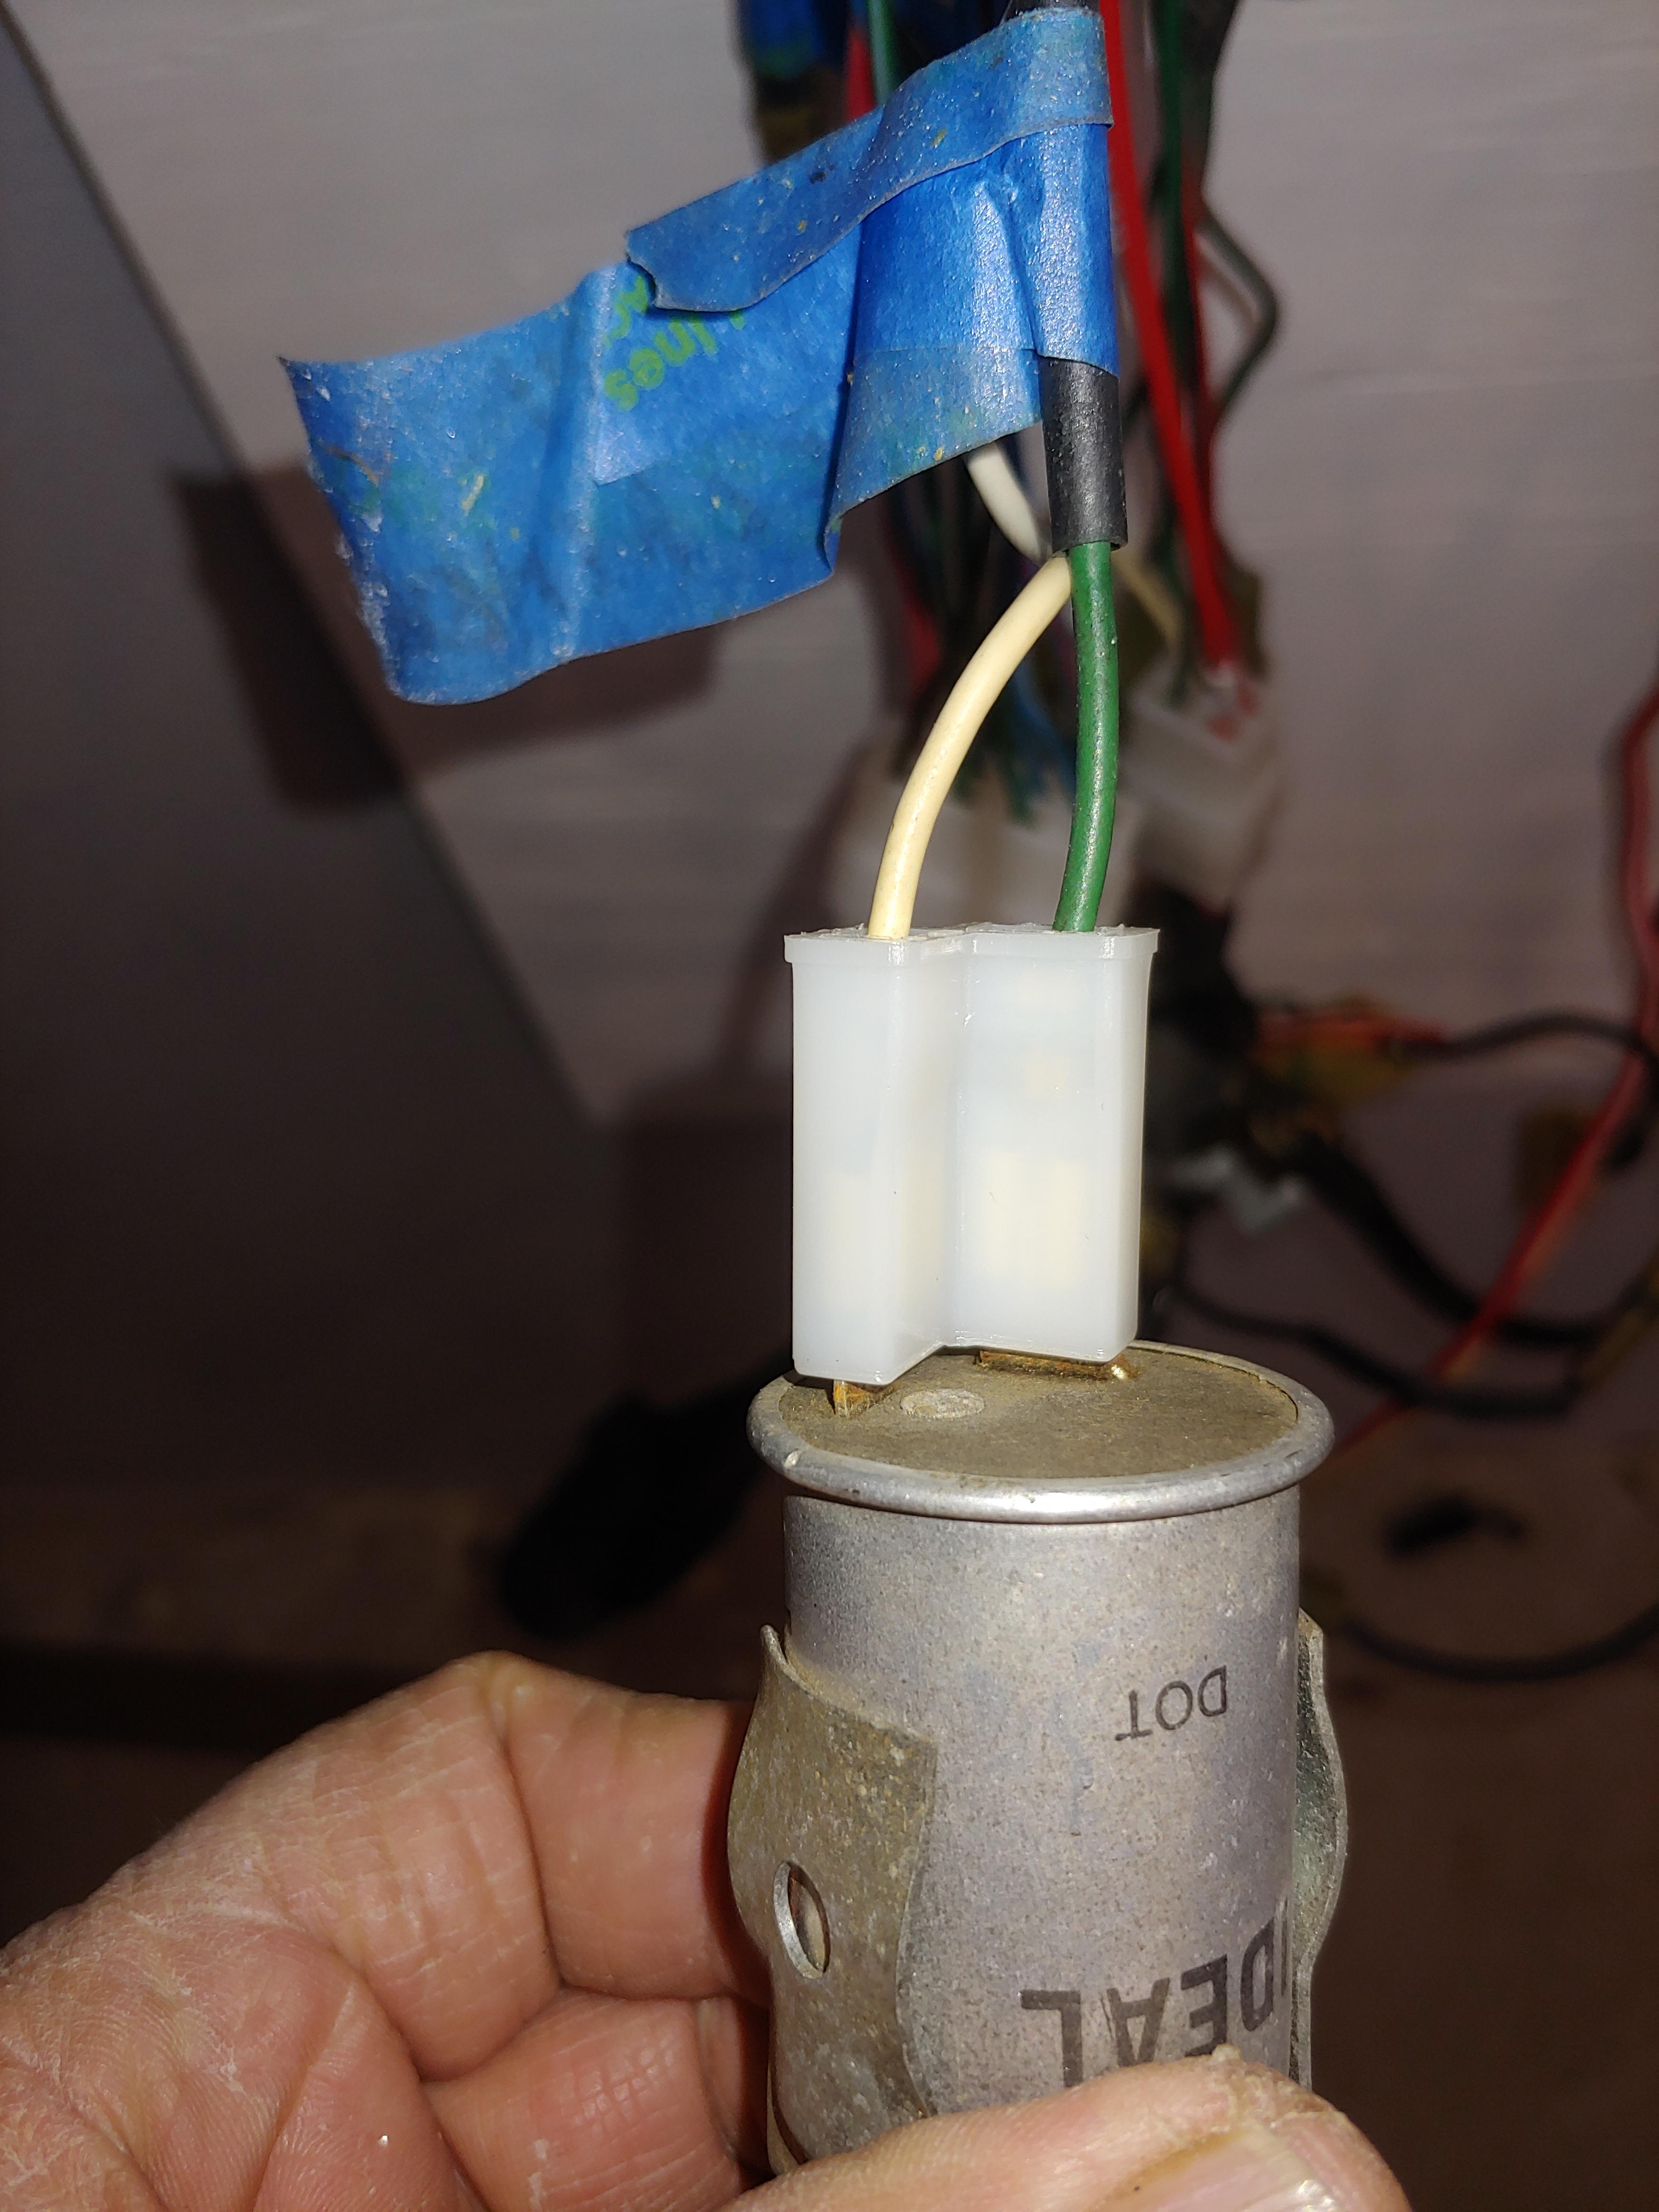
1 point1 point1 point1 pointSuperb restoration and work achieved ! Envious of the idle sound right now 😂 Well done !1 point1 point1 point7 pic's on ebay.. none of the rear lights.. does not matter not going to buy more cars.. or recreation-containers (caravans) 😉1 point1 pointMaybe she's just happy seeing light at the end of the tunnel when you come back inside the house and aren't living out in the garage? Haha!1 point1 pointThe wife was pretty happy. She hasn’t really seen the car since I started working on it years ago. She loves the colour.1 point1 pointI grounded mine to the screw that holds the condenser, over to a coil mount bolt. Then a bigger wire from the coil mount bolt to the battery directly. The points ground from the advance plate to the body through the internal wire. Also look for cracks in the plastic isolation pieces as they can short out too.
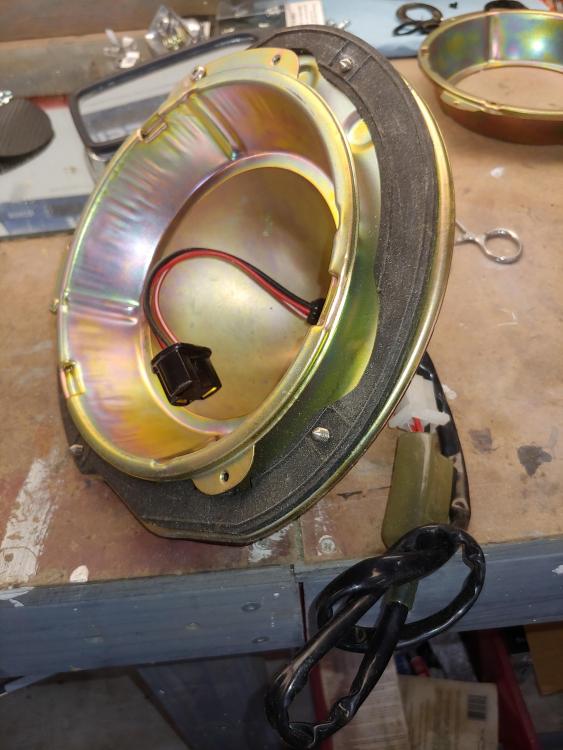
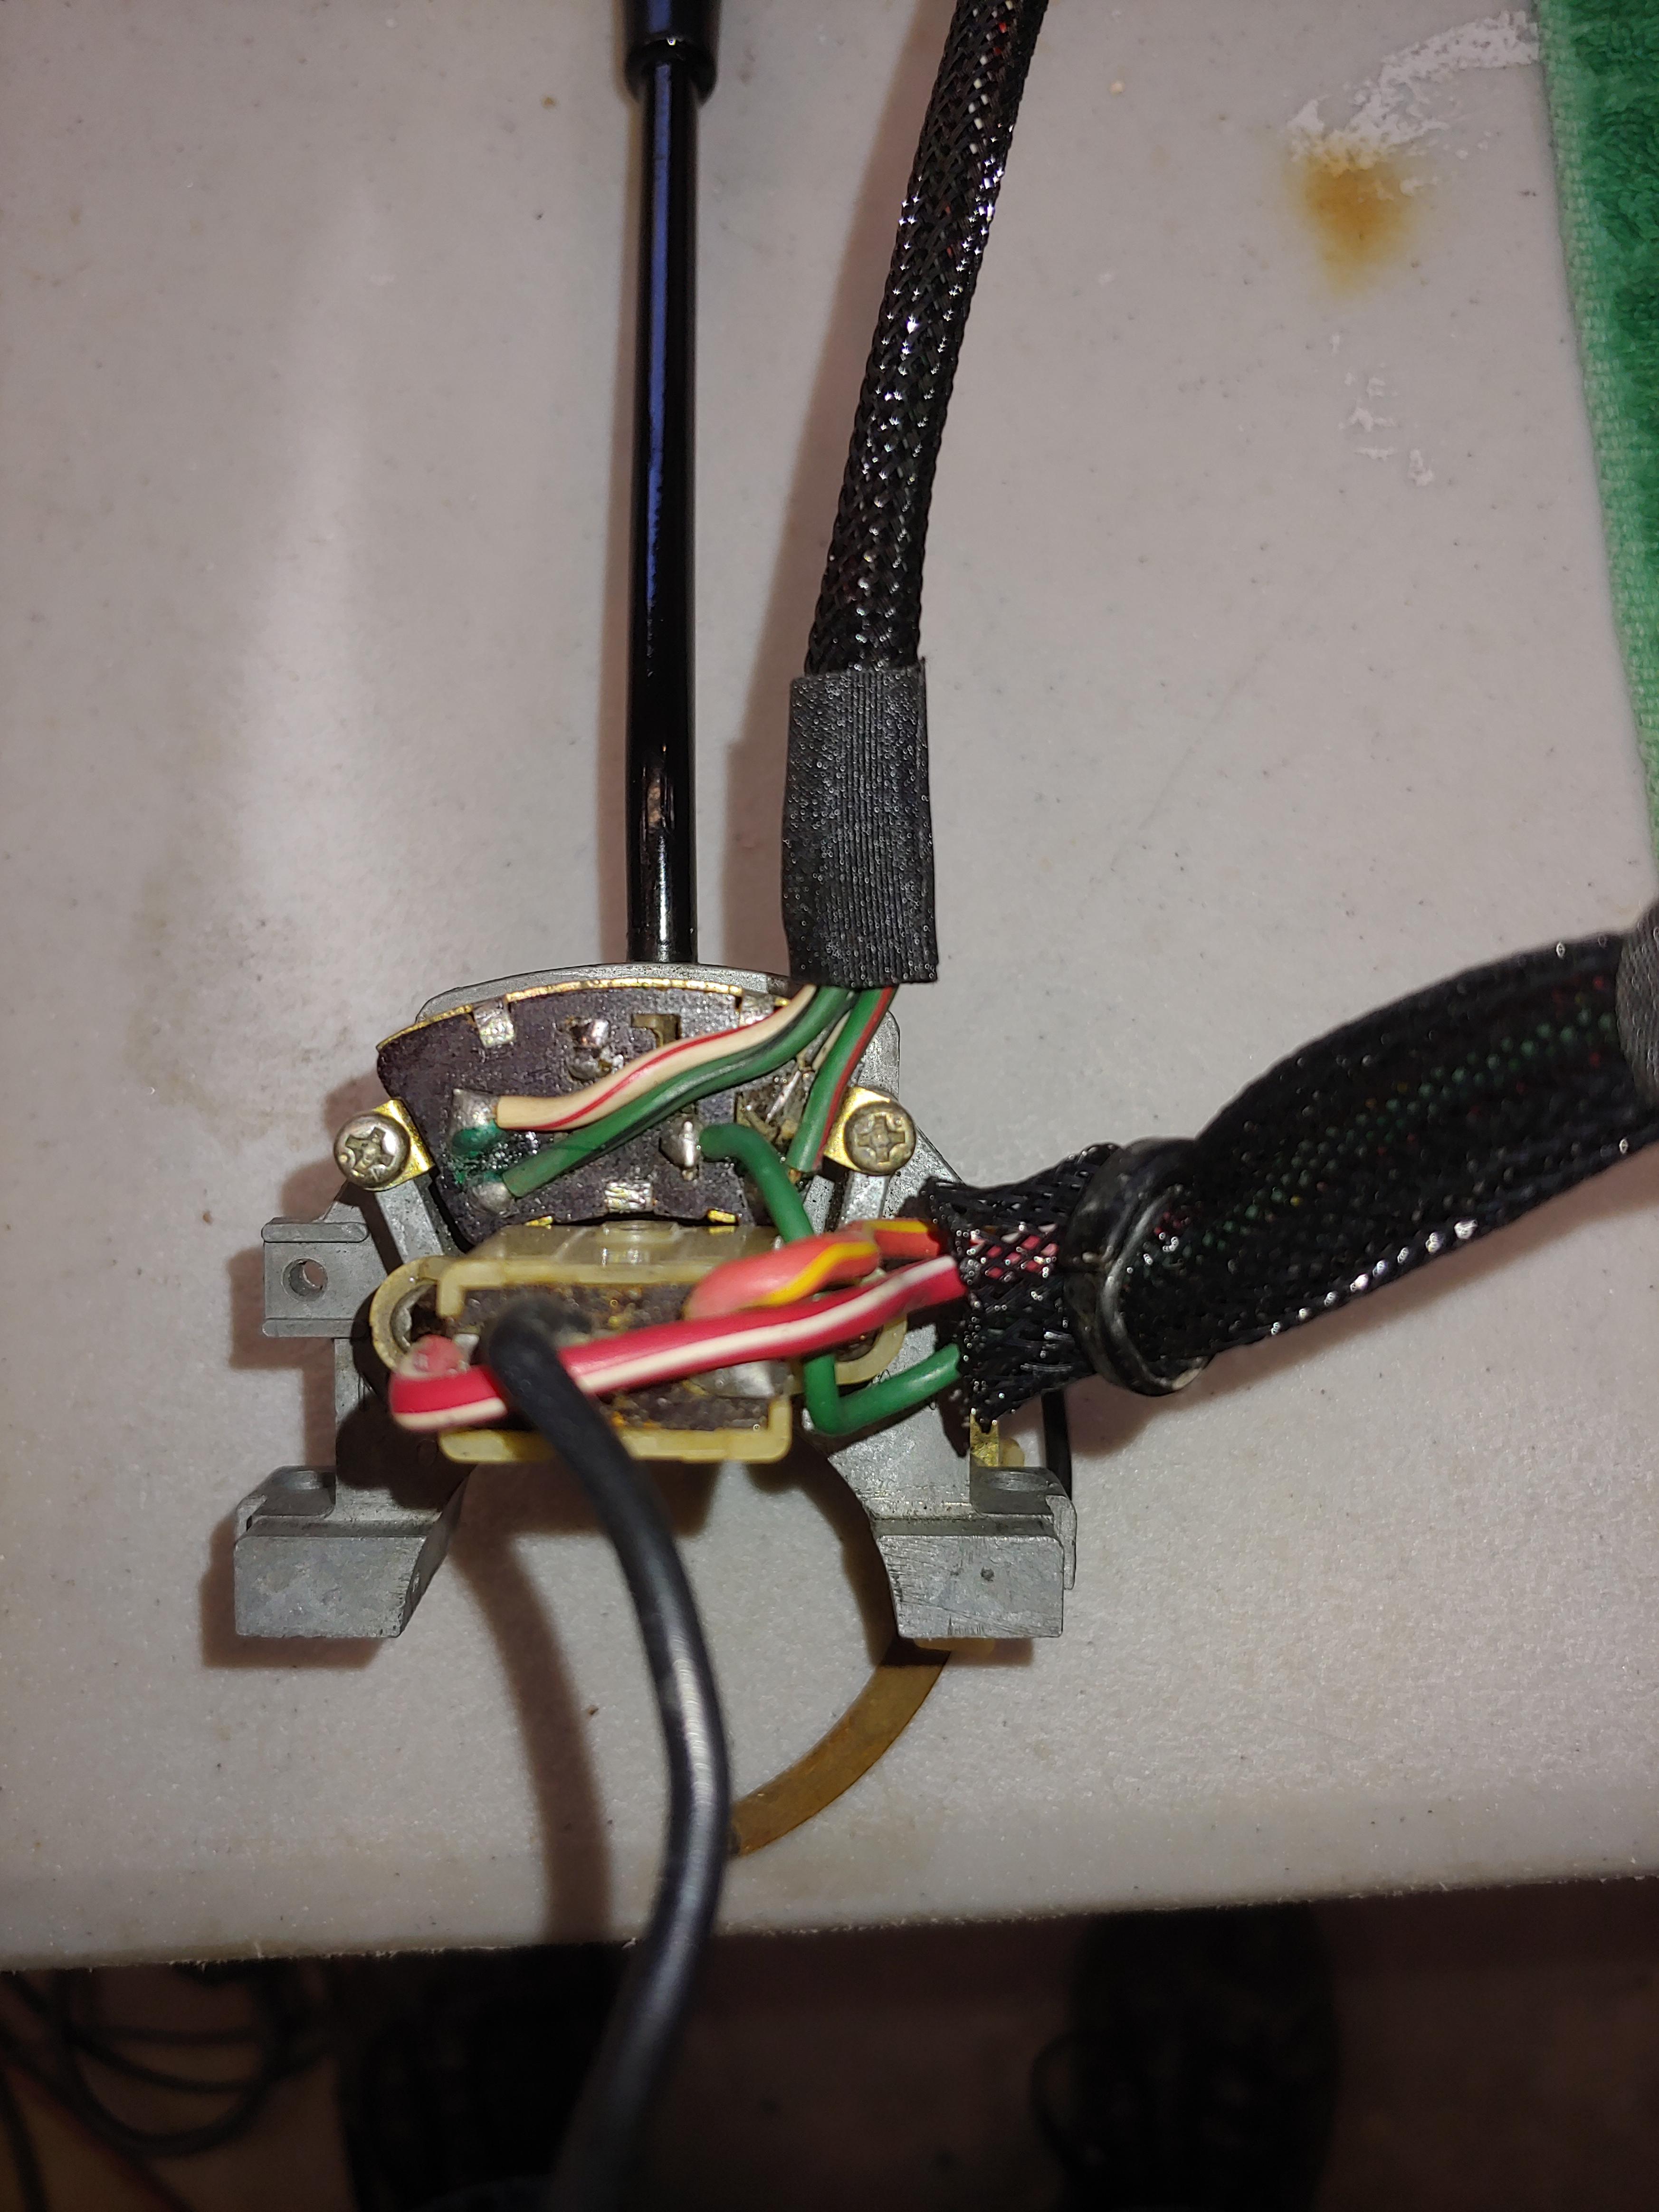
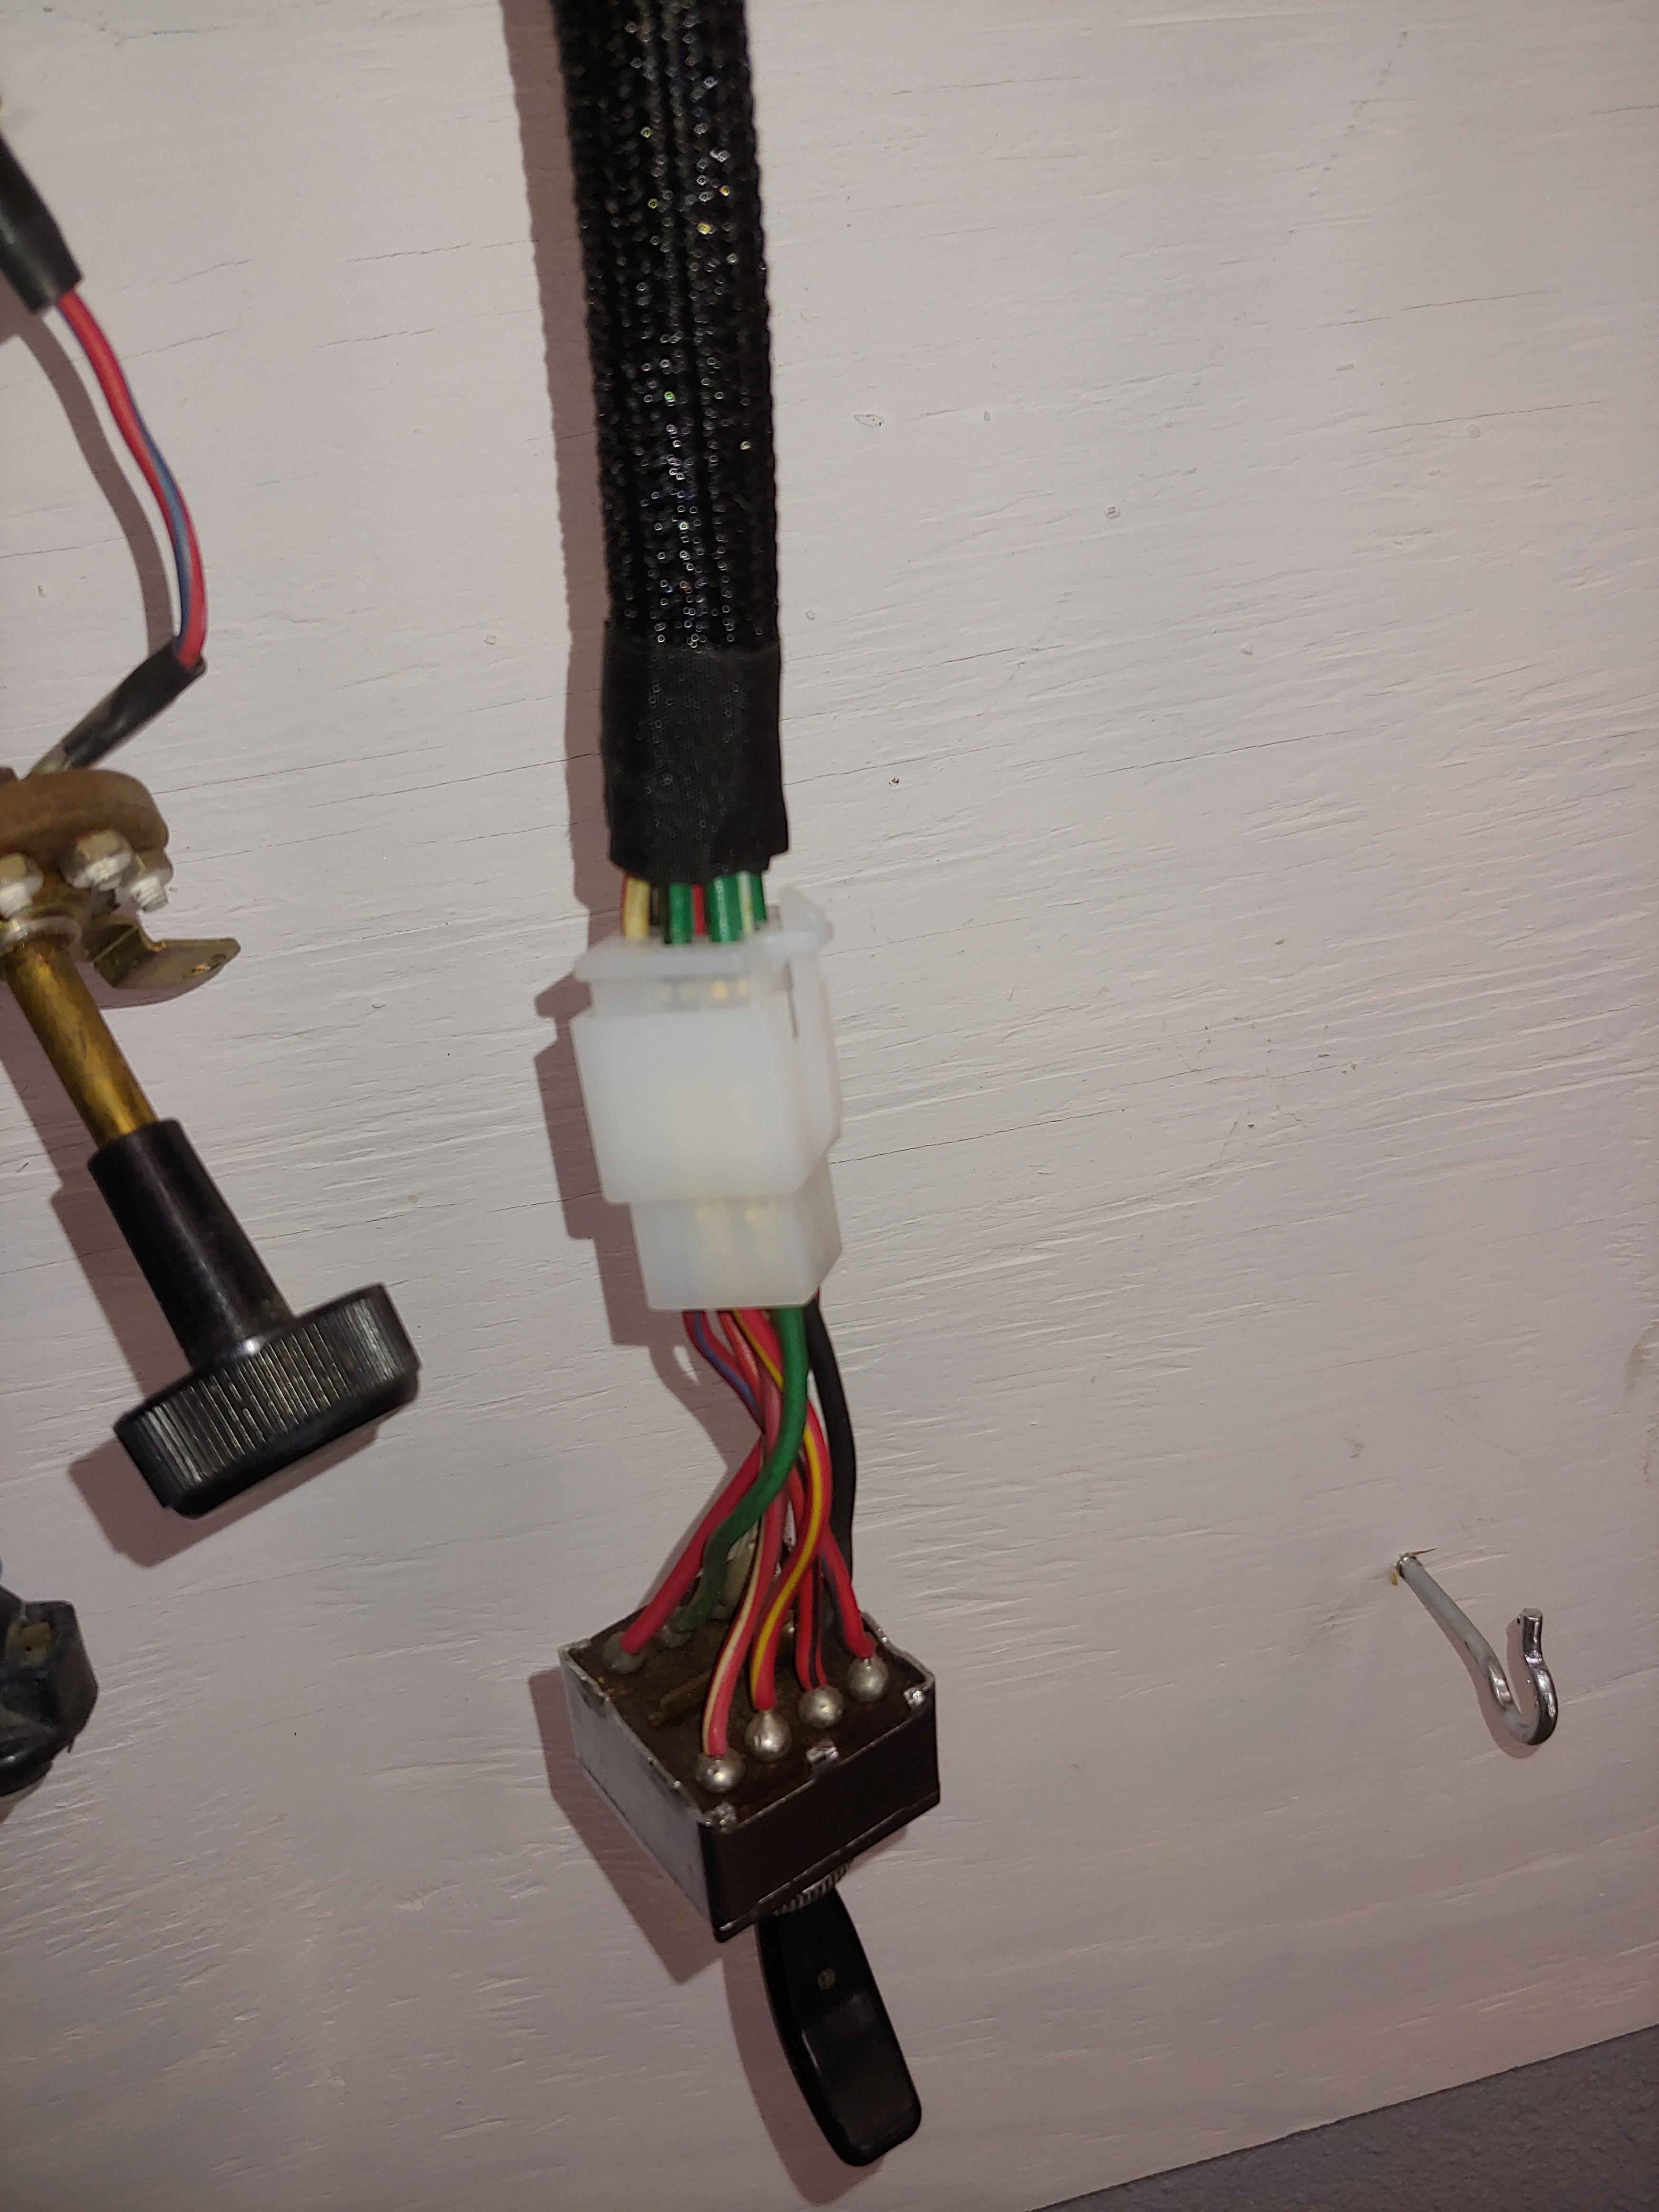
 1 point1 pointI Disassembled headlight switch,turn signal switch and hazard switch to give them a nice cleaning and a little lube. Removed the wire connectors and replaced them. When I replaced connectors I moved the spade connectors for like the flasher and moved it into the new connector. I feel this makes things a little cleaner. I also removed all brake light wires from switches. installed new headlight connectors and sealed them with 3 to 1 shrink warp. I scored with a new left headlamp assy. I also order flasher connectors from Vintage connections. I think this makes it nice.If you do this make sure you have the power on the correct side in case you go to led flashers.
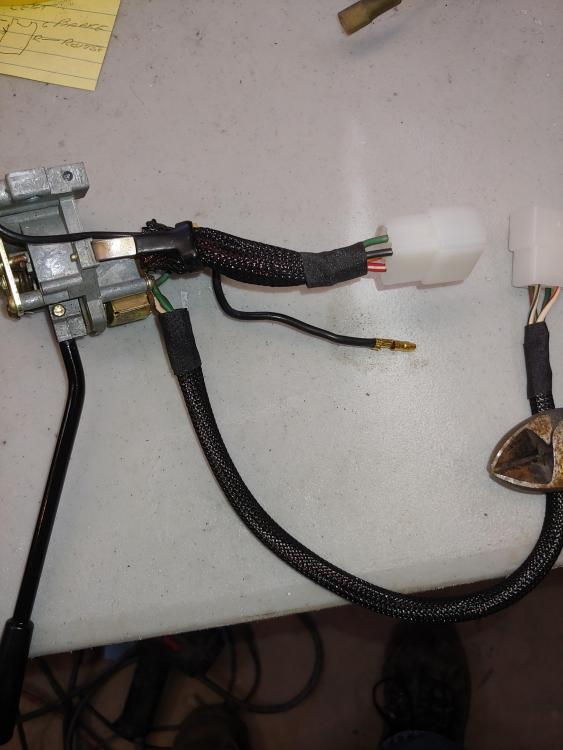


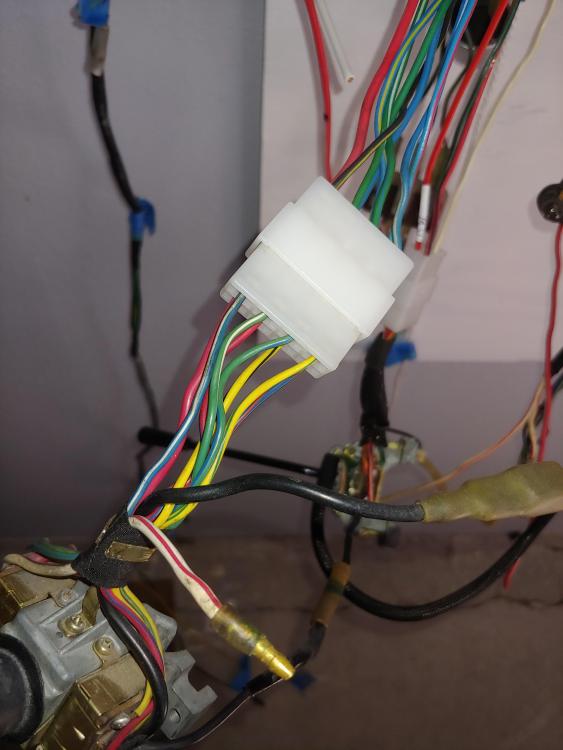


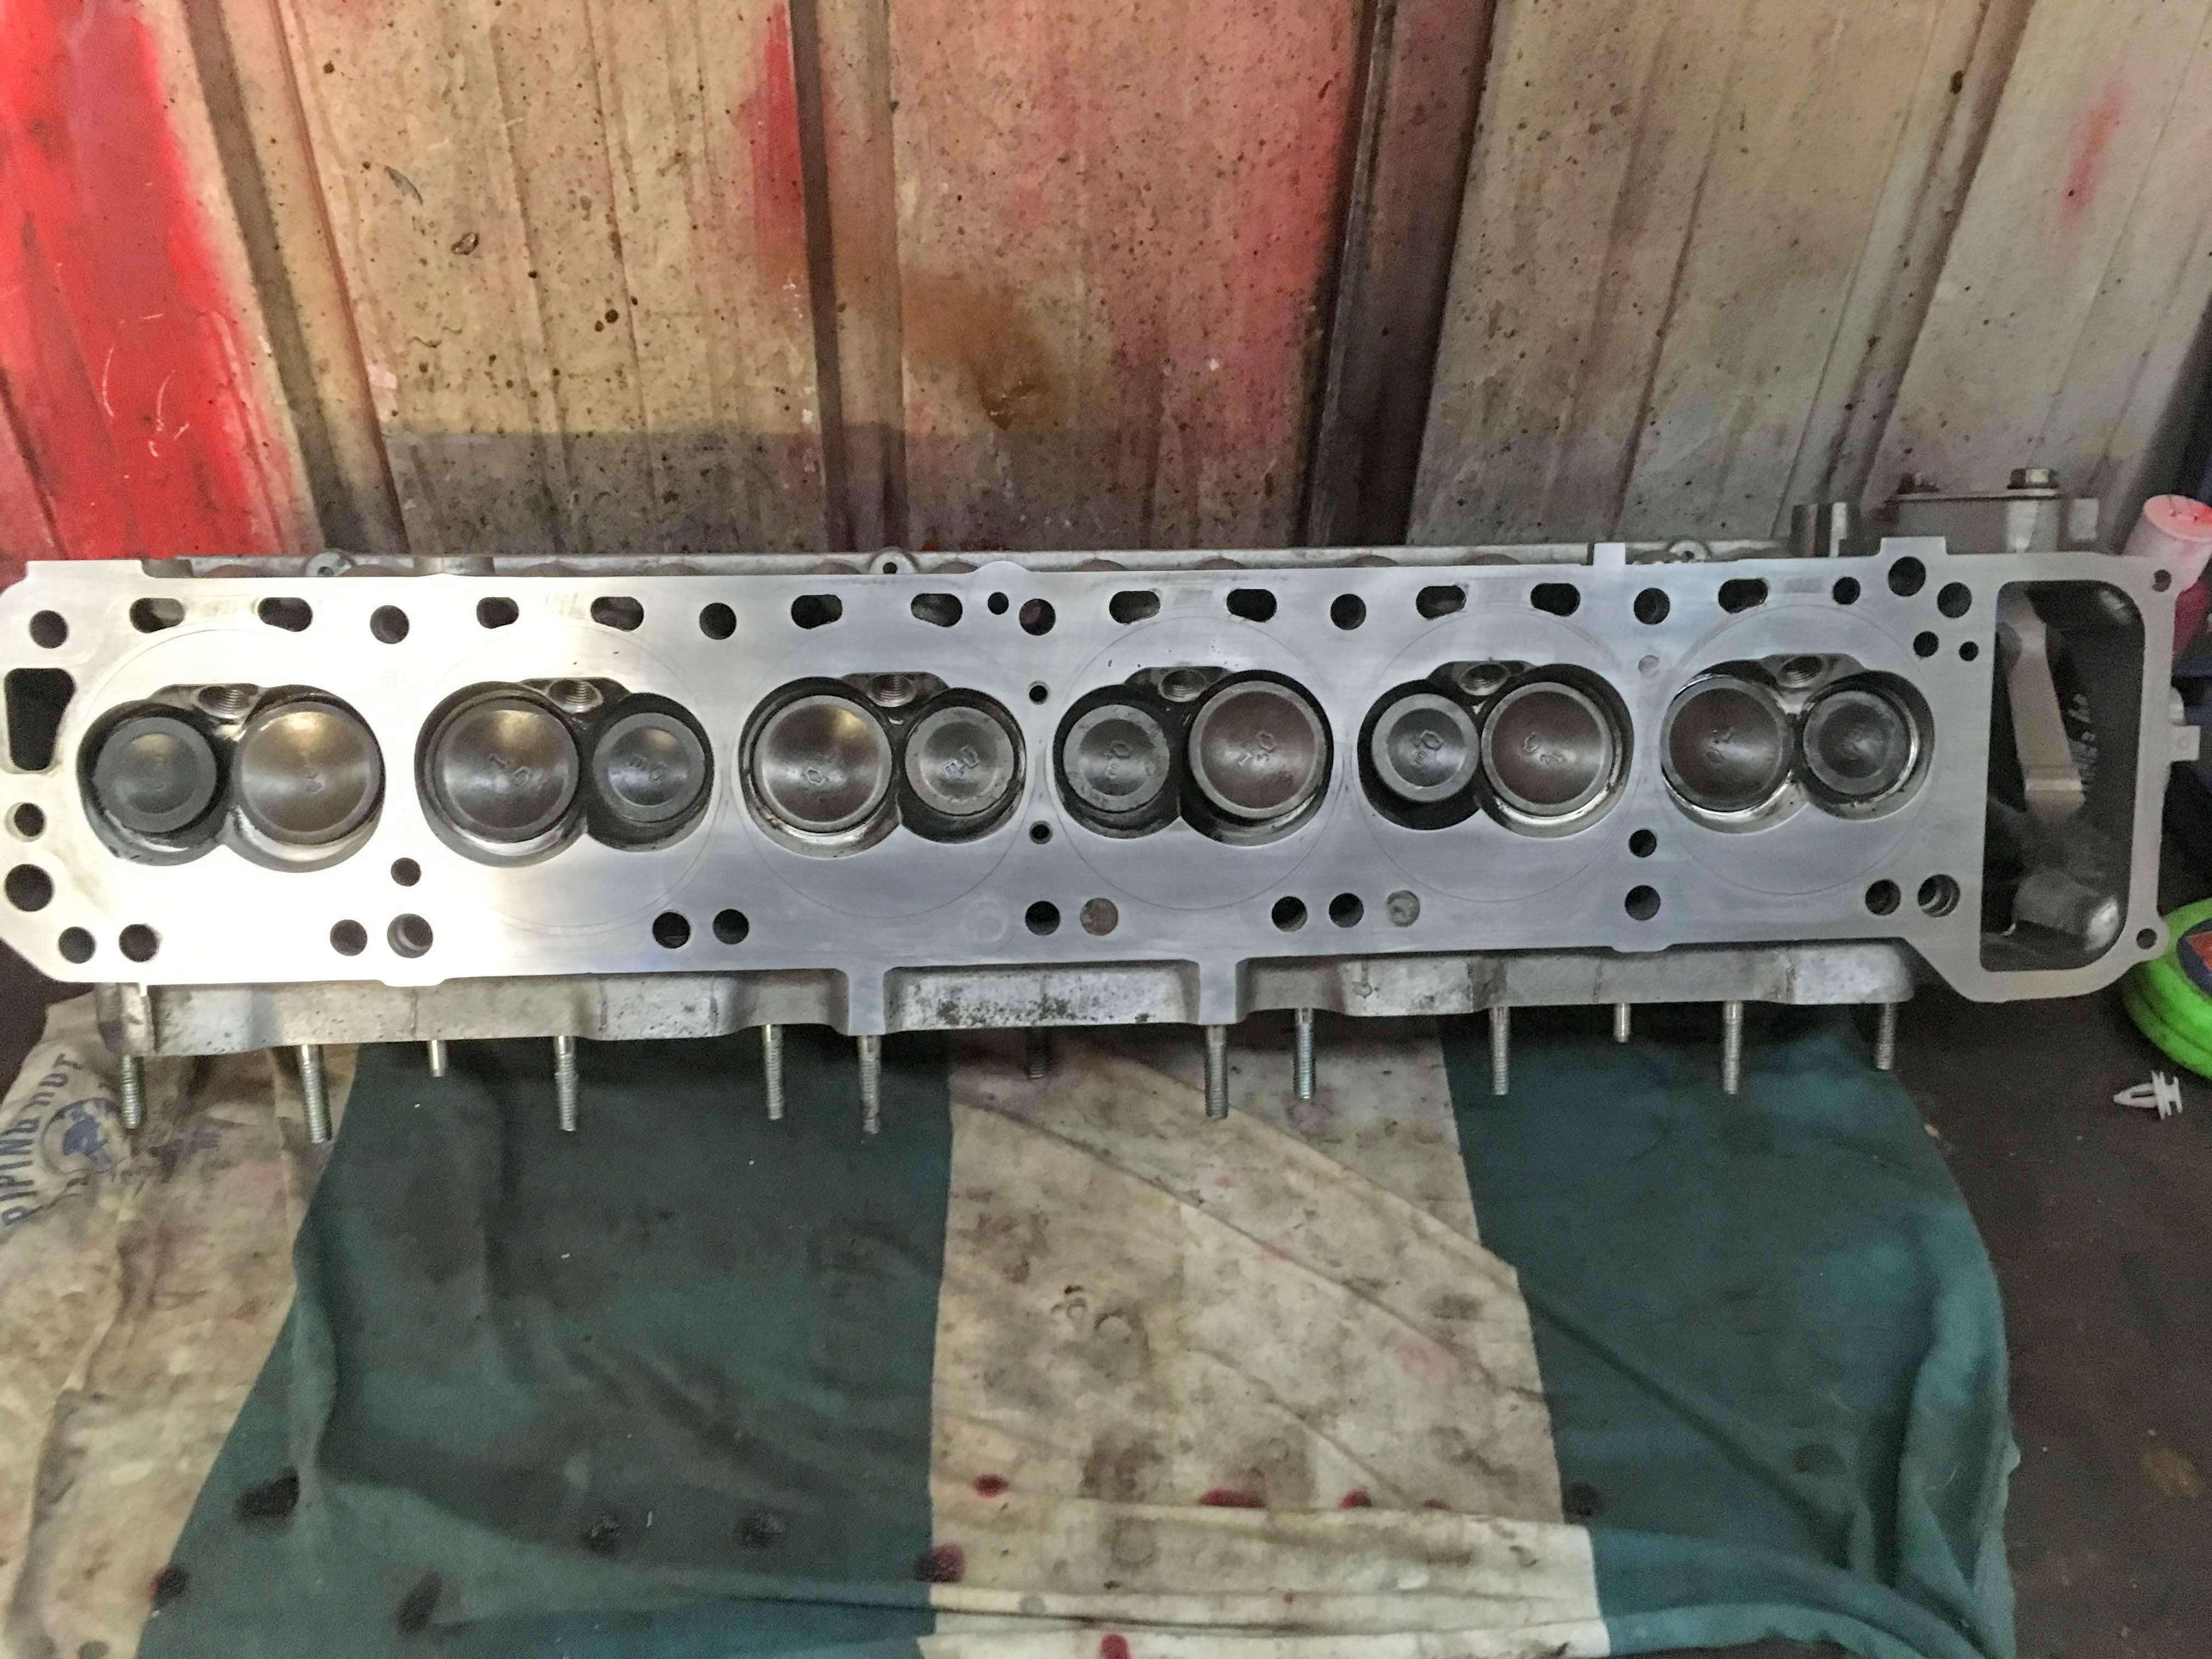
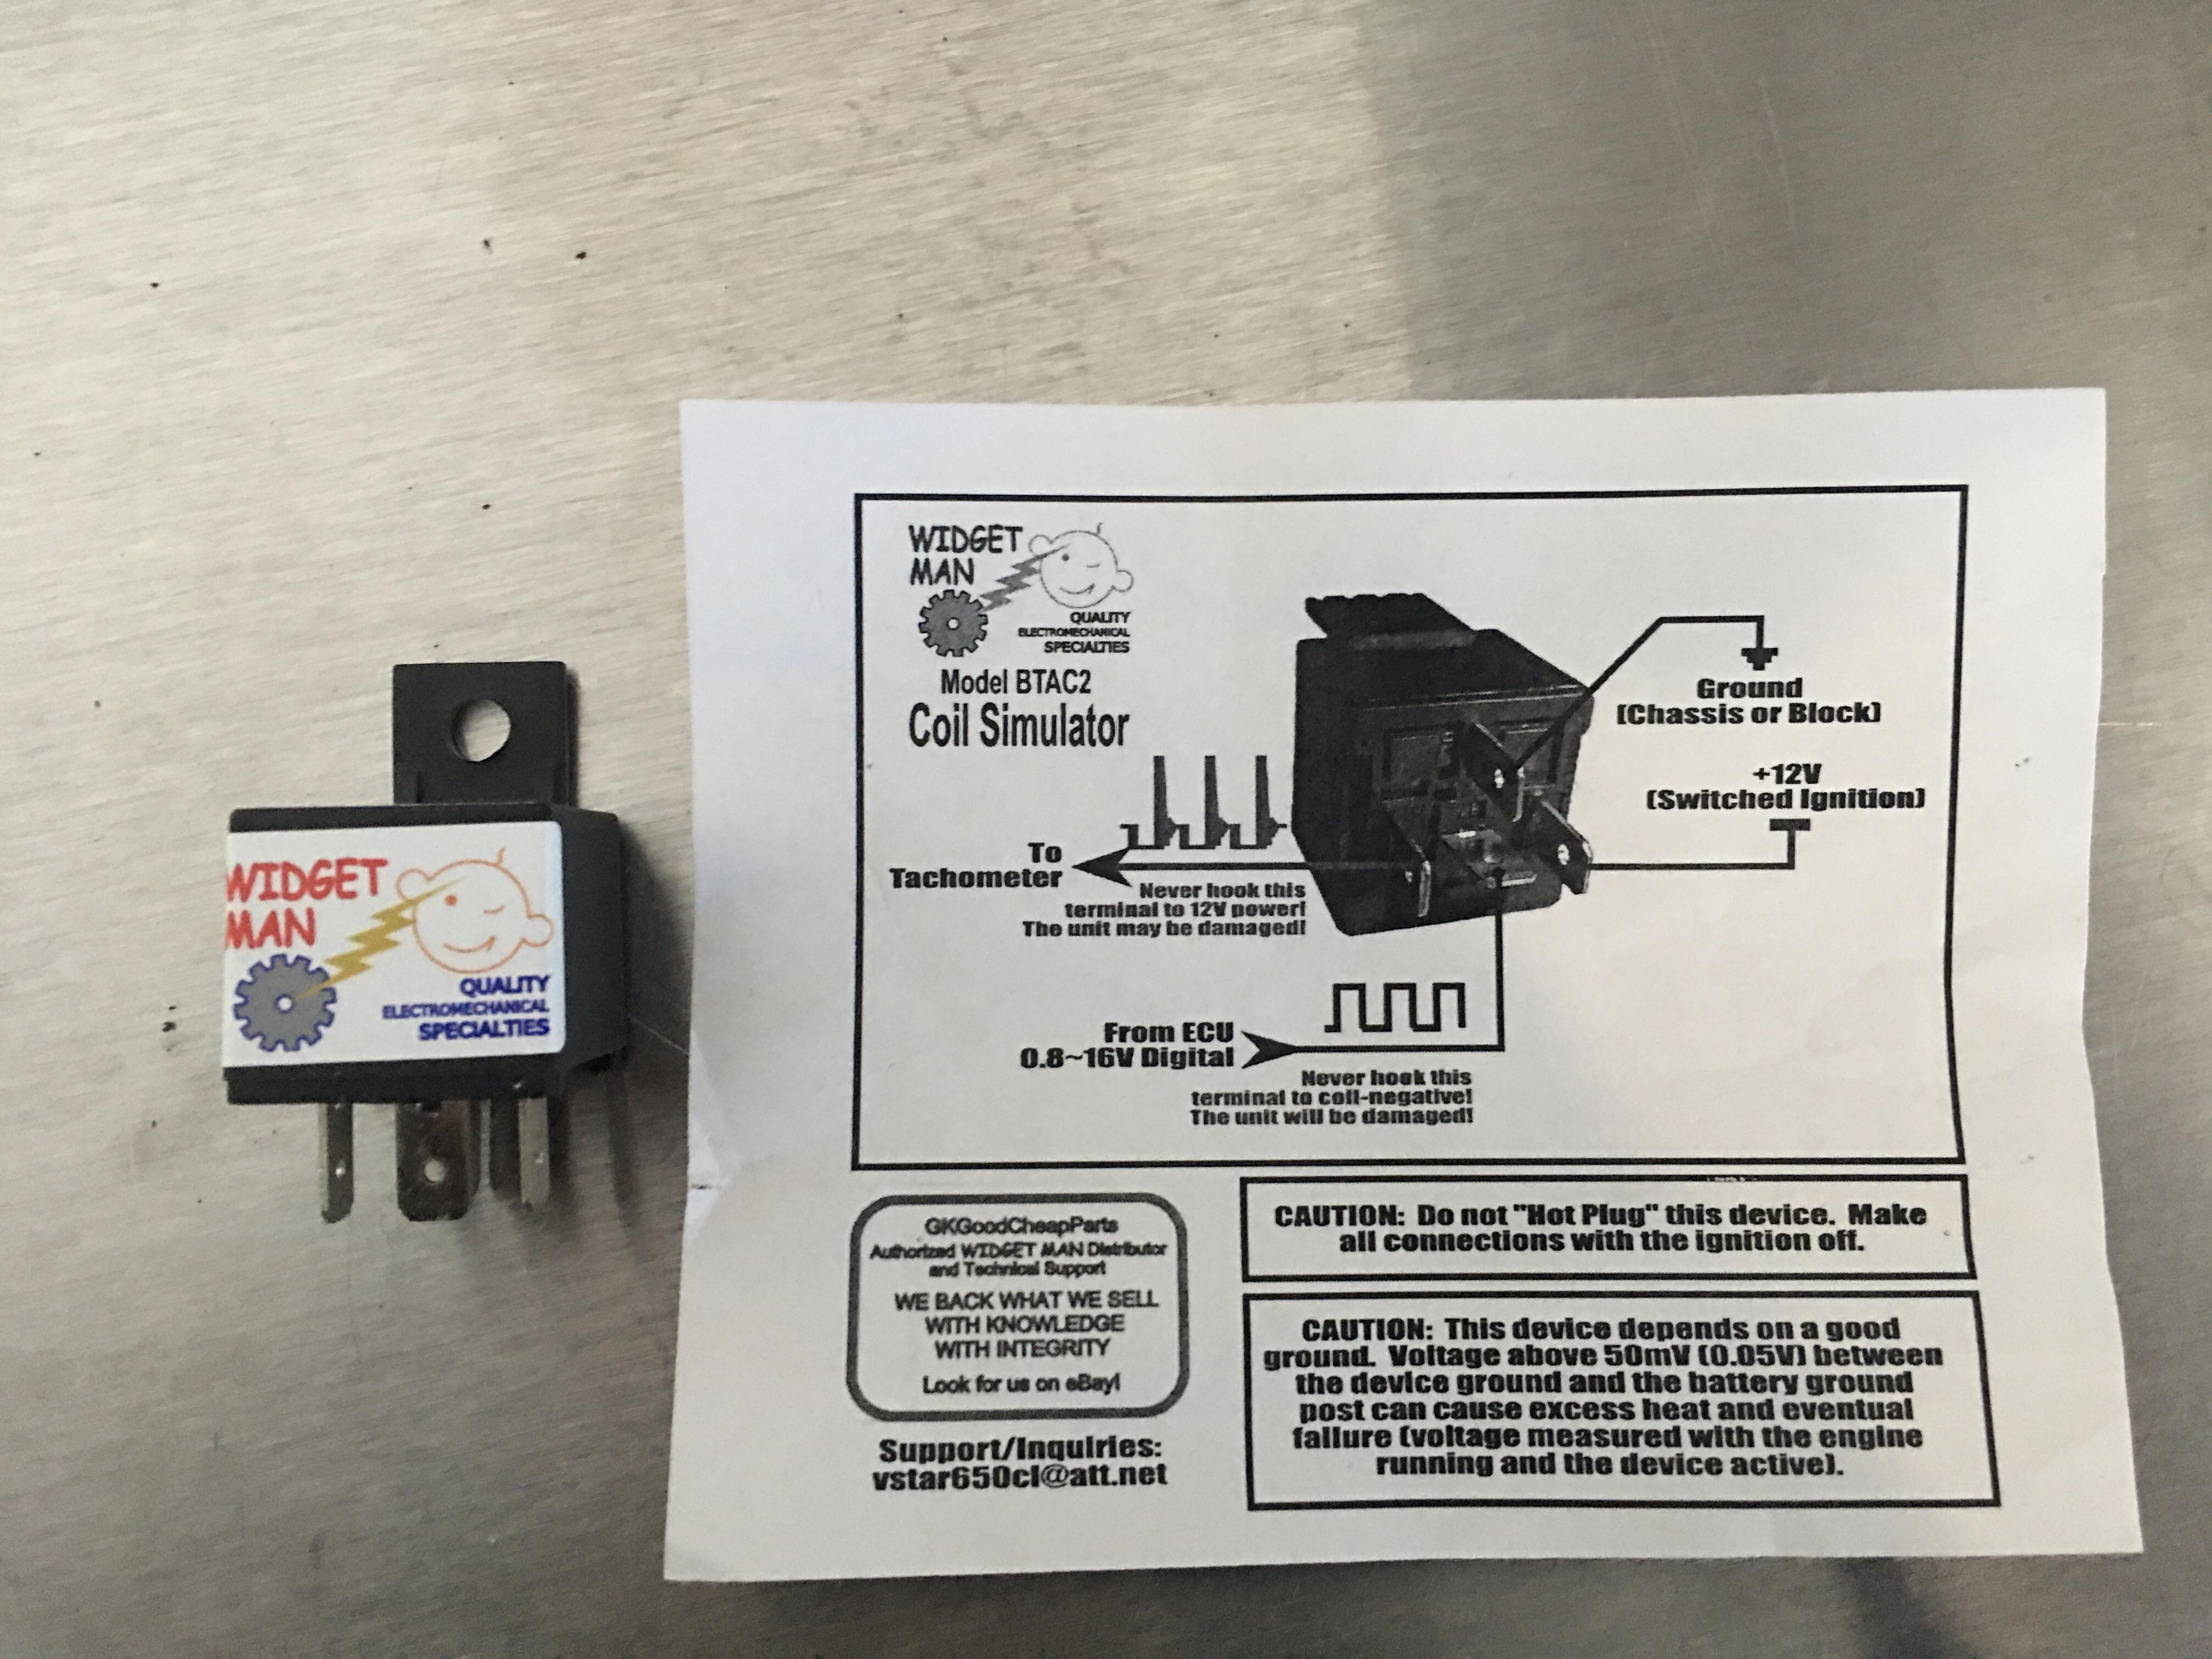
 1 point1 pointStill needs a little work but it will be on the road this summer.1 point1 pointGorgeous! Well done - now get out and drive it 😀 I'm living vicariously through this moment...1 point1 point1 point1 pointhttps://www.ebay.com/itm/Majorette-368-Die-cast-1-60-Datsun-240Z-in-packaging-In-excellent-cond/203334622975?hash=item2f57b01eff%3Ag%3AAqQAAOSw8eFgaEM5&LH_ItemCondition=41 pointCanada's version of that car wasn't called the Silvia, I think maybe the sx180 but for sure not very pleasing to look at.1 point1 pointOh yeah. Isn't that head made from unobtanium? I can only dream of ever having something as awesome as a setup like that. There is that guy who made his own twin cam head for L series engines, 3D cad design, custom casting, CNC milled. I think that setup is even more money. Of course you can spend plenty of money on an E31, P90, N47 . . . . . . . I think I'm into the E31 I have at least two grand when I built my first race engine. Other than new valves (missed a shift coming onto the front stretch at Seattle, on a new bottom end, kissed the valves - now I have a rev limiter) and guide seals, and later a different cam, I haven't spent any thing on it. It has been sitting since the last bottom end had a crank break between the last main and number 6 rod (the second in about 20 years of racing my Z on the West coast) at Thunderhill about 12 years ago. I am thinking of using it, and the race induction setup paired with a header and a bottom end I built for the brown car when I was married to Mrs, Racer 1.0. That engine was going to get a small chamber E88 head I have, but haven't finished yet. It is ironic that when I had the first crankshaft break, it was when I was building that other engine, and was pursuing a championship. So instead of finishing the E88 head, I put my E31 race head and intake/exhaust on it, and raced one meet with it. We had a long enough break before the next race that I was able to build another engine, and swap everything back. In my zeal to win the championship the engine got sidelined. Then I divorced Mrs. Racer 1.0, bought some property, stayed focused on racing and the brown Z and the engine got parked. That was about 26 years ago, more or less. I met Mrs. Racer 2.0 about 23 years ago, and we wound up selling my place, and buying the place we have now, built a house, and the car(s) have been patiently waiting.1 point1 point1 pointIf you want the rear are also leds, you could put some in there and leave one ordinairy lamp in the circuit just for load.. or use a resistor. That resistor should be.. normal bulb 23w/13,6 = 1,7 x2 = 3,4Amps R= U/I = 13,6/ 3,4 = 4 Ohm resistor! But watch out it has to be one of power.. P=U x I = P is 13,6V x 3,4 amp = 46,24 say 50 Watt !! Easyest is to use one or two (normal flasher bulbs) bulbs and hide them in the car behind the upholstery haha.. When you use one bulb of 23 W your interval flash will go faster.. you could also use a headlight lamp H4 or the one that was before those H4's they were 45 Watt and it will make the interval of the flash perfect i think. It ofcourse does not help with the energy saving of the leds but you got leds all around.. 🙂1 point1 pointTake out a flasher unit and test it on the bench with a known good lamp/set of led's? (Are they made in china ? (throw 'm in the bin..))1 point1 pointI got the Tach Adapter installed today! It even has a start-up sweep!! IMG_3636.MOV1 point1 pointHand sanding and then polishing with a wool pad at low rpm by hand.1 point1 pointFinally received my digital to analogue tachometer converter. The Haltech sends a digital signal that needs to be converted into the old school coil signal for the tach to work properly. Pretty simple solution using one of these converters made by Gene. He’s on eBay and sells cool little gadgets like this for a reasonable price. https://www.ebay.ca/itm/142171581596
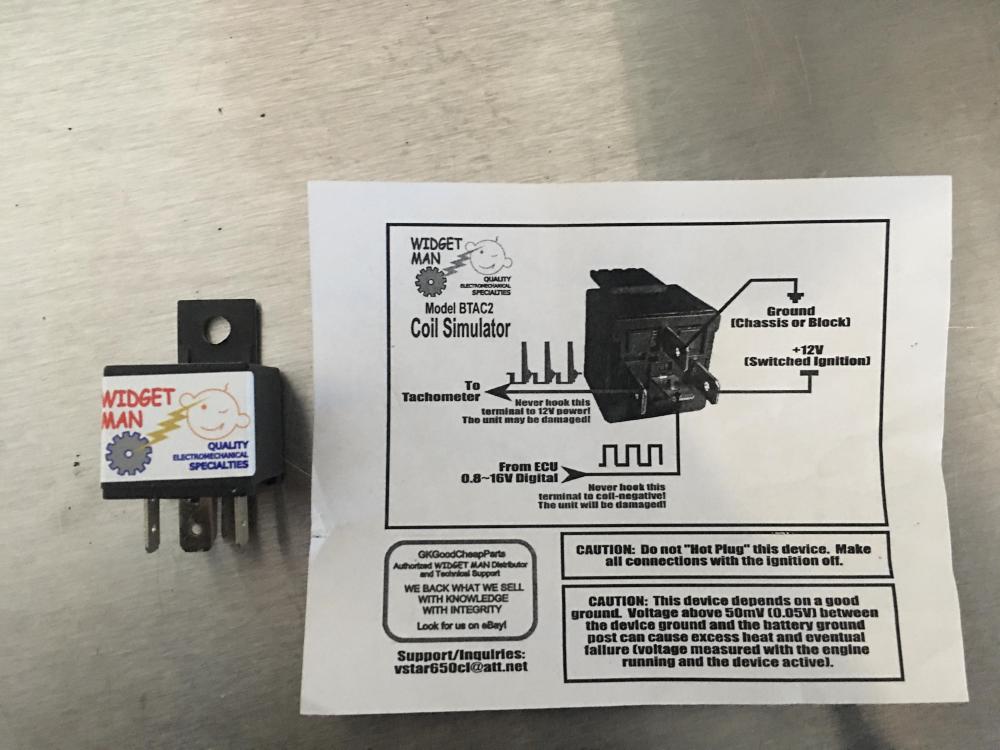 1 point1 pointNot the "tune' files, the actual "what happened" files. Here's some Megasquirt examples, below. Haltech should have the same ability. Just because you told the ECU to do something doesn't mean it actually happened. Plus, the quality of the trigger signal and it's timing should be there. You might already have data from when the engine ran, stored somewhere. Just another option. It's looking like Plug 'n' Play isn't playing. Which Haltech system are you using? 133 pages is too many to look back through. Megasquirt also has a signal simulator that can be used to verify outputs are following inputs like they should. I'm not recommending Megasquirt just saying that a company like Haltech should have similar. https://www.diyautotune.com/product/jimstim-1-5-megasquirt-stimulator-w-wheel-simulator-assembled/ https://www.efianalytics.com/MegaLogViewer/
 1 point1 pointThe car runs best at correct air/fuel ratio. High altitude has thinner air so a leaner mix is required. High temperature also has thinner air, so leaner mix required. Cold air is dense so richer mix is required. There's a graph in the carb tuning section of the manual that shows altitude and temperature vs initial number of turns down at the mix nuts. So on a hot day in Denver you'd want a lean setting. On a cold day at sea level you'd want a rich setting. Dunno if that affects your issues.1 point


.jpg.1d4ddd1180c7b371594c080d06309707.jpg)
.jpeg.2b4147c75f492a69537e08d4fc2ddc54.jpeg)
.jpeg.0c87cfc497331bbd4f7431a1ea87852d.jpeg)


Important Information
By using this site, you agree to our Privacy Policy and Guidelines. We have placed cookies on your device to help make this website better. You can adjust your cookie settings, otherwise we'll assume you're okay to continue.