


Leaderboard
-

siteunseen
Free Member4Points15,115Posts -

heyitsrama
Free Member3Points1,185Posts -
Kevin McSweeney
Free Member3Points145Posts -
Randalla
Free Member2Points272Posts


Popular Content
Showing content with the highest reputation on 10/12/2020 in all areas
-
3 pointsI read that as, “which one of you yanks parents had you in one of these”. 😬3 points
-
2 pointsHere's what I do. Dried beef coated with cream cheese. Spear cut dill picles laid on top. Roll it up like a cigarette or doobie, whatever you kids are into these days. Cut them into 1" sections. Serve cold with bloody Mary's. You will be remembered forever as the guy that has good get-togethers. Party on Wayne!
 2 points
 -
2 pointsThat's the Vacation car! The Wagon Queen Truckster. https://en.m.wikiquote.org/wiki/National_Lampoon's_Vacation
 2 points
 -
2 points
-
Well I got no dog in this fight, but I really don't think that's original paint. There's just too many flags all over the place. In the auction, they never say it has original paint. They do, however, say the following: "The seller reports that a scratch on the right fender and paint chips on the right door were blended in. More than 45 paint-meter readings provided in the photo gallery below show thicker measurements in the aforementioned areas." So what does that mean exactly? To me, that means "We took paint thickness measurements from all over the car and everything looks about the same thickness with the exception of the right side door and fender. Seller reports that those areas were sprayed to fix some issues." I don't think that means the rest of the car is original... All that means is that the rest of the car is CONSISTENT. Like maybe the whole car was sprayed at least once some time in the past, but then the right side was done again? Makes me wonder what the paint thickness would be on a confirmed original paint survivor. Would it be half the thickness they got all over that car? I saw the heater core looped too and I'm guessing the heater core is leaky.2 points
-
Wrapped up removing stuff from the 77 Saturday morning, but didn't get a break in the rain until afternoon, then towed it back out behind the shop. Did some maintenance and repairs on the lift, then got the 72 back on it. Today I shot a bunch of pictures of the bottom for Captain Obvious. Now for some time to process the images and upload them..2 points
-
1 pointI pulled off my fuel tank today and dropped it off at a shop to get cleaned out and then have some Red Kote applied to the inside, and black paint applied to the outside. It should be done in a week or two. I'm also going to order some new stainless lines etc so I can actually do this thing right. Hopefully I'll be back to messing with the floats in a month. I also ordered some of that Hormel Dried Beef on Amazon for when I get back to calibrating the float levels. Any recipe recommendations @siteunseen or should I just feed it to the dog?1 point
-
1 pointWow, I had no idea that was there. I just took a look and the latch was bolted in all the way in the down position. My guess is they had it that way with the old deteriorated seal on it. I moved it up quite a bit and the hatch closed really well. Is there a calibration spec for this? For example, is it a "drop it from 1/4 height and it shouldn't latch but if dropped from 1/2 height it should" type of spec?1 point
-
Just to aggravate another thread topic of past, I note the steering wheel is red/brown and not blond! 😉1 point
-
View Advert '72 240Z - Great Shape... Proceeds to Humane Society This classic 1972 240Z, with a clean paint job and rebuilt engine, is being sold at auction to benefit the Humane Society of the Pikes Peak Region. Details for the car and the auction can be found at Bid.SchurSuccessGroup.com Bidding closes Oct. 22, 2020. Advertiser Schur Success Date 10/12/2020 Price Category Cars for Sale Year 1972 Model 240Z Vehicle Identification Number (VIN)1 point
-
1 point
-
1 pointI decided to pull the trigger on a set today. Thanks for already giving me the tracking number, @Randalla.1 point
-
Great to see such a nice original 1970 240Z. My car is less than 300 chassis later and also built in 8/70. Going to use this one as a reference as I slowly restore my car. Question for the experts out there, should I return mine to original or keep all the BRE/Interpart/Mulholland upgrades fitted by the first owner, including original American Racing 14" Libre wheels. It came with BRE front and rear spoilers, Interpart/Mulholland suspension upgrade including sway bars, adjustable camber bushings, compression rod bearing, steering coupler, BRE exhaust header. All the bits were on the car when I got it, it had been sitting in storage since the early 1980s but I have it up and running/driving now.1 point
-
1 point
-
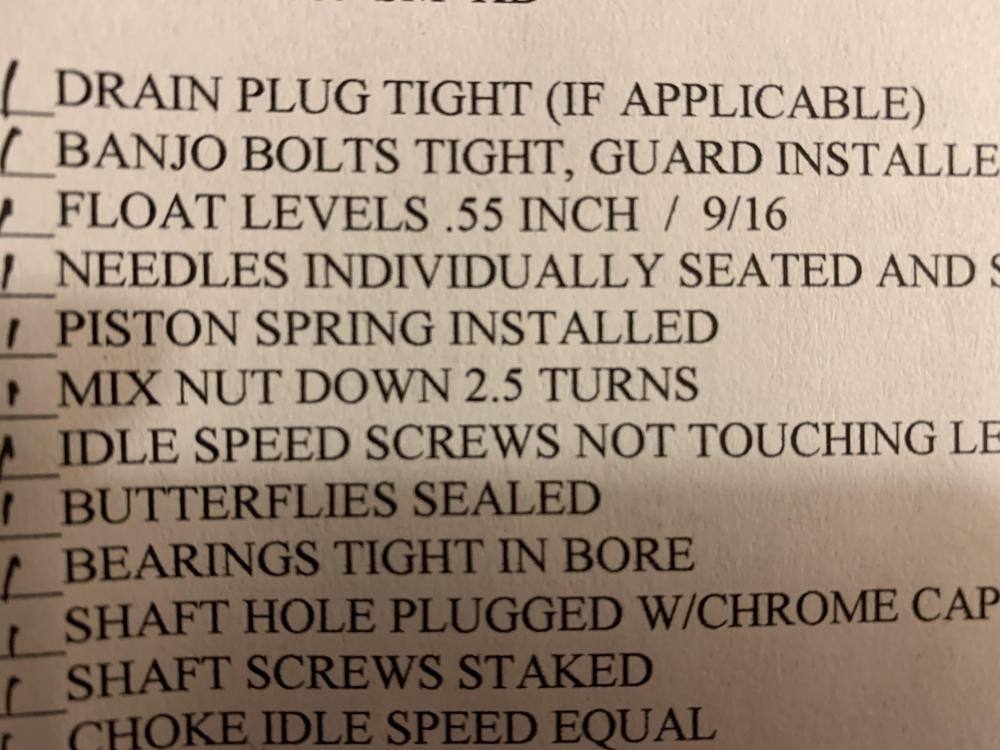
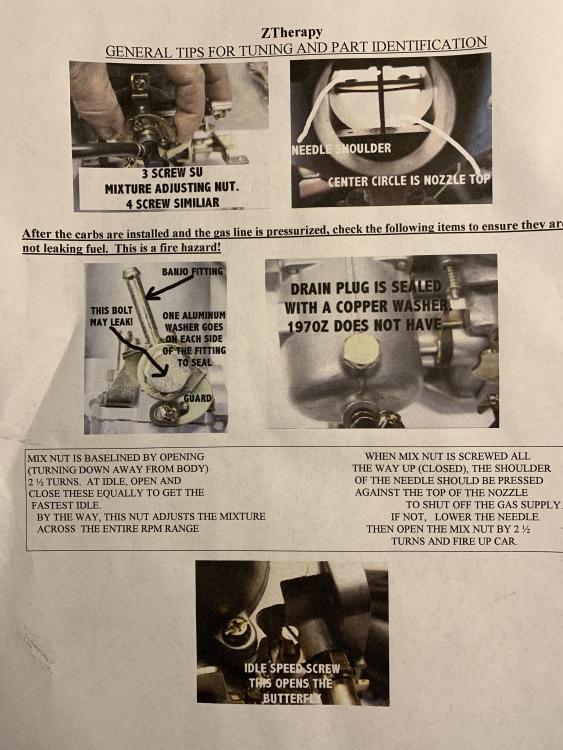
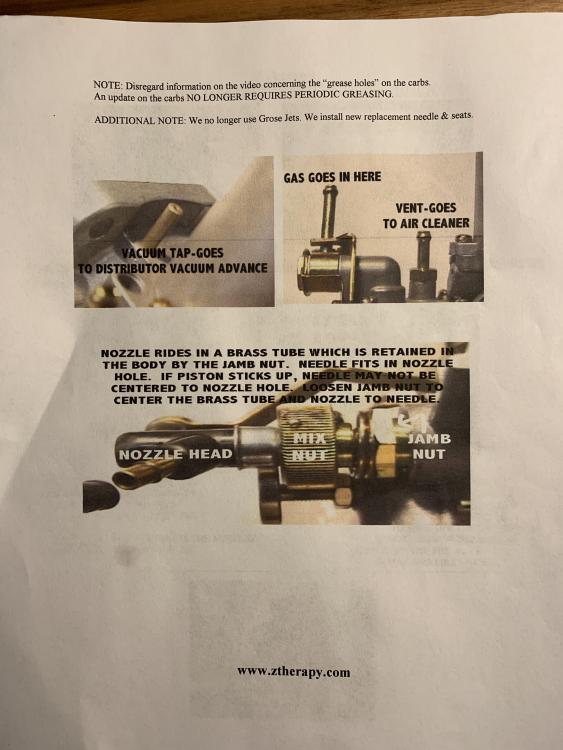
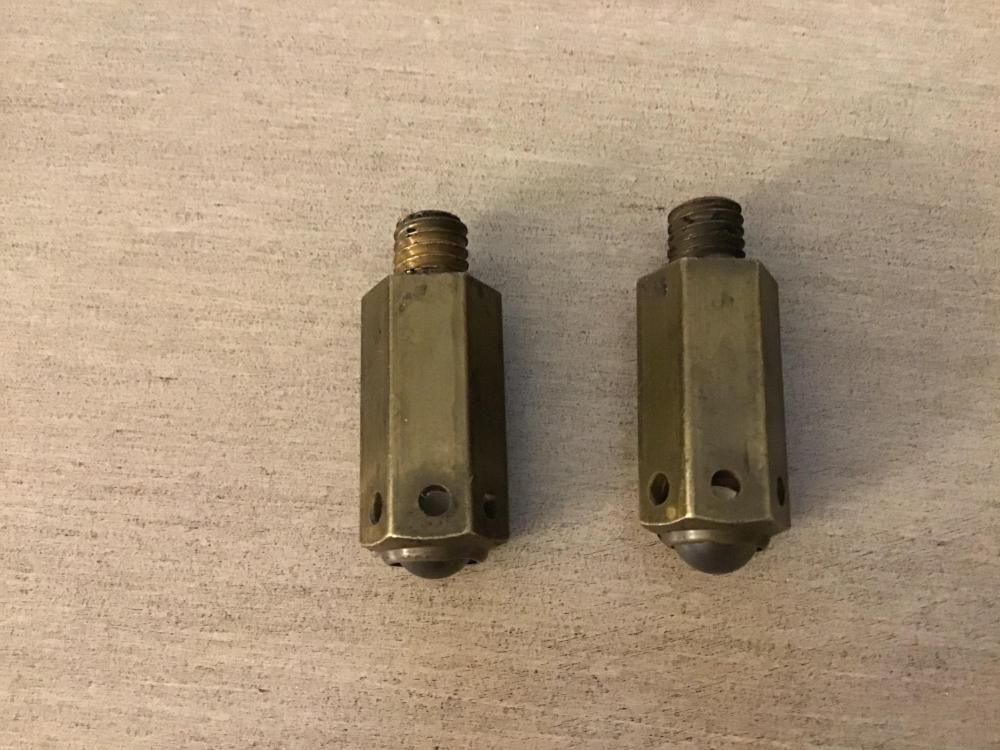
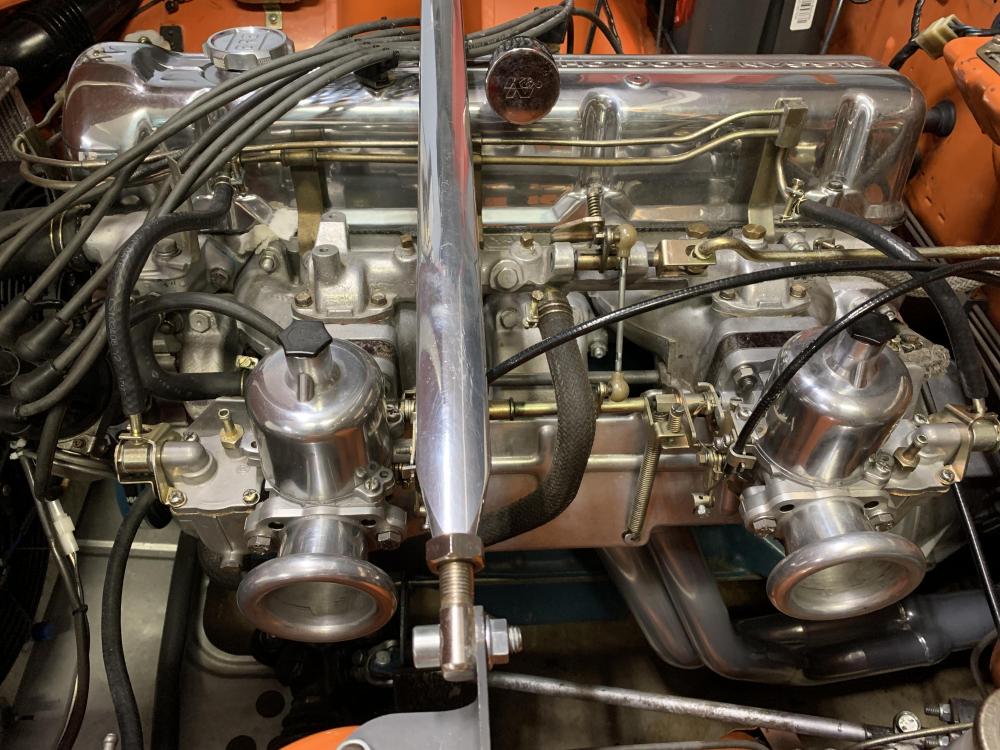
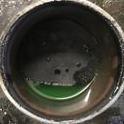
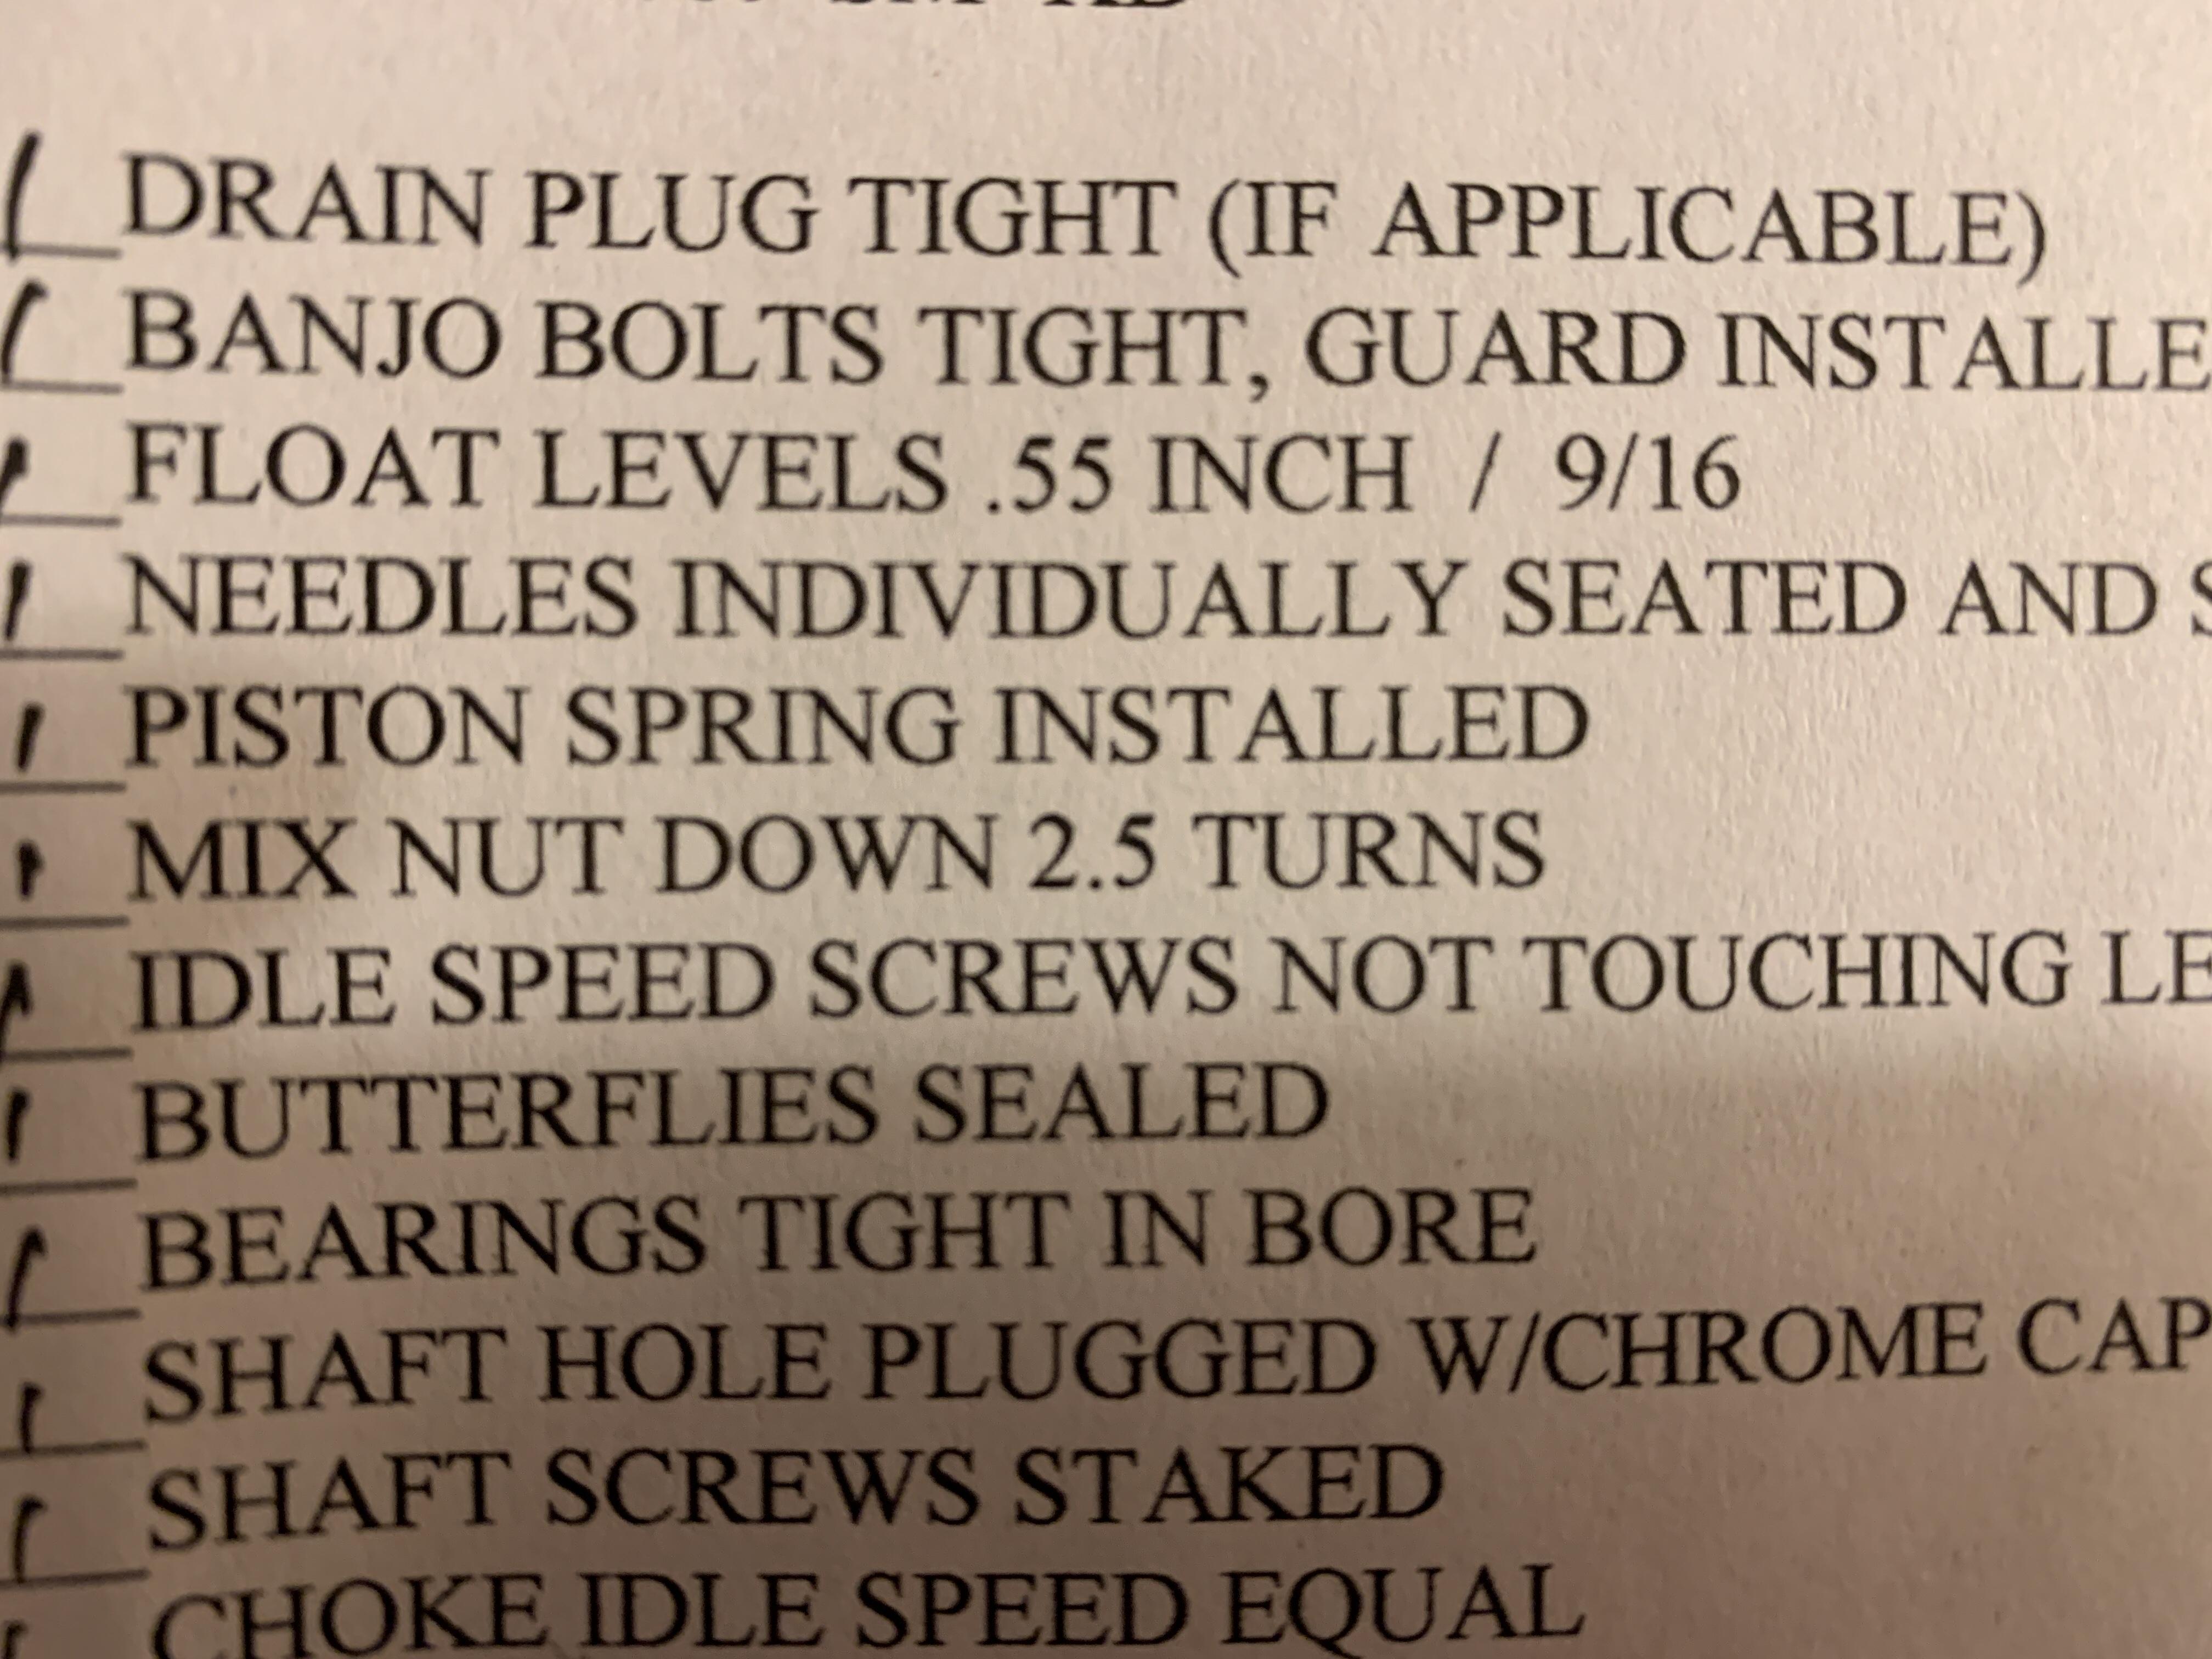
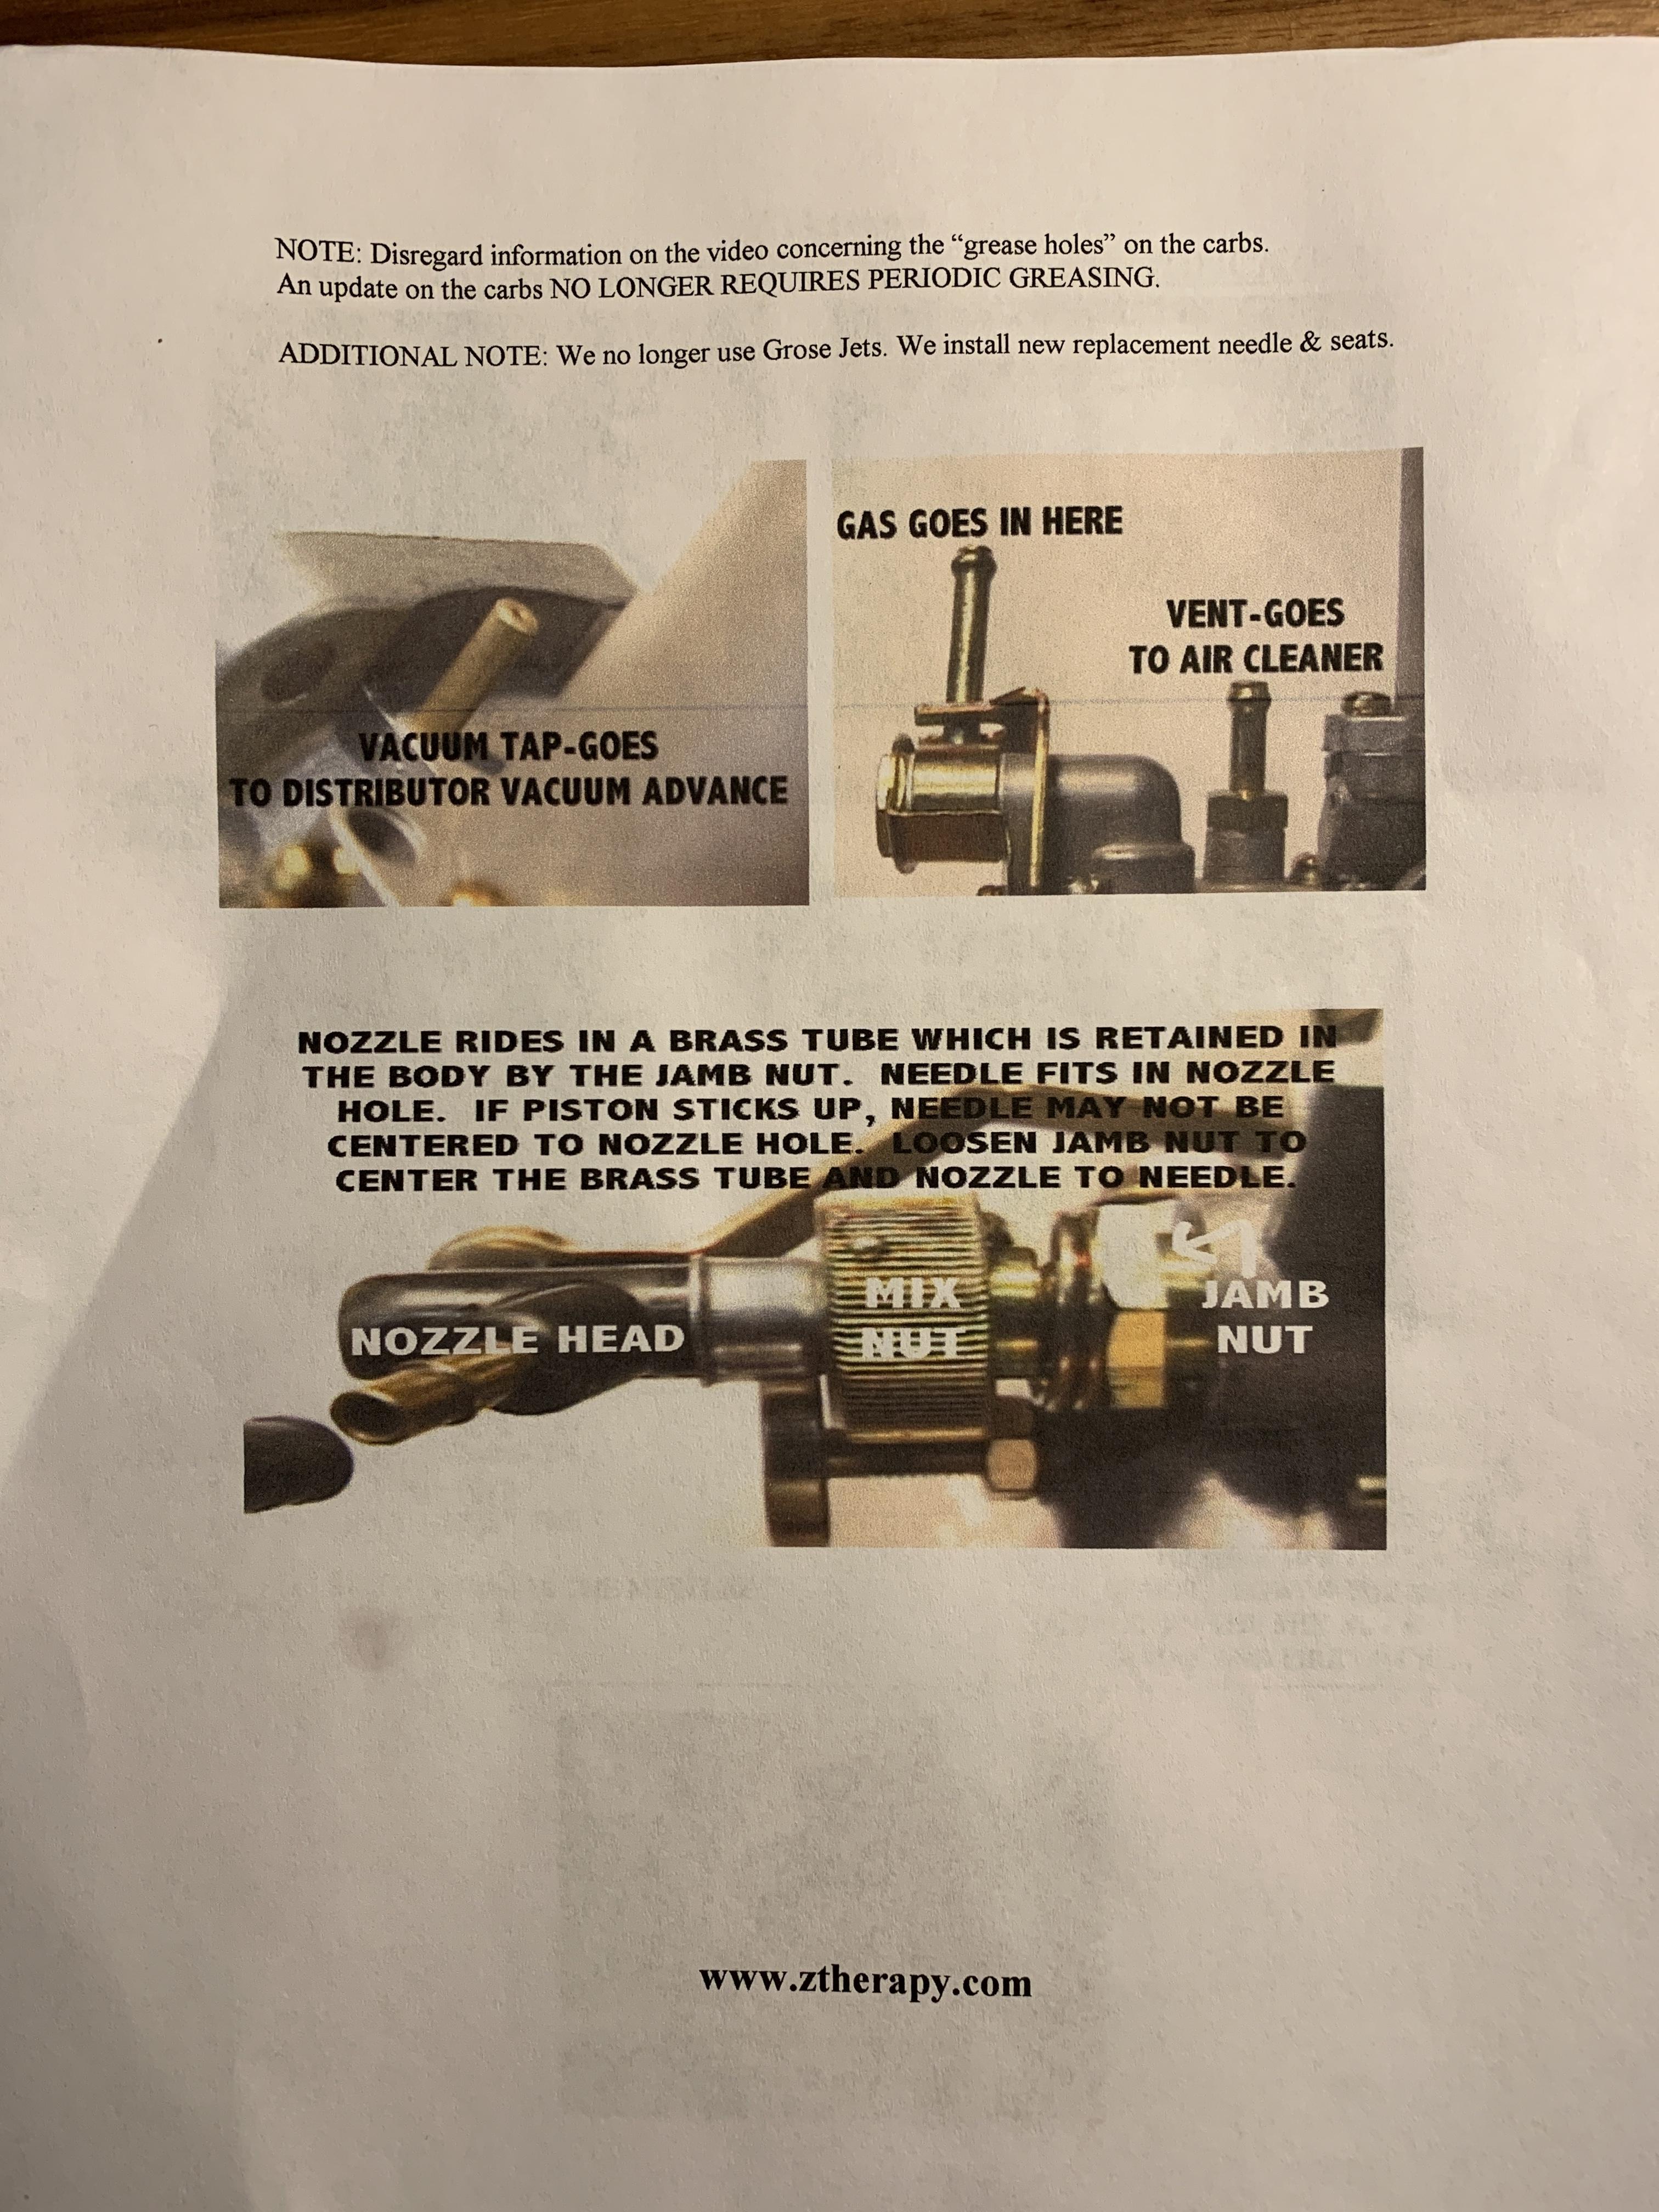
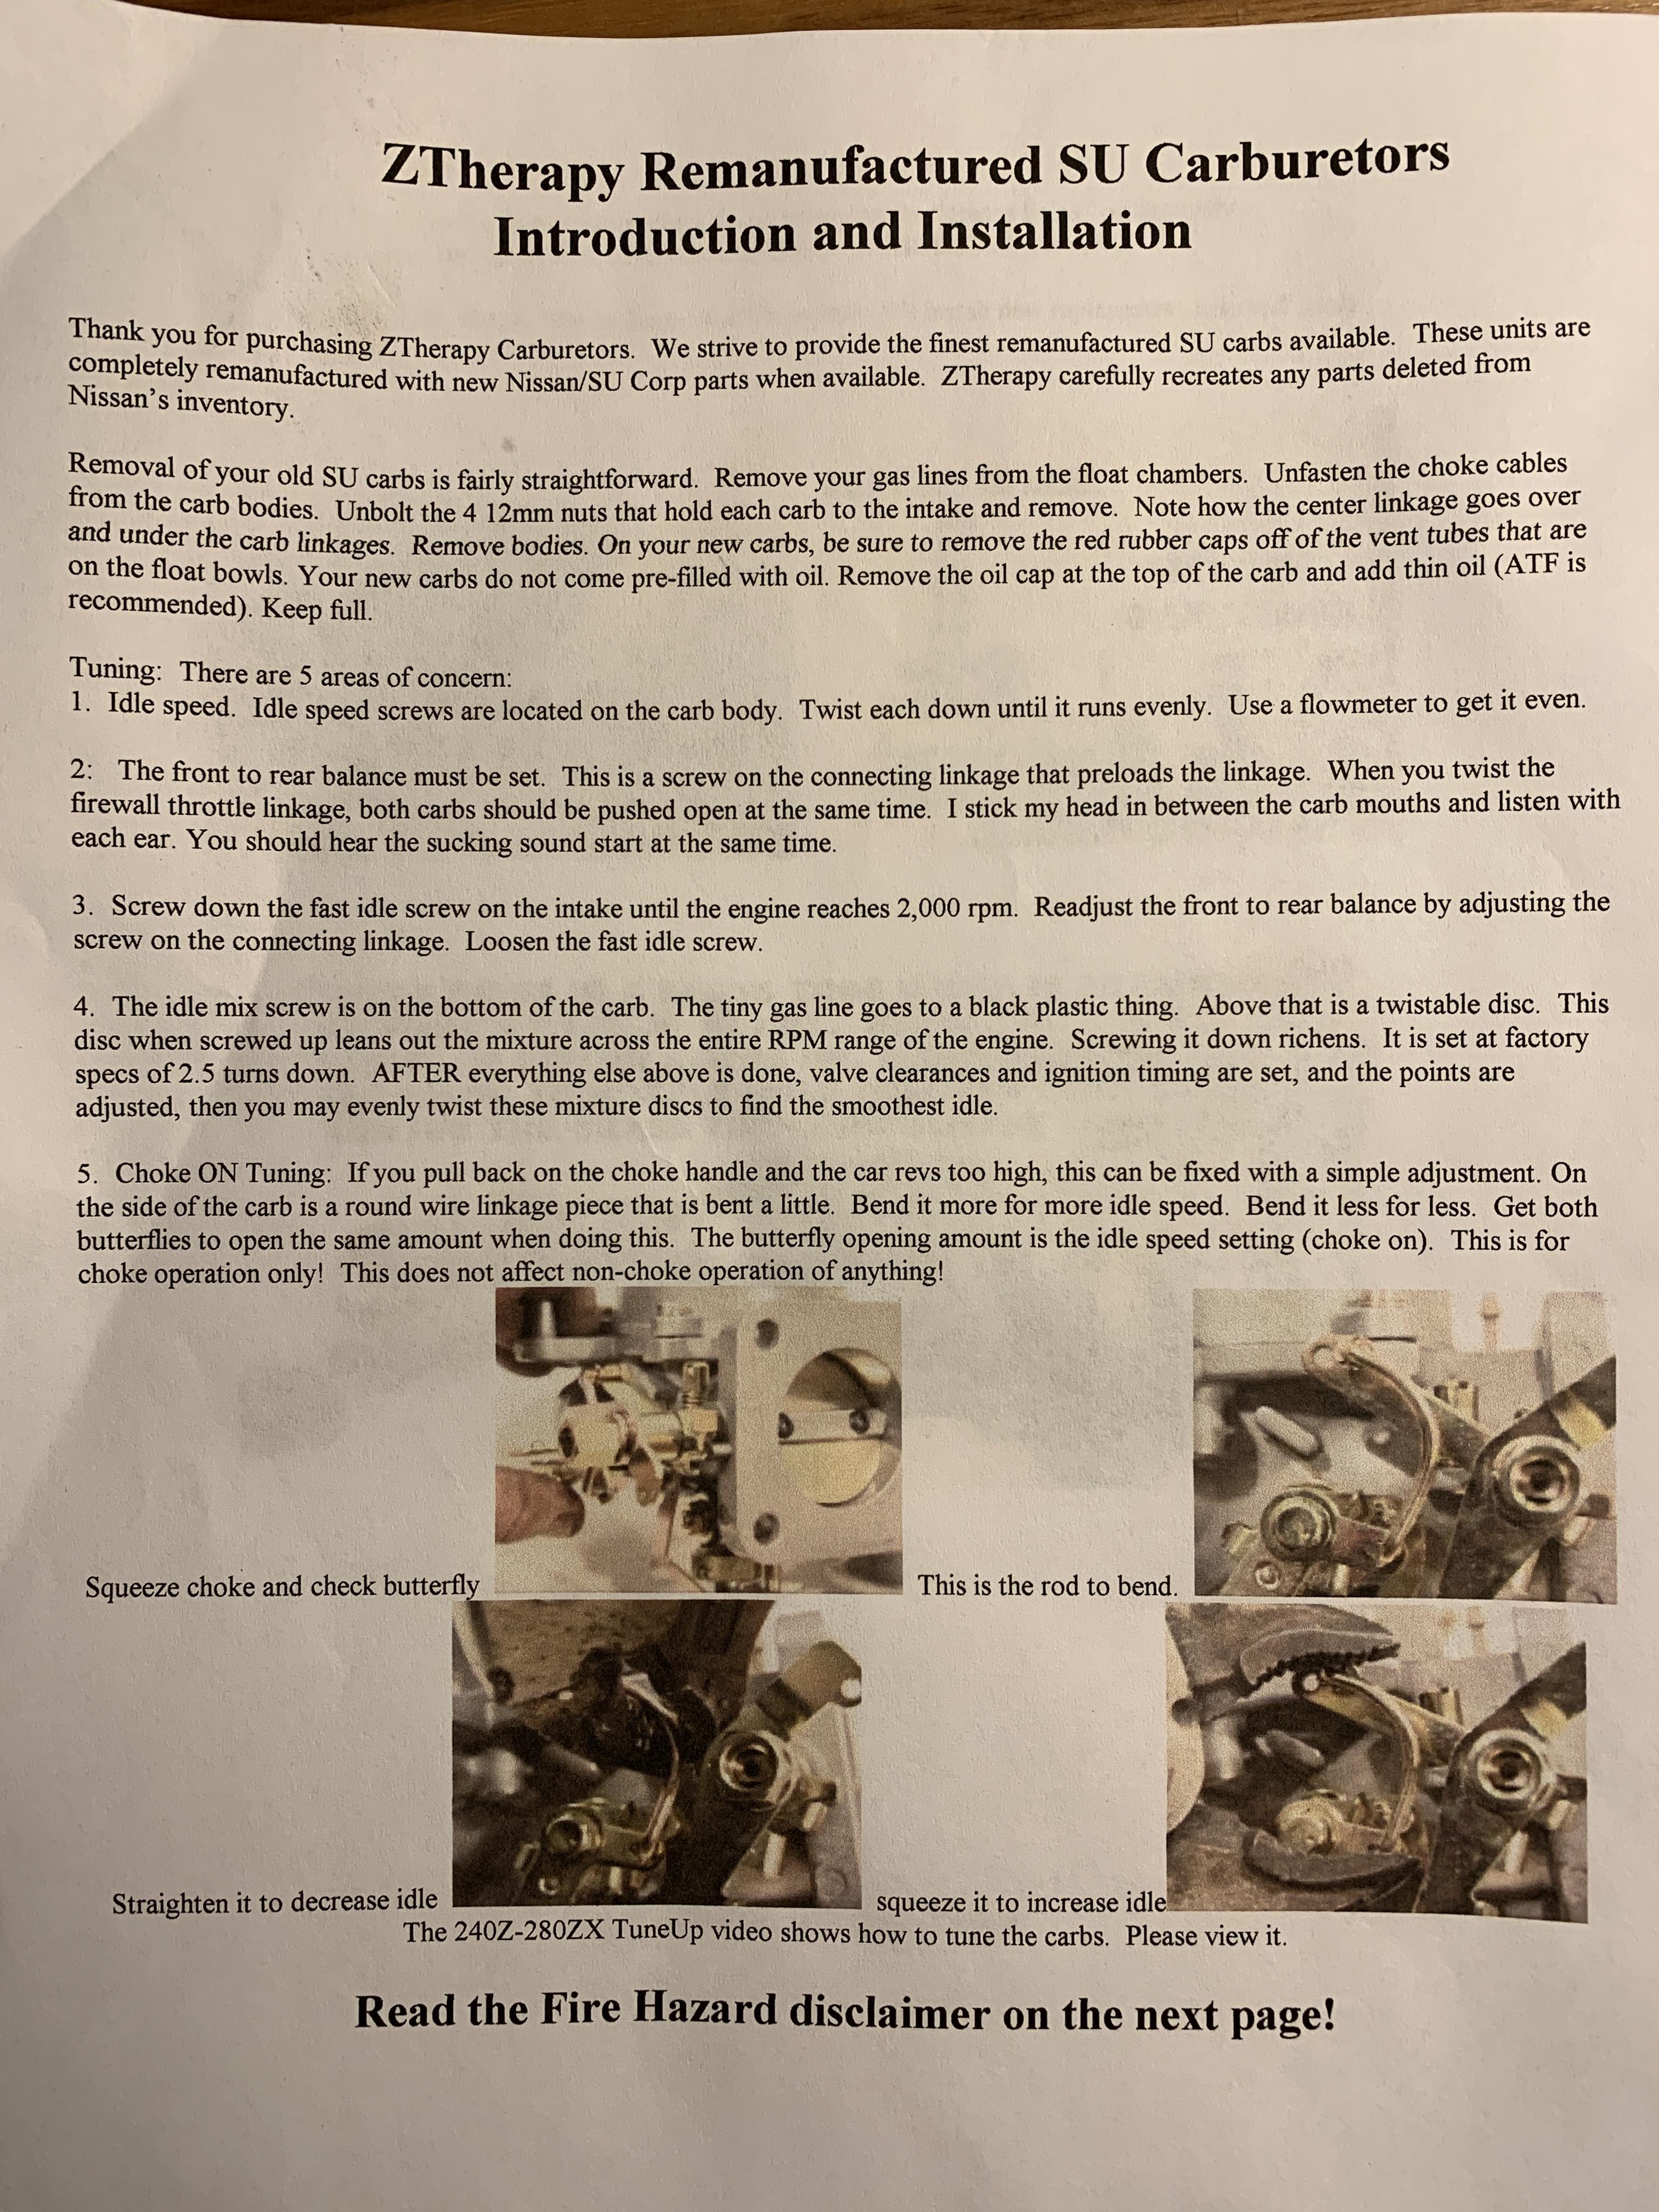
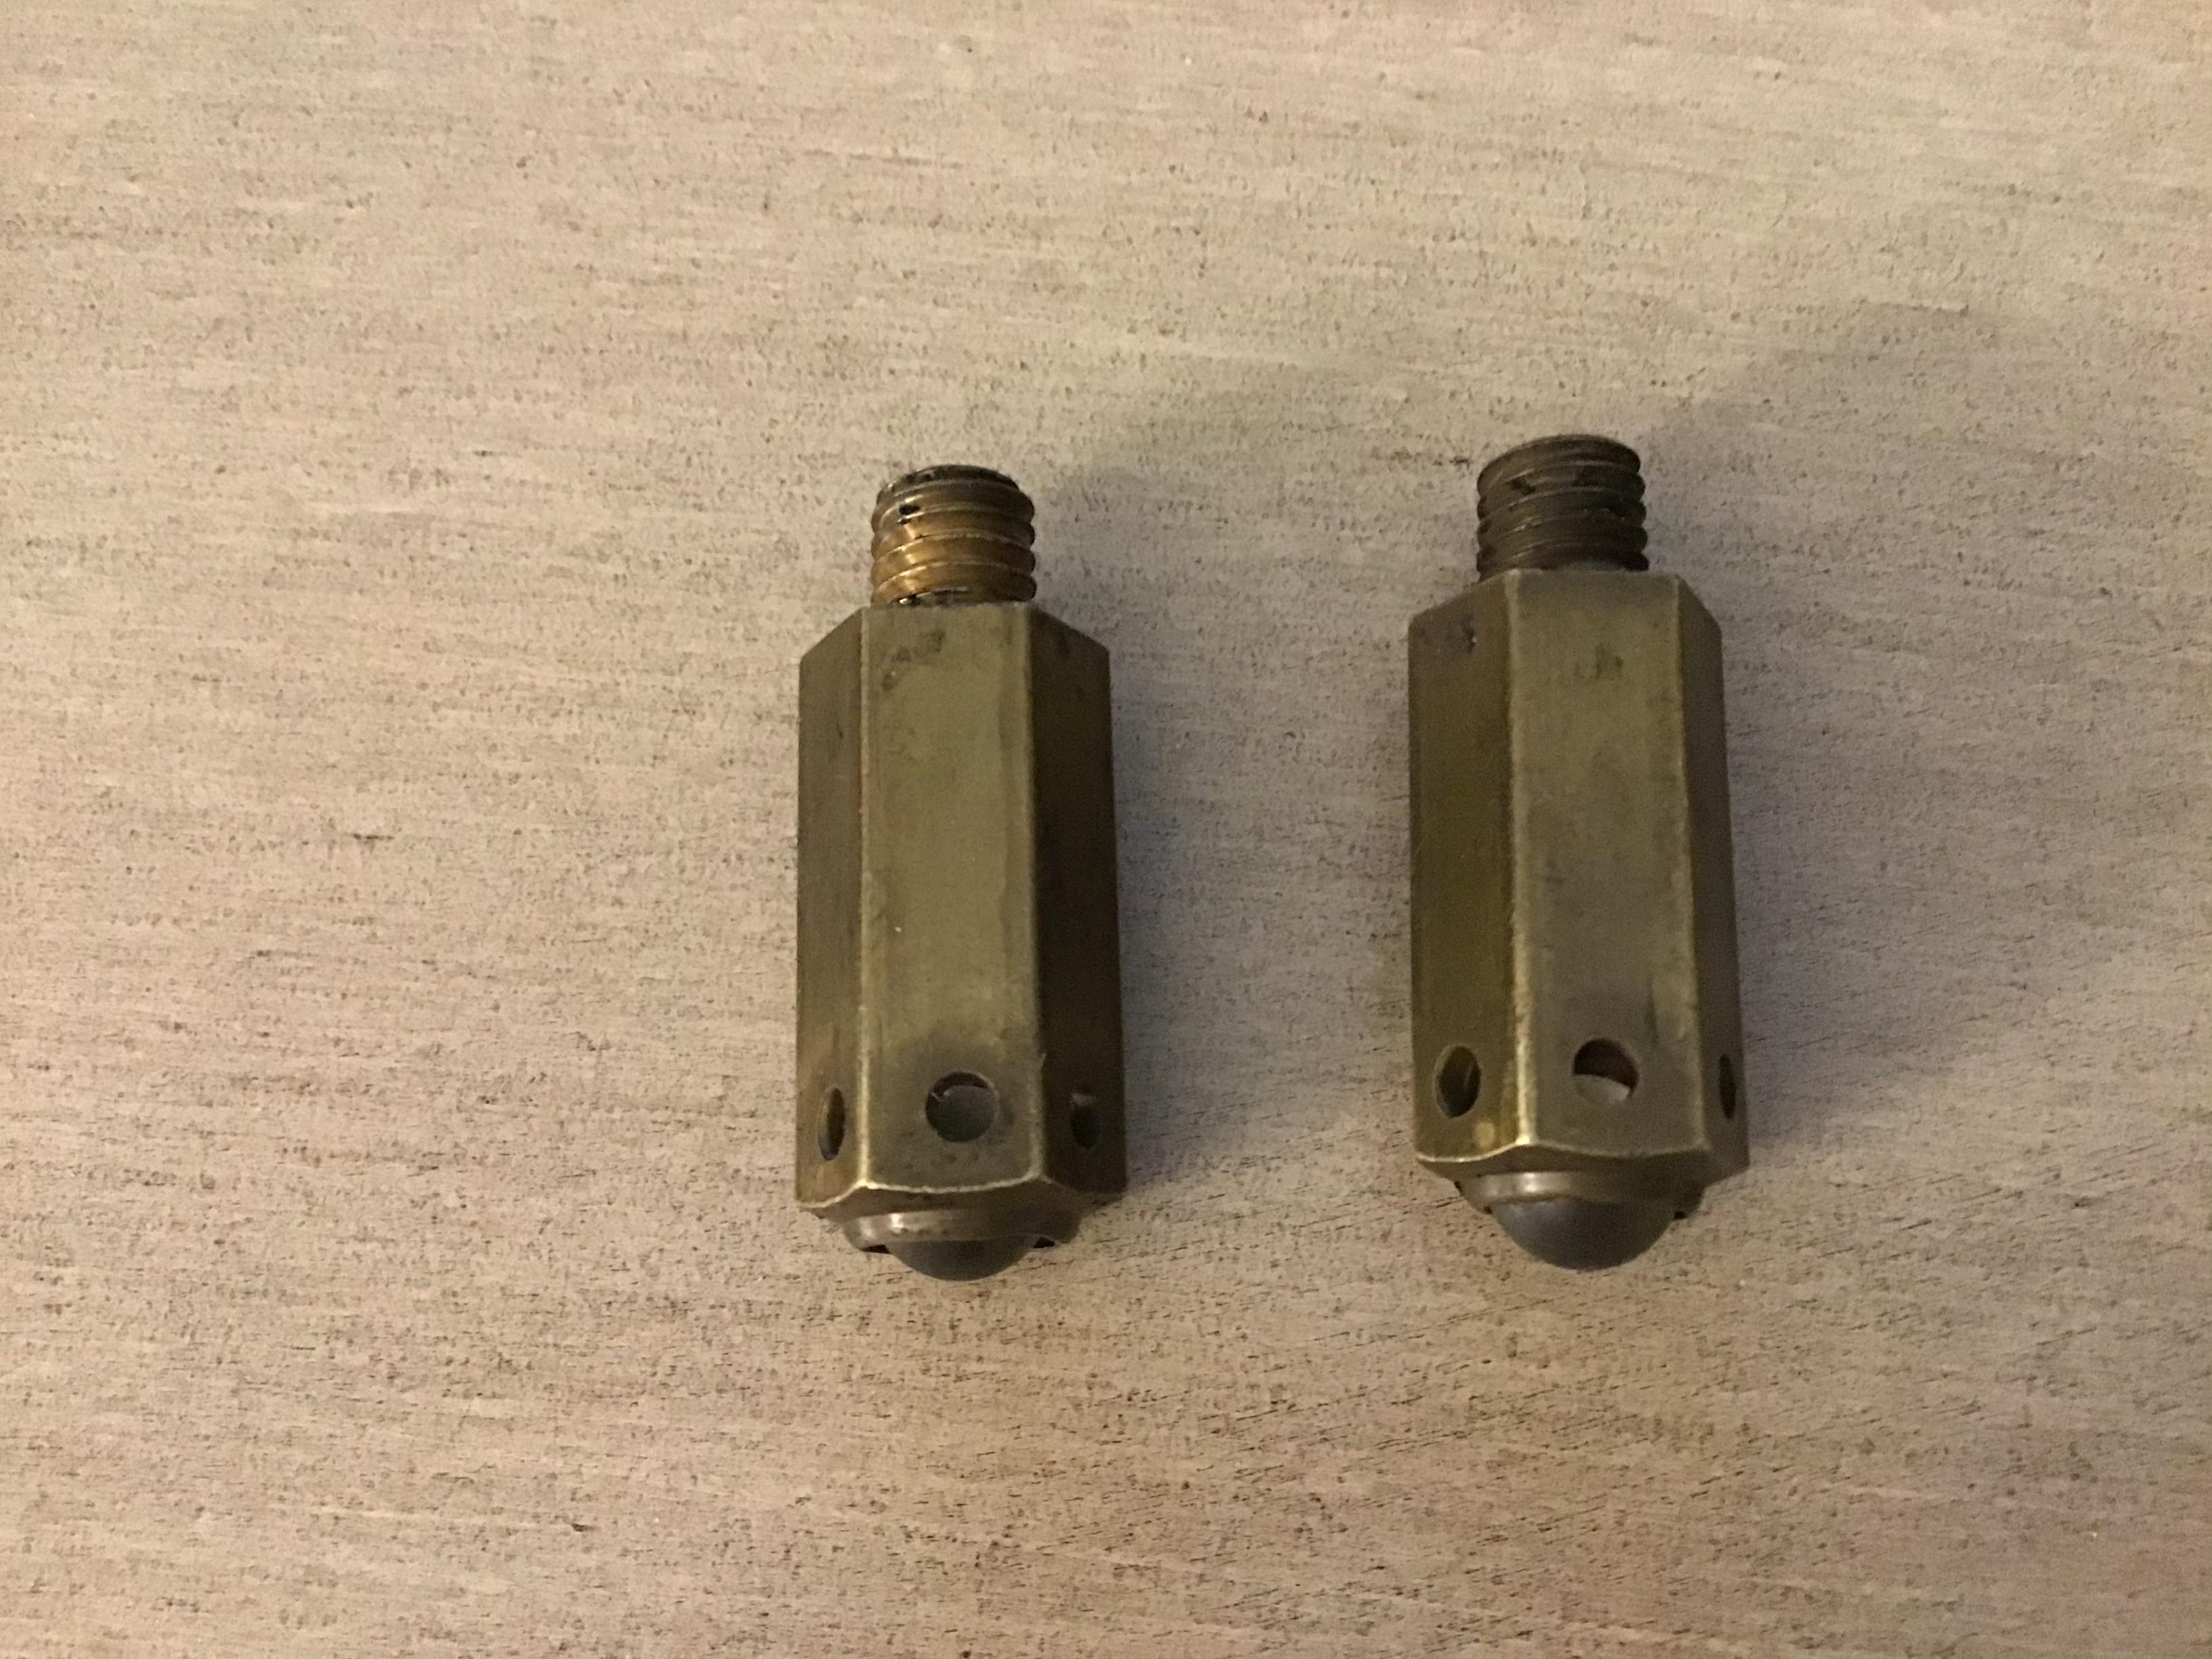
1 point1 pointWhen I lined my tank back in 2017 I used a different product https://www.amazon.com/KBS-Coatings-5200-Standard-Sealer/dp/B00DMIDUUY/ref=sr_1_2?ie=UTF8&qid=1531949798&sr=8-2&keywords=kbs+tank+sealer and so far I'm very happy. Fully agree that prep is key regardless of product used.1 pointI'm a bit skeptical on original paint due to the texture of the orange peel. Seems to be too many lumps /divots per square foot. The paint texture appears to be much different that the $300K car or my original paint '70. Also wonder why the heater is bypassed...leaky core? This car is no where near the $300K car which in my opinion is the best looking Z I have ever seen, and I have been to a lot of Z shows. I actually saw this car several years ago at the San Marino motor show. My thoughts were that it would just take a few fixes to make it a really awesome car. Just wonder why it was never done, still not done.1 point1 pointThe first stuff you drained looked red not orange like rust. I think your acetone stripped alot more out (the black bucket) I believe someone sealed but didn't get it all the way cured. It needs to be really cured before you add gasoline ( a strong solvent) back into the equation. I used a tank sealer from Caswell that I like a lot. It's a two part epoxy and very tough1 point1 pointFound some time to work on the rebuild carb install. Awesome working on clean well adjust parts. They send along a nice set of instructions that I actually read and learned something new: before making any adjustments to balance the carbs disconnect the throttle linkage at the center of the balance tube. Then when done work backwards from there to the gas pedal. if it needs to be adjusted it will be obvious. Note line 3: they set float level from the top of the float to the bottom of the cap to .55 in. The rest are a nice reminder of order to balance carbs. last here is a pix of 20 year old technology. gross jets. Still working after 20 years. Had easy time setting up. Balanced at idle (choke and throttle linkage discounted) balanced at 2000 adjusted the valves reset timing to 9 degrees BTDC. Max advance to 36 degrees rechecked balances added 1/2 turn to both mixture screws to improve smooth idle rechecked balances shorten throttle pedal linkage ( checked for WOT ) Best $300 of 2020 money I have spent lately . Hope this help someone who is undecided.

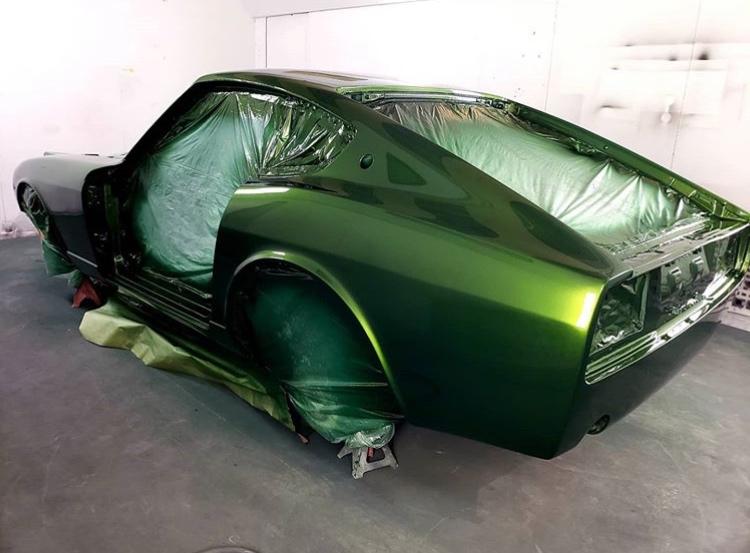
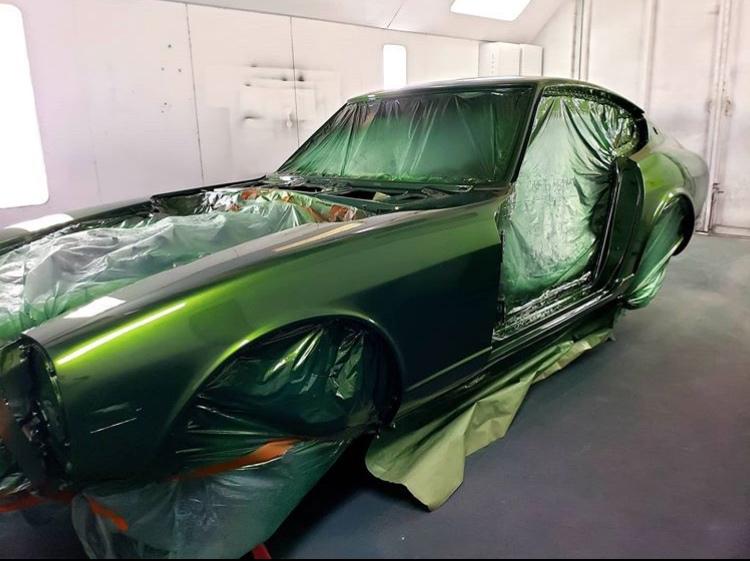
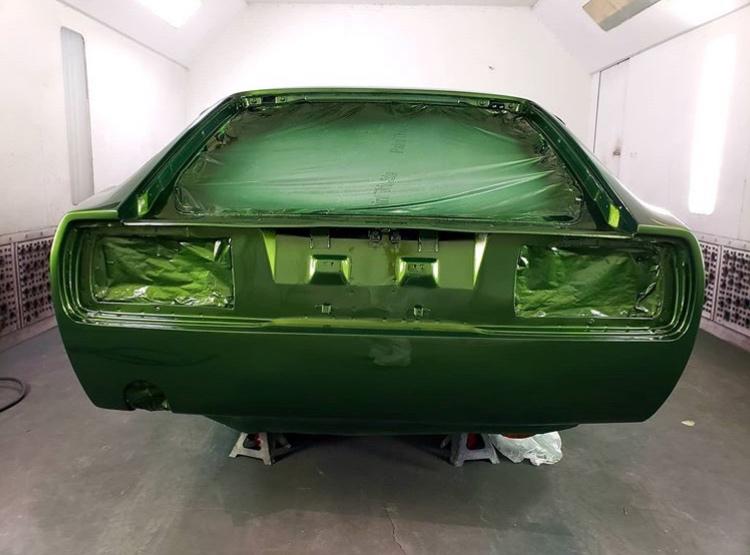
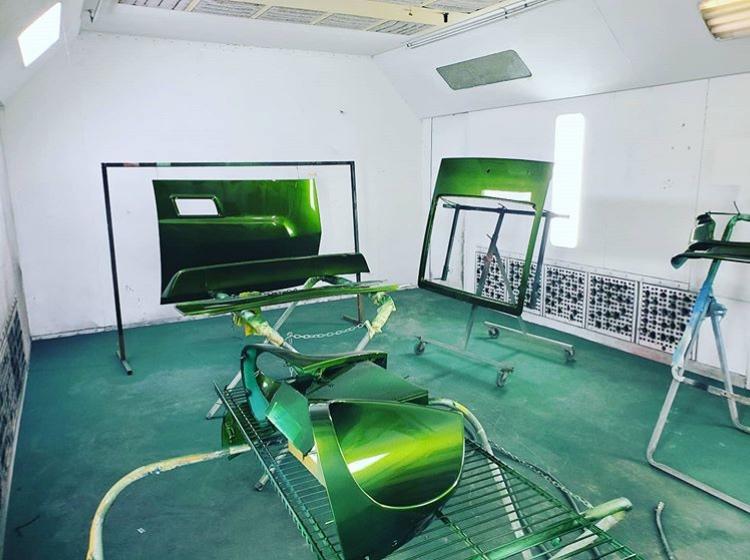
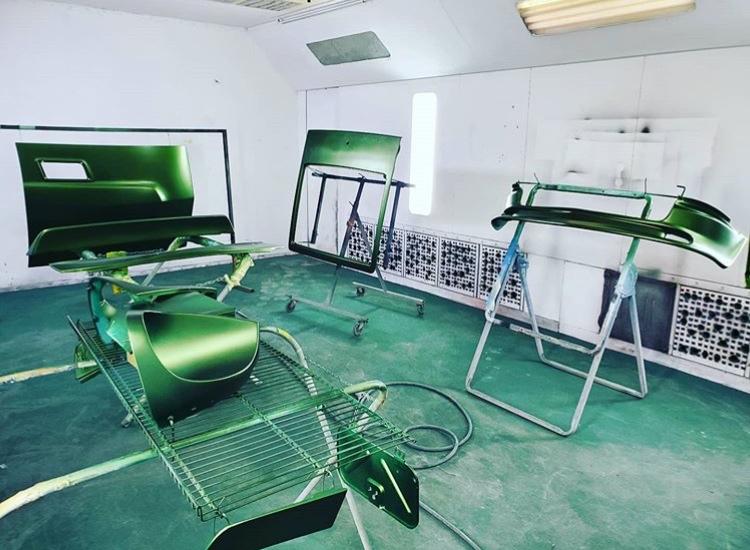
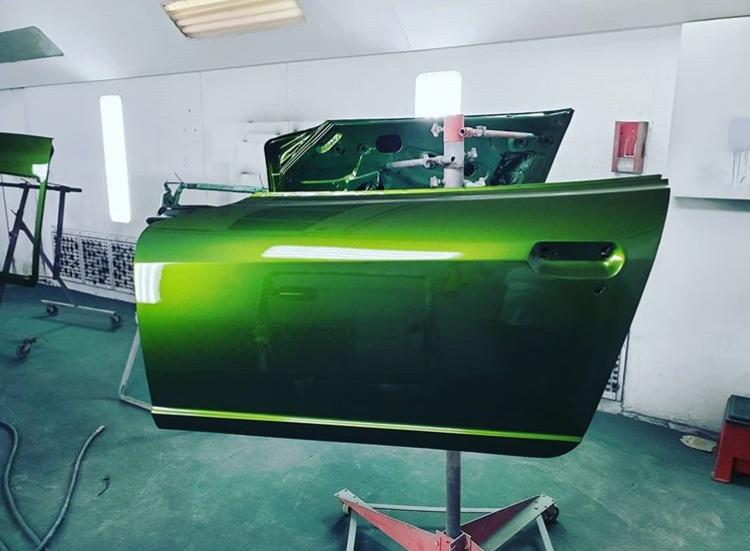
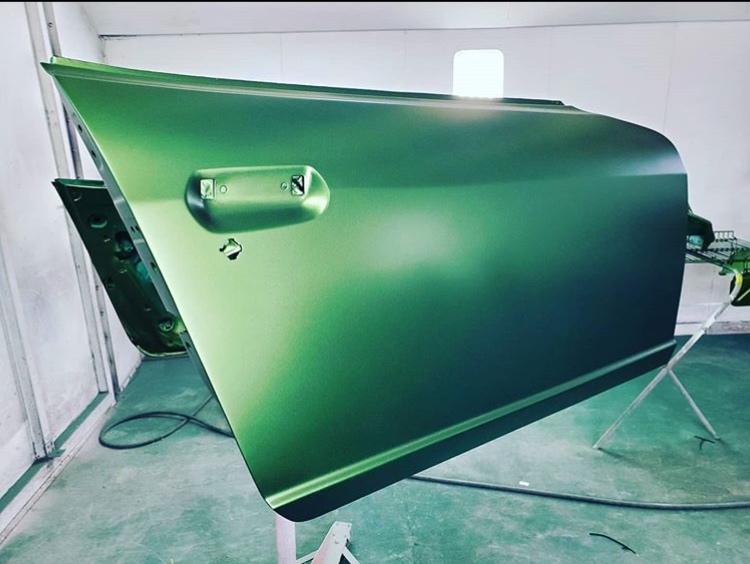
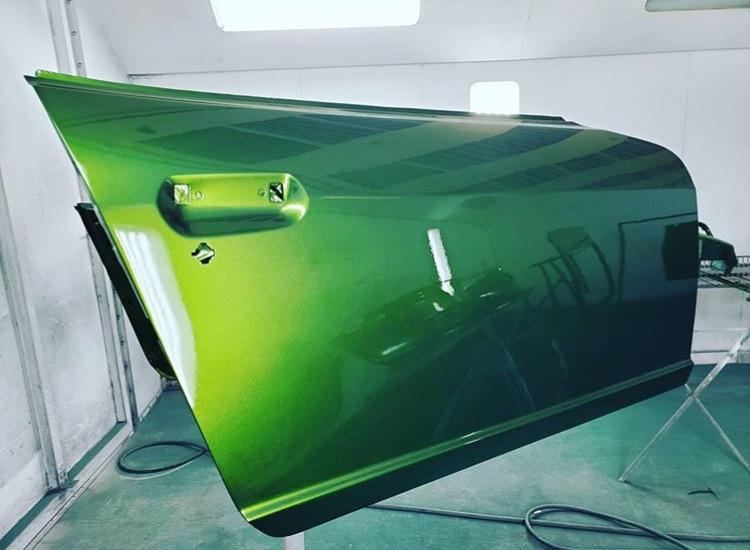
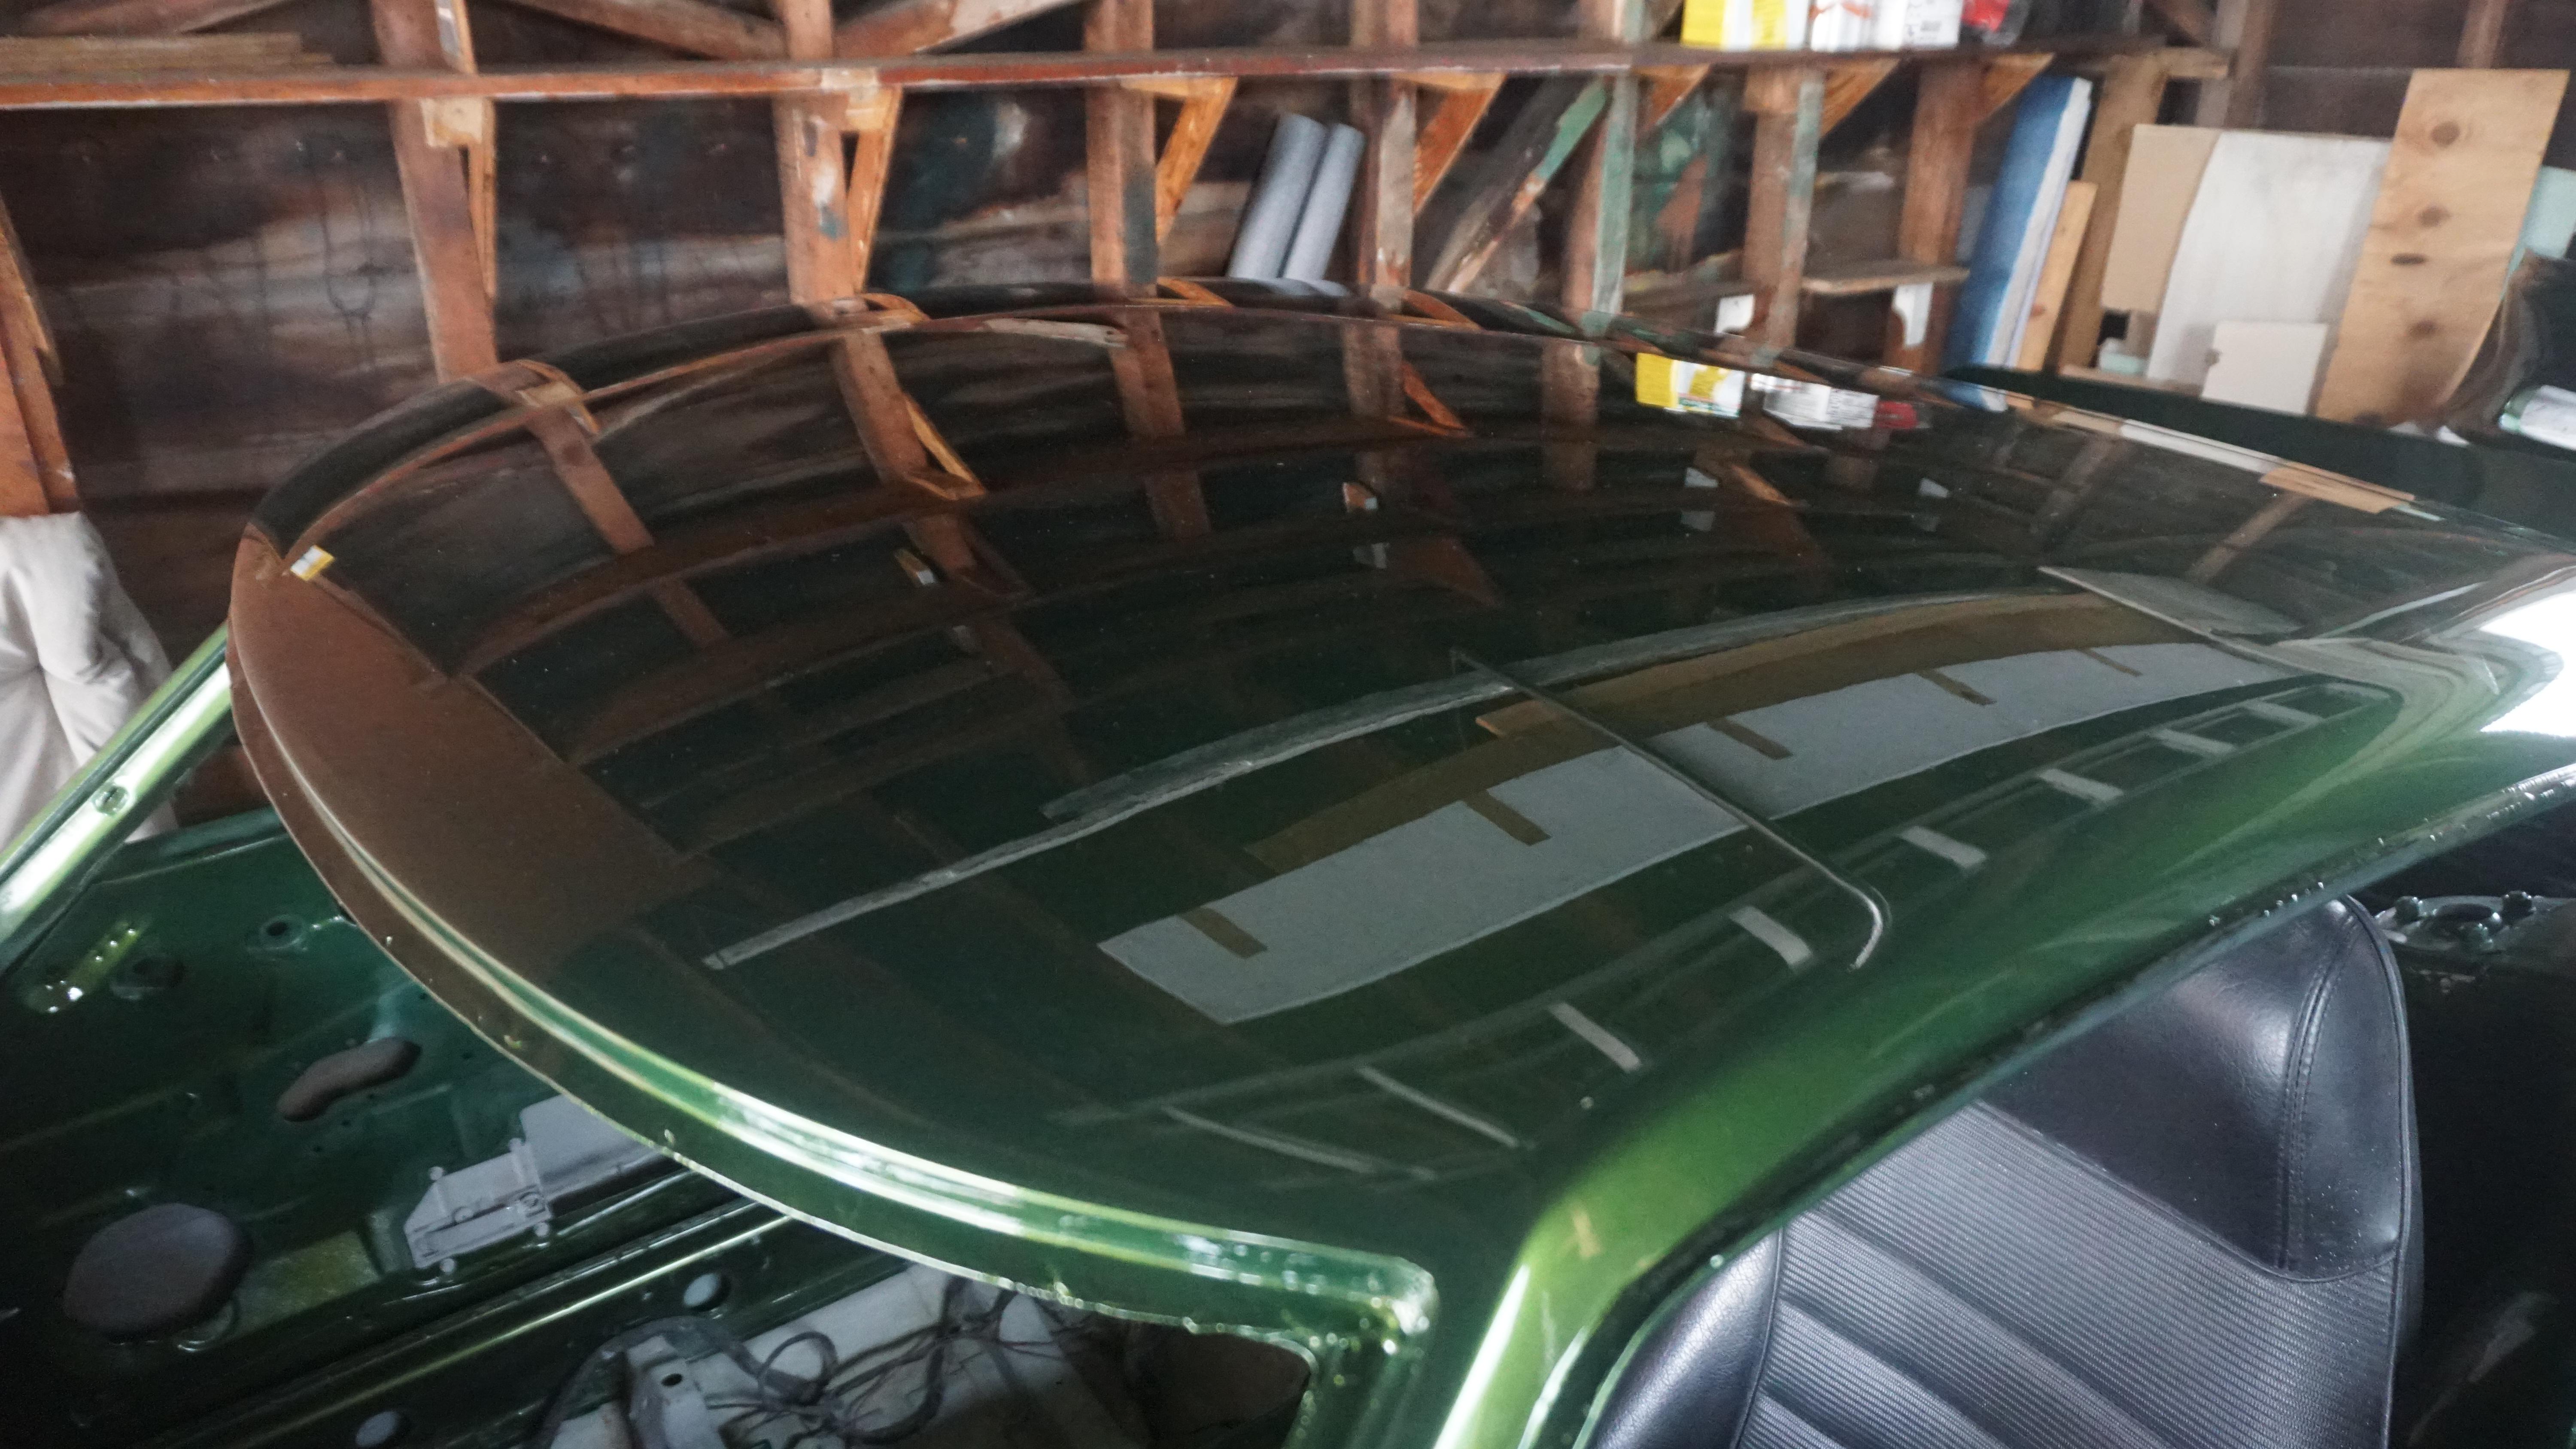
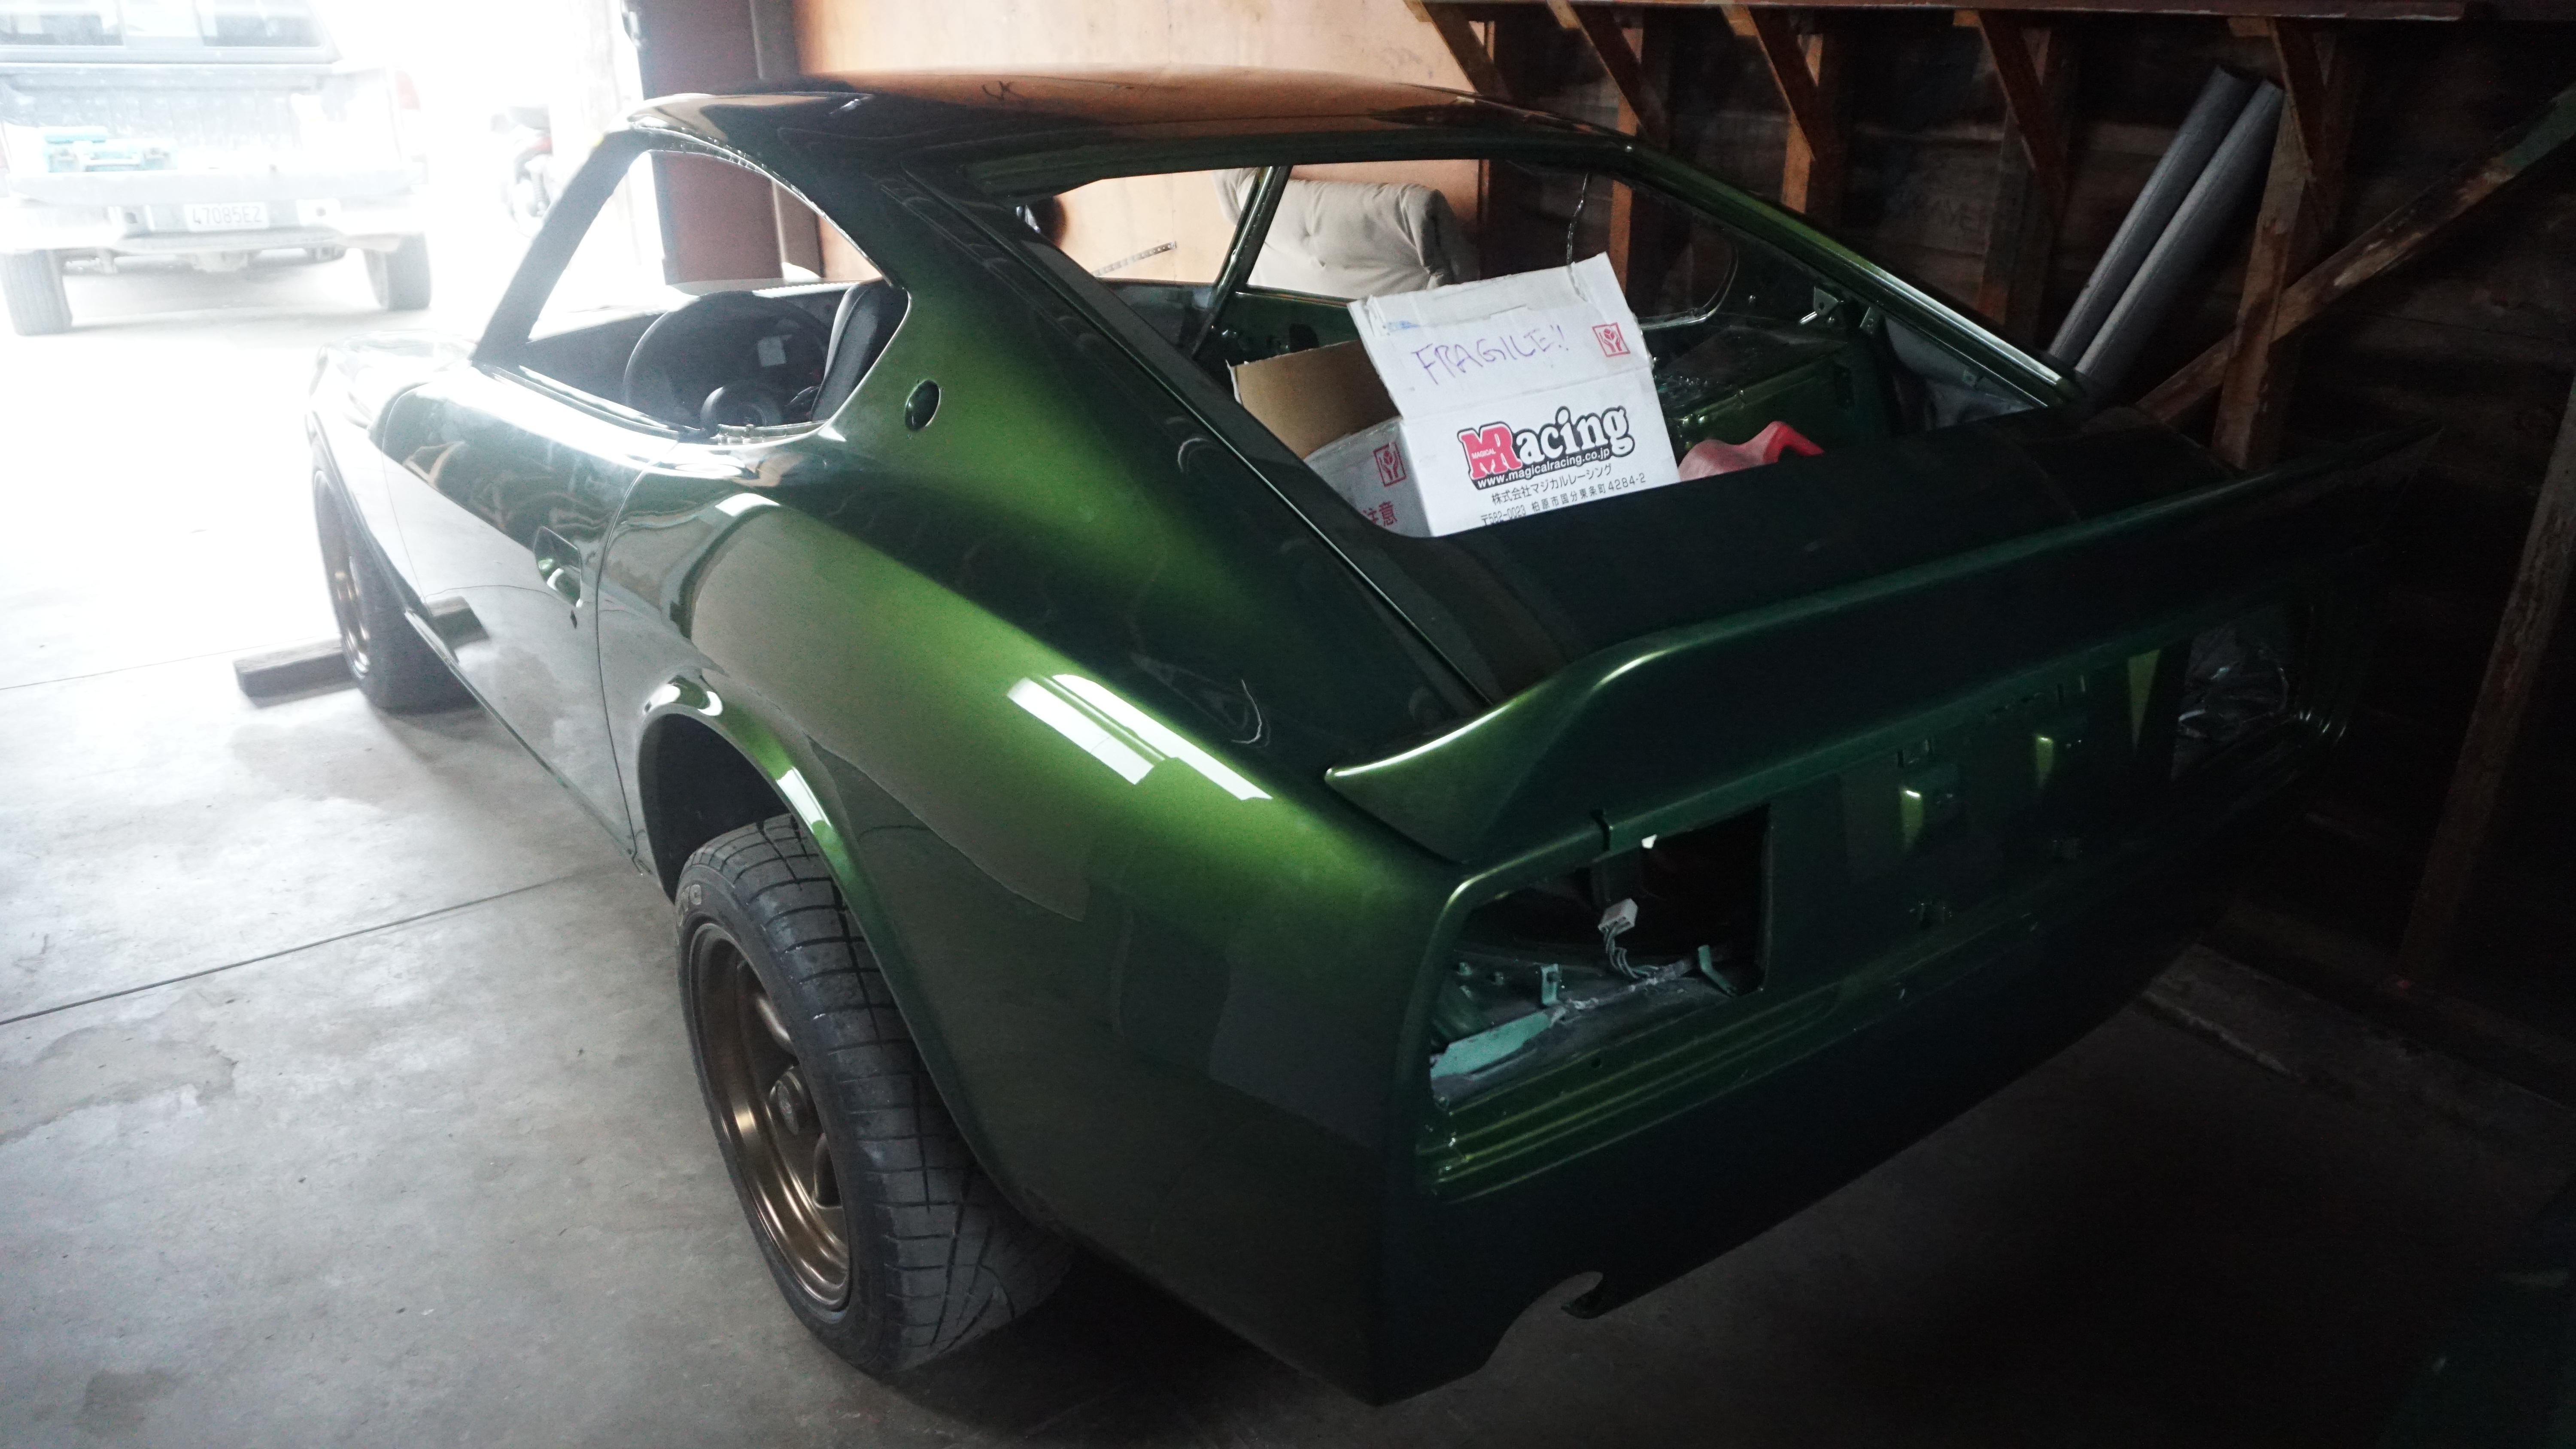
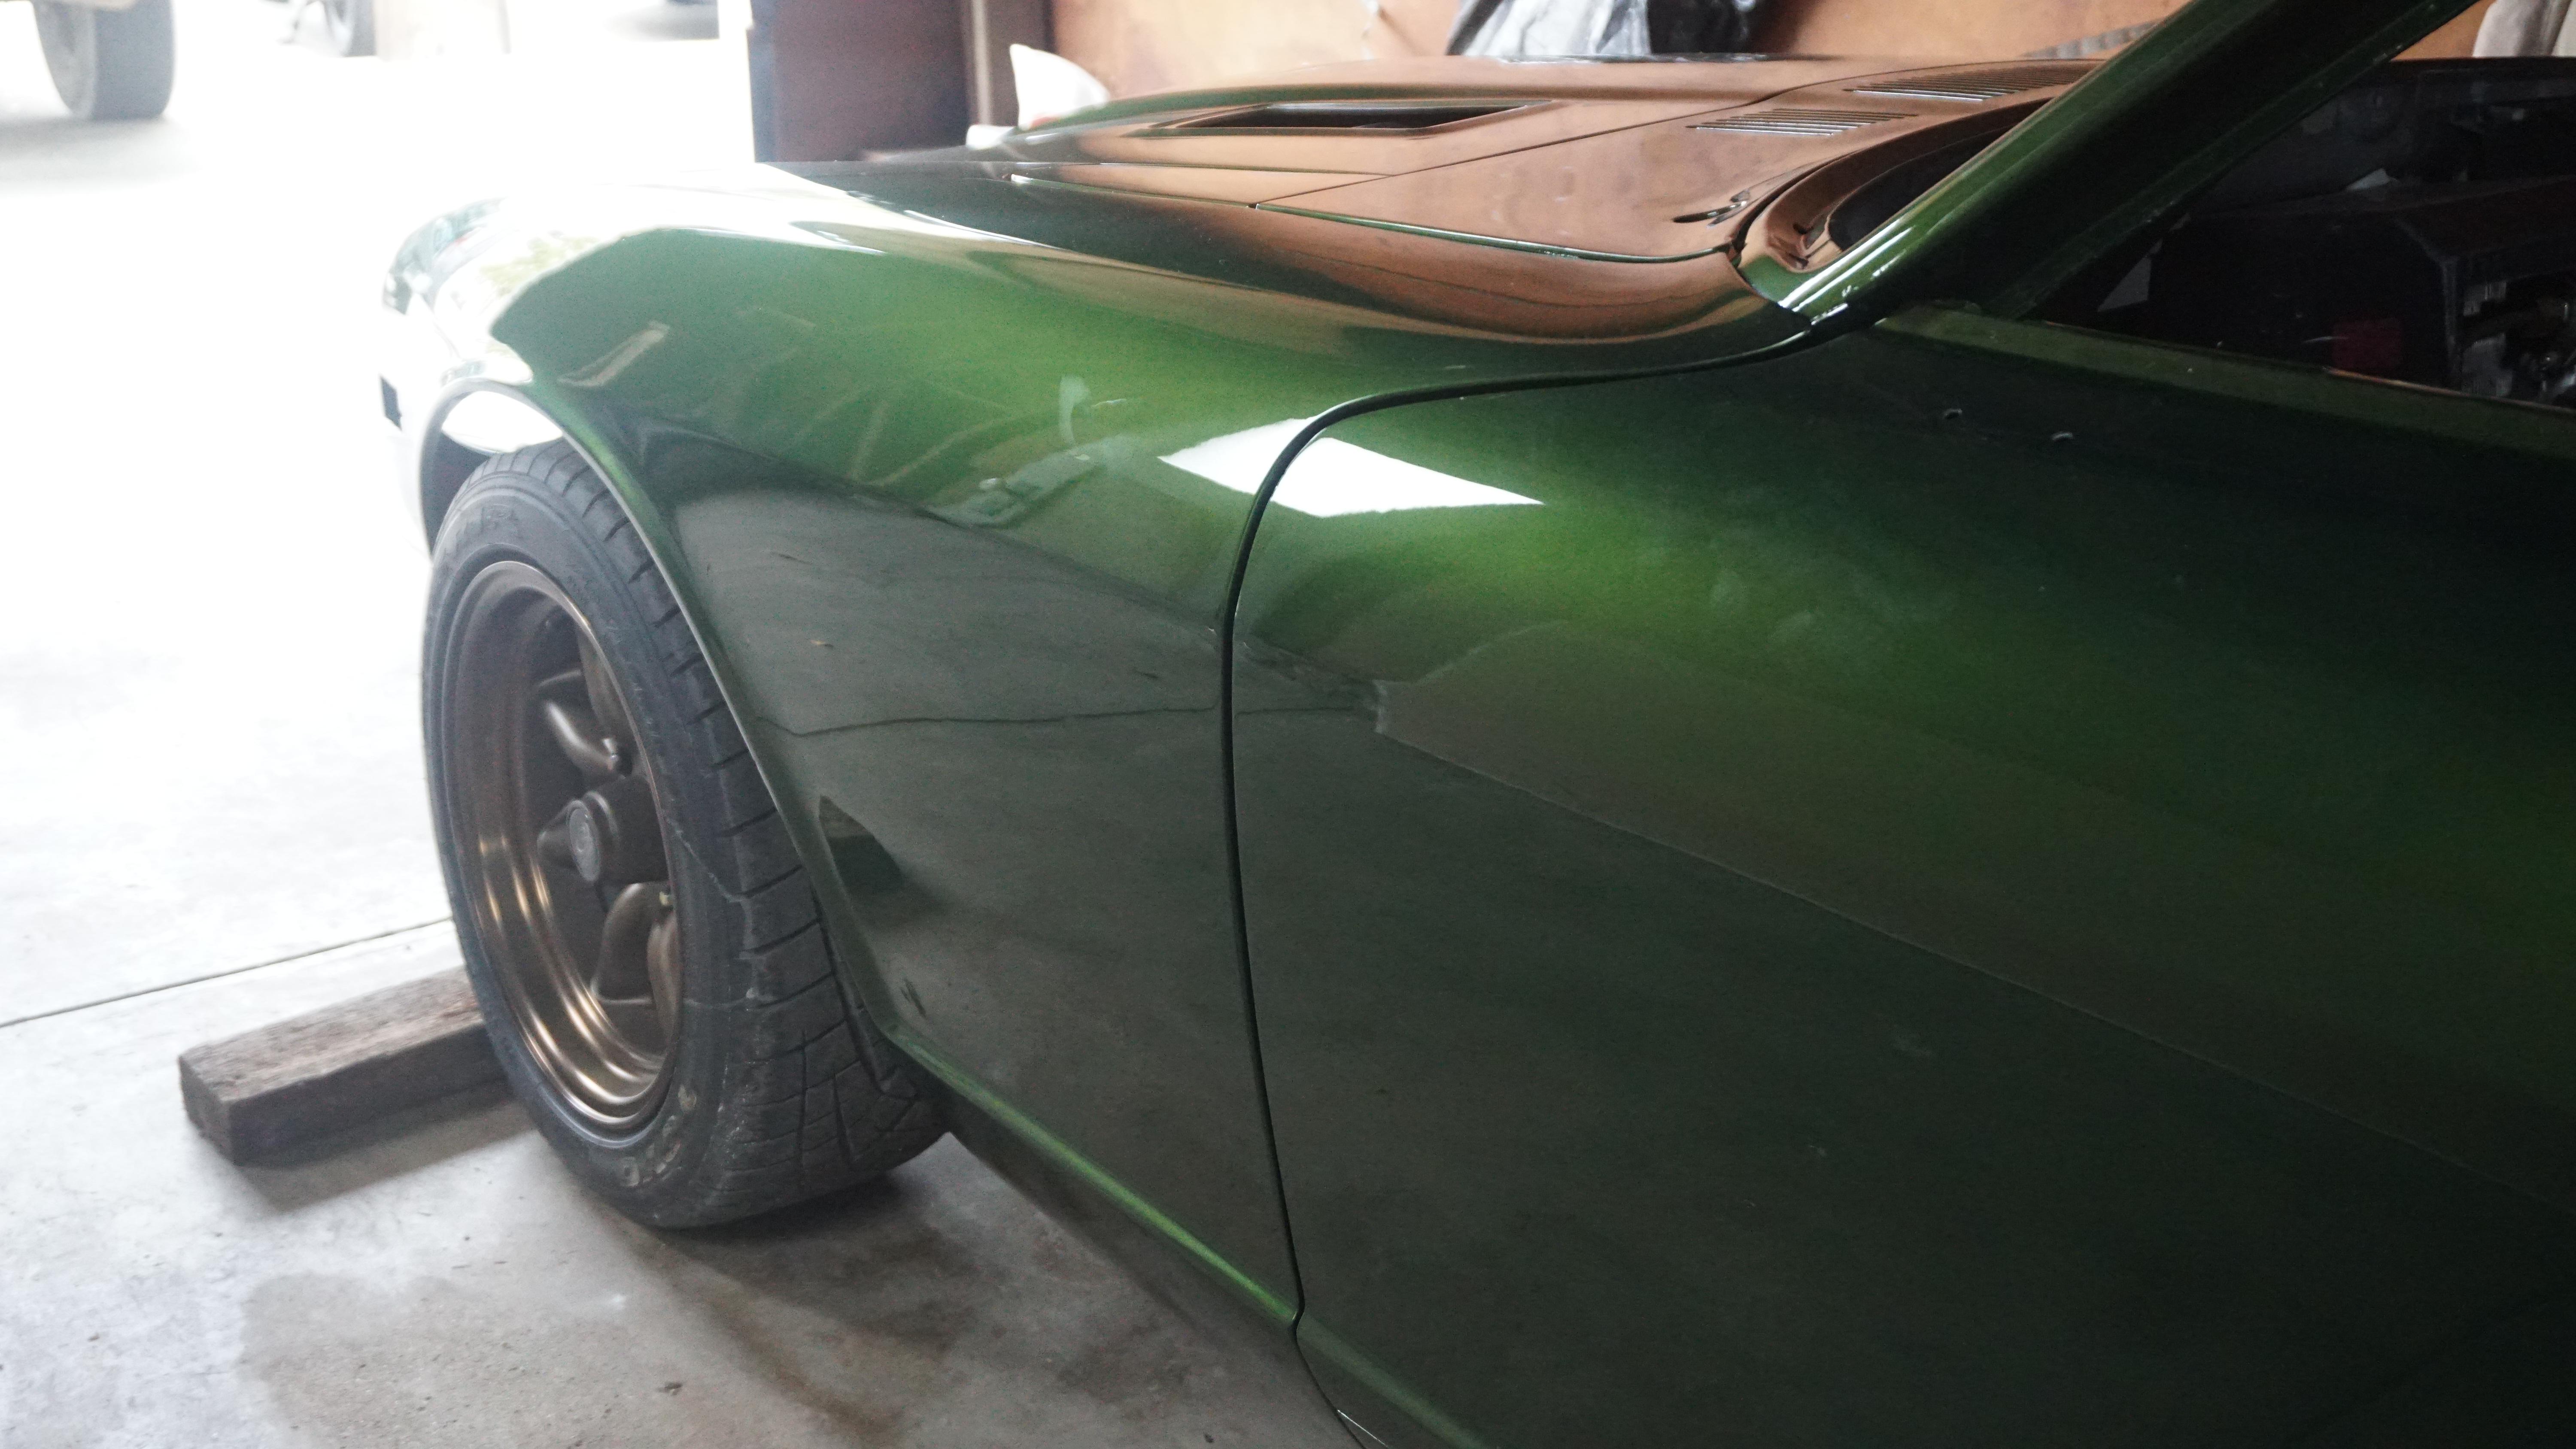
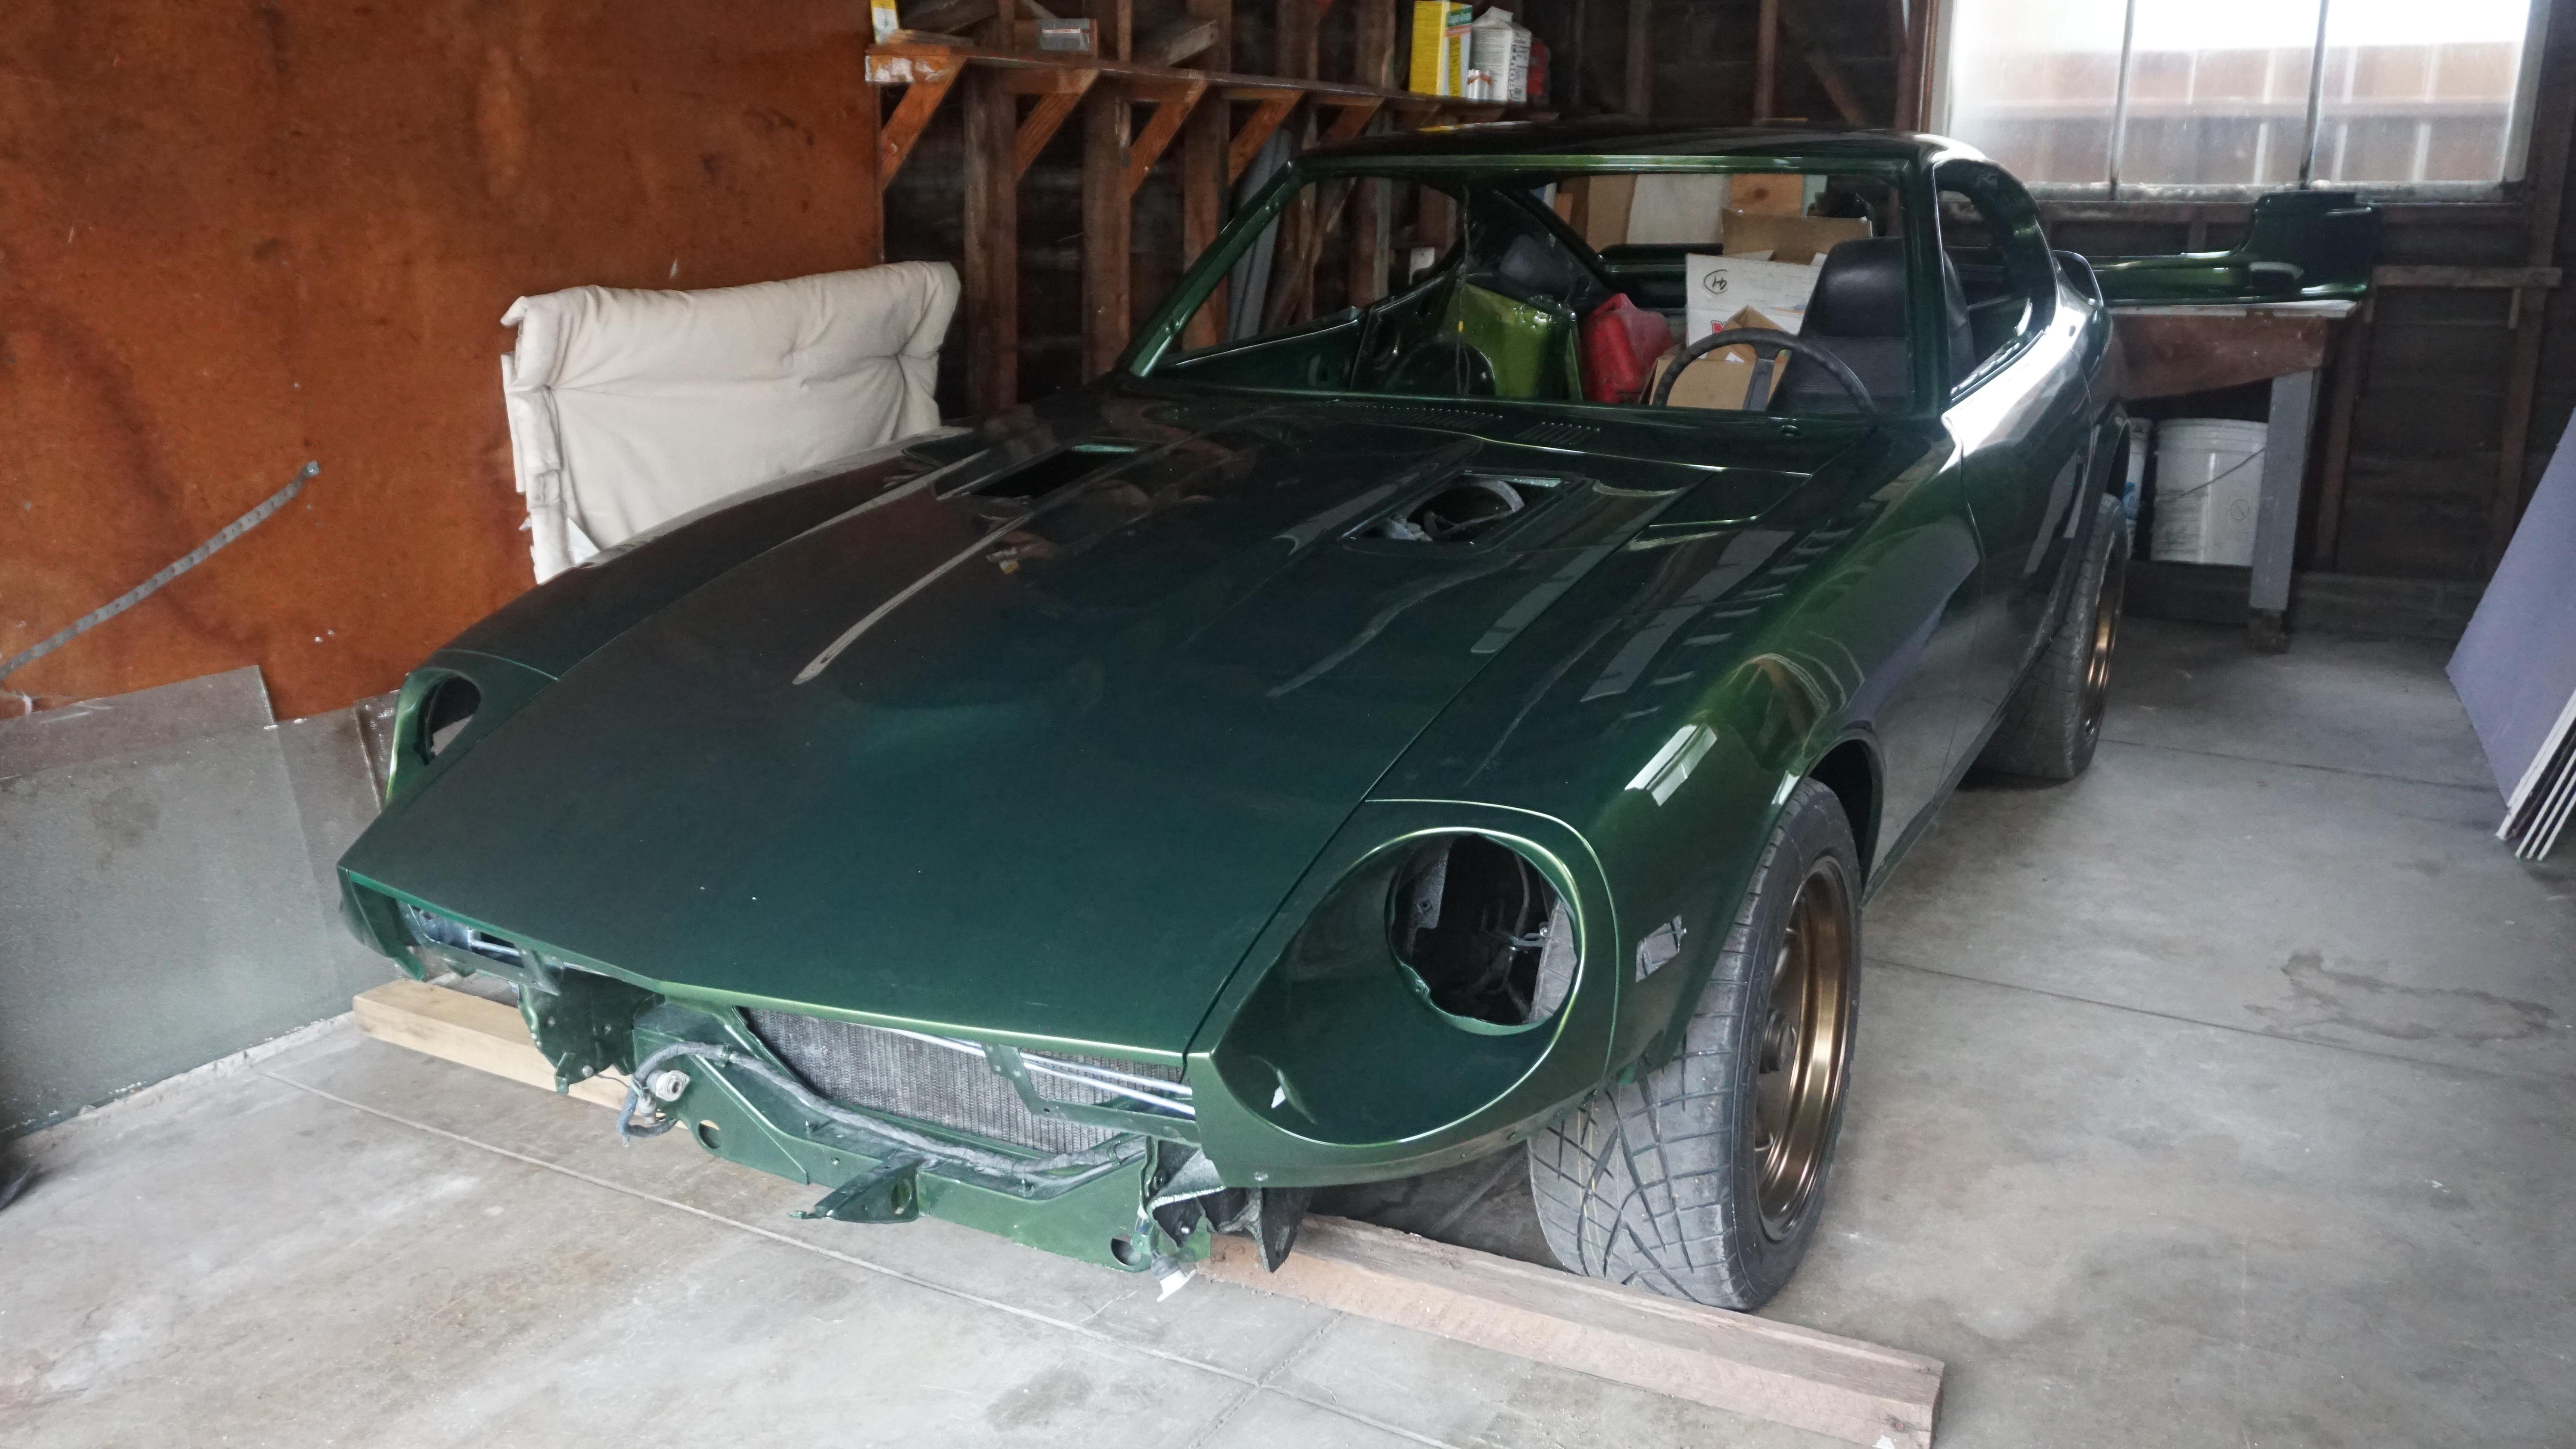
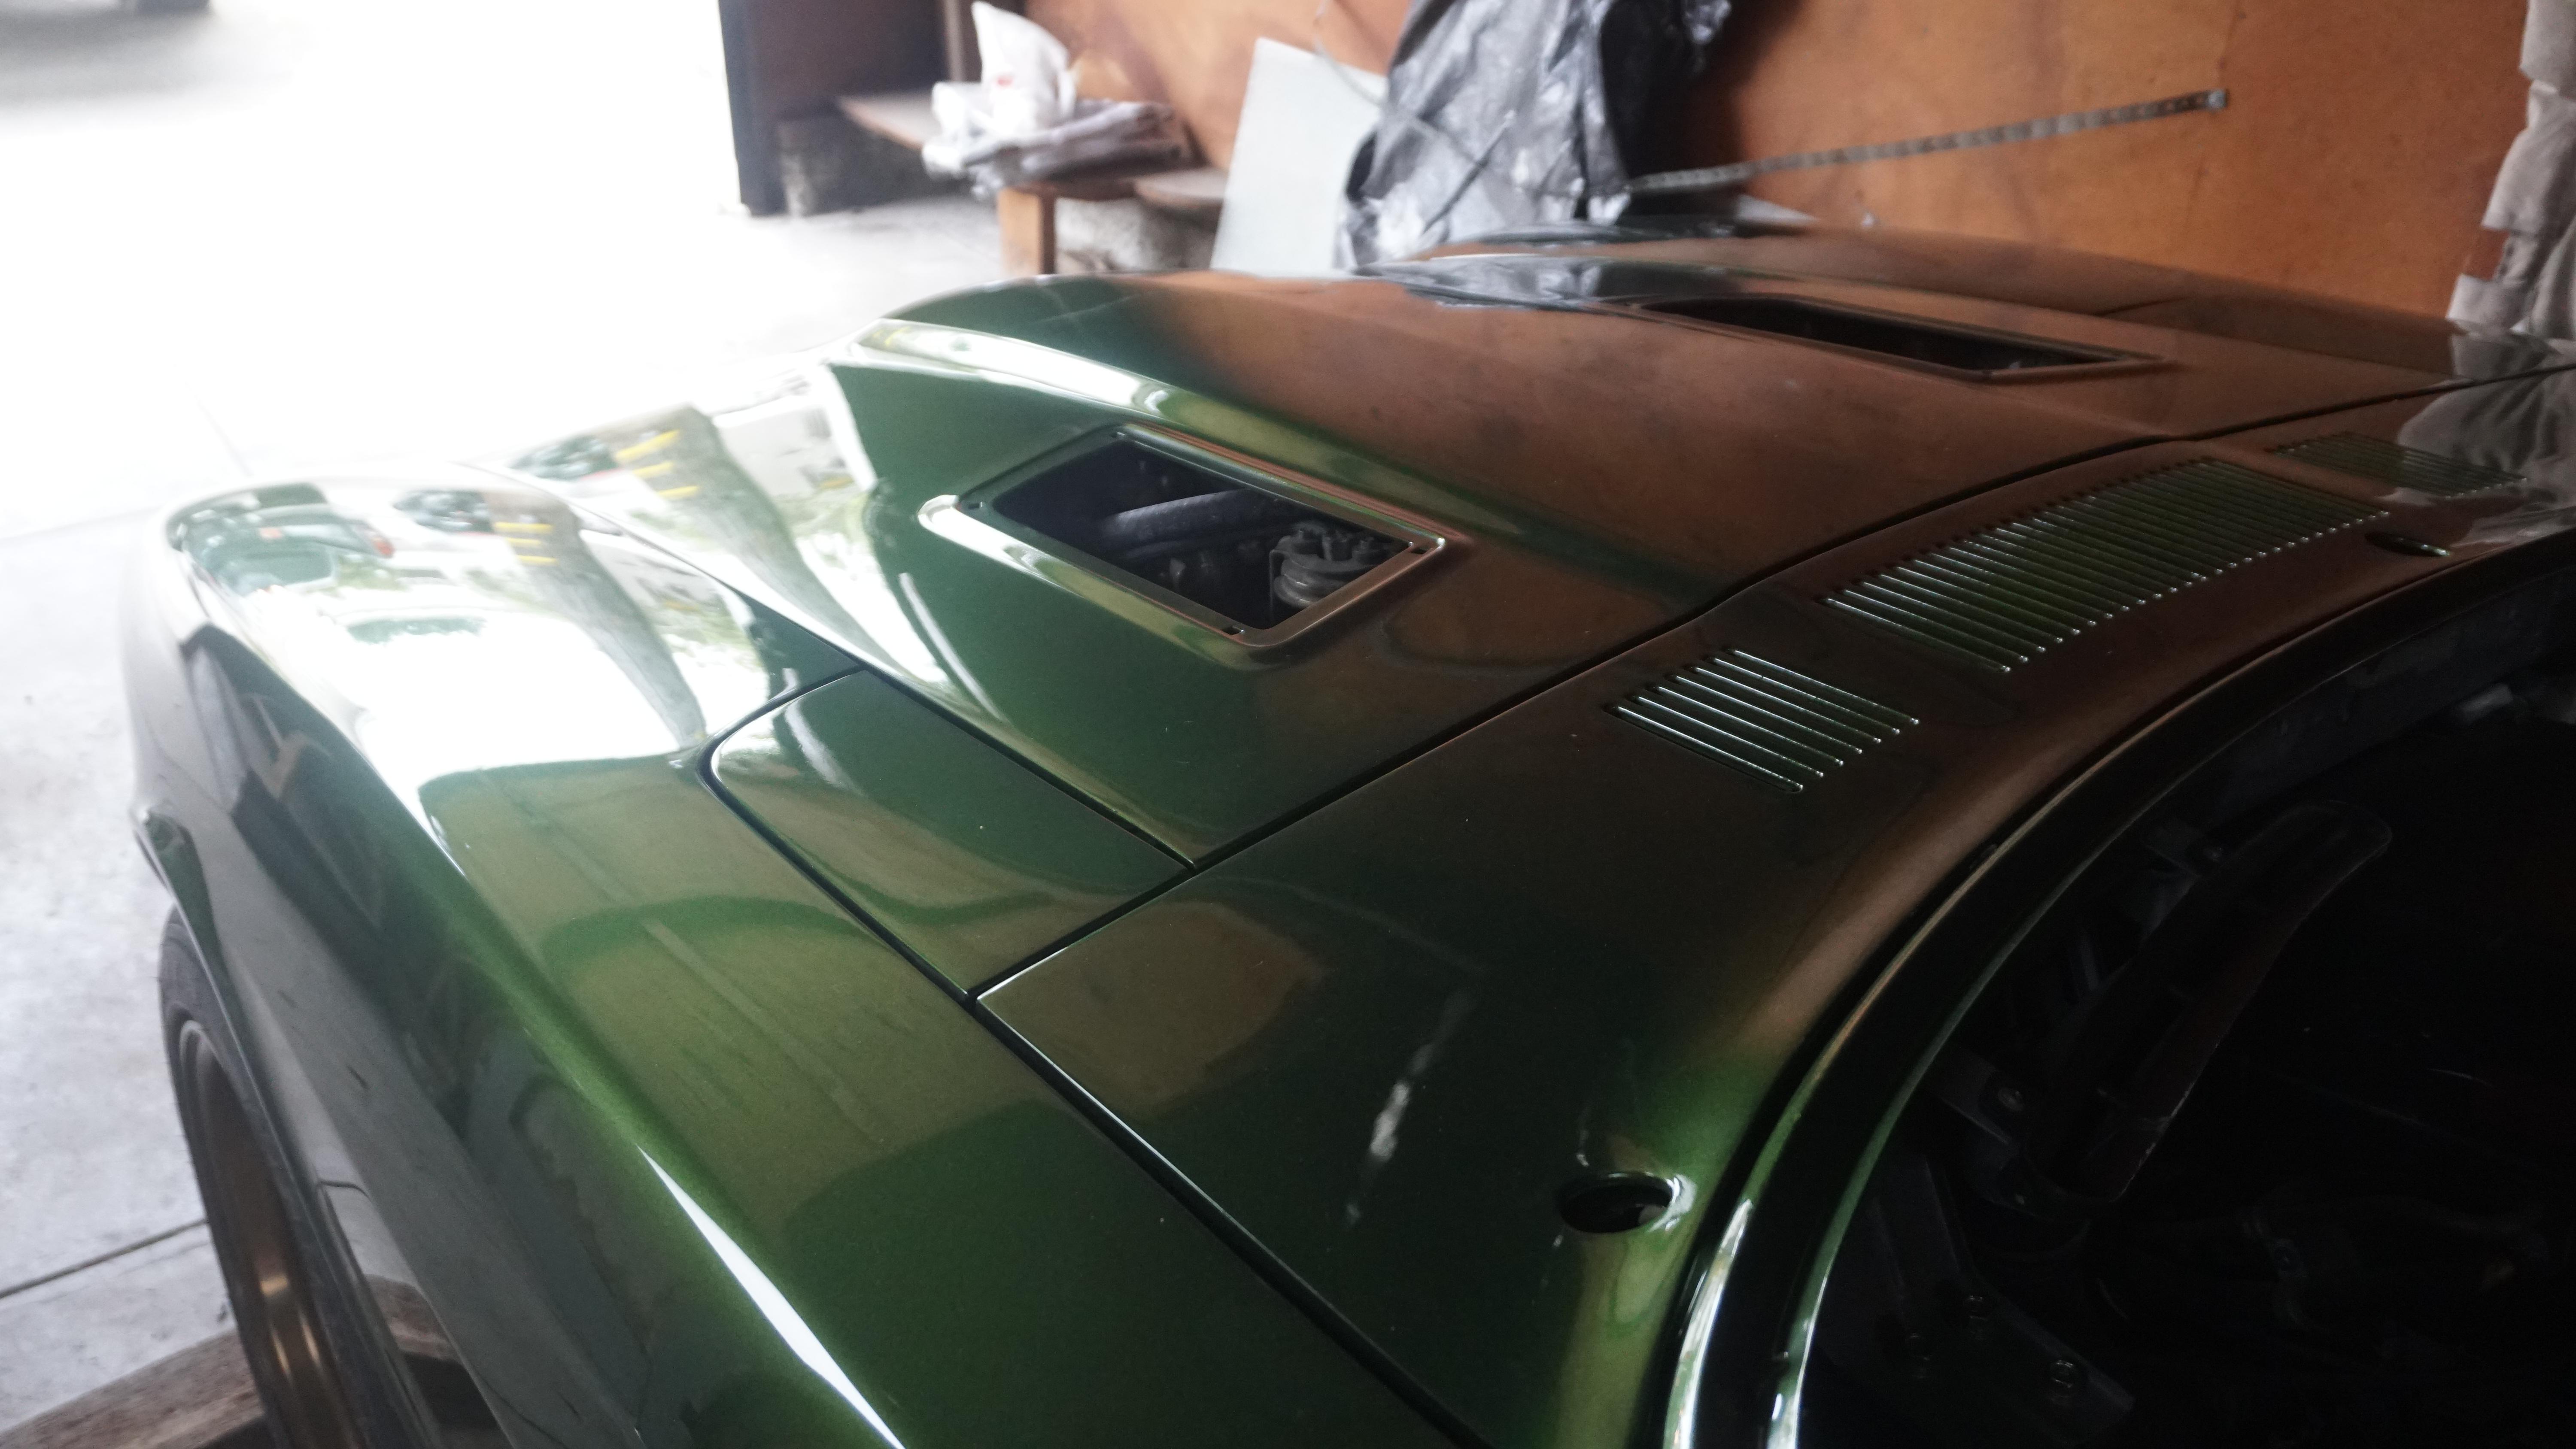
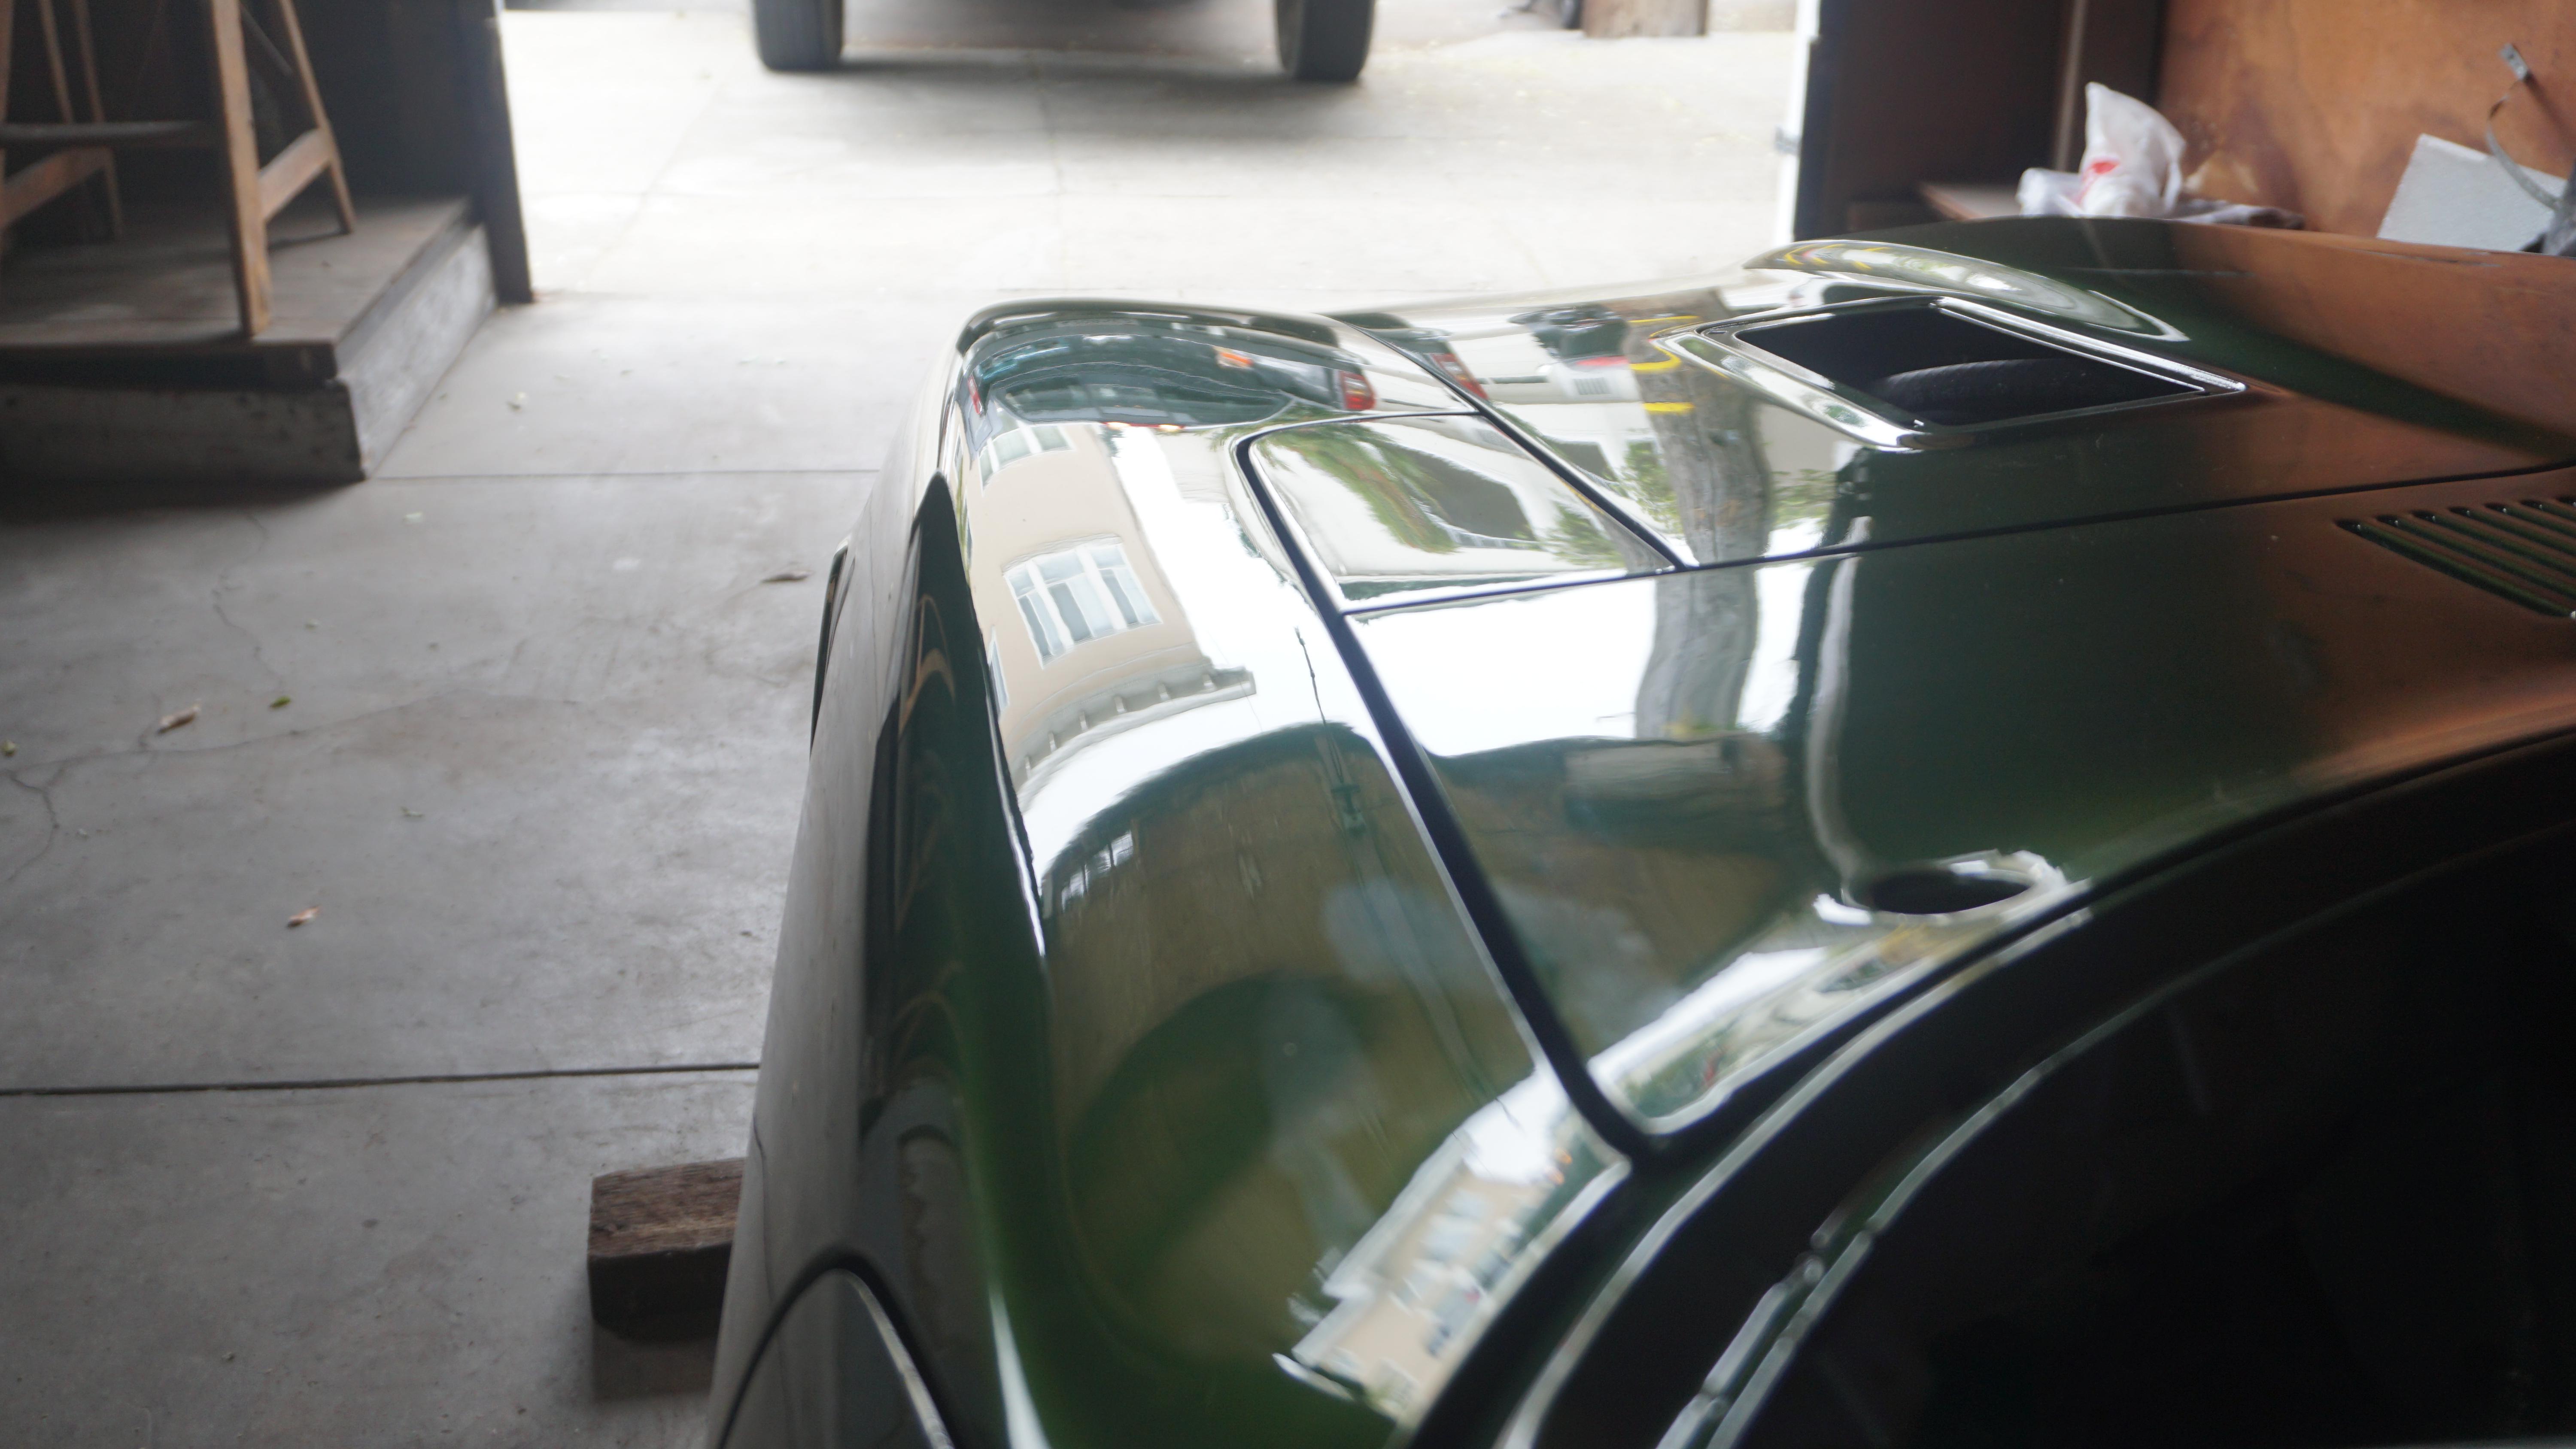
 1 pointThanks Site! I am indeed aware of that thread and “12 second Norm” with his baby toss rings! Such a cool solution! In fact it was reading his experiences that convinced me that the SUs were the way forward for my engine. I was hovering with intent on the buy button of RHDJapan for a set of triple OERs for sometime before giving myself a slap and keeping the SUs. Interesting stacks in Zcardepot - thanks for the sign posting! [emoji106][emoji106] I will seriously look at those. Yes sir! It is free indeed [emoji1787][emoji1787] Today’s test run was with the ITGs first and then off with them and naked carbs only. What I have found, is that the reversion condition is best without any horns. But with the stock backplate only (no filter etc), I get more butt dyno power and keenness than with just naked carbs. We all know that the sharp edges of the carb cause turbulence which acts as a choke at the carb mouth. So I’m now tending toward the baby ring toss solution for best airflow characteristics into the carb as my next nearly free intake experiment. With naked carbs, the torque hole becomes more like a flat spot. Basically, I find anything sub 11 on the AFR makes the engine lose power / bog down. But anything close to or just over 11, feels more like a flat spot which I can just about live with for the scintillating top-end. But I have to get to that point with a solution that involves an air filter. At some point this year or next, I will revert back to my old header (with 21% smaller cross sectional area on the primaries) to evaluate the suggestion that I’m losing exhaust gas velocity at low revs. All good stuff gents! Thanks for chewing the cud with me and the great suggestions! Keep ‘em comin’!1 pointI tried to buy the AC delco/GM Friction-modified oil here locally (Europe), but couldn't find it anywhere. There was a company in Italy, but he didn't stock it anymore. I ended up ordering it from the states, but they cancelled and refunded the money because it was considered dangerous goods being flamable. Thats is going back 5 years ago, but I doubt much has changed.1 pointI remember Slick50. Based on how synchro gears work, that seems like a not-good choice for transmission fluid (no offense). It has PTFE particles in it to minimize friction. Synchros need a balance between friction and viscosity to allow the speed matching to occur. If you want to take a chance with $50 I'd try the AC Delco Friction-modified Synchromesh before tearing the transmission down. I'd just let the other stuff drain out and refill with Synchromesh. Otherwise, there's a post on Hybridz about modifying Porsche synchros to work in the steel synchro 5 speeds. I think that FS5C has steel instead of "brass" (yellow). https://slick50.info/manual-gearbox-treatment/ http://skepdic.com/slick50.html https://www.ftc.gov/news-events/press-releases/1996/07/quaker-state-ads-slick-50-are-false-and-misleading-ftc-charges https://forums.hybridz.org/topic/92246-to-people-with-experience-with-the-datsun-comp-5-speed-need-parts-for-one/1 pointWhile the Z is at my place, my Bodyshop gave me some homework: To completely strip the chassis from all the seam sealer, undercoating, bondo and paint so that it's easier for him to remove old welds and weld new stuff... started by removing the biggest chunks in the front inner fender area with a spatula. but after an hour i realized i need a faster solution. After a bit of research, i found this tihng called Turbo-Igel (Turbo Hedgehog). The name comes from the "hook" style spikes that remind of a hedgehog This thing works absolutely brilliantly and isnt really agressive to the metal due to it's unique shape. The problem is, after 10 minutes the effect really starts to weaken since the hooks get dull. but you still can u se it totally for about 30minutes at a maximum speed of 3500 rpm. then all the hooks are gone 🙂 With two disks i managed to get this much done in approx. 2 hours of work: Well and while the car got cleaner, i got dirtier 🙂 And i removed approx 3-4 kgs of Bondo / Paint, underbody coating, seam sealer etc.. Still a lot to do. for me and the bodyshop. can you see all those terribly cheap repair attempts from previus owner? And rusty spots? And dents where there shouldn't be? Well... i've come too far to stop now, i guess 🙂1 pointClear coat applied this morning. Extremely happy with the color choice. Hood, hatch, doors and other misc. parts will be painted tomorrow.
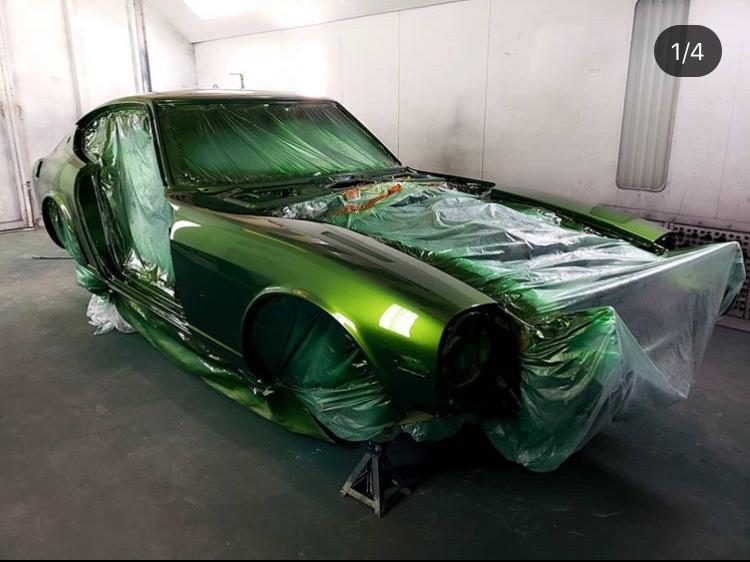
 1 point1 pointThere are performance parts suppliers in Canada but not many people selling original parts. Canada has a better stock of old Nissan parts at the dealer then the US. The main warehouse is in Calgary. For spare parts in good condition, check with [mention]zKars [/mention] for hard to get stuff.1 point1 point0 pointsWell if it’s not one thing it’s another. I got the floats looking ok-ish and reinstalled them in the car. Turned the key and nothing. I pulled the line from the bowl inlet and turned the key to make sure the pump was at least working, and got nothing out of the fuel line. So, it looks like my brand new mechanical pump is dead now. The bad news is that I disconnected the input line to the pump and sucked some fuel through my Mighty Vac and what came out looked like a nice aged scotch. I had drained and refilled the tank about two weeks ago, so this must mean that the inside is absolutely disgusting and some of that nastiness must have peeled off and caused an aneurysm in my pump. I was avoiding dropping the tank, but it looks like that was a bad move. Looks like I’ll be dropping the tank next weekend and getting it cleaned out. What a day.
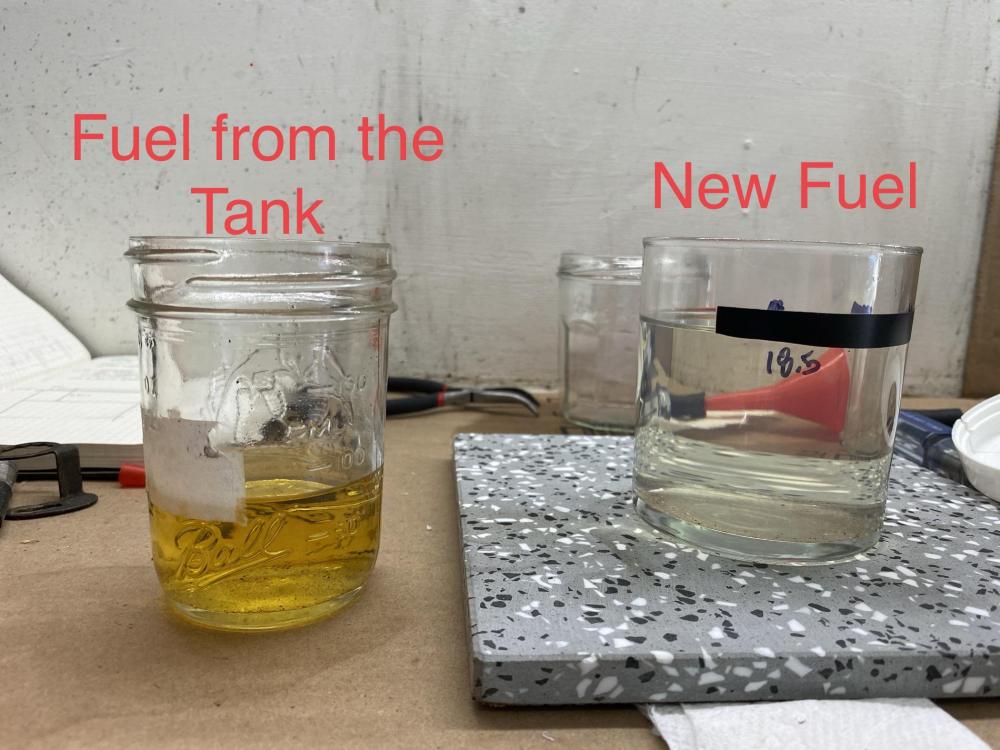 0 points


Important Information
By using this site, you agree to our Privacy Policy and Guidelines. We have placed cookies on your device to help make this website better. You can adjust your cookie settings, otherwise we'll assume you're okay to continue.