Topics Last Week
Showing topics, images, events and files posted in for the last 7 days.
- Today
-
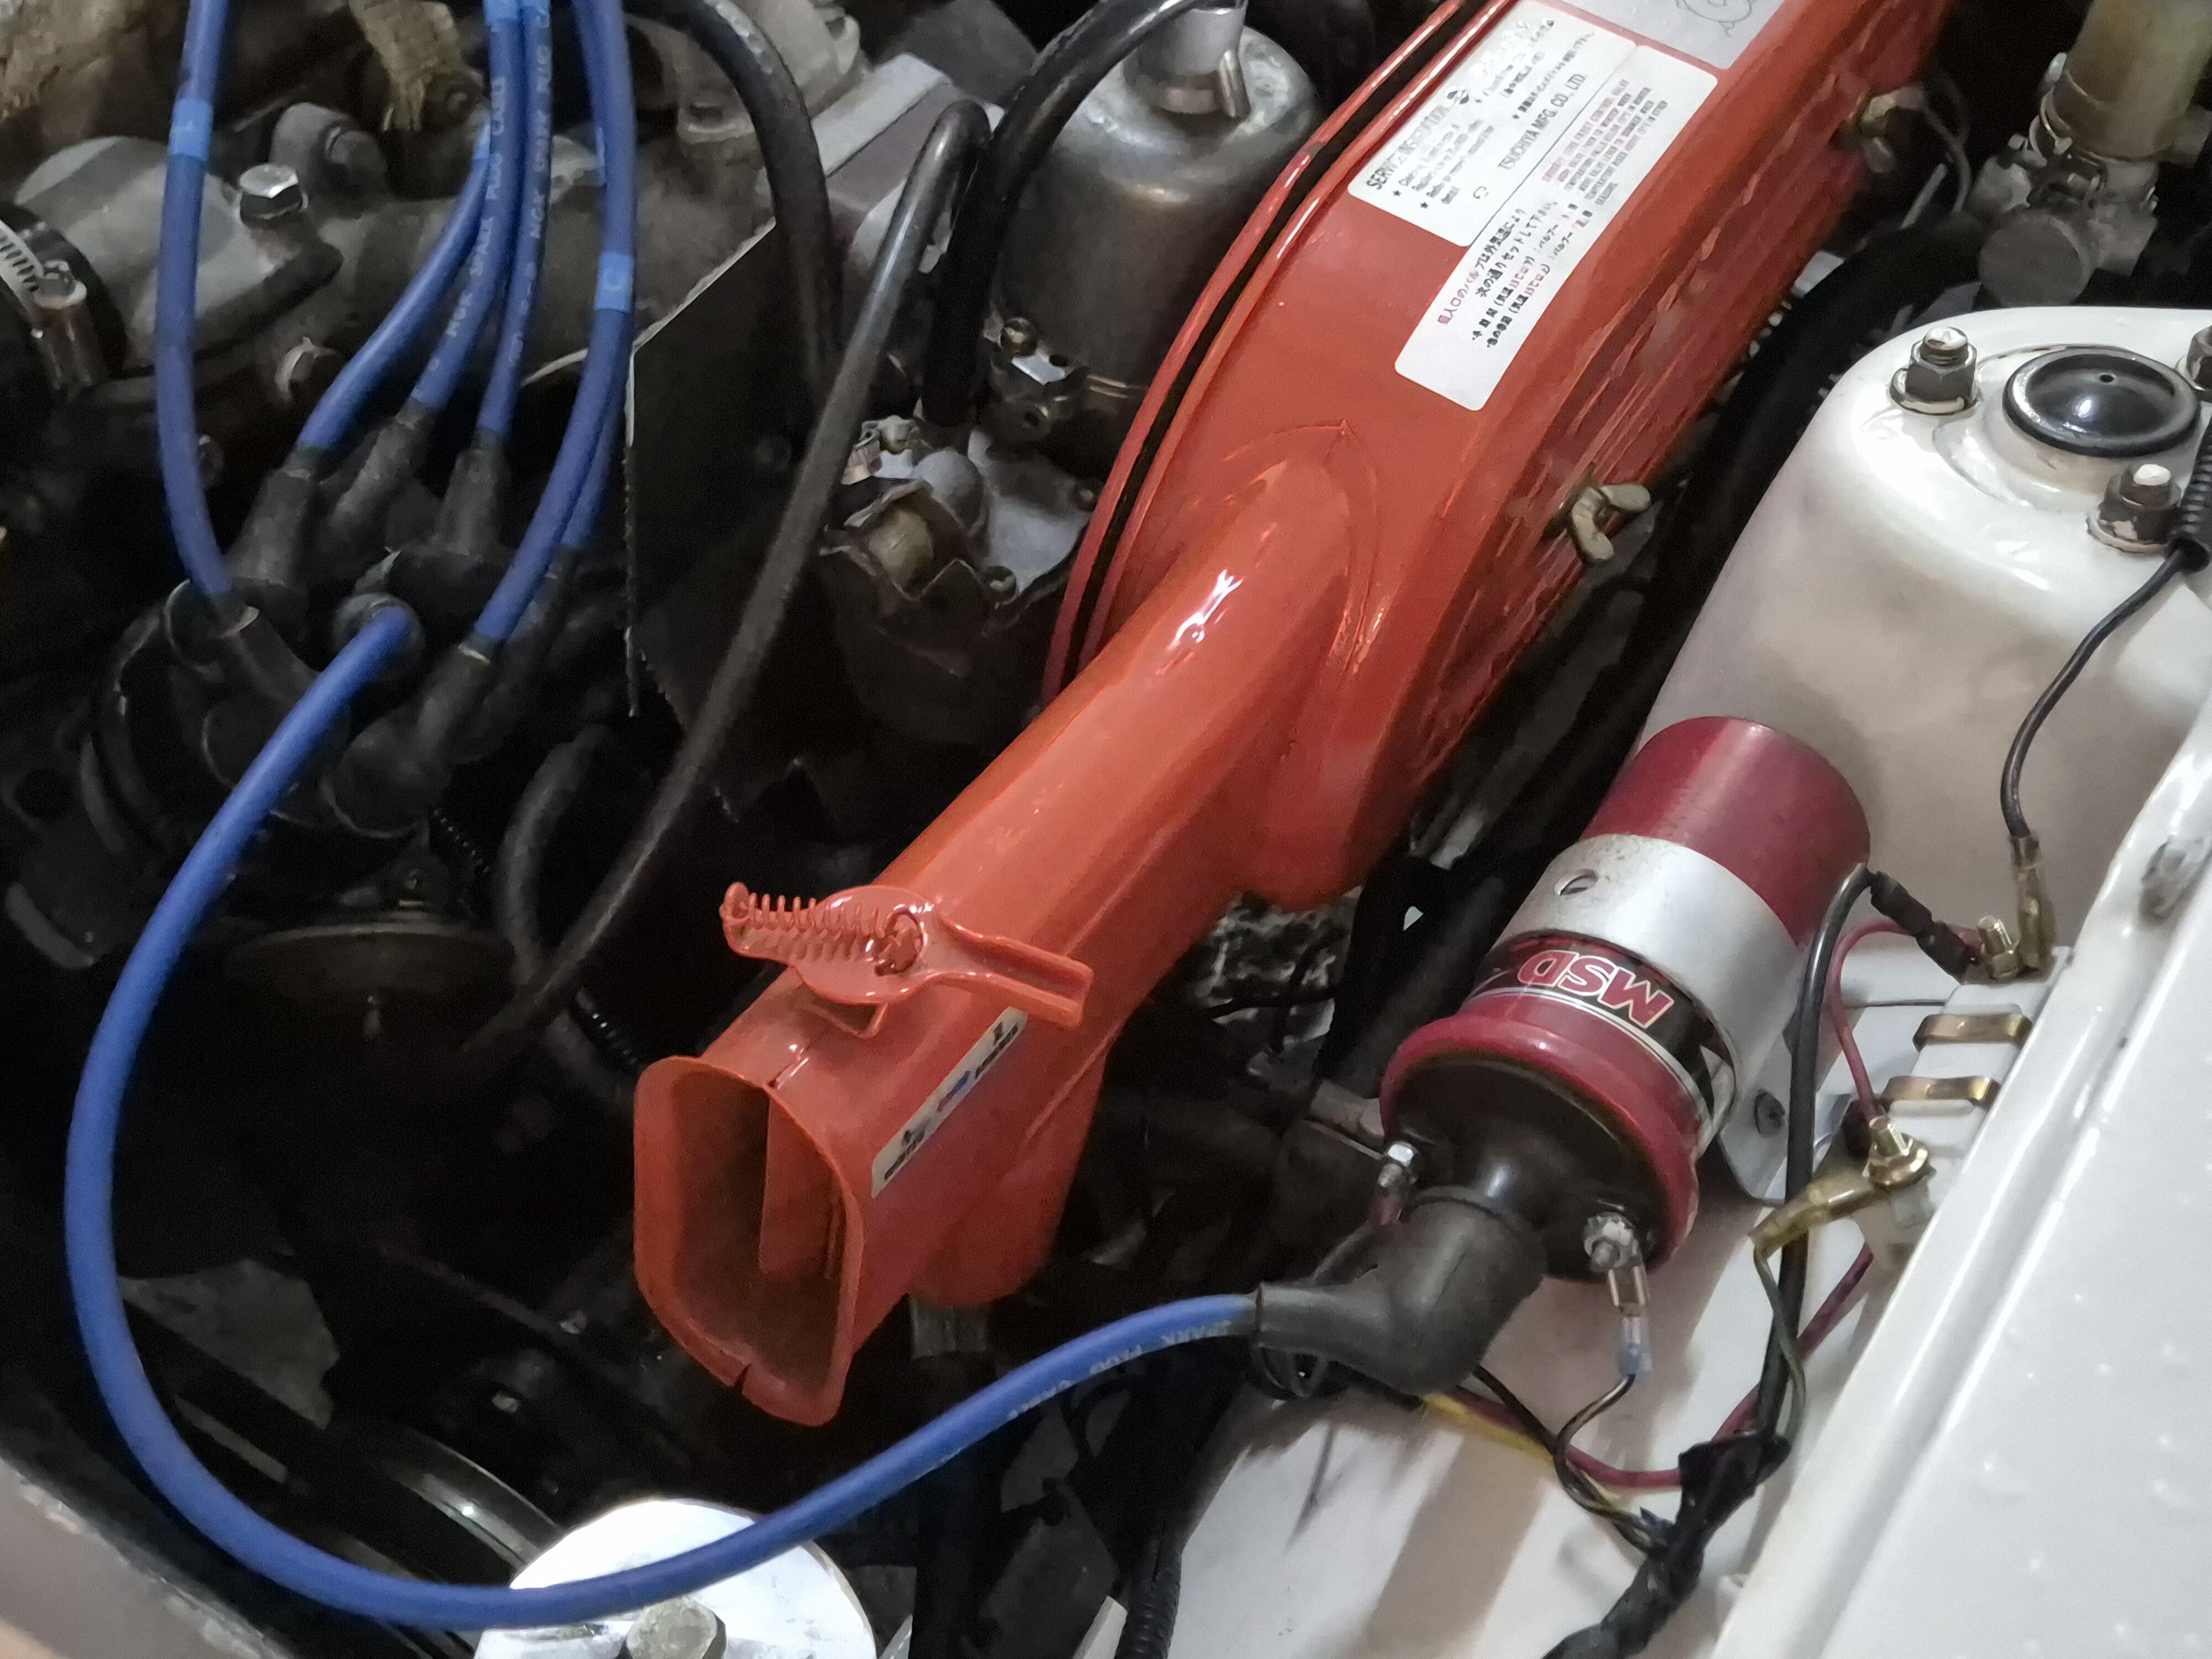
 This is how the msd blaster 2 got wired to the tach, distributor and ballast. Hope im not missing anything. Tach is working but plug 4 is still getting fouled at idle.
-
 Here is a post showing a bit about what I did to redo mine: https://www.classiczcars.com/forums/topic/63087-restoration-of-bringatrailer-240z-hls30-35883/page/63/?&_rid=2858#findComment-663237. I can't find it now, but someone found a material that I thought may be a better choice. It may have been @Patcon. The rubber I used is very durable, but it is rubber sheet. I found it to be less "shapeable" than the original foam like material. If I had to do it again, I'd look for a very thin neoprene or more foam like material, as I think this material would folder around the edges of the flap better.
 - Yesterday
-
 What year is your car? How about a description? Stock, modified, round tops, flat tops... @Patel Homes
 -
 Up for sale is a single knob RC calendar clock that is completely refurbished and converted to fit the 240Z. This is a plug and play install. Price : $550 Plus tax and shipping. If interested please contact me: ron@zclocks.com
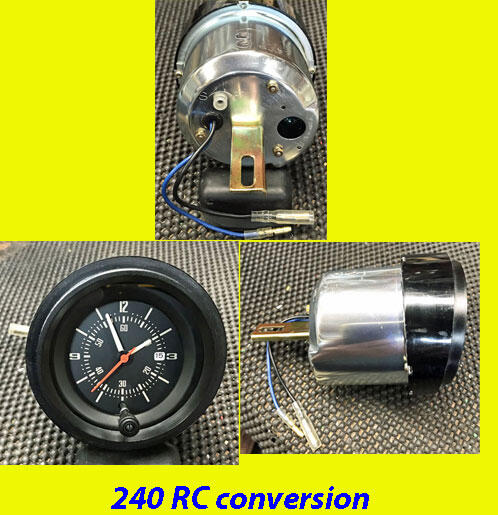
-
 The company known as SPAL no longer sells trinkets like the units you and Dave Irwin used back then. But the current units - there appear to be two basic designs, what I call the "separated drive system" like you, Dave and I have and the "combined drive system" where there is only one connector between the drive motor and the actuator that goes on the door handle spline shaft. You pay your money and you take your choice.
 -
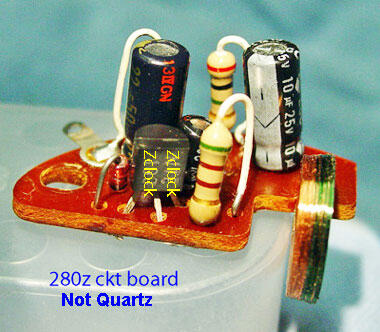
I have rebuilt circuit boards for the 75-78 280 OEM clocks and single knob RC (calendar clock) . Your core circuit board is required and the cost is $78 plus shipping and taxes . If you are interested or have questions please contact me, ron@zclocks.com Thanks for looking

-
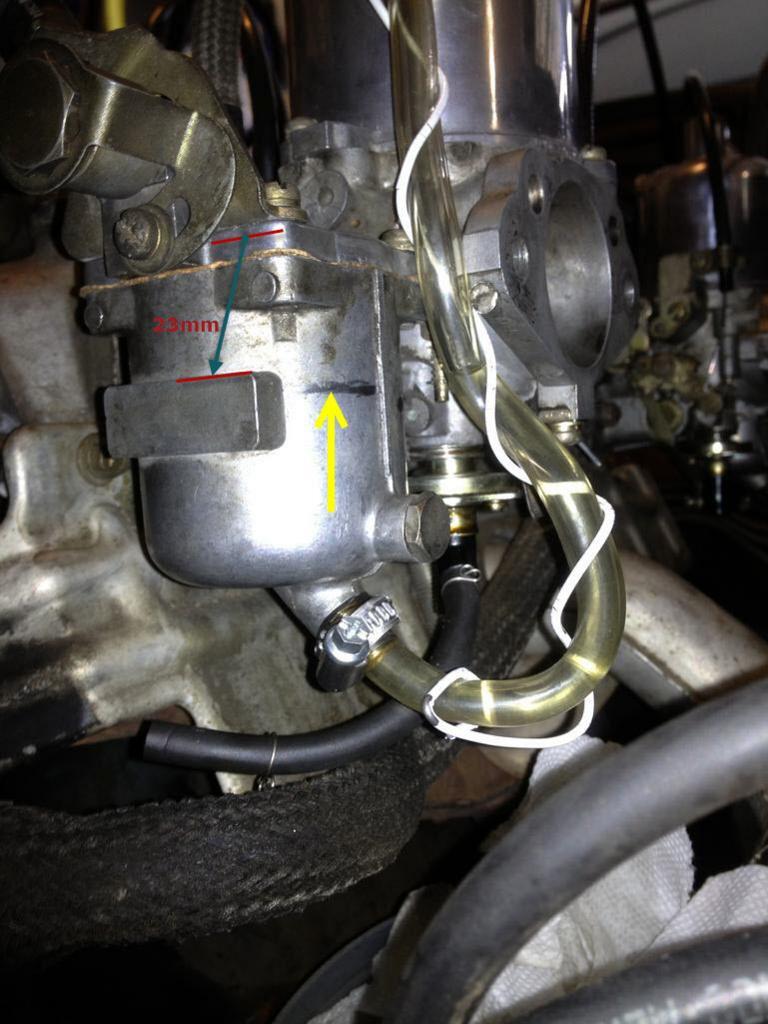
 I've read that the mixture screws raise or lower the nozzles 1mm per revolution. One can raise the nozzles to the top and lower them 10 turns. At ten turns, the fuel level should be near the top of the nozzles.
 -
 Cliff, you can buy a lot of Powerball tickets for $12,000 😎.
 -
 I really needed one more week to work on the OG before I left for Zcon. Just one more week would have made the whole drive so much less stressful. I would have known that I had a radiator problem and I would have mitigated it before I left. But I lost that week waiting for struts because Amazon screwed up. So here's where I am today. I took the leaky radiator I got at the show to a local radiator shop. They sealed up the leaks and pressure tested it. I swapped it into the car, and.... Driving around with no thermostat, it wouldn't even reach proper temperature!! Way better than what was in there! So just to see where the gauge would land, I put a 160 degree thermostat and went for a drive. It stabilized about here: So next chance I get, I will swap out the 160 for a 180 thermostat and check again to see where the gauge lands. But the bottom line is I'm a whole lot better off than I was with the previous radiator! I blame Amazon. And photobucket.
-
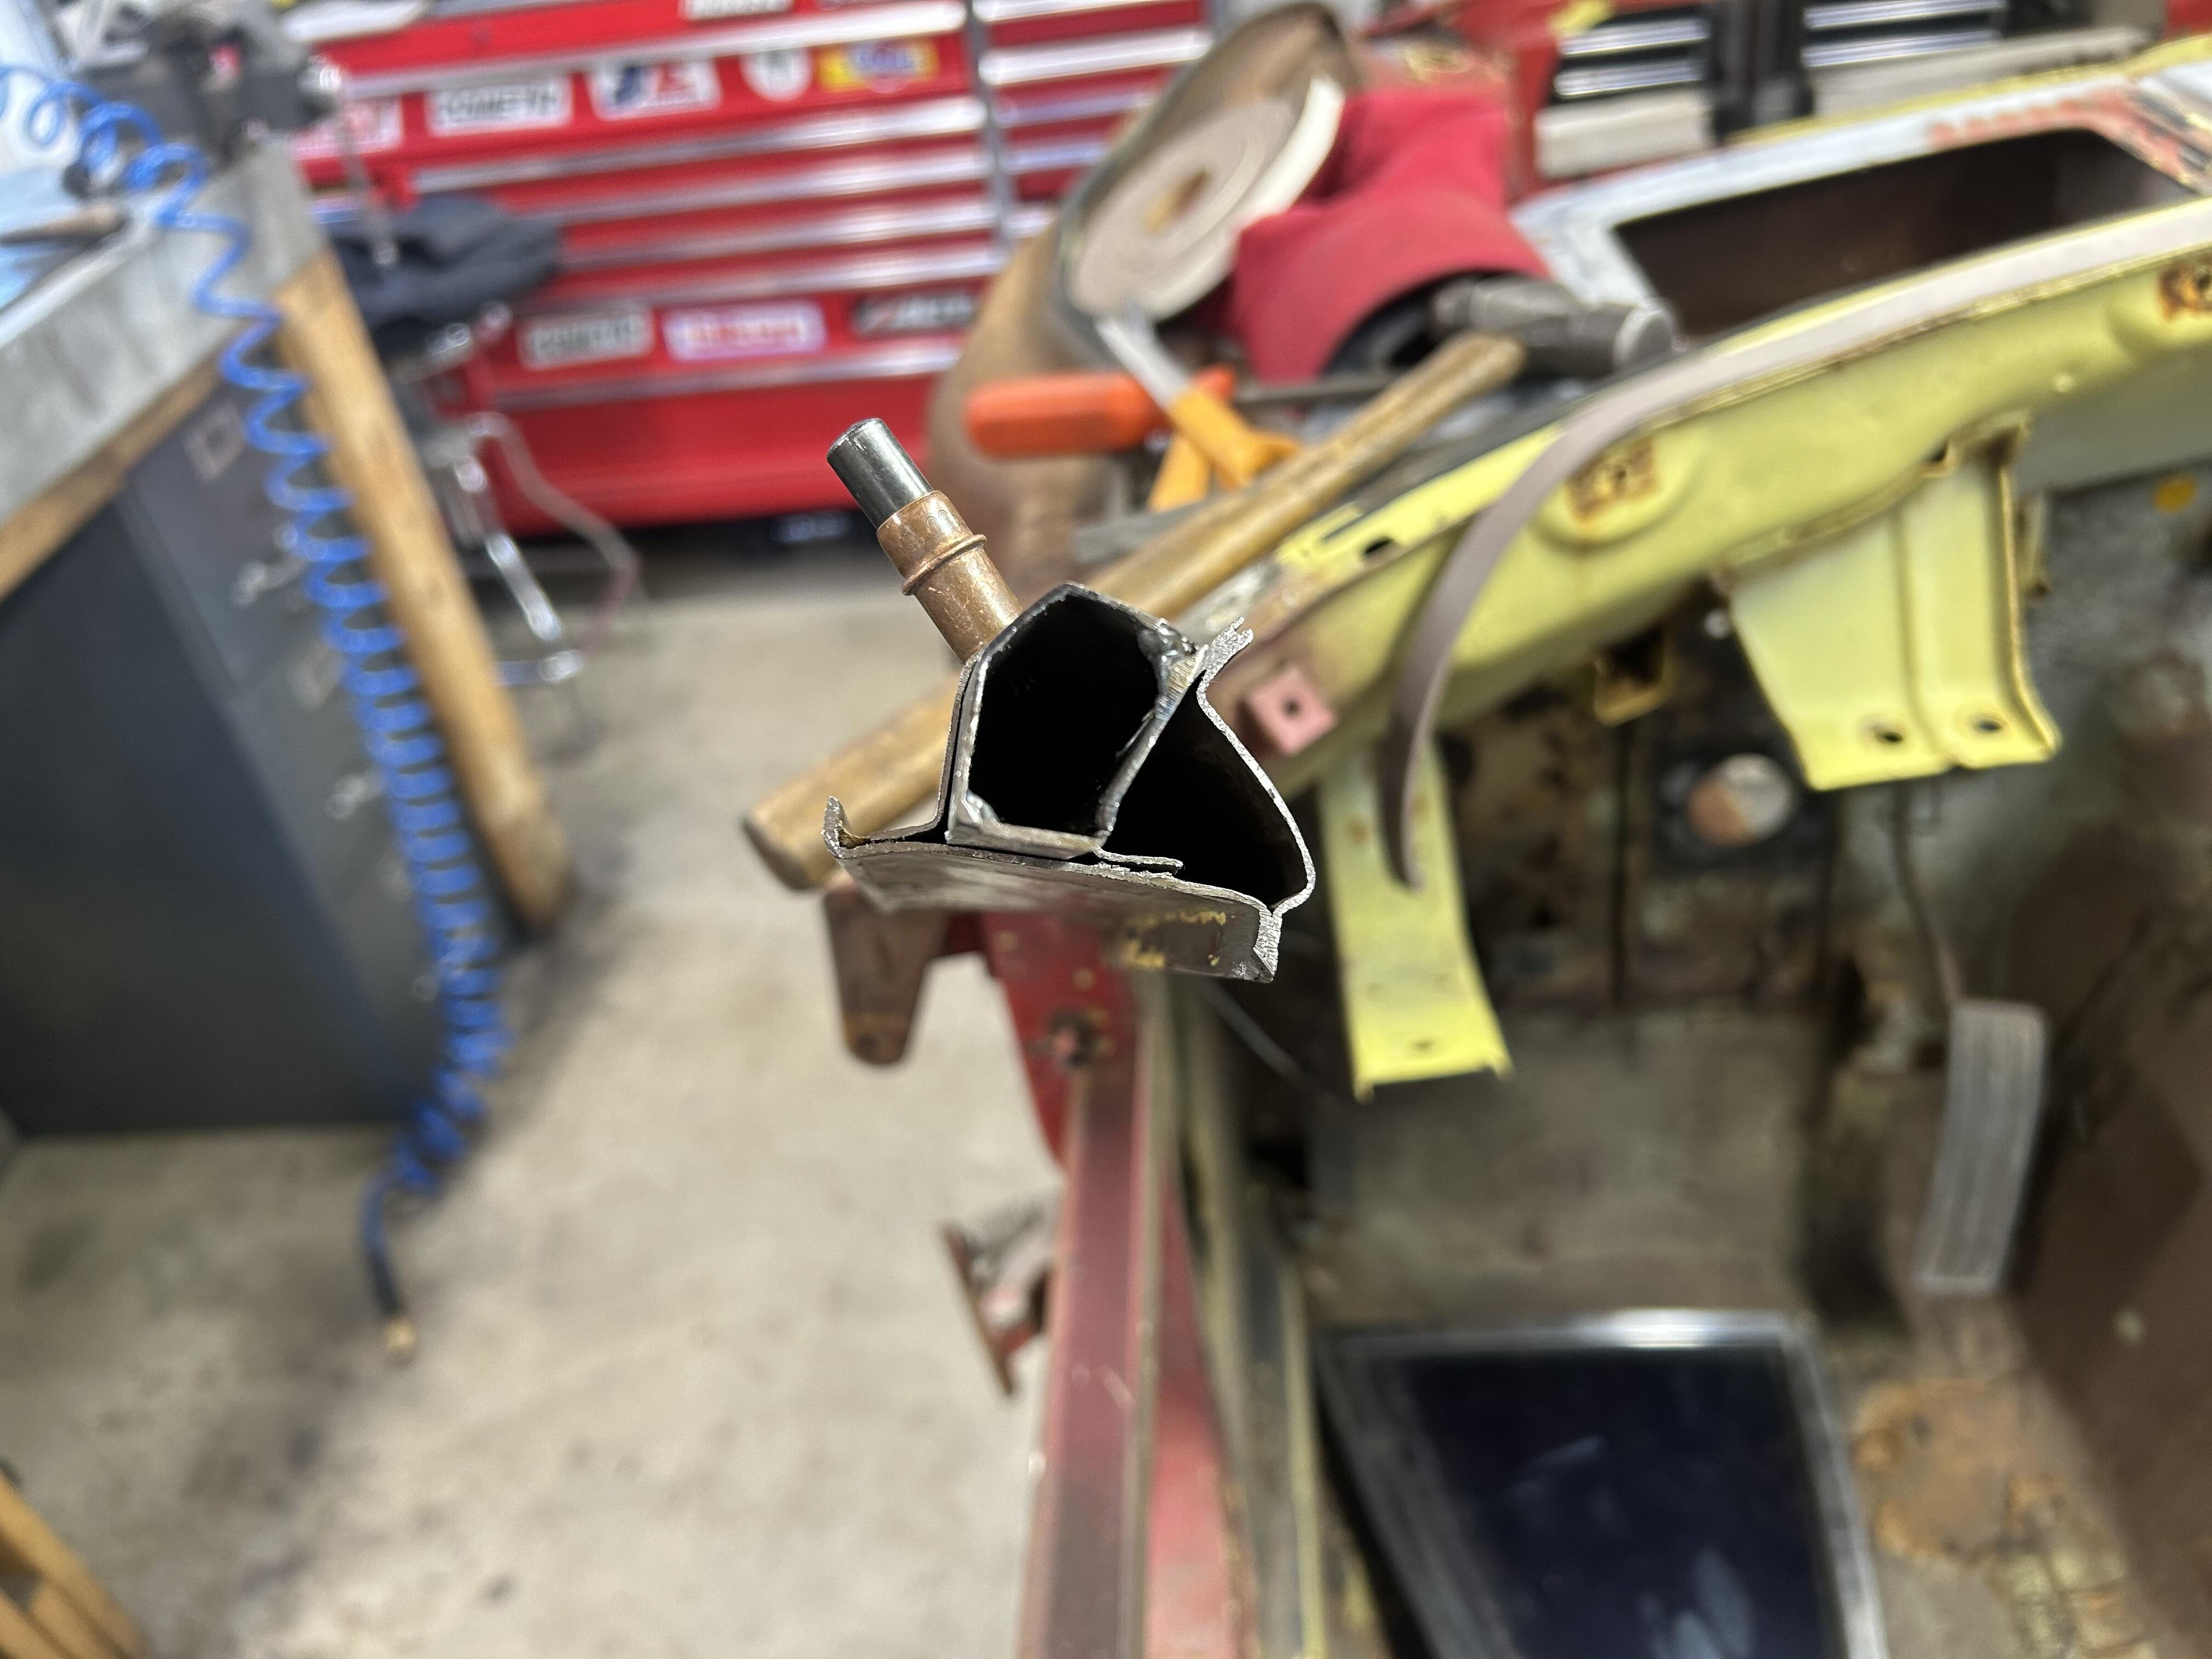
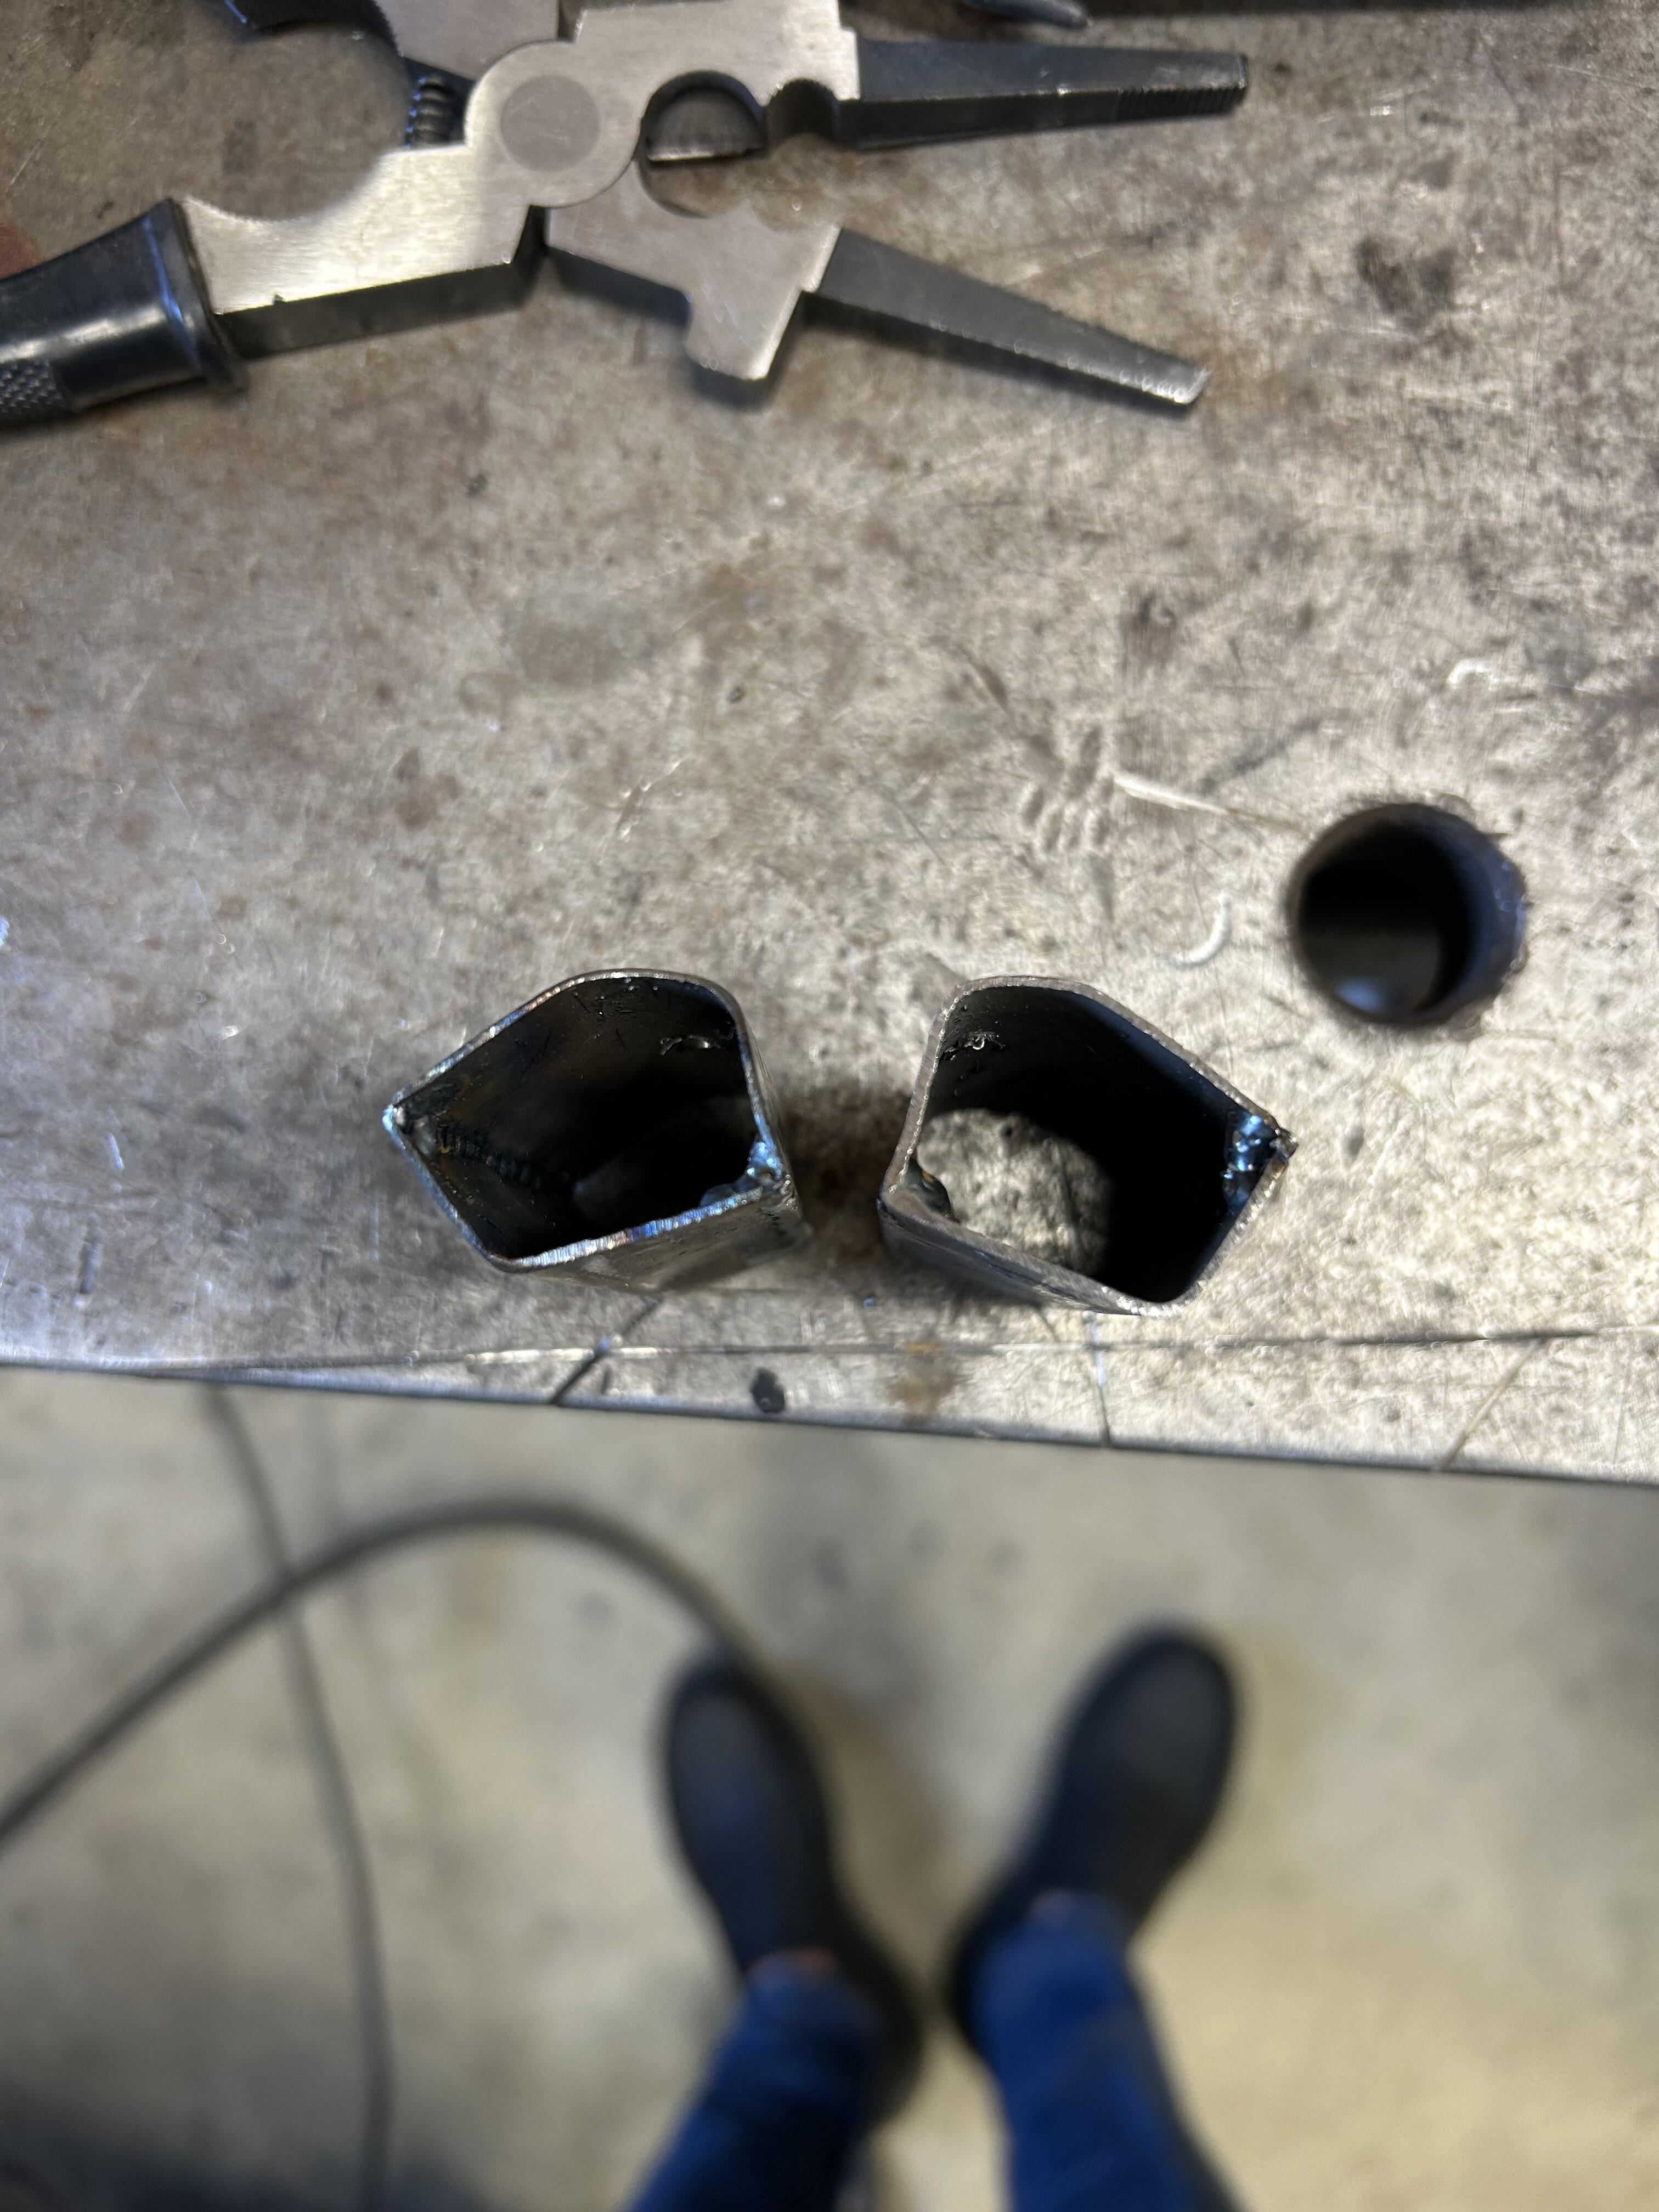
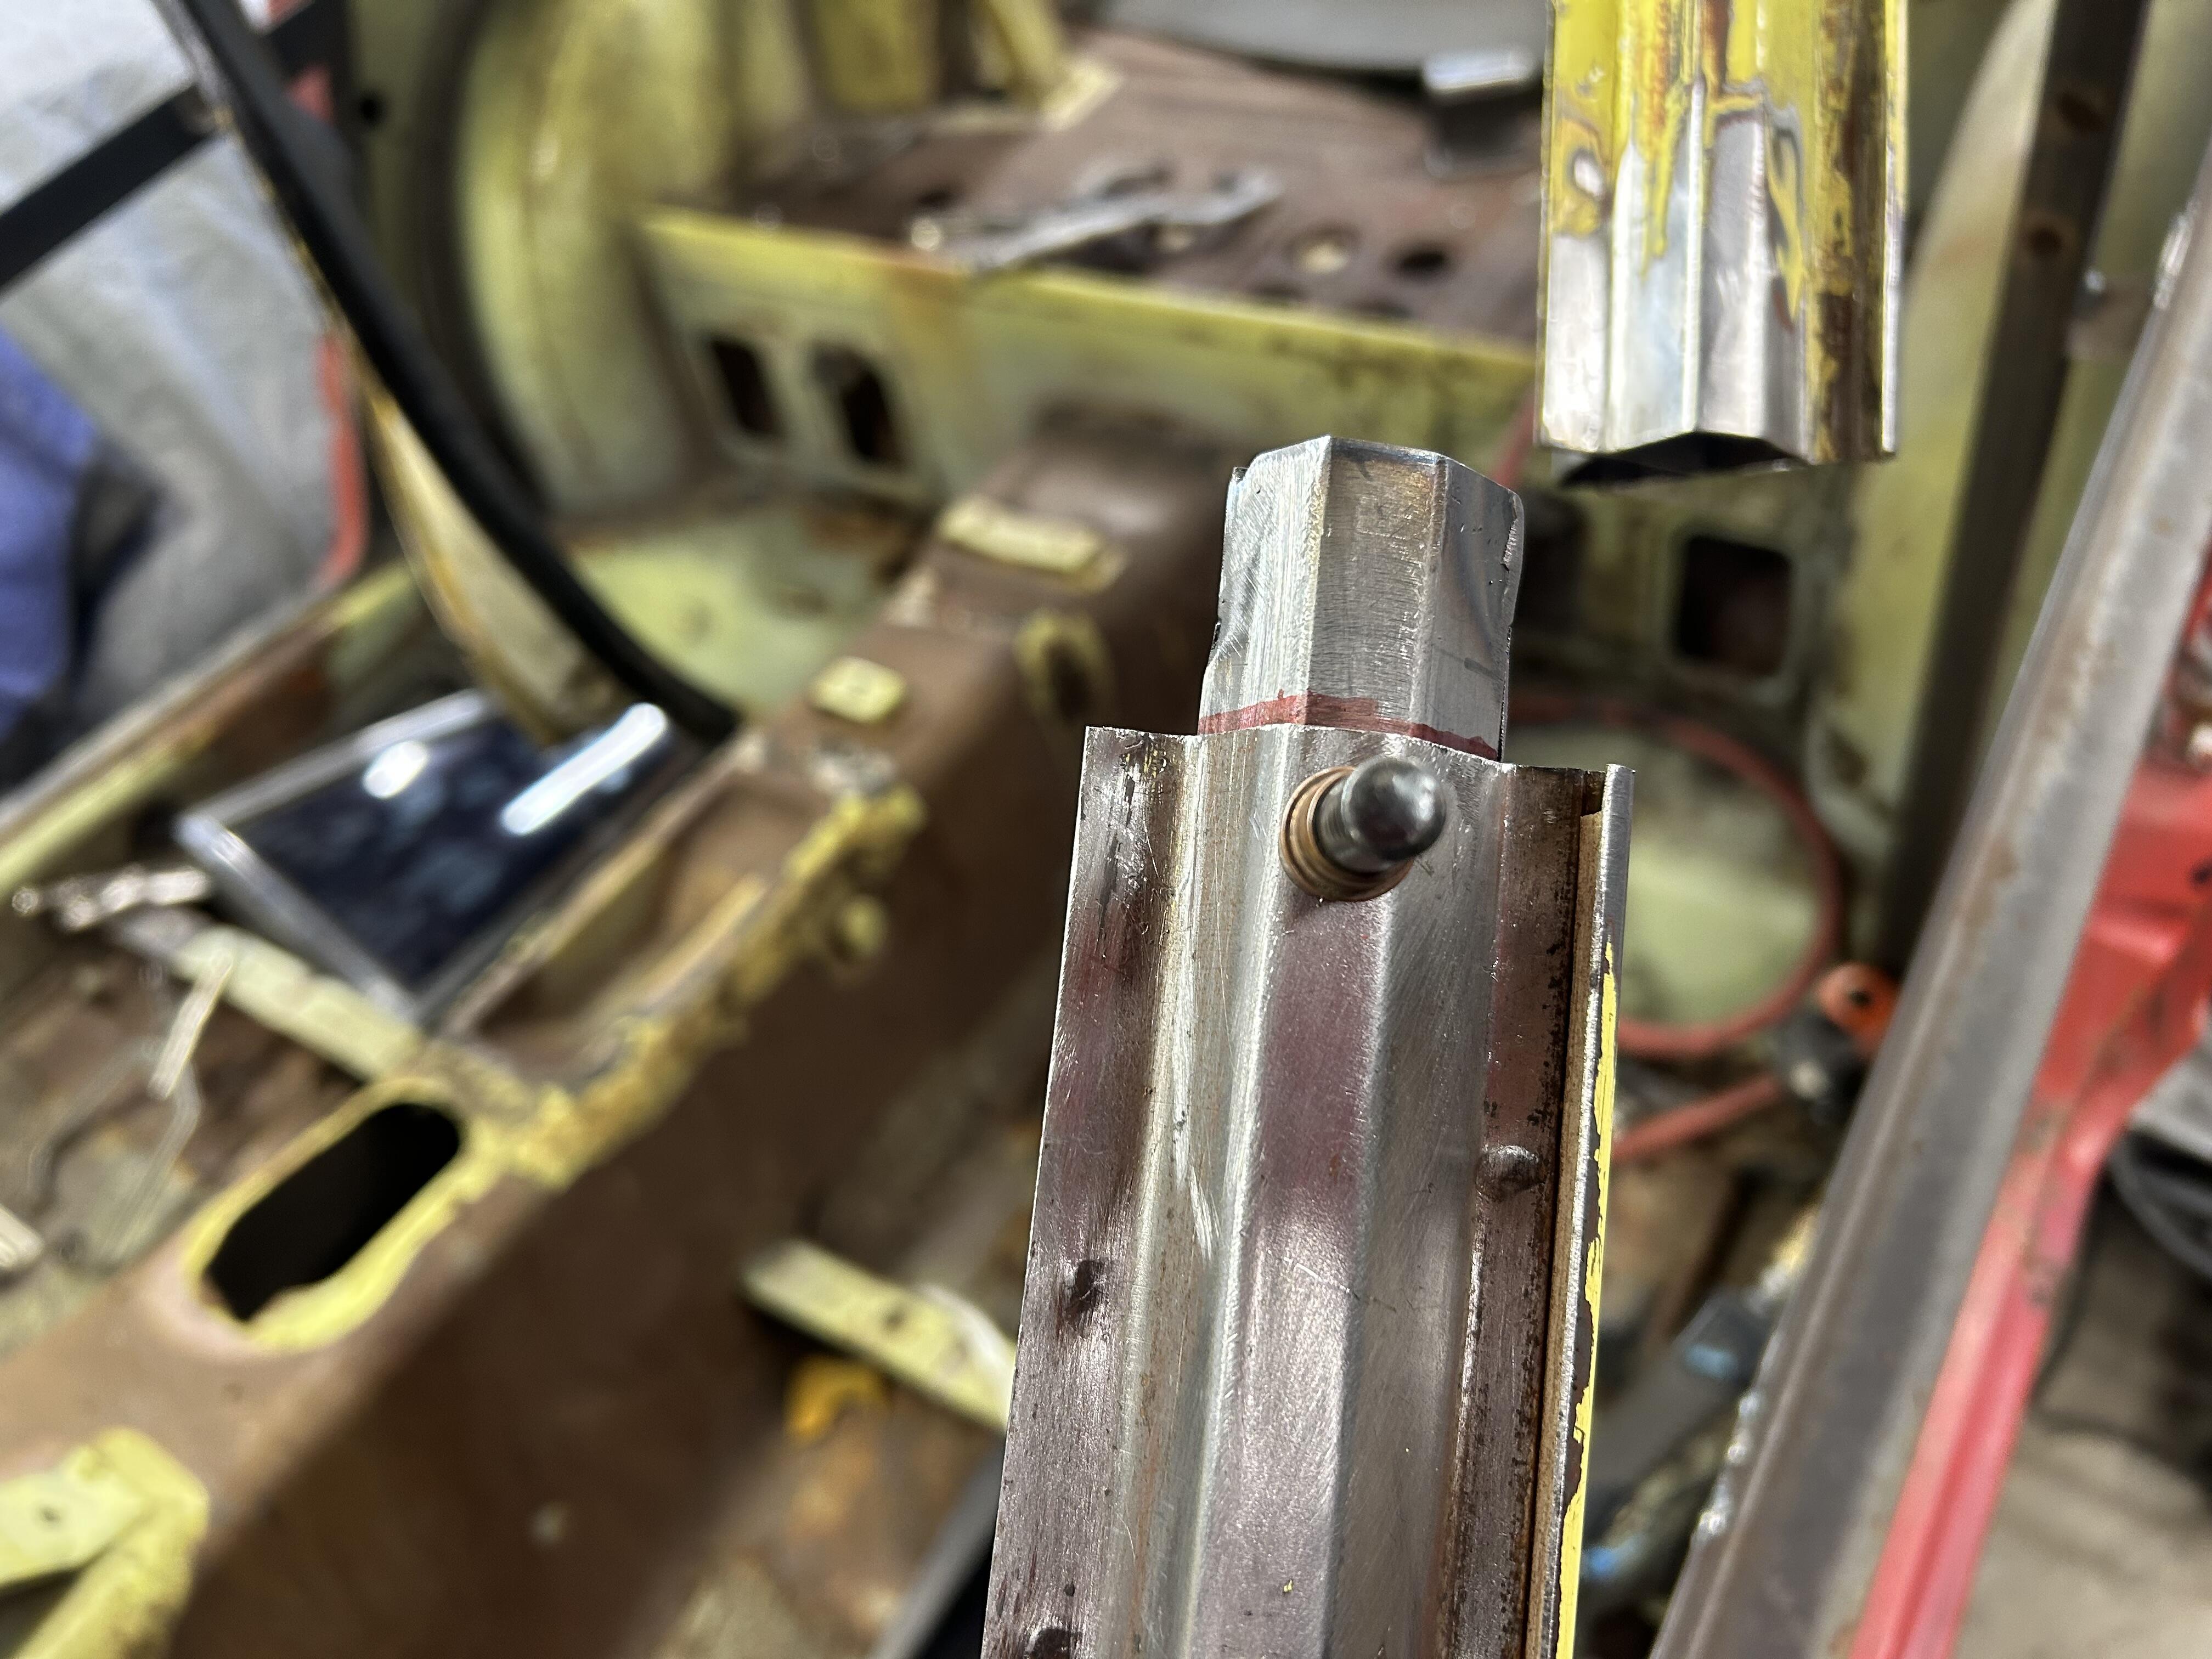
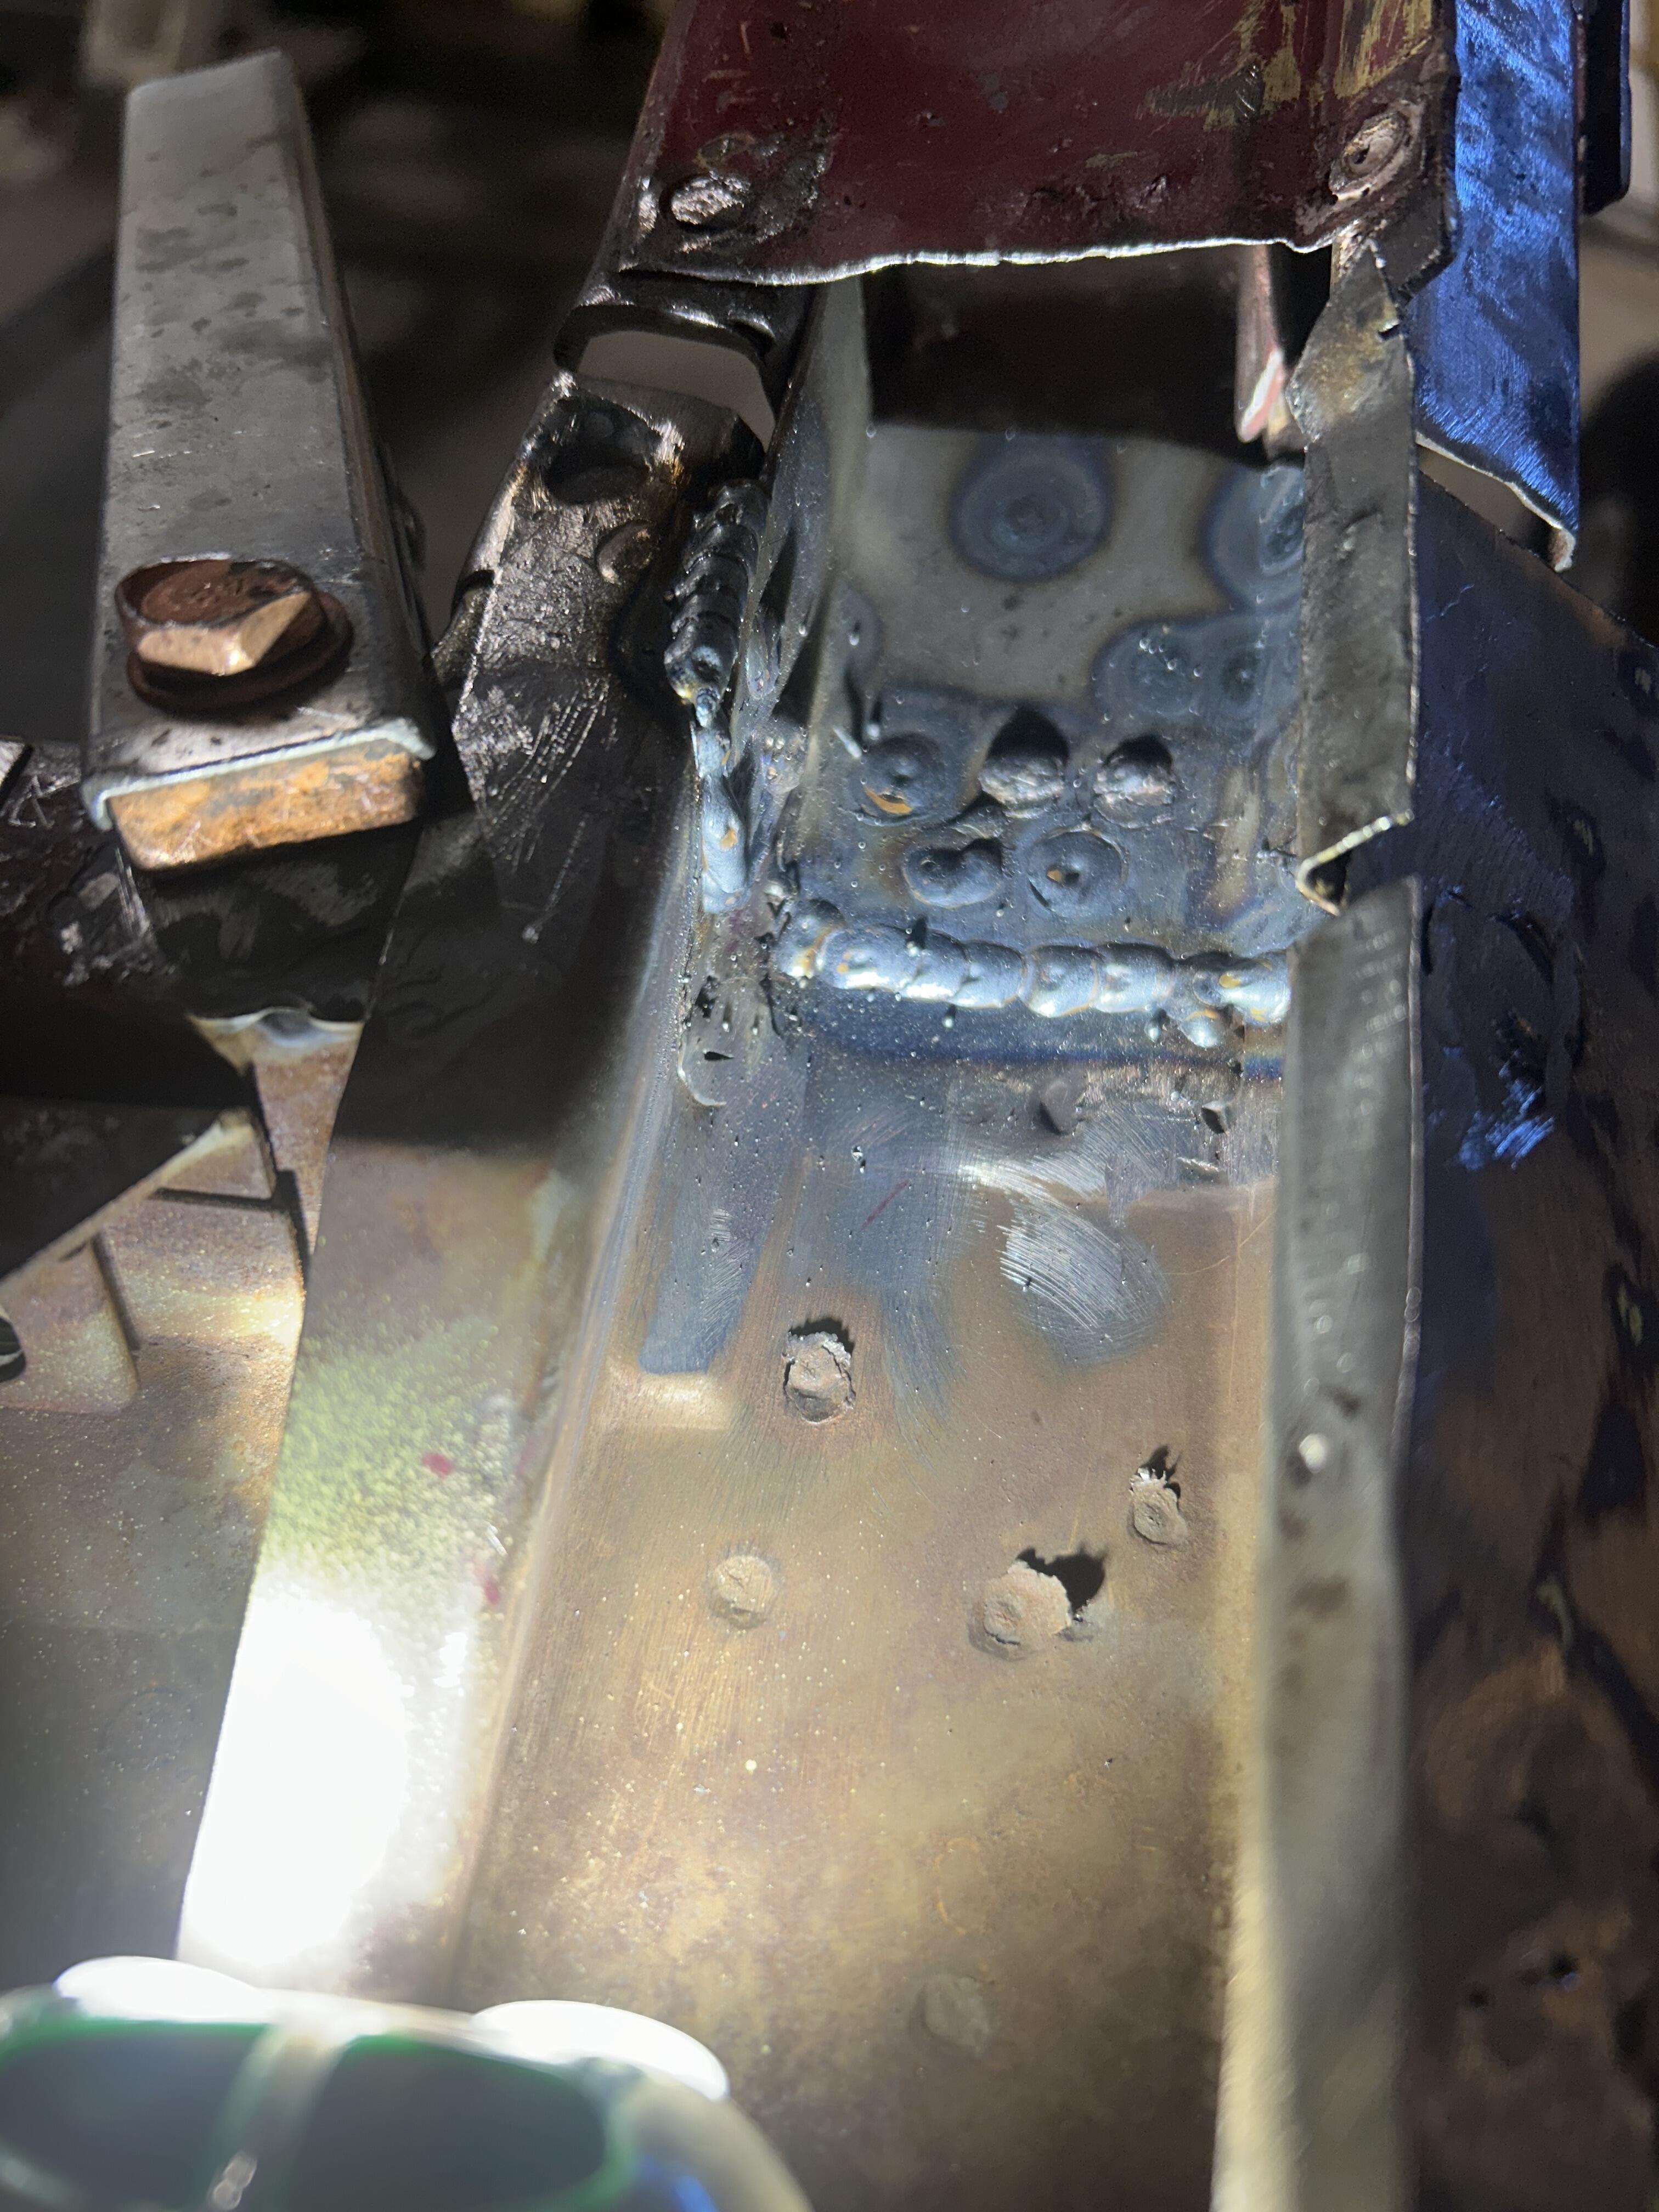
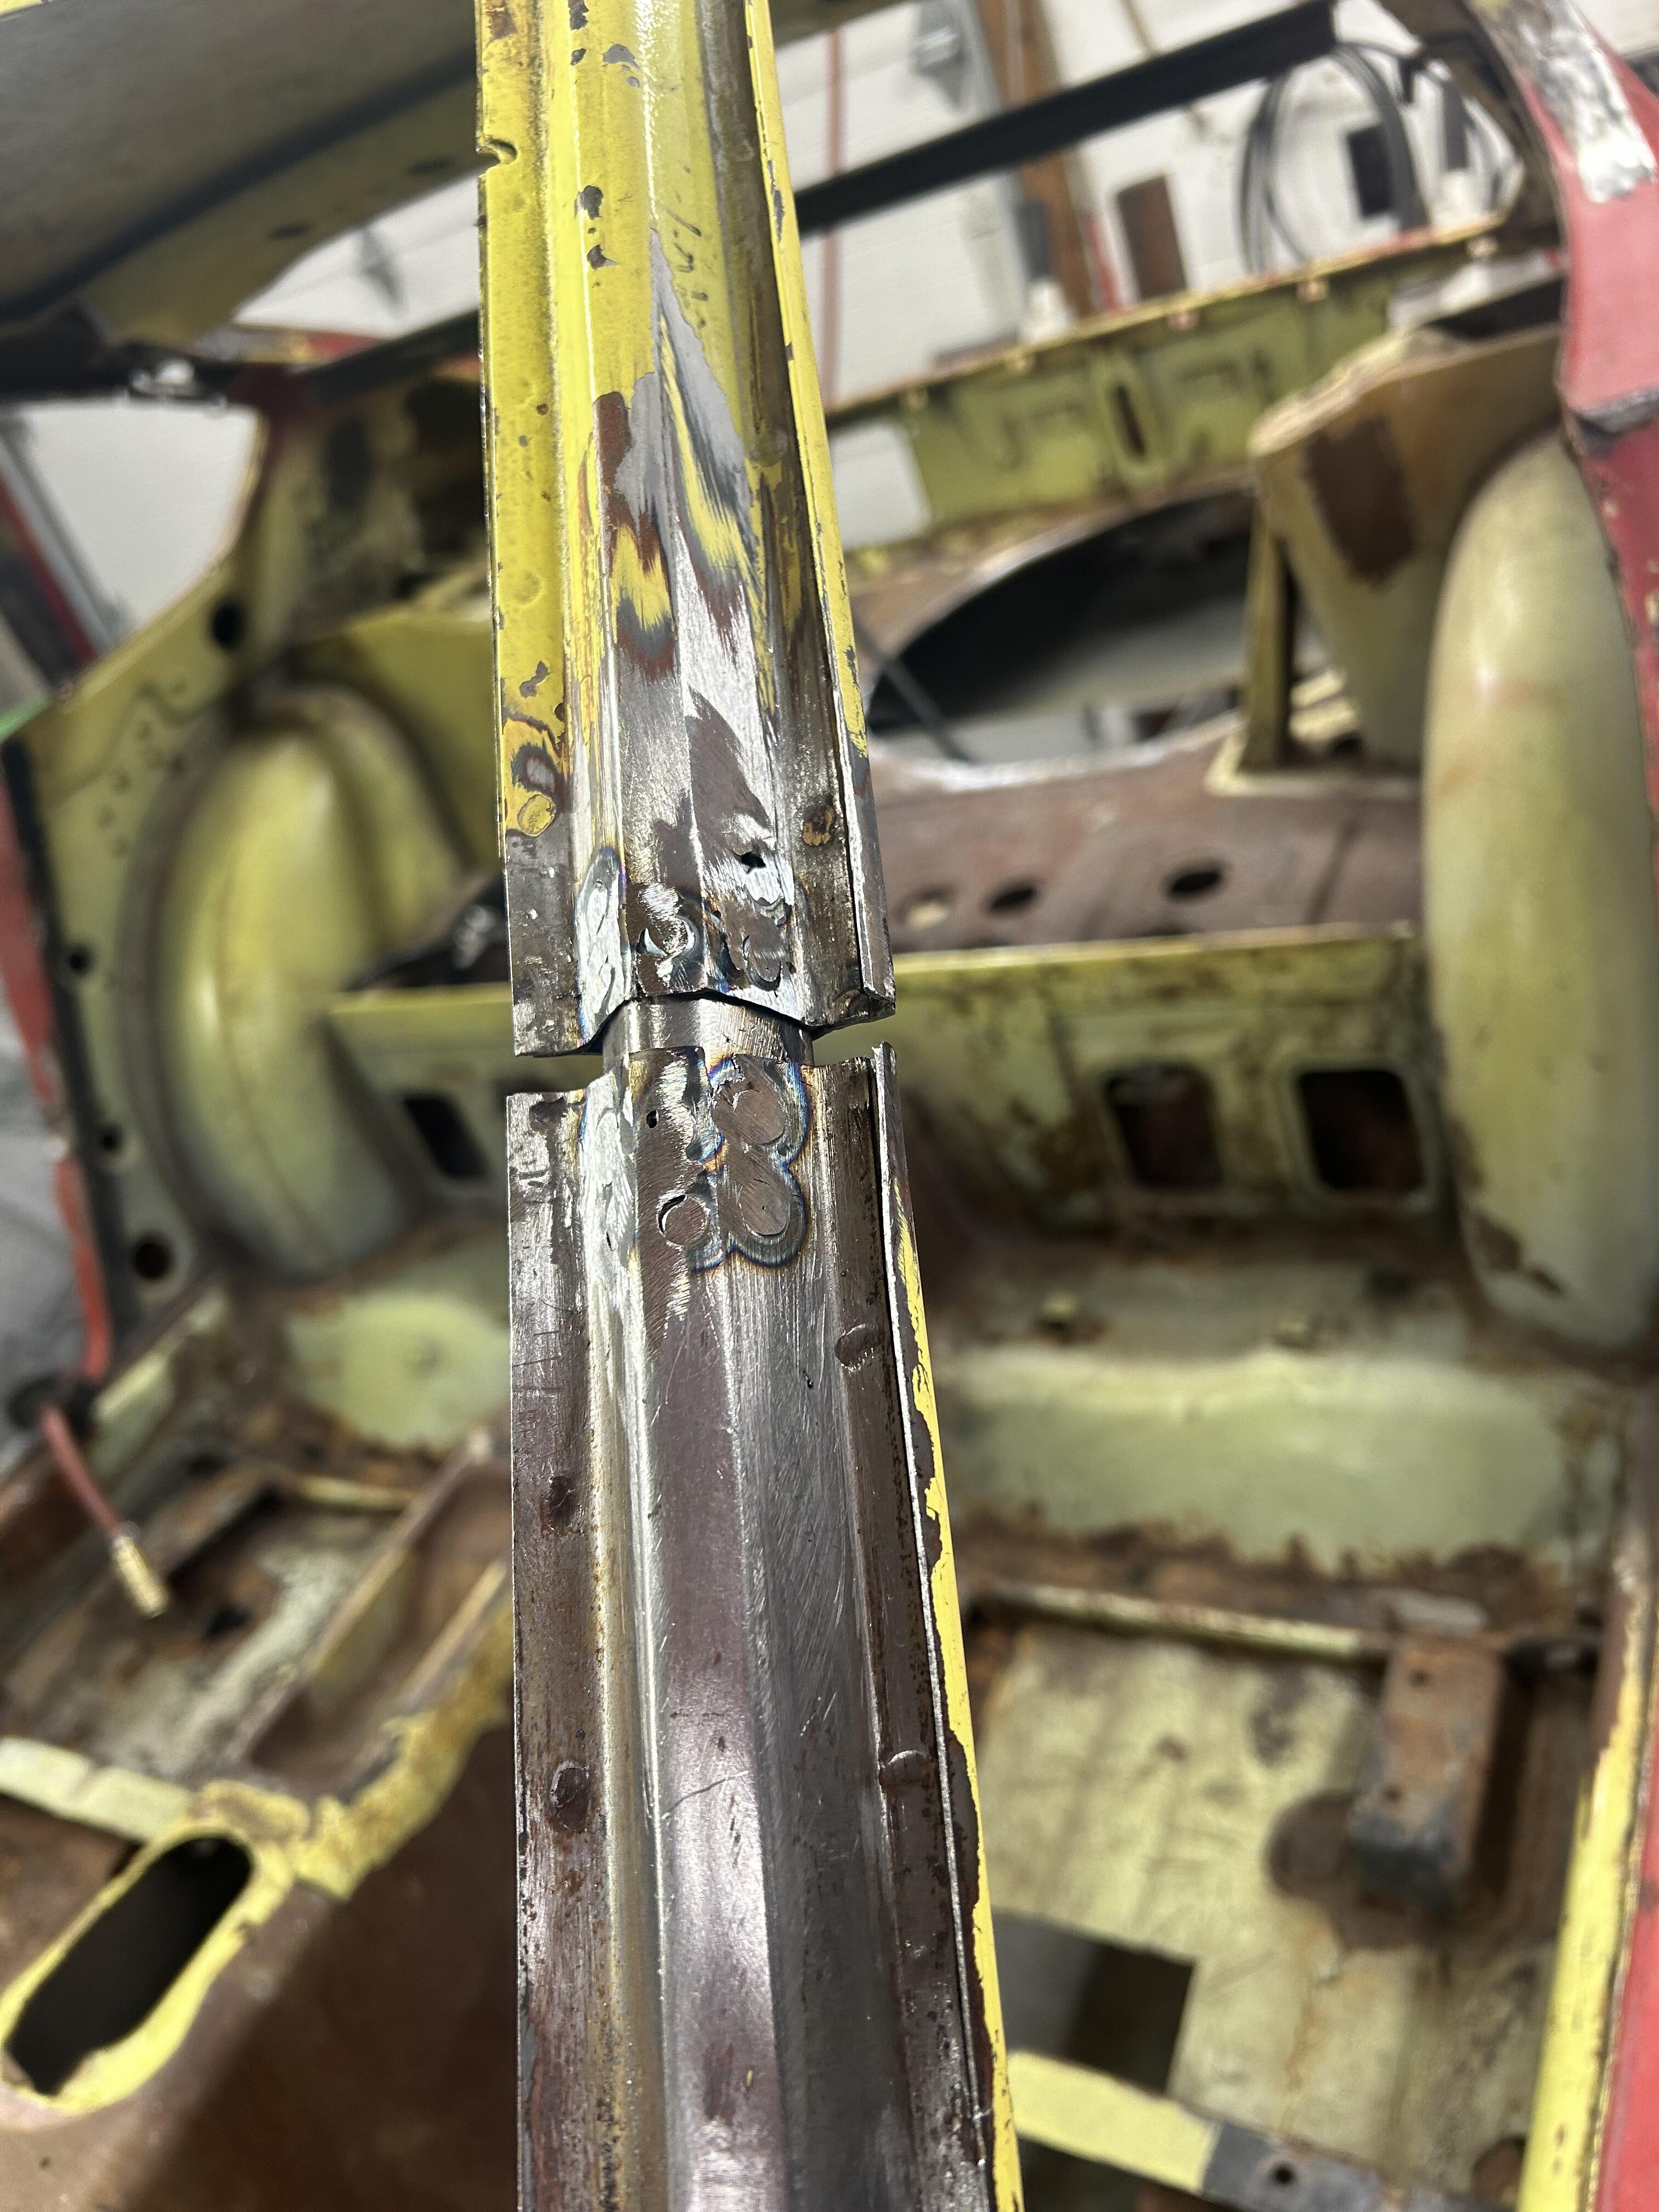
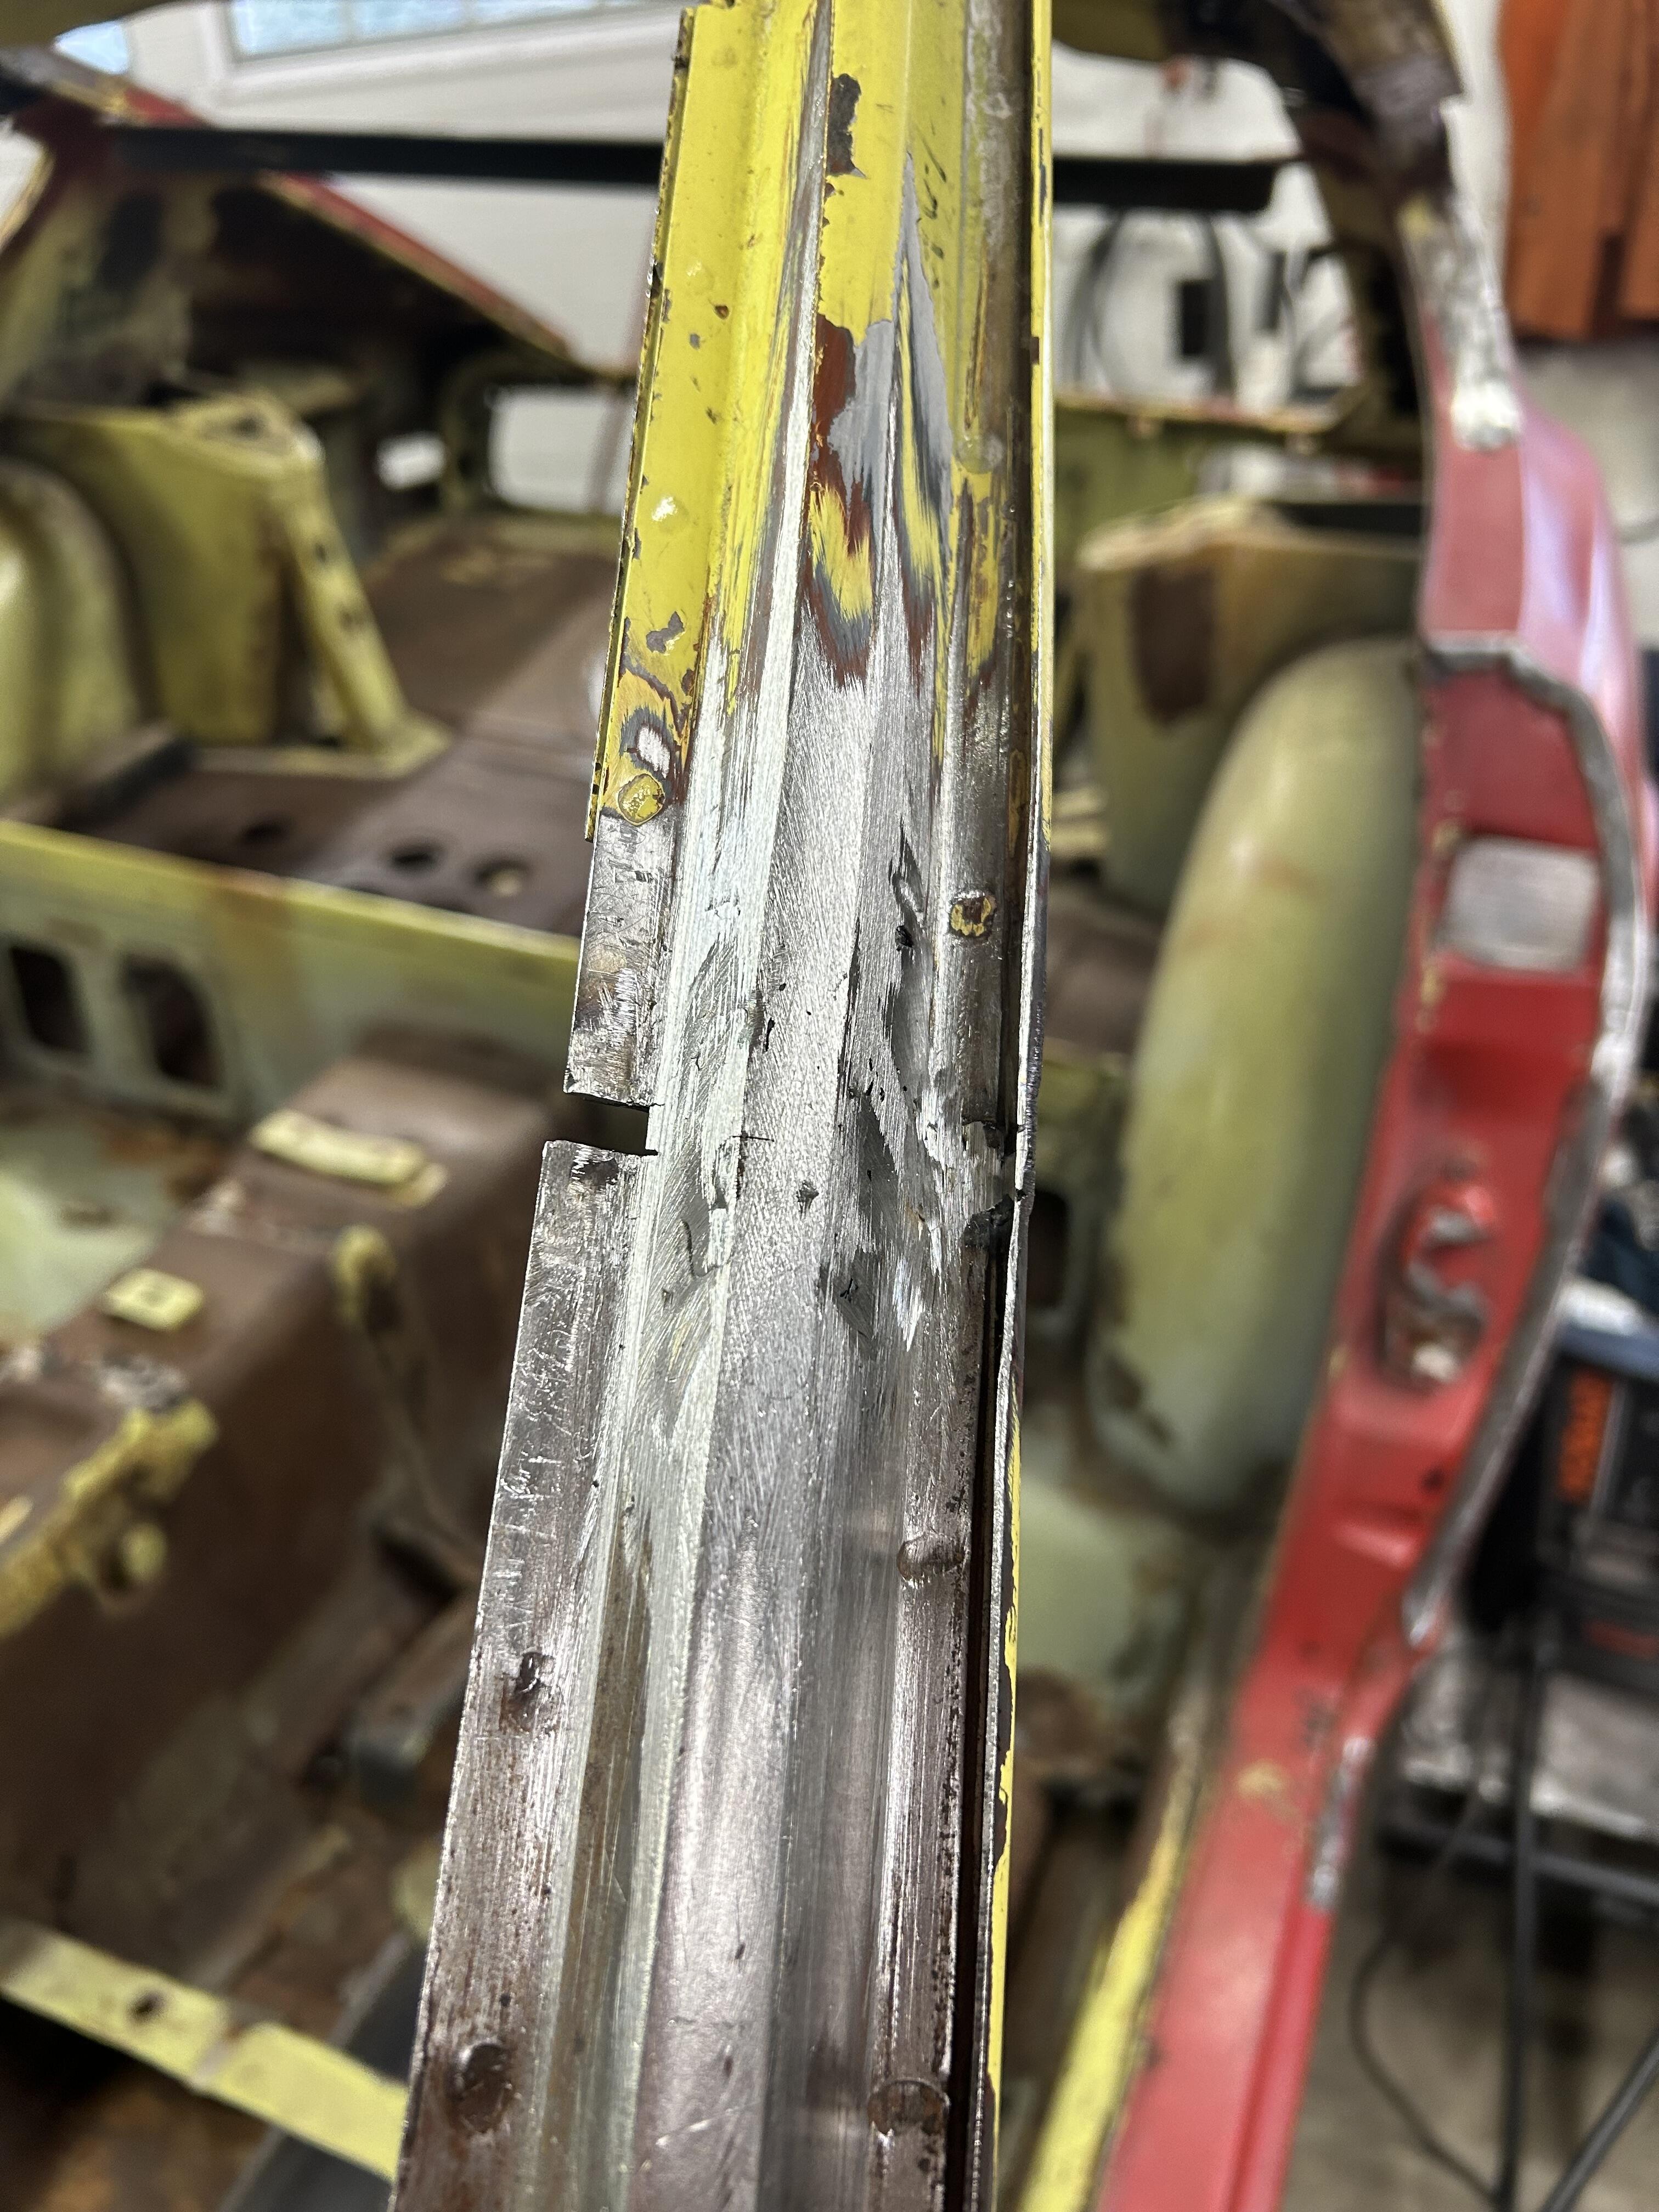
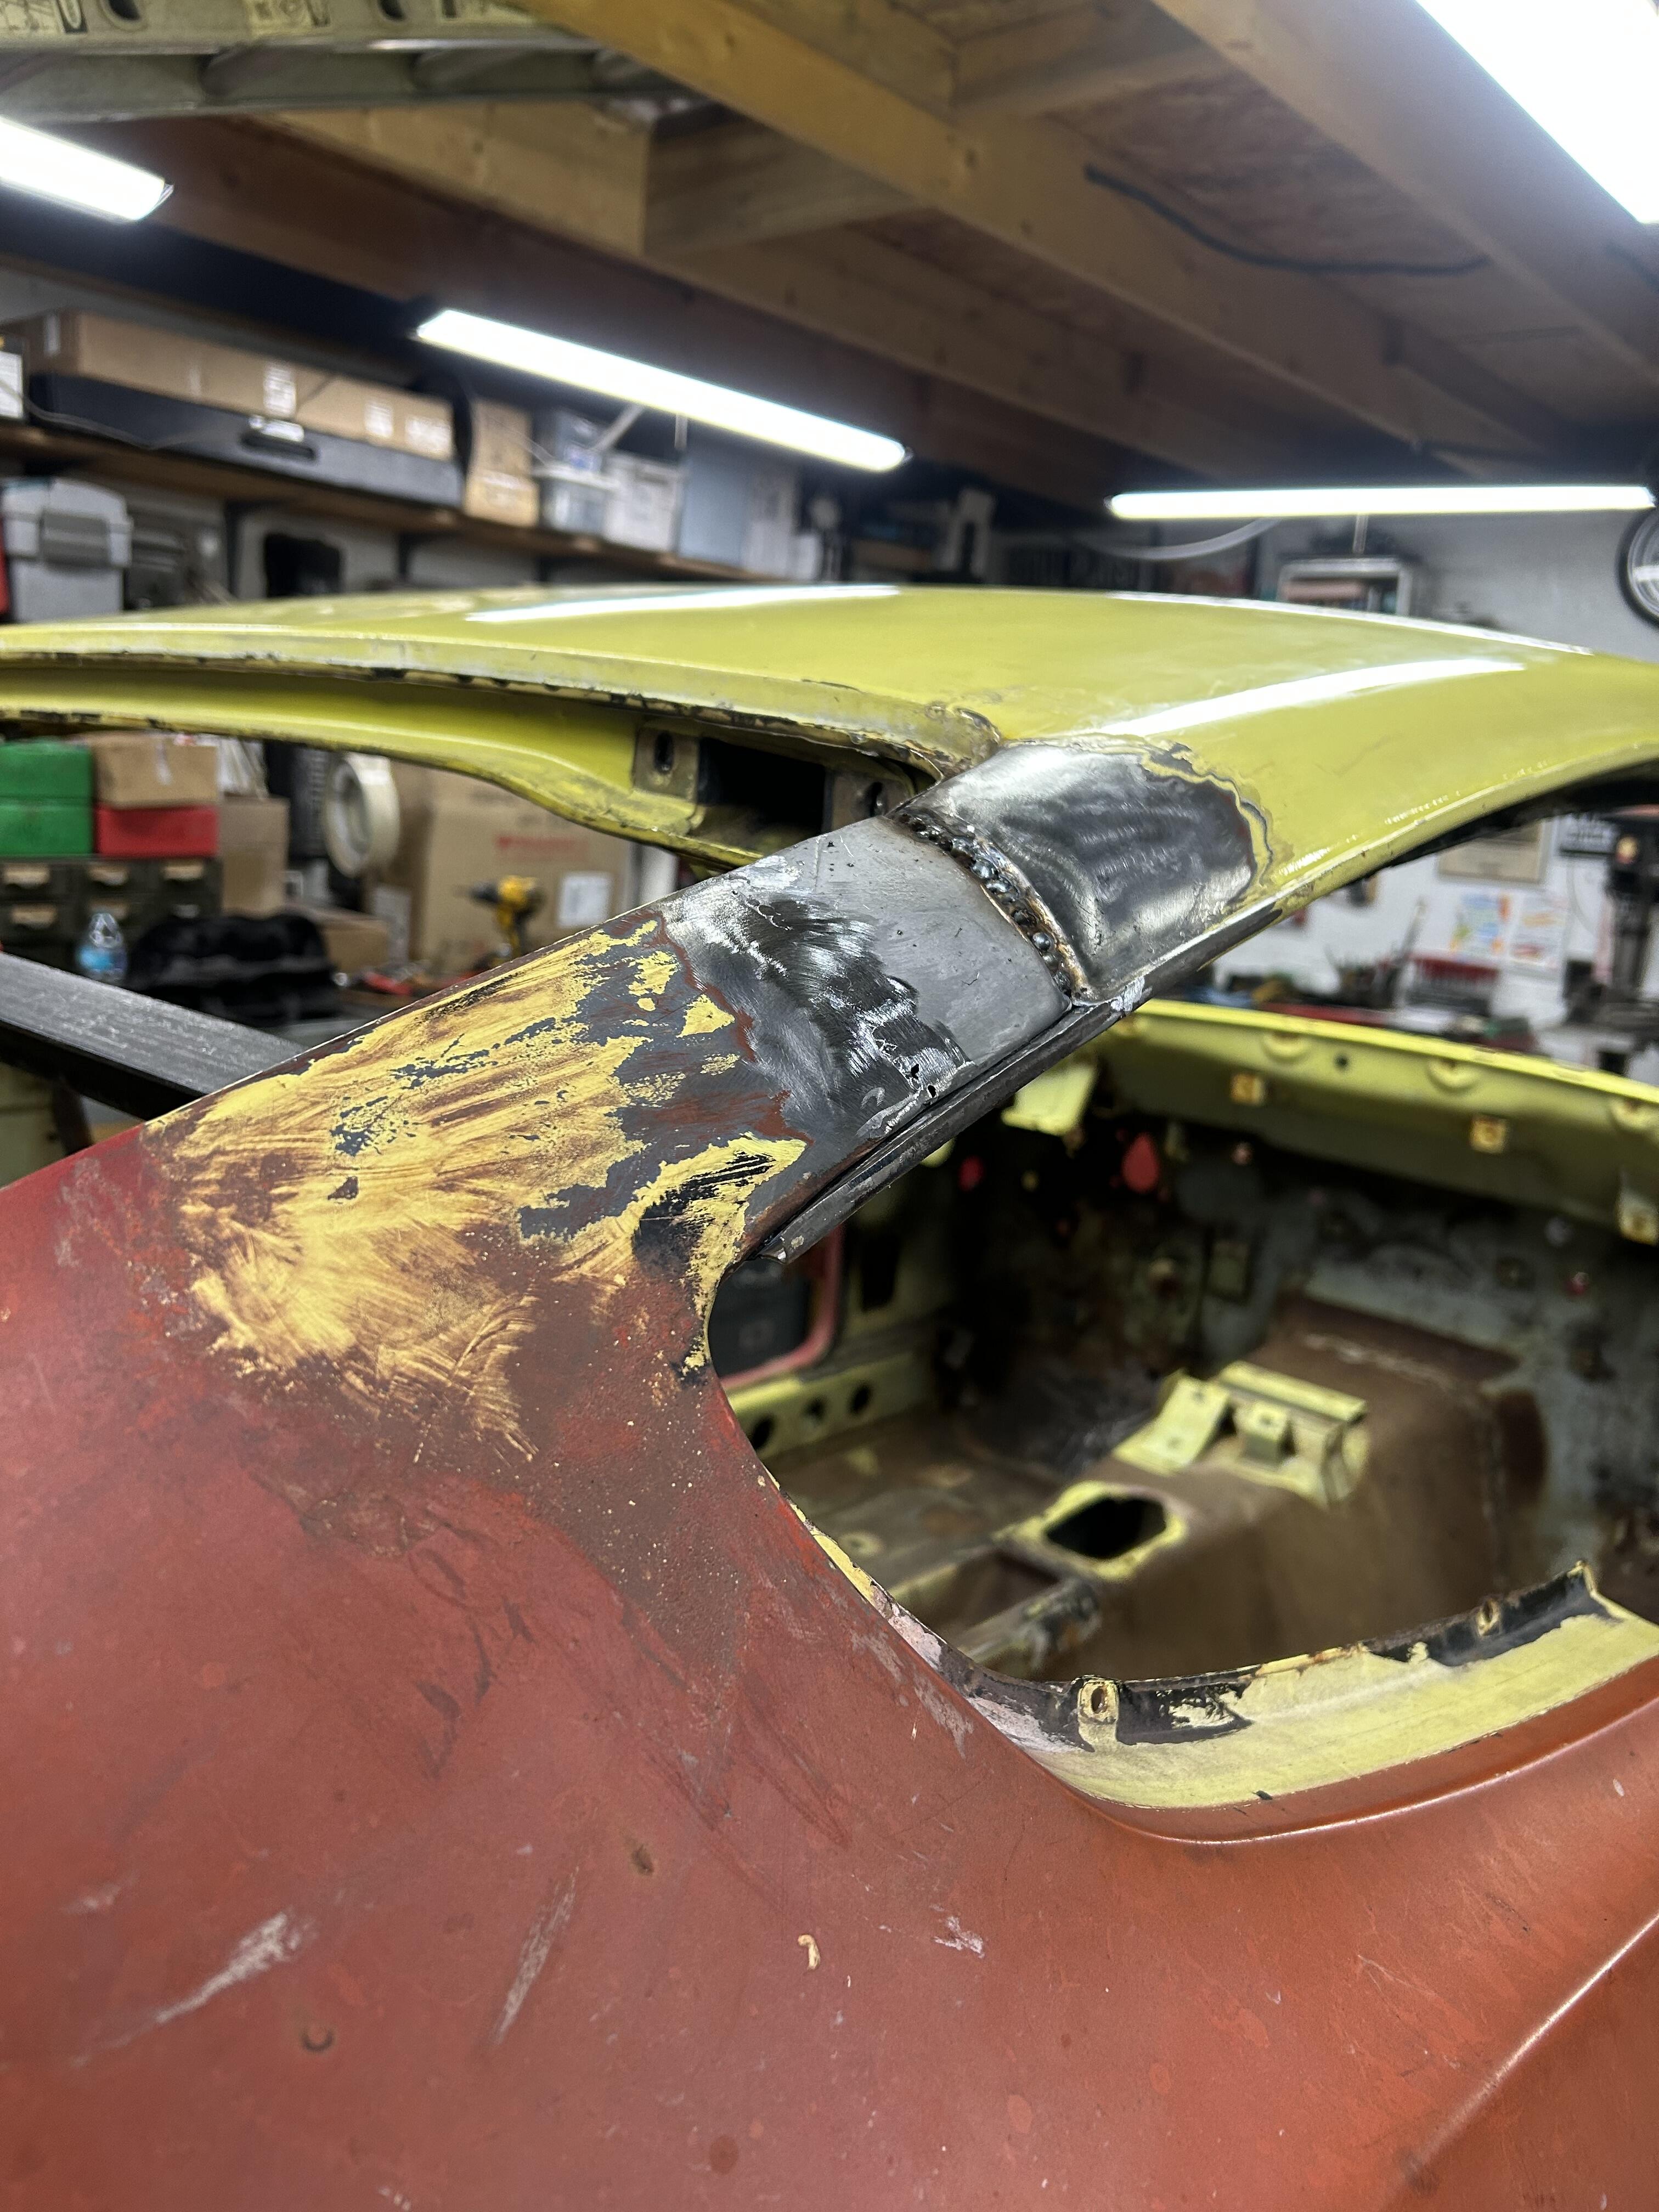
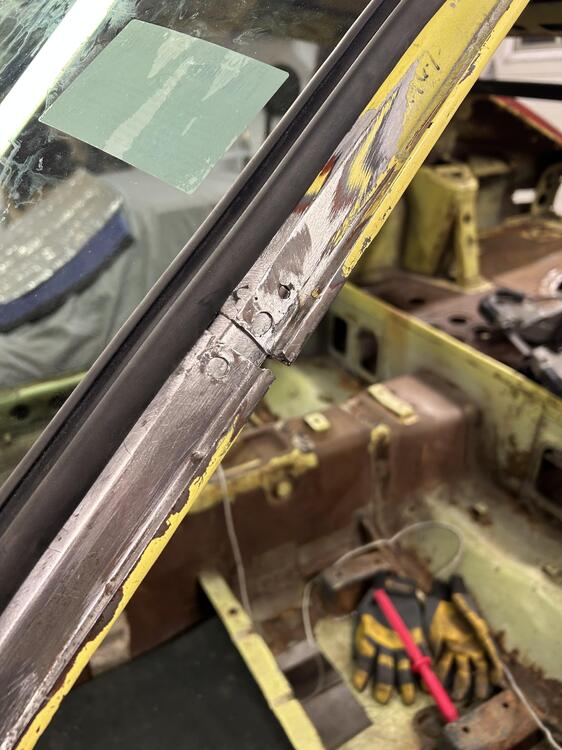
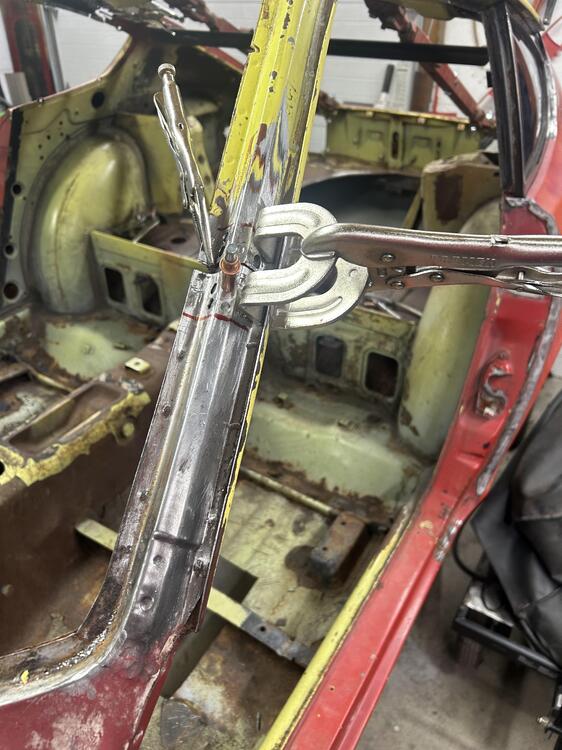
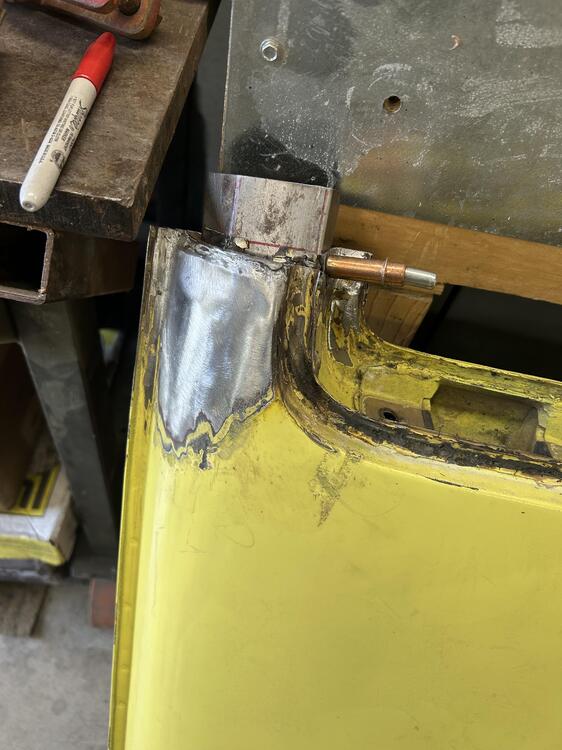
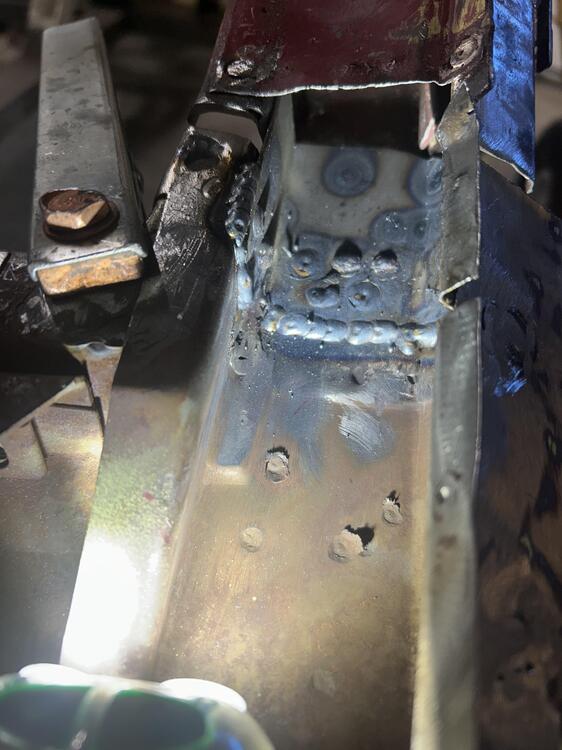
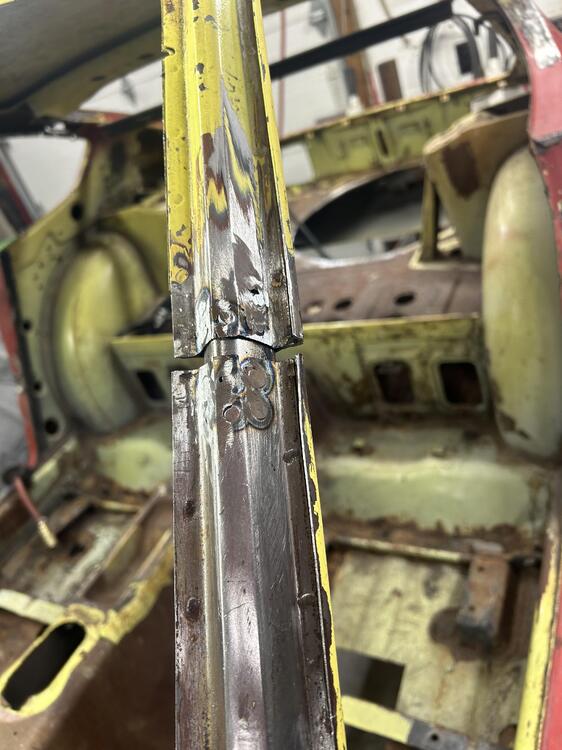
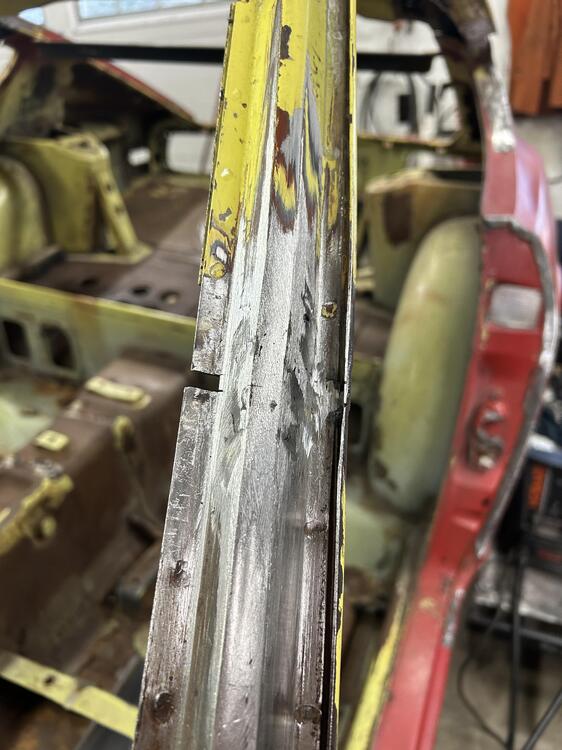
 Well here is a look of the innards of a A pillar on a Z. The way it was designed made plugging it a challenge to say the least . I had plenty of A pillar material laying around so I made some plugs to slide down inside the A pillar . I think they were less than 3” . I wanted to be able to plug weld and butt weld from all sides . I peeled back the skin on the inside of the pillar . That allowed access to weld all the way around the plug . On the back side of the roof I made a plate to help join/bridge the new roof to the rear quarter . Of course the ideal scenario was to have as small of a gap as possible . I thought I nailed it the first time - but I made the error of relying on measurements . I welded it partially and got the fit too tight and couldn’t fit a windshield . I had to undo welds and clean things up . I should have attempted to install the windshield and then welded . In the end I ended with a .250” gap which was acceptable to me . It sucked having to grind out mistakes - but I was determined . At the rear I had the quarter windows to help me line things up . Since they have 4 screws and they share with the roof and quarter - I just had to make them line up . The problem was the roof was a bit sprung and I couldn’t pull it in place without some heavy equipment. My friend of the bodyshop told me he had these big turnbuckles I could try . They were the ticket .


-
 Worked for Grannyknot using zero-forgiveness sheet metal. I don't see the problem.
 - Last week
-
 They wrote great songs but I can't think of any covers that were done. What a shame.
 -
 Looks like it could be a good basis if it's not rusty. At that discount it might be a scam though
 -
Here's a very familiar picture, I'm pretty sure Zkars put up for us, that shows where the fluid should be. The top of the rectangle.

-
 As long as we’ve brought up our daily drivers, every time I go to the Toyota dealership they were telling how much mine was worth and how I should trade it! I double crossed them and sold it to a private party for $36K and bought this! Holy Schmidt it’s fast for an SUV. Porsche Macan GTS. That’s one of the other three Porsches sticking its tail out of the garage behind it…
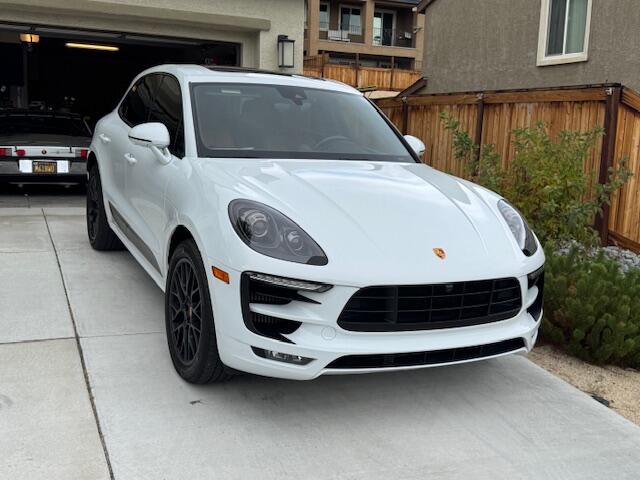
-
 Arguably the rarest of the fairladies…..
 -
I'm going to want power windows at some point, but would like a fairly invisible system. Atleast on the door card... I'll keep an eye out for your thread
-
Is it for the 260 in your cars owned or is it a ZX as the TECH FORUM category you chose? Here's wiring for a 260. There's a lot of info in the RESOURCES category up top of the home page
-
The RPMs should decease when lifting that piston, almost dying out. Lifting the piston disables that carb then you are running on the 3 cylinders the other carb feeds. That's what mine does anyhow. Try reaching in and lift the piston itself instead of pushing those pins down. Your needle height may be off from the rebuild with the needle height set screw? Remember raising and lowering is viewed from the bottom of the car. Turn the nuts towards the fender to lower the needles. Read the section on SETTING MIXTURE.
-
 Still in original packaging. $10.
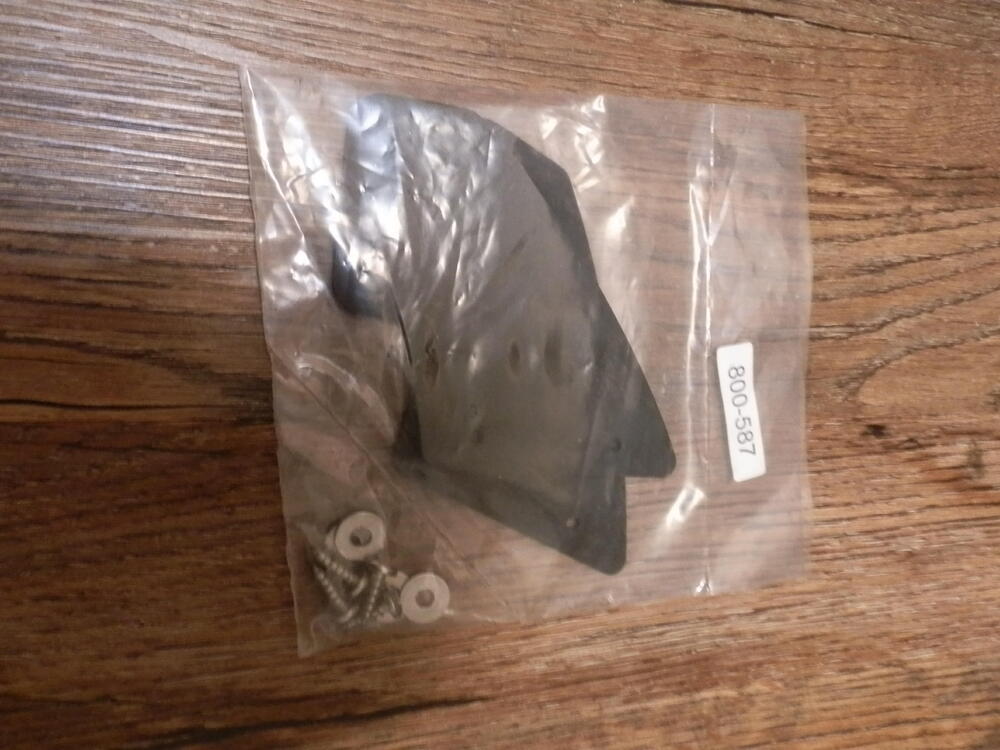
-
Phot says it all. Sand, paint and ready-to-go $25

-
-
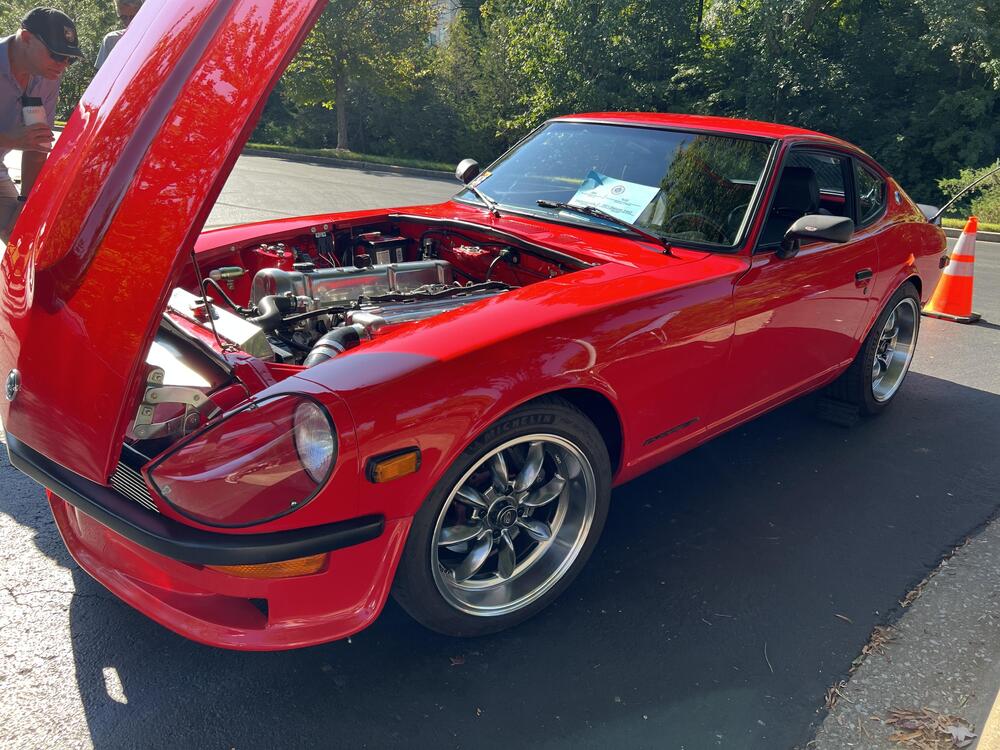
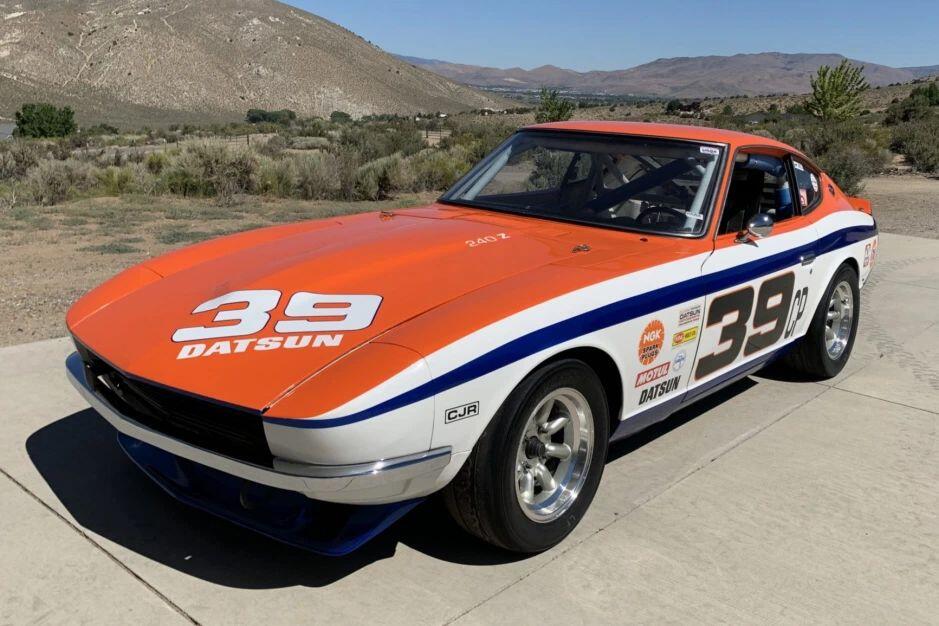
 Glad you came to ZCON and gave me some inspiration on my future engine! I got a pic of our cars together and one of yours at the show Saturday. Hope to see you again at a future event!
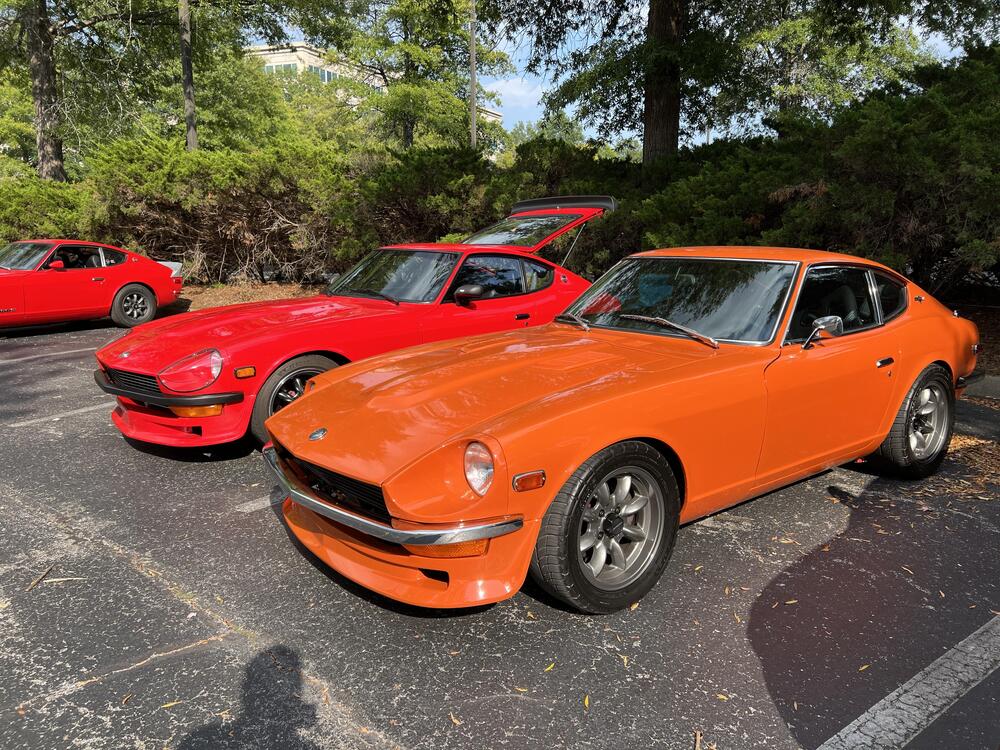
-
😎
-
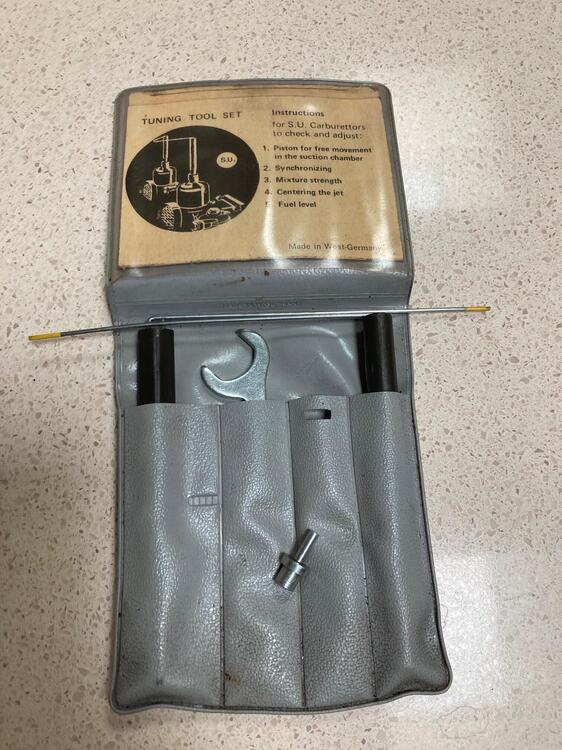
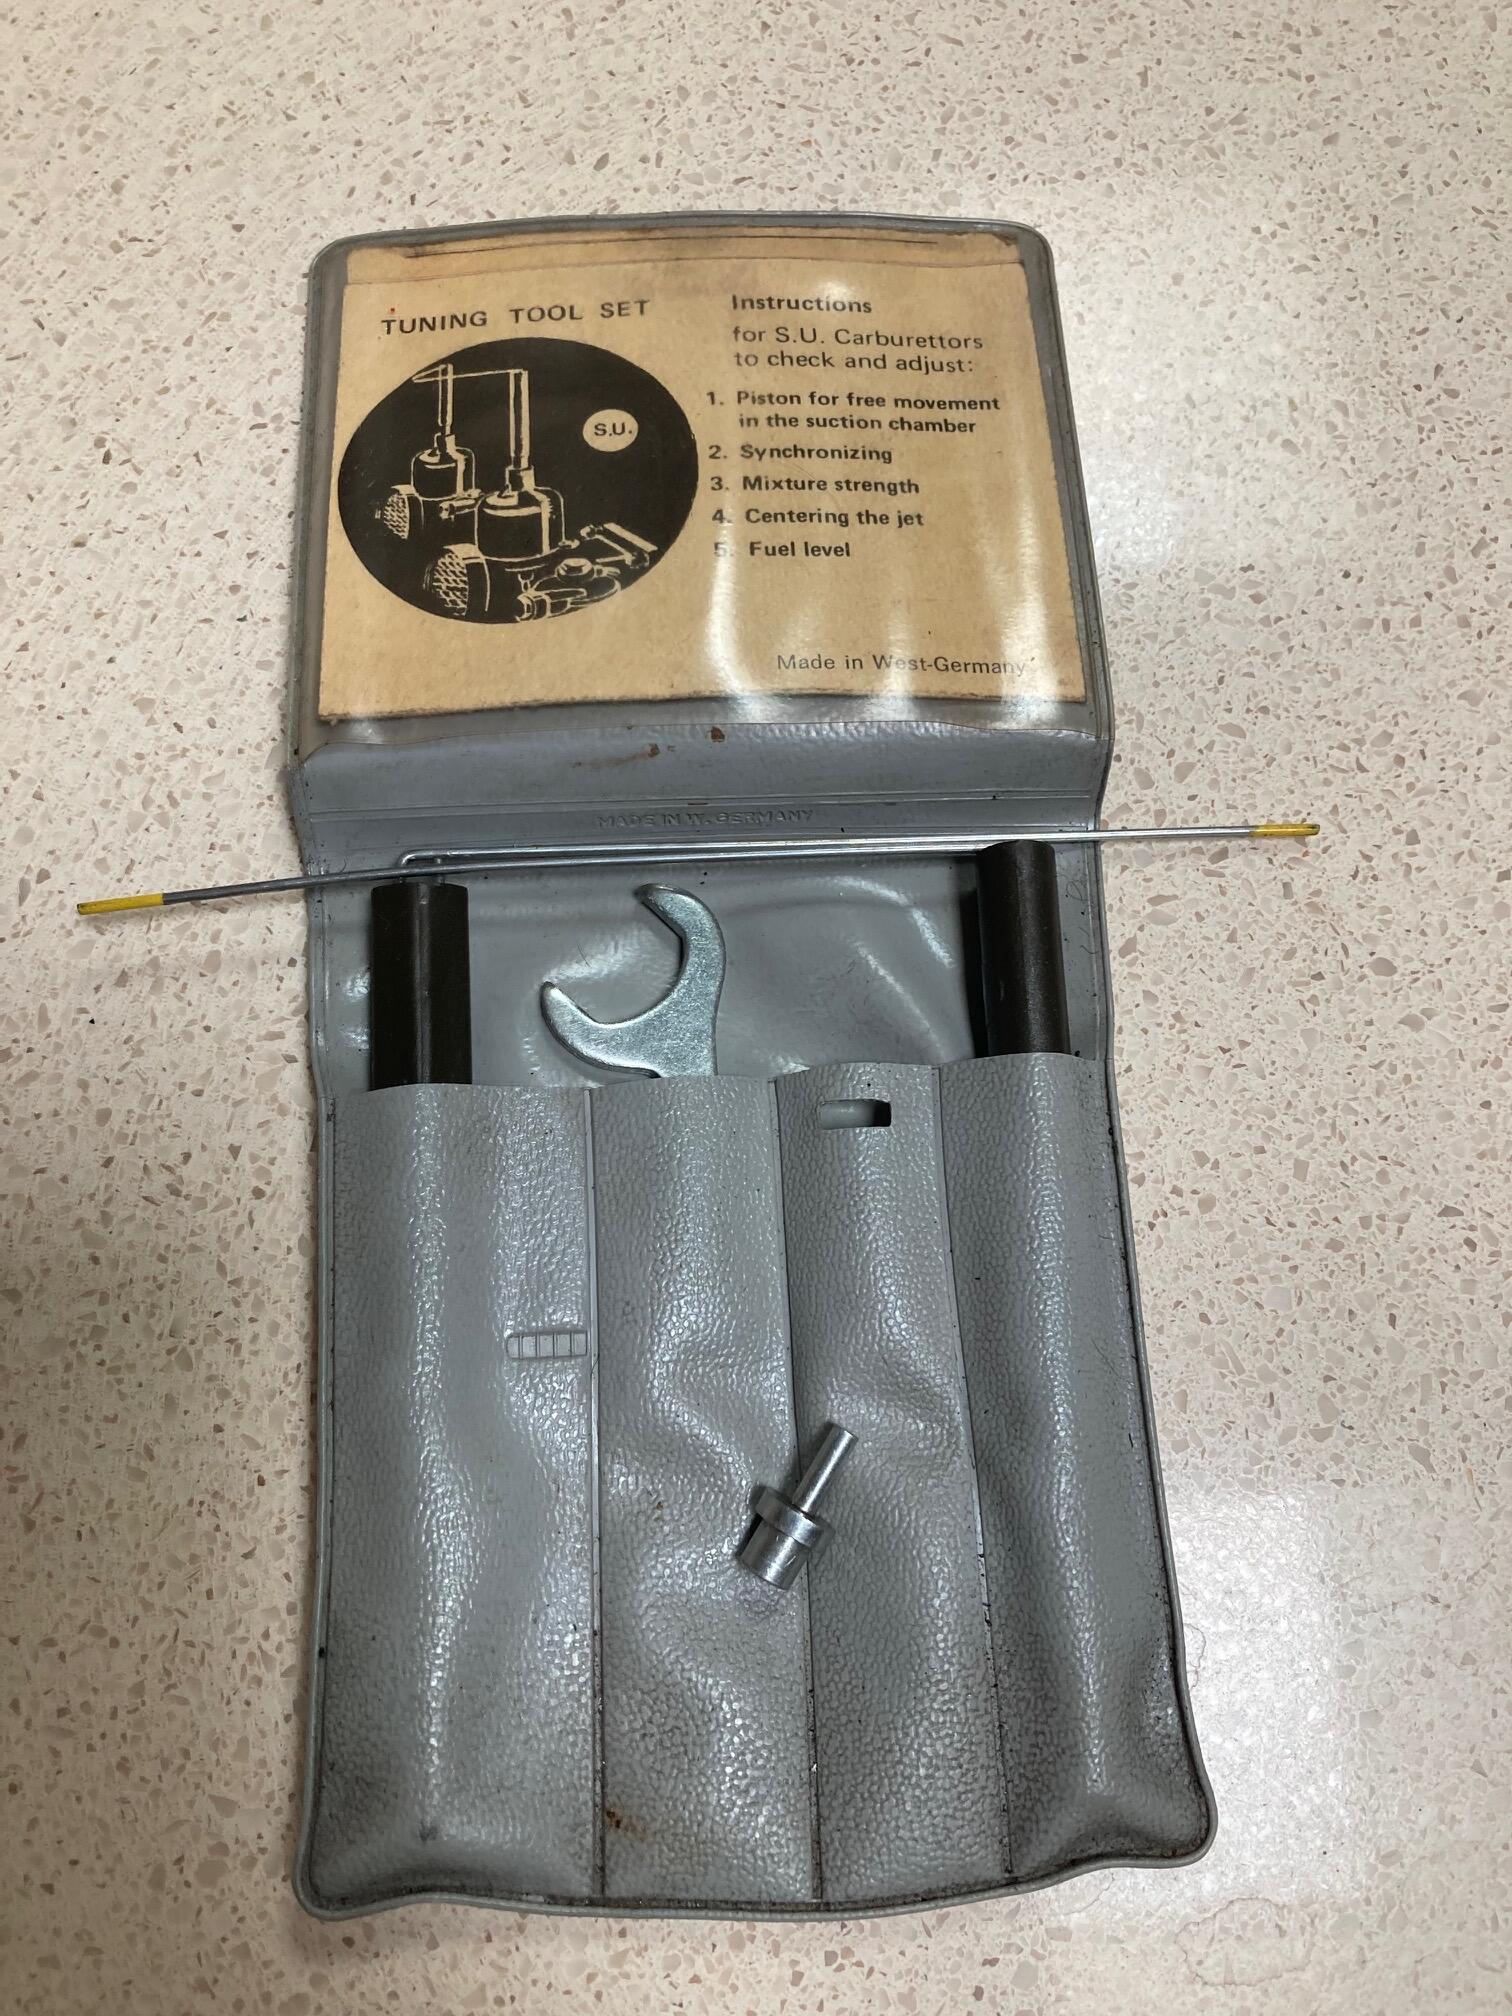
 Here is the SU tuning kit mentioned in post above. I just checked on eBay and they are available for $40. The small aluminum fitting laying on top of the gray package is the one I was referring to.