zKars
Supporting Member
-
Joined
-
Last visited
Everything posted by zKars
-
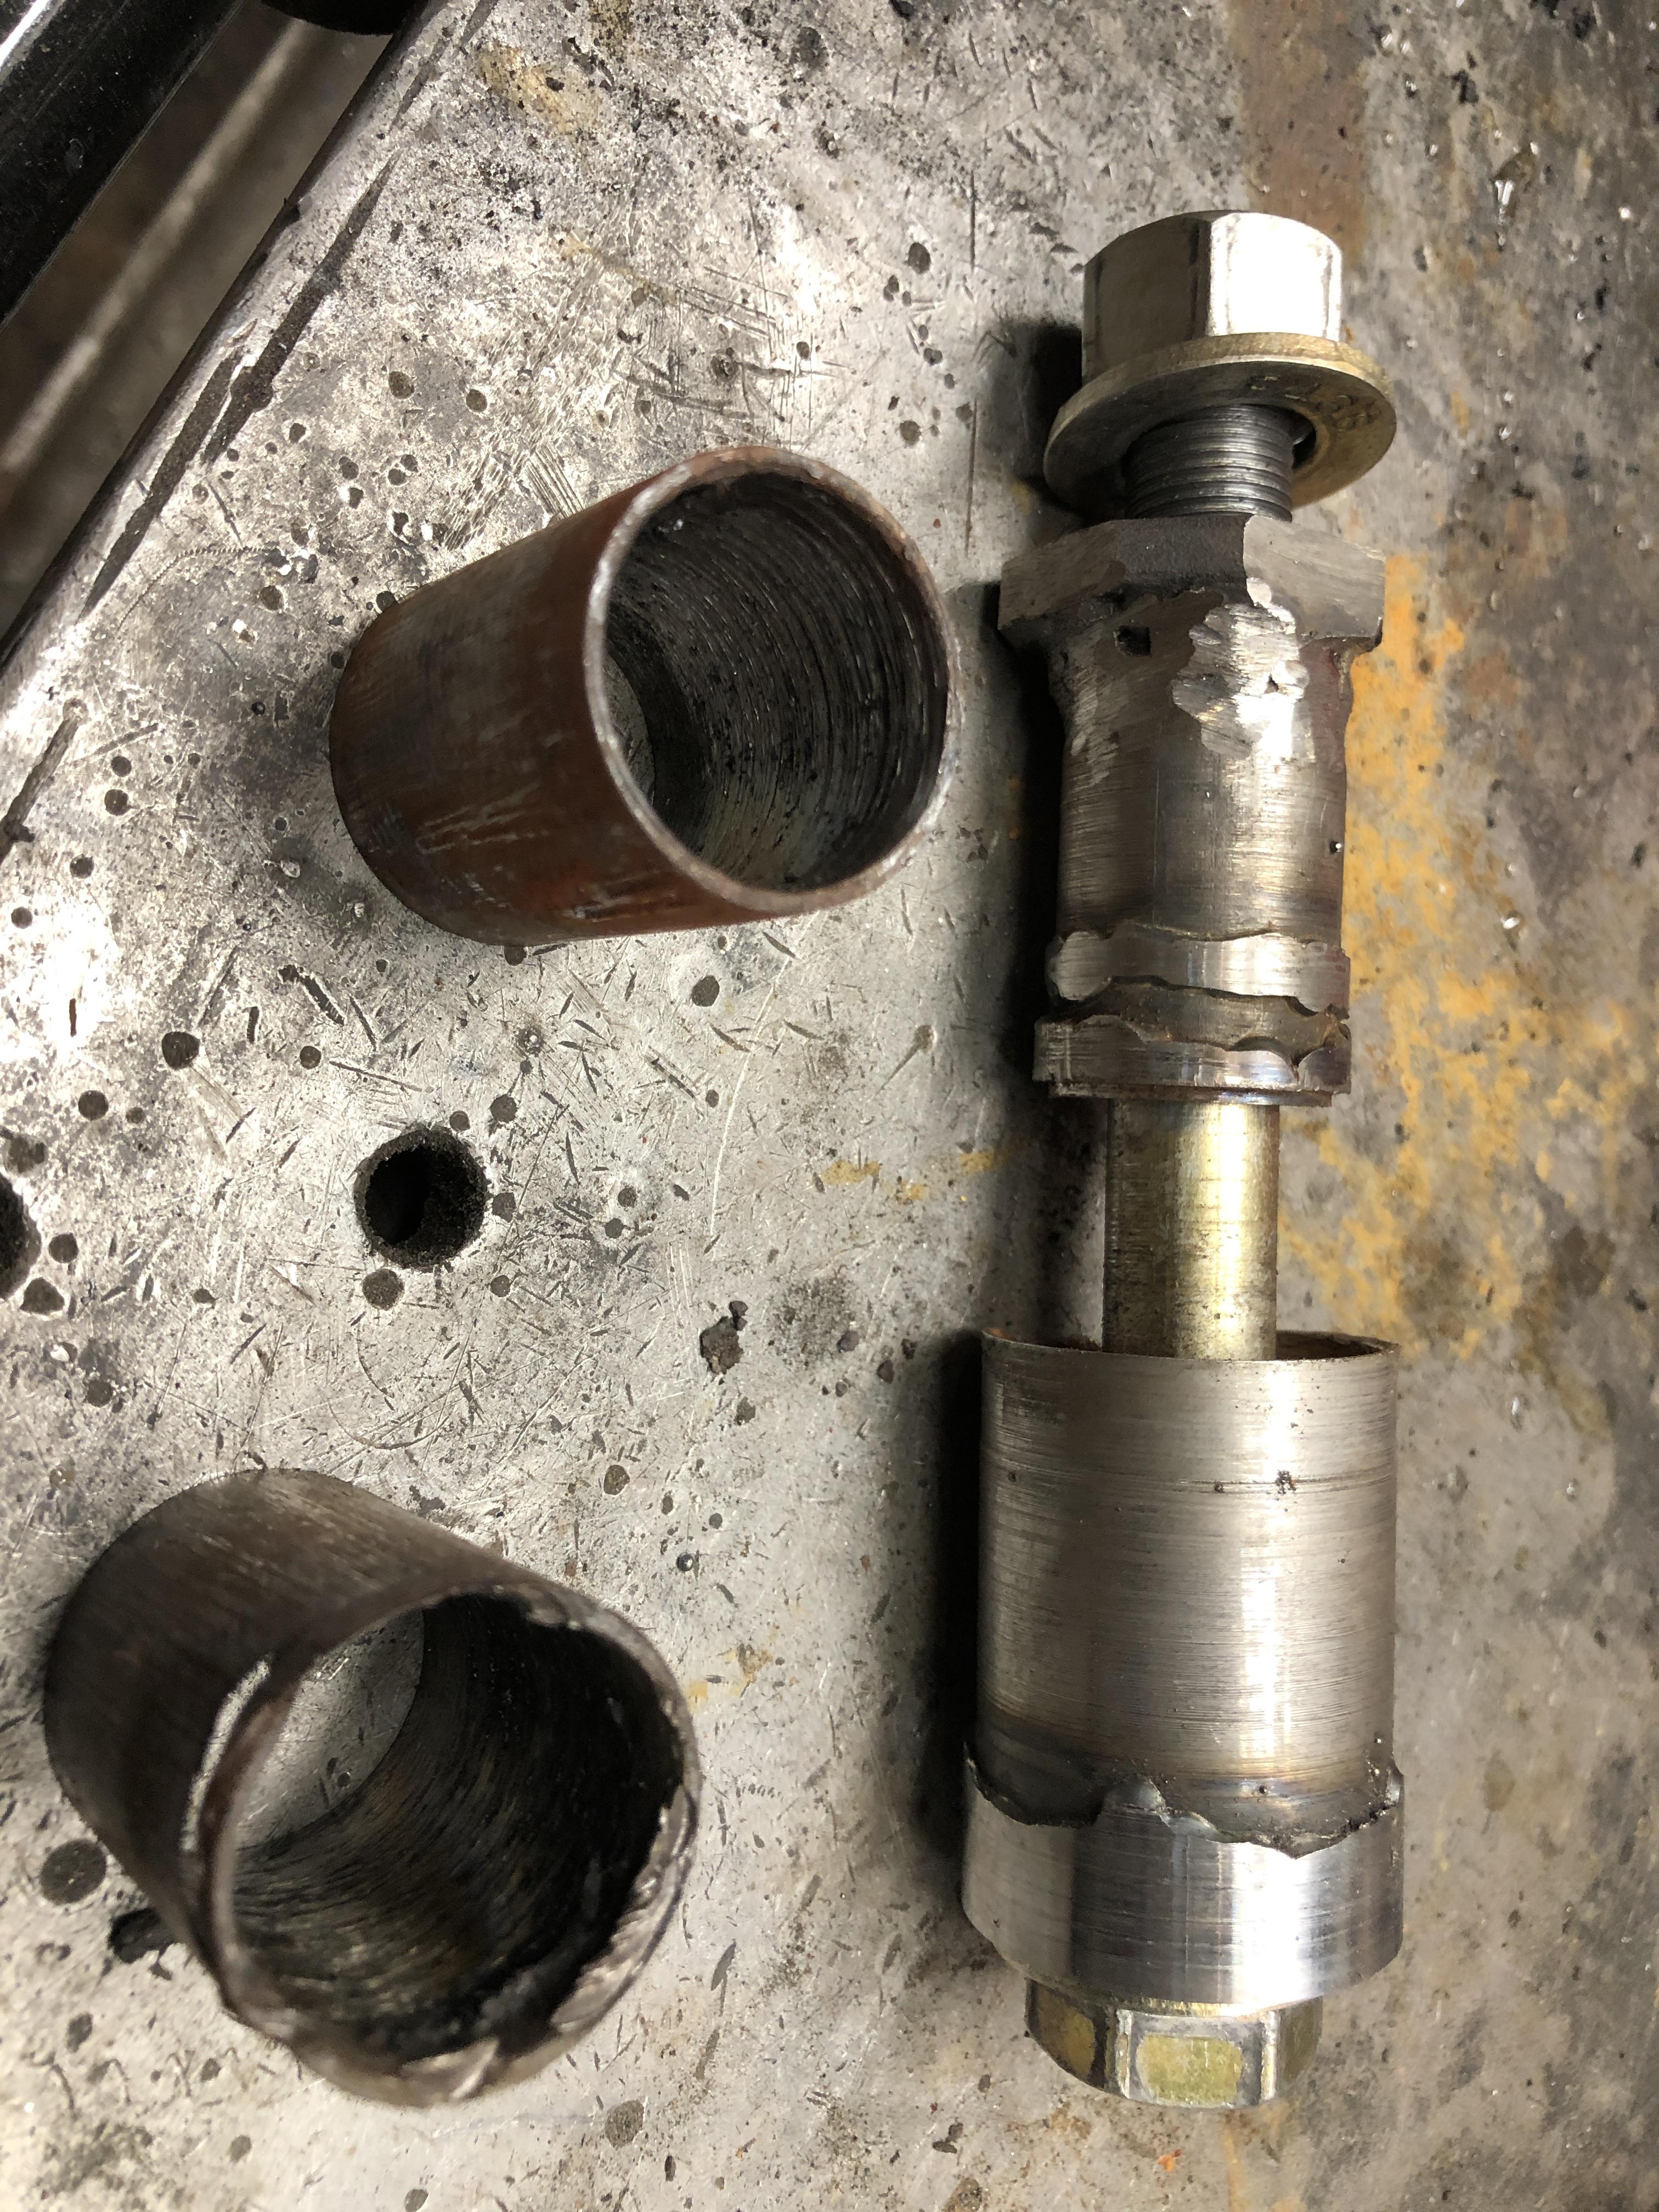
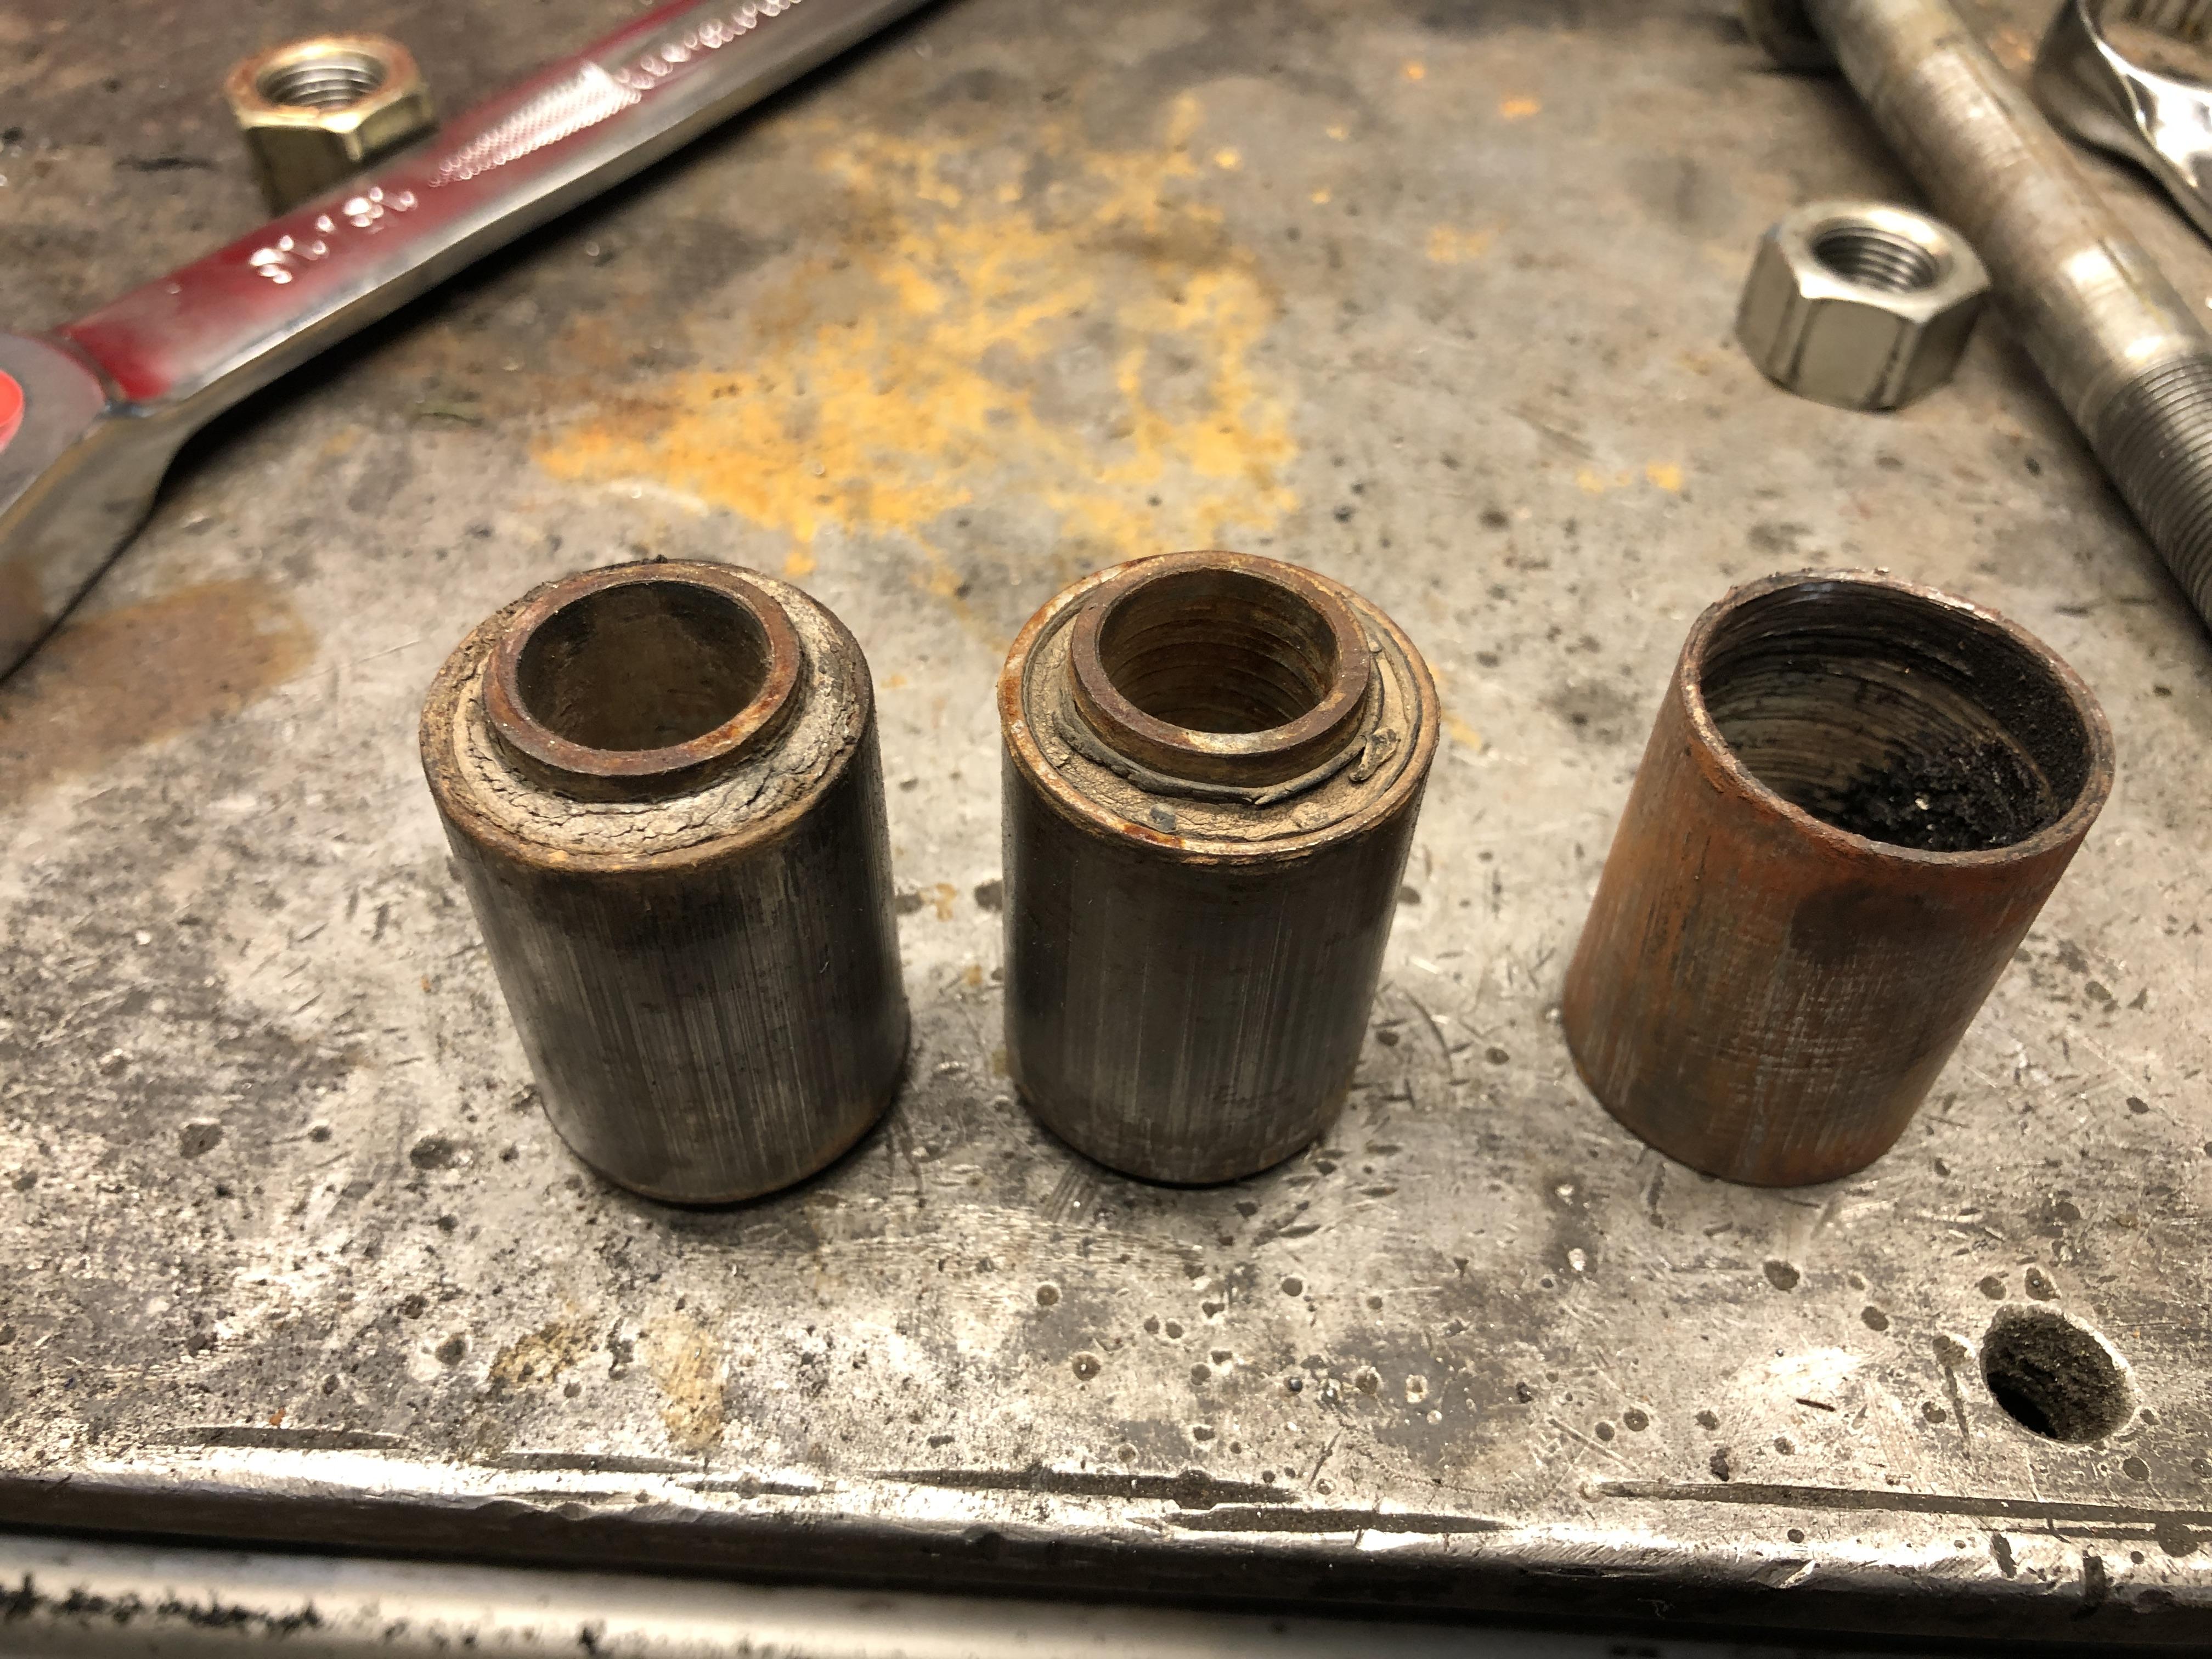
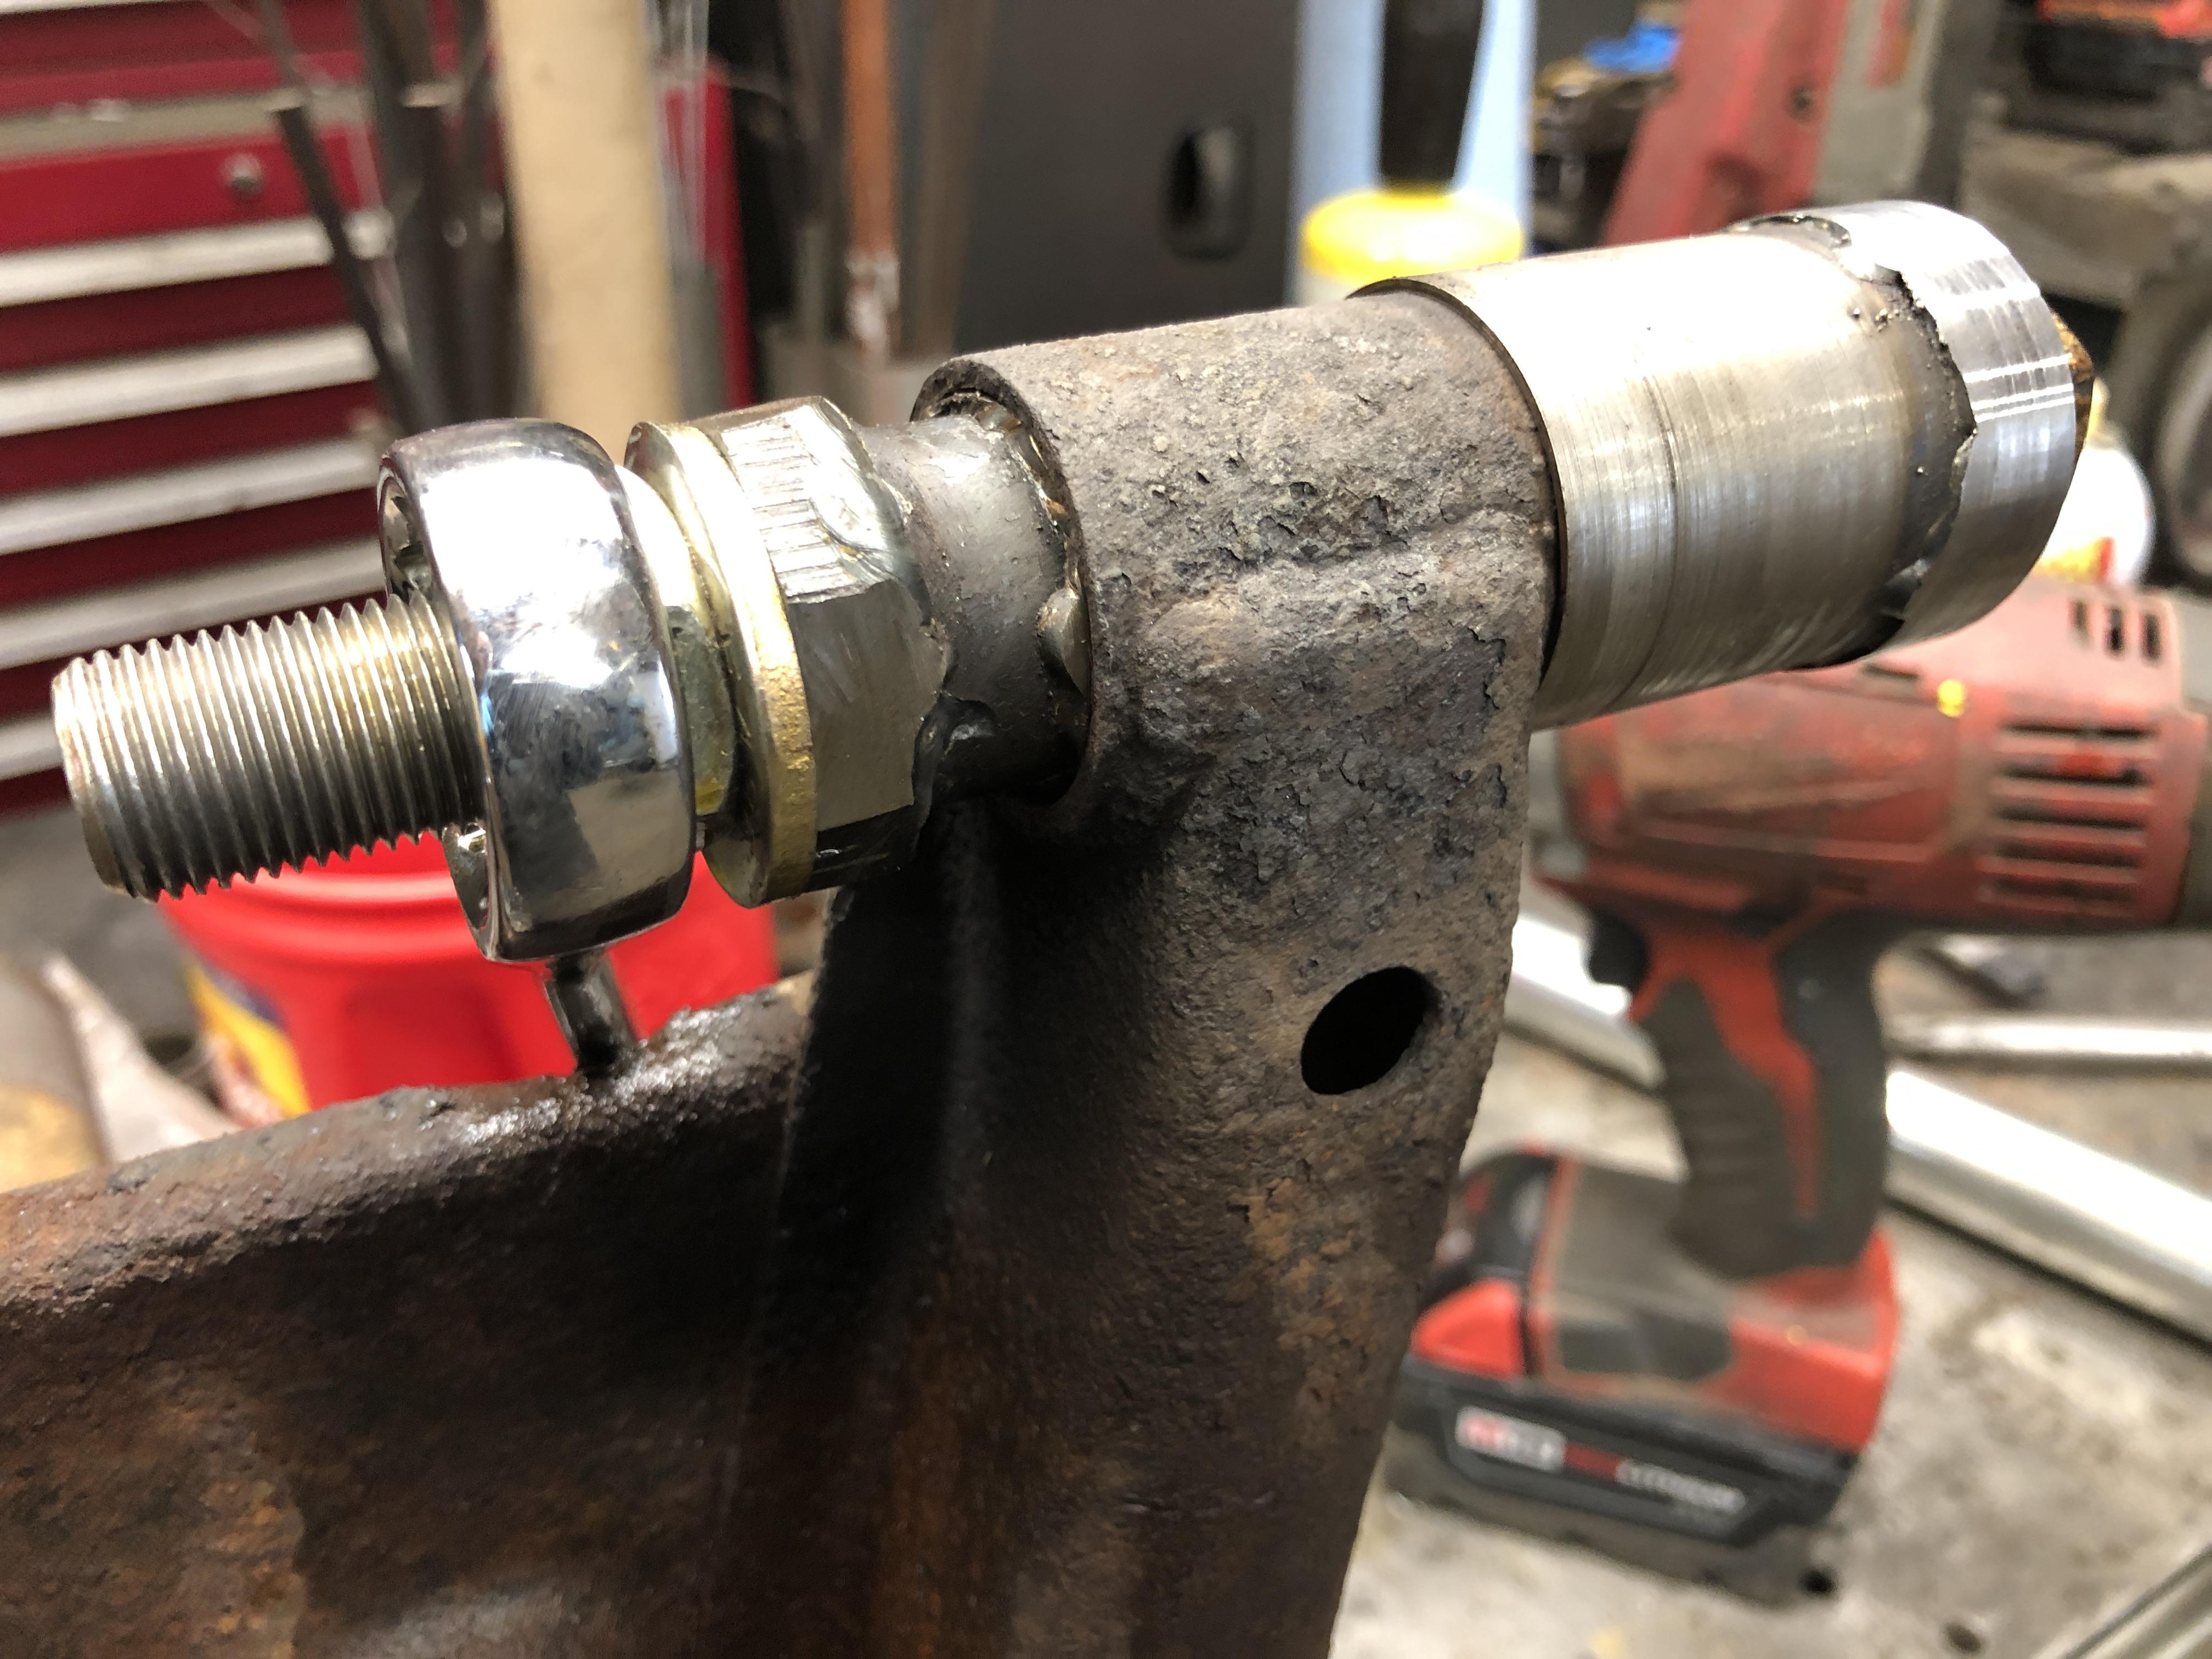
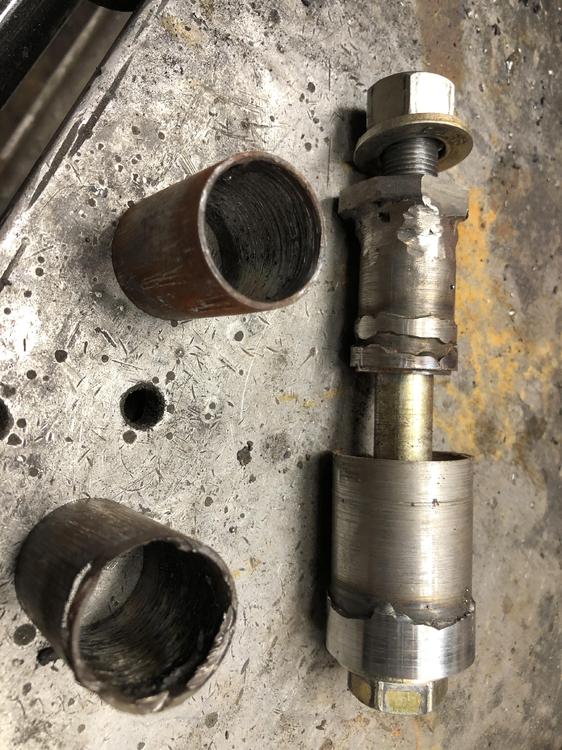
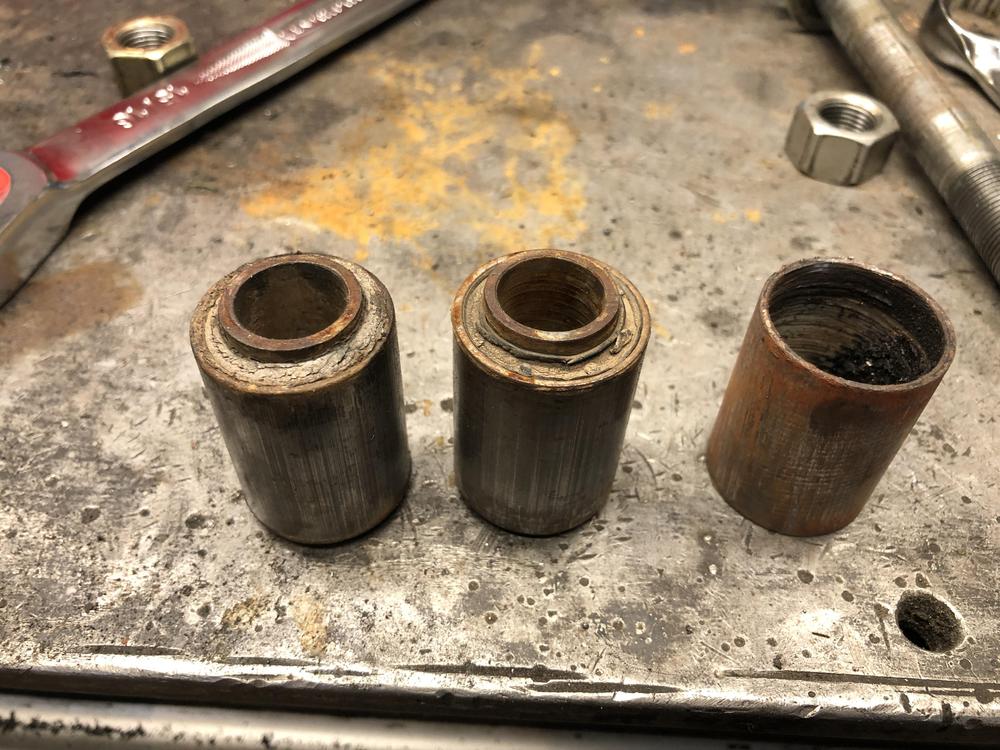
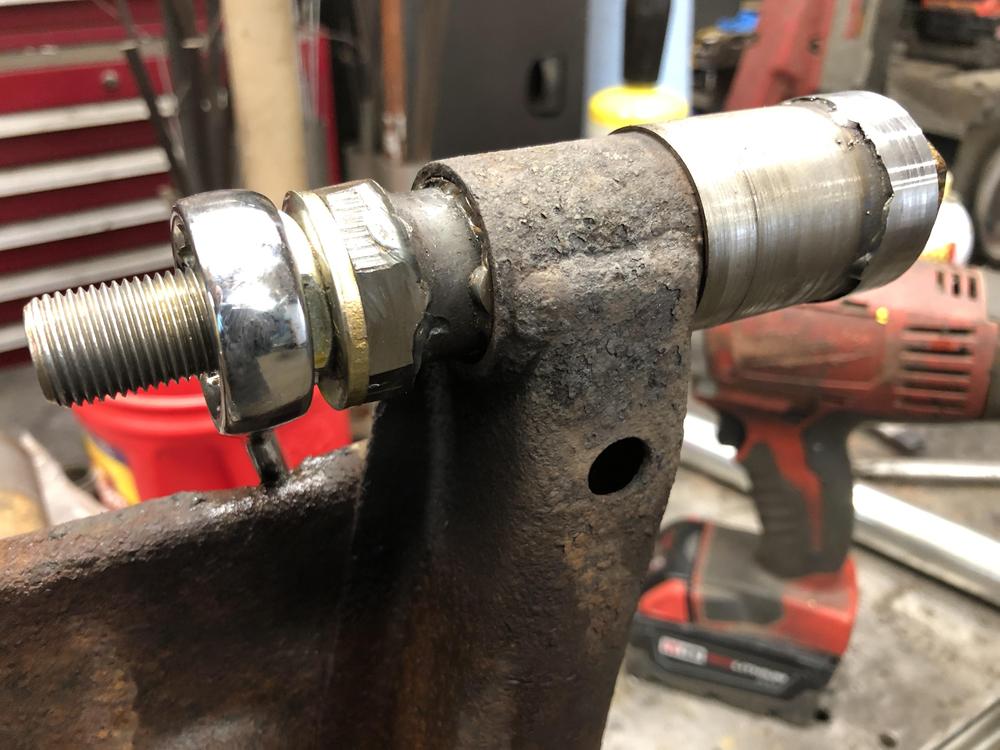
A long time ago on another planet, I got “smart” and decided to weld a short 1” x 0.25 metal bar into the shell, then beat the shell out by bashing on the welded-in bar. It worked pretty well, took a good size hammer to knock them out. The welding heat helped too. It was tickatee boo until I discovered I had bent the ends of the control arms with my “gentle” persuasion.... Now I use a more civilized approach.... I can even press them out whole. When was the last time you saw a stock bushing in one piece fresh out of a control arm with no damage? Same tool presses them back in, using only the smaller die and a couple of washers on the other side. They go in MUCH easier than they come out.
-
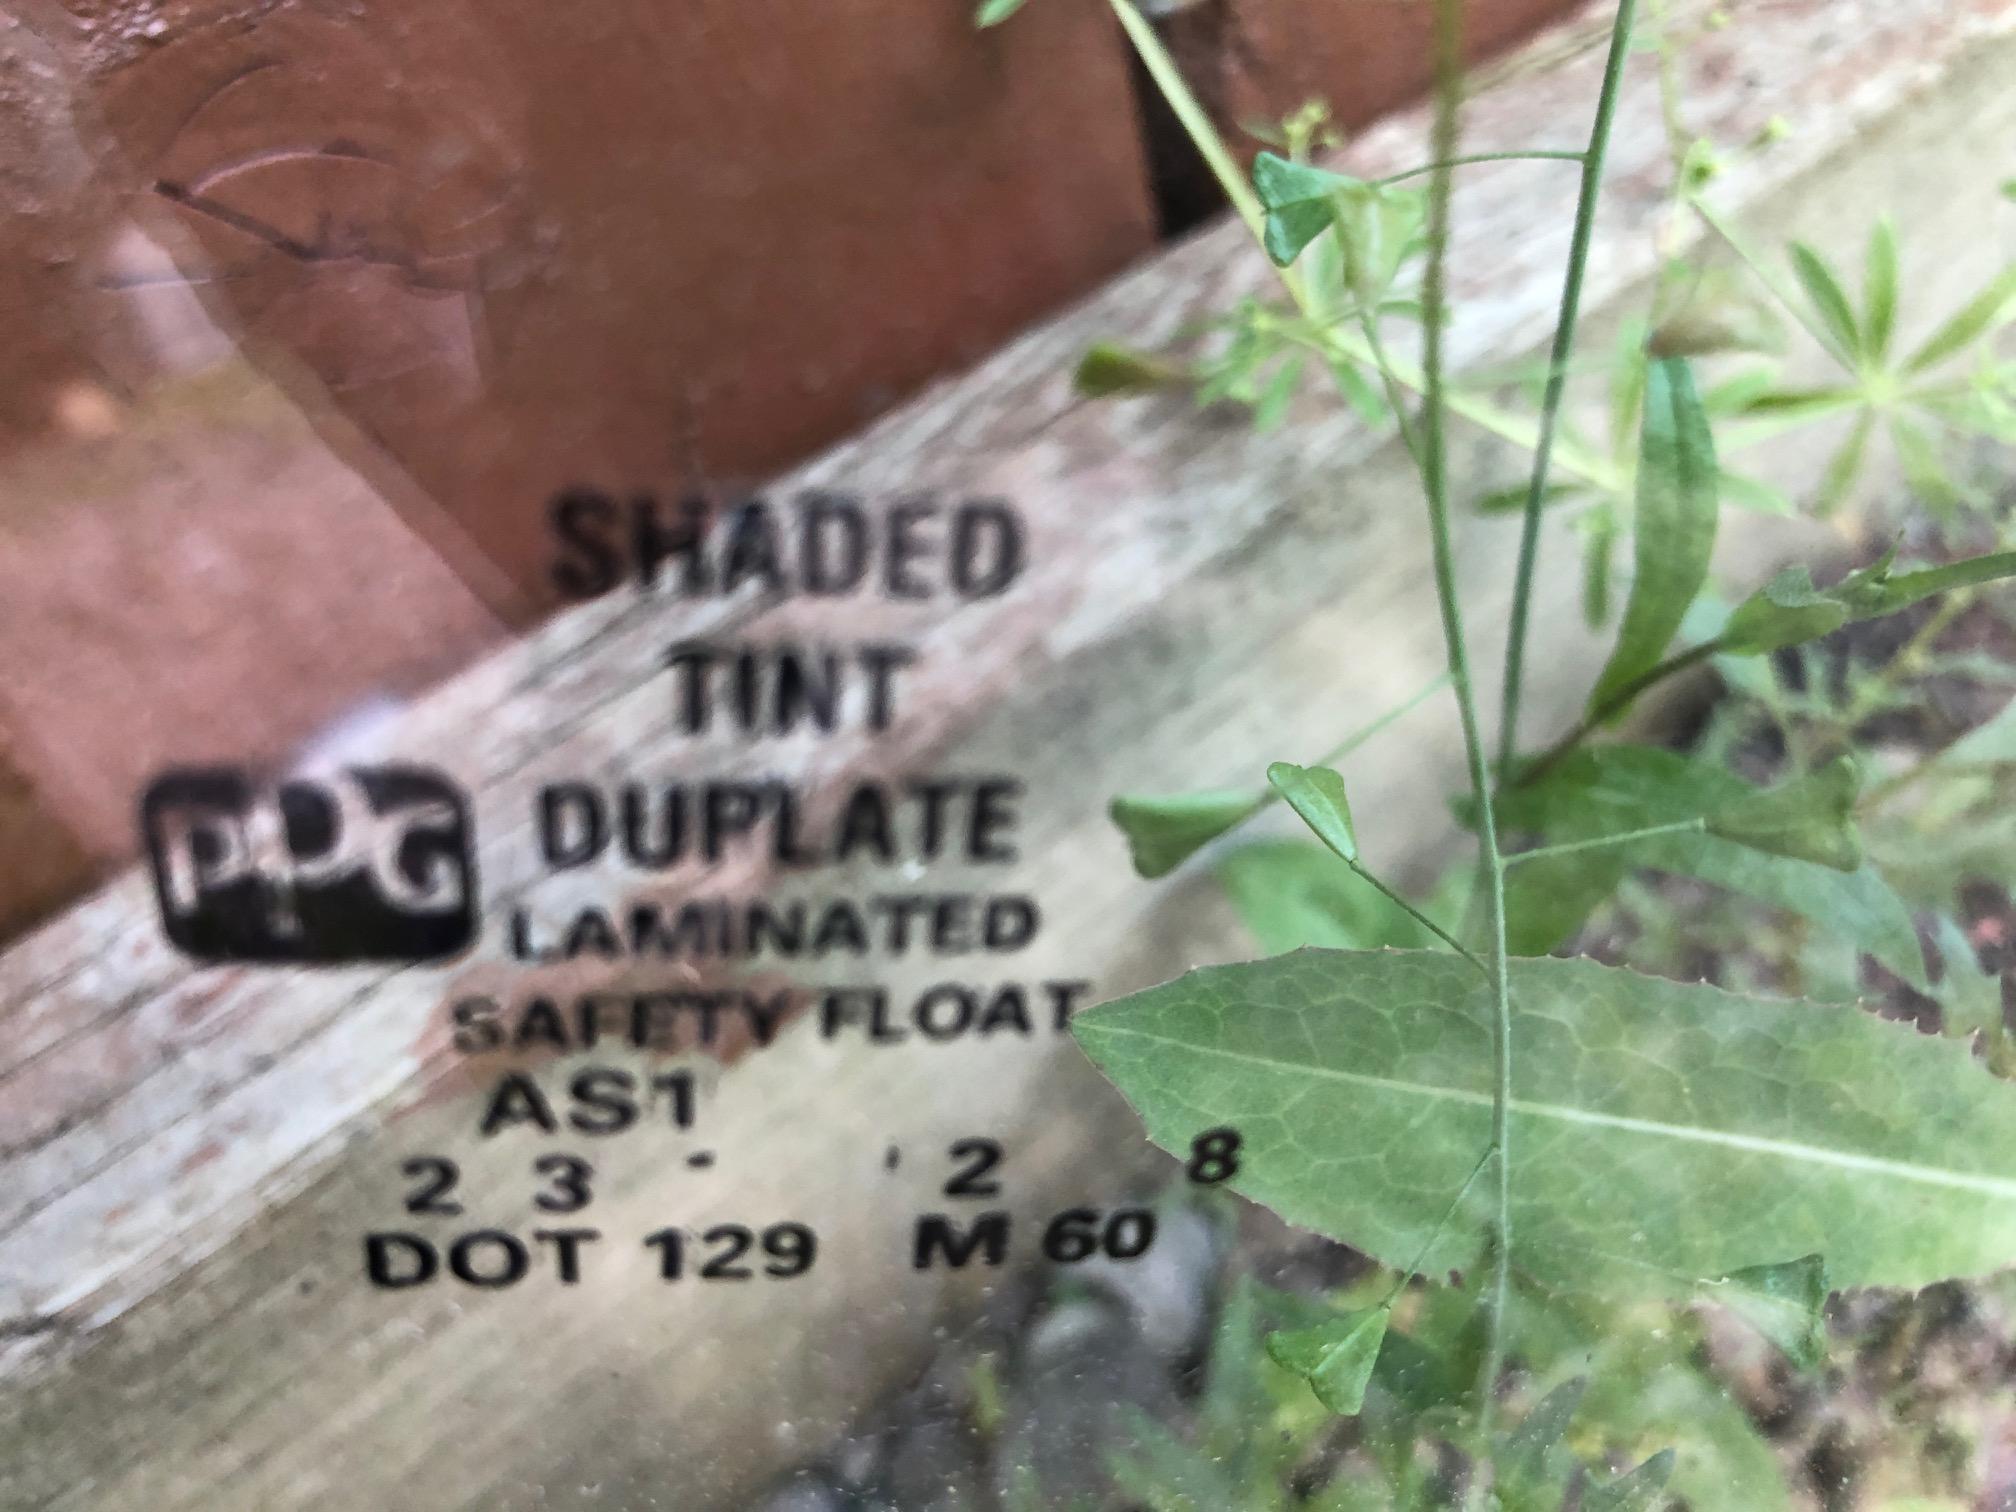
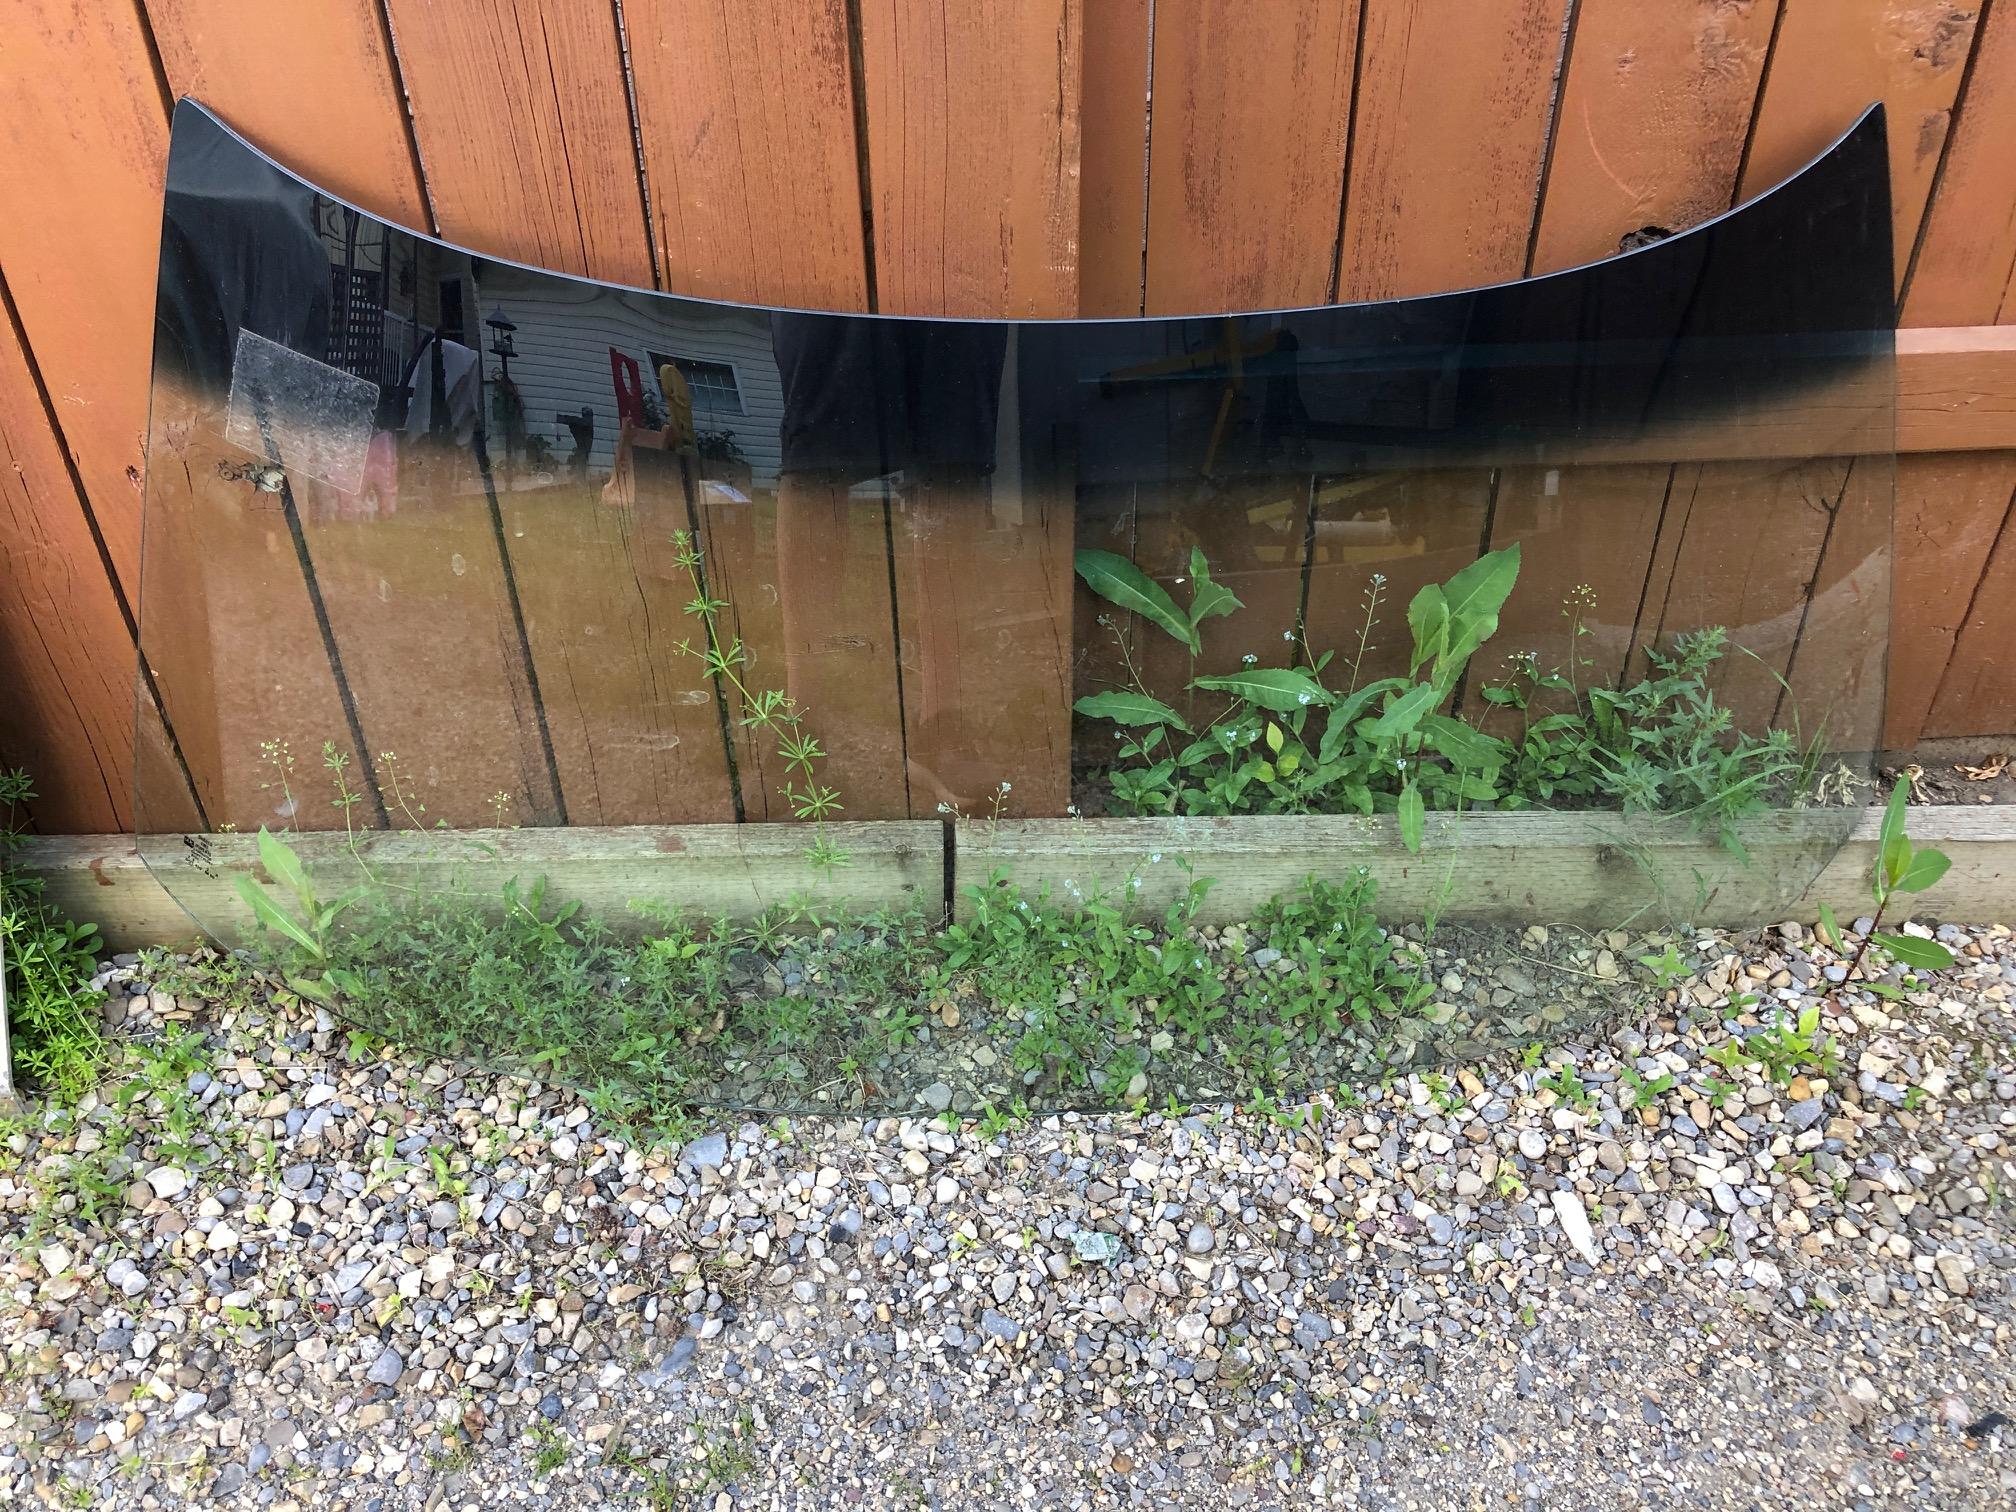
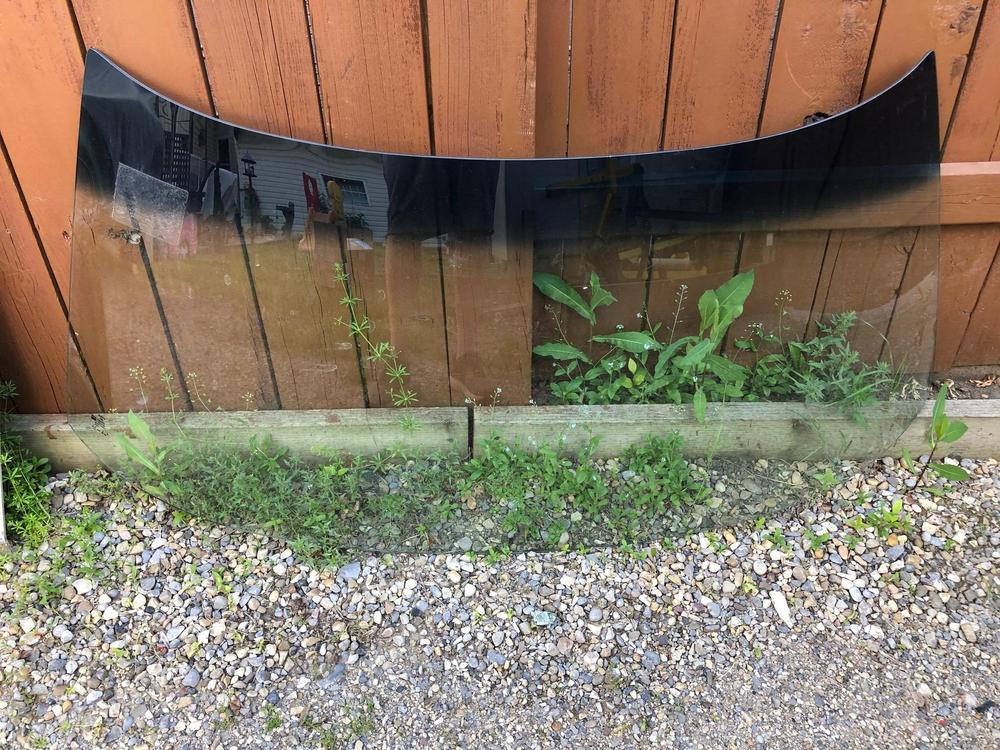
Hoping one of you kind folks has a 280zx, any year (79-83), within reach that can measure a 280 ZX windshield for me. I "Acquired" a new windshield that we thought was S30, but clearly (hahaha) it is not, as the gasket was too short. The shape is right, just not the dimensions. Mostly it's too tall. Thinking it's for ZX then. The labeling in the corner I think is missing some info. The second last line seems to have some dots that may be the remnant of the actual part numbers. See it below. I don't see the usual part numbers I'm expecting. If any of you can measure the length along the top, bottom and sides, I can compare to what I have and see if its close. Thanks Yes, its functioning quite well as a green house...

-
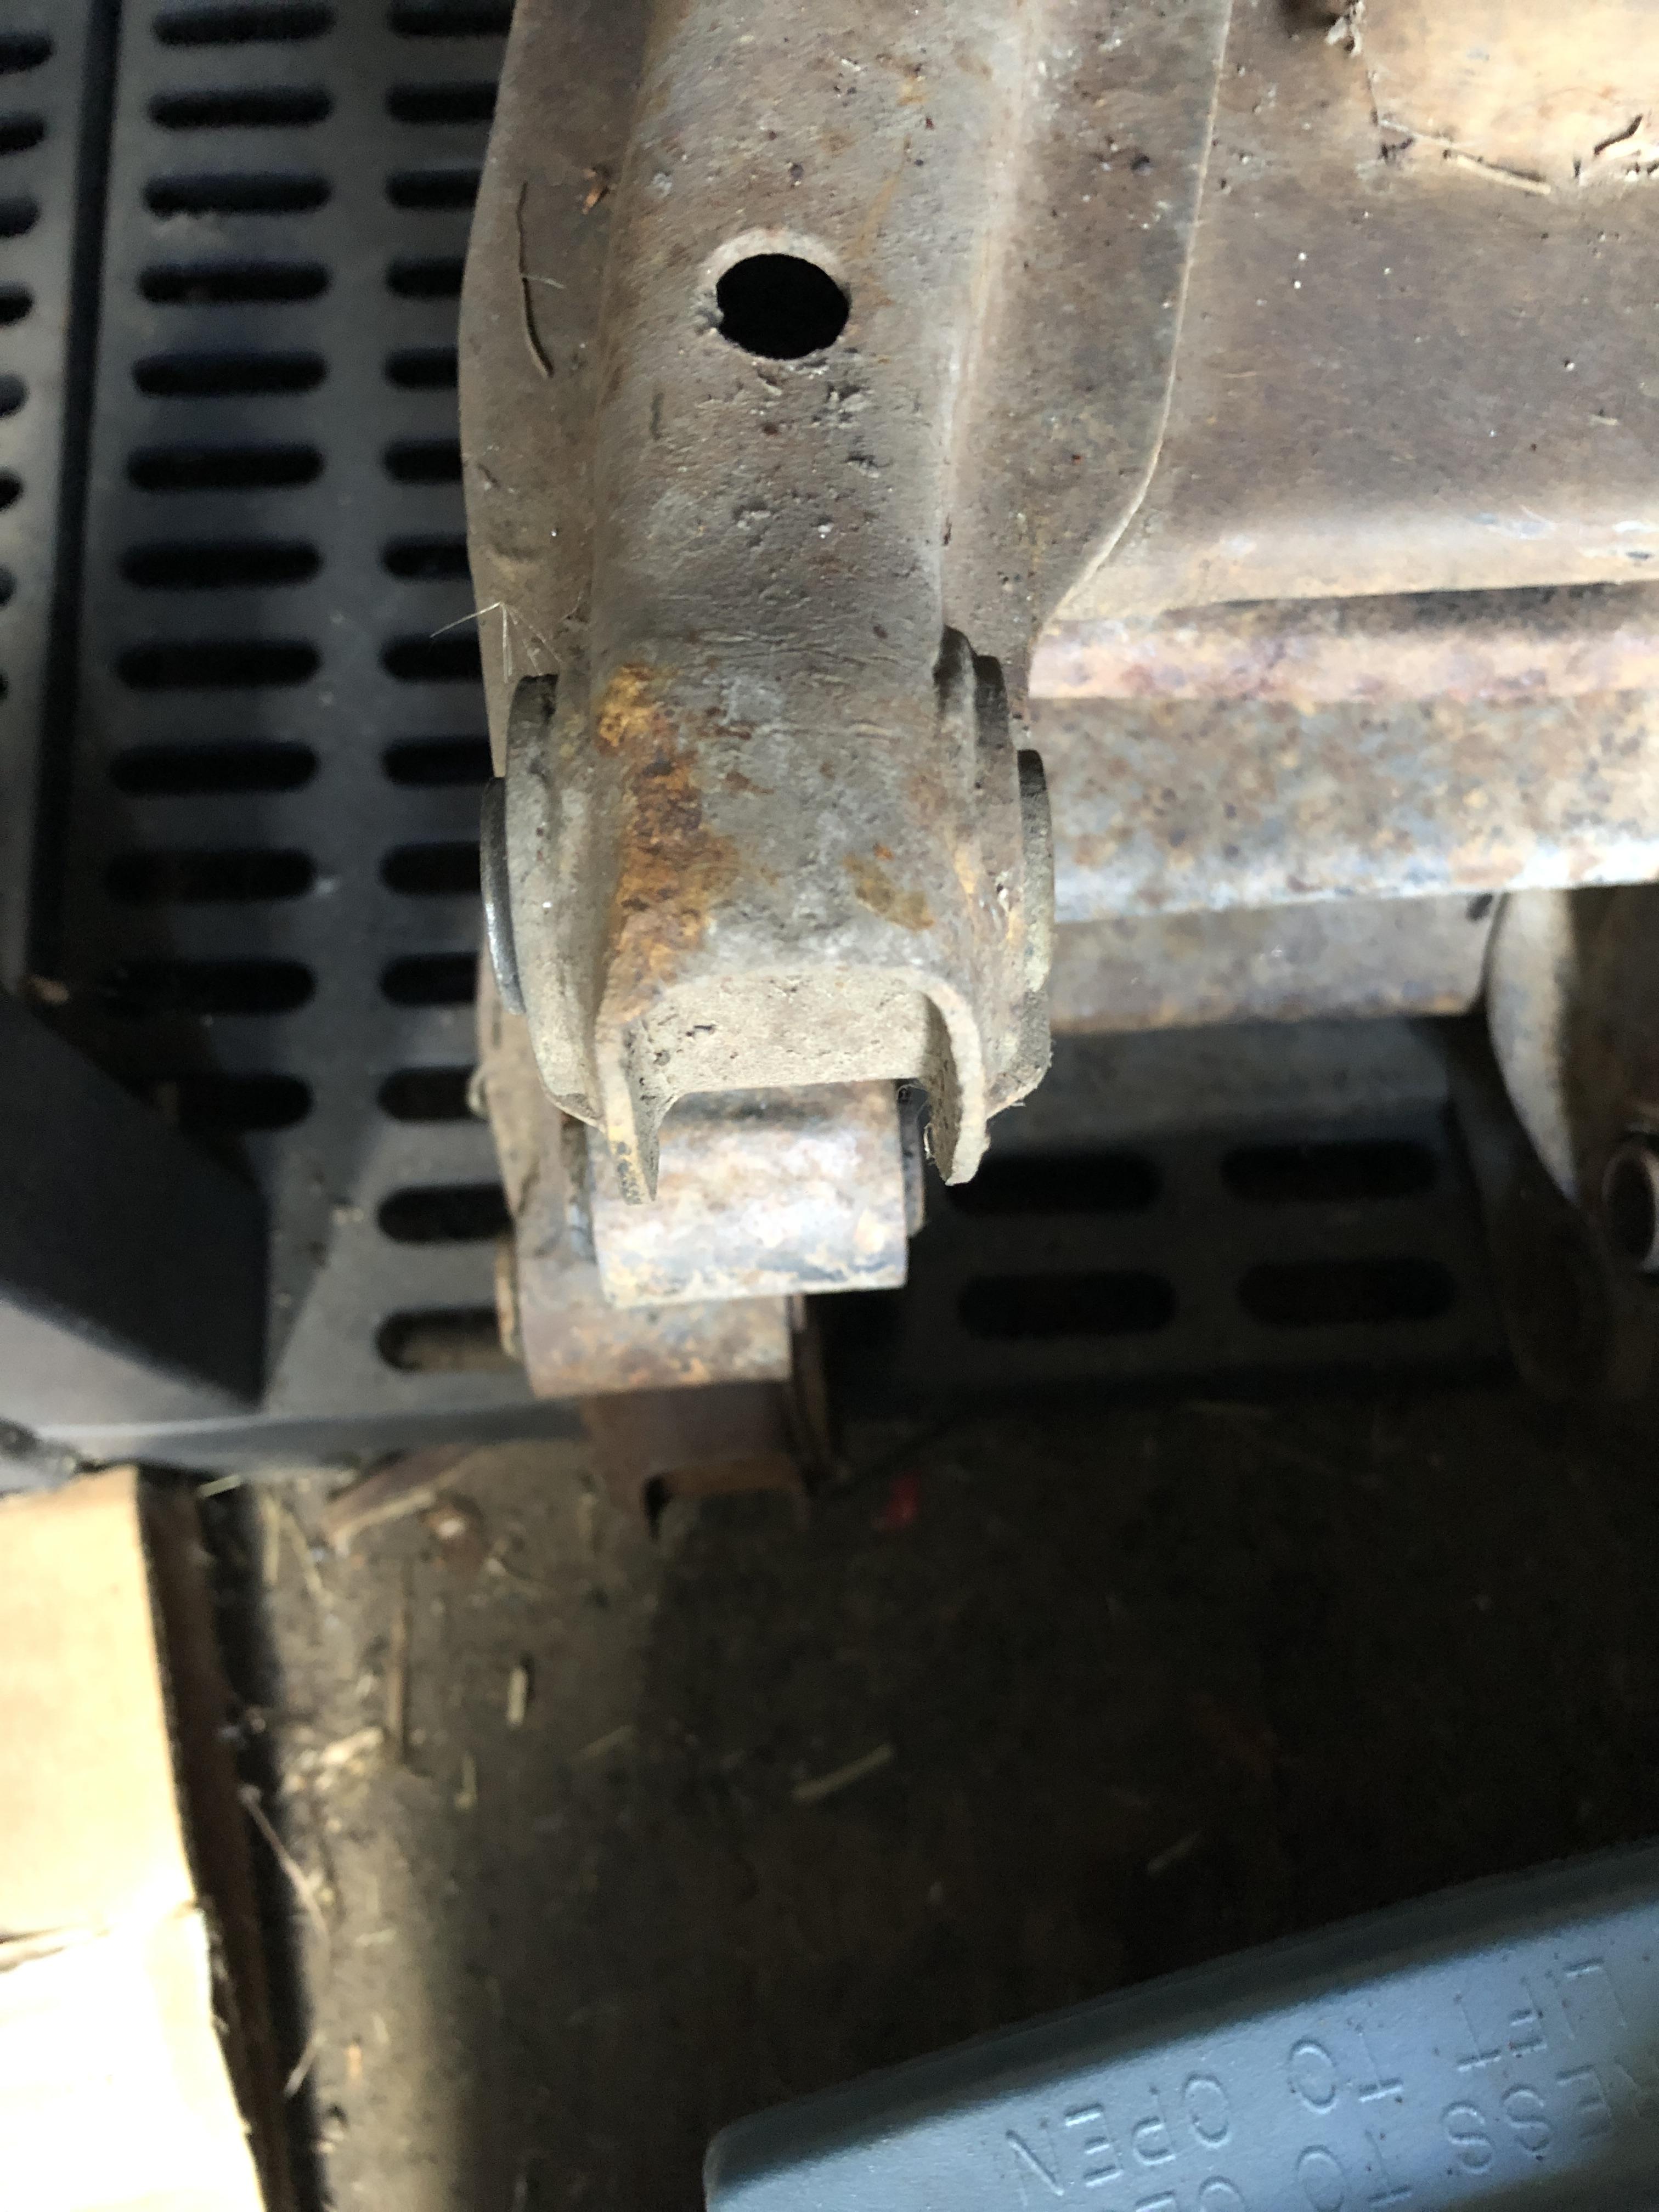
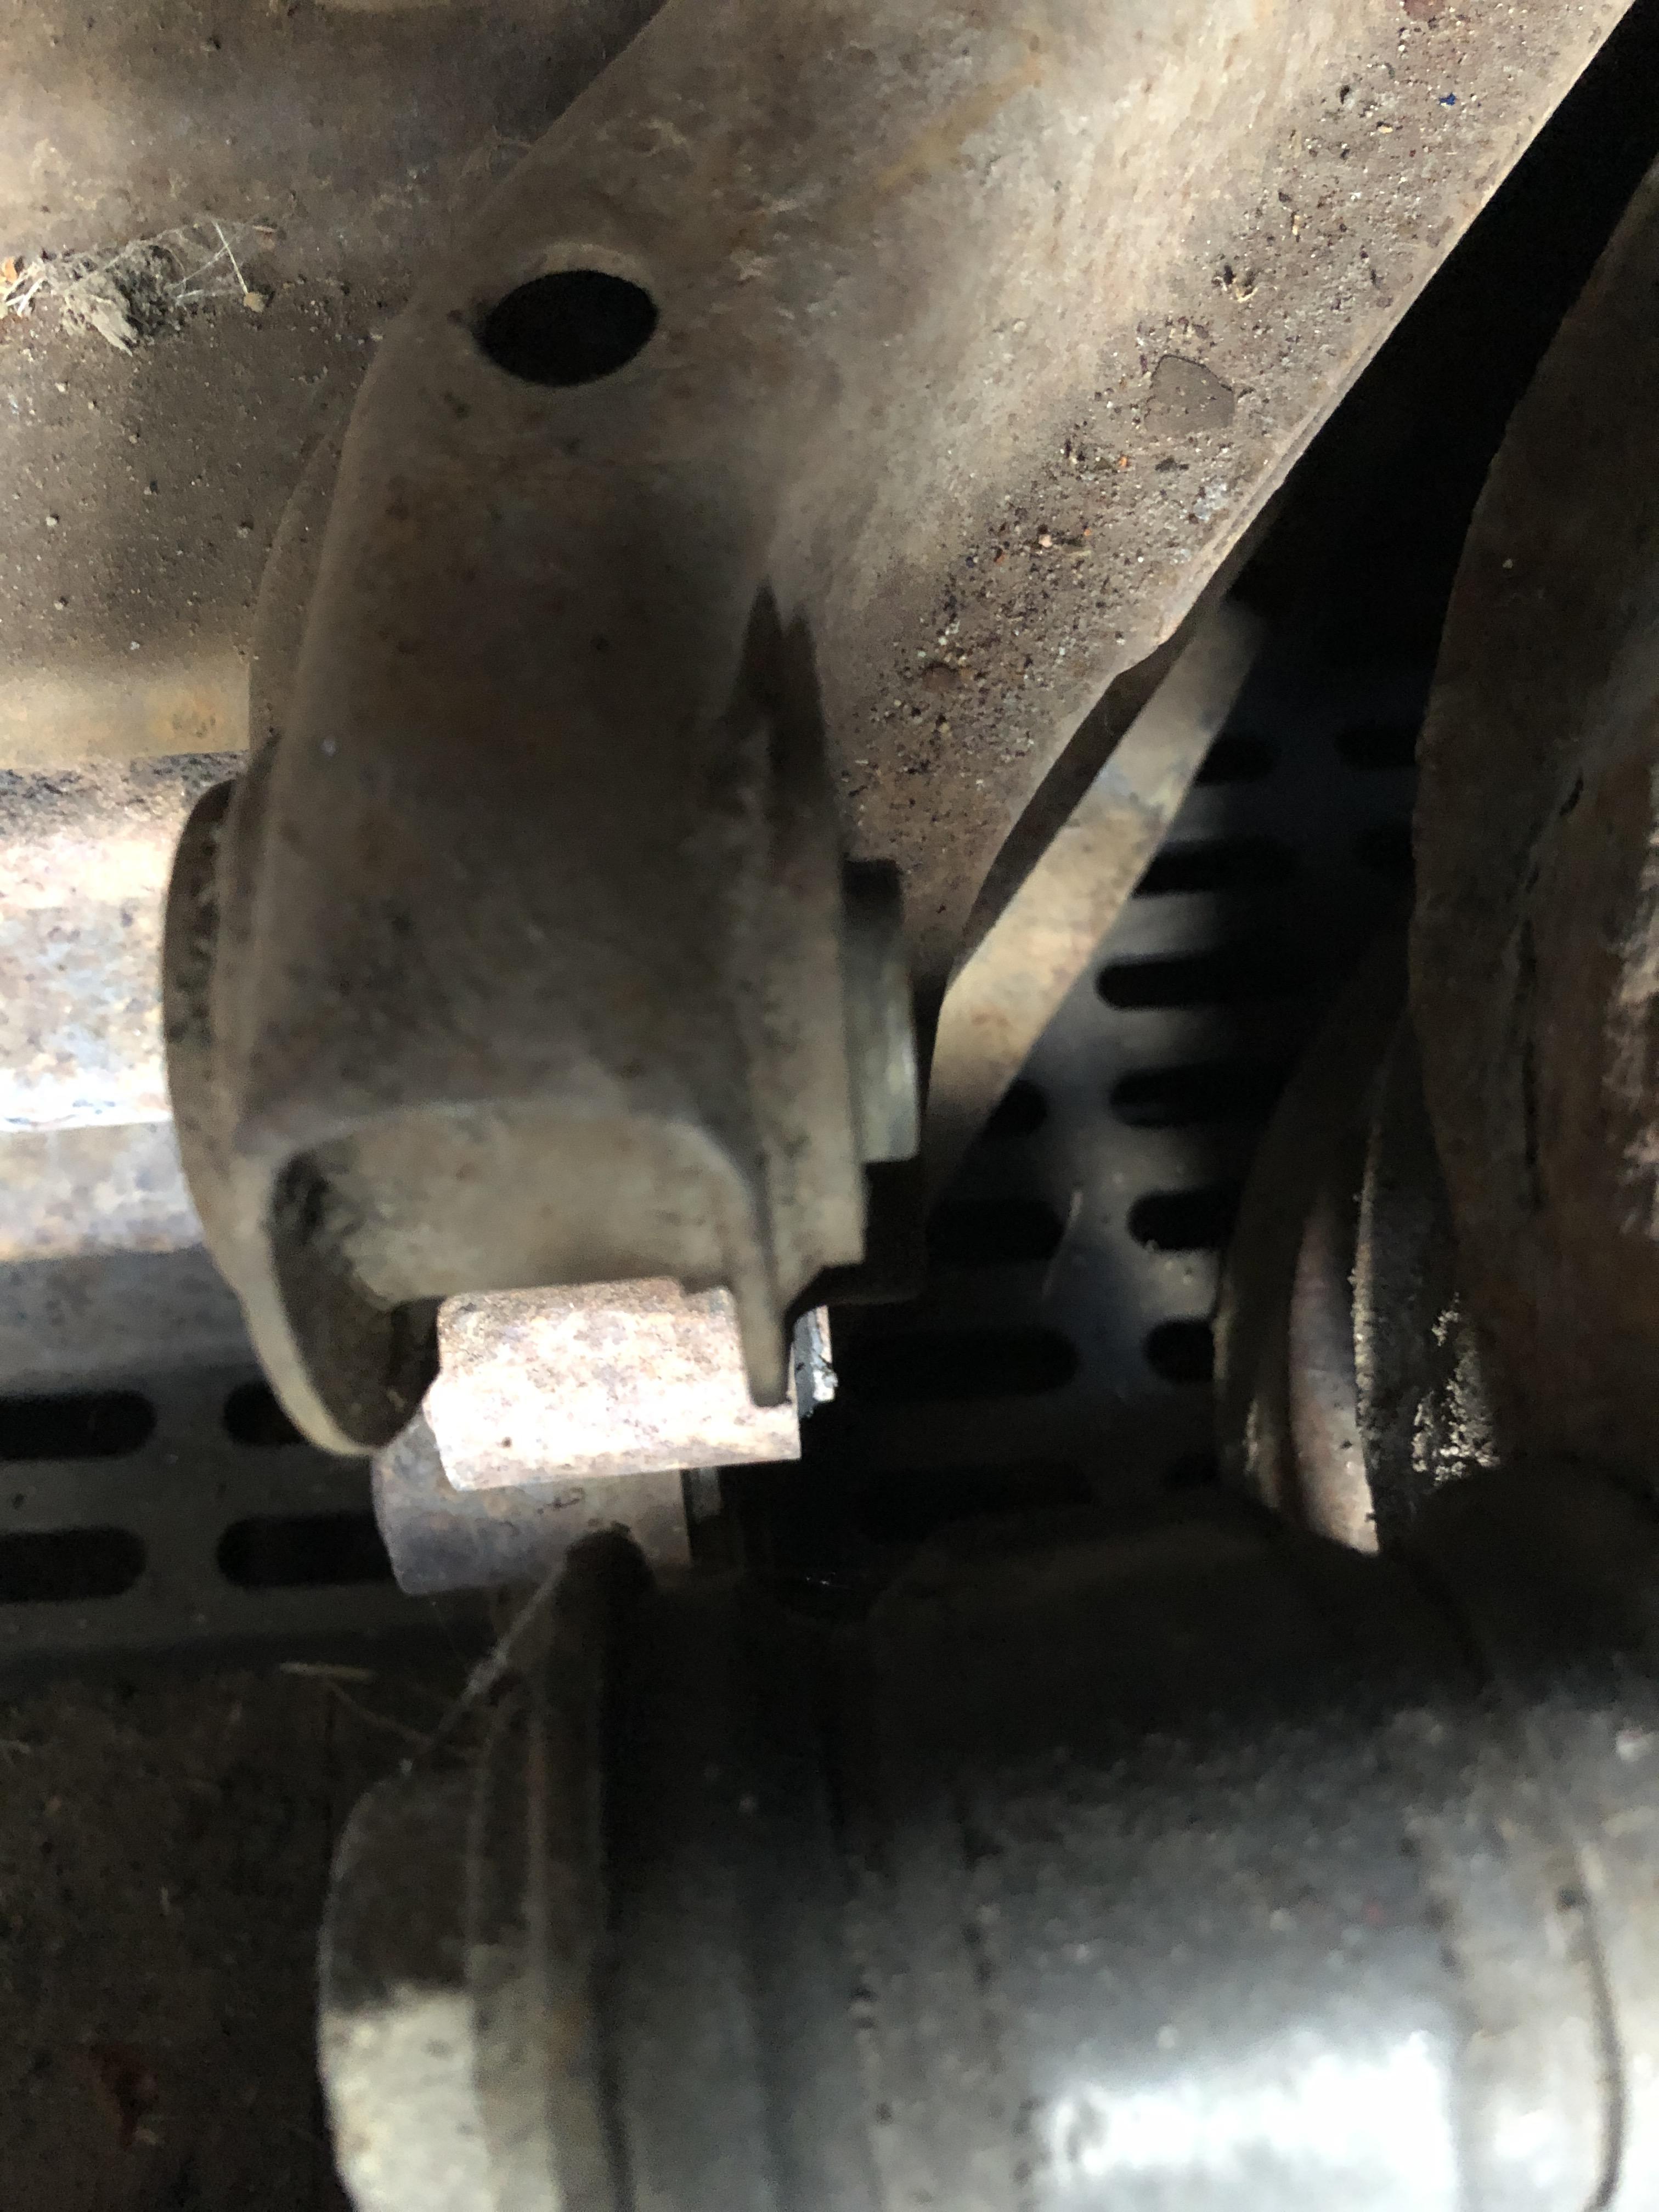
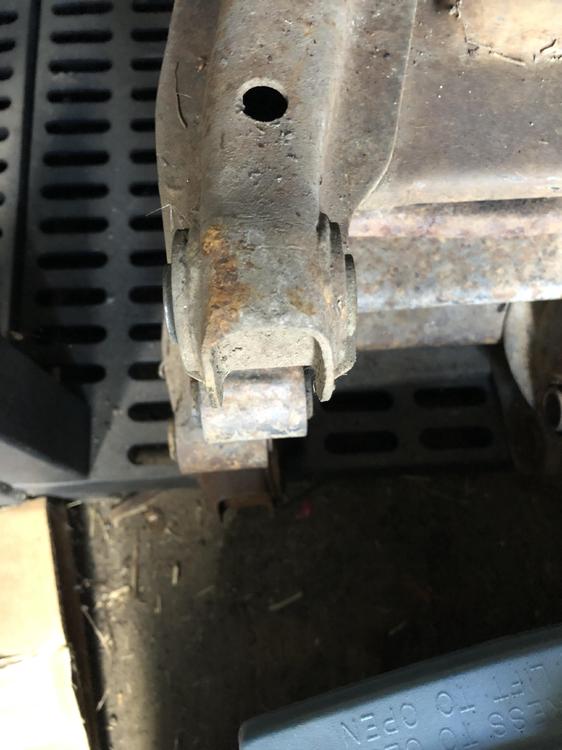
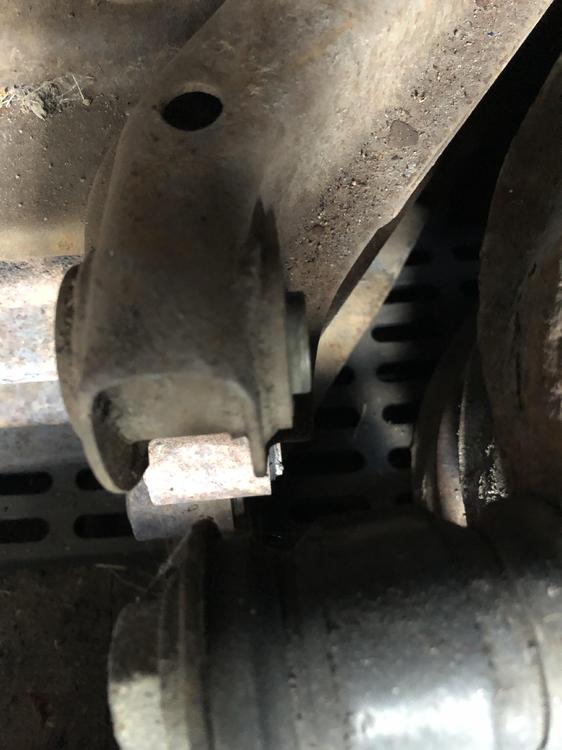
I’m not so concerned about the slightly sloppy fit of a 5/8 bolt as remember the strut and bushing core tubes are torqued together by the bolt/pin and locked solid to one-another. The bushing rubber provides ALL the rotation at this joint. That’s why you torque this together with the car on the ground and driver weight in the seat. You want the rubber at its neutral position most of the time in use. The locking cross pin provides a way to prevent the spindle pin from rotating while torquing (you can do either end independantly without using the other end as a backup) and is a fail safe in case all the nuts fall off. I also just inspected a half dozen old crusty control arms that still have the bushings installed to see where the center bushing tubes have come to roost left/right offset wise after years of use, to see if the initial offset made any difference other than assembly with the strut housing ease. What I found was a bit surprising. The front bushing clearly shows the center tube still offset toward the outside of the control arm, but the rear bushing tubes where all darn close to centered now, maybe just a tad offset to the outside. Not sure if 6 controls arms is a representative sample..... A testament to the dominant direction of travel and forces applied differently? One set of new bushings I have laying around has the offset center tubes. No clue as to vintage. I have a set to install today, I’ll use the advice and experience detailed above. Thank you.
-
No, they are deformed so that installation causes them to lock on like a stover nut. Adding a lock washer would not be harmful if you would like but it would defeat the purpose of that nice large flange I think.
-
Many of the after market control arms that use 5/8 heim joint ends use a bolt like this. It’s a slightly loose fit in the stock application (stock pin is 16mm), just make sure you use a self locking nut and check it often. With no lock pin, if that nut falls off.....
-
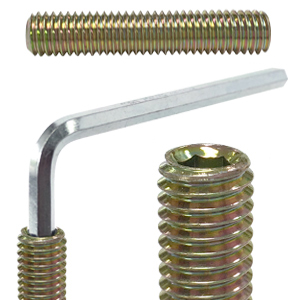
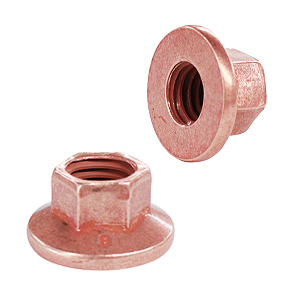
https://www.belmetric.com/hex-with-flange-c-3_51_53/ncf8x10w-copper-flange-nut-wide-flange-p-10435.html?zenid=sahrhmsei24sc6bg2gtlshqhn1 And these babies have 10mm heads! For those tight places around headers and such or at the very least https://www.belmetric.com/jis-small-wrench-c-3_58_2280/nj8x12ylw-jis-nut-yellow-zinc-p-205.html?zenid=sahrhmsei24sc6bg2gtlshqhn1 I also like these studs they have. Easy to insert and remove. https://www.belmetric.com/m8x125-coarse-thread-c-9_71_1840/s8x45fylw-allen-drive-stud-yellow-zinc-p-15201.html?zenid=sahrhmsei24sc6bg2gtlshqhn1
-
I ALWAYS crazy glue the reaction disk to the piston when I take these things apart. No way I’m ever losing that thing again...
-
If you aren't watching the final minutes of this you should be..... https://bringatrailer.com/listing/1972-datsun-240z-127/?utm_source=transactionalemail&utm_medium=email&utm_campaign=bat_watched_listing_ending_soon
-
I have a bunch of old used racks if you can’t find something closer.
-
Something very appealing about torquing on the flywheel with a starter gear and the mechanical torque multiplier advantage you get with a 9:190 or whatever the flywheel tooth count is. A big bad thick plate you bolt on in place of the starter, bearing mounted 1” or so shaft with a starter gear on one end, 1/2 or 3/4” drive square on the other end. Shouldn’t need all that long a ratchet handle to put very considerable torque on the crankshaft. Probably more costly and complex to make for such an occasional use tool.... Keep working on the crank nut. Still the most elegant solution.
-
Forget my lock nut idea. Any torque requirement that busts a damper like that is way beyond a lock nut, and might beyond the M16 bolt shear strength.
-
Clearly there is a torque limit to this method that may very well not be enough for all locked up motors. It’s just a real simple and inexpensive first attempt before moving on to more forceful and expensive methods.
-
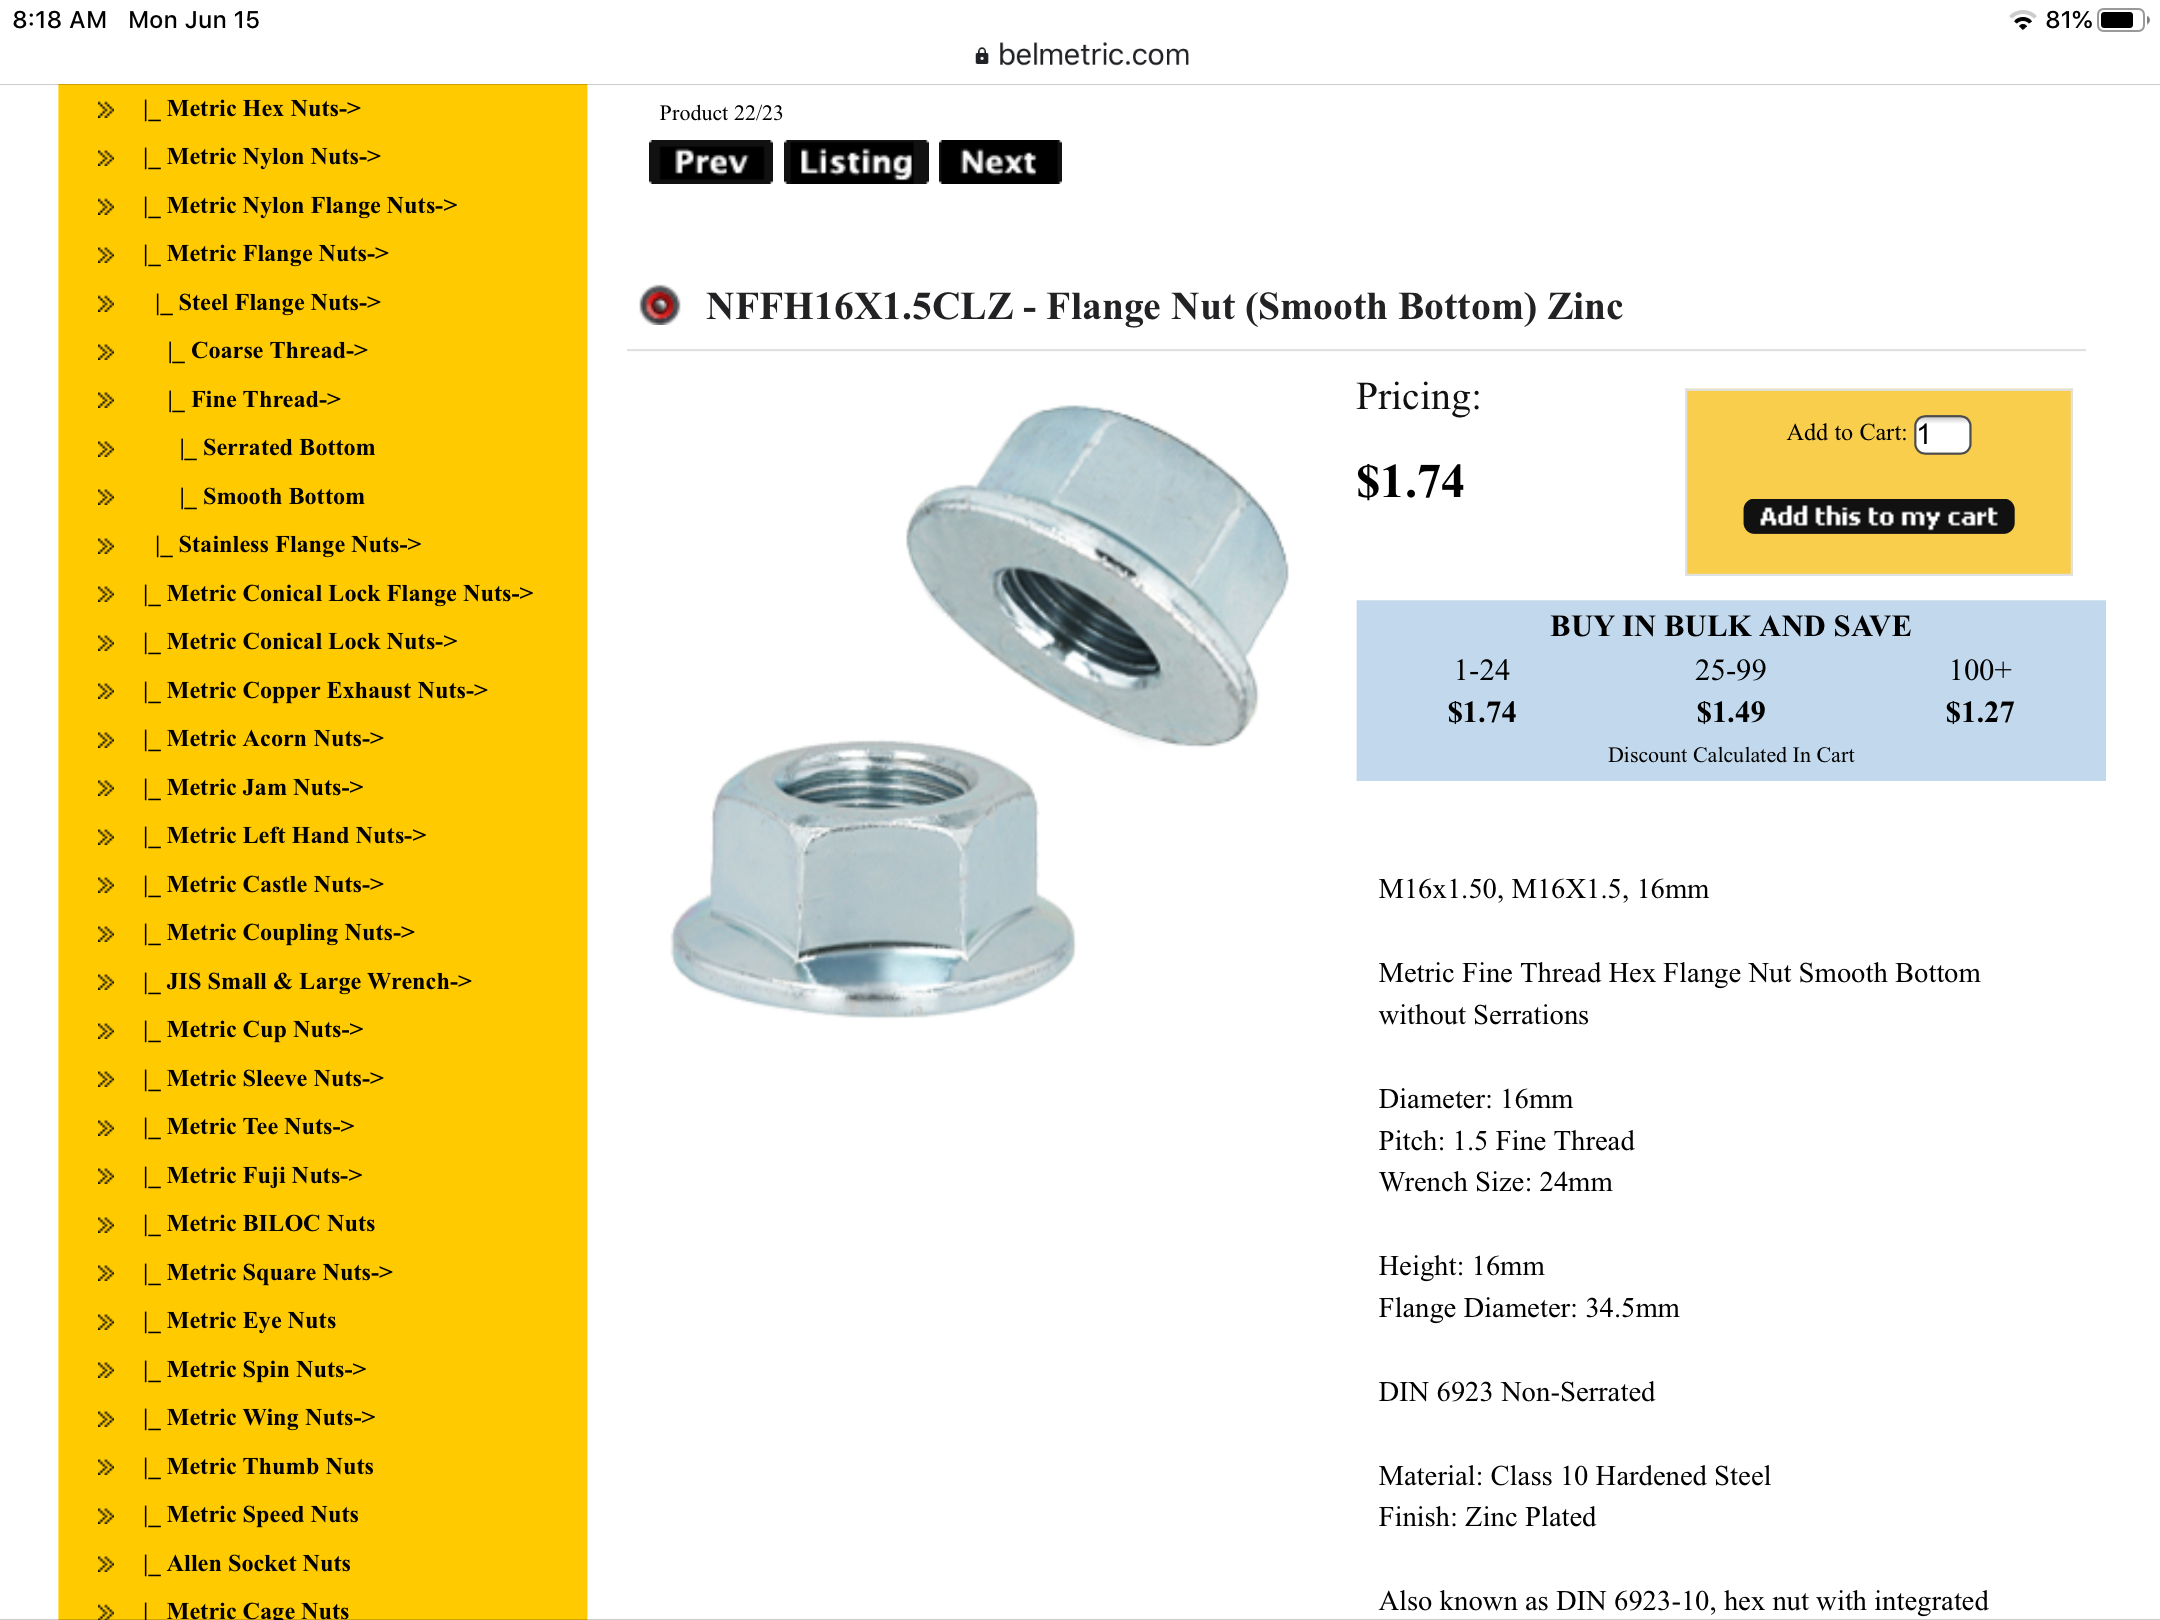
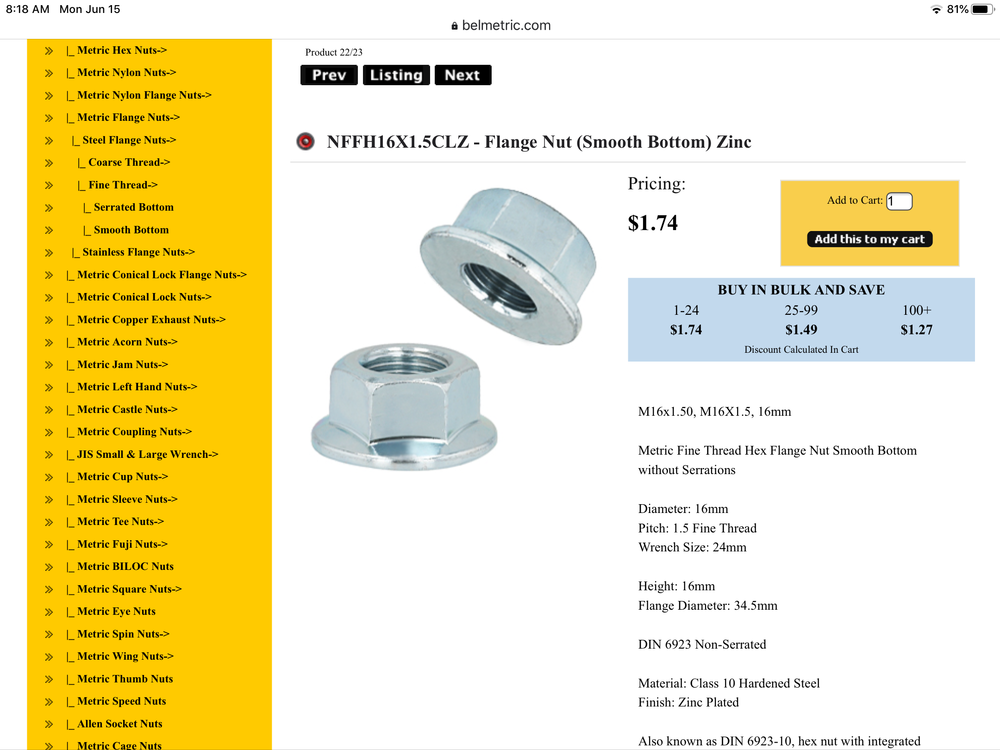
I like the chain wrench idea with an old timing chain. It does require you take off the front cover. How about this? I’m assuming the problem with using the regular crank bolt is that it can’t be used to apply CCW torque or it just comes loose, so... About investing in a M16x1.5 nut and using that to lock the bolt to the crank snout, then using your regular socket on the bolt head? Yes you have to invest in a 27mm open end wrench. I wonder how much torque that would take to back that off? Depends on how much torque you apply to tighten that nut. The only M16x1.5 nut on the car I know of is the steering wheel lock bolt, but its pretty thin. I’d rather use a full width nut. Maybe a flange nut?
-
The engine bay does have that “post 75” look doesn’t it? If the head is an N47 rather than the expected N42 on a 75, then.... With the many years of history, who knows what parts have been substituted in. The only concern I have is the plastic fuel filter back by the tank, but only if its on the output side of the pump. If its between the tank and the pump inlet, it’s under no pressure (vacuum actually) and should be fine. If its there, then there has to be another proper high pressure EFI filter under the hood between the Body hard line from the tank and fuel rail at the front right of the engine. Heat soak is rarely an issue with EFI engines. I’m leaning on the ignition module failure as the likely cause. Or coil, or distributor pickup heat related failure.
-
This is the short ear, single exhaust hanger bracket so its the early ZX tranny, not the later tall ear single bracket “close ratio”. 80-81 year range. The forward-most hole, “C”, is the reverse light switch position. Can’t say for sure what the others are easy to test. See what gear positions cause the switches to change from “open” to “close”. Some may be normally open, some normally closed. Just look for a change of state when in Only one of the gear positions. I’ve never been clear on what models/markets/year ranges etc determine the existence of neutral and/or high gear switches. Most north american ZX trans I’ve seen only have the reverse switches. Early Z trans often have a neutral switch. Zed’s drawing shows all three with two different positions for the OD (top gear) switch. Haven’t seen a definitive listing anywhere.
-
Front of trans is to the left

-
i'll split it with you. I think we both get half of nothing...
-
Yup post is gone. Hope it stayed nearby. I'll ask him
-
I kinda decided I would not spill any beans. The owner didn't include it in the ad, must have had his reasons. Let’s just say it’s not a 69....
-
Don’t forget good old powder coating. Lots of shiny, chrome, aluminum and silver options out there. What I like best is the toughness of the coating to resist the inevitable foot and boot rubbing abuse these things take.
-
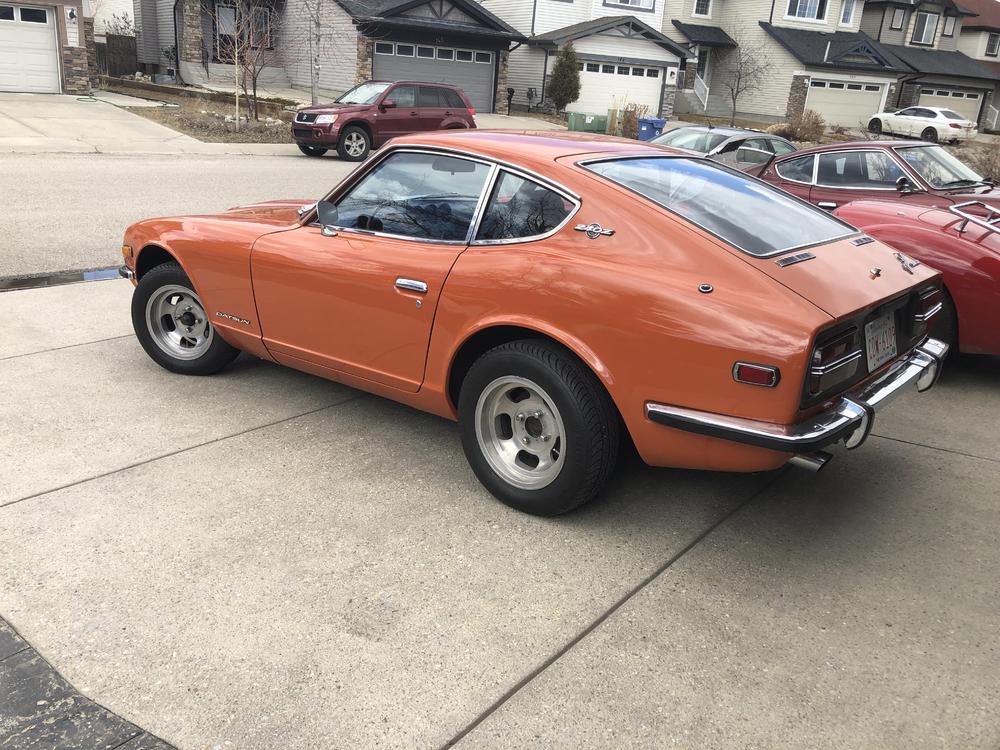
Here is one picture I took back in April when I saw it.
-
The only “thing” I spotted, and he does mention it in his ad, is that it was repainted, “A decade” ago, but it was repainted without removing glass/weatherstrip etc which is easy to spot. The repaint is one of the best I’ve seen in terms of color match and correct sheen/finish/look/feel. You’d swear it was original paint in outstanding condition. Everywhere I looked on the car, (over a relatively short period of time, I did not study every inch), everything looked correct for the VIN. I was there trying to sell him a Z, which, after I saw what he had (and picked my jaw up from the ground after seeing this Z), we spent of our time on, shall we say, “sales craft”.... Turns out he was looking to replace this one with more of a driver quality car. And here we are with this one for sale. I will gladly go and look at it for anyone who wants to get more detail or my opinion, and give it more careful look over. I’m sure the owner will have no problem with this.
-
i've seen it. It is amazing.
-
That door is definitely for 77-78 280, 2 seater. Definitely not 2+2, which is MUCH longer overall. The earlier doors are totally different internally, latches etc, as is the window frame, there is no way this door could have an earlier window frame, they don’t mount the same way. This door appears correct for your 78. This does not help you much as to why this door does not fit your car. Perhaps we need to see the door on, so we can see exactly how far out it is, how and where.
-
I’ve seen too many glass fuses that look great, even test great, but if can twist either end cap even a little bit then it’s got a crappy internal connection that is about to fail.