


zKars
Supporting Member
-
Joined
-
Last visited
Everything posted by zKars
-
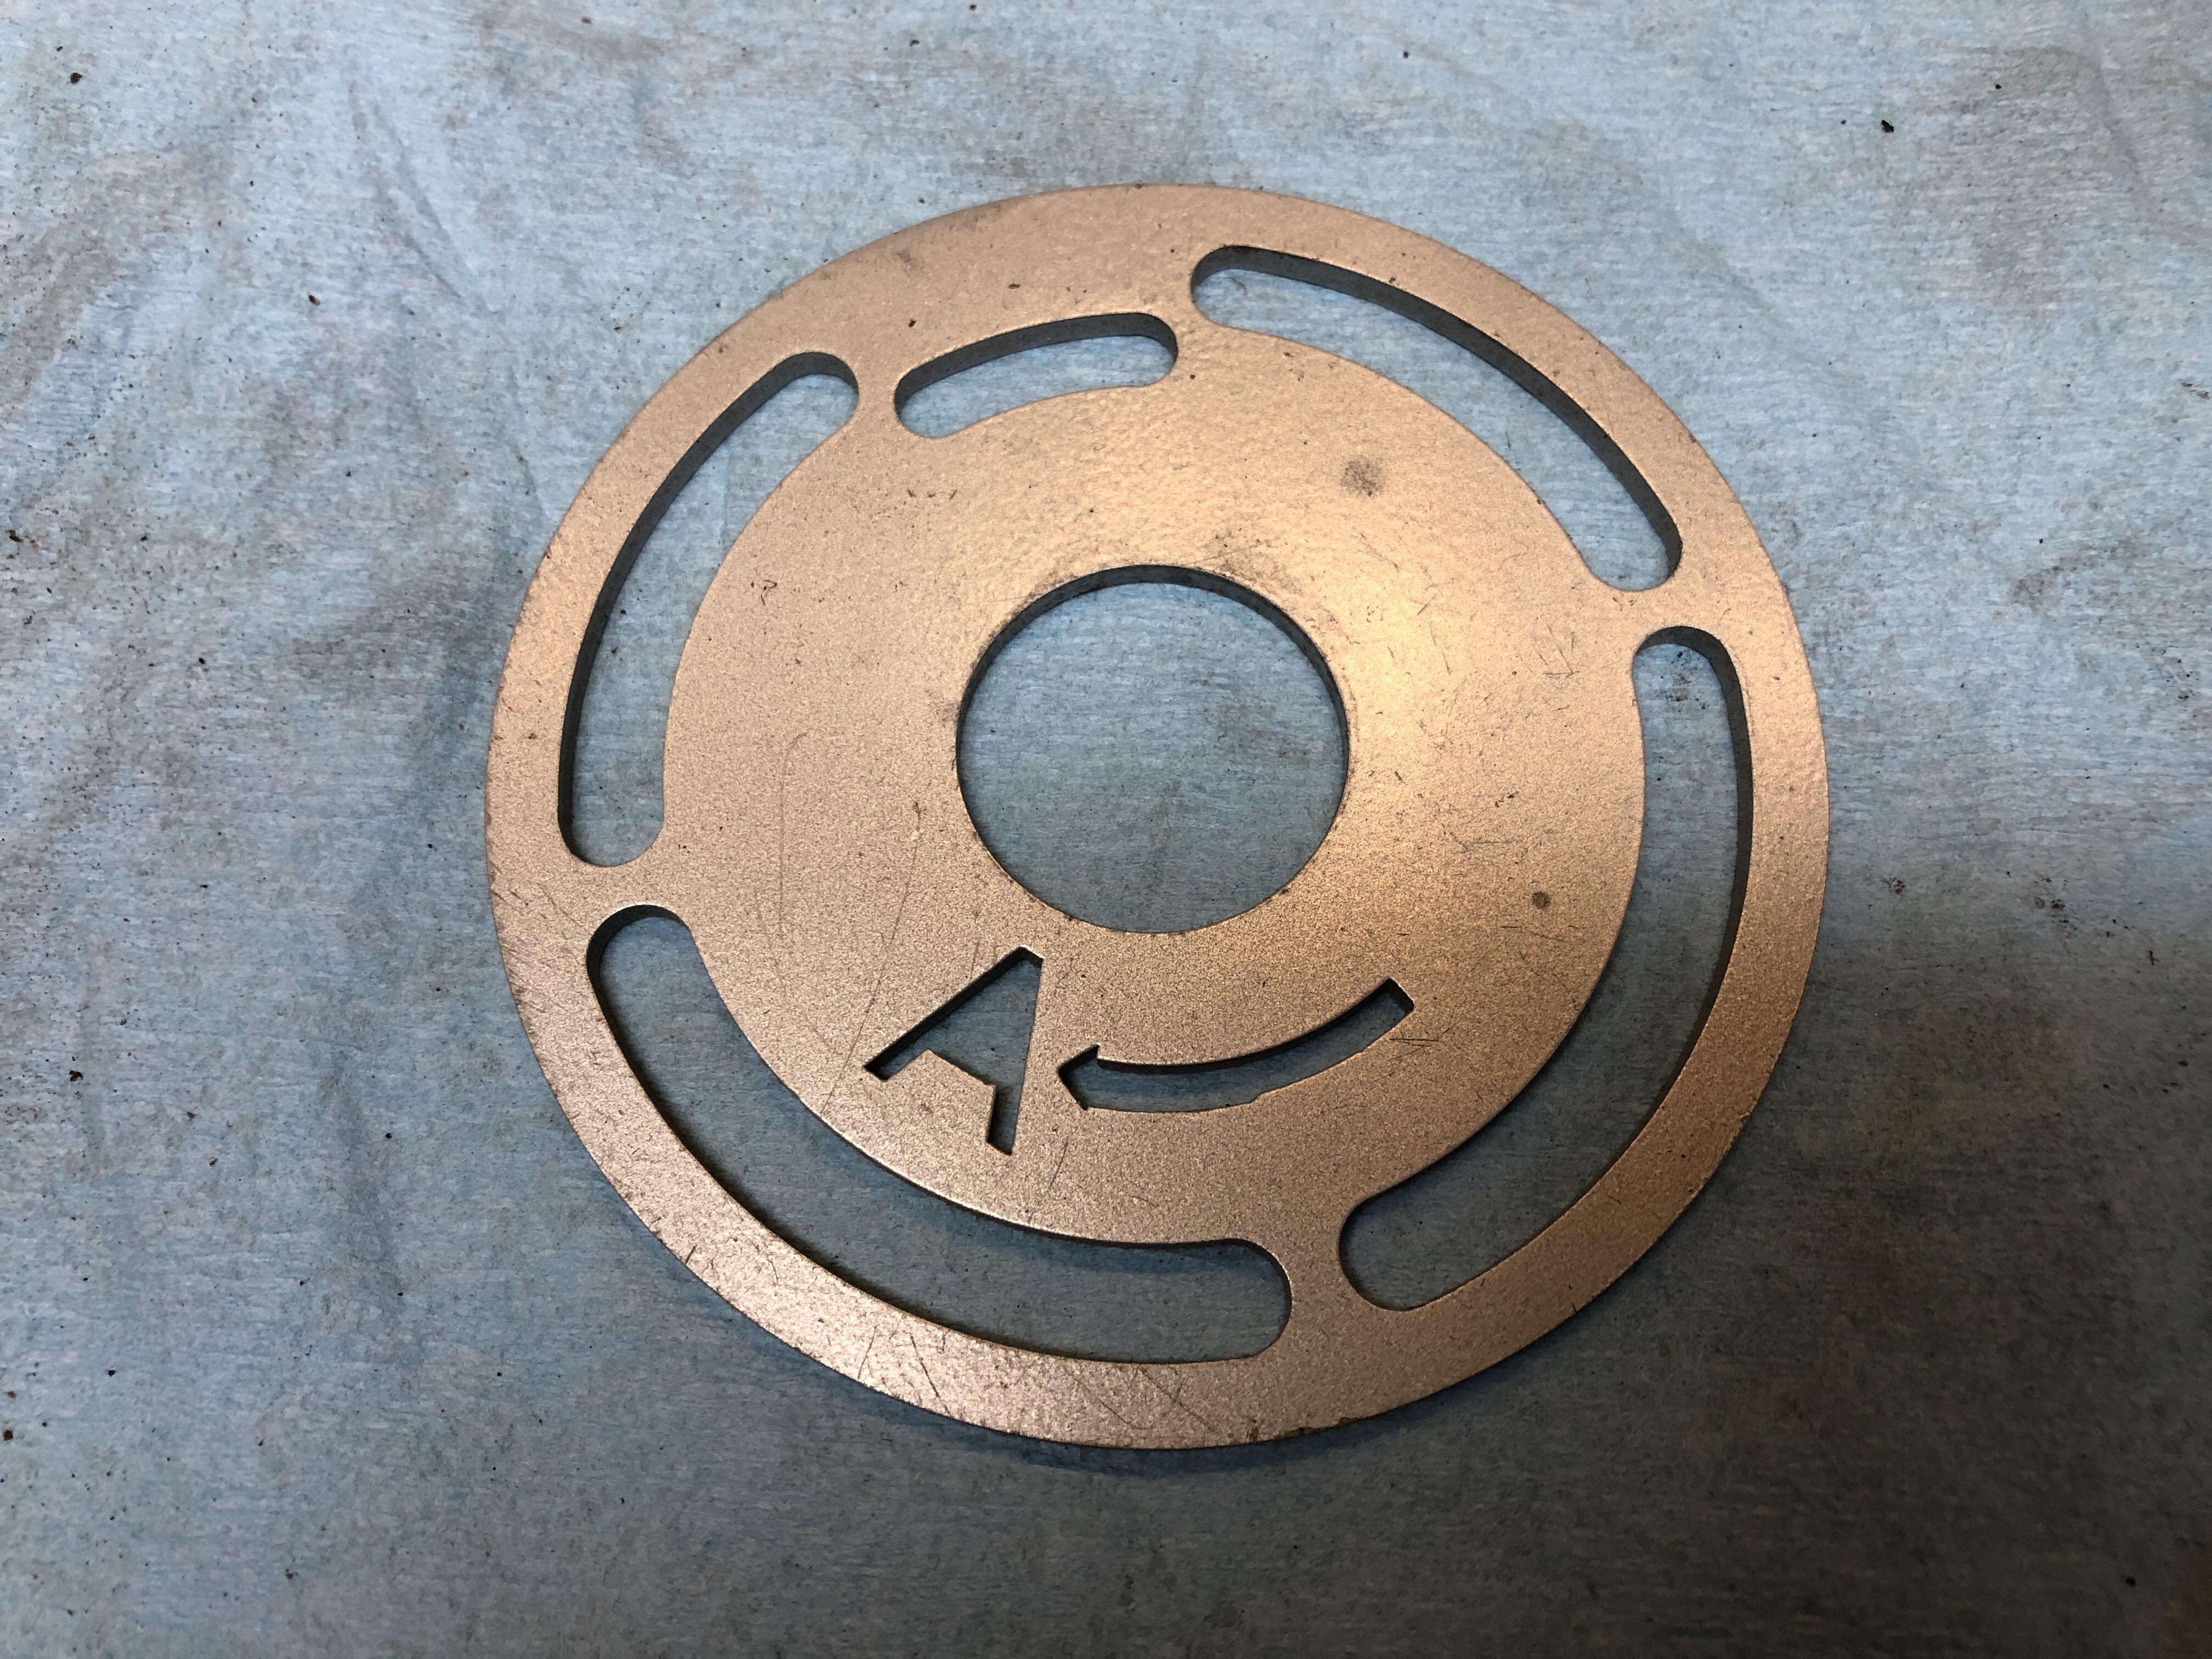
Could be plated, powder coated, Mac Tac’ed, carbon fibre wrapped, sponge painted, you name it. Questions, comments, etc appreciated. I can send a few of you a “test” part and you can tell me what you think if that works. I’ve been installing them on local cars, no issues so far. You can literally put the bolt in anywhere on the circumference. If the “right” spot is on a bridge, you just adjust the small bolt location to move it around enough. The only fly in the ointment so far is that there are two sizes needed. The dang distributors with points have a smaller inner and outer bolt circle than the later electronic styles. So I have a SMALL and LARGE version of this plate. Fits all the L4 and L6 distributors I’ve tried so far. Just have to have the right one. I have been thinking about a way to make one plate for both, but it means large width slots and washers to span the gaps. Works, but..... Anyway first things first.
-
For years, literally years and years, I have been frustrated over and over again when setting up timing on our L series engines. Whether it’s a fresh engine setup, or after removing and replacing the distributor drive shaft after routine maintenance, I’m very often off by one tooth. “So what” I proclaim, I’ll just adjust the timing by rotating the distributor a bit more. But nope, the slots in the plate are never long enough to allow that. Or I have a custom setup and need to put the distributor in a specific orientation, but can’t because the timing plate won’t line up as needed. I’ve had many customer cars in for various work, and often find the drive gear alignment is out have to sort out their timing issues. They may have been running crazy retarded for a long time and didn’t know how to fix it. I’ve often resorted to cutting and welding on extensions to the plate to give me more rotation. Ugly, but it worked. Whatever the reason, being too lazy to drop that sway bar one more time to get the oil pump off, or having a custom setup, or needing to get just the right base to suit the upgraded ZX E12-80 distributor you just bought but now can’t use, wouldn’t it be nice to just have a distributor timing plate that allows more adjustment? Maybe even cover any all possible Nissan distributor replacement options no matter your specific situation? No need to find the “right” base? Heck, just not caring if you have the drive shaft alignment EXACTLY right when you put the oil pump back on, would be worth at least 6 rolls of toilet paper, right? Maybe even a BIG jar of hand sanitizer! Not a week goes by when someone has been begging for help with getting the timing right here or on any of the forums or facebook. How often have each of us posted the famous picture looking down the dizzy hole with the correct tang orientation? You know the one. Well, I’ve had enough. I “Fixed” it. Even put an “A” and and arrow to show you which way is “Advance”. So what say you experts? Is is this worth making more of? Suggestions?


-
Very short video. One frame. Thank you Berkeley Breathed/Bloom Country Pretty much describes how many feel I think.
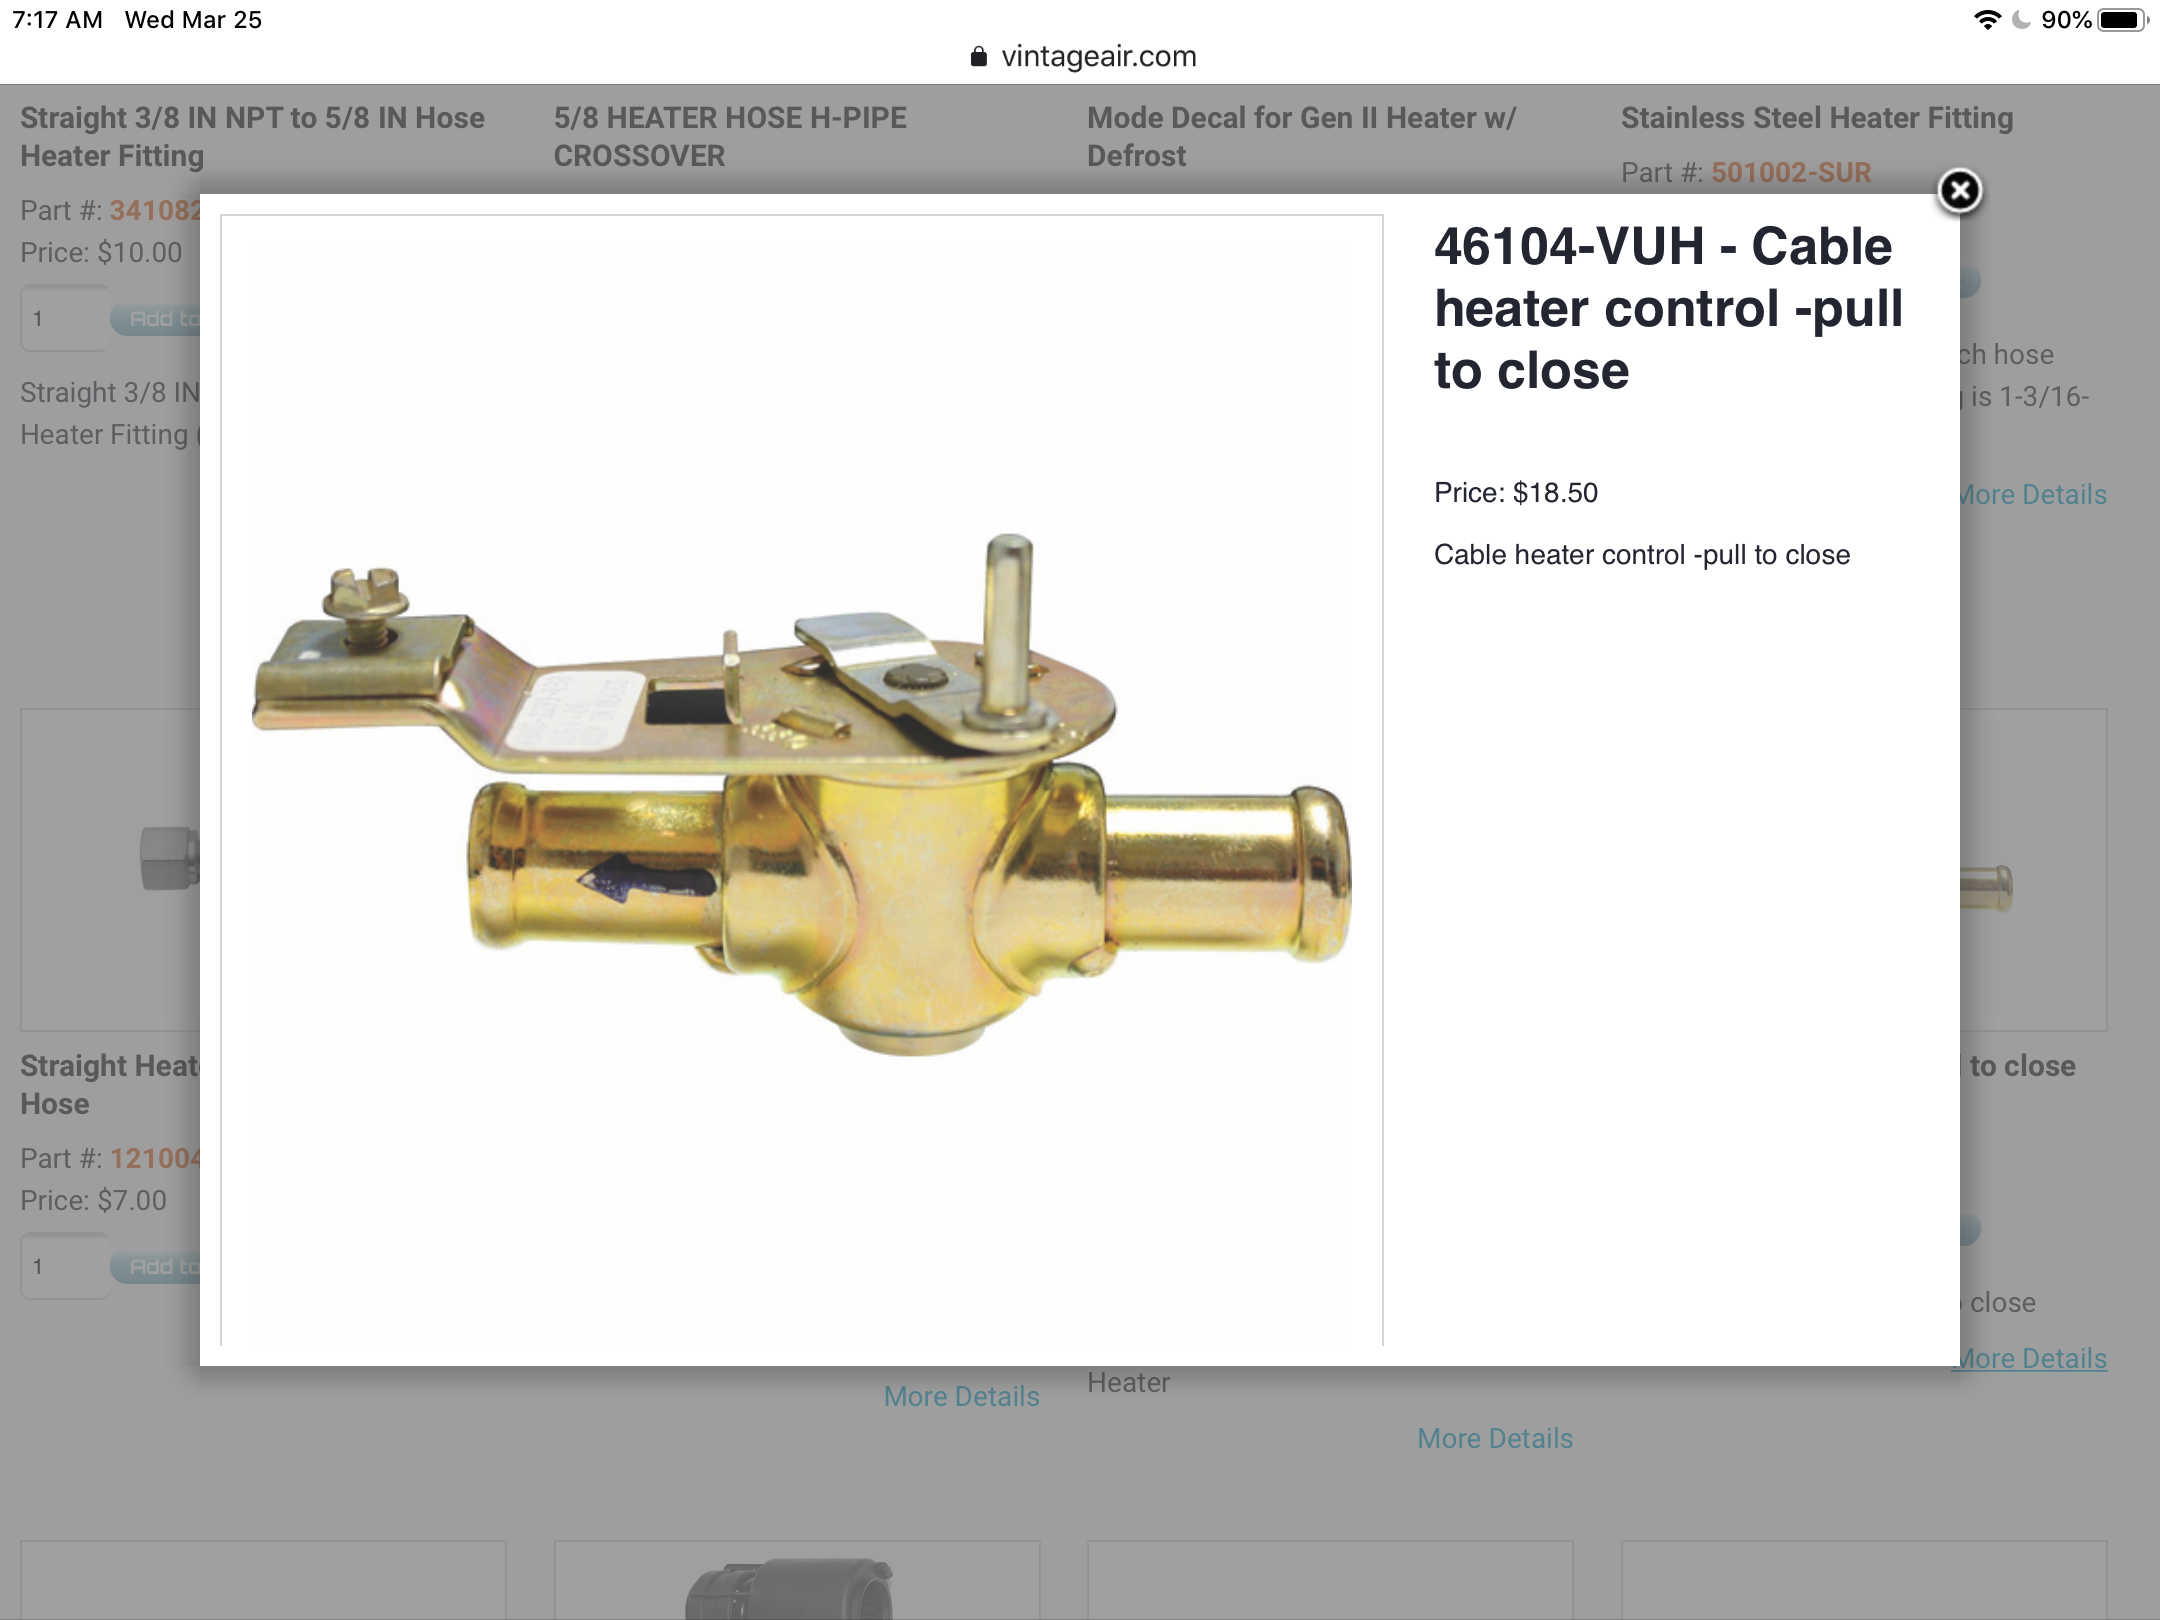
 Vintage Air makes a generic powered heater control valve. It can be controlled by any rotary or linear potentiometer (0-10 kohm IRRC) you care to use. $90USD. 50507-VUA - Servo Heater Valve Re-fit Kit with Control Knob and Pod https://www.vintageair.com/instructions_pdf/50507-VUA.pdf They also sell generic cable operated heater control valves.
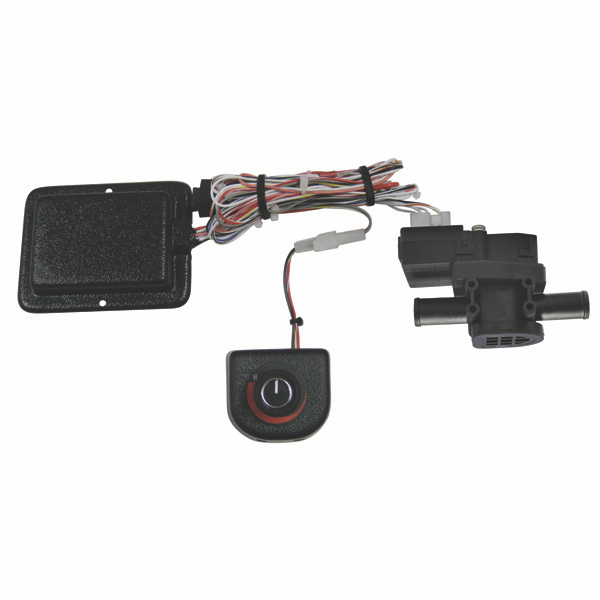
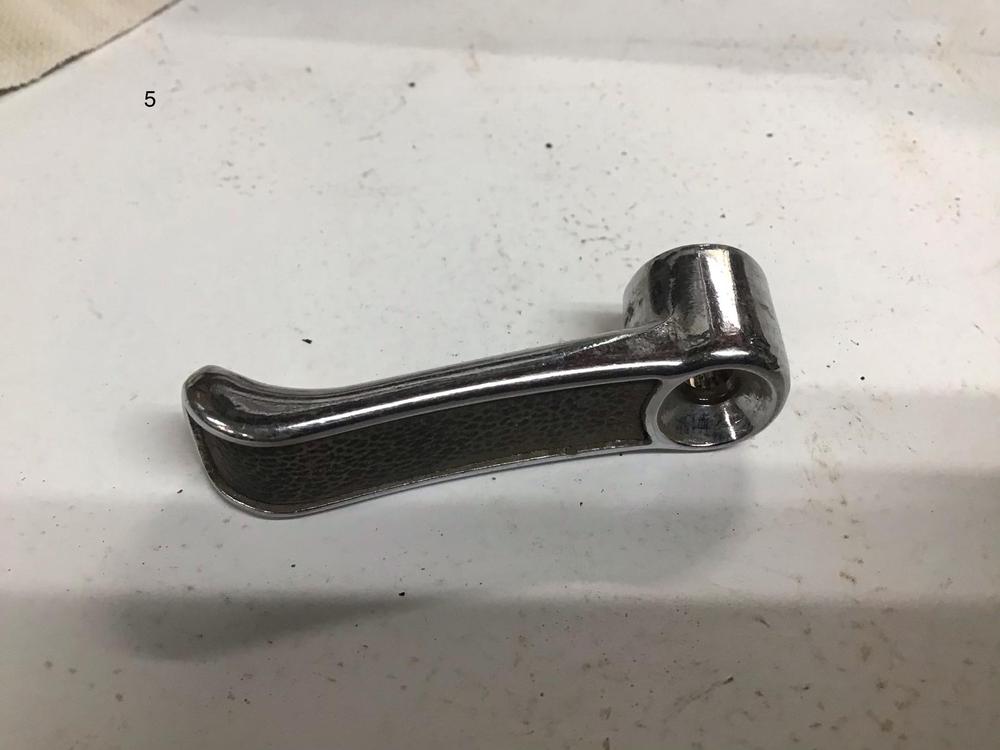
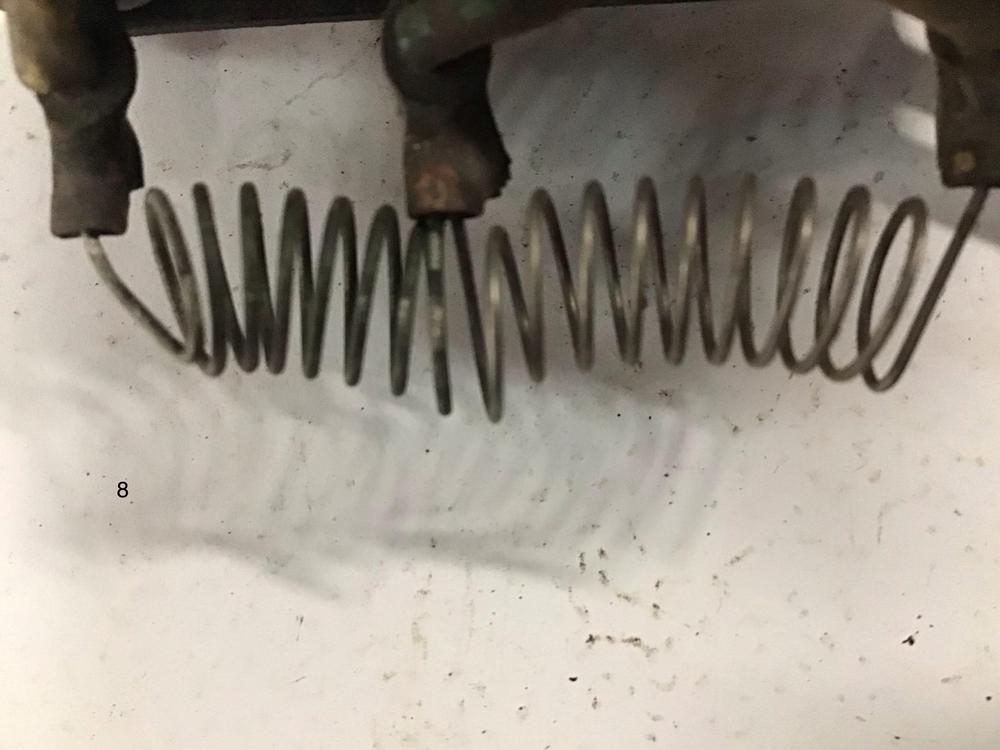
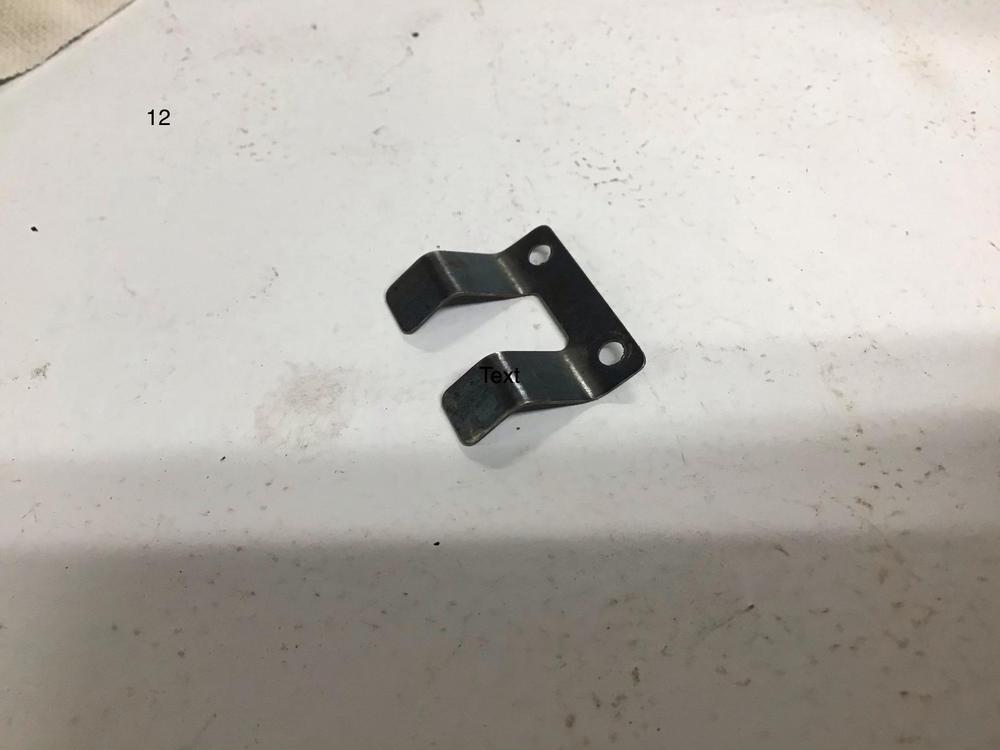
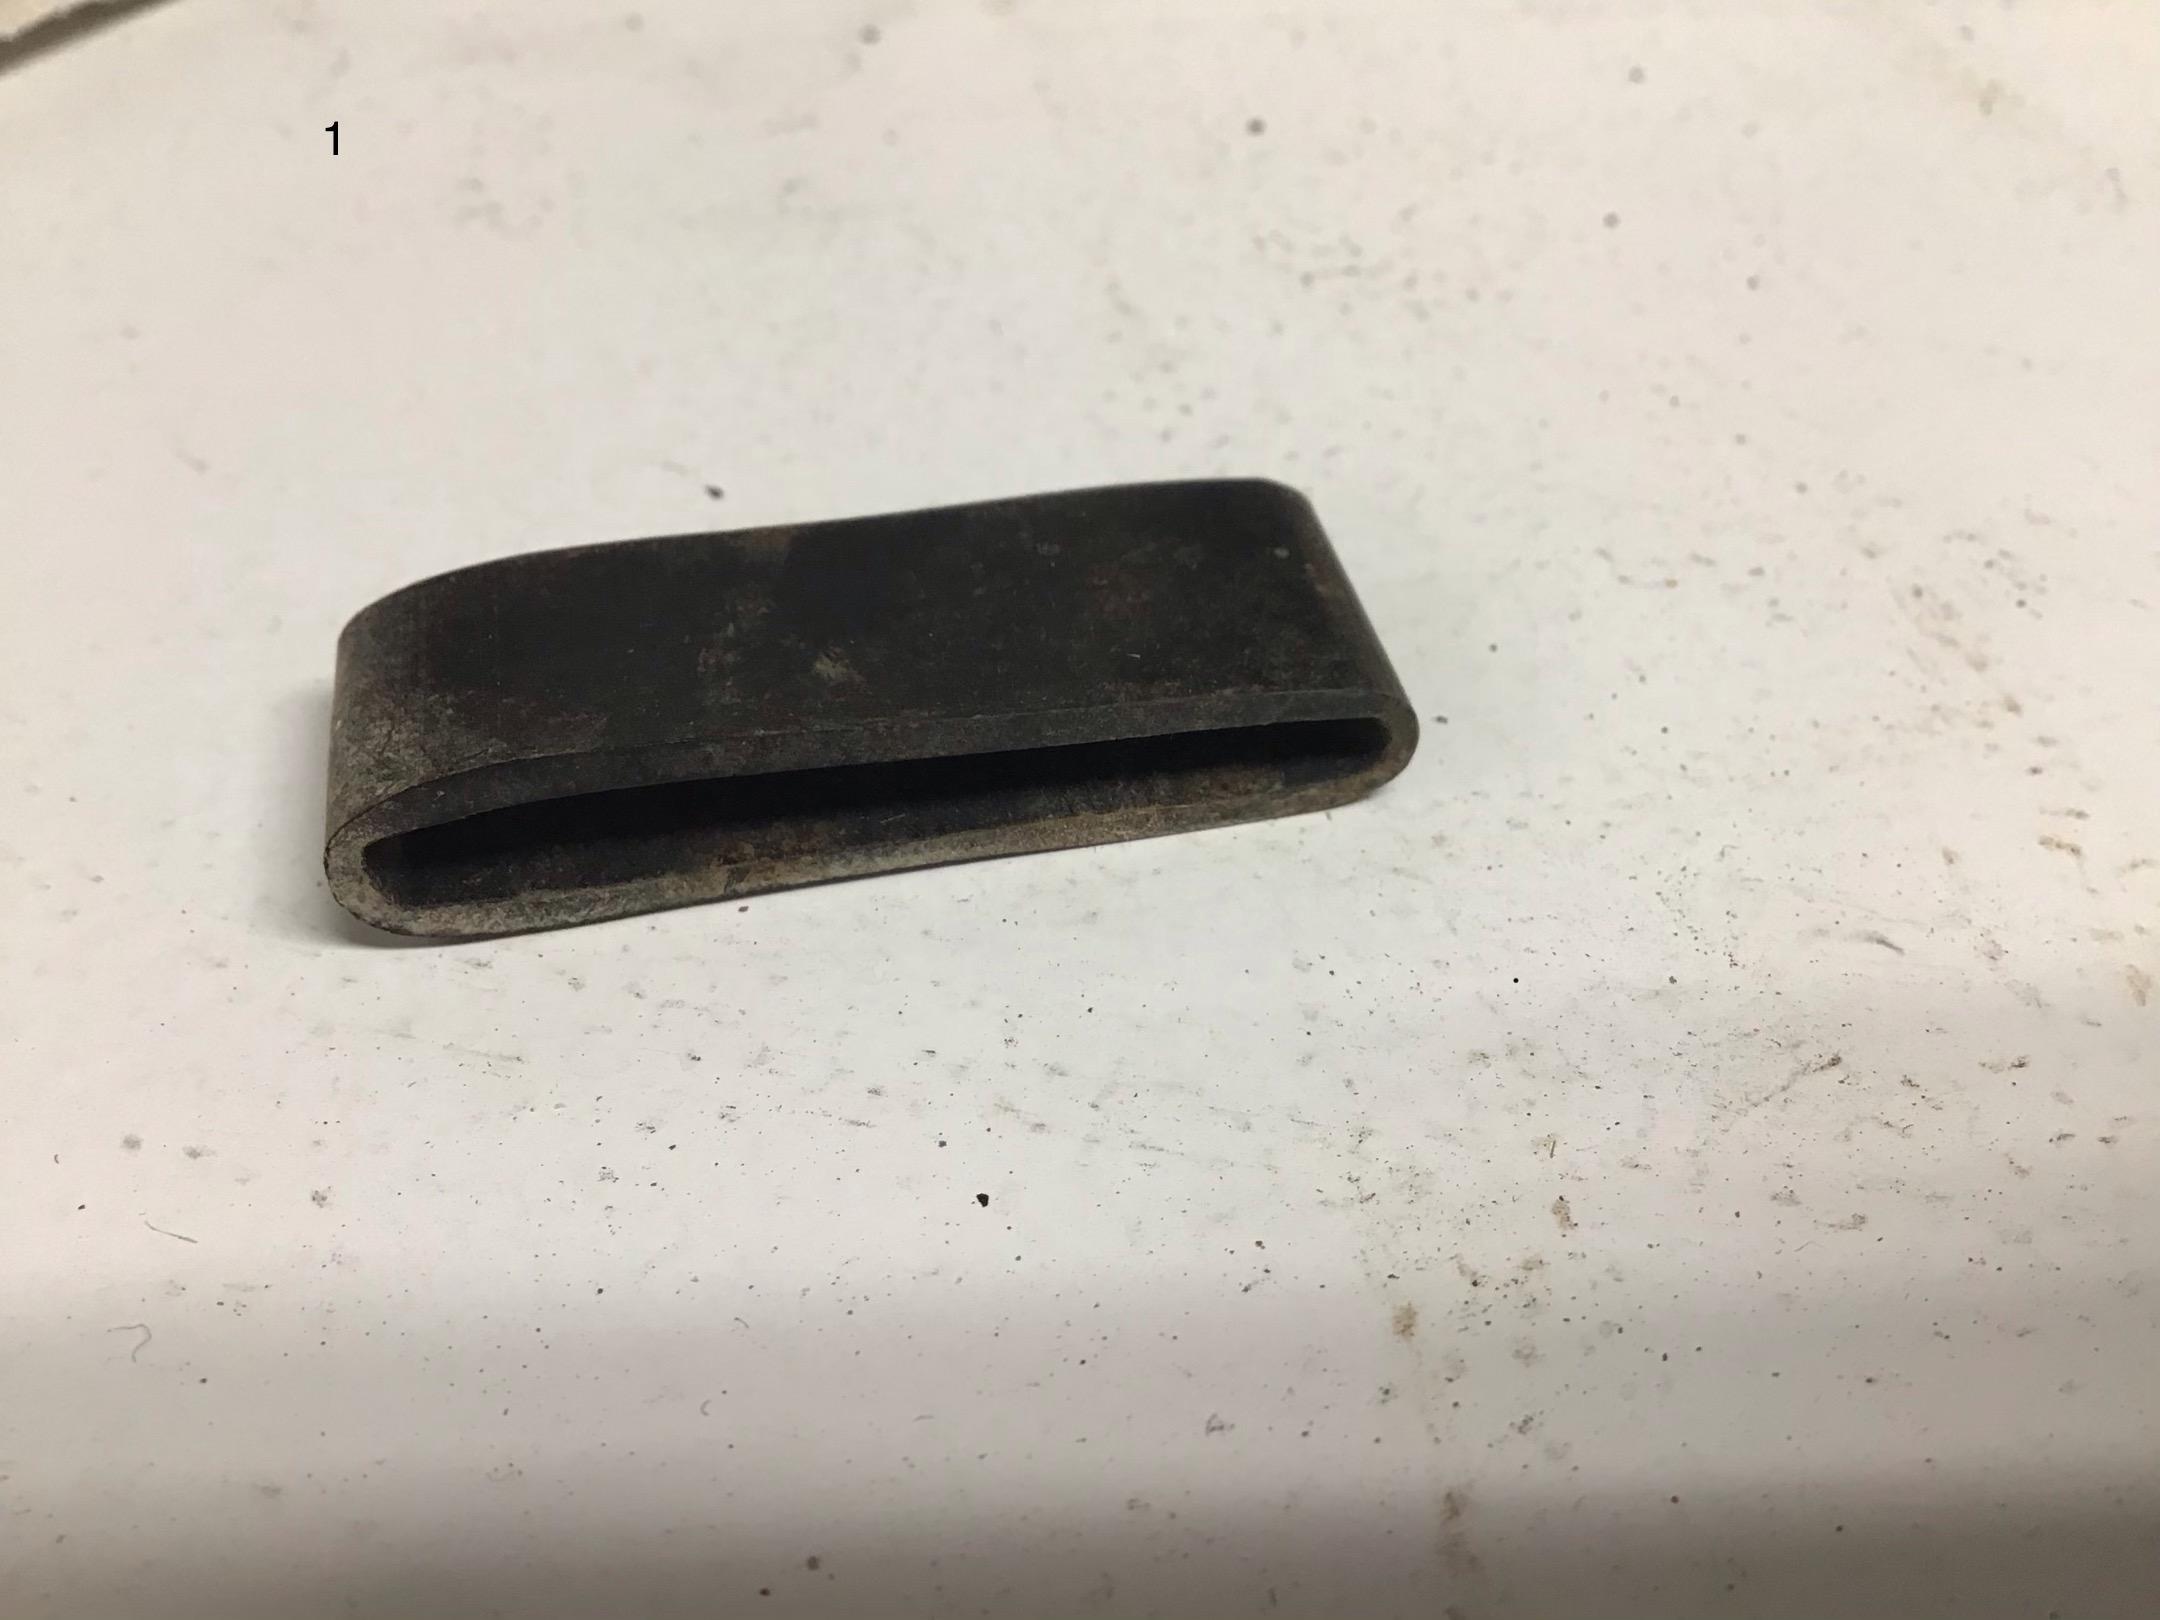
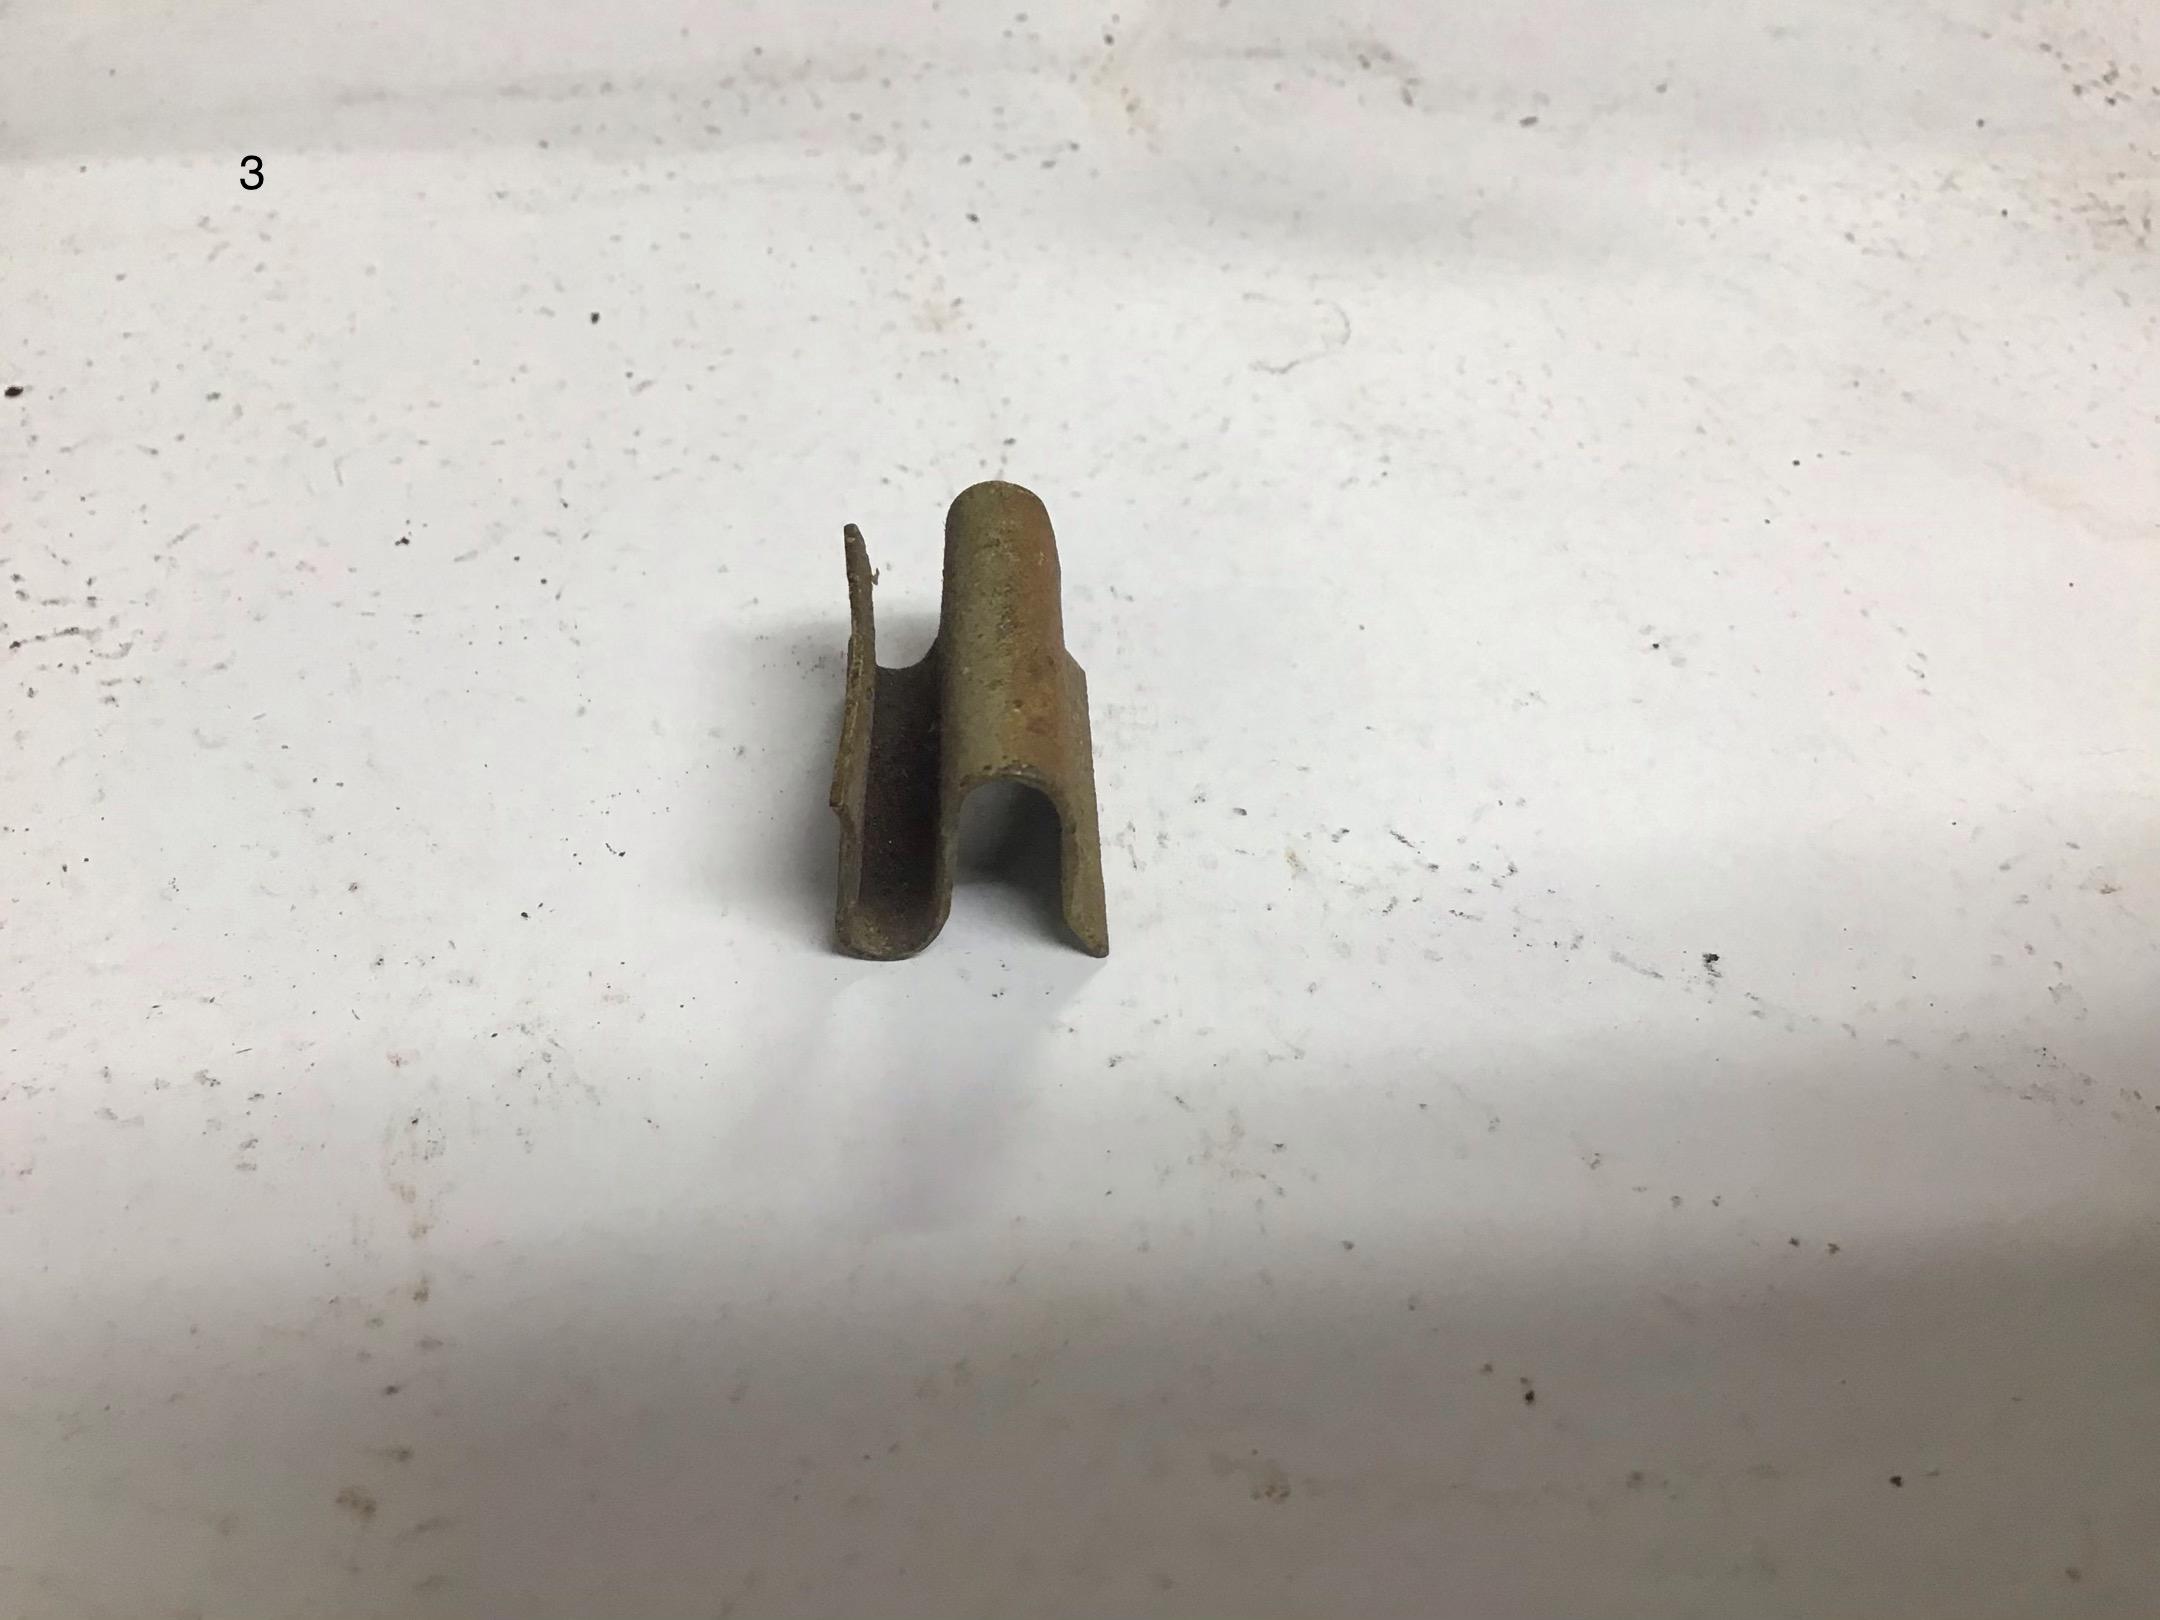
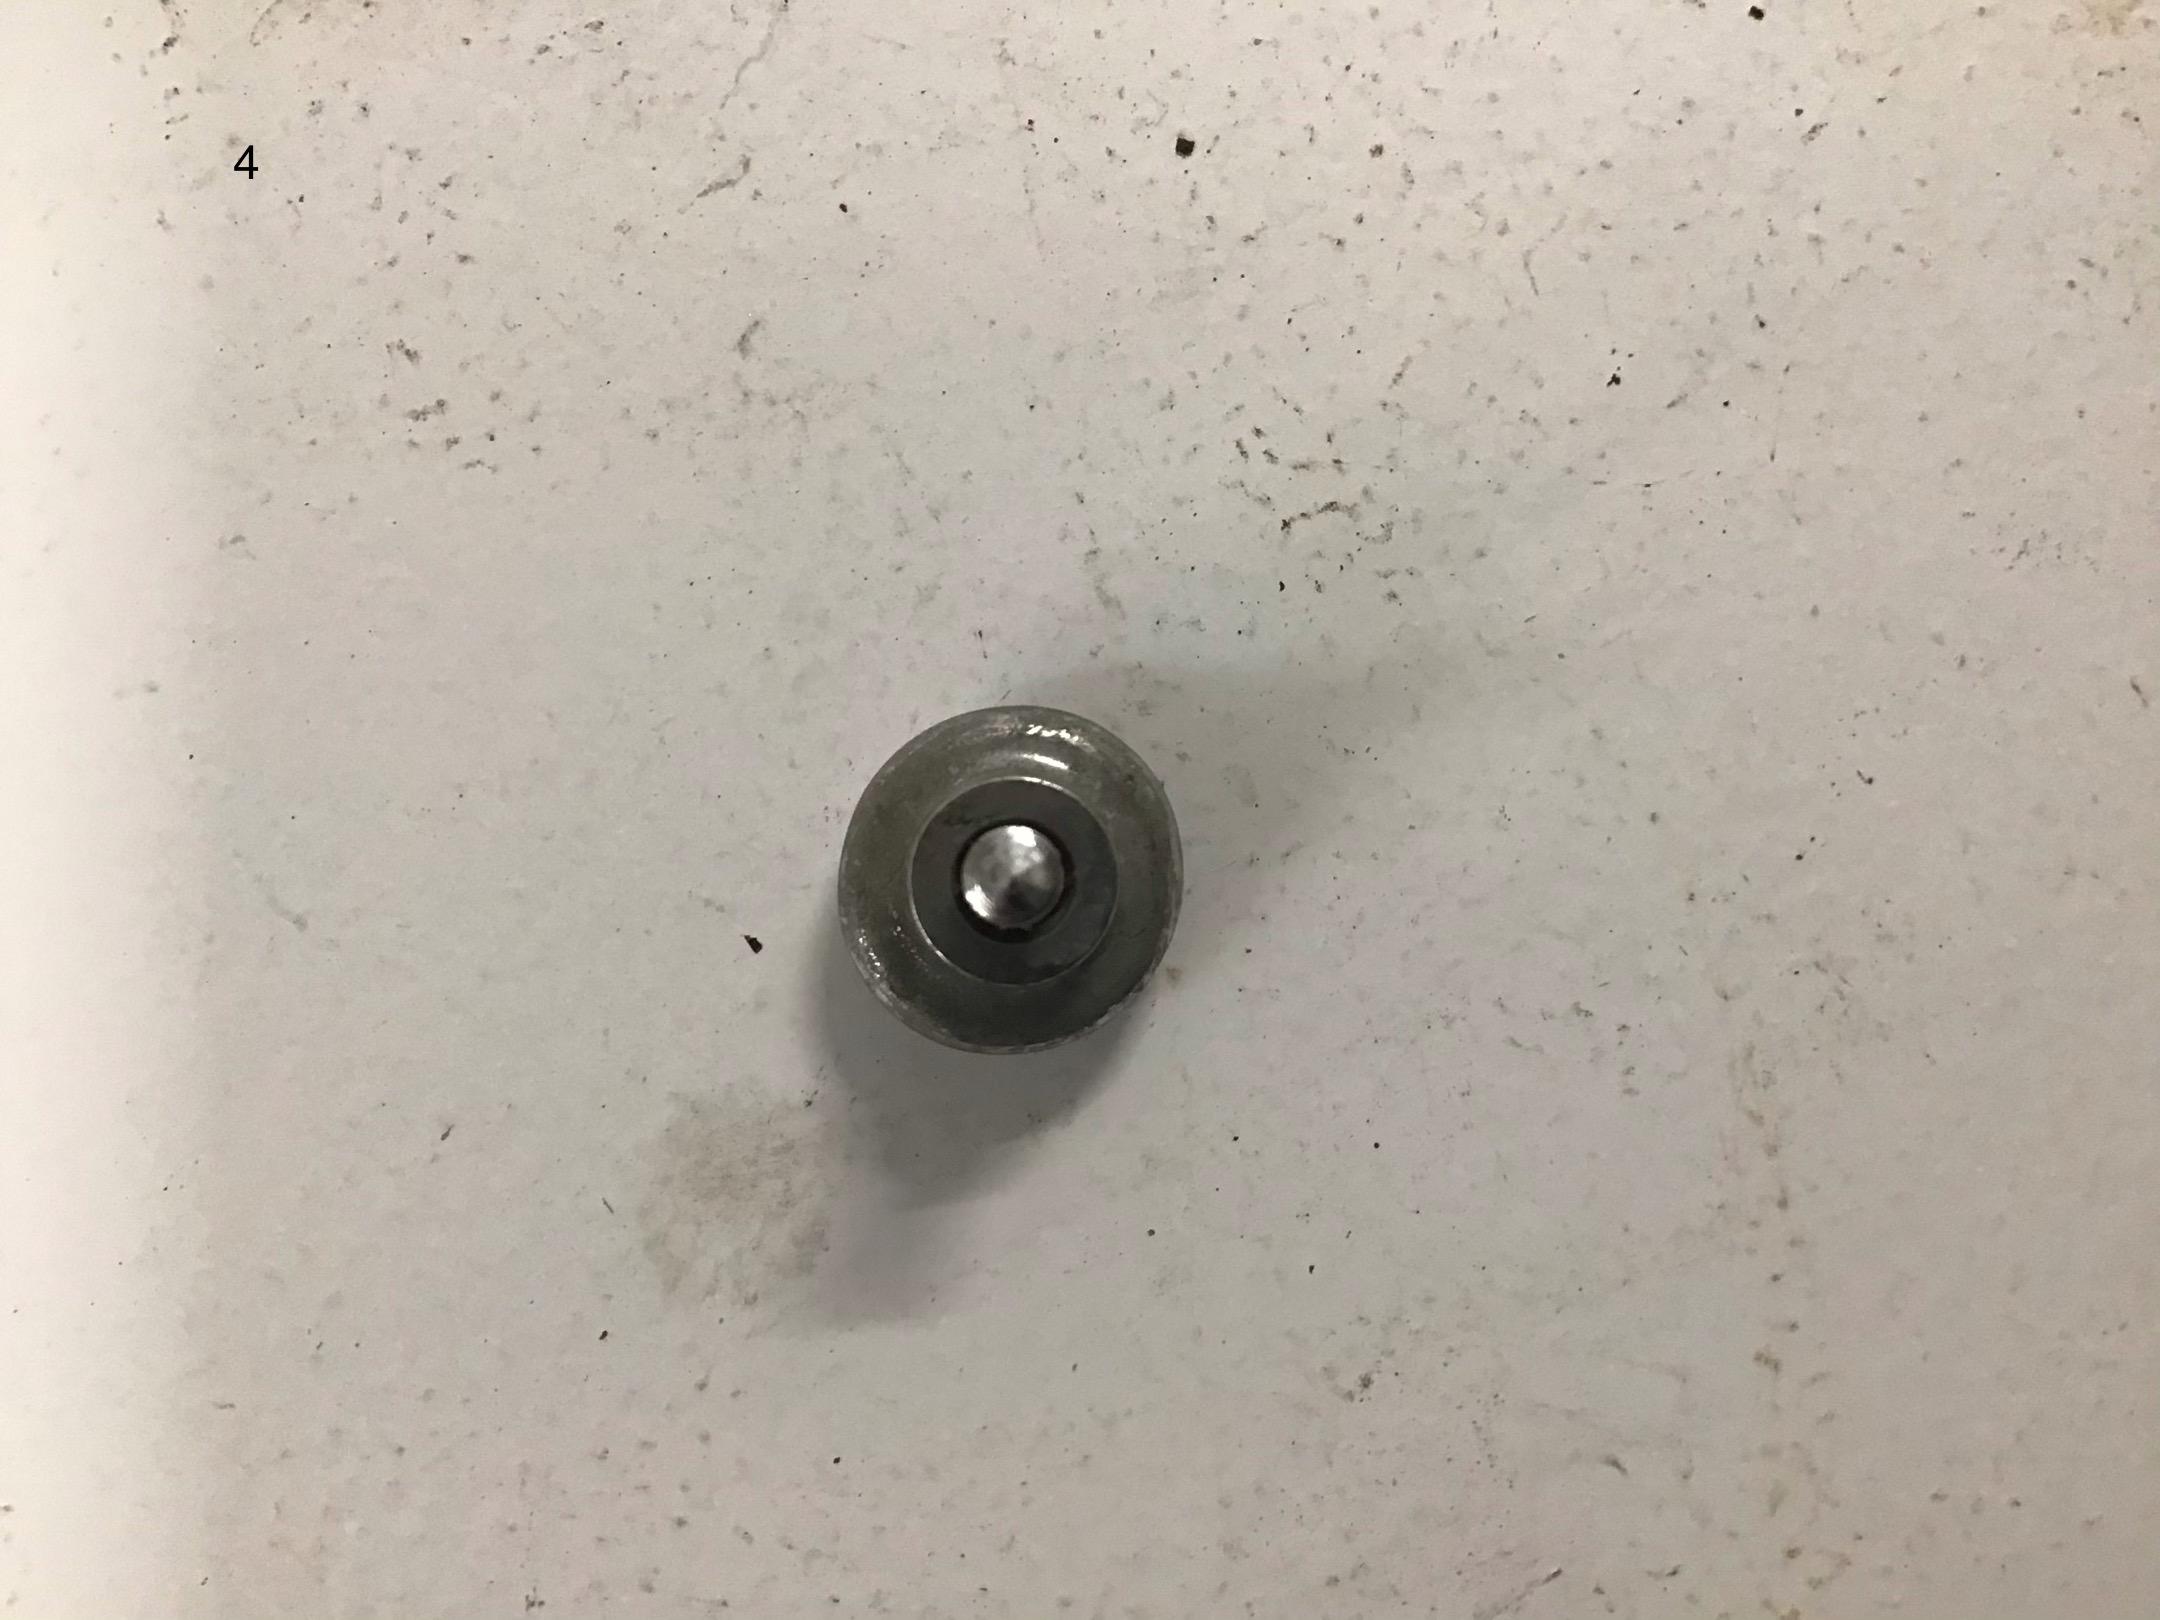
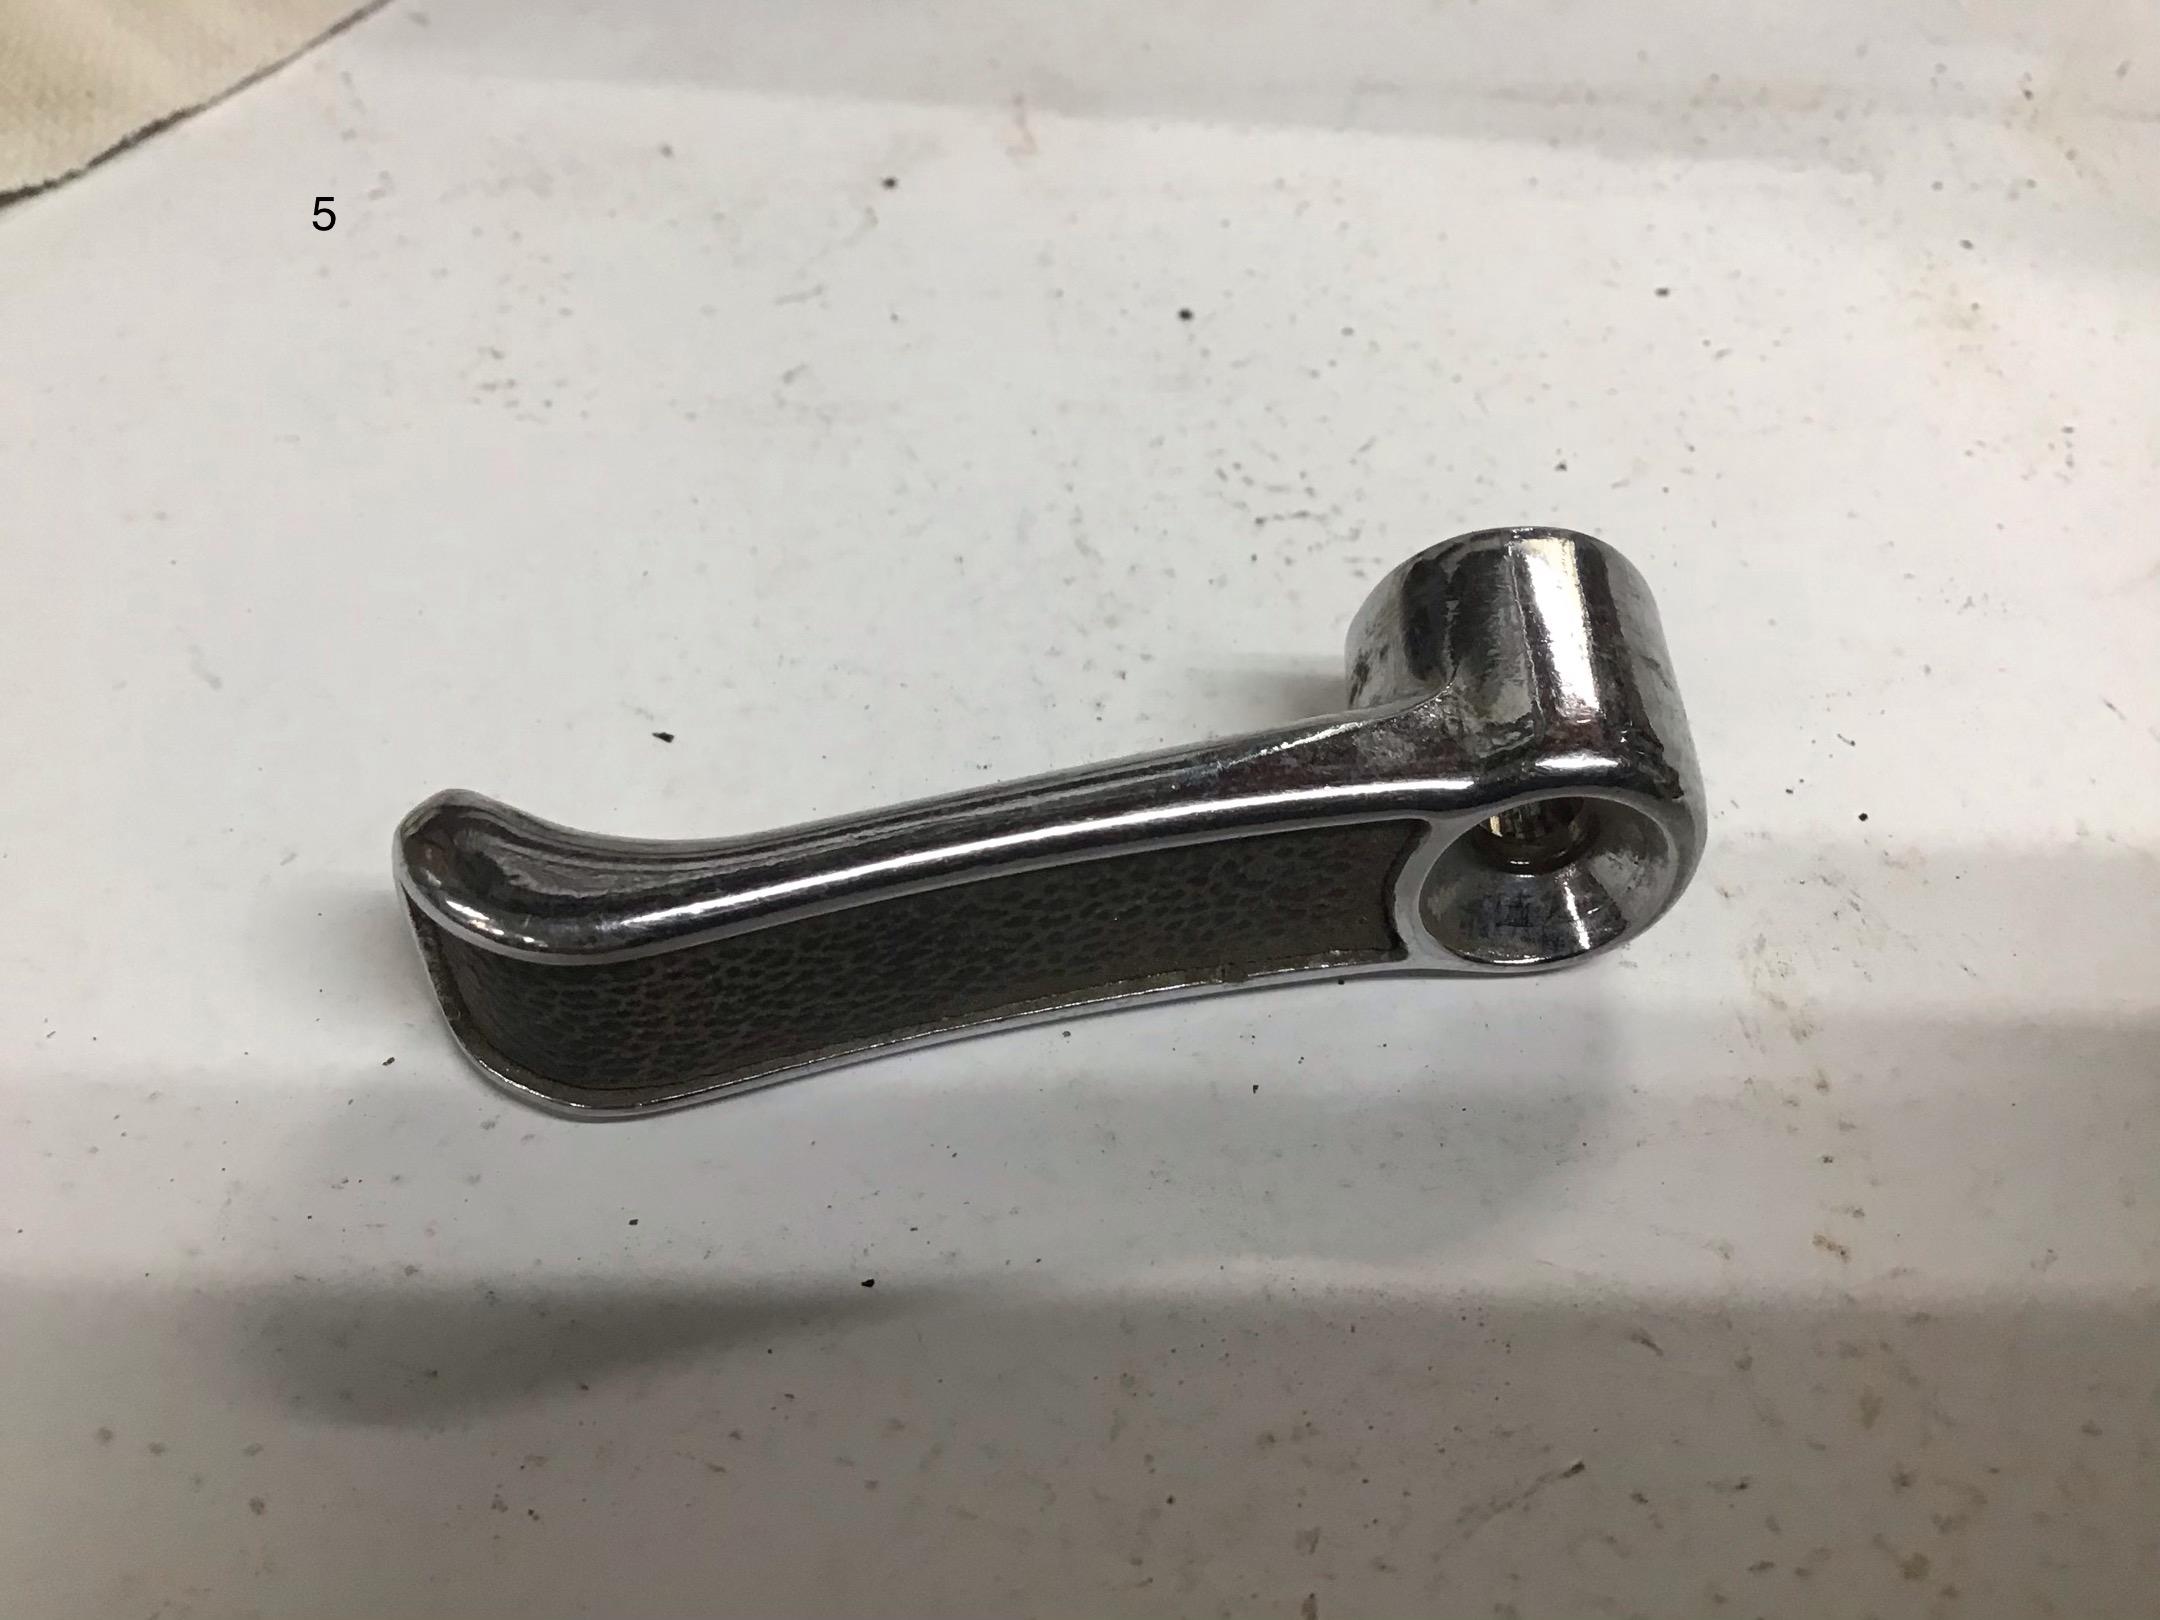
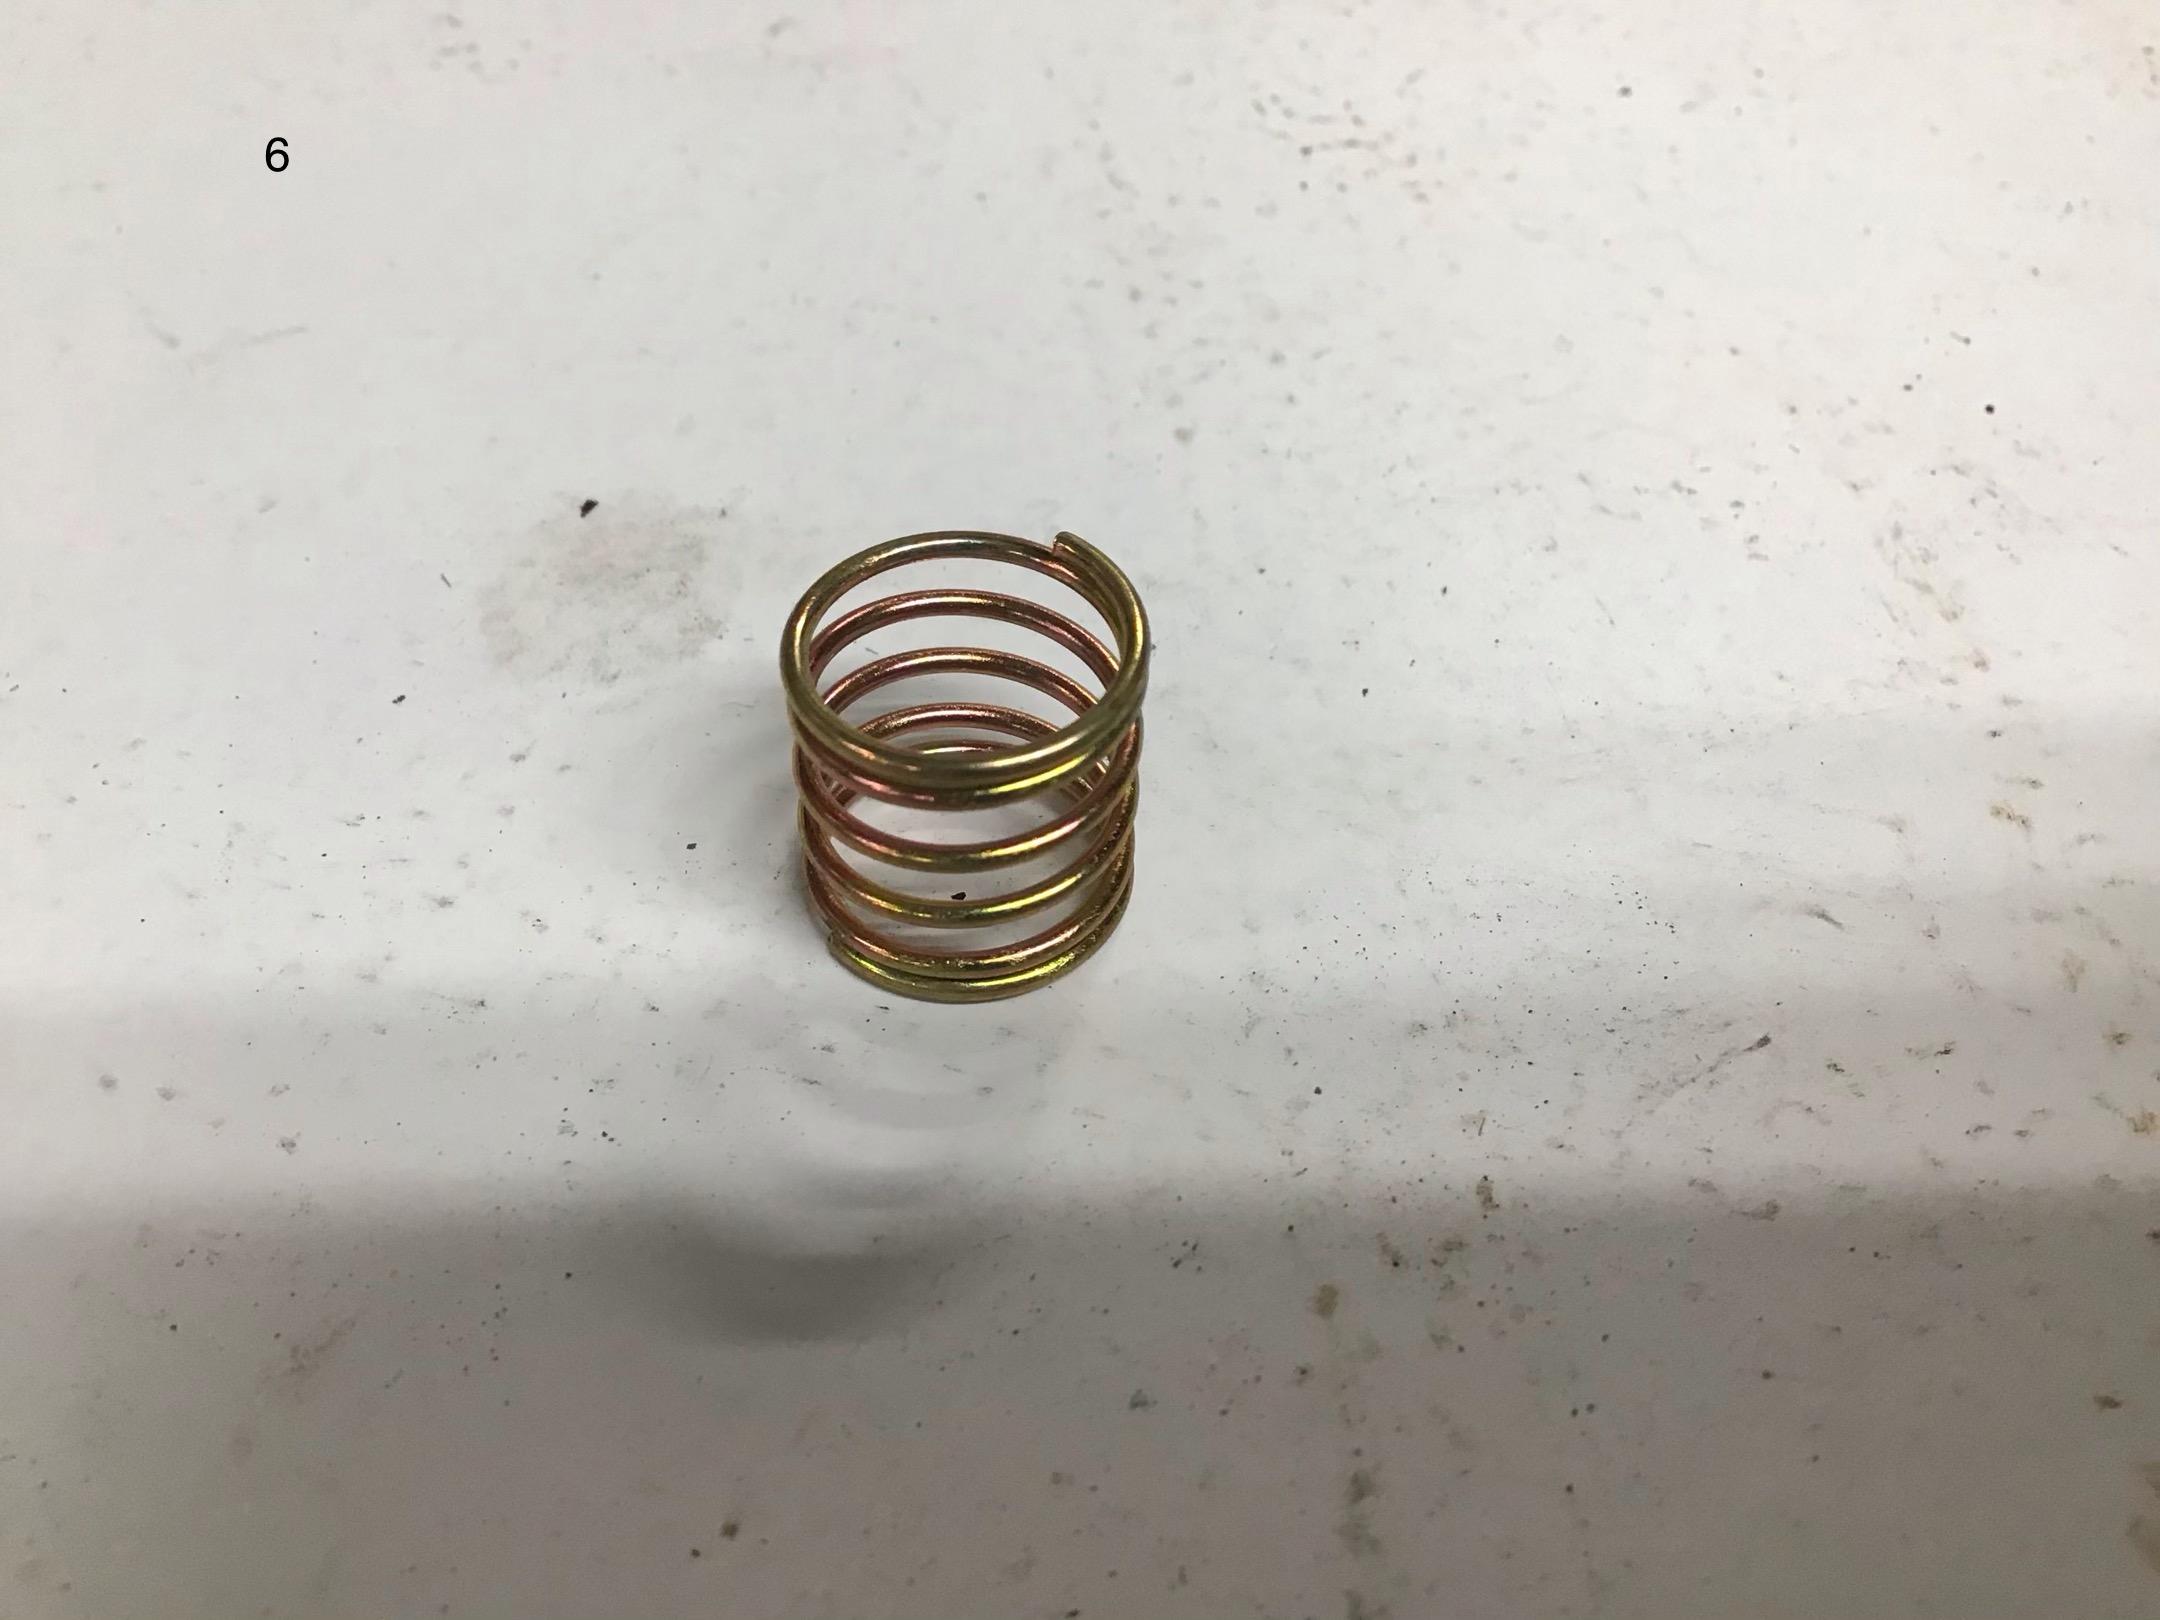
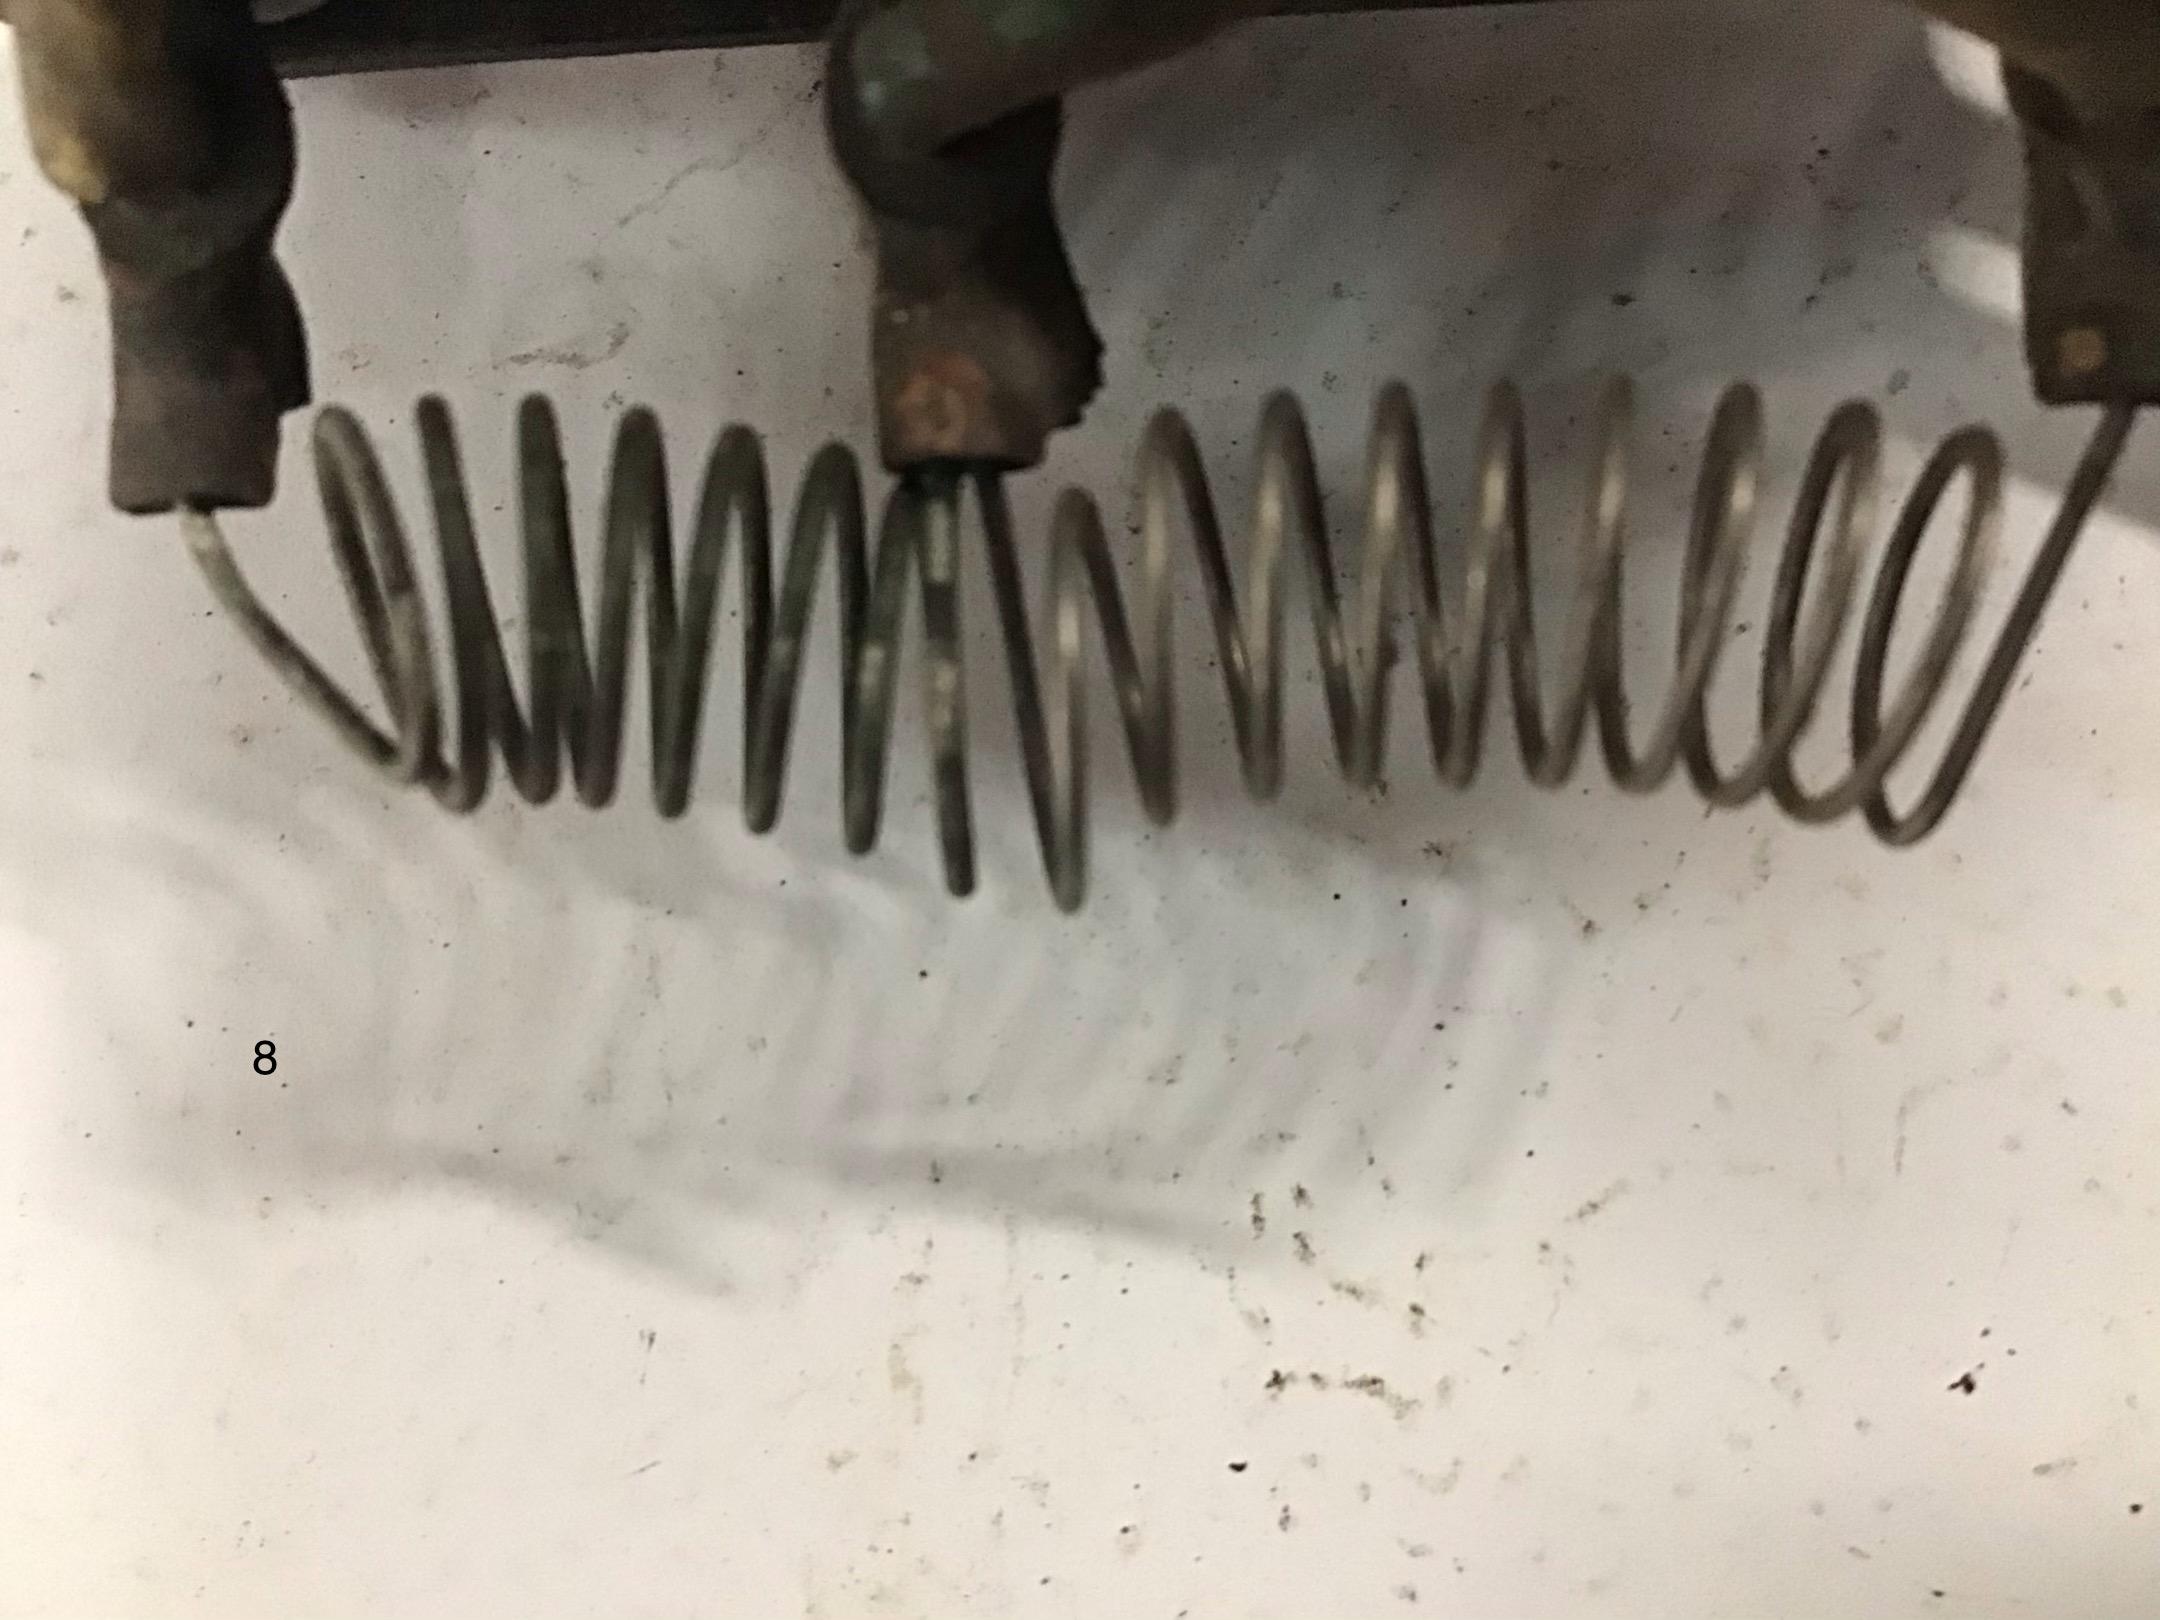
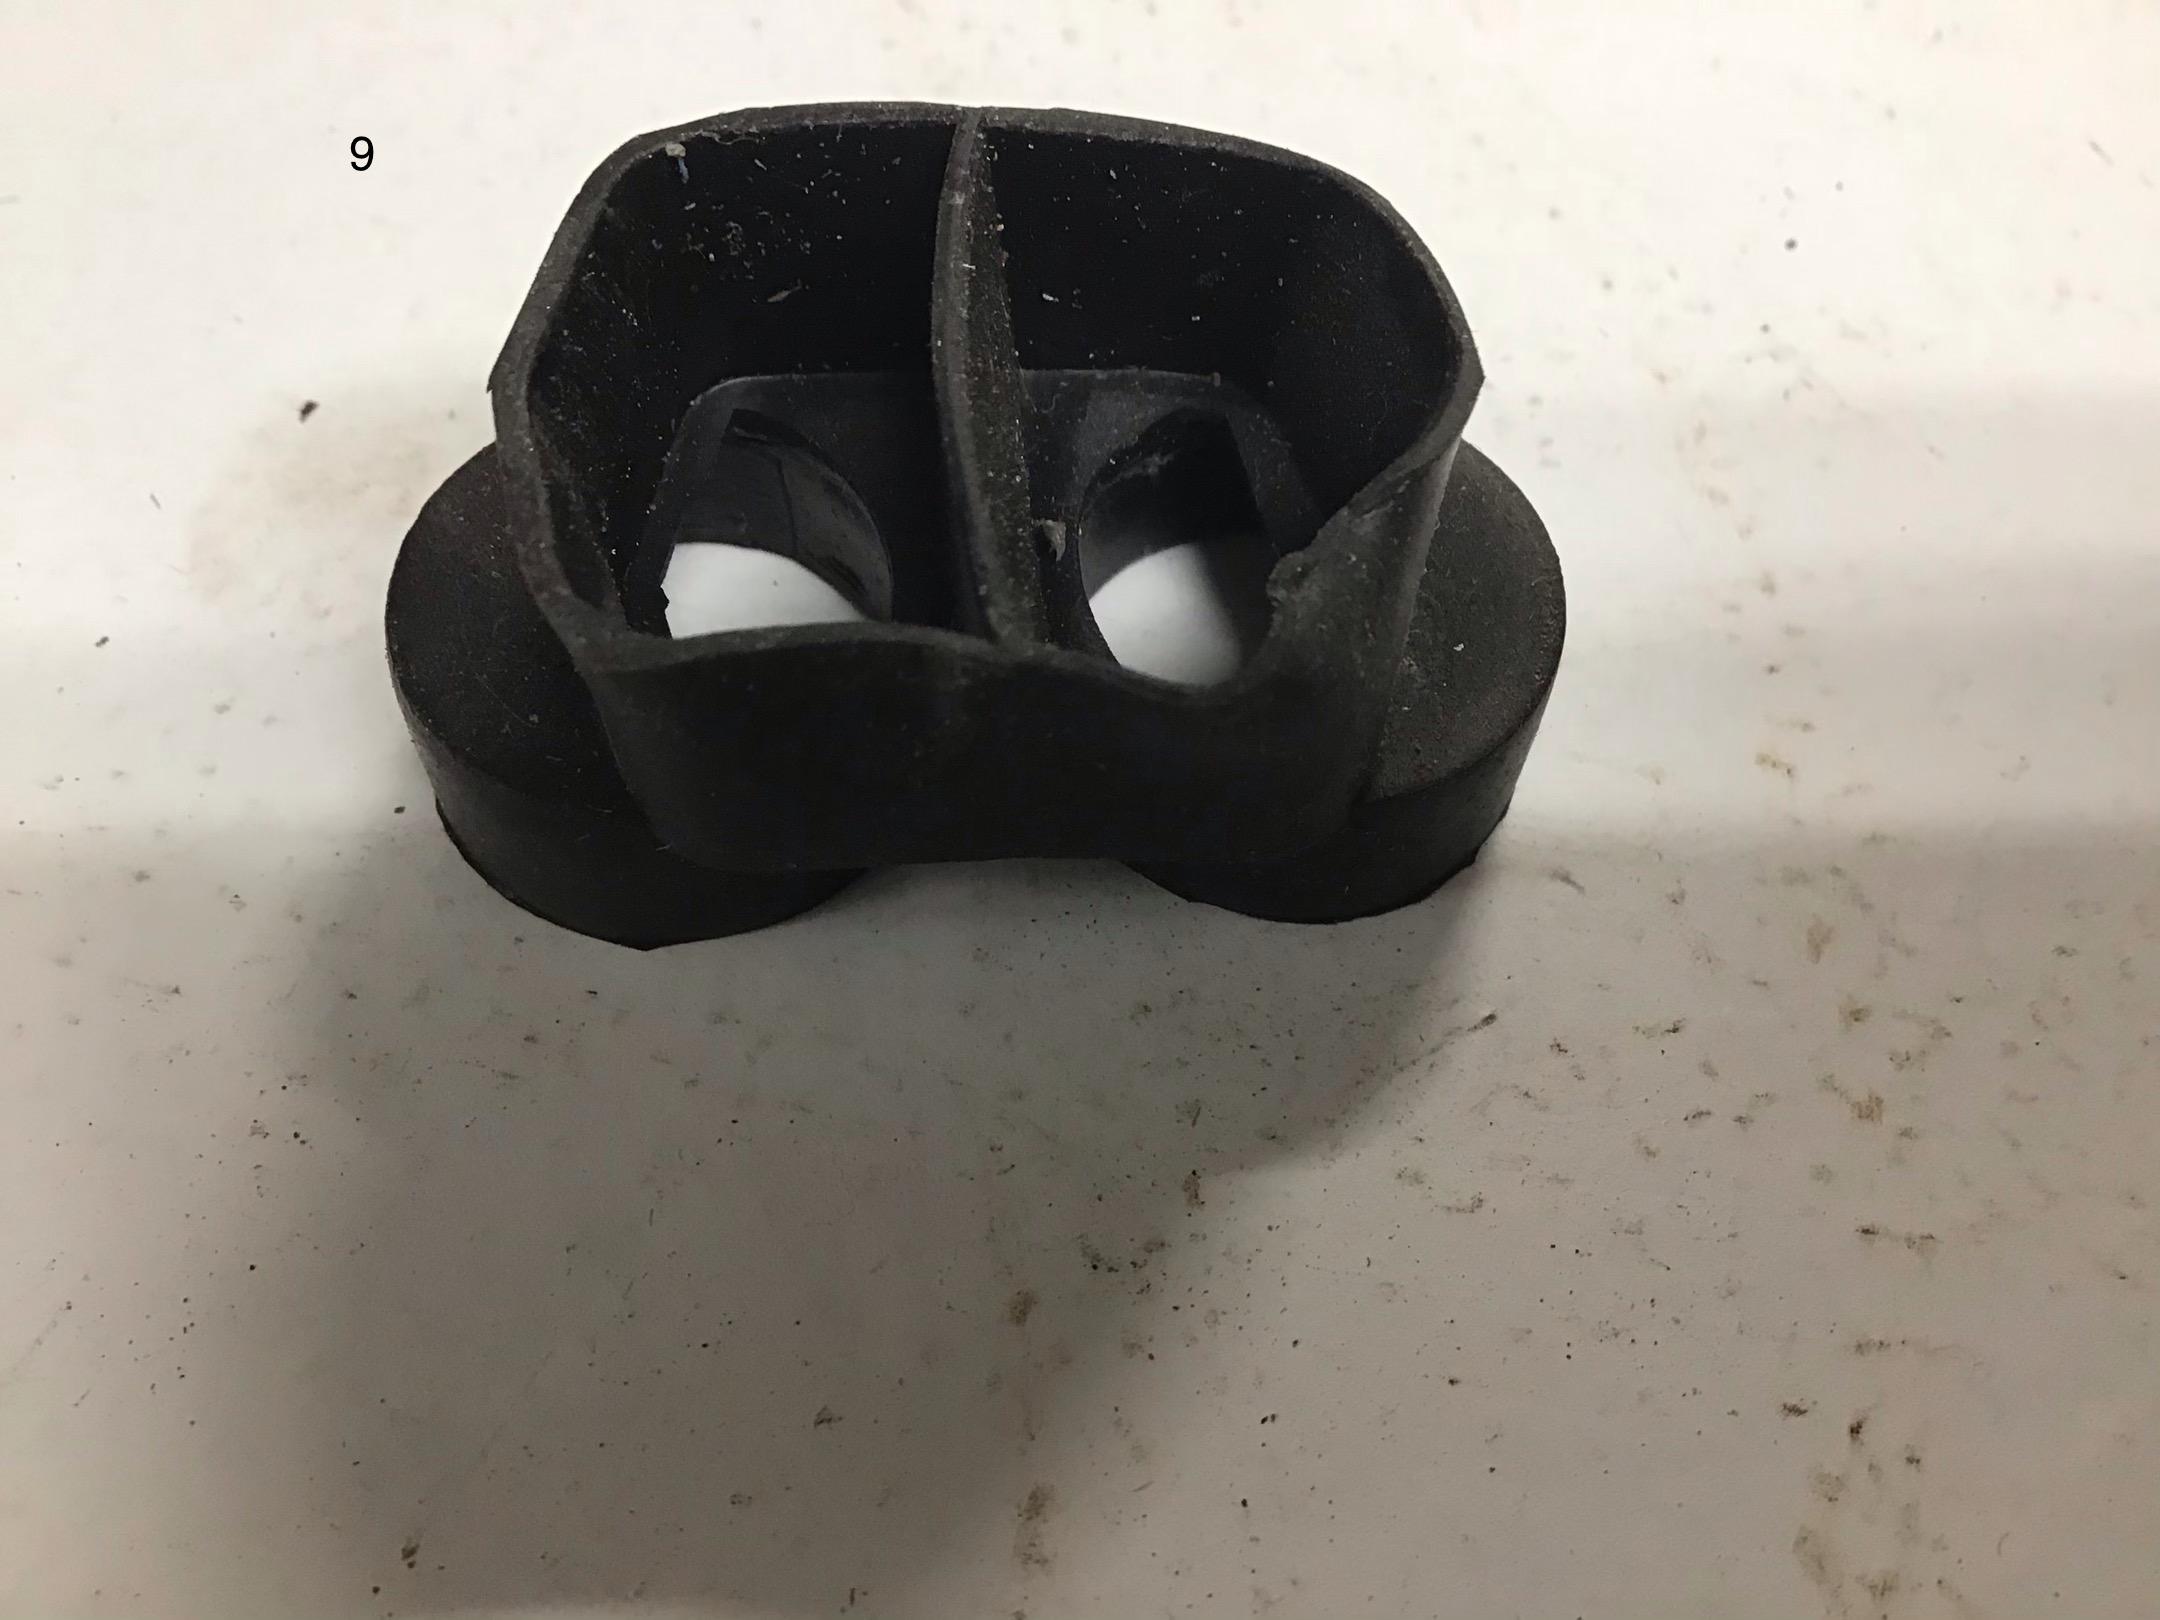
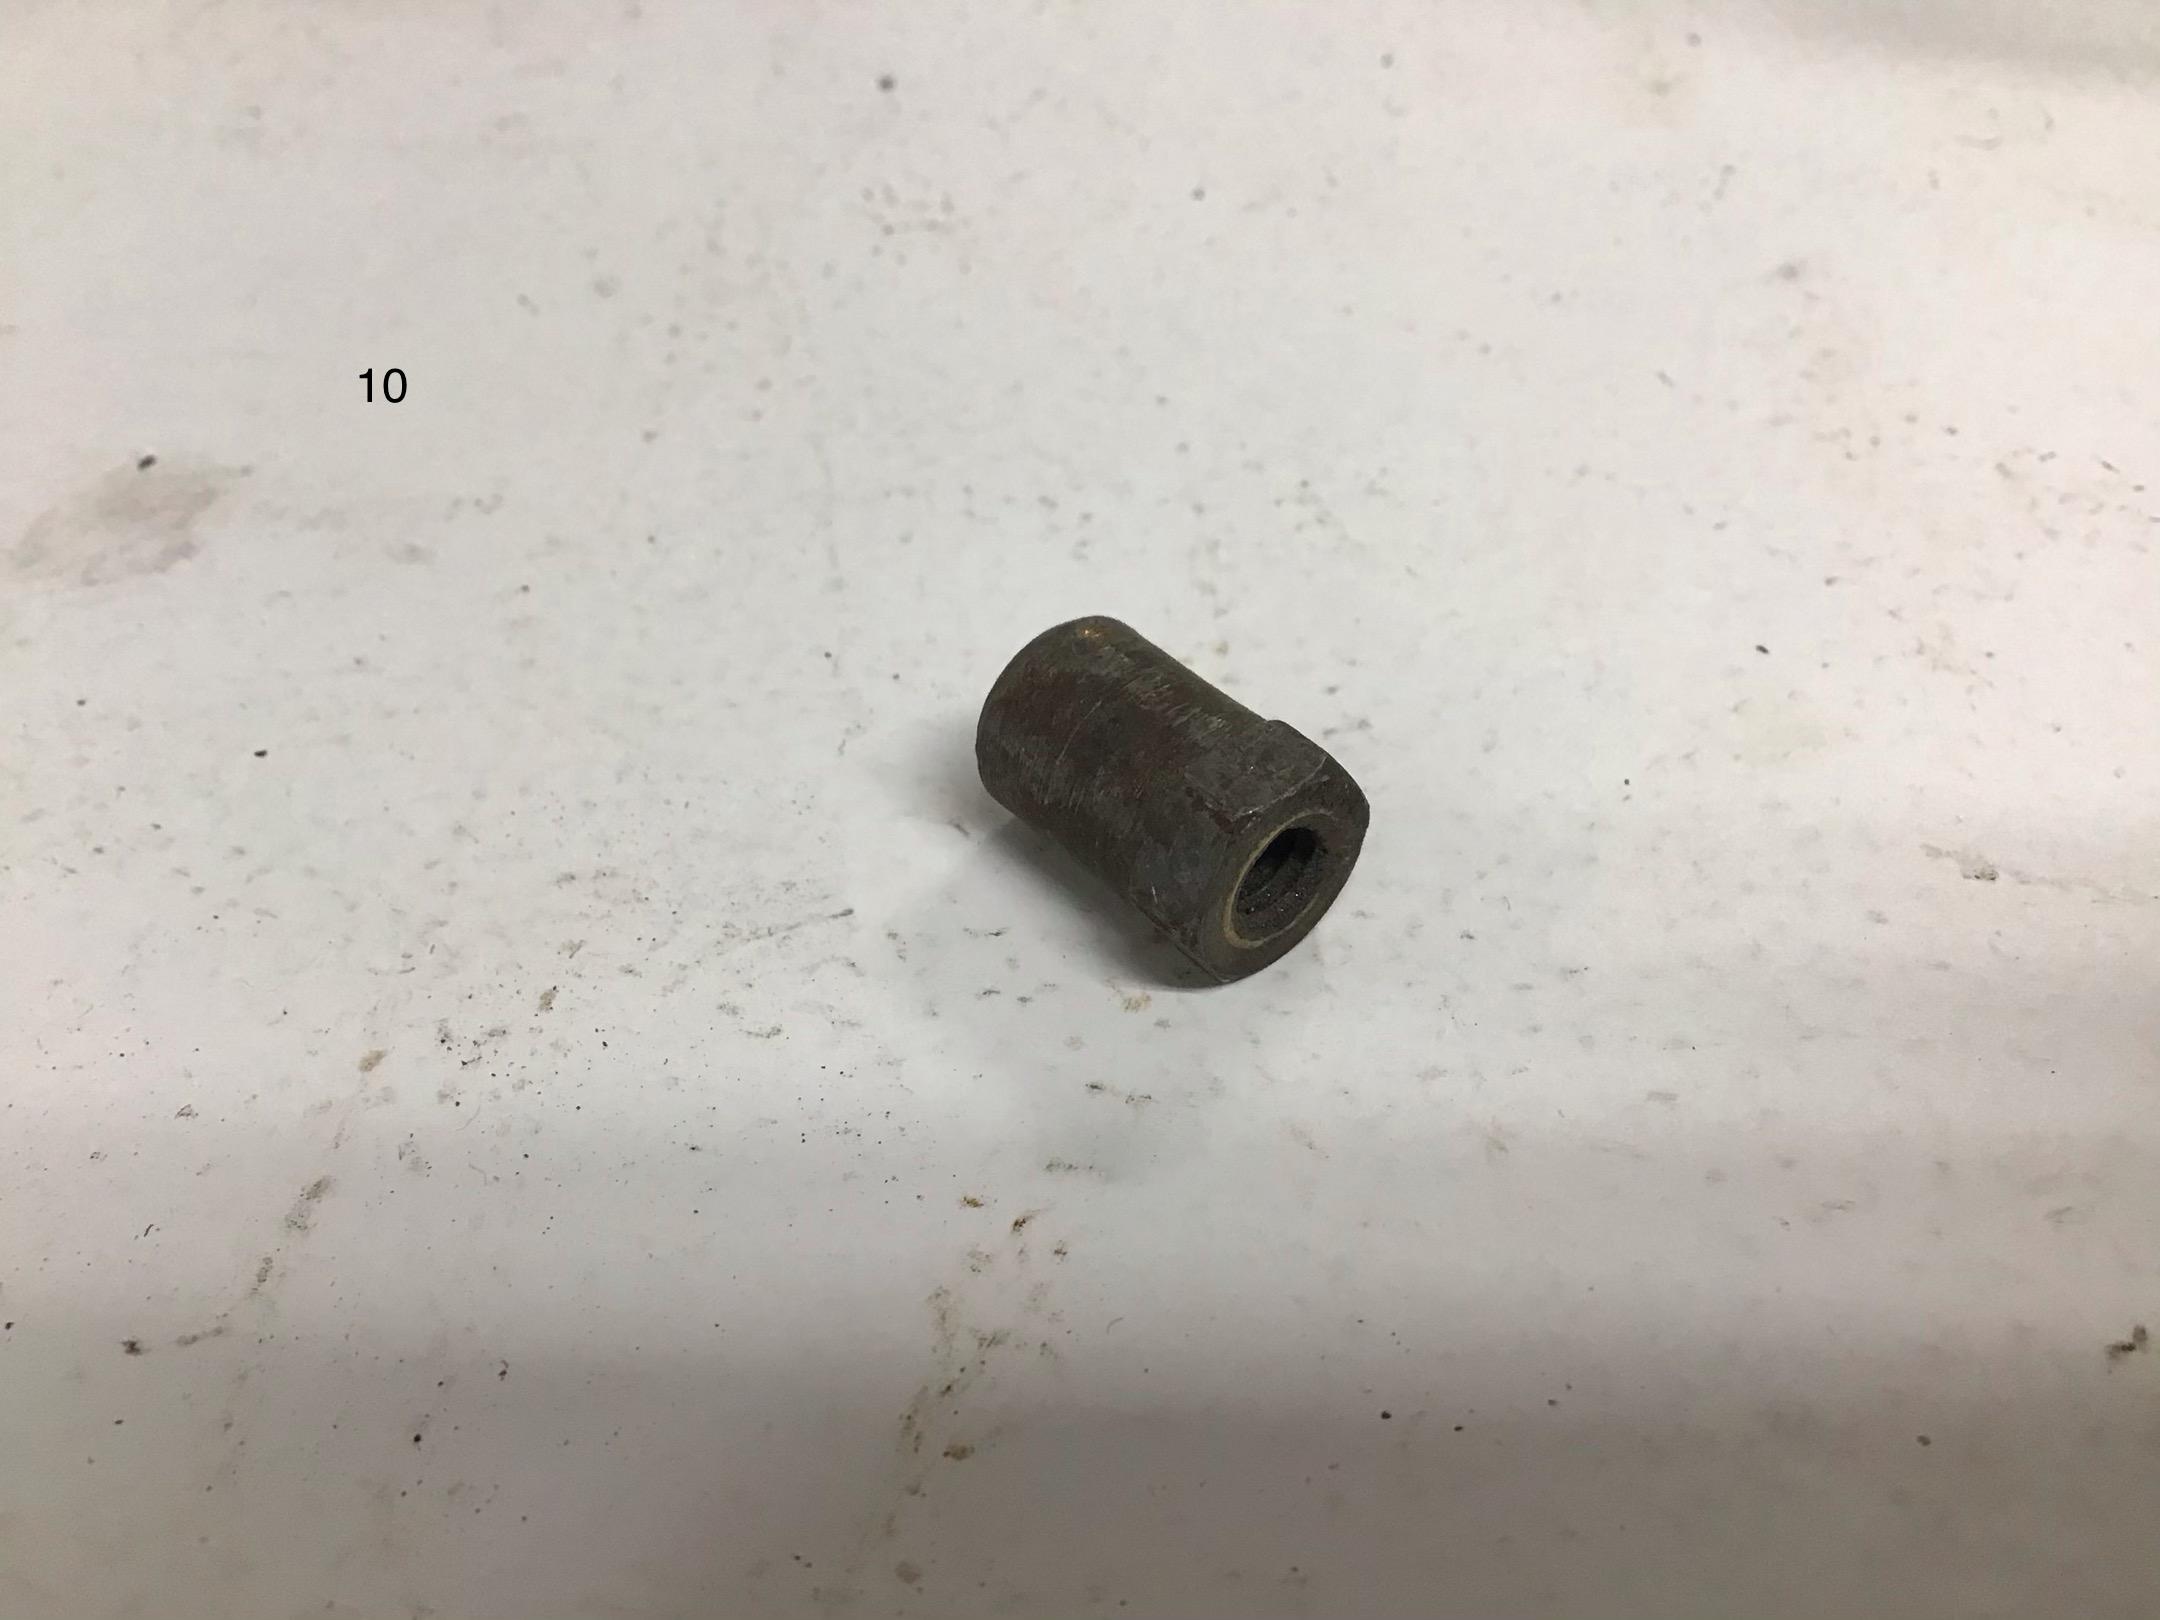
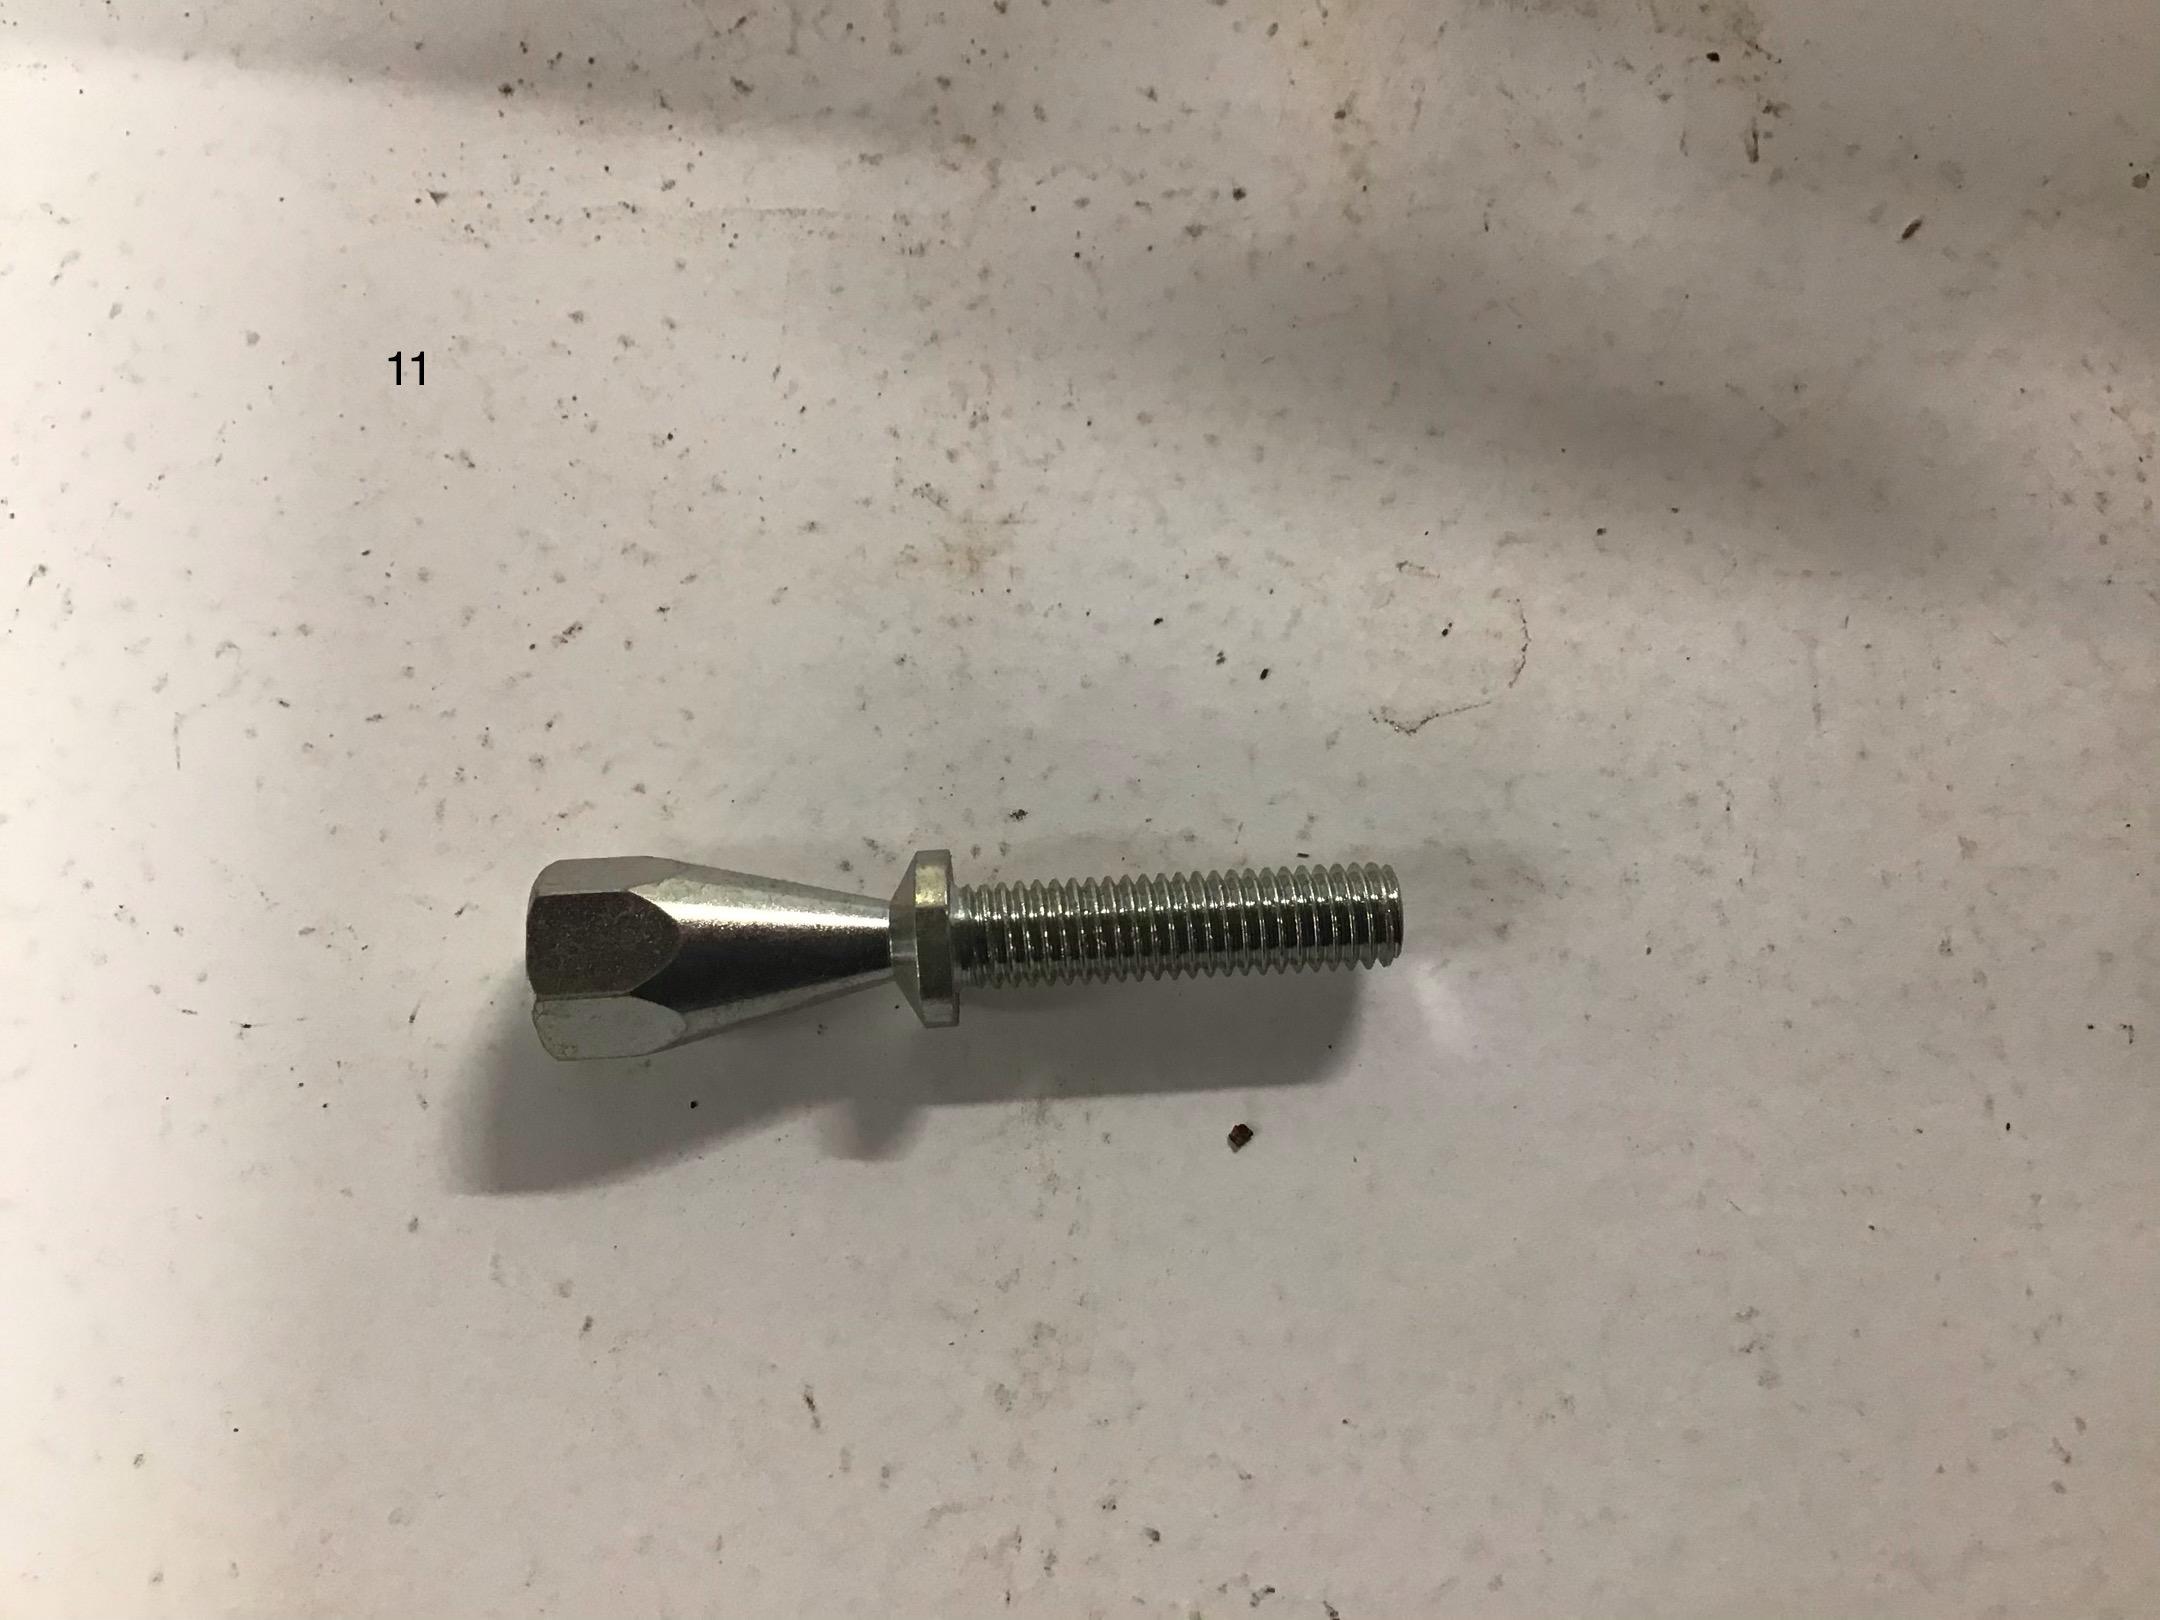
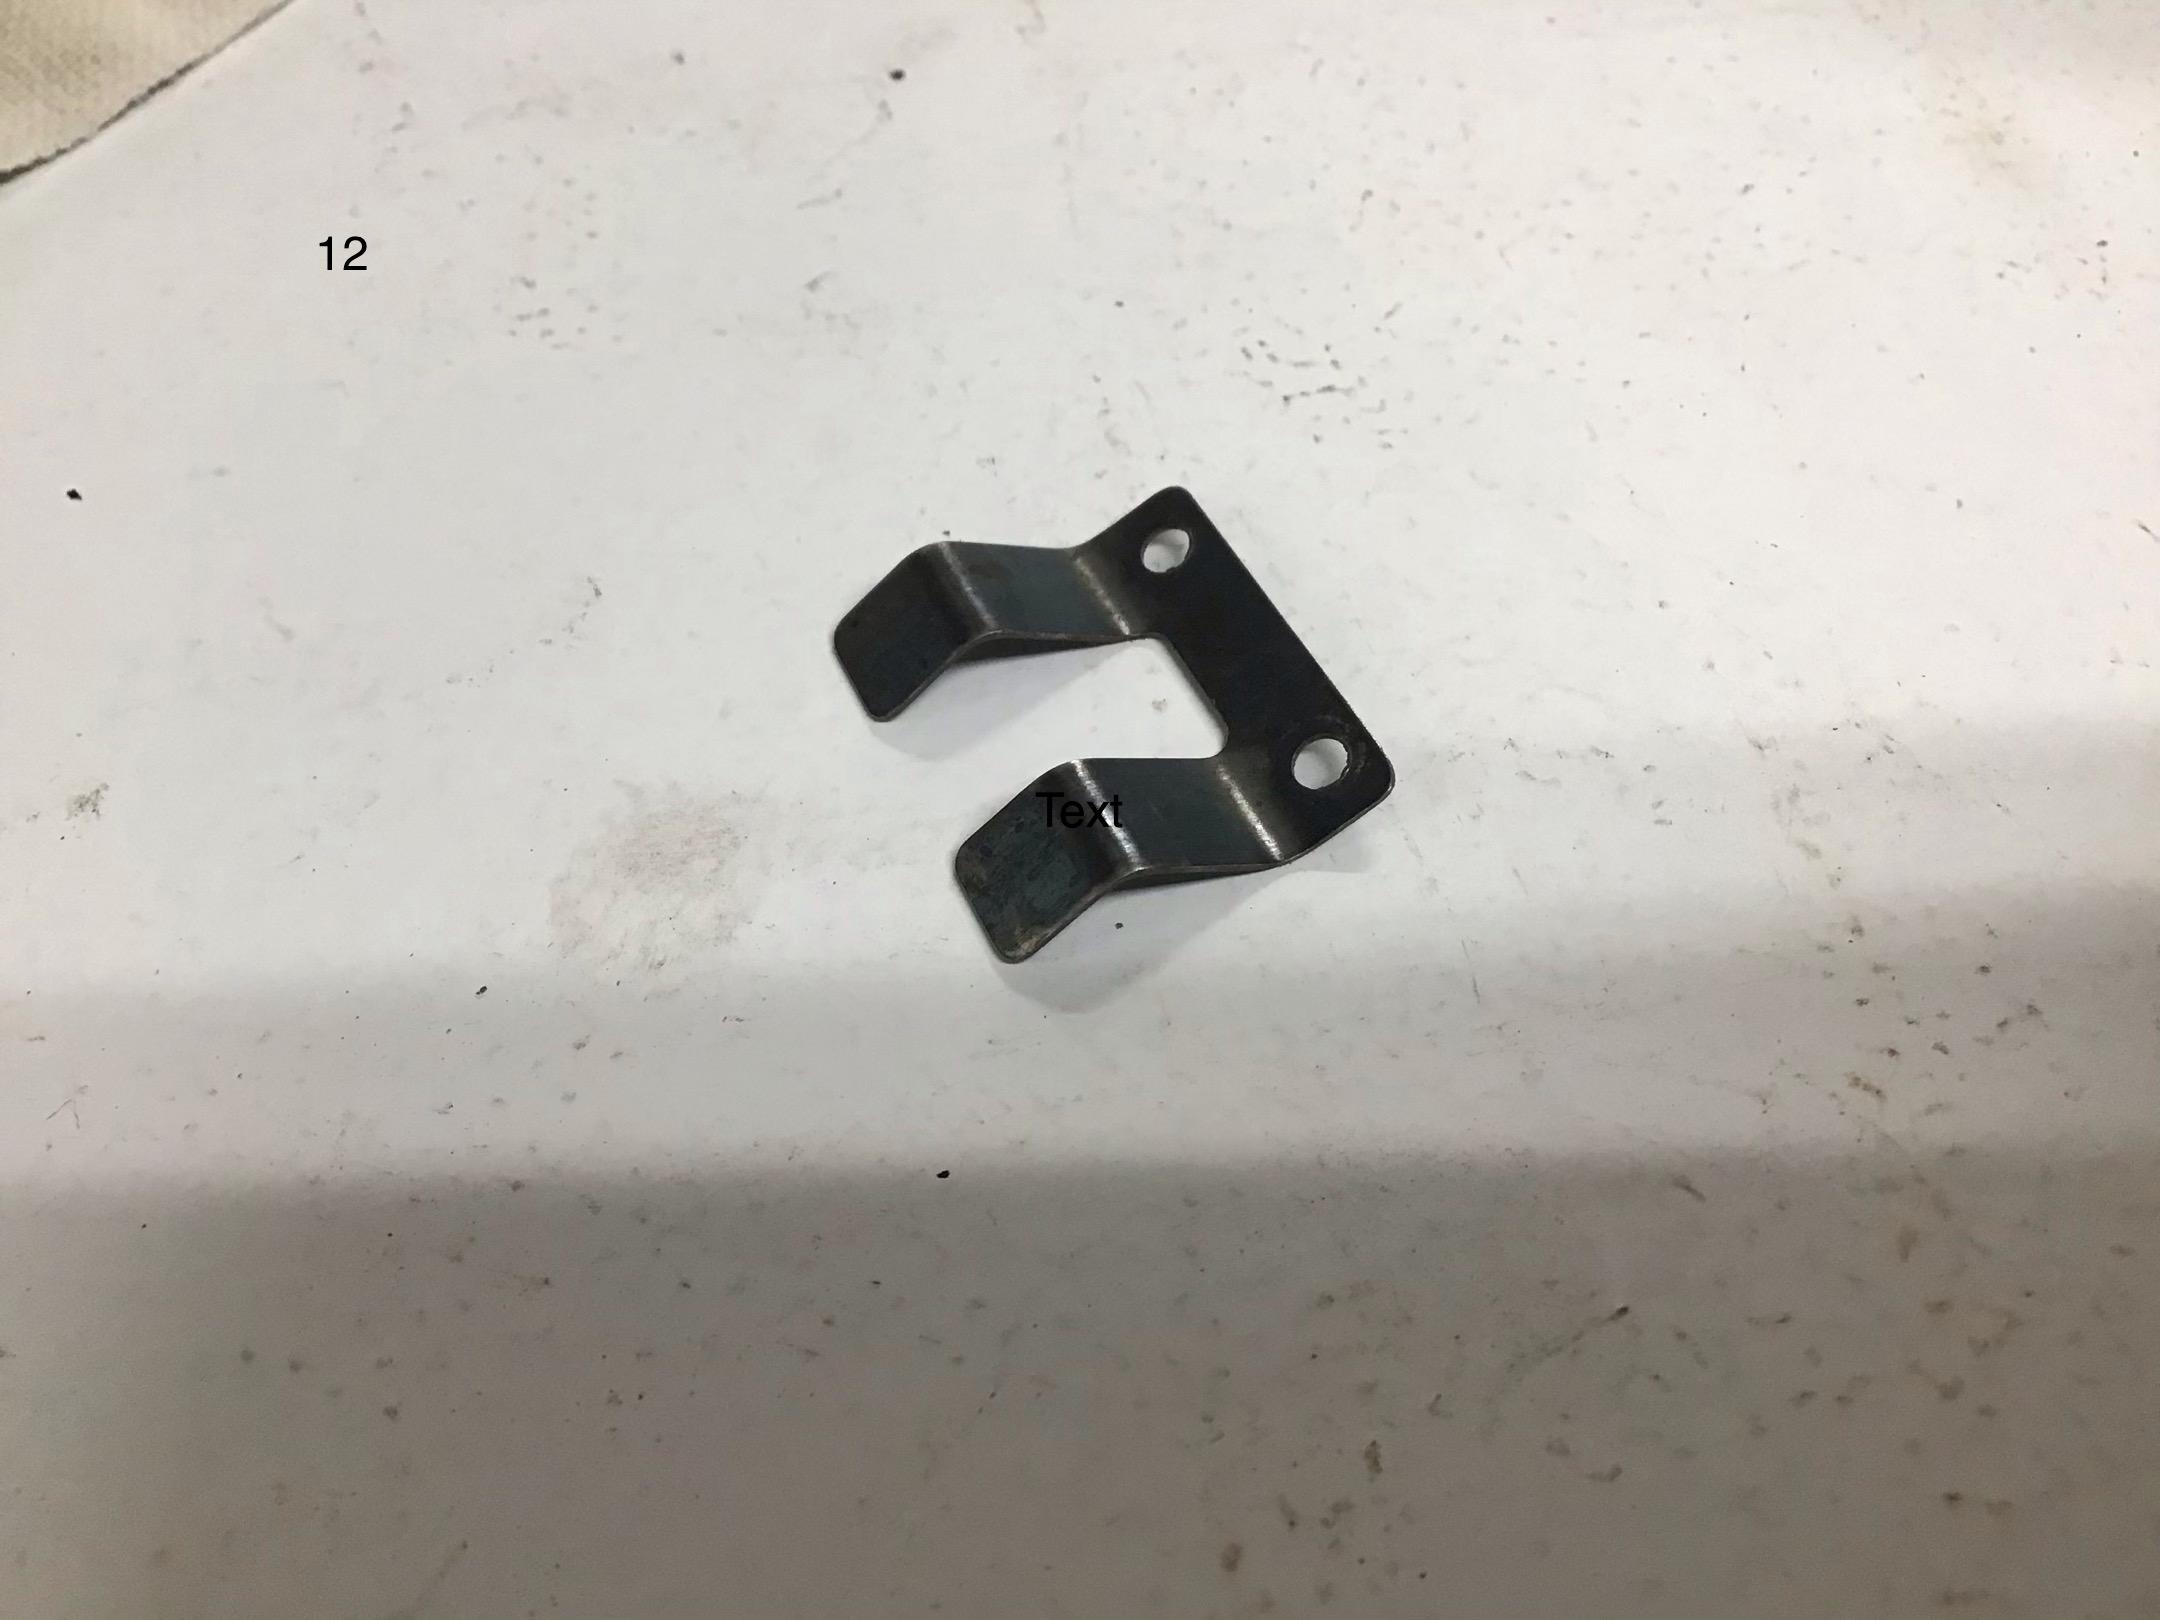
 Time and corrosion that slowly builds on the contacts, creating ever increasing resistance at the fuse/clip contacts and even within the wire crimps at the connectors. This creates increasing heat. Which accelerates the corrosion, which accelerates the heat, etc. That particular circuit operates at a fairly high current level that makes it the first go. BTW the fuse selection itself does nothing to limit current, it is just a switch that blows when the current in the circuit exceeds its melt point. Voltage and resistance in the circuit determine the current. V=IRThat little padded ring is glued to the back of the door panel over the window crank hole. Definitely "optional" More window crank clips are here. https://www.clipsandfasteners.com/Nissan-Window-Crank-Handle-Retaining-Clip-p/a16340.htm I see the price is no longer the $5.39 I paid in 2013. Now $11.39, but still cheap for a 100. I think I still have 50 of the box I bought back then. And they are a perfect fit BTWGreat set of shots. Not easy either. Oh, I’m old. Can you post bigger pictures?I'm actually quite impressed. All were identified more or less correctly, but no one got them all right. 1- Hatch luggage strap loose end keeper loop-thing. Zup 3- Spring clips that keep the under front fender seal in place. Very similar to choke cable clip, just bigger. Granny, Blue 4- Coat hook from early 240. Coat button really. . Blue 5- 2+2 door release handle, on rear upper portion of the door so rear seat passenger can open the door. . Blue, almost... 6- Throttle linkage spring, ZUP 7- Loch ness snowman caught making waves in Lake Ontario. Or door interior light push button switch, not sure which. Granny 8- Blower fan dropping resistor. 240z, 3 speed. Blue, Granny almost, 9- Turn signal bulb shroud in 280z Tach. 240 likely same. Blue Granny 10- E-brake cable adjusting nut. Granny 11- Un-snapped off ignition switch bracket mount security screw. Zup 12- Ash tray retainer clip. Granny And then there is the mysterious missing #2 that NOBODY mentioned. I was hoping someone would fill in their list and take a WAG at #2 anyway. Alas, it was not to be. Honorable mention goes to Zed Head for most inventive guesses. My job is done here. Next!
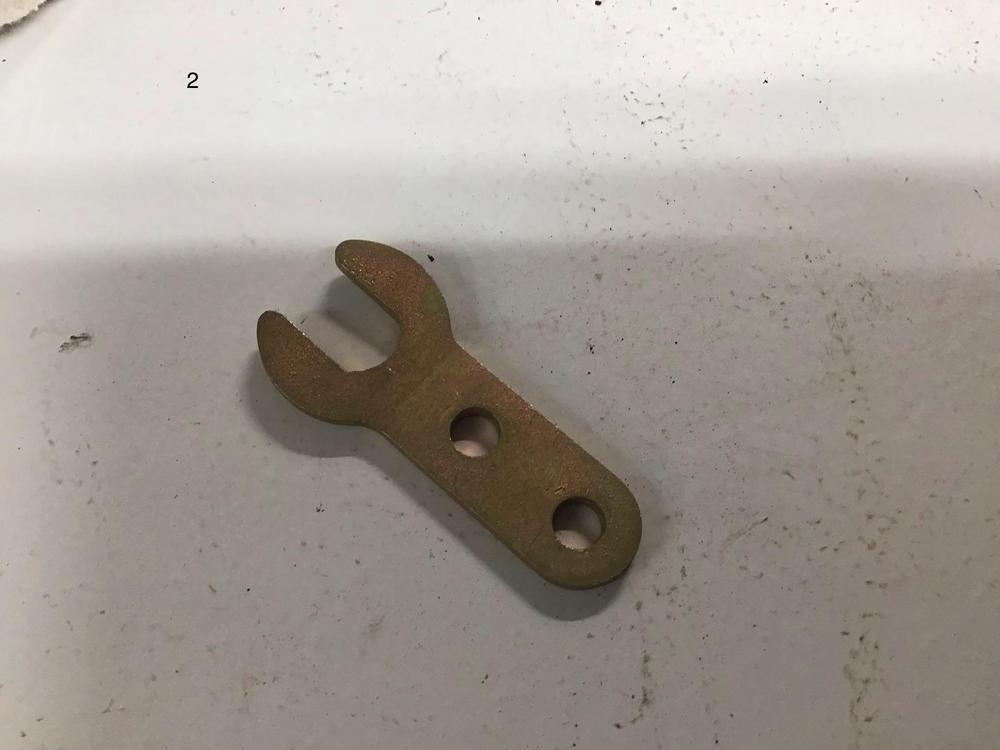 The one set I purchased was very impressive. And they stayed looking great on my very well used 73.No judging, just a way to pass some time. After a few take their guesses and stew for a while, I’ll reveal the answers.Making some progress. Lack of scale is hurting some perceptions... BTW, nothing is ZX or 510, just S30. I was VERY tempted to slip in a 510 thing but I resisted the urge.Here. A mere smattering of what’s a bit “out of the ordinary” down in the dungeon. Have at it.
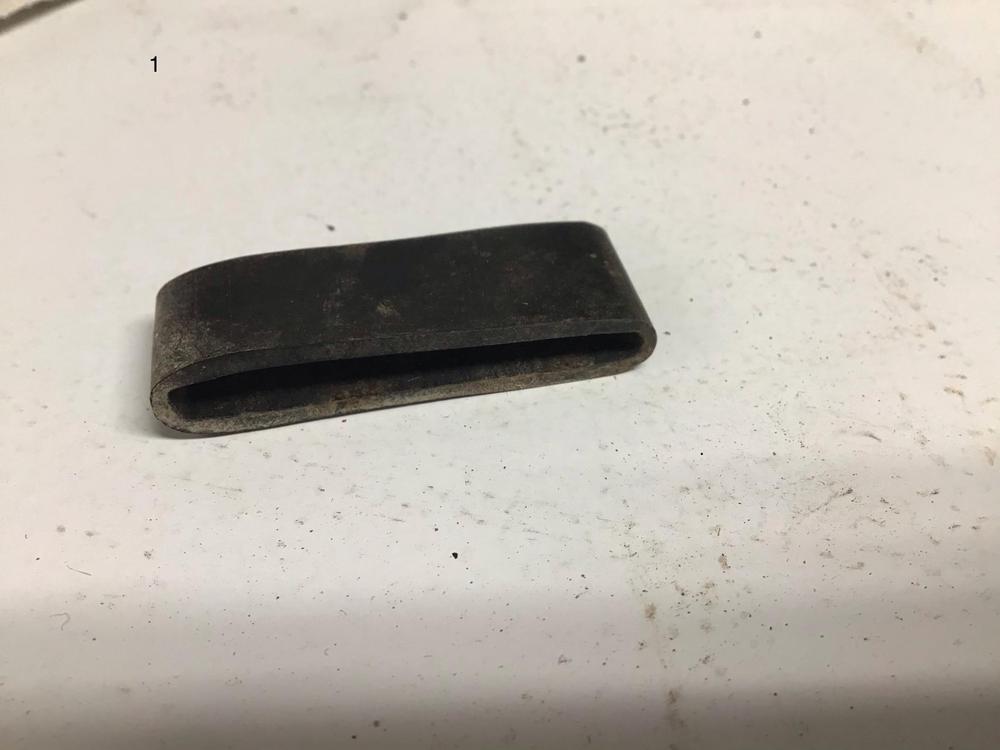


 I’ll dig through my pile-o-stuff and see if I can find a few obscure parts and get you to guess what they are. Maybe some pictures taken super close up to distort the view.Thank you. I can go back to washing my hands. We are of course expecting someone to do one of these quizzes every day now, right?Somebody, anybody, tell me the answer! I need to get back to work and have that cigar.Spring rate metric to SAE conversion units are inverted. Kg/mm to in/lb rather than lb/in. Numeric part is right, 1.48 kg/mm is 83 lb/in“Without standard load” should be “with standard load”You can also continue to use your speedo cable to drive your stock speedo and use a GPS based speed sensor to drive your ECU. I had an idea to build one of these last year, but I found out Haltech and ECU Master came out with one. As long as you don’t auto cross in a parkage or tunnel, this could work. https://www.haltech.com/product/ht-011310-gps-speed-input-module/
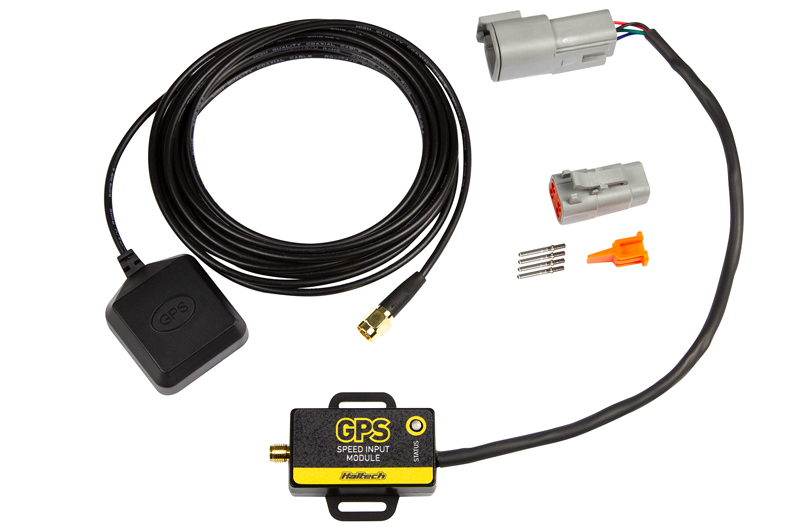 Given the tough position so many of us are probably in or going to be in soon, you can have 6 for $4k. Canadian. Good news is I’ll lots of time to make plenty. Got a big sheet of 18 gauge to gobble up.See post # ... oh wait, no post numbers. Page one, 3/4 of the way down.
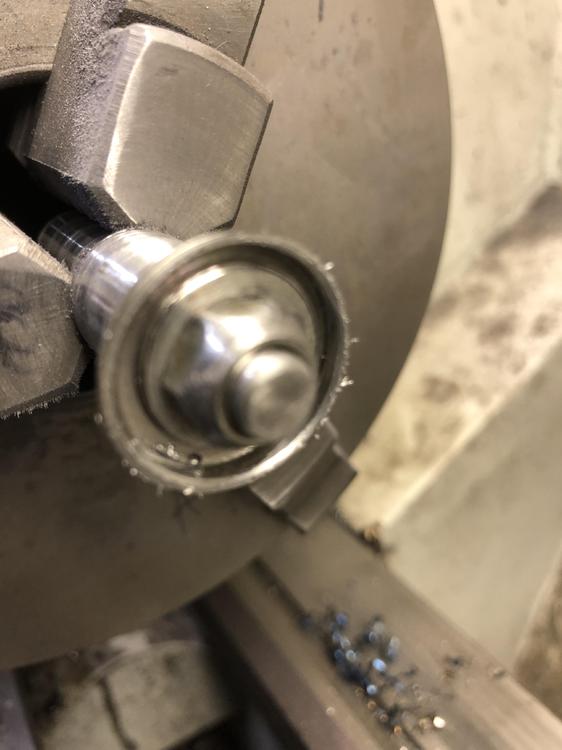
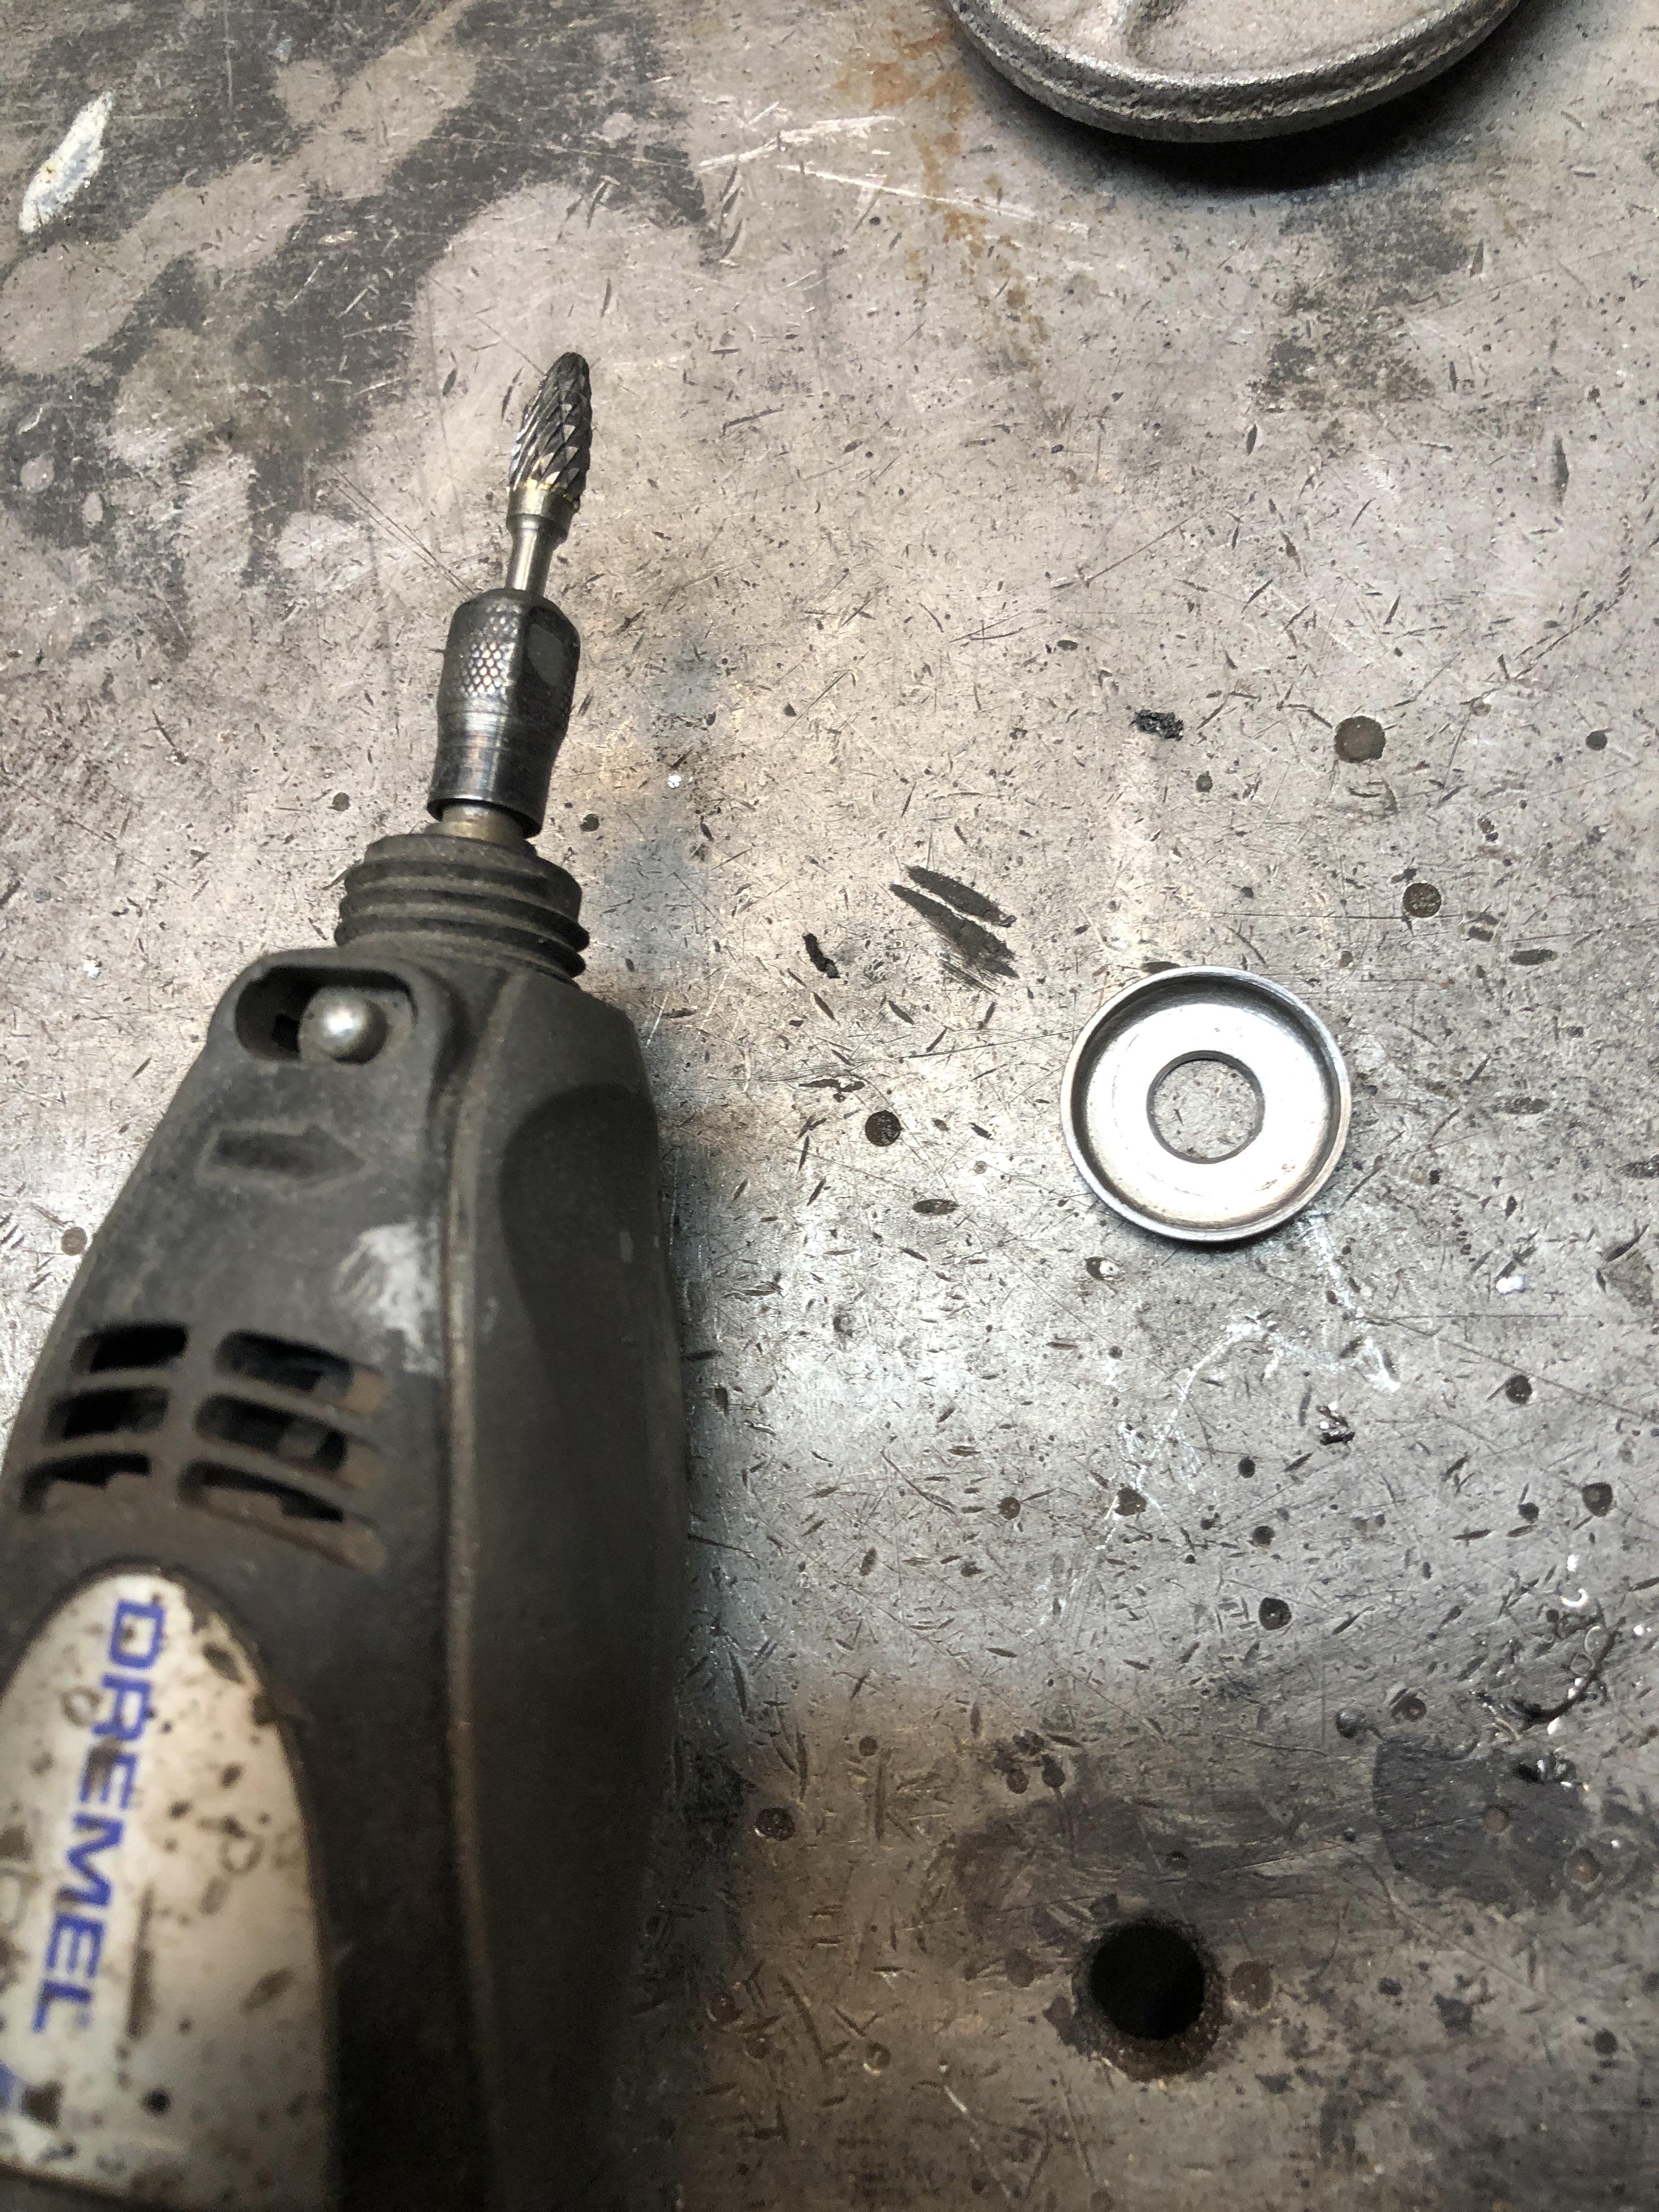
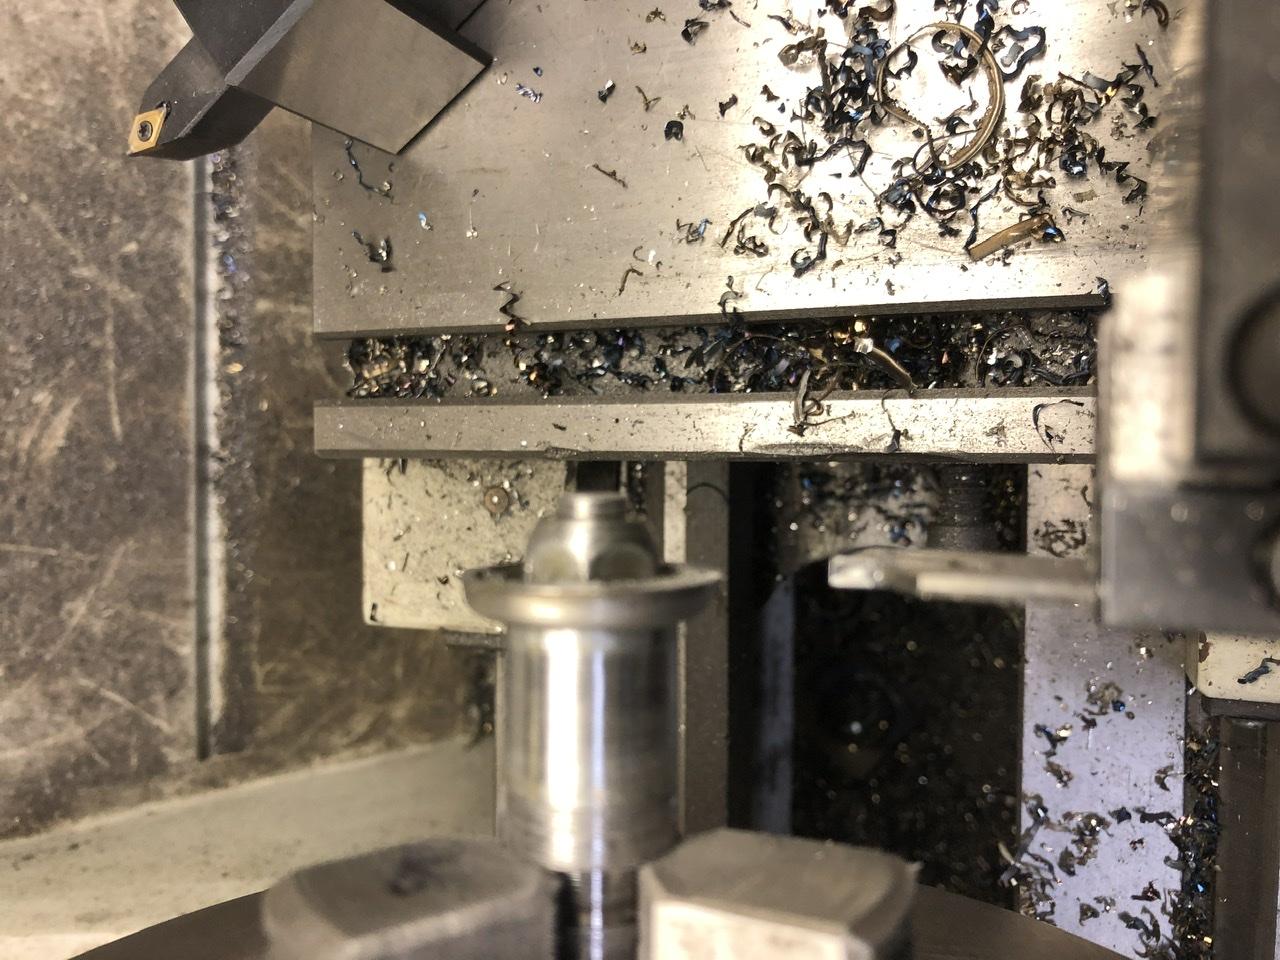
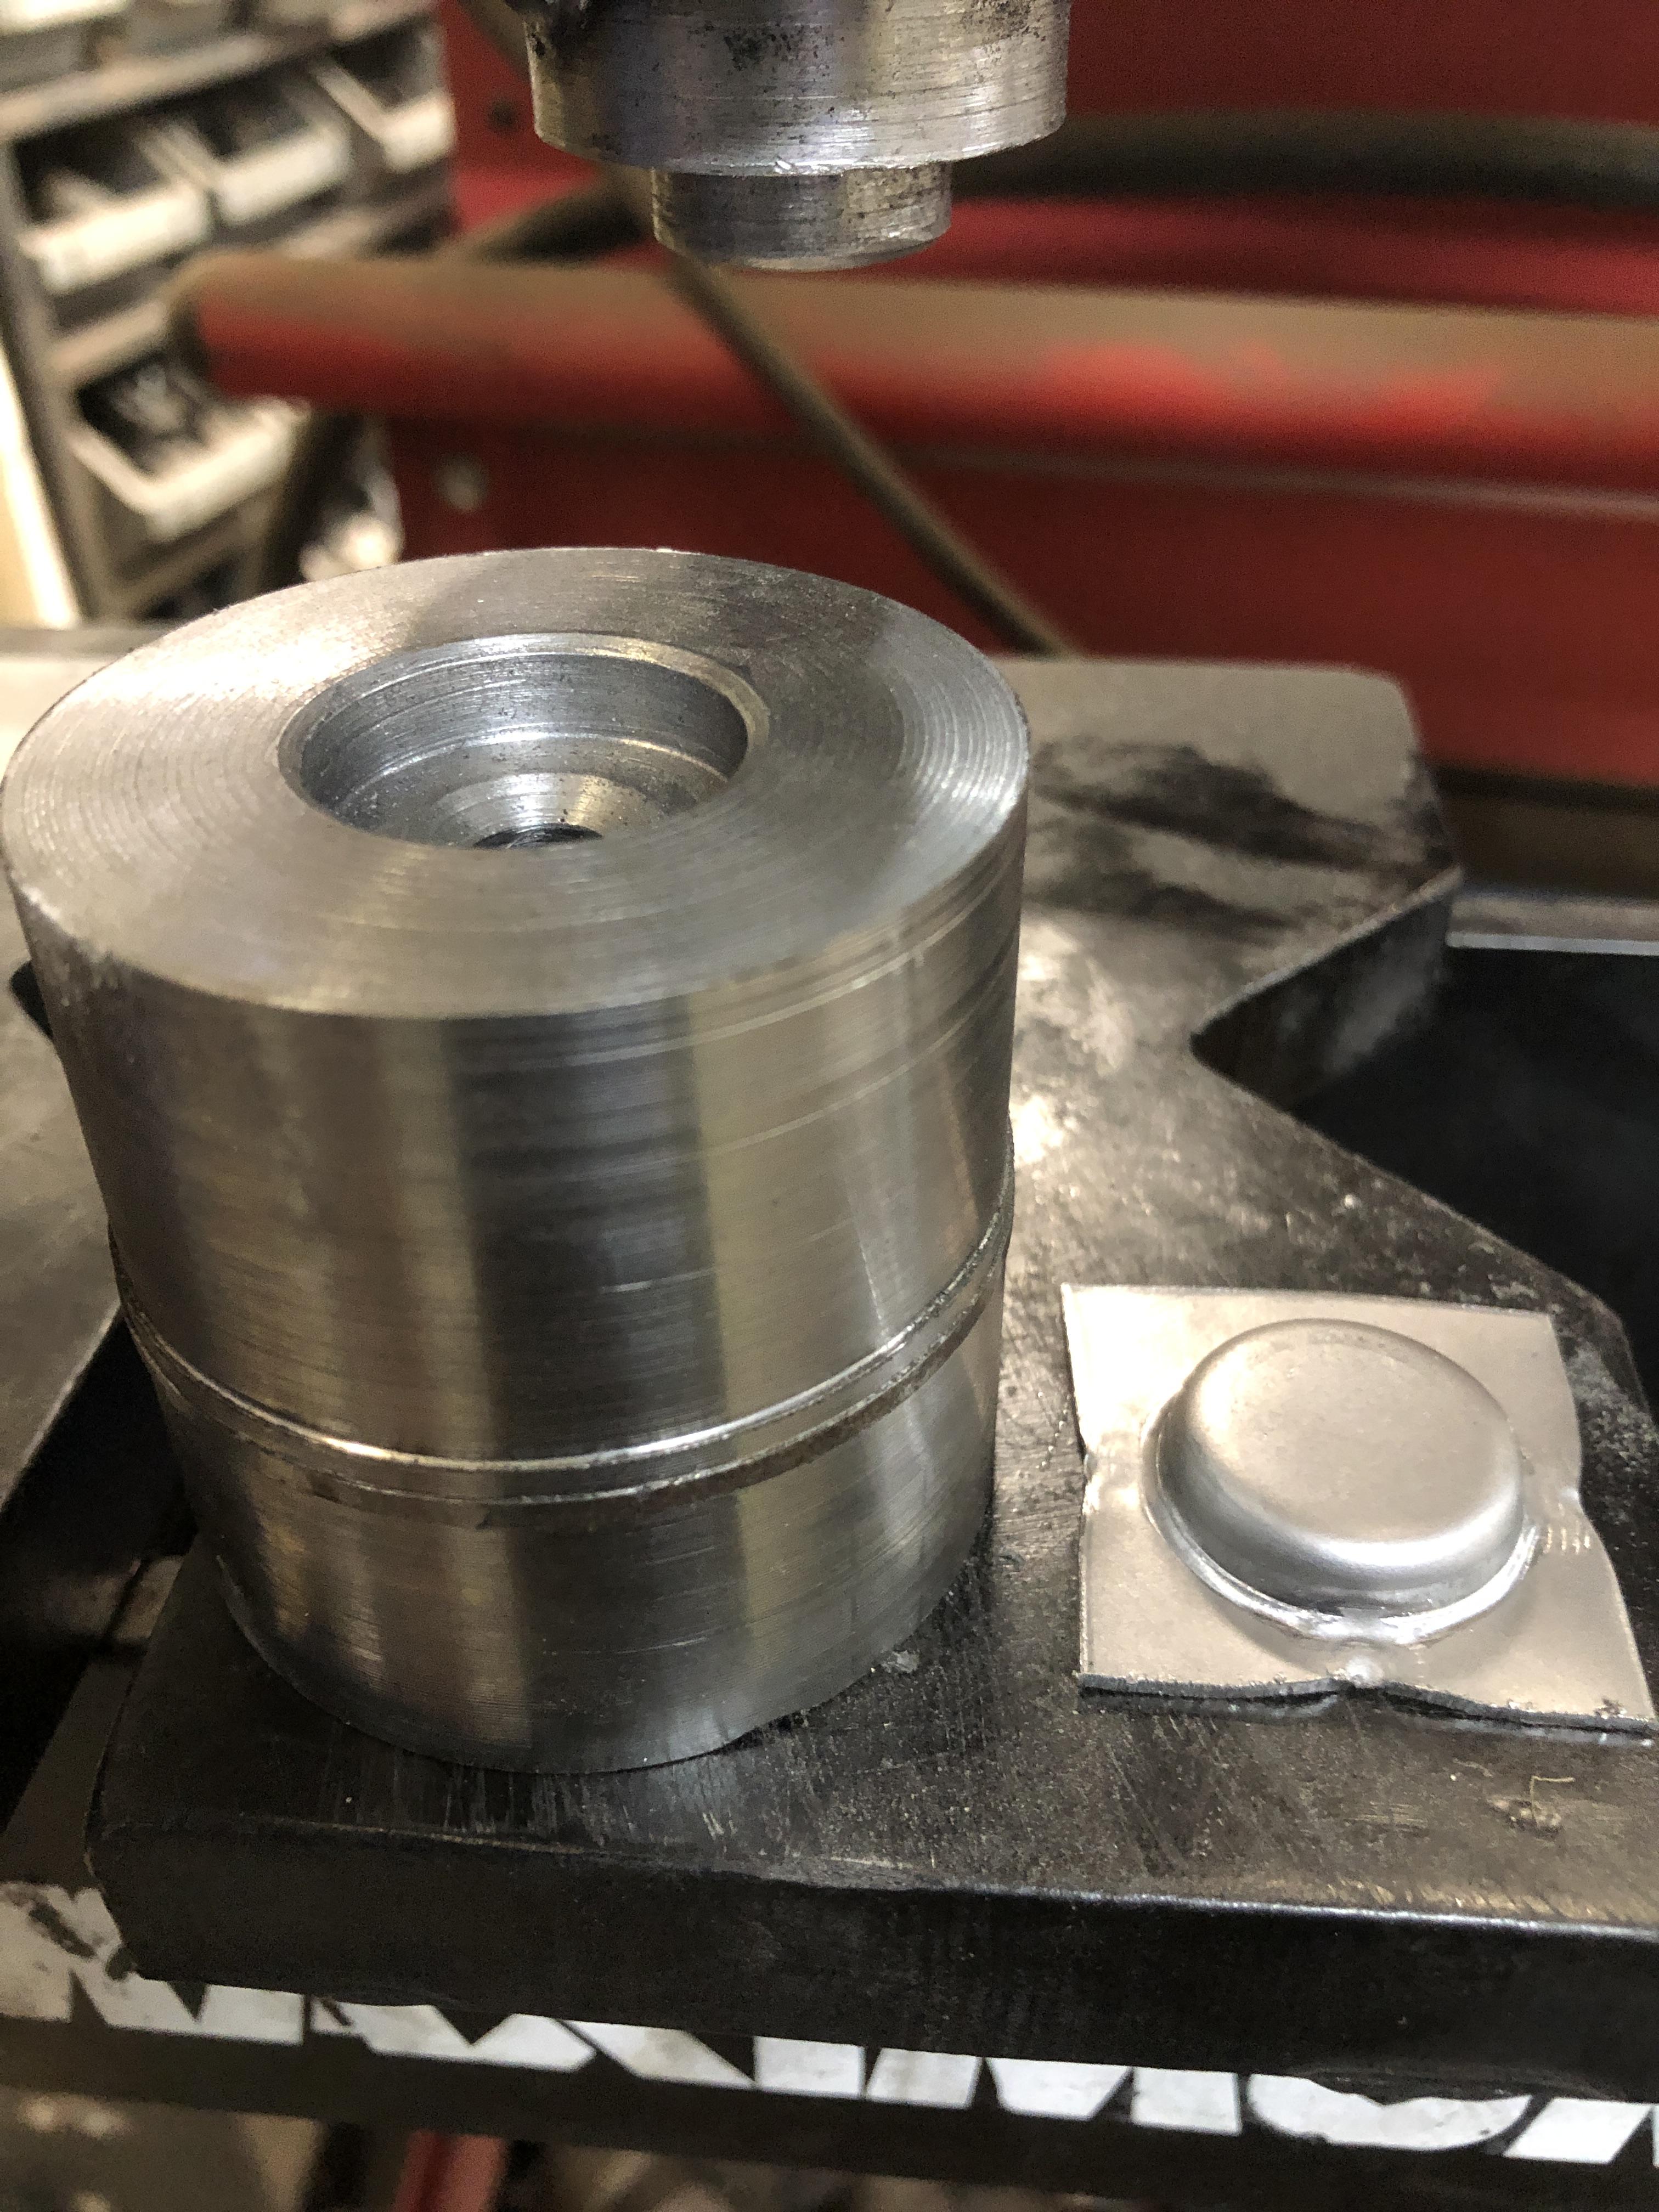
 Final stage, a bit of dremel work to clean up any burrs and rough edges. Scratches on the back side need to smoothed from contact area on the mandrel. Quick abrasive rub, then sandblast for consistent finish. Off to plating with the next batch of hardware. Hopefully not too far in the future....
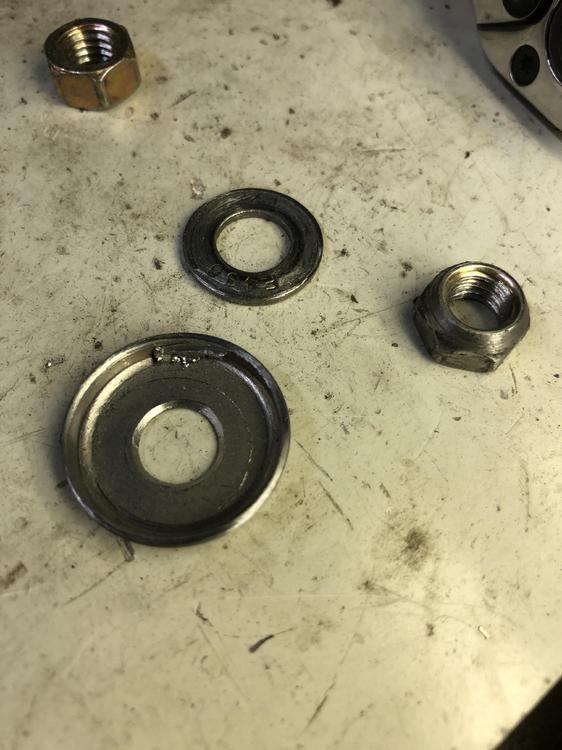
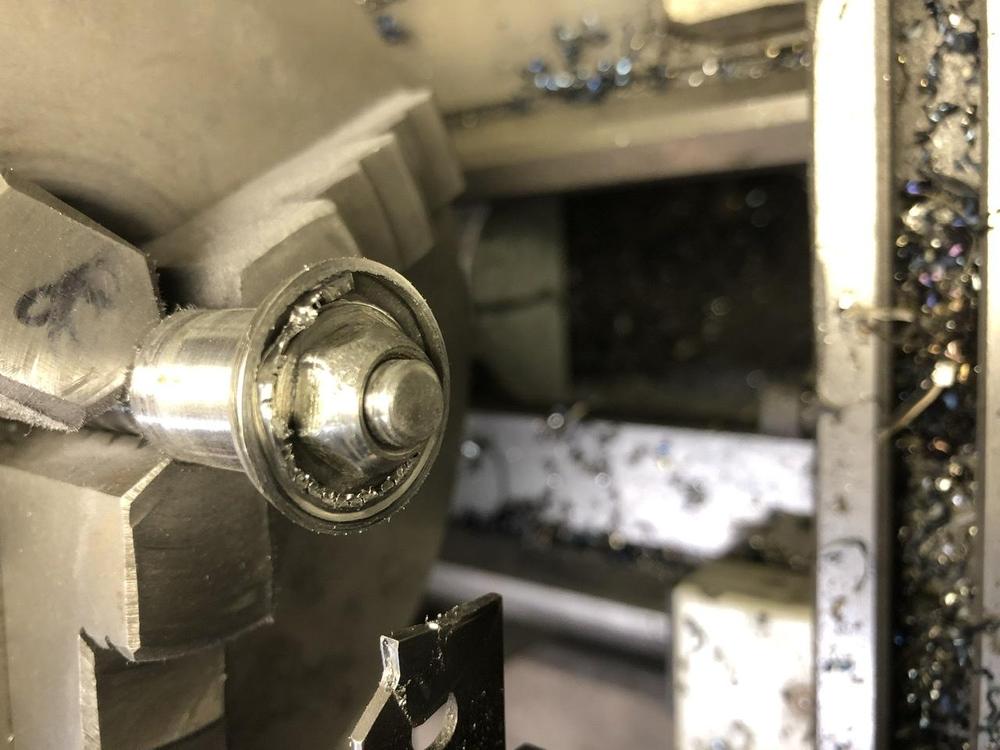
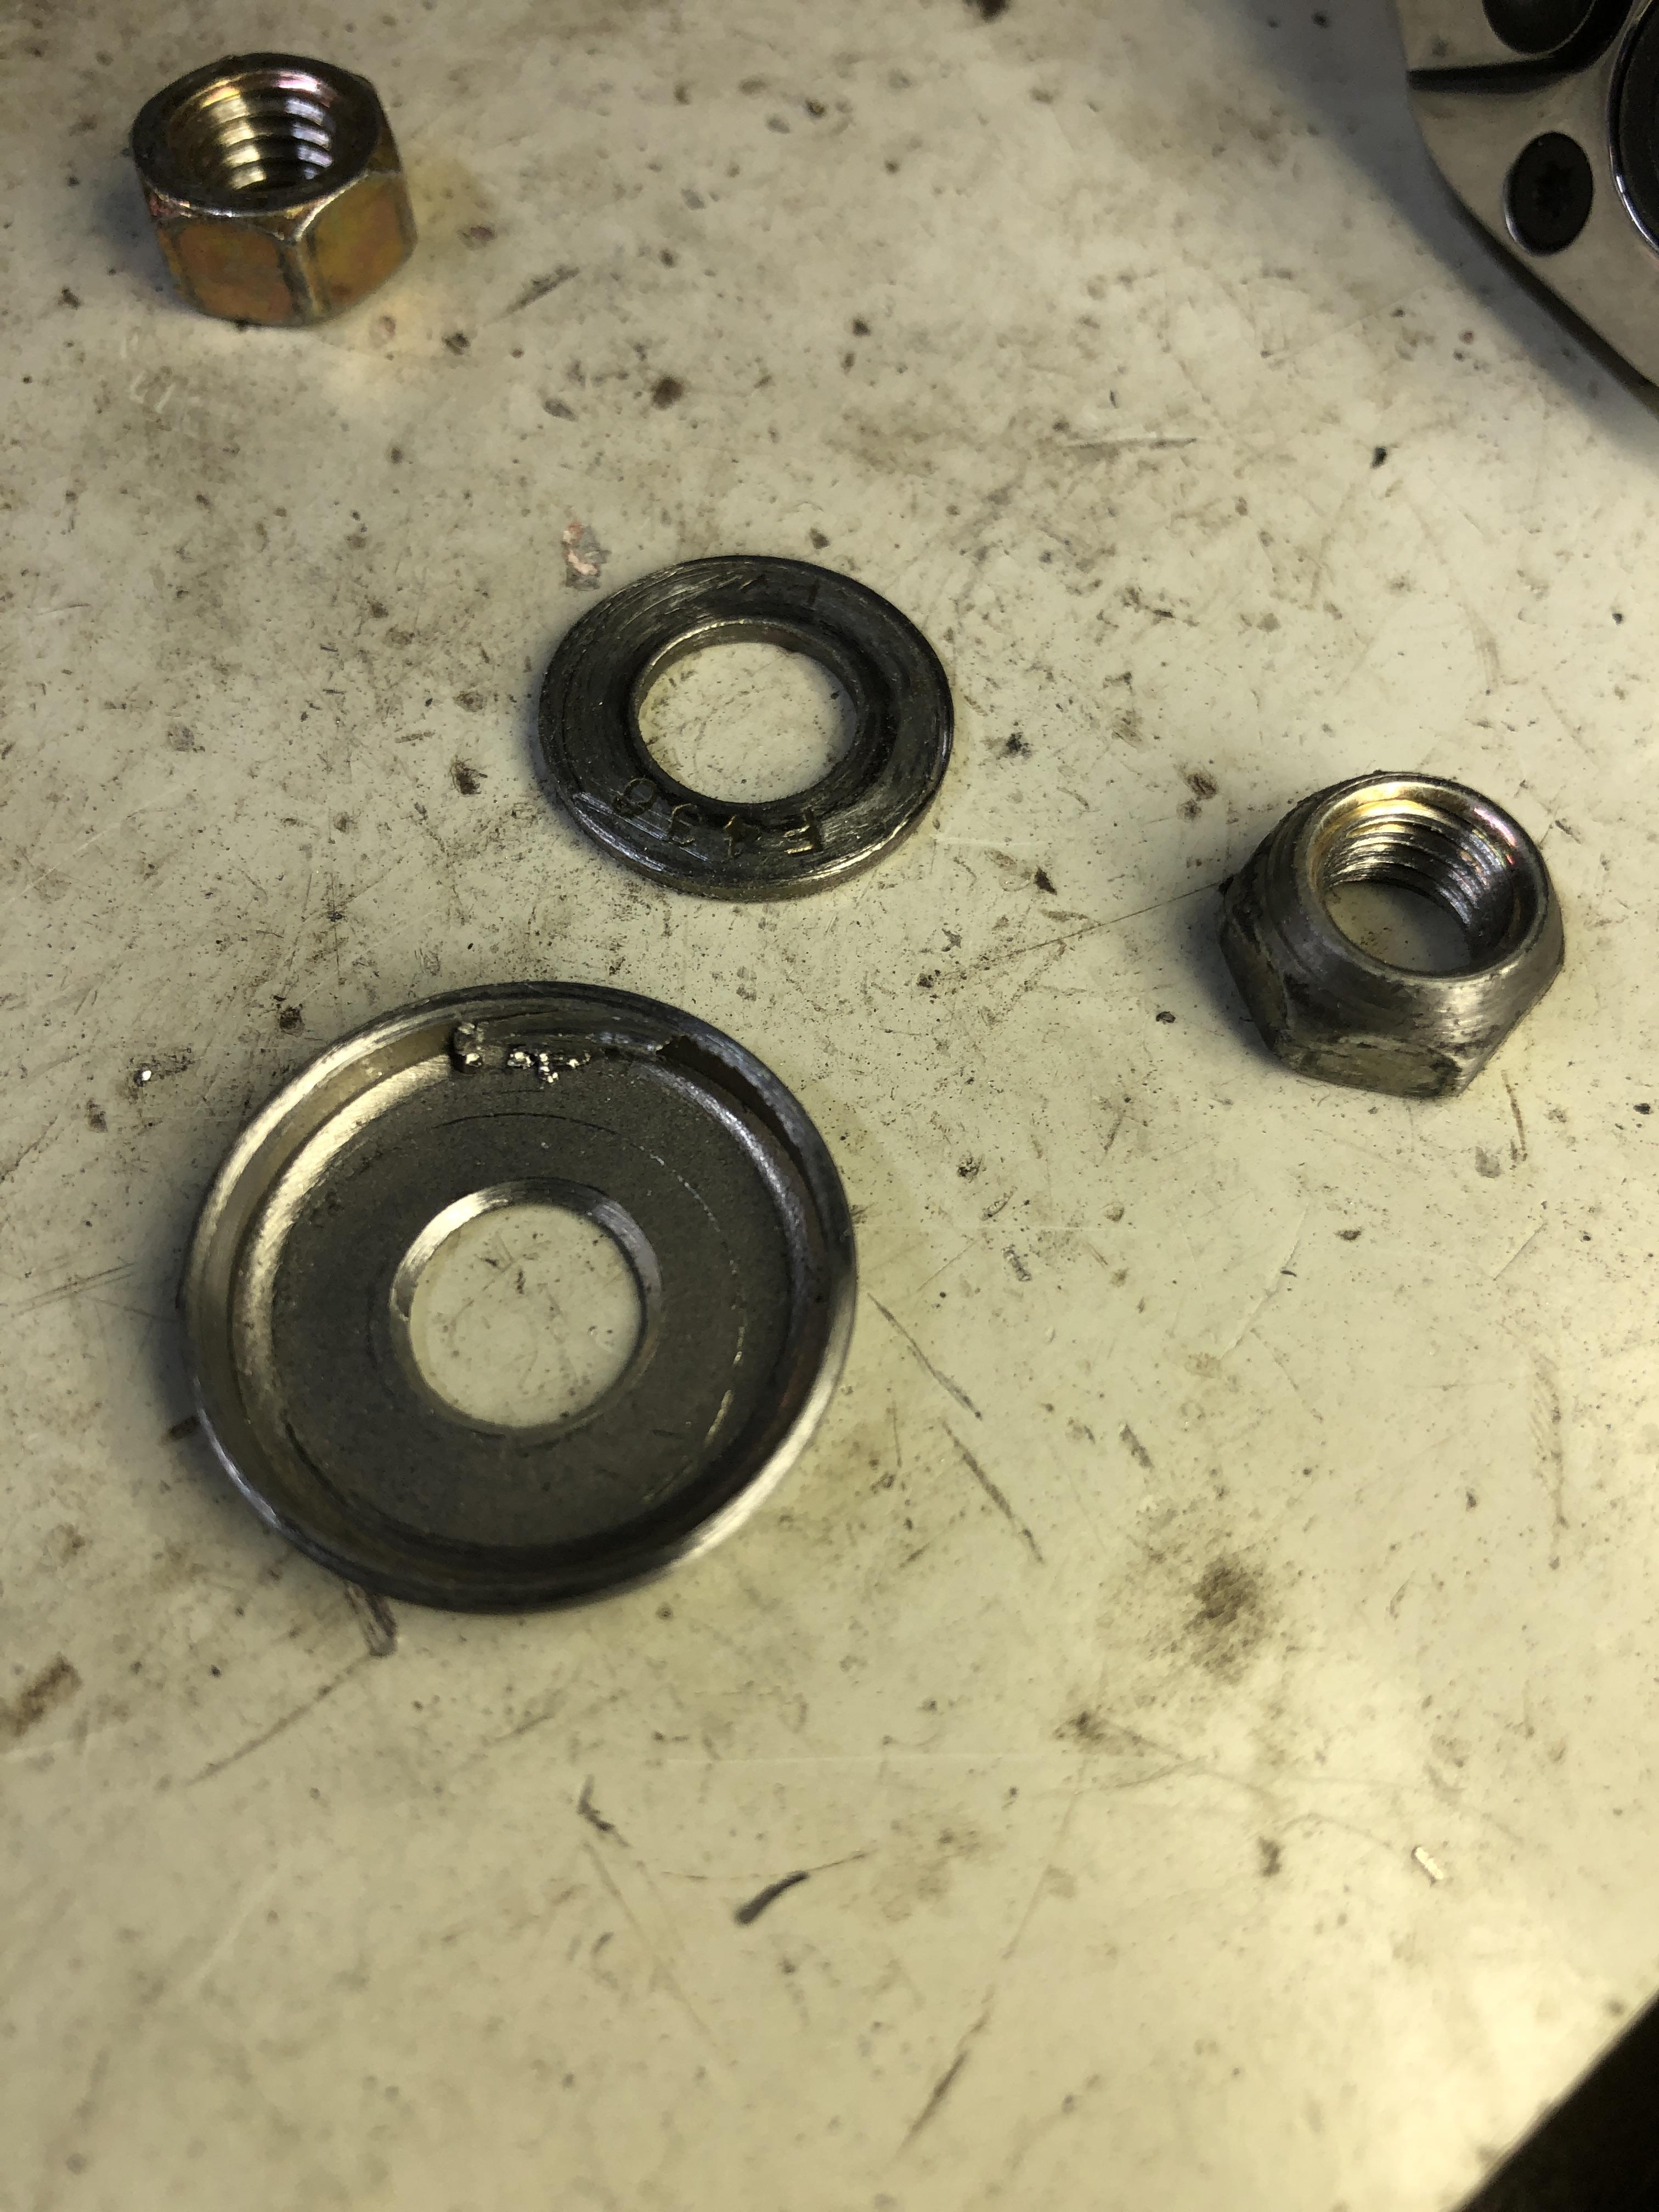
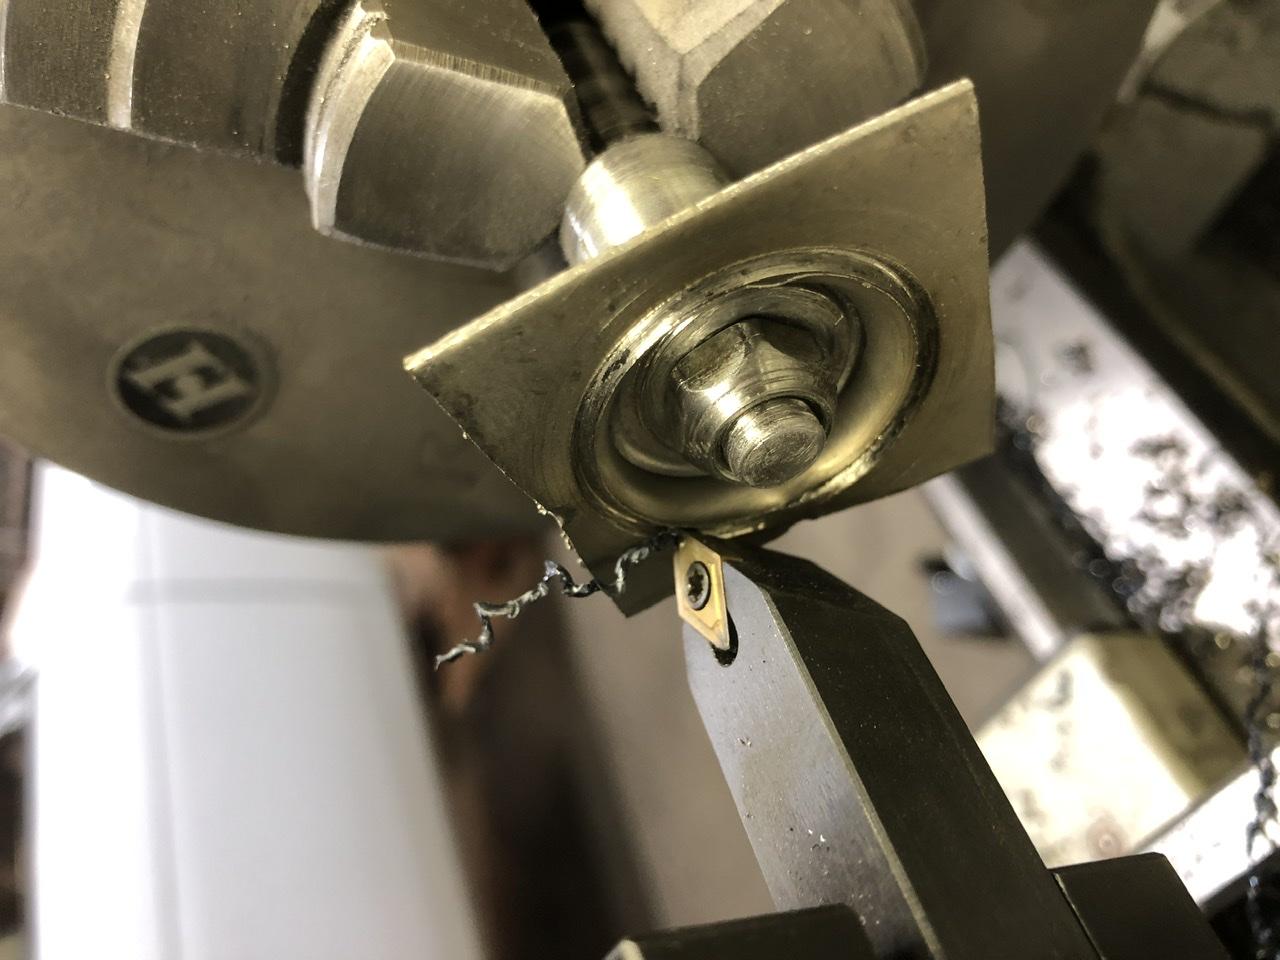
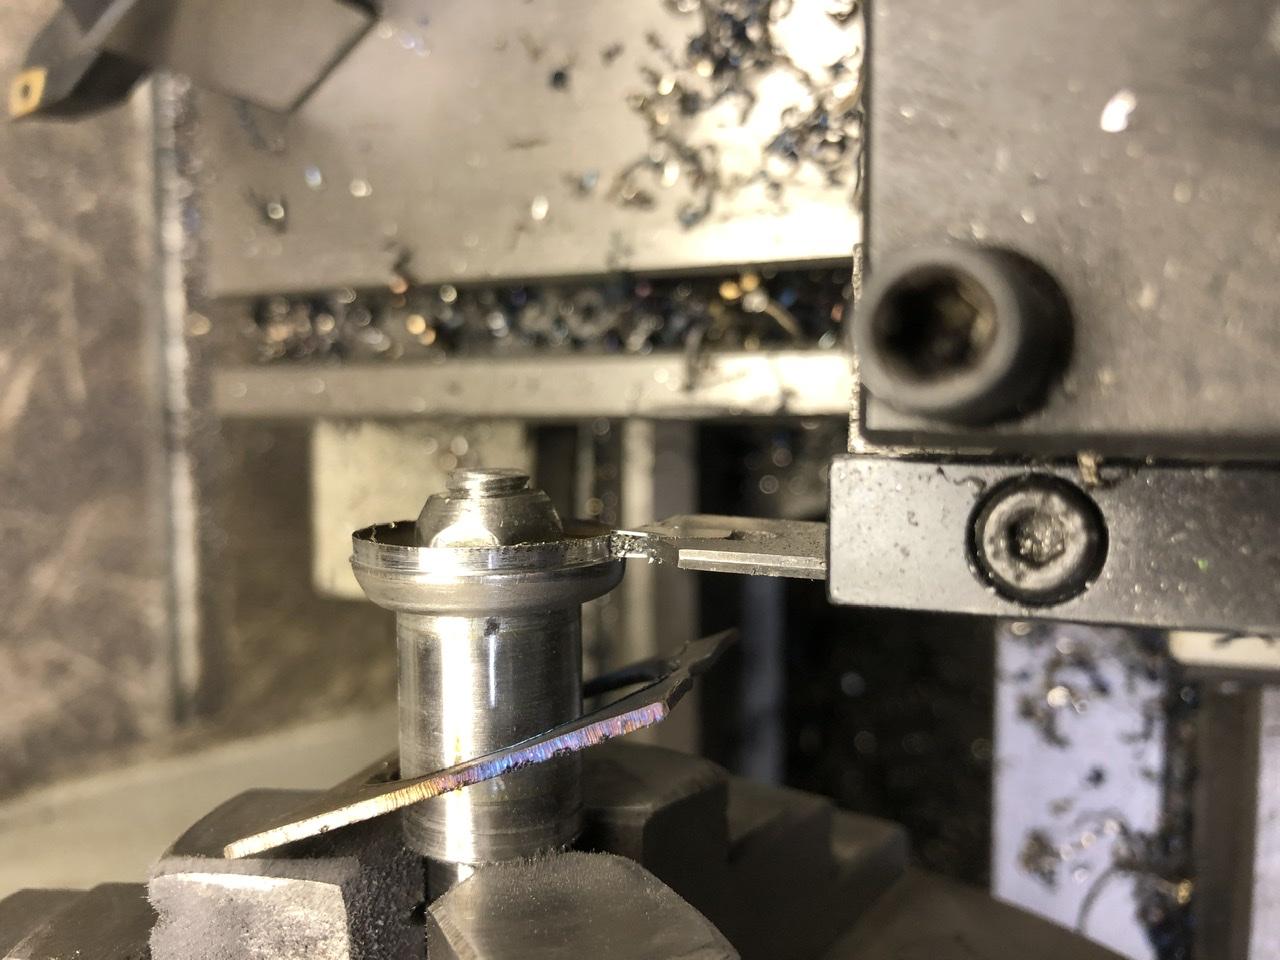
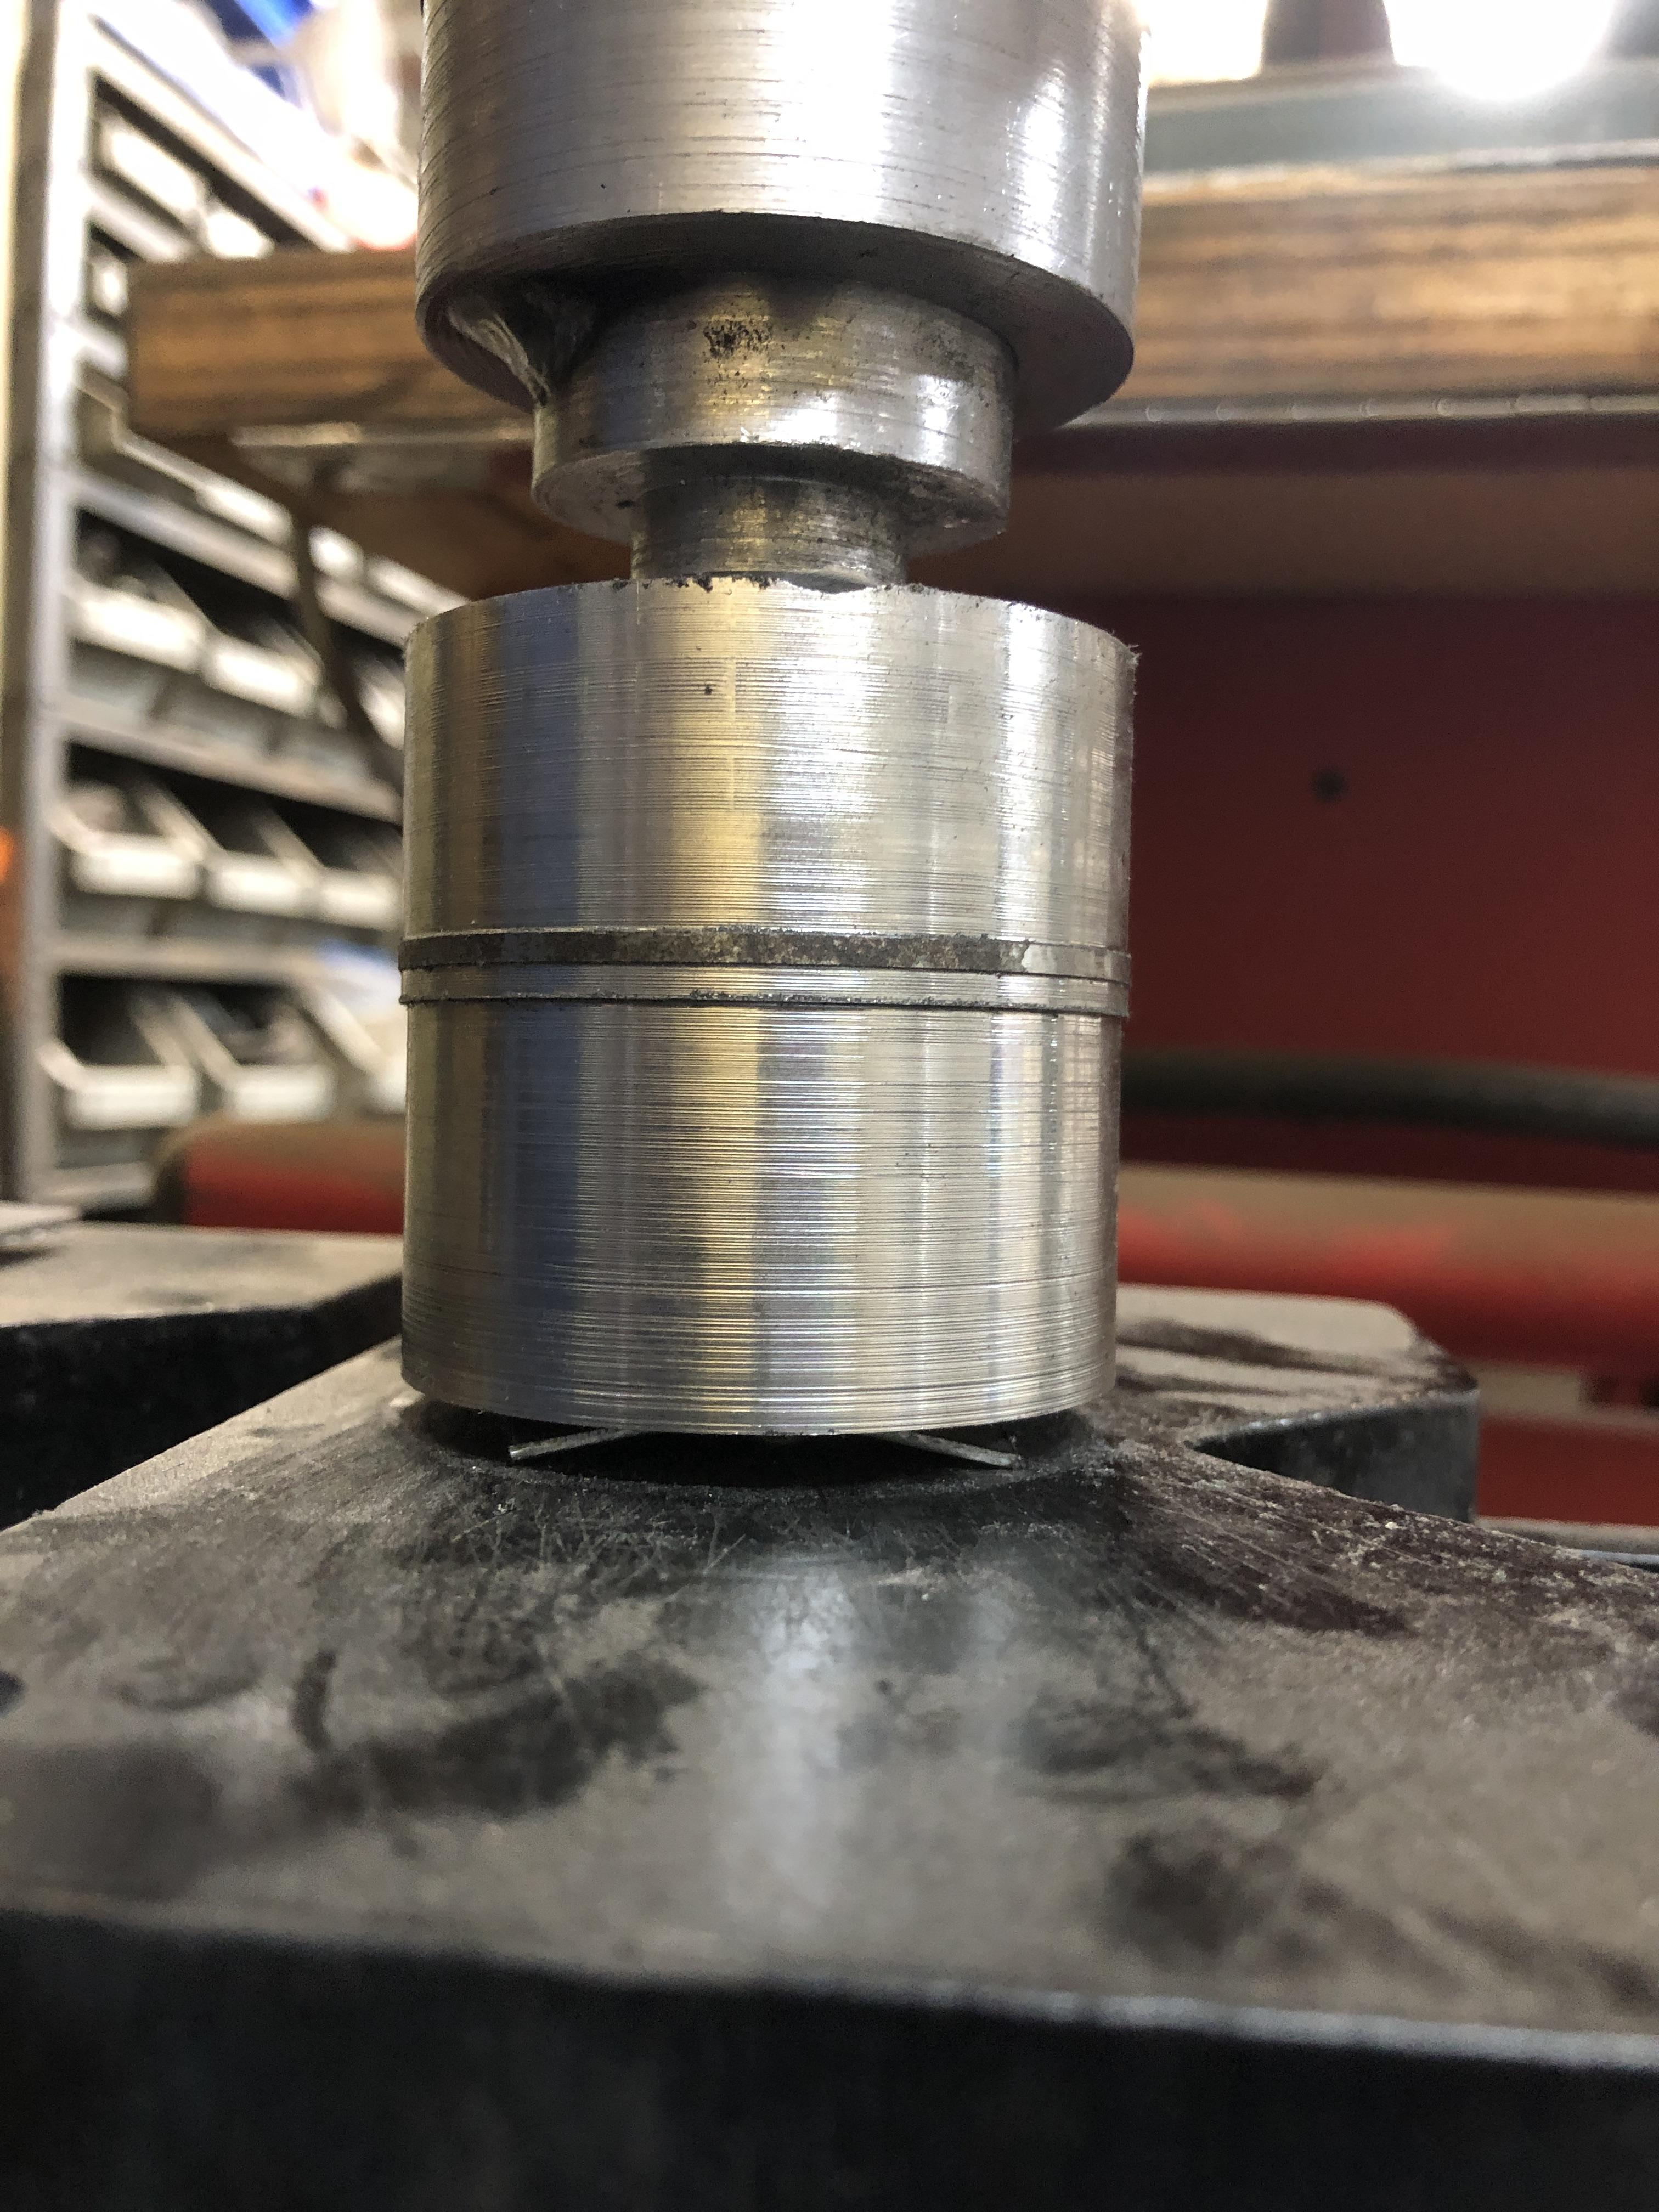
 Part two. Use die to drill 21/64 hole Install on custom mandrel on the lathe and remove excess. Parted off to right length. Quick sand paper polish while it’s spinning. Flash clean up on the inner edge of the parted cut complete.


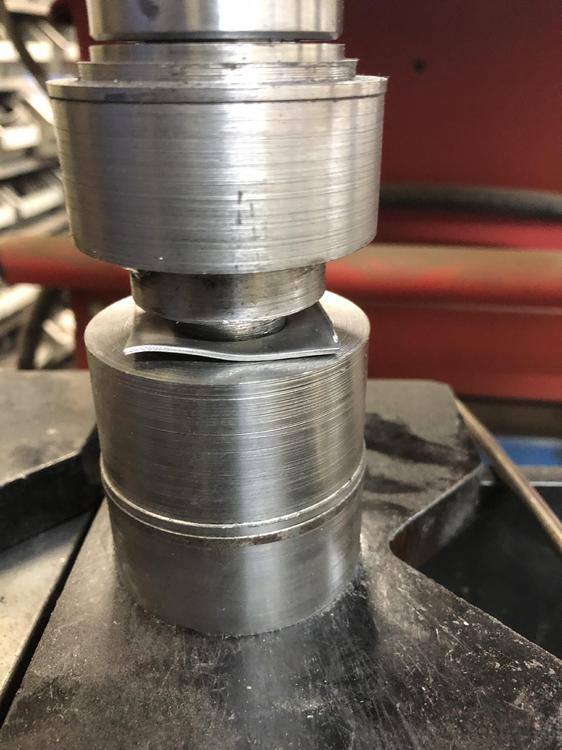
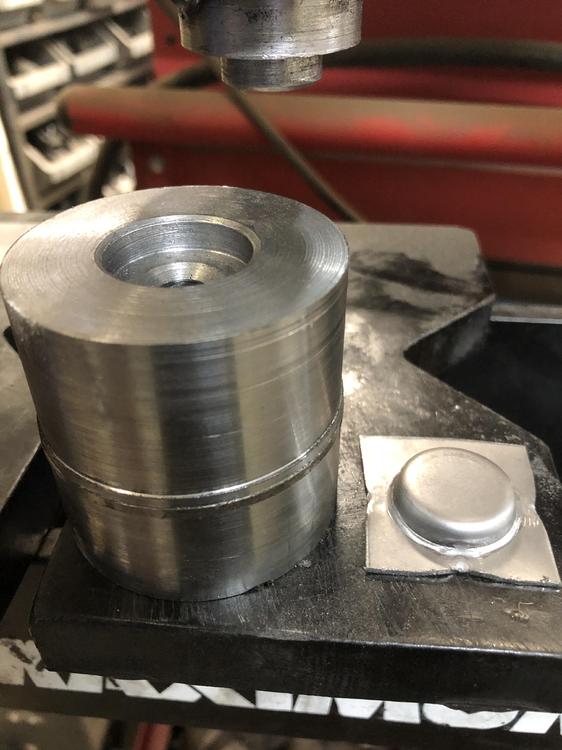
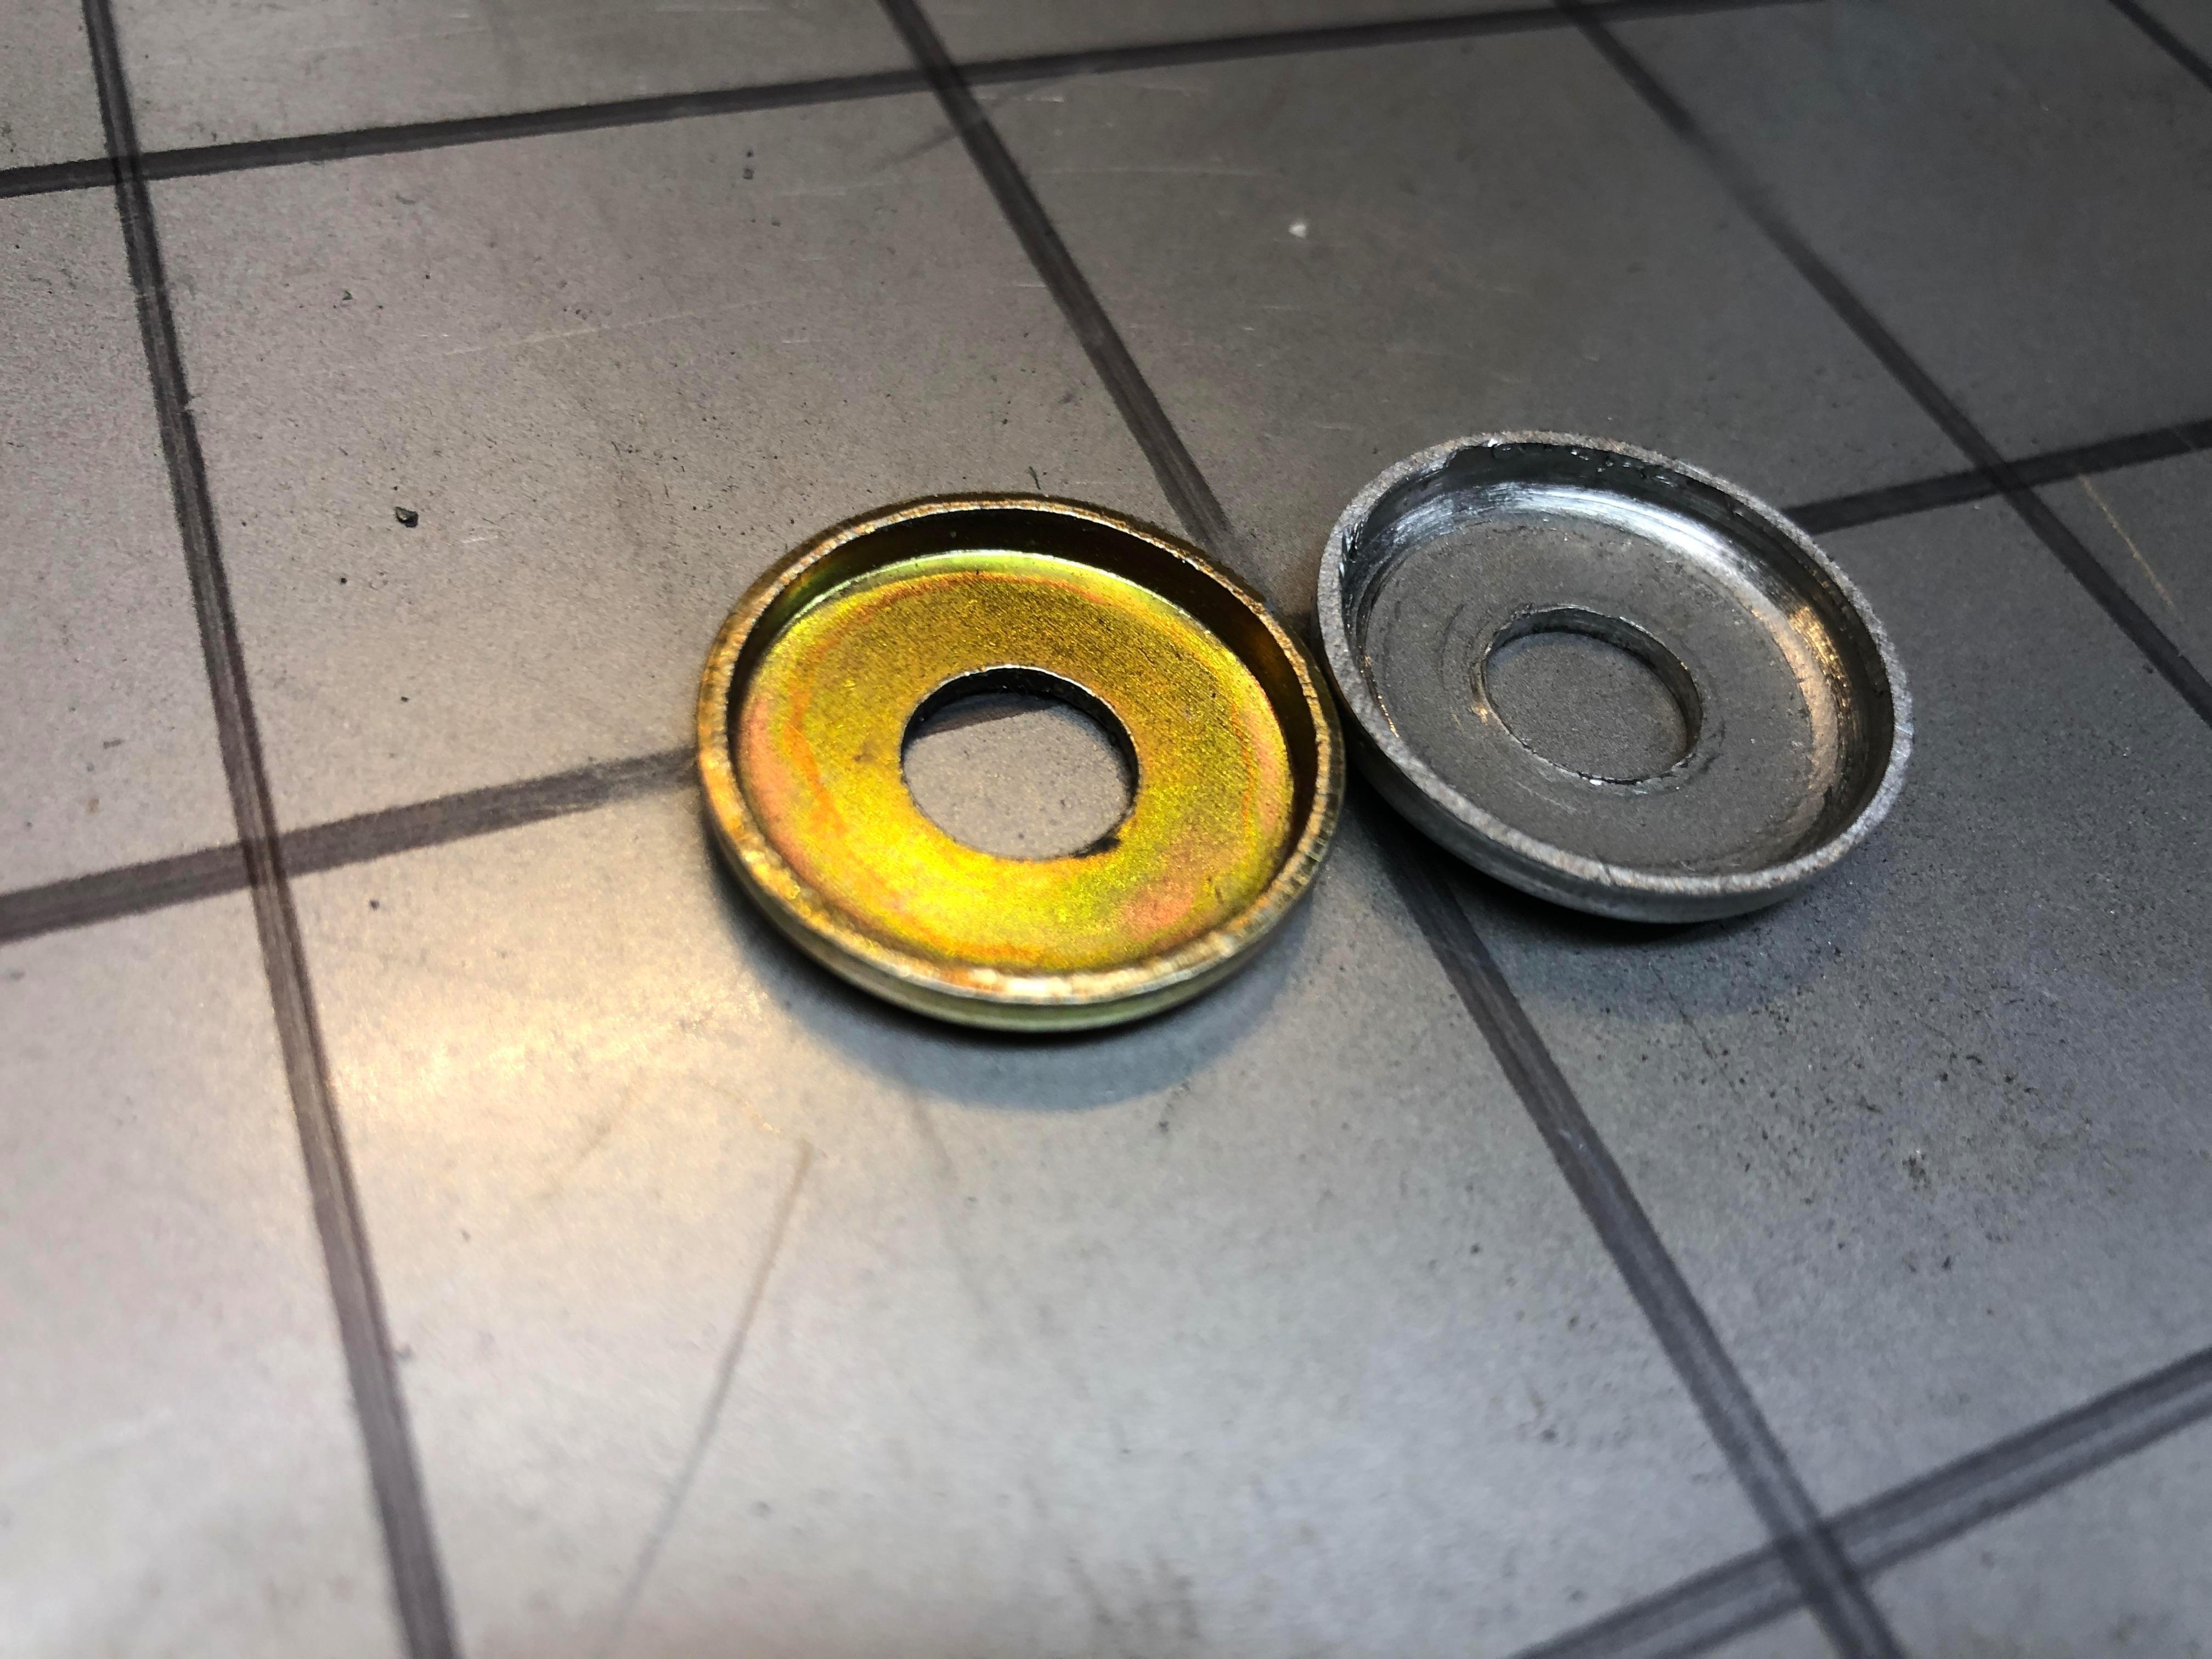
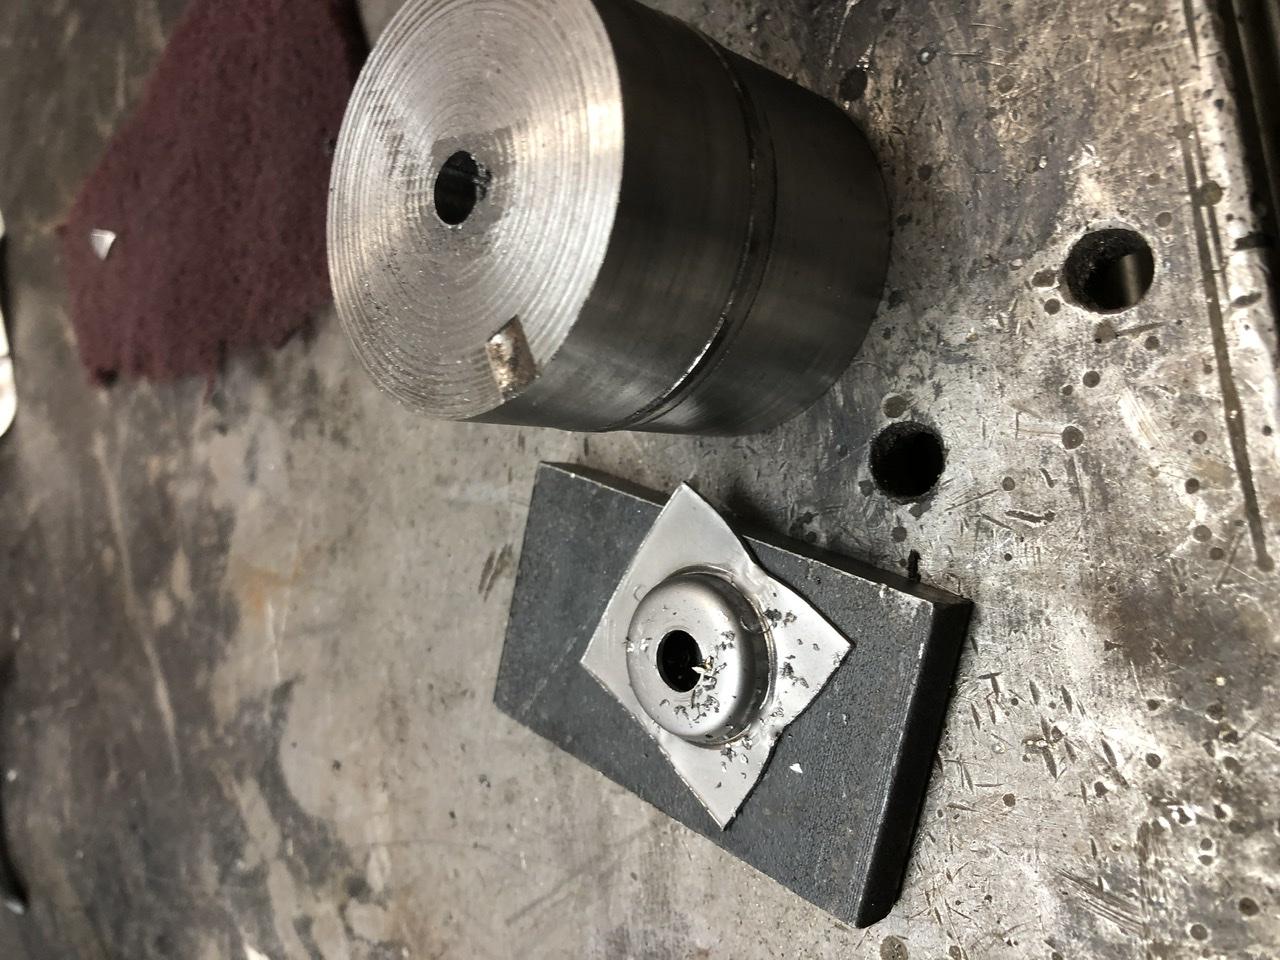
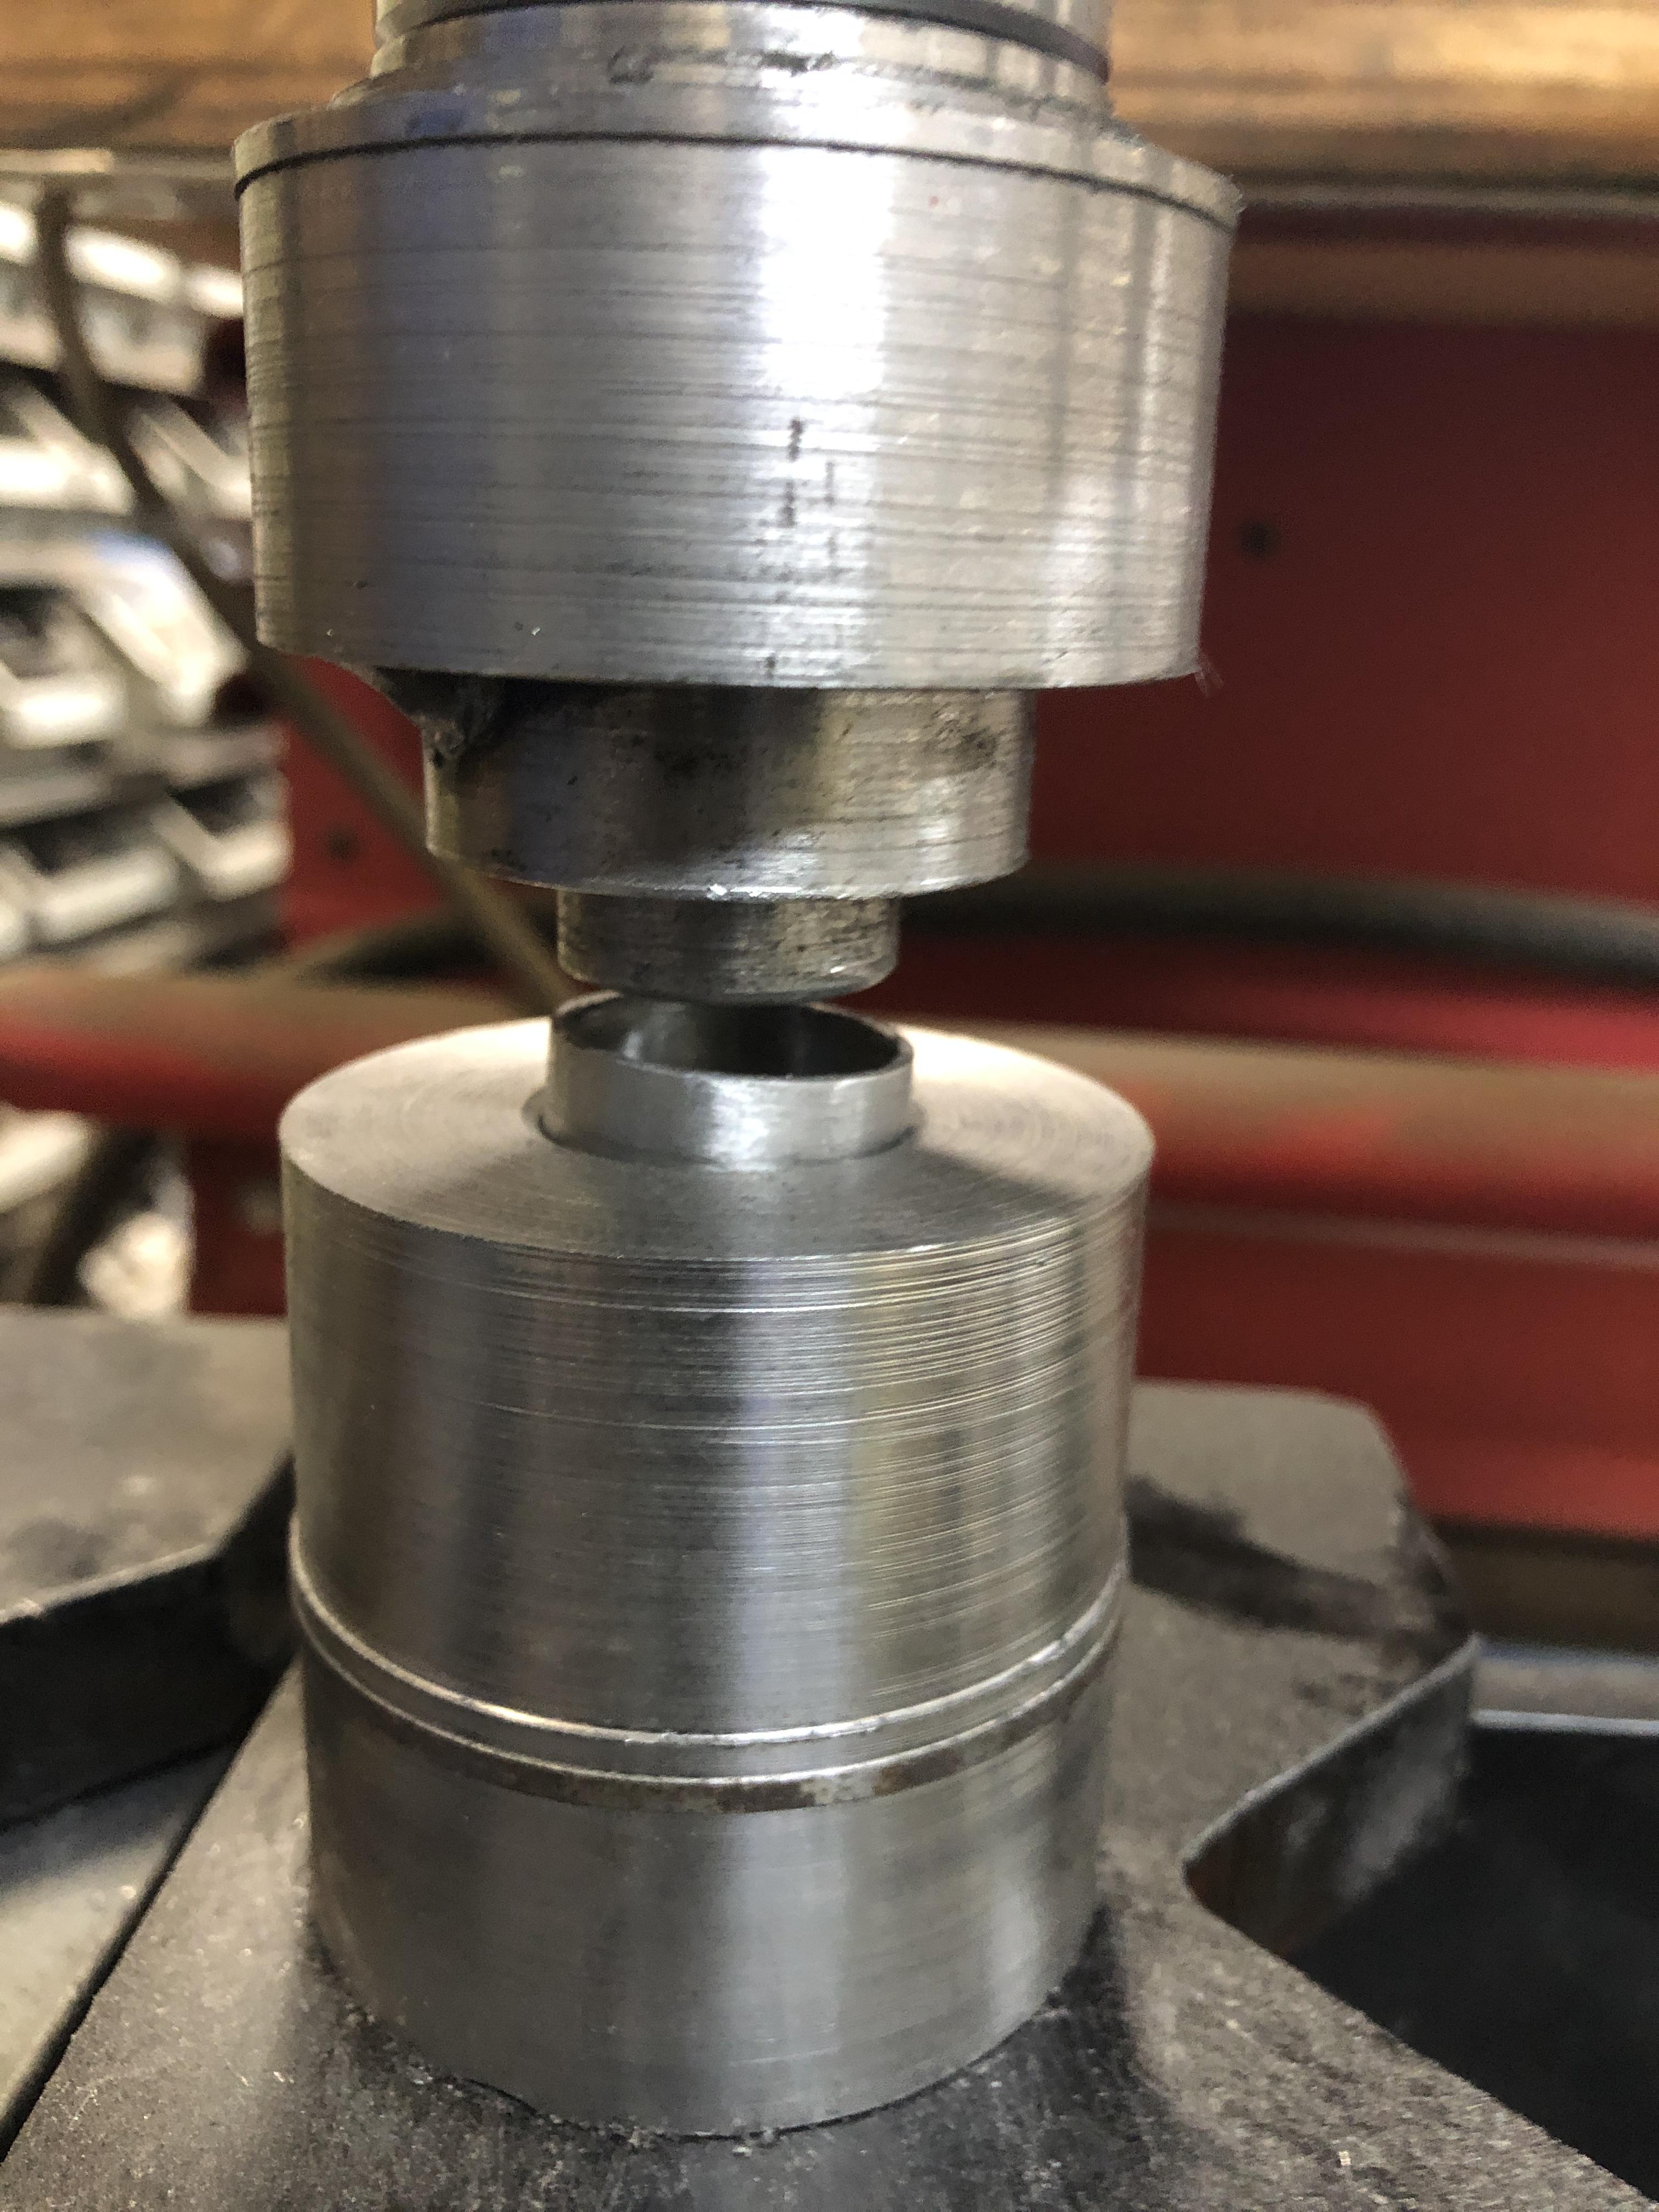
 Had a chance last night to go through the process and take pictures for posterity. Won’t be taking them in for plating any time soon. Get ready Use a little bushing I made to center. Squish! Cup made Turn die over, put cup underneath and squish the wings flat. Makes the machining steps easier
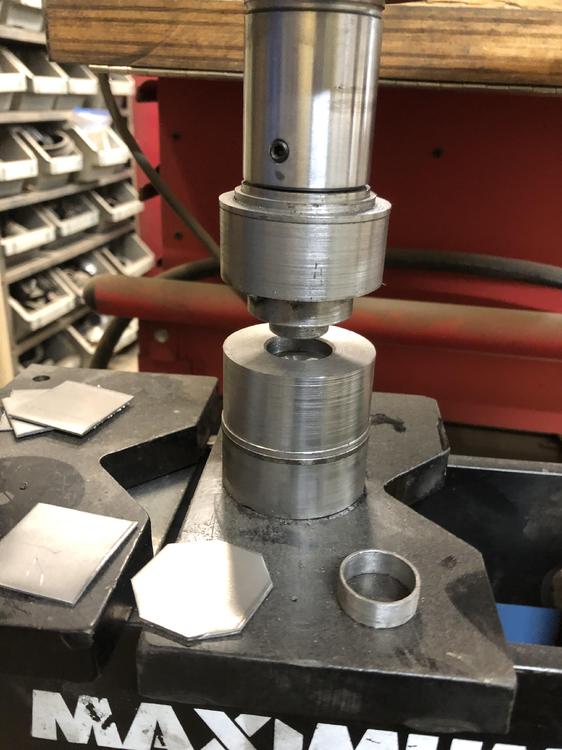


 I got in touch with Randalla. He has a big batch of new Float-Sync product coming.


Important Information
By using this site, you agree to our Privacy Policy and Guidelines. We have placed cookies on your device to help make this website better. You can adjust your cookie settings, otherwise we'll assume you're okay to continue.