Leaderboard


 Subscriber


Popular Content
Showing content with the highest reputation on 10/09/2023 in all areas
-
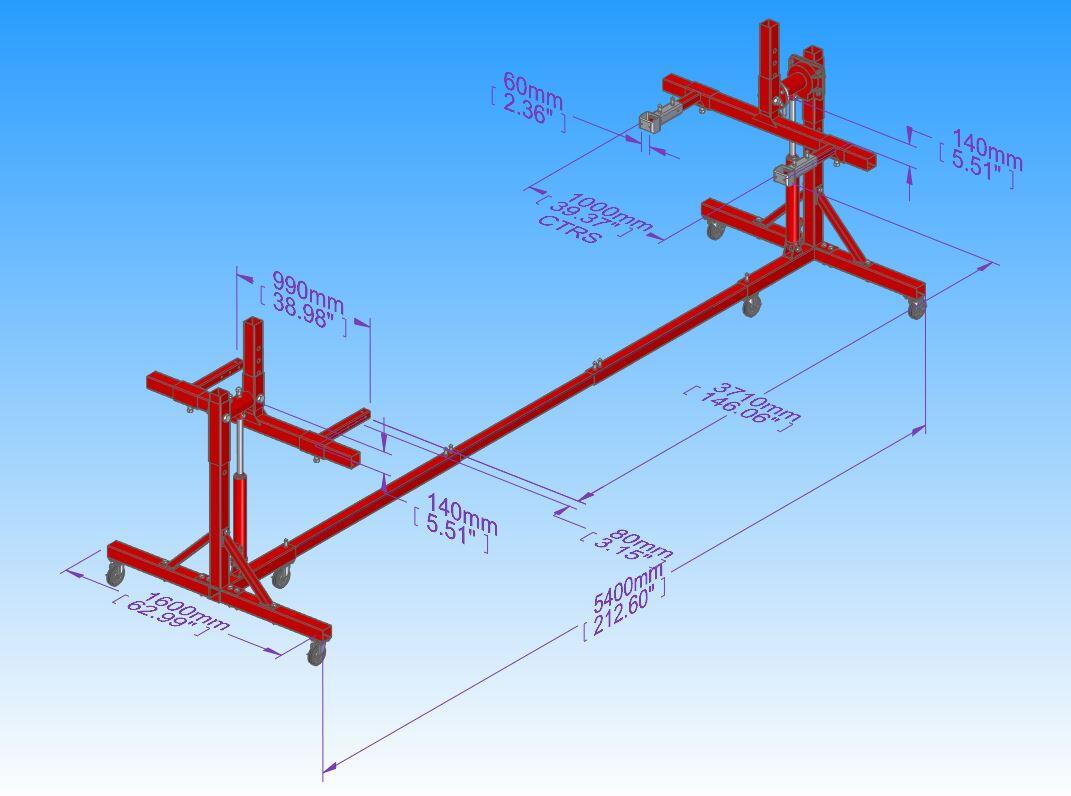
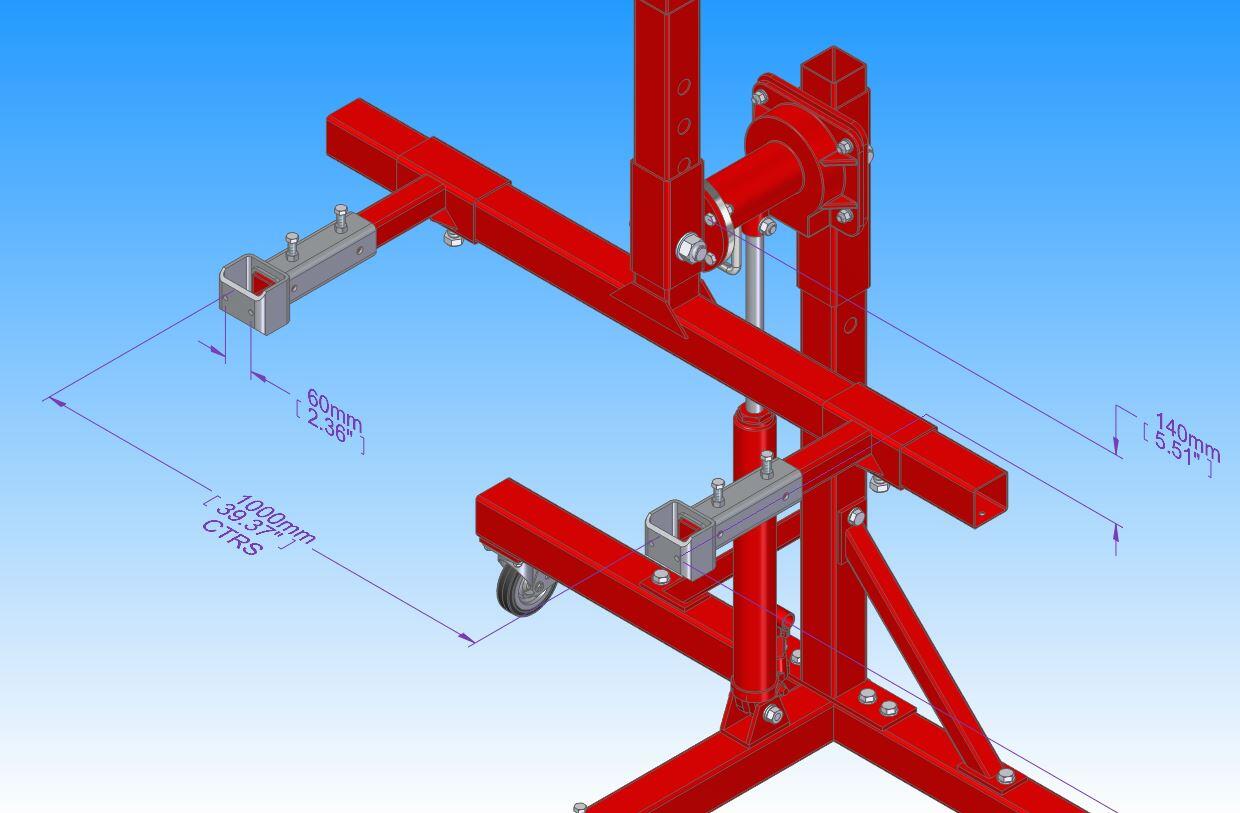
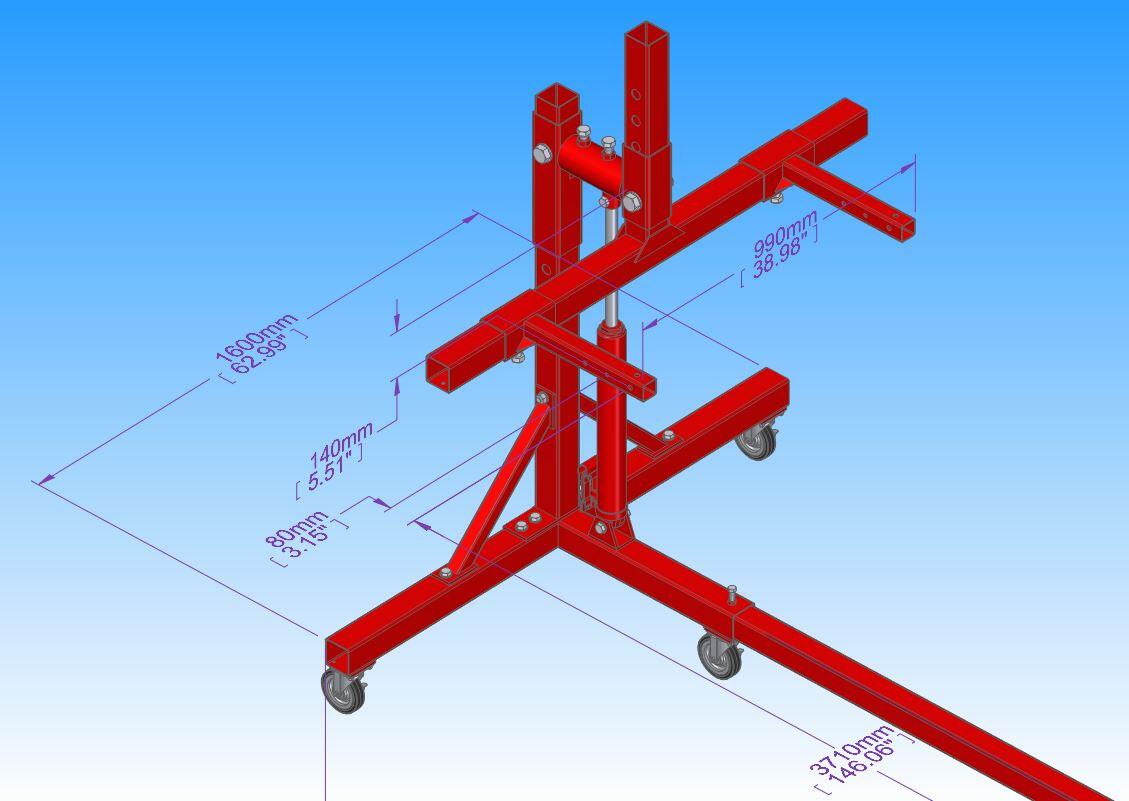
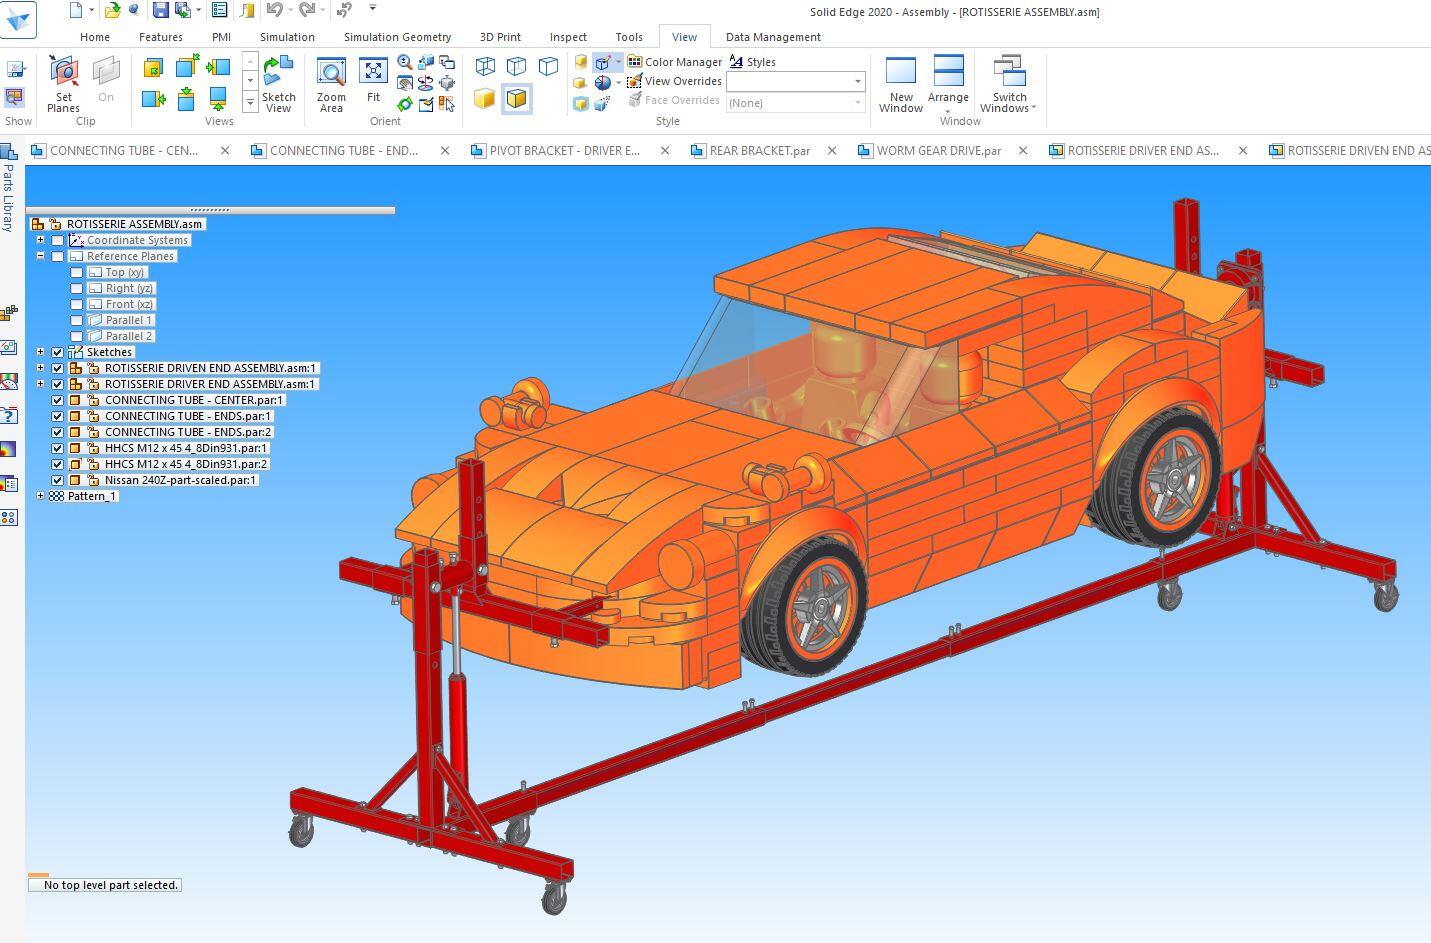
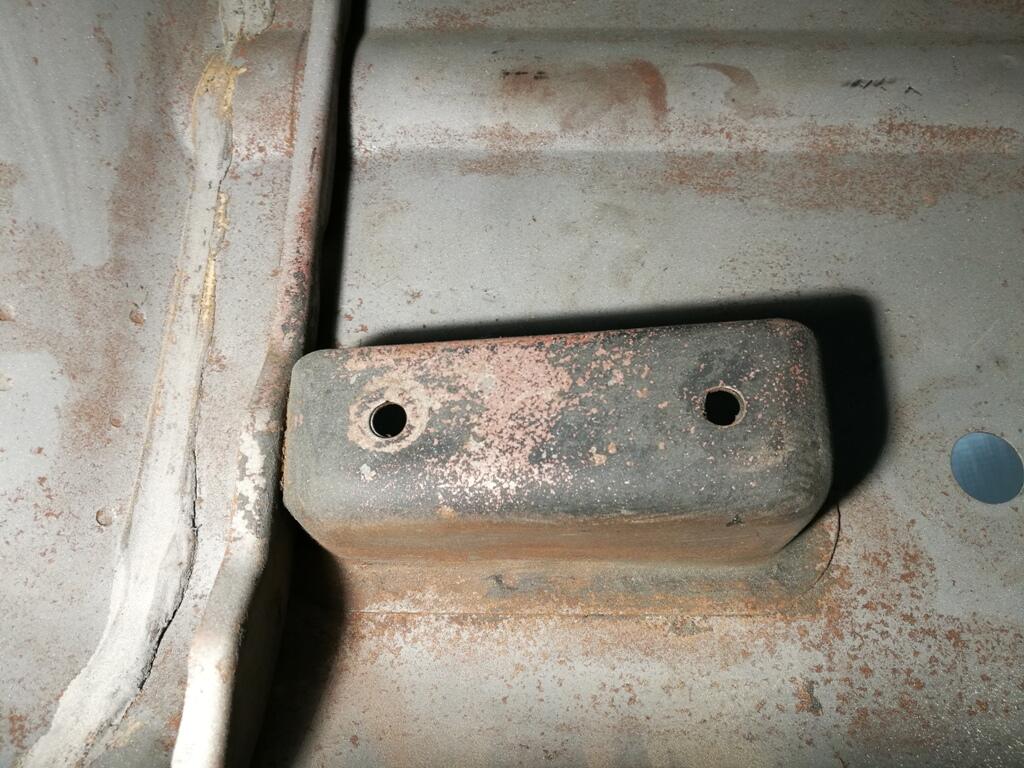
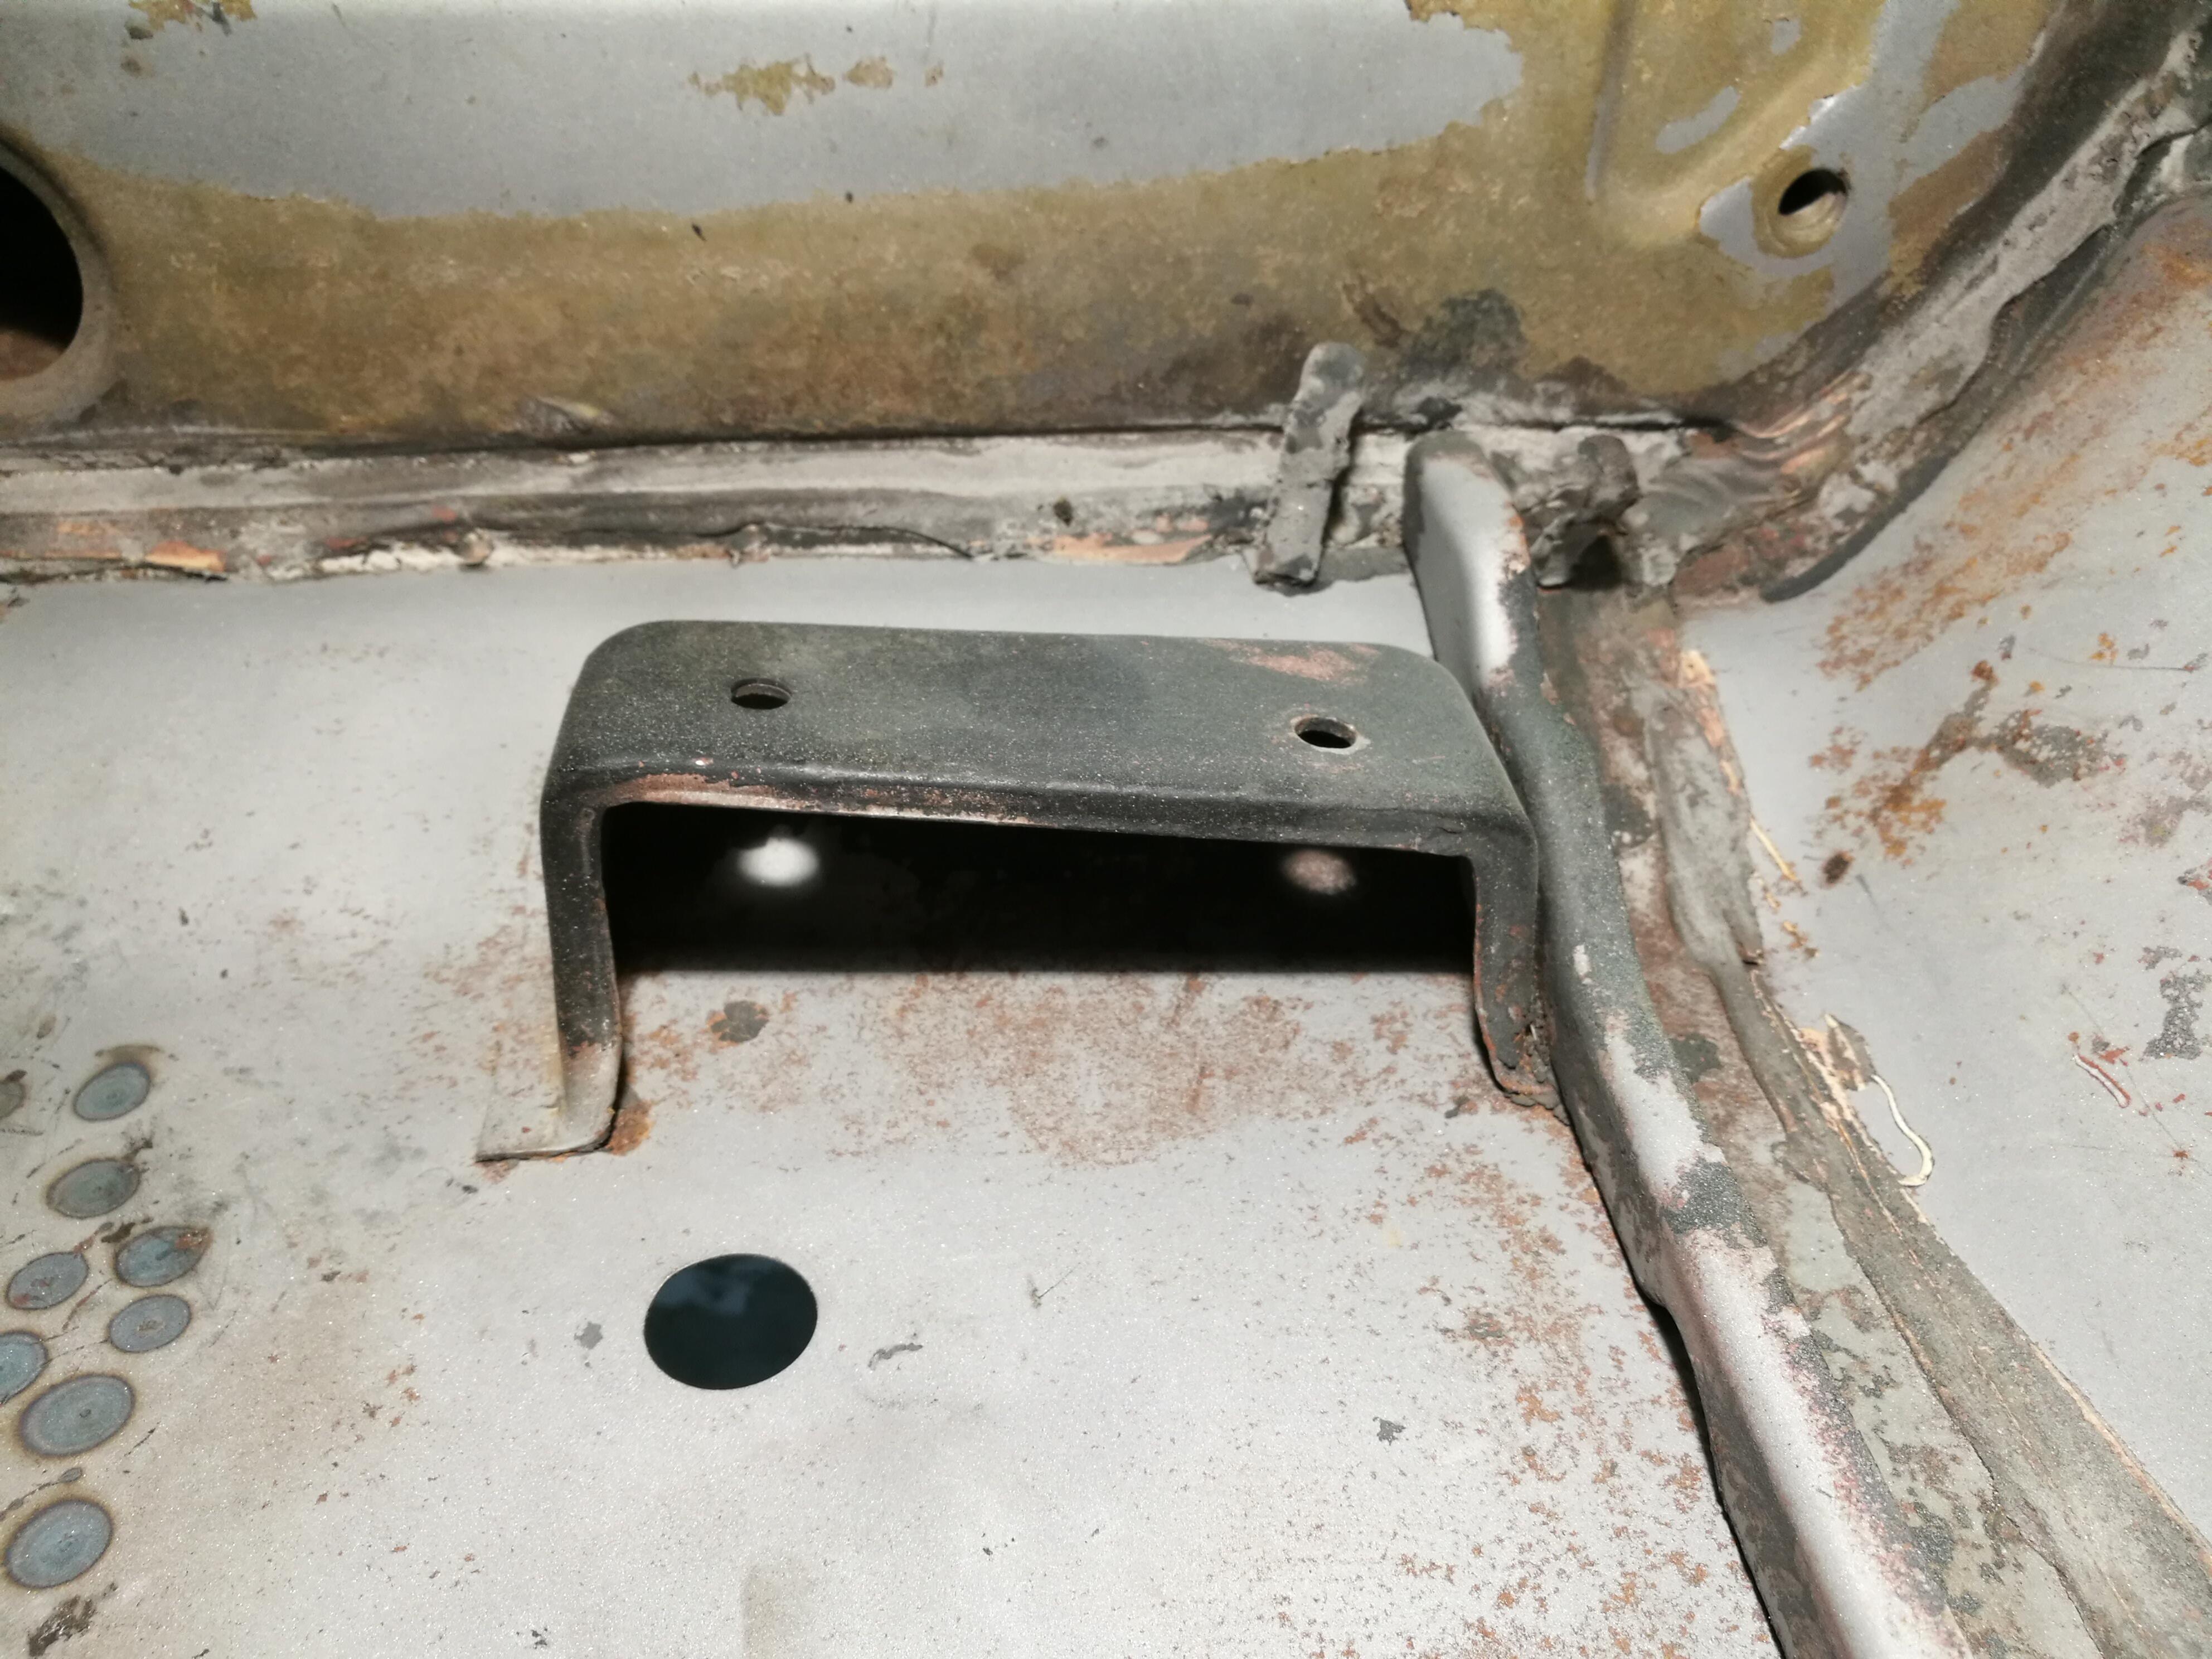
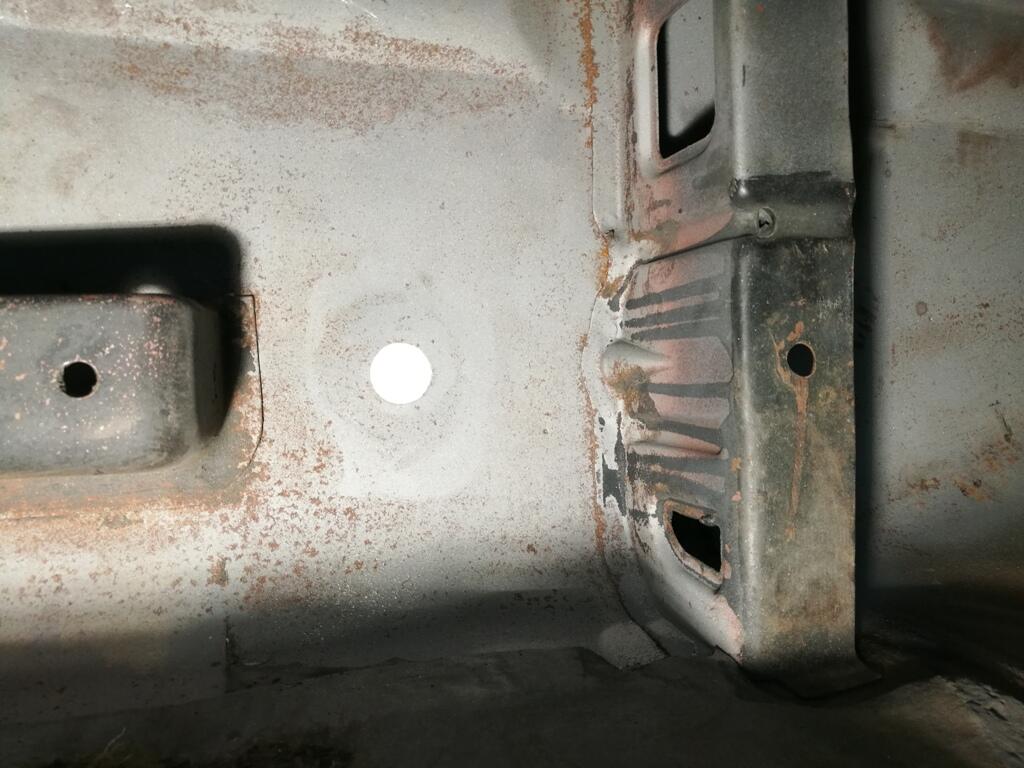
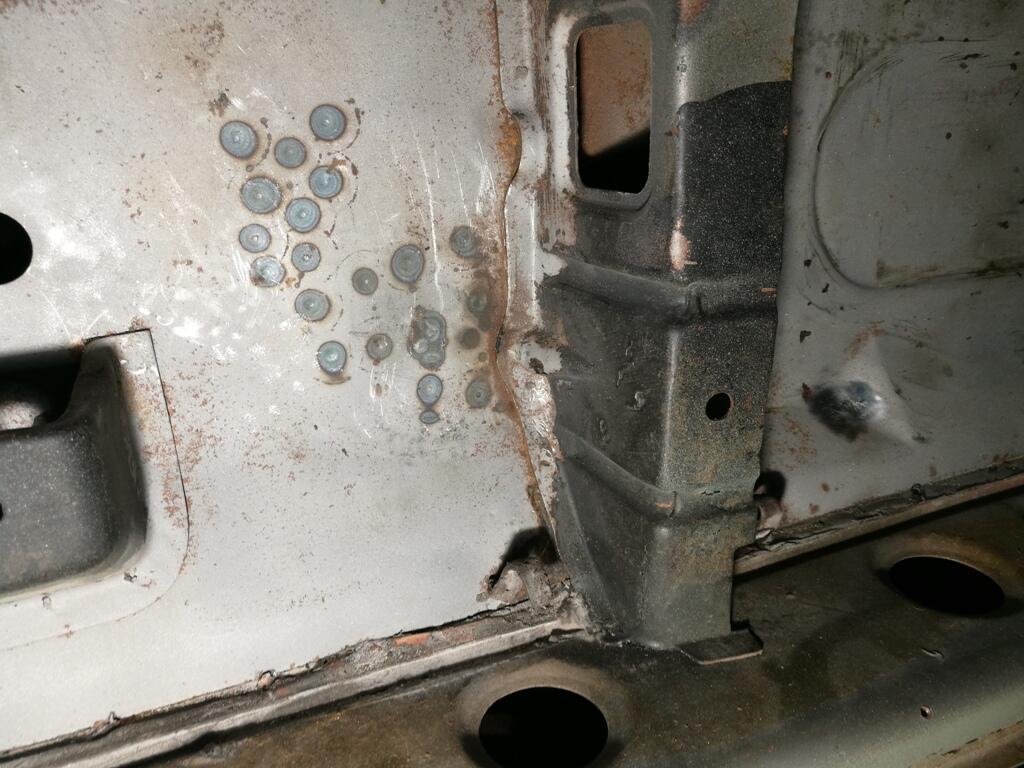
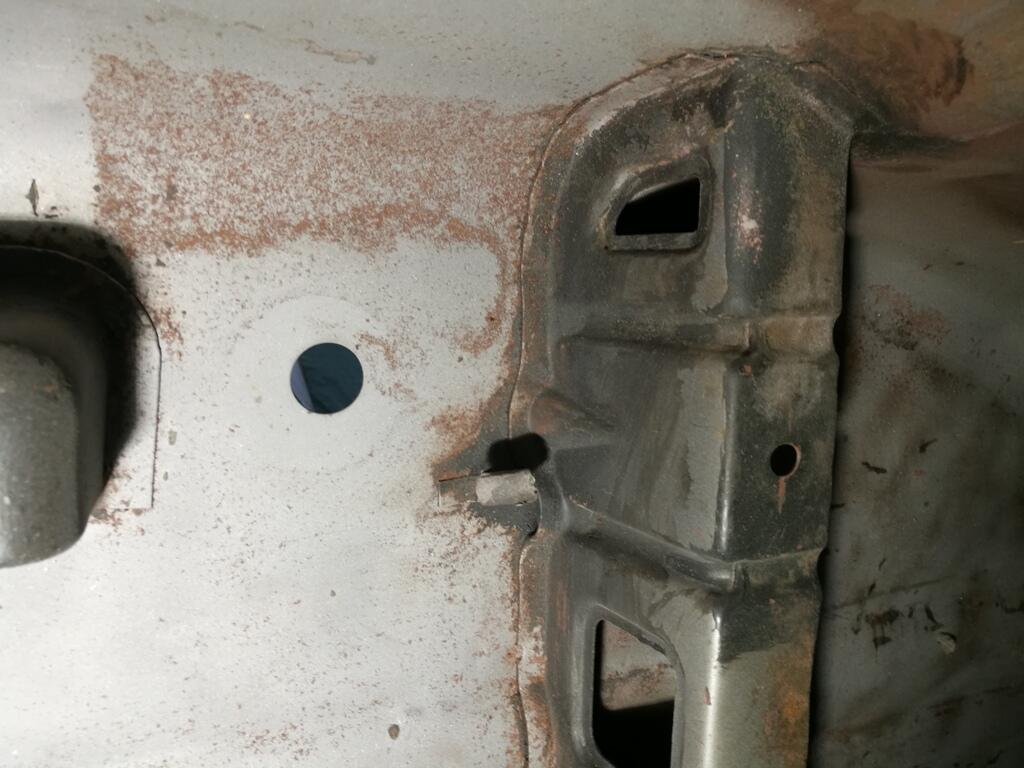
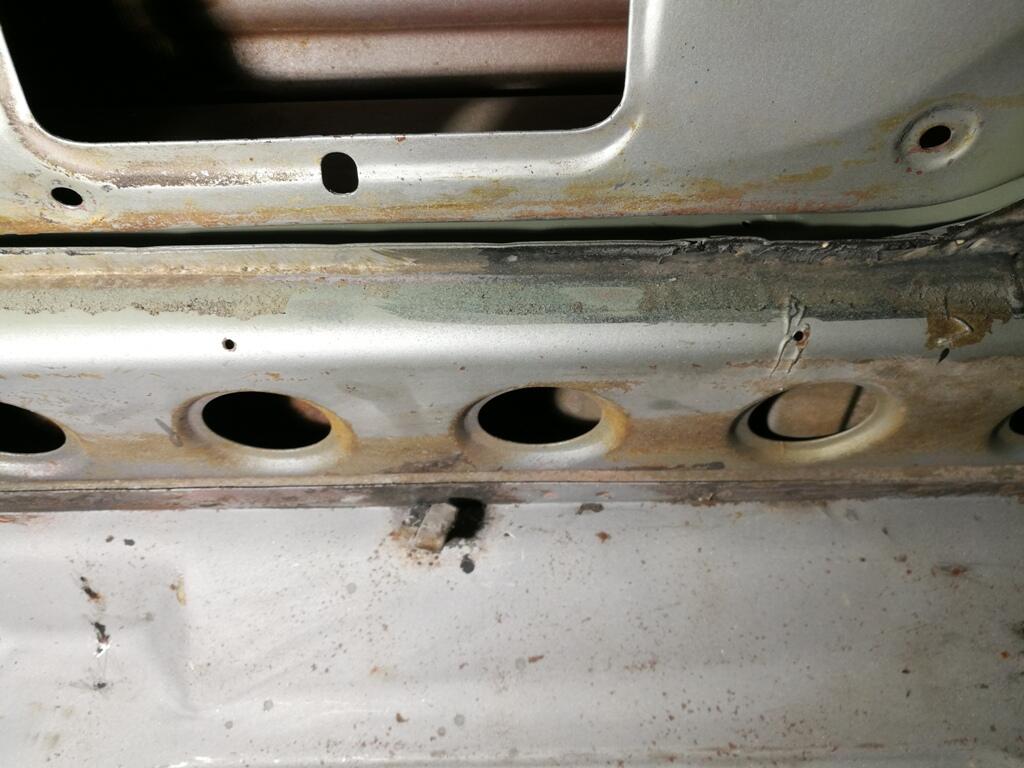
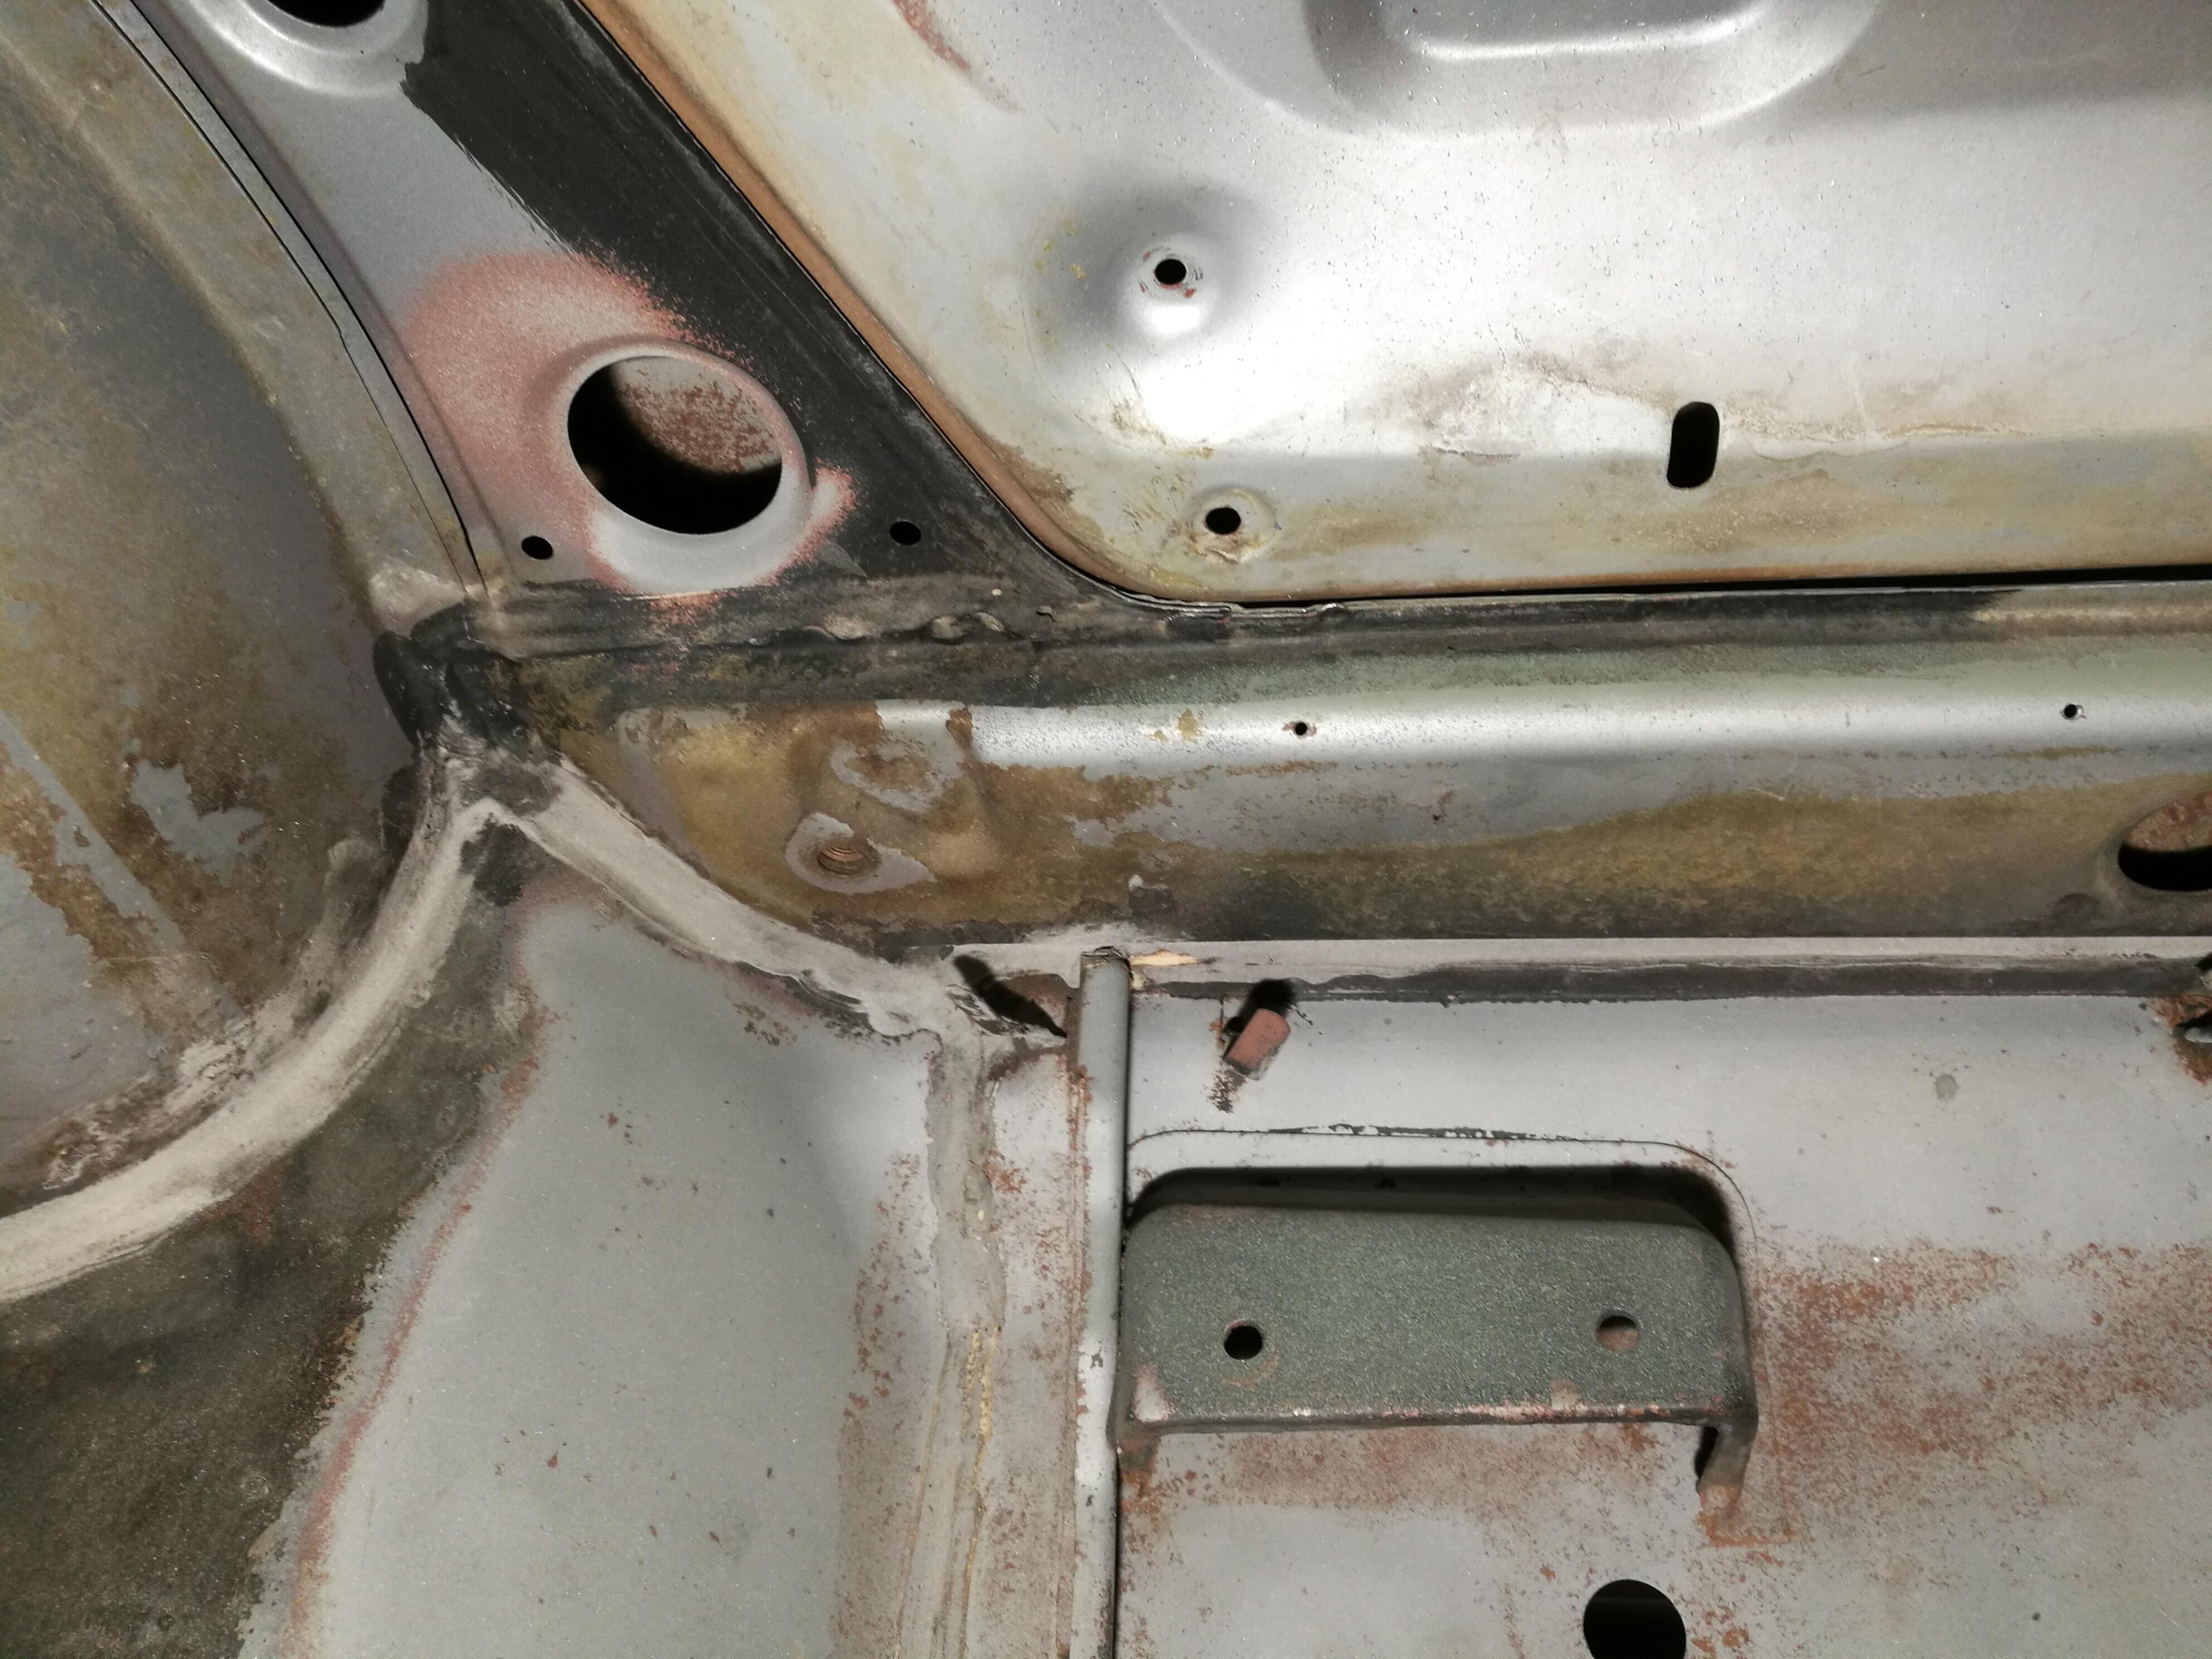
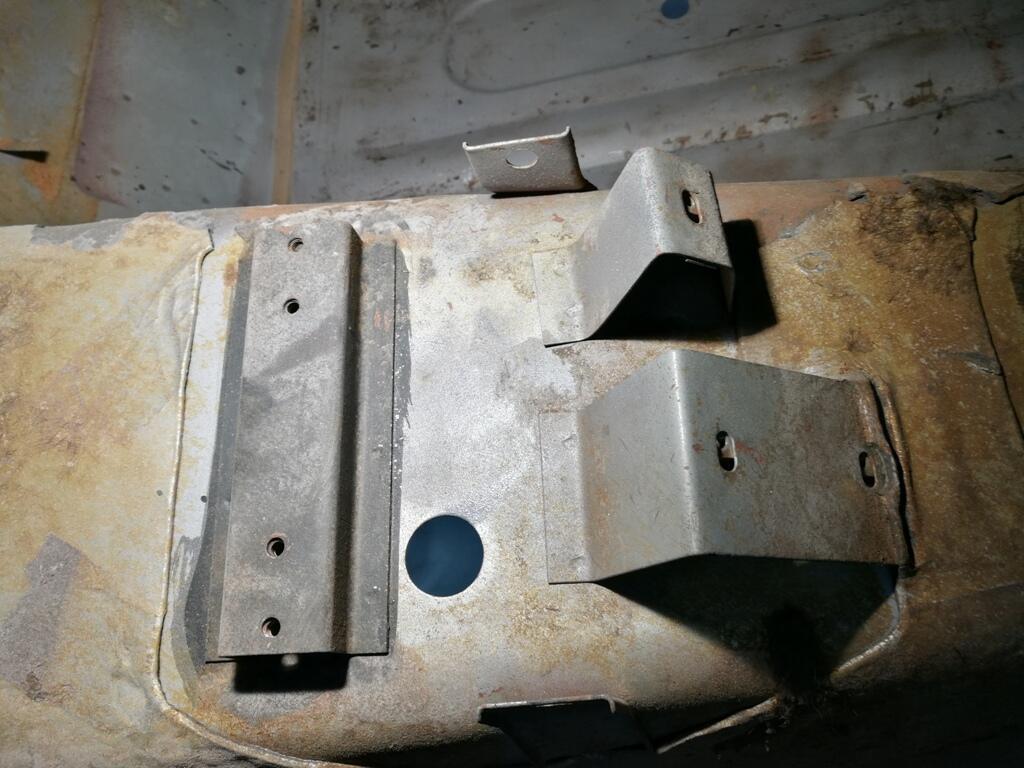
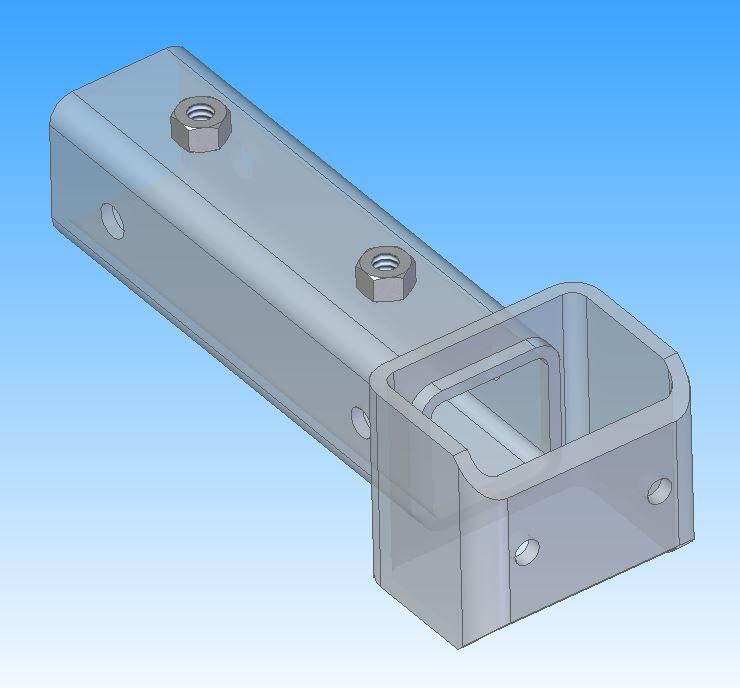
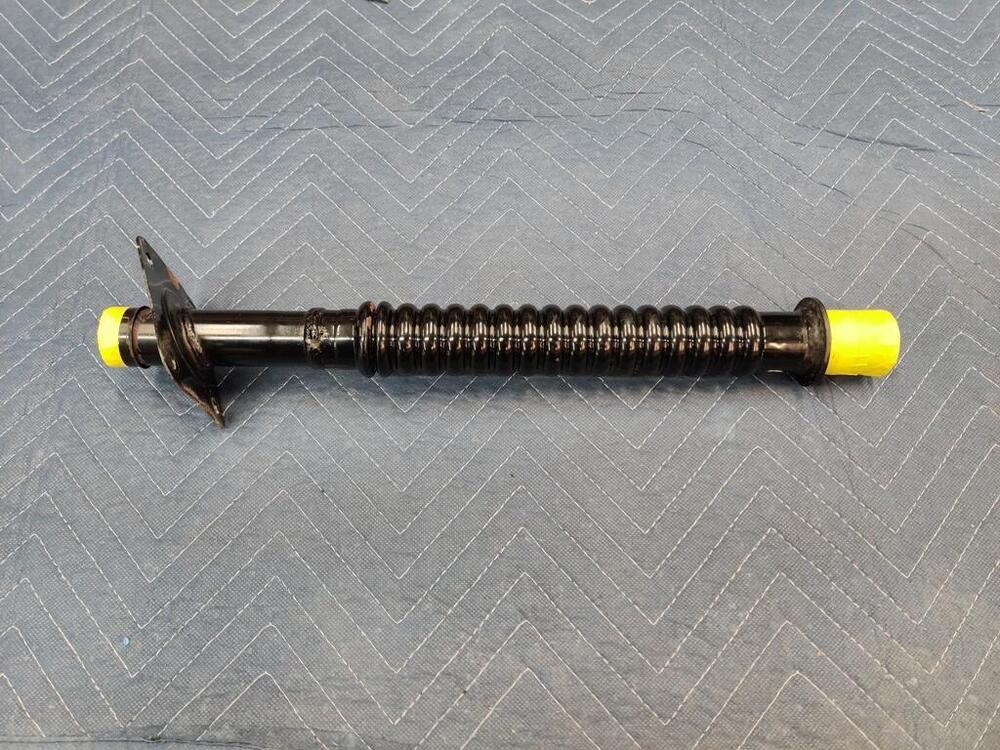
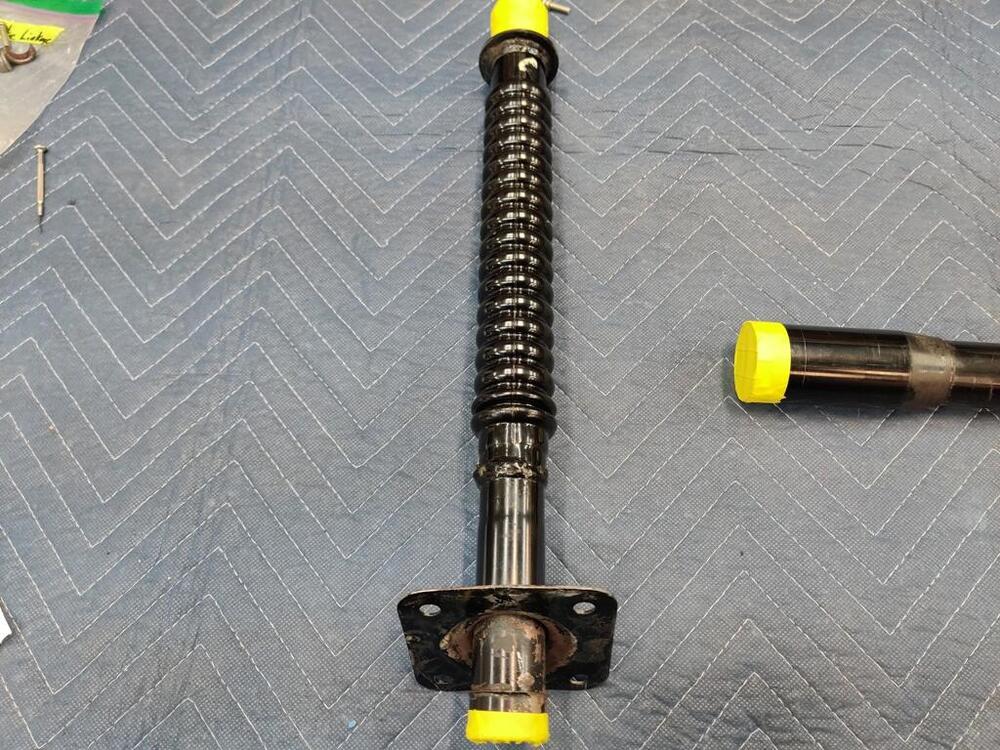
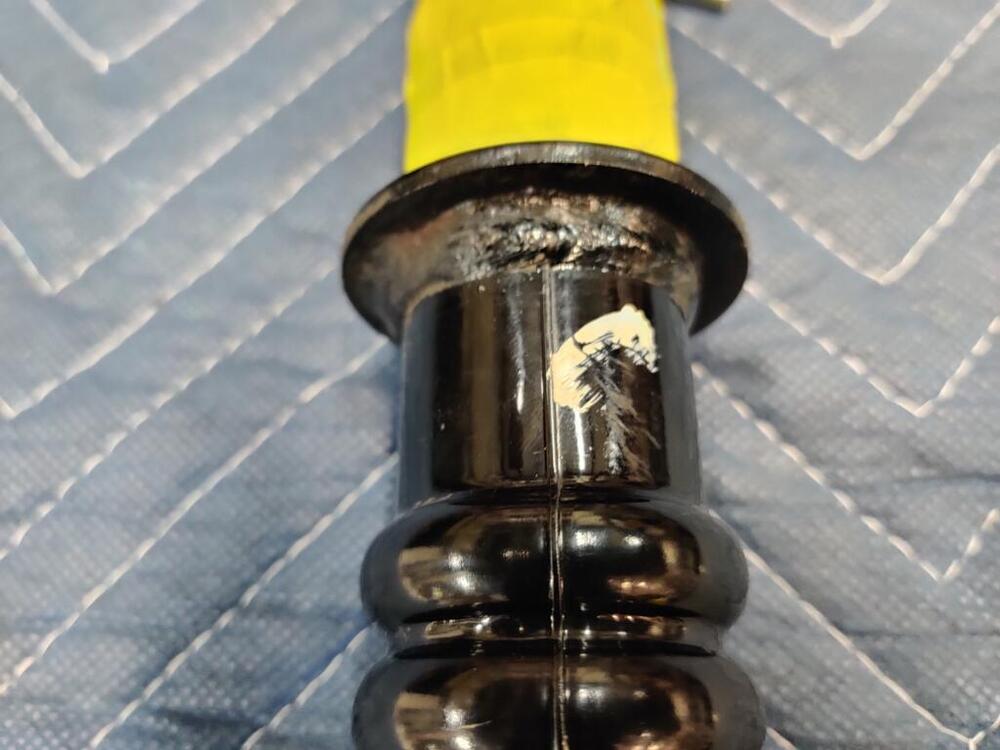
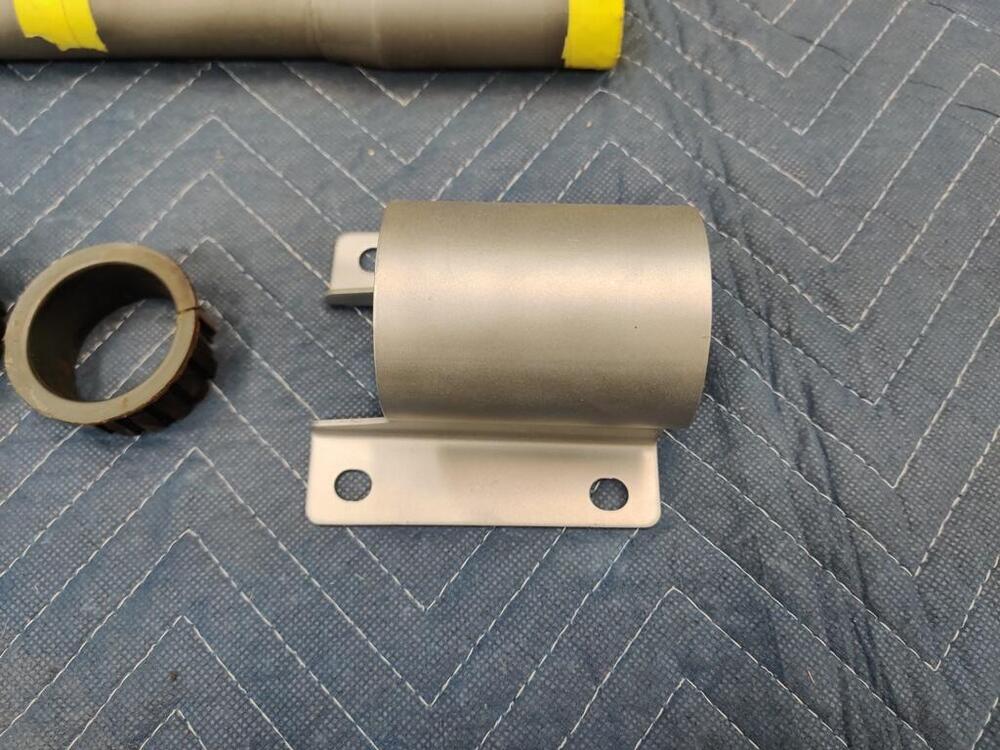
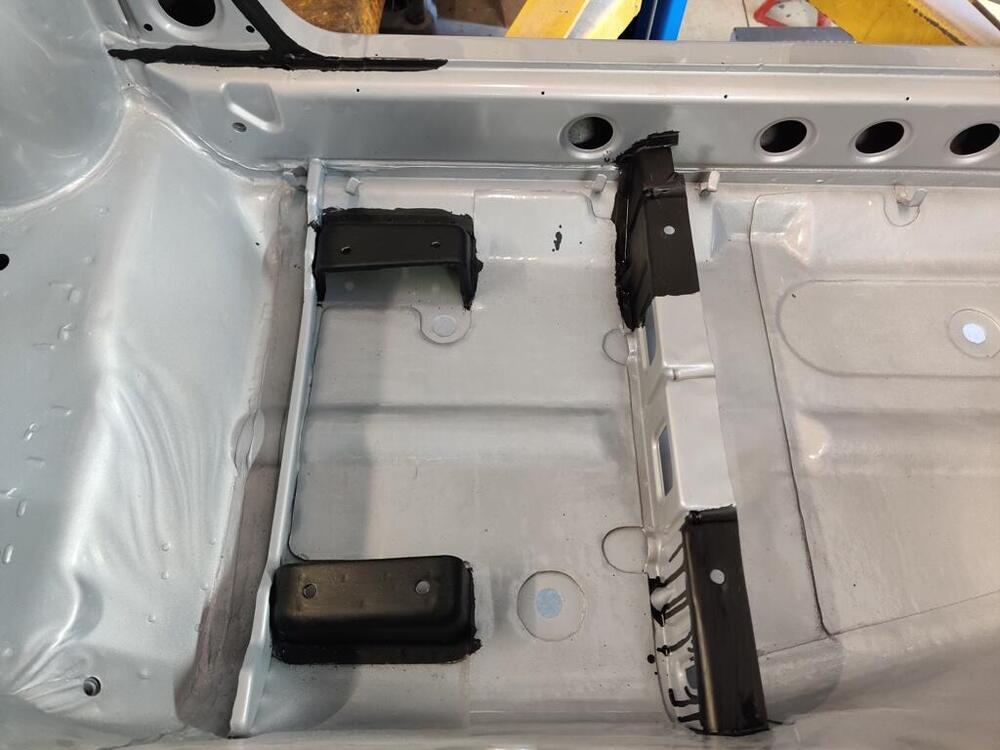
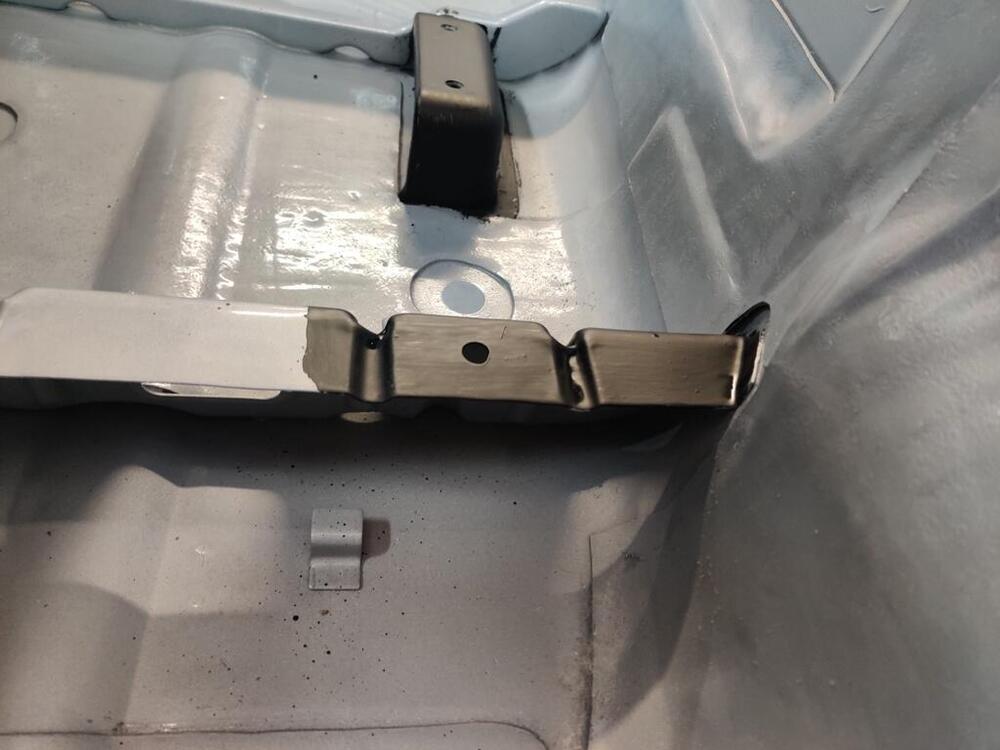
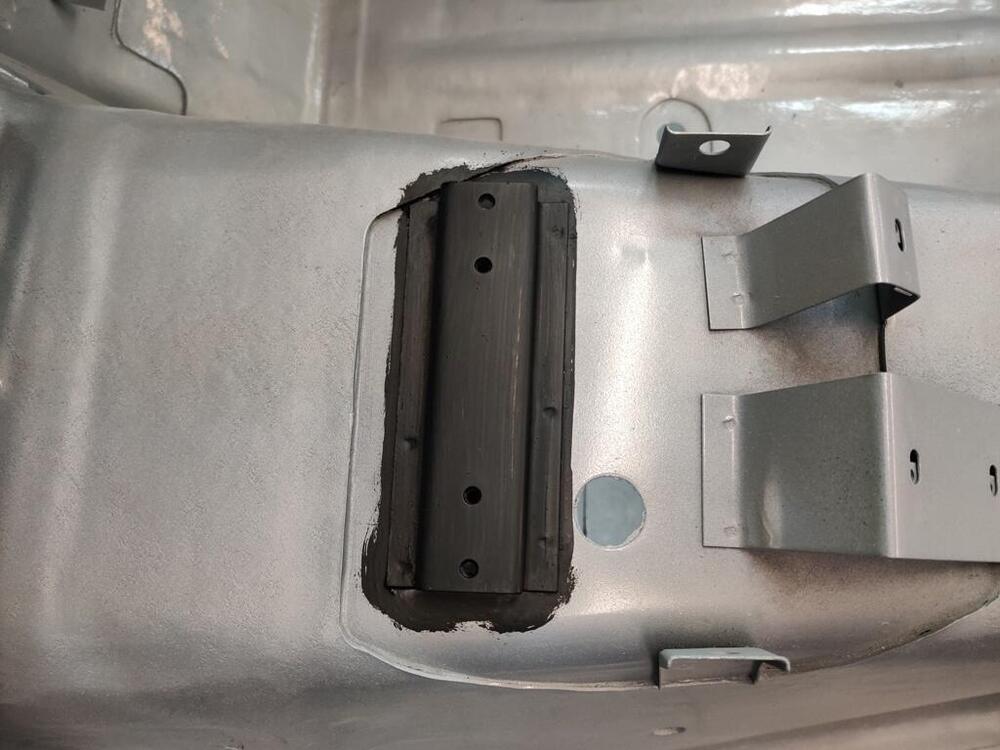
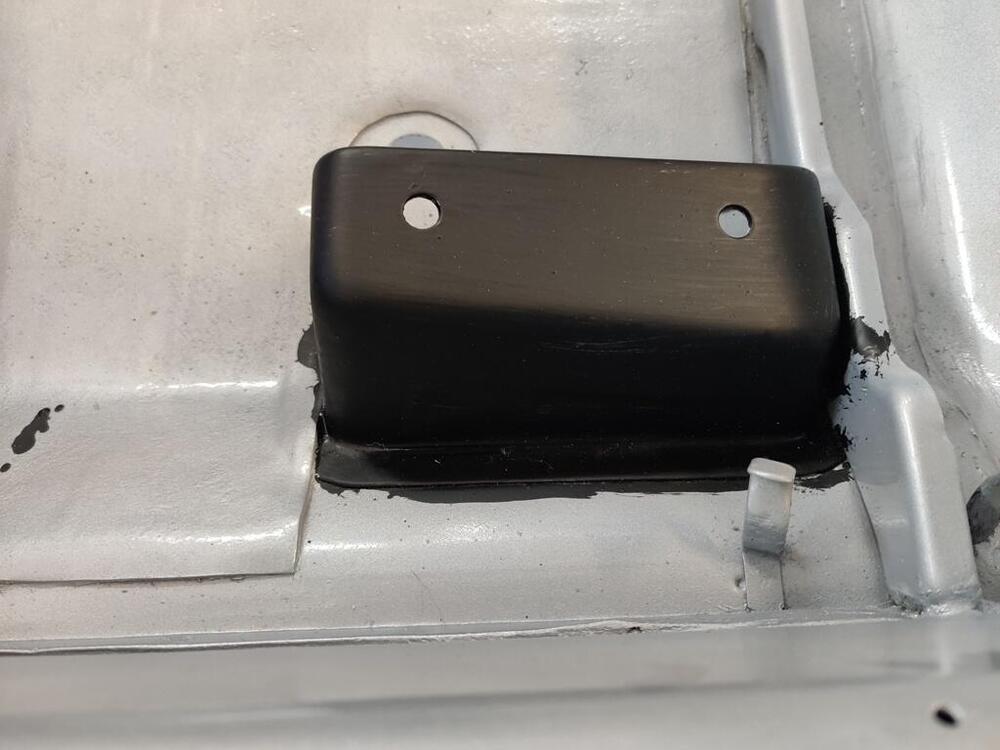
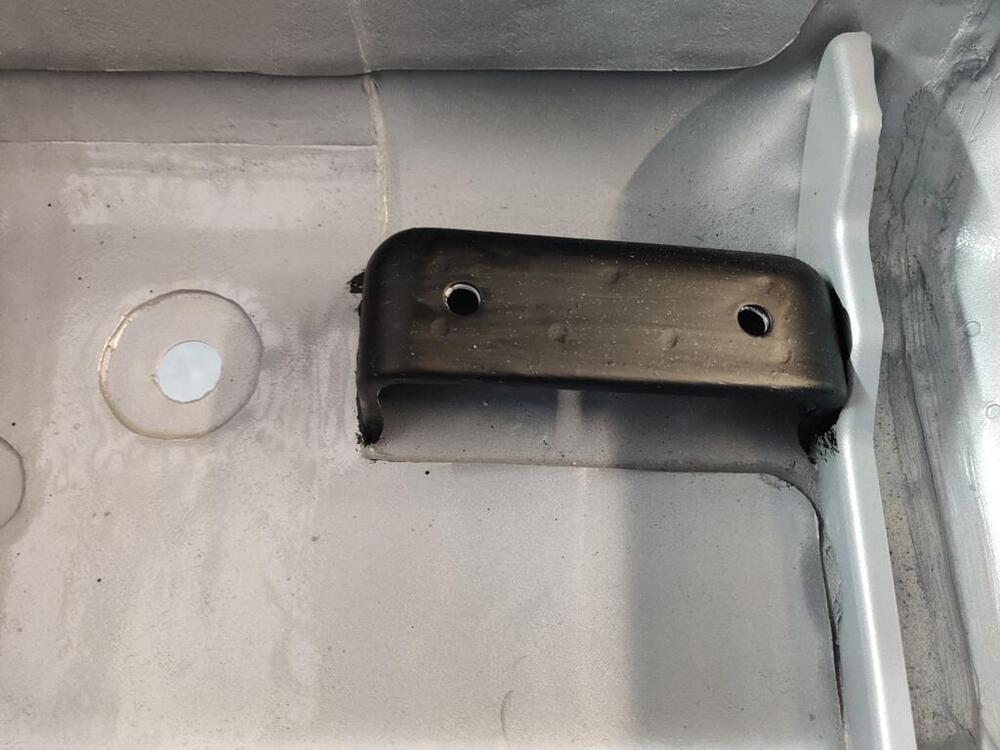
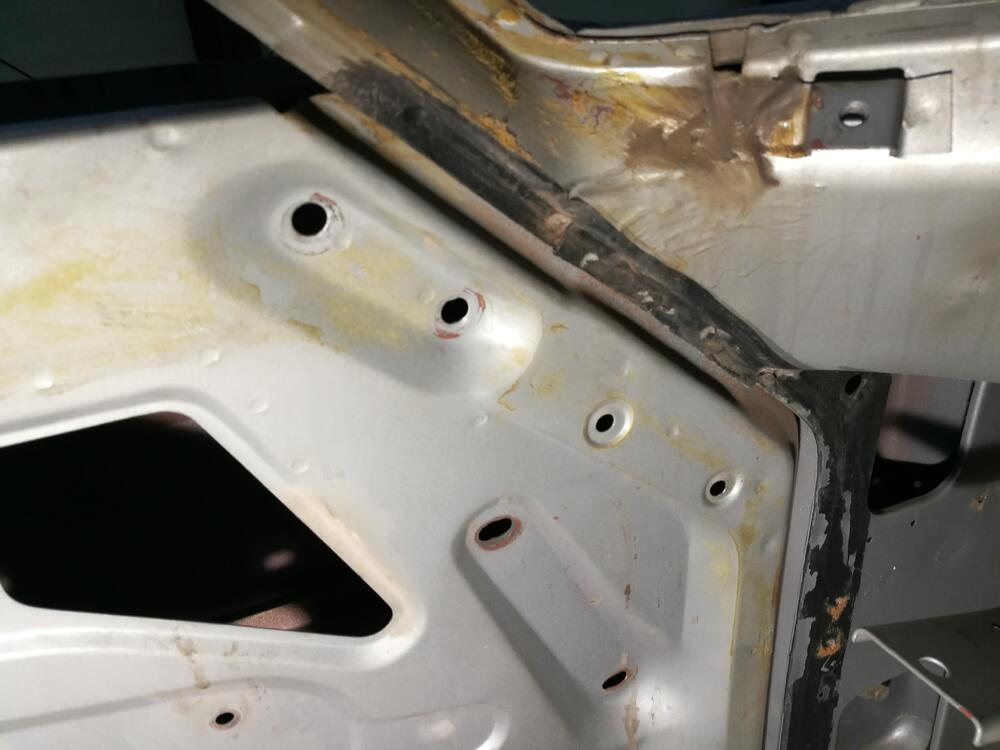
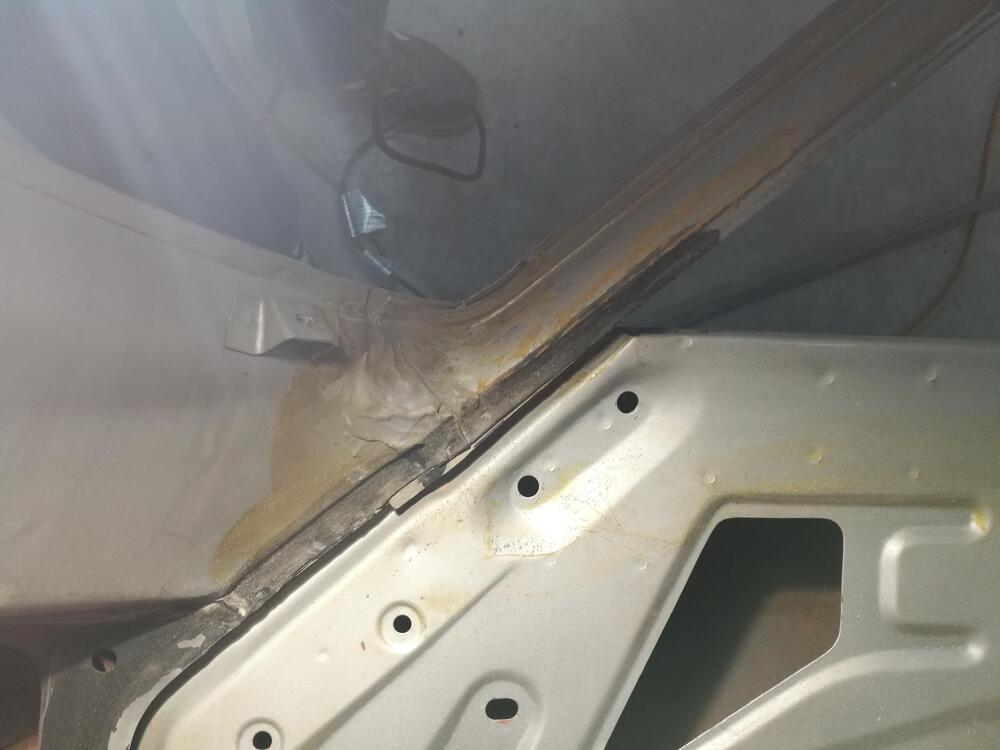
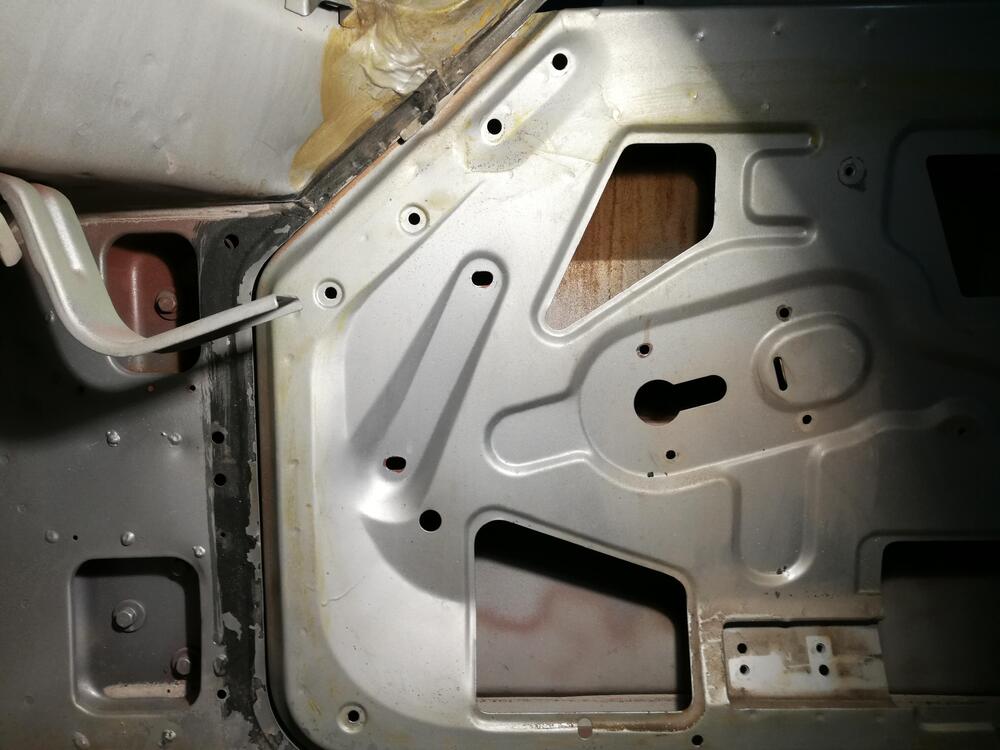
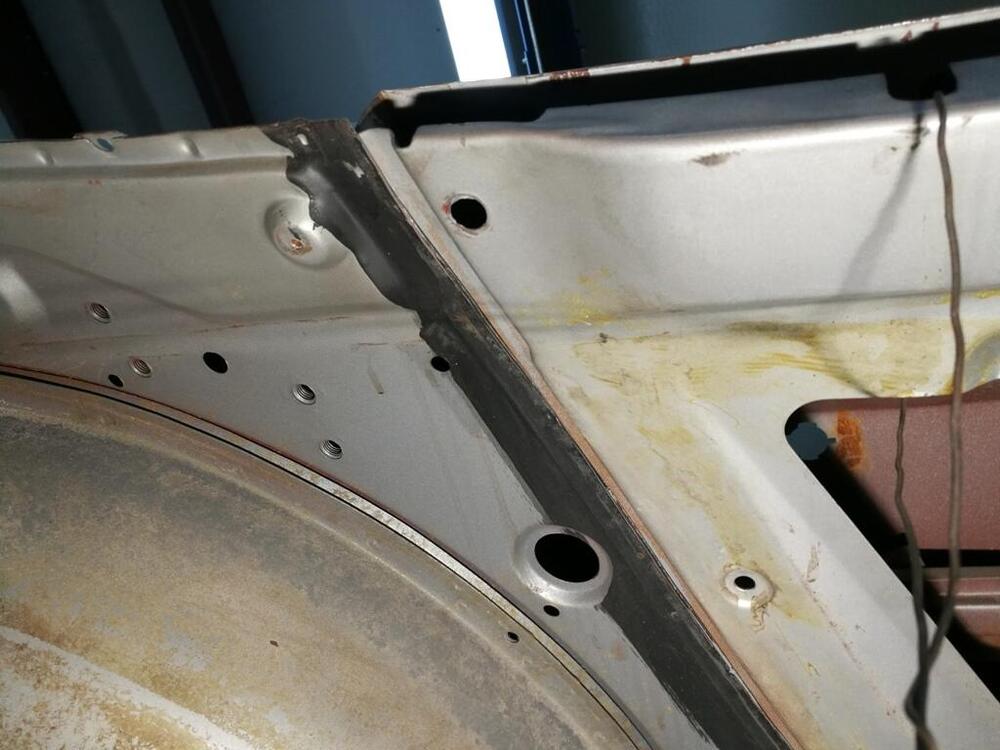
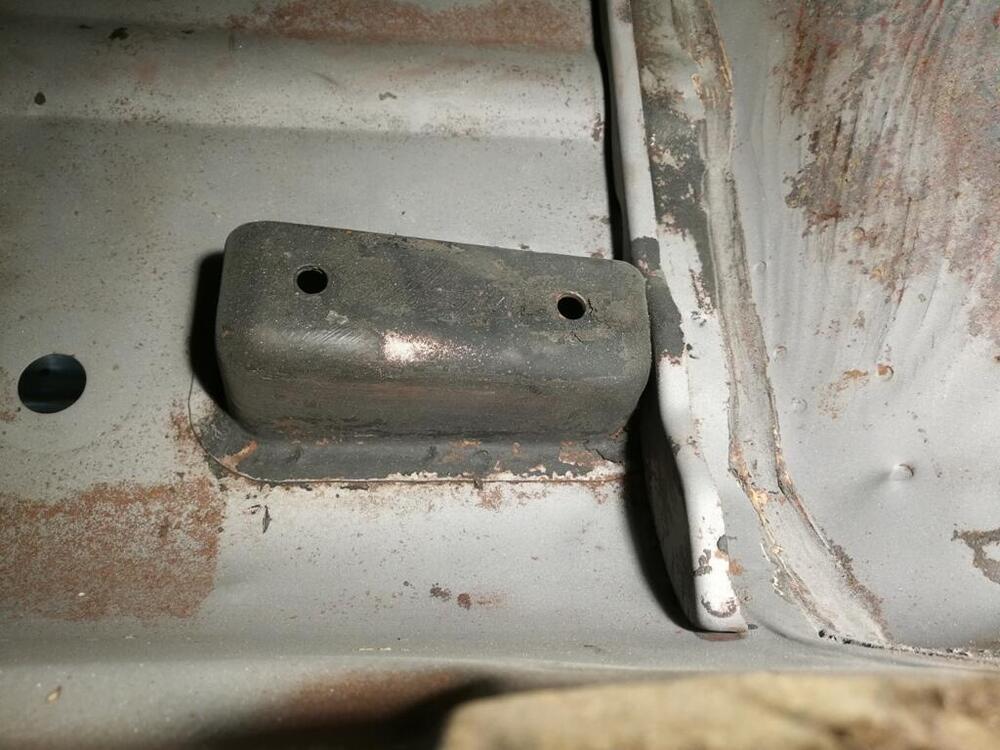
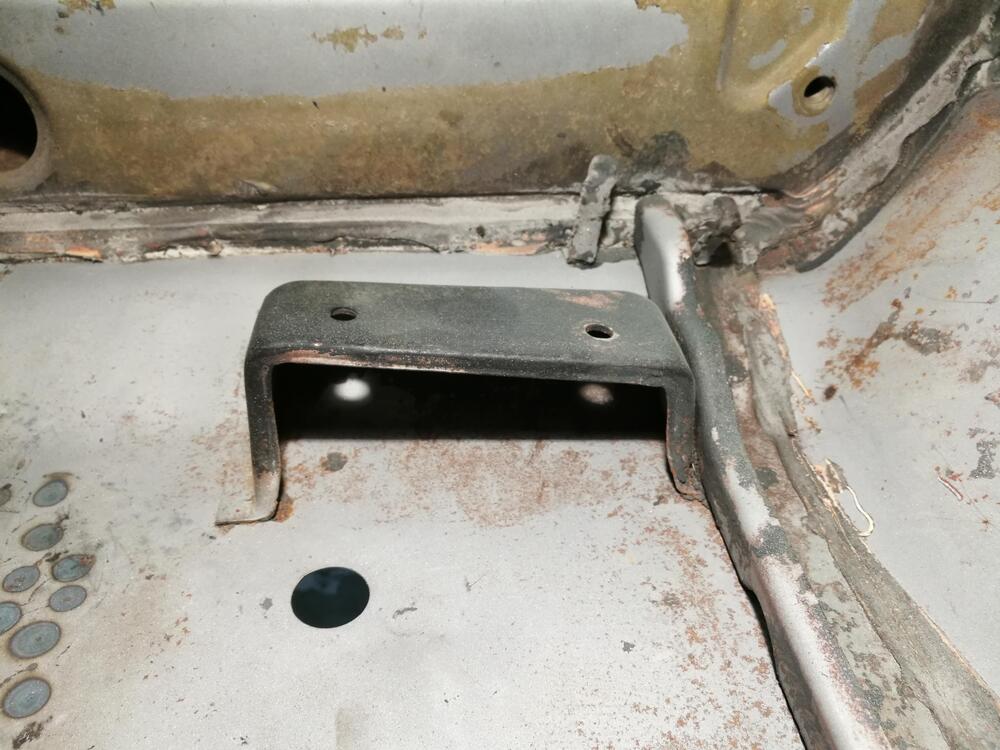
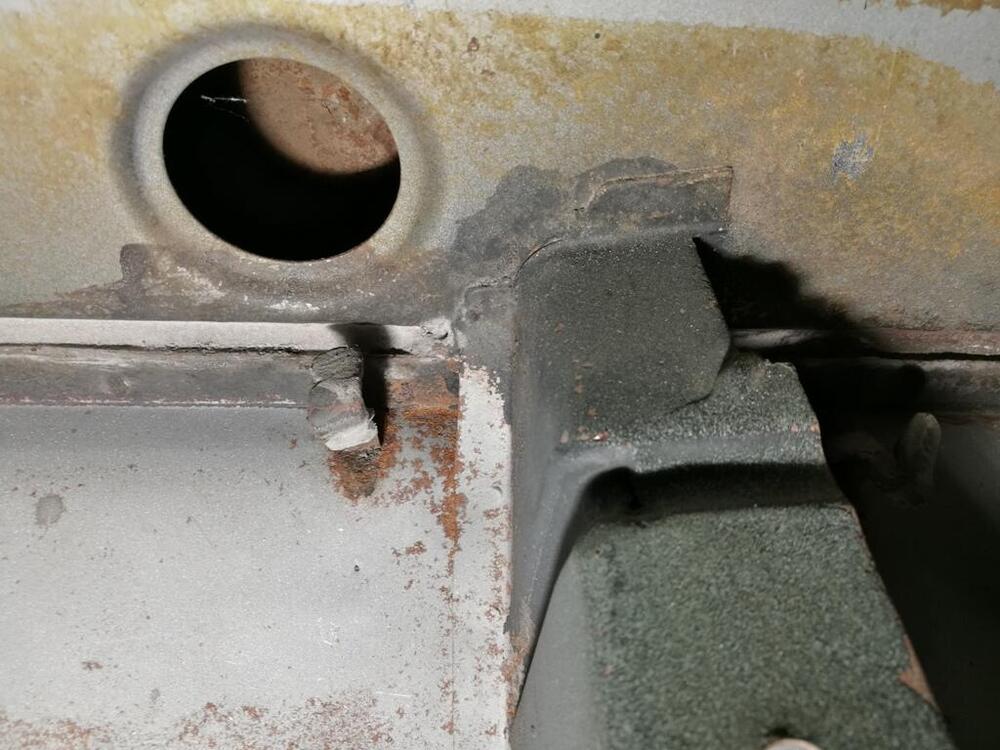
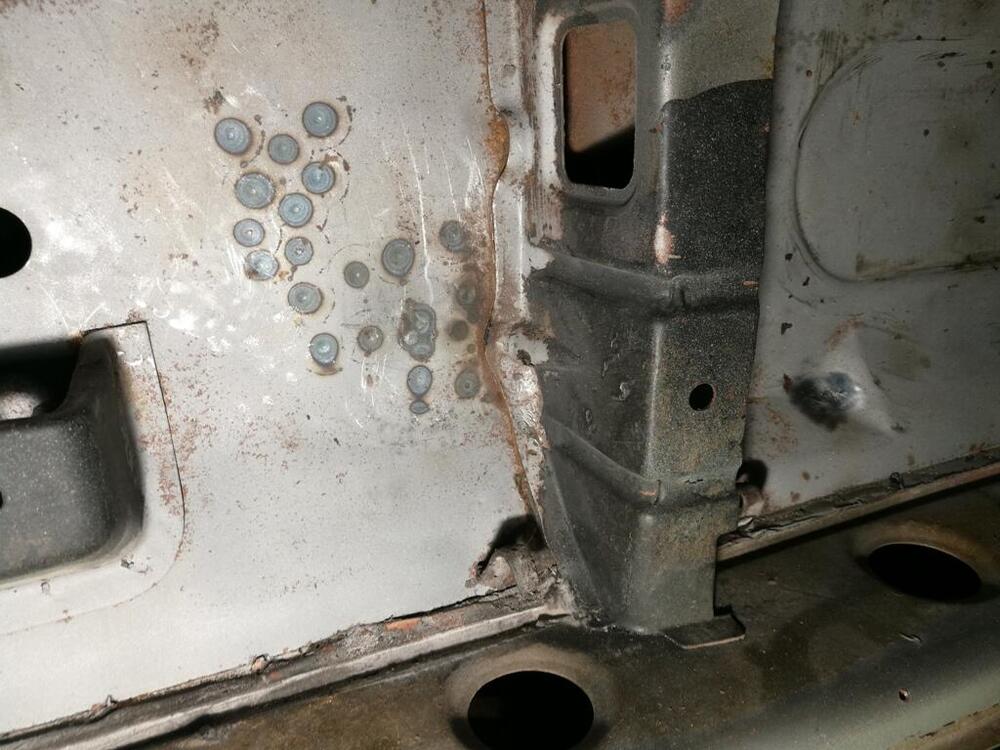
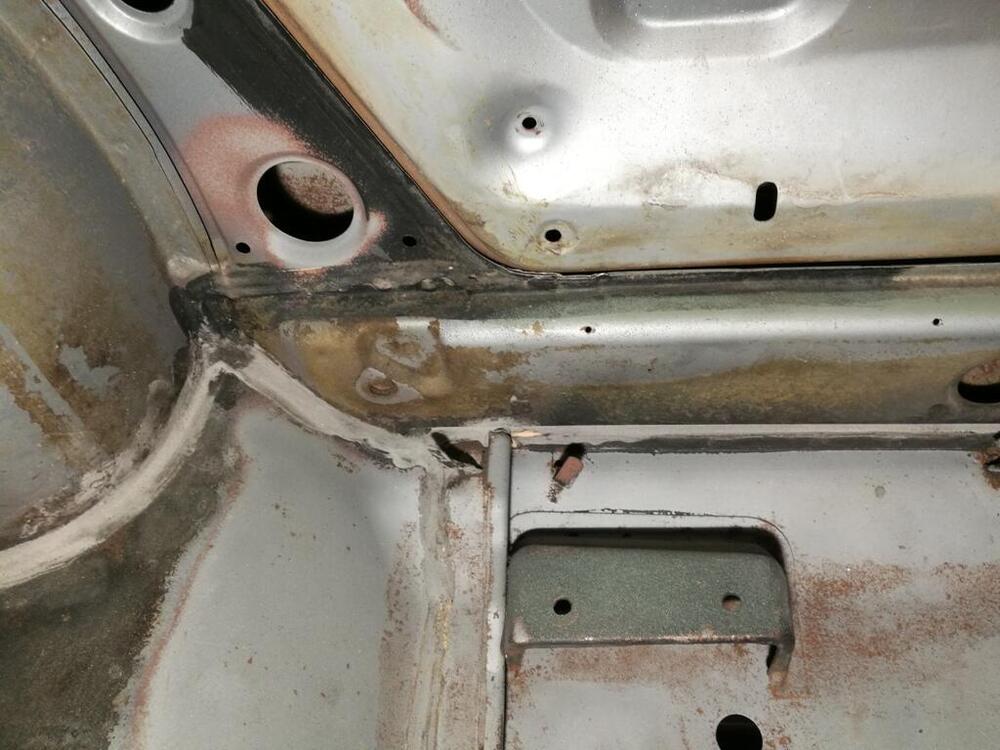
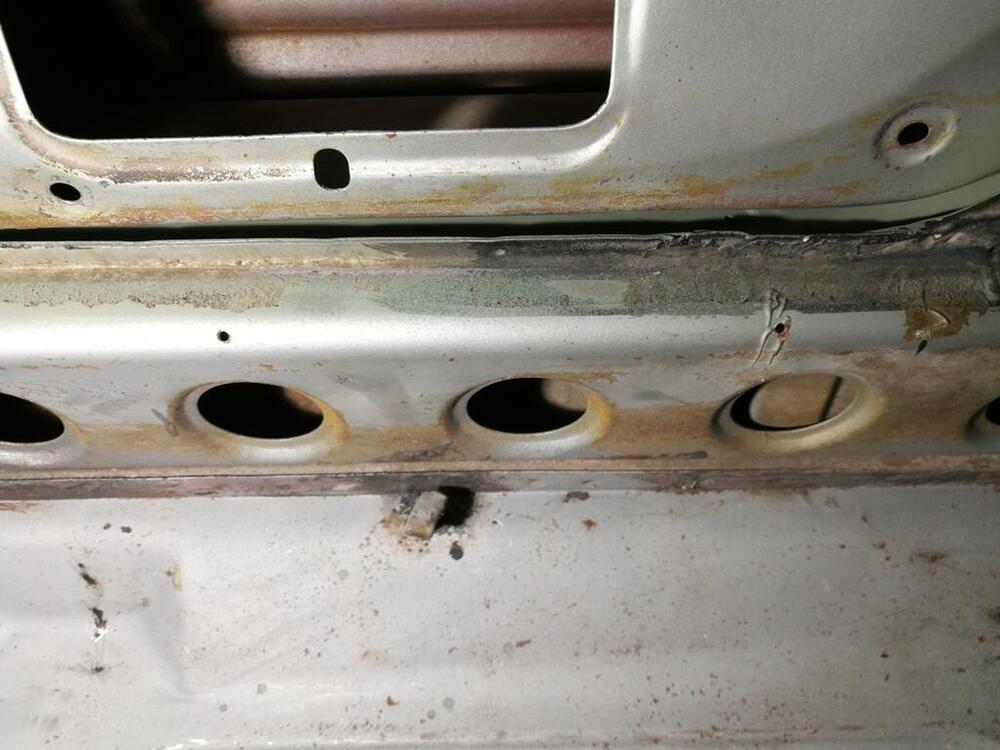
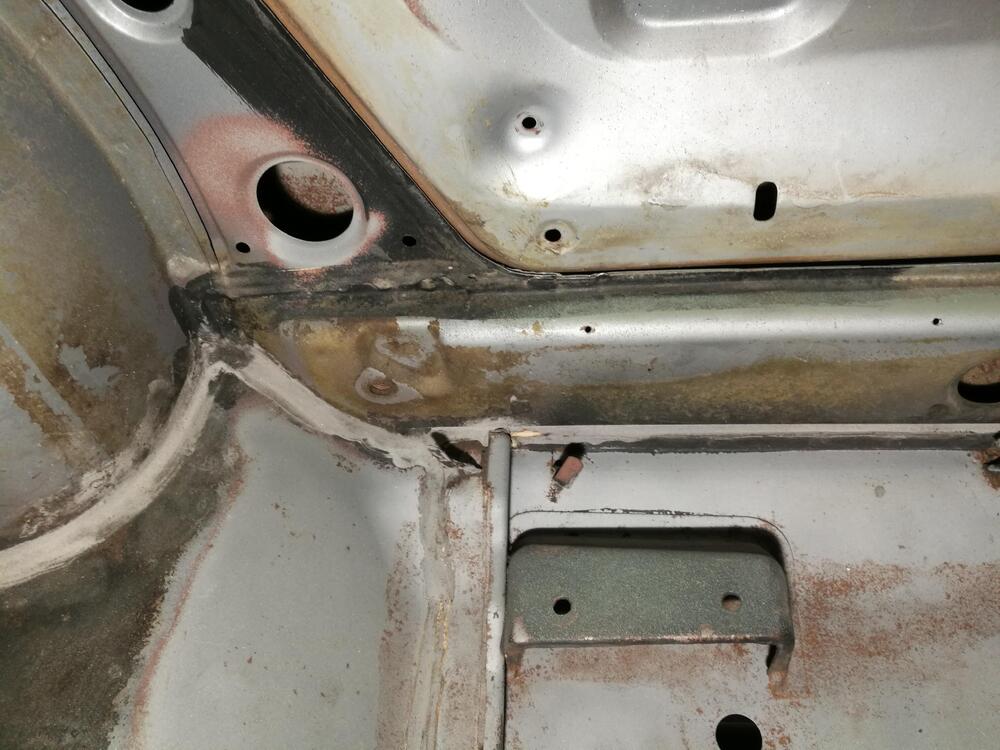
3 pointsOver the weekend I measured up the rotisserie and created a 3D cad model of it, so that I could design the brackets for attaching the rear bumper mounts on the shell to the rotisserie arms. Here are a few images with the major mounting dimensions and an image of the rear brackets that I will need to fabricate. I will be chatting with my body guy soon to look at repairing the left side rear mount first. I looked for a 3D cad model of a 240Z shell but all I could find was a Lego one on GrabCad. I couldn't resist scaling it up to 1:1 and putting it on the rotisserie model.


 3 points
 -
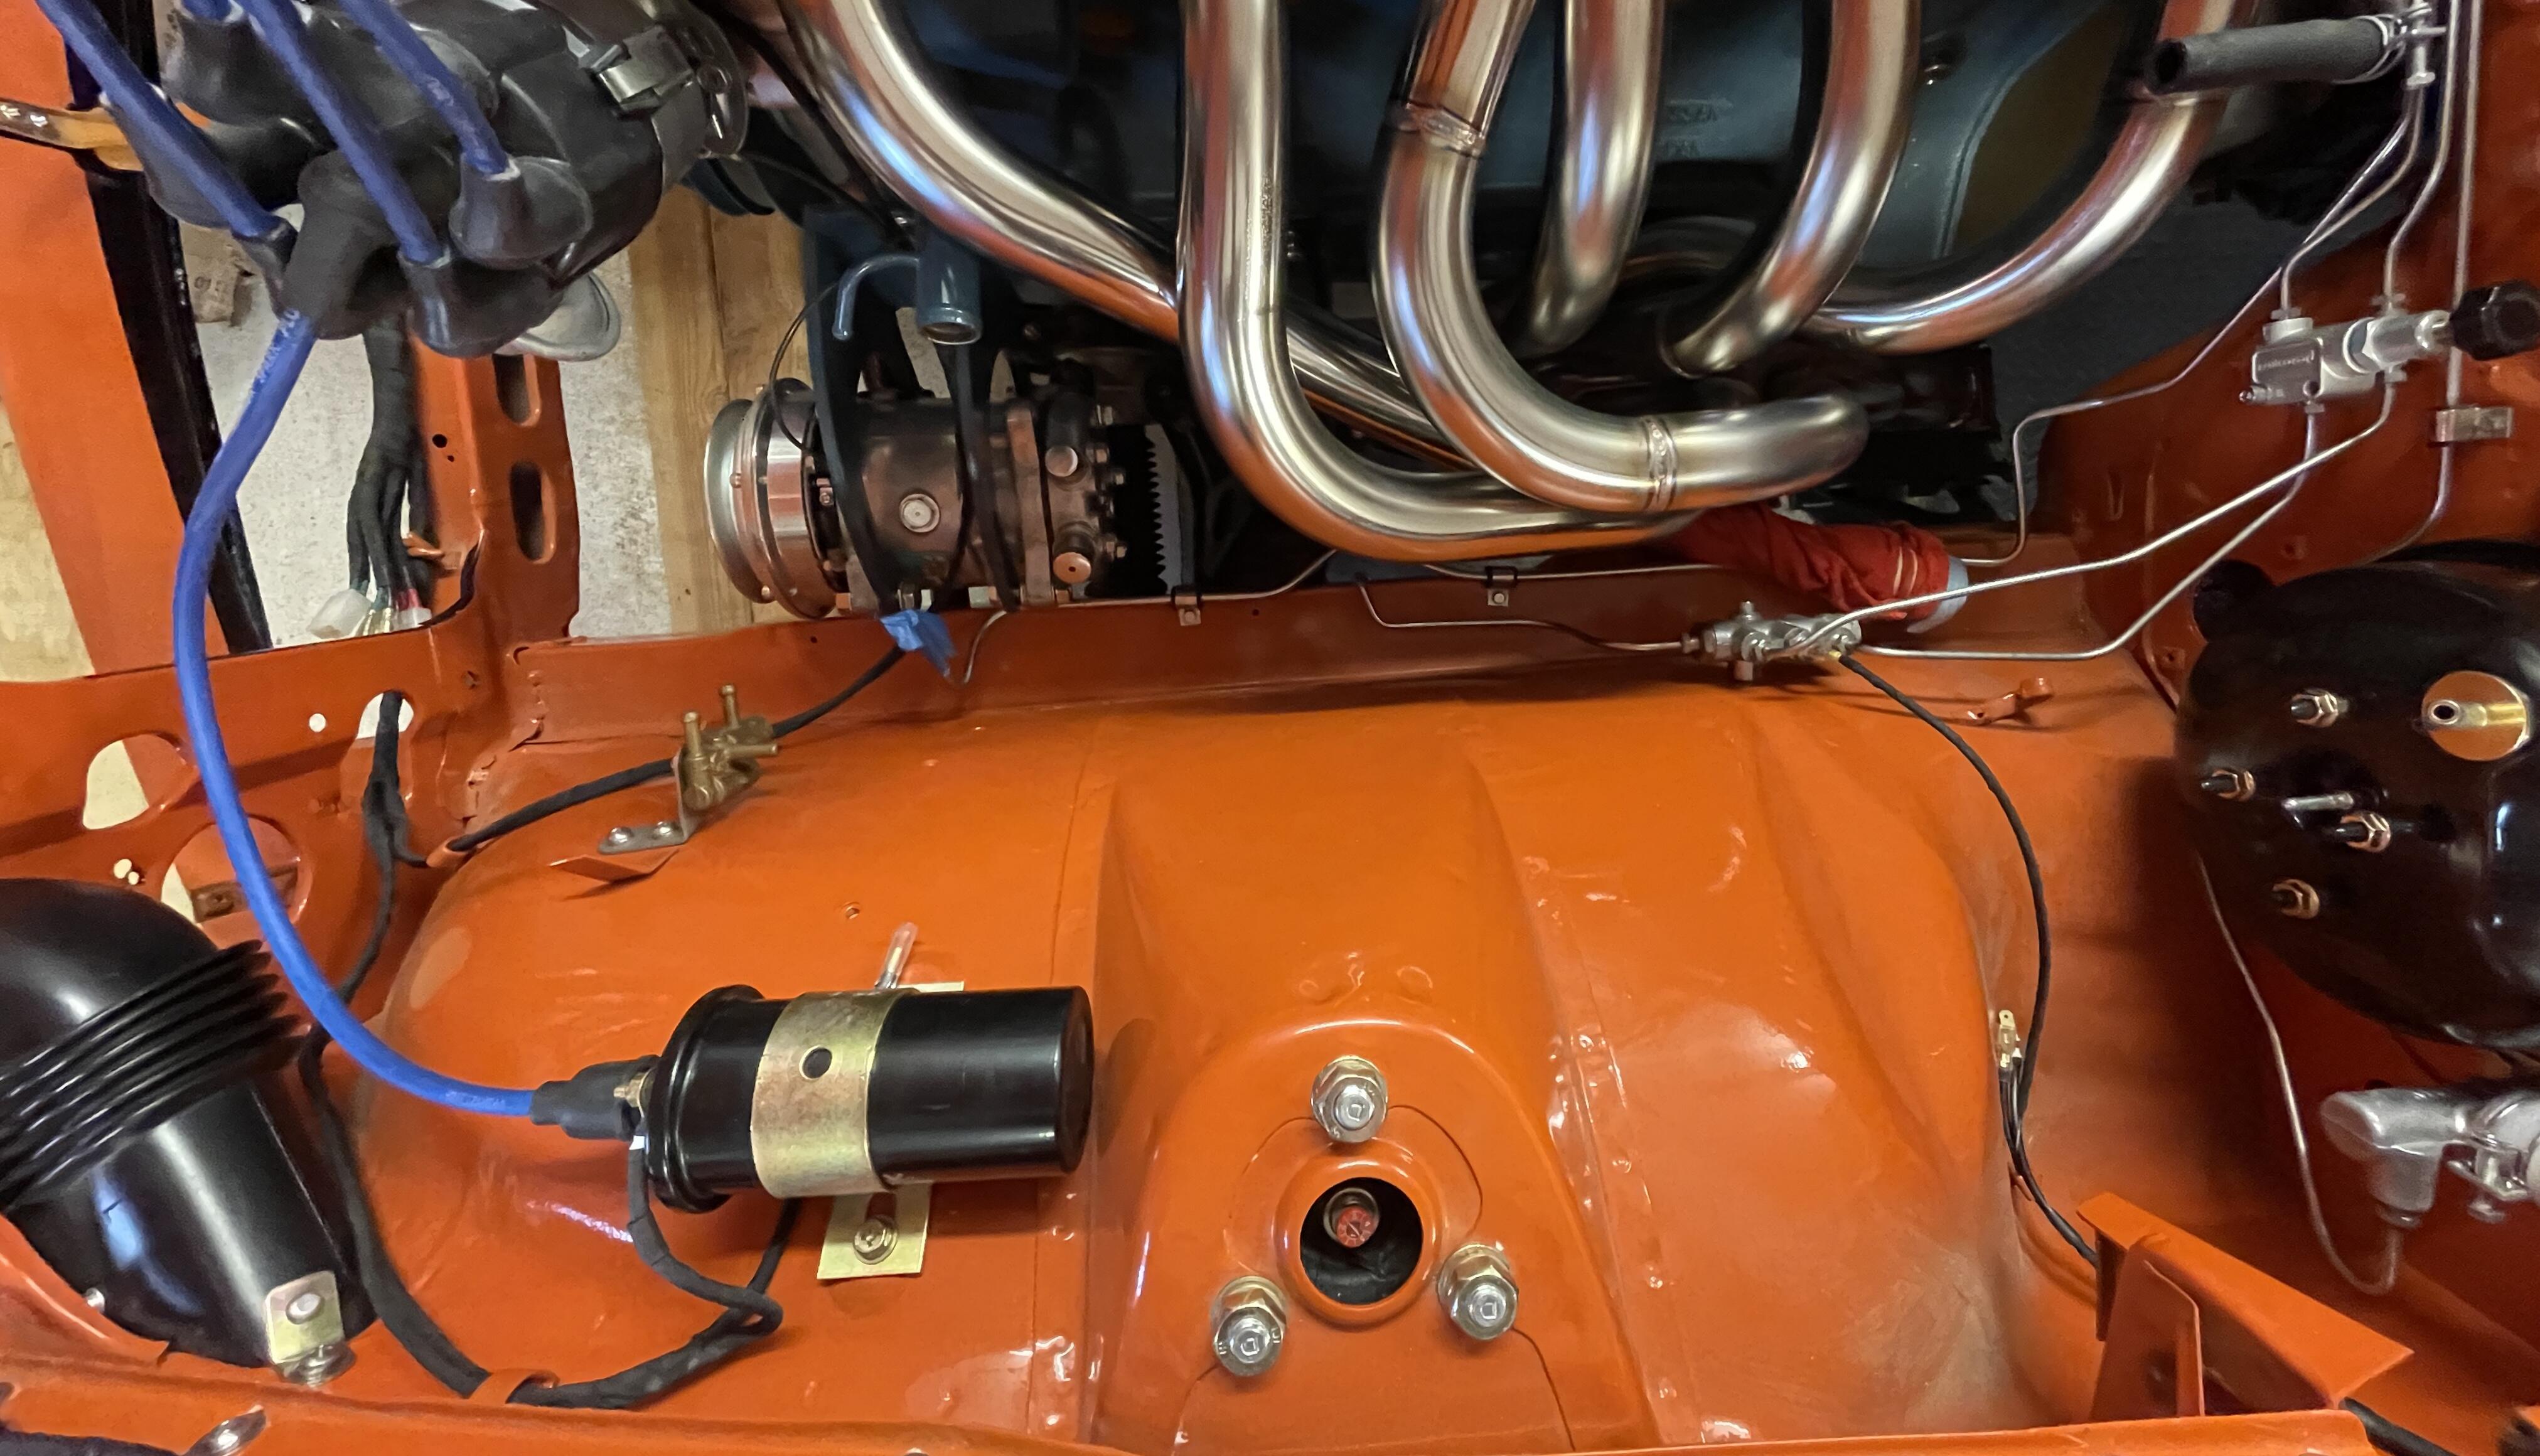
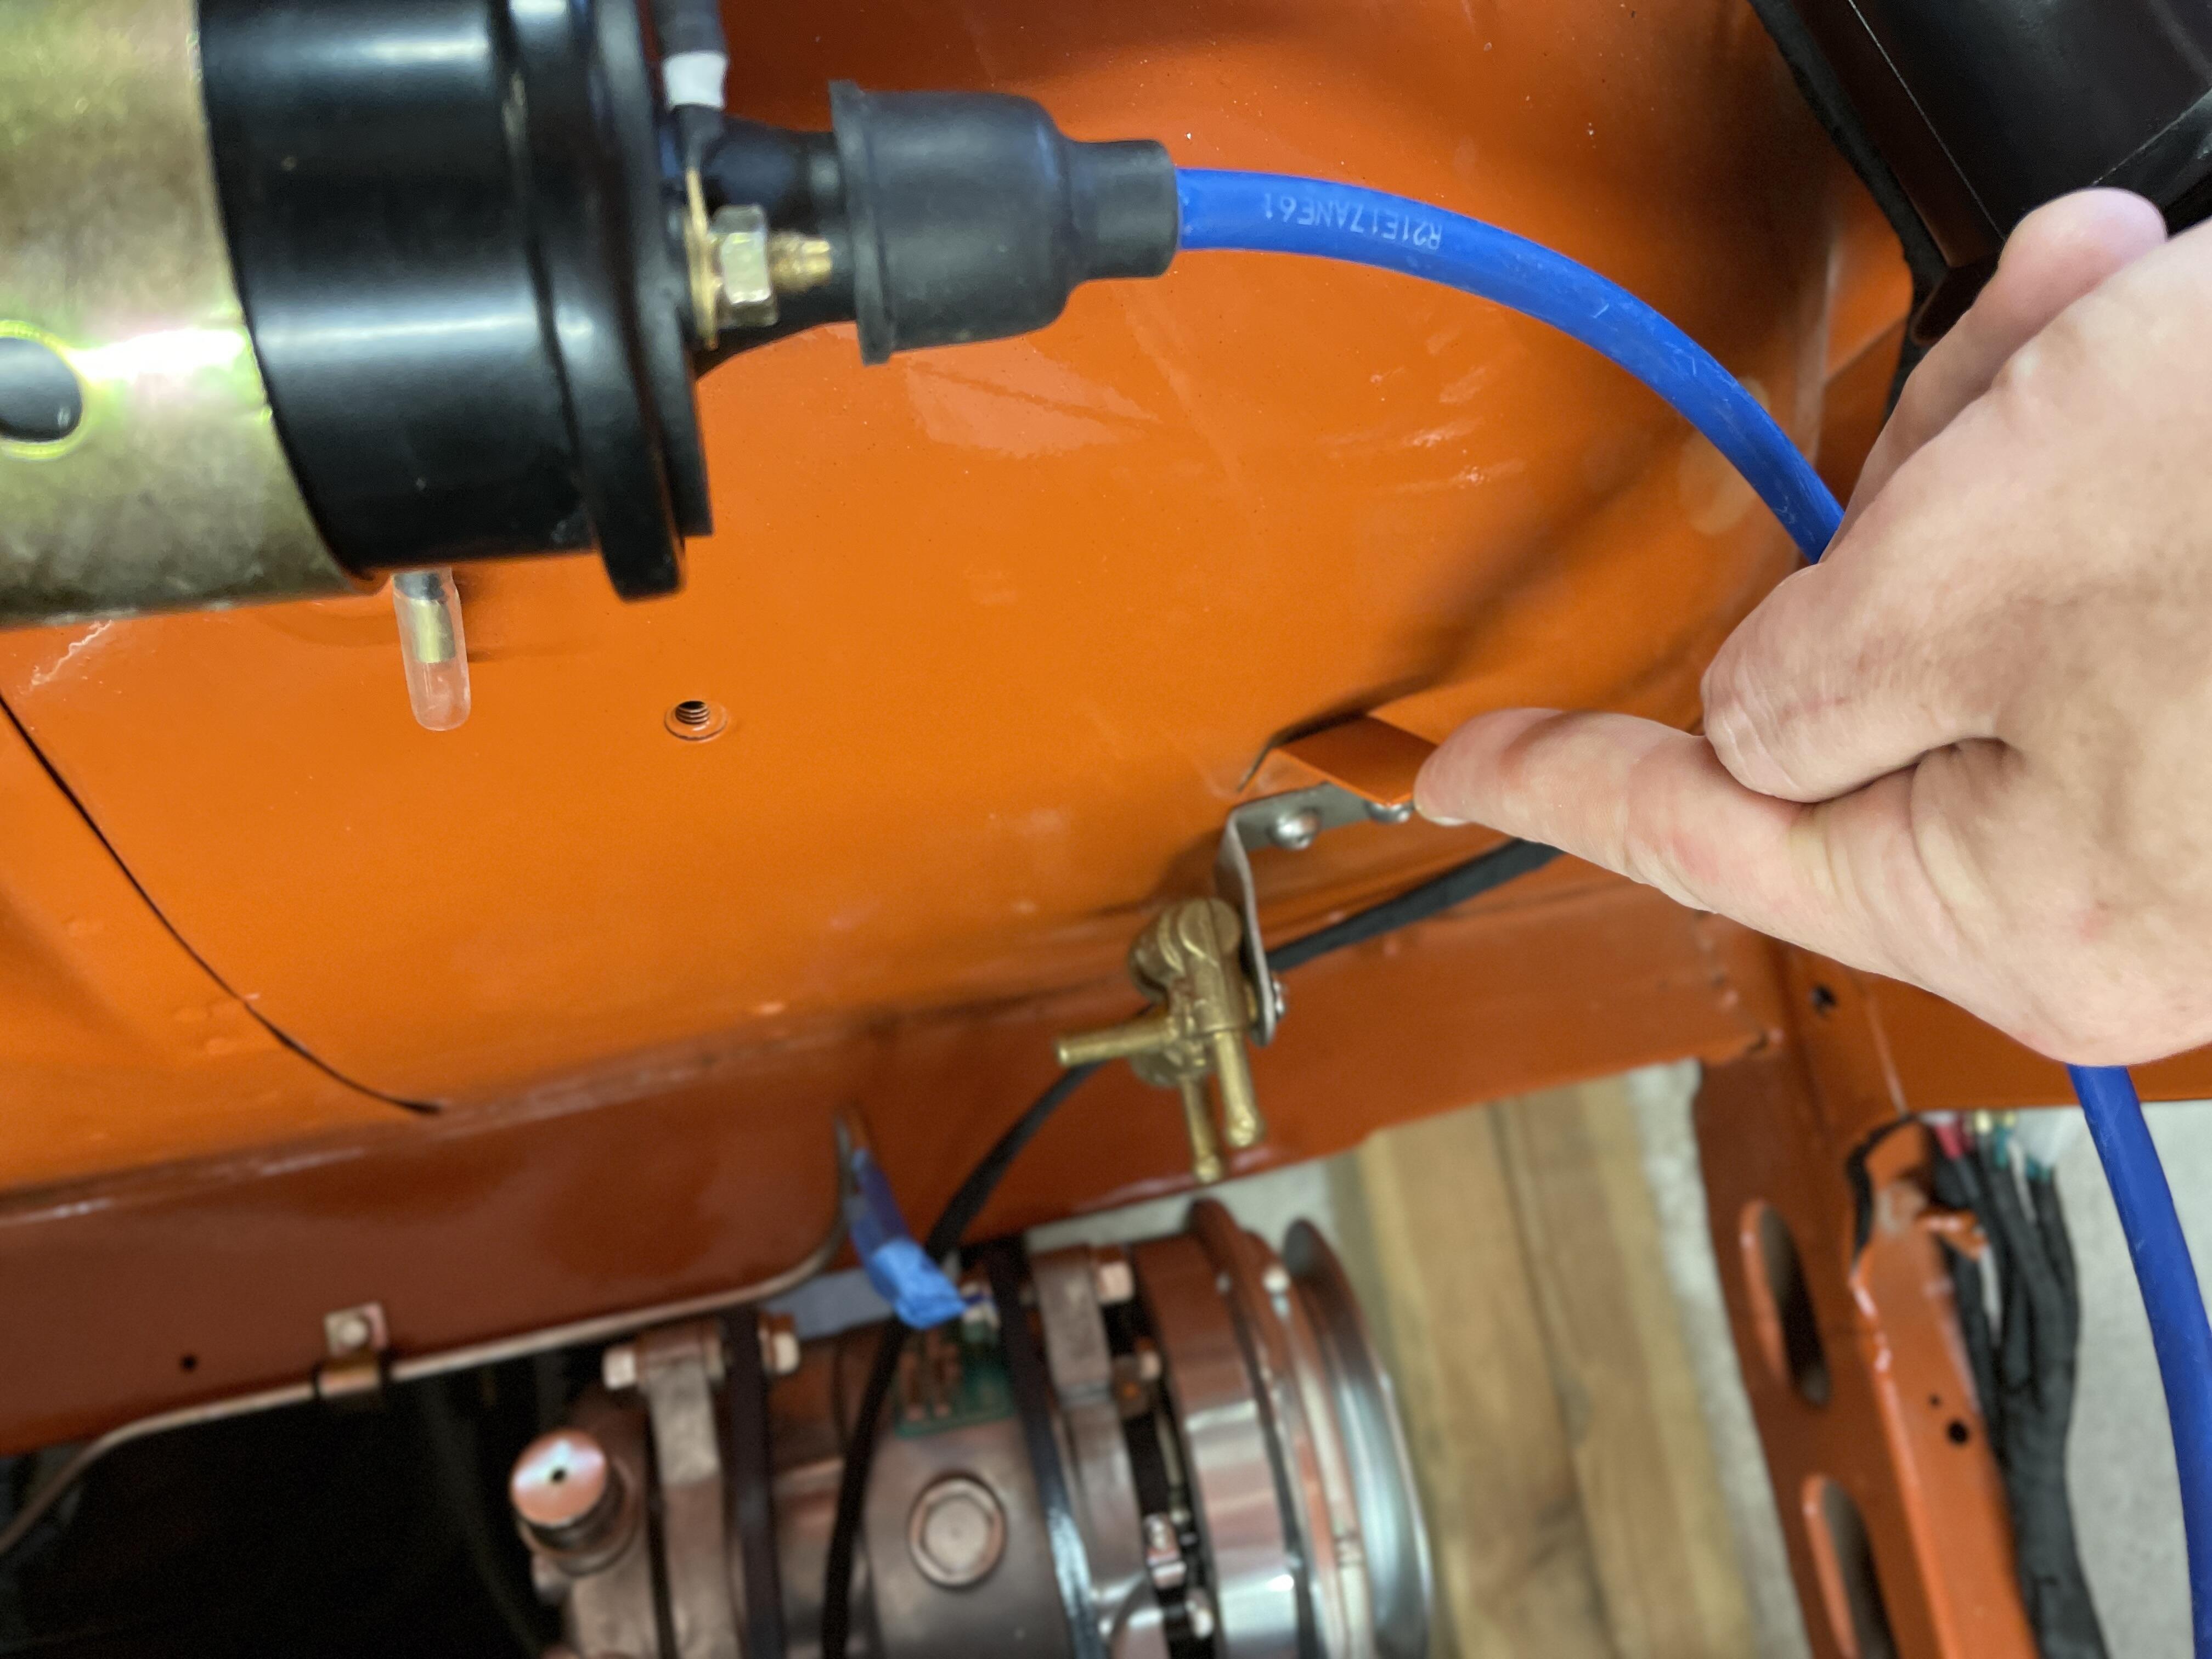
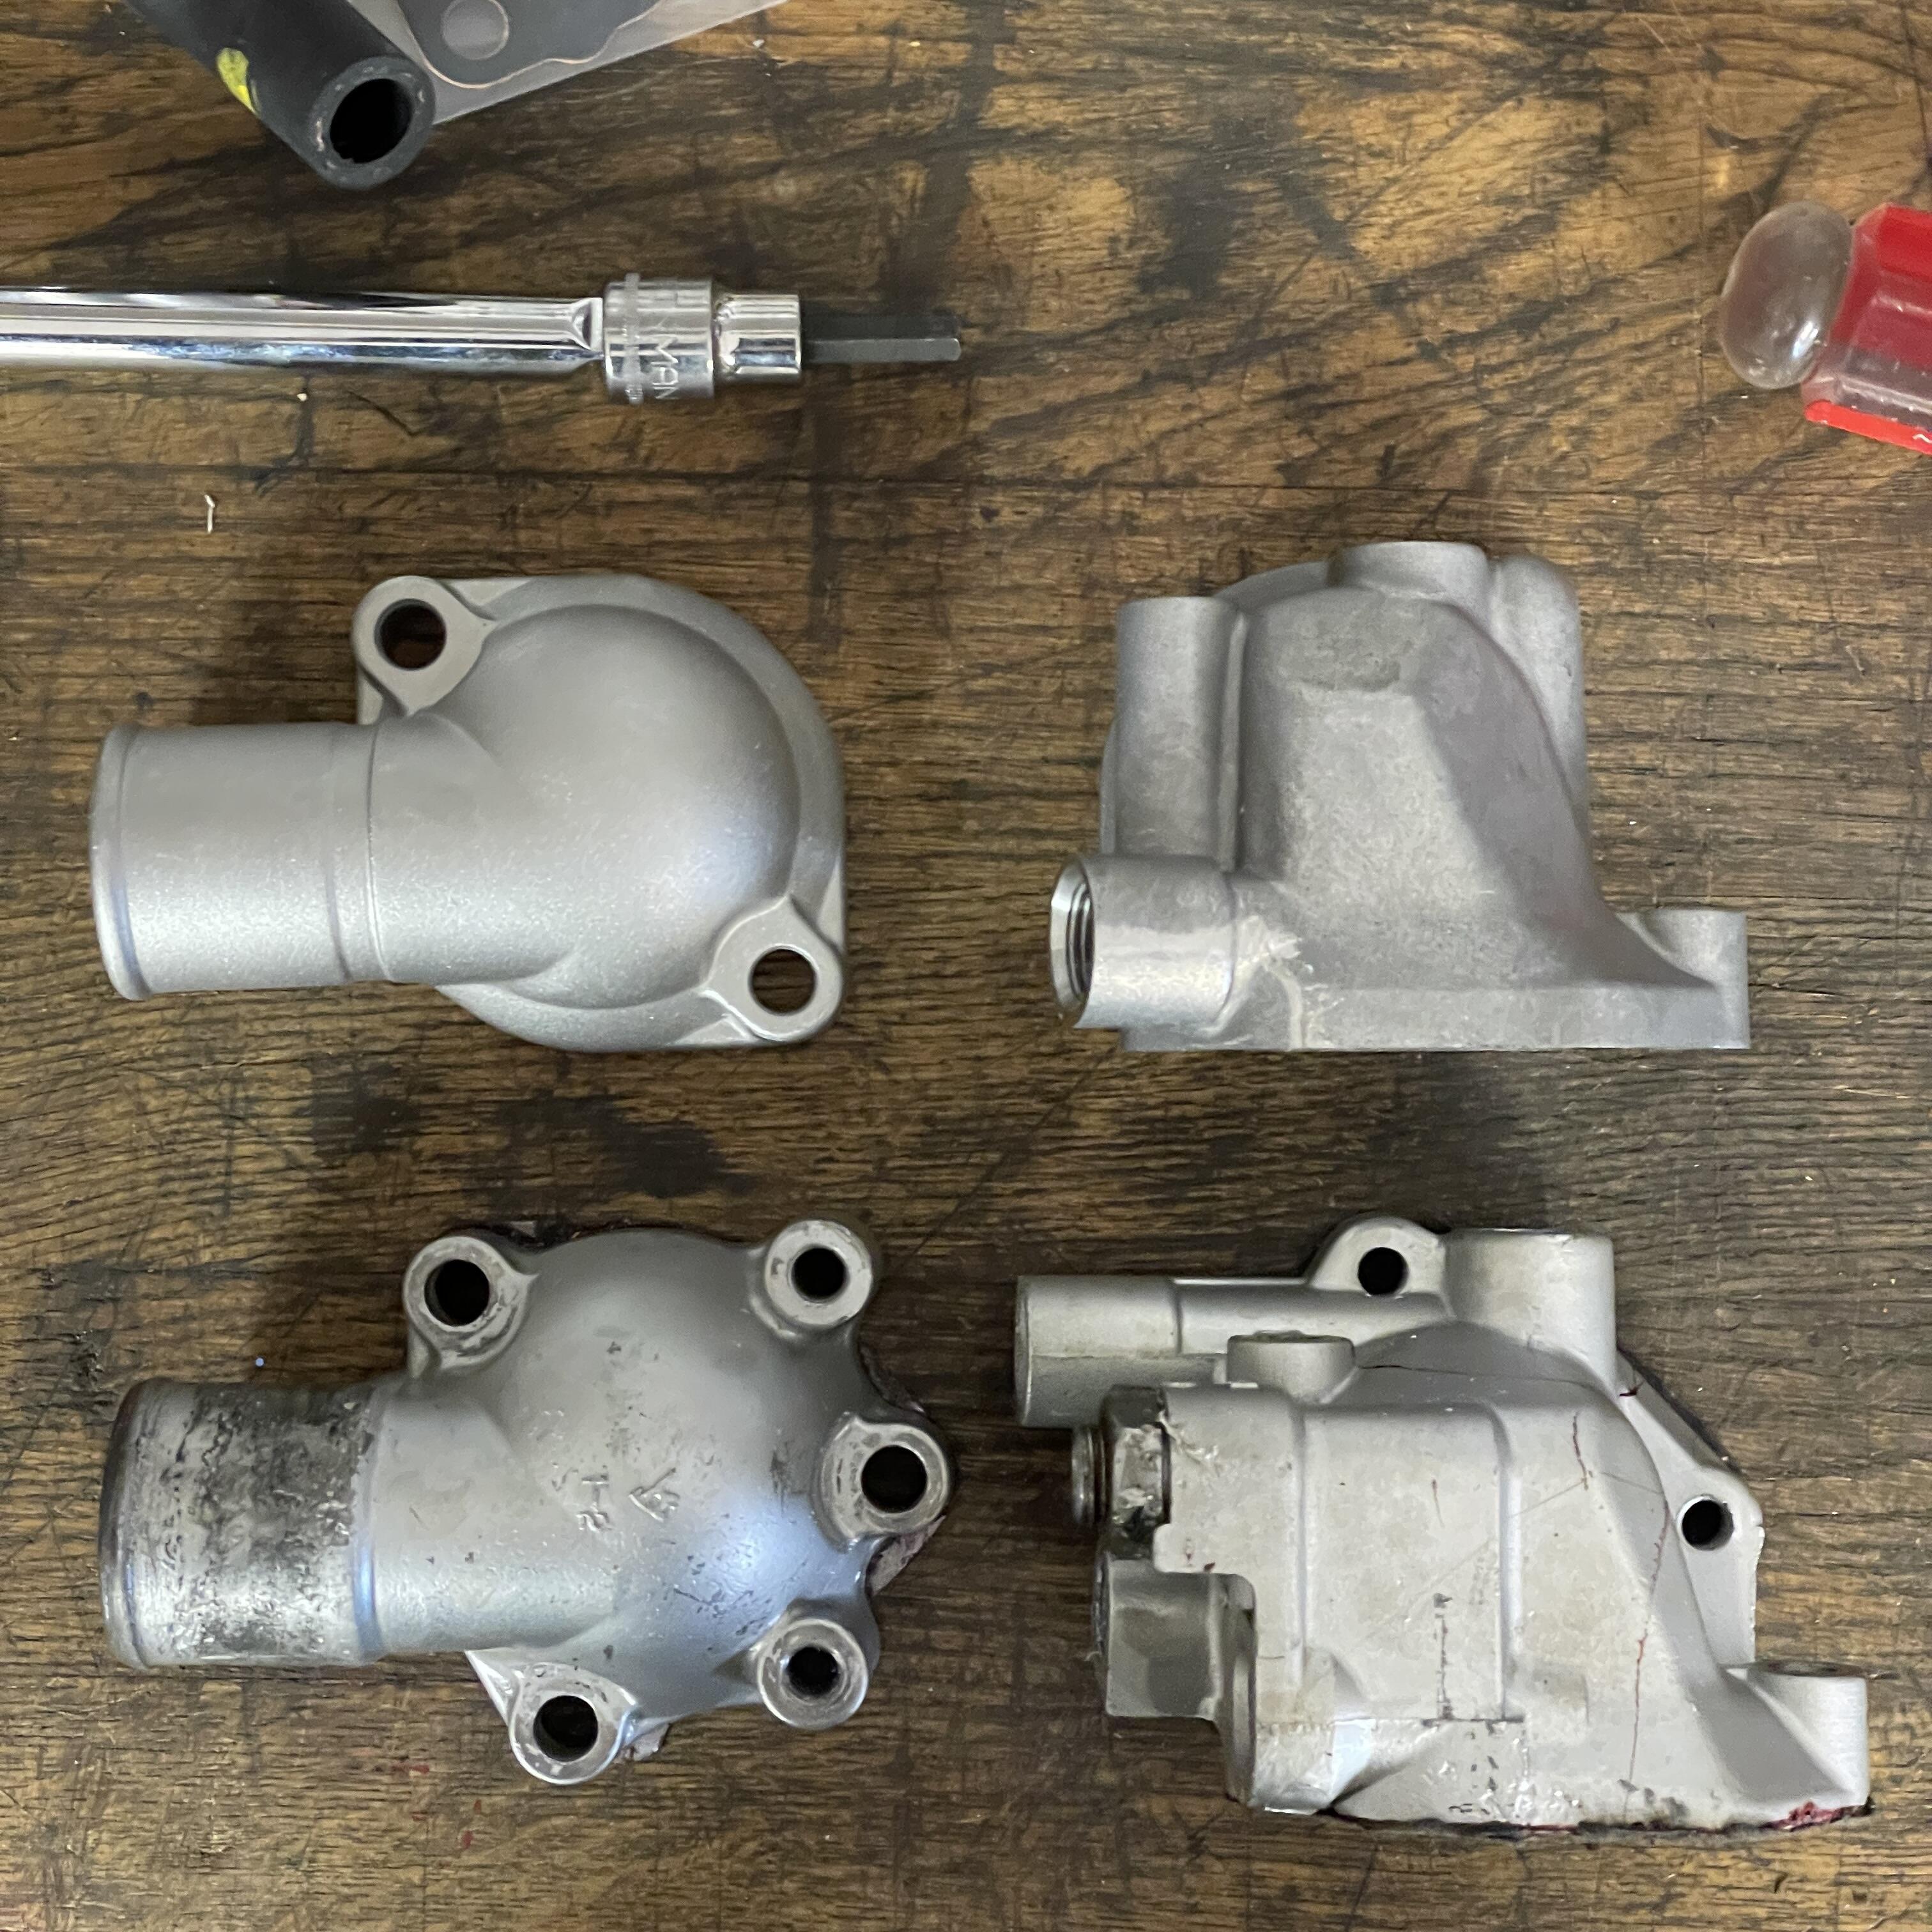
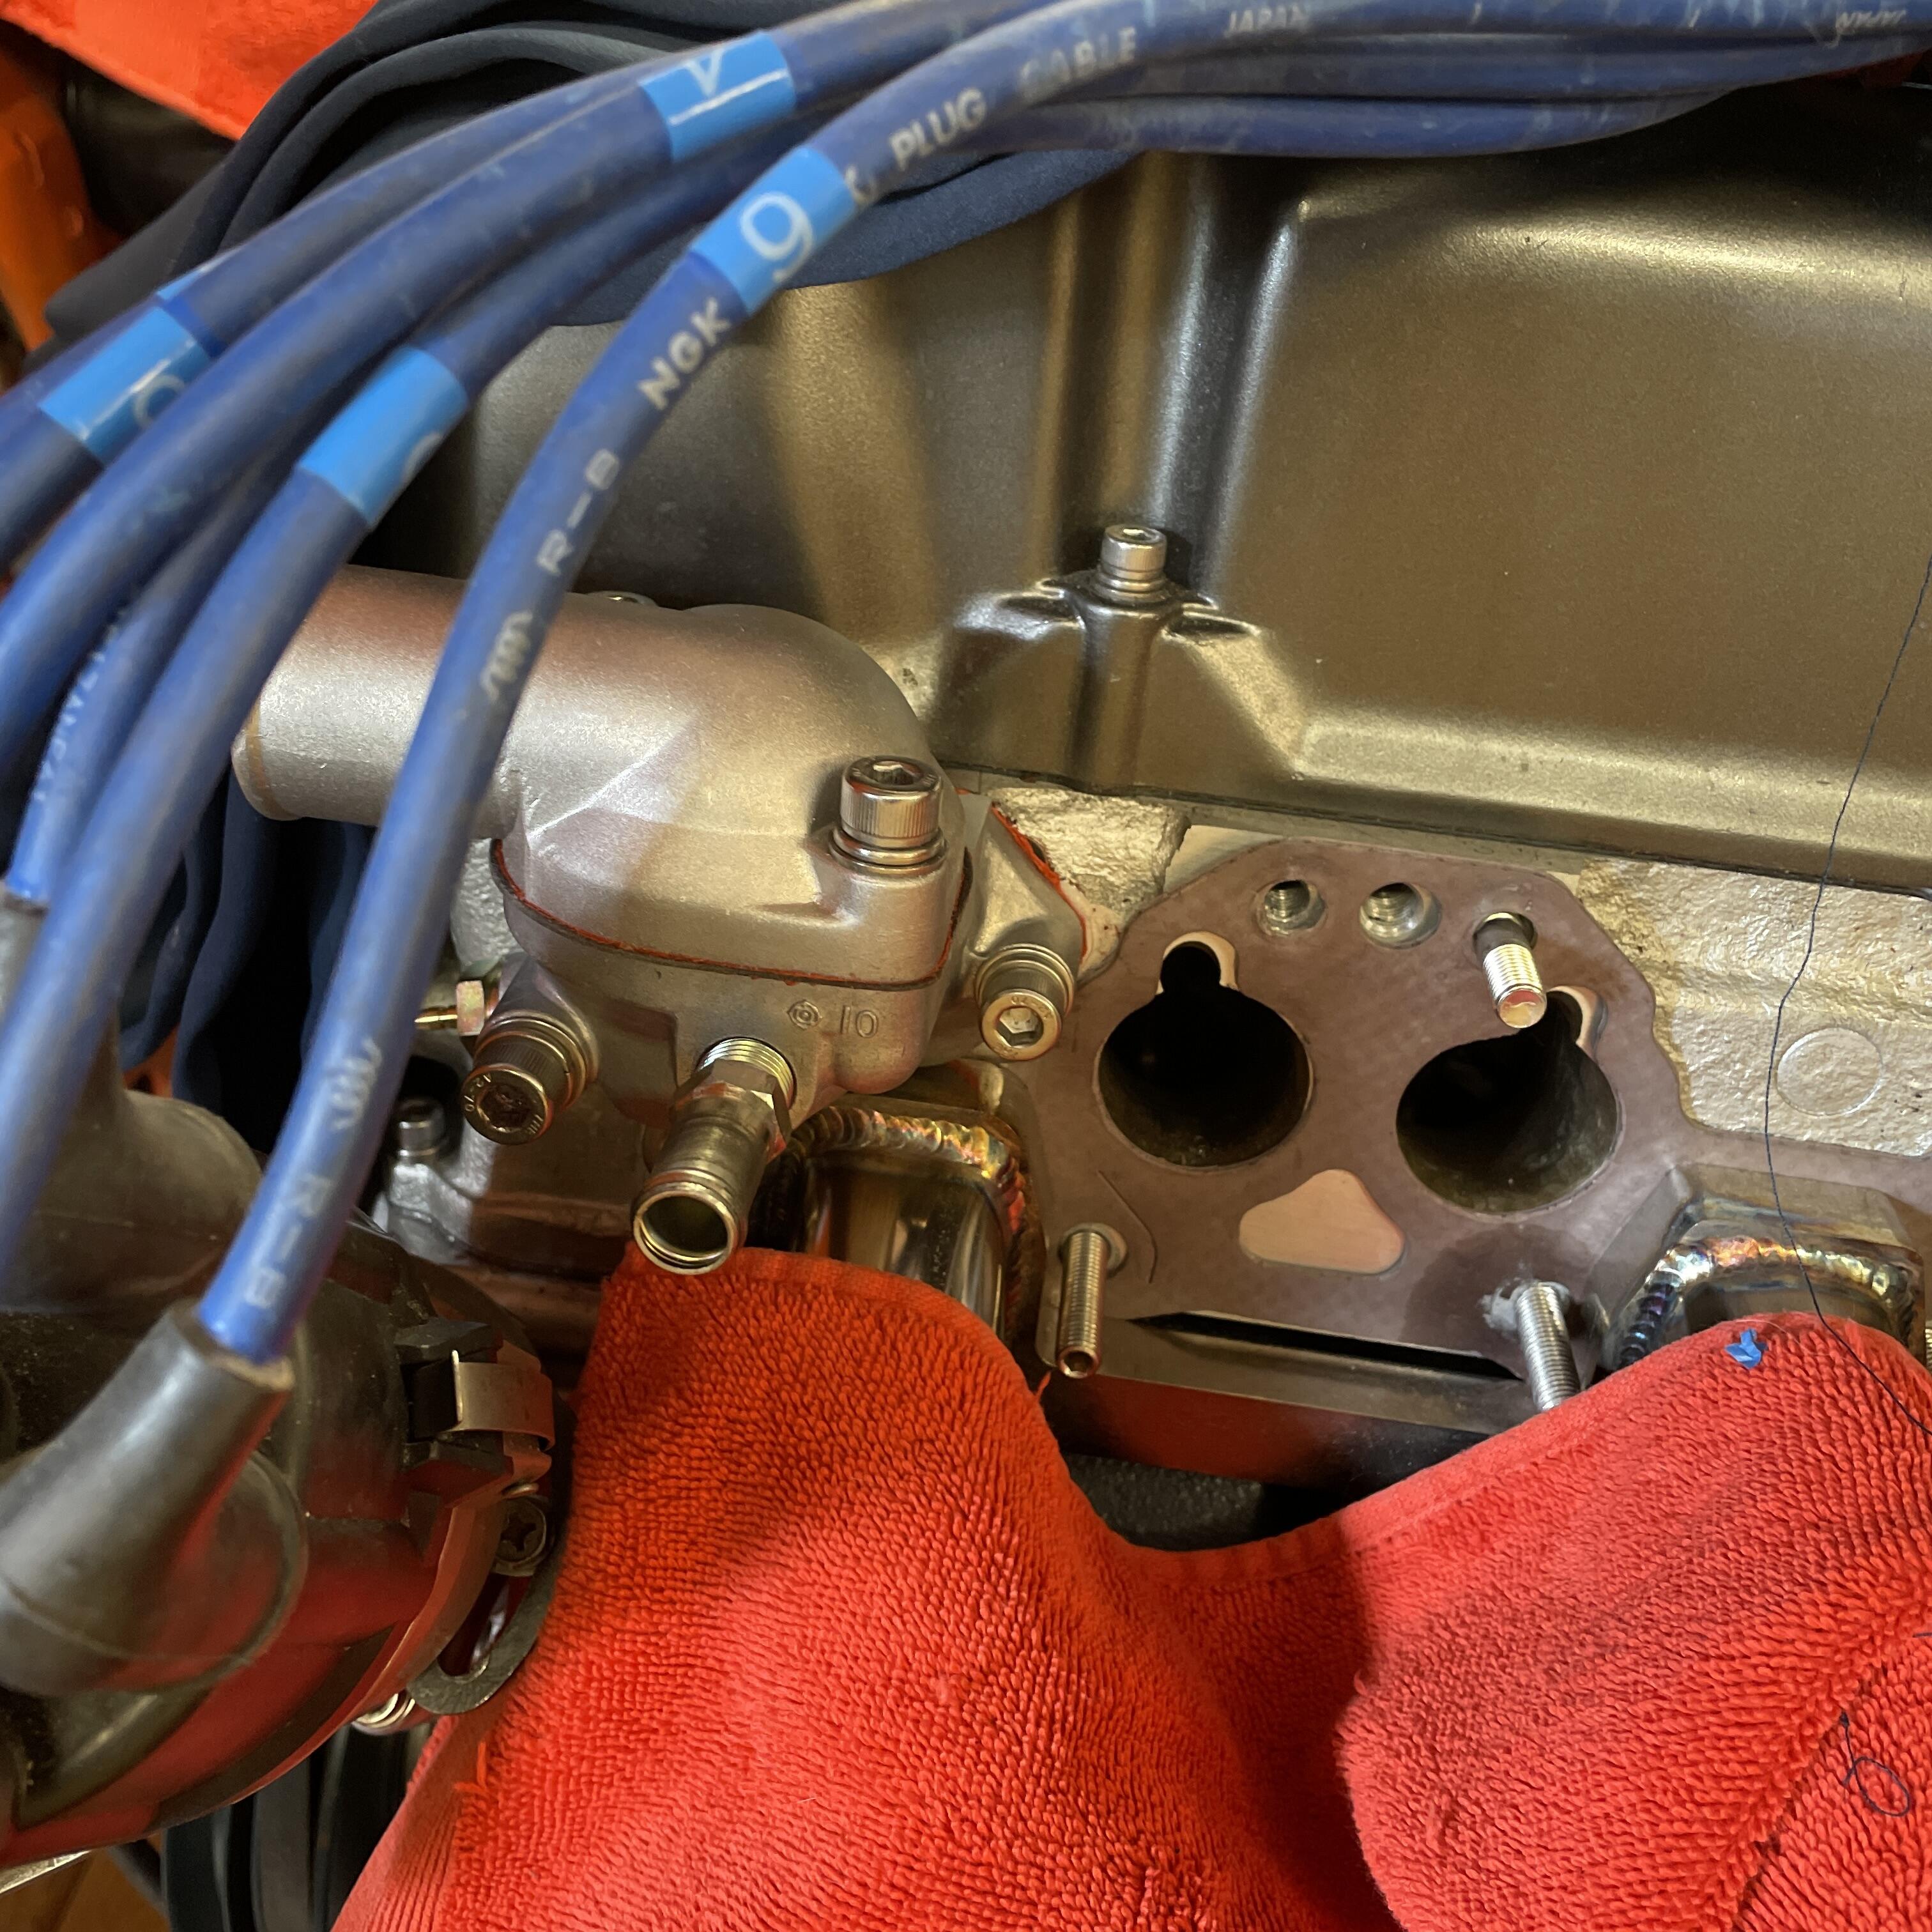
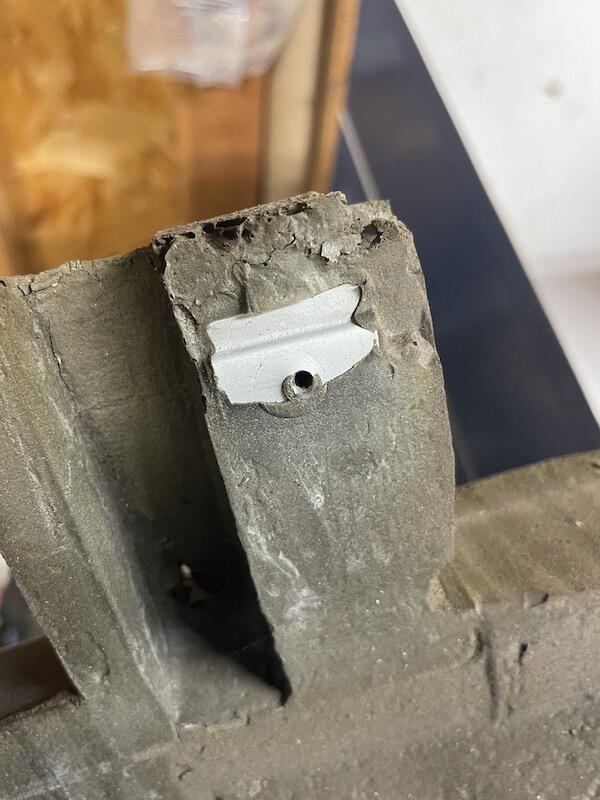
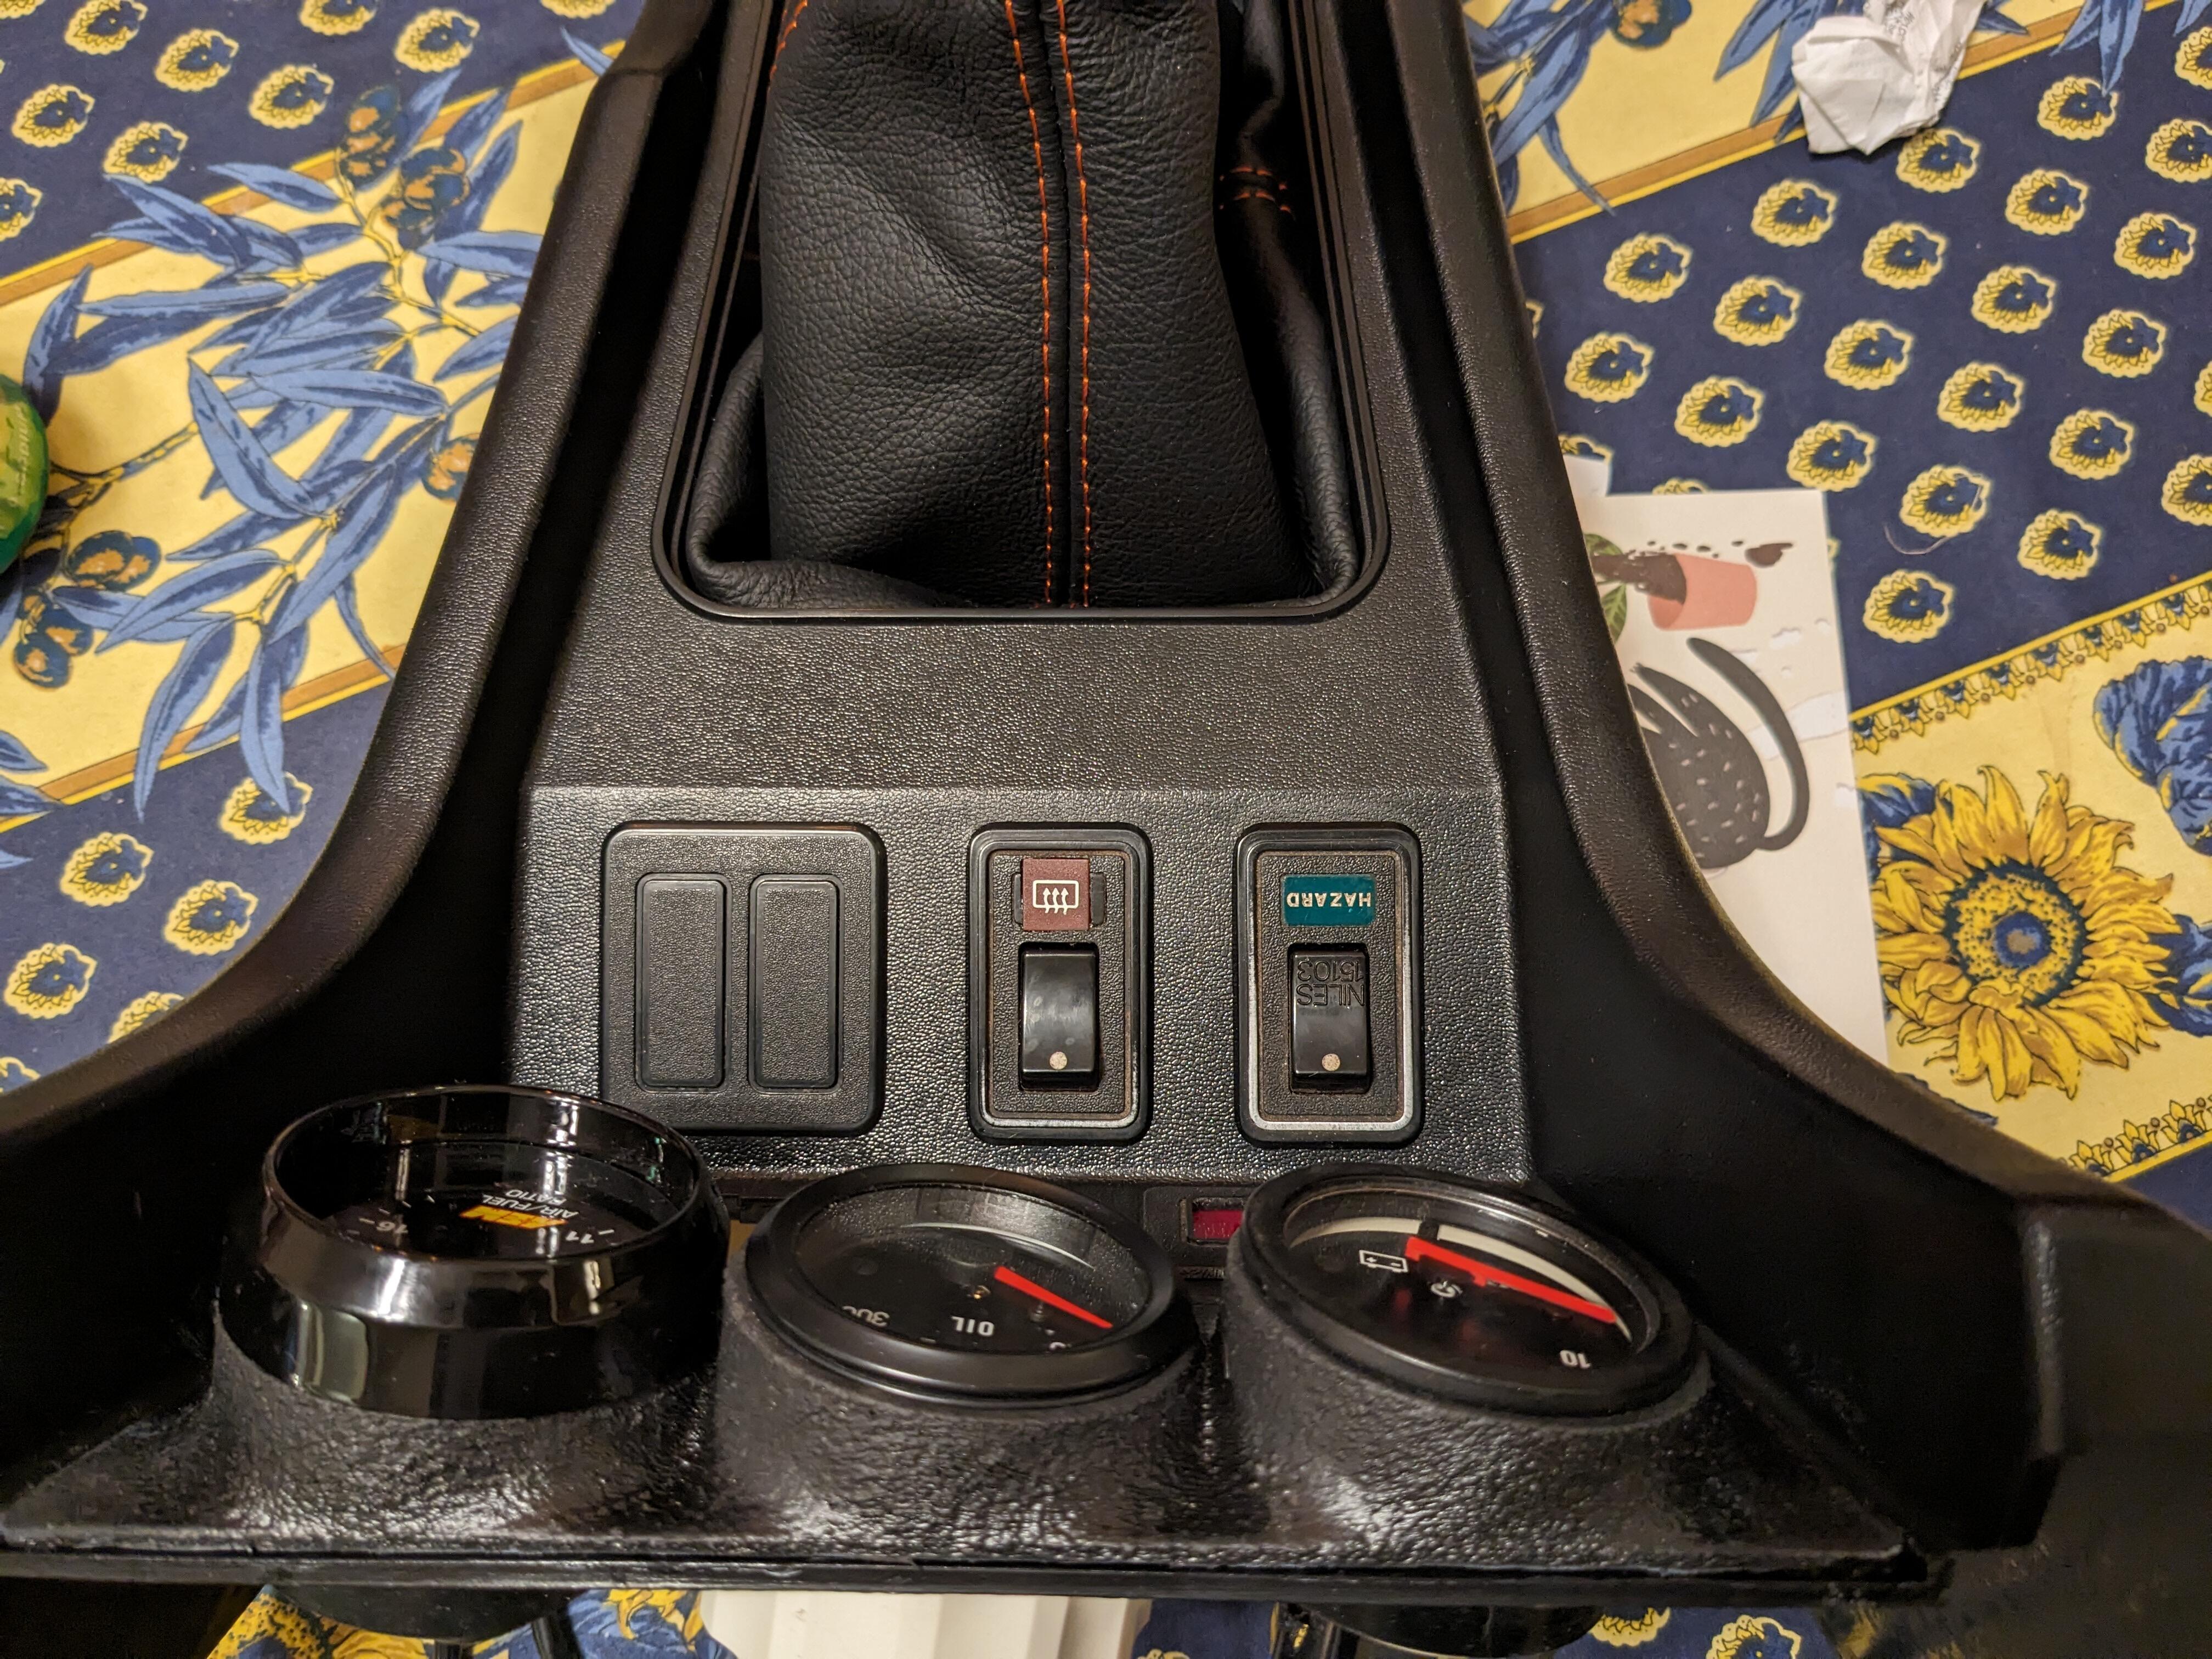
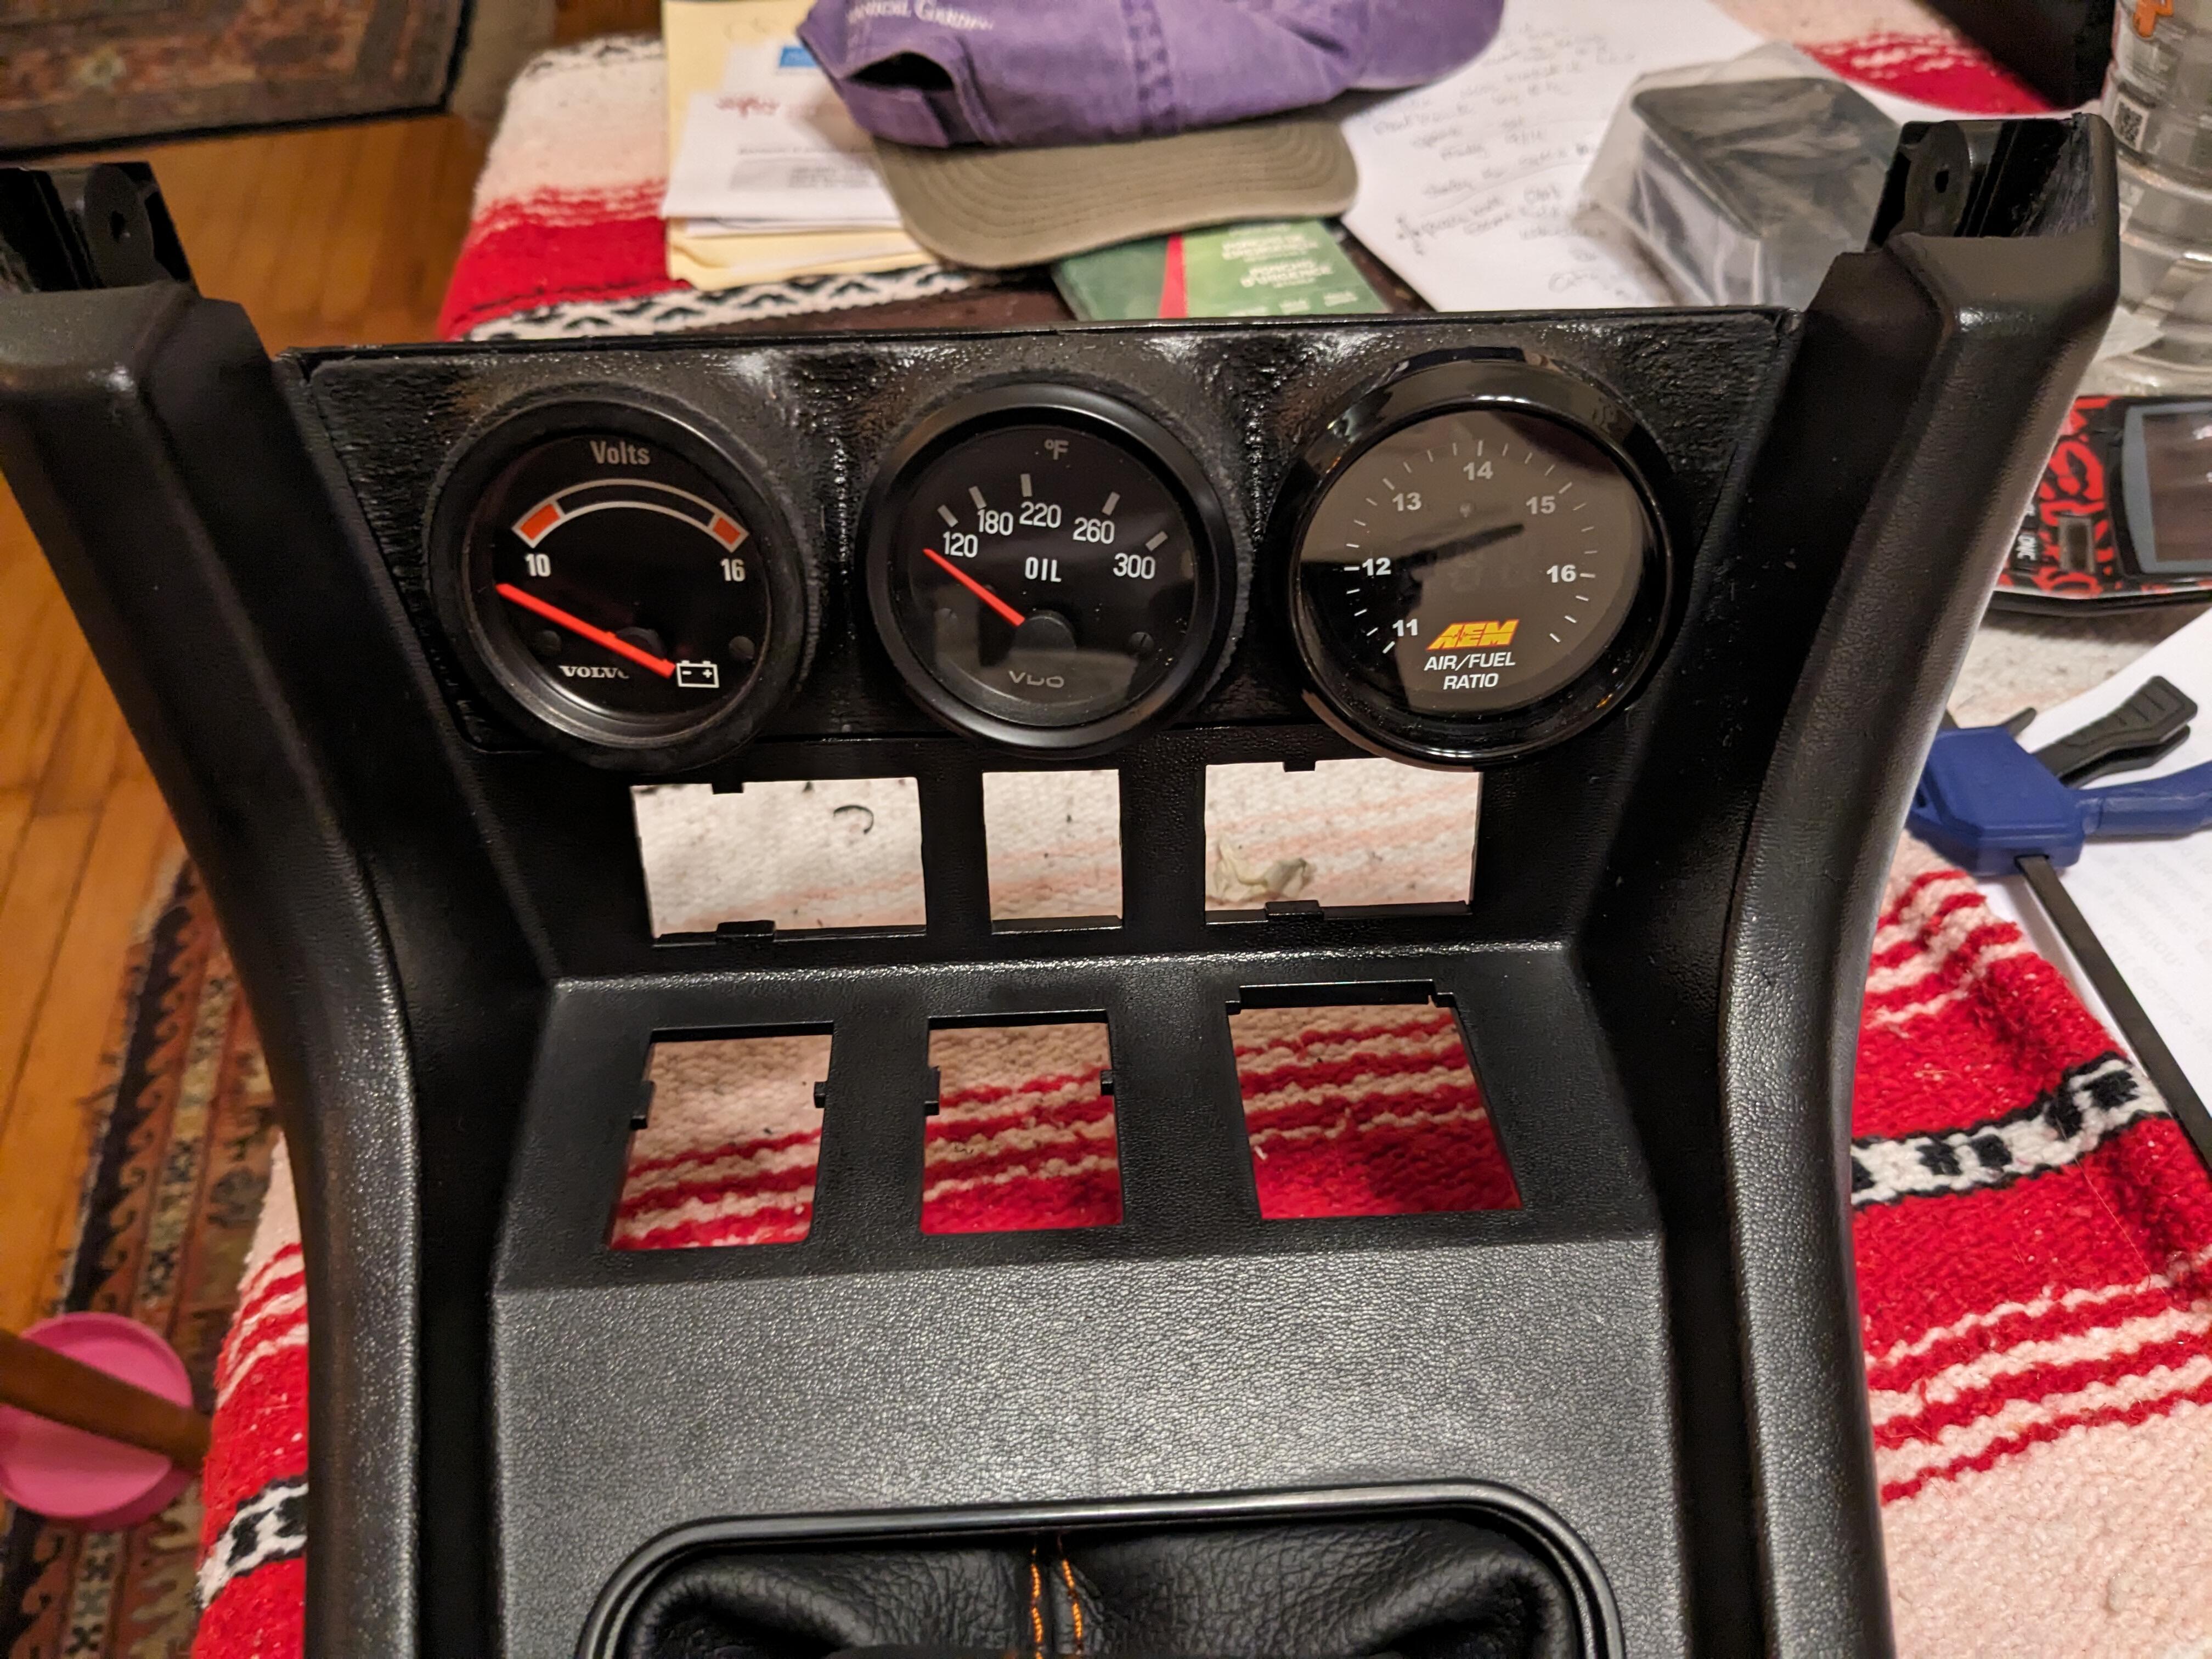
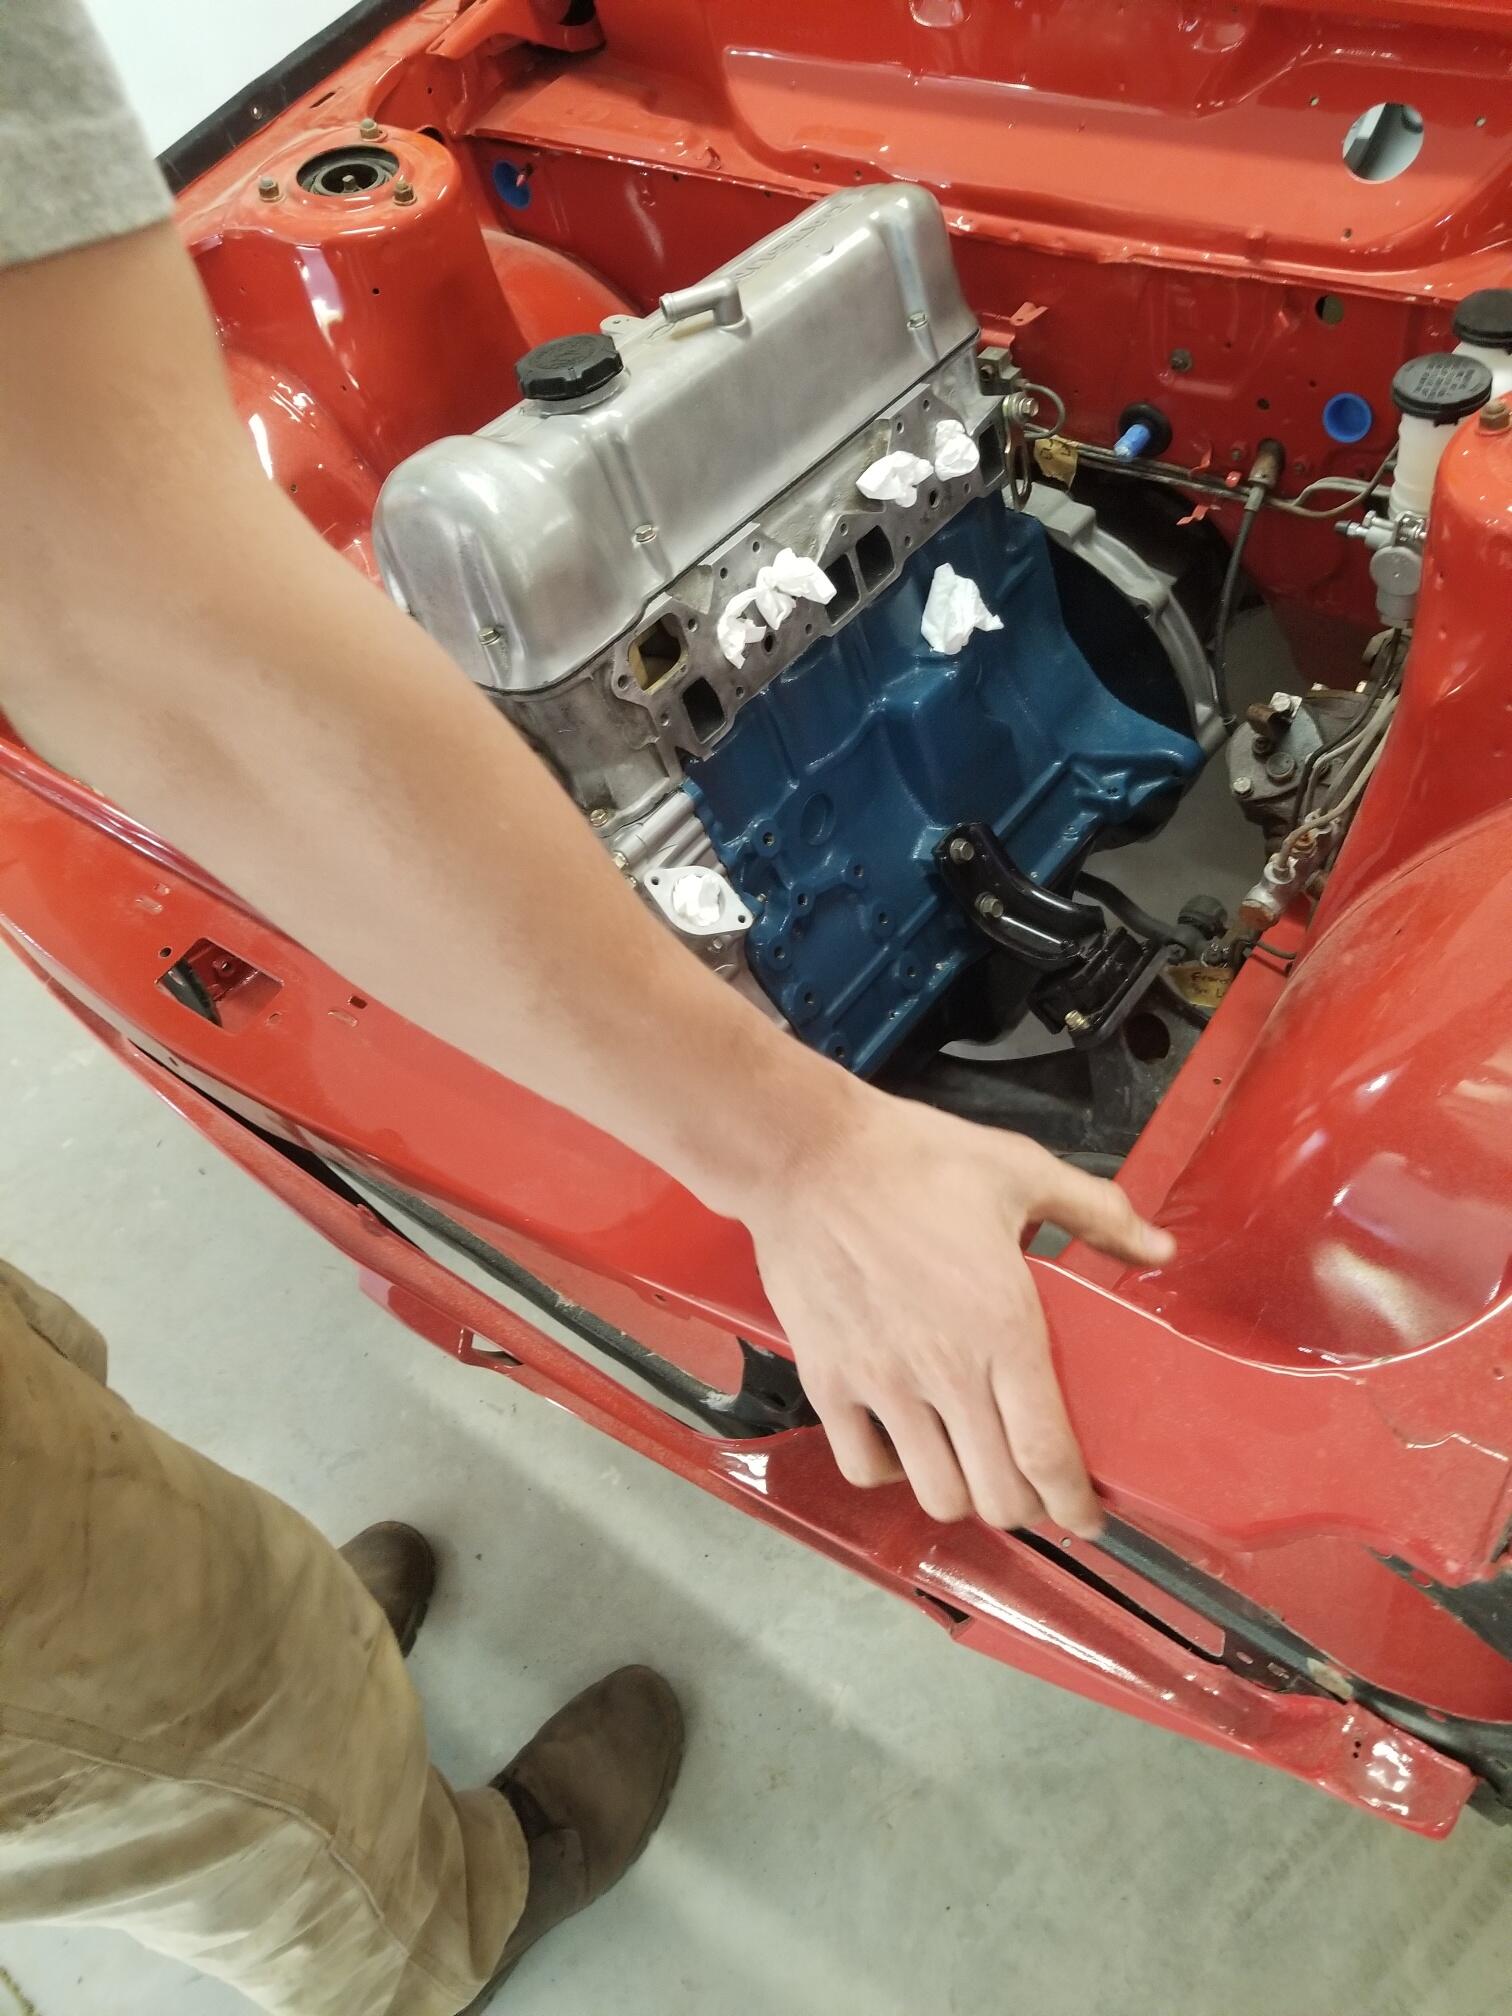
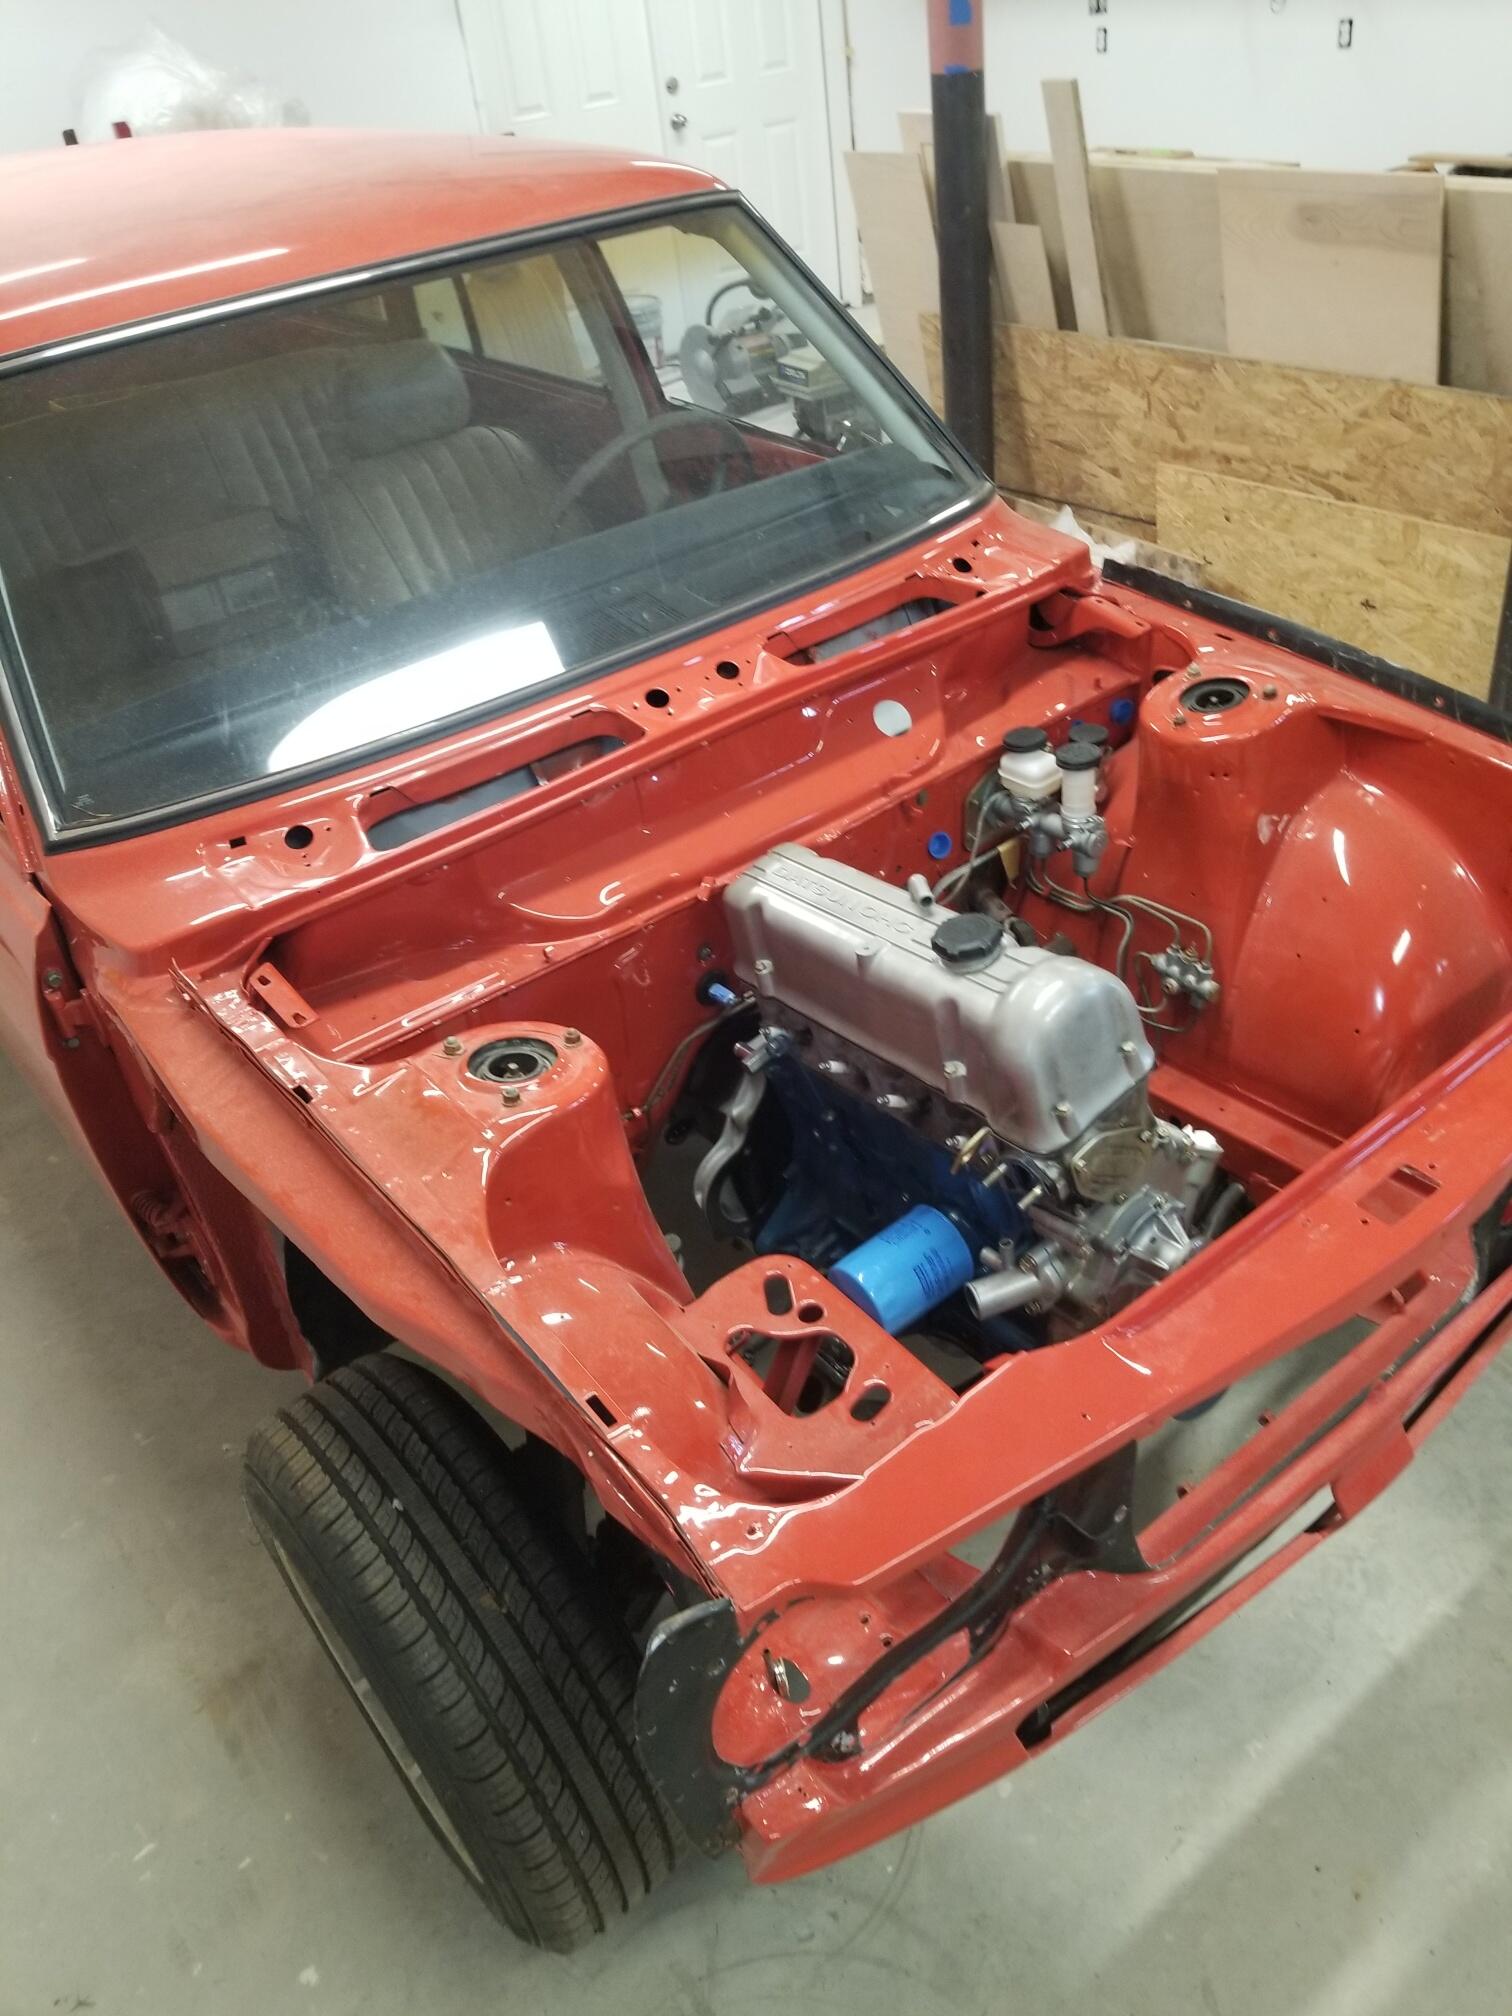
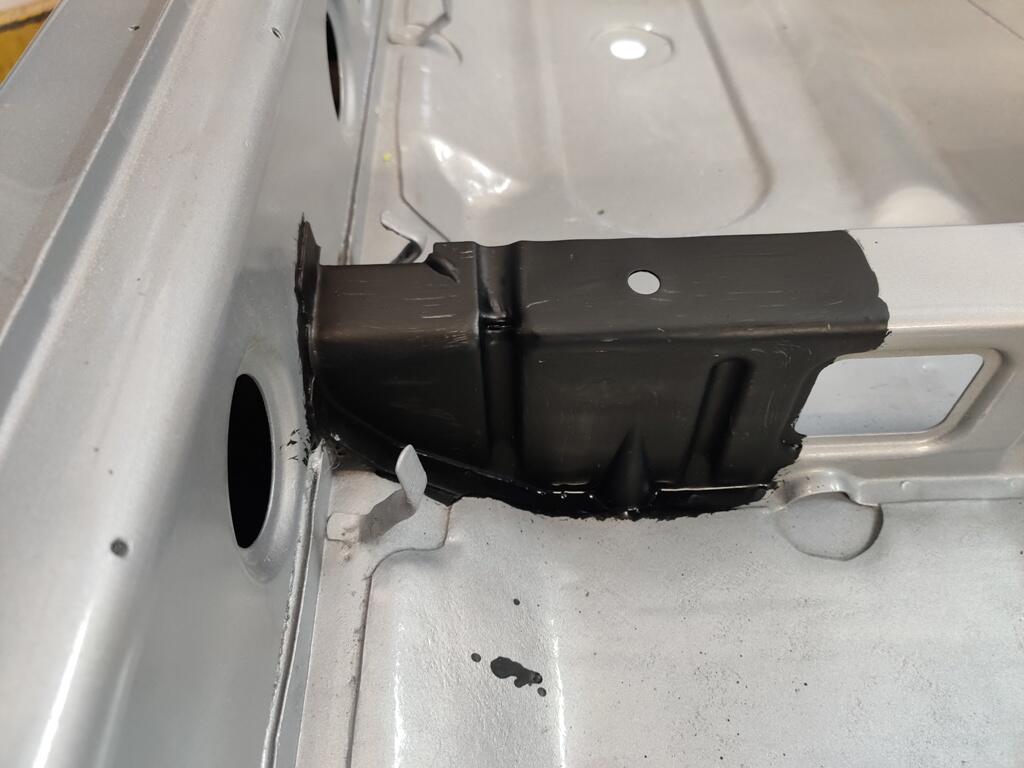
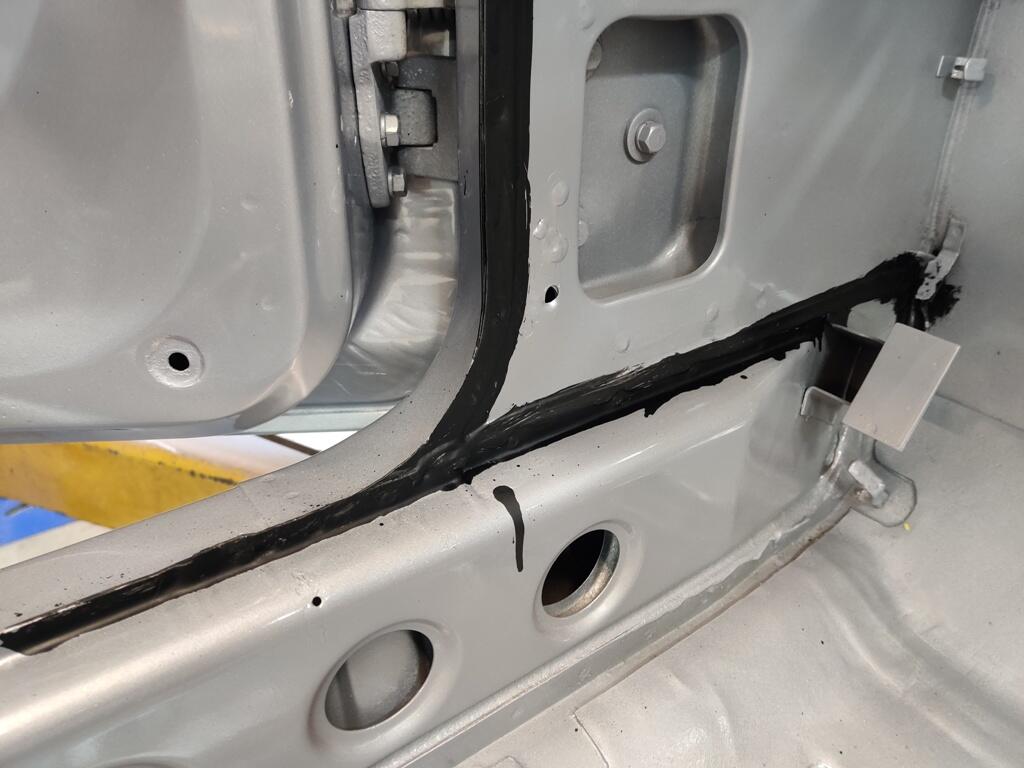
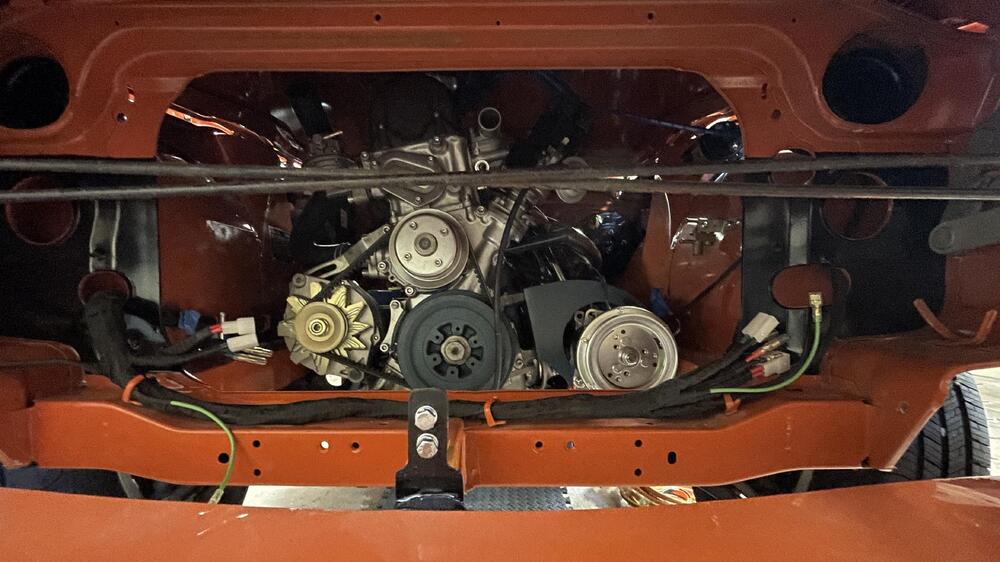
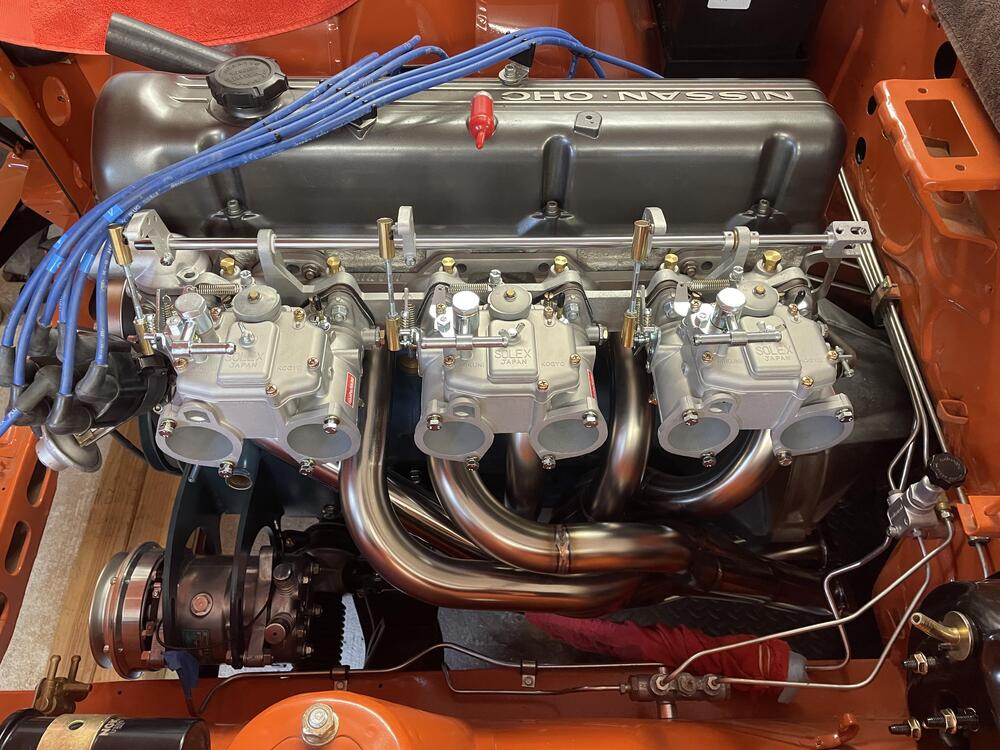
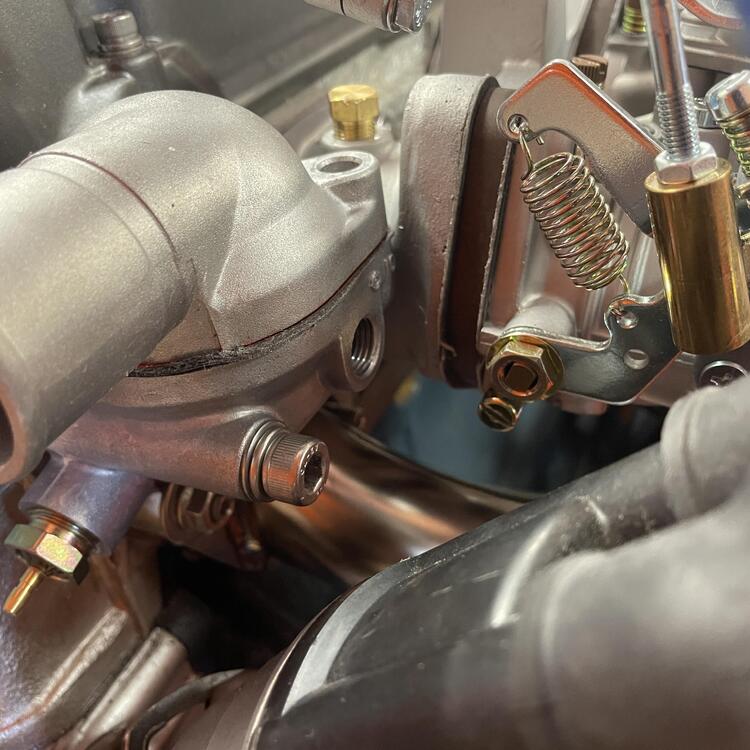
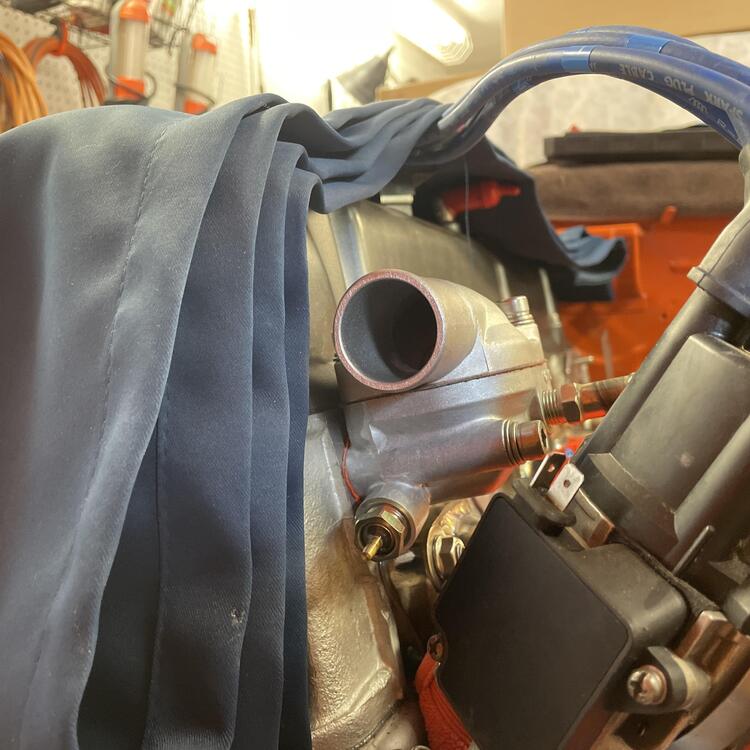
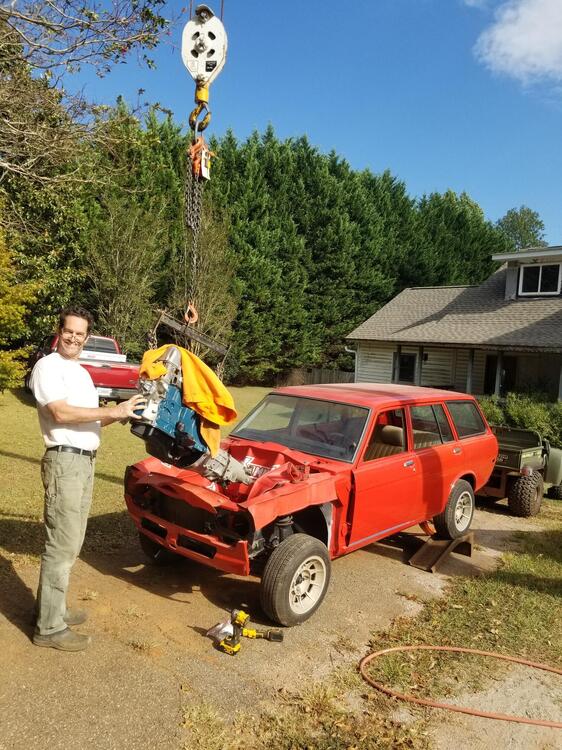
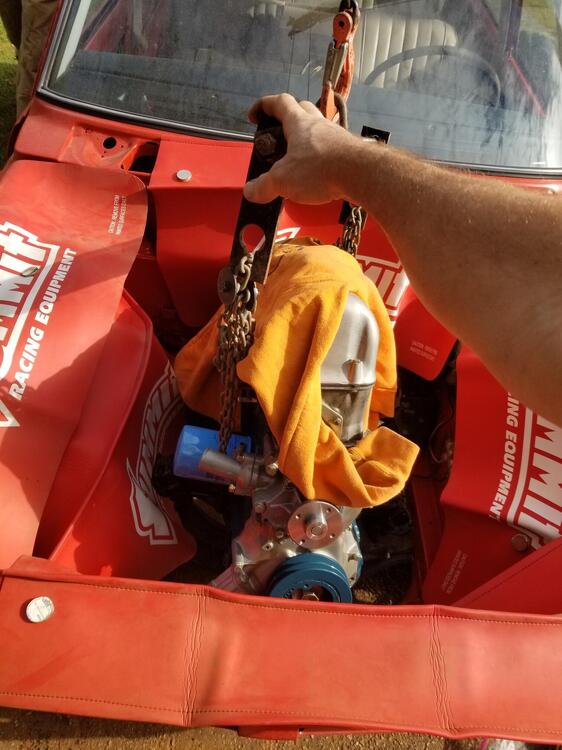
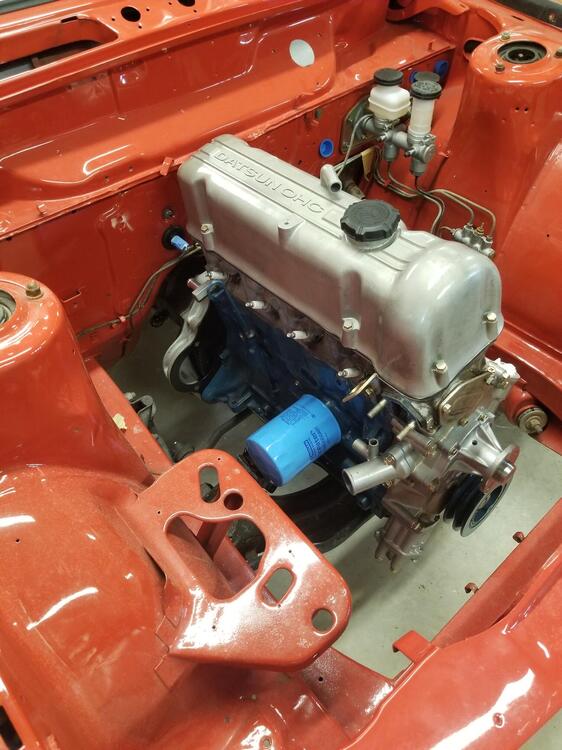
3 pointsThe engine harness is in. Everything is pretty much right. There are a few places where it got twisted as I was wrapping it, and the headlight plugs aren’t exactly in the right place, but I can mitigate that when I require the front lights. The harness is quite a bit thicker than OEM because I used marine wire, so I had to trim the firewall boot all the way to the widest hole size. As a result it’s not quite tight, so I need to fix that, but otherwise it’s done. ☝By the way, does anyone know what this tab is for? I assumed it’s for a clip to hold the coil wire because it’s similar to the tabs for the plug wire clips. *** I also test fit my Mikuni setup: Okay, so… It wouldn’t be my car without some substantial but not insurmountable problems. They are almost entirely because I went with the Mikuni manifold, which has the shortest runners of all of the options. The Harada I traded for this one probably wouldn’t have had any of them. There is interference between the manifold/carbs and a few of the factory configurations: 1. The water pipe that goes into the thermostat hits the throttle linkage. Yes, the one I just made that stainless steel pipe for. I’m going to see what a 45° or 90° elbow adapter does to fix it. 2. The OEM manifold studs are too long by around 3mm and the stainless ones by about 11mm. Luckily I was able to figure out that the stainless “manifold studs” that you see all over are actually set screws, and you can get them in any length (in 5mm increments) at McMaster Carr. I have 40 and 45mm studs/set screws on the way (watch, I’ll end up needing 35mm). 3. The metal riser for the plug wire clip hits the manifold. It definitely has to come off to get the manifold on, but I think this one is for a ZX. The 240z one at Z Car Depot is different and may work. 4. The plug wires bind up in the throttle linkage. I think I can partially fix this by adjusting the linkage so it isn’t sticking straight up, but I may end up rerouting them. *** Lastly, I replaced my corroded and beat up 280ZX thermostat housing with a new one for a 240z. It didn’t fix any of the interference issues but it looks nice and I don’t have a bunch of plugged sensor holes.


 3 points
 -
2 pointsThat’s a good point, my widenand sensor transformed my life! In fact I now need to get a life [emoji1787]2 points
-
Those 3 metal brackets look like the ones embedded in the foam dash pad for the screws. There are 5 of them on the lower edge, at least on my old 73 dash.
 2 points
 -
2 pointsWith a Unisyn and a few youtube videos, you can tune them yourself with great results. I once swapped a set of SU's mid-race and tuned them in the pits. The whole job including removing the carbs from a red-hot engine, installing a new pair, tuning/synchronizing them, and buttoning up the choke cables and airbox took under 30 minutes. The problem ended up not being the carbs at all, but it ruled them out. The actual tuning took less than five minutes. For videos, search University Motors John Twist SU. He has a great series of British SU rebuild and tuning videos. The Hitachi SU's are similar enough that the tuning is the same.2 points
-
I'm not sure how mechanically inclined you are, but the parts are very cheap and the labor isn't hard if you just take your time. You can do it in a weekend with simple tools and a floor jack. Get the car up pretty high so you have room to work.2 points
-
Did you check the transmission fluid level yet? Check it with car level. Leaks aren't the end of the world. As long as it has enough fluid in it. Heck, on some cars leaks are how you know it has oil in it!! 🤣2 points
-
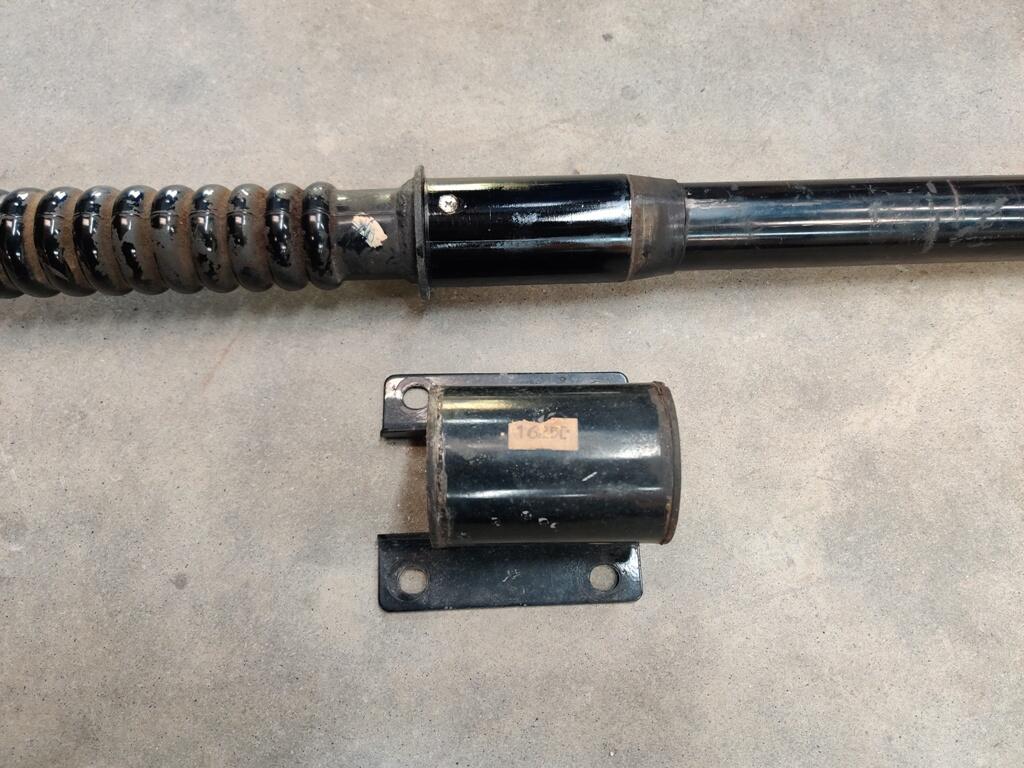
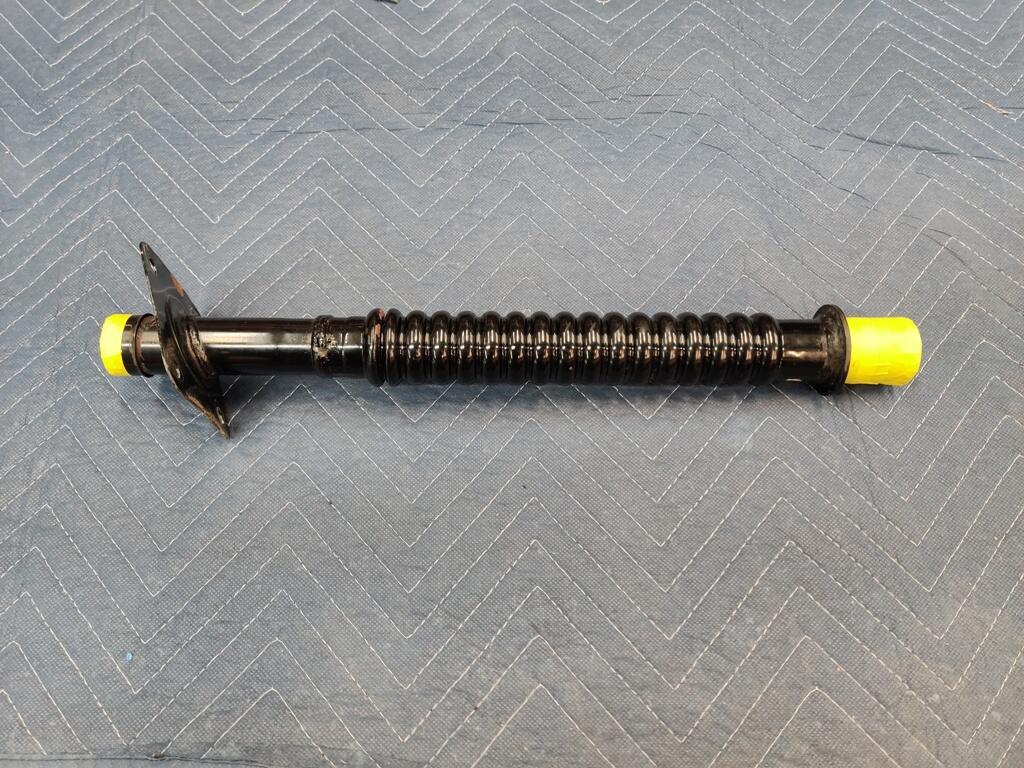
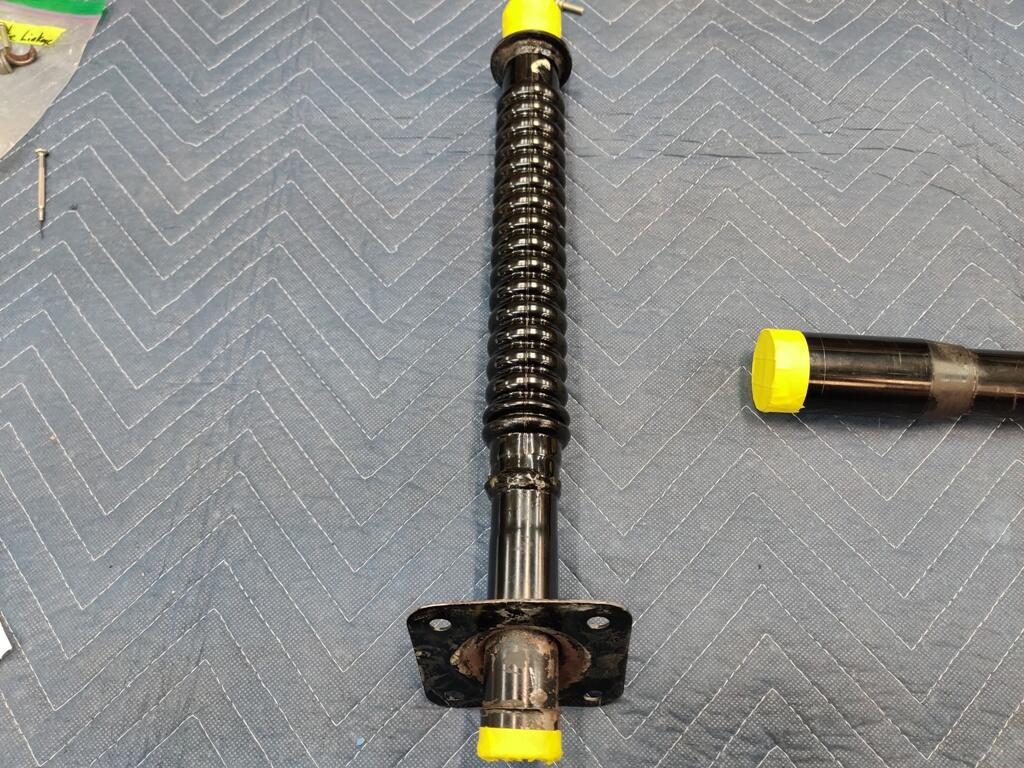
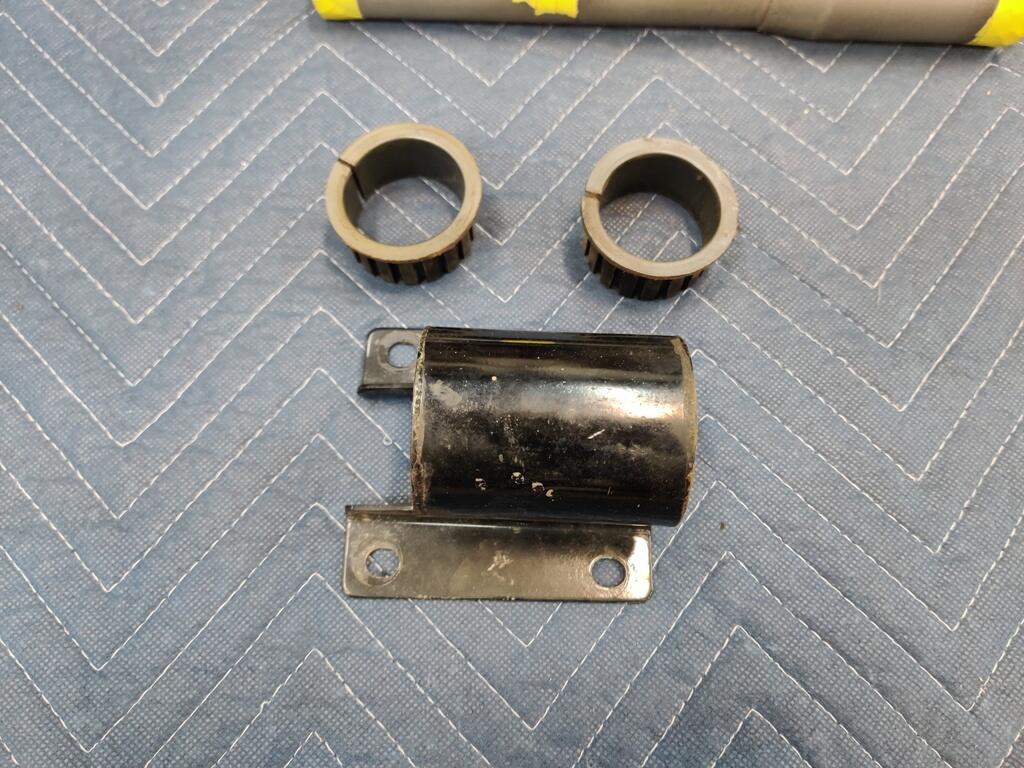
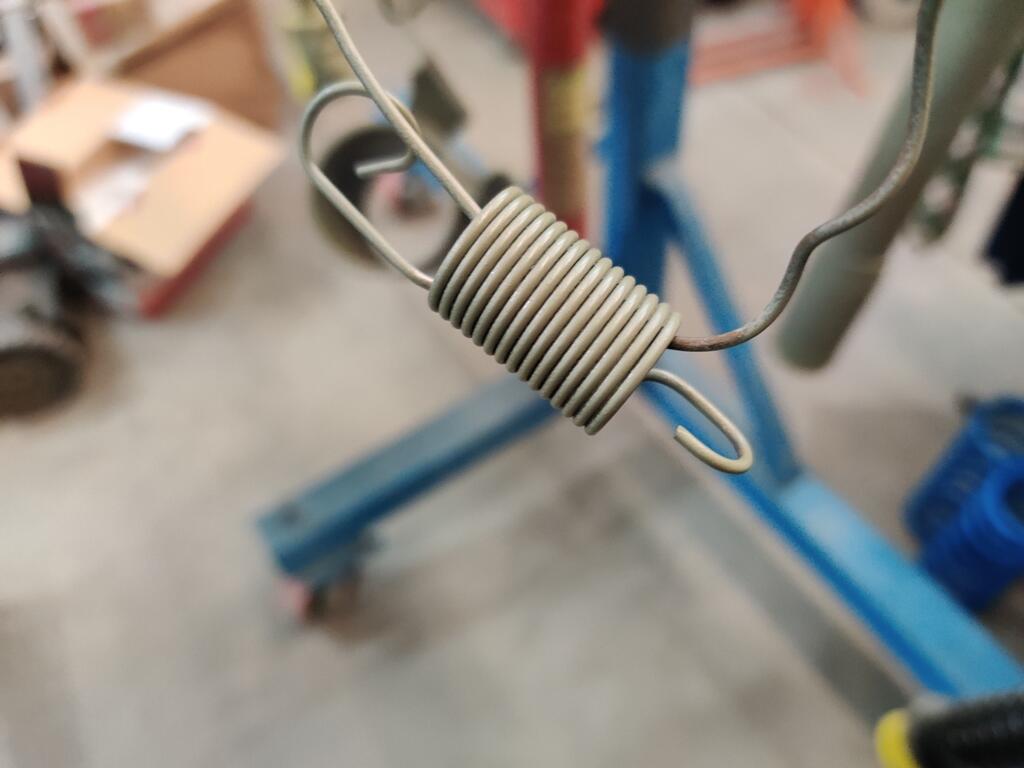
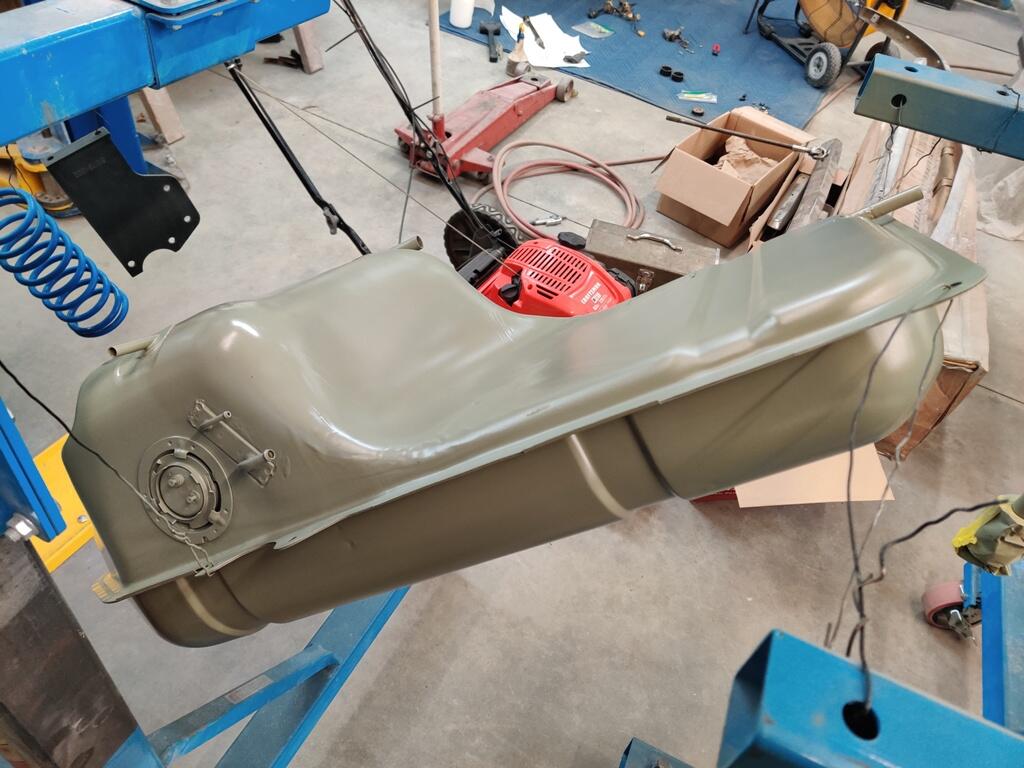
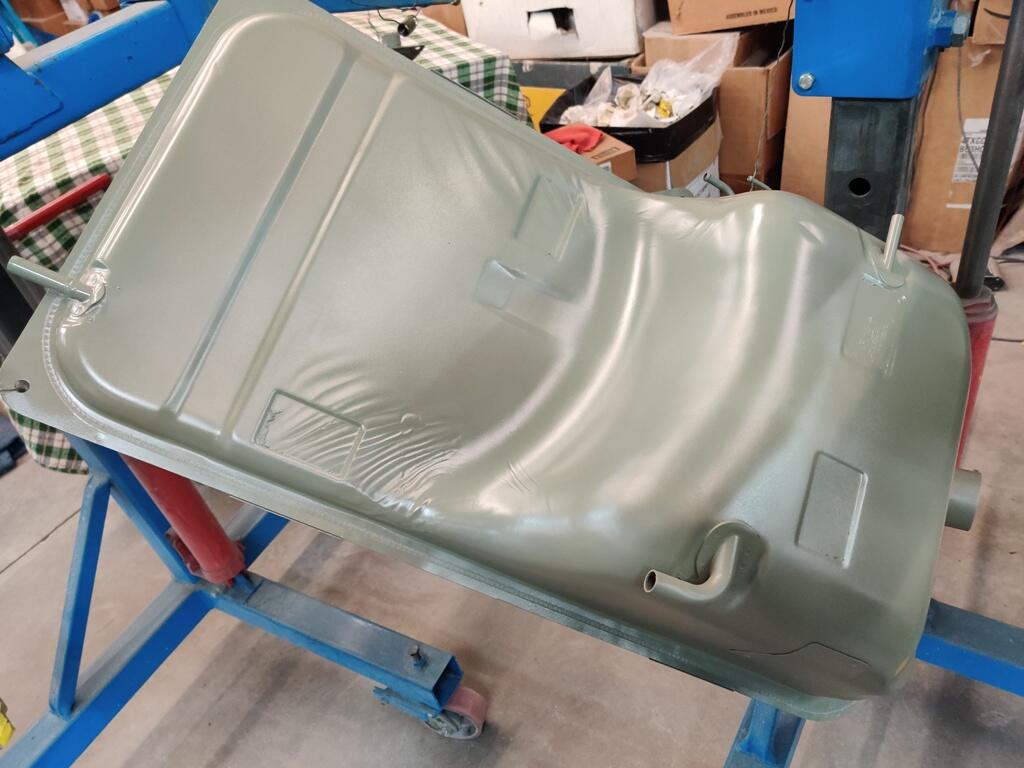
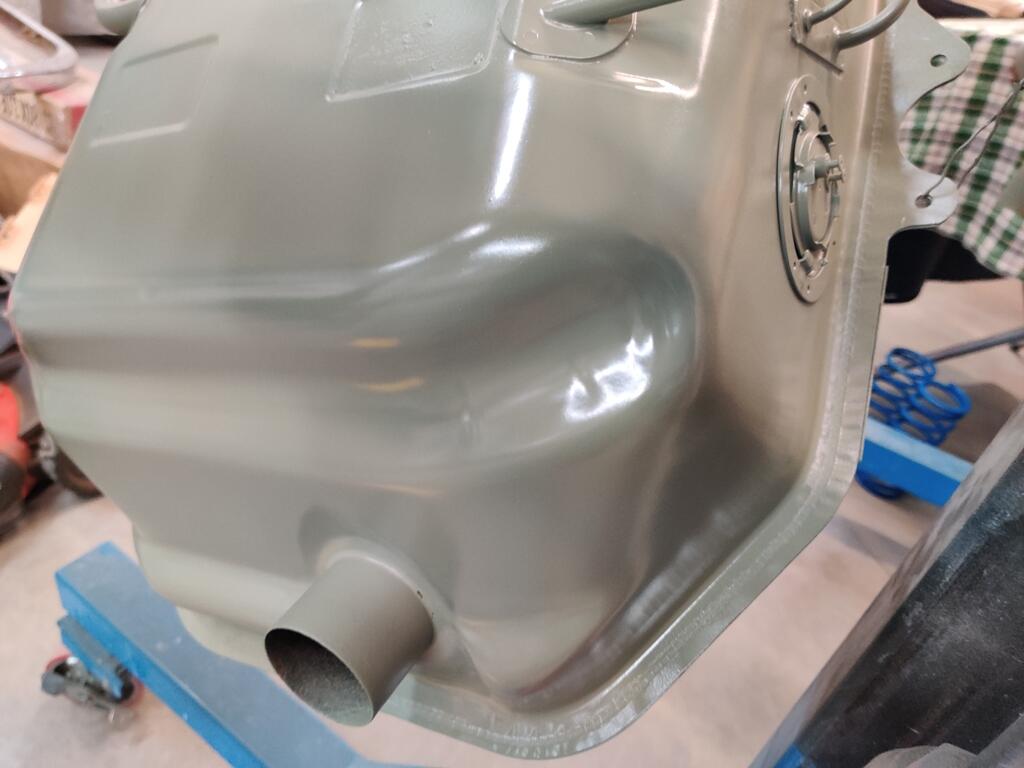
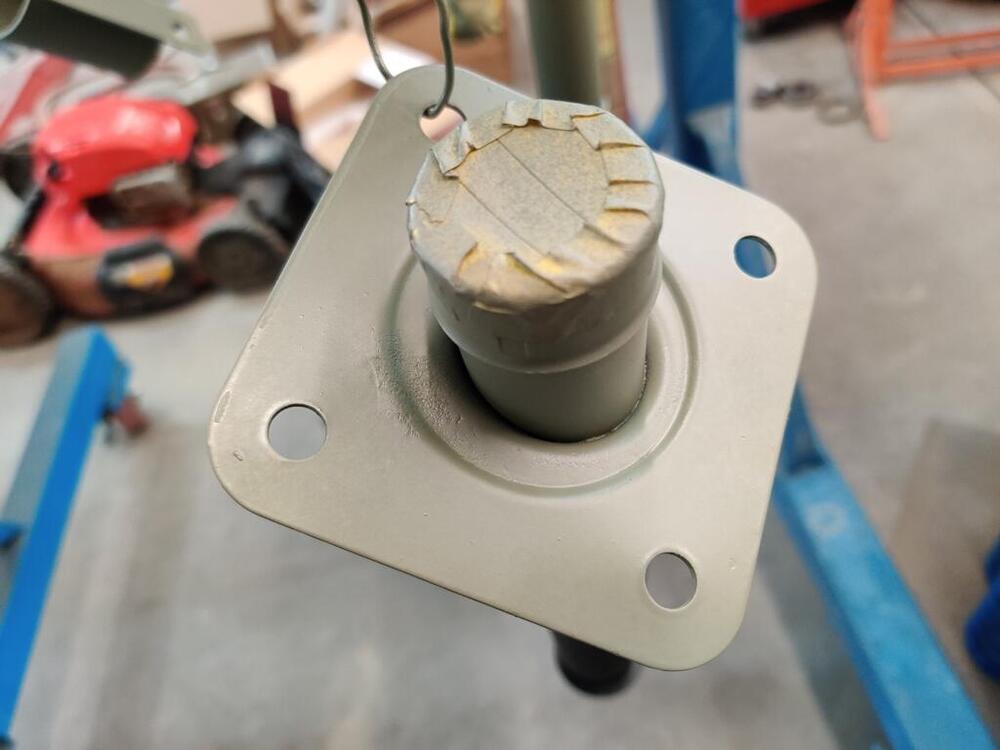
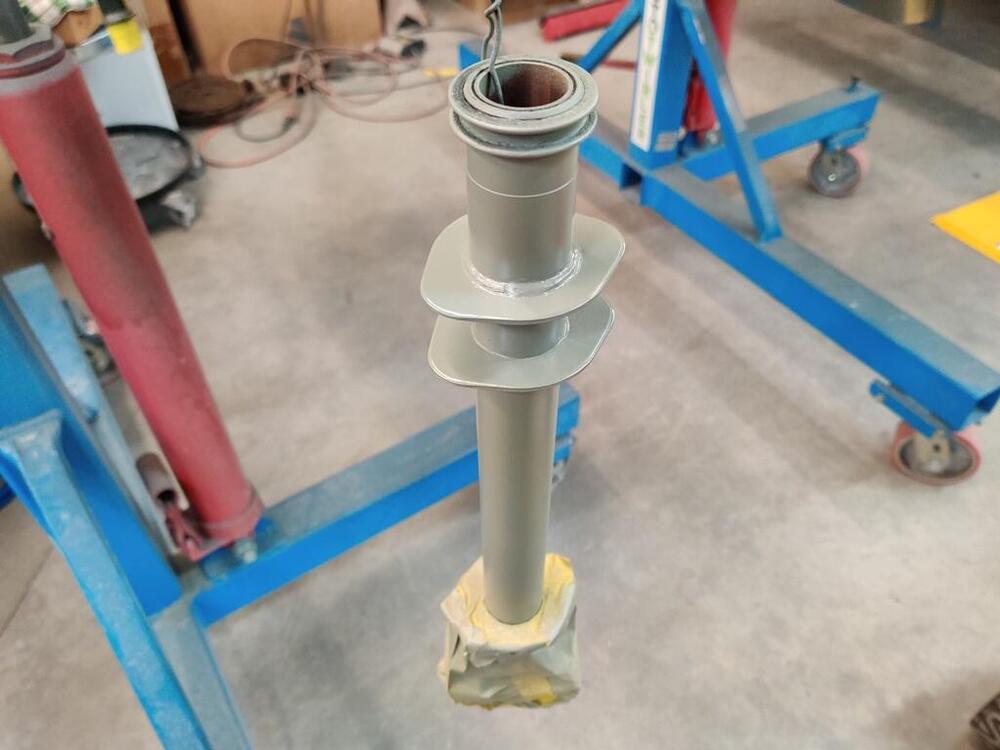
One of the last parts I needed to disassemble, clean, strip and repaint was the steering column. Taping up so I can glass bead blast without getting beads inside: Odd white (I think) paint blotch. I removed the plastic bushings, which were glued into place on the steering column bracket: Springs are for the handbrake cables. Epoxy priming session here is nearly everything that is left that I have yet to paint black: Gas tank - sand blasted - glass bead blasted and epoxy primed. Tomorrow, I will paint these and some other parts black.


 2 points
 -
2 pointsMy experience with new Z Therapy carbs is I put them on the car and they ran just fine out of the box. Didn't touch them. I live at almost 5,000 ft and think they might be a little rich because I bet Z therapy probably sets them up for lower altitudes.2 points
-
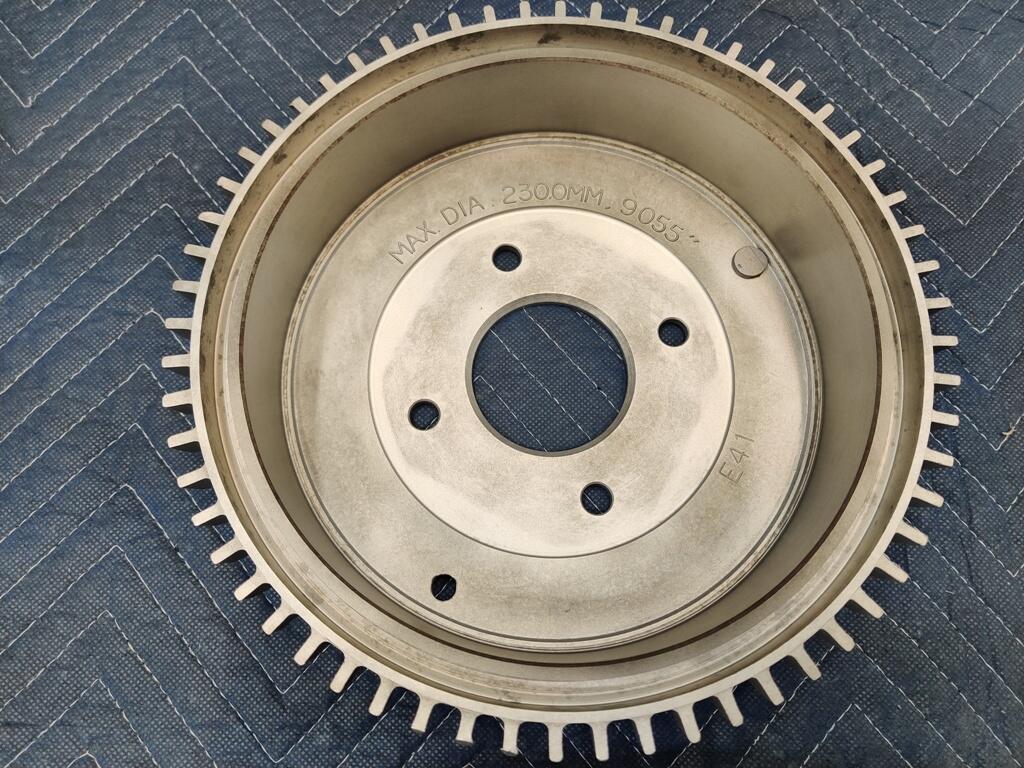
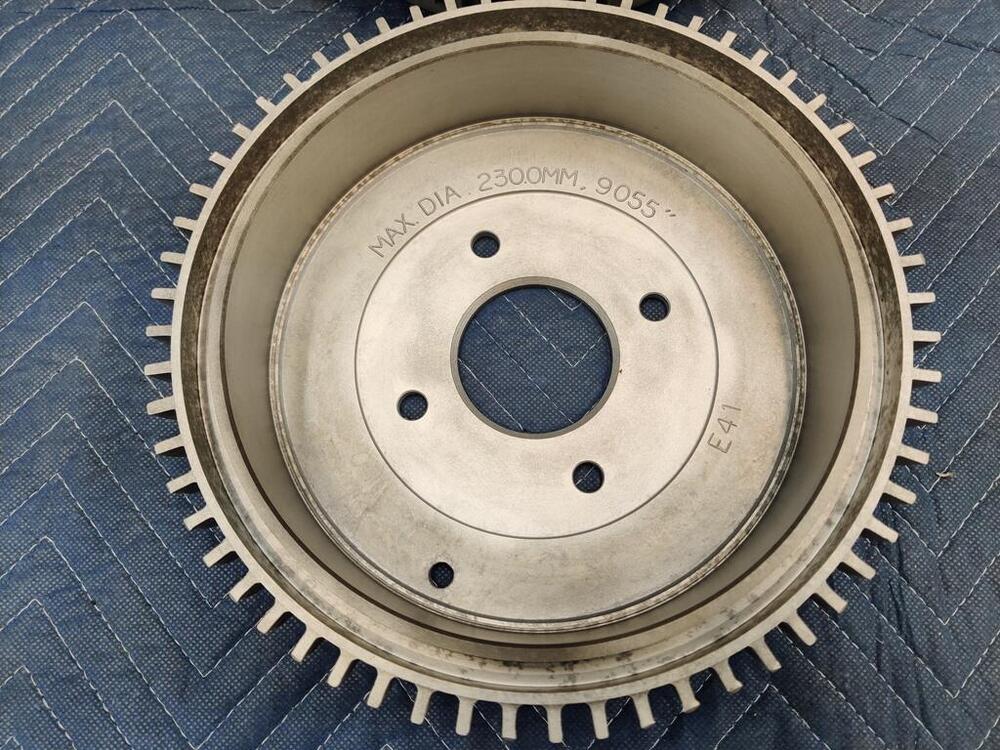
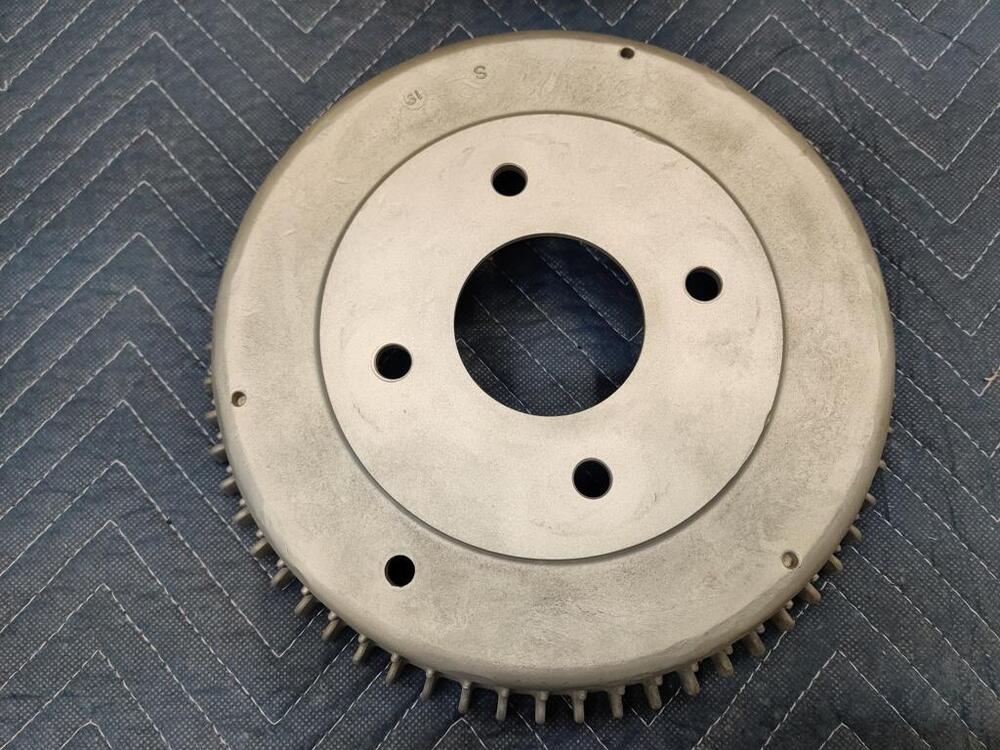
In addition to the black out, I had the drums "turned" and then I glass bead blasted them: Unfortunately, I previous owner banged pretty hard on them with a hammer around the outer circumference. But, that is not seen when the wheels are mounted.


 2 points
 -
2 points
-
2 points
-
2 points
-
Getting ready for 01/01/23 photo of slumbering Z. Keith1 point
-
1 pointWorked on the Goon some today First time outdoors in a while. It's filthy... So the engine is in and I will start trying to help him get some of the misc pulled together. One of the big things is fabbing up an exhaust. I also need to try to figure out the float levels. I'm not sure if I can set them to the same height as standard SU's?


 1 point
 -
1 pointThe carbs that I threw on mid-race were fresh ZT carbs and I still had to tune and sync them. My carbs as well as the ZT carbs had SM needles and once tuned, both ran equally well after I fixed the underlying fuel delivery issue. SU's are extremely simple and with just a basic understanding, you can get them very close. A wideband O2 along with a spark plug check will help you check them under load.1 point
-
You cracked me up with that - because it’s so true!!! On my old engine, the pan leaks were a self sustaining mechanism for stopping things rusting under the car :p The oil pans are notorious for leaking and that part of it in particular, as Jeff said is very prone to leaking. How much oil are you loosing when the car is flat? Is it the odd dime sized patch under the car after a day or is it spoonfuls? Scientific measures I know! If it’s main seal failure, I would get it done rather than live with it as it will only get worse with time / miles and potentially make a mess of other things in the bell housing. Again, as mentioned already, I found my trans oil smelled a bit like raw fish or gone off salmon - hope that helps?1 point
-
1 pointI think you are right - when I was new to Zs and bought my ZT carbs I just bolted them up and they were great. The MOT man said they were a tad rich but that’s the SM needles for you, so we dialled them back 1/6 of a turn to pass. But you always need to balance them as a minimum. I agree with Jeff above - they are so simple to set up when you understand what the screws do and have an airflow synch tool. This is the one many of us use. https://www.ebay.co.uk/itm/294818904813? At OP …. Is your engine totally stock? If yes ignore the rest. If not, you may find that you are setting up perfect tune on the driveway for idle and fast idle but at WOT it may be too lean - in that scenario with a modified engine you need different or custom needles. But in general if stock cam etc (or mildly modified with headers etc), the needle profiles will be appropriate for the variation in the demands of the engine when set up for idle and fast idle. FYI - The stock 240Zs carbs use slightly different (usually N27 or N54) needle profiles to the SM needles which come with ZT carbs - so some people complain about SM being too rich on their engines.1 point
-
1 point
-
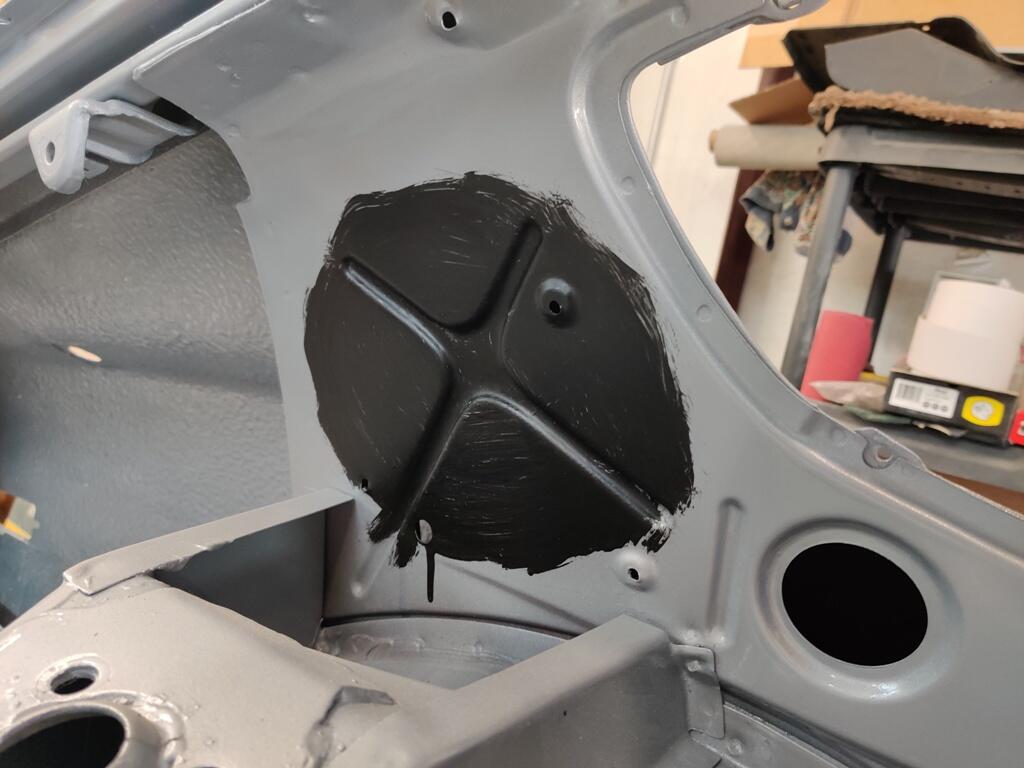
Thanks guys! I had some fun this week end with some Krylon flat black paint. I sprayed it into a small cup and then used a paint brush to attempt a similar look with the "black out": Whoops on the runs and drips - ha ha ha 😆 Here are my original reference pictures: It was fun attempting to replicate the original "black out"


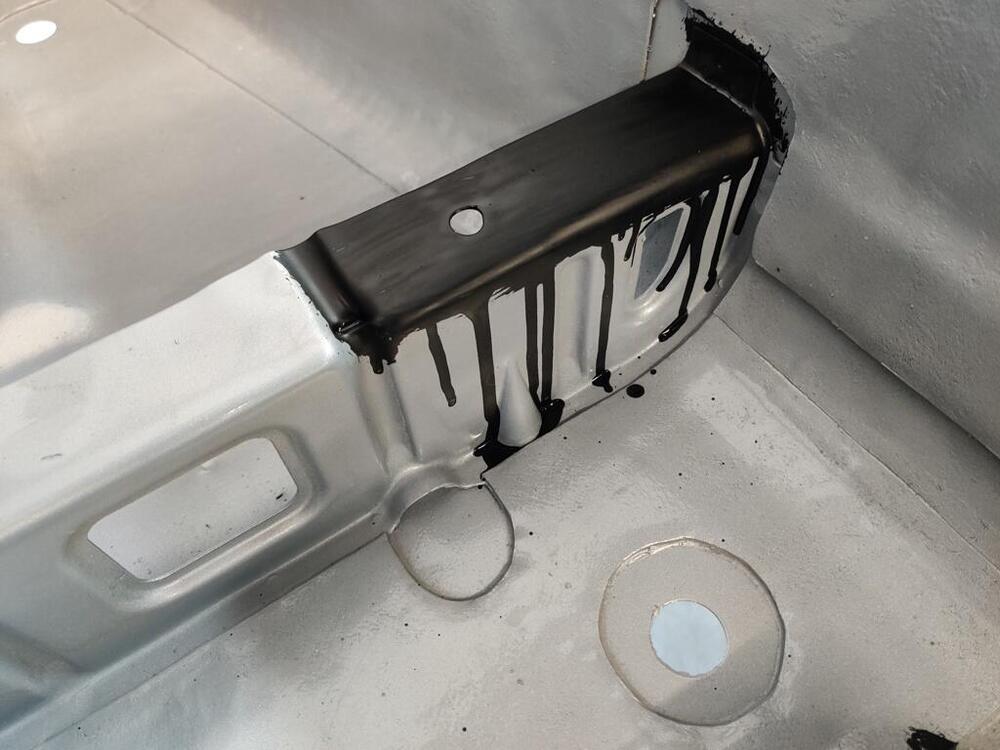
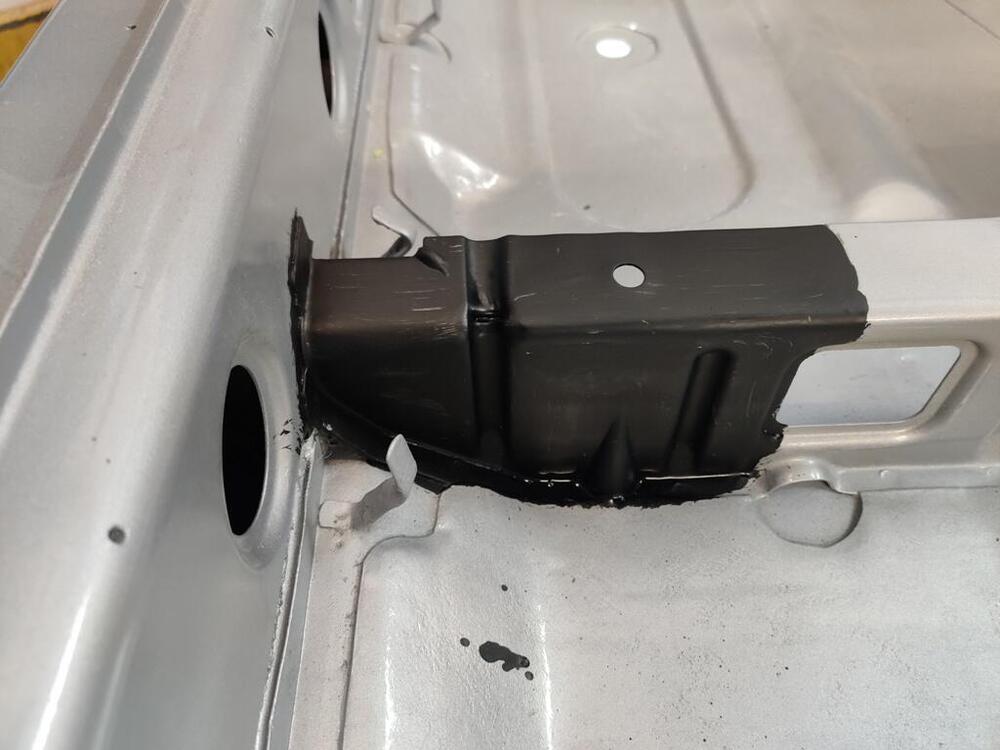


 1 point
 -
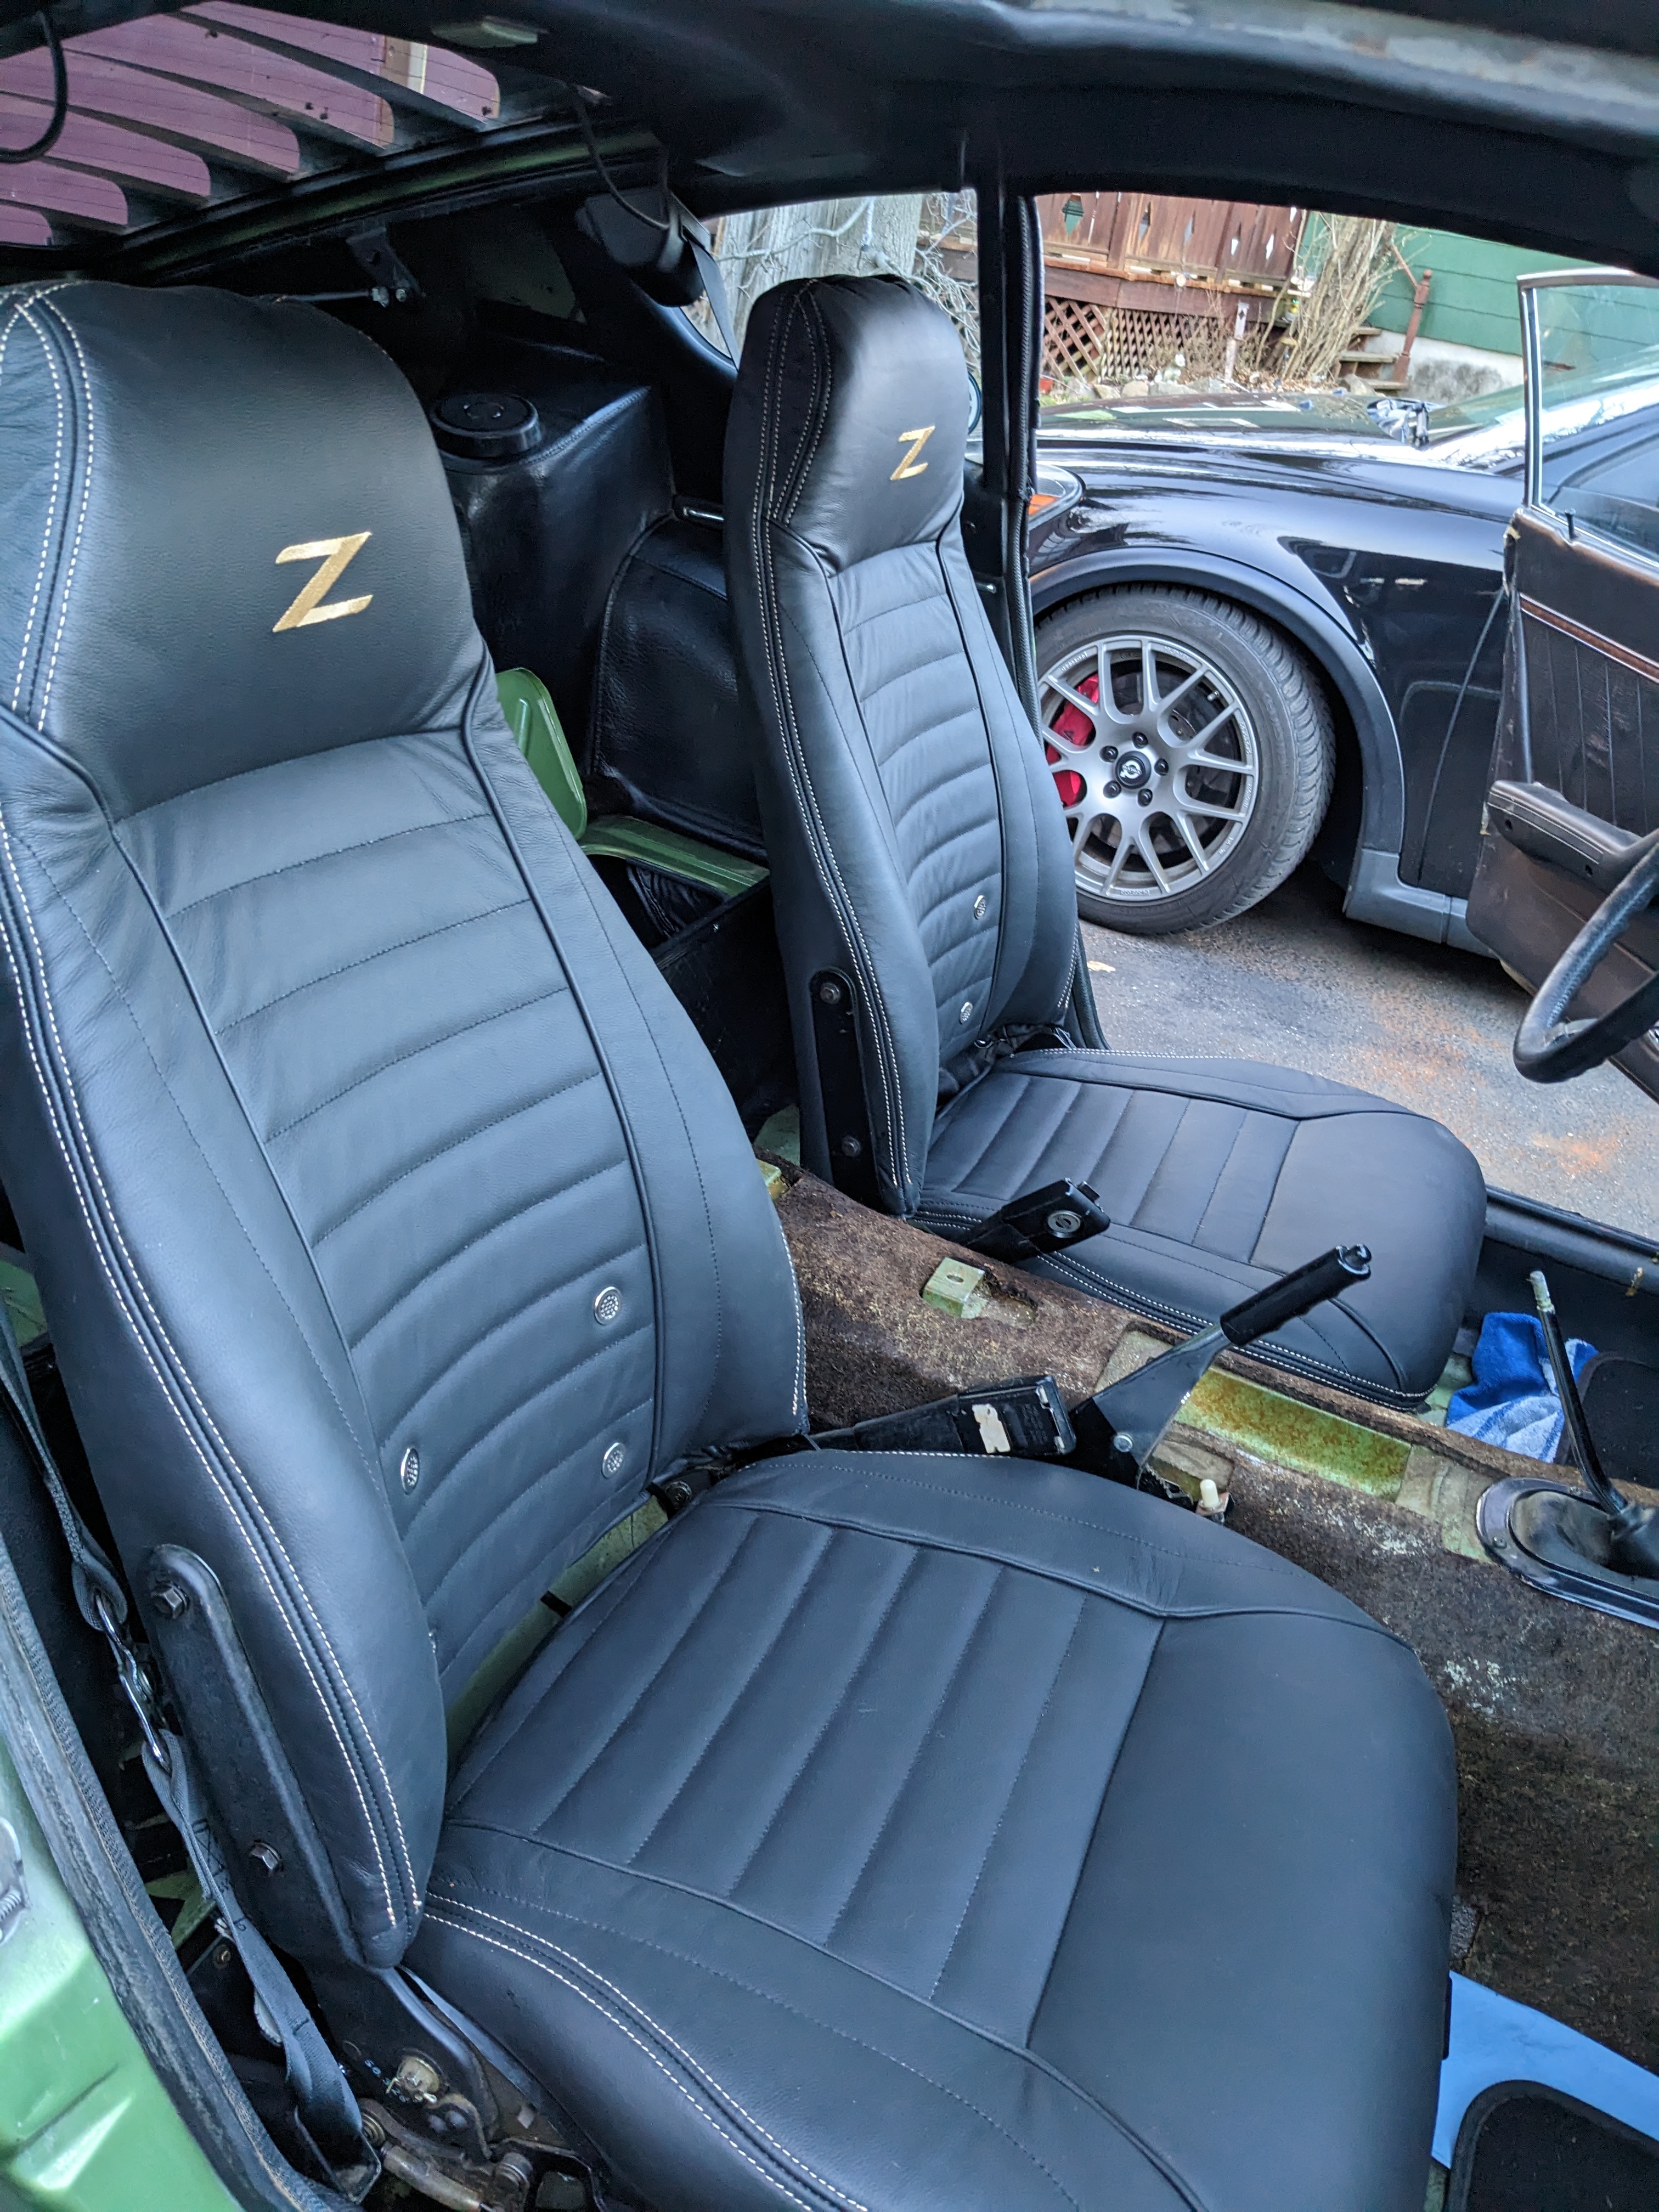
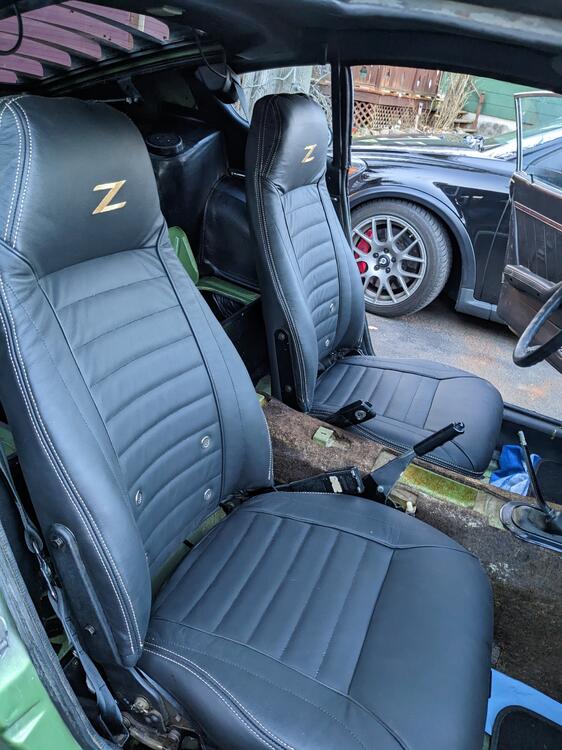
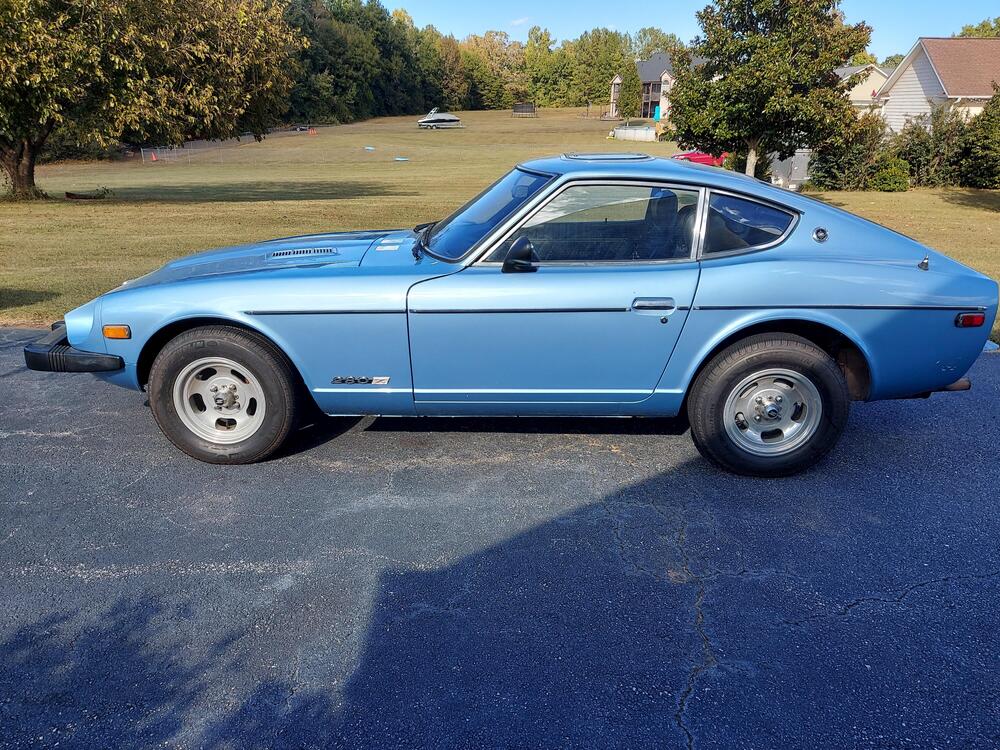
1 pointIt's Leaf Green with regular black interior - I didn't get custom stitching when got the seat upholstery
 1 point
 -
1 pointI'm a little disappointed that there wasn't the obligatory "Hey Y'all, watch this!" at the beginning.1 point
-
Go buy some gunk degreaser and clean the bottom area. Either way the transmission needs to come out to do any of the repairs needed. Common problem. Better to drop it and everything will become obvious1 point
-
I can't take credit for the tank, and you know it. That was all you, my friend.1 point
-
A bad crankshaft rear main seal will look just like that. What does the oil smell like? Gear oil has a very strong odor while engine oil has very little smell. Is your clutch slave wet as well? It's very common for the clutch slave to fail which causes the hard engagements. No matter what, the trans has to come out. I did mine a few weeks ago for similar leaks. My rear main seal as well as the trans output shaft seal and speedometer O ring were all leaking badly. The job isn't too bad, but there are quite a few things that have to come apart. The exhaust, driveshaft, starter, clutch slave, console, shifter, and speedo cable must come off before you can pull the trans. While you are in there, replace the rear main seal, clutch kit if it hasn't been done in a while, and slave. Pulling the trans is not hard, but you don't want to pull it again in 6 months to replace something you didn't do this time. Read my "what did you do today 2023" post about making alignment pins. They turn a frustrating job into a piece of cake when you reinstall the trans.1 point
-
Yes. I'll investigate adjusting te VR. I didn't have time today because I WAS TOO BUSY DRIVING THE CAR!!! It runs strong and pulls to 5k. The hesitation and backfiring from before is completely gone. Of course I've got a new list of issues now; restoring the fuel tank, adjusting the voltage regulator, the brake booster inoperative, and after driving for a while the tachometer has developed a mind of its own. For now I'm extatic.
 1 point
 -
1 point
-
1 point
-
If you have ruled out a leaking clutch master and slave cylinder as the culprit, then I would look manual transmission oil seal.1 point
-
I would want molded if I could get it. The molded should fit better in the corners if it's done properly1 point
-
1 pointDown under we called that outback engineering, love that you got it to run!1 point
-
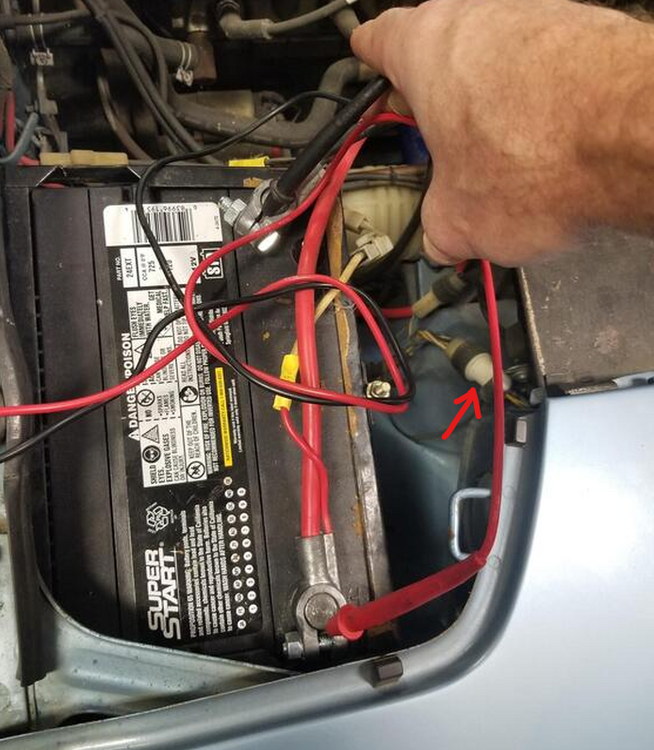
Your car has a voltage regulator. I can see the plug. Frankly I don't trust reman alternators anymore. I have been advising people with bad alternators or regulators to do the Nissan Frontier swap. RockAuto lists "new" alternators for the 2000 Frontier 4 cylinder. You have to buy the plug for the sense and switched circuits. That is readily available on Amazon. I also went the extra step to buy the 6 pin Yazaki YPC male plug to make the jumper to remove the voltage regulator. I haven't had someone come back to me about the RA alternators I suggest failing.
 1 point
 -
The market has peaked... for now. Once we have an economy that people believe in, the prices will rise again. Personally, I wish the Z market would crash back about 15 years. I loved buying and selling S30's for parts. There is no such thing as a parts car anymore. Every seller thinks they have a future Barrett Jackson car when they really have a $500 parts car. This holds true for every classic sports car. When a Porsche 912 brings $45k, something is seriously wrong. You couldn't give a 912 away 15 years ago and it should still be that way.1 point
-
Np on your comments. But it may also be helpful if the pins are broken on the badge, but the badge is good.1 point
-
So, I did a scan of this panel. I don't have a 3D printer, but I thought that if anyone wanted to make an attempt at it or needed the part, I'd post it. I'm not real good with this whole 3D printing thing, but I'm having a good time playing with scanning these various parts. Here's the file. If anyone uses it, please let me know the results. Adjusted - 280Z AC Vent Cover - 2.stl1 point
-
I drove my car 30 minutes to work today and all went well, except, I REALLY need to find and seal up the air leaks in the back of the car. I have a pounding headache. 🤢0 points