Leaderboard
-
Patcon
 Subscriber
 12Points11,142Posts
 -
Captain Obvious
Free Member10Points10,081Posts -

cgsheen1
Free Member6Points690Posts -

Zed Head
Free Member5Points19,236Posts


Popular Content
Showing content with the highest reputation on 04/01/2023 in all areas
-
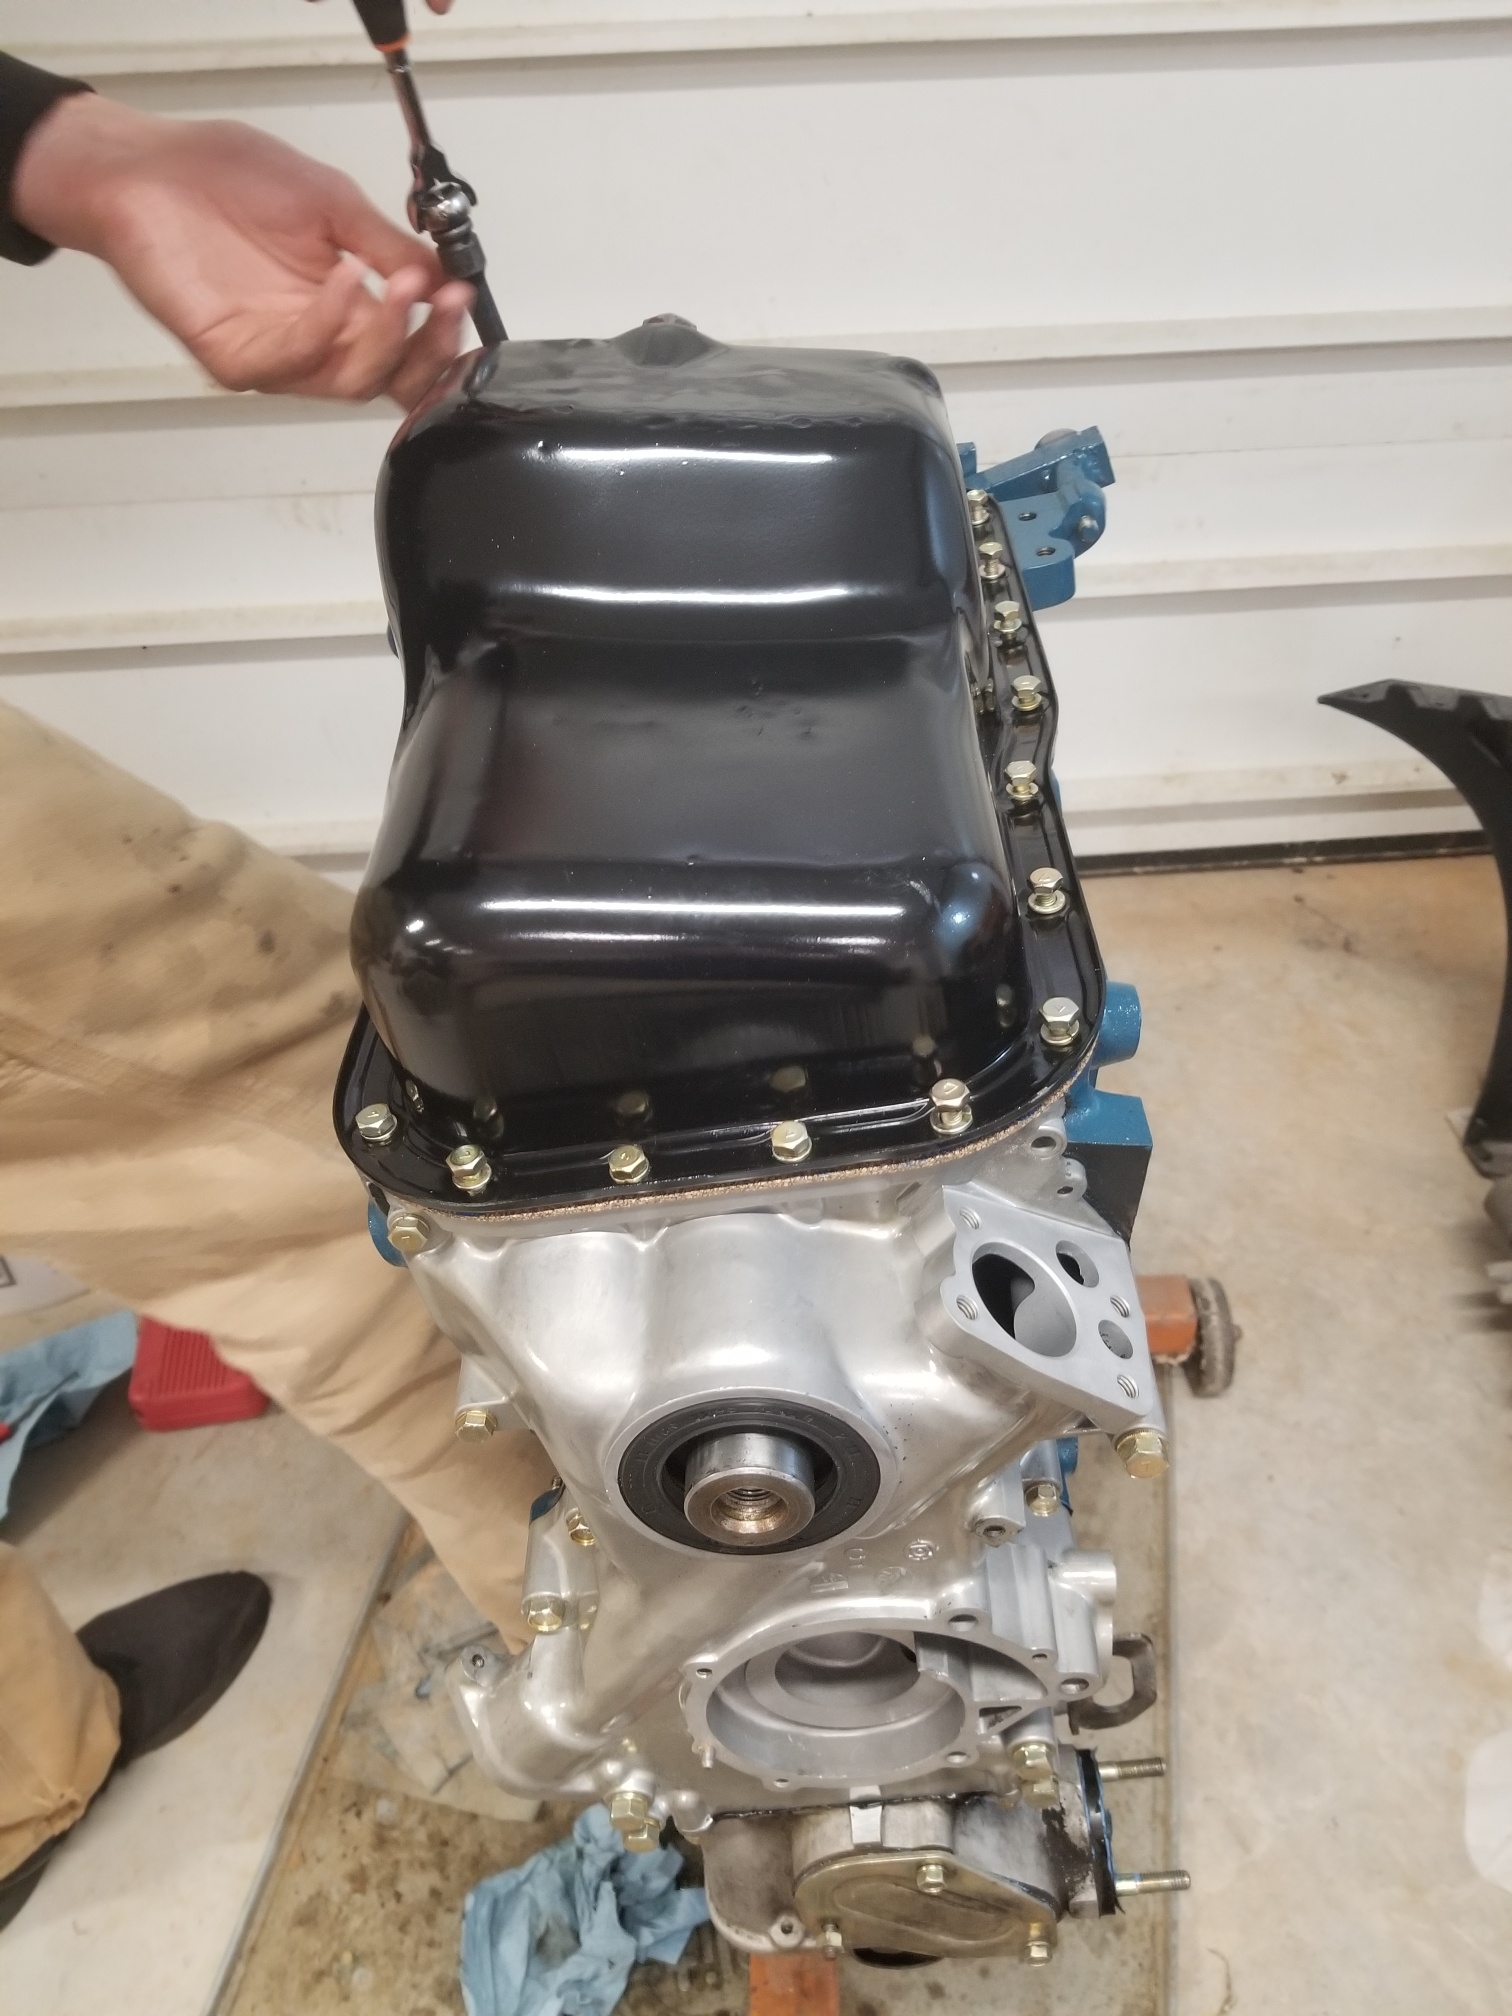
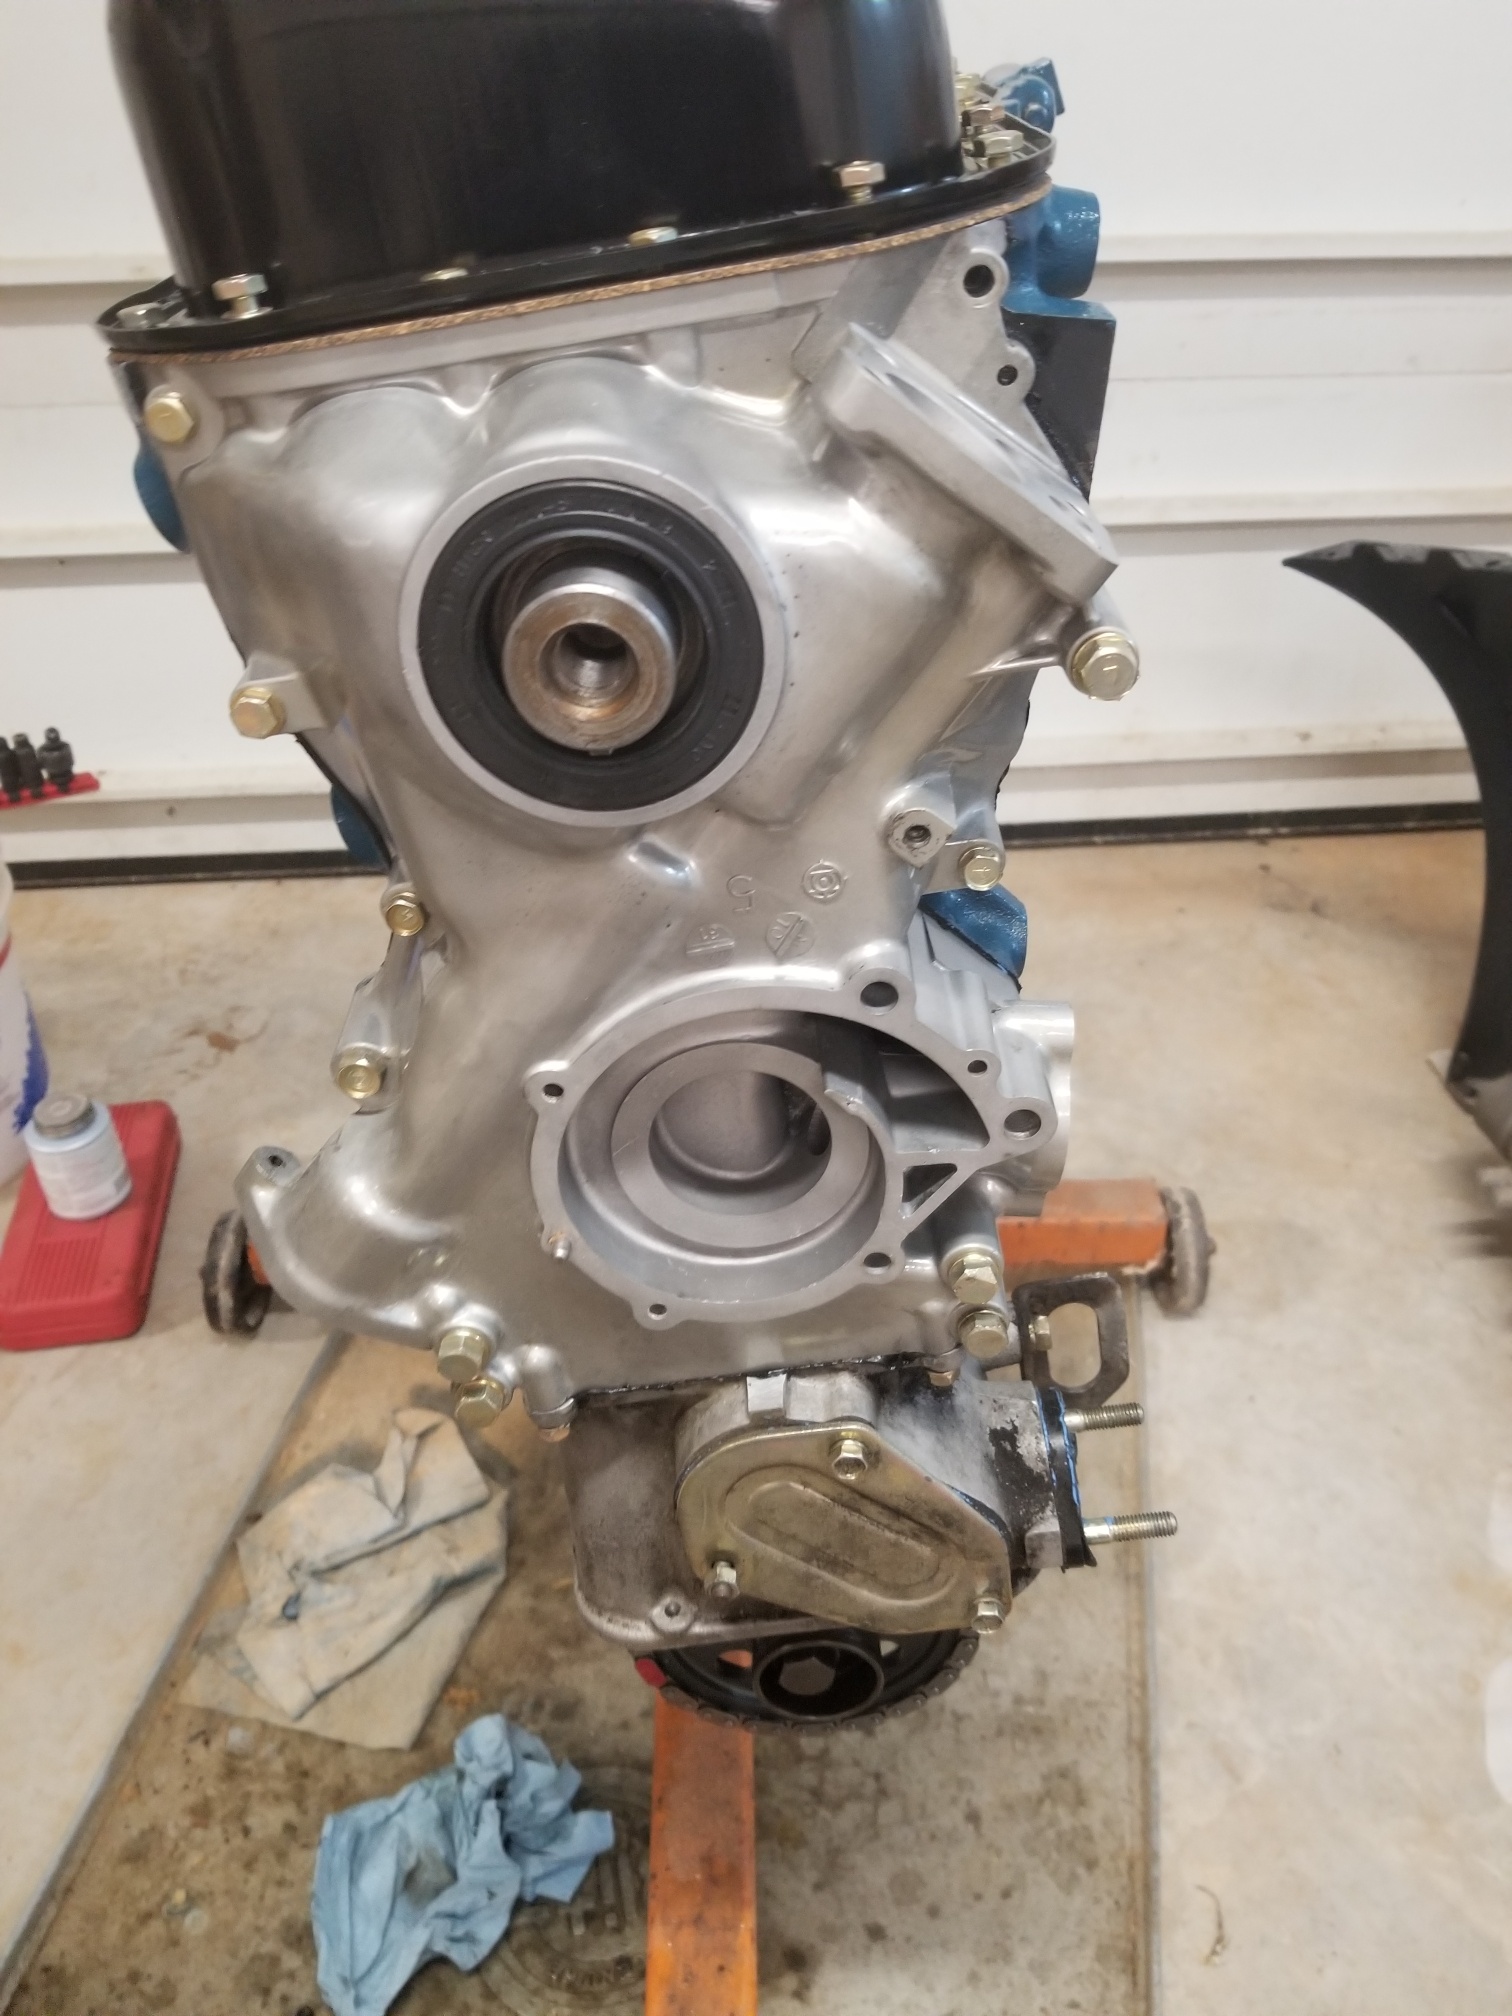
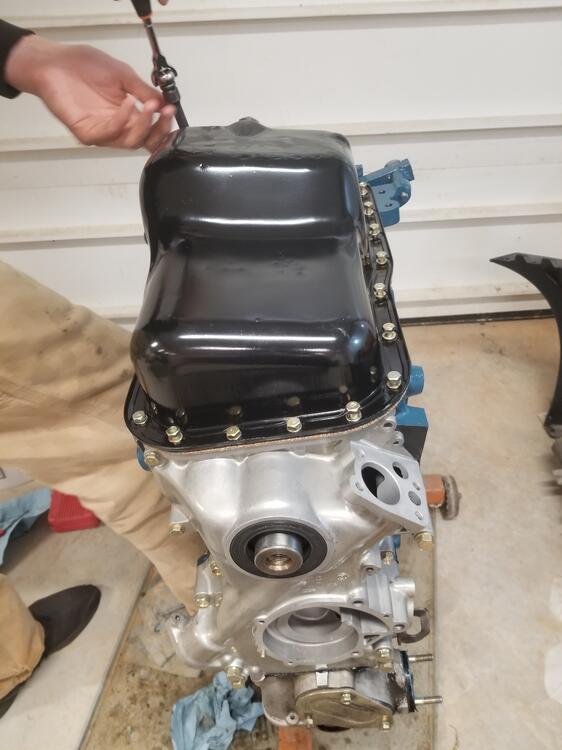
5 pointsThis was at the end of February There was some hardware that needed plating. So I had to get my bench back up and running. Didn't wanted to use ugly hardware on a new engine 😉
 5 points
 -
Or if it's Lucas, it's a smoke fitting.4 points
-
4 pointsSorry, I would never put this much effort into making that damn buzzer work. And I do electrical repairs for a living! (Not really for a living, I was being hyperbolic... But I do actually work on a LOT of Z electrical issues...) 🤪4 points
-
4 pointsI have a soft spot for Beetles. At least old ones. I learned to drive in one. I still have it, although it needs a lot of love now. My dad bought it new in Germany in 1956. Basically a one owner car4 points
-
3 pointsMy '77 ran horribly up until about 2,500 RPM. I jerked and bucked between running good and bad, popped through the throttle blade too but above that certain RPM range it ran great. I read and read until I was overwhelmed by possibilities of what it could be. I decided to take a chance and went to Radio Shack and got the volume knob for a stereo. $5 dollars and some speaker wire I have plenty of now I have the potentiometer in the passenger's floor board so I can fine tune while driving. From what I gathered in all that reading was the ECU would get out of spec over time and the pot addition brought it back to life. It worked great for me and now I have a new something to distract me while driving. Page 3 is the good stuff out of the whole thread...3 points
-
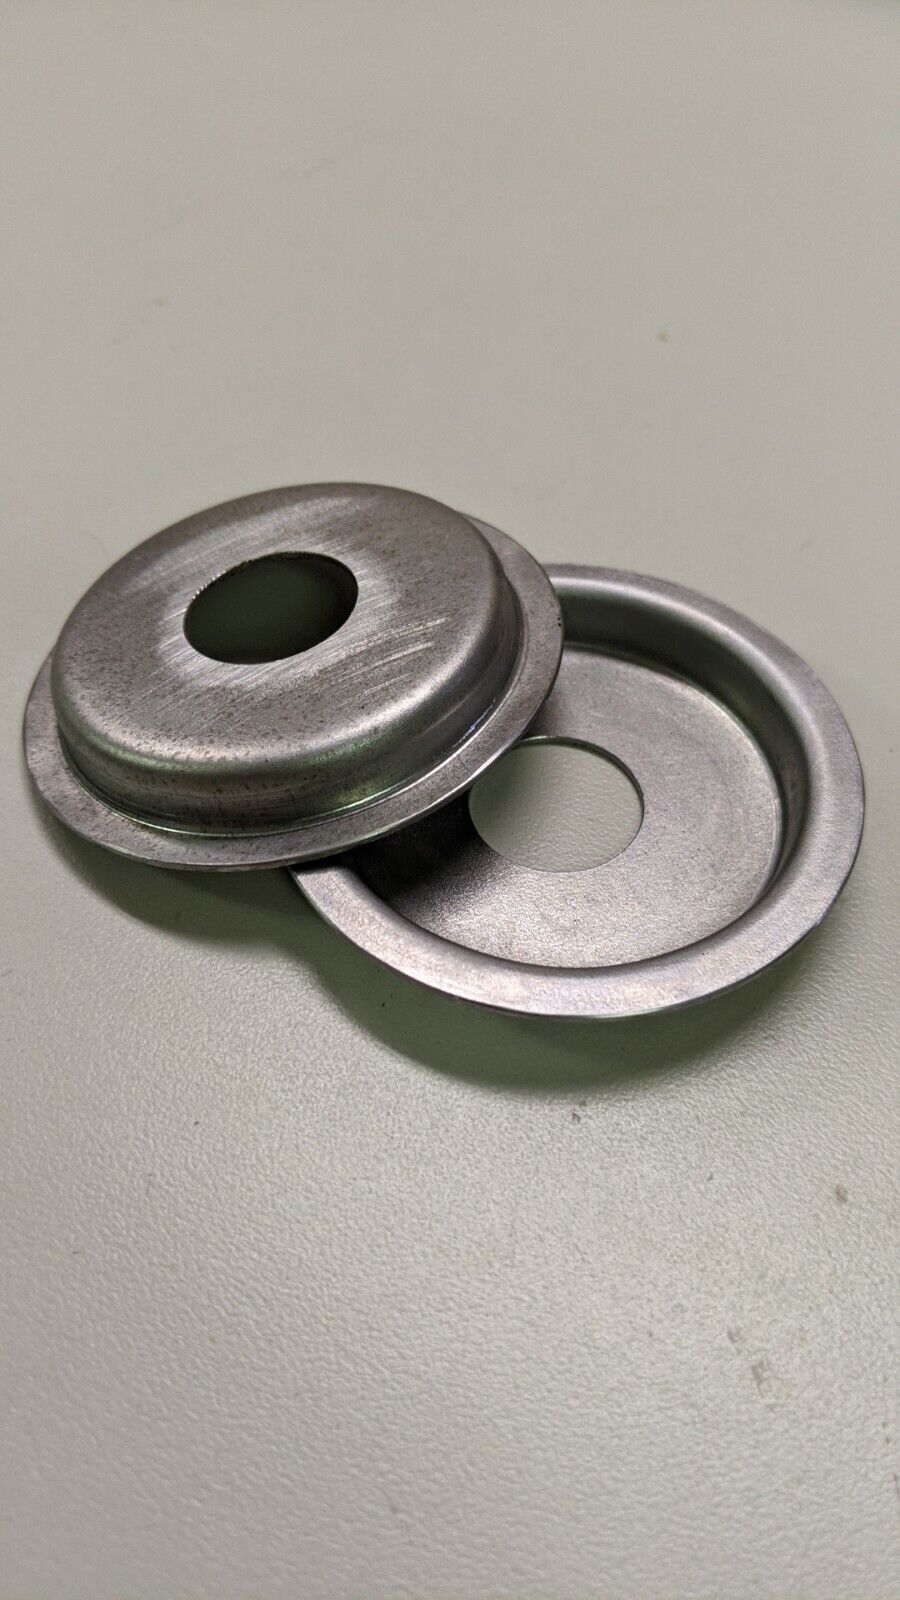
I know this post has been sleeping for a while, but I fabricated some of these bushing seats/ mounts for my own restorations. I made extra. If anyone is ever in need, shoot me a message.
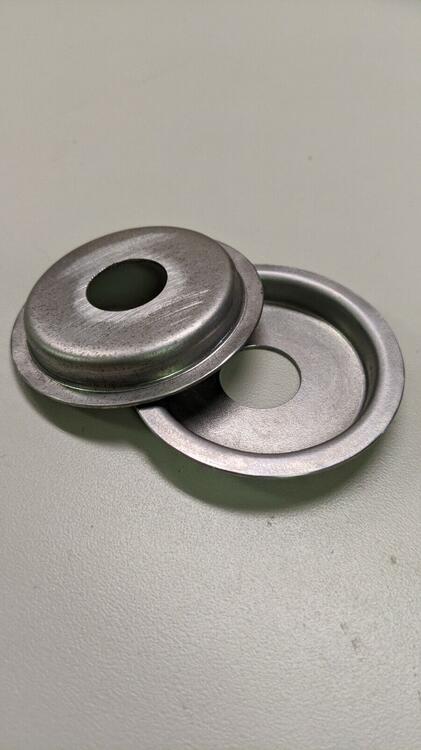
 3 points
 -
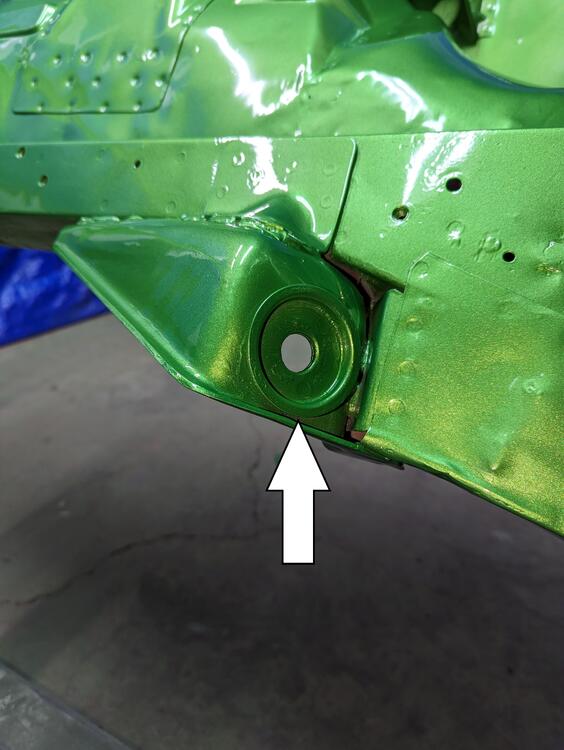
That's to drain off the extra electrons so they don't fill up the starter.3 points
-
3 pointsMe too!! Hopefully we'll be able to get the band back together soon!!3 points
-
3 pointsThat's not where I end up. My general feeling is "don't mess with the AFM".3 points
-
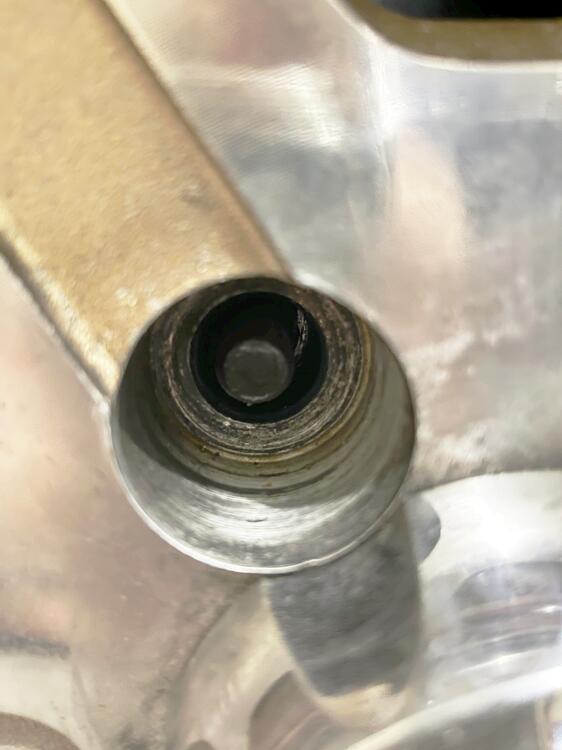
Captain....I'm not sure what you're refering to...could have possibly been something to do with a brake cylinder, but I honestly don't remember. This is the first time I've had this sort of problem with a clutch master cylinder. Edit:....Never mind Captain O...I see now that comment about tapping a hole was directed to Patcon, not me...thank you for mentioning that. As far as simply discarding it and buying a new one as suggested...first, I'm retired...I don't mind tinkering with things...to either fix them or just gain a better understanding as to how things work...second, while replacement cylinders are cheap and easy to come by, as far as I can tell, the original equipment NABCO clutch (and brake) cylinders are much harder to find...especially in "as new" condition. I'm not gonna loose any sleep over this problem...I just thought the group might have some good suggestions.2 points
-
2 points
-
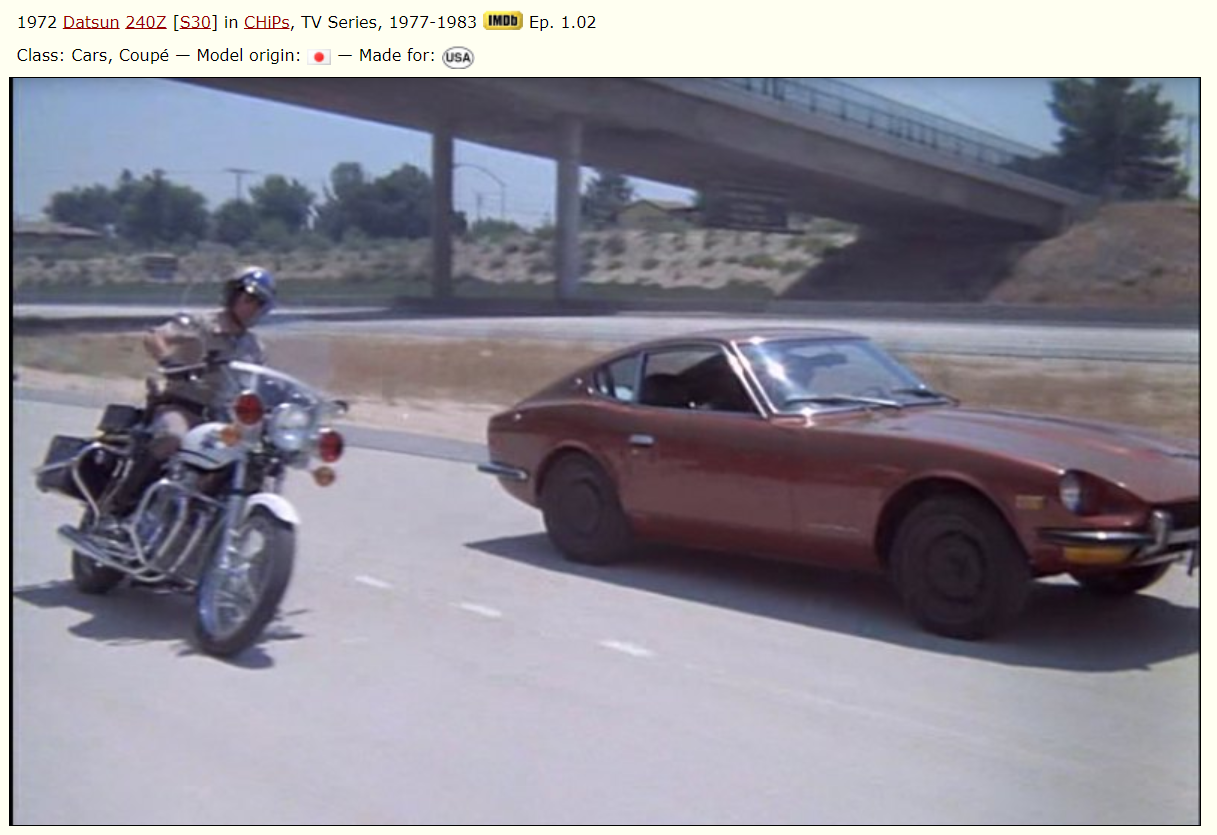
2 pointsI think i can say from all of us, we hope you get as old as Mr Katayama, he also drove a 240z for a very long time (i guess..)2 points
-
2 pointsSource: https://www.bikebound.com/2015/06/24/what-are-the-motorcycles-in-chips/#:~:text=One of the most common,Patrol officers of the era.
 2 points
 -
Would the 12v in still be 12v after a 2.2KOhm resistor? Wouldn't it be lower?1 point
-
Holy cow Patcon! That is EXACTLY what I was hoping to find. Thank you so much. Now I am on a mission to find those screws I'll need to complete this job.1 point
-
There is stuff on the internet, of course. https://advancedstructures.in/starter-motor-teardown-and-feature-study/
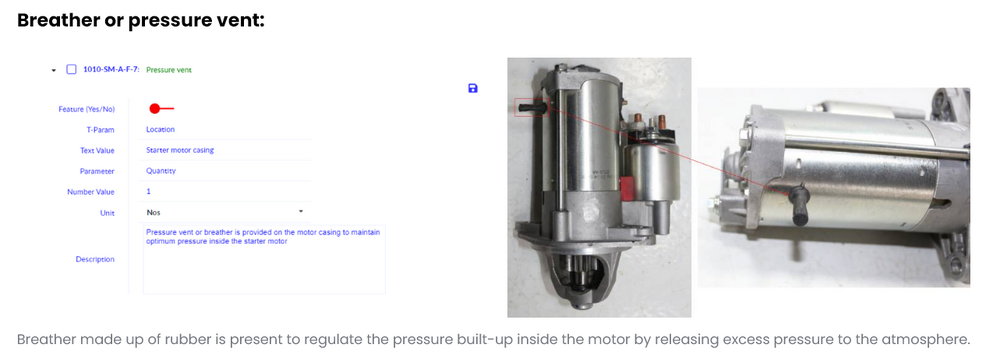 1 point
 -
1 pointUPDATE: I may be onto something here. I pulled one lug with the car on the ground (flat with washer style) and noticed even though the zx wheels are not acorn style, they were NOT keeping the hub stud centered in the wheel so even though the wheels/tires are balanced, they are not centered on the hub overall probably causing the shake. Thinking back, I tried my friends new wheels and tires with his acorn nuts years ago with no shake but tried my other friend's wheels a few weeks ago with my lugs and got a shake. I will get acorn style nuts within the next few weeks and see what happens, but I think we may be onto something here.
 1 point
 -
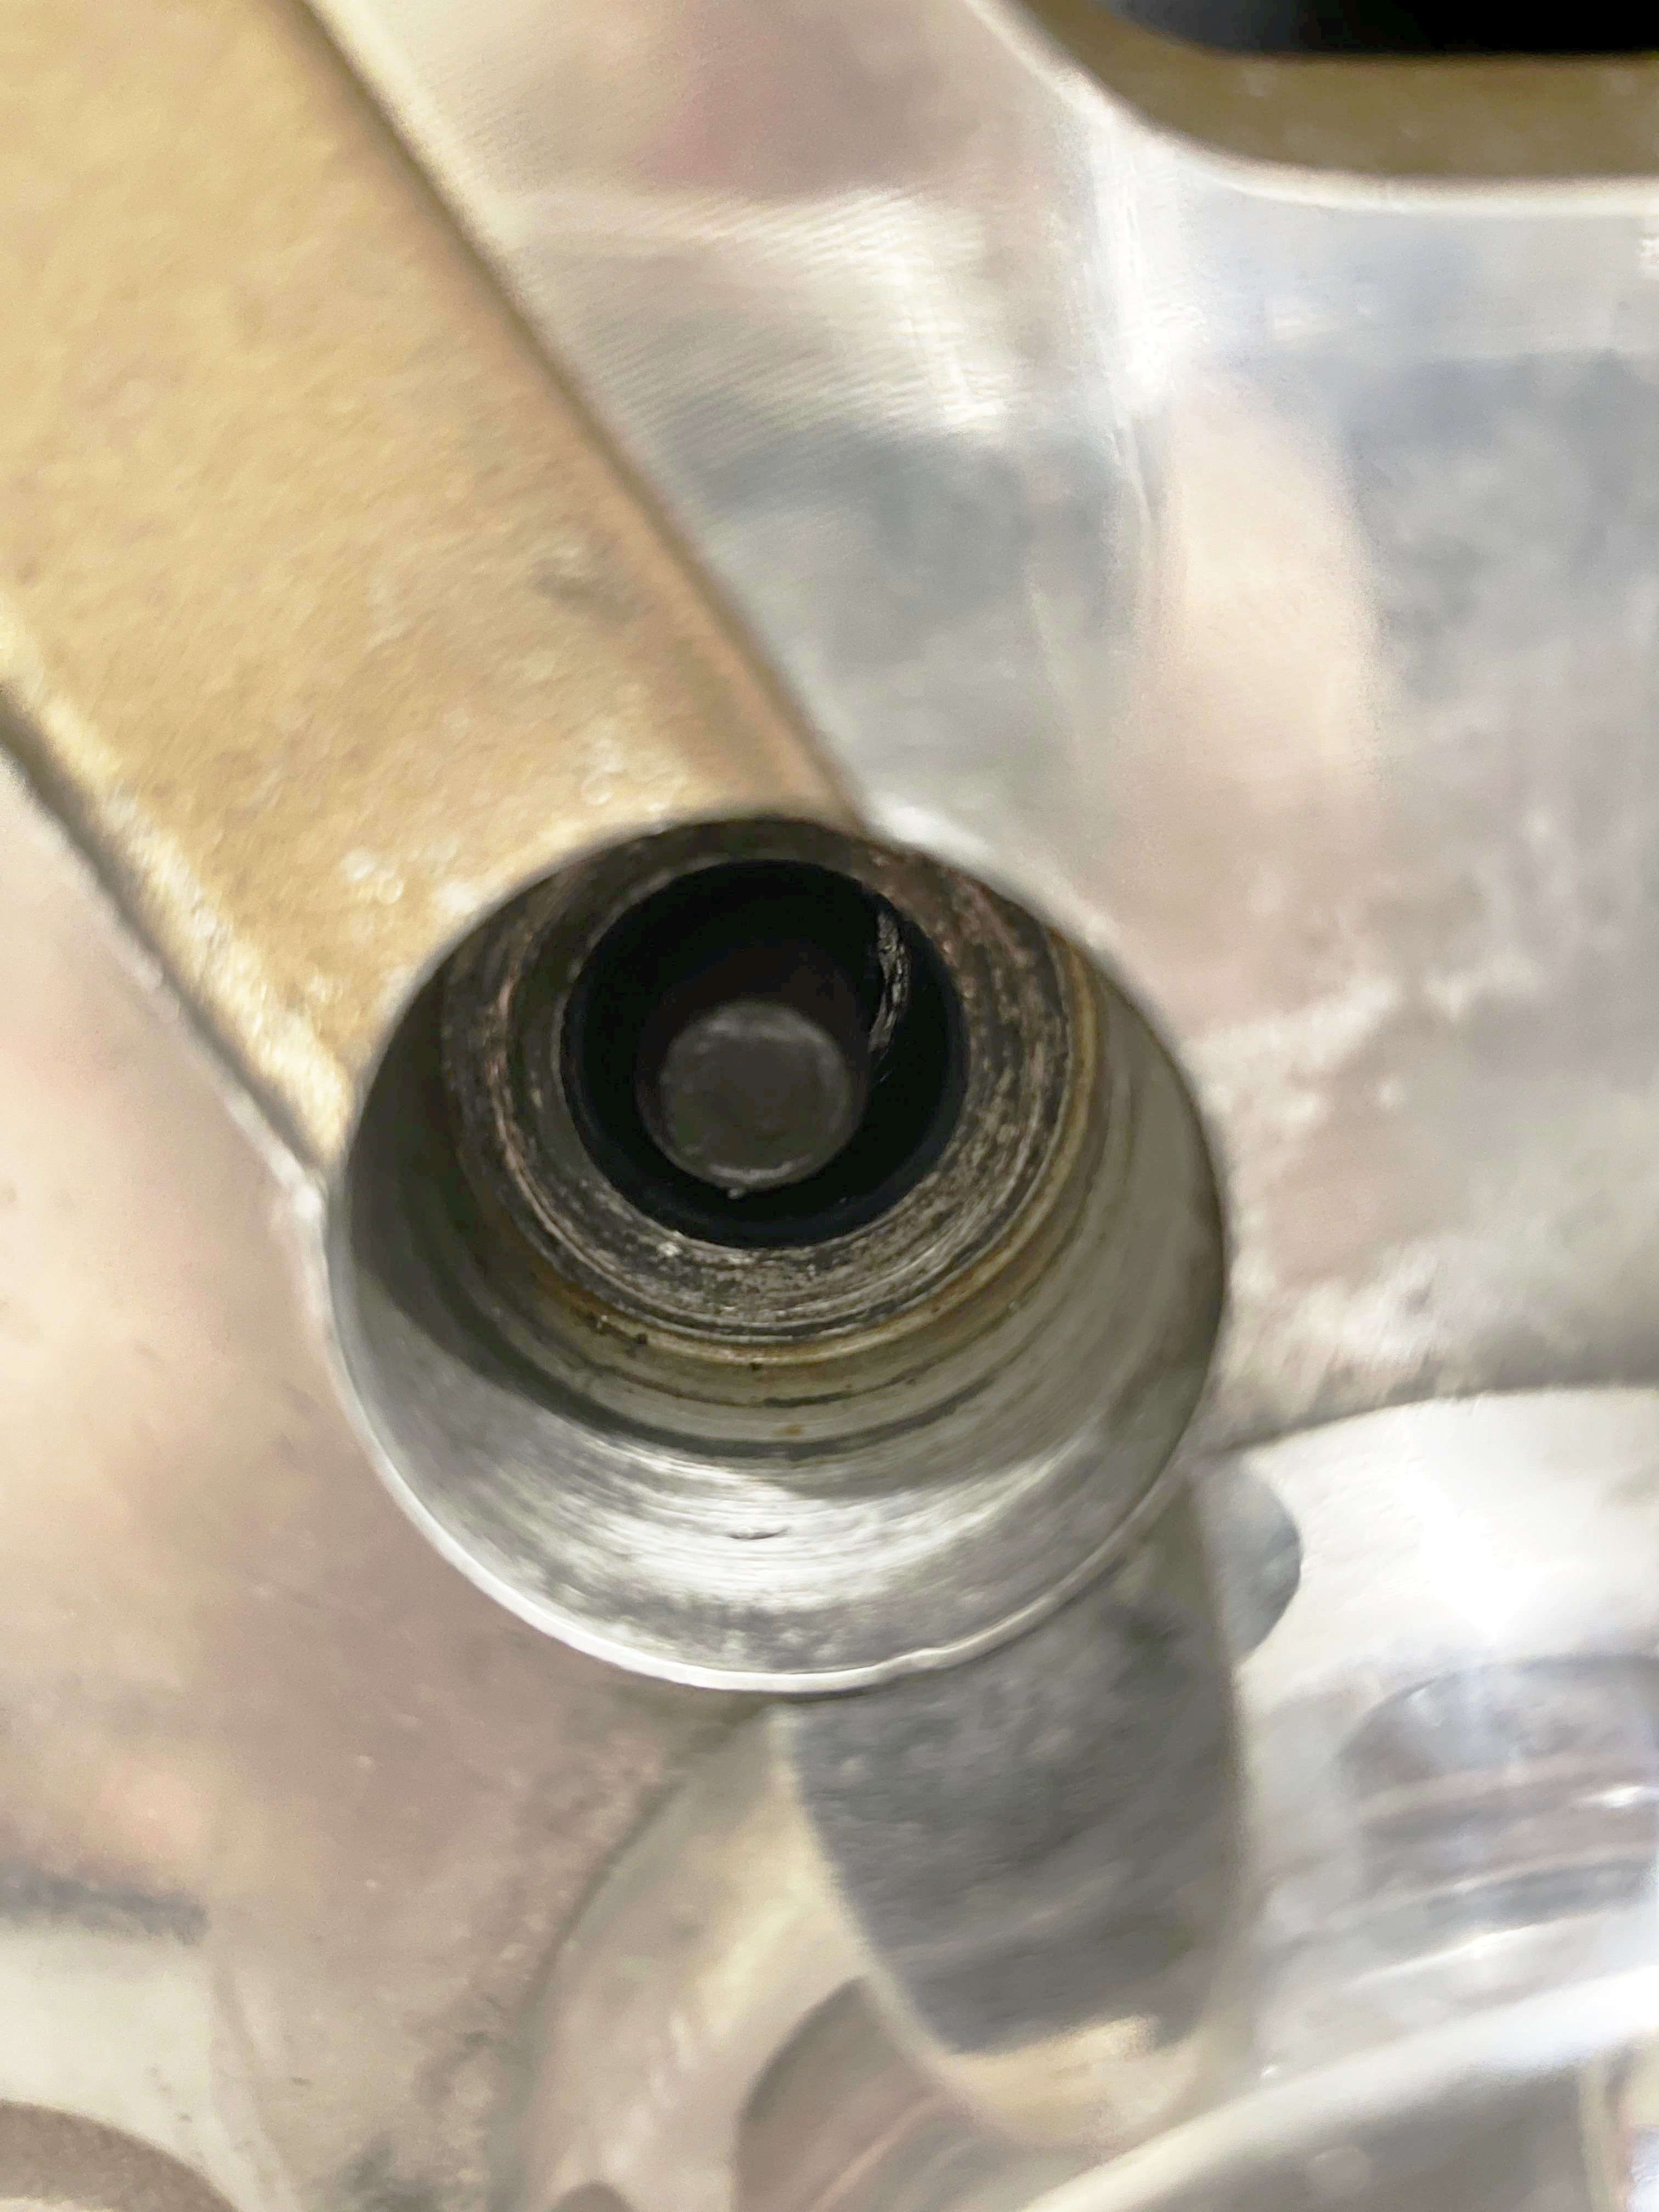
Start at post #597 p24 The bottom screw/pin retains the cylinder in the bore. You will need a sacrificial pin or a bolt for that hole. I had a corroded one that I cut off so I could plug the bottom. Tapped the reservoir. I agree, I have several Nabco clutch master cylinders and I like the idea of having the original Nabco part. The finished rebuilt part is shown in the following pages1 point
-
1 pointWell not exactly. You're correct about the early tach running the coil current through it, but it's not reading it like a ammeter. It's reading pulses. Steady state does nothing. The signal has to change. If your points happen to be closed when you turn the key to the "ON" position, if it was an ammeter, the tach would peg high and stay there until the points opened.1 point
-
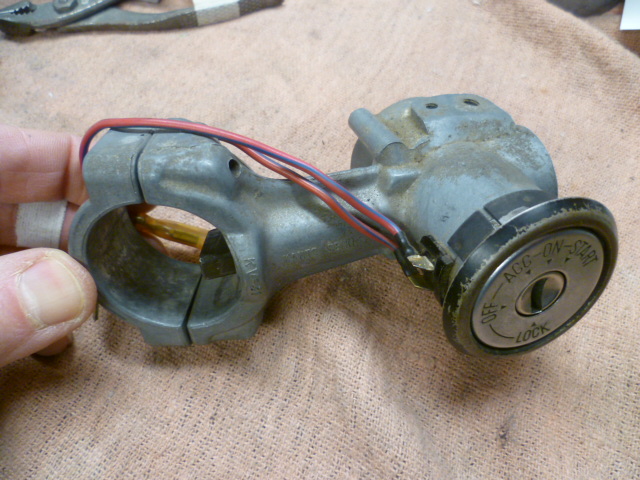
1 pointActually, I don't. My data points are the most of my experience is with the later switches and my believe that they didn't ADD stuff like this in later years, only Munced down from earlier versions. I do know that I've got original switches from years as early as 74 as well as aftermarket stuff as new as a few years ago and I've never seen one with that kind of cover over those wires. Sorry if I appeared more confident than I really am. Maybe I've been missing that cover off all the switches I've messed with!1 point
-
In all seriousness, I would assume it's an air vent to let the ozone out?1 point
-
1 point
-
1 pointThanks Guys! someone in Latvia restored one.. and he bought it in The Netherlands.. and the dutch guy bought in the States.. Air-Cooled Interceptor: Kawasaki KZ1000P Police Special – BikeBound1 point
-
Tap the reservoir hole and put a little bolt in there. The better approach to this problem is buy a new MC.1 point
-
1 pointThe EFI does depend on the coolant temperature sensor for correct fueling. As the coolant temp goes UP, the resistance DROPS. The FSM shows a table for expected temp vs. resistance values in the Engine Fuel section (page 53). Why would you want to ADD resistance to the signal using a variable resistor? Else, why would you remove the coolant temp sensor (thermistor) by replacing it with a manually controlled variable resistor? The aged wire and connectors in your engine harness may already be skewing signal with additional resistance. Additional resistance which would fool the ECU into thinking the engine was running cooler that it actually is. I think a more productive route would be to measure the resistance at the sensor, and then at the ECU - to see how much additional resistance wiring and connectors might be adding. If the skew is significant, a new wire and connector from the sensor to the ECU might beneficial. In my years with this early EFI and ECCS in S30's and S130's, I've found 90% of the problems to be in wiring and connectors. I've always advised: Clean both sides of your connectors, then do it again, Ya... then do it again. and don't forget the ECU... Most people ignore me and just go straight for the AFM. When you know everything there is to know about that Bosch L-Jetronic AFM, go ahead and bust it open. Trouble is, if you did know everything there is to know about that AFM, you'd never actually do that...1 point
-
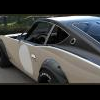
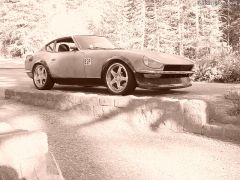
It is. 200WHP & only 2000lbs. JDM K24 with K20 head, 6 speed transaxle. I've had the car for around 16 years, I love it but I'm selling it to fund the Datsun, it doesn't need any more fiddling with 🙂 So 76- on has an alternate bypass to keep the engine properly circulating coolant before the t/stat opens located where? I'm assuming the AAR = aux air valve, but I don't know the layout of the cooling system, and the FSM doesn't show much.
 1 point
 -
1 pointAs I said in my previous post, the ones I bought and installed are fully dimmable. Ya, bright. Phone video doesn't really do justice. I run them about half speed around town, turn them down when I'm driving in the hills at night... 20230331_192841.mp41 point
-
1 point
-
1 pointIndeed, I am 70+, probably a ++. 70 disappeared from my rear-view mirror quite some time ago! 😁1 point
-
1 pointThe AFM vane is controlled by a spring. So you have to get in to how the force curve changes as you loosen or tighten the spring. For example, if you loosen the spring, the vane will move faster at low air flow, than at high air flow. I think, my memory of spring rates and how to work with them is fuzzy. And I don't know if a clock spring (which is what you'd call the AFM spring, I believe) is a variable rate spring or constant. It's probably out on the internet somewhere. Maybe even in an old paper book. Plus there is some preload. Some things can just be logic'ed out though. The ECU might behave as it would when the AFM is maxed out at mid-range air flow rates if the spring is loosened enough to let the vane move to its limit, even though the air flow rate is still changing, because the spring is not hindering vane movement as much. So you'd end up rich at low air flow and lean at high air flow. Because the AFM signal to the ECU has stopped changing. Or, if you tighten the spring the AFM vane might not move at all at low air flow rates. So you'd be lean at low air flow for a certain spread of air flow rate, then still lean as more air passed by but did not move the vane. Basically you change the slope of the curve. The resistor slides the whole curve over, AFM adjustment changes the slope of the curve and can create artificial limits. The ECU and AFM and injectors and sensors are all finely balanced to work together.1 point
-
1 point
-
Buy direct and save, most US dealers rip people off. https://jessestreeter.com/ got my wheels for me. I saved over 1k. Unless you are in a giant hurry. Jesse would save you money.1 point
-
1 pointWell you could always just cut (break) the plastic cover off the switch. At some point in the evolution they decided that cover wasn't necessary anyway. And if you're still skittish about it, you could just wrap a couple rounds of tape around the whole switch body to recover it after you've reattached the wire?1 point
-
1 pointYou are not wrong. I have to admit to watching that show as well, Google makes finding this stuff too easy.
 1 point
 -
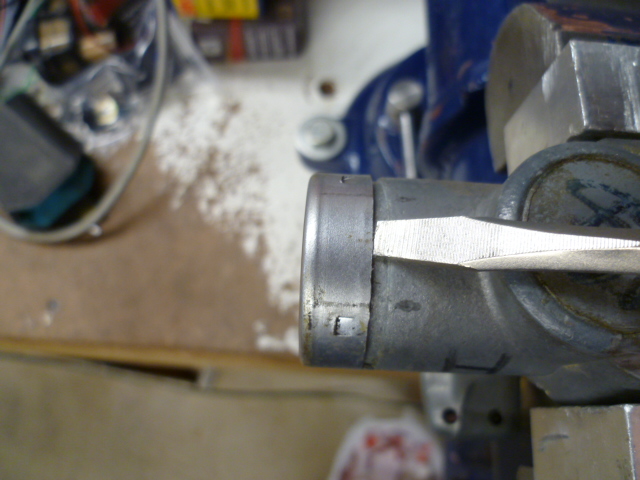
1 pointThe later versions of that "key in the ignition" switch that I've messed with don't have that plastic shroud over the connections. Not sure if they changed the design over the years, or if the ones I've messed with had the cover removed by a PO at some point. In any event, these pics should help. Start with this: Remove this. Should pull off by hand: Then remove this. Should come off with some light taps: Where to go after that should be obvious:

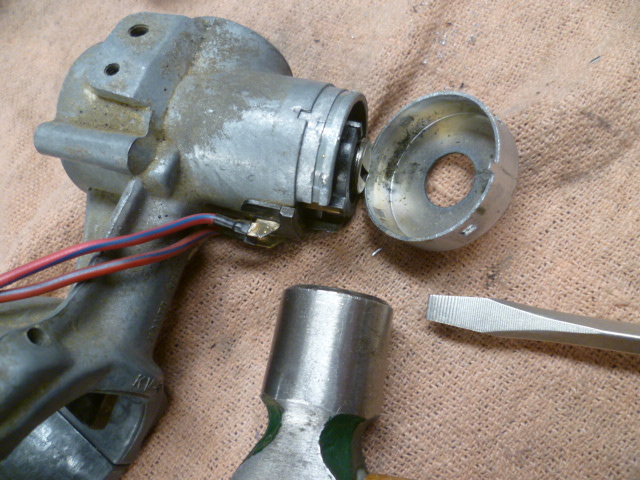 1 point
 -
1 pointIt's just for the "key in" buzzer. I'm not sure what all you would have to disassemble to get to where it goes.1 point
-
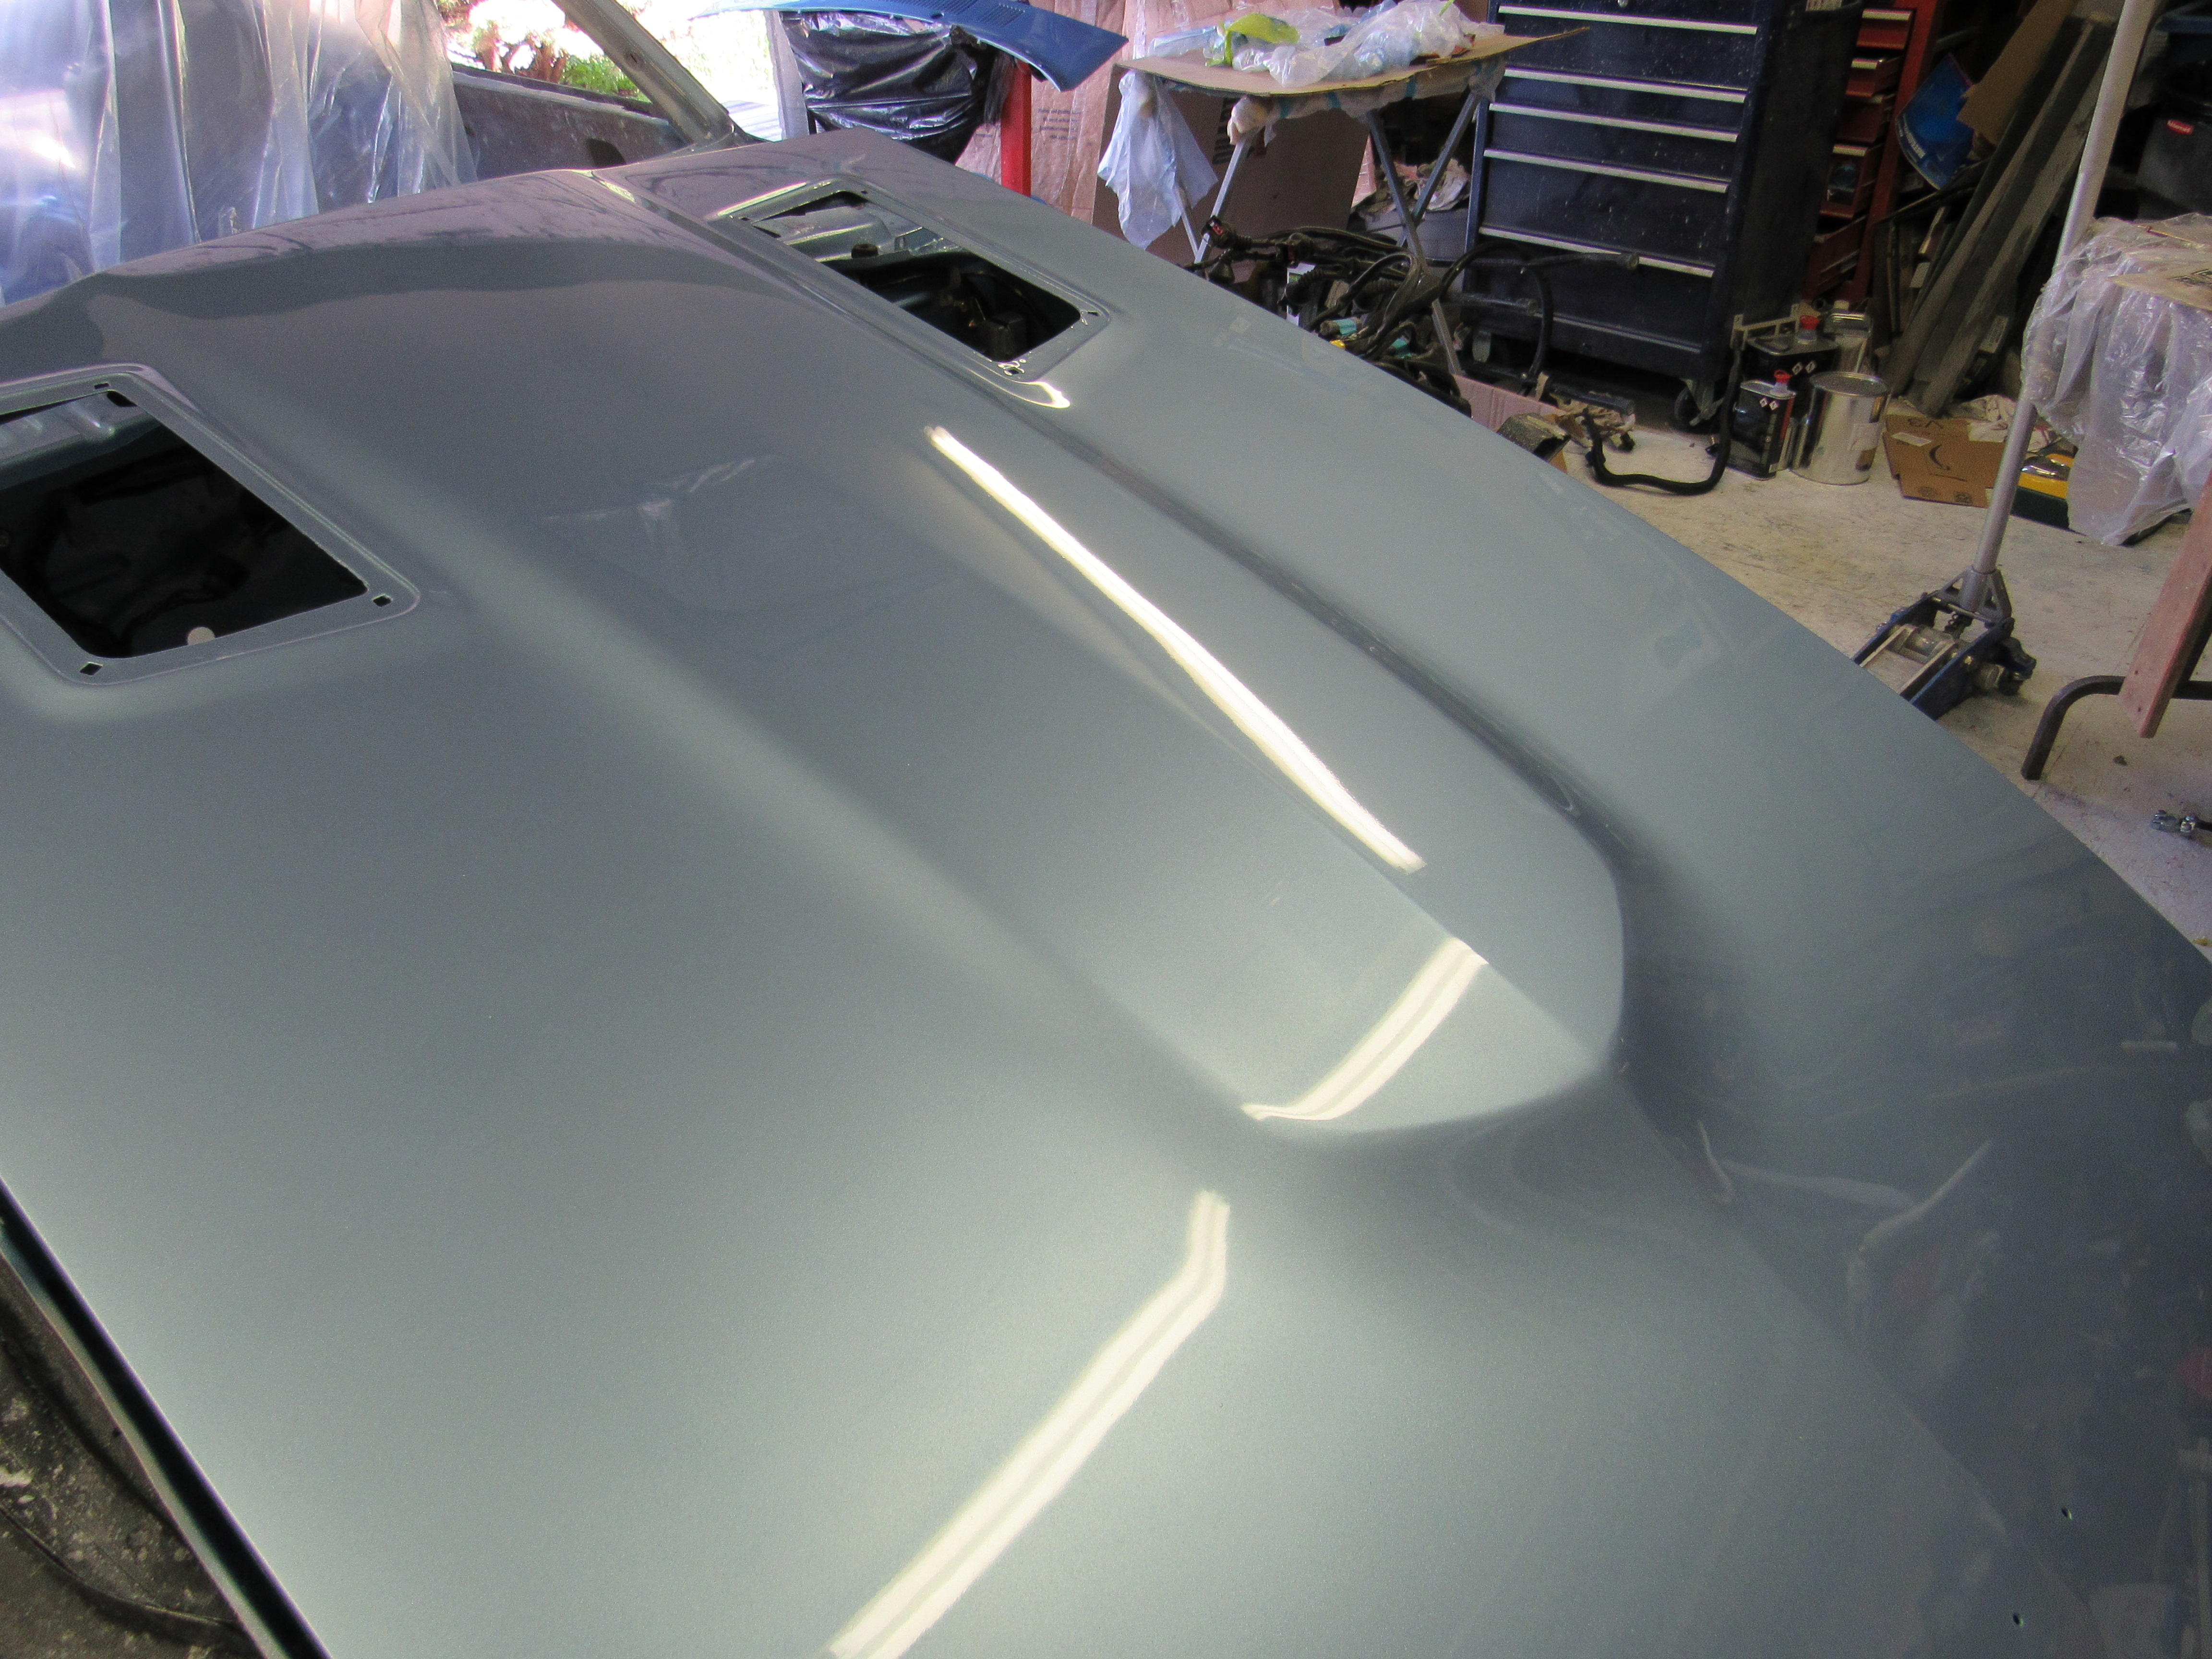
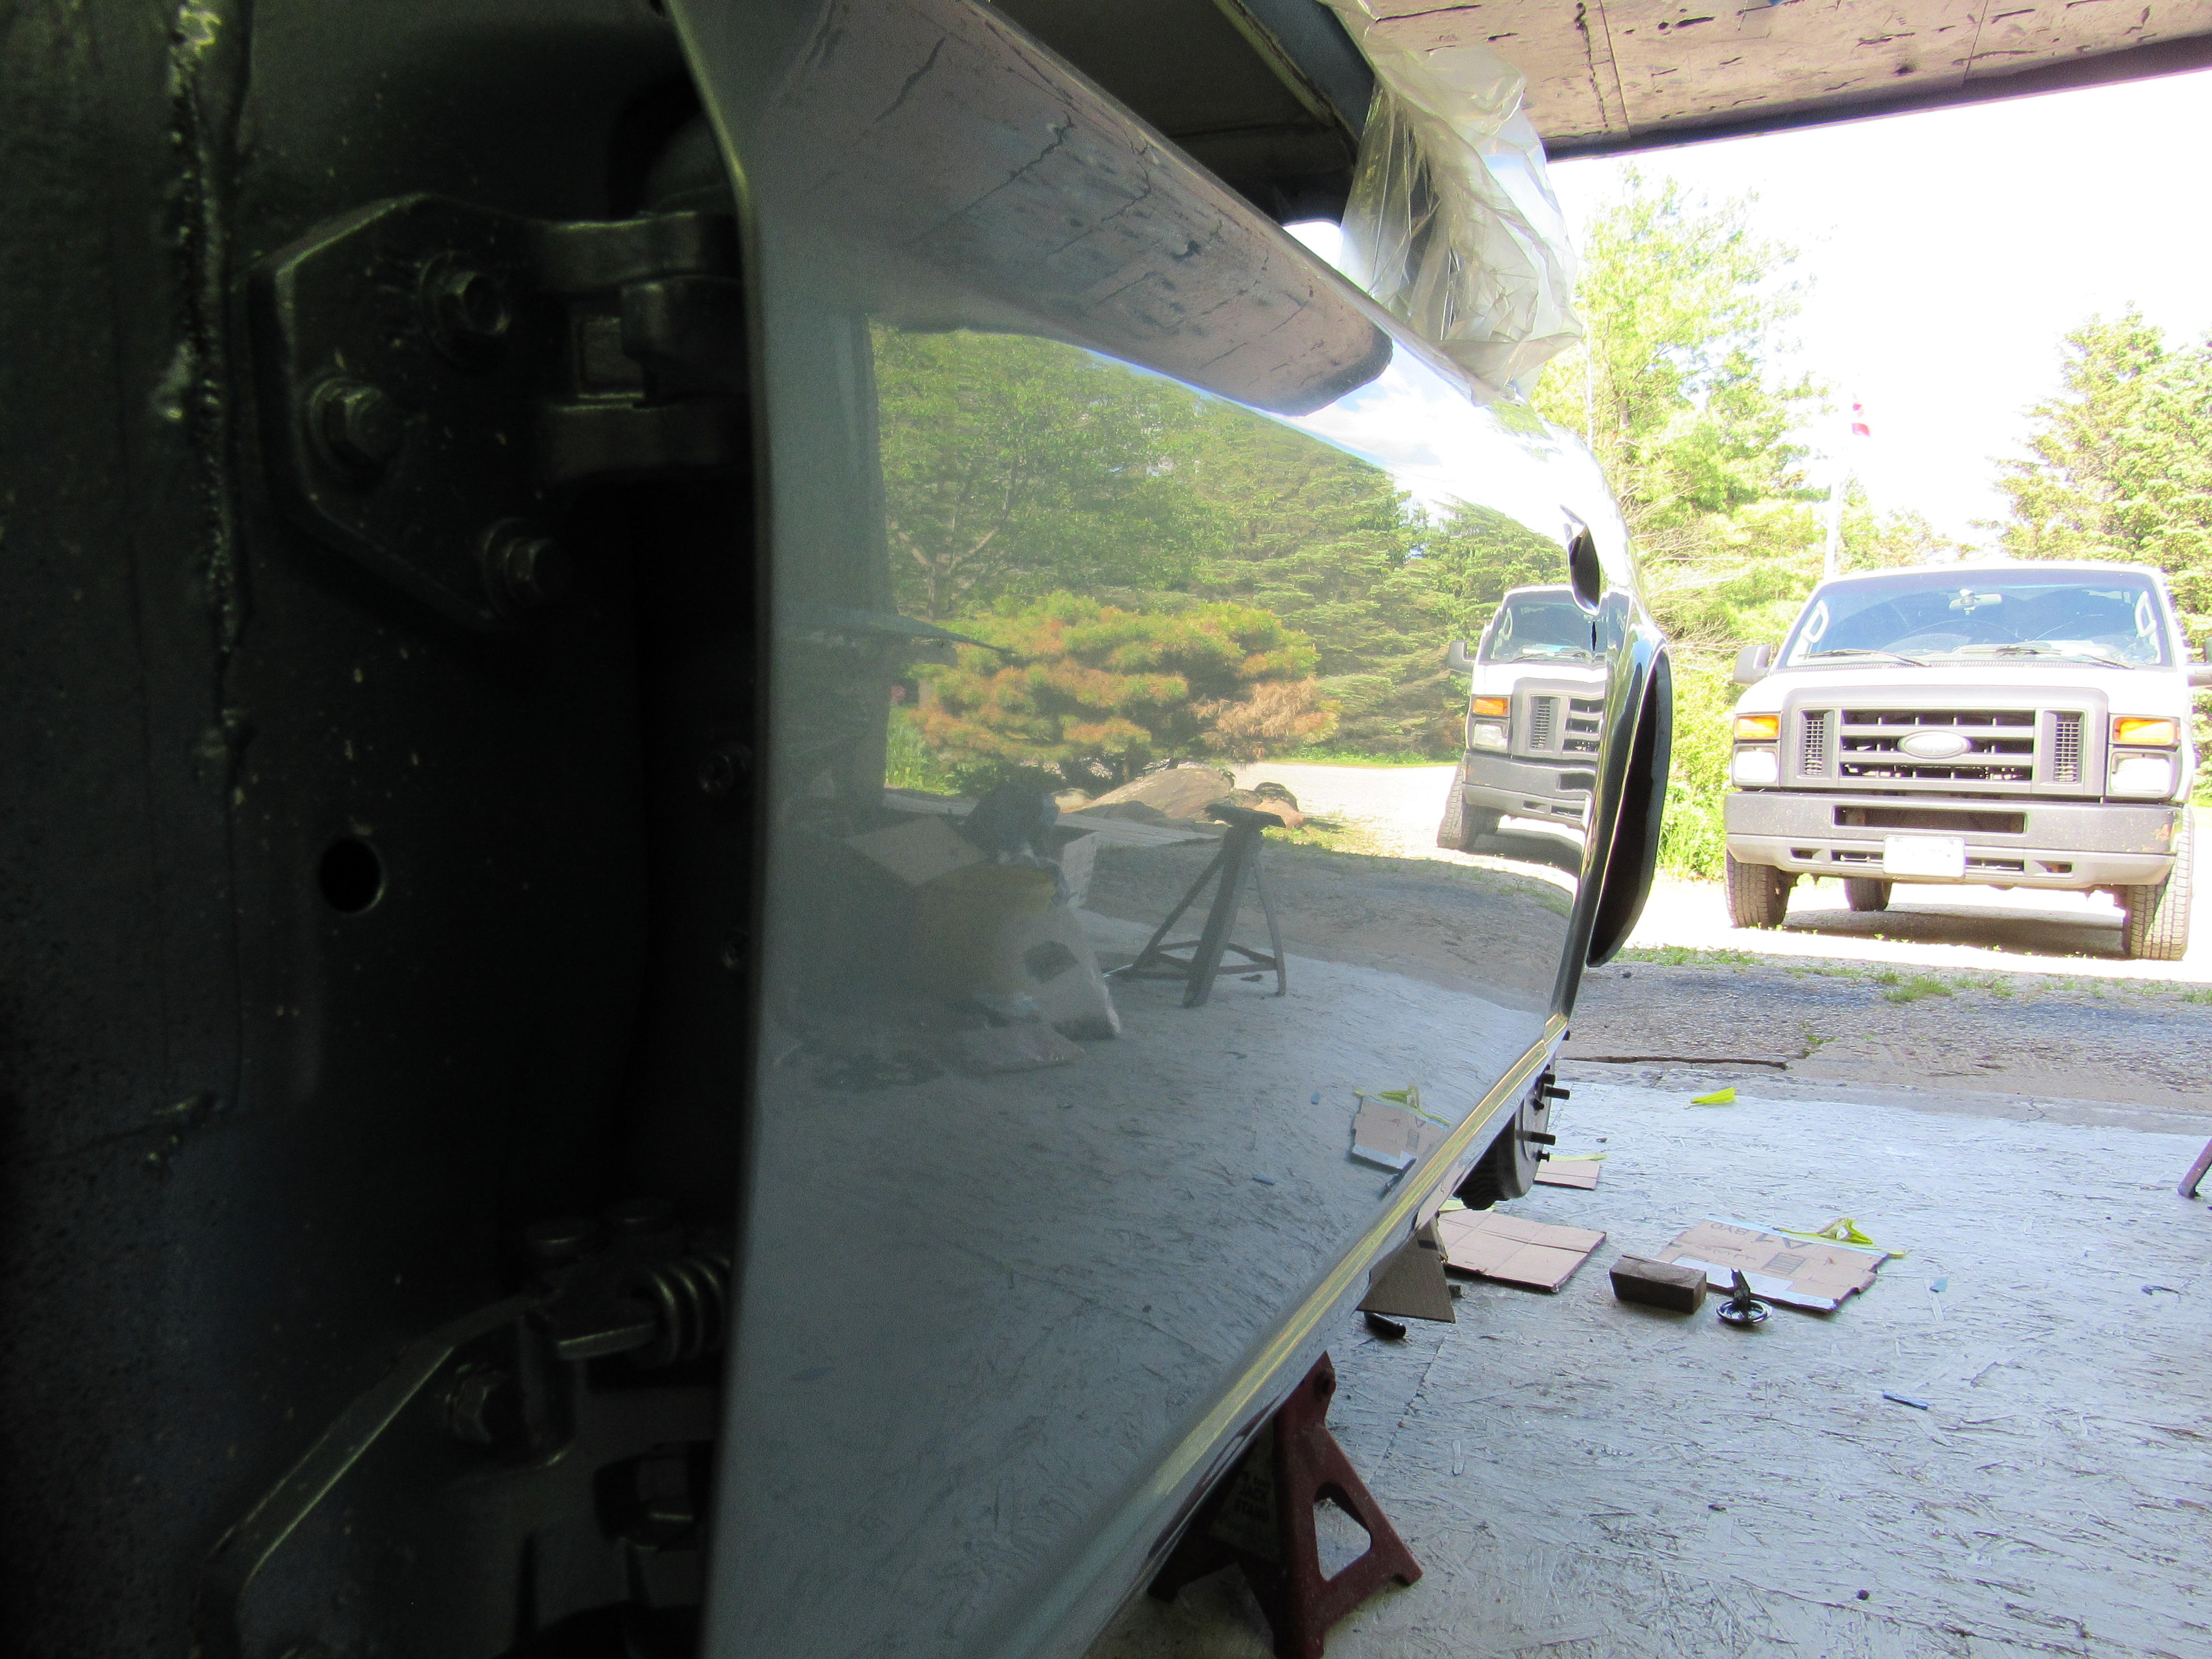
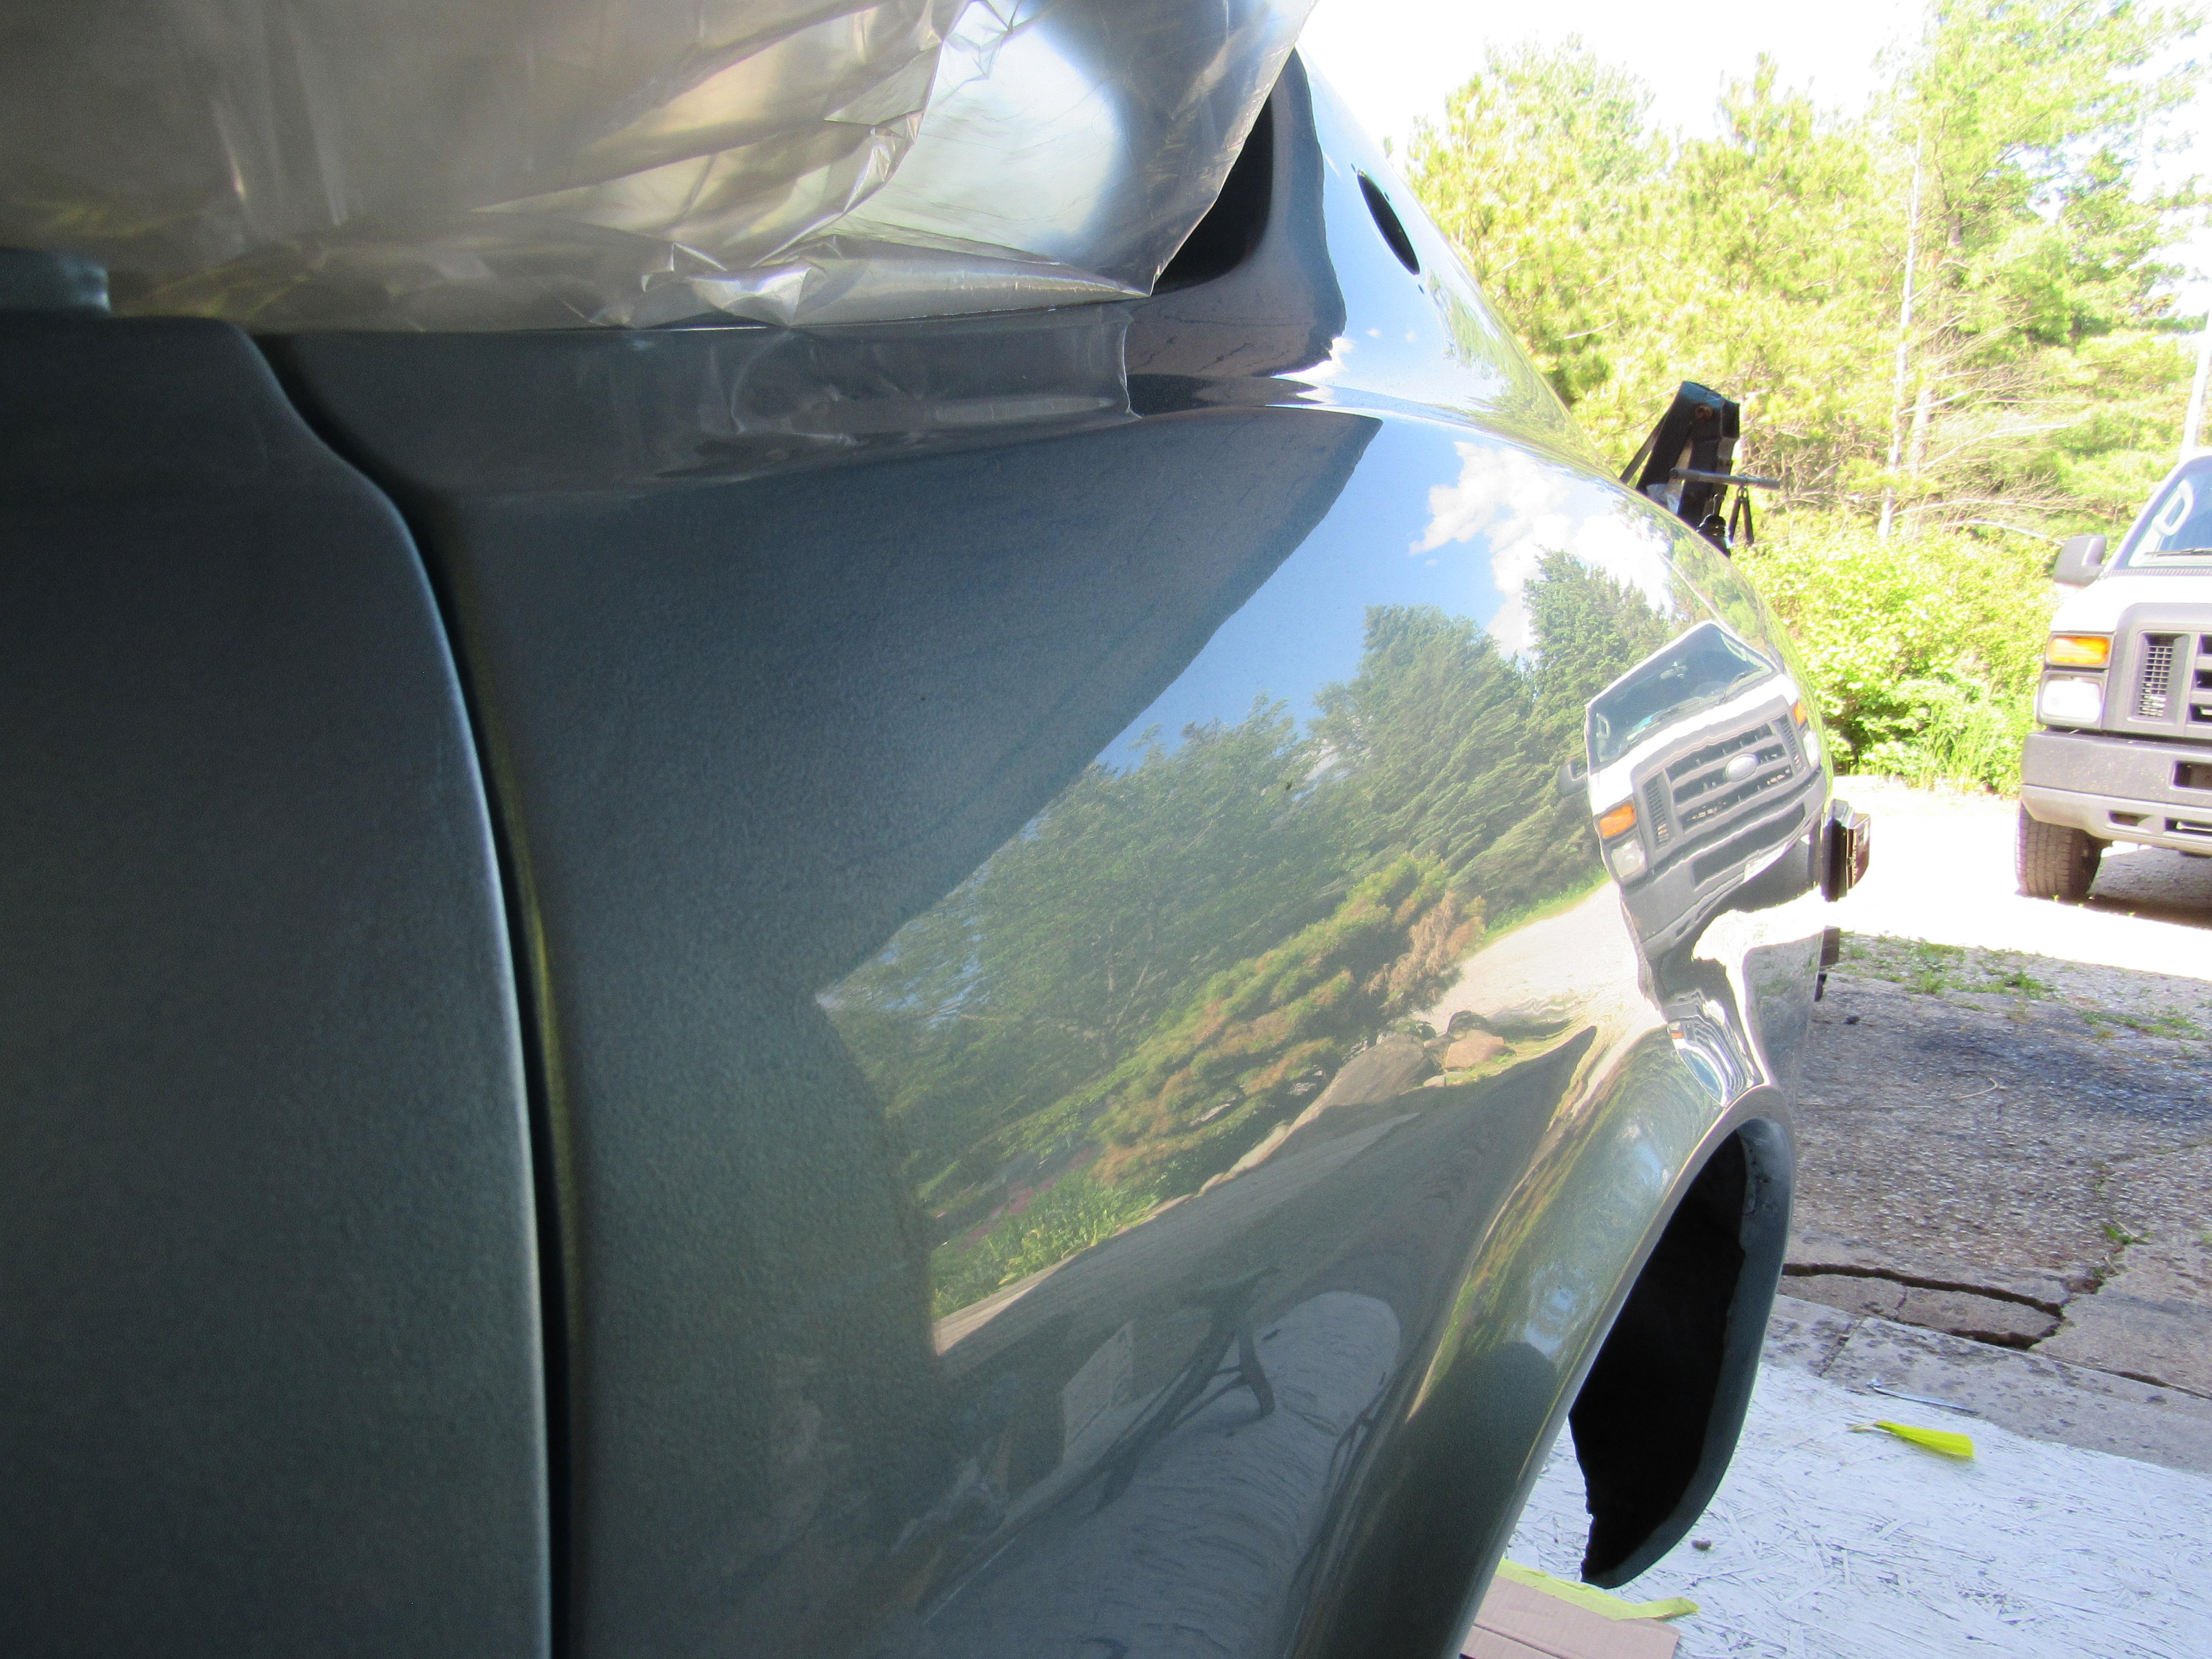
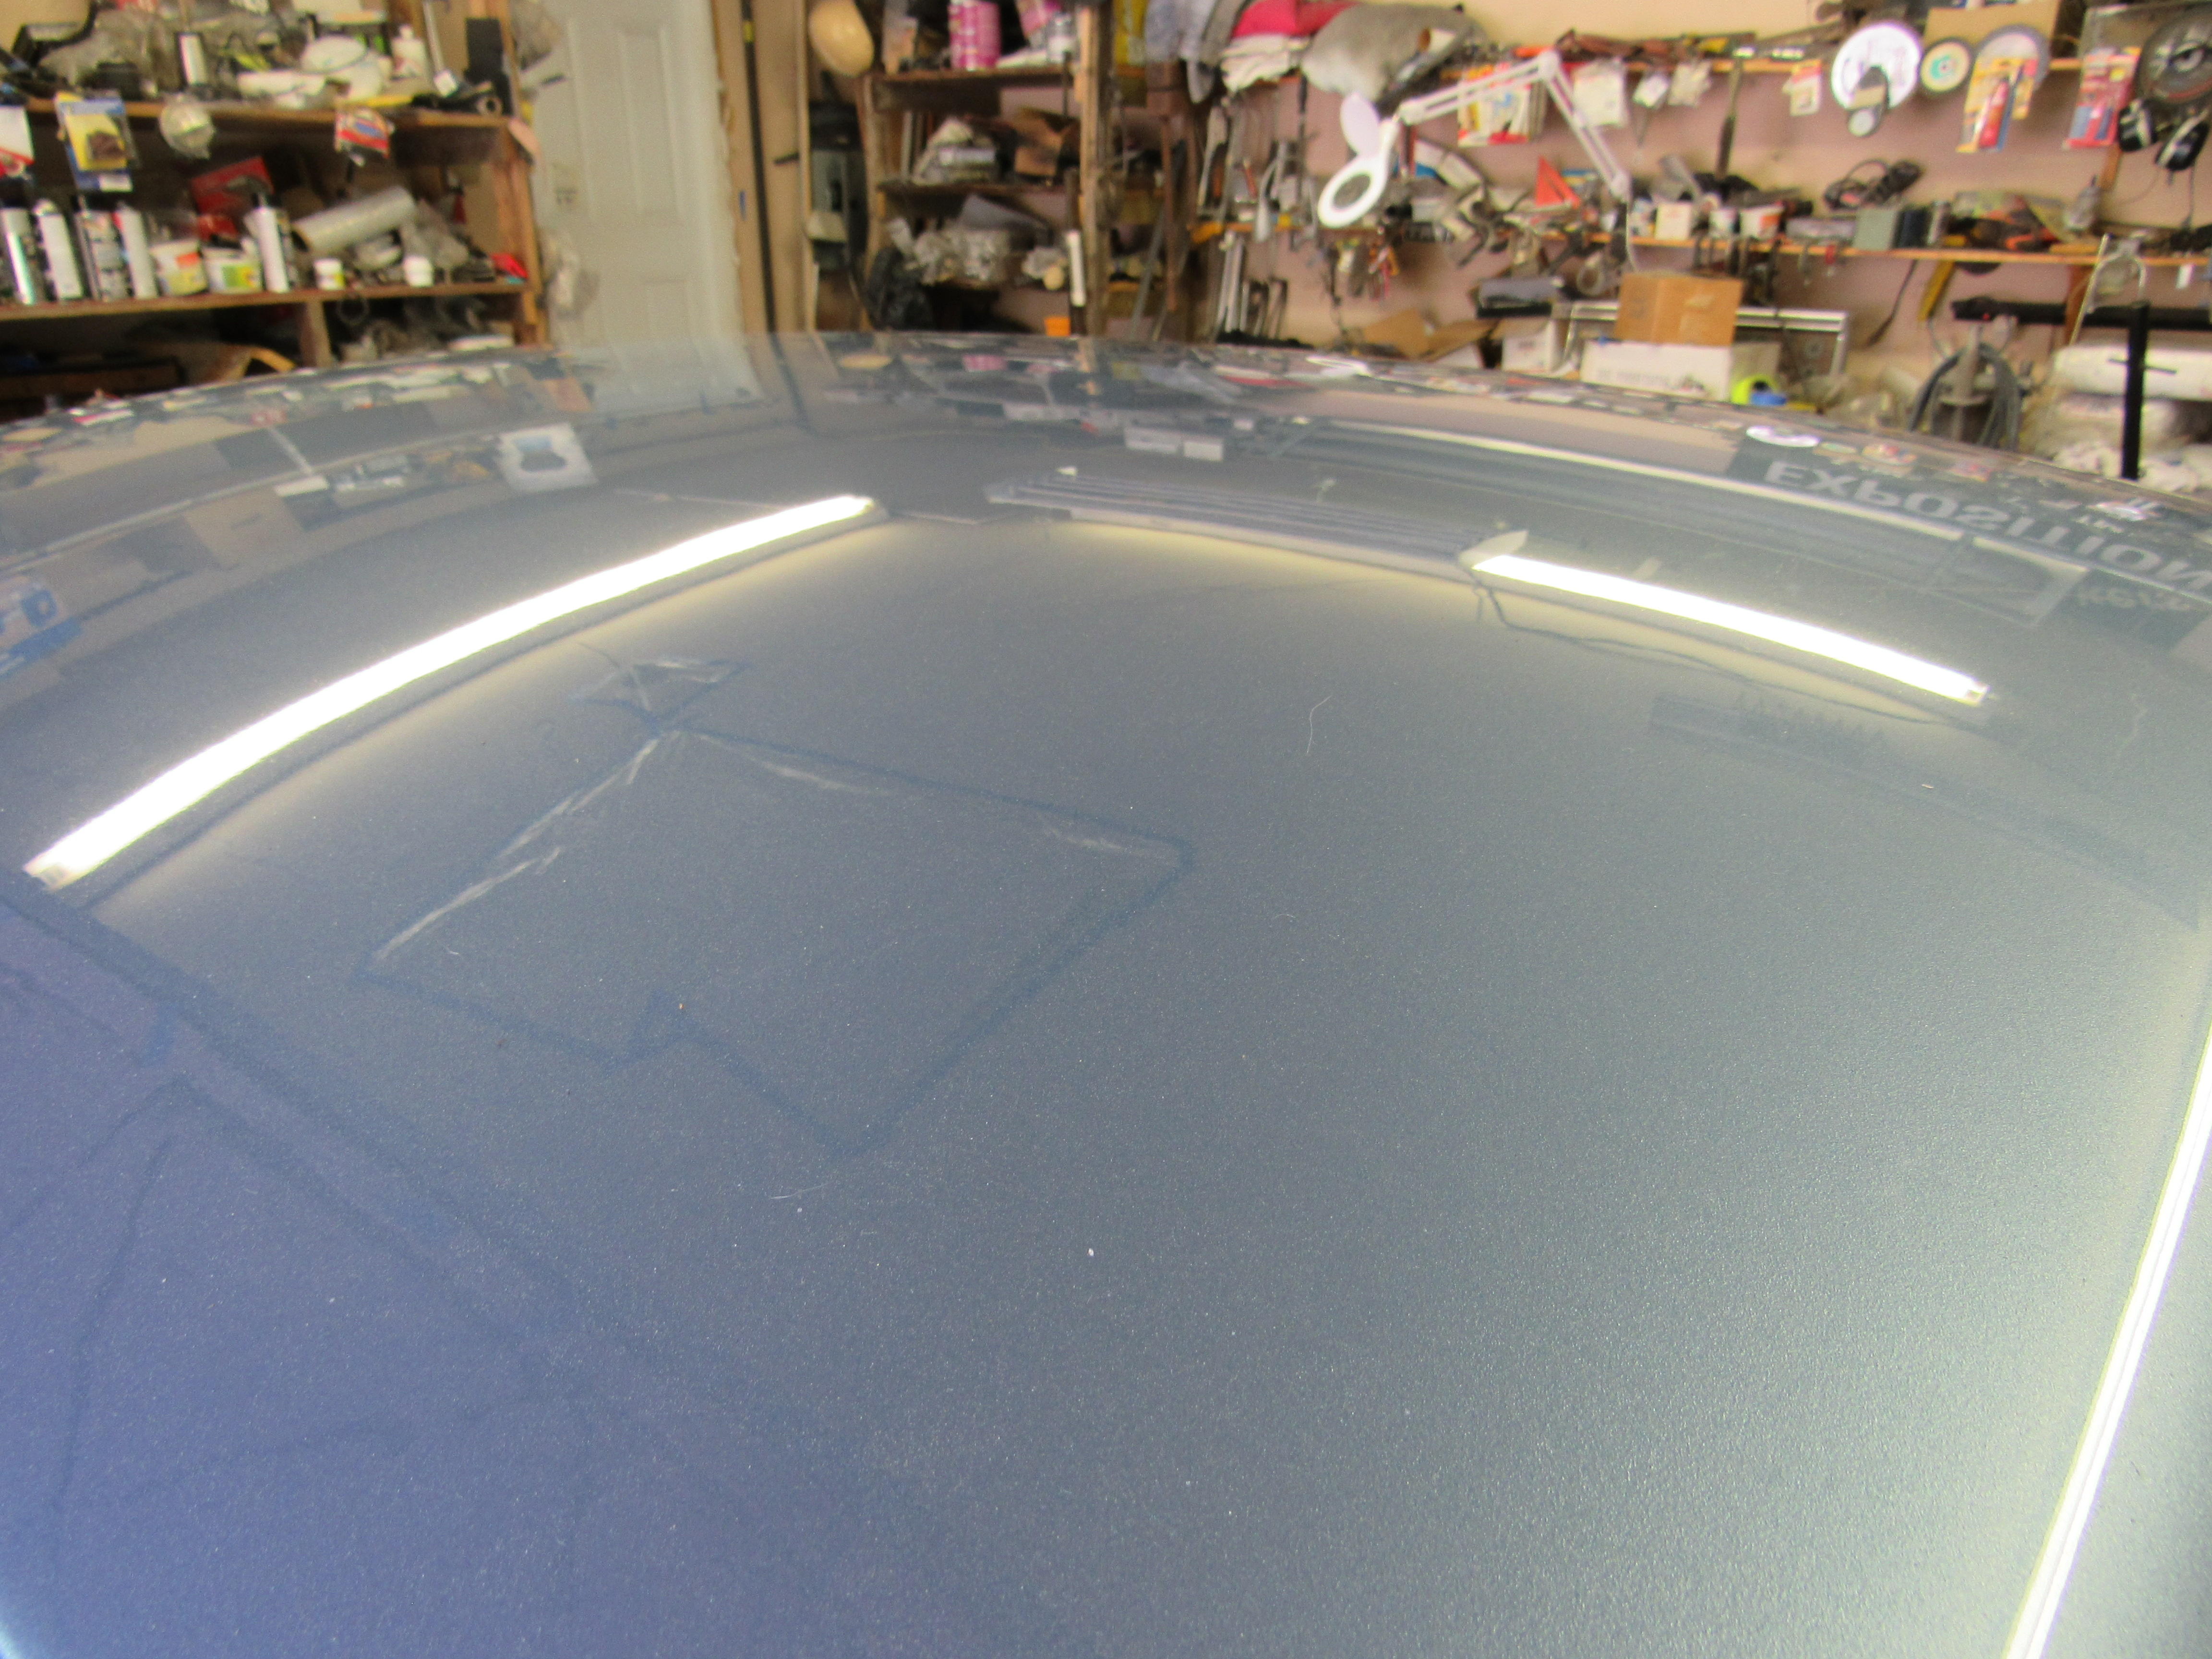
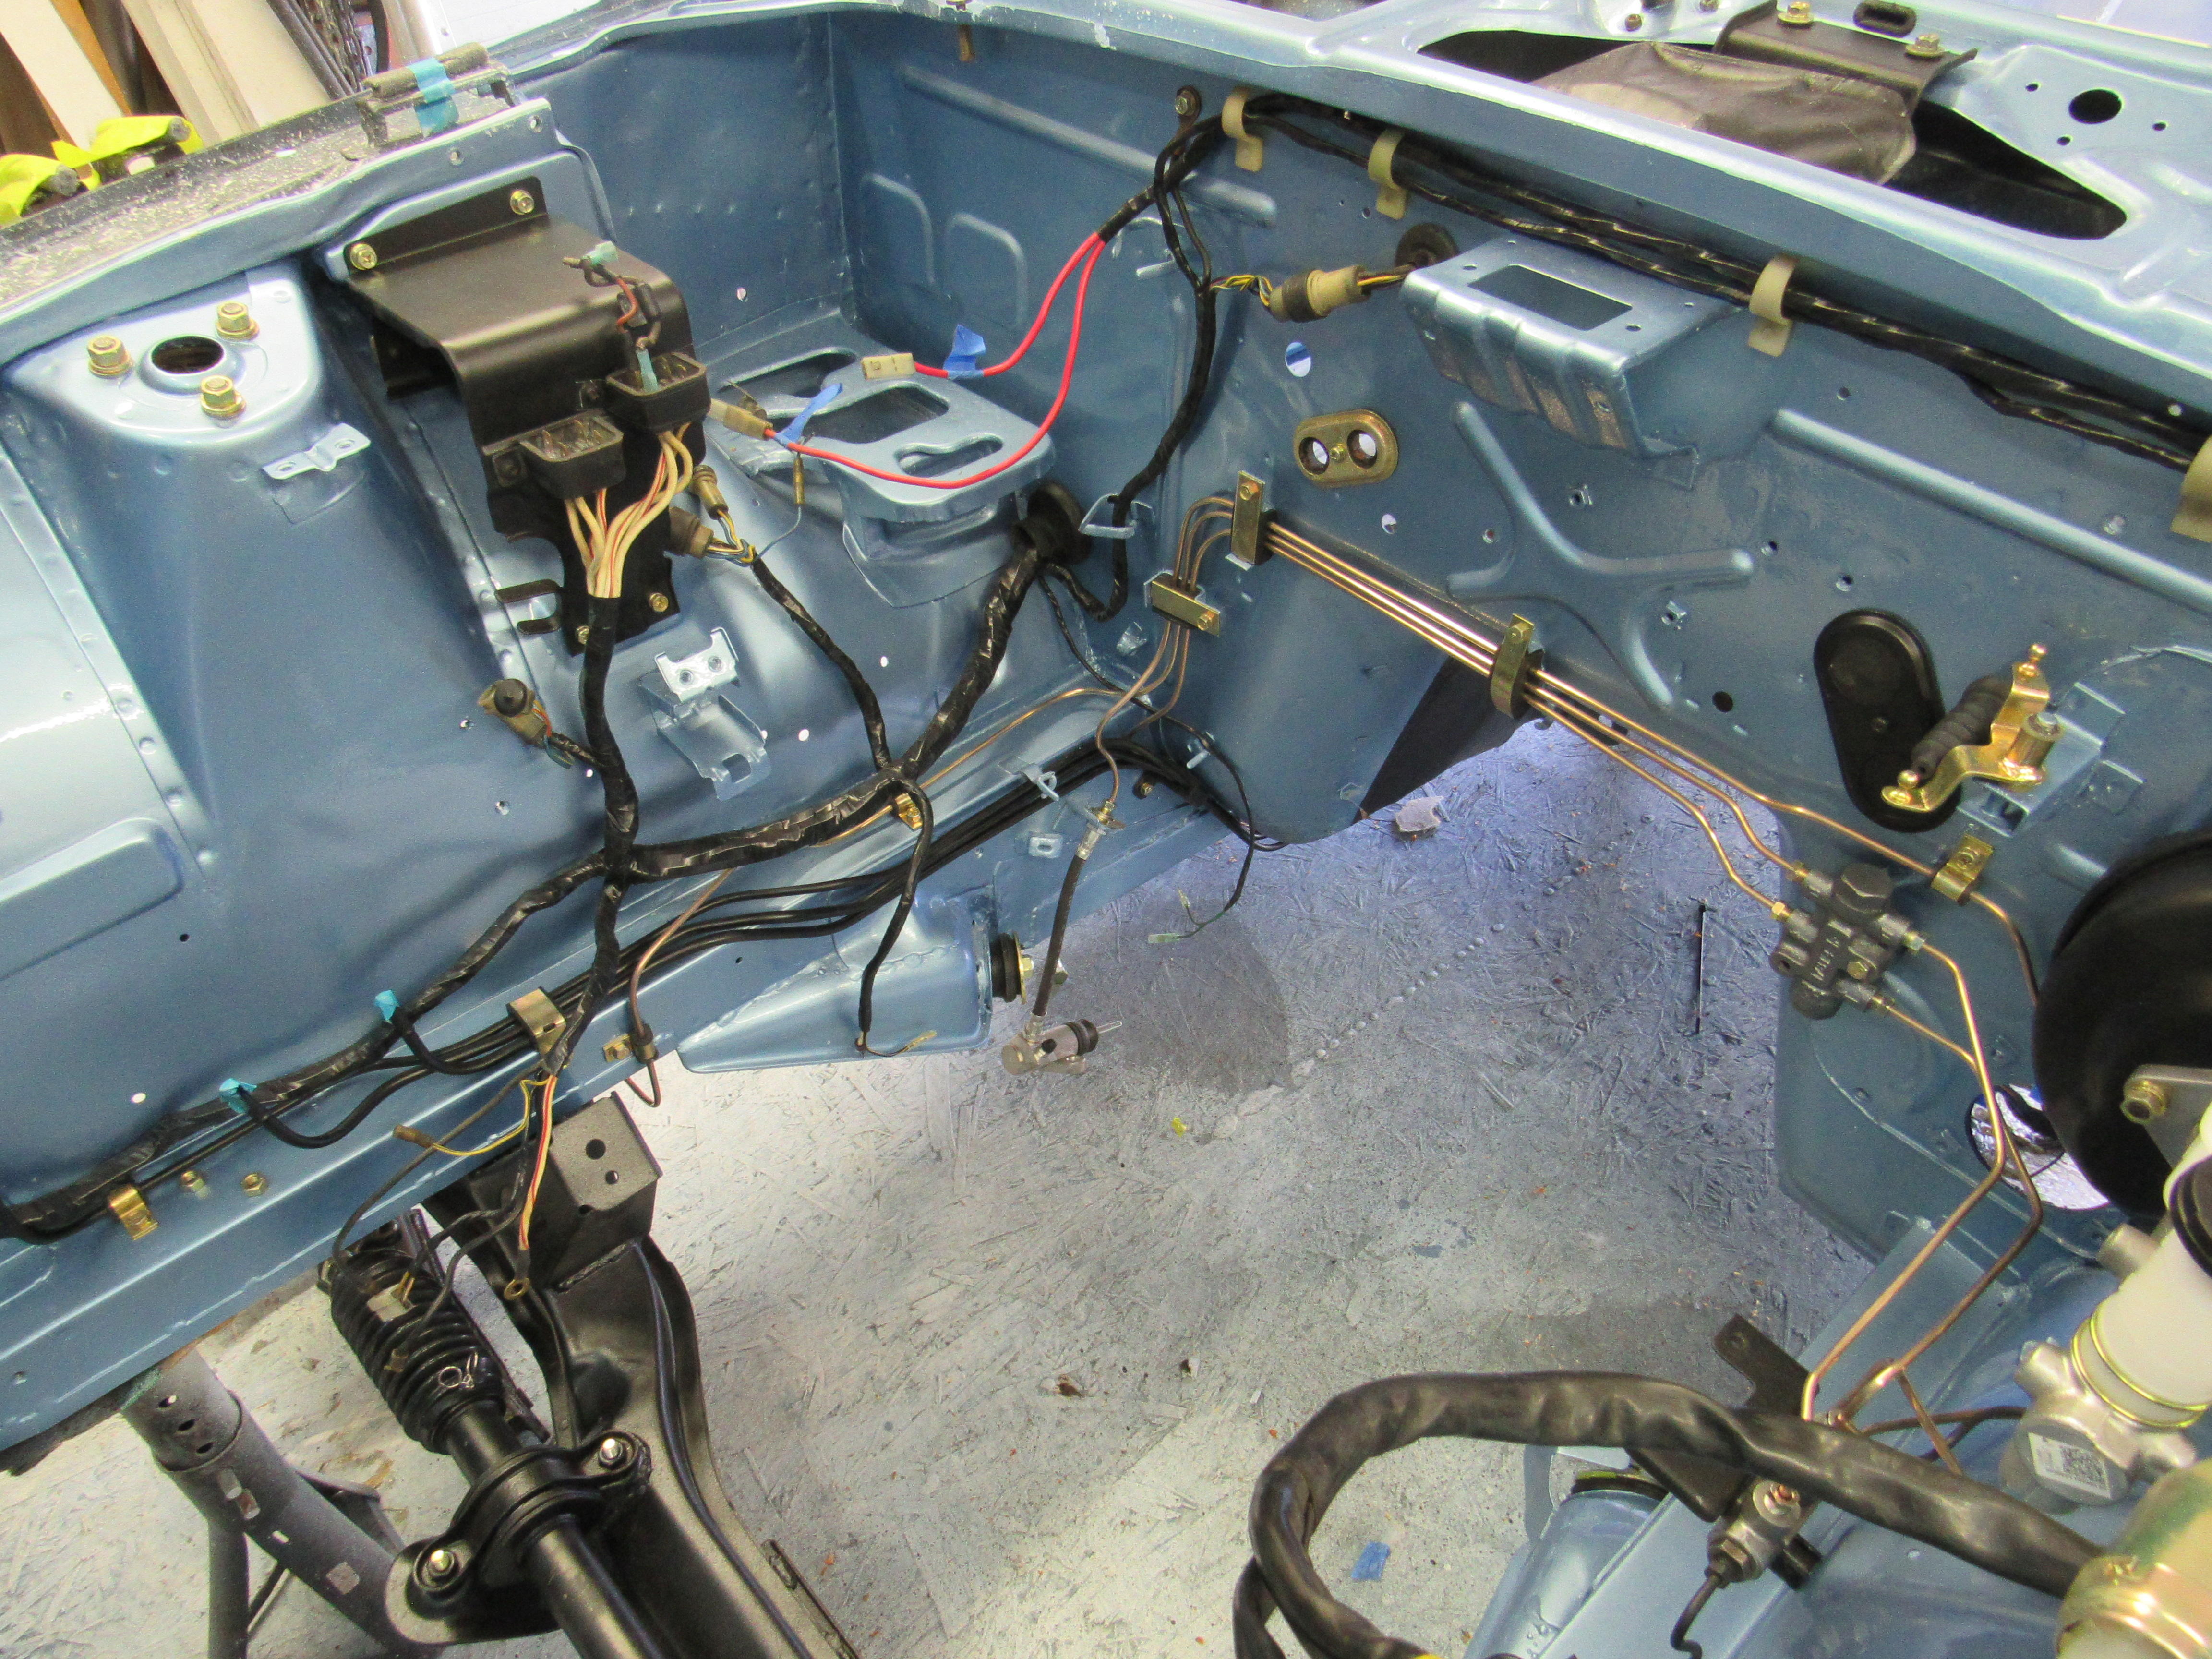
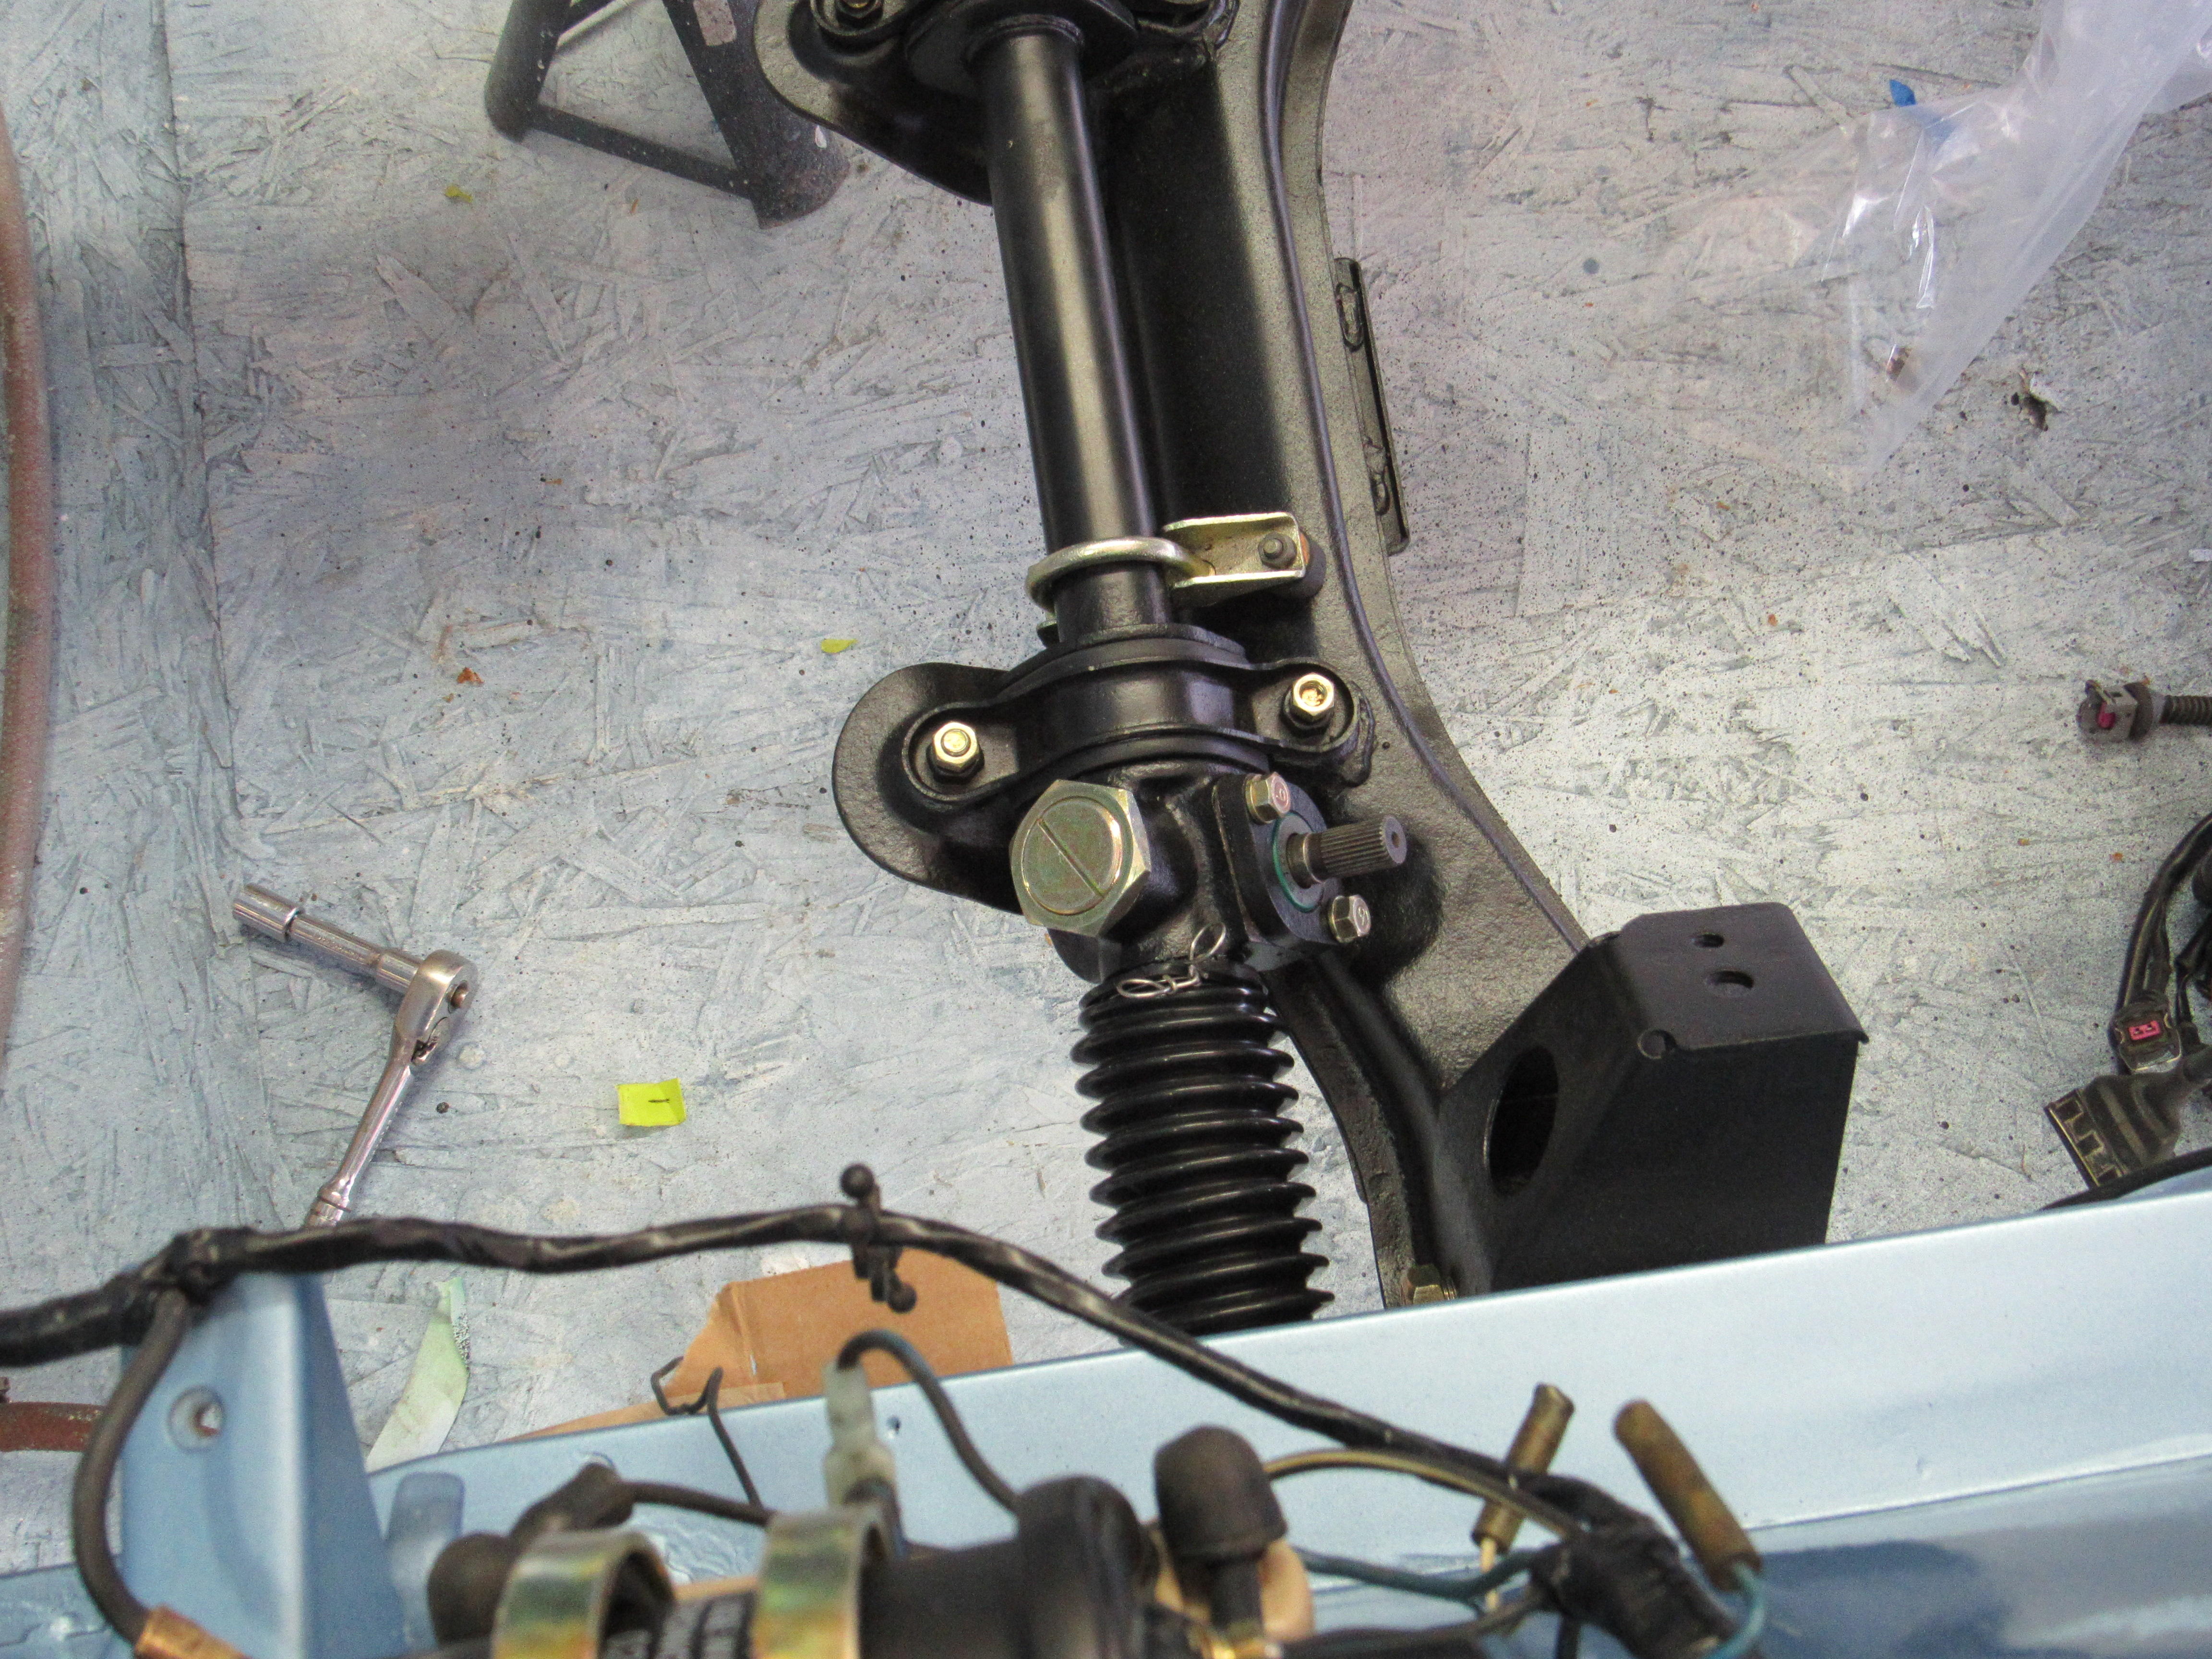
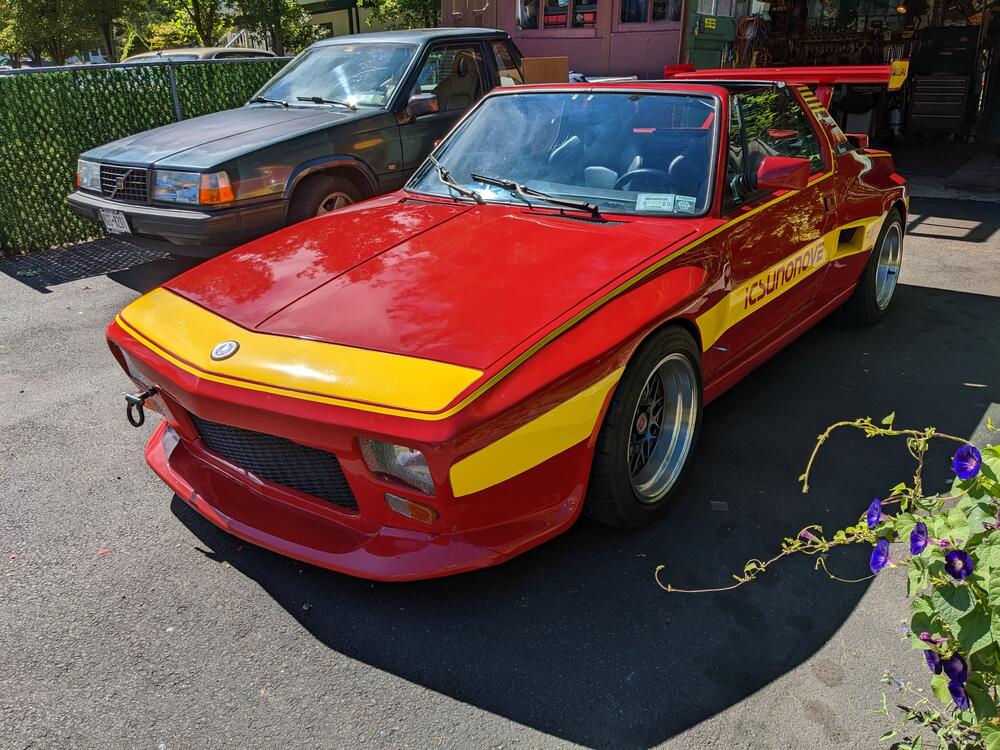
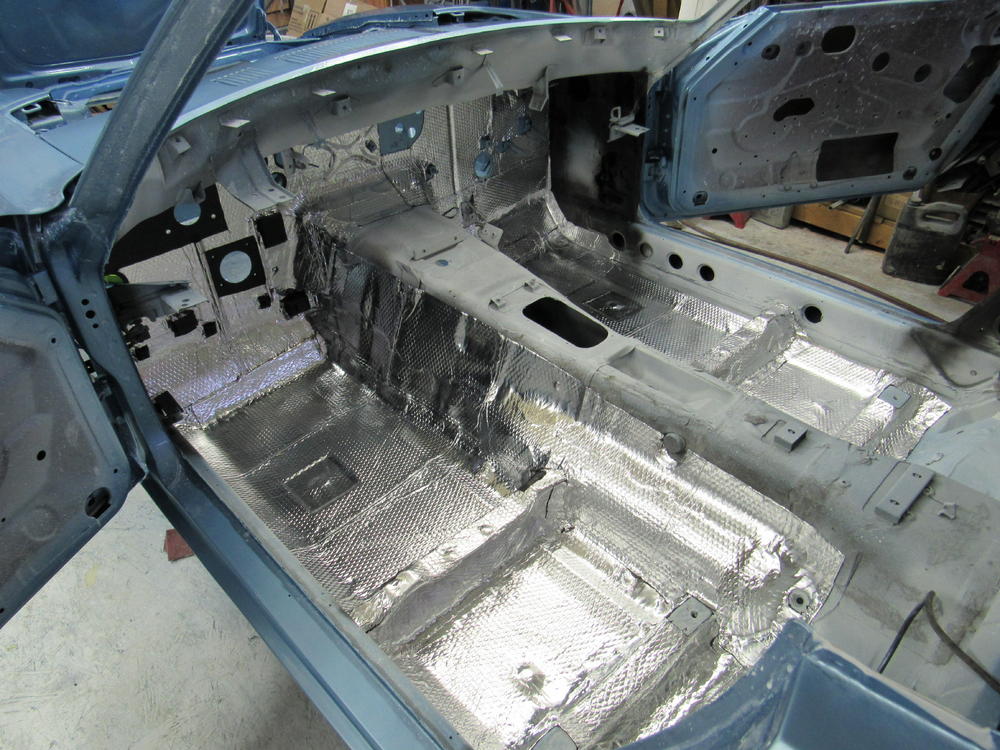
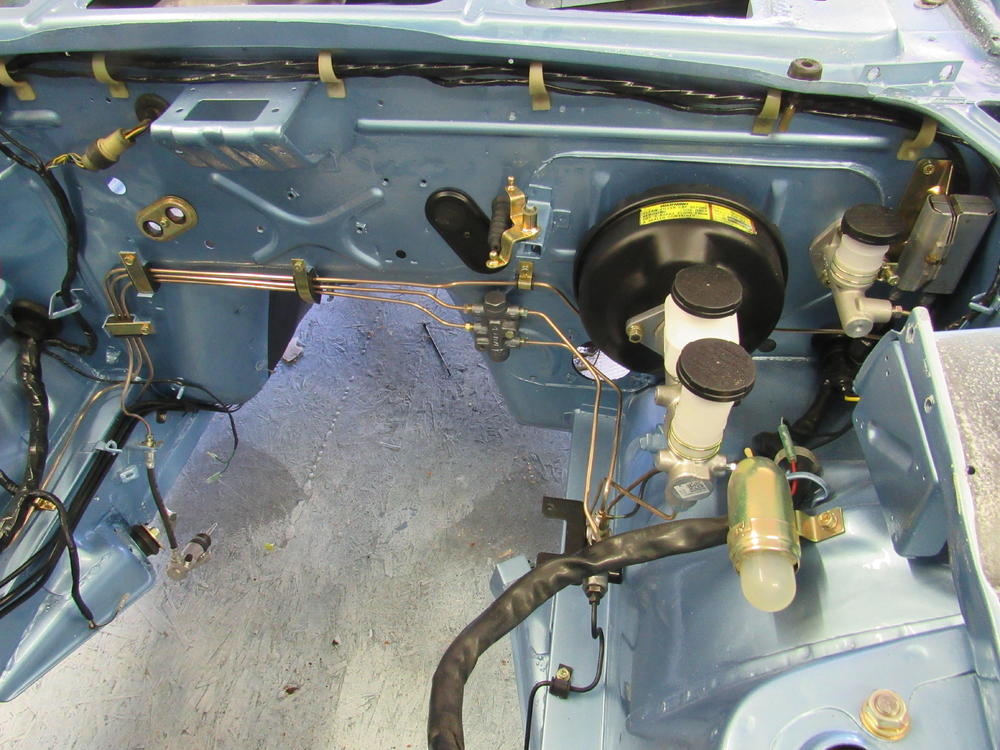
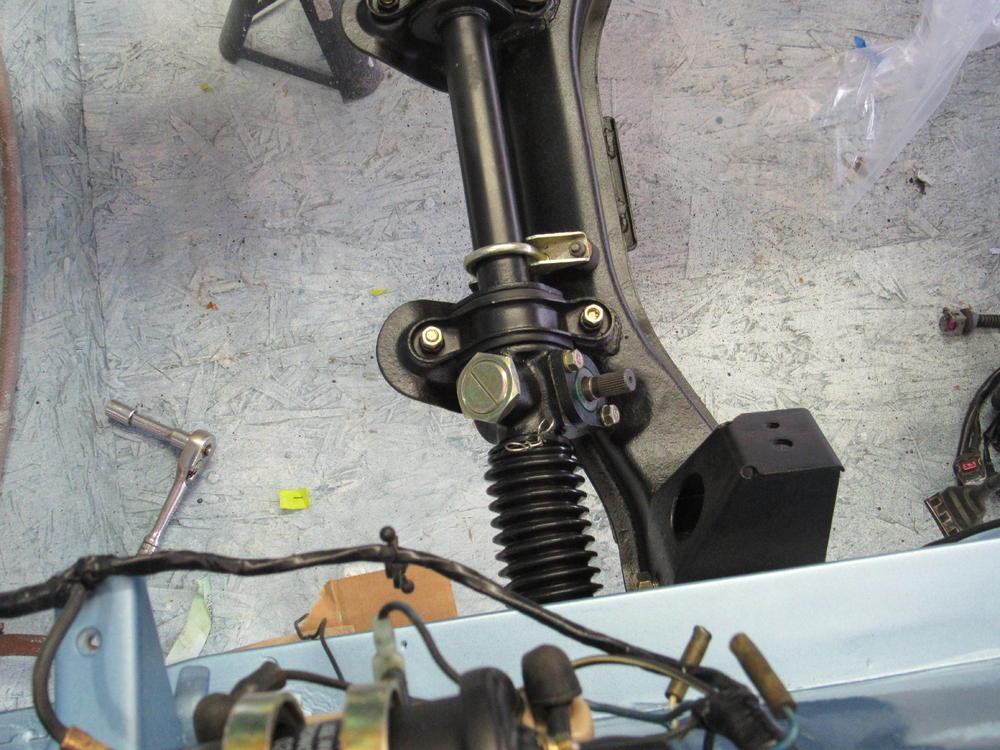
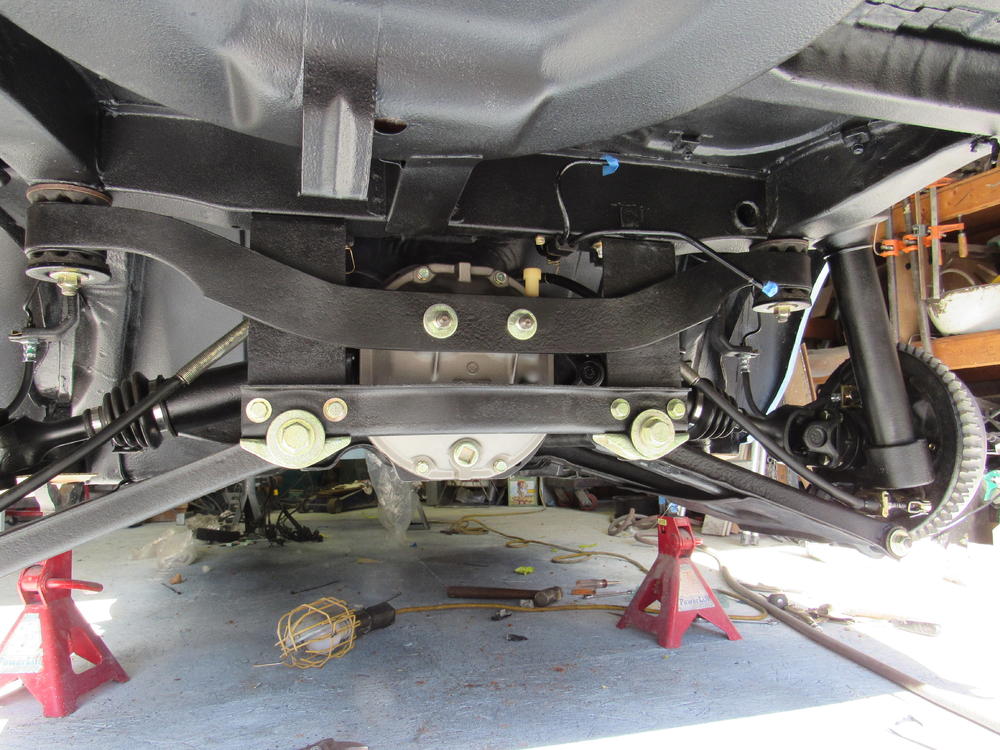
So paint is done and finally starting to put her back together.

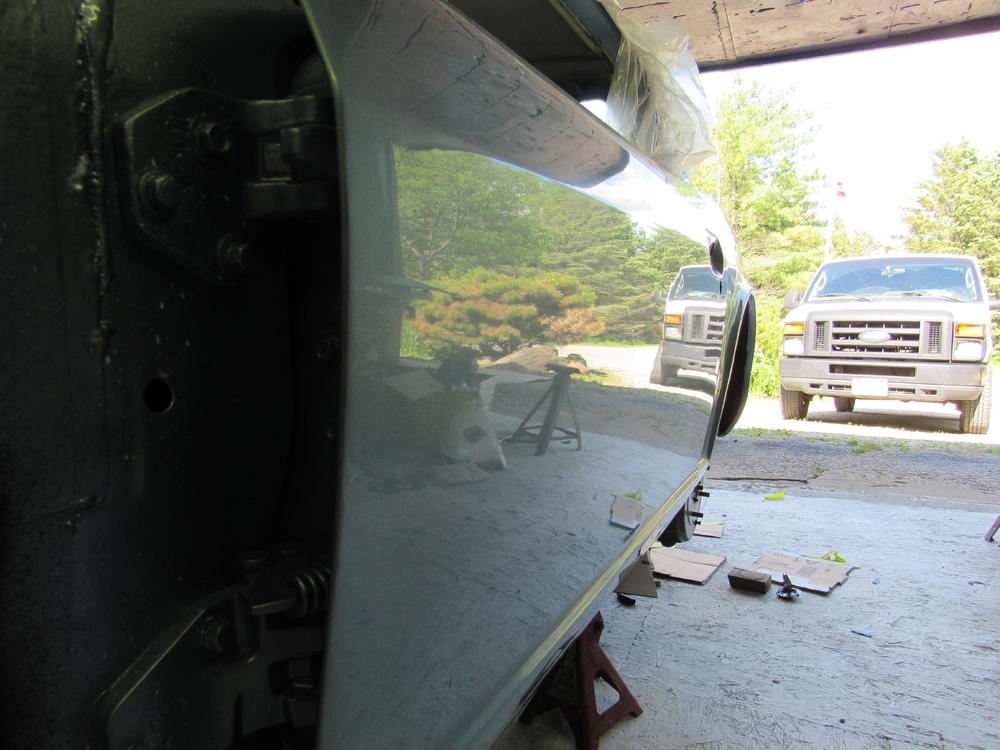
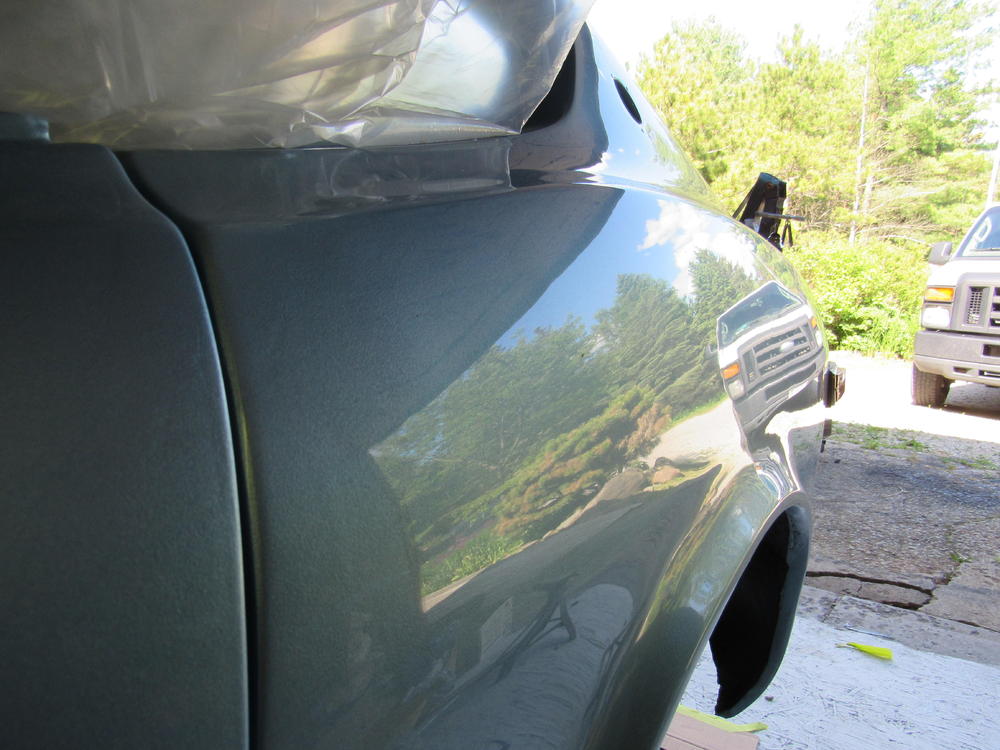

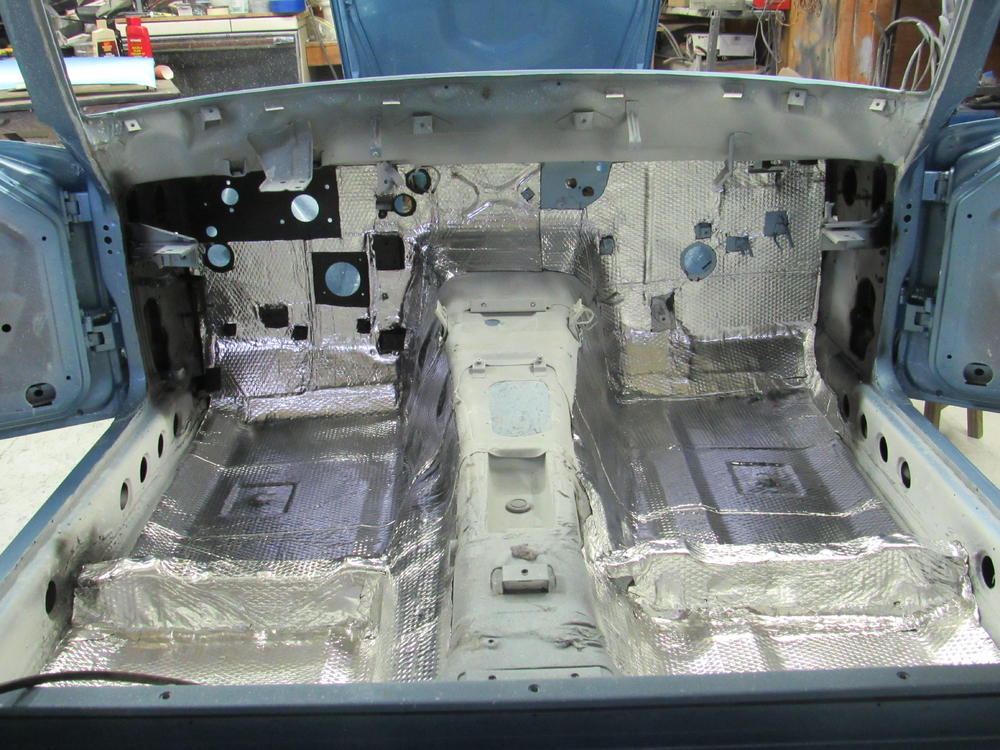

 1 point
 -
1 point