Leaderboard
-

Mike
Administrator10Points23,065Posts -
.JPG.cfcada9cf1c1b502df3f5f2f2ca3ff36.JPG)
SteveJ
Free Member8Points9,646Posts -
Captain Obvious
Free Member6Points10,081Posts -

Racer X
Free Member5Points1,877Posts


Popular Content
Showing content with the highest reputation on 08/06/2022 in all areas
-
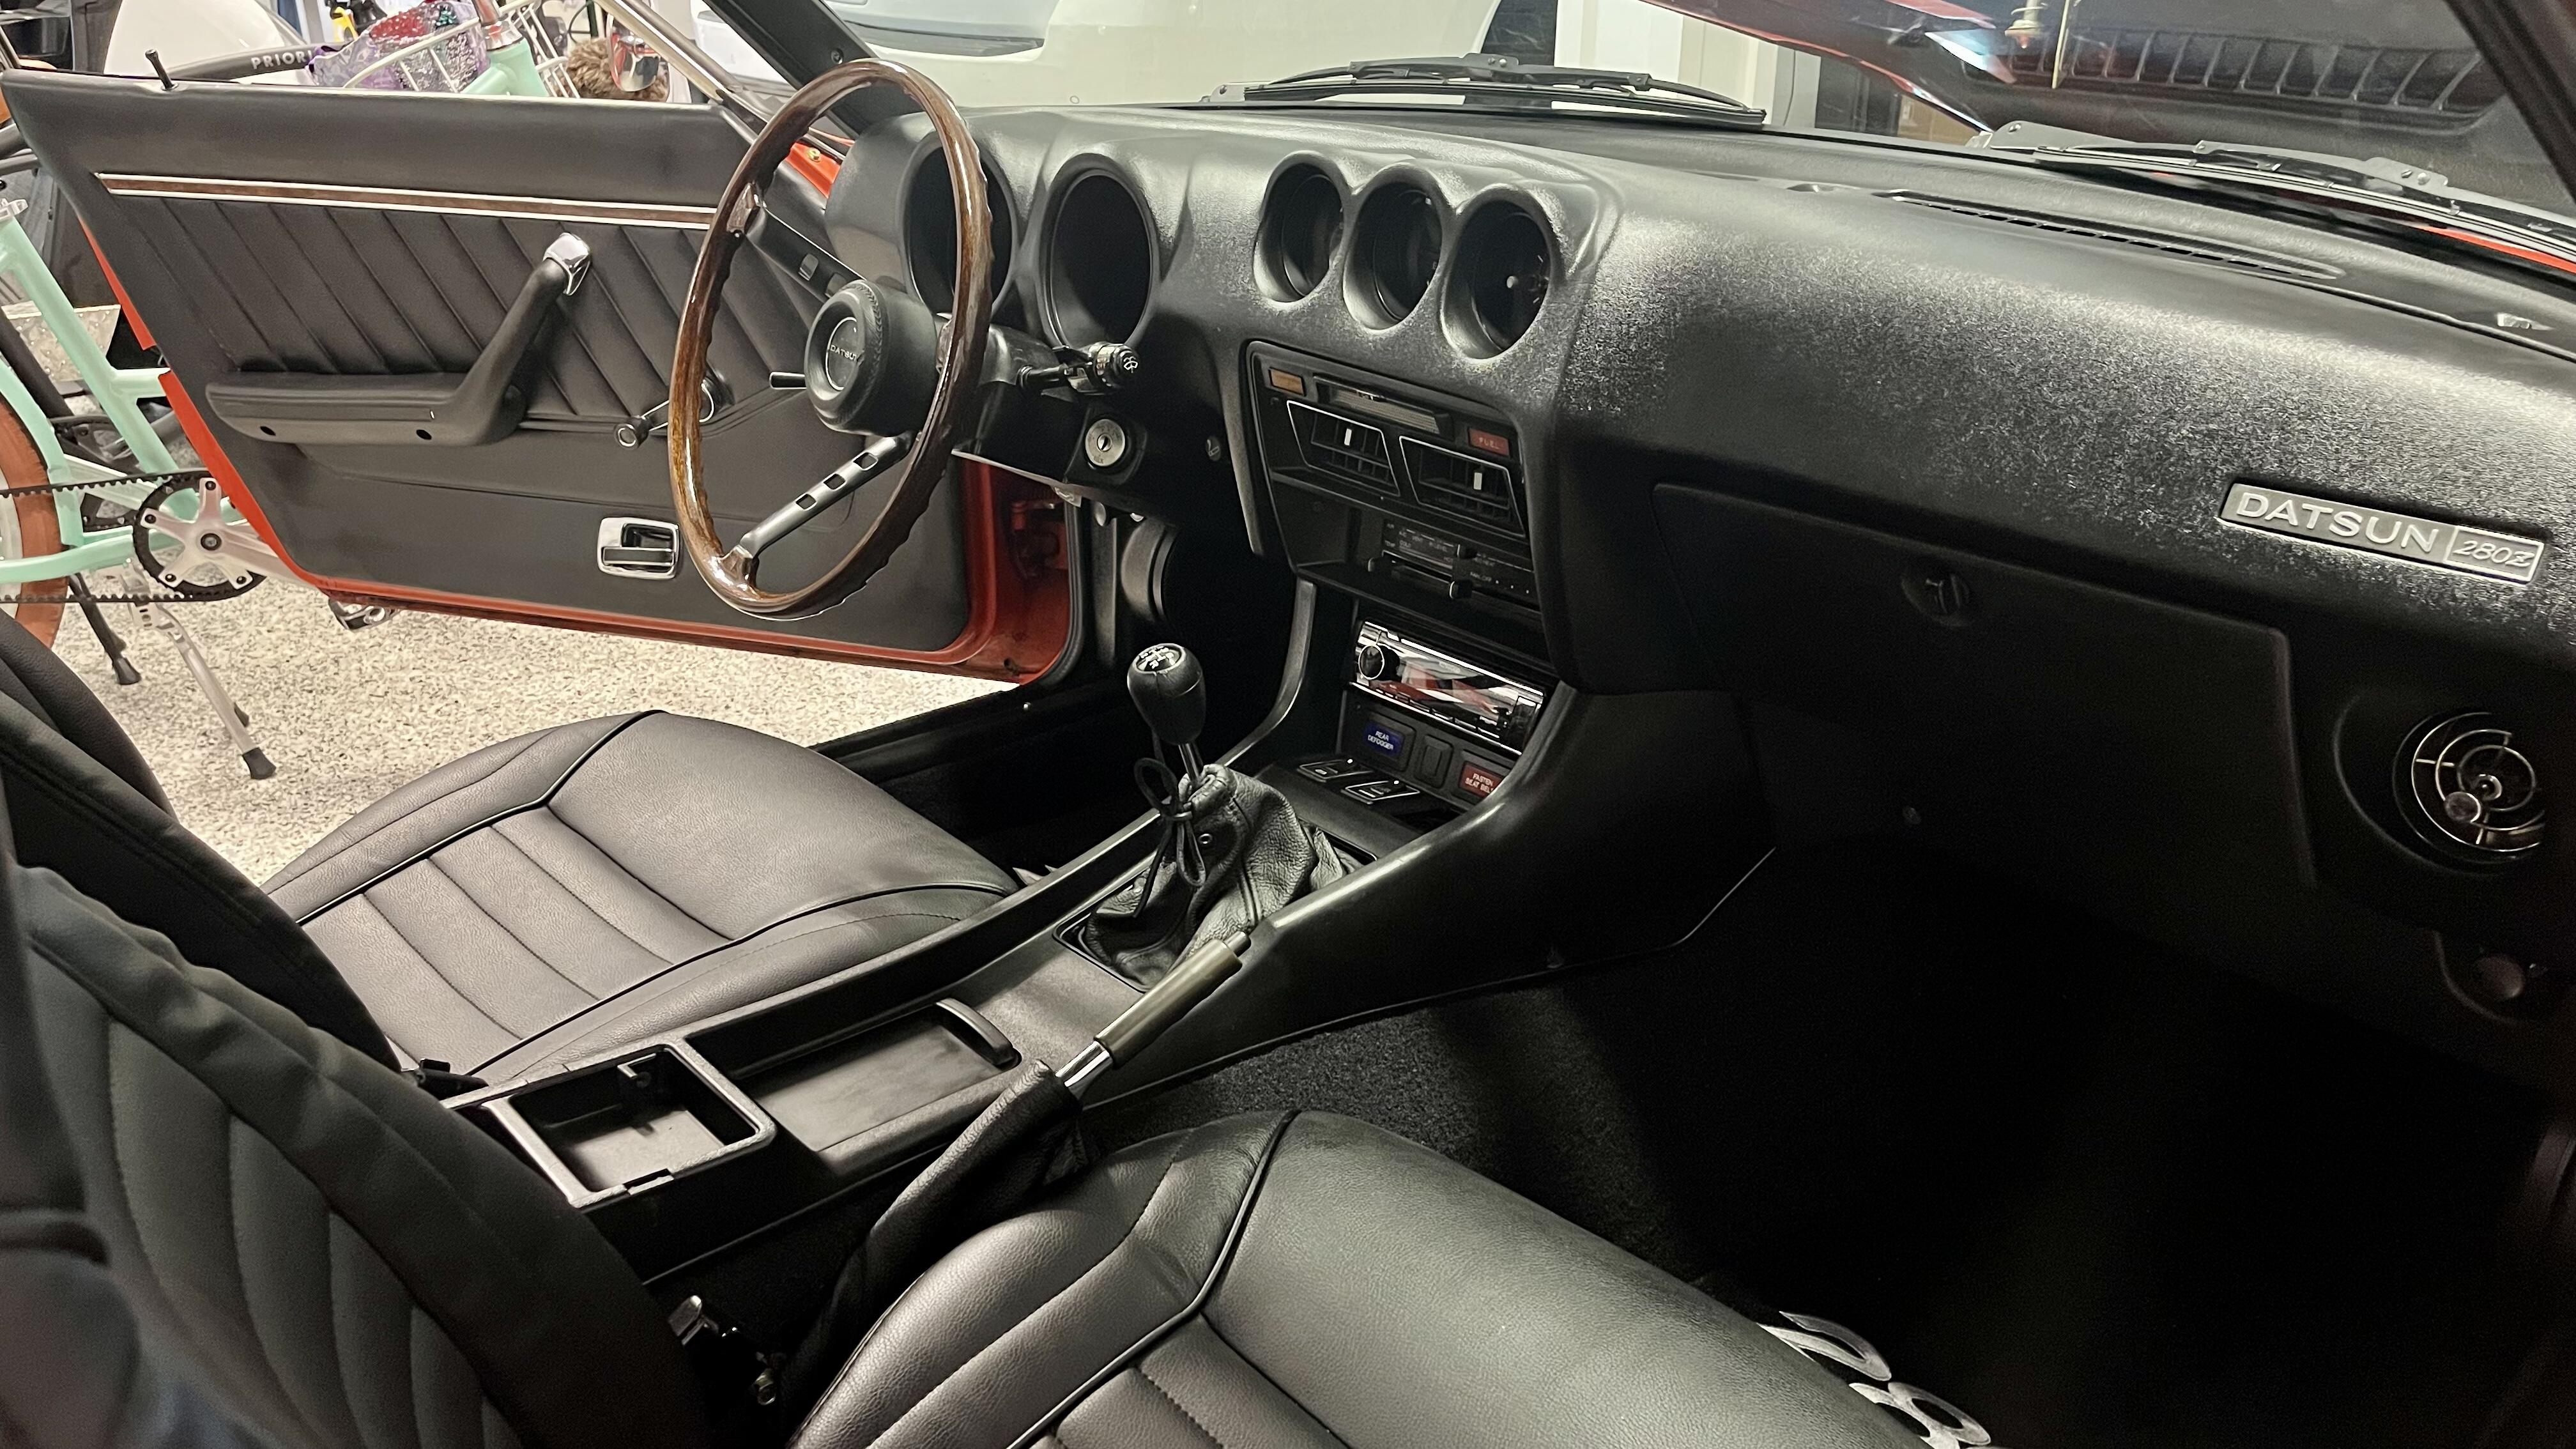
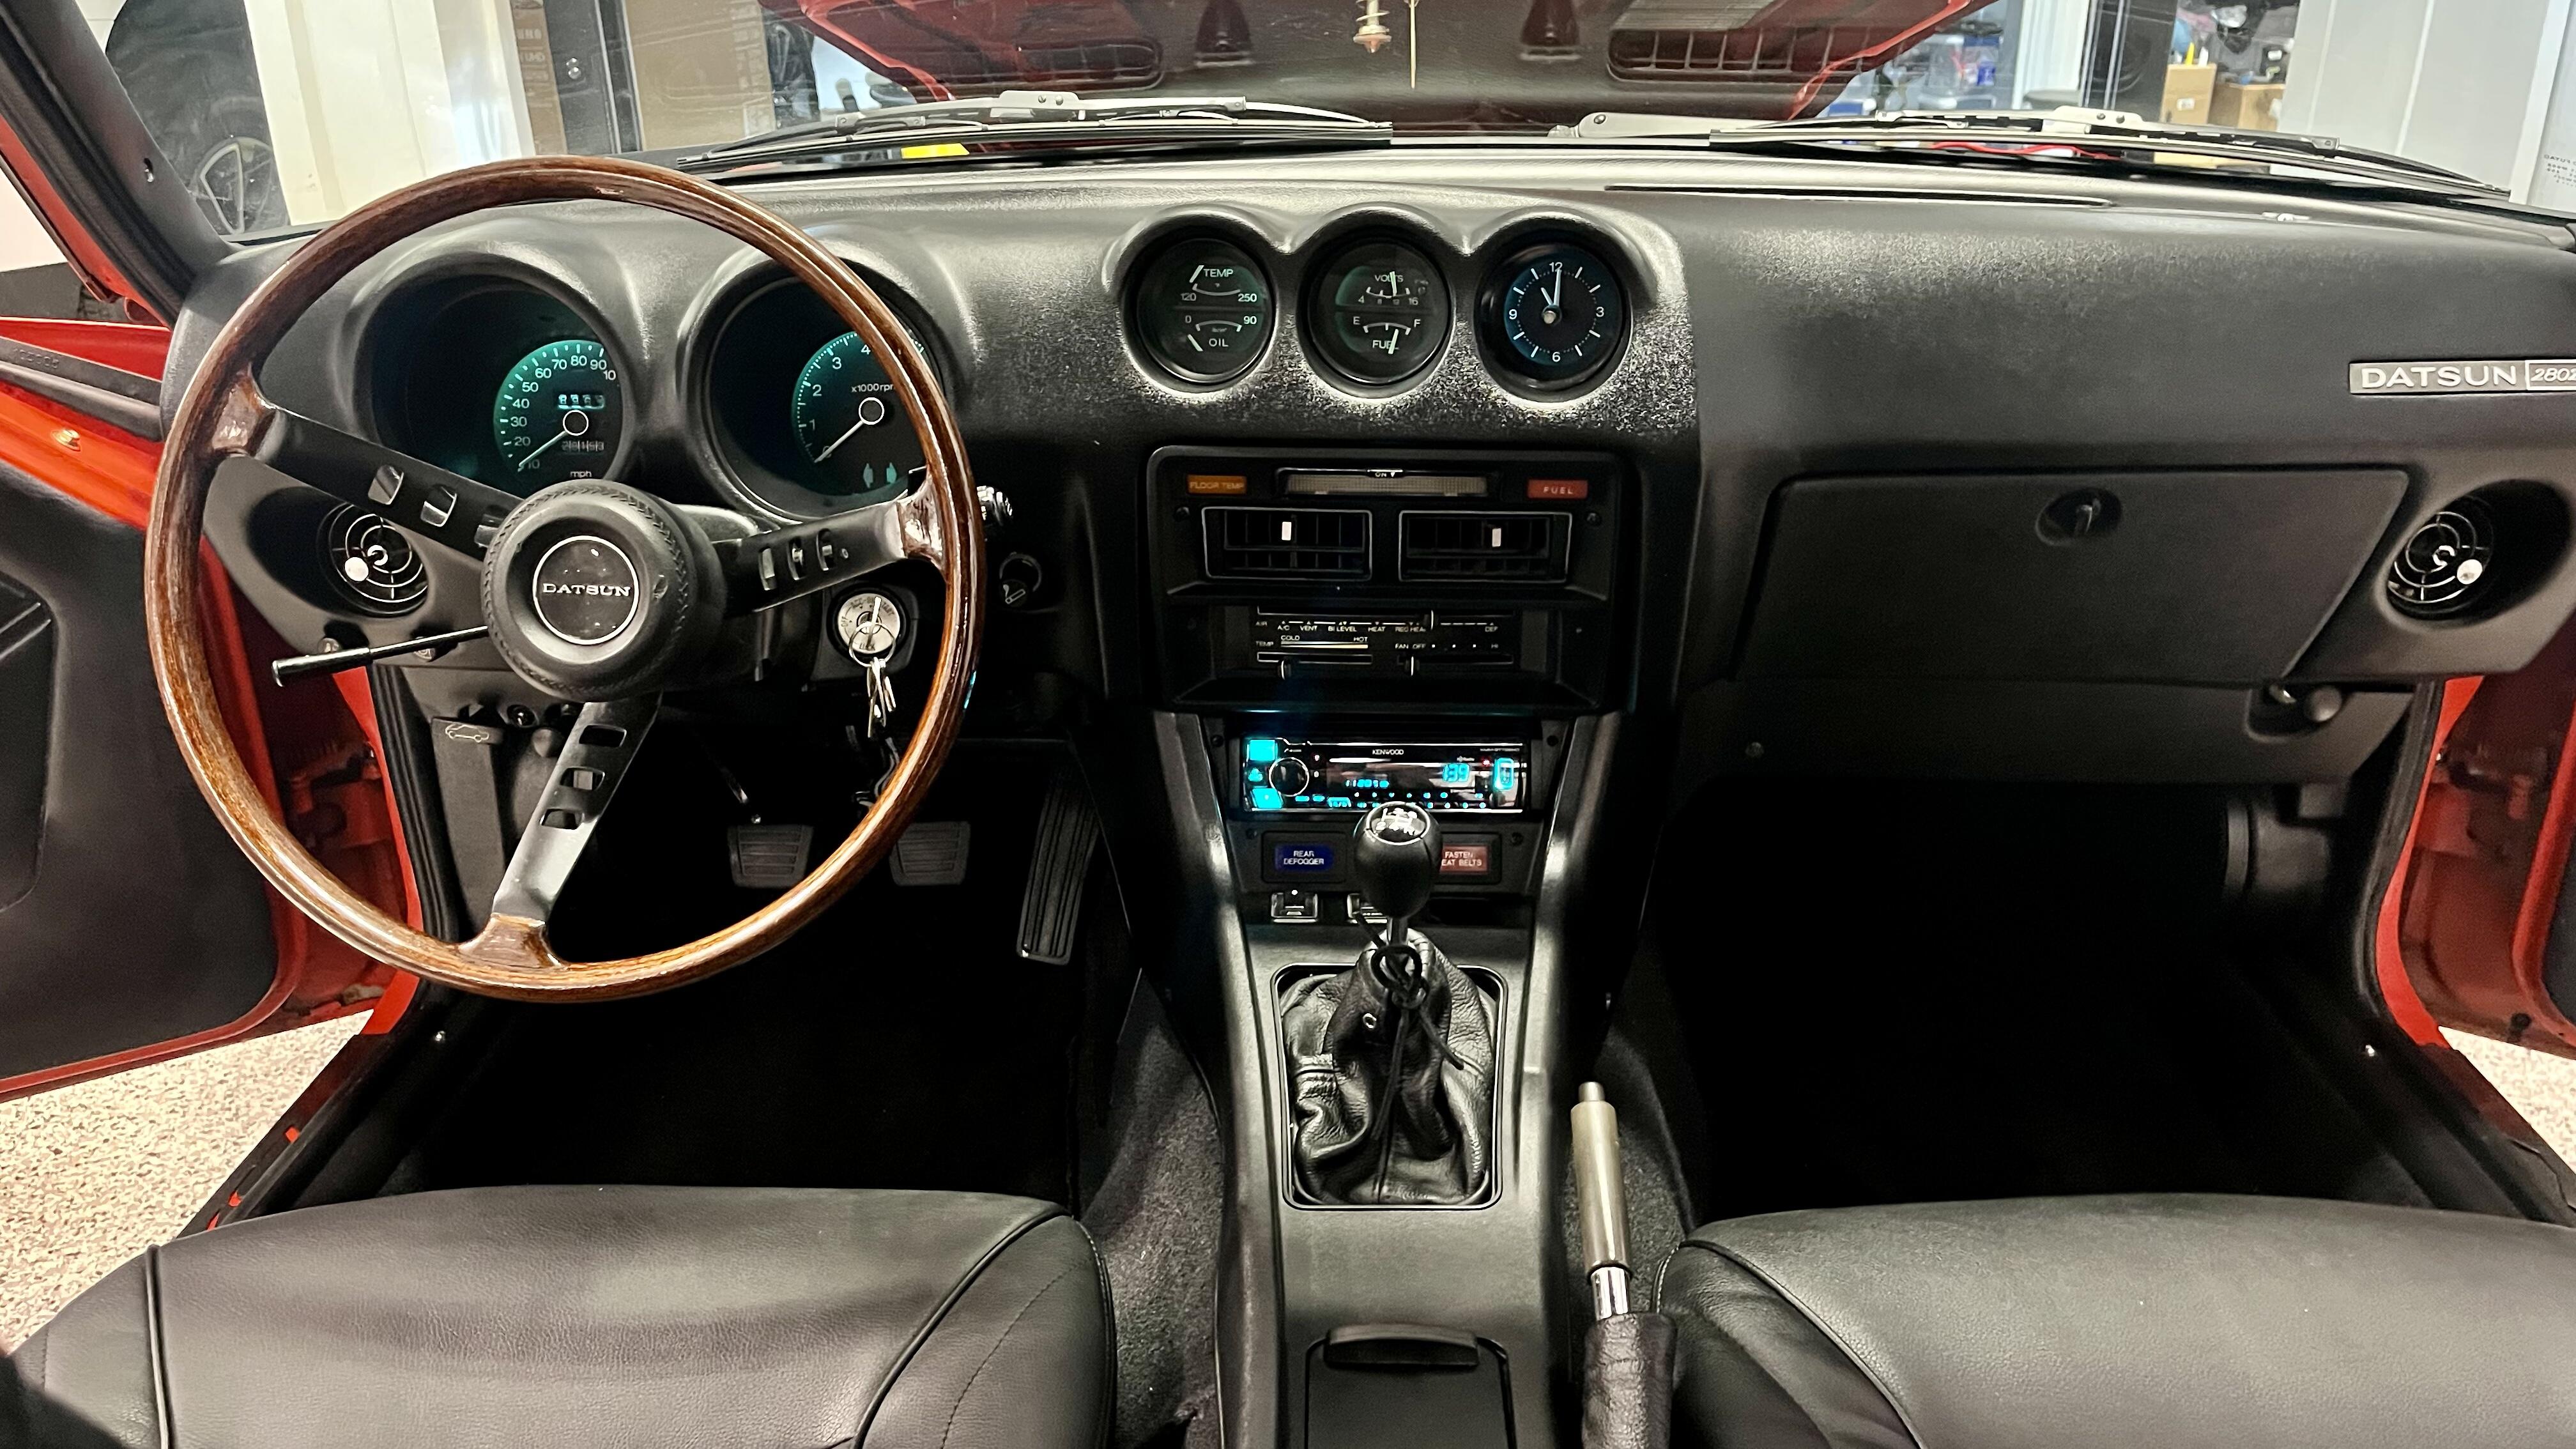
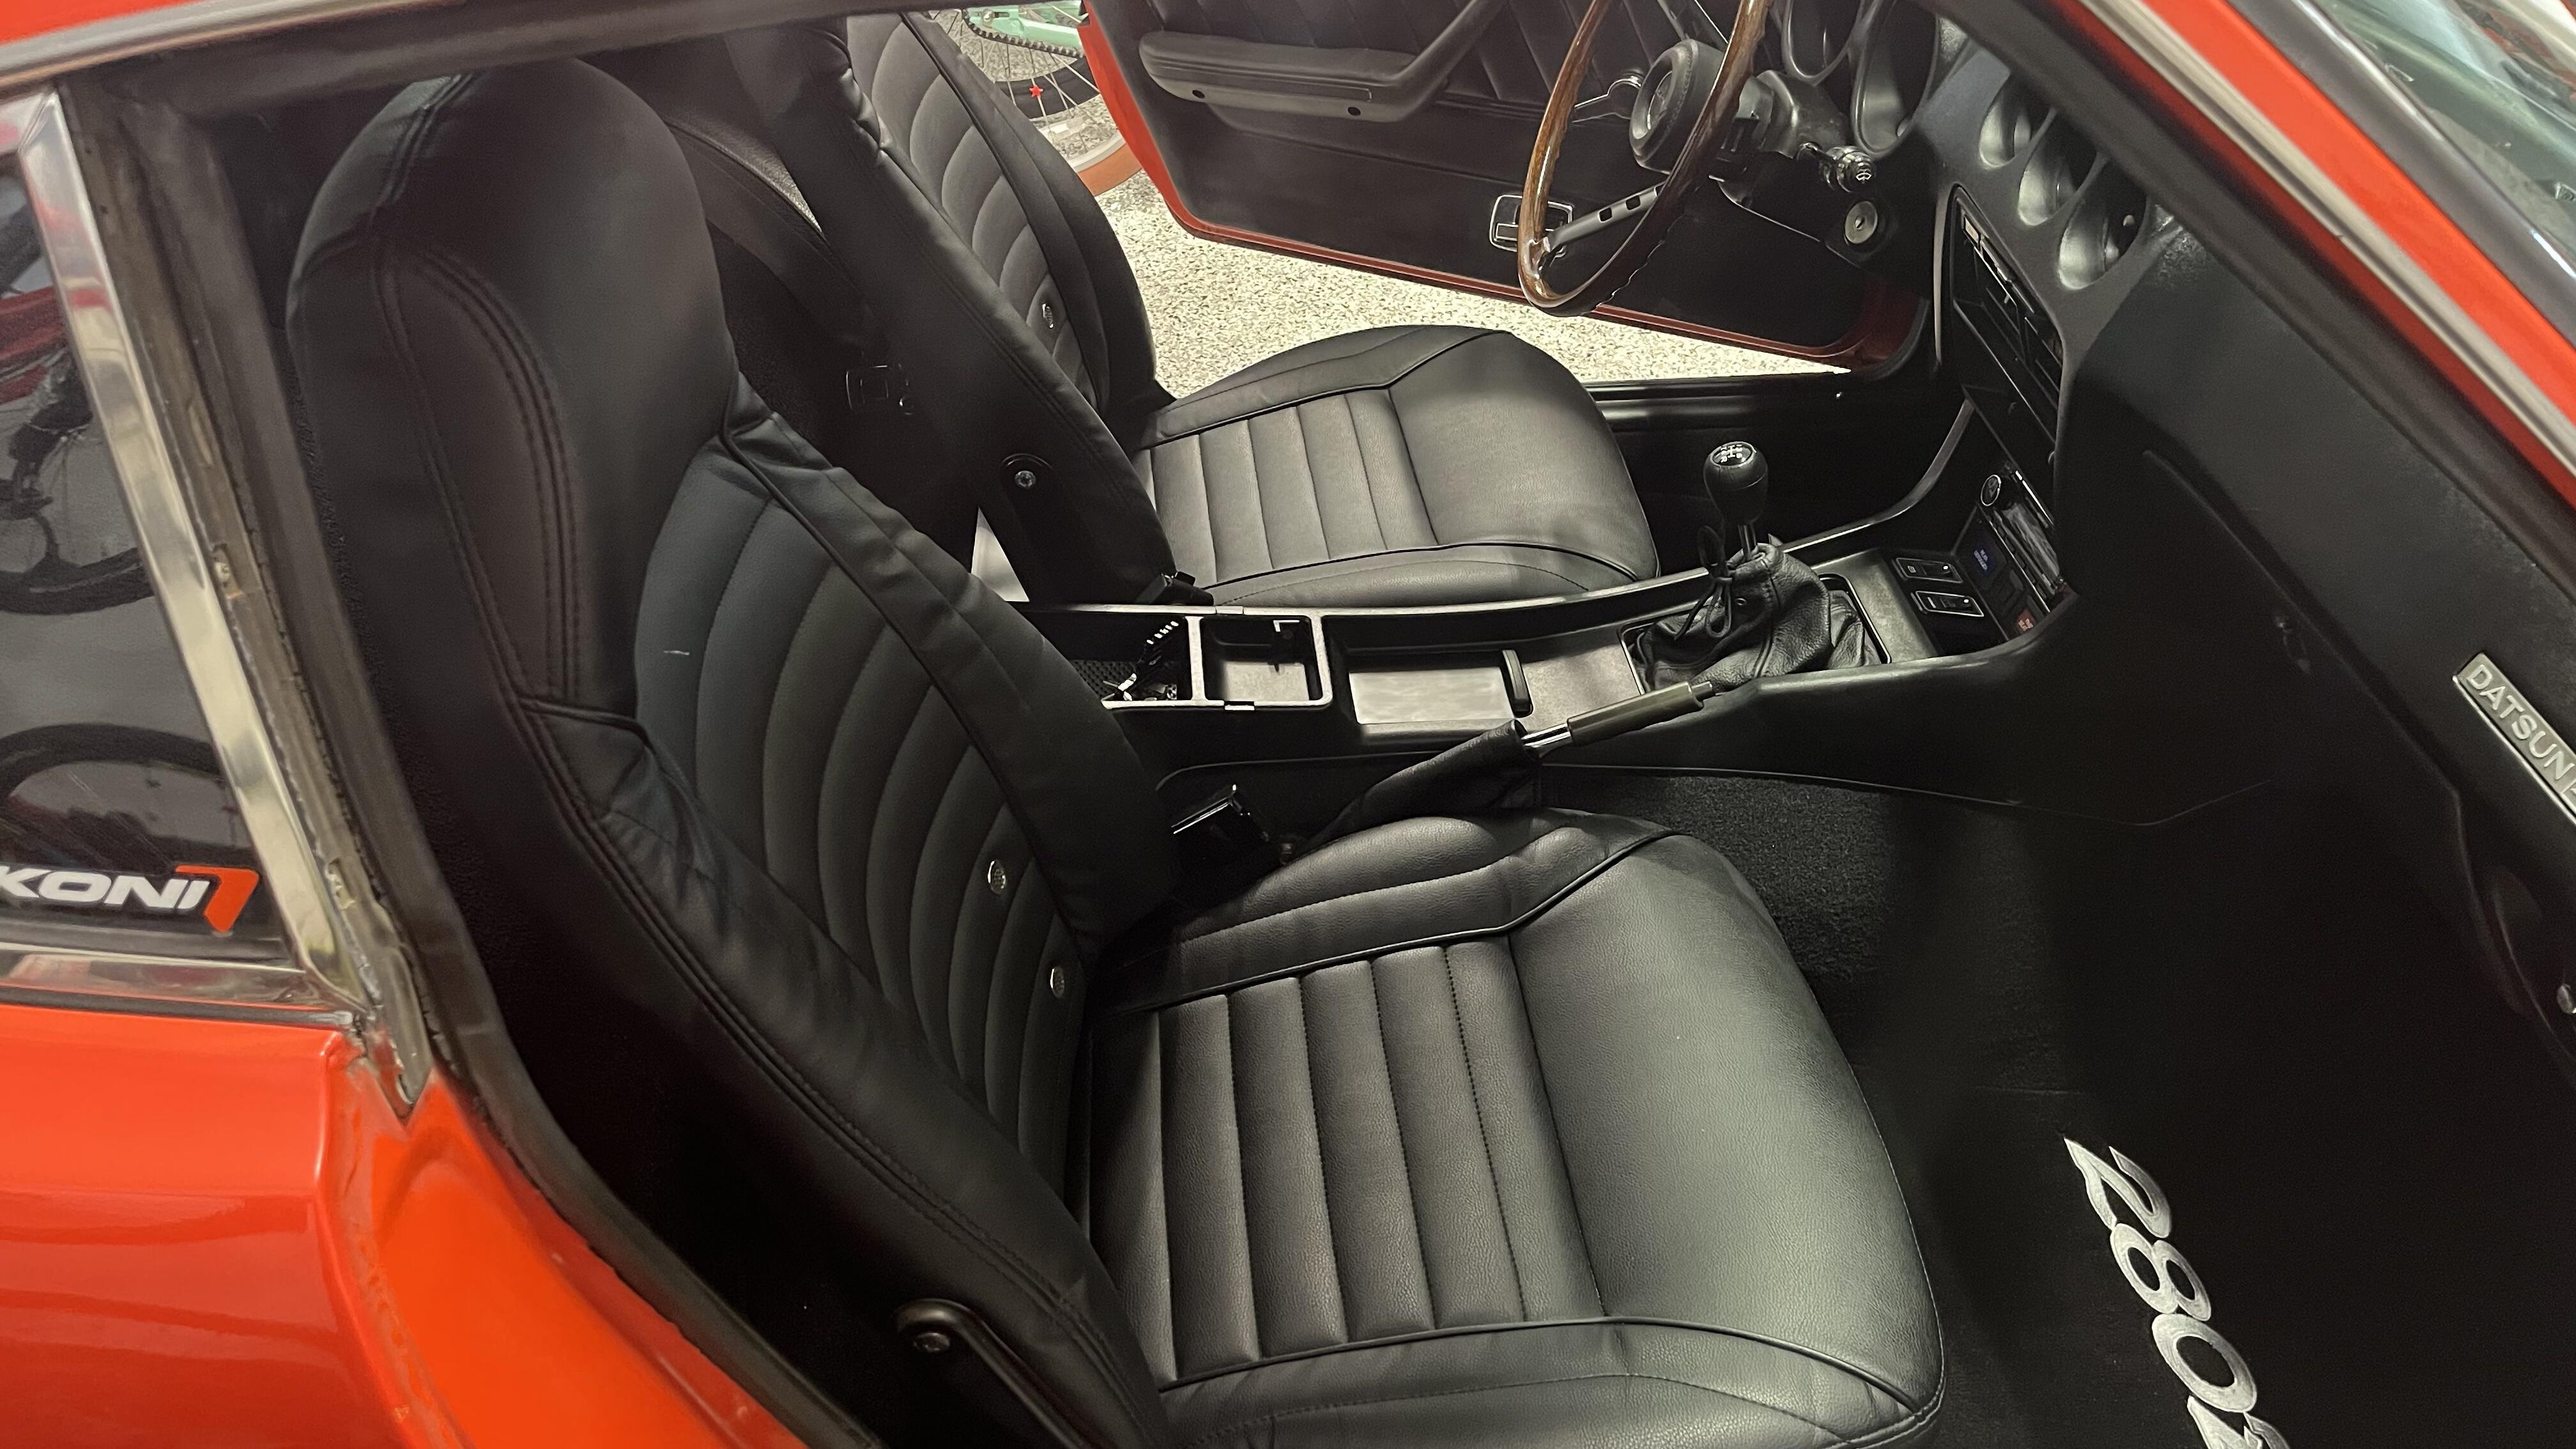
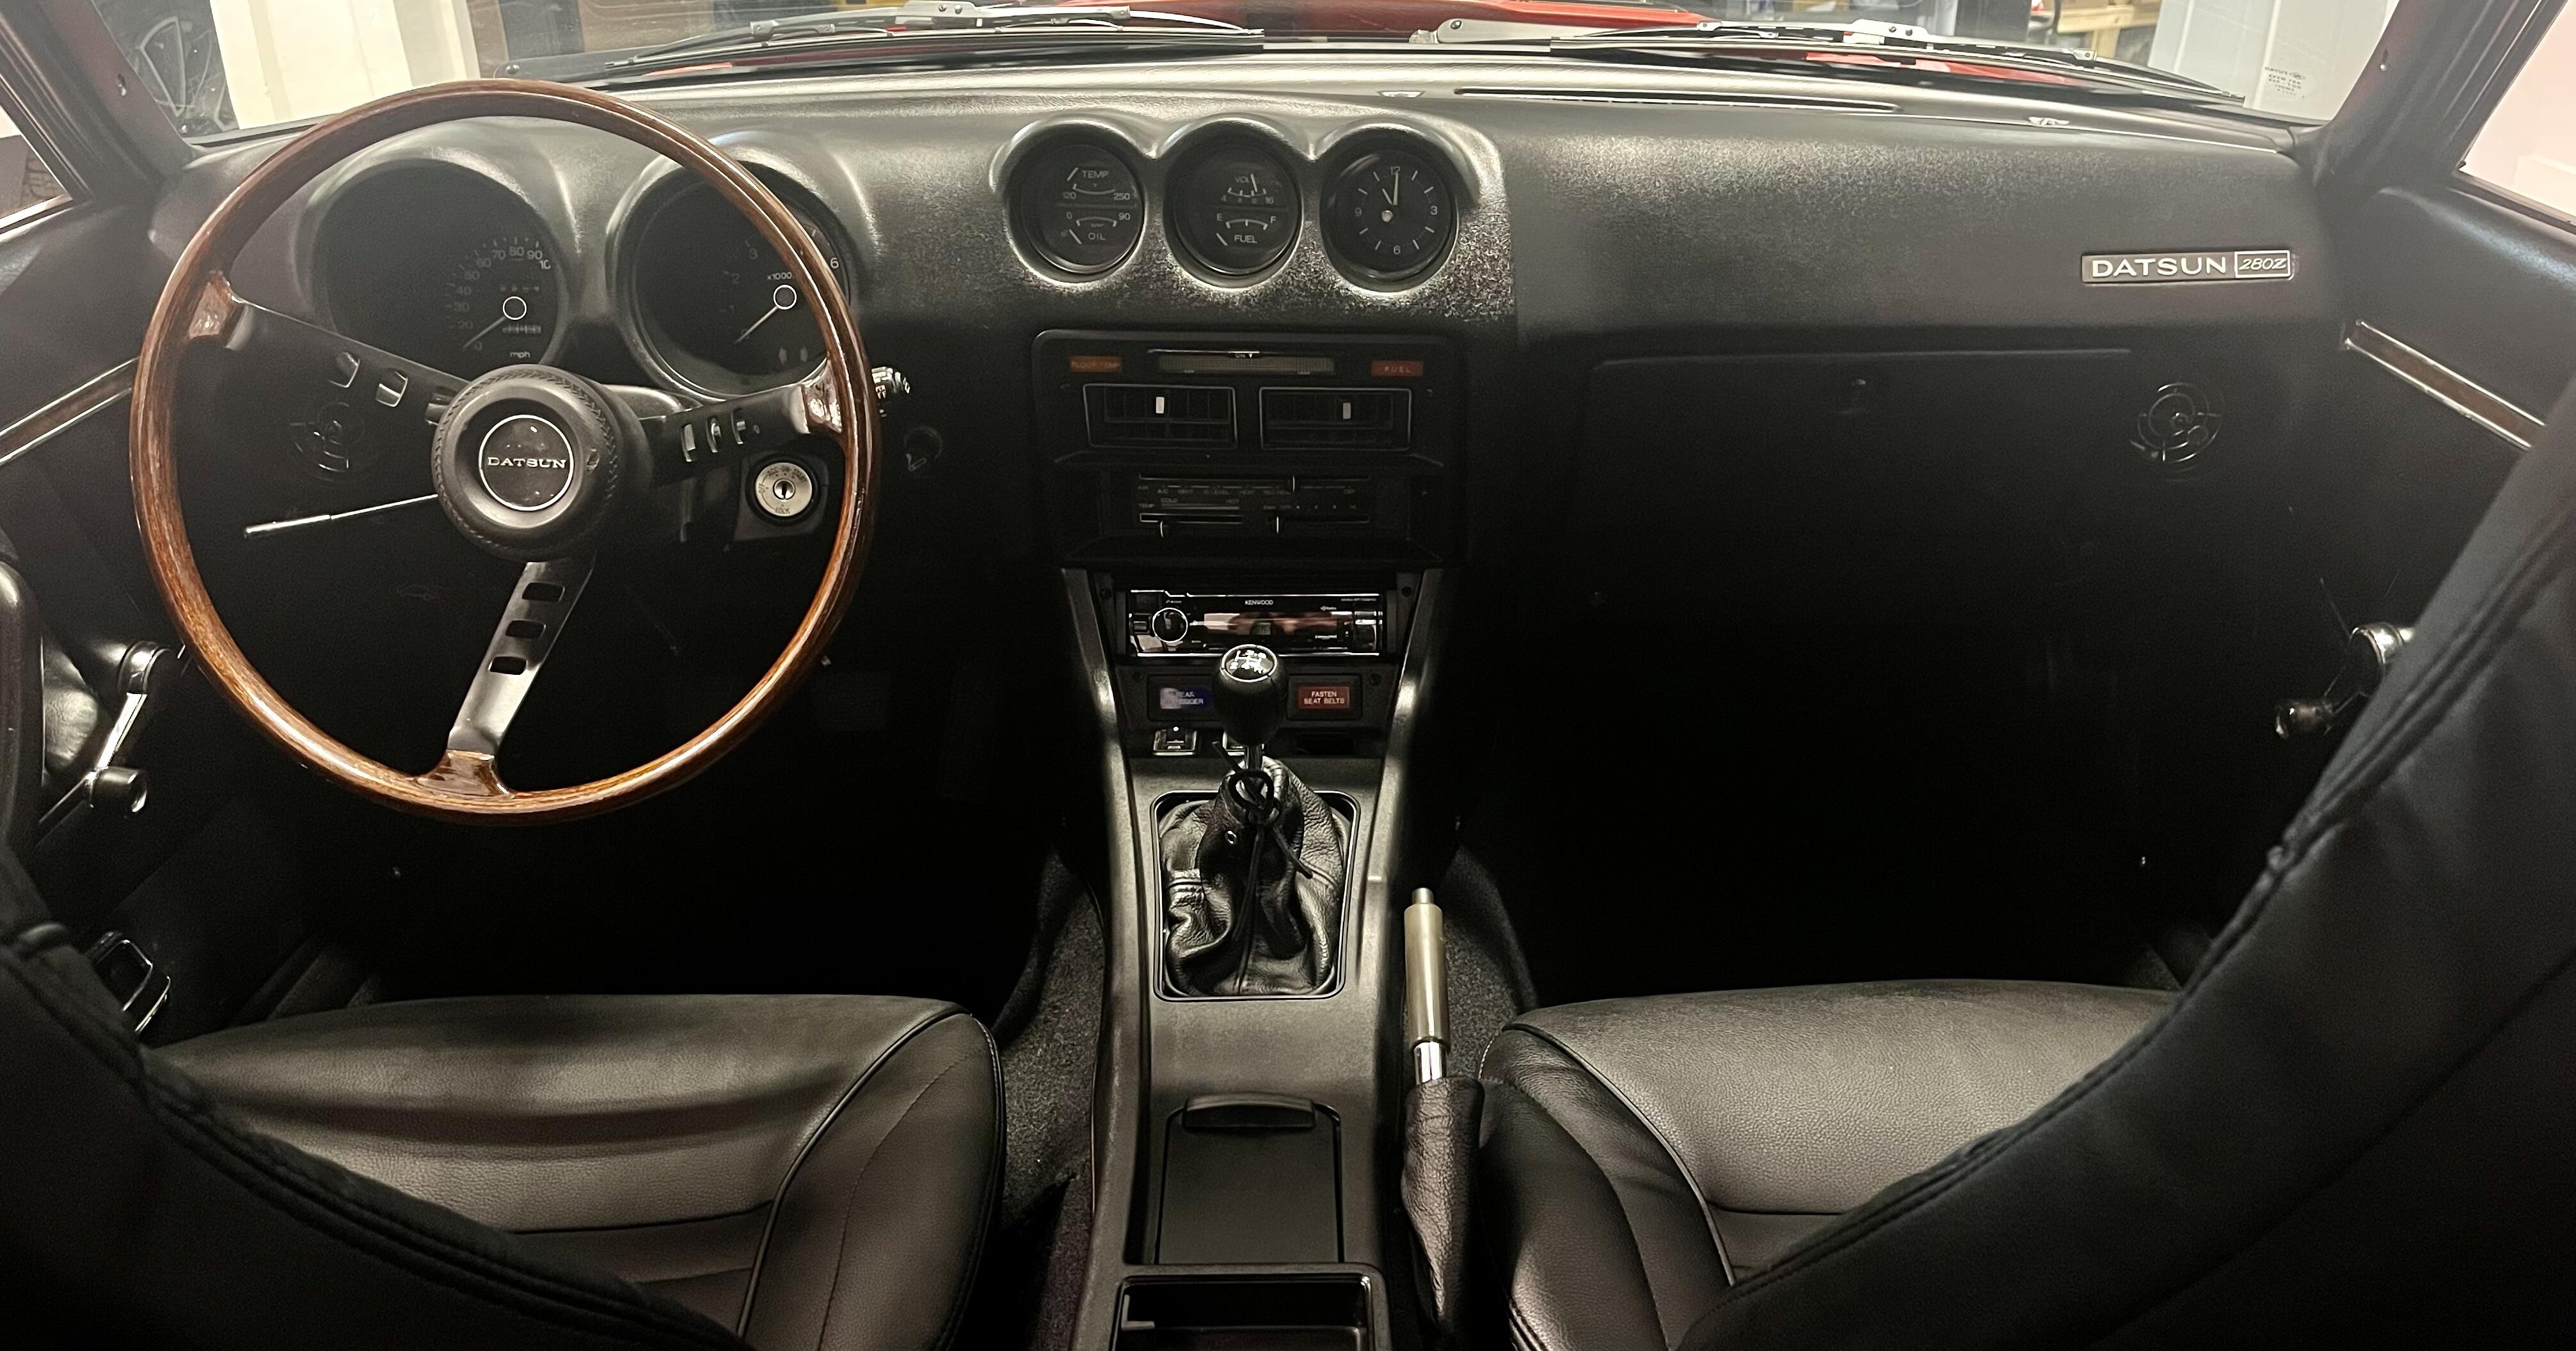
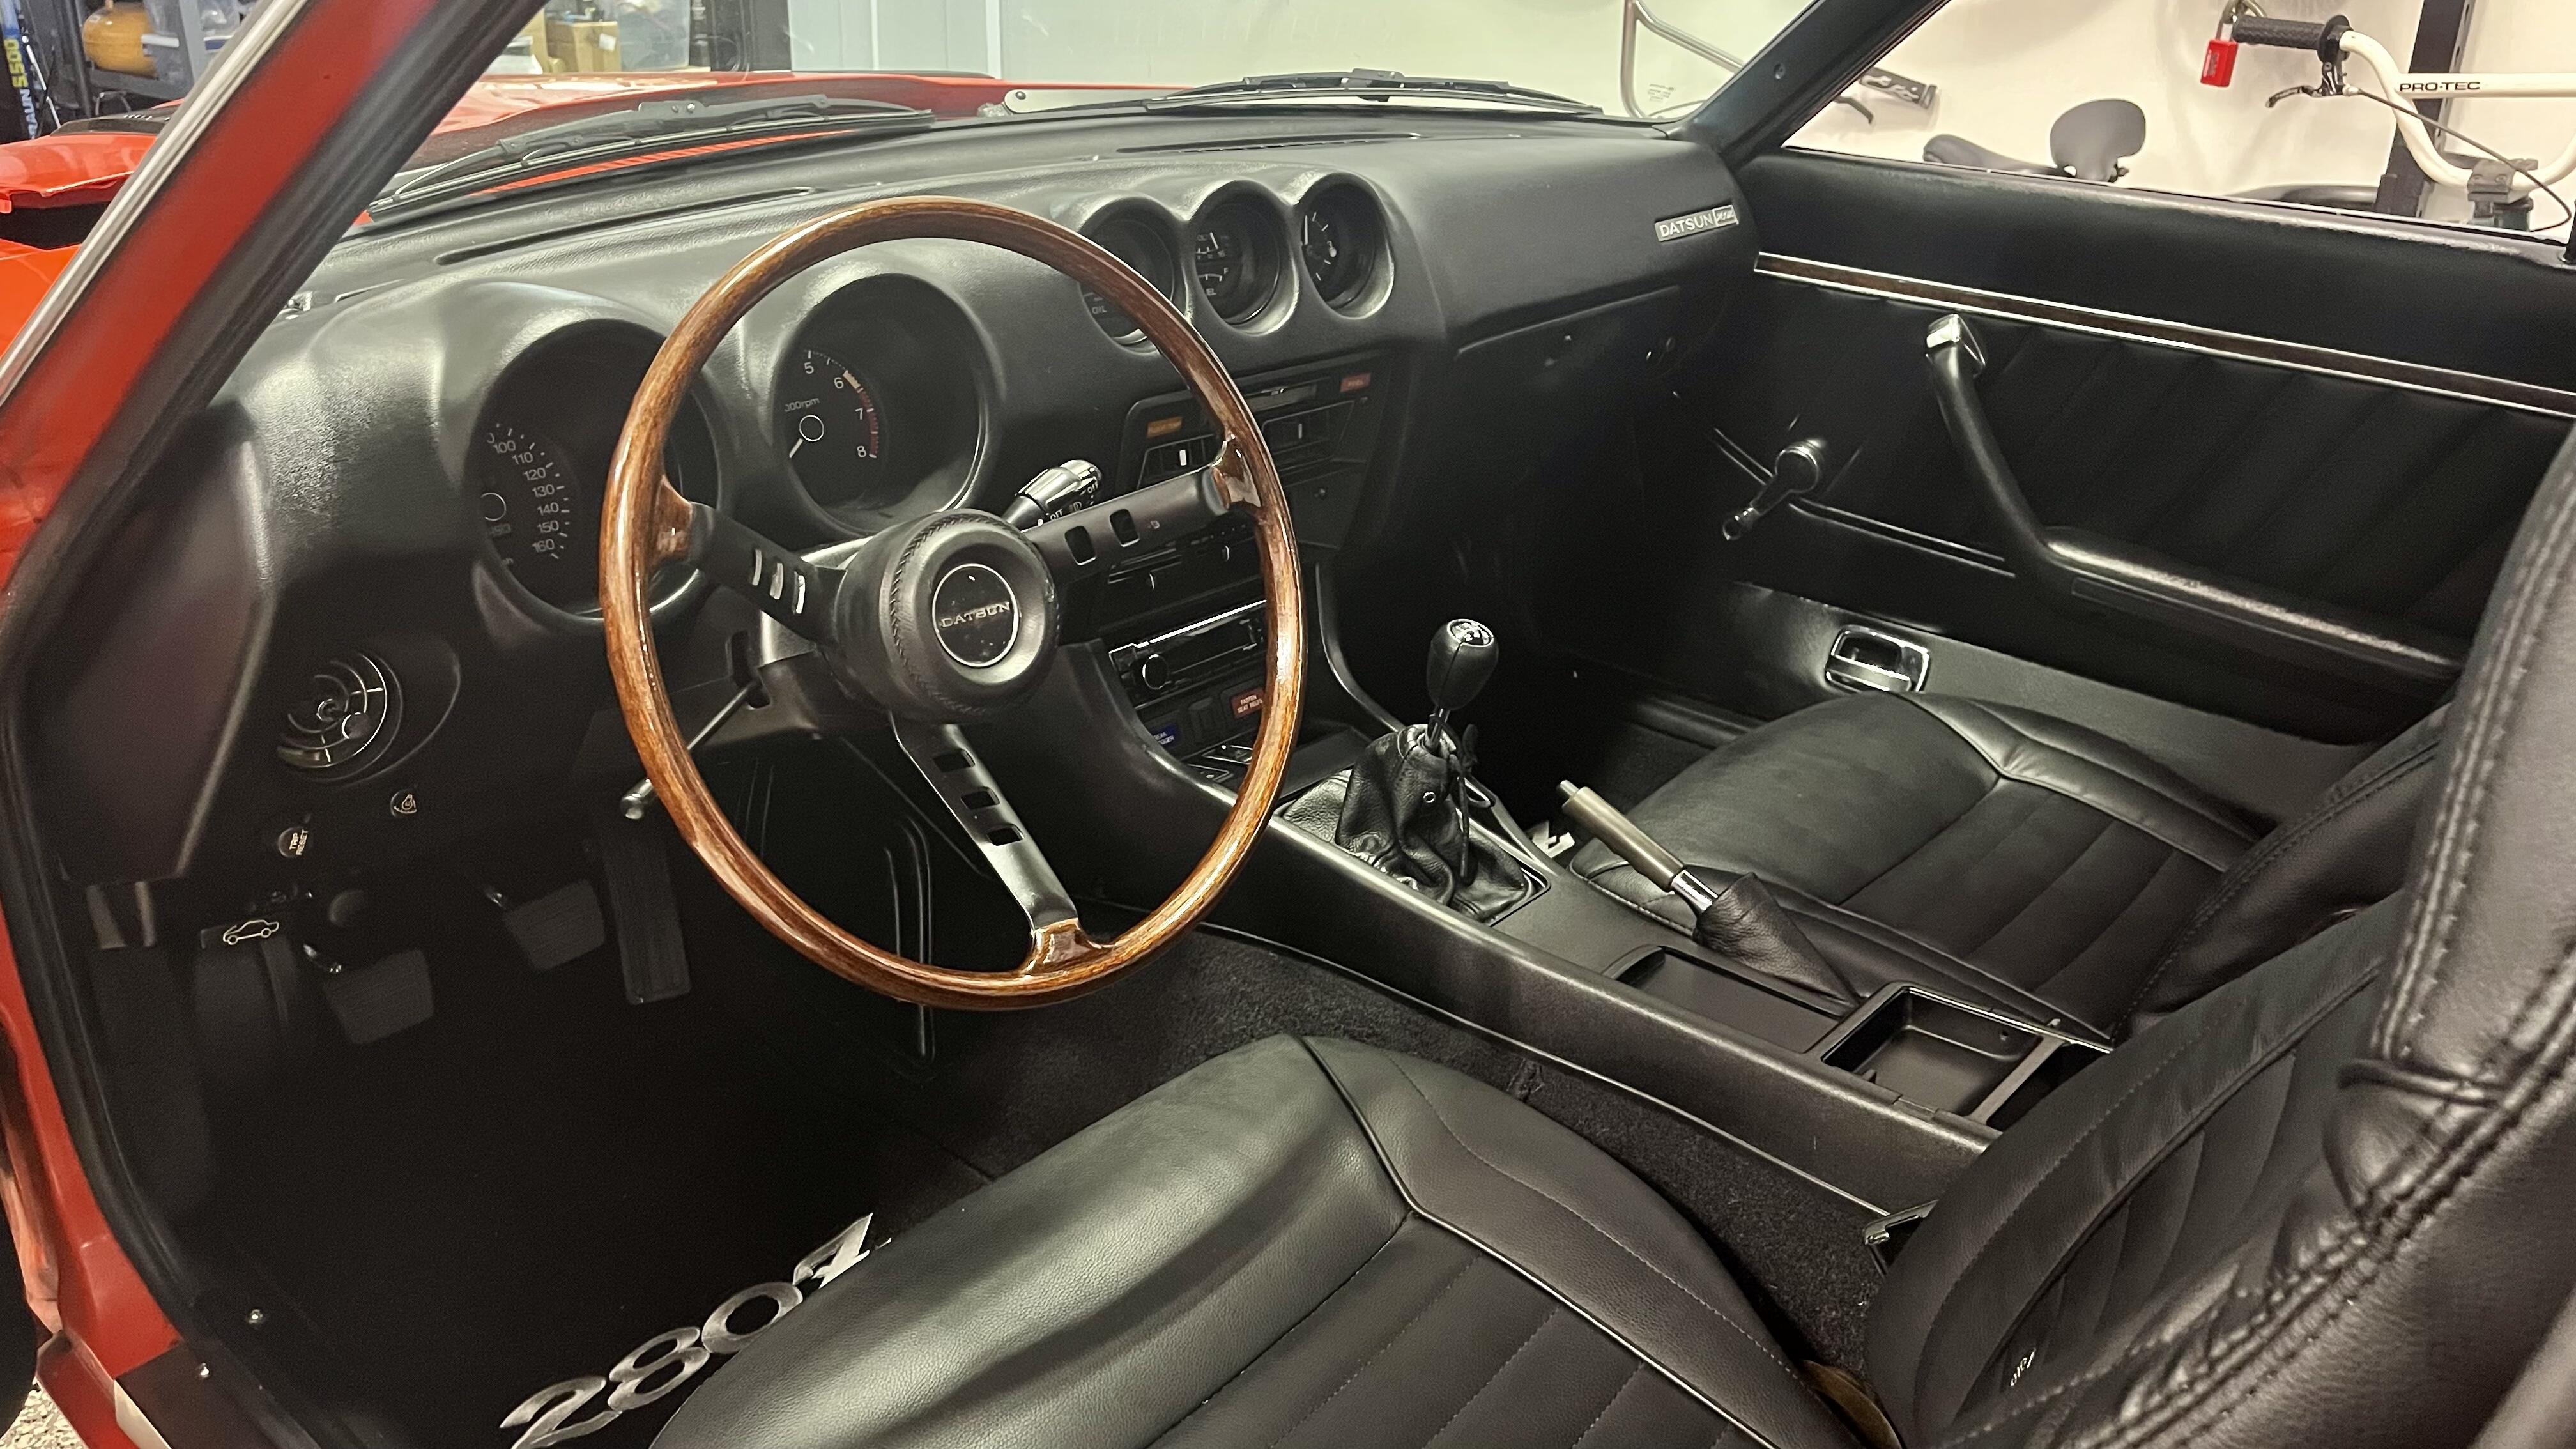
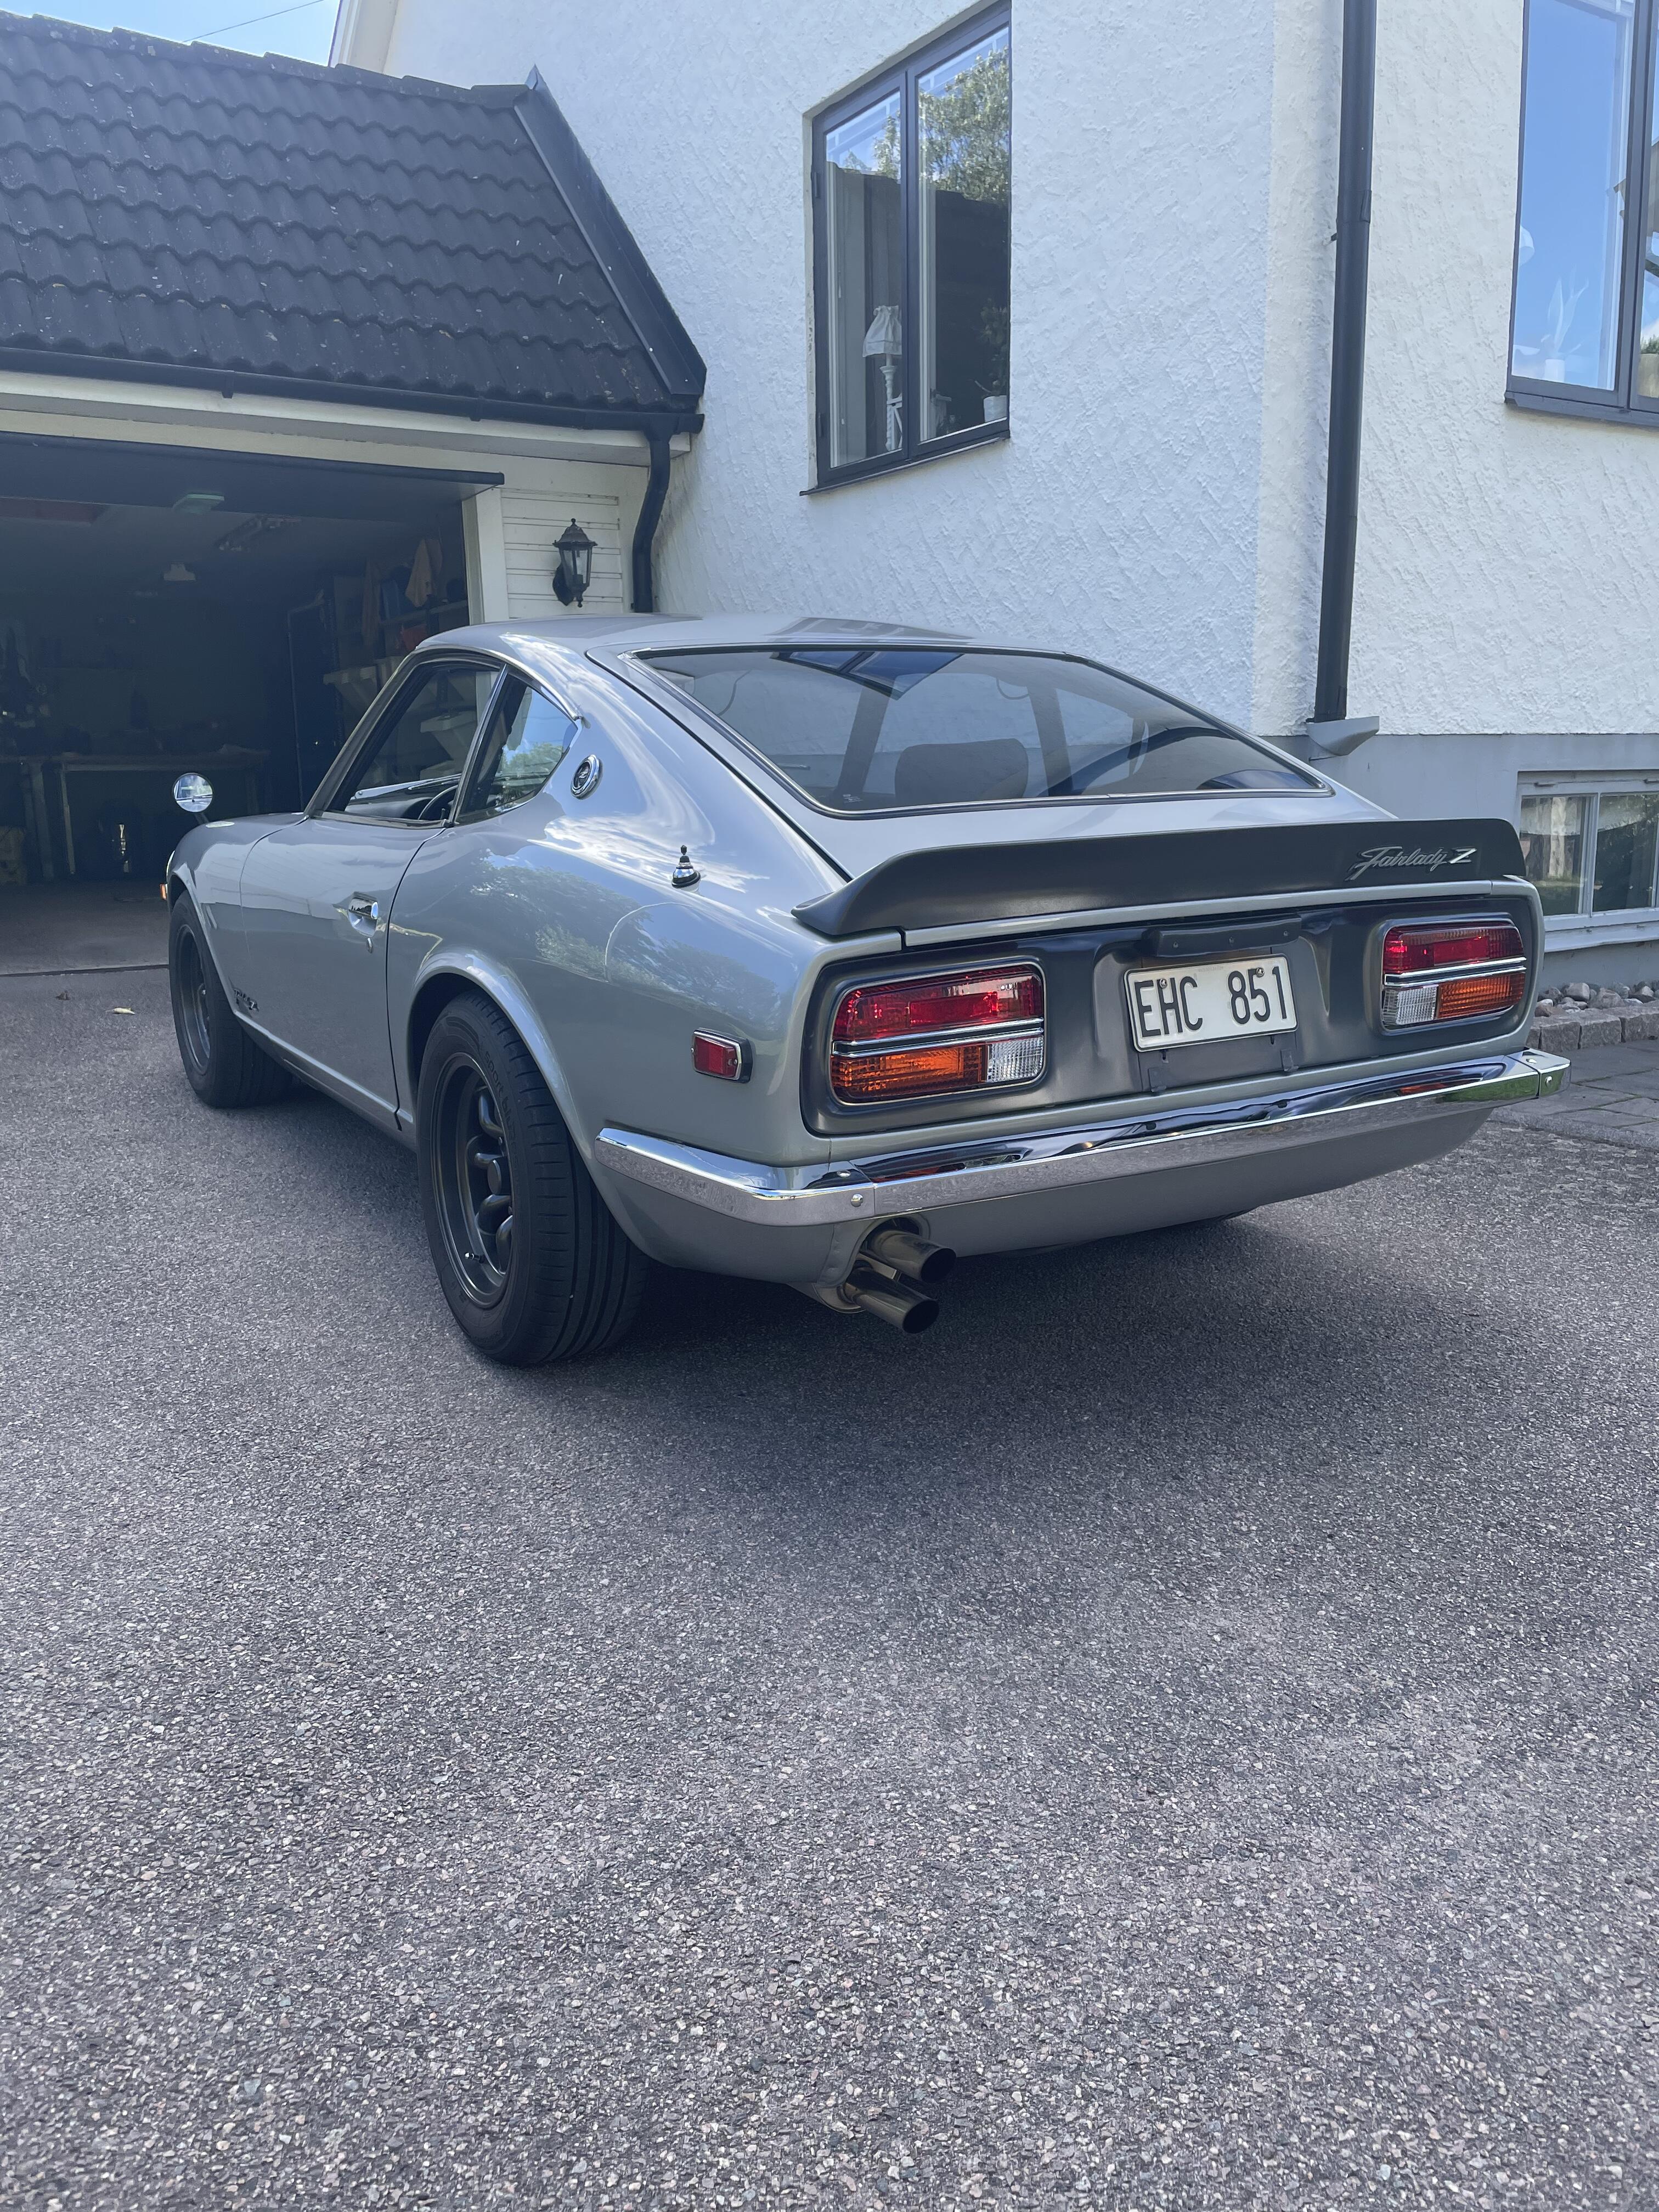
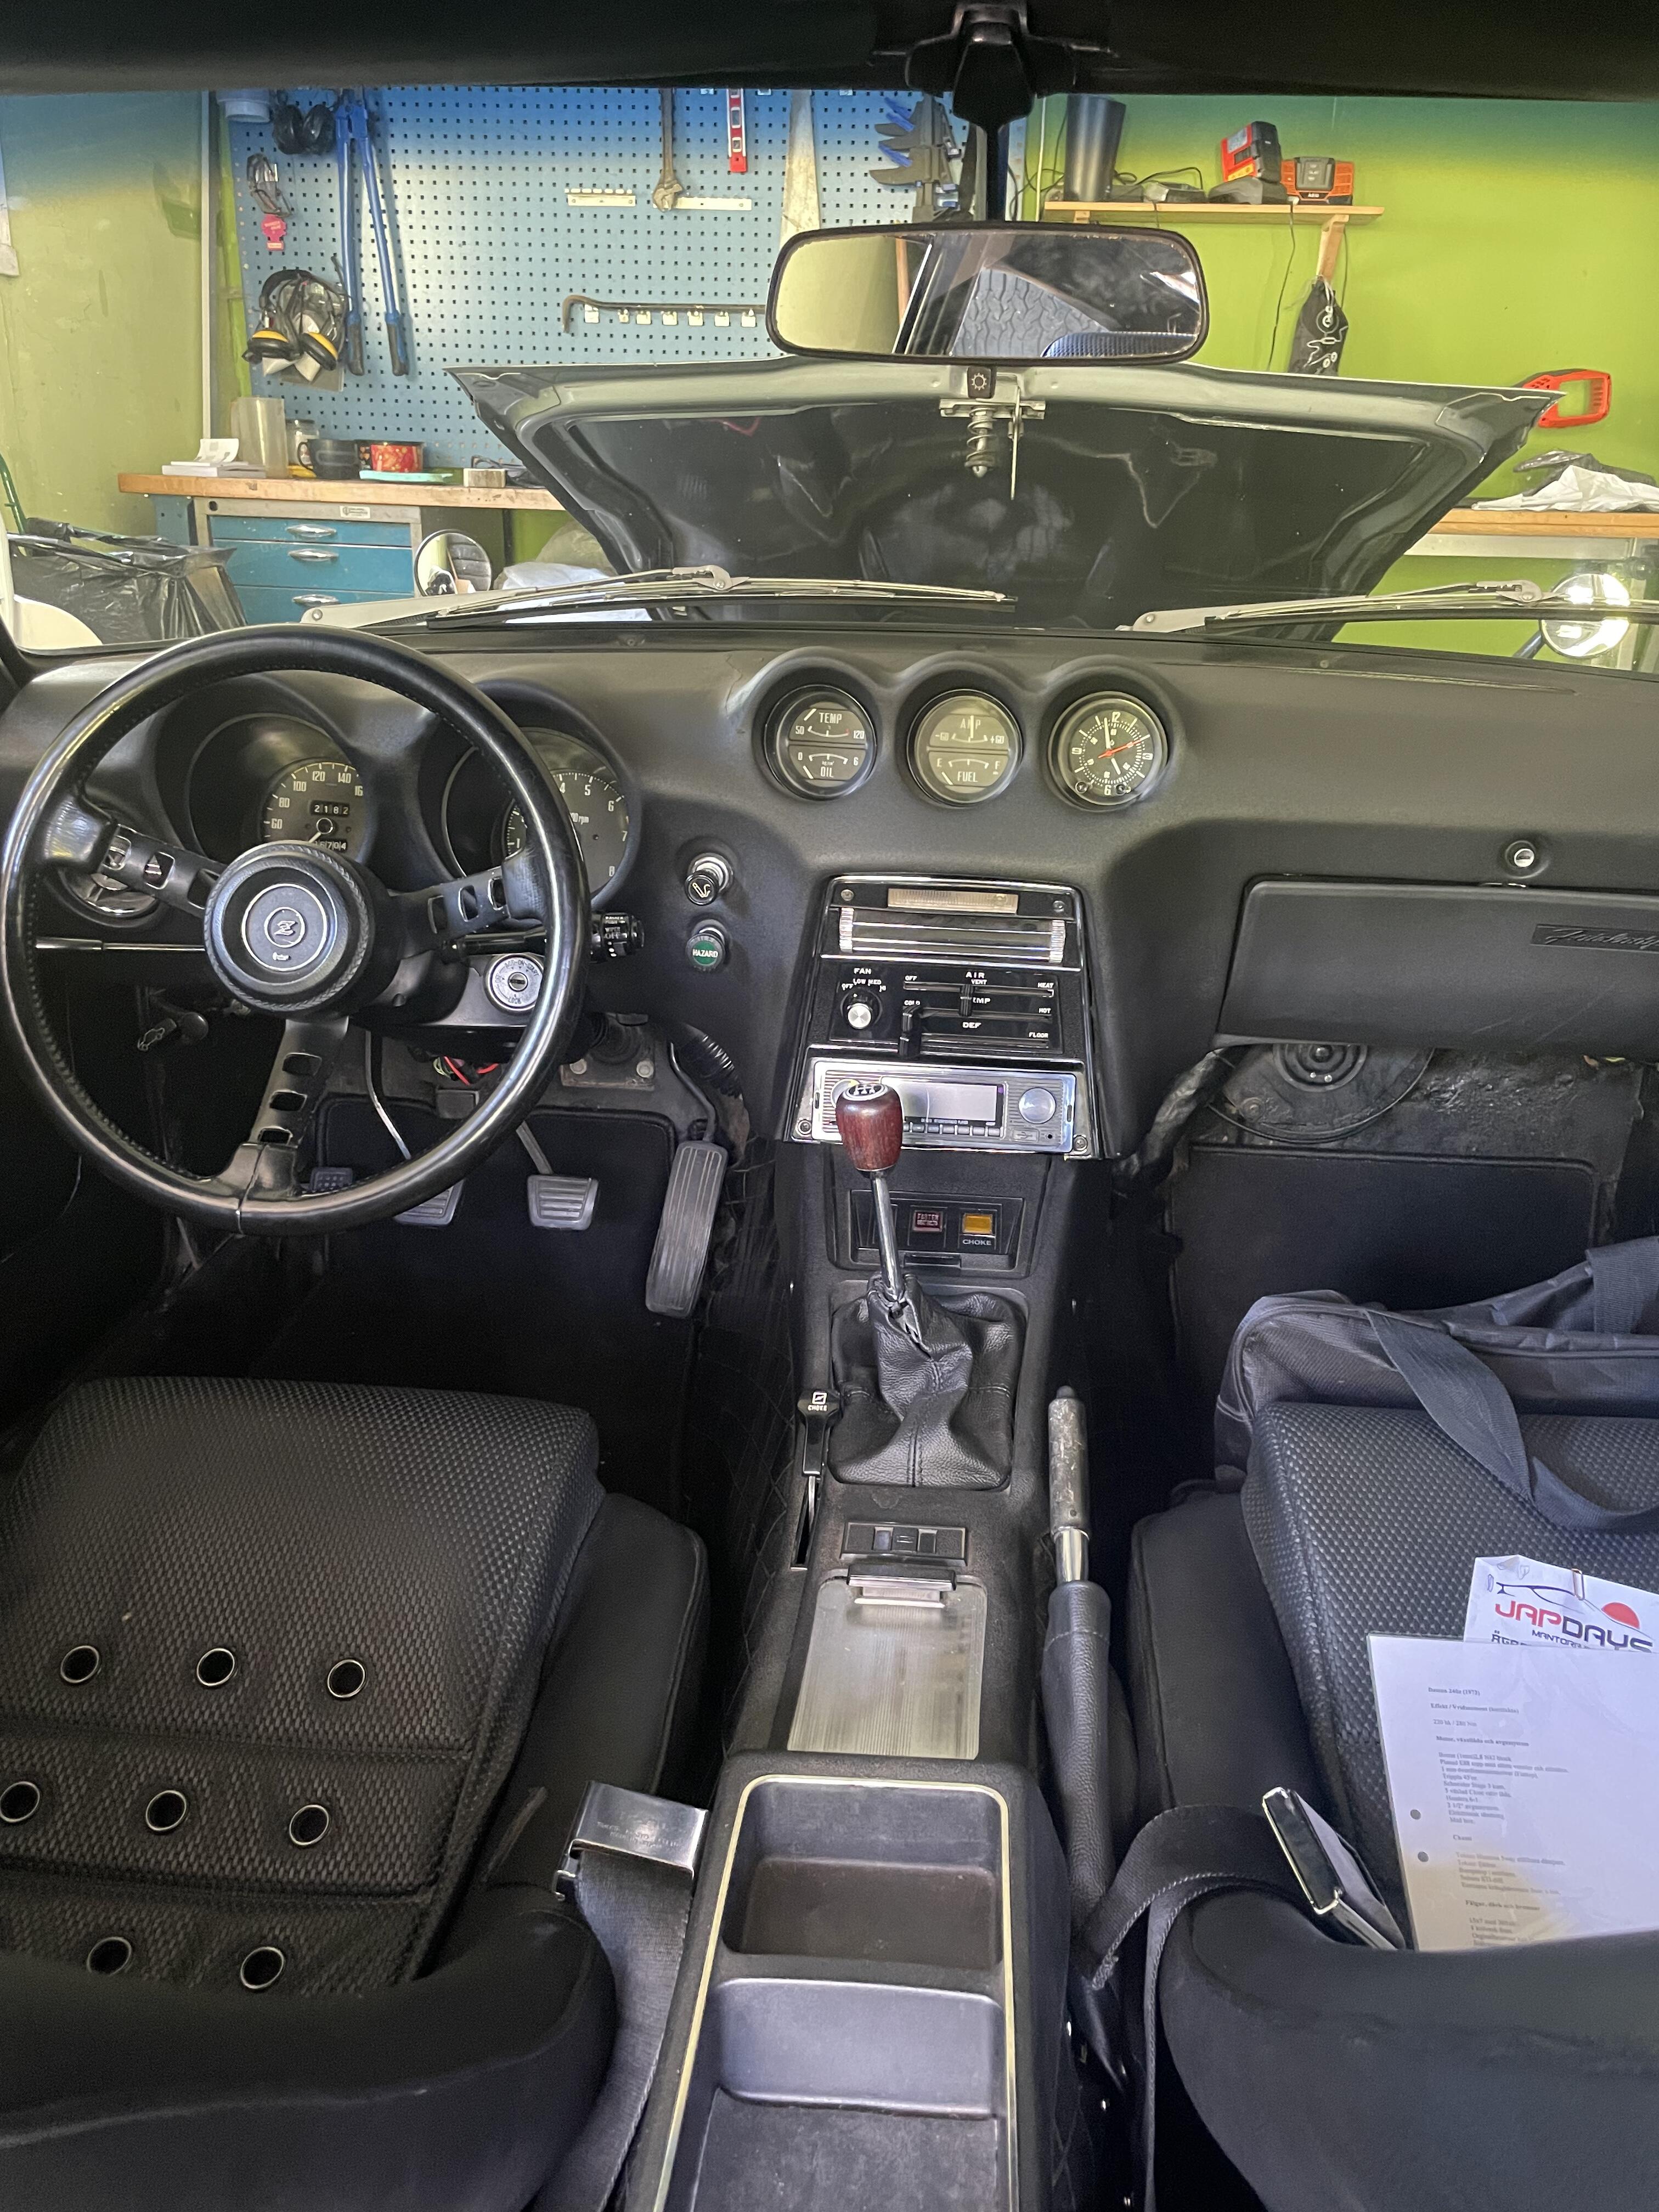
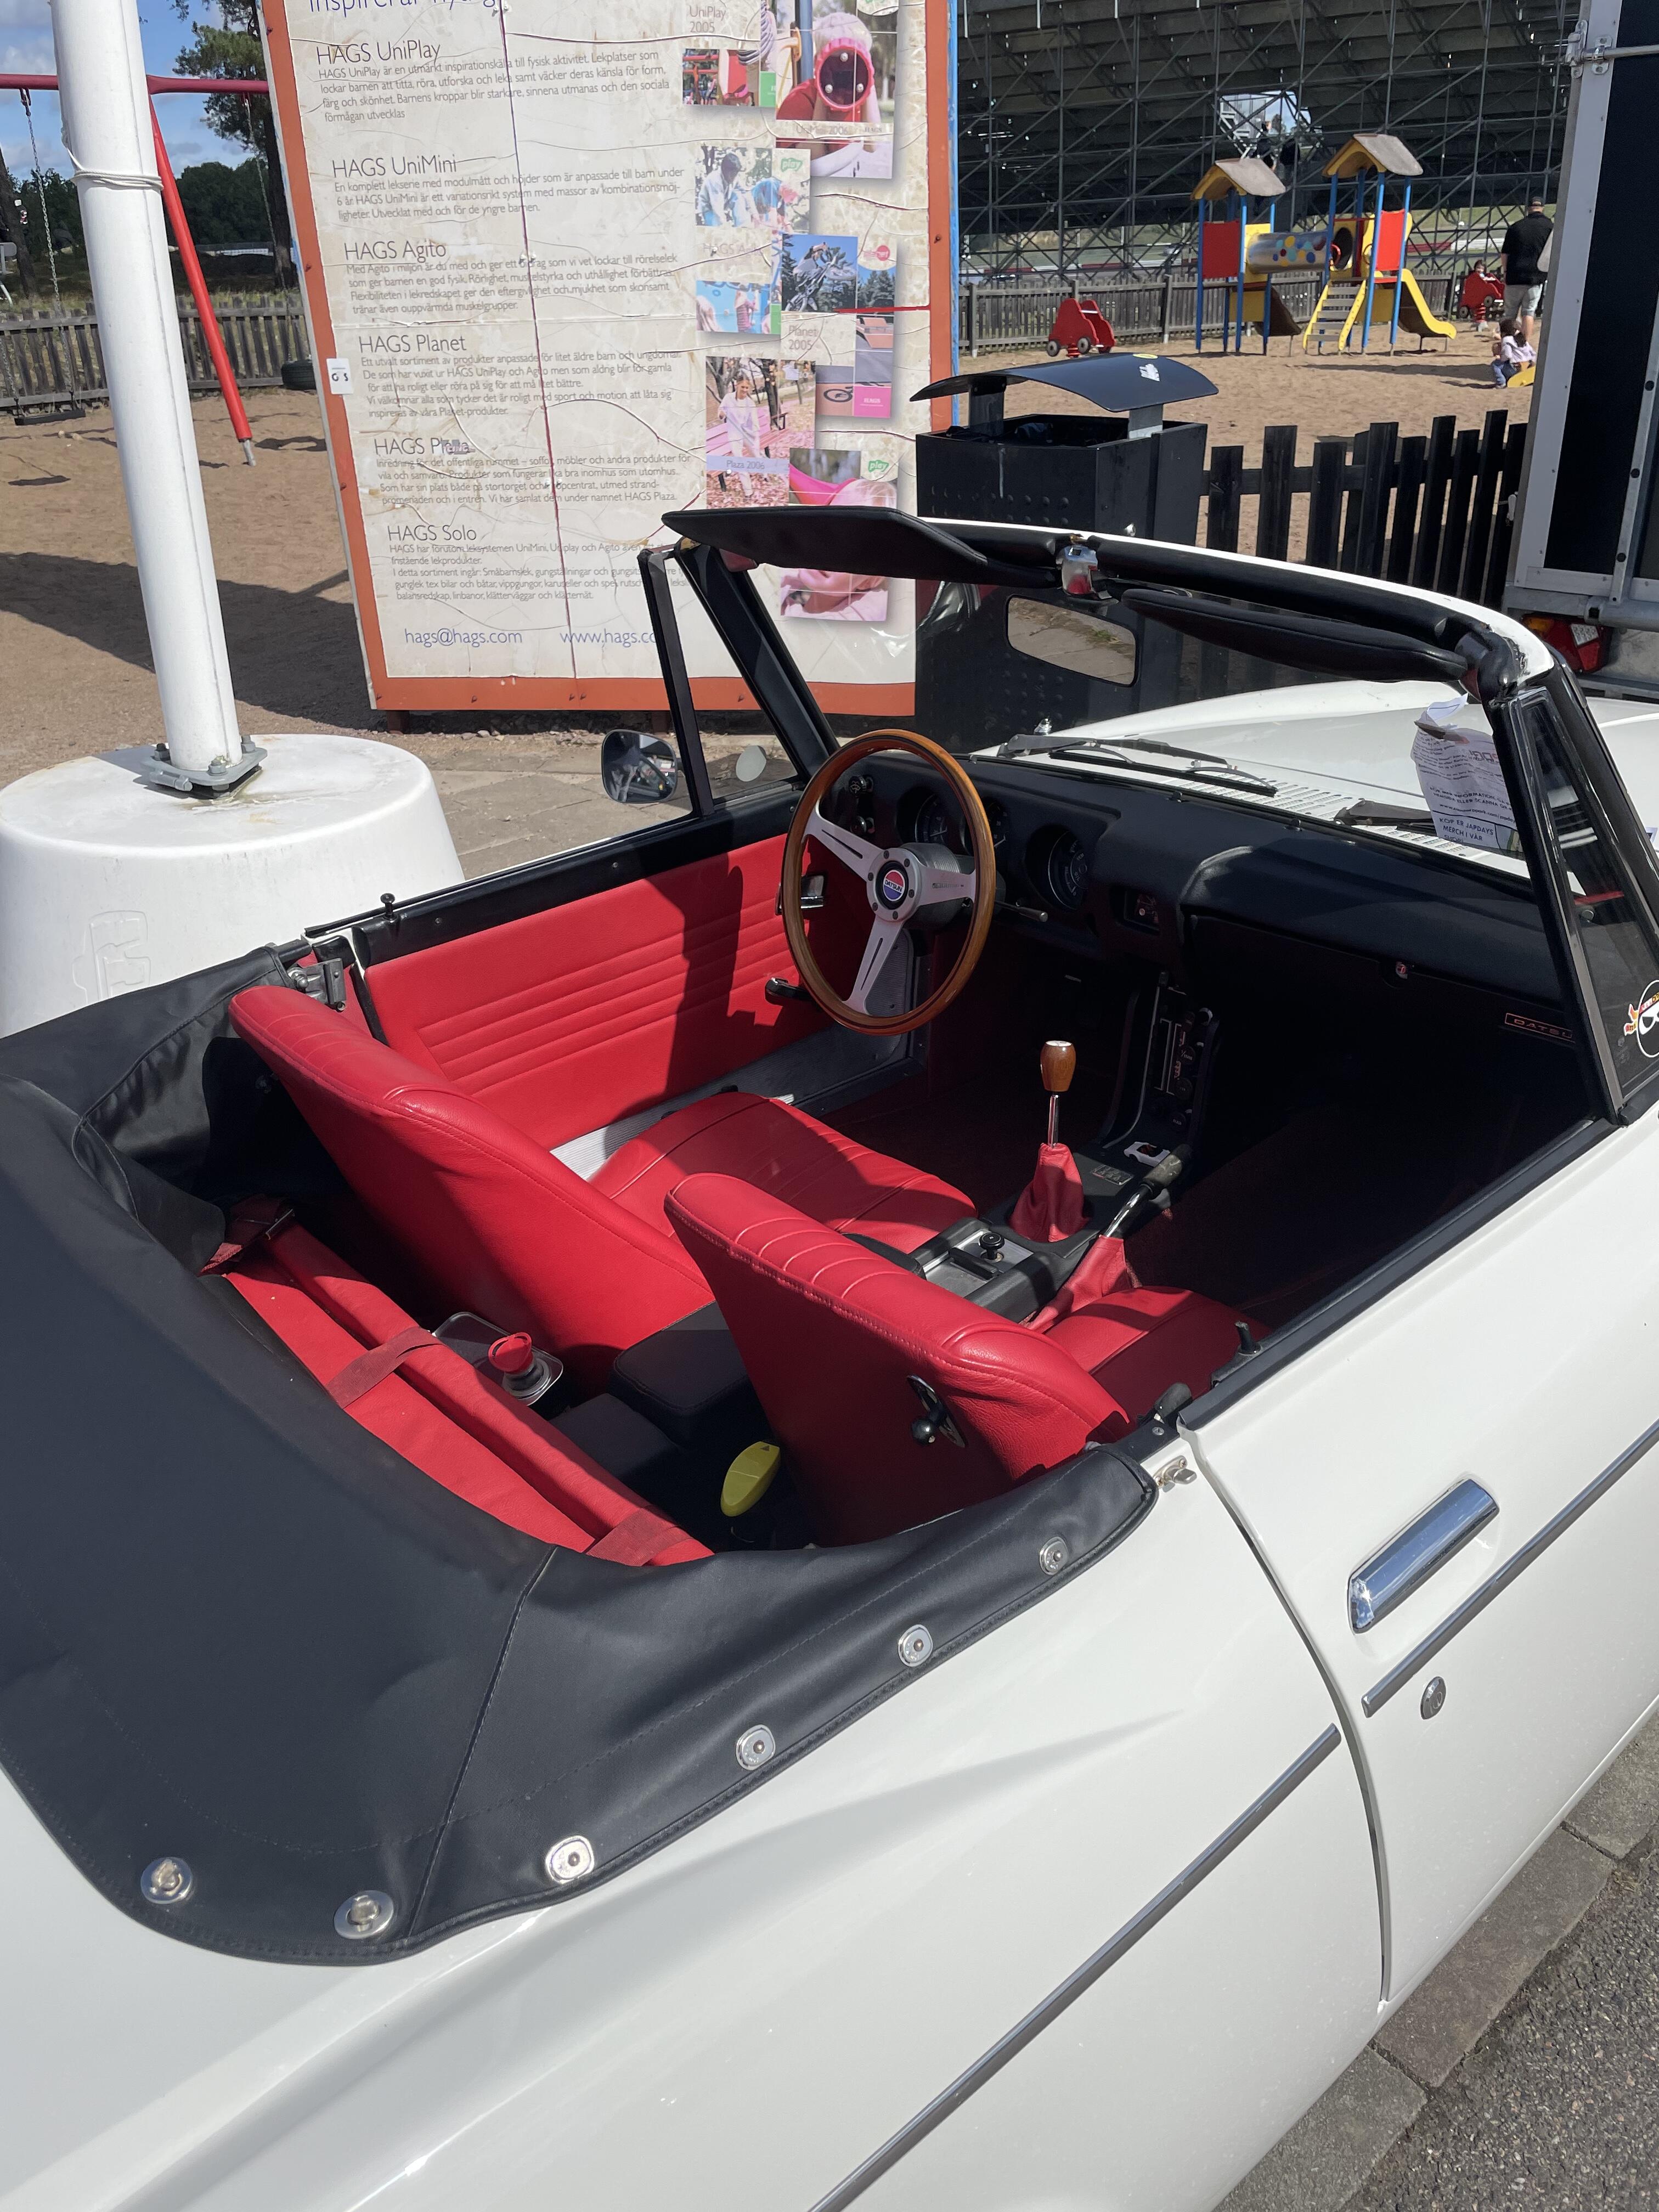
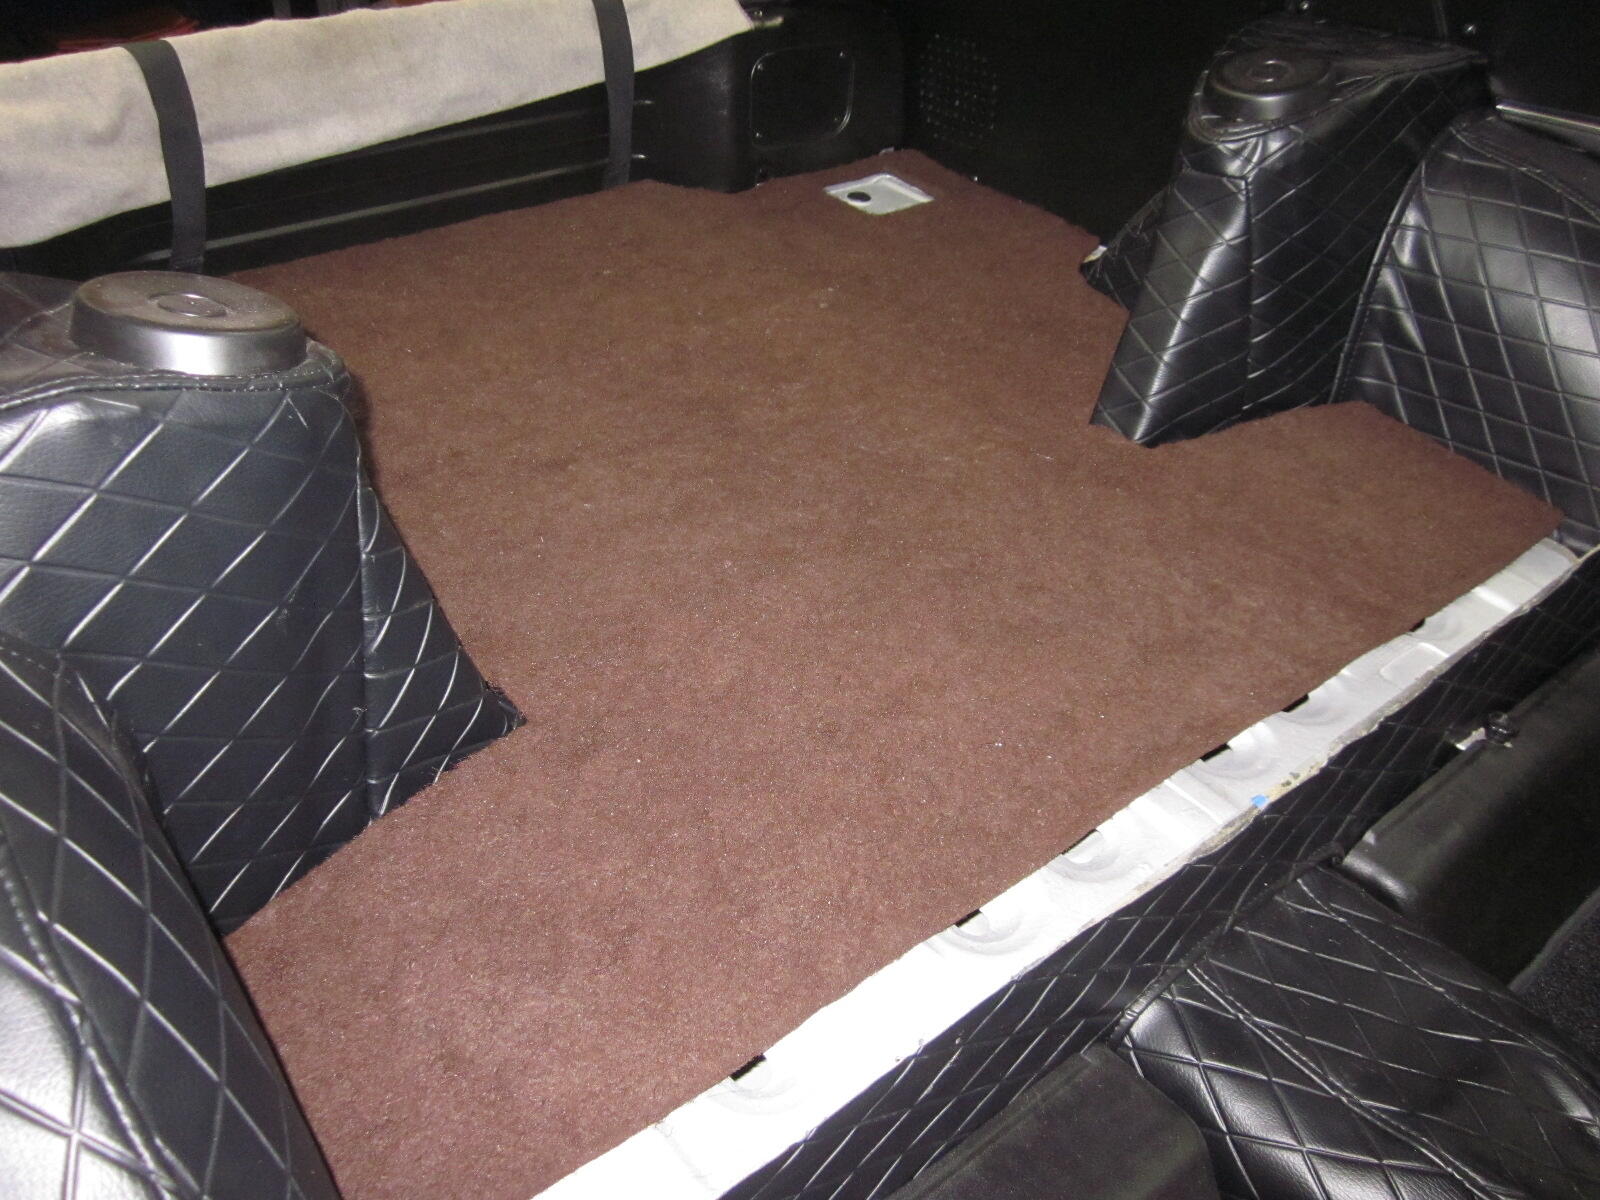
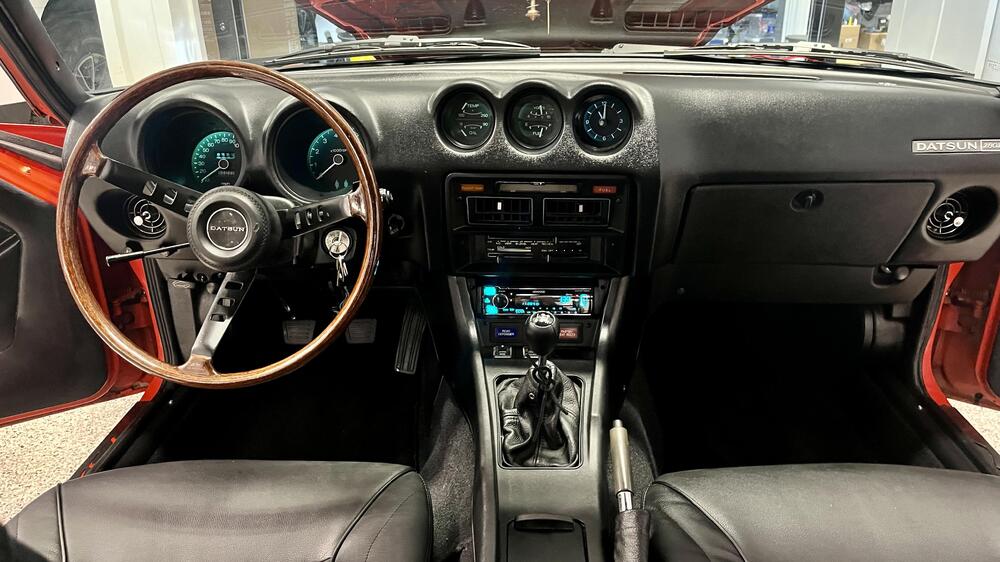
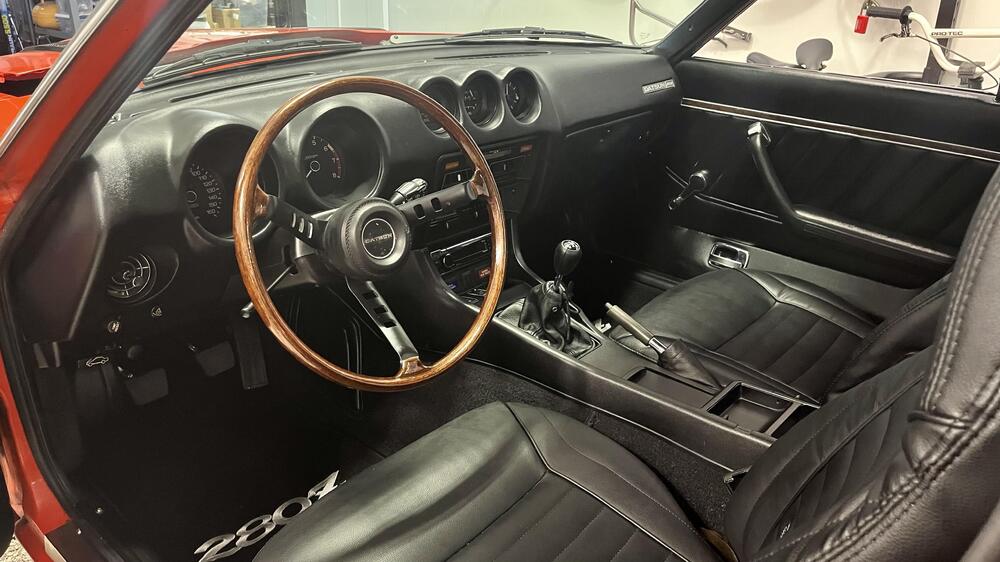
5 pointsWrapping up the interior. I’m pretty happy with the outcome. It’s not perfect but it has come a long way. I wish I had great pics of the interior to show the before and after. The bottom line my car had no interior and no seats when I bought it. Everything is new or something I either bought or salvaged. The only interior pieces that I had were the plastic panels that go around the rear quarter windows. The headliner was also in good shape and required no work. There was no vinyl on the shock towers or wheel wells. I salvaged mine off a junked Z in a salvage yard. You can see in the before pics the interior was just bare metal. Still haven’t figured on the center console arm rest mechanism. I have all the parts (springs and wires ) just haven’t figured out how is works yet. I also need new sun visors, or to have mine refurbished.


 5 points
 -
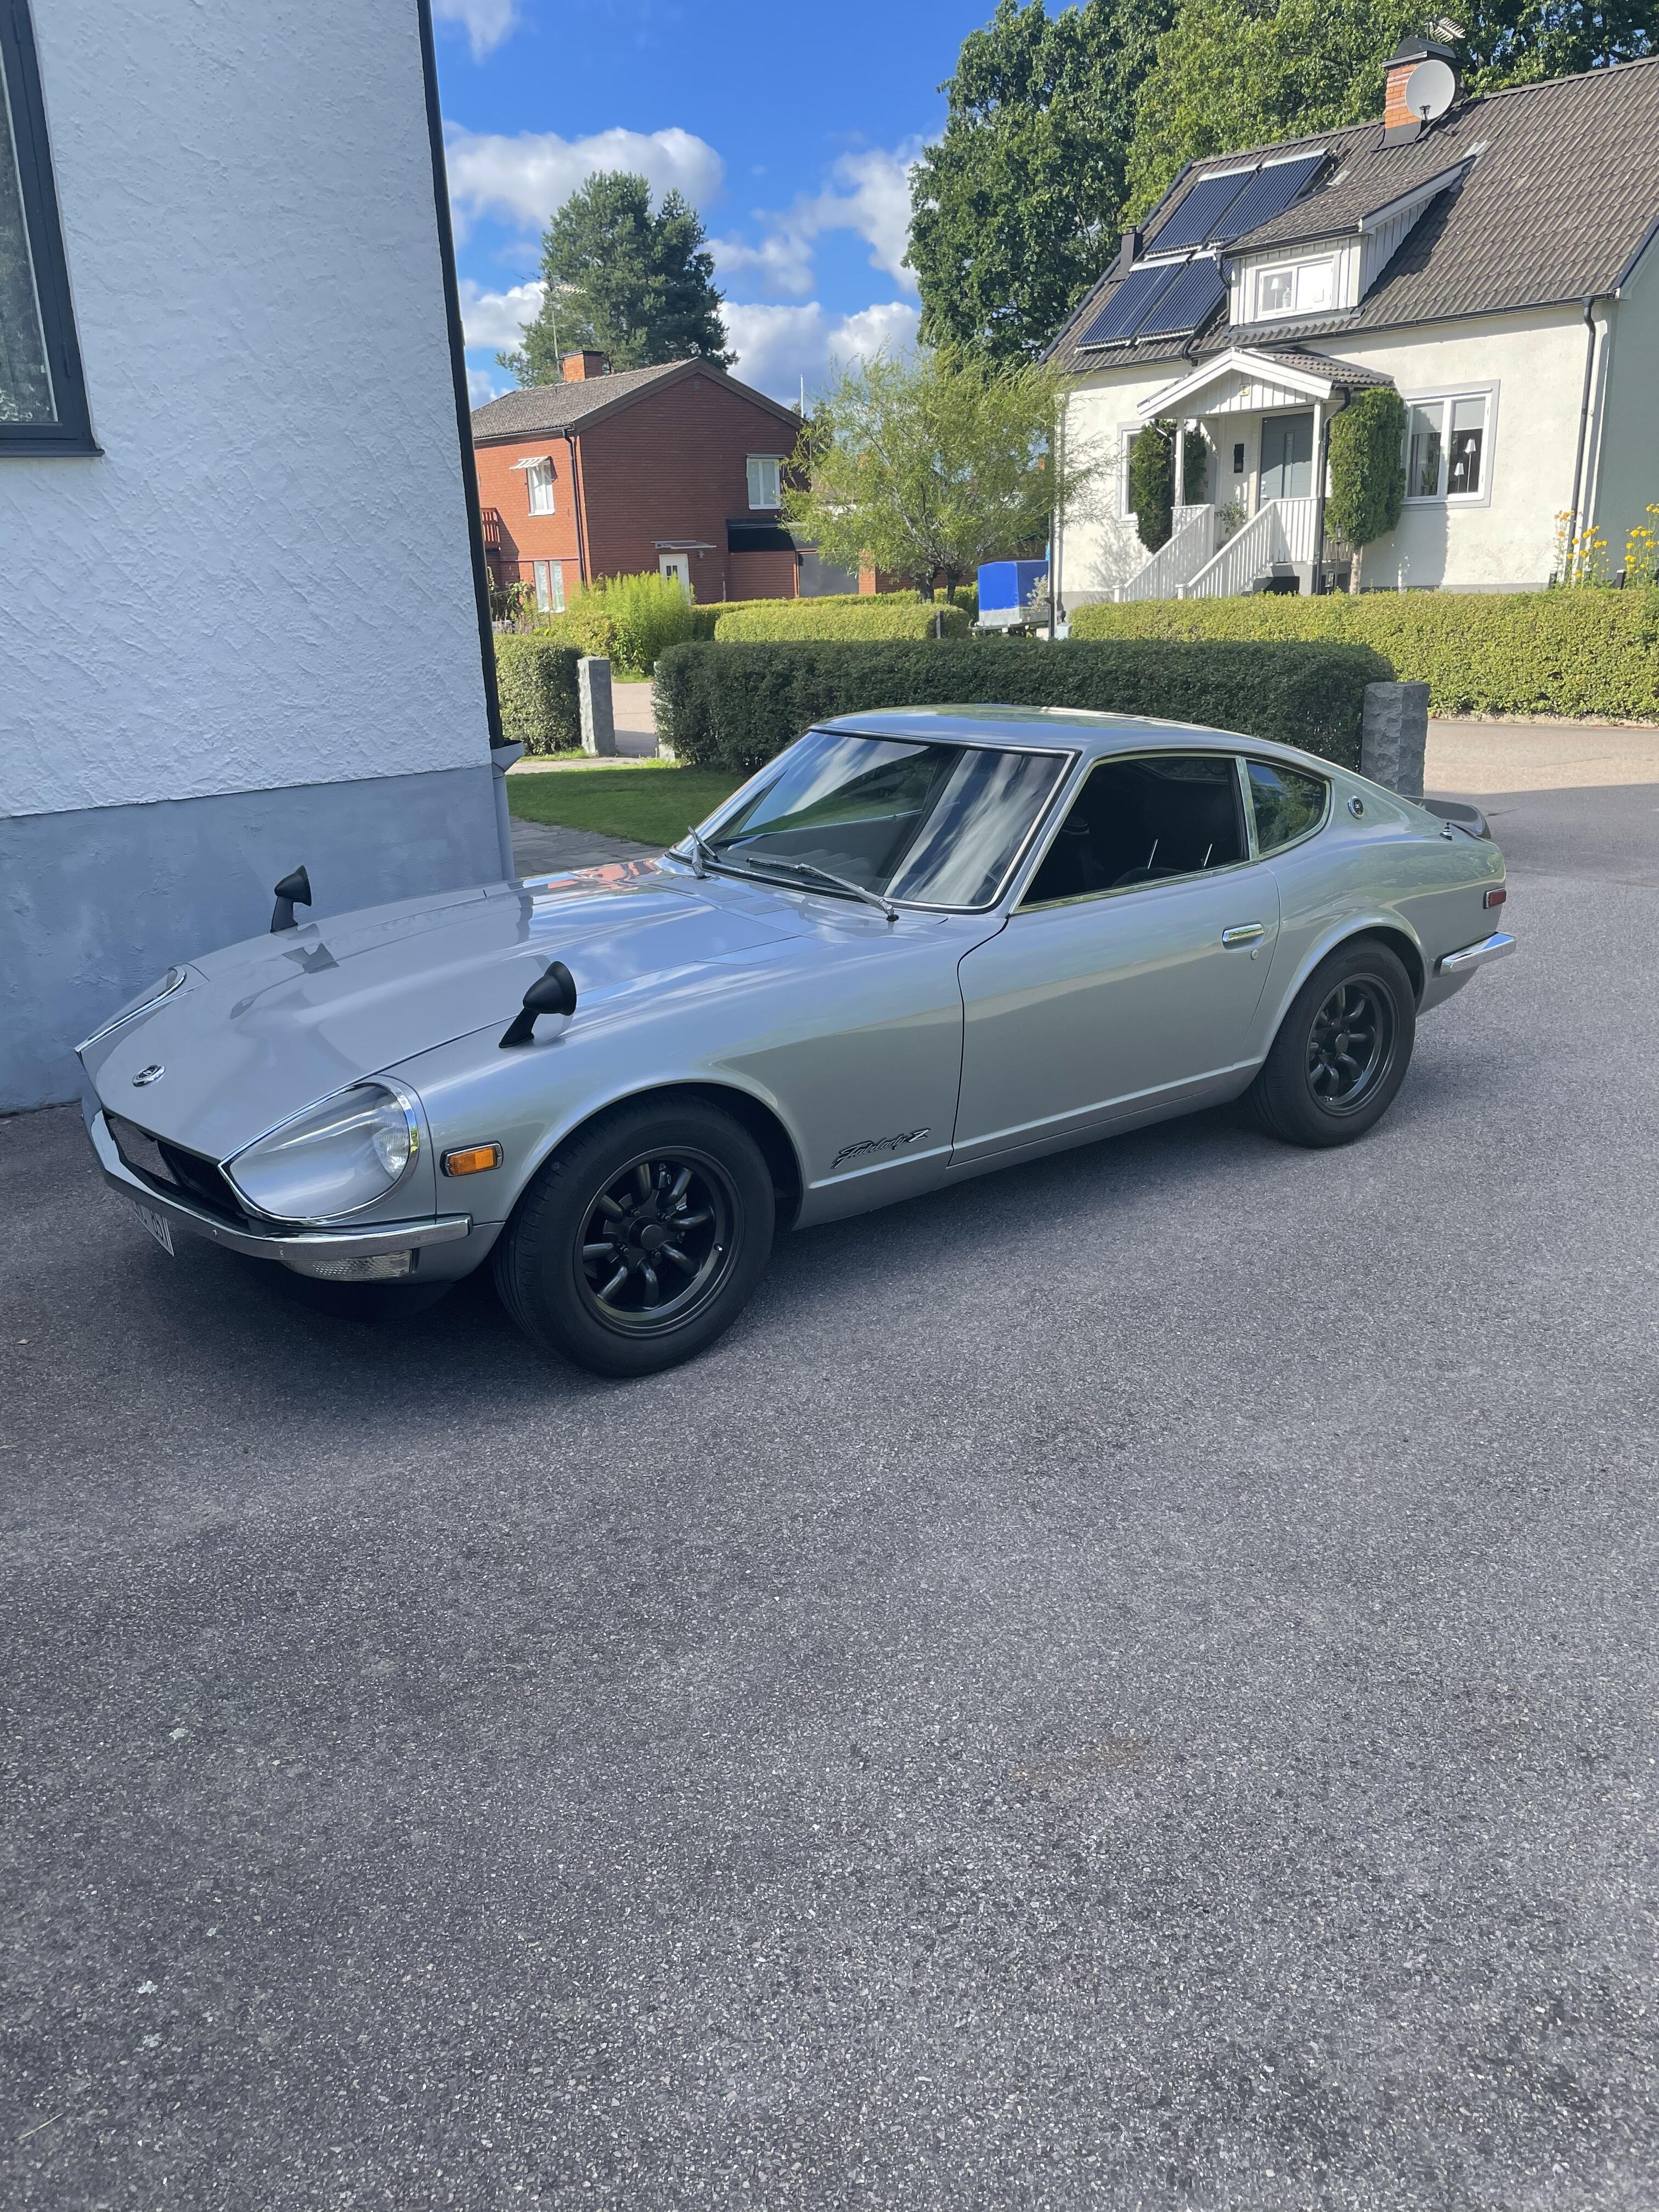
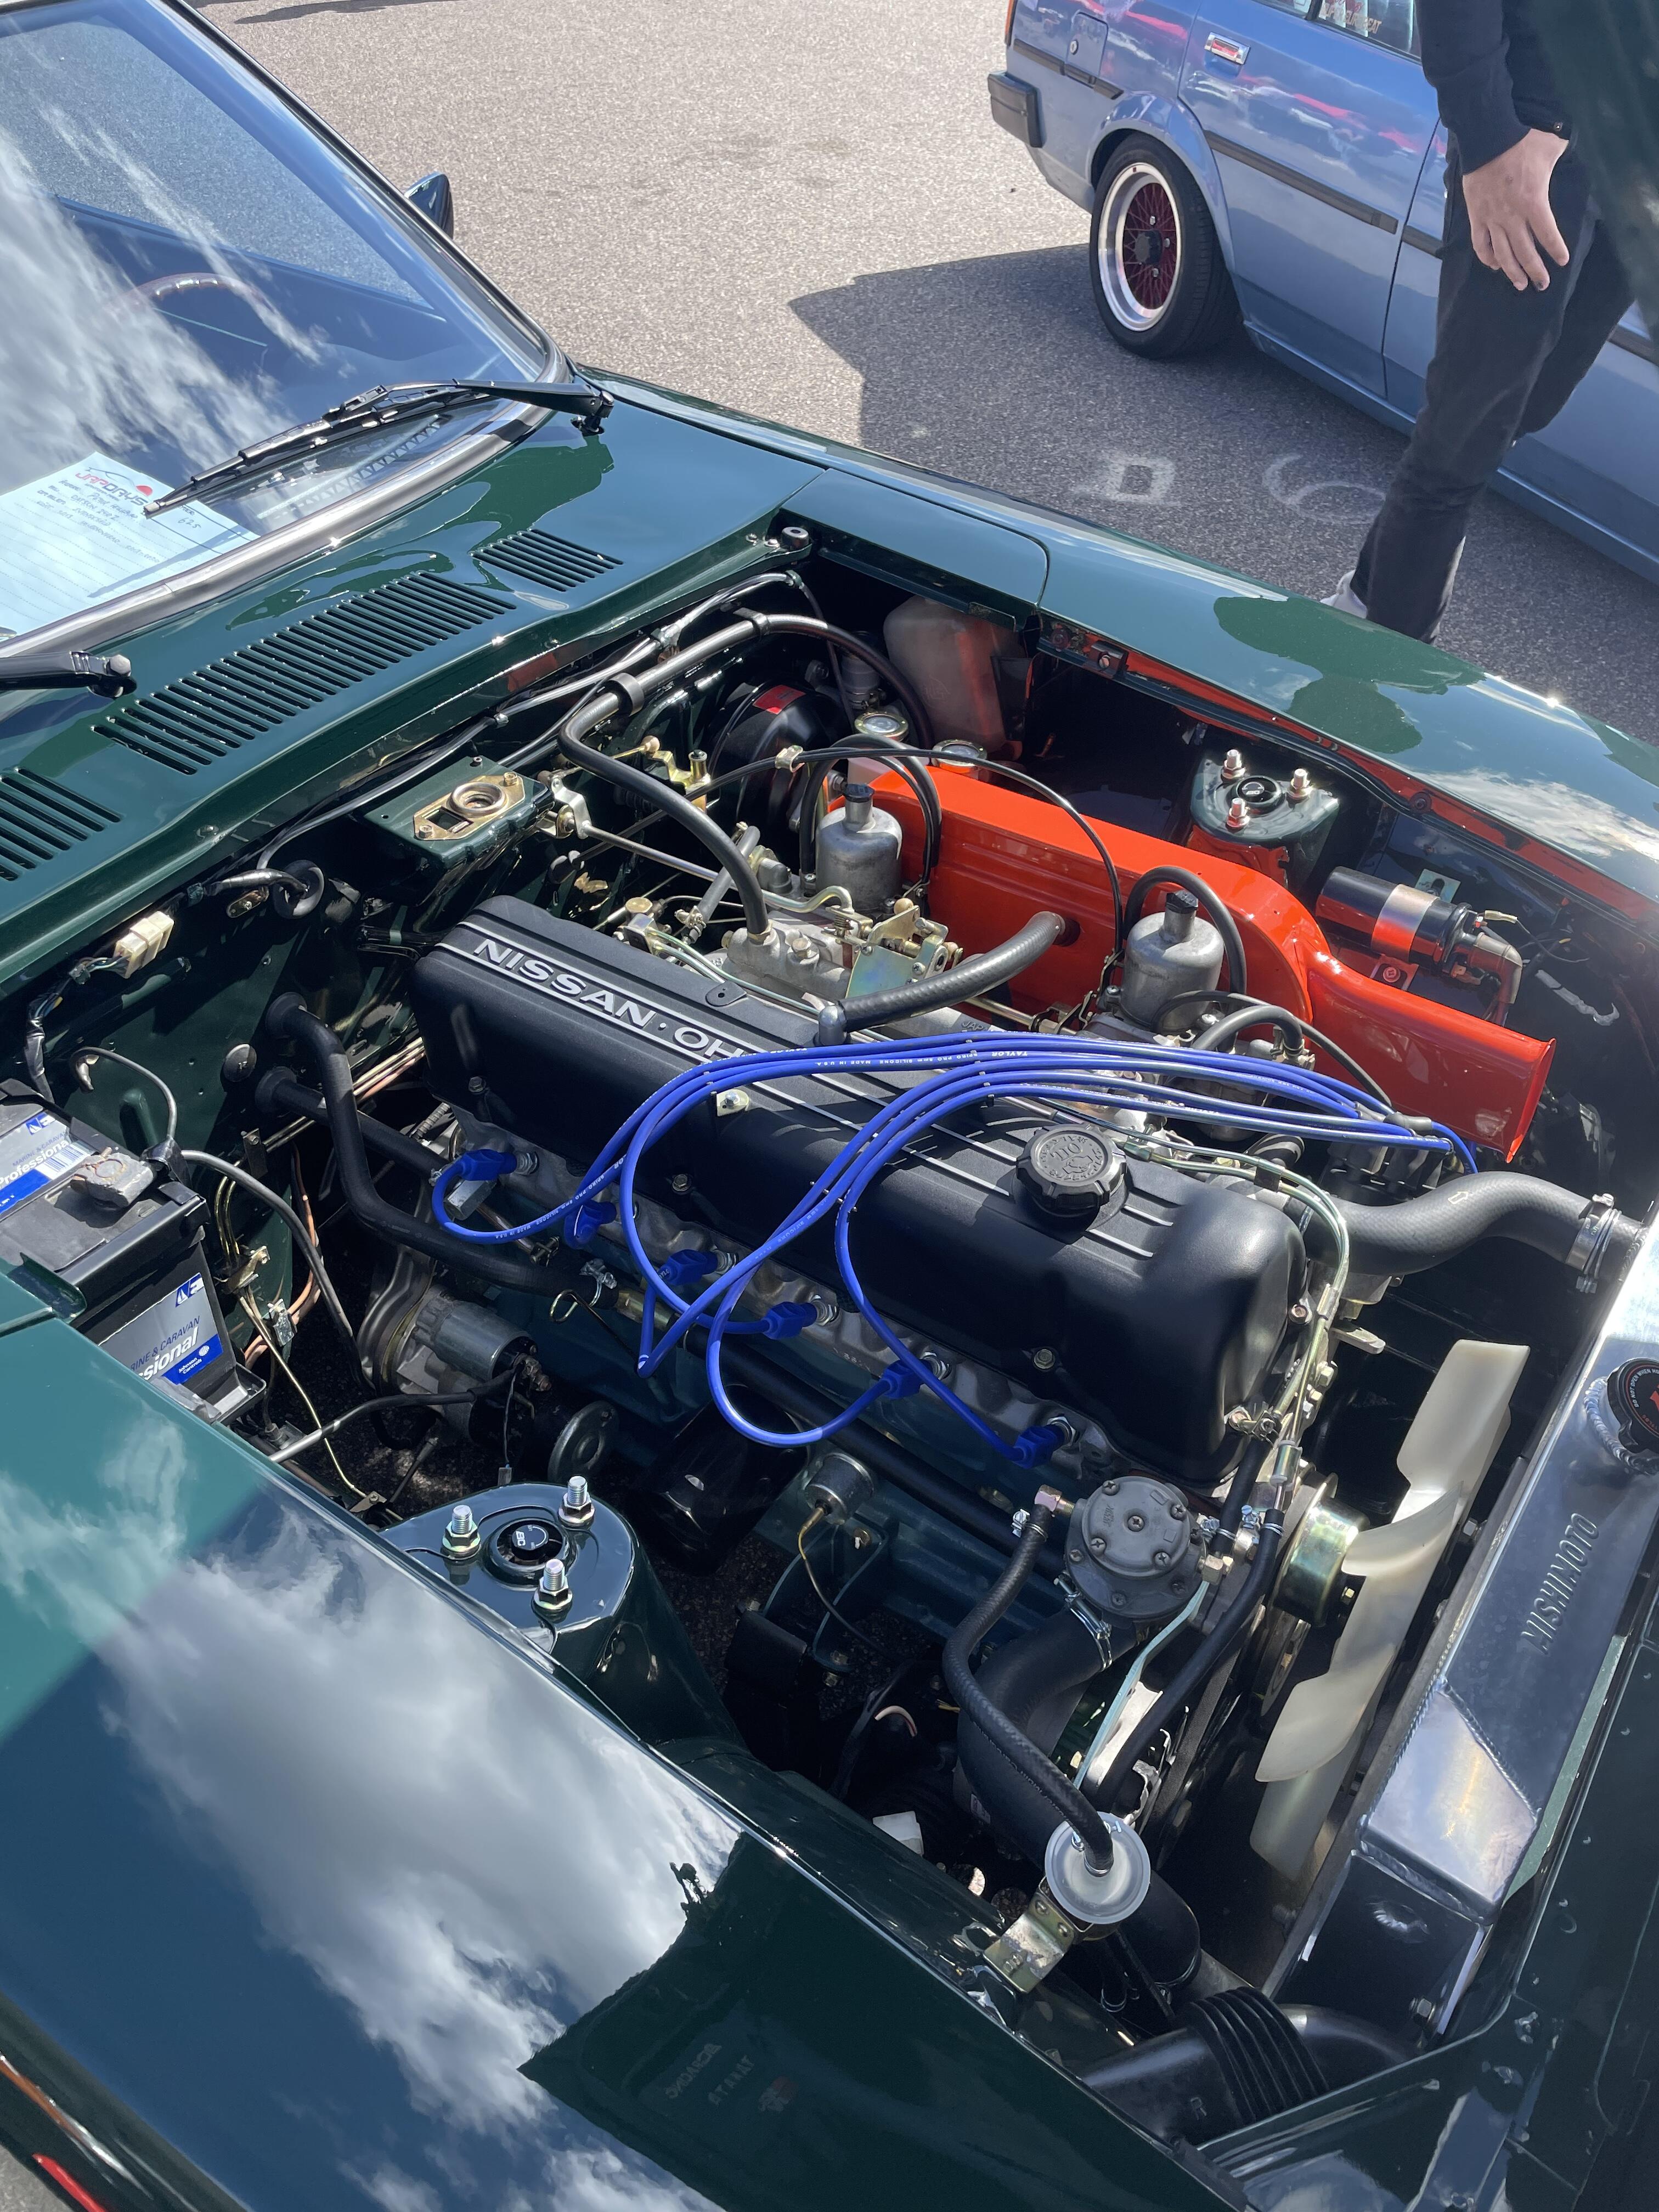
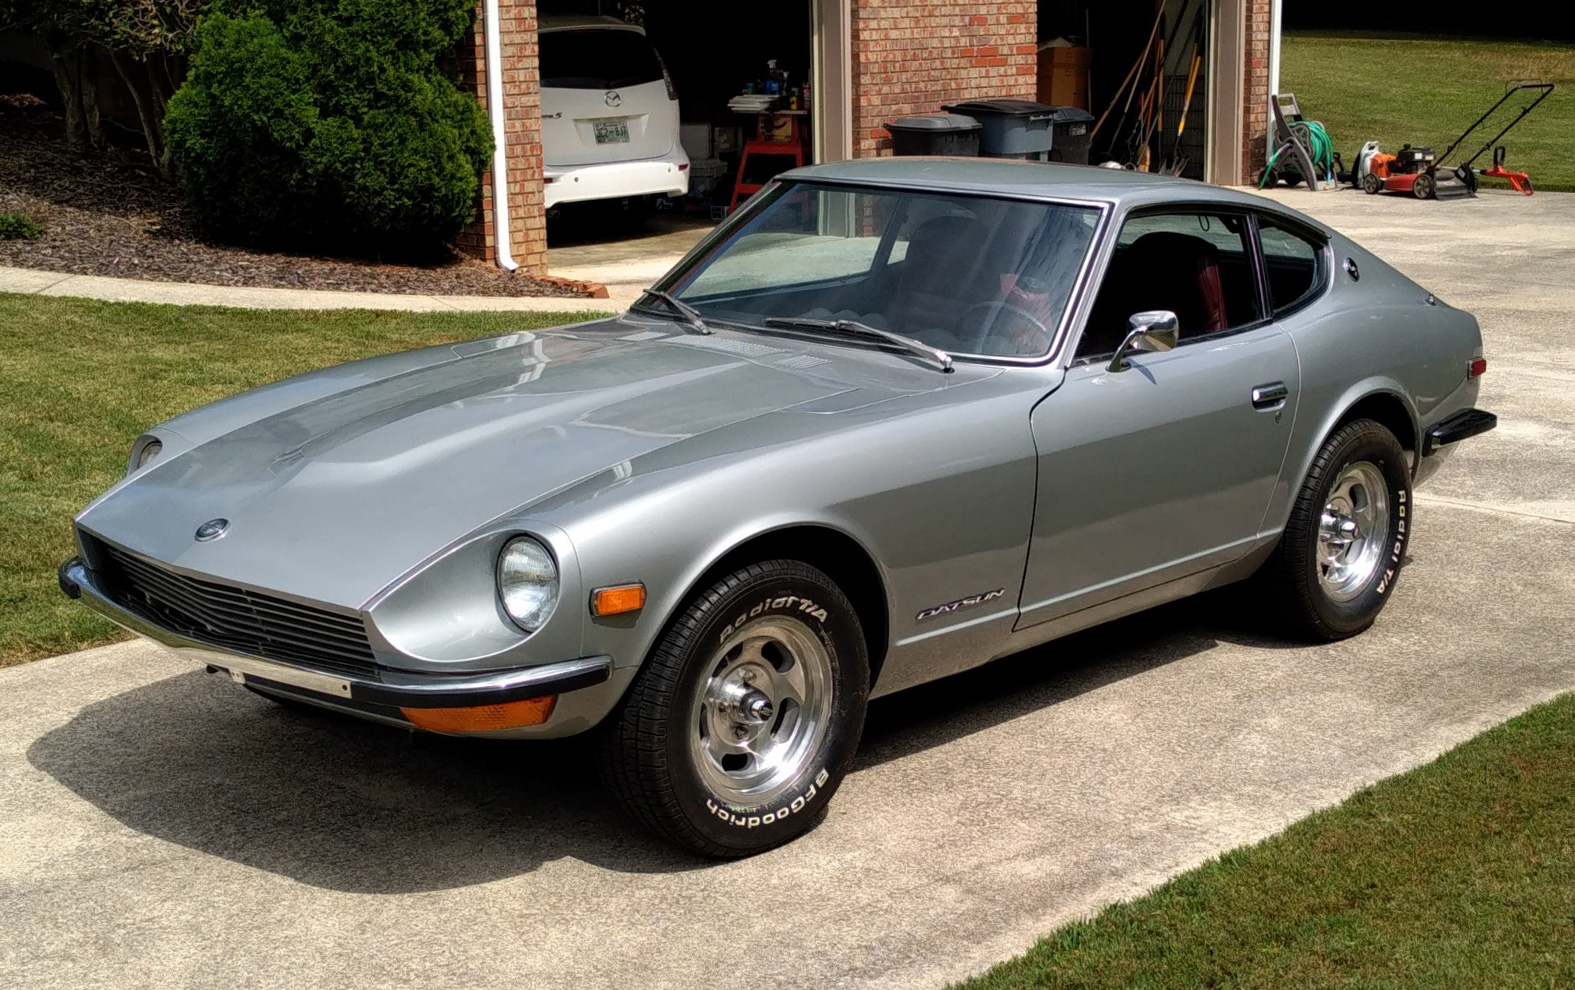
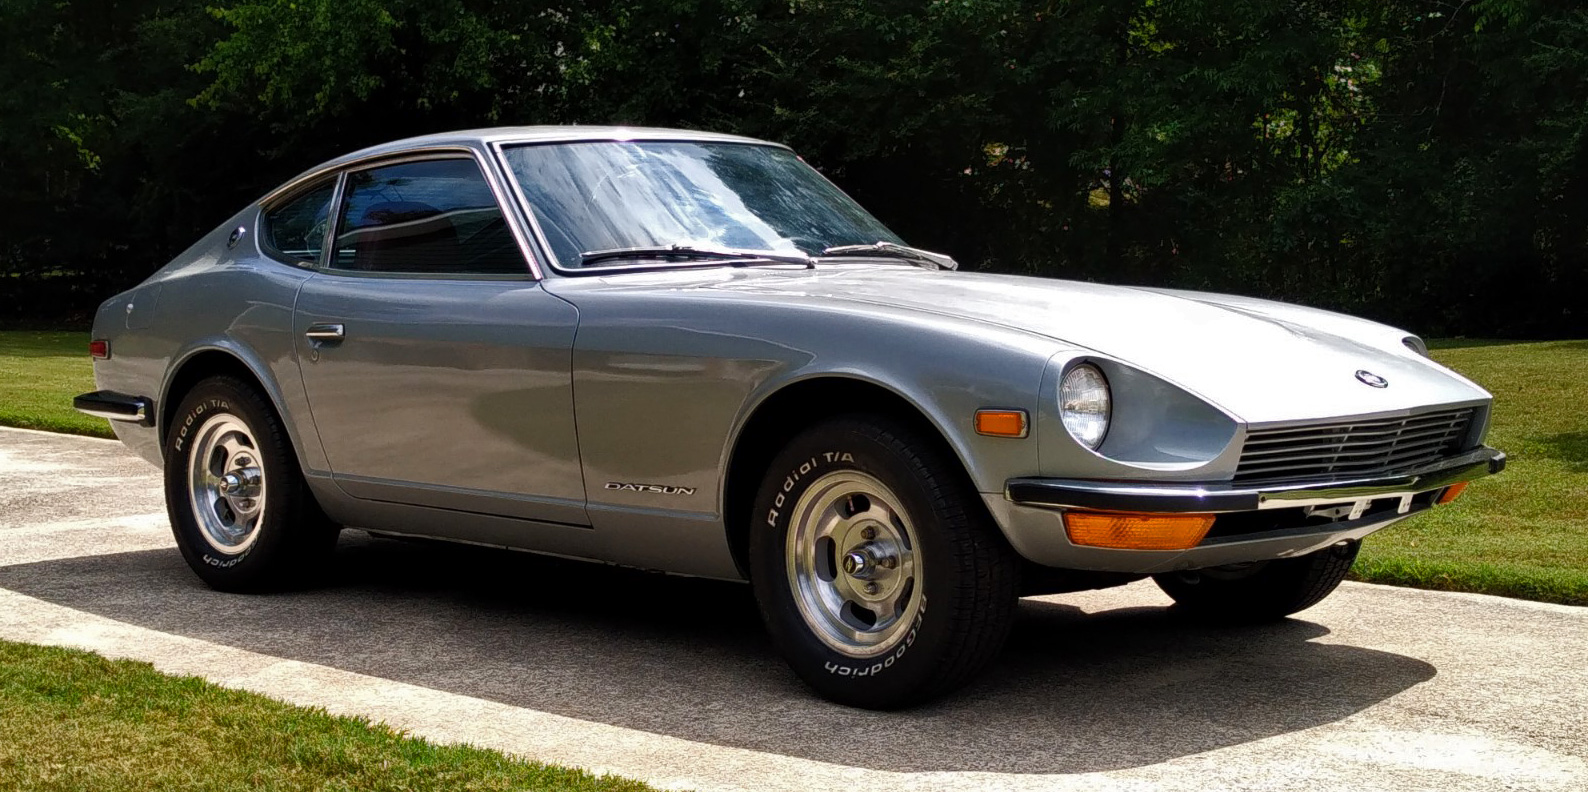
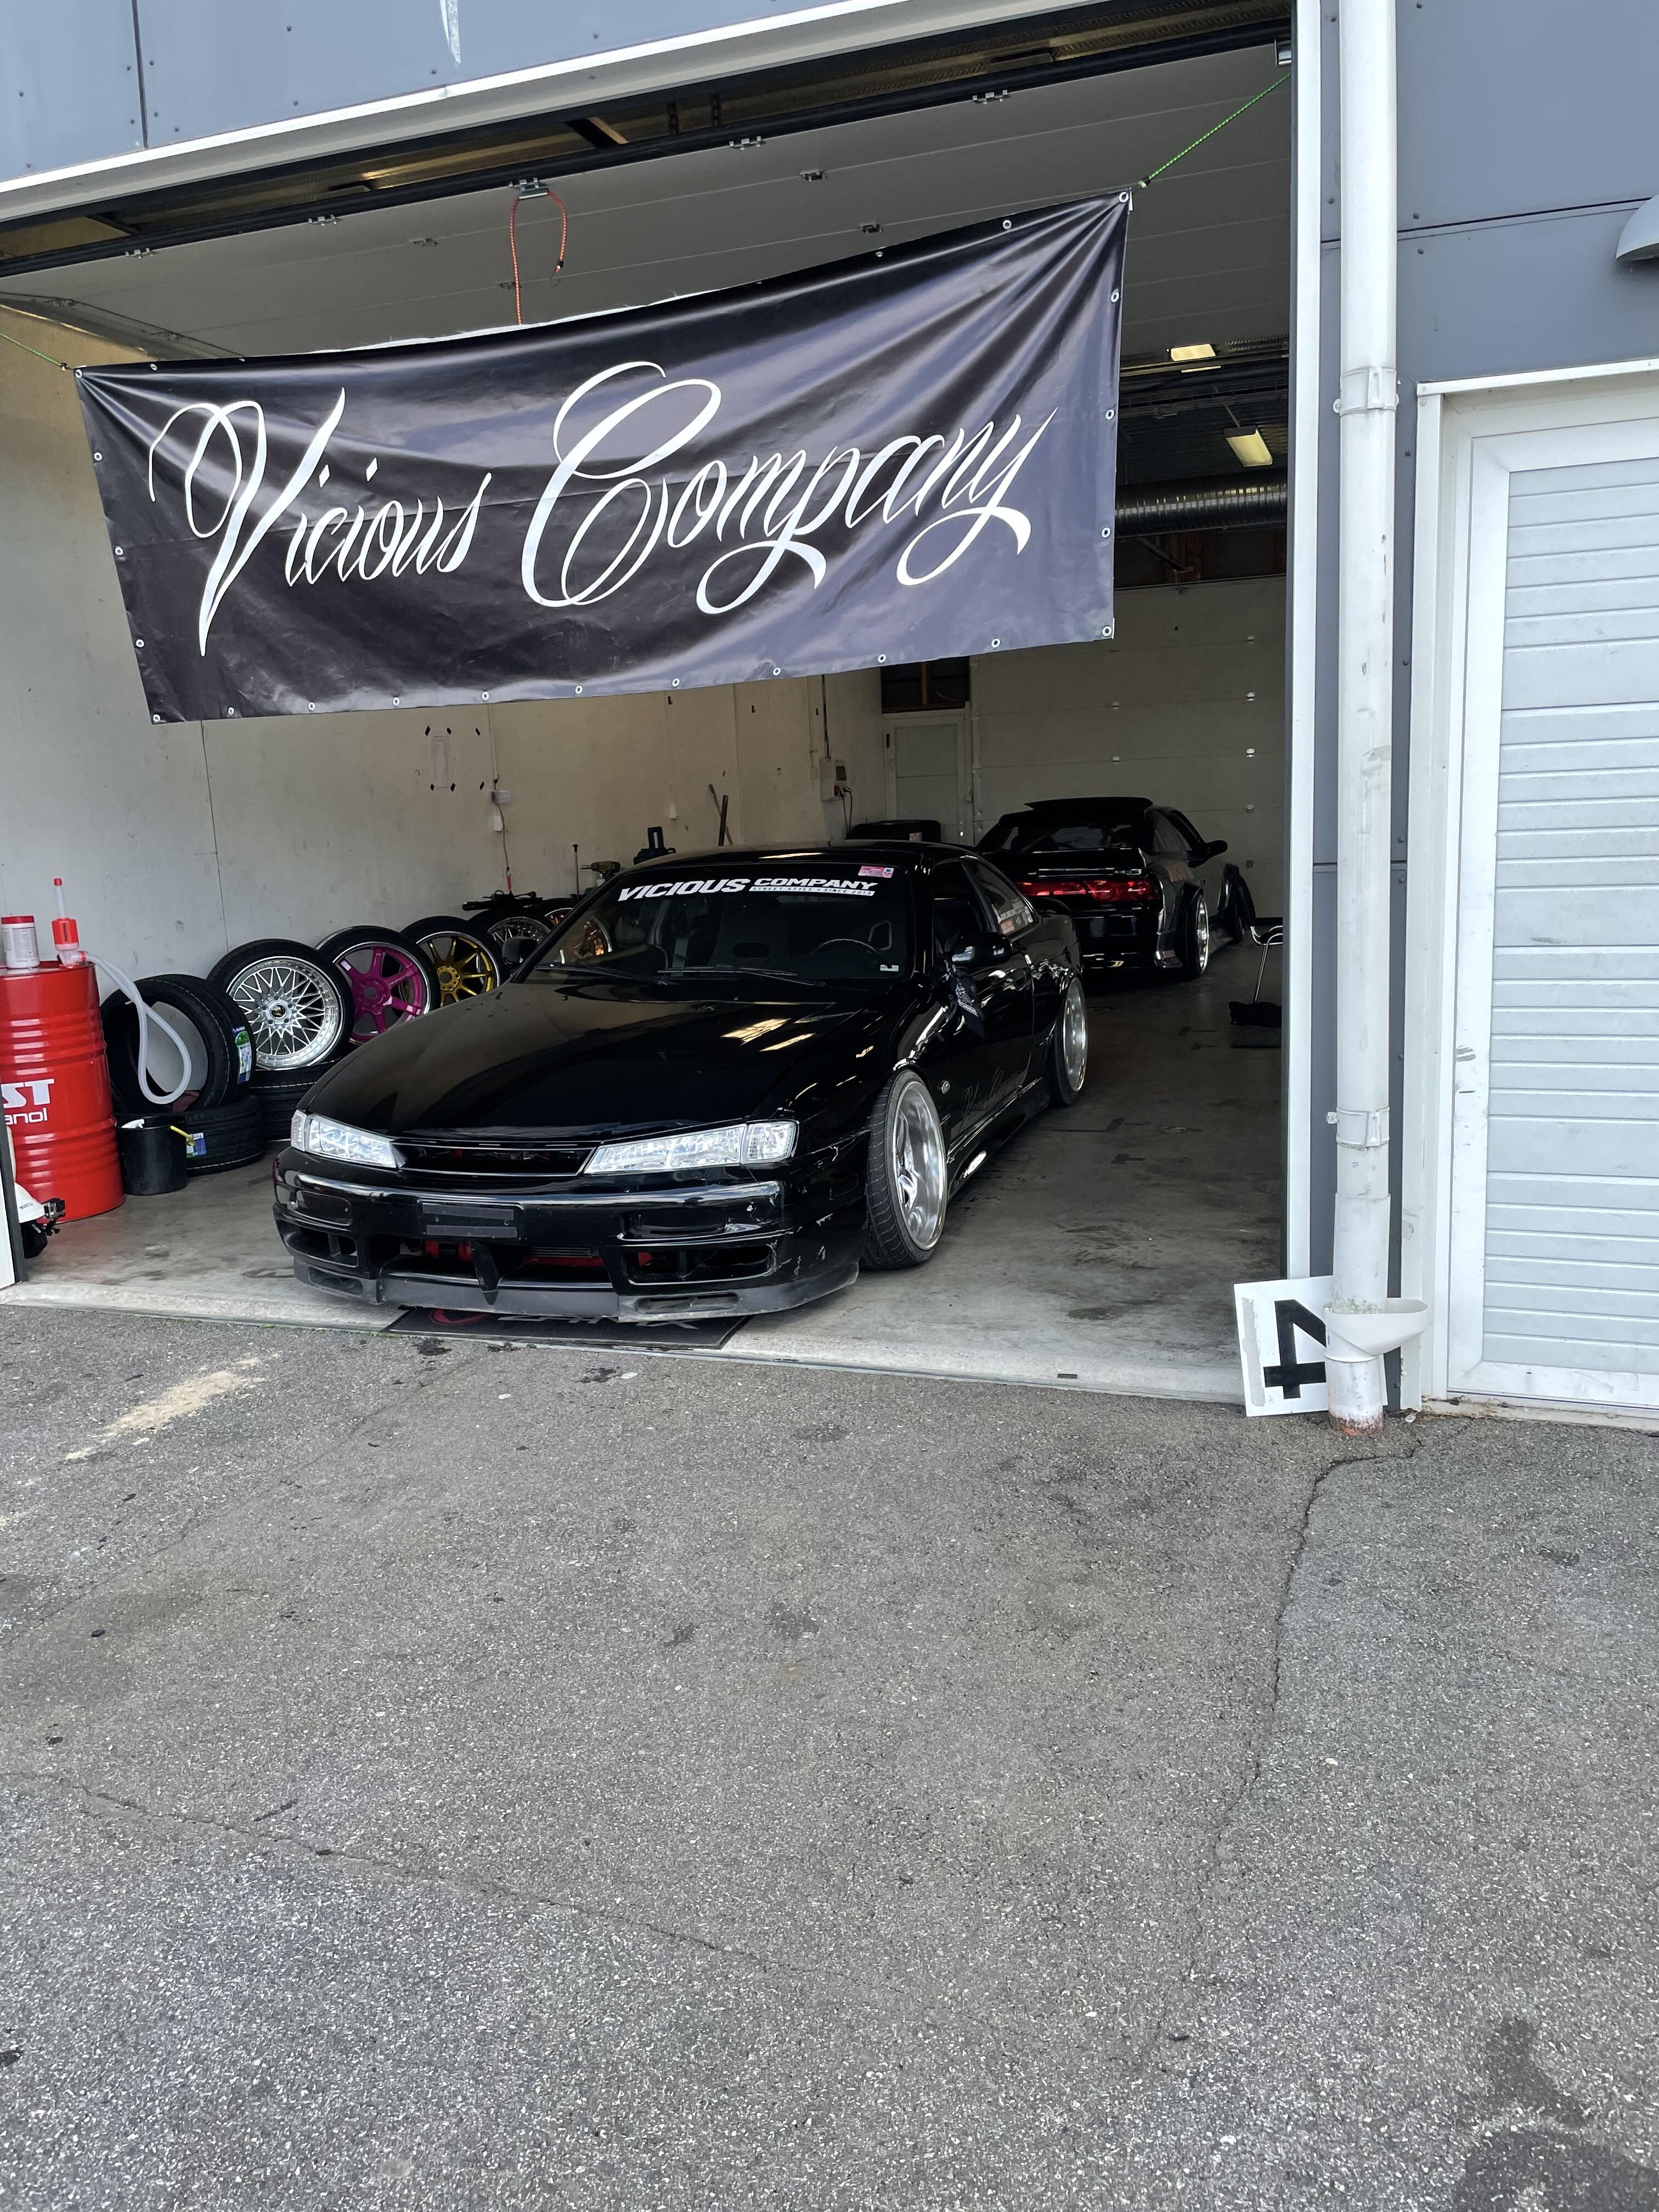
3 pointsToday finally steam cleaned the under carriage and glad to see all good under coating, no rust and most of the oil and buildup was around trans and diff. Got it nice and clean. Left the engine alone! It runs flawless idles great and don’t want to take any chance. I am thinking of keeping stock setup for now. tomorrow I am gonna move the balance weights inside and put on the stock hub caps etc. will share a pic later again. For now here is the shot …
 3 points
 -
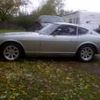
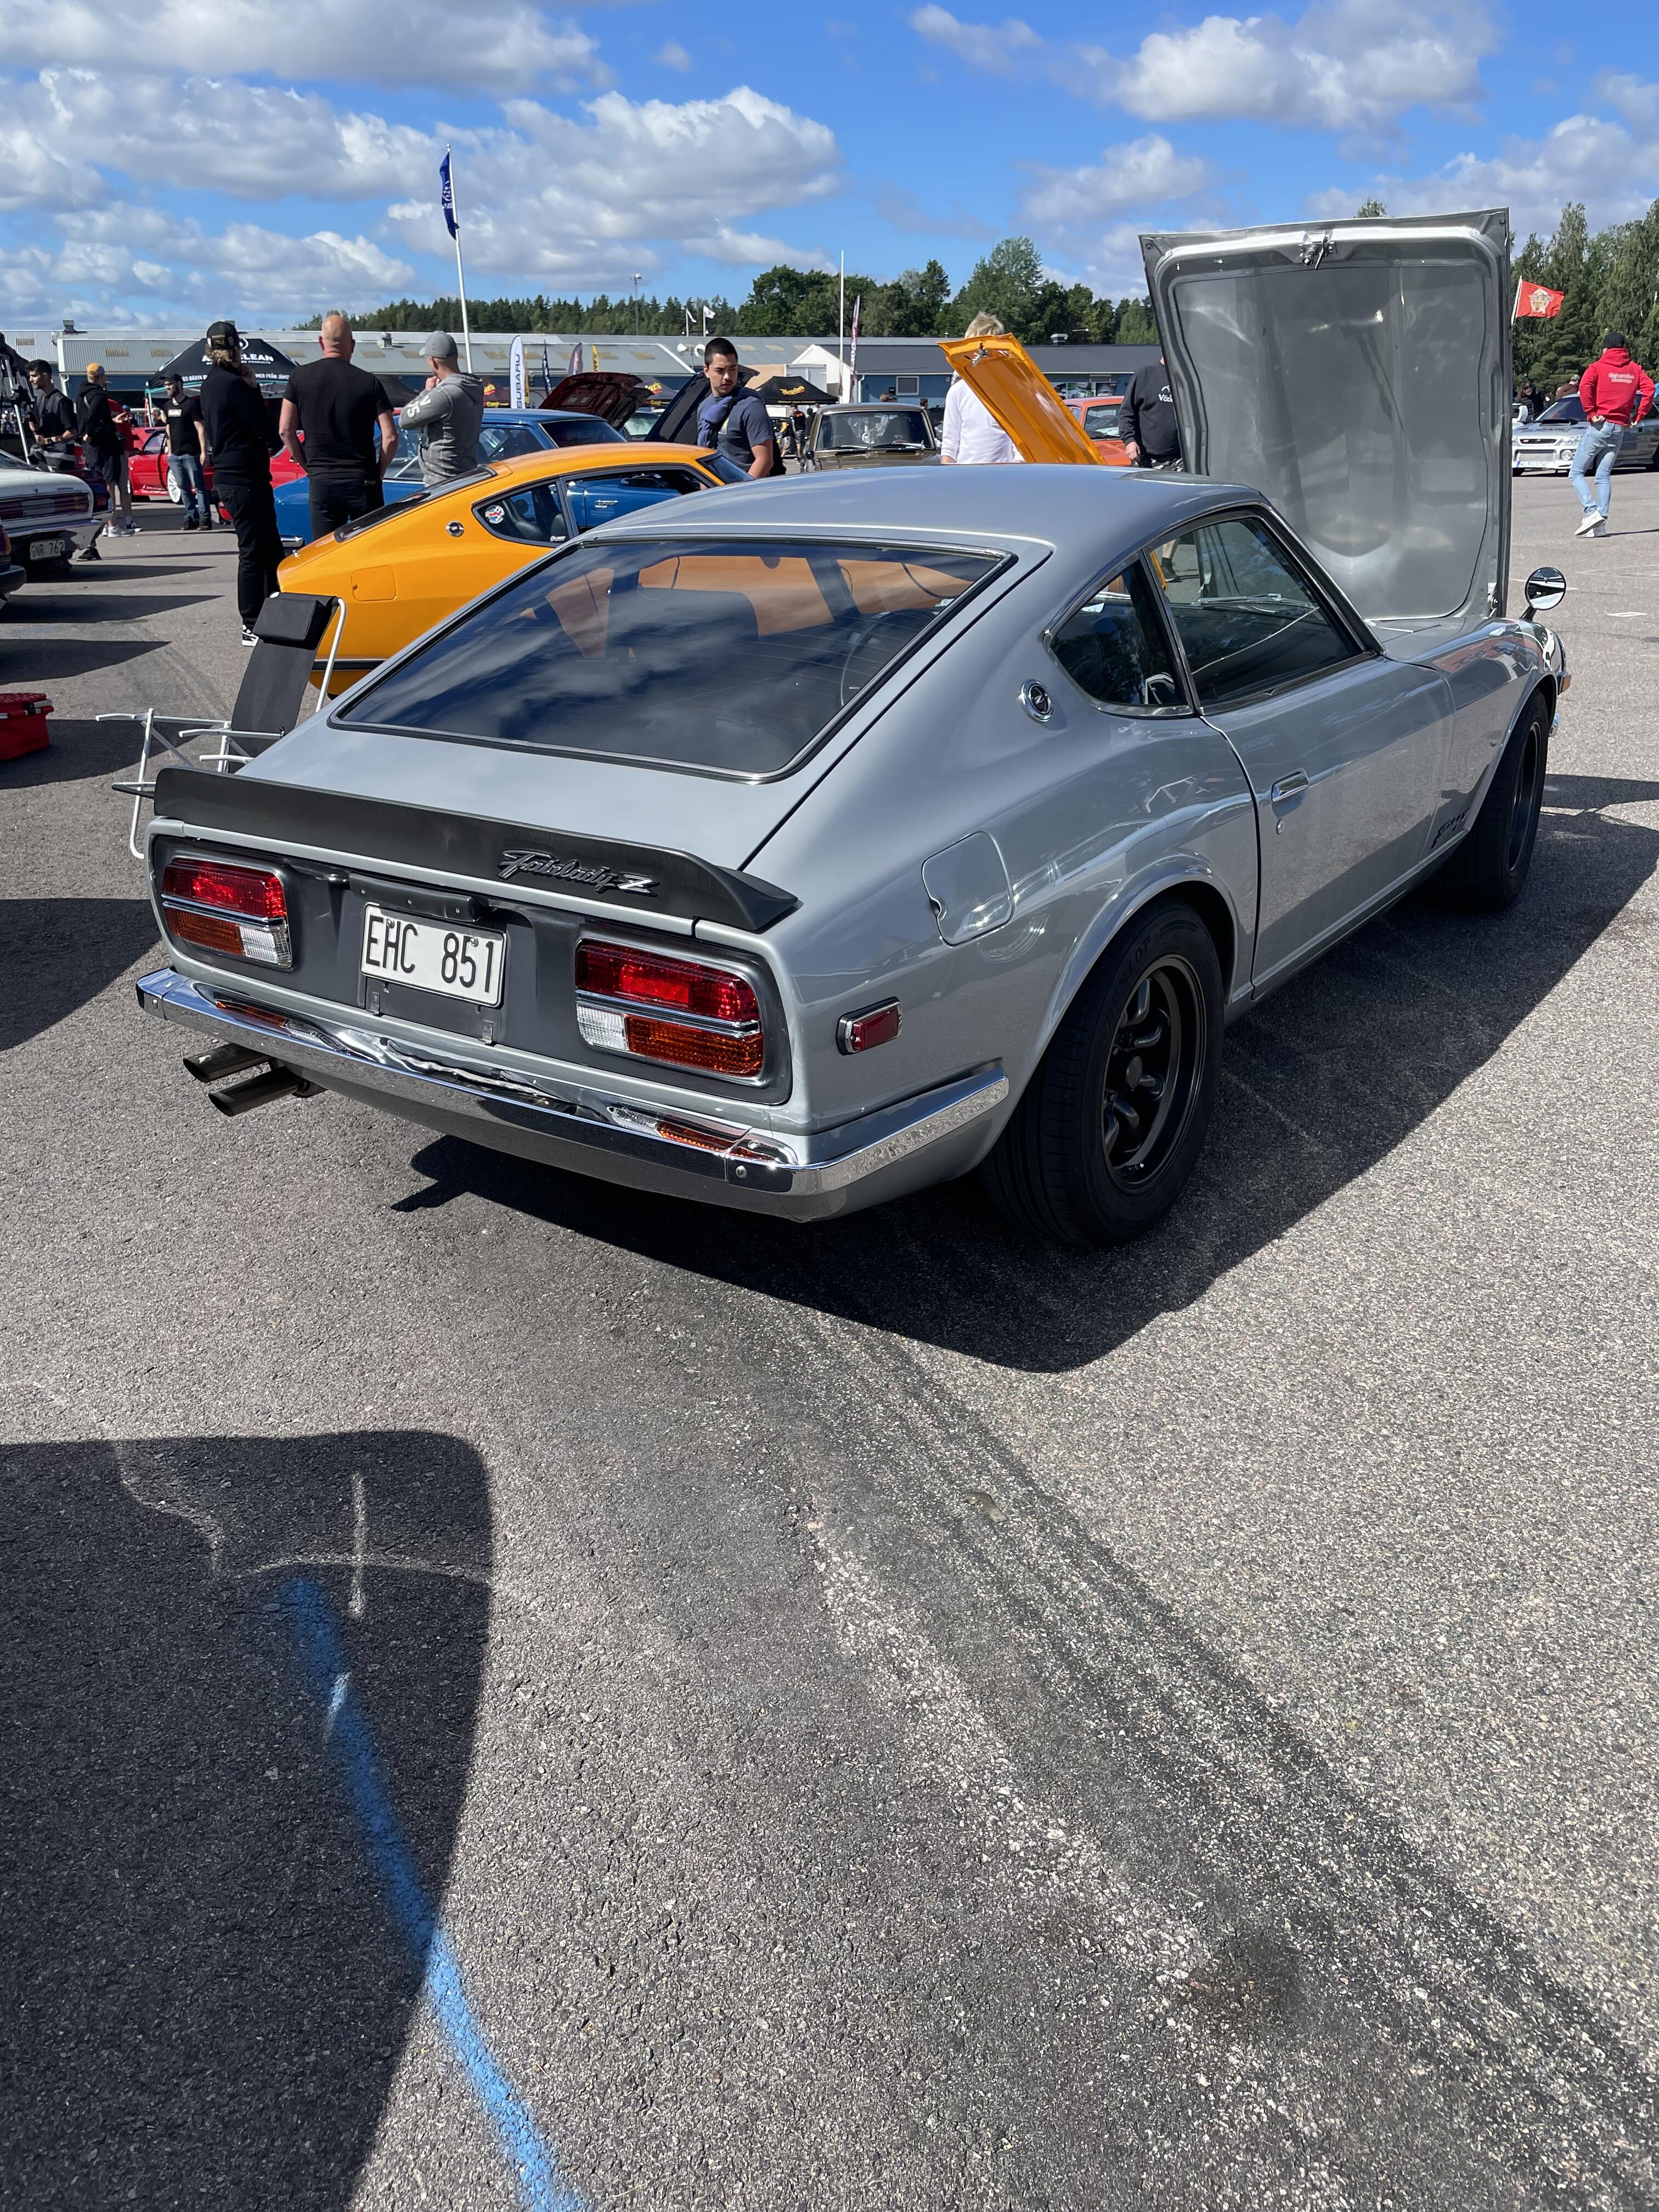
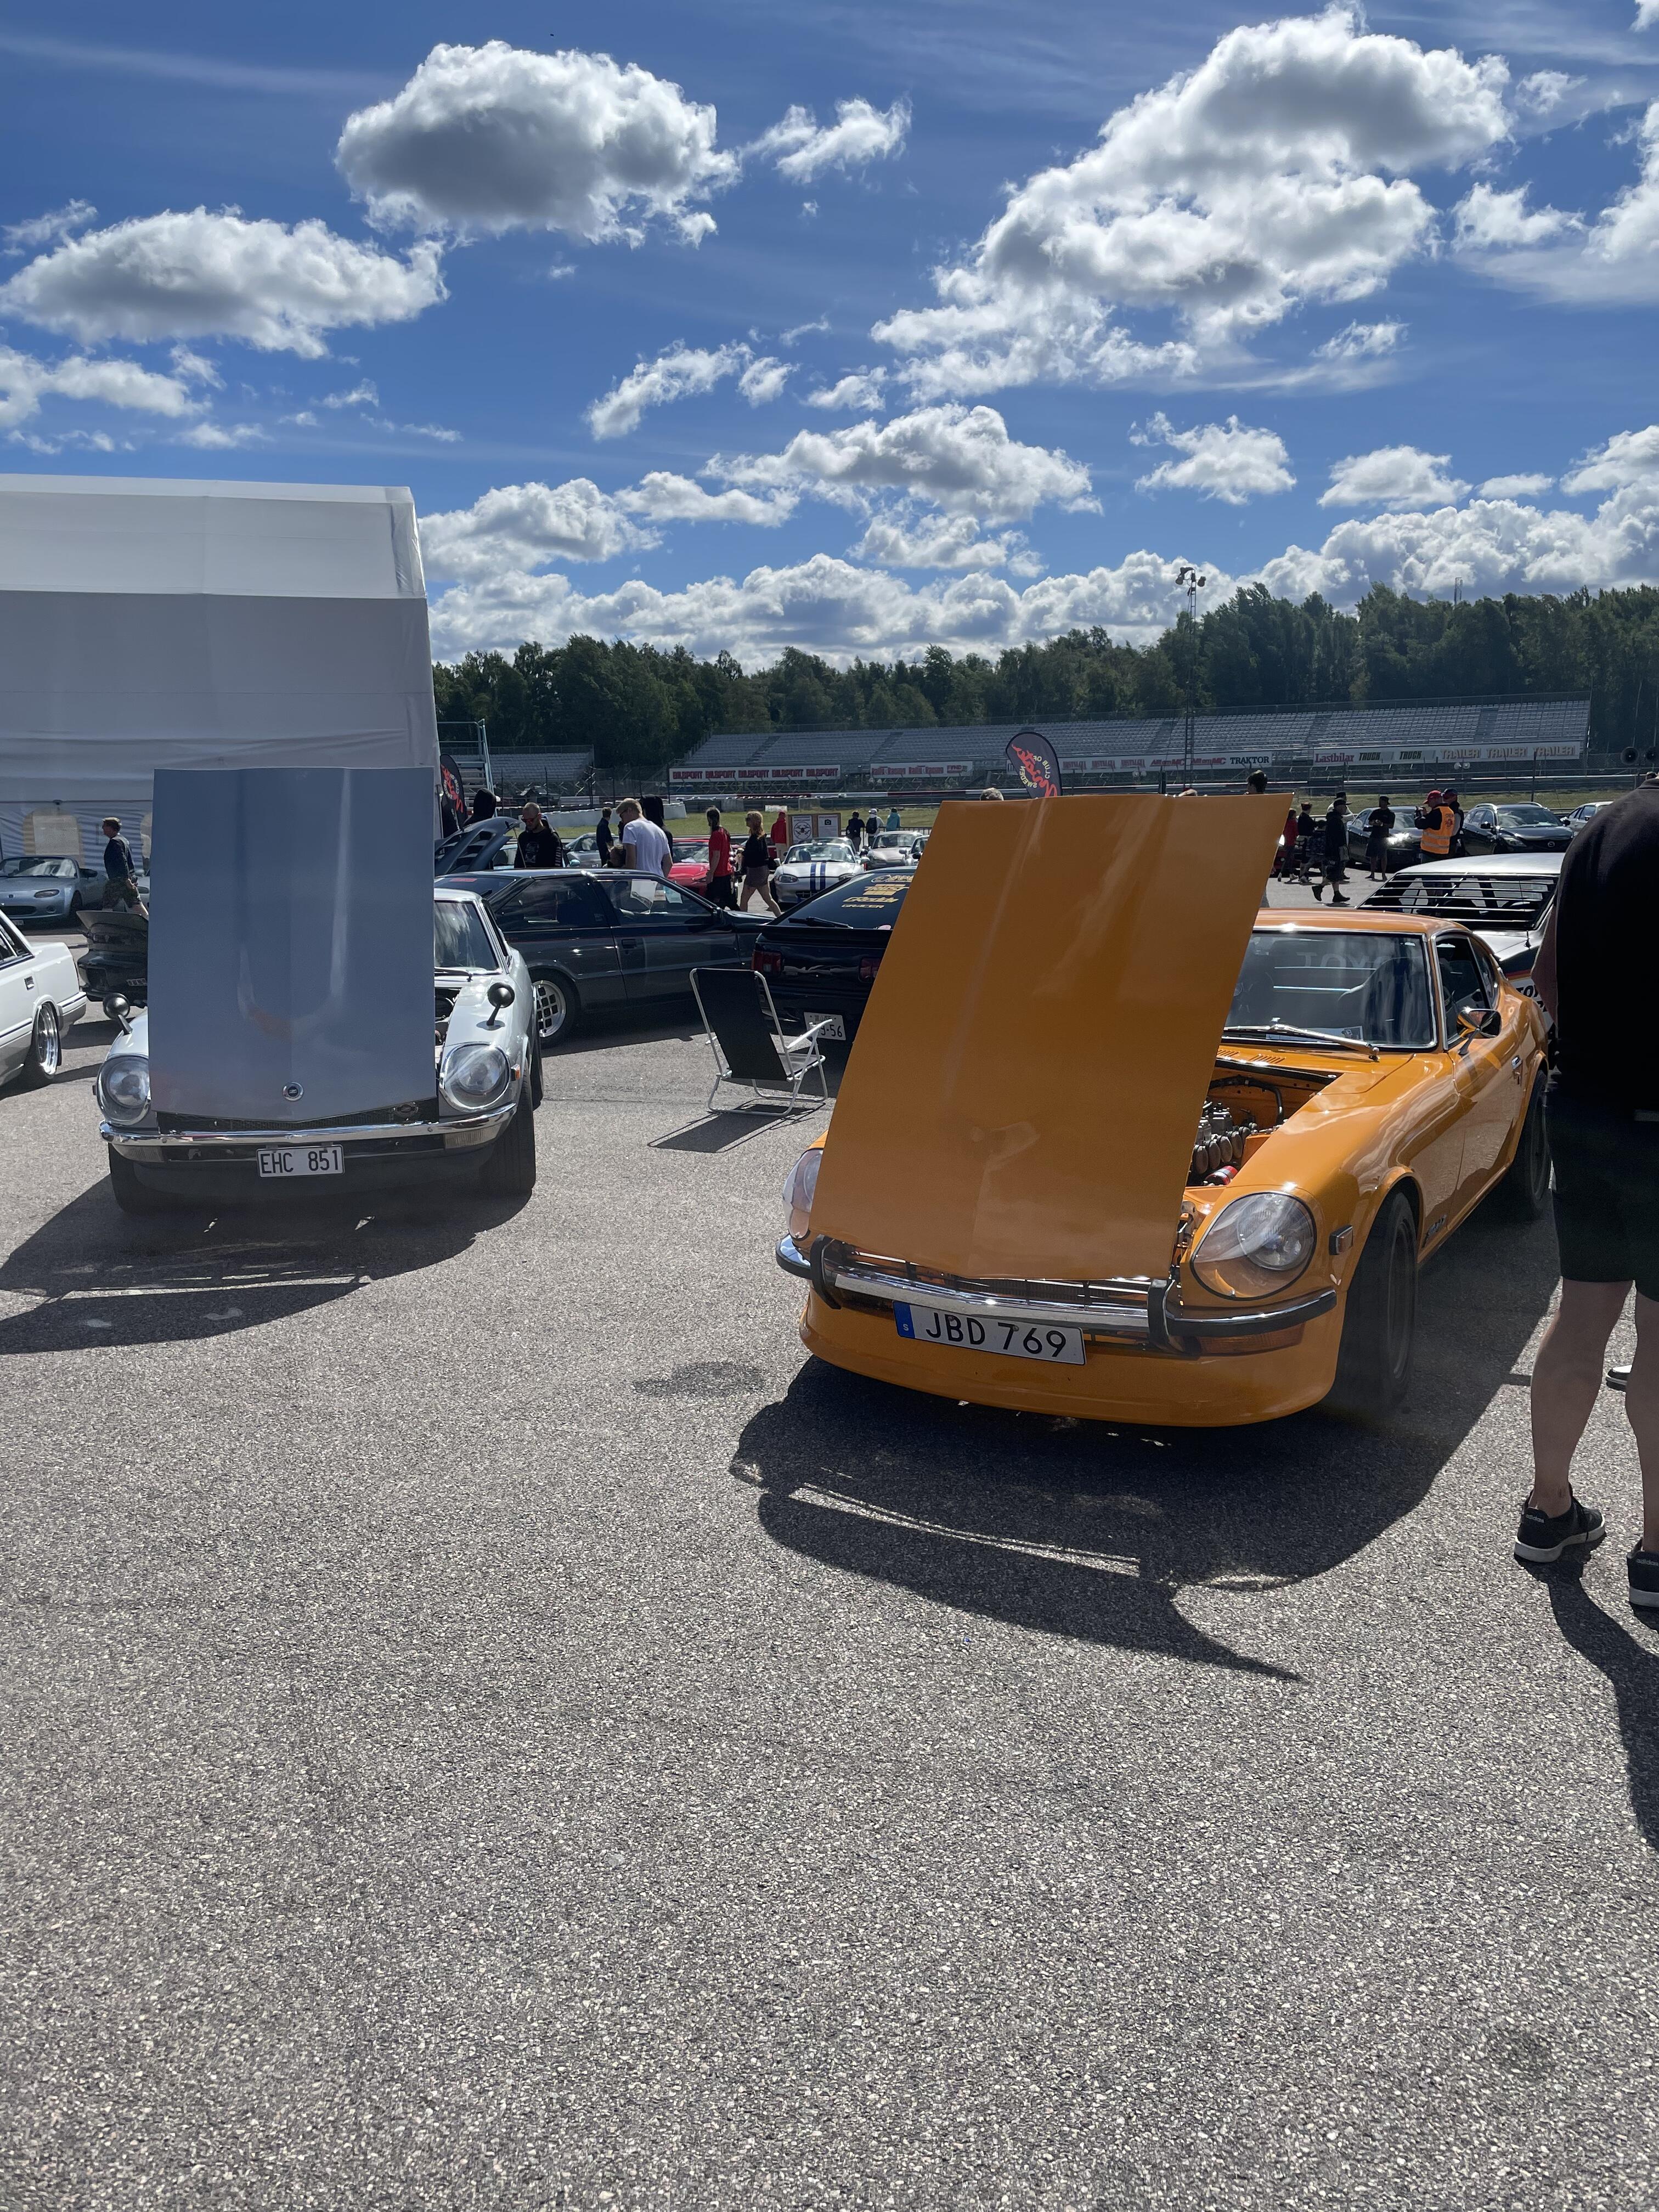
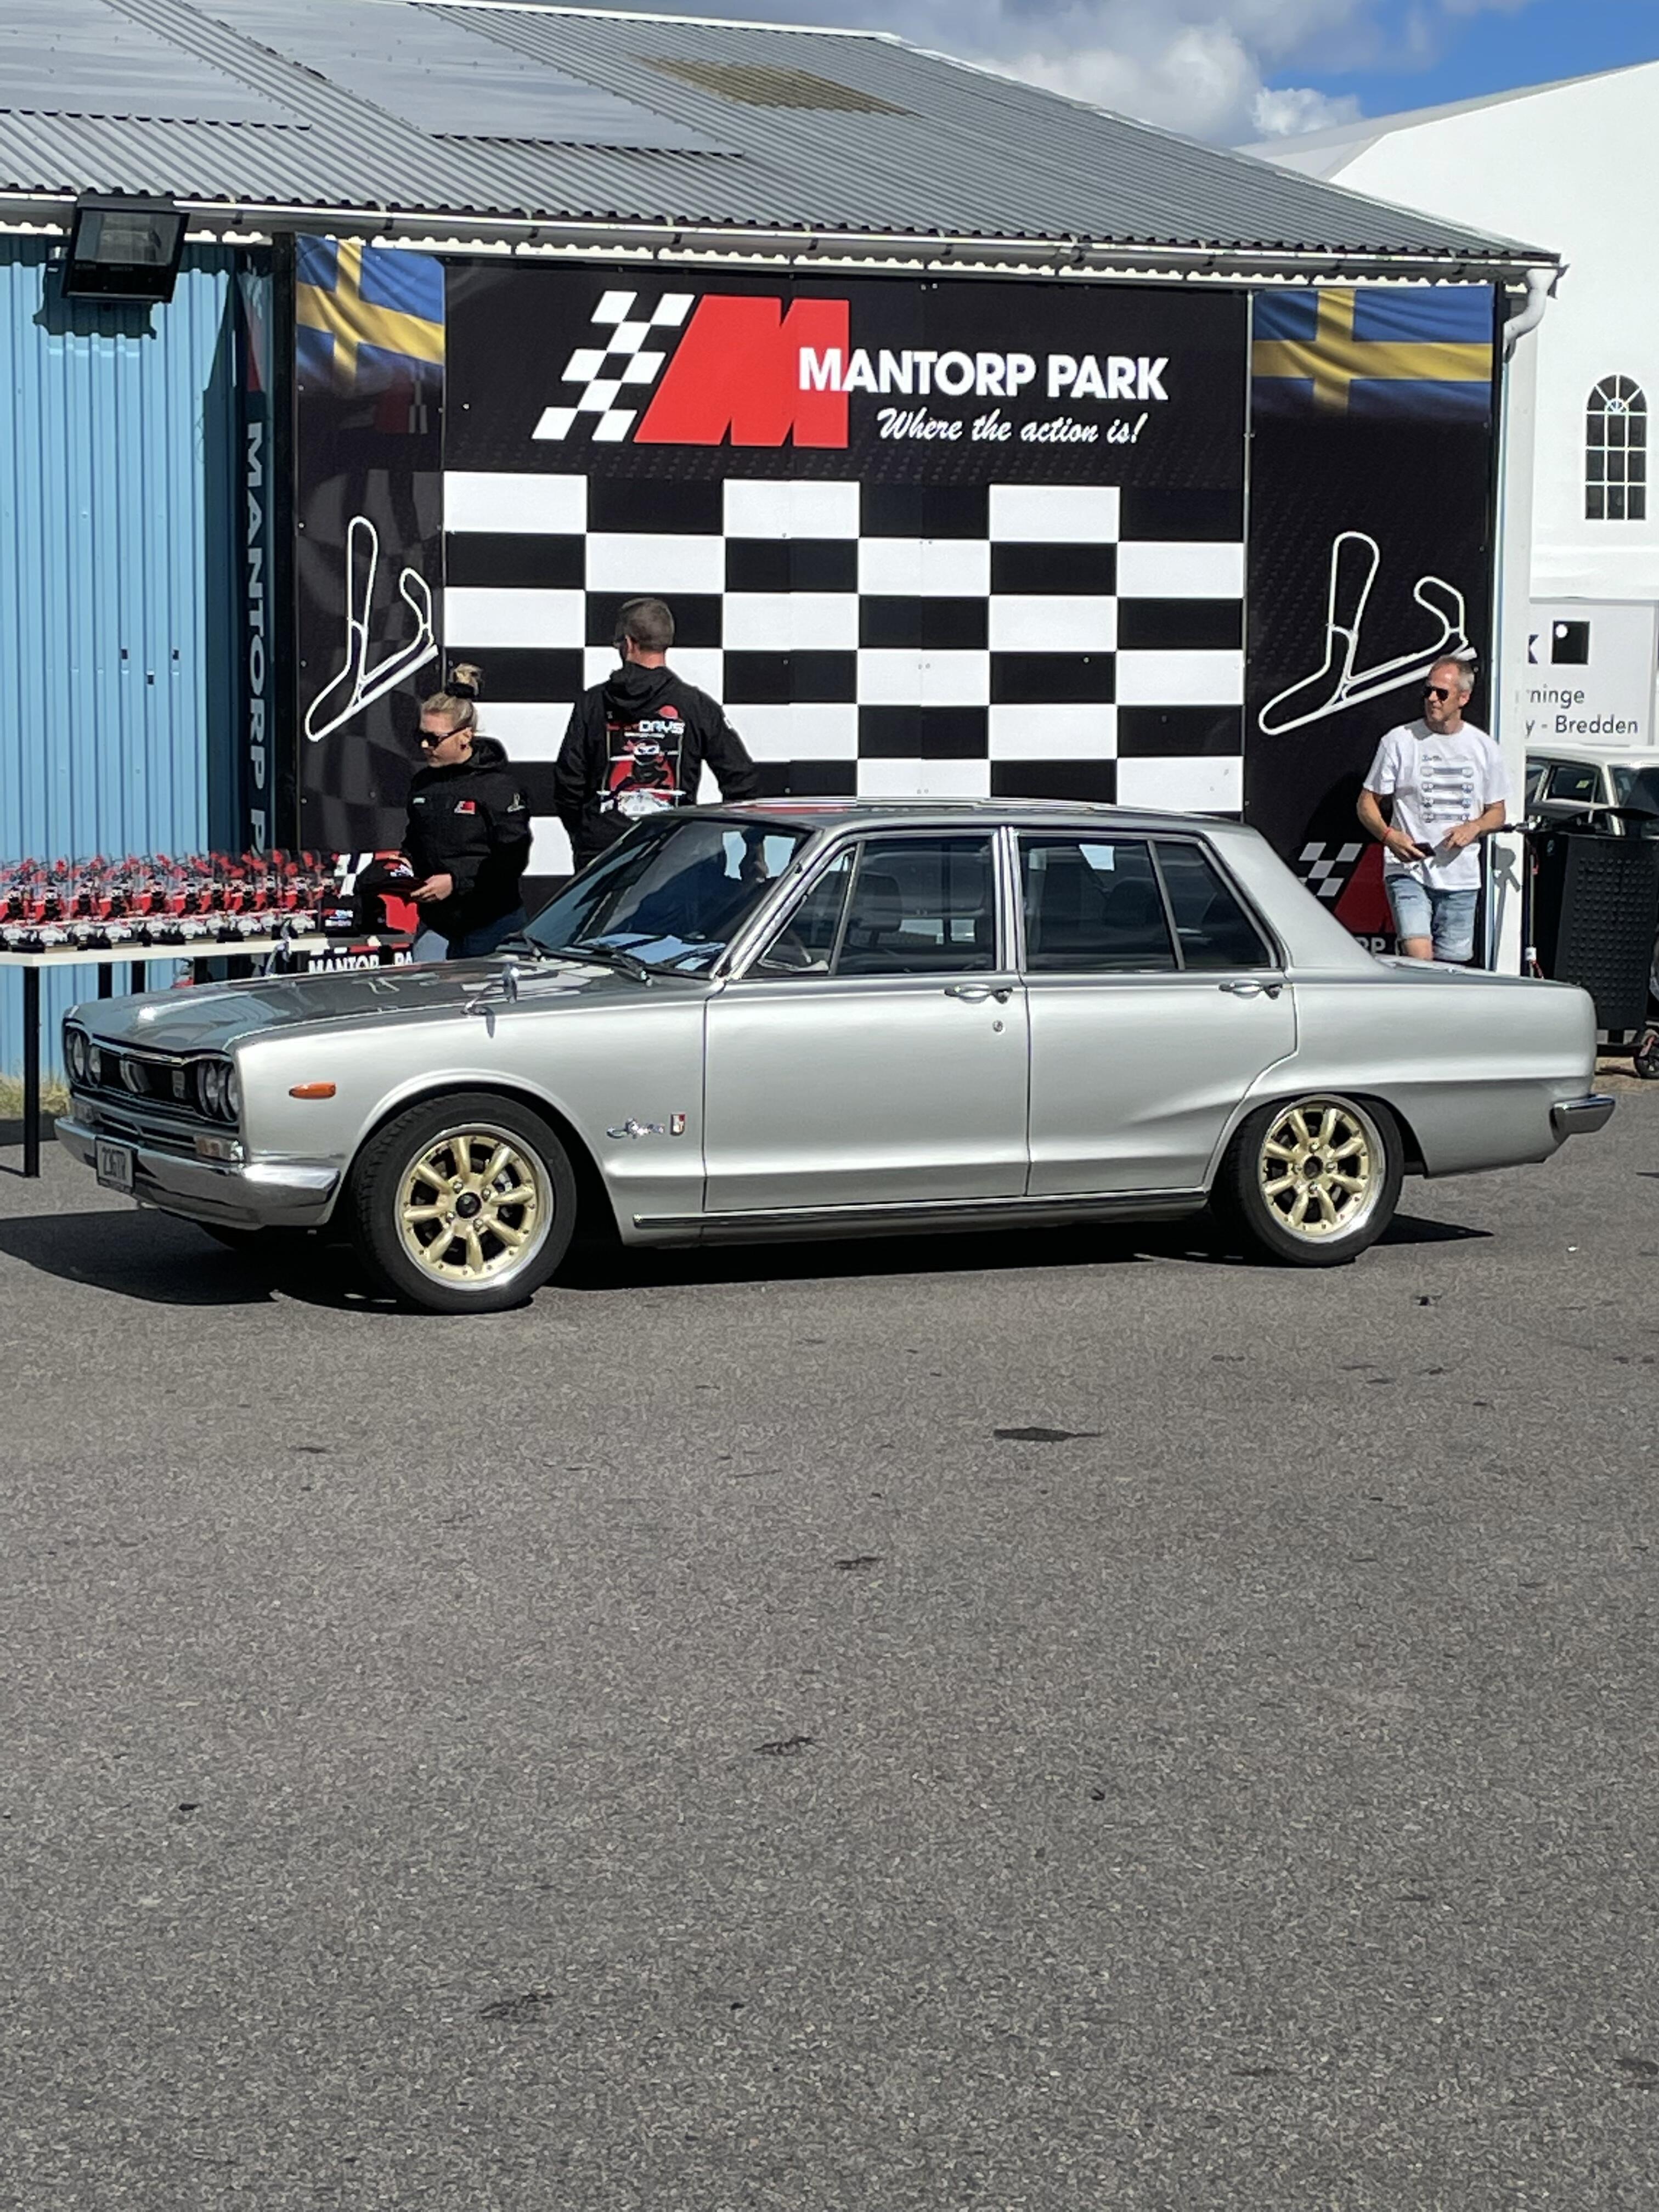
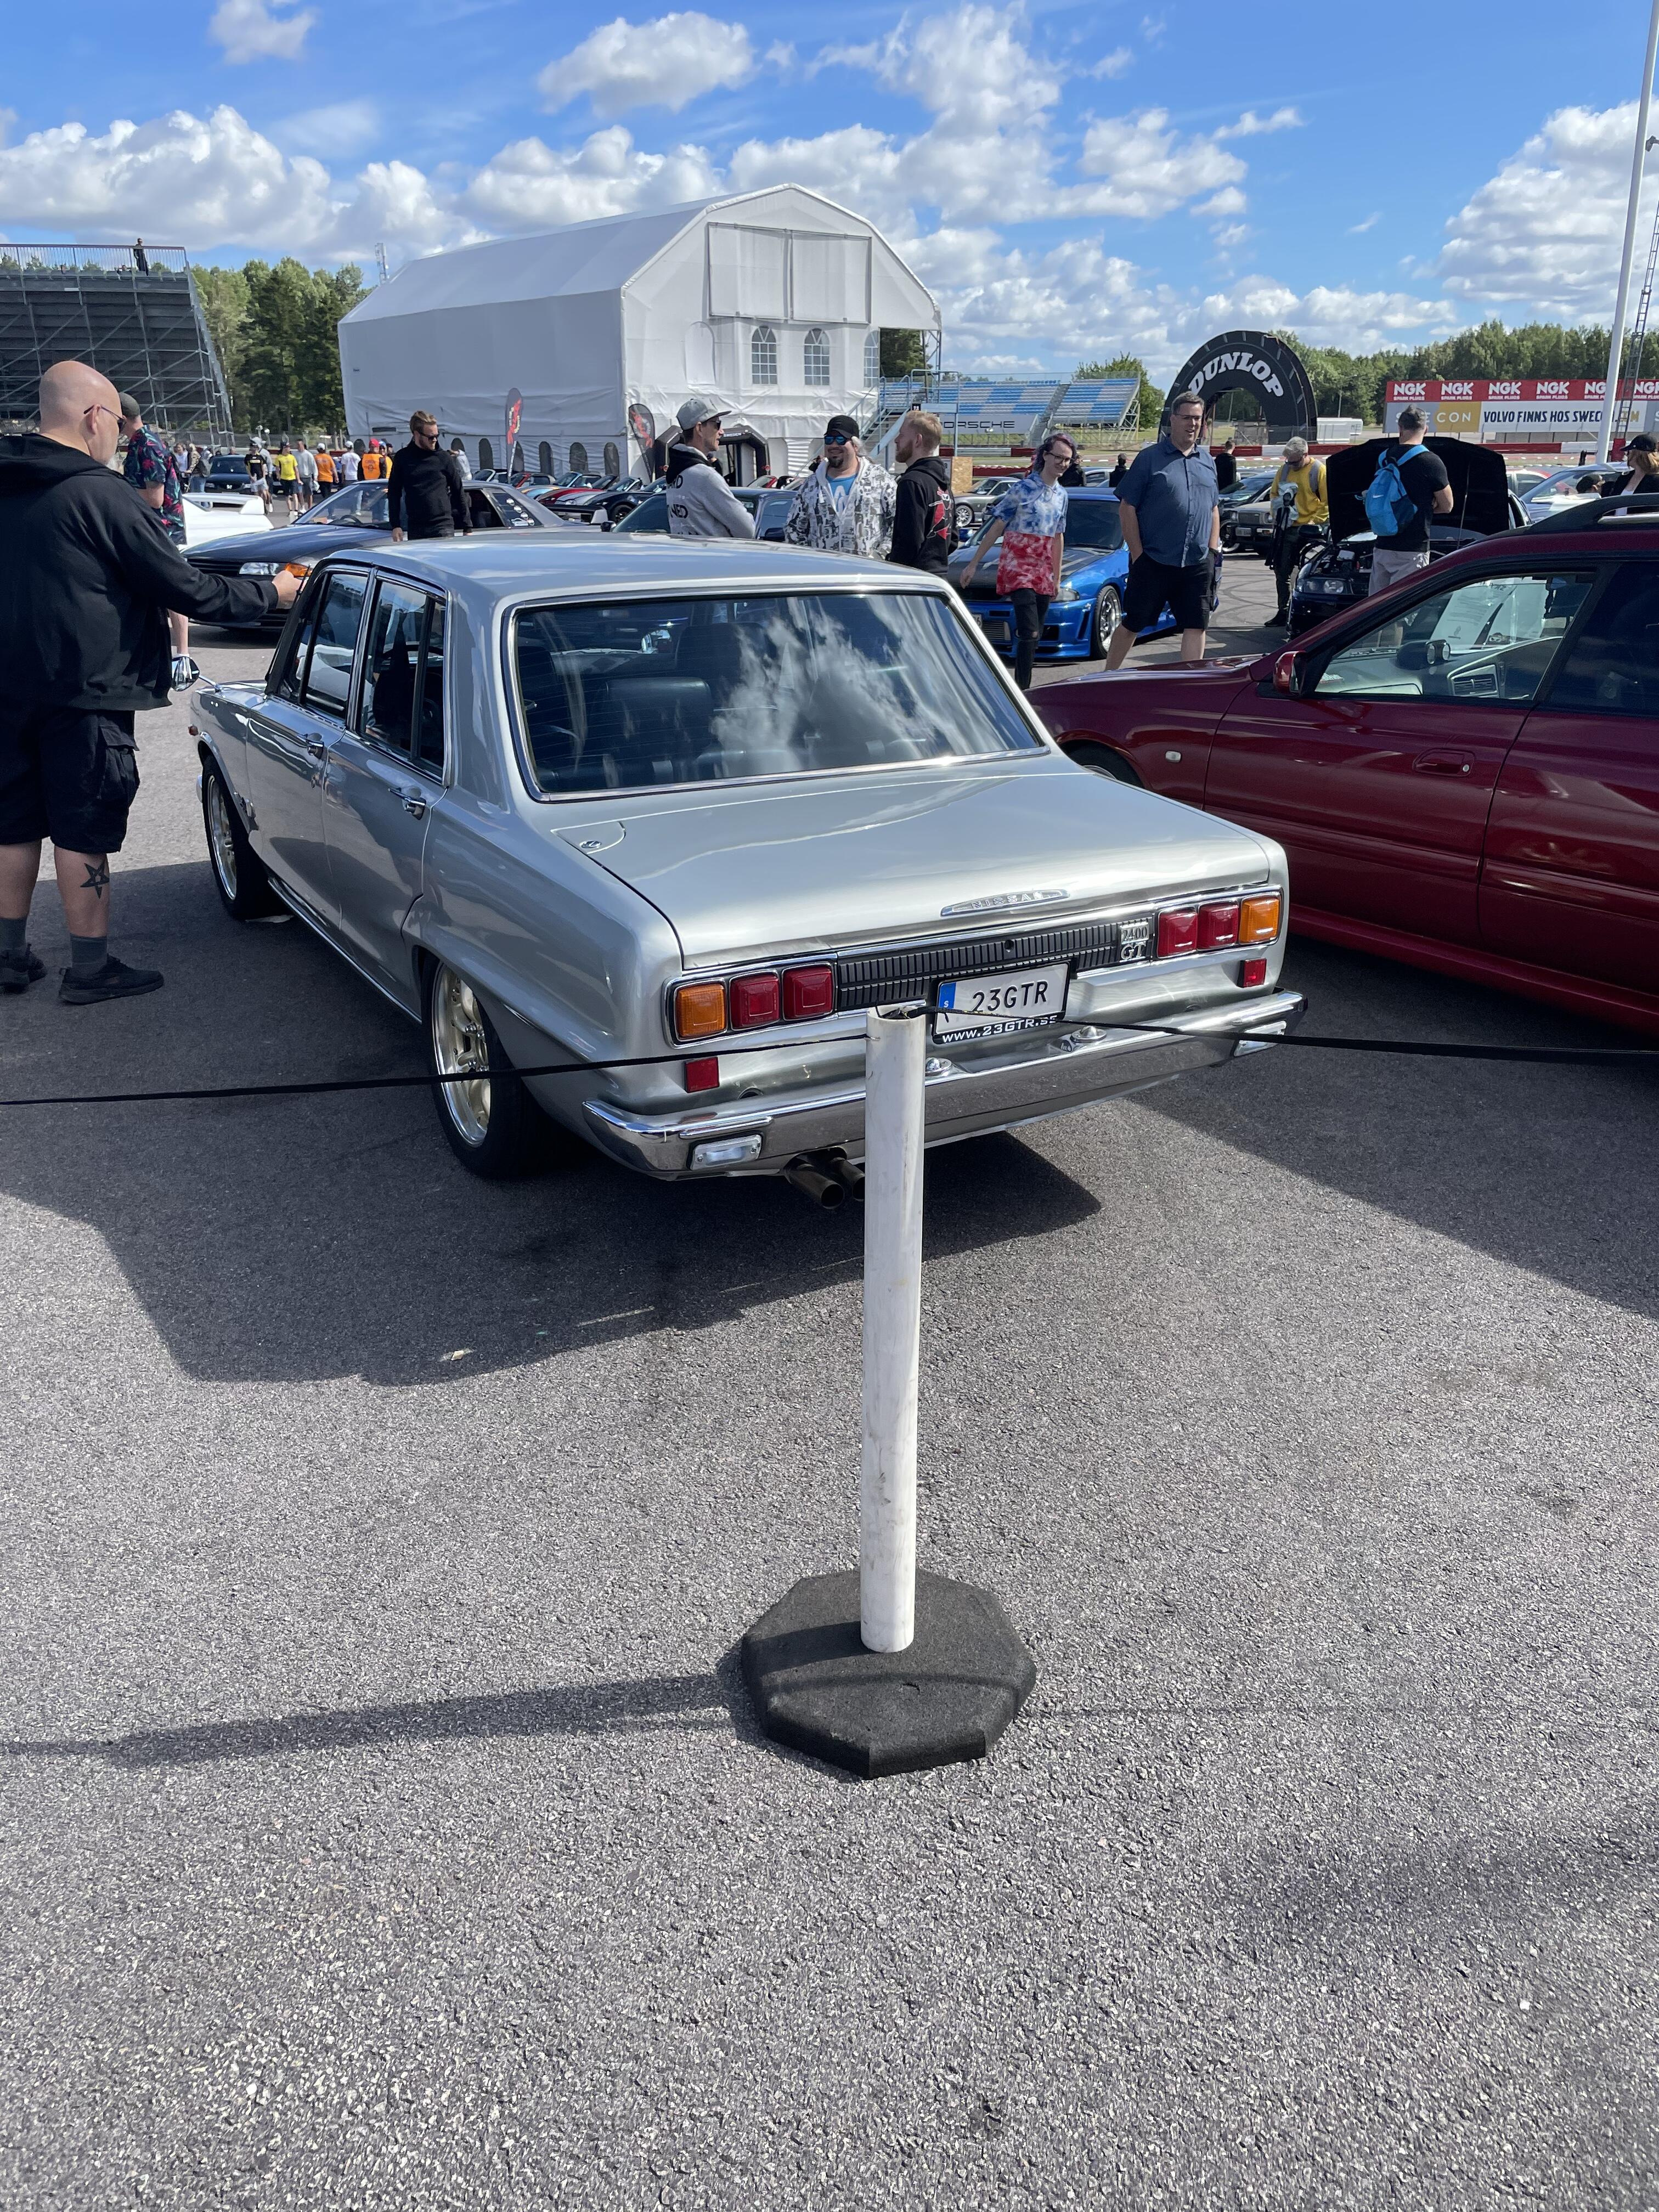
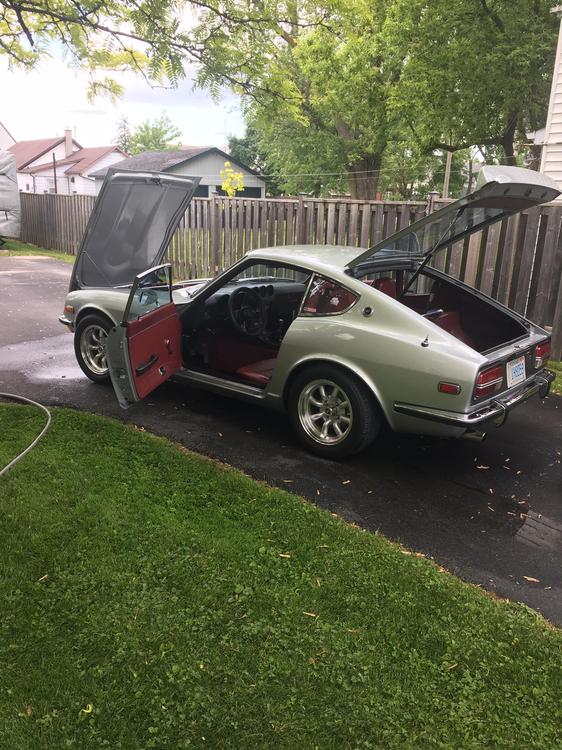
You hurt my feelings😒 I love my silver 240 with red interior
 3 points
 -
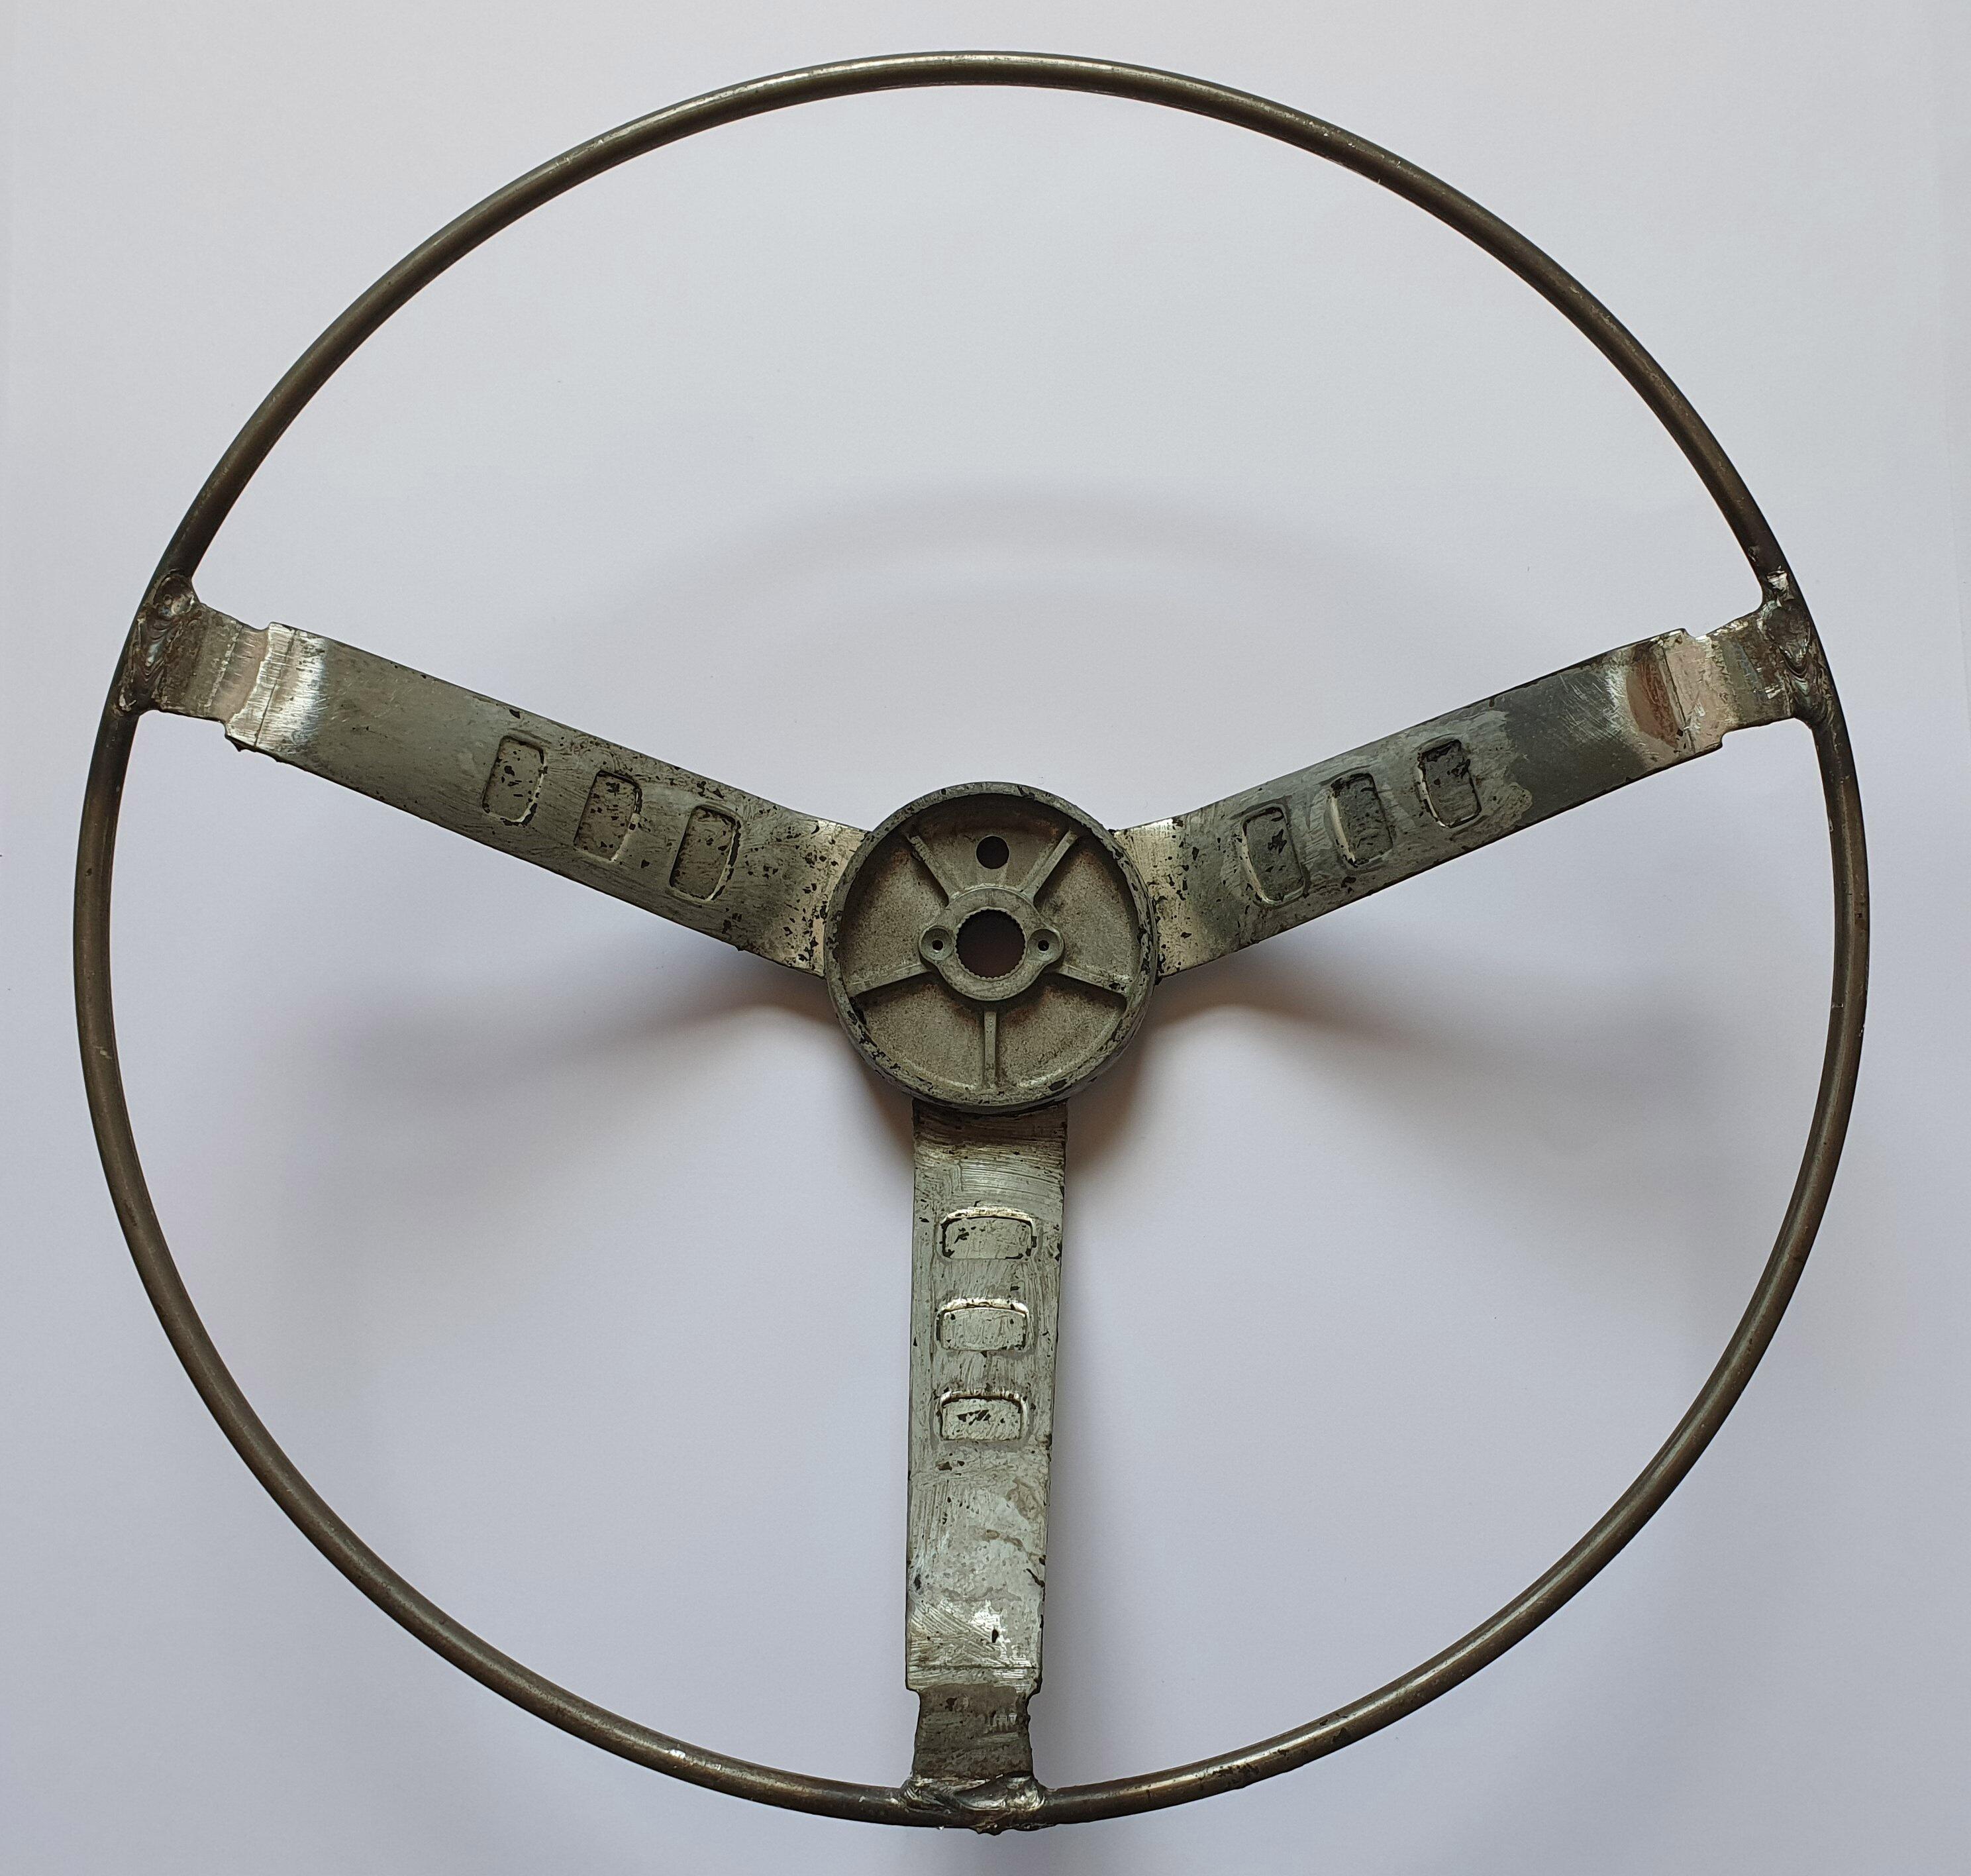
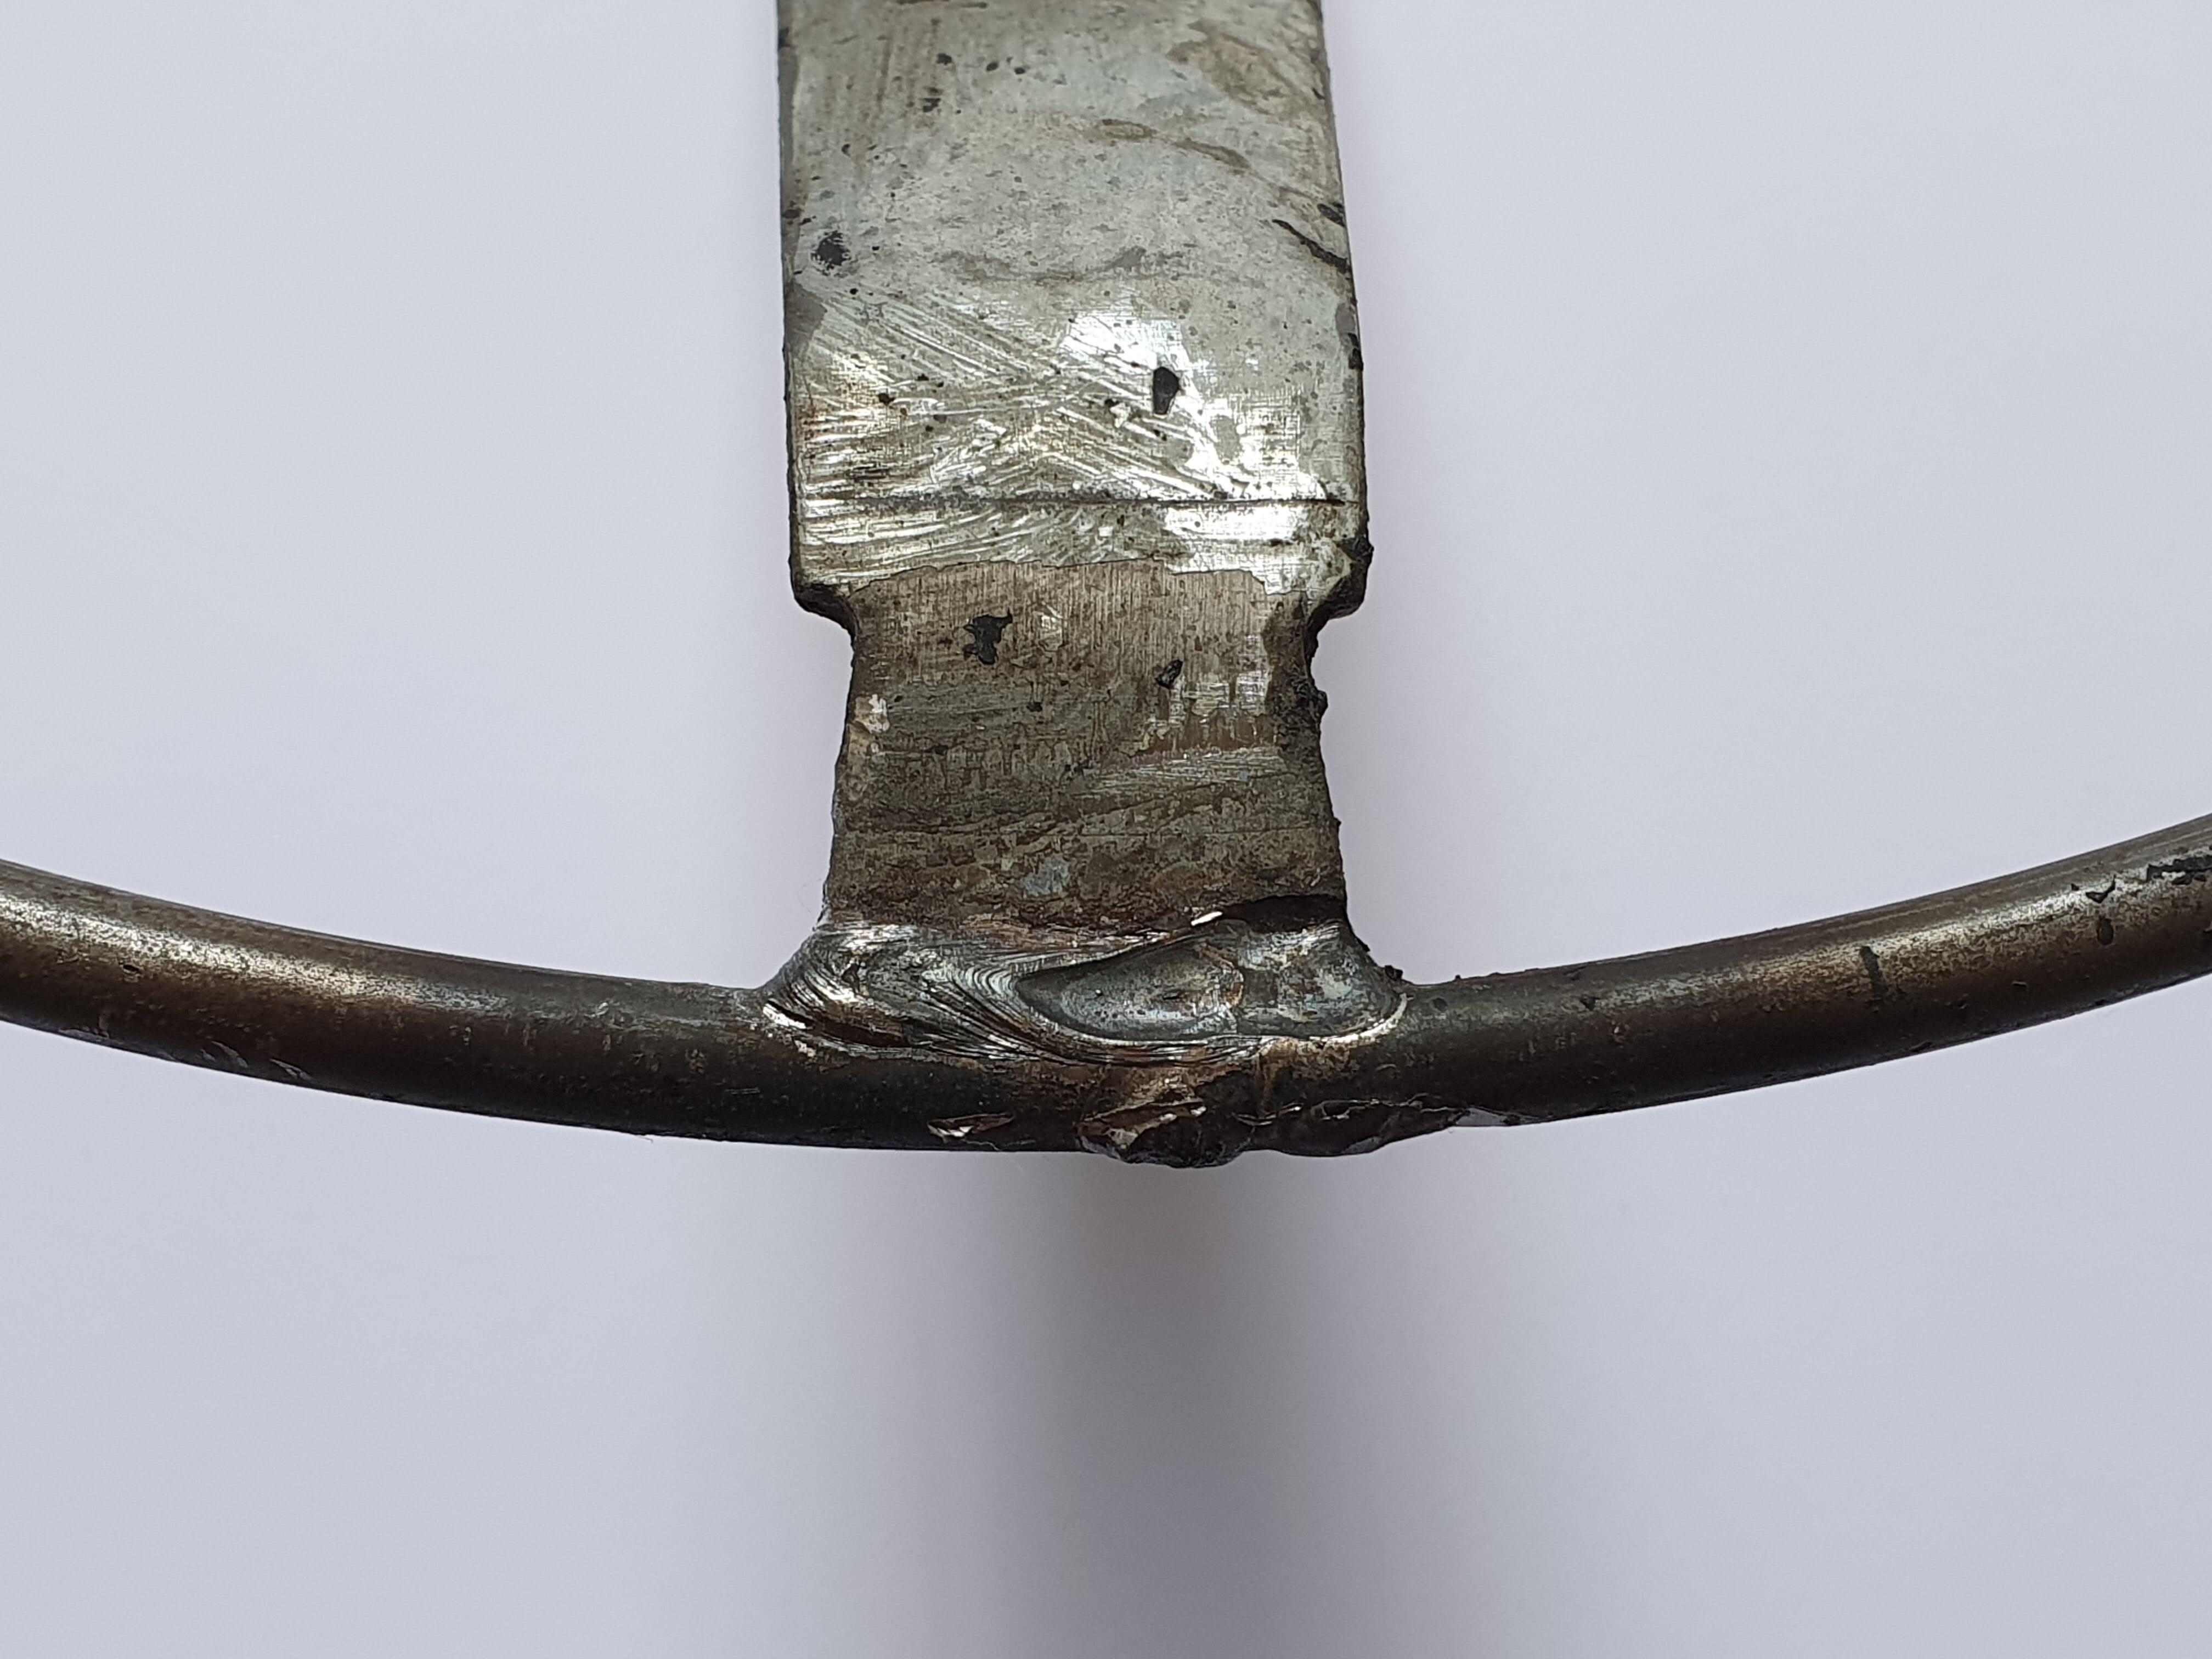
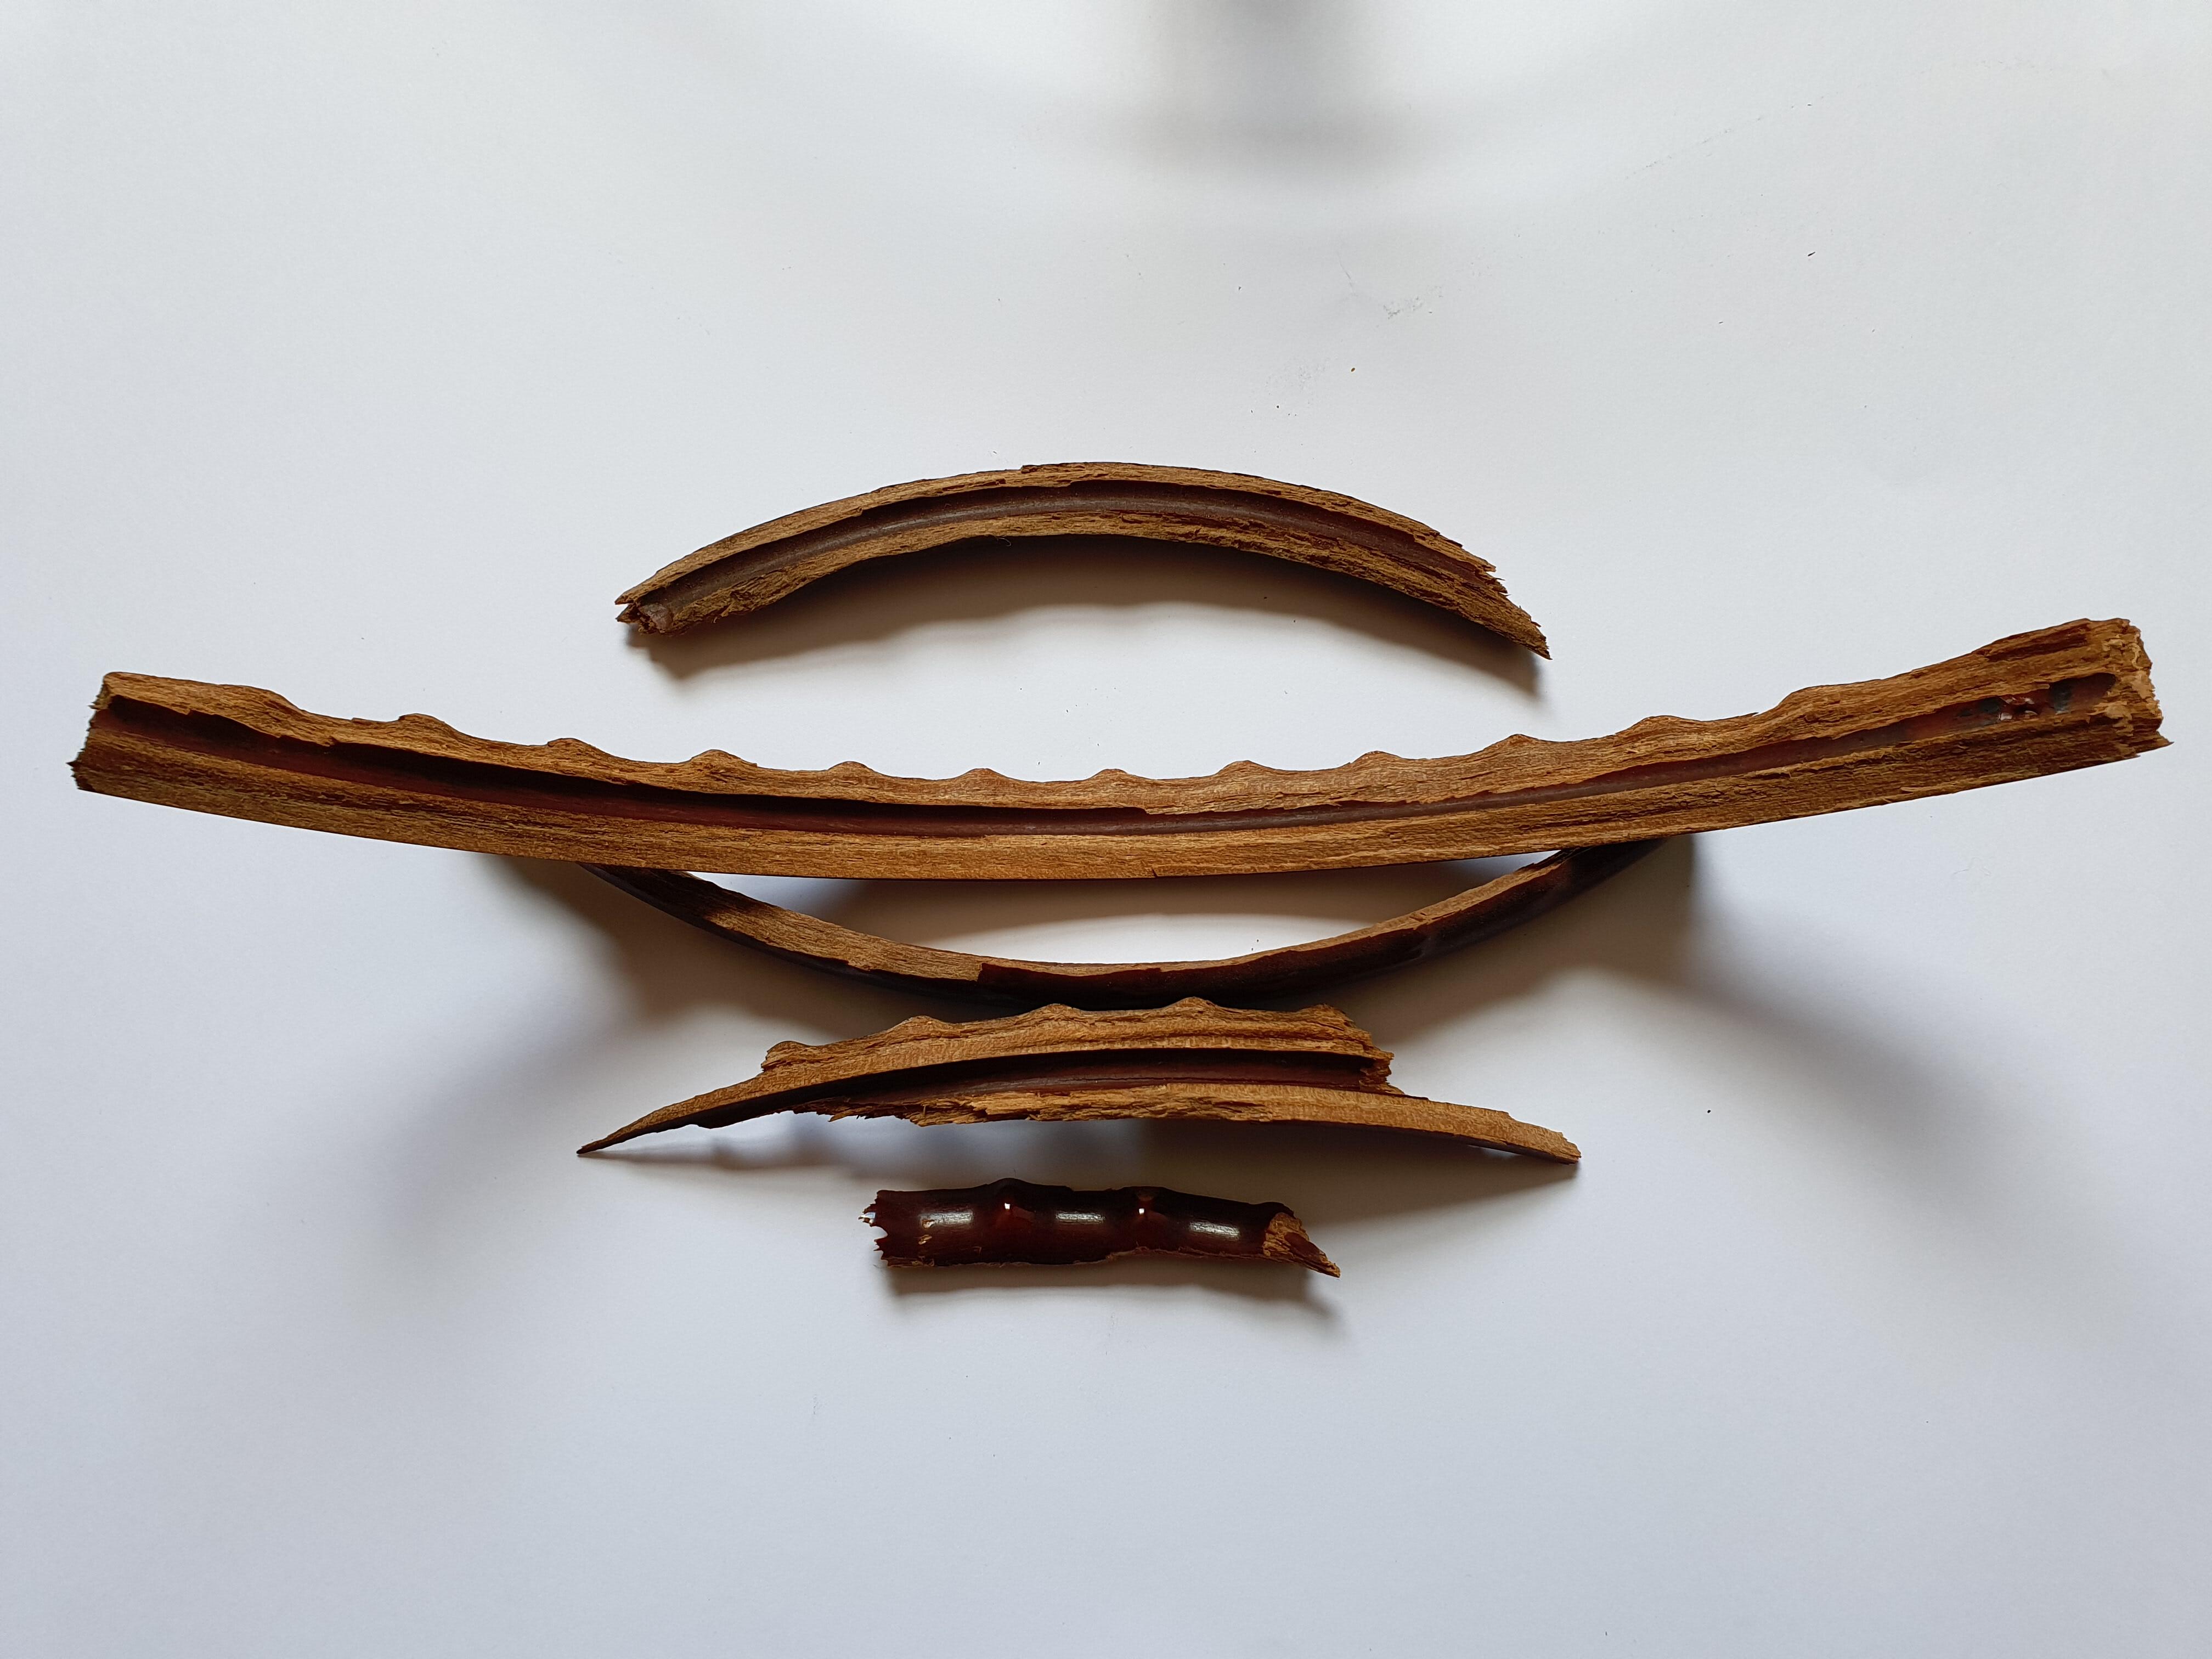
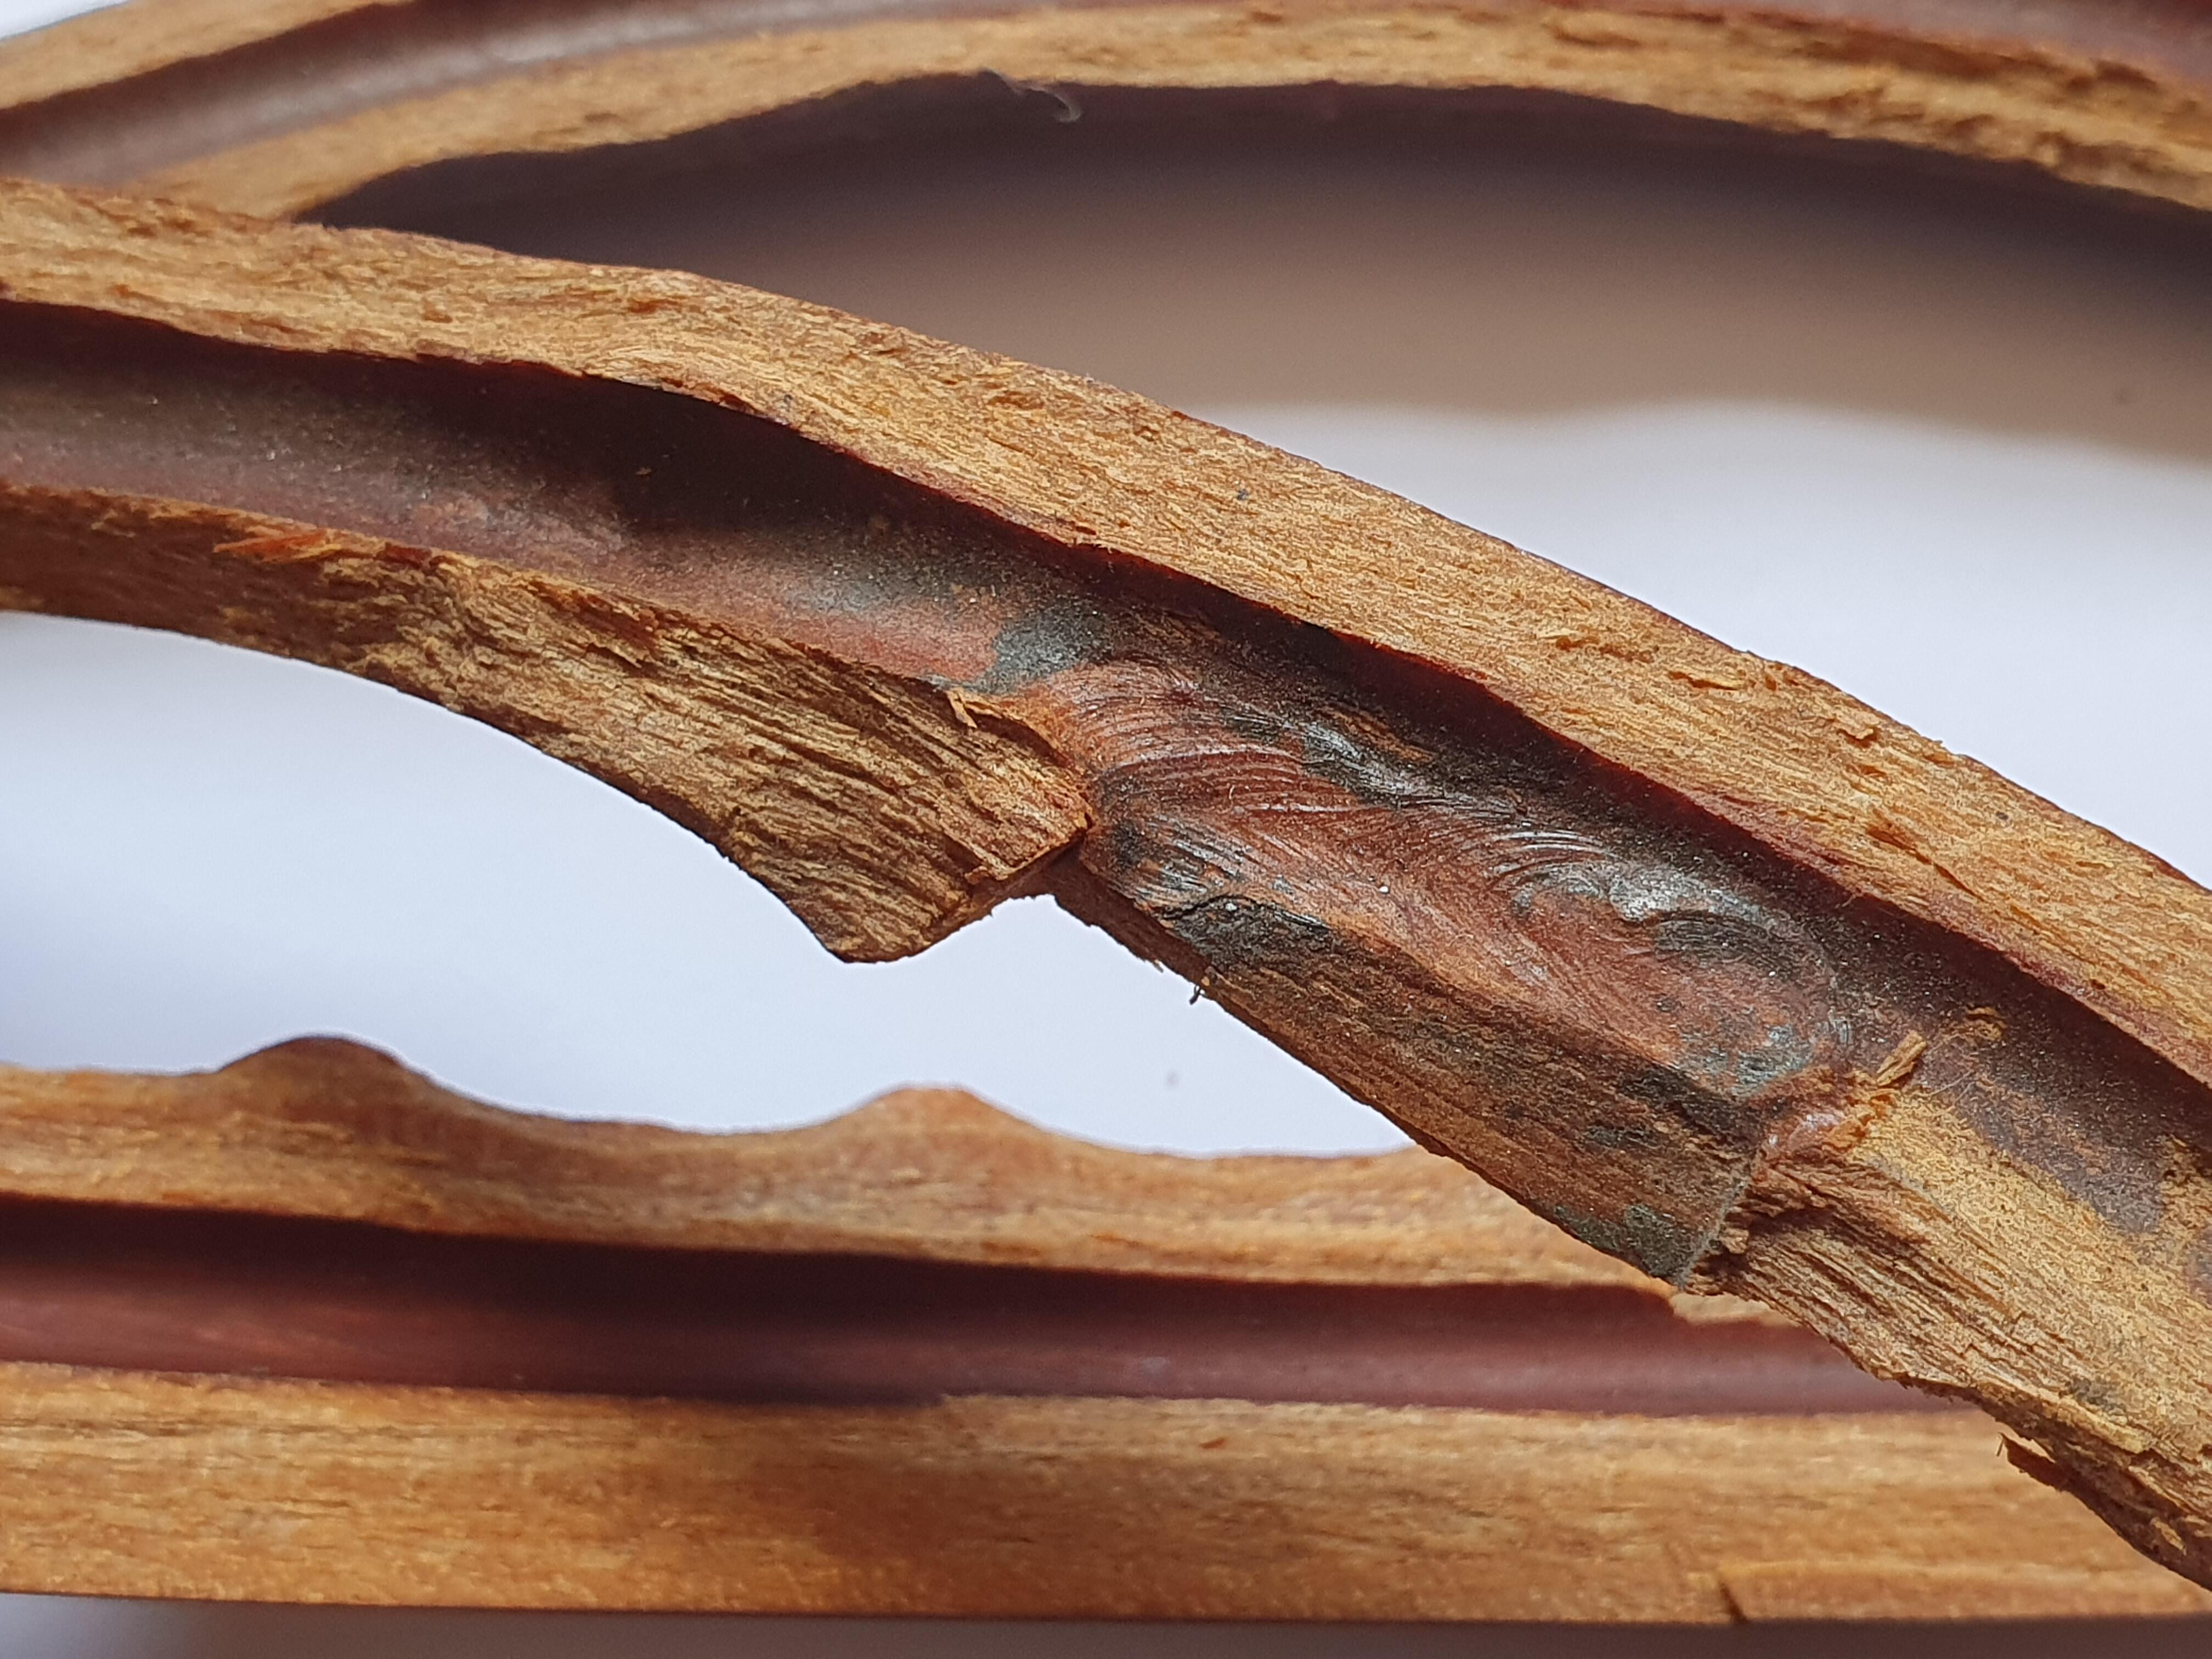
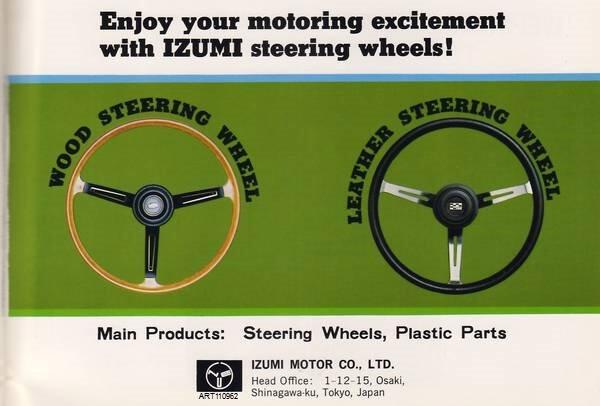
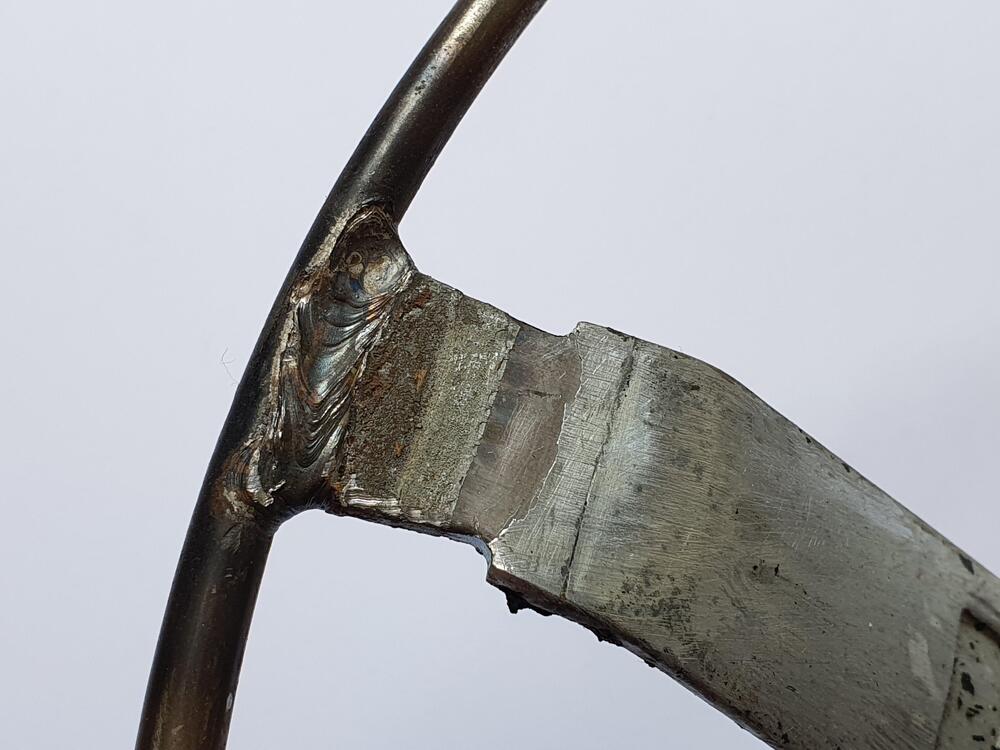
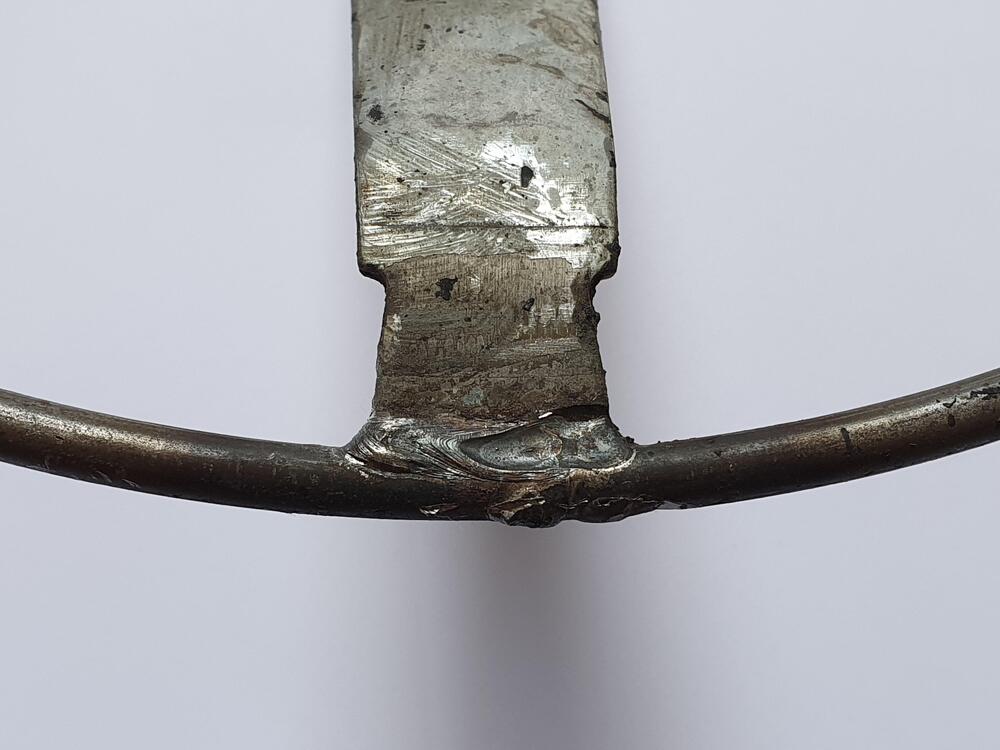
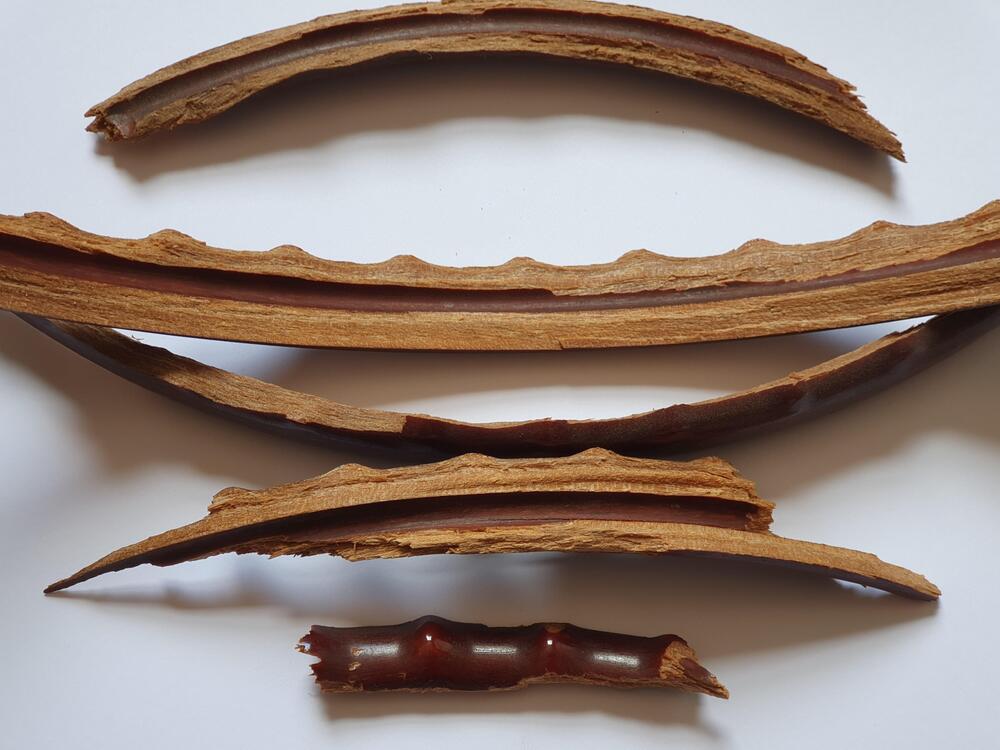
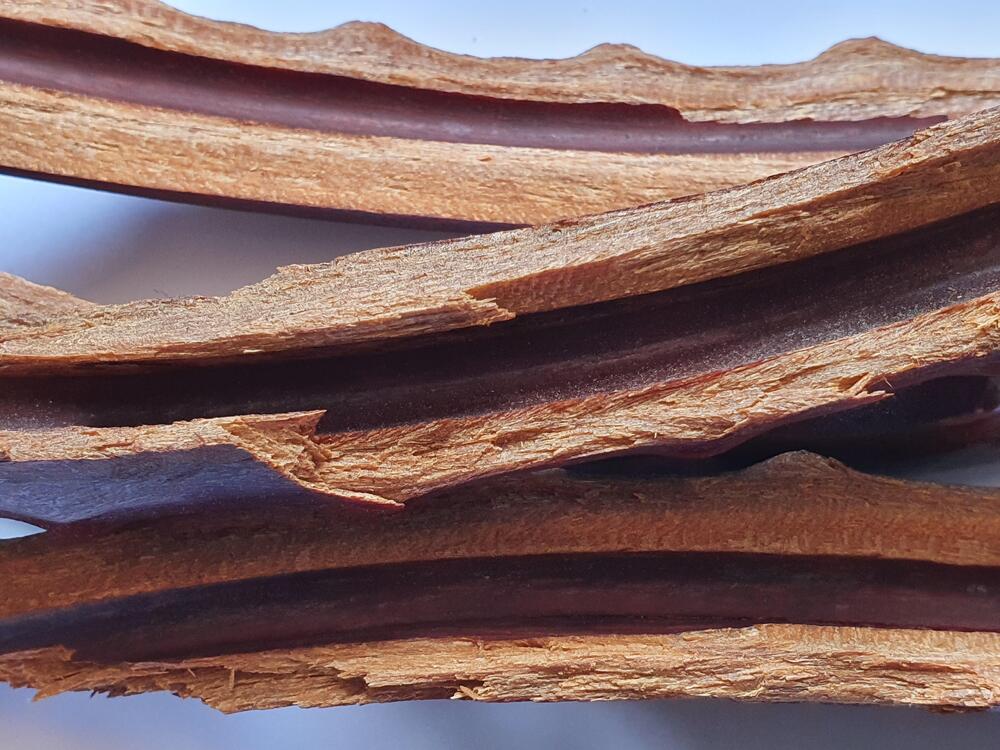
I've been prompted to start a new thread on this subject after reading - for what seems like the thousandth time - somebody describing the OEM steering wheel on a late 1970 production HLS30UV as "Plastic". No. The OEM steering wheel on the '1969 through 1973 production S30-series Z was WOOD. Real wood. They were manufactured for Nissan by specialist Izumi Motor Co. Ltd, based in Shinagawa, Tokyo. Izumi made a wide range of steering wheels for Nissan, as well as selling their own aftermarket 'sports' stering wheels with a cheeky 'Izumi' engraved script which aped Nardi, one of their inspirations. Izumi used a patented high-pressure heat moulding process. Real wood fibres, impregnated with resin, were laid - following the grain - in a heated mould around the steel hoop of the steering wheel. High pressure, combined with that heat, moulded the wood permanently around the hoop and cured the resin. The result was a wood steering wheel, complete with finger grips on the rear, with no joints or seams. No splinters. My theory is that people found them a little 'plasticky' or just couldn't believe they were real wood, and it stuck. After 50+ years it is hard to shake this off, hence me reading a comment on yet another Bring-a-Trailer auction from somebody who is convinced they are plastic. Evidence: I've cut one up. I'm making a 'special' wheel using this 1970 production Izumi as a base (it was already damaged, so don't weep...) and can therefore show what's under the surface. I'll let the photos speak for themselves...


 2 points
 -
2 points
-
So when the guy on the latest Bring A Trailer 240Z auction refuted my explanation, then doubled down with "Steering wheels on Z's are plastic", you think it would be petty to correct him? That's what I keep seeing. Almost every time these wheels are discussed you see someone - or more - calling them "plastic". It is clear that they think there is no real wood in there at all. Put a few facts in front of them - including the wood composite explanation - and they wriggle with "...yeah, but it's still got plastic in it" or similar. I'm pushing back on that. Thanks. Next time somebody says "Steering wheels on Z's (sic) are plastic", you'll hopefully step up to the plate and introduce them to the pioneering 19th century WPC work of Michel Thonet, John Henry Belter and Isaac Cole as well as Mr Armin Elmendorf and his 1960s OSB patent. Or you could just sit back and let me shout "they are WOOD!" at them...2 points
-
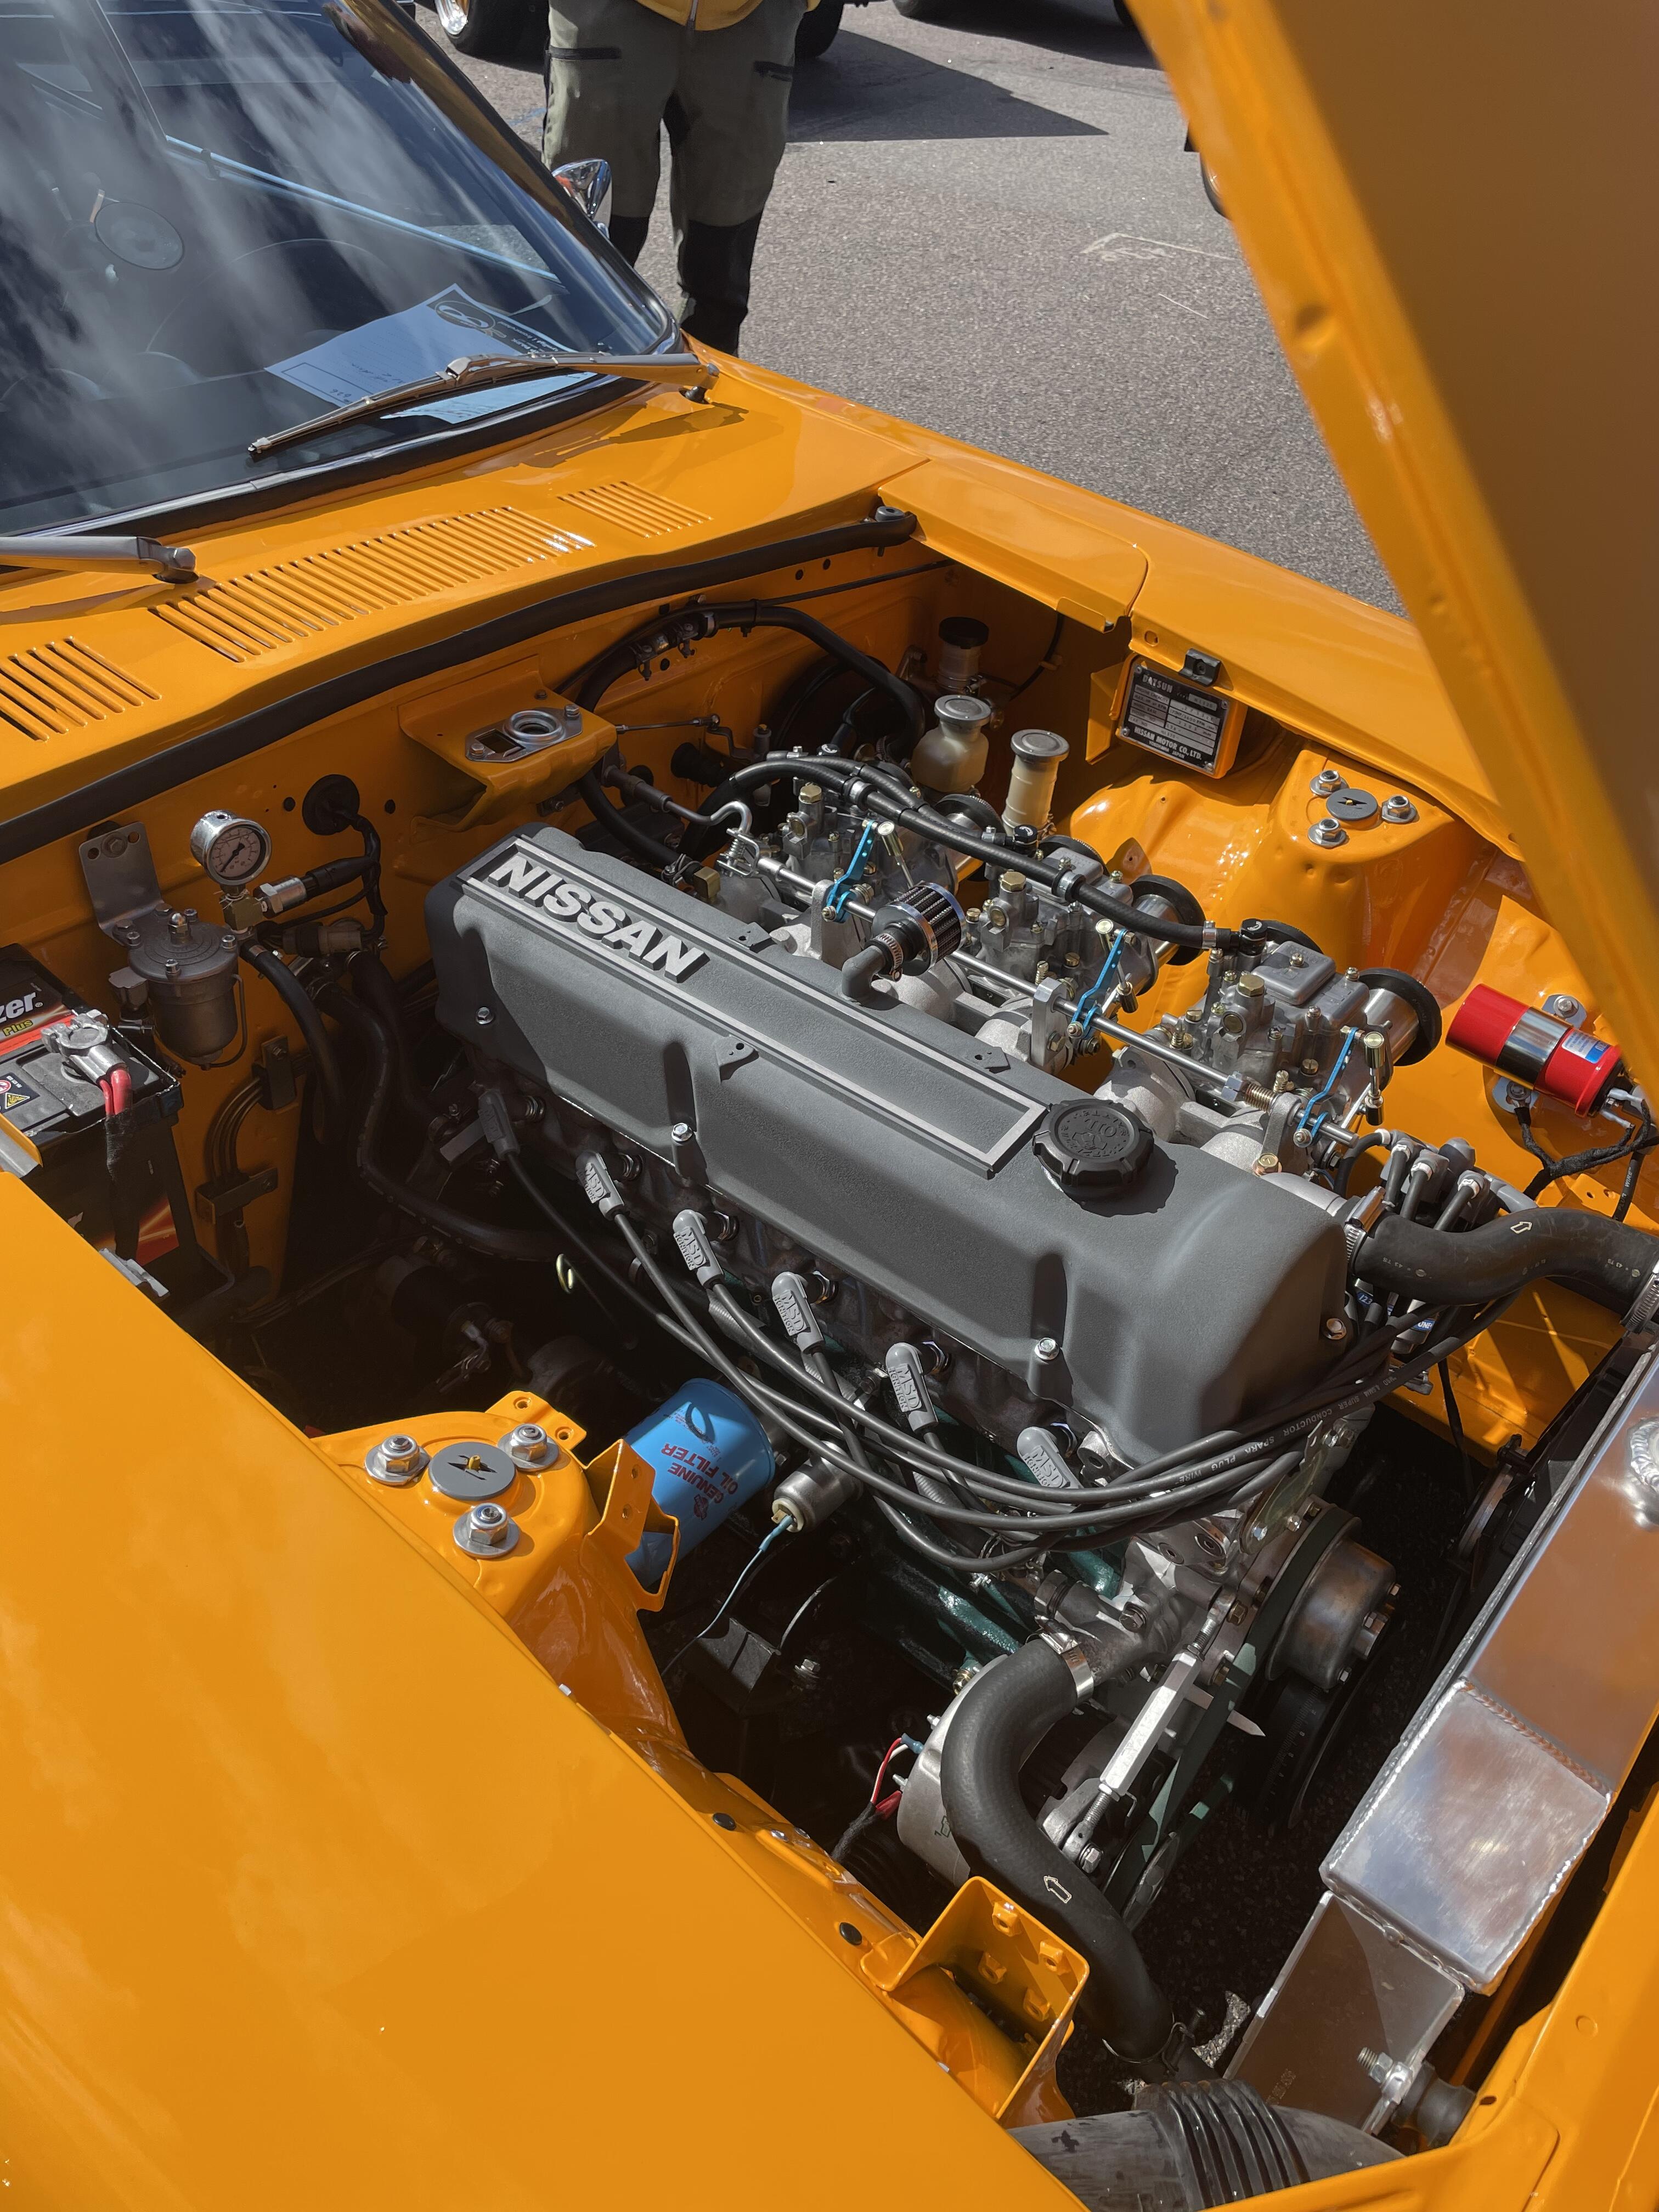
2 pointsSorry, I meant to comment on this earlier. A good quality gauge and a proper fuel pressure regulator. The red Holley fuel pressure regulator works well, and has two outlets, or to go to the carbs, the other where a gauge can be connected. The SU carbs don’t require much fuel pressure, under 4psi if memory serves me. A picture of the setup on my race Z:
 2 points
 -
2 pointsThis sounds like another fantastic opportunity for you to film yourself doing something entertaining. Pics or it didn't happen!!2 points
-
2 points
-
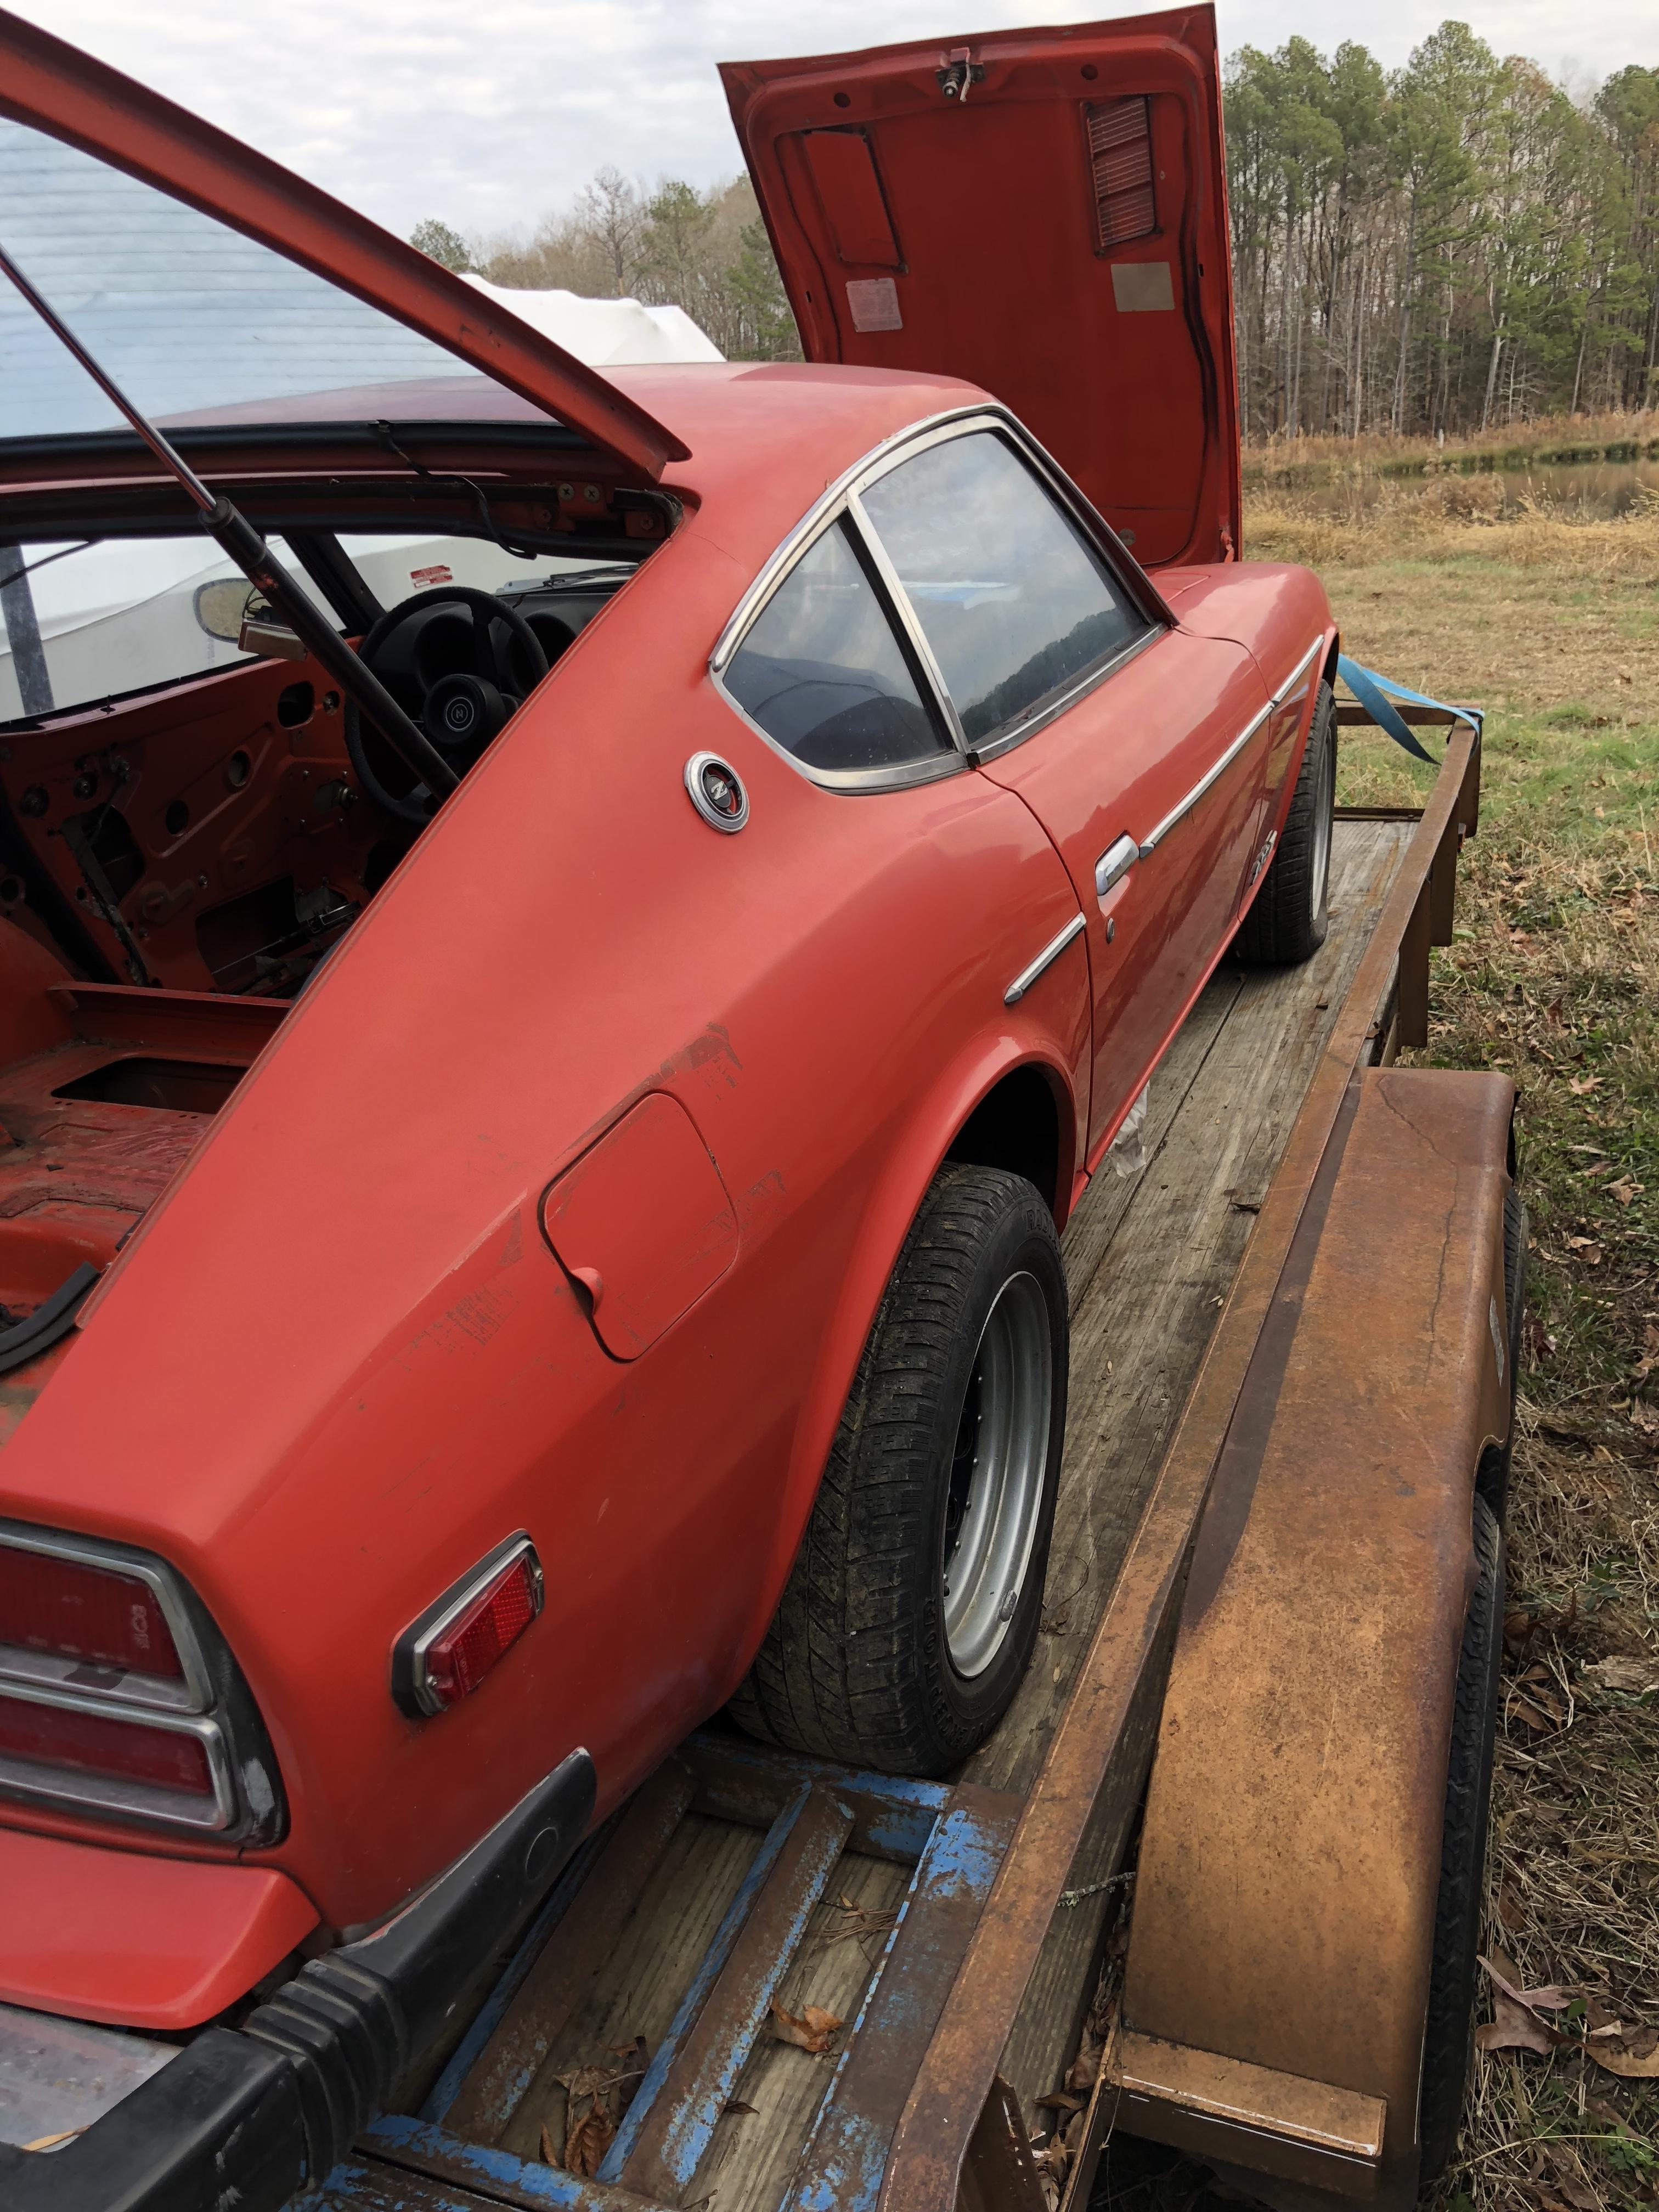
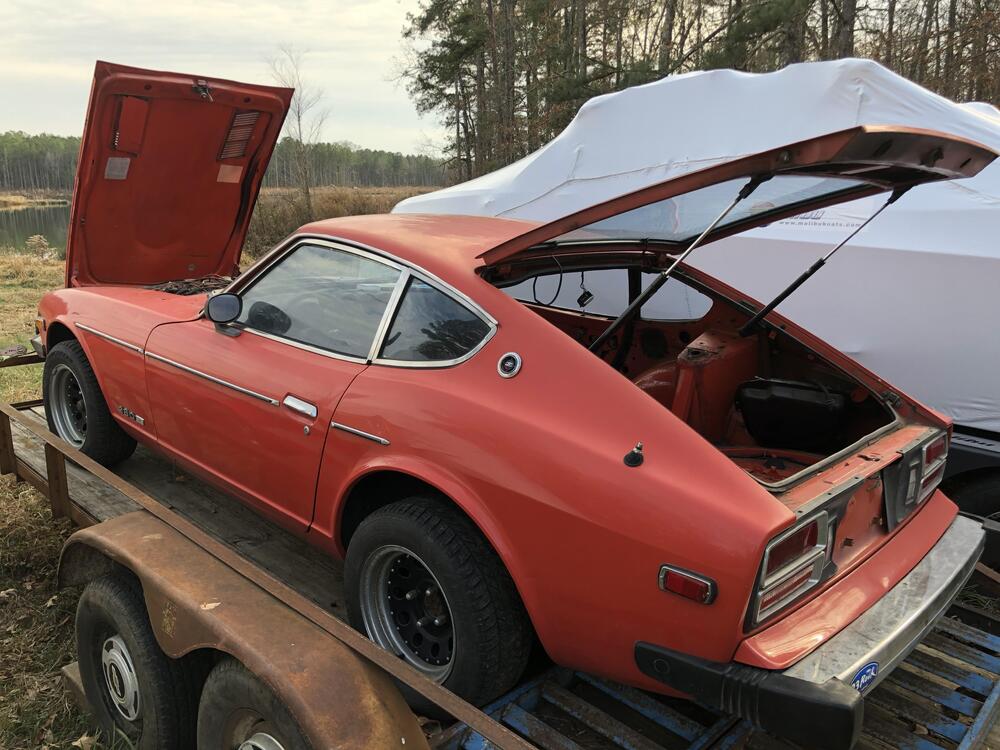
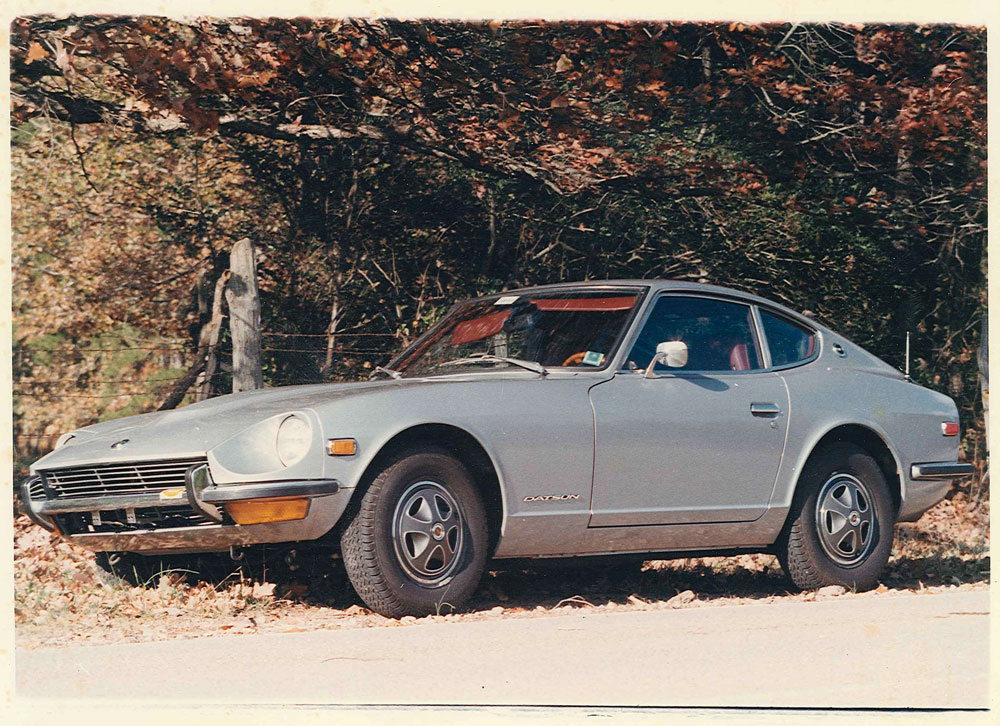
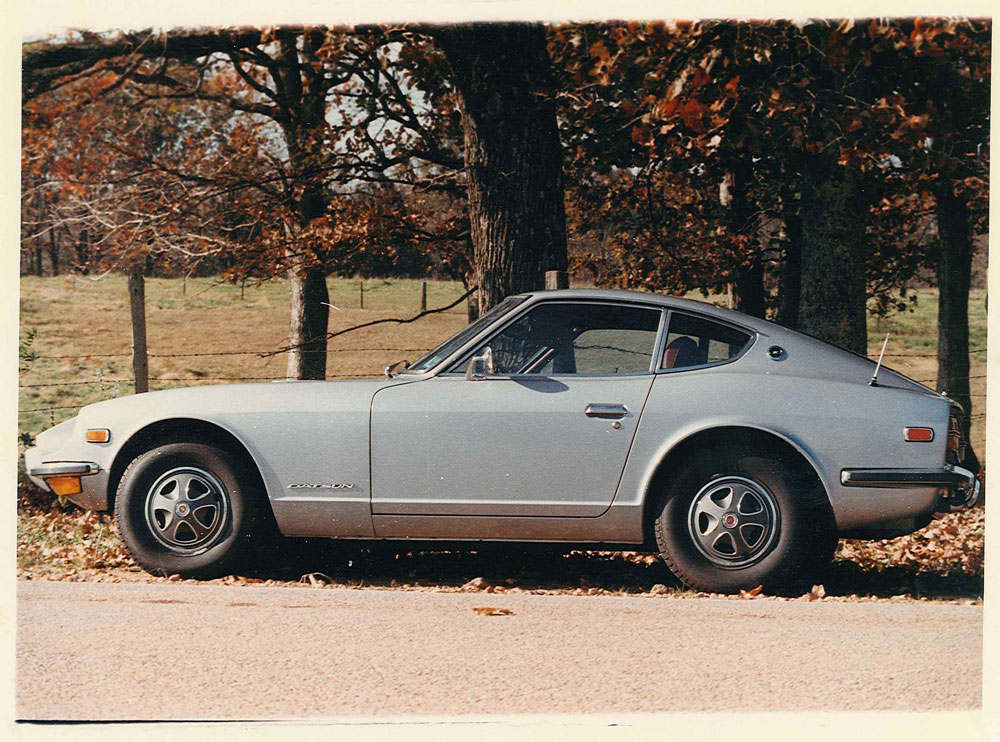
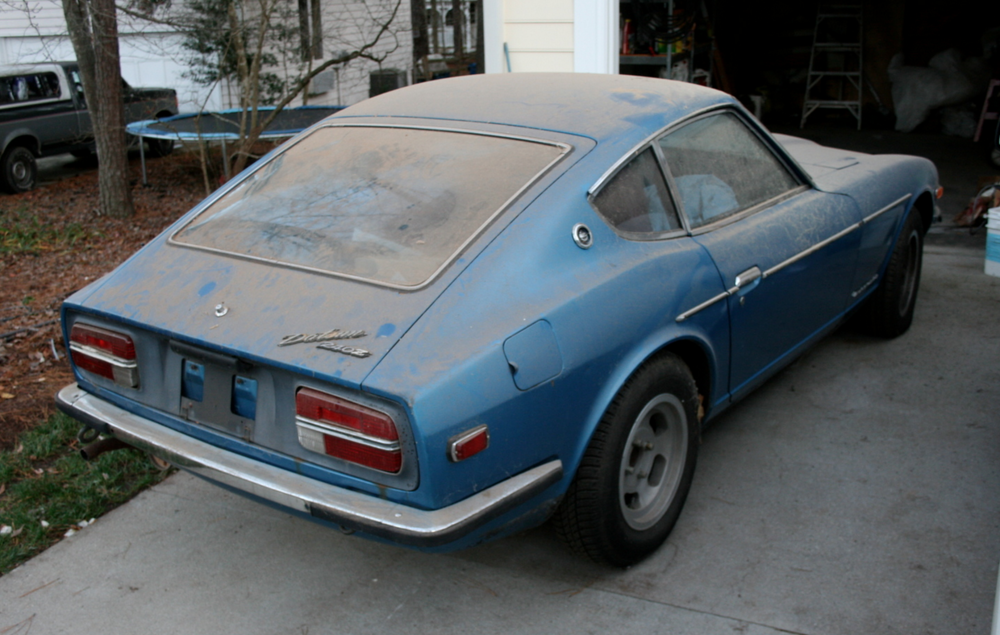
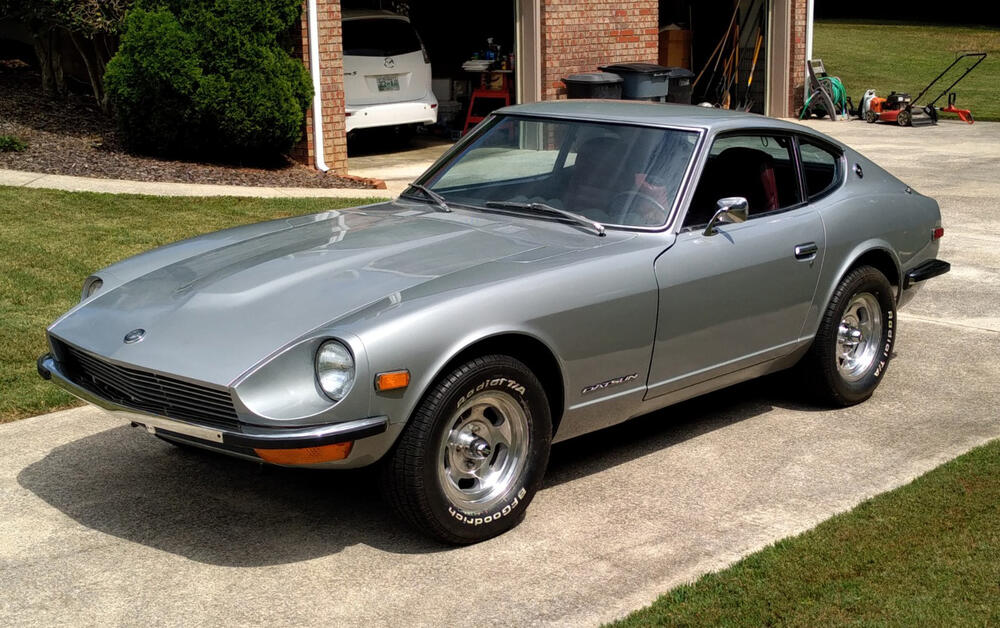
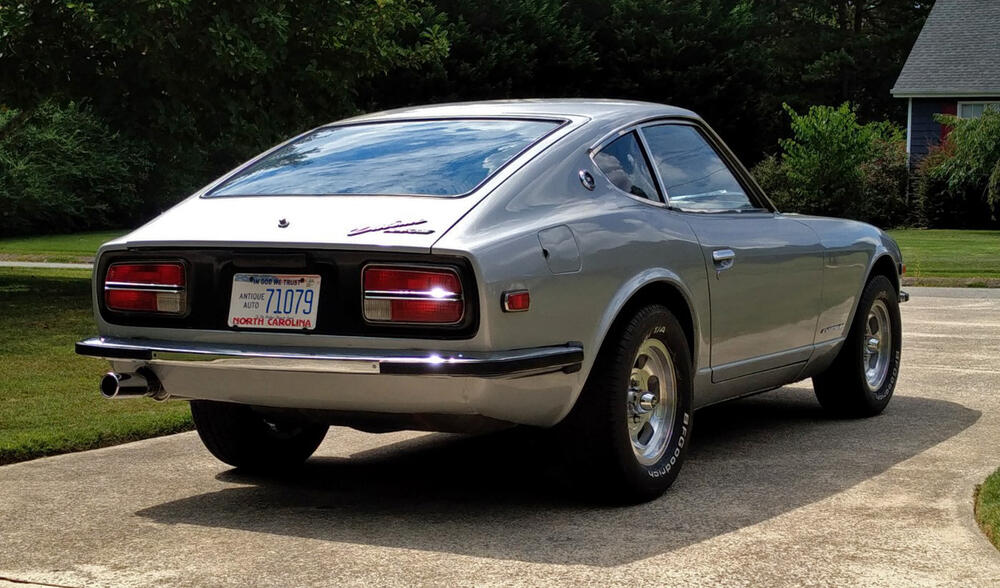
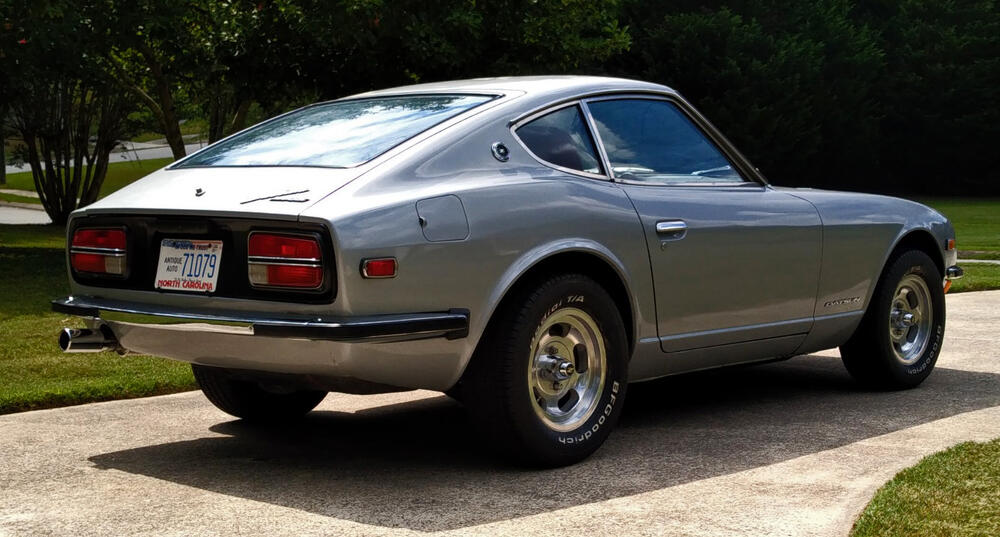
Hi guys. I figured I should start a build thread in here. The actual restoration is very close to being complete, but this seems like a good place to document a few things and perhaps ask little questions so I don't clutter up the main subforums with little inquiries when I can't find the answer. Anyway, this is about 93069, which my dad bought new in October of 1972 from Cardinal Motors in Jacksonville, NC. He was 21 years old at the time and just starting his senior year at NC State. The car's block number is 118555 and it has a built date of 07/72 (right around the brake system crossover). Original color: 901 Silver over red vinyl, dealer-installed factory air. Here are a couple of pictures my dad took in November of 1972, one month after he bought it: My dad had it repainted blue in the late '70s. My mom has always liked blue cars, so it's possible she had a hand in choosing the color. It seems rub strips were installed at that time also. I obviously remember the car all growing up. It was my dad's daily driver, and my brothers and I crammed into the back of it on more than one occasion, legs dangling behind the front seats, lying on our backs in under the hatch glass, watching the trees flick by overhead. Very unsafe, but it was a different time. The car deteriorated over the years. Battery acid ate a hole in the inner fender well and firewall, water seeped down and rusted out the passenger side floor pan. Rust started to pop up other places also, like the rocker panels and the trunk sill. My dad had the engine rebuilt in the '90s, and the carbs refurbished by the original owner of ZTherapy around the same time. I still have his "Just SU Carbs" and "240Z Tuneup" videos on VHS. Pretty nice viewing. I've always been into cars, but was never wild about the Z, which always felt weird because everyone I talked to said it was an incredibly cool car. Maybe familiarity just breeds contempt (or indifference in this case)? Who knows. Regardless, I got into wrenching about 20 years ago and have had a long succession of project cars (FB RX-7s, mk3 Supra, Type 85 Audi, various BMWs, etc), but found it hard to muster the motivation to start restoring the Z. Finally, about 10 years ago, I was at a point in my life where I had a place of my own with a 2-car garage and wanted to start bringing the Z back into focus. This was its state then: Pretty much a "barn find" in my parents' own garage. Dusty, rusty, mismatched tires, etc. I had chucked the bumper overriders years ago and managed to talk my dad into buying a set of slotted mags since he kept losing hubcaps. It hadn't run in 6+ years at that point. Back in 2005, I was driving it and the battery wasn't properly secured. It slipped off the its pedestal and impacted the oil filter, creating a nice gash (and minor fire, which I beat out). I was young and stupid and continued driving, trying to make it to the nearest auto parts store for a filter in spite of the fact that I likely had marginal oil pressure. The moment the engine started acting funny I parked it and walked the remaining 1/2 mile to CarQuest for an oil filter. I put it on and drove it home, but was scared that I had permanently damaged something, so I just let it sit. Fast forward to 2011, Stage 1 of the restoration was determining if it would run properly or if the engine needed a rebuild. I replaced all the consumables on the engine, had the carbs rebuilt (again) by ZTherapy and drained and resealed the fuel tank. Got everything hooked back up and after a few hiccups...it started and ran just fine. That was a relief. Stage 2 had to wait a few more years. I moved for work about 6 hours further away from my parents (they had been 1.5 hours away before), and took the Z with me. In early 2014, I partially disassembled the car, removing the engine and some other key bits. The next spurt of motivation came in 2016, when I finally got my garage organized and finished stripping the car down. In 2017, my dad came with a trailer and took the car back to his house to have the body restored. He took it to a local body shop to have the rust repaired and the car repainted its original 901 Silver. The body shop did an OK job. I wish I had been local in order to supervise the work more closely, since they cut a few corners, especially in the engine bay. Long story short, the car returned back to me for reassembly on Labor Day 2019. I was initially pretty intimidated by the task at hand, but started chipping away at it and it started coming together. I finally got it started again a little over a year ago so it could move under its own power to our new (local) home. Since then, reassembly has continued in fits and starts, but this is where it stands now: Still quite a lot to do, especially as regards the interior, but I've been pleased with the progress so far. Thanks for reading and stay tuned. -Matt


 1 point
 -
1 point
-
Got my 240Z OEM door mirror from local Nissan parts department shelf I have stocked with potential use stuff. Thought about cataloging all of them with my part number "supersedes" master list I have put into use. The 1st photo shows the superb quality of the mirror. It's no surprise Nissan choose to save weight and the potential for 7 years of bad luck without an additional right side mirror.
 1 point
 -
I didn't hold my hands out, so I got my left and right mixed up. Your observation is correct. It should be on the right.1 point
-
1 pointBTW - Captain obvious. Read your post from April 28, 2016 which is how I knew to jump c7. Thank you!1 point
-
1 pointFinished your test and looks like you guys were right. Going to buy the relay you suggested and see if that fixes it 12v to the W wire with turn signal up 0v white wire GY wire 12v1 point
-
The people calling them "plastic" - I'd wager - haven't seen one taken apart as in the above photos. They call them plastic because everyone else does. As far as they are concerned, there is no wood in there at all. They are wrong. The only difference here is (your qualification of) "solid" wood. The Izumi wheel is wood attached to a metal frame. The part that people are calling 'plastic' is actually wood. Real, as in organic,wood. Look at the photos closely. That's not wood dust, wood pulp or wood shavings (as in MDF, for example), that is clearly grained wood. It splits with the grain. Split hairs too much here and you'll find somebody (maybe even me) telling you that your definition of "shaped pieces of solid wood" might also qualify as 'plastic' if they have been stained and lacquered...1 point
-
Yes, that is indeed original carpet under the tiger print. I suspect that the original padding/jute is also present by the dip in the carpet just forward of the luggage strap bracket. No padding used in that last couple of inches - 70/early 71 owners please take note.
 1 point
 -
What looks to be the original carpet is in good condition under that animal print thing.1 point
-
1 pointThanks Racer X. I have a two post lift, so I have some options and plenty of time to think about it!1 point
-
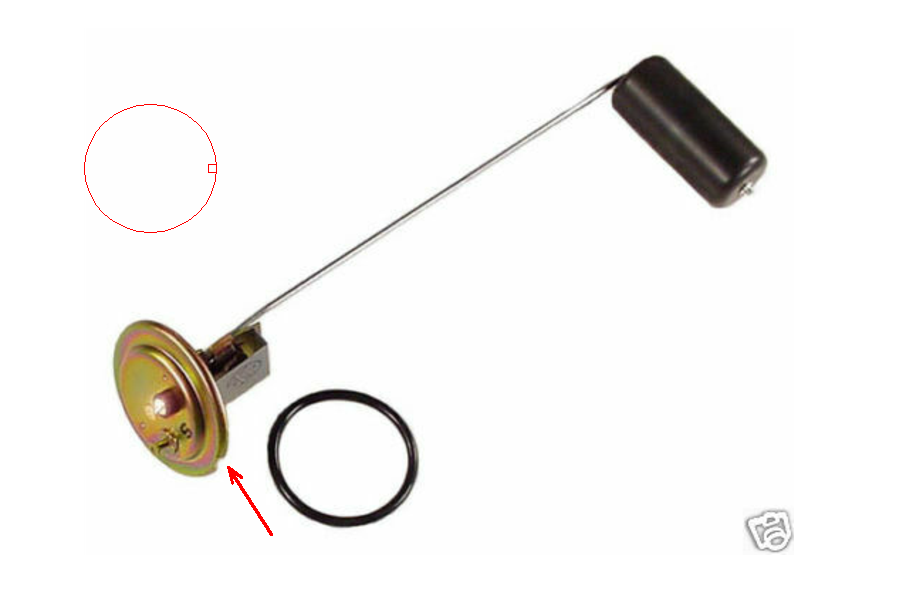
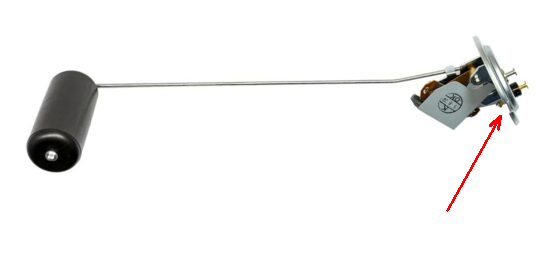
As you face the tank opening for the fuel sending unit, the notch goes on the left RIGHT (Dang it, Steve!). You will see the insulated terminal higher than the uninsulated terminal on the sending unit.
 1 point
 -
1 pointNo more noise, no more bees, and as far as I can tell, all good. Plus, I think I successfully rebuilt that ancient Hein Werner jack I use to remove my transmission.1 point
-
1 point
-
1 pointI think another member here did it that way. Used a chain fall I think to pick the front of the car up, roll the engine and transmission, mounted on the subframe under, drop the car down. I think it would be doable, the engine, even with a exhaust header and the intake/carbs mounted, isn’t as wide as the distance between the frame rails. Some maneuvering might be needed around the compression rod pockets. Also, once the car is down around the drivetrain, the crossmember transmission mount and compression rods will be difficult to get to, even if the front suspension has the wheels and tires on it. It would be easier with a two post lift, and the subframe, engine and transmission could be set on a workbench, allowing better access to the underside bits that will need to be fastened.1 point
-
1 pointI wouldn't worry about the grease holes. They'll be sealed up by the gasket on the mounting face. And if you don't tell anyone about them, nobody will ever know. And about that hole for the ported vacuum... If one were to assume that the previous owner drilled the original vacuum nipple out of the carb body, and did it "concentric to the original center of the hole", then one could make an insert with the appropriate diameter small hole through it*. Press or loctite it in place and very carefully file the inside flush with the curved surface of the carb throat. I could do it. At least if the center line of the enlarged hole is in the same location as the center line of the original port hole. If they ham handed the removal of the original tube and drilled off center or something, then the location of the new port will be mis-located accordingly. * Or get extremely lucky and find some piece of tubing off the shelf that already has the correct ID and OD. Extremely lucky....1 point
-
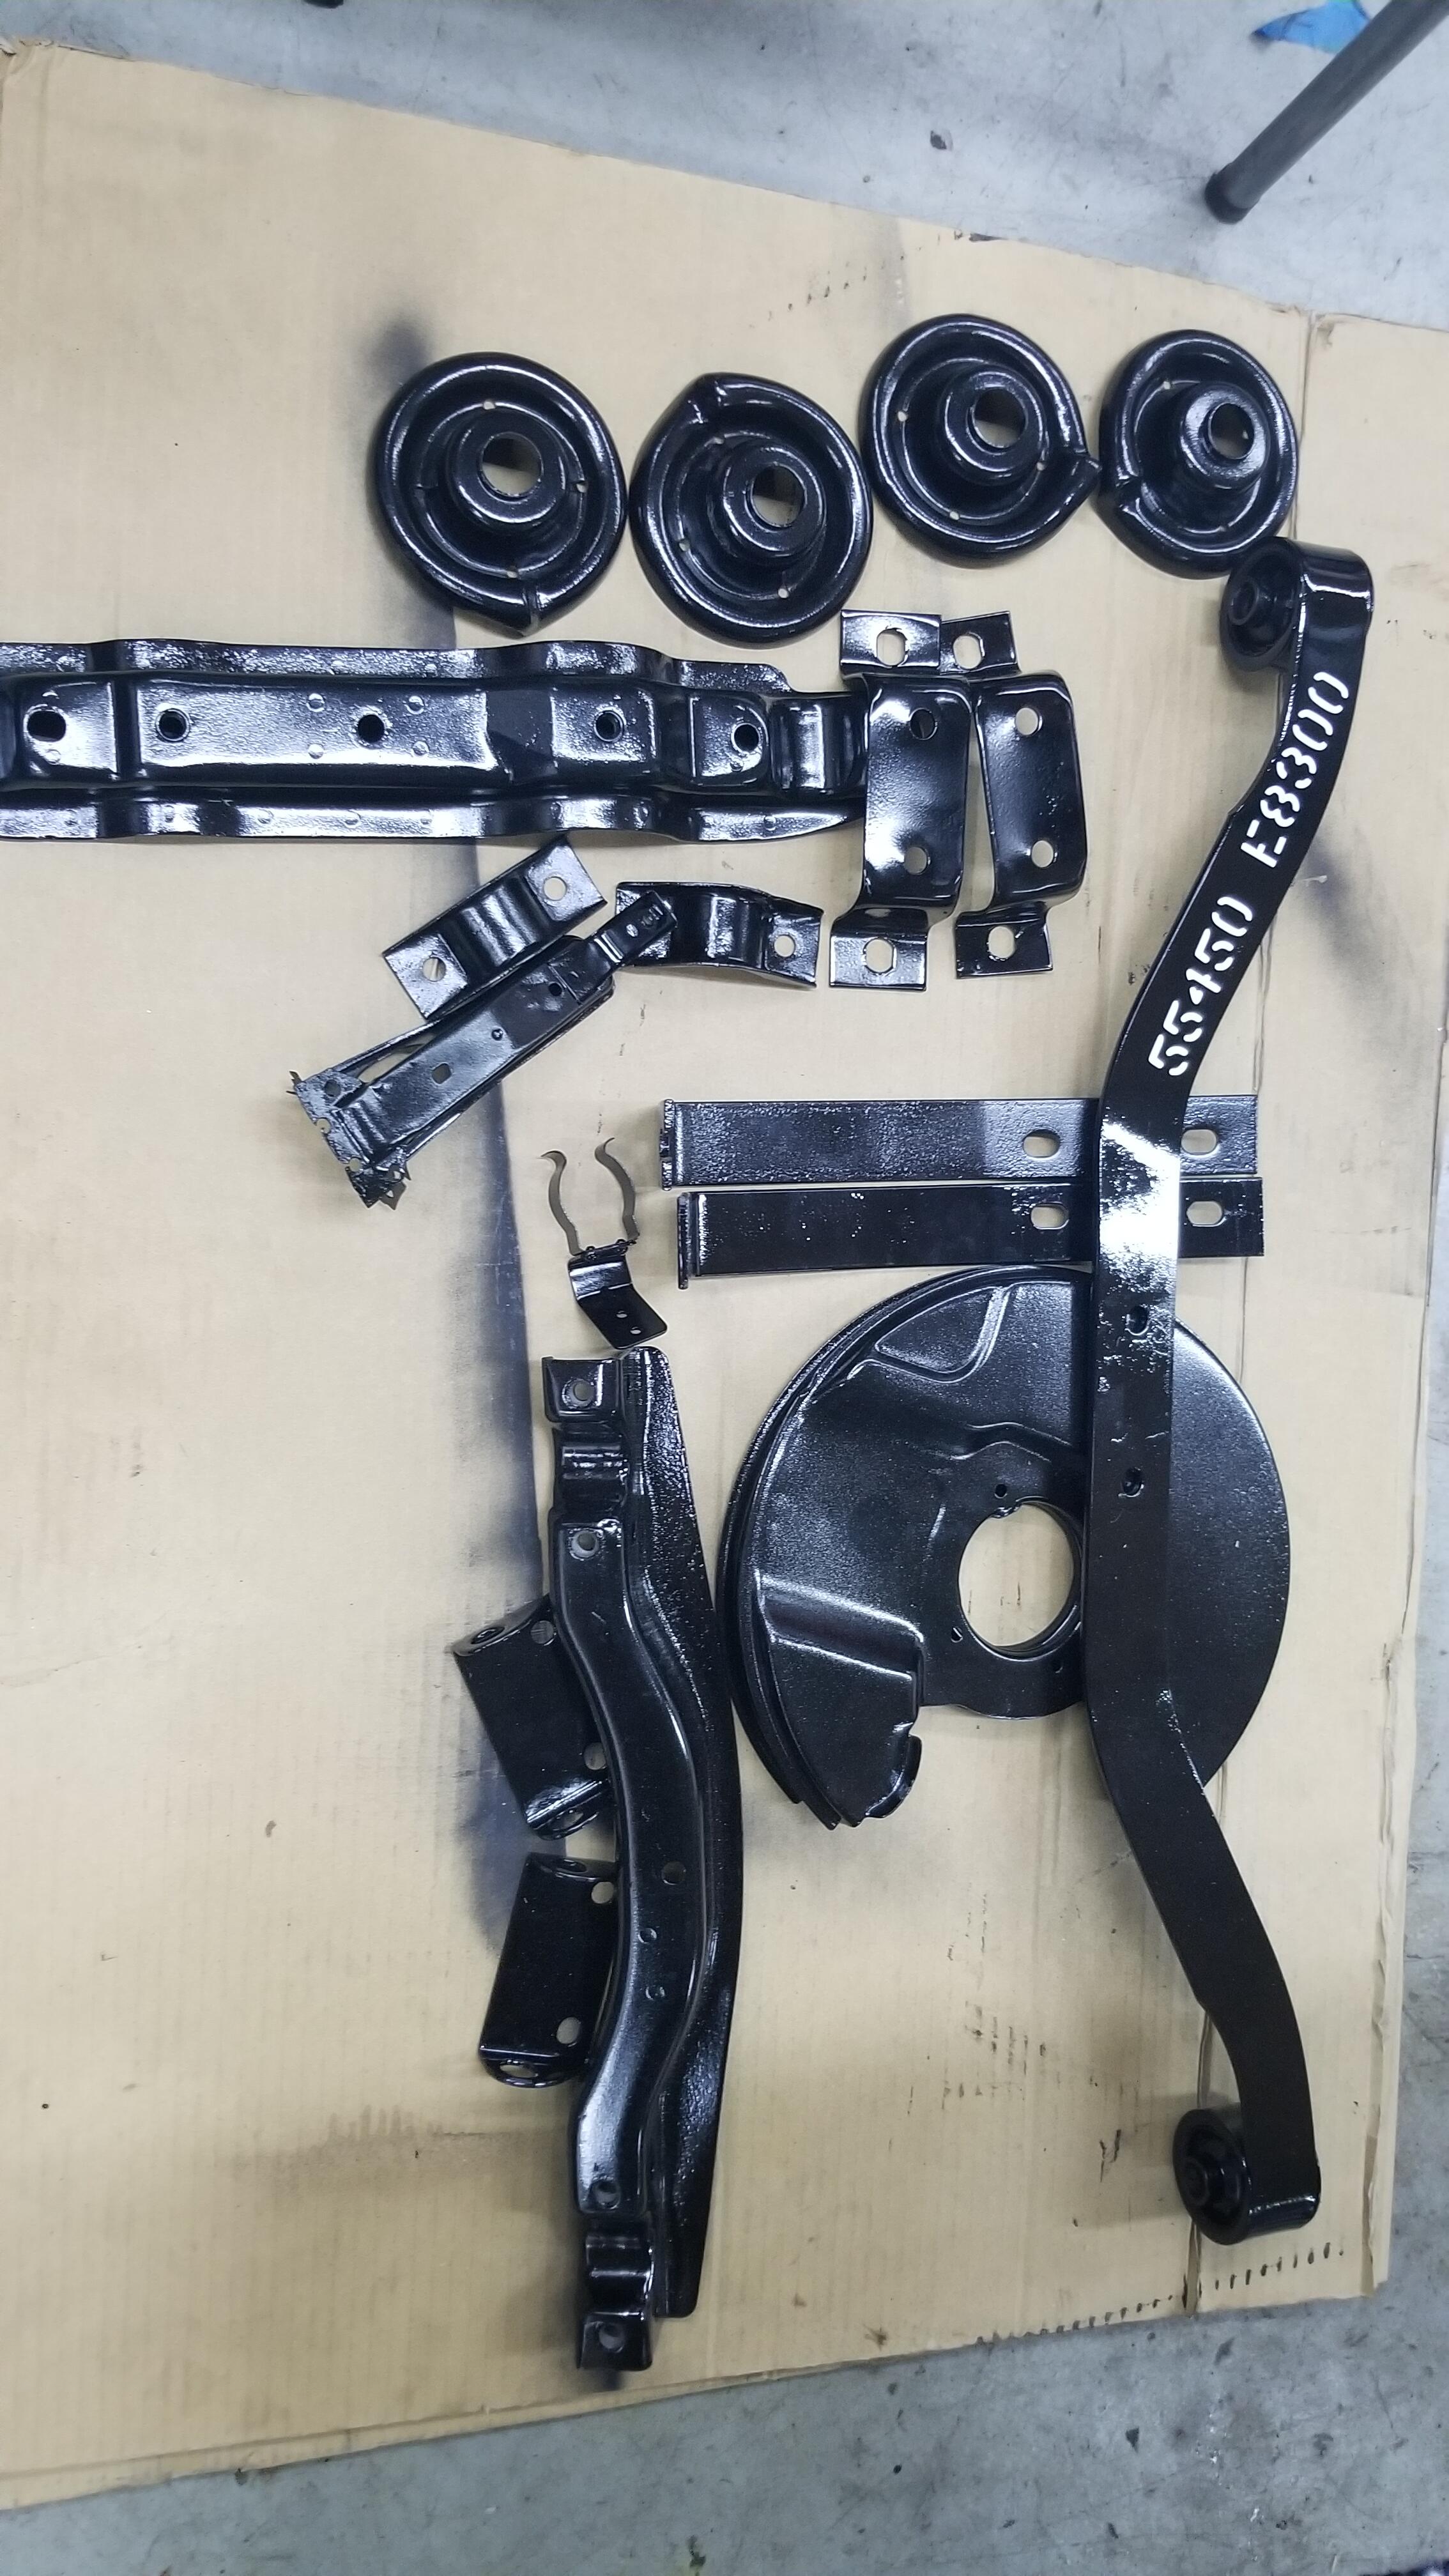
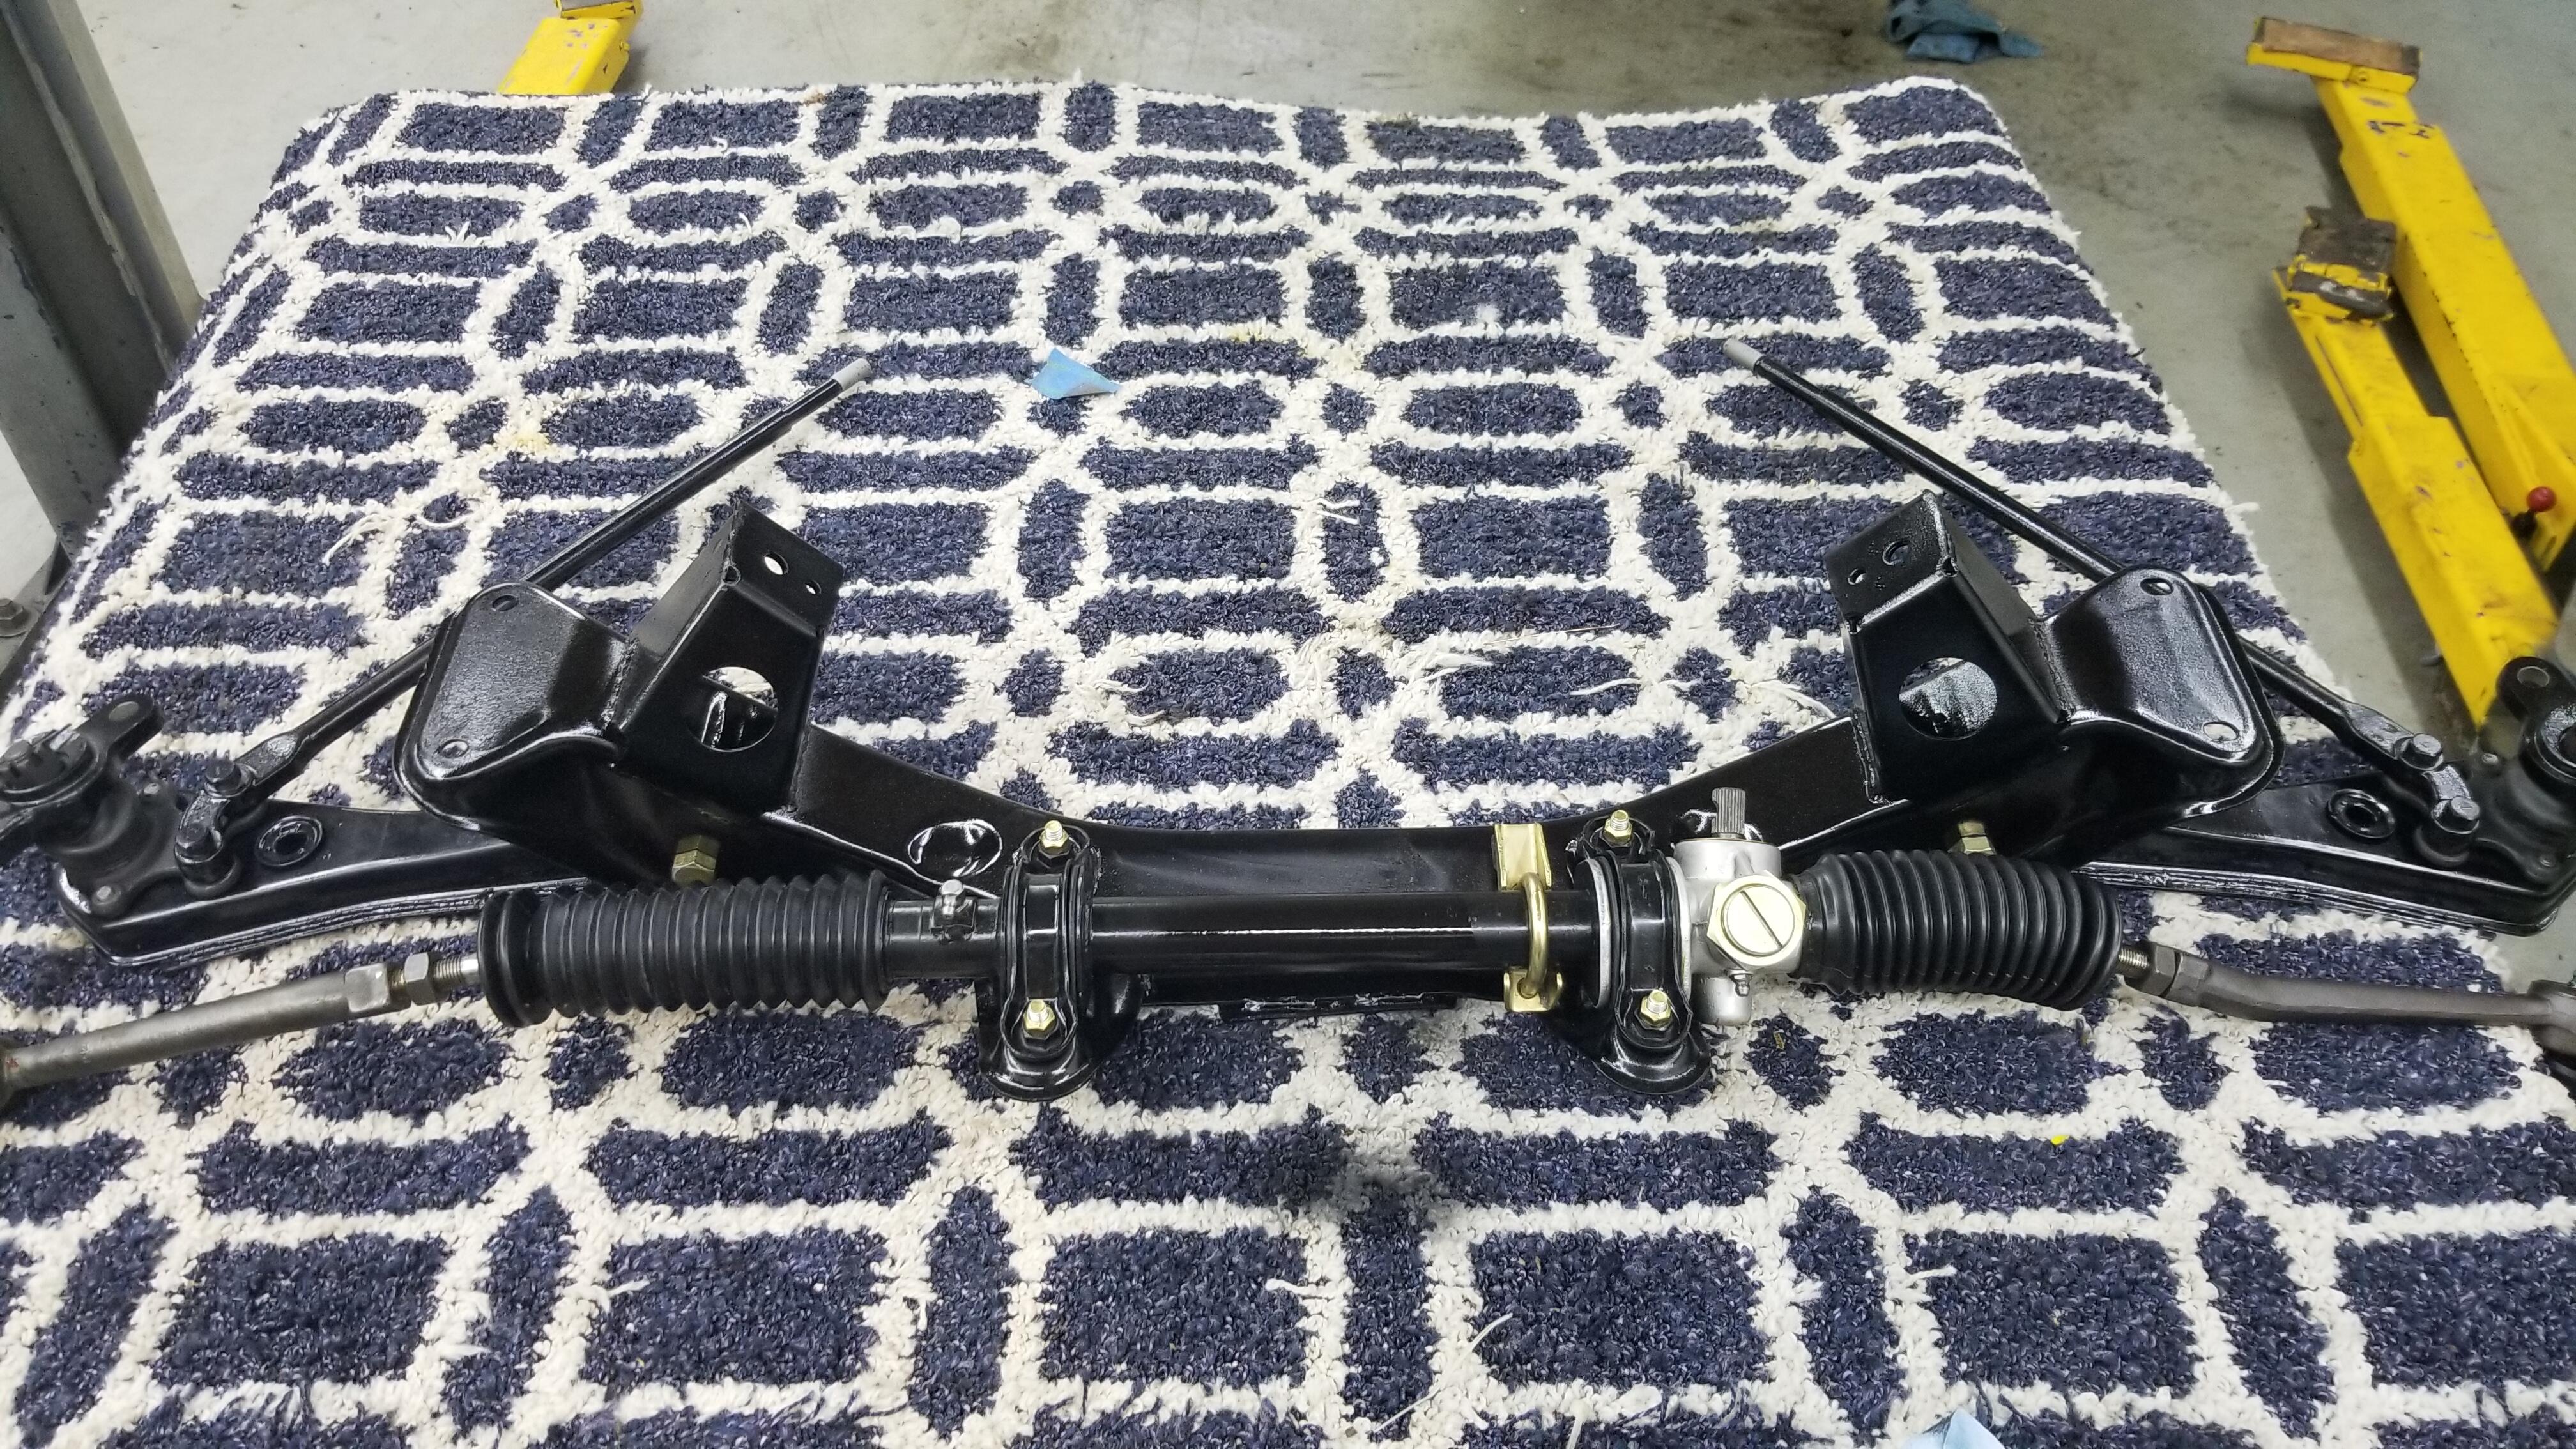
1 pointReceived some parts back from powdercoating. I started assembling some things as I wait for the body shop. I should get the motor back in the next week. We were waiting on the hardware to get plated, then realized the idiot who last worked on the motor did not stamp the crank and we had the wrong bearings. Searched high and low and finally found the right ones. I am thinking of assembling the motor and subframe including suspension then lowering the body on to it. I think that would be easier. Anyone else ever done it this way?

 1 point
 -
1 pointThat's what makes this forum work so well. A lot of experiences thrown at the problem and 1 or two stick, also known as the shotgun approach.1 point
-
Weird - mine you can pop in and just spin around. No "keyed' edges on mine I believe...1 point