


Leaderboard
-

Av8ferg
Free Member5Points1,538Posts -
z3beemer
Free Member5Points169Posts -

Racer X
Free Member5Points1,877Posts -

siteunseen
Free Member4Points15,115Posts


Popular Content
Showing content with the highest reputation on 05/20/2022 in all areas
-
5 pointsJust wanted everyone to know the great experience I had dealing with Jim (S30Driver). I finally got my fender, one in great shape, and Jim put a lot of work into making it happen. I you ever have the chance to work with him on parts, you can be sure he is reliable and honest. You will never have to worry about his legitimacy. THANKE JIM.5 points
-
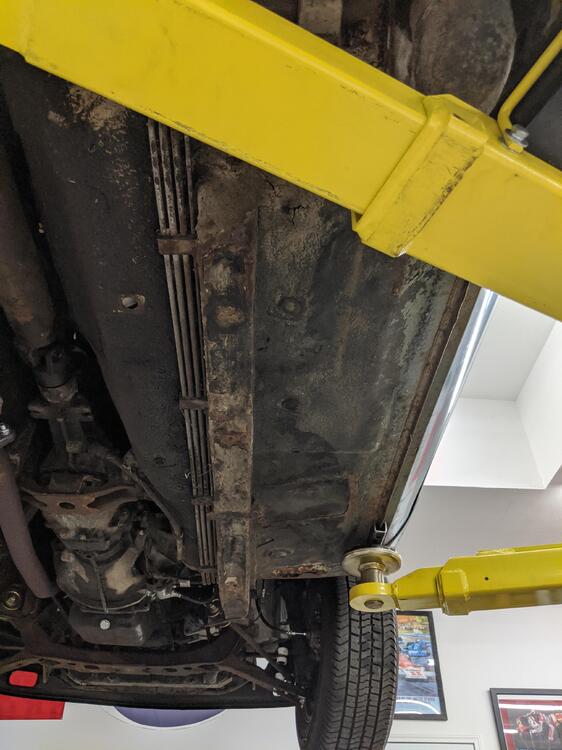
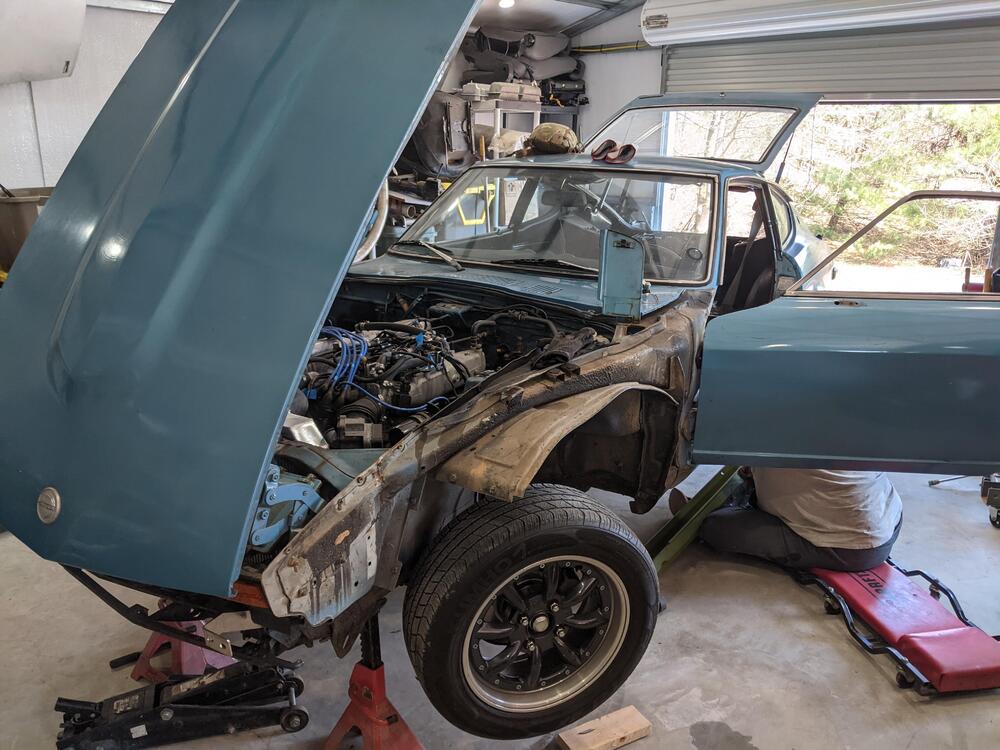
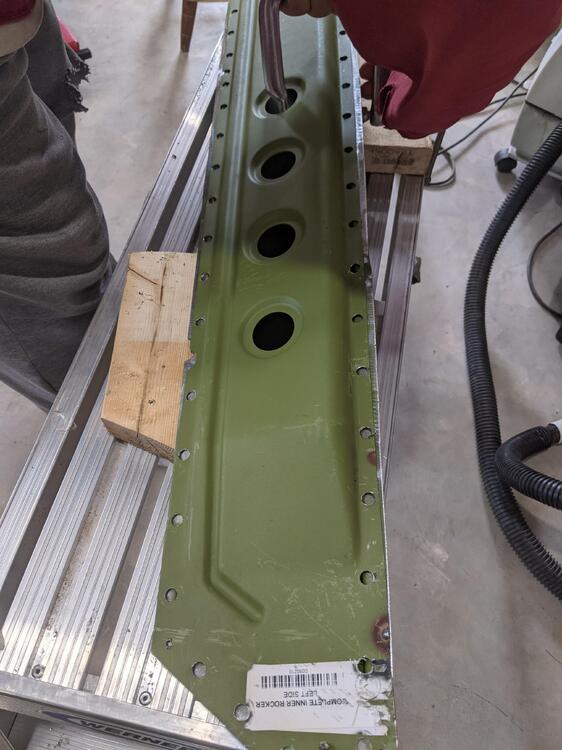
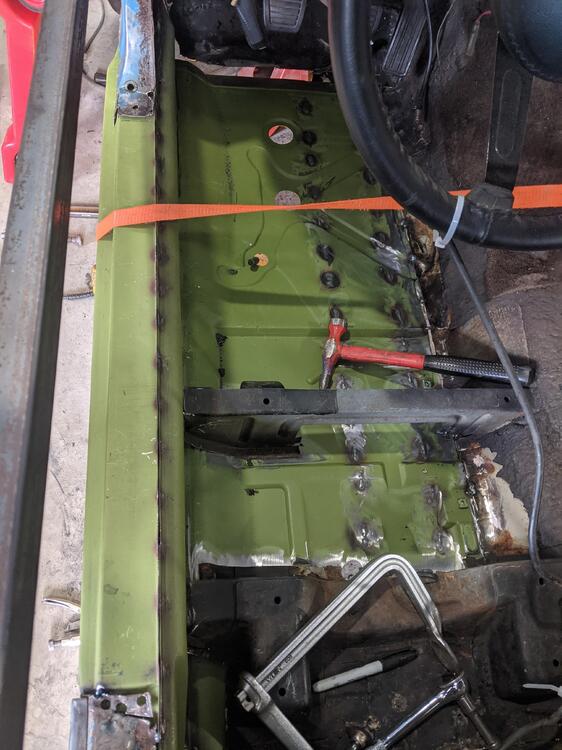
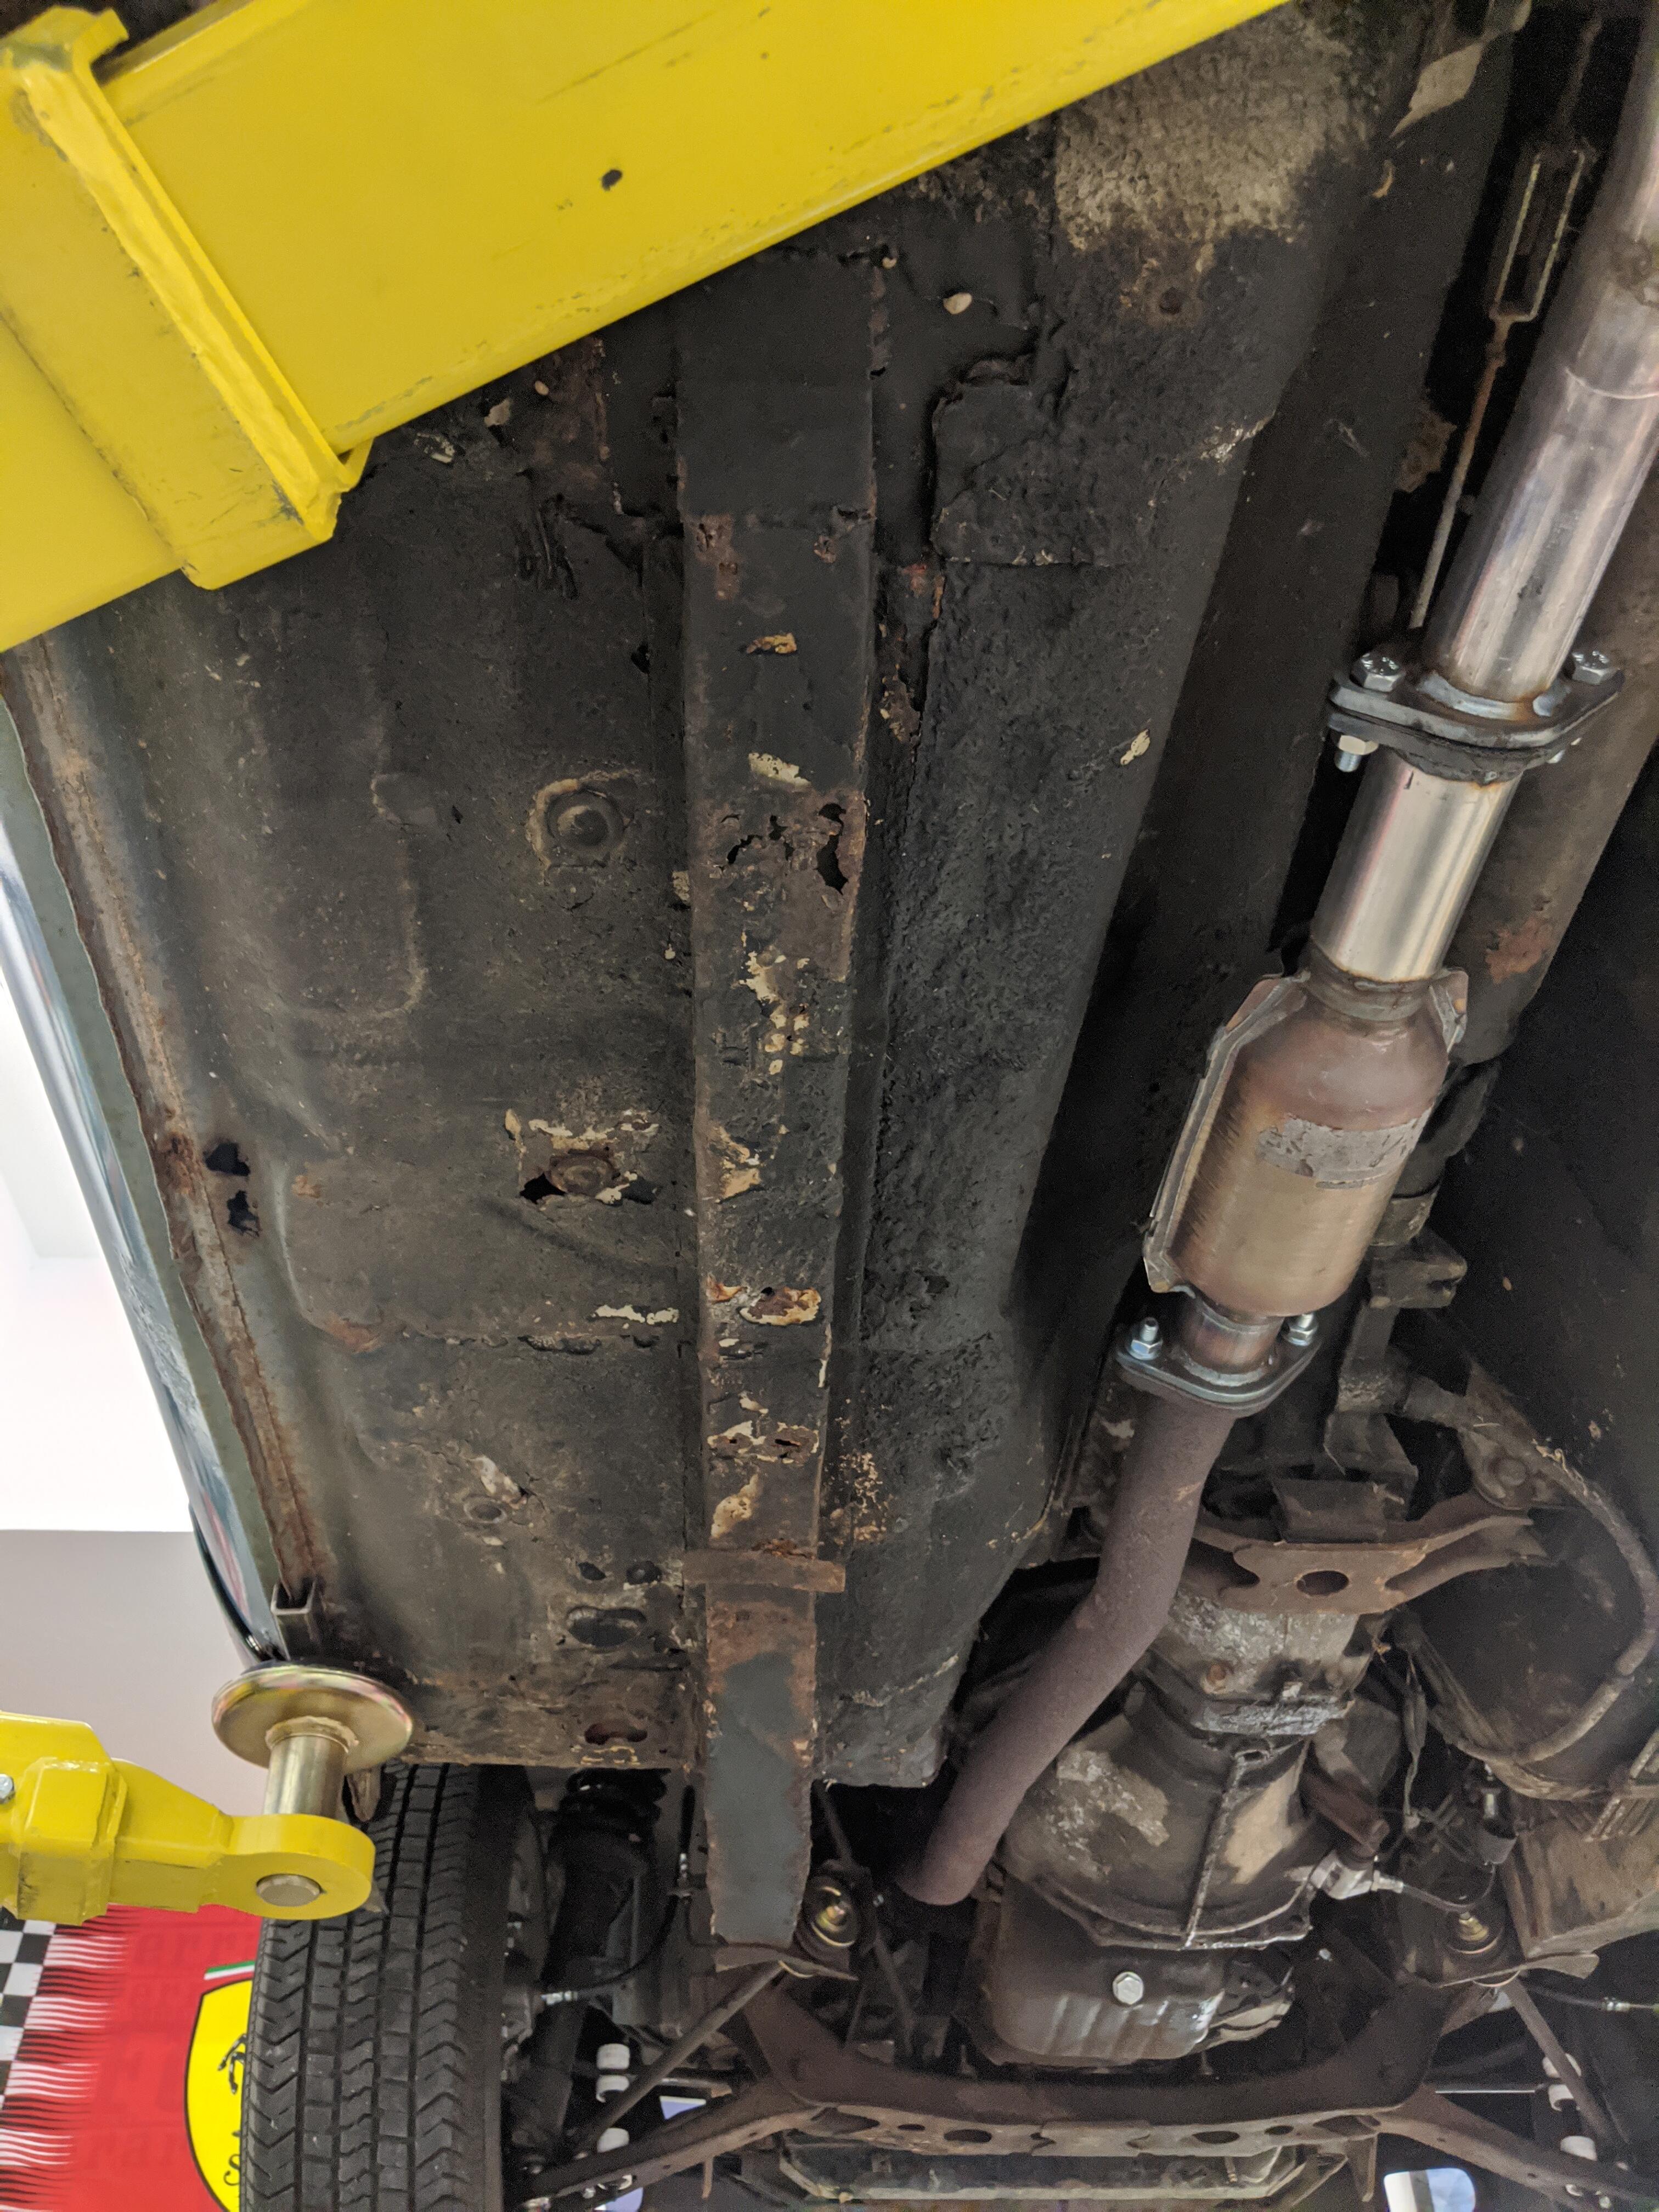
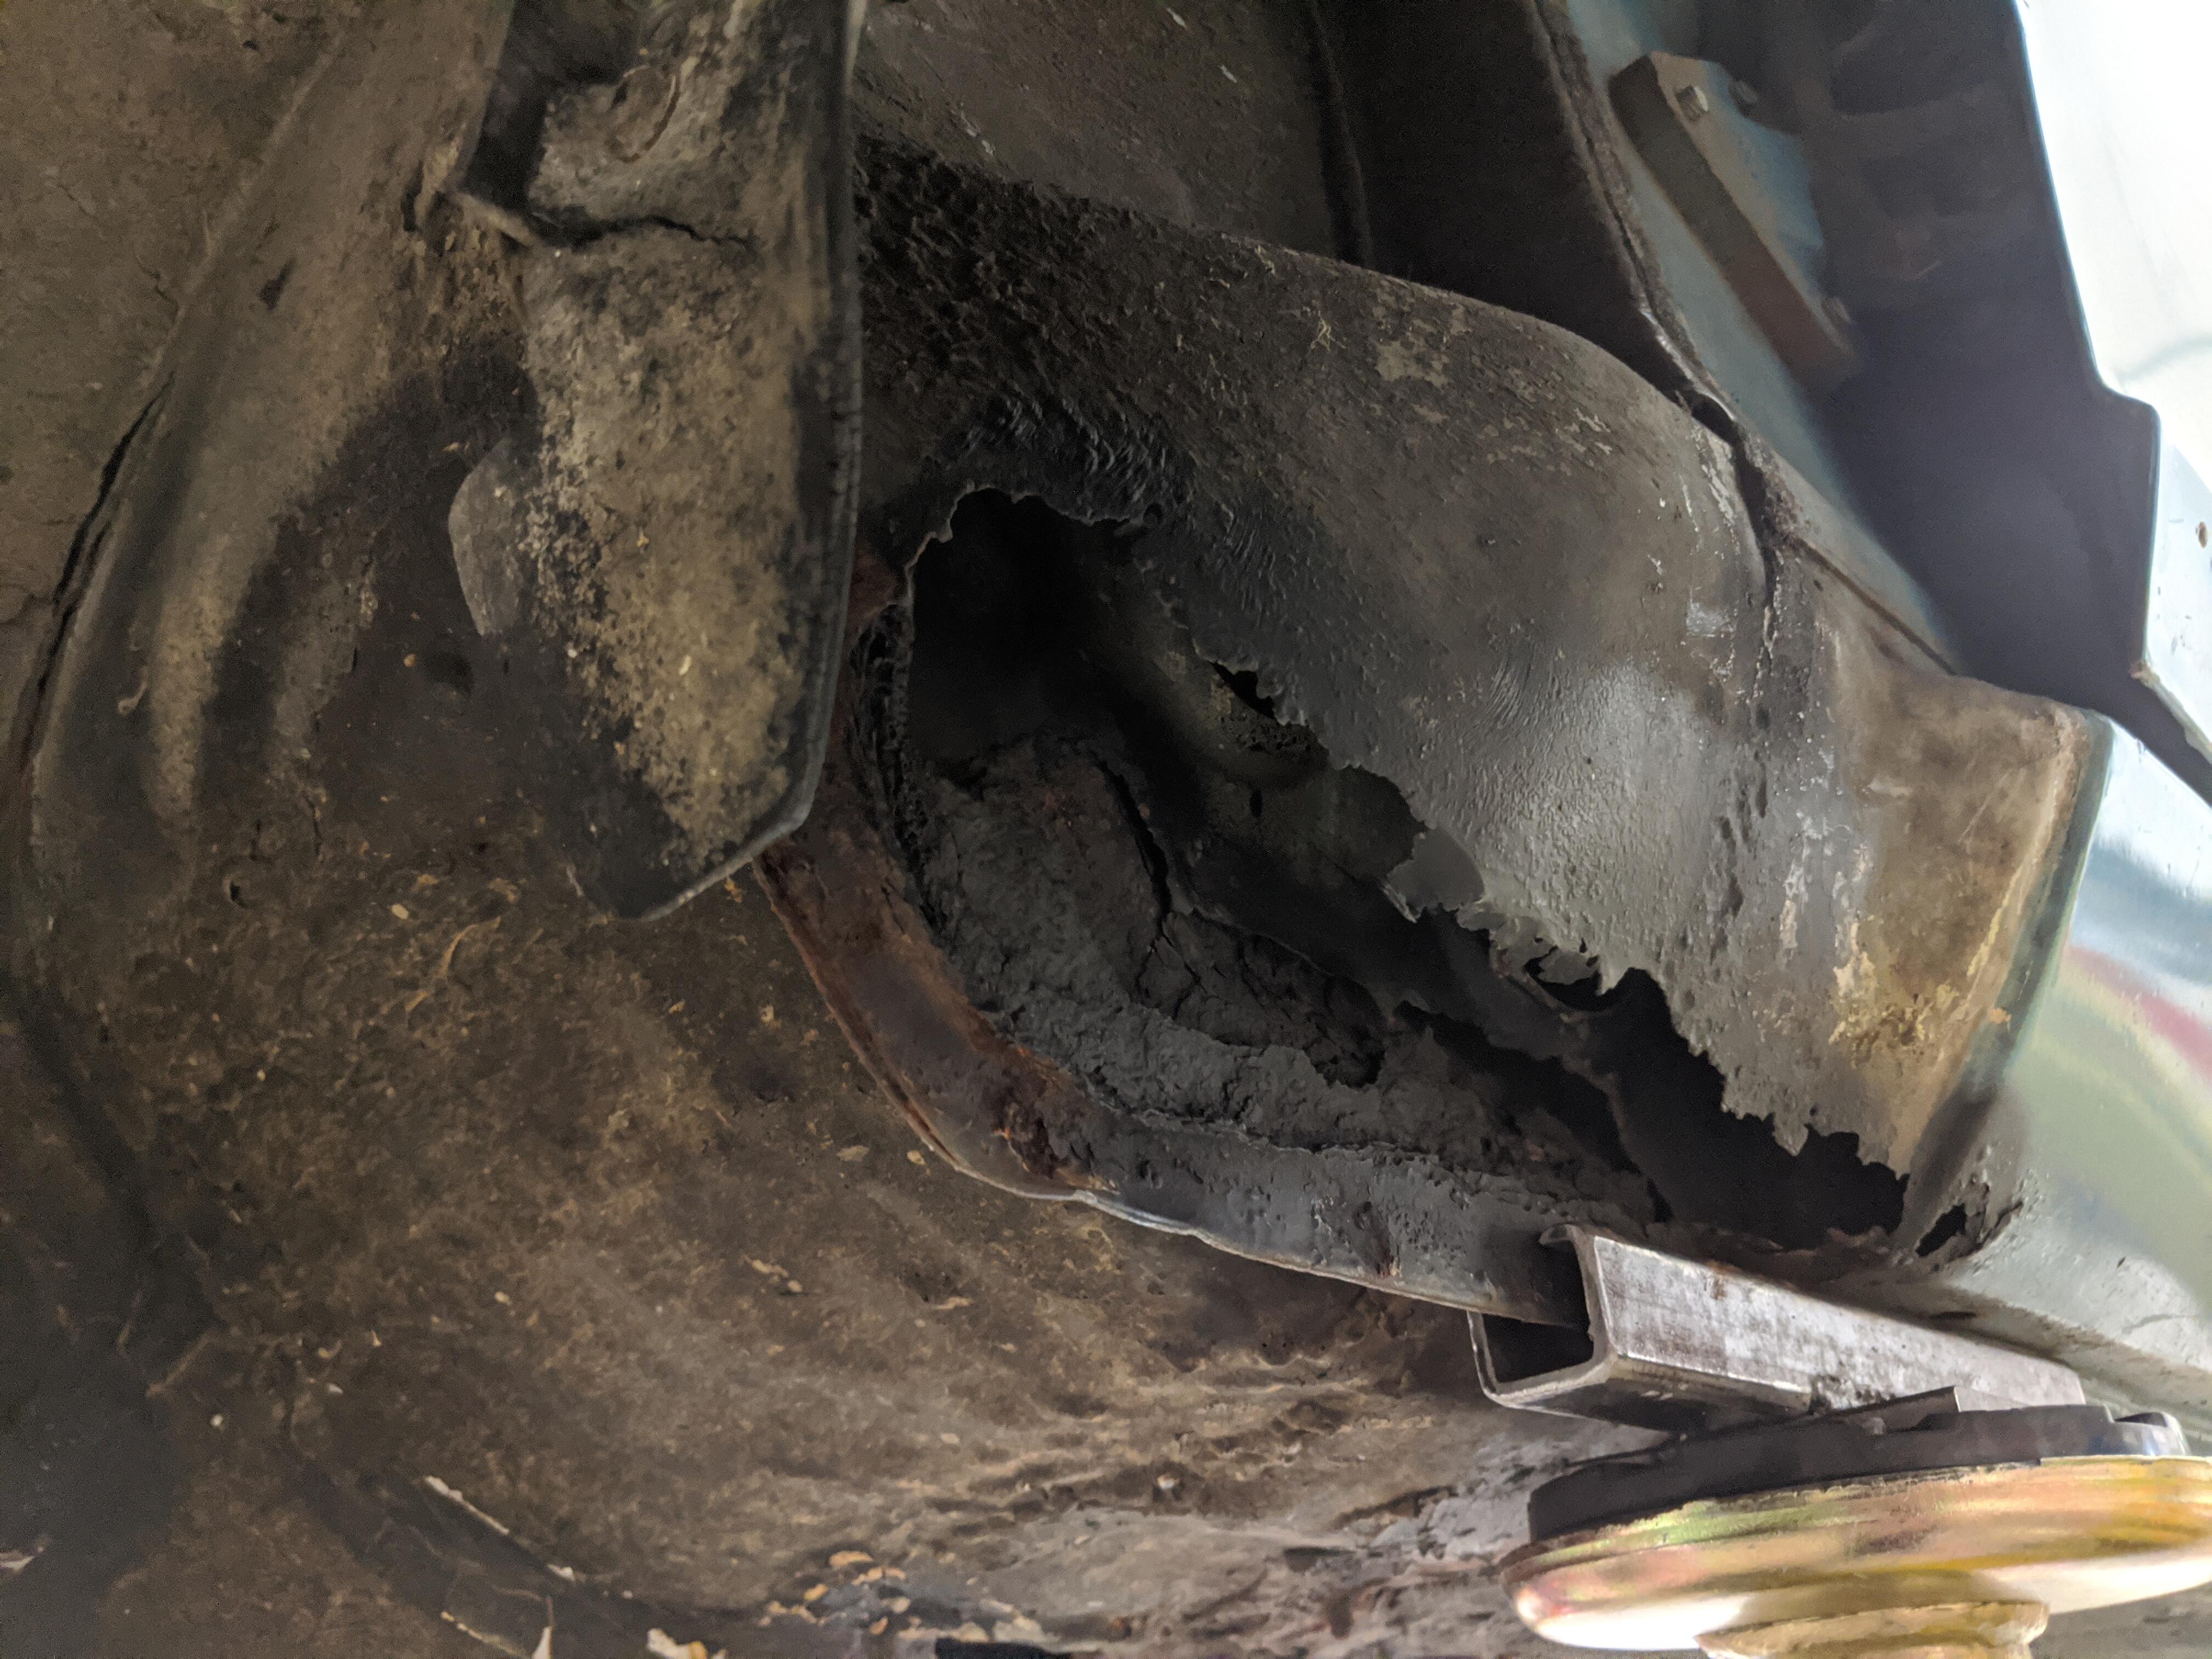
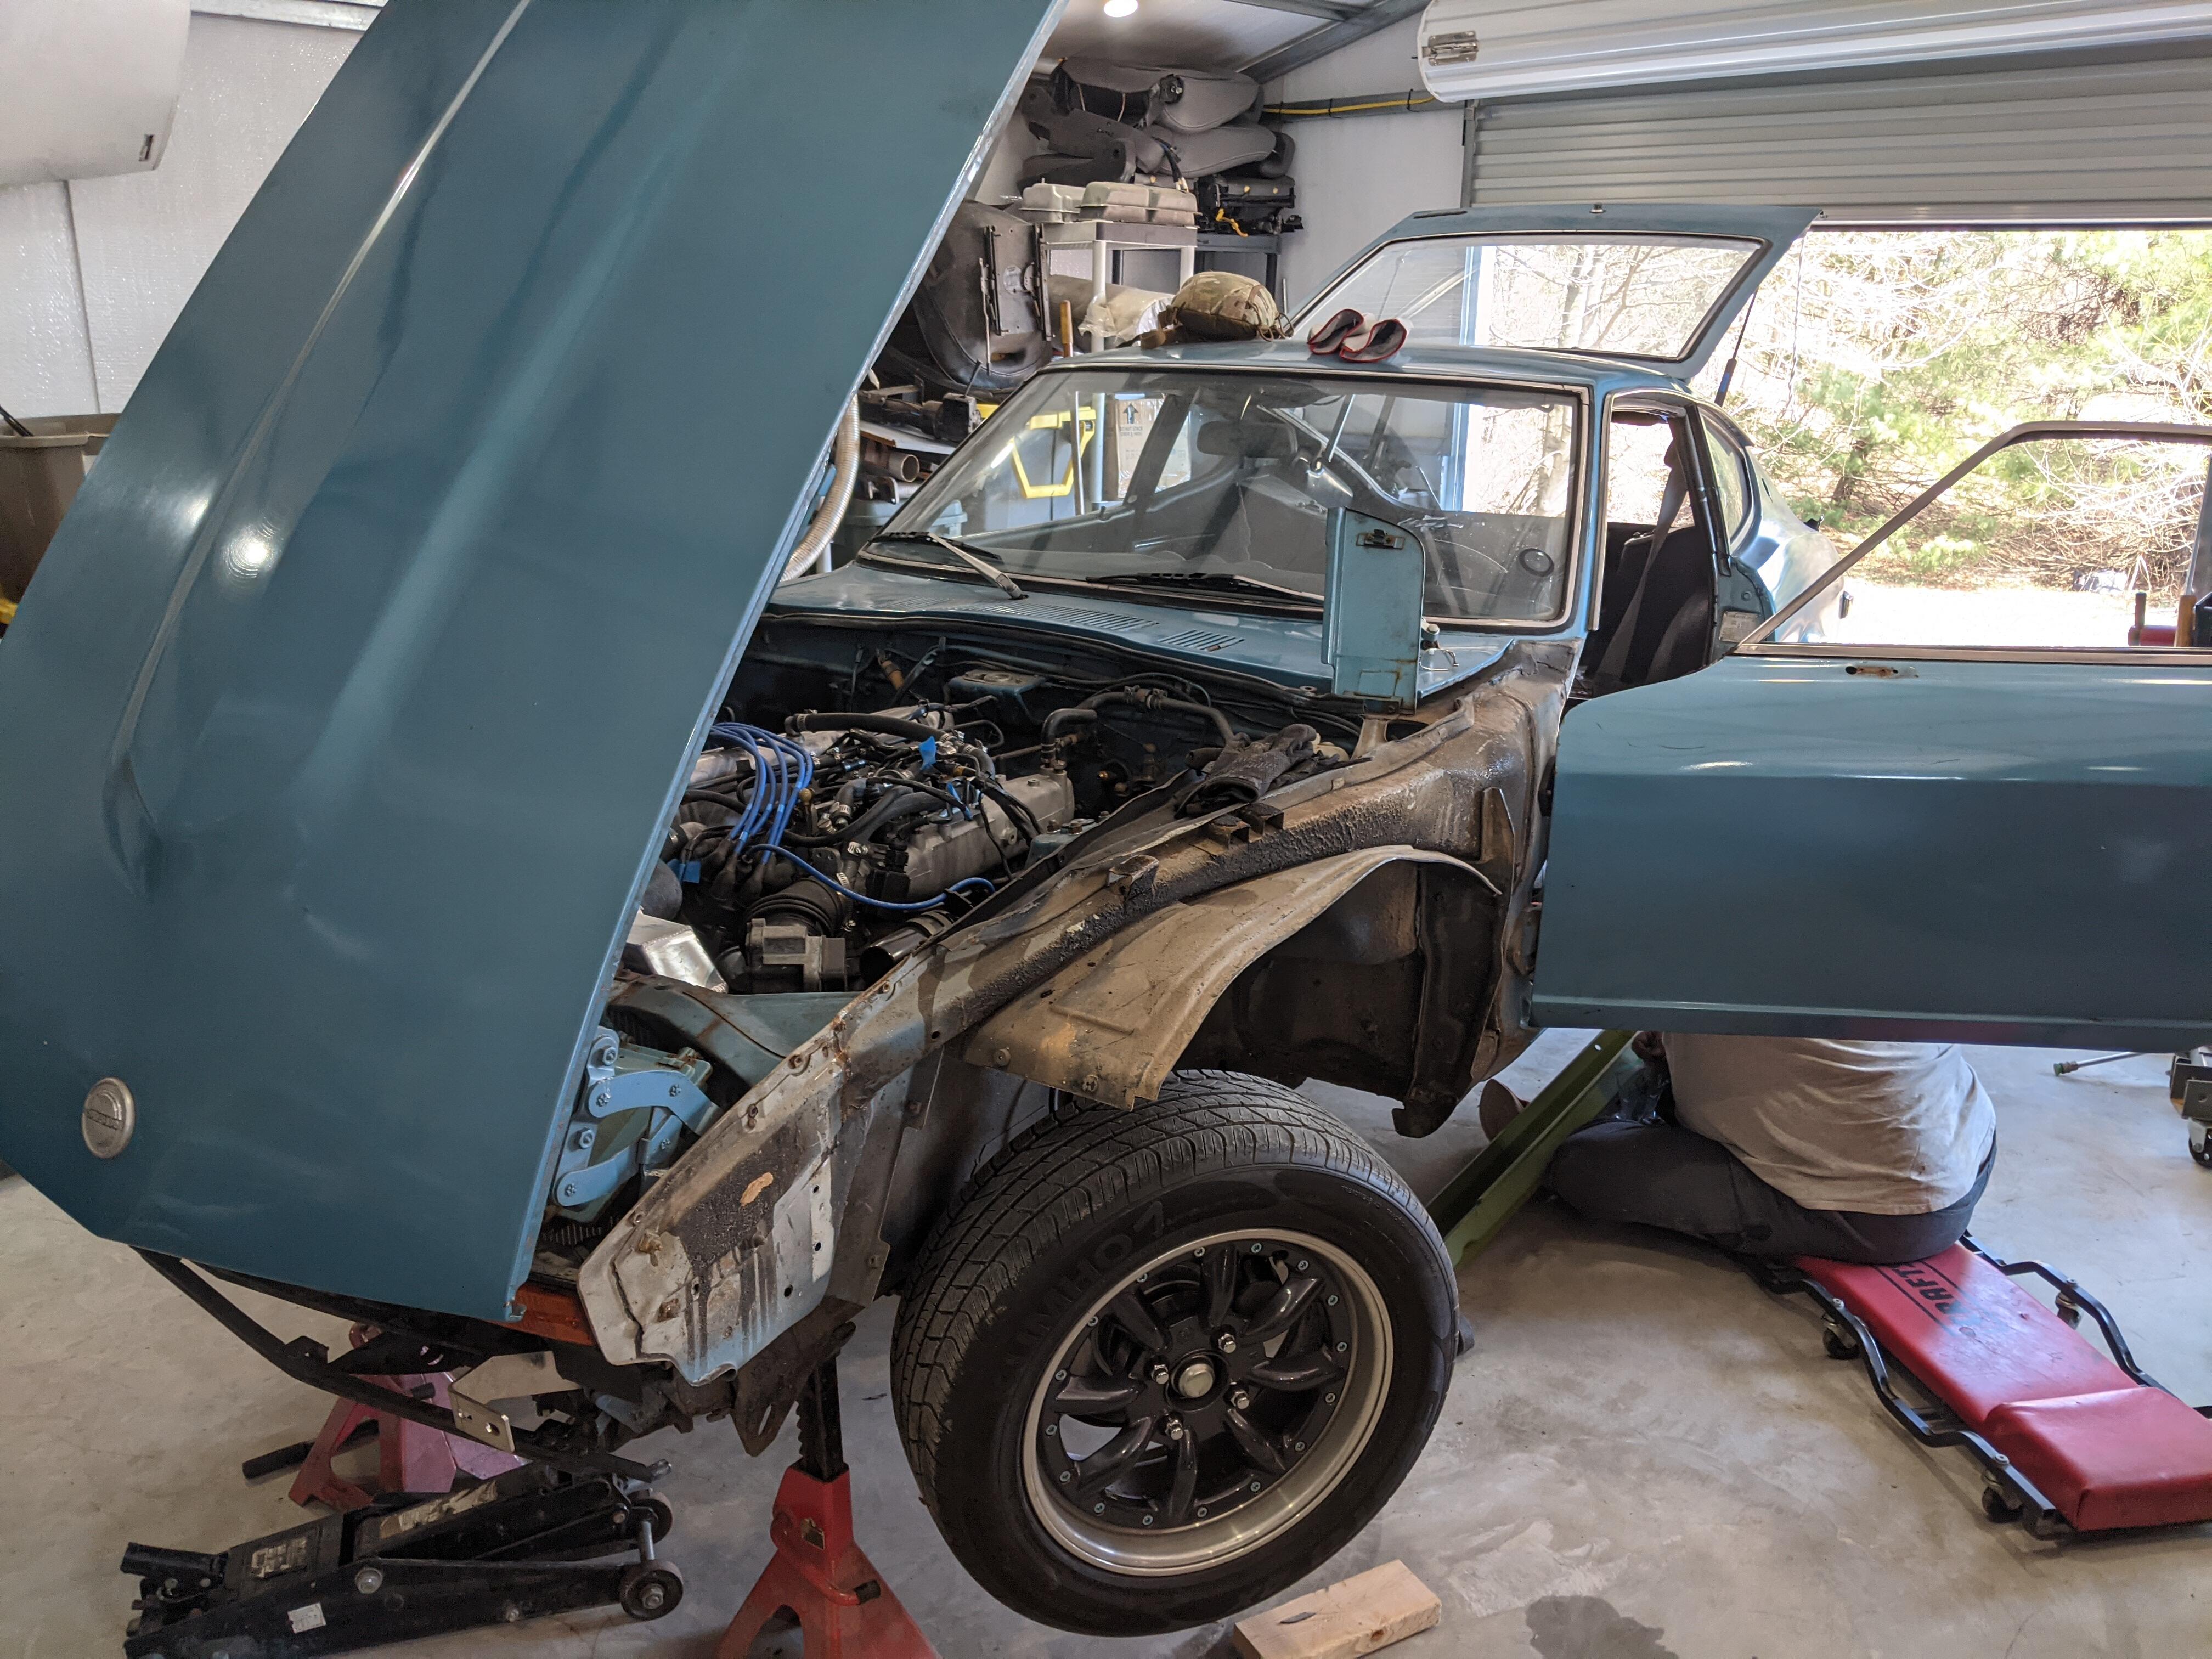
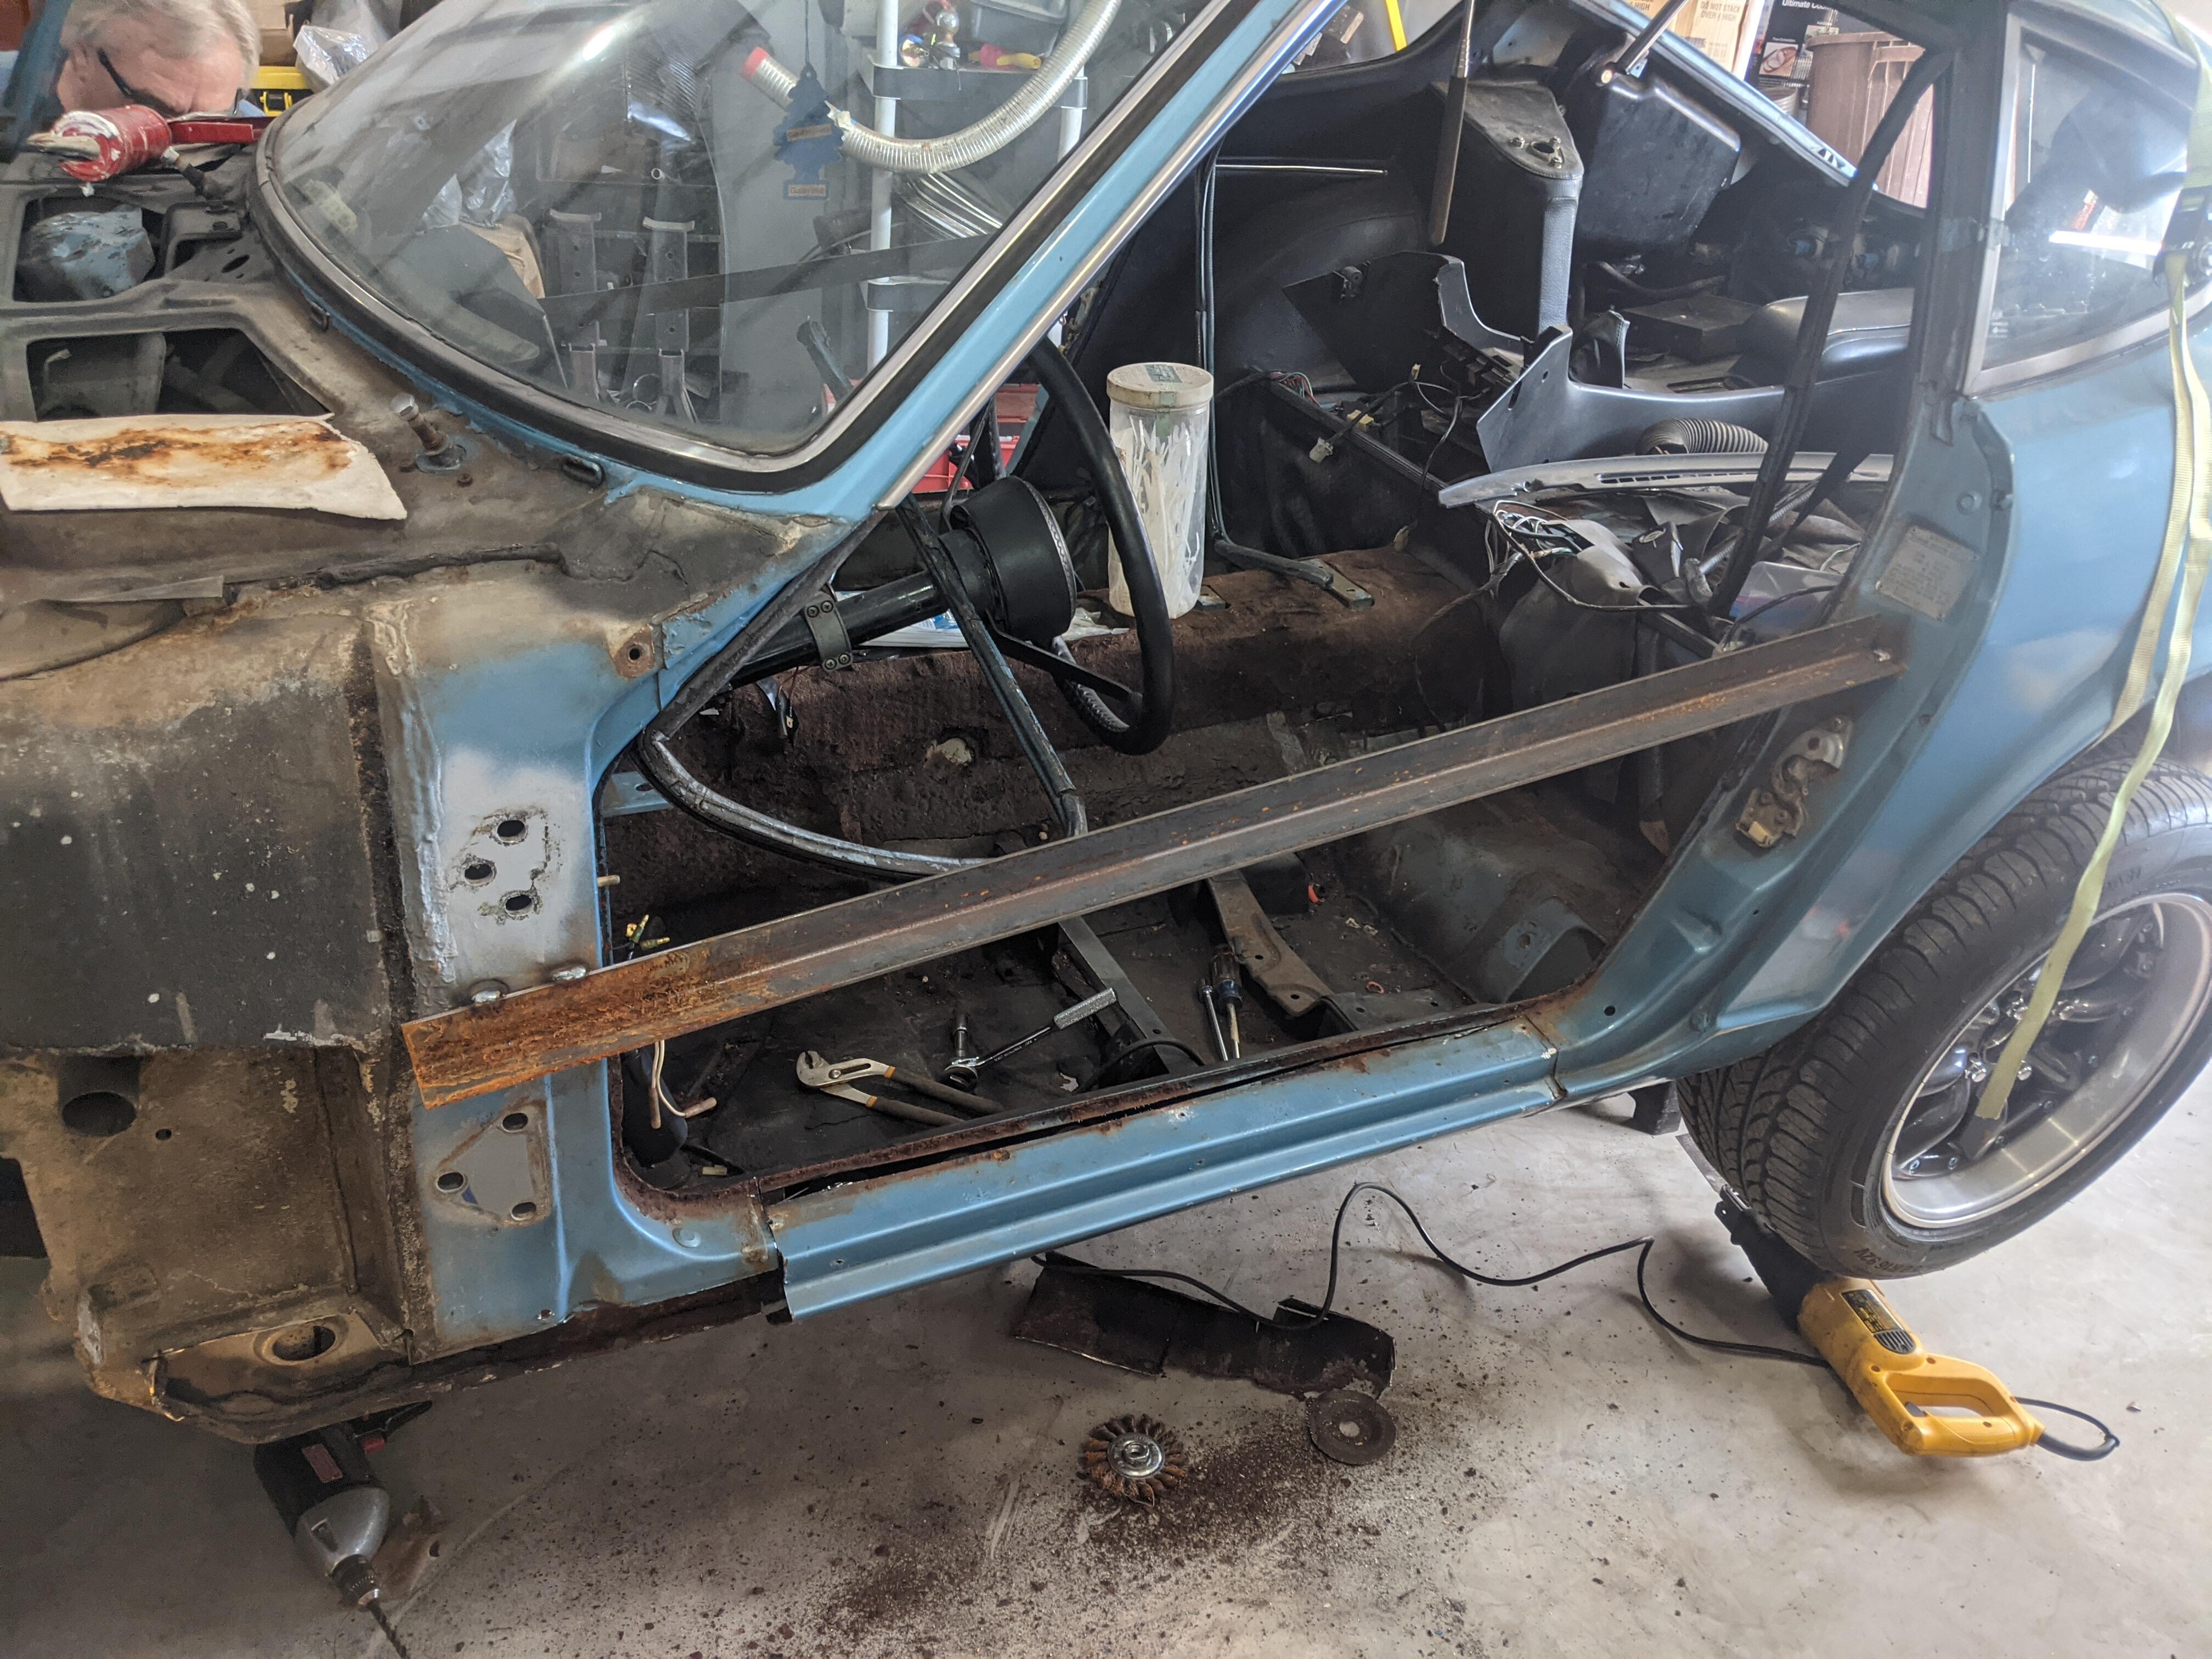
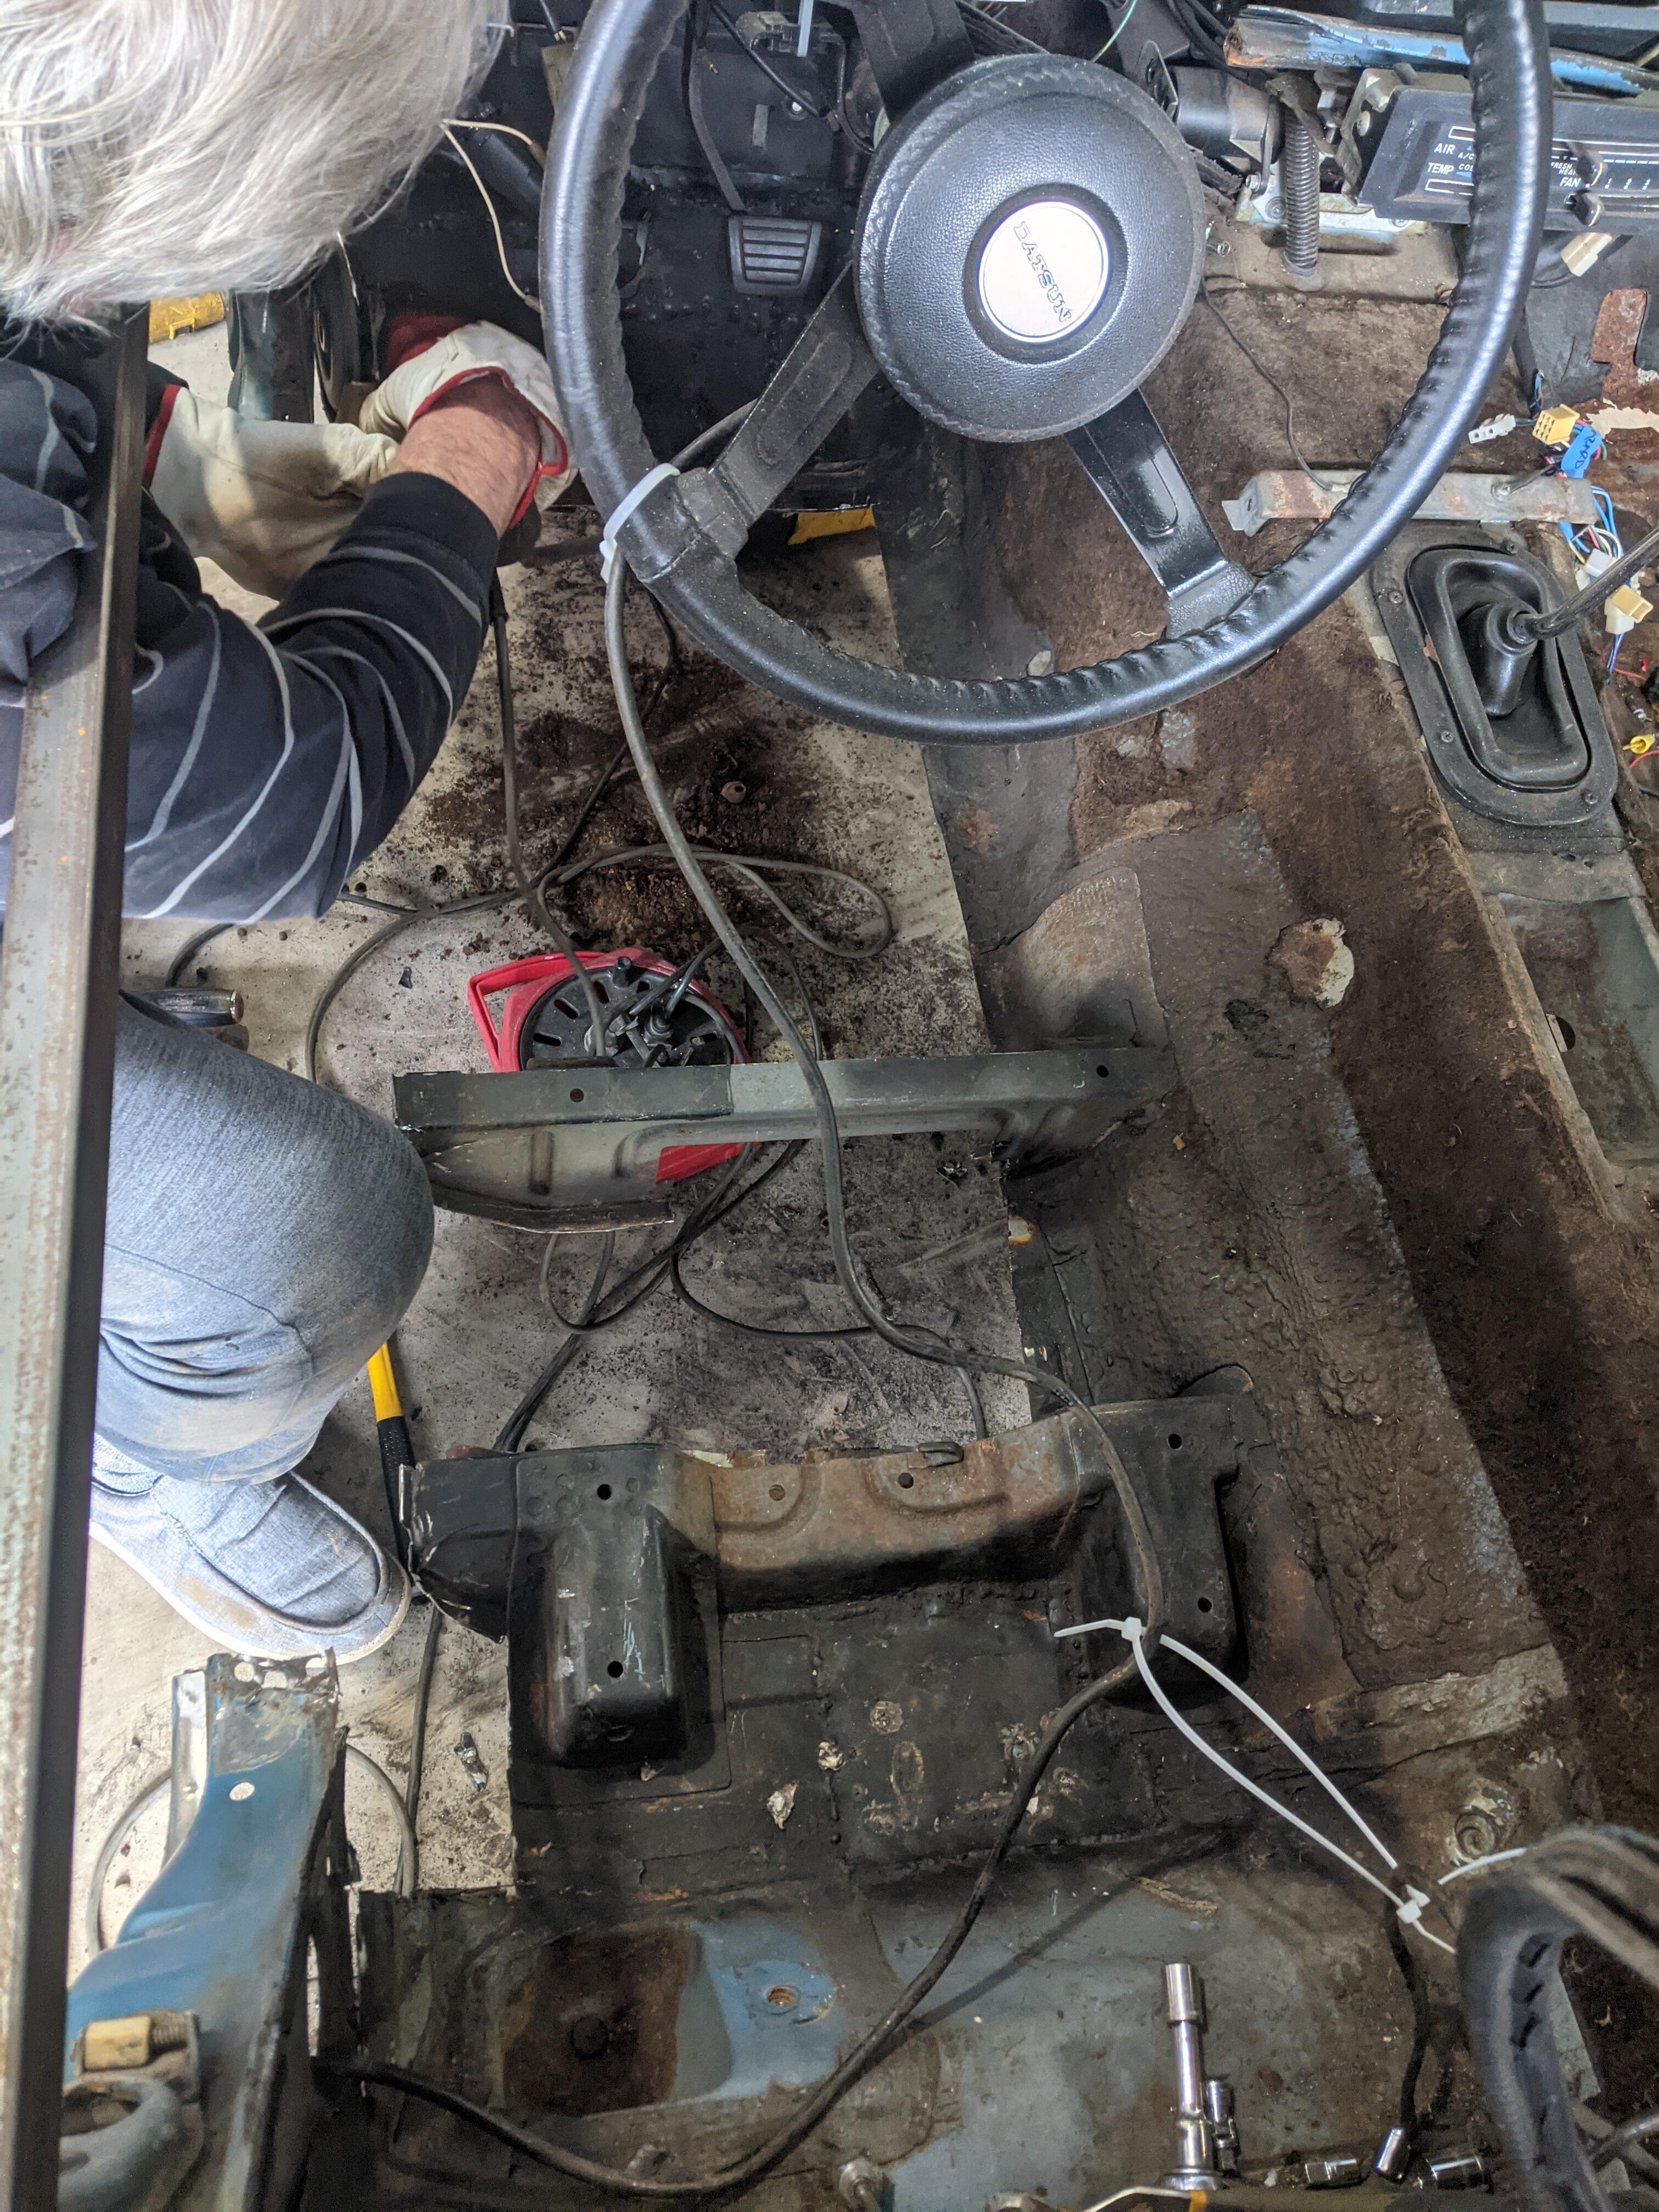
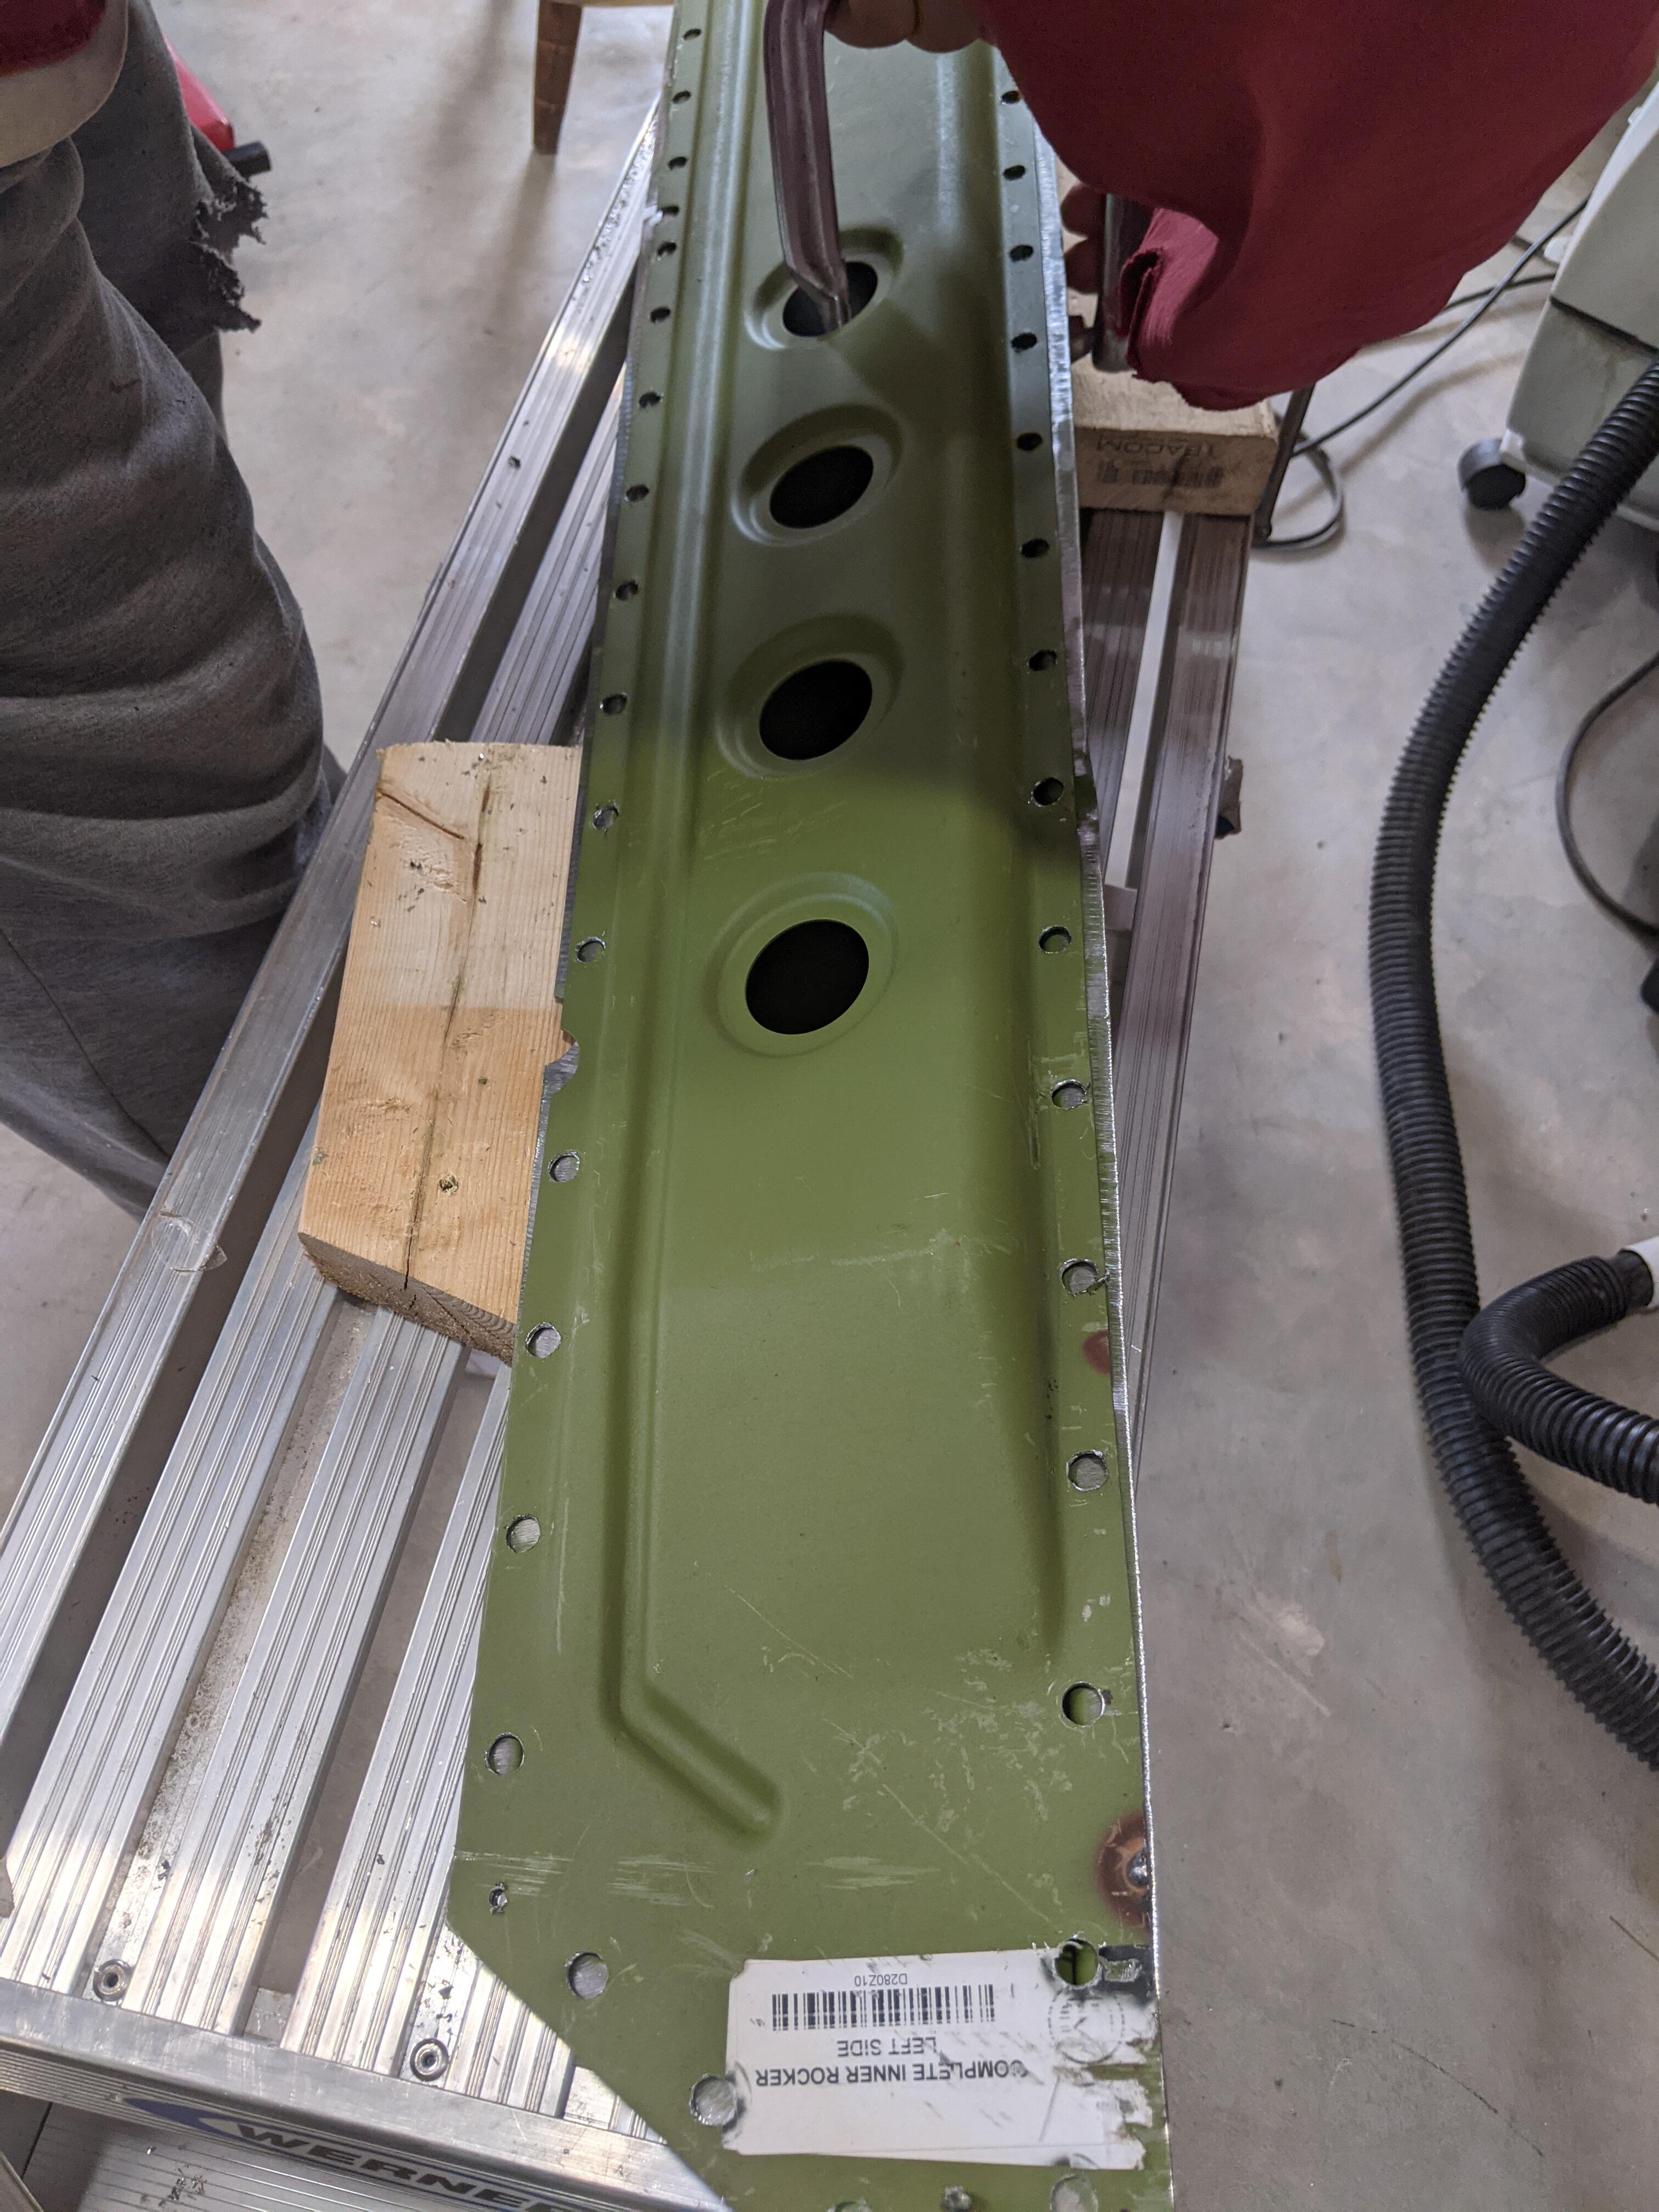
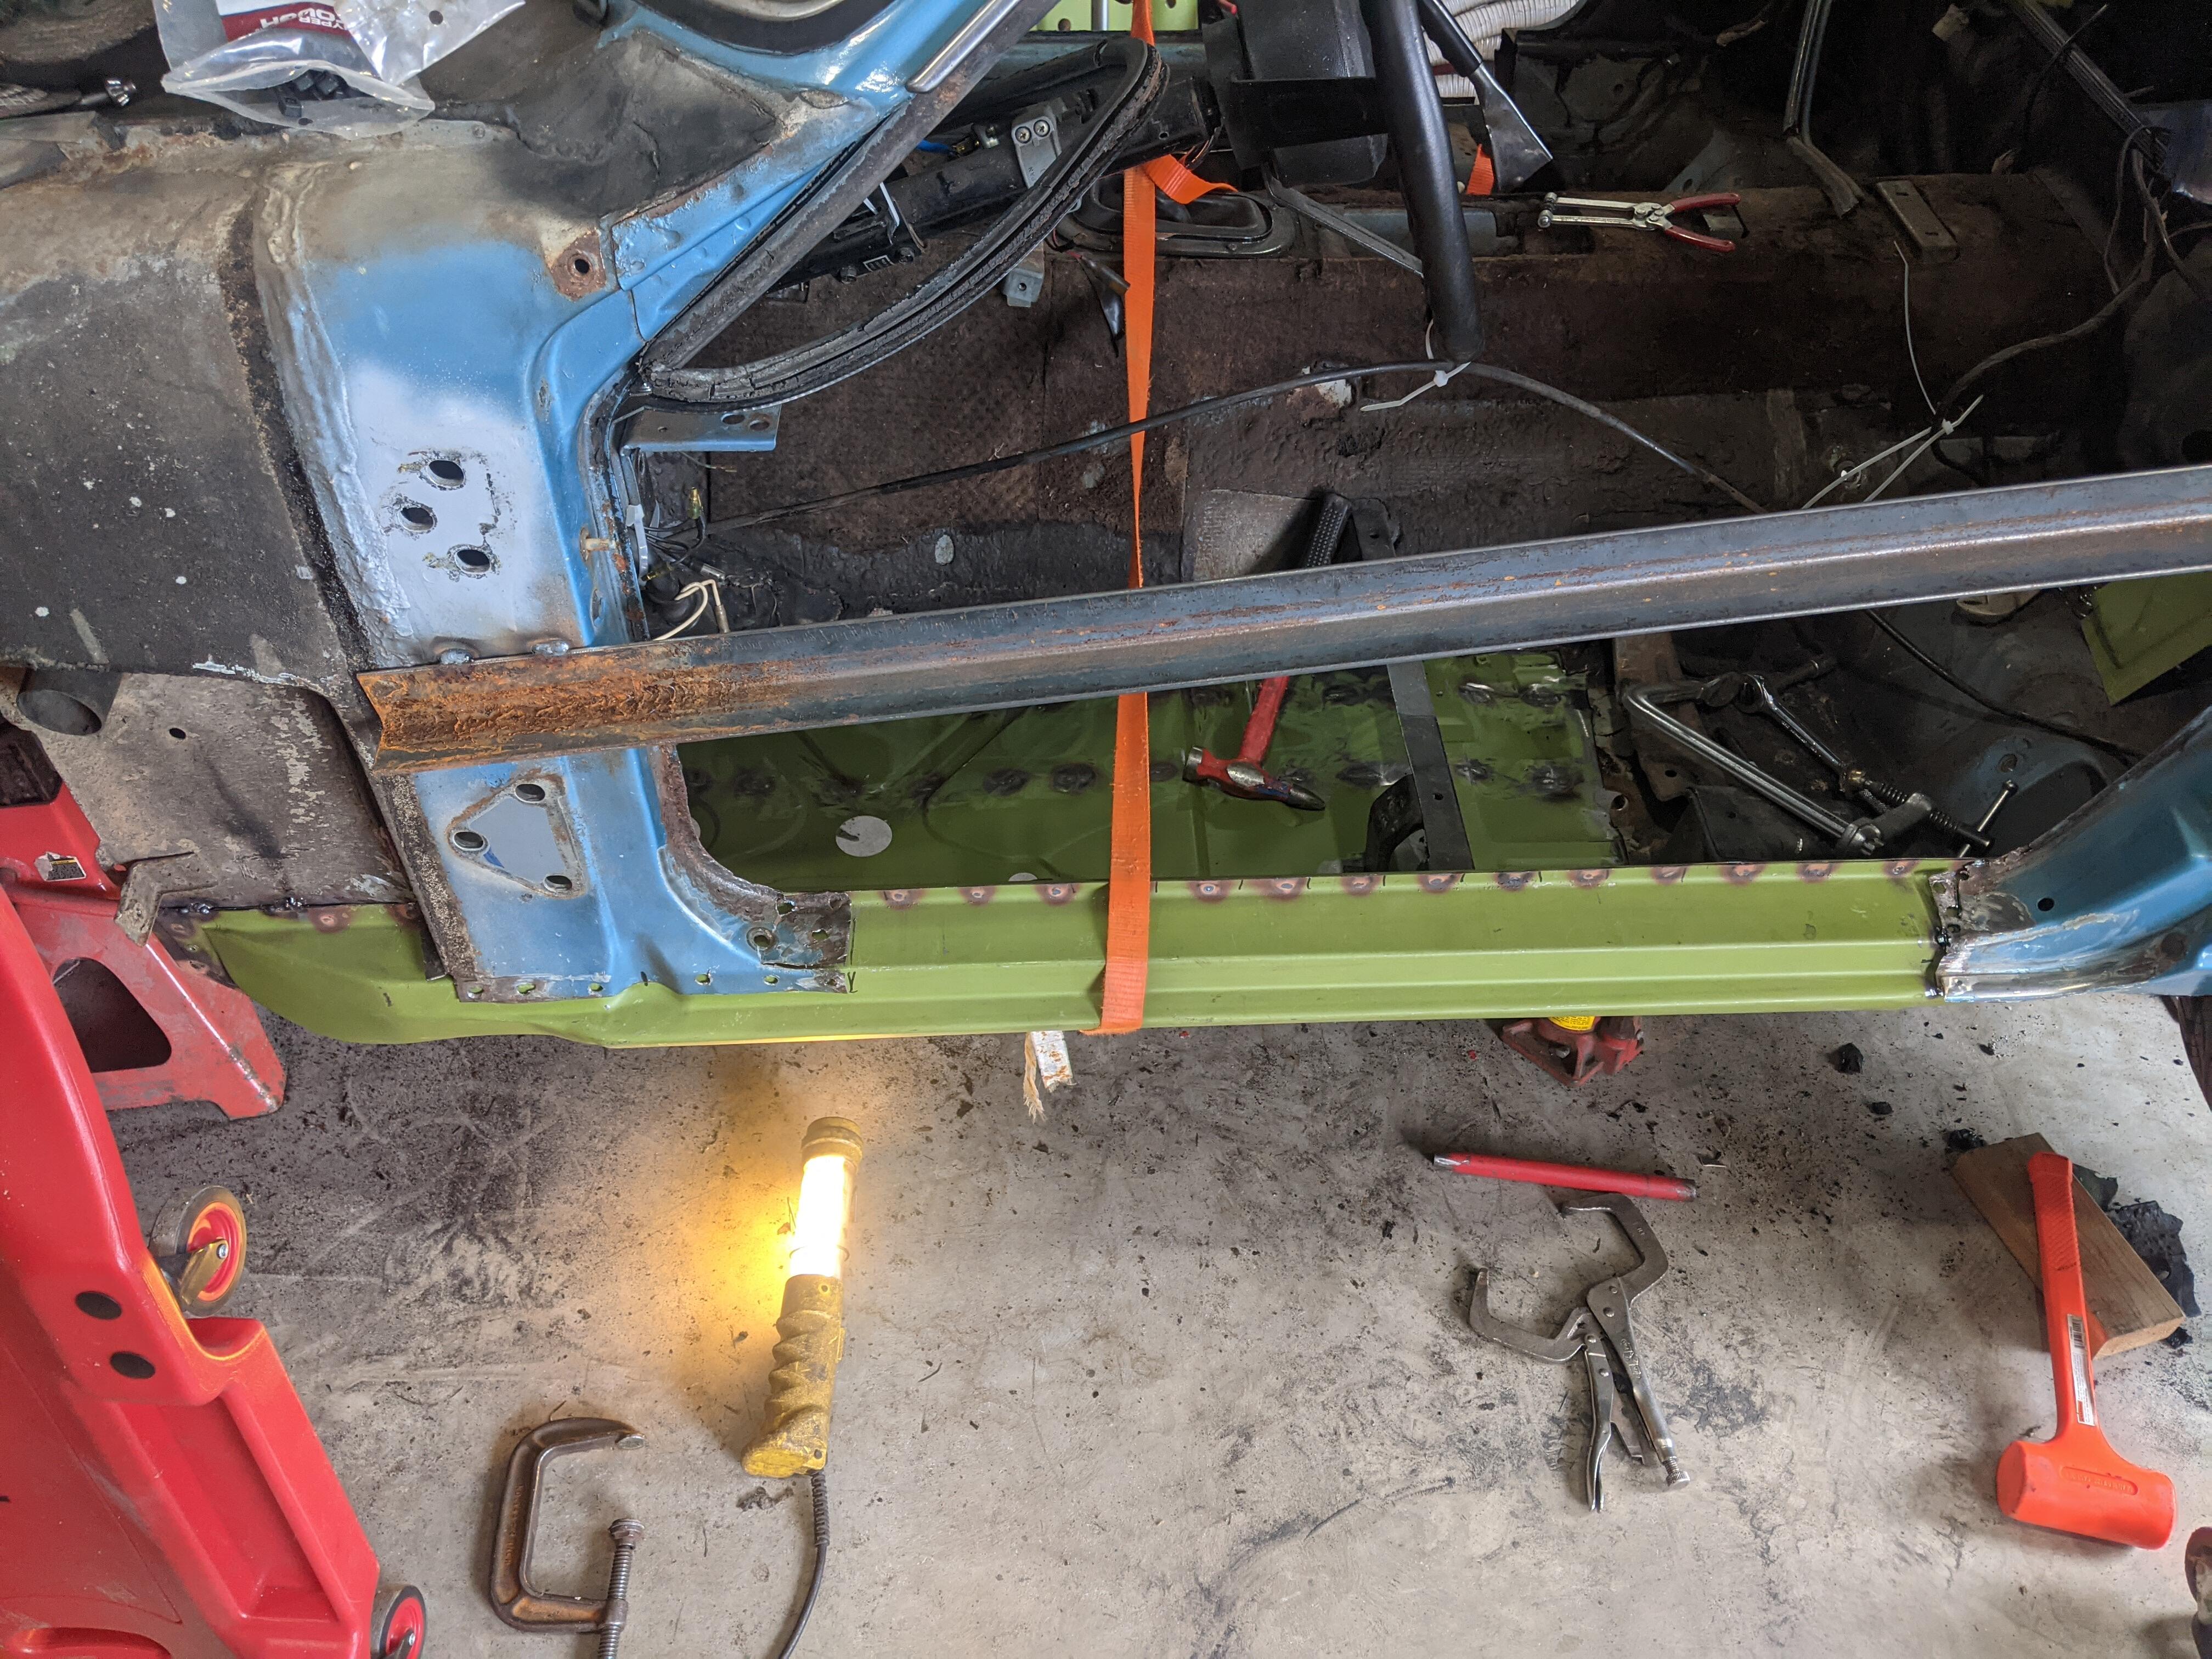
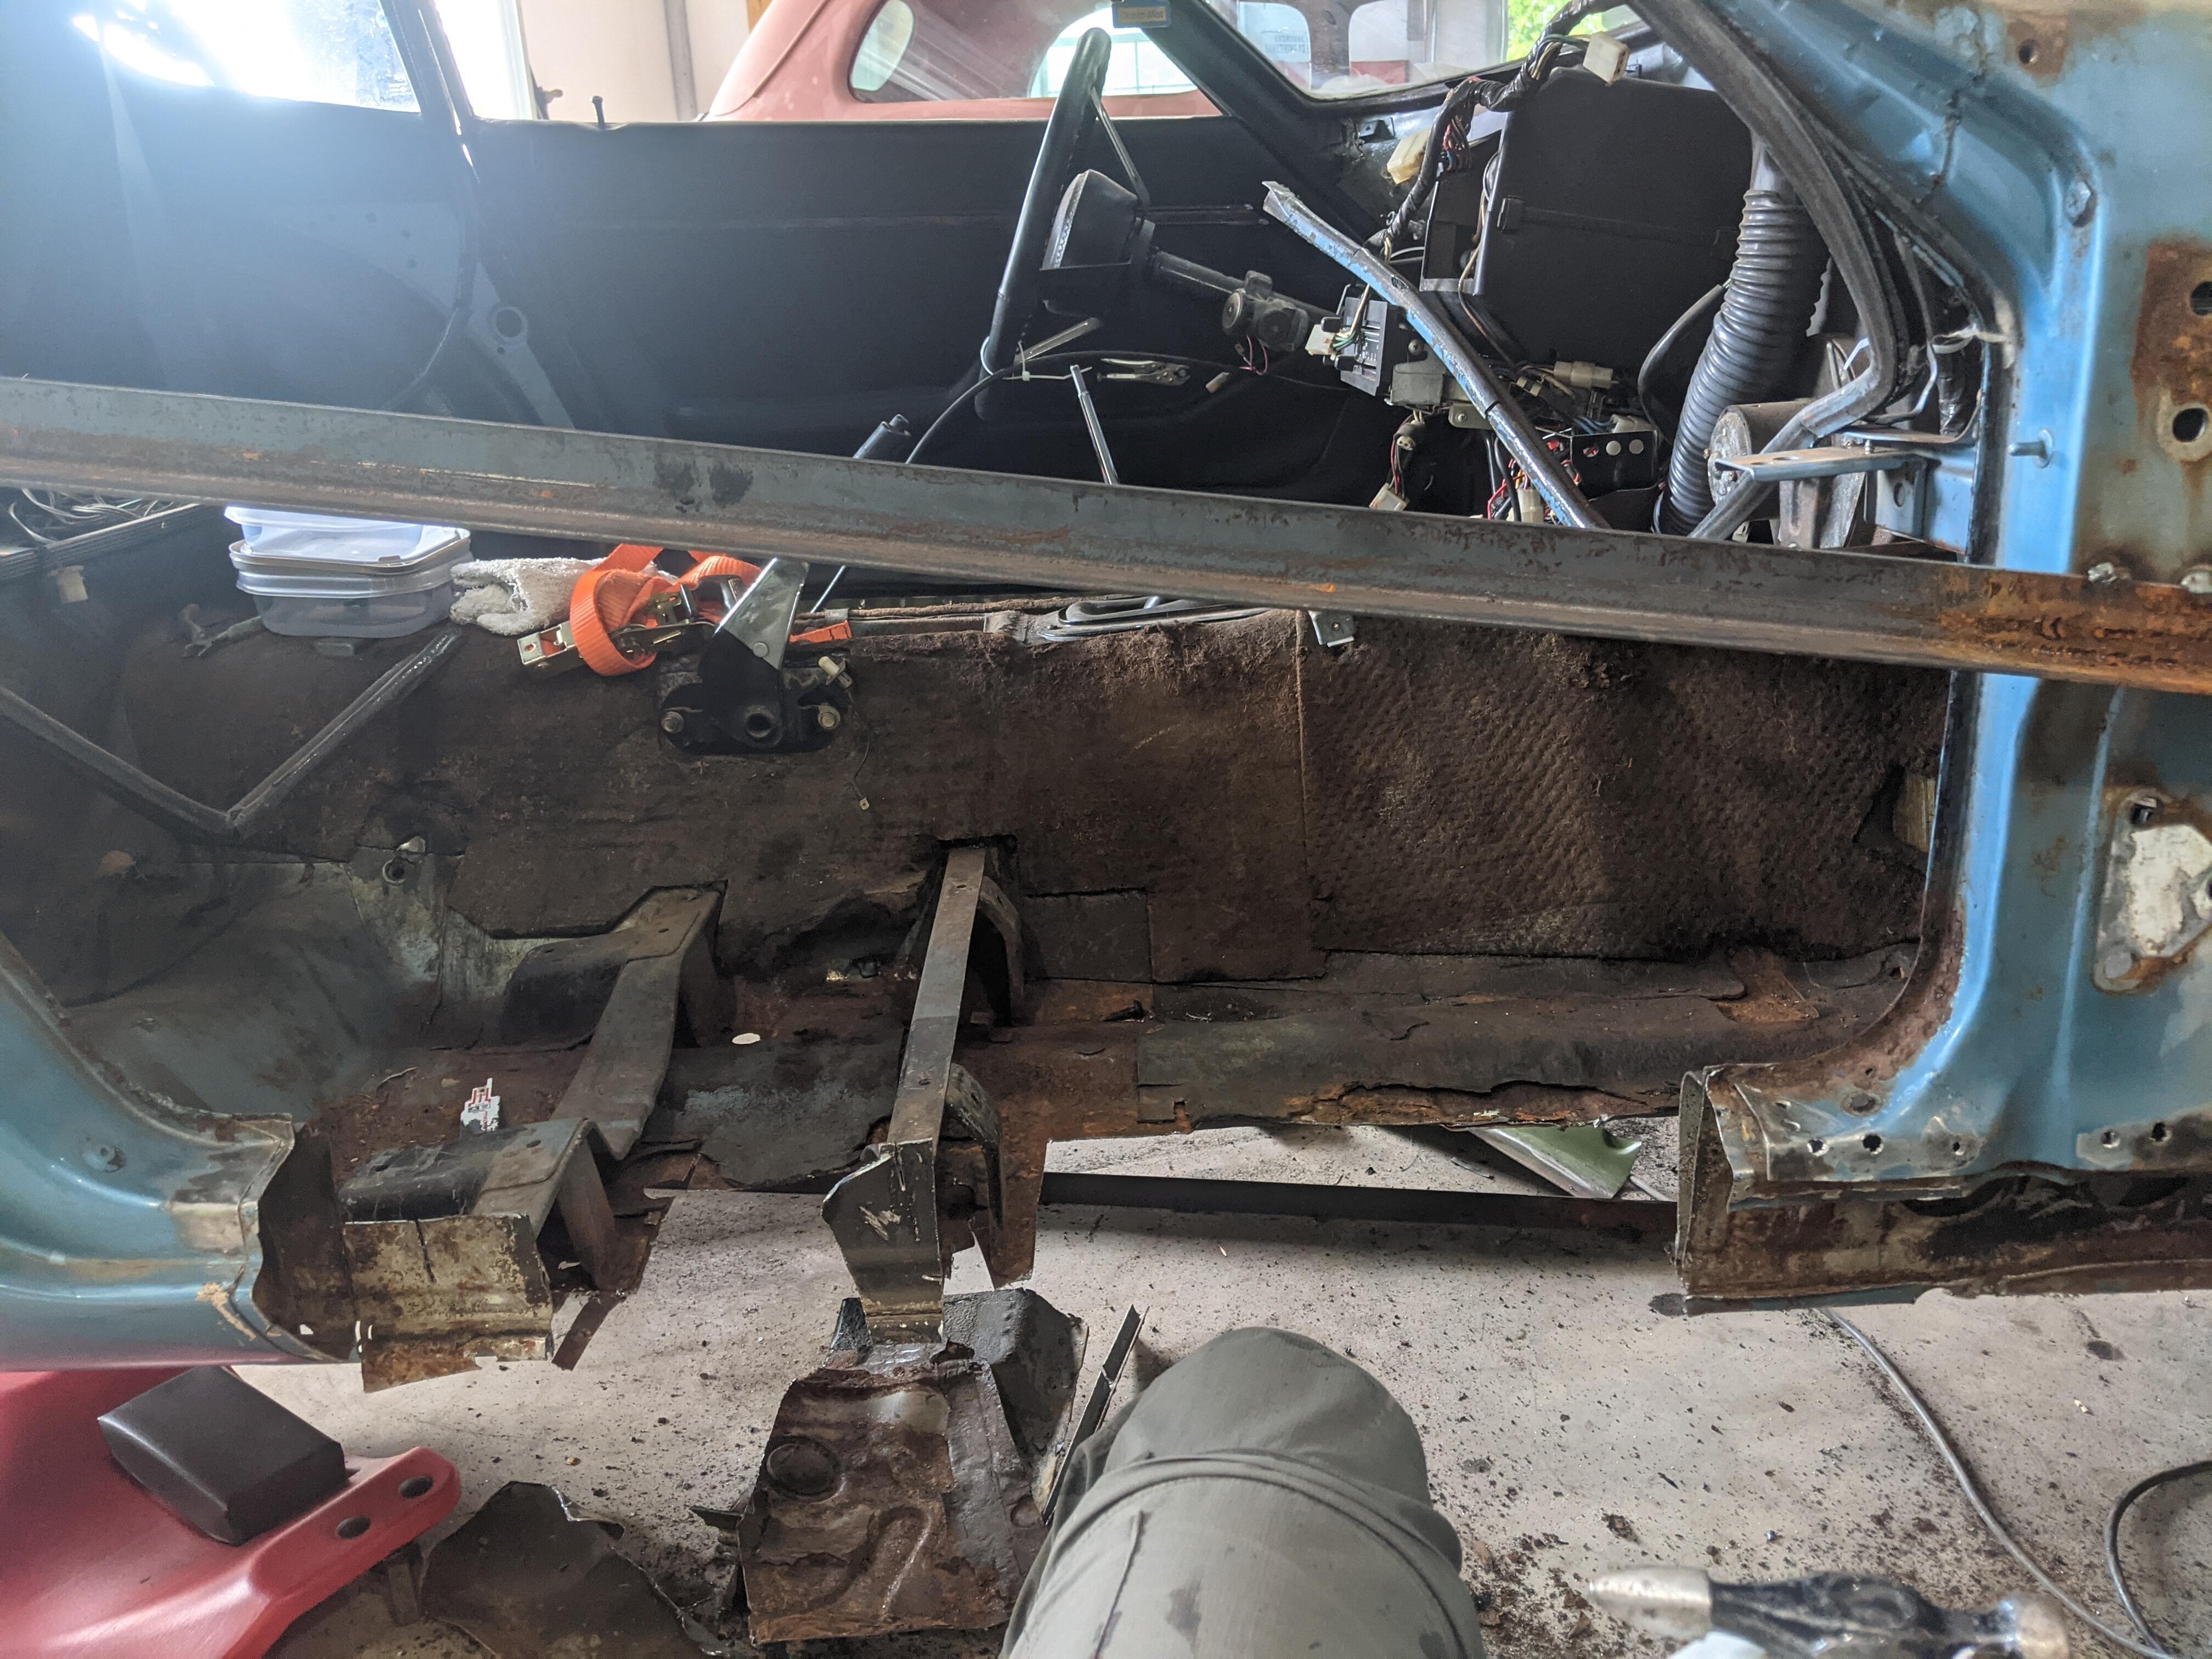
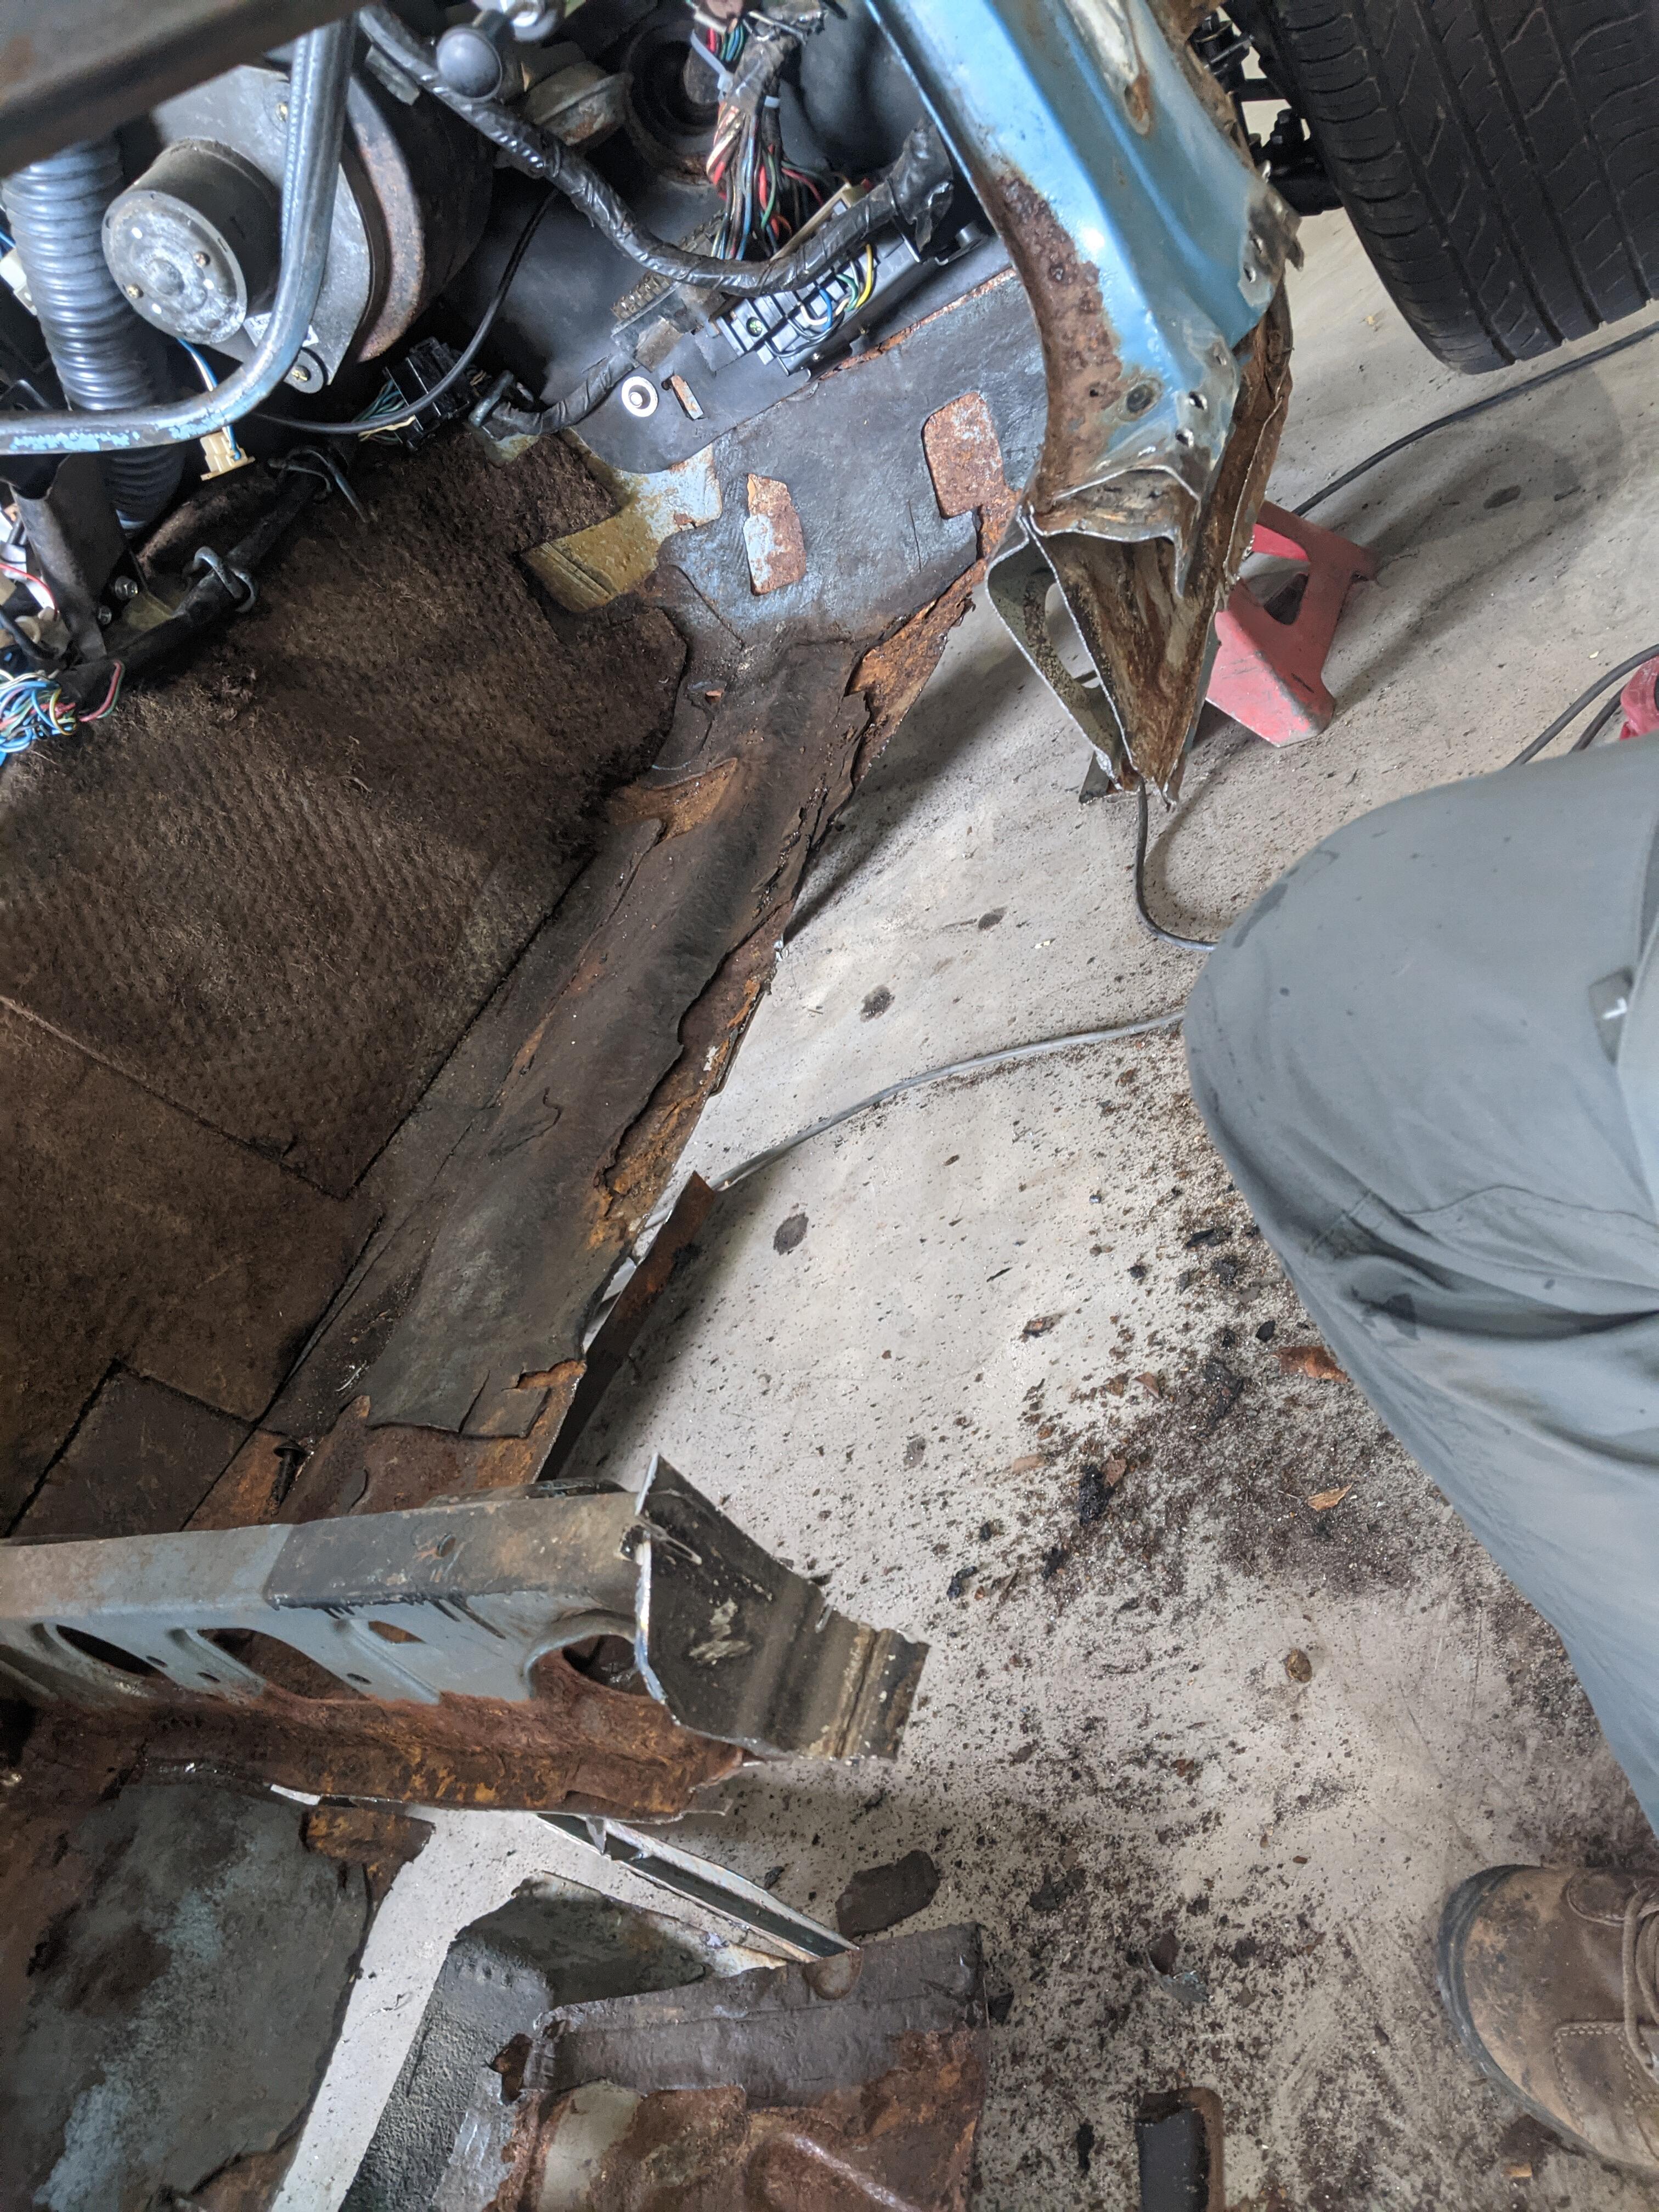
4 pointsJust wanted to show some of the work I've been doing on my Z to fix some thoroughly rusted floorpans and rockers. It is still very much in-progress but I'll try to update as it goes on. Hopefully it'll be of help to someone as a reference, or at least encourage folks to give it a shot. If you see anything wrong with the approach, please let me know! Some quick background: The car is a '75 that I picked up in KY a few years back. Since then I fixed the fuel system and got it running, squared away the suspension (new bushings, shocks, springs, hubs, etc etc). But that is where my skill set ran out; never welded and never done resto work. Kept trying to find a shop to do the body work, but never had any luck. Then I moved and ended up close to a family member who happens to be a retired welder and enjoys doing resto/custom work on cars. Perfect chance to dive into the Z! So I bought a set of the Klassicfab panels and we dove in. The floors/rails started off like so: Driver's Side: Driver's side outer rocker looking rough: Passenger side: The drivers side was worse, but both were pretty shot. There had been a previous repair to the drivers side floor pan in 2 areas, and the rail had been reinforced as well. But both floorpans were perforated in many areas and the rockers on both sides were pretty shot. The frame rails were also obviously shot. First up, we got the car on blocks and welded in some braces. Then we removed the driver's side inner and outer rockers and floorpan (scary initially to cut into the car, but that wore off quick), leaving the seat braces largely intact. Then we welded together the new rockers (inner to outer), and welded the new frame rail to the bottom of the floorpan and tacked those in: Then we welded those in.. or actually my Uncle did most of it because that is some EXPERT level welding; that steel is THIN And then a quick check for door fitment.. should have done this after the tacks and BEFORE welding.. thankfully lined up fine (not perfectly lined up here because the bolts aren't tightened yet) Next onto the passenger side.. same strategy; started cutting out the rockers and floorpan Nice shot of the 4-layer 'sandwich' that is the rockers+pan+bottom of the A pillar: And thats as far as I've made it thus far.. more to follow in the future. What a dirty and laborious job.. but also highly rewarding so far. I am learning a ton! -Ben


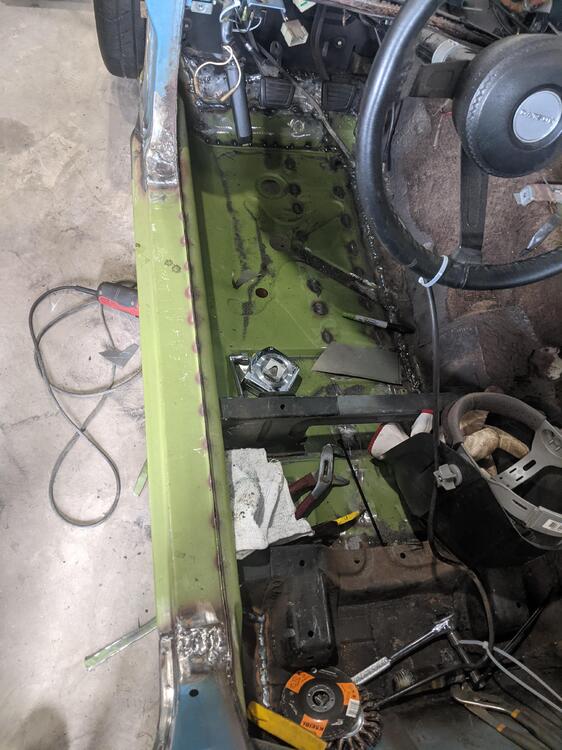
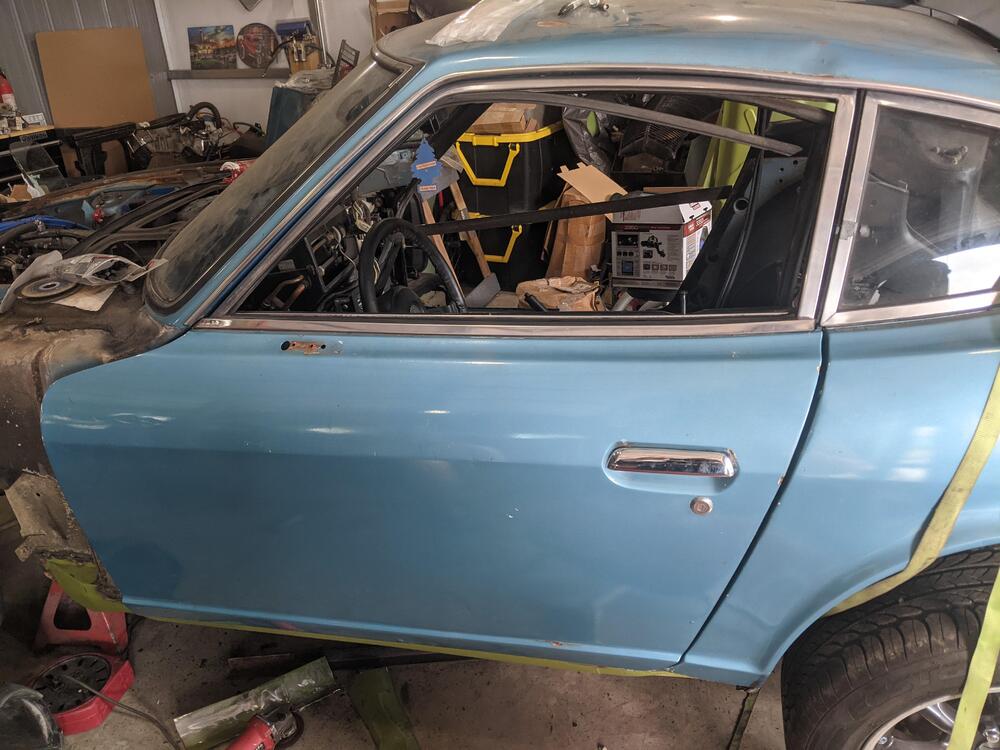

 4 points
 -
So, I’m going to post this here because…..it’s awesome and I love Jason Cammisa. Here is Hagerty’s latest 240z video that came out today. Enjoy4 points
-
I’m in the country, on 6 acres, and a private road, so no worries from Citiots.3 points
-
2 points
-
2 pointsOnly one trip per nite!! I’m at at least two!! Practice makes Perfect…😂😂2 points
-
I followed this to put an E12-80 in my '77 then again on my '72. The wiring diagrams are different though for a 240. They are at the bottom of the page. https://www.atlanticz.ca/zclub/techtips/distributor/index.html2 points
-
2 pointsI have to use my memory to get to the bathroom at night, I can't hardly see.2 points
-
2 pointsQuite a lot to discuss (nitpick) there..... Worthy of its own thread, I'd say.2 points
-
2 pointsyou could fit a wideband o2 and gauge and then you'd know if it was a fuel problem. I've had problems like this with a couple of pertronix igniters. So I'd mainly try to get/borrow a 280zx distributor and see what that does for it.2 points
-
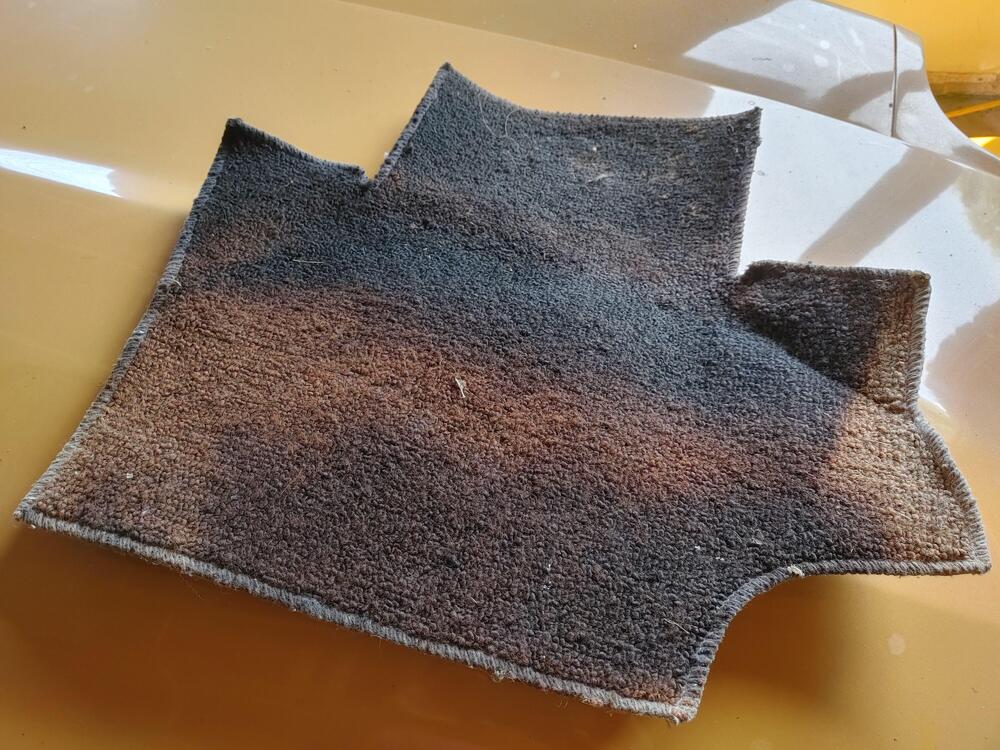
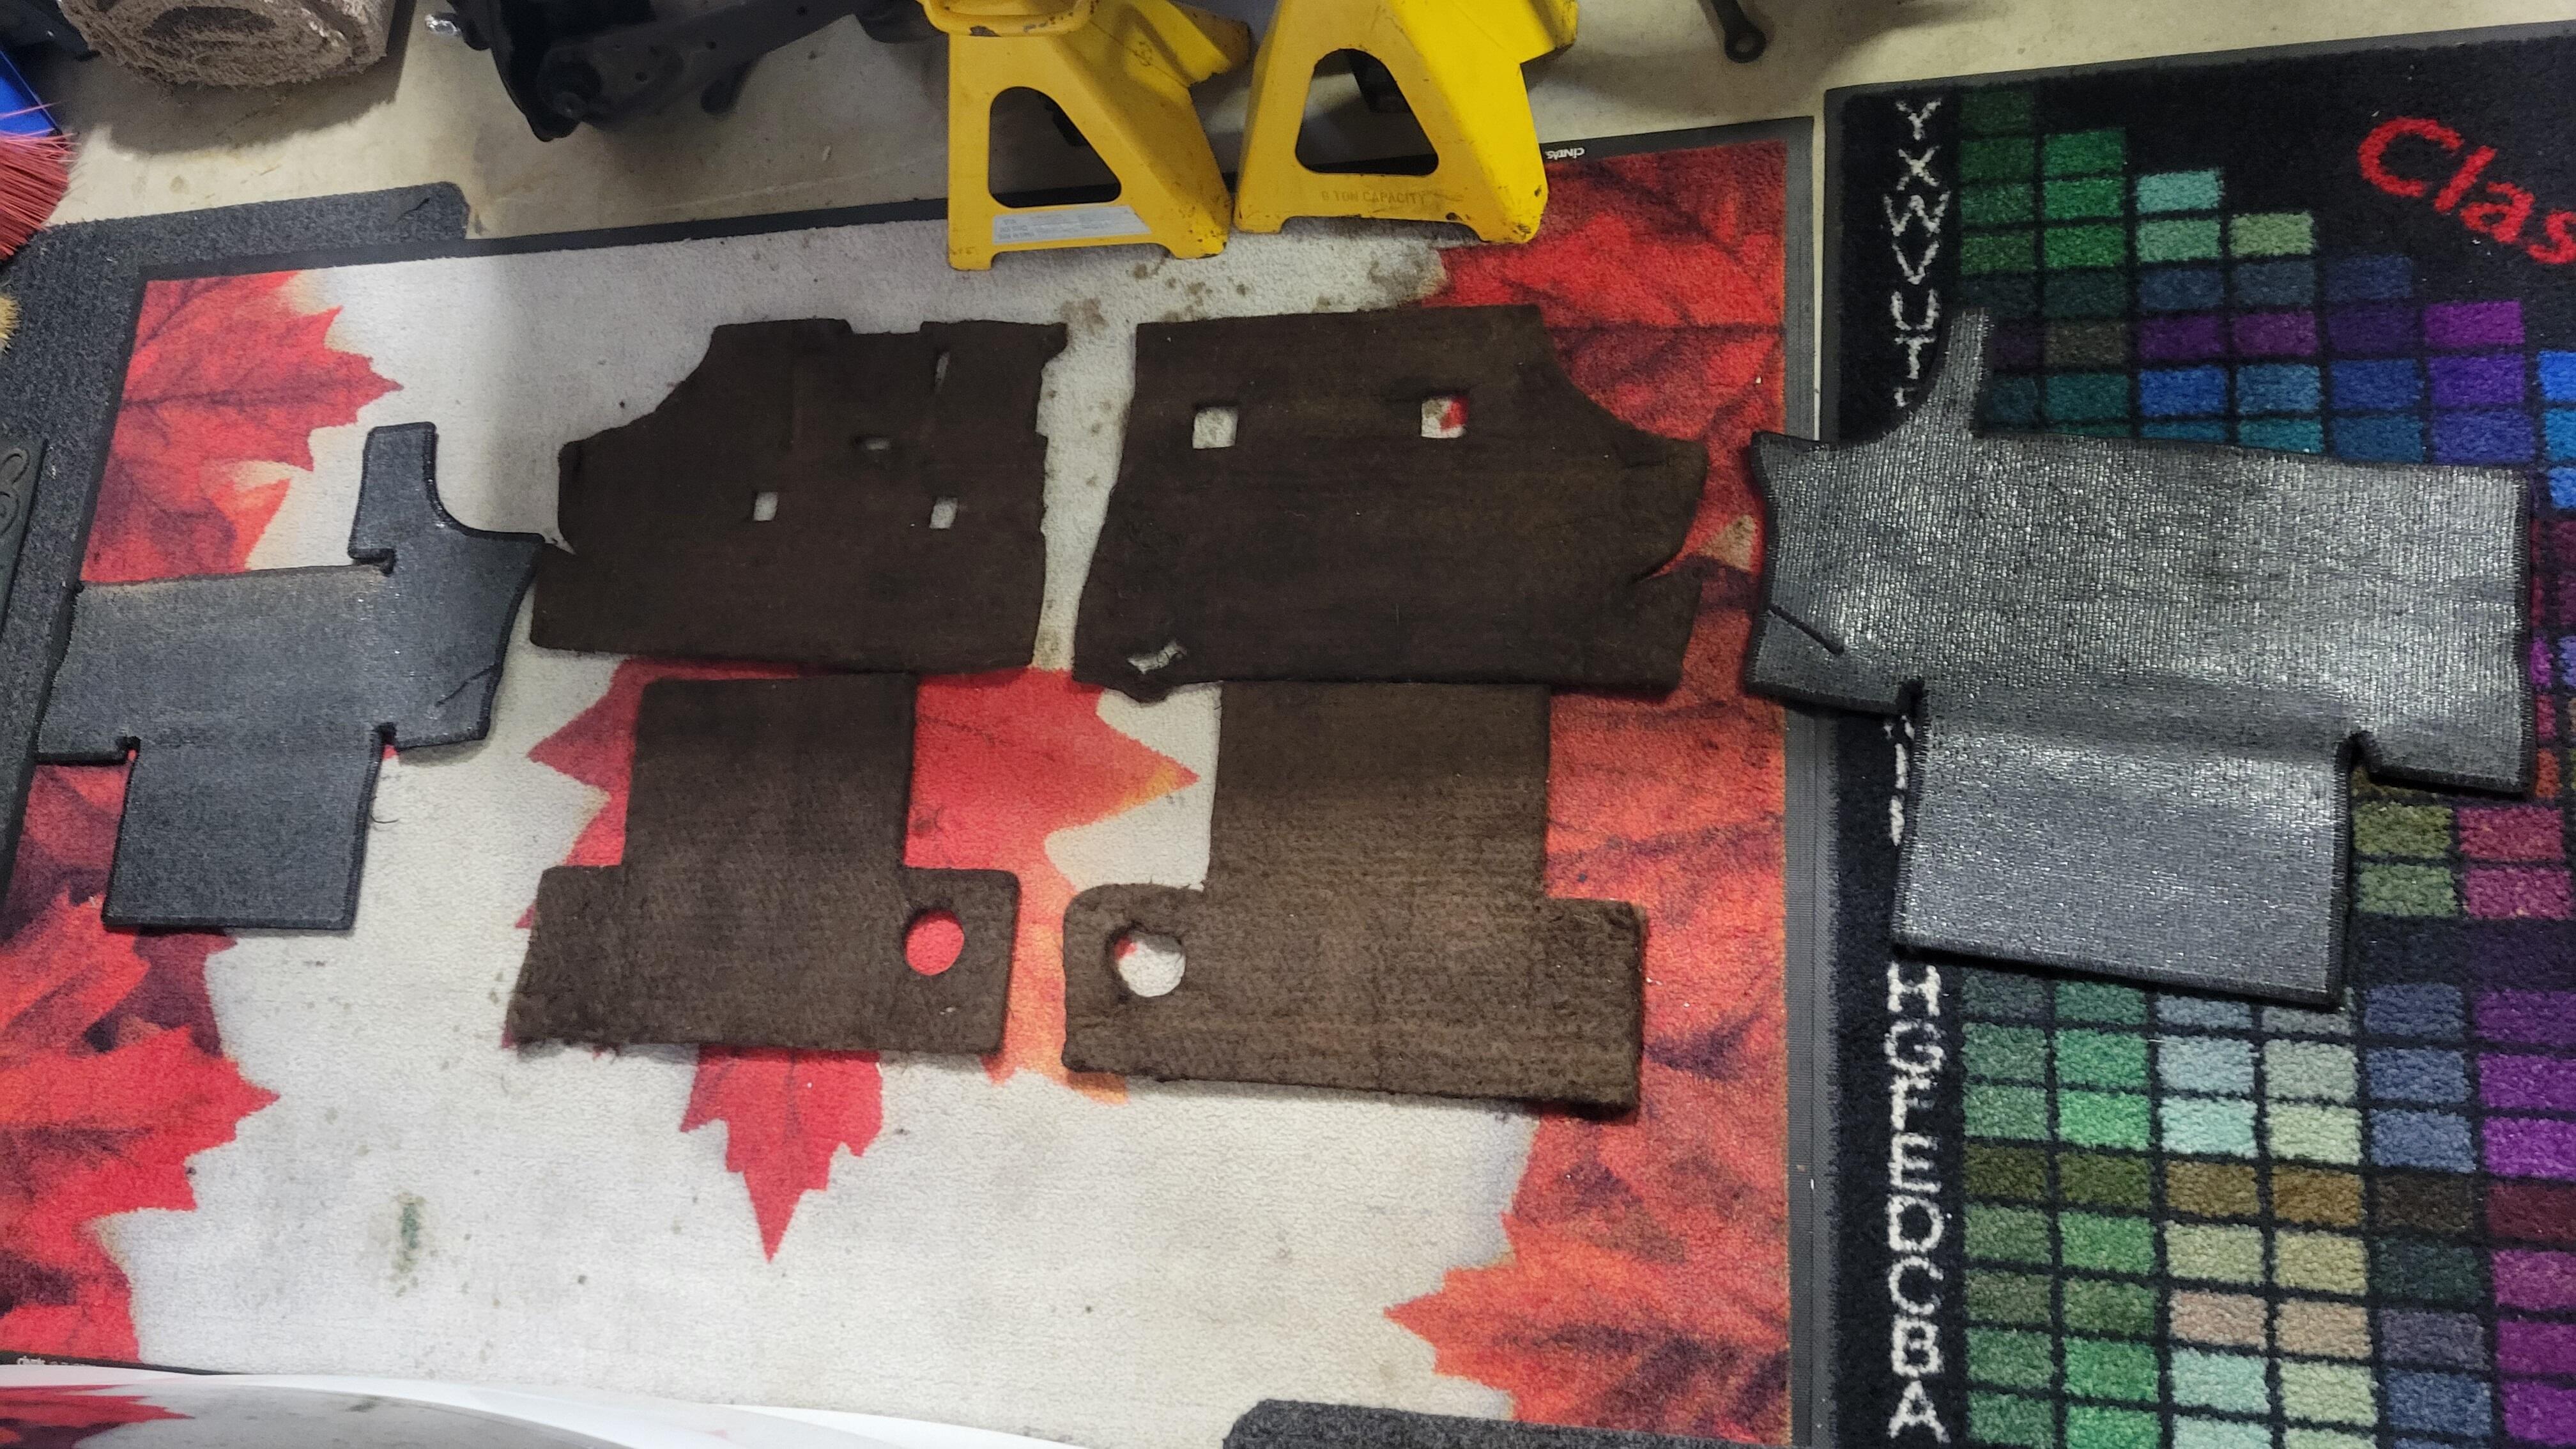
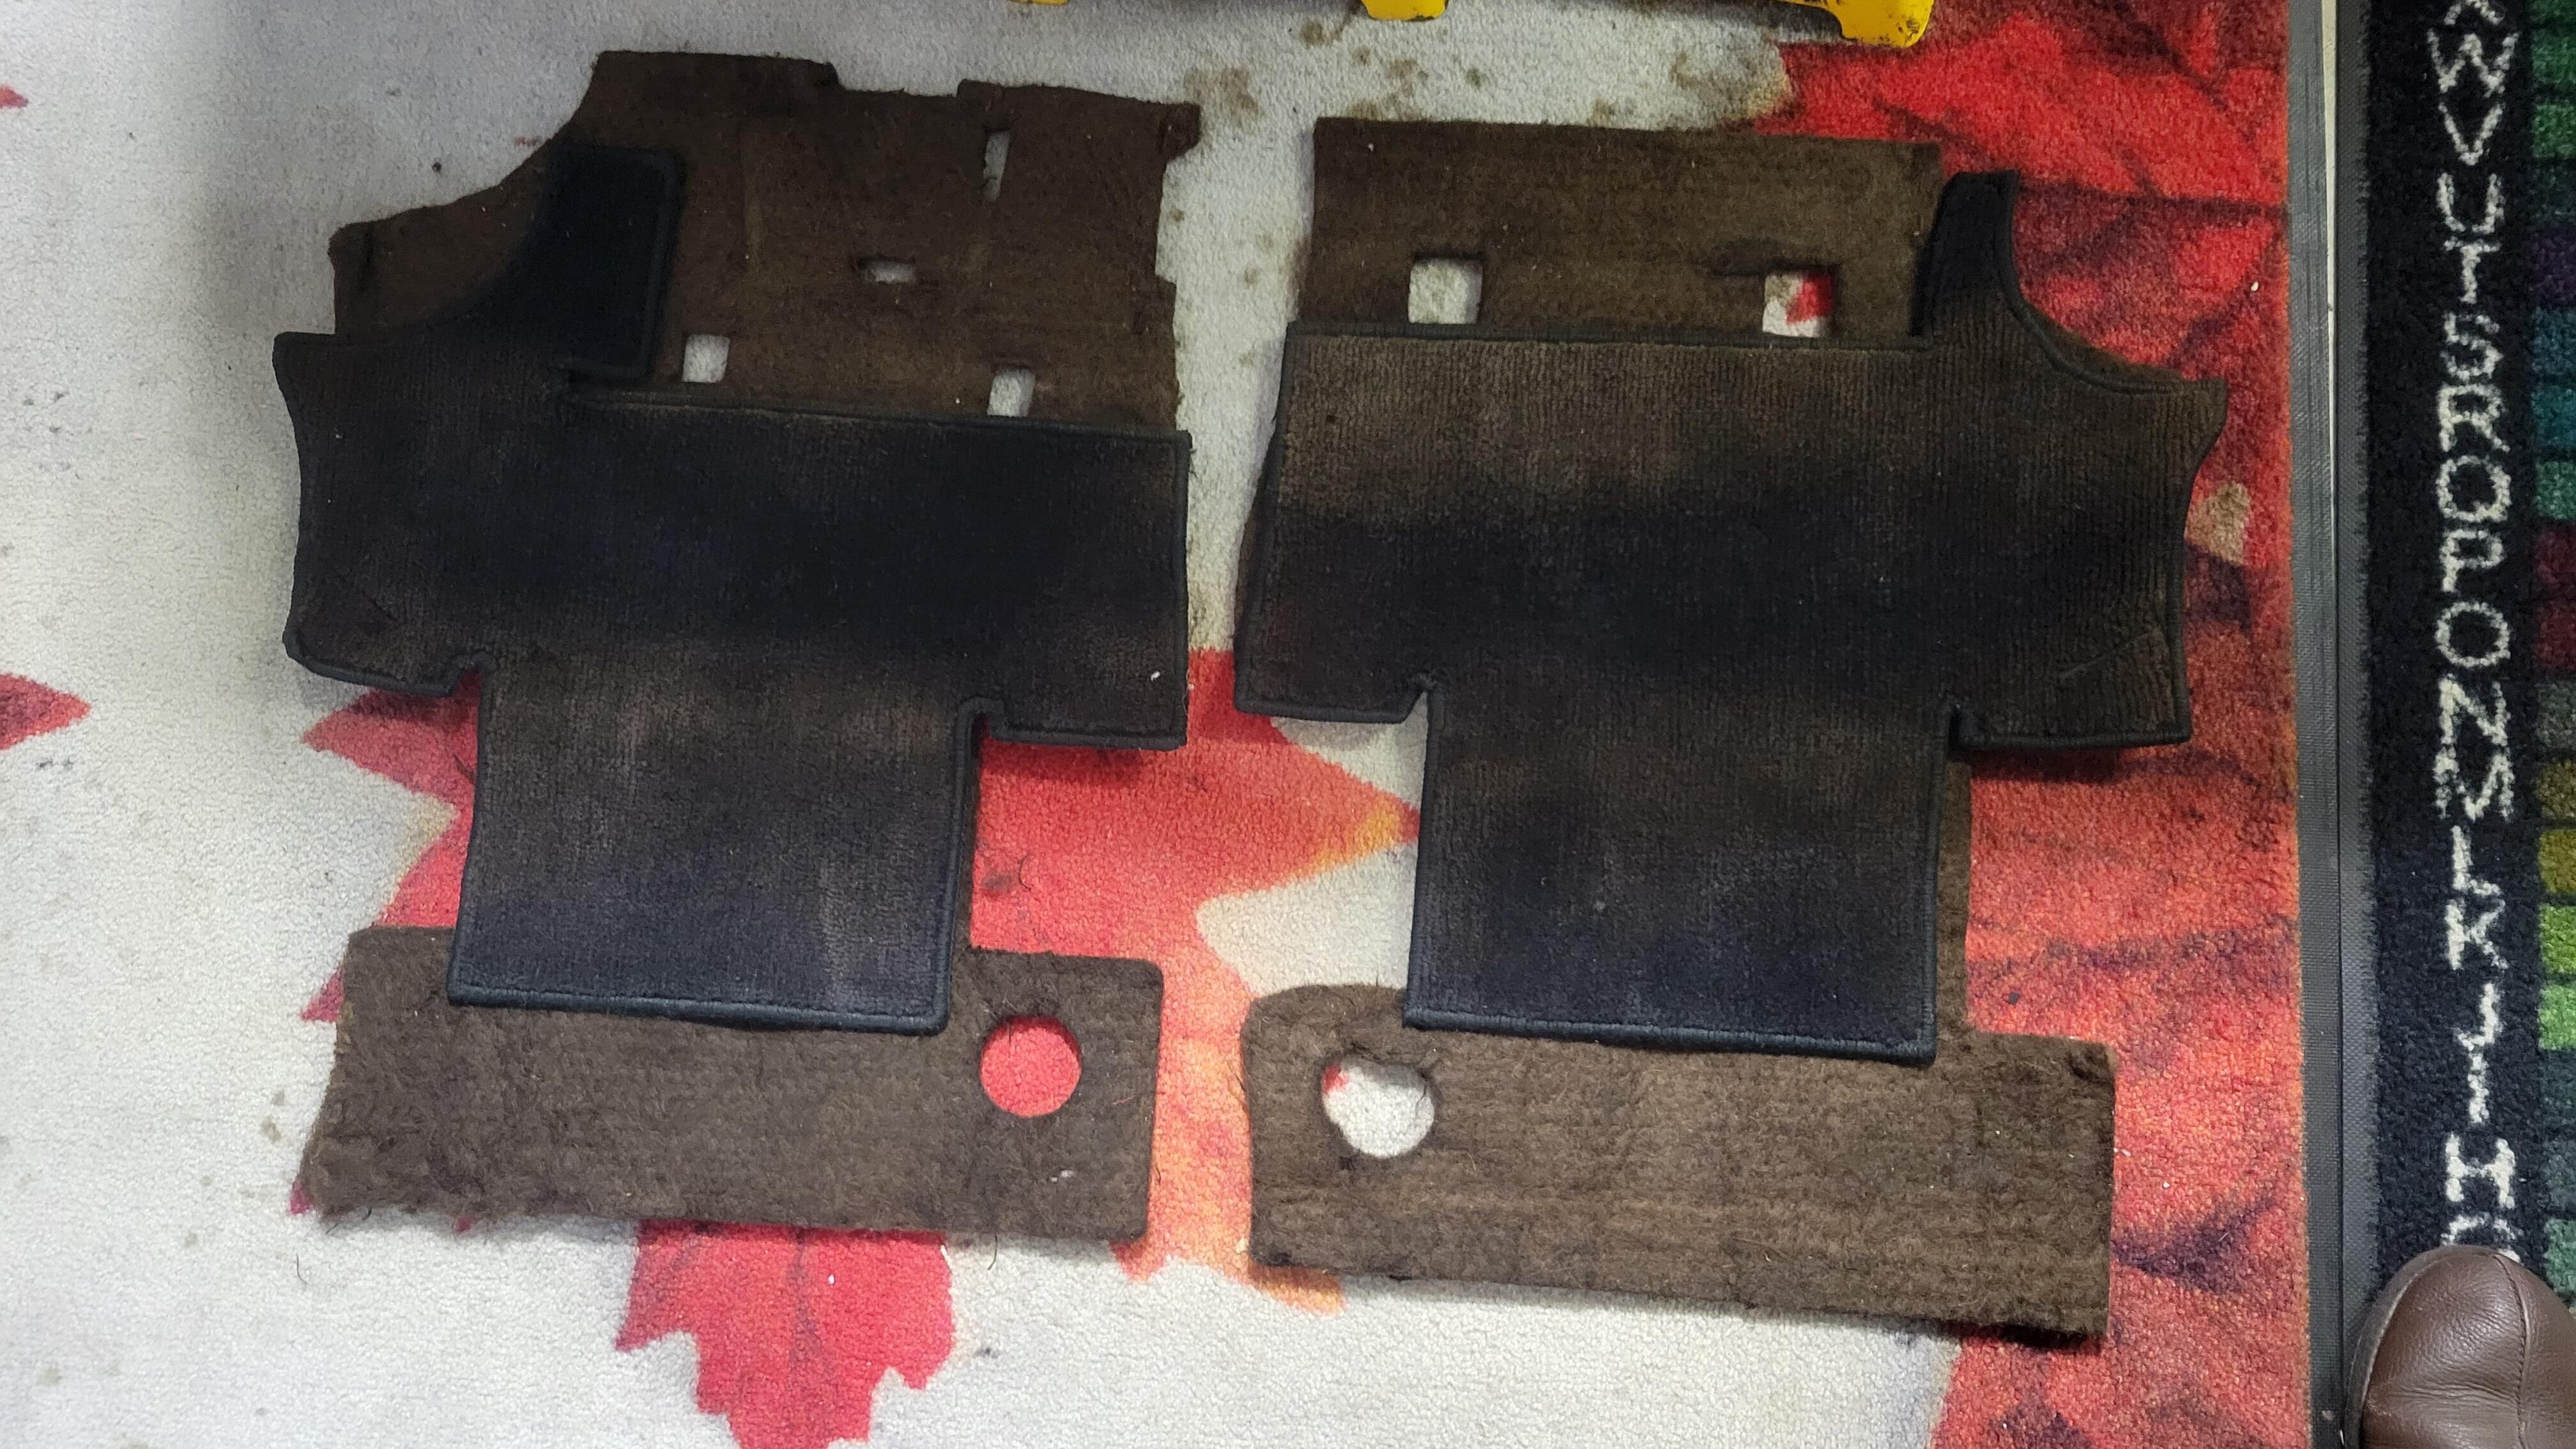
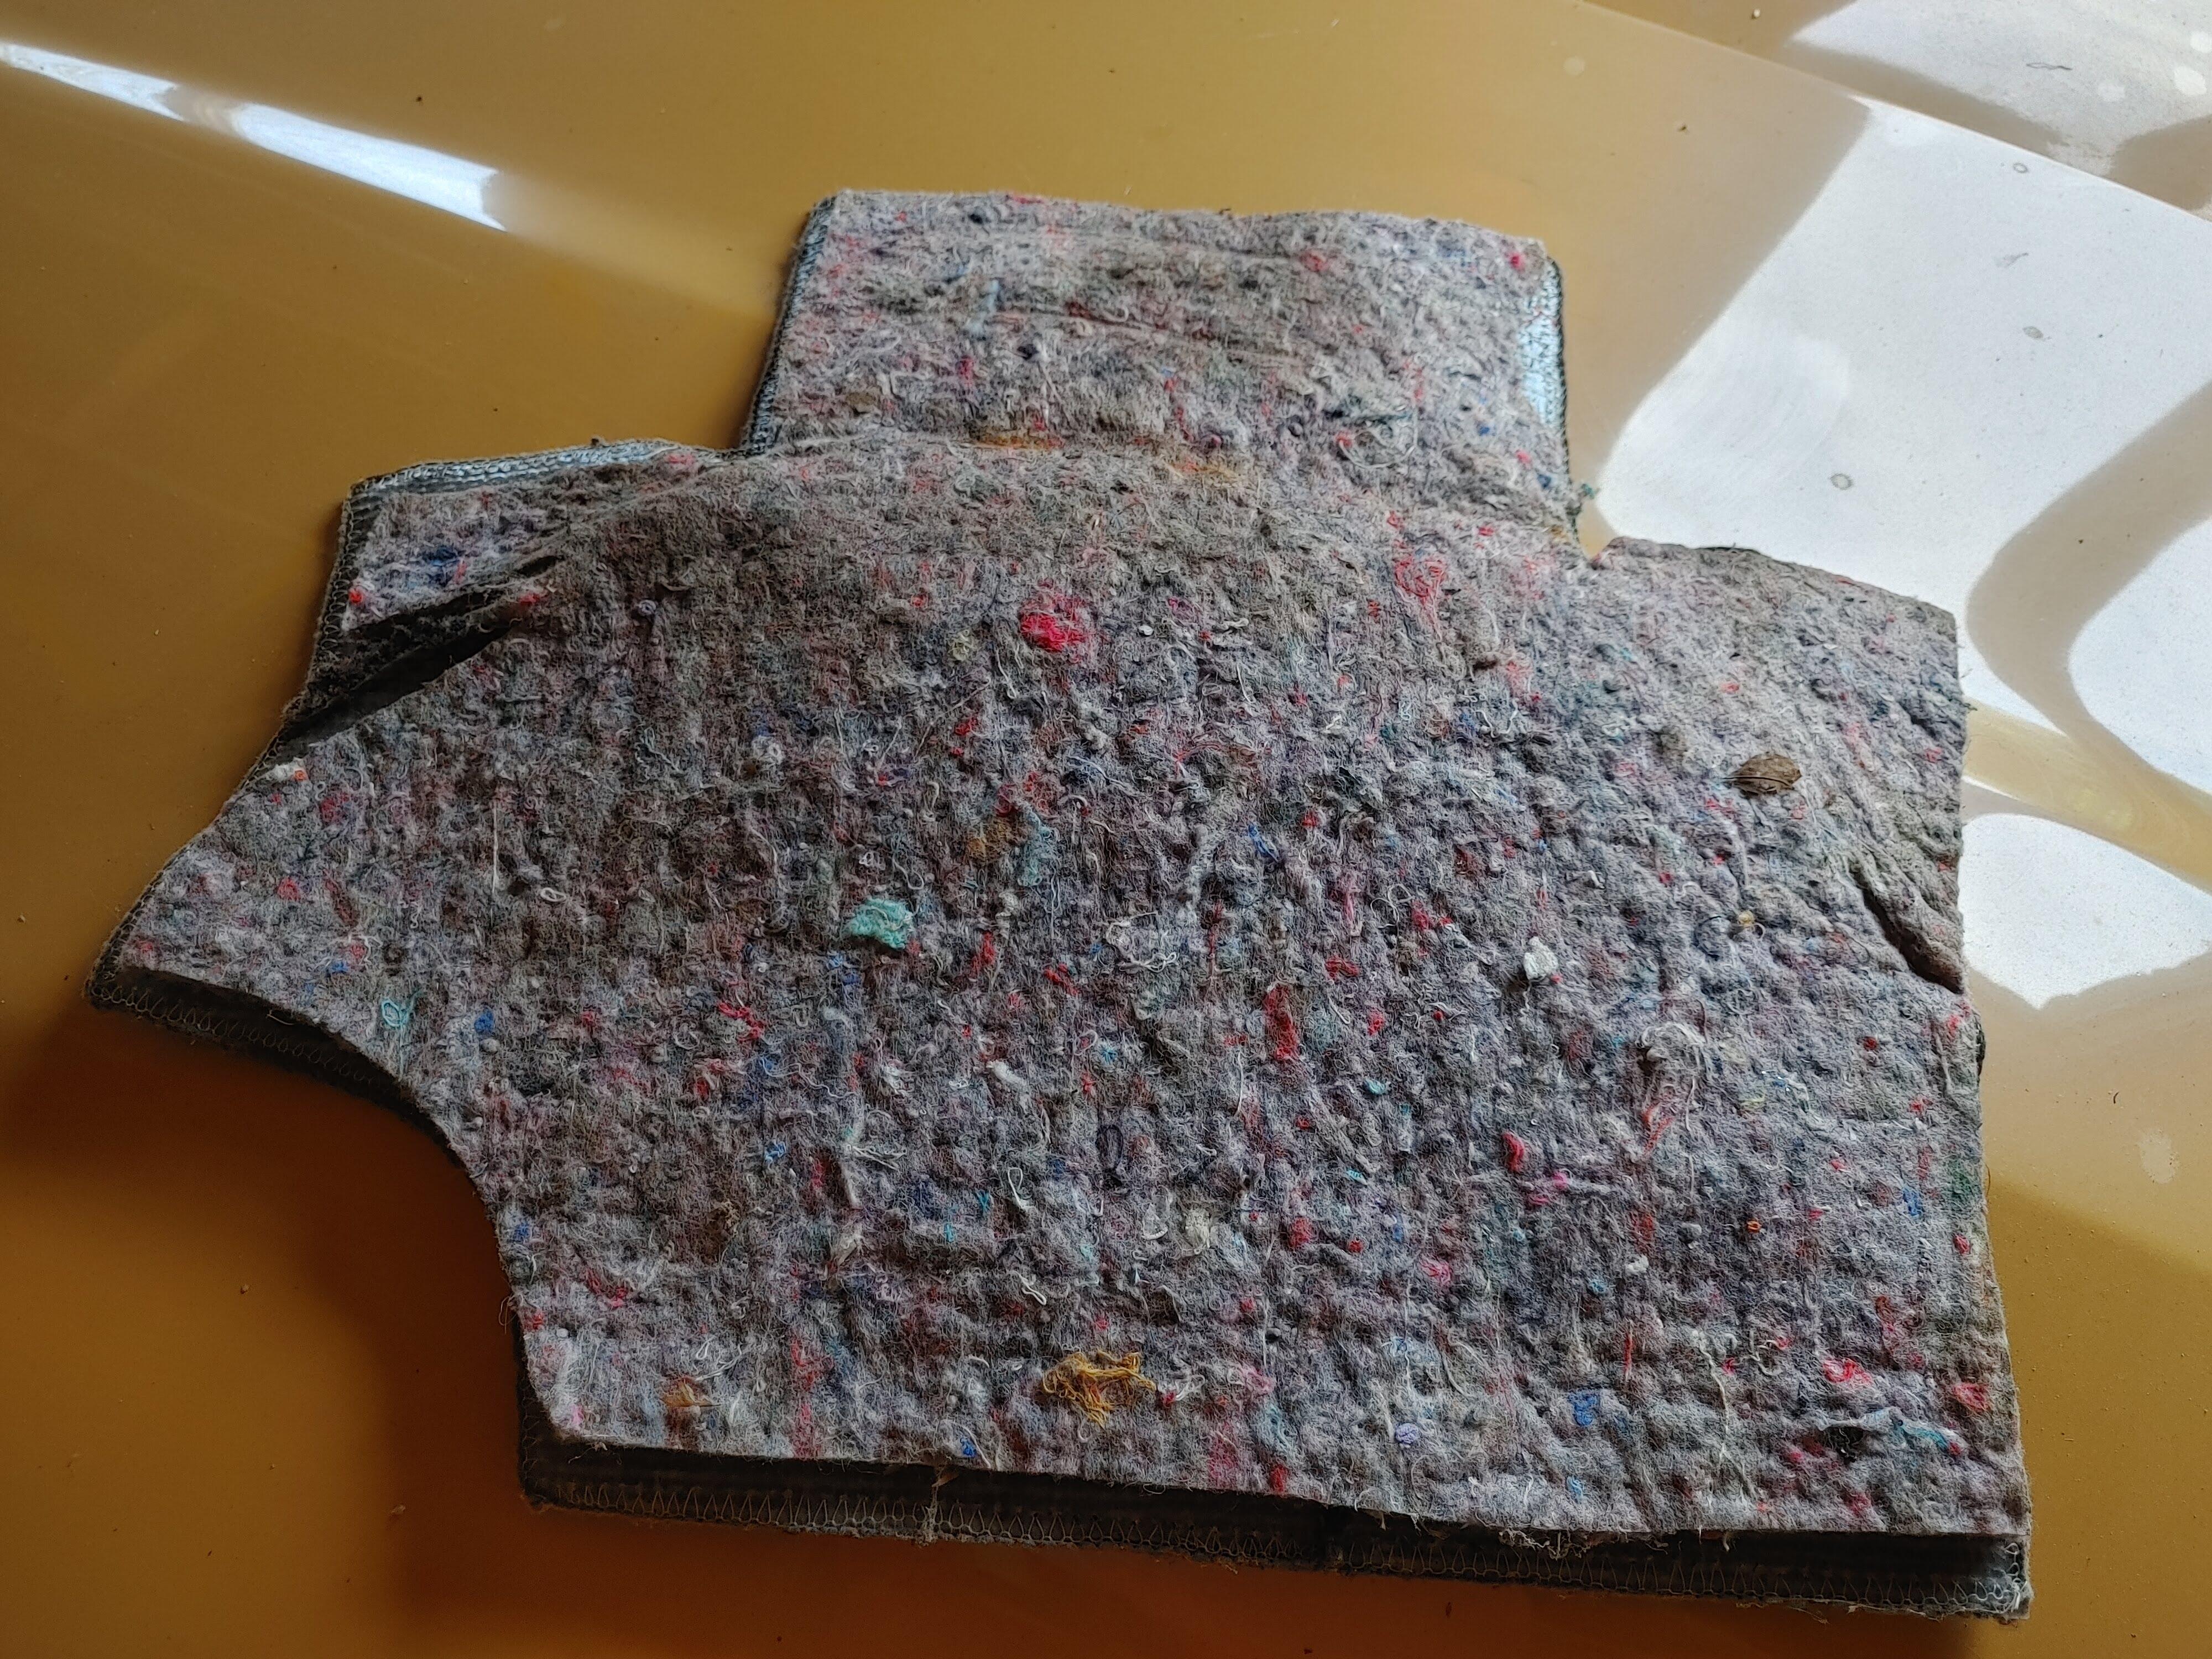
2 points2 pointsFor comparison I pulled out the early under and behind seat jute and carpet from my 7/70 #6521 out of my crawl space. Here are few pictures, on each side there are two jute pieces and one carpet piece that goes part way under the seat and up to the plastic toolbox covers. The rear jute pieces go into the toolbox area. Looks like when the toolboxes were moved to the rear deck the jute and carpet changed, 1/71 I think. @zed2A while back you messaged me about these jute pieces, now that I was able to get access to them is there any info you were still looking for?


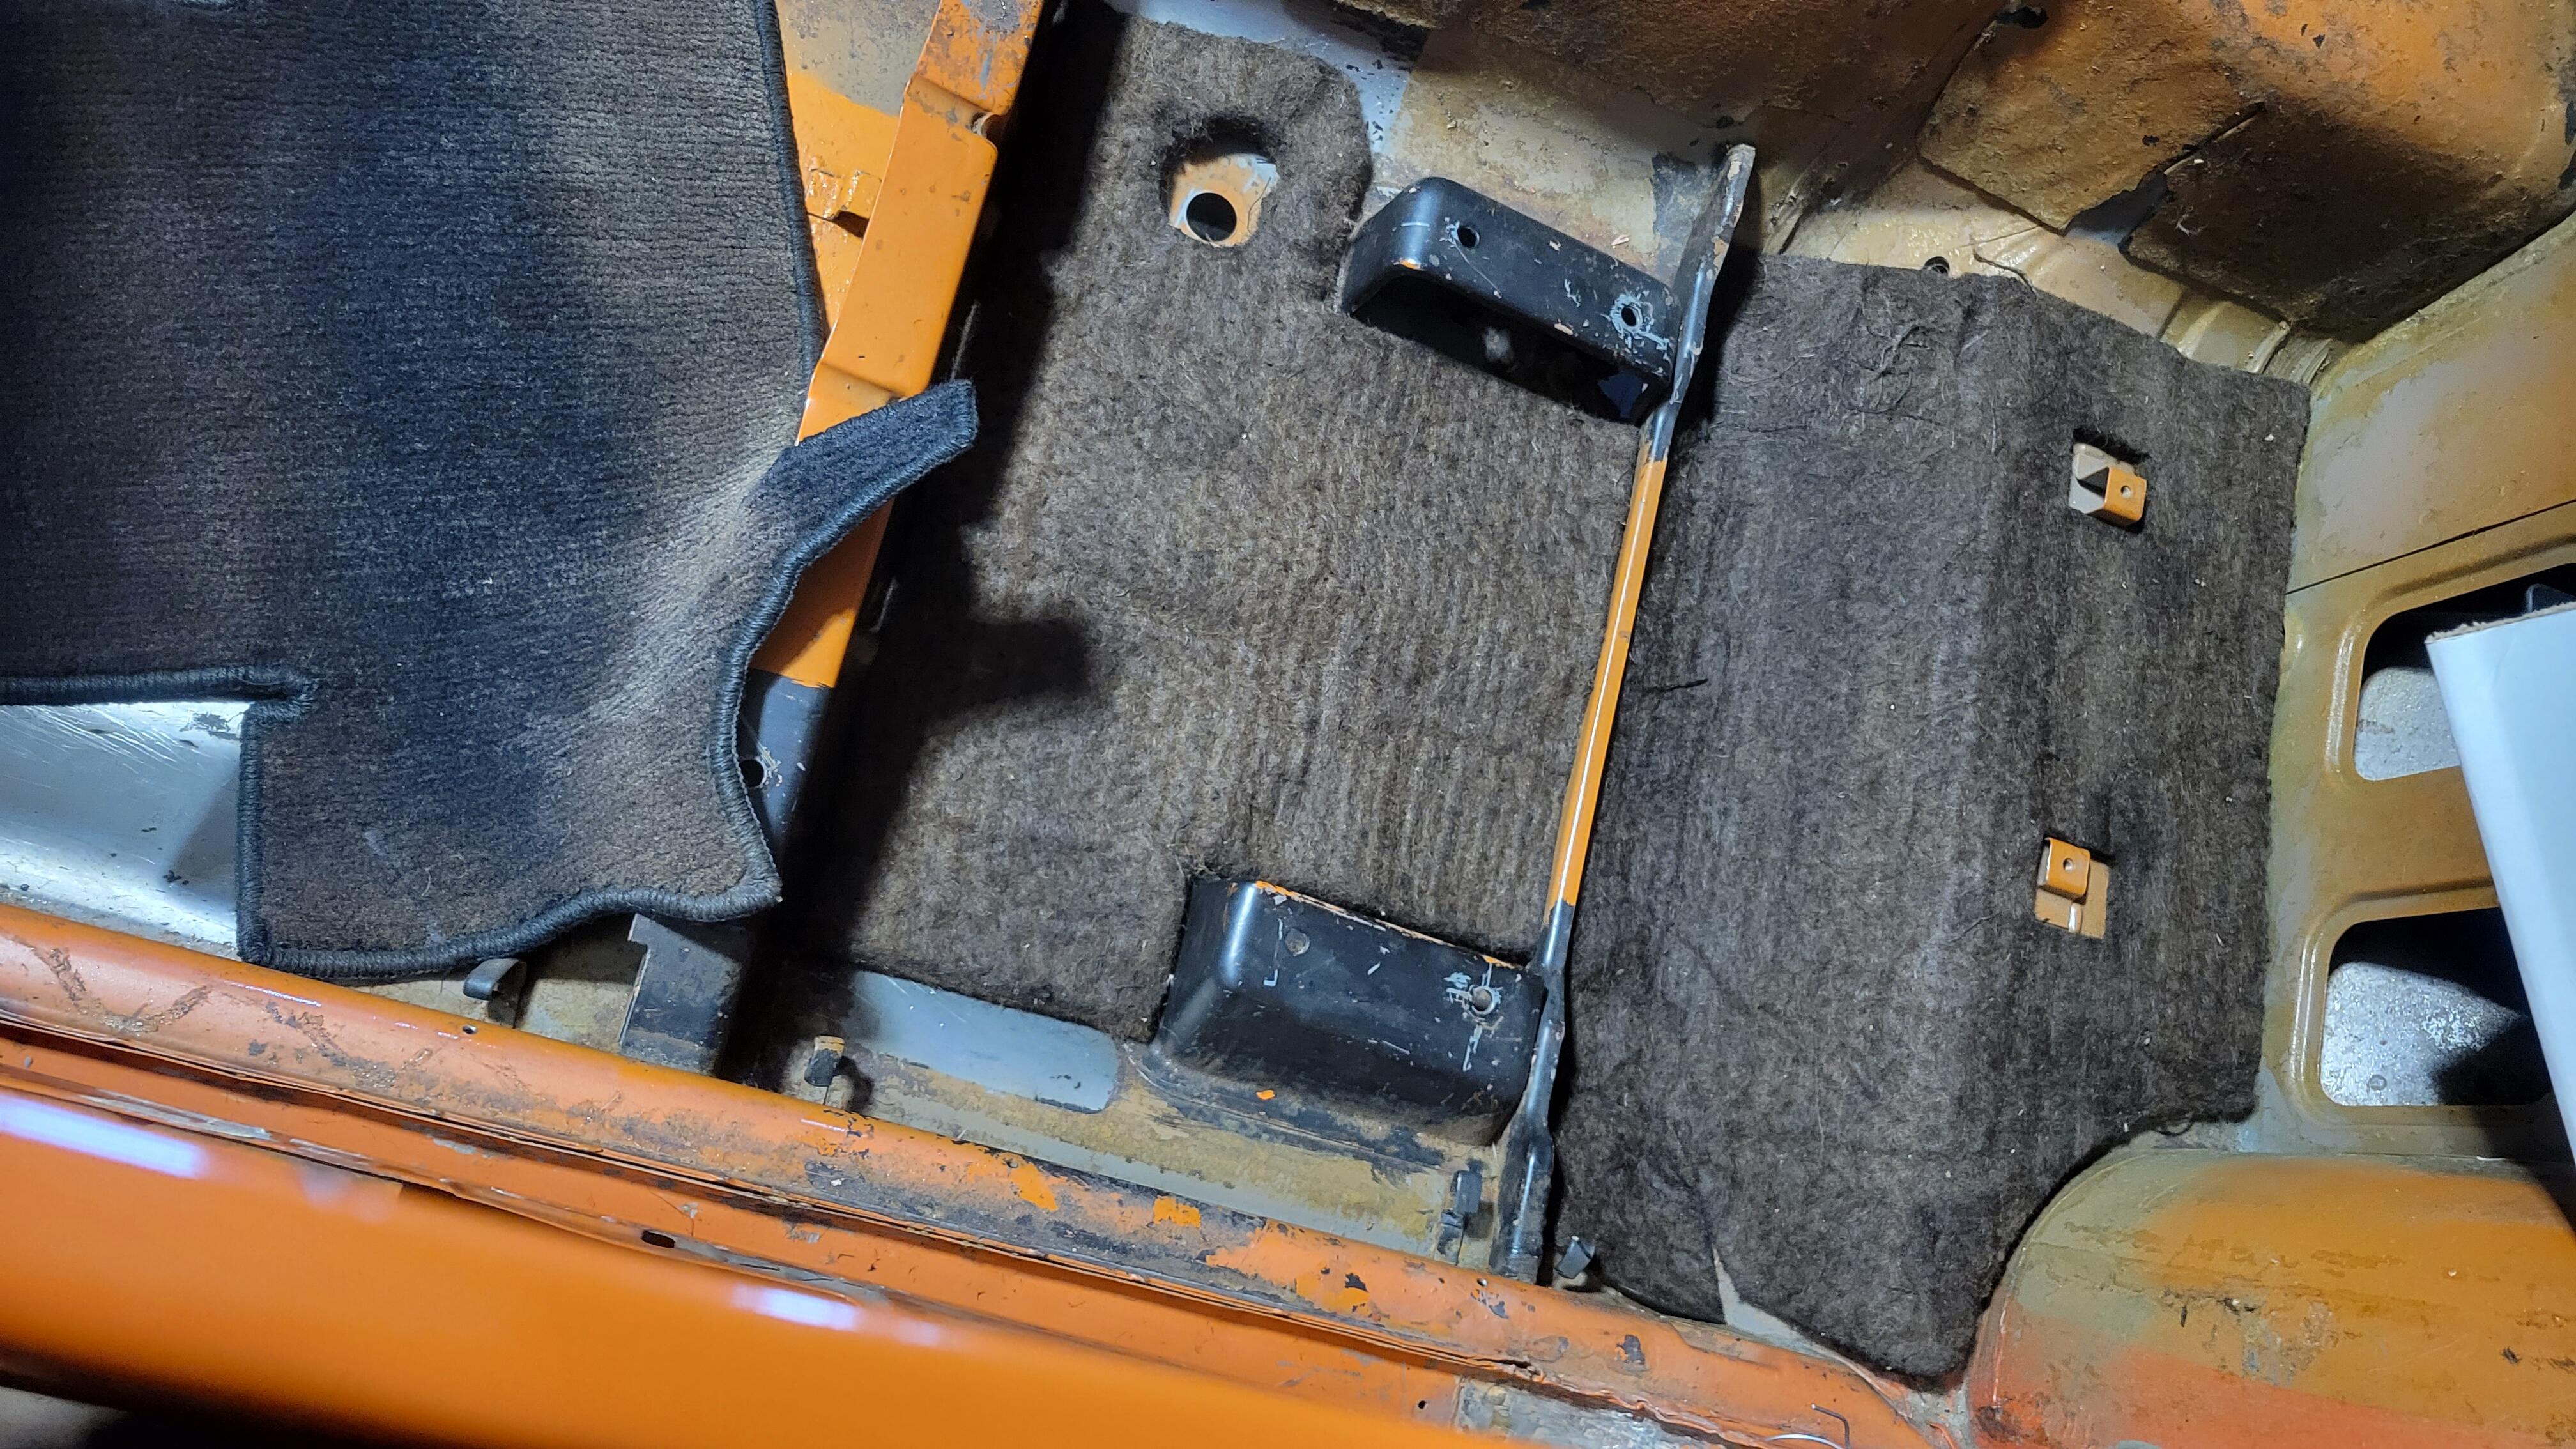
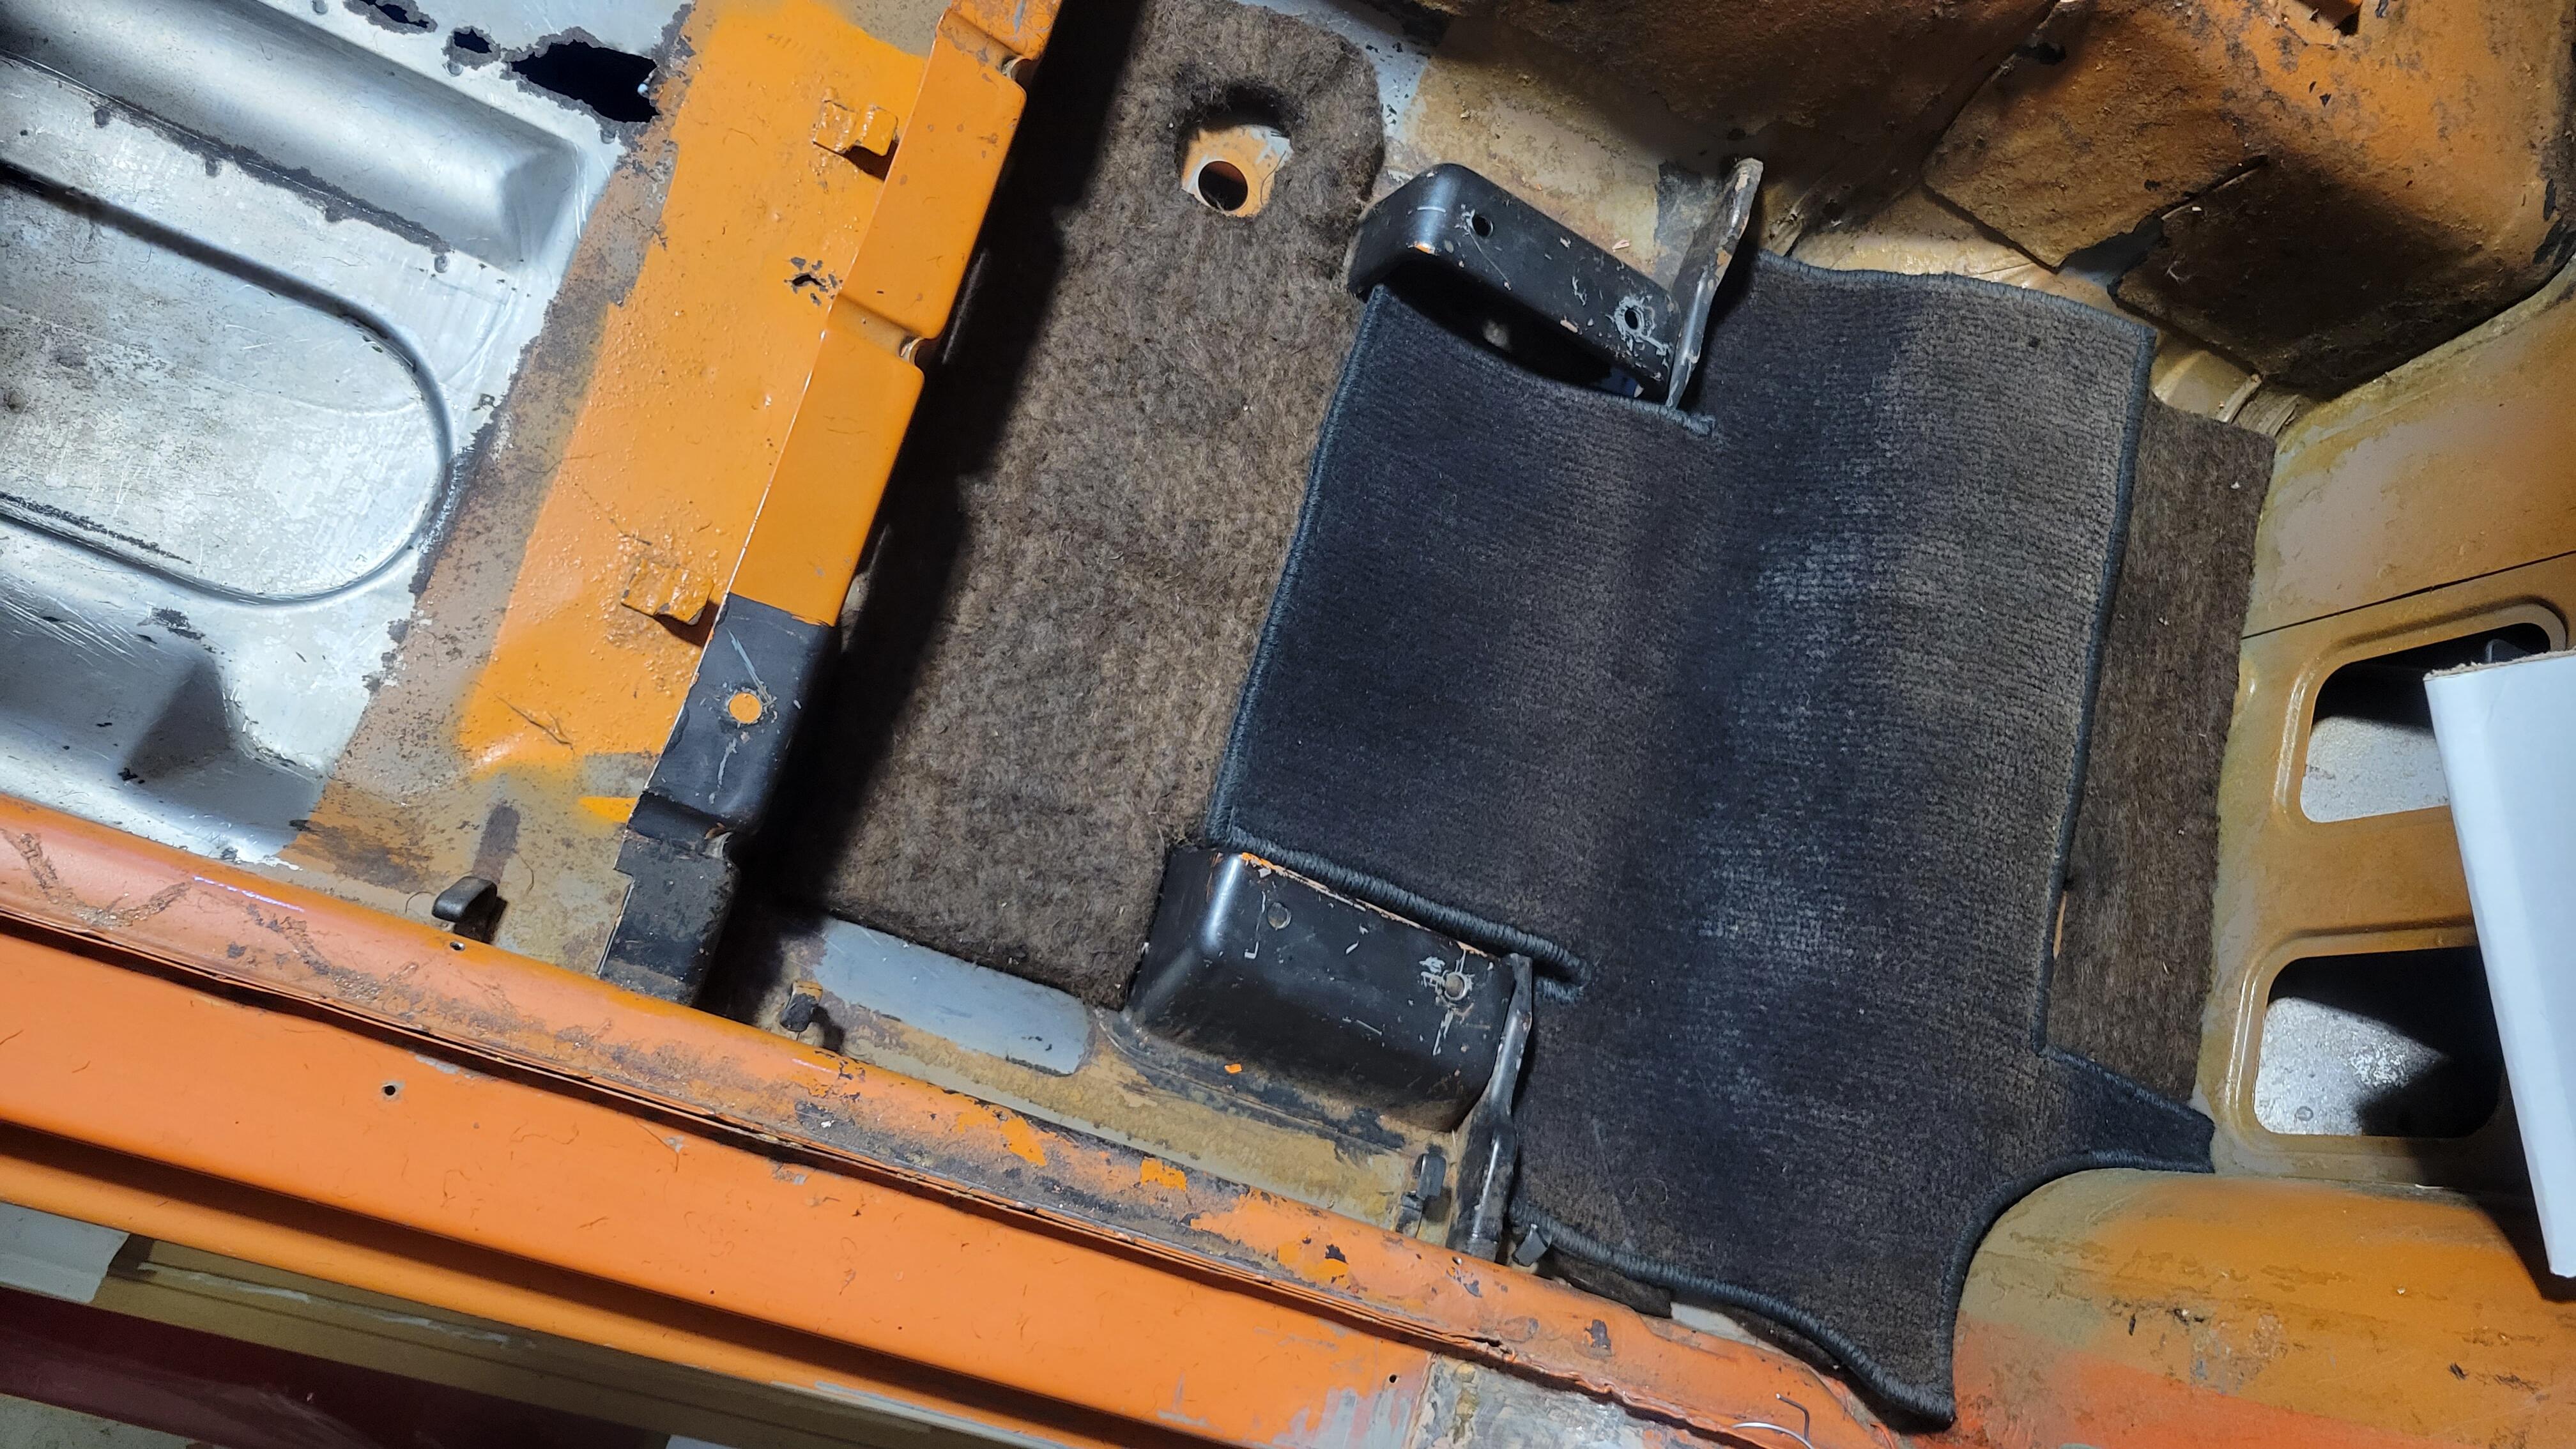
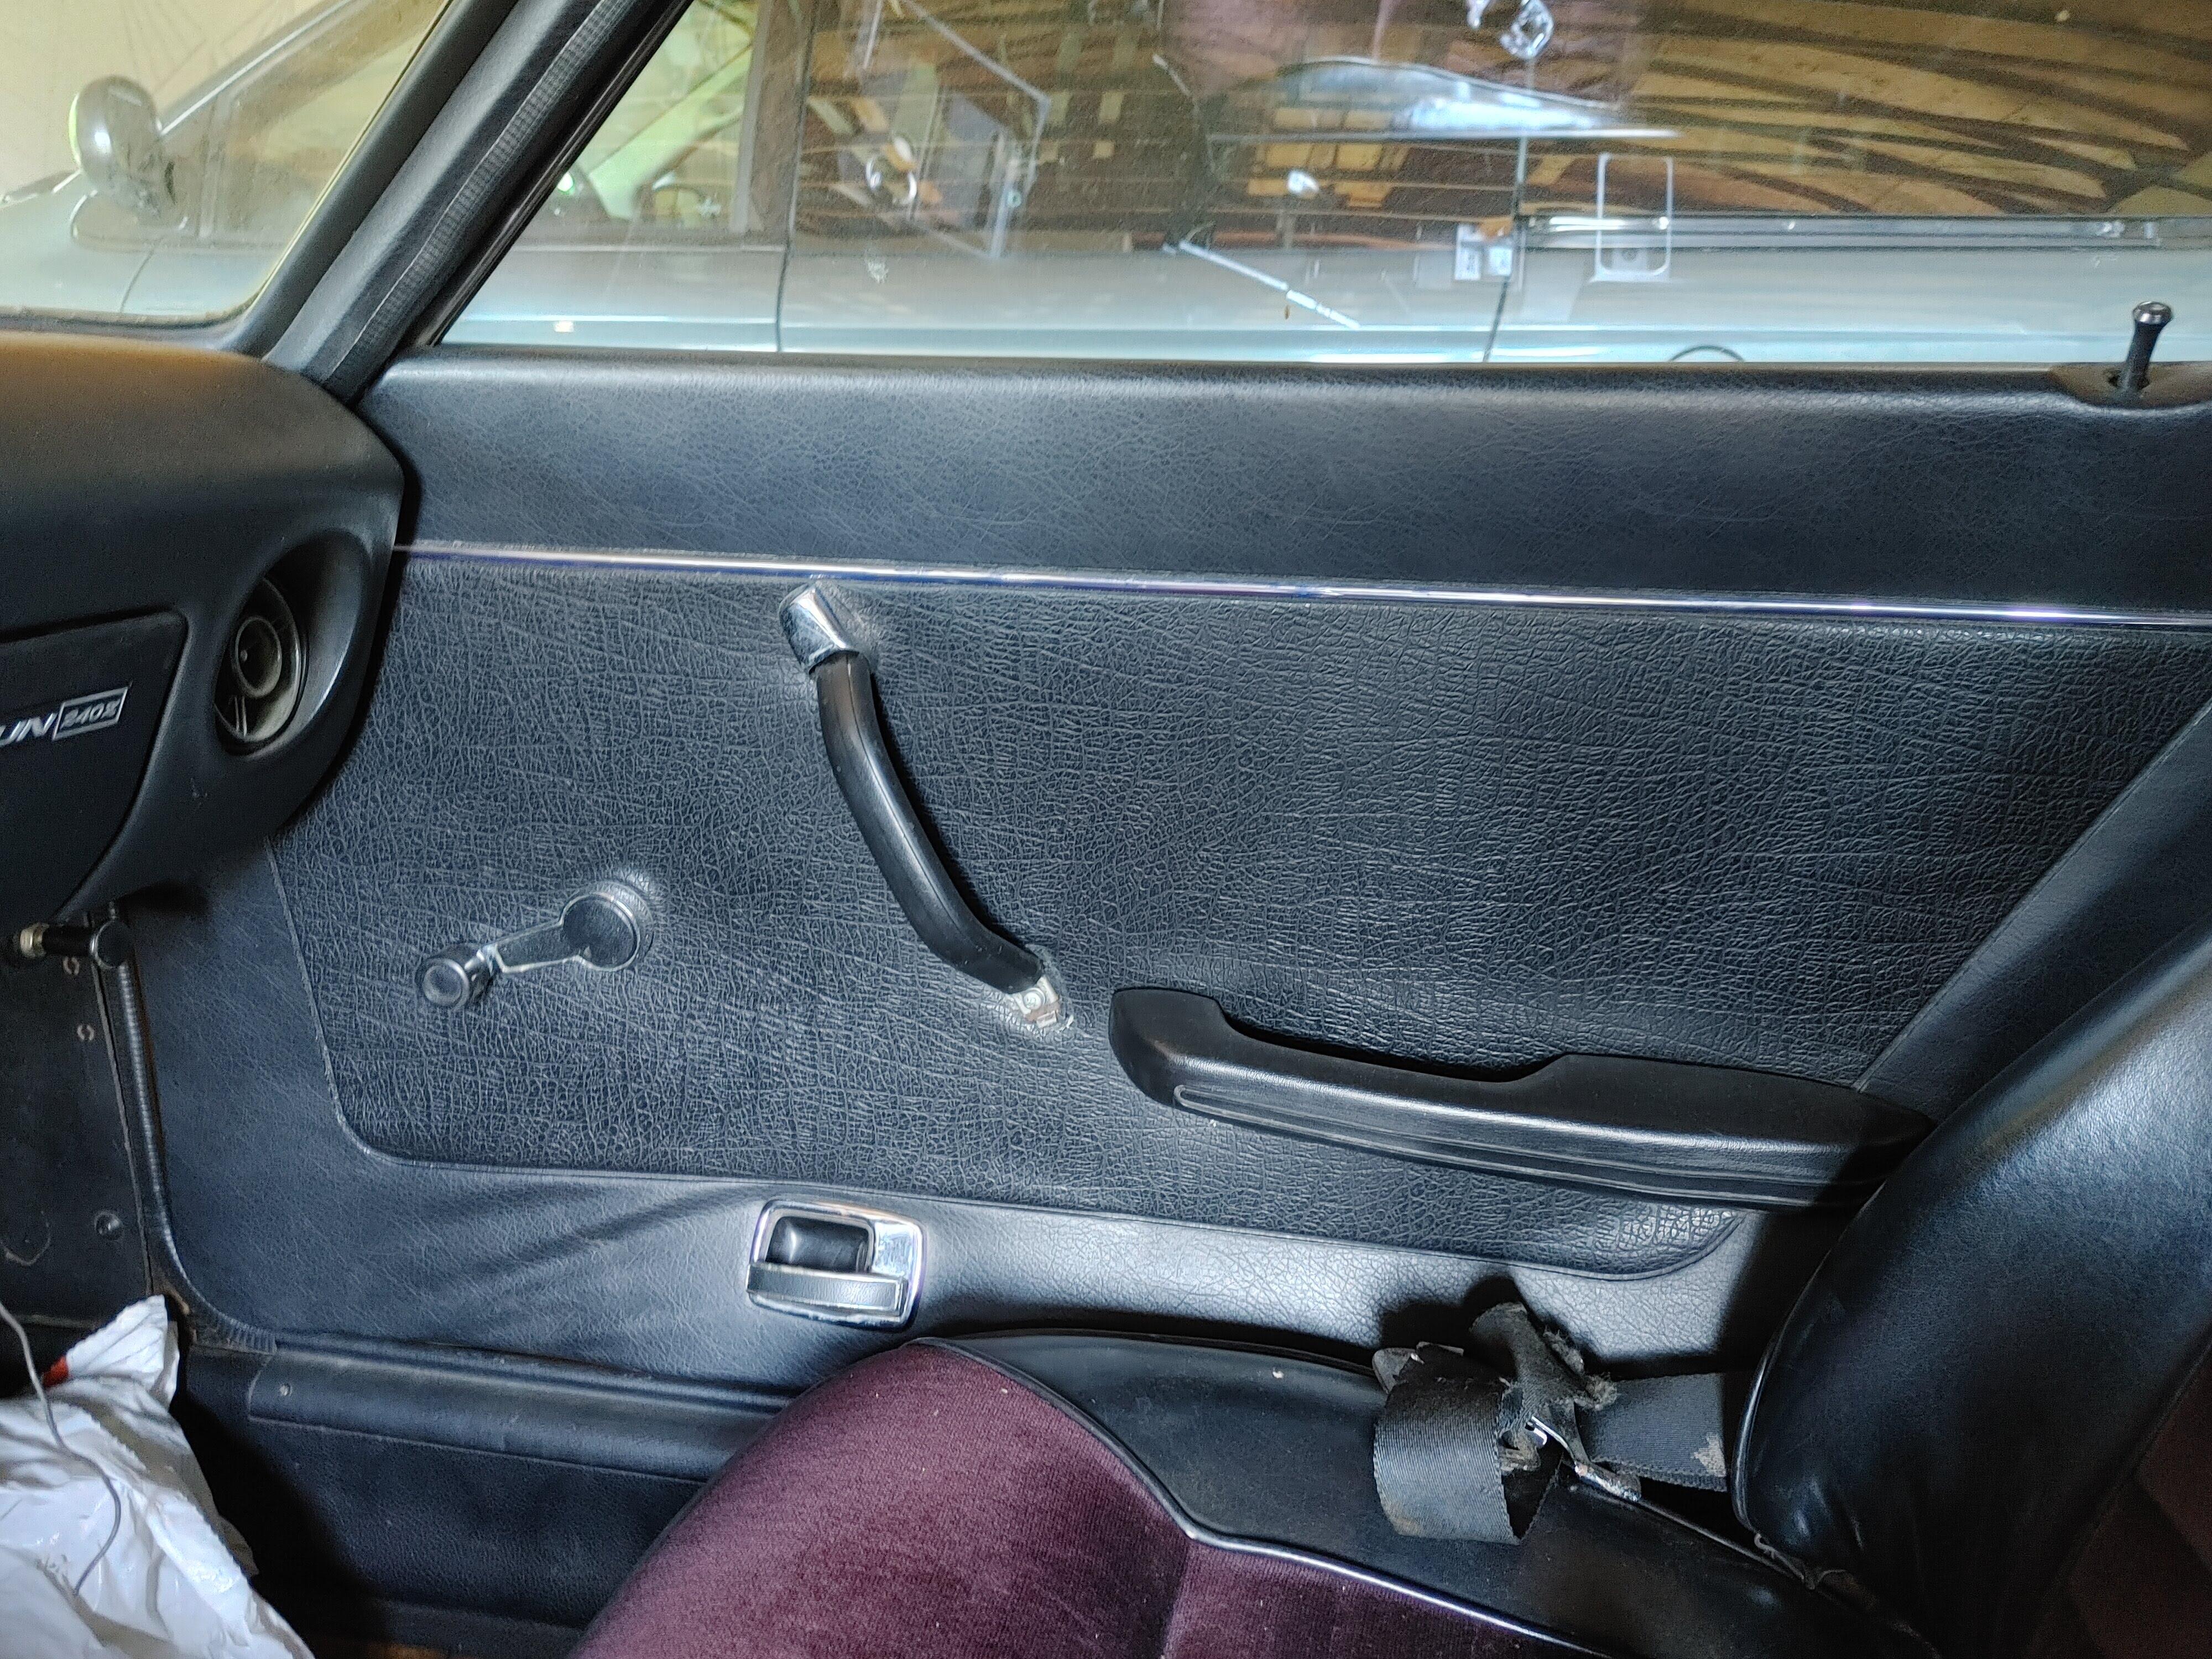
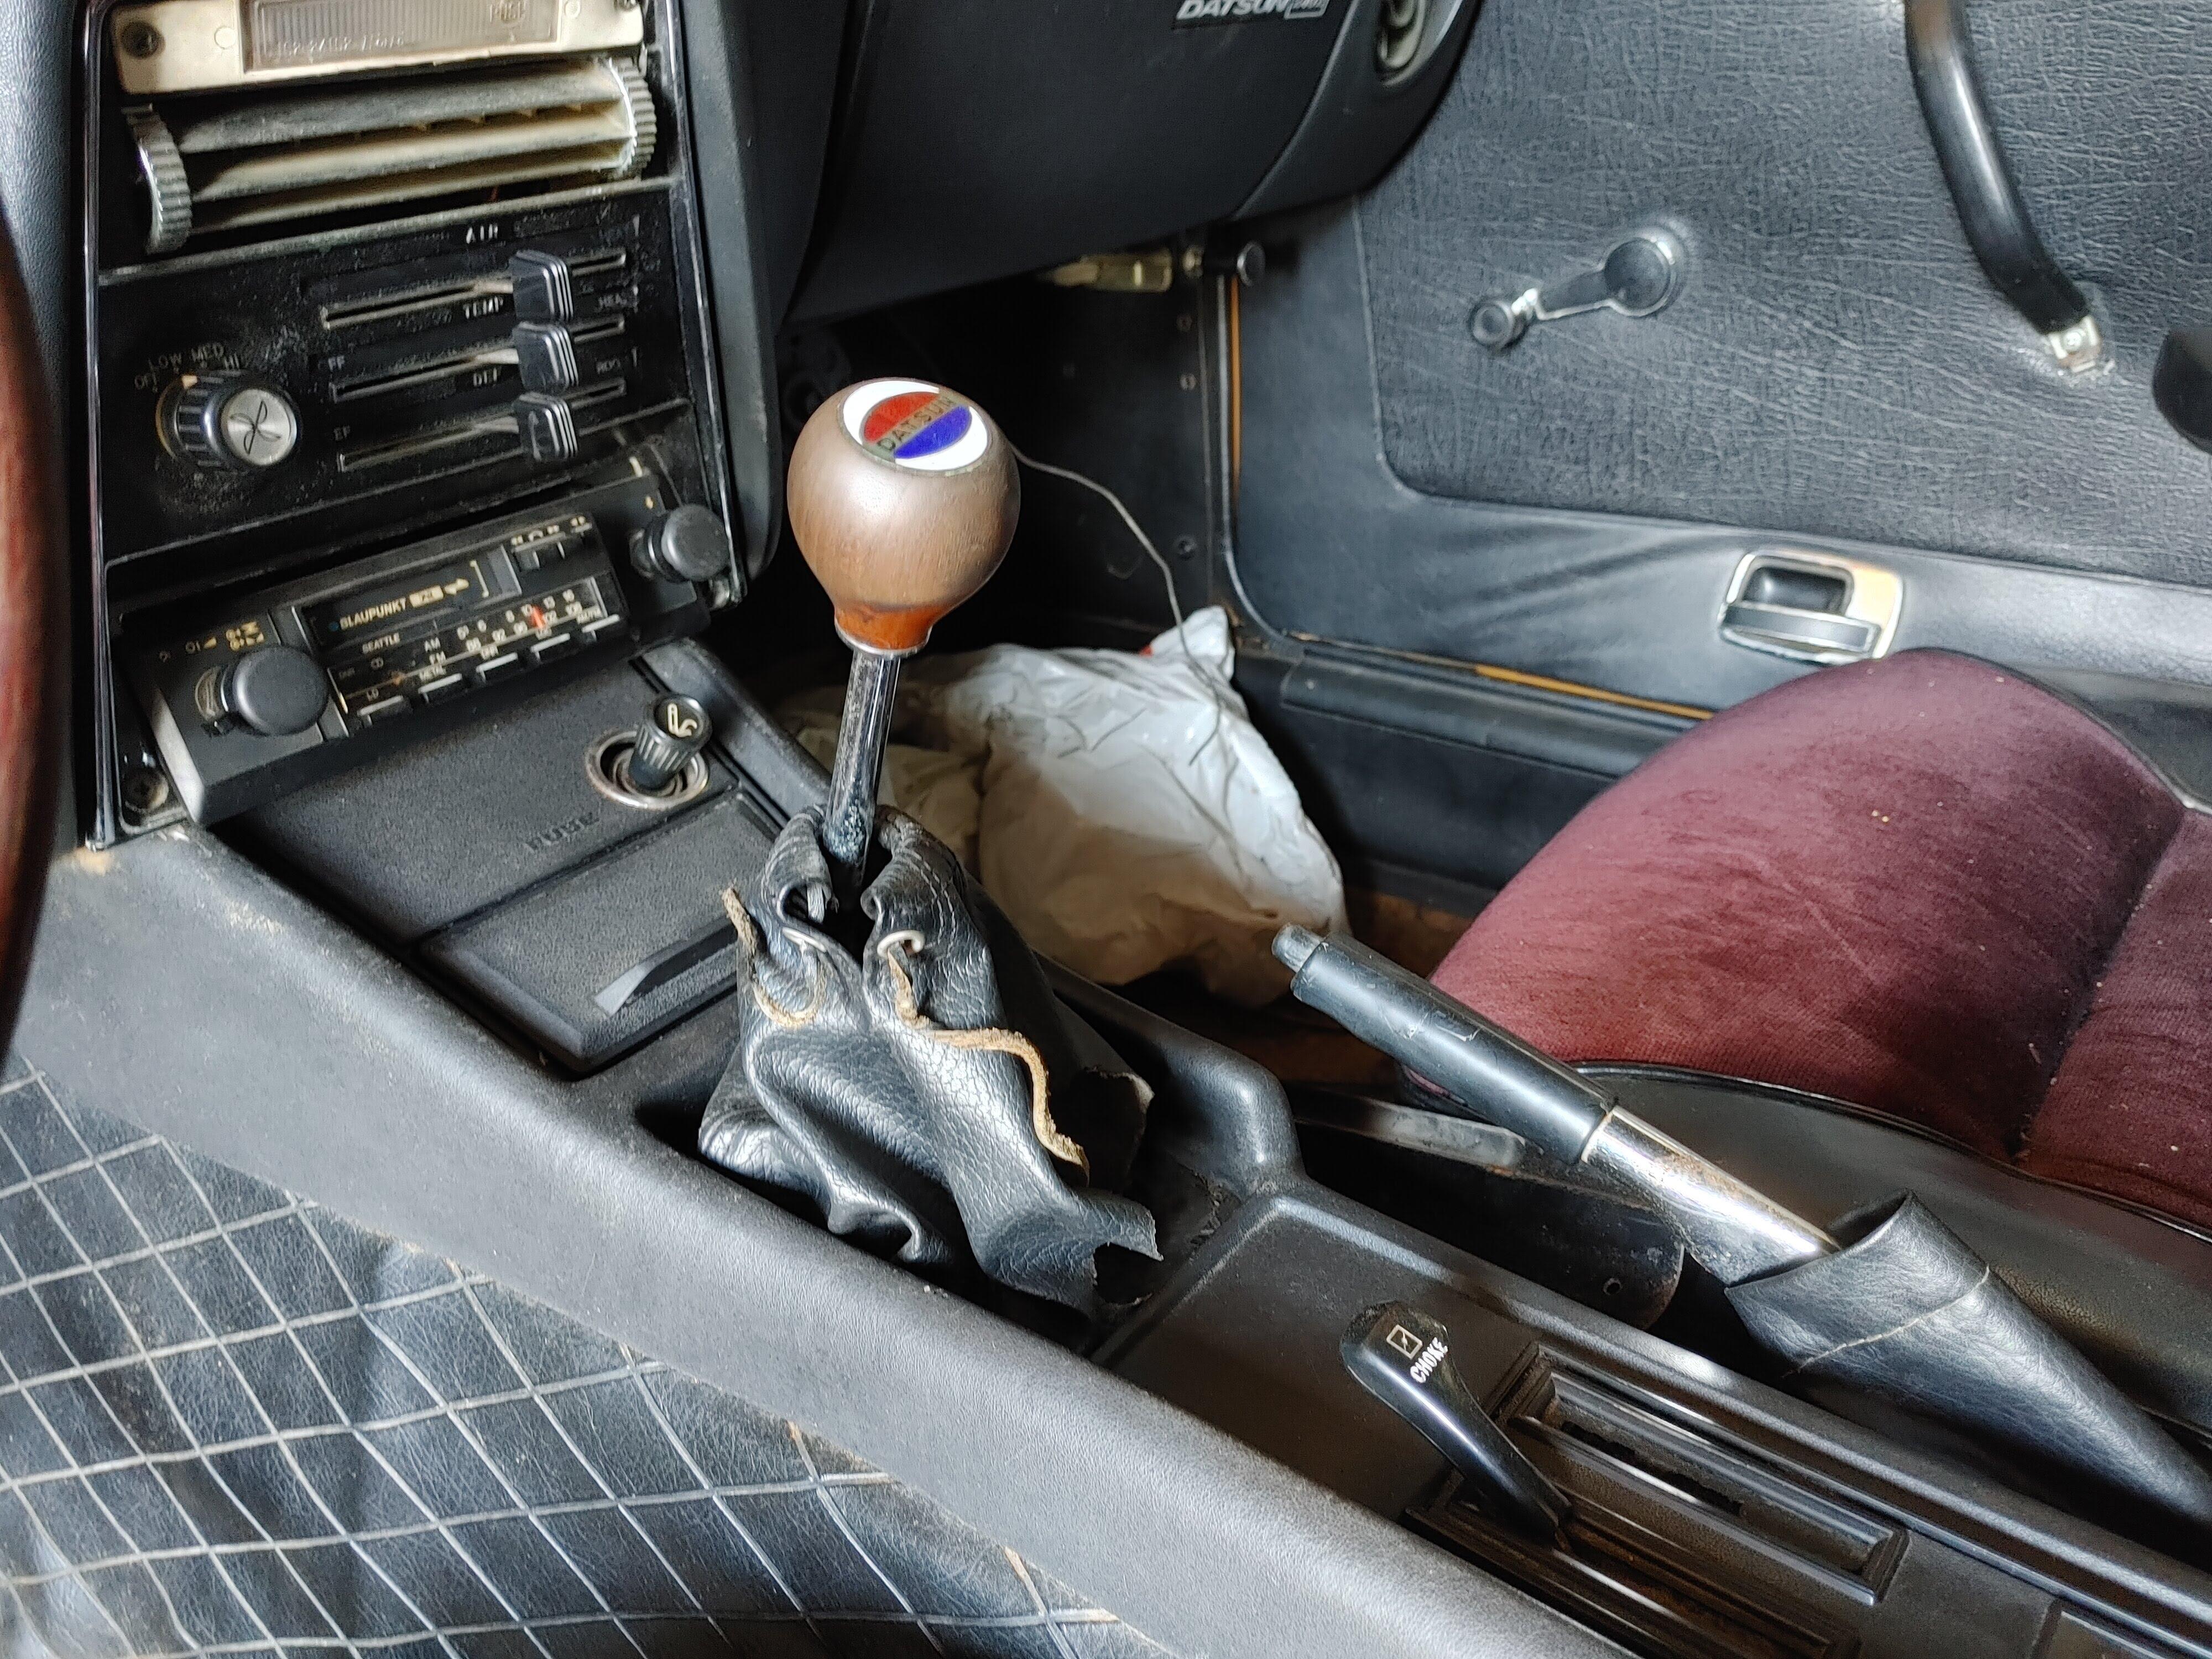
 1 pointI switched back to points and it's running much better. When I removed the pertronix, I noticed that the plastic piece/ring at the bottom of the magnet piece was cracked... not sure if that had anything to do with the issue.1 pointI have HLS30-29817, which was also 04/71. It's in a state of disrepair/disassembly (that may be both chronic and permanent). As far as I know the interior is all original. Here are some pictures that I think cover your questions. Aside from the front floor mats and the carpet/jute for the hatch, I have the pieces shown, which I believe go behind/under the seats. If there were other pieces, I don't have them. Armrests are on both doors, but the pull is only on the passenger side.
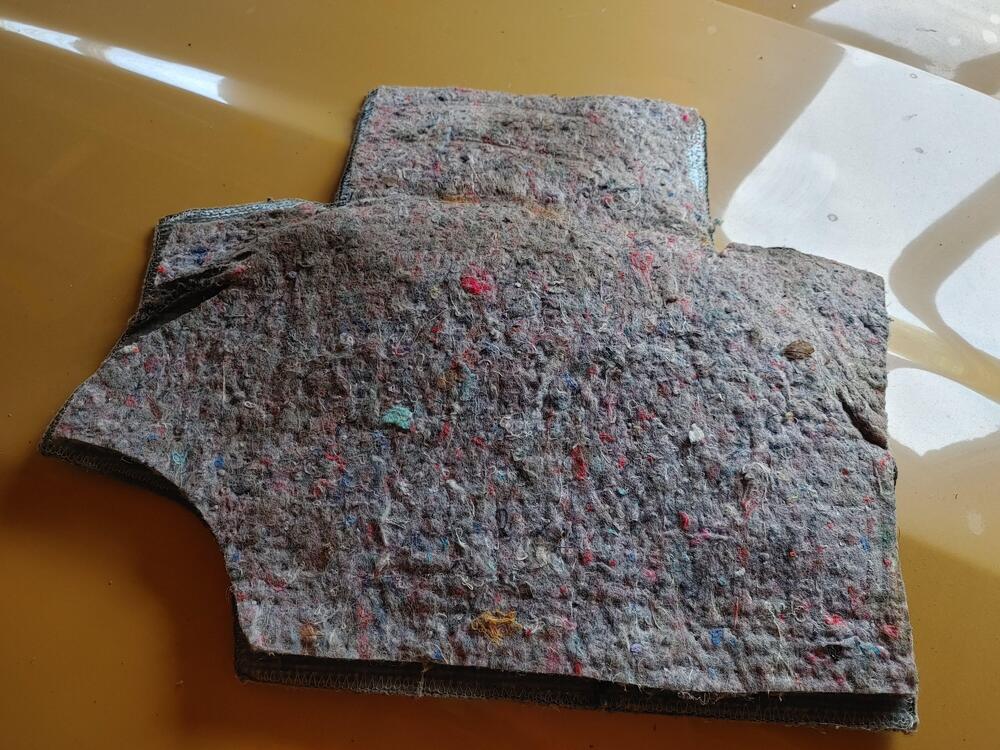
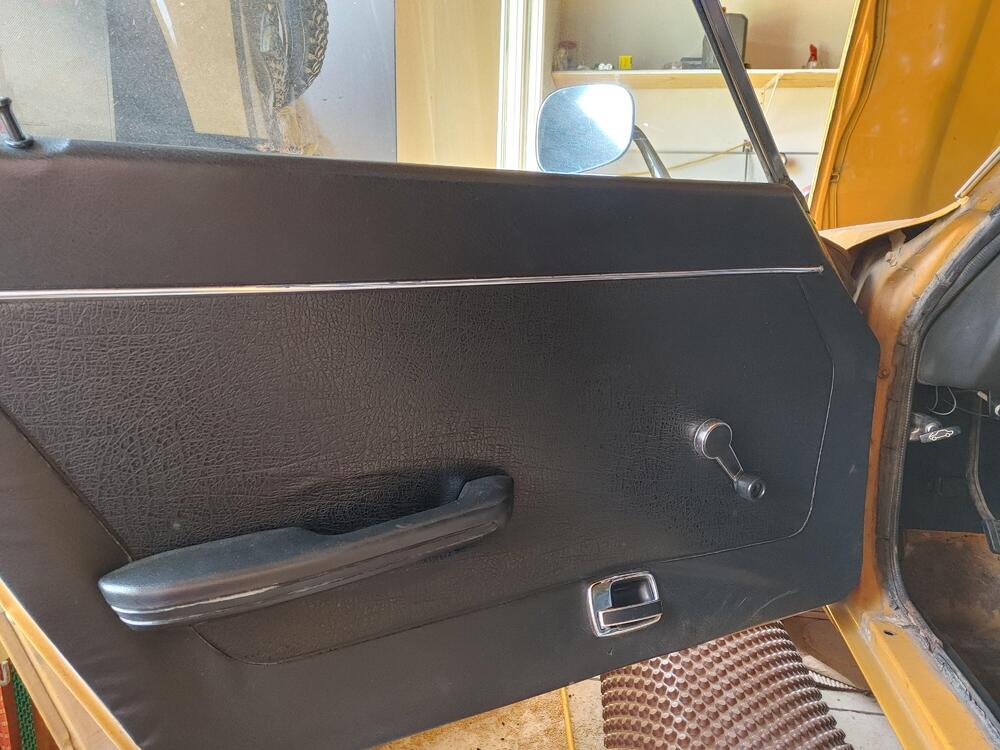
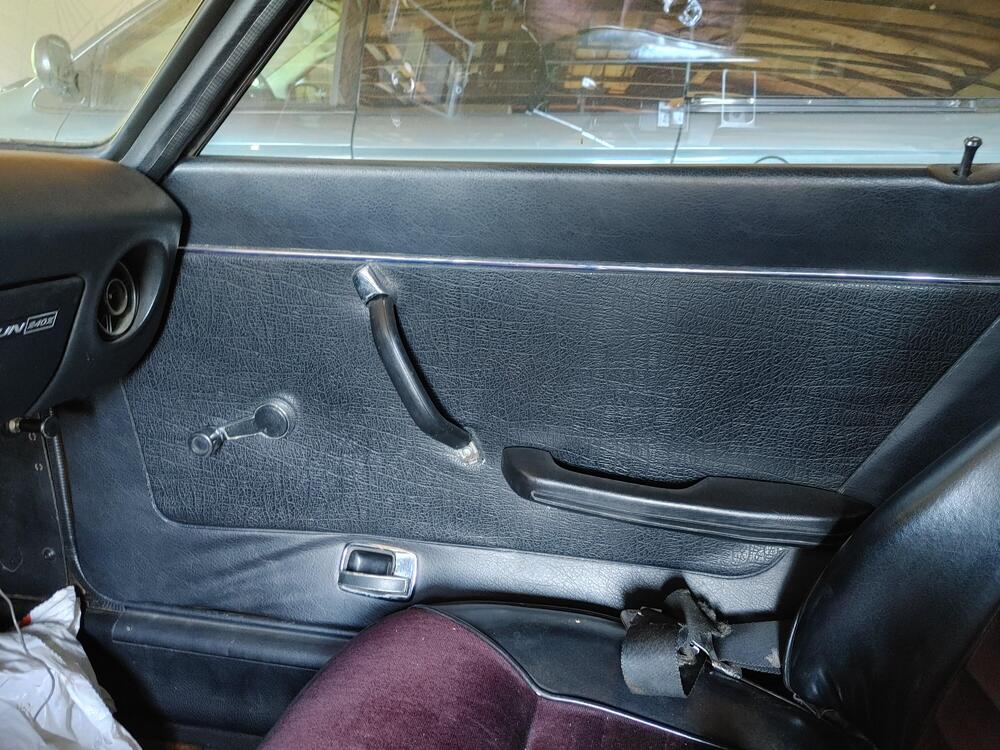
 1 point1 point1 pointThat's right! Thanks for posting that Zed!!! See my memory is getting horrible.1 pointLooks like the V8 might have been a little bit much for that one.1 point1 point1 pointYes, you MUST remove the circlip. The input shaft will not come off with the bellhousing because the input shaft spur gear (gear teeth for the 3rd/4th hub) is larger than the gear and hits the front cluster shaft gear. Once you remove the bellhousing, you can remove the front cluster shaft bearing and gear with a puller and some heat and then the input shaft will come free.1 point1 point1 pointYou should check for power at the switch first. The odds of a new switch failing are slim.1 point1 pointSo we have three streams of debate about Ethanol. 1. Is it better for the environment? 2. Is it better or worse for your car? 3. It’s deeply rooted in politics We’ve touched on 2 and 3 and I think the conclusion on 2 is that it is probably not great for a classic car but fine for modern vehicles. It might be better to seek non-ethanol gas for your Z, but it’s not going to kill your Z either. On 3…people with differing political views on oil, energy and ethanol will not change sides. We humans are too deeply rooted in our belief systems and are unwilling to give quarter to the the other side even in the face of facts to change points of view so this debate it’s sort of pointless. On point 1. We can just follow the science. The science states corn based ethanol is probably not better and may in fact be worse for the environment. This guy breaks it down using science and data from prominent professors and institutions like Harvard. Super smart guy that I follow on YouTube. His channel is Engineering Explained and he reminds me of what Captain Obvious was probably like about 15 years or more ago.1 point1 pointYou can buy non-ethanol fuel at your local boat dock. Ethanol is highly frowned upon in the yachting world for gas engines, and typically very good quality. I remember the days when I was running my grandfathers airport fuel business in San Diego. I used to buy 130 octane leaded gas for around 55 cents or so. I'd pull my Z right up to the truck, connect the static line, and pump it directly into the car. Those days are long gone and you cannot fill a car with aviation fuel (for tax reasons apparently). But my Z ran like a top and I remember seeing greyish soot in my tailpipe instead of the typical black soot. I still remember taking her out on the taxiway and driving as fast as I could (those days are ALSO long gone). I loved being 18-19 years old with a classic Z...1 point


Important Information
By using this site, you agree to our Privacy Policy and Guidelines. We have placed cookies on your device to help make this website better. You can adjust your cookie settings, otherwise we'll assume you're okay to continue.