Leaderboard
-
Muzez
Free Member8Points242Posts -
Jeff G 78
Free Member5Points3,007Posts -

siteunseen
Free Member4Points15,166Posts -
inline6
 Subscriber
 4Points1,288Posts


Popular Content
Showing content with the highest reputation on 12/19/2021 in all areas
-
I've had the thought that tying the springs down with spring compressors before lifting would stop the front end from rising, to give space. I didn't need it though, I was lifting from the rafters using a chain hoist. But it might be worth a shot if you know space will be tight.3 points
-
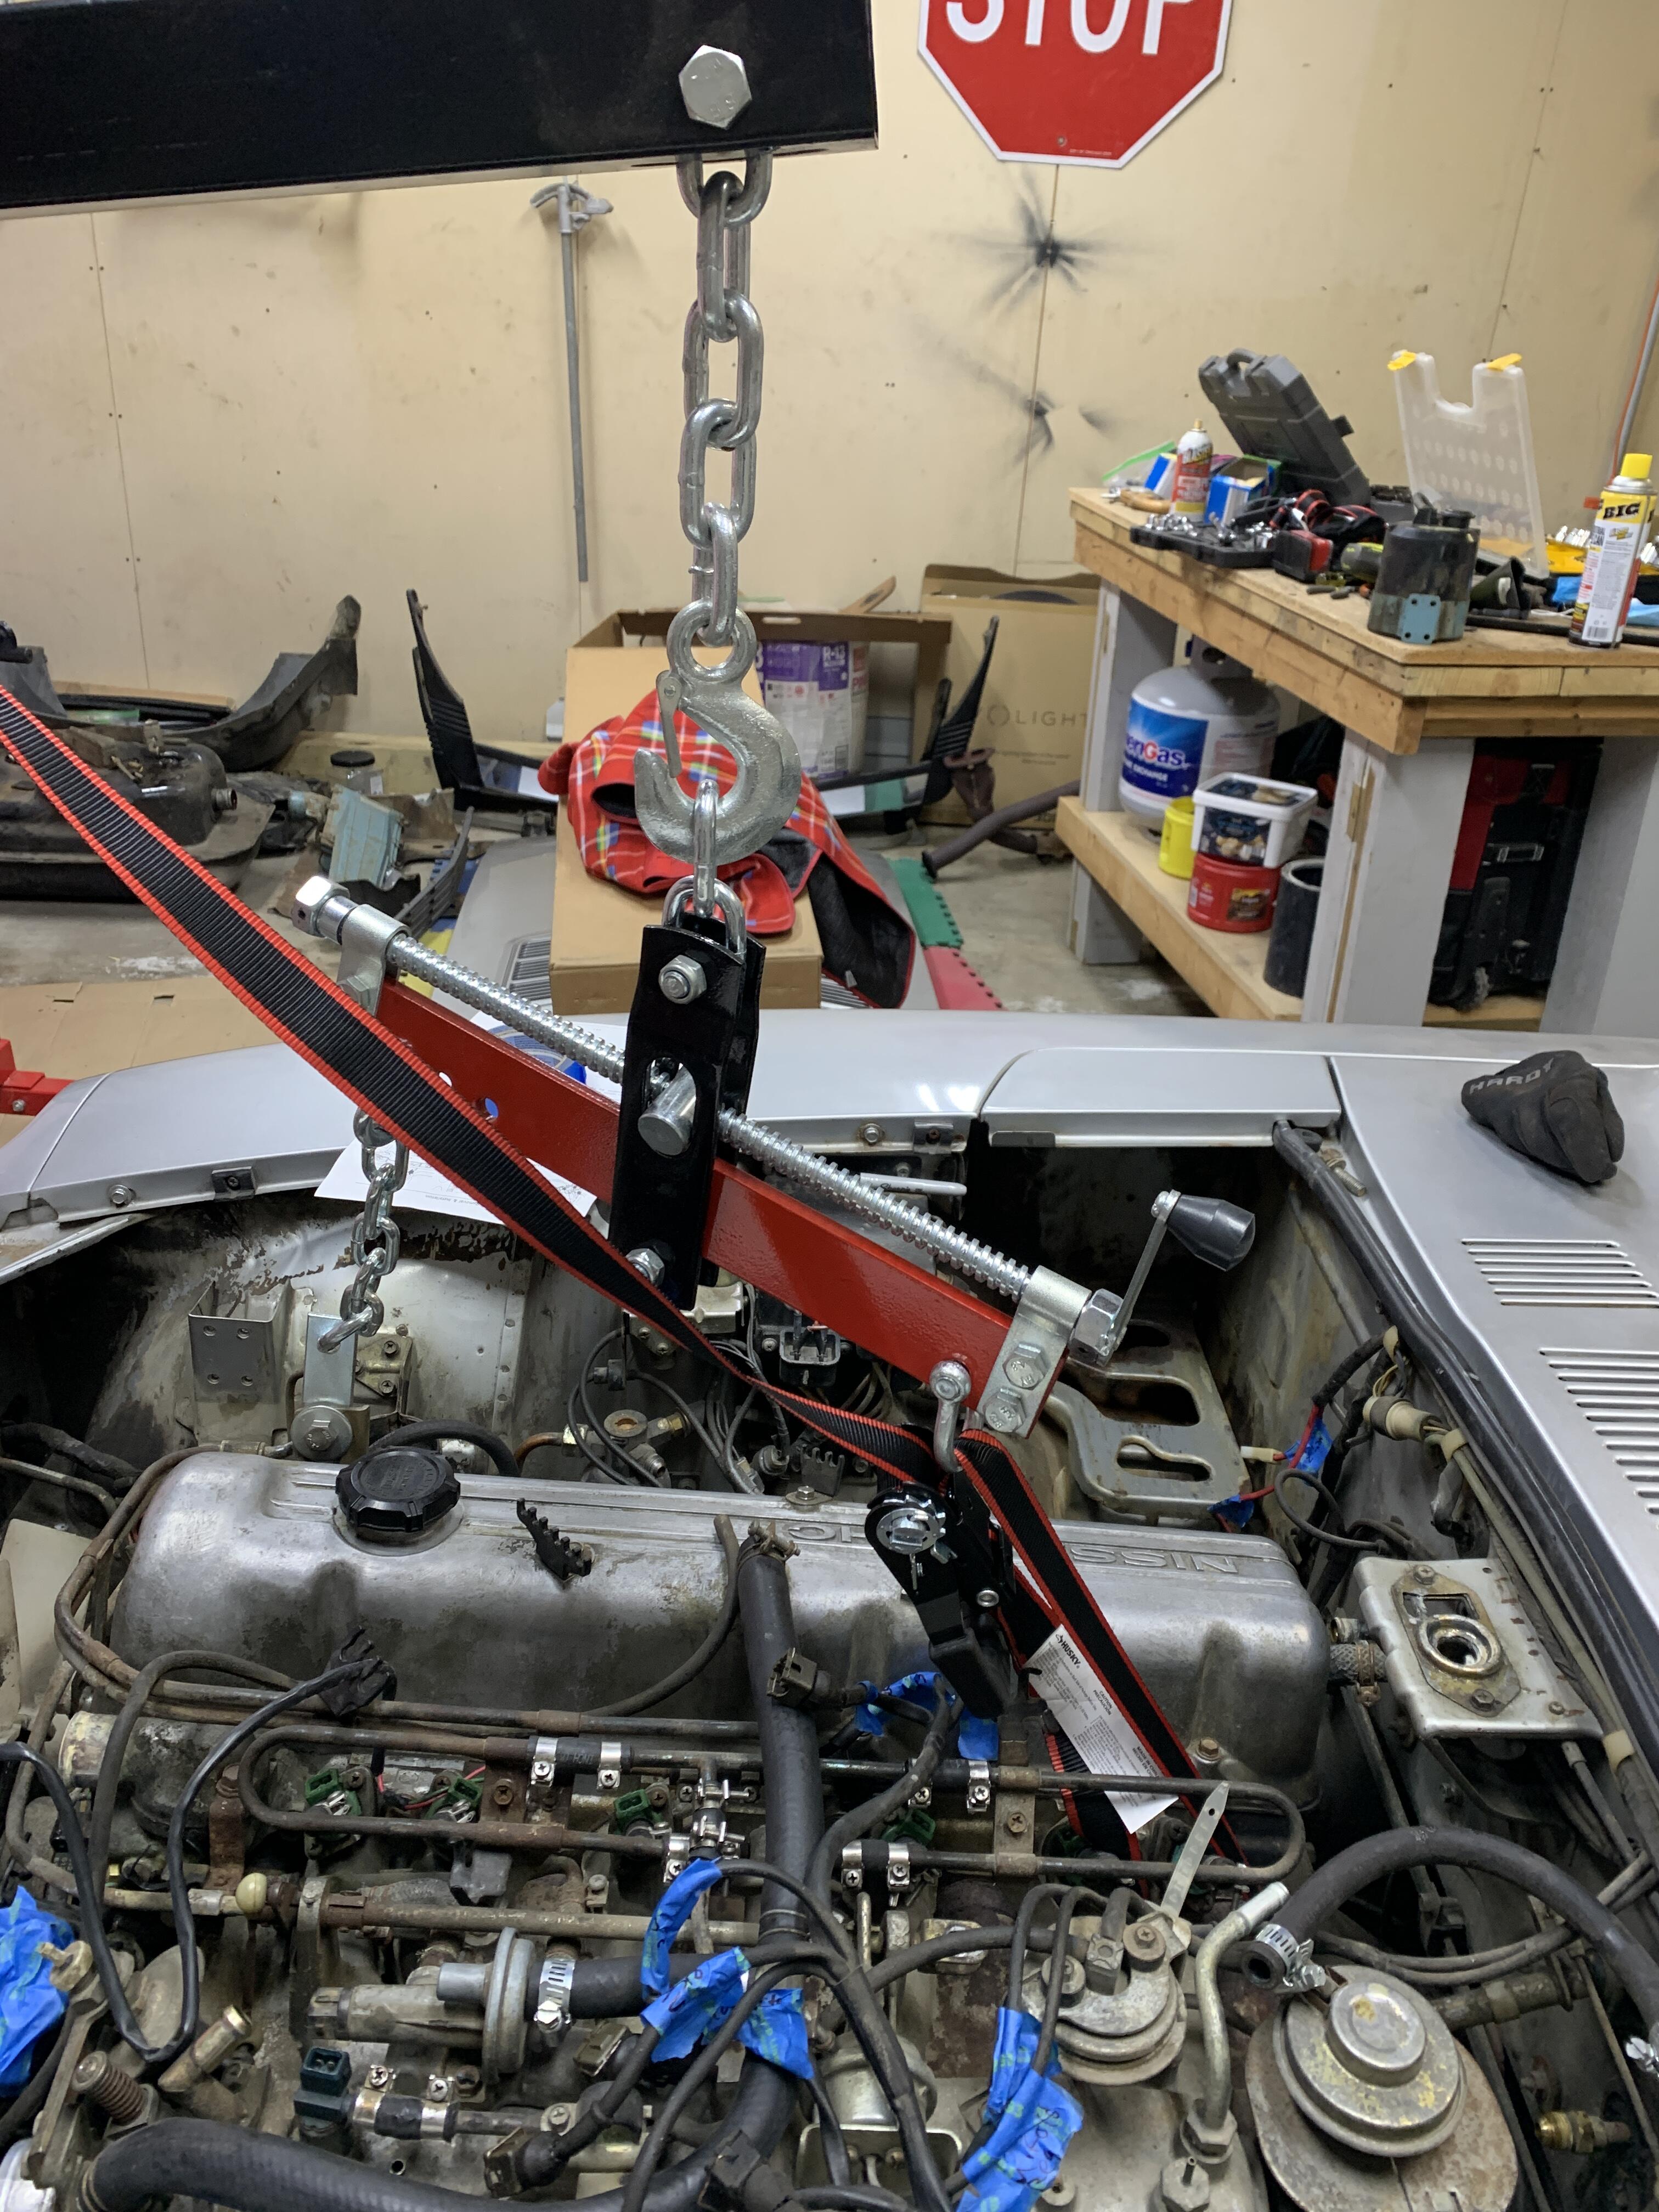
Looks good. The extra strap can be around the same runners. You will need to tip the rear way down, so make sure your straps give you plenty of adjustment room. The front should be as short as possible so you have enough lift.3 points
-
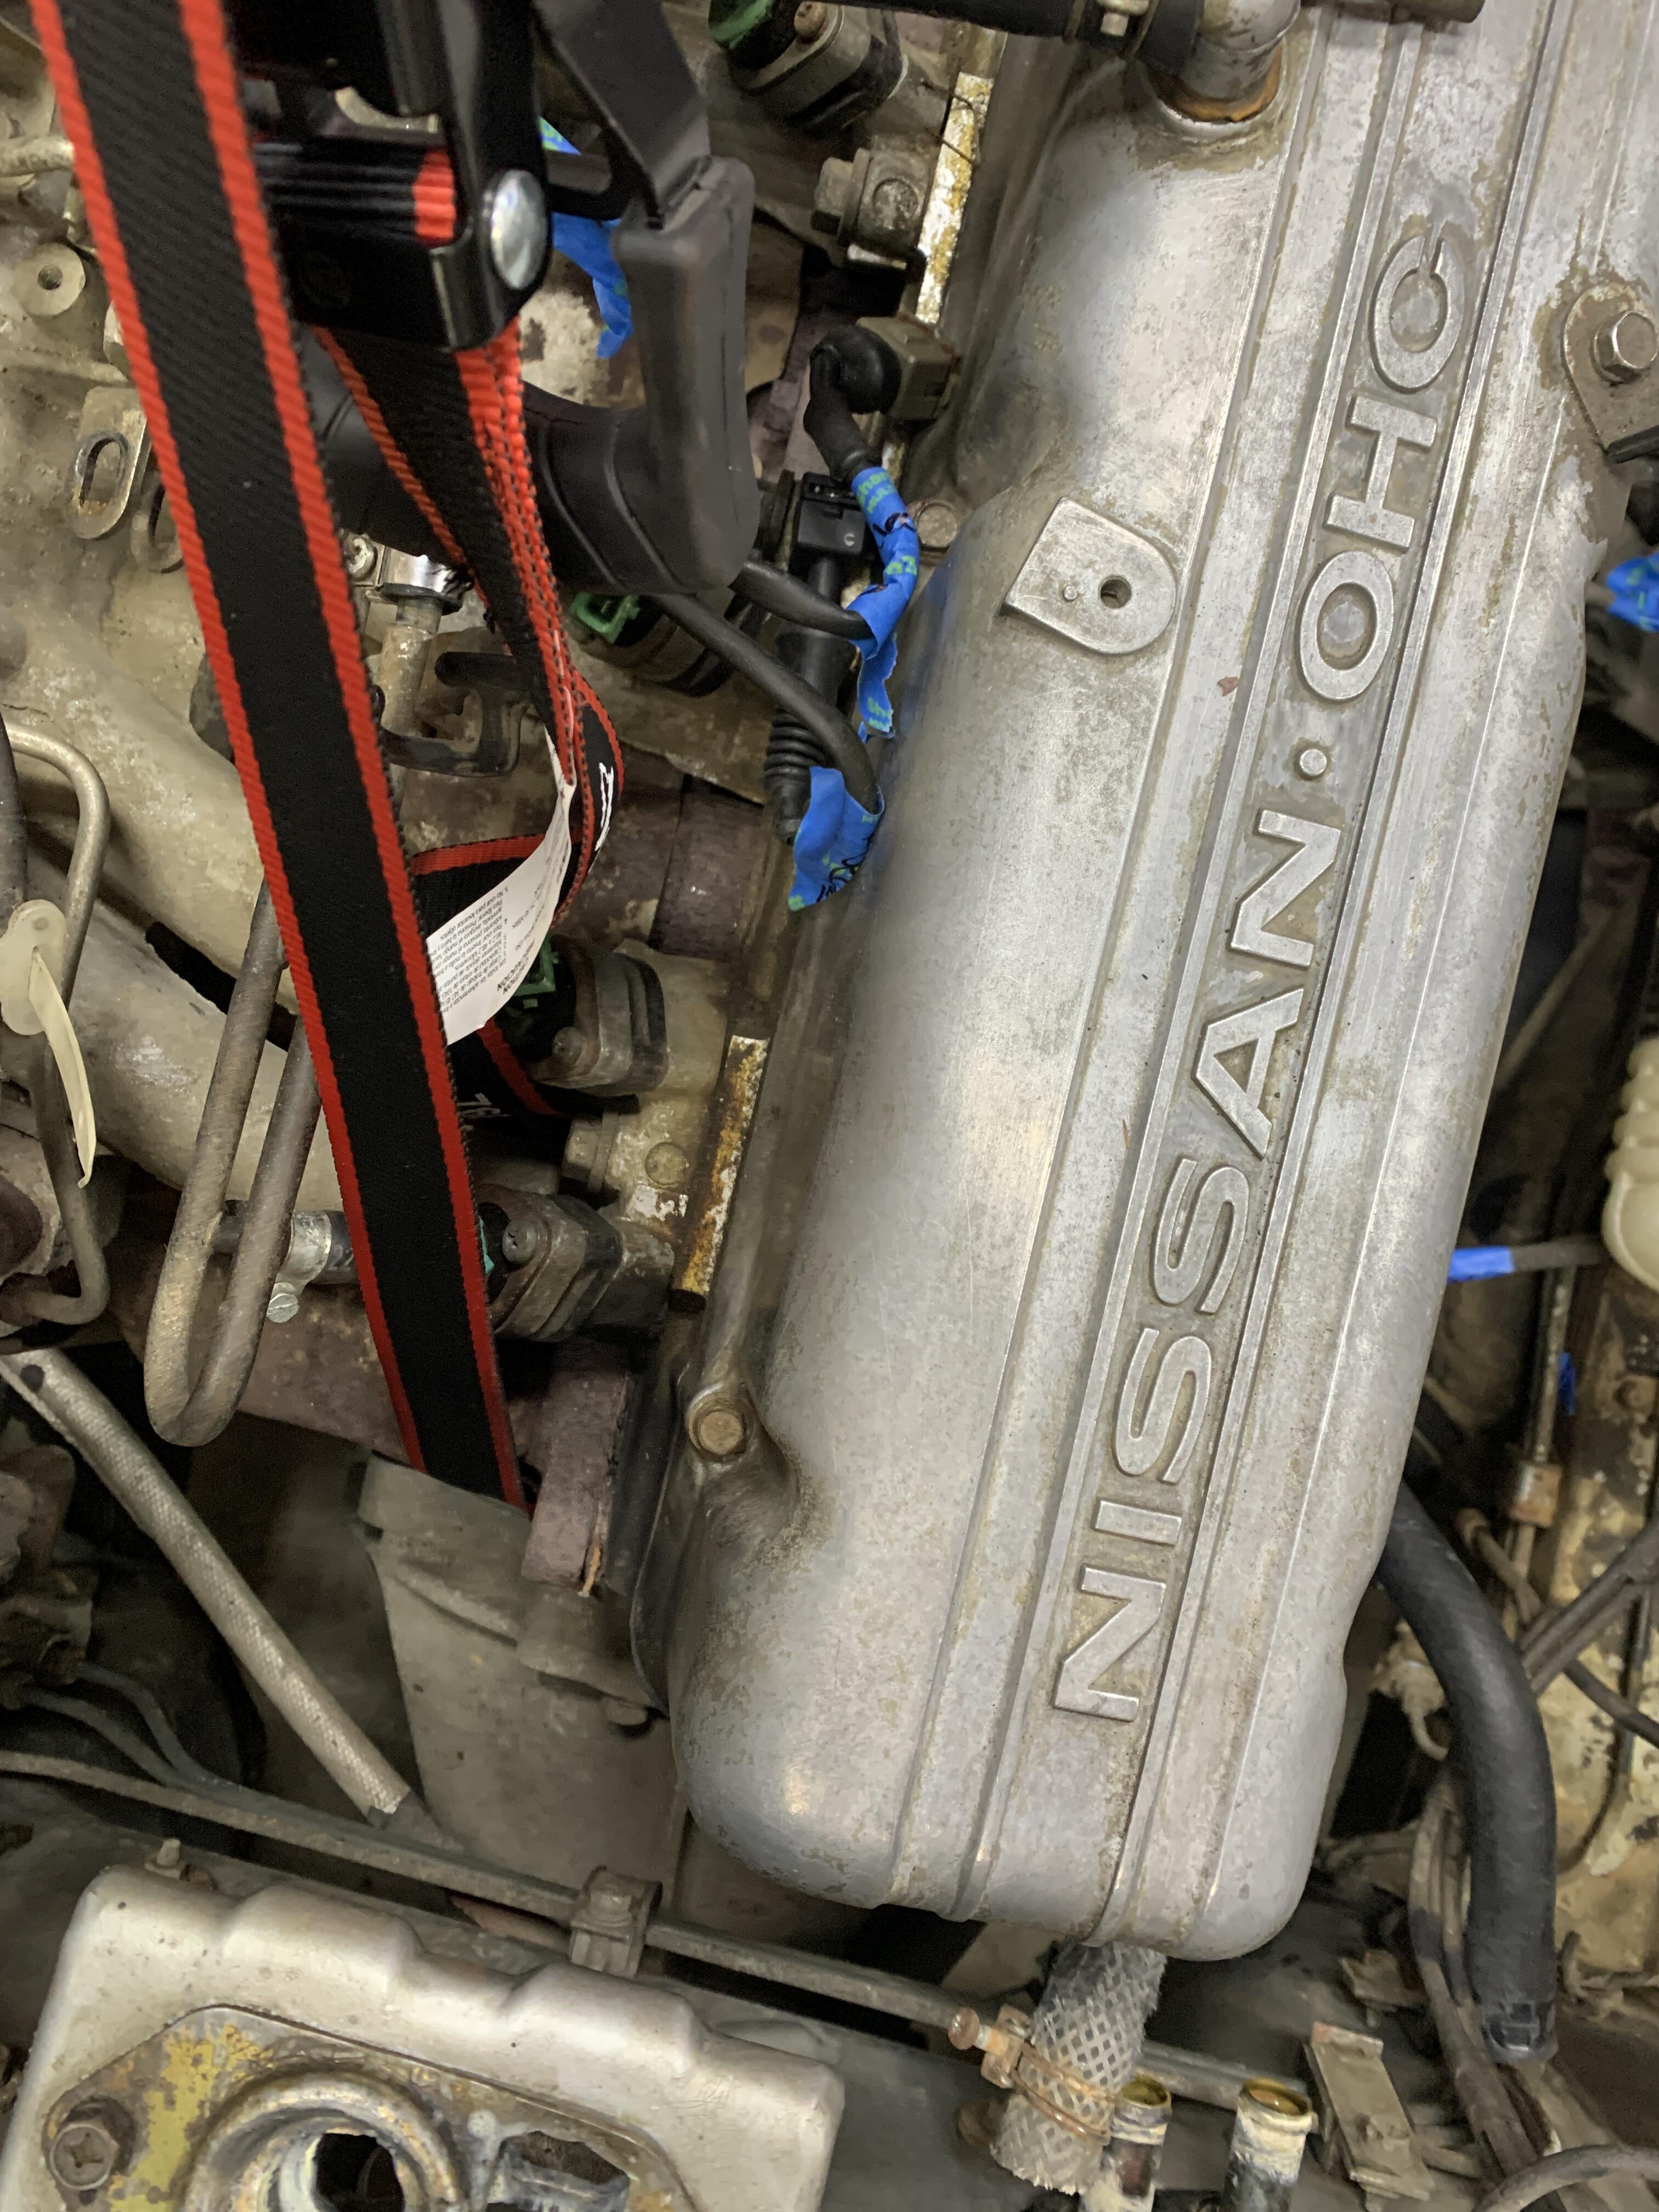
@Jeff G 78, @Reptoid Overlords, @Patconthanks for the replies guys and apologies for the post duplication. Got a 500 server error that the post didn't go through so I reposted, should have double checked. I will see if I have a chain long enough to go around the exhaust manifold runner. If not, will set two straps on the exhaust manifold side. Will post back in an hour with pictures when I get it moved. Patcon's reply from old post: I dont really like that set up. Thread a section of chain through the exhaust manifold. Use bolts to close the loop on the manifold end. Take the other end to the leveler. I wouldn't want a large loop like you have now. Too easy for the load to shift.3 points
-
3 points
-
Congratulations, you're a bonafide Z mechanic now. I wonder if you'll get a Badge? You could lower the motor on an old tire to be safe until you get your bolts.2 points
-
It be tough to bend one I think but here's the different ones.2 points
-
Hmmm. Maybe I should do that. I'm not ready to use these, won't be for a while longer. I'll have to look for suitable "drops" at my local metal store. Those are the leftover bits that they sell for a single rate by weight. Texas Precision Plating got my two shipments ok. Hope they turn my parts around in the early part of January. Once I get them back, I can bolt on inner fender supports, the fenders, and the inspection lids for the last time. Then, I can proceed with the last of the primer coats and final sanding on the fenders. There are still a few other areas to address with further bodywork, such as an area on the passenger door, and the rear tail panel. Getting closer to paint! While the car is at the paint shop, I plan to Black Diamond blast all of the black parts and prime and paint them. It would be easier to drop them all off at a powder coater. But, I figure epoxy primer and paint will be much more durable than the factory's original attempt, but look more authentic. I wish all of my efforts, all of this, was for an early VIN car for value reasons, but hey, 240z's in this good of a starting condition are somewhat hard to find.2 points
-
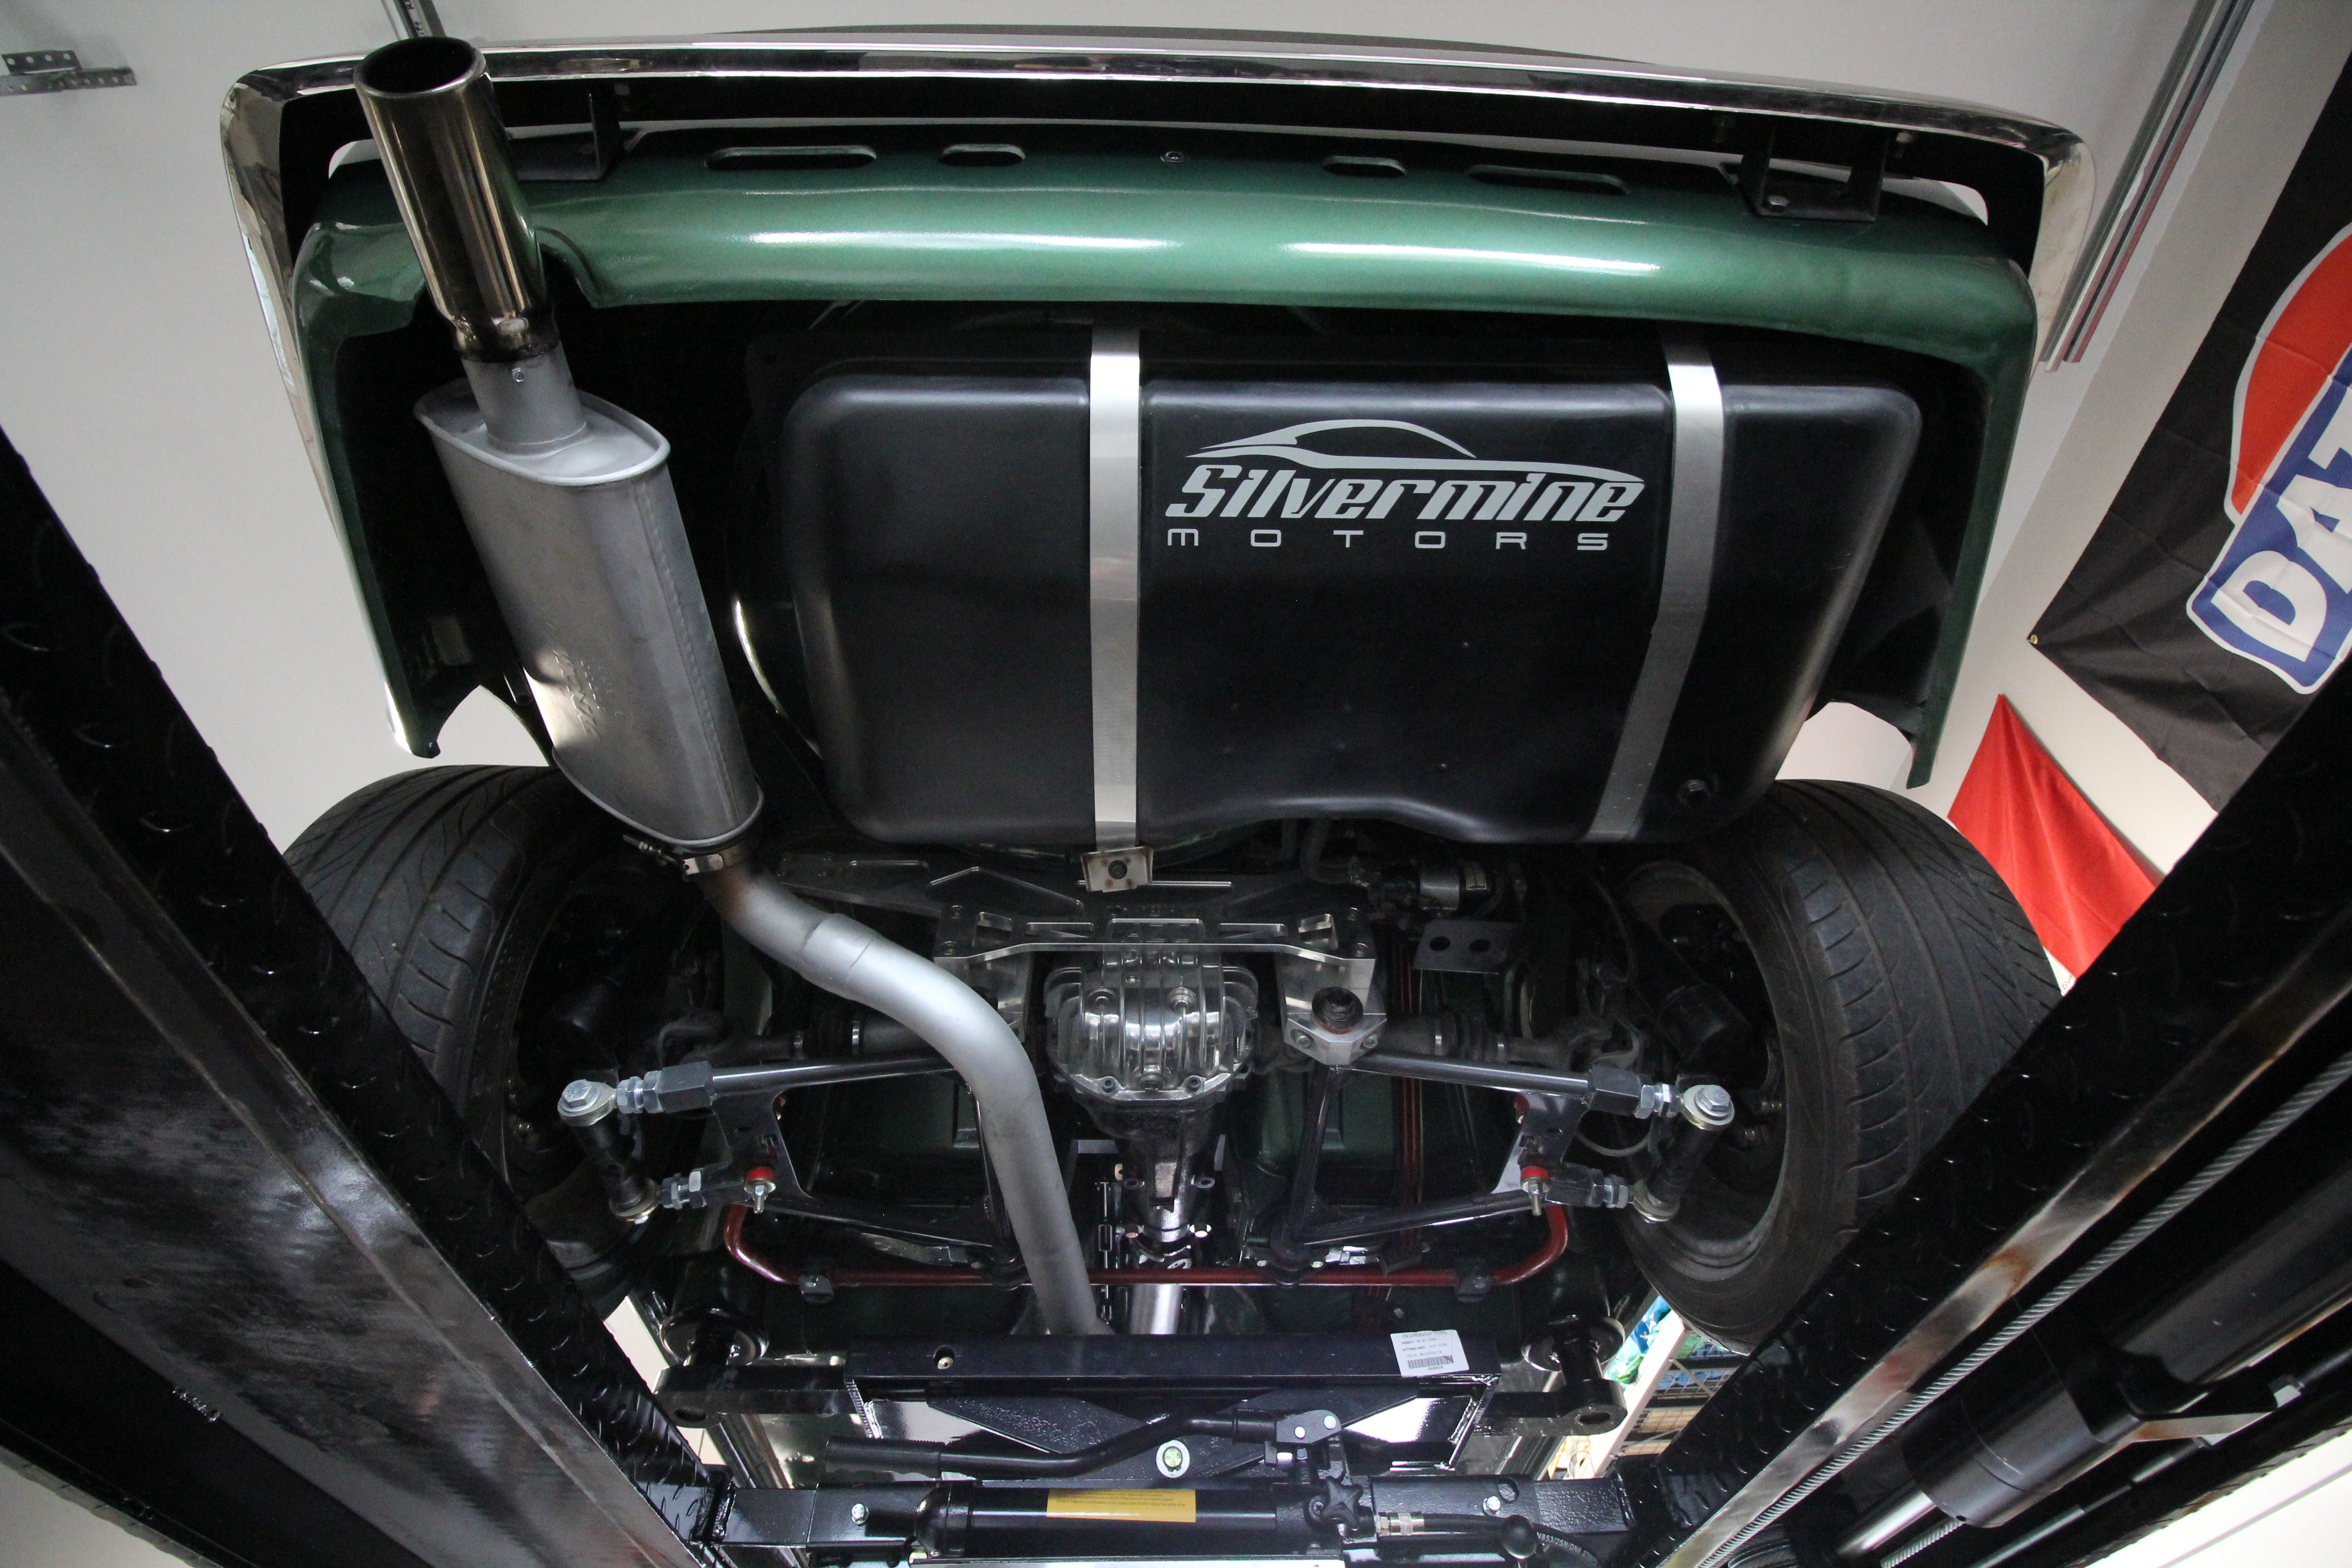
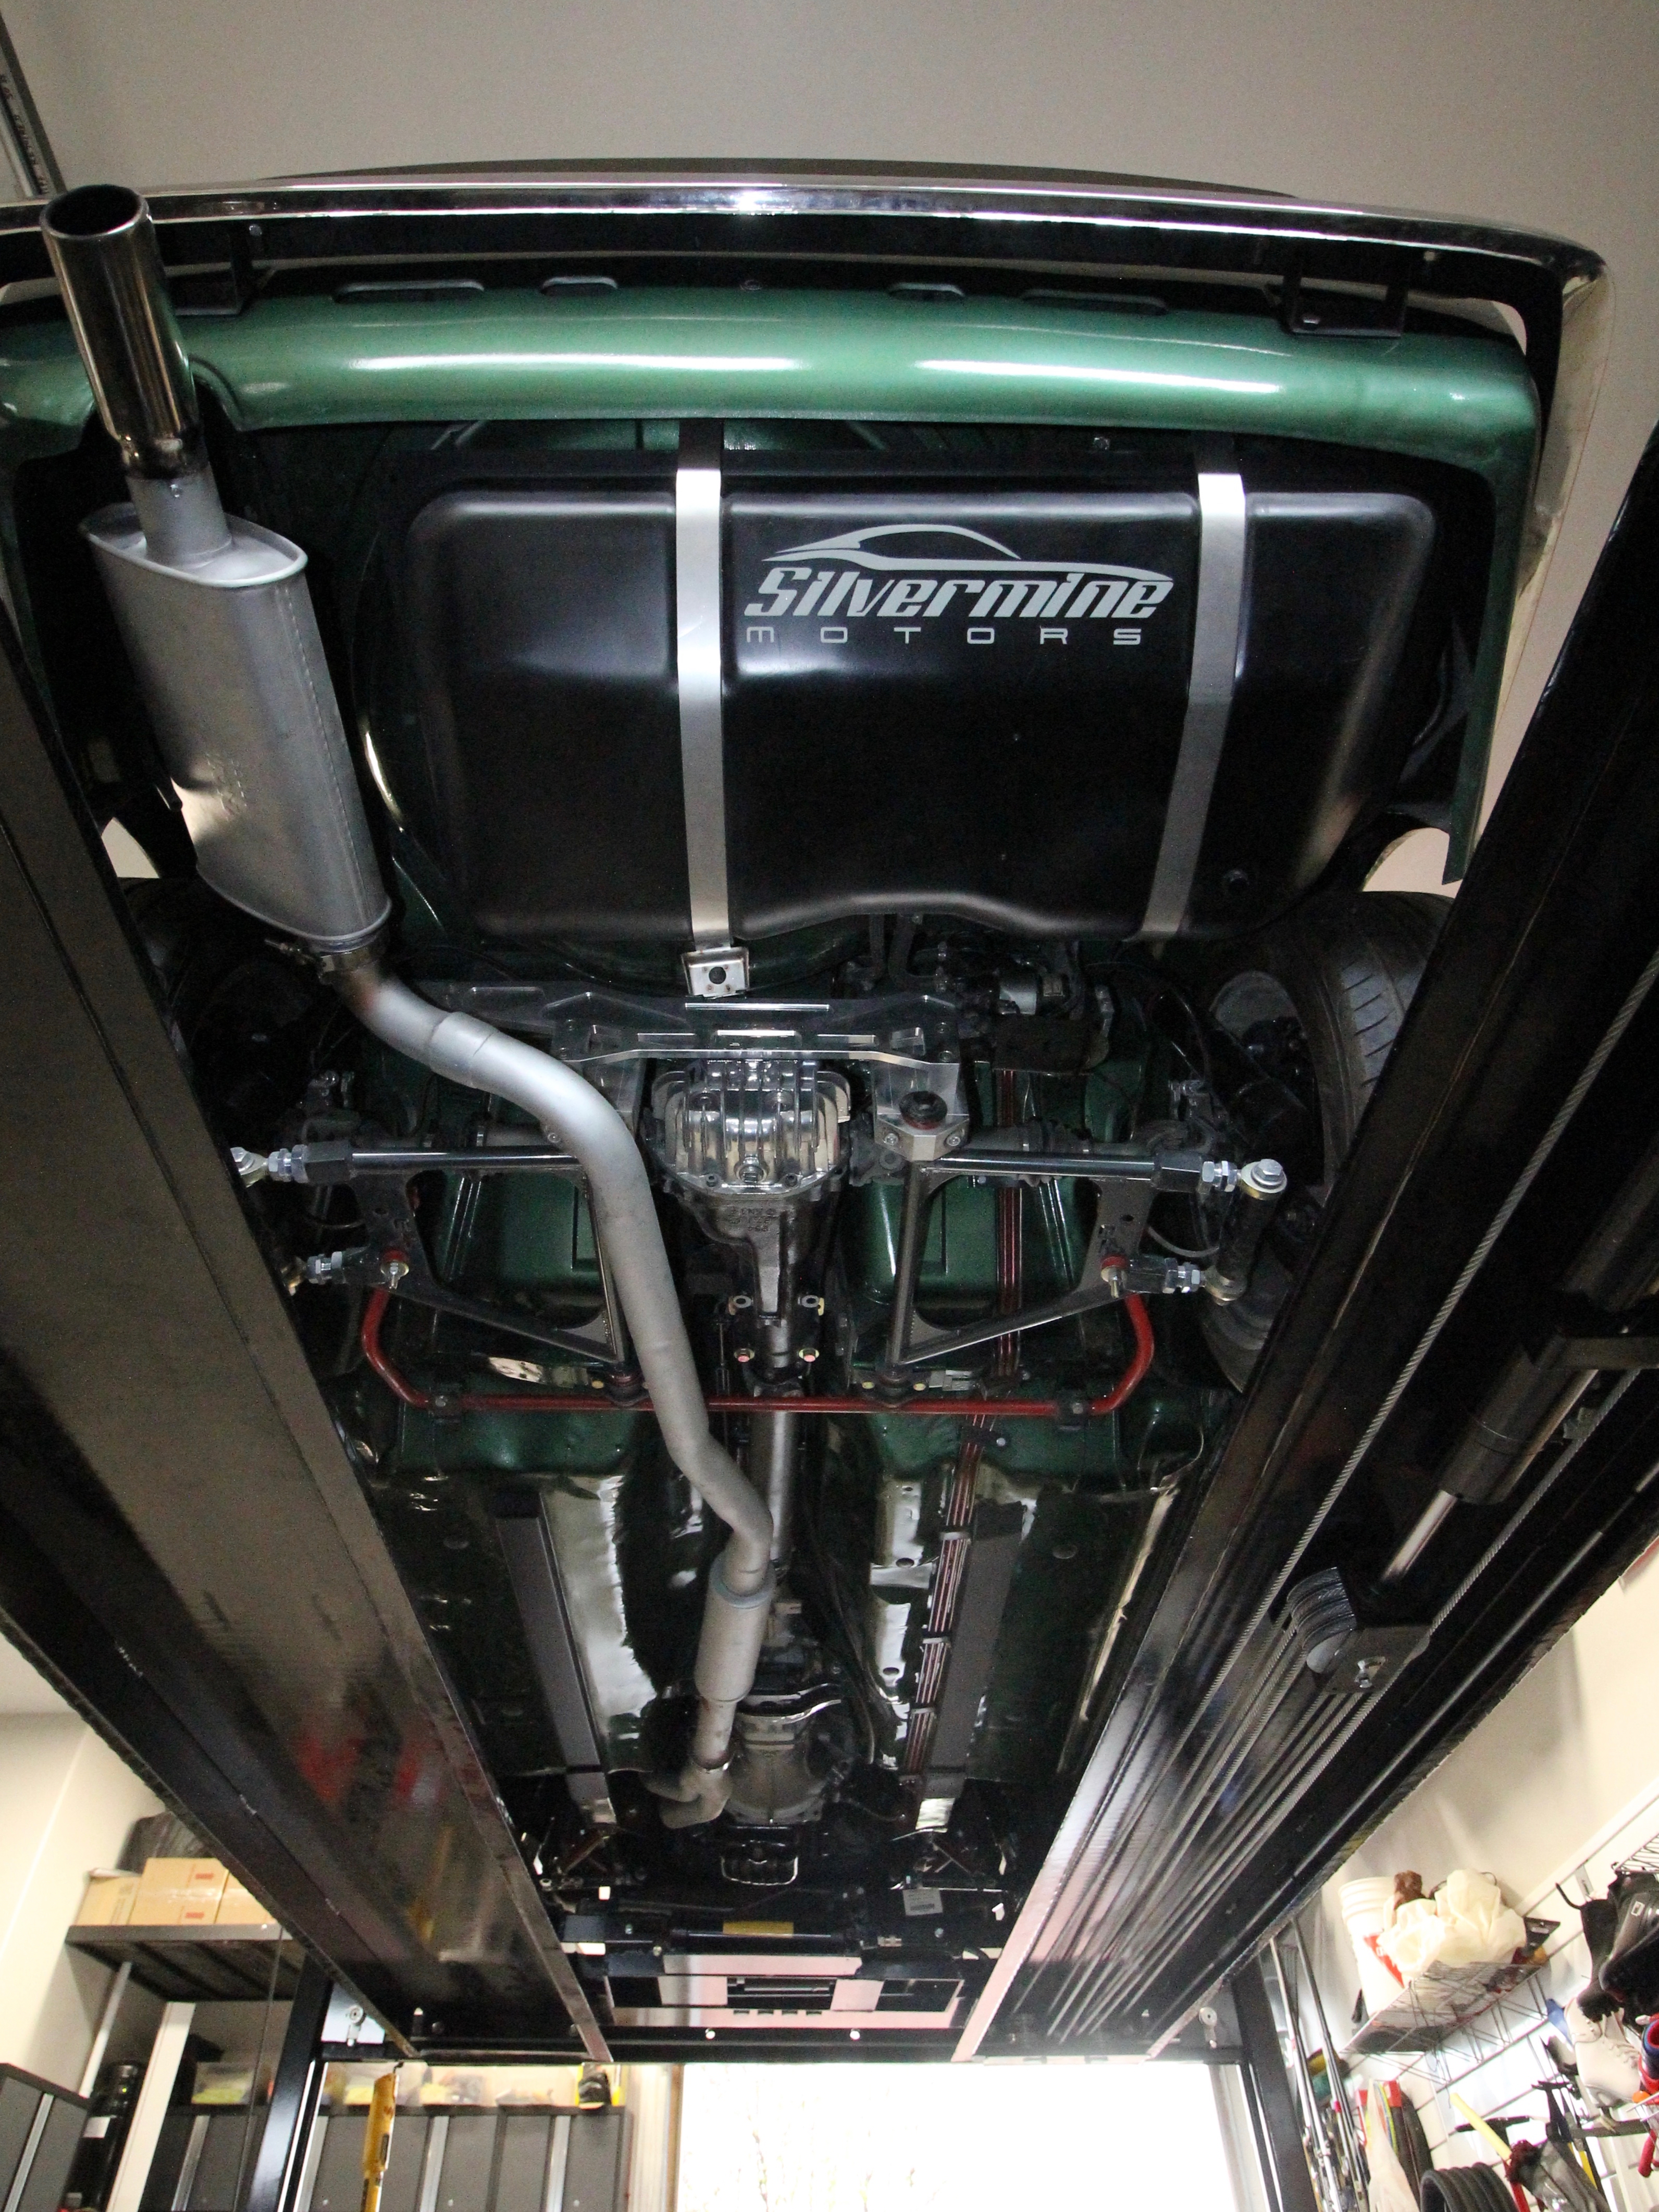
2 pointsAh, but relative to Left and Right hand sides of the car, not 'Driver' and 'Passenger'... And of course, all this is Domino Effect. The fuel tank is offset to the Right hand side because the exhaust is on the Left hand side of the car, because the exhaust manifold is on the Left hand side of the engine. Design Concession in action.2 points
-
Thanks @siteunseen. Was definitely nervous. I didn't put it on chassis stands. Instead I raised it up with some wheel stands just enough to get the legs of the lift under. Can send a picture in a bit but it worked well. @Patcon I wish I had capped the coolant in the back of the engine. Put an old crappy carpet under the engine to catch the fluids as it got lifted, but it drained down the transmission just past the edge of the damn carpet lol.1 point
-
1 pointYou can strengthen the area be adding a layer of fiberglass cloth/resin to the backside of the crack. That may stop the crack from spreading. I did that with cracks on my center console and it worked nicely./1 point
-
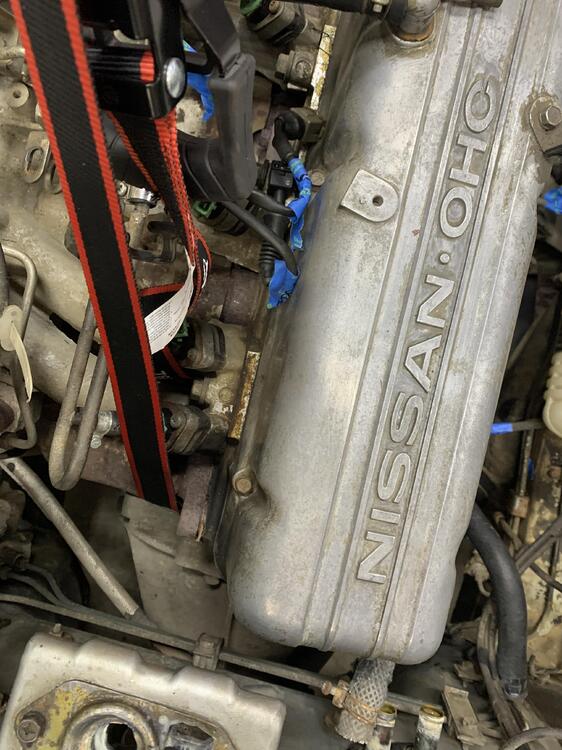
Safely removed! Just need to get some longer bolts to get it on the engine stand since the stock ones look like they are too small. Only one hiccups, forgot to remove the shift knob so I tore the rubber gasket which pissed me off becuase I just replaced it. Anyone have a photo of their shift lever? Trying to make sure I didn't bend it, but this thing has more curves then some women I have dated so it'd hard to tell :p
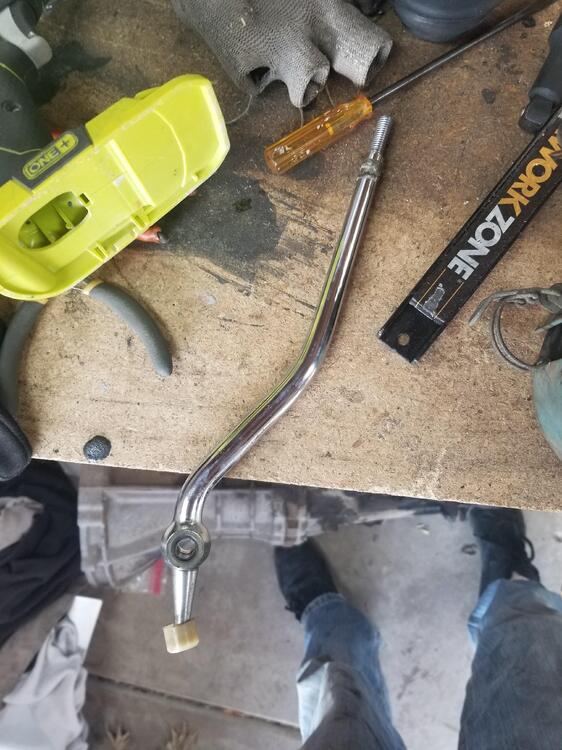

 1 point
 -
1 pointI just finished uploading the 3D model and flat templates. The cad model is in step format (and 3D pdf). It was created using Solid Edge version 2020. The flat templates are exported to .dwg and .pdf formats. I was not happy with the result of the formed upper corners (modelled quick and dirty, LOL) so I included a scanned tracing of an original part.1 point
-
Now that you mention it, I do remember taking the front wheels off and lowering the car to get more clearance.1 point
-
I have the rubber cap! I listened! 🙂 I think I have seen you mention it on 3-4 other posts. Sounds good, will shorten the chain in the front.1 point
-
1 pointThanks, I will let it be, take some spare Hose with me in the car if the electric pump should take a break one day.1 point
-
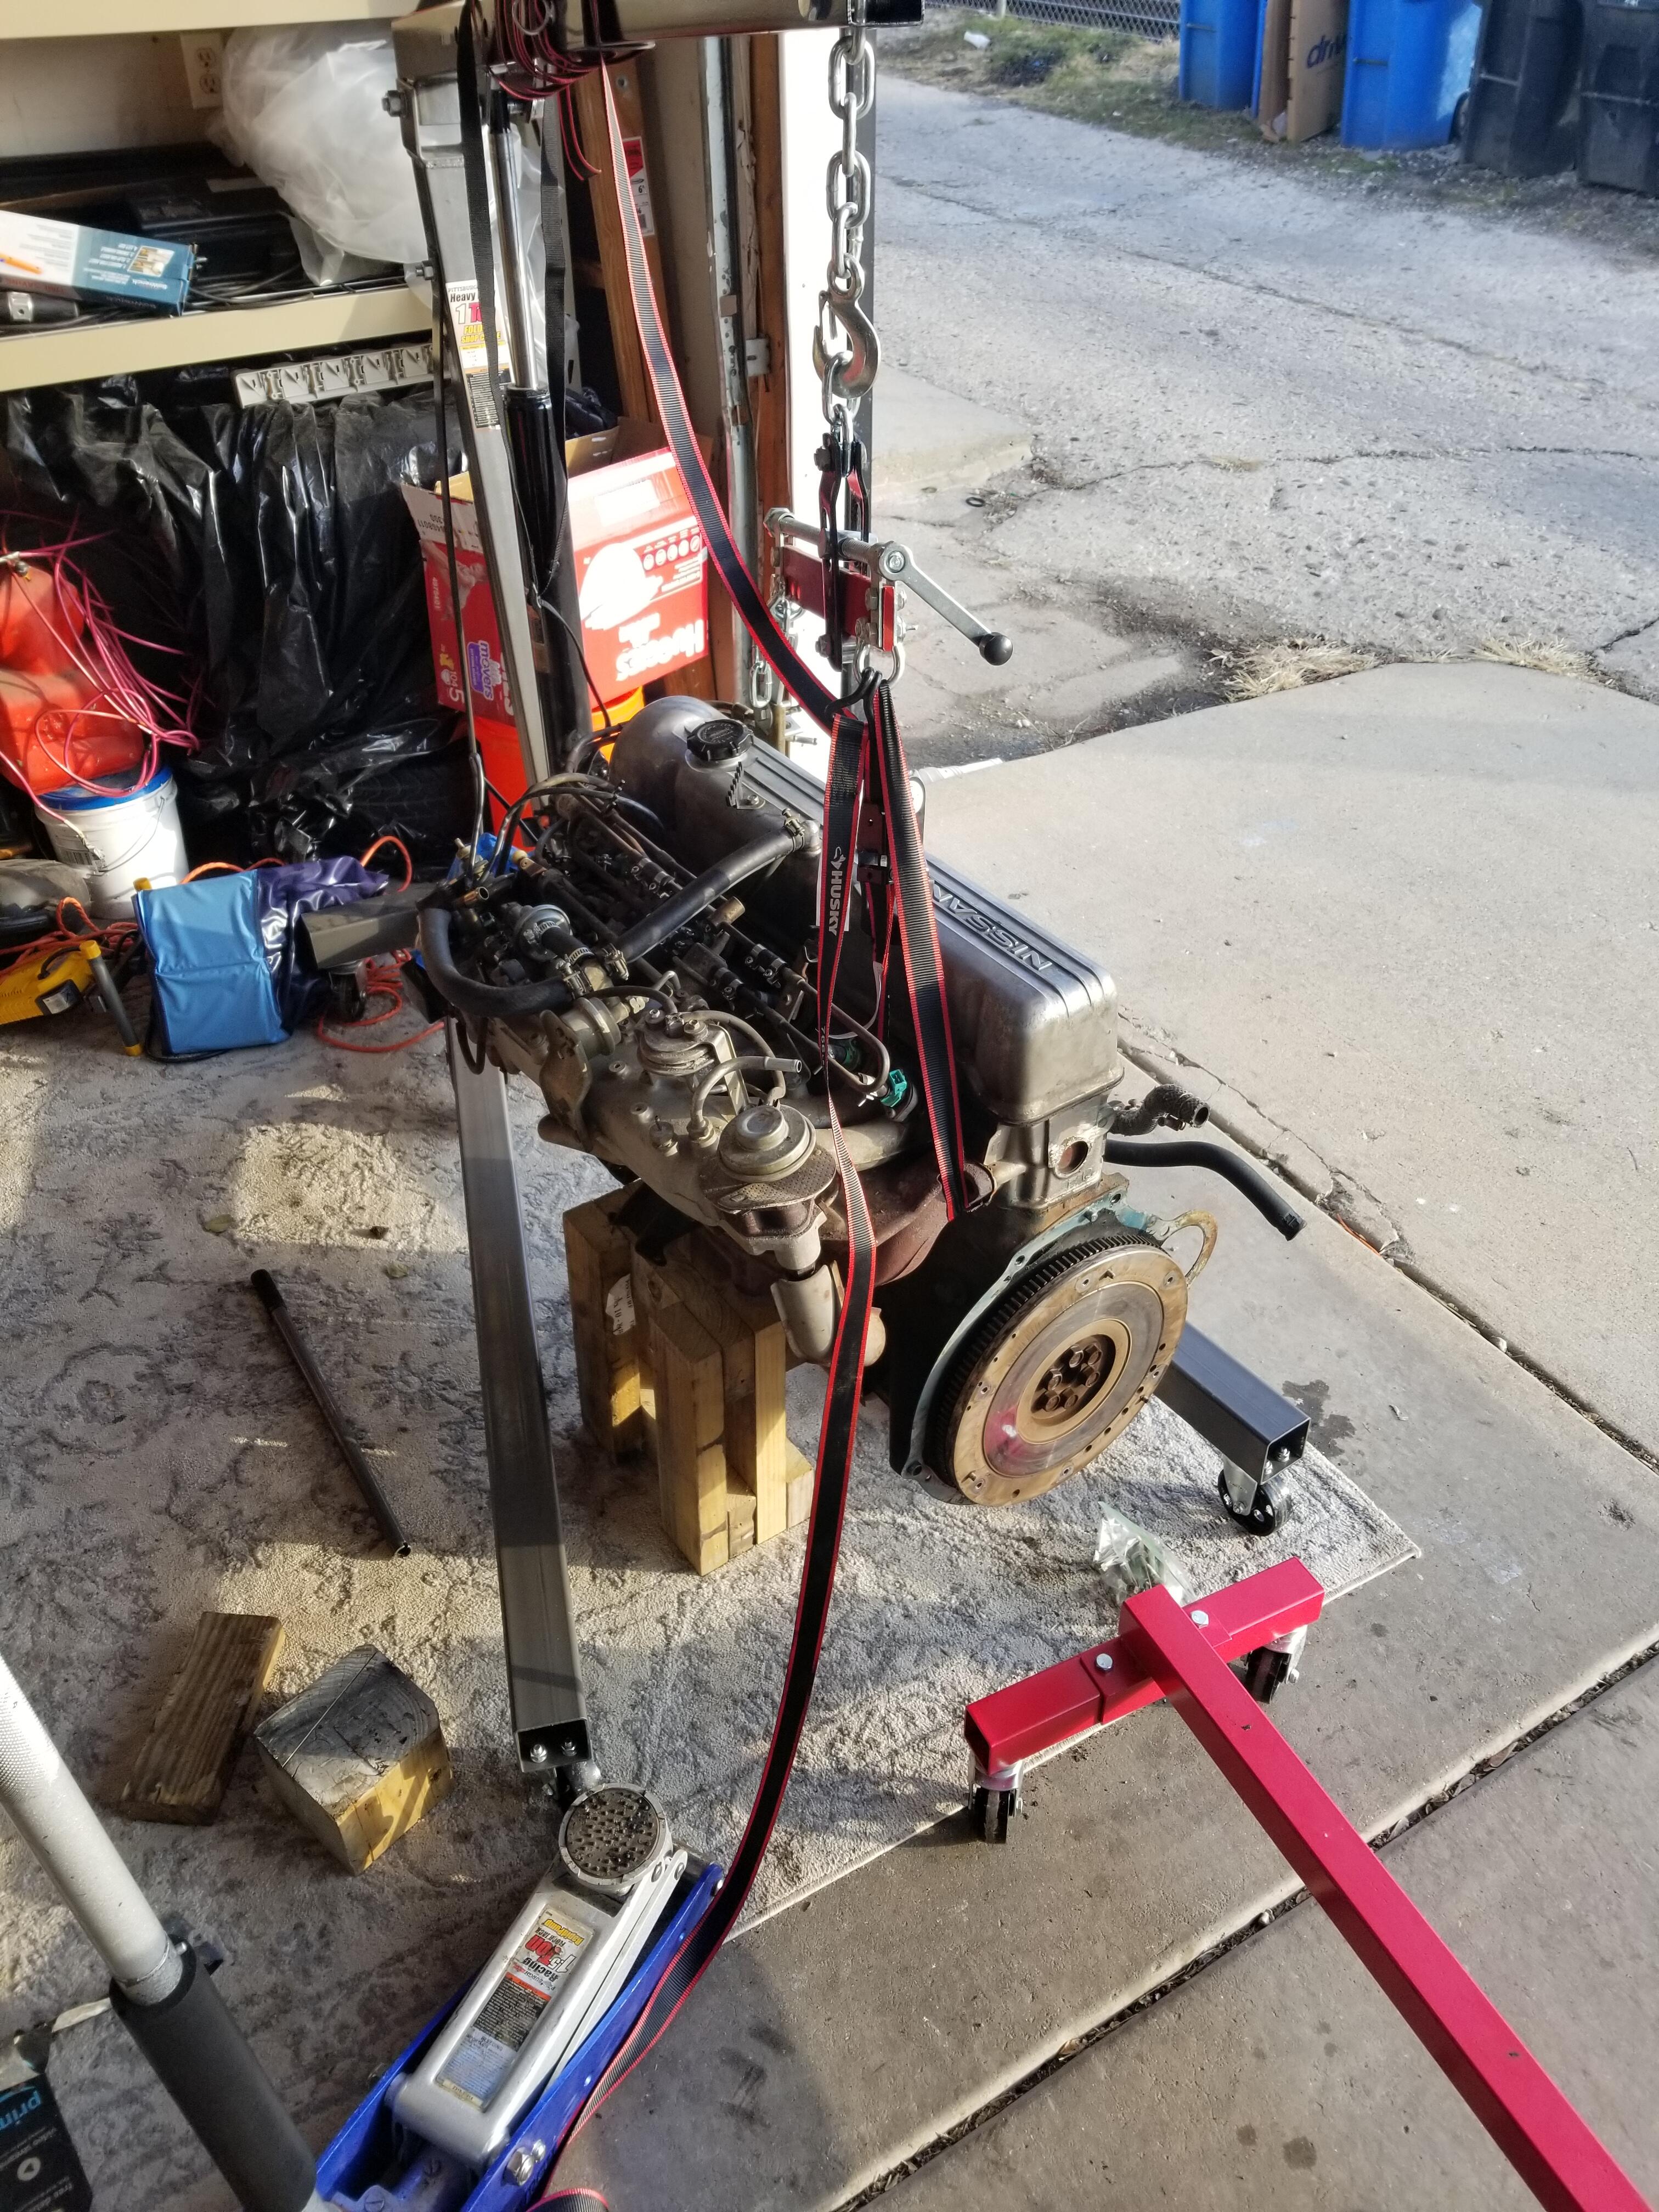
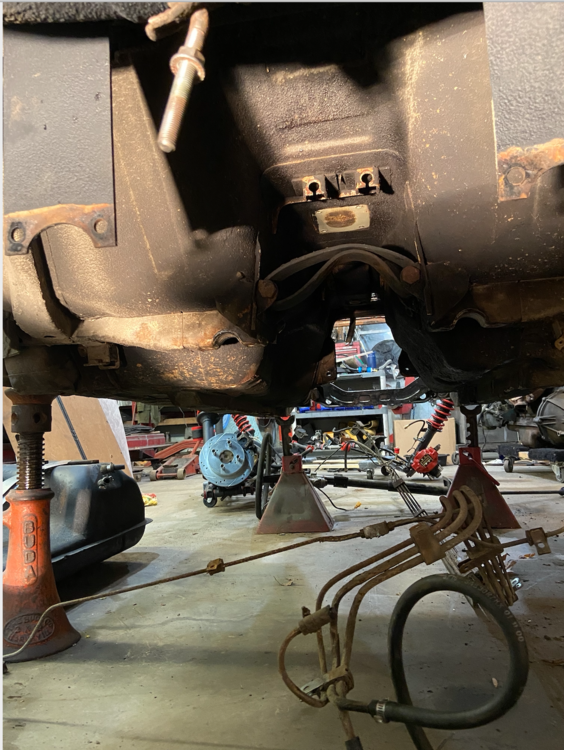
@Jeff G 78 @Patcon moved the strap between 5 and 6 and then around 6. Need to adjust the tension so it is level from start. Going to wrap a backup strap around the bell housing. Thoughts?

 1 point
 -
I happened across this and found it interesting. https://www.retrosoundusa.com.au/index.php?l=product_detail&p=363 Classic Auto Sound specialize in "turning back time" on your classic car radio. This conversion features music streaming & hands-free Bluetooth, AM/FM radio, USB & AUX inputs and more. The ultimate in period-look with today's technology. Anyone bought one?1 point
-
1 pointI think you can just leave it as is. When the dealership did the electric pump on my '73 they just left the mech pump in line. When I did the electric pump on my current car, I removed the mech pump.1 point
-
That is not far from where I am at! Got really excited that you might be local until I checked your profile. If you are ever in the neighborhood, give me a holler.1 point
-
You'll get it, and it sure is nice to be able to clean up the engine bay. On a side note, I used to live in the Ravenswood neighborhood near Irving Park and lawrence in the mid to late '90's. I worked at that Sears on the 1900 block of Lawrence delivering TV's and such. Sometimes i miss the place.1 point
-
1 pointAnything you do will be way more than the factory did and the cars lasted 50 years, many of which were probably neglected due to being a relatively cheap car. That won't be the case going forward. Should last just fine another 50-60. It may be all (or most) the seam sealer was done from top side for ease of manufacturing. I suspect the seams were sealed to keep the interior dry, not necessarily for longevity1 point
-
1 pointI was originally going to reference left and right but was concerned that might cause confusion based on whether they knew that was based on looking from the rear of the car1 point
-
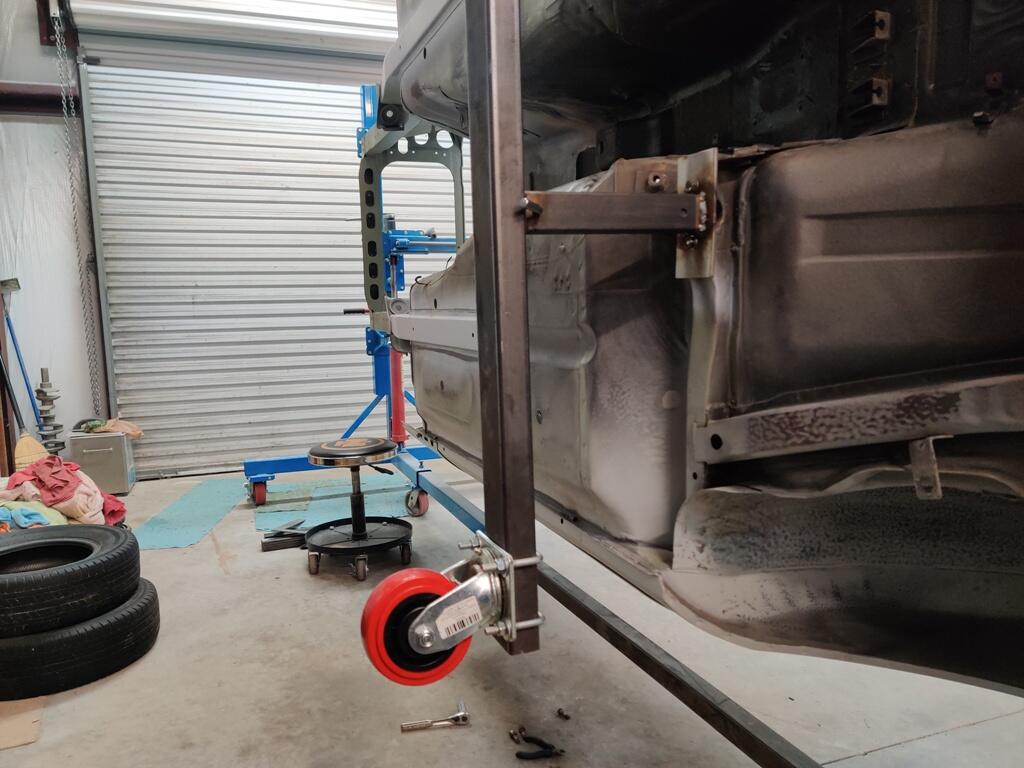
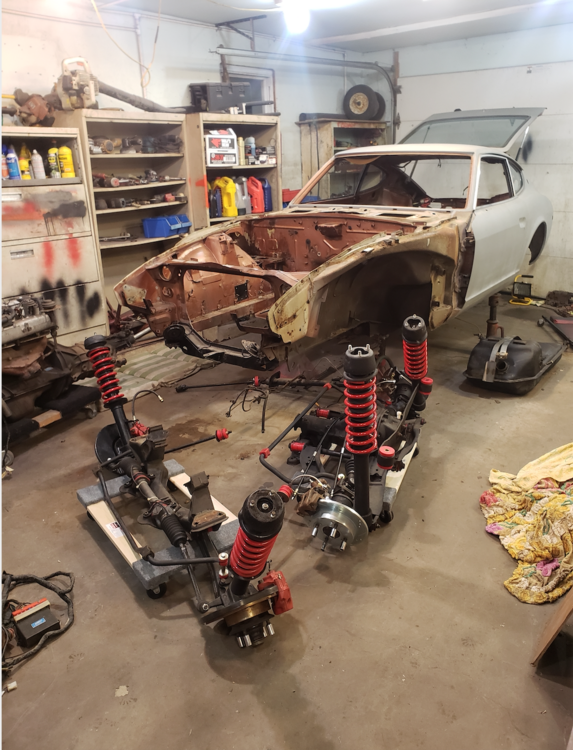
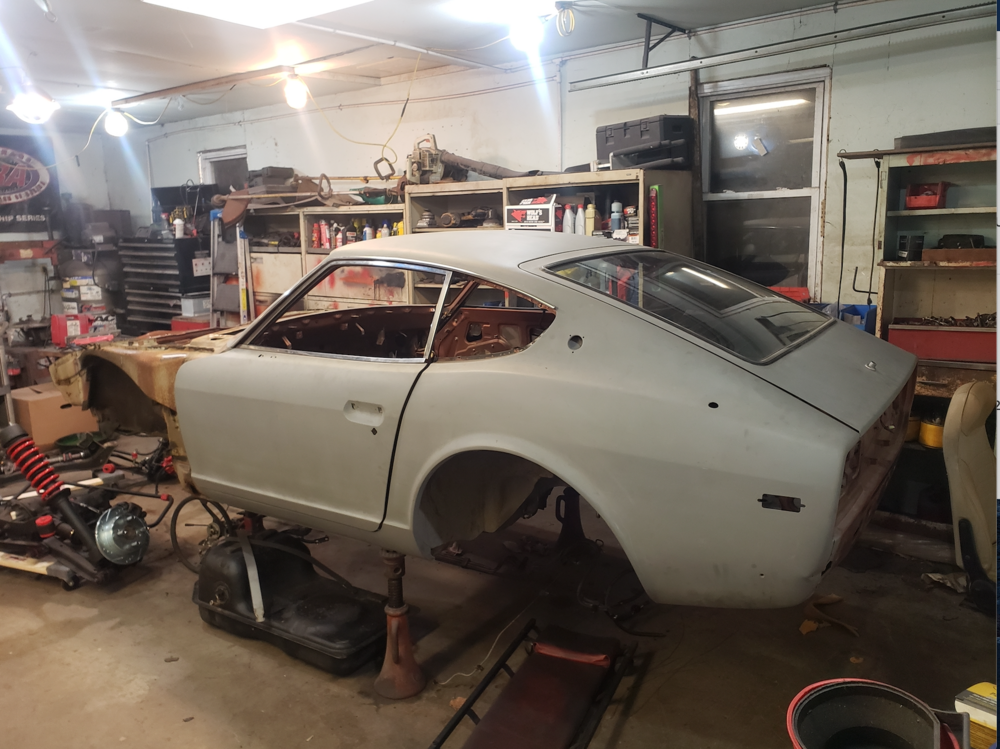
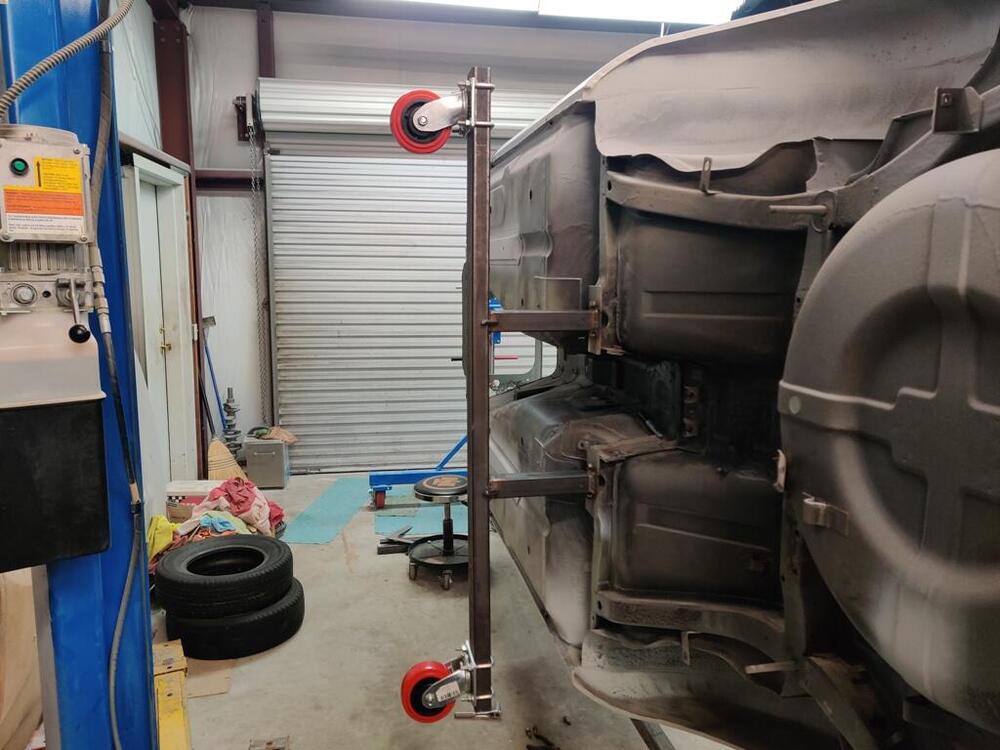
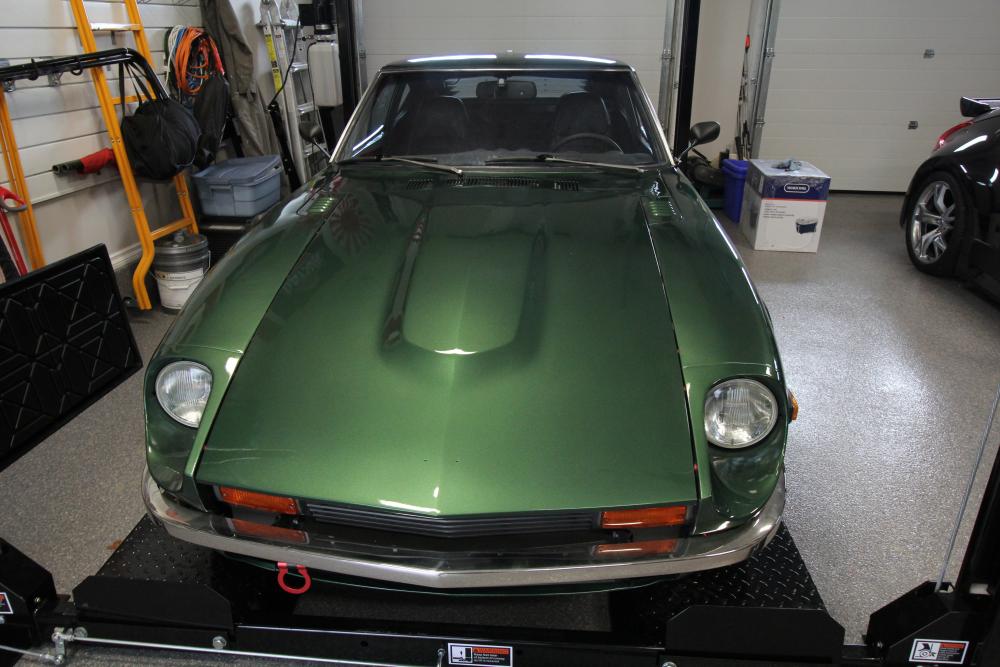
1 pointMade some good progress today.. the car is now basically stripped with the exception of the doors and the hatch. I'll pull those off after I finish the bodywork and get the car ready for paint. On the underside, I intend to tackle any visible surface rust. I'll use a wire wheel to get to the bottom of it, repair what needs to be repaired, and POR15 the rest. Then undercoat the bottom to make it uniform... any suggestions from any other builders? The disassembly is complete... only took 2 weeks, basically weekends only, lets hope the rest of the process moves along just as quickly😂
 1 point
 -
I'm guessing the engine will roll a bit to the left when you start to lift. The front strap is on the right and the left strap that should be on the left is now centered, so the forces will be off center. I've lifted many with broken rear studs and I believe I wrapped the strap around the rear runner of the exhaust manifold. It should still work the way you have it, but just be prepared for the engine to roll a bit. Also, be very careful about the straps pulling on anything that could chaffe or cut them. The last thing you want is a 600 lb engine freefalling! That would be a very bad day. I usually use two sets of straps just to be safe.1 point
-
Yes. I was looking at it and something wasnt sitting right with what I was seeing. Nailed it.1 point
-
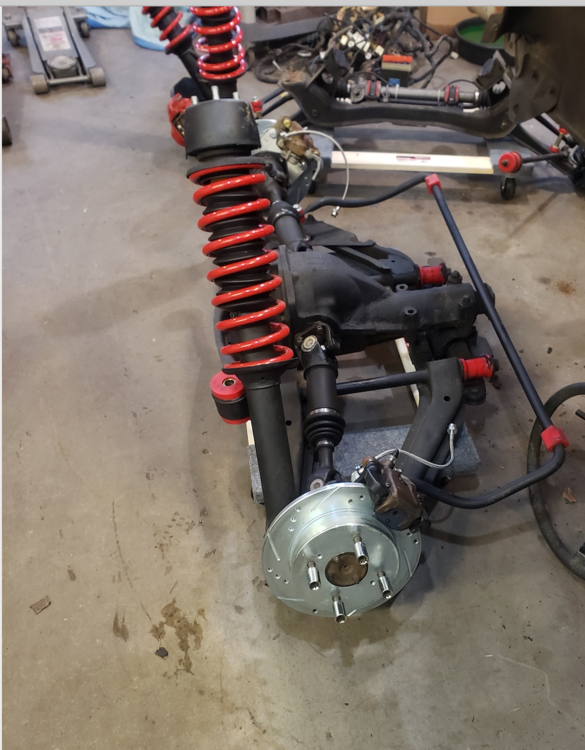
A bit more time invested, and I finished the rear one:

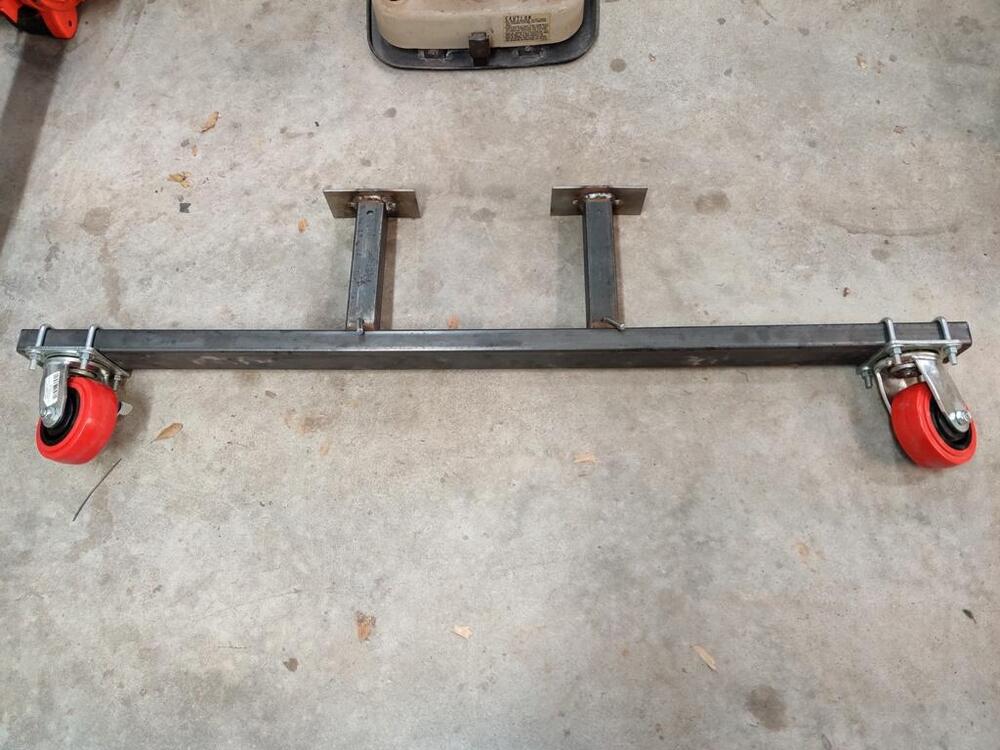 1 point
 -
1 point
-
1 pointYou can expect to spend around $5 / sq. ft. for a nice epoxy floor. I really like mine. It can scratch and gouge if you scrape something over it. Mine is a light tan color and shows dirt real easily but I can clean it up with a Swiffer and it looks great.1 point
-
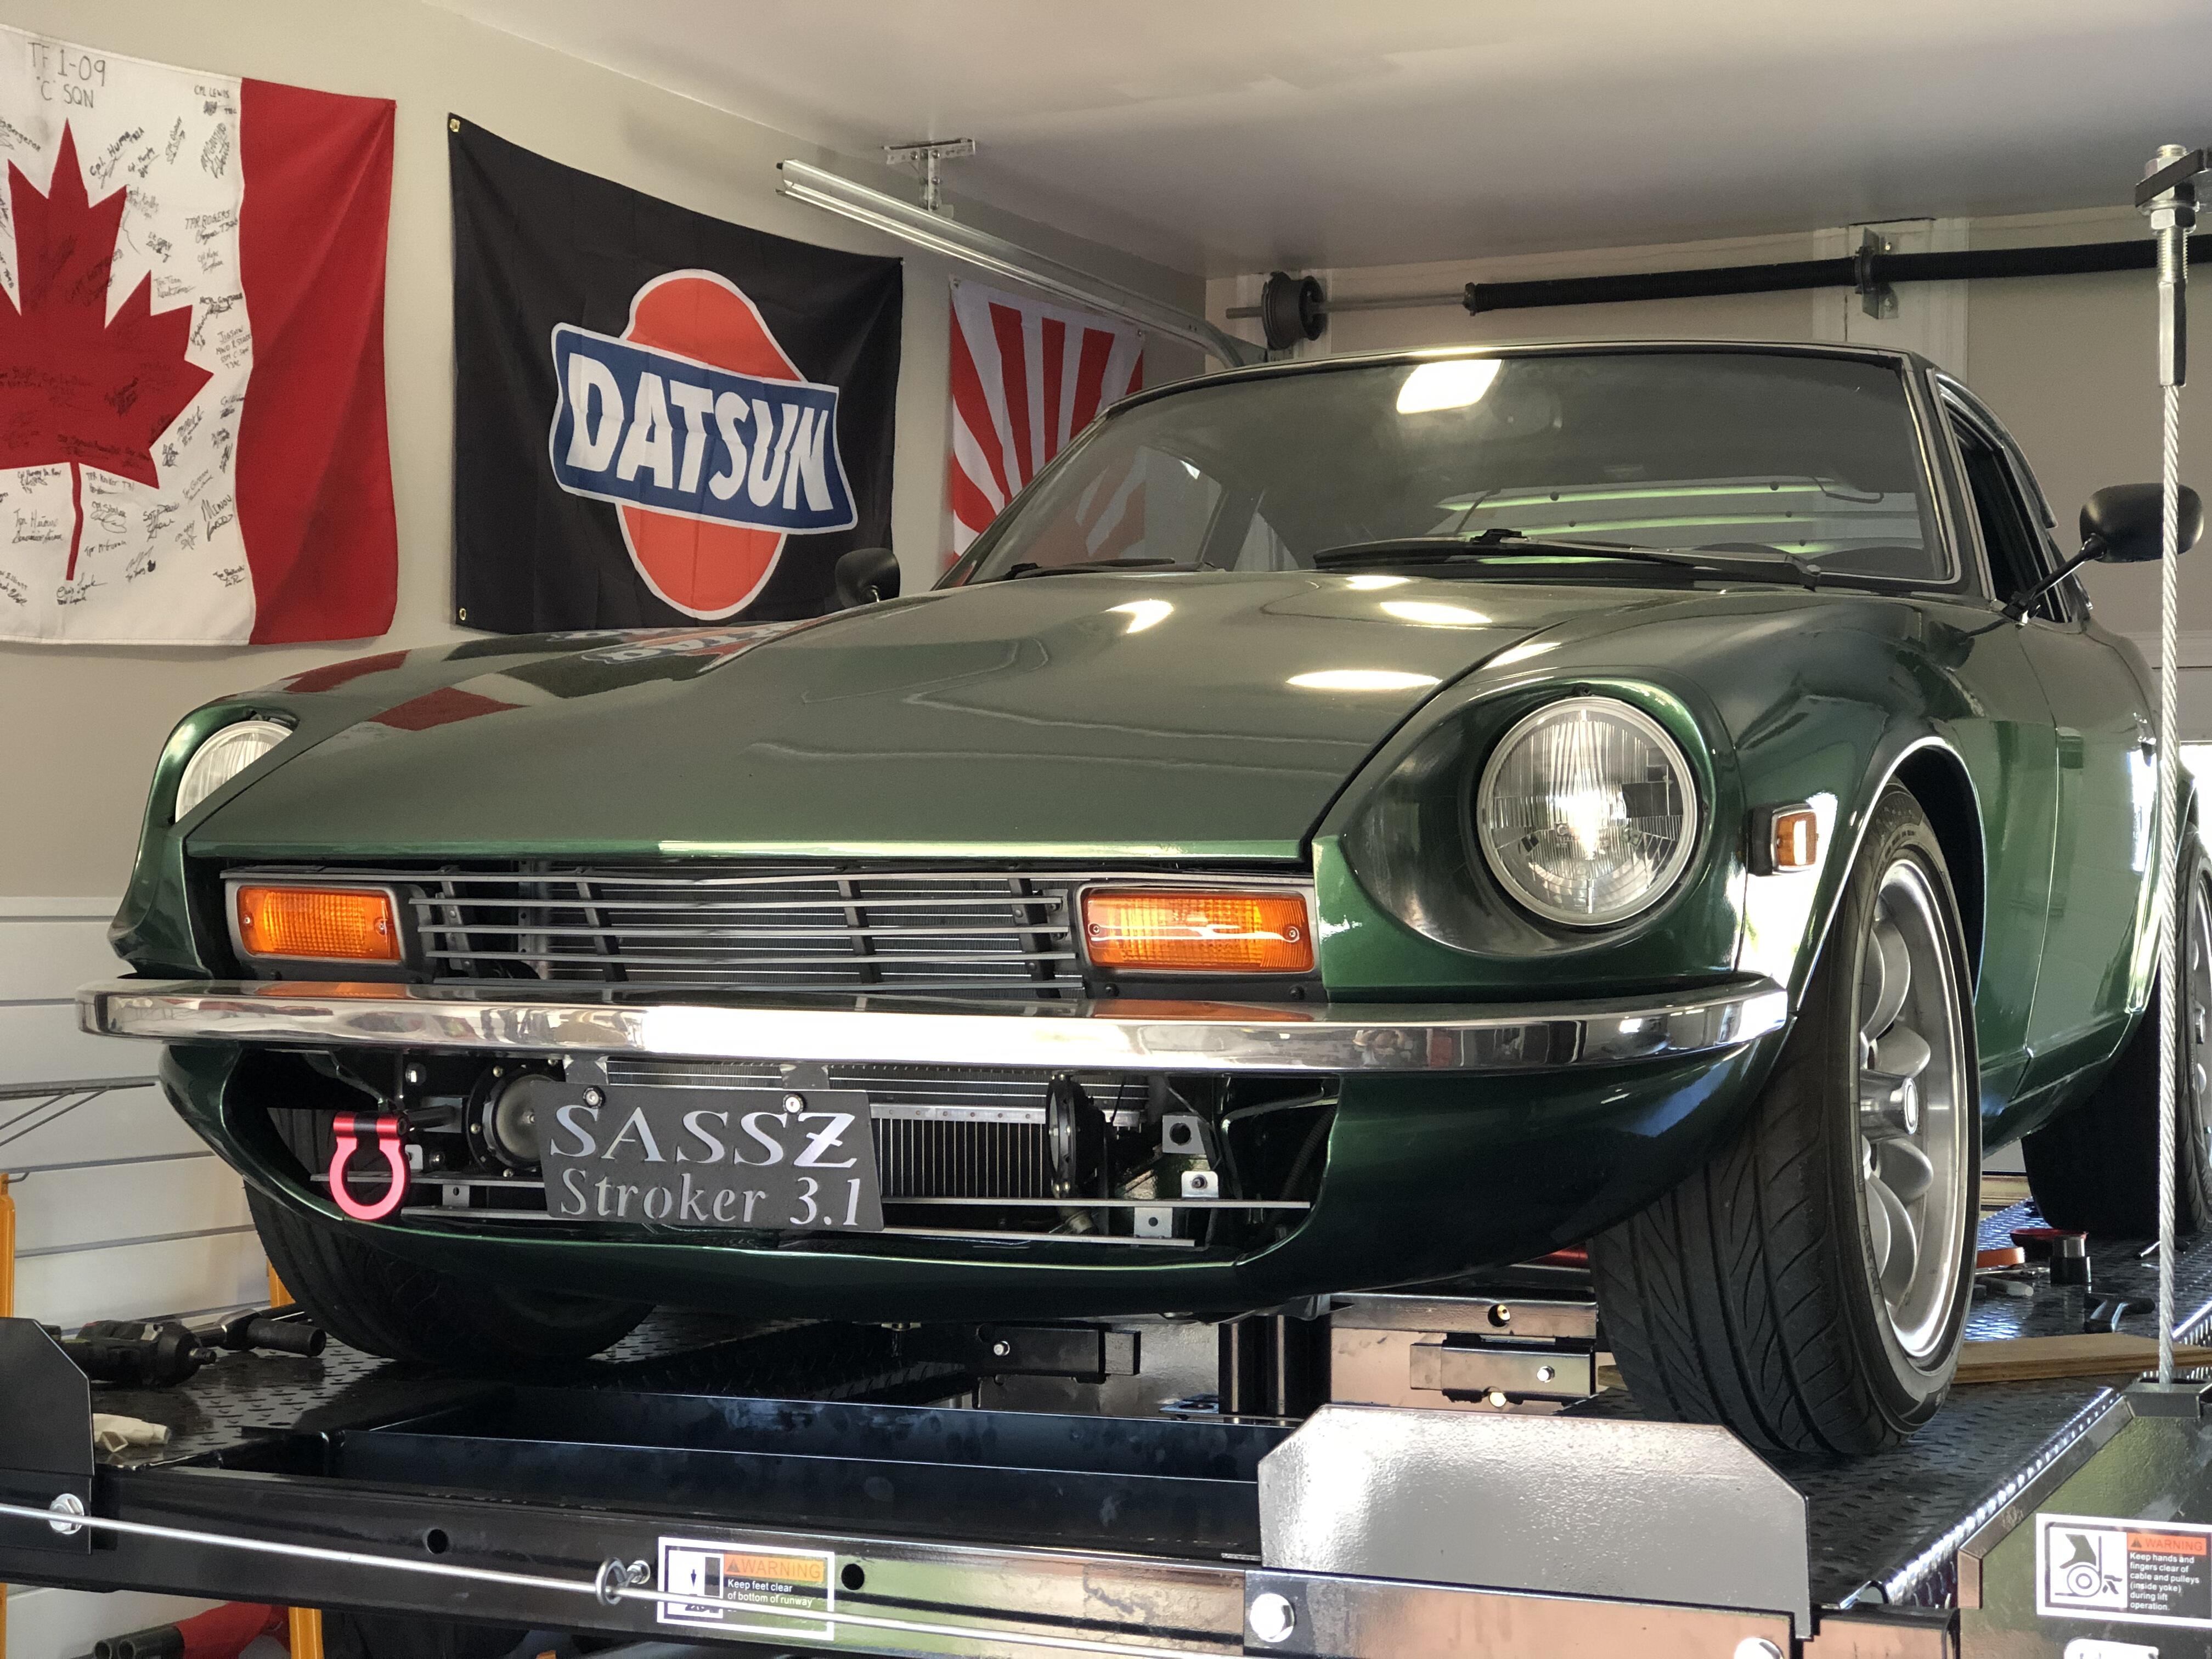
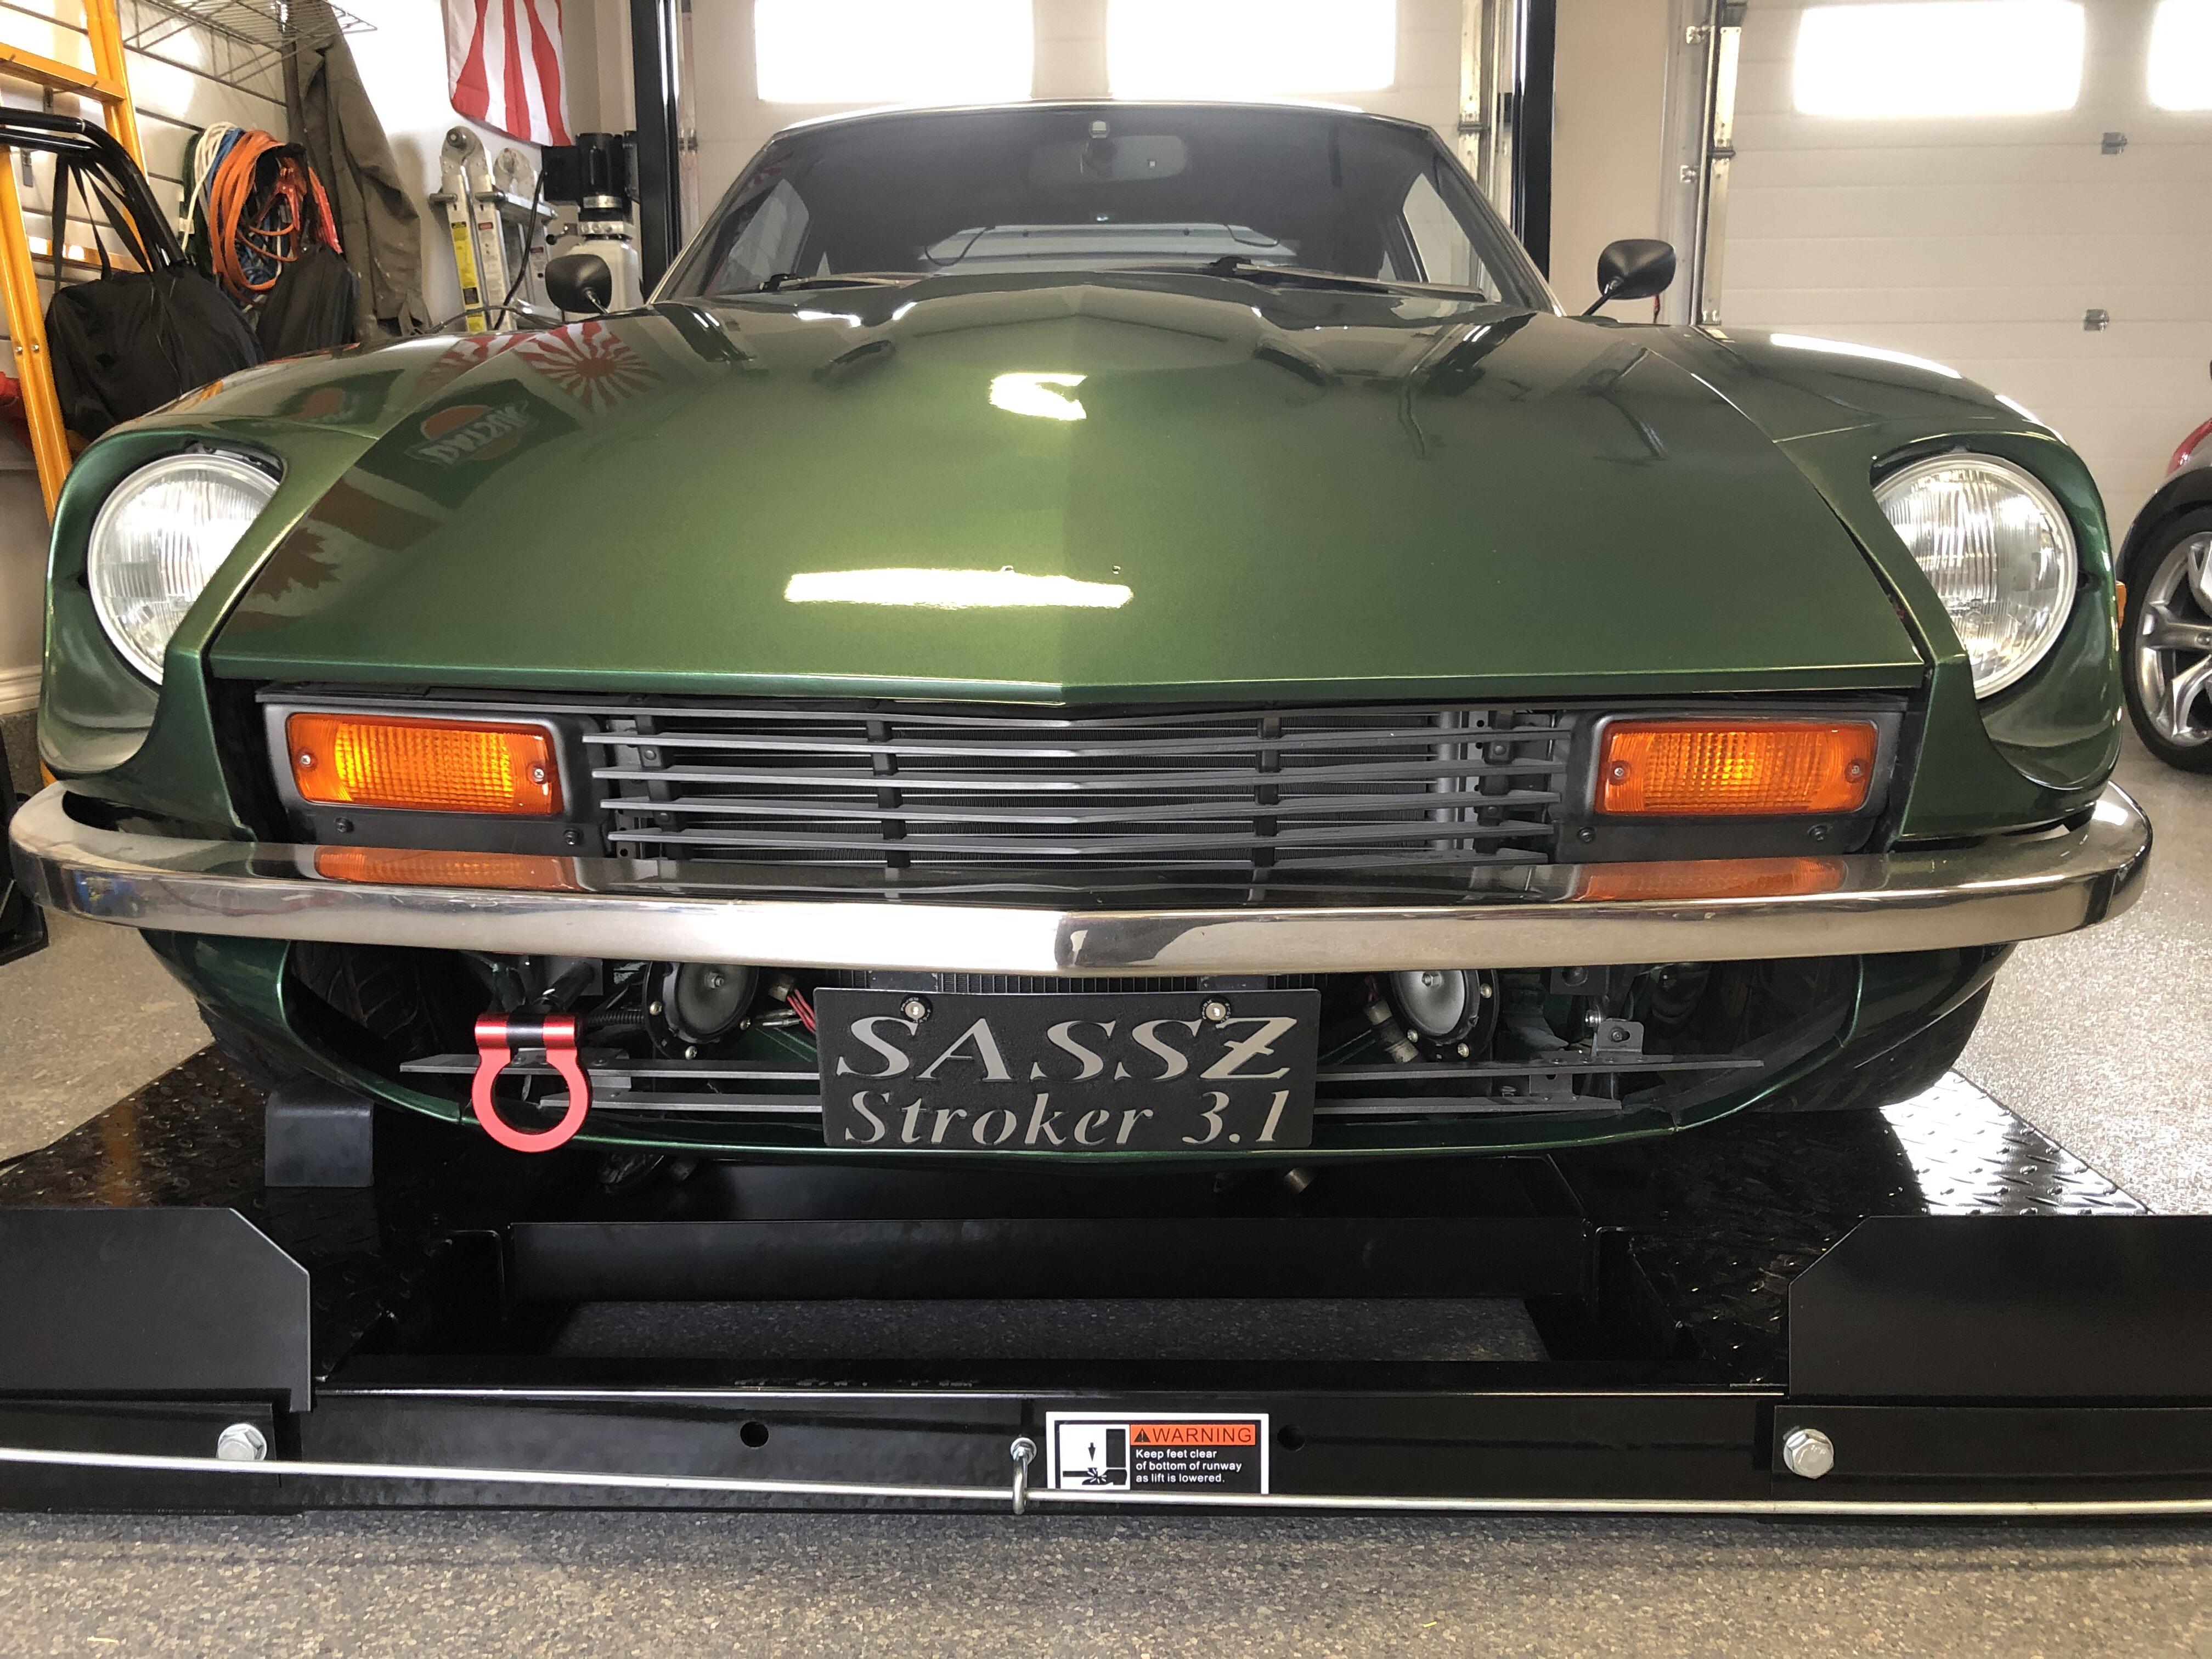
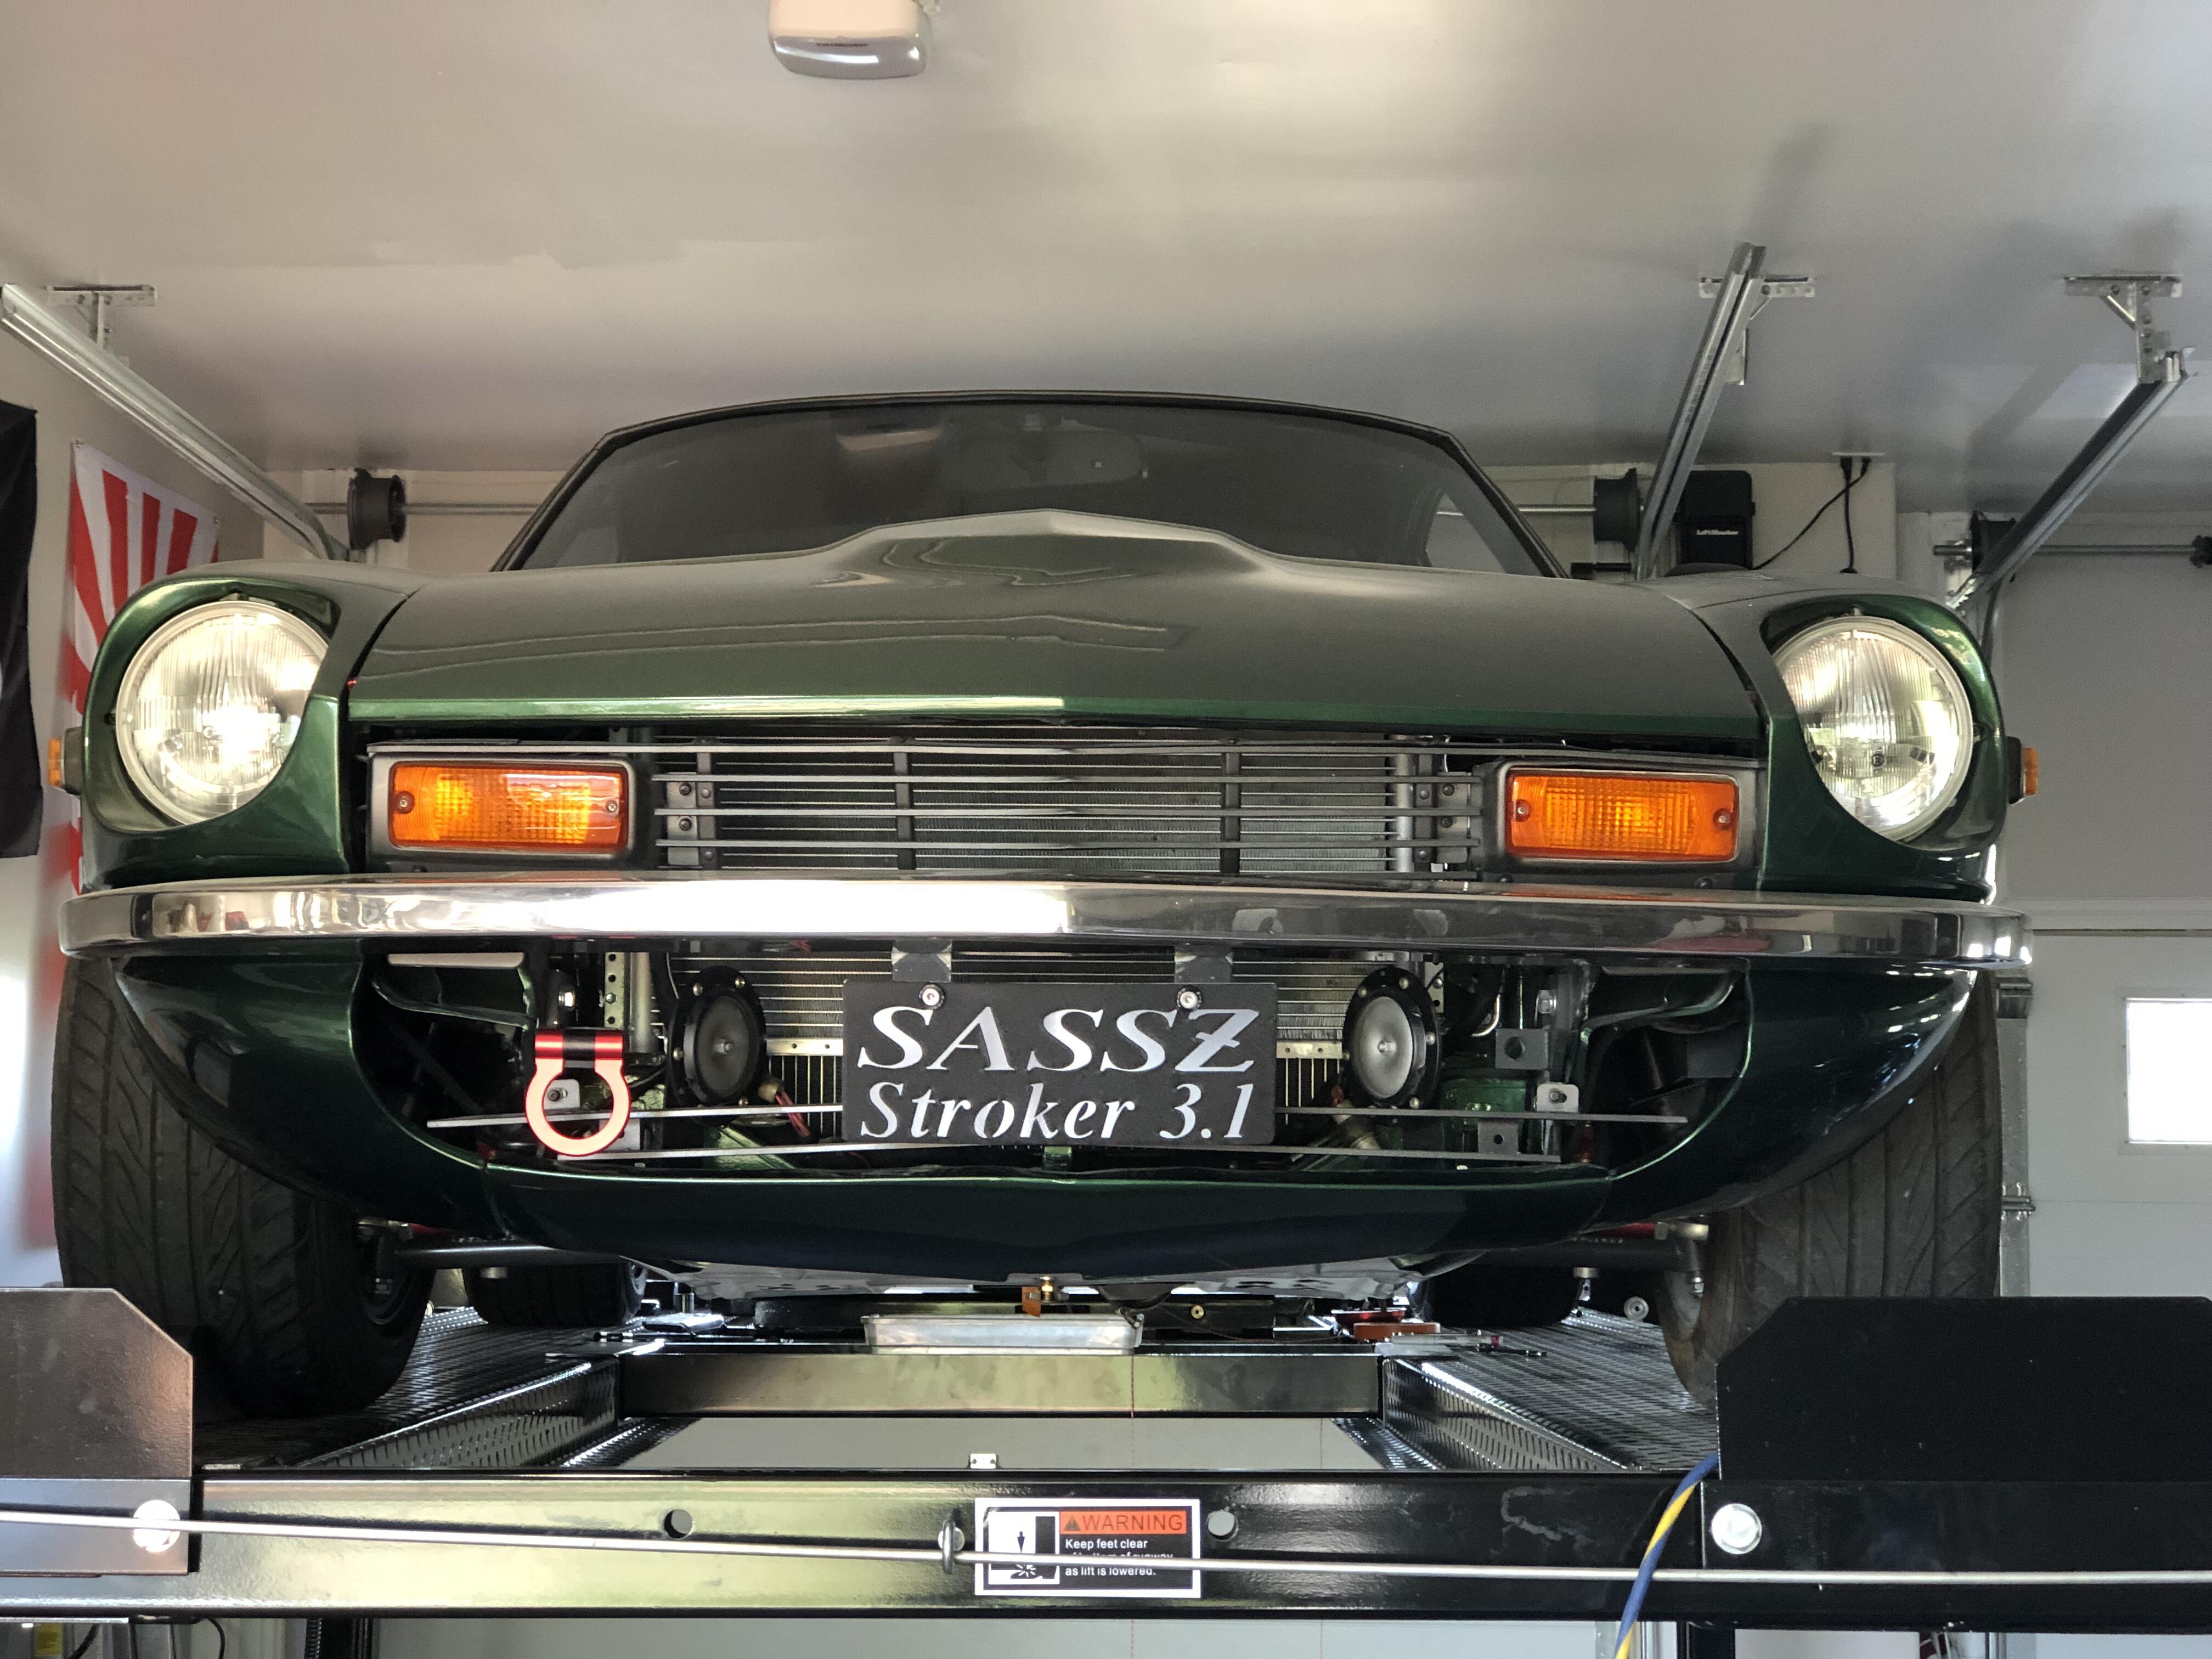
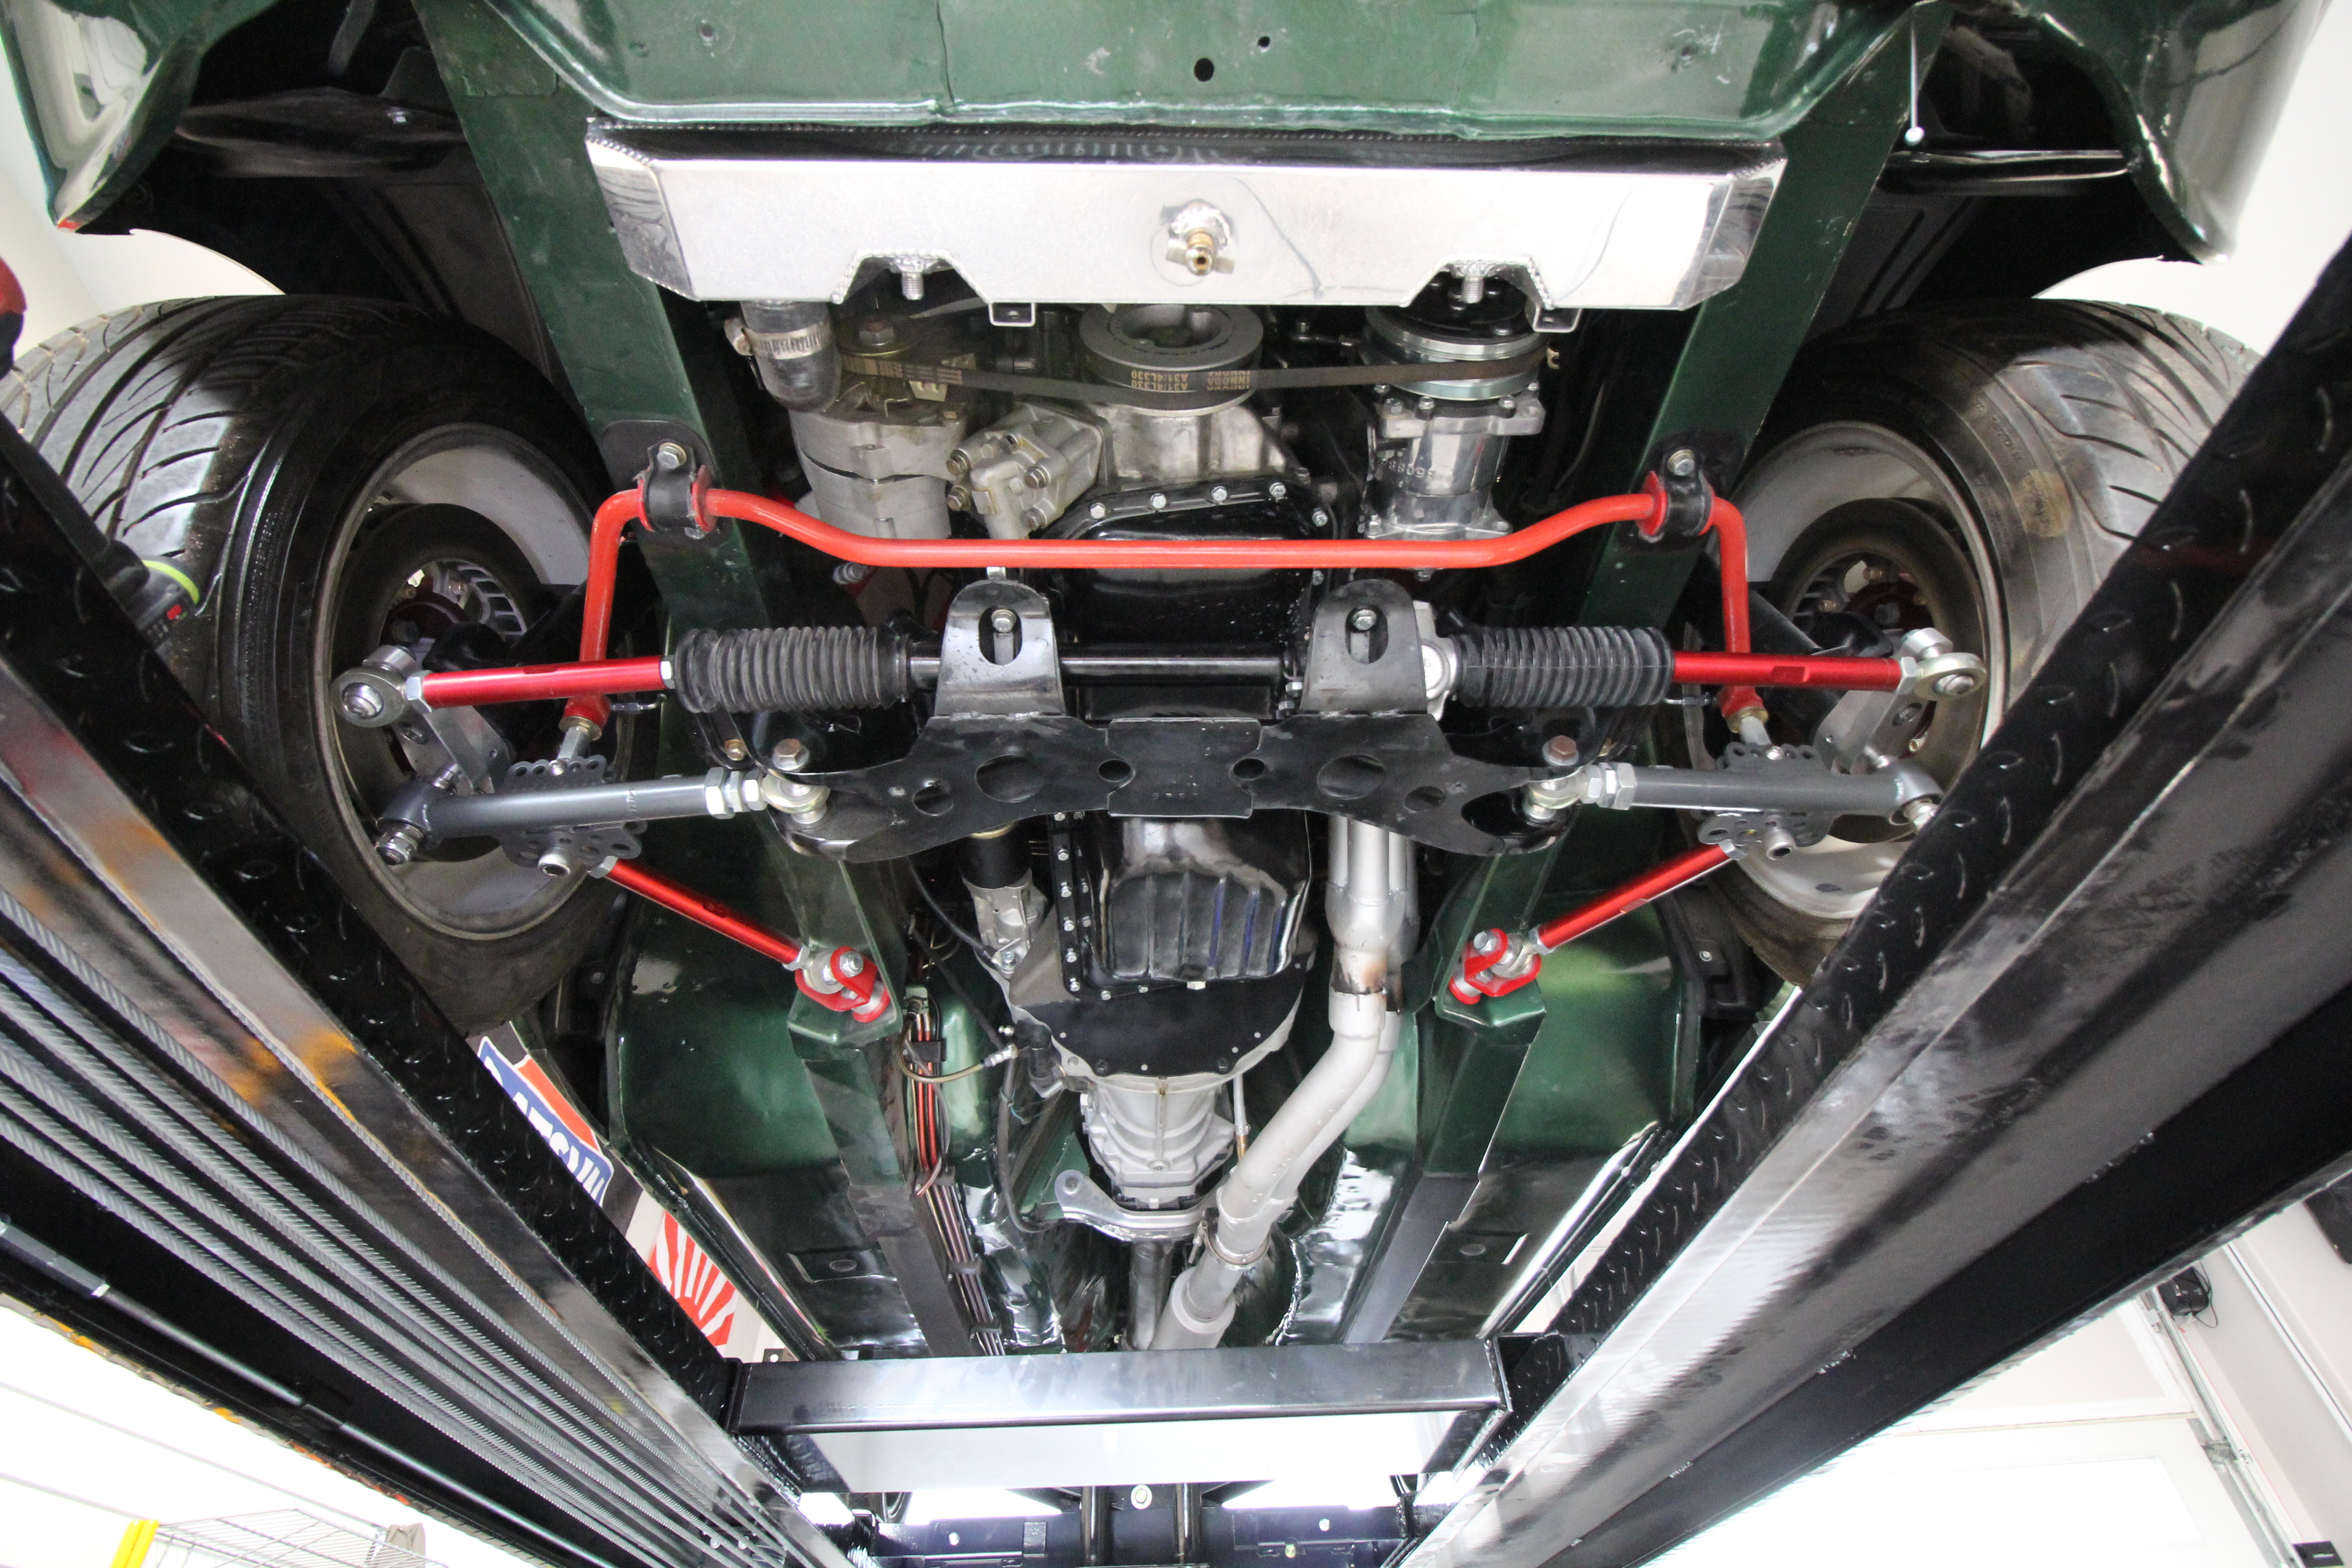
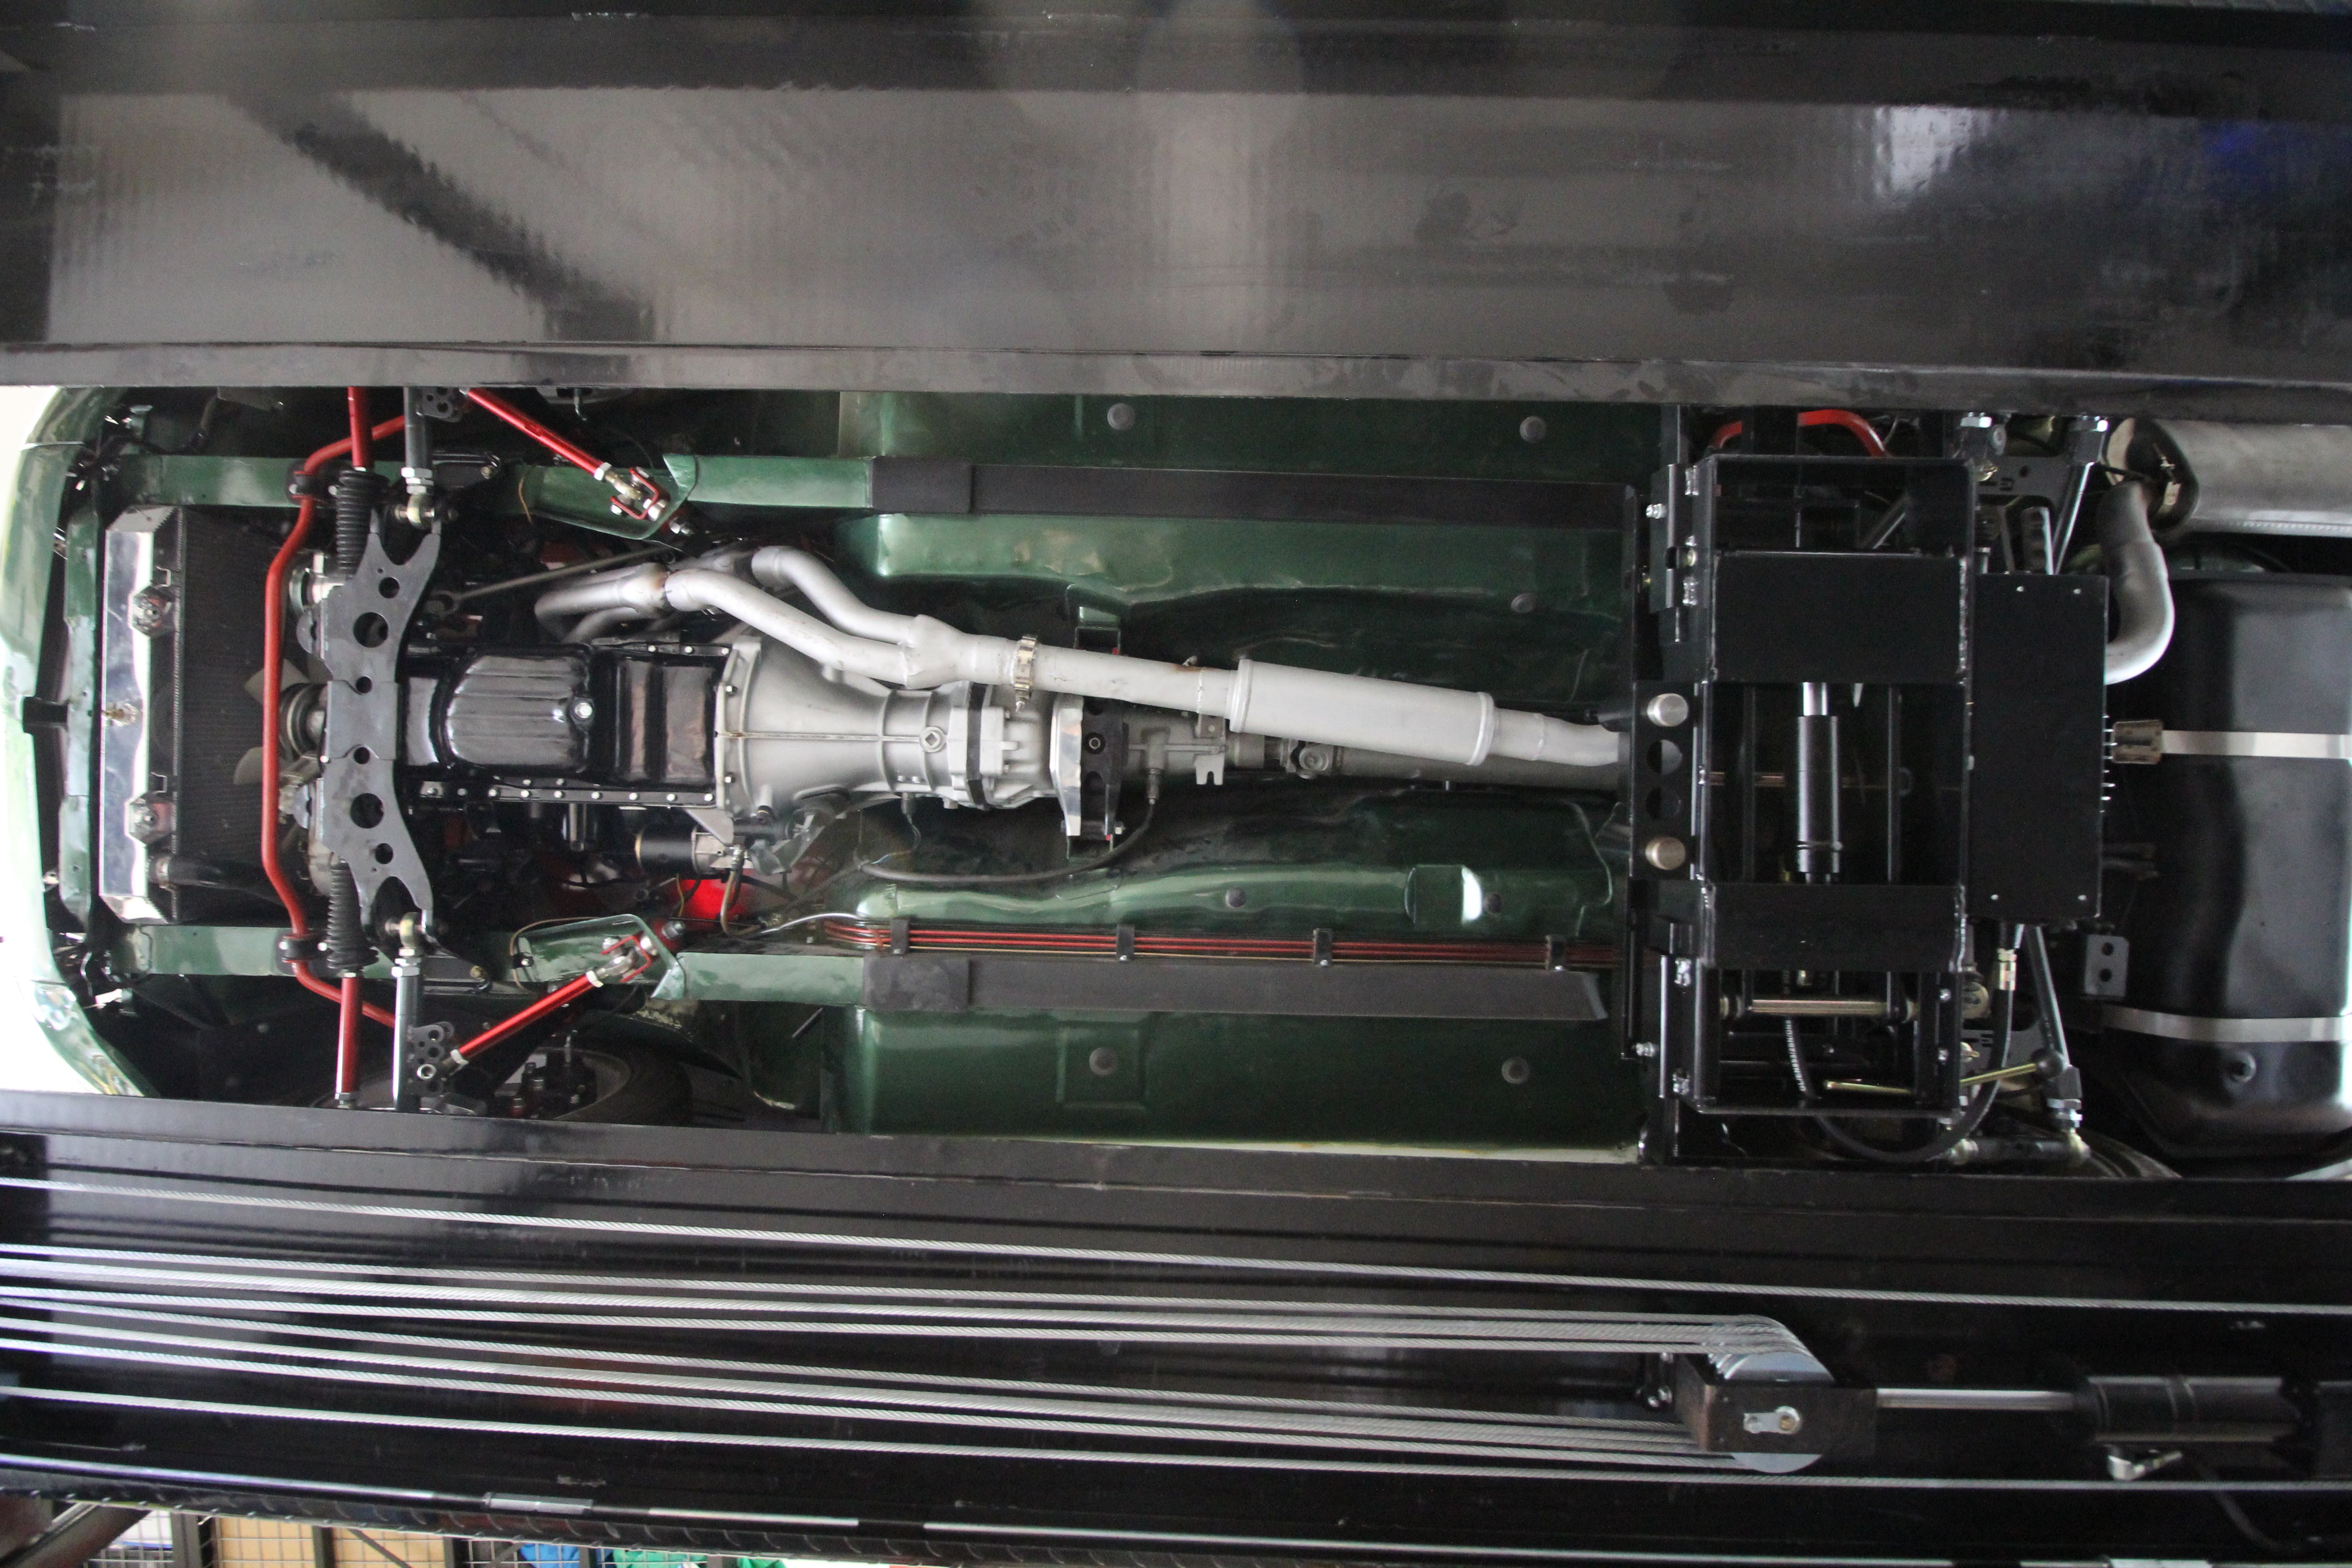
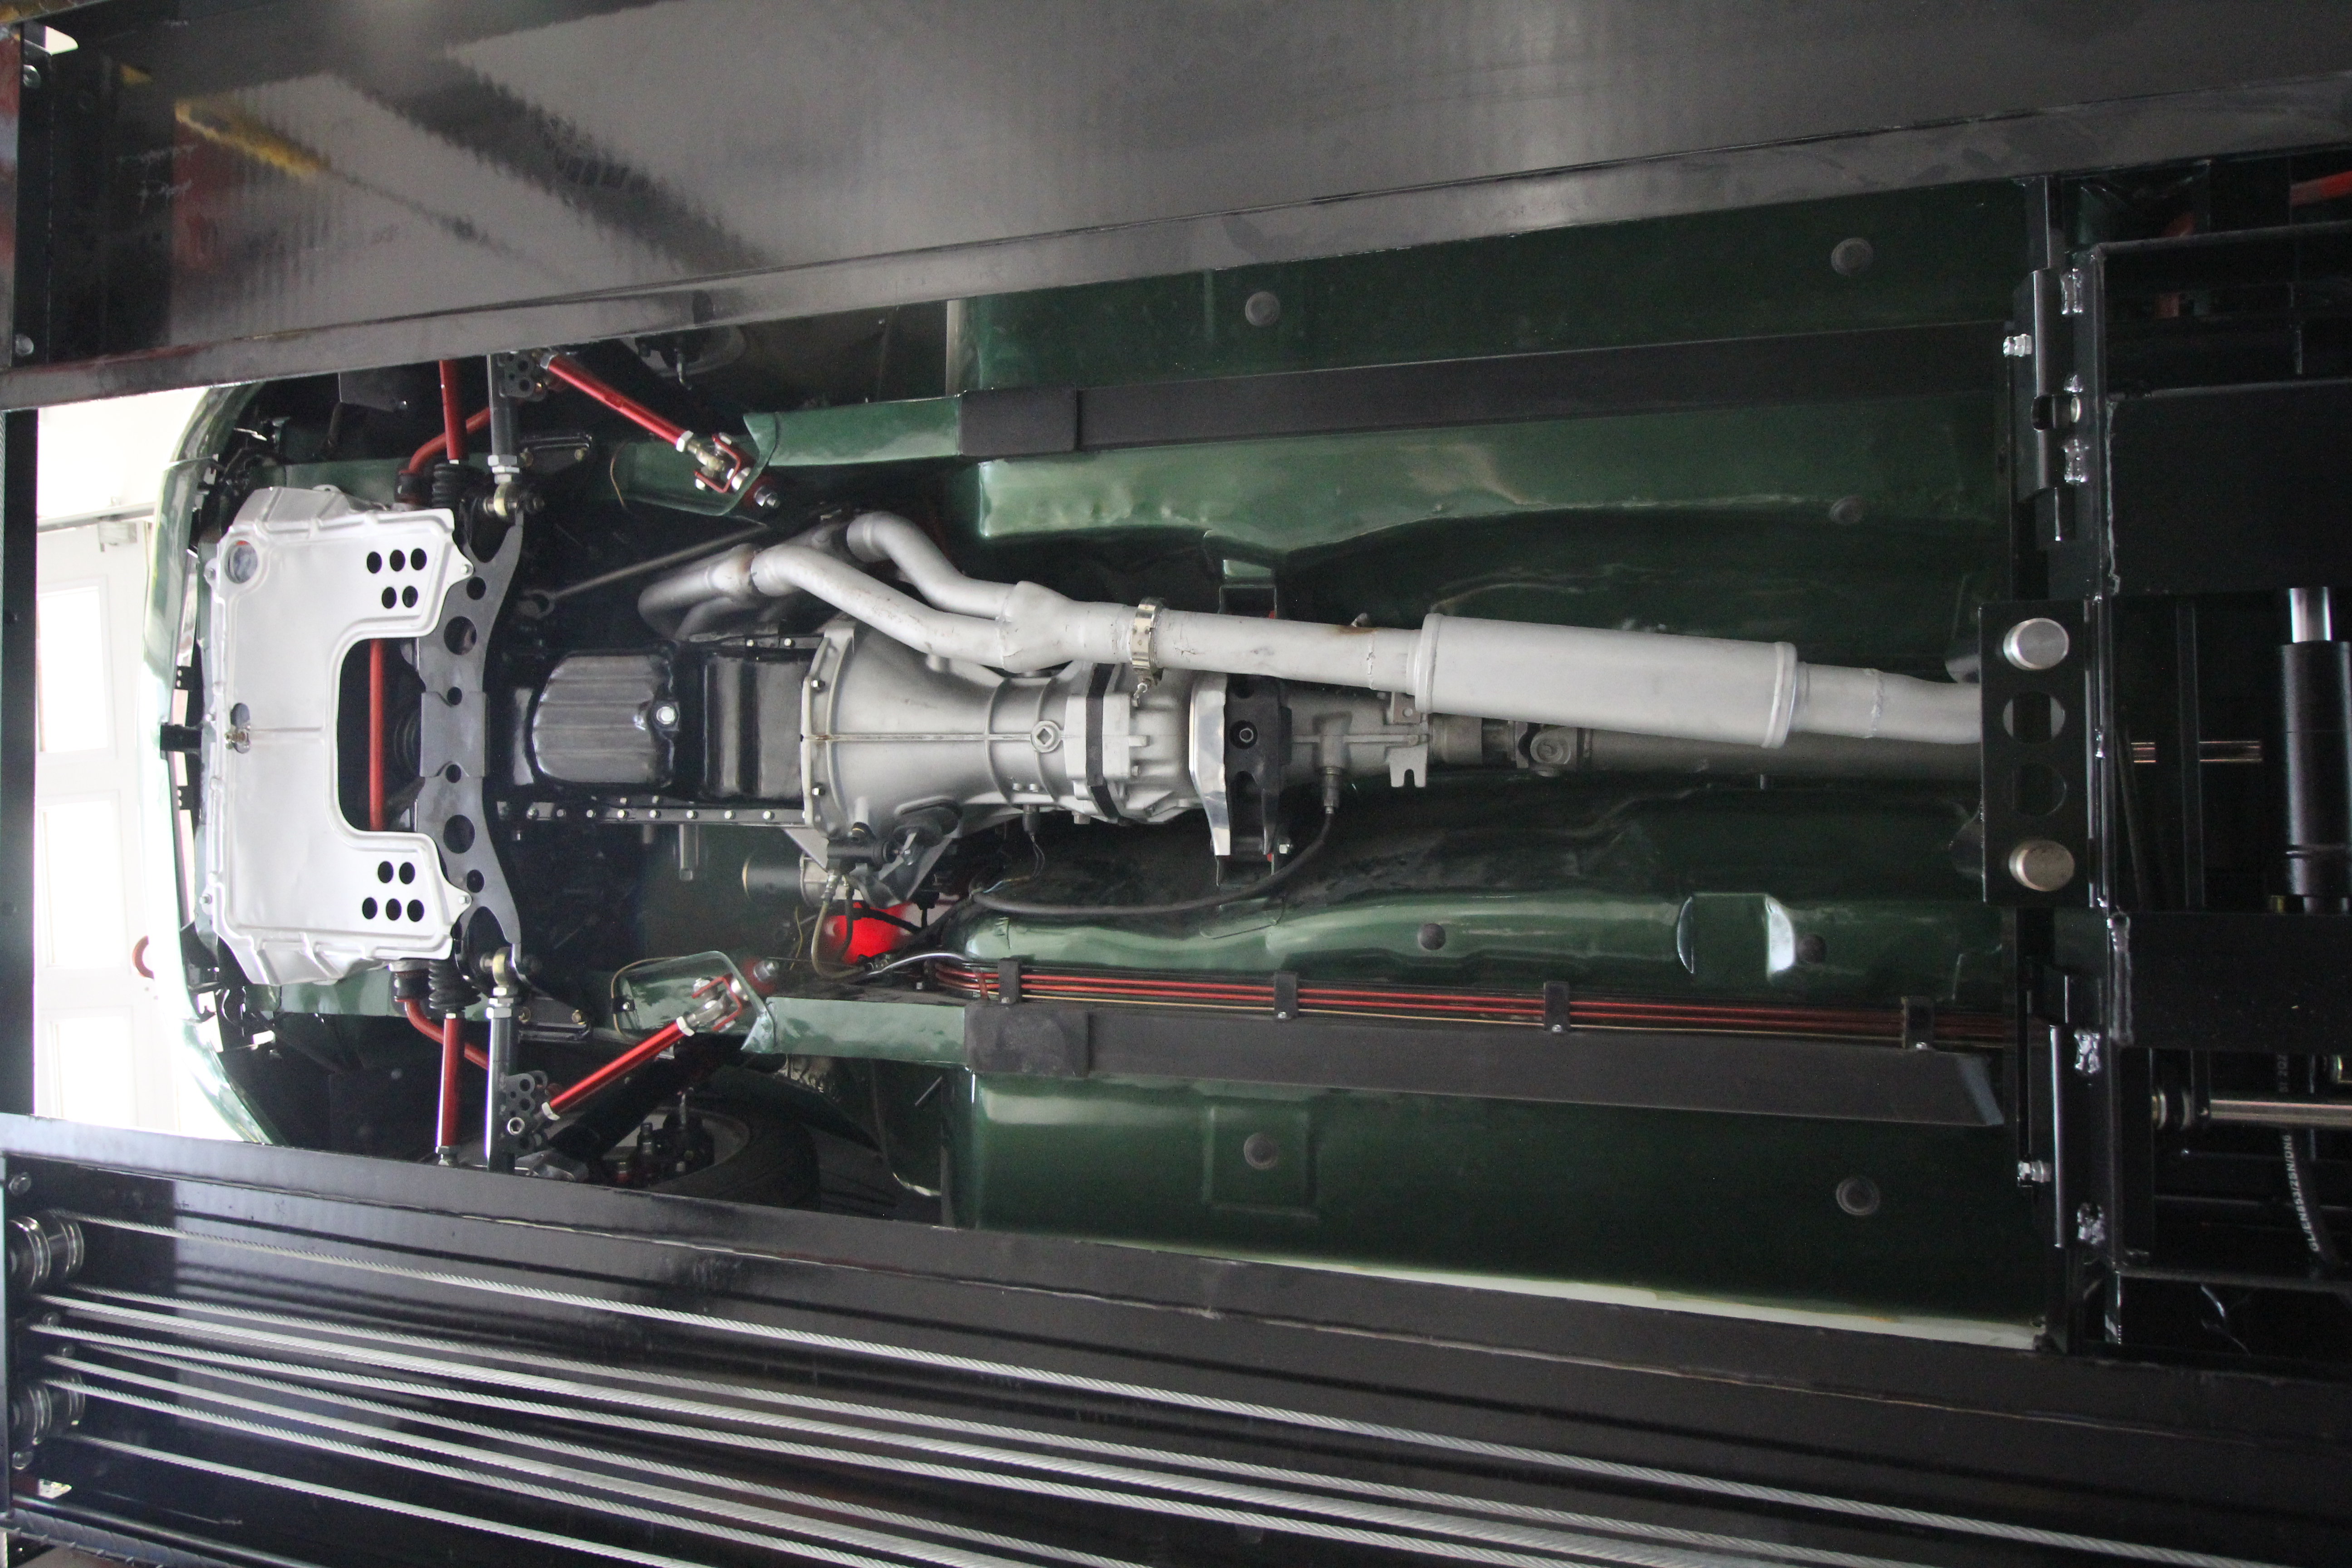
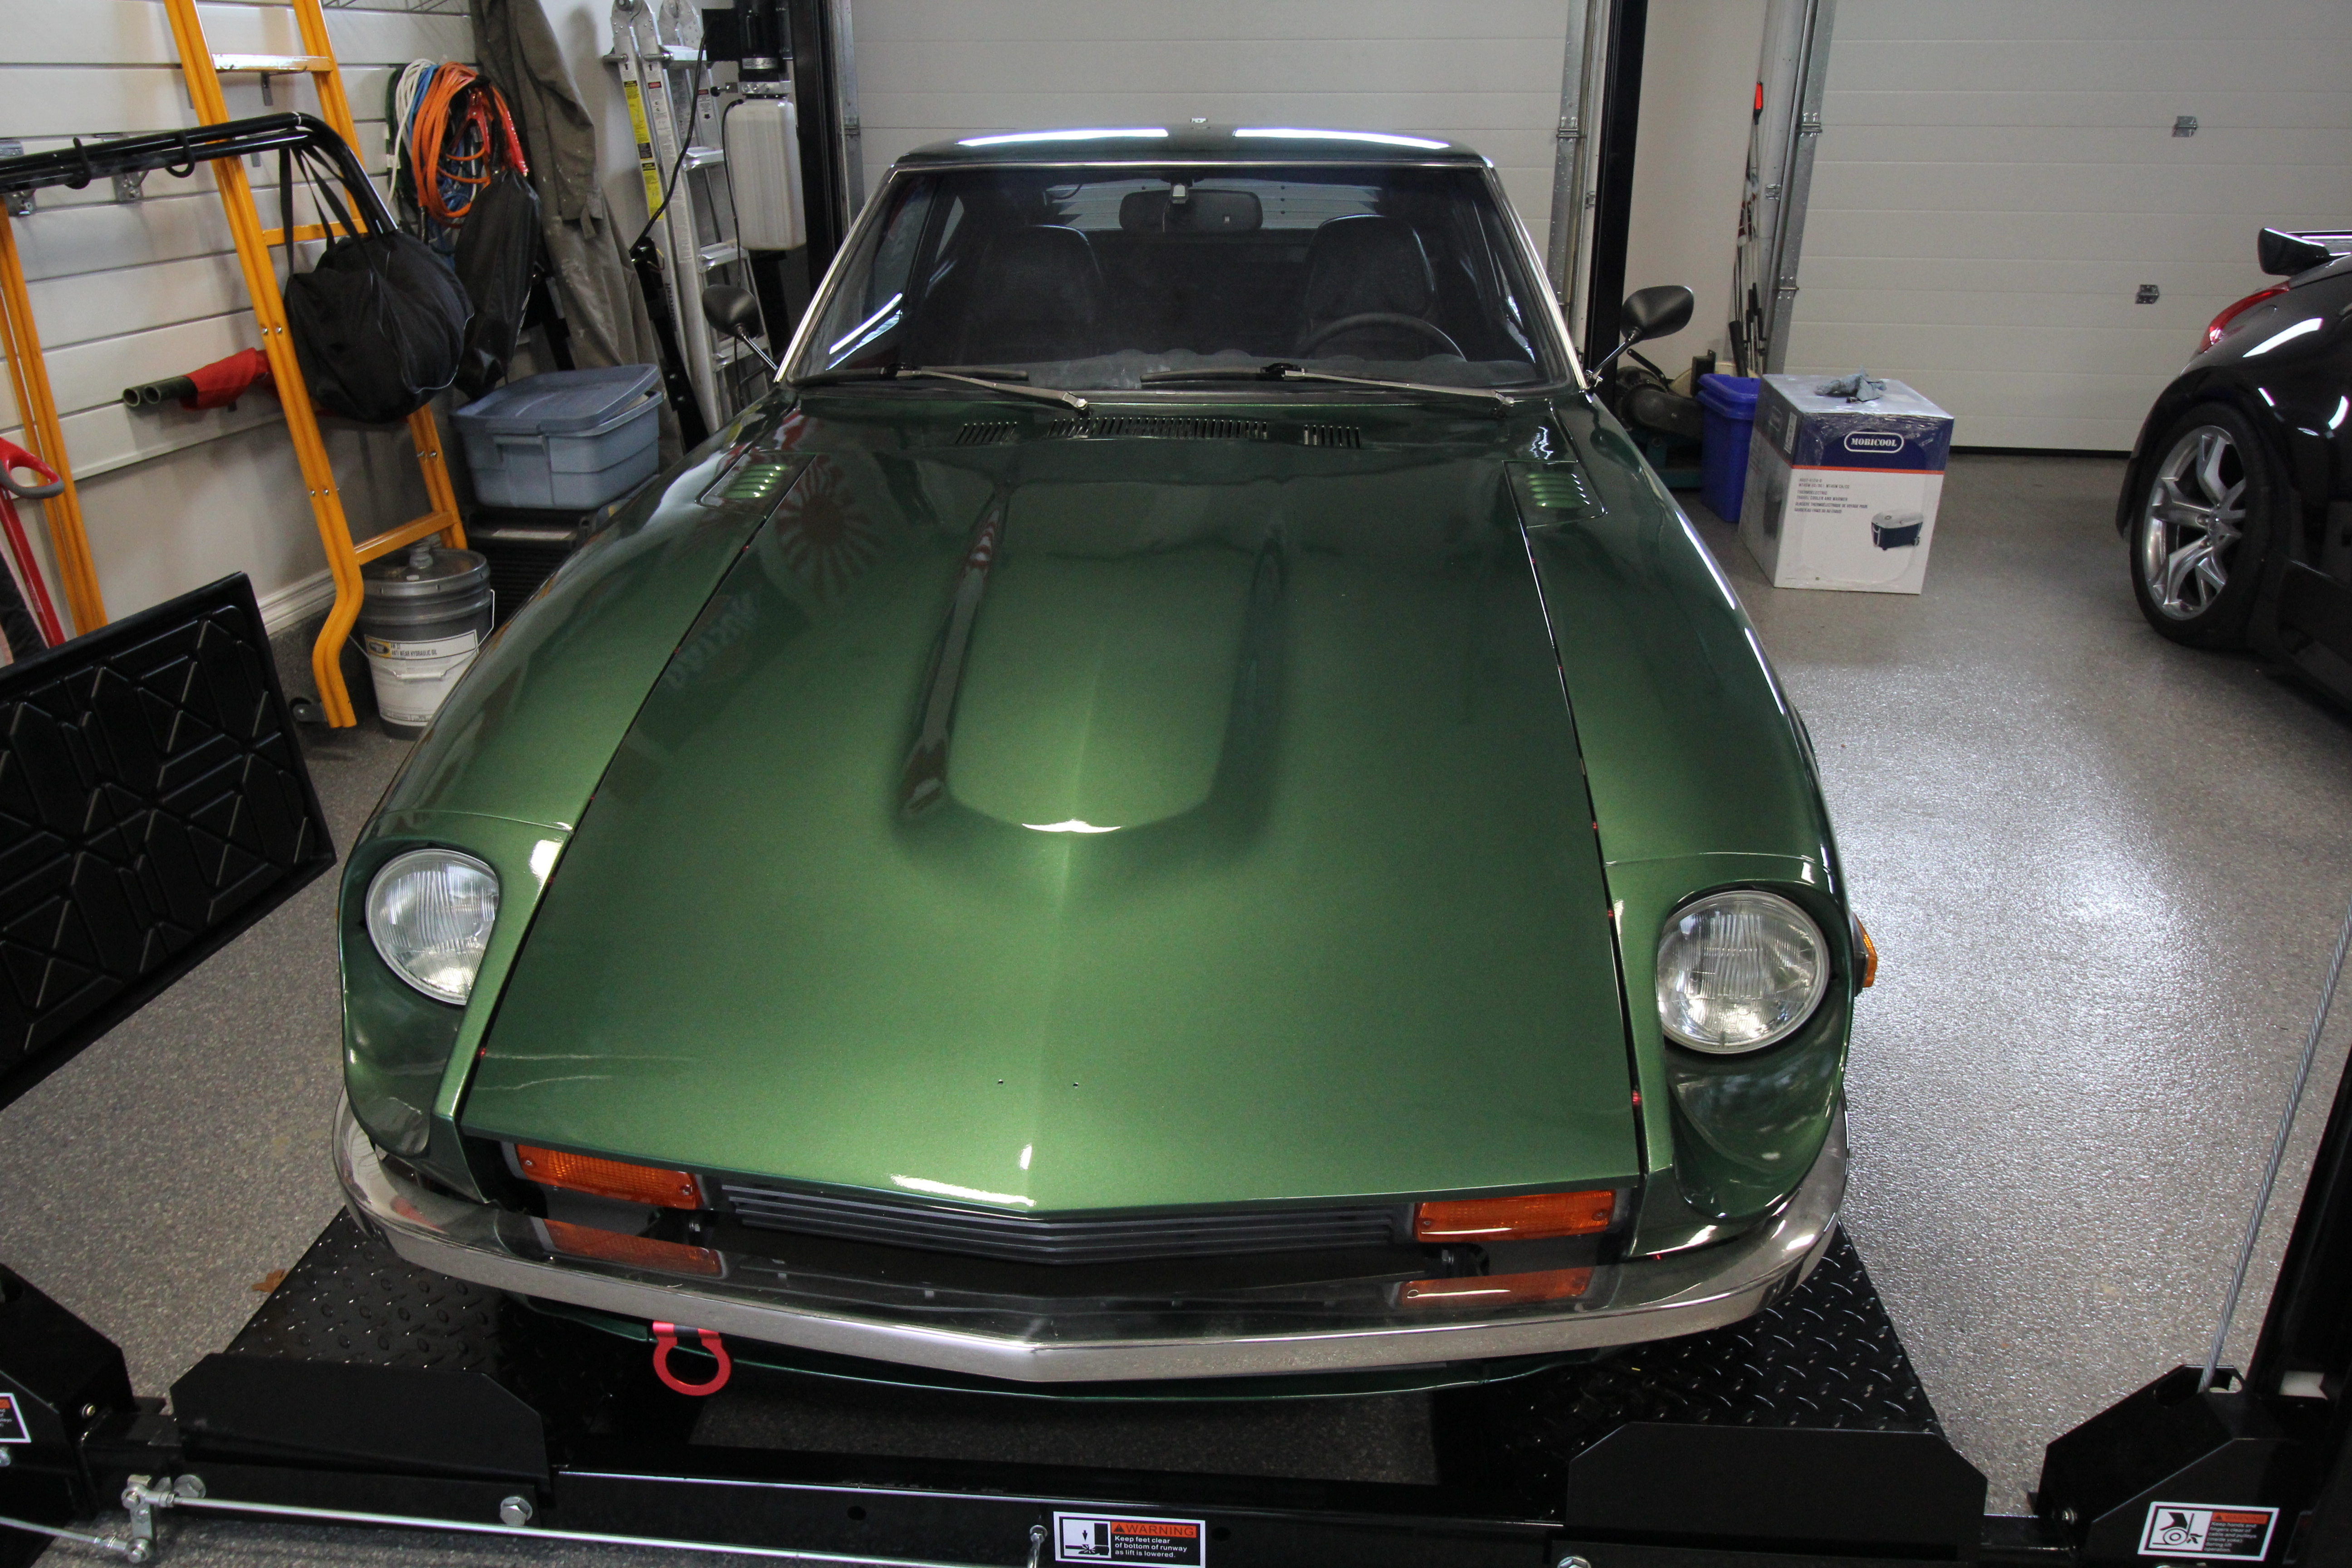
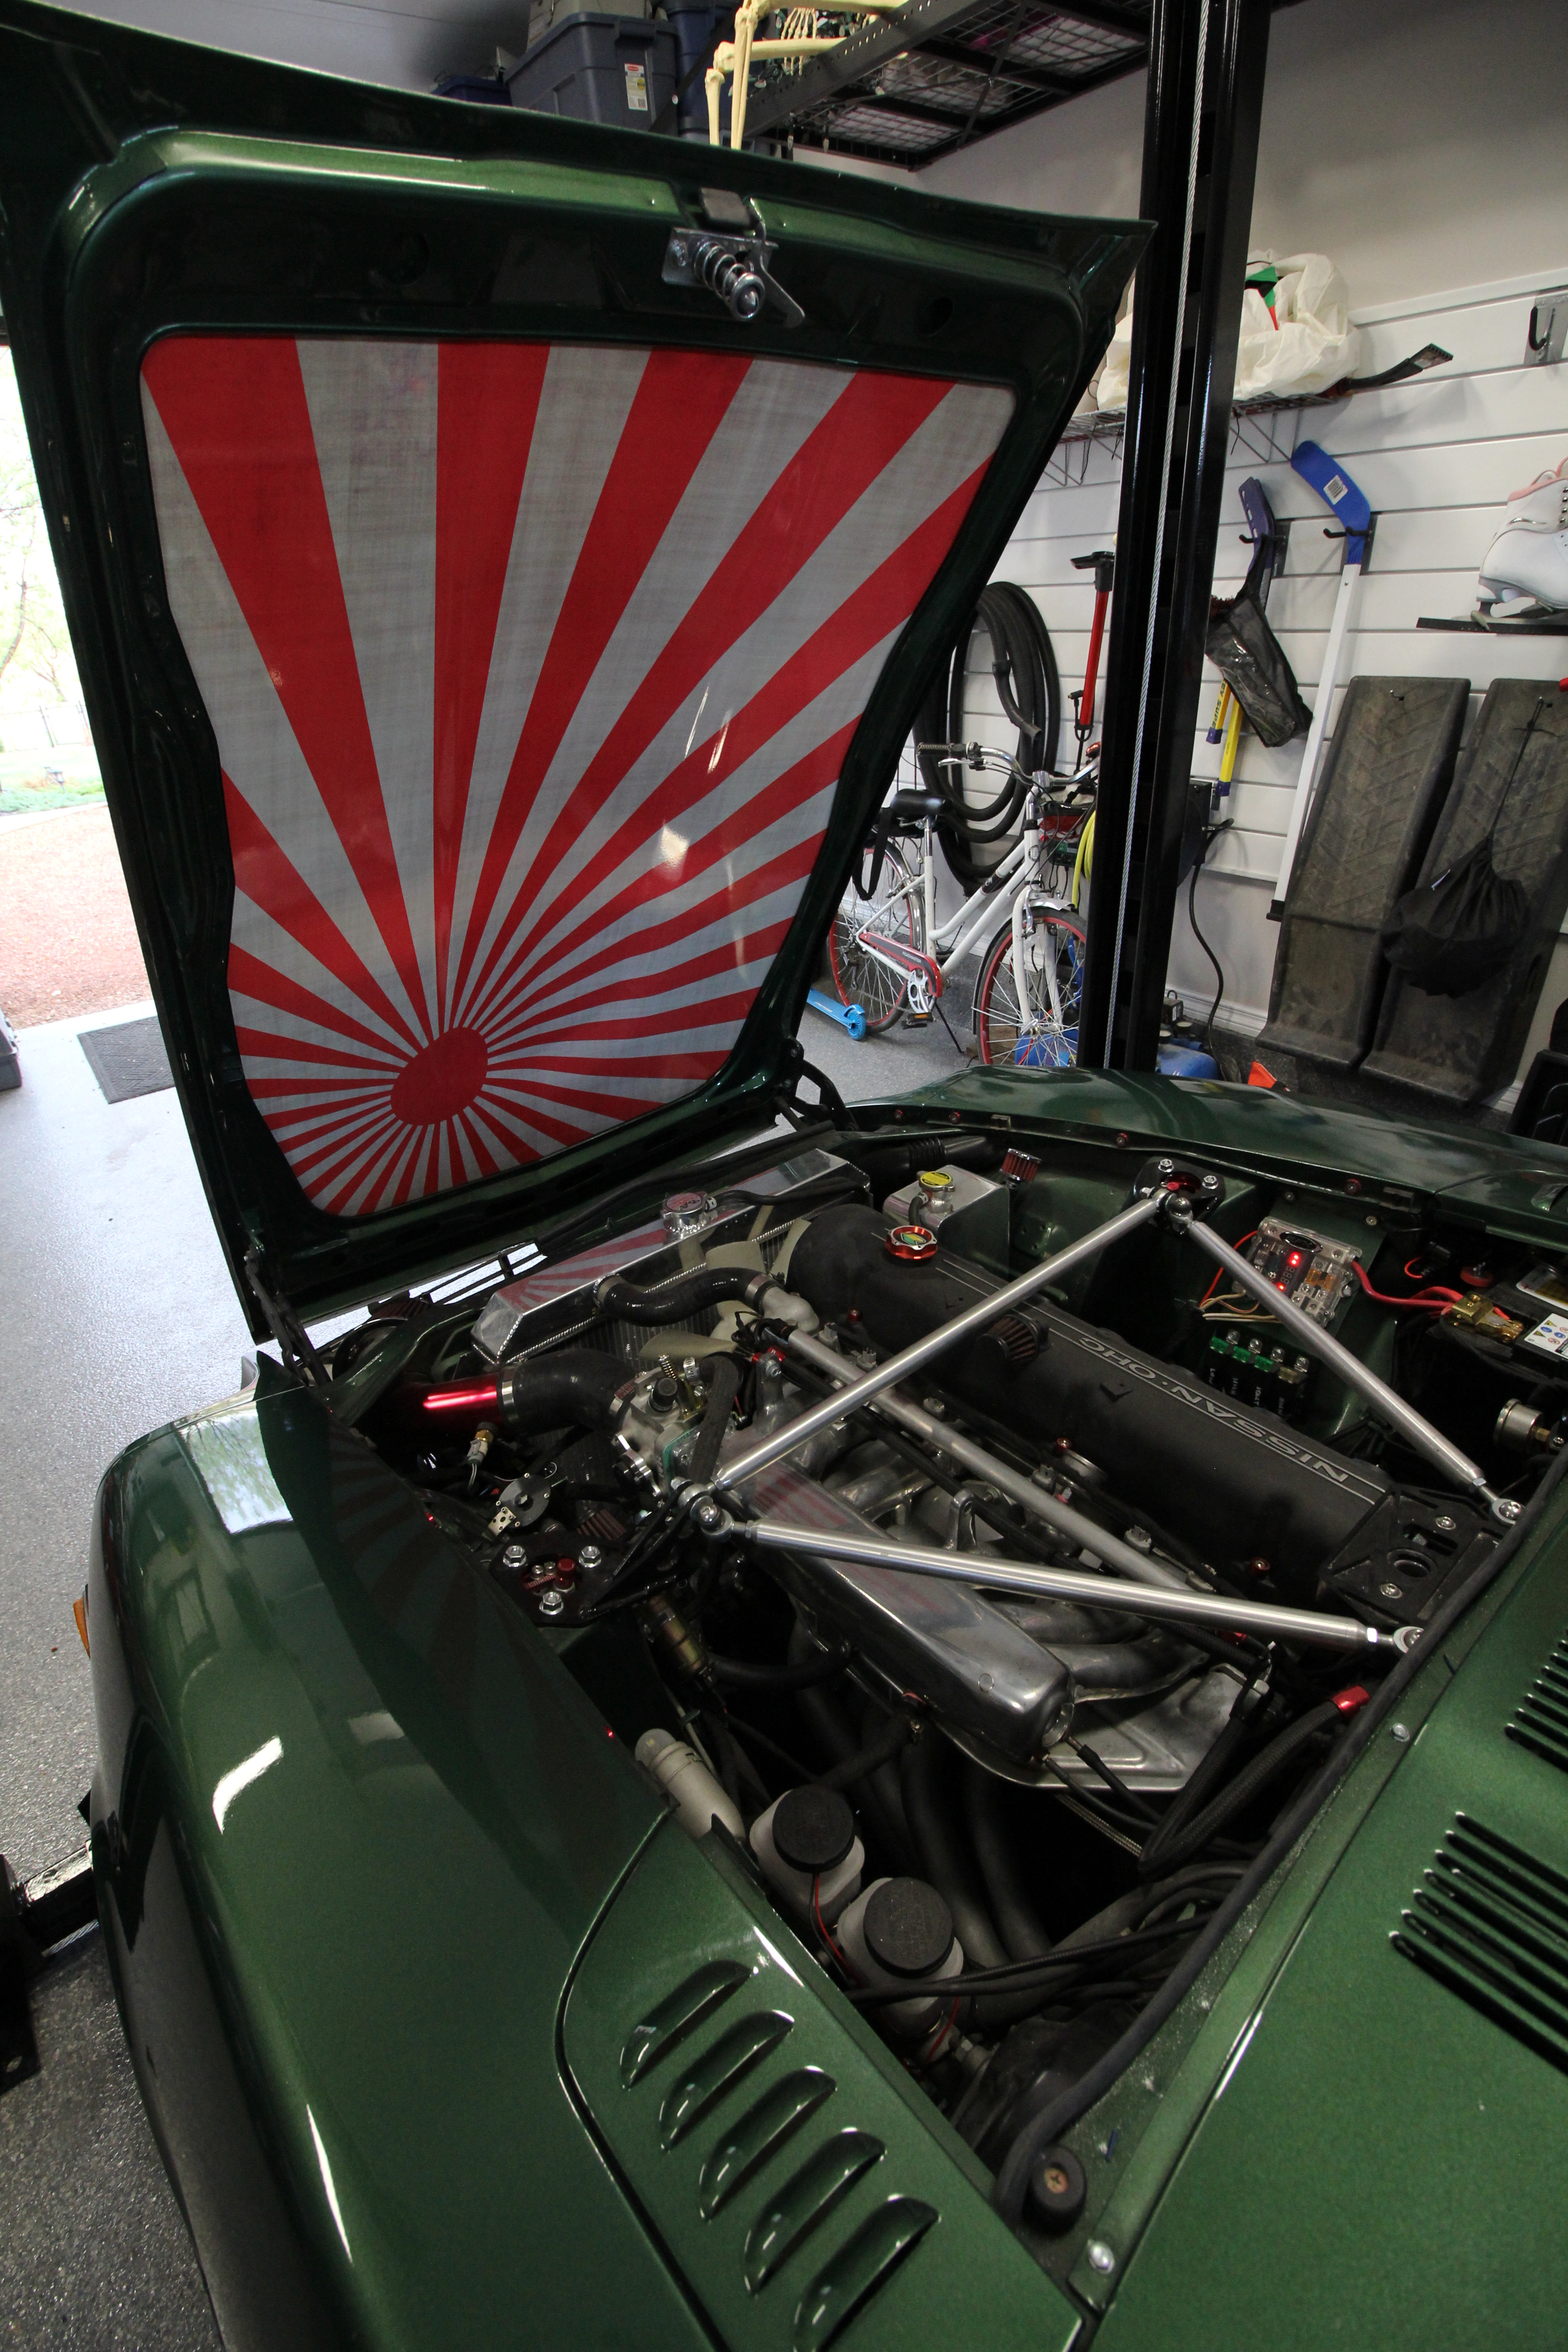
1 pointFinally got the 280Z up on the lift and did a mechanical inspection... couldn't resist taking some pictures too!

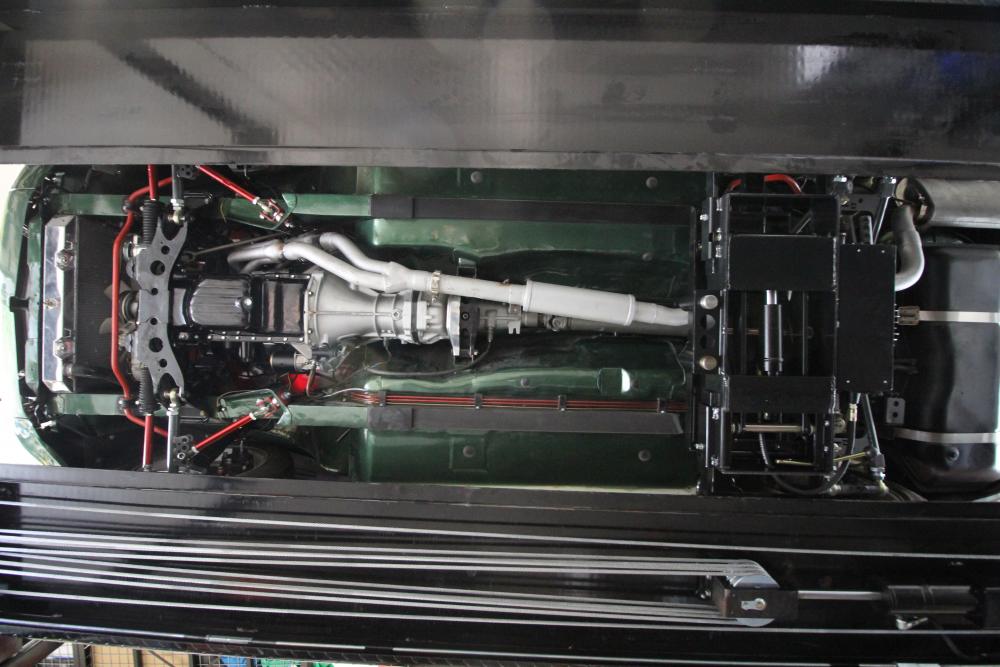

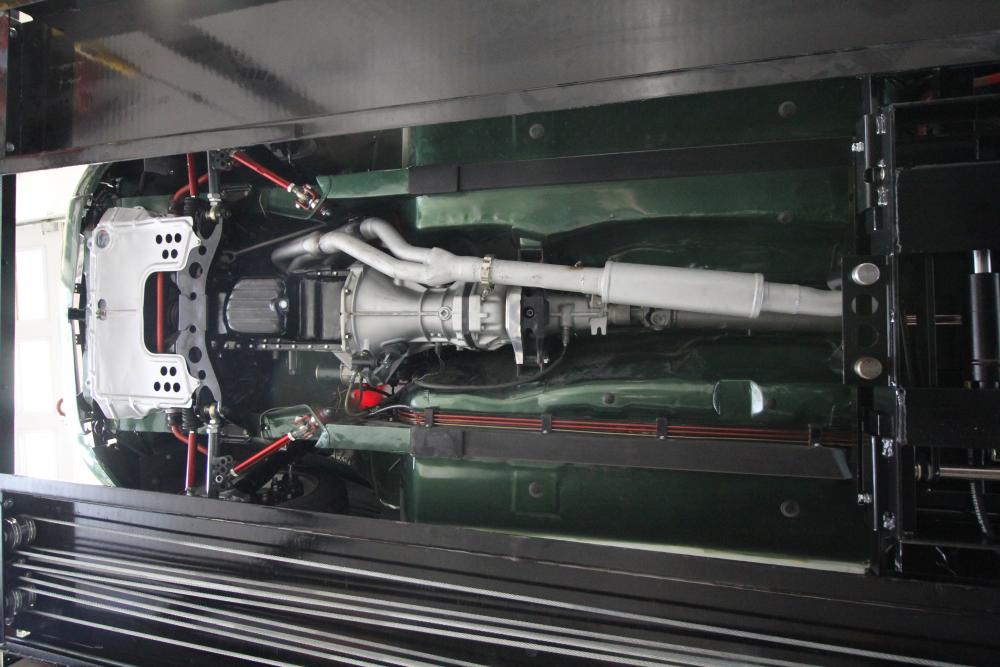


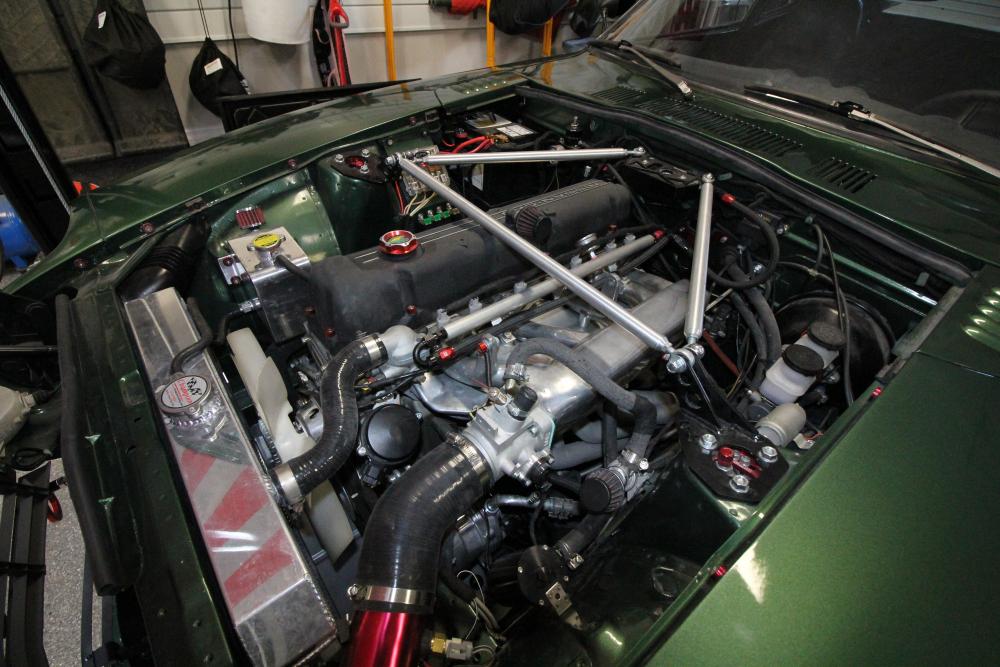 1 point