Leaderboard

 Subscriber
.JPG.cfcada9cf1c1b502df3f5f2f2ca3ff36.JPG)


Popular Content
Showing content with the highest reputation on 08/07/2021 in all areas
-
4 pointsFortunately Jim, this will be more of a comfortable Ratsun than a show car.4 points
-
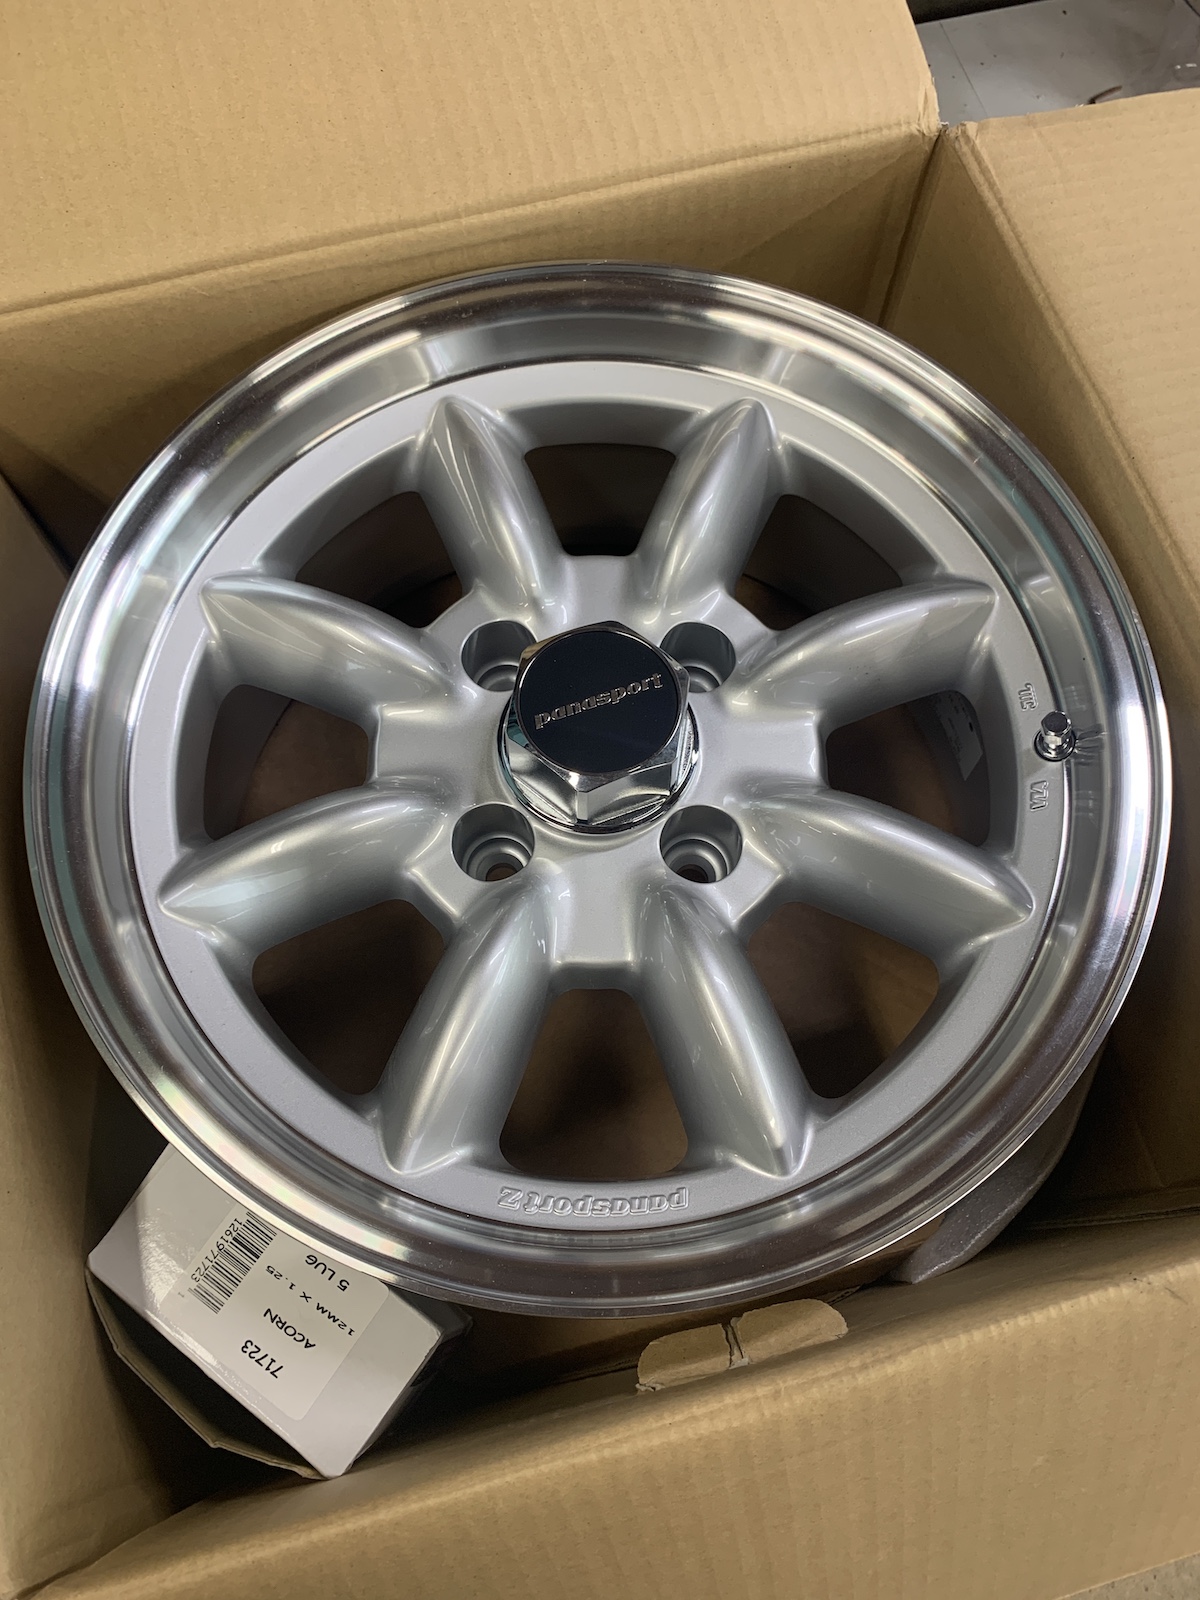
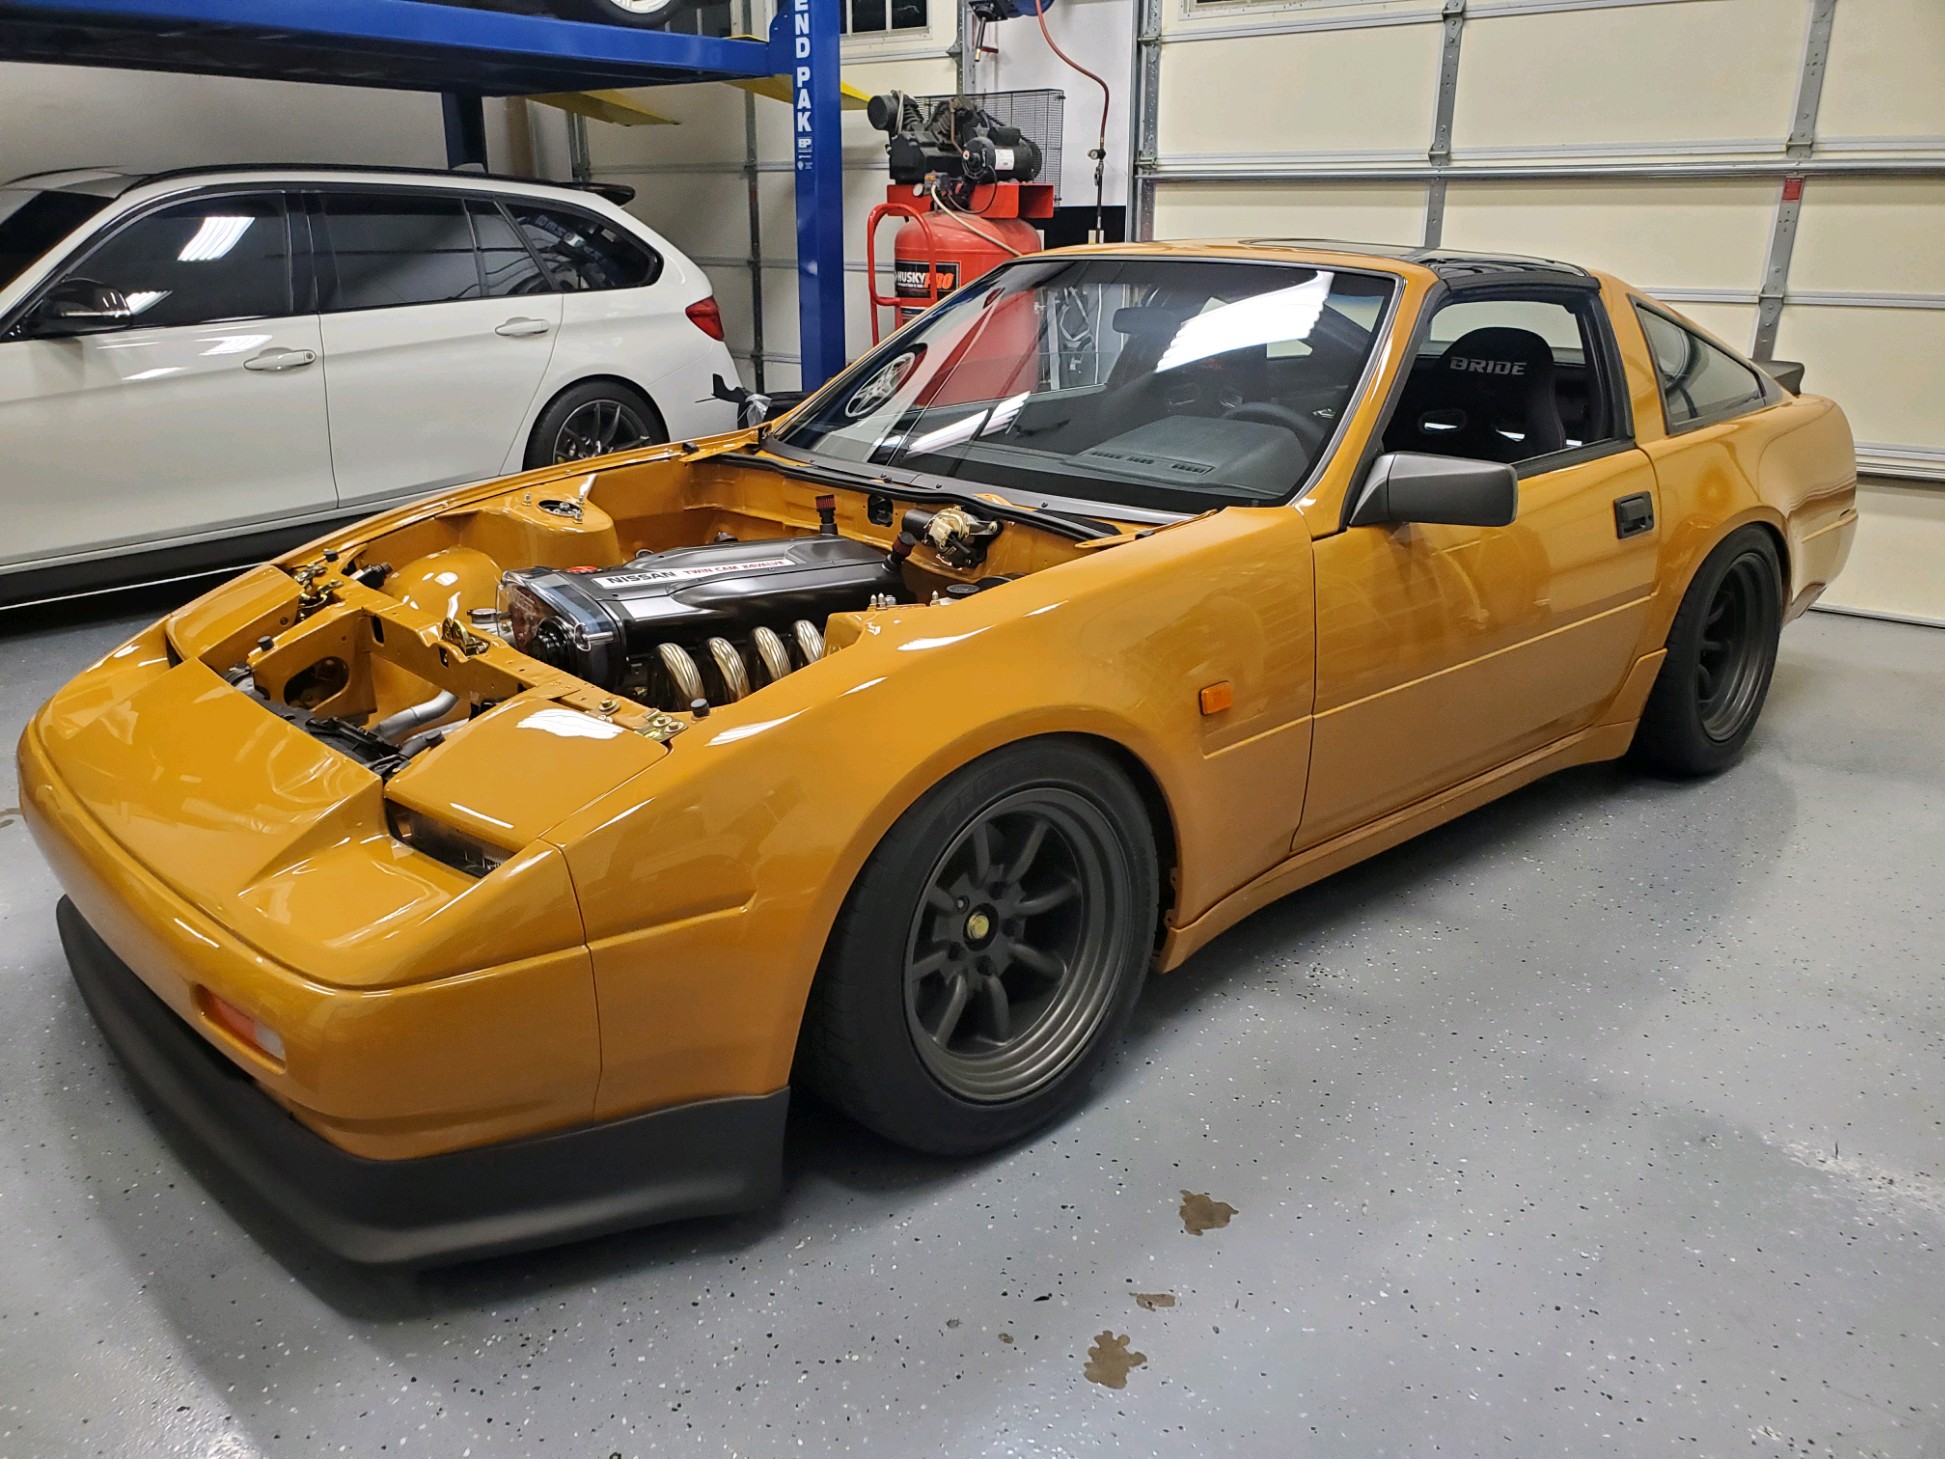
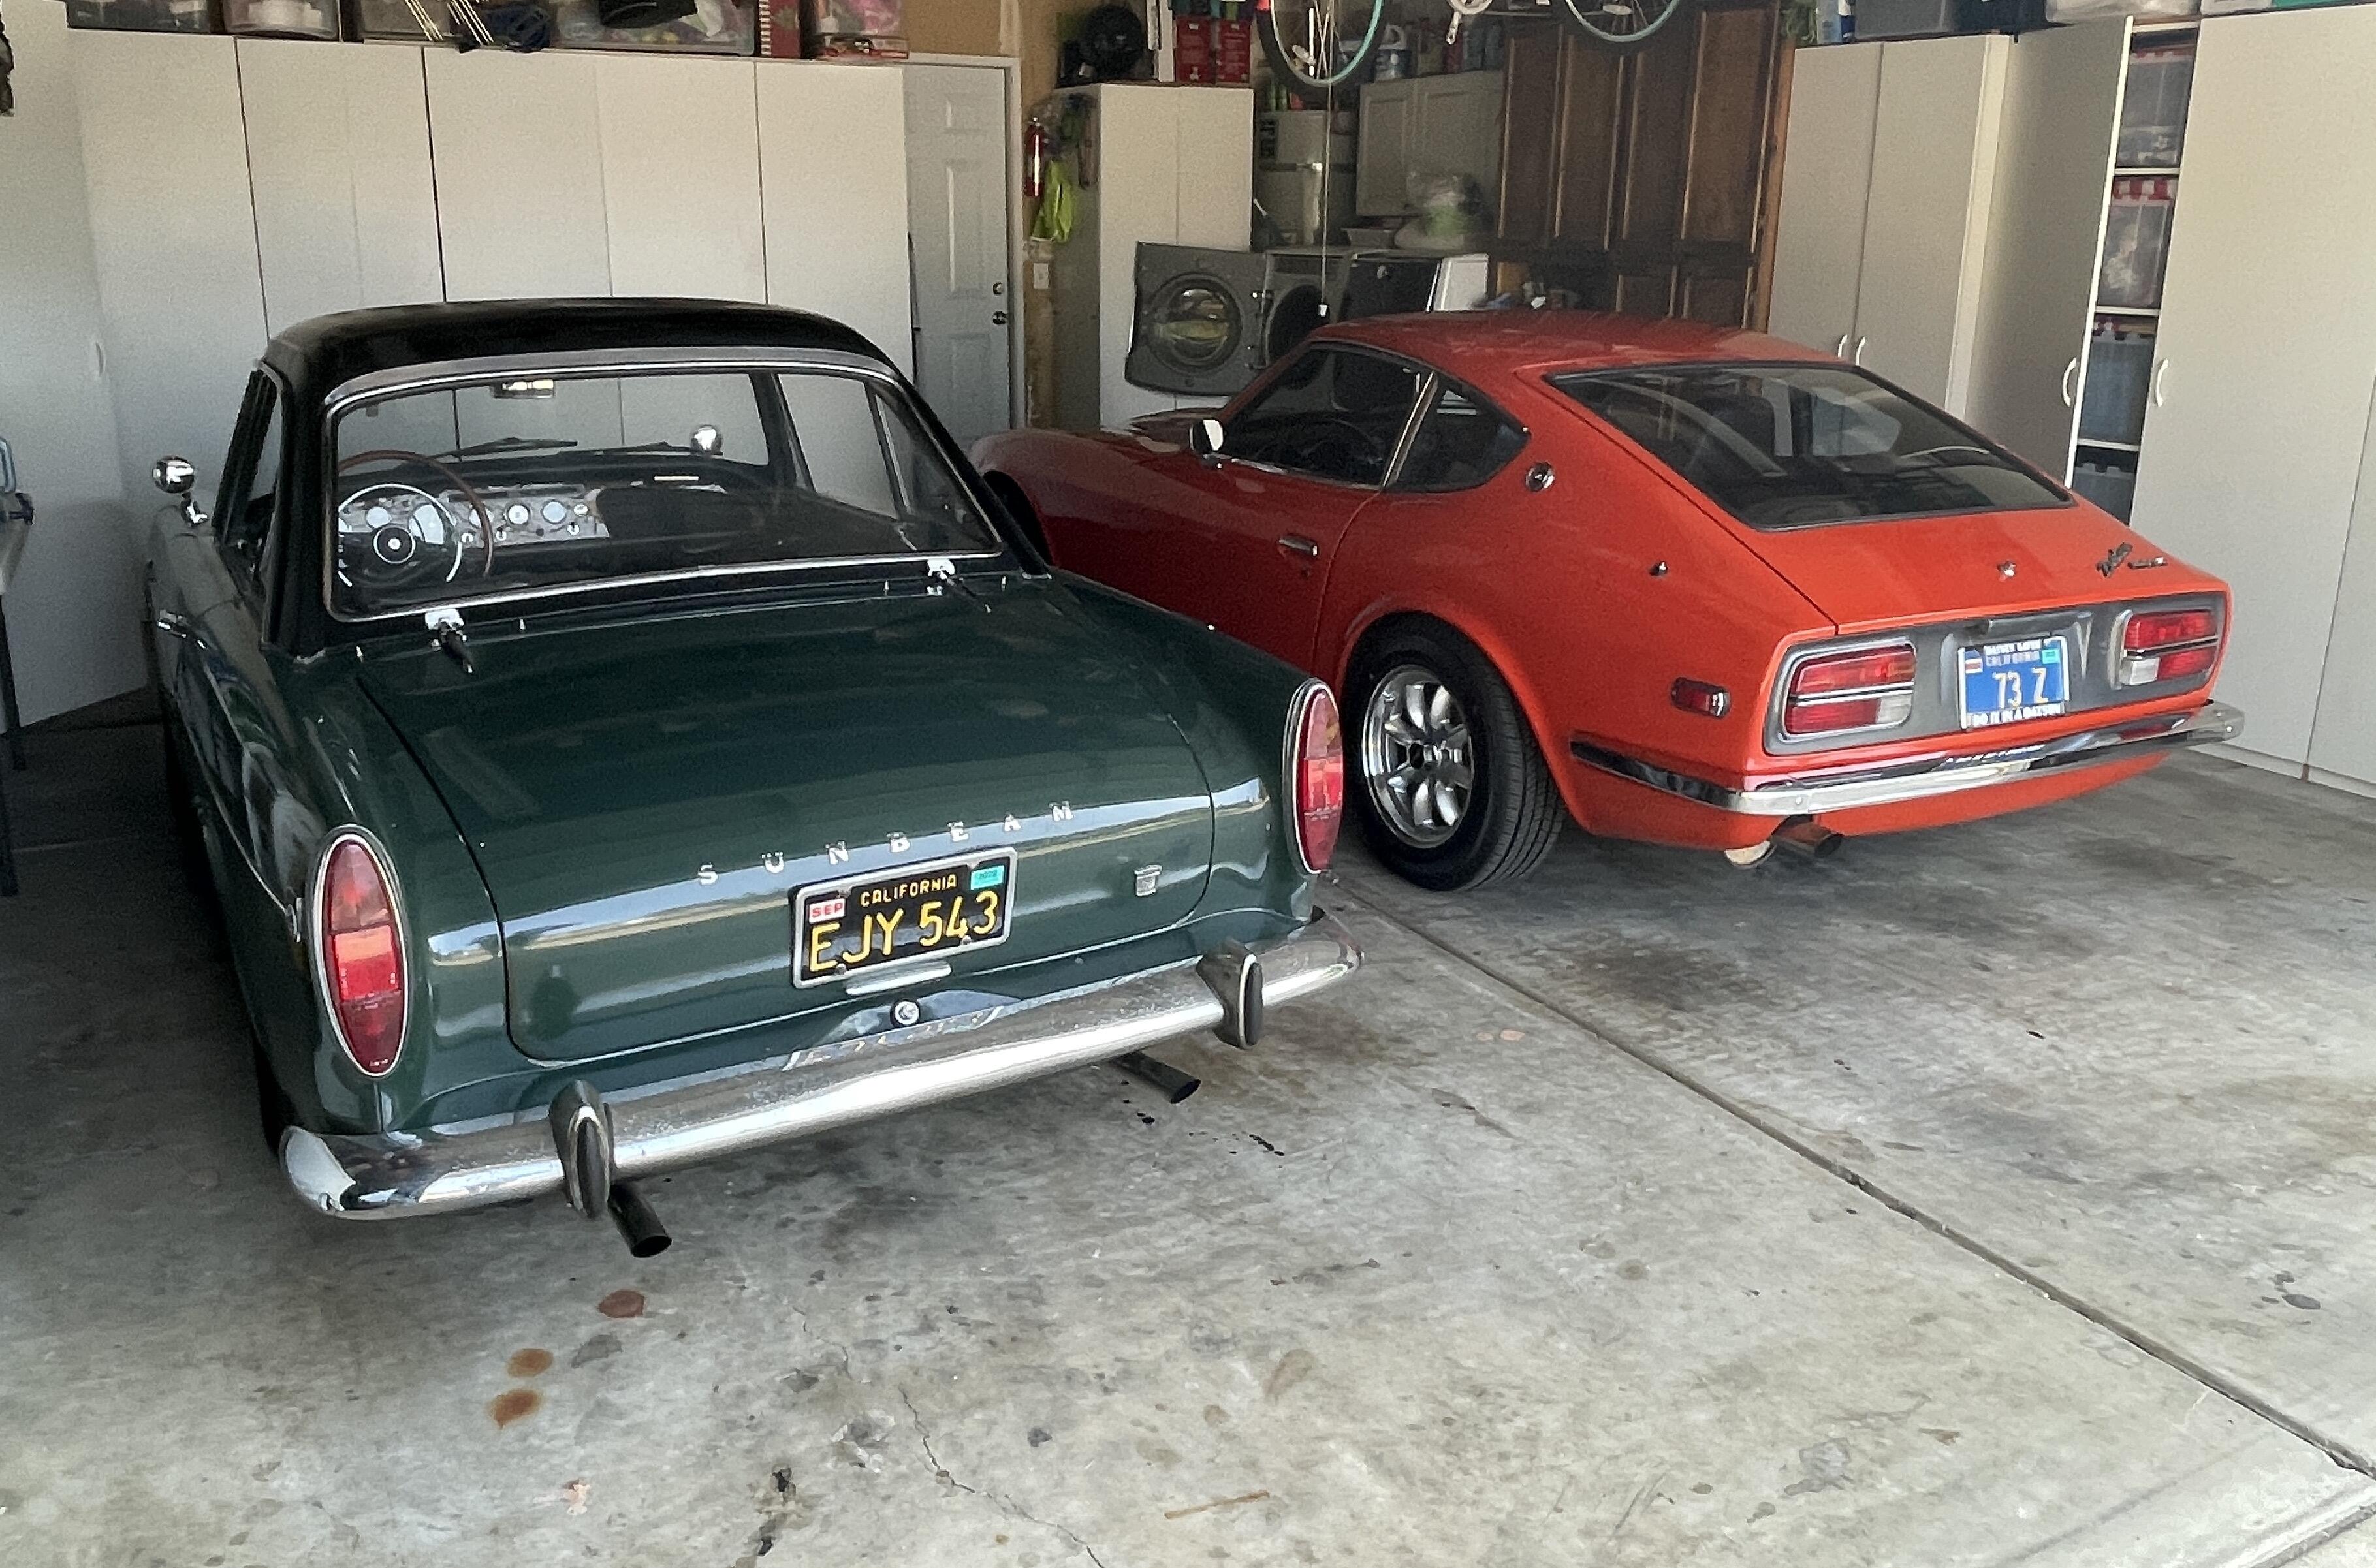
4 pointsAfter adjusting the toe-in, it actual tracks pretty good. I'll be curious to see how close I got it when I take it to be aligned. I forgot to tighten the rear strut top nuts, which made quite a racket during its first ride. And the engine developed a miss while sitting for 3 months, probably pull the plugs tomorrow and take a look. Or it could be the crappy California gas. Did I mention I picked up some new wheels from Z Car Garage? 😉
 4 points
 -
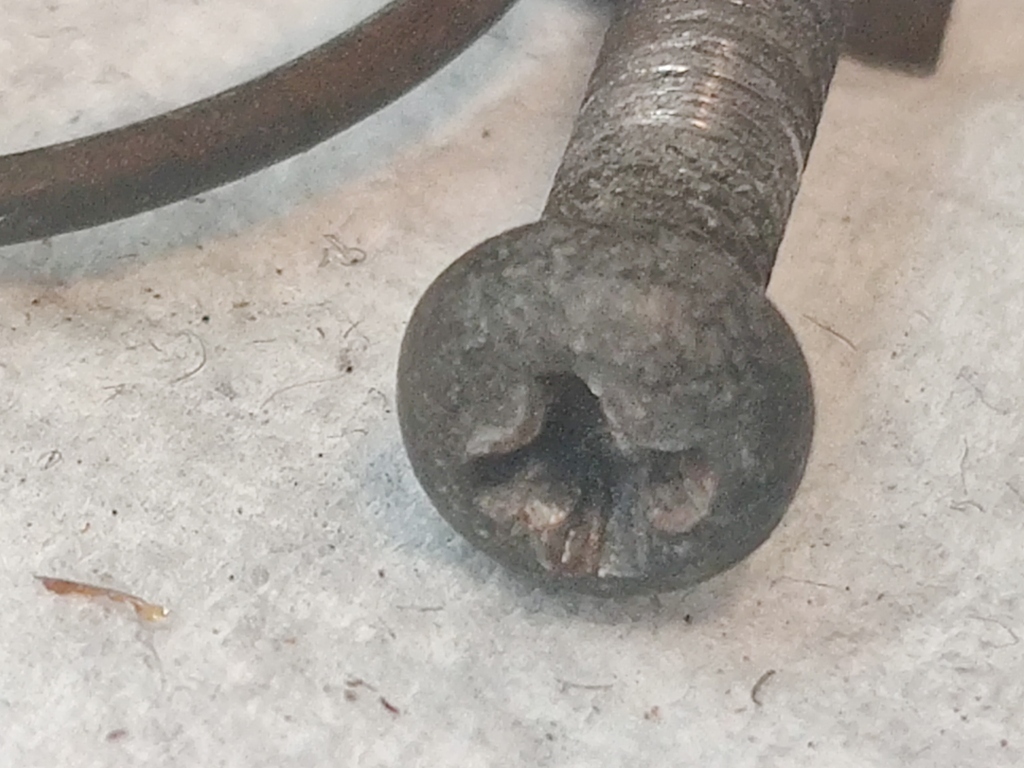
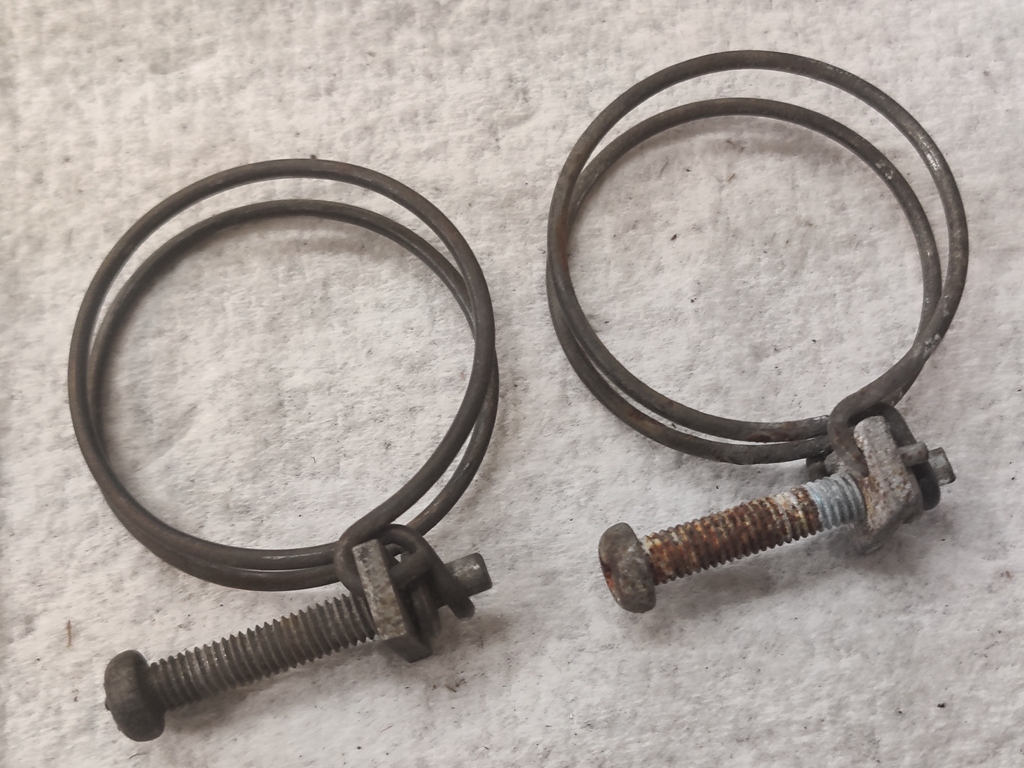
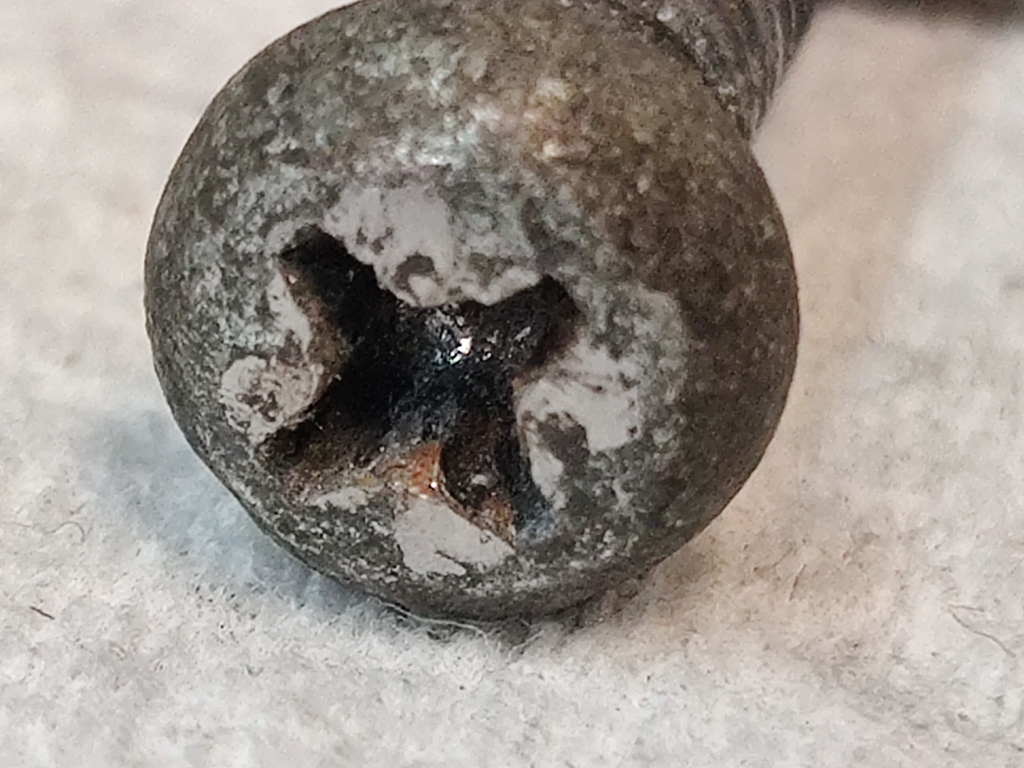
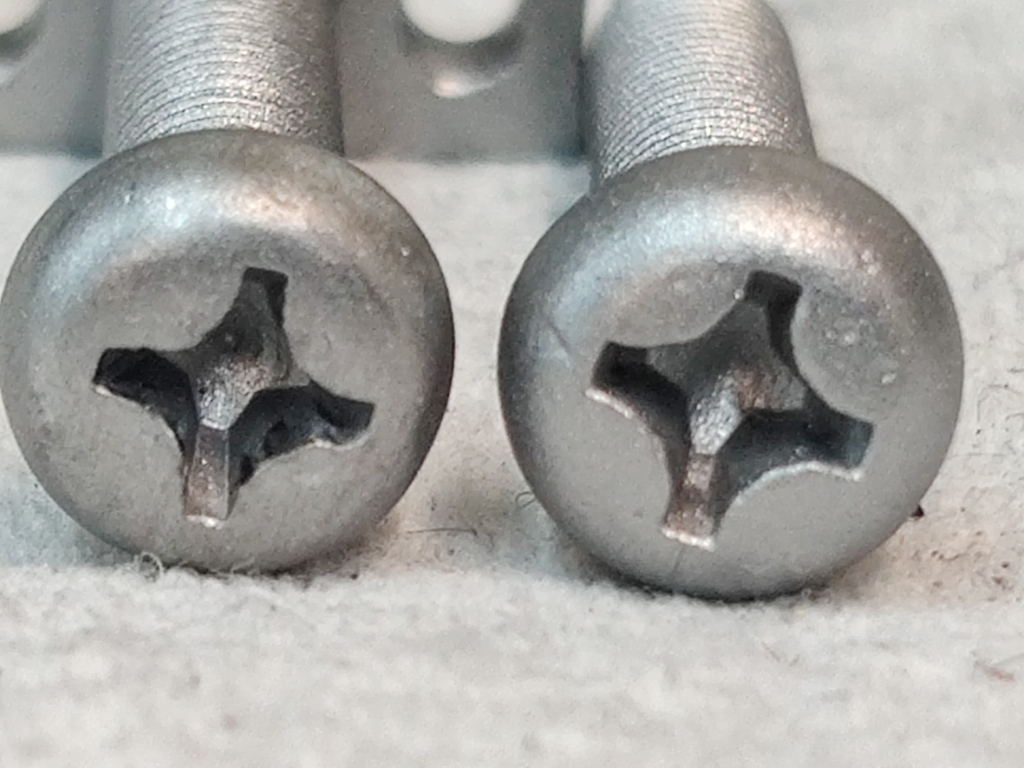
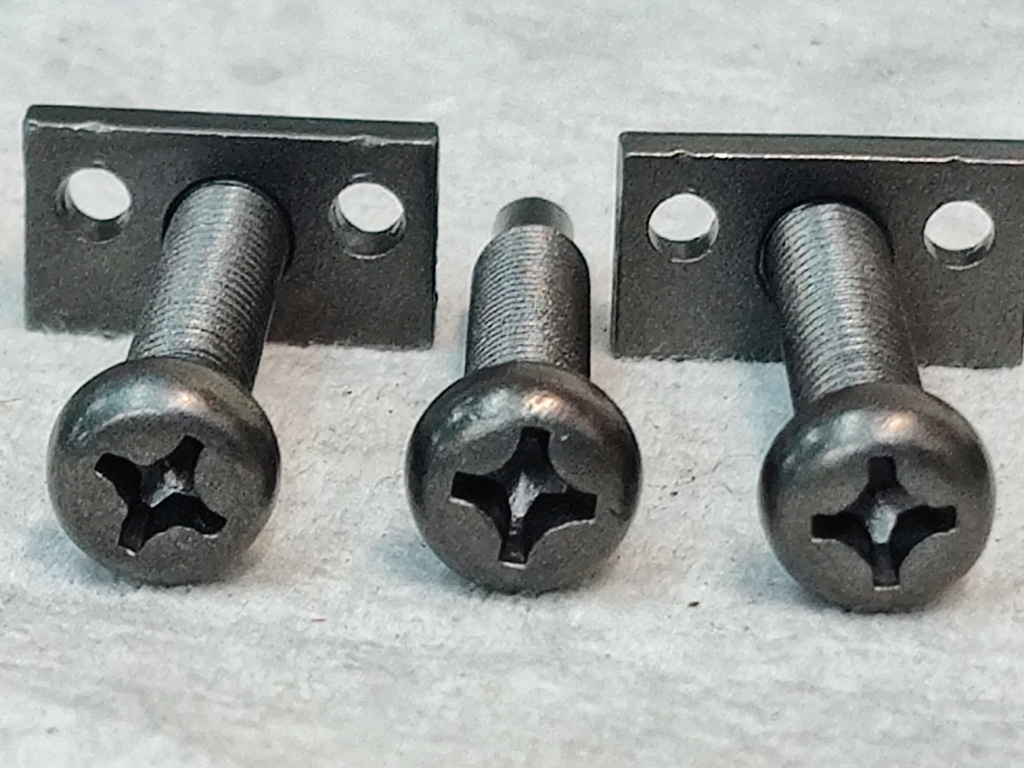
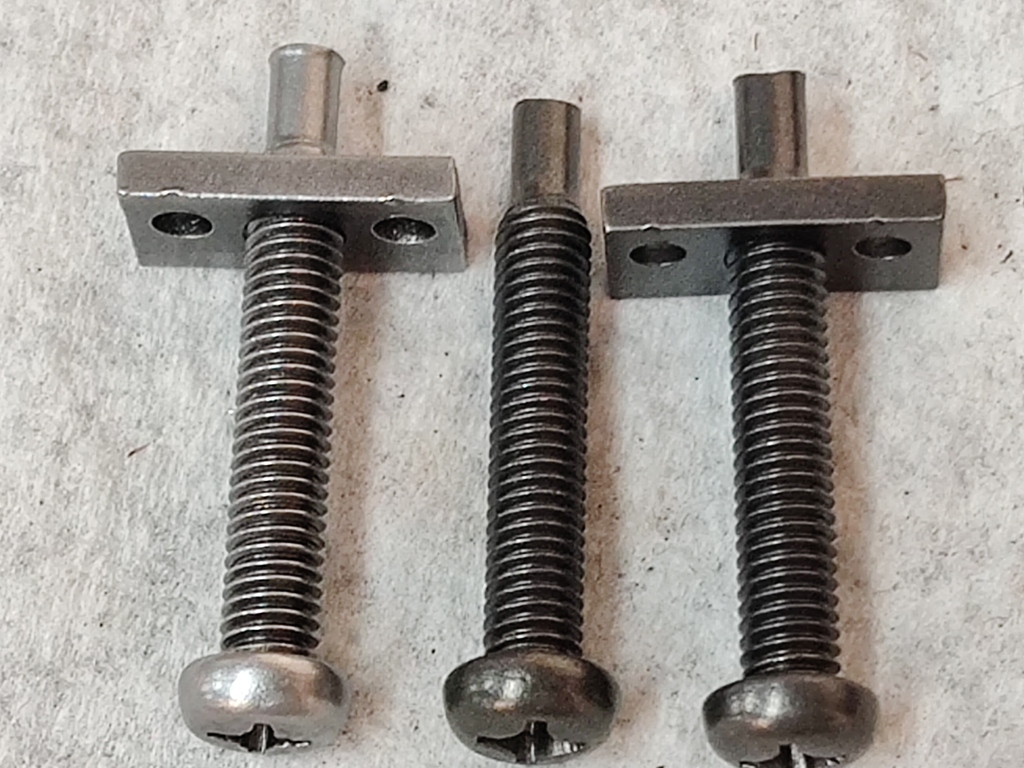
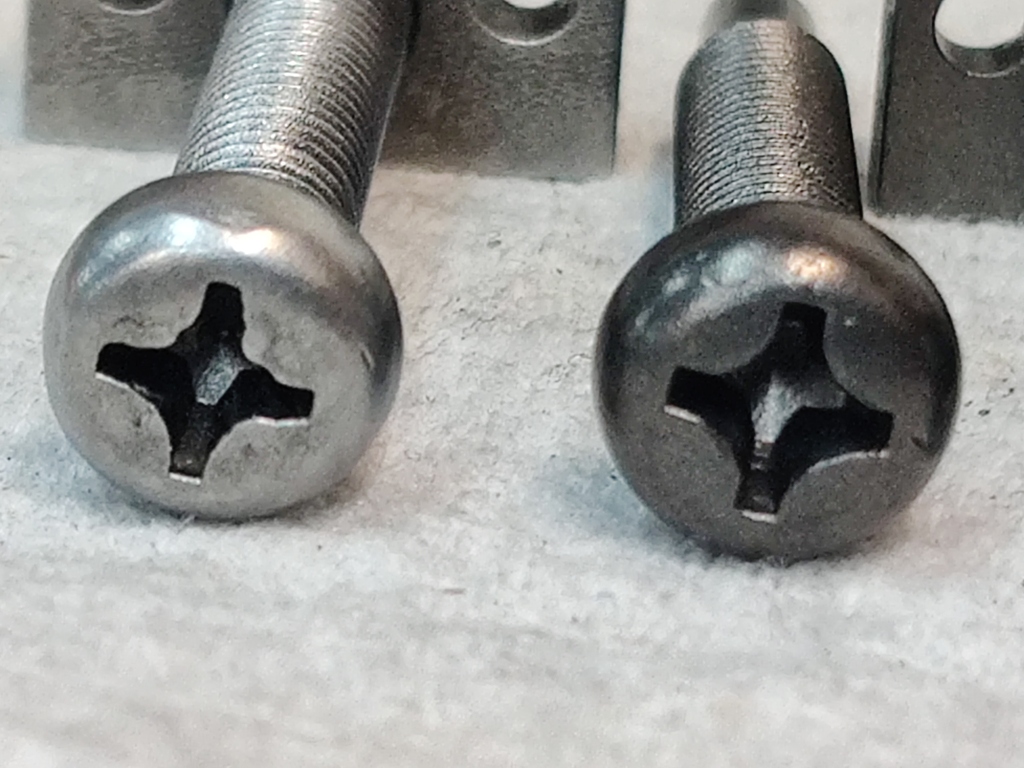
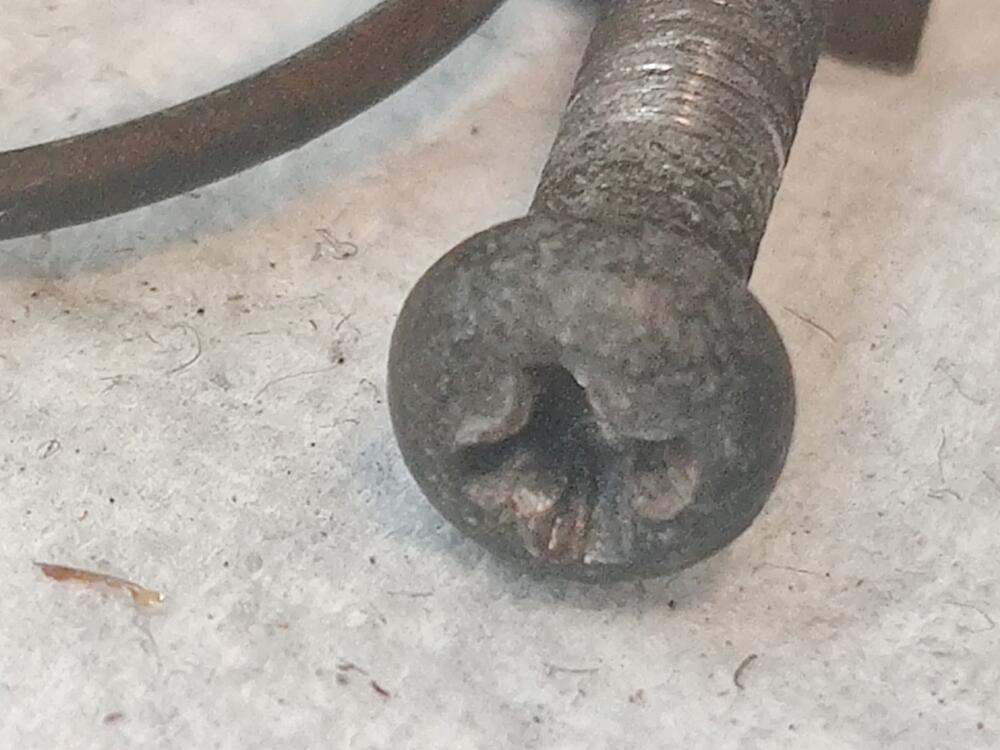
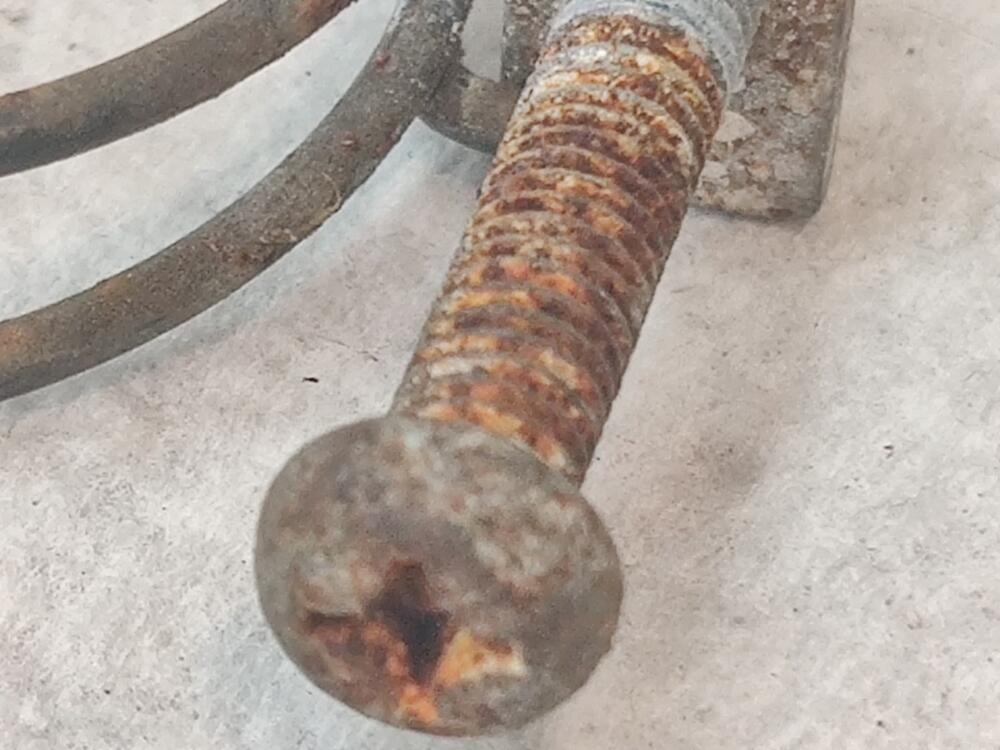
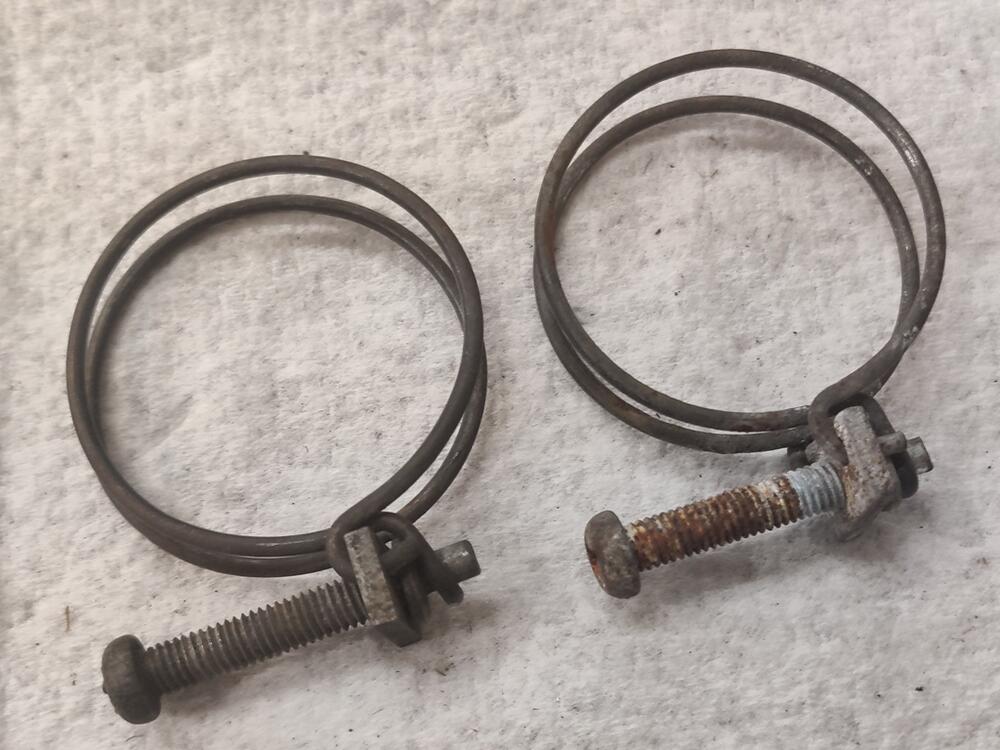
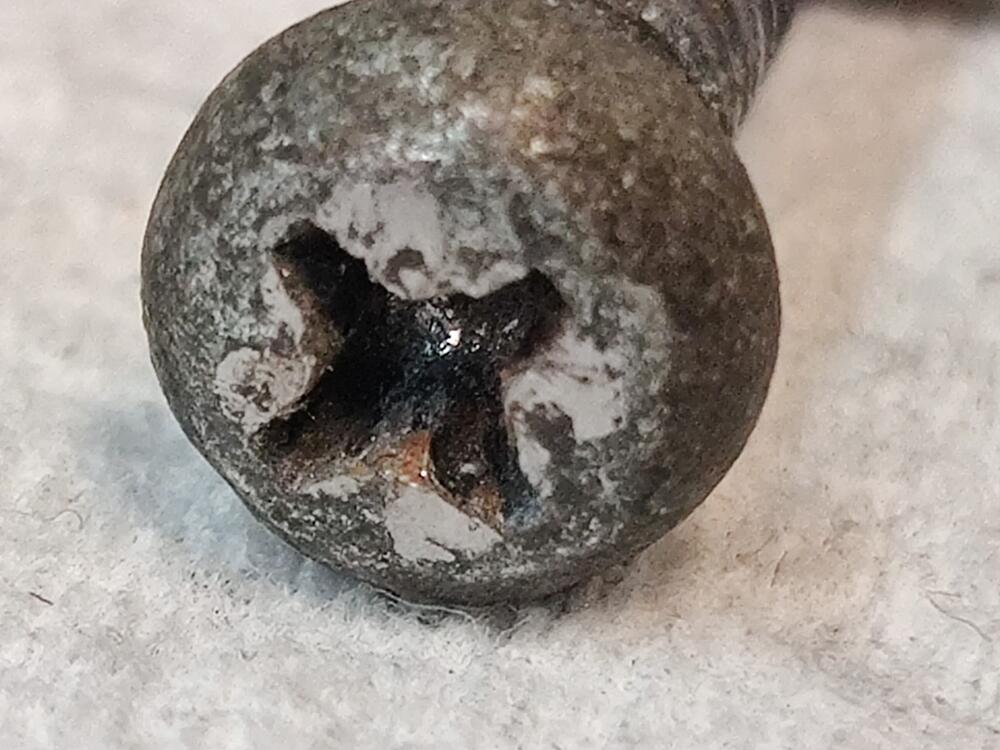
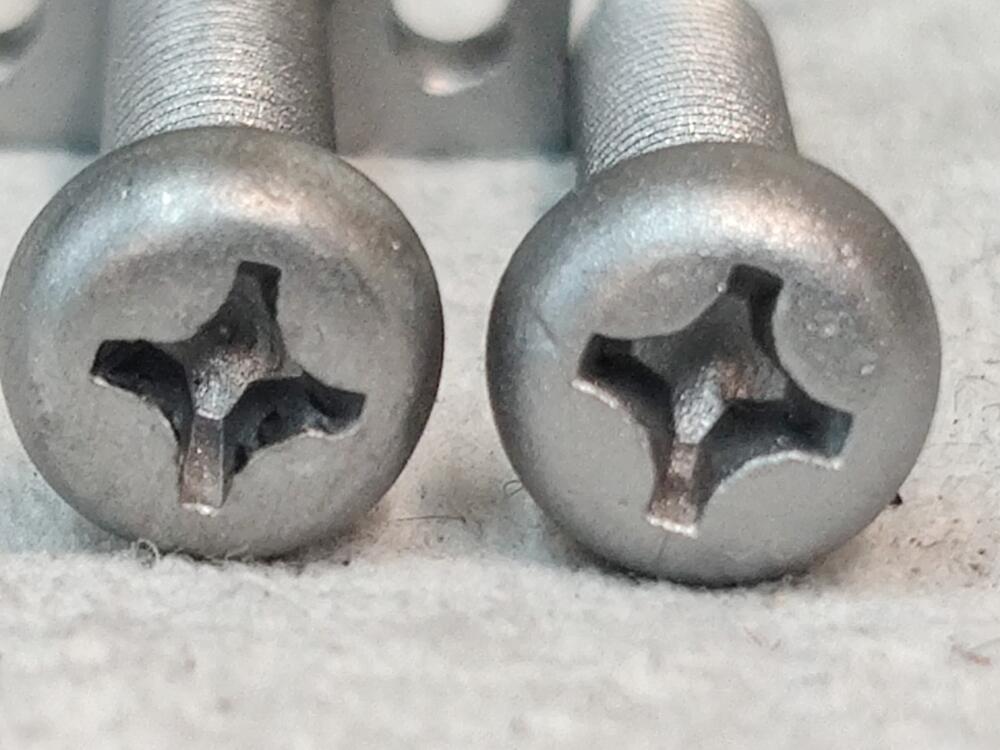
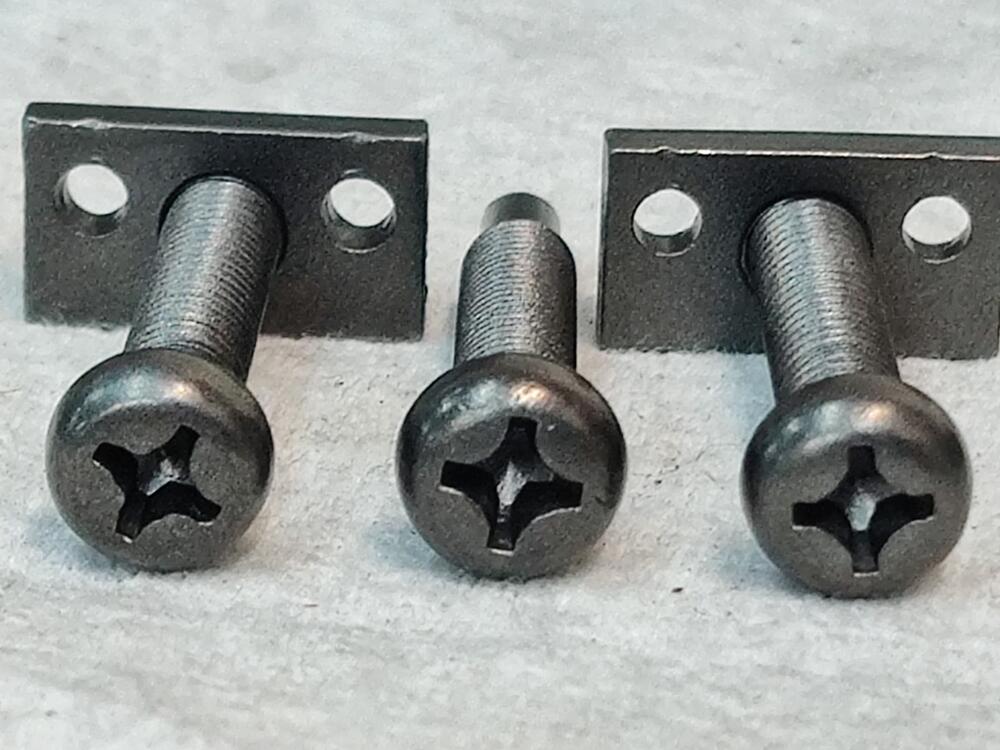
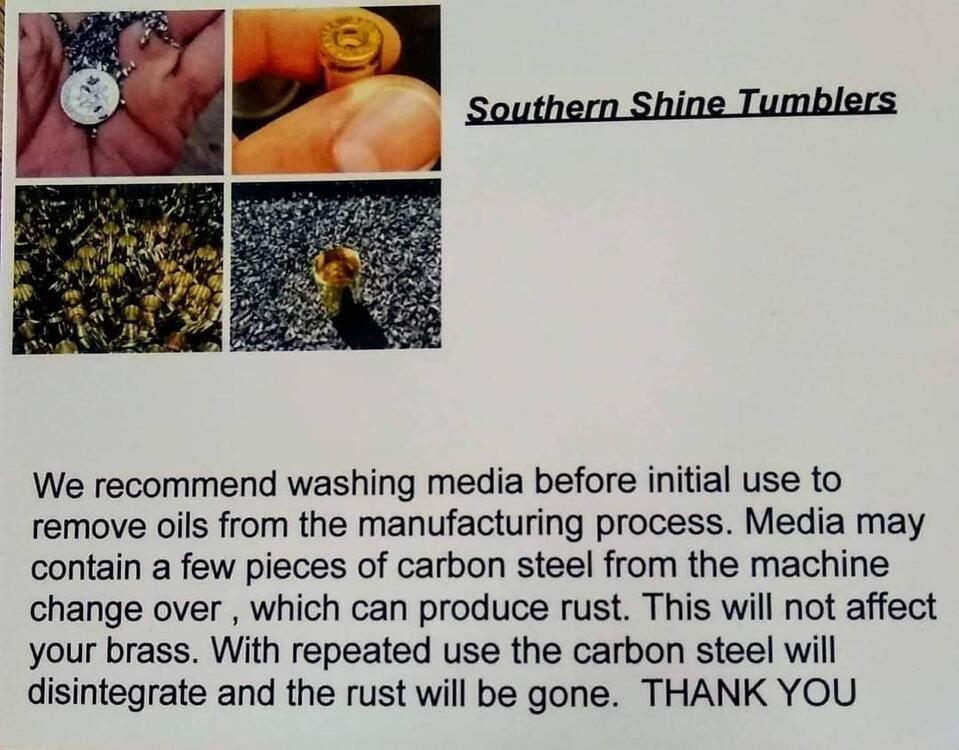
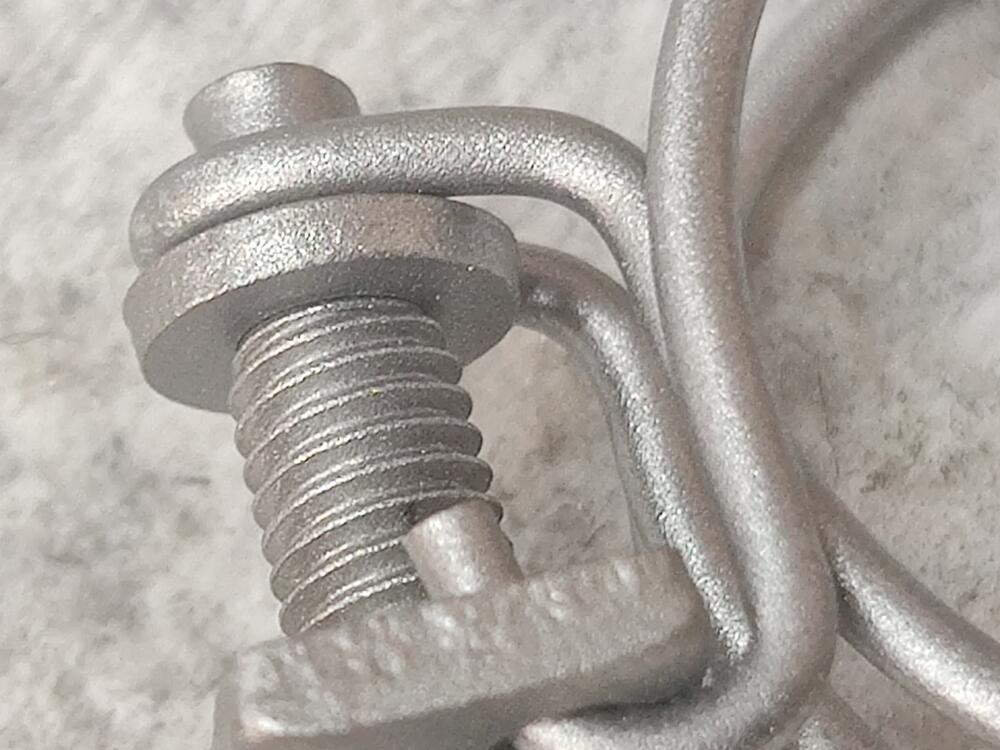
I thought I would take content from a post in my "build thread" and share it more broadly here. I've been working to prepare almost all of the hardware for my 6/1971 240z for re-plating, and have learned some, improving my process along the way. Here is some example hardware I ran through the process this week: These hose clamps are in pretty average condition after 50 years. Note that the less rusty one has some common damage on the phillips head. It has been mangled a bit. Something I have learned is that you can restore most philips screws with this type of damage by tapping the area with a hammer. I place the bottom end of the screw on the flat surface of my vise, and then use a hammer with a smooth face to tap on the top of the screw, working the metal back down where it belongs. I chose this one as an example to show that even when mangled this badly, decent results can be achieved (more pics below). So, here is a description of the process. Use these glass beads from Northern Tool and Equipment, important for size of grain, and bead blasting at 90 psi with a 1/8th inch nozzle to remove all rust, and to establish a consistent finish. I use one of these baskets and find that putting a variety of hardware (big and small) is great for trapping the parts in place so I can blast them without them flying around too much. For large parts, you don't need to use the basket, and you can then go back over them with the pressure at 50 psi to put a smoother finish on them. This smoother finish allows "second stage prep" by hand with less work. After glass bead blasting, all hardware (bolts, washers, nuts, screws and odd small bits) then goes straight to tumbling in one of these vibratory tumblers. I now use a stainless steel media (bought from Southern Shine Tumblers on Facebook). See pic below. It consists of tiny little bits of stainless steel that are good at getting into tight spaces, like between threads, phillips head recesses, etc. And I now use it dry. I was using water and a bit of citric acid, but I think that is best for doing brass shell casings. I was fighting keeping the parts from starting to oxidize/rust, and have found that the media works better and faster dry... to put a nice finish on the hardware. Minumum time in the tumbler is about 2-3 hours. You can add 2 to 3 times that and get an even nicer finish. For large parts that I can't tumble, I use a Dremel tool and the little wire wheel brush attachments after the glass bead blasting (first) step. For final, more consistent finish, I follow that wire brushing by hand rubbing the large parts with #0000 fine steel wool. It doesn't take a lot of work at that point by hand, but the combination of using the Dremel followed by fine steel wool by hand does end up taking some time. After hammer and top of vice on the screw head, then after glass bead blasting - with comparison to head that was not damaged, and lastly, close up of bead blasted texture: After tumbling, the hardware has a dark grey look to it. After wiping with lacquer thinner, the repaired screw in the second and third picture here is notably lighter in color. Sanding the top of the screw briefly with 320 grit or 240 grit would have been a good idea before tumbling, as I see some surface imperfections, but the screw looks pretty good compared to its initial state. Most of the screws I have done this to were not in as bad a starting point as this one. If you want to get the same media, send an email to Southern Shine Tumblers first to inquire on pricing and availability: southernshinemedia1@gmail.com They accept PayPal.


 3 points
 -
2 pointsI haven’t done a whole lot other than pull and clean things as they come off. The first thing that started it all was a rotten coolant hose going to the air control valve. Oh I’ll just fix this and put it back together, Cleaned it up a little and replaced the nipples with ones from my donor 280zxt parts stash. Then from that to now Of course I had to keep cleaning things up and pulling them. One of my main goals is to paint the engine bay the body color. Never liked being able to see the red and someone else decided to rattle can black what they could while apparently removing nothing. At least it cleans off relatively easy. I’m currently cleaning up and undoing the wiring harnesses. Sent from my iPhone using Tapatalk2 points
-
2 pointsOrdered! I'd rather put $ toward this than give $ to someone for an easy no-brainer job! Thanks!2 points
-
My secret sauce is bottled lemon juice and a table spoon of salt in an old ice cream tub. Soak between 2-12 hours depending on how rusty and they come out perfectly. Just make sure you neutralise it quickly when you take out of the solution. Before and after on a TR6 water pump!2 points
-
2 pointsGot a notification from Hagerty about a new coverage offer: Cherished Salvage. You total it, you keep it! 15% surcharge. https://www.hagerty.com/insurance/classic-car-insurance/additional-coverages/cherished-salvage-coverage?utm_source=SFMC&utm_medium=email&utm_content=21_Aug_3_Cherished_Salvage_Direct_US&hashed_email=2 points
-
2 points
-
2 pointsOh wow! Thank you for sharing!! There are many out there but it’s great to see one with a personal recommendation from someone who knows their onions! [emoji106][emoji106]2 points
-
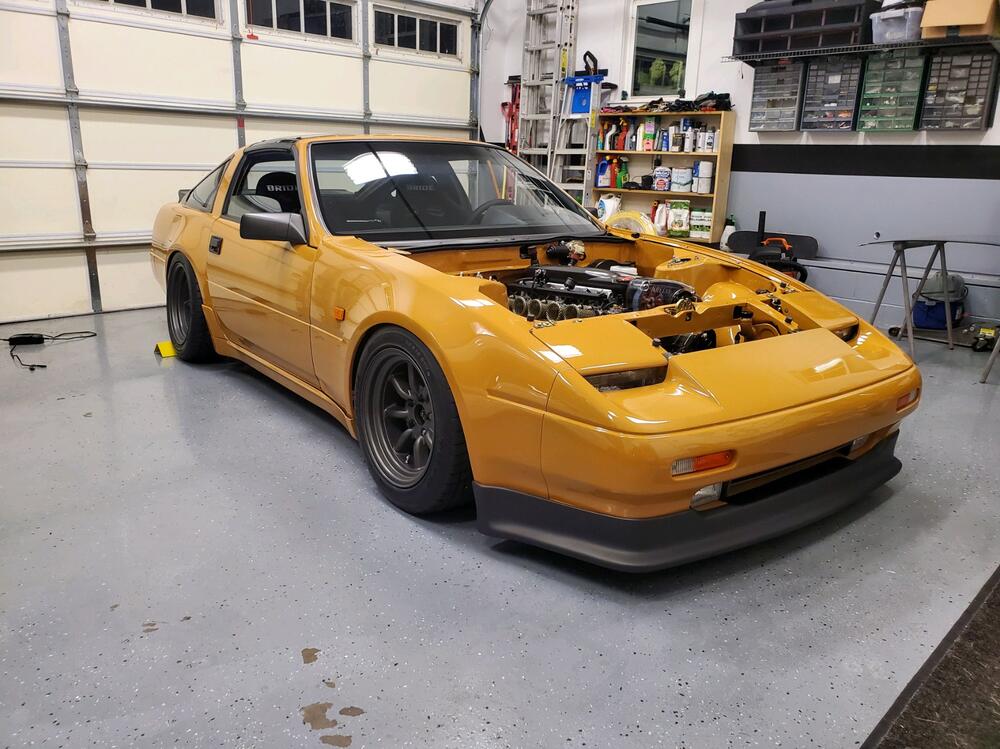
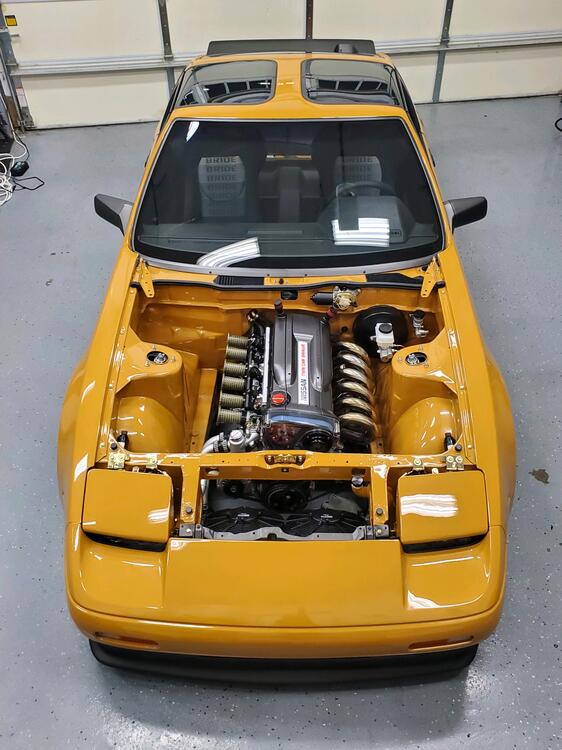
2 pointsSorry Brandon….had to post this. Incredible sound…..great job on a cool project!!!! Undoubtably the best Z31 in the world!!!!


 2 points
 -
2 pointsHas the alternator ever been changed out for an internally regulated alternator? The lamp (switched) wire can backfeed into the ignition. The solution is to use a diode in the alternator circuit on the appropriate wire to prevent the backfeeding from the alternator to the ignition circuit. http://www.zhome.com/ZCMnL/tech/280Alt.html2 points
-
2 pointsI'm not really digging the "bump" in the chain flow in that pic. It doesn't look smooth where the chain where it steps off the tensioner and onto the slack side guide. Could you pull the top of the slack guide out some away from the cam and then push the bottom end in a little? That might make the chain "flow" a little more smoothly from tensioner to the guide?2 points
-
2 pointsYep, I know it possible but didn’t have time today to screw with it. I looked at it this AM and was like...nope not gonna happen So if I have to remove the DS then is that the right time to go ahead and put the spear ZX diff in too and get the rear end done. I had contemplated doing that over the winter but once the DS is off maybe I keep loving forward on the new diff too. I don’t want to get distracted too much and get overloaded. Too many people are great at taking apart but somehow it take forever to get it all back in. I’d like to have the engine in an running by next month. I have a big work trip (9 days) coming up so I’ll hit a work stoppage soon. Goal now is engine bay prep!! Sent from my iPhone using Tapatalk2 points
-
1 pointYea, I already buttoned everything up with a composite/metal gasket. Sounds SO much better than before(obviously given the state of the old gasket. When I replace the header I will go ahead and get the fiber gasket.1 point
-
I believe the plater will acid dip all the hardware prior to plating. So any residual rust will be removed. Although the cleaner it goes in the cleaner it aught to come out. Also, as a note, I have found that JIS screwdrivers will still easily turn screws with this sort of damage. JIS screwdrivers are the proper screwdrivers for all Nissan screws1 point
-
1 pointIt should have, but diodes can fail, or someone could have installed the diode backwards. If you have an ohmmeter, I can tell you how to test the plug later. Right now it's time to work on my car.1 point
-
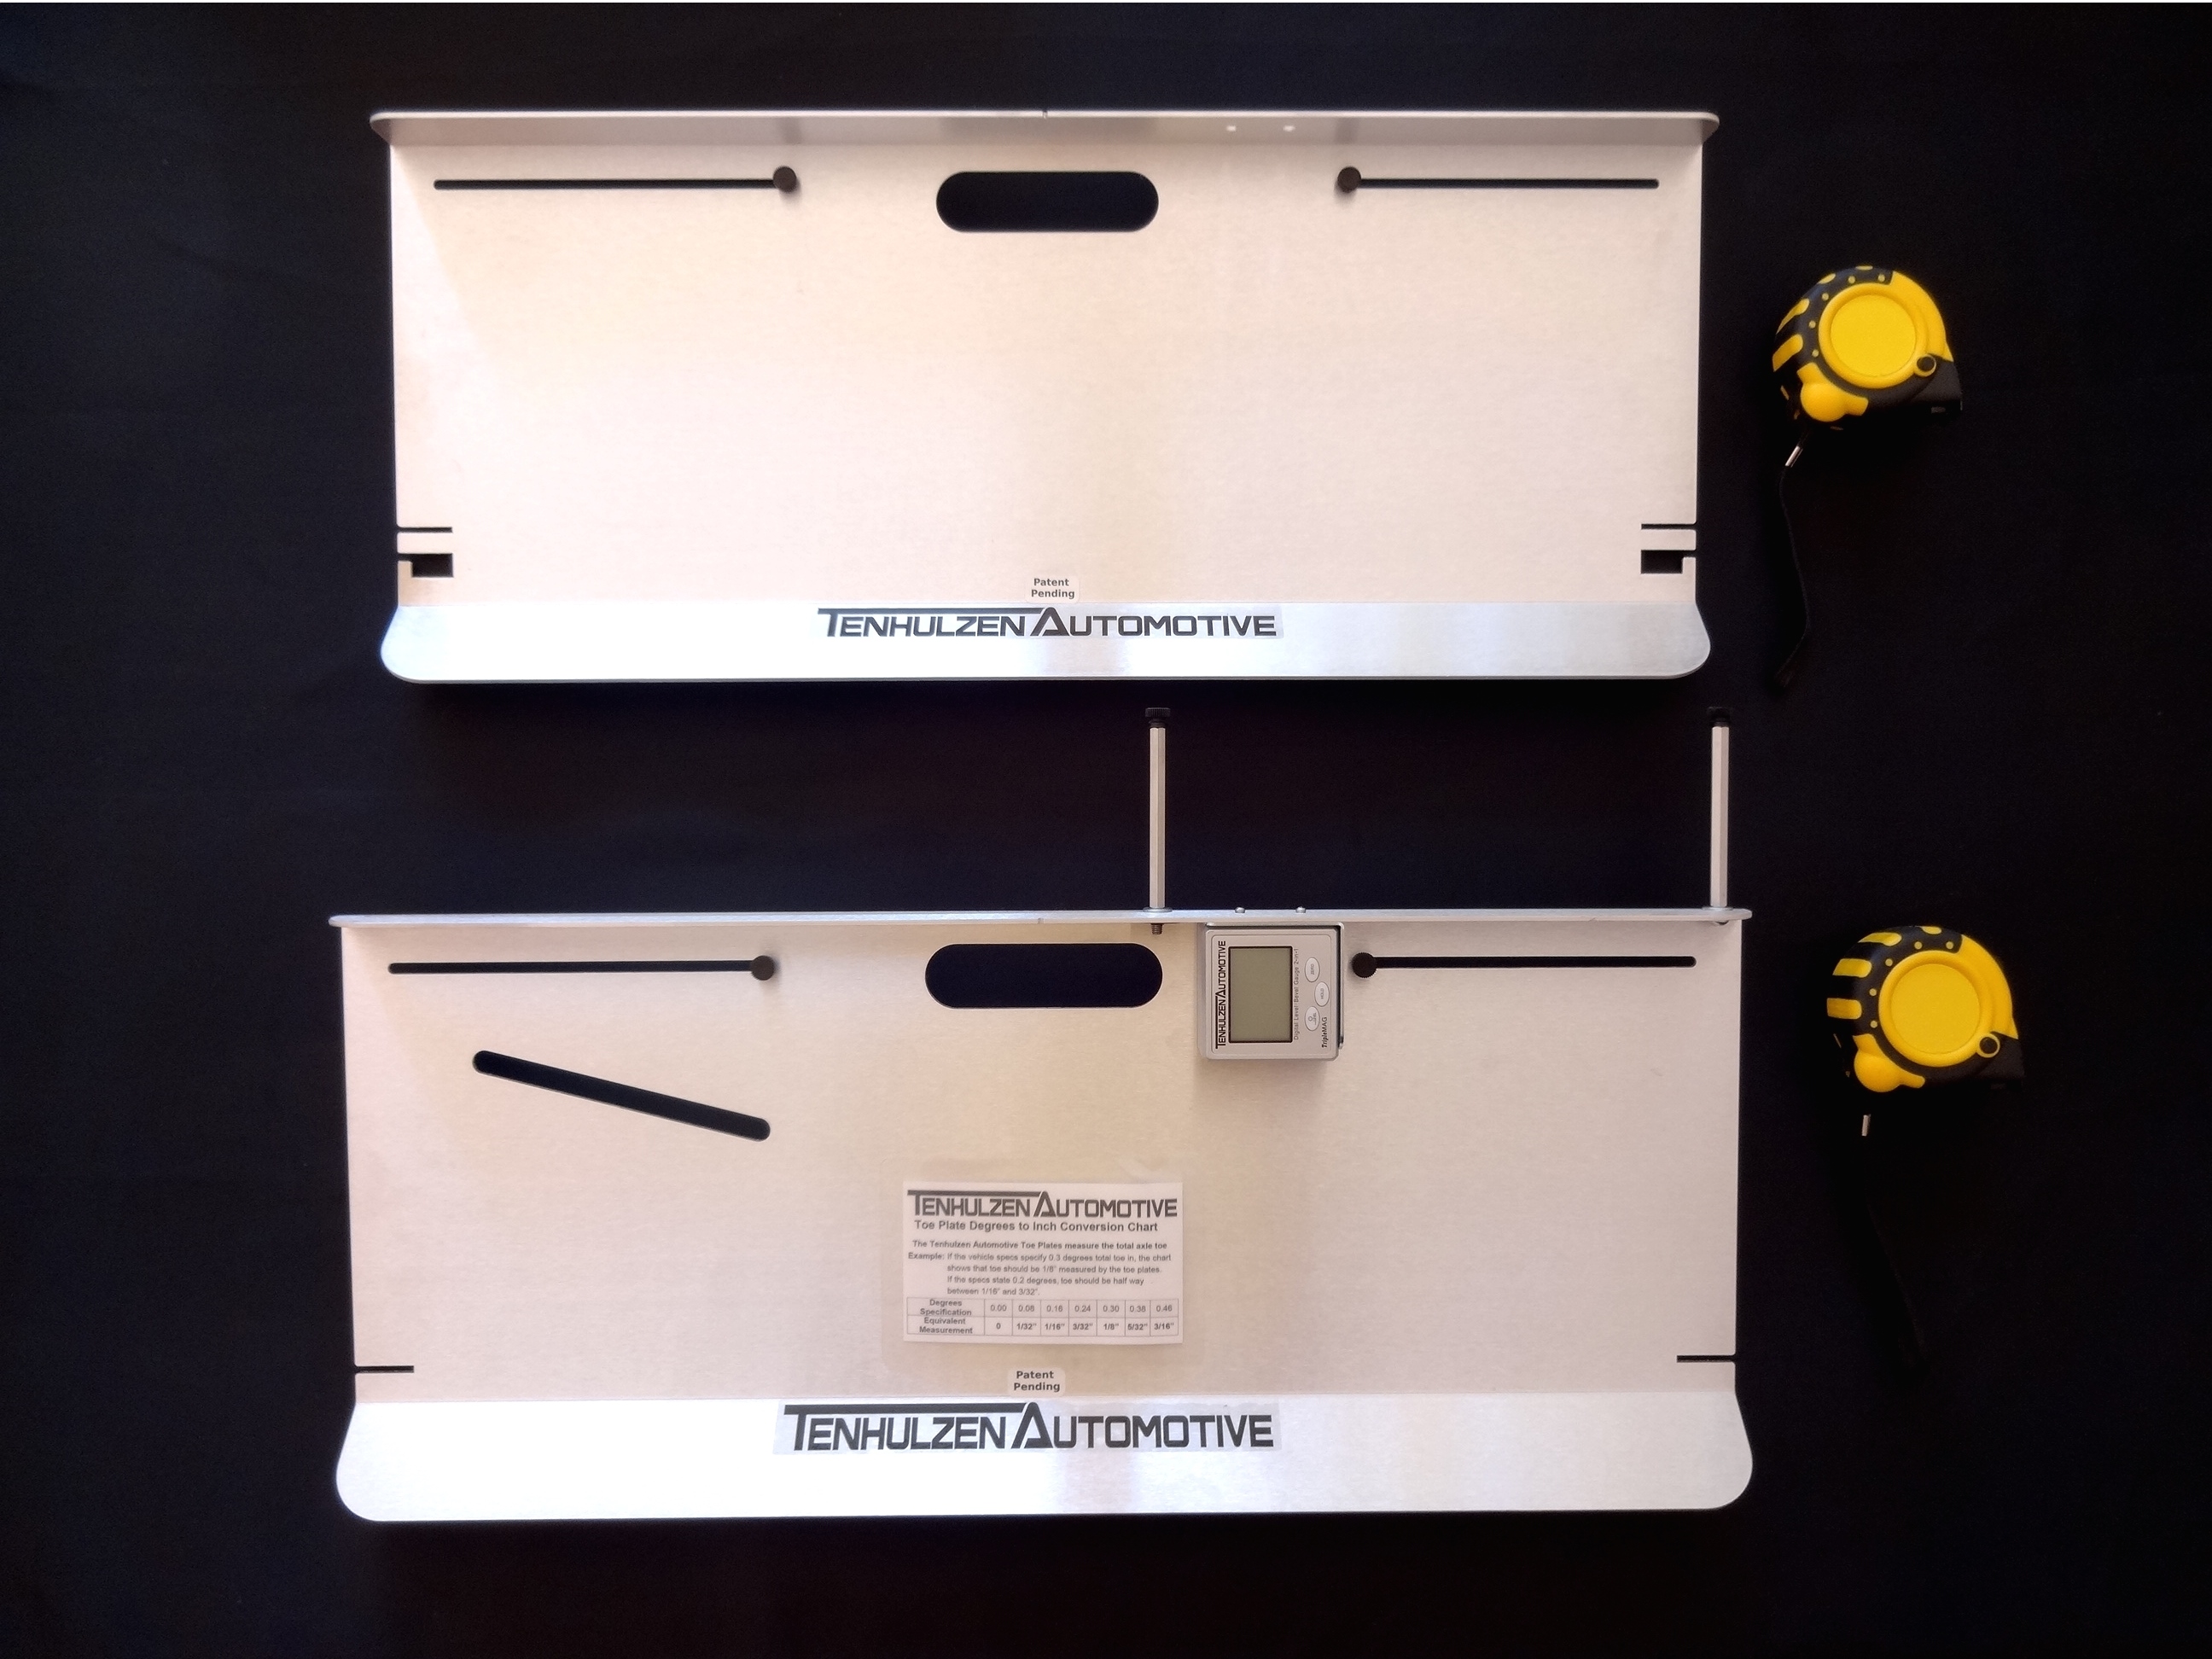
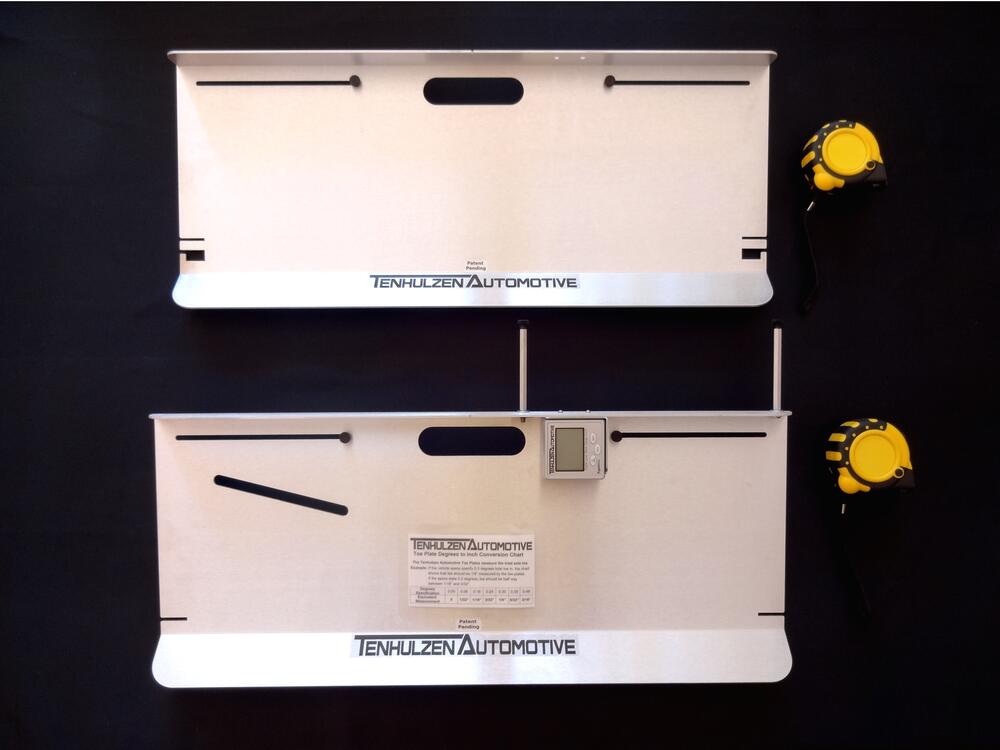
1 pointThis is the diy alignment tool I bought after years of toe adjustments with the string method, https://www.wheelalignmenttools.com/product/2-wheel-alignment-system/ The tool allows you to measure and adjust toe, caster and camber, pretty happy with it.
 1 point
 -
1 point
-
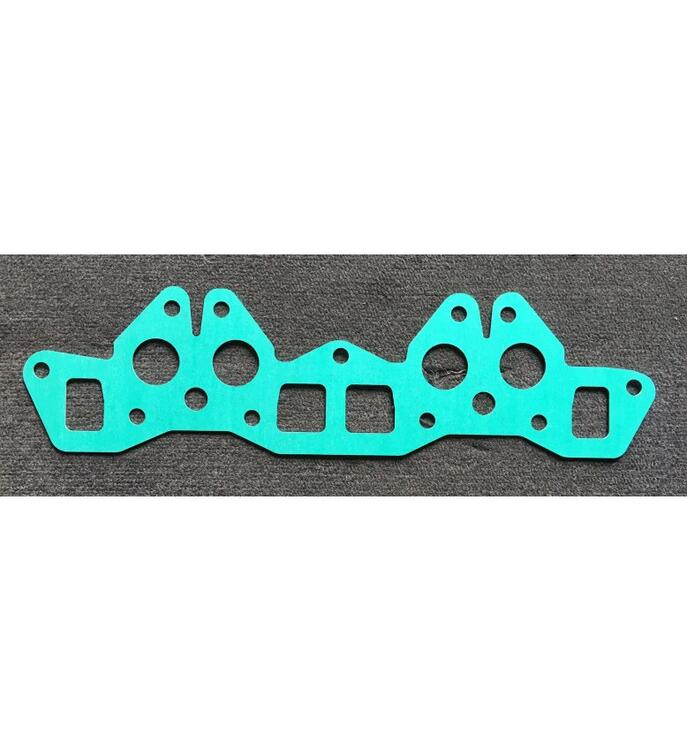
1 pointI’m not entirely sure, but the all fiber header only gaskets seal better at the exhaust ports. This is what I am referring to, although this one is for a 4 cylinder L series engine.
 1 point
 -
1 point
-
1 pointI'm sorry, I lost my bearings reading your post. Post a picture of it and let the other members give you some experiences they may have had.1 point
-
1 pointToday's episode is "While I'm at it..." Since the seats are still out of the car, I figured it would be a good time to replace the center console with one I've had lying about for 8 years or so. I removed the console and removed the ash tray cover. The cover was pretty dirty, so while I'm at it, it would be good to clean it. I transferred the clean cover to the replacement console, and then I proceeded to remove the outer shift boot. Well, it was pretty old, and some of the threads broke. Then I looked at the rubber shift boot. It was torn. While I'm at it, I might as well find the replacement boot I bought many years ago. (Okay, so the wife found it for me. She knows the spare parts room better than I do.) I also found another outer boot during the search. The shifter was pretty sloppy. The bushings were MIA when I bought the car in 93. While I'm at it, I'll find the brass bushings I bought 4 years ago and install them. It only took searching the same places twice to find those. I followed the tech tip on Blue's ( @240260280) page (link below) and used my vice to press in the bushings. I even had Wendy shoot a video of me pressing in the second bushing. Well, I couldn't crank down hard enough with the vice to get the bushings flat enough to fit inside the fork. So I took the shifter to the 20 ton press. THAT got the bushings flat enough. The shifter slop is gone. During all this, I got the drawstring out of the old outer shifter boot and threaded it into the new boot. Tomorrow I will attach the rubber boot to the transmission tunnel, attach the outer shift boot to the center console, and get the center console back in place. If it all goes quickly enough, I might start getting the seats back into the car.1 point
-
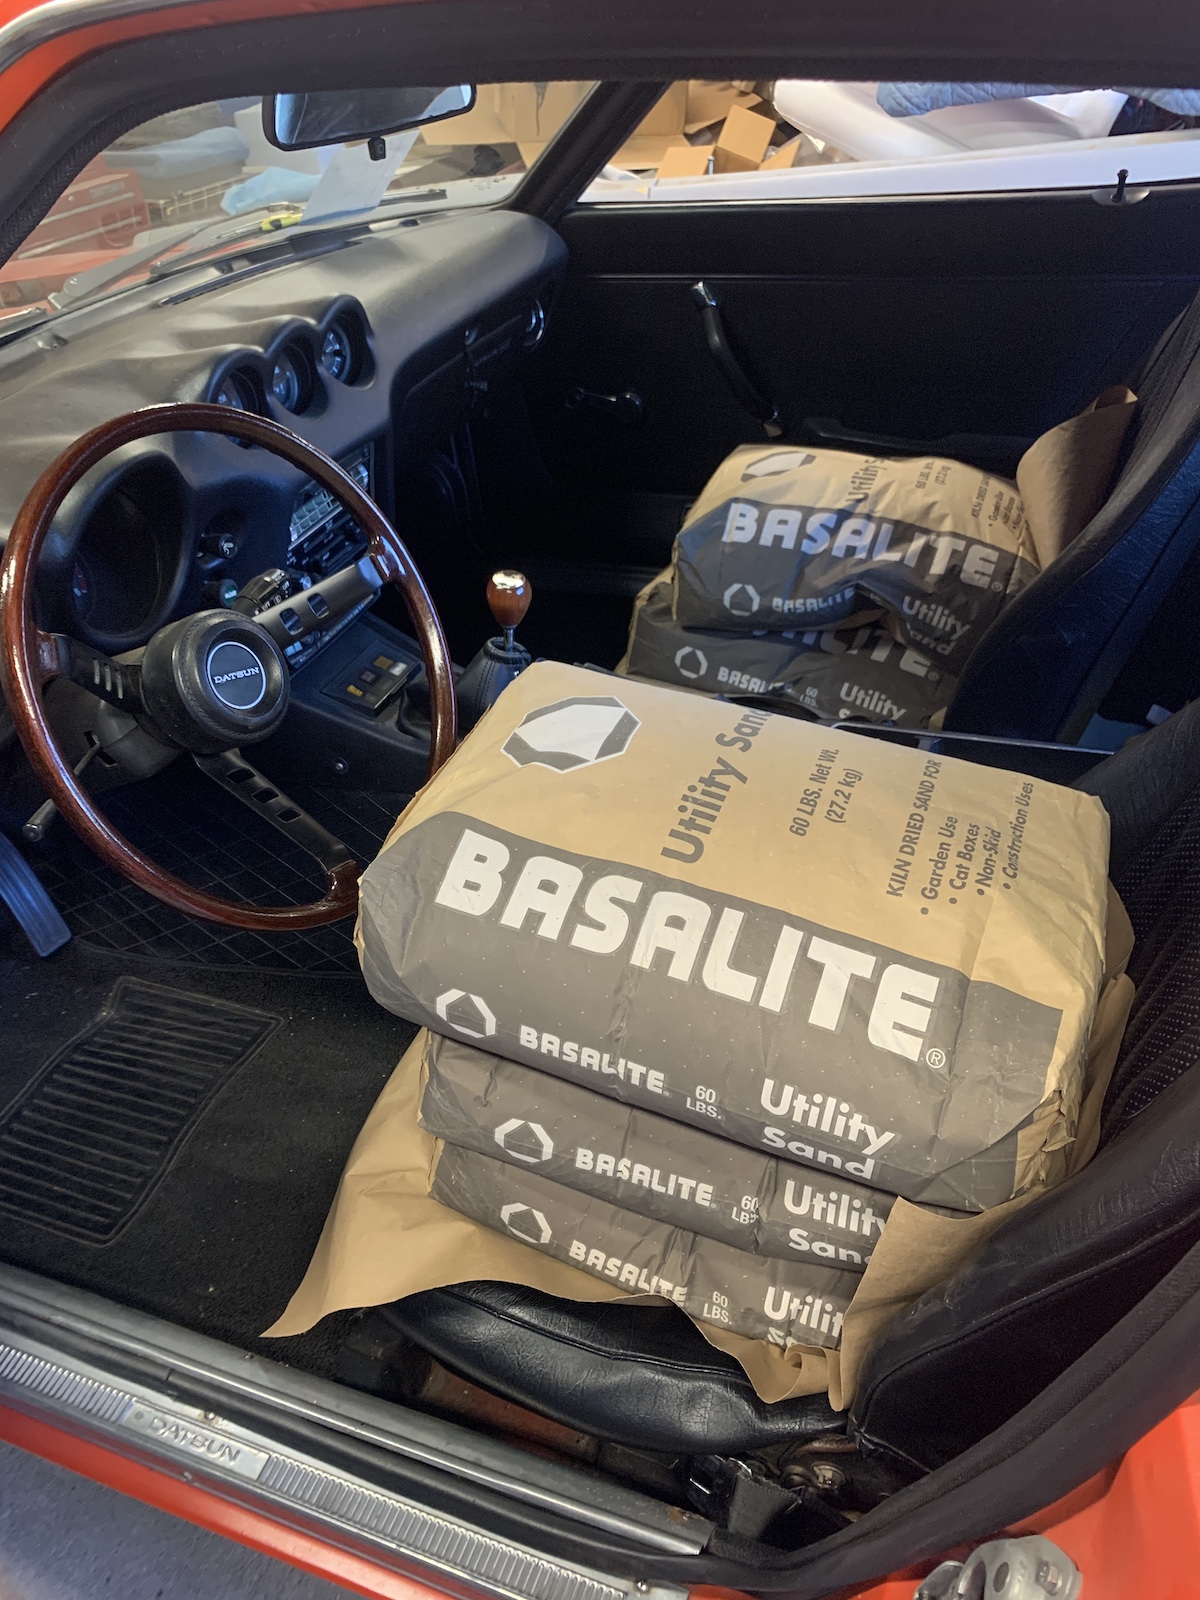
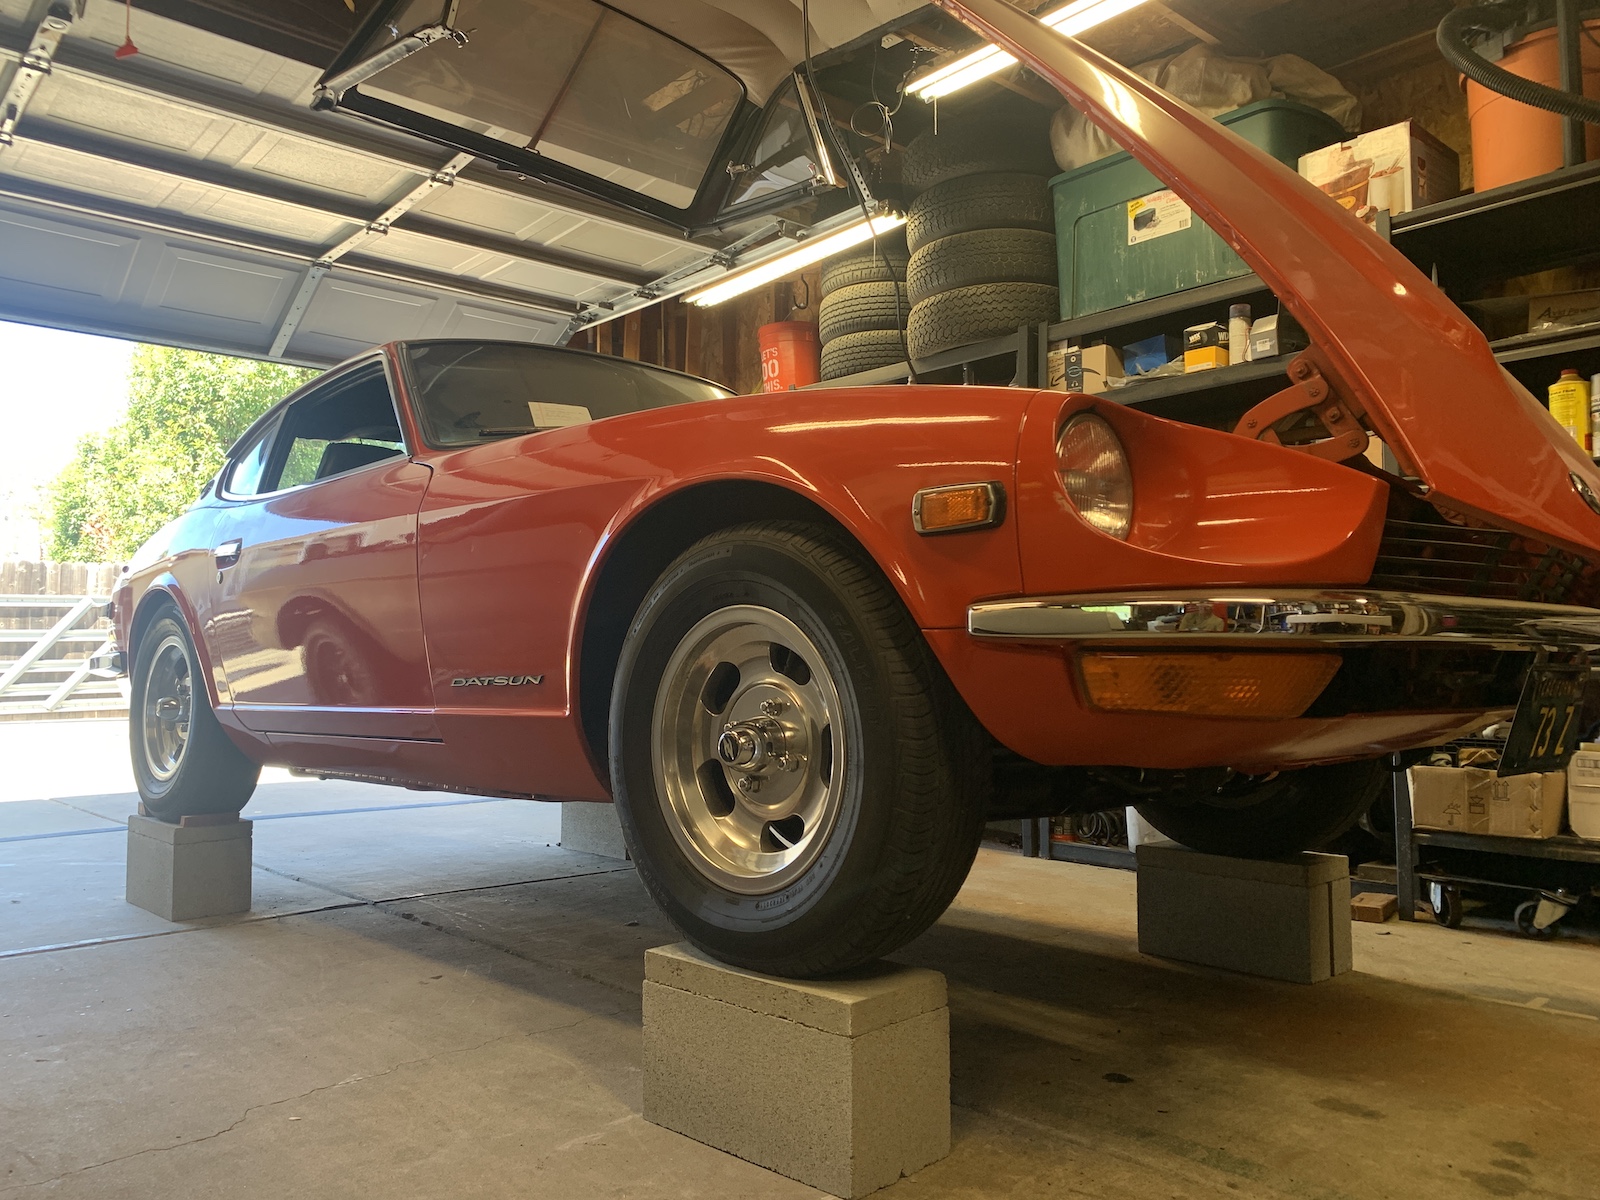
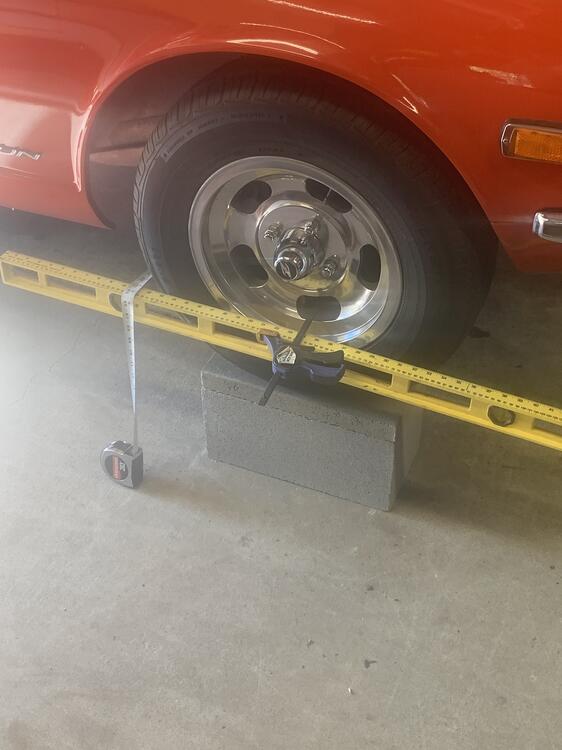
1 pointOh, those? I’ve got hydraulic rams under my shop floor, so I just hit a button to raise and lower the Z. You should see it when it goes 6 feet high for those oil changes! Kidding! [emoji16]. It was on jack stands, so I just had to jack up each corner a few inches to slide a concrete block under each tire. [emoji106] Sent from my iPhone using Tapatalk1 point
-
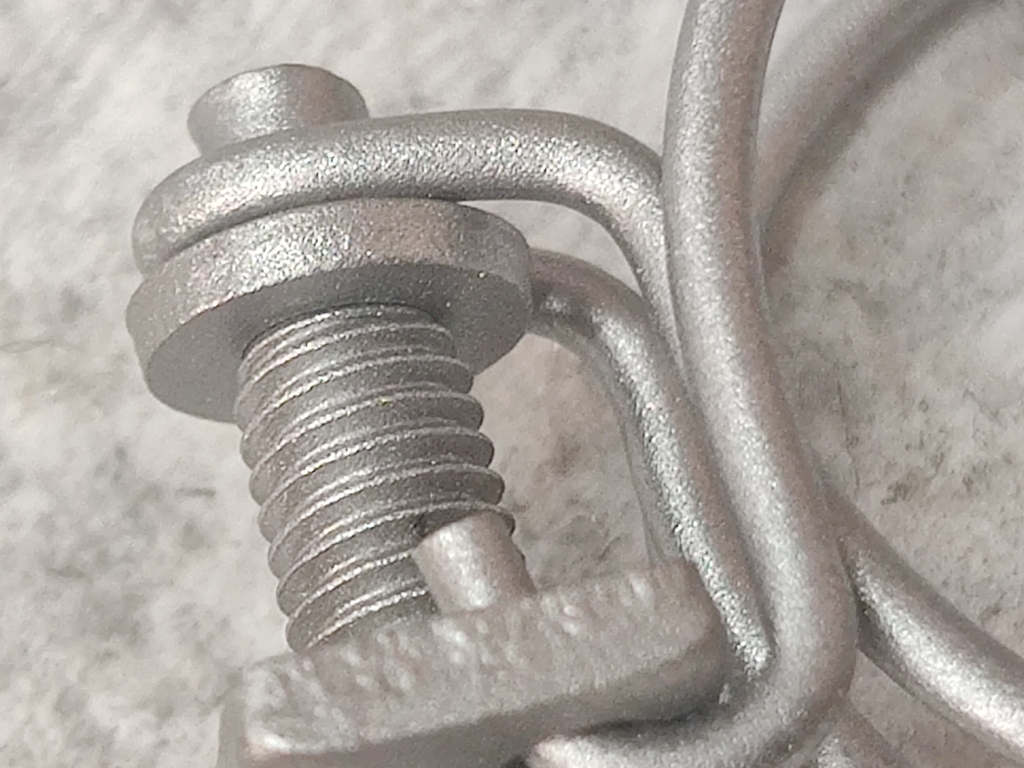
1 pointHere are my "two passengers" loaded per the FSM while tightening a few of the suspension bolts. Not sure what size passengers they had in mind, a Sumo wrestler, or a petite lady. 180 and 120 lbs should do. I bounced the springs several times before tightening. I guess I'll make up something to get the toe-in adjusted close enough to get it to an alignment shop. The normal flat rate alignment charge is ridiculous for 240Z's, not much to adjust really! But I'll bite the bullet and get it done, at least I'll know where it's at. Once I get a few miles on the Eibach springs, I'll let you know how much the drop was.

 1 point
 -
1 pointNext dumb 2 questions... 1- Did you use a 6 + 3mm rubber washers because there wasn't a 9mm rubber washer? 2- I presume the metal washer is oriented away from the mustache bar?1 point
-
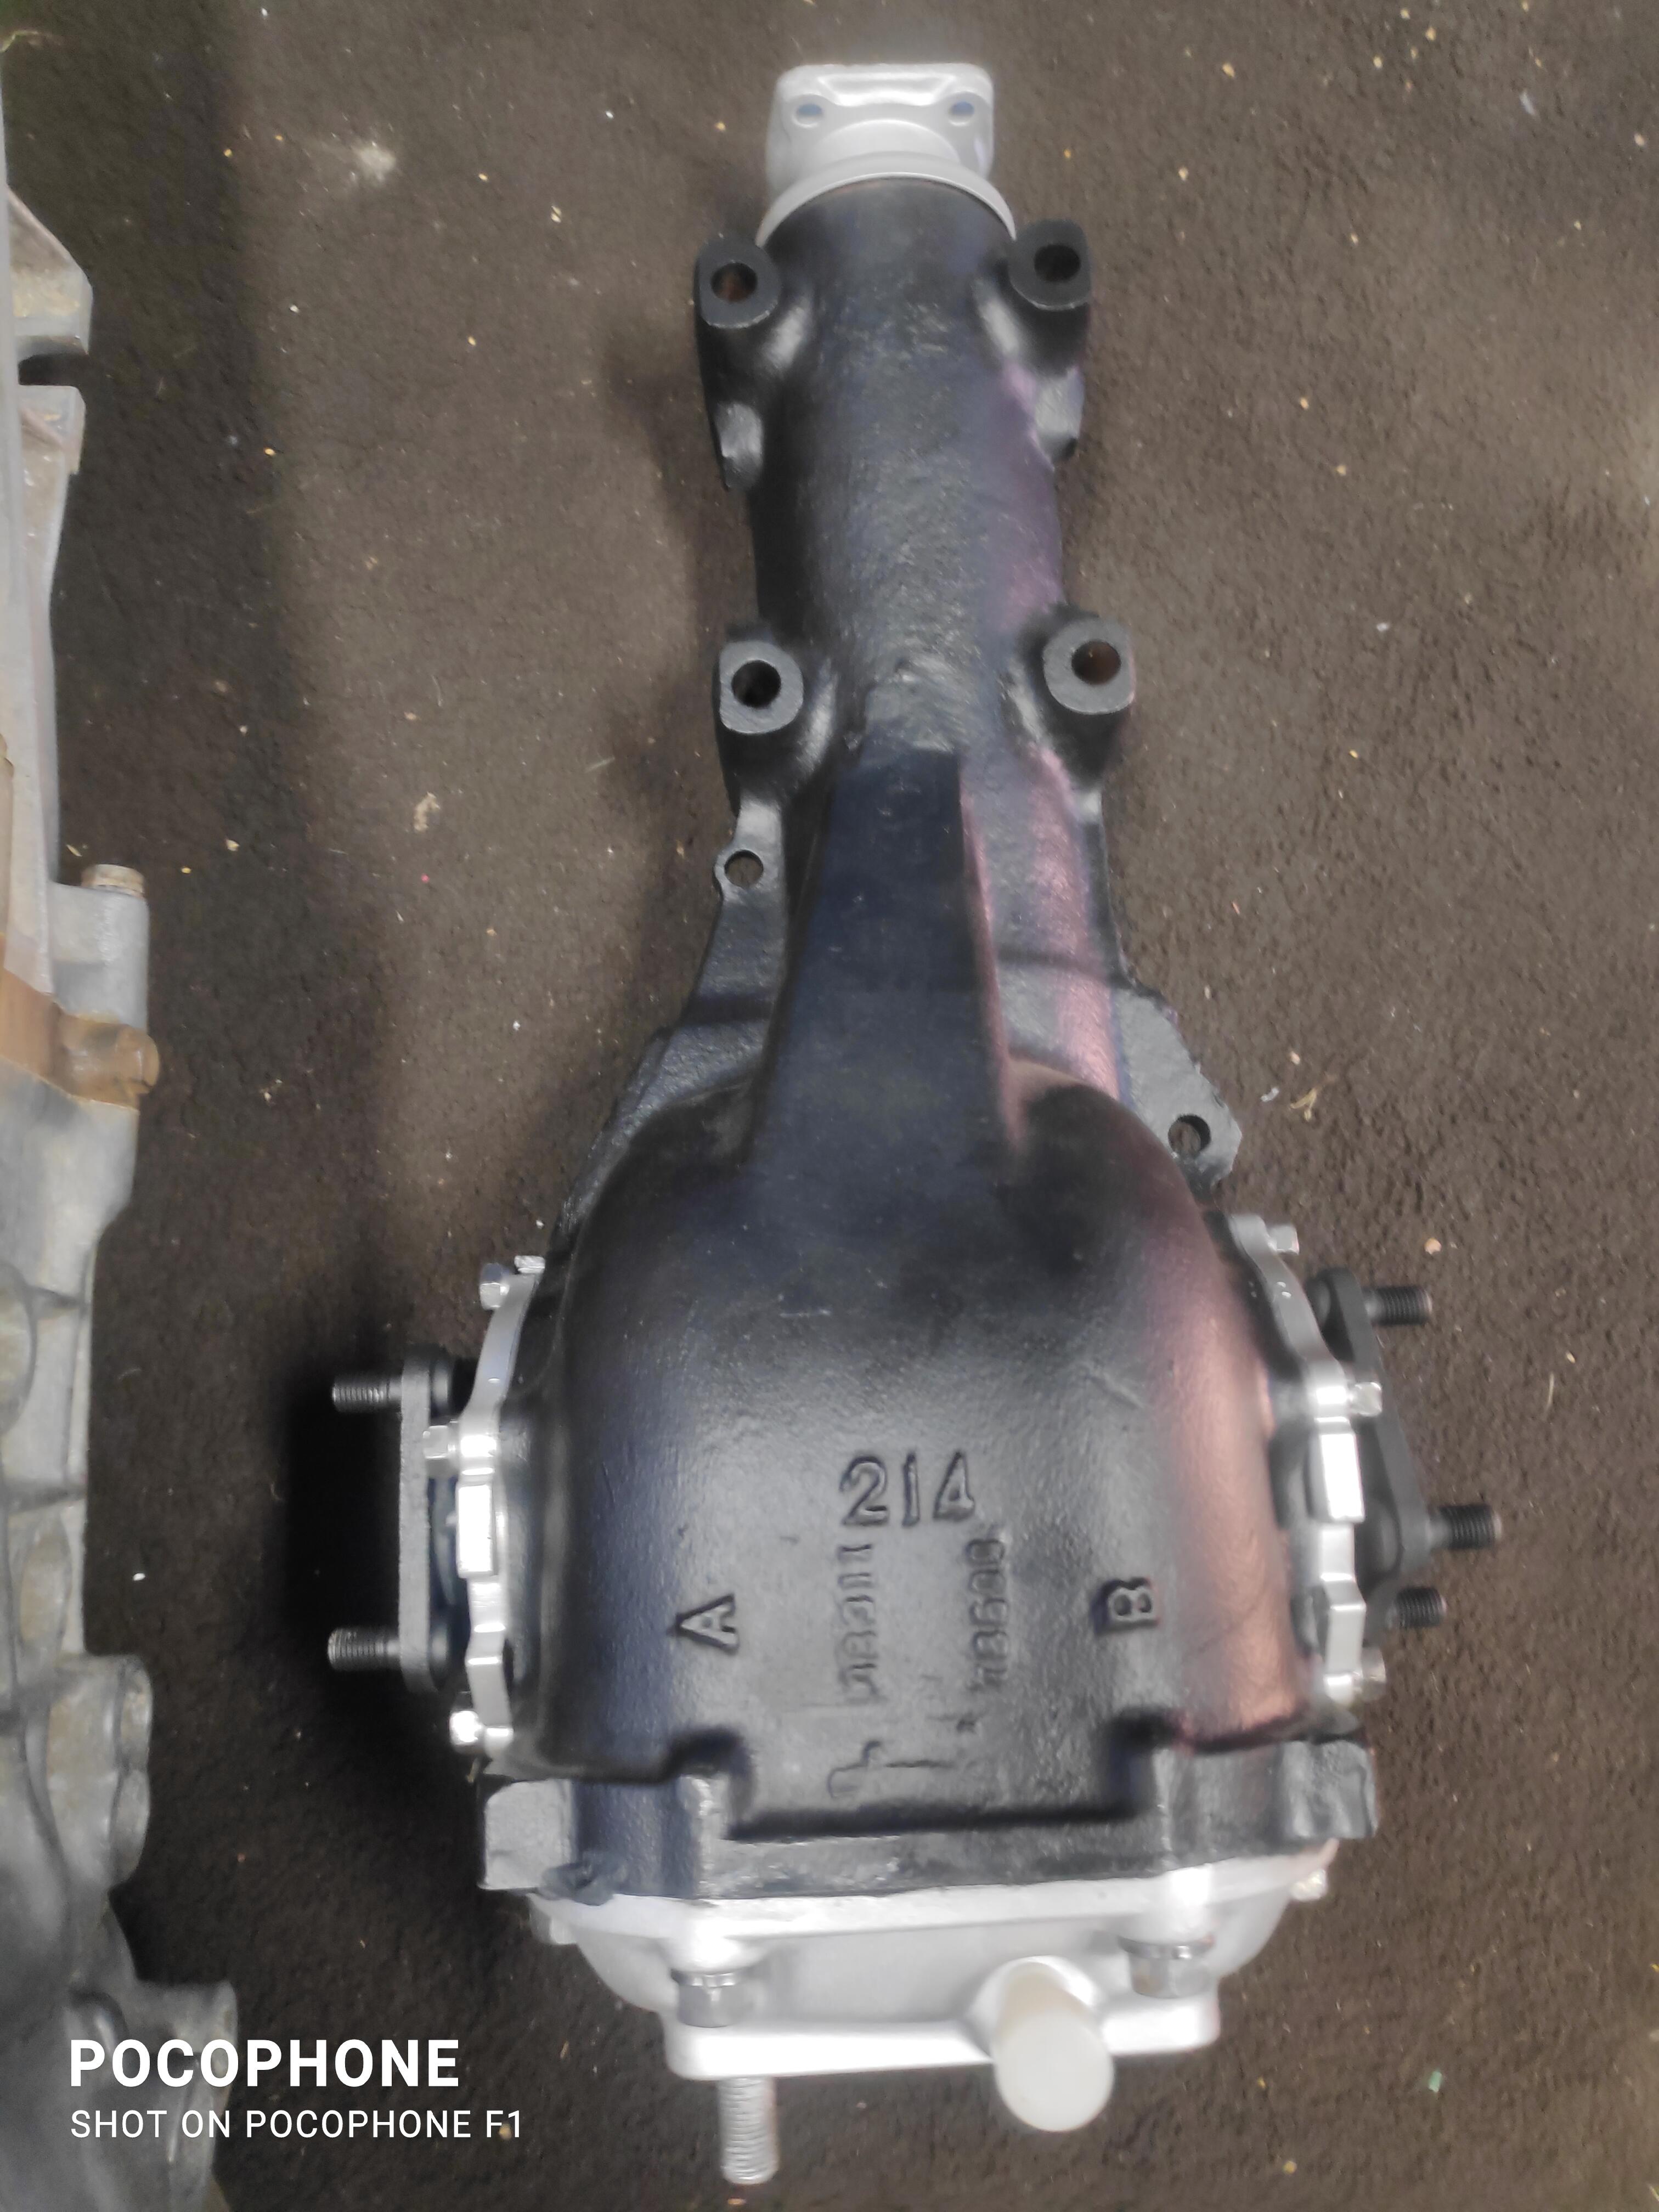
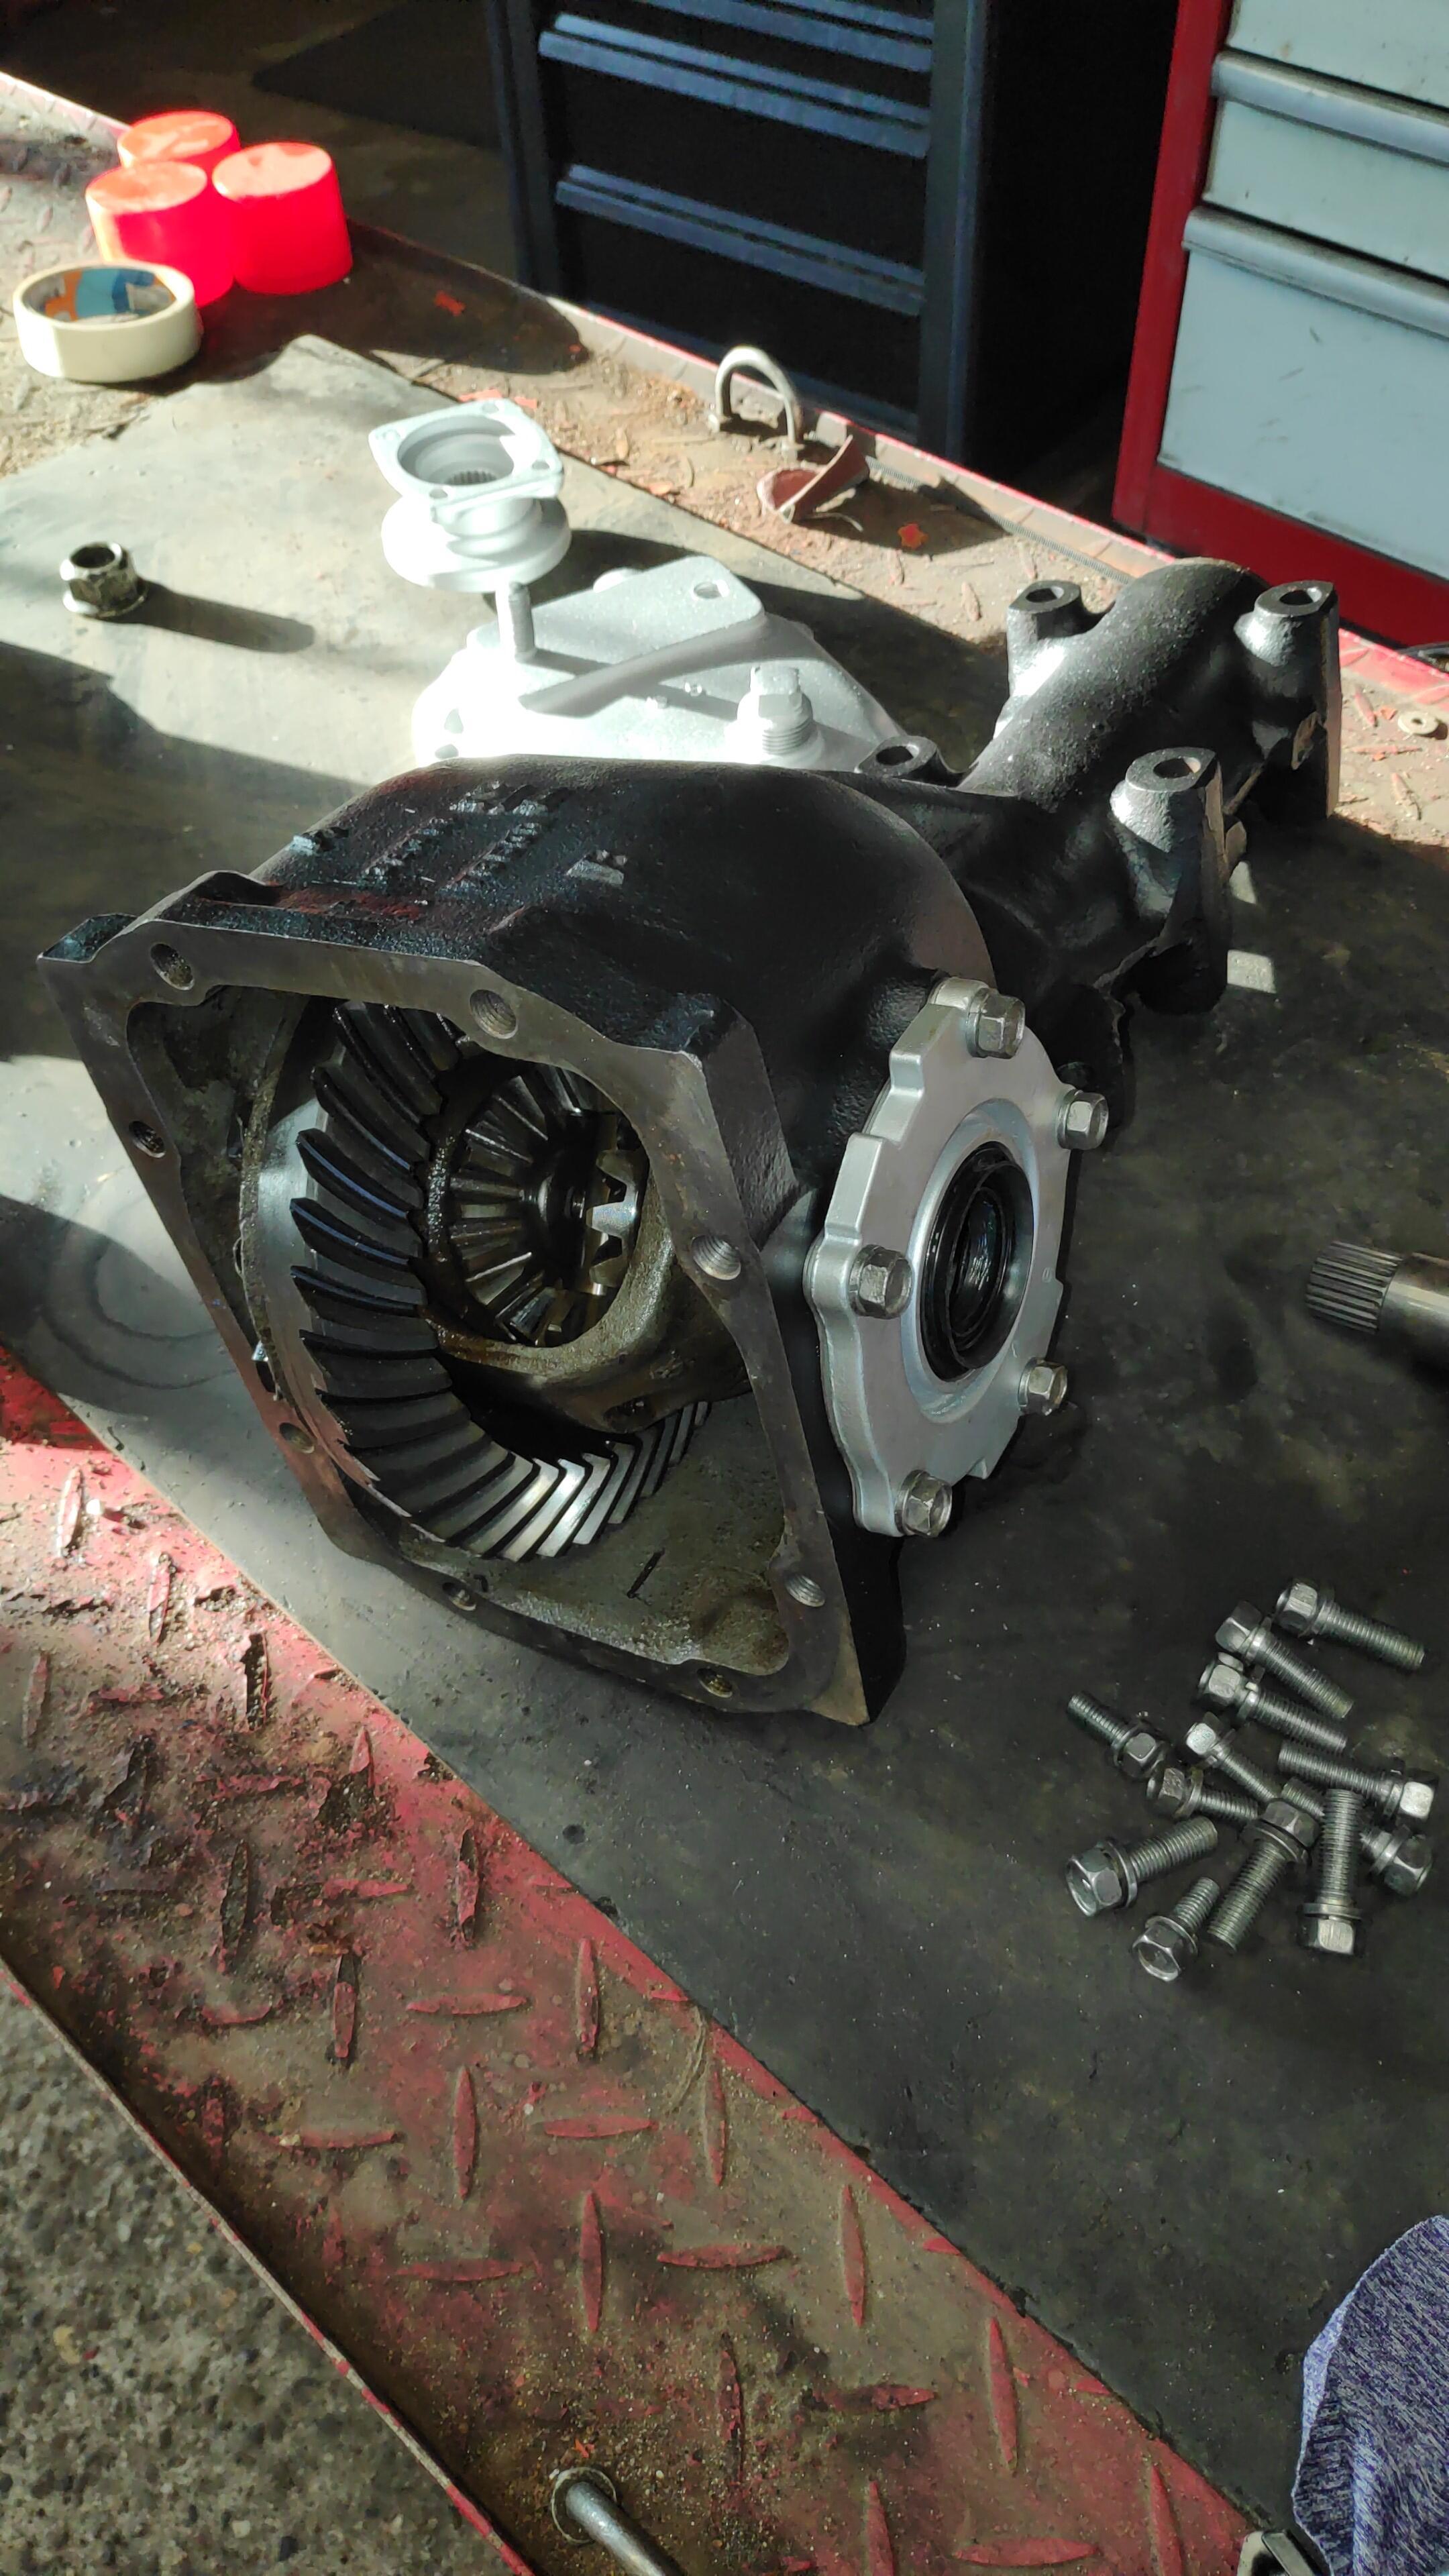
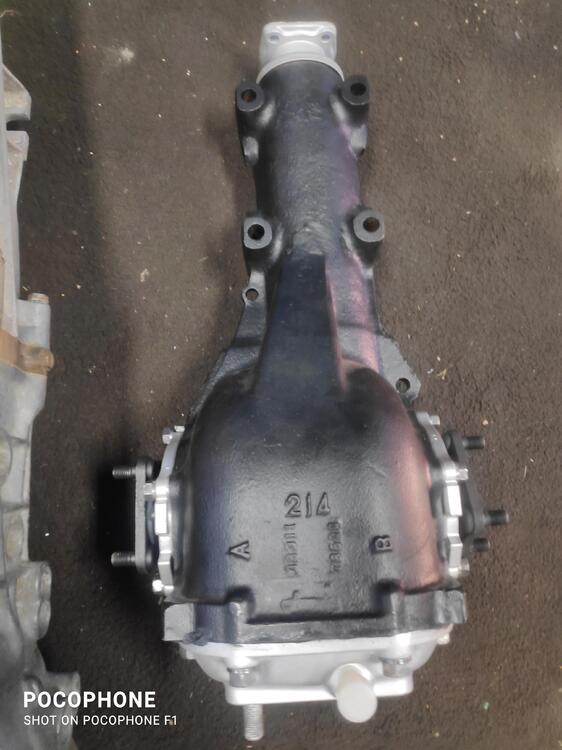
1 pointR180 3.900 refurbished. Took it all apart new seals oem . Rest was in good shape bearings etc.

 1 point
 -
1 pointthats too far in, should sit flush with the outside face of the timing cover. I think thats in danger of falling in!1 point
-
1 pointThis weekend worked on getting the AOD transmission back under the mustang. So far now it finally seems to hold the power. The only weak link still might be the direct clutch, will see if it holds. Dan ( From Silverfox Transmission ) said it could handle around 700hp so I should be fine. But you never know what it does under abuse... if that fails I could go to a 4R70w housing and use the Sonnax direct clutch kit, and put everything that's in the AOD now, also back in the 4R70W, then it would be a guaranteed 900HP proof transmission lol. The manual valvelbody takes time to get used to, because I need to shift it manually, but it's fun, finally getting the gears to not shift up, only when i want to. Also I got rid of the TV cable set up finally. -- The Z and the mustang will go into wintersleep this week. Will continue work in spring. The mustang needs the steering column out, because there is alot of slop in there still. I found the problem to be there ( I replaced everything else ). VID-20201004-WA0008.mp41 point
-
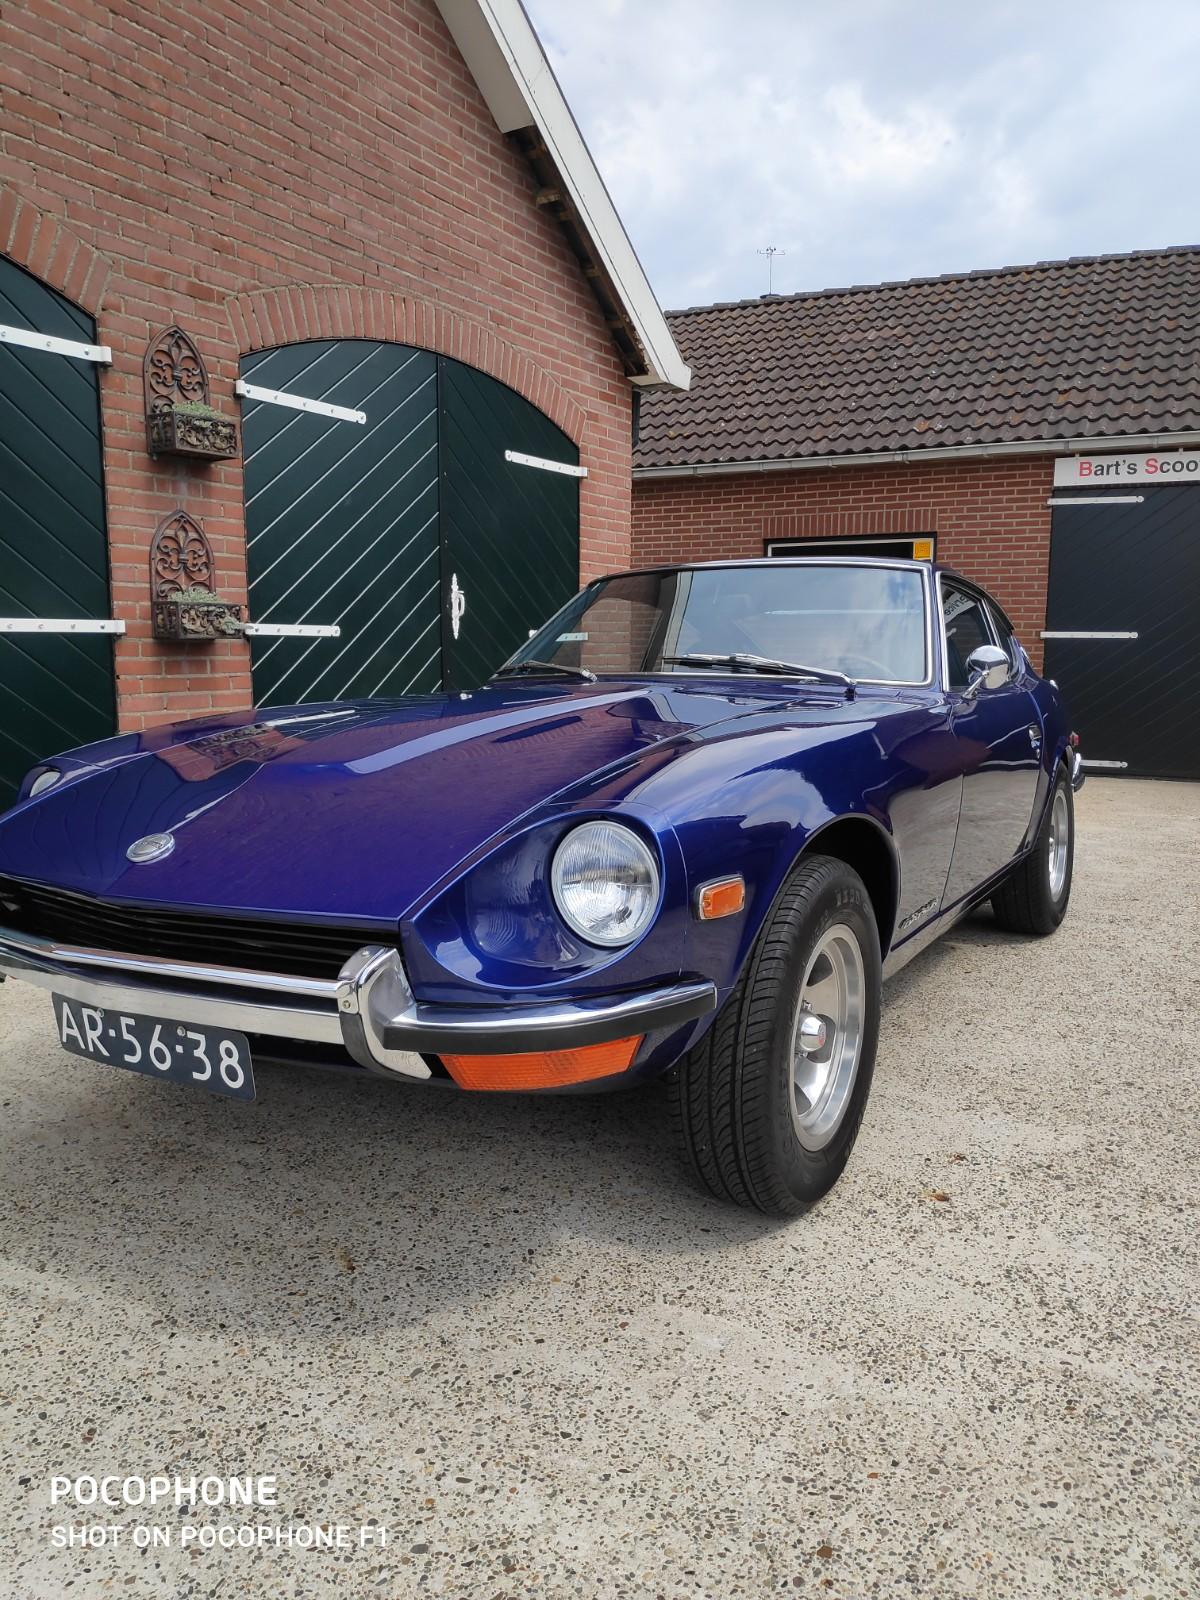
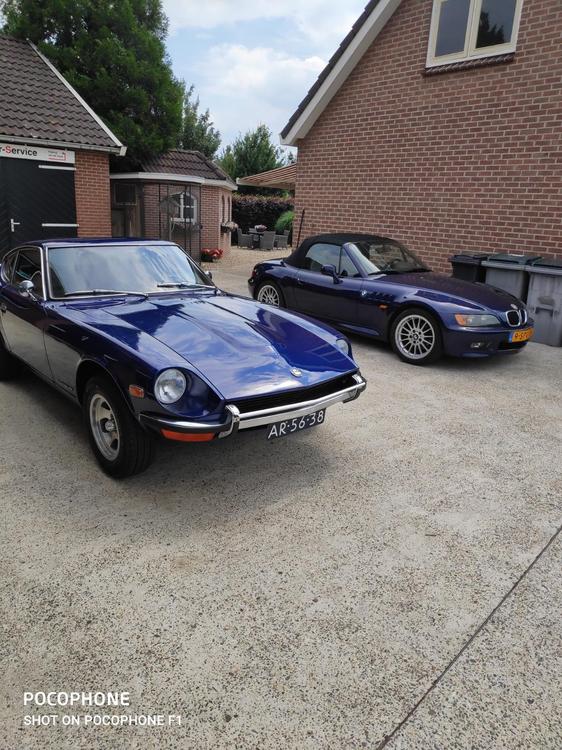
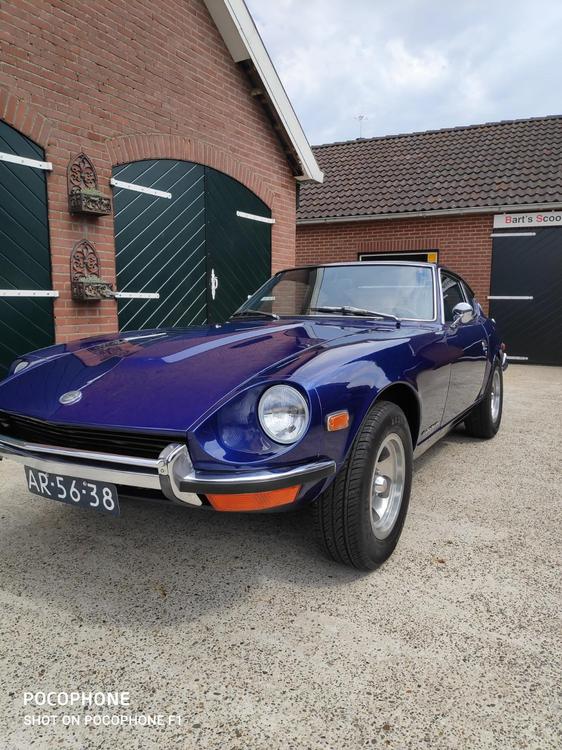
1 point@ Mart: good one Some pictures from yesterday with my mom's BMW Z3, fun car, but to small engine only 1.8. Paint and rims are not perfect on the Z3, but that's not my job to do ? When I picked up the 240 from the paint shop he said the rear deck lid was starting to get bad and have to replace it within 2 years. So I ordered a replacement panel from the US. Maybe next year together with the floor pans ?
 1 point
 -
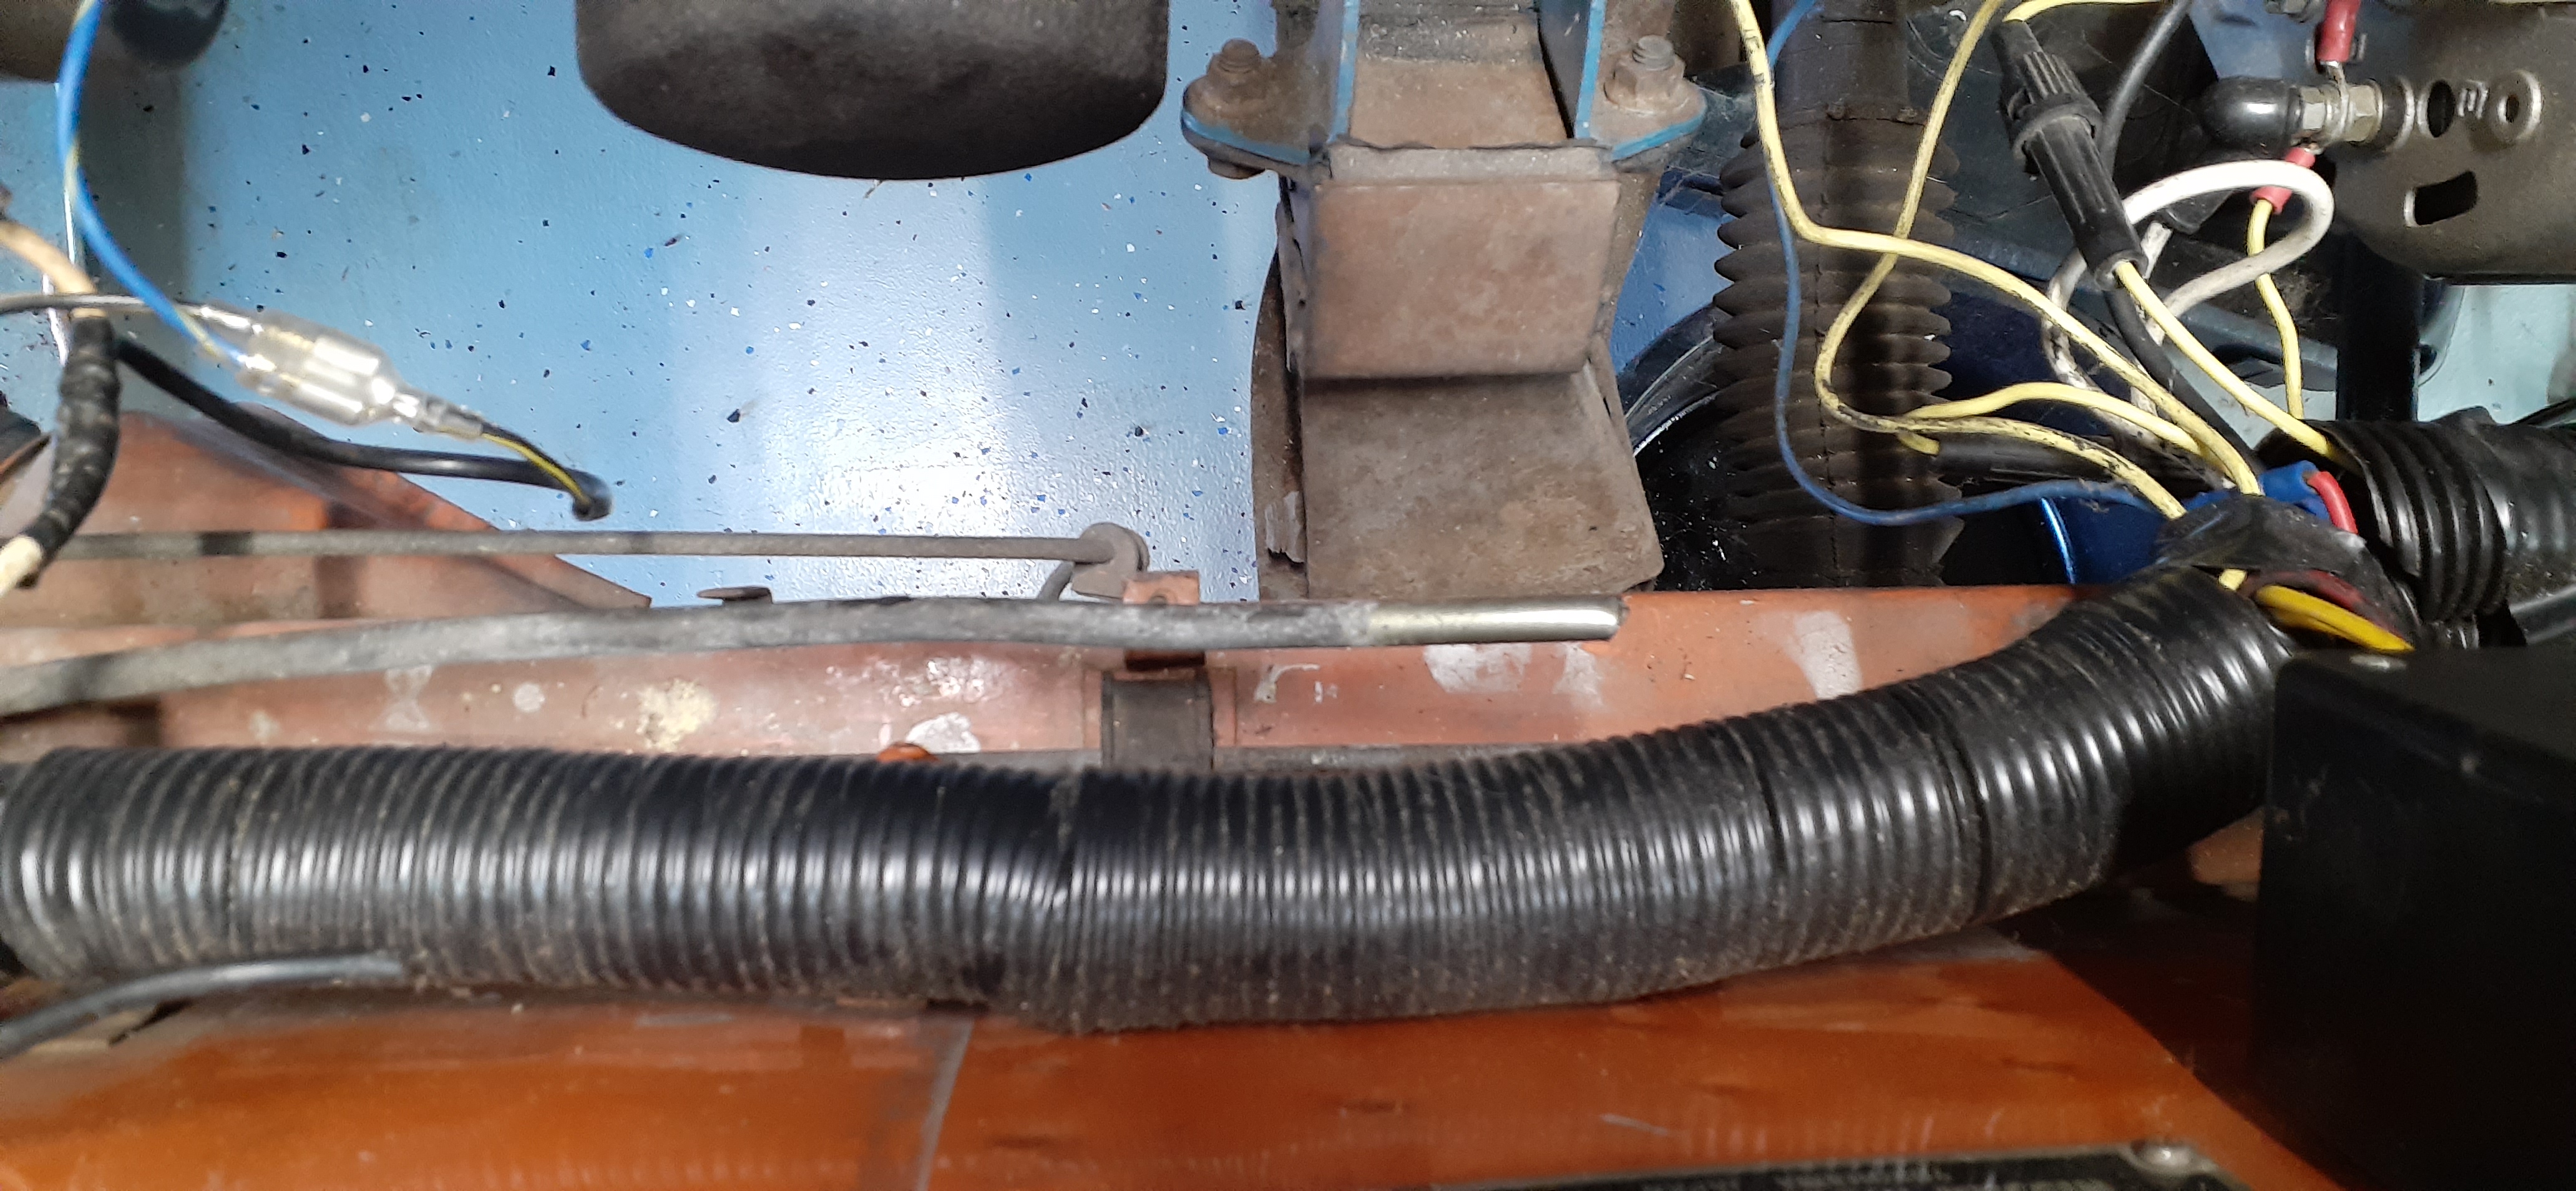
0 pointsIt's the weekend, so progress was good. I bypassed the electric fuel pump for now. I took off the old hoses in the back and had the wife blast air through the lines in the engine bay. There were no signs of blockages. As a matter of fact, there was still old, stinky gas in the supply line. Then I went to replace the hoses in the engine bay. I noticed a while back that one of the blocks that holds the fuel lines in place was damaged. When I removed the hose from the supply line to the fuel filter, I found this. I'm not sure why someone would cut off the fuel line like that. Anyway, the new fuel hoses are in place. Next up: Get a new battery. Remove the valve cover and pour some oil over the cam. Remove the spark plugs and put some oil in the cylinders. Turn the engine to circulate the oil. Add some gas to the fuel pump, carbs and gas tank. Attempt to start.
 0 points