


Leaderboard
-

Zup
Free Member6Points1,163Posts -
Patcon
 Subscriber
 6Points11,142Posts
 -
Mark Maras
Free Member6Points3,719Posts -

siteunseen
Free Member5Points15,115Posts


Popular Content
Showing content with the highest reputation on 04/11/2021 in all areas
-
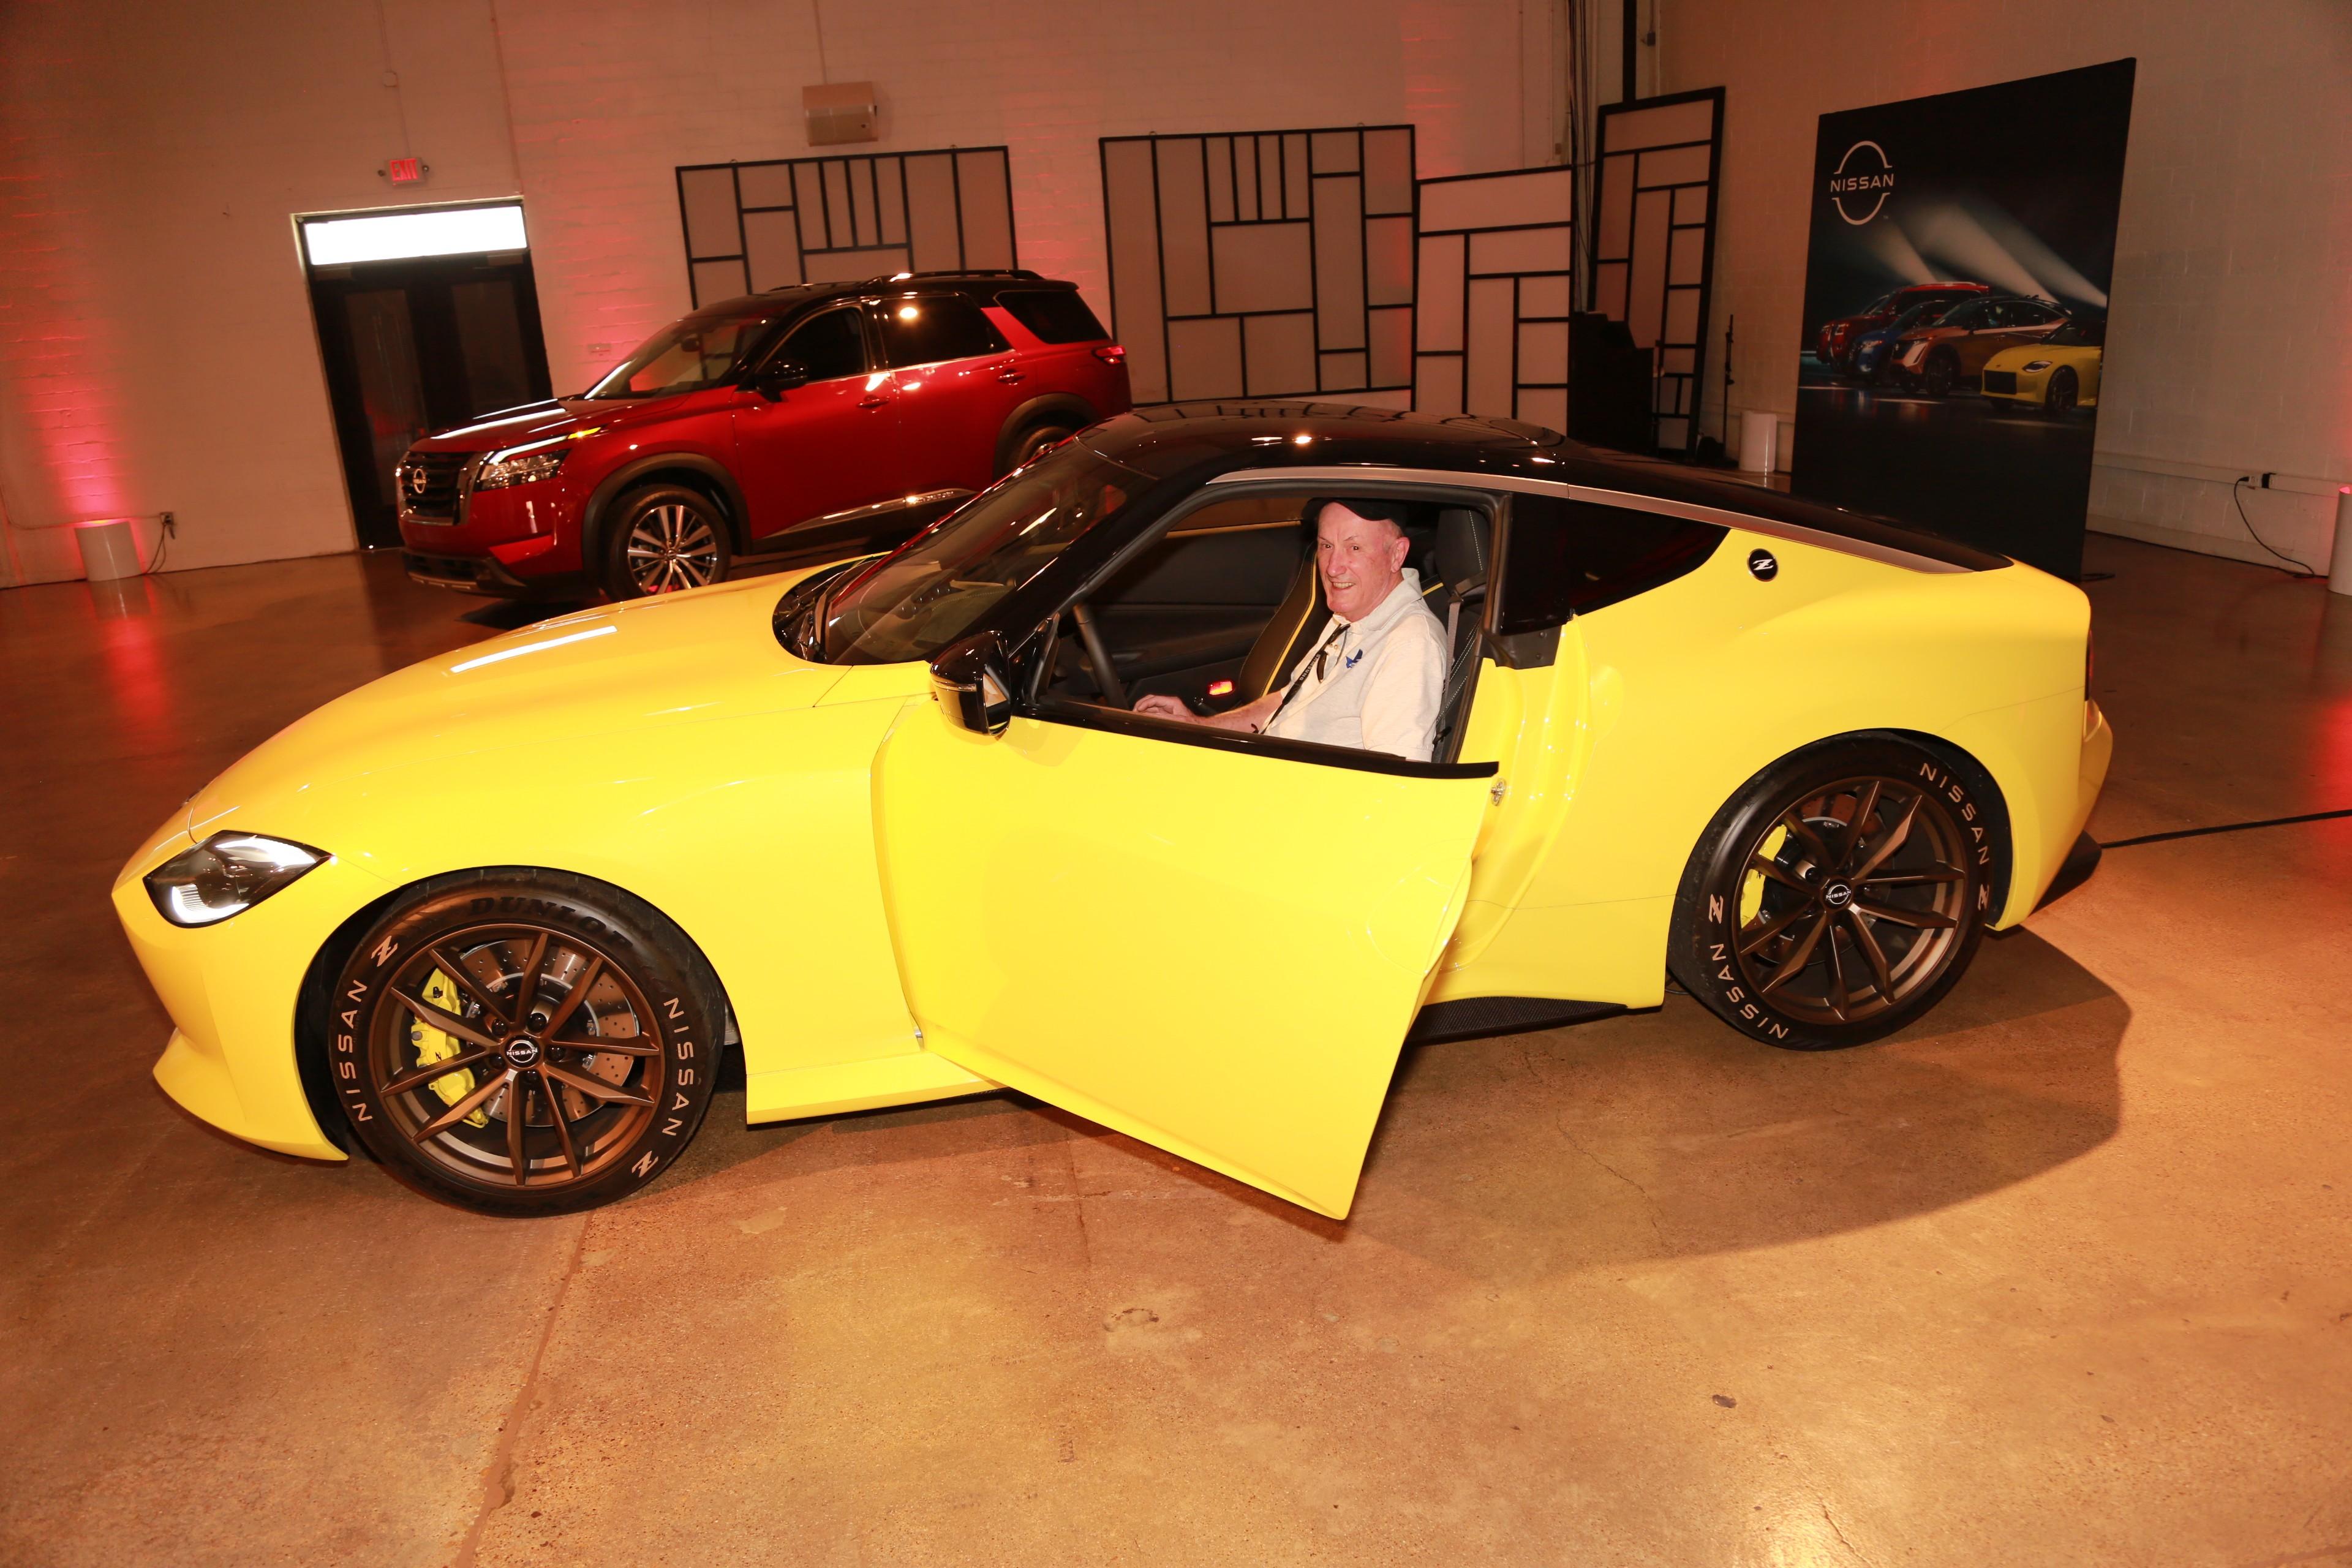
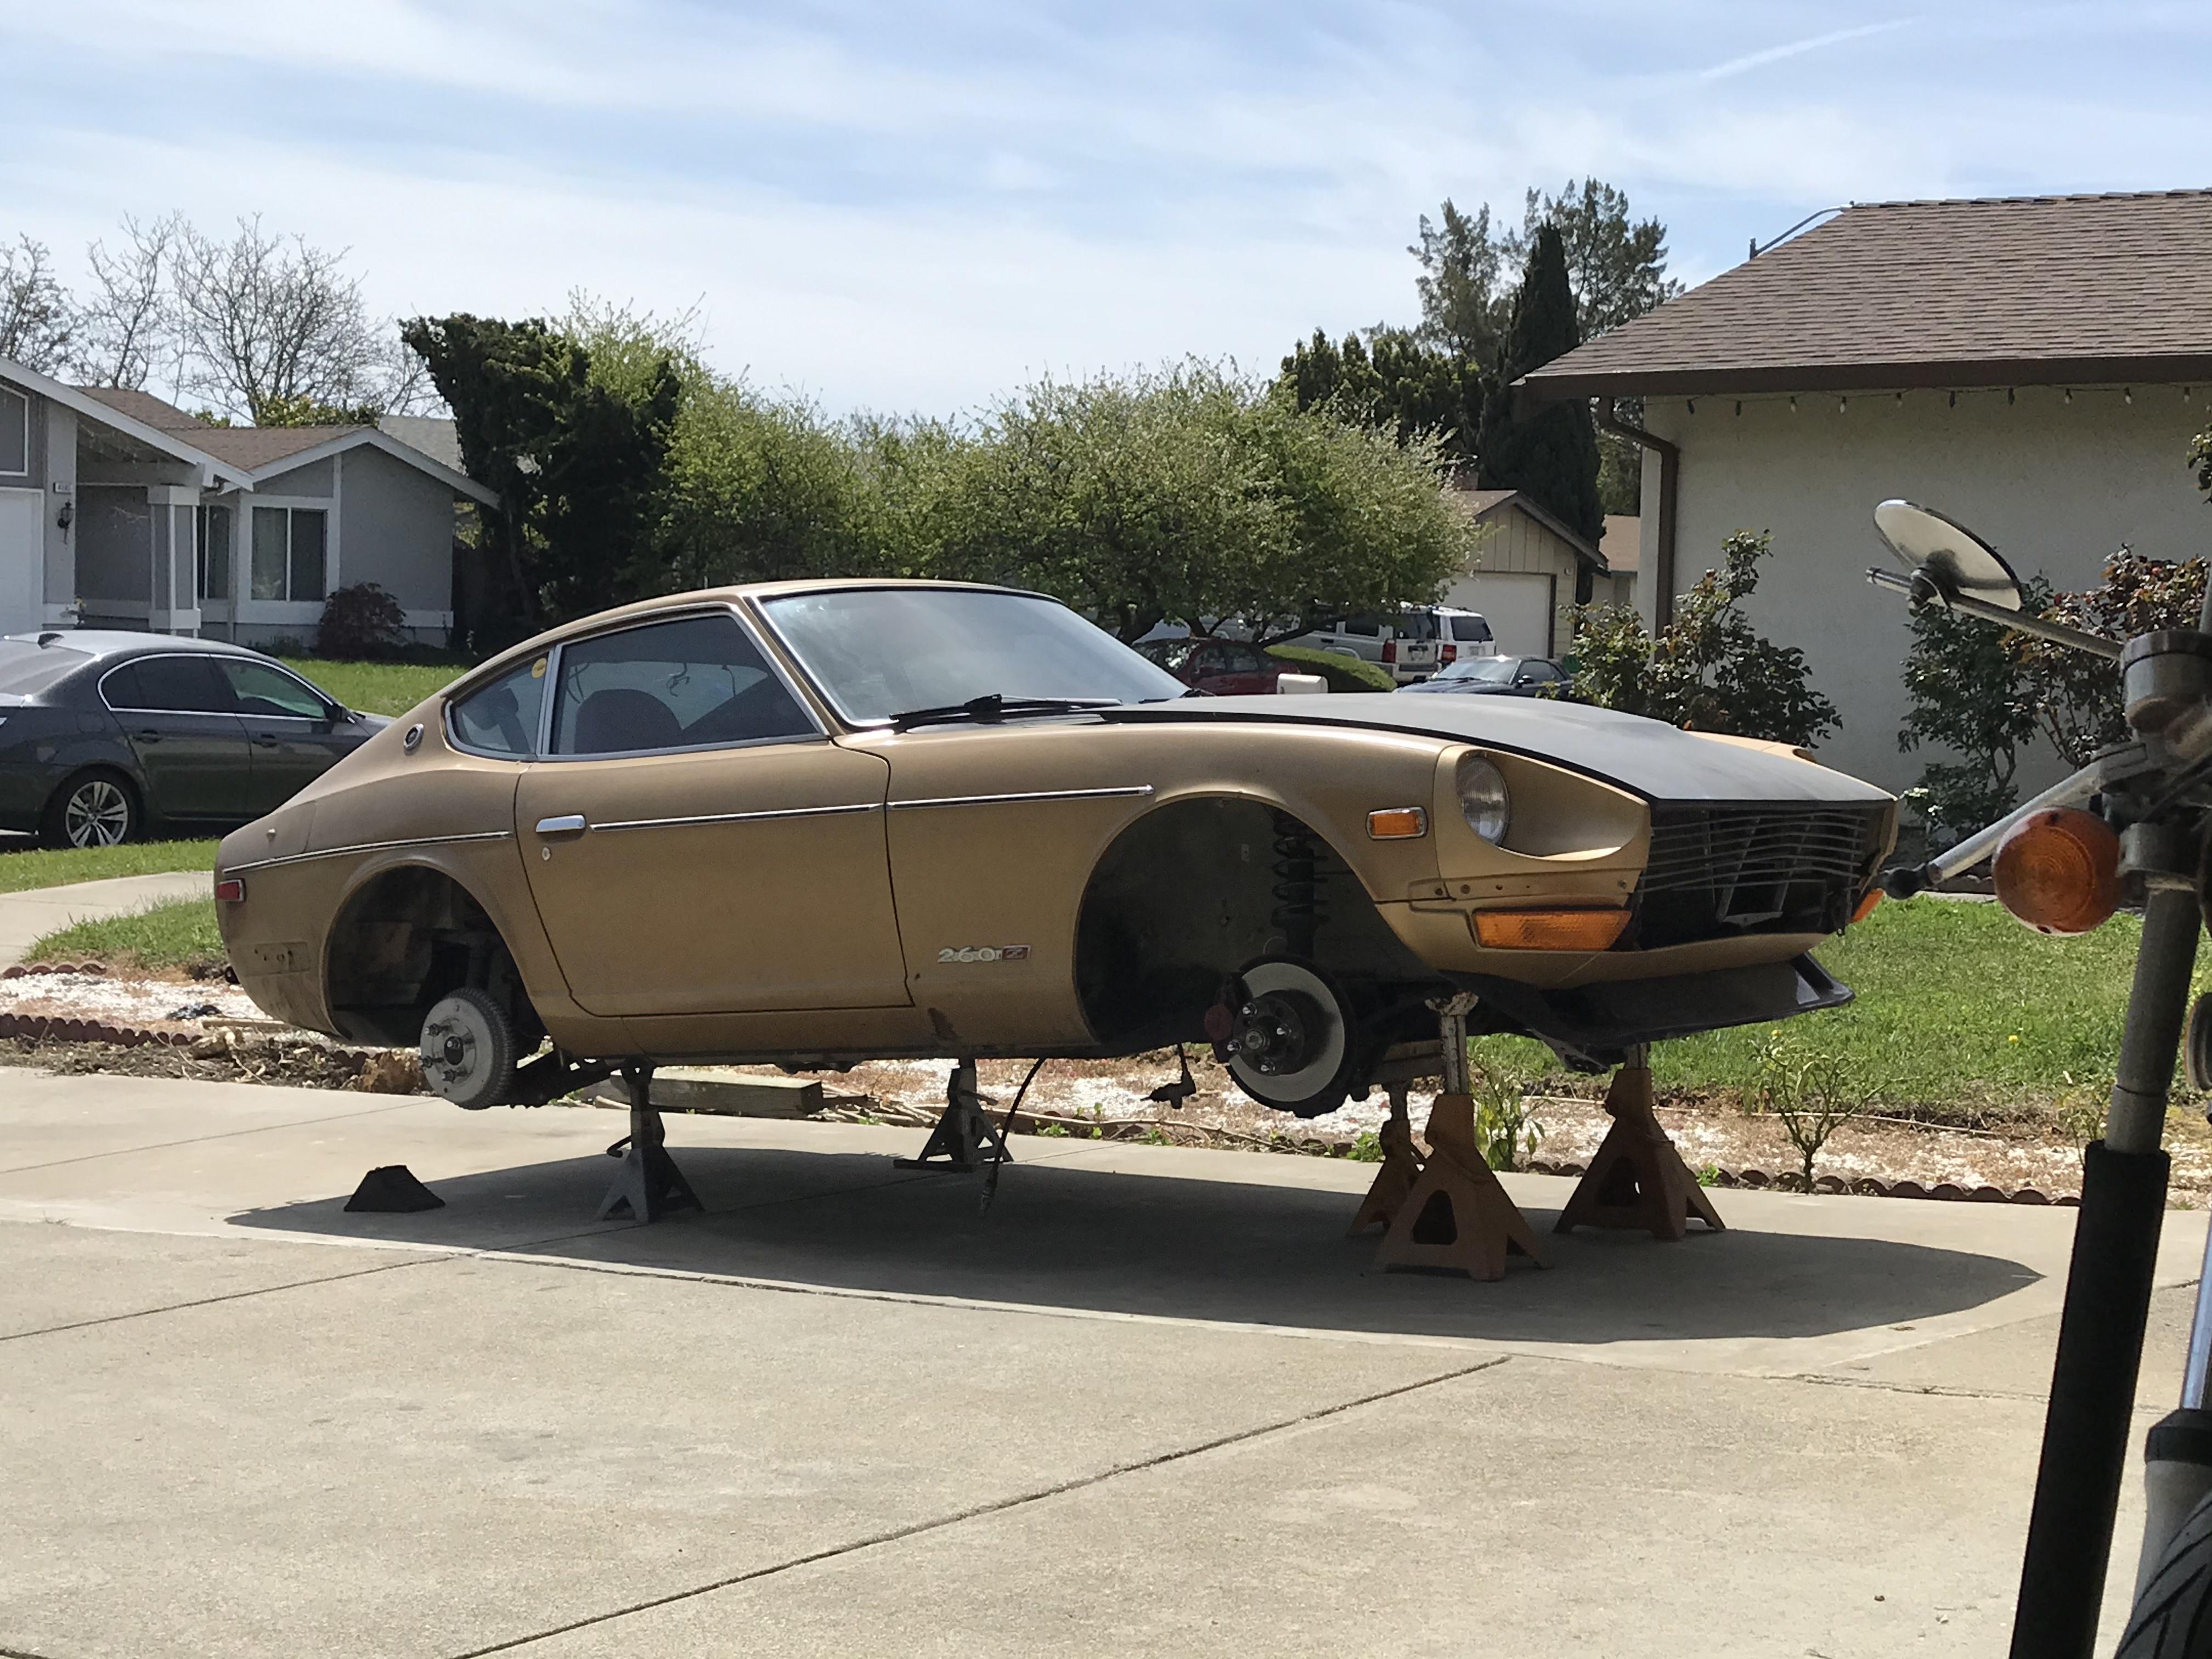
6 pointsCompare Michelangelo's David with 3D printing. He's been wrestling with Eiji. SOOOOOO happy that Nissan reached out to you Jim! They for sure found the right car and guy in those photos!6 points
-
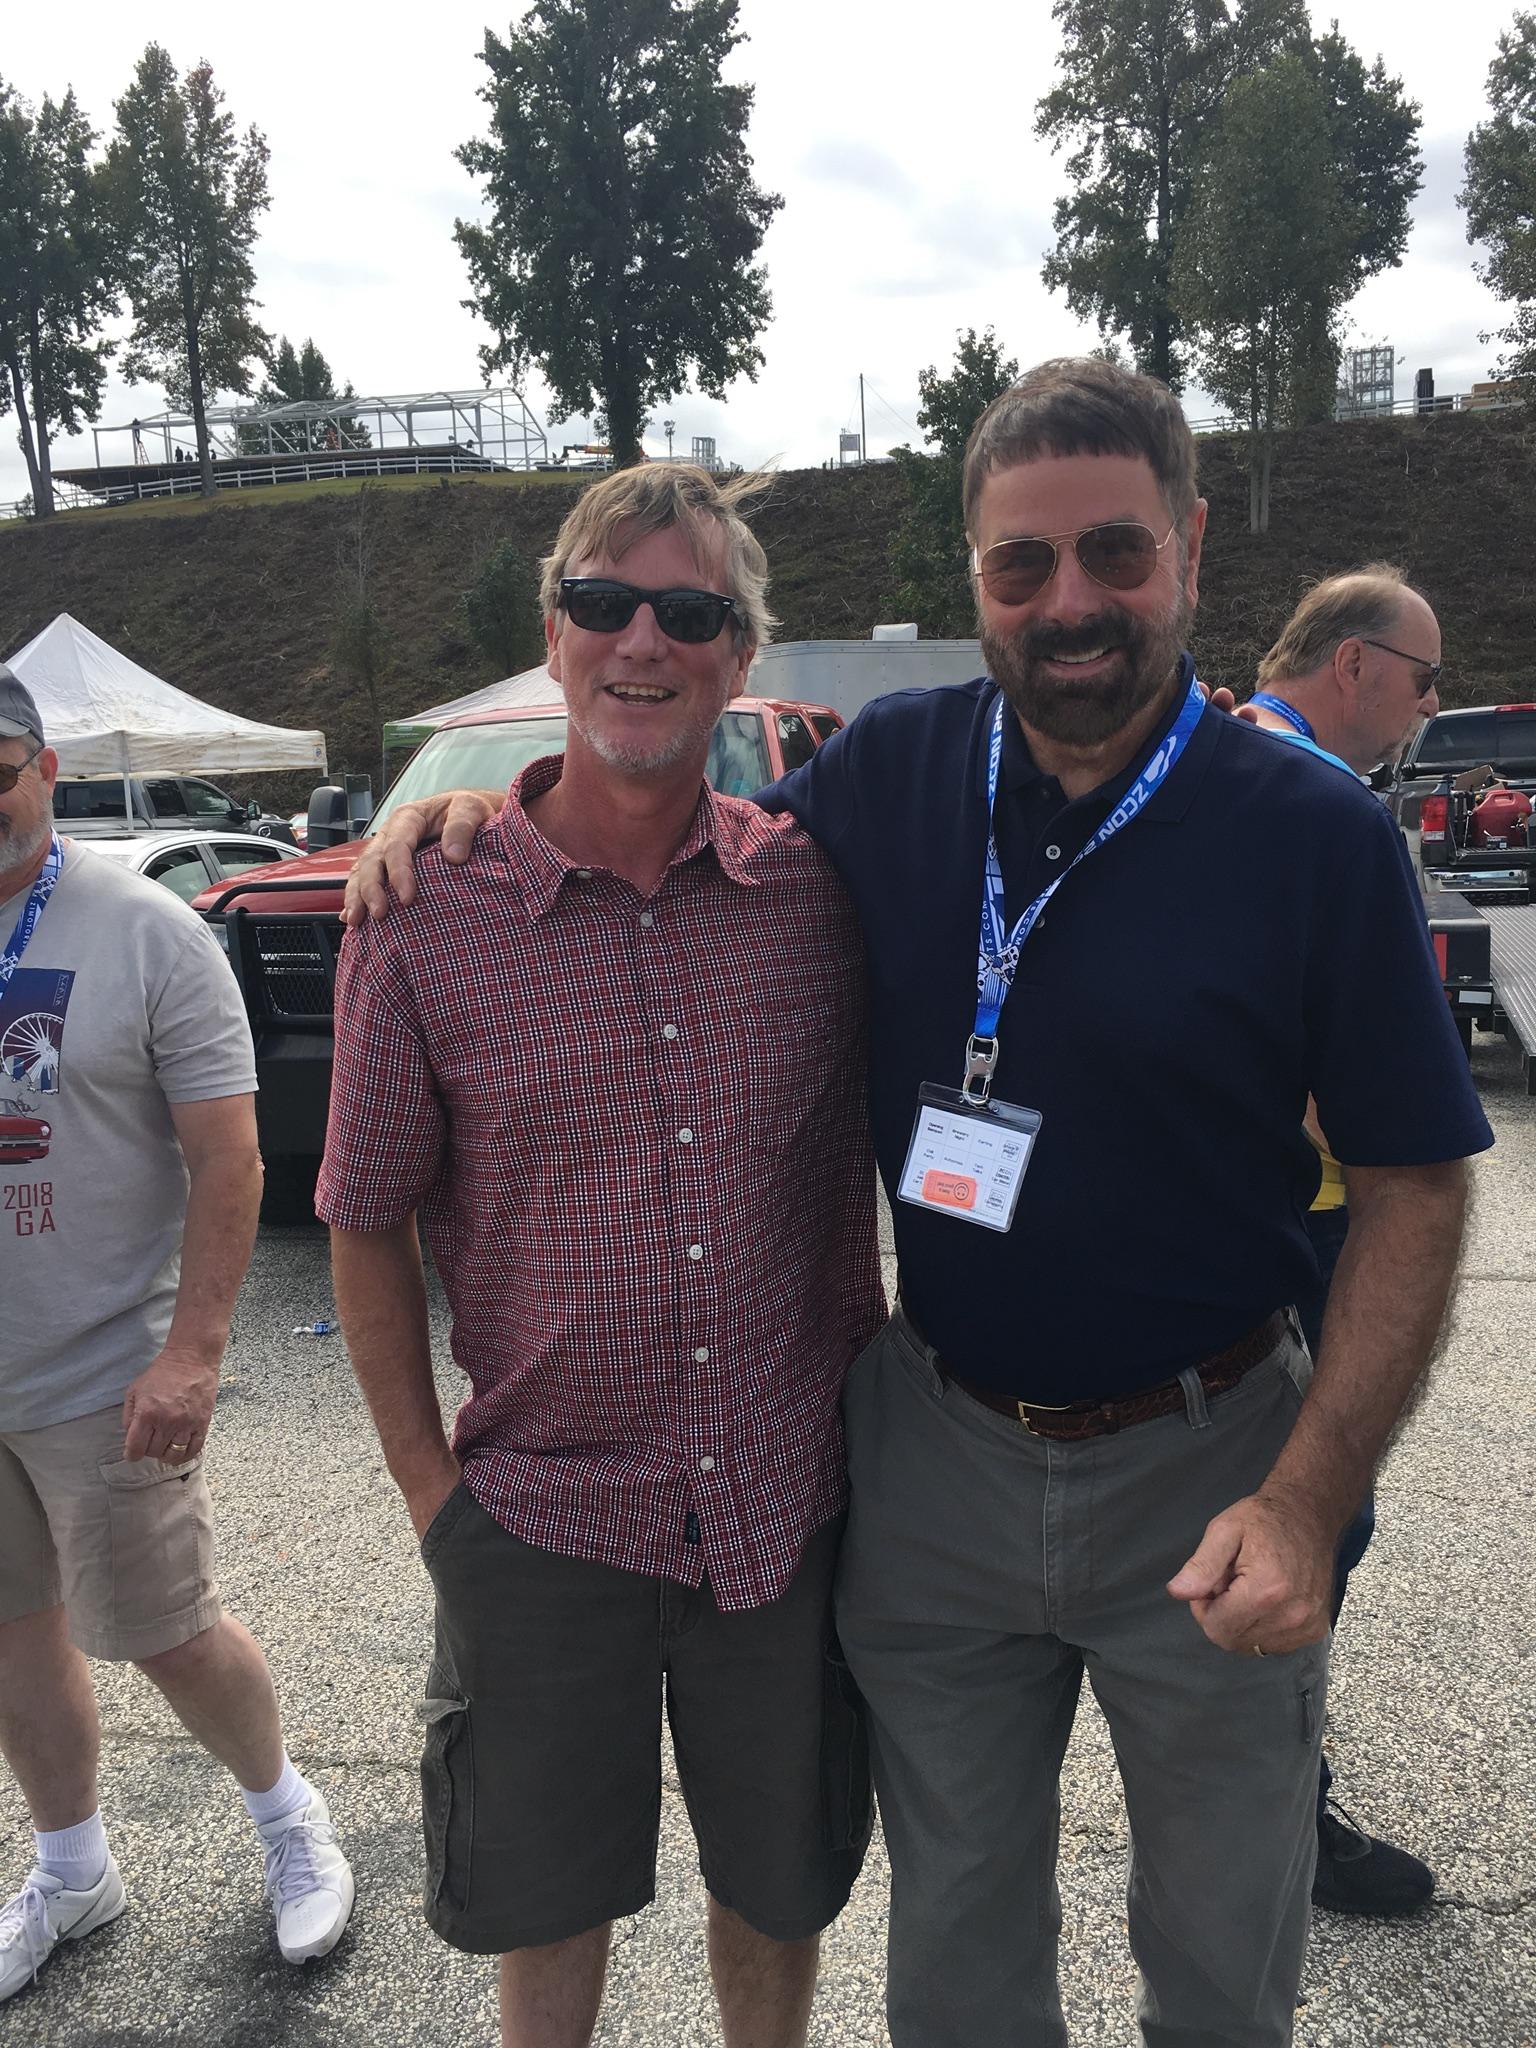
6 pointsIt was a fun day in , almost a Deja Vu moment meeting Cliff face to face. Instant good vibes. Thanks again for the ride from the airport. IMHO, Nissan was pretty brave or foolish for placing that beautiful original Z next to the new Z. Is there anyone one the face of the earth that thinks the new Z looks anywhere as good as the original?6 points
-
5 points
-
4 pointsThat's like a pic of Bigfoot, I don't exist except in the wild. We also have half of riffraff, I guess riff, in that photo. @gwri8 what a fun day! @Mark Maras and his wife were my instant family as soon as they walked up to my never been seen country arse in the airport's luggage carousel and said "Cliff?".4 points
-
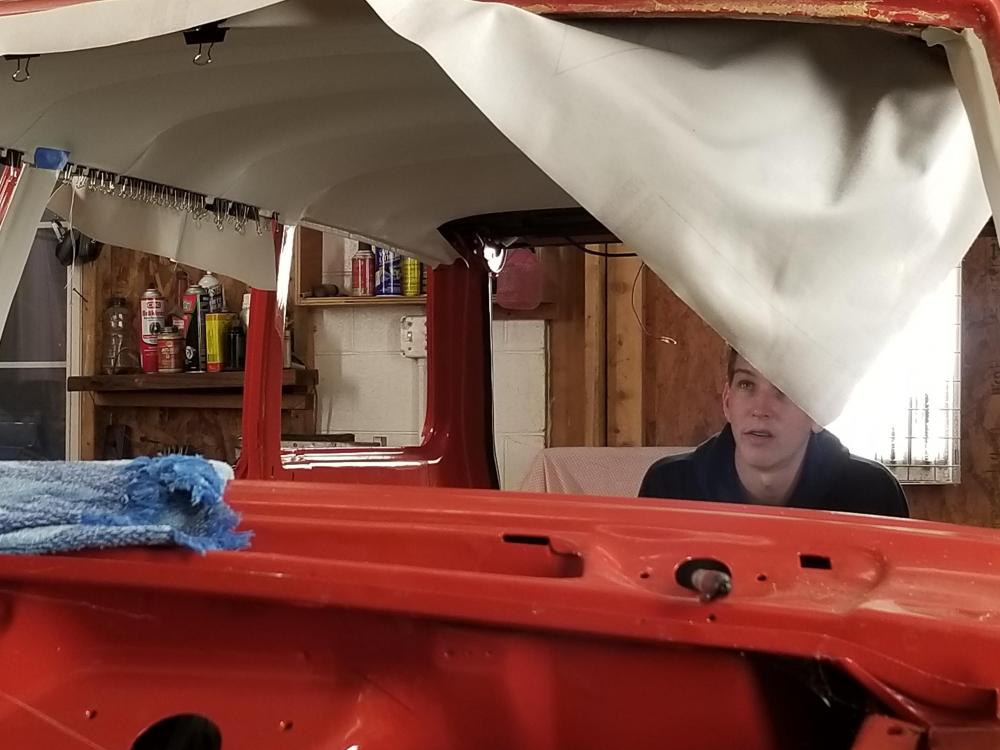
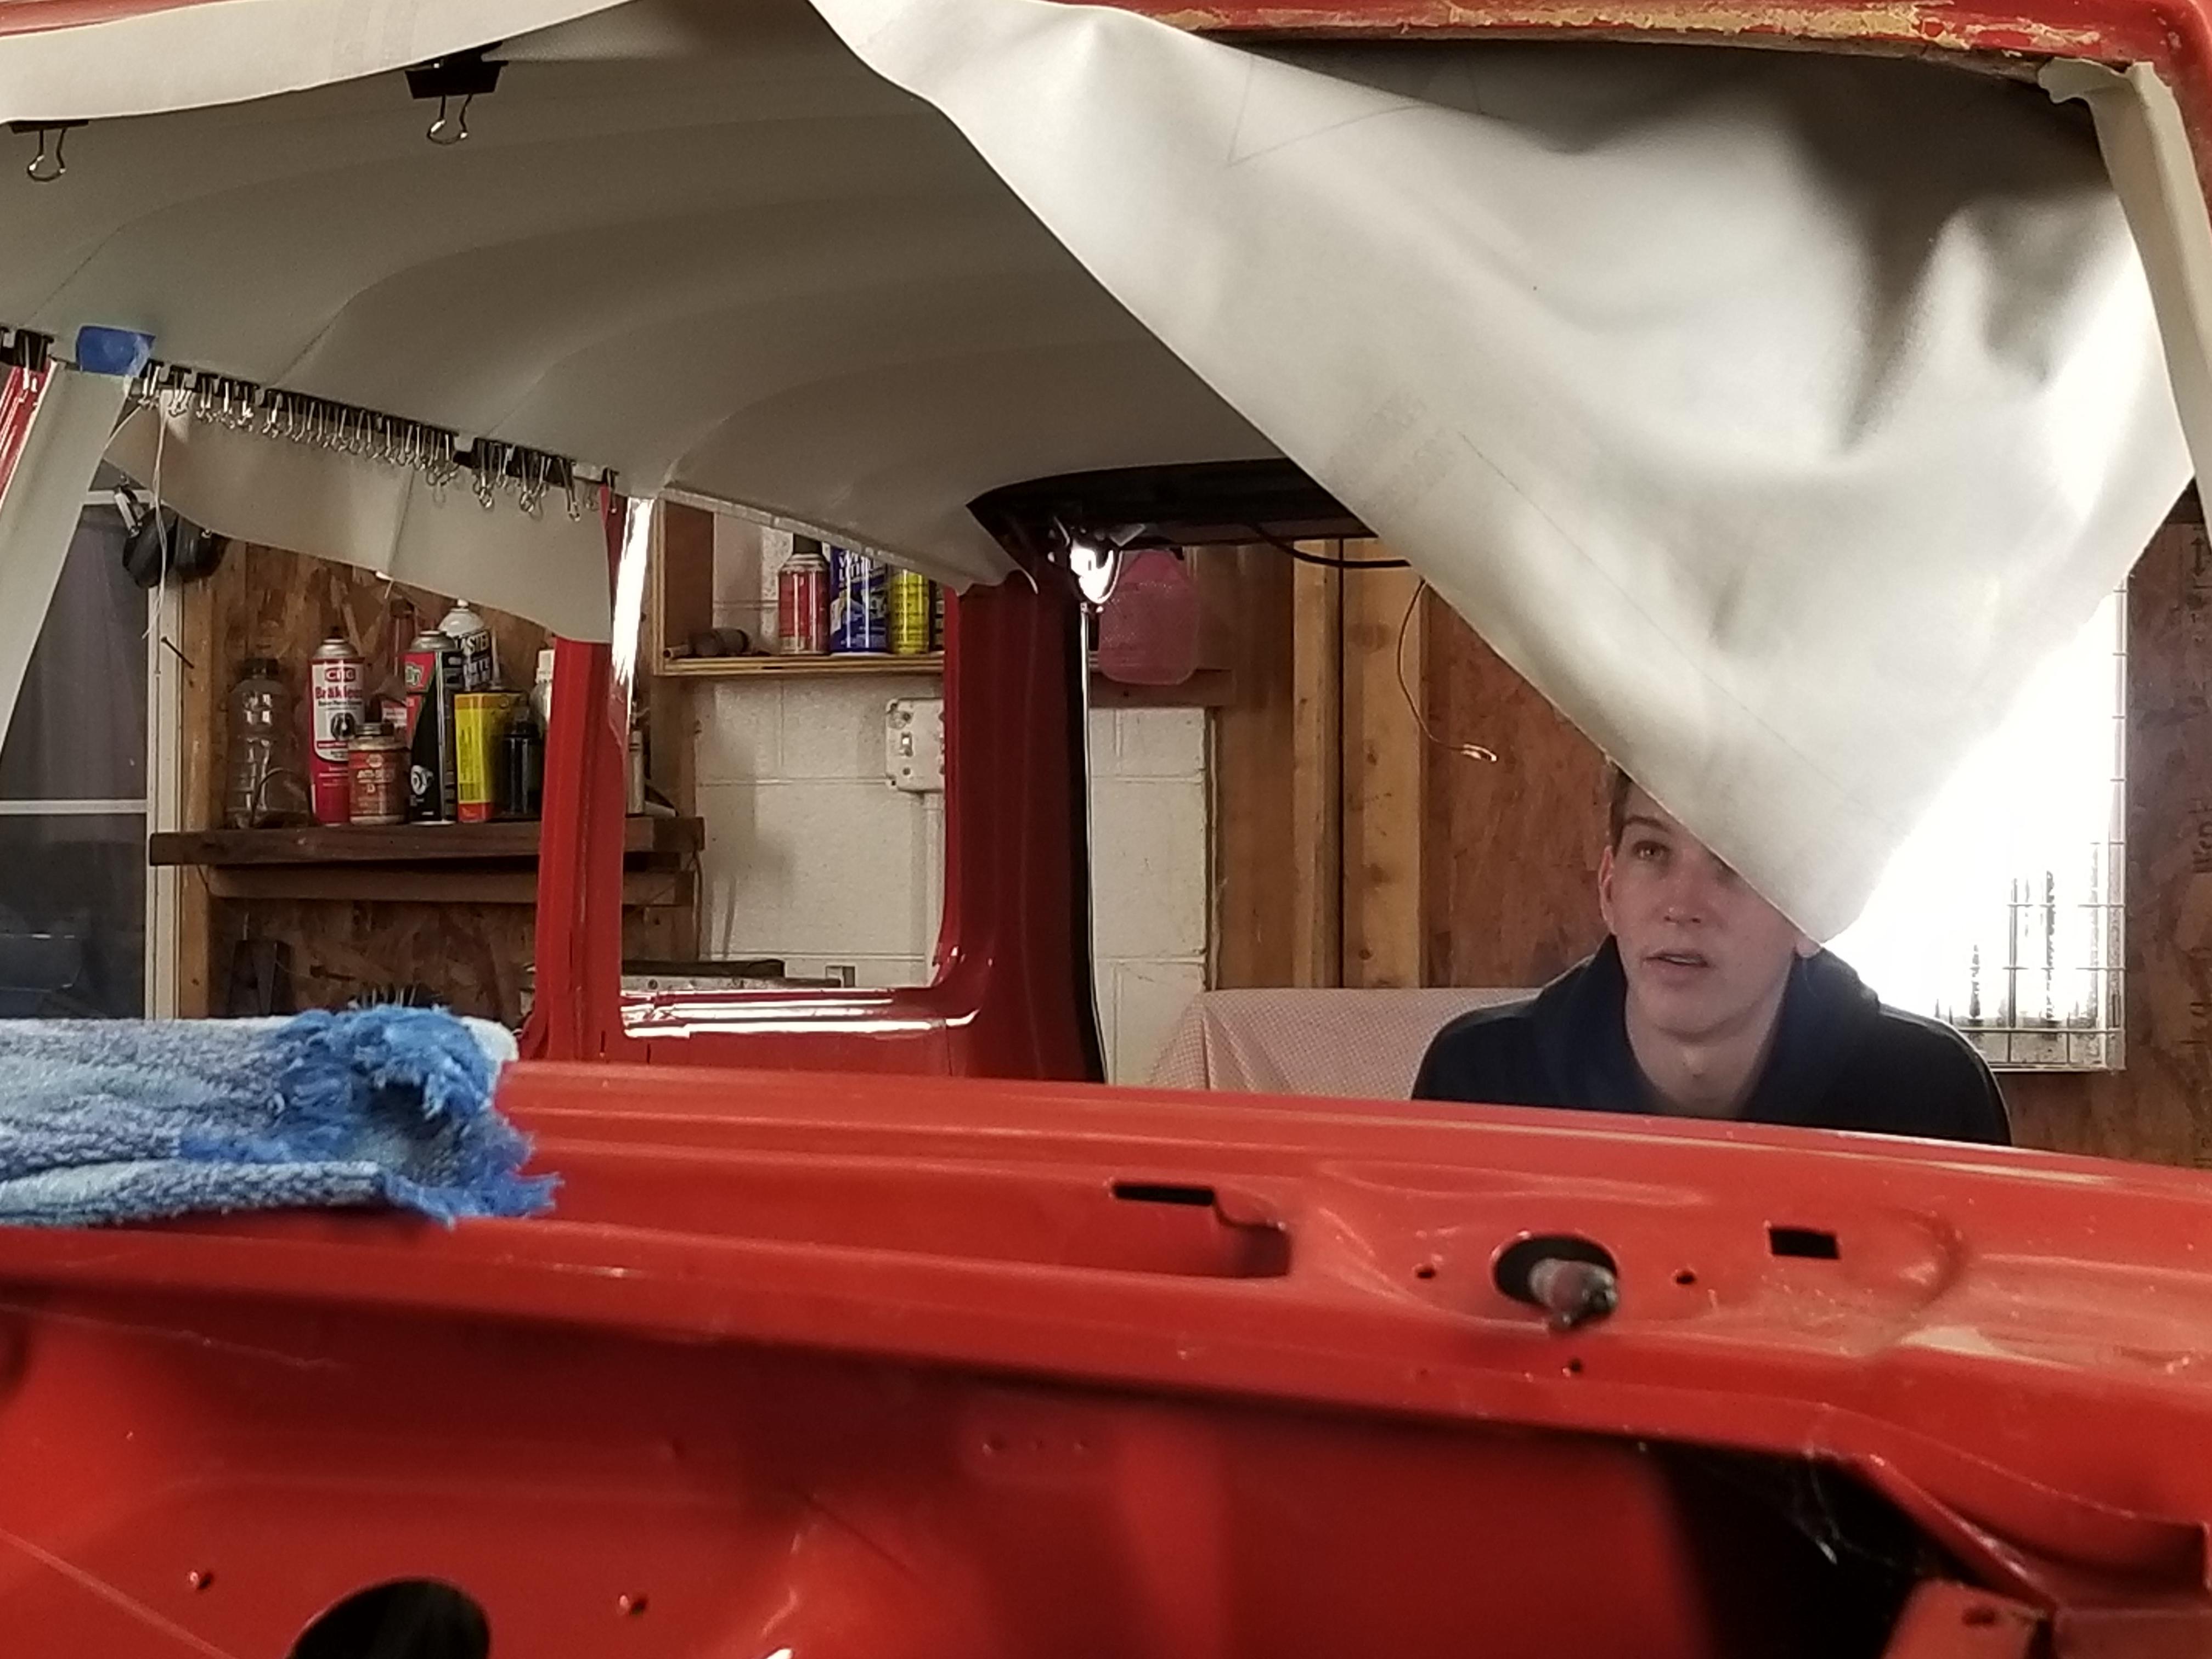
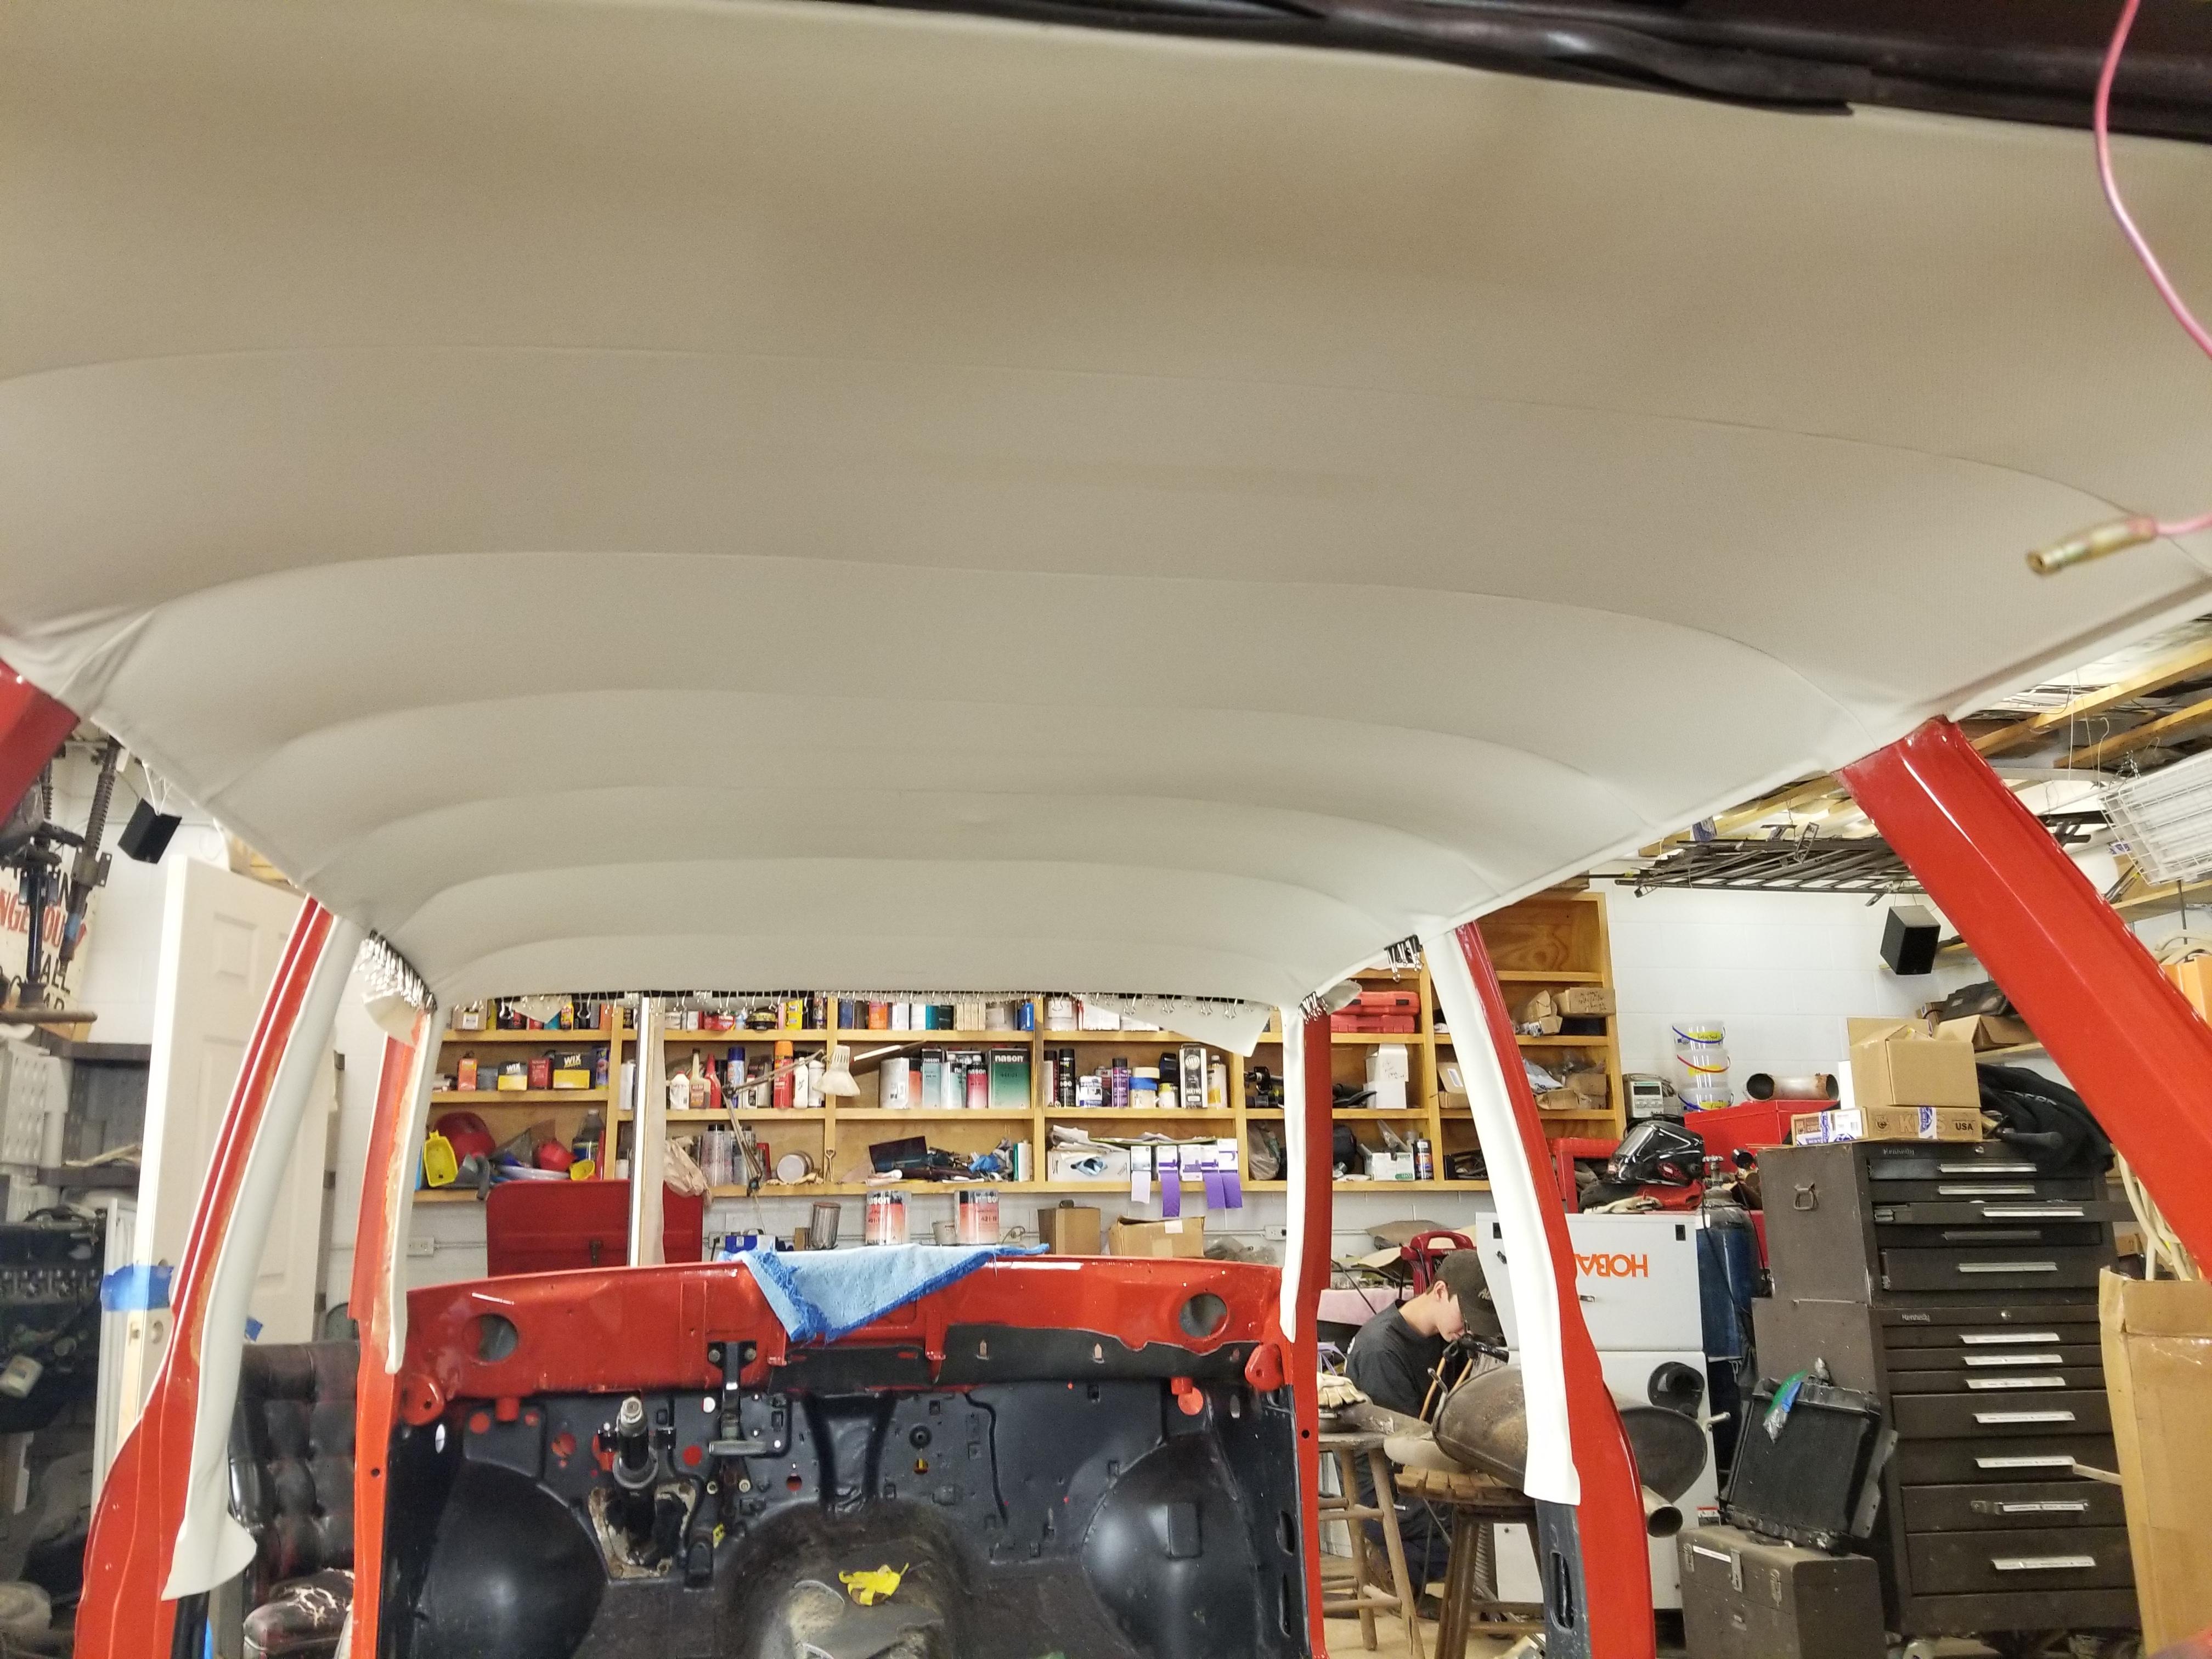
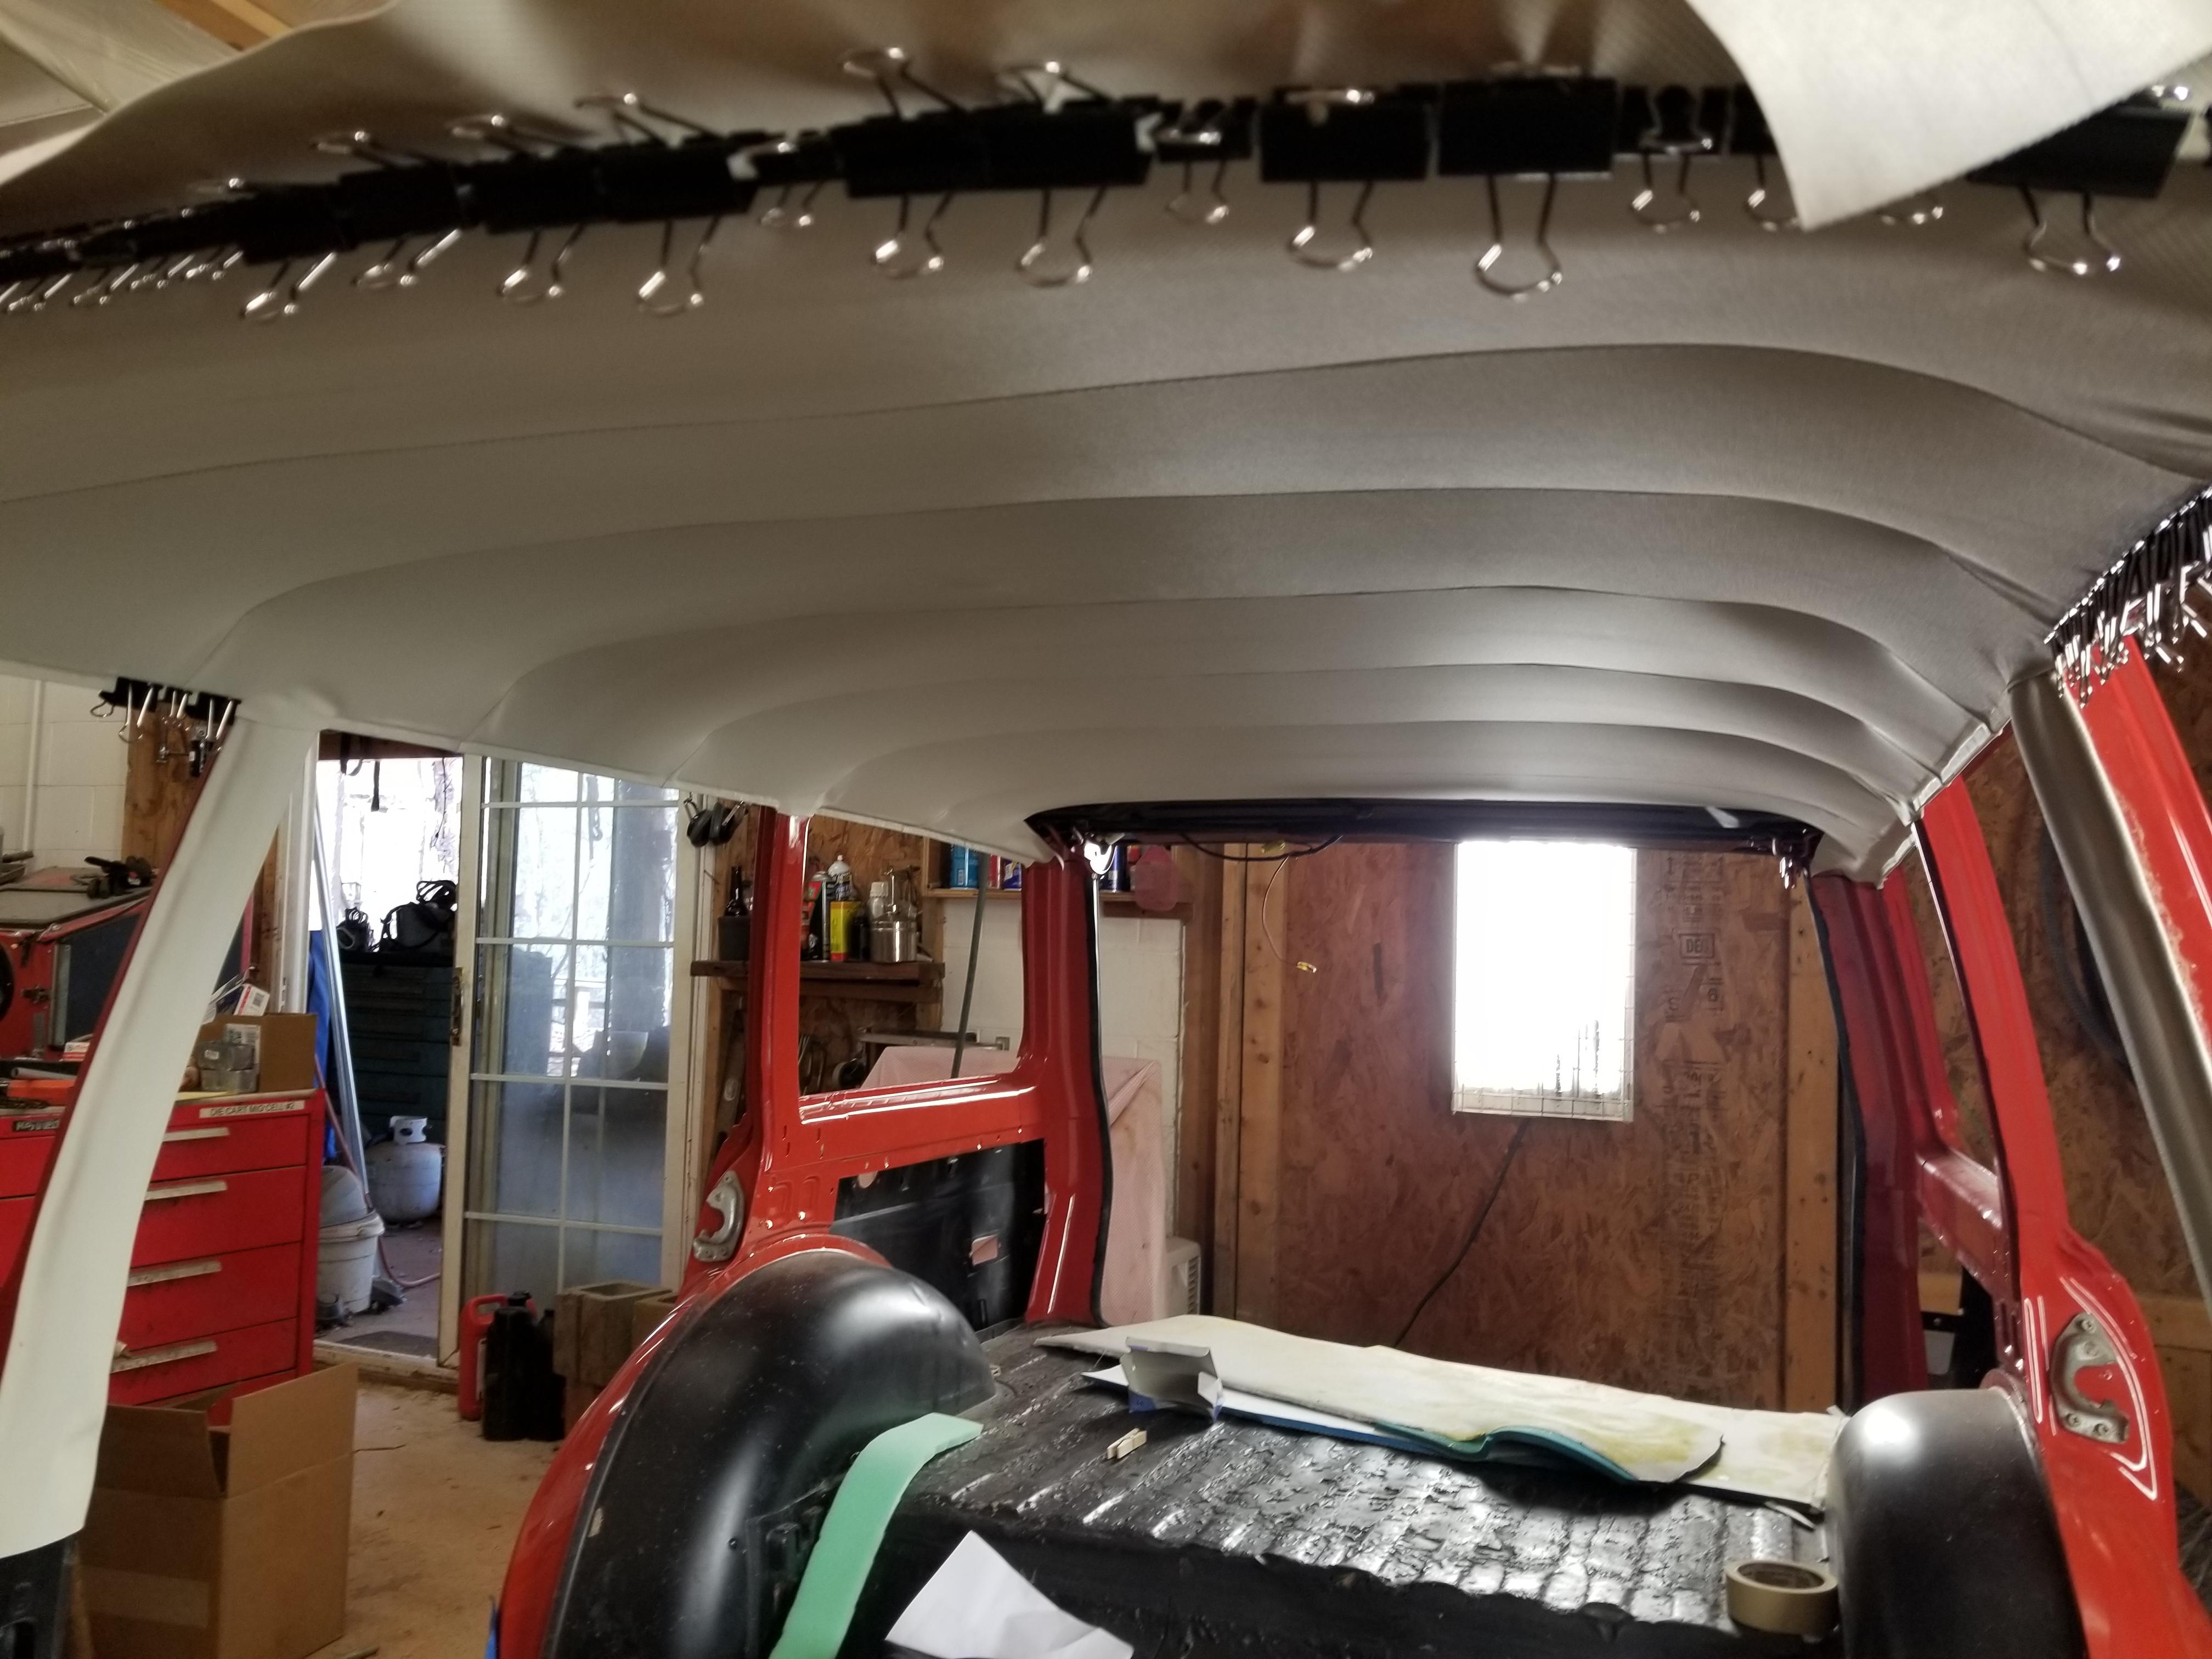
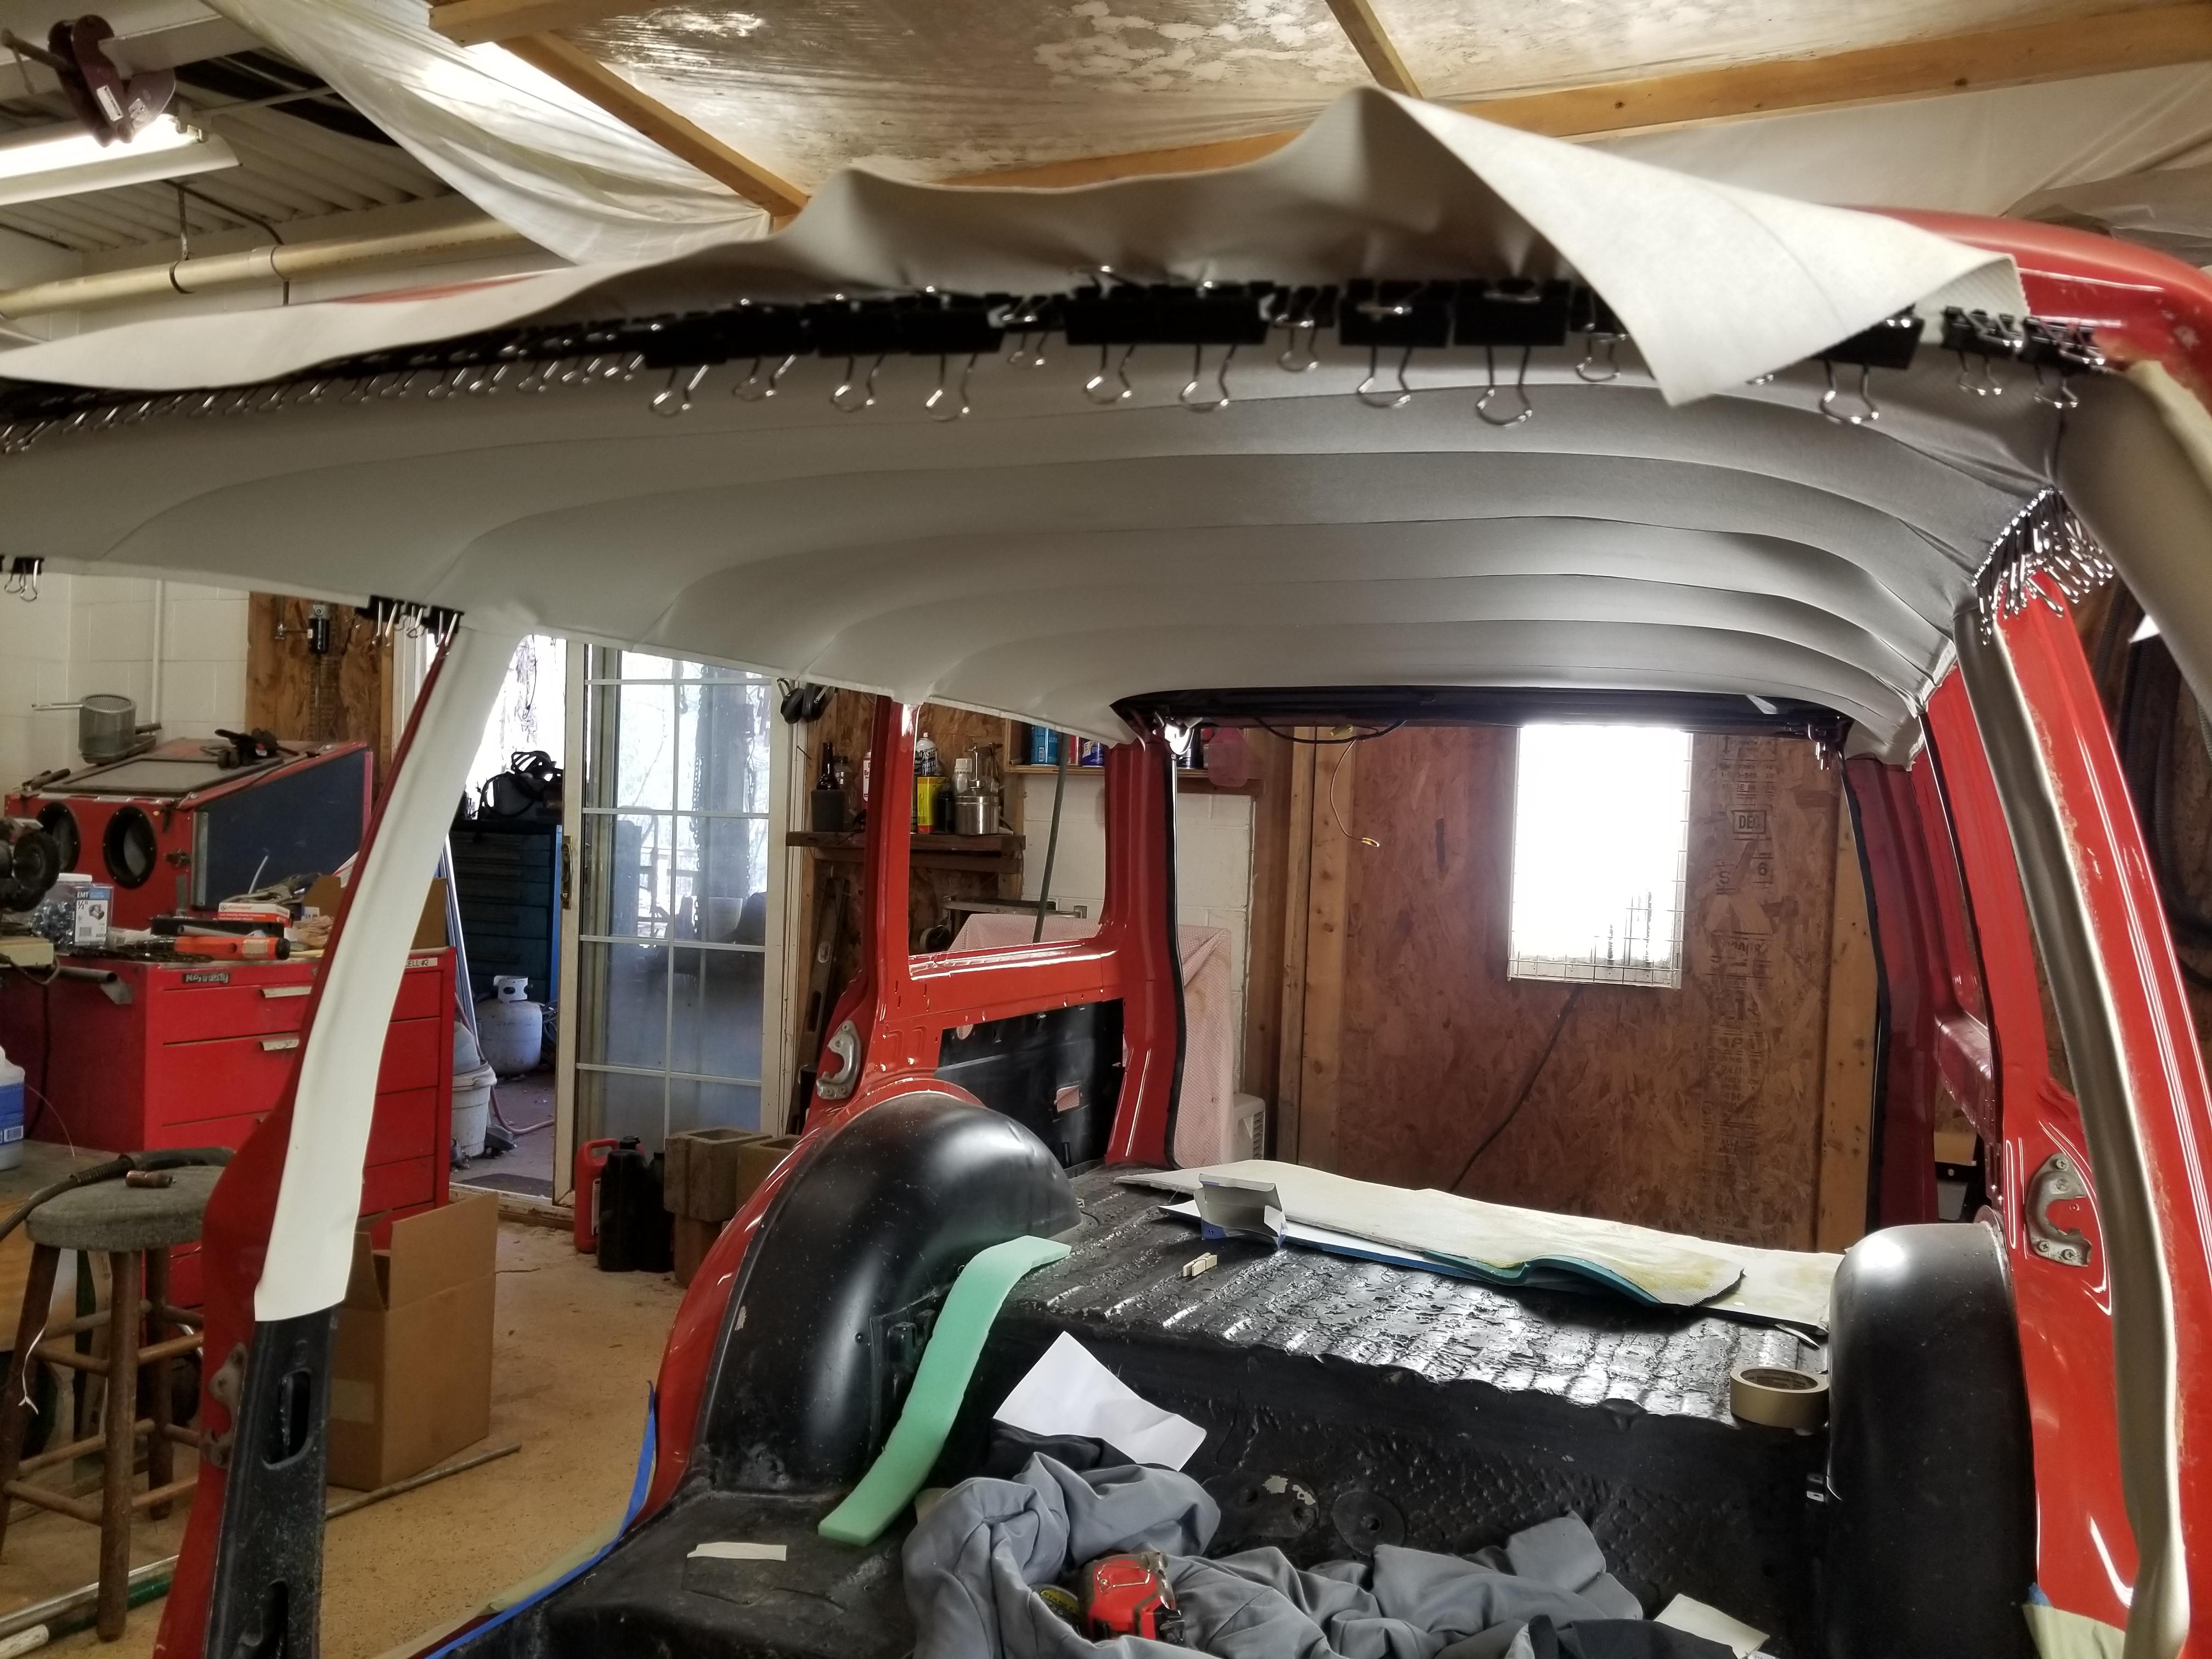
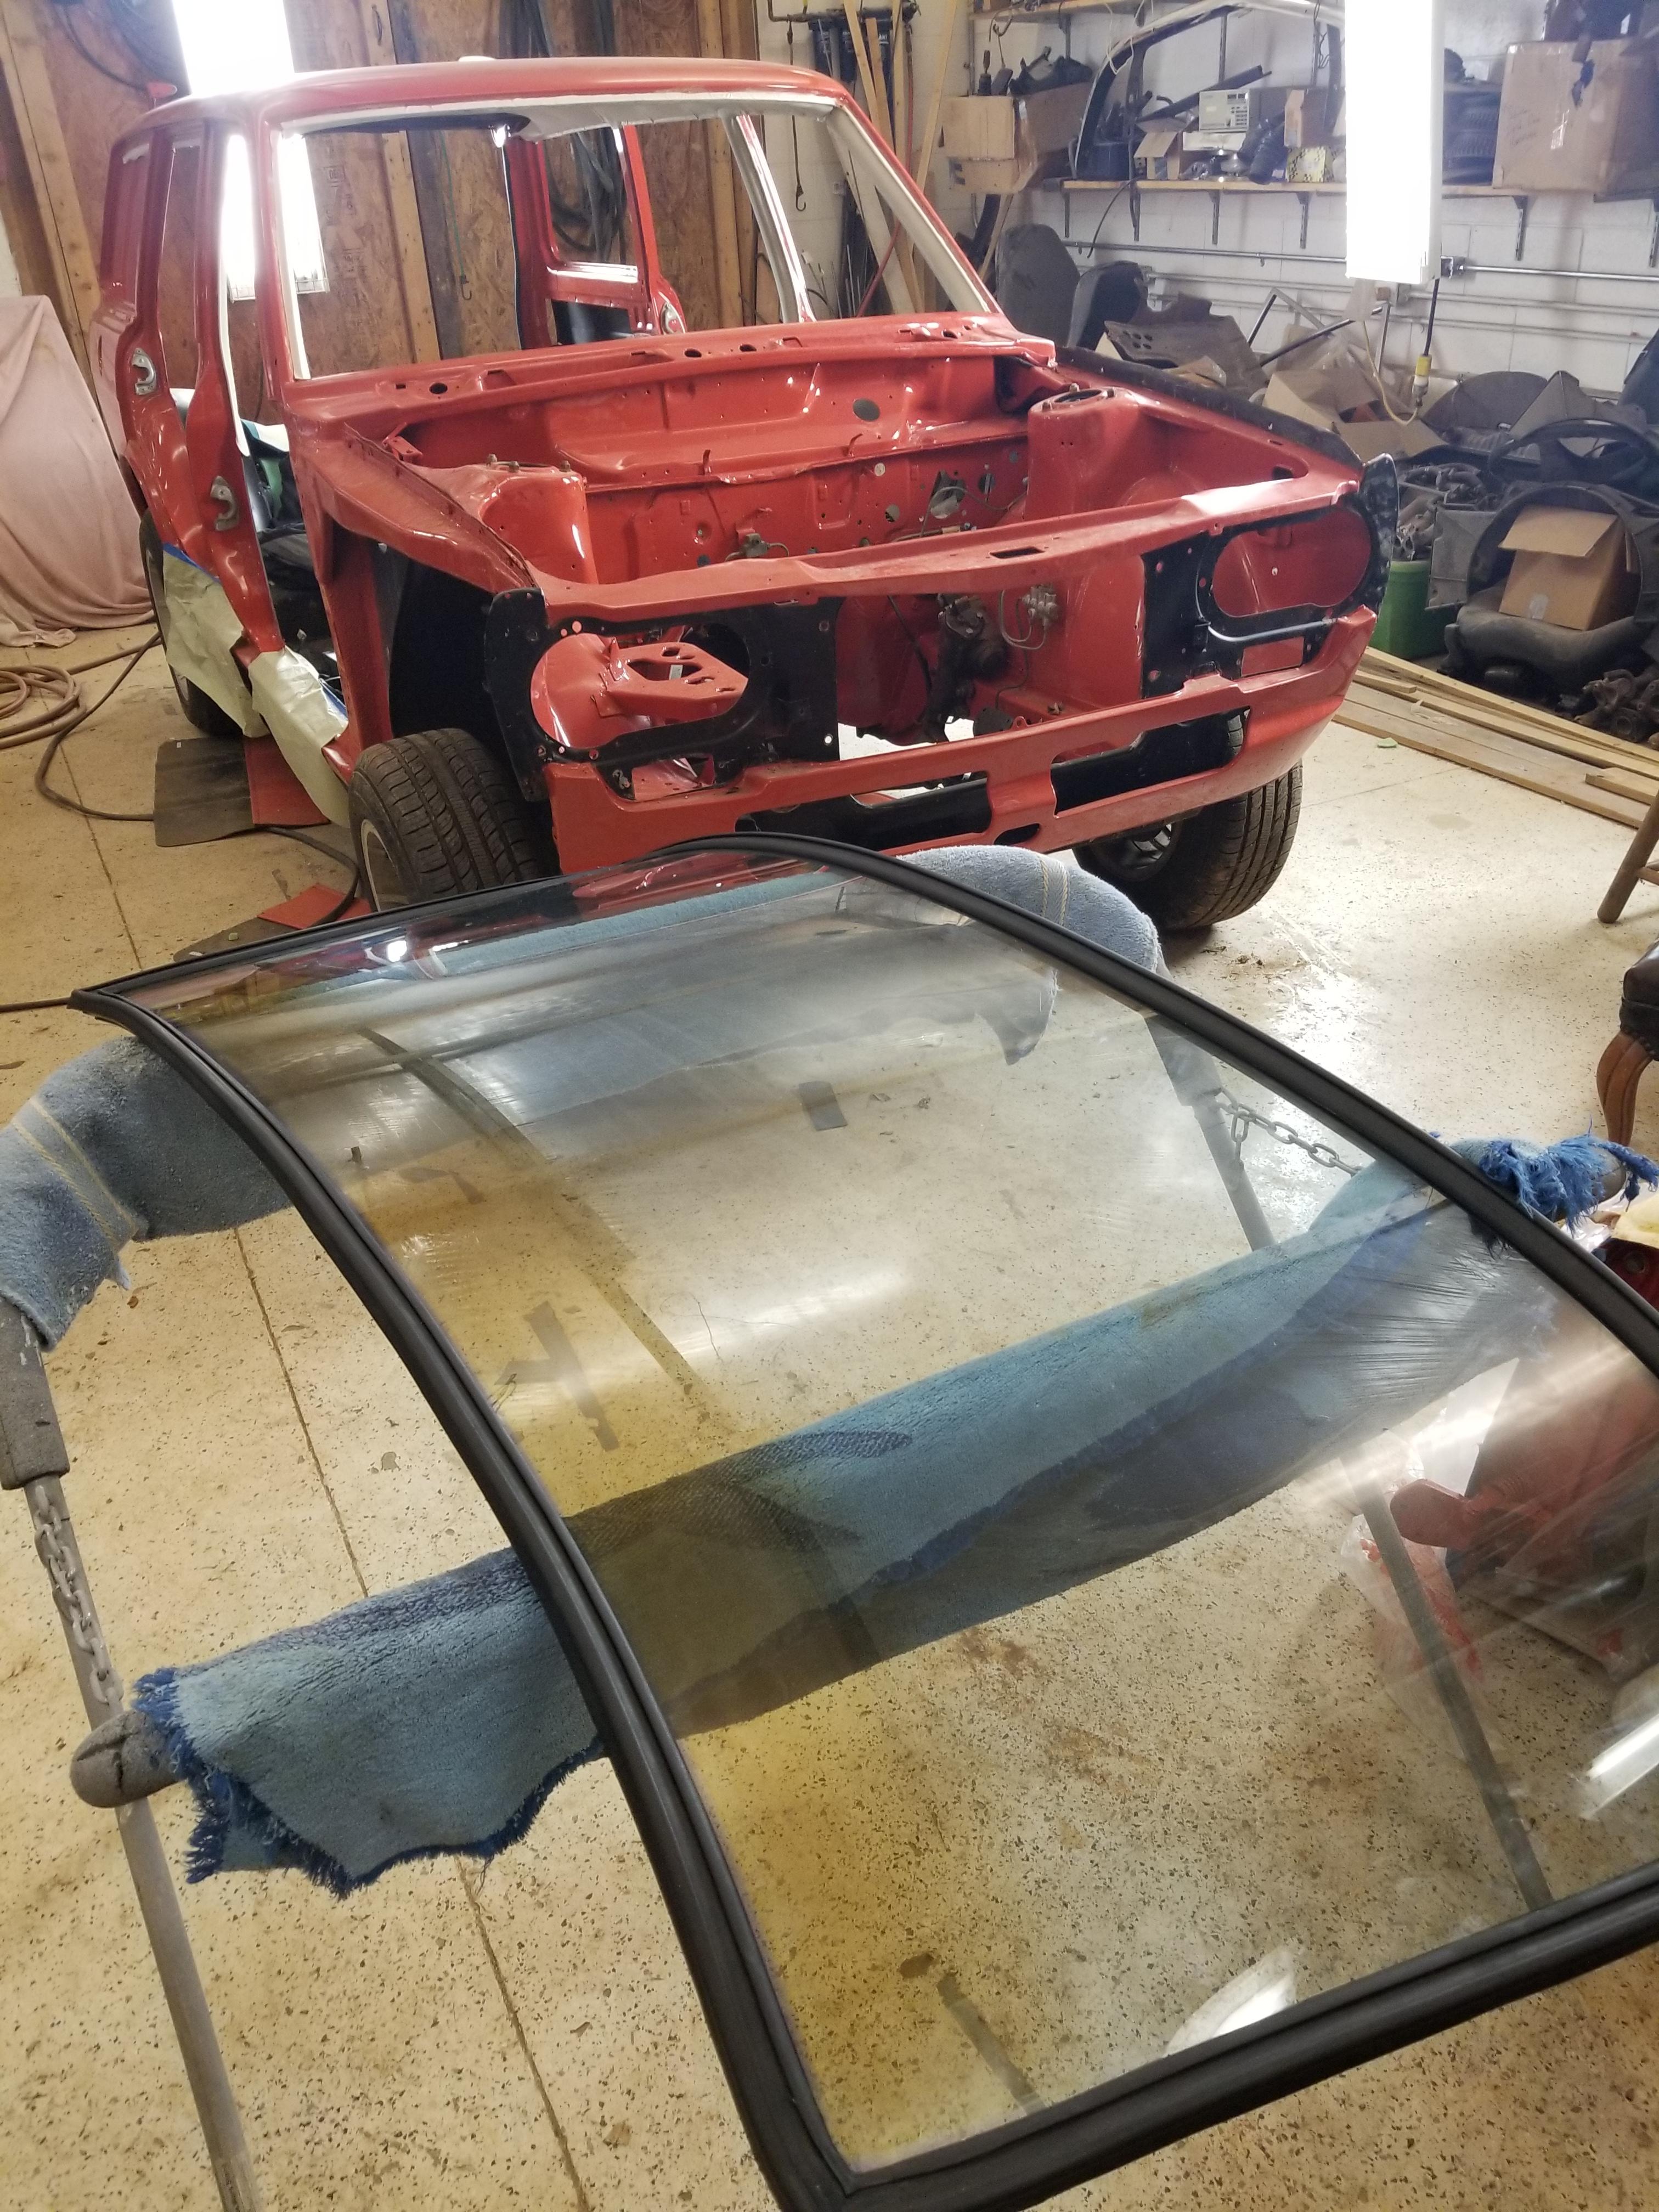
2 pointsSo let me tell you a little story... Some time last summer, maybe June, we had a professional uphostery shop do Cody's headliner. They did a wizz poor job! Headliner made from scratch. Fabric was too thick, seams weren't great, sloppy install. It took forever for them to do it. Then we took it back to have them work on some problem areas. A few weeks later the glue was all letting loose. Panels all starting come loose around the window frames. We just cut our loses... So I ordered a headliner off Ebay. It came in. We strung it up but it was too small. So I sent it back. I bought one from Goliners on ebay. Jim is good to deal with but again it was too small. He told me these were made off of the factory template. Instead of sending it back again, I found a source for the same fabric and Shelley reworked it for me. Now the problem with this is, we don't have a commercial sewing machine. That makes it hard to feed through the machine and prevent slippage and such. Overall though it came out good. The problem we ran into was two fold. The wagon has a piece of metal at the rear of the roof and I'm pretty sure the headliner is supposed to wrap up and over this piece of metal. When I did that with the Ebay headliners, I would lose about 5/8". Then each panel of the headliner should be 11"s but the ones I purchased had random panel sizes 10 7/8, 10 5/8, 10 1/2. All these errors compound and when you get to the front of the car, you're an 1 1/2 too short. So we remade the panels we had too and Cody and I started the install maybe 3 weeks ago. We would have to do it in short sections and it takes a while for the glue to tack up, especially when it's cold outside. I used the Weldwood contact cement. The yellow 272 stuff I believe. I will run you out if your work space isn't ventilated, but it holds really good. We started with the A & B pillars. I wrapped them over a little foam. Then when the headliner crosses them we folded a hem. We started at the back with the headliner at the metal flange glued it and stretch it to the side to tension it. Then we put all the meatl bows in and got them vertical. Lots of metal clips along the edges. We worked out way up the sides of the car. The front was also clipped and stretched. I had problems when I got to the front. I had wrinkles I couldn't get out. So I had to pull the drivers side above the front door loose and rework it to pull the excess out. To be my first headliner with bows, I think we did ok... Now that the headliners in we have started working on glass, to make it water tight. Then I can kick his car back out of my shop and move "Lily" back in We had a Datsun guy tell us one time, if we bought a headliner off Ebay we would mess with it for days, mess it up and then buy another one and take it to a professional... Pfffftt!! Nope, you can do it if you take your time and don't get in a rush and it might even be better than the professionals!!!


 2 points
 -
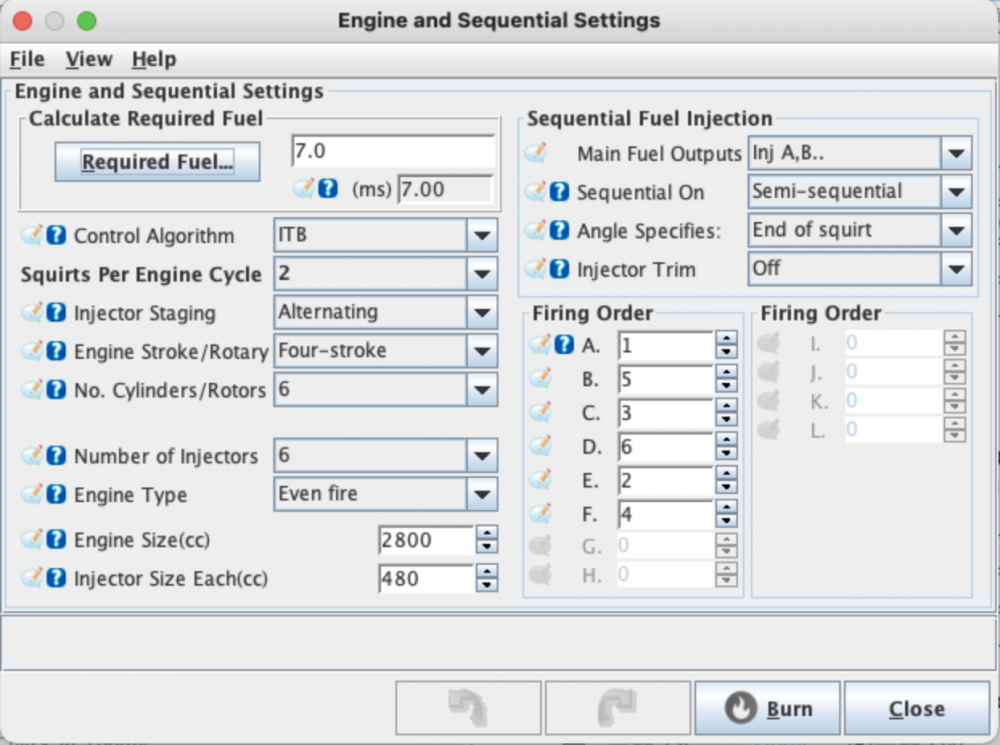
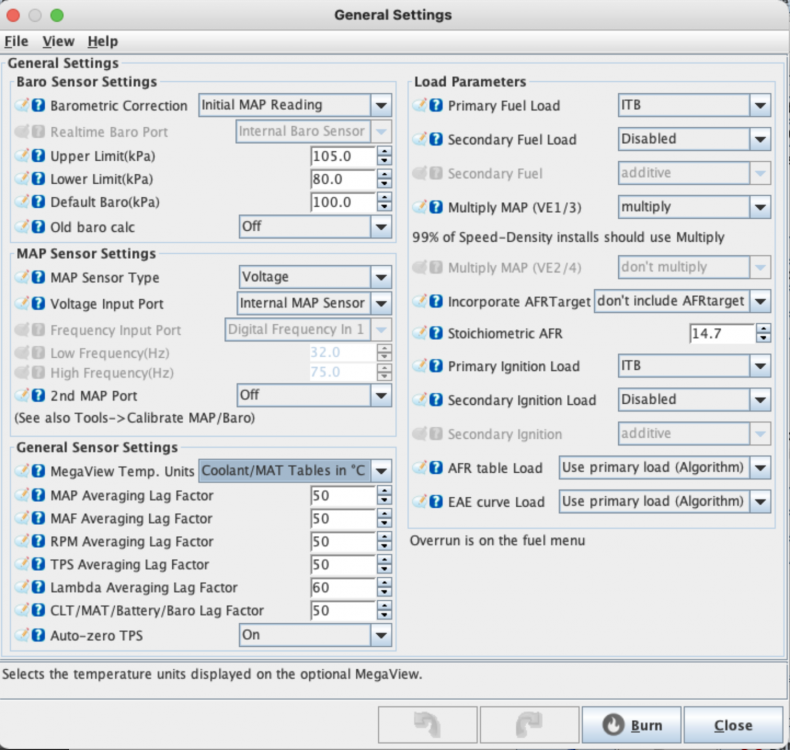
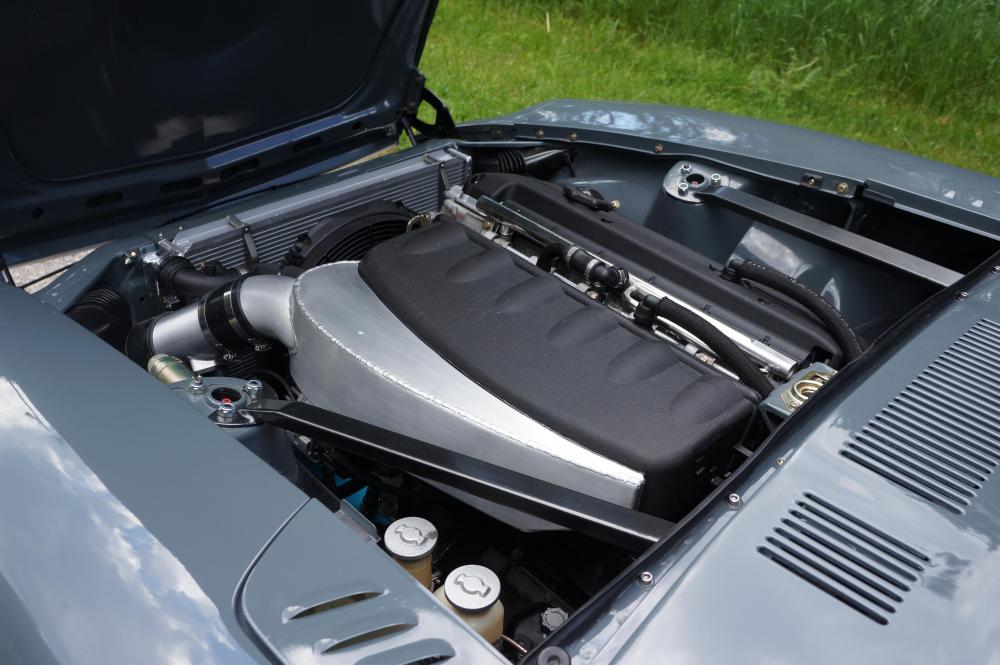
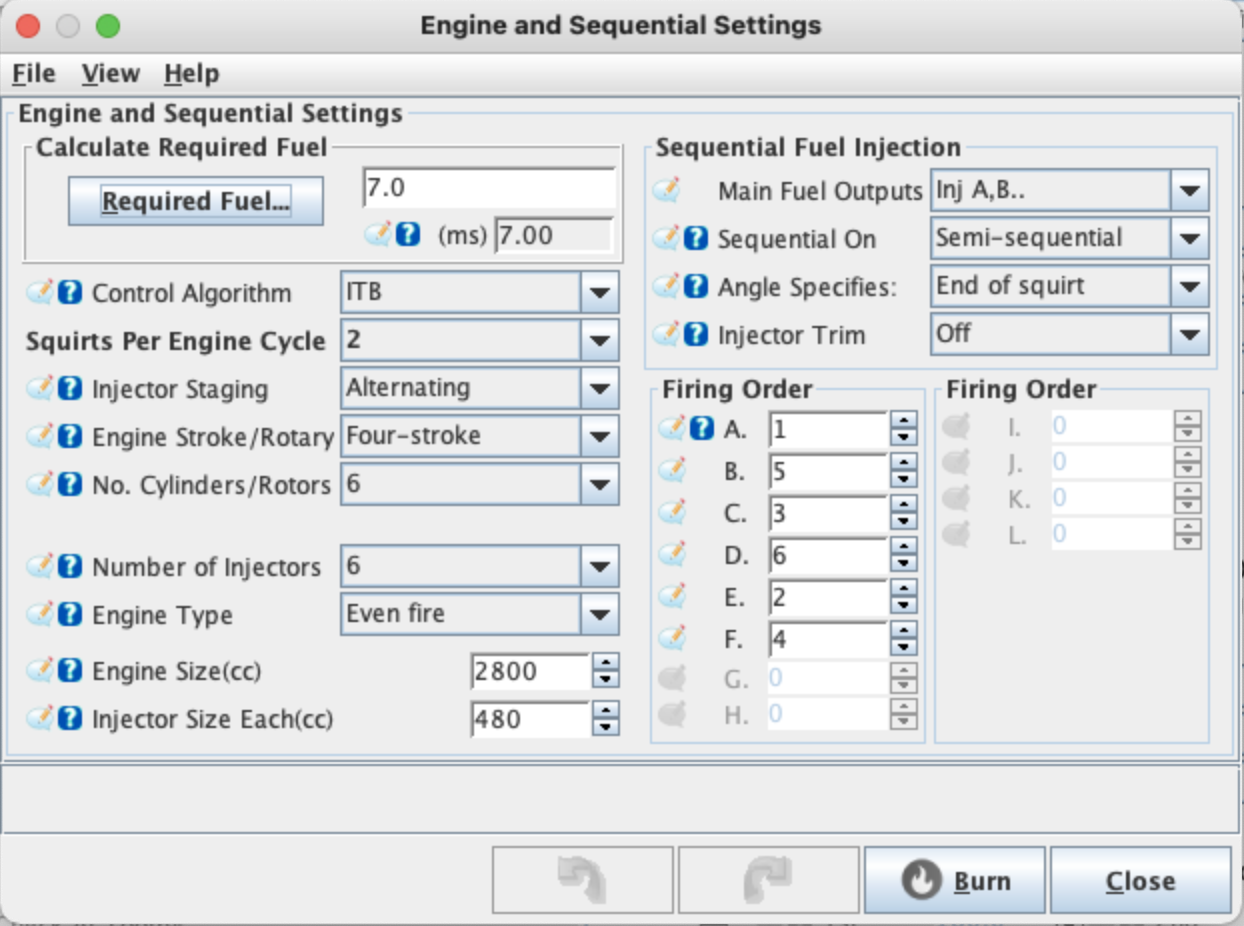
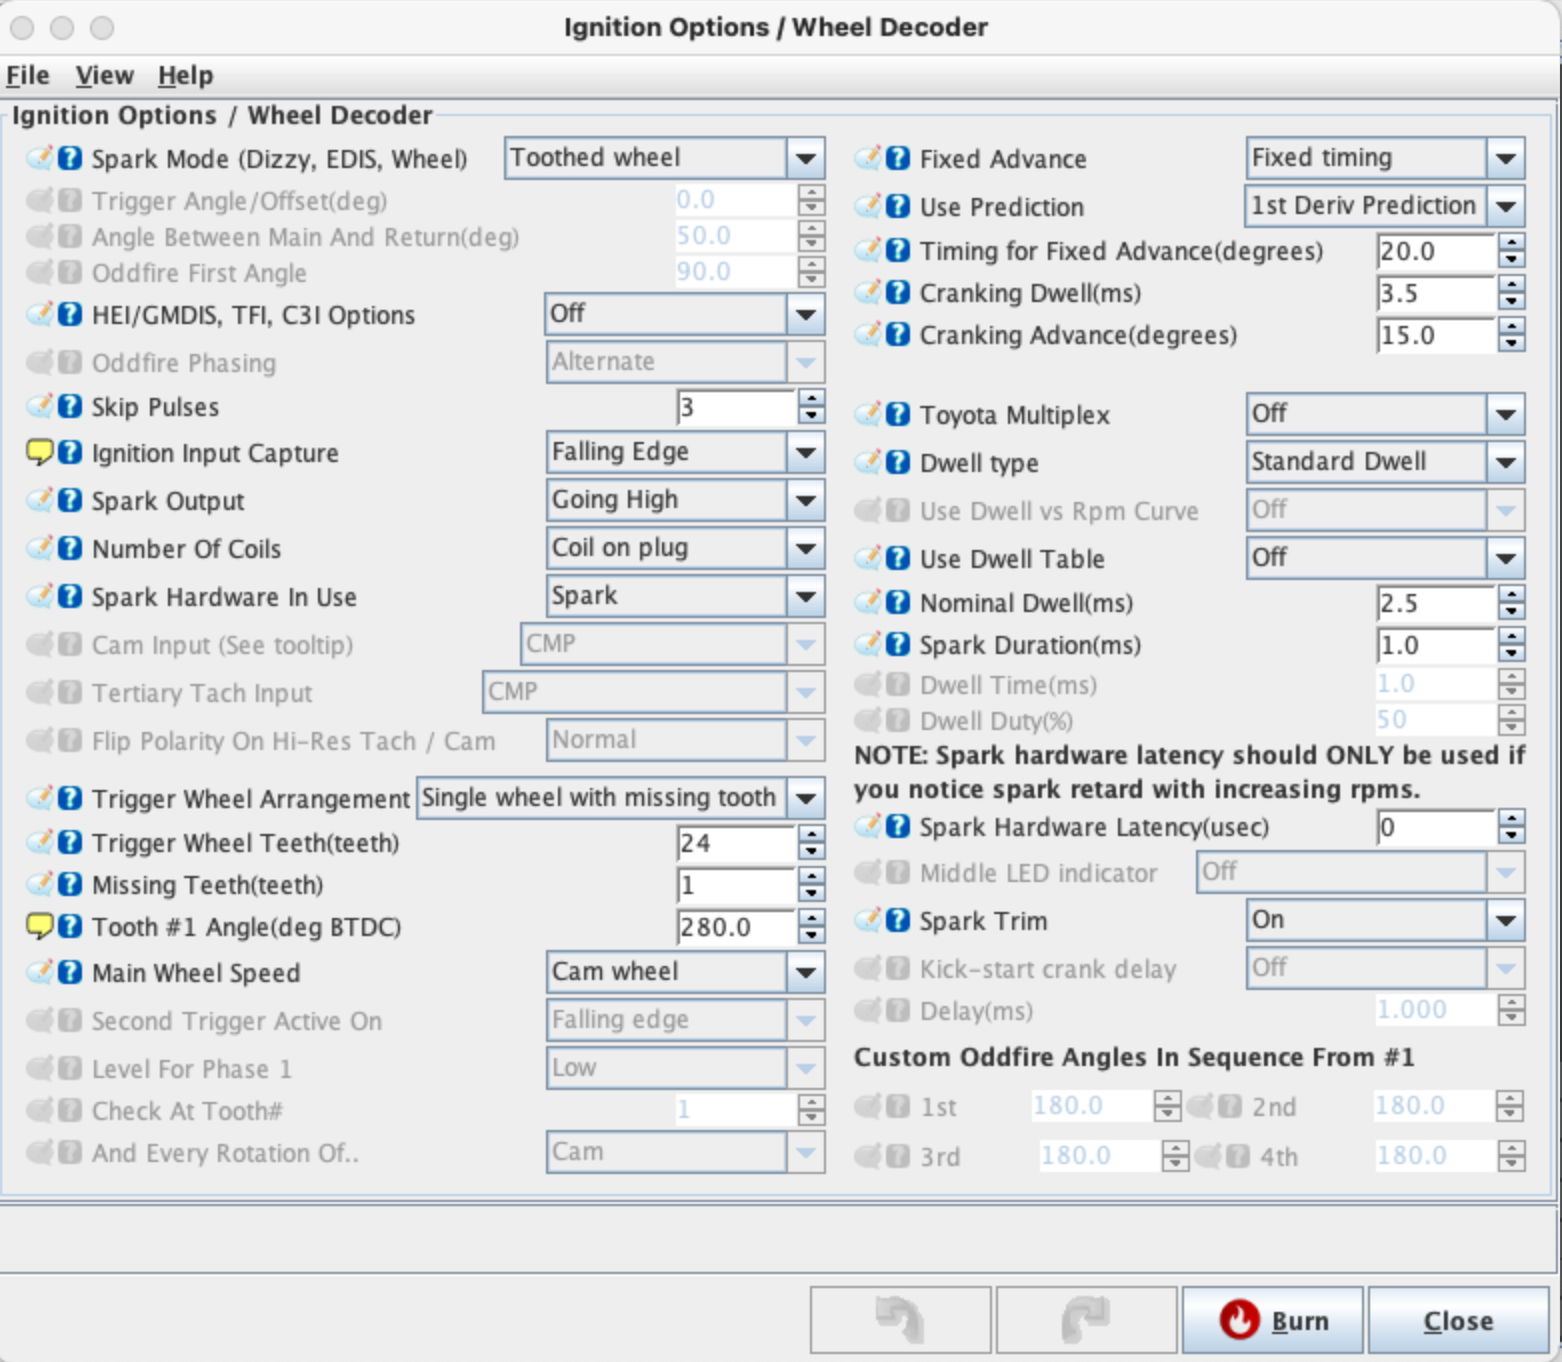
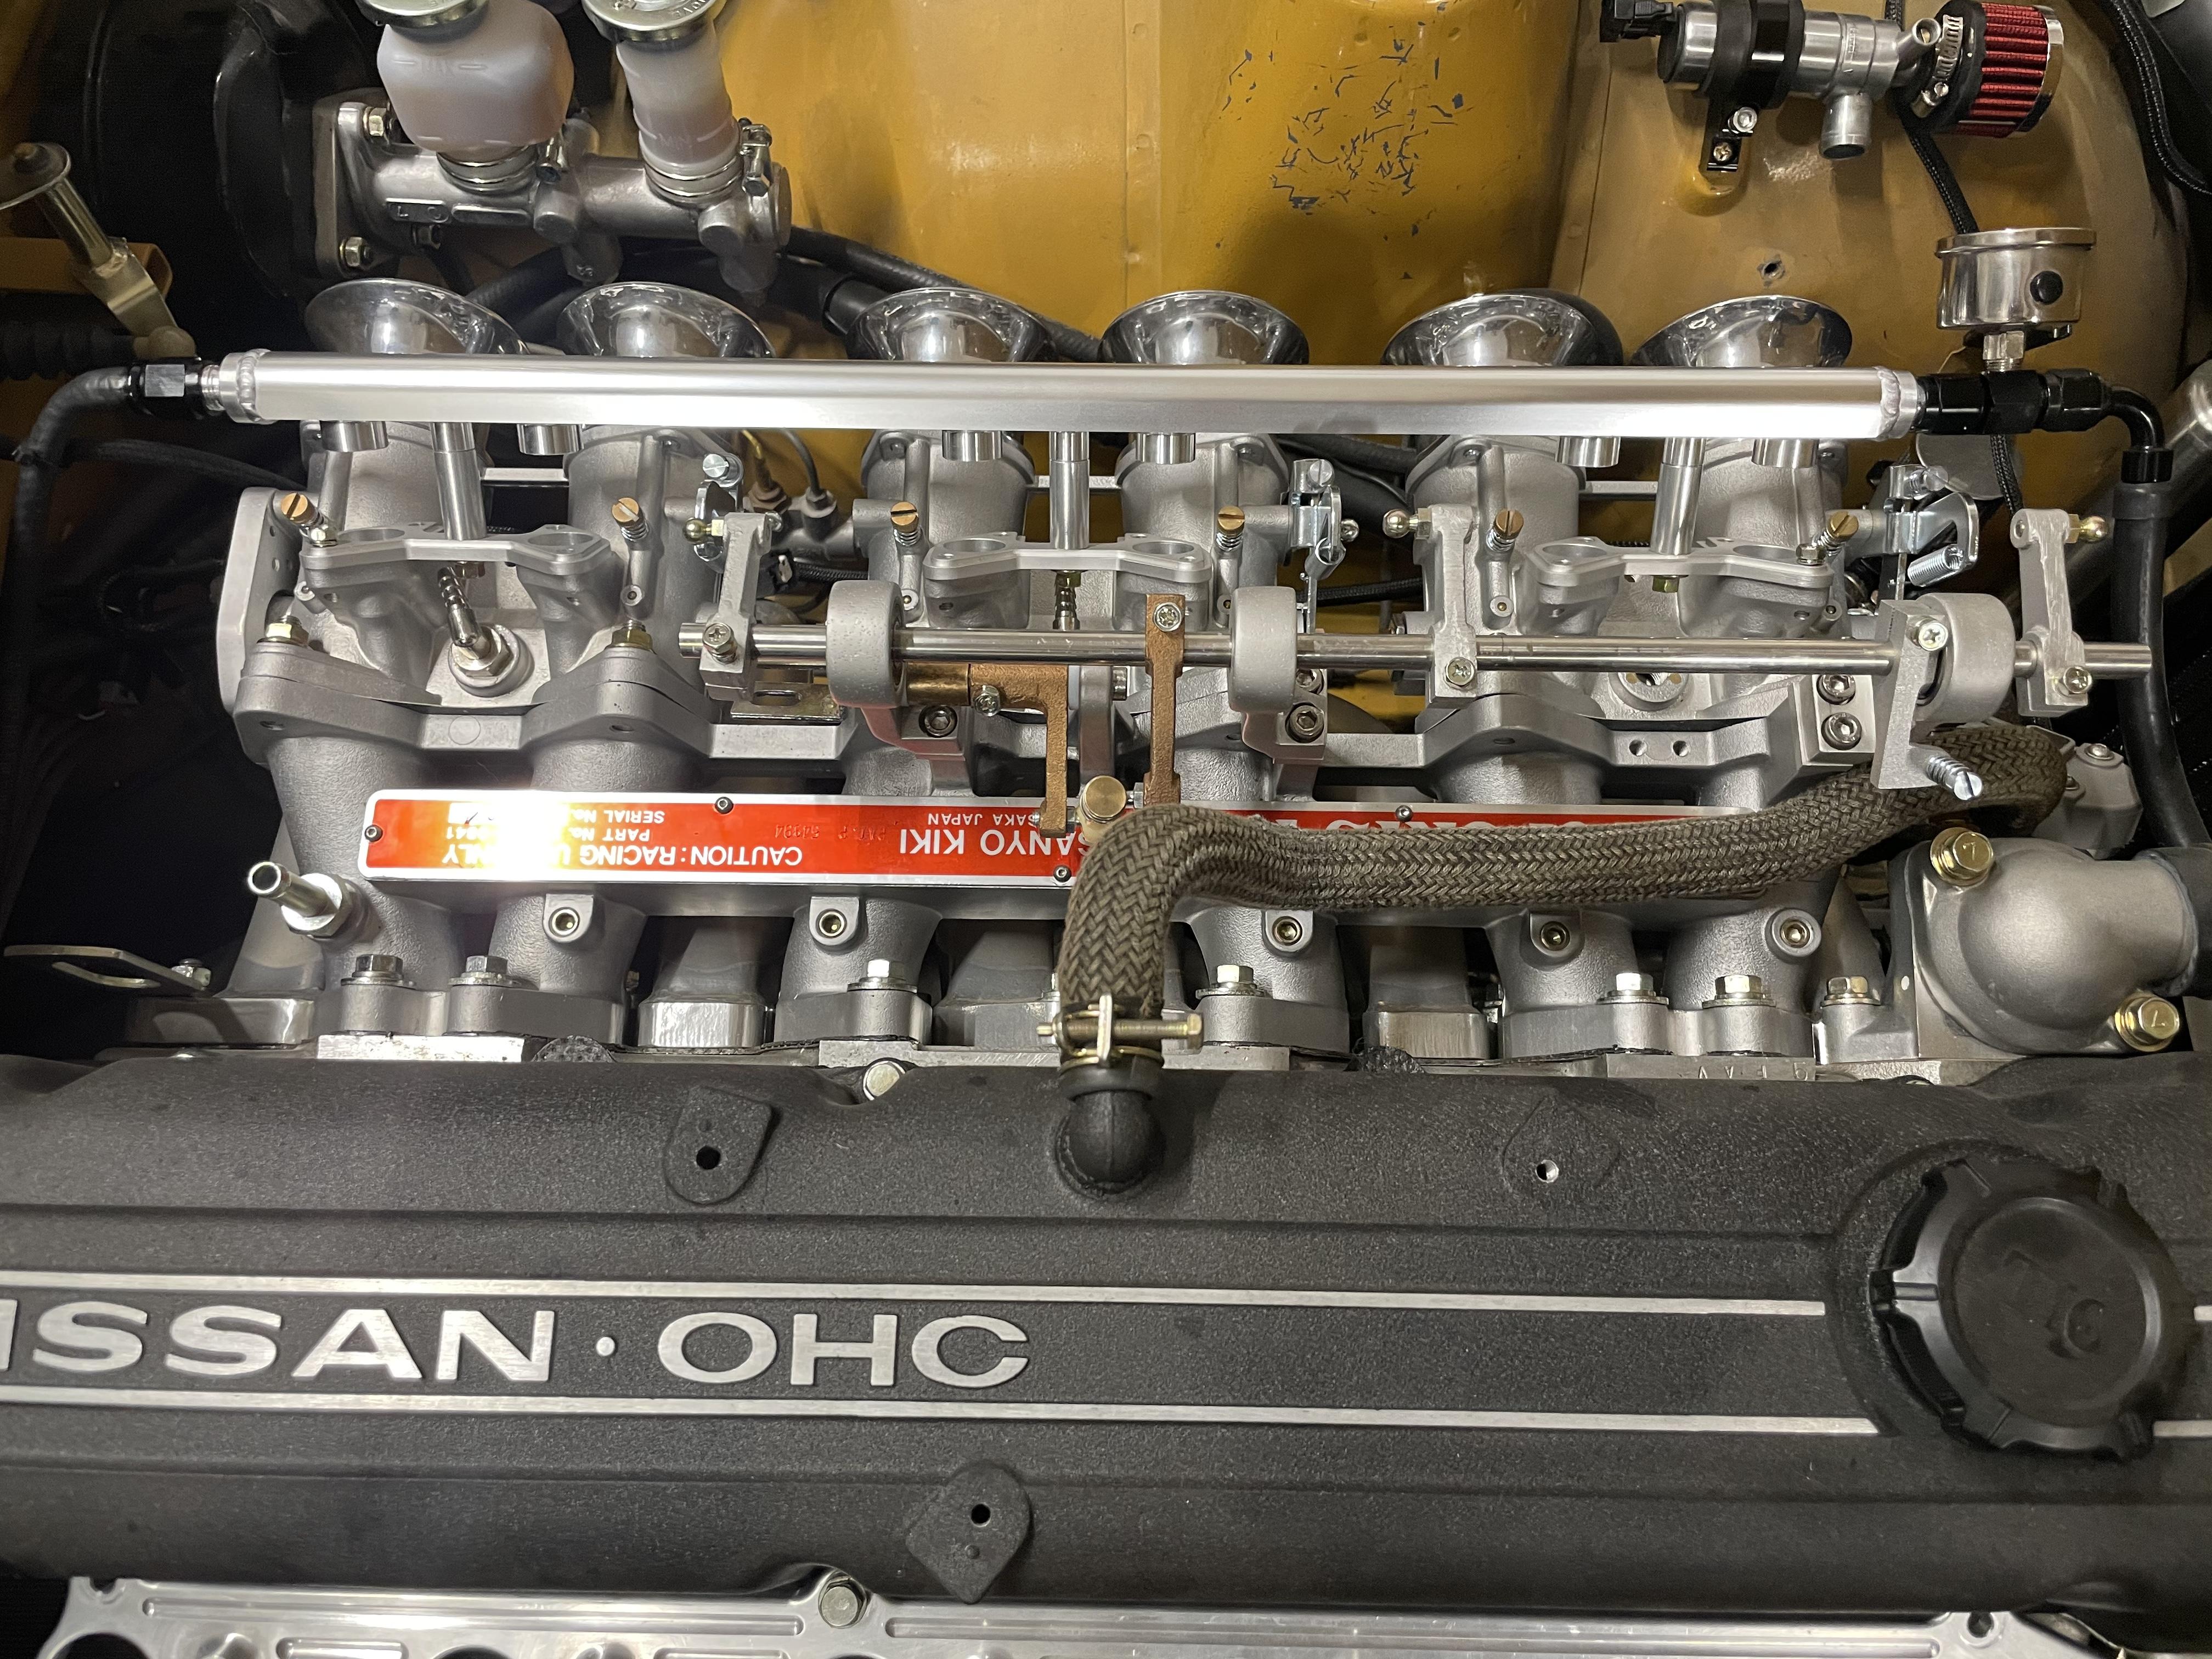
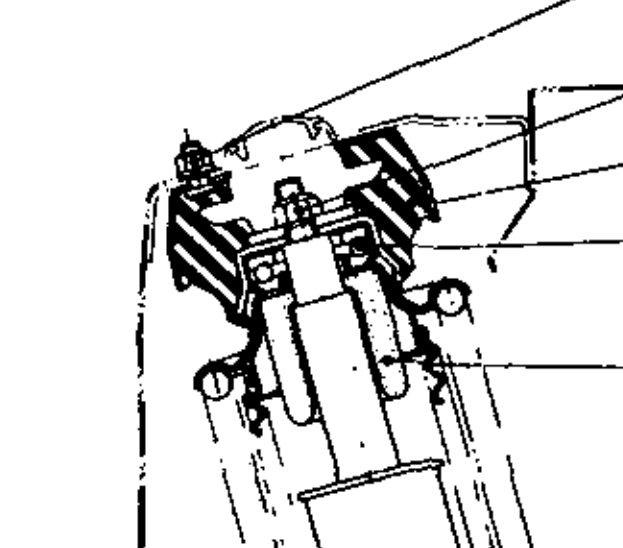
2 pointsGreat day today, the gap between the toothed wheel and the magnet in the CAS was the issue ! Got to love VR sensors. I adjusted it to .5mm and I now got all my teeth on the tooth log (as well as the missing one), and a perfect RPM sync. 😁 Following this great moment, I ran again the coils and injectors tests, check the other sensors and managed to get the engine started. Now working on the idle and timing for fixed advance in order to be lean and match the required fuel calculated by the software. I am at 7ms now (previously calculated at 6.5 ms by tunerstudio, based on engine displacement 2800, number of cylinder 6, injector 480 and targeted air-fuel ratio 14.7). Anyone using the ITB mode for control algorithm primary fuel load and ignition load ? The timing for fixed advance is quite high at 20. My initial tooth #1 angle was 272 and with the above setting, idling at around 750-800 rpm, the light gun shows 290-300 on the harmonic damper.

 2 points
 -
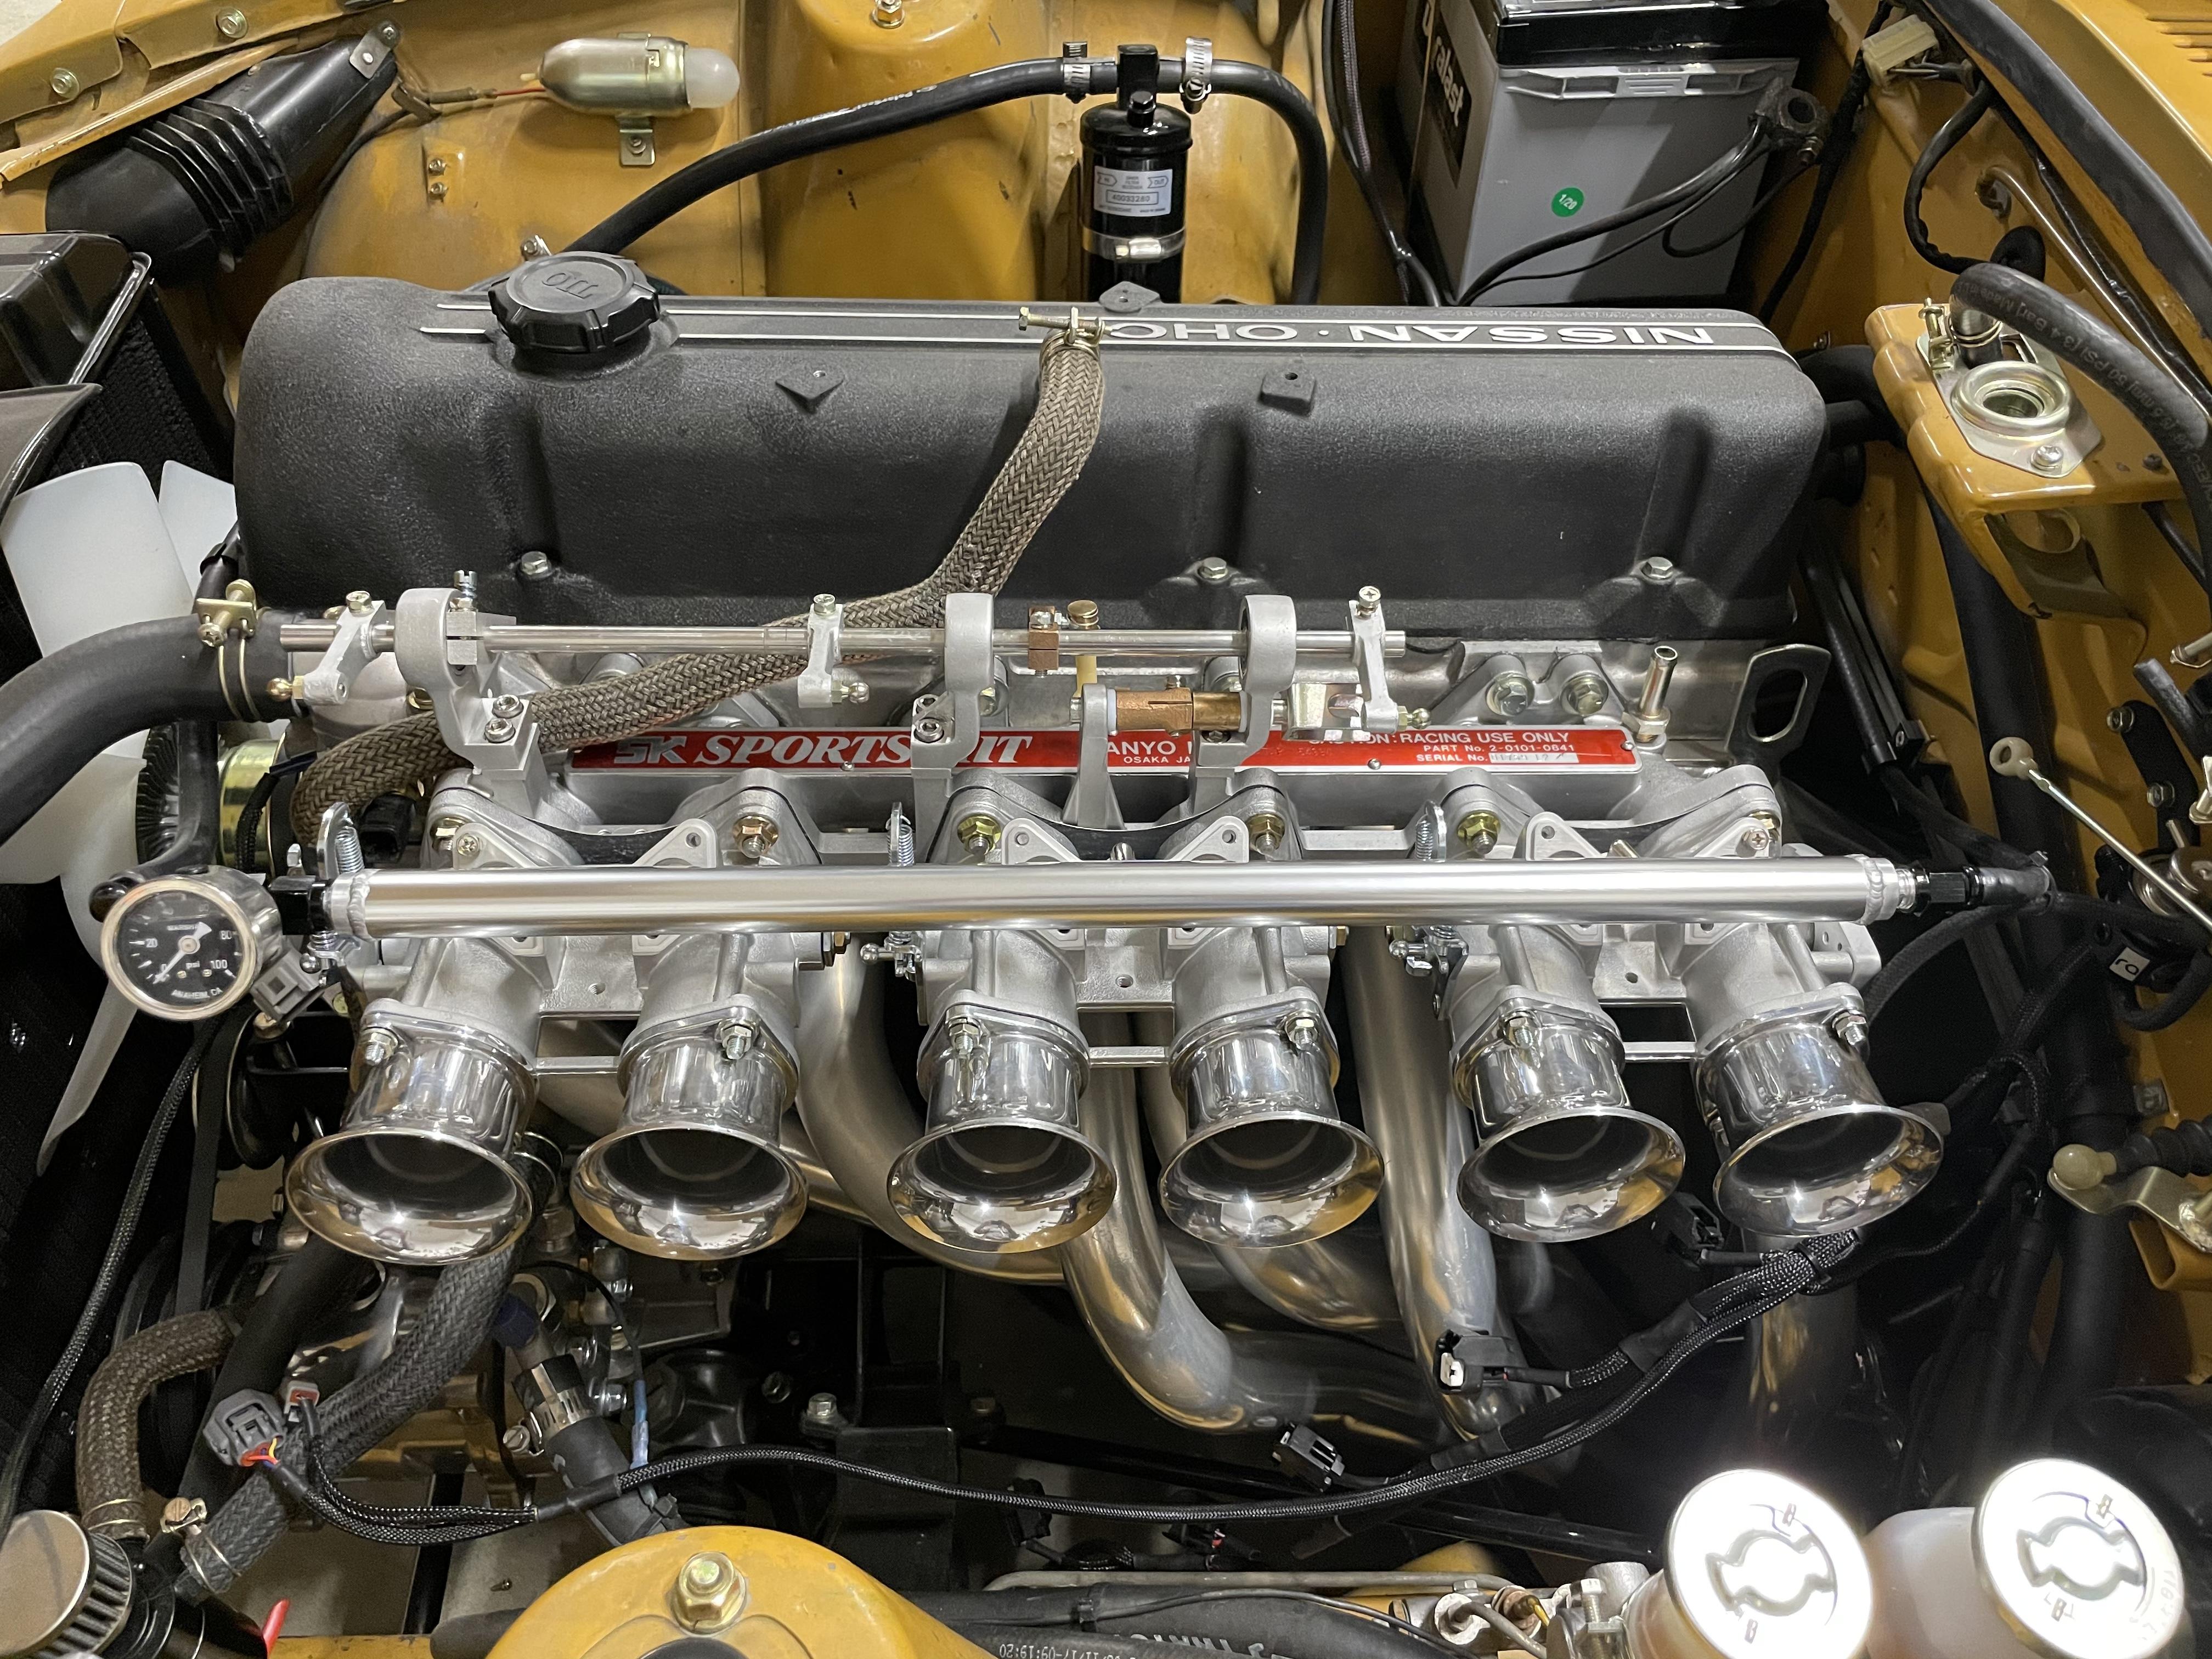
Fantastic progress, well done. That butterfly position is FAR more like it. It’s been frustrating for you but you’ve learned a lot about your car at least, so next time you are better able to troubleshoot it. There is nothing complex or magical about any of it - remember what I said about timing, fuel and air is what makes engines rev? Apply that same principle again. The great news is that your flow meter is off the charts showing that you don’t have an air or vac leak down stream, making the rest of it easy. Unless you have a full race cam you absolutely should be able to get the idle down a bit. I can get mine to idle at 700 rpm but it would be rough and won’t be good for pulling off the line smoothly, hence it’s dialled up to 1000. I actually vary mine with timing as I’m happy with the mix. If the idle is higher than normal you typically close the idle screws, if that makes it die then you can richen the mixture a “tab” or two at a time and try again. Or alternatively dial back a degree or two of “static” timing if the mix is good. BUT .... you must bring the engine up to full operating temp before doing this. On a well adjusted carb without an over rich idle you will still need a little bit of extra fuel until at operating temp (notice how your modern car will still smell rich for the first few mins even on a warm day). Simple way to adjust carbs is: on the left front side of each carb, you will find from the underside a “lifting pin”. This allows you to lift the piston up a little. If at idle you raise the pin by say 1-2mm and the engine dies, you are too lean. If it speeds up and settles down (while you hold the pin in the same place) you’re good. If the engine speeds up and stays high then you’re too rich. Have a good read of this ... http://sucarb.co.uk/technical-h-type-carburetter-tuning-single In your case you have good flow, but the engine dies - to me that suggests too lean at idle. But of course changing the mix at idle affects the mix elsewhere so it’s a balancing act. Do you have an AFR gauge / UEGO? It makes tuning aooooo much easier! Hang in there - you’re nearly there now!! EDIT: one last thought - what idle timing do you have and is vac advance connected when you check?2 points
-
2 points
-
2 points
-
1 pointWell Charles. Hat off to your paitence and soldering on. If it was me I think I would have invented a thew new words in the process. The end result looks great.1 point
-
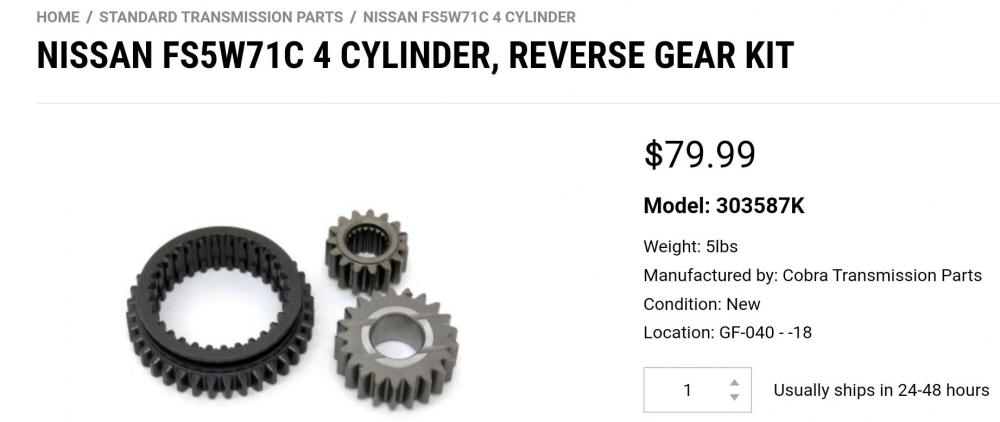
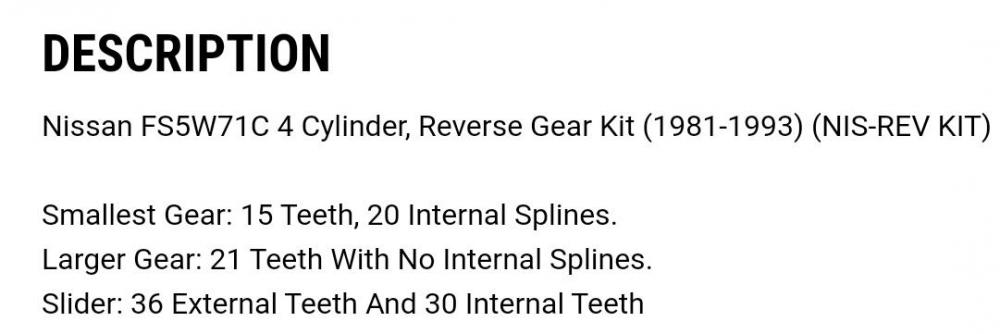
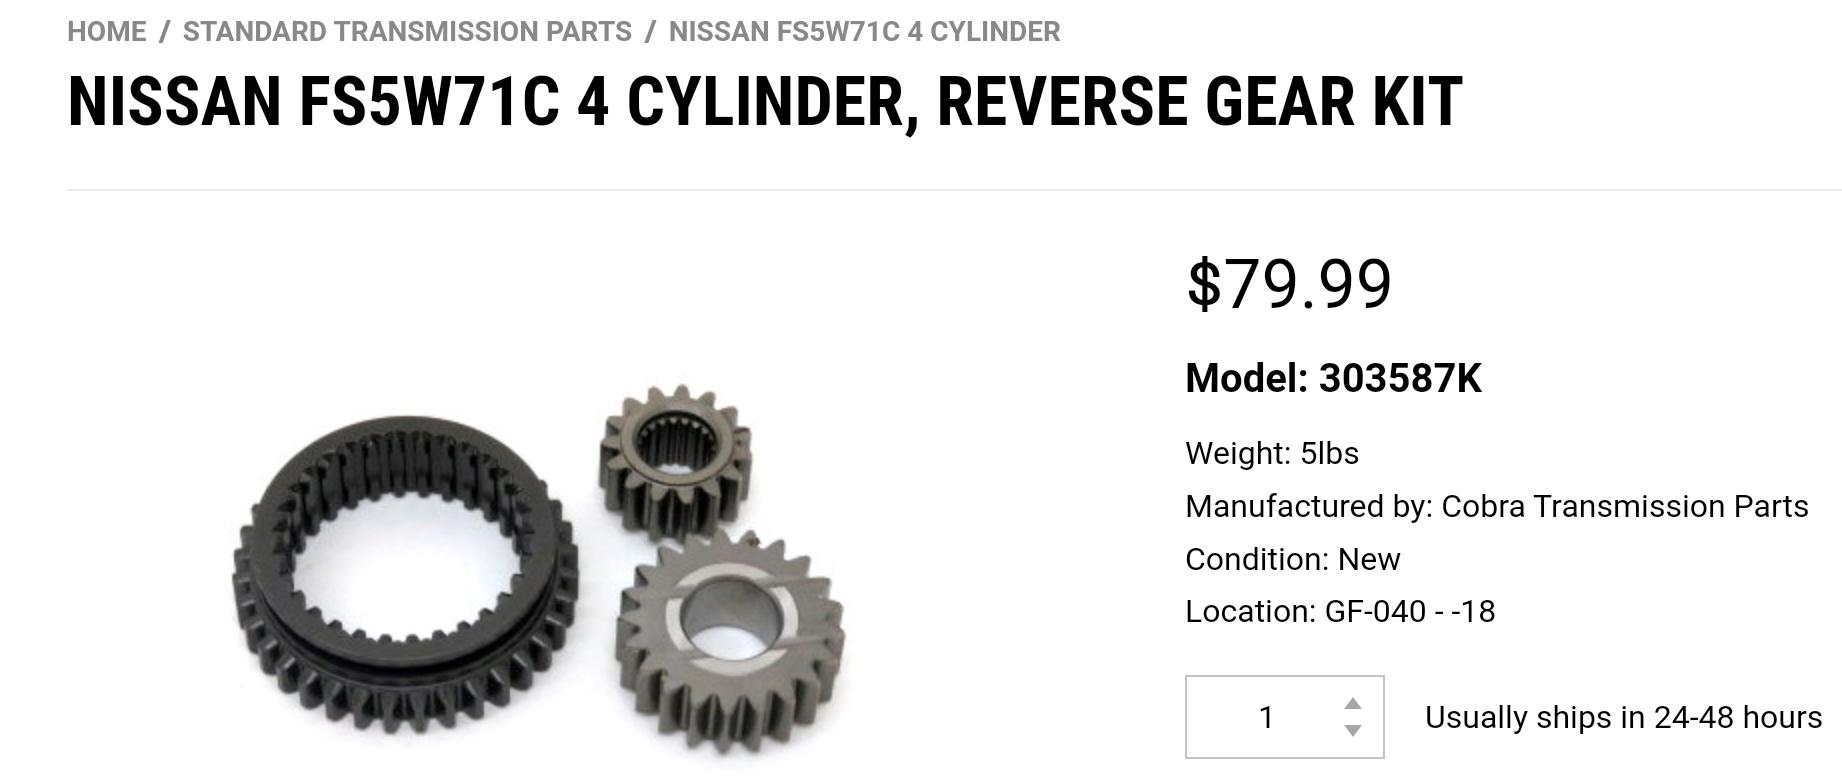
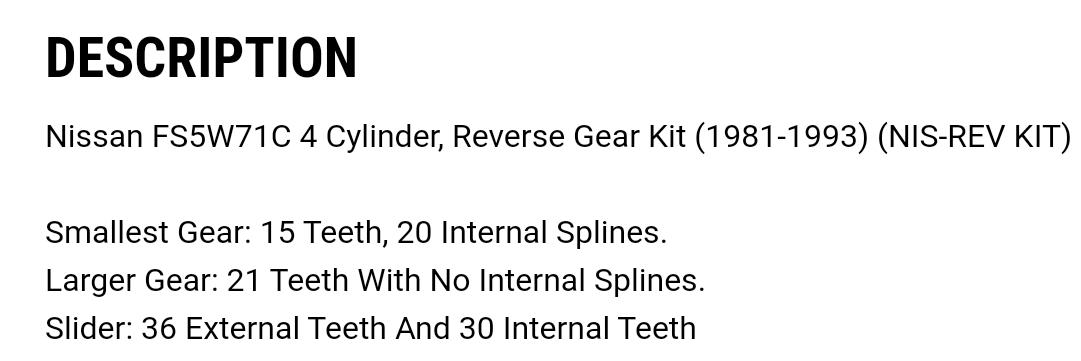
1 pointAn alternative could be just replace the complete reverse gear setup. The kit for the 4 cylindrr FS5W71C uses a 21T reverse idler, so you will need the slider and cluster gear. Complete for US $79. I'm almostcertain the splines on the cluster and the inner teeth on the slider are the same on the 71B and 71C, but just to be sure, count the the inner teeth on the slider and the splines on the cluster gear. https://cobratransmission.com/nissan-fs5w71c-4-cylinder-reverse-gear-kit-50042095-1 The other alternative is to have the teeth ground down and de-burred/rounded, but it is a lot of work and will cost more than buying another set with a slightly different ratio.
 1 point
 -
1 pointWhat a saga. But perseverance and patience paid off. I can tell you a similar story about a Black Pearl's strut tower black vinyl ... Looks great Charles!1 point
-
1 point
-
1 point
-
I understand the dilemma guys so I set about to solve the problem

 1 point
 -
1 pointArt and function done well . I still admire your skills . It’s hard to watch without being envious of your meticulousness . Fortunately I have a friend with a mill that can make me precision , because I’m more the ‘get er done’ guy .1 point
-
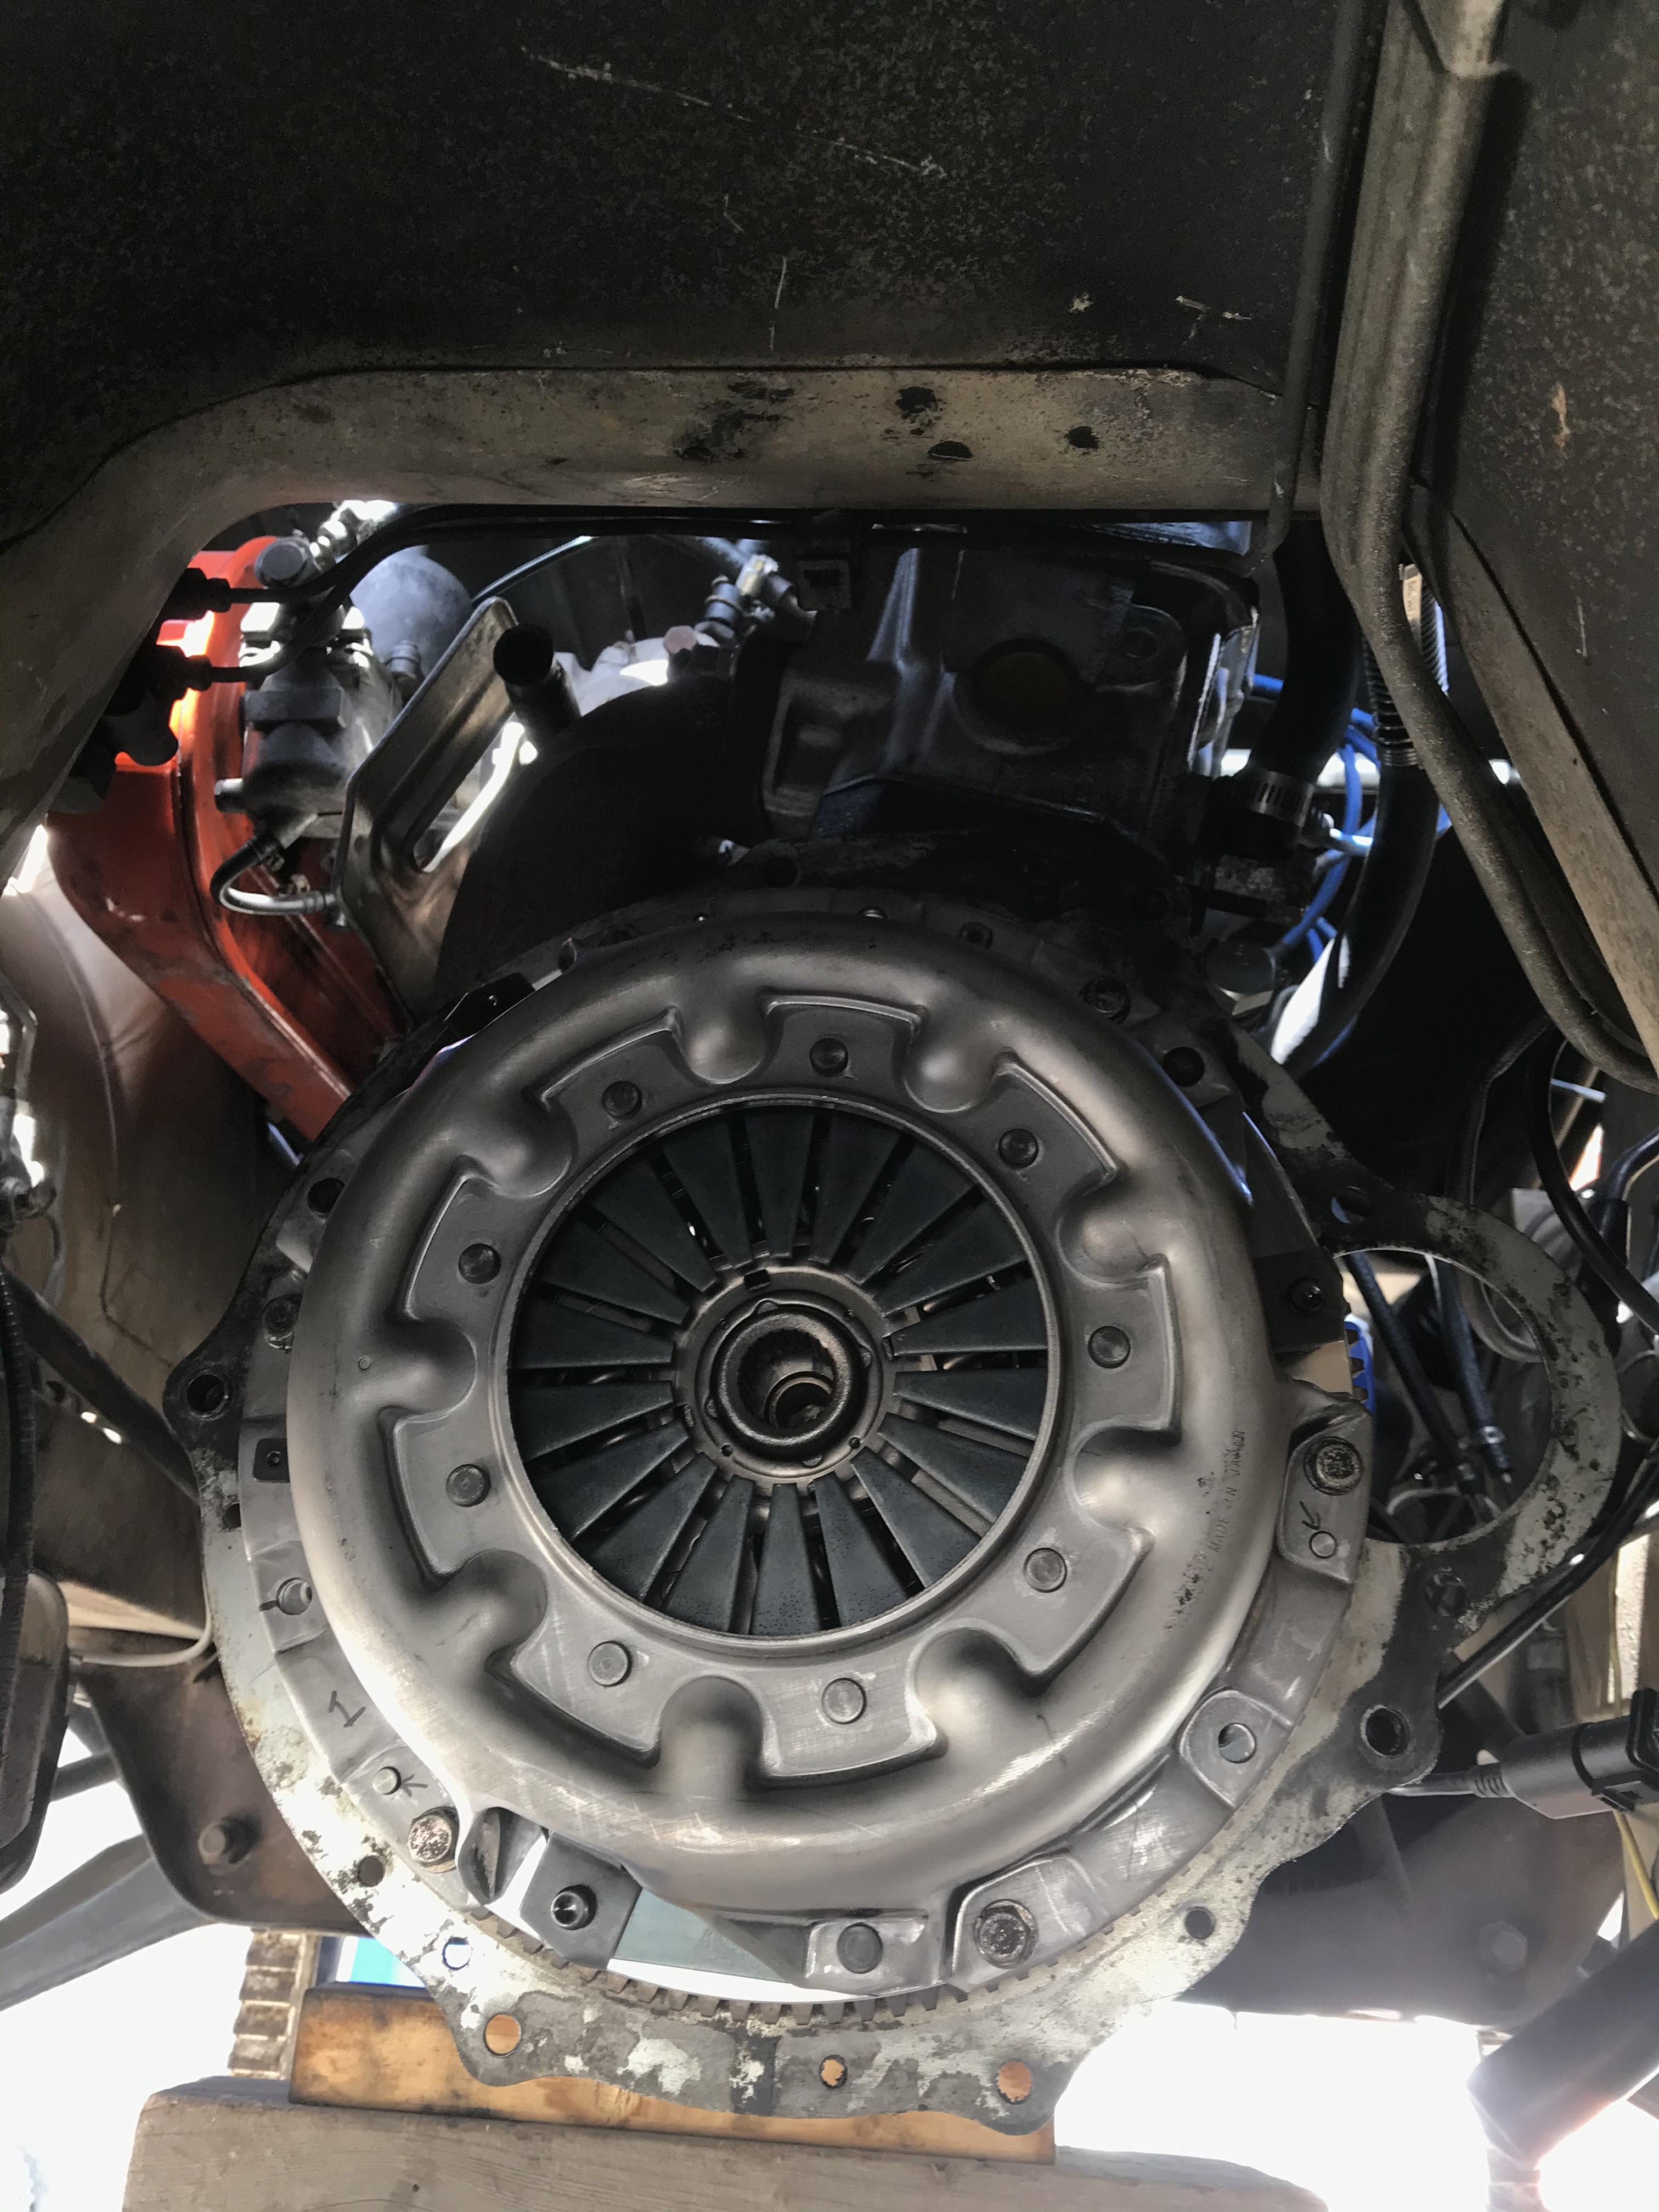
1 pointGot it all mated together today, transmission is reinstalled, i need to drop the fuel tank and replace the fill hose before putting it all back together..... I got the gearbox to slip into place, it went by really smooth, took 30 min,. girlfriend wants to go wine tasting tomorrow.... so i guess it’s going to have to get done in the morning 🙂 @S30Driver I’ll have to remember those for the next time I drop the gearbox 😛

 1 point
 -
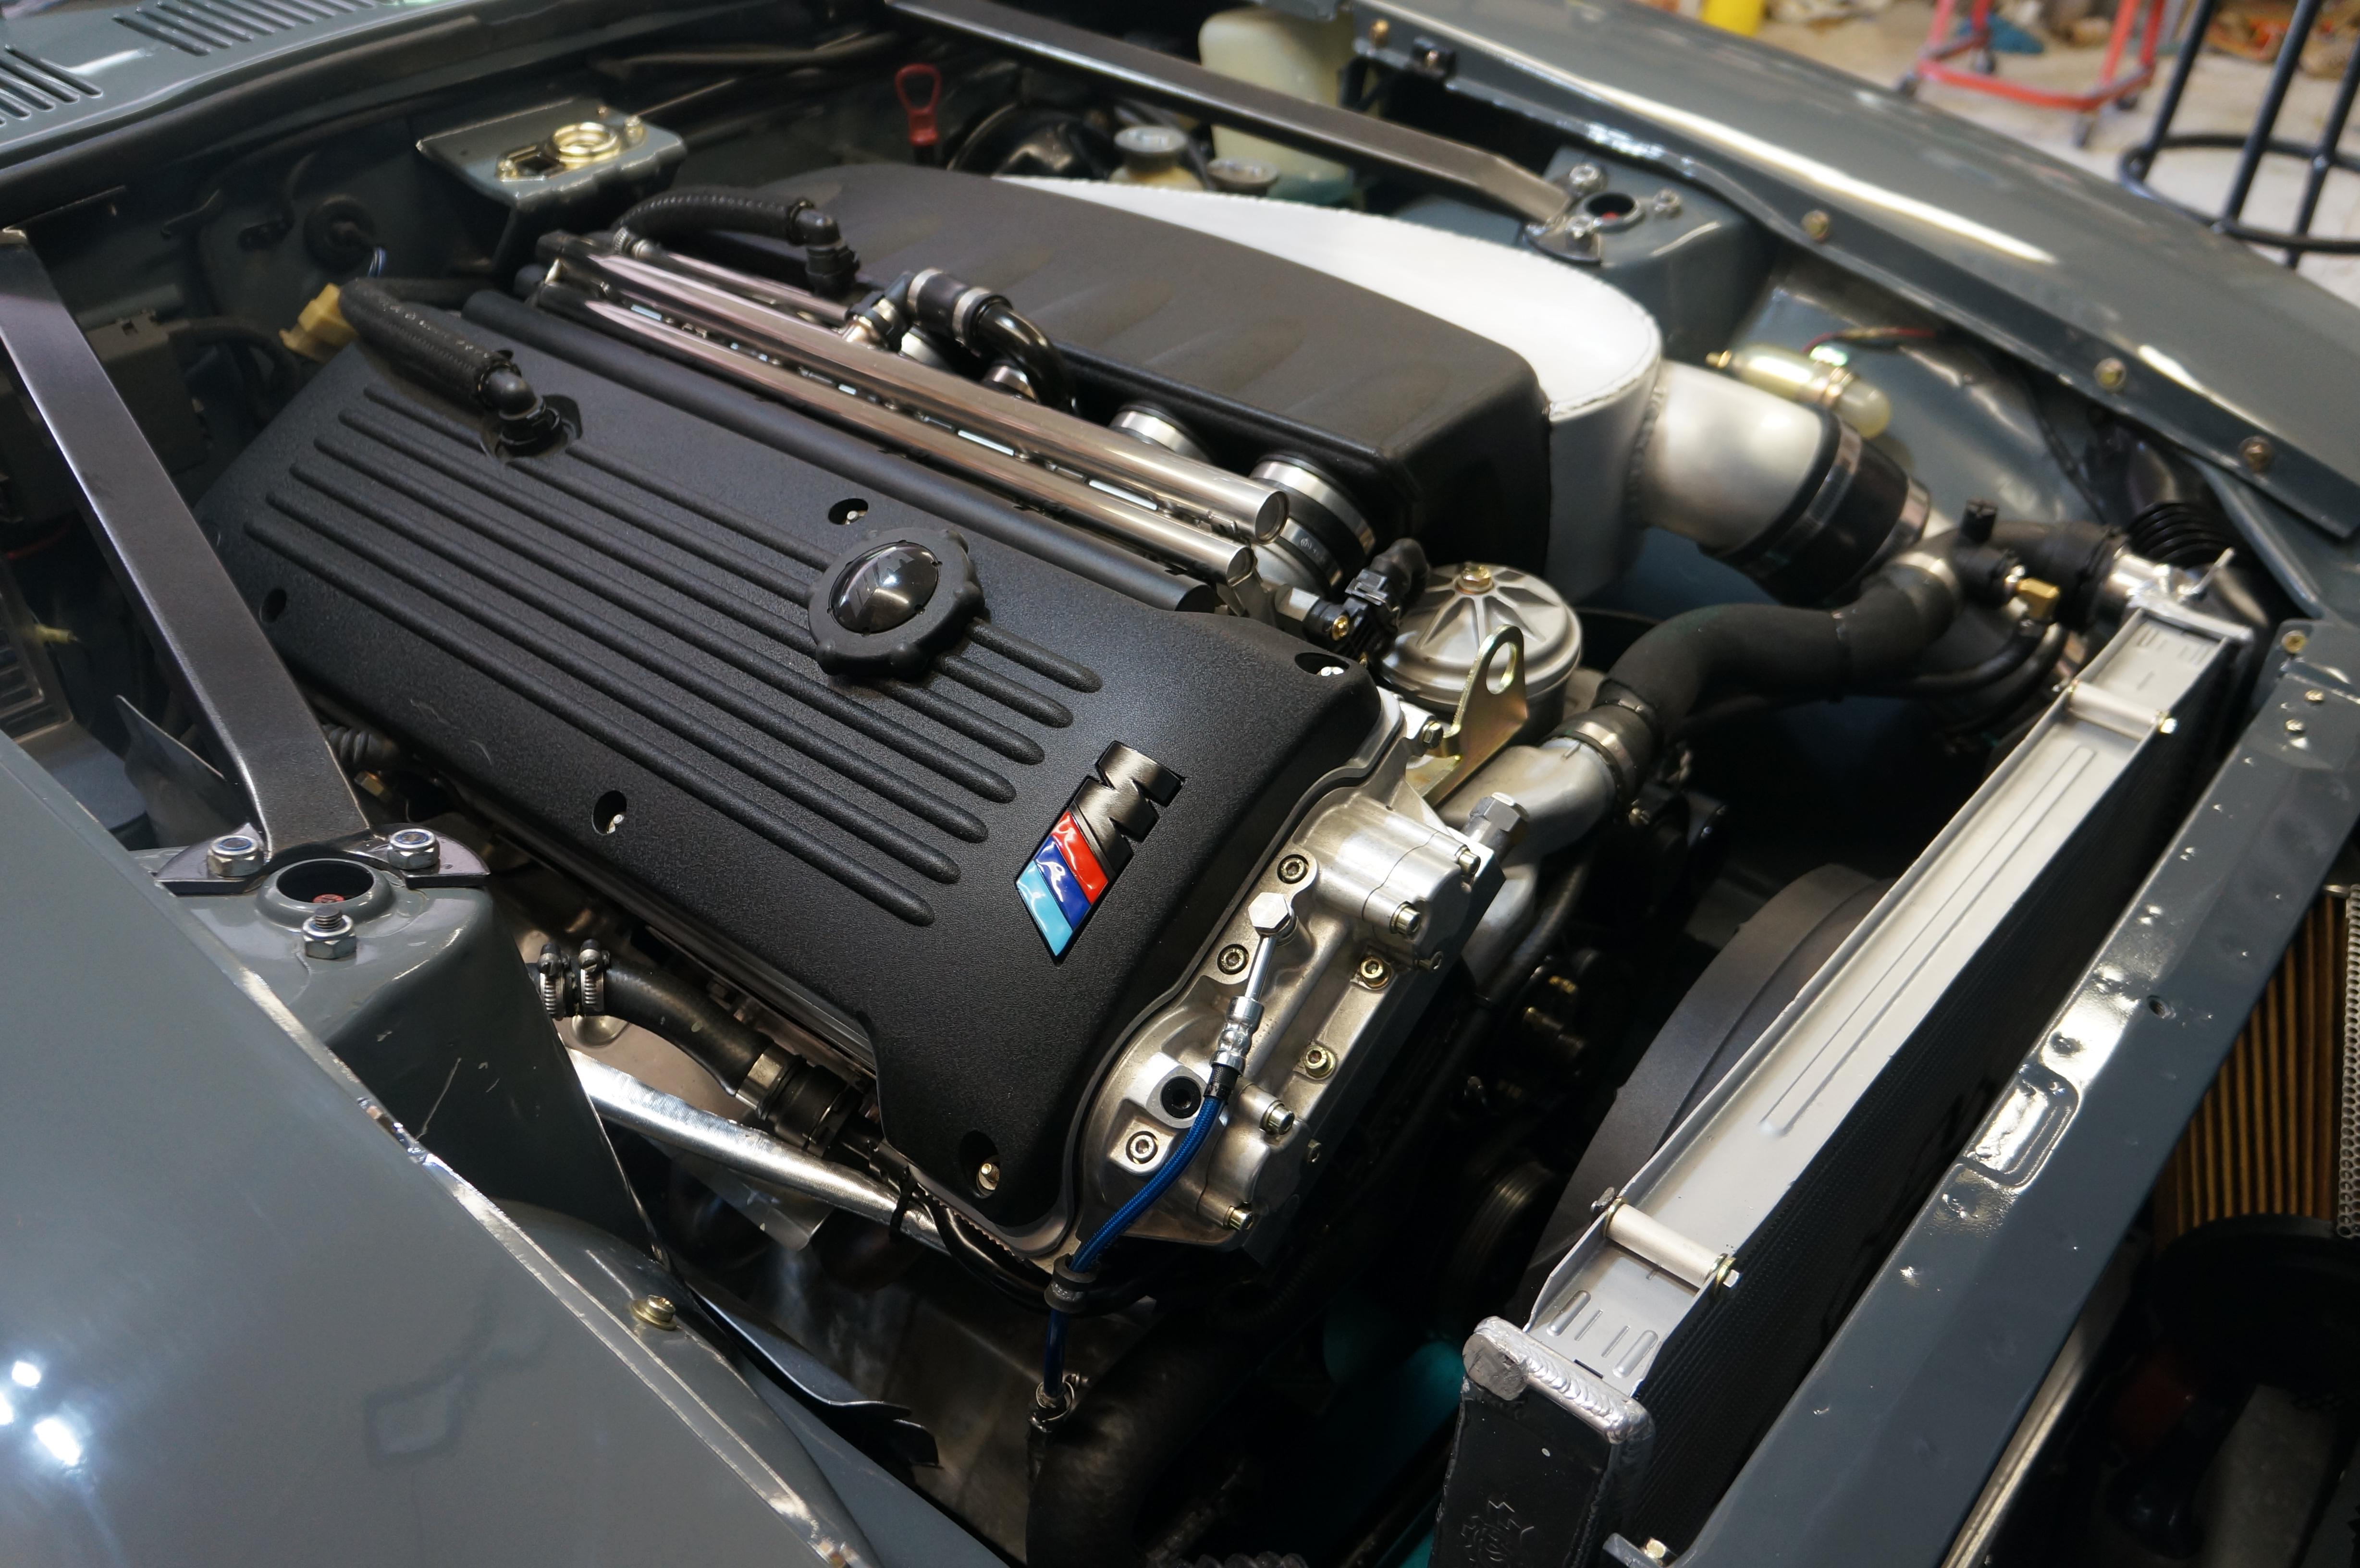
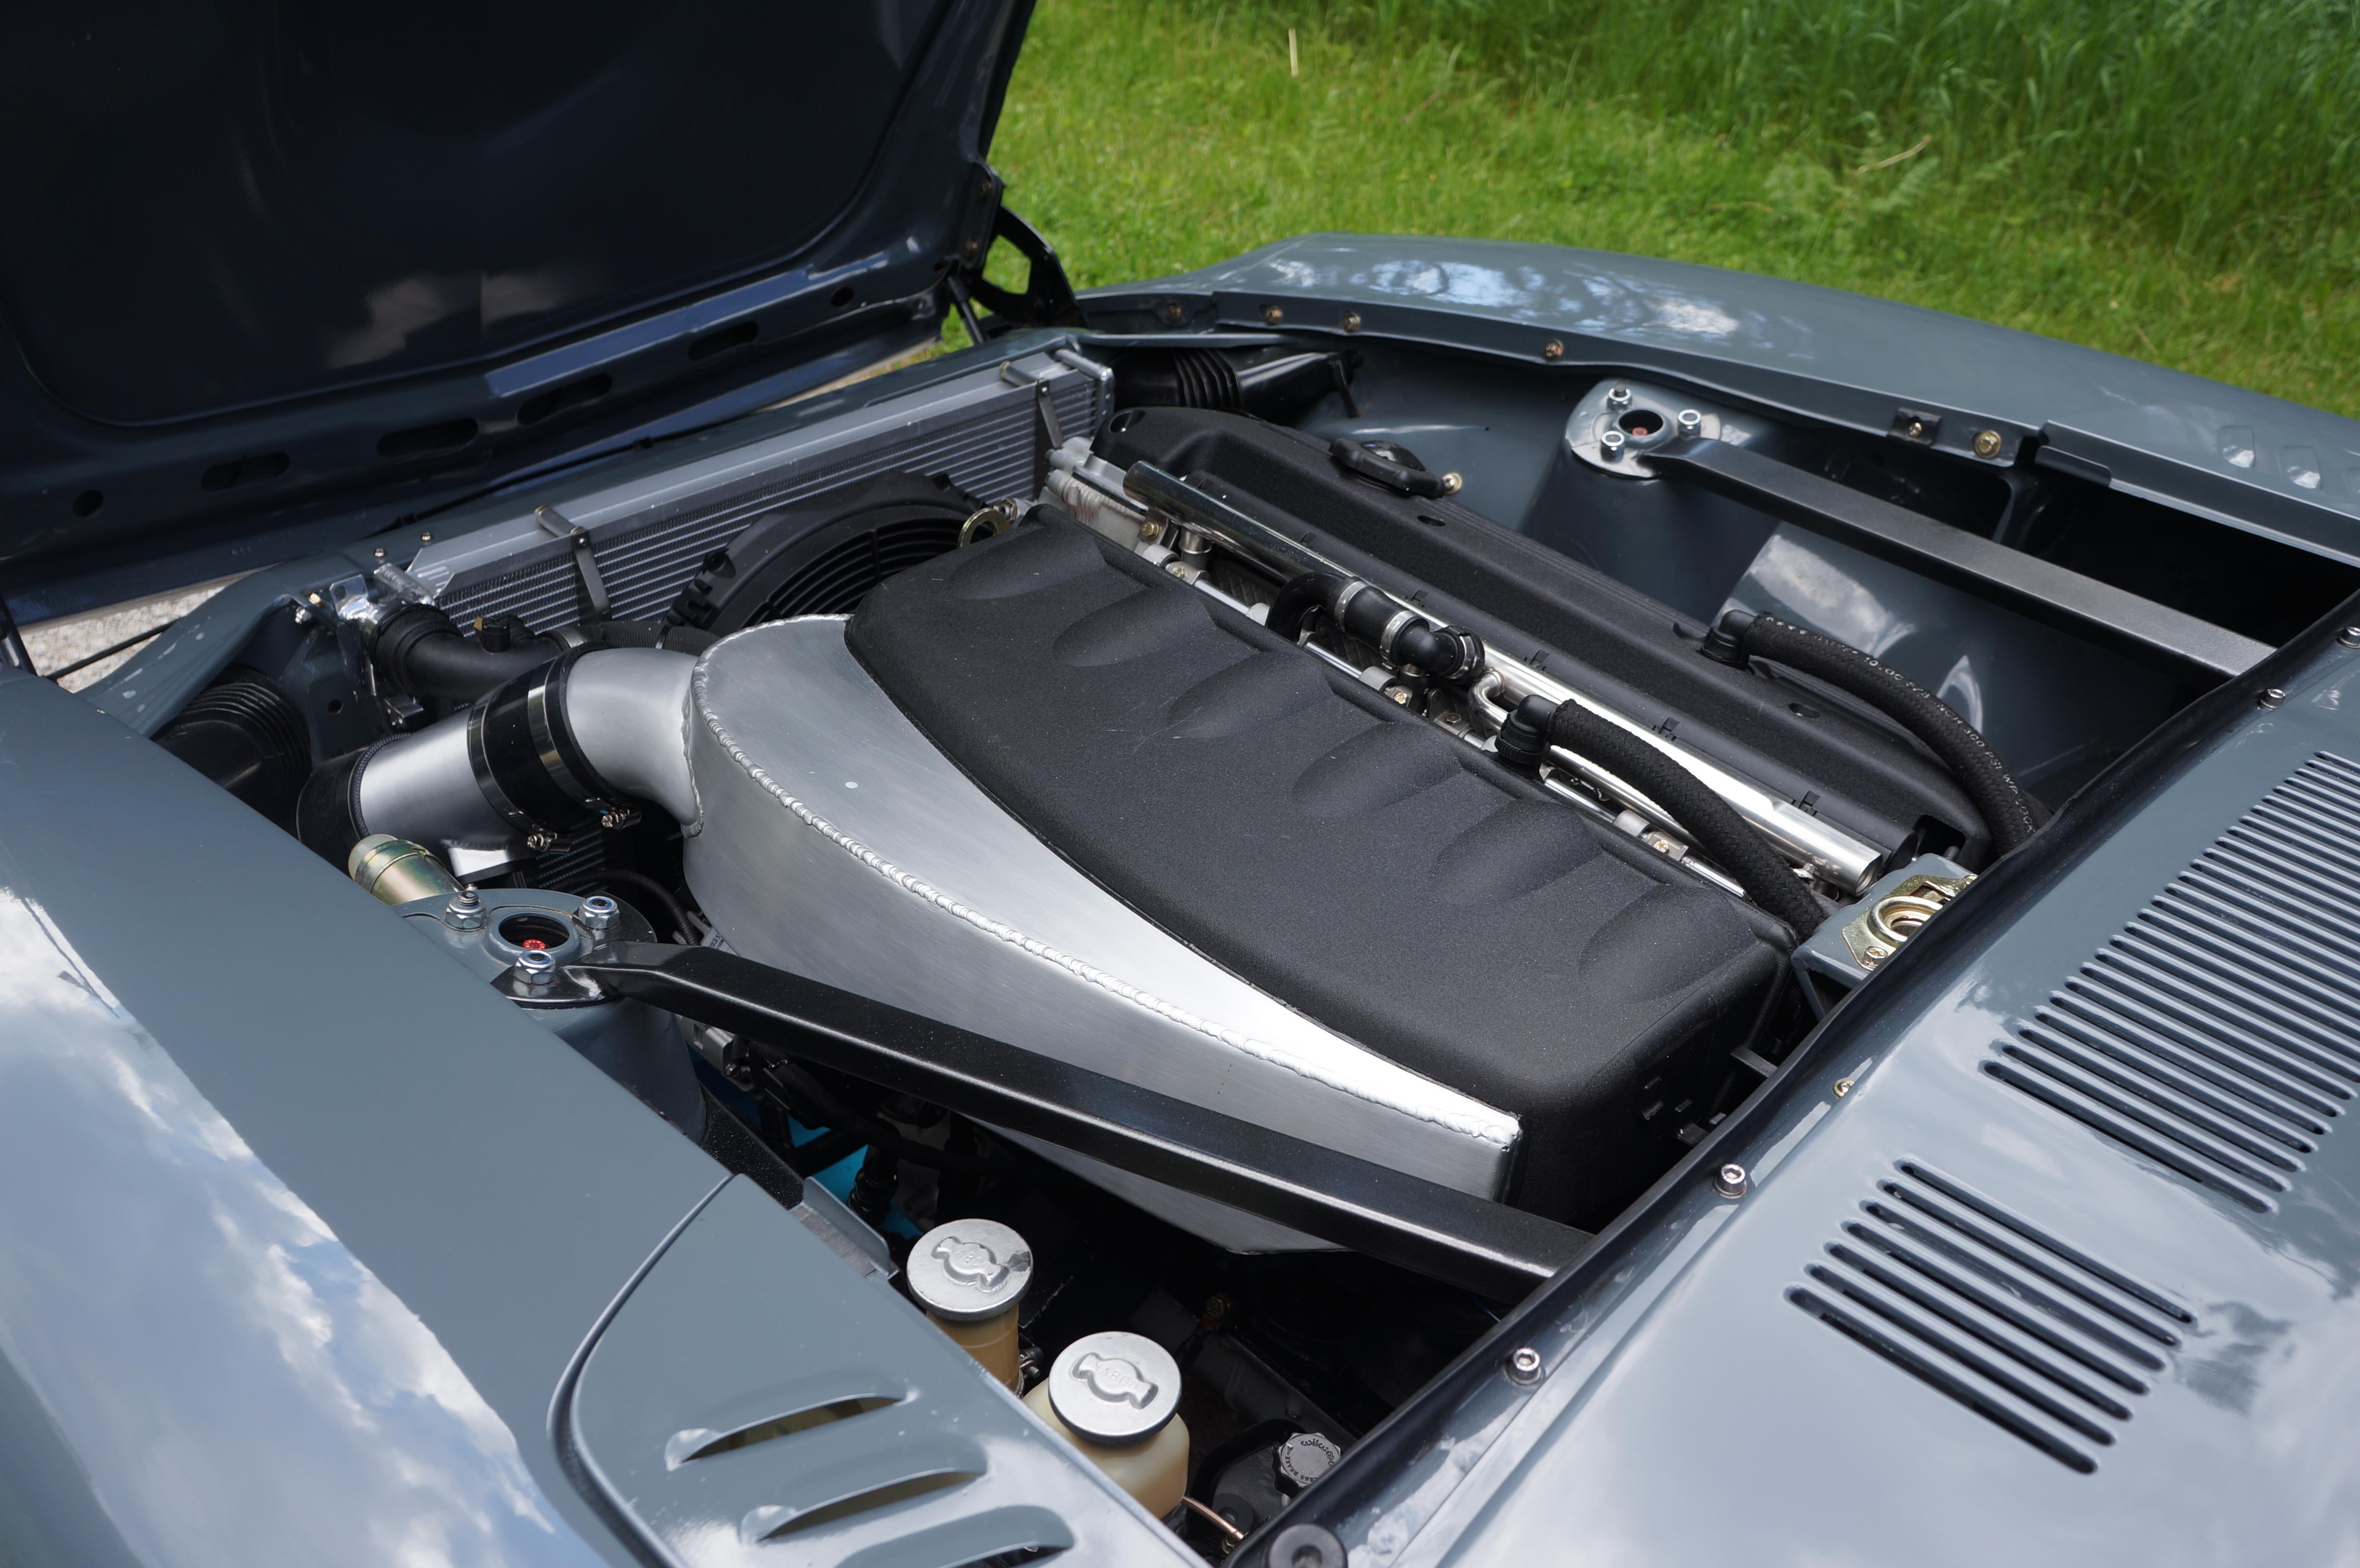
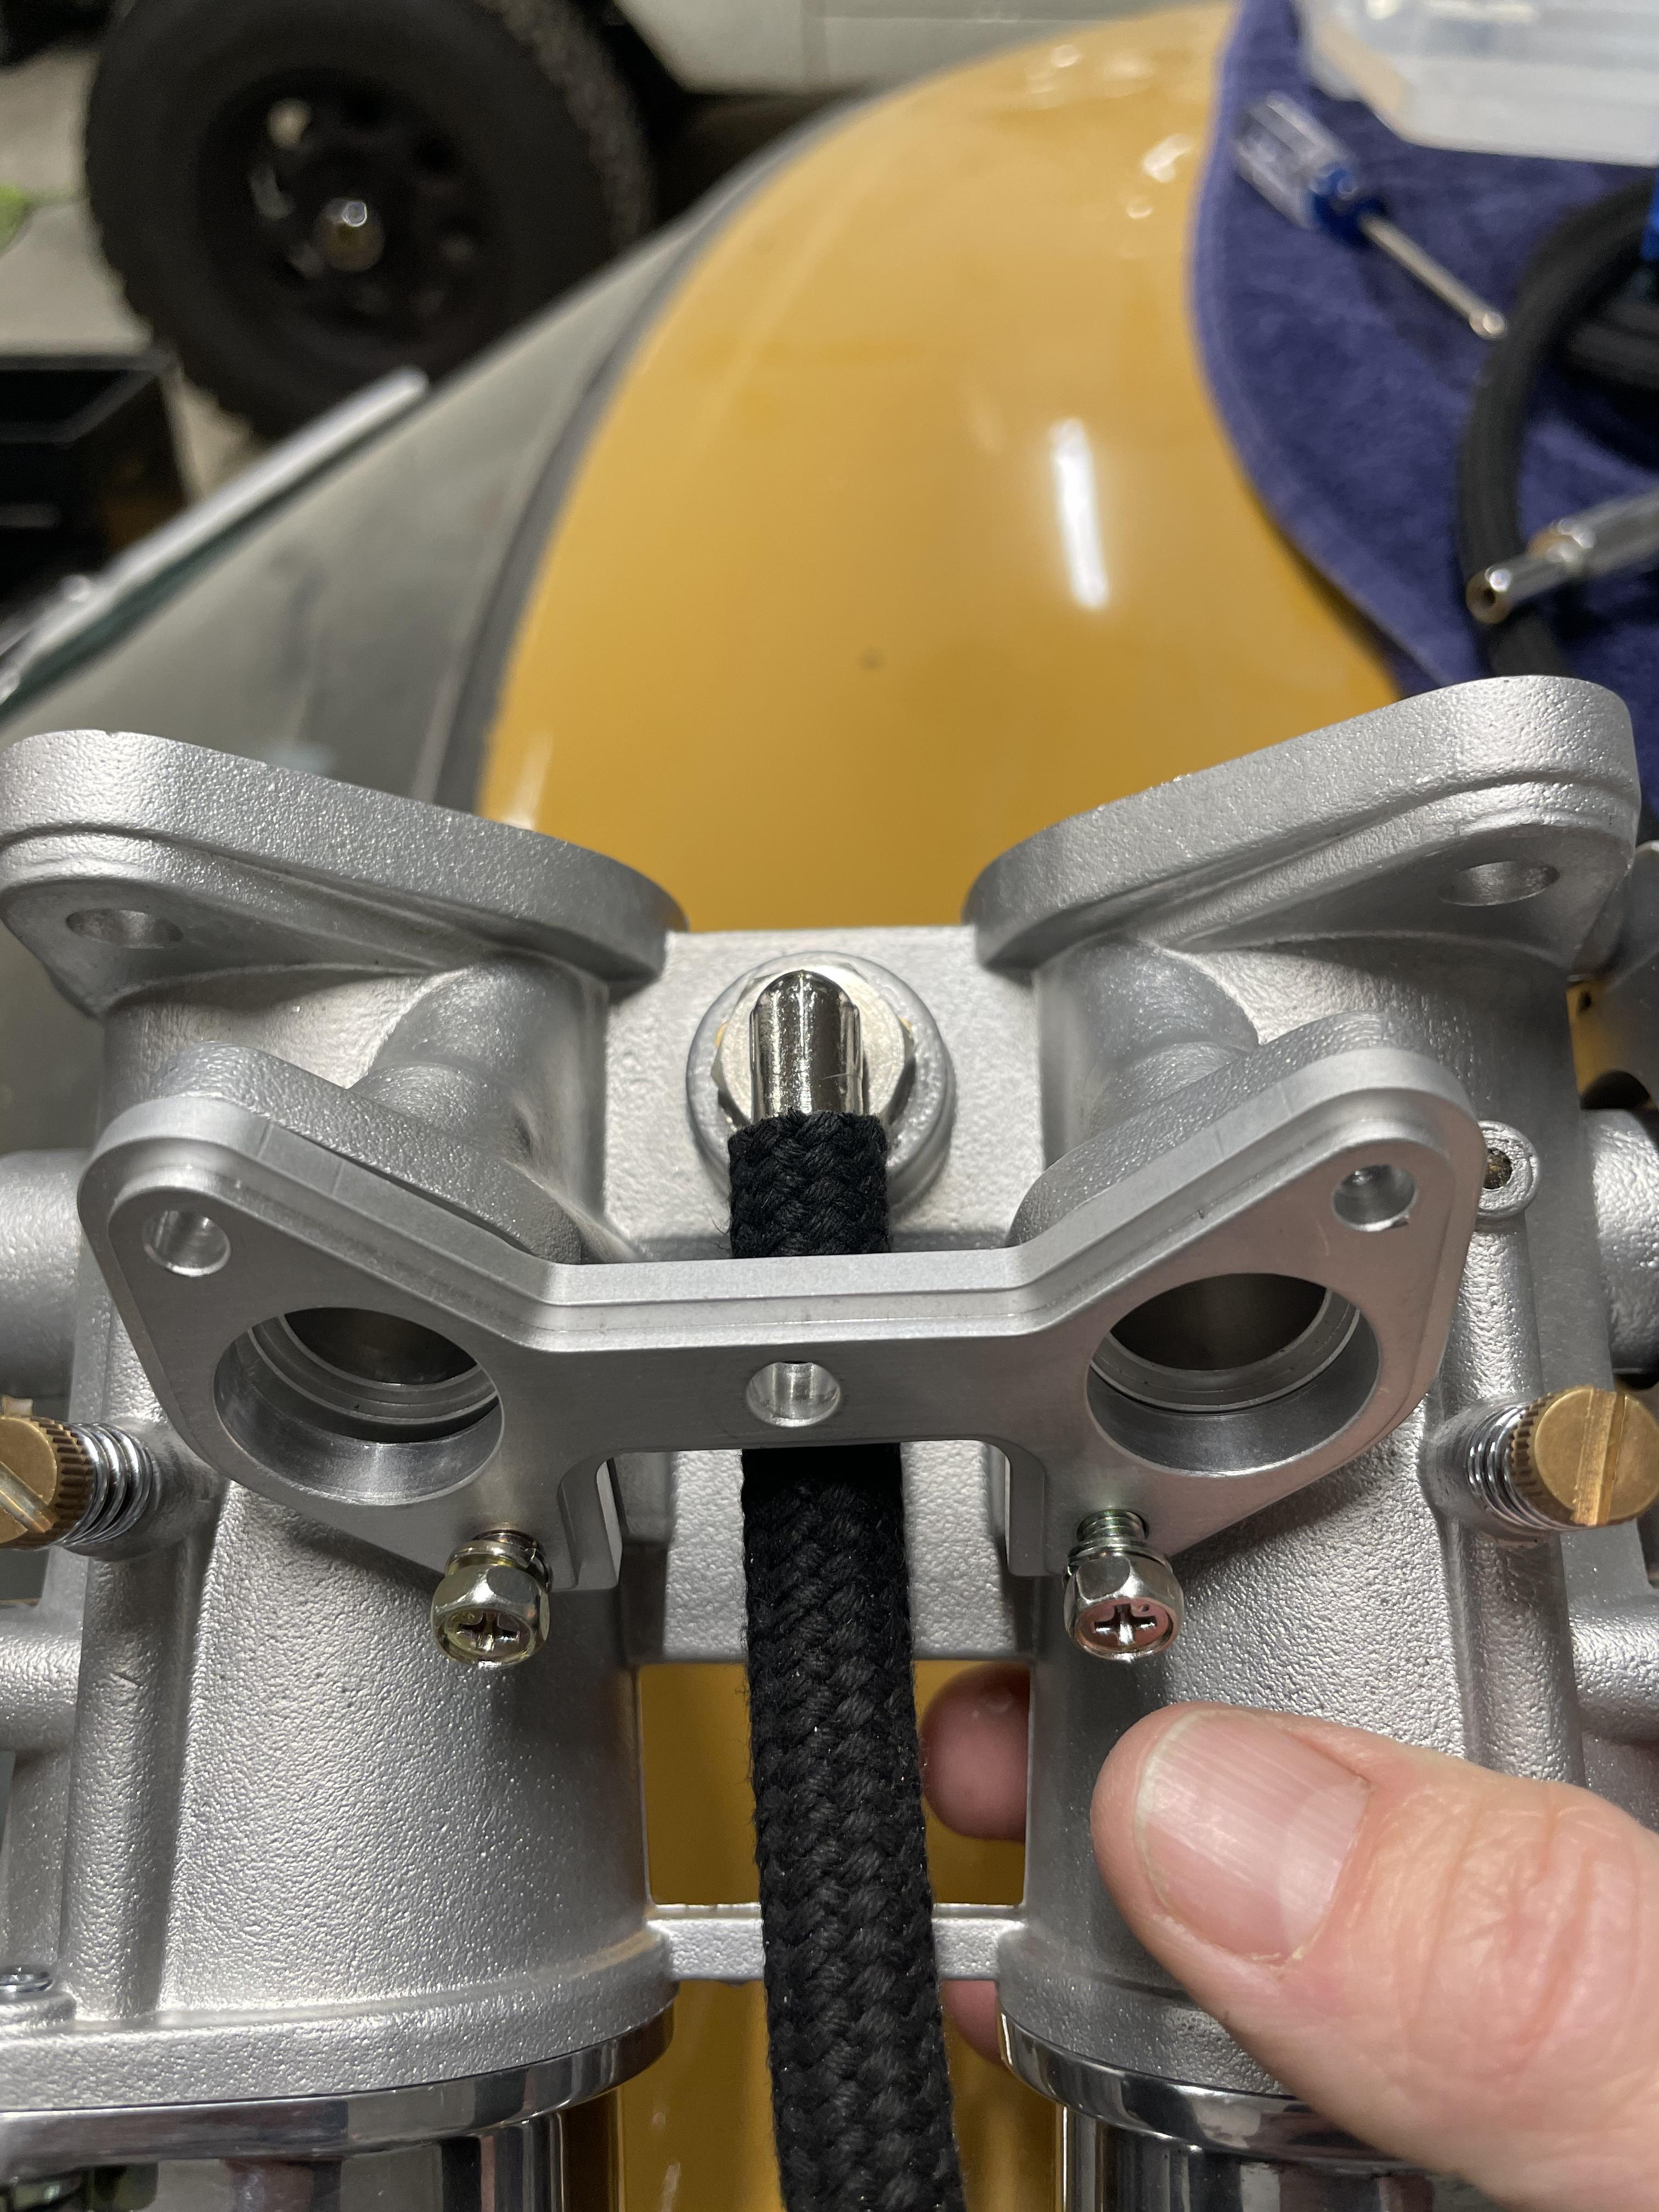
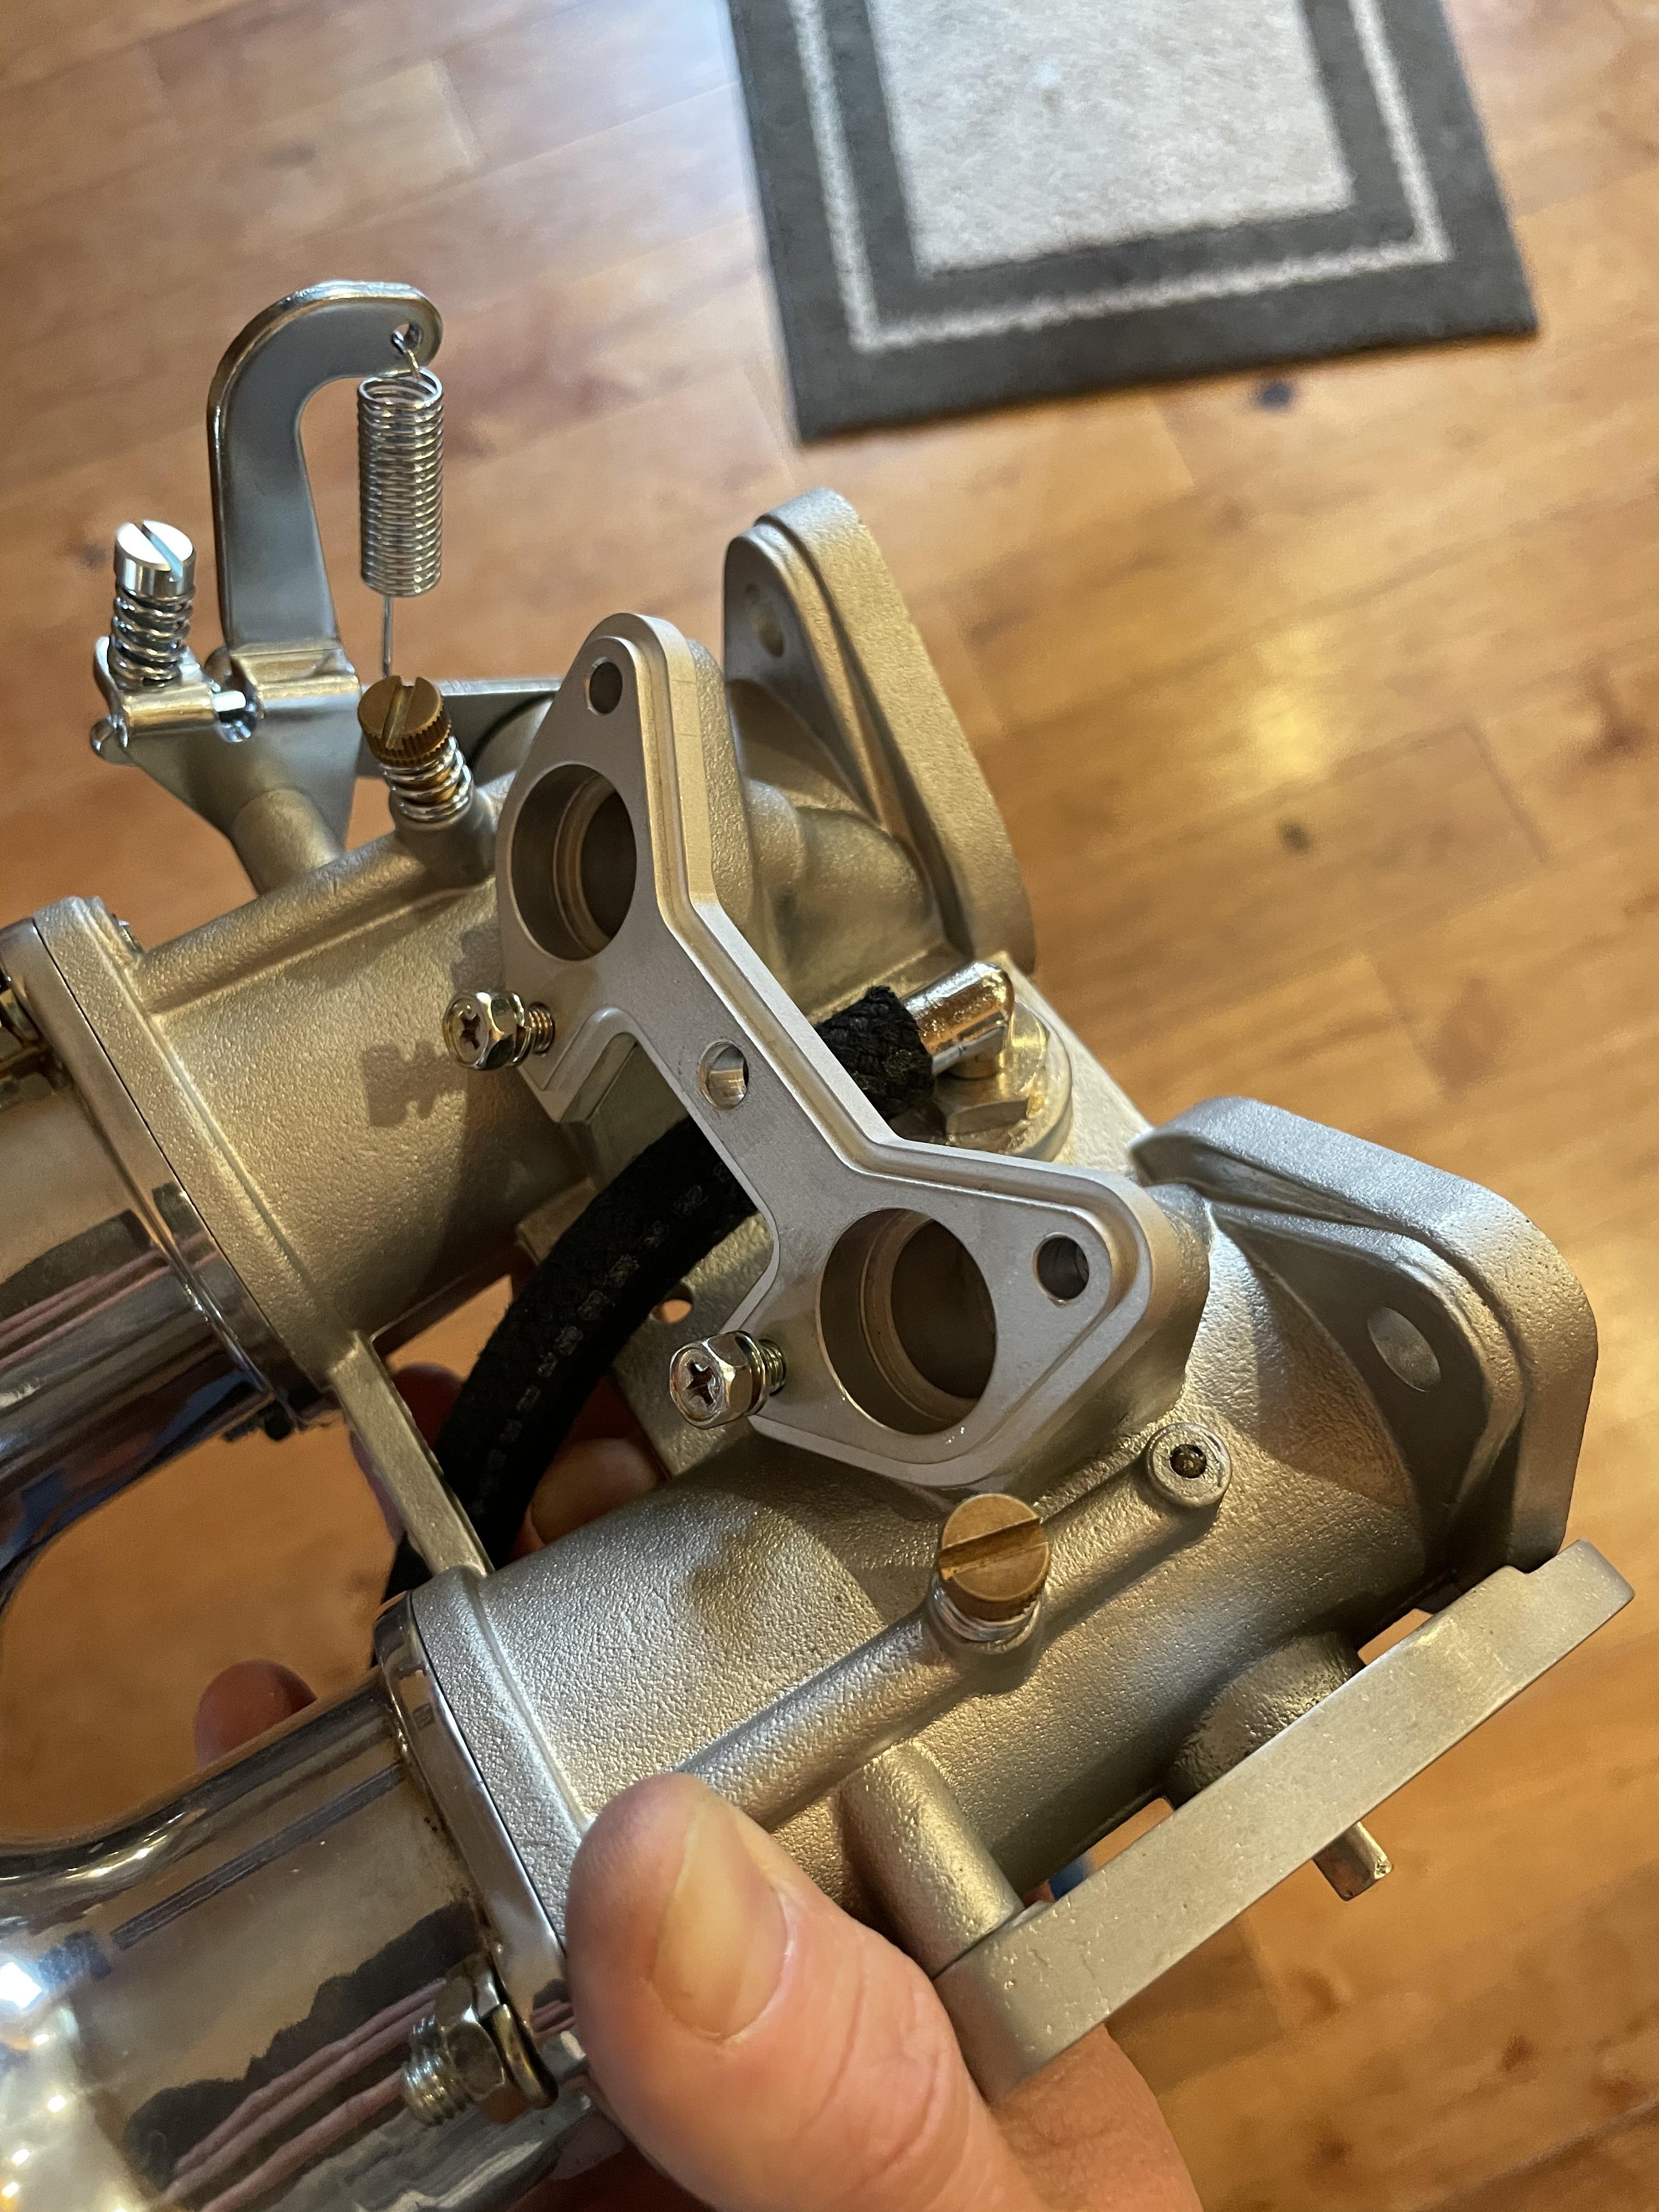
1 point1 point1 point1 point1 pointYeah, I can see visually that there is WAY WAY too much airflow for idle right there. I think we’re starting to get somewhere. You definitely need to back off those idle screws a lot and or figure out why your butterfly is being held open.1 point1 point1 pointI am blessed by having three vehicles with some of the very best inline 6 engines ever designed - my 1983 280ZX, (thanks, Mercedes) and both a 2008 and 2009 BMW 3-series with their wonderful straight six engines. And they're all fuel injected, which is cool with me. It's interesting that we're still dissecting the flat top problems more than 40 years later.1 point1 pointYou are correct. Only 6 bolts align to mount the 240mm pressure plate to the fidanza flywheel. I have the same setup. Not sure if you are looking to replace the mounting bolts. This is what I went with : https://zcardepot.com/collections/engine-rebuild/products/arp-clutch-cover-pressure-plate-bolt-240z-260z-280z?_pos=4&_sid=9c06dc6a8&_ss=r1 point1 pointYes, replace the clutch and surface the flywheel. They both look like they have been hot.1 point1 point1 point


Important Information
By using this site, you agree to our Privacy Policy and Guidelines. We have placed cookies on your device to help make this website better. You can adjust your cookie settings, otherwise we'll assume you're okay to continue.