Leaderboard
-

Zed Head
Free Member5Points19,238Posts -
grannyknot
Free Member4Points5,158Posts -
.JPG.cfcada9cf1c1b502df3f5f2f2ca3ff36.JPG)
SteveJ
Free Member3Points9,646Posts -

Racer X
Free Member3Points1,877Posts


Popular Content
Showing content with the highest reputation on 01/25/2021 in all areas
-
3 pointsI've traded in the Speedo for long johns these days, still got the pose though.
 3 points
 -
2 pointsL6? You mean an L series? That was the original plan. I thought the RB would save money but I was wrong.. We routed the main OEM headlight and relay harness in the fender and put new holes to run it inside the car through the side of the kick panel after removing all the non used wires/components. This way very few wires will be inside the engine bay. The custom cluster display arrived from Mako Motorsports which fits the Haltech IC-7. Headlight motors are in along with a new throttle cable and Nismo short shifter. Then I had the car trailered up north to a shop that is making the Titanium header/exhaust. They are really moving since they have only had the car for a week! We have decided to run a JDM master cylinder to get some more clearance. They also had an aluminum driveshaft made and custom fabricated an AN line for the power steering pump. I am heading up there tomorrow to get some photos and go over the plans for the custom radiator, shrouds, PS/Coolant reservoirs and catch can.2 points
-
2 pointsThat there is one well ventilated and holey 73.....yes 73. Purdy color mind you. All I see if a pile of heavenly parts too far away to do anything about. Sigh.....2 points
-
2 points
-
2 pointsLet's be specific and precise. Is there still a plate in the driver's side door frame? Can you read the date? What I post assumes that this fits into what is considered the 1978 model year. If I understand you correctly, when you put the key in the START position, the solenoid engages the starter. The starter turns the engine, and the engine fires. (The car starts.) When you release the key to allow the switch to go from START on ON, the car dies immediately or shortly after. (It doesn't run.) I'm not sure what you mean by running the fuel pump right out of the fuel rail. I will have to assume that you have an adequate supply of good gasoline to supply the fuel pump. Here are two possible causes for your problem (though there can be others): The back part of the ignition switch is failing. The circuit for the fuel pump relay is losing the ground at the oil pressure switch. How to diagnose (You will need a multimeter, i.e.: a meter that can measure voltage and resistance.): Ignition Switch Put the meter on DC voltage. If it has ranges, select the lowest range that is above 12 volts (probably 20). Put the positive lead of the meter on the positive terminal of the coil (black wire with white stripe). Put the negative lead on an unpainted surface. I like the bolts of the shock tower. Have someone start the car. You should see around 10 to 12 volts while starting. When the key is released to go from START to ON, make sure you still have voltage. If the voltage drops to 0 when the key is in the ON position, that means the switch is bad. Oil Pressure Switch Put meter on the lowest resistance range. The oil pressure sender has a "T" connector. The oil pressure switch connects to the vertical of the "T". Get one probe in the back of the wire to test. The other probe goes to an unpainted surface. Again, I like the shock tower bolts. Have someone start the car. As the car starts, you should see the resistance measurement go to zero (continuity). If the resistance does not drop, that means you don't have the probe positioned properly, or the oil pressure switch is bad. Let us know the results of these tests. Also, post pictures of you holding the leads in place and of the meter. Please don't post potato quality pictures. Sometimes people don't use the proper technique, and that provides bad results. I don't want you throwing parts at the problem. That gets expensive and frustrating.2 points
-
I just went ahead and ordered it from MSA. Those big thick washers are going to be important, I think. Sounds good. Yes, I've been putting the anti-seize stuff on liberally after dealing with two broken off bolts, both involved with the thermostat housing.1 point
-
1 pointWhat kind of fuel pump did you use? You need a high pressure fuel injection pump and high pressure hose. If you're going to make it run right you'll need these. The 1980 book covers all the way back to 1975.1 point
-
1 pointYou can’t make this stuff up LOL! Don’t understand why it doesn’t sell, one just sold for $310,000.00. “Probably shouldn’t have used it for surf fishing....at least should have remembered to move it before the tide came in”!1 point
-
1 pointThat dog is about $3,240 too much. I've had better S30 cars given to me. People would offer me a car for $200, and I'd be like, "I'll haul it away for you if you have a title." They would whine some, I'd explain the tiny amount it would get at the scrap yard, their wife would give them an elbow in the ribs, they would fork over the title and help me load it up.1 point
-
1 point
-
1 pointWhat does this mean, above? Is the ignition system stock? And is the rest of the car complete? There are several things that need to be connected to get the injectors to open and close. It might be that the EFI system doesn't have power and it's starting from the cold start valve fuel. You'll need a multimeter or test light to make much progress. Check the EFI system fusible links.1 point
-
I forgot to mention, check the header and manifold mating surfaces for flatness. Using a straightedge with a ground flat edge check that all surfaces are flat, and square. Anything more than .002” or .003” off will be difficult to get sealed and kept tight.1 point
-
To go with @Racer X's comments, hardware kits: https://www.thezstore.com/page/TZS/CTGY/classic19o And header gaskets: https://www.thezstore.com/page/TZS/CTGY/classic19a1 point
-
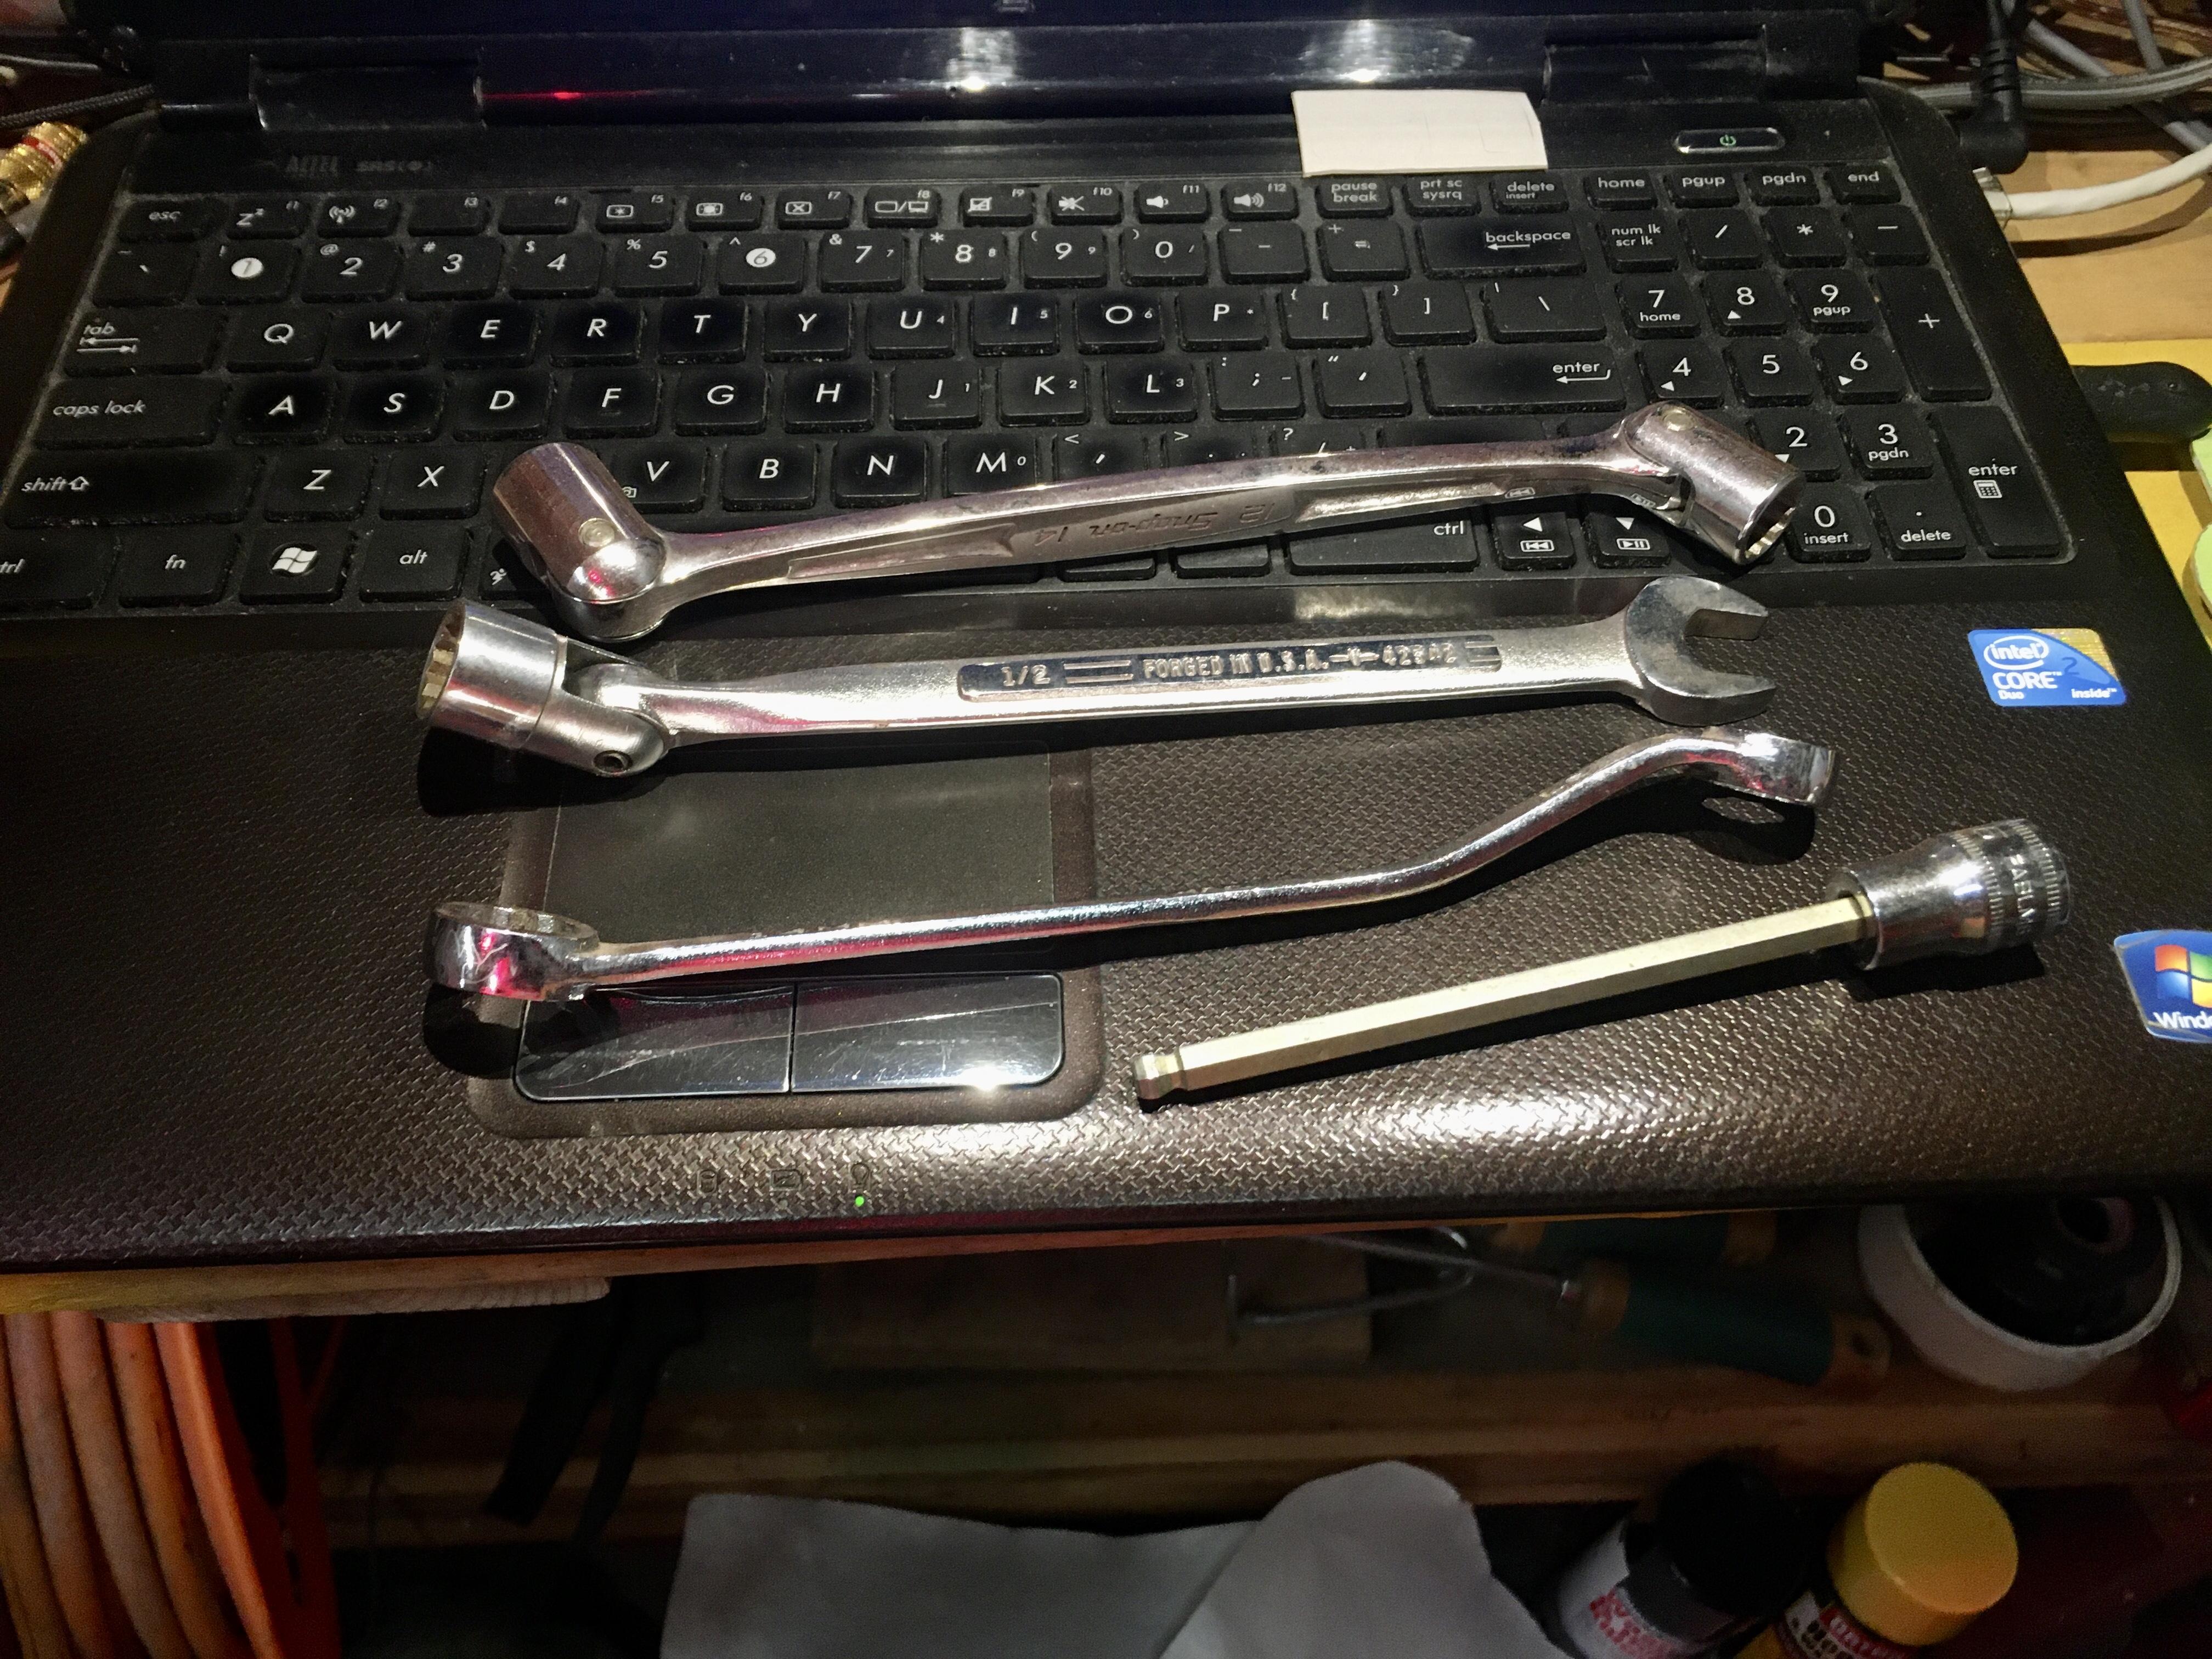
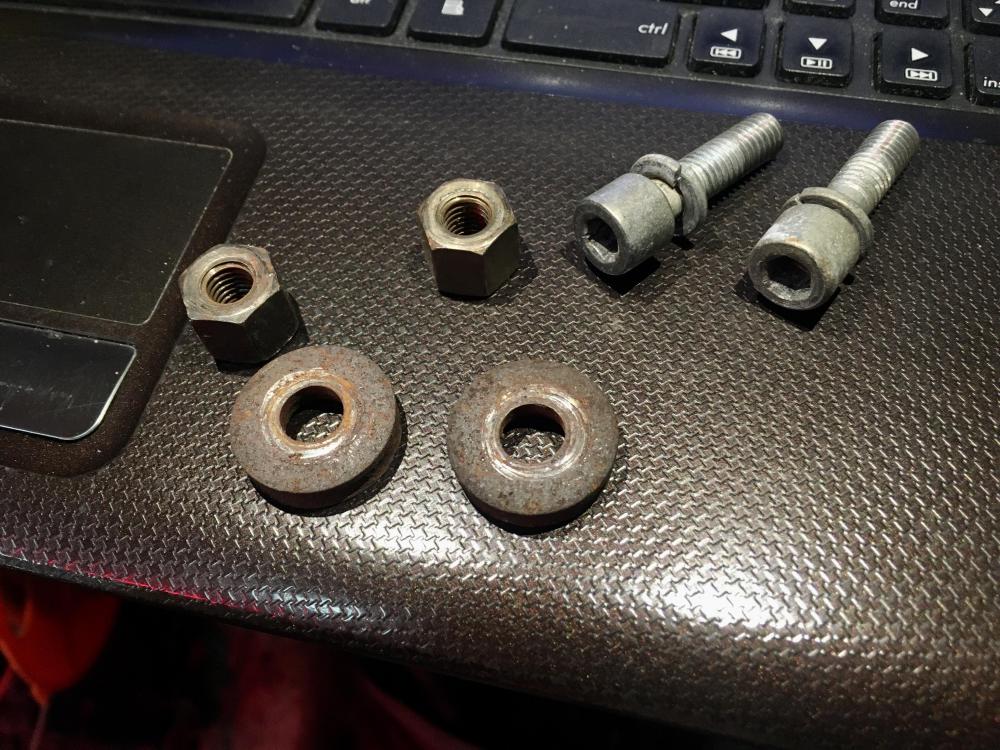
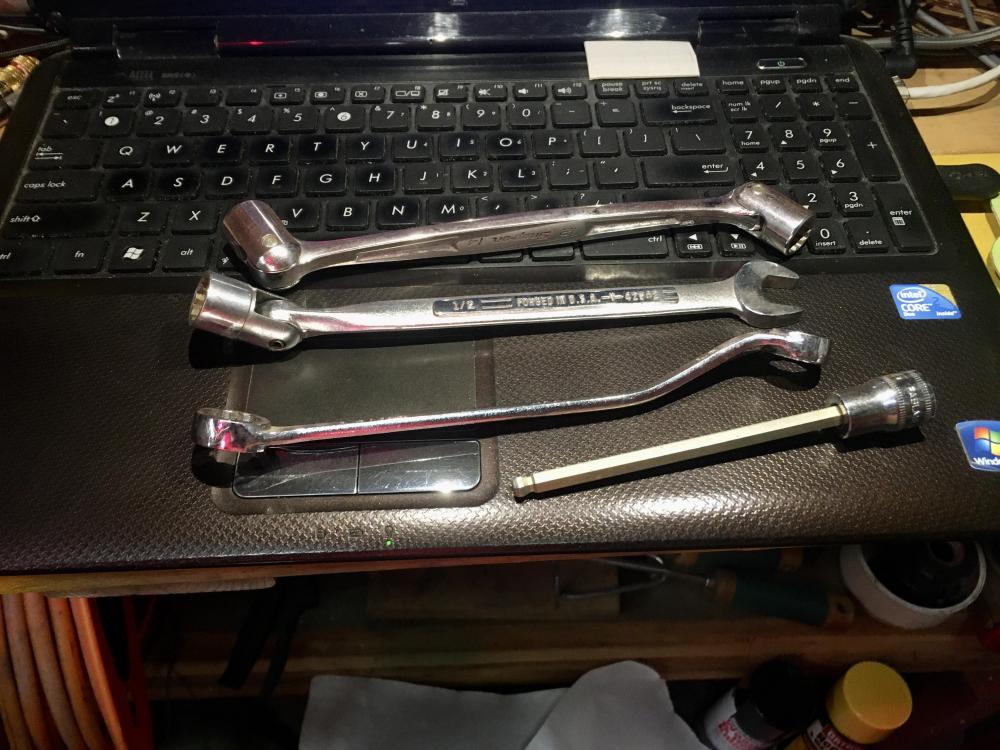
A couple of things that I see. The flange on the header is too thin. A good quality header will have a flange the same thickness as the intake manifold flange. The other thing I see is hardware. The nuts, bolts, studs, washers are all wrong. The OEM washers are the best option, especially for the studs that share the intake manifold and the header. Some of the ones I can see aren’t even clamping the header, and are doing a poor job of clamping the intake manifold. The stackup of flat washers isn't transferring enough clamping force through both parts to the head. One area where I diverge from stock hardware is I use brass nuts, made for exhaust assemblies. And I use high temp antisieze on all the threads so it will come apart when it is time to do so. As for the gasket orientation, I don't know if there is a right or a wrong way. I would think the side with the widest bit of steel around the openings would be better next to the head, as that is the first stop for the hot exhaust on its way out of the engine. I don't know if a copper gasket is available for the L series engines, or if it would work to seal the intake manifold side. But I had a Chevy 454 in a pickup that I used to tow the race car with that kept eating exhaust manifold (and header, I tried both) gaskets. I finally fixed it permanently with copper gaskets. Here is a picture of the setup I use. I use studs for all the fasteners except the six along the top that are only common to the intake manifold, which are Allen head with a lock washer. The OEM washers are for all the studs that share the clamping loads between the intake manifold and the header. The three studs that are only common to the header get a grade 8 flatwasher (get a high quality washer for this, that has a close fit to the stud, and is thick - a business that sells fastening hardware as their primary product is a great place to get all this stuff, not Lowes or Home Depot, even the chain auto parts stores suck). Get good hardware and a better quality header and you should be able to get the leaks fixed. Also, it takes me several different wrenches and an Allen socket to tighten all the nuts and bolts for the intake and exhaust.
 1 point
 -
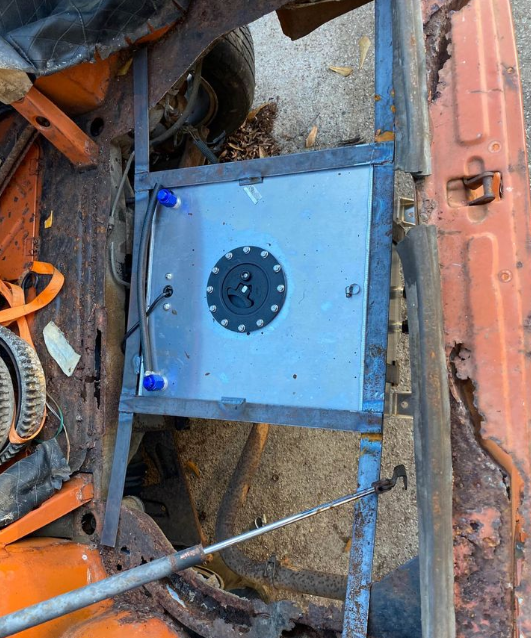
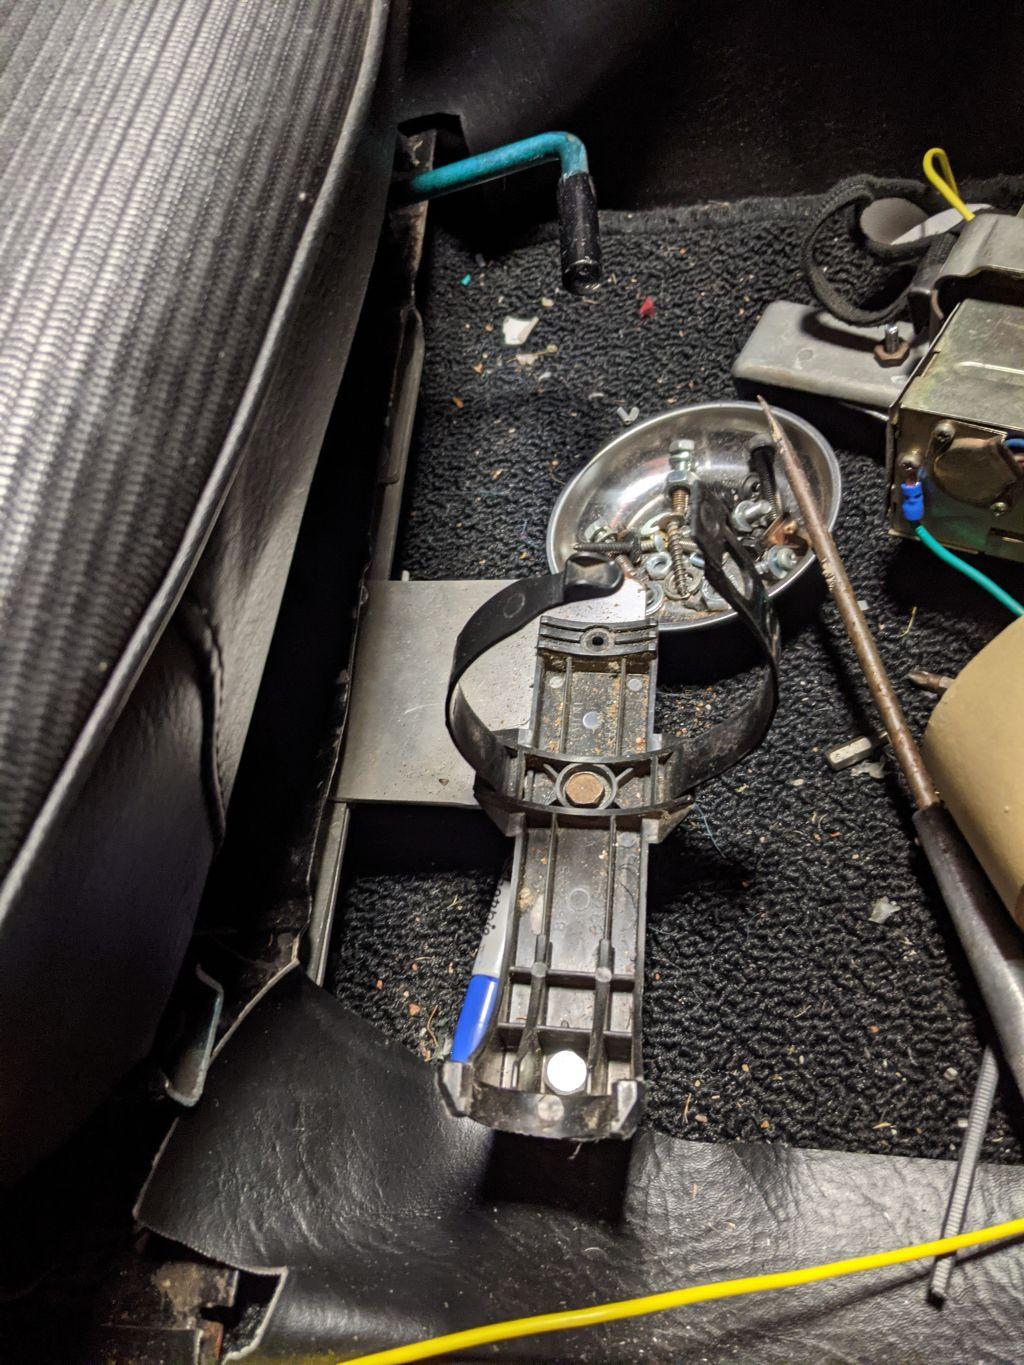
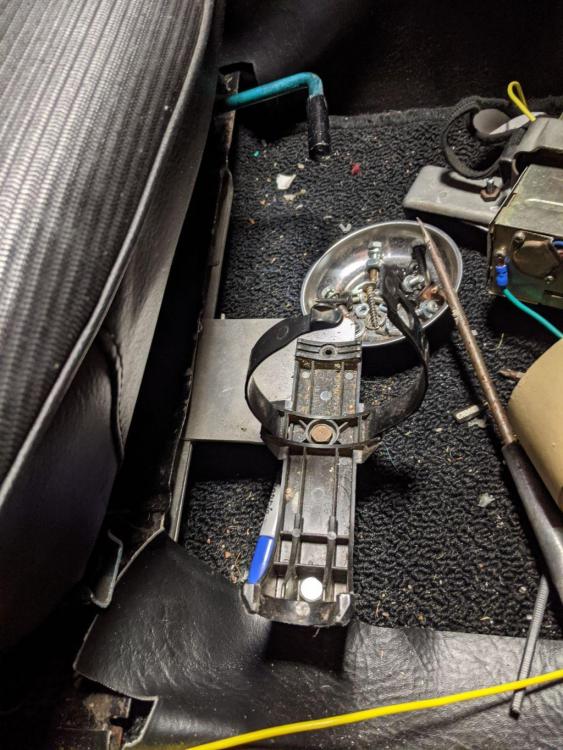
1 pointMy fuel pressure was close to 5psi at the 4-screw SU's. My mechanic told me to just adjust the pressure regulator screw. I have an aftermarket regulator so I don't know if the original one also works that way. This was a good idea for how to mount an extinguisher. https://www.amazon.com/Bracketeer-Extinguisher-Bracket-Universal-Vehicles/dp/B015G3QXMY I ended up just making my own based on this design for the passenger seat. I've had a couple of wire melt downs when I first purchased the 260z. Sorry about the mess, my Z is a work in progress.

 1 point
 -
Thanks! I have the ZX dizzy, but it was installed by my Z mechanic almost 20 years ago. I checked and they did use the correct adapter thingy. Just FYI- The E12-92 matchbox works exactly like the E12-80 when only the top connector is used and the lower connector is left open. I've been running the E12-92 matchbox on the dizzy for almost 20 years and it works just great.1 point
-
The one on the right. Here's what I went by to the T. 240 wiring diagram is at the bottom of the page. https://www.atlanticz.ca/zclub/techtips/distributor/index.html Thank you @240260280
 1 point
 -
1 point
-
1 pointLOL. Every pose anyone ever did is on the internets somewhere. But don't forget... Use the approved poses if you want to be a meme'r... Peace sign, bunny ears, fake wiener.1 point
-
1 pointI just cleared all cookies from my desktop and Hybridz started loading again. Where did you get that pic of me, that was taken a long time ago. 😉1 point
-
1 point
-
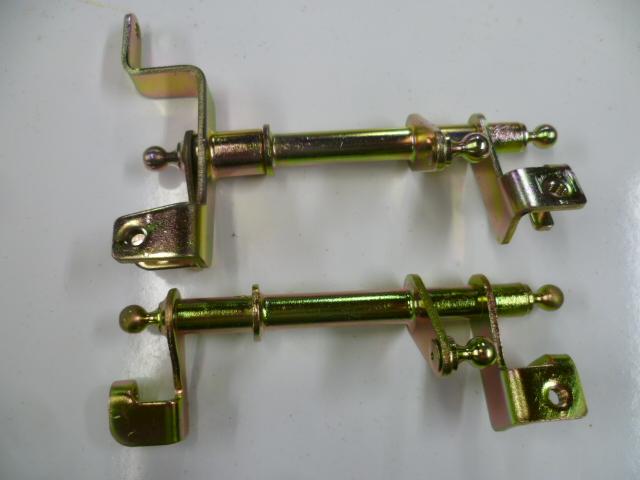
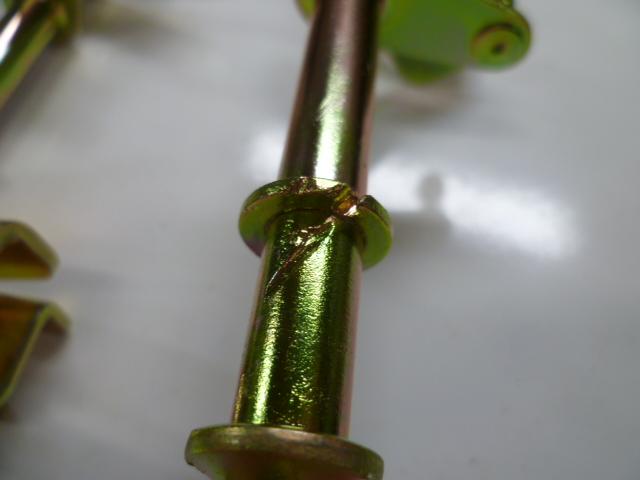
And just so the flat-top guys don't feel out in the cold... Here's a pair of linkages for between the two flat-top carbs. Same scenario as above. One has had the throttle opener arm removed, but the washer is still present: It looks like it was done with a hacksaw or cutting disk. Again, I (probably) did this some time ago, but don't remember the details. Whoever did it was clever enough to place the saw slit on the underside where it wouldn't be noticeable when installed. I like to think I'm that clever. Here's a pic:
 1 point
 -
There are a few places.. You can put your VIN into your profile by clicking your name in the upper right. Click profile and then edit profile. Scroll to the bottom. You can also put information about your car, including pictures, into your personalized garage. This can be found in the menu tab at the top under "community"... Mike1 point
-
Most put a signature line on the posts. Done through your profile. You can add you car's Vin or pictures of you car or quotes from infamous people what ever you want. (within reason) Look around at others posts in threads you will get the idea.1 point
-
1 pointI purchased a set of these about 6 weeks ago, it took me 3 tries to set the floats correctly . the car never ran so good, as he states in the instructions to measure up 9/16" and that is the correct setting. my floats were 7/16" up and always had hard starting when it sat for a while, the car runs perfect now. I did the mm measurement also and it was a pita to do blowing in the fuel line while lifting up the float and taking a measurement. it was never right no matter how much I kept playing with the floats . this tool is a must!!!!!!!!!!!!!!!!!! great job randy1 point
-
1 pointThe BA9 example I used was just an example of the ones that are not sensitive to polarity so I'm not sure if these are the brightest ones you can get. When I did my interior gauges I did a lot of experimentation on bulb color, and ended up trying quite a few different options. One thing to consider is the possibility of removing the green plastic filters inside of the gauges. With the filters still installed, you will be limited to the size of the bulb you can use as the filter will restrict the bulb length. I tried both green and white bulbs with and without the filters and in the end I removed the filters and just went with white bulbs. The really light up the gauges and for the first time I can actually see how fast I am going at night! Many people like the green glow and so you can achieve that by either leaving the green filters in place or by going with a green LED bulb. I believe that I have a spread sheet of all the bulbs that I used, both inside and out, and if I can find that I will be happy to post it. Finally, the bulbs can be dimmed but you will need to change the rheostat dimmer to a PWM type dimmer in order to dim the LED bulbs. I chose to use the original dimmer and I just keep them at the highest brightness level. Hope that helps. Mike.1 point