Leaderboard
-
zKars
 Subscriber
 4Points3,770Posts
 -

wheee!
Free Member3Points4,607Posts -

240260280
Free Member3Points4,442Posts -
grannyknot
Free Member2Points5,158Posts


Popular Content
Showing content with the highest reputation on 10/09/2018 in all areas
-
https://jalopnik.com/whoever-buys-paul-newmans-championship-winning-datsun-2-18295847602 points
-
2 pointsFinally. A Z we can put a sunroof into and and know its easy to fix when you decide that was a stupid idea in the first place. Ok, maybe there are other reasons to like this, but I can't think of any...2 points
-
2 pointsSide Slip Test: http://www.240260280.com/History/Testing/Testing Japan/RollOver11Mb.mp42 points
-
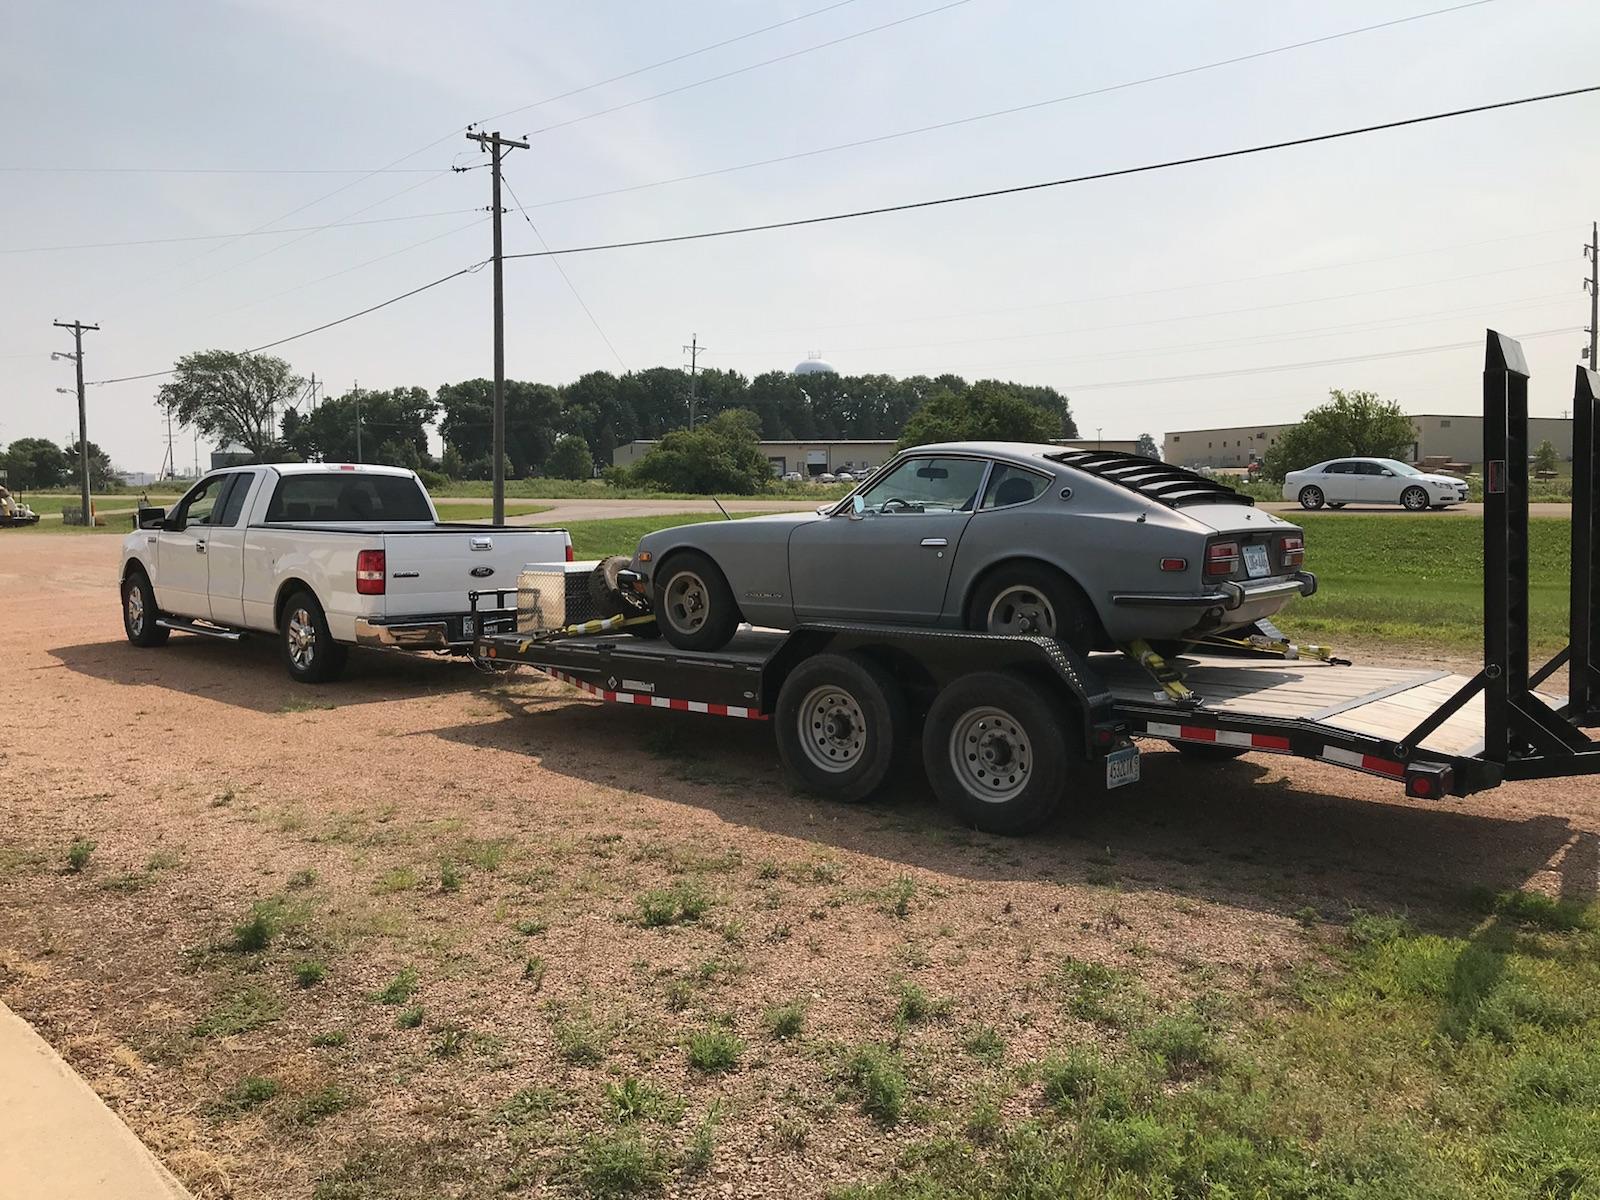
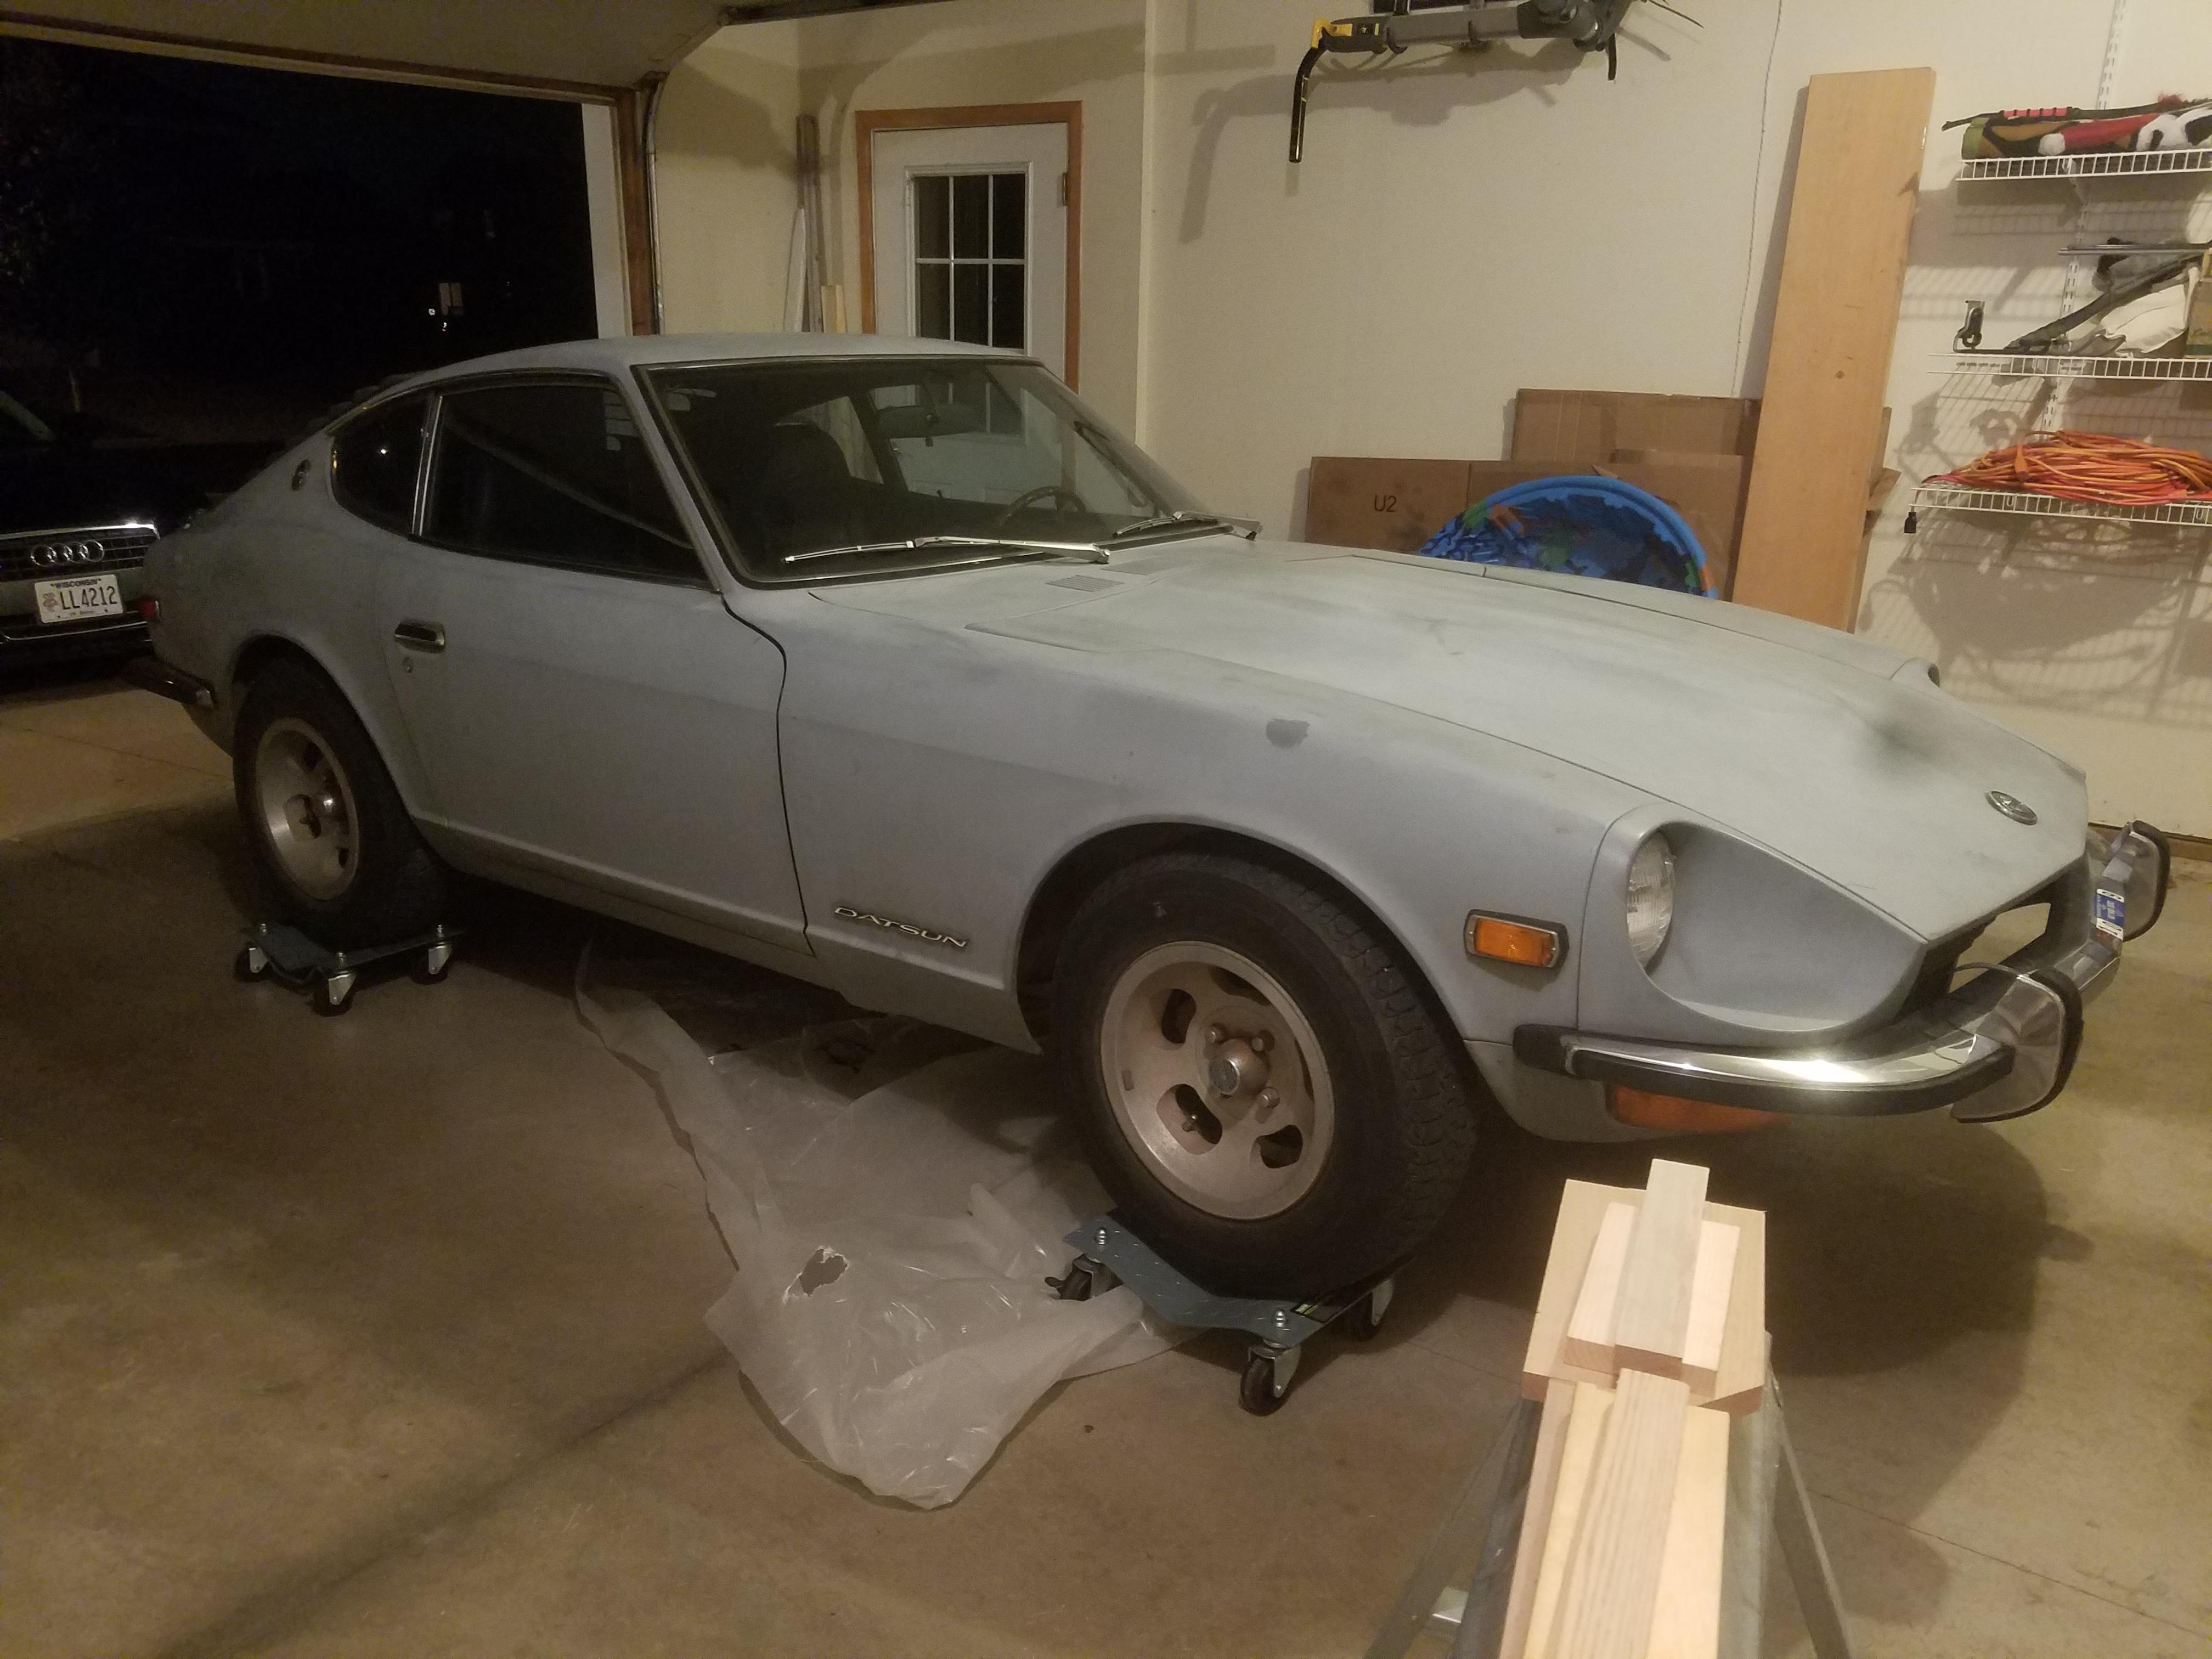
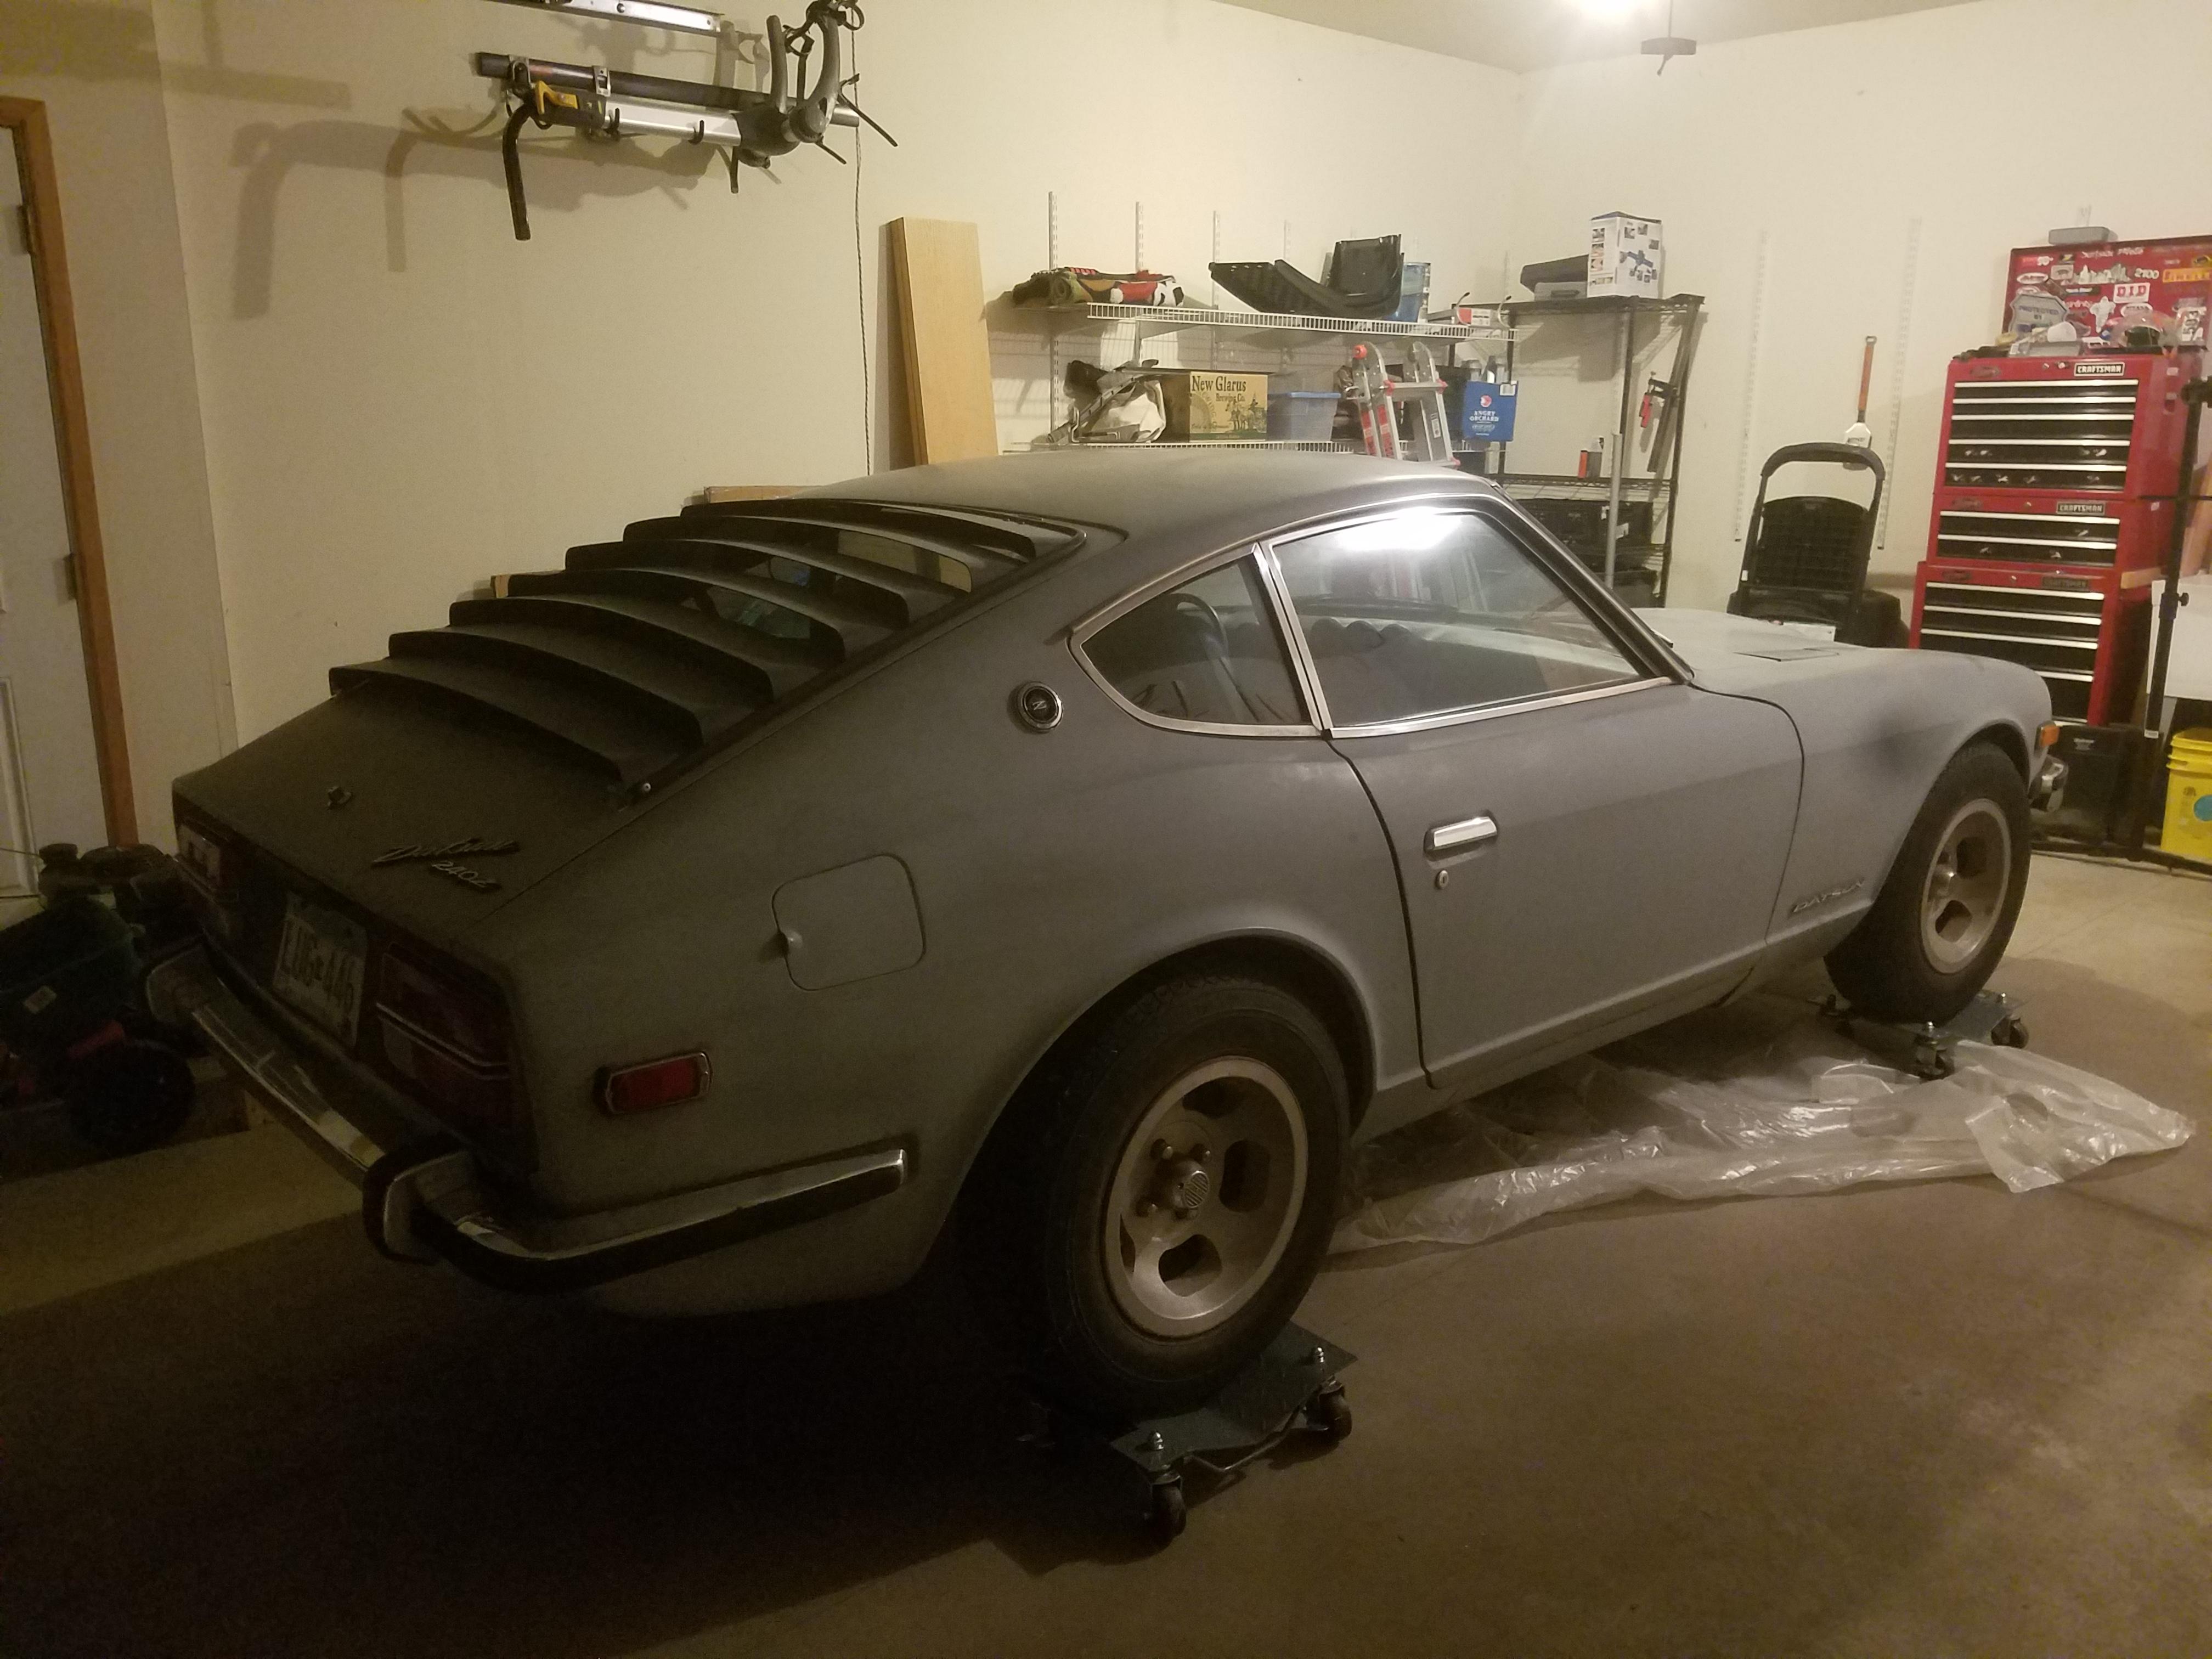
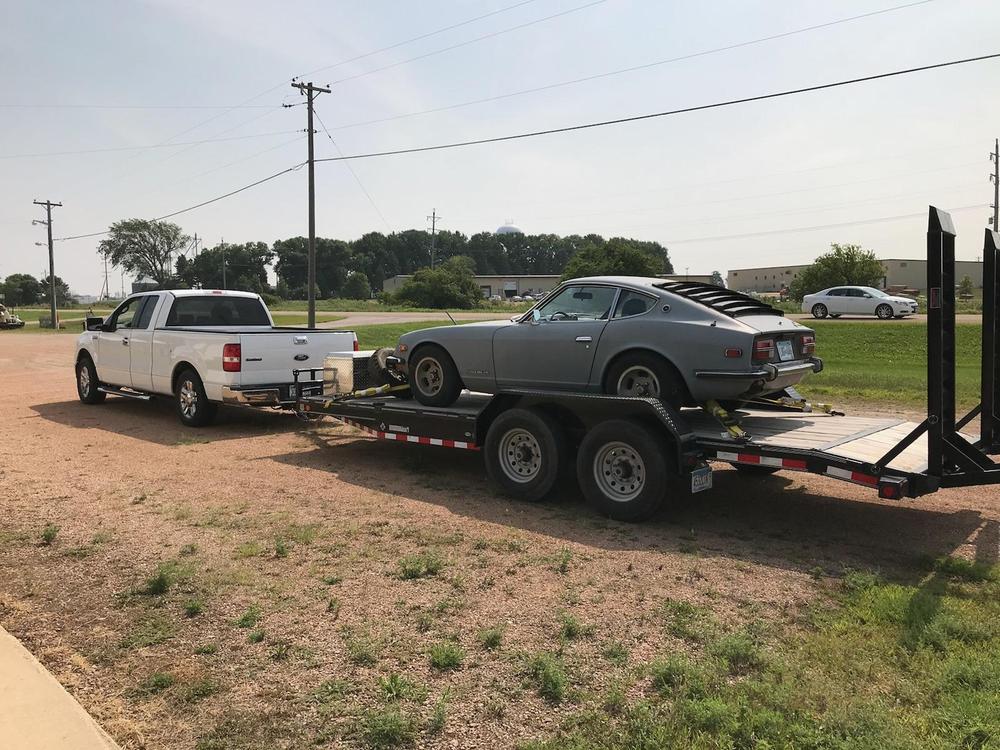
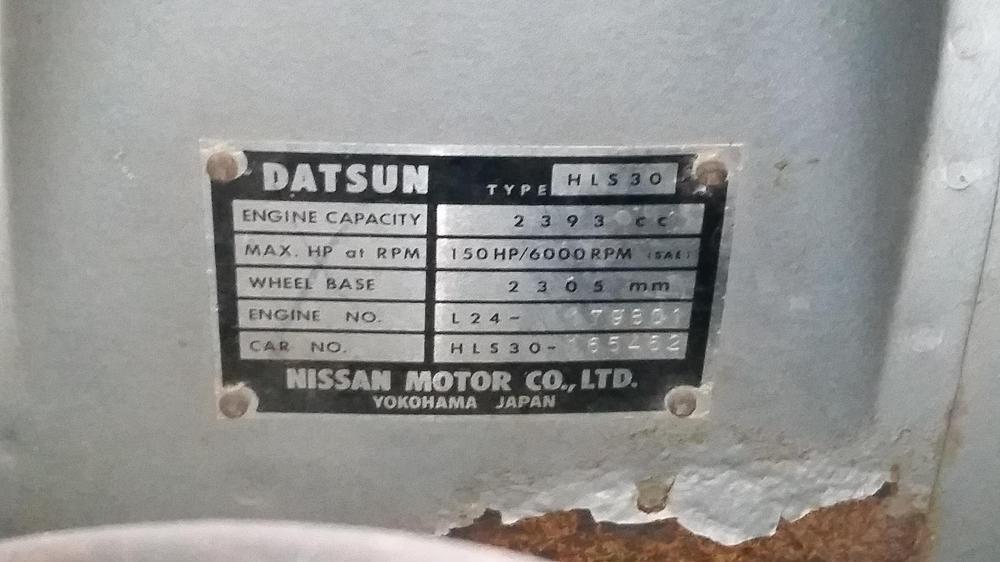
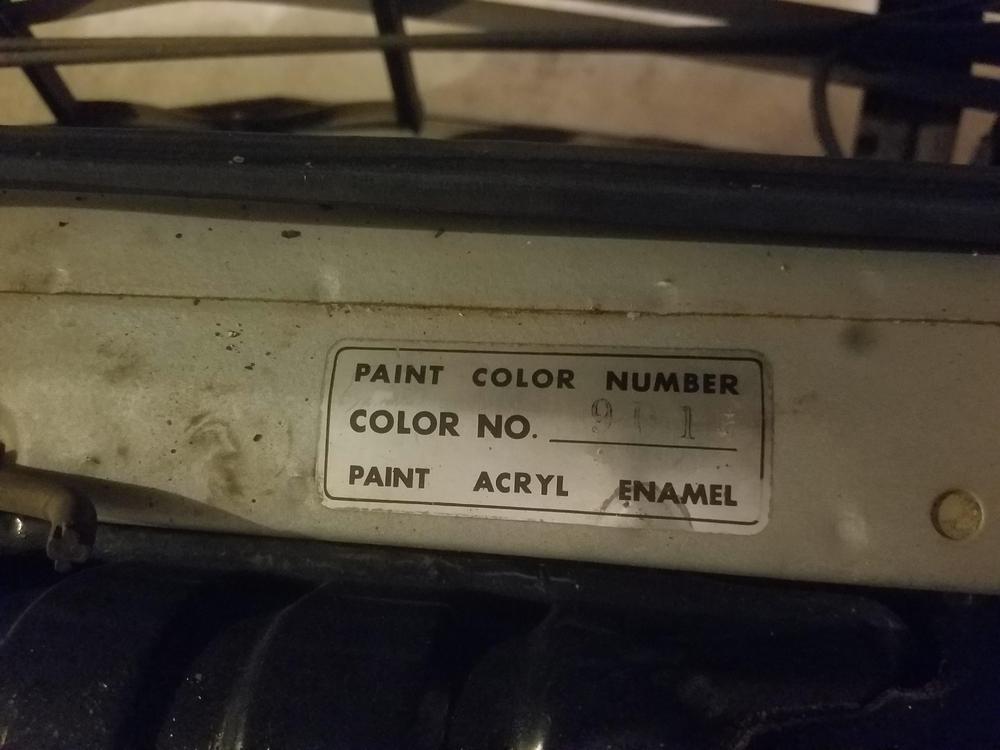
Alright, so here we go! This is a 1973, HLS30-165462. Purchased by my father brand new in 73 in Rhode Island and traveled with him to Colorado, New Mexico, and finally to Minnesota. He kept decent records of maintenance and mileage, so we know the odometer reading of 65,416 is correct. Original color is 901 Silver. There's still some of it under the hood and in the engine bay, but the outside was peeling in the late 80s so he had it removed and primed, but never decided on a new color, so in primer it remained. Back in my high school days we dropped the gas tank, cleaned it, replaced various hoses and managed to get it running. I had a lot of fun cruising around for a couple summers but moved away for college and then work and never kept up on maintenance after 2006. I’ve been itching to move it down to my house in Wisconsin and return it to its former glory and a few weeks ago it finally happened. The plan right now is just to get it running so I can drive it to winter storage. The long term goal is to strip it down next spring, fix the rust, and get it painted. The typical places all look to be affected. After that, go through and refresh as many original components as I can. I’m not a purist who plans to reuse every nut, bolt, and hose clamp, but I do want to keep the major components in place (flat tops ftw). I will admit that this is a new hobby for me and a bit beyond the work I have done on cars in the past. I don’t plan to learn to weld or paint, but can hopefully do most everything else myself. So I’d like to document this work as a benefit for others as well as myself. I’ve read a lot of past build threads on this forums and you all have a wealth of knowledge that I can hopefully draw upon to not screw this up too badly.


 1 point
 -
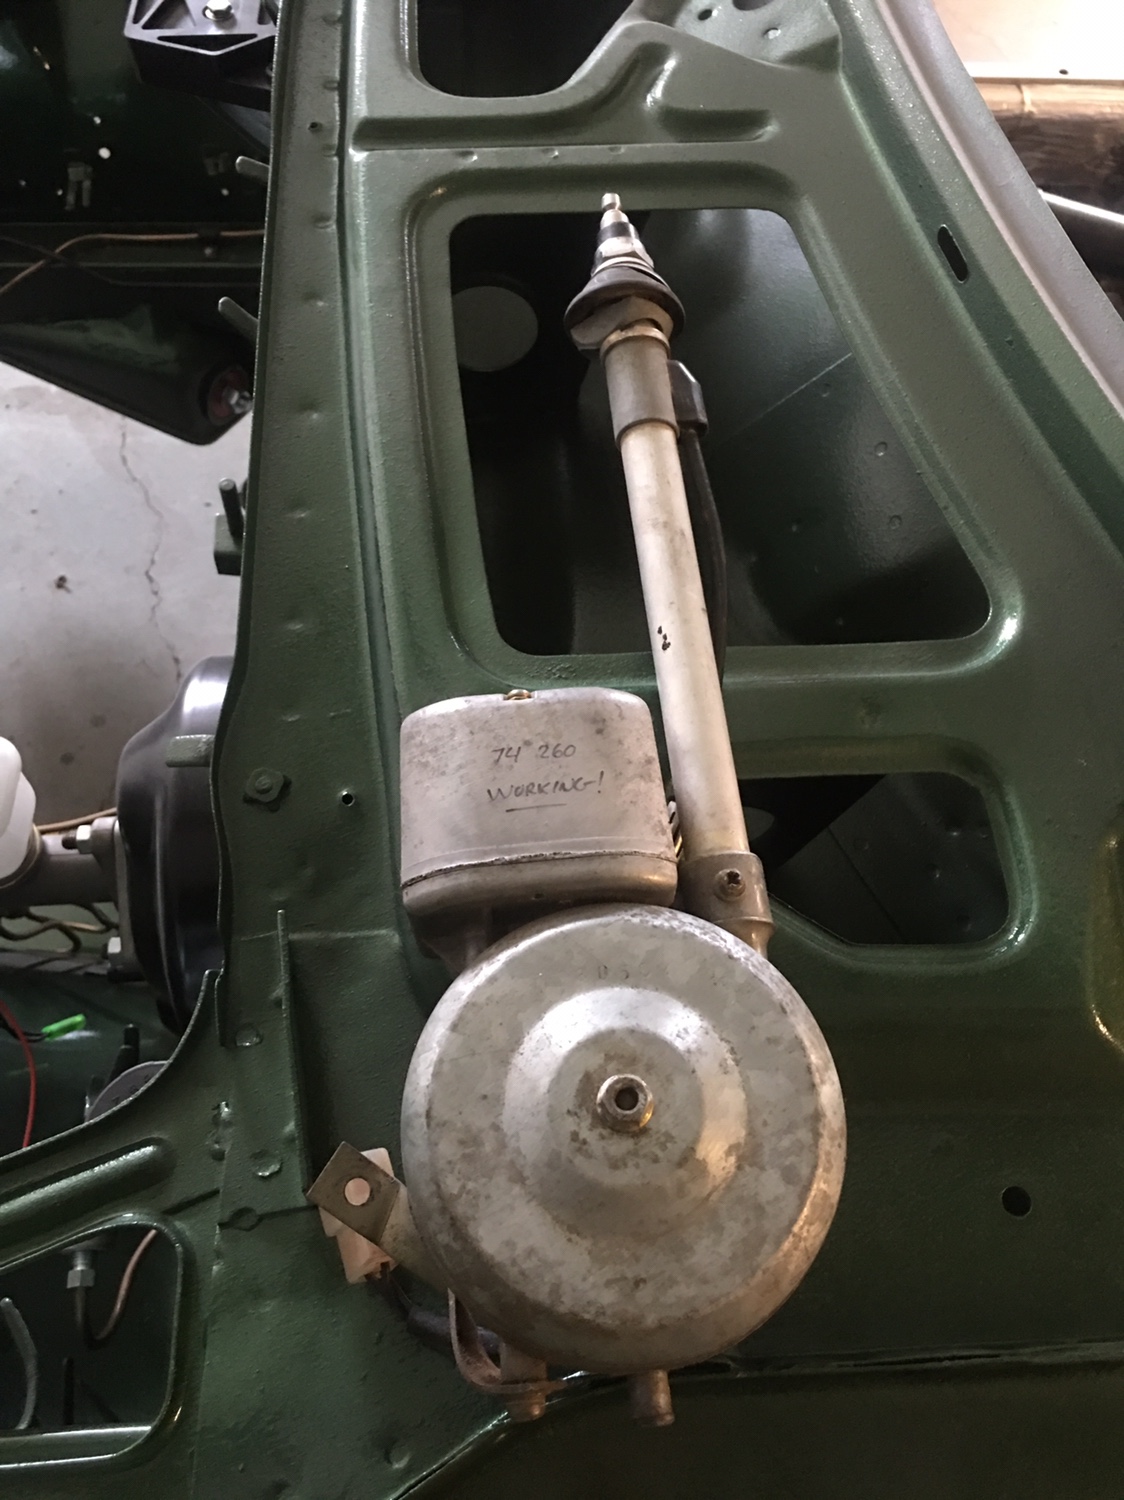
1 point... as he reaches into his bucket of 46 other power antennas...1 point
-
1 pointWorking??? I should have tested that one... What can go wrong....1 point
-
1 pointMaybe as a race car. Easy to repair and no original sheet metal to bend. Just order more panels when you find yourself sitting a pile of splinters?1 point
-
1 pointCurious about the gap, I measured it on my '71Z. Drivers side .22" and passenger side .75". The bumper has probably been off and on a dozen times since 1971, but no collision damage to the bumper or the car. Soooo, now I have a project - mess with mounting points until I get 1/2" on each side. Might be a winter project when I install the new bumper rubber strips. Dennis1 point
-
1 point@black gold man is the member you want to talk to. Congrats on your new toy and welcome to the forum. Hope you are going to update us with pics of the transformation back to original.1 point
-
1 point
-
1 pointThanks for the welcome. And right you are! I forgot to mention that we originally bought this as a non-running car. However, when I arrived to meet the tow truck, the shop had started it and drove it around from the back lot. So it did run, just not well. Turns out the fuel tank was rusty and the shop did nothing to help that by removing the fuel filter (!) and replacing a seized fuel pump. We've since added fresh premium fuel and some HEET, replaced the fuel filter, plugs, wires, distributor cap & rotor, and a few other small things. So basically a small tune up. Driving it around the storage area helped to also burn through some of the crud in the meantime. Eventually we'll have the injectors cleaned or replaced. With that said, I do have the inline filter on my short list. Keeps things cleaner and helps us to see how things are until it's time to drop the tank and do work.1 point
-
1 pointThe suspension bolts are mostly JIS grade 9, which is equivalent to SAE grade 12. Leave the pretty stainless to where you can see it under the hood holding on the fenders, valve cover or rad or something, or in the interior.1 point
-
1 pointKats, Great inspection results. I've always believed that if an engine is tuned and running properly, the emissions numbers should look pretty good even without todays emissions controls. Of course, it won't be as good as running through a modern catalytic convertor, but you should be able to do OK like you did. I have a question... What's the "side slip test"?1 point
-
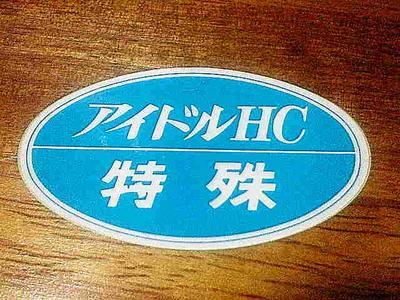
1 pointHi , today I picked up my Z432 at a local Nissan dealer , my Z had a periodic inspection ( two year ) which is required by the Japanese regulation. This You tube shows my Z432 scored good numbers to pass the smog test , my Z does not need a wide - band allowance which is for a Solex carb car and other specific cars . Z432 , Skyline GTR And Toyota 2000 etc have a blue oval sticker which is “ アイドル HC 特殊 / Idling HC special “ on the right corner of the front bumper means this car’s engine can not be tuned within a STD smog limits ( CO below 4.5 / HC below 1200 ppm ) . So these cars limits like this , CO below 4.5 (same ) but HC below 3300 ppm . My Z432 had CO 3.8- 4.2 / HC 830-950 , nice . This proves properly tuned engine even like a S20 , no need to worry. We have heard so many times that you can not pass the test without cheating ( have to change mixture and timing from what you think the best to pass the test ) then after the test , all the things are back to the way you want . But it is not true always, I love the original, and the car is fantastic, no need to add something or change something. Kats PS , the inspection includes Smog test side slip test head light and all the other lighting system horn , torch Speed meter at 40km/h braking test wiper test, washer test , underneath inspection ( leaks , rubber boots condition etc)
 1 point
 -
Yeah, I've been watching and enjoying all of Jeff's videos as well. I'm shooting a solid single stage, so I should be okay doing panels. After some more Googling, and in line with Patcon's suggestion, it seems like the best bet is to mask the outsides near the edges and shoot the hidden side. Then re-block around the tape line and shoot the outside. I propped the doors up on some propane tanks when I shot epoxy, and other than being a little low, it worked pretty well. Looks like I've got a plan.1 point
-
1 pointDo you have a multimeter? You can test the switch (what you are calling the sensor) by removing the wire and testing for continuity between the male bullet connector and ground (the thing you have circled in red in the picture above). It should have NO continuity (open circuit) if the shuttle inside is centered properly. If it has any continuity then: - There is an imbalance in the brake circuits - The switch is stuck and off the neutral position - The switch is defective The fact that the light only illuminates when the wire is attached shows the "fault" comes from the switch itself, not a ground fault in the wire. The Factory Service Manual advises against repairing this device - but that was back when they were still available from dealers. I would probably source another one - failing that, There's a cross section picture above (Figure BR-12 Warning Light Switch) that shows how it could be disassembled.1 point
-
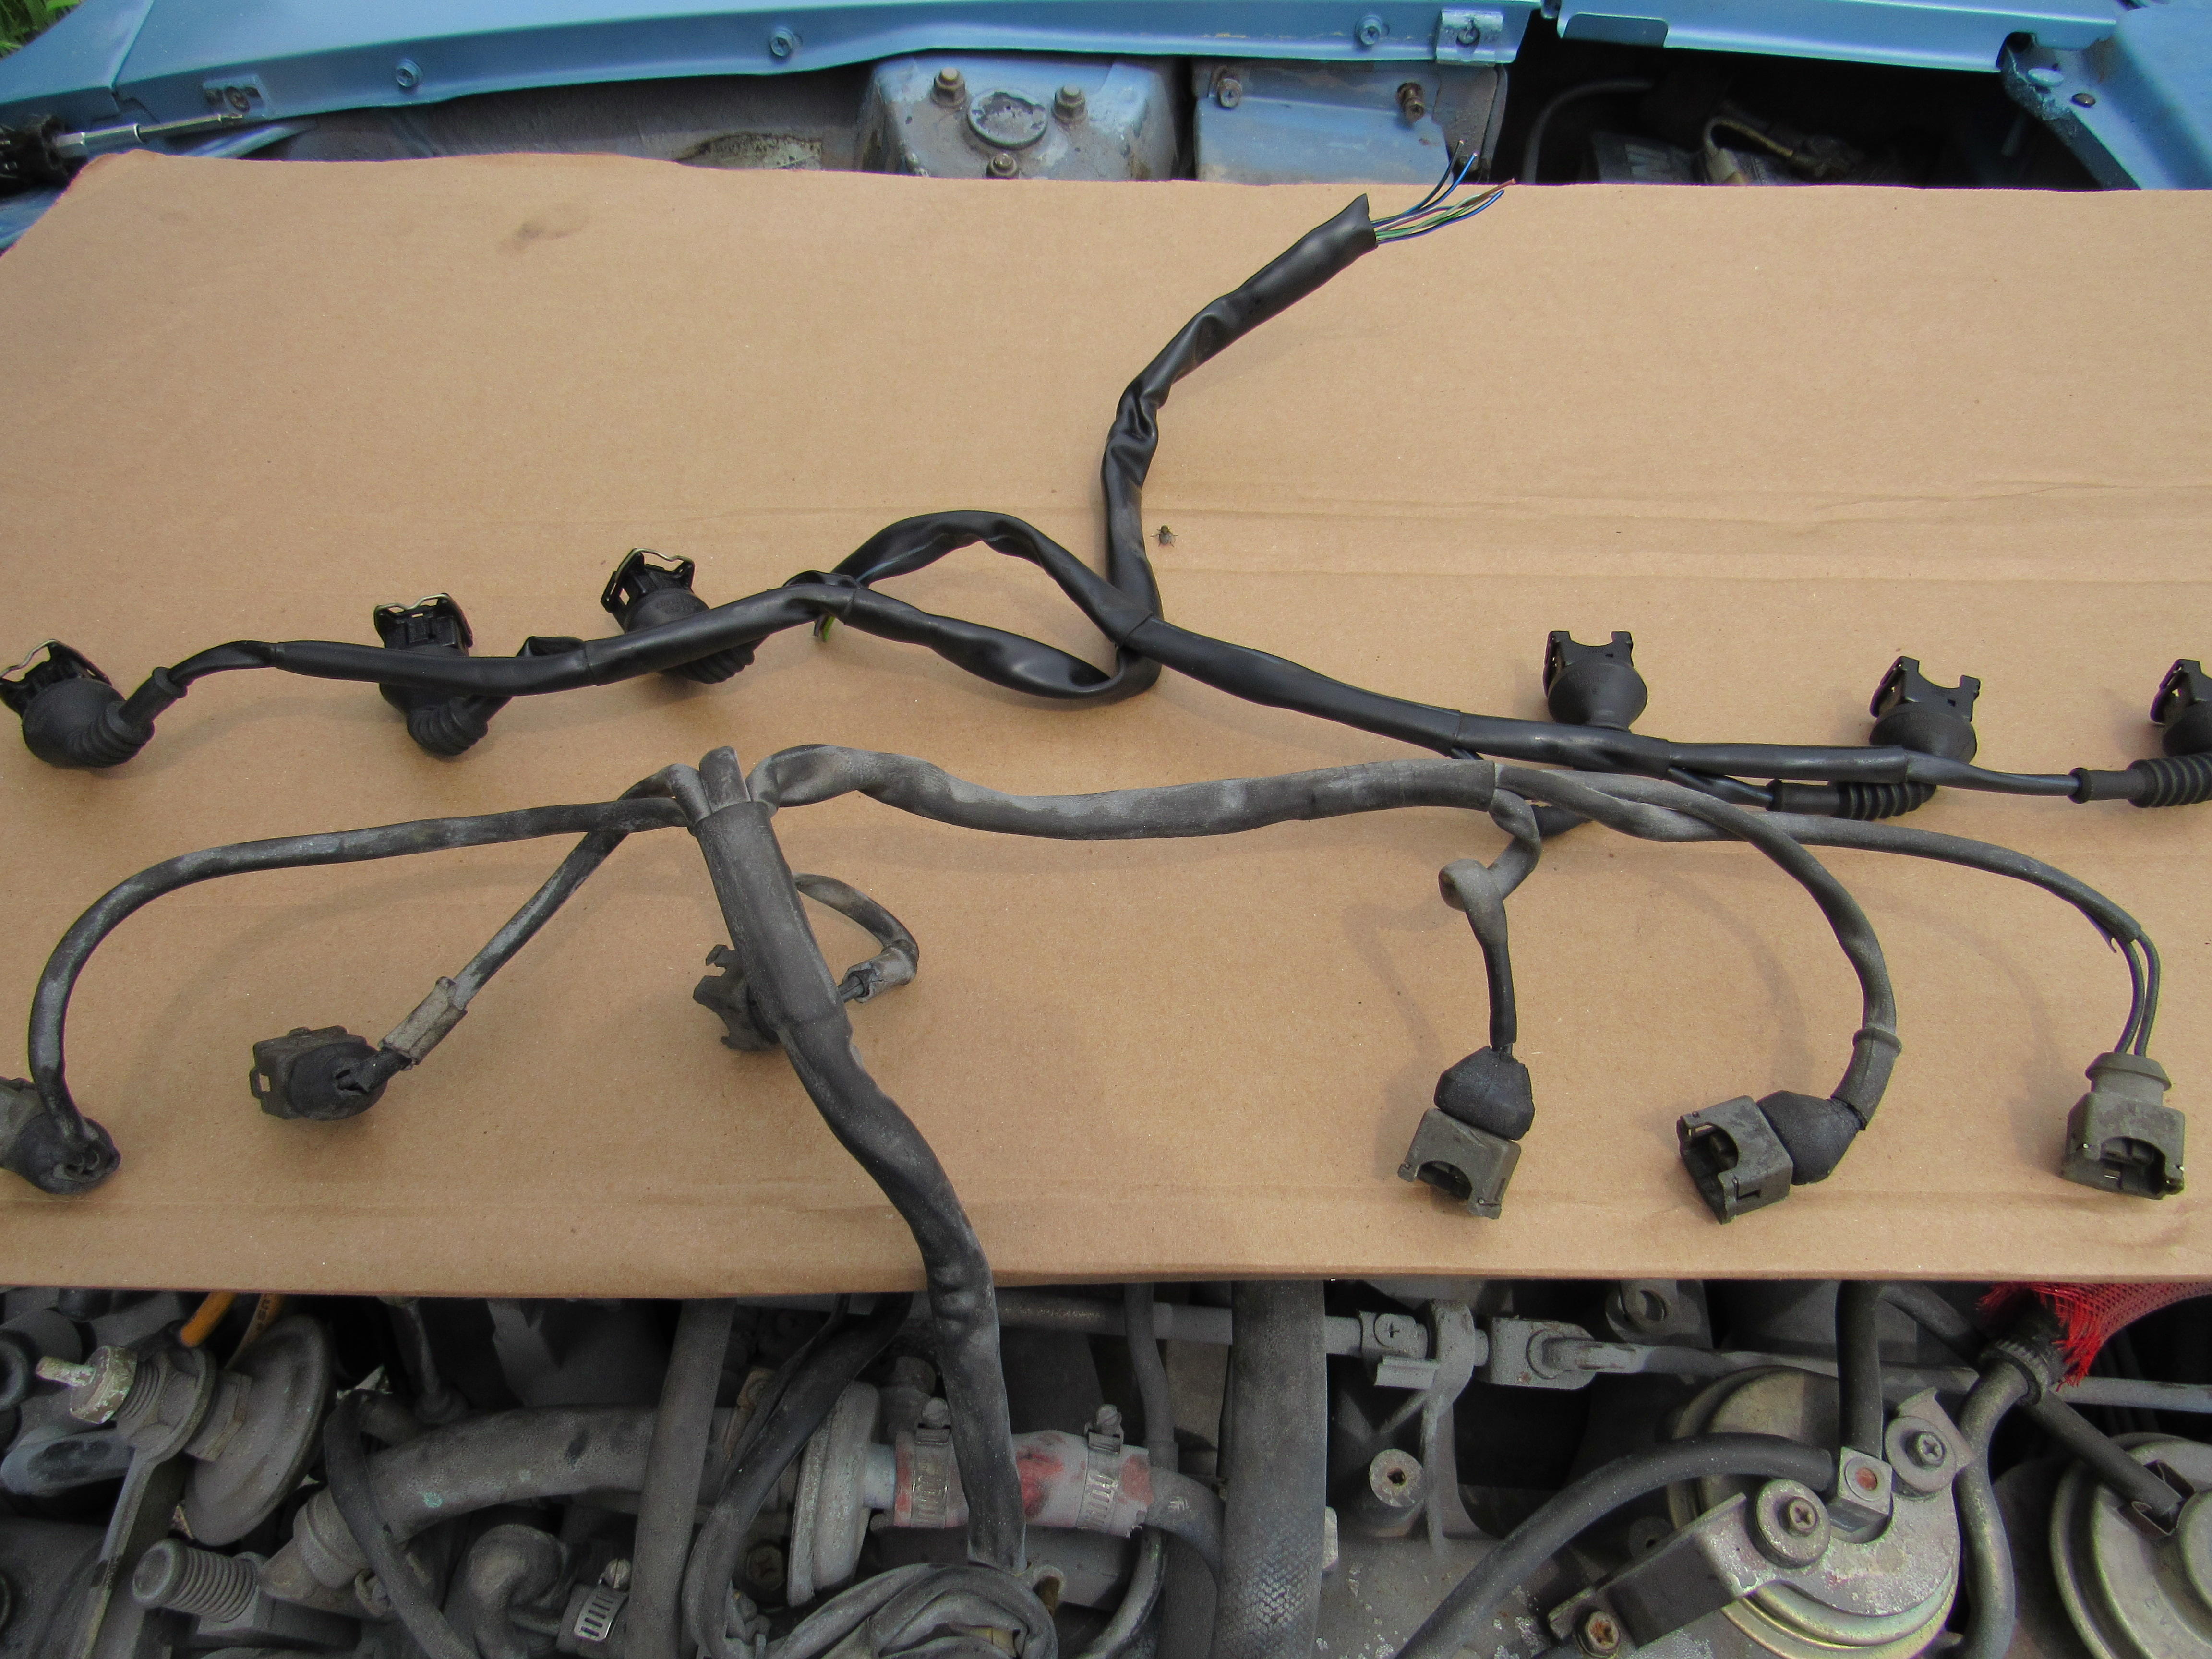
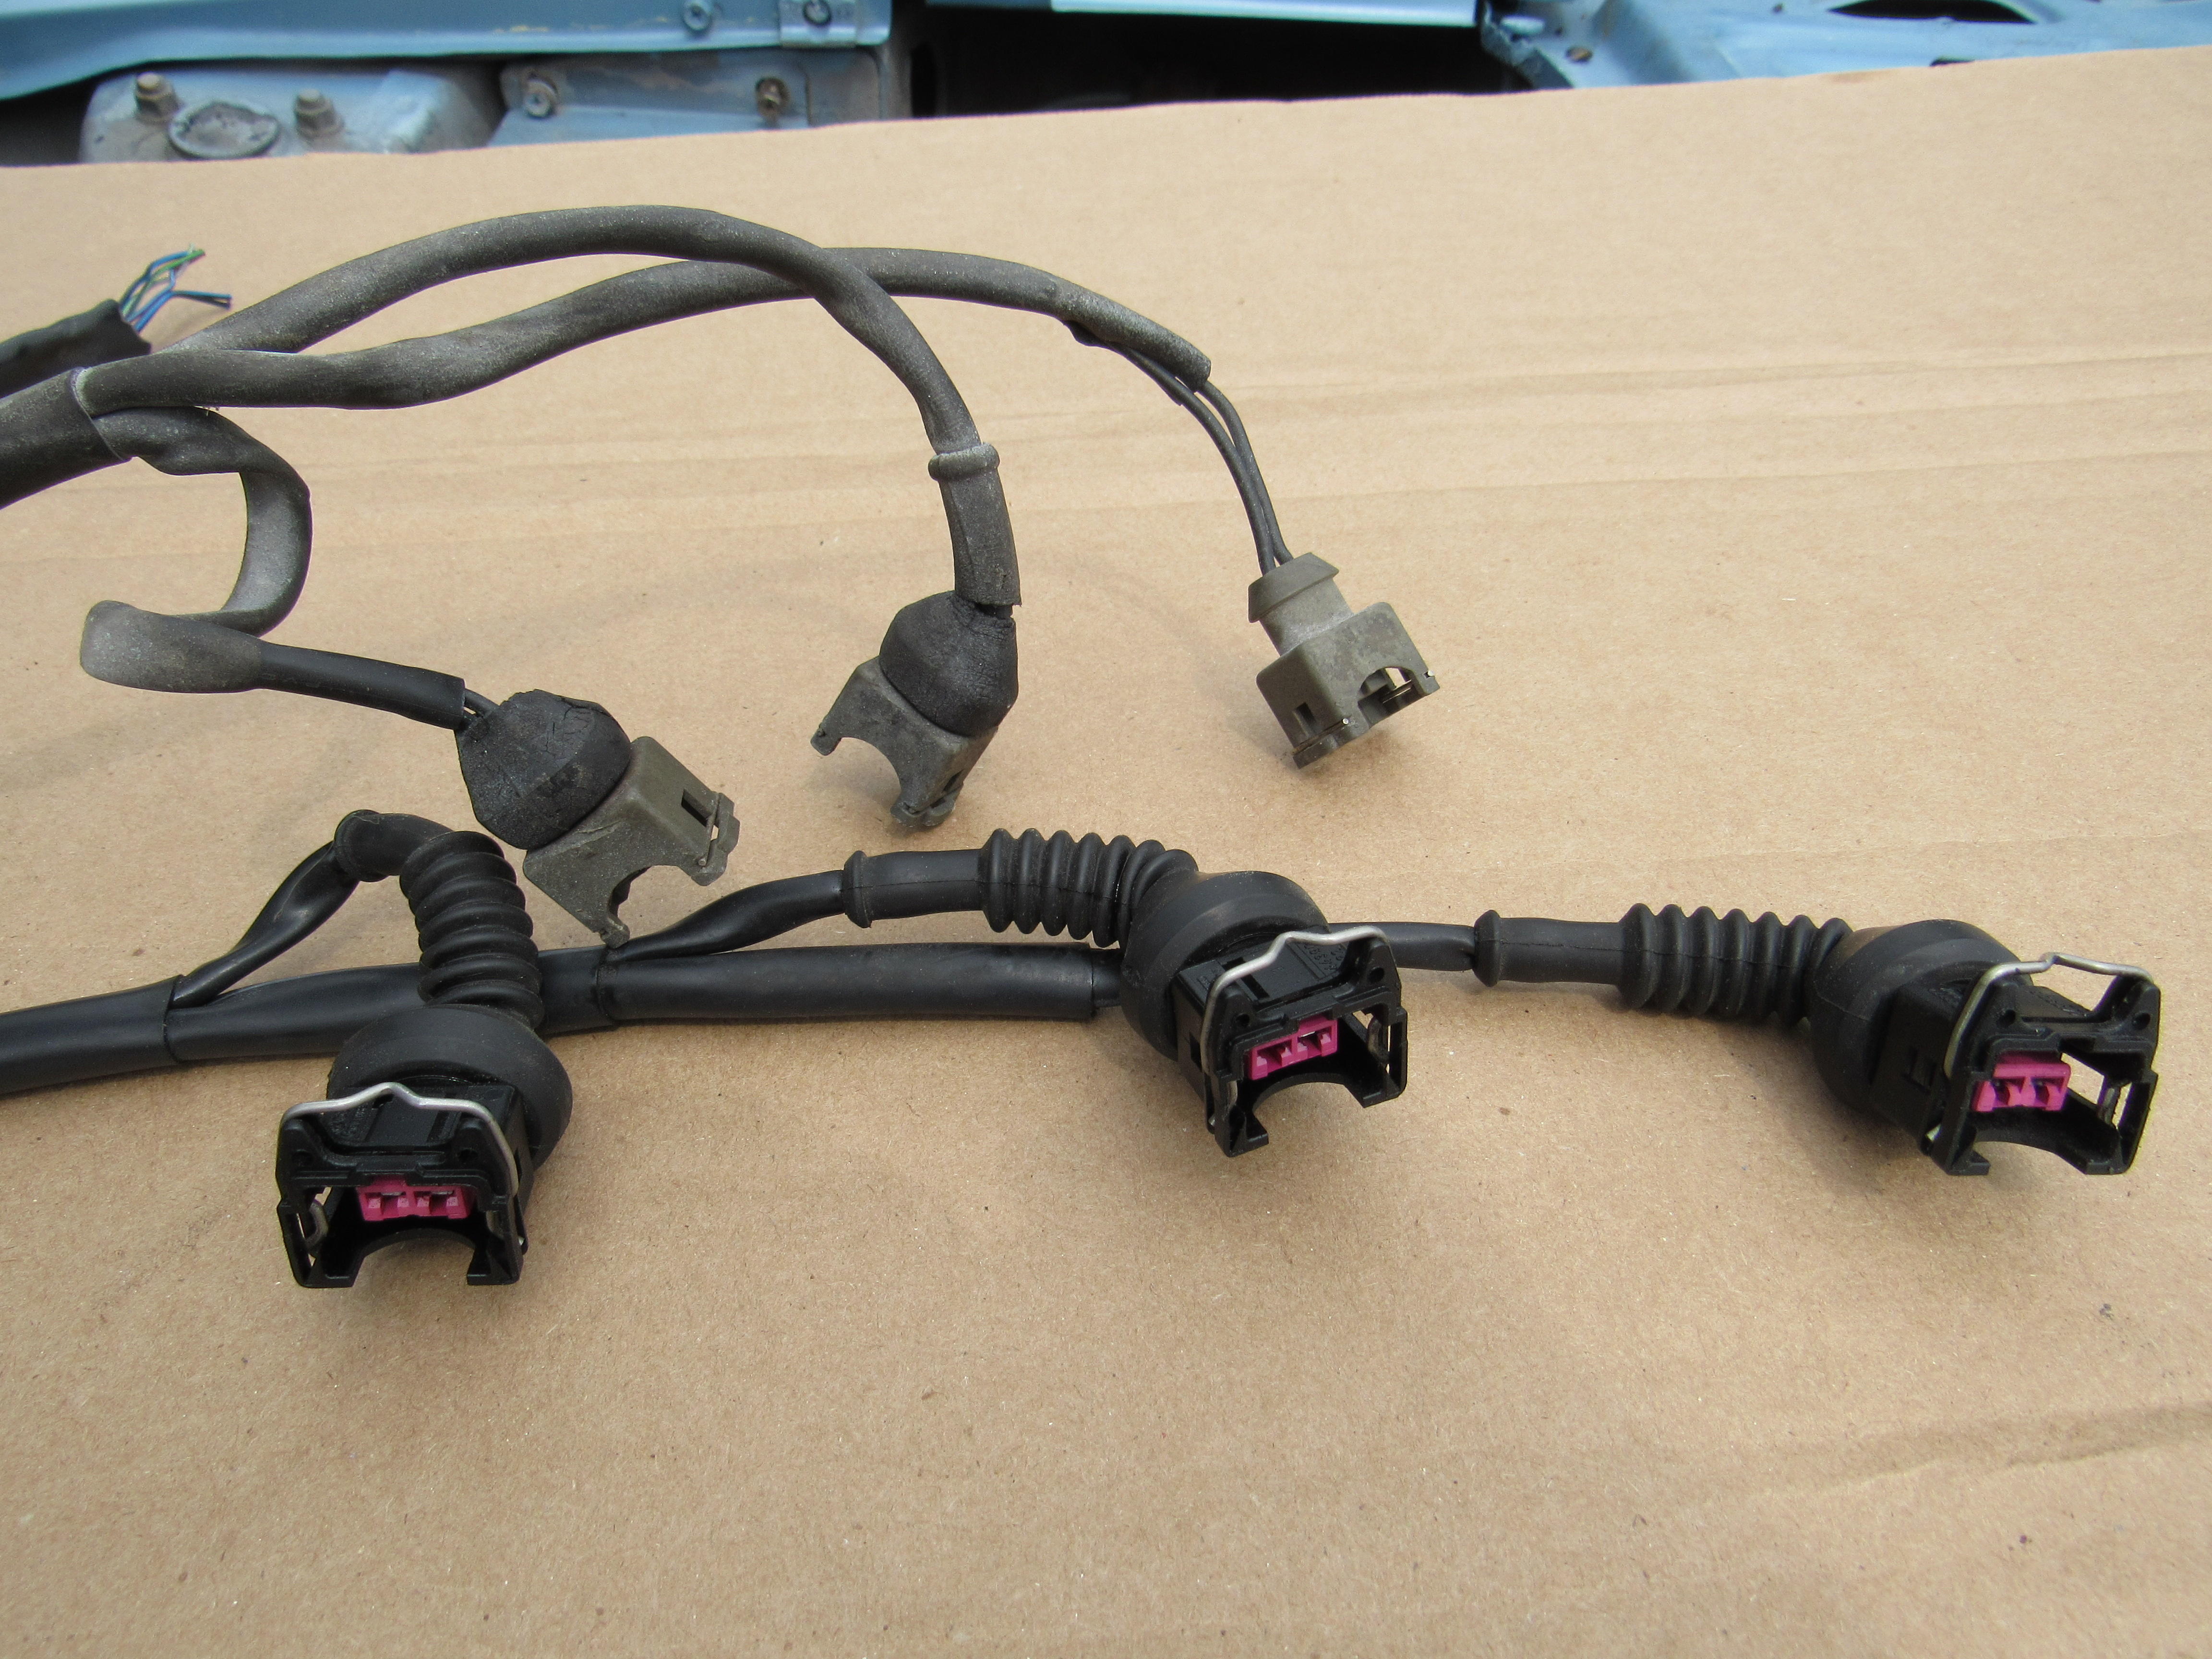
1 pointYes, mine were so brittle they were crumbling as I pulled them off, I got this tip off of @240260280 head to a pick and pull auto yard, look for Audi and VW cars, they have connectors that fit our injectors. I got these from two Pasats 2000-2008 4 cylinder, I removed the 4 th injector plug and grafted them into the harness, think I paid $10, that Pasat also has the same plugs to fit all of the other sensors.

 1 point
 -
1 pointNO! The bumper should be nestled right up to the body - about 1/8" (no more than 1/4") away from the body.1 point
-
1 pointEdit, summarized, too wordy - why don't you just bypass the FPR first? You have a good gauge. All you need is a piece of hose.1 point
-
1 point
-
1 pointThanks lordkarma88. I have never worked on cars before so this is all new to me. Have to say though I am learning a lot and having fun while doing it.1 point
-
Thank you, I hope! Vin Number: HLS30-01772 Birthdate: 2/70 Early features: Throttle Lever and Red Dot Mirror.1 point
-
1 pointIs this part from 73 240Z will fit? If yes I will be happy to send you one! Jamal1 point
-
1 pointOkay, I wonder if that same size on a stock 240 like mine would work...is there any difference in clearances in a 280?1 point