Topics Last 30 Days
Showing topics, images, events and files posted in for the last 28 days.
- Today
-
Z's on BAT and other places collection
Ben Branch is a repeat offender. Look here for his assertion that Nissan's L-series engines were the result of the Nissan-Prince merger of 1966: https://silodrome.com/history-datsun-240z/ He can't even get Dr Shinichiro Sakurai's name right. Katayama lore ahoy! The usual - and some unusual, if not utterly baffling - nonsense trotted out: "Nissan’s senior management were actually not particularly pleased that Yutaka Katayama had achieved such a notable success and so to “reward” him they sent him to Los Angeles in the United States in 1960 to do “market research” and work on establishing Nissan/Datsun in the US market in all likelihood fully expecting him to fail." "Mr. K’s research and persistence in establishing a Datsun dealer network against the odds were remarkable achievements." "What was chiefly needed however were cars that would appeal to American buyers and Mr. K wisely advocated to the design team in Japan to build a real driver’s car. Japan heeded the call and the result was the groundbreaking Datsun 510 (aka Datsun 1600) of 1967. Incorporating a fully independent suspension and four cylinder SOHC engine based on Dr. Sakuri’s Prince six cylinder, effectively with two of the cylinders lopped off." "A sports car with that fully independent suspension and which featured an engine based on Dr. Sakuri’s Prince six cylinder with no cylinders lopped off – made to be a car that would give the Porsche’s a run for their money, the first of the “Z” cars, the Datsun 240Z." "But Mr. K understood that to call the car “Fairlady” was a kiss of death in western markets such as the United States. It is said he personally went and removed the “Fairlady” badge from every car in that first shipment." "Although the Datsun 240Z was designed by Yoshihiko Matsuo and a Nissan team the real concept for the car came from Mr. K. He had been heavily influential in the design of the Datsun 510 on which the 240Z was based, despite the two cars looking very different." ...and it goes on. Is there a car - and a backstory - that has had more utter nonsense written about it than the S30-series Z? Some of the stuff that these people come up with is parallel-universe level fantasy. So his daft description of the car for sale is hardly surprising.
-
Interesting electrical issue- Series one car......
I did check the fuse box, no melting, so happy about that...... Went through a bunch of stuff, noticed that the wires around the blinker flasher looked melted, so I replaced the flasher unit with old spare, and that issue is solved. Got the tail lights working, with the fuse replacement on the harness for the "parking light upgrade harness". Brake lights are now working too............so need to work on the horn, which clicks when I hit the button, I also want to figure out the hazard lights flasher unit. Not sure where that is, but I hear something on the passenger side....... Is that unit the same as the blinker flasher unit? Do not like the heat on the fuse box, but it's not like I use the emergency flashers.......... Progress,,,,,,,,,,,,,,,,,,,,
-
weatherstrip
Thanks for the tip. That's the one I'll go with. Richard McDonel
-
After 8 years of setting I got my 240Z back on the road
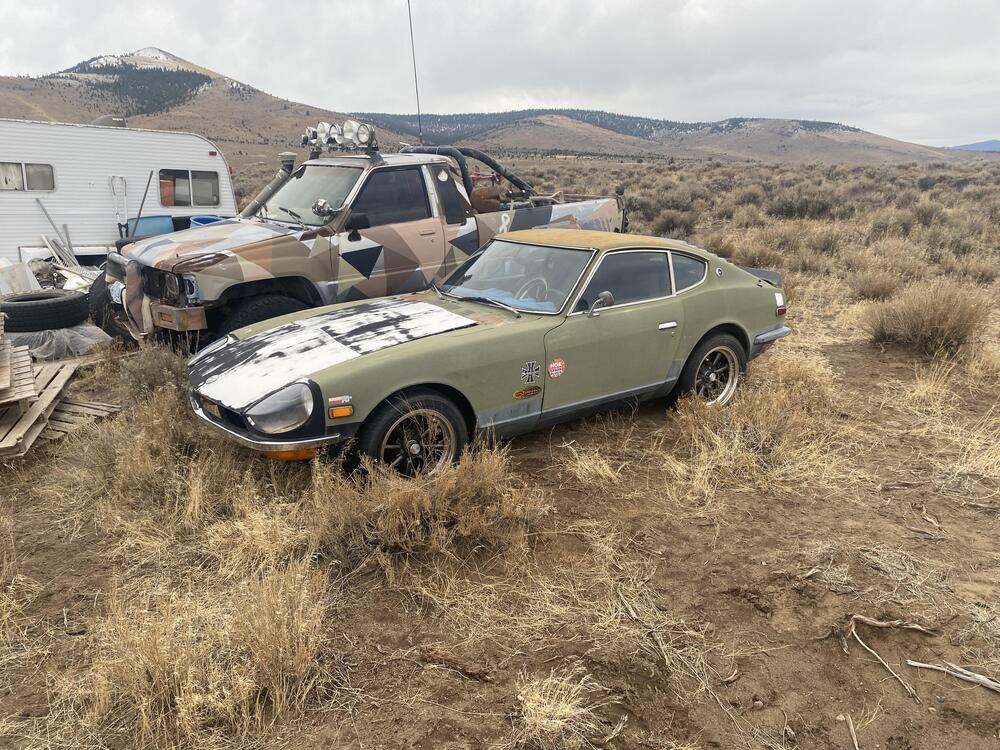
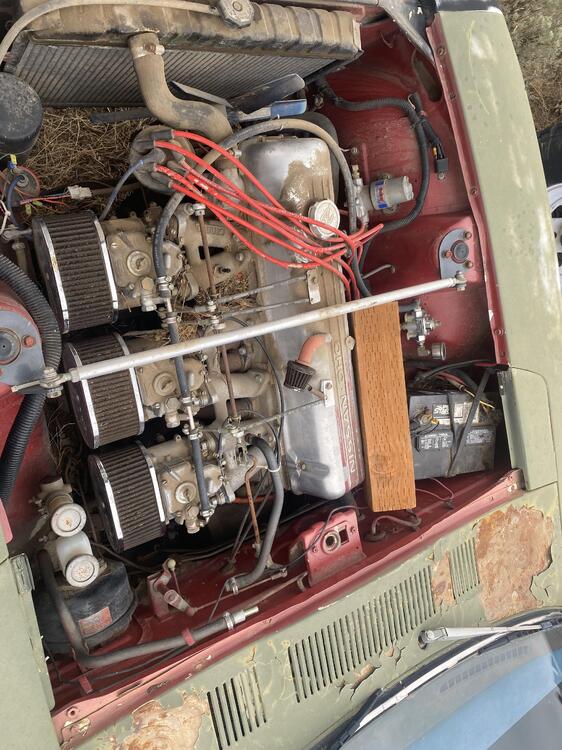
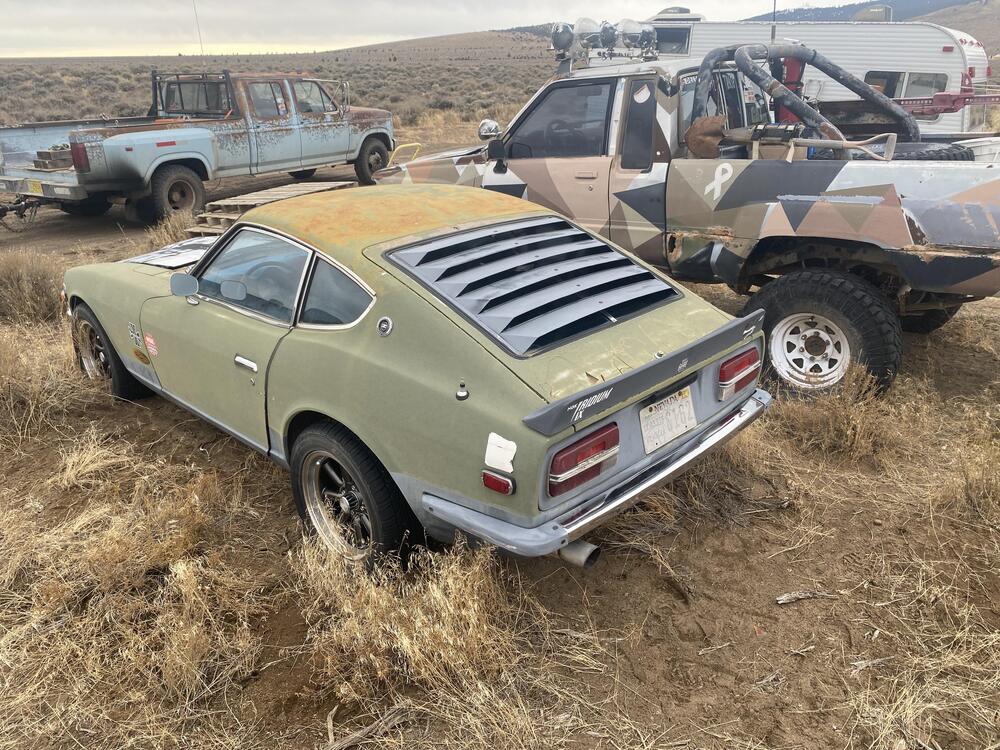
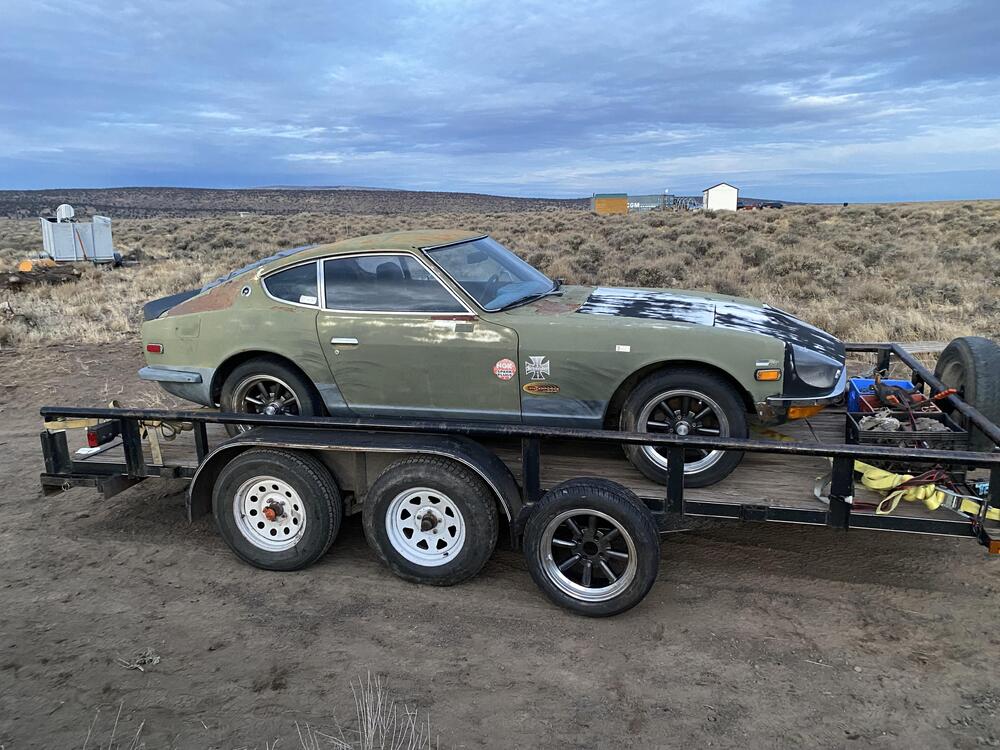
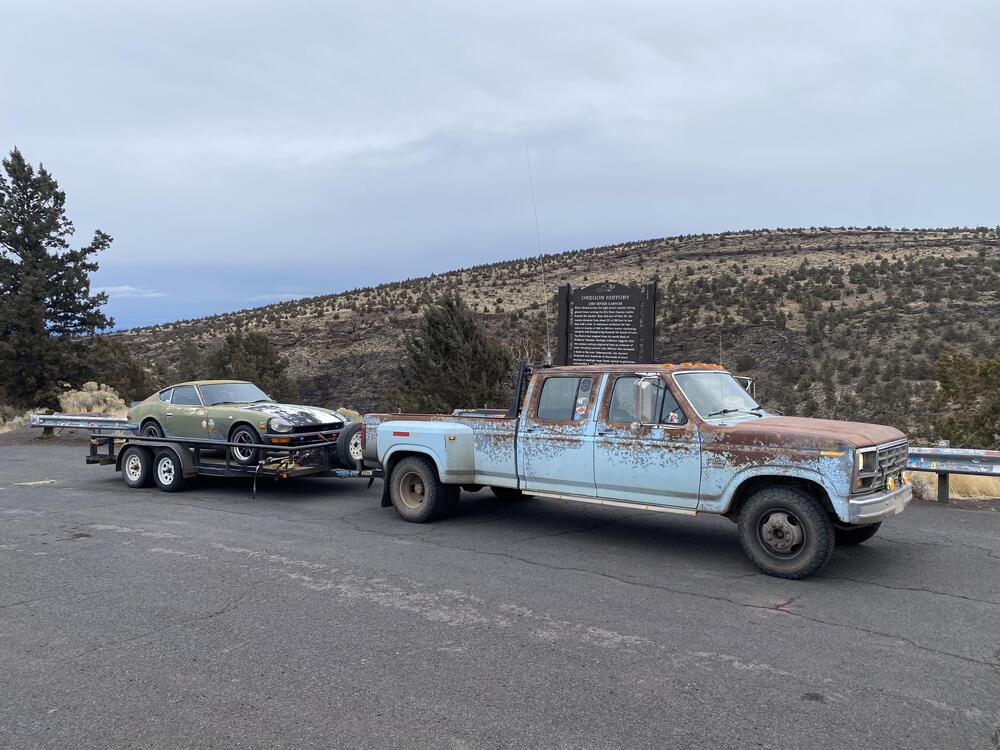
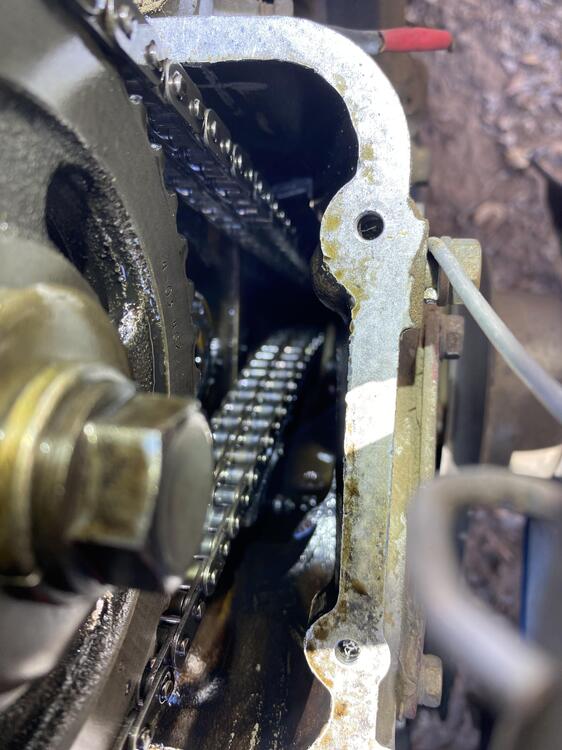
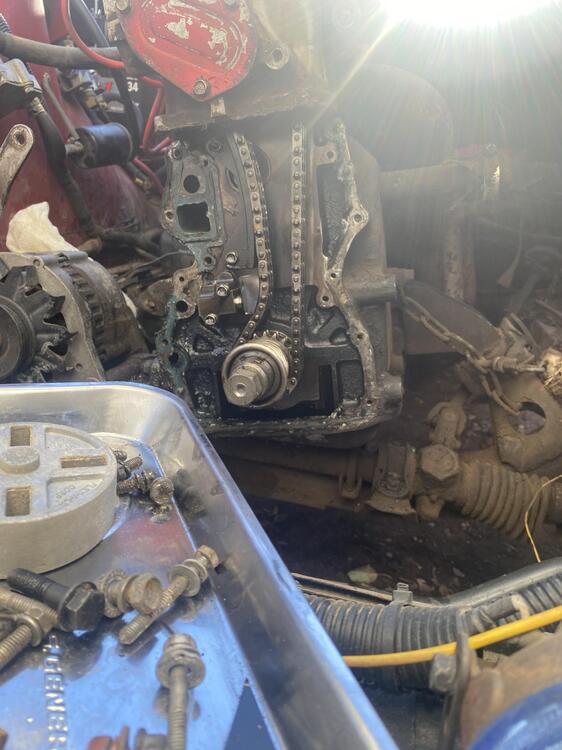
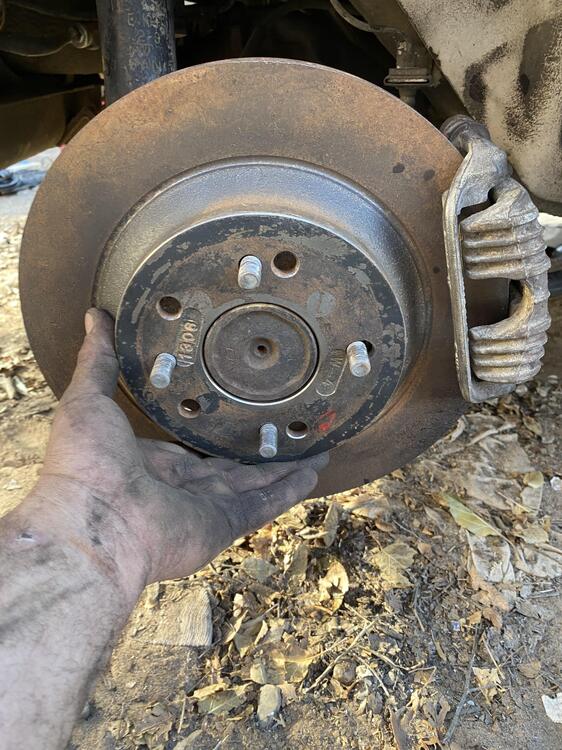
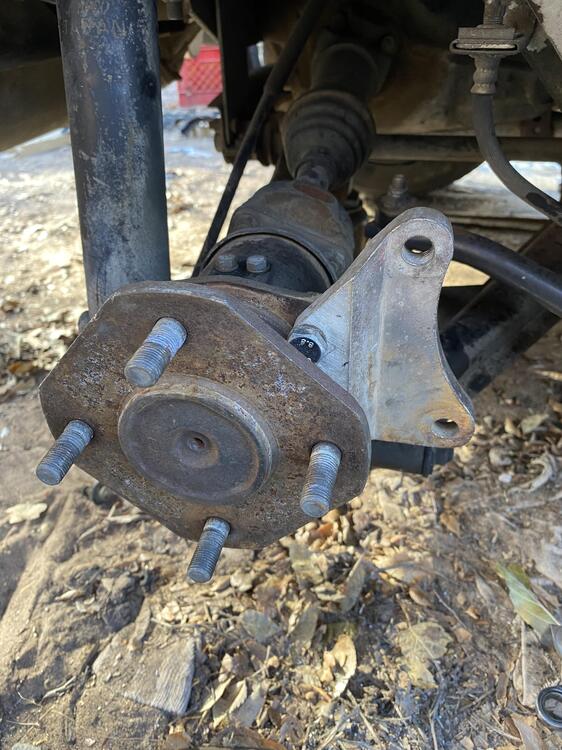
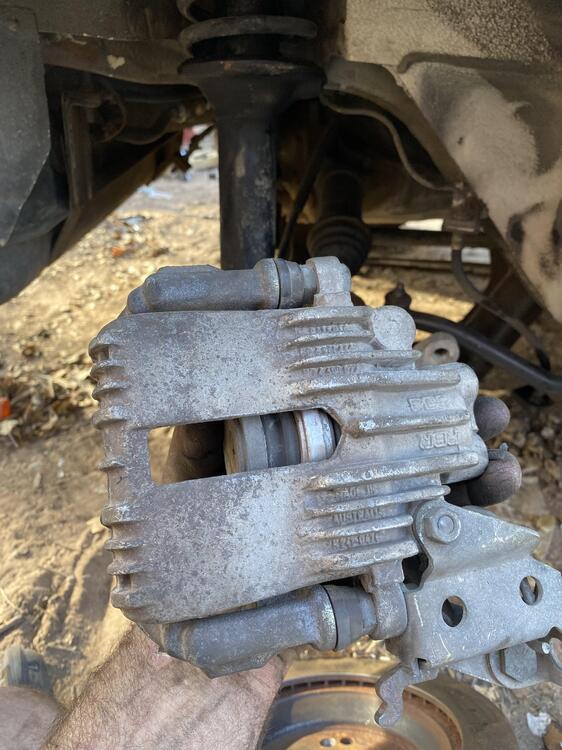
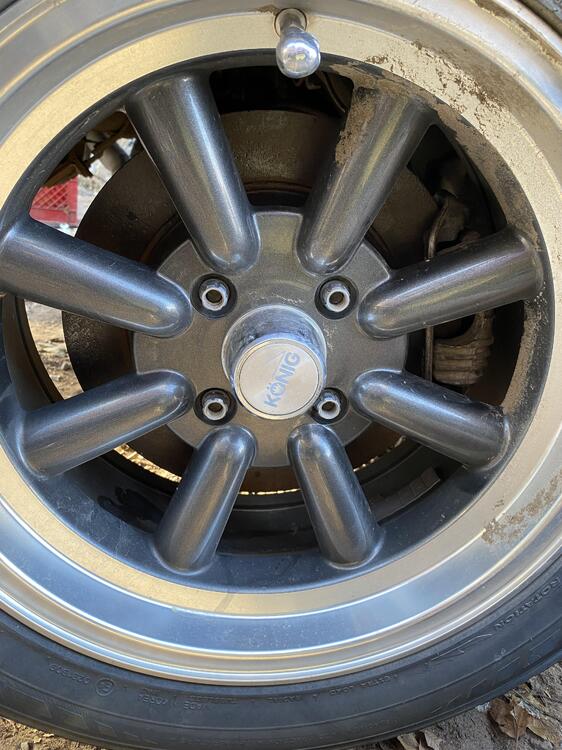
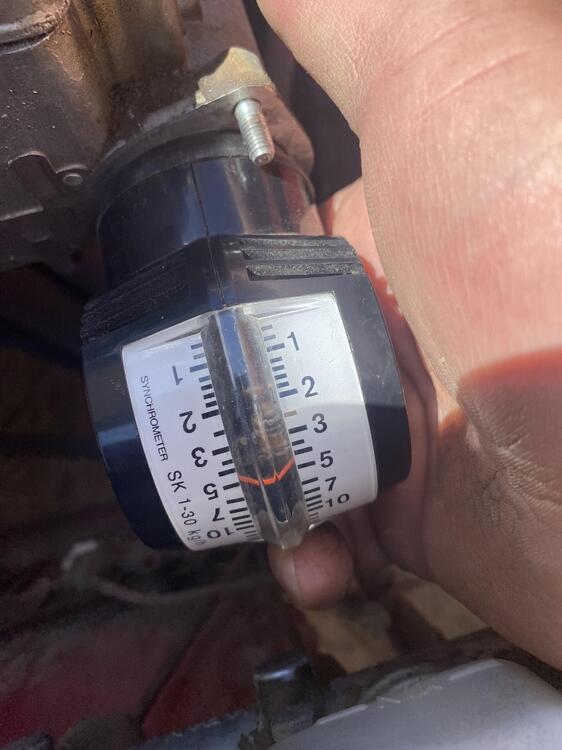
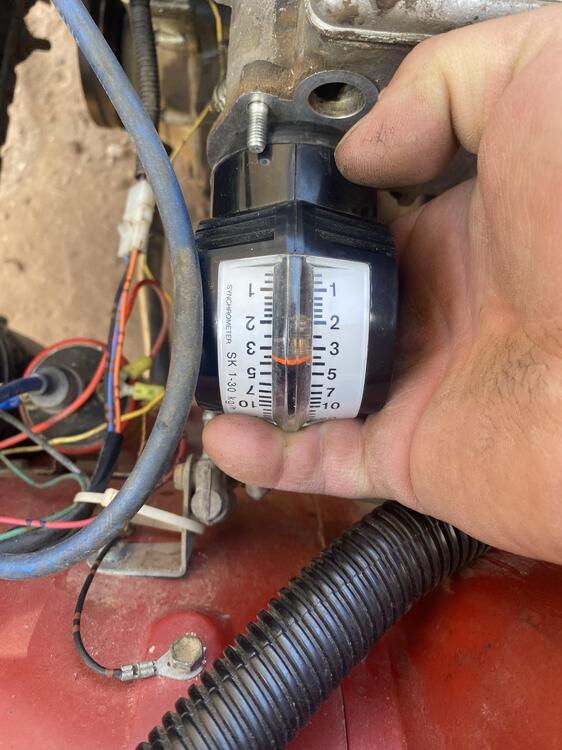
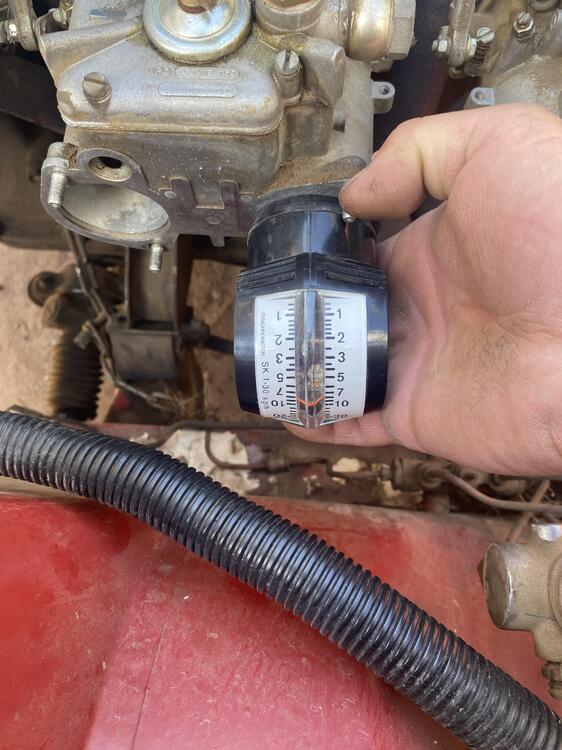
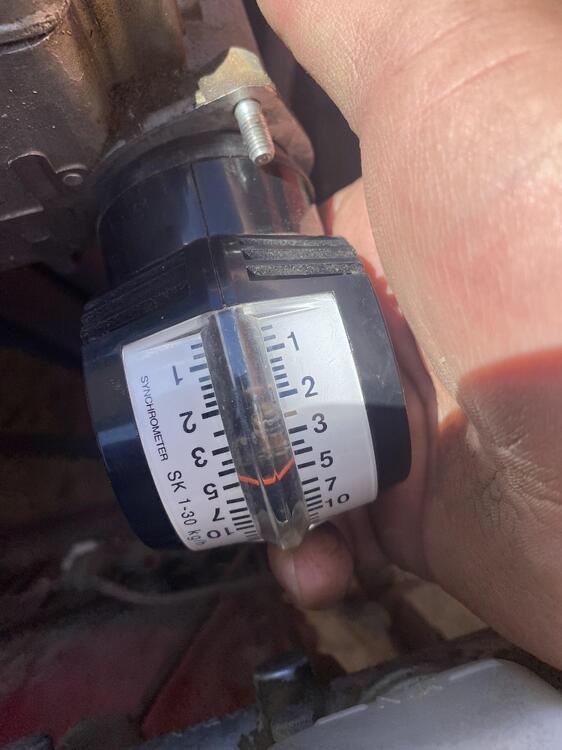
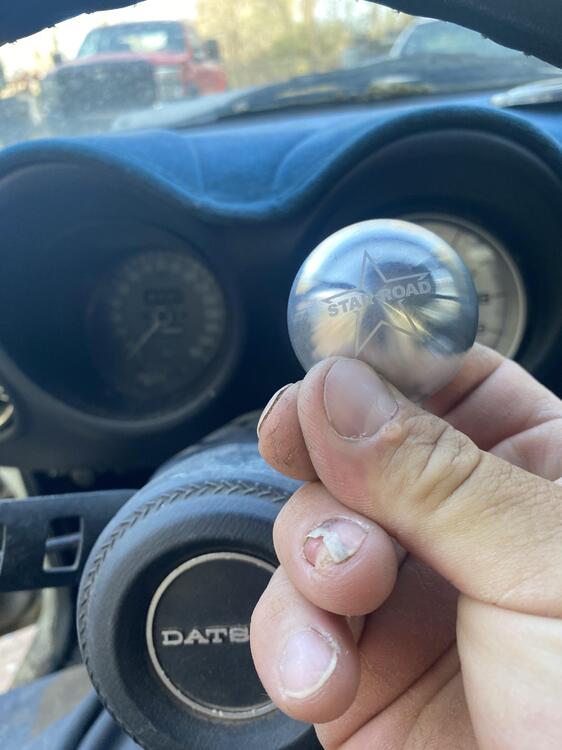
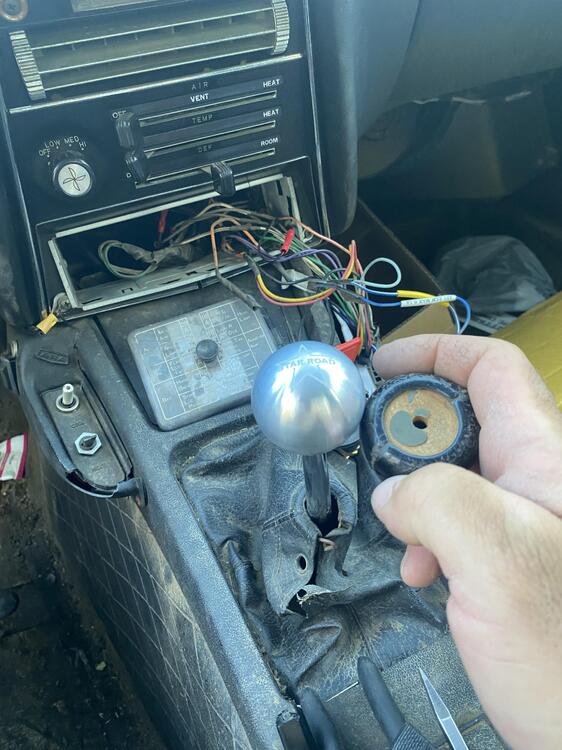
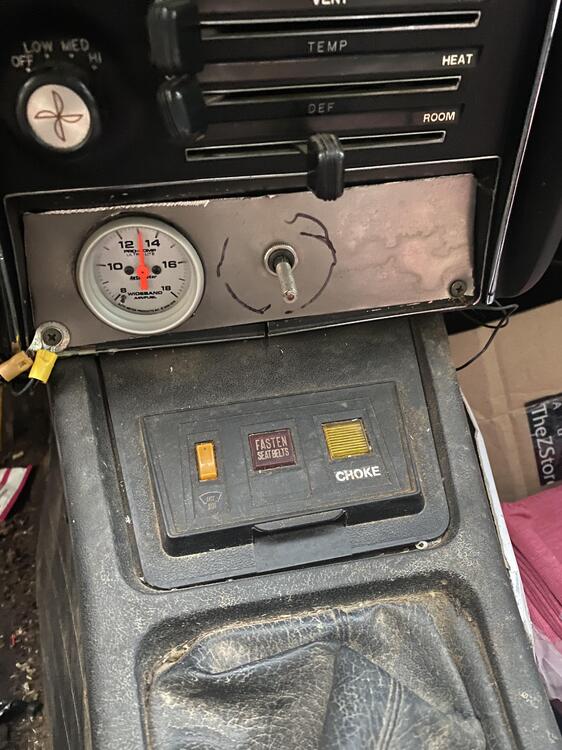
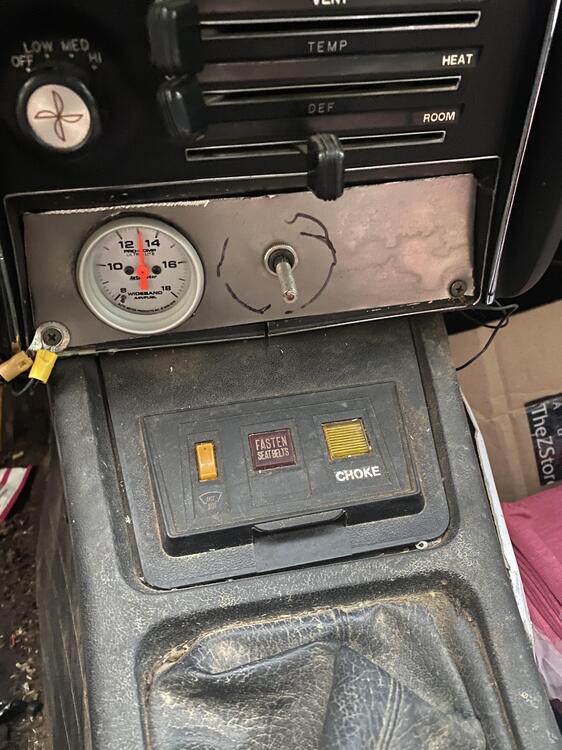
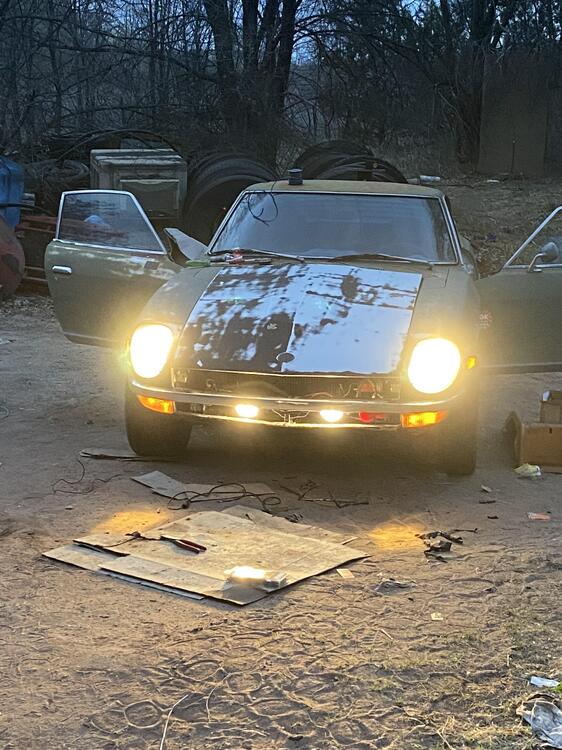
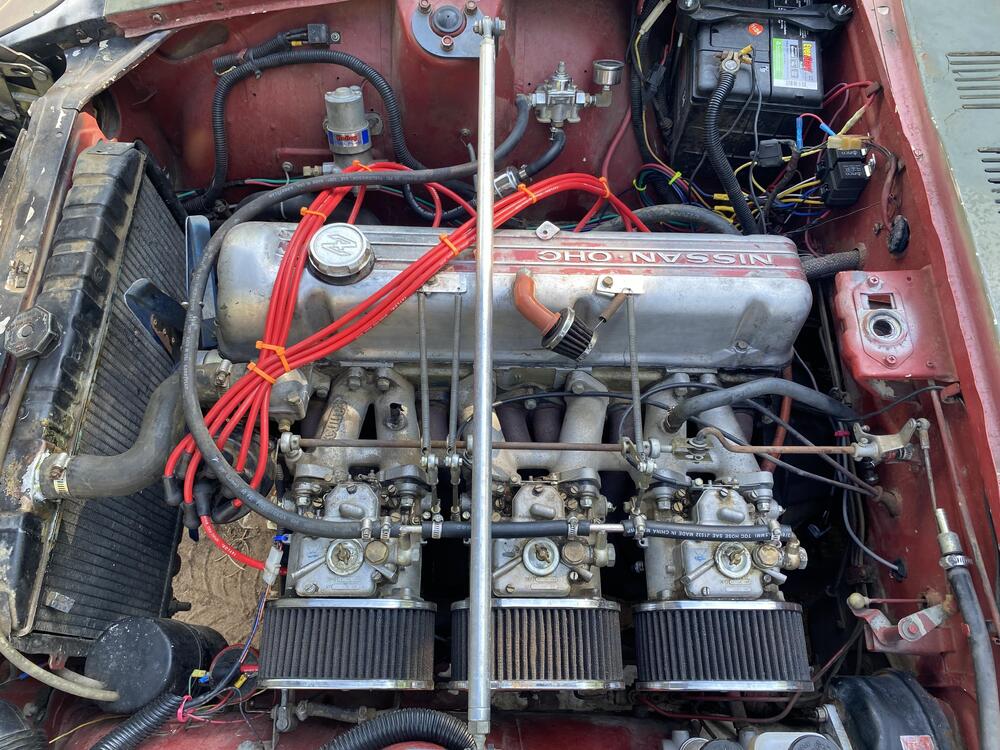
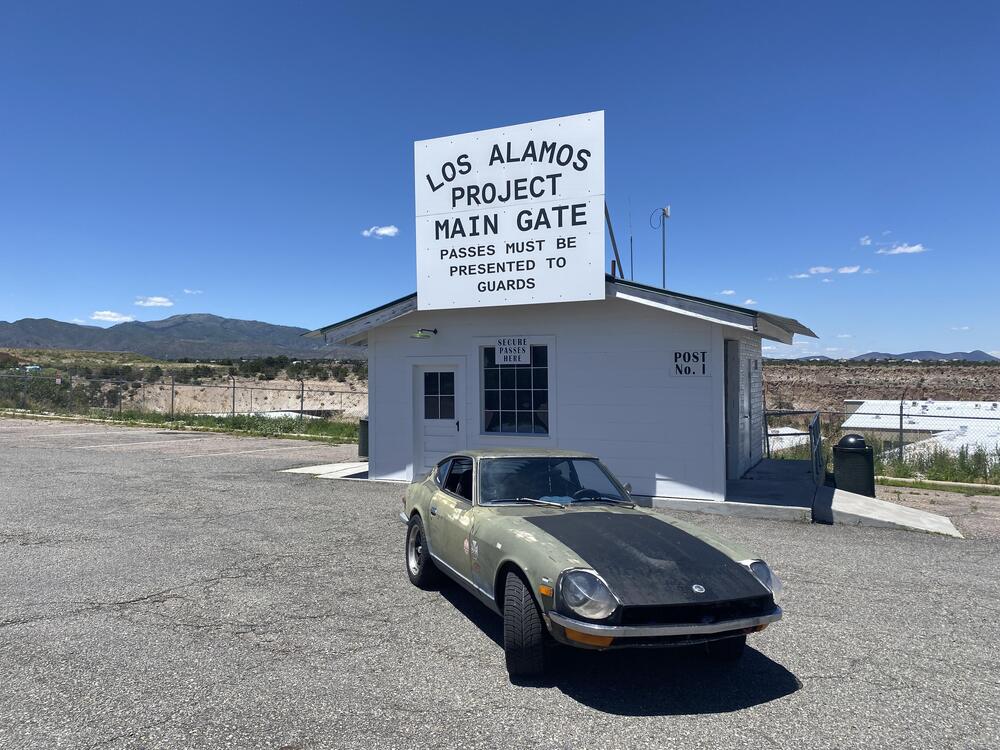
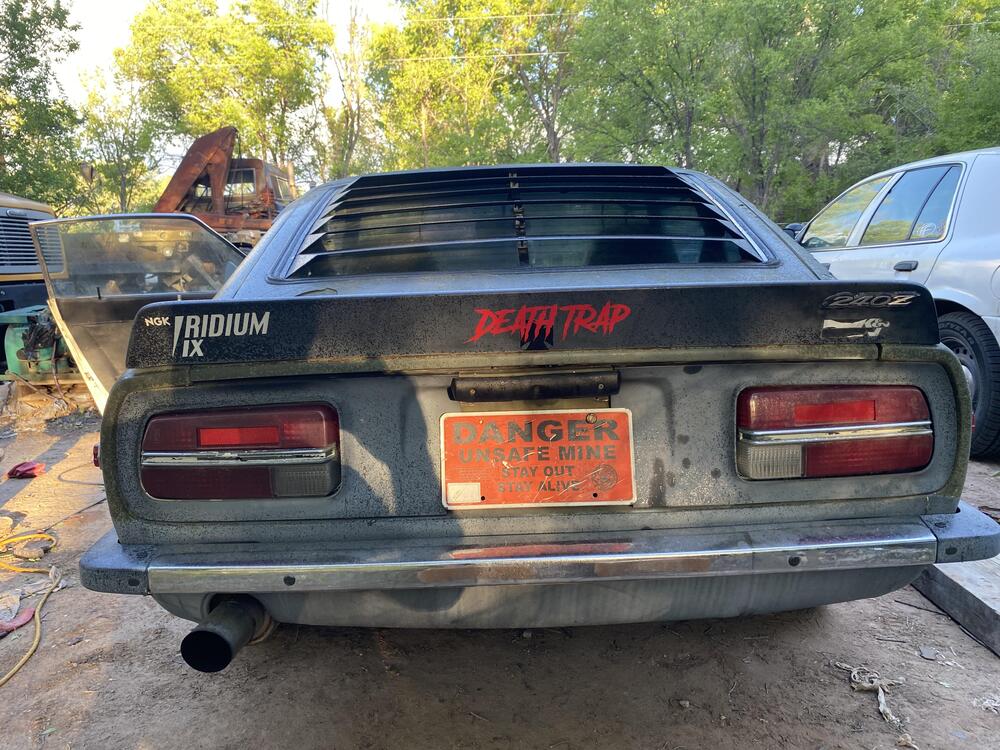
So just a little progress of working on my 1972 240Z that I’ve resurrected twice now since I’ve owned it from 2005 or so ..it’s been a long project and not perfect but it was my daily driver . This is where it sat for 8 years untouched next to my 1988 Toyota pickup in December 2024 All loaded up for the 1500 mile return trip in my 1986 f350 diesel I pulled from a field for 500 bucks a year earlier Once I got it home I got it running pretty easy but noticed an immediate problem in the form a rattling noise from the timing cover to discover a broken tensioner and missing bolts . After that issue was fixed I decided it was time to install my big brake kit I got from a junk yard 260z about 15 years ago .. don’t know who made the brackets but the calipers and rotors are from a 90’s corvette .. 12 inch rotors too ..don’t worry about the wheel studs they have been replaced since It also needed the carbs tuned As you can see they were way off plus I discoved the carbs were loose too ..explained why the erratic idle lol I just had to get a star road shift knob Radio was full or rodent crap and figured why not add a wide band afr gauge from auto meter in its place along with my driving light switch ..I still haven’t cleaned the marker off Also had to make my own headlight relay upgrade to run flosser h4 90/100watt ralley lights It’s an L28 with N47 head from a 1979 289zx upgrades include 45dcoe triple Webbers . Msa 3 into 2 headers msa stage 3 schneider cam along with schneider valve springs Holley blue fuel pump . Kameari Racing distributor and fidanza light flywheel with centerforce clutch . Also running a single grove dampener . I will get the engine rebuilt in the future and get it up to 10.1 cr so maybe I’d get more out of the mods I have ..but still runs great and sounds amazing .
-
saturday night music thread
The writer's version. People have their unique talents. Three Dog Night made it work.
- Yesterday
-
cooling fan blade condition
It does look like Nissan still sell them and a better price too. Looks like darom has it sorted out.
-
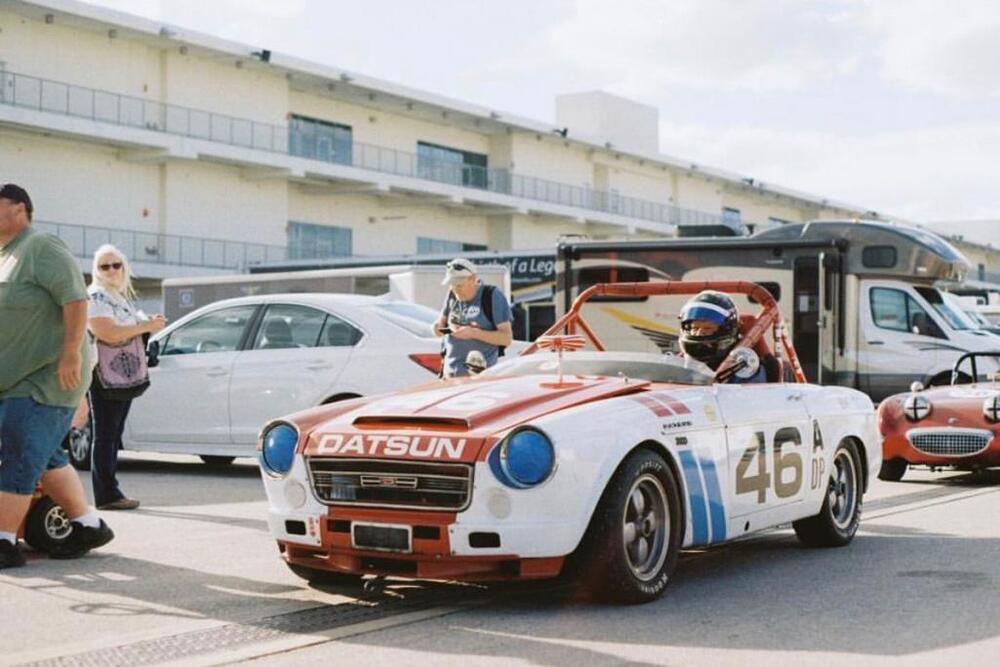
Let's show vintage racing pictures. I'll start.
-
Z Restoration Progam
Good information. Thanks for the followup. There was none, now there is some. Well done.
-
The OG 240Z - Reanimation Project
And I'm probably going to end up with a generic powder fire extinguisher. Yes, they are messy, but they're so ubiquitous and easy to get. I'm thinking if things get dire enough that I have to use it, the last thing I'm going to be concerned with is the mess.
- Last week
-
Battery hold-down bracket firewall bolt size?
As of this date it is NLA from Nissan !
-
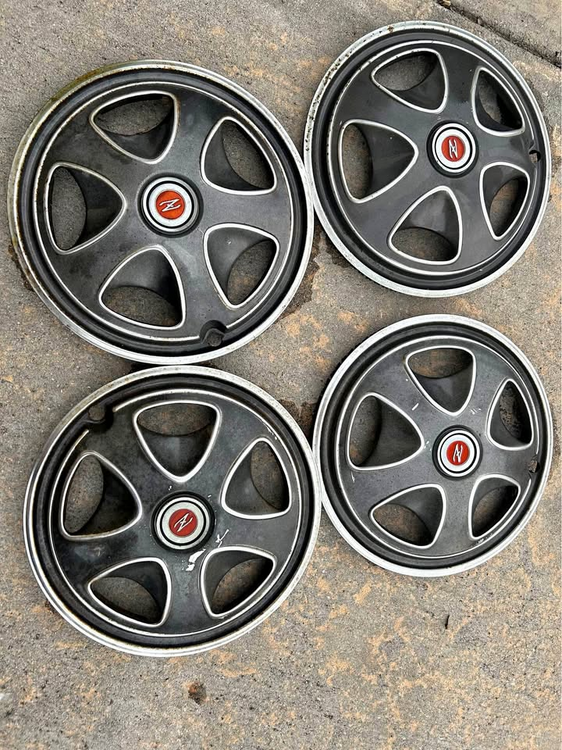
Scallop hubcaps. Pretty nice too.
Facebook marketplace $100. https://www.facebook.com/marketplace/item/1265446158557795/?ref=browse_tab&referral_code=marketplace_general&referral_story_type=general&tracking=%7B%22qid%22%3A%22-8463486491996509719%22%2C%22mf_story_key%22%3A%224732611337300919667%22%2C%22top_level_post_id%22%3A%224732611337300919667%22%2C%22commerce_rank_obj%22%3A%22%7B%5C%22target_id%5C%22%3A4732611337300919667%2C%5C%22target_type%5C%22%3A6%2C%5C%22primary_position%5C%22%3A78%2C%5C%22ranking_signature%5C%22%3A8680157257122688039%2C%5C%22commerce_channel%5C%22%3A501%2C%5C%22value%5C%22%3A0.00097449886189893%2C%5C%22upsell_type%5C%22%3A3523%2C%5C%22candidate_retrieval_source_map%5C%22%3A%7B%5C%2225209201332002879%5C%22%3A626%2C%5C%2225037753125825021%5C%22%3A626%7D%2C%5C%22grouping_info%5C%22%3Anull%7D%22%2C%22lightning_feed_qid%22%3A%22-8463536038638864453%22%2C%22lightning_feed_ranking_signature%22%3A%228680157257122688039%22%7D
-
Oil Pan Drain Plug Crush Washer Direction?
Does it not catch onto the threads, one side of the notch isn't turned up a little? I don't understand any other reason for it.
-
ZCG PARTS: Z Car Garage KW Suspension!
http://www.zcarblog.com/wp-content/uploads/2025/08/477795897_1011115091063663_8033328159812275787_n.jpg Our Z Car Garage KW V3 Suspension is available in limited quantities. These coil-overs offer game-changing performance suitable for street, track and daily-driving for your S30 Datsun Z car. http://www.zcarblog.com/wp-content/uploads/2025/08/IMG_6502.jpg http://www.zcarblog.com/wp-content/uploads/2025/08/481184467_1024485623059943_4520335096885803442_n.jpghttp://www.zcarblog.com/wp-content/uploads/2025/08/480235492_1011115124396993_2250652587135409969_n.jpg http://www.zcarblog.com/wp-content/uploads/2025/08/IMG_8079.jpg View the suspension installed on Sung Kang’s RB26DETT-powered Datsun 240Z, Larry Chen’s SR20DET-Powered Datsun 240Z, James’ turbocharged L-series powered Datsun 240Z, Mrs. Butters, our Series 1 shop 240z and more client cars in the photos below. For more information on ordering and pricing please contact RobATzcargarage.com. Christopher’s 1977 Datsun 280Z http://www.zcarblog.com/wp-content/uploads/2025/03/IMG_0100.jpghttp://www.zcarblog.com/wp-content/uploads/2025/04/79132B3E-9580-4354-8193-A495343542AA.jpg http://www.zcarblog.com/wp-content/uploads/2024/04/Snapinsta.app_435453951_1100584987877003_6251338209217300970_n_1080.jpg Rashid’s Datsun 240Z http://www.zcarblog.com/wp-content/uploads/2023/12/IMG_3644-1024x768.jpeghttp://www.zcarblog.com/wp-content/uploads/2023/12/IMG_3668-1024x768.jpeg http://www.zcarblog.com/wp-content/uploads/2023/12/IMG_3660-768x1024.jpeg Larry Chen’s SR20DET-Powered Datsun 240Z http://www.zcarblog.com/wp-content/uploads/2025/08/482238822_1031449779030194_8541949018636167241_n.jpg David’s Datsun 240Z http://www.zcarblog.com/wp-content/uploads/2023/12/IMG_3914-768x1024.jpeg http://www.zcarblog.com/wp-content/uploads/2023/12/IMG_3658-1024x768.jpeg Sung Kang’s RB26DETT-powered Datsun 240Z http://www.zcarblog.com/wp-content/uploads/2023/04/230321attctn01_AD4I1590-1024x683-1.jpeghttp://www.zcarblog.com/wp-content/uploads/2021/10/IMG_6847-768x1024.jpeg http://www.zcarblog.com/wp-content/uploads/2025/08/489963857_10161147860356524_8556000592169917657_n-scaled.jpg Rick’s BRE-240Z inspired track car http://www.zcarblog.com/wp-content/uploads/2022/12/320600770_1009589563765747_4277675222190800456_n-1024x892.jpeghttp://www.zcarblog.com/wp-content/uploads/2025/08/IMG_7934.jpg http://www.zcarblog.com/wp-content/uploads/2025/08/IMG_7942.jpg Yoni’s Datsun 240Z http://www.zcarblog.com/wp-content/uploads/2025/08/482246435_1031972718977900_6077886151500554509_n.jpg James’ turbocharged L-series powered Datsun 240Z http://www.zcarblog.com/wp-content/uploads/2022/03/IMG_6794-1024x768.jpeg Mrs. Butters, our Series 1 shop 240z http://www.zcarblog.com/wp-content/uploads/2024/12/468610894_1296792398175930_6743499117304711_n.jpg http://www.zcarblog.com/wp-content/uploads/2025/08/508182070_10161384649461524_7603414350984985404_n.jpg View the full article
- Tire size. Confirm once and for all...
-
Looking for a nice 240Z Front Hood to fit 1972 Z
Hi, I'm looking for a nice hood for my '72 Z. Anybody got a nice one for sale? I'm located in Seattle, WA. Thanks!! JH
-
240Z Hood Front Lip Corners - Need stock reference photos for my repair.
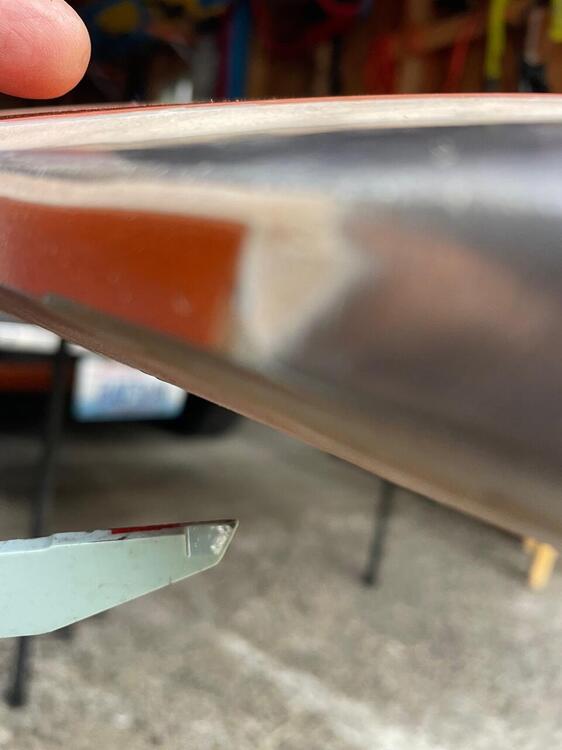
Ahh. This is interesting & helpful. My tip is closer to the red (stock) above. And my corner (1 of them ) is closer to the red one too, although I'm uncovering atleast 1/8 inch of bondo (see pic) Question #2: Does anyone have any info/experience related to the remanufactured steel hoods available on ebay, etc? I see that they're going for anywhere from $800-ish to $1200-ish. I'm considering that as option. Any thoughts, advice, etc? Thnx! JH
-
New Nissan Canada commercial
Thanks for sharing! I don't watch much TV, so when Diane told me there was a Nissan ad with what looked like a yellow version of my 240, I had to check. Cool ad, although there will be those among us who find the rubber-burning, wheel-spinning parts to be "deeply offensive," to which I say, "suck it up baby sisters."
-
Bodywork Issues
That makes sense, but the problem is really just cosmetic (once I've confirmed that the exhaust problem has been corrected), so I don't think I want to go as far as adding a second strut to correct it. I don't think all cars with the single strut have raised driver side hatches, though, so I'm thinking that there are other ways to address this. If the hinges are worn, that might be a place to start, or maybe the two hinges just need to be adjusted relative to each other to lower the driver's side? At this point I haven't glued the seals back in or attempted to adjust the hinges or latch, so I think I'll move ahead with those steps and see how close I can get things to flush. The upper portion of the new inner seal is almost vertical when installed. When the hatch is closed the vertical portion slides outward against the underside of the hatch to create the seal, so I expect it to compress a little over time as well. As an aside, I was happy to see that, with a couple of careful initial closings where I manipulated the seal at the hinges, the seal is sliding over them properly. Both my original seal and the replacement were mangled by the hinges. I've been procrastinating on the next steps because I know I'm not going to enjoy removing the adhesive from the car before gluing the new seal in, but I'll report back when I've made progress.
-
Round top SU carb piston binding
If you do one at the time you have a (mirrored) example there to see how it sits/comes together again.. and... ALWAYS make pictures BEFORE taking apart.. it's so easy to miss that sequence of the little rings/parts on there! RULE NUMBER ONE: MAKE PICTURES OF EVERYTHING YOUR GONNA RESTORE!
-
The Development Story & Specification Of The European Spec Datsun 240Z
The first versions were (as far as i know) never sold officially, but only delivered for testing as prototypes. Some ended up in private ownership. but i guess those were very few. The upgraded suspension, front and rear spoilers, 5-speed transmission and the different front turn signals, etc were standard equipment on all european cars. Even though the parts catalogue lists things as optional, as far as i know, most (all?) european Datsun importers didn't sell any dealership options and most cars were sold as standard european final spec cars. Aside from Portugal, of course, which had their own specifications.
-
240z Door Hinge Rebuild
I think it can be unbolted with the fenders on. just enough room with a swivel, a bent wrench, some friends and a 6 pack. lol The backing plates can be retrieved if they fall, use a stick magnet, you might have to remove the ECU, Holding them in place while starting the bolts is another circus act. get some friends back over and a 12 pack. haha!!
-
4/75 Datsun 280Z; Leaf Green, CA market, 250K miles, Long Term Project 03/2023-
@MH77280Z has done this on a 280 if I remember correctly. May be of some help to you. After seeing what you did to your older garage, I'm a little claustrophobic and it made me cringe, I am so happy for you and your new space. 🙂
-
Wheel and tire sets 240z, 280zx, 3oozx
IRON CROSS WHEELS SOLD.
-
240z Engine, 280zx Engine, 280zxt Engine
280ZX TURBO engine SOLD.
-
My two swiss S30Z Fairlady Restoration build thread
Over the last few days, I was busy in my workshop, getting some small tasks completed on my Z project. Time for a little update. After installing the partial gearbox to test fit the brackets and stuff, I realized that the gear lever is too much in the front of the hole: A quick look into the manual made it clear: I had mounted the lever the wrong way. So, gear box rear-end out, gear lever corrected: And back in, this time, correctly: Then I spent a lot of time at the rear end of the car. I had to clean the holes for the three taillight panels, so that the plastic rivets would lock properly. After that i re-installed the taillights, and ensured the sealing rubbers were set correctly, using my "string-trick": Next i have to finish the slightly worn chrome / metal trim around the taillight panels and get them back on: While working at the rear, i decided to install all those fasteners, stoppers, alignment pieces, guides, etc. Like those rubber spacers: And trunk dampers. I have a NOS set of everything, so the installed ones are only temporary, to not mess up the new ones: And the last bit at the rear end was to align the trunk / hatch. The body shop had installed some spacers to get it straight, but after all the parts got installed, I had to remove them again and massage a few areas lightly to have it all aligned: Next? Seat rails. I had those Bride seat rails from my Histrix lying around for a while and wanted to test-fit them. I'm most probably going to use something different setup in the end, but I wanted to ensure that the distance and position of the seat mounting brackets was right after all the bodywork. I thought the best way was to use the original seat rail mounting studs and spacers. Since I had several highly-damaged OEM seats, I hammered out the fasteners and used the plastic spacers after grinding away the factory spot-welds on the bolts. This worked unexpectedly well, so now I can do some trials with different seats, rails and setups - to figure out what will go into the car in the end. Next: I realized that I didn't have any upper rear number plate light in my part collection. Luckily, Florian from Datsun-Autowerk was kind enough to send me one of his broken ones including some other parts (more on that in a following post), for trials. After puzzling and glueing all the parts together... I could mock it up all together and drill the required holes. Fun-fact: I always thought that slight "dent" in the gray metal piece was a production fault of the reproduction panel, but it's actually there to make space for the number plate lighting bolt. After the holes were done and cleaned, I got the upper plastic part installed. And then the whole thing with the lens. Note all bolts and the light itself are temporary units for the mock-up only, final parts will be correct and fresh. Looks good if you ask me! Special thanks to the person who gave me the hint with the holes (I wasn't able to find the mail anymore, but you know who you are!) And then? Spoiler-Alert. Again. After i realized that the currently installed spoiler is beyond repair, I remembered that I had another one lying around. But it was bent in all directions and super wobbly: But all the brackets were still in good shape, so I gave them a little wire wheel brush and corrosion protection: I placed them on our terrace, which tends to get quite hot now in summer And let it take the heat every day. My thought was that the Polyurethane gets weak and goes either back in its natural shape by itself, or can be massaged. At the end, some areas turned out to be pretty stiff, even with heat and required some proper bending over my special bending bench :-) It didn't really work out. It's way better than in the beginning, but still super wobbly. I thought if i'd install it on the car, it might straighten itself a bit. Let's see. I have my doubts. The good thing is, there seems to be another spoiler on the horizon :-) I've seen worse ones, but yeah. Not good enough for me: I also went through my plated fasteners and sorted them a bit. I got various boxes over the years from various collectors and Z-specialists, so it was about time to ensure I find what I'm looking for :-) The to-do list gets smaller by the week. And there's not much left from my side, but some tricky bits. I guess I've earned my favorite Japanese "Hitachino Nest" beer for today.


