


Leaderboard

 Subscriber


Popular Content
Showing content with the highest reputation on 01/21/2024 in all areas
-
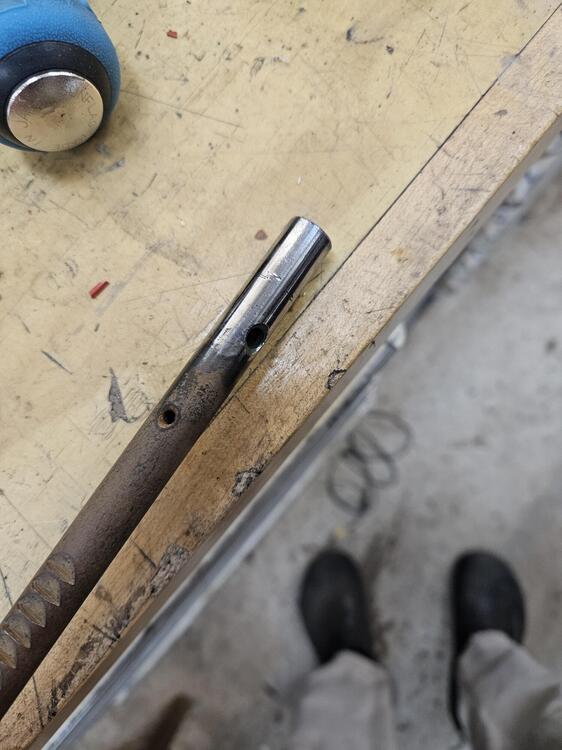
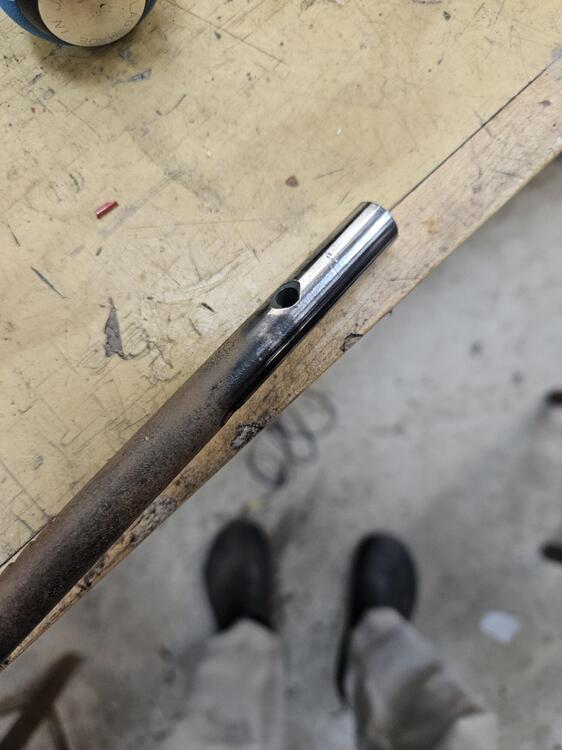
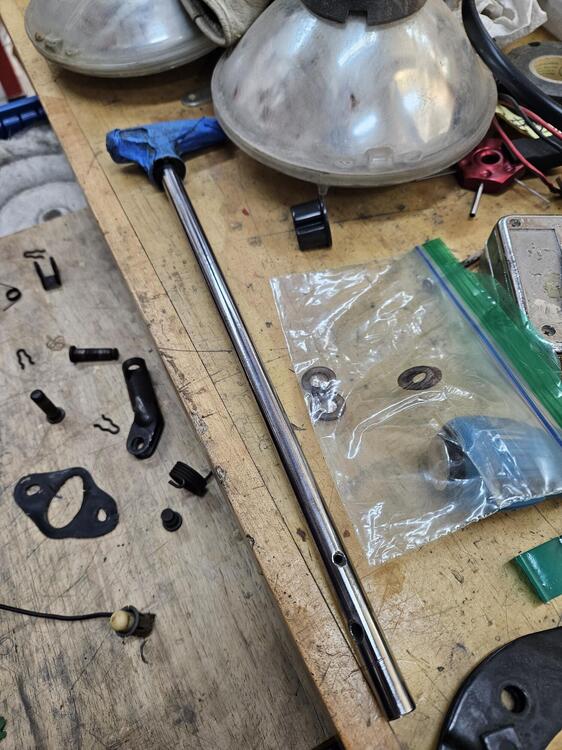
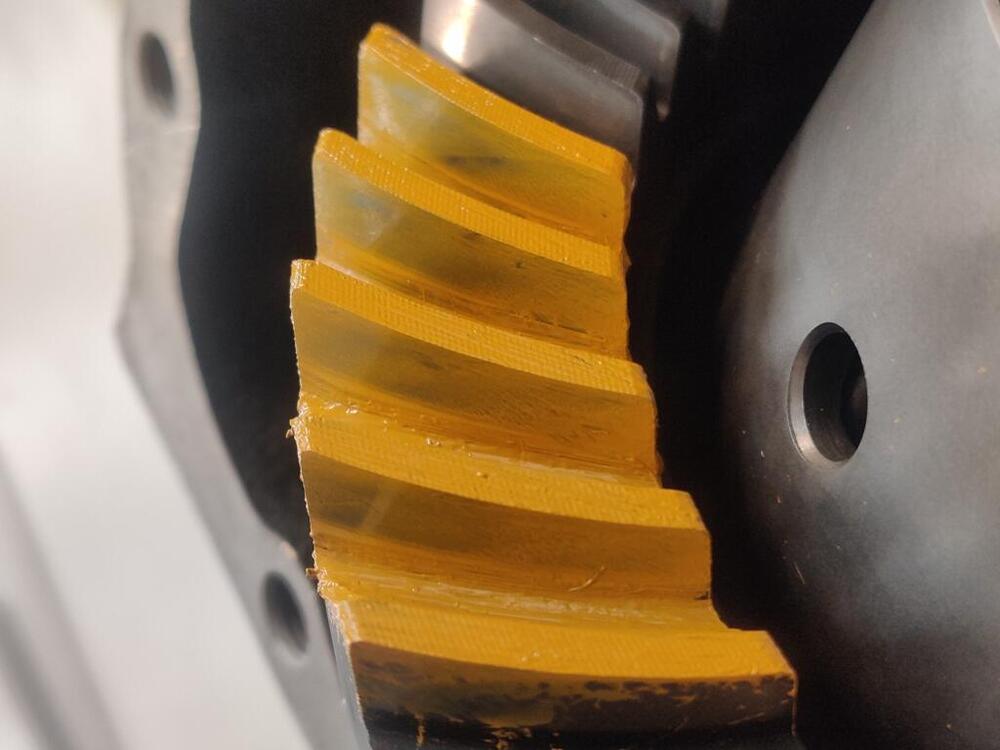
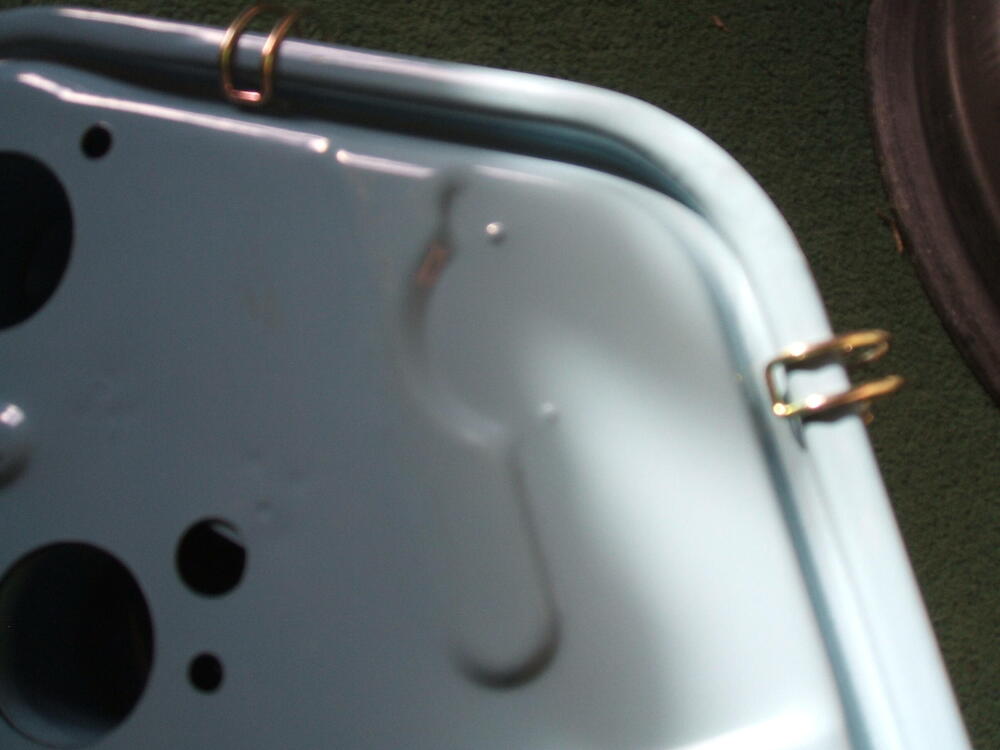
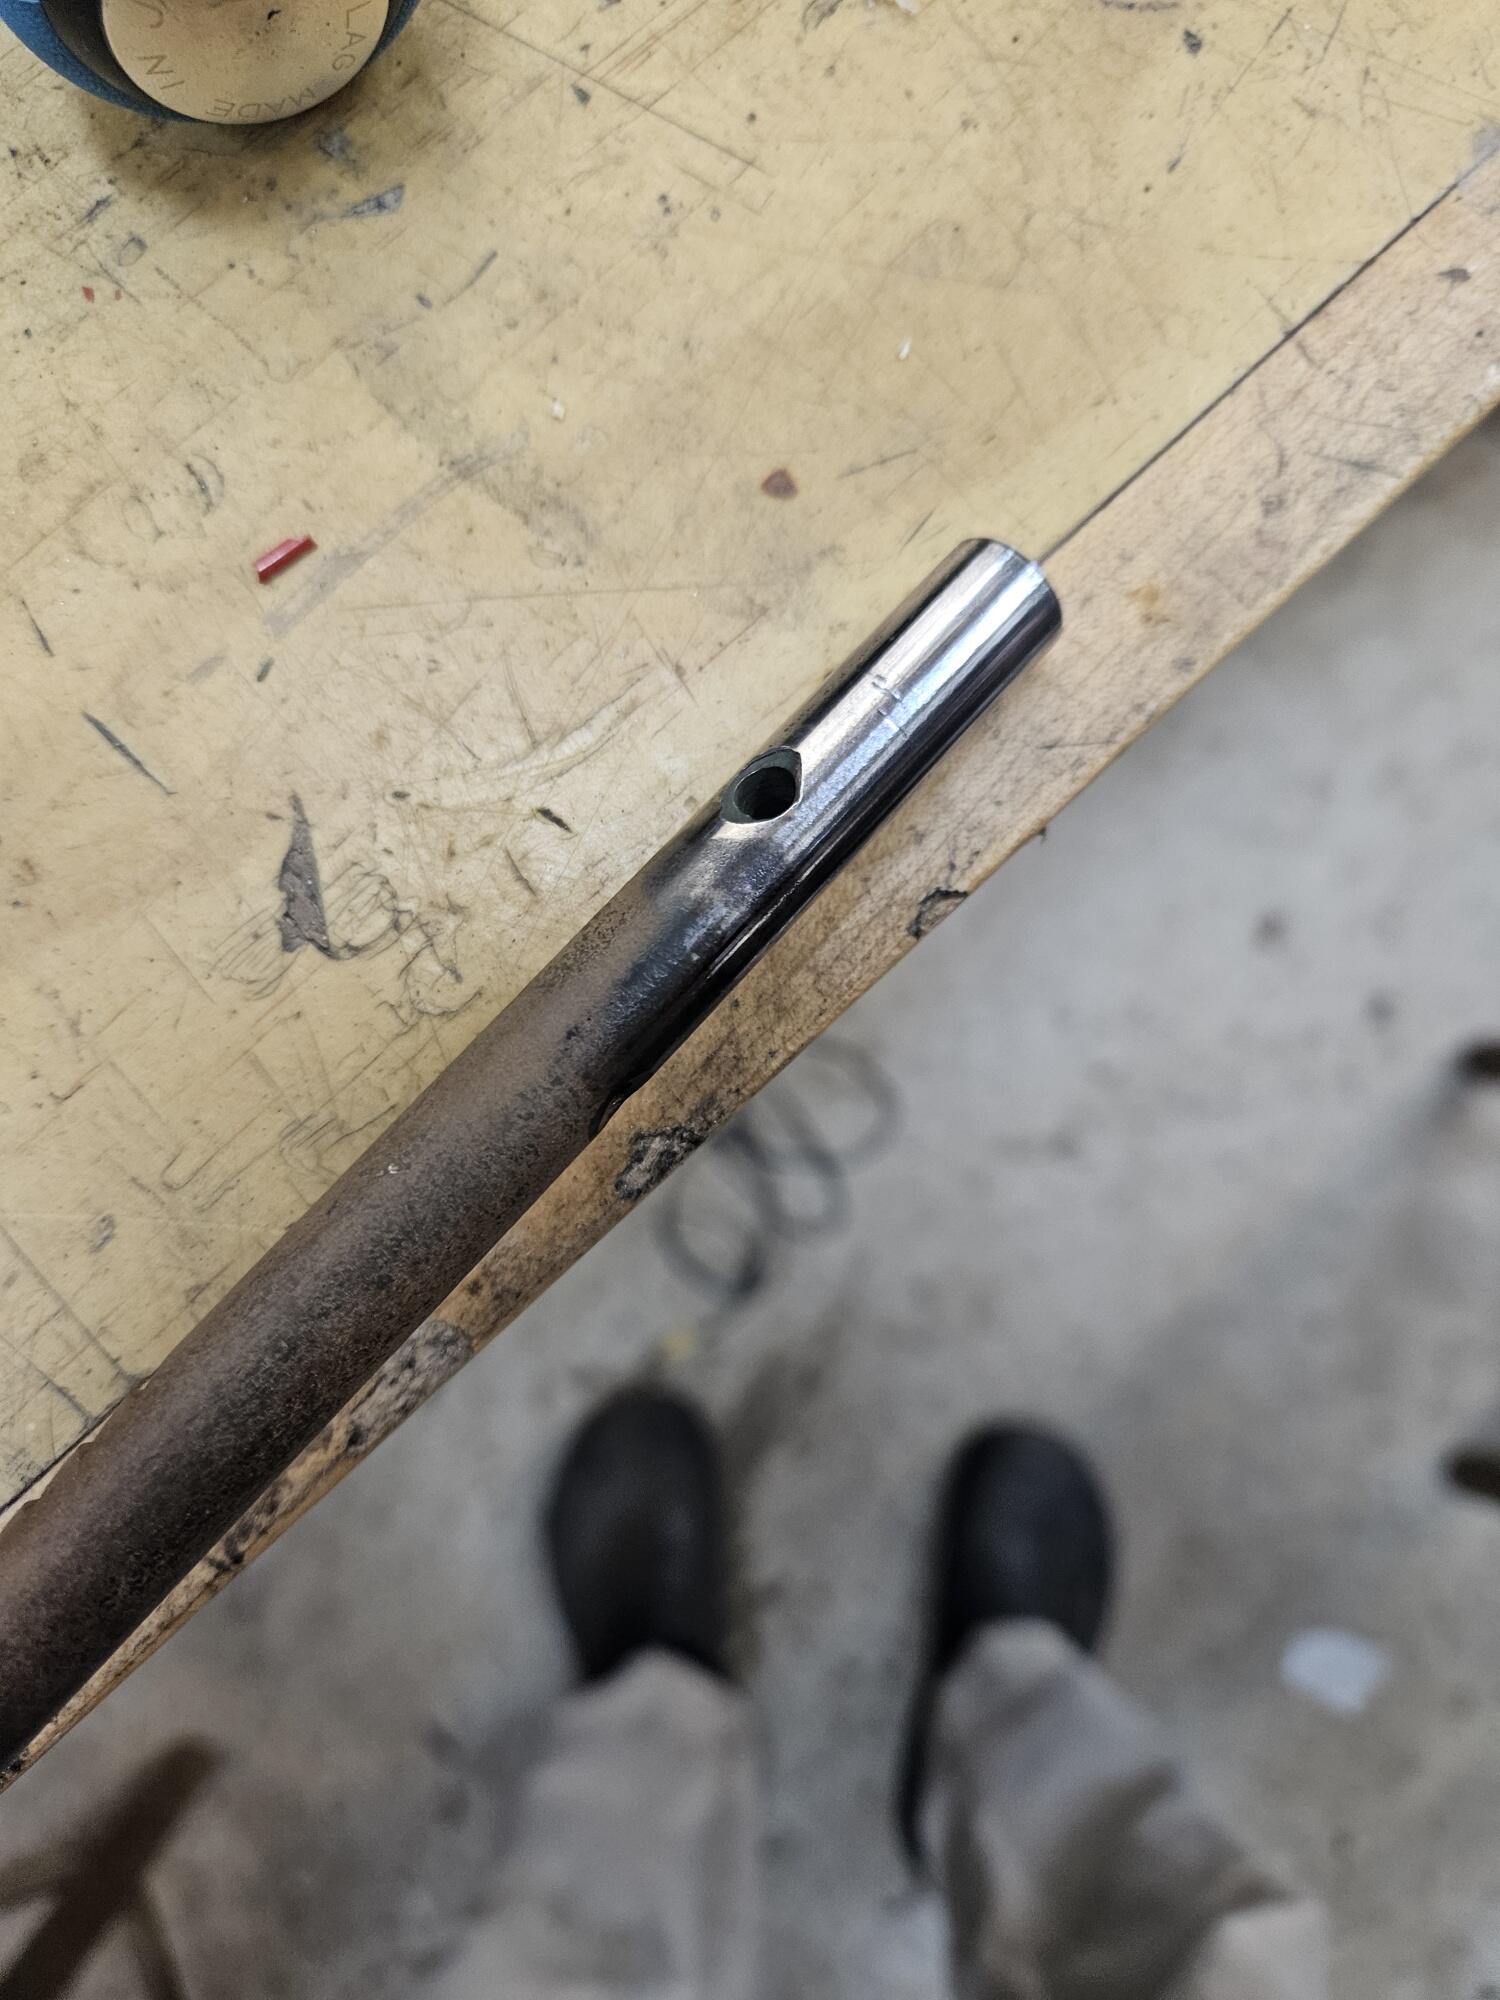
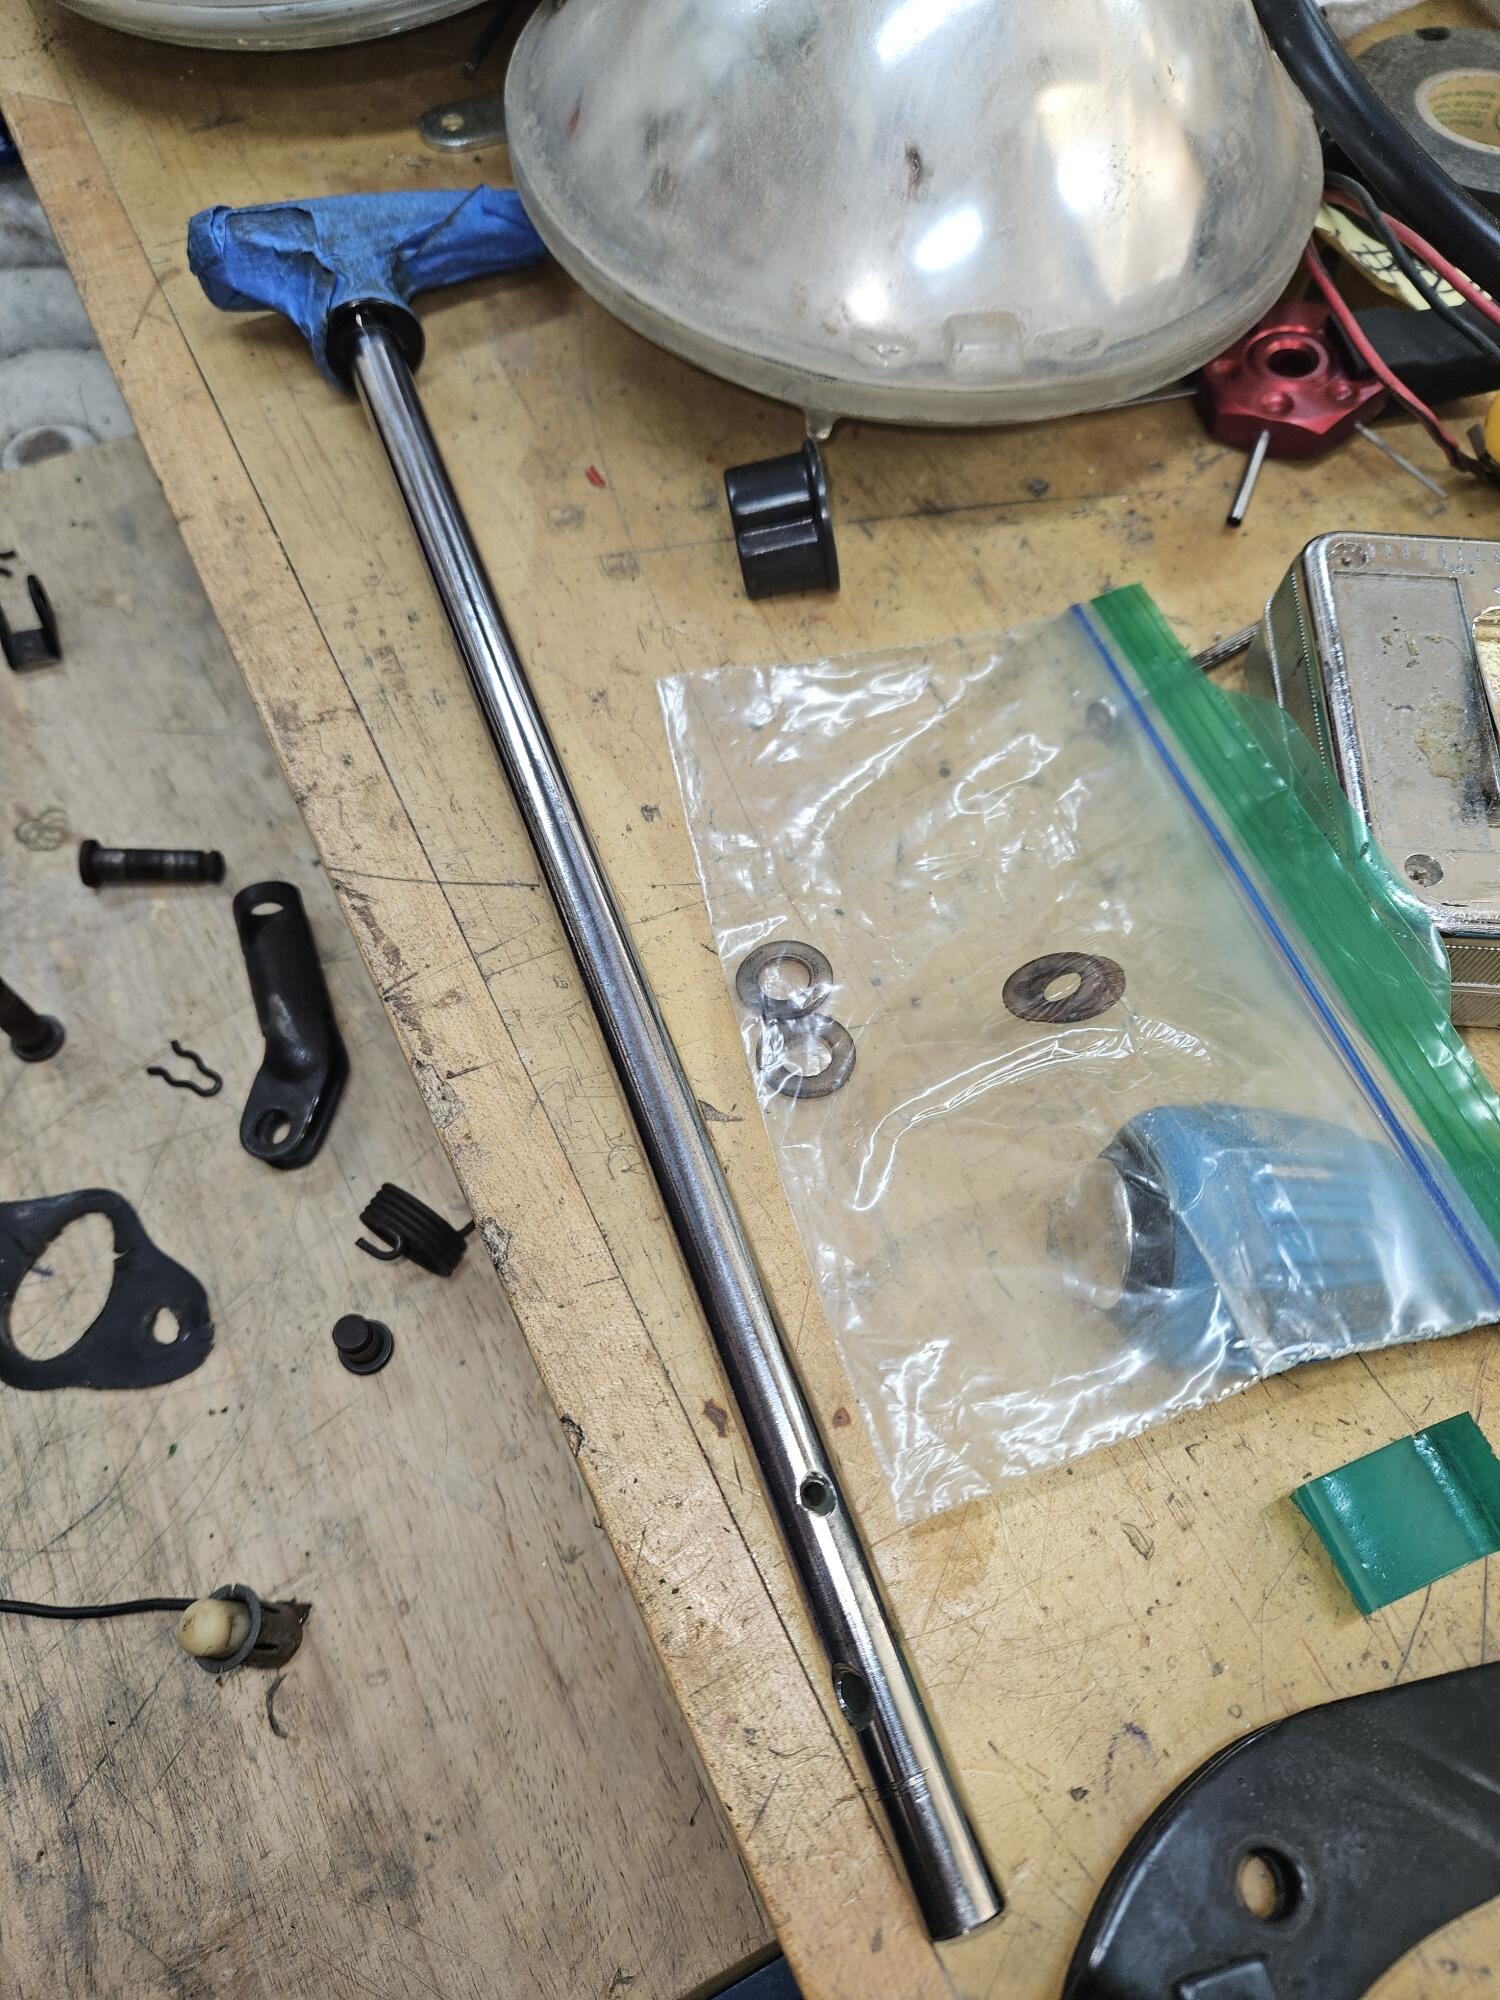
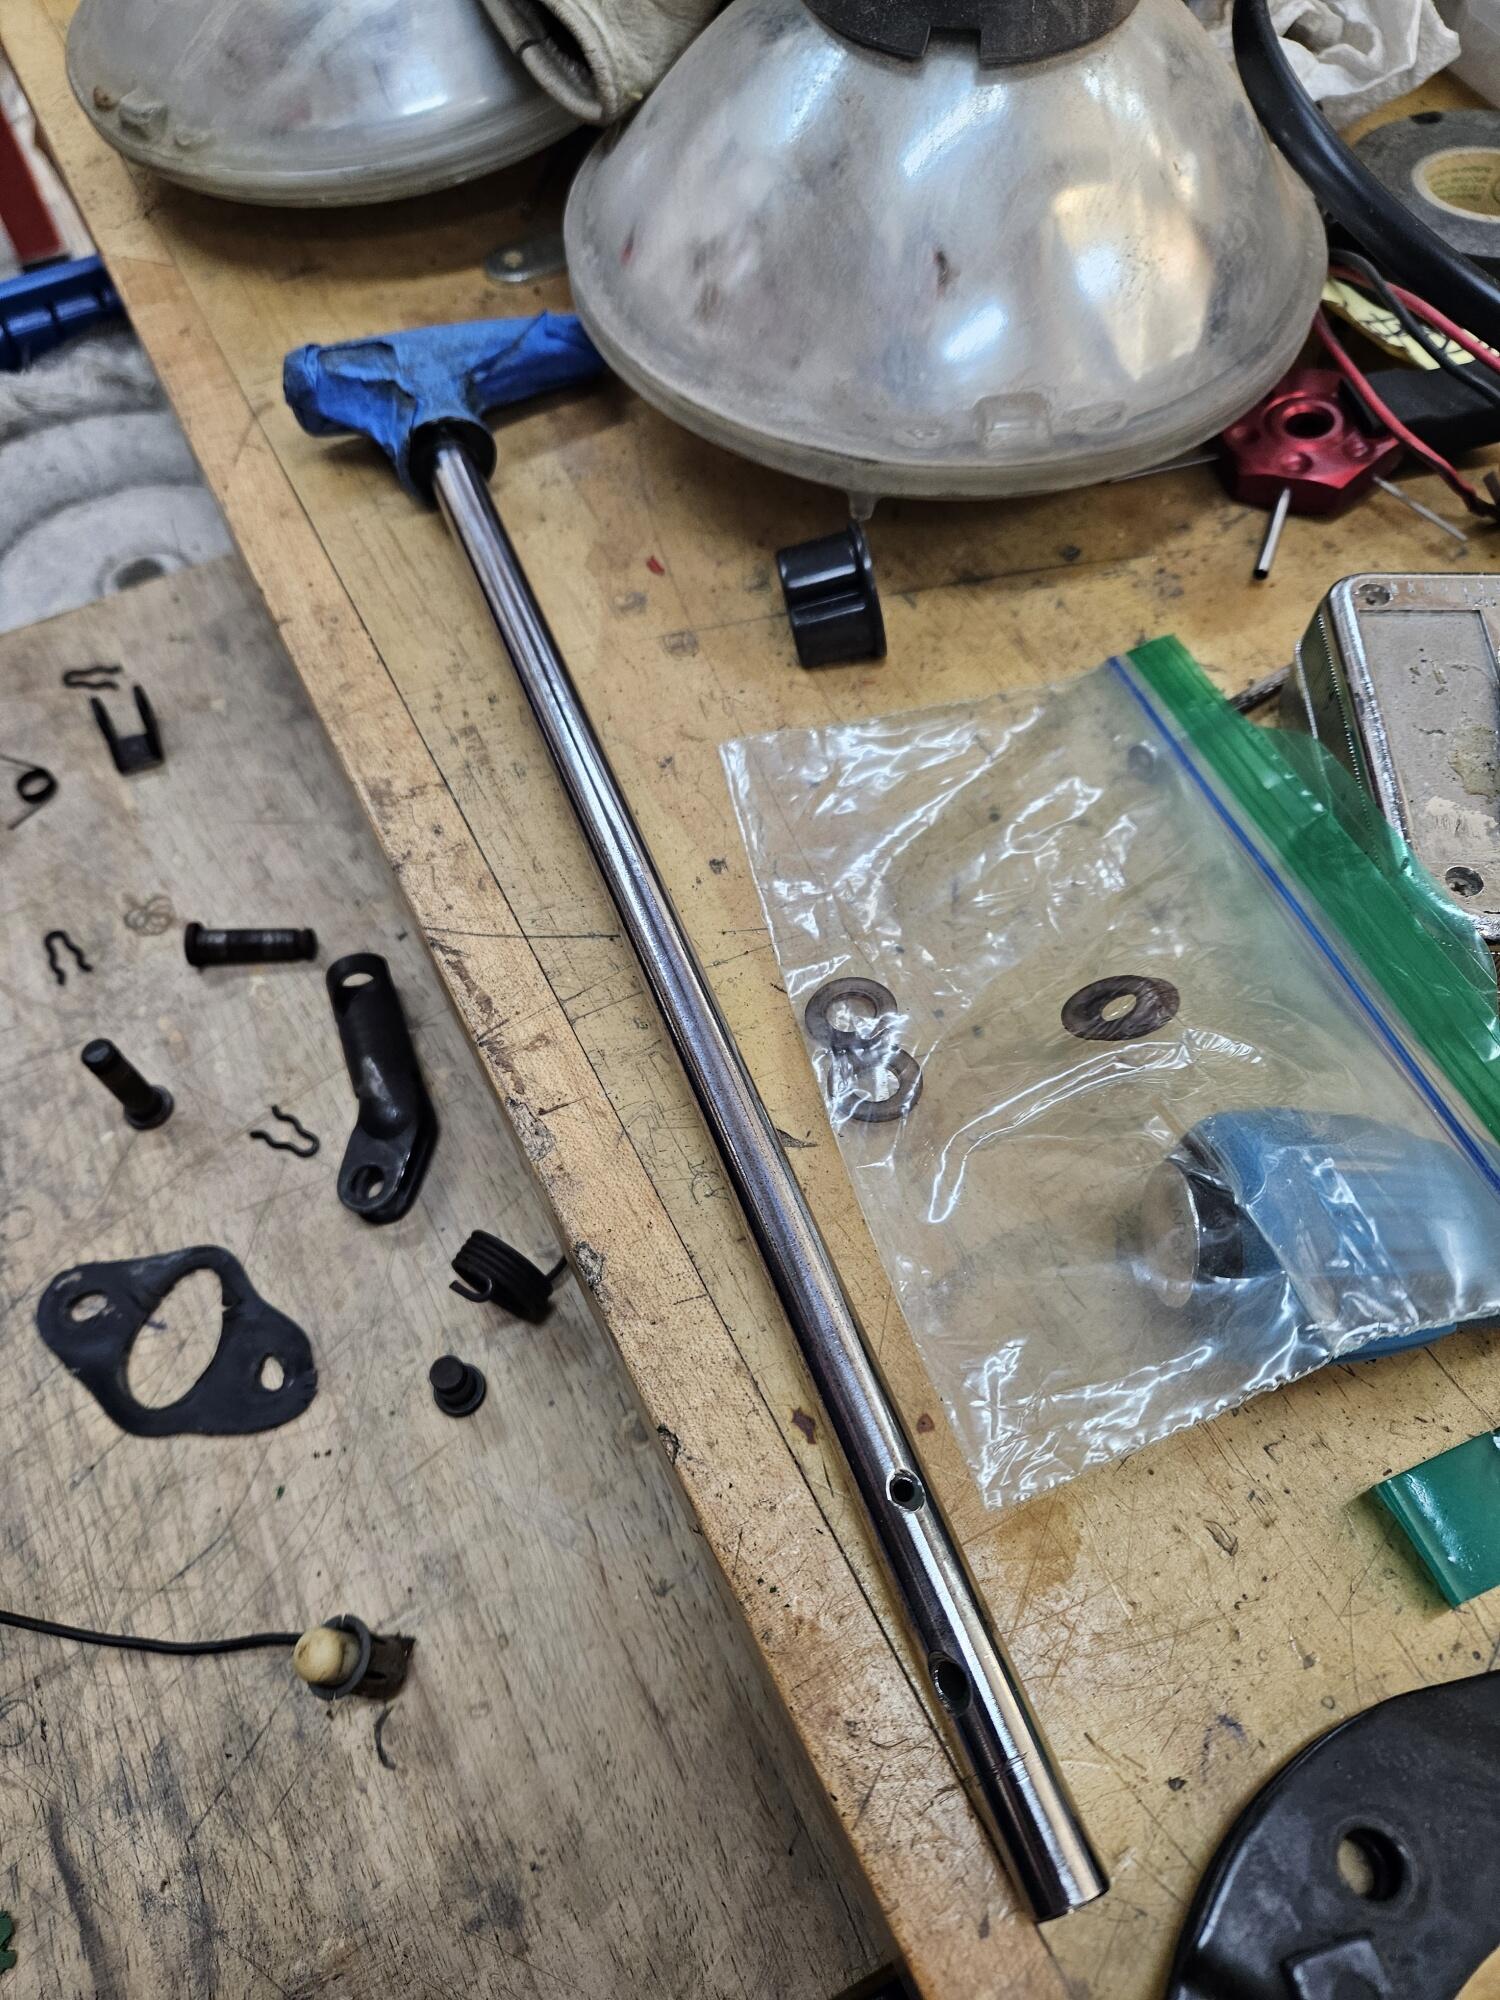
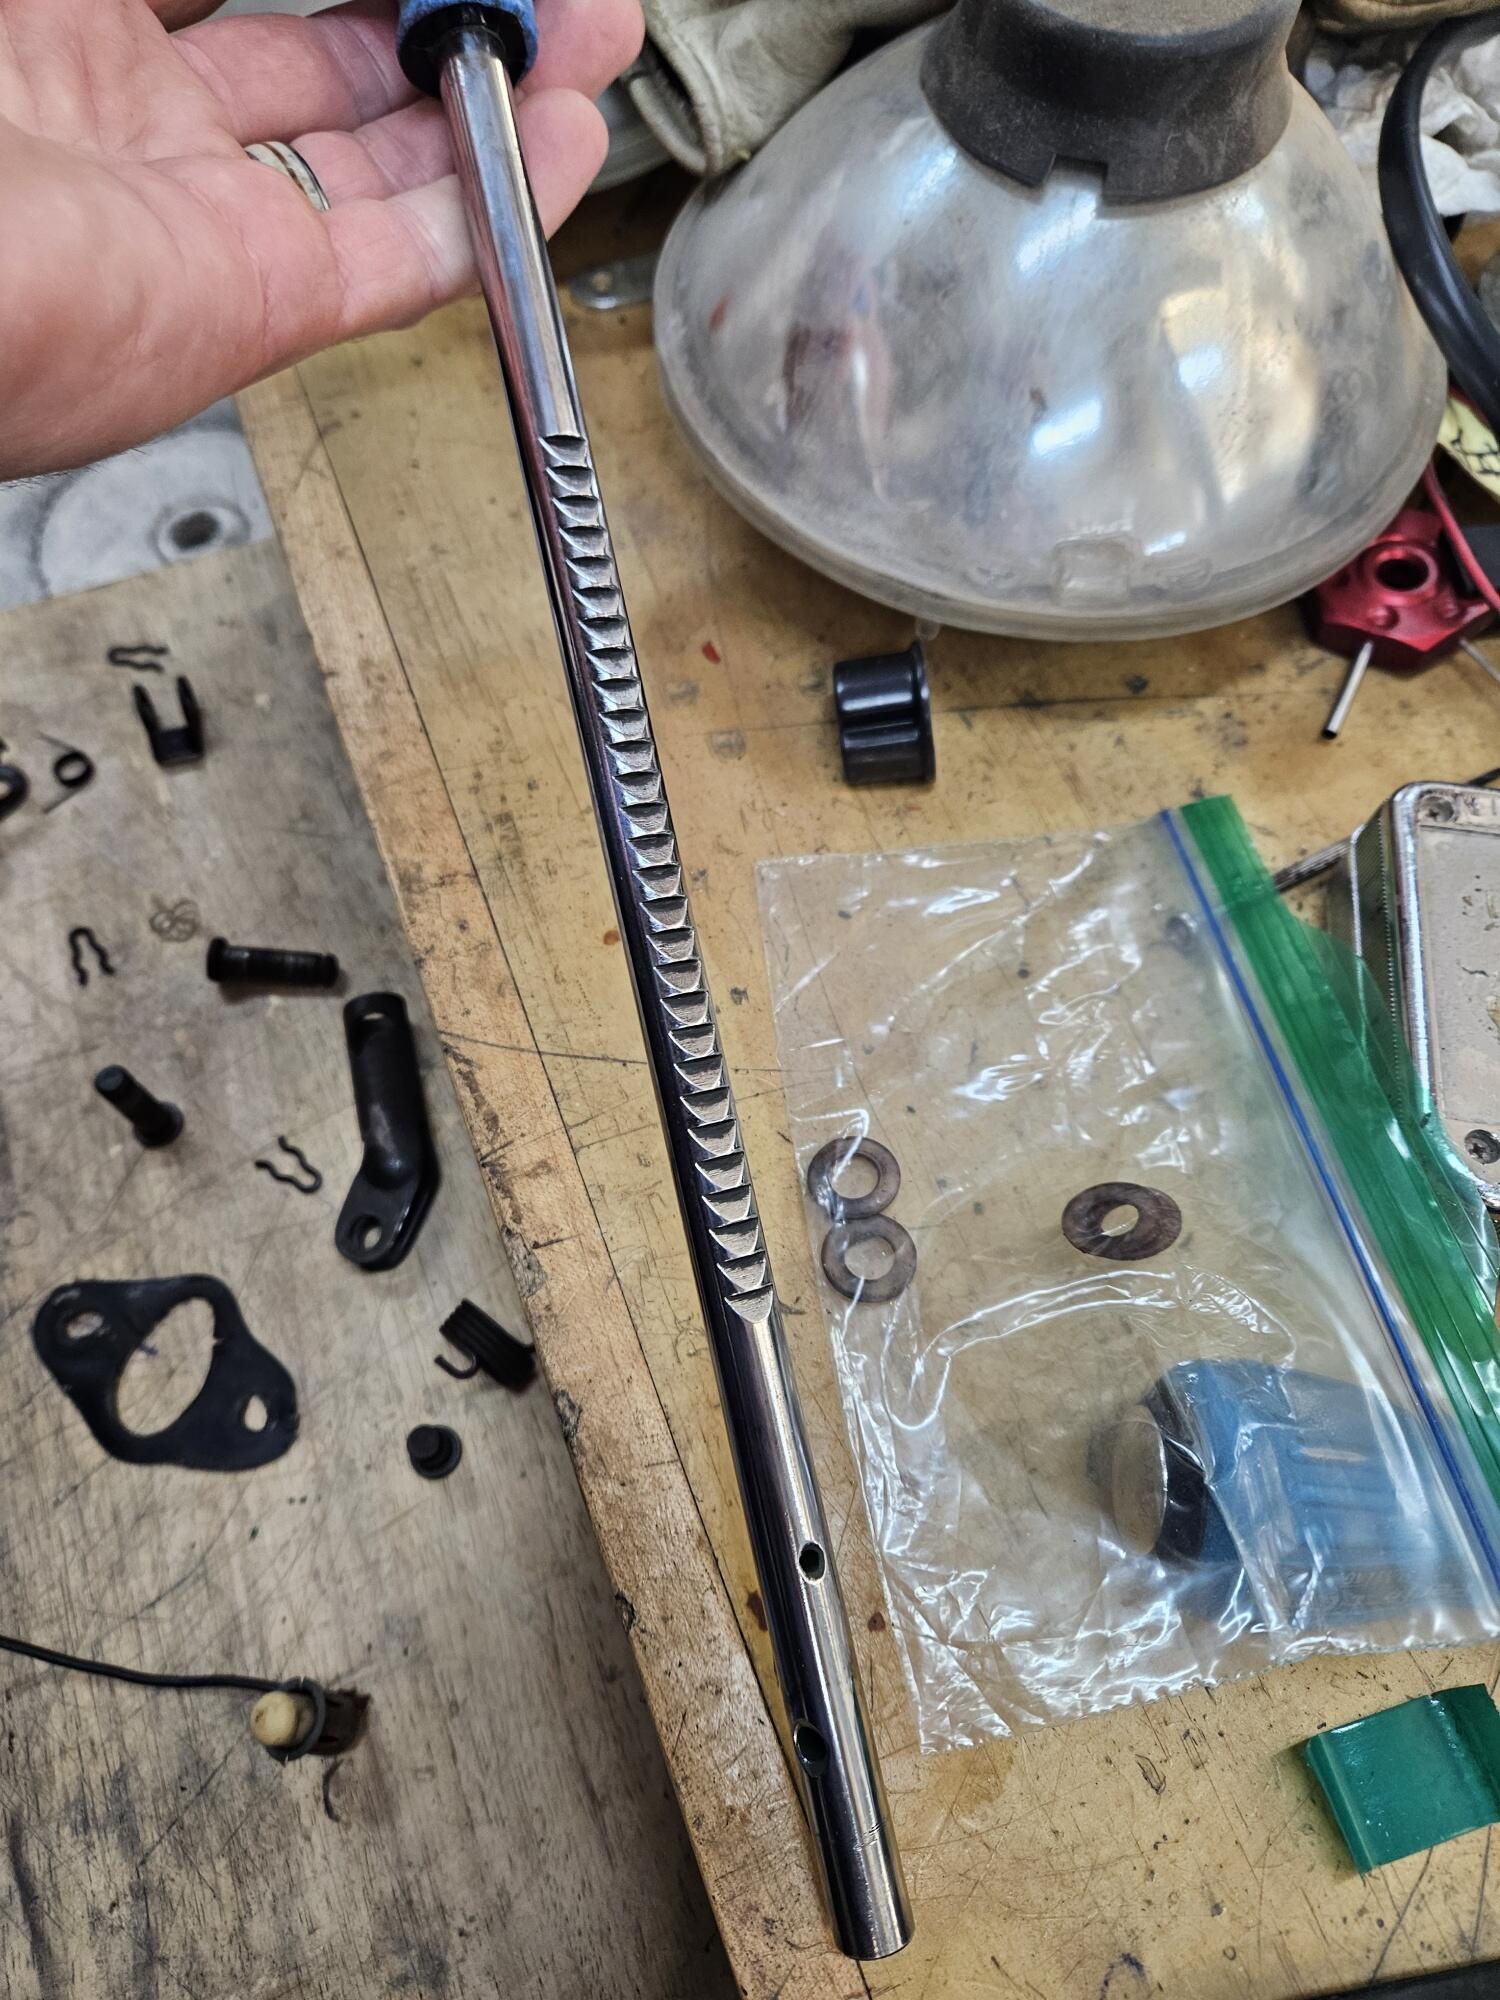
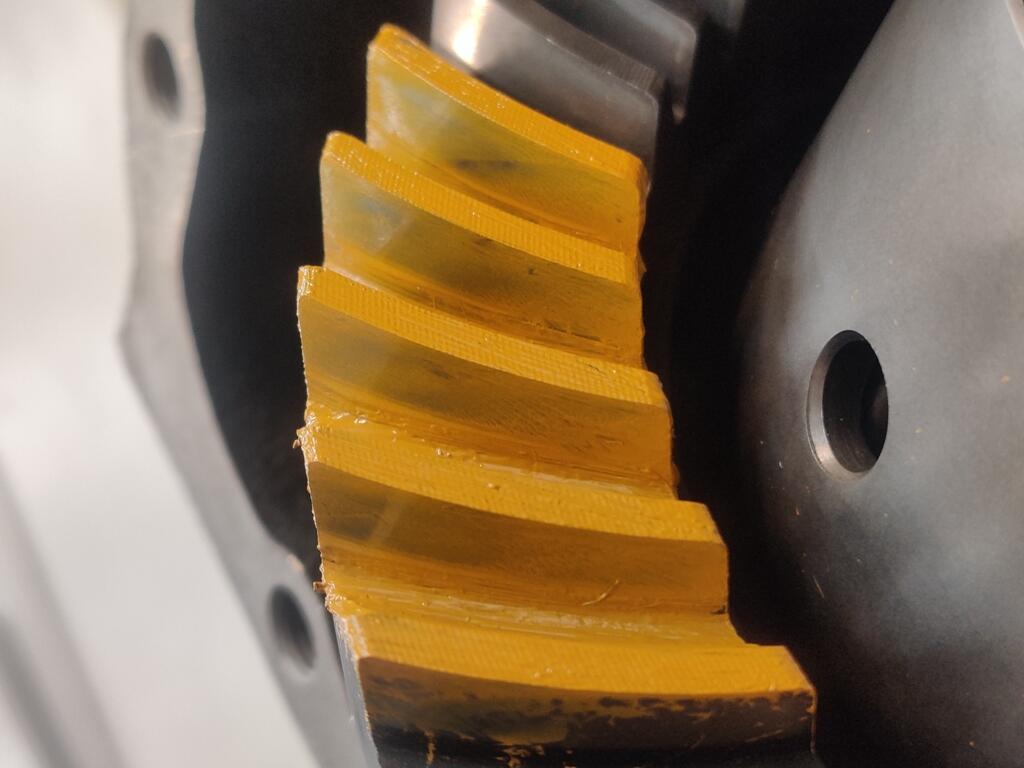
Thanks for the links. I will check them out tomorrow, as I continue to think through everything, especially after my experimentation today. From my efforts today, I realized that moving the side shims changes back lash a lot. My issue is, I can't get the backlash in spec just by moving the side shim(s) as the manual instructs. As assembled at the factory, this differential has one left side shim and two right side shims. To reduce backlash, you move shims from the left to the right side. Per the manual, you are not to change the overall thickness of the side shims. Mine are: left = .3mm (0.0118") and right = one .4mm (0.0157") and one .5mm (0.0197"). With everything assembled with factory shims in all locations (including the .126" pinion shim), and pre-load on the pinion bearings set to specification, I had about .020" of back lash. Moving my one left side shim to the right reduced back lash to about .014-.015". With no other shims to shift to the right side, I first became aware of my problem - replacing the pinion bearings changed the pinion to crown relationship from the factory setup. I went ahead with getting some pics of the wipe pattern on the coast and drive sides of the crown gear: Contact appears to me to show heavy on toe (inboard edge of tooth) on coast (first pic), and heavy on heel (outboard edge of tooth) on drive (second pic). Today, I put three shims (supposedly .001" each) in with the .126" pinion adjusting shim. In theory, that moved the pinion .003" closer to the crown gear. I moved the shim that was originally on the left side, back to the left side. I measured backlash at about .018" to .019. I went ahead with getting another set of pics of the wipe pattern on the coast and drive sides of the crown gear: It looks to me like the contact on the coast side is close to the "correct" position. However, on the drive side, it looks like the contact is still too much on the "heel". After posting those pics earlier today, I went back out to the garage, and moved the left side shim to the right, and measured backlash. It was about .010" to .011". That was very interesting - it seemed like I had improved things overall by bringing the pinion gear about .003" closer to the crown gear. As a last iteration today, I cut some more shims. I took the pinion out again, and stacked a total of eight .001" shims together with the .126" factory shim. My thought was that perhaps moving the pinion .008" closer instead of .003", I'd be able to keep the one shim on the left. This time, when I got everything back together, when I torqued the pinion nut to the same 124-ish ft lbs, the amount of effort required to rotate the pinion was much higher than the times before. I backed the nut off again and retorqued. Same thing. Somehow, the pinion turning torque has become excessive - it is difficult to turn by hand. I am not sure what happened but I was using the same torque wrench that I had issues with on the front strut nut. Anyway, I will attempt to sort that out tomorrow. I see the torque spec in the differential manual that was uploaded to the resource section today is 101-123 ft lbs., while my factory service manual shows 122.9-144.6 ft lbs. Dang it. Anyway, I measured backlash, again with the side shims back in their factory locations. This time, I got about .014"-.015". So, with the side shims in their factory locations, I appear to have progressed from about .20" with the .126" pinion shim, to .018"-.019" with the three .001" shims added, to .014-.015" with the eight .001" shims added. And when moving the left shim to the right in combination also, I measured backlash at about .014-.015" with the .126" pinion shim, to about 010"-.011" with the three .001" shims added, and about .007"-.008" with the eight .001" shims added. It took most of the day for me to work on this. In conclusion, stacking a bunch of home made .001" shims in addition the existing factory shim which is between the rear pinion gear and the rear pinion gear bearing, does not change backlash a lot. But it does change it. By comparison, moving side flange shims has a larger effect on backlash. Either tomorrow, or some day next week, I'll pick back up on this again. It helped to write up all my observations, to get what I found out today on paper... so to speak. I need to correct the bearing preload. I hope I didn't damage a bearing. I wouldn't think that is likely though. I will back the torque setting down to about 100 and see if that puts the preload back in spec as tested by checking turning torque with the Quaife unit out of the case. If I can get that in spec again, I'll check the tooth contact pattern and see how it looks. I am somewhat excited that I was able to get backlash within spec. I think this is decent progress.


.thumb.jpg.aba2af3f6712678cad1af47825e26c16.jpg)
.thumb.jpg.5321ae98942f8b2d8f9f8bb6ab900828.jpg) 4 points
4 points -
Thank you for the compliment. Even with all the Subaru diffs that interchange, the supply these R180 diffs seems to be more scarce as of late, and they seem to be much more expensive. Since I can't find info like this, I am attempting to capture as much as possible to help both myself and others if they find themselves in the same situation. We shouldn't have to accept that pinion bearings can never be replaced.3 points
-
3 pointsPlugs can verify what you think is a proper tune . I’ve been running programmable EFI for years - those plugs look bad . Something is not right . 17’s would be terrible for an engine that doesn’t have full spark control. I run my engines lean - even my stroker and 15.5-16 is a lean burn for these old engineered engines . I appreciate your effort to make these old Bosch systems tunable - but without any load readings( I assume you use standard dizzy) you are guessing . i would recommend a 123 dizzy if you don’t already run one .3 points
-
3 pointsAFAIK, the rear trim panel on the earliest S30's didn't have removable taillight access covers at all and, when those covers were eventually introduced, they were flat. I think that what you've got in your car is, as you say, taken from a 260Z. All of these interior trim panels are tricky to remove and replace without causing them damage. Also, the Z arrived just at the time when owners were being introduced to higher-quality home sound systems. Many (if not most) Z owners decided that they wanted an aftermarket sound system with stereo and a tape player, as well as something better than the single, small, lo-fi speaker. I expect that a lot of side trim panels got cracked in the process of getting access for wiring and speaker installations. I also think that a lot of rear trim panels got butchered when the owner or installer decided to get creative in order to make big speakers fit.3 points
-
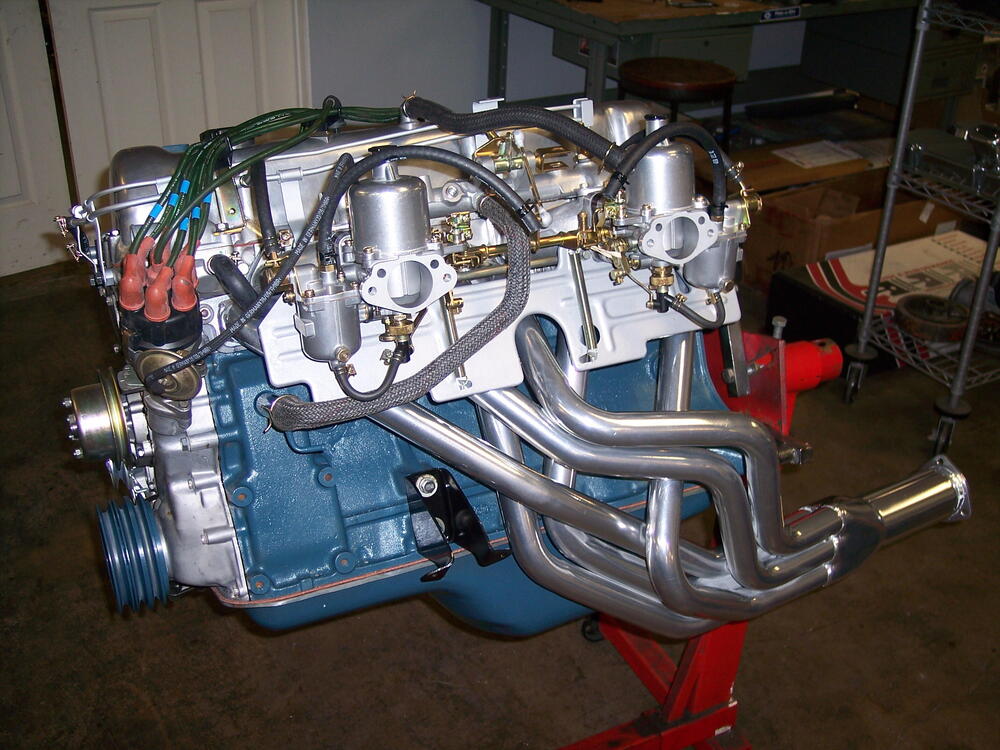
3 pointsHere's a couple of reference pics for you. This is the PCV - Crankcase breather hose in place and the valve cover - air filter hose hanging loose at the top. In this pic the valve cover - air filter hose is connected. Look just to the left of the front carb and you will see a port on the back of the air filter with a black cover. That port is for a hose to the smog pump. When the pump is deleted, the air filter port needs to be blocked. That is the 1" chair leg cover that @siteunseen referred to.
 3 points
 -
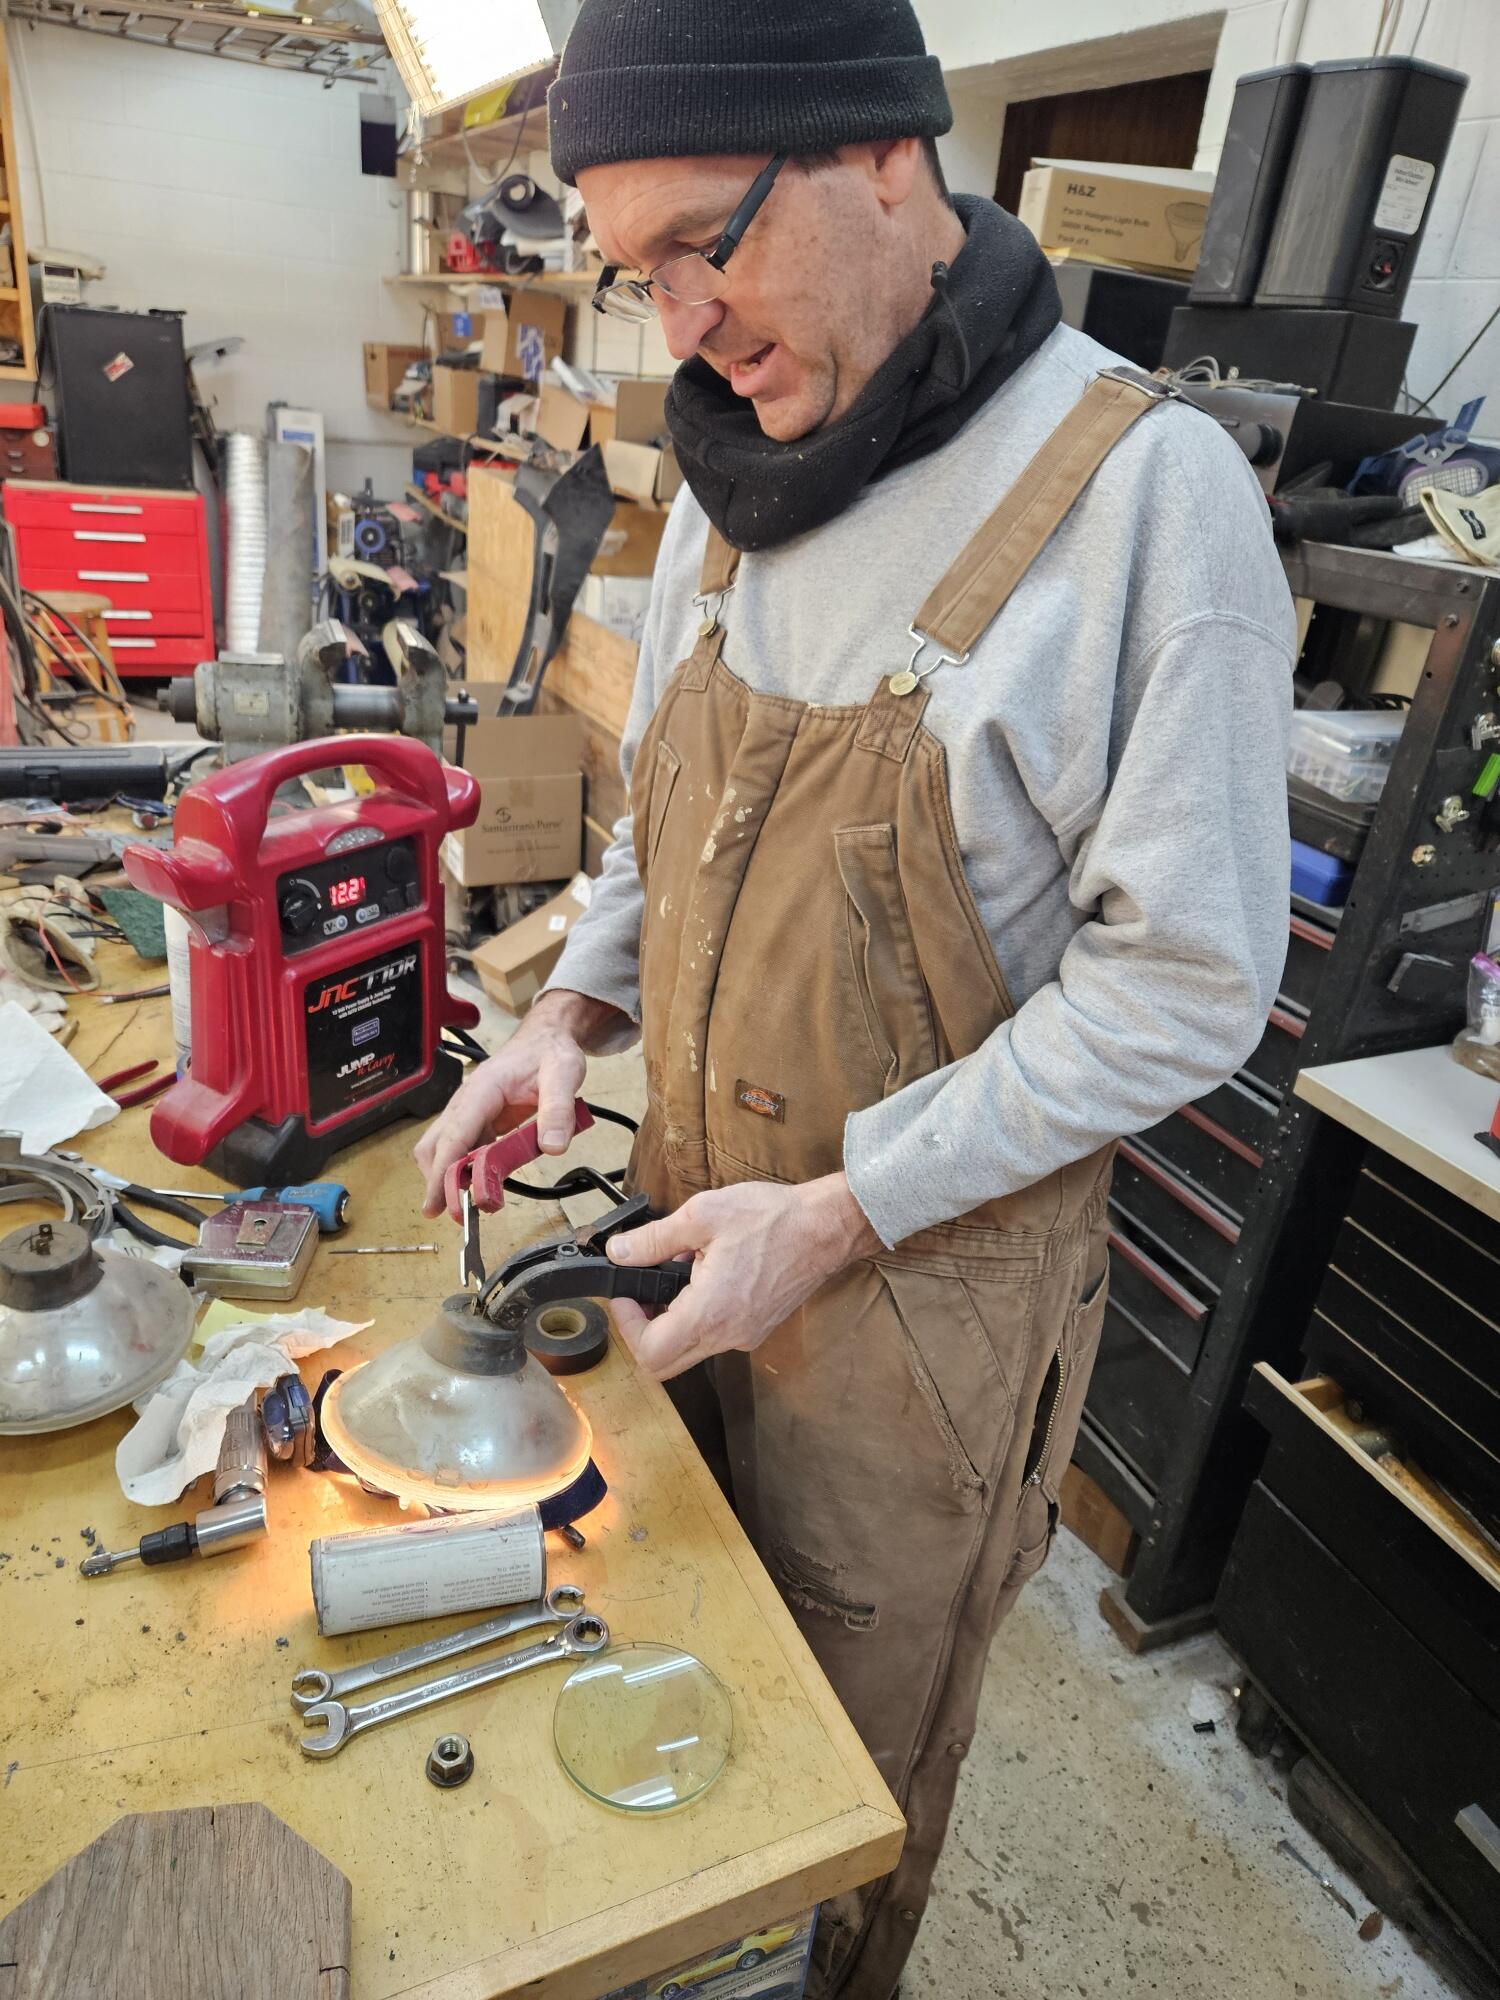
2 pointsTesting headlamp bulbs in the shop the other day. Another use for the jump box. I have an LED kit that SteveJ recommended but I figured I would start this way and then add the LED's in later

 2 points
 -
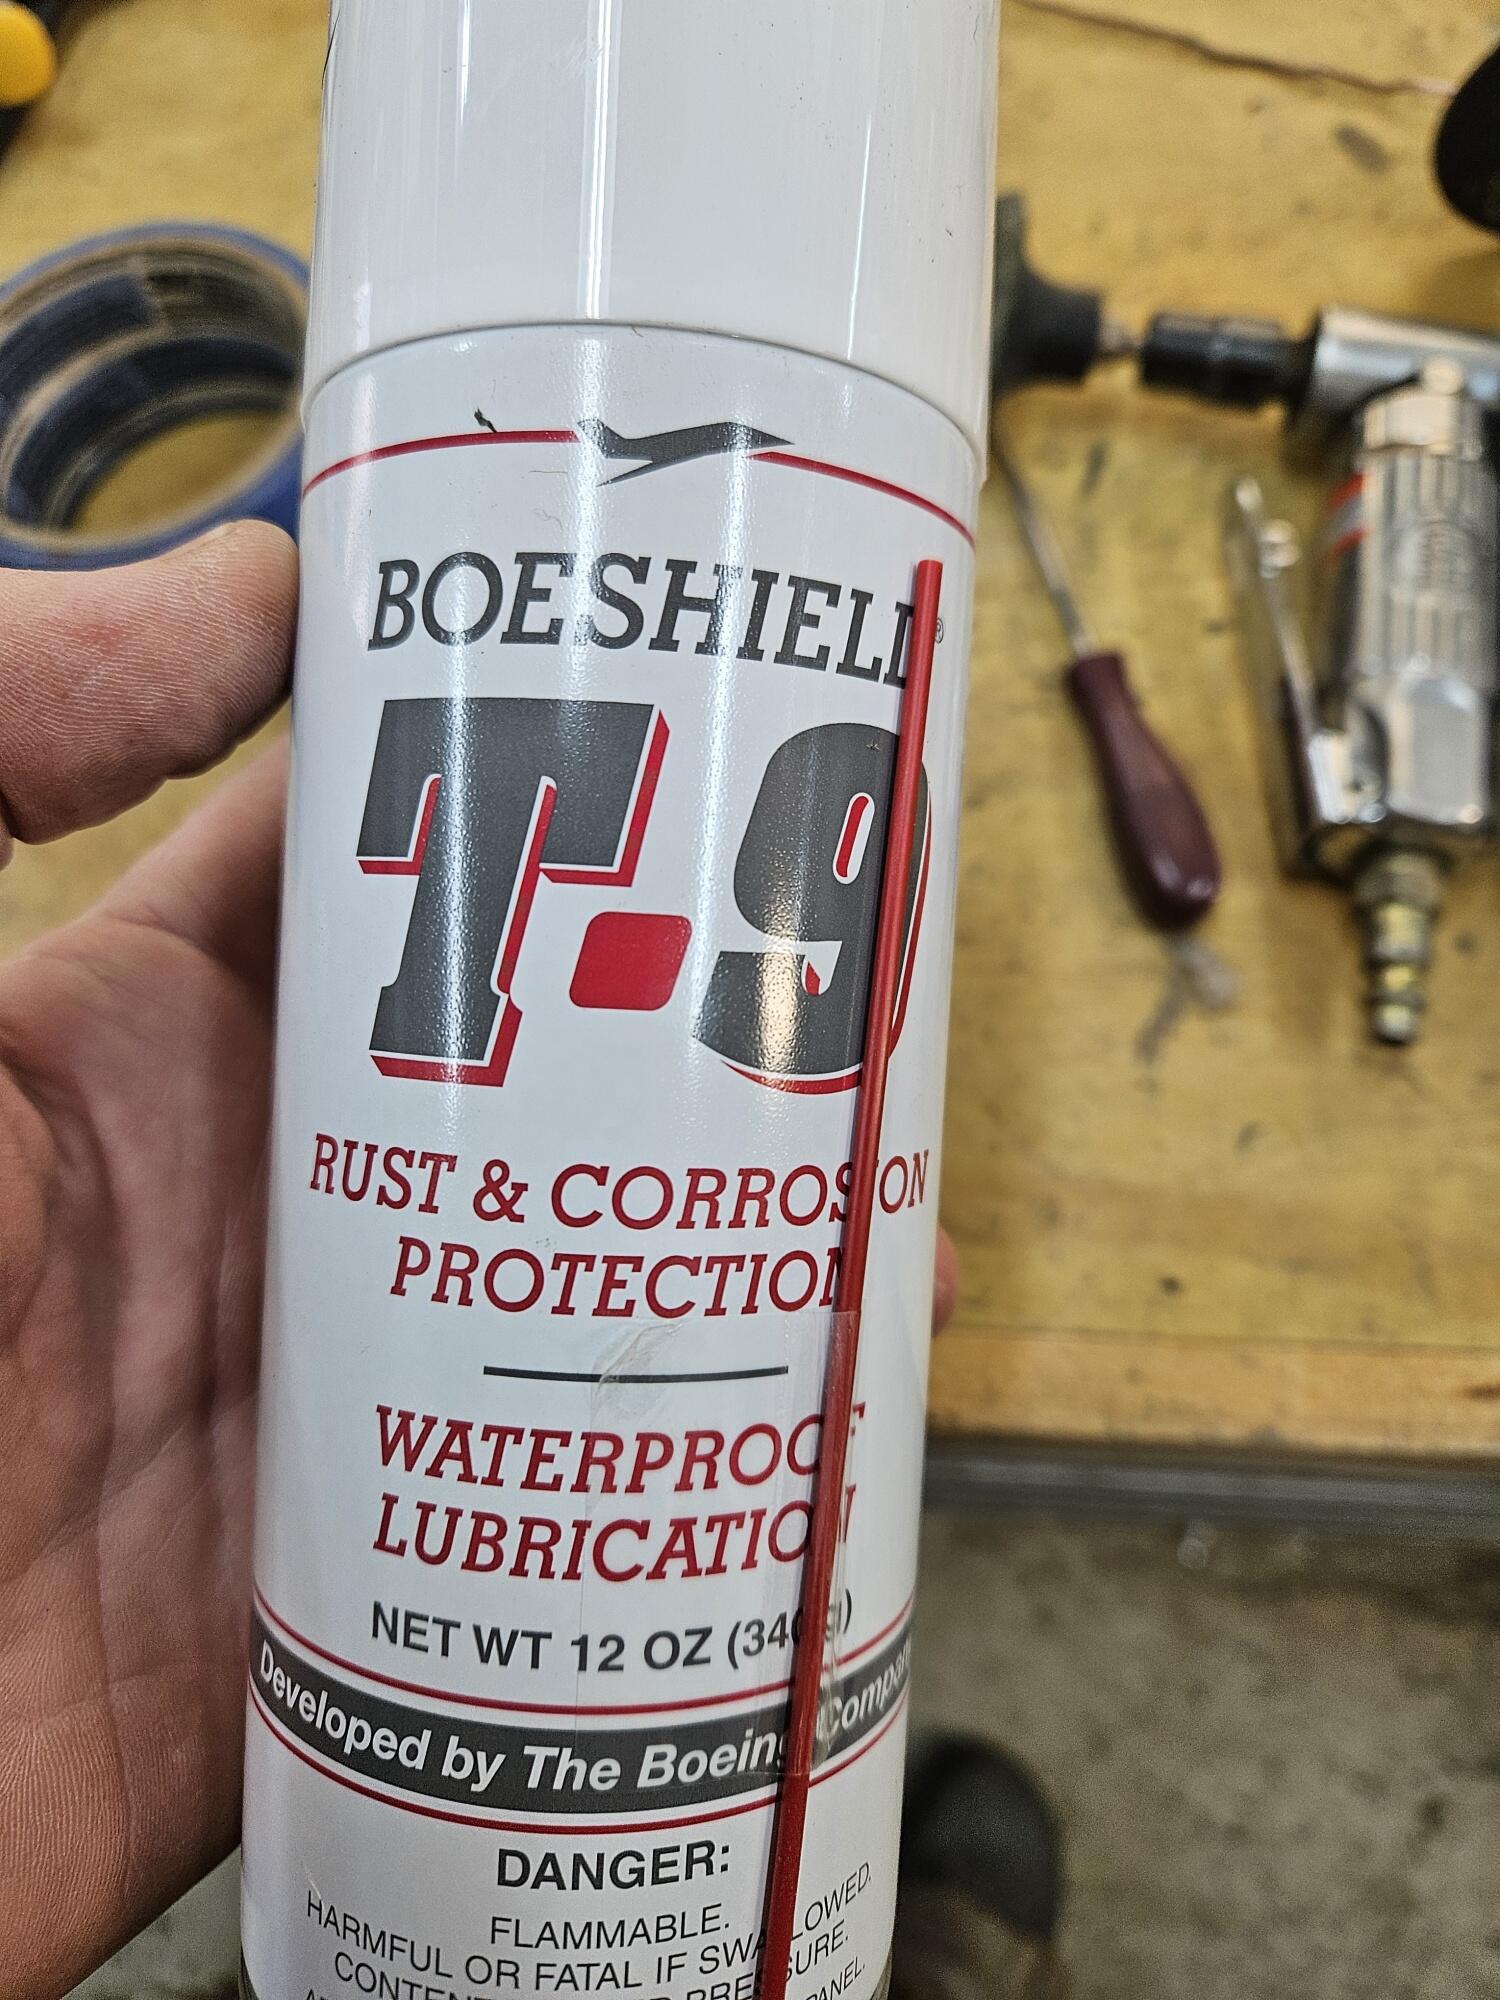
2 pointsCody worked on the parking brake some more. We figured "while we were at it..." So he took it all apart. He bead blasted the black parts. We didn't paint them yet because it's been so cold. He did buff out the brake handle Finished Didn't get the teeth totally perfect but I think it will be ok Used a little Boeshield to protect it


 2 points
 -
True Determination, I personally thank you for passing this on to the forum. The effort you’re showing is impressive.2 points
-
2 points2 points2 pointsDid you guys really just tell me how to burn 600 dollars!! Lolol my boys are 15 and 10 now. time Flies. I spent 2 hours today meticulously adjusting carbs. Linkages to jets. All my cylinders are flowing dead even right now. I finally have my idle R 13.0:1 and it’s smooth at 900 rpm. Throttle response is crisp. I am going to let it cool down over night and see how it cold starts. It fired up today at 41 degrees with zero choke. So I am close. I tried to order those brass shifter bushings. Motorsport auto was back ordered. So just put new clear OEM ones back in. Miss you guys. Z has been suffering from a lack of driving. These old cars do not like to sit2 pointsI don't see it in the resources section yet. After stacking .004" of shims to the existing pinion adjusting washer, and putting the side shims back in the original locations, here is where I am with measurements: Backlash is between .018" and .019" (factory specification is .0039" to .0079"). Here are pics of the wipe pattern from before adding .004" in shims: And after - note that I moved the .011" side shim from the right to the left at the same time. I dunno. While the first pic (coast side) appears to have the contact in about the right place on the coast side, the second pic (drive side) appears to have the contact too far on the heel. Before I take it apart again, I will experiment with moving the side shim again and check the contact pattern. It's cold in the garage today - making this even less fun than the not fun it is.
.thumb.jpg.cb5d545f3d74bcc098185eb64cdcdaee.jpg)
.thumb.jpg.cb2c04de86bd6fa4ebab525d23382391.jpg)

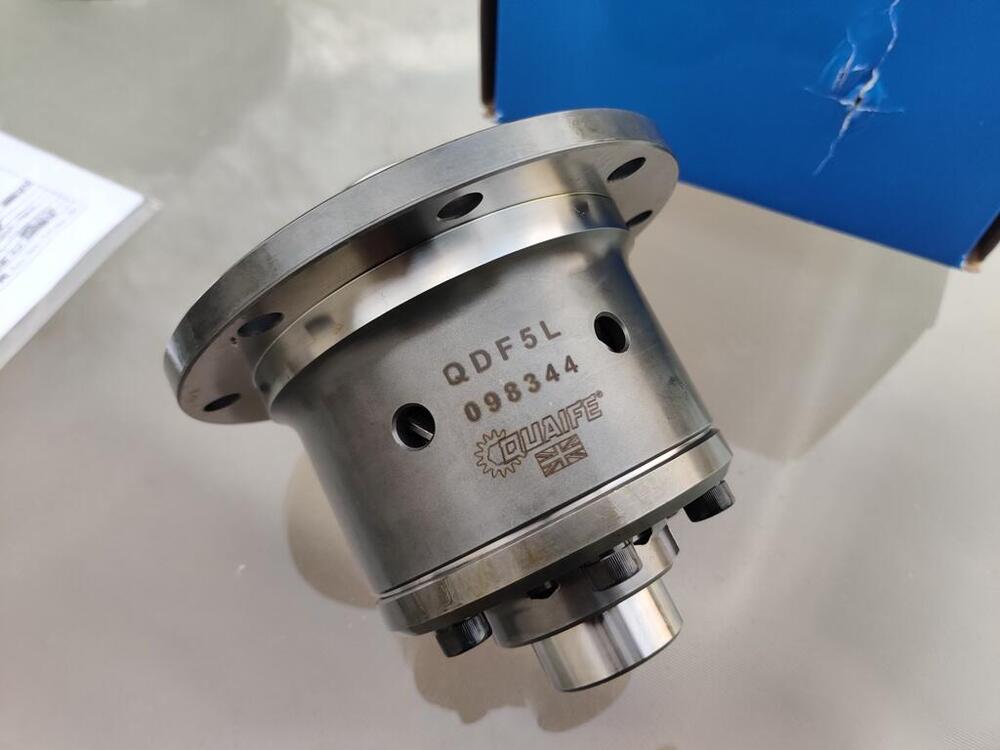
 2 pointsThe point I was trying to get across is that BaT, along with the collector car market, has evolved. I remember a few years back (before COVID and before BaT was as well known), you could find a large volume of classic Japanese cars for around $10K. Now that it has become more notorious, I am sure there are a lot more in the car collector business that are bidding on and buying cars on the site, and then reselling in the more traditional markets. It has become much harder for the first time buyer of a classic car to get a good deal. There's not necessarily anything wrong with that, that's just the way it is now. I do enjoy reading the listings and fantasizing sometimes, but that's likely all it will ever amount to for me now. Your experience may be different. Hell, I remember back in the early 2000's, when the classic car bug bit one of my friends and coworkers and he decided to buy a Porsche 914 on eBay from a listing in Chicago. I said, "Great, when are you going to book a flight and go look at it?" His response was, "Paul, there's no need to, the guy posted 100 photos. I'm going to buy it and have it shipped here." I thought he was crazy at the time! Well, needless to say, the car had a lot more undisclosed issues and rust than advertised and he ended up buying a second 914 as a donor car. Sadly, I don't think the project(s) were ever completed. Anyway, I digress. I think the only time I would consider buying a car on BaT would be if I was really familiar with the make and knew what to look for and what questions to ask during the bid. Or if I won the lottery, suddenly had a huge windfall of disposable income, and happened to see a dream car (Ferrari 288 GTO, BMW M1, Porsche 959) on BaT. I'd also have a healthy balance set aside for any needed repairs not readily disclosed at the listing.1 point1 pointYes to the question about the pinion shims and washer (4 and 5) - this differential only had one pinion washer and no shims at that location. I am stacking the .001" shims at item 4 location. Oddly, the side retainer shims do not appear to be in that picture. The side retainer shims can be seen in this picture. 9 and 18 are probably in the stock carrier, which I am not using - I have replaced with the Quaife unit: Note that I have not and will not be touching #30 in your picture. Therefore, the "stack" of parts between the front and rear pinion bearings is staying the same. I was able to achieve correct pinion bearing pre-load with about 124 ft lbs of torque on the pinion nut (a couple of times). So, I am hopeful that none of those parts needs to be changed. From your comments about getting the mating of the gears as close to what it was as possible or they may sing/make noise, I will make all the effort I can to make the wipe pattern ideal. Too much back lash impacts the wipe pattern a lot. So, getting the backlash back to .004" or .005" (what I measured before taking it apart from stock) is going to be a goal here. Another thought I had today: just as the pinion spacer has to change because of the new bearings, so it is possible that my side retainer shim "stack" may have to change. The side retainer bearings also were replaced with new. And, as such, they may have slightly different thicknesses from the ones that came out. If so, that changes the preload on the side bearings. I don't have the factory tools, so I can't follow the procedures in the differential manual, but it has been quite helpful. The next time I take the carrier and pinion gear out, I will assemble just the carrier portion to make some kind of assessment on the preload for the retainer bearings.
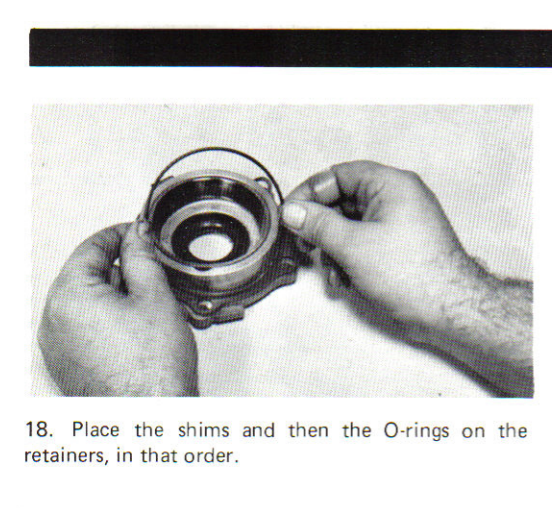
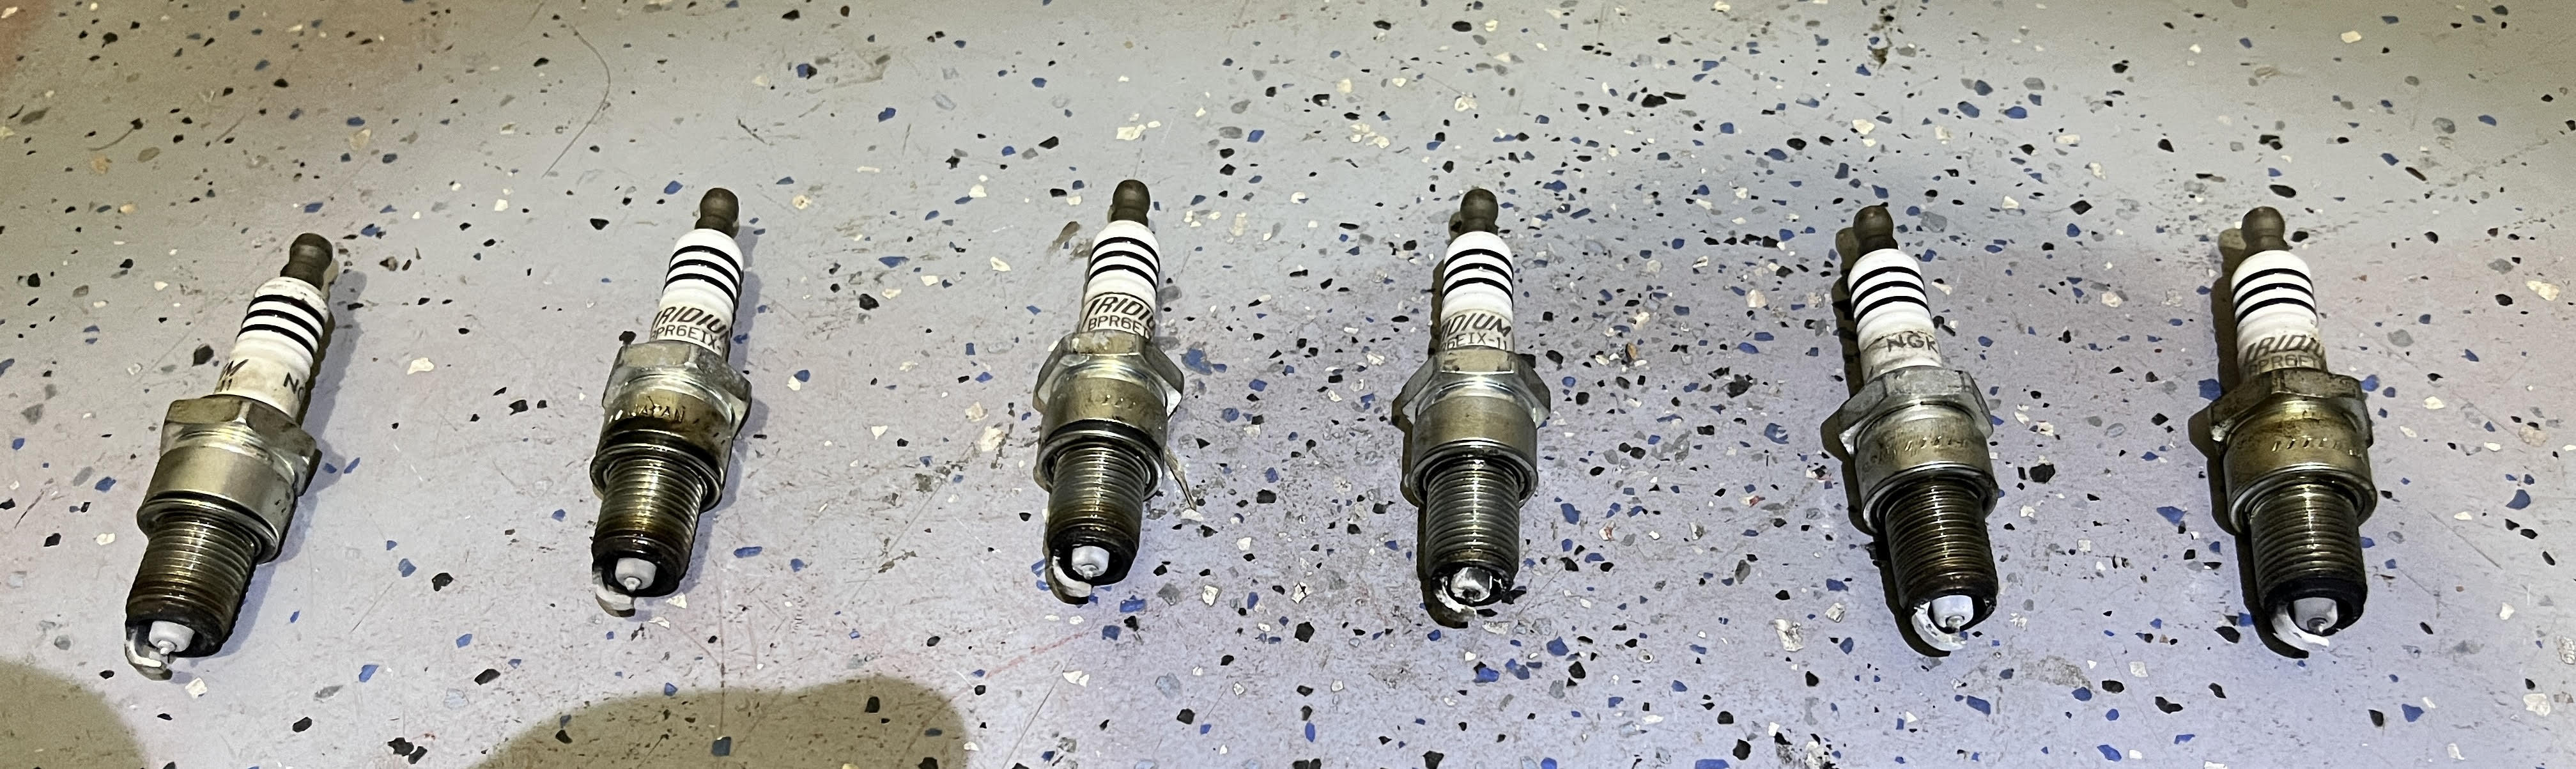
 1 point1 pointI believe it burns some oil, but whatever it burns it isn't enough to affect oil level over the course of a year. @dutchzcarguy@jonbill Understood on the spark plug material. Which heat rating though (bp5, bp6, bp7)? Plug reading really isn't the way to go as long as you have an air/fuel gauge to see what the engine is actually doing. It's running at a 13.8-14.2 idle, 12.3 WOT, and 14.7 highway cruise. I will say, the other day I did catch it running VERY lean (in the 17s) so I pulled over and fiddled with it - not sure if that's when the plugs started looking like this or not though
 1 point1 pointThose plugs show lean and or hot - I would be concerned if my plugs looked like that . I haven’t read your complete thread , but those do not look good1 point1 pointI'd just go with cheap bpr6es. Does your engine burn some oil? It looks like there are deposits on the spark plugs.1 pointOh they will collect that data, trust me. Anyone company like that, which isn't learning more about it's customer base would be naive. As to weather or not they will make it public... well.. maybe if you ask nicely?1 pointSo you checking sounds correct. Just make sure your indicator is set at the very outside and tangential to the ring. So, from the sound of post #70 you changed two things at once and you are currently focusing on the shims at the front of the case? I had a thought, so I did some research to see if I was on the right track. I have never done a differential, so I wasn't confident in my thought process. I thought you need to set the depth of the pinion in the case and then adjust for backlash. I forgot about preload. That would be second. So it's my understanding that the shims at the front will mainly change patterning. While this will affect backlash, that's not the main purpose. The side shims are used to adjust backlash. Move the ring closer for less backlash further away for more. Here are some things I found. Take all of these with a grain of salt because alot of these are solid axles but most of the info aught to transpose. https://www.randysworldwide.com/blogs/gear-backlash https://www.yukongear.com/blogs/12-tech-tips-for-differential-assembly-setup_1 One of the main things I took away from this thread, was if you move the wear pattern, it can "sing". https://www.garagejournal.com/forum/threads/adjusting-an-old-ring-and-pinion.447201/ So I would try to keep the wear pattern as close to the original as possible. I believe as the lash goes down the heel/toe drive/coast patches will move towards the center of the tooth. Did that make sense?1 point1 pointThe RH & LH rear interior side panels changed starting January 1971, part way through the '71 model year. Same time as the evap. tank changed from plastic to steel and the air flow vents were deleted from the hatch and moved to the quarter panels.
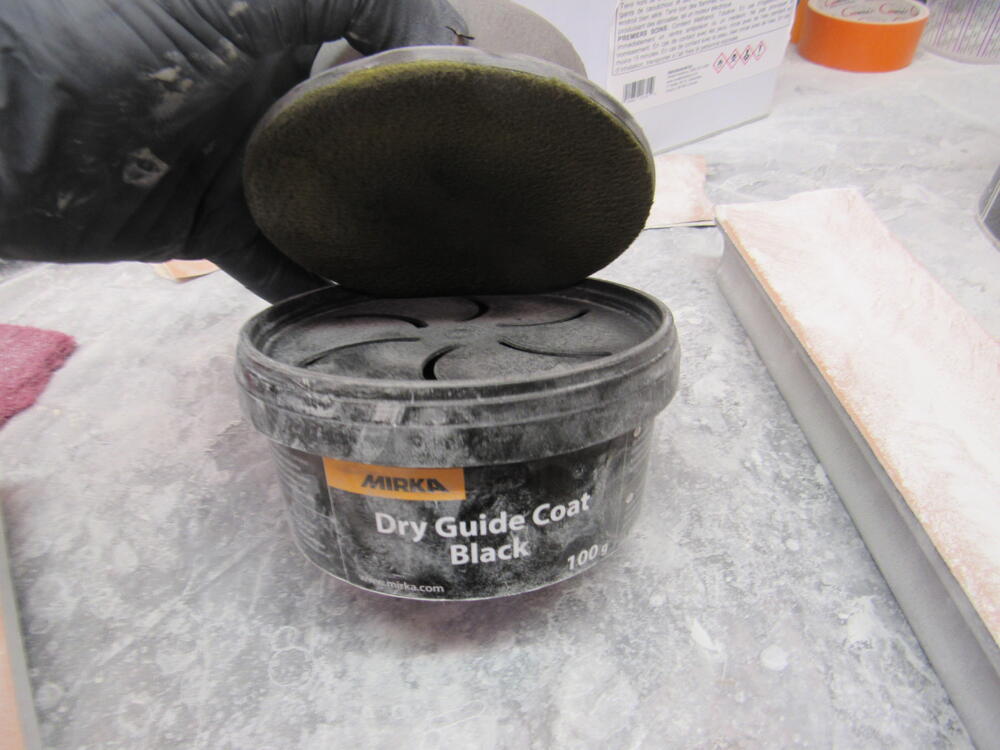
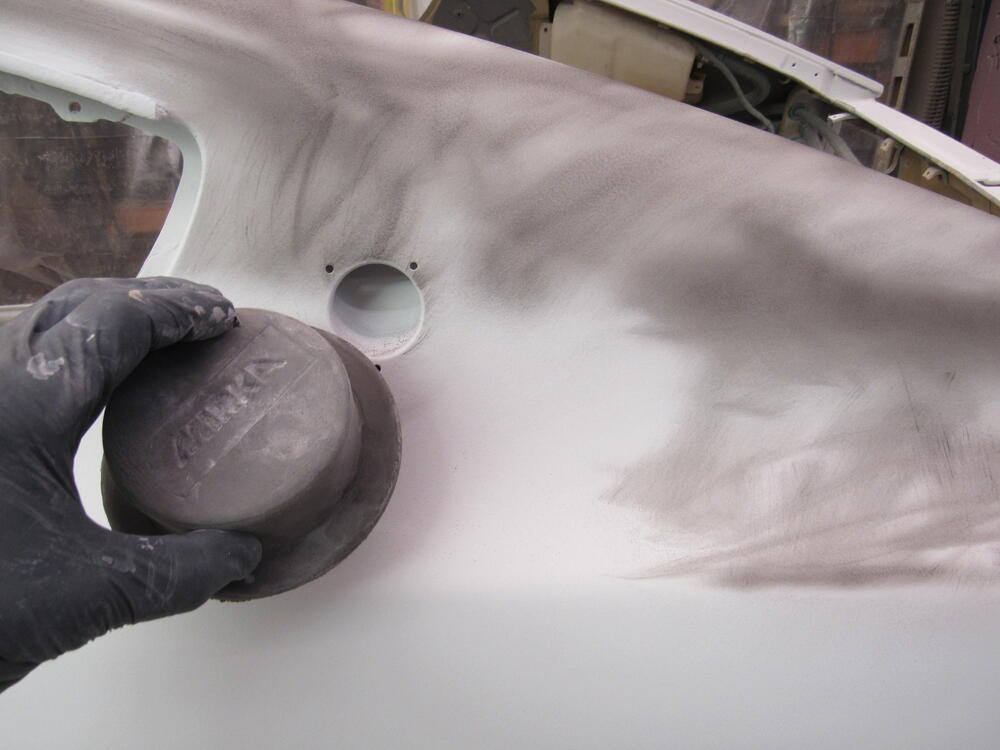
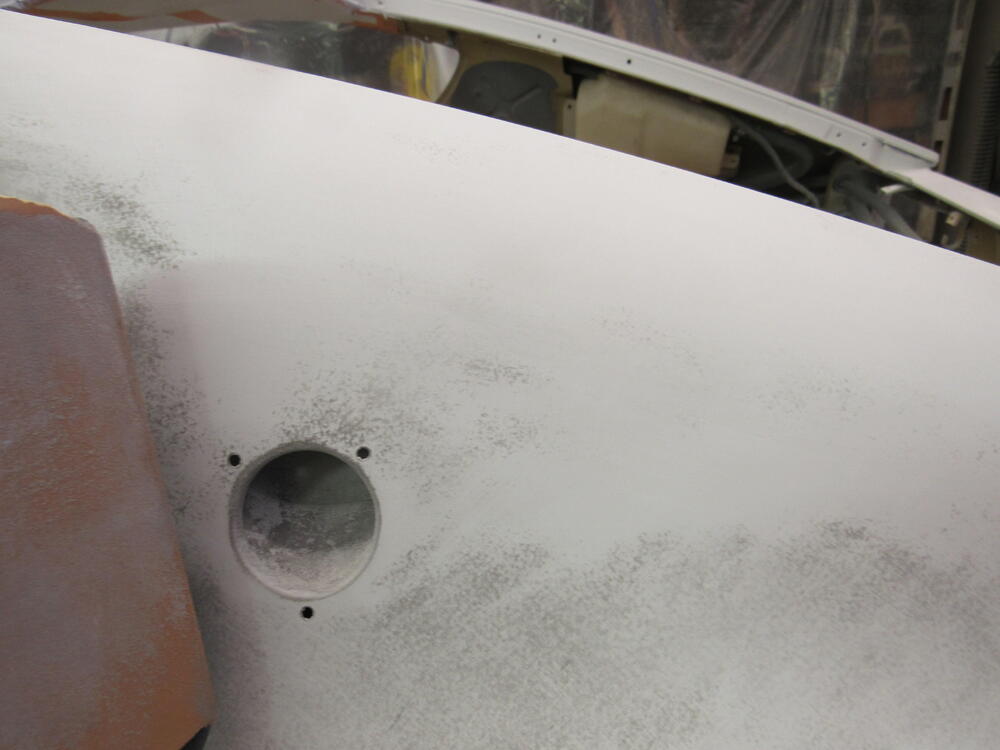
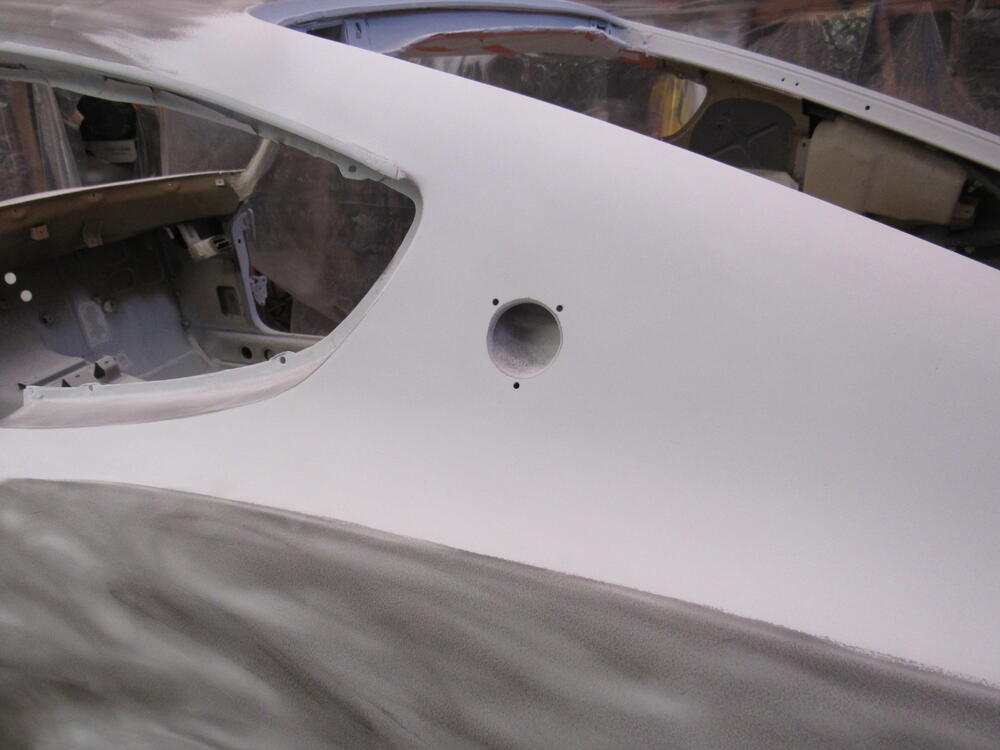
 1 point1 pointI adore SUs. great carb. But I recall the performance bump with triples when I went from my New Z therapy SUs to webers. Cannot go back. these ran perfectly for 11 years with no adjustments. Only sitting still killed them I plan to clean them up again one more time if nothing else I have spare parts1 point1 pointAnd the top of the vale cover hose goes to the back of the air filter. WRONG INFO DELETED. 🤪 I think it's a connection for the air pump? I have forgotten and it's too cold to go look. I've plugged that nipple on the filter with a rubber stopper meant for a chair leg. Thank you for that tip @jfa.series11 point1 pointThe big order from Datsun Garage arrived yesterday, I think Dave ordered this stuff last July. The order wasn't even complete. Dave stopped by yesterday to check on the progress, he mentioned that he had never seen guide coat being used before so I thought I would include a few pics for anyone who might be interested. I use to use spray can guide coat but have since switched to dry powder, a much better product to work with. So basically, the primer is covered with guide powder then you block out with which ever grit you are using until all of the guide coat is gone. Once that is done you can be sure the surface is a uniform smoothness for that grit, then you rub it all down with guide coat again and start sanding with next grit down. In this case I started with 220 and then will move on to 400, 600, then 800 is the final grit before paint.

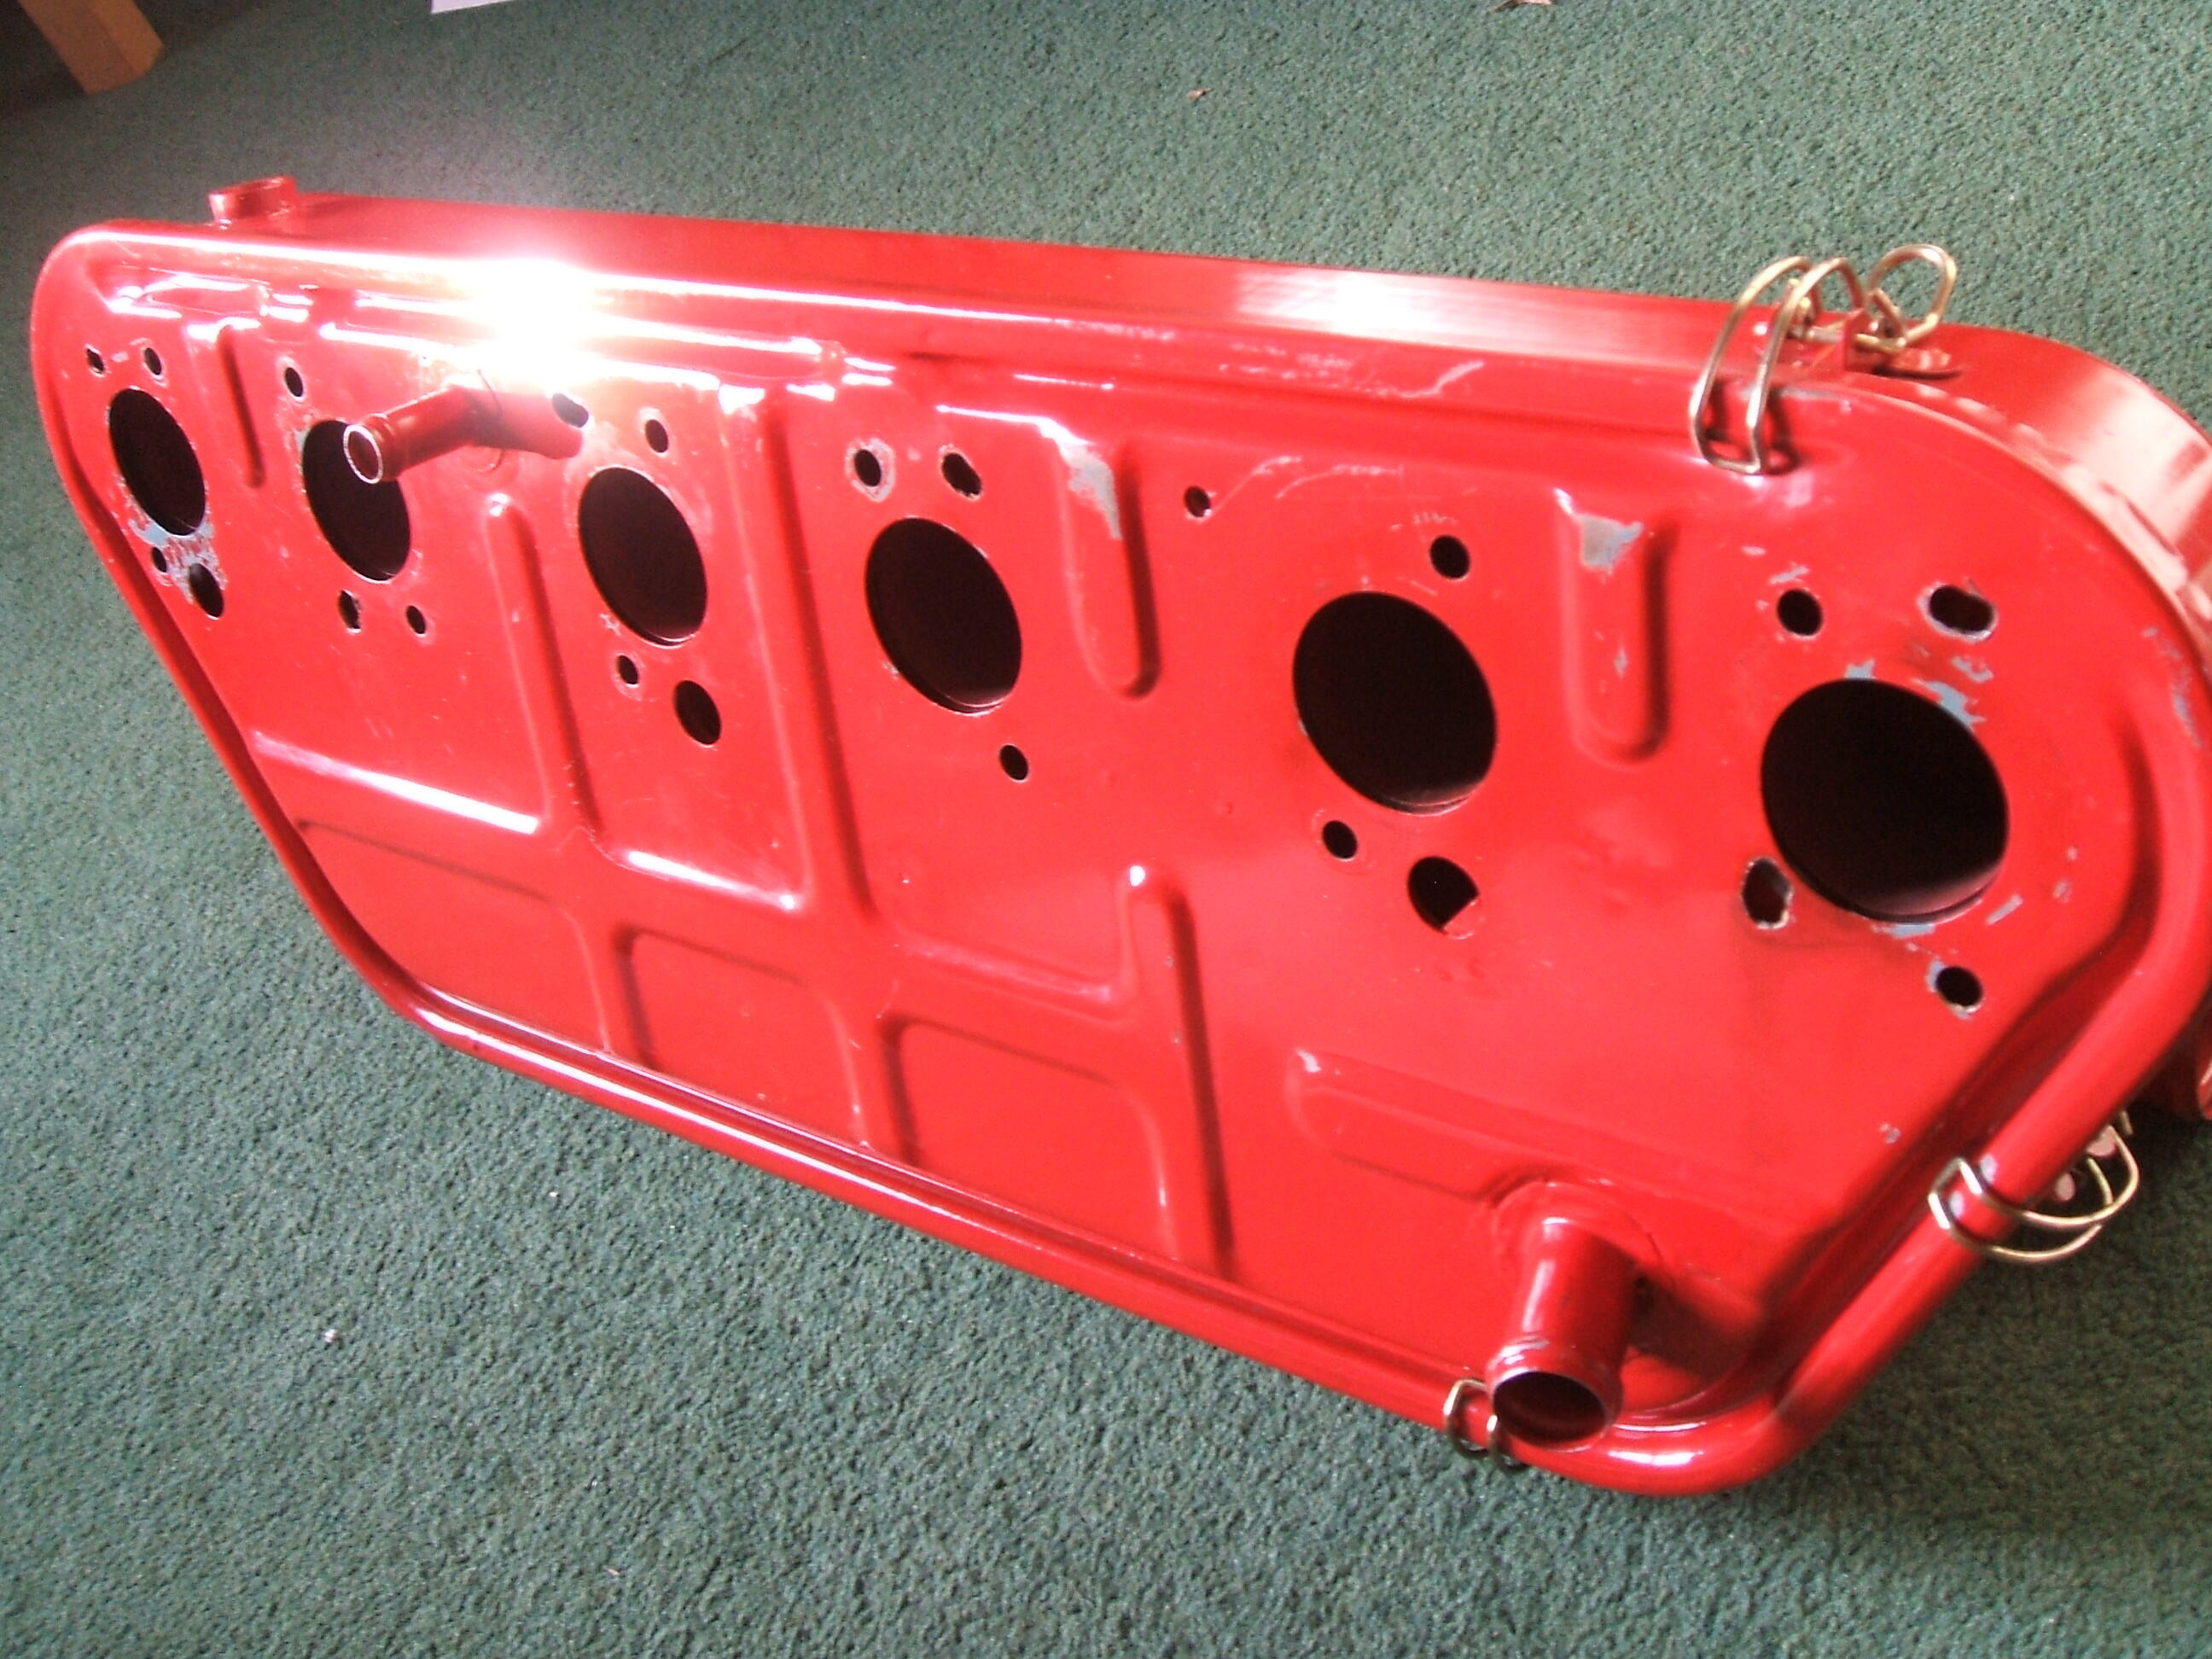
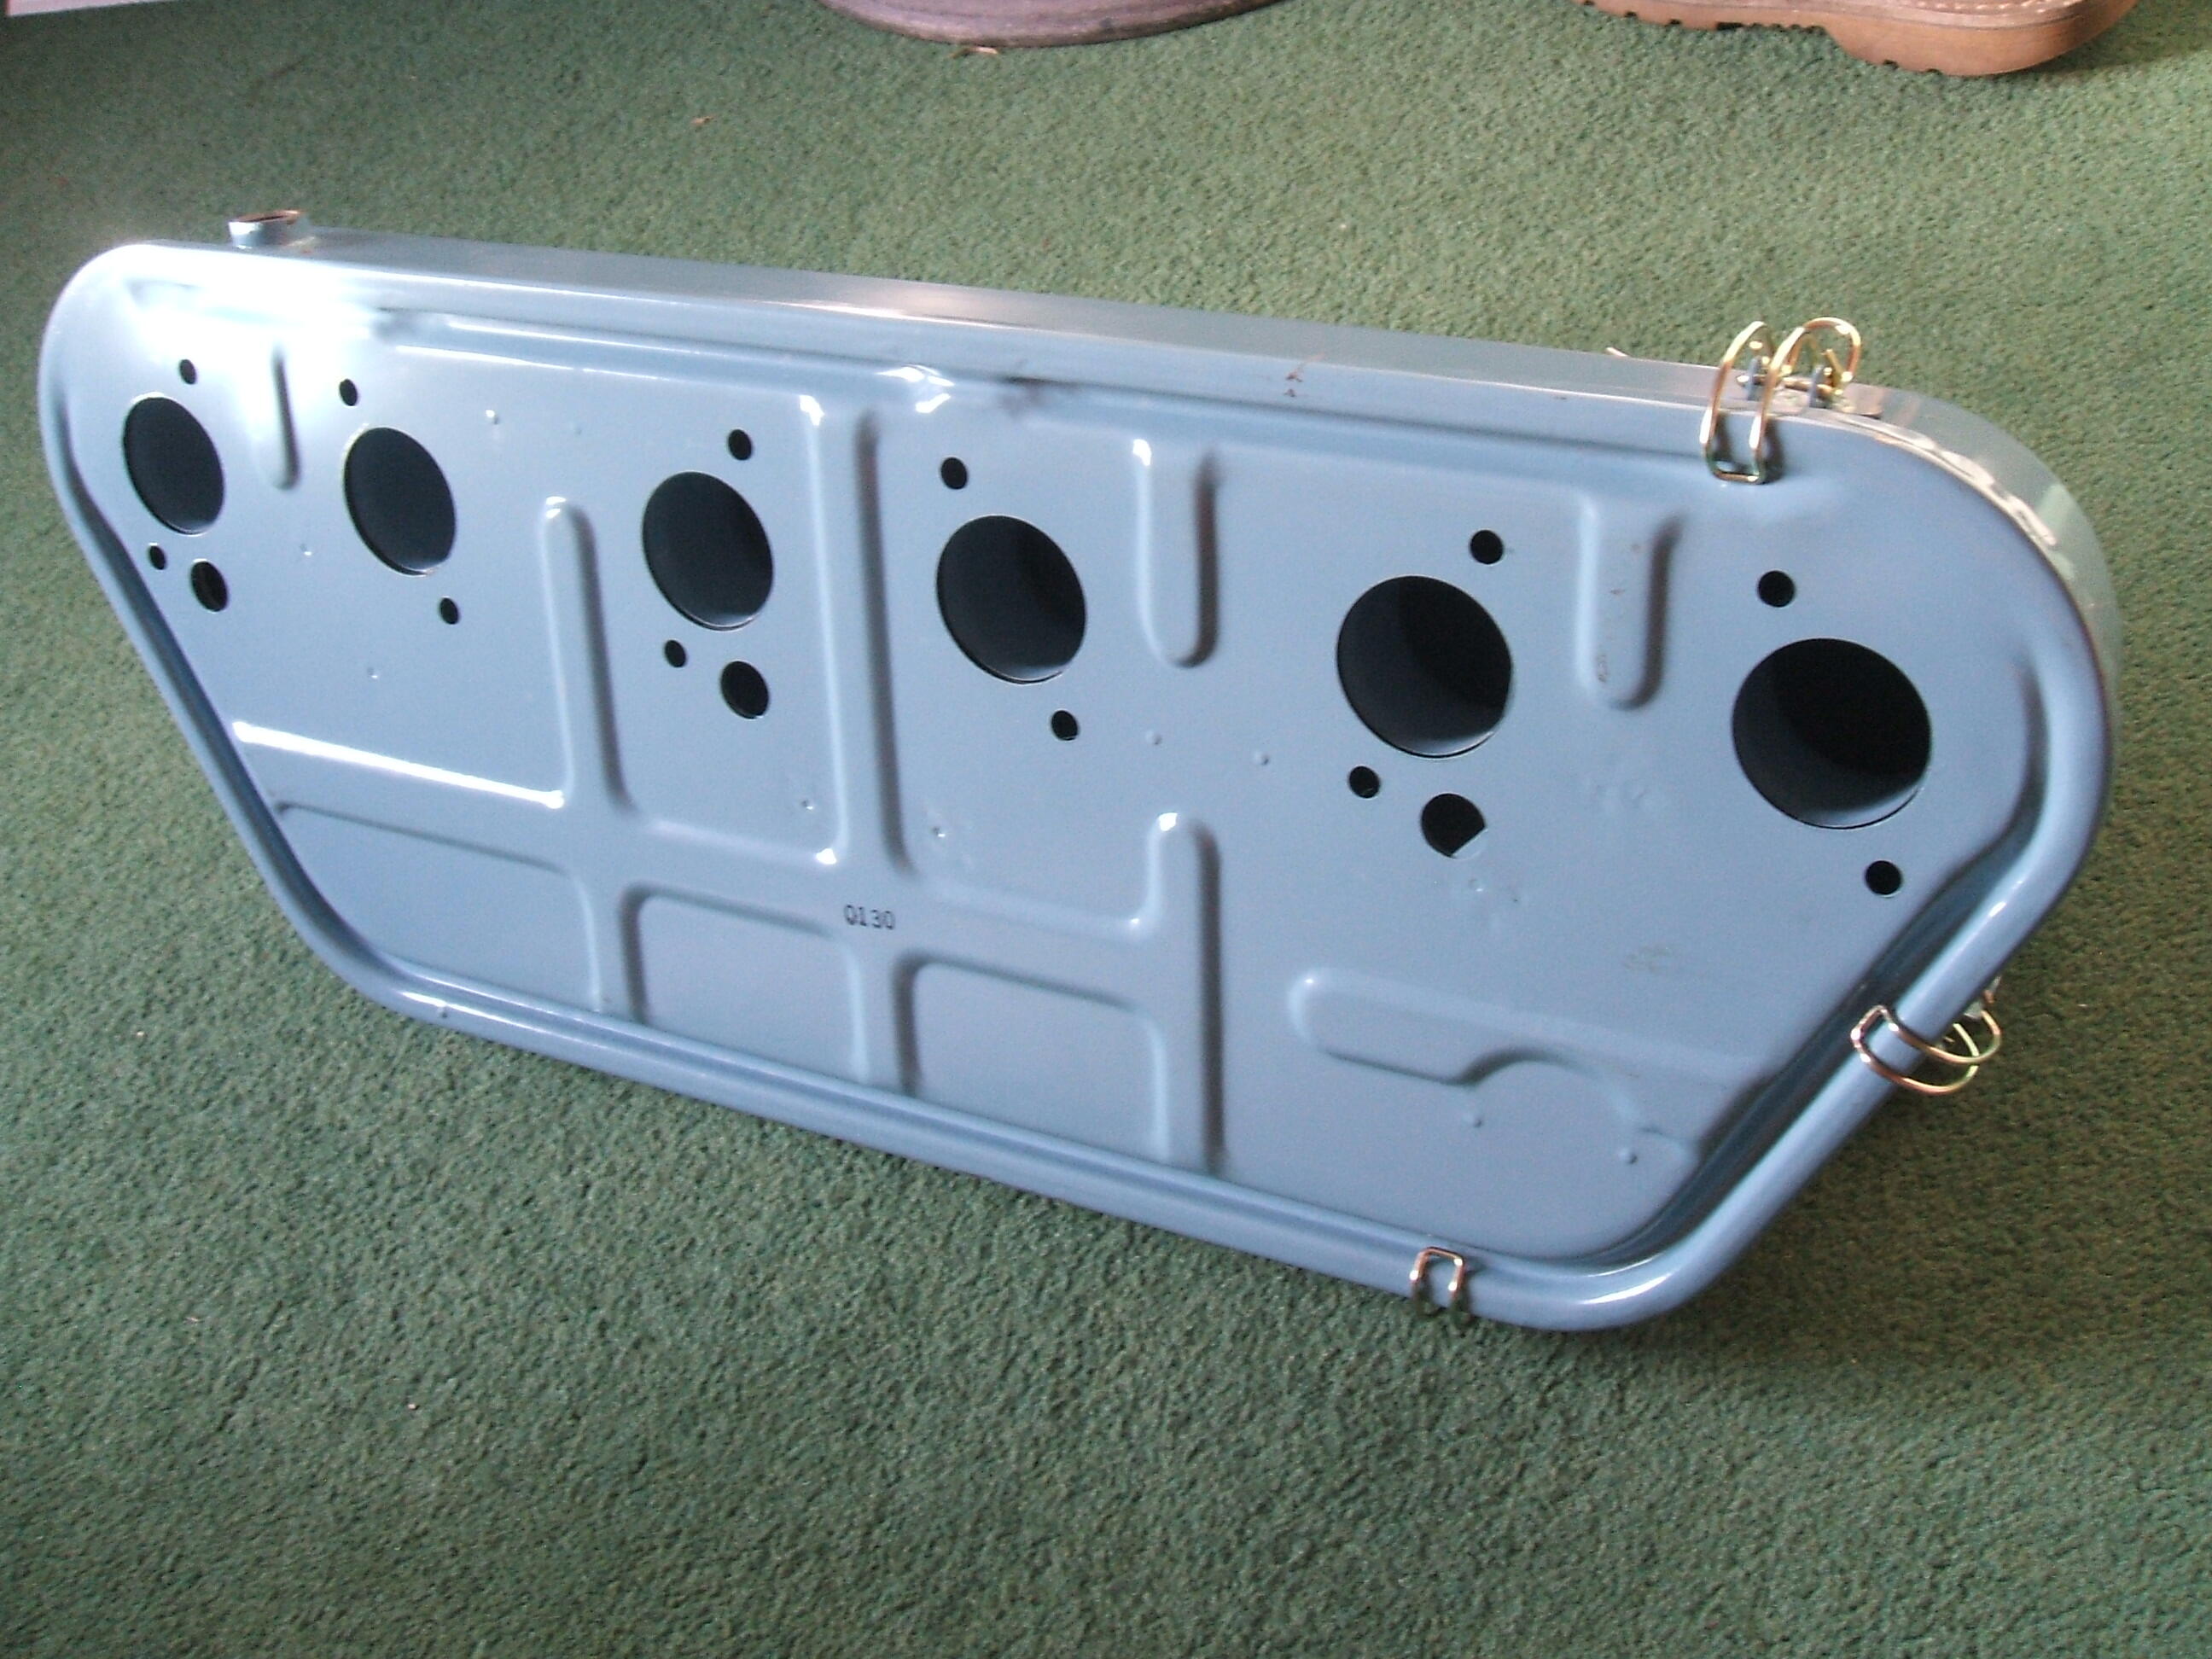
 1 point1 pointCarrying on from Kats post 11, regarding additons for emmisions cam cover and engine block breather pipes, here is the back of 2 GT-R air boxes. Blue is NOS and earlier, without metal pipes for rubber hoses, whilst the red is later and has provision. I get the impression the design for emmision attachments to the airbox due to come later on were incoporated, as the engine block breather stamping on the box is there from the beginning (blue box), slight curve in the strengthening rib. Enjoy


 1 pointWhat a strange take. I just checked for a snapshot on how many auctions were active TODAY on bringatrailer.com and the number was 698. The lots range from fairly regular, accessible and low value to top-end rare and high value with everything between. Its a veritable microcosm of the automotive world. The demographics of the winning bidders will be pretty much the same demographic as that of the wider automotive world, as will the demographic of the sellers. I don't see anything particularly weird or suspicious about it. "Millionaires who like to burn money frivolously"? These are often the very same people who keep the artisan end of the classic car industry in business. If they are spending money in that sector, I'm happy. "Dealers hoping to make a profit"? And what's wrong with that? Farmers hoping their crops are successful, Doctors hoping to cure their patients. Whatever next? Yes, just like in any market there will occasionally be shenanigans. It's the way of the world. Bringatrailer.com is no better or worse than any other portal in that respect. But a 1971 PS30 Fairlady Z432 selling for a price that's pretty much in line with its market value and location seems to have caused some consternation due to the nature of one hammer-blow bid. I find the reaction to that bid more surprising than the bid itself.1 point


Important Information
By using this site, you agree to our Privacy Policy and Guidelines. We have placed cookies on your device to help make this website better. You can adjust your cookie settings, otherwise we'll assume you're okay to continue.