


Leaderboard
-
Captain Obvious
Free Member5Points10,081Posts -

siteunseen
Free Member4Points15,115Posts -
Wally
Free Member4Points463Posts -
.JPG.cfcada9cf1c1b502df3f5f2f2ca3ff36.JPG)
SteveJ
Free Member3Points9,646Posts


Popular Content
Showing content with the highest reputation on 12/22/2022 in all areas
-
3 points
-
From the Remembering the Original Road Atlanta group on Facebook: The picture below is from Oct 1980 According to the comments, it's Jeff Curlee in the 280Z in front. The 240Z was driven by the late John Williams. That 240Z is still owned by someone I know, and he tracked the car at the Mitty a few years ago.2 points
-
2 pointsI would suggest you use glazier's mastic 'rope' as the sealant between the tail light lens and housing. It'll provide all the seal that you need and it's not so sticky as to make future disassembly a problem. The alternative is liquid window caulking. There is a 'strippable' version (clear) that would probably be a better bet than the more permanent types. Don't overlook the little drain holes at the bottom of each lens. Each drain hole should be fitted with a small rectangle of felt (cut to shape from a sheet of 1/8" thickness, purchasable from a crafts store like Michael's). The purpose of the felt is to keep small, uninvited visitors (spiders, etc.) from setting up house inside your tail light assembly. The lenses will come up nicely with buffing. Try not to buff away the raised manufacturer's info. You'll need to leave that area as-is.2 points
-
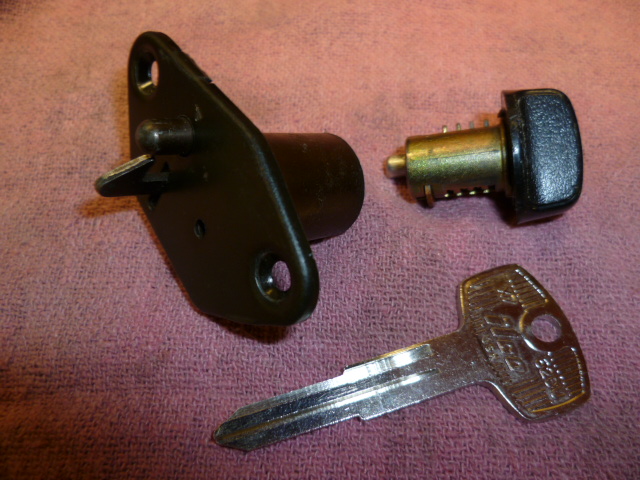
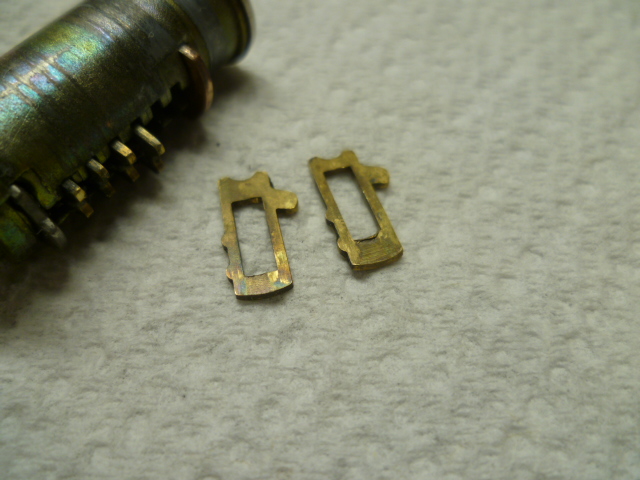
2 pointsI re-keyed my glove box along with the rest of the locks on the car. However, my 77 uses the newer (74 on) style lock. I haven't messed with an older style glove box lock. Mine looks like this: While the older style looks like this. I've not messed with one of these, but I expect it to be conceptually similar to the rest of the locks: So about the tumblers for the ignition locks... I believe the only difference between the tumblers for the ignition and the rest of the car is a slight change in profile at the top of the tumblers. Here's a pic of a couple ignition tumblers. Note the concave shape to the top of the outline. The doors, etc do not have that concave feature: Everywhere else on the car, the tumblers are domed (convex) on both top and bottom. With that in mind, ignition tumblers are able to be used in other locks, but I don't remember what that concave feature is for, so I can't offhand tell you if door tumblers would work properly in an ignition application. I'll have to dig my (three) lock box off the shelf and re-familiarize myself with that detail.

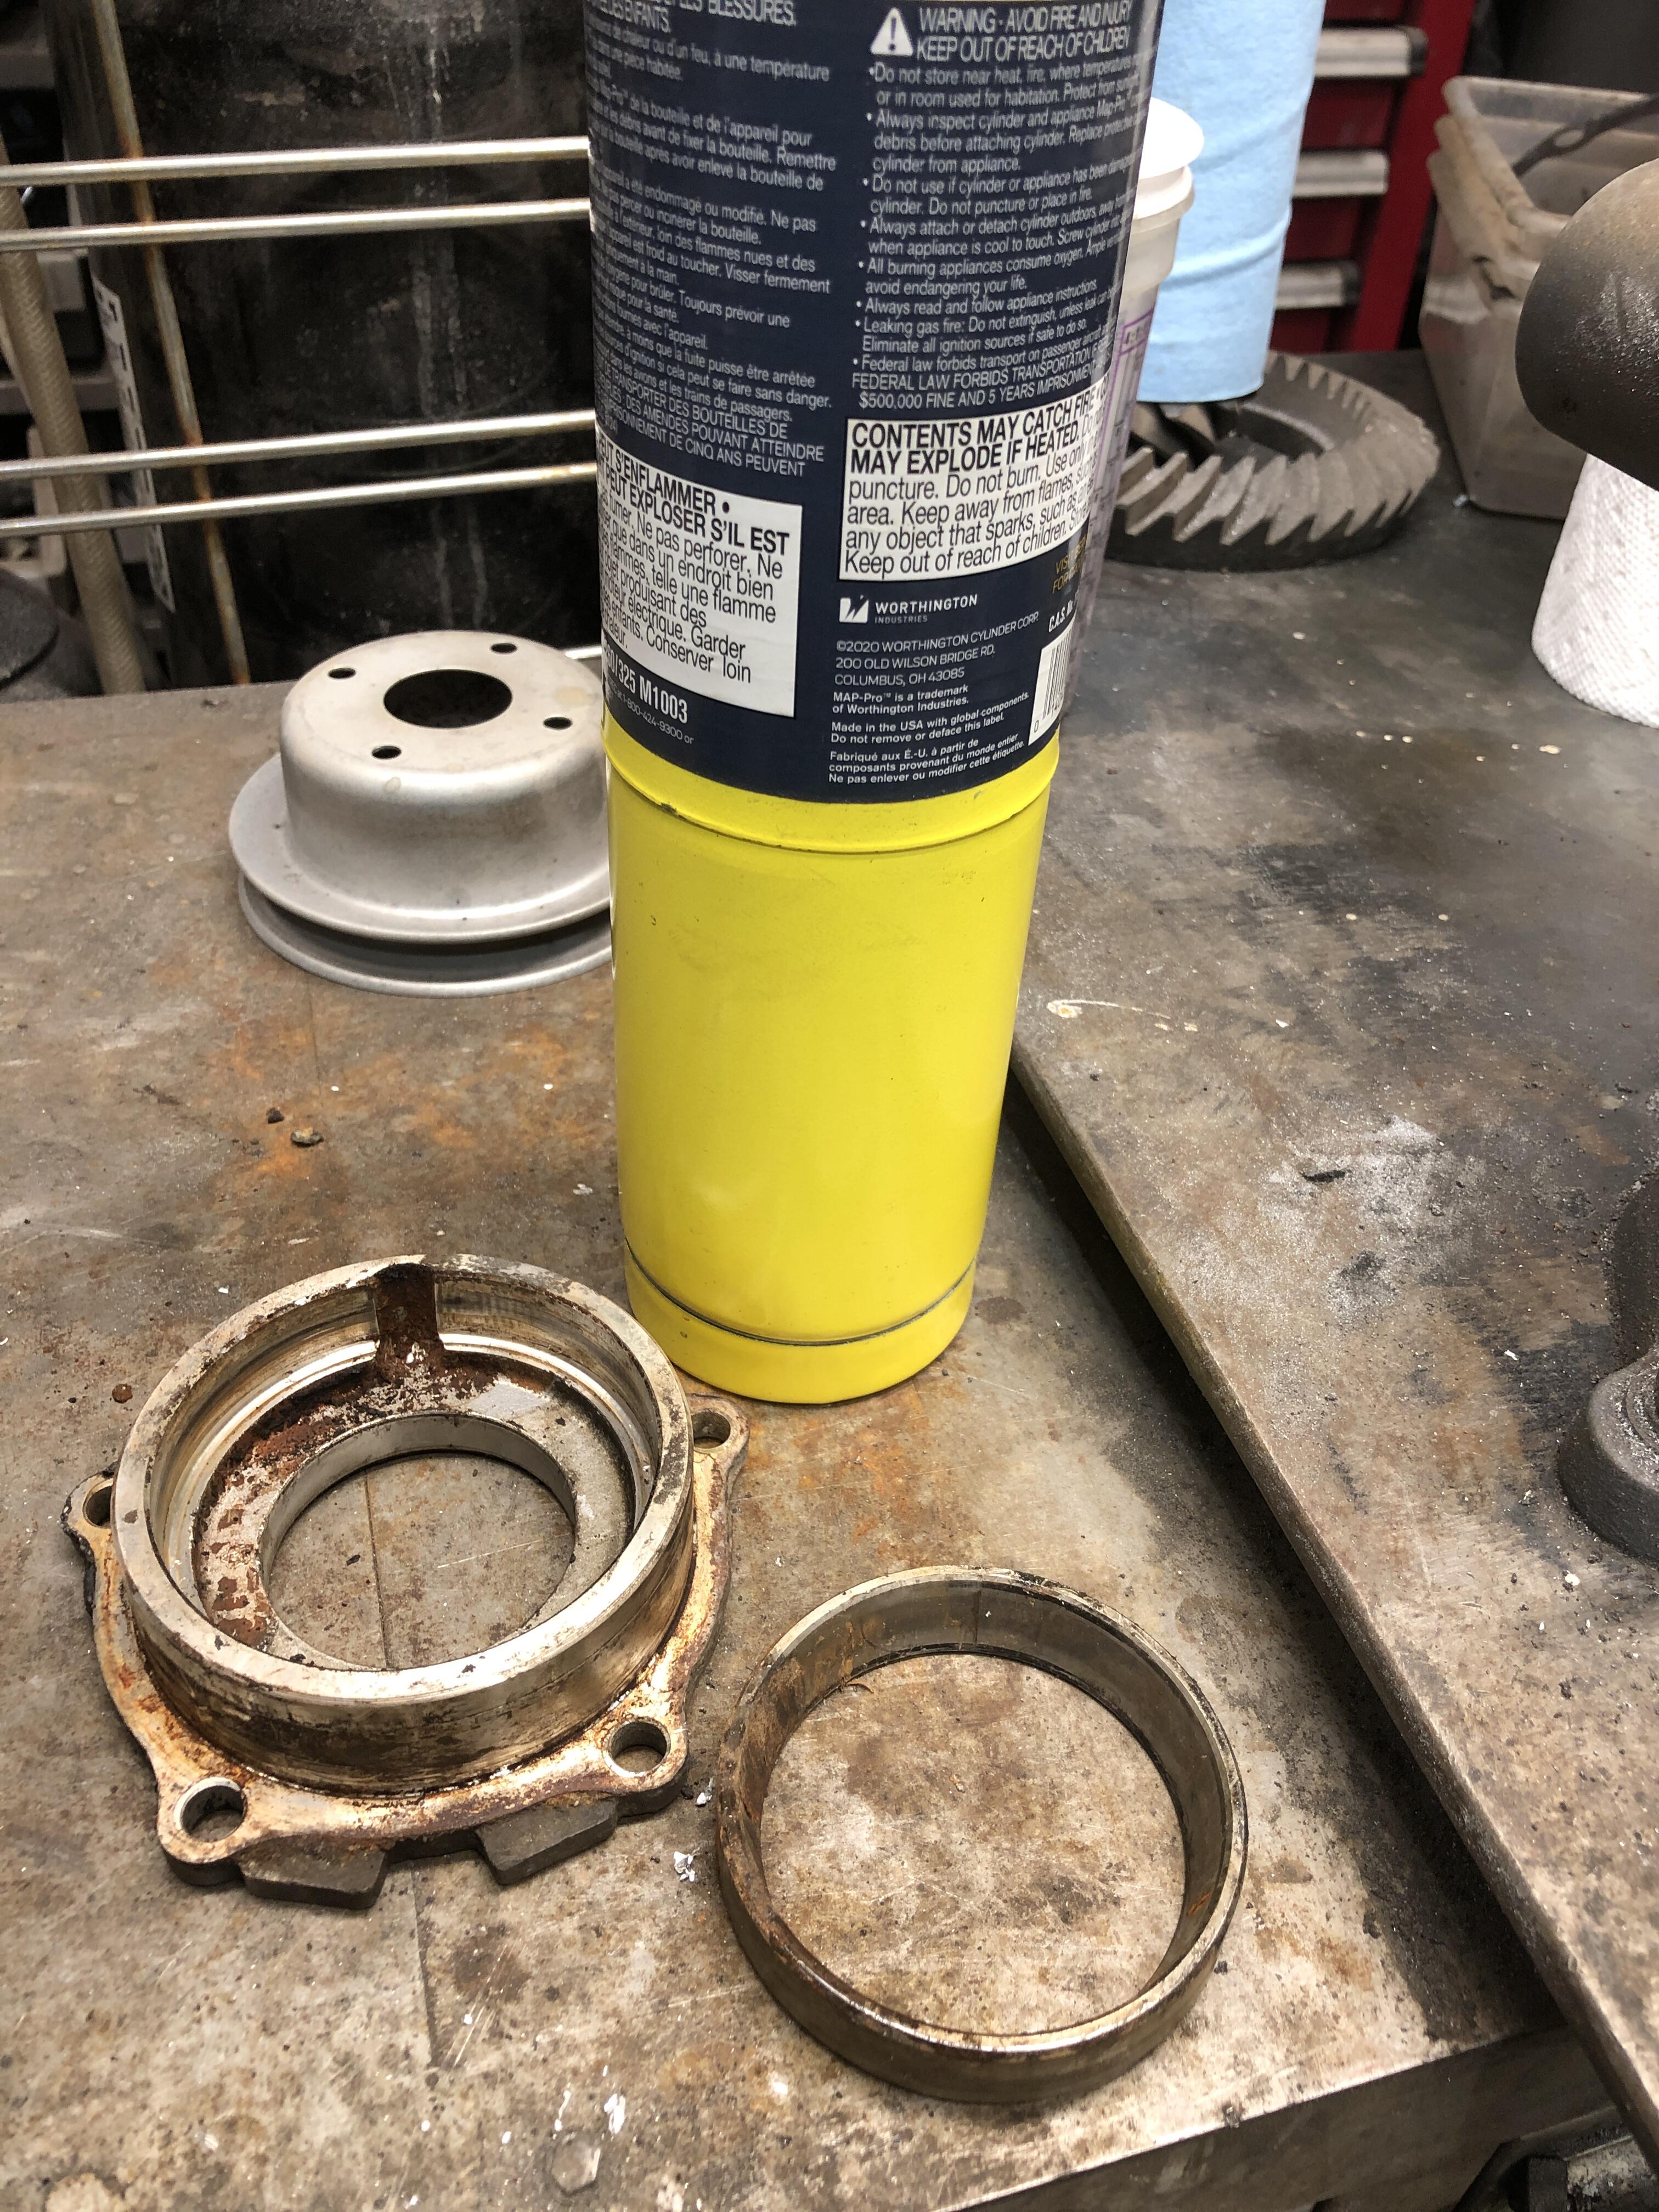
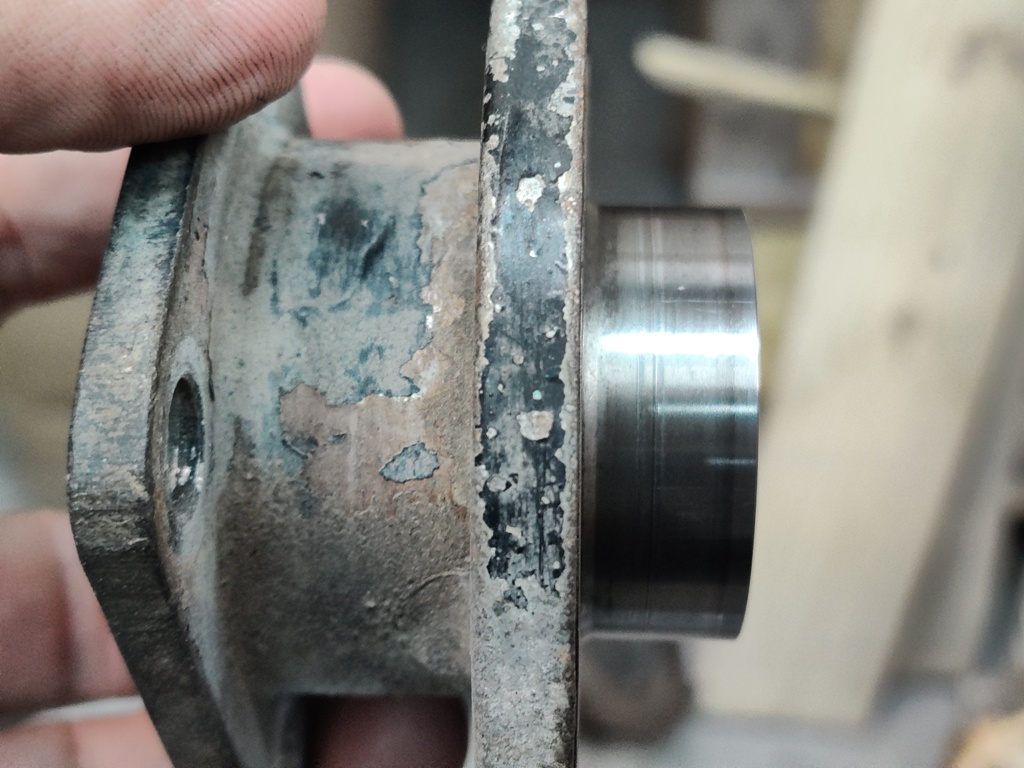
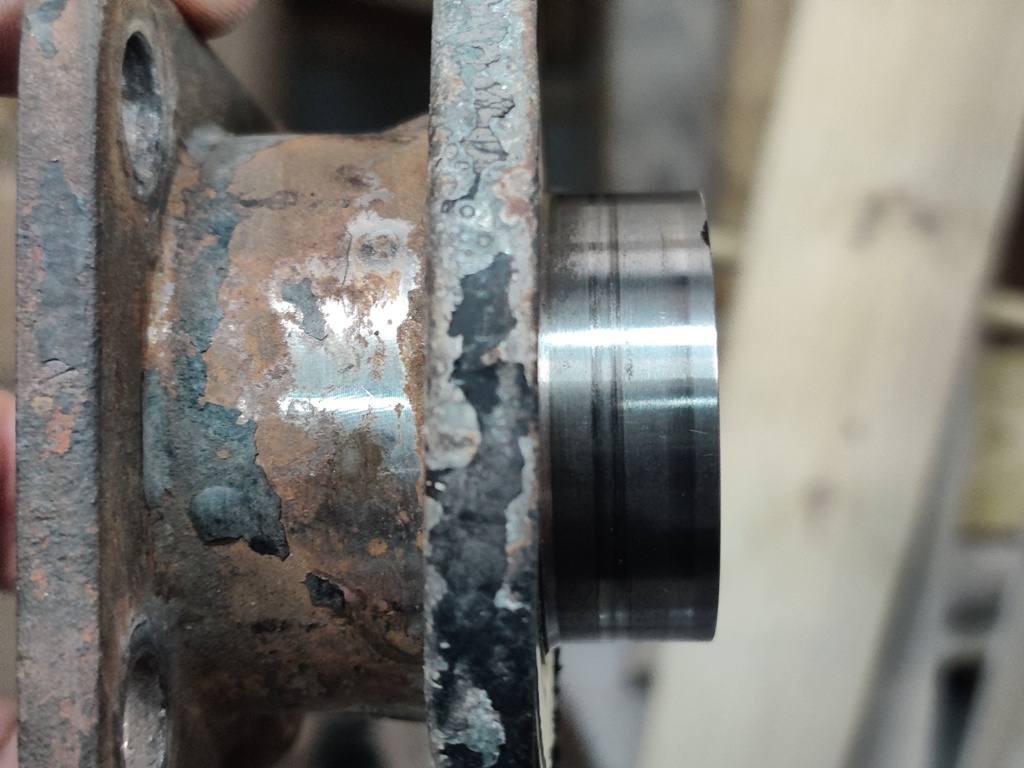
 2 points2 pointsThat something I do every single time I have my hood up, click that light on. Strange habbit, strange guy but I feel like the plastic toggle won't break if I use it regularly. So far, so good. I didn't know they have the extra wire under them until I saw one for sale on Ebay. Instructions and owner's manuals have never meant much to me.2 pointsClamped it in the vice upright, got the MAP gas torch out (propane would be just fine) and warmed up the outer circumference for about 90 seconds. The race just popped out with minimal prying with a flat blade behind it. 5 minutes, both sides done. Bamn!
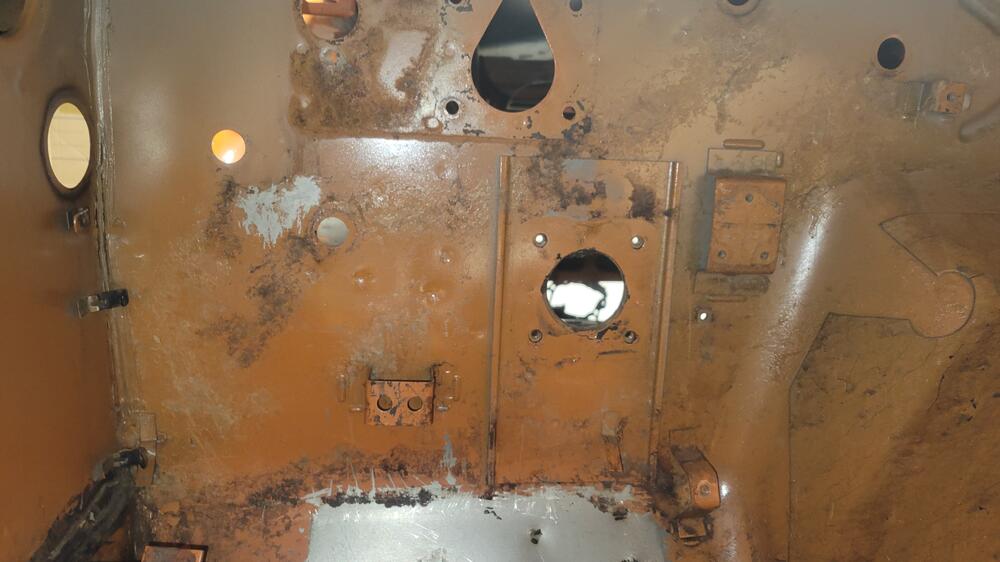
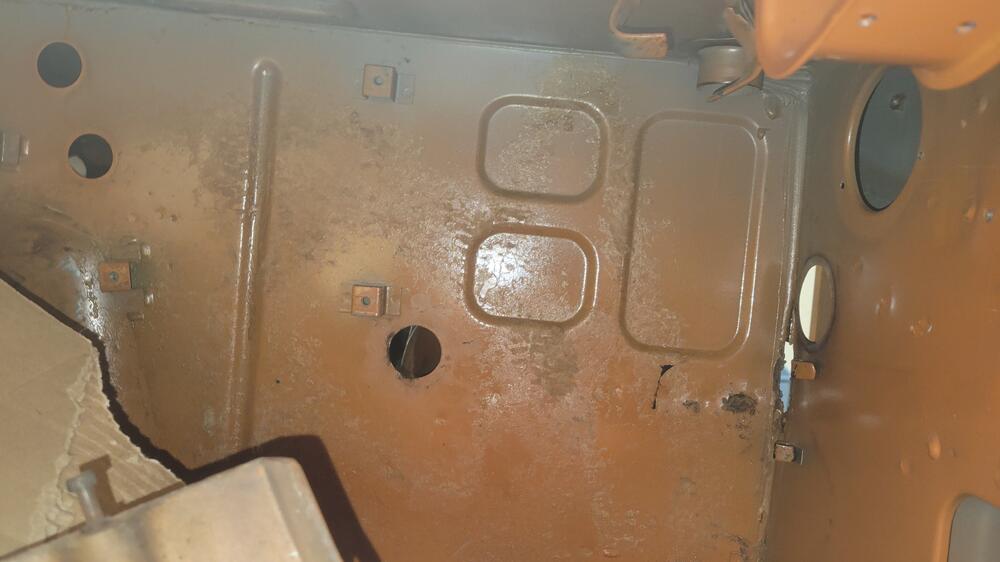
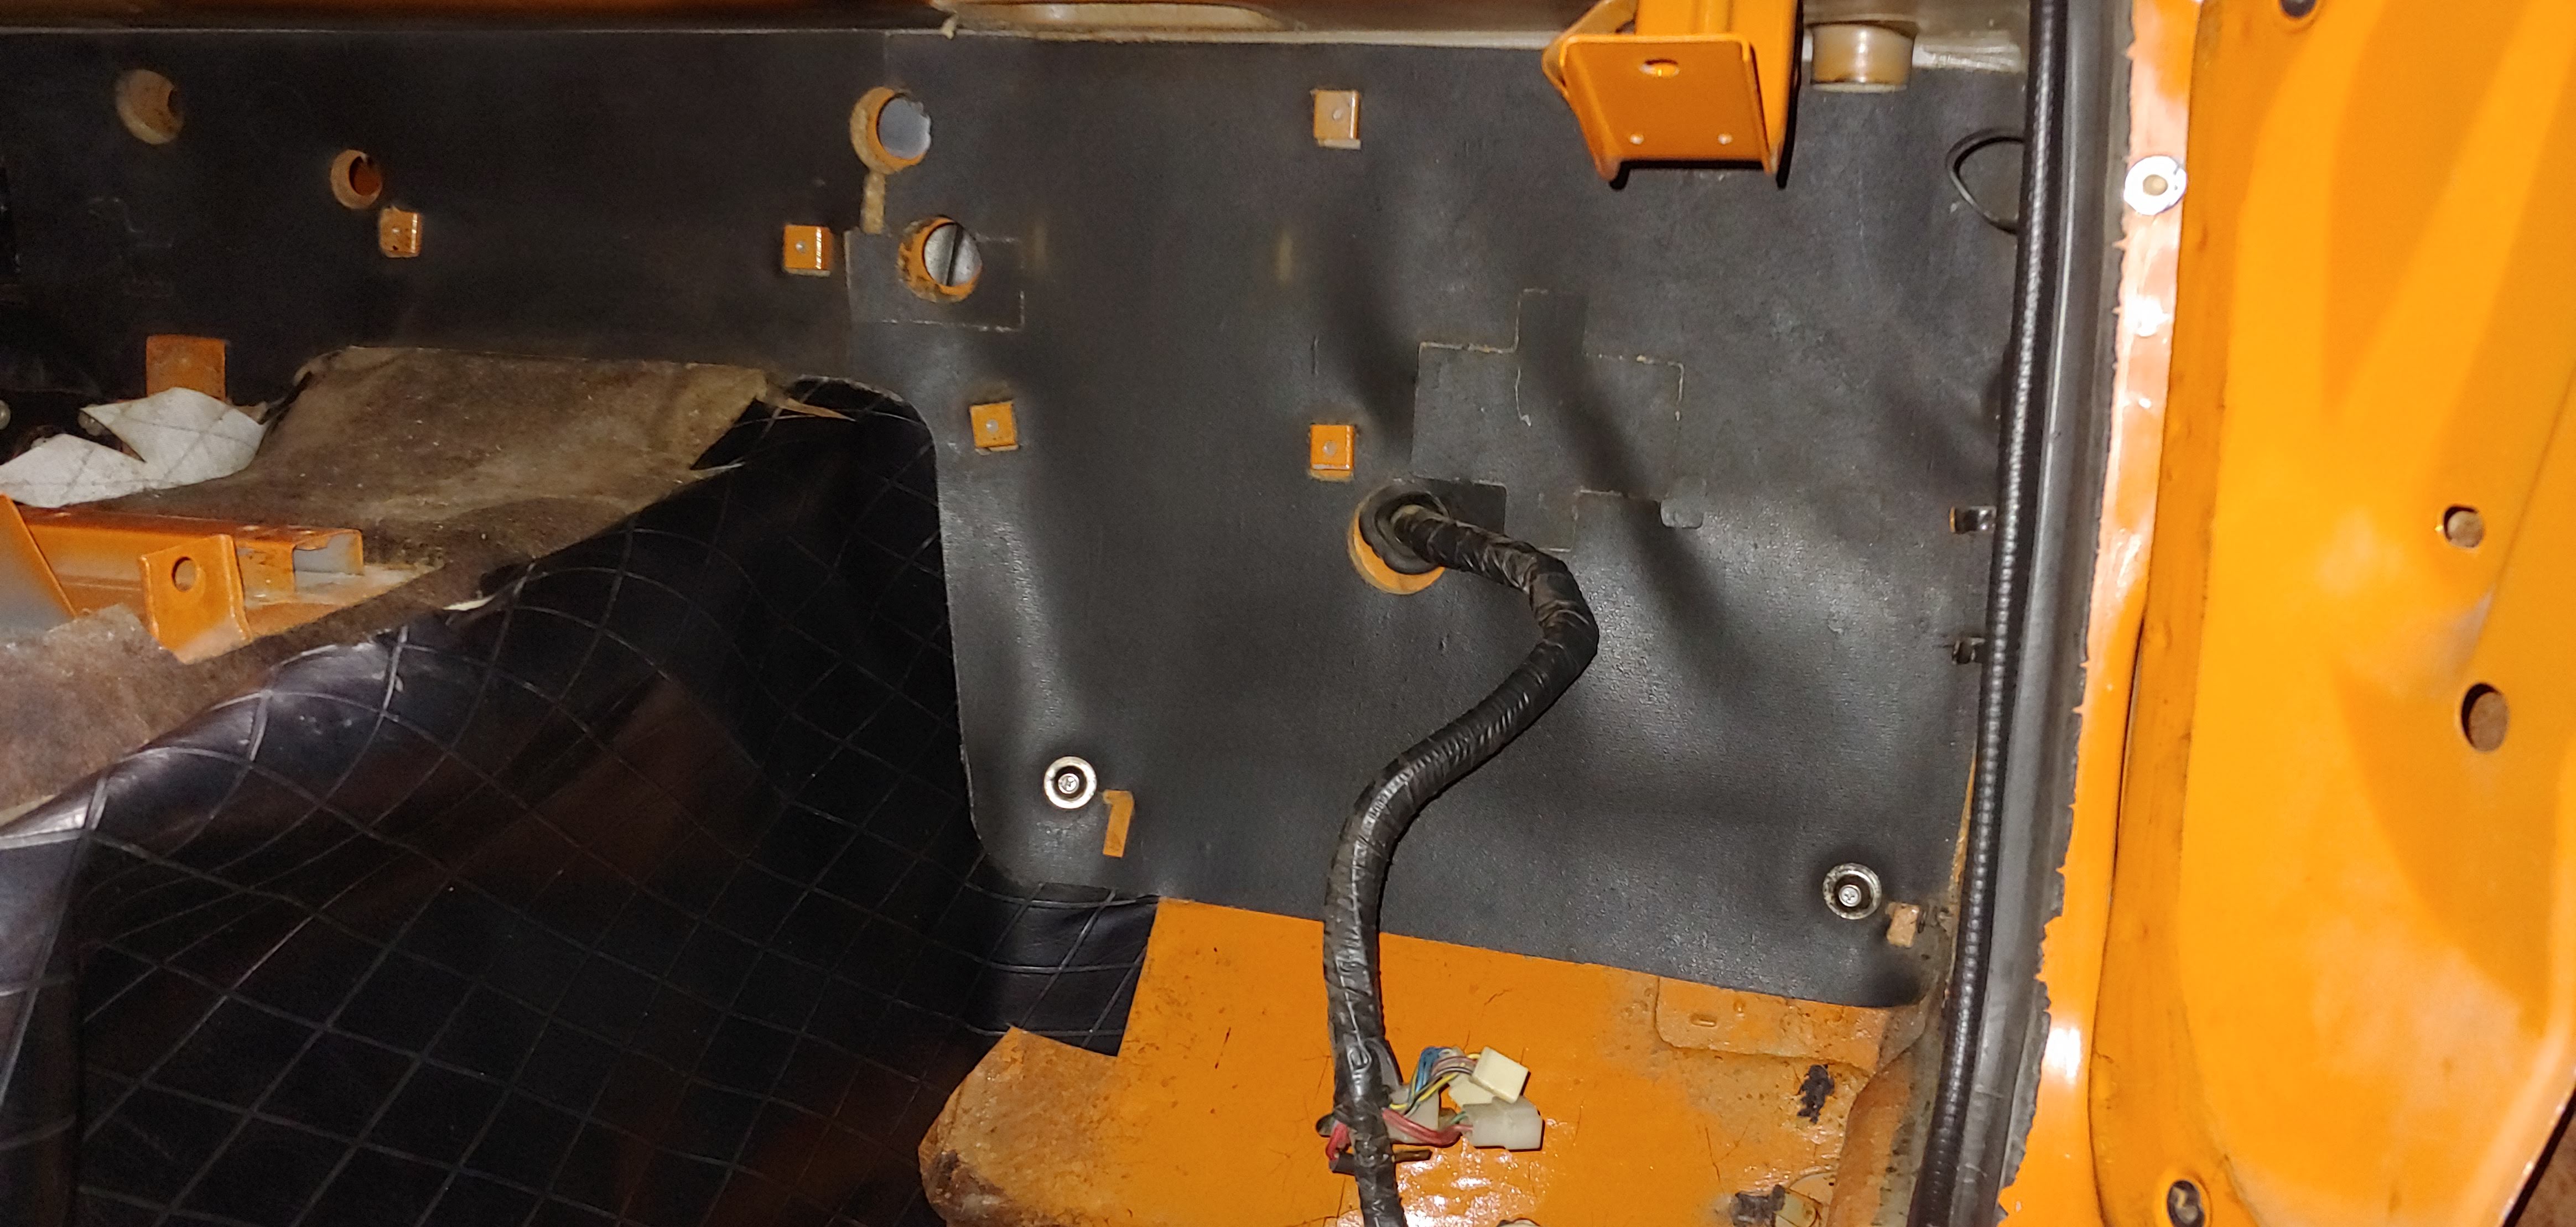
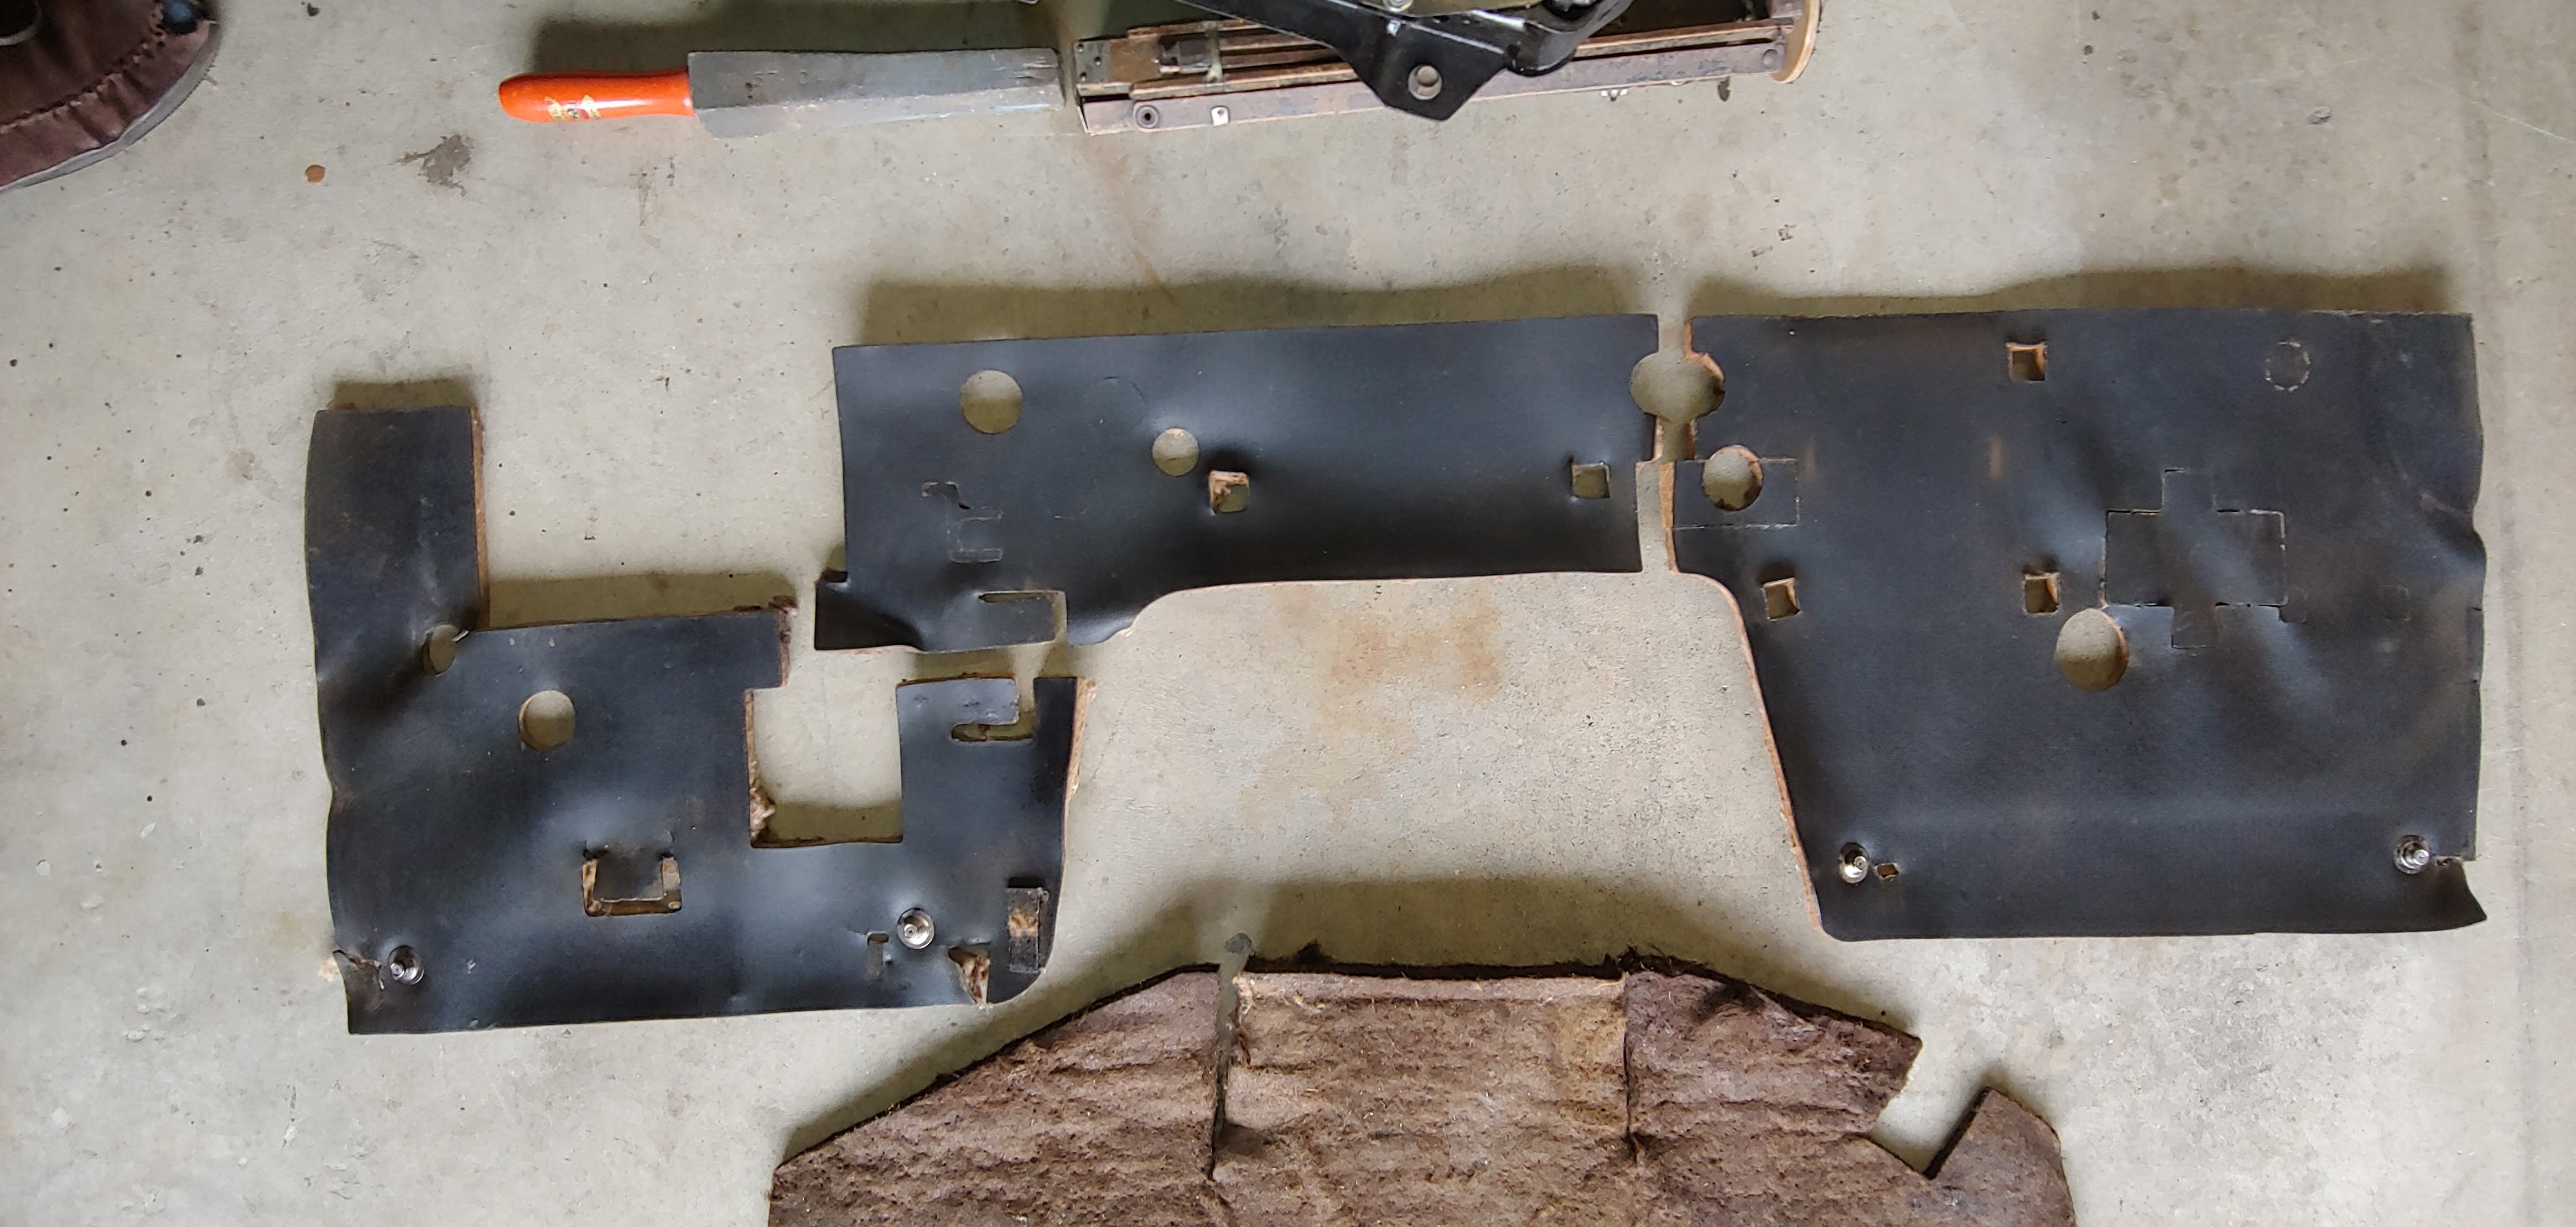
 2 points1 pointI'm somewhat anxious about this drop in temp. Haven't had the problem since 1989, now it's back. Hopefully there will be no damage if I just stay home. No early morning drives for me. Stay safe friends and have merry Christmas.1 point1 pointMerry CHRISTmas! Slowly moving on our resurrection project which currently has us tackling the fuel tank. I knew we would be in trouble 5-6 years ago when we purchased this project and attempted to drain the tank of a car that had been off the road for about 20 years. The drain plug came out with some slight persuasion but had to get a small phillips screwdriver to poke through and allow the old fuel to drain. The drained tank was removed and set aside in our shop and now we have recently begun to evaluate the tank. The exterior is in excellent condition, factory stampings still visible, lock ring removed quite easily, fuel sender unit intact but rusted solid, and have removed rust by the pound just blowing some compressed air into the tank and knocking it a bit. My big concern is the integrity of the feed and return lines which are now visible-previously hidden under the pounds of rust. The top vent pipes are free and clear to air flow but the bottom feed and return lines don't seem to allow air to flow through into the tank. I have some BLASTER sprayed into the lines and have let that sit a few days. Not sure at this time if that has accomplished anything-extremely busy work schedule lately. Experienced advice gladly welcomed. Thanks, John-Lugoff, SC Merry CHRISTmas and a blessed New Year.1 point1 pointWe 've got the same feeling here. 20 f this morning and tonight along with freezing rain that is predicted to end up 1/4"-1/2" thick. That means trees and power lines down around here. Thank God for our wood stove. I keep thinking about our Canadian neighbors and even stop whining about the cold when I remember them.1 point1 pointThe overlaps on the plastic panels will give you a good clue. The quarter window panels fit on top of the rear panels. So... install the rear panels, then the quarter window panels. The panel across the back covering the lights goes in after the rear panels. The panel across the top for the dome light is last. Yes - the bolt for the shoulder harness goes thru the plastic on the quarter window panel. If you install some thin foam along the front edge of the rear panel where it fits under the quarter window panel, you can reduce sqeaking from the two panels rubbing against each other.1 point1 point1 pointjust now took a short trip after fixing cable. there is still a smell...not nearly as bad. I am thinking the current smell is exhaust though as boot, console, etc are not installed. So it appears this may have fixed the gas smell.1 point1 pointNo screws that I recall, except for the components that attach to the firewall. When I took the insulation off the firewall of my 7/70 I found that there was some adhesive, but not as much as was attaching the insulation to the transmission tunnel. I did notice that the cutouts in the firewall insulation were a tight fit to the firewall metal protrusions for attaching components, which aids in holding the insulation in place. Here are a few pics of mine, I am lucky in that I can reuse my insulation as it came off in decent shape.
 1 pointThat's not how we operate in the South. Red clay is part of life. It will get on your car, even if it never leaves paved roads, so we don't worry about infield parking.1 point1 pointGood ideas, I will use the "rope" sealant method on my tail light housings whenever I get to that point on the resto of my 1970. Thanks for posting!1 point1 pointAs removed from my 6/71 car that lived in AZ for an unknown amount of time, and was subsequently stored (non-operational) in a garage near Denver CO for over 25 years. So, painted black from the factory.
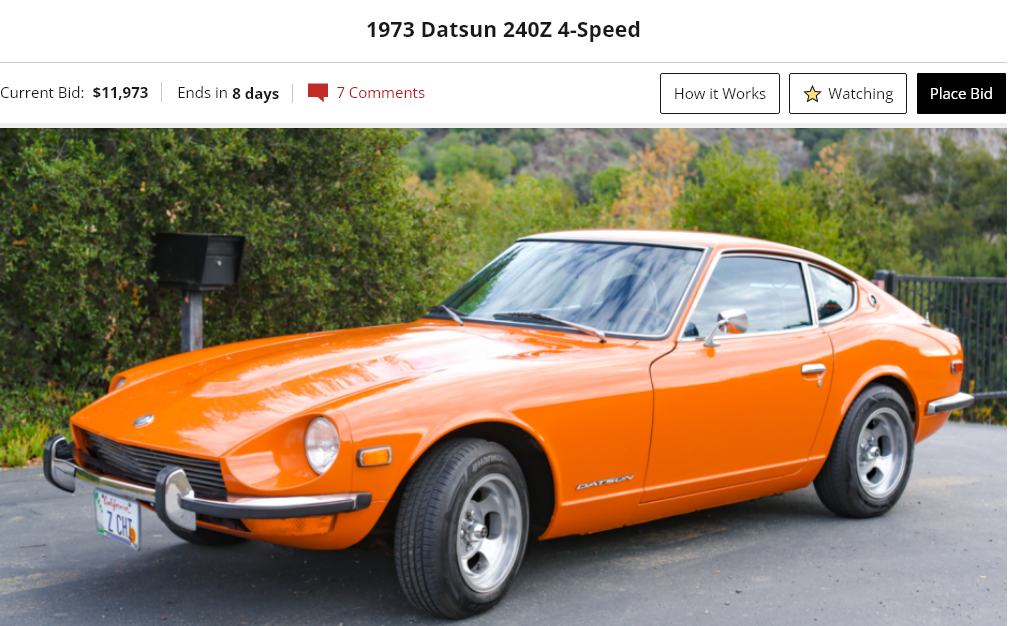
 1 point1 pointMight be a flip or somebody just got tired of it. Purchased on BAT 3/7/2019. Now it's back. (p.s. it has 10,000 miles added since the first sale). https://bringatrailer.com/listing/1973-datsun-240z-224/ Previous - https://bringatrailer.com/listing/1973-datsun-240z-85/ Sold for $38,250
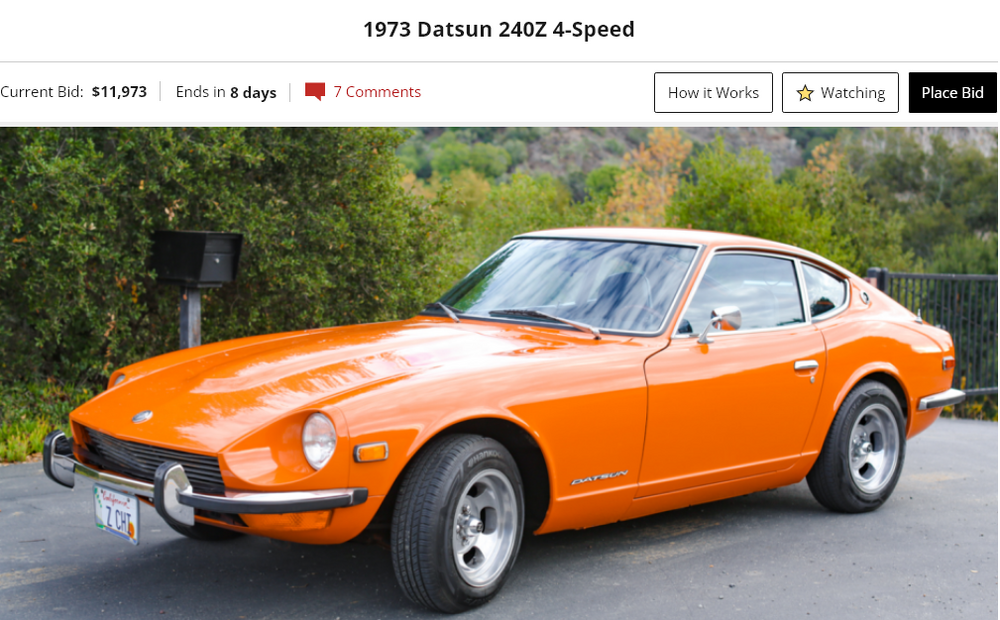 1 point1 pointPicked up a load of bits off a smashed up 1970 240Z. Complete steering column and early steering wheel with horn button. Early ashtray, had a broken main body but good lid. Combined it with one I had that had a good body but damaged lid so I have a complete unbroken one. Fitted the light switch, indicator switch and steering wheel today. The horn button had a crack in the plastic locating ring, but fixed it easily using some amazing JB Weld blue light activated instant glue (amazing stuff). Also got an early radio antenna with the pointy tip. Slowly returning the 240Z to original spec.1 point1 pointOn front end bleed valves are on top side, on back end (drums) bleed valve is near bottom area. Here is process i used to bleed brakes. 1) I took off tires 2) filled reservoirs and made sure they stayed full in MC 3) Started at farthest tire from MC working to closest. 4) Had wife or son pump brakes about 4-5 times and hold pedal to floor. I then released valve pressure, then tightened valve back. Wife/son then let off the brake pedal. I repeated this about 3 times for each tire.1 point1 point1 pointUpdate.....clock stopped overnight. As soon as I tap the clock it started back up. Like a fancy Rolex, perpetual motion! With the clocks like mine, I think the issue is gunk in the mechanism. I think I now understand how they work. At first I thought the motor was too weak, although it was running removed. After looking at how it works, it seems gunk binds it up. I have a bag of old clocks to play with. Works until maybe the hour hand gear has to move and binds it.1 pointThat's what I did. I had enough tumblers that I re-populated my locks the way I wanted them and then cut my own key to work with them. Turned out great. I'm gentle with the door locks now. I try to apply juuuuuuussst enough pressure to unlock. Trying not to smear the soft metal so I don't have to ever mess with them again.1 pointI've got some 12 year old bourbon that was barreled when that thread started.1 point1 pointPretty much done with buffing now. It looks pretty good especially for being shot in a dirty shop.
 1 point


Important Information
By using this site, you agree to our Privacy Policy and Guidelines. We have placed cookies on your device to help make this website better. You can adjust your cookie settings, otherwise we'll assume you're okay to continue.