Leaderboard


 Subscriber
.JPG.cfcada9cf1c1b502df3f5f2f2ca3ff36.JPG)

Popular Content
Showing content with the highest reputation on 07/24/2022 in all areas
-
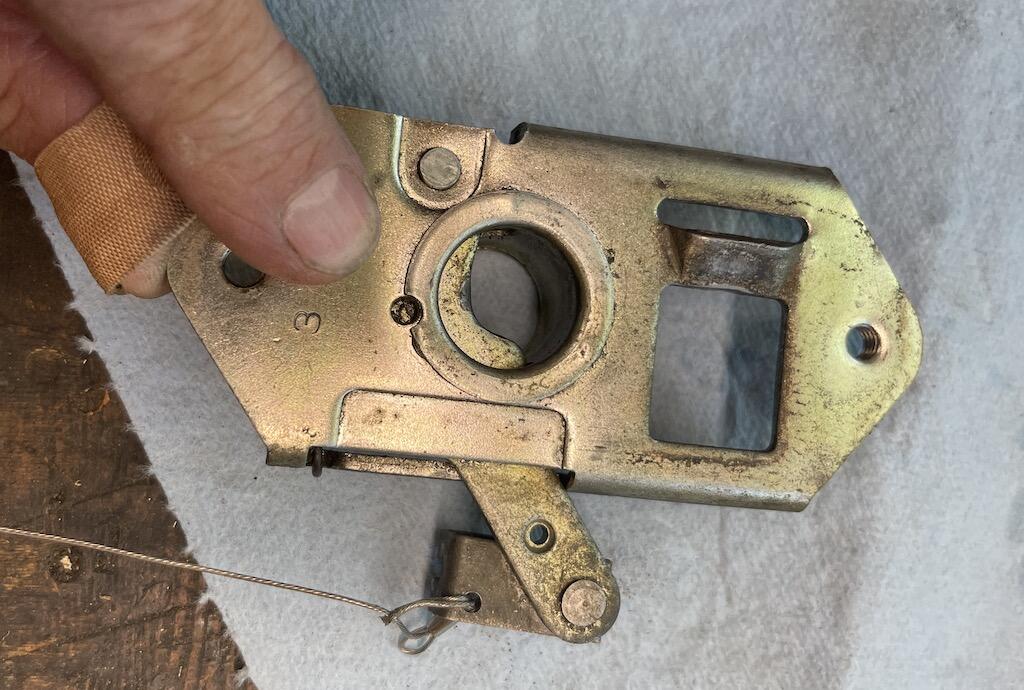
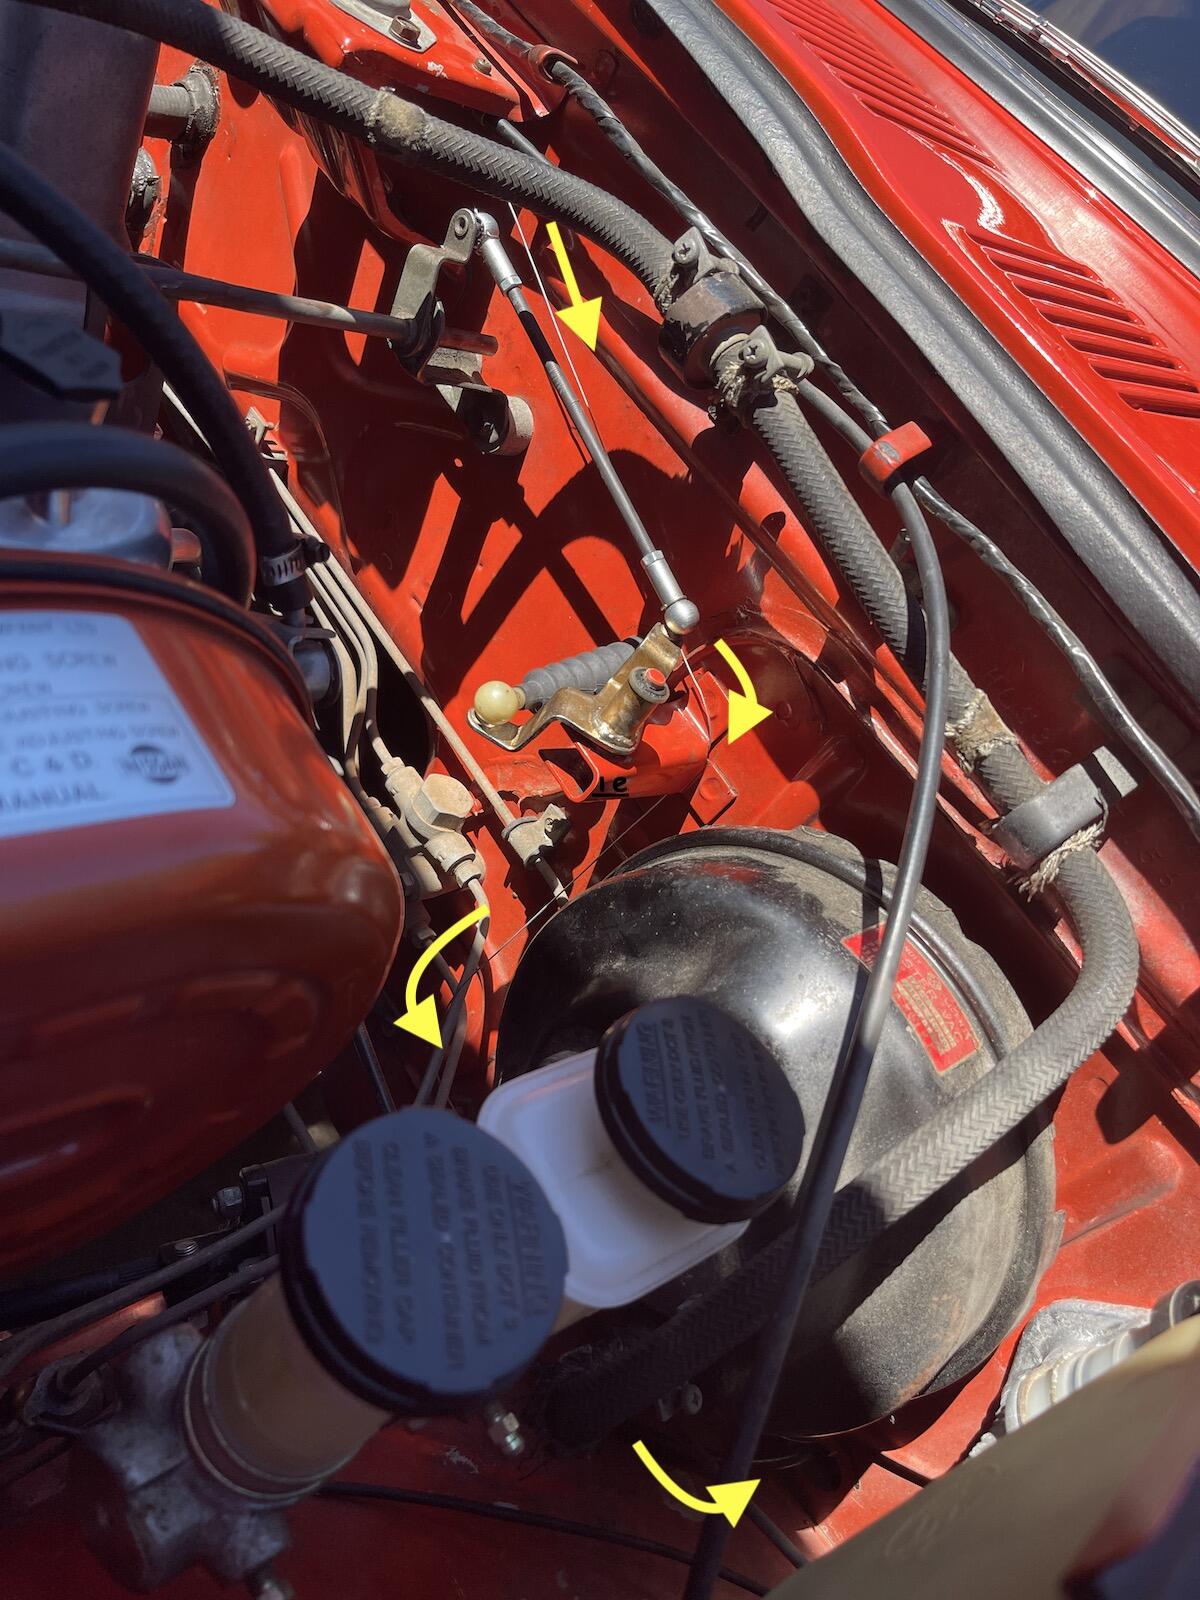
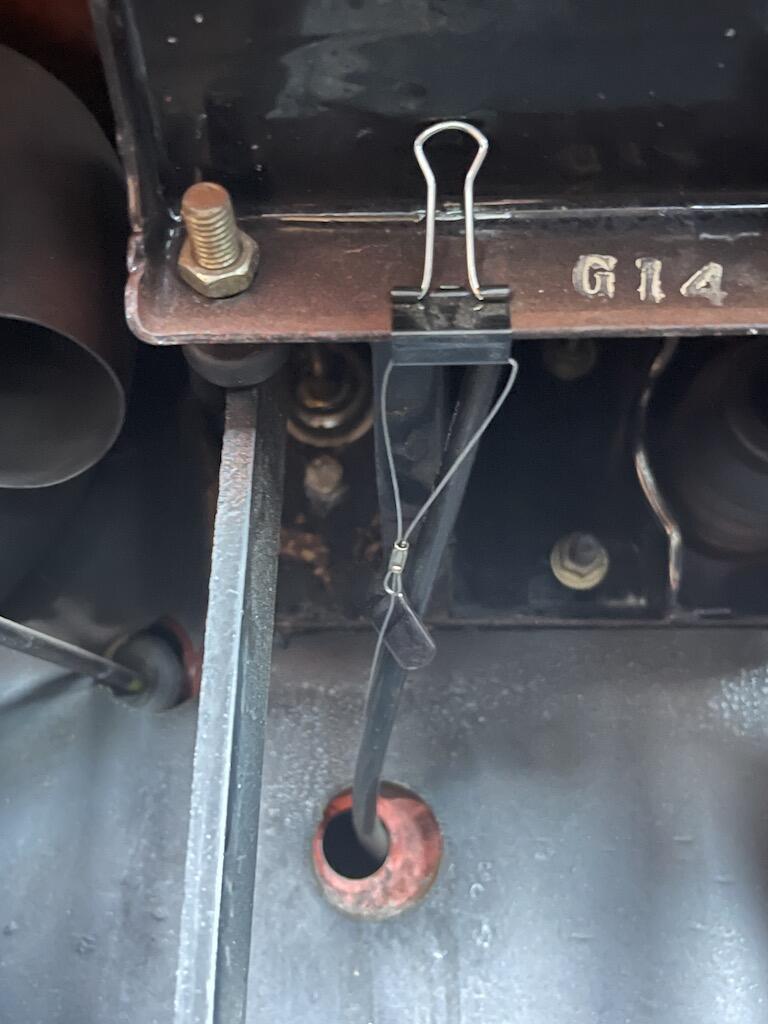
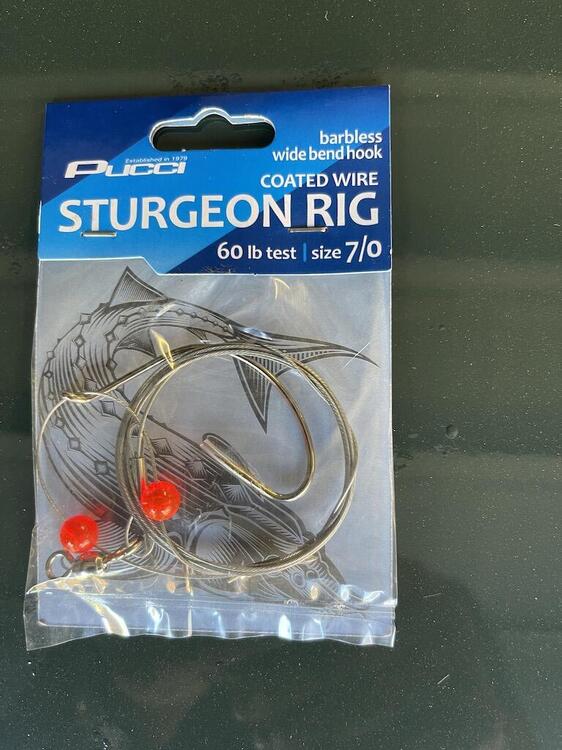
3 pointsLast night I tried popping my hood open, with no luck. I figured I'd have to get it up in the air today and try prying the latch as mentioned in many other threads. But, somehow it did open, luckily. So while removing and cleaning the hood latch, checking the cable, I decided to add an emergency cable, just in case the original fails. First I bought a $2 hook and wire leader from Walmart, 60 lb test, about 34" long, and removed hook and beads. . Drilled an 1/8" hole in the top of the swiveling cable end connector, on the firewall side so it won't bind up with real cable. Fed the small cable loop up through the hole, then big loop through small loop. Attached factory cable and reinstalled latch. Fed new cable to throttle linkage bracket, down the inside of bracket, around brake lines so it wouldn't wedge into something, over to speedometer hole, and inside. Used small binder clip to clamp end of cable to clutch/brake pedal frame. Looks like I'm missing the speedo hole grommet. Anyway, it works great. Hopefully I'll never have to use it, but it's there if the occasion arises.


 3 points
 -
I edited right after I posted. Was hoping I'd beat you to it. Sent the person an email about the year and title. See what happens.2 points
-
2 pointsDisclaimer: While you might be tempted to use tooth powder on your windshield, don't use this https://tinyurl.com/24vedxpb on your teeth. 😎2 points
-
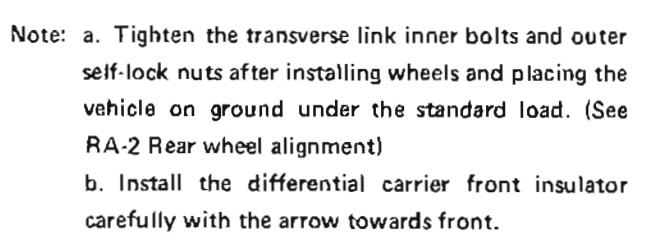
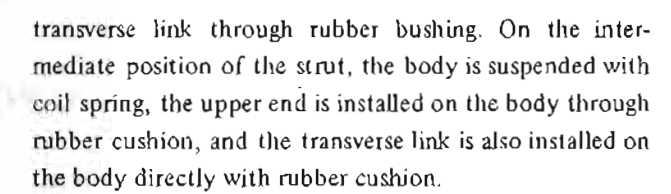
2 pointsThe Nissan bushing does not move/spin. It flexes. That's why you're supposed to tighten the bolt with the car on the ground.2 points
-
2 pointsI thought I'd update this thread with my recent experience of removing the transmission and filler drain plugs from my 1971 240Z. I first used a 2' breaker bar with a 1/2" drive to make sure I could open the drain plug. That was easy. I left the drain plug in place while attempting to remove the filler plug (as recommended in this thread). I initially tried a 17mm wrench on the square filler plug. It was a reasonable fit, although very slightly loose. I heated the transmission case with a heat gun after a couple of failed tries. I tried pounding on the handle of the wrench with a rubber mallet to no avail. When I looked more closely, it became obvious that the transmission case metal around the plug was preventing the wrench from rotating, and this wasn't ever going to work. I also can't see how a pipe wrench or adjustable wrench would fit in the space available. I used a 12 point 13/16" socket, which gripped the square end of the plug quite nicely and had it out in a few seconds. It wasn't badly seized in place, but it felt like the fit was tight enough that you'd be able to pull pretty hard on it even if it was. The plug does seem to be pretty soft metal, though, so I'd be careful. I did try the closest sized 12 point metric sockets before using the 13/16", but none of them fit as well. Hopefully this will be helpful for the next person!2 points
-
On the european mainland almost (or all??) are driving on the right.. eh... RIGHT side.. of the road , and steering is on the left (WHERE it's supposed to be!!) Hahaha.. yes just EFFING around with the english!! (And Japanese..)2 points
-
2 points
-
2 pointsI remember tooth powder. The homemade equivalent is baking soda and a bit of salt. Shake it into the palm of your hand, rub the tooth brush on it, and brush.2 points
-
1 point
-
That, I did not know. In my defense, I learned European culture exclusively by watching Mr Bean.1 point
-
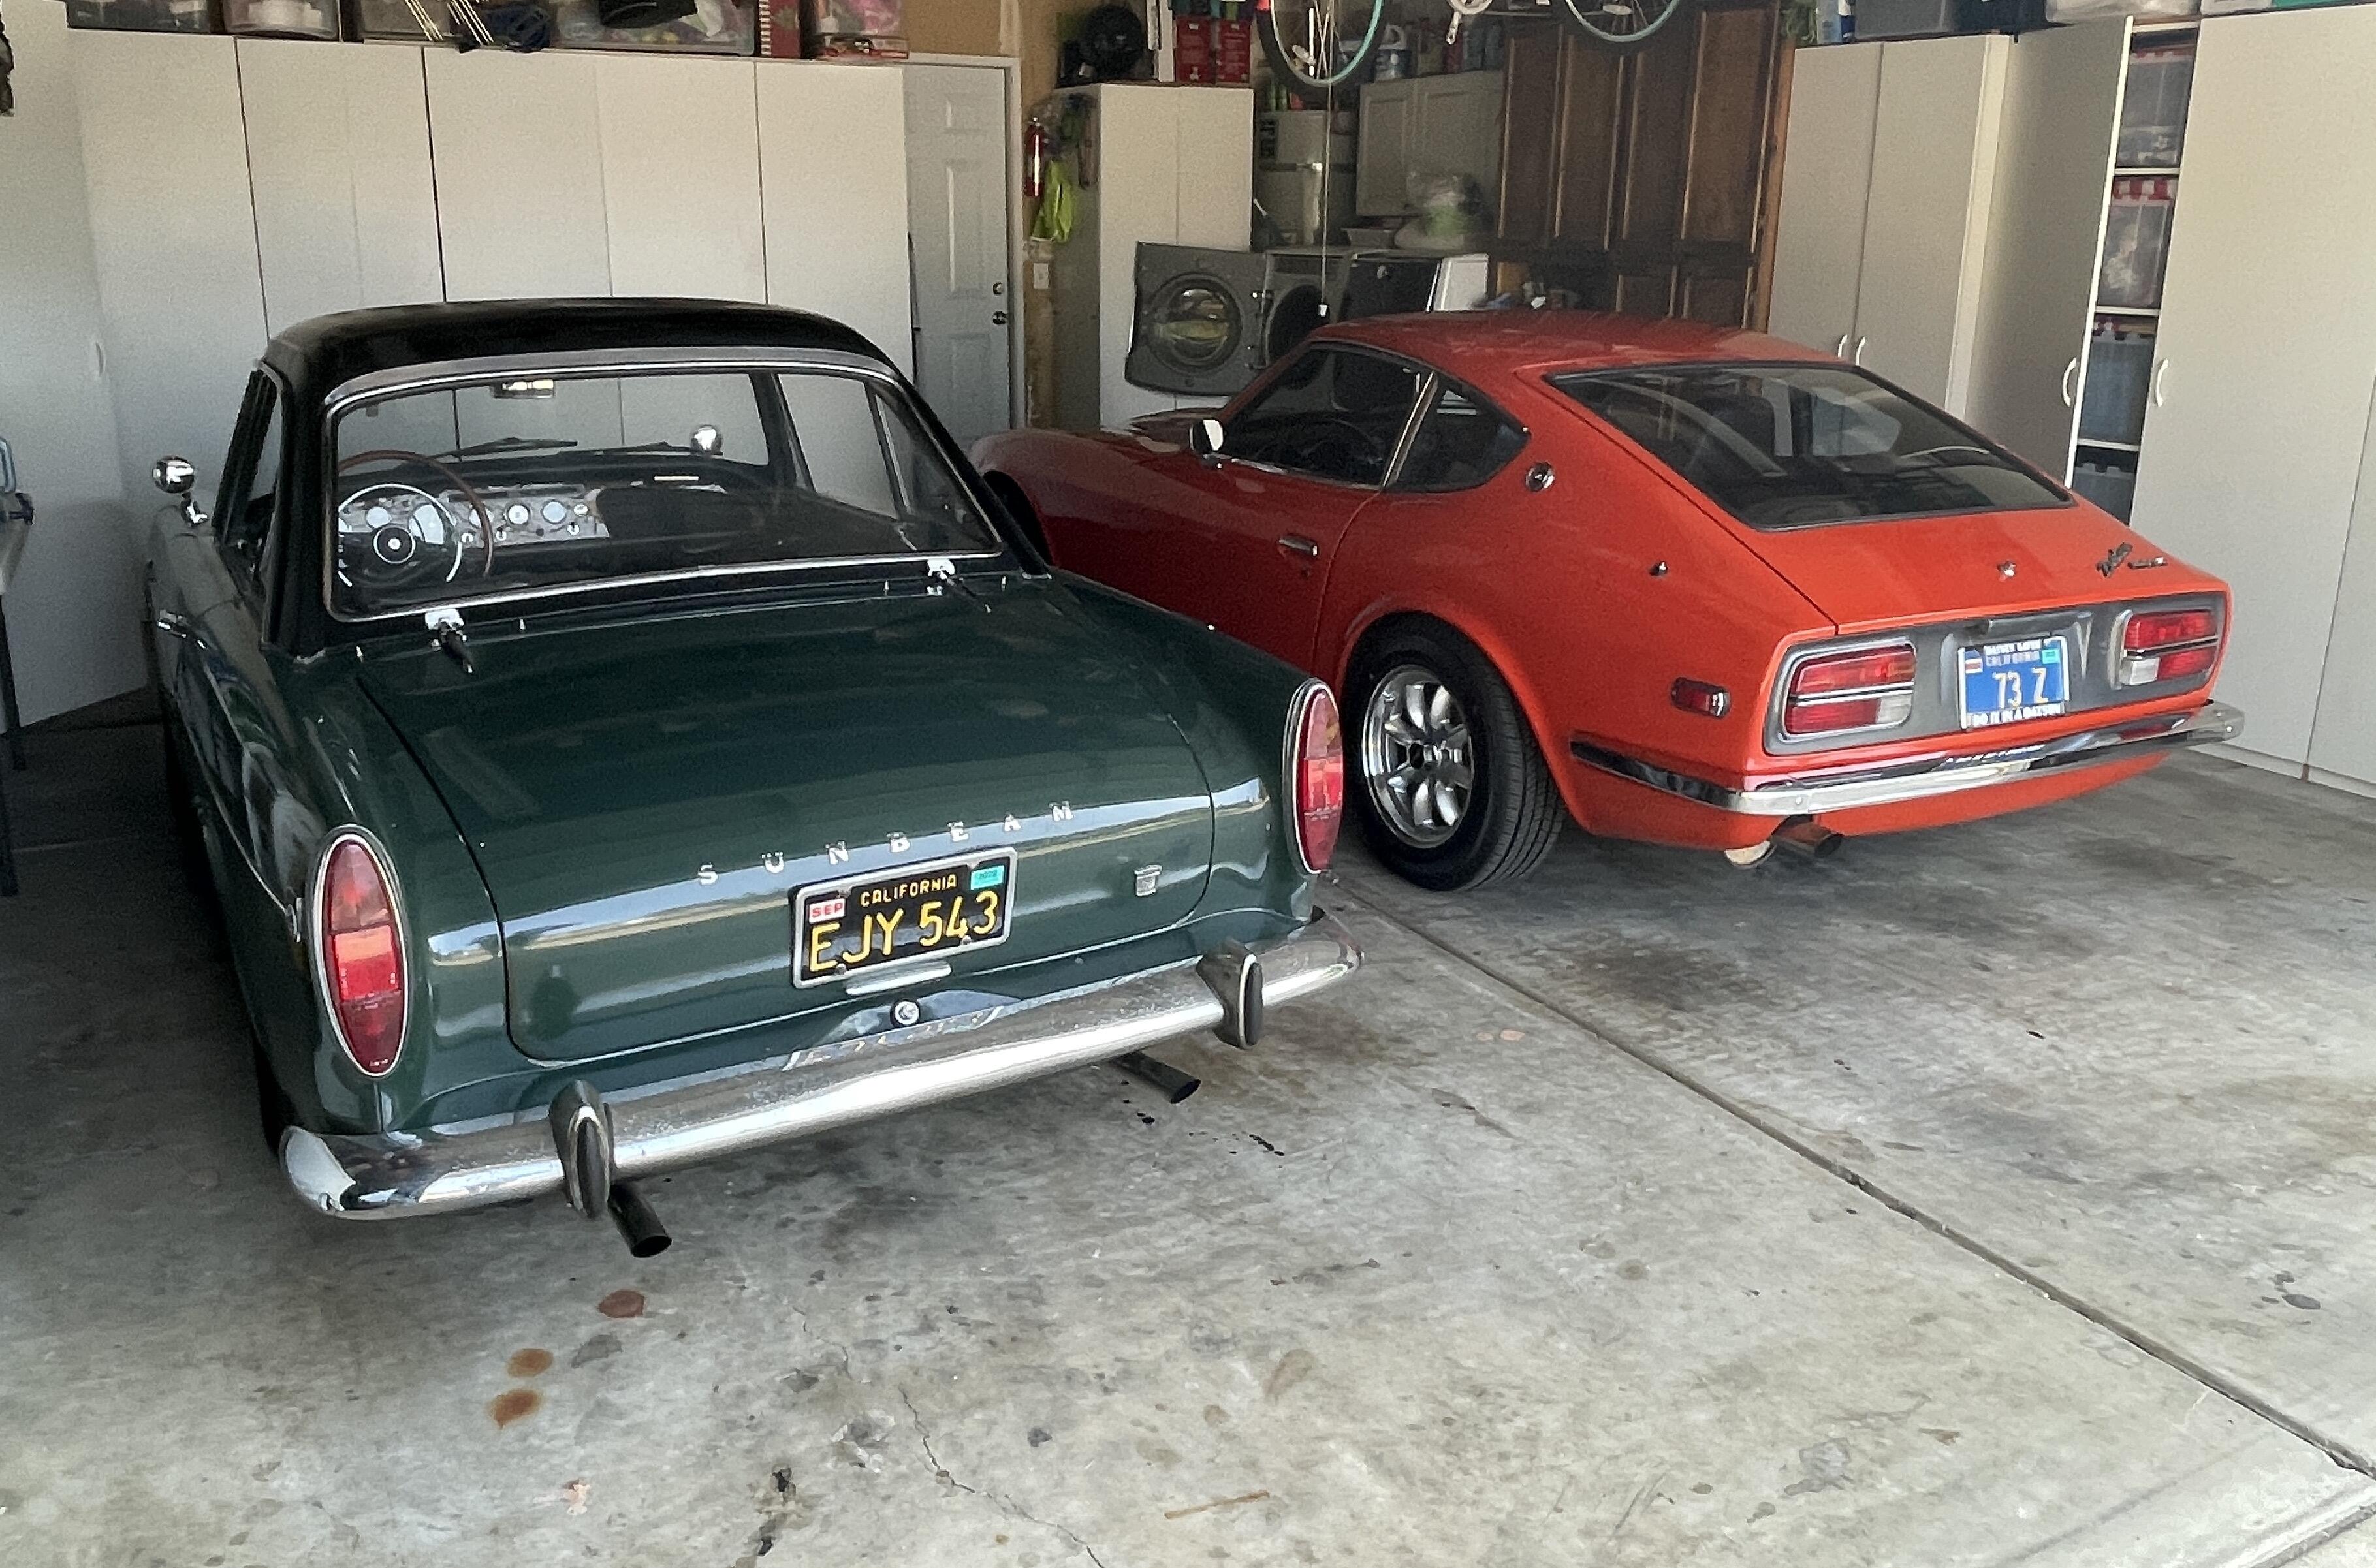
I saw this too. I have to agree with @DatsunZGuy looks like an early 260Z @zedhead Tail lights, Bumper mounts, fusible links, Evap can, larger coil.1 point
-
1 pointI think that they were aware. Have you ever seen a torn or split bushing? Here's 1973:
 1 point
 -
1 pointNext time get a bolt slightly smaller than the bushing id and stuff the hole with bread. Hit the bolt with a hammer and add more bread. Repeat the process until the bushing (or bearing) slides out. It really works well and clean-up is a breeze.1 point
-
Well I don't know where they were, but I put them back as best my memory serves ? We put the tank in and the new sending unit for the gauge. The low fuel light was on, and that was with the 4.5 gallons of fuel I bought just after the tank was in, and then today I put another 9.3 gallons of Premo 91, so that is 31+ gallons and with that the 'low fuel' light went out, but it only reads about 1/4 tank. So I need to change the gauge and now the speedo isn't working. The trip-o-meter works, but that's no real help. But I got it out on the road and running about even on the expressway and I got to say, this 4 speed "Sucks Big Time" this car came with the 4 speed, but you run out of transmission long before you run low on engine, I wonder if I can put a 5 speed in this 1975 2+2 ? and I need to do a good tune-up, it runs nice at speed, but it has a very slight wobble at idle ?1 point
-
@w3wilkes provided the link I would have. Dave Irwin did a great job designing the harness. The way I do it takes a little more effort, but I put extra effort into hiding relays and the wiring. I haven't played around with enough cars to make a kit for other people to install.1 point
-
1 pointThat's not really tuning. It's just messing with things. When you change the tension on the spring you alter the air-fuel ratio curve over the whole of the air flow range. You can't pick a spot and "tune" it in. p.s. the procedure from atlanticz is meant to get the AFM back in spec after people mess with the spring and ruin the AFM performance.1 point
-
1 pointDoes anyone remember Colgate Tooth Powder. Years ago my Dad used it to remove light scratches from our car windshield. It worked quite well.1 point
-
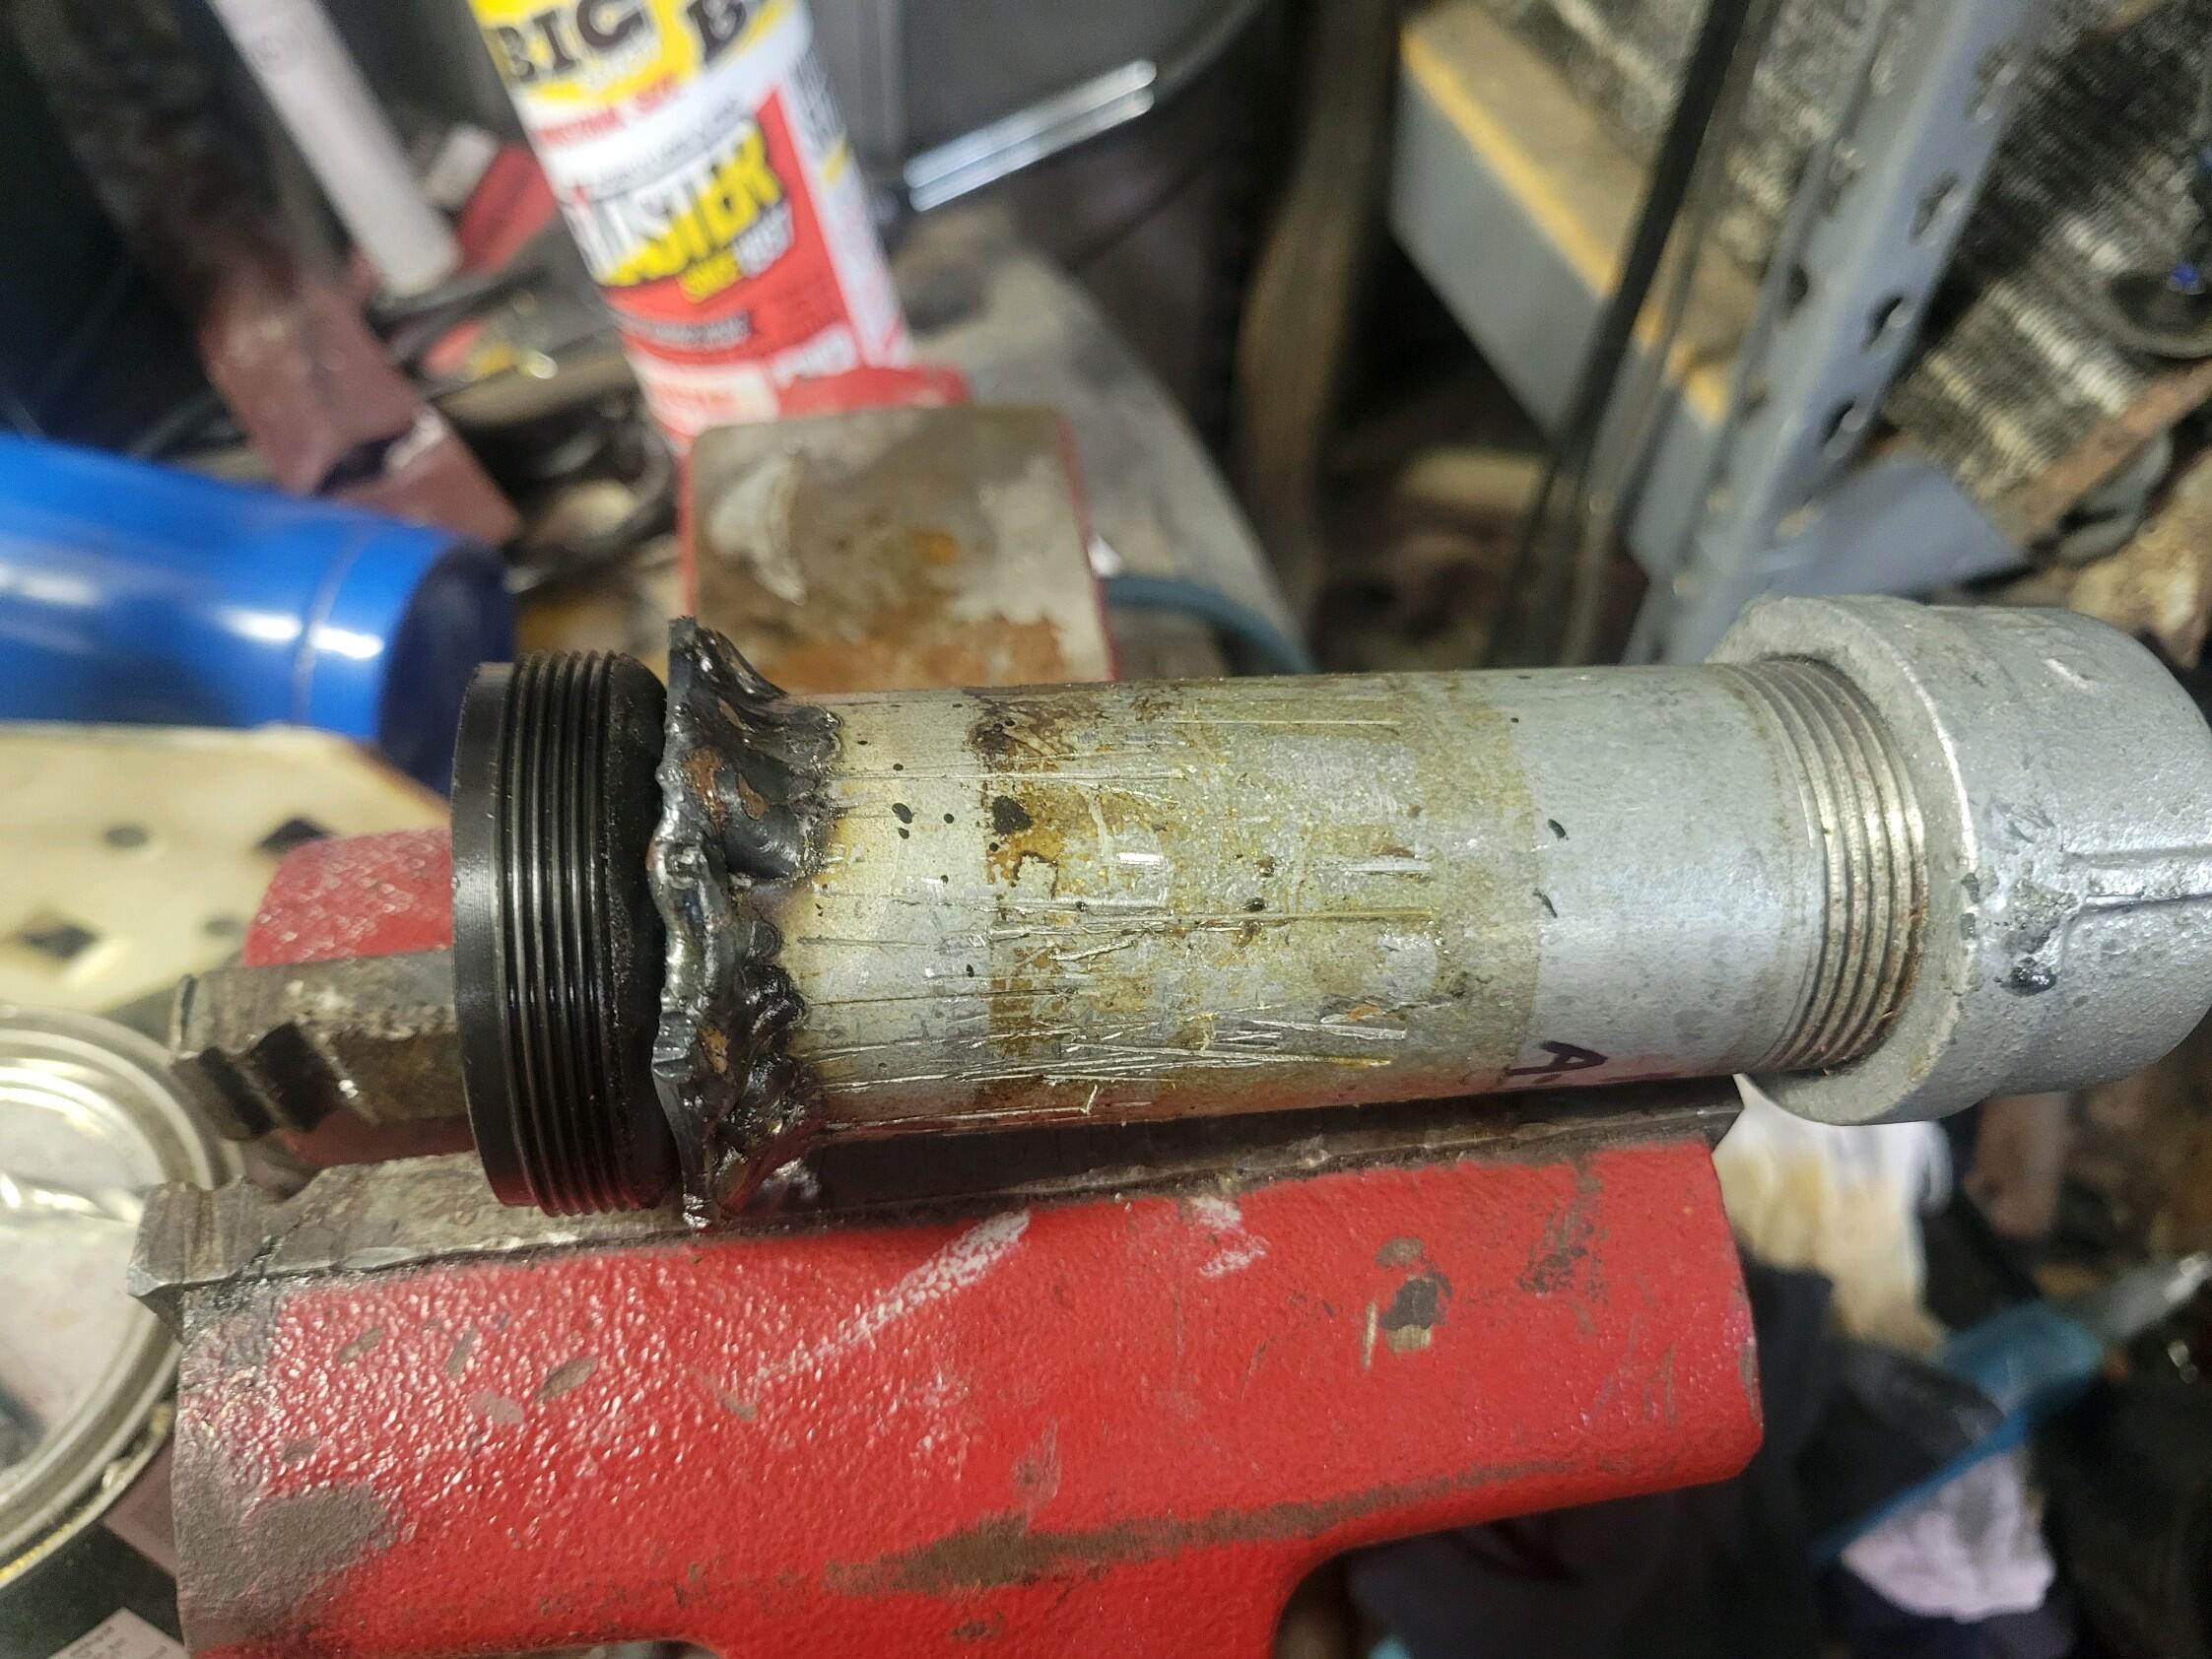
@dutchzcarguyMine also has that typical spot, although welded, its not done correctly, should be welded flush so you don't see it. Its one of the things I need to fix when have some more time coming years. To busy with other projects right now1 point
-
I had a Z once that read low like that. I rigged up a mechanical gauge under the hood. It was actually much higher than indicated. It's a common issue1 point
-
1 pointNO! One false move, and you would be looking to pay for a replacement transmission. You want to remove the plug, not break the case. For the fill plug, find a thick 19 mm or 3/4 inch open end wrench. Use a brass hammer, deadblow hammer, or rubber mallet to hit the wrench to loosen it. If it doesn't want to turn, try turning it SLIGHTLY clockwise (tighten) and try to loosen again. Also as stated elsewhere, heat can help.1 point
-
1 pointI doubt you can get on it with an impact. The plug are square. Either square head or square recess. I believe the fill aught to be square head and the drain plug square recess if they're in the proper location. A 1/2" breaker bar aught to fit the square recess well enough. The fill plug is normally the problem1 point
-
1 pointFirstly, you never lift a Z using the frame rails under the floors - even if they were brand new. Secondly, Whenever possible use Granny's advice and lift the front using that big plate in the center of the front crossmember. Thirdly, When using a floor jack (not a scissor jack, not a bottle jack), we lift the differential in the rear and then place jack stands. There are a few "hard points" in the rear to help. Fourthly, The 280's added a lot more heft to the unibody and were strengthened in specific spots underneath (meaning: there are big beefy steel plates under there that the earlier Z's either didn't have - or were not as strong). You should learn those spots, they will help with lifting and supporting if you need to work underneath. Fifthly, be absolutely certain of your jack stands if you're working to replace the transmission fluid. In most cases both the fill plug and drain plug have been over-tightened and many people have struggled to get them loose. That means you're putting a lot of torque into it, may having to use a "cheater" for leverage - you don't want the Z to come down on you while you're under there. Sixthly, When you put the plugs back in, don't over-tighten them! There is no pressure on the fluid inside. Use Teflon tape (or anti-seize) on the threads and only tighten them to snug. You just want them just tight enough so that they don't leak - and done.1 point
-
1 pointLift the car at the center of the front cross member, the one the engine sits on then put a stand on either side of the jack, that will give you lots of room to get in from the sides.1 point
-
1 pointThe only way to get to the drain plug is underneath. The easiest way to remove the fill plug is underneath. NEVER attempt to drain the transmission without first verifying you can open the fill plug. Yes, you could fill at the reverse switch, but that is a pain, and again, you have to be under the car to get to that.1 point
-
1 pointCourtesy of an unfinished project I still intend to do when I enlisted the incredible help of Jim Karst @zKars Jim compiled this 18 page .pdf of photos with description of the number required, size, thread pitch and length for many of the fasteners as removed from a 12/70 240Z (if I remember correctly). 2 large boxes with altogether about 60 lbs. of parts. s30_Hardware_pictures.pdf Some techie may be able to open the .pdf and display them in a sticky post for easier access on this site. alas I am too challenged to do it myself.1 point
-
0 points
-
Cool car, I am surprised to see the steering wheel on the left. I just assumed they were all on the right over there.0 points